
Blog by Steve Laug
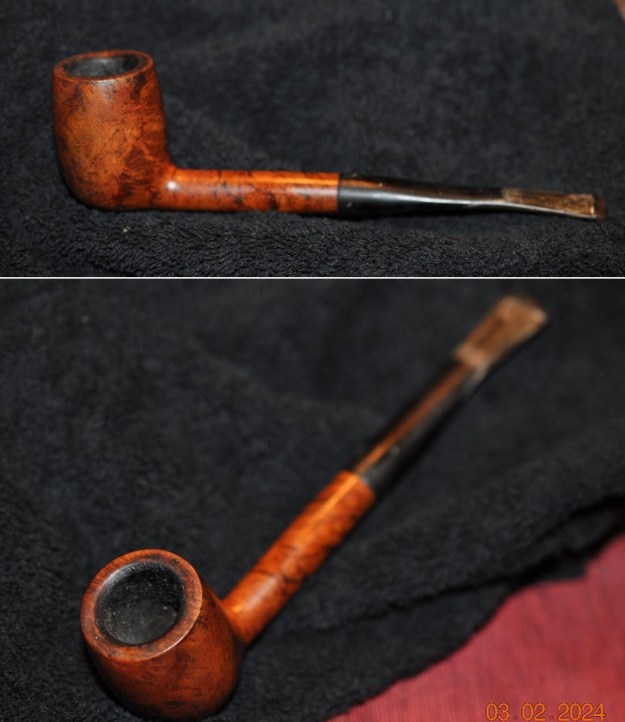
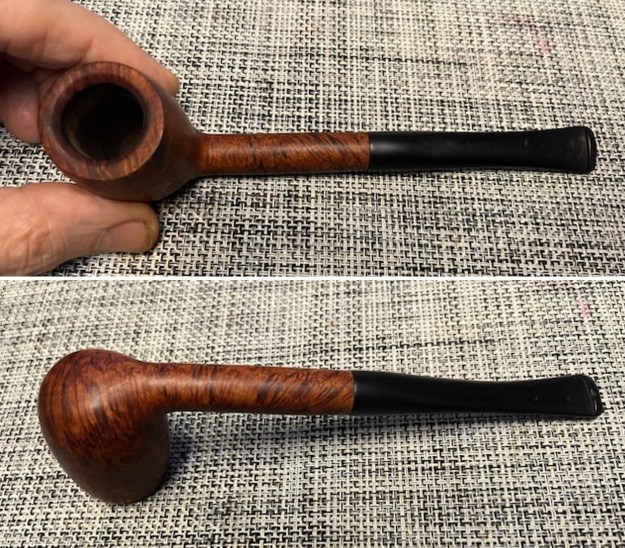
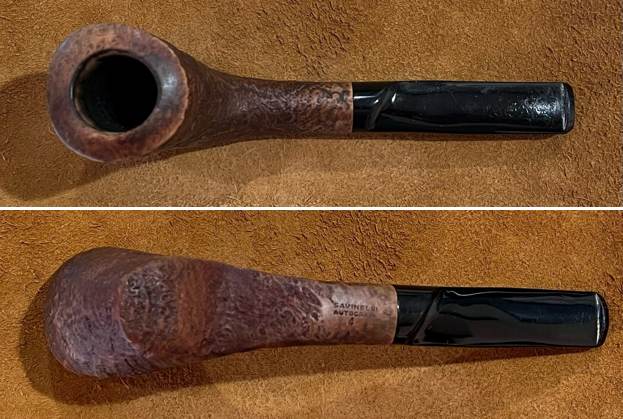
The next pipe that I am working on came from an estate sale in Oregon City, Oregon, USA we purchased on 03/21/24. It was very dirty and was a reddish, brown coloured pipe when it started. The smooth finish around the bowl was dirty and had hand oils ground into the grooves. The bowl had a moderate cake a spotty coat of lava onto the rim edge and top of the bowl. The stem was vulcanite that was very dirty and had tooth marks on both sides ahead of the button. The stem might be a replacement stem as the fit to the shank is off in terms of stem diameter being larger than the shank. The pipe was stamped on the left side of the shank and read Bings Favorite. On the right side of the shank it is stamped Italy. On the underside of the shank it was stamped Savinelli Product. Jeff took photos of the pipe so I could have a sense of what it looked like before he started his work on it.
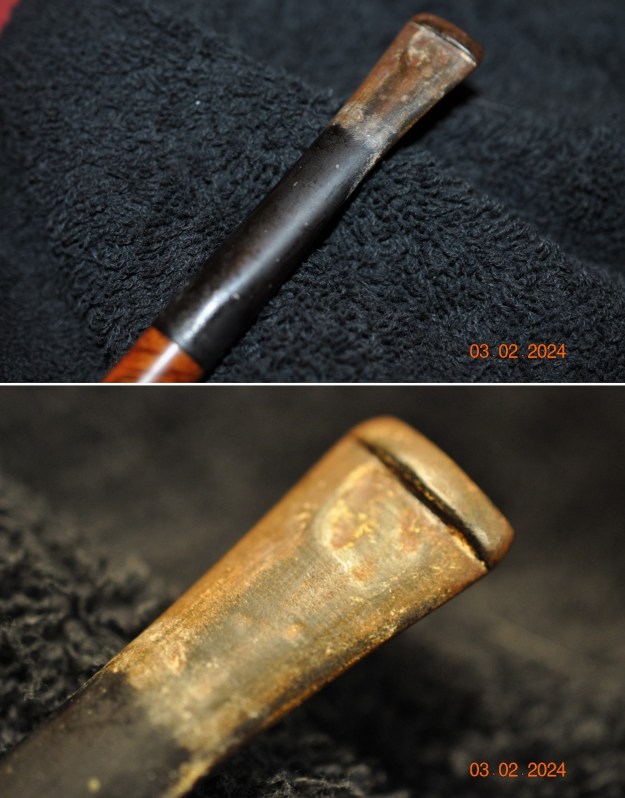
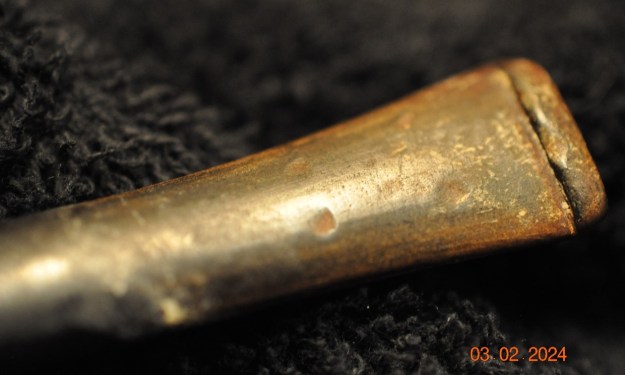
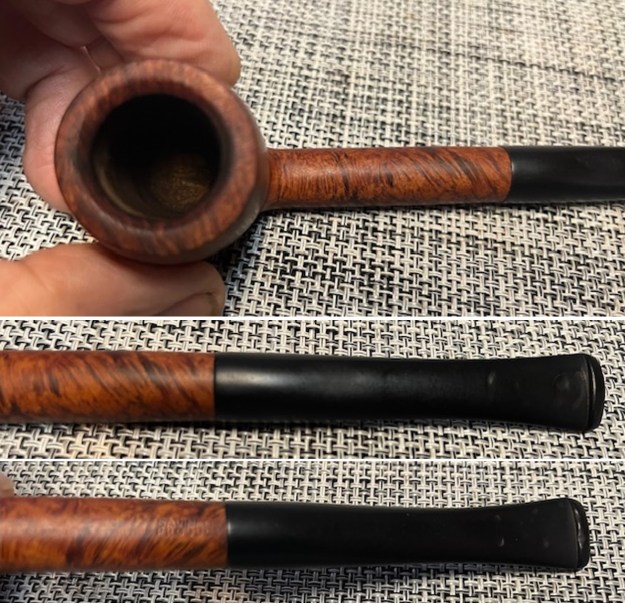
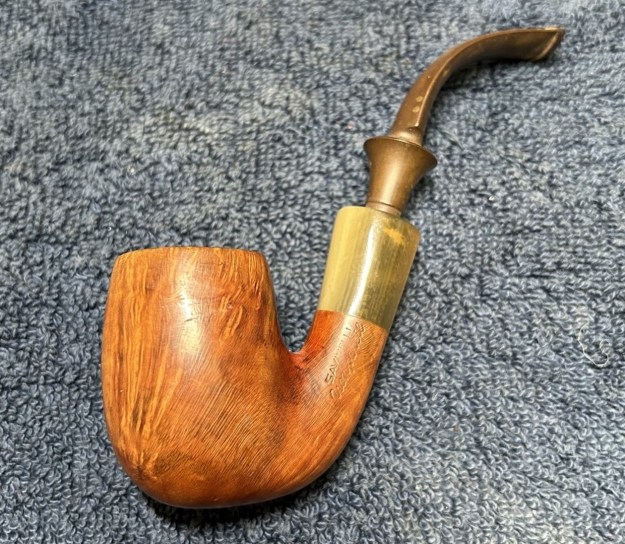
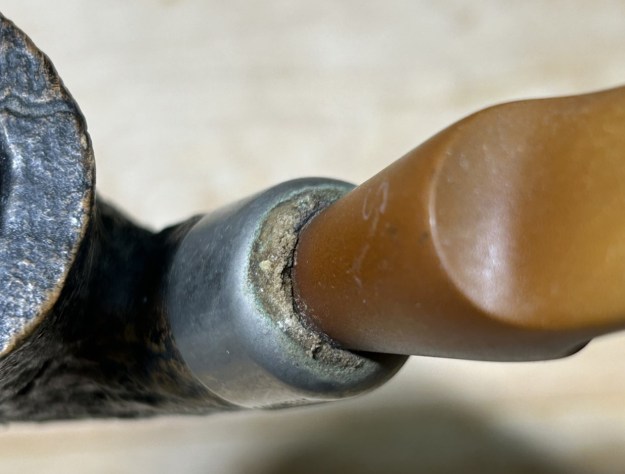
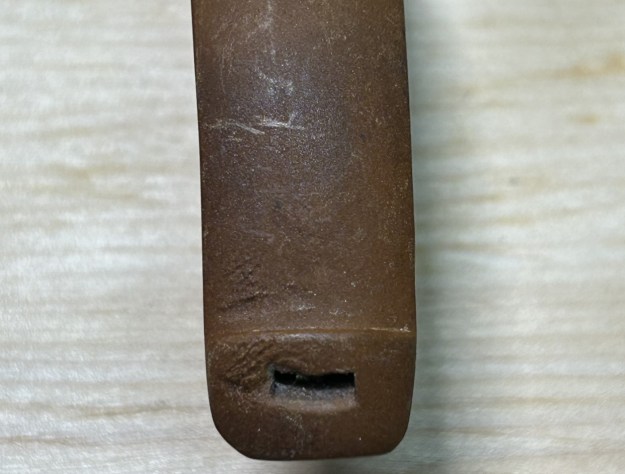
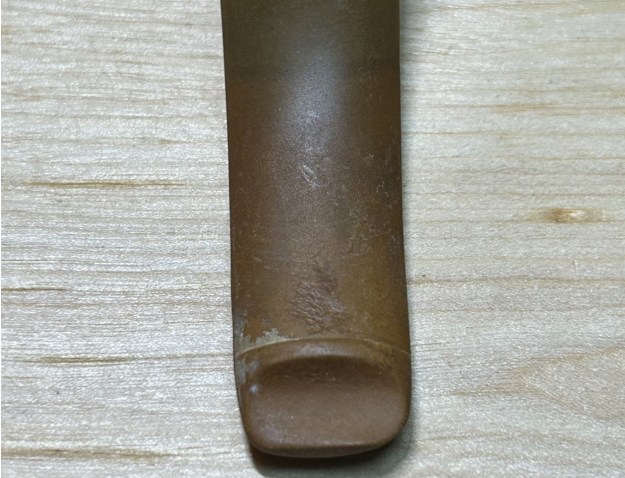
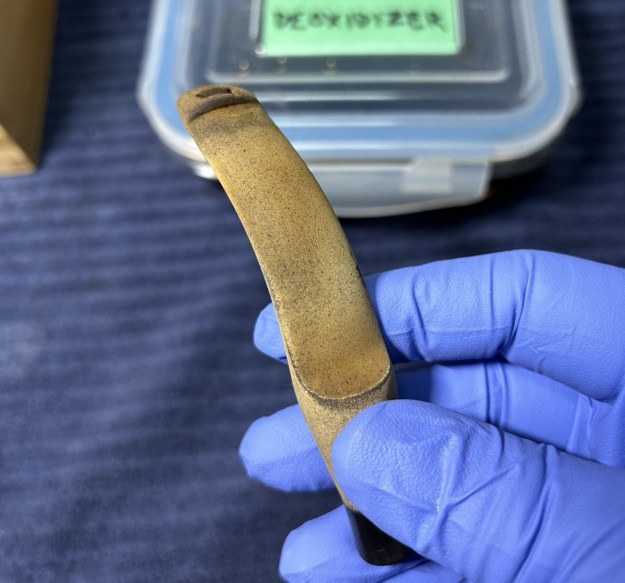
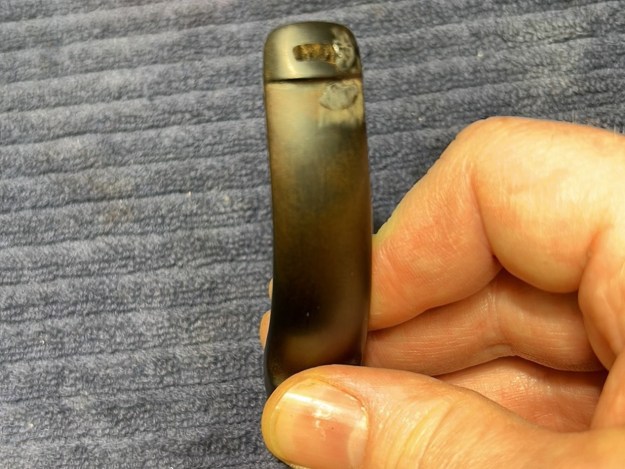
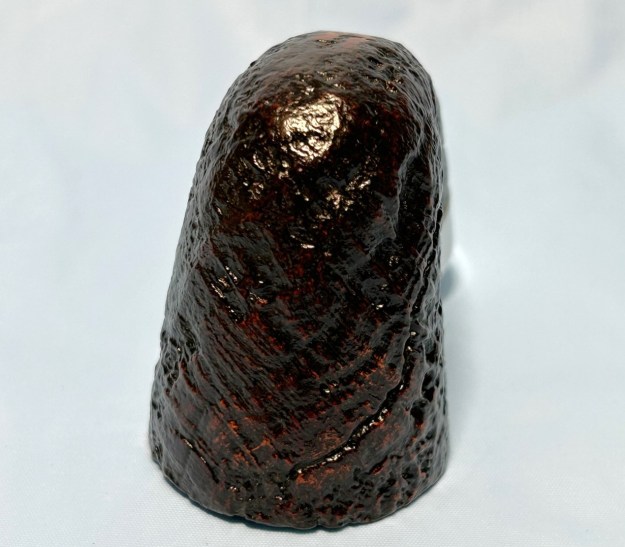
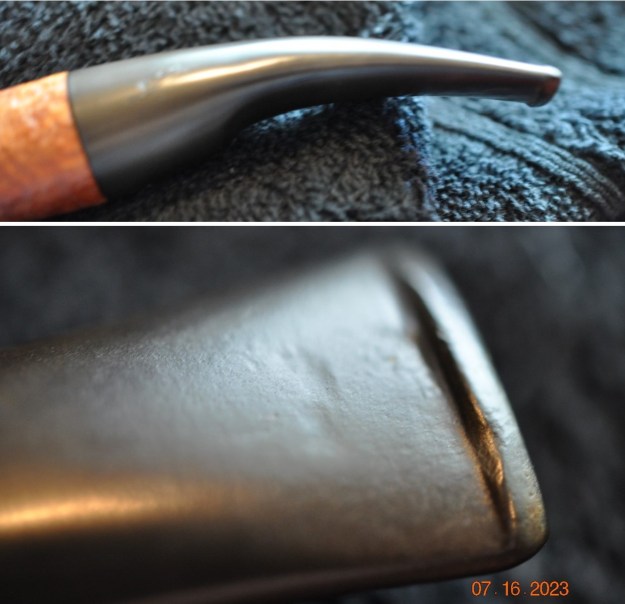
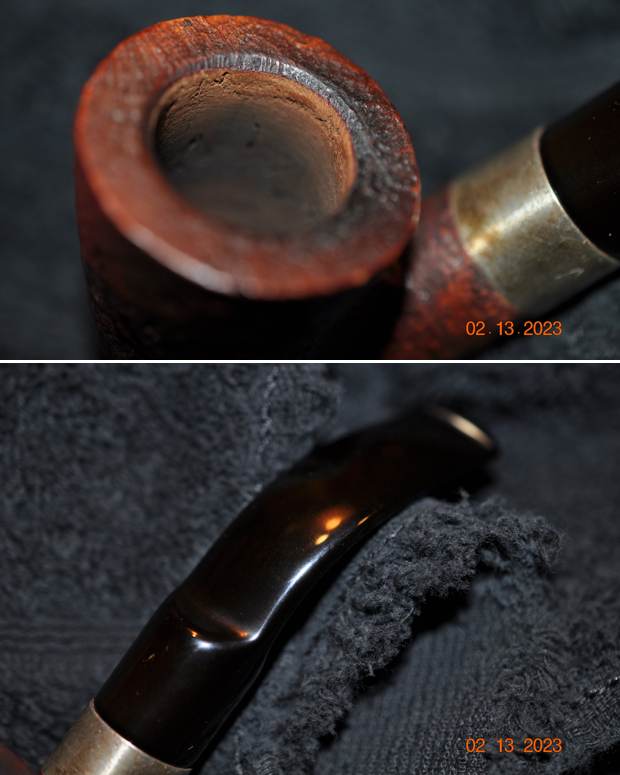
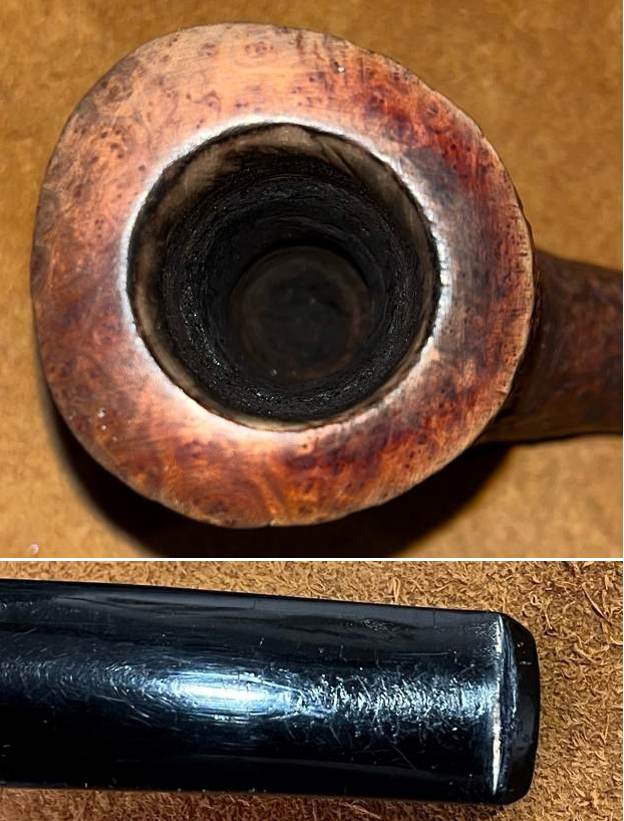
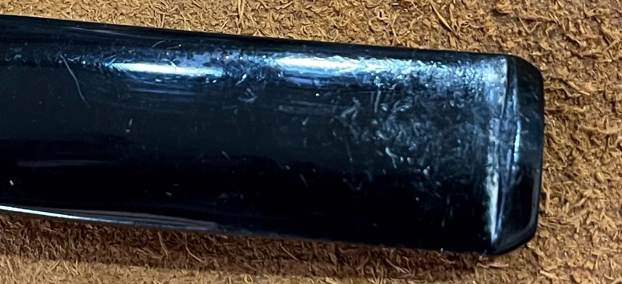
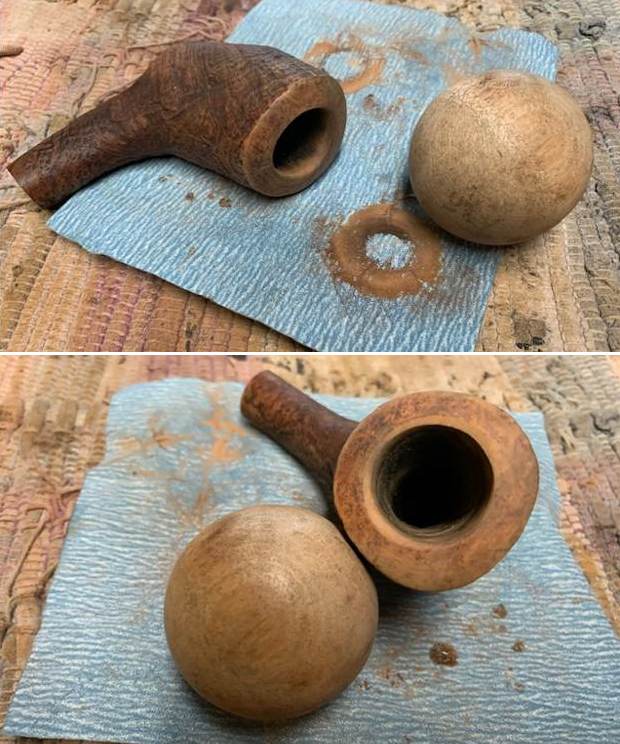
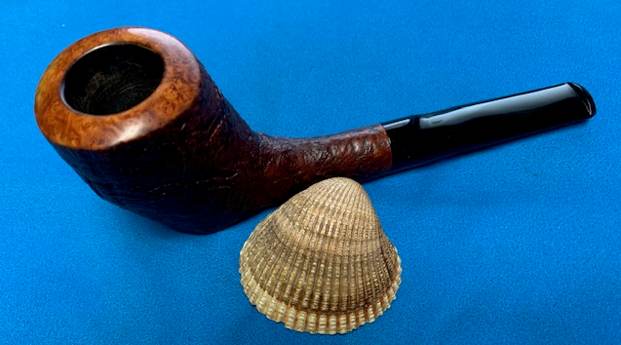
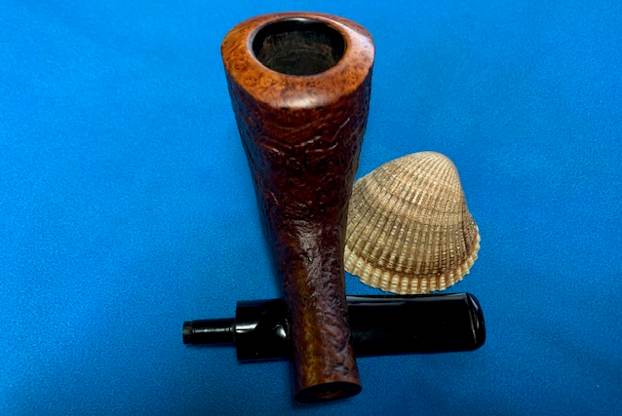
 Jeff took photos of the stem surfaces and the bowl and rim to give a sense of condition of the pipe. You can see the thick cake in bowl and the spots of lava overflow on the edges and rim top of the bowl. The stem surface is very dirty, oxidized, calcified and tooth marks covered by the dirt and debris. The stem did not fit the diameter of the shank properly. It was larger than the shank and would need to be fitted. The stamp on the top of the shank is faint.

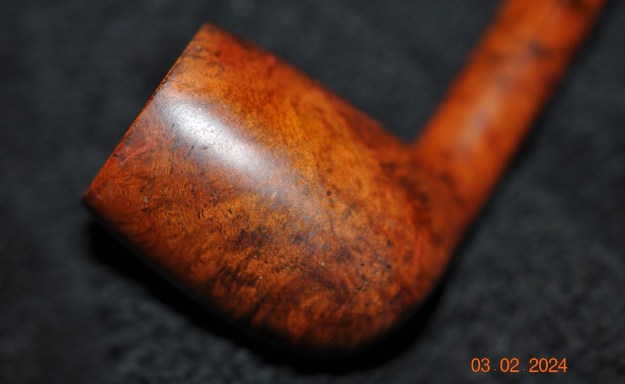
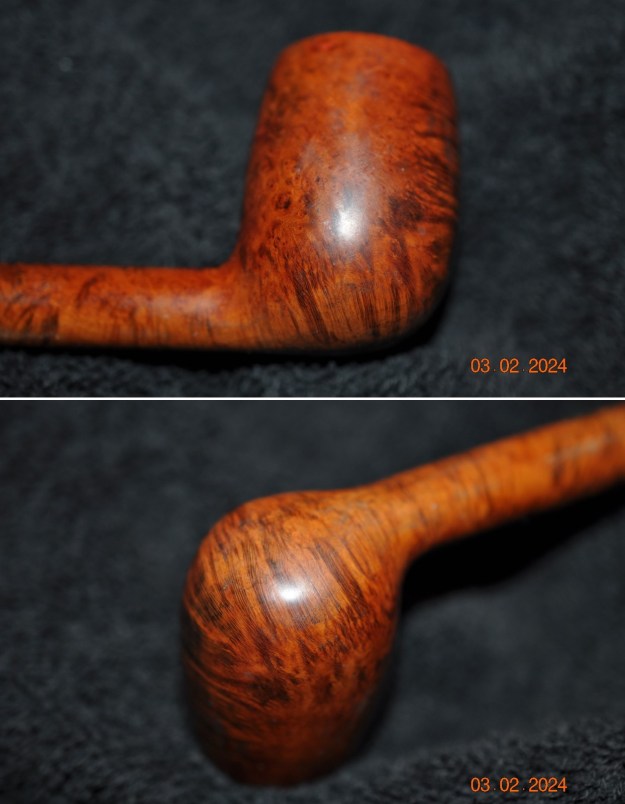
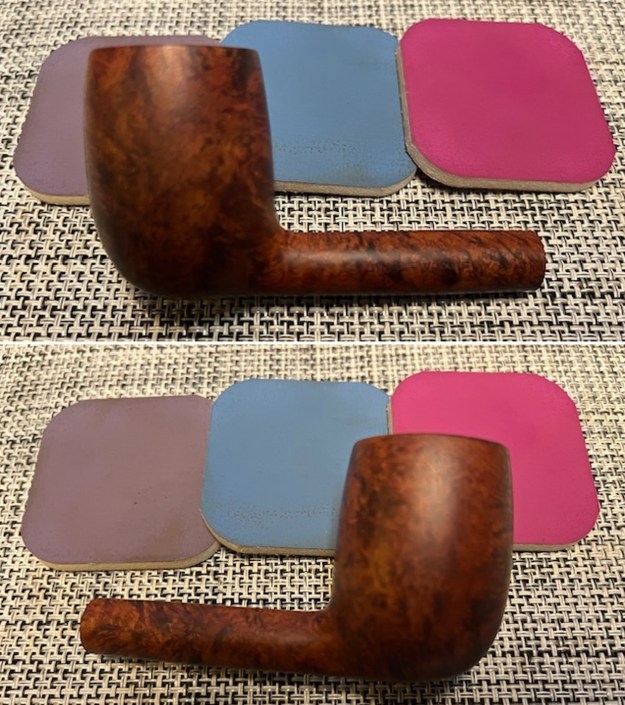
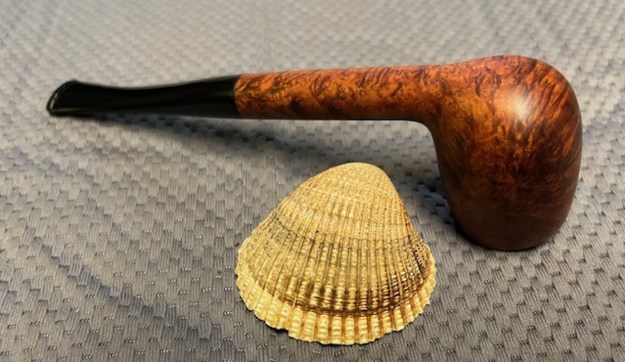
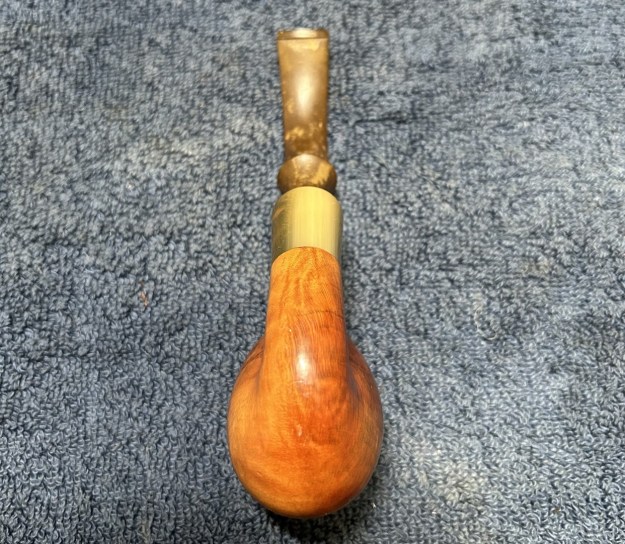
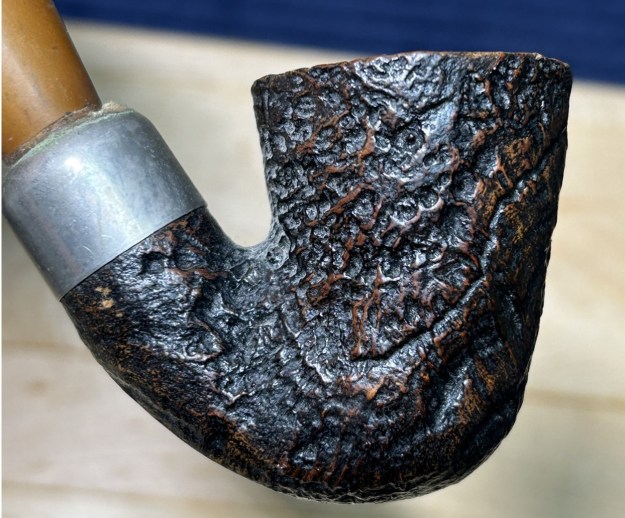
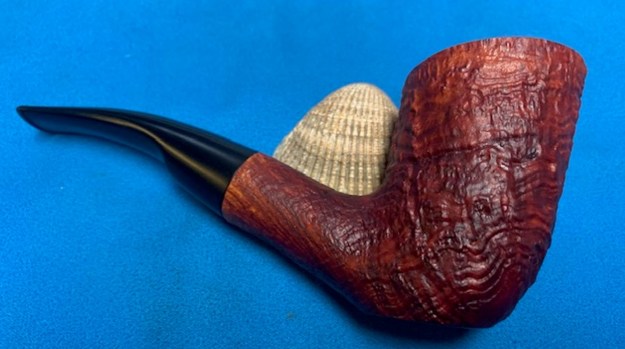
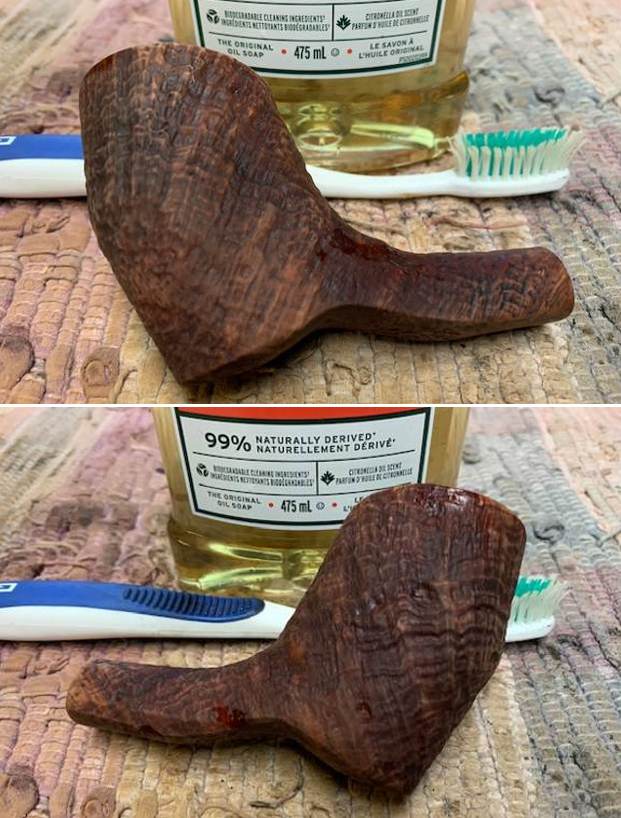
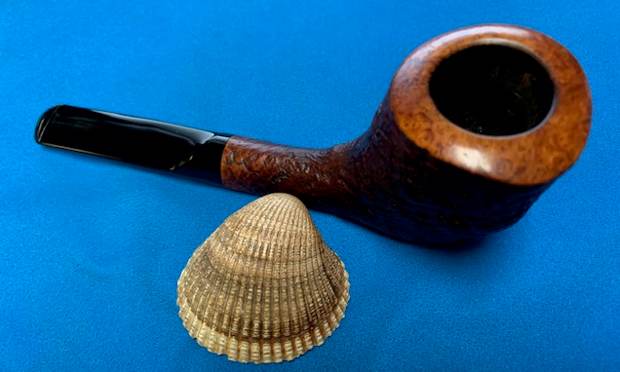
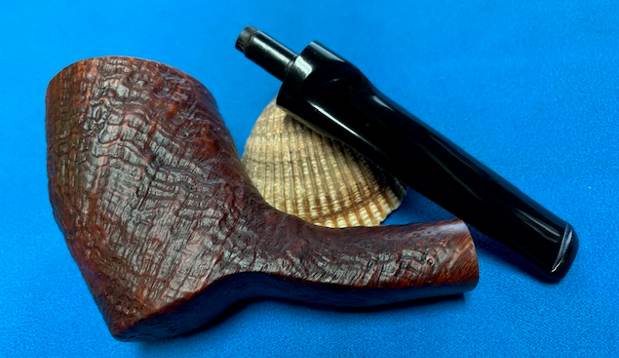
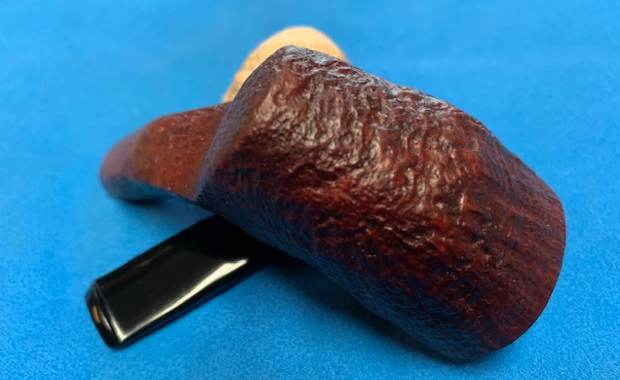
 He also took photos of the sides of the bowl and the heel to show the interesting grain that went around the bowl. The grain is beautiful and you can see the oils and debris in the surface of the briar.
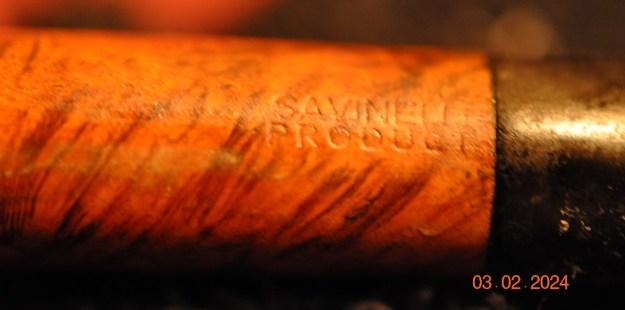
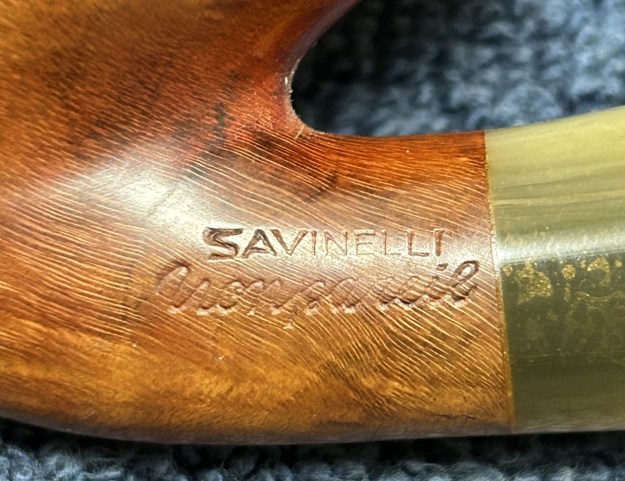
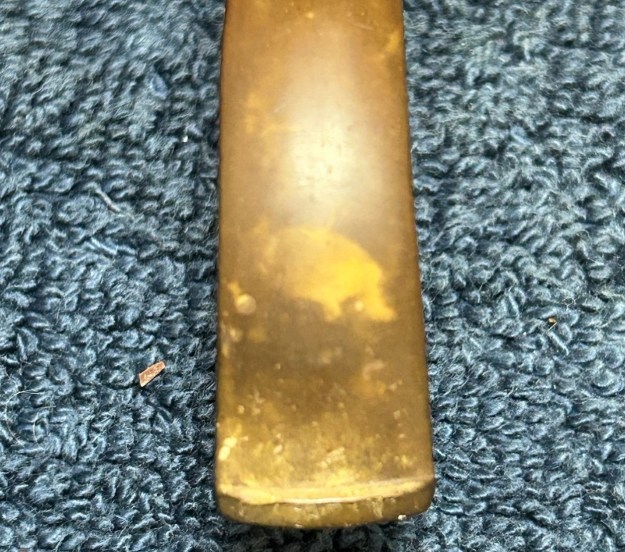
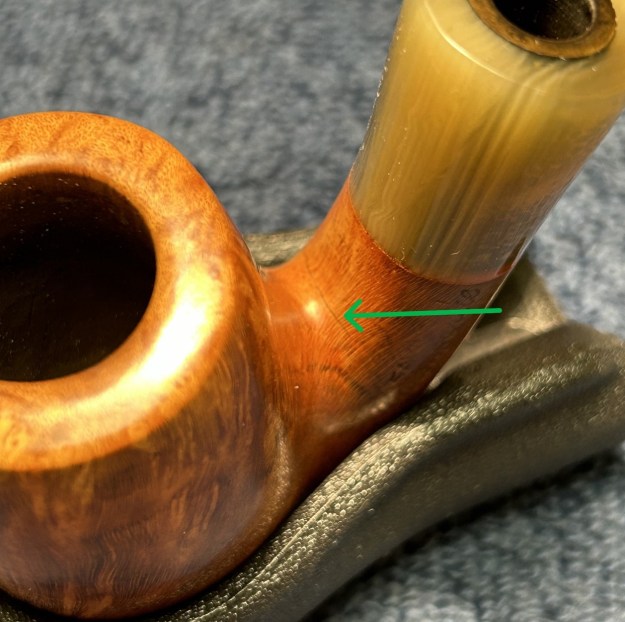
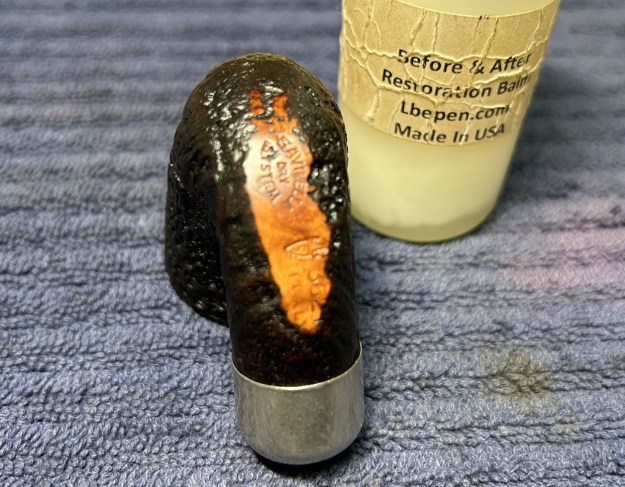
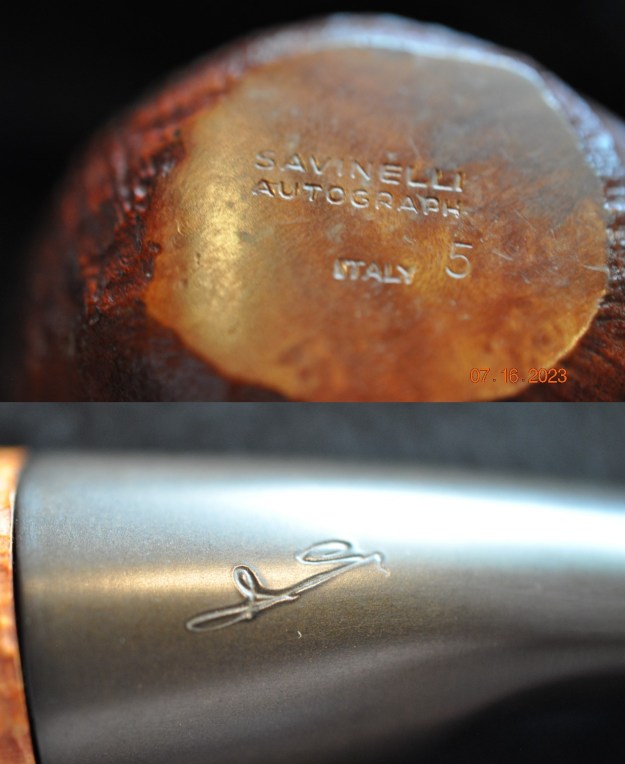
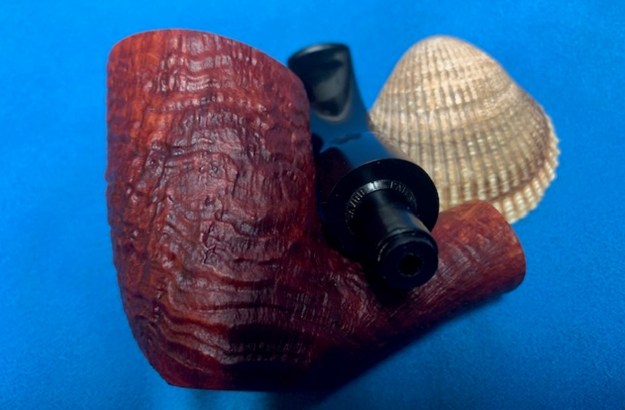
 He took photos of the stamping on the sides of the shank. It is clear and readable on all the shank sides as noted above. Jeff did not capture the stamping on the right side of the shank.
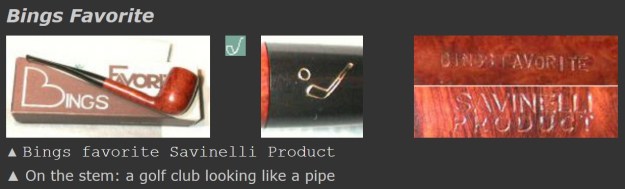
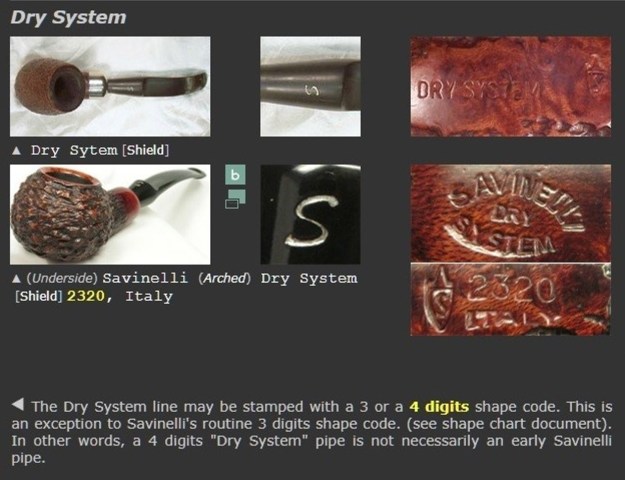
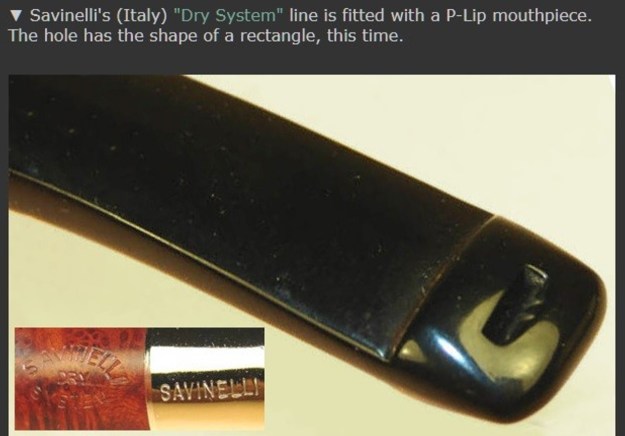
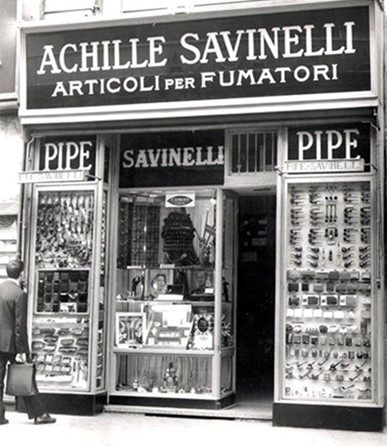
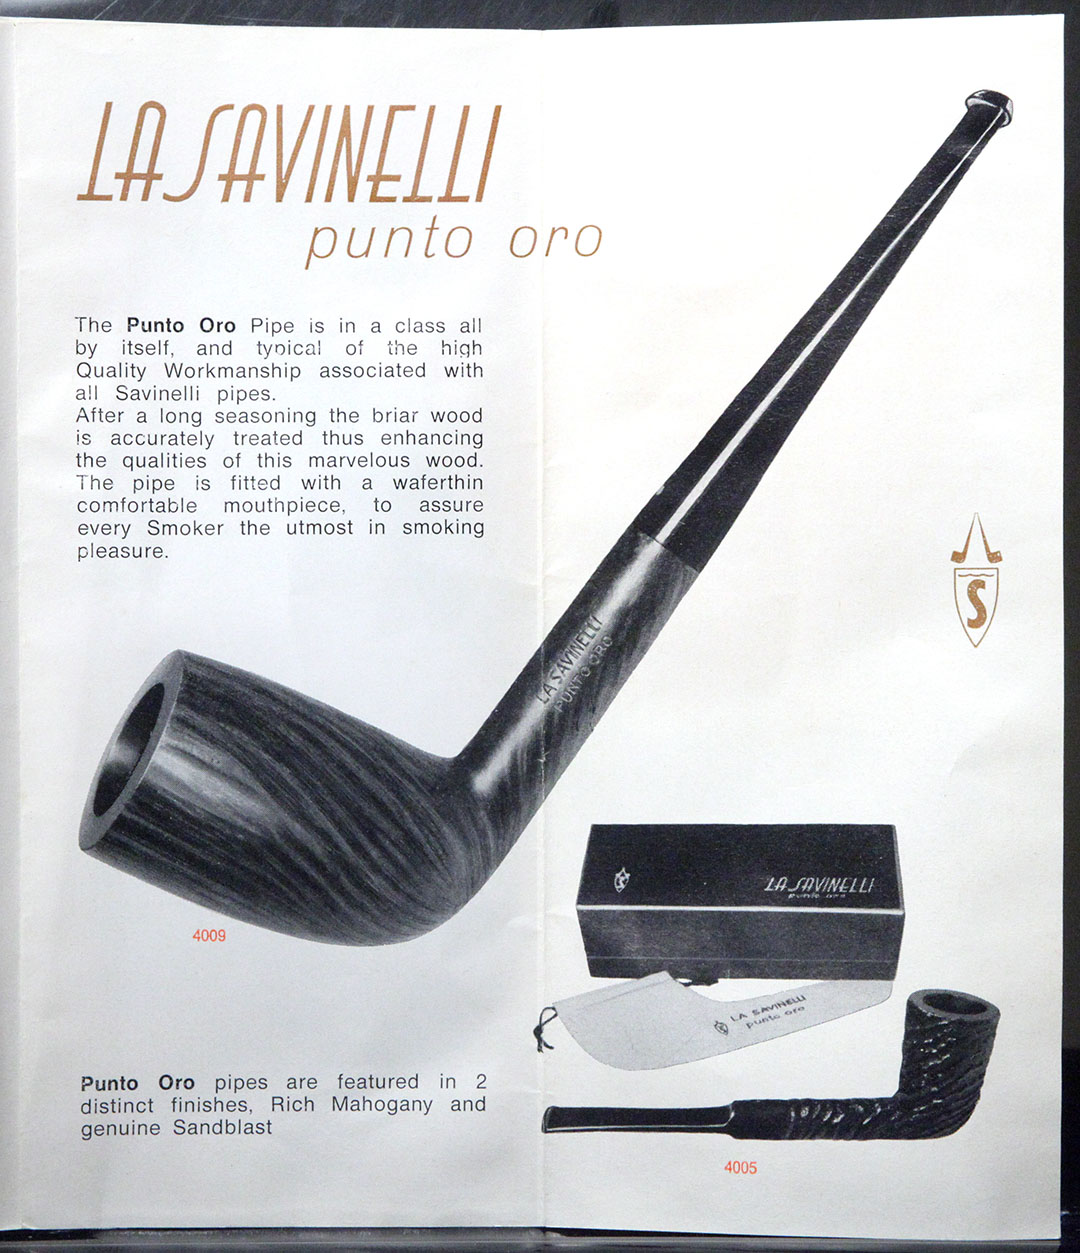
 I turned to Pipephil’s site (http://www.pipephil.eu/logos/en/logo-savinelli1.html) to get a sense of the Bing’s Favorite. It is a Savinelli Product and it is listed in the Savinelli pipe section. I did a screen capture of the section and included it below. The stamping on the stem confirms that the stem I have is a replacement.
 I turned to Pipedia (https://pipedia.org/wiki/Savinelli) and after reading through the history I focused on a section entitled Editions in the “Favorite” line. I have included that section below.
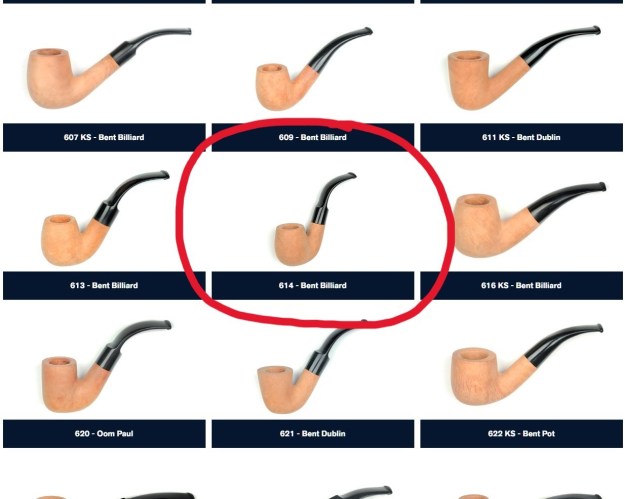
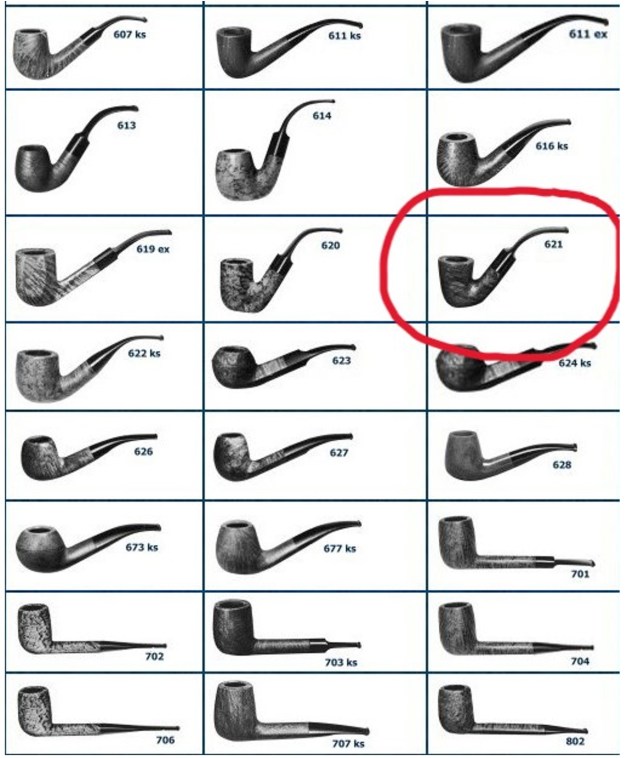
We are compiling a sub-list of known editions in the “Favorite” line of Savanelli pipes, starting with those in Fred Huening’s collection. If you know of others, or have additional information about this line of pipes, please add it here, or send them to sethile.pipes@gmail.com and we can add them for you:
- Bing’s Favorite
- Byron’s Favorite
- Clark’s Favorite
- Ginger’s Favorite
- Achille’s Favorite (apparently, I, II, and III)
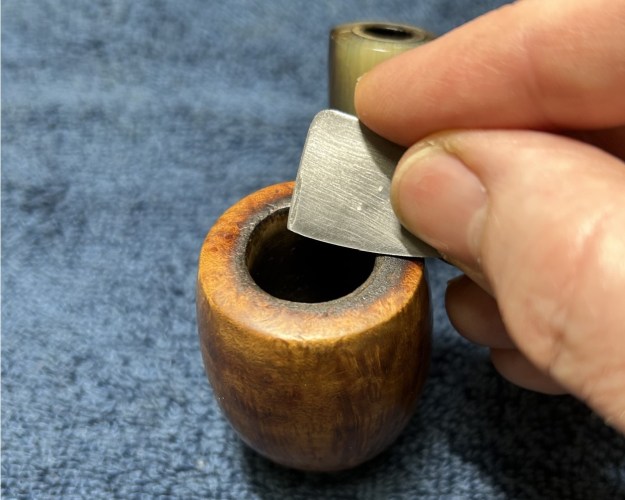
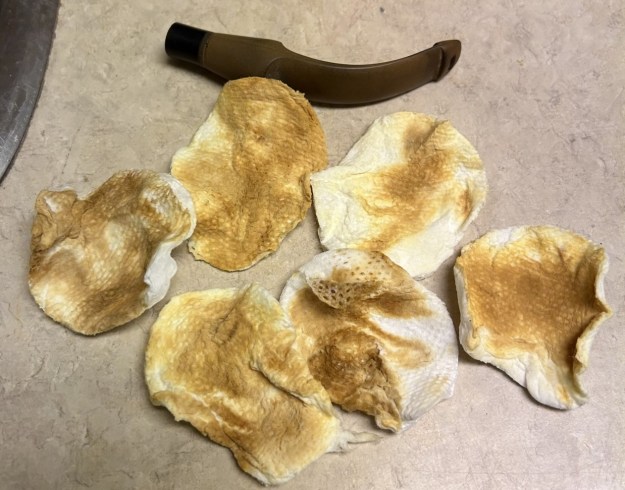
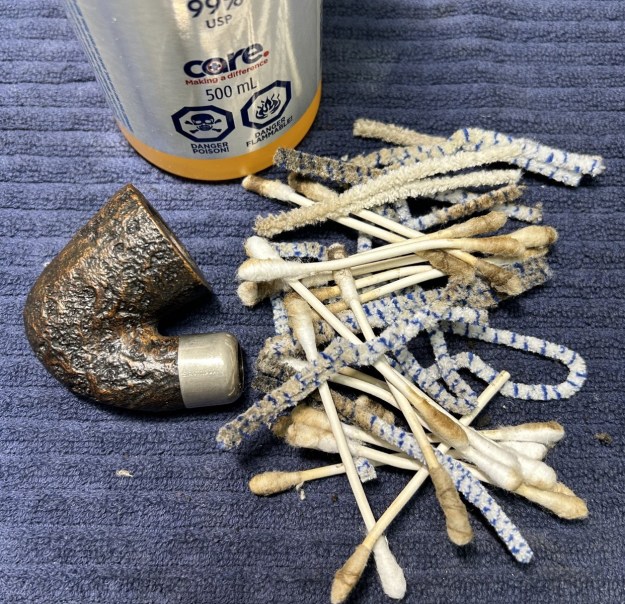
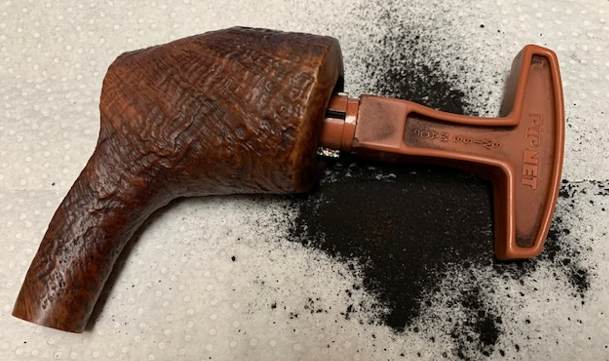
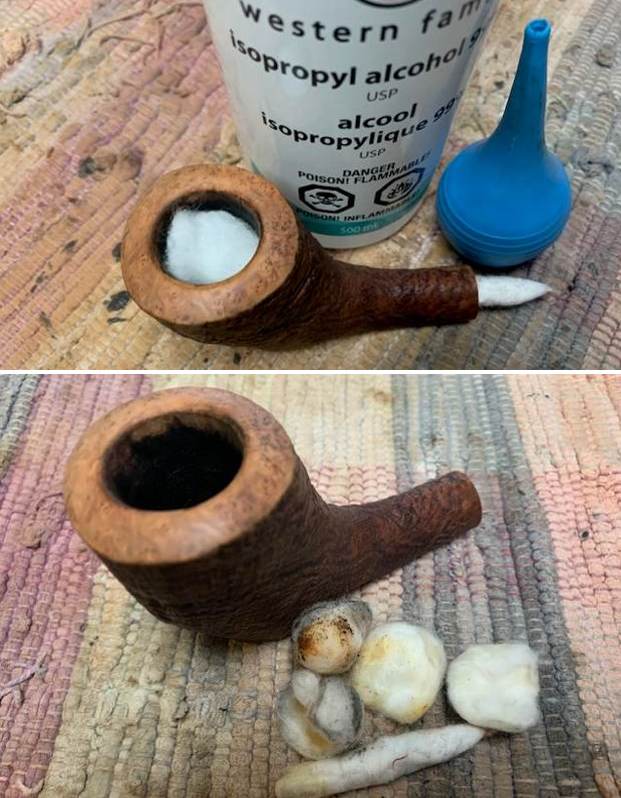
Now it was my turn to work on the pipe. Jeff had done an amazing cleanup of the pipe. He reamed the cake with a PipNet reamer and cleaned up that with a Savinelli Fitsall Pipe Knife. He scrubbed the internals of the bowl and stem with alcohol, cotton swabs and pipe cleaners. He scrubbed the externals with undiluted Murphy’s Oil Soap and rinsed the bowl off with running water. He soaked the stem in Briarville’s Pipe stem Deoxidizer and once it had soaked, rinsed it off with warm water to remove the residual solution. He dried it off and rubbed it down to remove any oxidation that was still on the stem. The pipe looked very good when I received it. 
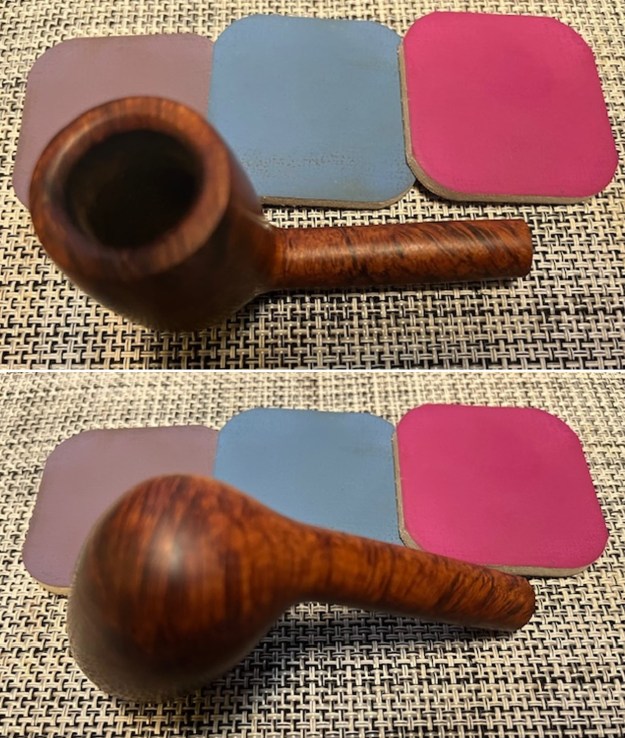
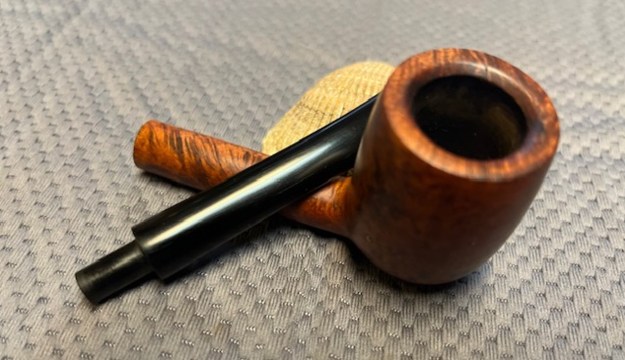
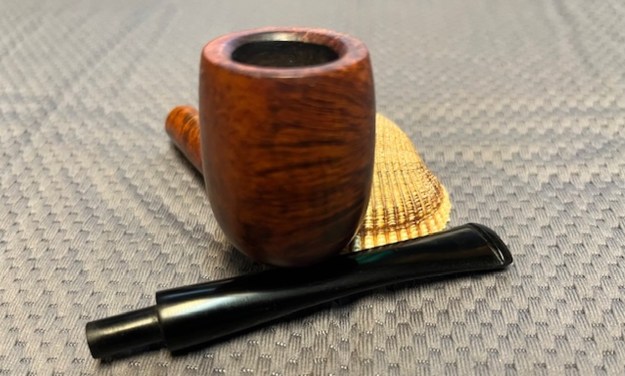
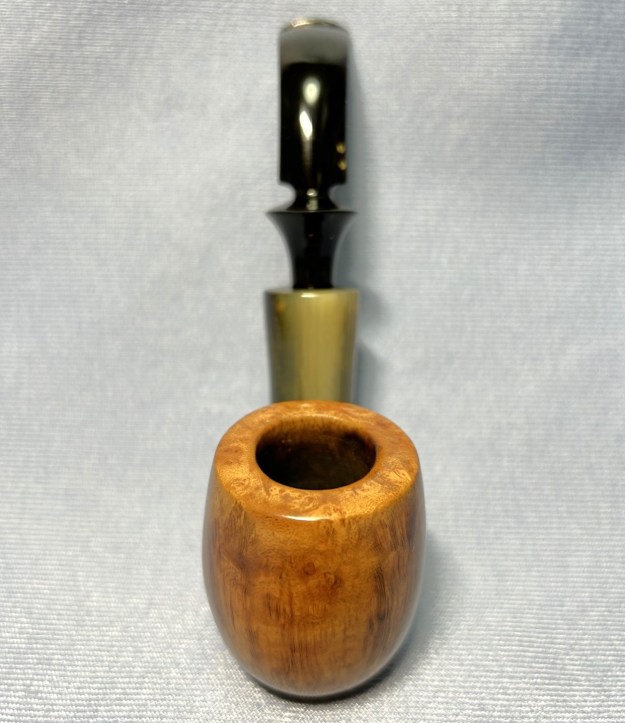
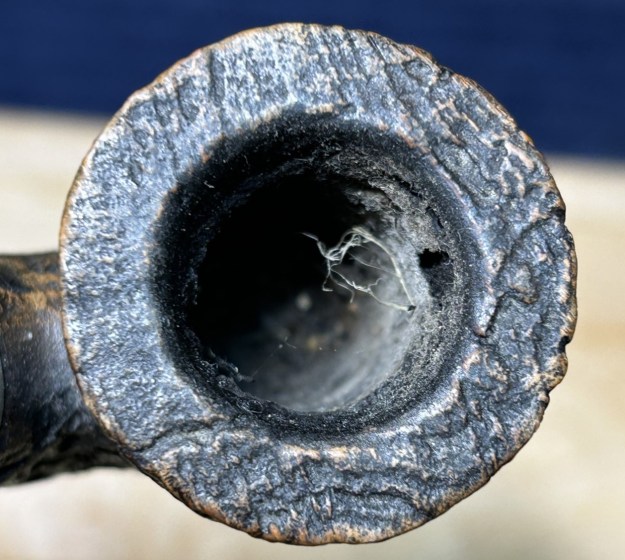
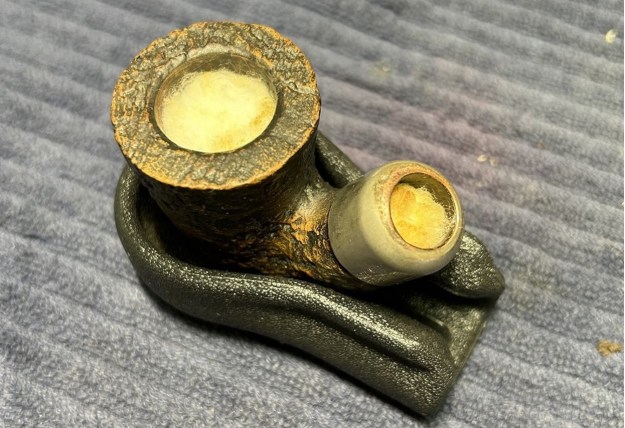
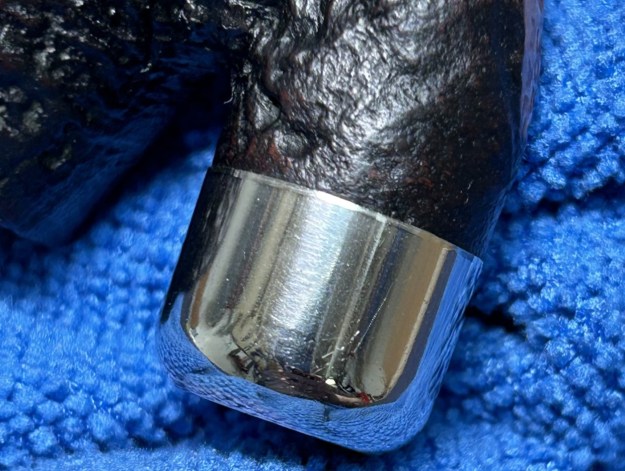
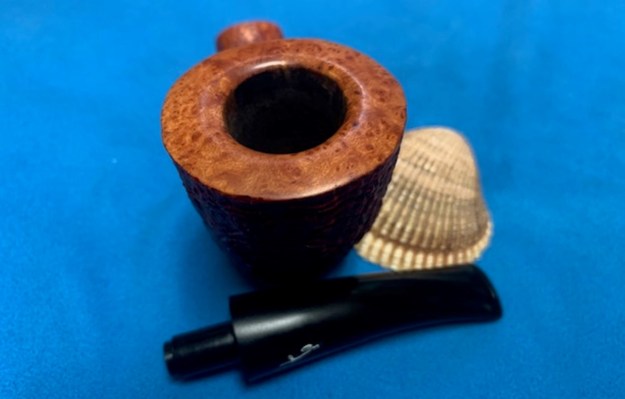
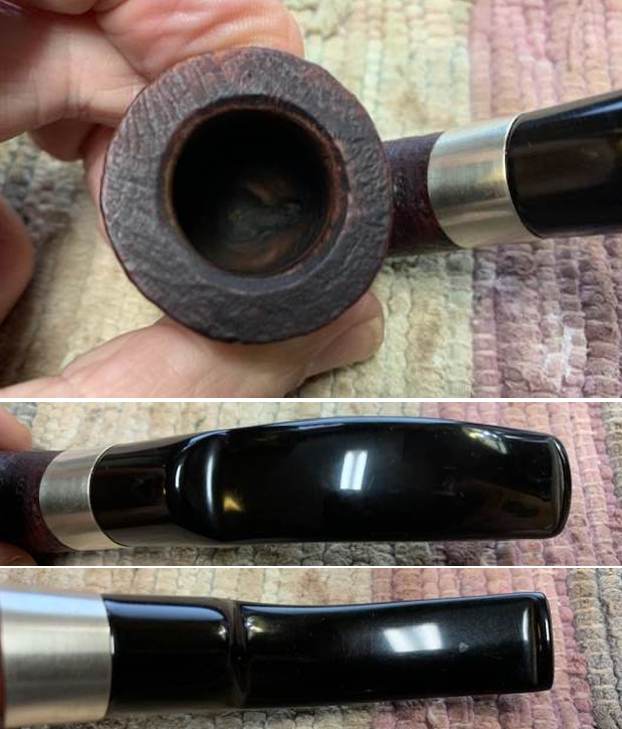
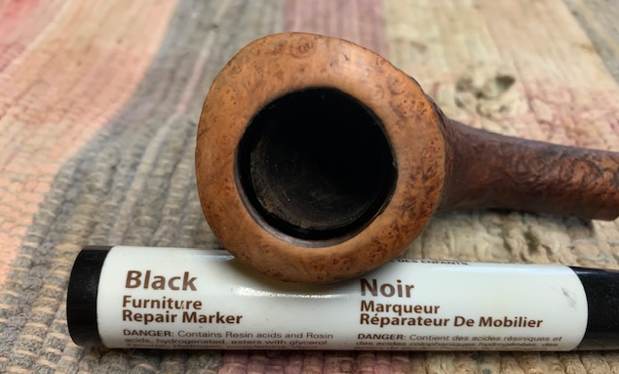
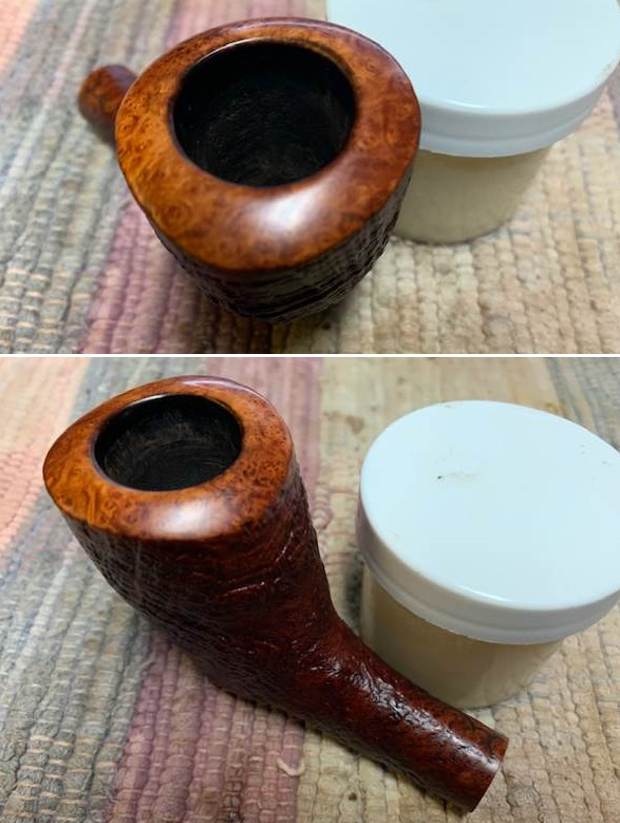
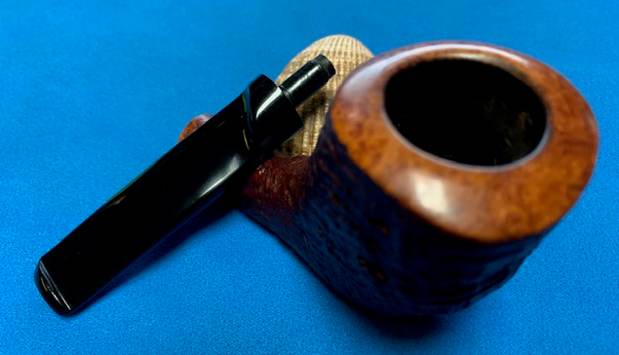
 I took a photo of the rim top to show the condition. You can see the clean bowl. The bowl is in excellent condition and is clean. The rim top and the inner edge was in great condition. The stem came out looking clean. There were some light tooth marks and chatter on both sides ahead of the button.
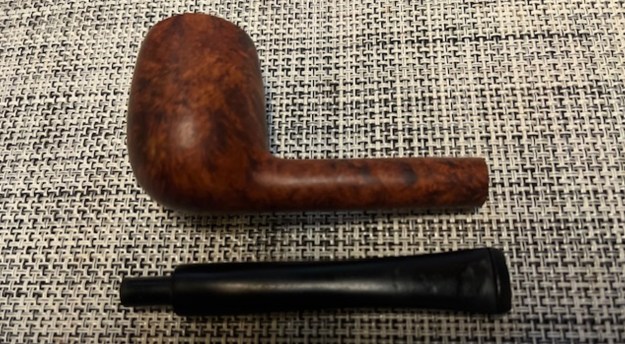
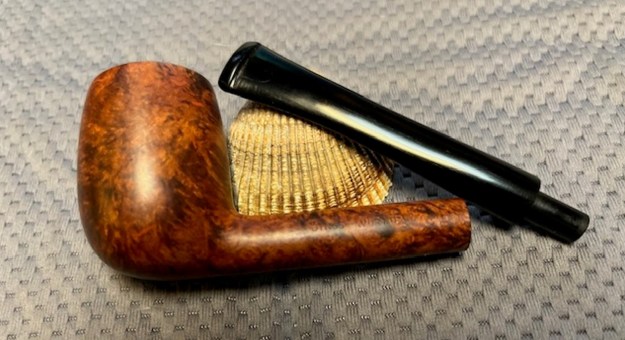
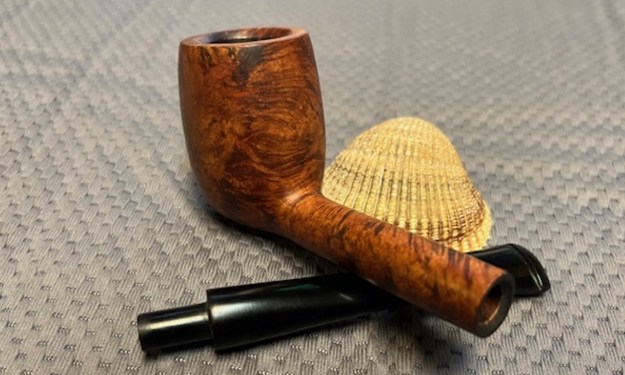
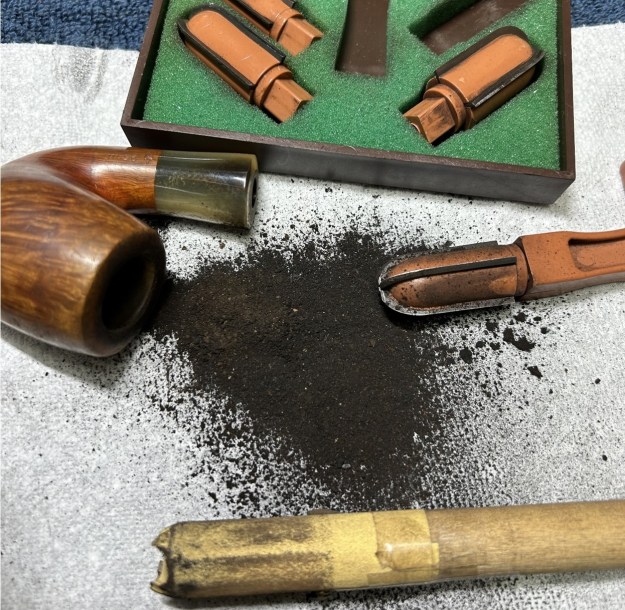
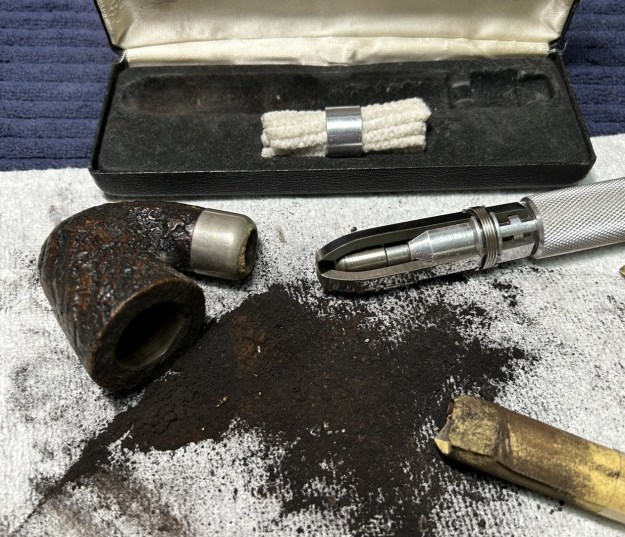
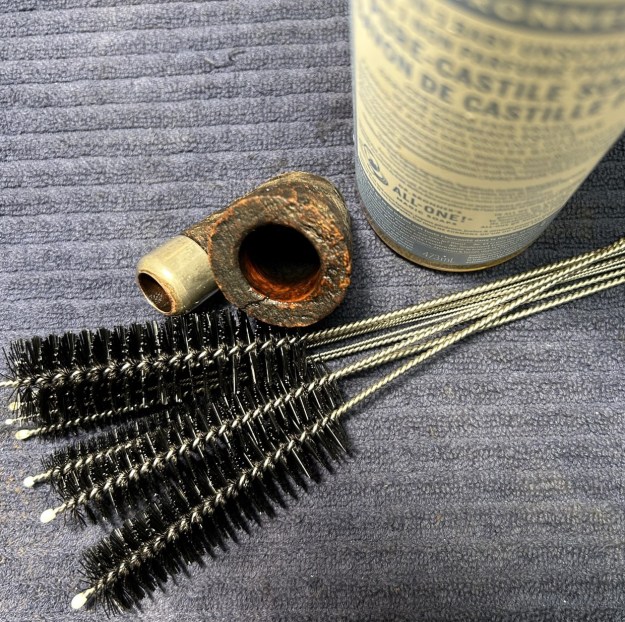
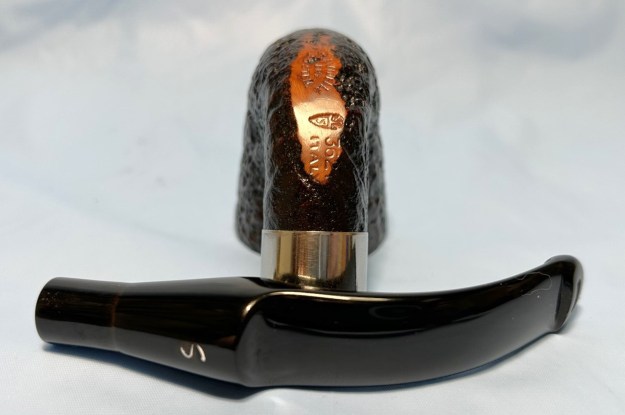
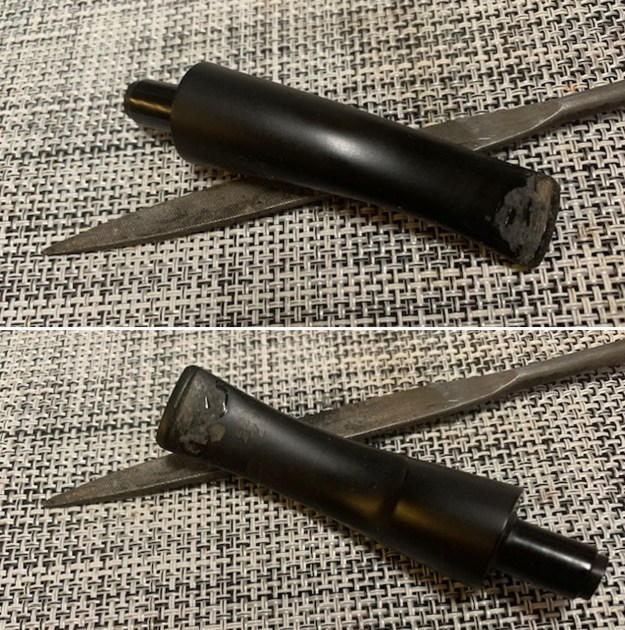
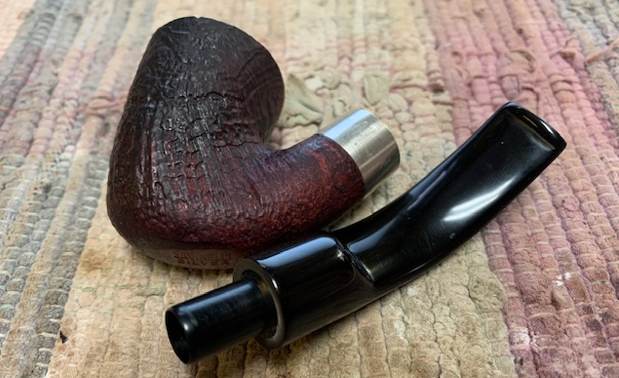
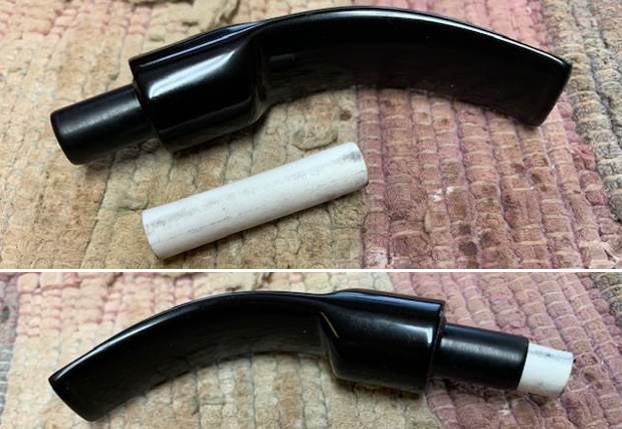
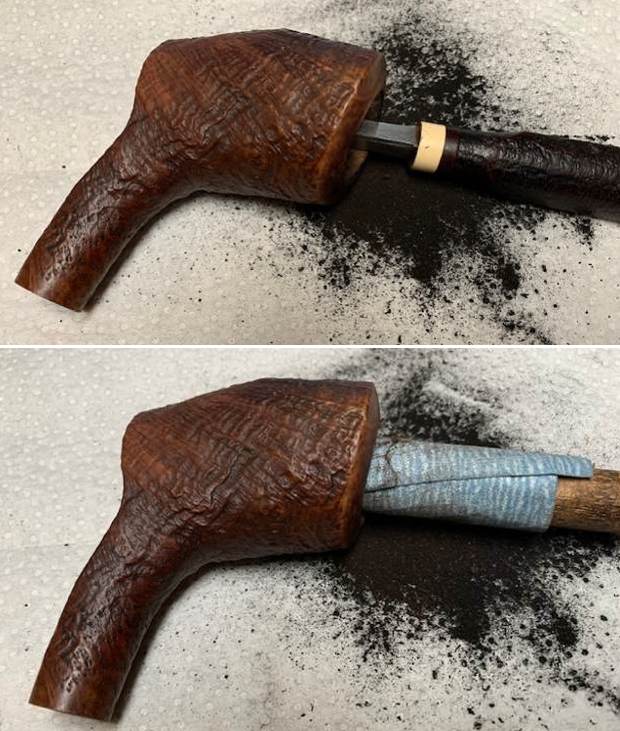
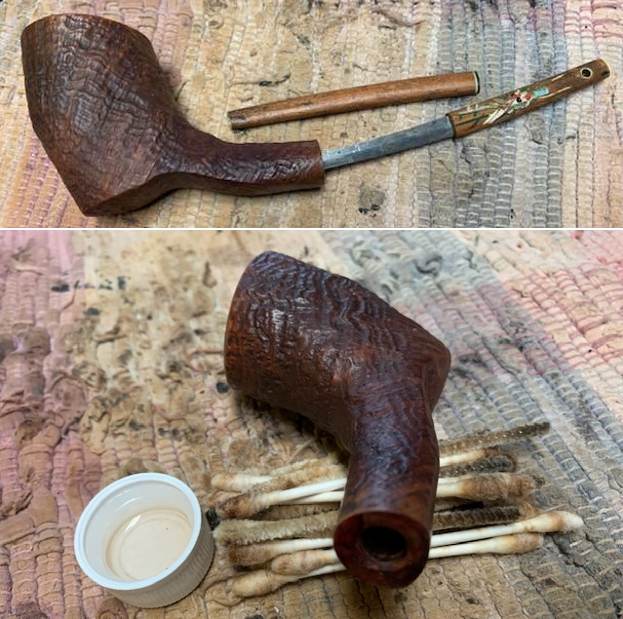
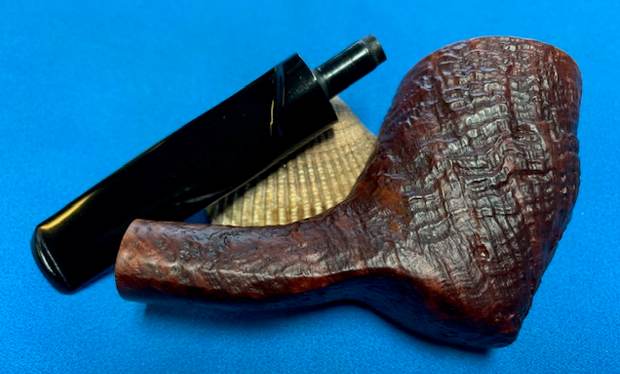
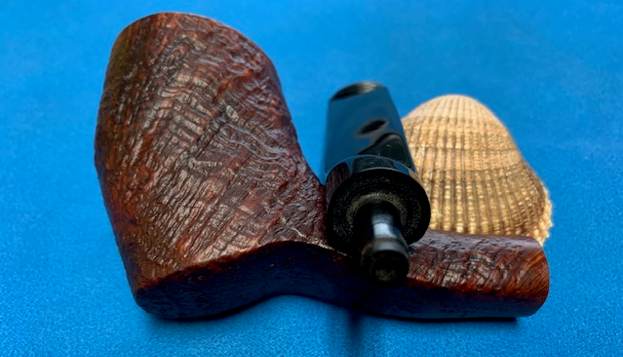
  I took photos of the stamping on the shank. It is faint but still very readable. There was also a very faint stamp on the stem but I am still not certain it is the correct stem because of the fit and shape of the stem. I removed the stem from the shank and took a photo of the pipe parts to show what I was working with.
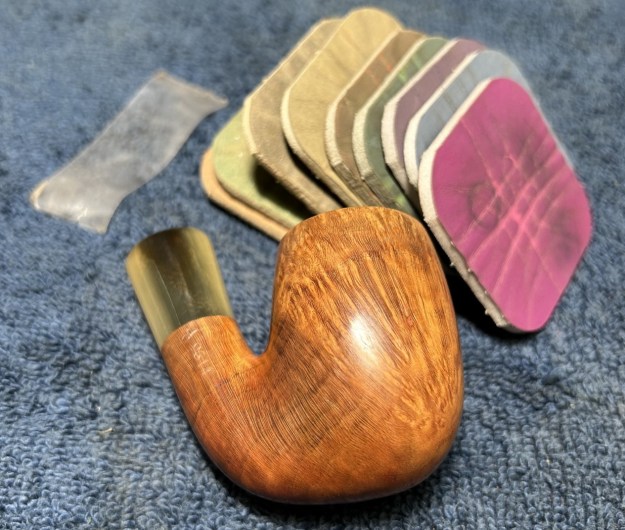
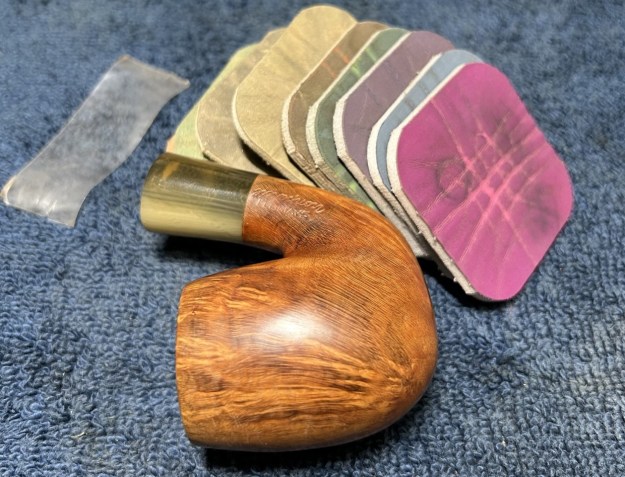
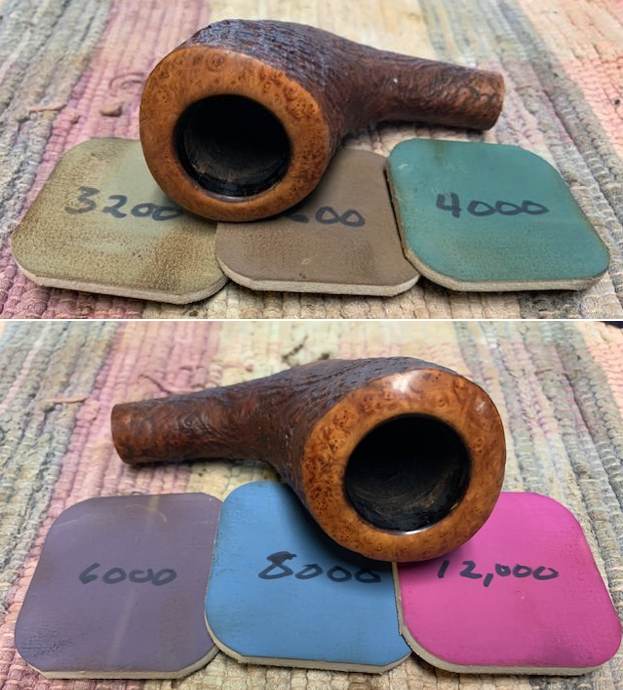
 The pipe had cleaned up so well that I turned to polish the briar with micromesh sanding pads. I dry sanded it with 1500-12000 grit sanding pads and wiped the bowl down after each pad with a damp cloth. By the final pads the briar really had a shine.


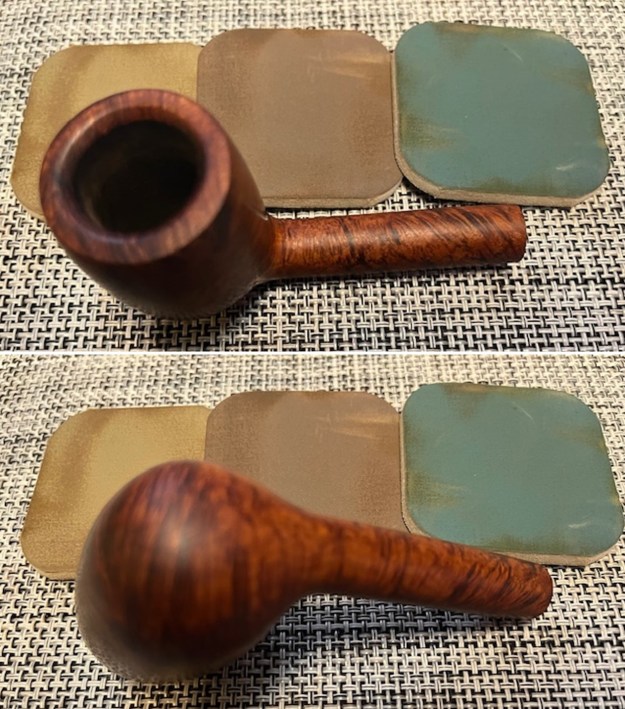
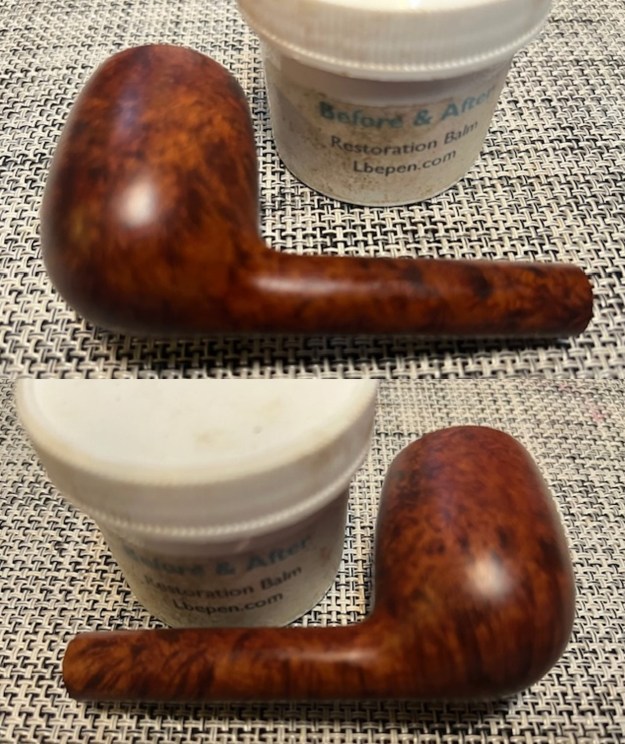
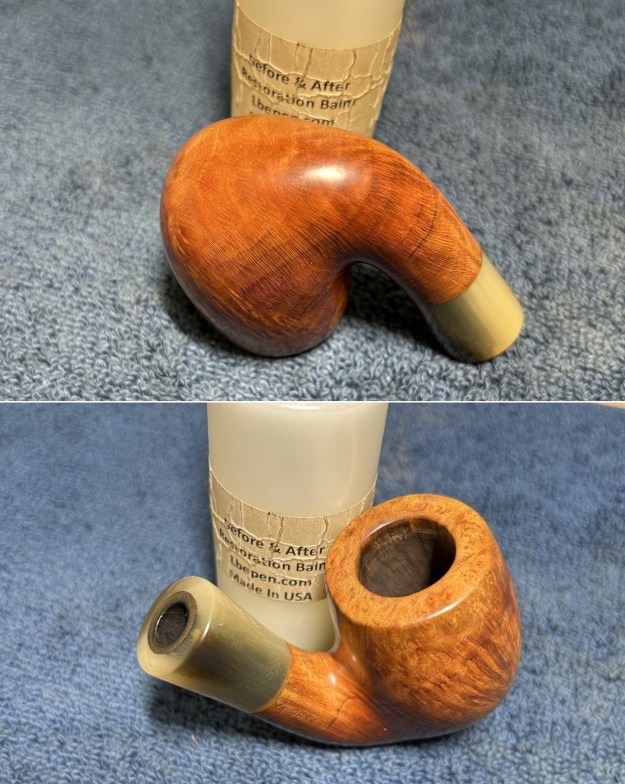
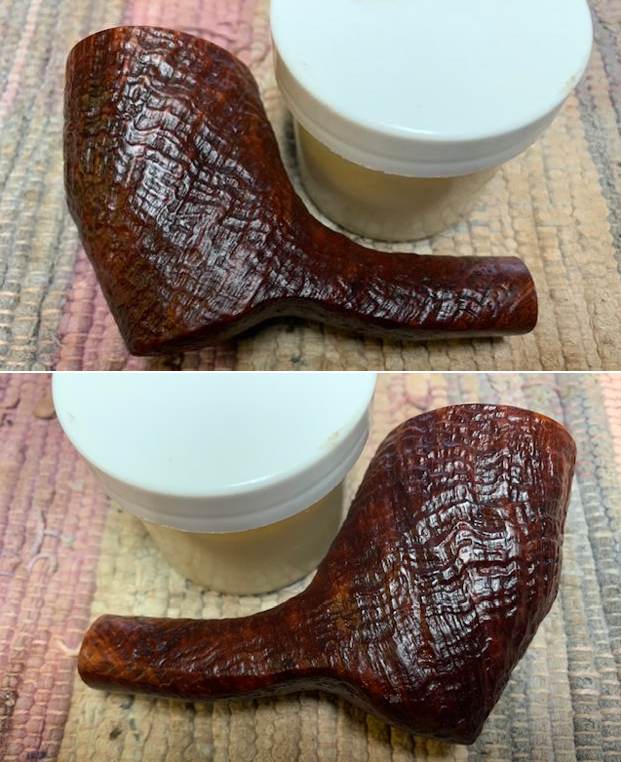
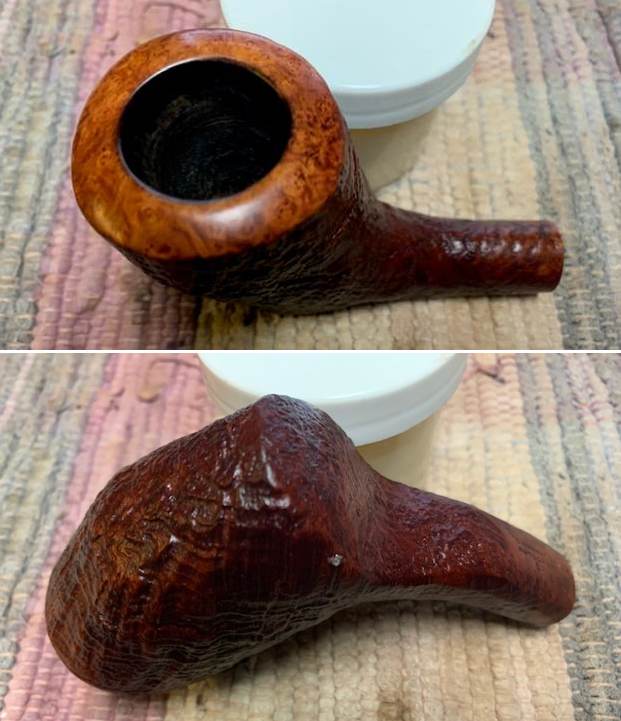
 I rubbed the briar down with Before & After Restoration Balm. I worked it into the briar with my fingertips. The product works to clean, enliven and preserve the briar. I let it sit for 10 minutes then I buffed it with a cotton cloth to deepen the shine. The briar really comes alive with the balm.

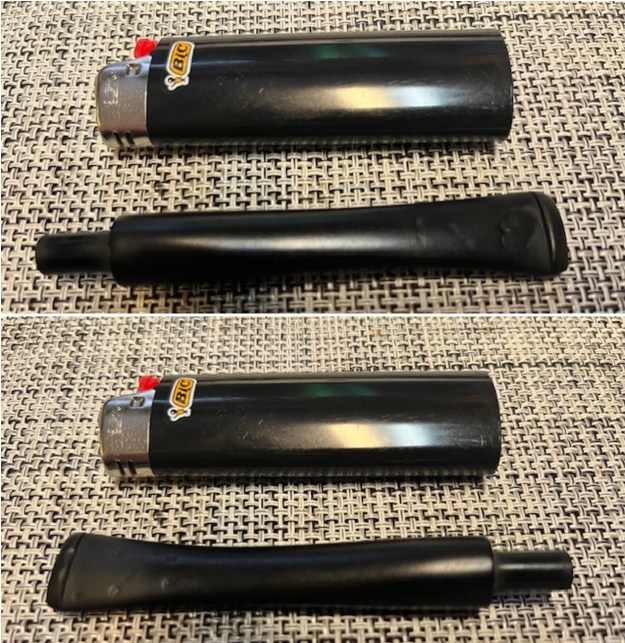
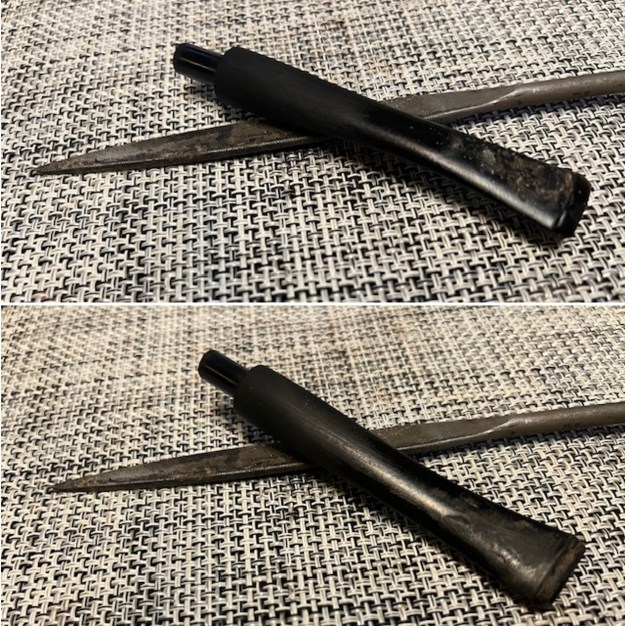
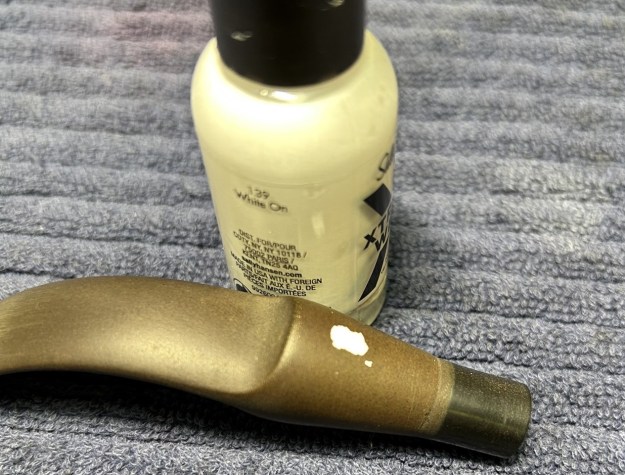
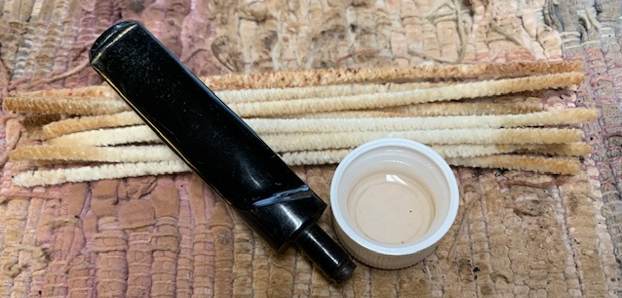
 I set aside the bowl and turned my attention to the stem. I “painted” the stem with the flame of a lighter to soften the vulcanite and give the stem a slight bend like it must have originally had.
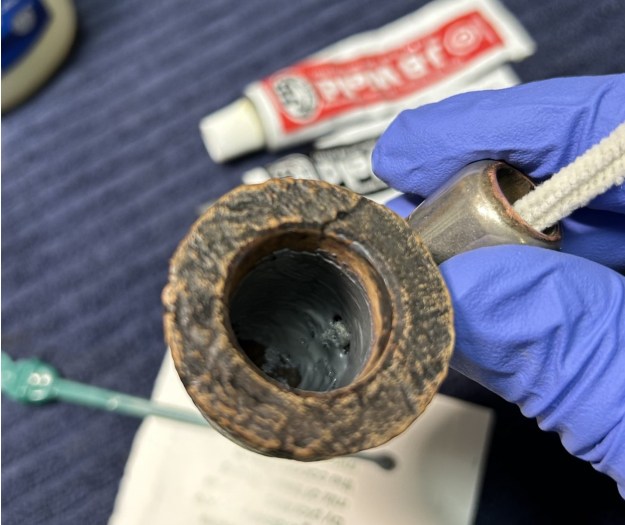
 Next, I worked on the diameter of the stem. I needed to take off the excess so that the flow between the shank and the stem was smooth. I used a flat rasp and small file to quickly remove the excess vulcanite. I sanded it with 220 grit sandpaper to clean up the file marks and smooth out the surface of the stem.
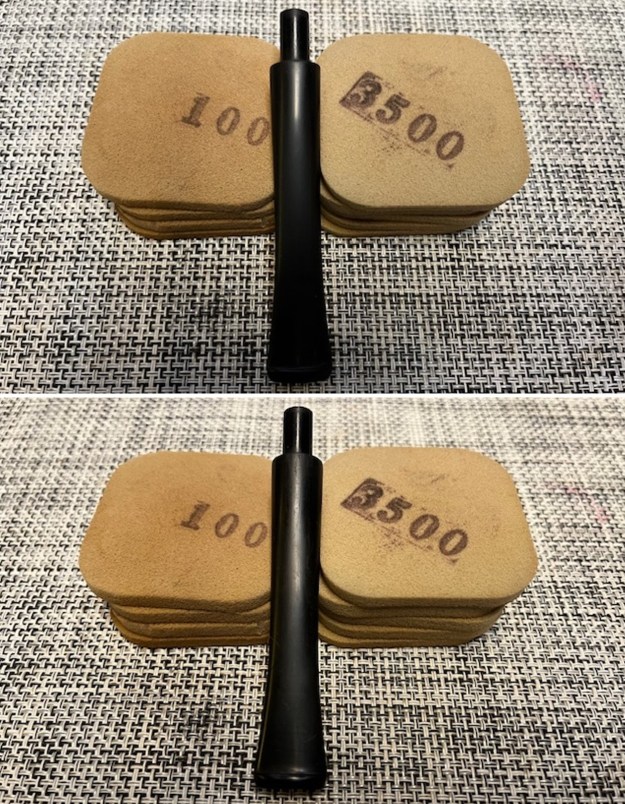
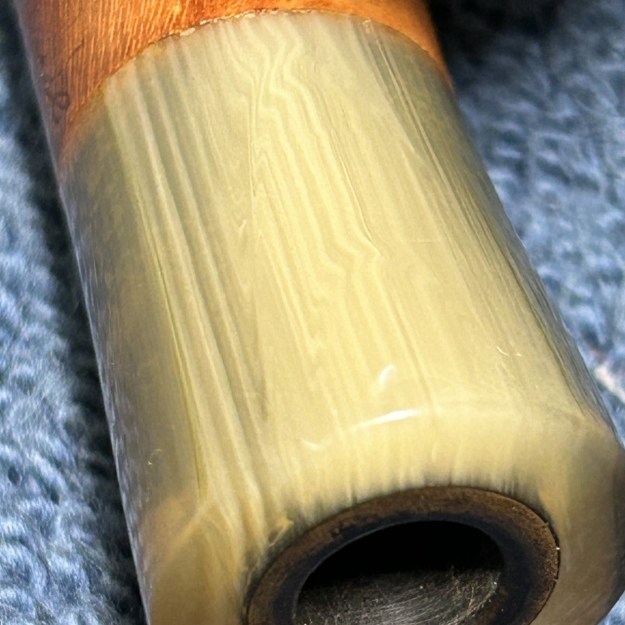
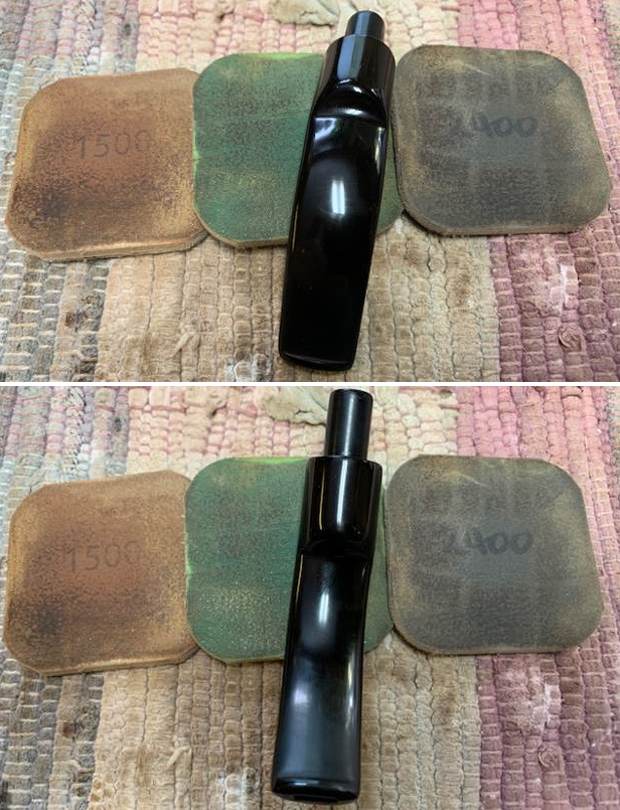
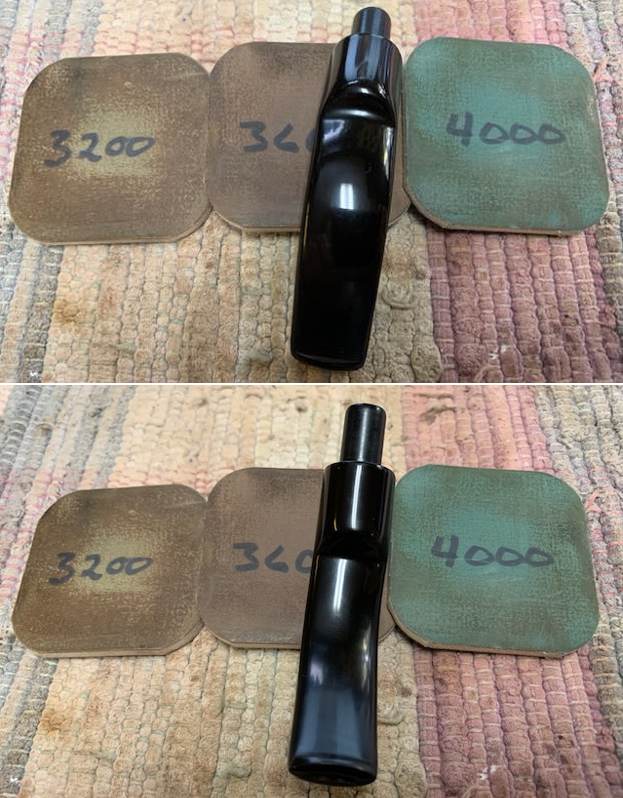
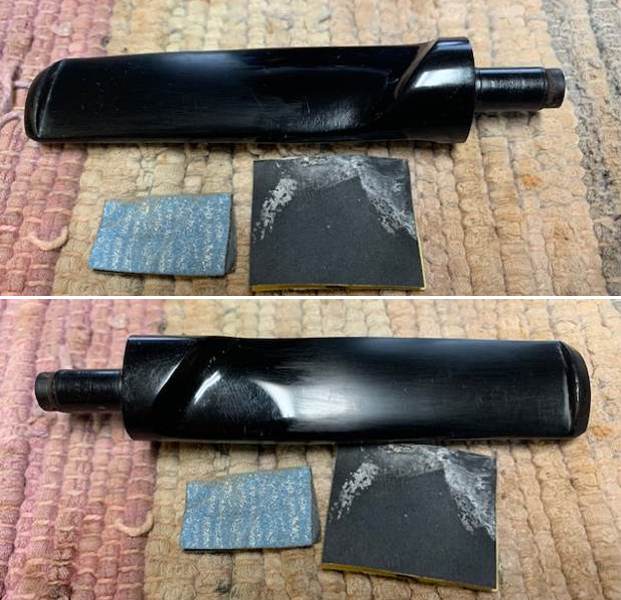
 I moved on to further smooth out the surface of the vulcanite. I sanded it with 320-3500 grit sanding pads to further clean up the scratches and file marks on the surface of the stem.
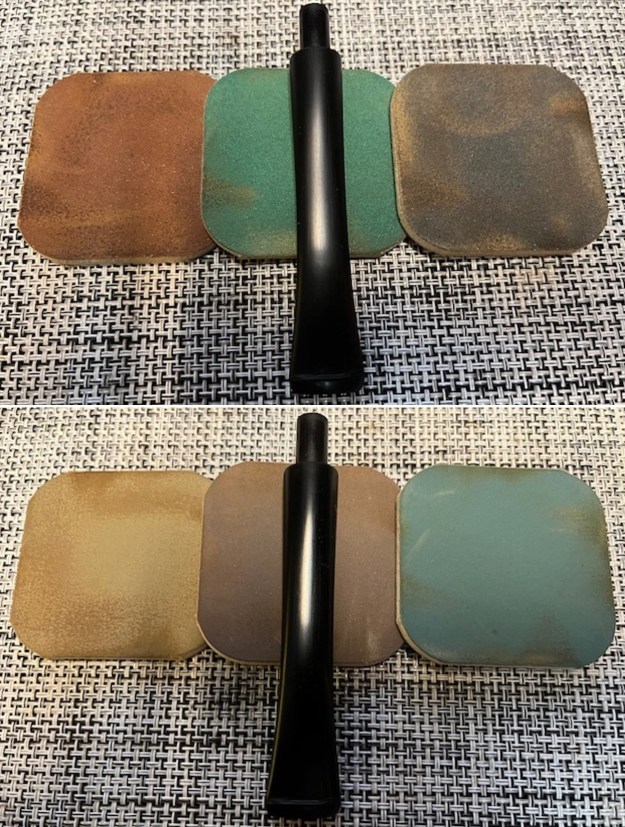
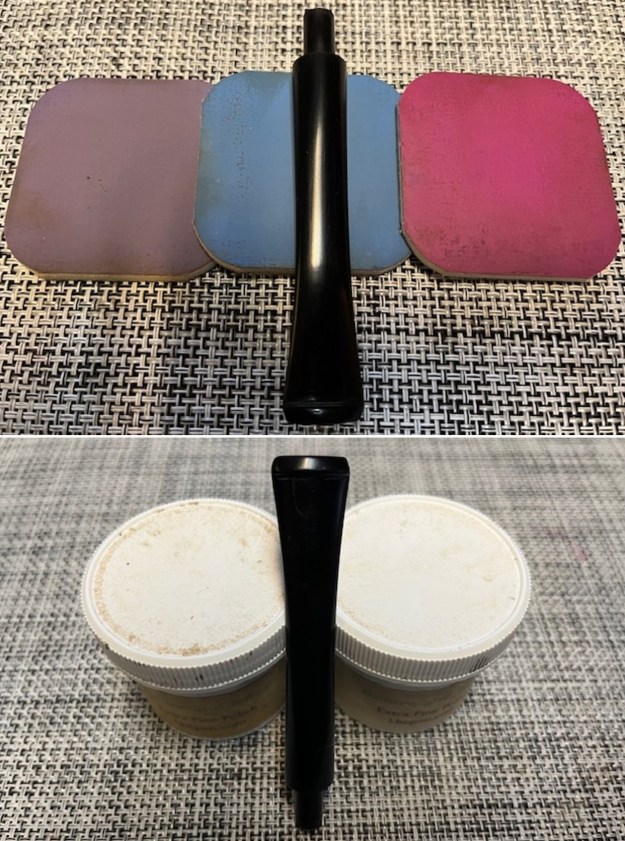
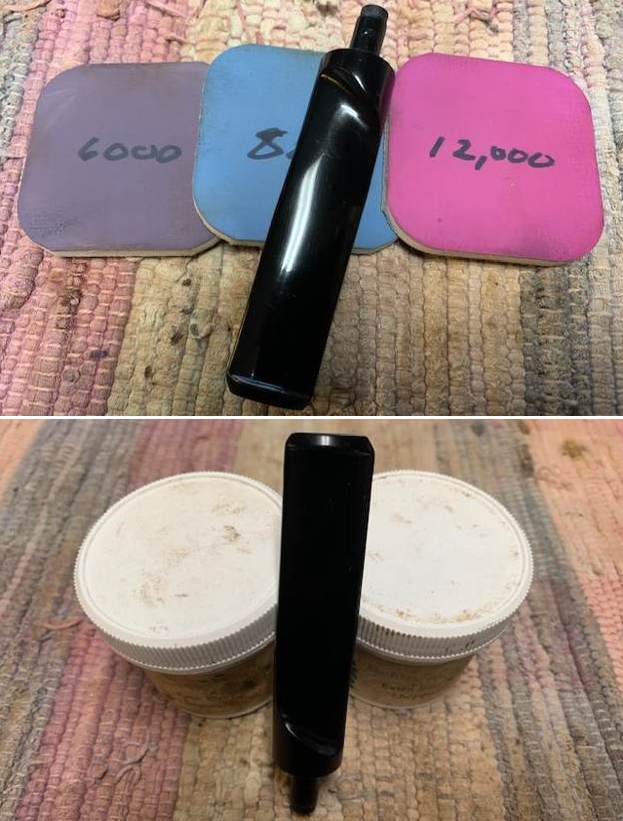
 I polished the vulcanite with micromesh sanding pads – 1500-12000 grit pads. I wiped it down with Obsidian Oil after each sanding pad. I used Before & After Pipe Polish – both Fine and Extra Fine to further polish the stem. It really took on a shine and I knew that once it was buffed it would look amazing.
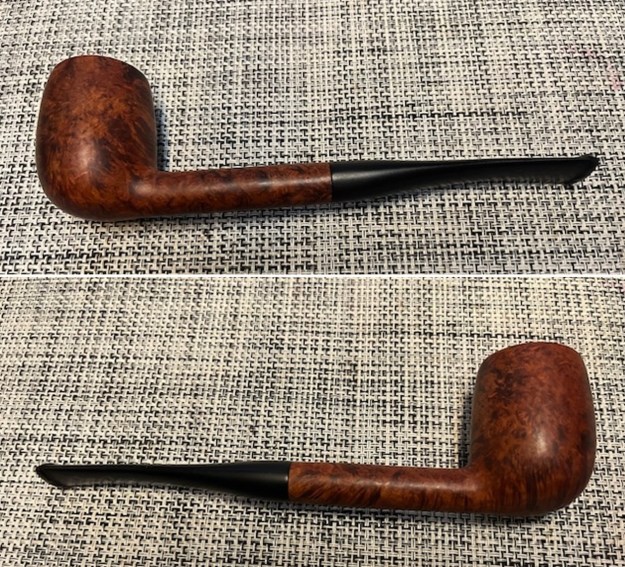
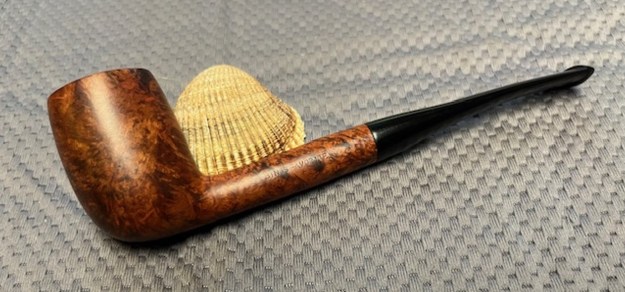
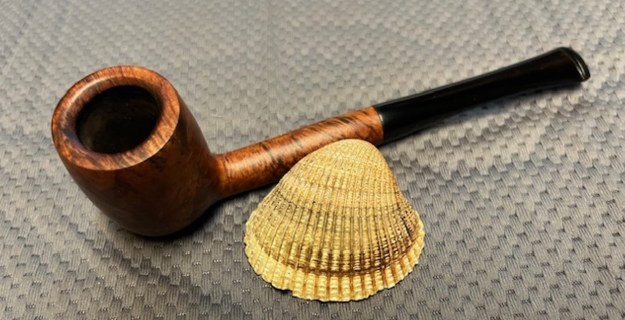
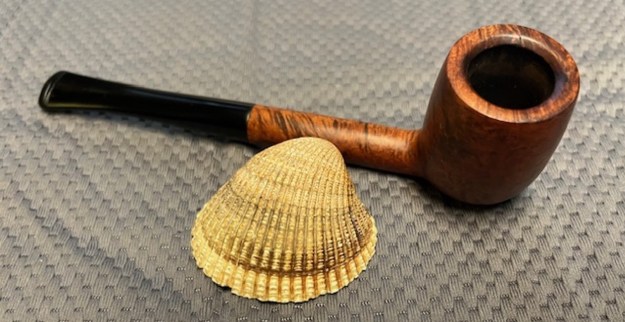
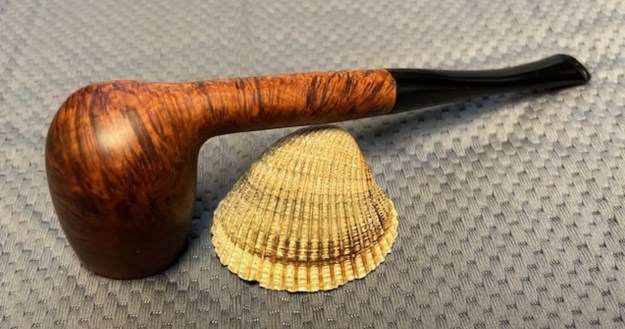
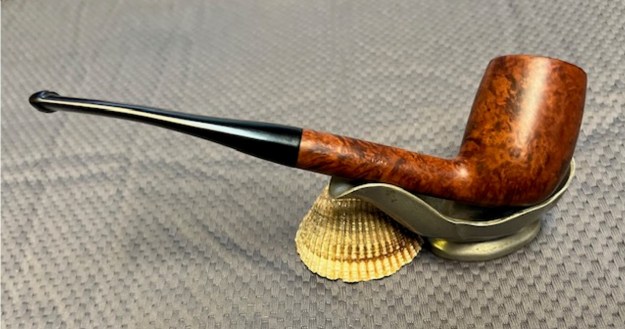
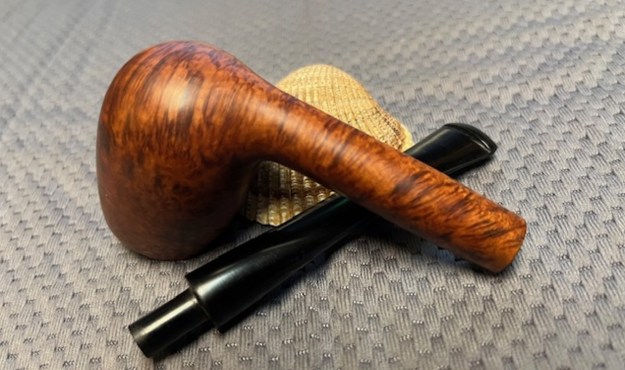
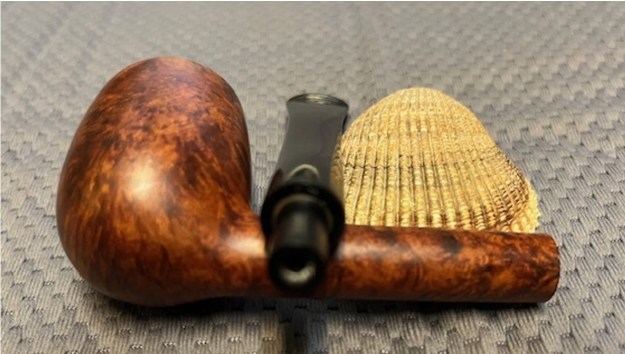
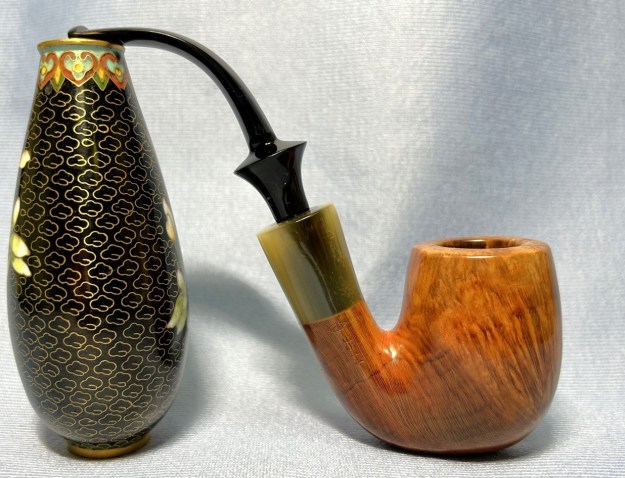
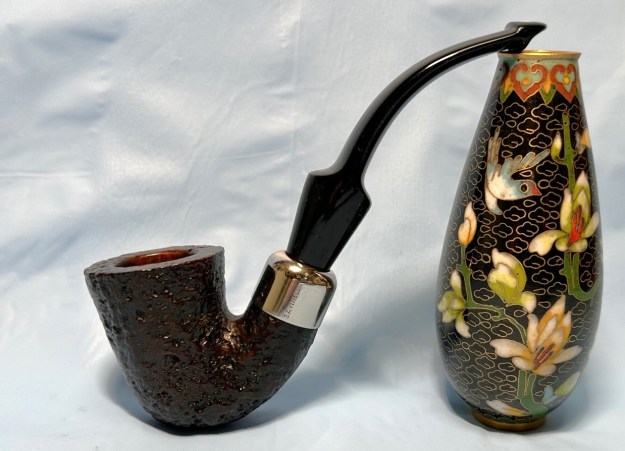
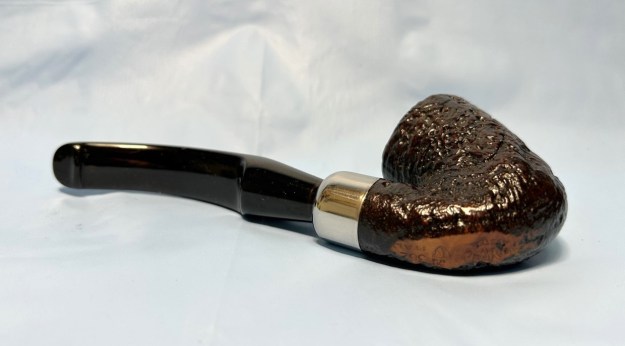
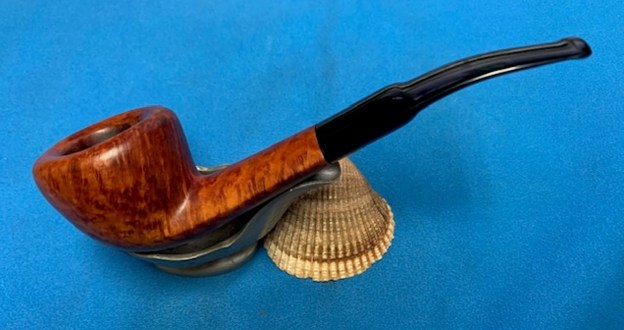
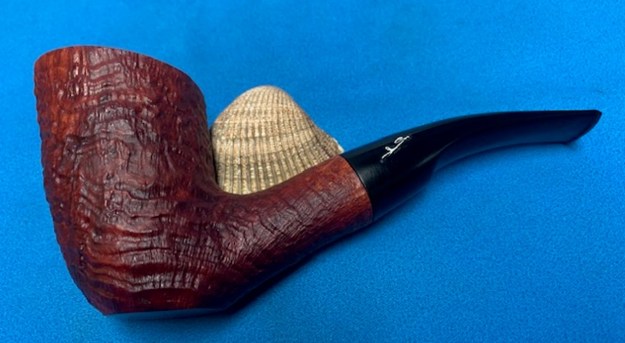
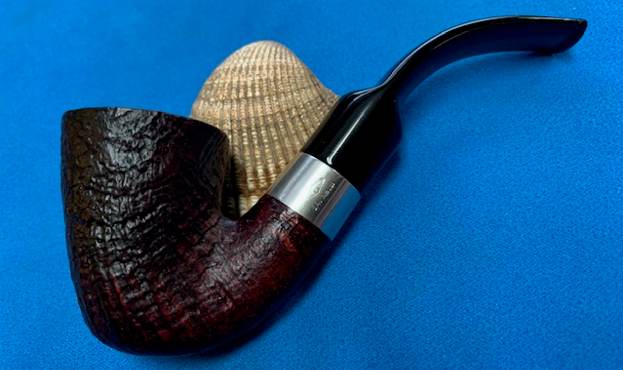
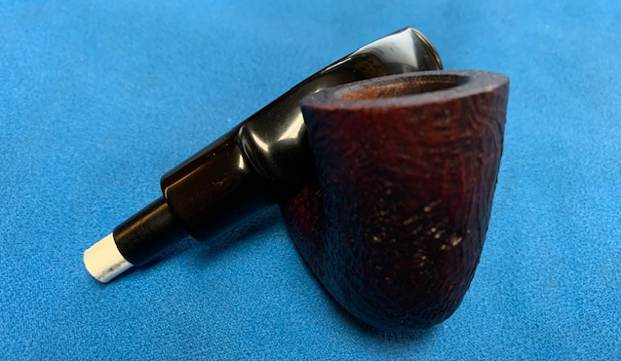
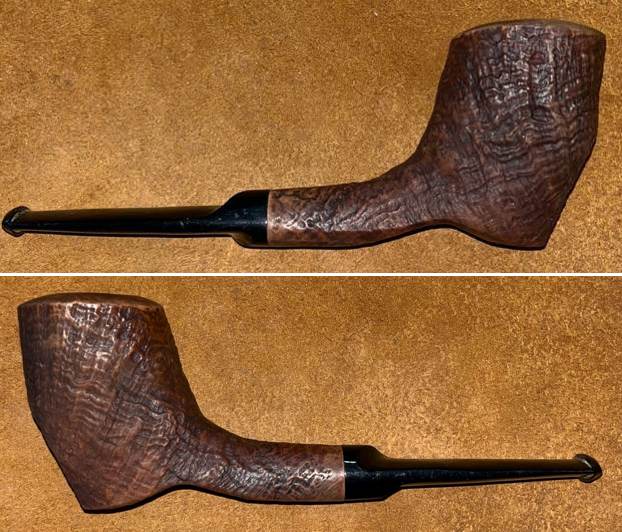
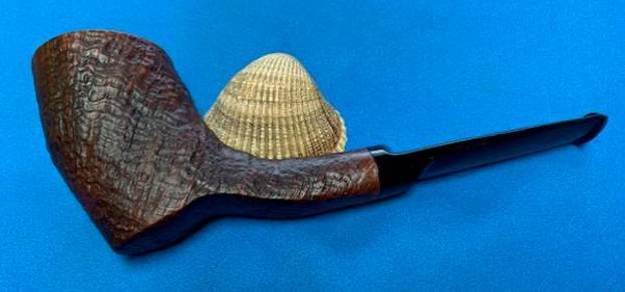
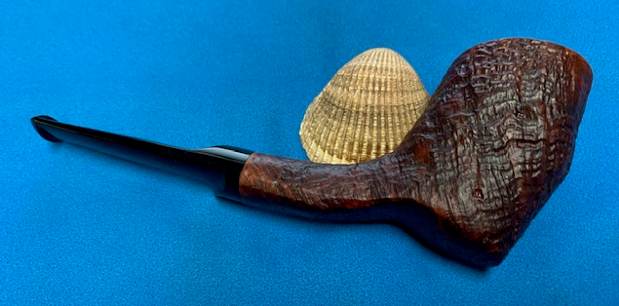
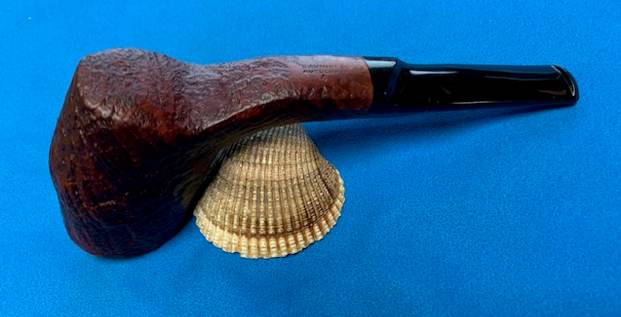
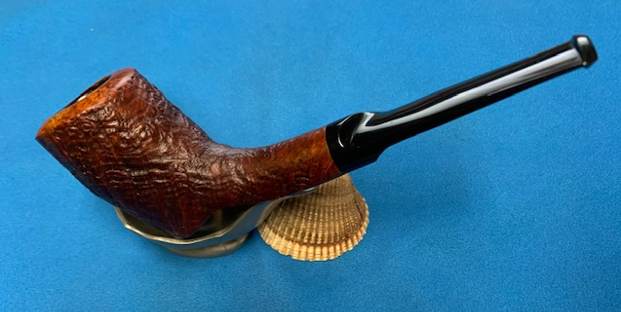
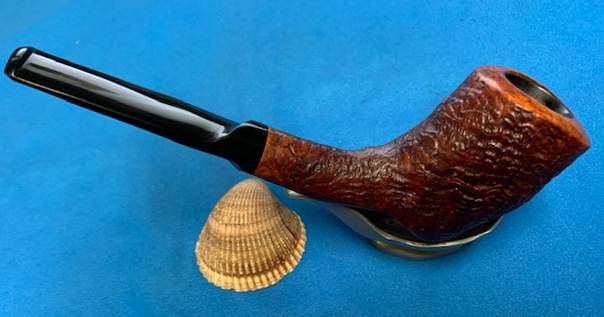
 I put the stem back on the Bings Favorite ¼ Bent Vulcanite Stem Long Billiard and took it to the buffer. I worked it over with Blue Diamond to polish out the remaining small scratches. I gave the bowl and the stem several coats of carnauba wax and buffed the pipe with a clean buffing pad to raise the shine. I hand buffed it with a microfiber cloth to deepen the shine. The pipe polished up really well and the rim top looked good. I was happy with the look of the finished pipe. The photos below show what the pipe looks like after the restoration. The Bings Favorite Savinelli Product is a beautiful and unique take on a classic shape. The polished, reshaped vulcanite taper stem looks really good with the browns of the briar. The dimensions of the pipe are Length: 6 ½ inches, Height: 1 ¾ inches, Outside diameter of the bowl: 1 ¼ inches, Chamber diameter: ¾ of an inch. The weight of the pipe is 1.27 ounces/36 grams. This is another pipe that I will be putting it on the rebornpipes store in the Italian Pipe Makers Section shortly, if you are interested in adding it to your collection. The long shank and tall bowl look and feel great in the hand. This one should be a great smoker. Thanks for walking through the restoration with me on this beauty!


