by Steve Laug
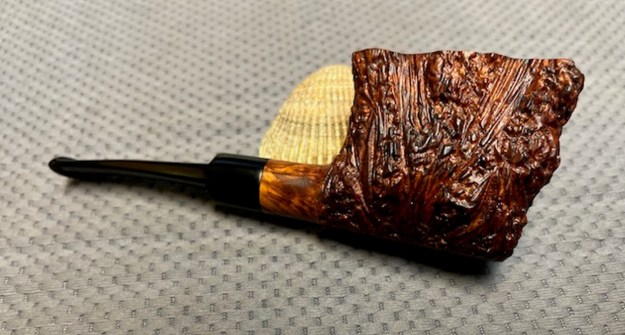
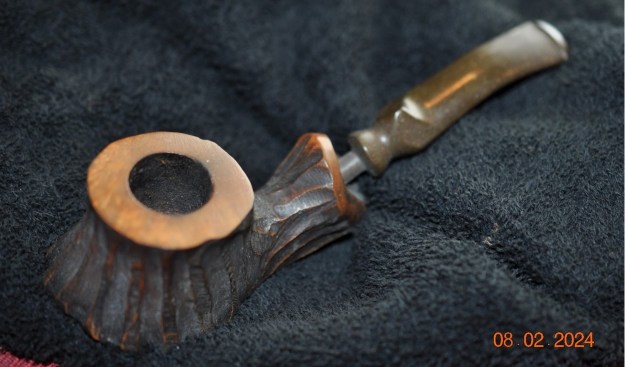
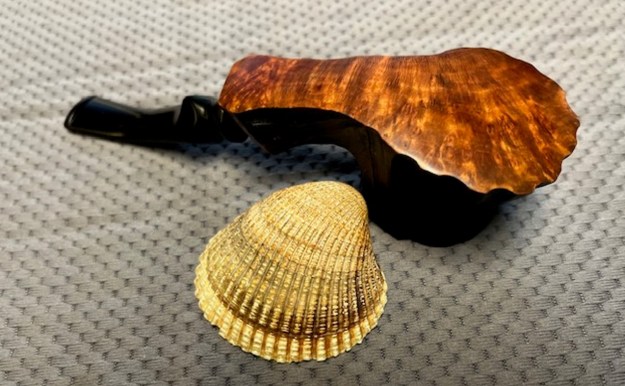
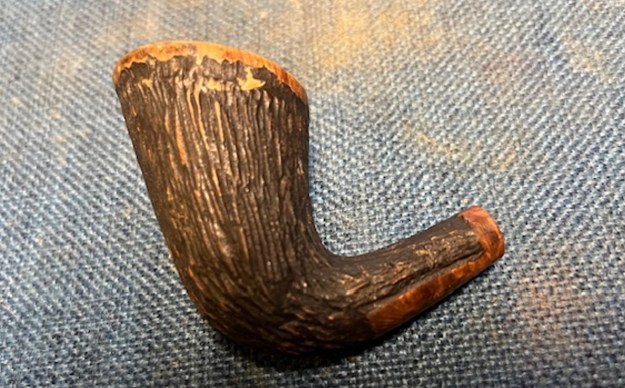
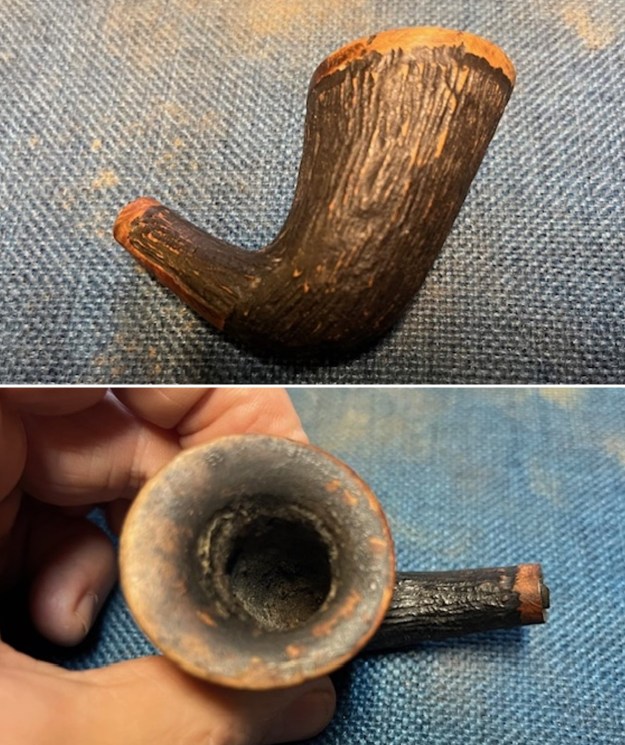
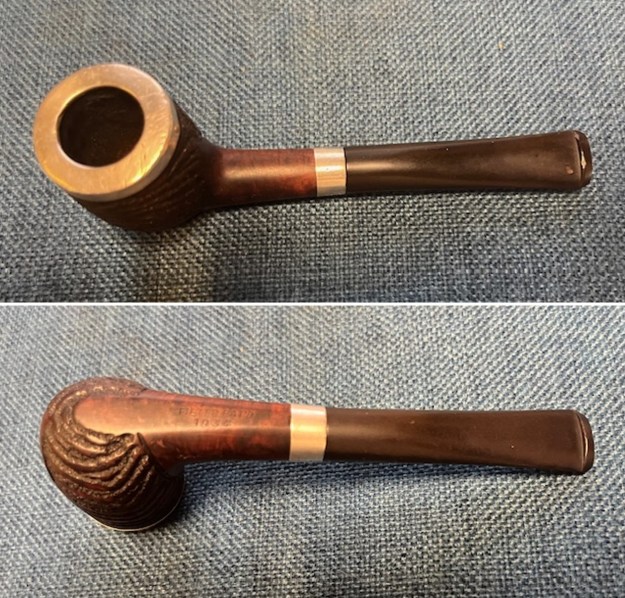
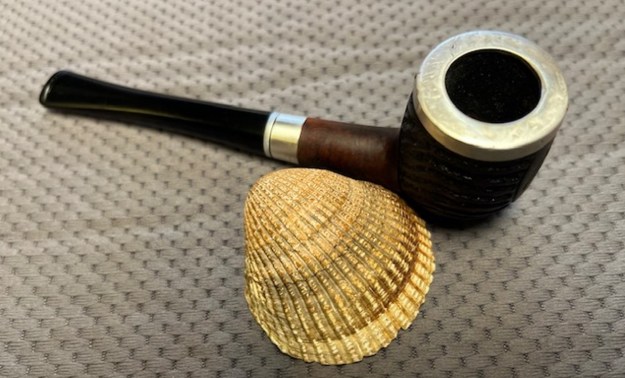
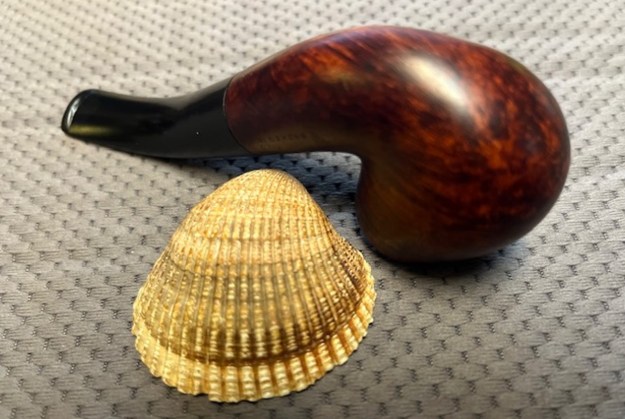
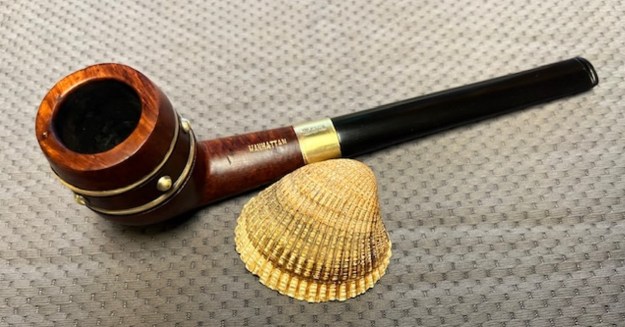
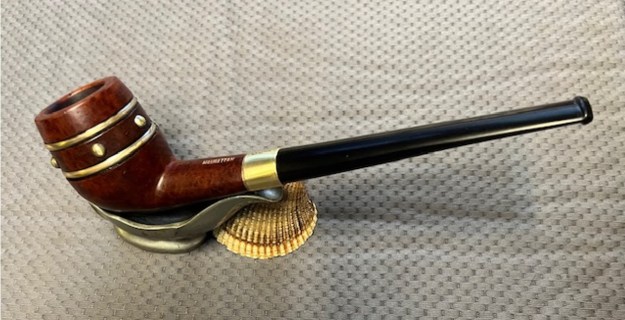
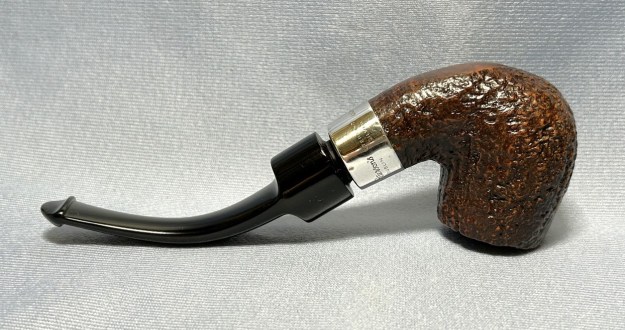
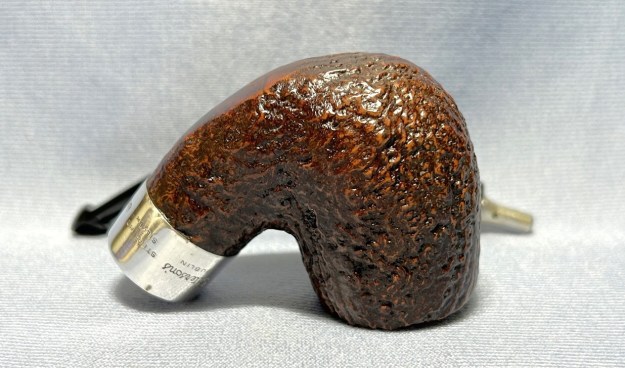
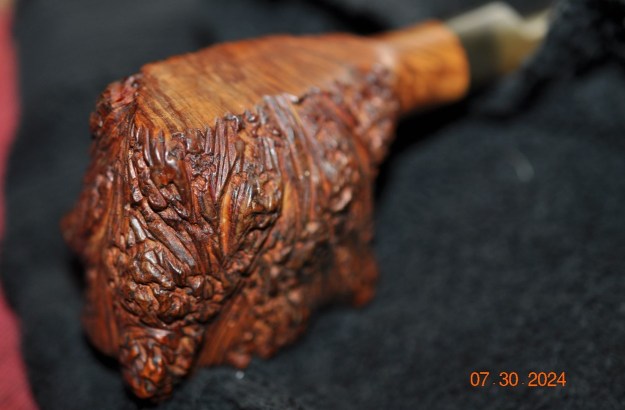
The next pipe on the table is a rugged almost primitive looking sitter with unique rustication and carving around the bowl. We picked up from a friend in Santa Cruz, California, USA on 05/28/2024. It is stamped on the flat underside of the bowl and shank and read Astleys [over] 109 Jermyn St [over] London. The rim top was smooth as was the bottom of the bowl and shank. The shank was also smooth. It is a pretty pipe. The bowl had a moderate cake and there was some darkening on the inner edge but no real damage. The rusticated grooves that ran vertically on the bowl were mixed with carved lines and swirls. It was very unique and almost primitive looking. The briar was dirty from use and the bowl looked dull. The stem is a vulcanite saddle stem. It was oxidized, calcified and had tooth marks on the top and underside ahead of the button. Jeff took photos of the pipe before he started his work on it. 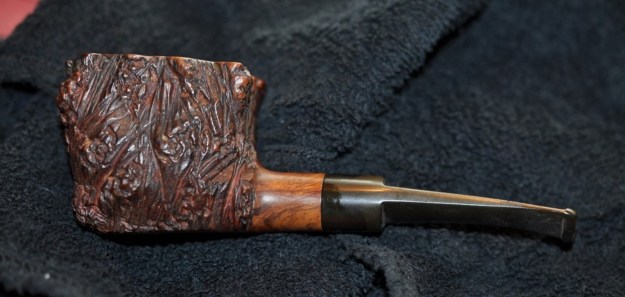
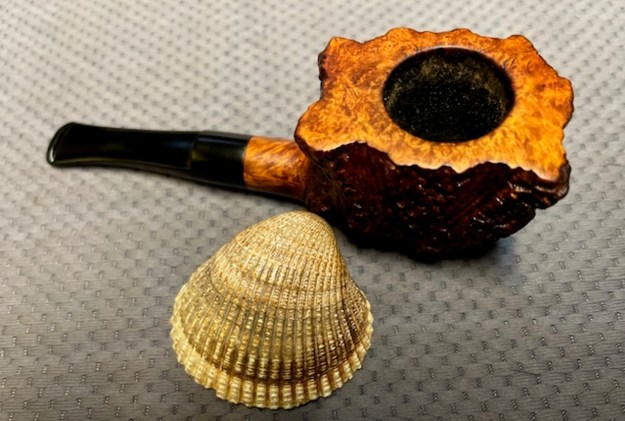
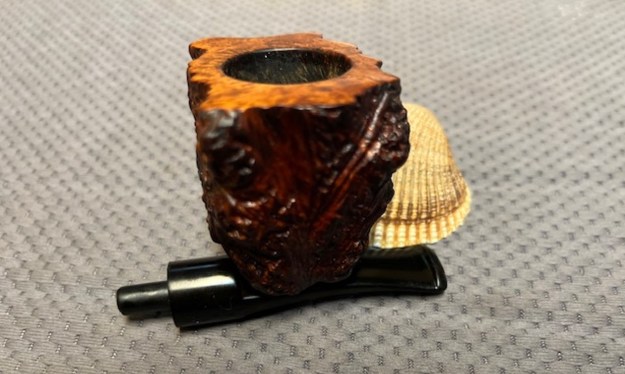
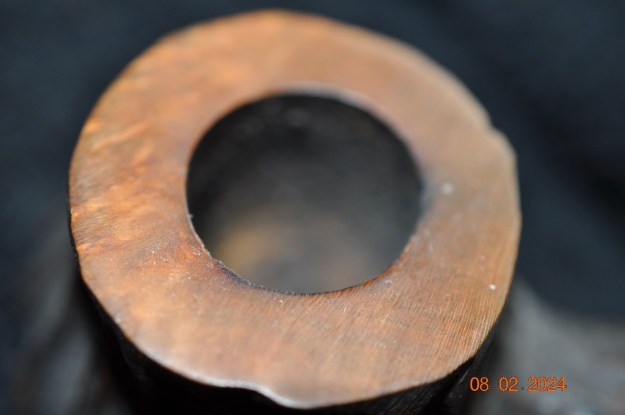
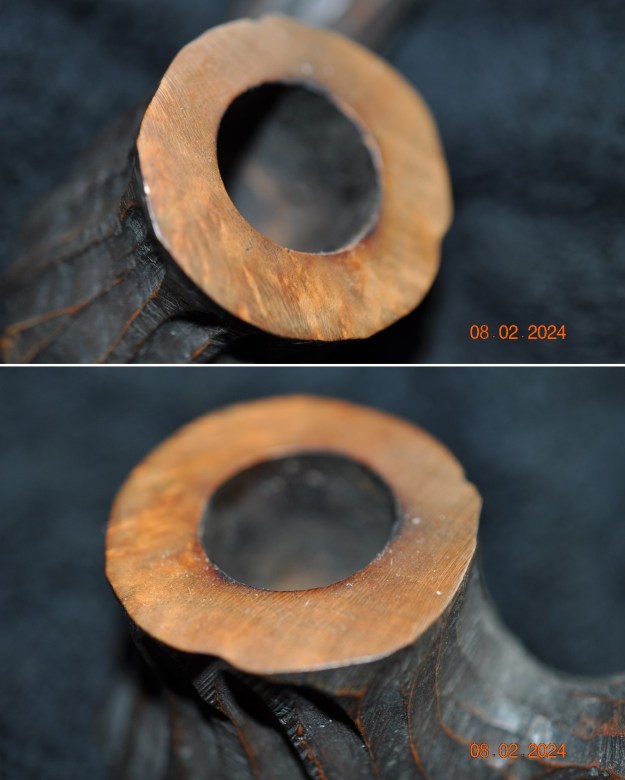
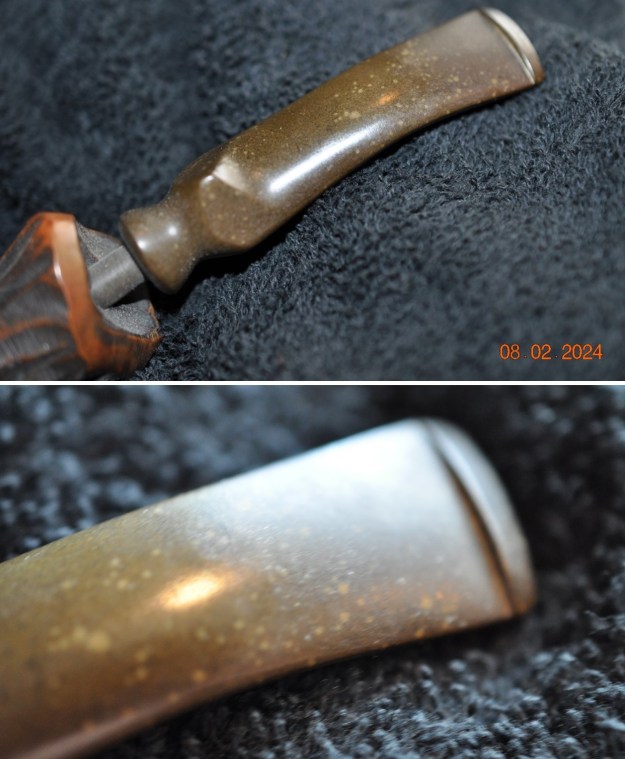
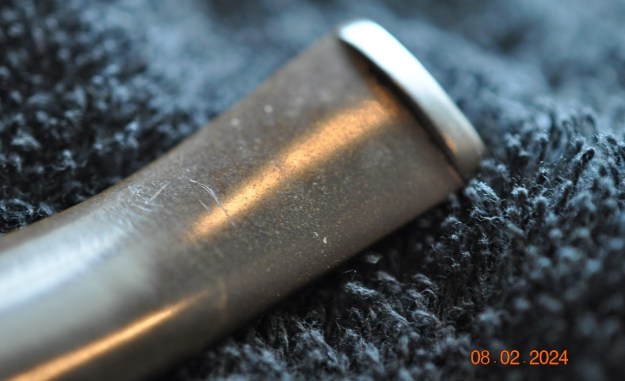
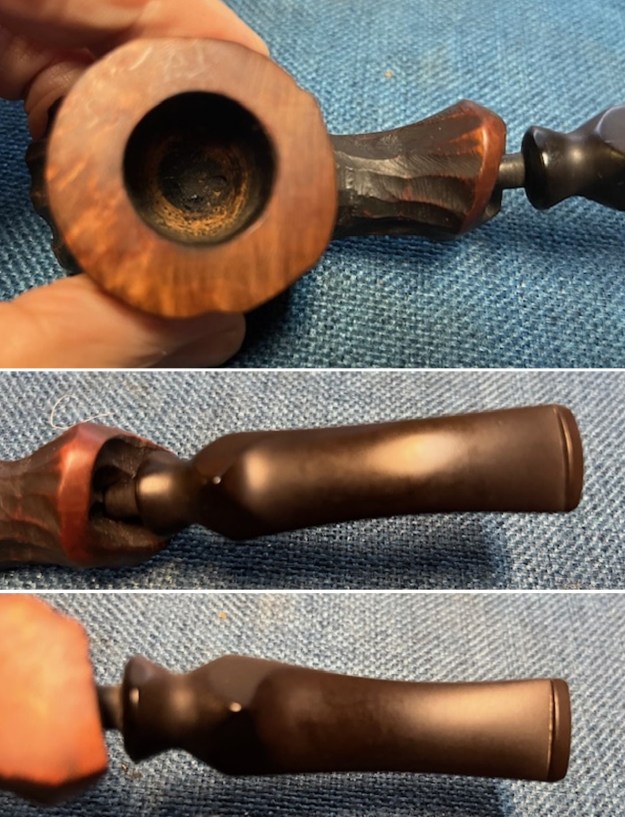
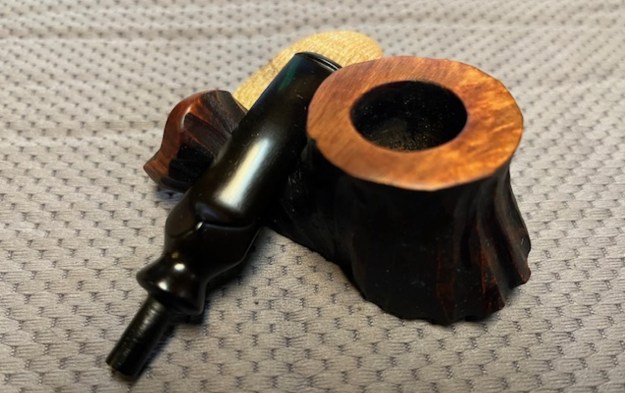
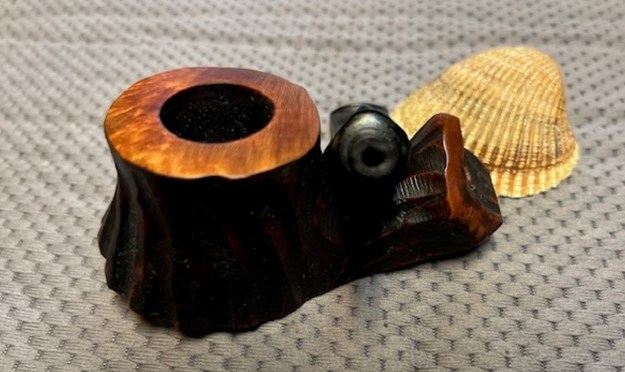
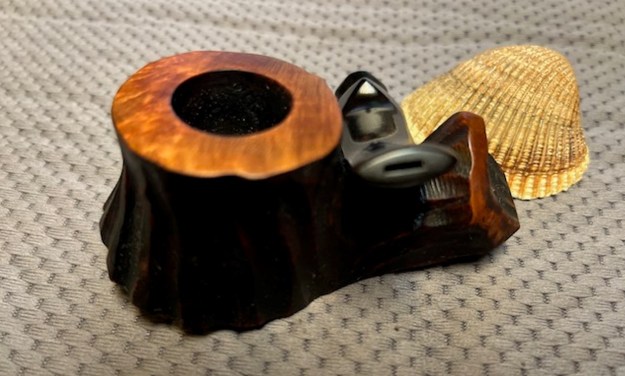
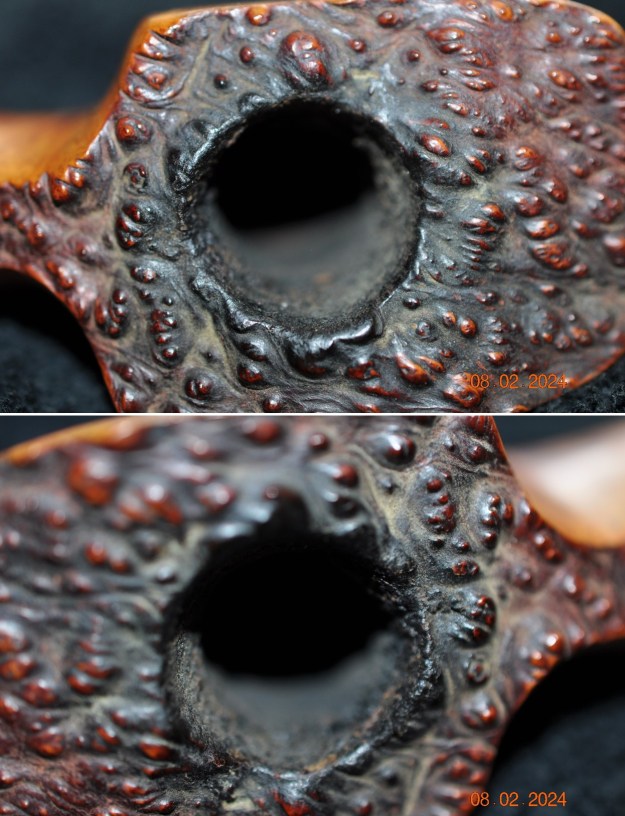
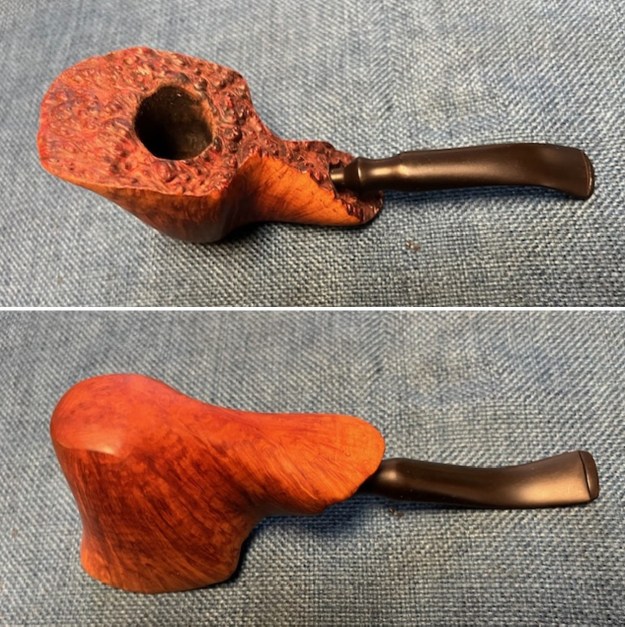
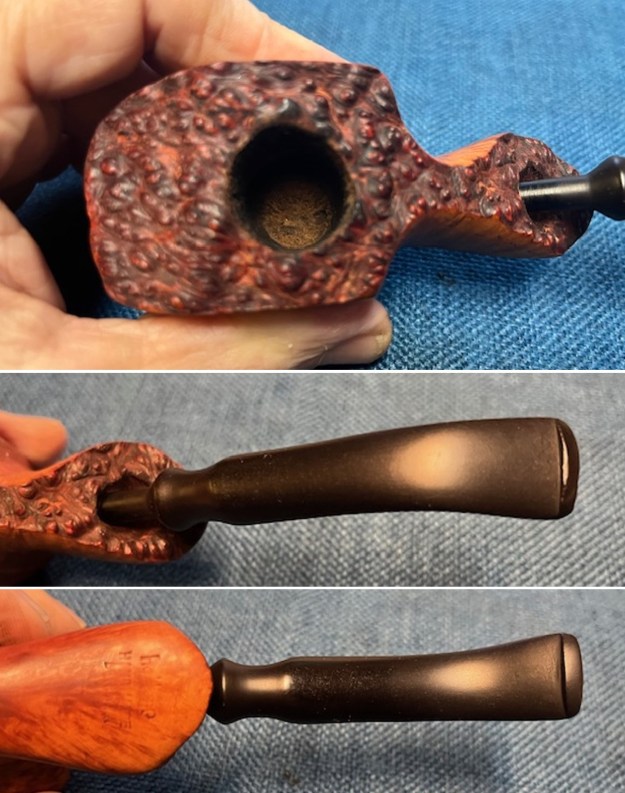
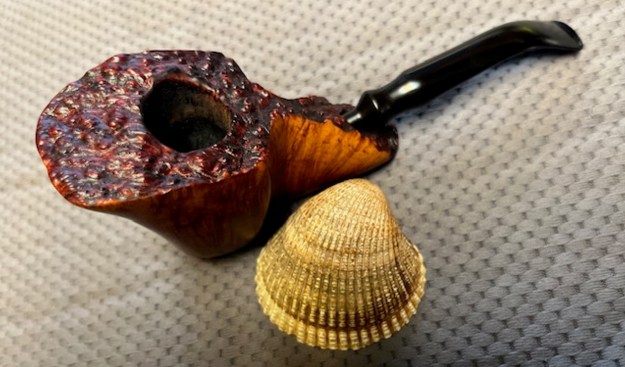
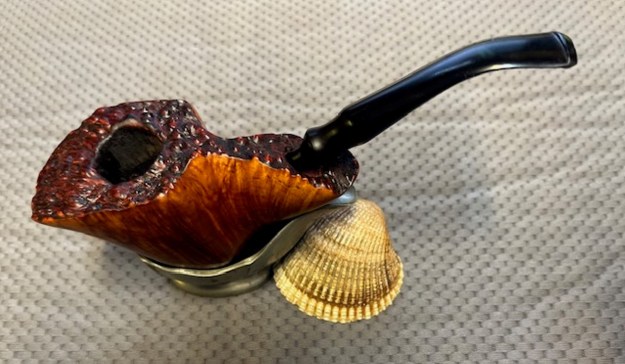
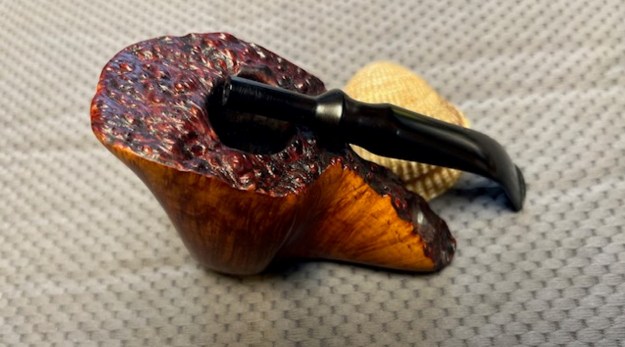
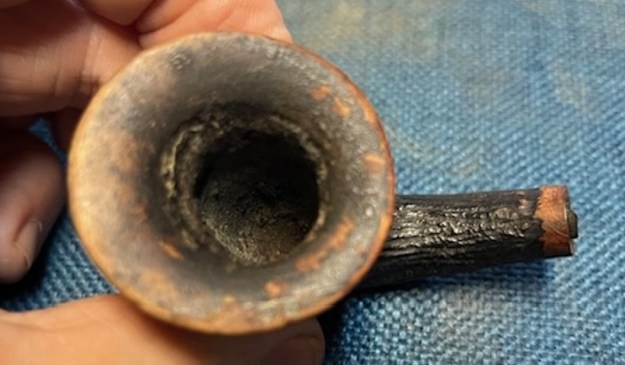
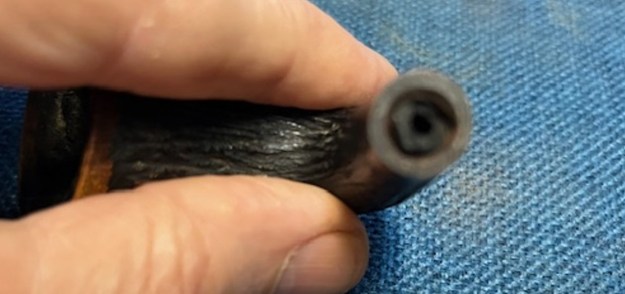
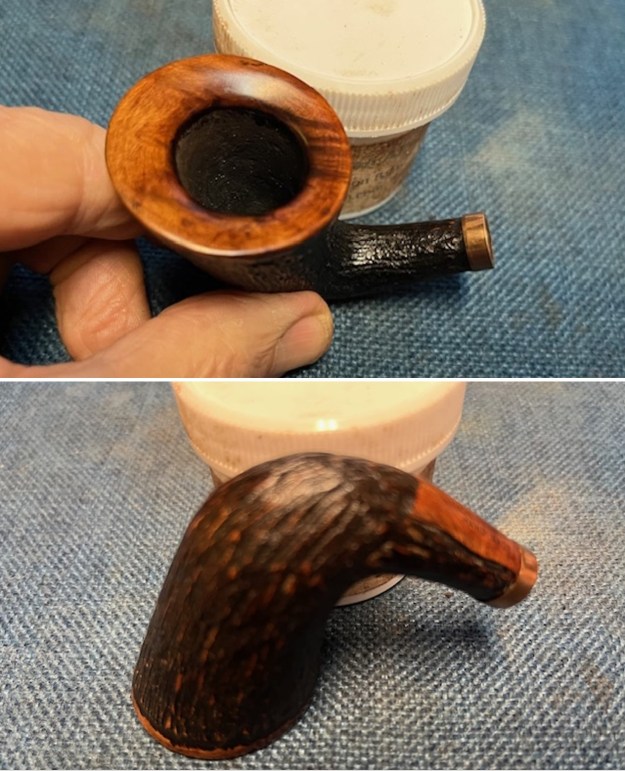
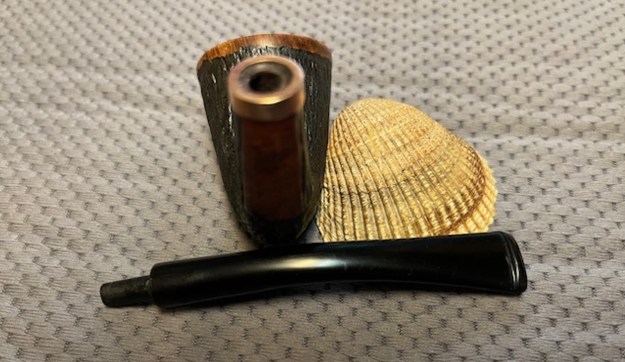
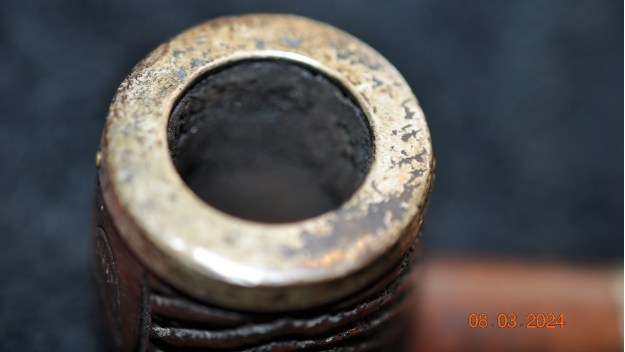
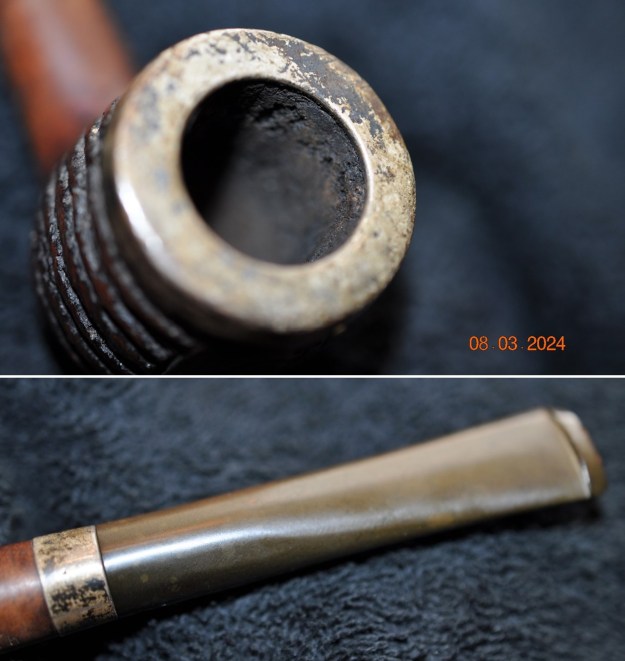
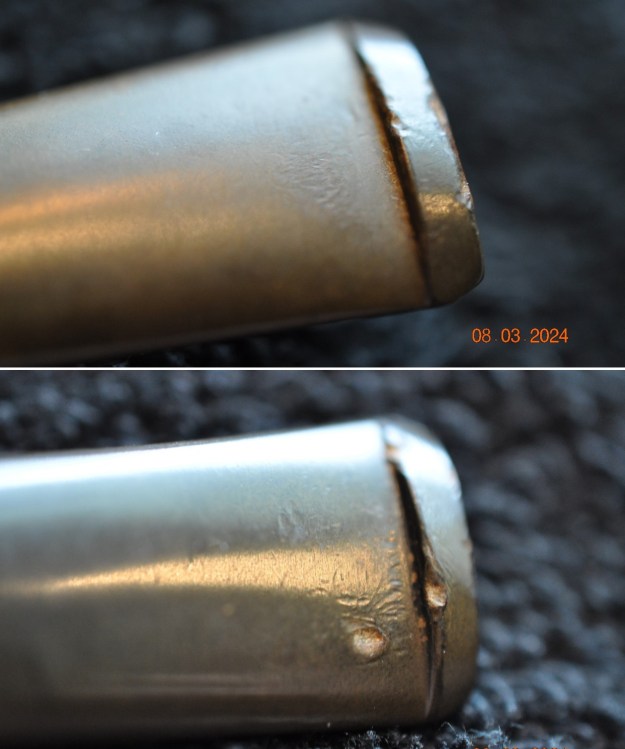
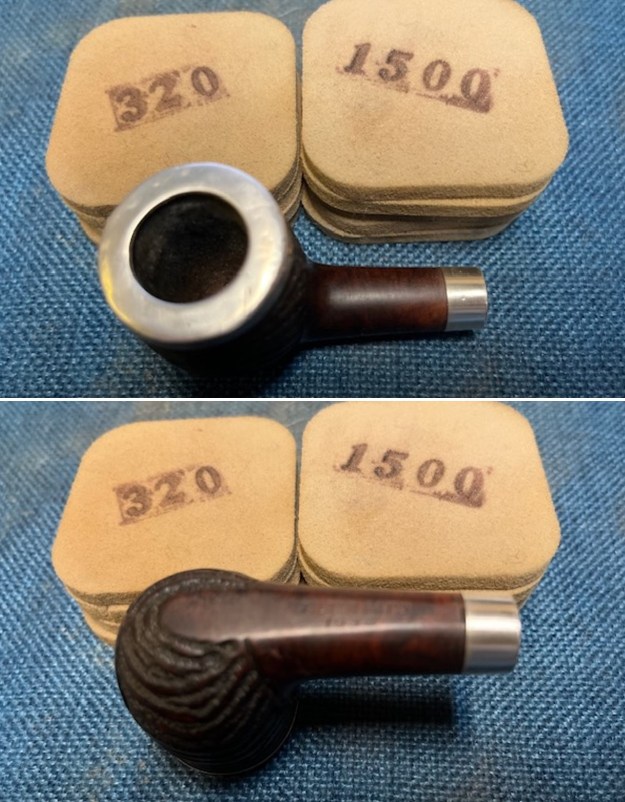
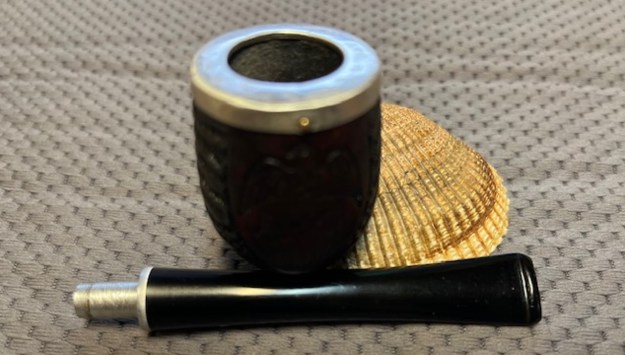
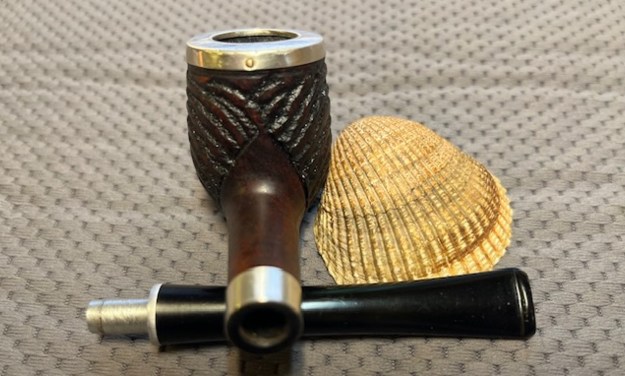
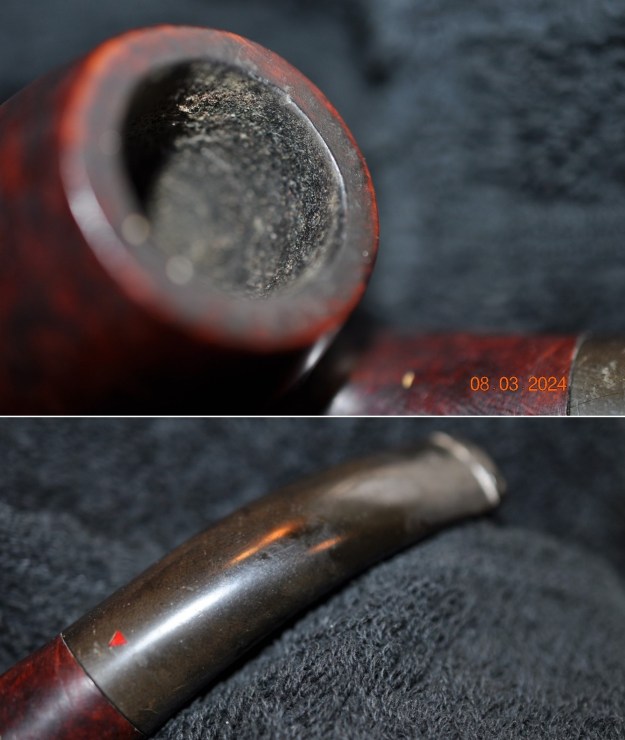
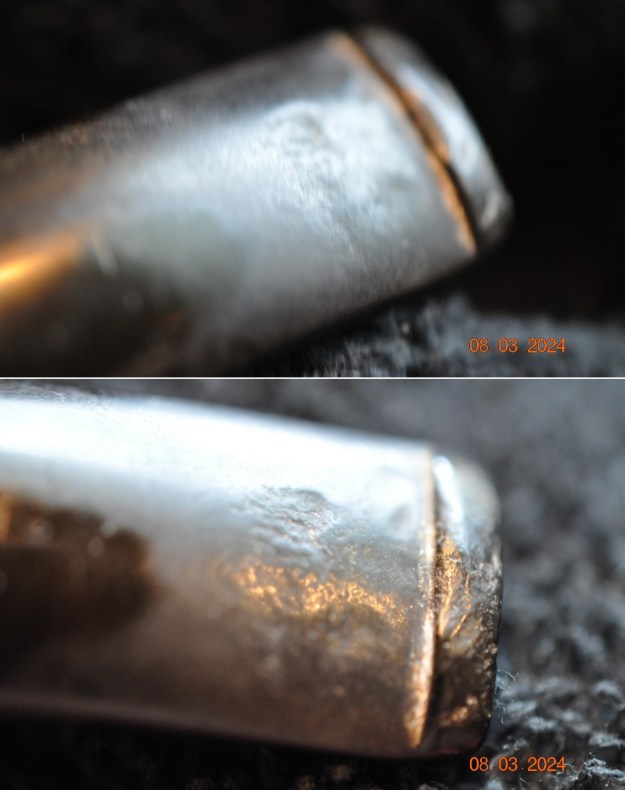
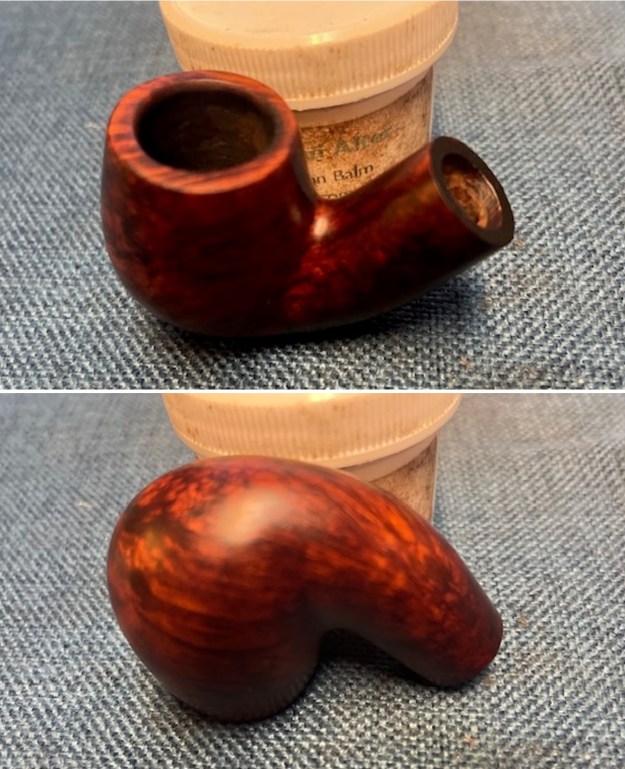
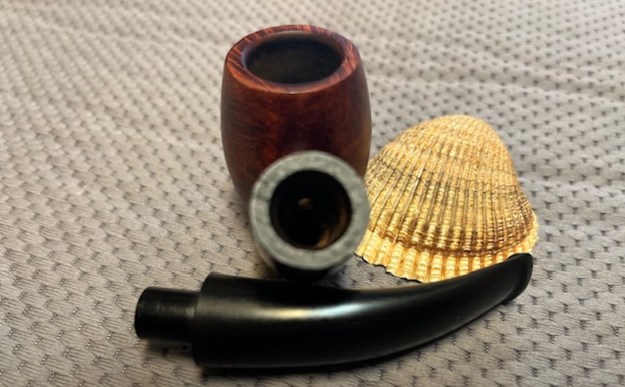
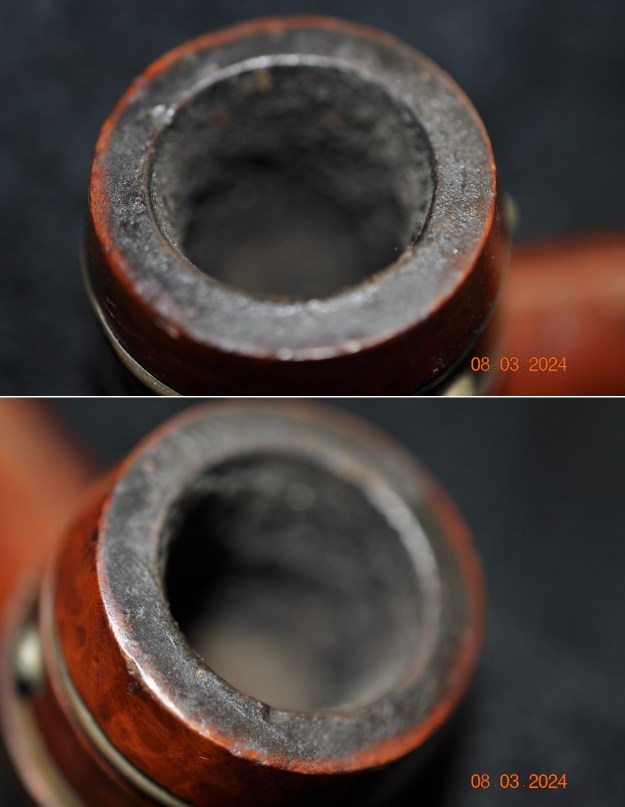
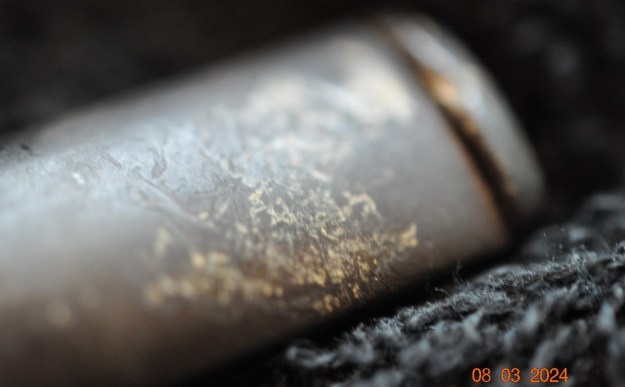
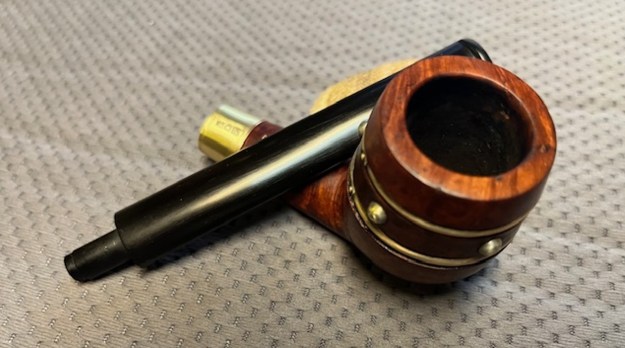
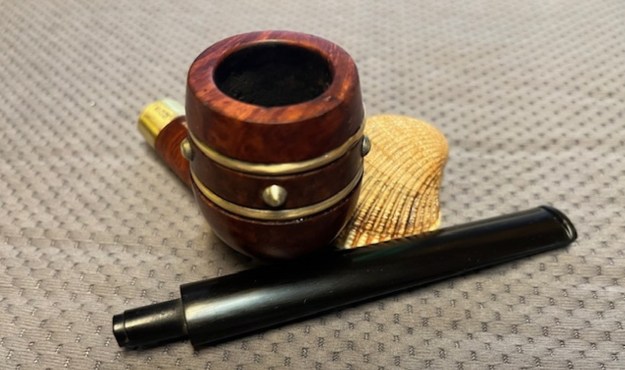
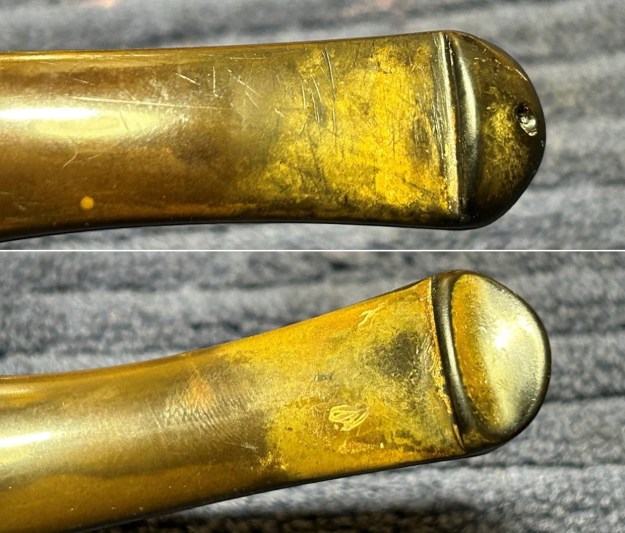
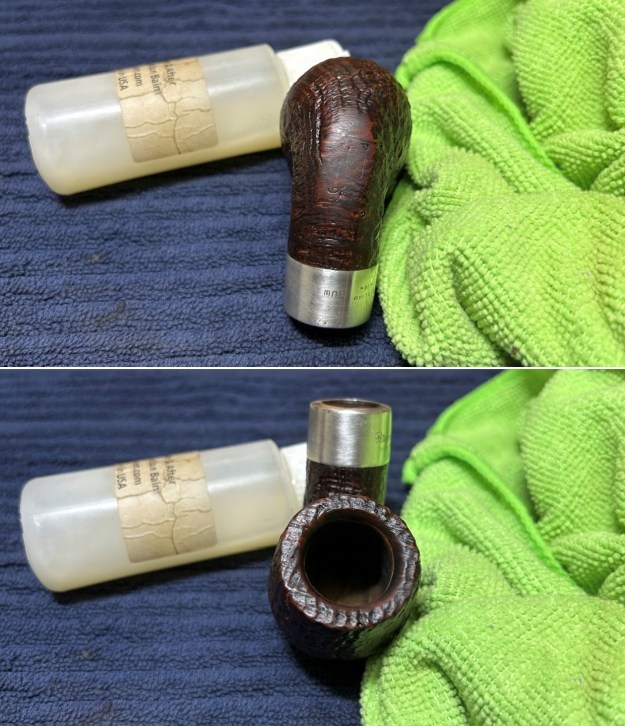
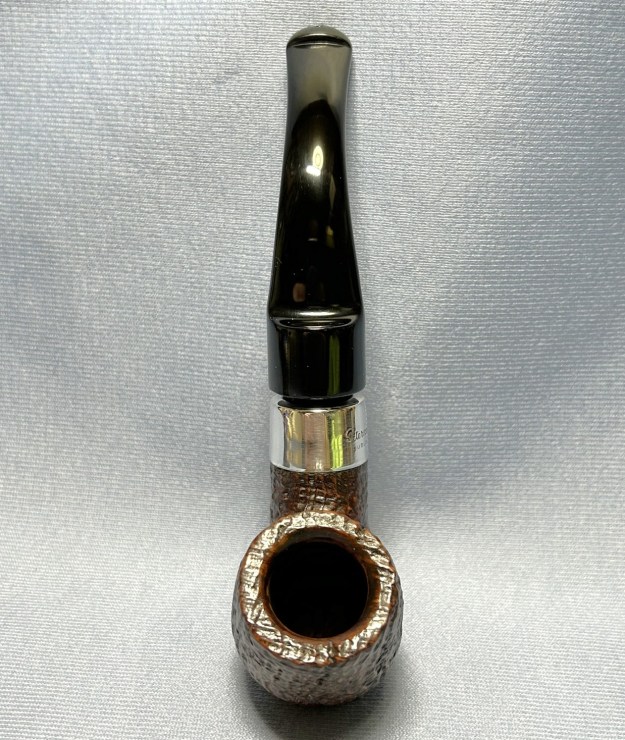
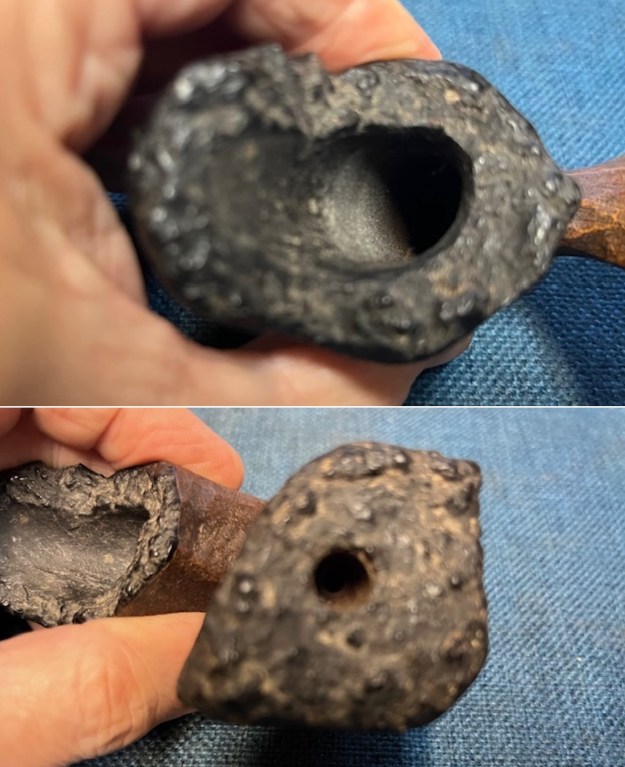
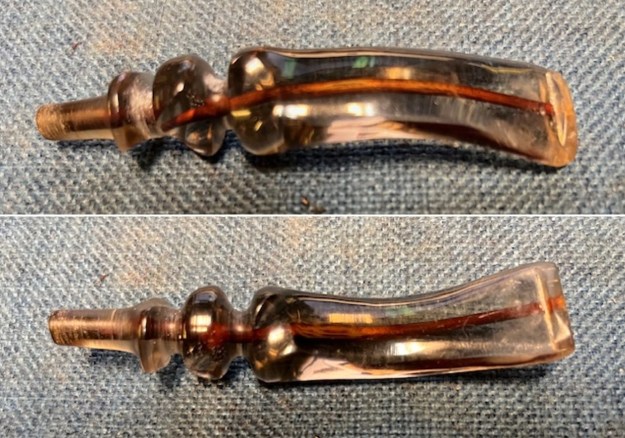
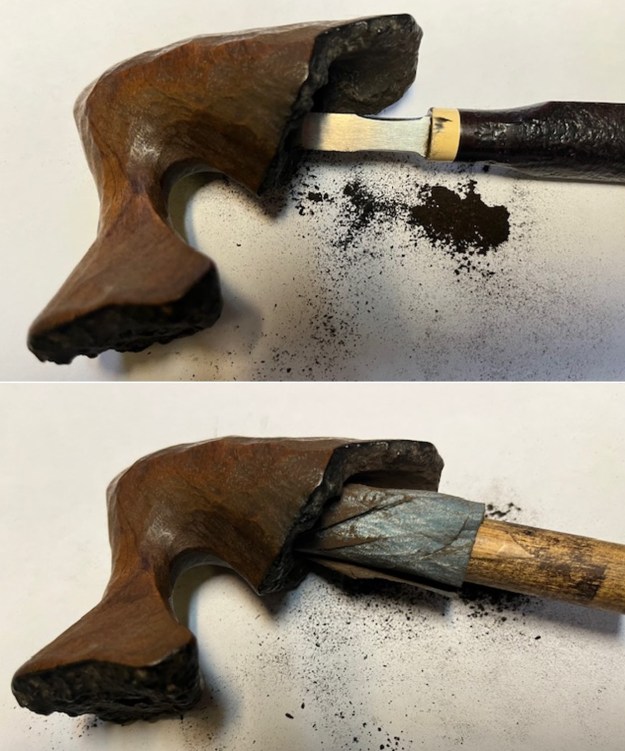
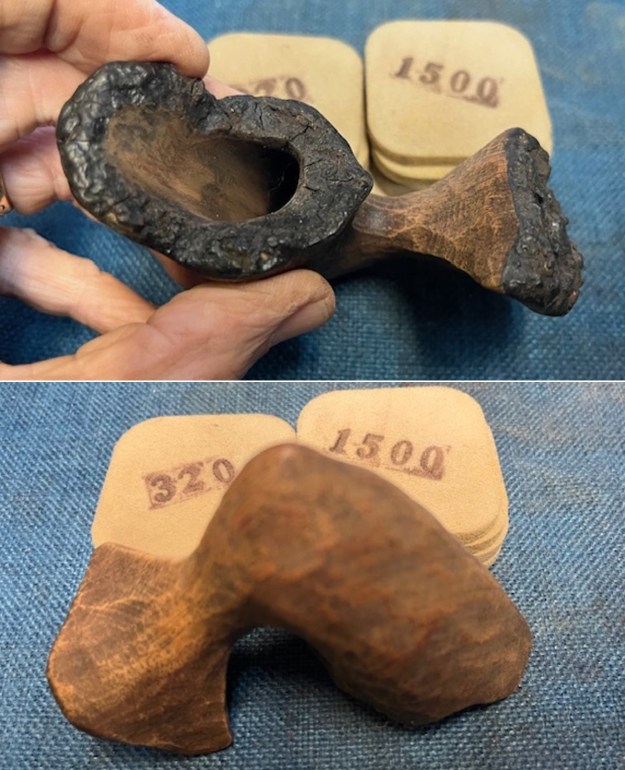
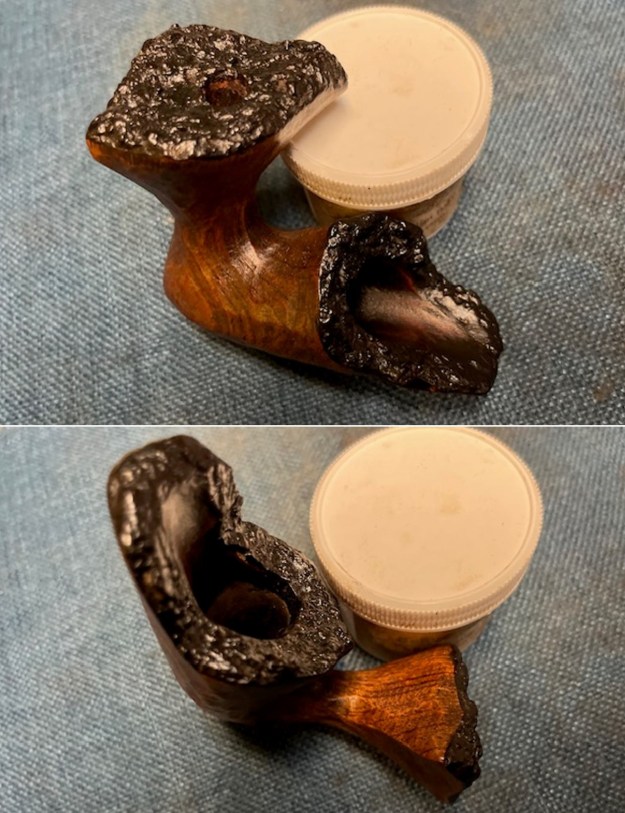
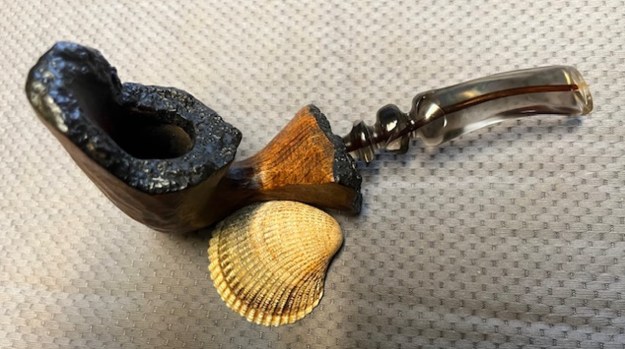
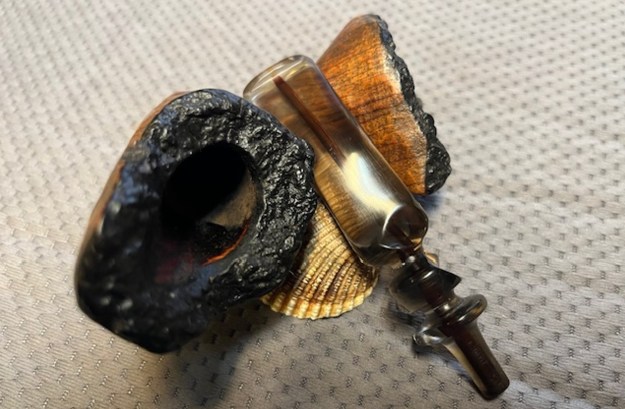
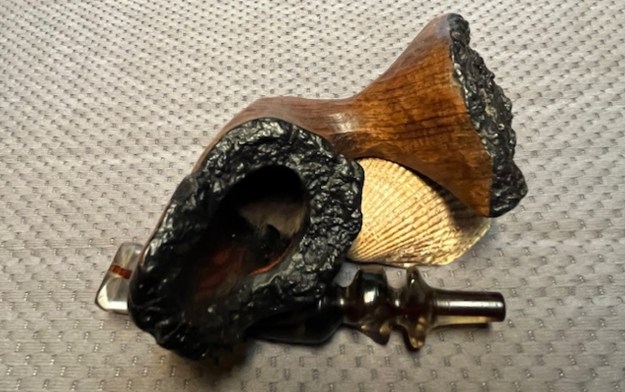
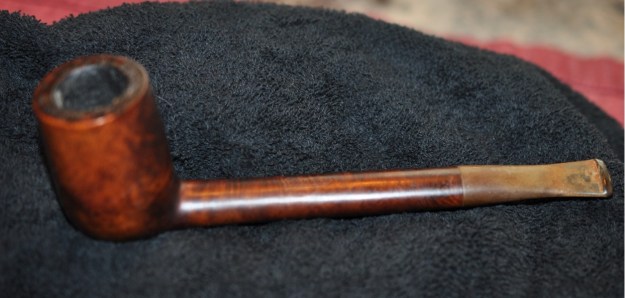
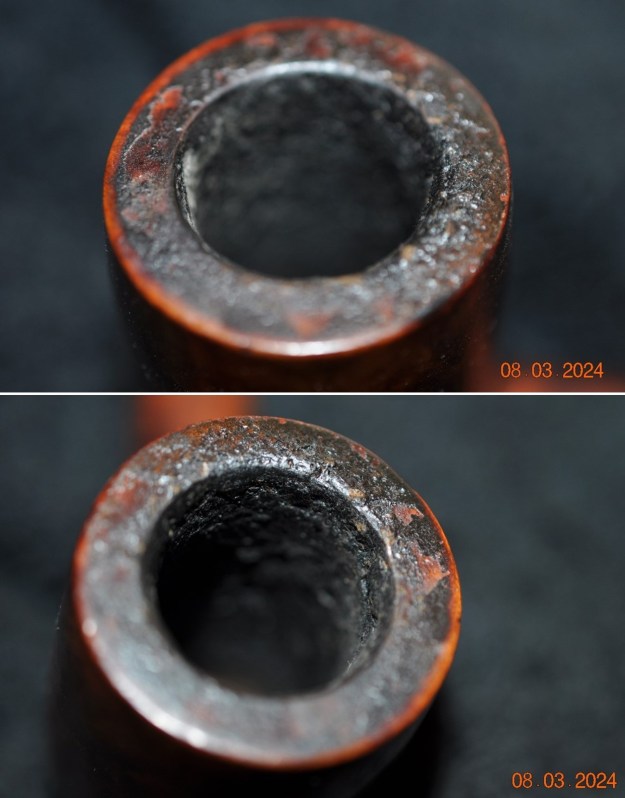
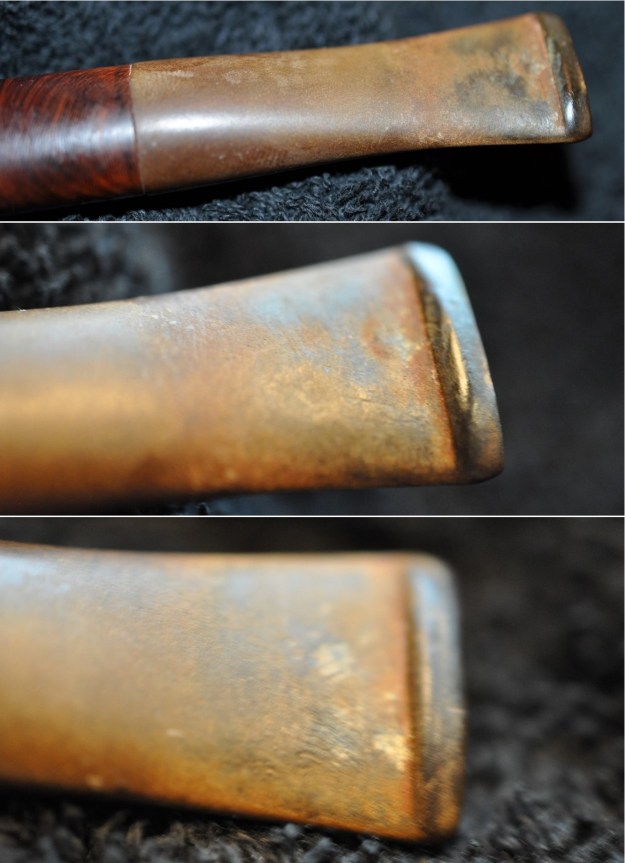
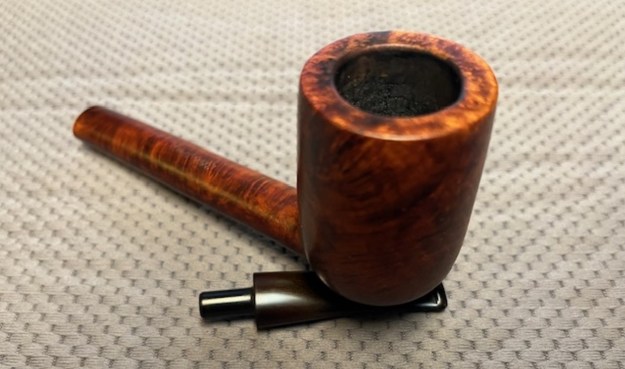
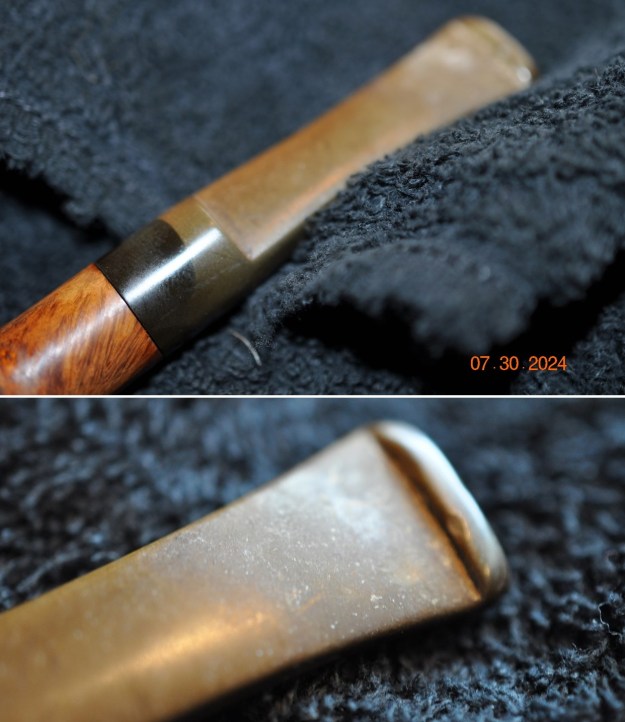
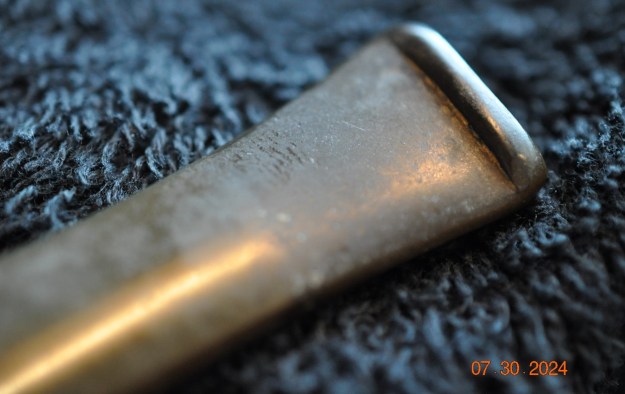
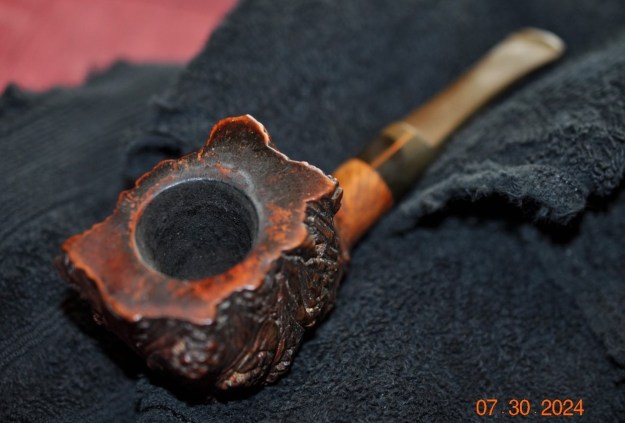 He took photos of the rim top and the stem to show the condition. You can see the thick cake in the bowl and lava, darkening and grime on the rim edge. The photos of the stem show the tooth marks and chatter on the top and underside ahead of the button.
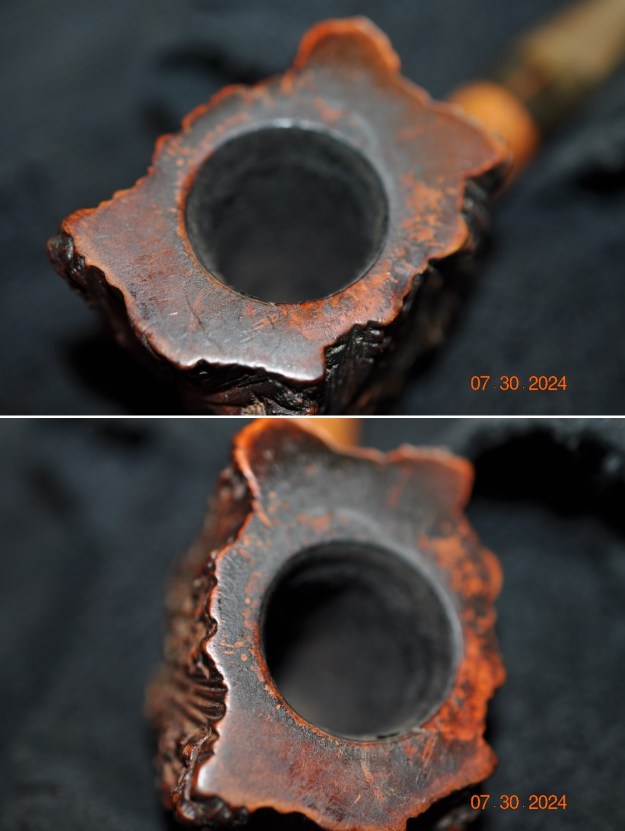
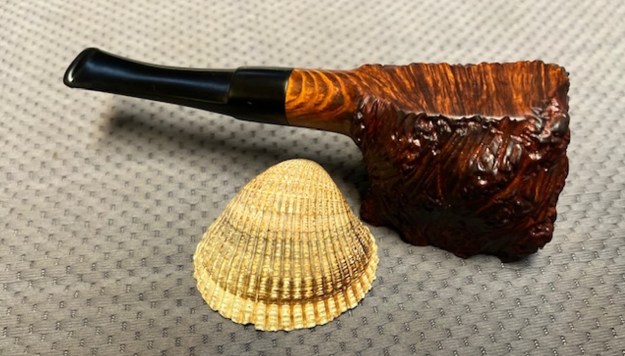
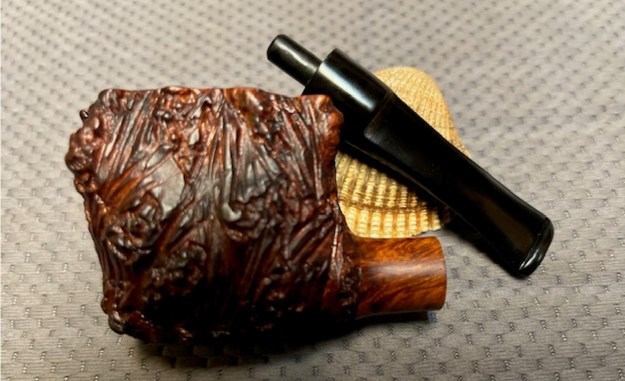
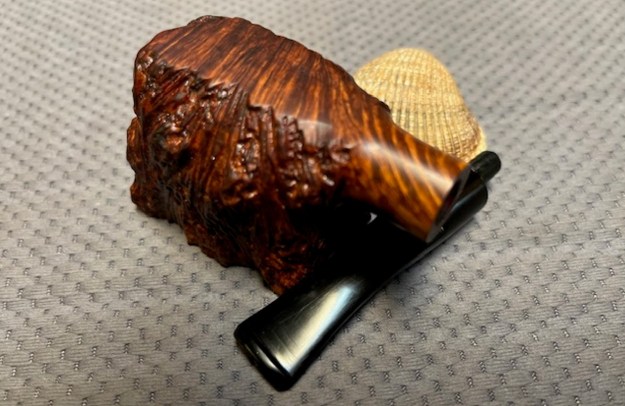
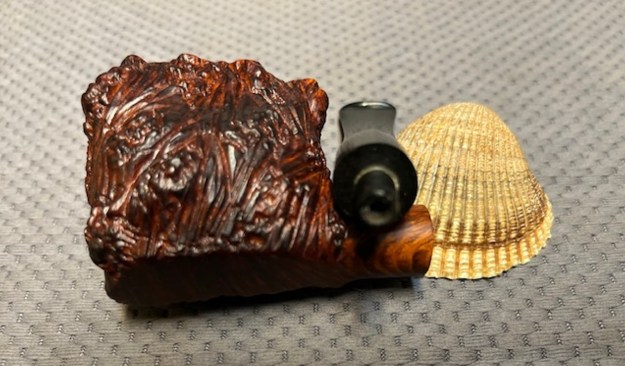
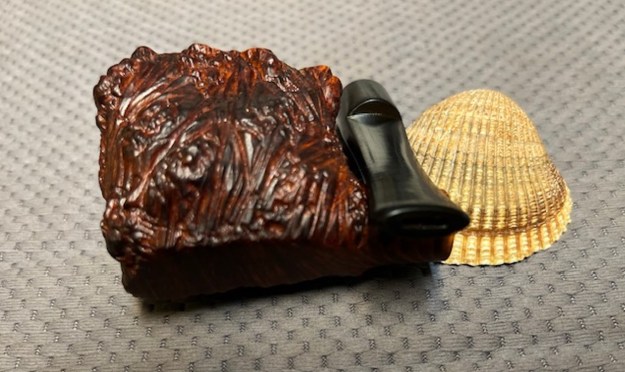
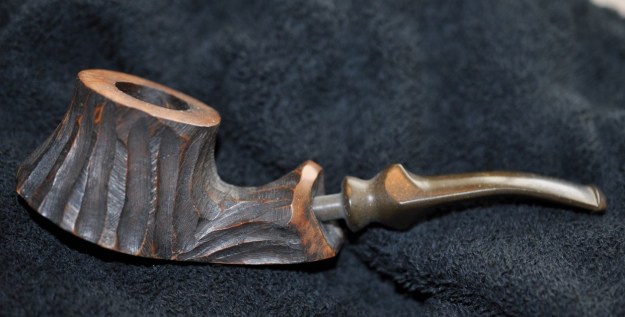
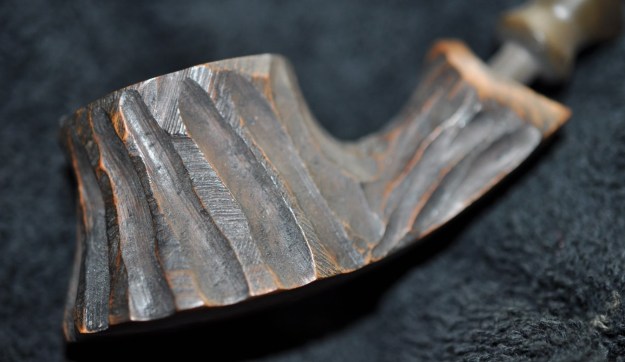
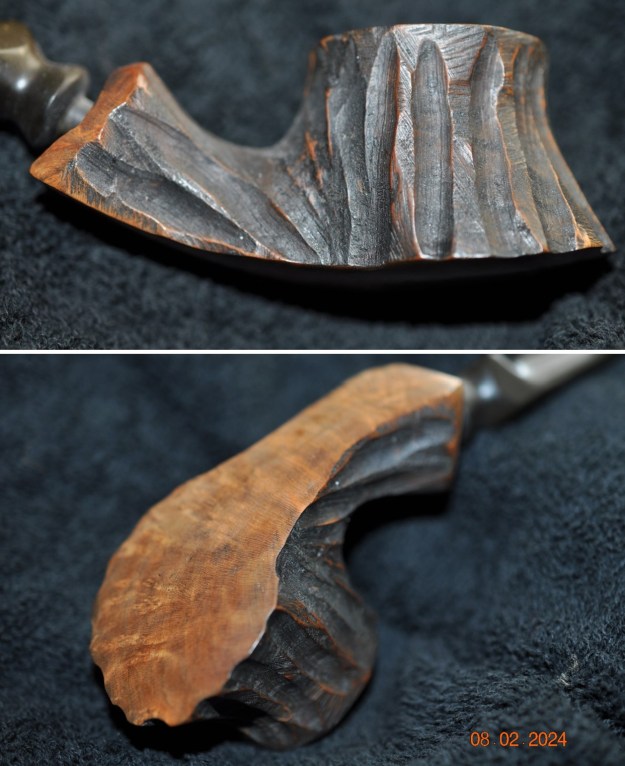
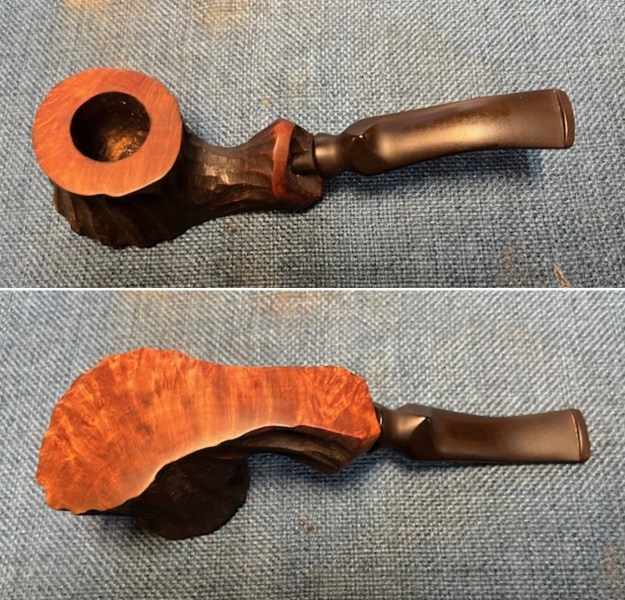
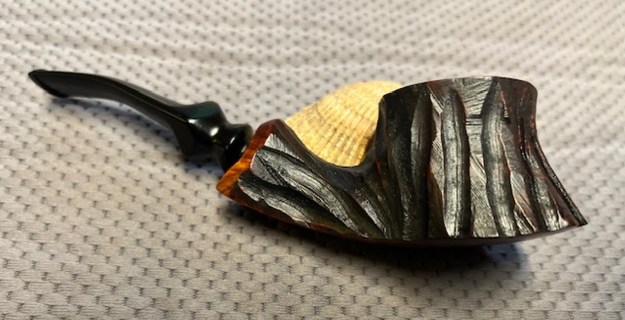
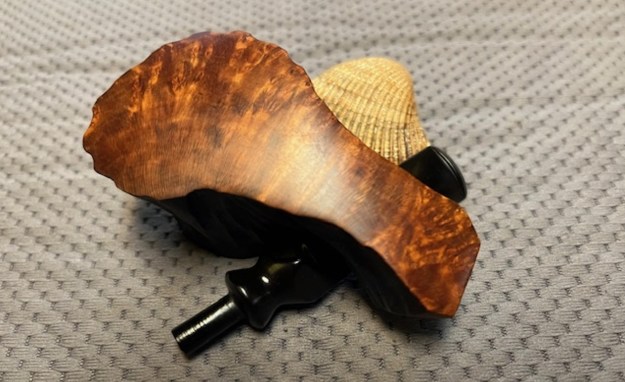
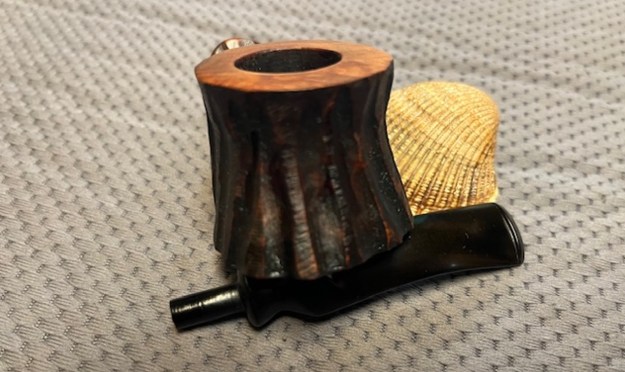
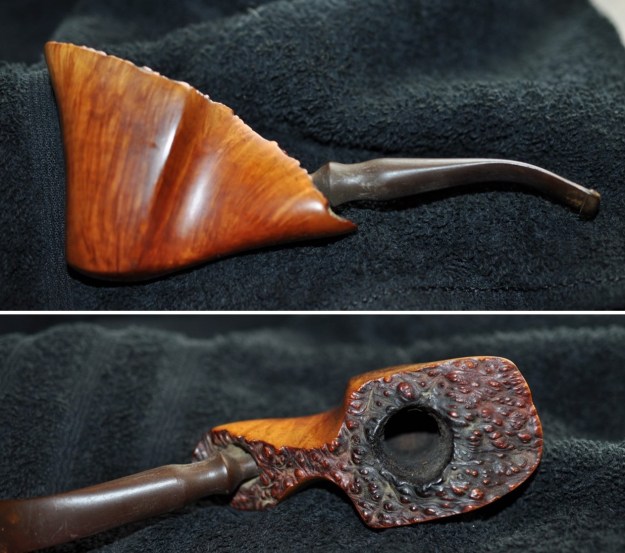
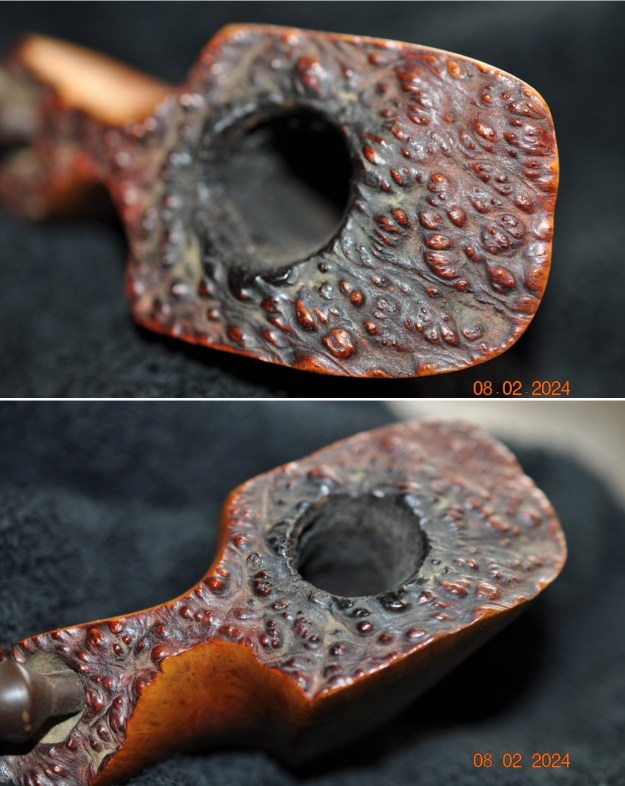
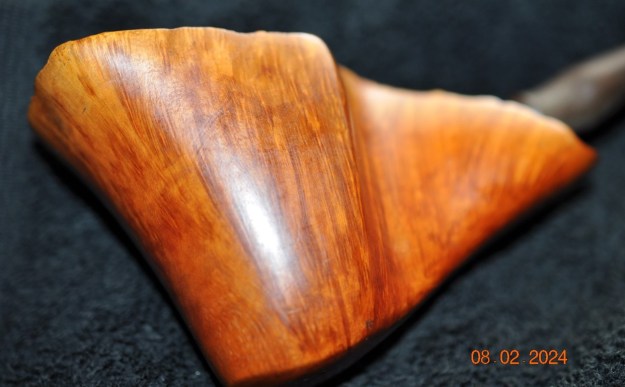
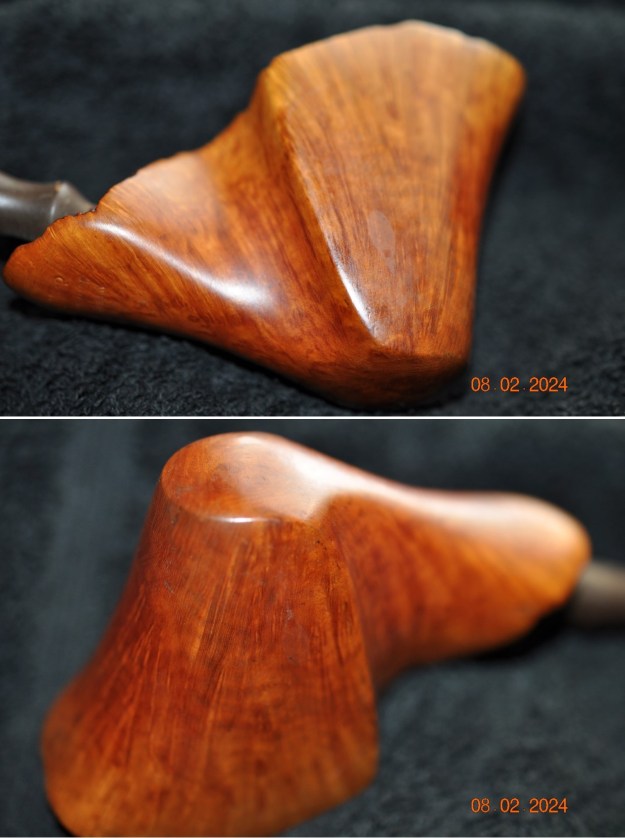
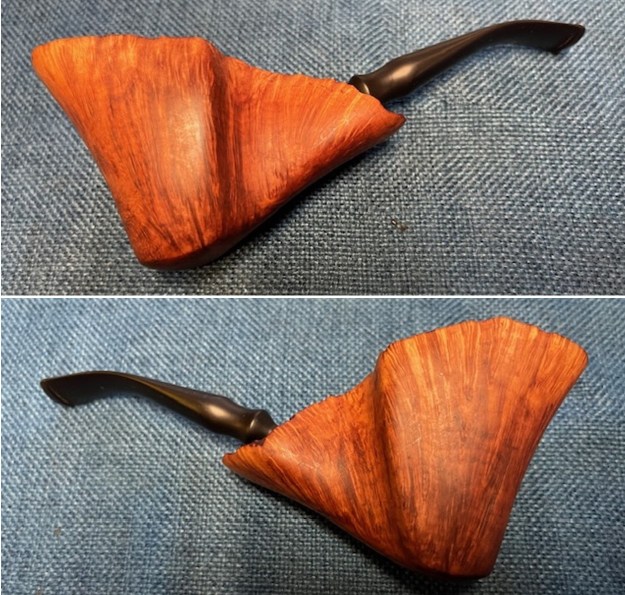
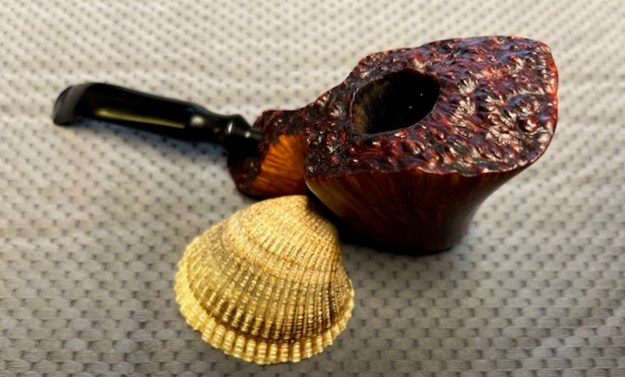
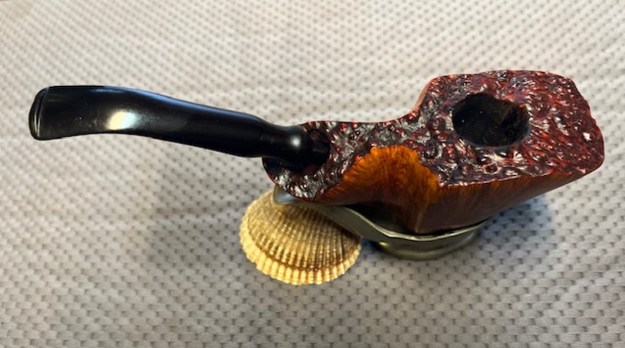
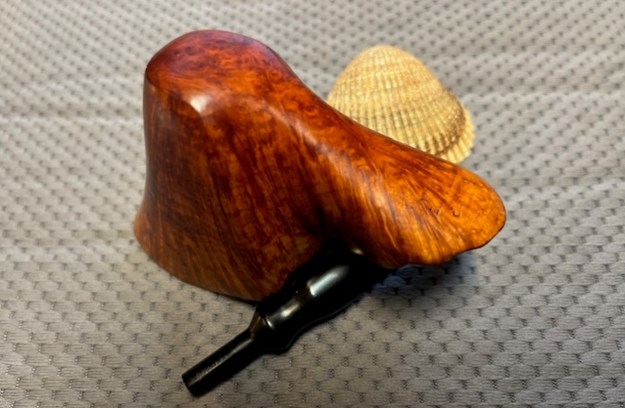
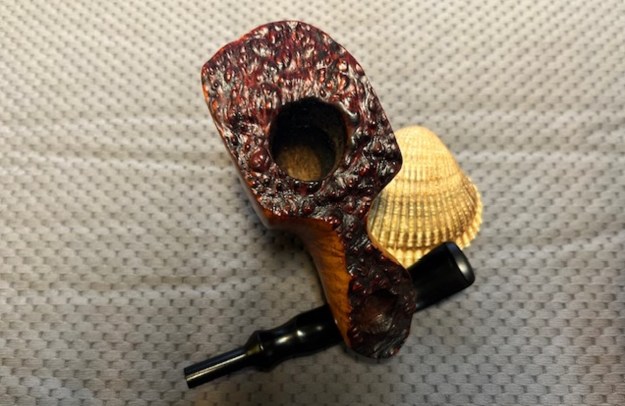
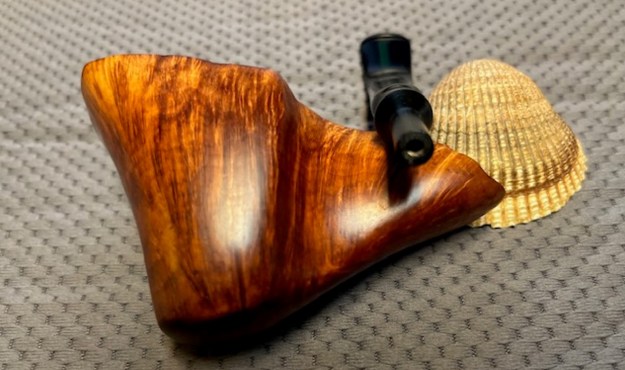
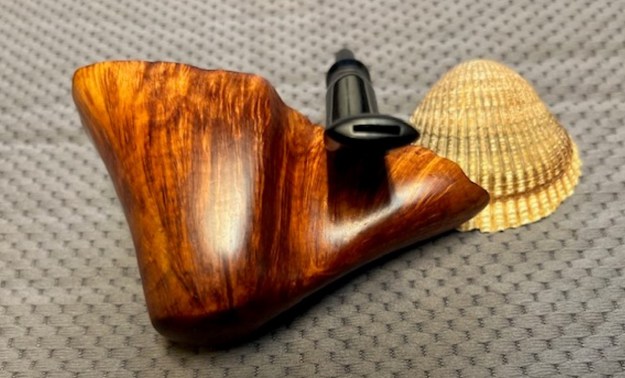
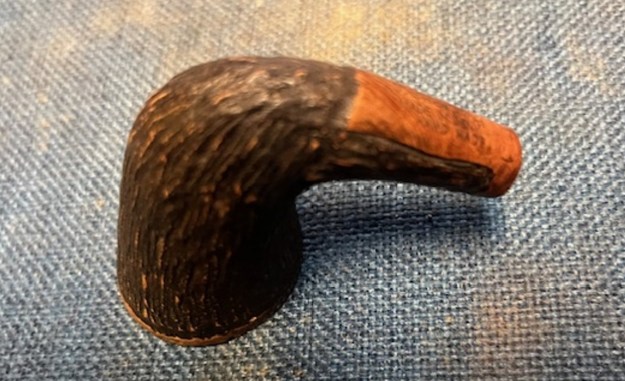
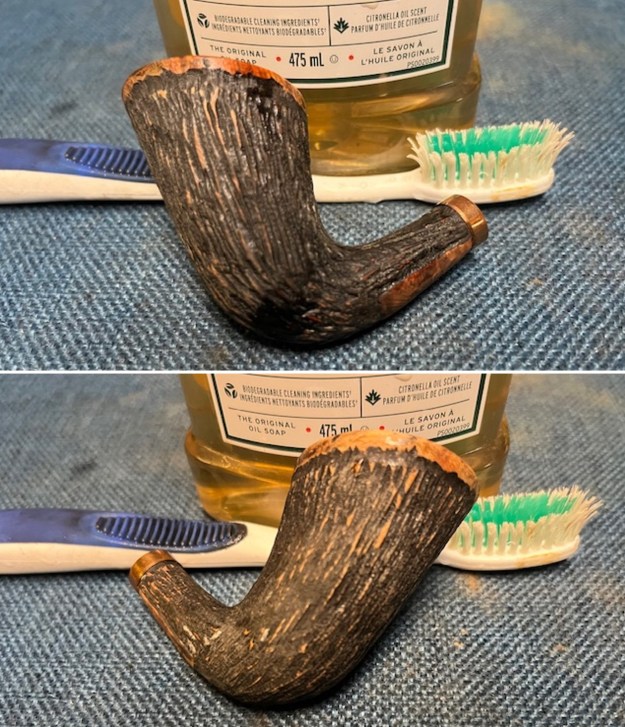
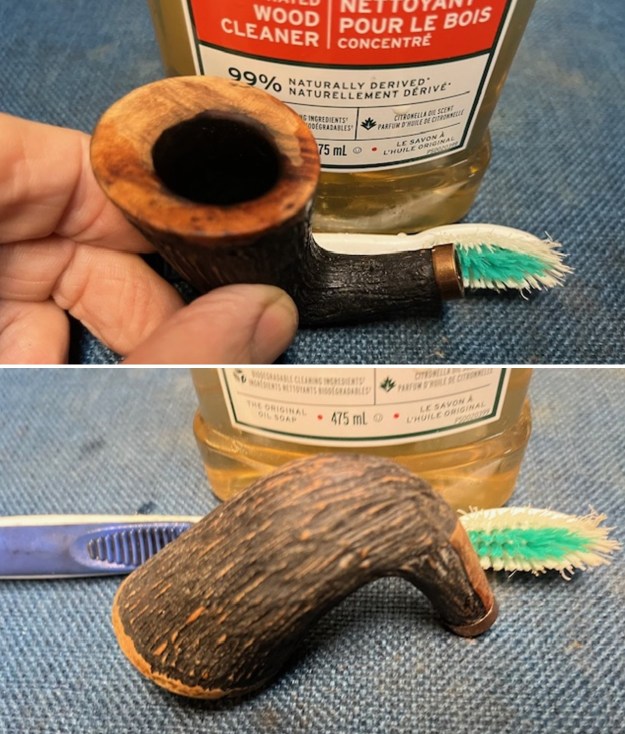
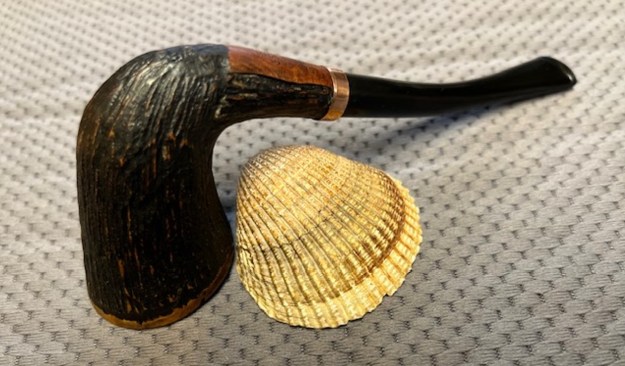
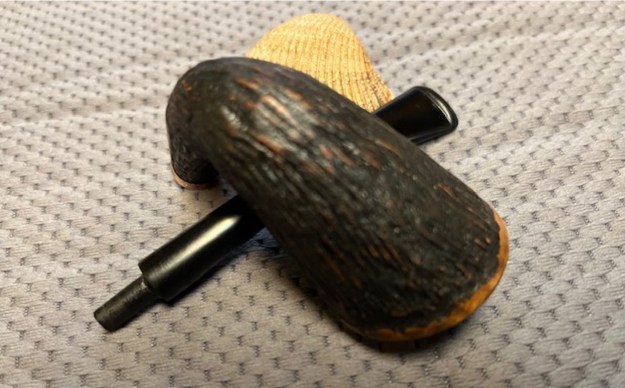
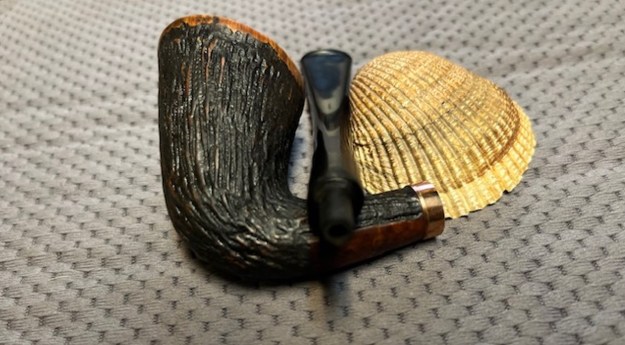
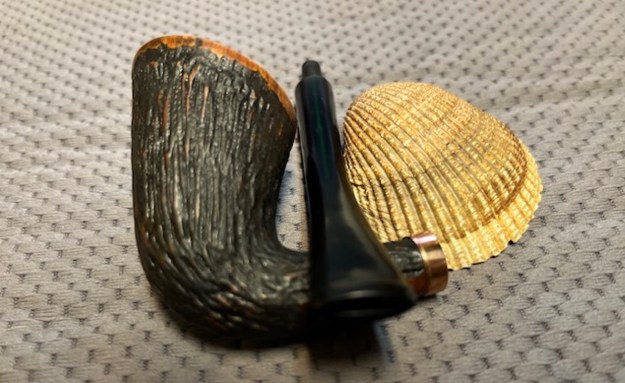
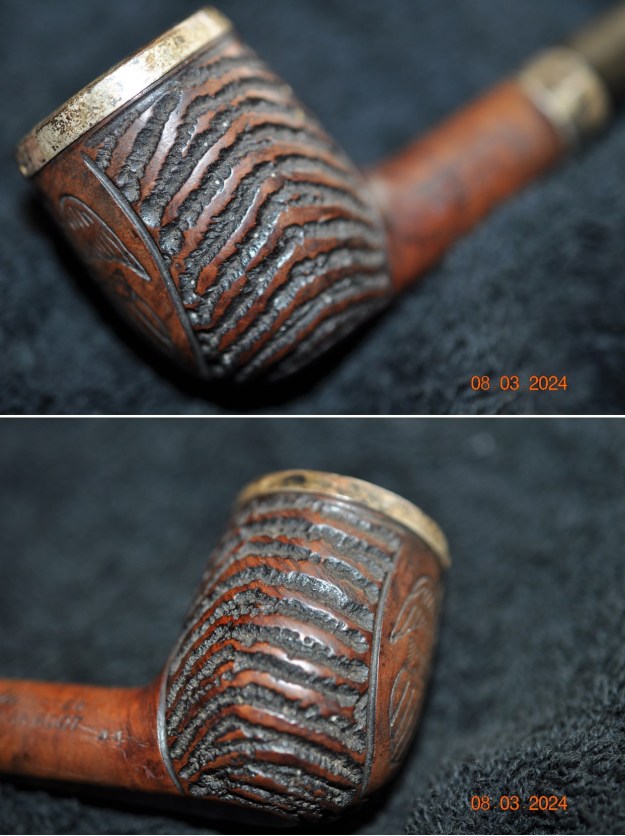
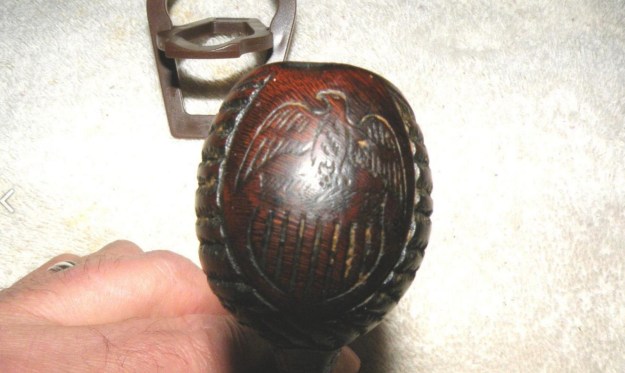
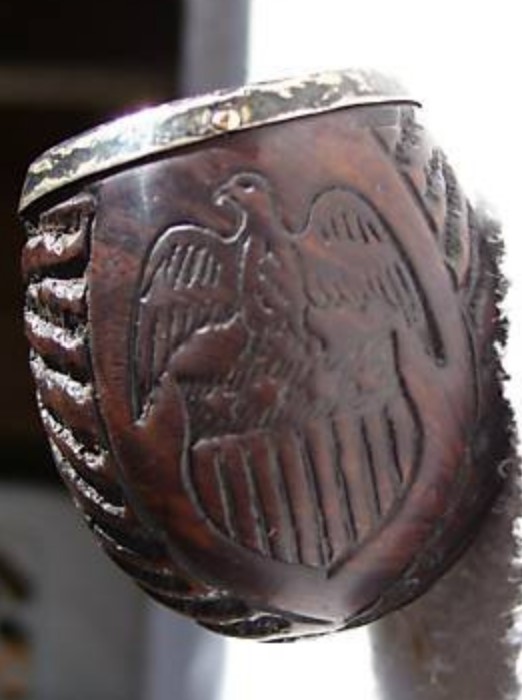
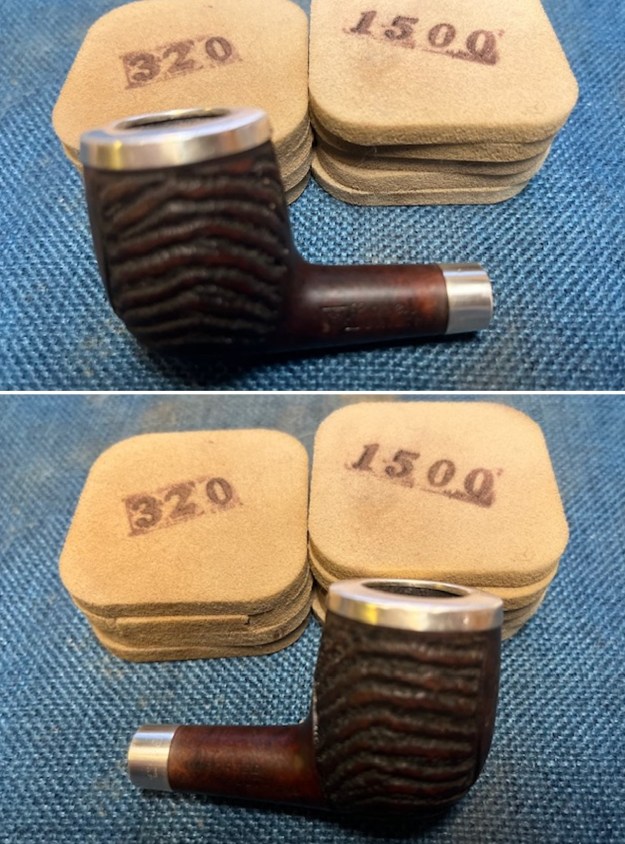
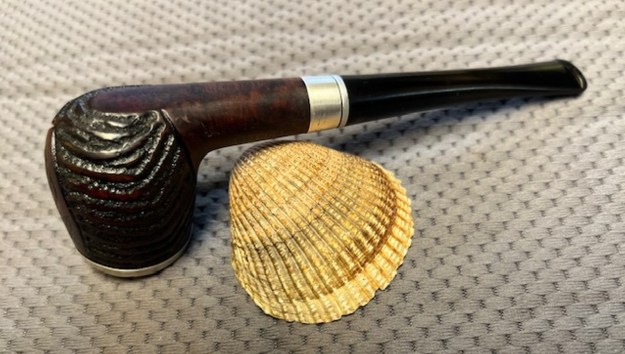
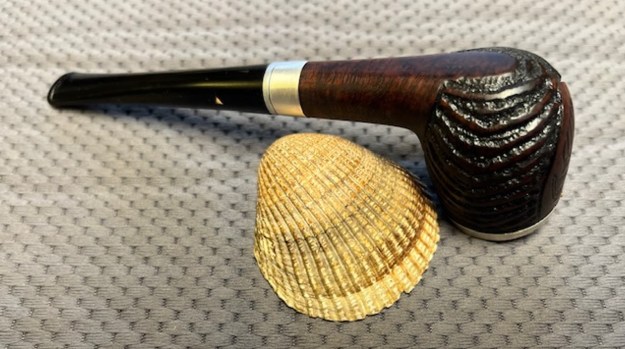
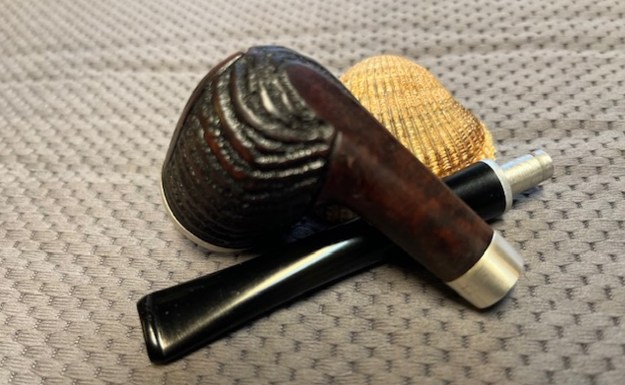
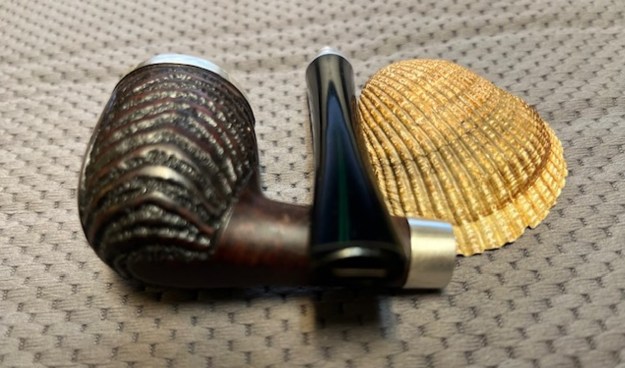
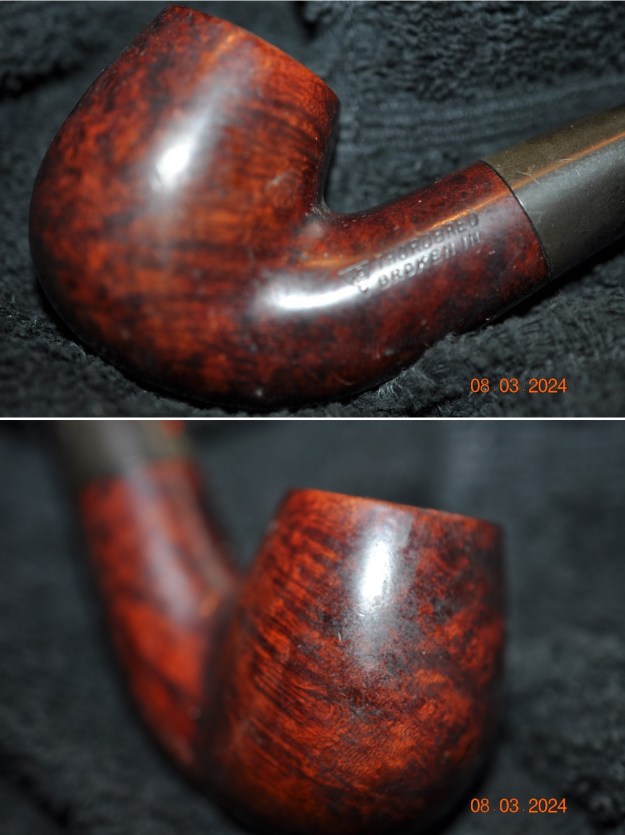
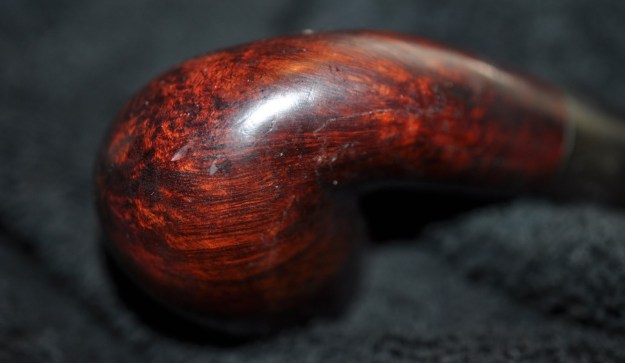
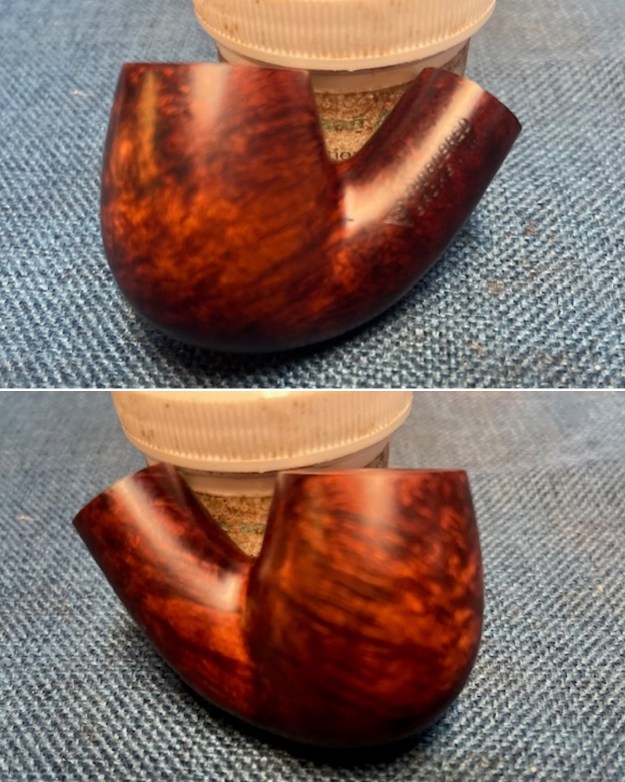
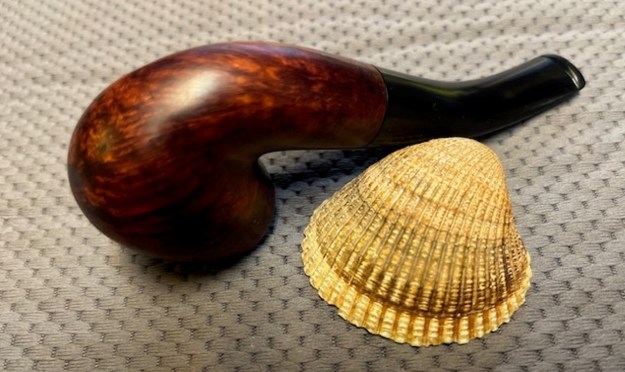
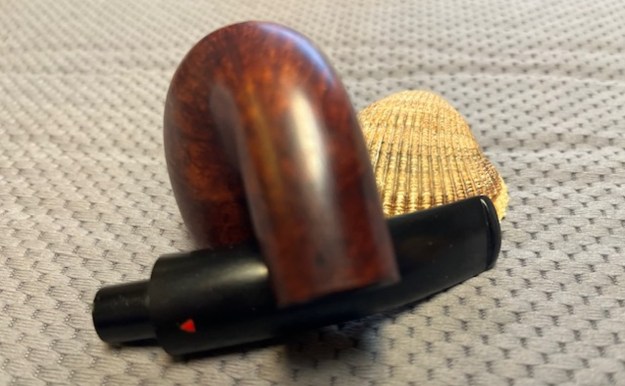
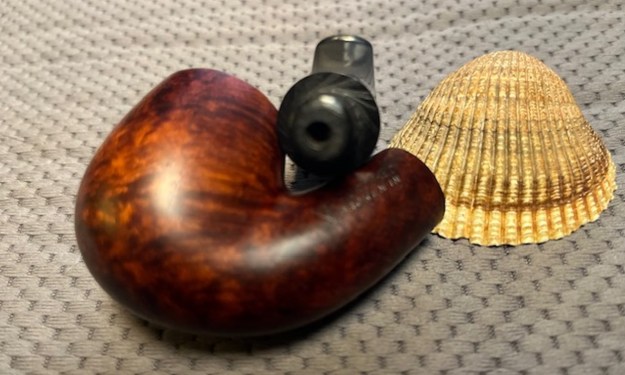
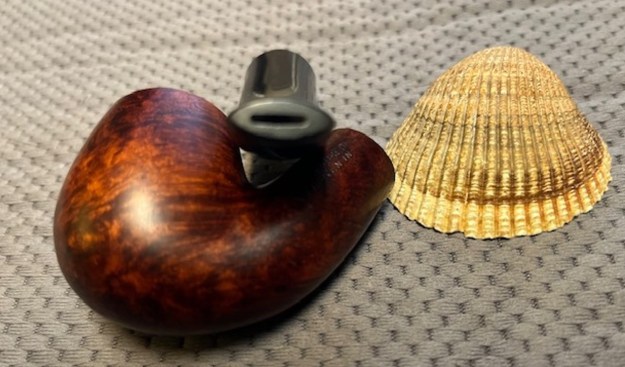
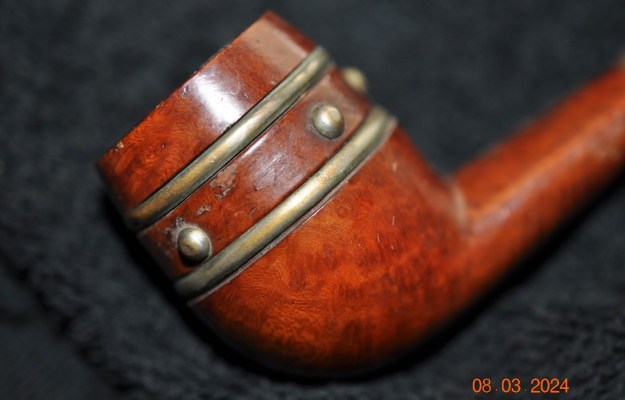
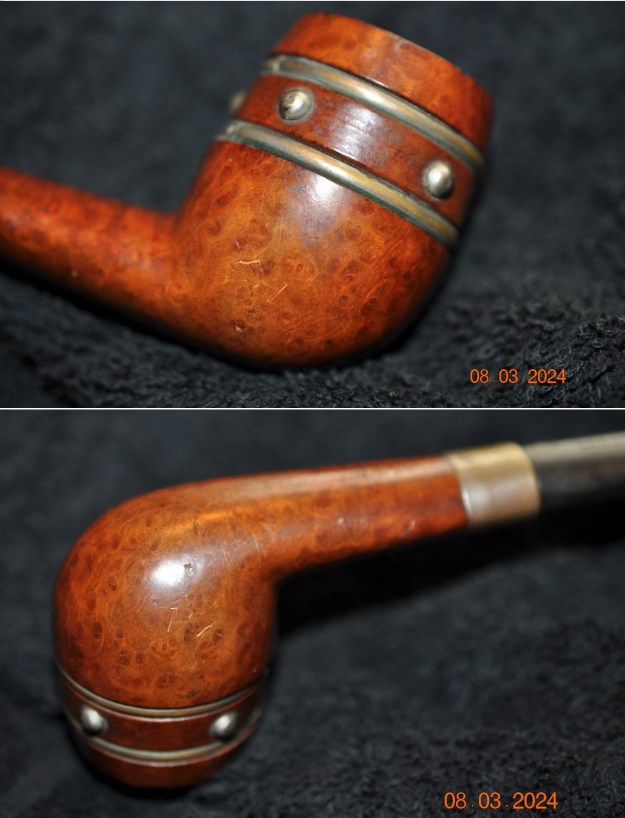
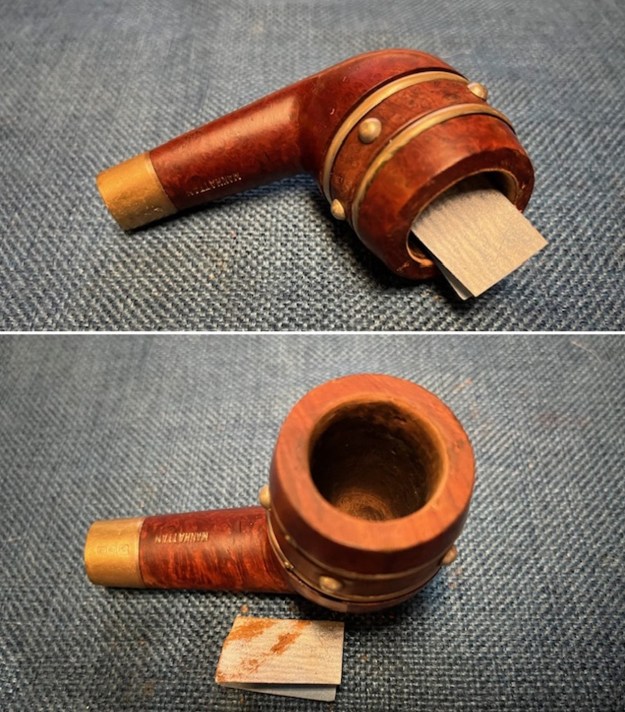
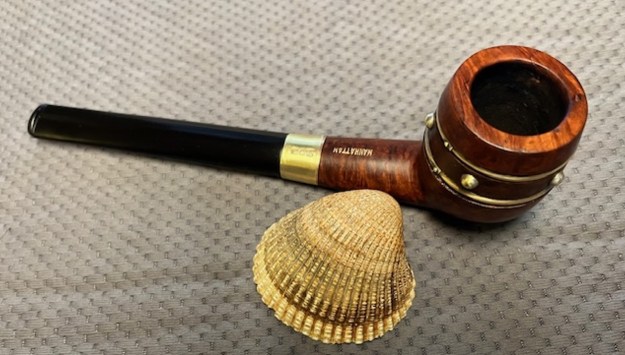
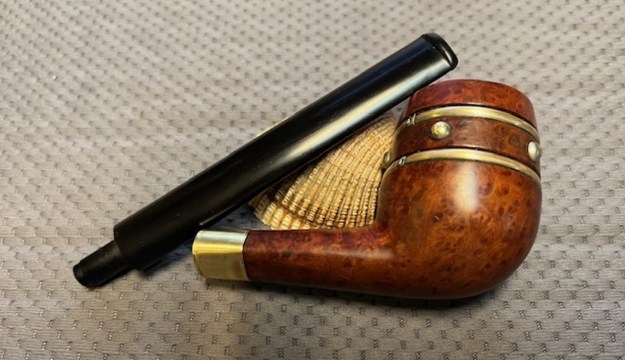
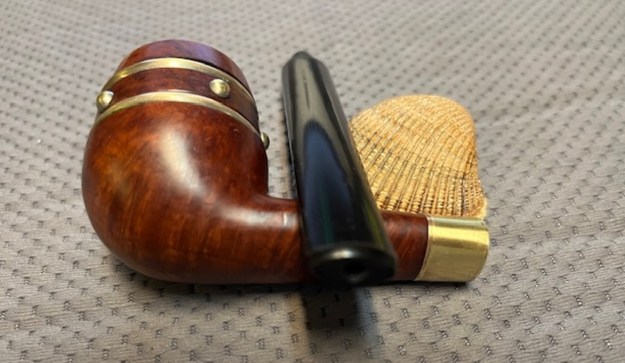
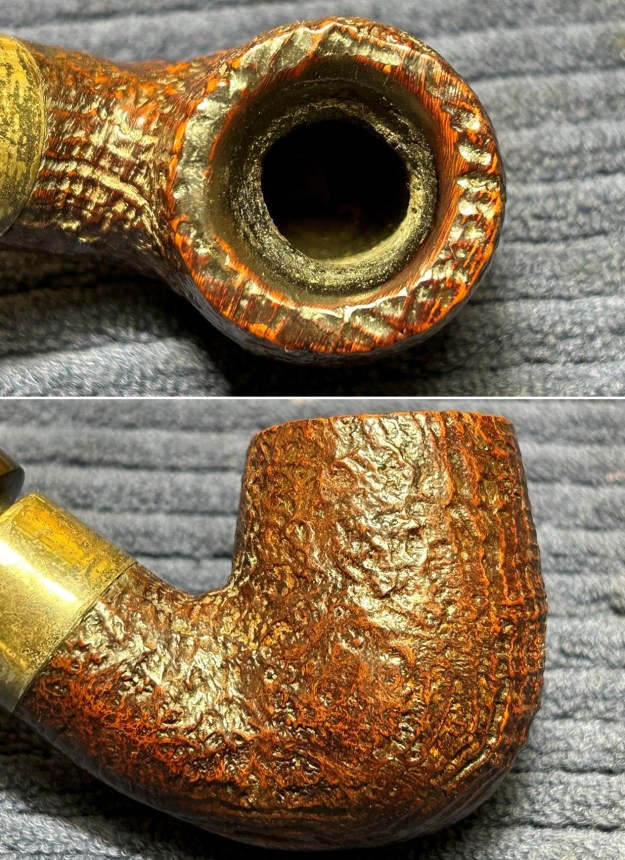
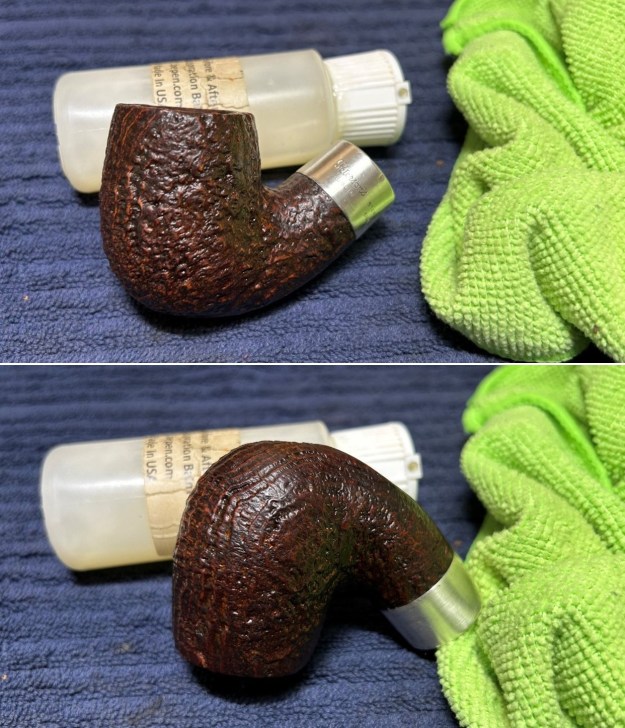
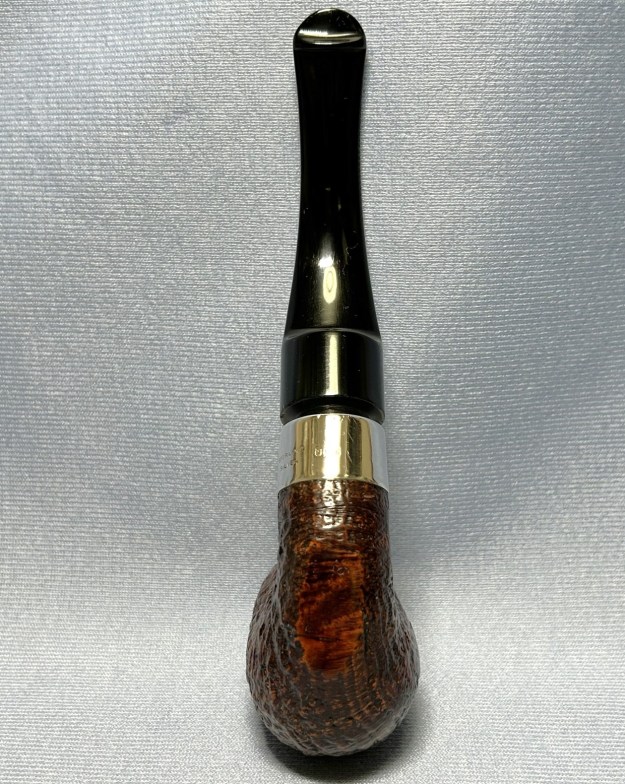
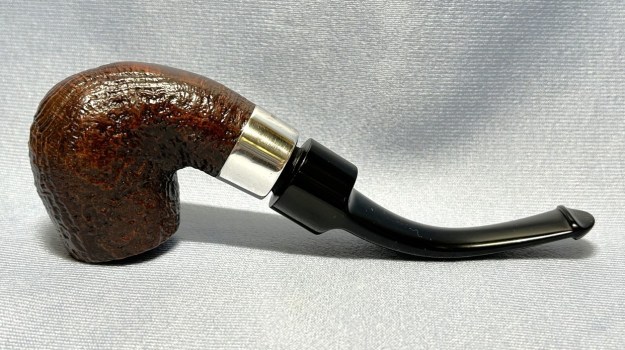
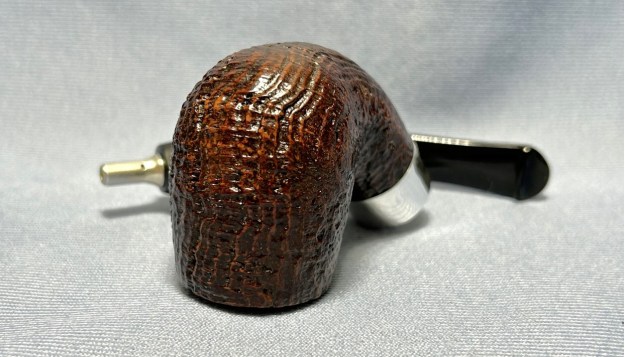
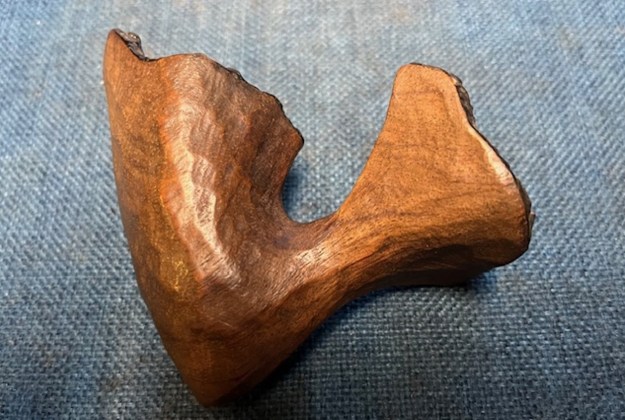
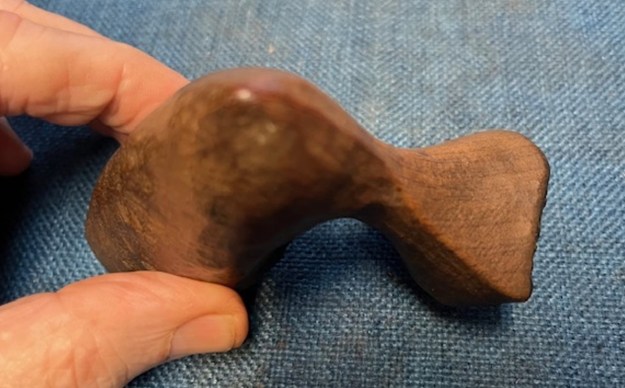
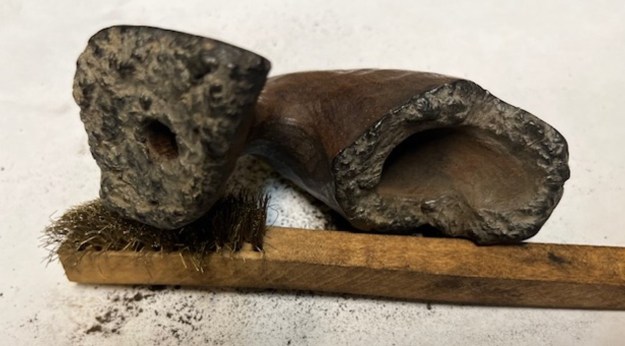
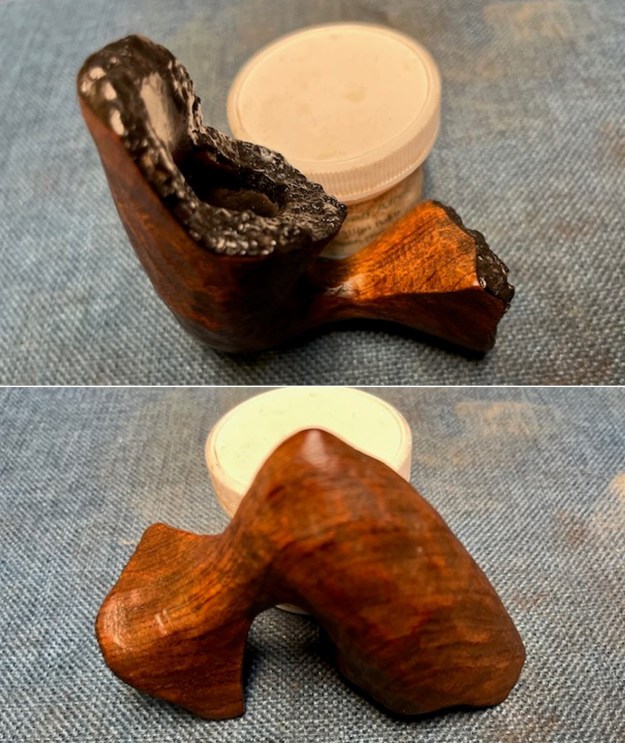
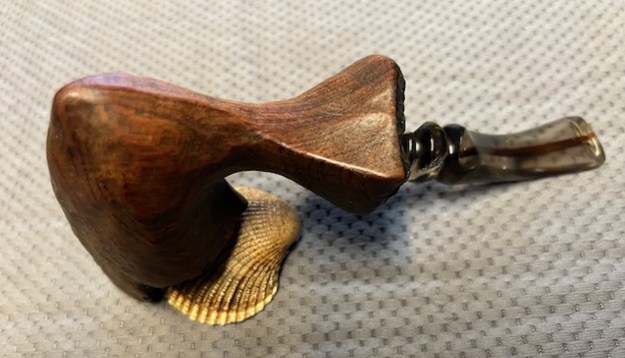
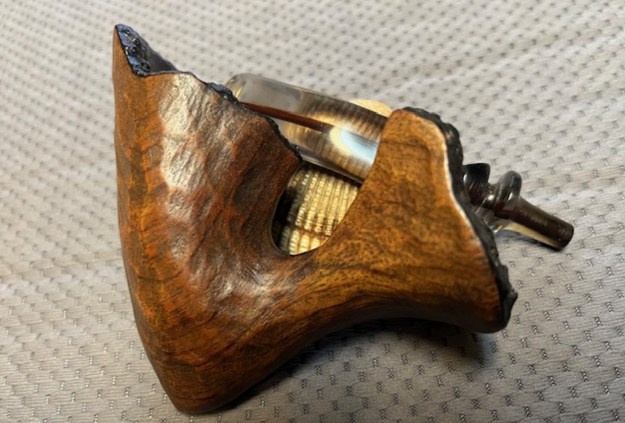
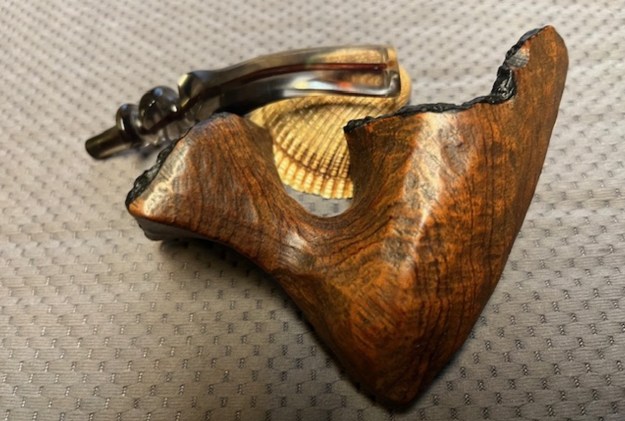
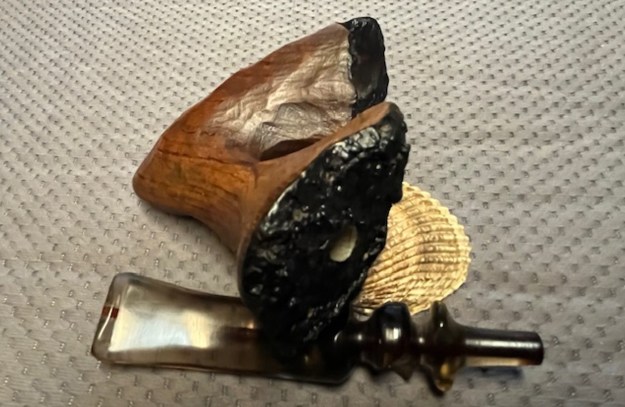
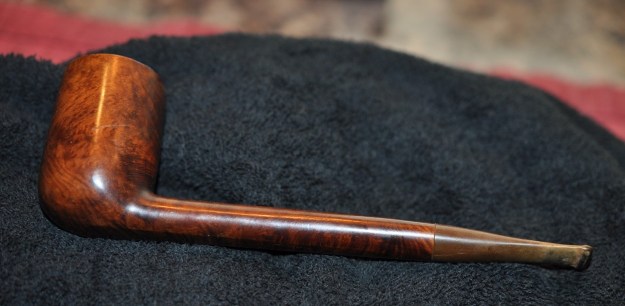
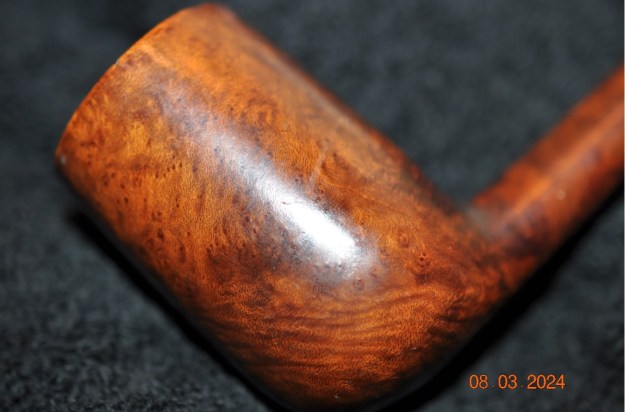
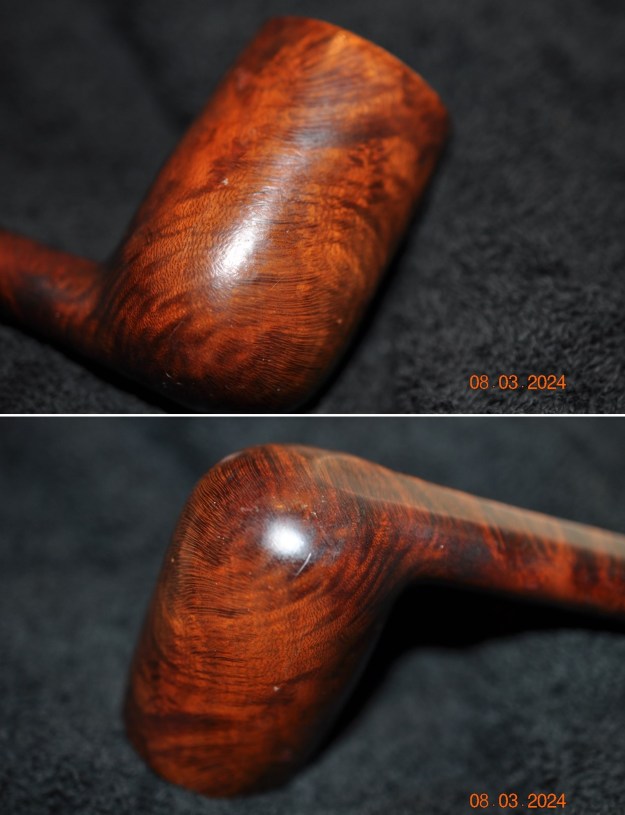
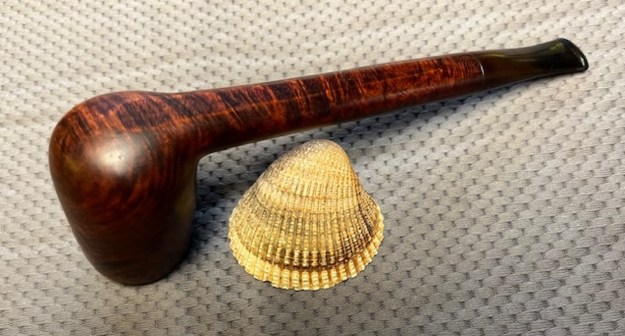
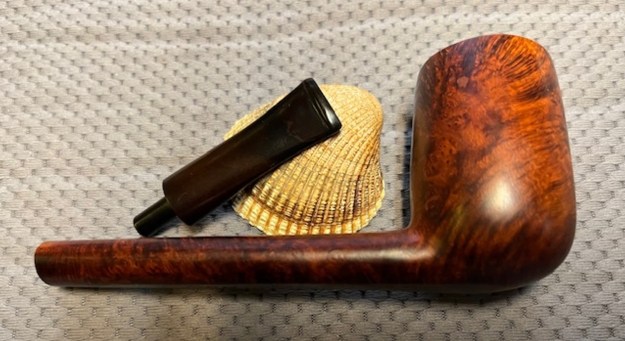
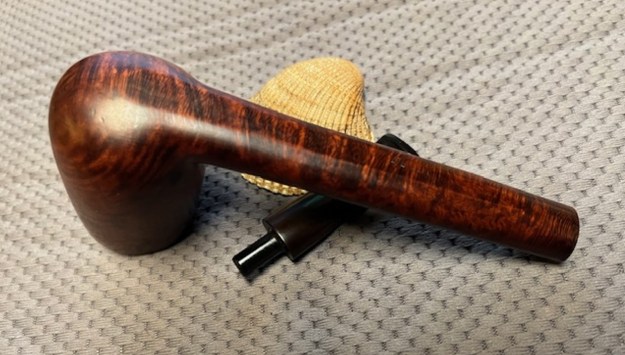
 Jeff took photos of the finish around the bowl sides to show carving and rustication around the bowl and the smooth shank. It is very unique looking. You can see the dust and debris in the finish.
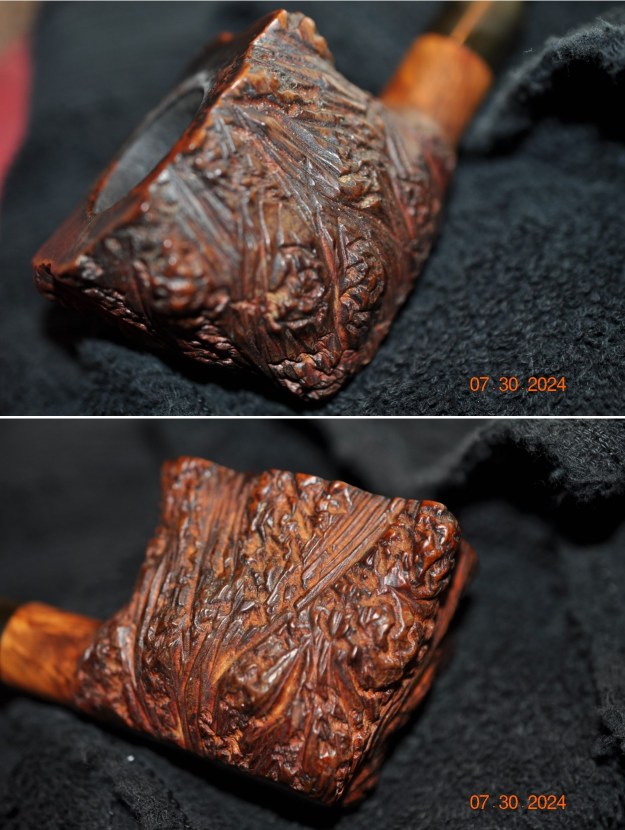
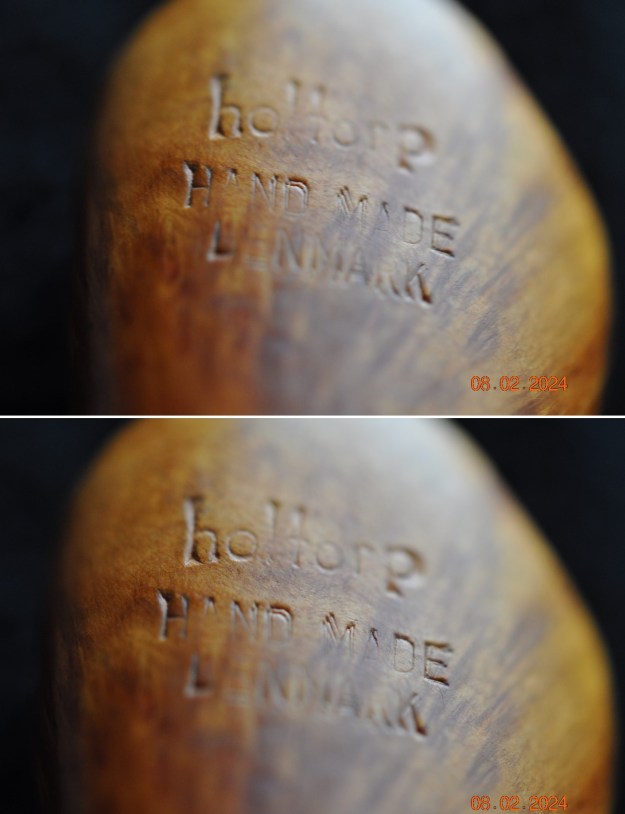
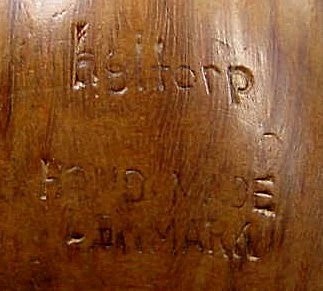
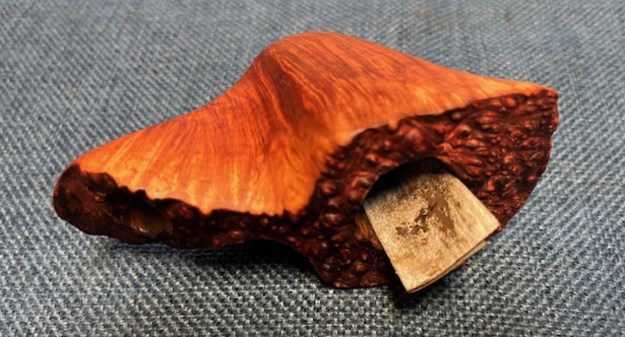
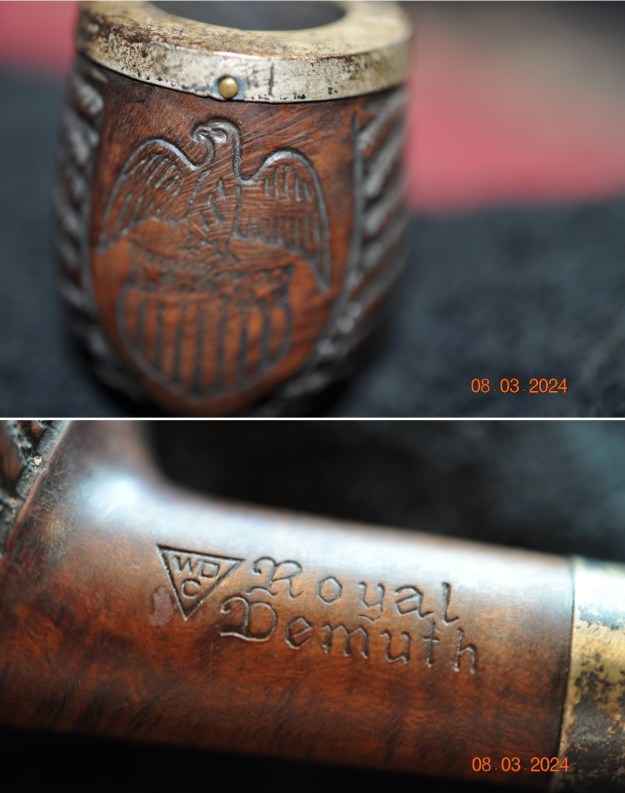
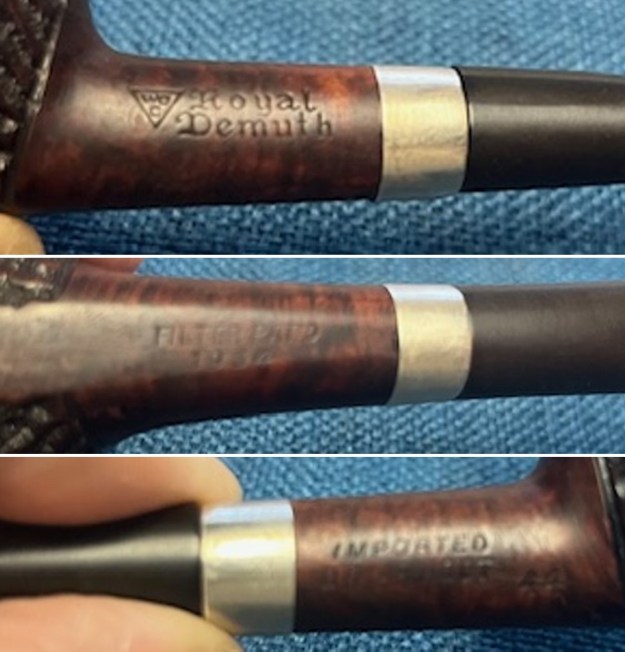
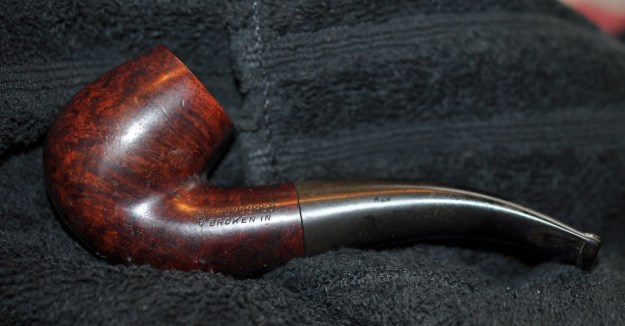
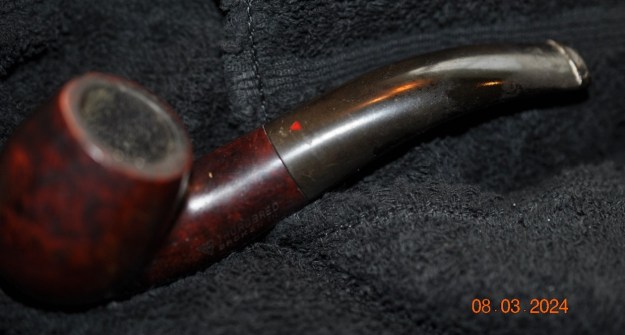
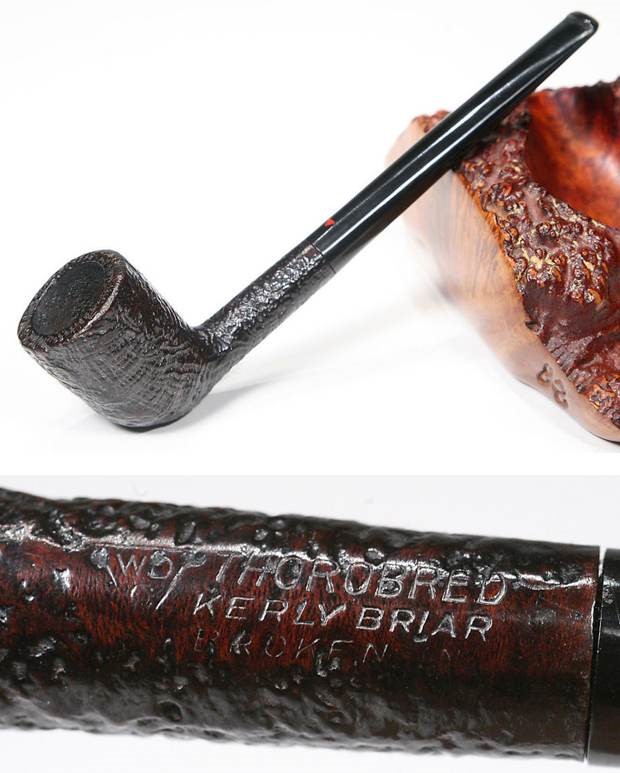
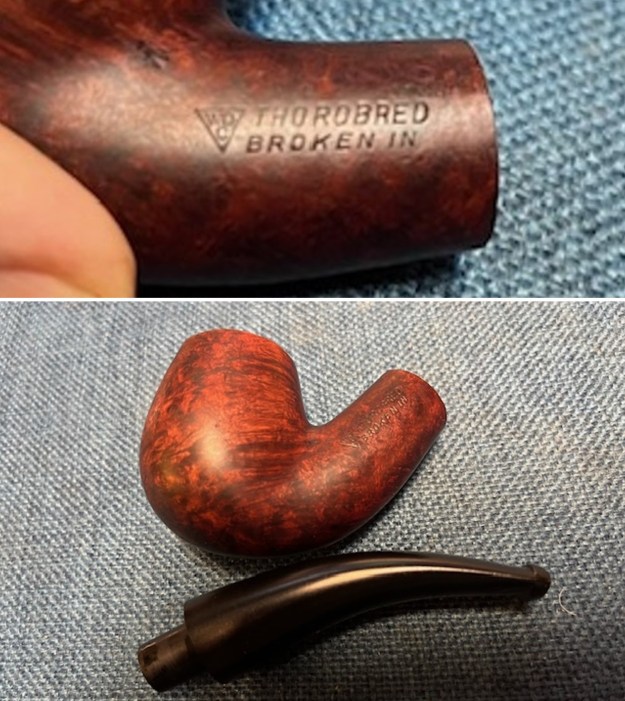
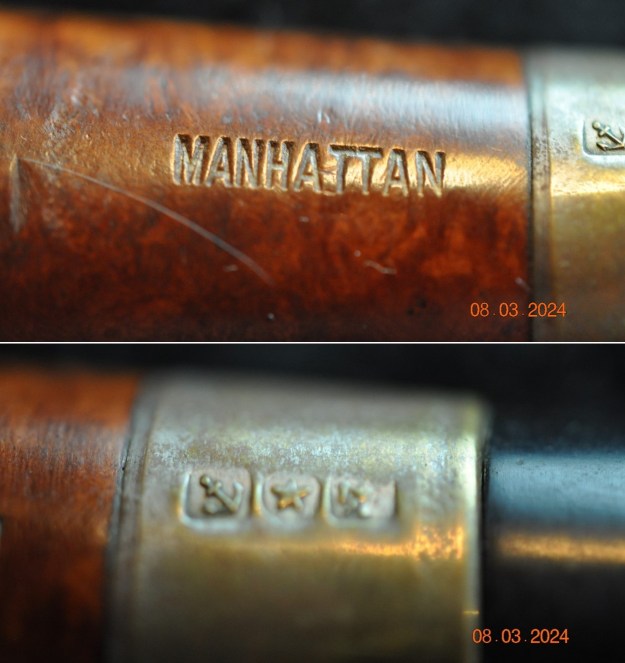
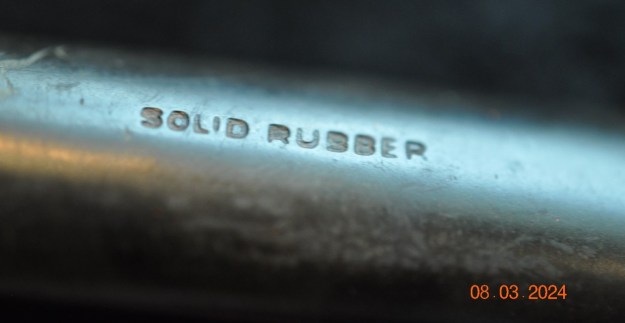
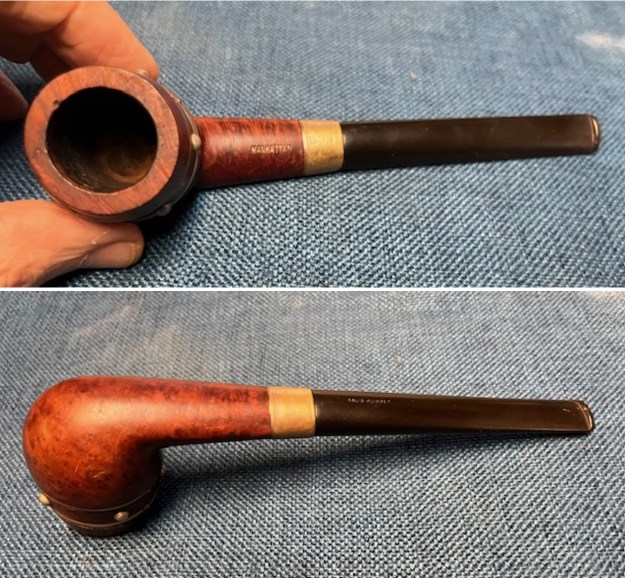
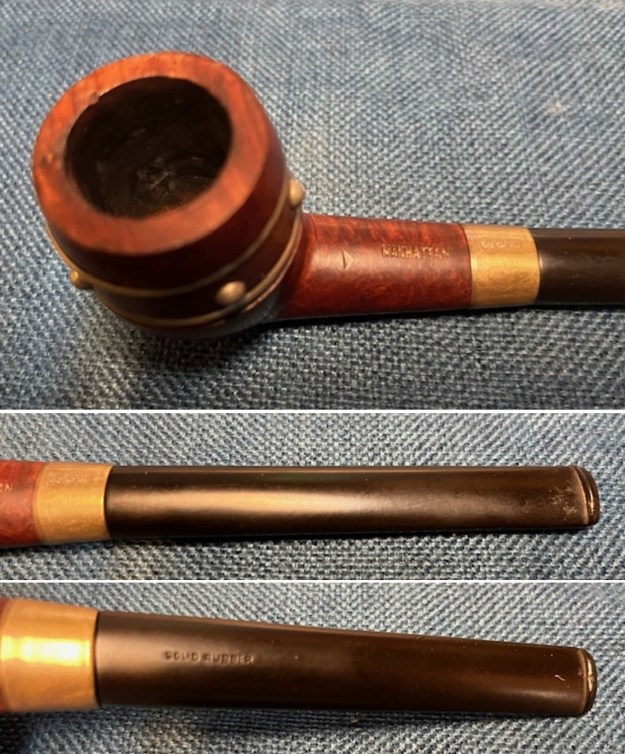
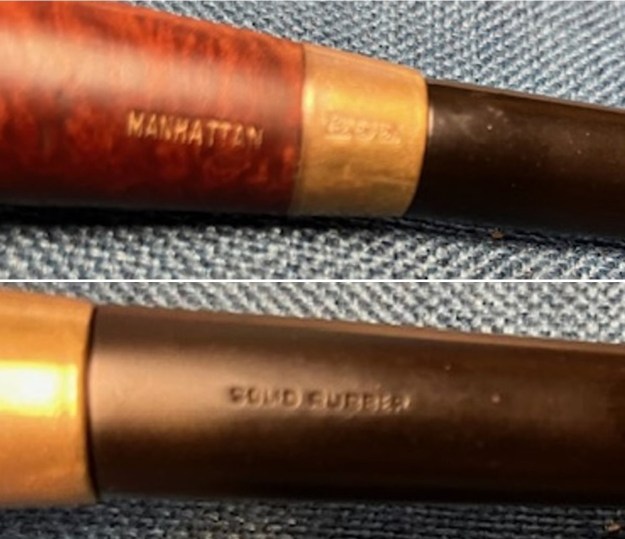
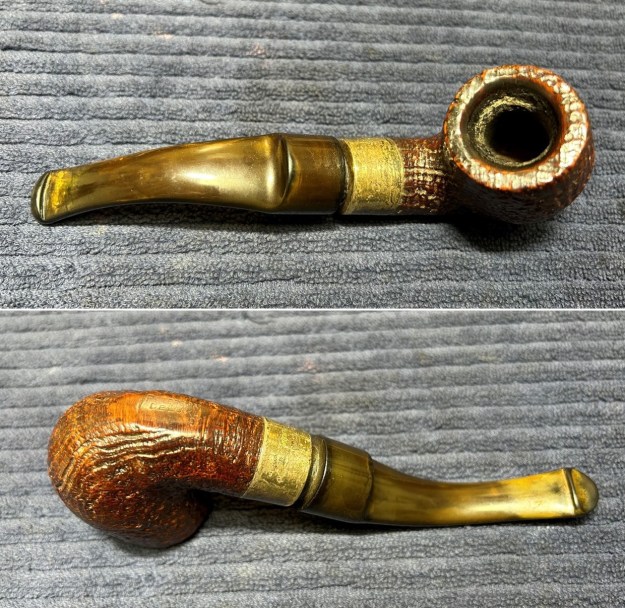
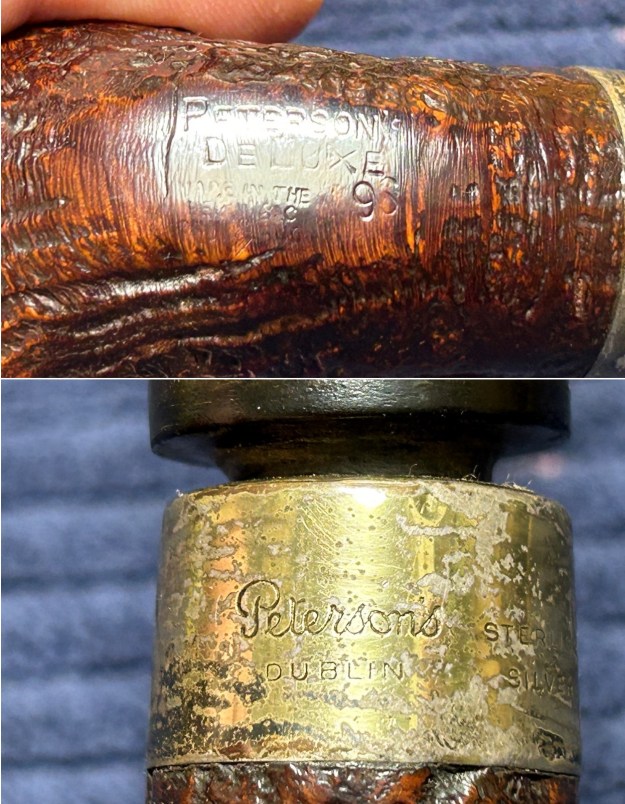
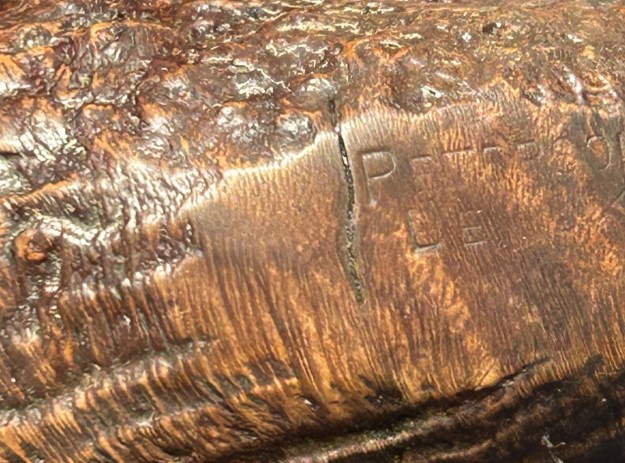
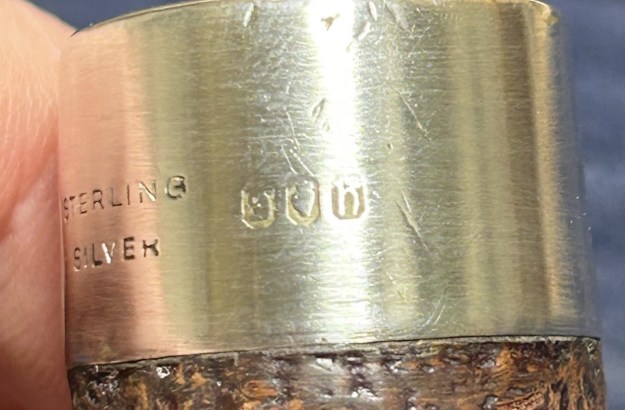
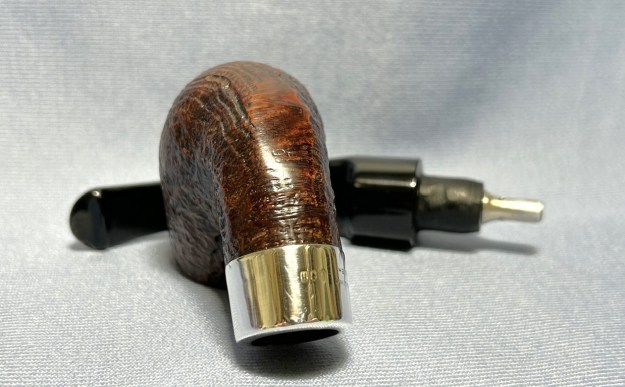
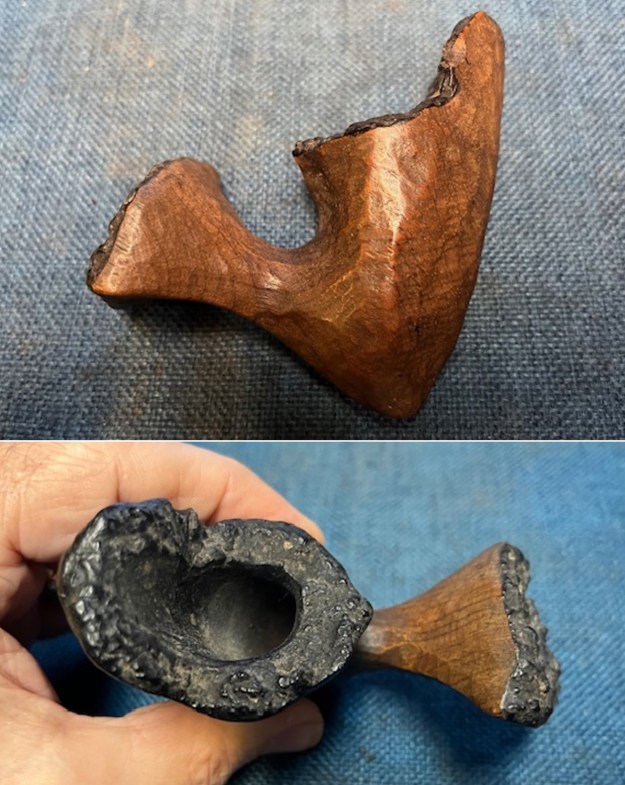
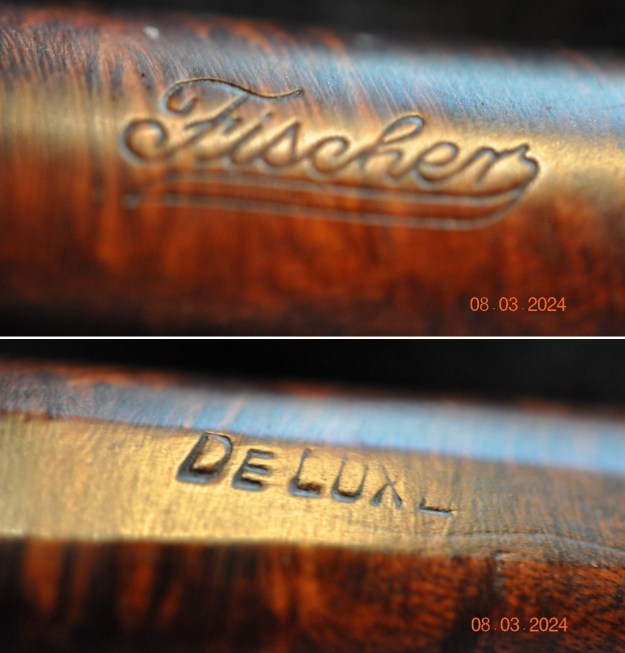
 Jeff took some photos of the stamping on the heel of the bowl to give a sense of the condition. It is faint but still readable with a light. It reads as noted above.
 I had never seen an Astley’s like this one before. It was a first for me and I took some time to examine it carefully then spent time online seeing what I could find out about the pipe. I turned to Pipephil’s site (http://www.pipephil.eu/logos/en/logo-a8.html) and found a picture of a similar pipe. It is labelled the “Rock Briar” line. To be honest that did not help me much. I think it was not quite right in its labelling so I saved the screen capture below and kept digging.
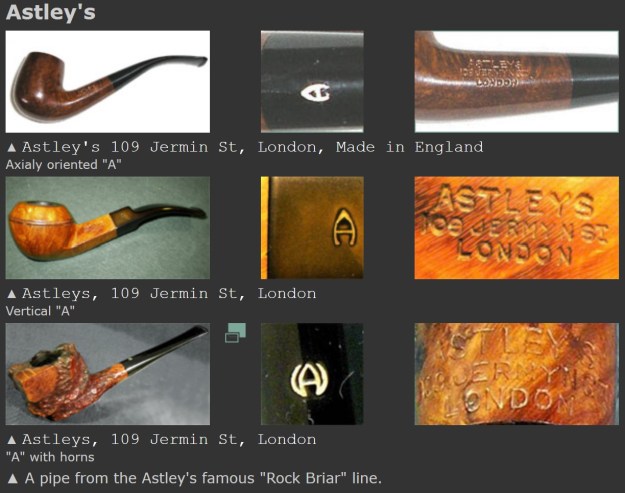 I turned next to Pipedia (https://pipedia.org/wiki/Astley’s) and found a great historic article about the shop and the brand. There was nothing specifically listed about what Pipephil call the Rock Briar line.
Astley’s was both a brand and name of a famous London tobacconist. The first shop was founded in 1862 and was located at 109 Jermyn Street, just down the road from the Charatan’s shop. They sold meerschaum pipes and later classic pipe shaped briar pipes. The owner of this shop was Mr. Paul Bentley whose family owned and ran the shop since the 1930’s. The shop closed some time ago, and the name of the brand was bought by Mordechai (Moty) Ezrati, who also owns the James Upshall pipe brand.
Astley’s served as an extremely exclusive and renowned shopping outlet for outstanding pipes for the British royalty and London gentry alike. Visitors to London sought out this shop as a ‘must visit’ during their stay. Although they never made their own pipes, the Astley branded pipe was made on contract by Charatan (until the 1980’s), James Upshall, Dunhill, L&JS, and Bill Taylor of Ashton pipes. Some sources (The Piperack for instance) say that Comoy’s and GBD had also made pipes for Astley’s. The shop always commanded extremely high prices for their much sought after specimens.
After Charatan had changed hands and was sold to Herman Lane Limited in the United States, Astley’s continued with their high grade pipe sales by presenting some of the best examples of British pipe manufacturing to pipe connoisseurs around the world.
Stamping: Astley’s, 109 Jermyn St, London (before, Wm Astley & Company, 109 Jermyn St S.W. London). Symbol: Styled white ‘A’.
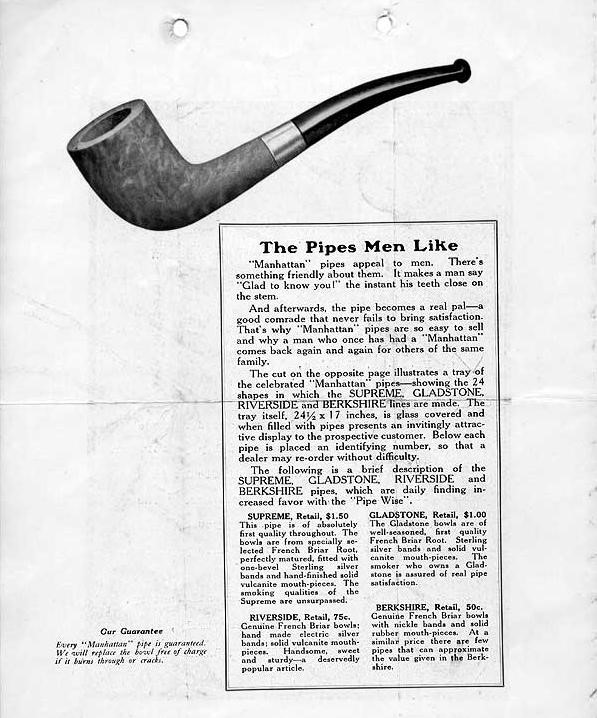
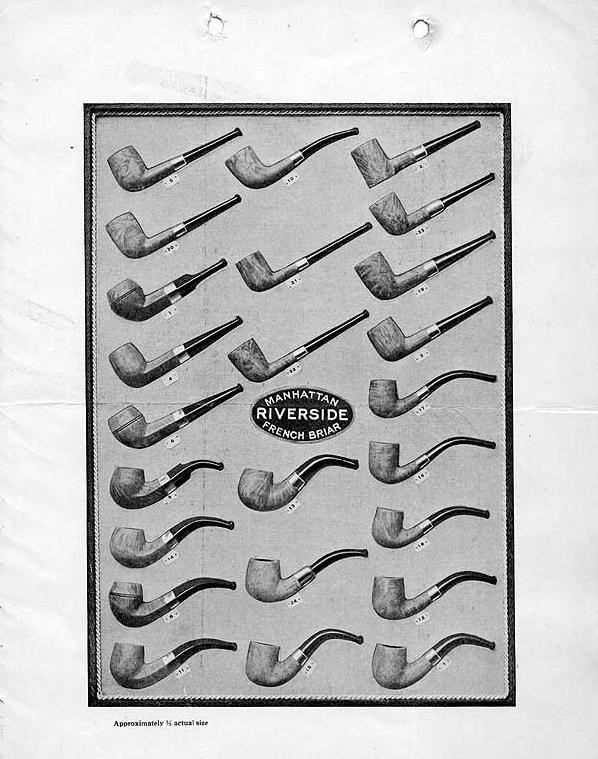
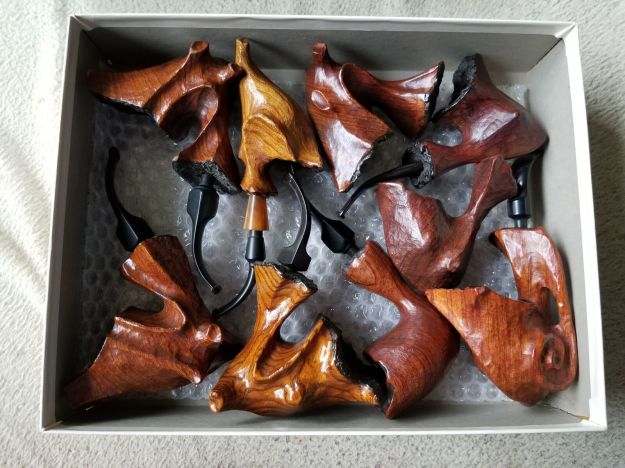
One helpful link sent me to an Astley’s Catalogue I have on rebornpipes. I also have a hard copy here but somehow forgot about it (https://rebornpipes.com/2012/08/10/astleys-pipe-catalogue/). I flipped through the catalogue a page at a time hoping to find a listing of some sort for the “Rock Briar” line that Pipephil noted. Instead I found an almost identical pipe called an Astley’s Root Briar. It was described as follows:
These pipes are made of actual Roots of Briar and are not only unique in shape but can be relied upon to give a cool smoke. Each pipe is flattened underneath to rest upright on almost any surface. Only Astley’s can supply these.
I have included a copy of the page below showing the pipe and the Root Briar Line.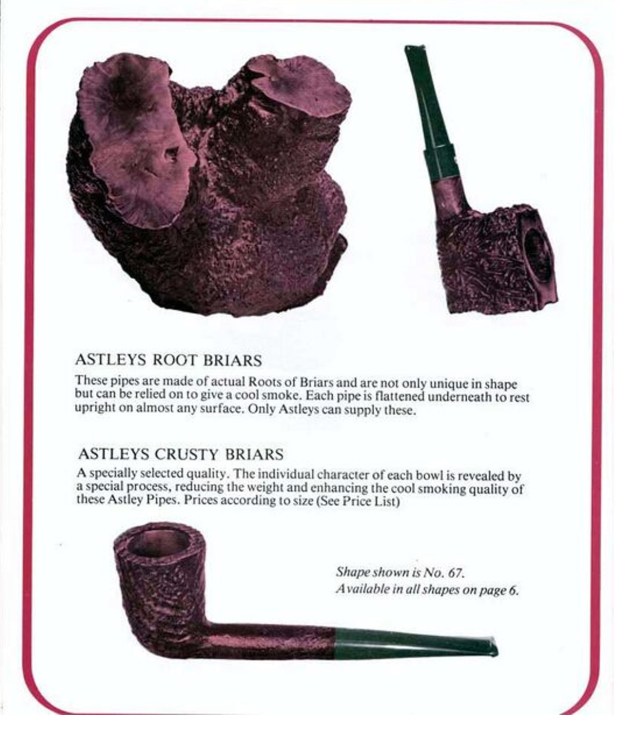 Now I knew what I was working on. It is the first of these I have seen. I don’t know if they are rare but it is a first for me. I knew it was Root Briar Sitter that was uniquely carved and very individual in both its shape and look. Now it was time to work on it.
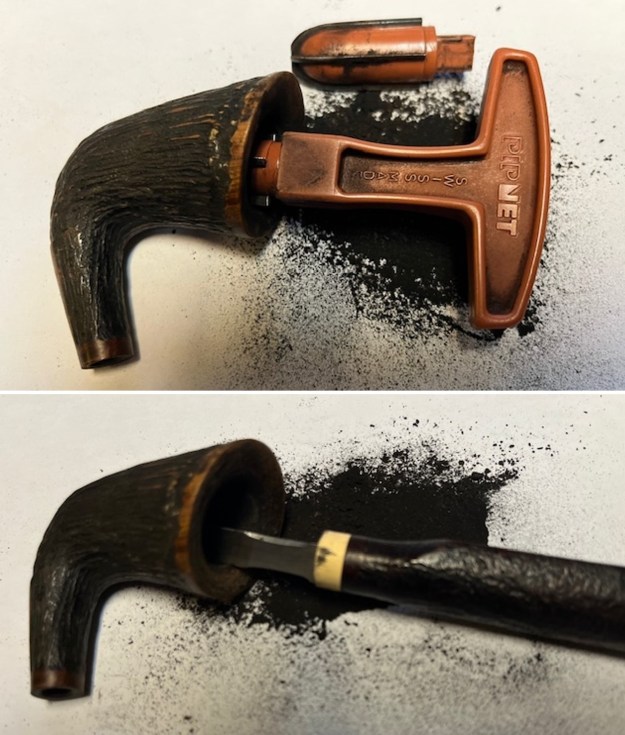
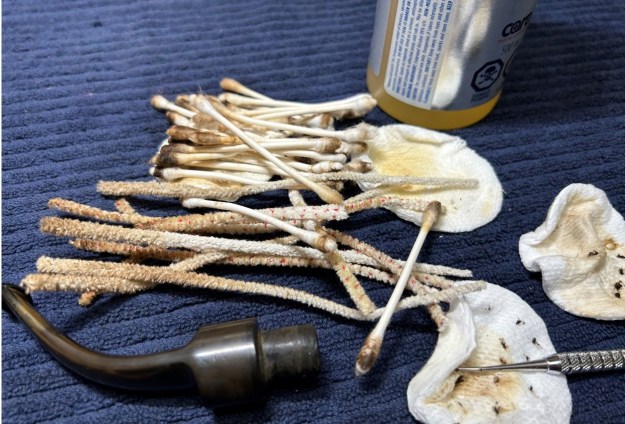
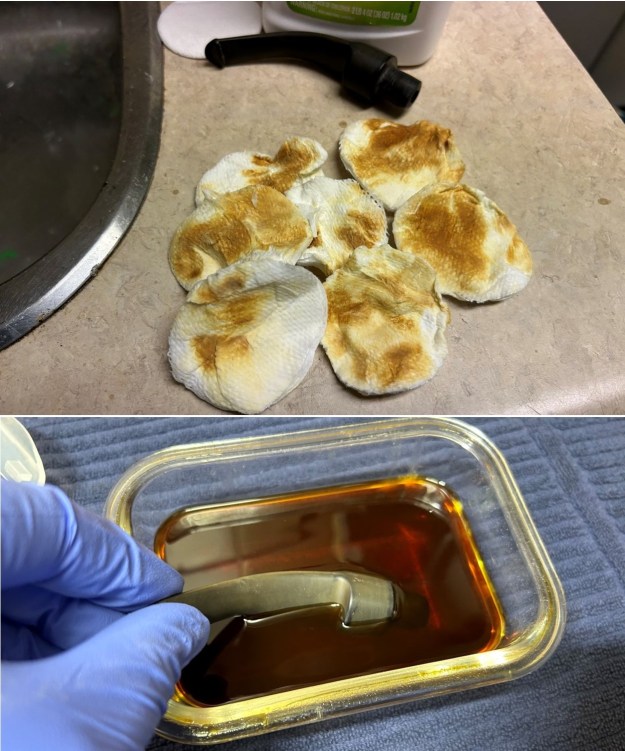
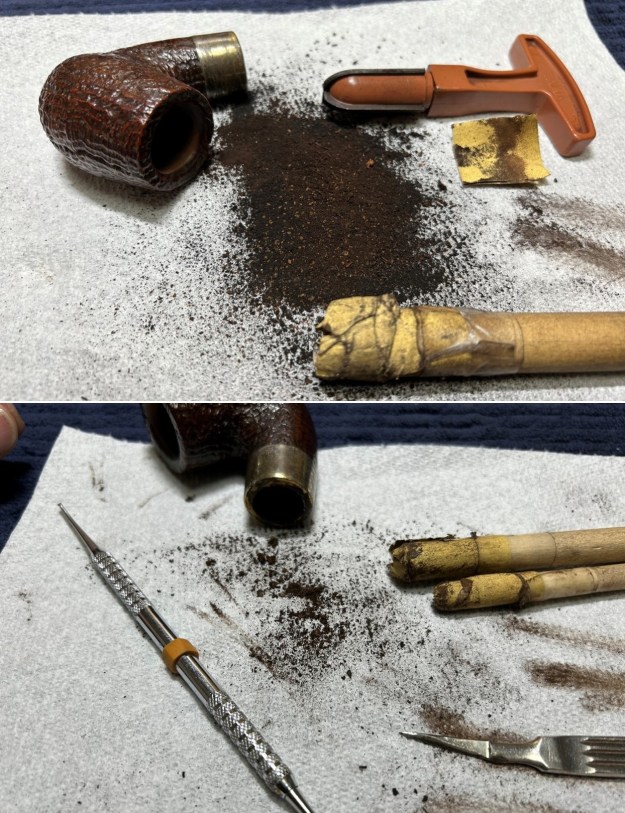
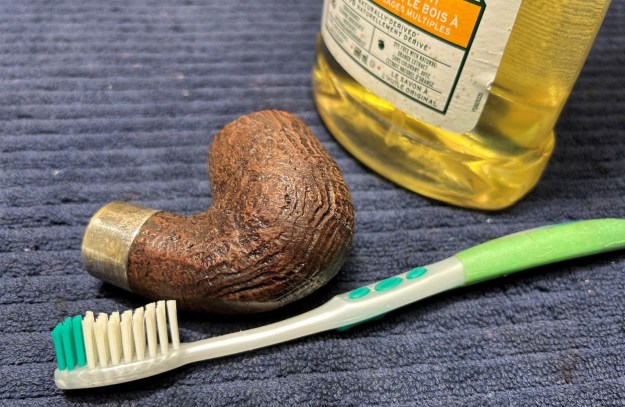
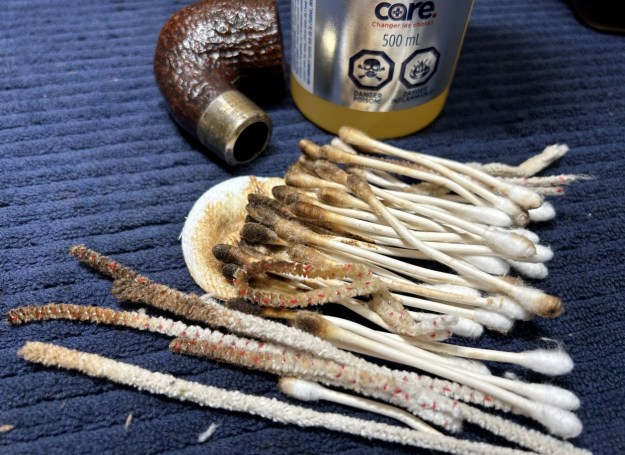
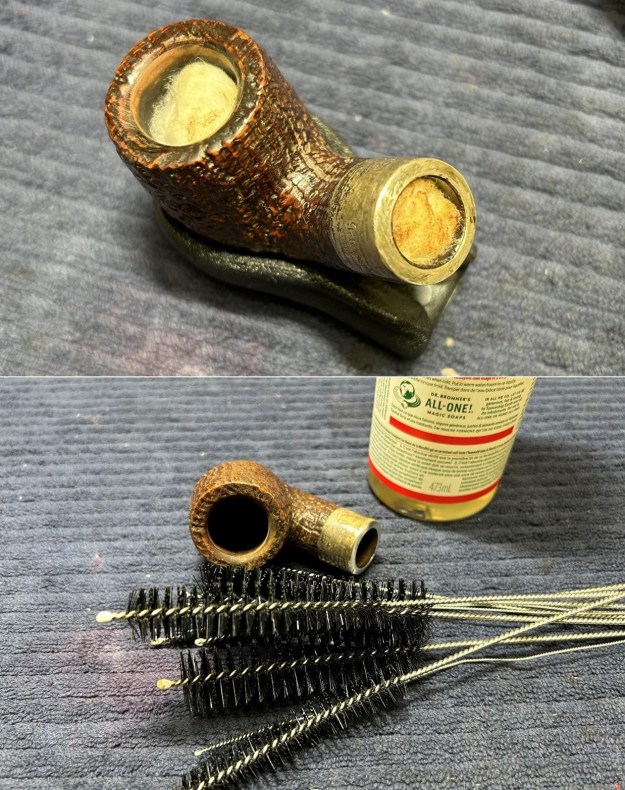
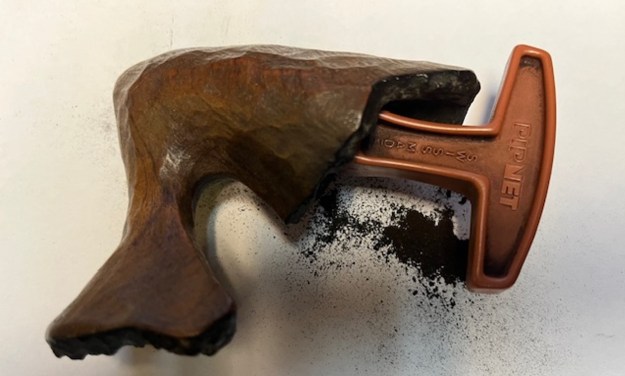
Jeff had done an amazing cleanup of the pipe. He reamed the cake with a PipNet reamer and cleaned up that with a Savinelli Fitsall Pipe Knife. He scrubbed the internals of the bowl and stem with alcohol, cotton swabs and pipe cleaners. He scrubbed the externals with undiluted Murphy’s Oil Soap and rinsed the bowl off with running water. He soaked the stem in Briarville’s Pipe stem Deoxidizer and once it had soaked rinsed it off with warm water to remove the residual solution. He dried it off and rubbed it down to remove any oxidation that was still on the stem. The pipe looked very good when I received it.
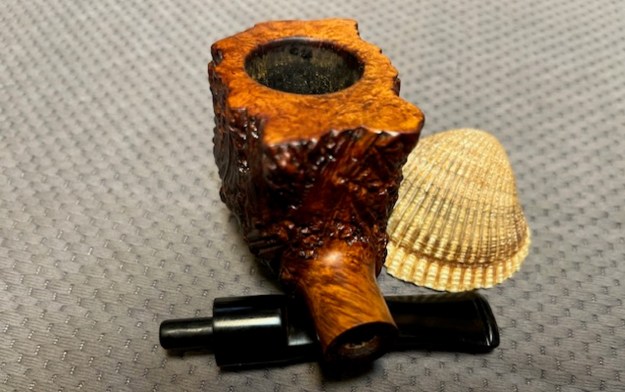
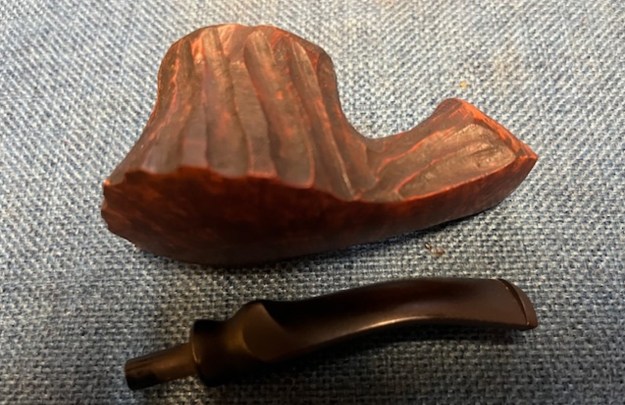
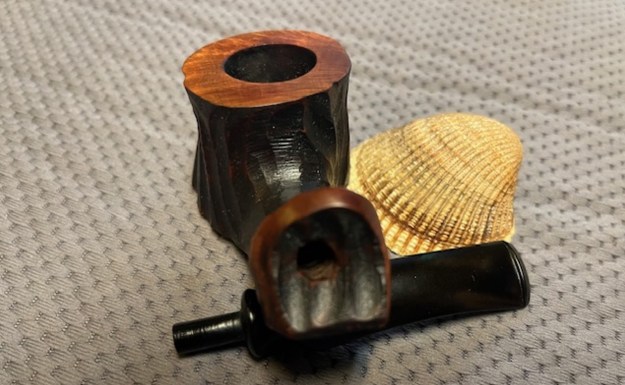
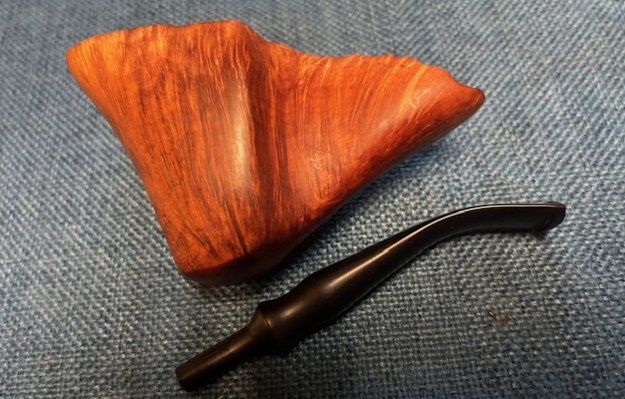
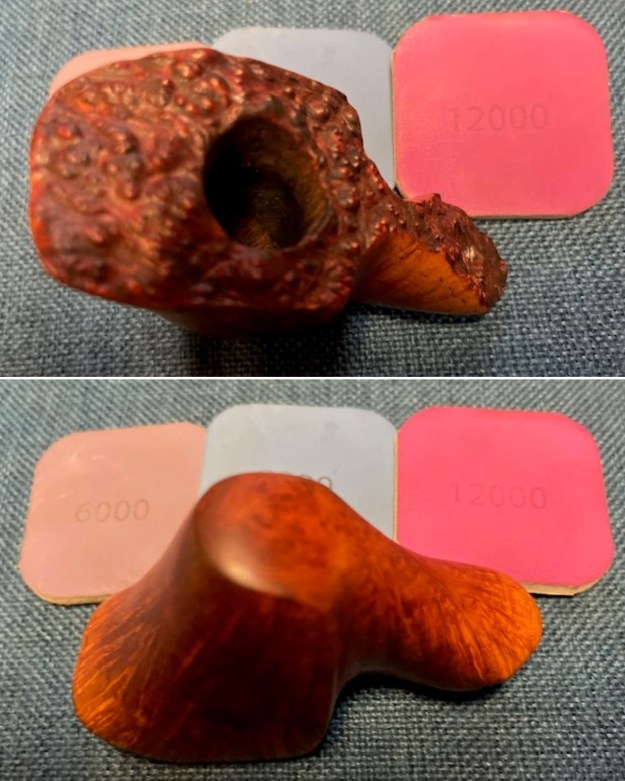
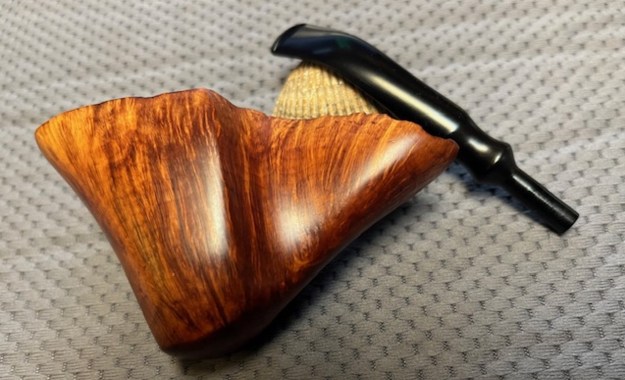
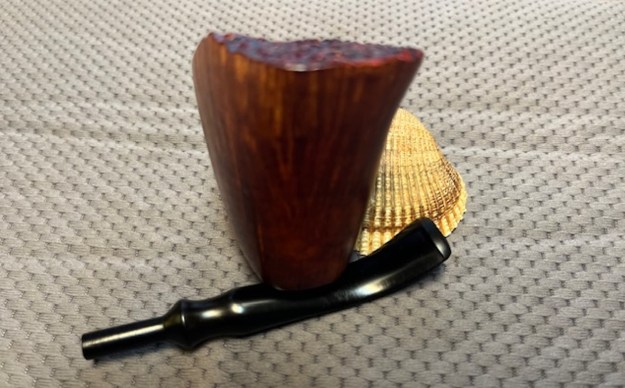
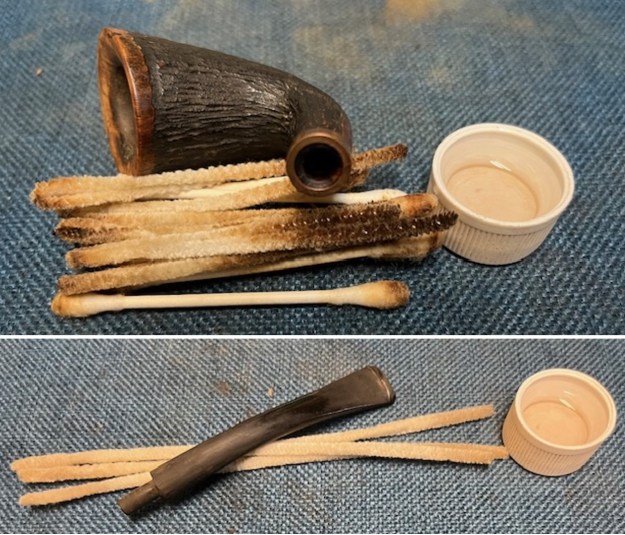
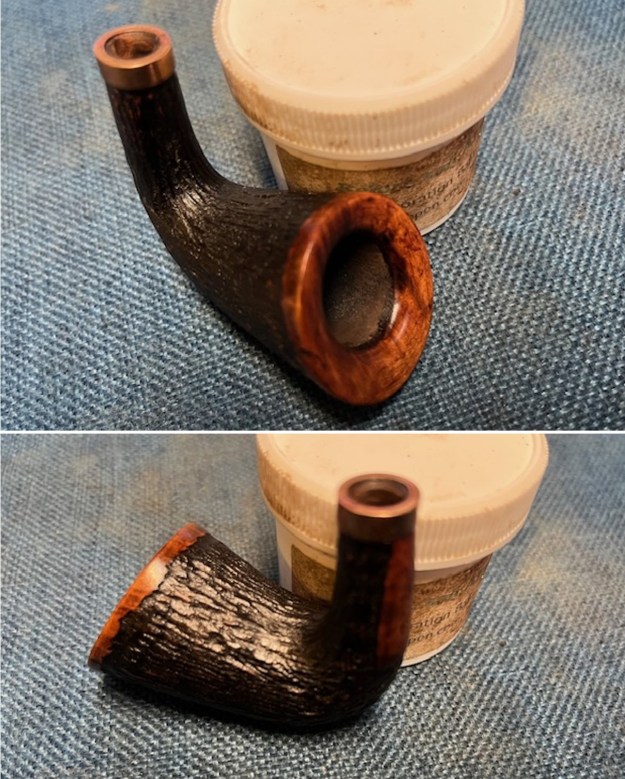
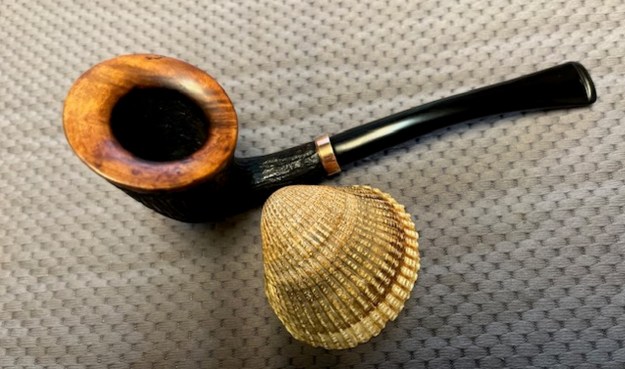
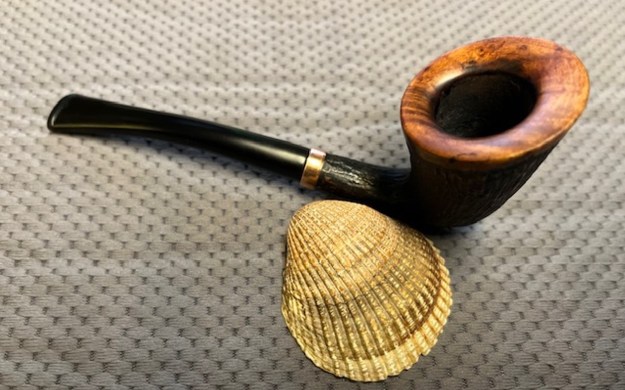
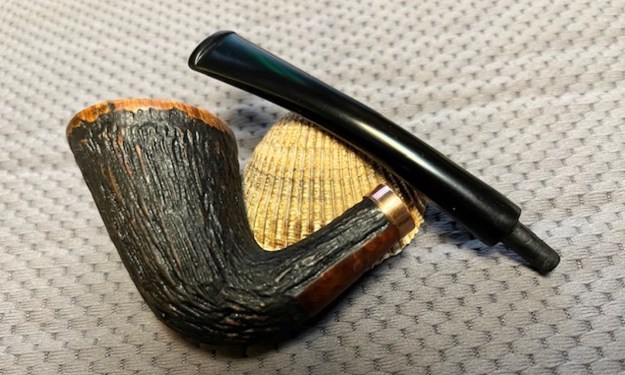
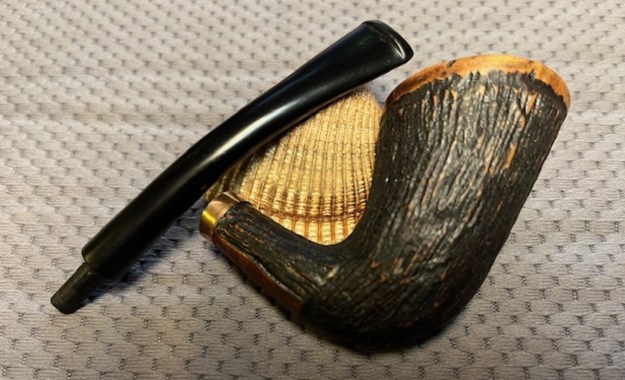
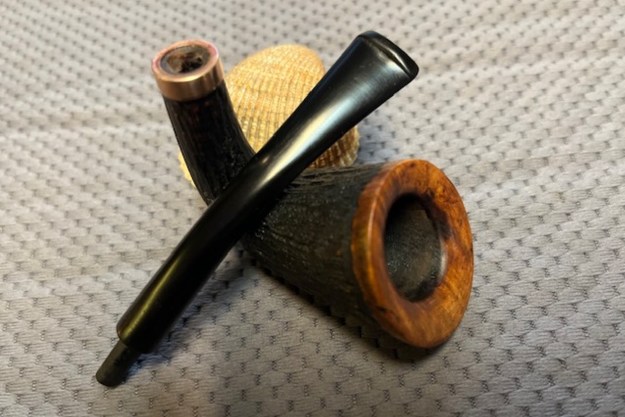
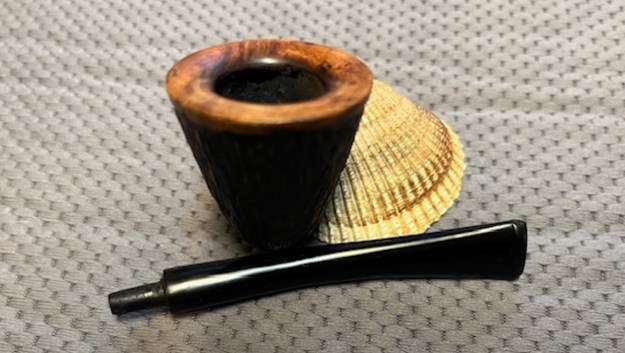
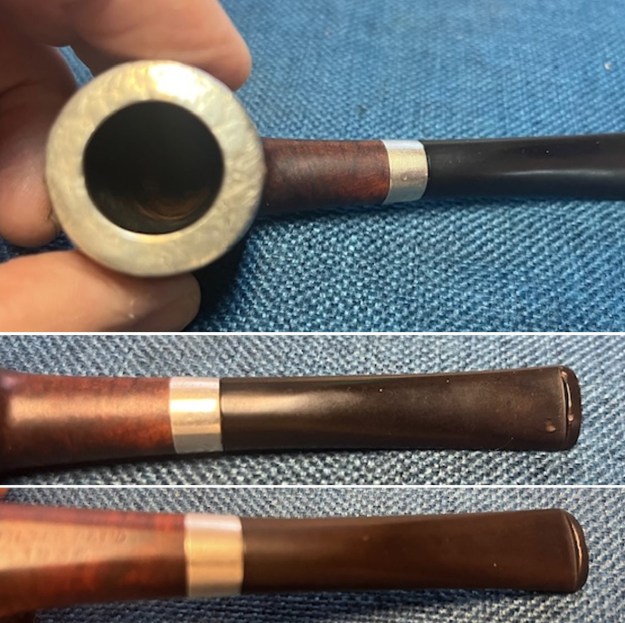
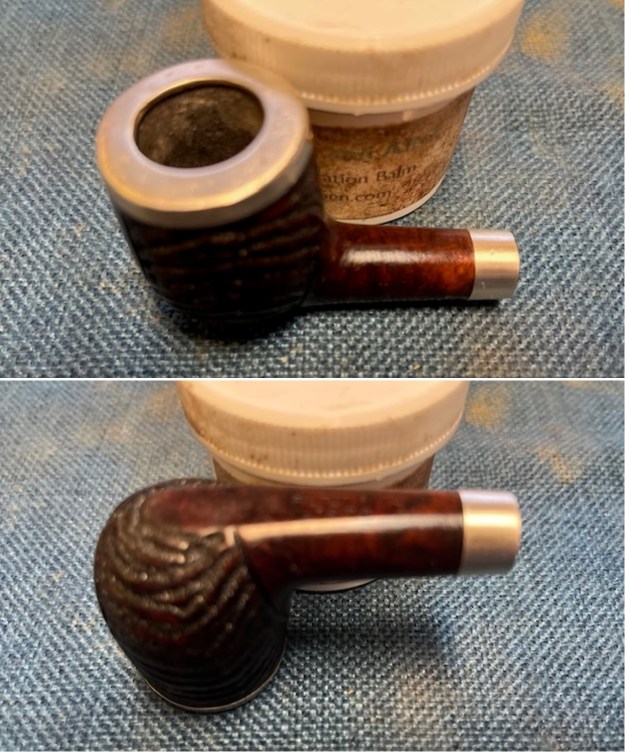
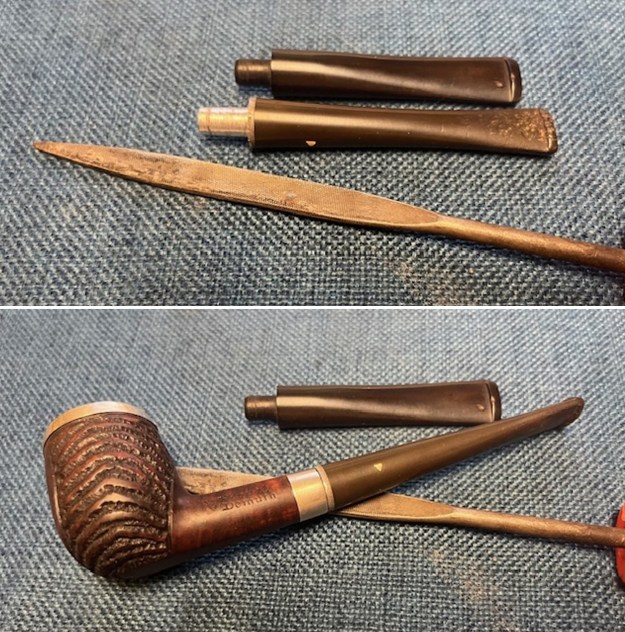
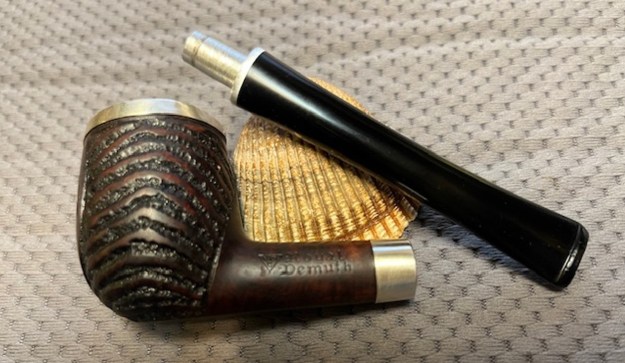
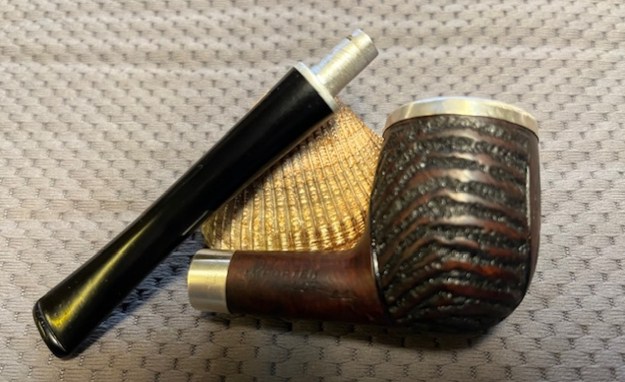
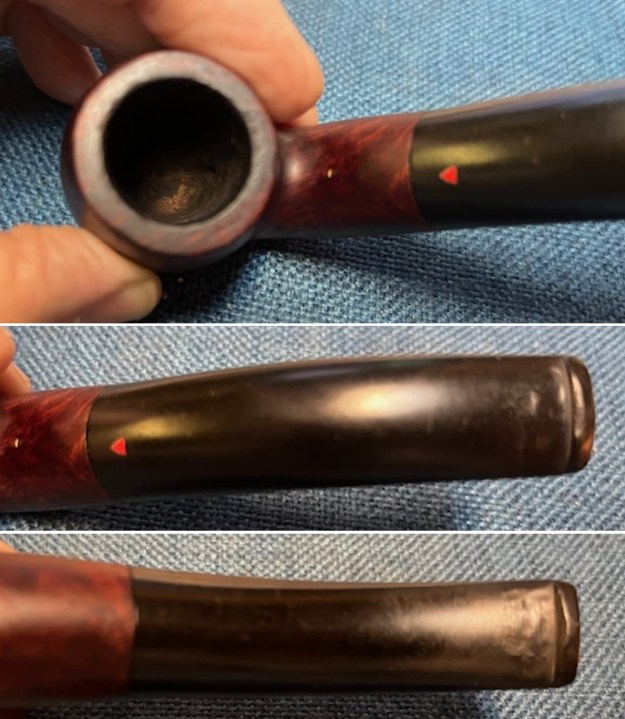
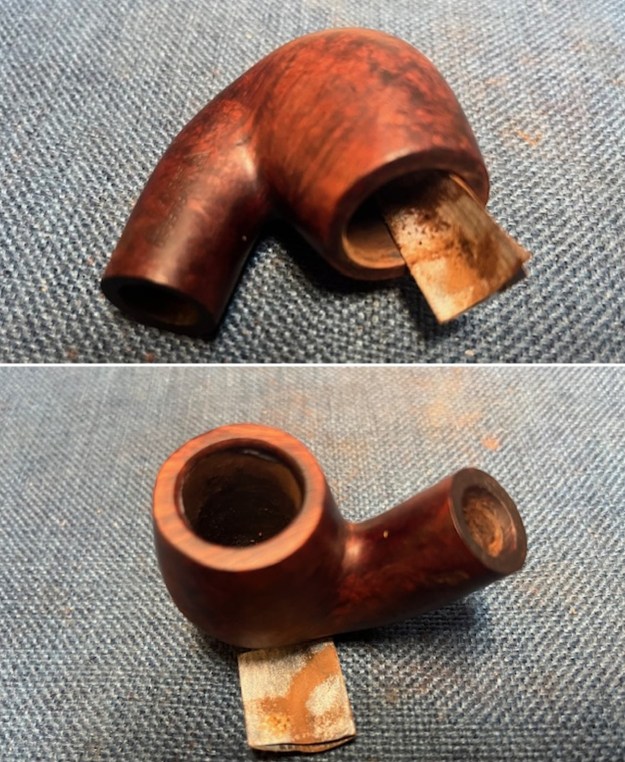
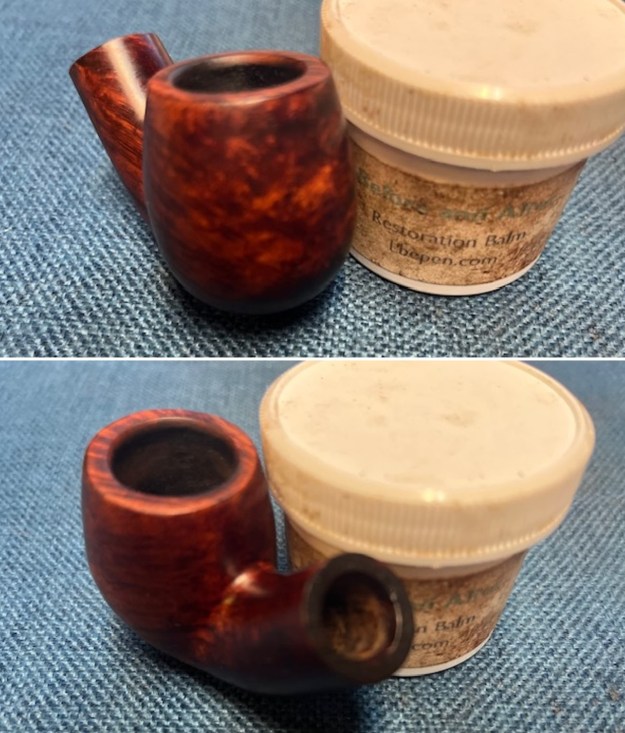
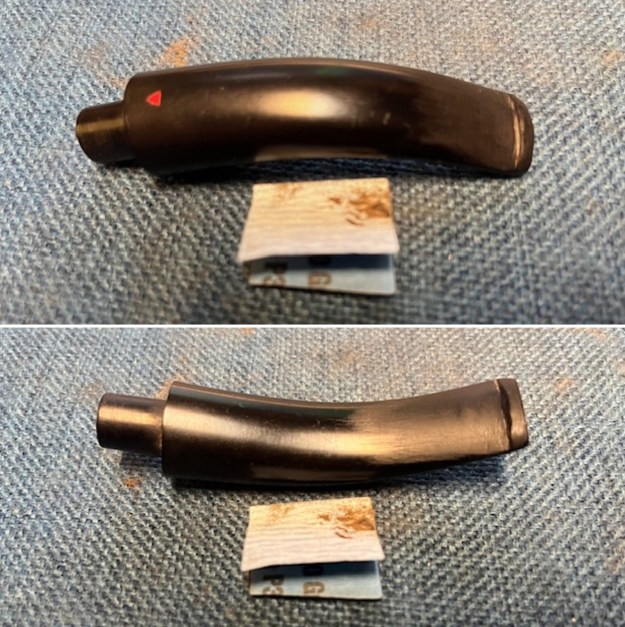
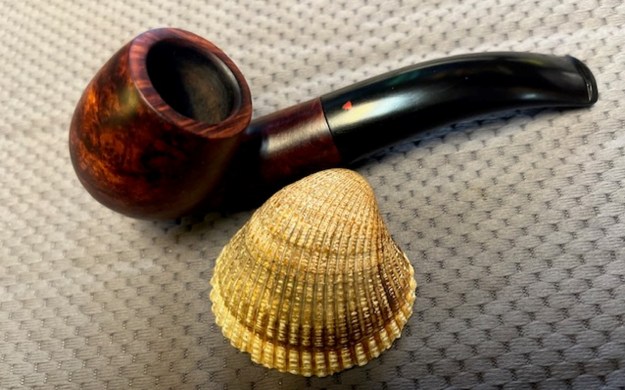
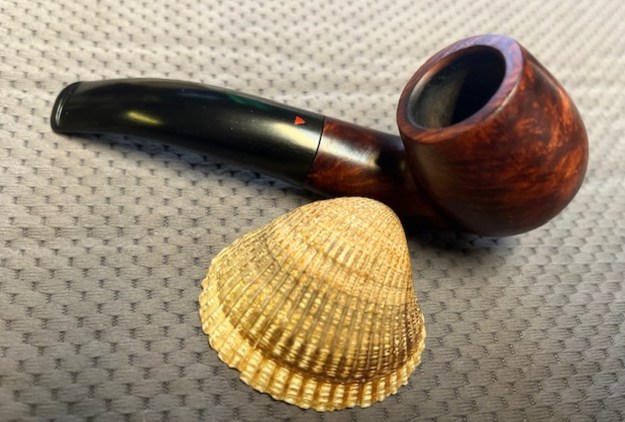
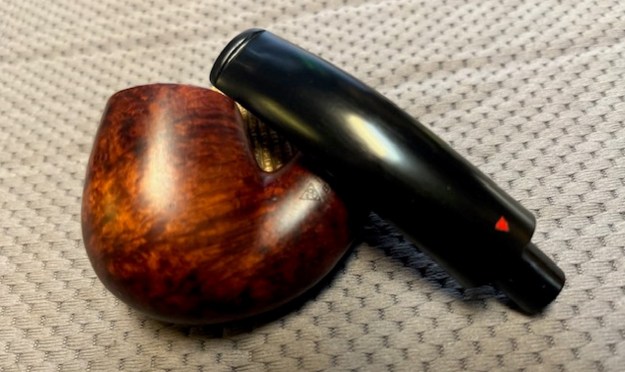
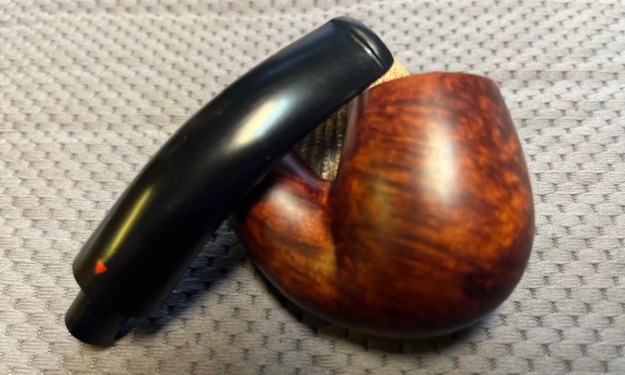
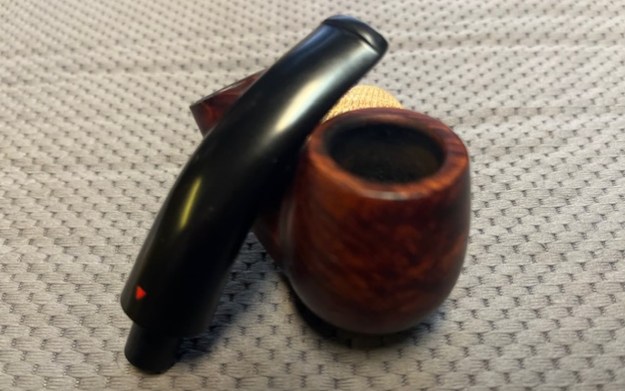
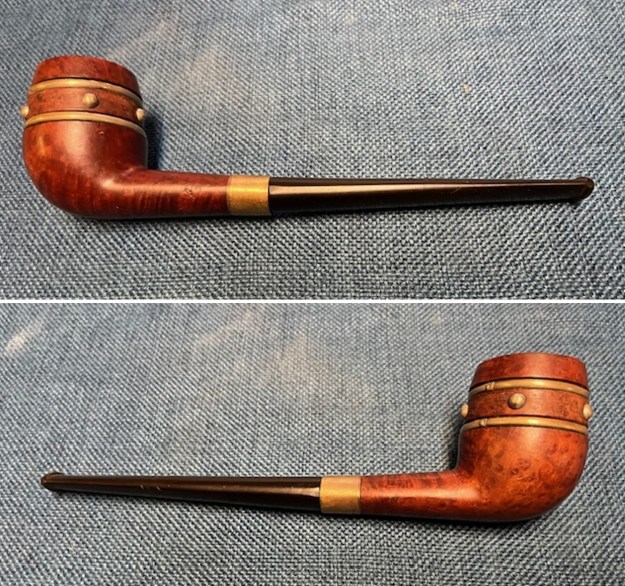
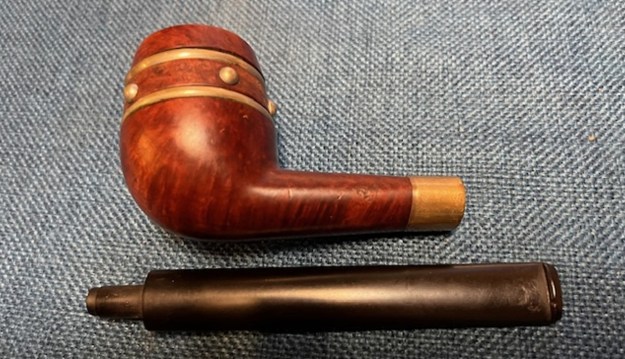
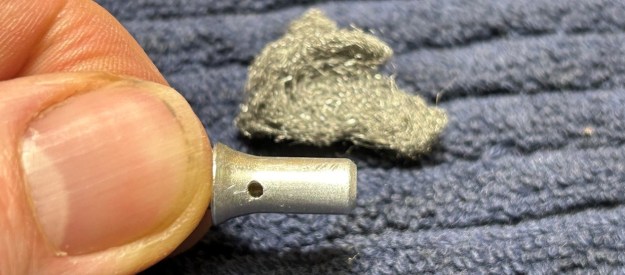
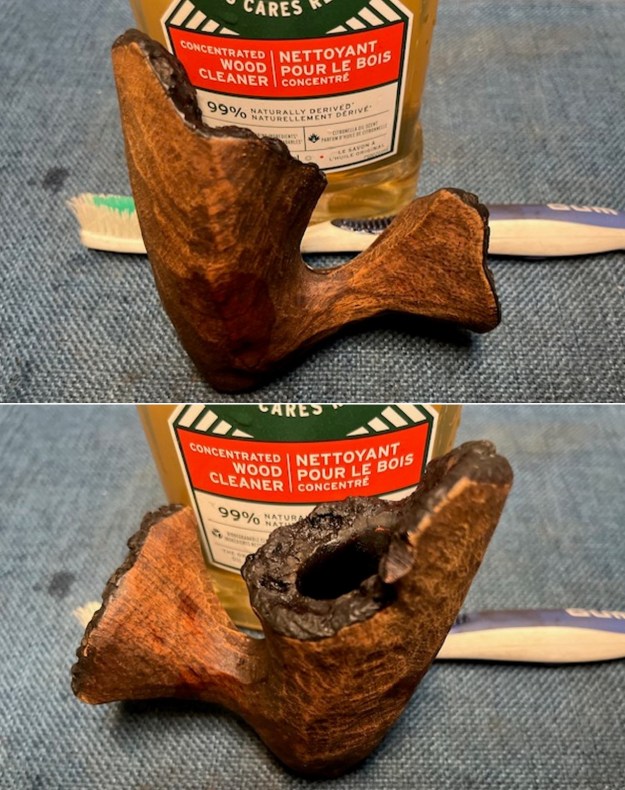
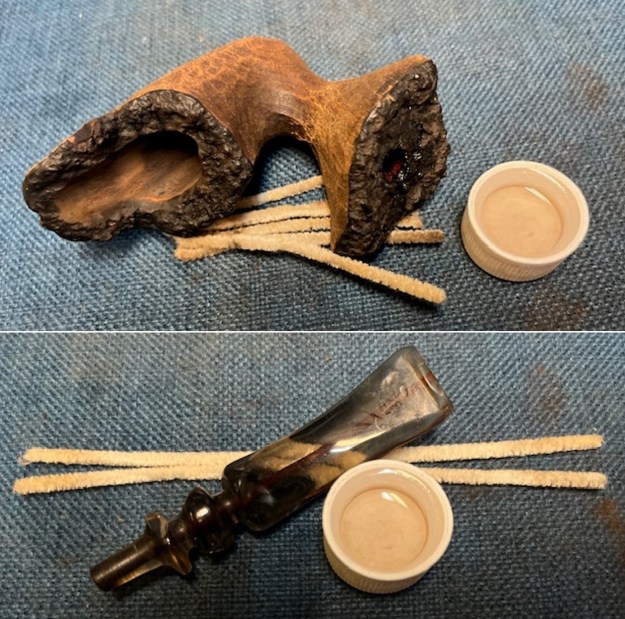
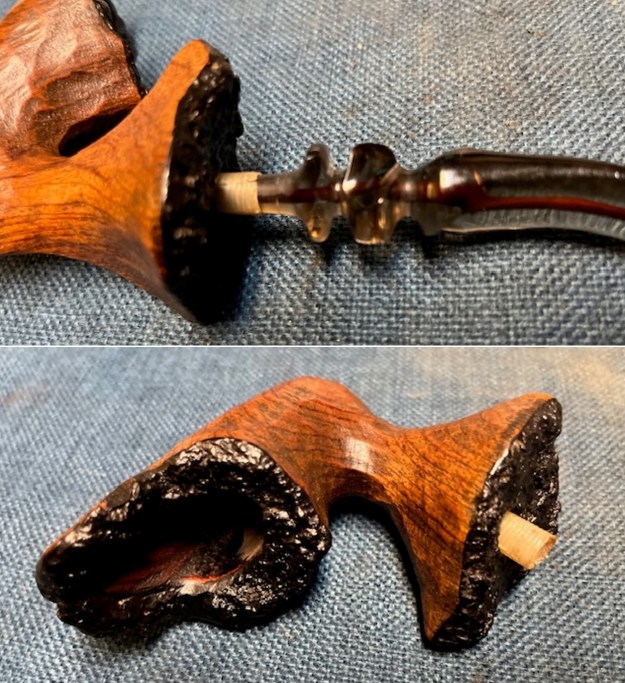
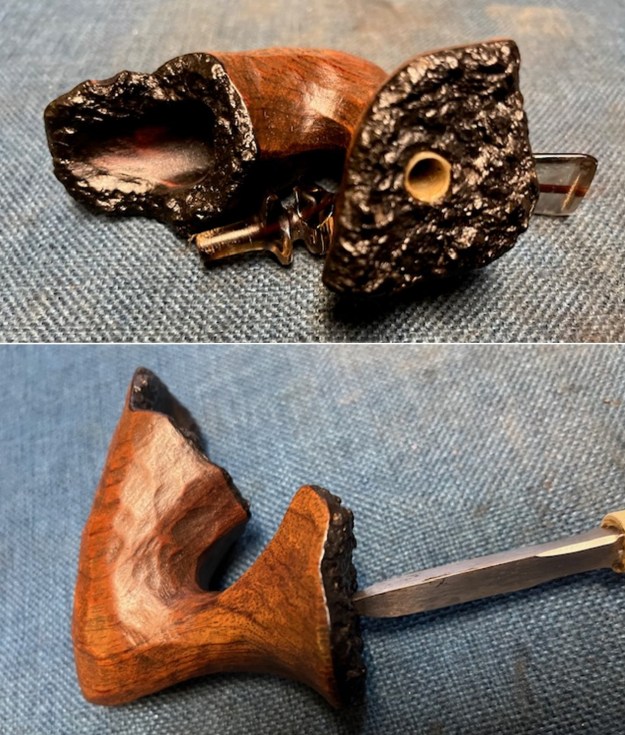
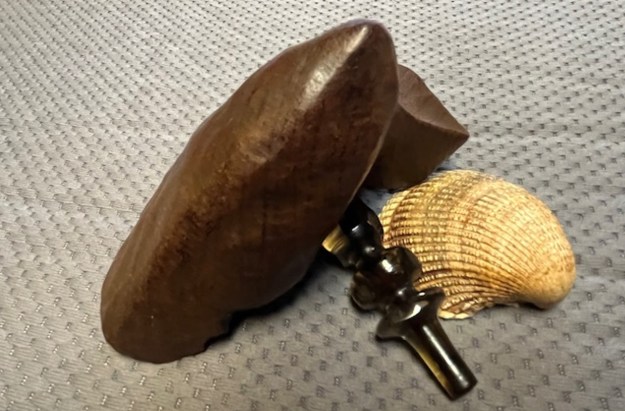
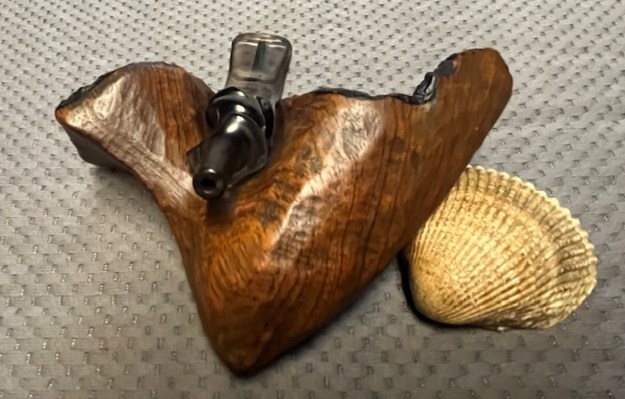
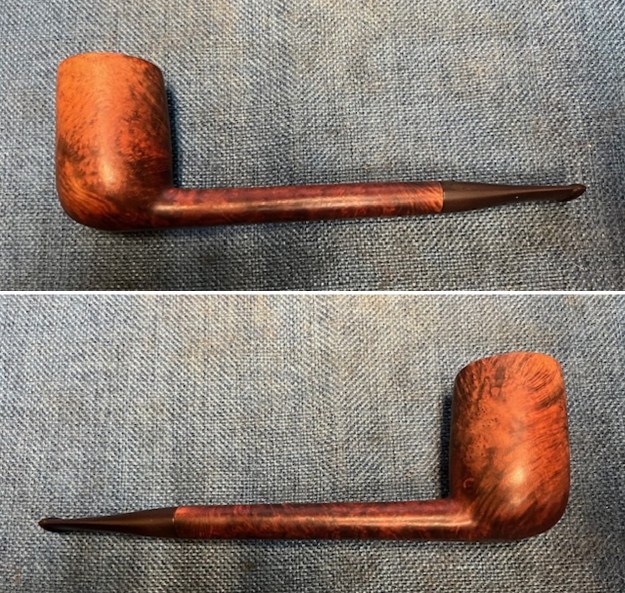
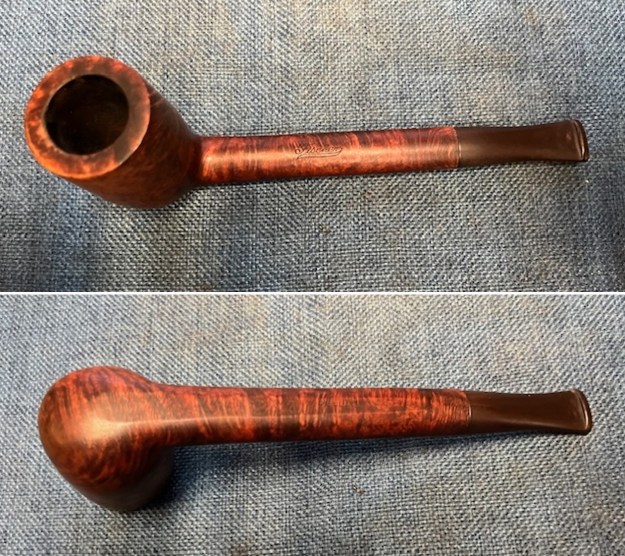
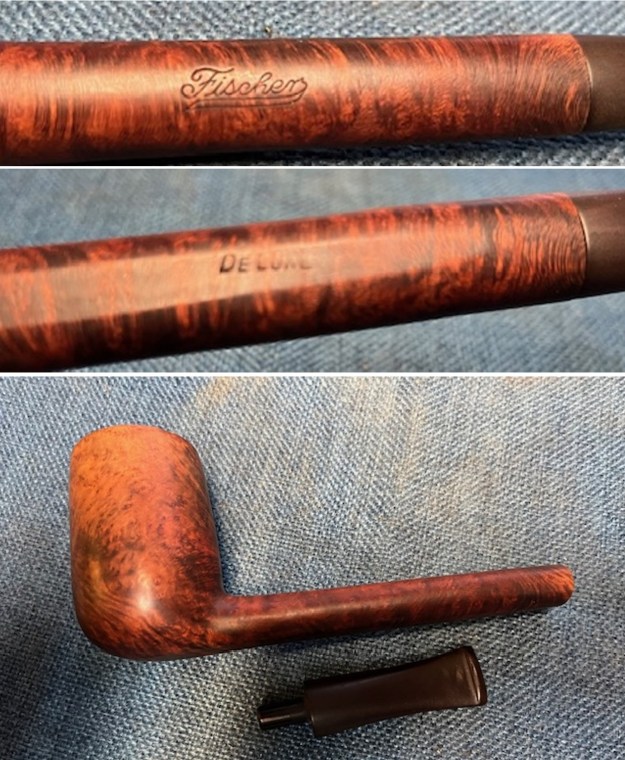
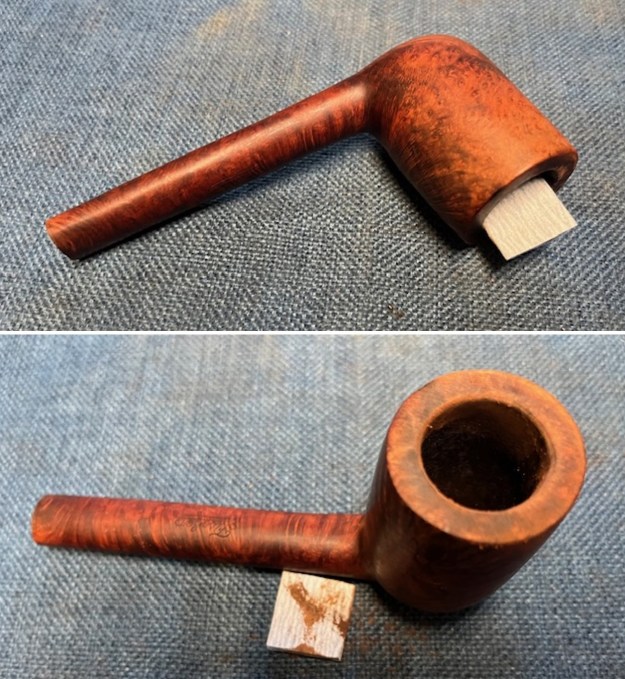
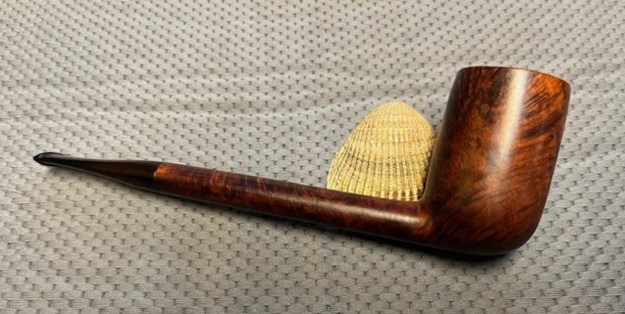
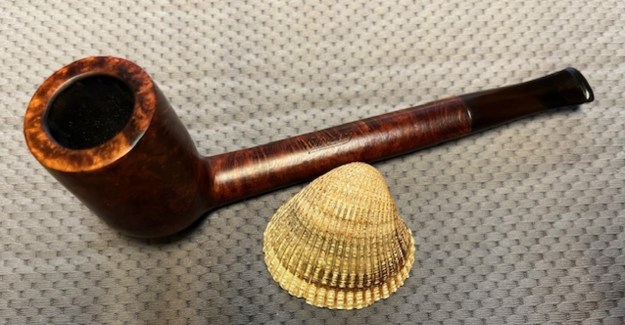
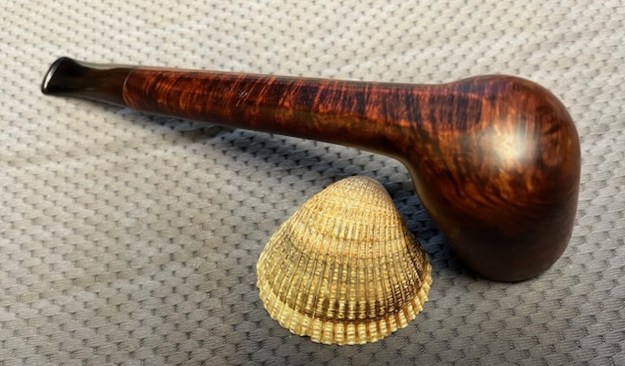
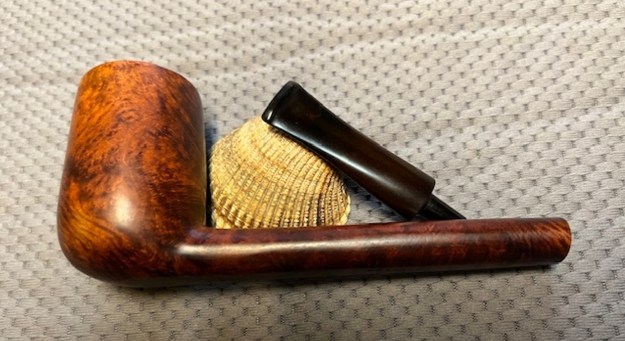
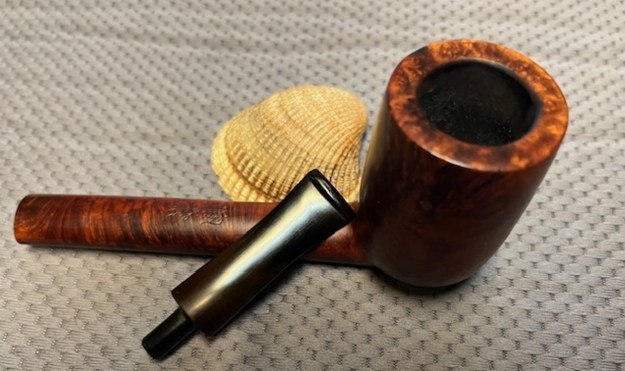
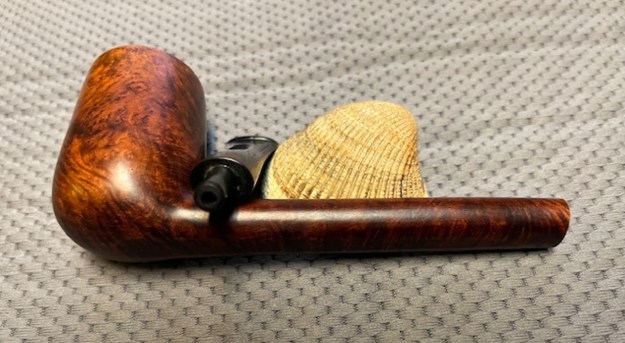
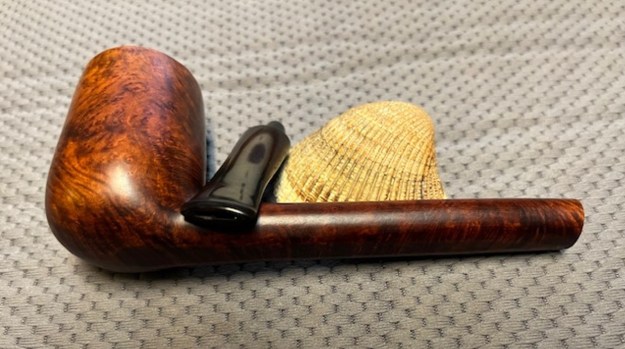
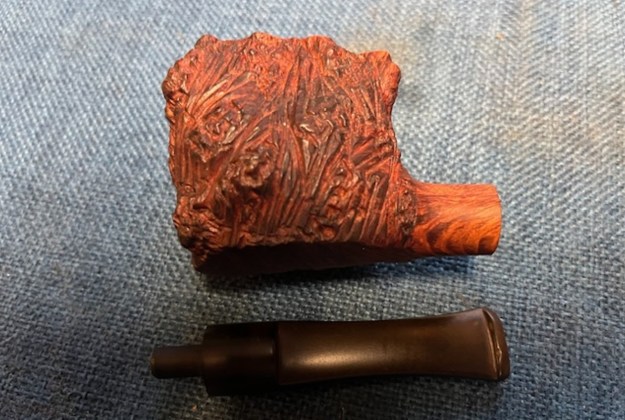
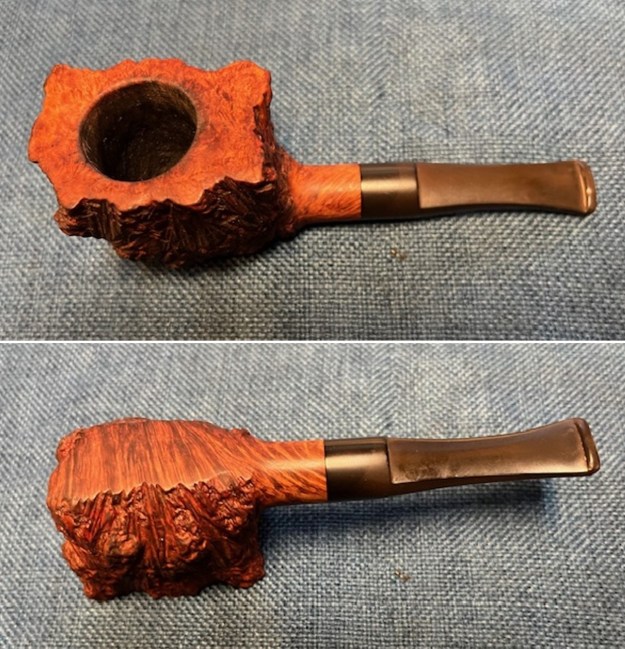 I took photos of the bowl and the rim top as well as both sides of the stem to show the condition of the pipe before I started my work. The rim top was very clean and the inner edge and top look much better. The stem showed light tooth marks on the top and underside near the button. I took the stem off the bowl and took a photo of the parts. It is an interesting pipe.
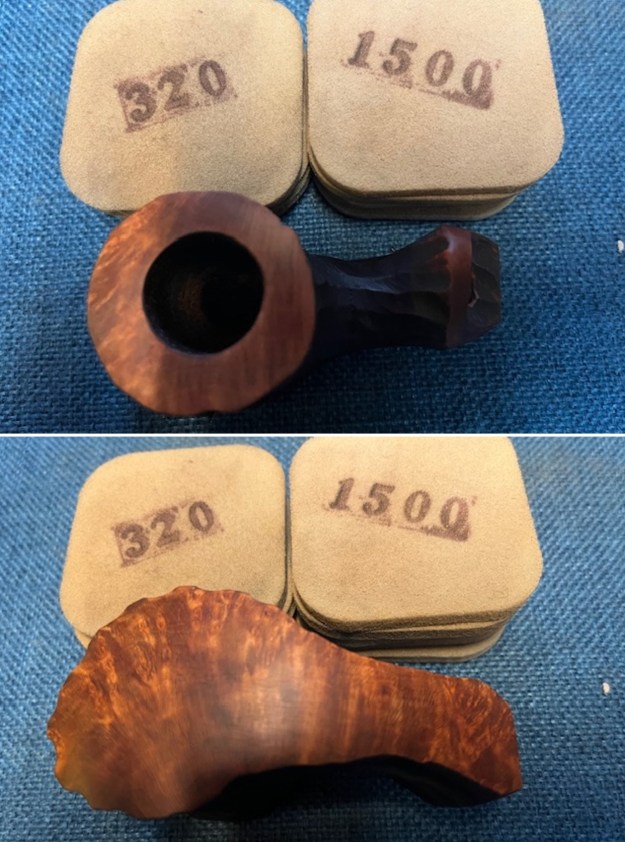
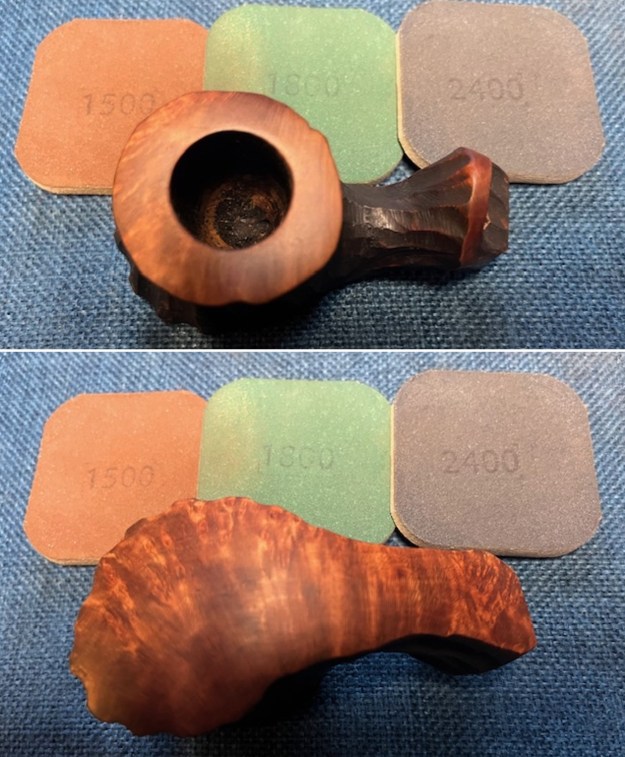
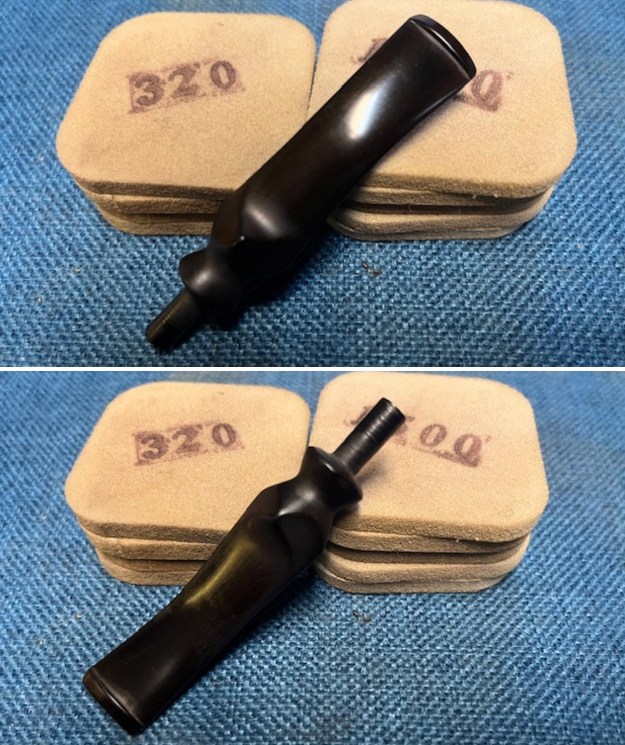
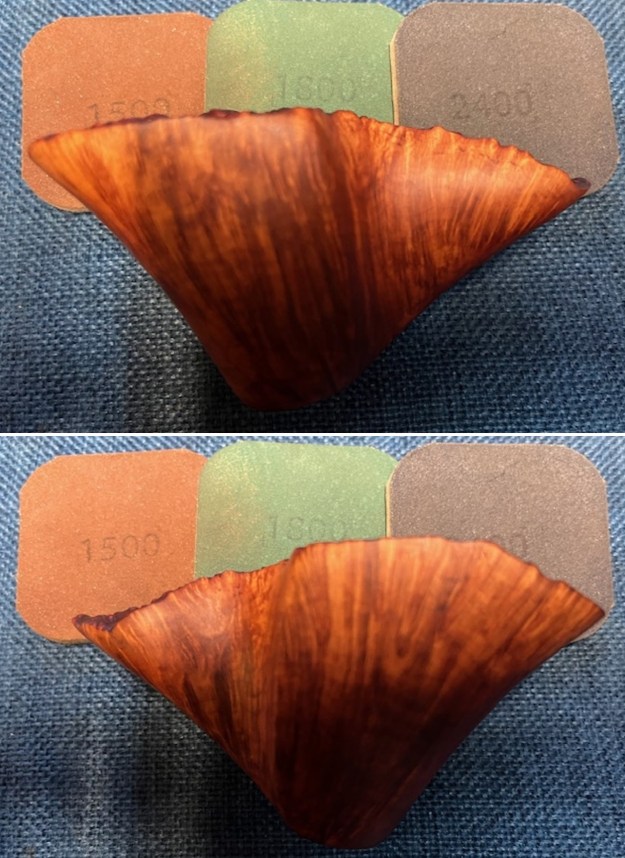
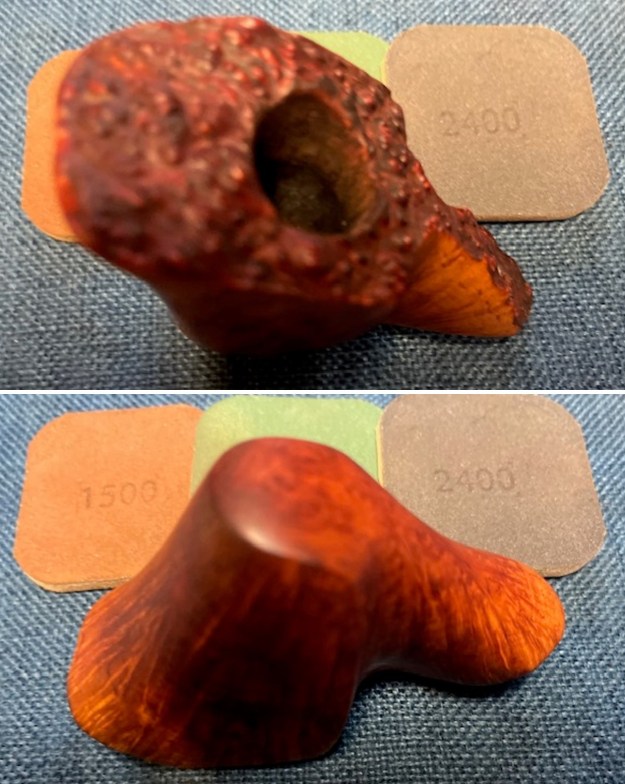
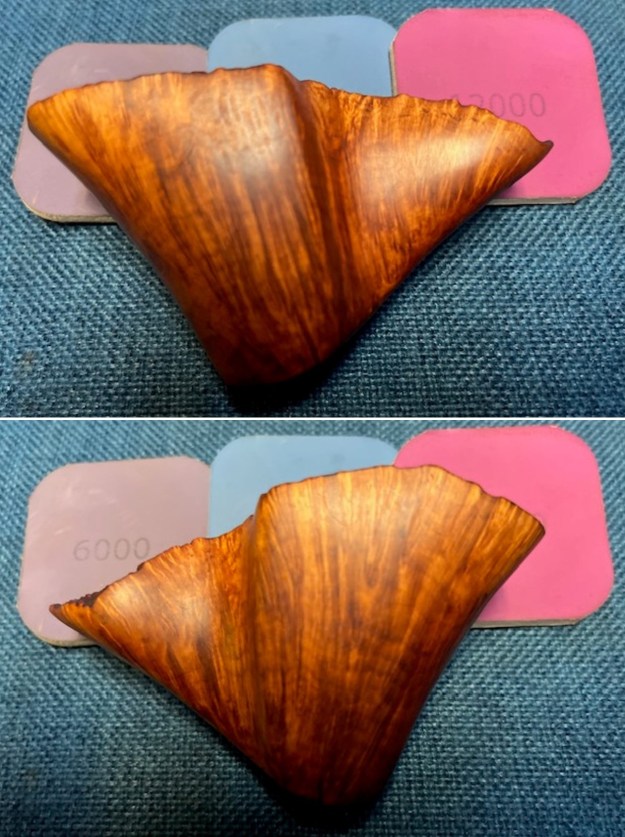
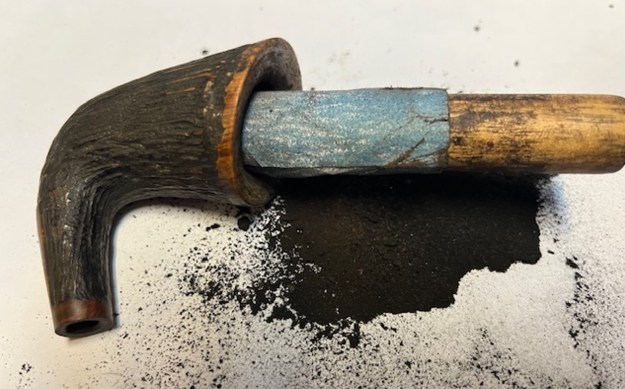
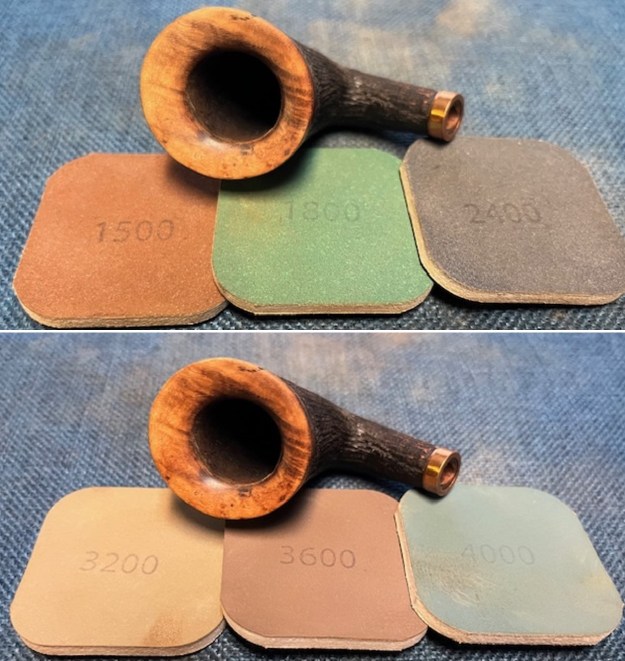
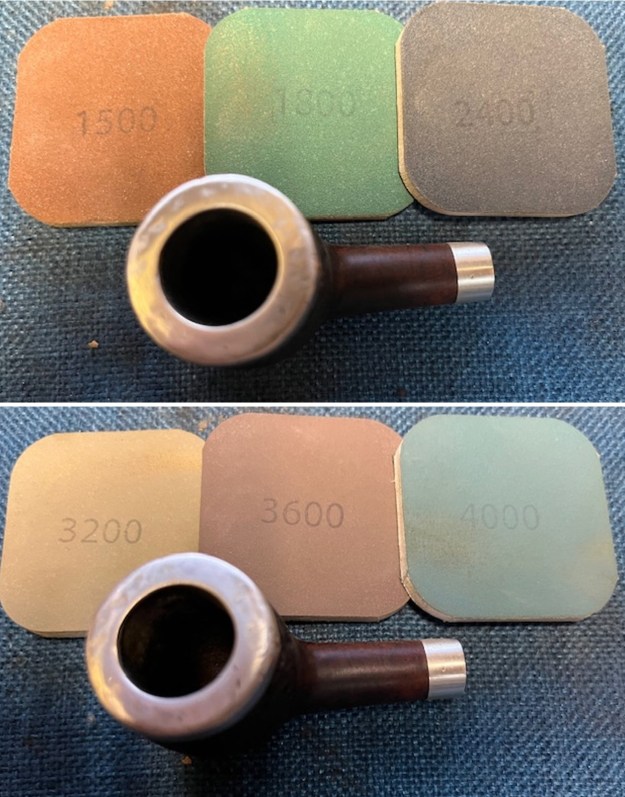
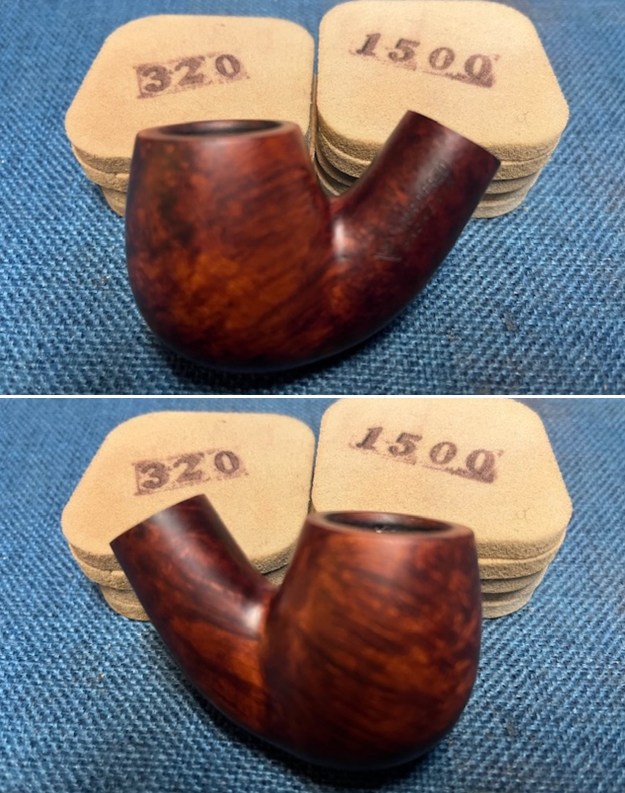
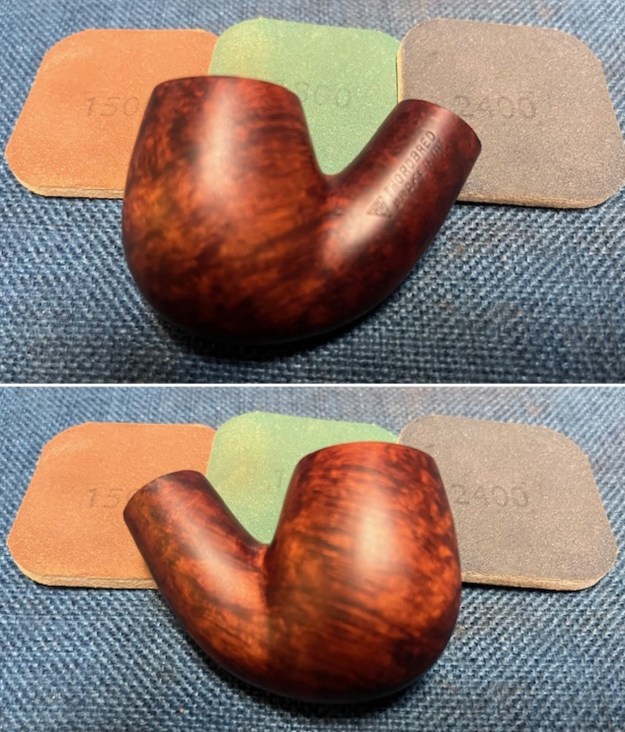
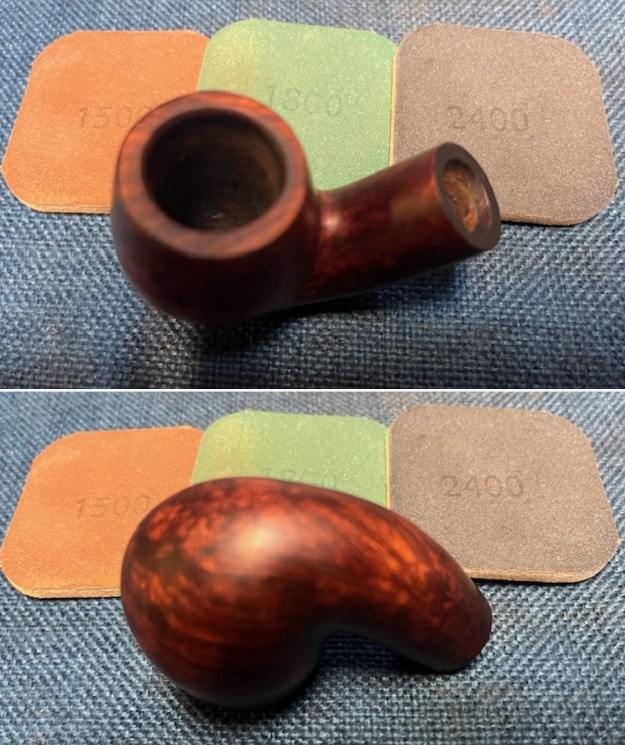
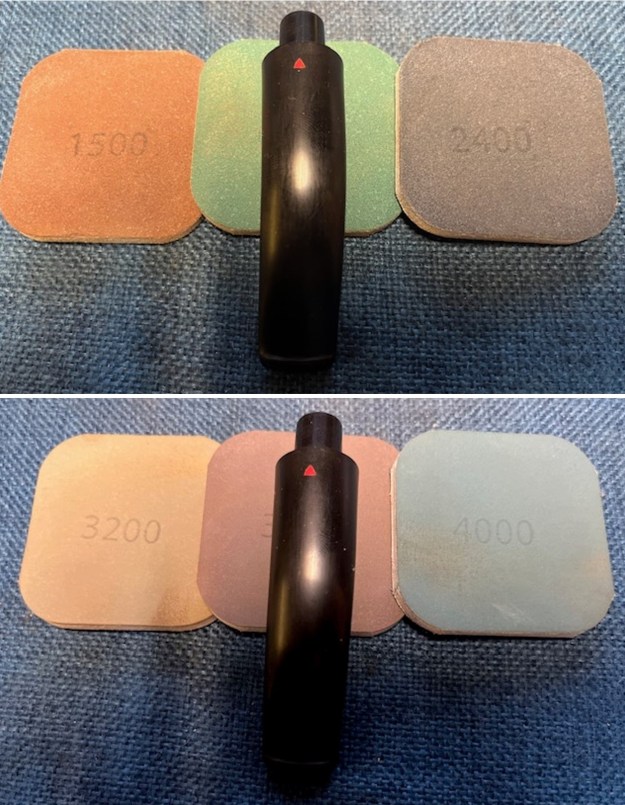
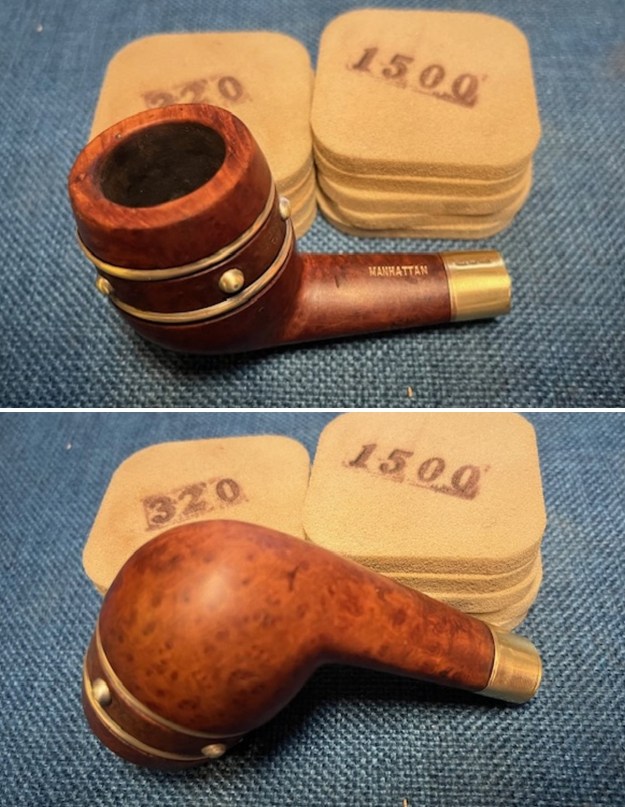
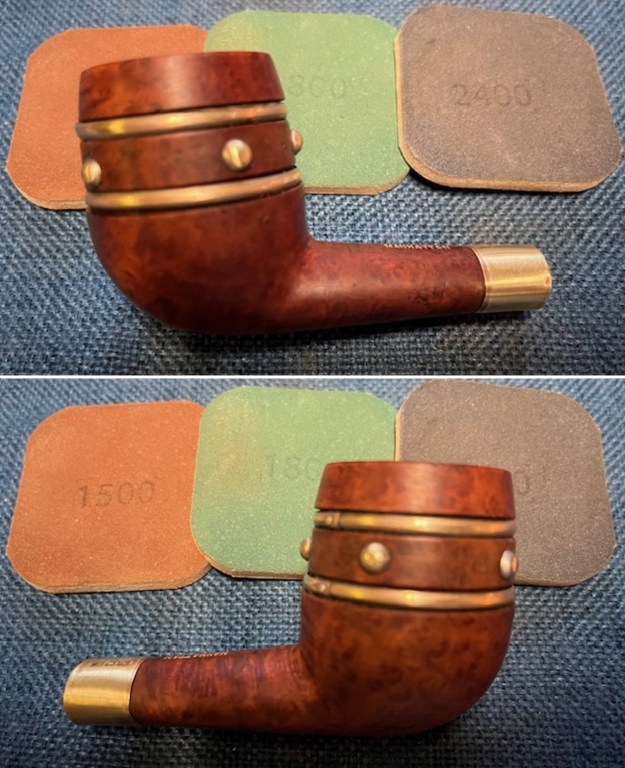
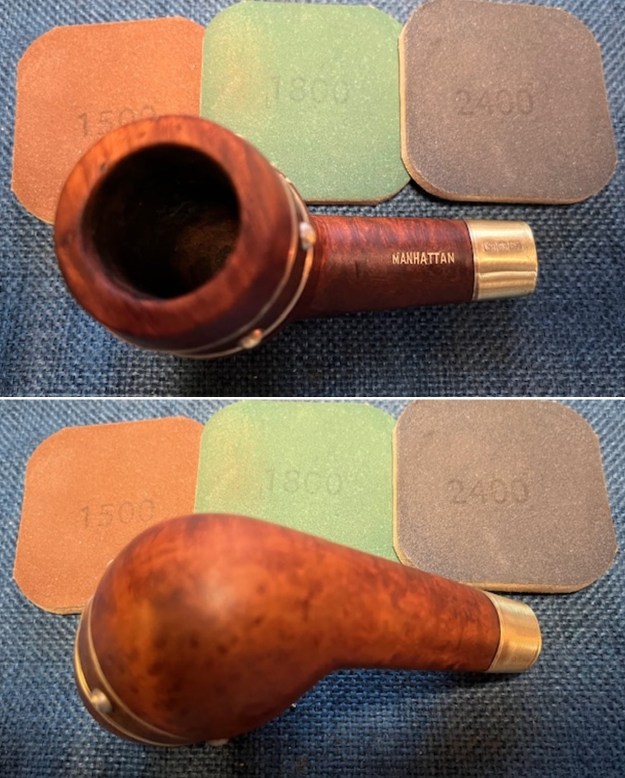
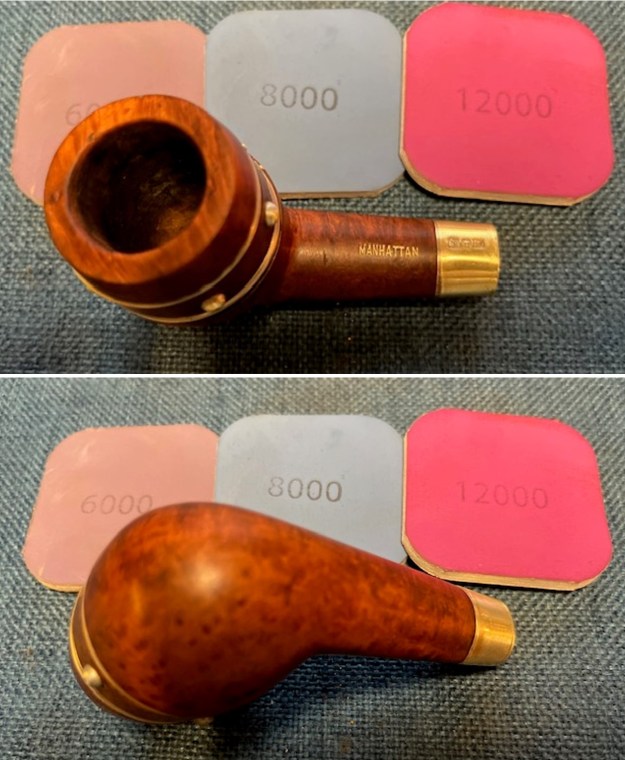
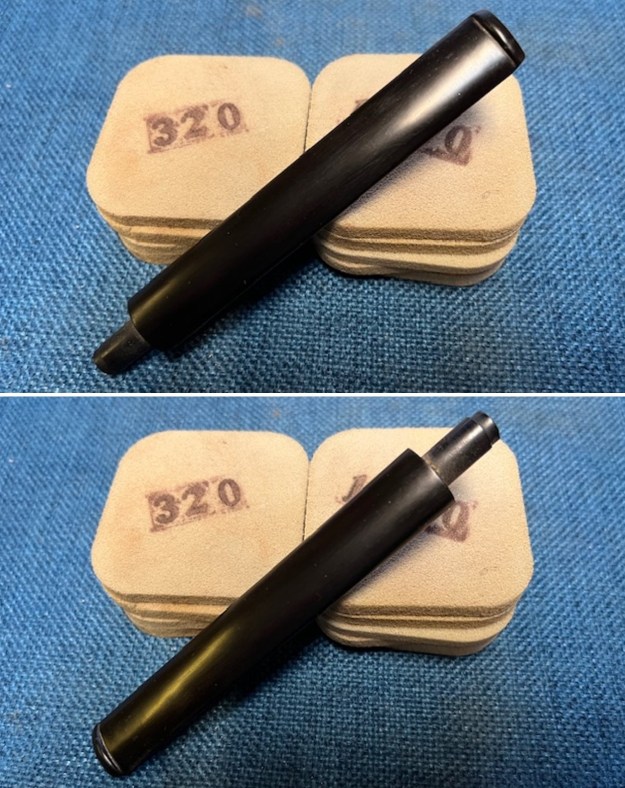
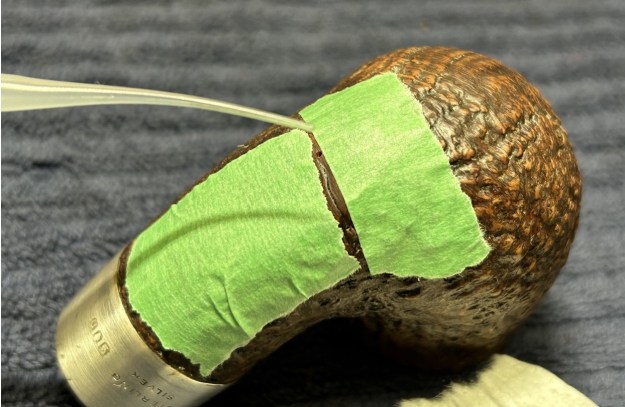
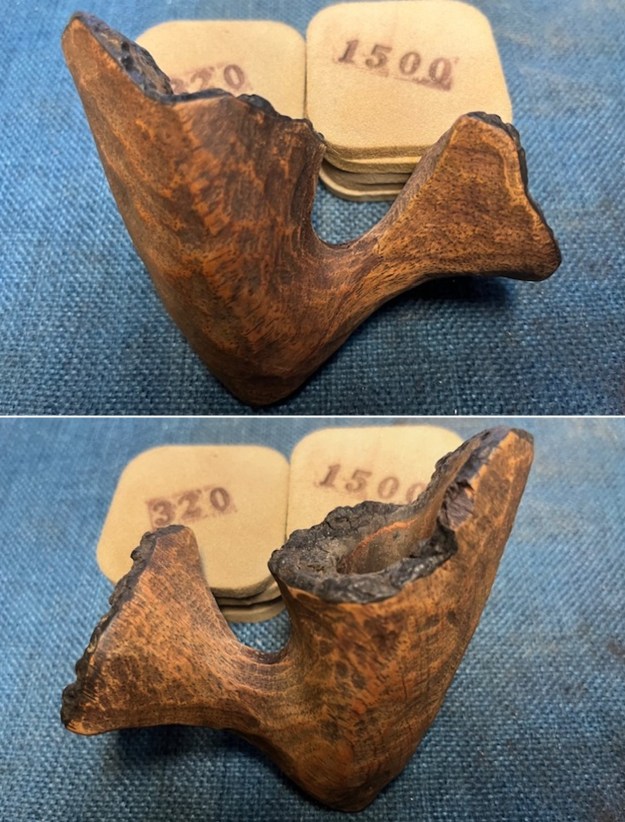
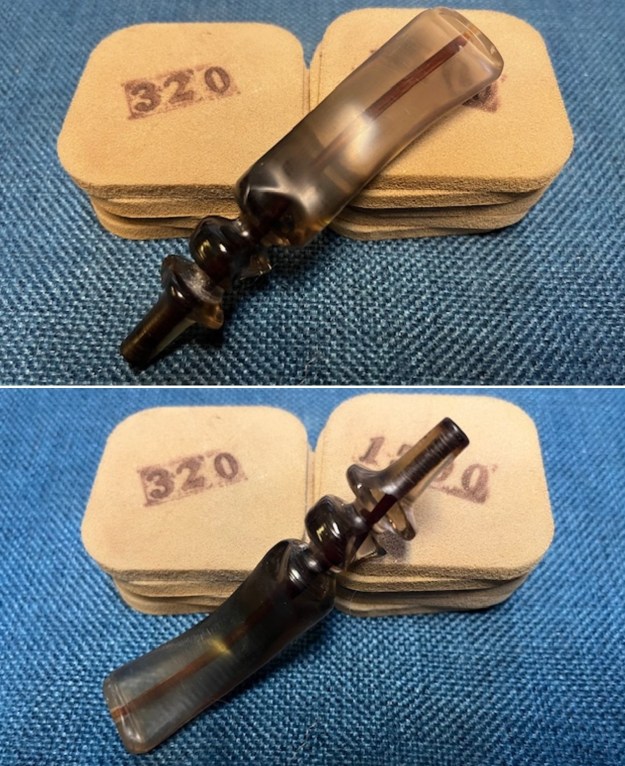
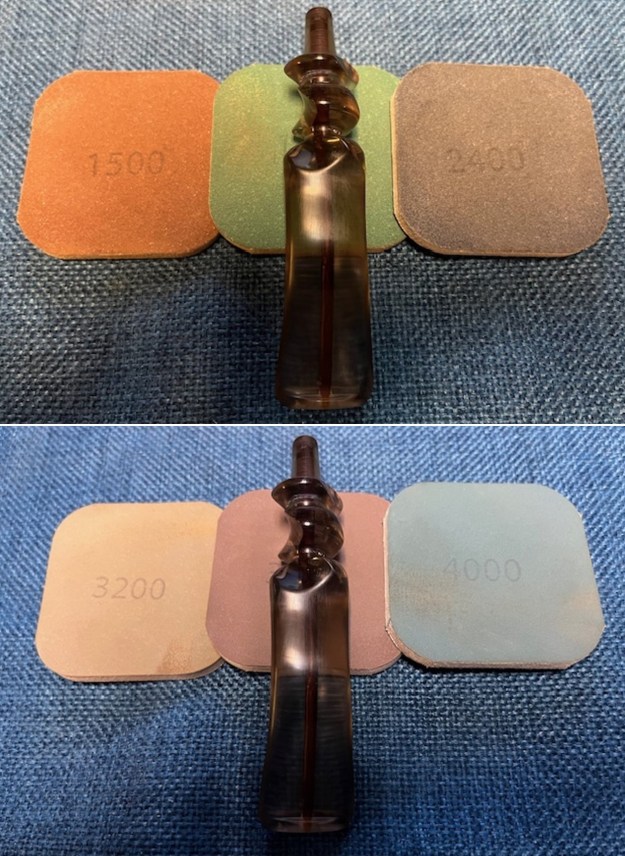
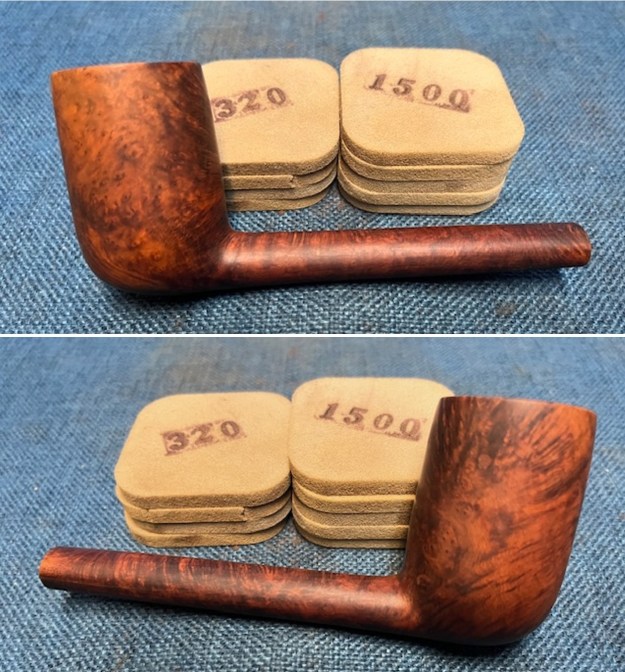
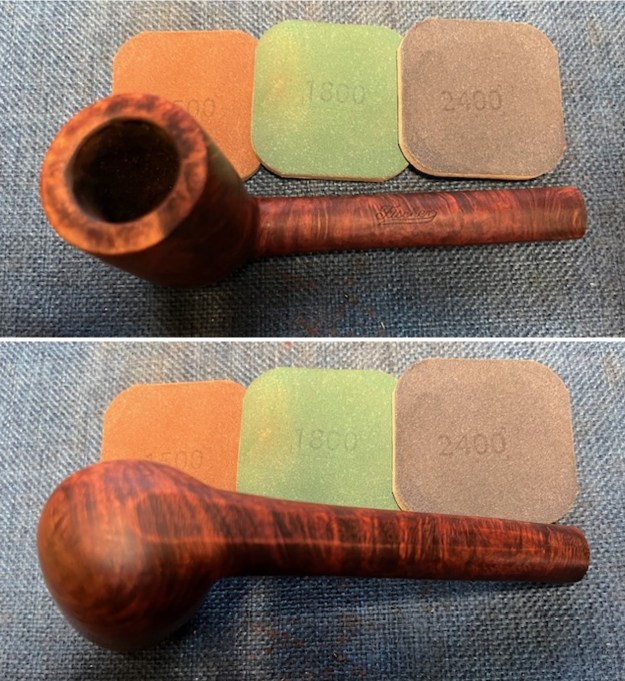
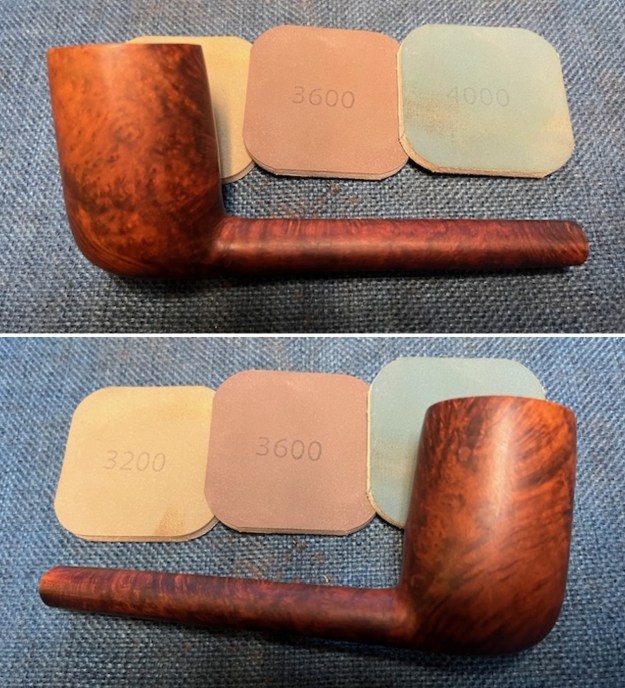
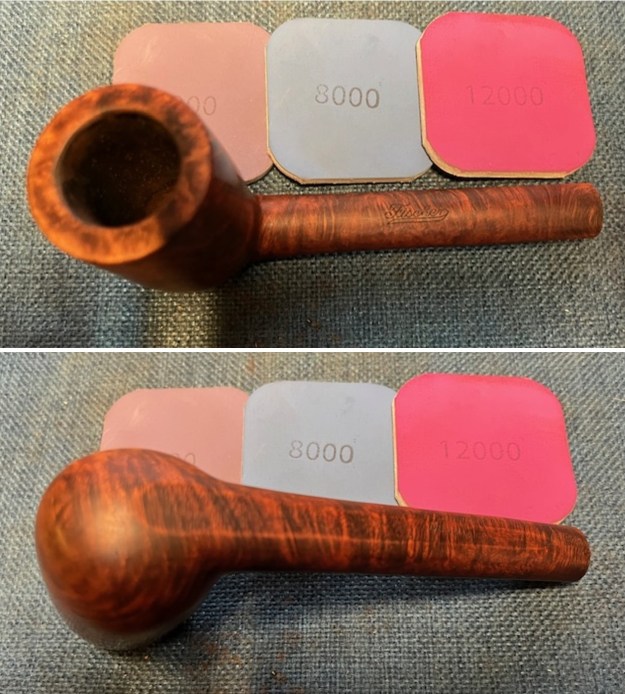
 I sanded the smooth portions of the bowl with 320-3500 grit sanding pads carefully avoiding the stamping on the heel. I dry sanded with each pad and wiped it down with a damp cloth afterwards.
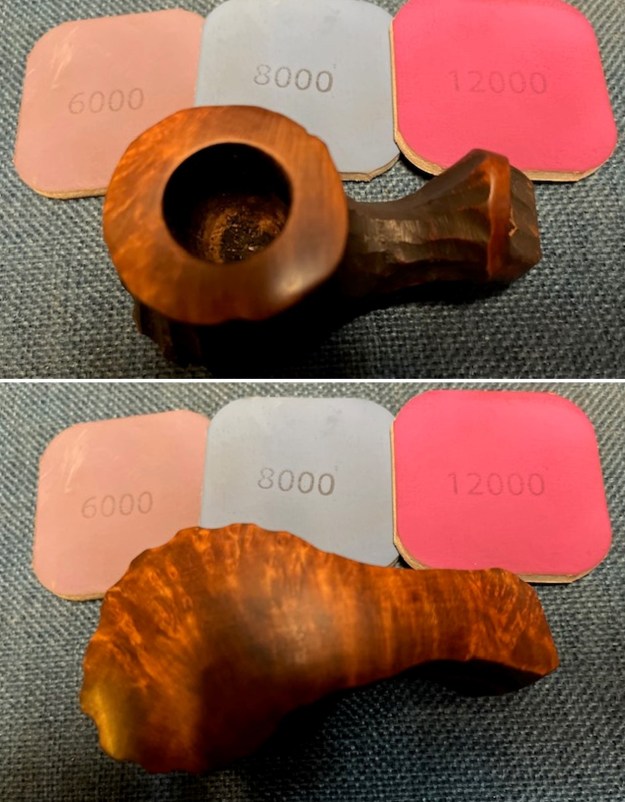
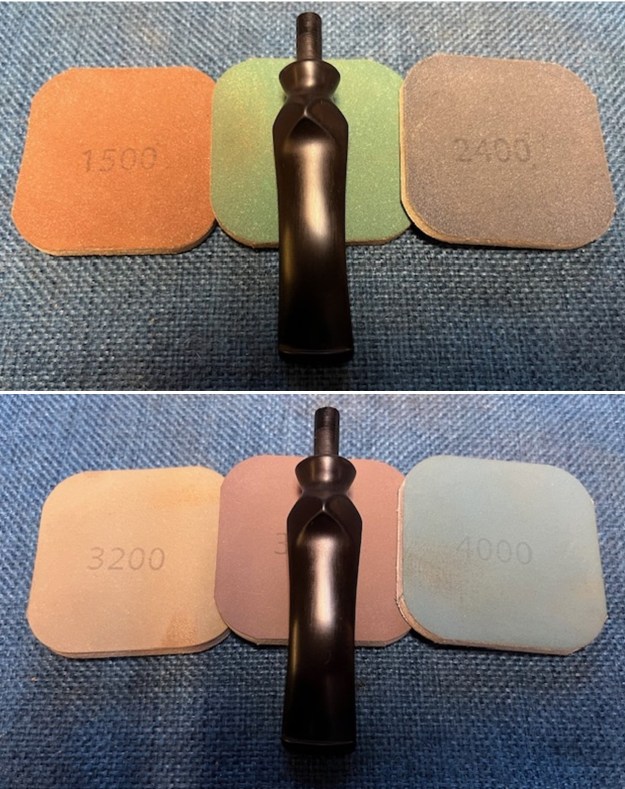
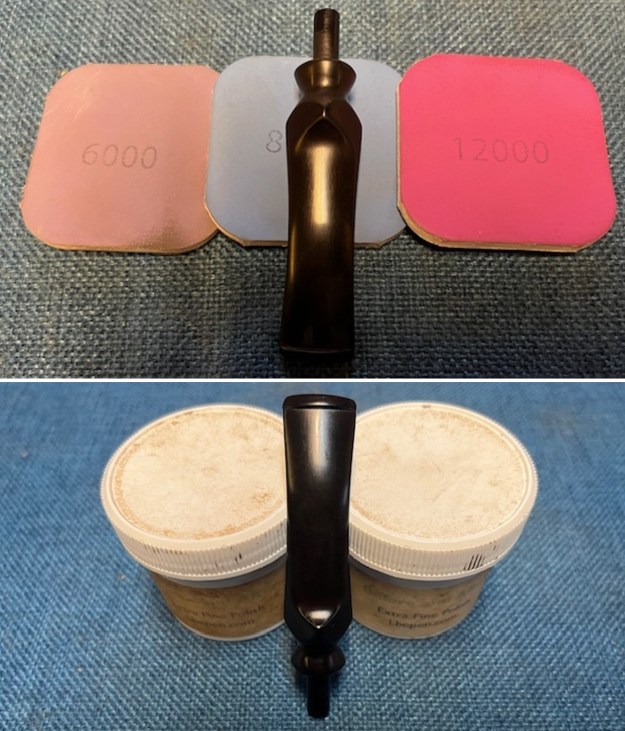
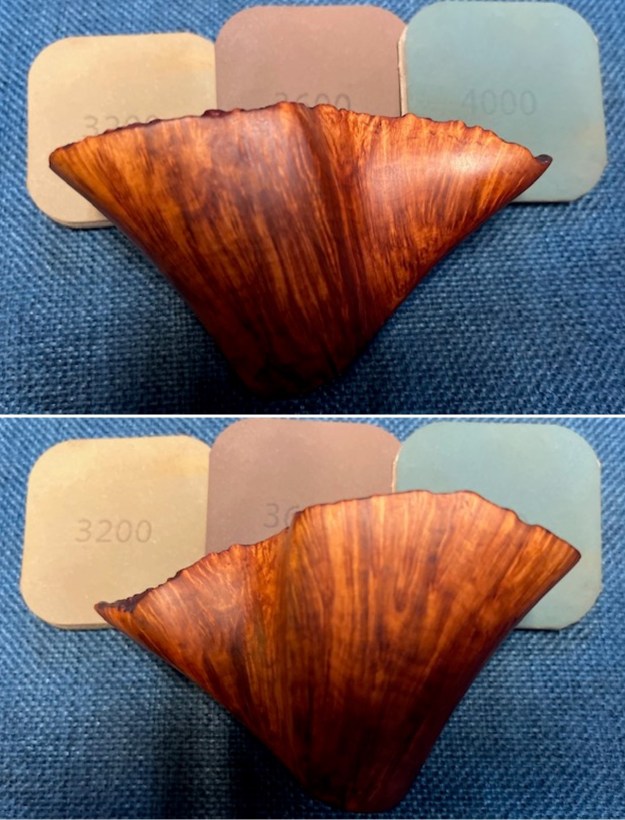
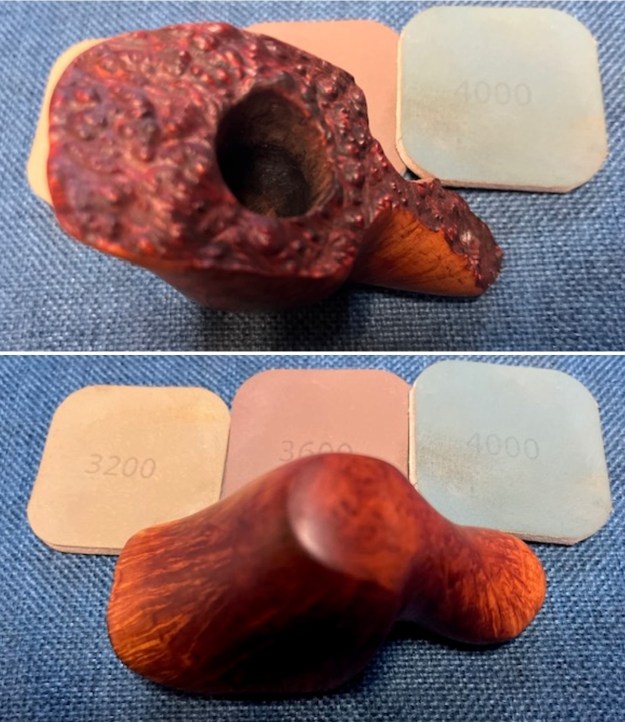
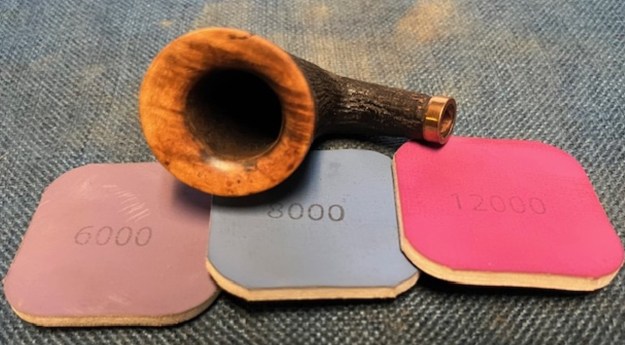
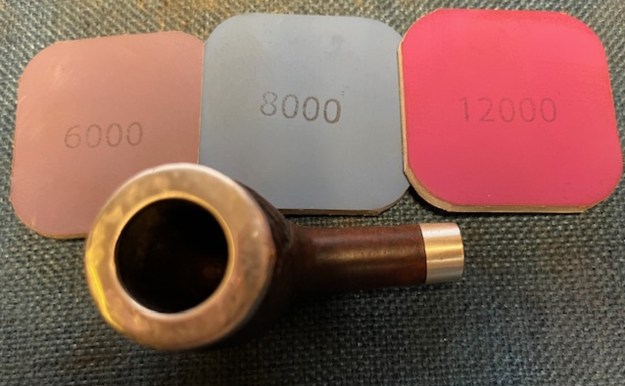
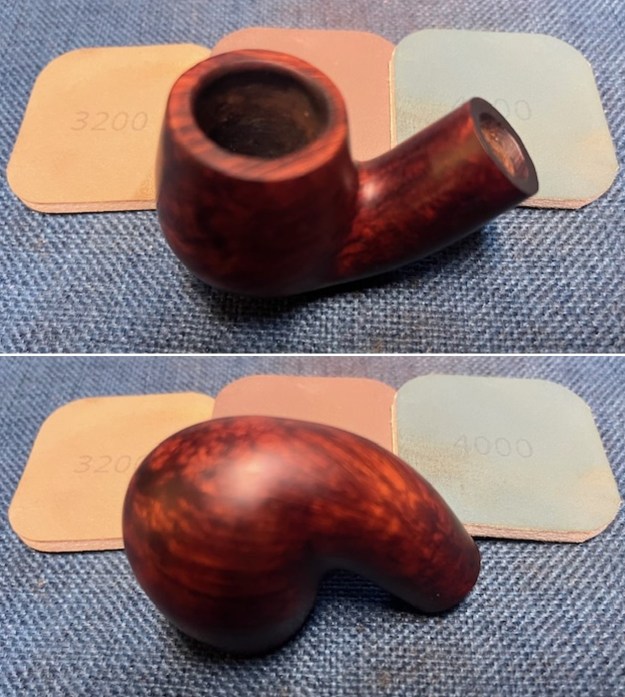
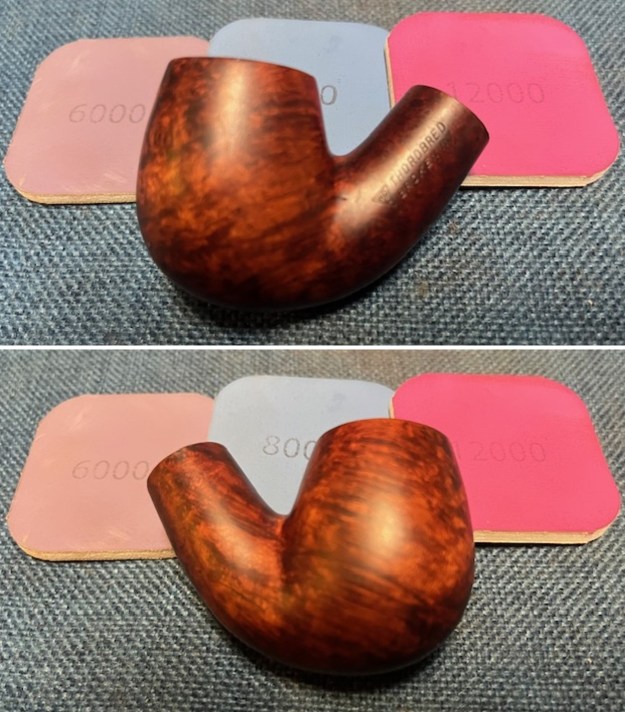
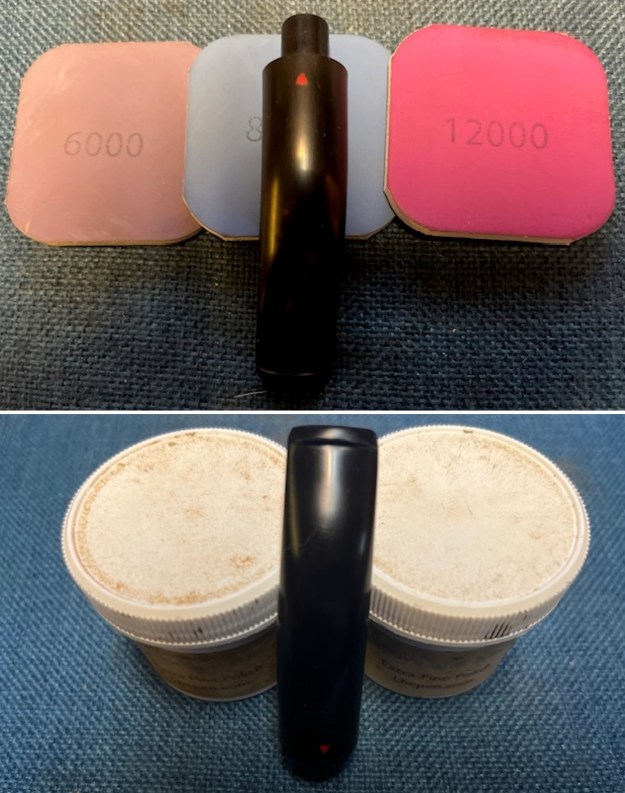
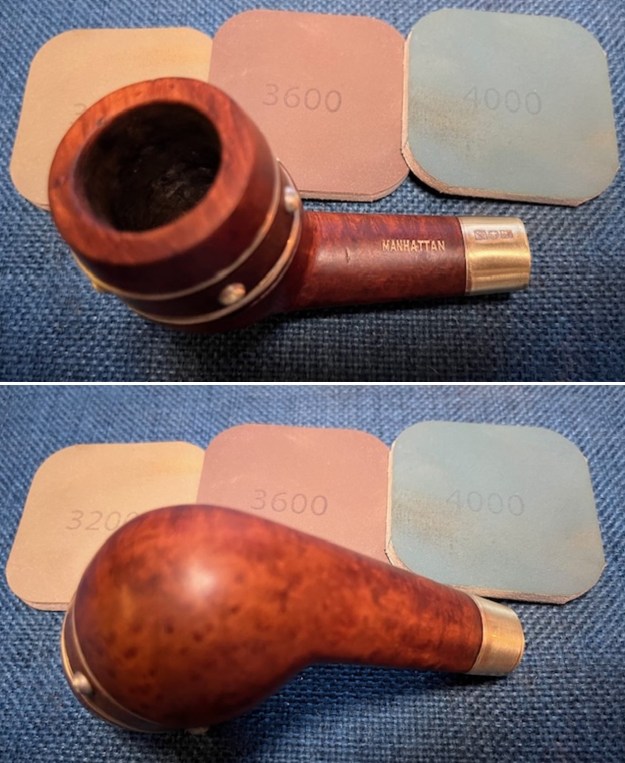
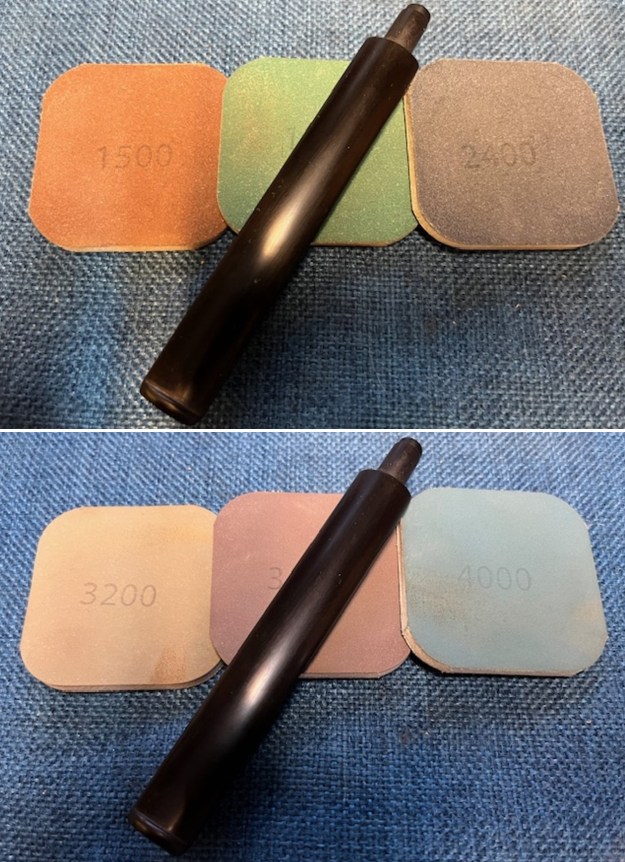
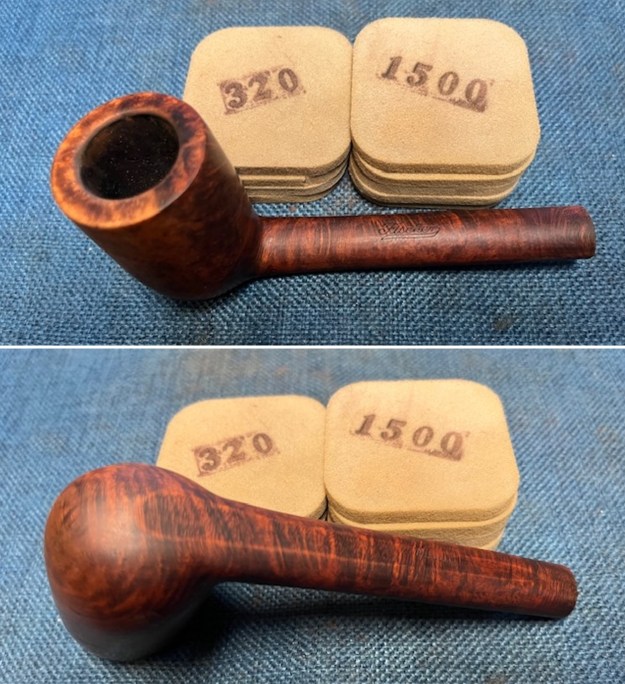
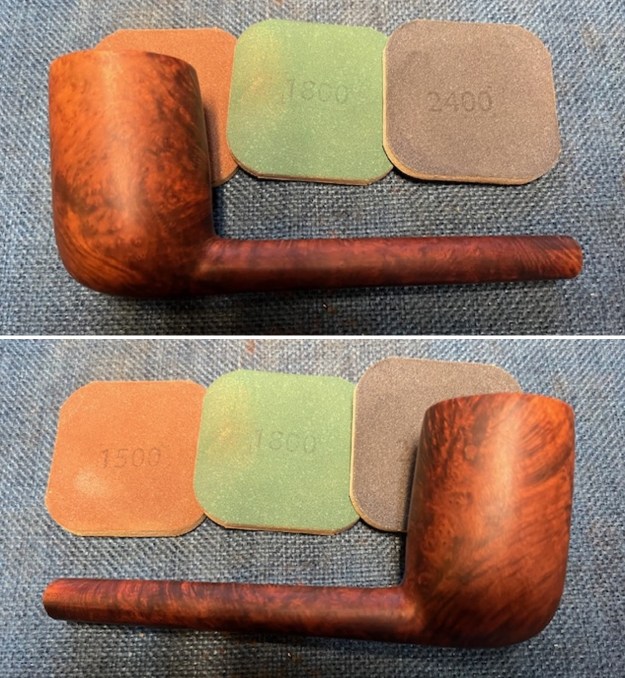
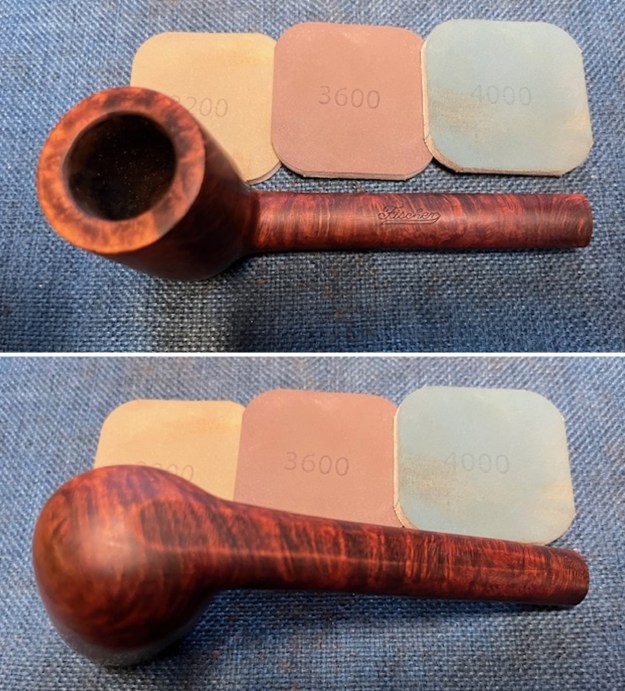
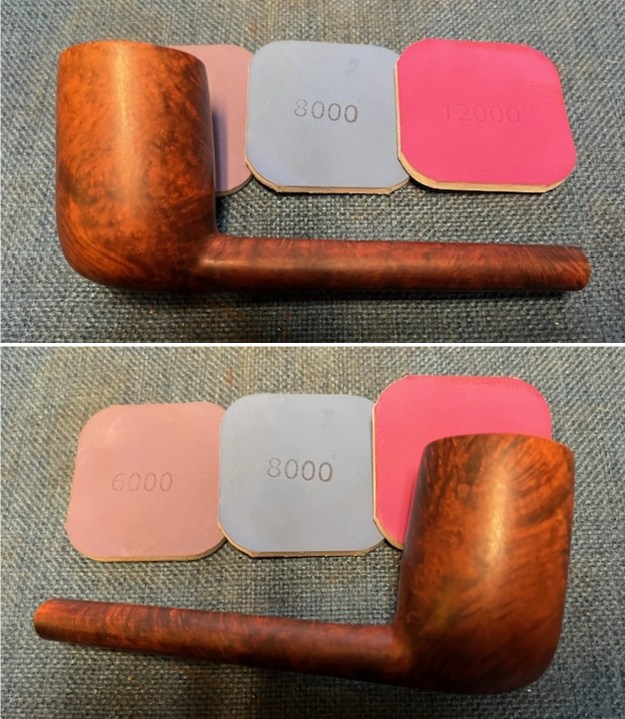
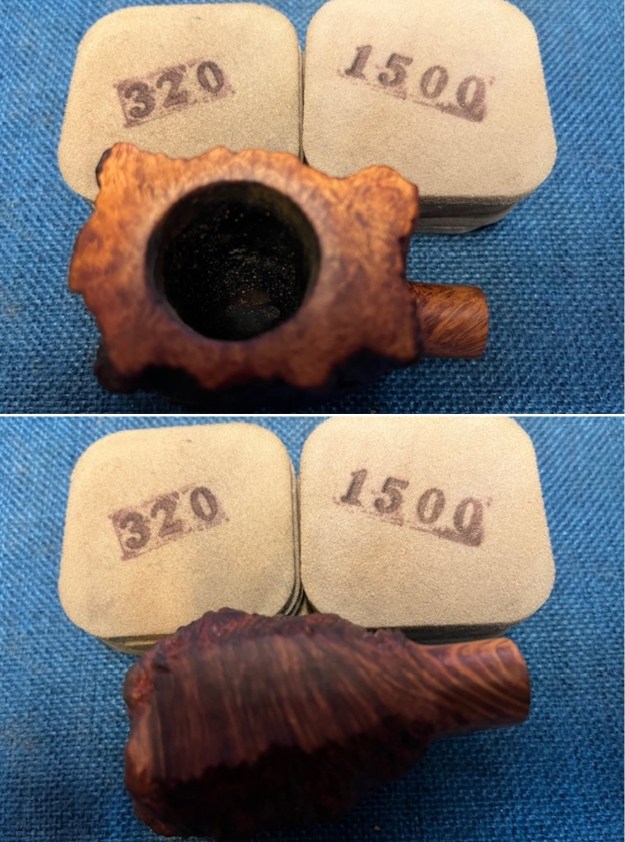 I polished the briar bowl and shank with micromesh sanding pads – dry sanding with 1500-12000 grit sanding pads. I wiped it down with a damp cloth after each pad to remove the debris. The bowl took on a rich glow.
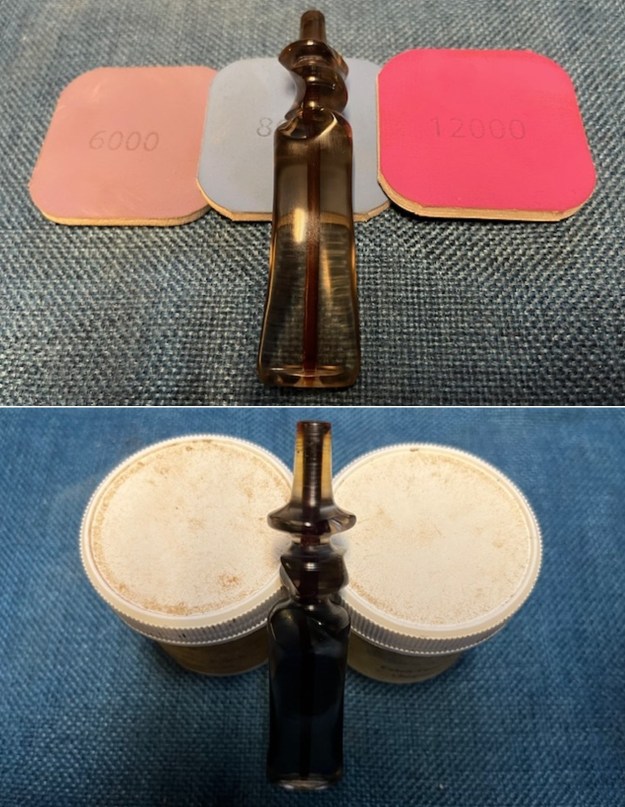

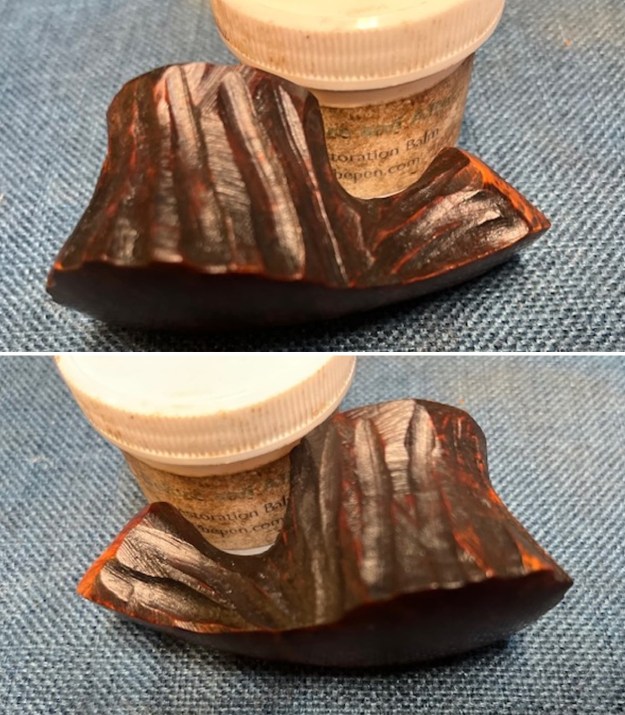
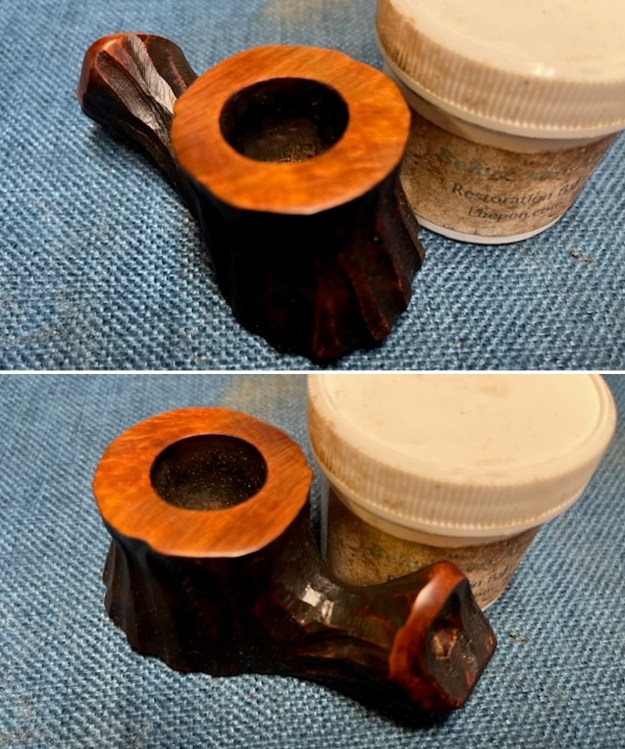
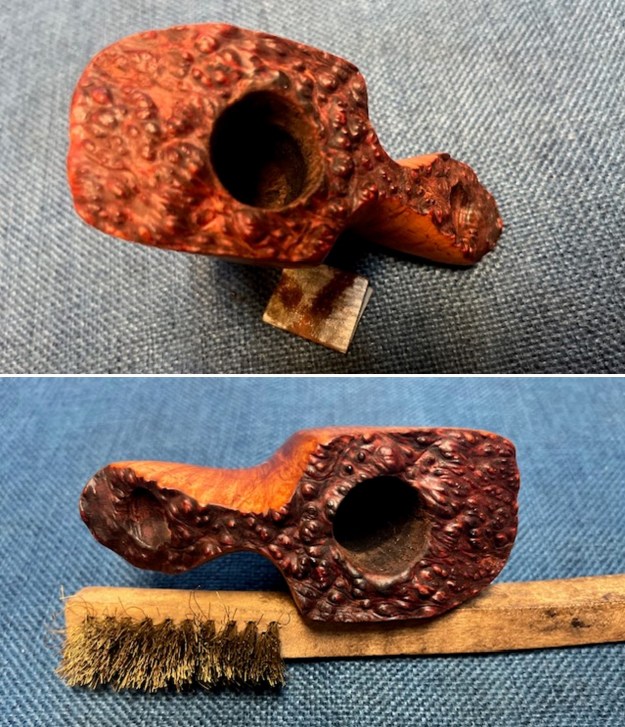
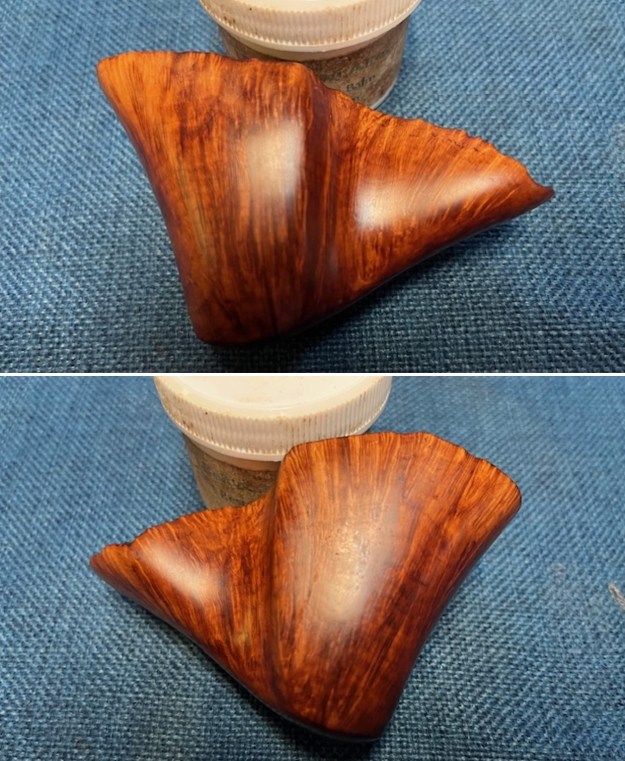
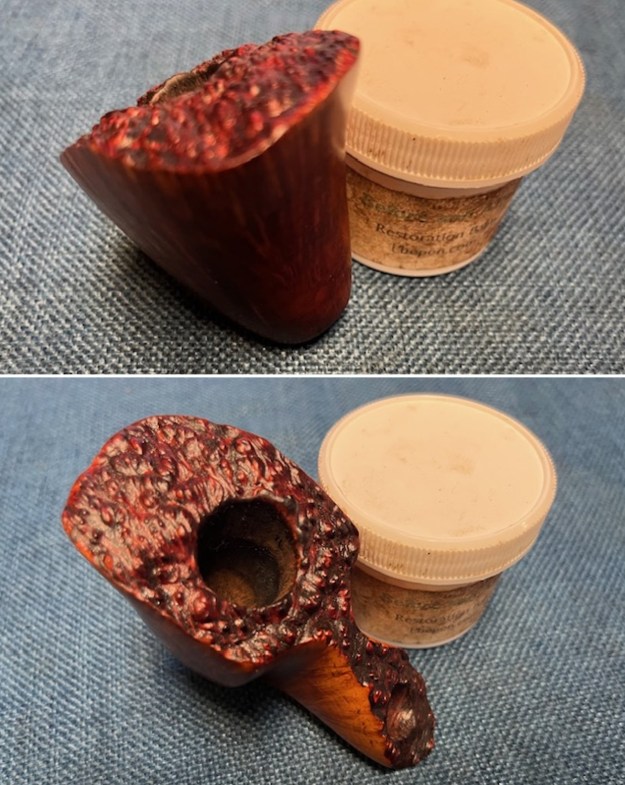
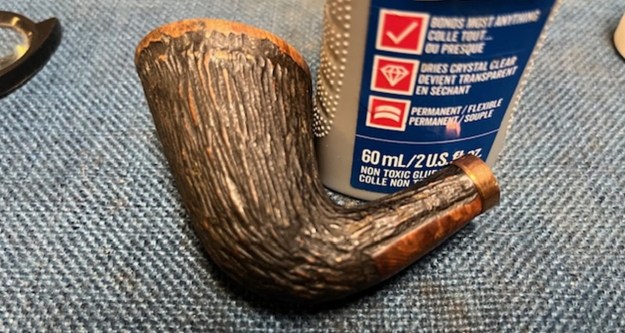
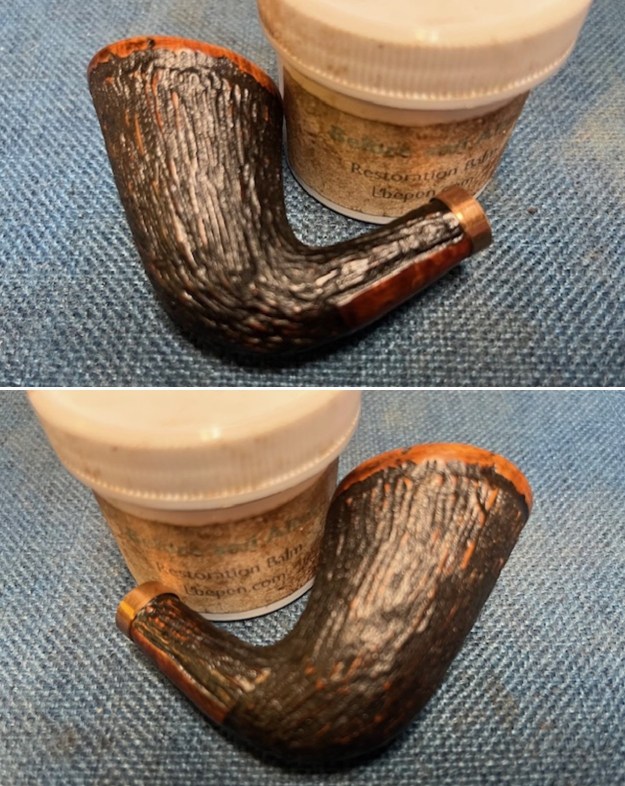
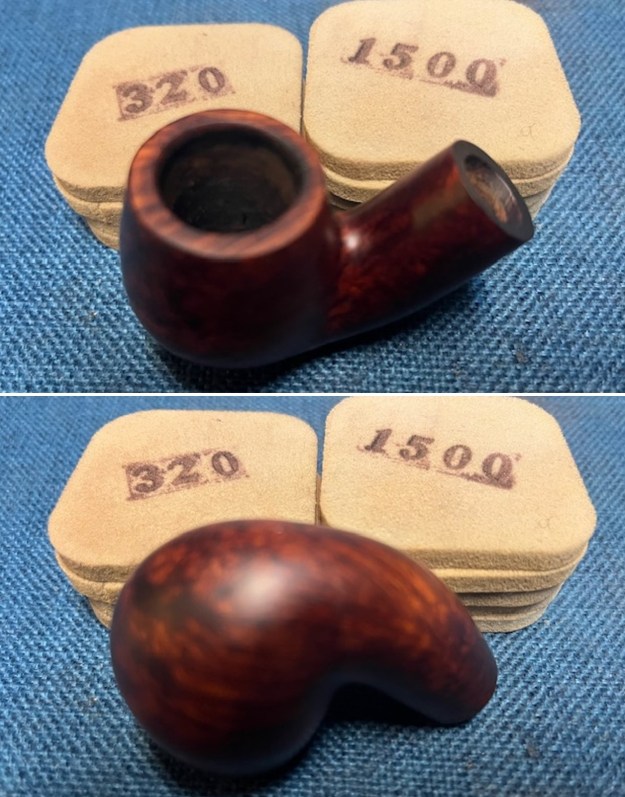
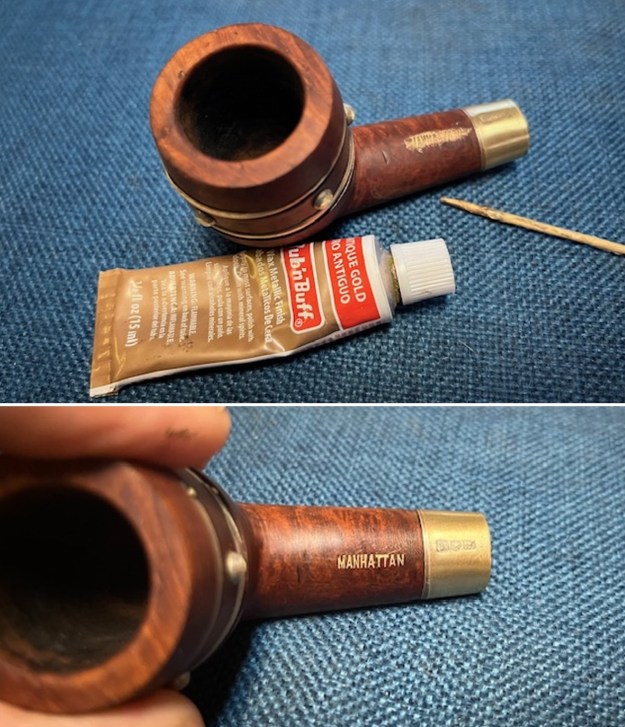
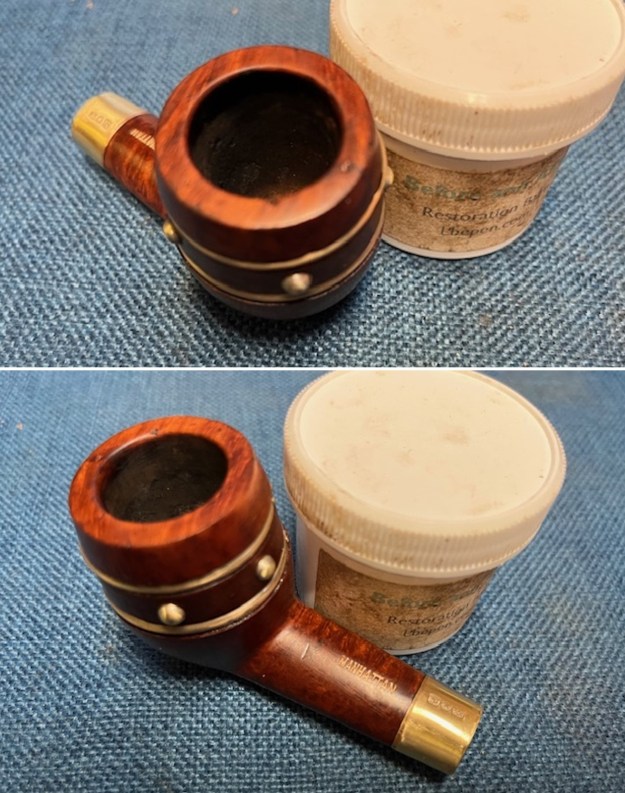
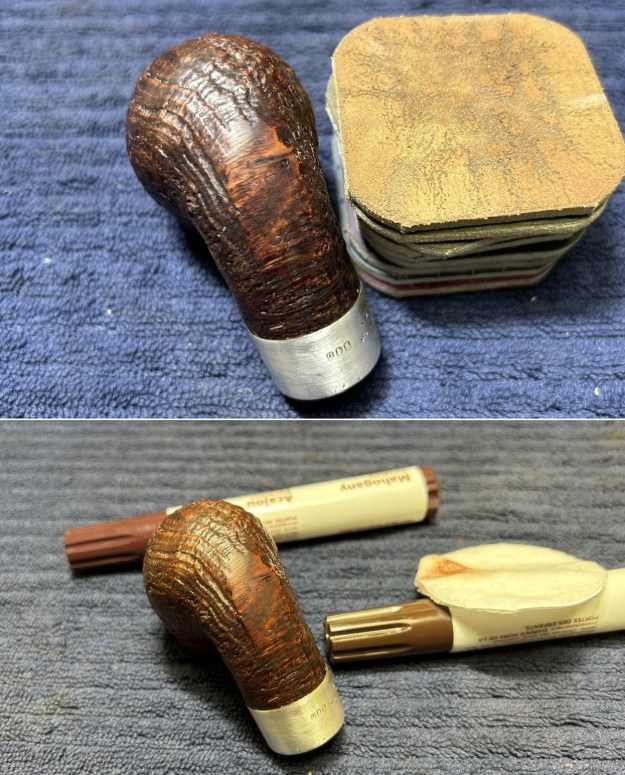
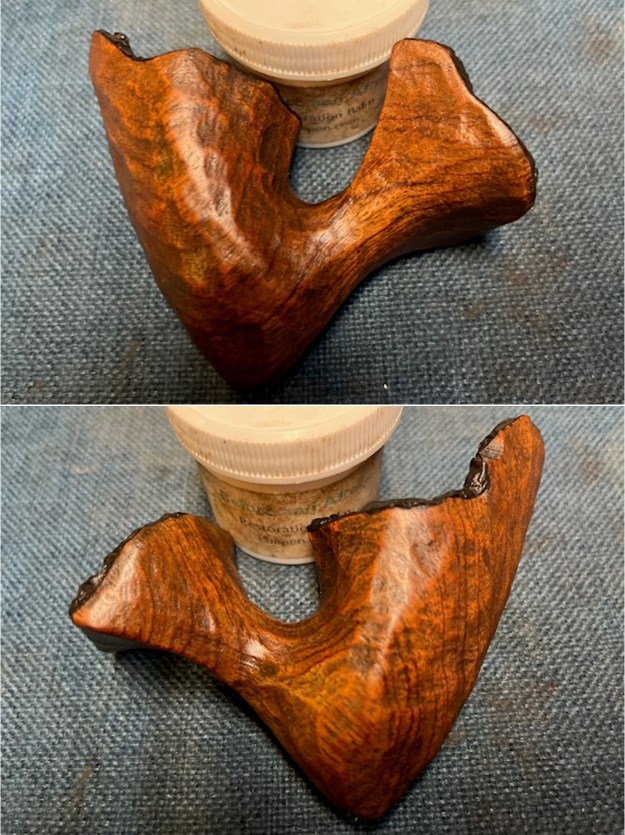
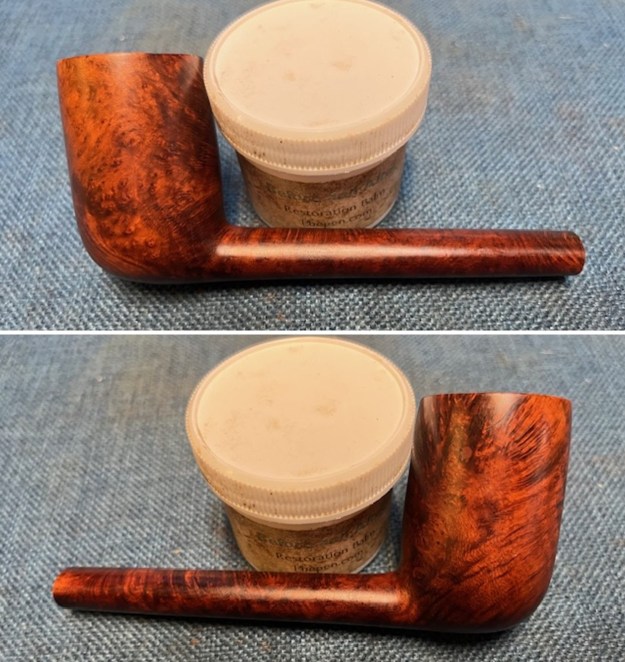
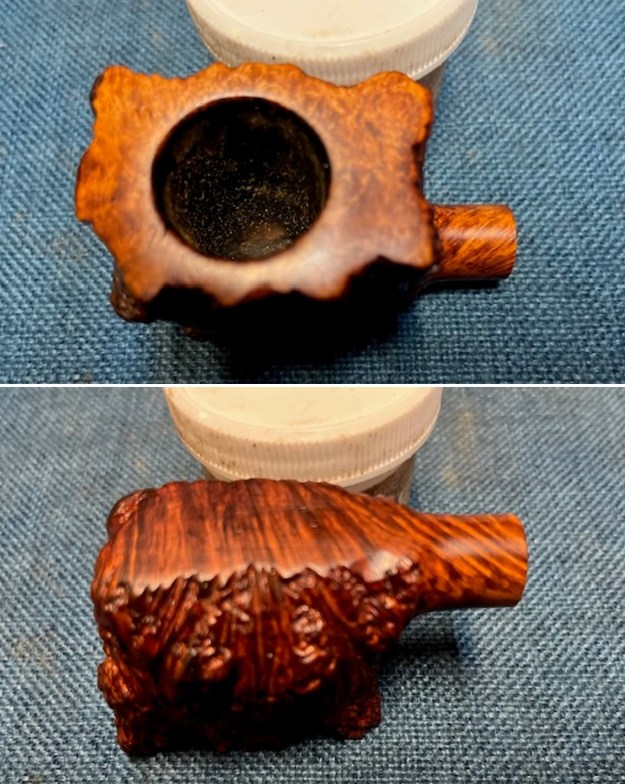
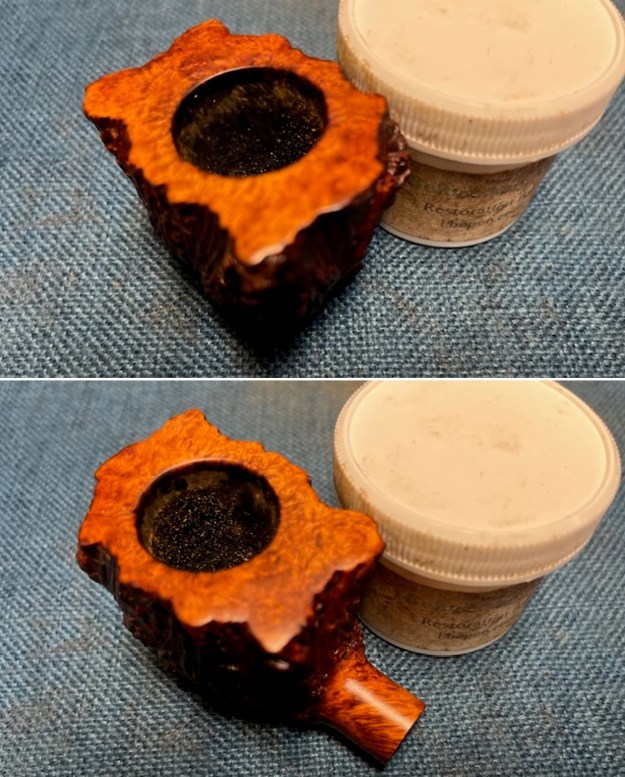
 I rubbed the briar down with Before & After Restoration Balm. I worked it into the plateau rim top surface with my fingertips and a shoebrush. The product works to clean, enliven and preserve the briar. I let it sit for 10 minutes then I buffed it with a cotton cloth to deepen the shine. The briar really comes alive with the balm.
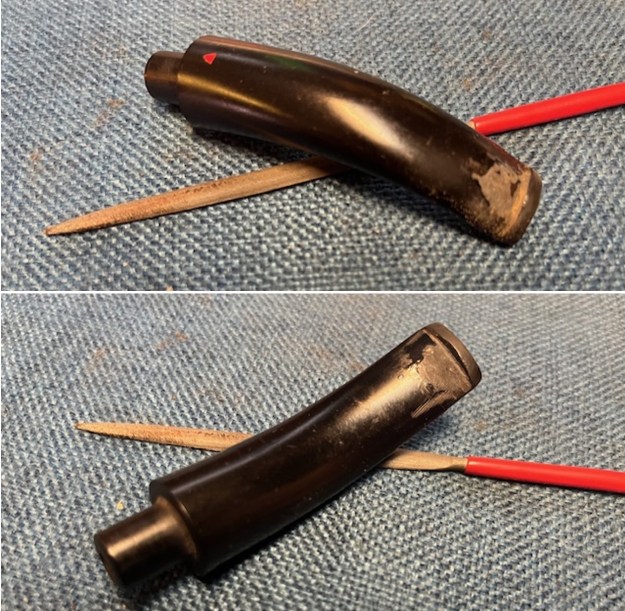
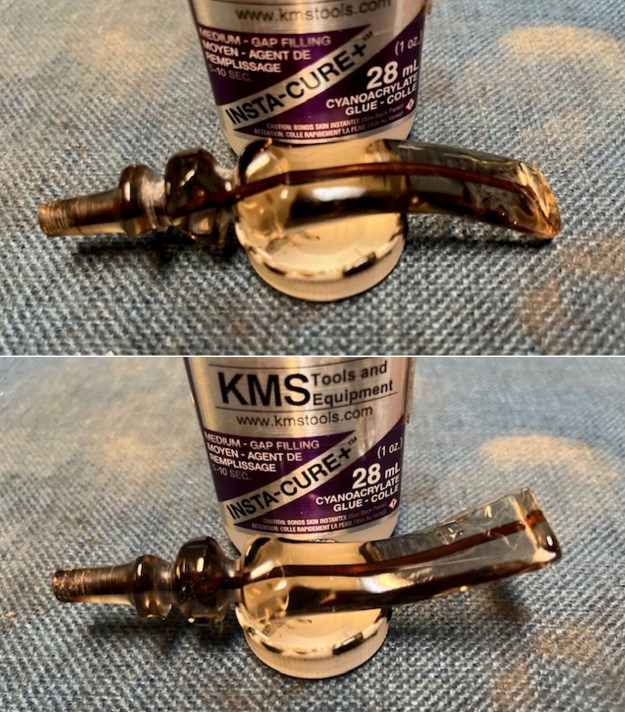
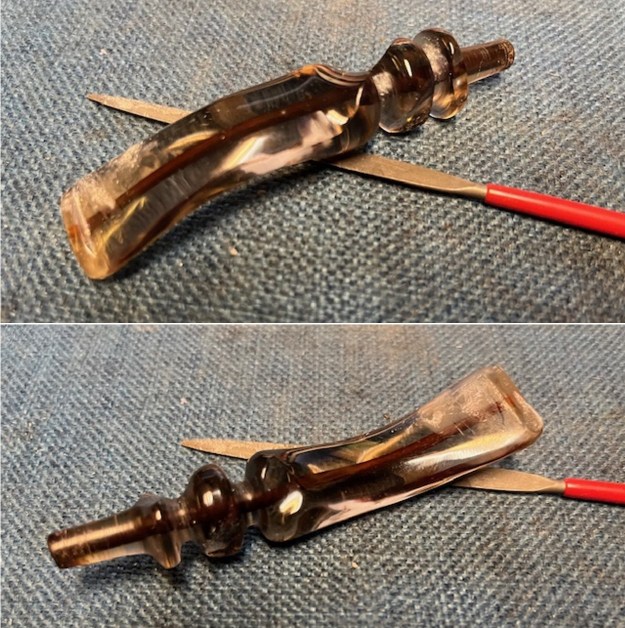
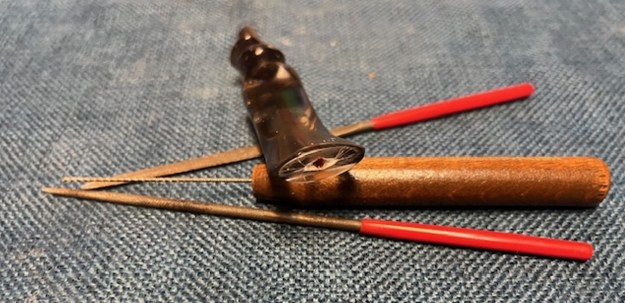
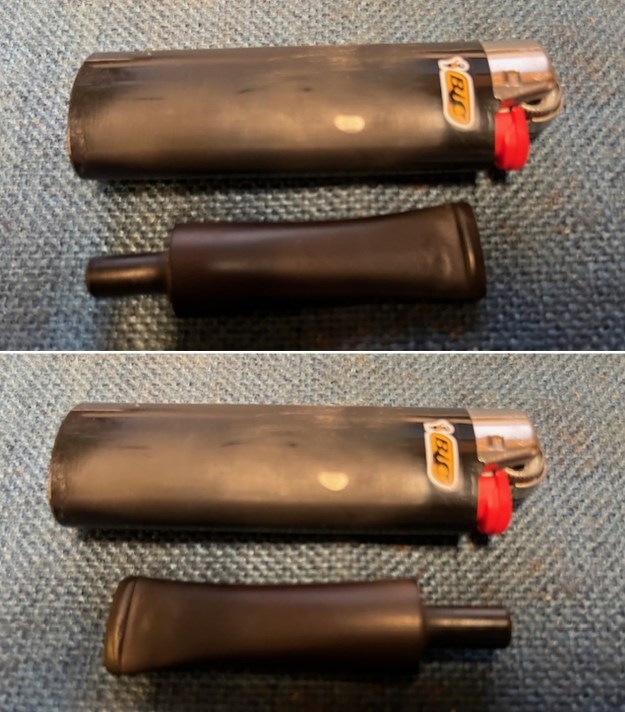
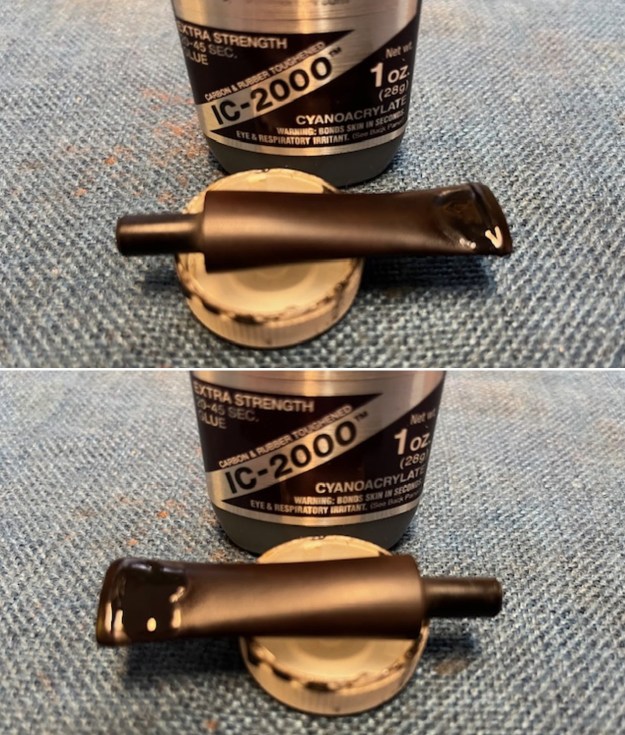
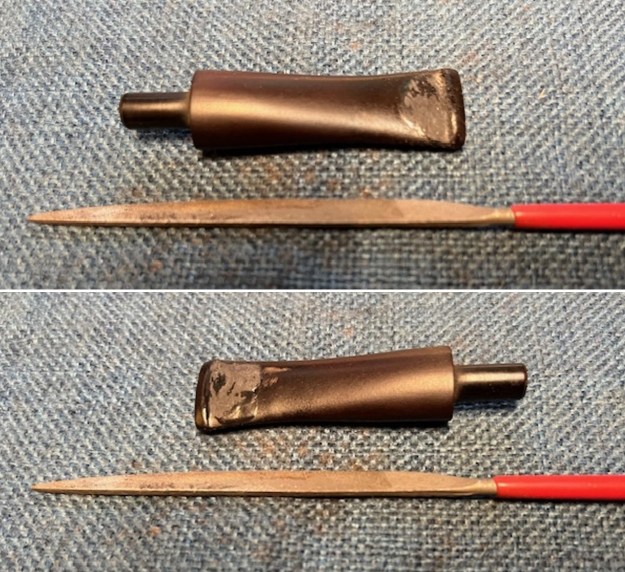
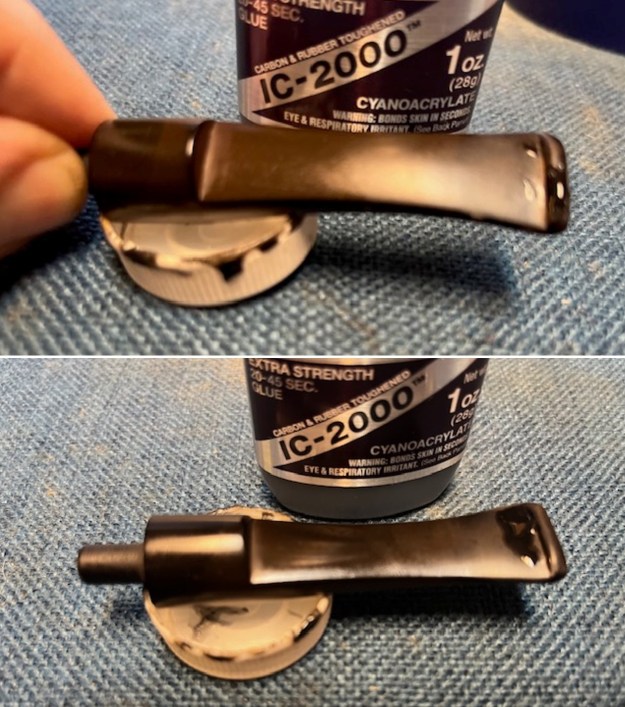
 I set the bowl aside and turned my attention to the stem. I “painted” the tooth marks with the flame of a Bic lighter. I was able to lift the majority of them. One remained on the button surface on the top side and on the blade ahead of the button on the underside. Once the repairs cured I used a small file to smooth them out. I sanded repair further with 220 grit sandpaper and blended them into the stem surface.
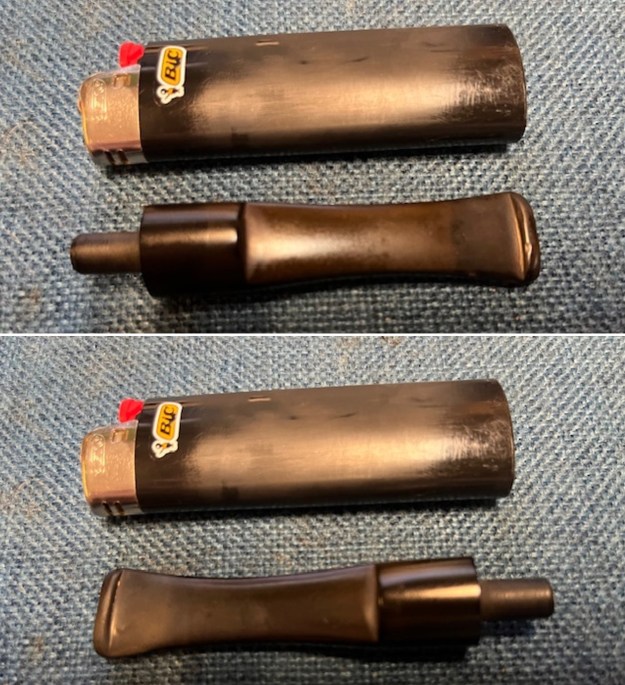

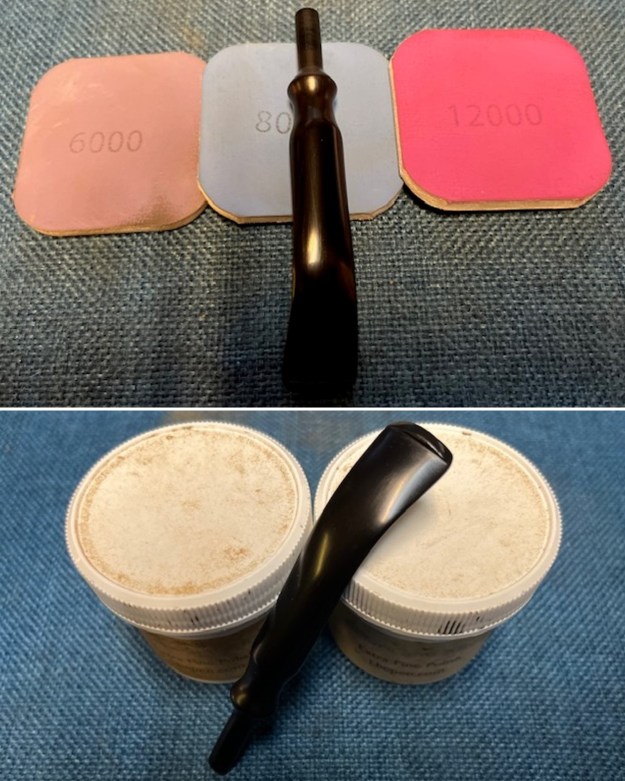
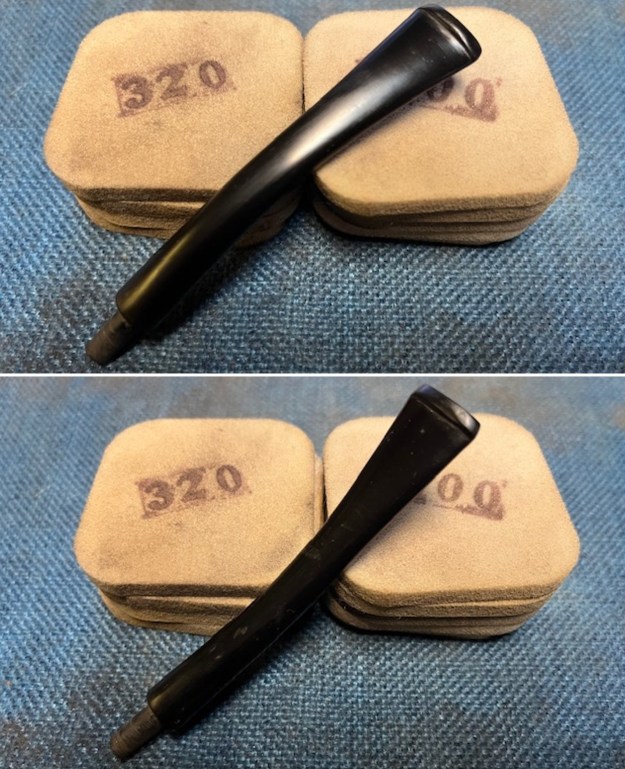
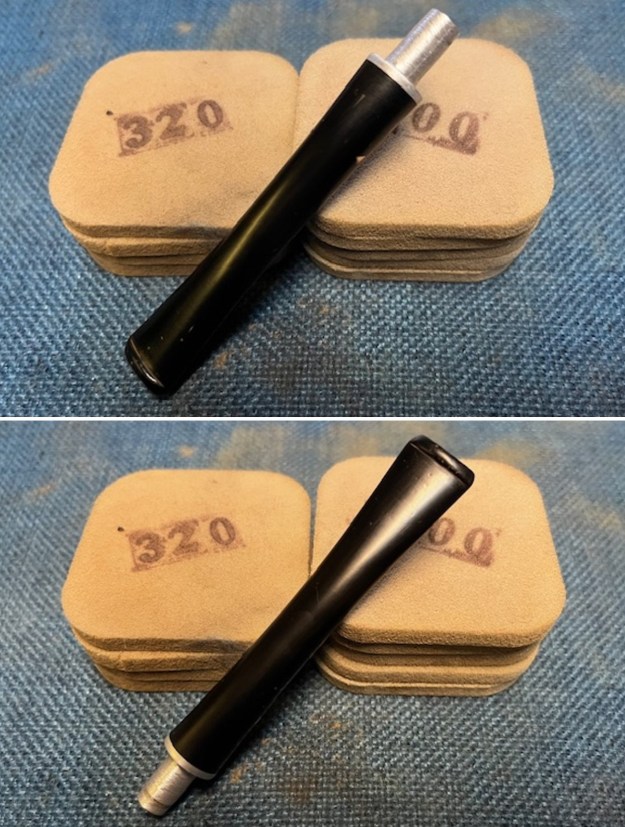
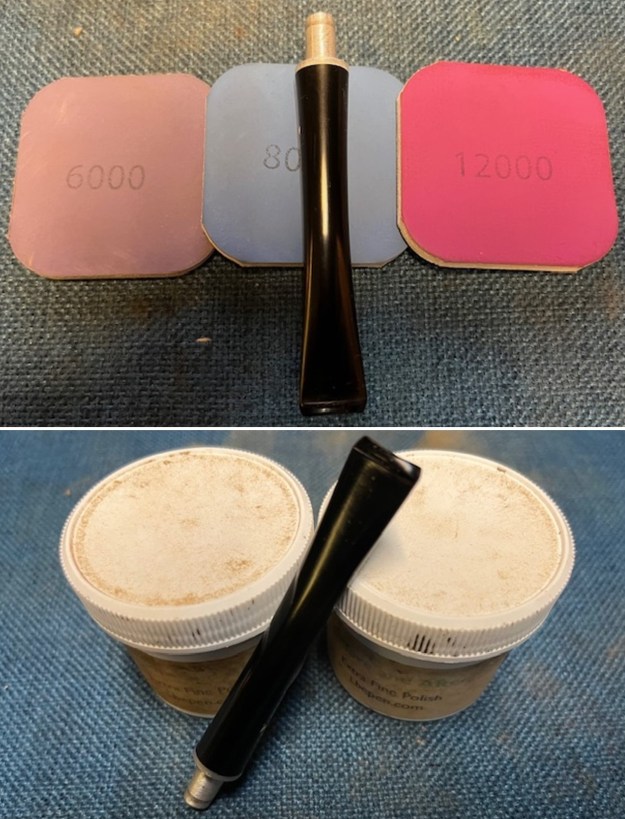
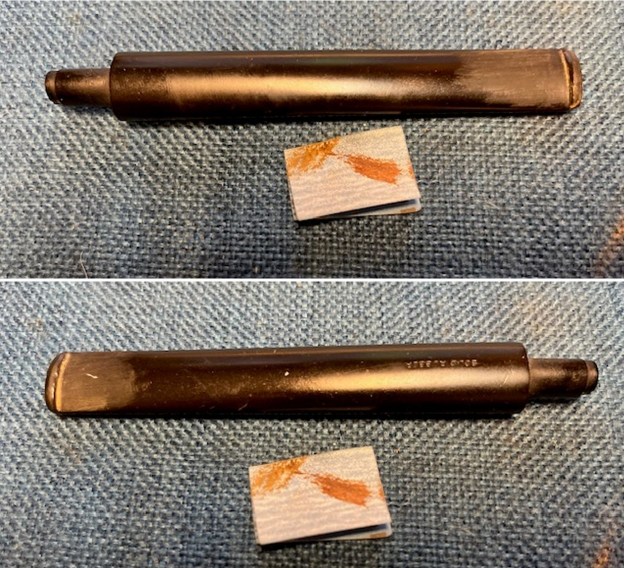
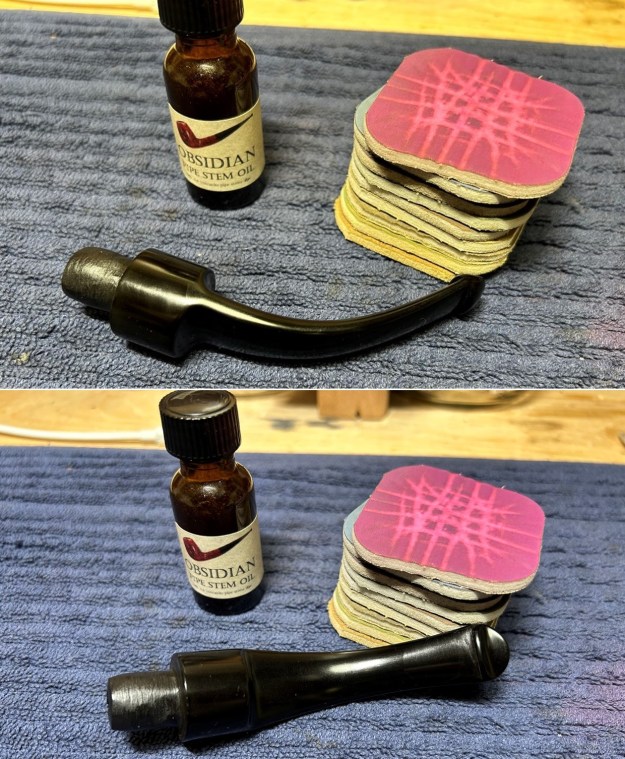
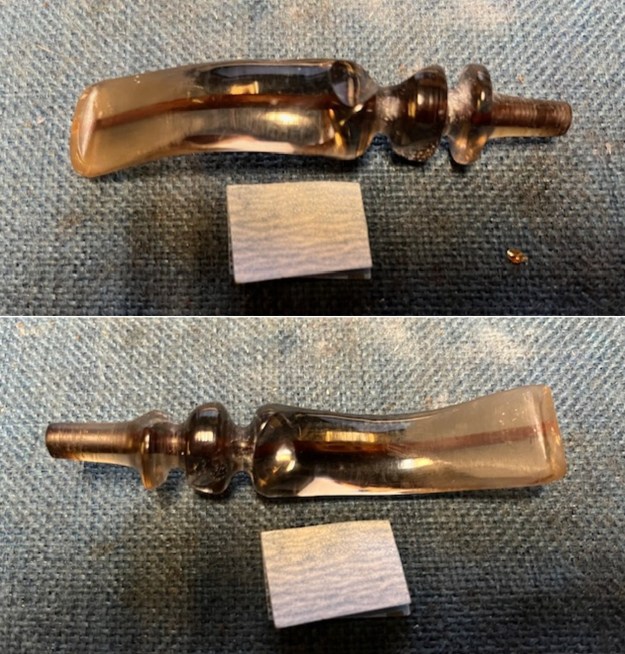
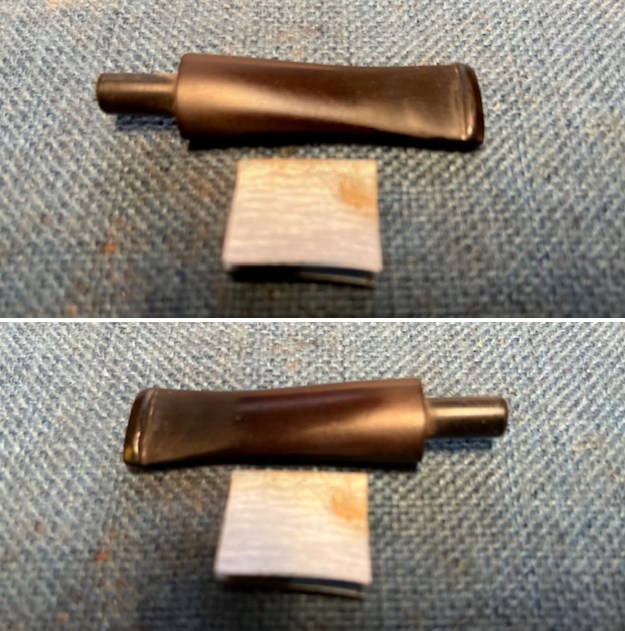
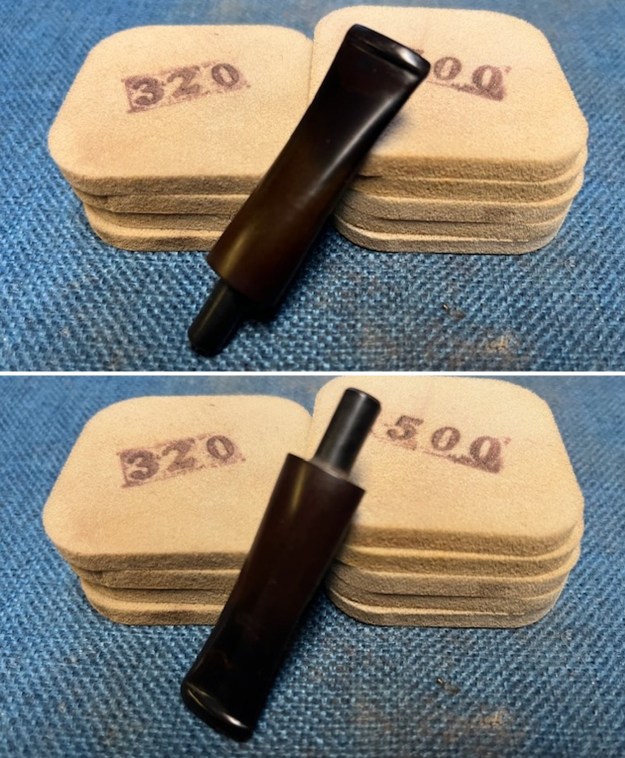
 I smoothed out the repaired surface and the rest of the stem with 320-3500 grit sanding pads. I wiped the stem down after each pad with Obsidian Oil.
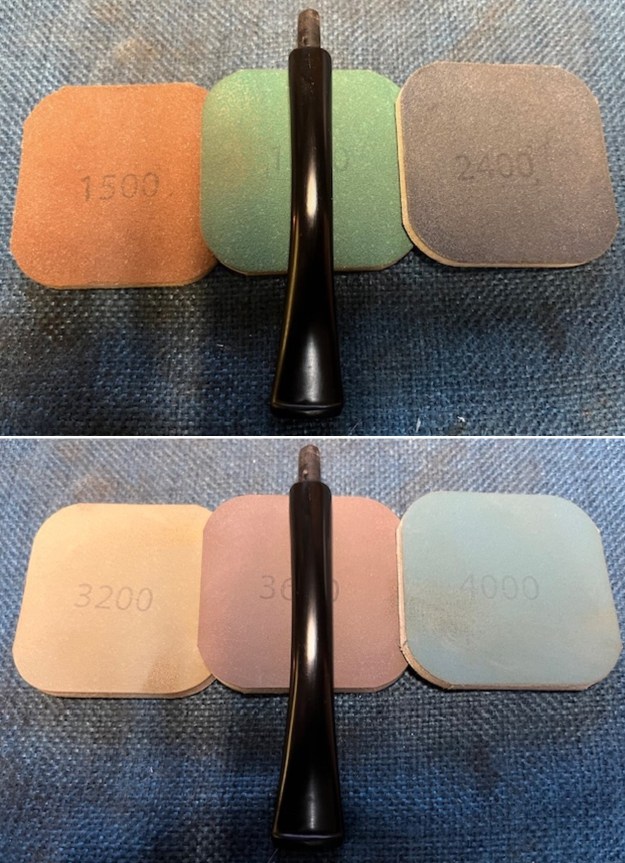
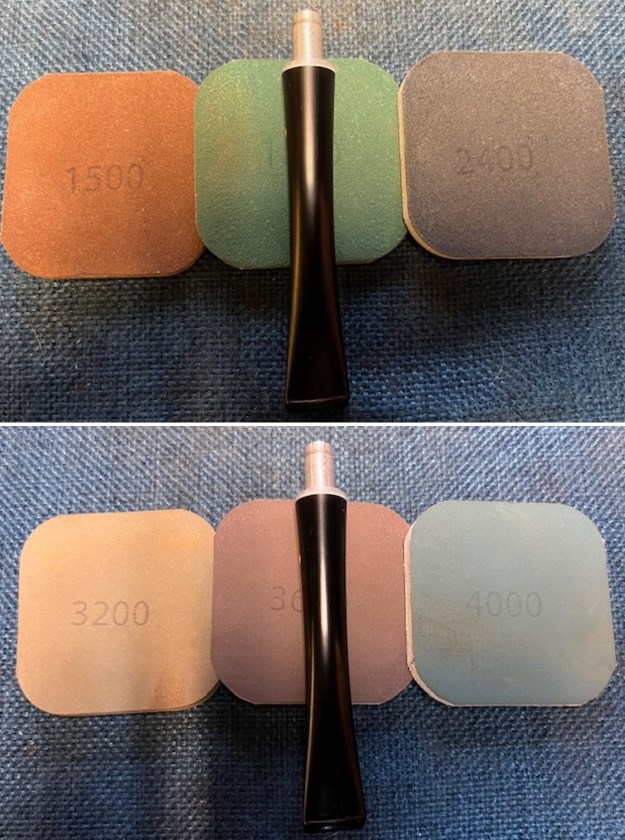
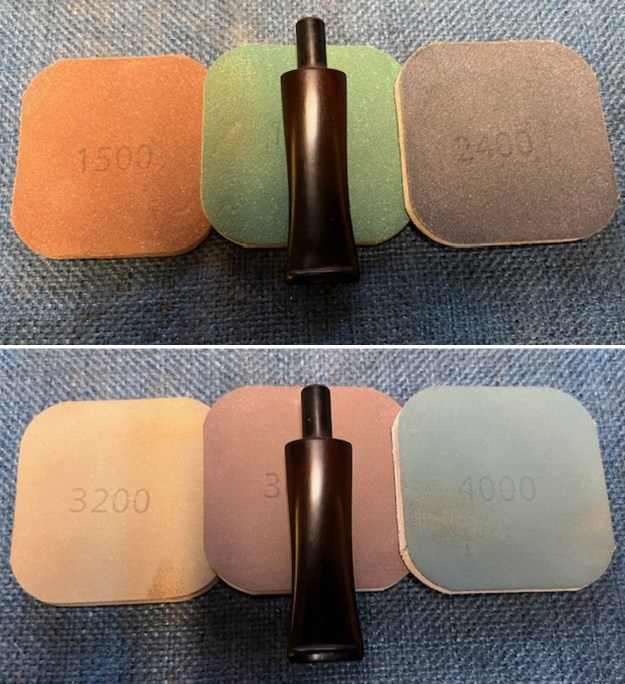
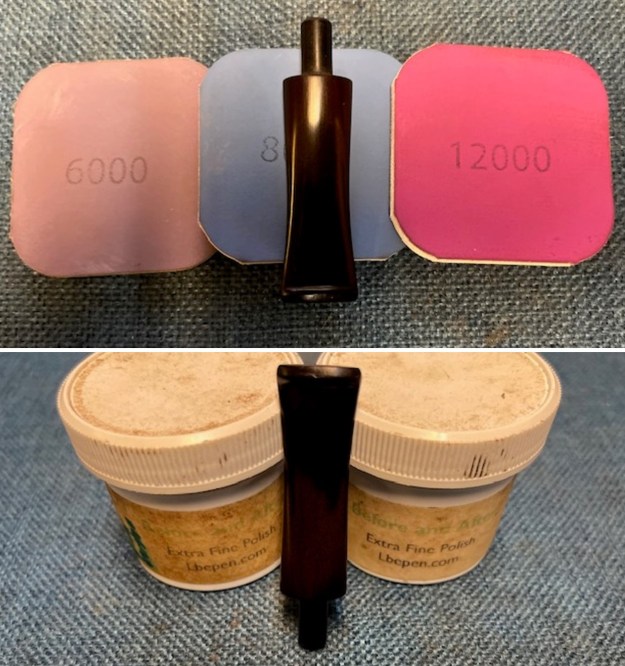
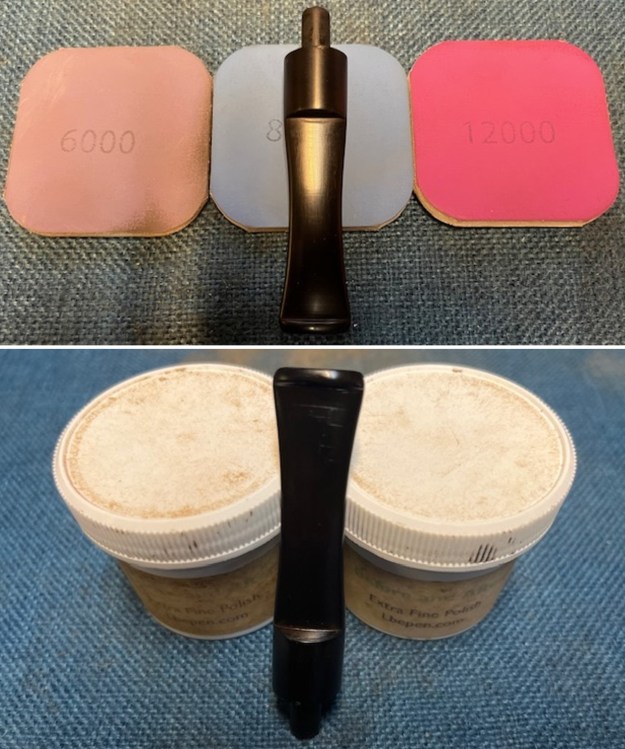
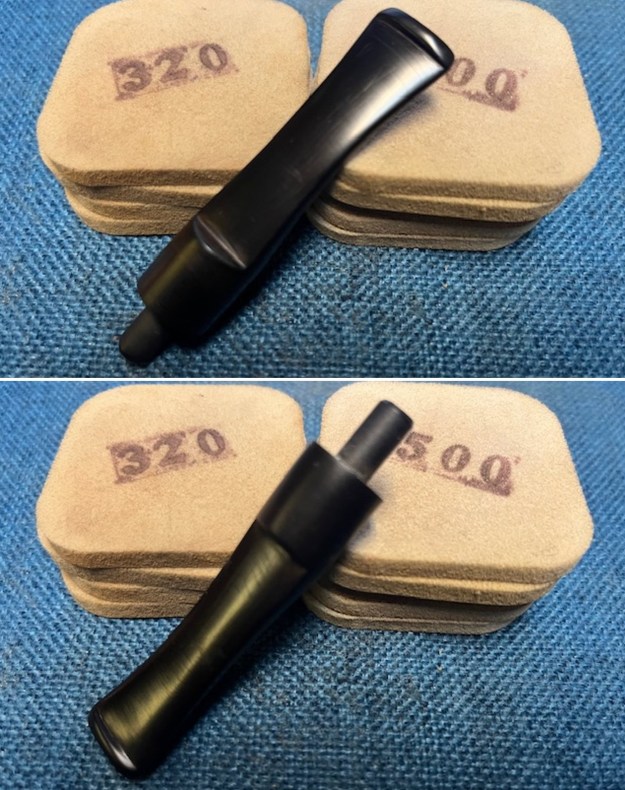 I polished the vulcanite stem with micromesh sanding pads – 1500-12000 grit pads. I wiped it down with Obsidian Oil after each sanding pad. I used Before & After Pipe Polish – both Fine and Extra Fine to further polish the stem.
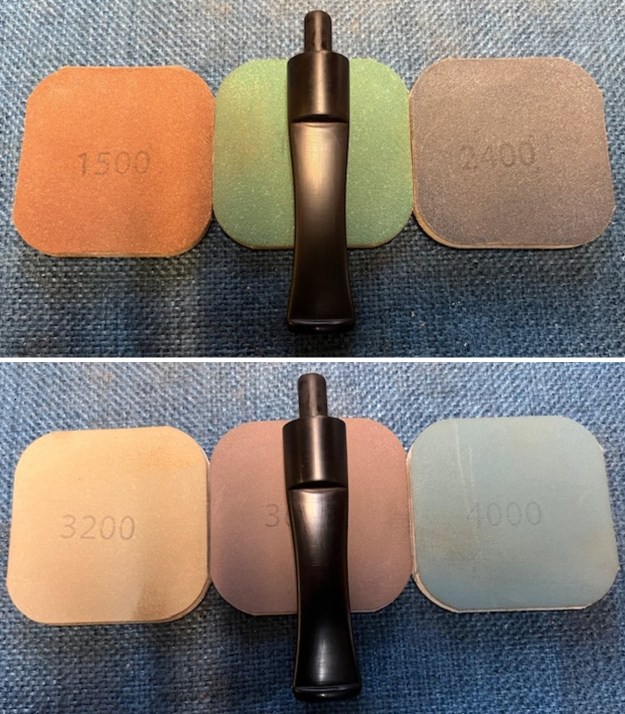
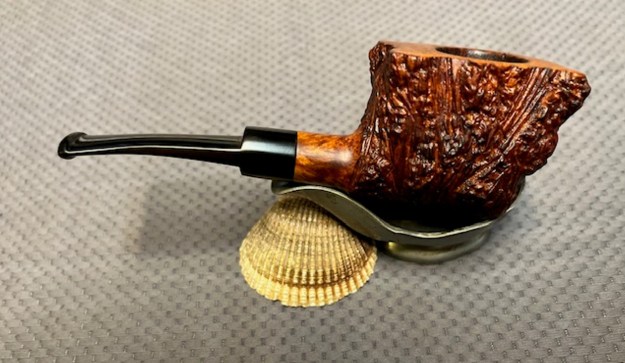
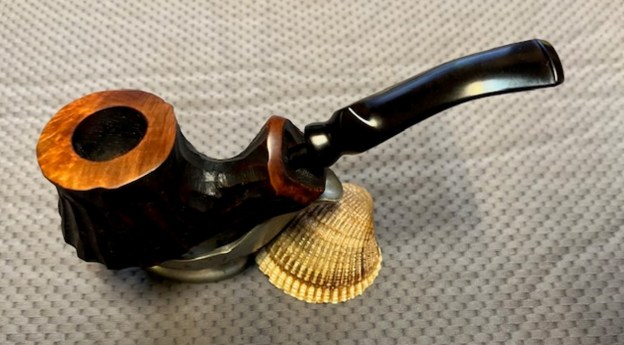
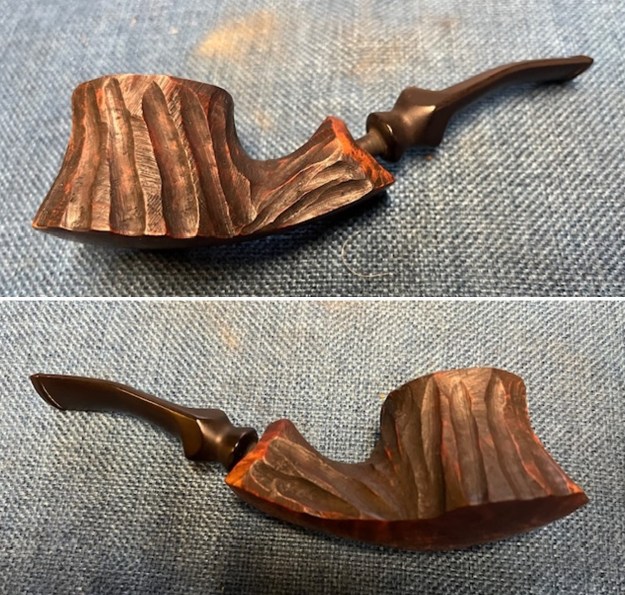
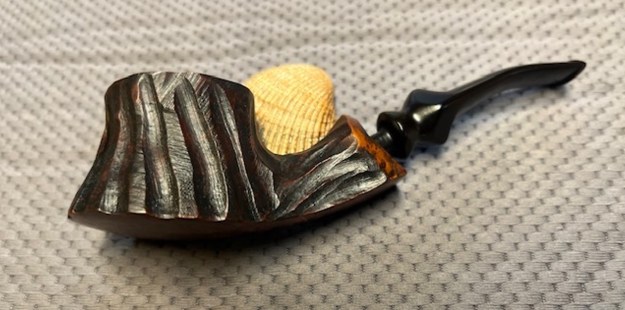
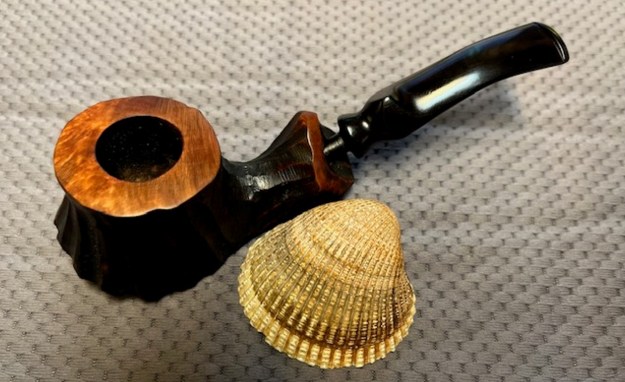
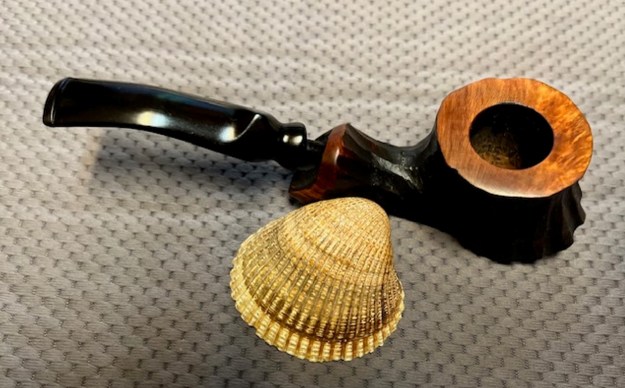
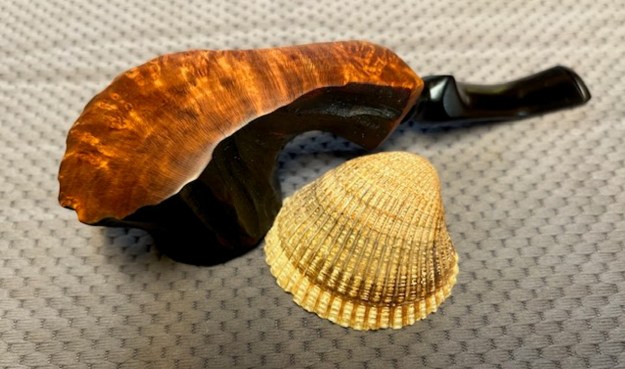
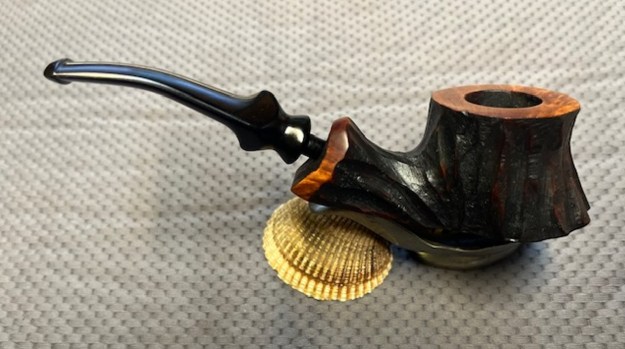
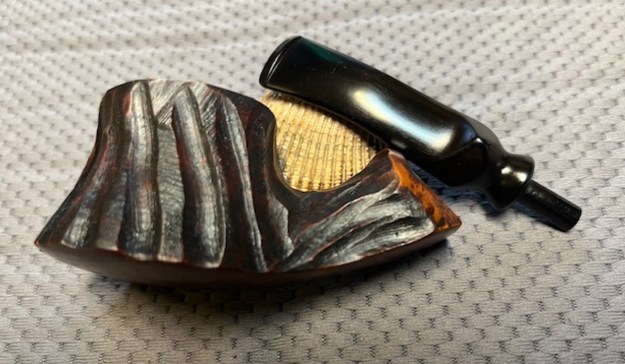
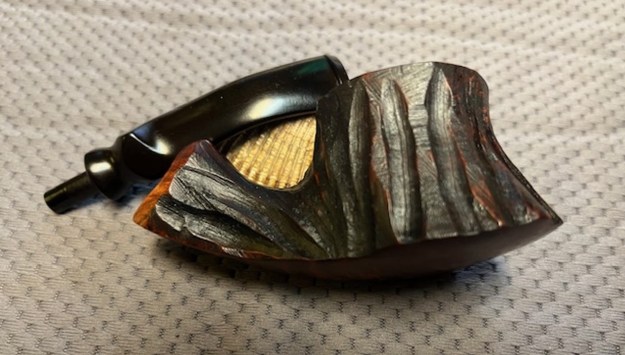
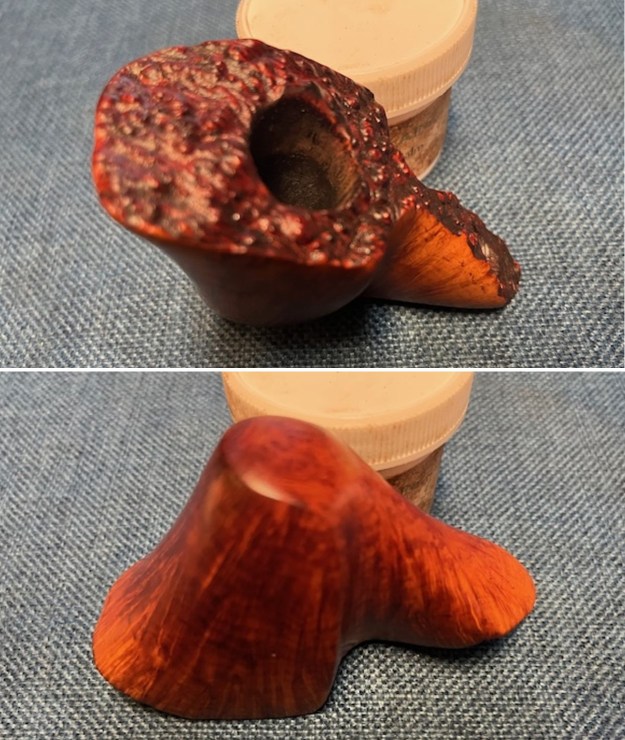
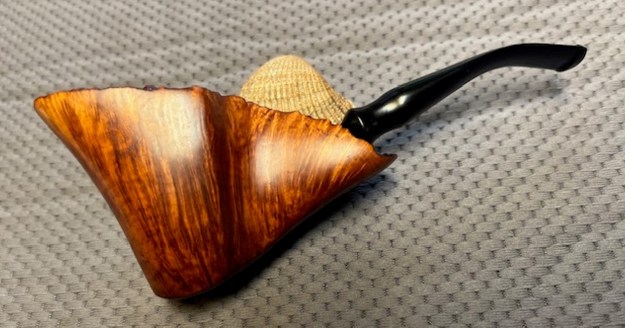
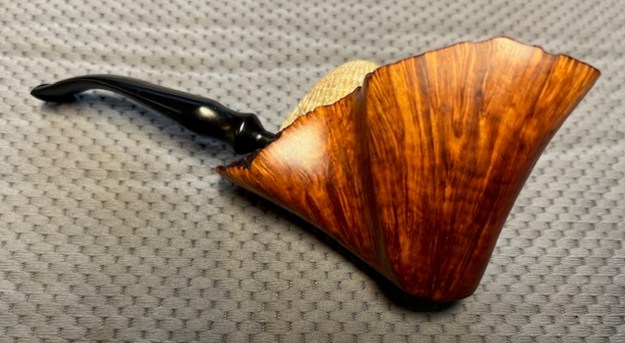
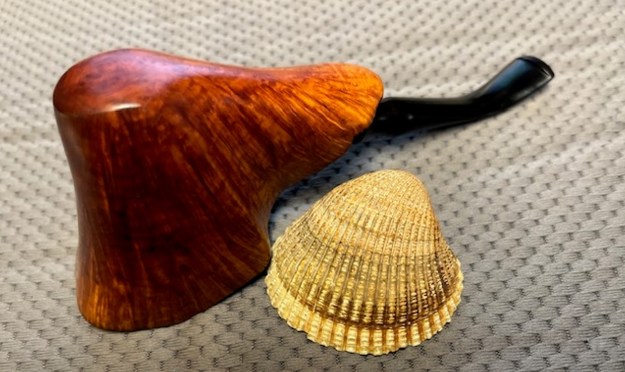
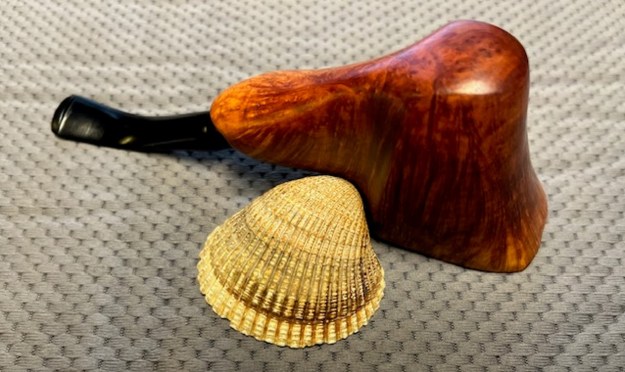
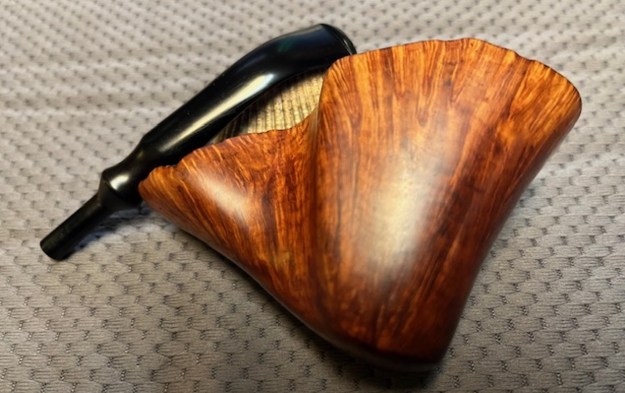
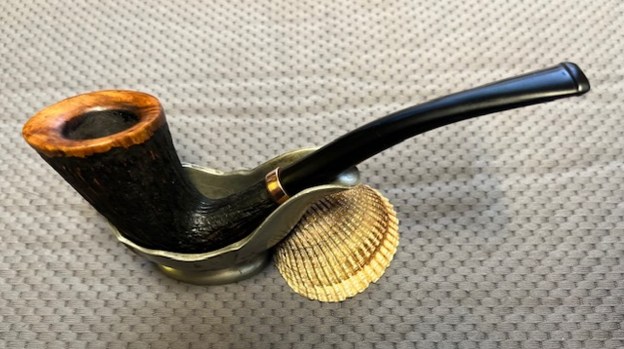
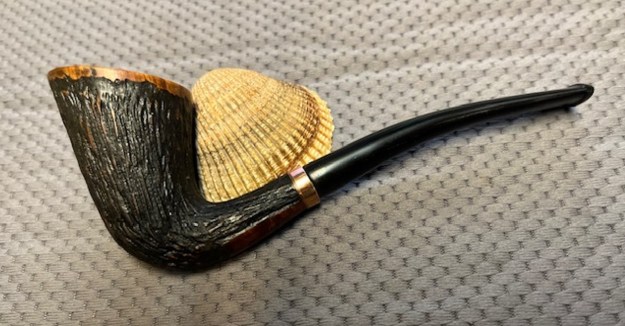
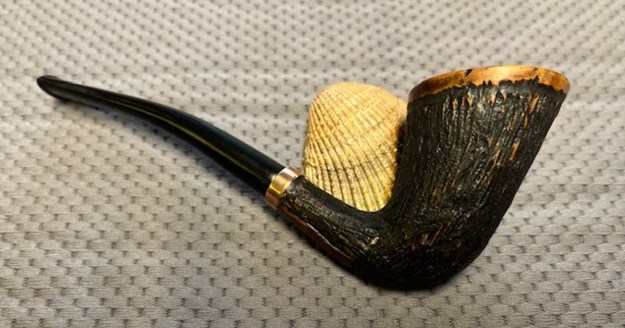
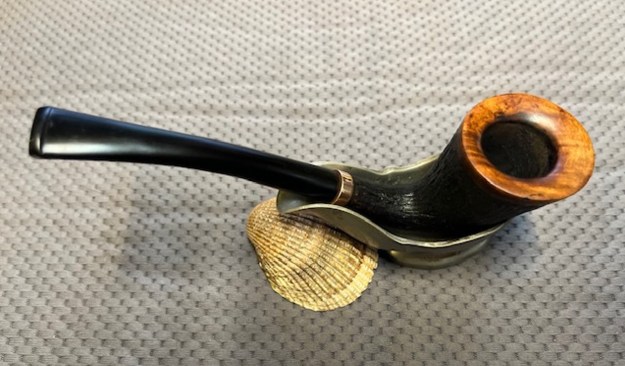
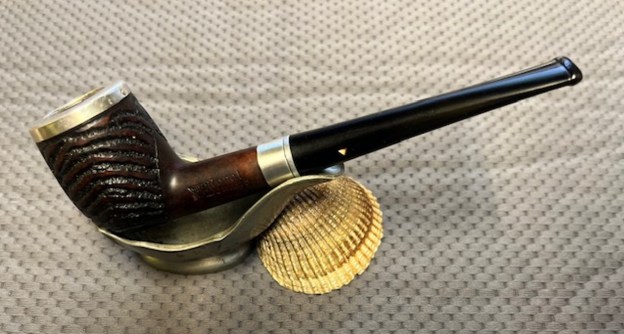
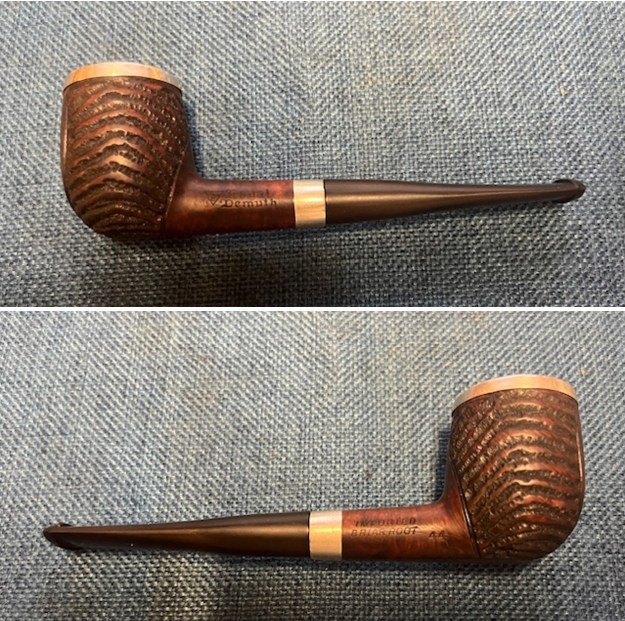
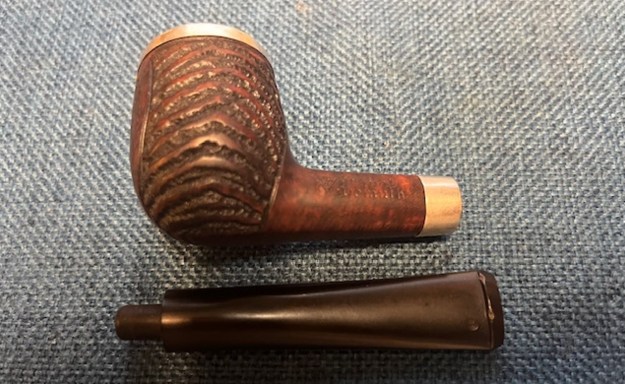
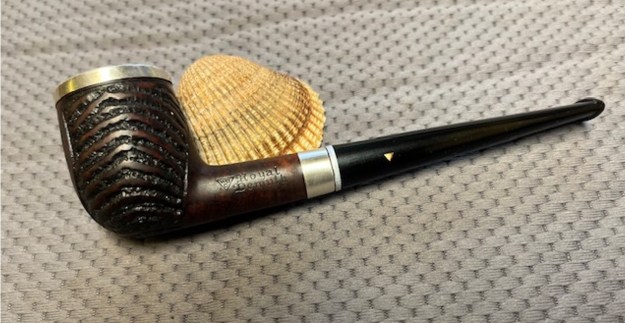
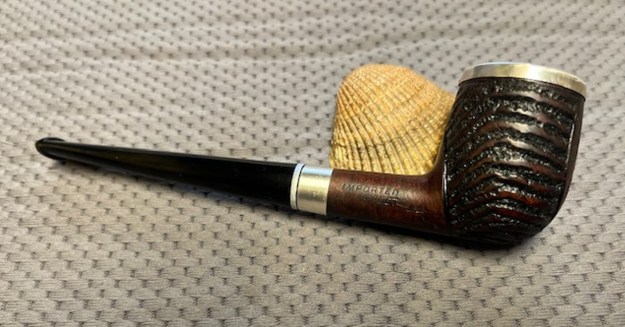
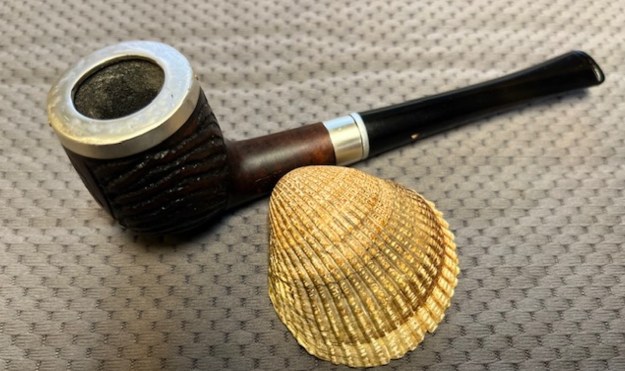
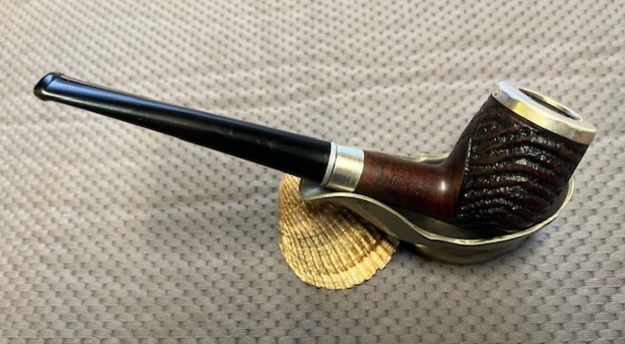
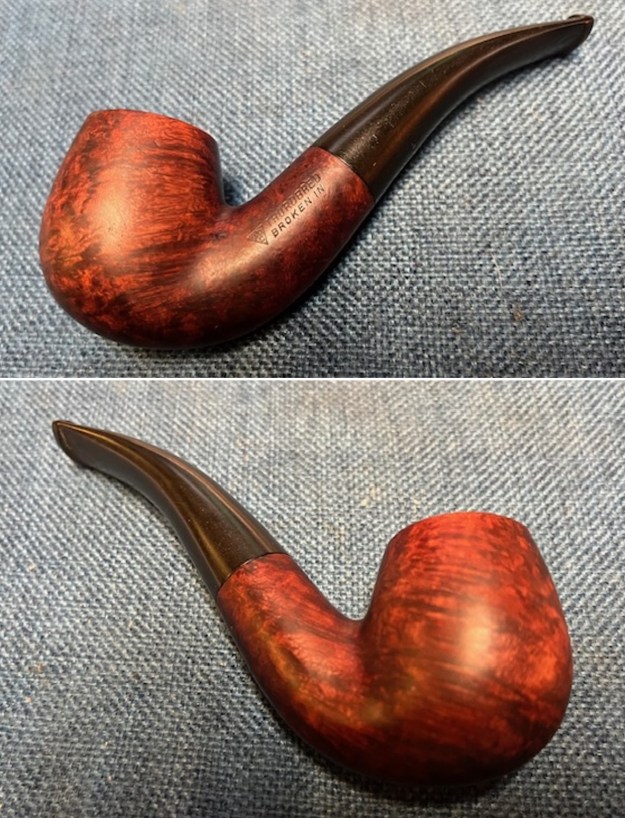
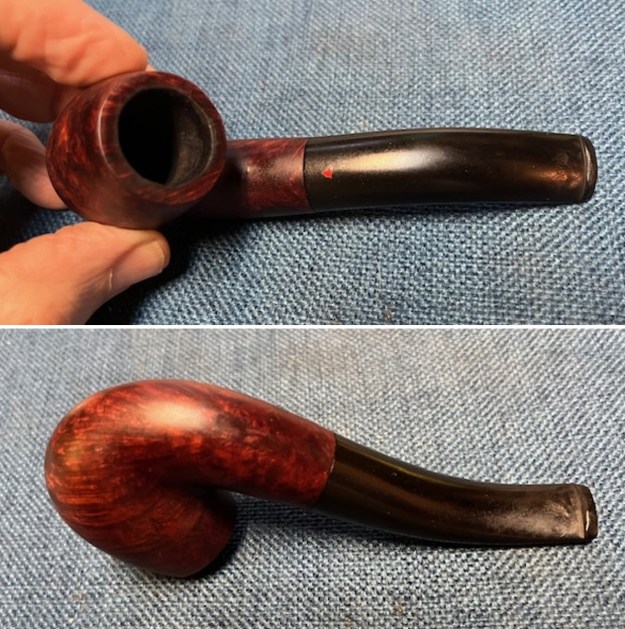
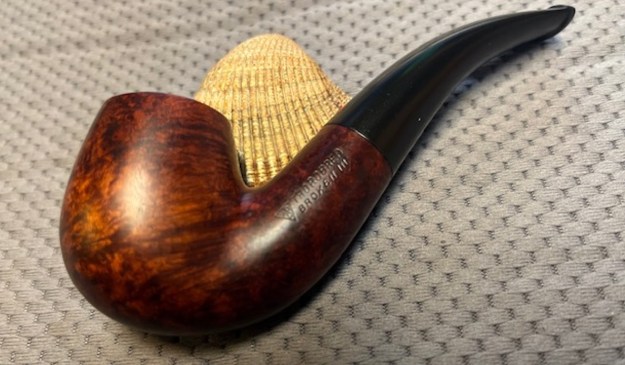
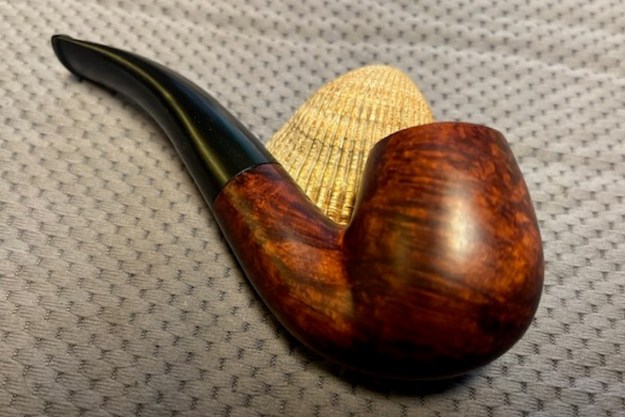
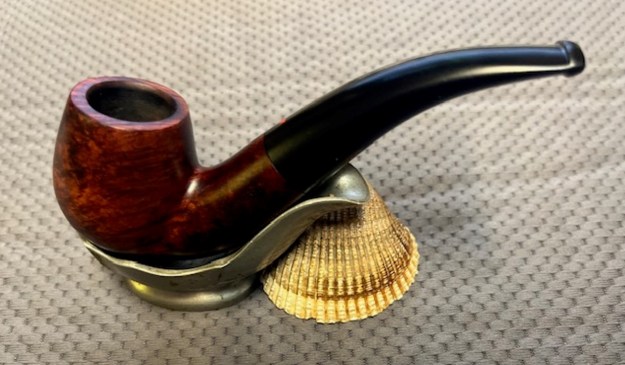
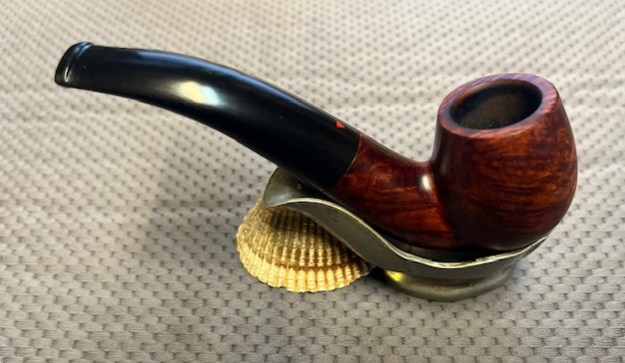
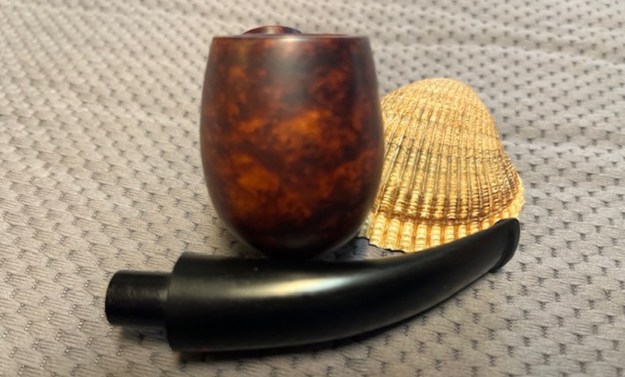
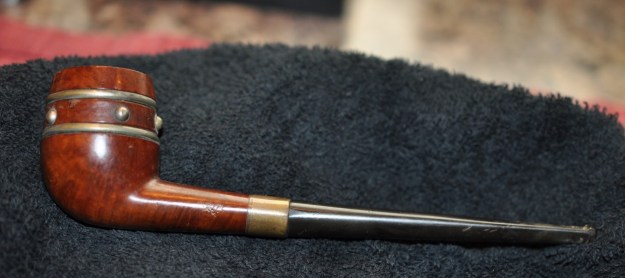
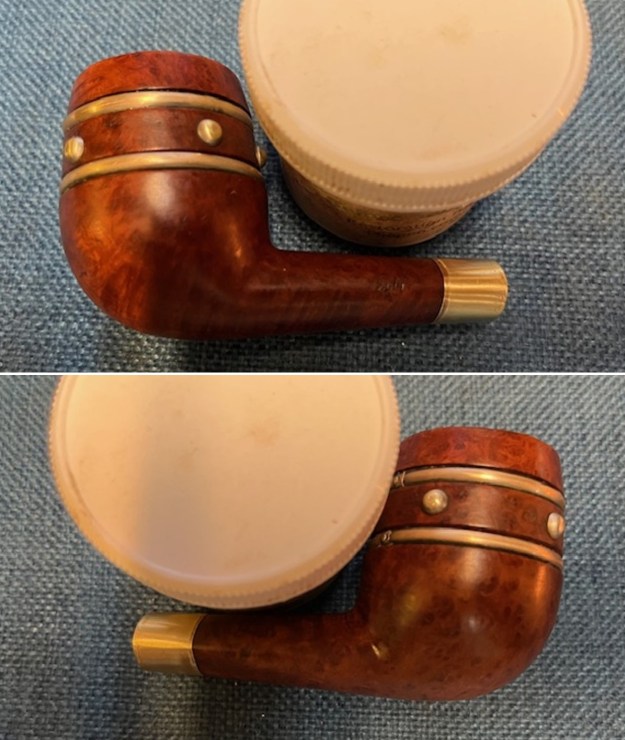
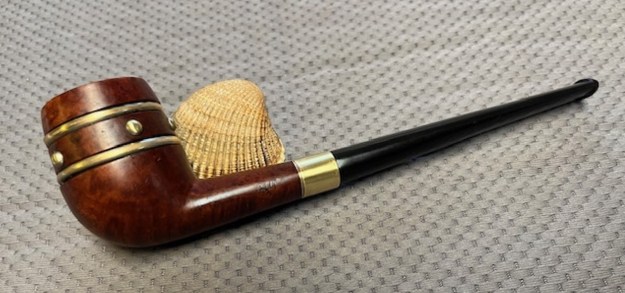
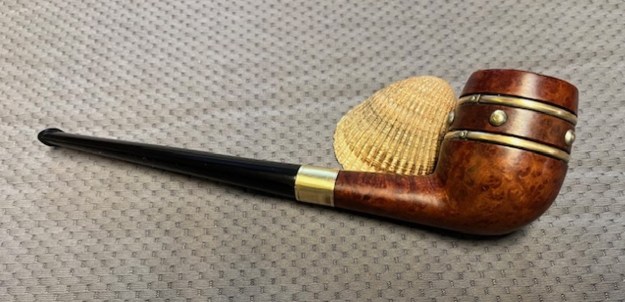
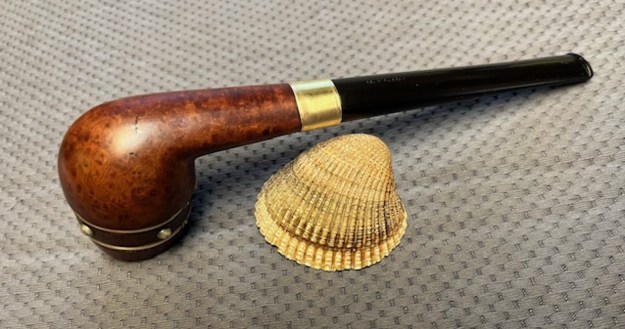
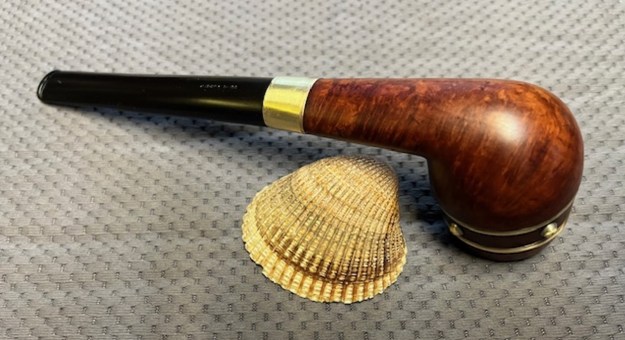
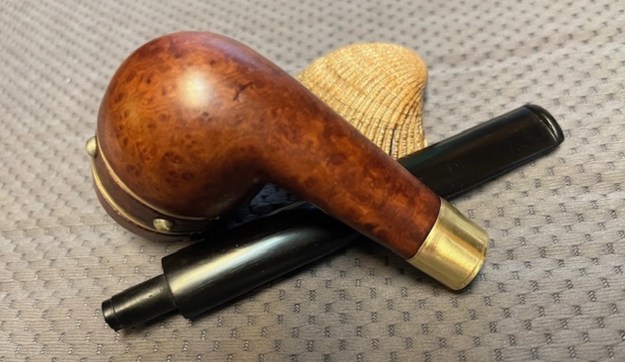
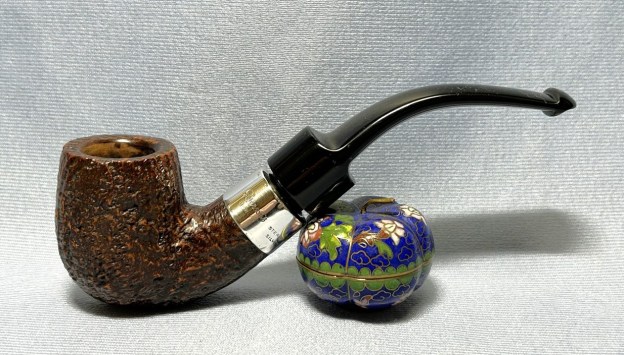
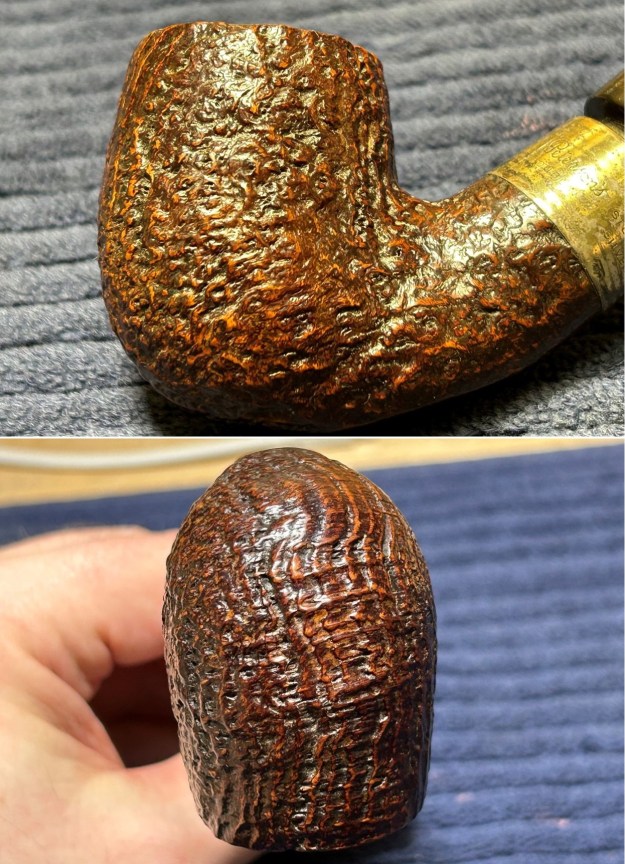
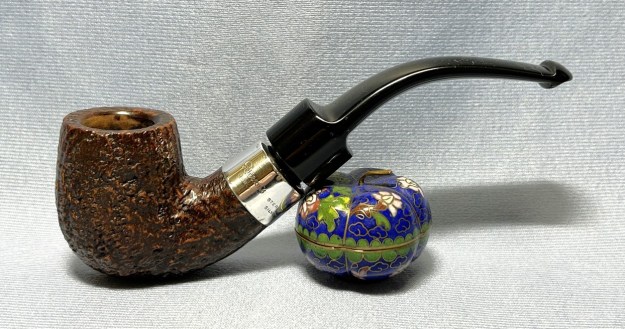
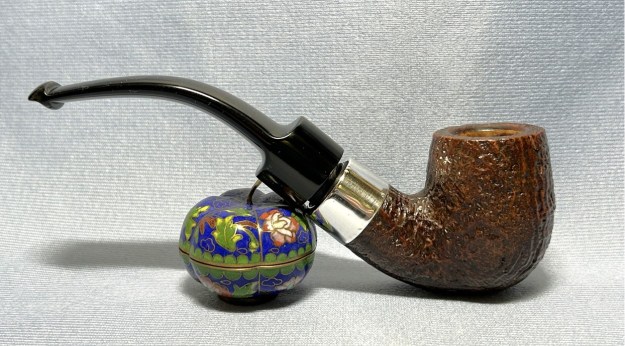
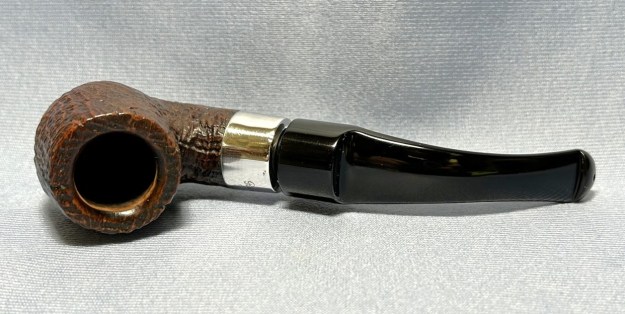
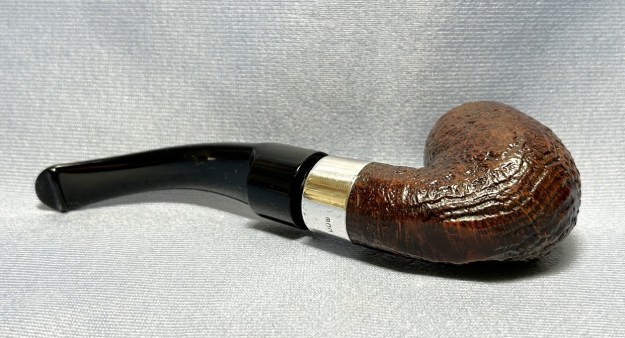
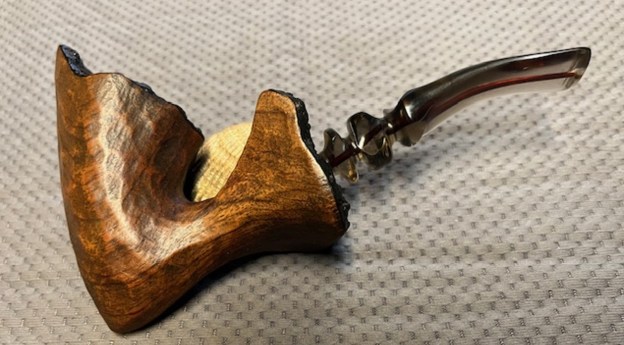
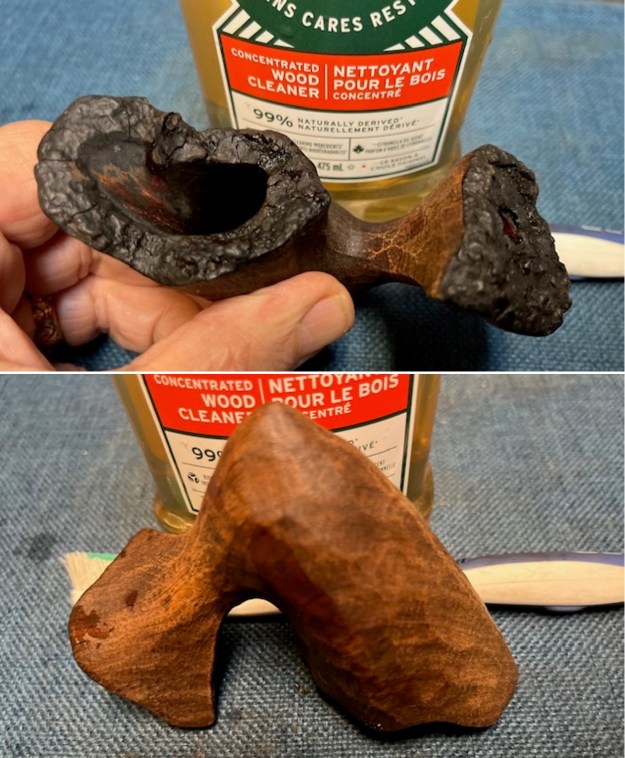
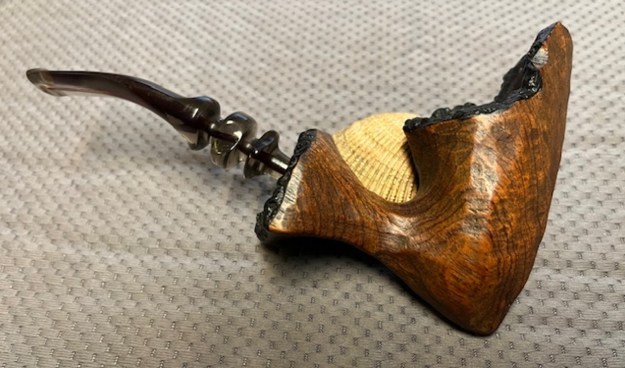
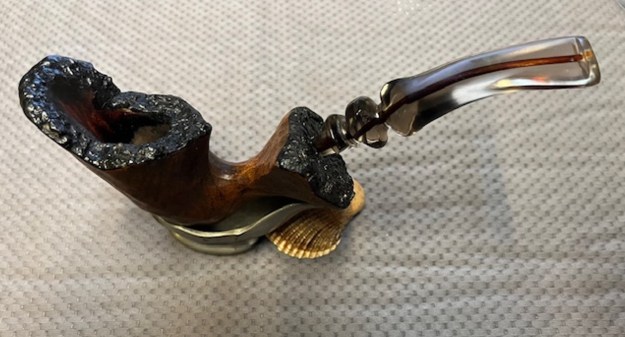
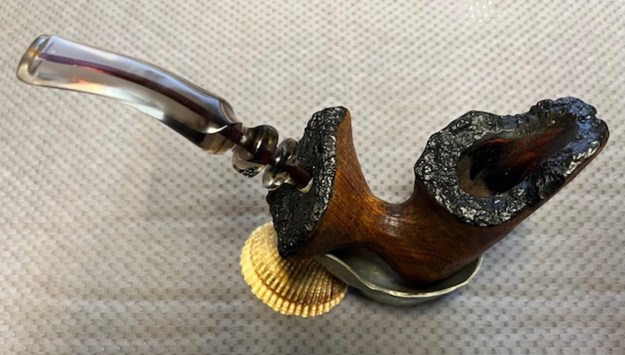
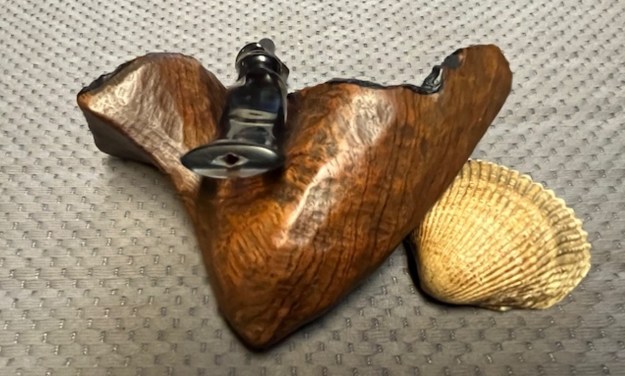
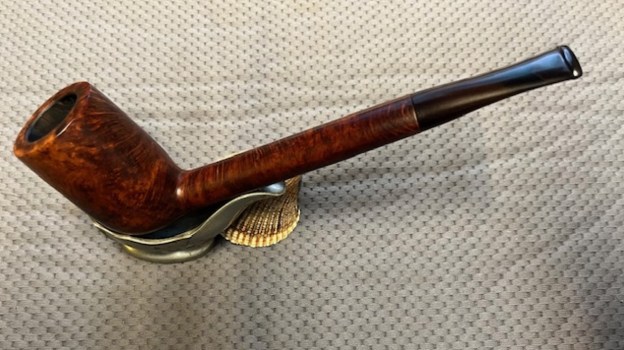
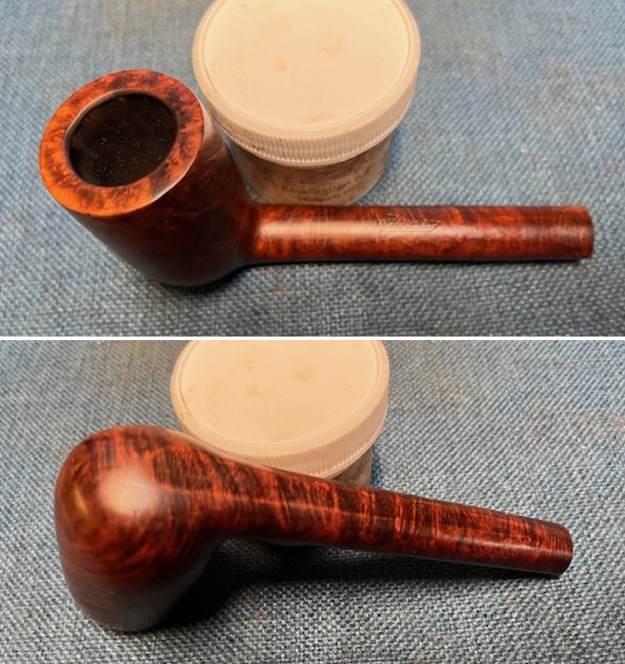
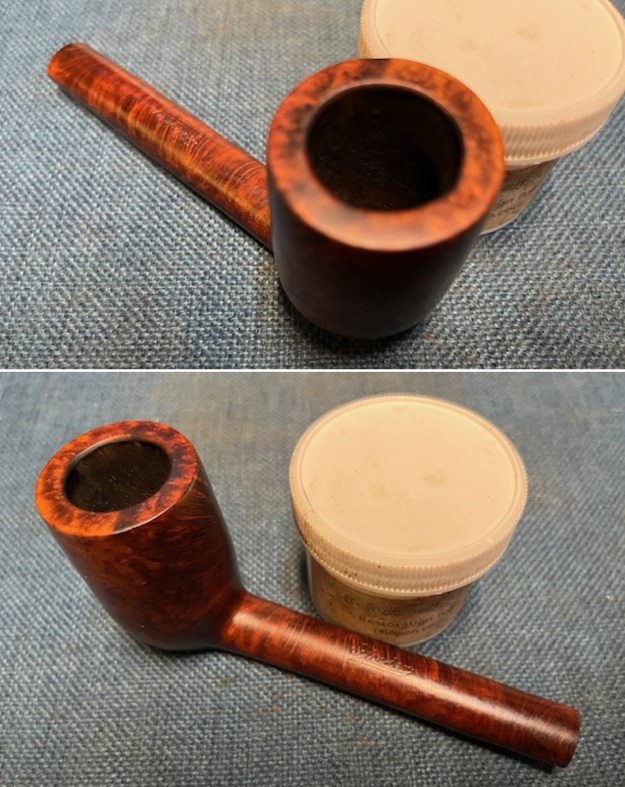
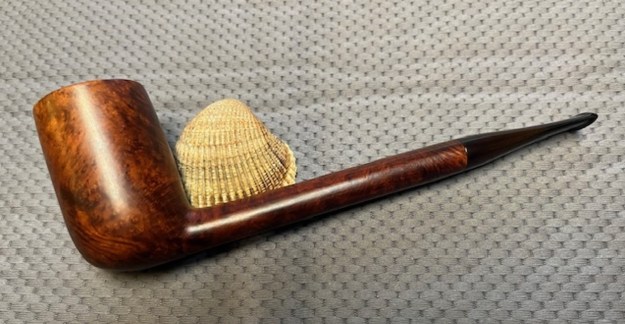
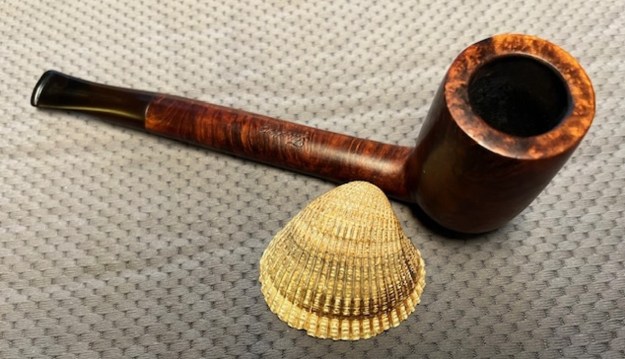
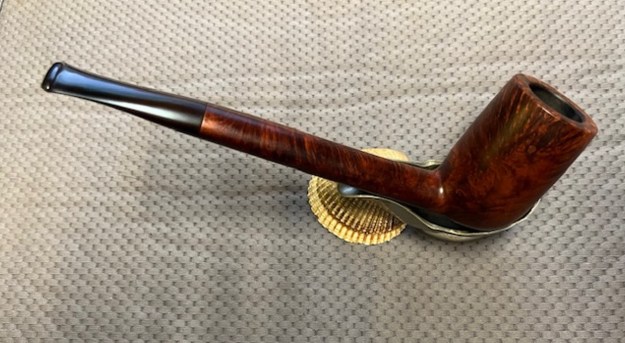
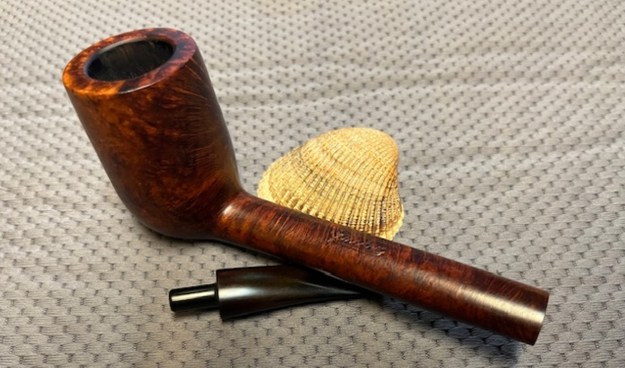
 This unusual Astley’s Root Briar Specialty Sitter with a saddle vulcanite stem is a great looking pipe now that it has been restored. The briar is clean and the carving and rustication on the sides and the grain on the rim top and heel really came alive. The rich stains gave the finish a sense of depth on the rustication with the polishing and waxing. I put the stem back on the bowl and buffed the pipe with Blue Diamond on the buffing wheel using a light touch on the briar. I gave the bowl multiple coats of Conservator’s Wax and the stem multiple coats of carnauba wax on the buffing wheel. I buffed the pipe with a clean buffing pad to raise the shine. I hand buffed the pipe with a microfiber cloth to deepen the shine. The finished Astley’s Root Briar Sitter really is a beauty and feels great in the hand and looks very good. Give the finished pipe a look in the photos below. The dimensions of the pipe are Length: 5 ½ inches, Height: 2 inches, Outside diameter of the bowl: 1 ½ inches x 2 inches, Chamber diameter: 1 inch. The weight of the pipe is 67 grams/ 2.36 ounces. This beautiful Freehand pipe will soon be on the rebornpipes store in the British Pipemakers Secton. It should make a great smoker for the next trustee. Thanks for reading this blog and my reflections on the pipe while I worked on it. It was a fun one to work on.