Blog by Steve Laug and Charles Lemon
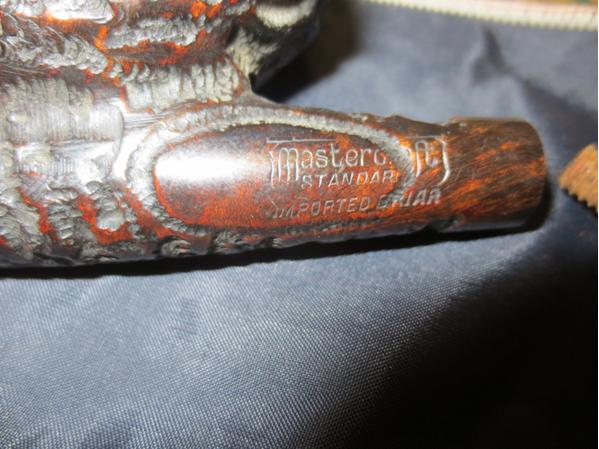
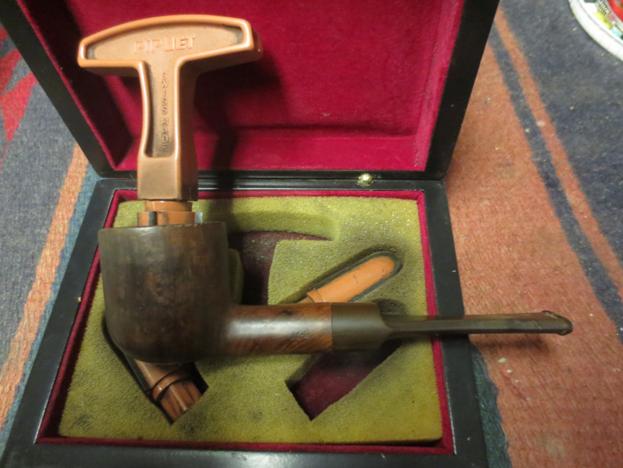
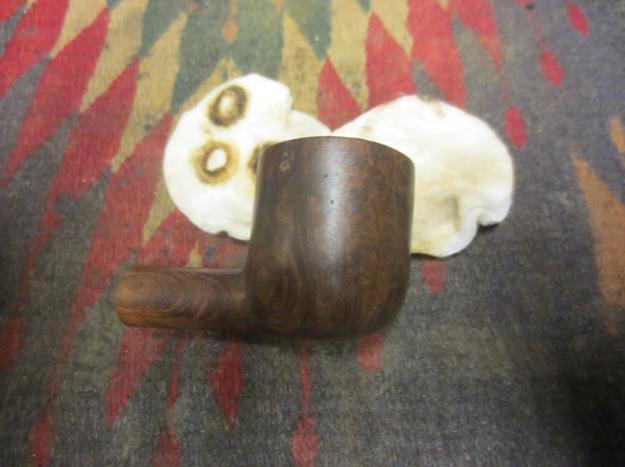
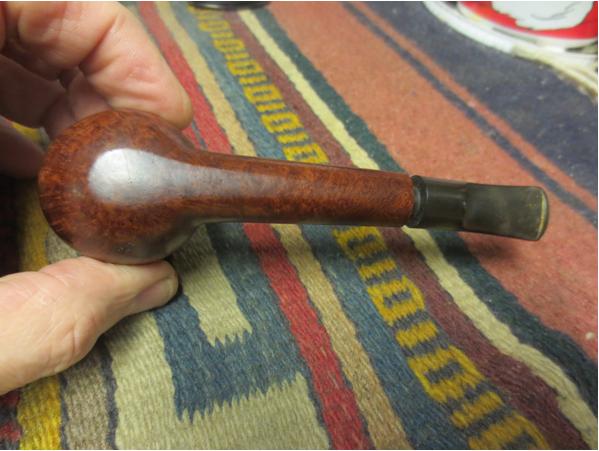
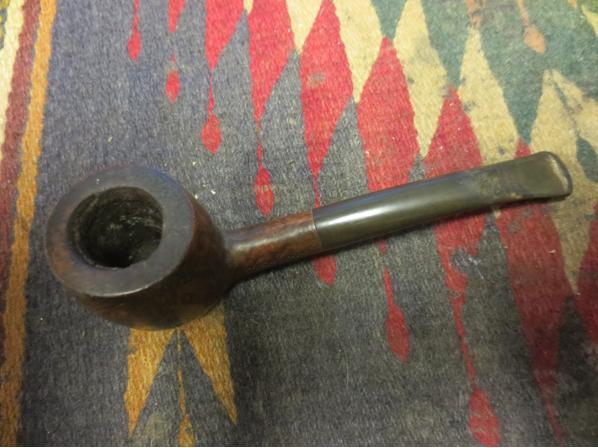
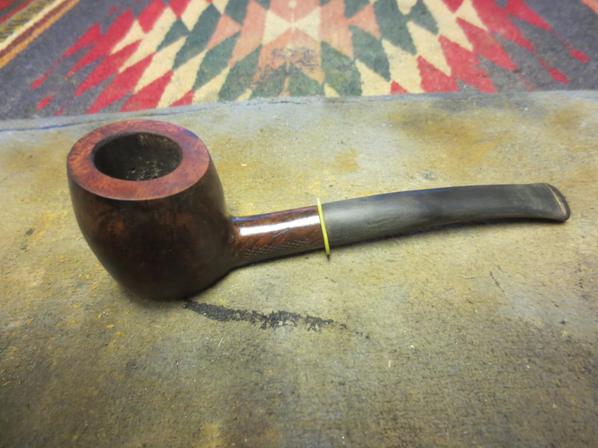
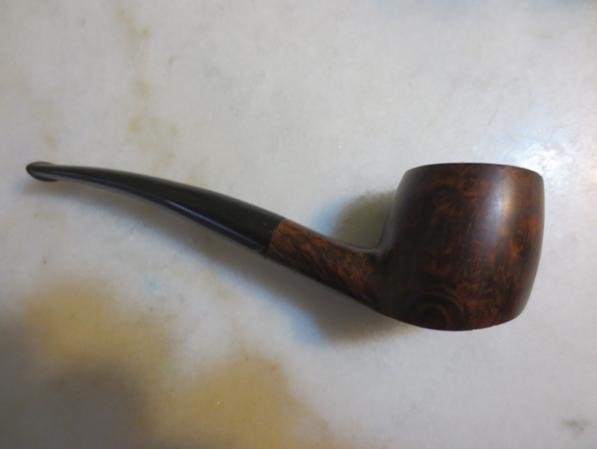
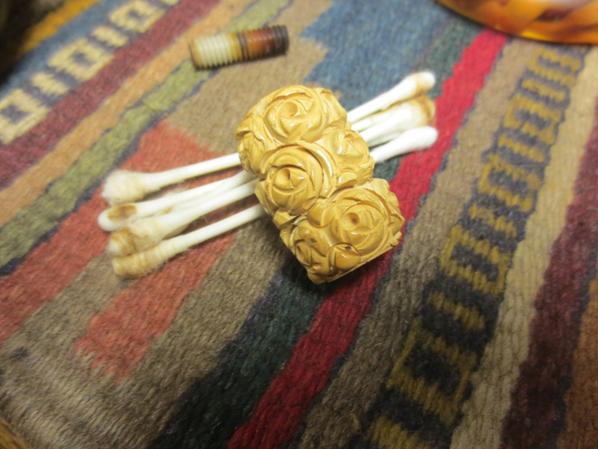
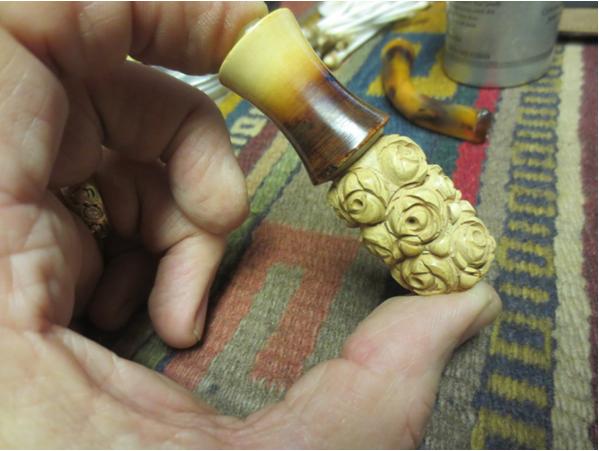
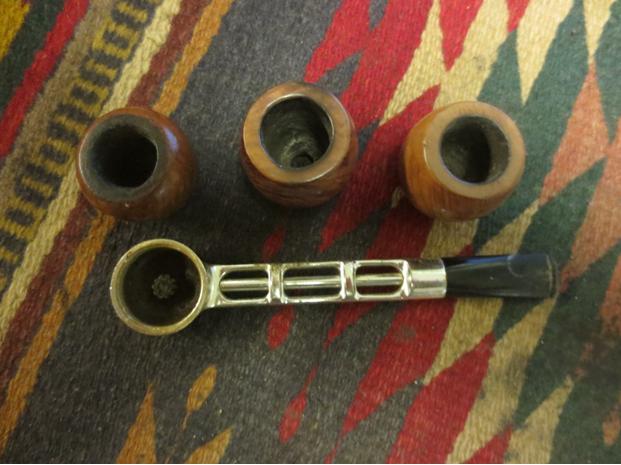
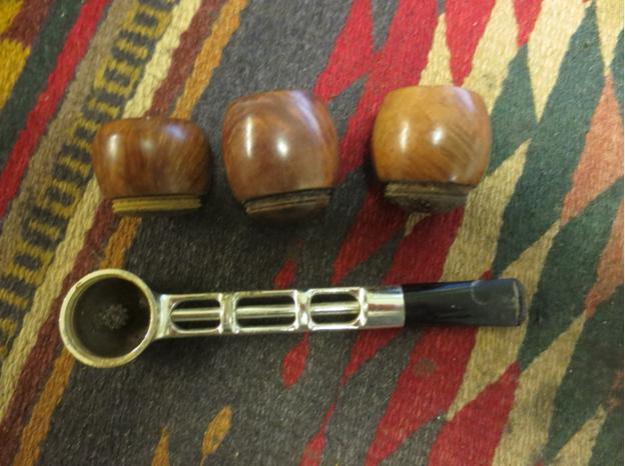
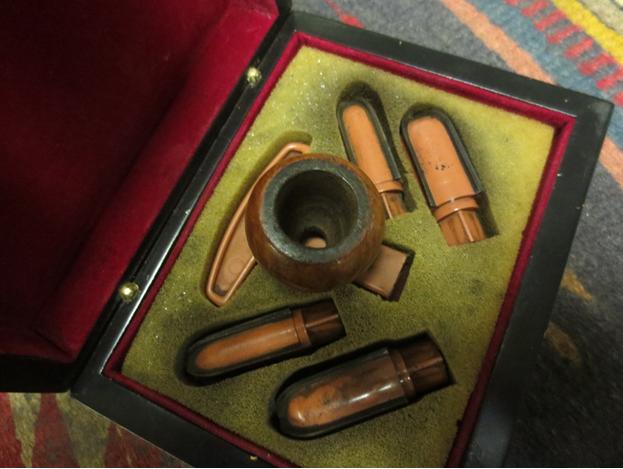
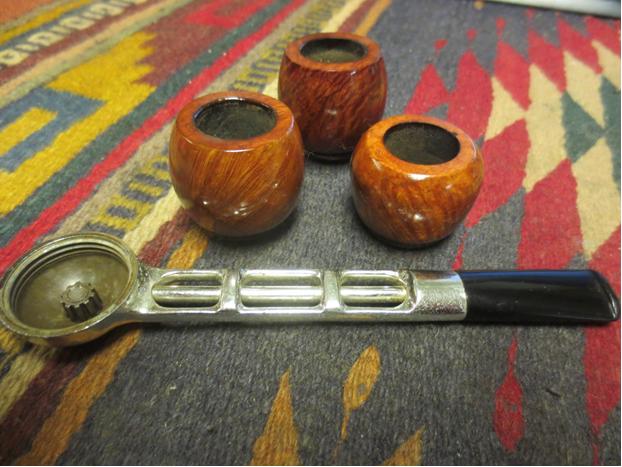
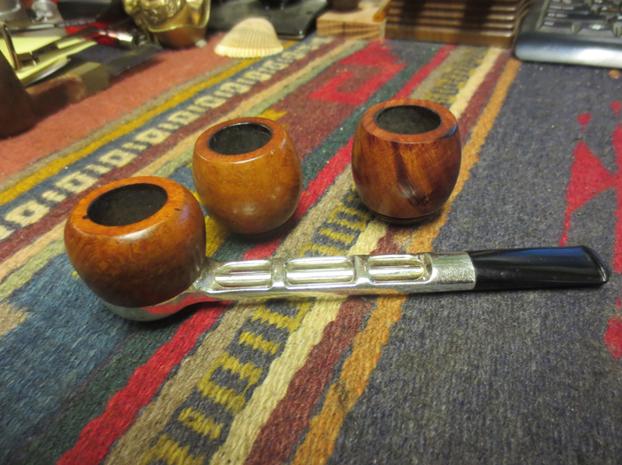
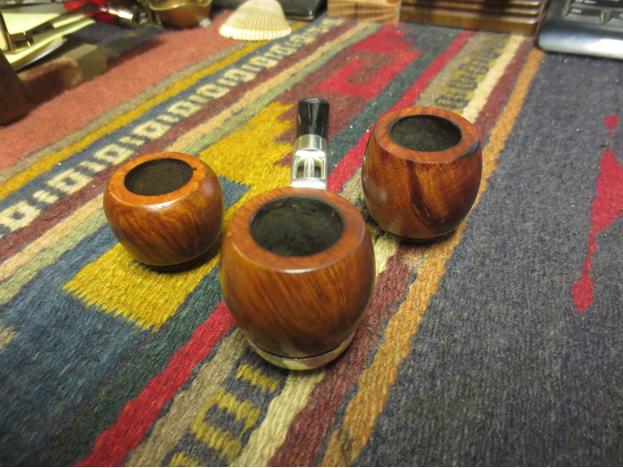
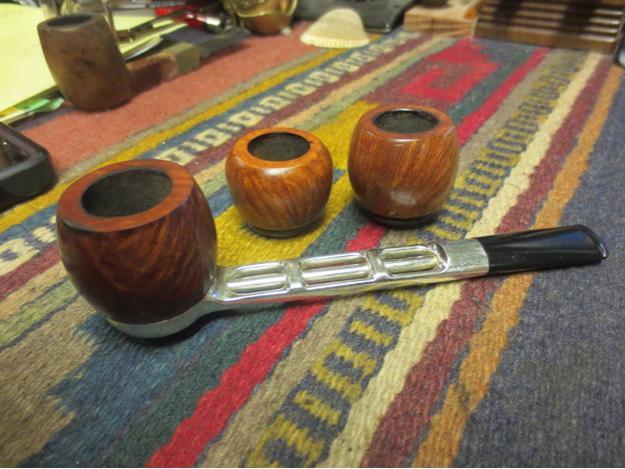
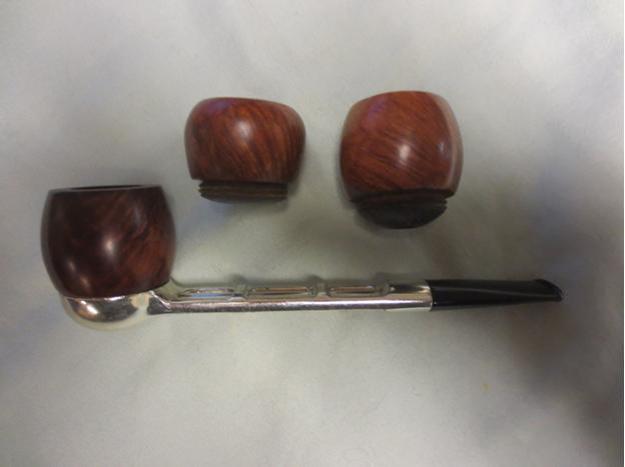
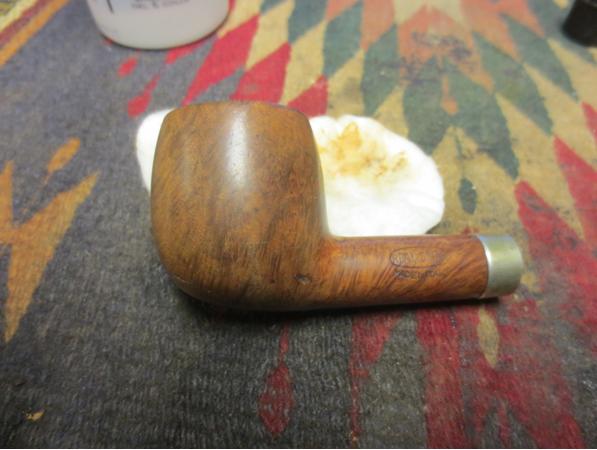
My brother sent me a box of pipes and bowls that he had picked up. In it was an old square shank billiard that had seen far better days. The bowl sported a thick cake and was cracked 2/3rds of the way down the bowl on the front and another crack on the back of the bowl that went across the bowl to the left side. The finish was rough but there was some nice grain. Its stem was chewed up and was broken and smelly. I threw the unredeemable stem away. The bowl went into the parts box to be cannibalized for repairs. It was interesting that the pipe was stamped Poor Richard’s over Select over Bozeman, Montana on the left side of the shank. I grew up in Idaho and spent a lot of time in my early years in Bozeman. My youngest brother went to school there and my second brother was married there. Lots of family ties. It was stamped London England over 9489 on the right side. The 9489 stamp told me that it was a GBD product. Something about it intrigued me. I wondered if it might not be a candidate for a second collaboration with Charles Lemon of Dadspipes. It would be another test to our theory that just about any pipe can be restored and reused. I wrote to him and sent him some photos to see if he was game for taking it on. This project would provide some unique challenges to us both or it may end up as kindling.


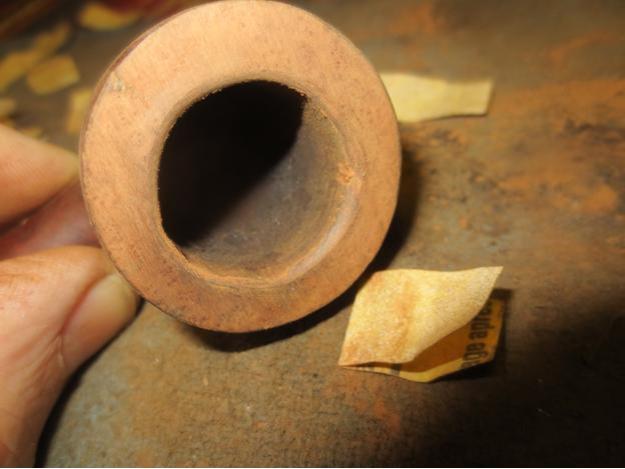
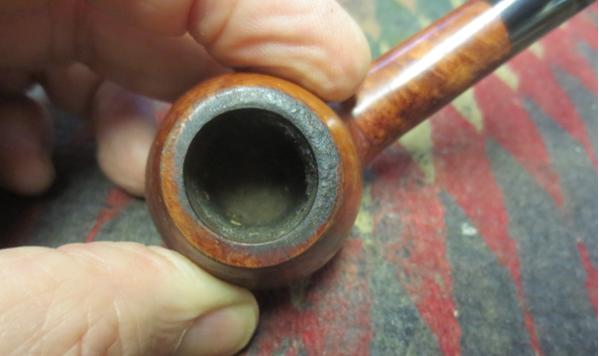
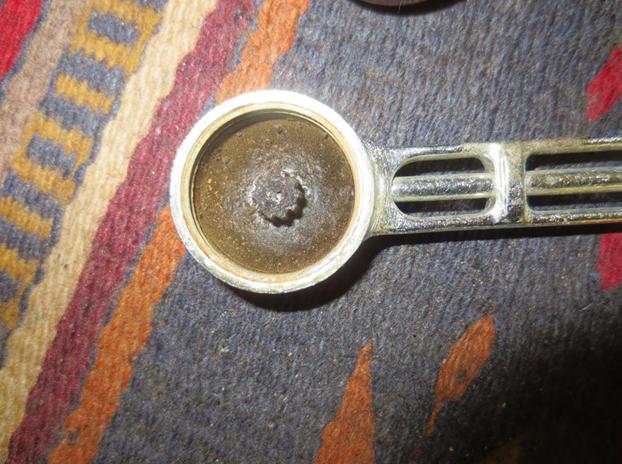
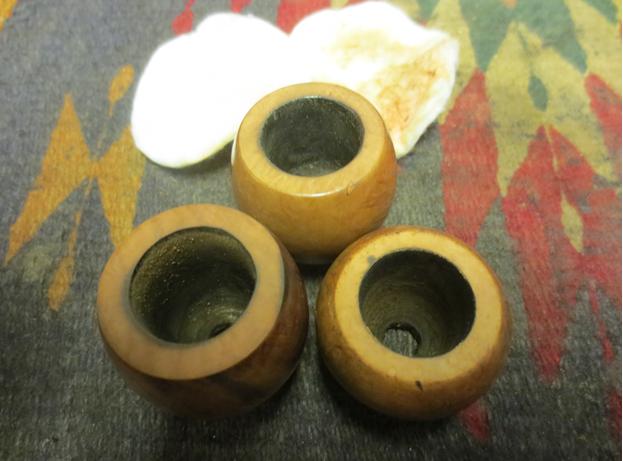
 I took a photo of the bowl from the top looking into it. The cake is unbelievable even to me with all the pipes I have worked on. This stuff was as hard as concrete and seemed impervious to the reamers in my kit. No wonder the bowl was cracked on the front and the back sides.
 I dropped the bowl in an alcohol bath to soak and while it soaked I decided to see what I could find out about the connection of the pipe to Bozeman. I did a Google search for Poor Richard’s and found that the pipe shop is still open. It is located in downtown Bozeman. I read through their website and gleaned the following photo and history. http://poorrichardsbozeman.com/about-poor-richards/
 From its beginnings in 1962 as the Ellen News at 17 West Main Street, owners Dick Wike and Hal McDowell wanted to achieve a modern-looking newsstand in the building which had formerly been home to Cuttings Newsstand, Lawton’s News and the Stag Pipe Shop. After the partnership dissolved the following year, Wike went on to expand the line of pipes and tobaccos offered, as well as the variety of paperback books, magazines and newspapers offered. A theatre expansion project in 1968 necessitated a move a few doors down, and a name change in the process. On September 9, 1968, Poor Richard’s opened at its current location at 33 West Main Street. Successive owners Richard Fish, sisters Nicole and Glenn Close, Sarah and Dan Cole, and Kate Wiggins added their personal stamp to the offerings.
Today, Poor Richard’s offers its customers a wide variety of merchandise:
• Local Montana and regional books, including Falcon Guides
• Local, regional and national newspapers, including the Wall Street Journal and the Sunday New York Times
• Over 500 magazines and periodicals
• A large selection of fine cigars, including Padron, Arturo Fuente, Partagas, Macanudo, Punch, Romeo y Julieta, Oliva, and more…
• Pipes, including Peterson, Savinelli, Federico Rovera and more…
• Fine tobaccos and accessories
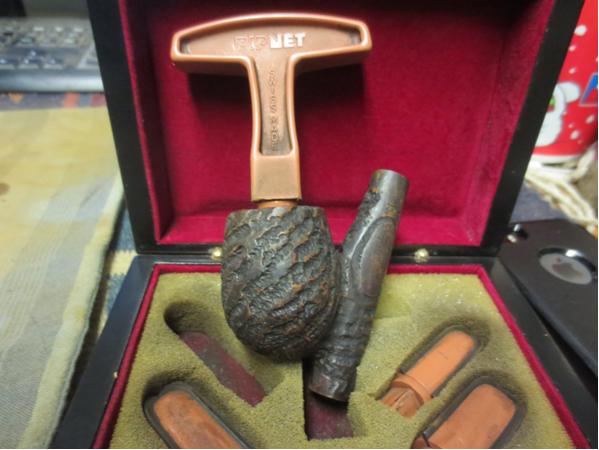
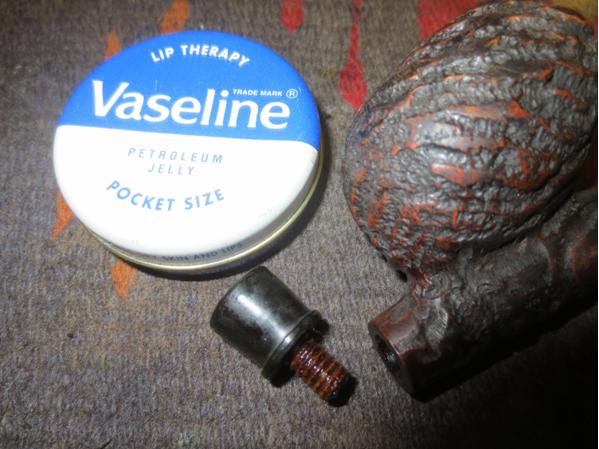
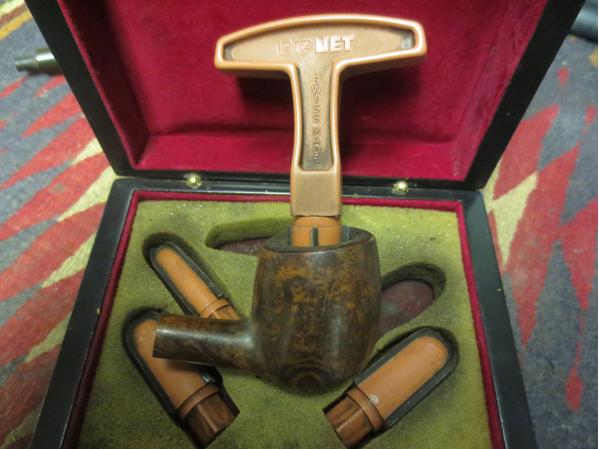
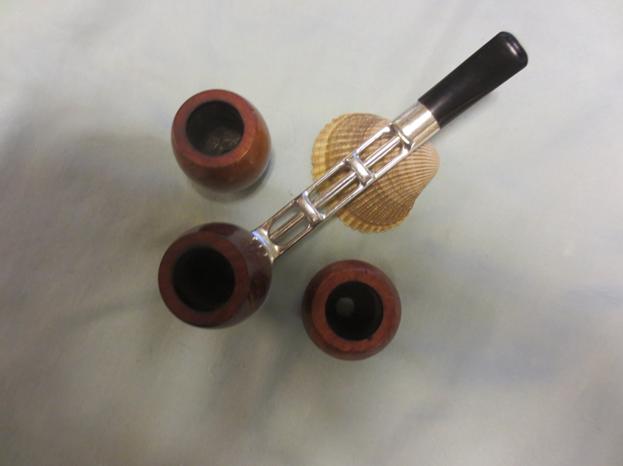
Knowing the background to a pipe is always interesting to me and adds another dimension to the restoration. It was time to stop reading however, and address the issues of the cake and a new stem. I soaked the bowl in an alcohol bath for over three days hoping to soften it. It did not work. It was impervious to the cutting blades on the PipNet and the KleenReem reamers. They would not even dent the hard carbon. I chipped at it with a pen knife and was able to clean off the rim and scrape a bit of the cake around the bowl edge. I tried the reamer again with no success. Knowing that Charles would work on the bowl and that was the hardest part, I did not want to send him the bowl with the cake intact. I put the sanding drum on the Dremel and attacked the bowl. It was slow going but after working at it for over 30 minutes I was able to get about half way down the bowl. I used a sharp knife to open the bottom half of the bowl more and then the Dremel once more to take it to the bottom. I have never fought a cake this hard before. I wrapped the cutting head on the PipNet reamer with sandpaper and worked on the inside of the bowl. I used a folded piece of sandpaper to clean up the inner edge of the bowl. There is still a lot to be done but at least Charles has a bit of a “clean” slate to begin with. You can see the crack from the top of the bowl on both the front and the back. The one on the front goes down over half way on the front side. The one on the back descends half way down and turns toward the left for about a half an inch. With the bowl cleaned I want to rough fit the stem before I sent it to Charles. I turned the tenon and made a snug fit of the square shank replacement stem. Fitting a new stem to these old timers is always a pain because none of the angles are actually square and the sides are of different sizes. Thus the stem has to be custom fit. I used the Dremel and sanding drum to take down a lot of the excess vulcanite and then followed up with a flat file to make the transition from the shank to the stem smooth and even.
 Once the fit was close I sanded the stem with 220 grit sandpaper to bring the angles in line with the shank and to smooth out the file marks. It took a lot of sanding and it is still not finished at this point. I would finish sanding and fitting it after Charles had repaired the bowl.


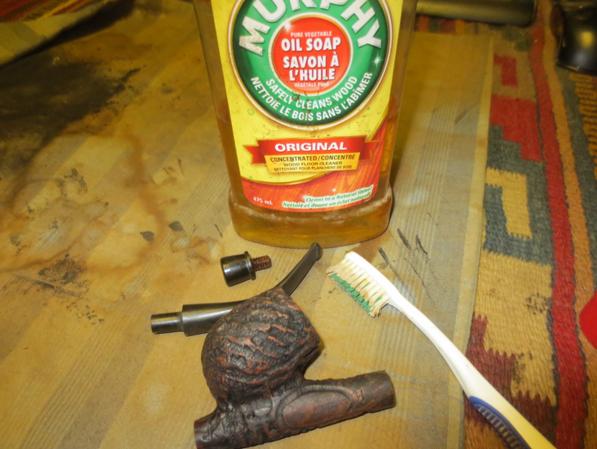
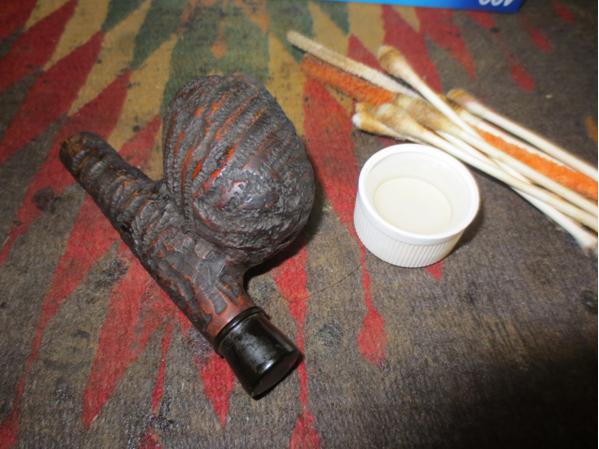
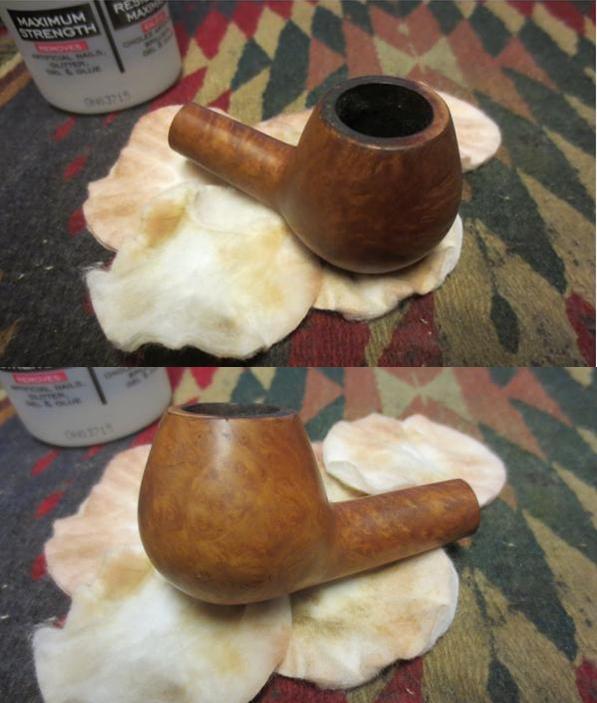
 The bowl and shank had a white scum on the briar and in the stamping. It was hard to remove. I lightly sanded it and then scrubbed the bowl down with acetone on cotton pads to remove it and the remaining finish on the bowl. The pipe has some nice grain and once it cleaned up and repaired it will be interesting to see.
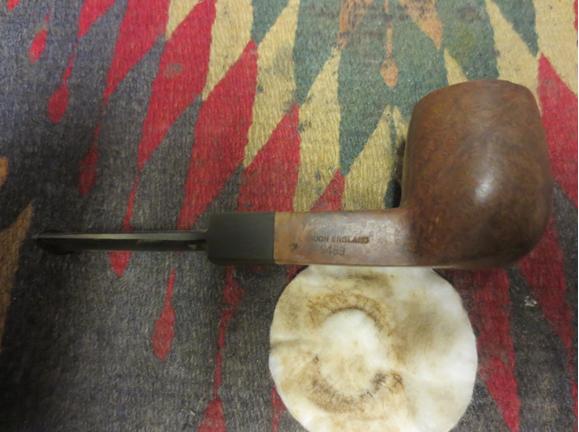


 With the bowl cleaned up I was ready to send the reamed and cleaned stummel to Charles for the bowl repair work on the pipe this time. Once Charles had it in hand he would carry on with the repairs….
Time passed slowly for me as the pipe travelled from British Columbia to Ontario. Charles sent me a message on Skype saying that the pipe had arrived and he was ready to start the work on it. I turn over this part of the narrative to him.
(Charles picks up the narrative now.)
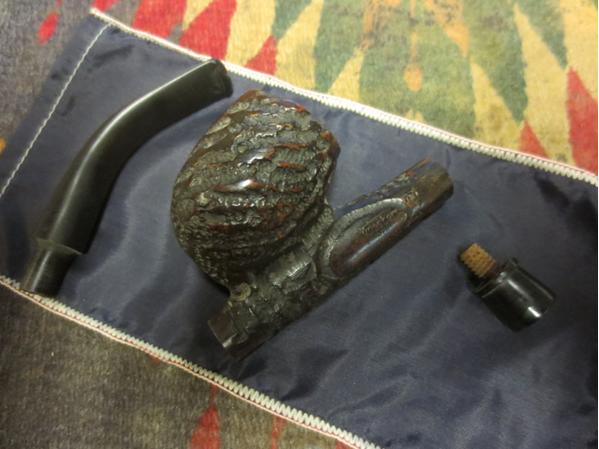
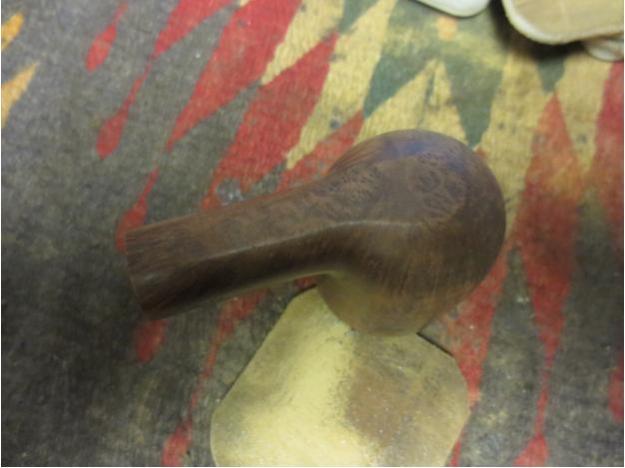
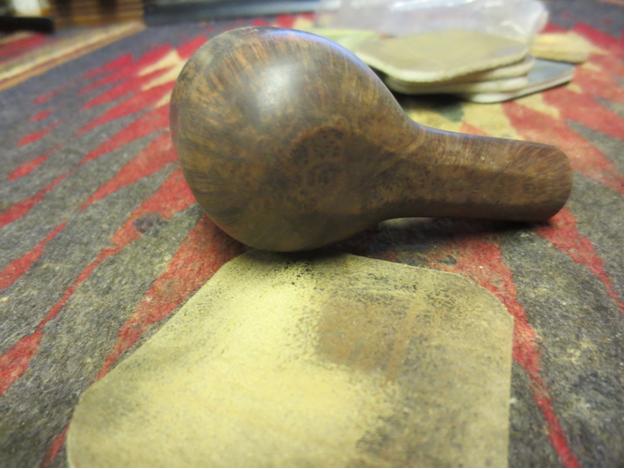
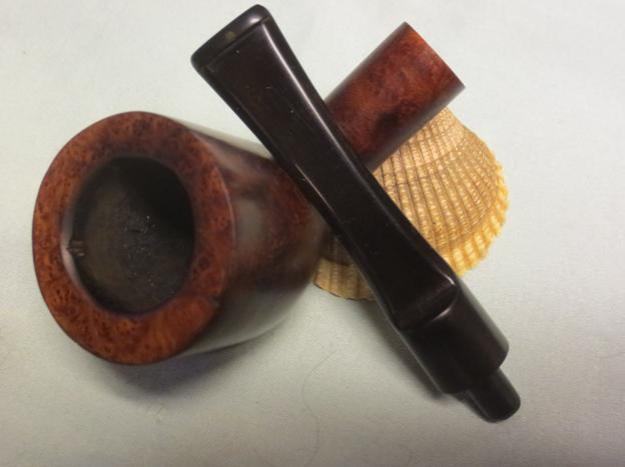
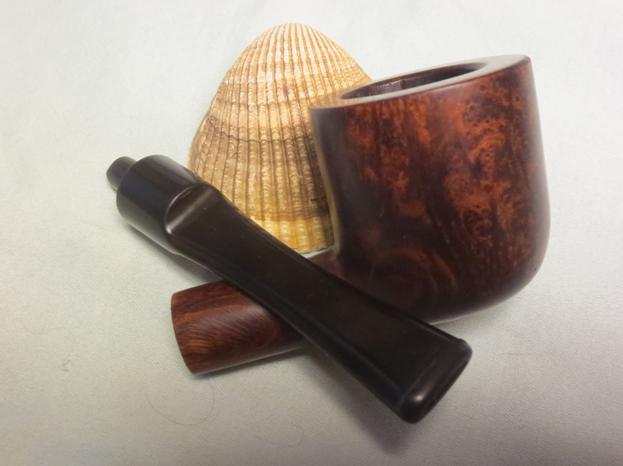
The cracked stummel arrived from Steve today. I was keen to get my first close-up look at it – Steve had sent me pictures of course, but nothing beats a hands-on examination. I was pleasantly surprised by the amount of clean-up work Steve had already done. I knew he had reamed it (at great effort), but he’d also done a nice job removing the dirt and grime on the outside of the bowl. Apart from a small amount of rim tar, I could concentrate immediately on the major issue of the crack repairs. I shot these pics to show the state of the stummel when I received it.

 There were two major cracked areas at the front and back of the bowl. Both cut all the way through the chamber walls, all but slicing the bowl in half lengthwise. The front crack looked like a clean break running from the rim down the face of the bowl to the bottom of the tobacco chamber. The rear crack wasn’t as straightforward. Instead of a single linear crack, the damage at the rear started at the rim, dropped down to roughly the centre of the bowl, and took a sharp left as it sought out an old fill – a natural weak spot in the briar. From the fill the crack had “spidered”, with thinner cracks running up, down and across the bowl. Yikes! Its times like this that I marvel at the sheer power of neglected cake to inexorably break a pipe bowl into pieces. Pipers take heed – ream your bowls!
I’ve worked on cracked bowls before, but the majority that have come across my work table have been tight cracks that don’t penetrate the chamber walls. These cracks, by contrast, could be visibly moved by squeezing and releasing the bowl in my hand. Without some way to lock the briar in position, this bowl would have to be retired.
While I worked on a plan to knit Humpty Dumpty back together again, I took steps to ensure that the existing spider cracks did not run further into the briar. I fitted a micro drill bit to my electric hand drill and popped a tiny hole at the end of each fissure in the wood, careful not to drill through to the tobacco chamber. These “end cap” holes would stop the cracks in their tracks, though there were quite a few of them around the back of the bowl.
 Glue alone would not provide sufficient holding power to keep the cracks tight and immobile. I would need to add physical reinforcement of some kind to ensure that the bowl stayed in one piece after being placed back in service. I had never used the procedure before, but I decided that I’d have to try to pin the cracks. I dug about in my supplies and found a length of 1.2mm brass rod I thought would do the trick, and matched it up to a micro drill bit from my tool kit. I would have to drill pin shafts across the crack, through the curved walls of the bowl, without drilling into the chamber. I muttered a short prayer to the Pipe Gods, and then sank the first shaft just below the rim across the rear crack.
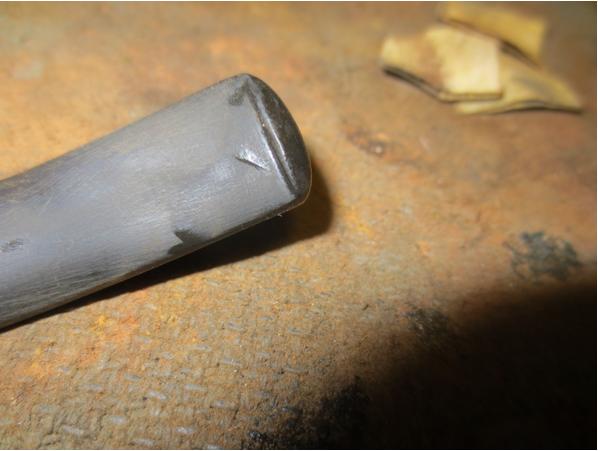
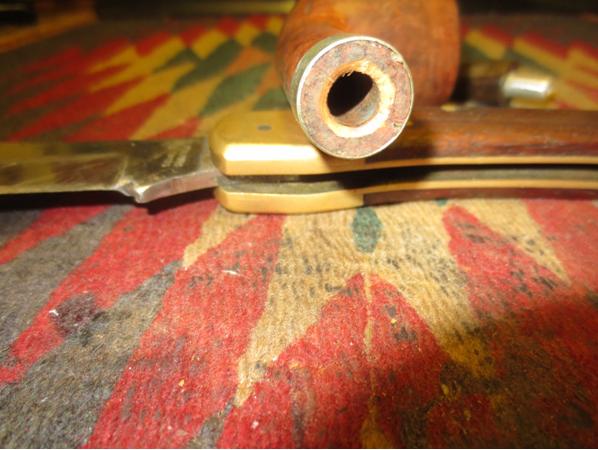
This close-up pic shows the flat angle at which I drilled, and the brass rod in position. I marked the rod length and then cut it a bit shorter so that when fully seated in the shaft, the outer end of the rod would be below the outer surface of the briar. I roughed up the brass pin with 220-grit sandpaper to give the glue more gripping surface, and then ran a drop of CA glue into the shaft before pushing the pin home. Sharp-eyed readers will also have noticed that the second shaft had been drilled when I took the pic above. Note the angle of this shaft relative to the first one – it’s not even close to parallel. This is deliberate. Each pin was drilled at an opposing angle to its neighbours. This way any movement of the briar as it heats and cools will be blocked by one or more pins. If the pins were parallel, pressure in the wrong direction could push the crack open again.
In all I installed ten brass pins – four in front and six in back – and sank seven end cap holes (all but one of these in the back). I had expected the pinning to be both nerve wracking and time consuming, but after the first couple of pins I caught my stride and set the stummel aside to let the glue cure a short 30 minutes later. The Pipe Gods must have approved of the work as I didn’t drill through the chamber wall once. Whew! I snapped these pictures of the bowl after the pinning. The red lines show the direction of the pin shafts. You can see how the pins work to stitch the crack shut. The front repair doesn’t look too bad, but the rear of the bowl looks like it was attacked by termites!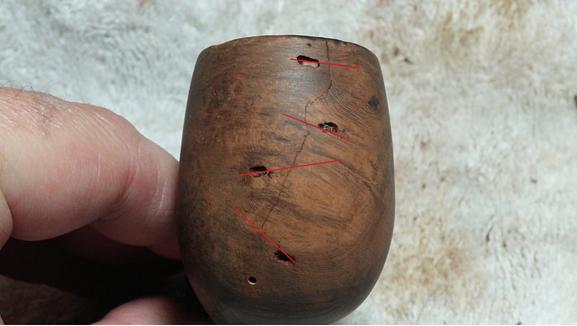
 The proof of any repair is in the pudding, so to speak. I won’t be on hand to witness the first firing of this pipe after the work is done, but I can happily report that I can no longer make the cracks move no matter how hard I squeeze the bowl. That’s a very good sign, as it shows that the bowl is acting as a single piece of briar instead of several bits of loosely connected wood.
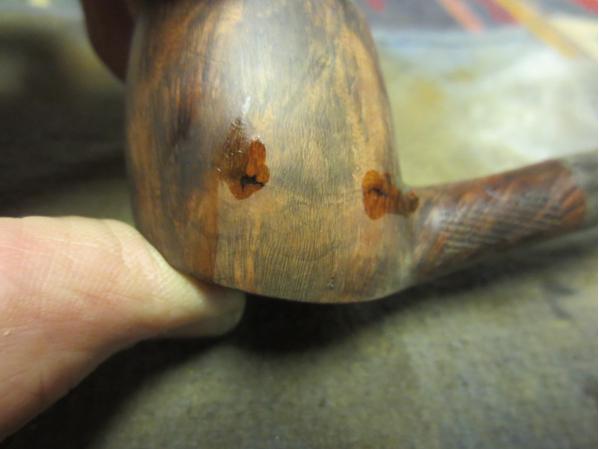
With the bowl structurally sound again, it was time to sort out the damage inflicted on the stummel by some maniac with a drill. I patched over all 17 (!!) holes with CA and briar dust and let the CA cure before filing and sanding the fills flush with the surface of the briar. This is a process I’ve done many times on many different pipes, so I figured this would be the easy part of the repair. Ironically, the fills took up more of my time, energy and patience than the pinning as I had to revisit several of the fills more than once to ensure a smooth finish. I also realized that a few of the pins were left slightly too long – the brass kept shining through two of the fills – which necessitated extra work to get everything in order before staining. Eventually, though, perseverance paid off.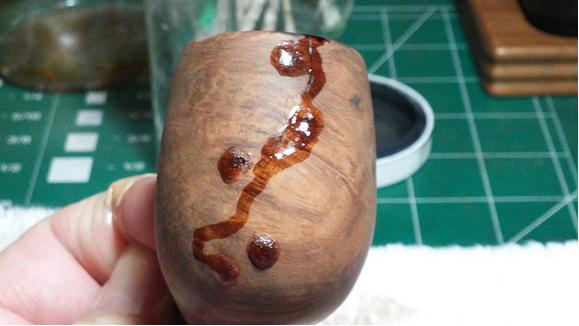


 I topped the bowl gently at this point to remove the excess CA glue and remove a few tiny dings. I then prepped the stummel for stain by sanding with 1500 – 2400 grit Micromesh sanding pads.

 With the crazy number of fills in the briar, I knew I’d have to go with a darker finish than I’d usually select. I started with a coat of Fiebing’s Black water-based leather dye to bring out the grain as much as I could. I let the colour dry and then wiped off the excess with 0000 steel wool and a bit of fresh water. This left the grain stained black while the rest of the wood remained lighter. I then made a wash of Fiebing’s Dark Brown dye diluted about 50%. I washed the colour over the briar repeatedly until I got close to the amount of coverage I was looking for. I let the dye dry so I could assess how well the fills were hidden. Still fairly prominent. A few scribbles with a medium stain marker helped push the fills to the background without obliterating the grain altogether.
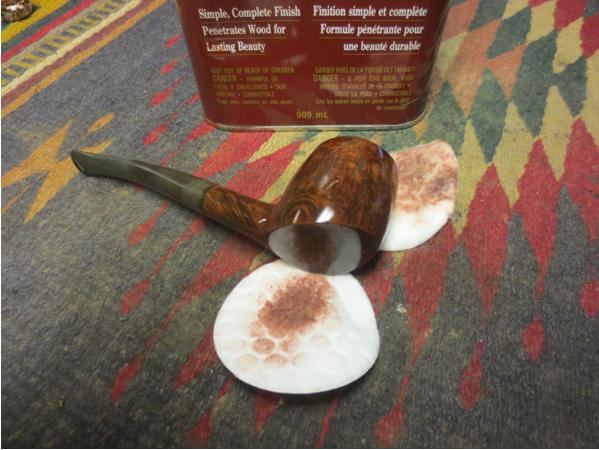
 I left the stummel overnight at this point. I wasn’t sure that I was done with the stain, but I was getting tired and didn’t want to mess up the work with a bad decision or a shaky hand. The next morning, however, the stain seemed to have settled into its intended depth and coverage. The fills were reasonably subdued by the stain, so I took the stummel to the bench and gave it a light buffing with White Diamond compound followed by Carnauba wax. I’ve got to buy a lotto ticket this week – if the Lotto Gods smile on me even half as much as the Pipe Gods did here, I’ll be retiring early. The fills and cracks have disappeared almost completely, though the stain is translucent enough to allow the grain to shine through. Even the cracks across the rim are hard to find. What a relief after the hours of filling and sanding! The repairs are still visible under strong light, but the stummel certainly passes the casual inspection test.


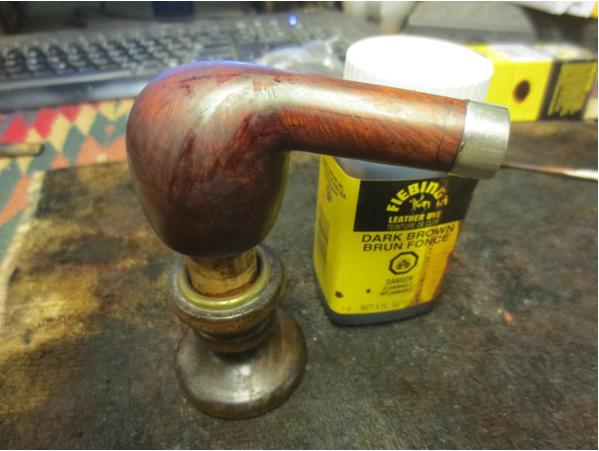
 Before sending the stummel back to Steve, I filled and further stabilized the repair from the interior of the bowl by pressing JB Weld into the cracks. There was also a spot on the front chamber wall that looked suspiciously like the beginnings of a burnout that I filled in the same way. I let the JB cure and then sanded out the excess epoxy. This produced nice smooth chamber walls with JB Weld left only in the repaired areas. JB doesn’t “breathe” like wood as it heats and cools, so I wanted only the required amount of it left in the bowl.


 I finished off the repair with a bowl coating of activated charcoal powder and maple syrup. This coating is largely cosmetic in this case, used to hide the JB, but it will provide an extra layer of protection for the repairs as well as a consistent surface upon which to build a new (and hopefully well-trimmed) layer of cake.
 (Steve picks up the narrative again.)
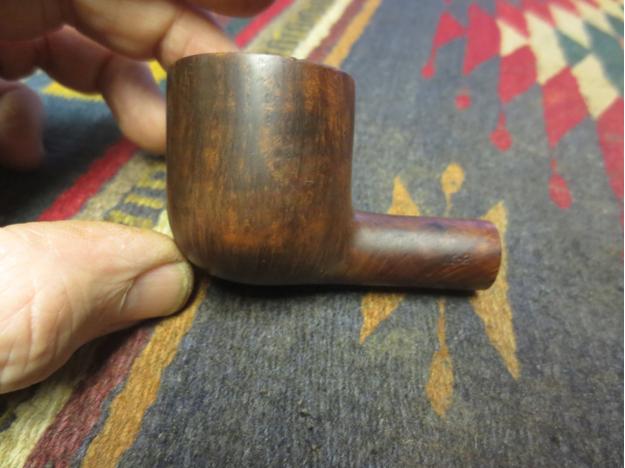
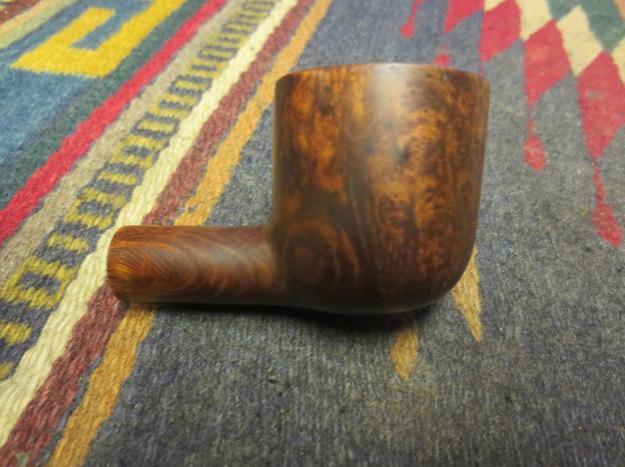
Charles had sent the package Express Post and it did not take long to get it back. When I got home from a short business trip I went to the post office to pick it up. I carried the box home excited to see what Charles had done with the mess that I had sent him. It is one thing to see the photos and follow the process but truly a different story when you hold it in hand.
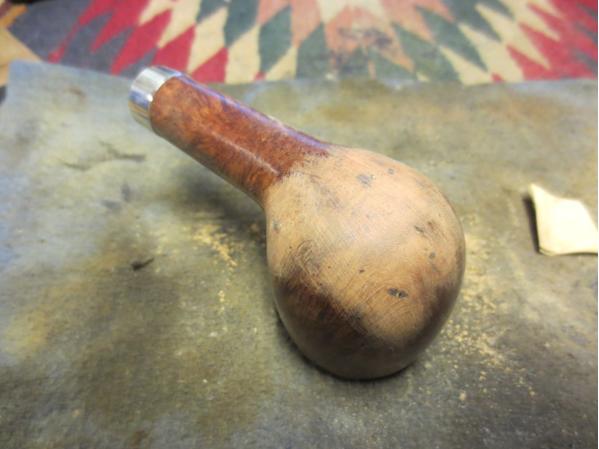
When I opened the box I was not prepared for the beautifully restored bowl that was carefully wrapped inside. Charles had done a masterful job on the bowl repair. The cracks were virtually invisible. The measles of the end caps were basically small specks and hardly visible at all. It was amazing! Charles had accomplished a bit of a miracle in my book. This one was a pipe I wondered if we would be burning rather than loading up. But the bowl was perfect.
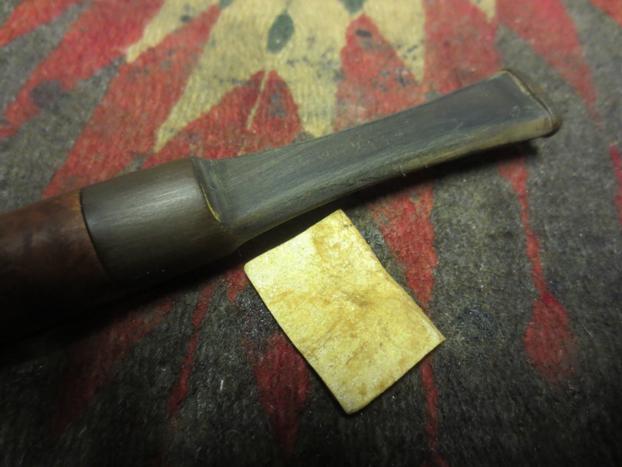
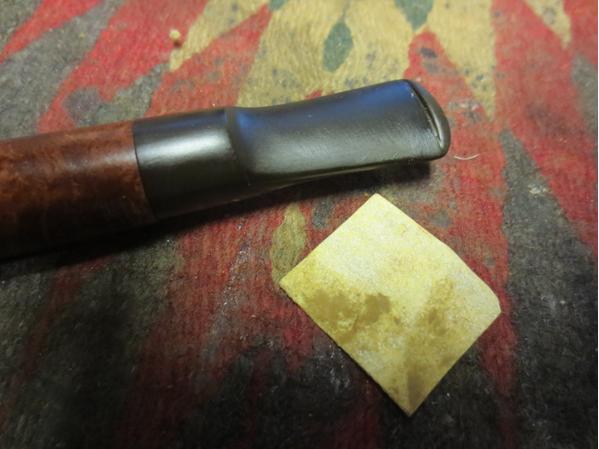
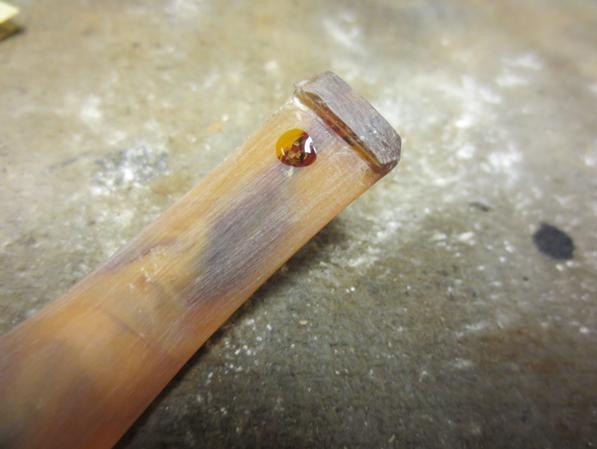
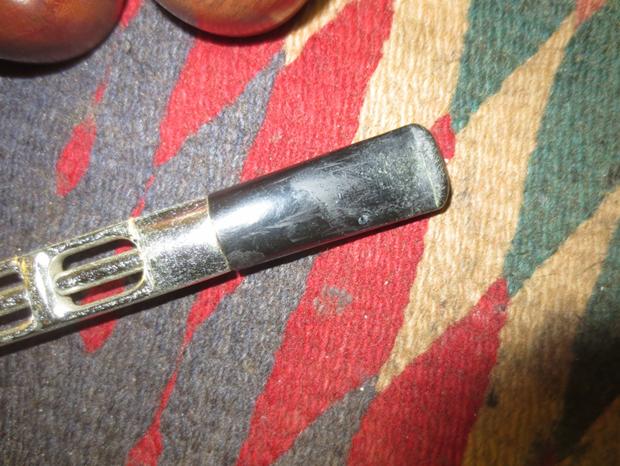
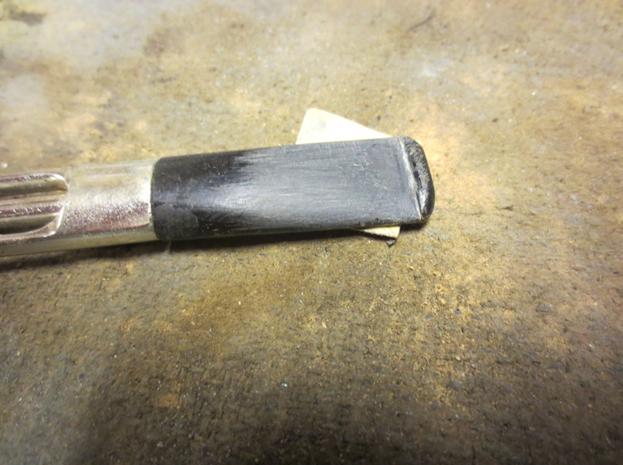
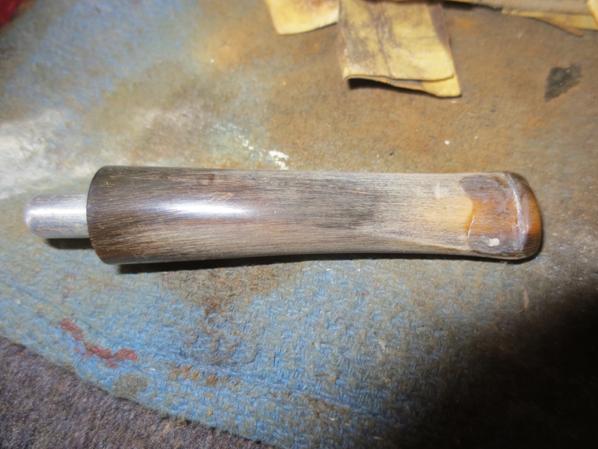
Now it was back in my hands to finish the stem that I had previously roughly fit to the shank before sending the bowl off to him. I also needed to address the small dent that went all around the end of the shank. It looked like there had been a band of some sort on the shank for adornment as the shank was the one thing on the pipe that was not cracked. I would have to address that later in the process.
First I worked on the stem. I sanded it with 220 grit sandpaper to bring the surface of each side of the square stem to the same height as the shank.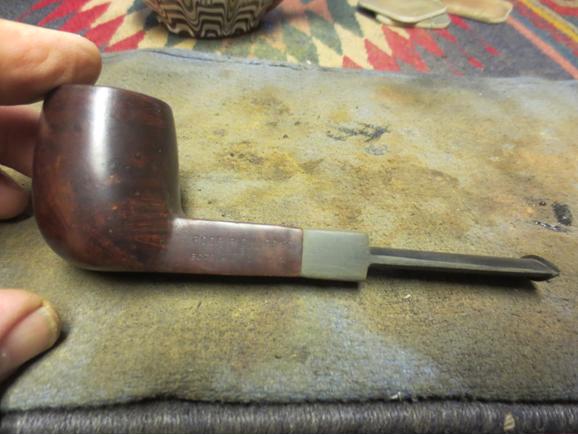


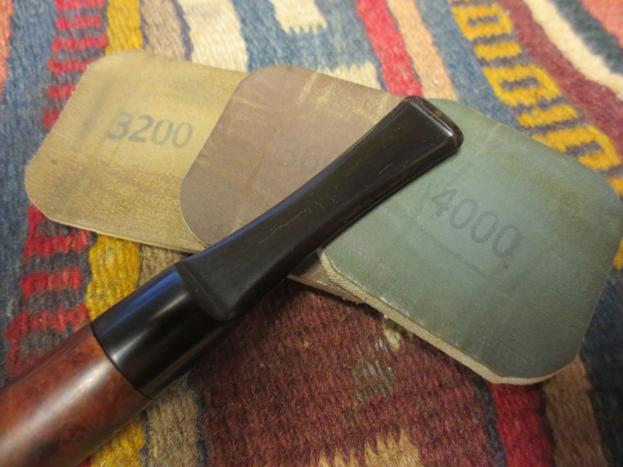
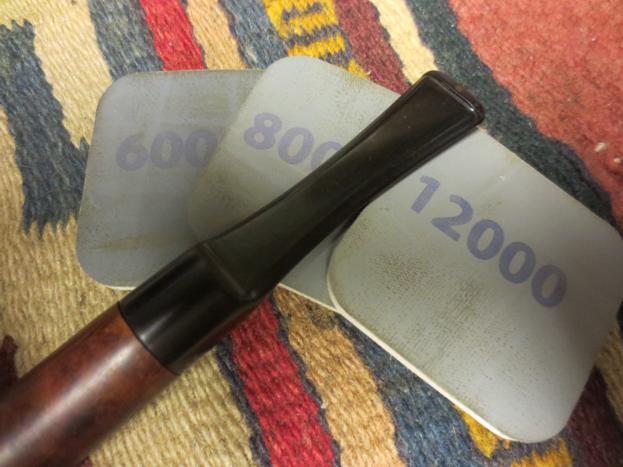
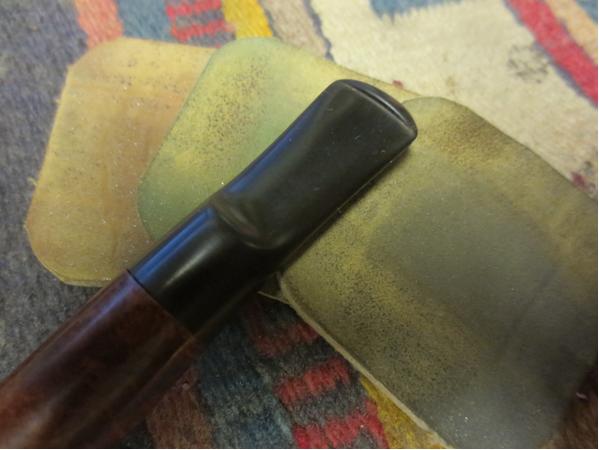
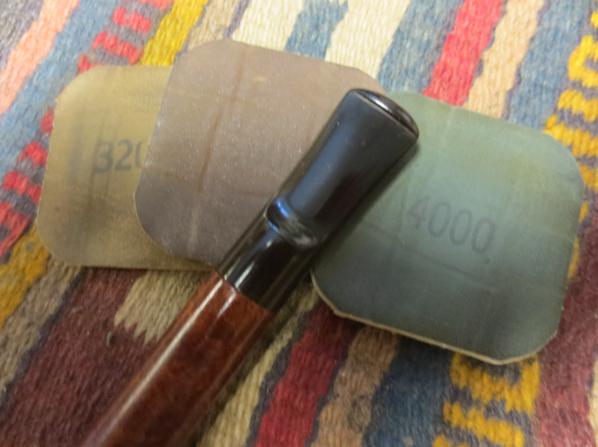
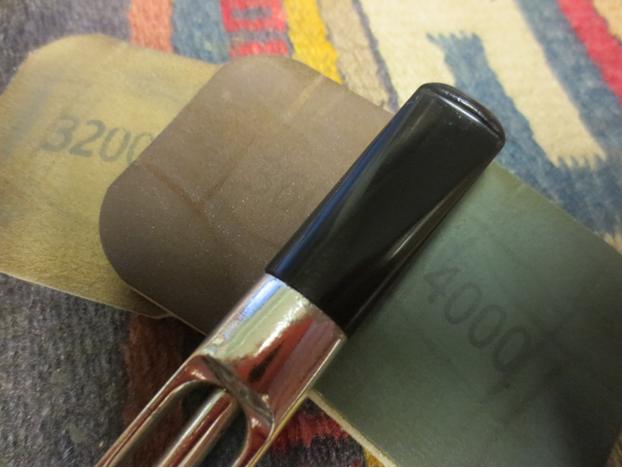
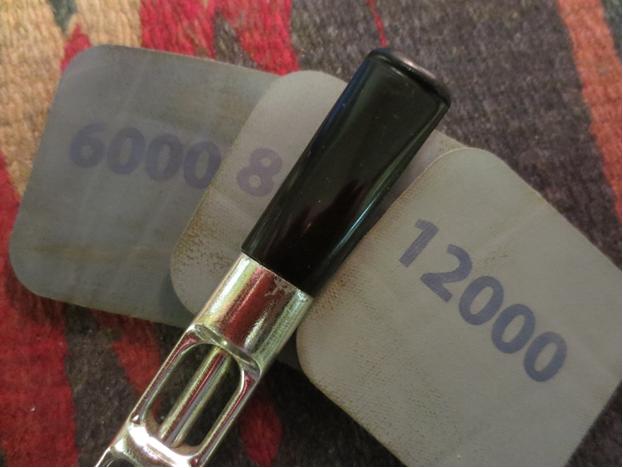
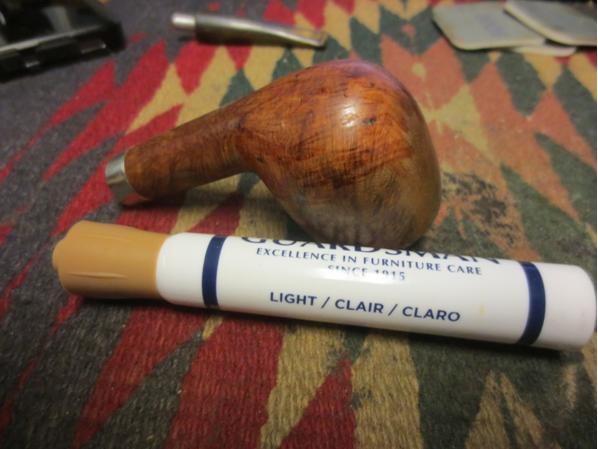
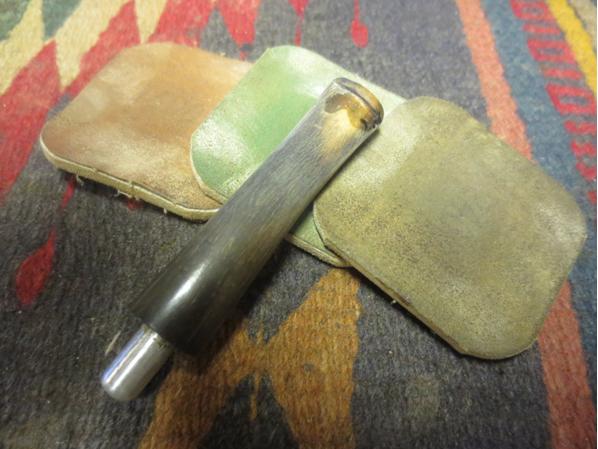
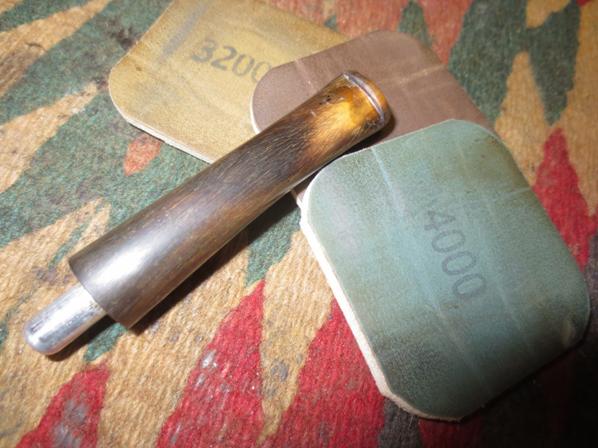
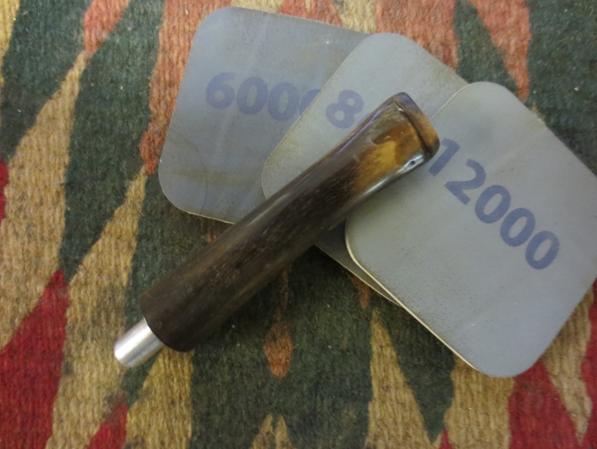
 The fit was good and once the band was in place would look even. I wet sanded the stem with 1500-2400 grit micromesh sanding pads and rubbed the stem down with Obsidian Oil. I dry sanded with 3200-4000 grit pads and then gave it another coat of oil. I finished sanding it with 6000-12000 grit pads and gave it a final coat of Obsidian Oil. I let the oil dry.
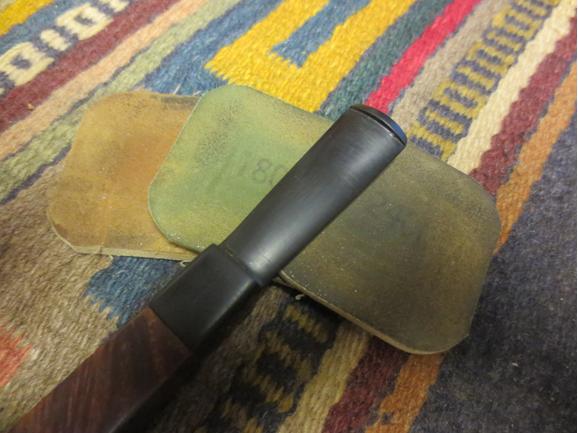

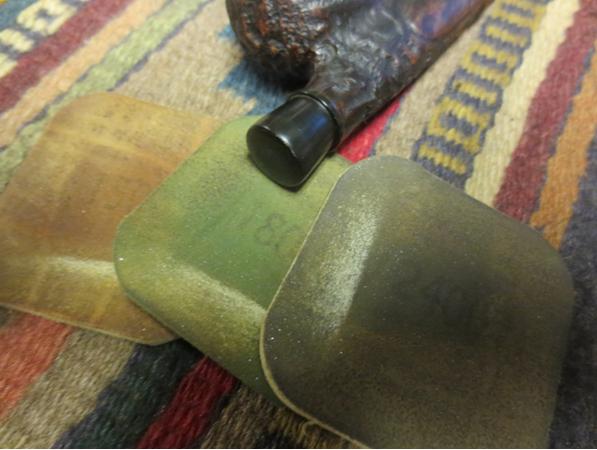
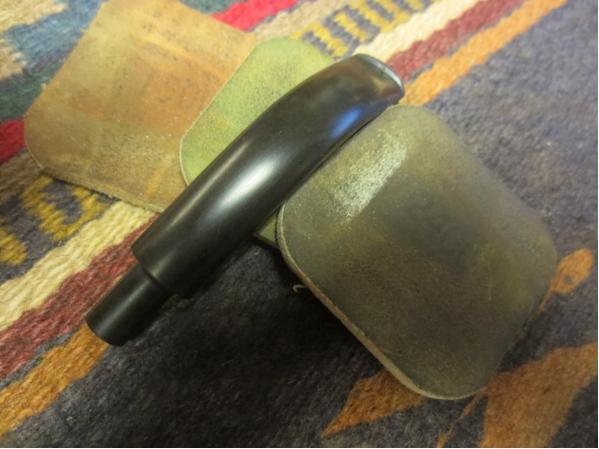
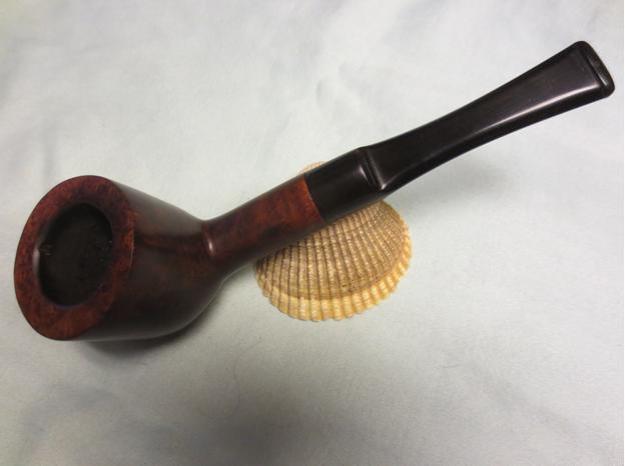
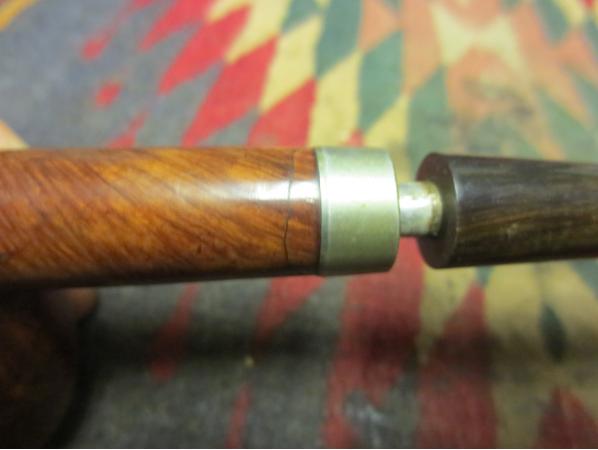
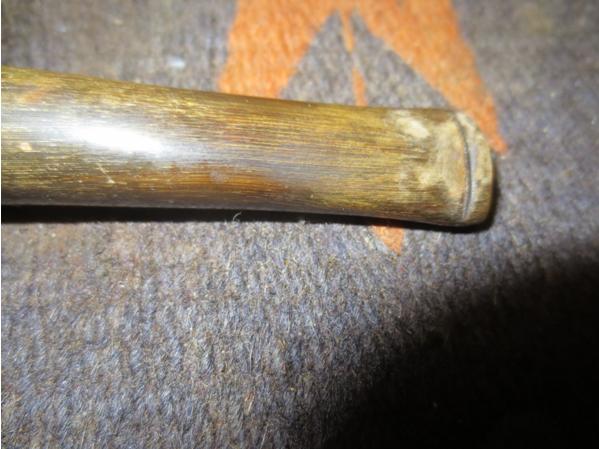
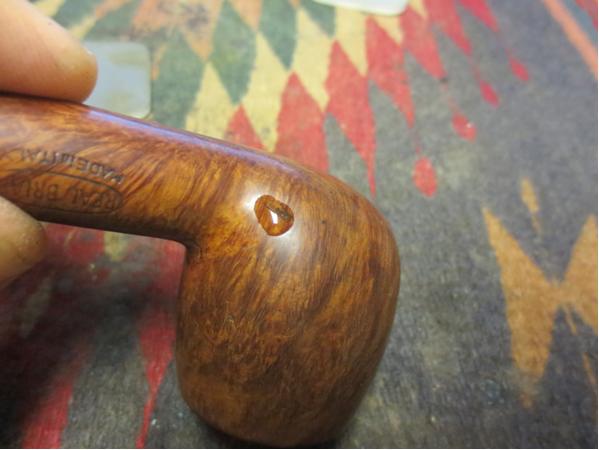
 I buffed the stem with Blue Diamond on the wheel and then inserted it in the shank. Things lined up nicely but there was an indentation around the top, bottom and sides of the shank where it appeared there had been a band of some sort. The photo below shows the worst of the indentations.
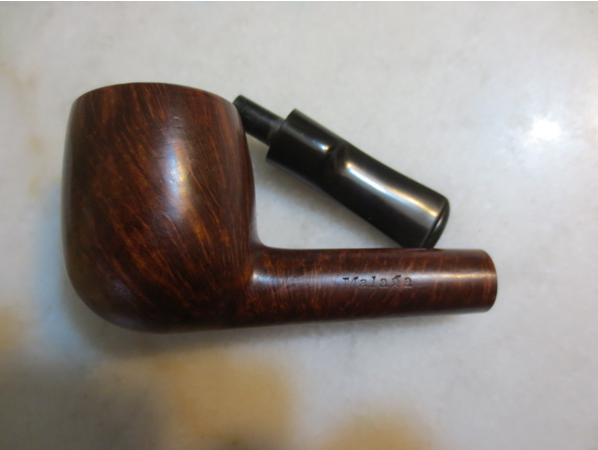
 I went through my box of bands which are almost all round. That is not a problem as it is easy to square up a round band. But as Charles said above, the Pipe Gods were smiling on me and I found that I had one square band and it was exactly the size and depth I needed to fit the shank, cover the indentations and cover the stamping on the sides. I pressed the band in place. The band is worn and battered but it adds a bit of flair to the pipe.


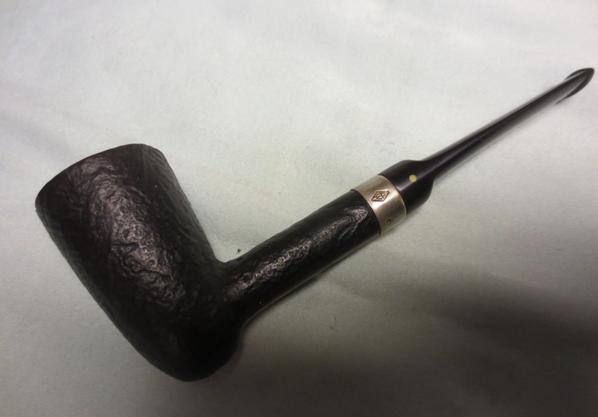
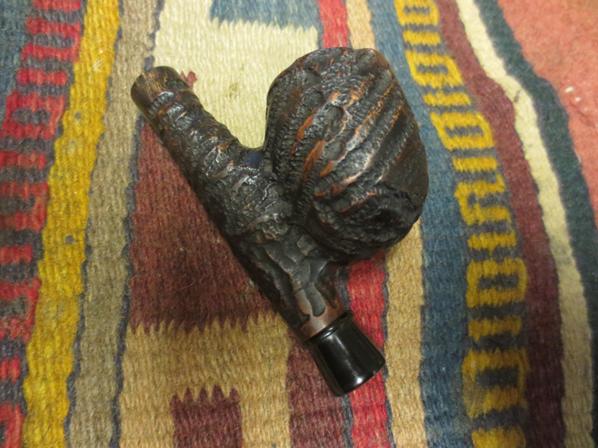
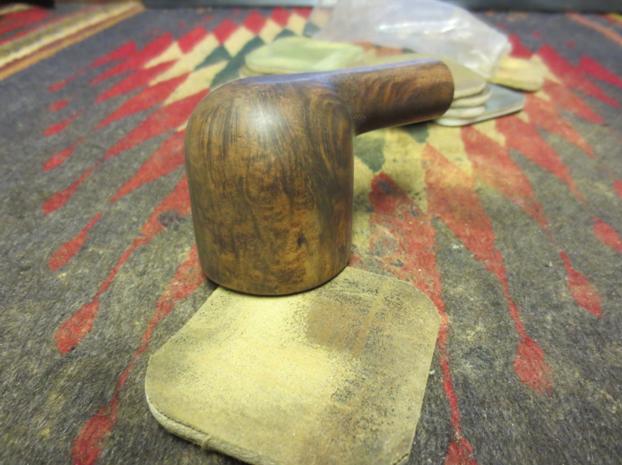
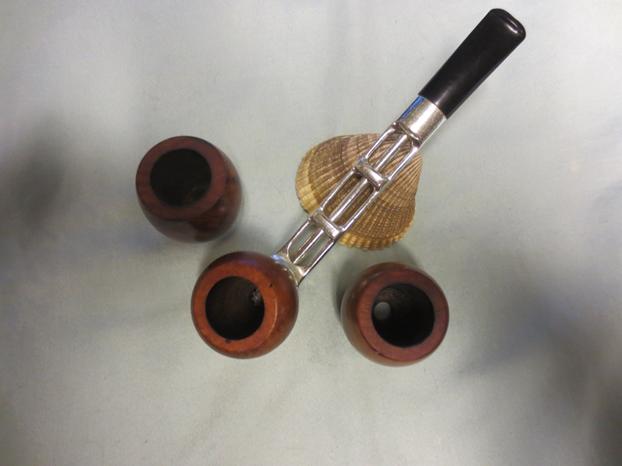
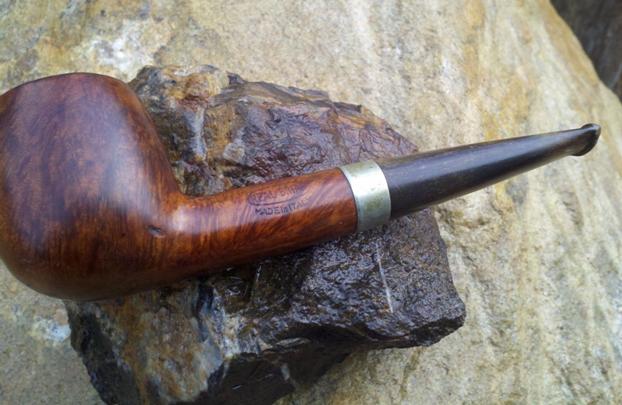
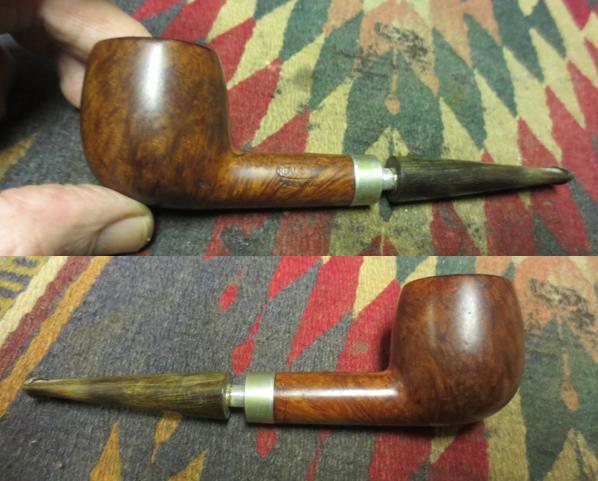
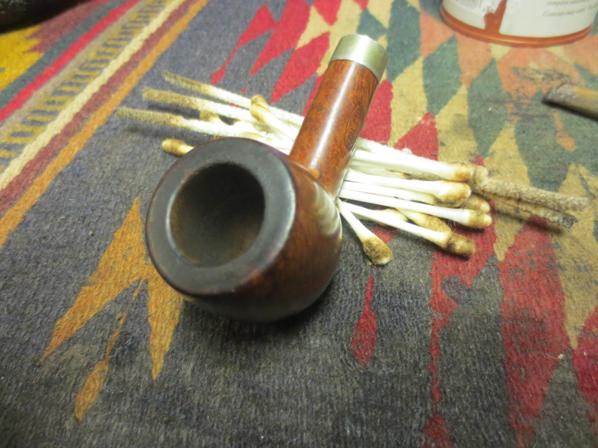
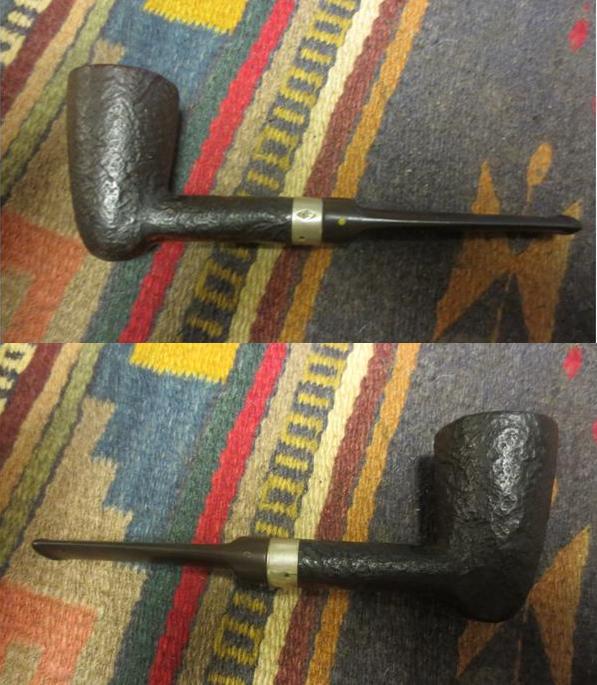
 To clean up the dents and wear on the band I used a tiny upholstery hammer to tap out many of the dents and wrinkles on it. I also used it to flatten the end of the shank and smooth it out. I heated the band with a lighter to warm the metal and then tapped it until it was as smooth as I could get it. The photos below show the pipe at this point in the process. The new stem fits well and the band sets of the pipe very nicely in my opinion. It smooths out the transition between the shank and the stem.


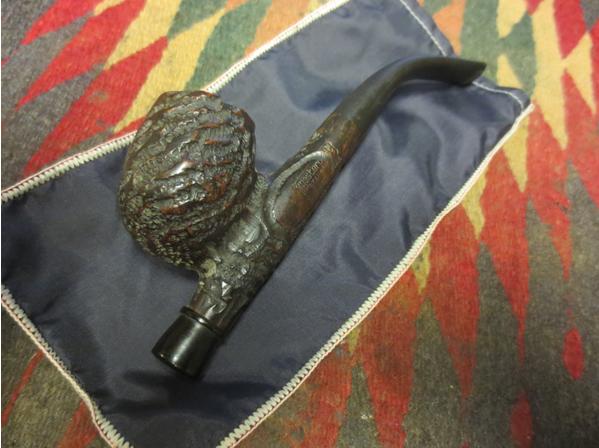
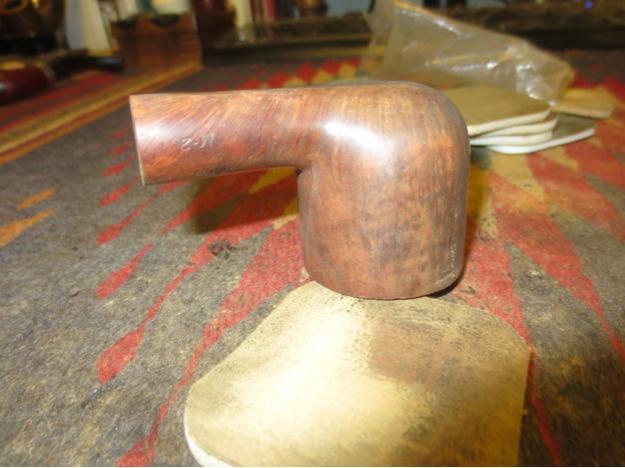
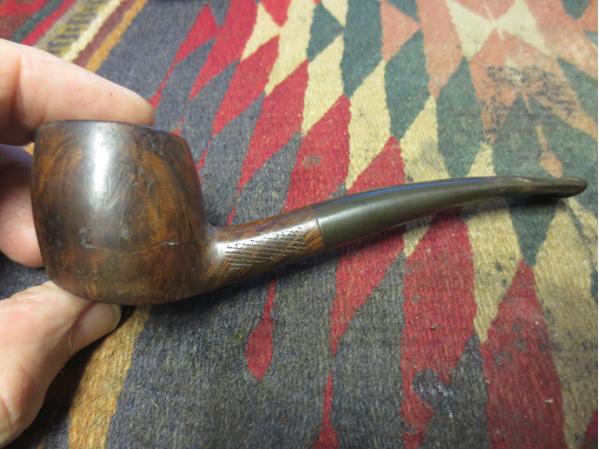
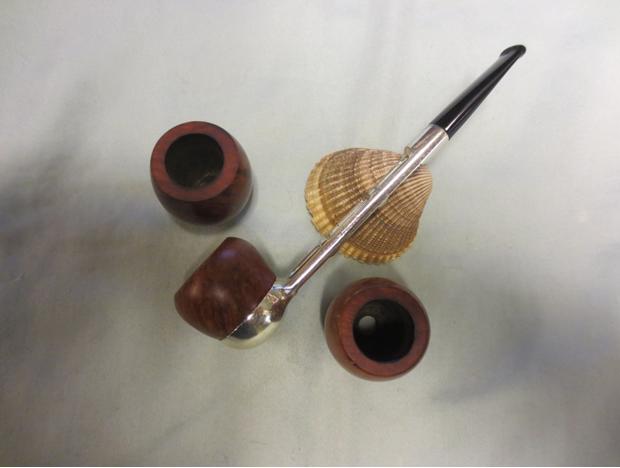
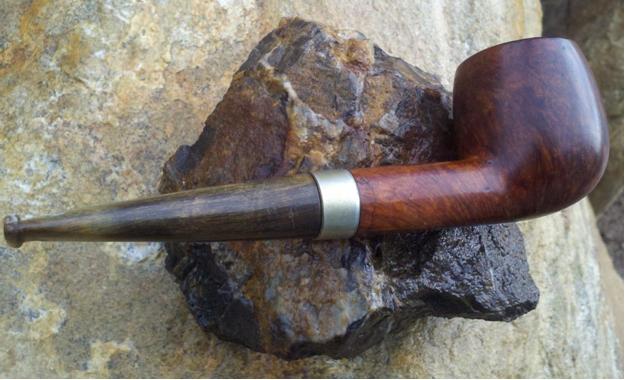
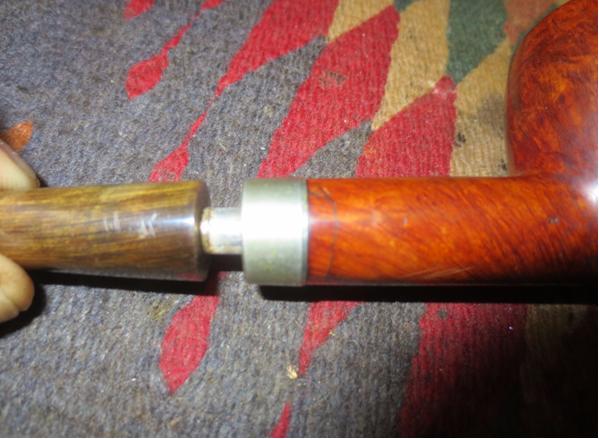
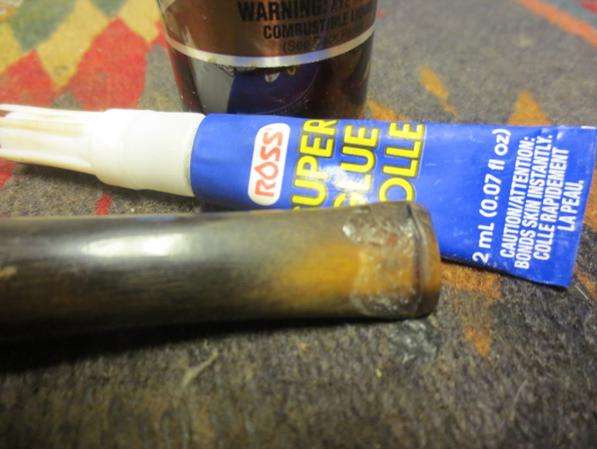
 However, I was not happy with the still battered appearance and some of the rounded edges on the corners of the band. I took the band off the shank and used a flat blade screw driver to square up the angles and to flatten the band from the inside. I was able to remove more of the dents and wrinkles. I put some all purpose glue on the shank and pressed the band back in place. I took the following photos. Thanks for looking.


 Charles, this was a fun project to work on together. I look forward to firing up this old timer. The proof is indeed in the pudding as you said above. That will be the real test of the new life of this pipe repair. I am also thinking of contacting the Poor Richard’s Pipe Shop in Bozeman, Montana with a bit of a story of the resurrection of this pipe and its cross Canada journey from Vancouver to Kitchener and back again. Let’s keep our eyes open for another joint project… there still may be another pipe out there that stymies us… until then keep up the good work my friend. IT is always a pleasure to work together. I think you said it best in one of our back and forth interchanges – if we lived closer together we would be in trouble. Take care.
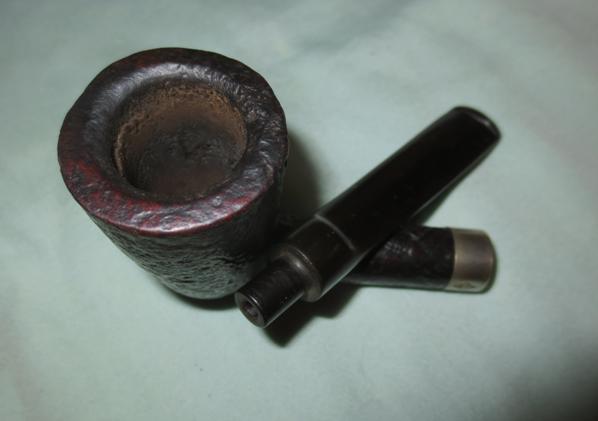
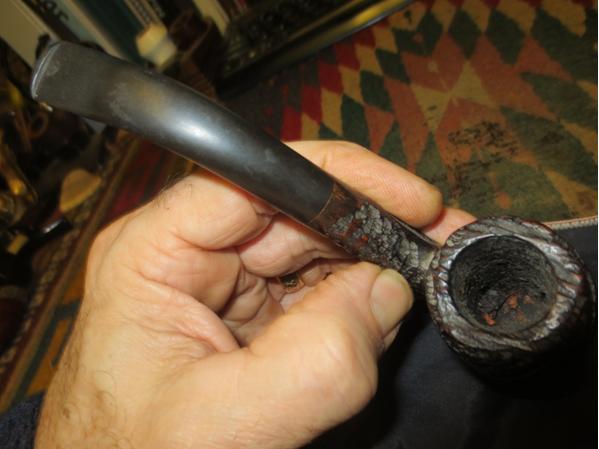
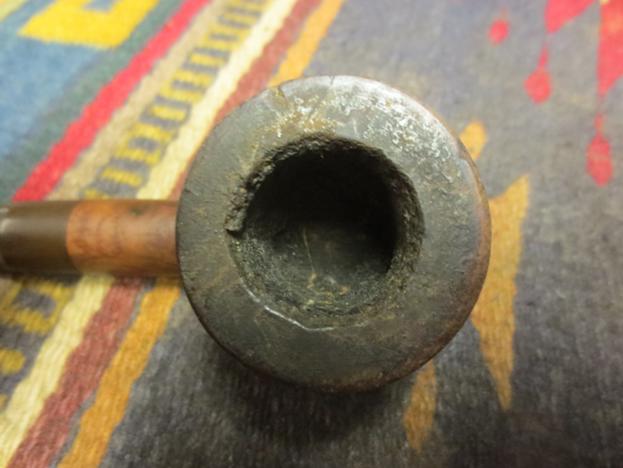
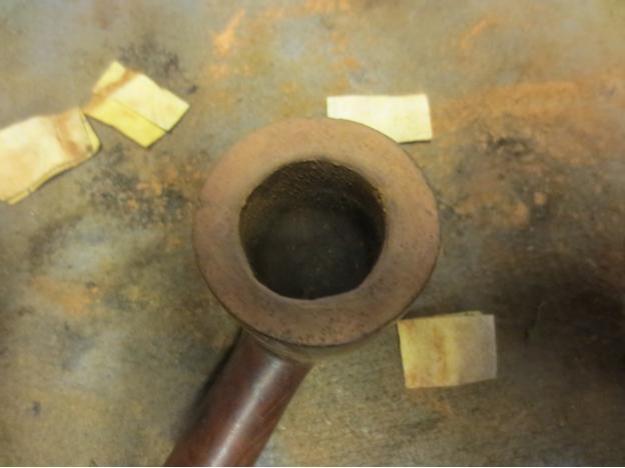
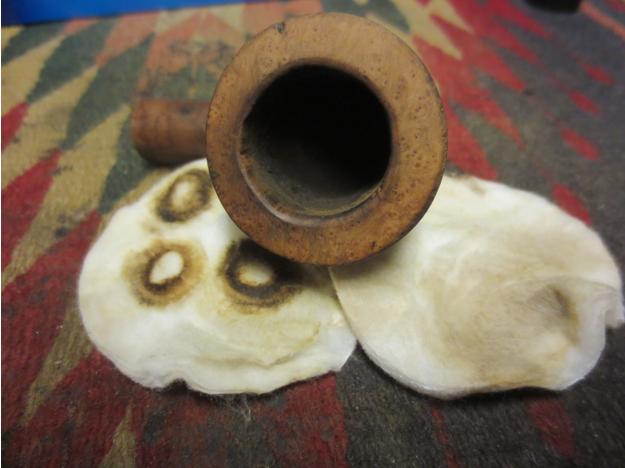
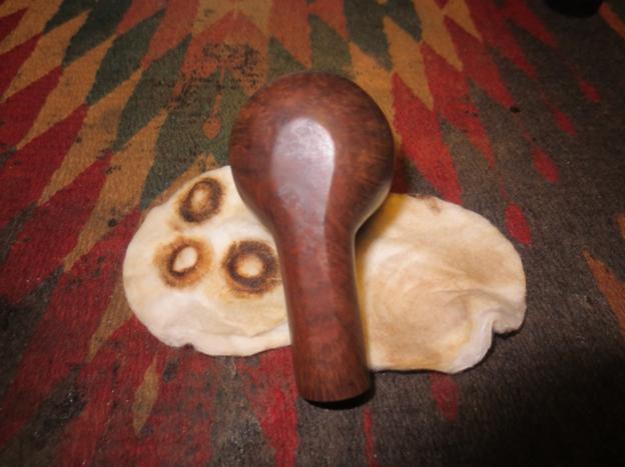
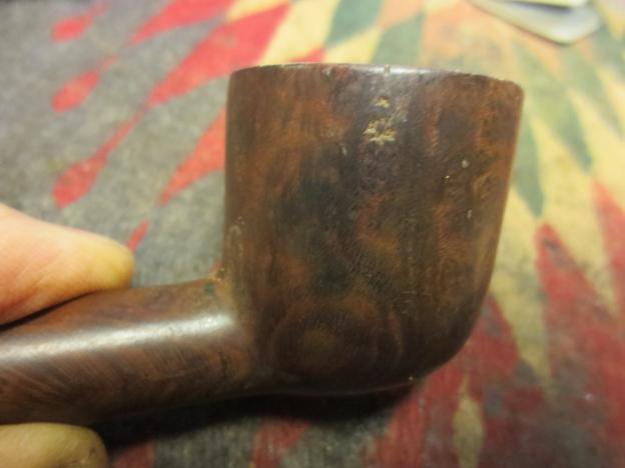
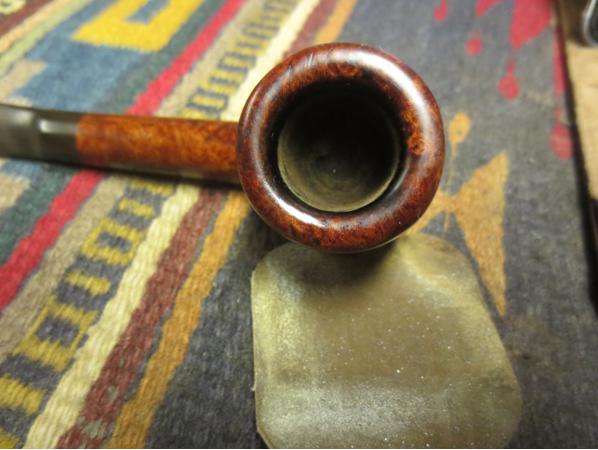
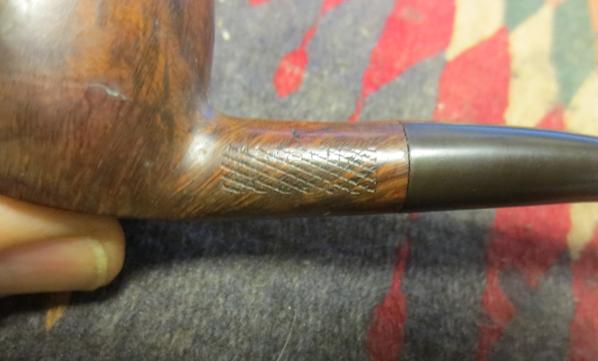
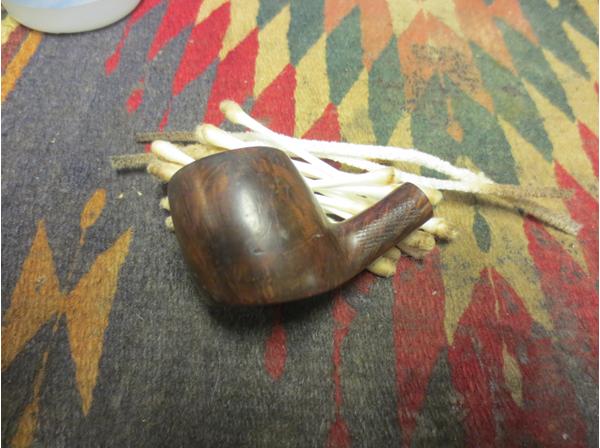
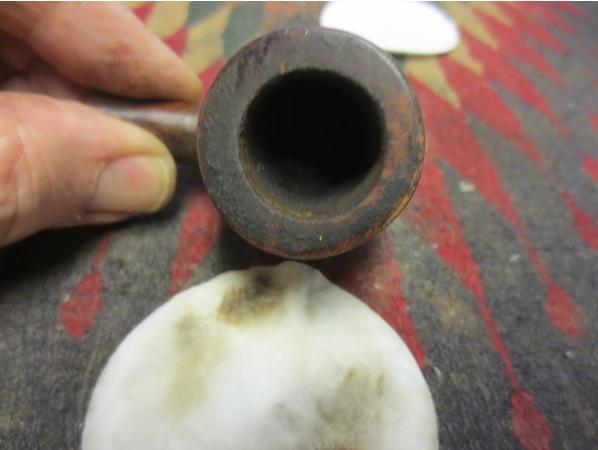
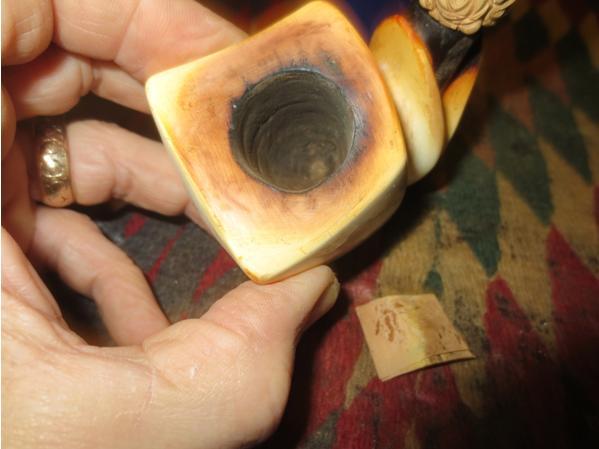
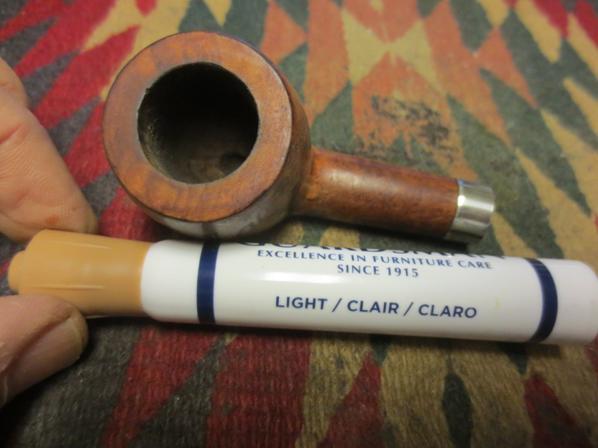
 I took some close-up photos of the rim and the bowl to show the interior of the bowl and the rim condition. There was some tar and oil build up on the top of the rim.
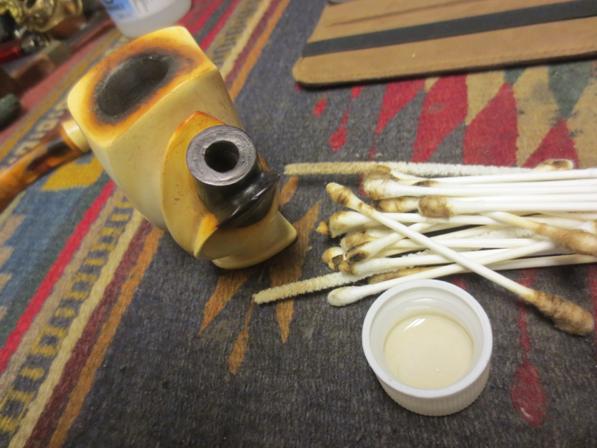
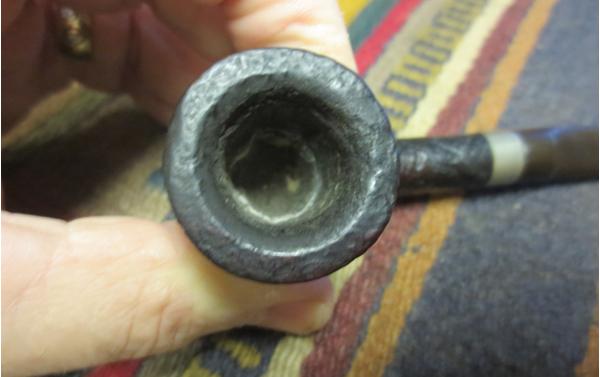 The next two photos show the tooth marks on the stem.
 I reamed the bowl with a PipNet reamer to take the cake back to bare briar. I wanted to remove the white material in the bowl. Once I had it on the reamer it was clear that it was wax.
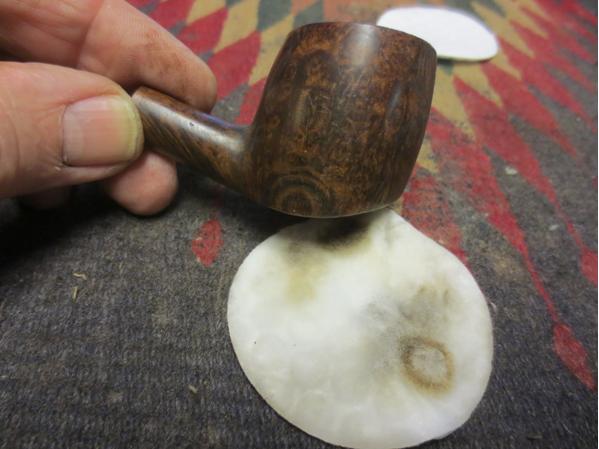
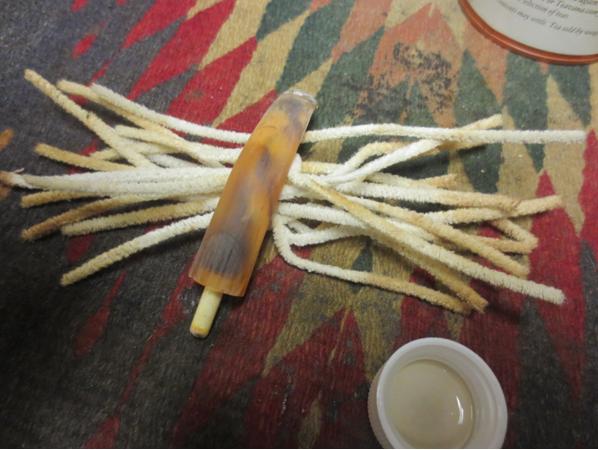
 I used a brass tire brush to scrub the top of the rim and the inner bevel. The brass bristles do not scratch the finish but they loosen the tars and oils on the rim.
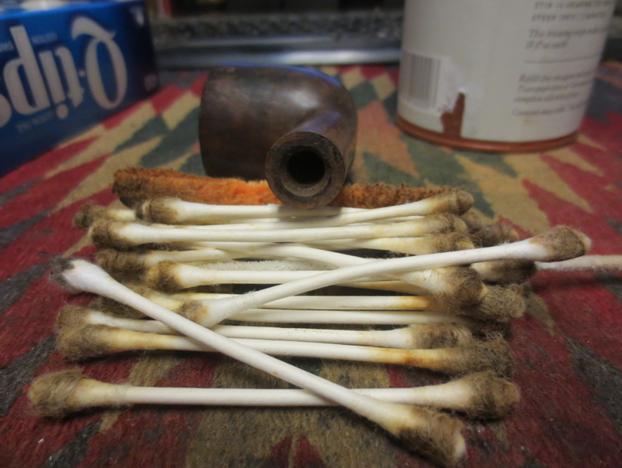
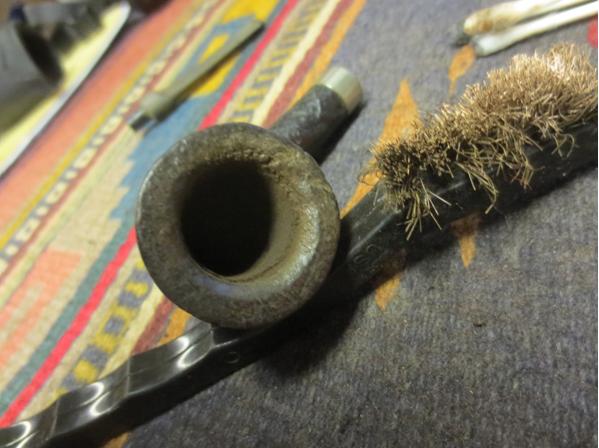 I scrubbed out the interior of the mortise and airway into the shank with pipe cleaners, cotton swabs and alcohol to remove the tars and oils. I scrubbed until the cleaners came out white.
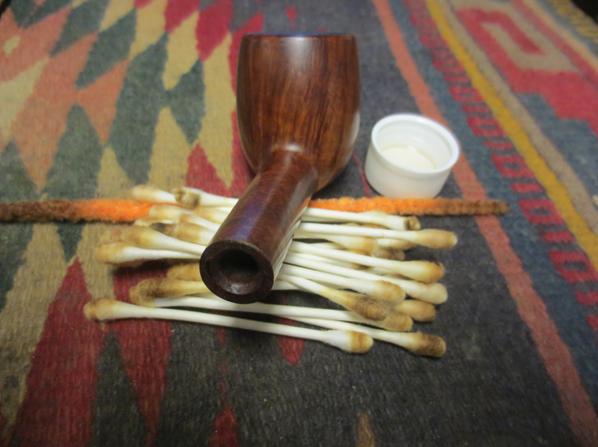
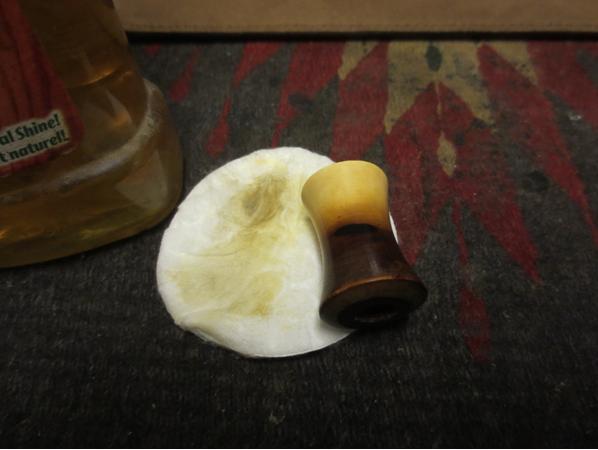
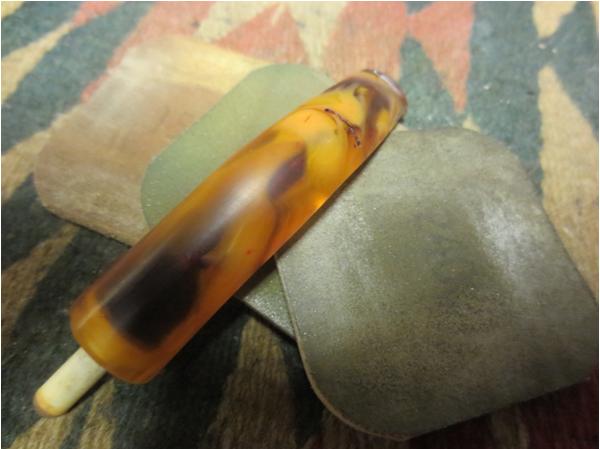
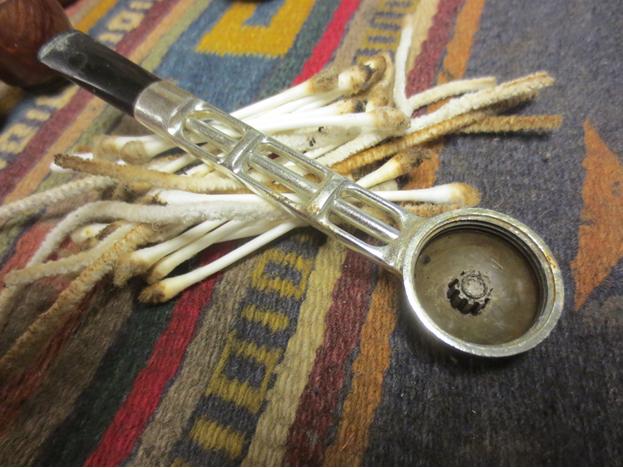
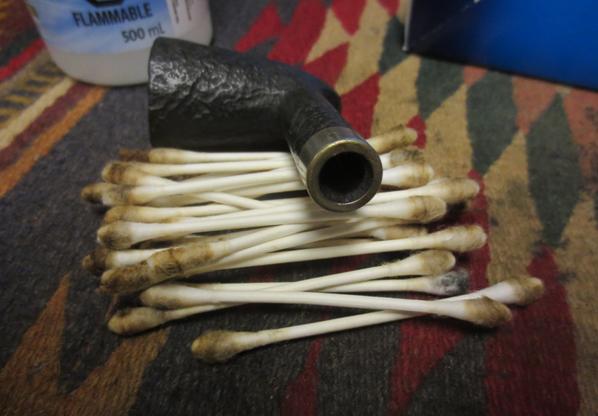 I worked on the stem. I sanded it with 220 grit sandpaper to remove the tooth marks and tooth chatter. I sanded the whole stem to remove the oxidation on the surface of the stem.
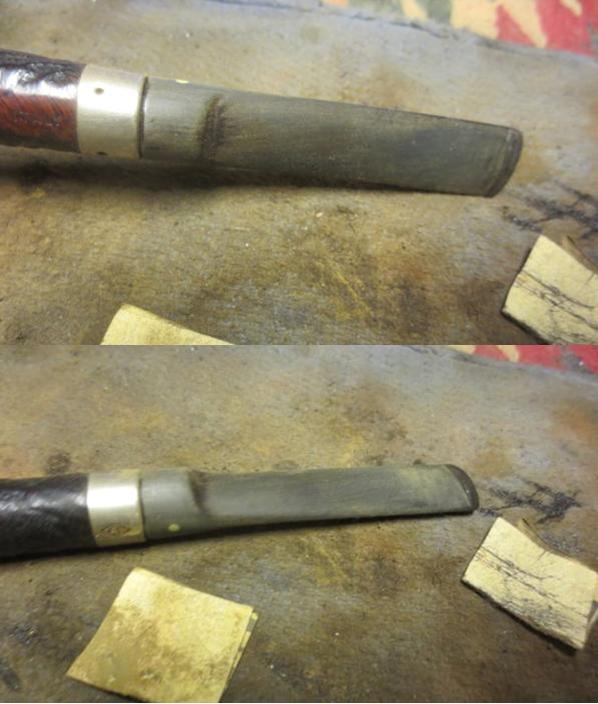 I cleaned out the airway on the stem with pipe cleaners – both regular and bristle ones – and alcohol. Once they came out clean the stem interior was finished.
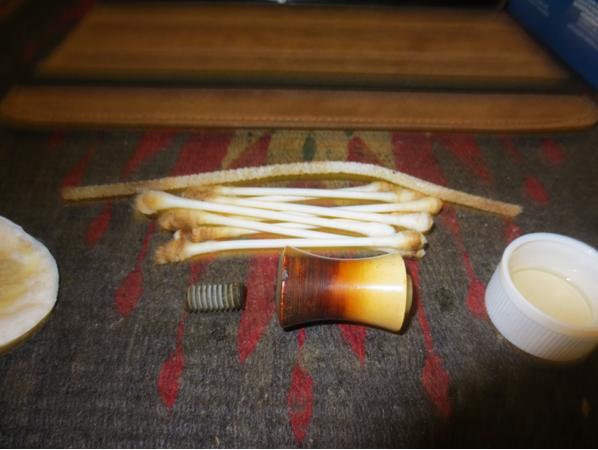
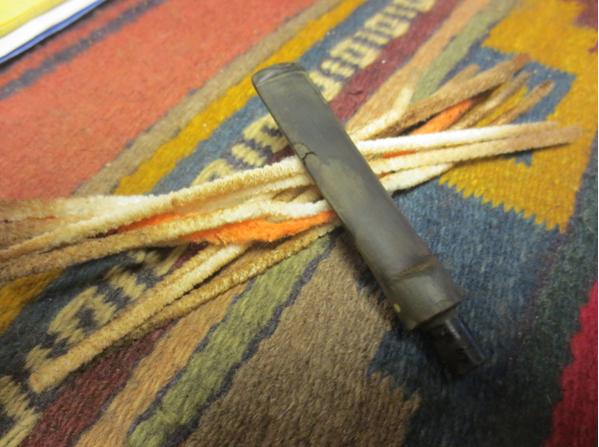 I redefined the button on the top and bottom sides of the stem with a needle files to give it a sharper more distinct edge.
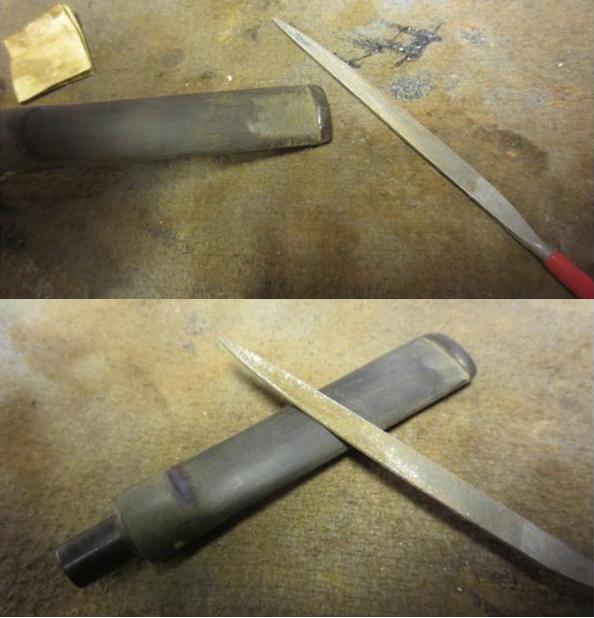 I sanded the file marks with 220 grit sandpaper to remove the file marks.
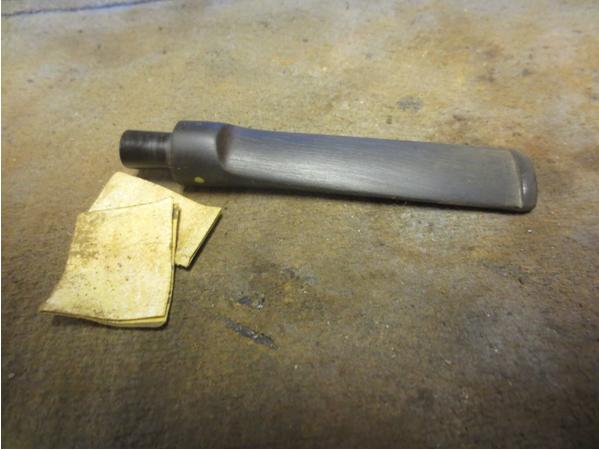 I sanded the stem with a medium and a fine grit sanding sponge to minimize the scratches.
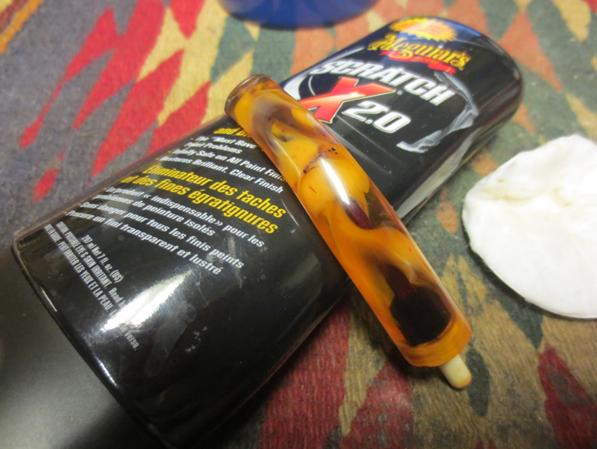
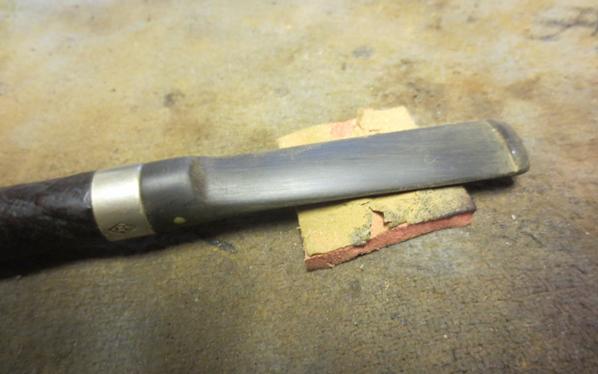 I wetsanded the stem with 1500-2400 grit micromesh sanding disks to begin the process of polishing it. I rubbed it down with Obsidian Oil and then dry sanded it with 3200-4000 grit pads. I gave it another coat of oil and then finished sanding it with 6000-12000 grit pads. I gave it a final coat of the oil and let it dry.

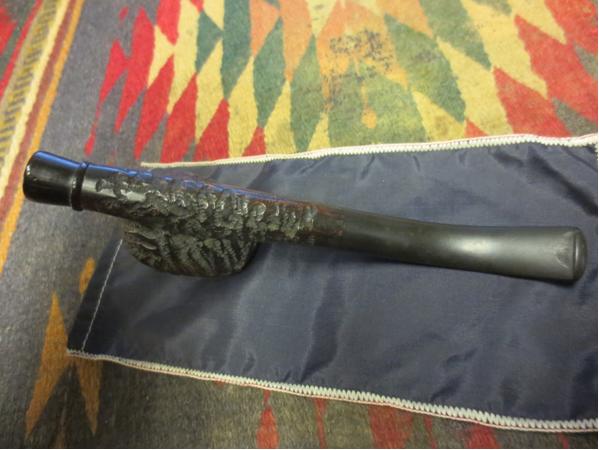
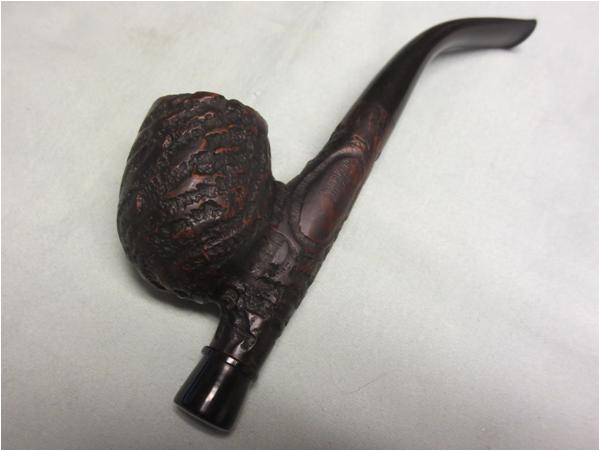
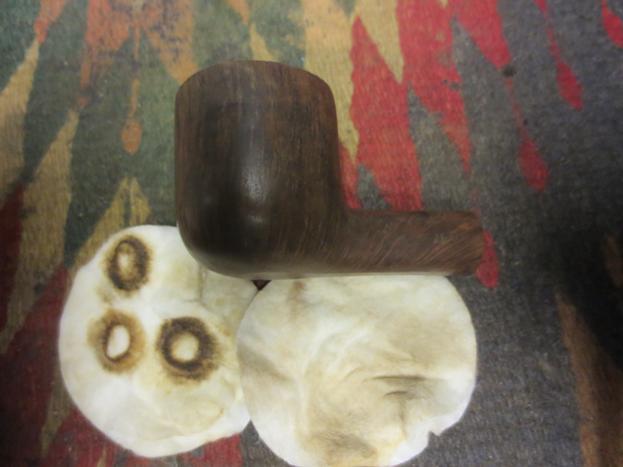
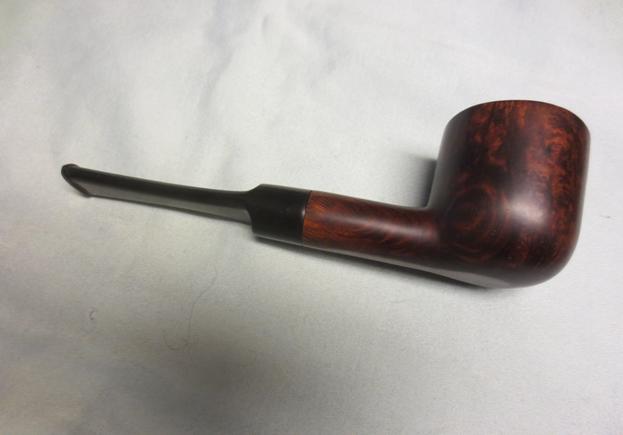
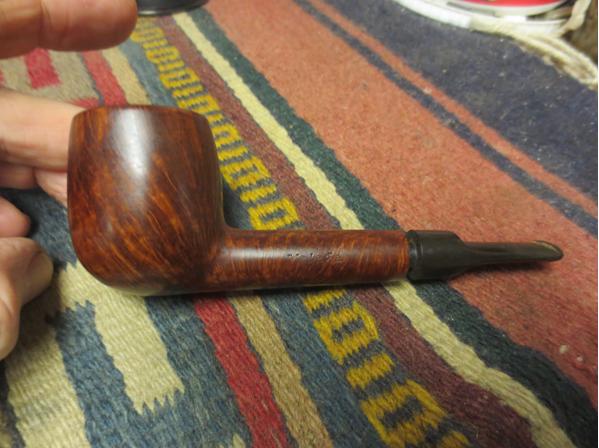
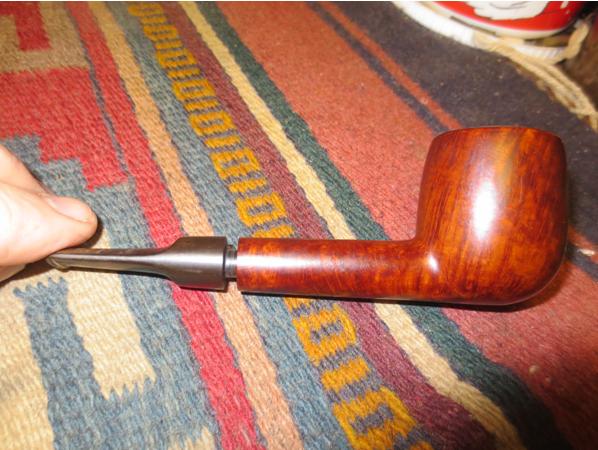
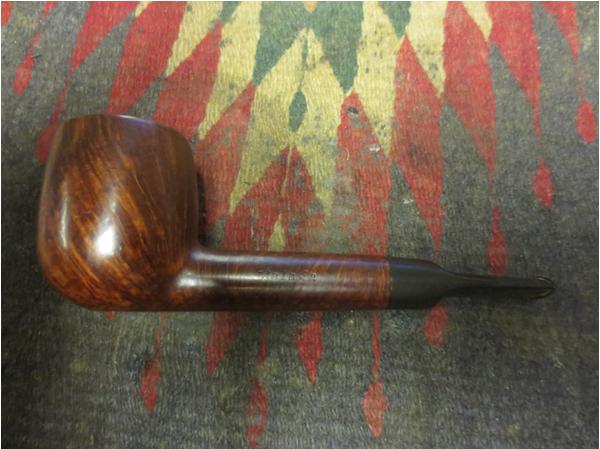
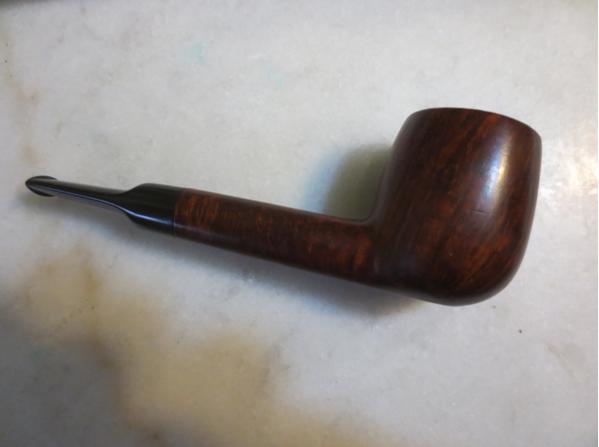
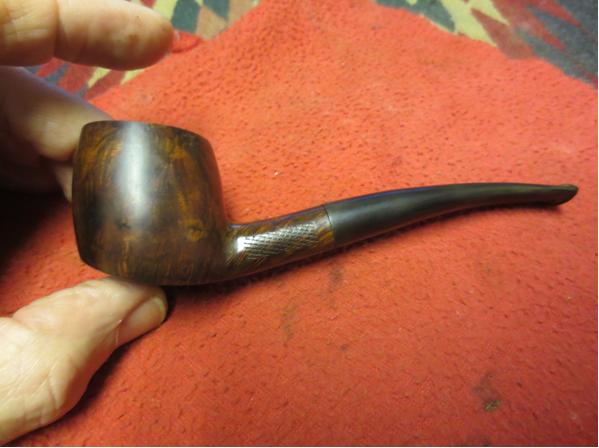
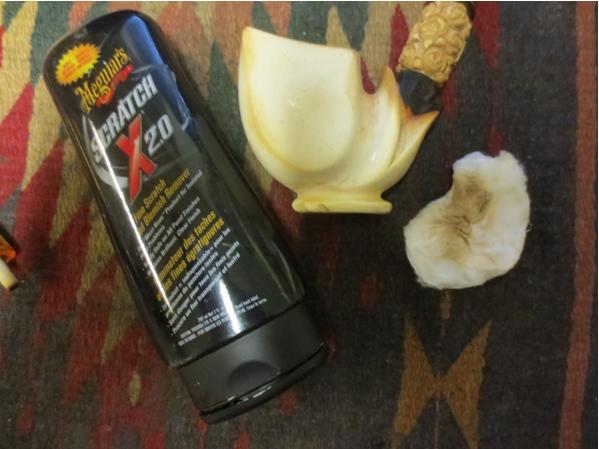
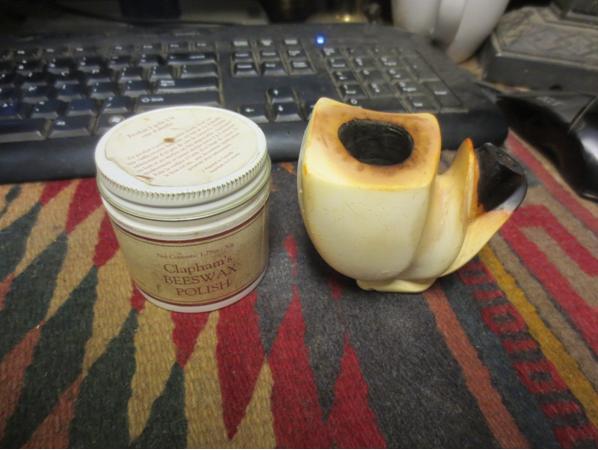
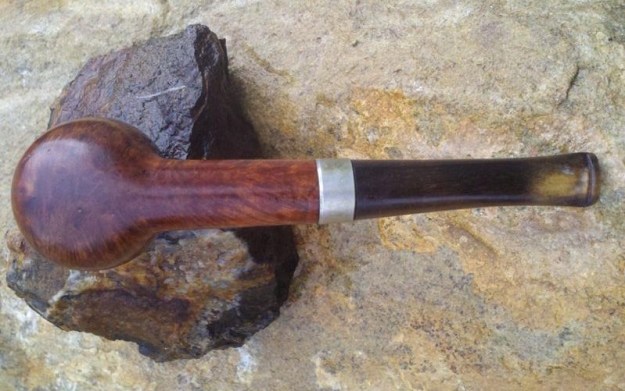
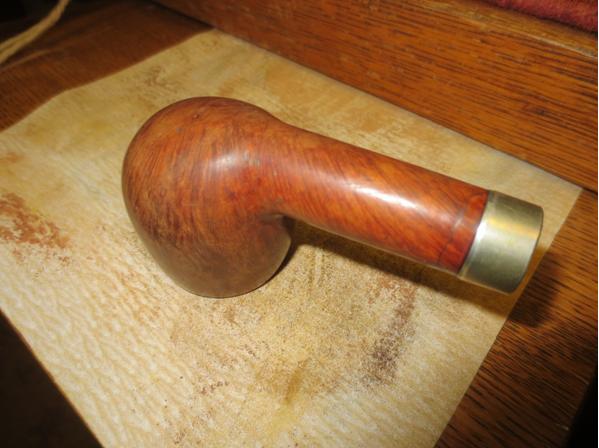
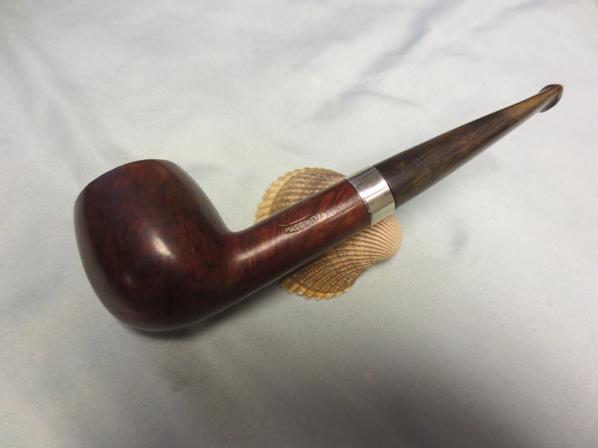
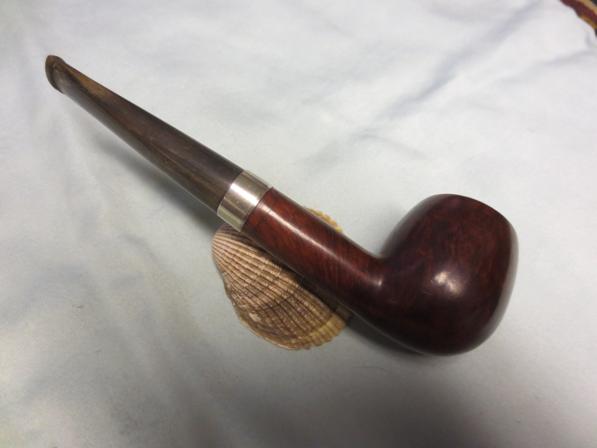
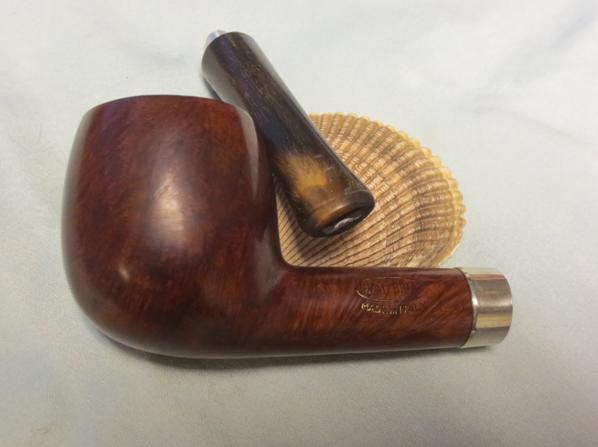
 I buffed the pipe and stem with Blue Diamond on the wheel. I lightly buffed the bowl and gave the stem a bit more pressure. I gave the stem several coats of carnauba wax and buffed the bowl and the stem with a clean buff. I brought it back to the work table and gave the bowl a light coat of Conservator’s Wax and buffed it with a shoe brush. The finished pipe is shown in the photos below. It is cleaned and ready to smoke.