Blog by Steve Laug
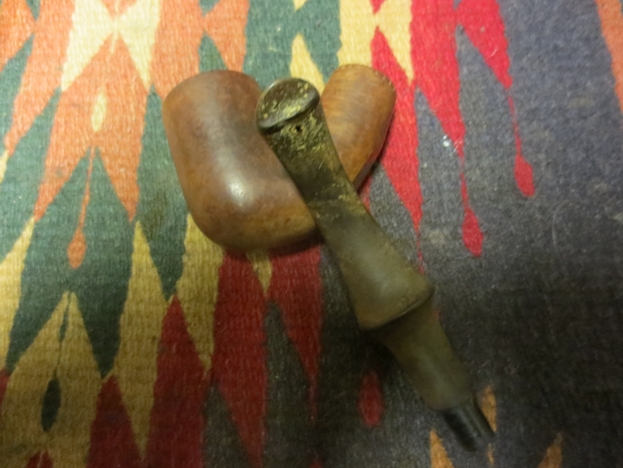
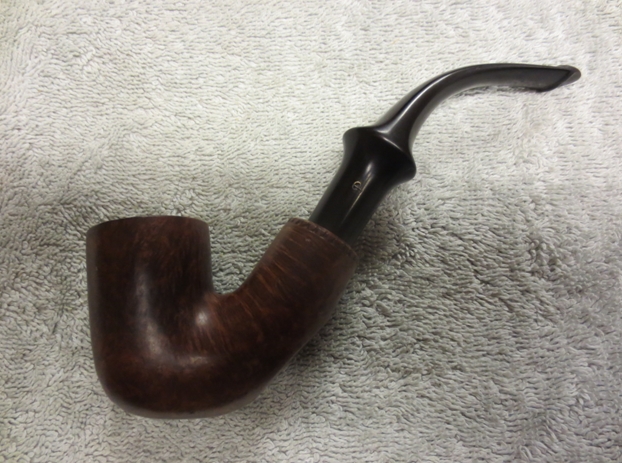
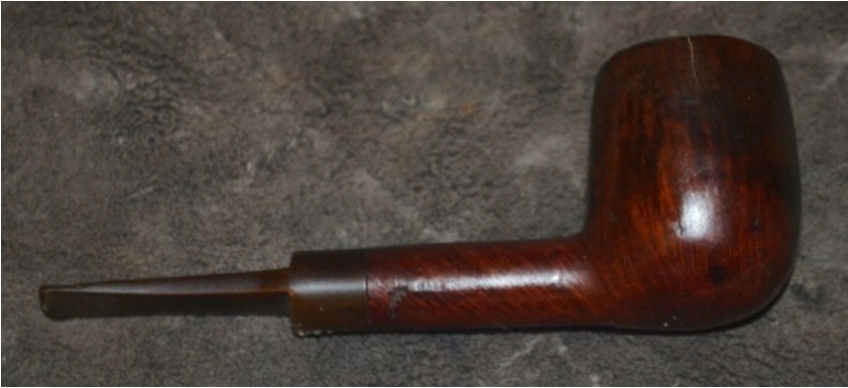
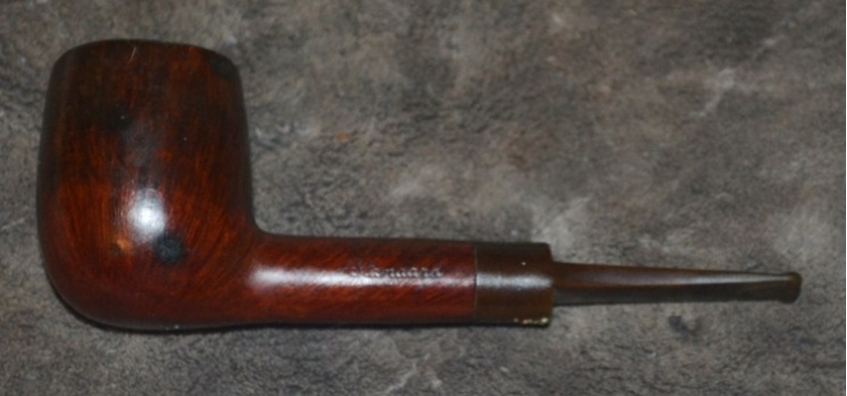
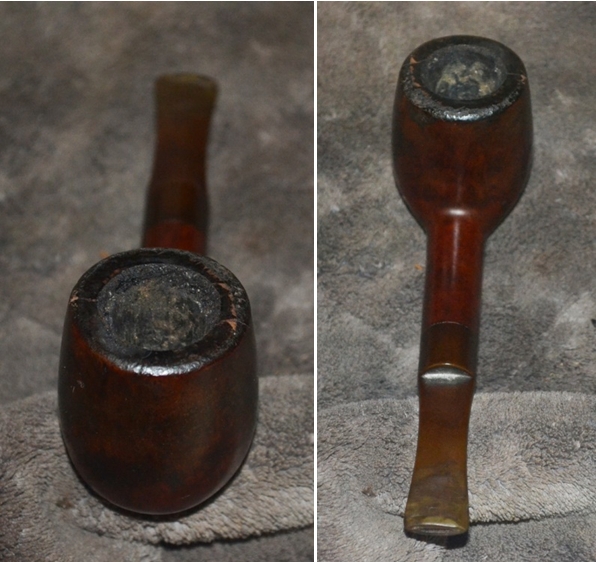
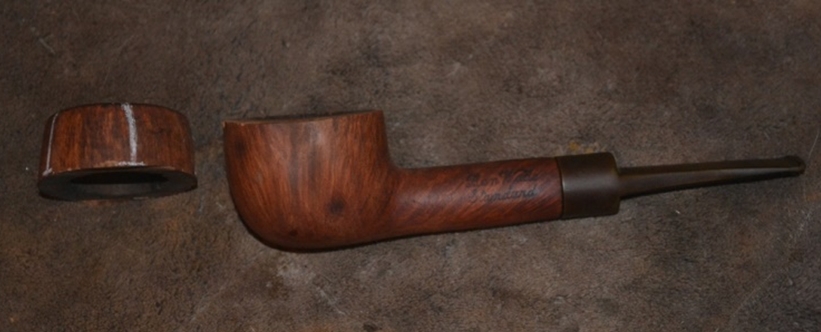
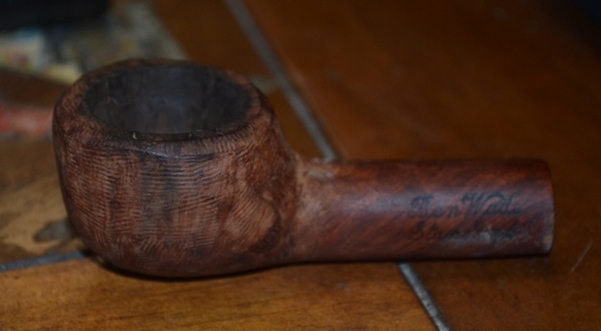
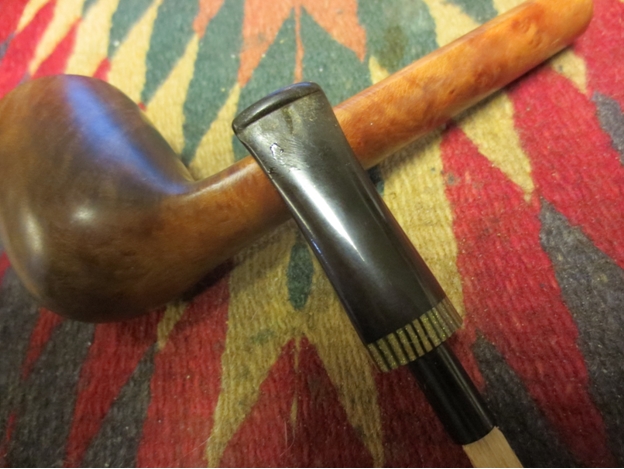
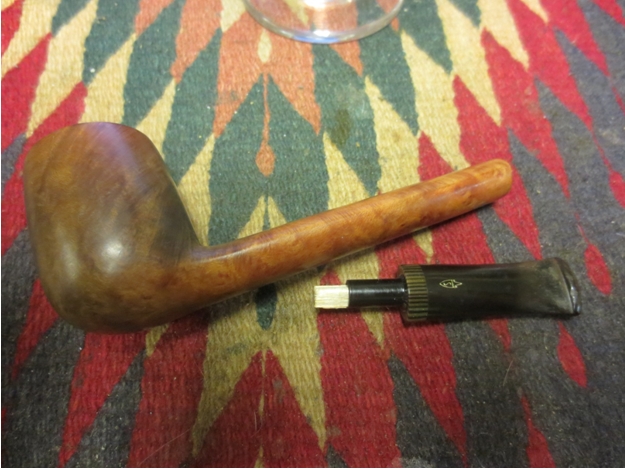
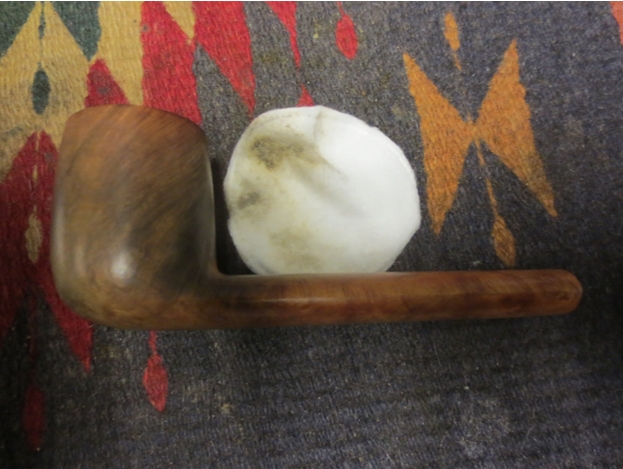
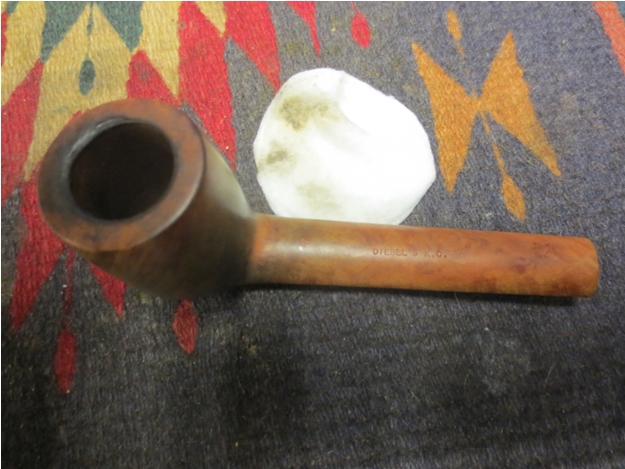
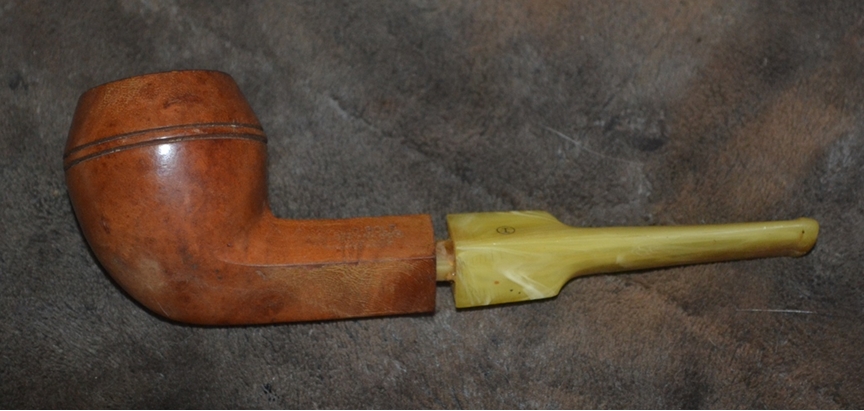
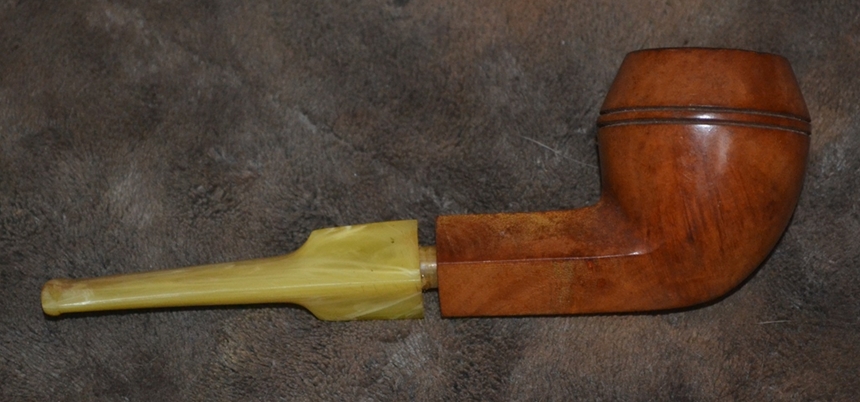
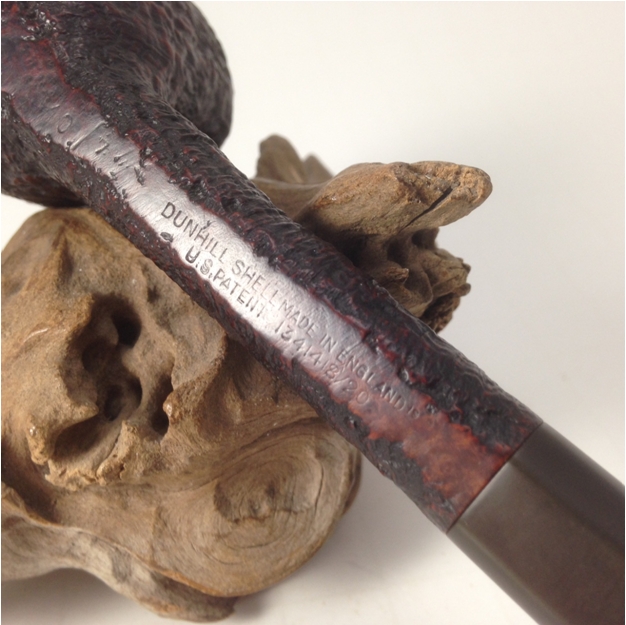
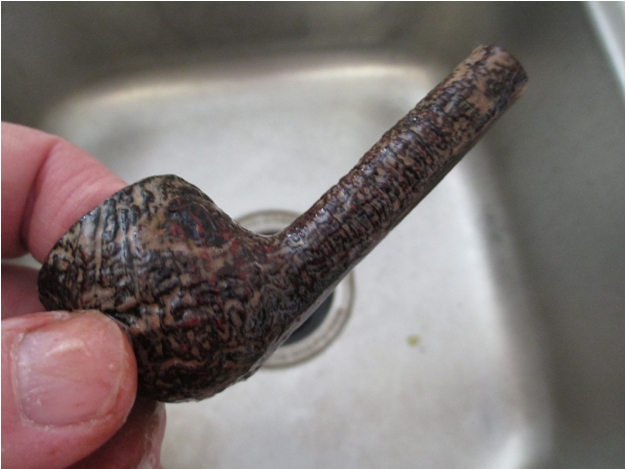
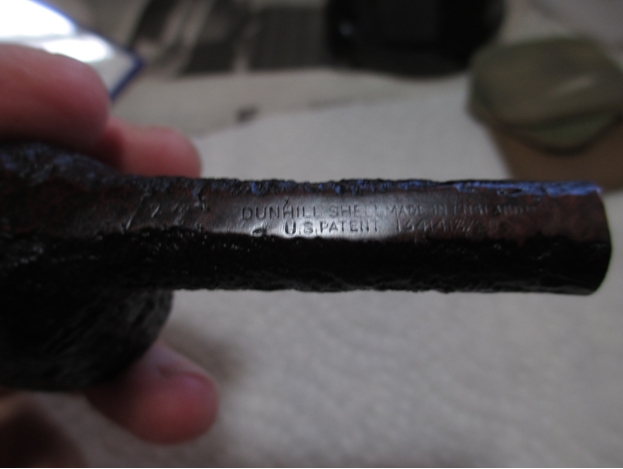
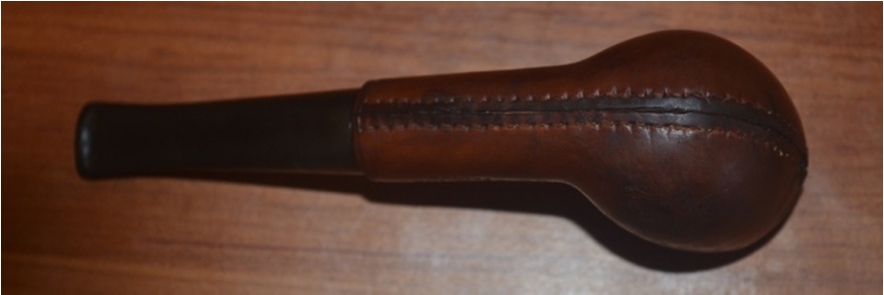
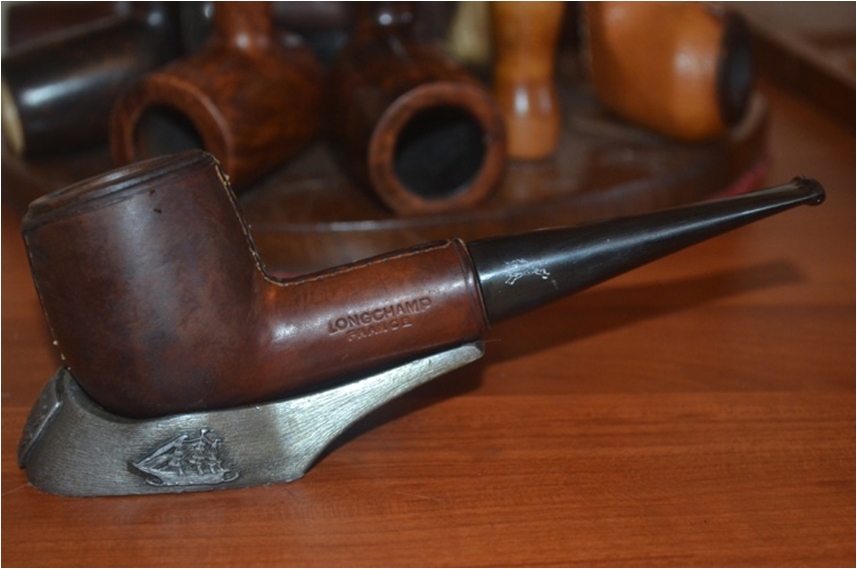
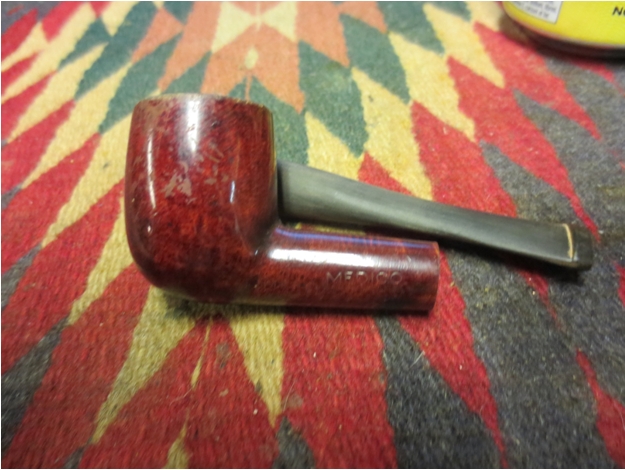
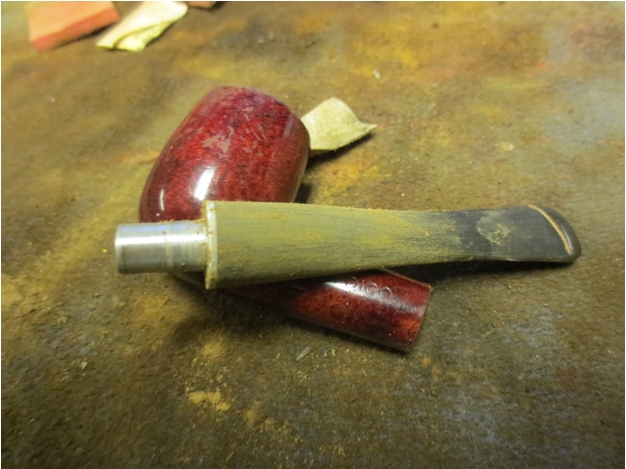
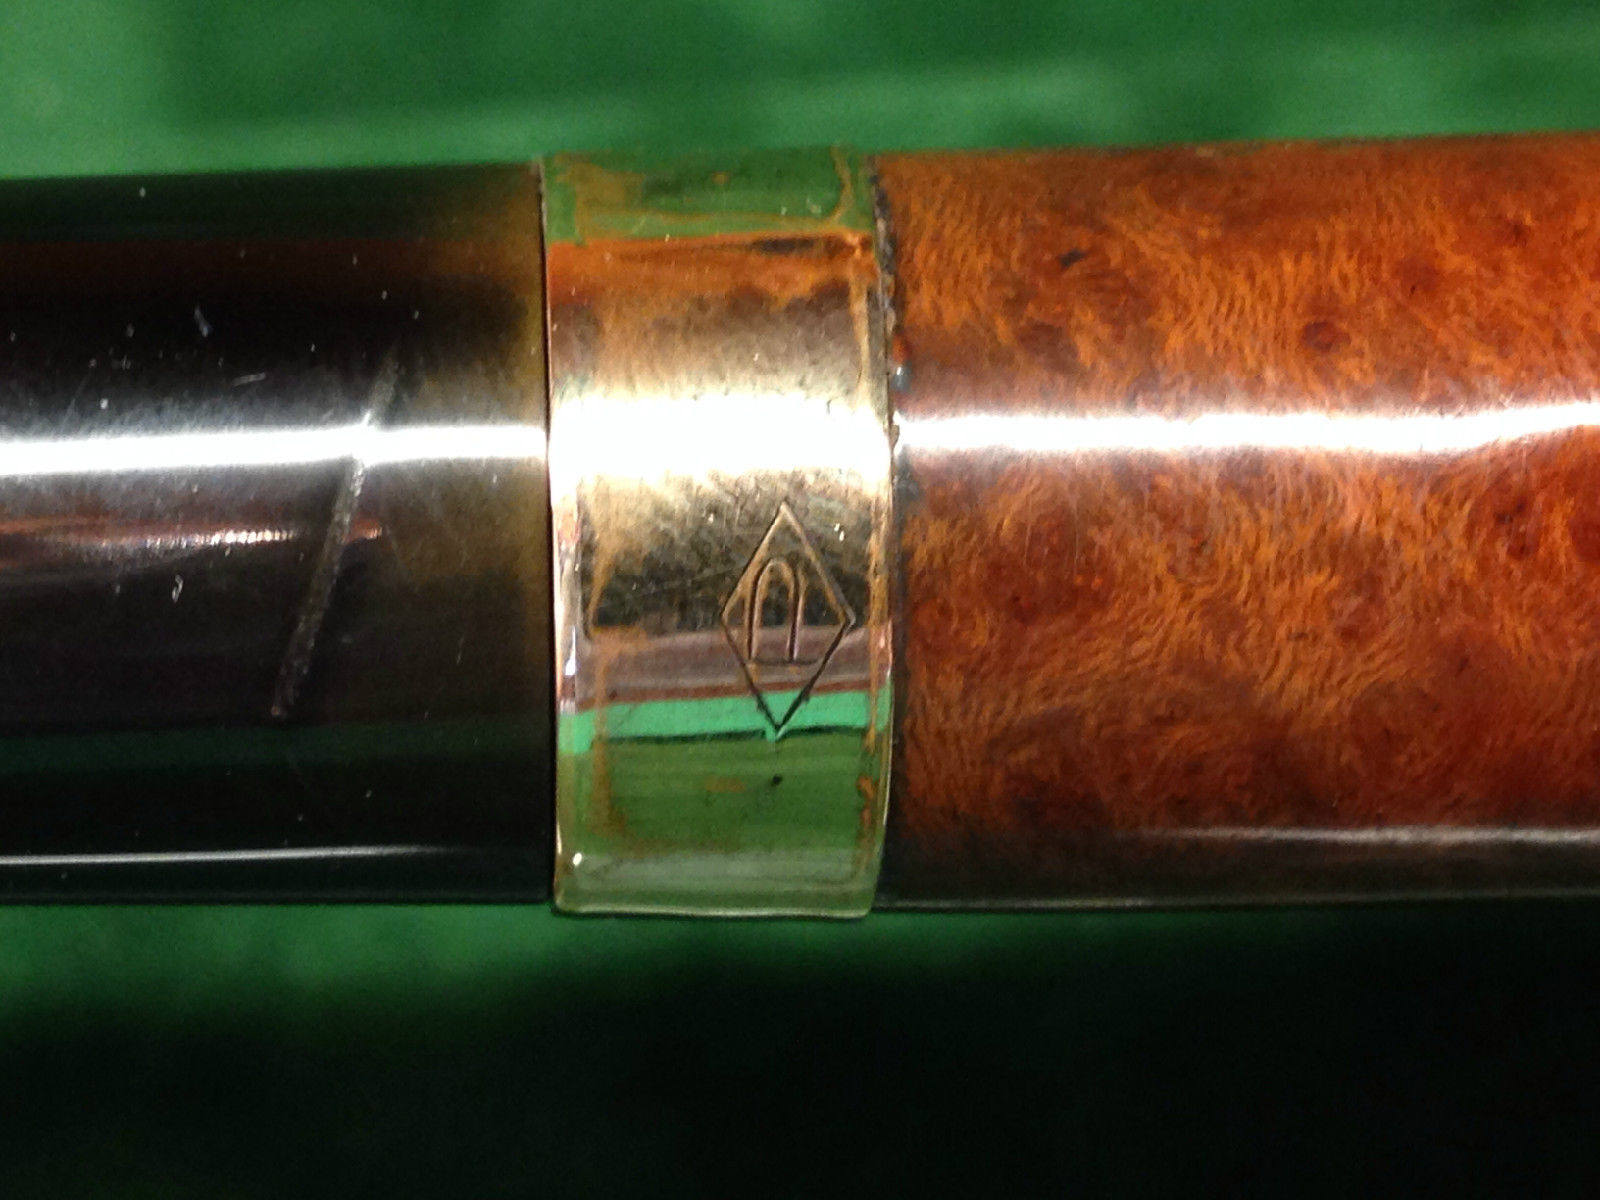
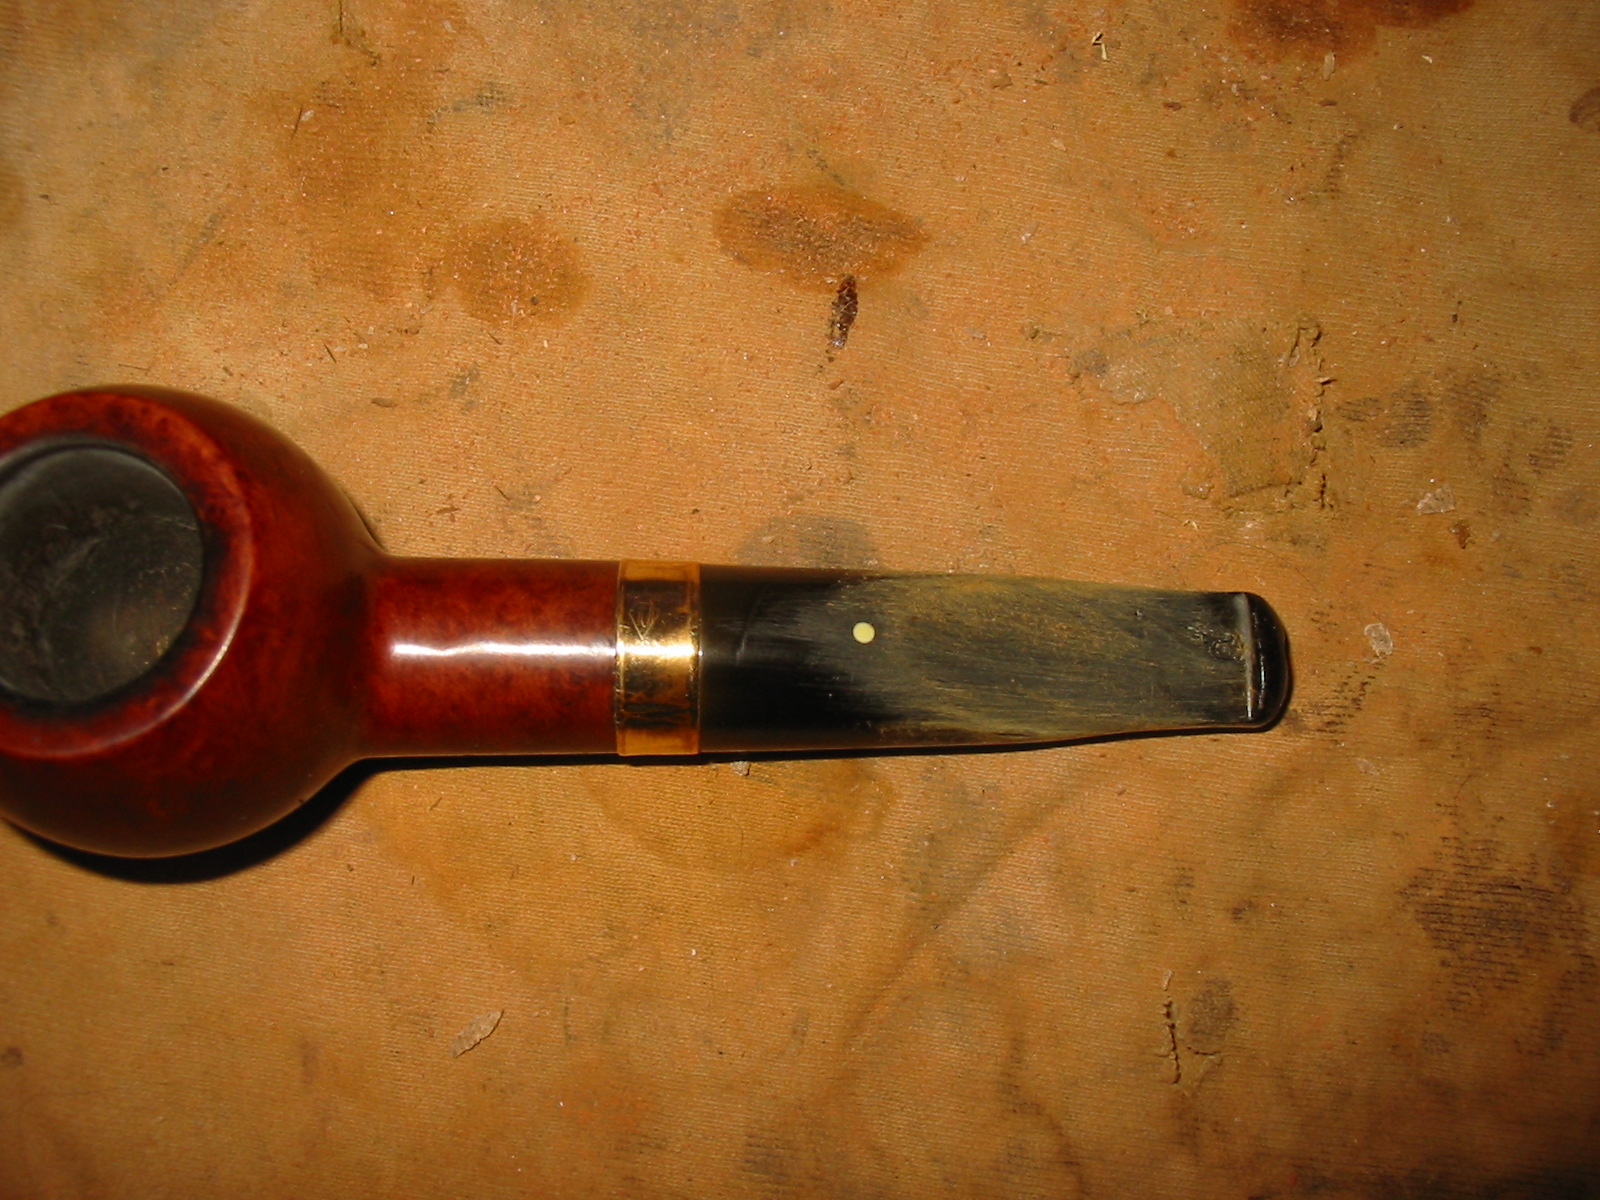
This past weekend my son in law came over with the Peterson Dunmore pipe that he had purchased on a recent pipe hunt in the US. He picked it up for $15USD so it was a good purchase. We finally got around to working on it. In a previous post on the Dunmore line I had found that the line from Peterson really is a stripped down pipe. The one that we worked on this weekend was in essence a system pipe. The lack of a ferrule is made up for by a stylized carving around the shank end. The stem sits snugly against the end of the shank but is not flush with the diameter of the shank. The saddle on the stem has a slightly different flair than a regular Peterson pipe. It had a Plip stem. It bore the stamping Peterson’s over “Dunmore” on the left side of the shank and Made in the Republic of Ireland and the number 79 on the right side of the shank.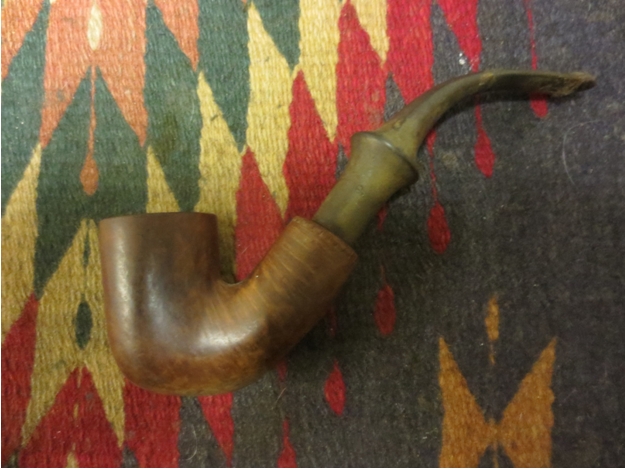
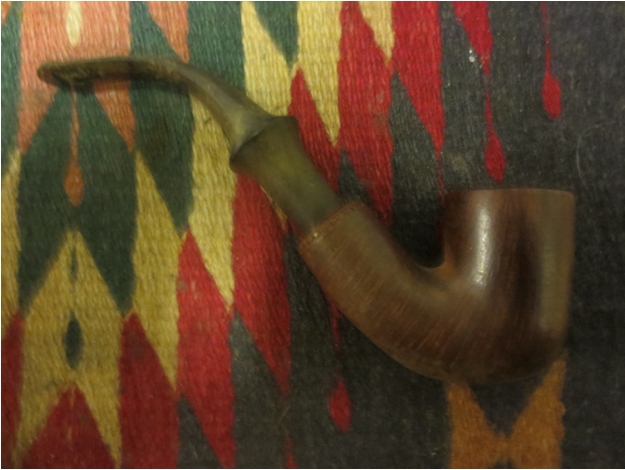
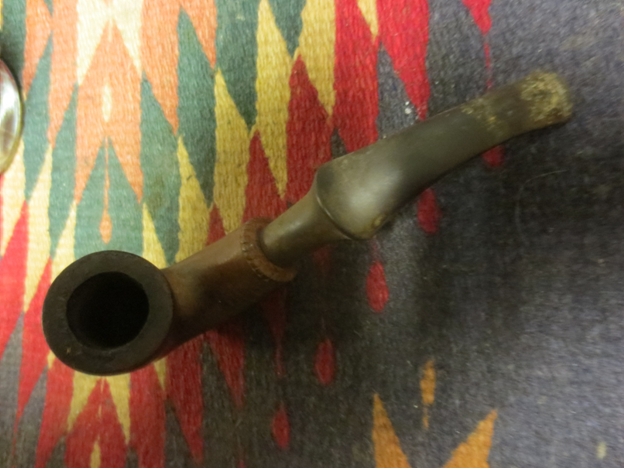
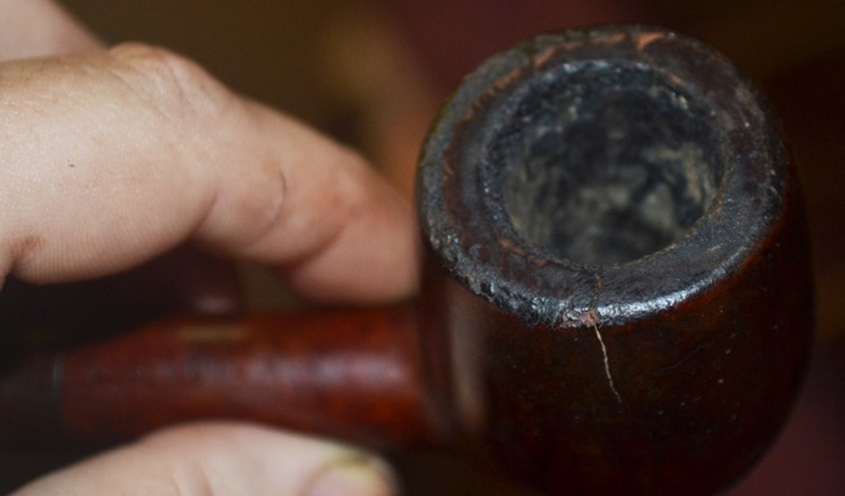
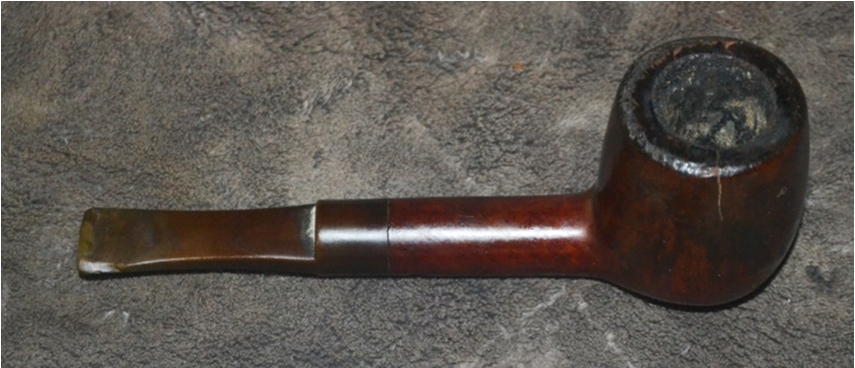
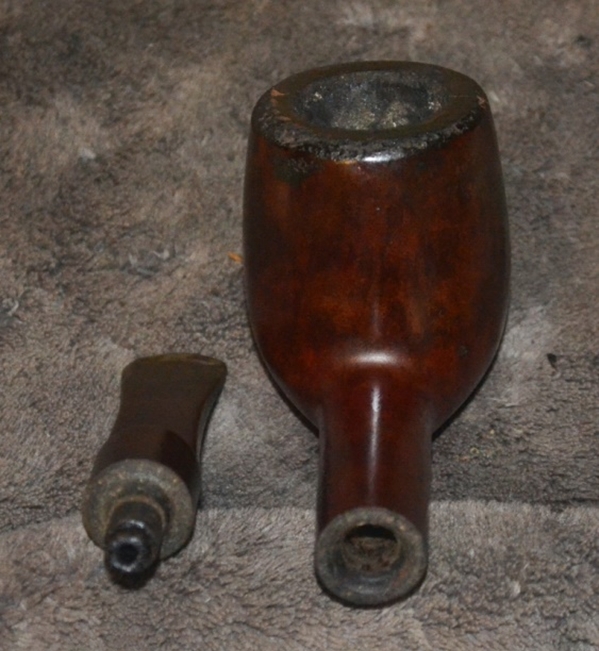
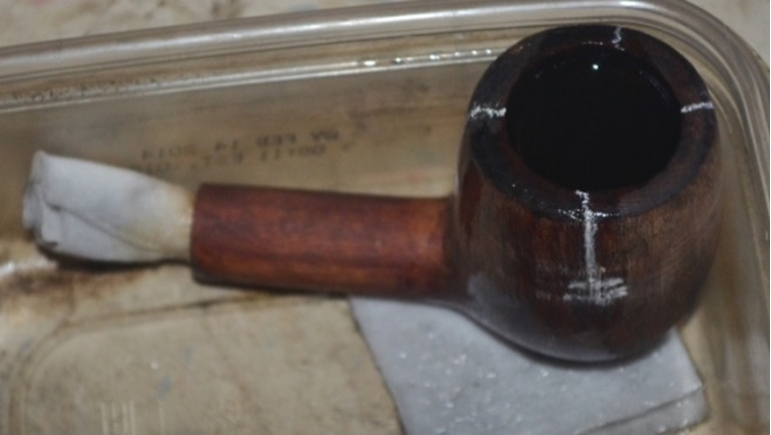
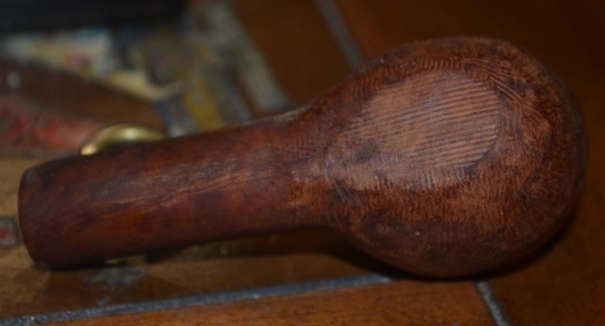
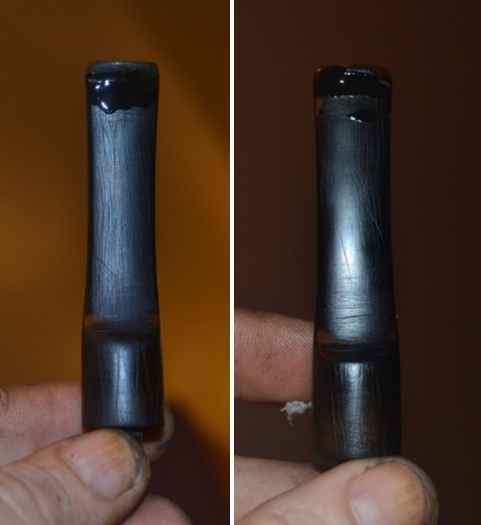
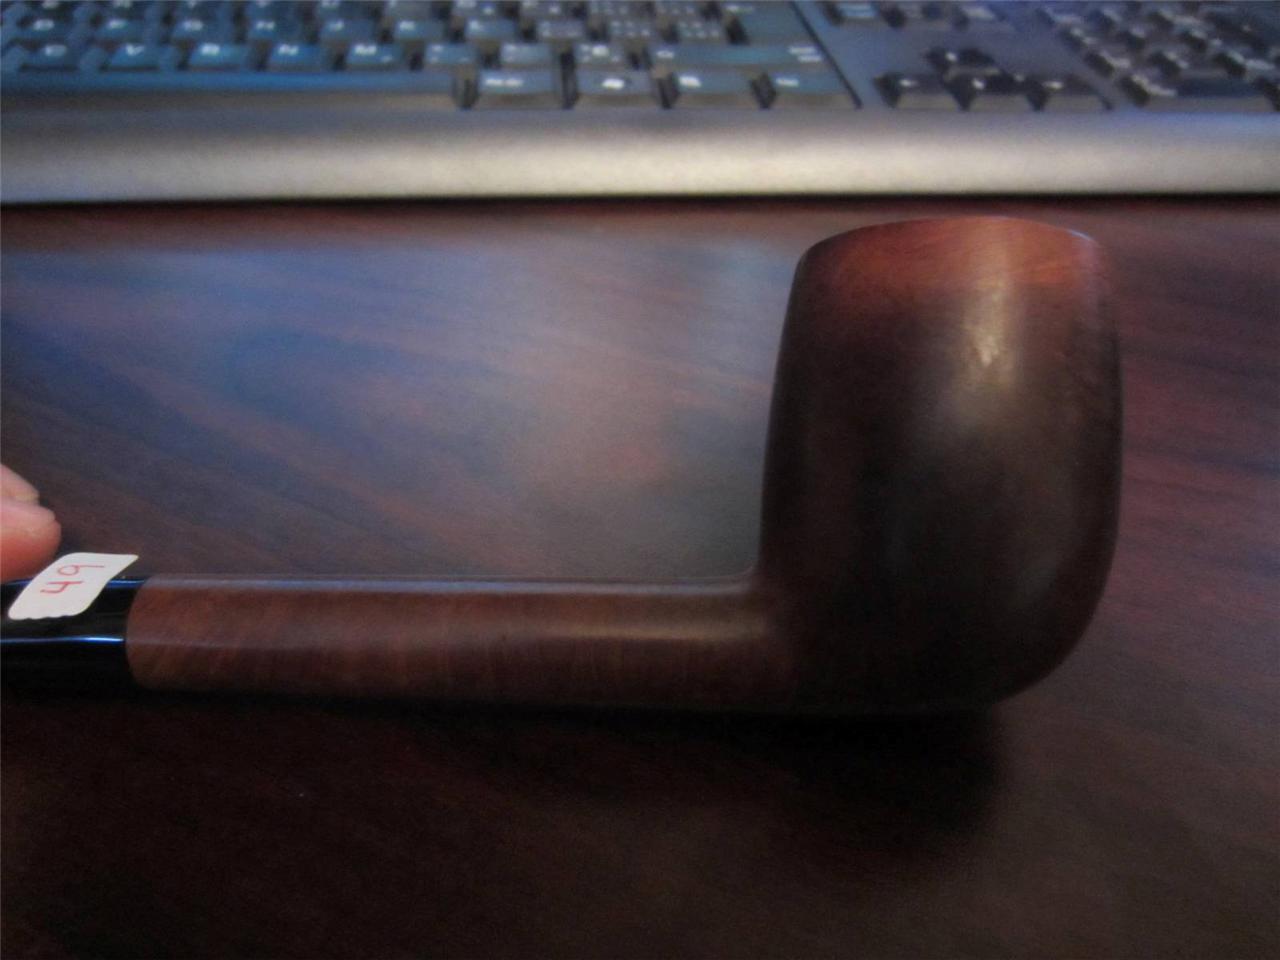
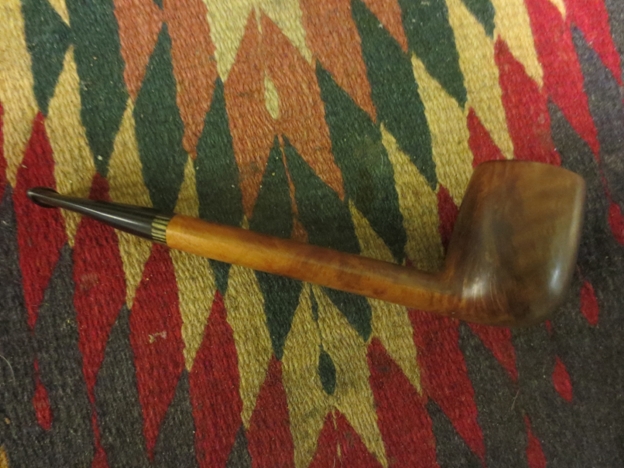
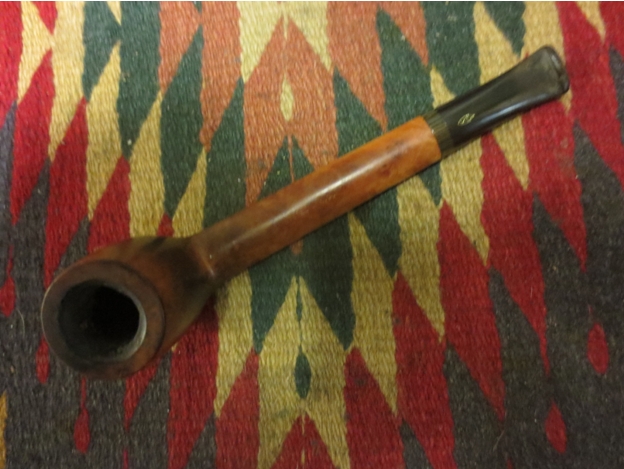
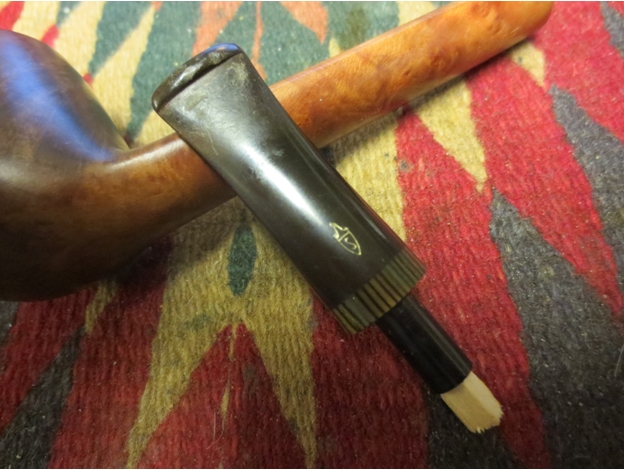
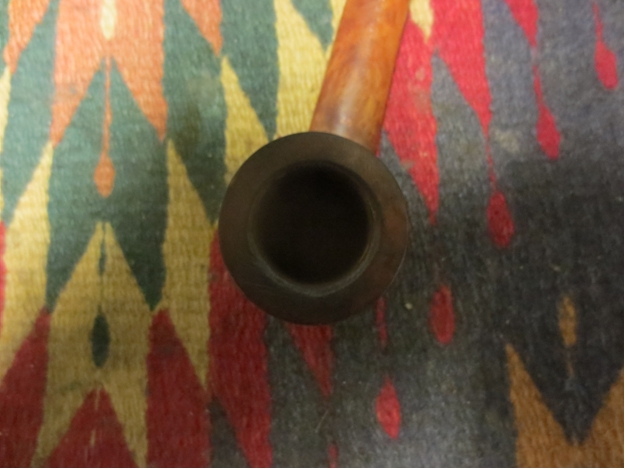
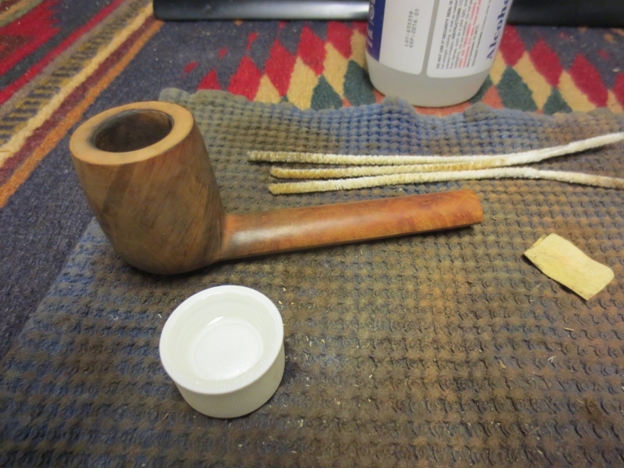
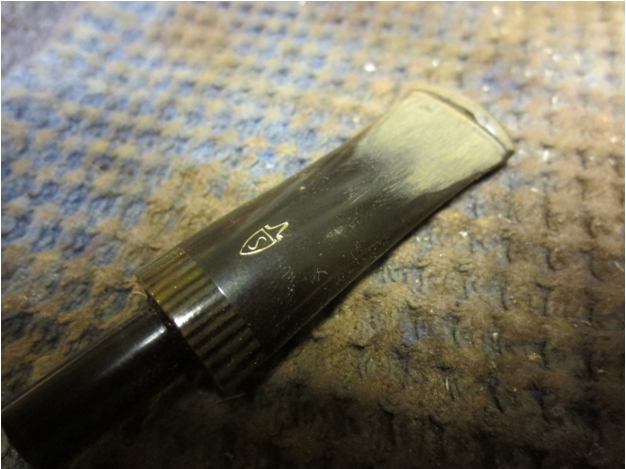
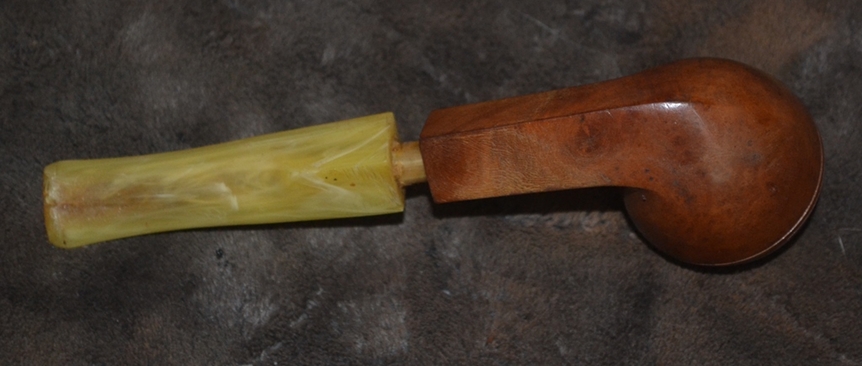
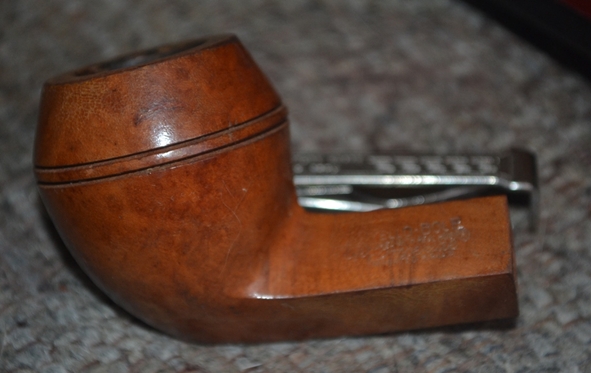
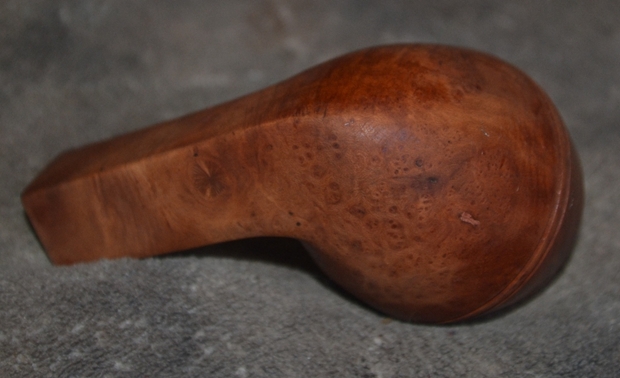
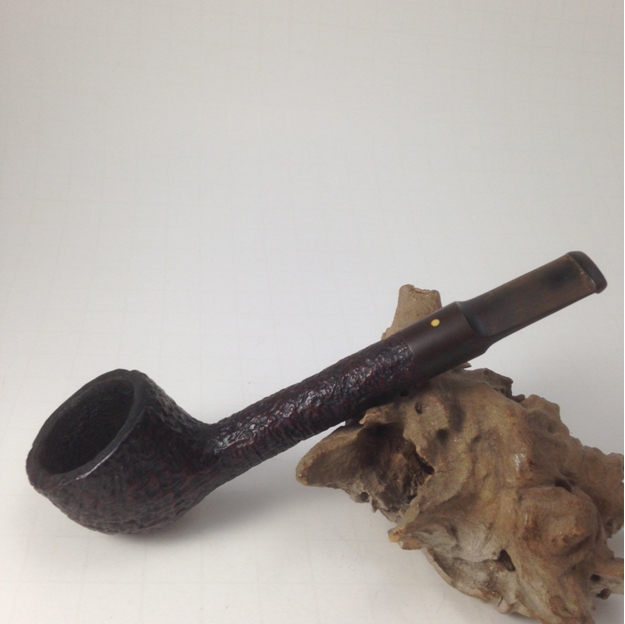
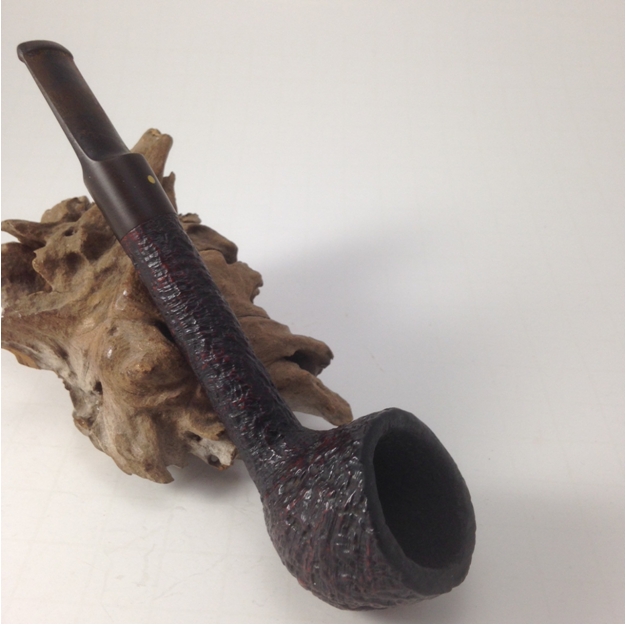
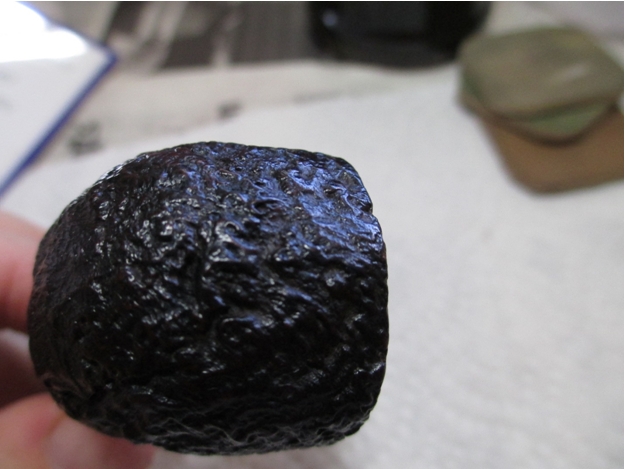
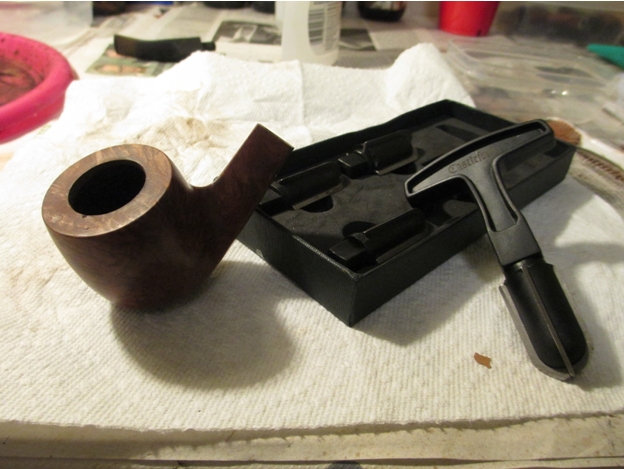
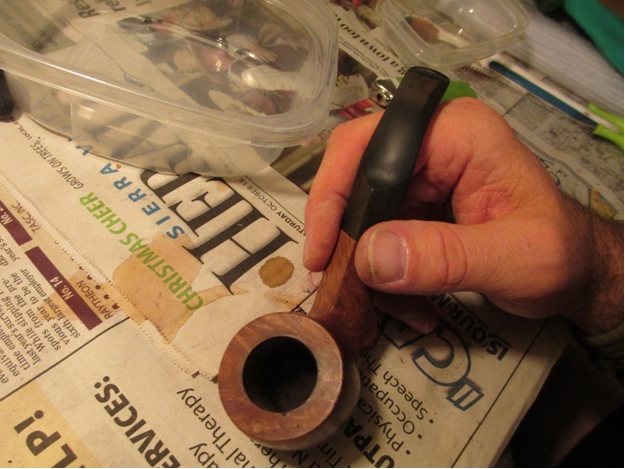
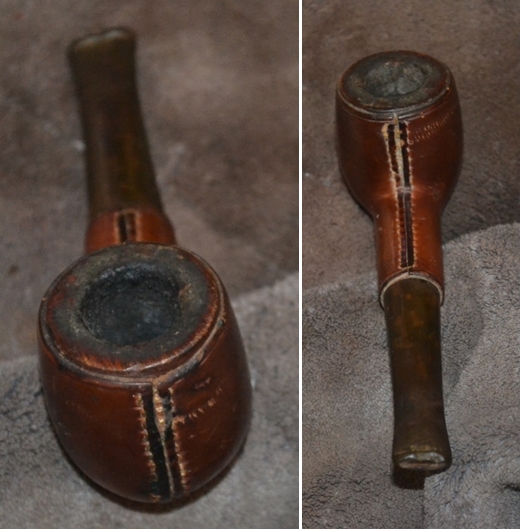
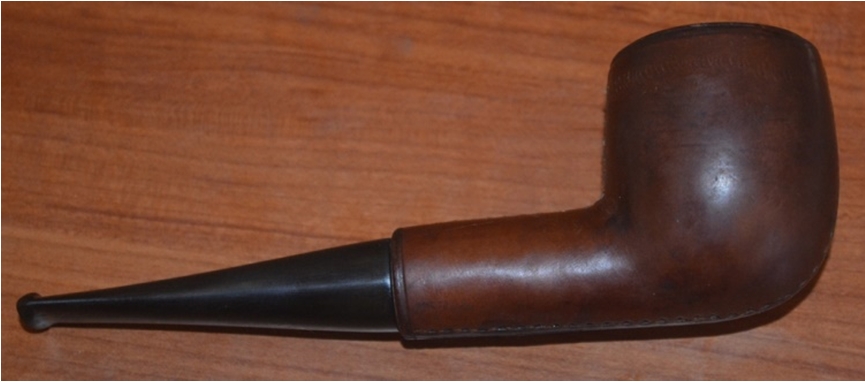
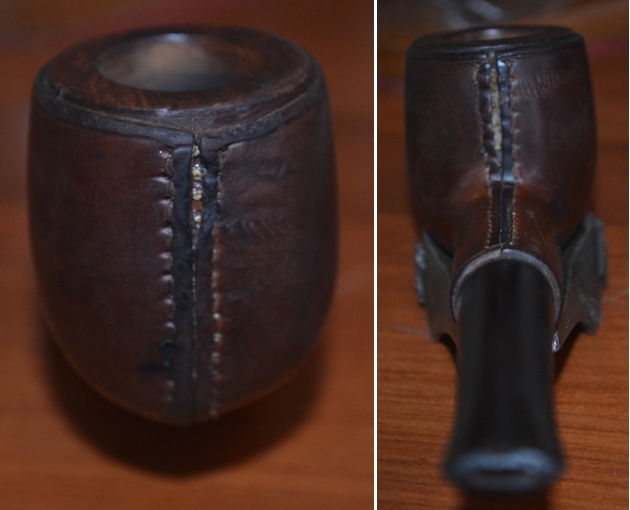
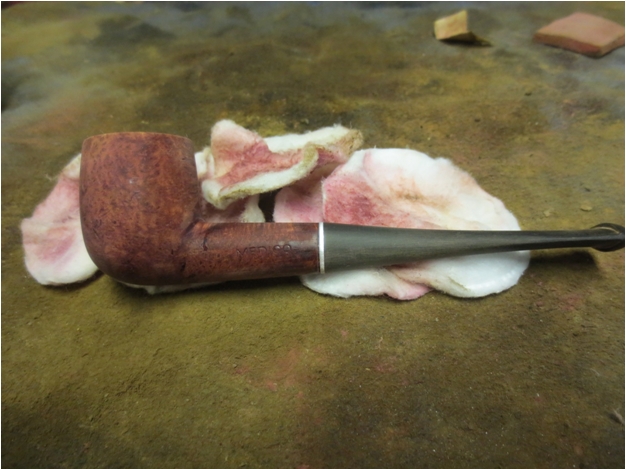
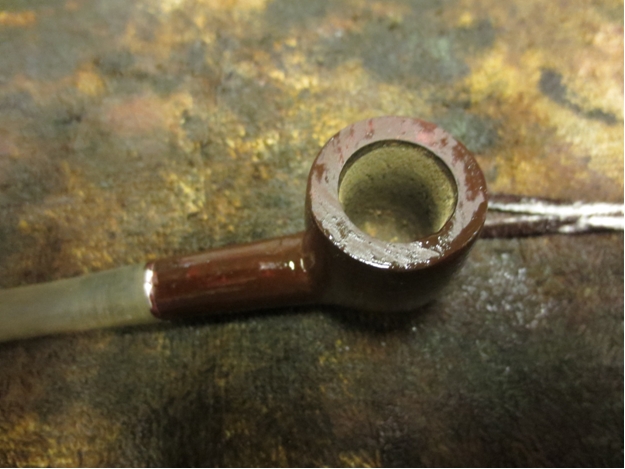
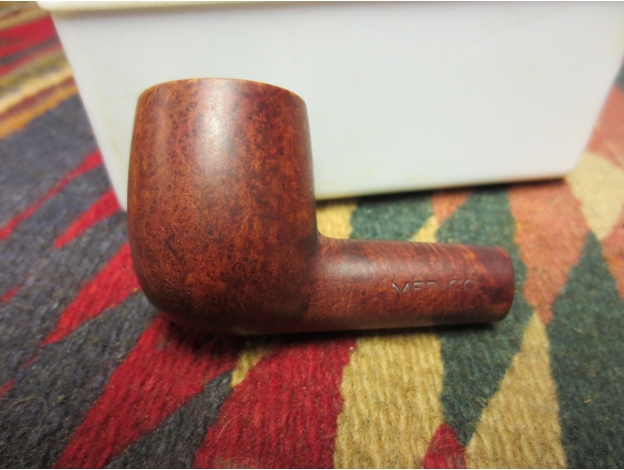
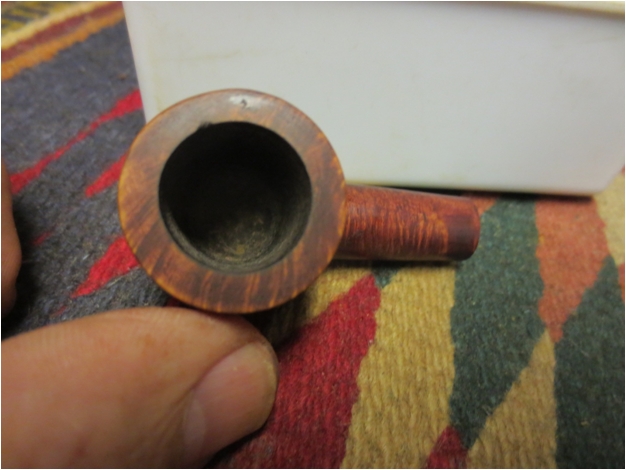
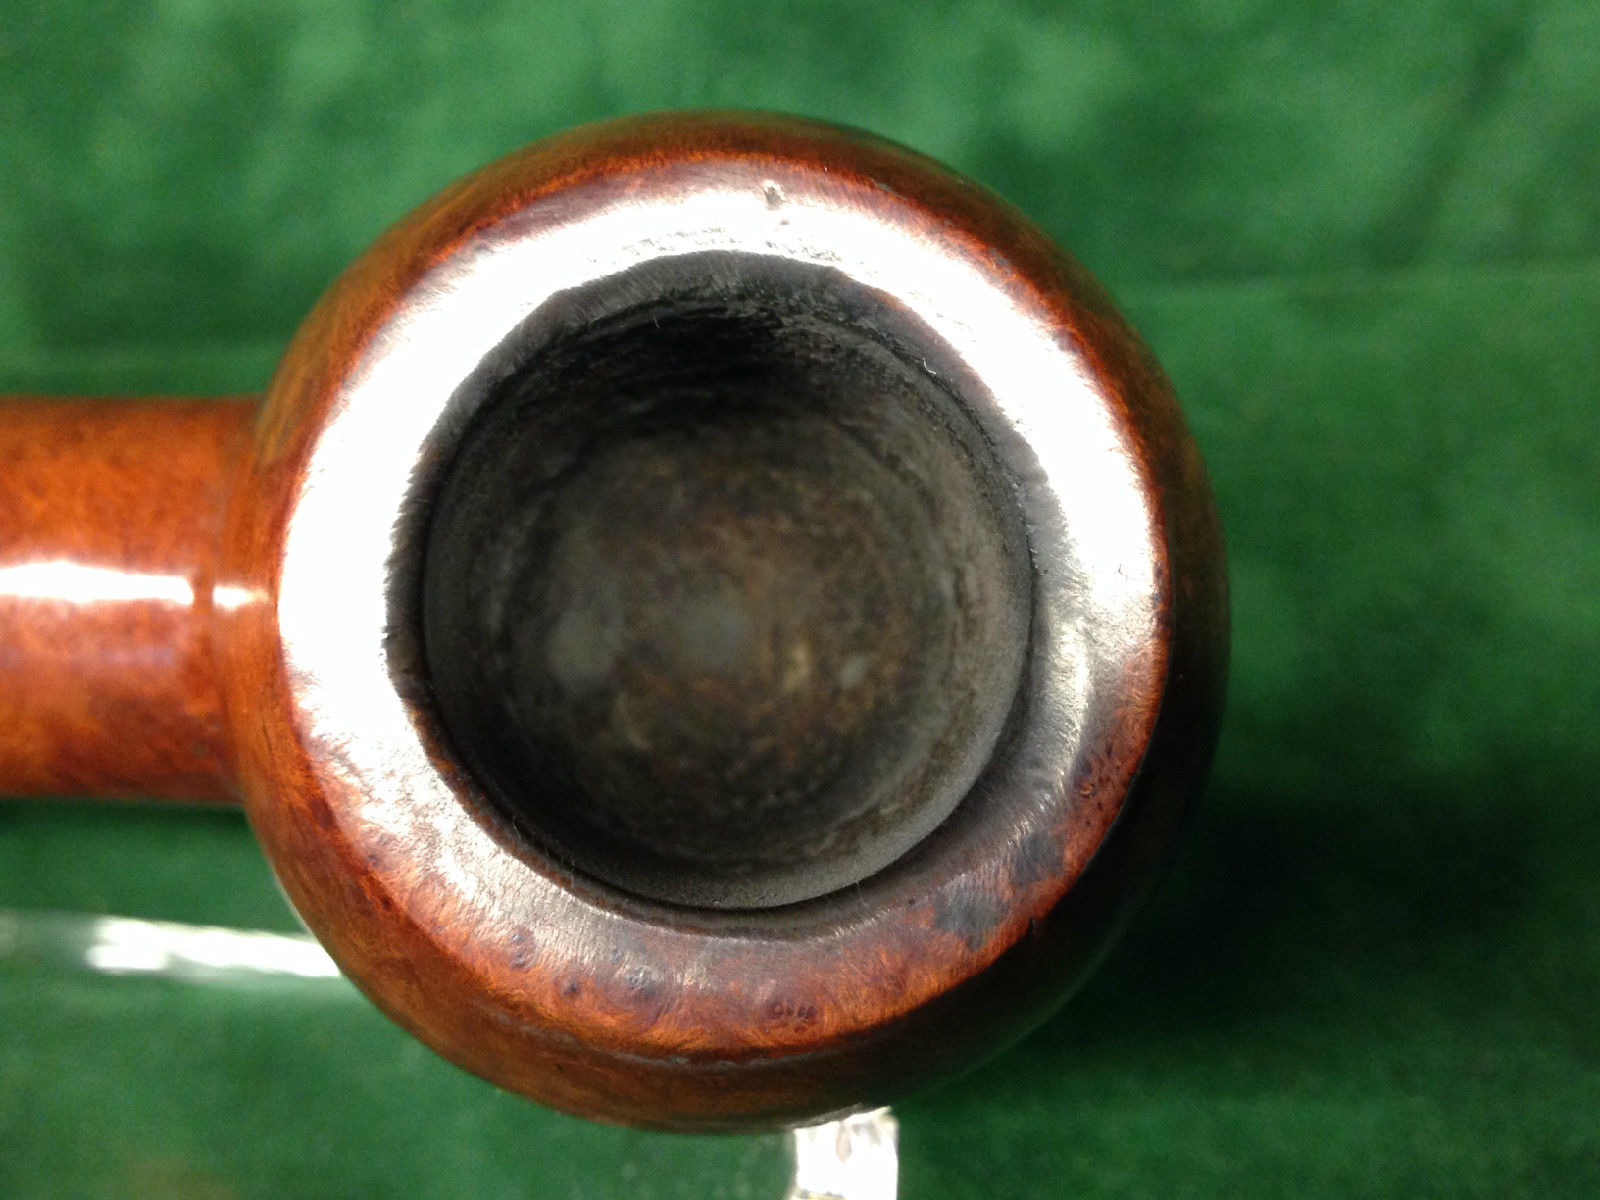
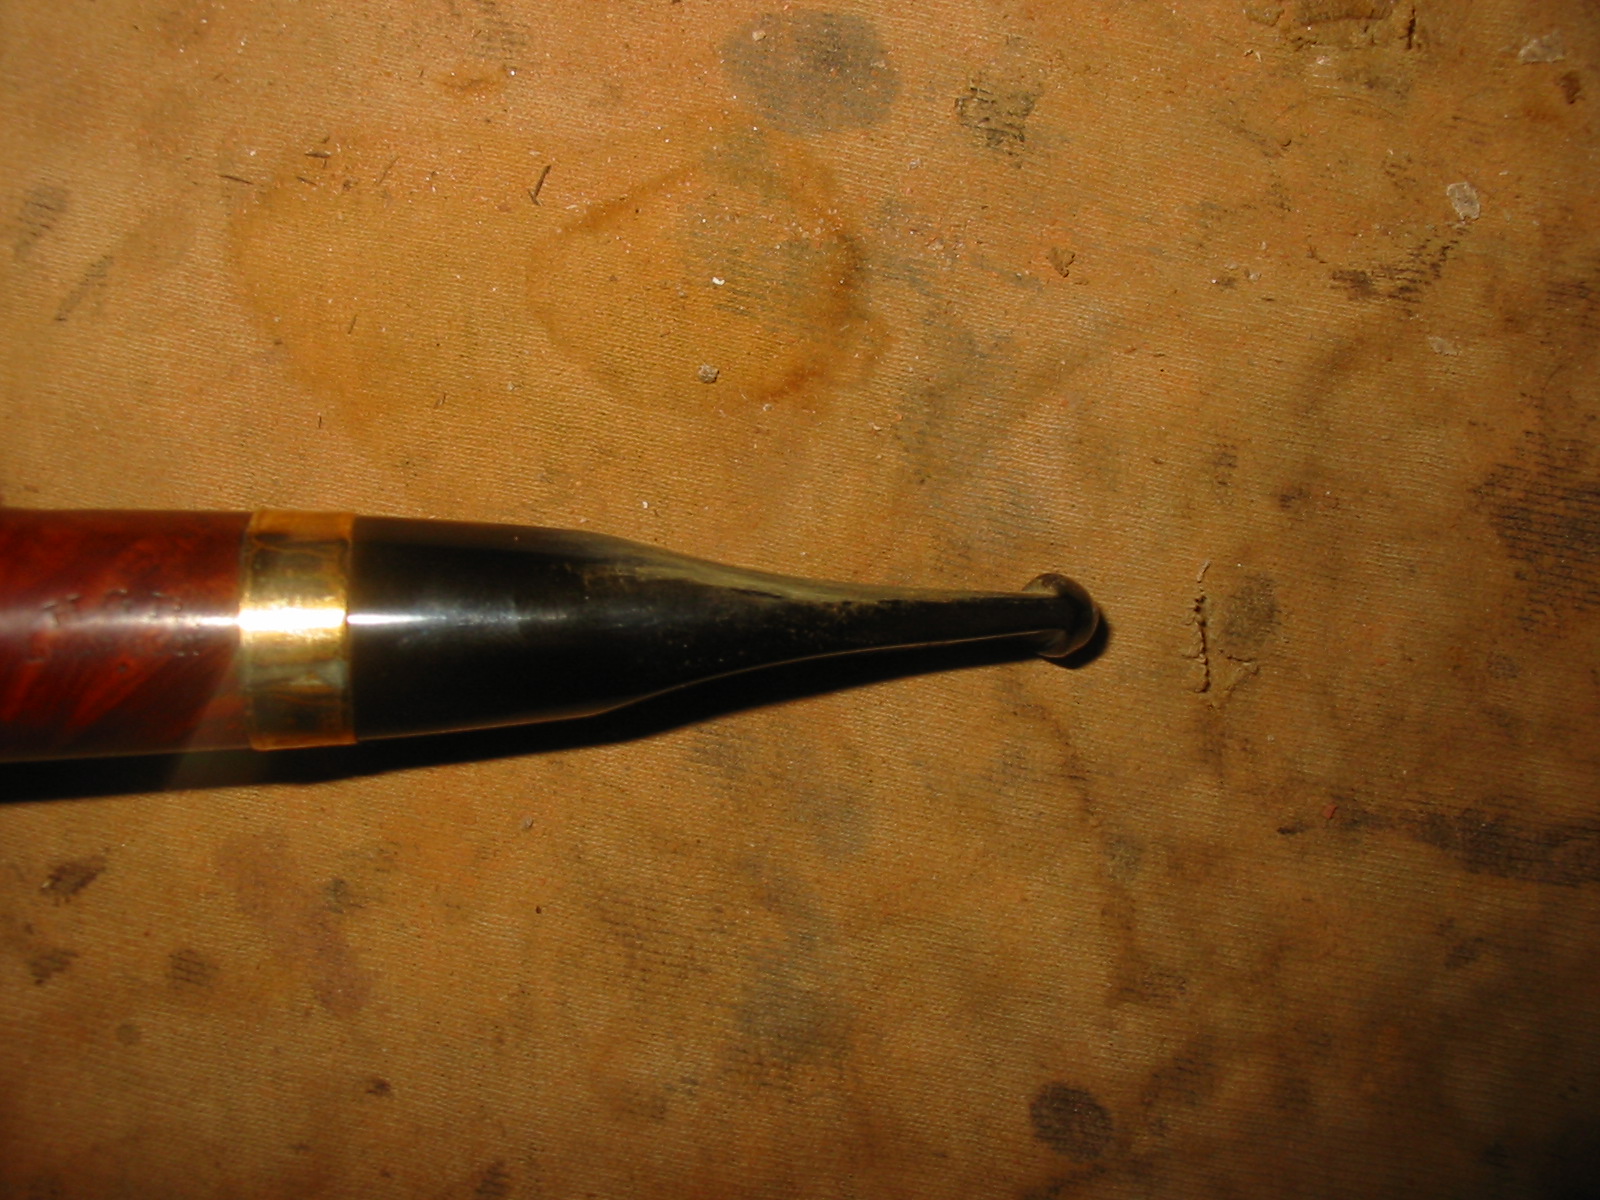
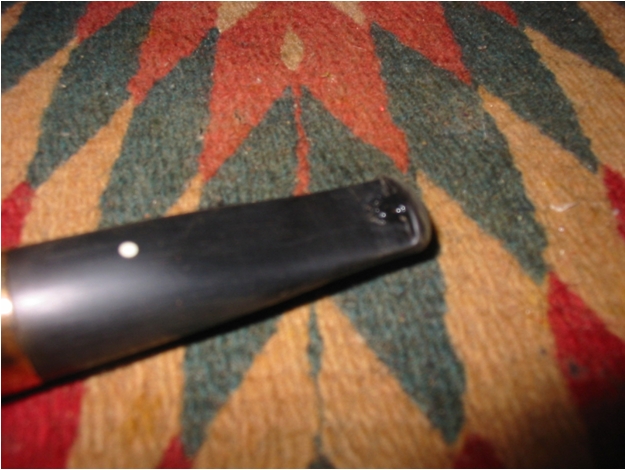
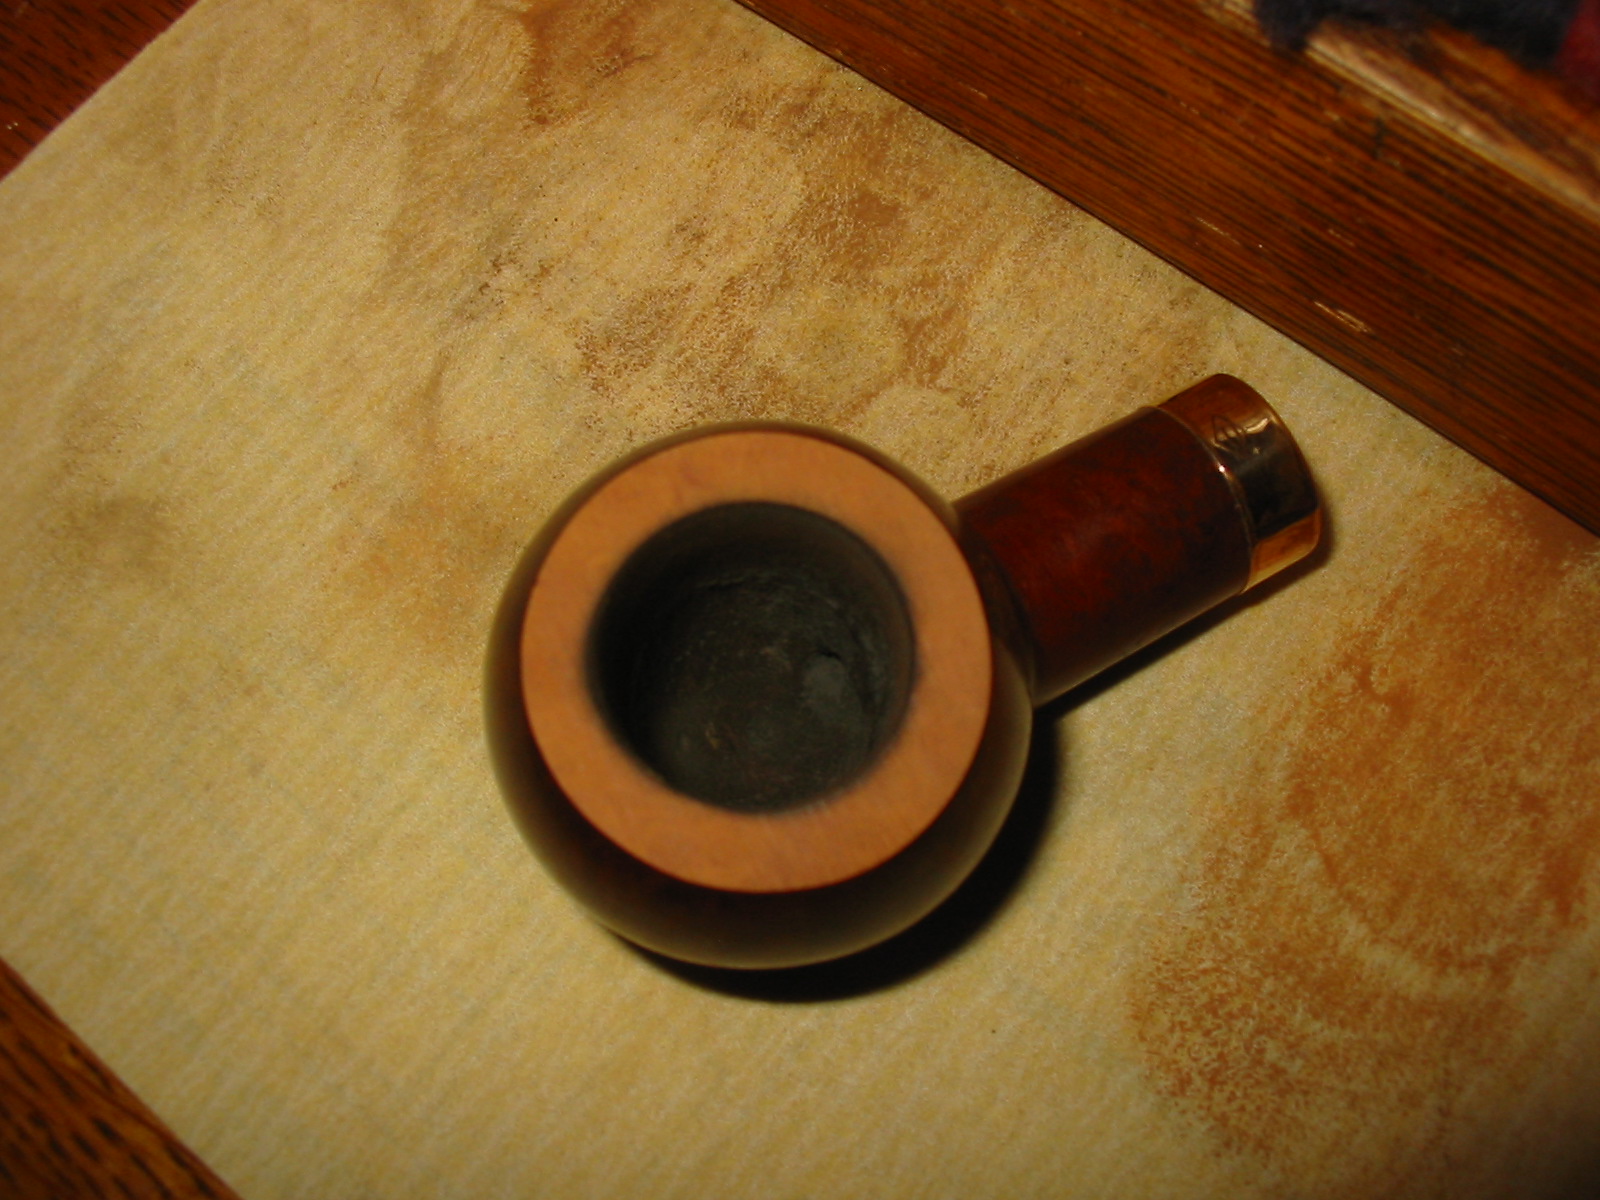
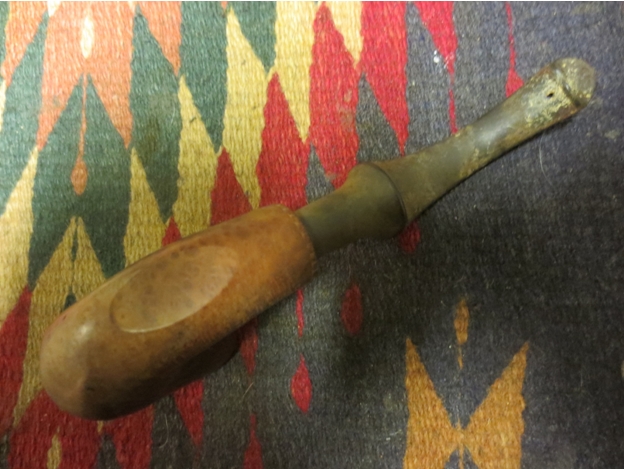 The pipe was in pretty decent shape under the grime and tars on the bowl and rim. It had some beautiful birdseye grain under the grime that would really stand out with a bit of work. The rim was damaged along the back outer edge with small nicks. The build up on the rim was hard and uneven. The bowl itself was out of round and would need to be adjusted. The stem was oxidized but under the oxidation on the saddle it bore the stylized P stamp. The top of the stem near the button had a few small bite marks and some tooth chatter. The underside of the stem near the button had a pin hole in it that would need to be patched.
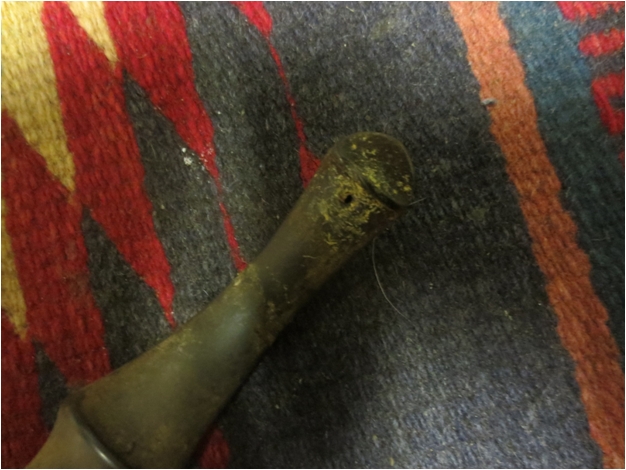
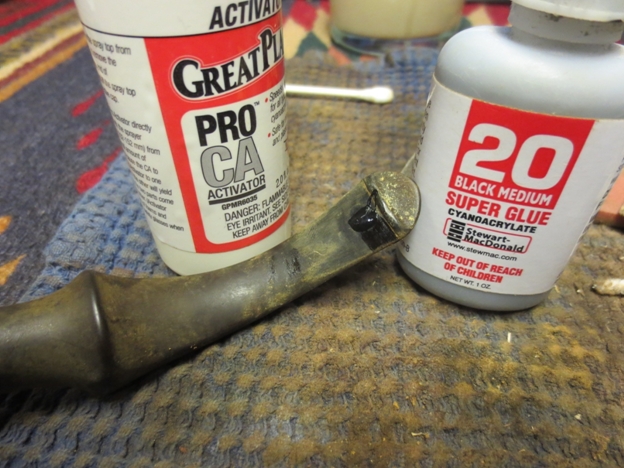
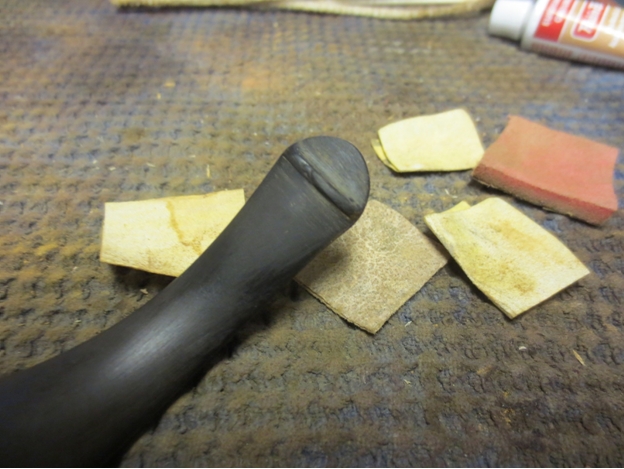
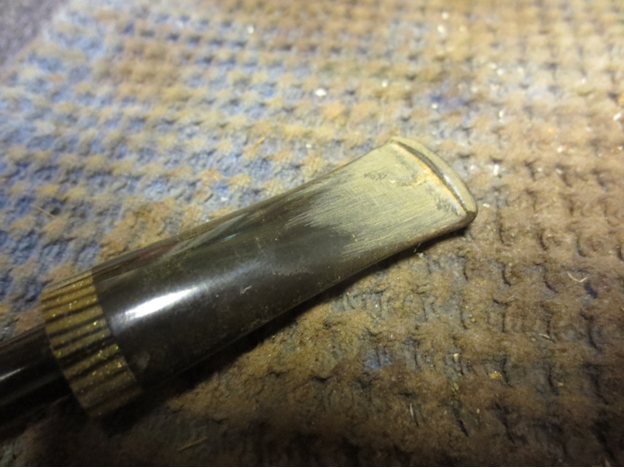
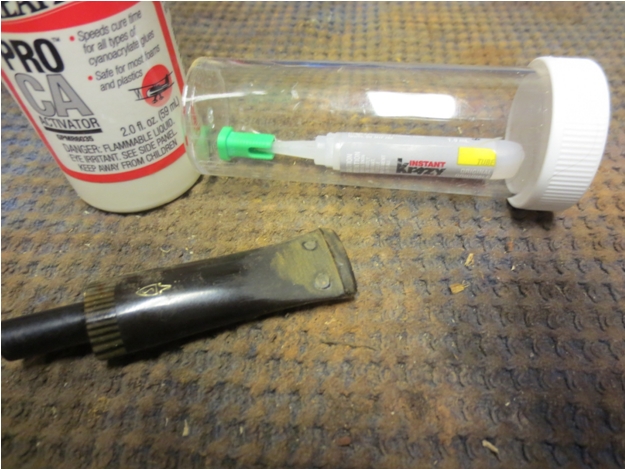
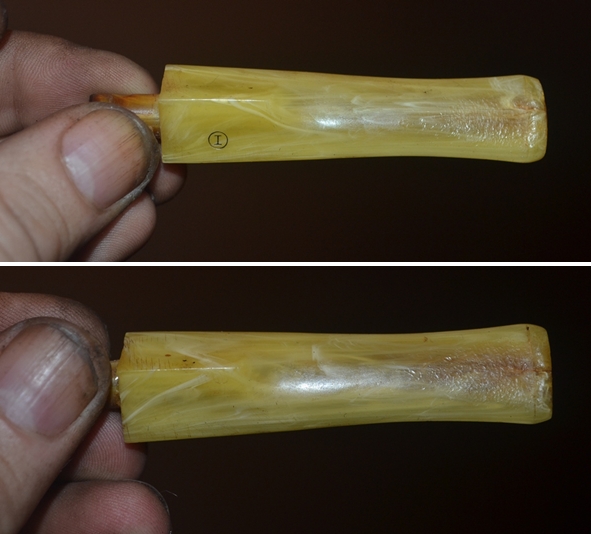
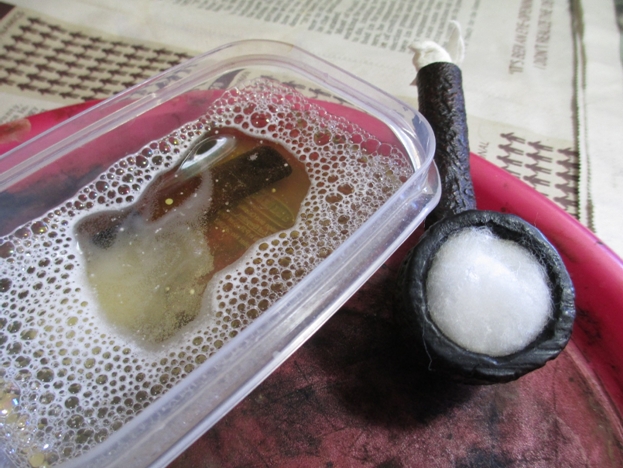
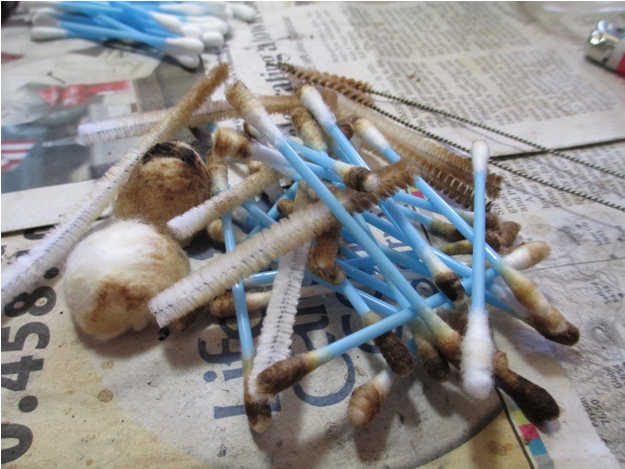
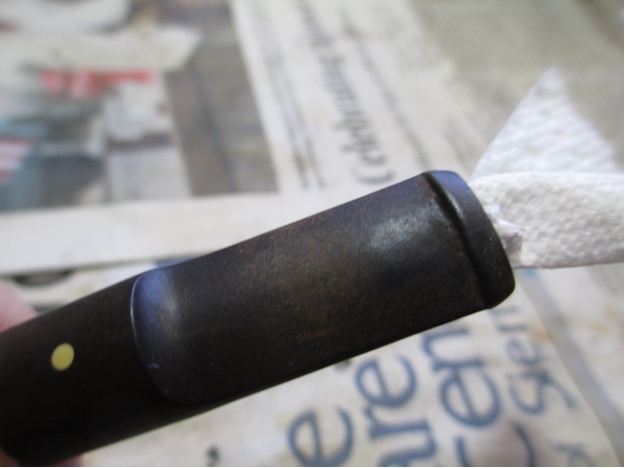
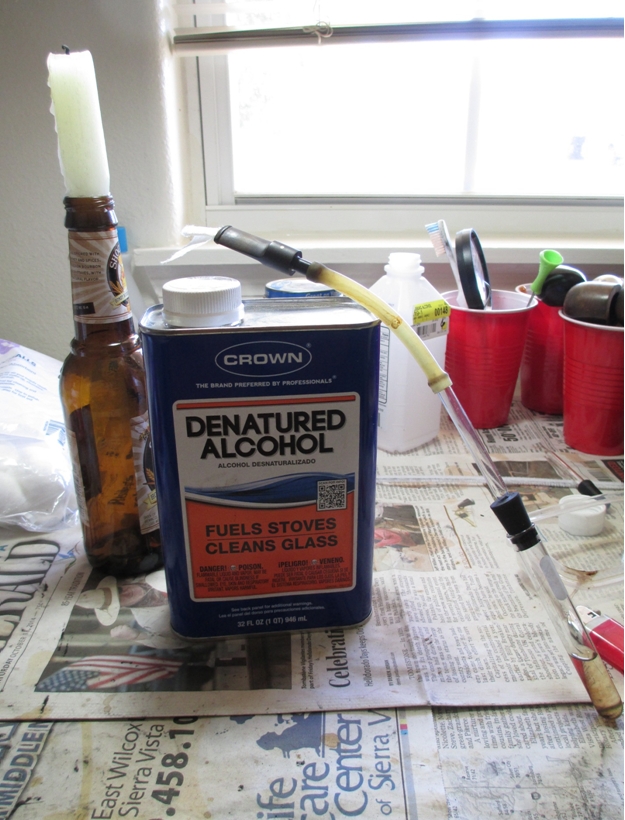
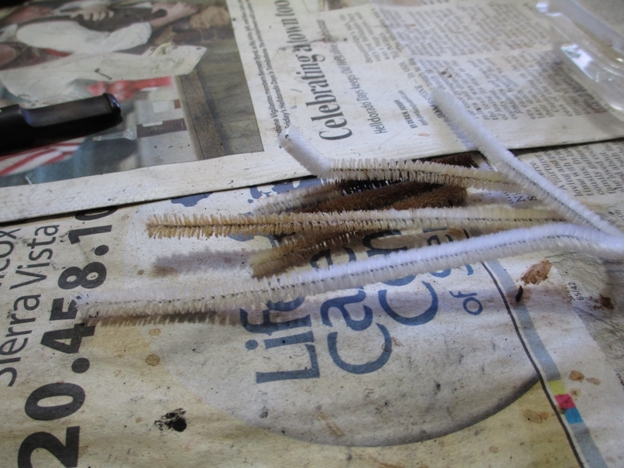
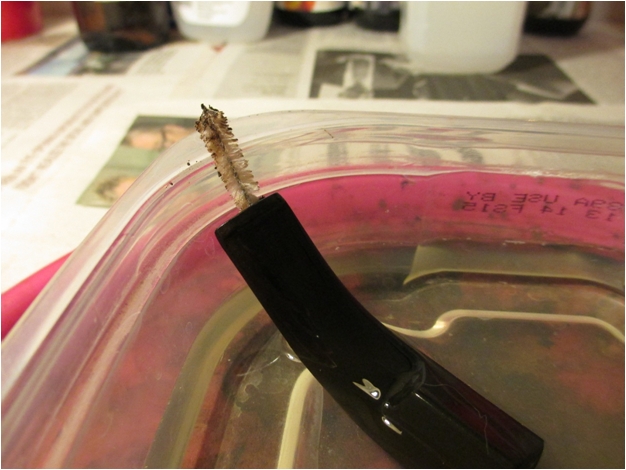
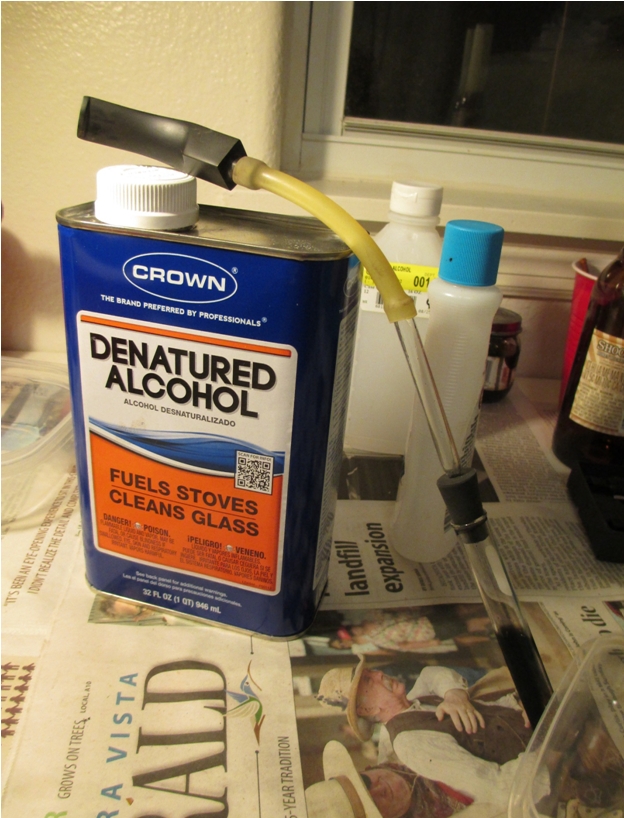
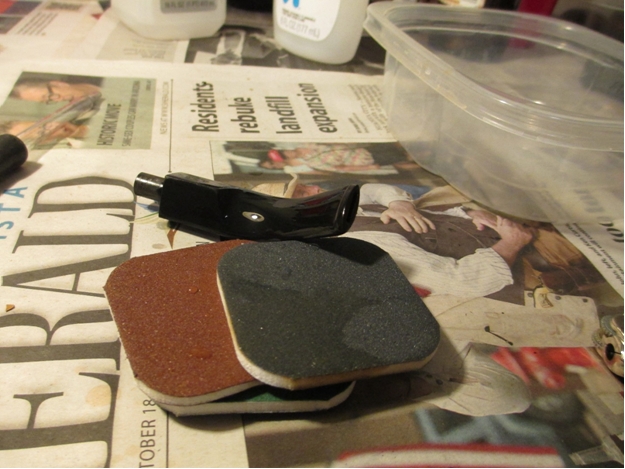
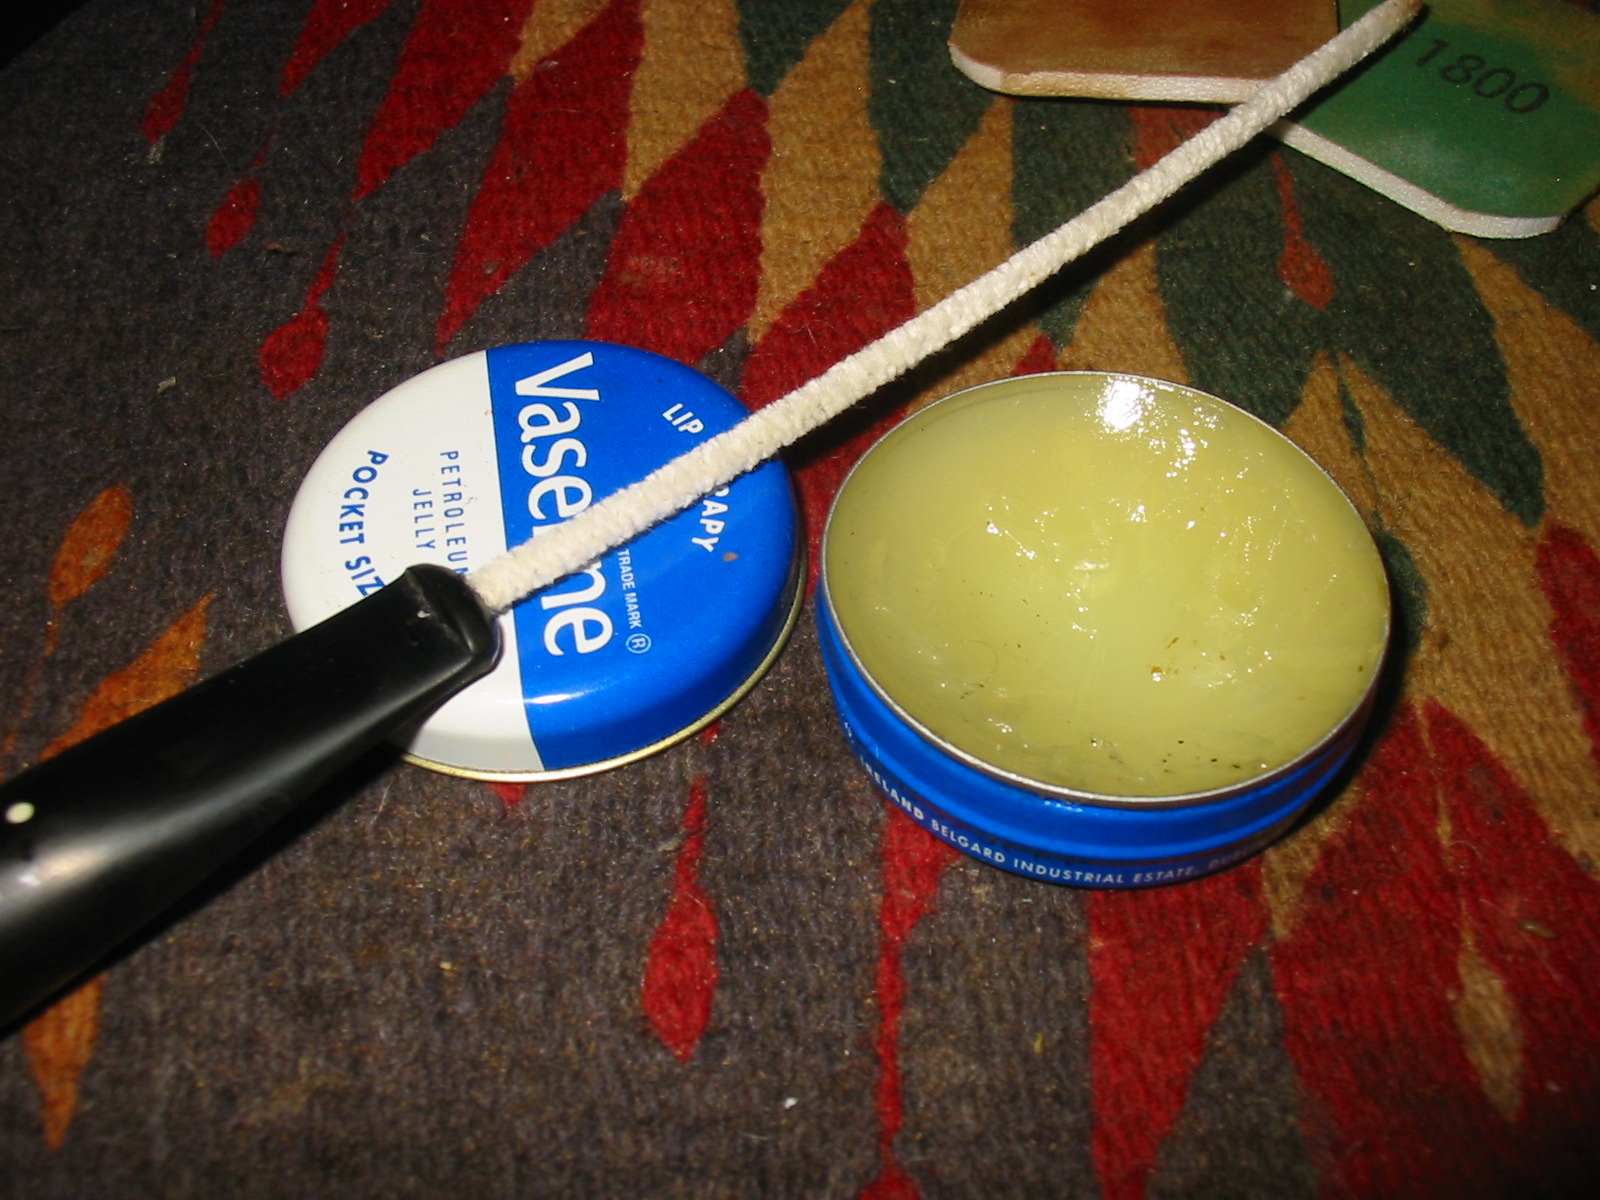
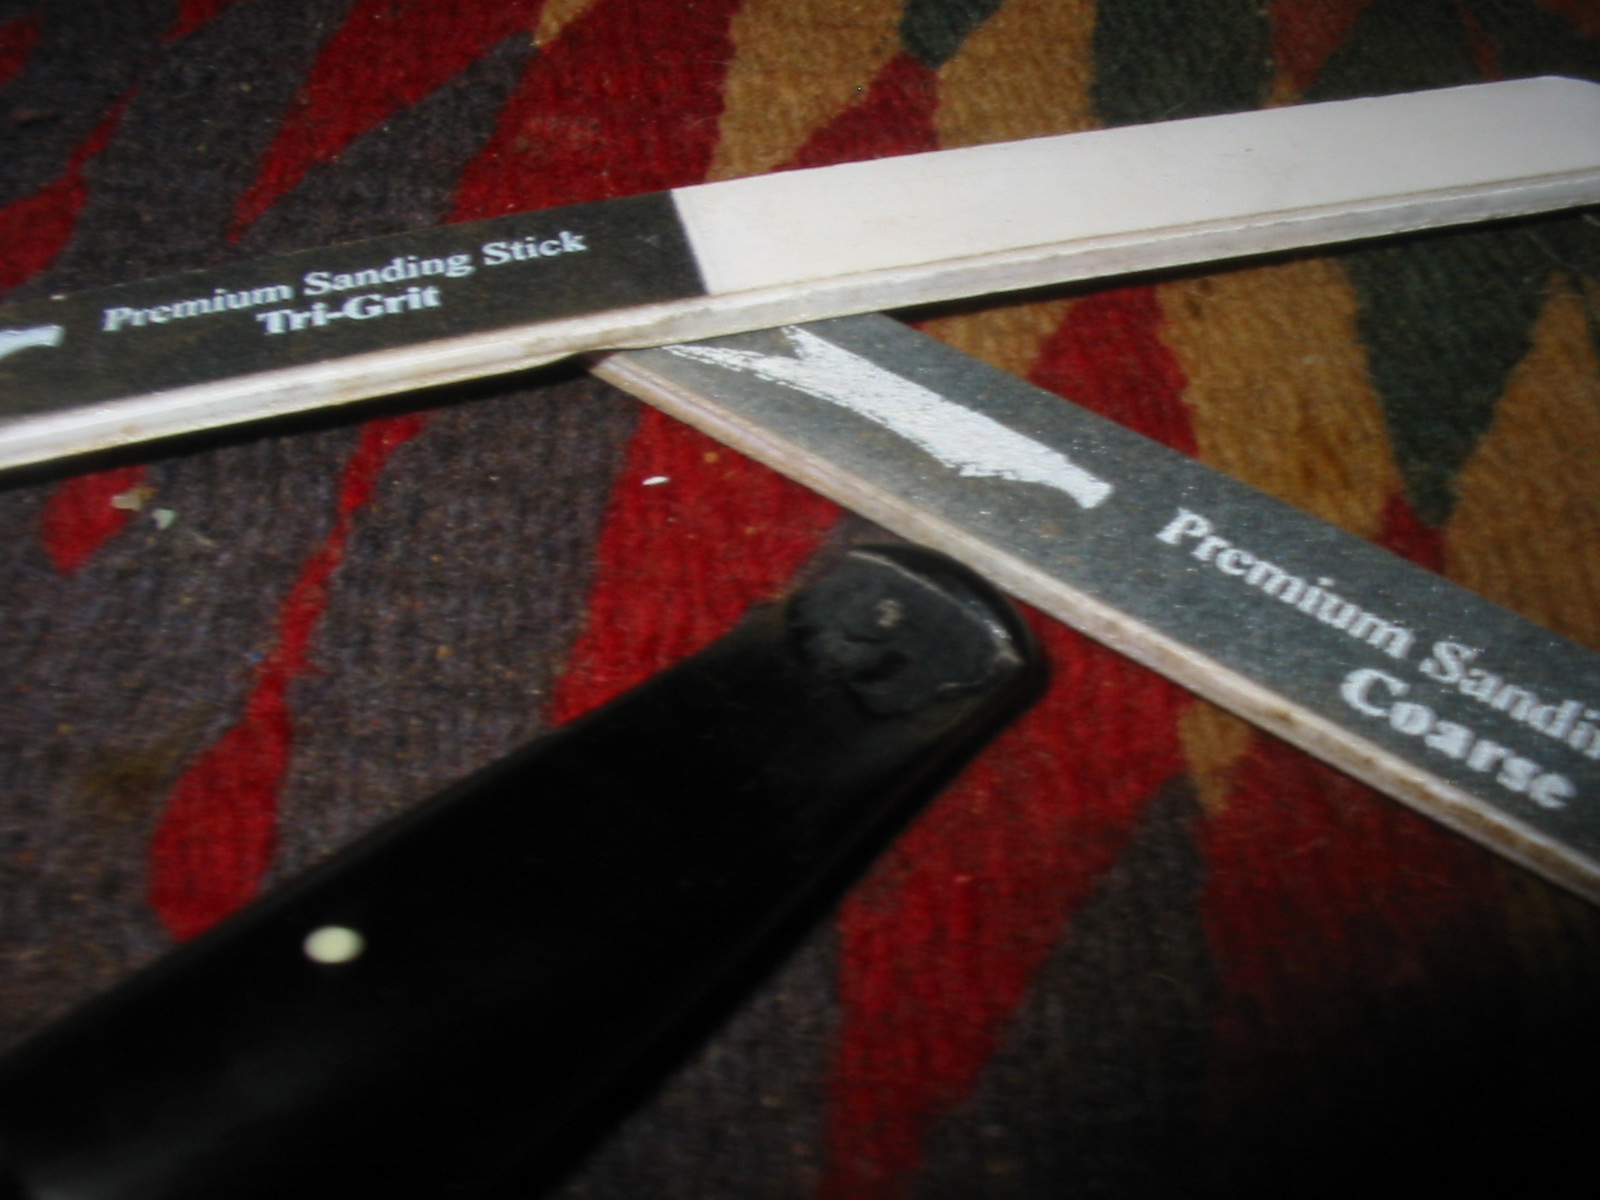
 While my son in law, Lance worked on the bowl scrubbing and cleaning it I worked on the stem. I sanded it with 220 grit sandpaper to clean up the tooth marks. I wiped it down with alcohol to clean the areas around the hole. I daubed Vaseline on a pipe cleaner and inserted it from the tenon end of the stem and then used black superglue to repair the hole. I gave it several coats of glue to build up the repair, sprayed it with accelerator and let it dry between applications. Once I had the patch solidly in place I set it aside and let it cure. After curing for about 30 minutes I sanded the patch with 220 grit sandpaper to blend it into the surface of the stem. I sanded it with a medium and a fine grit sanding sponge to remove the scratches and further blend it.
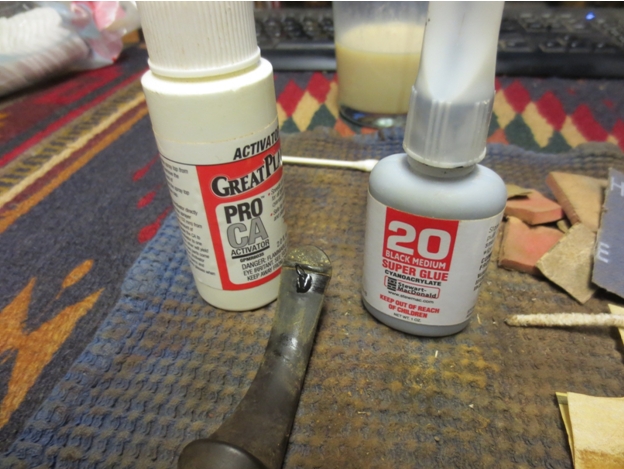
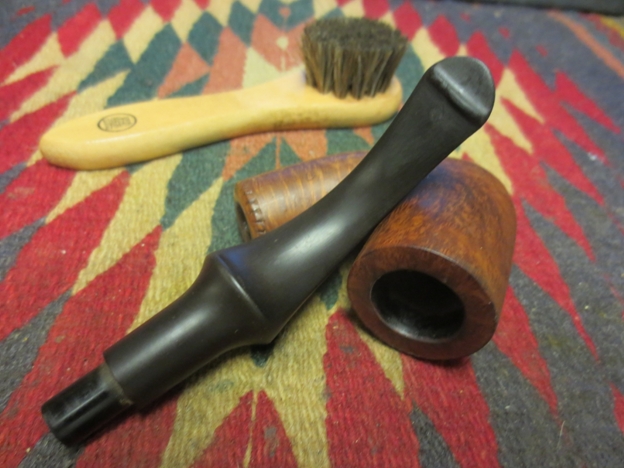
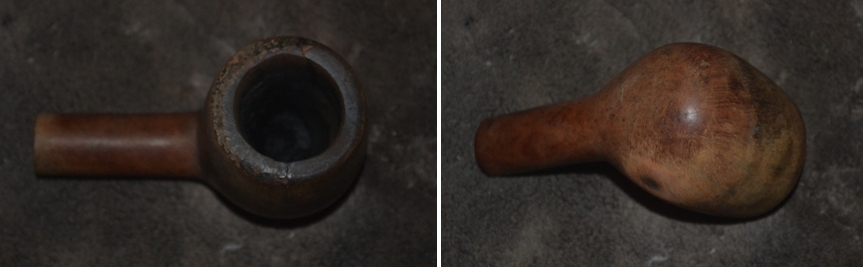
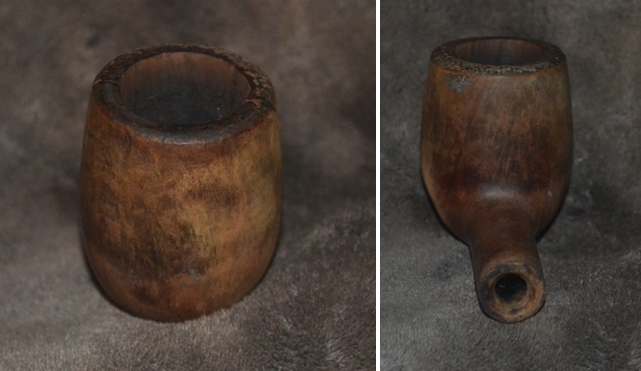
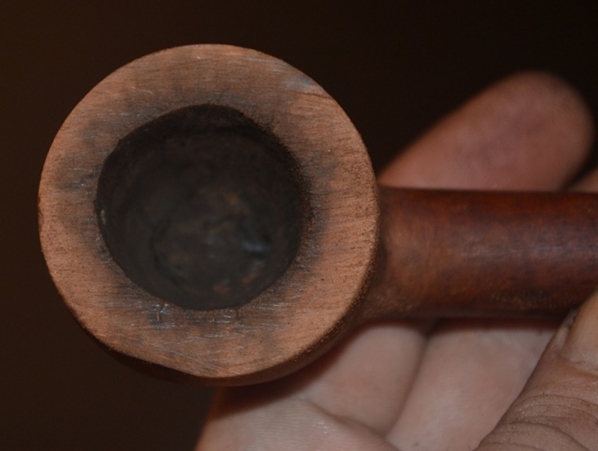
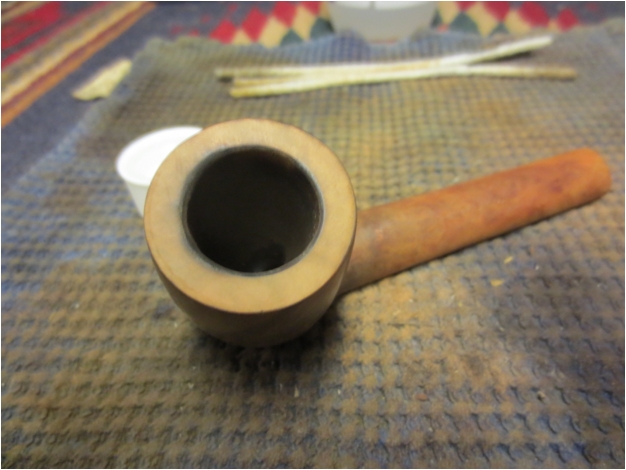
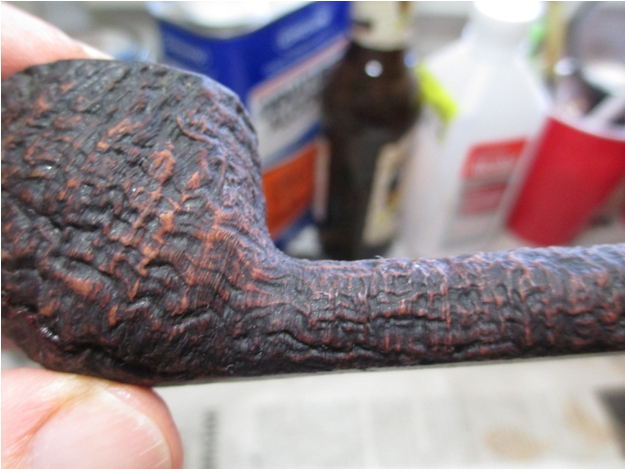
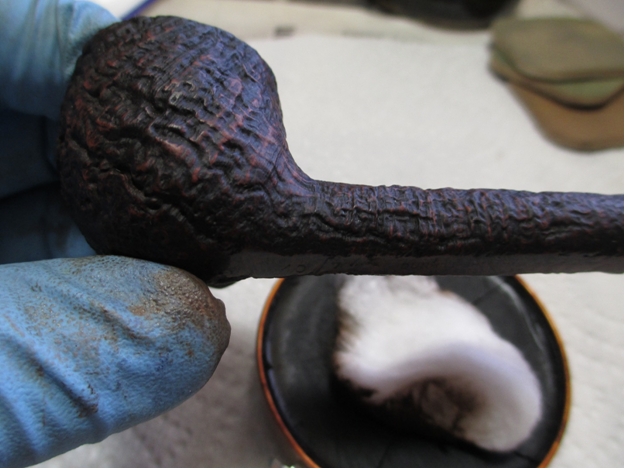
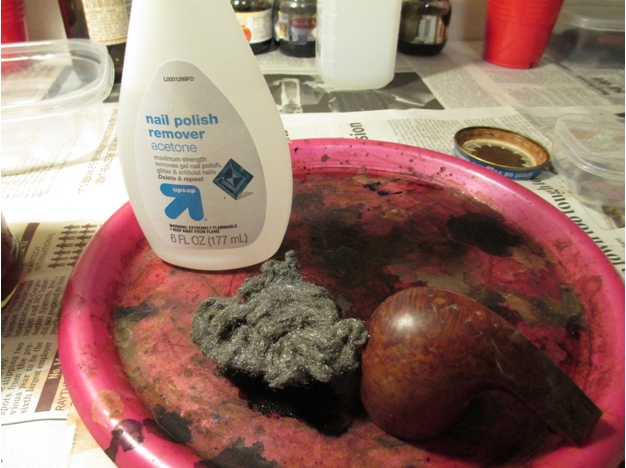
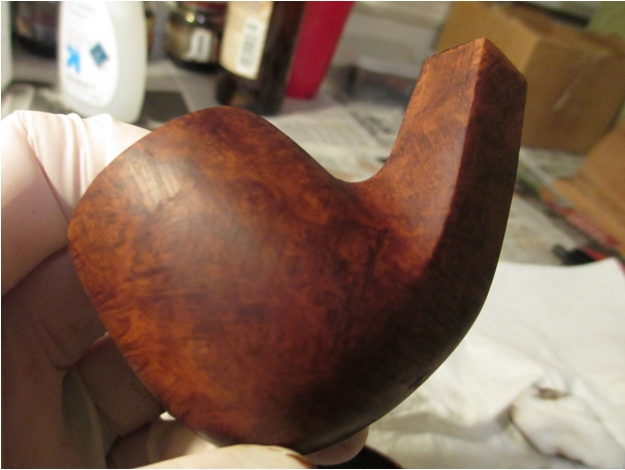
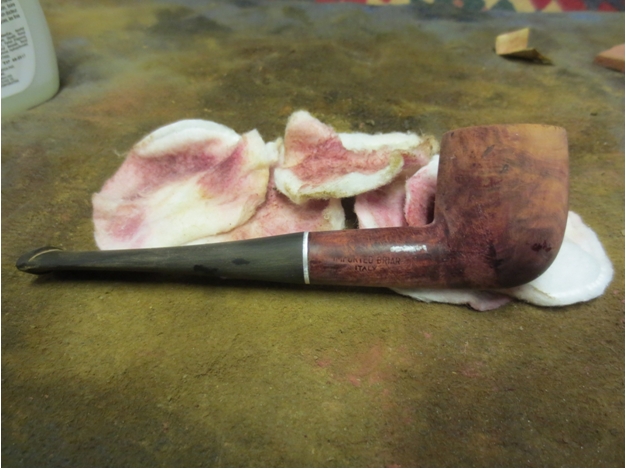
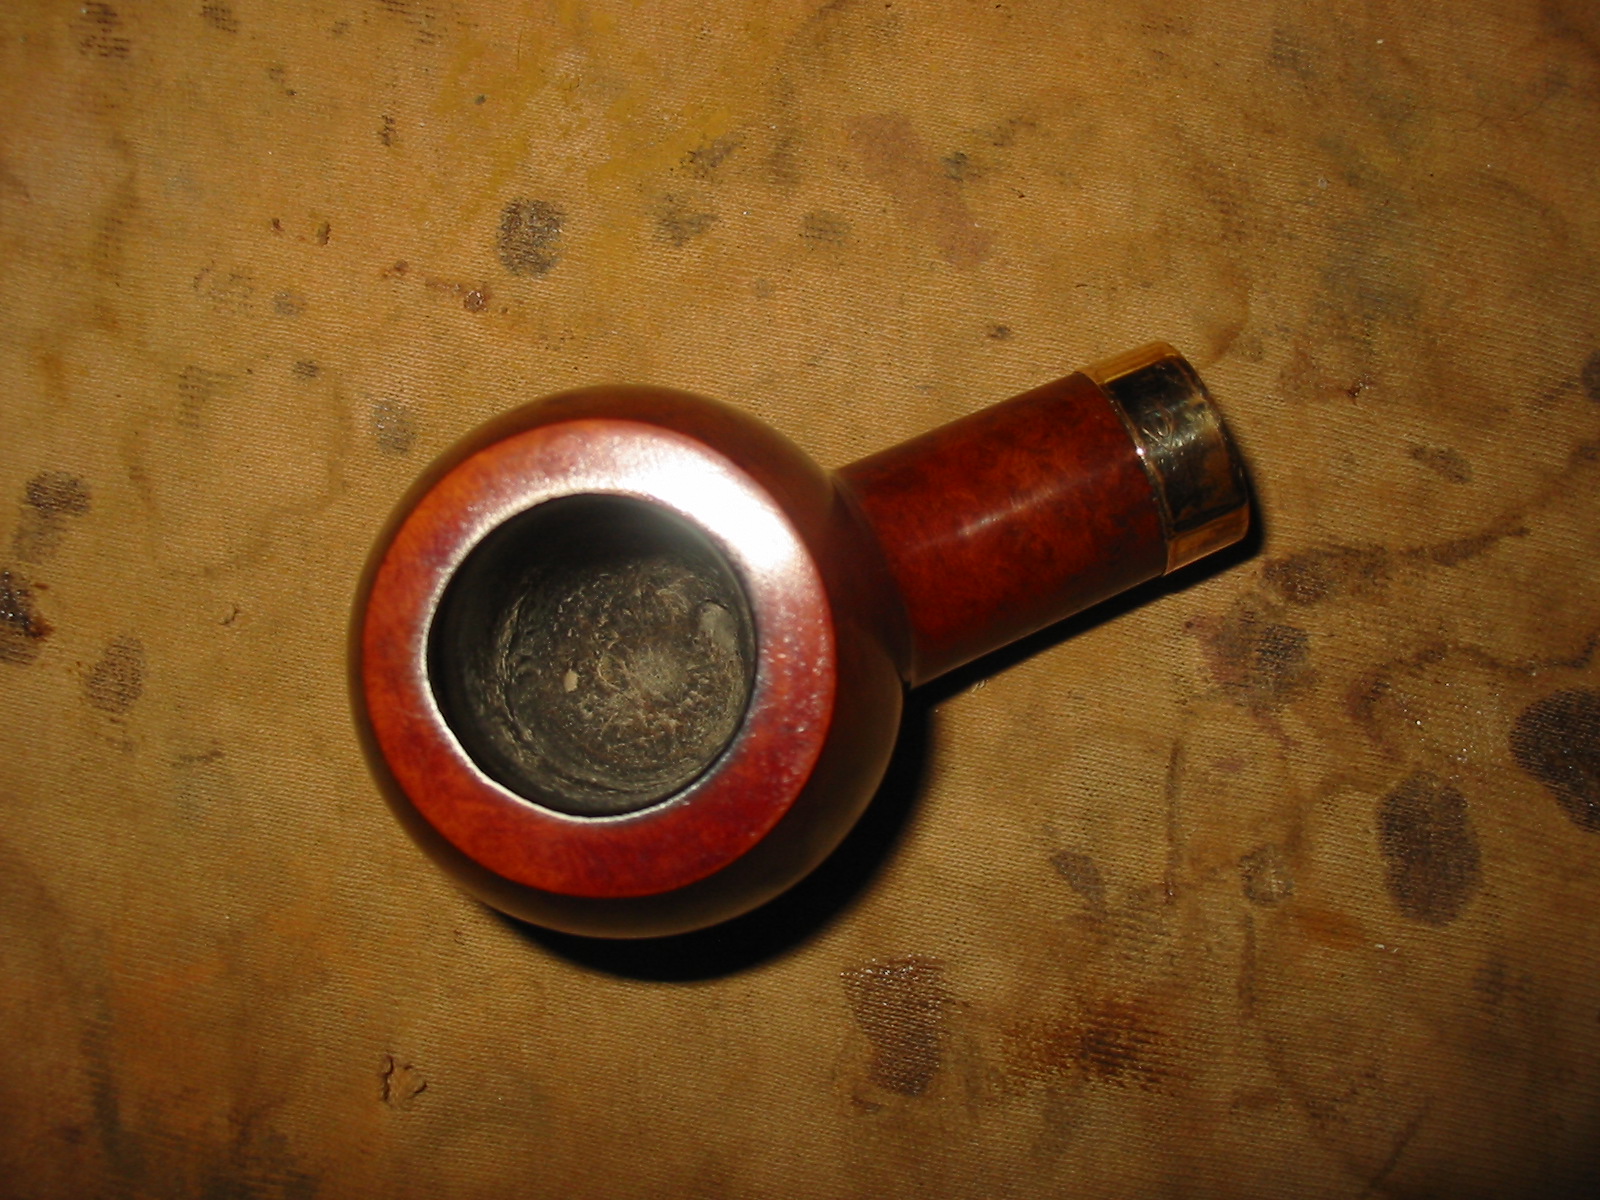
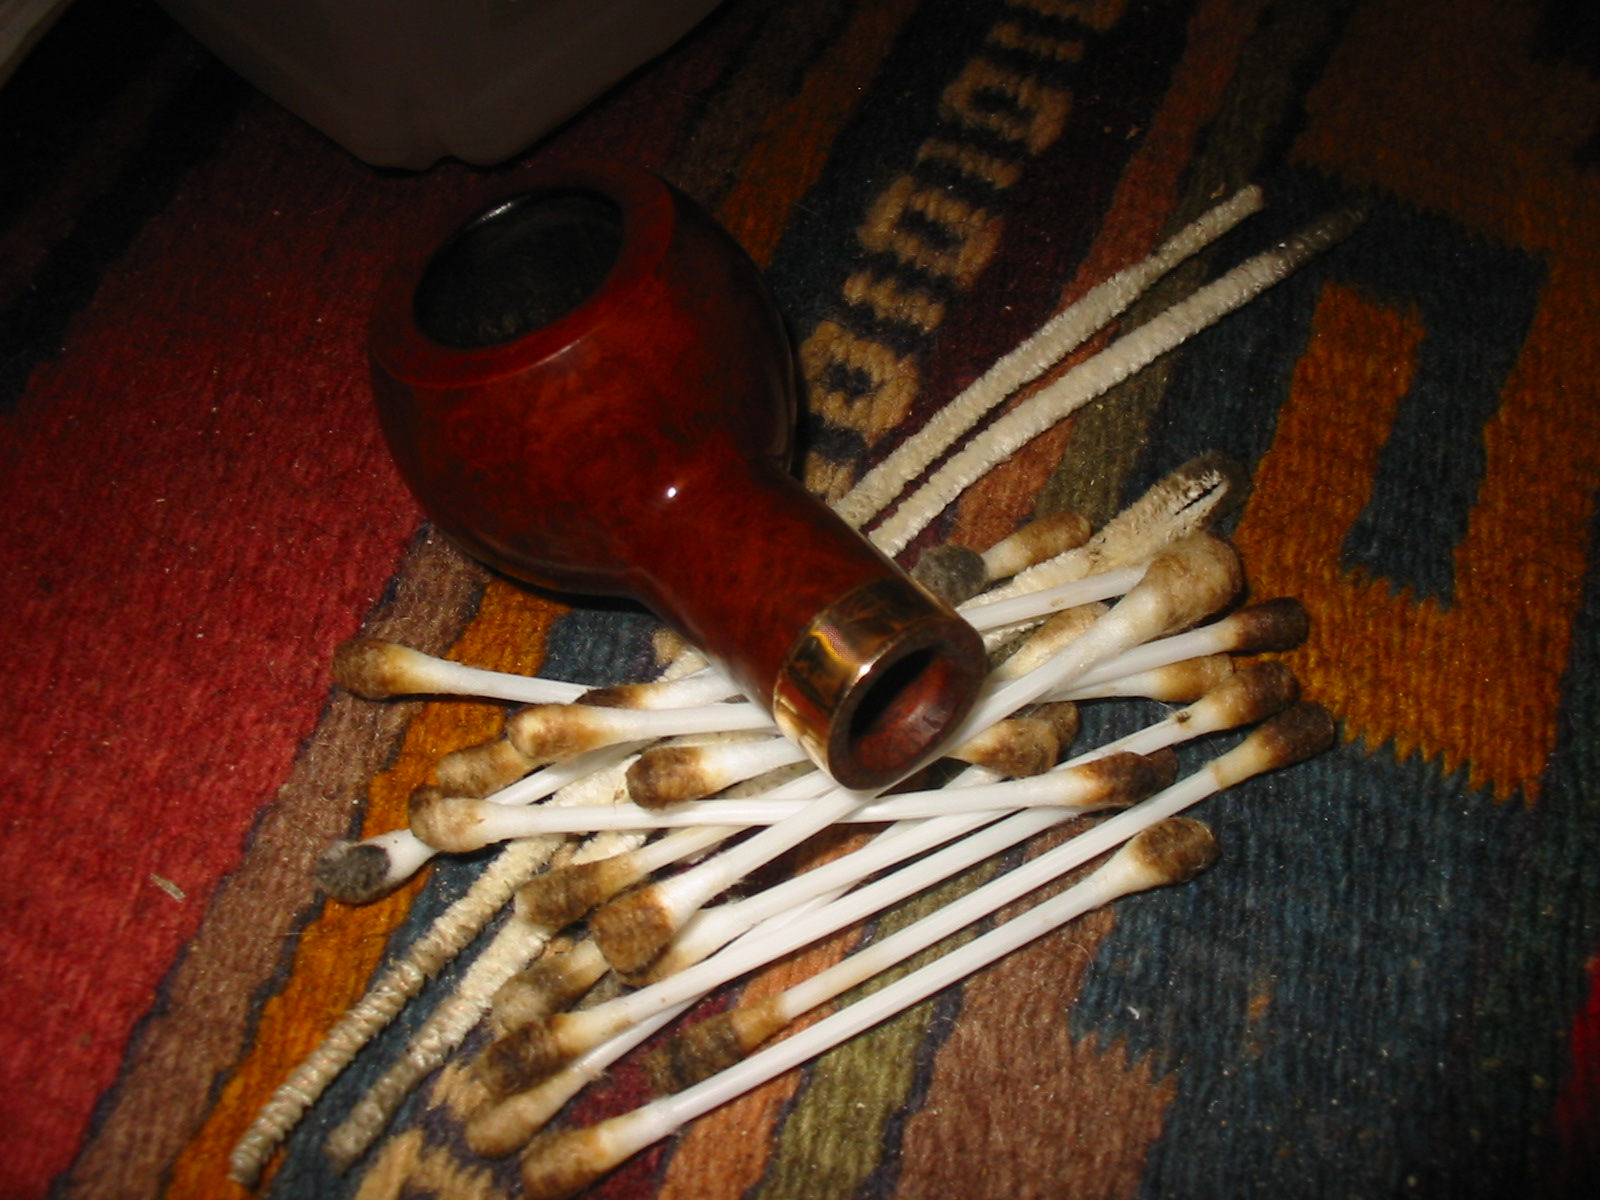
 Lance worked on the bowl while this was going on. He washed down the bowl with acetone on cotton pads to remove the grime and the remaining finish on the pipe. He softened the buildup on the rim surface and then lightly topped the bowl to remove the damage and the buildup. Once it was smooth, he sanded it with a fine grit sanding sponge and then wiped the bowl down with another wash of acetone.
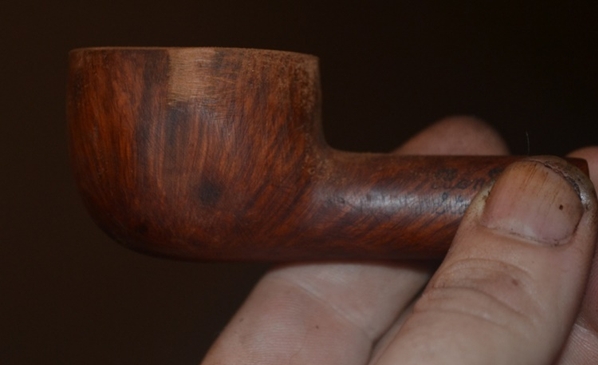
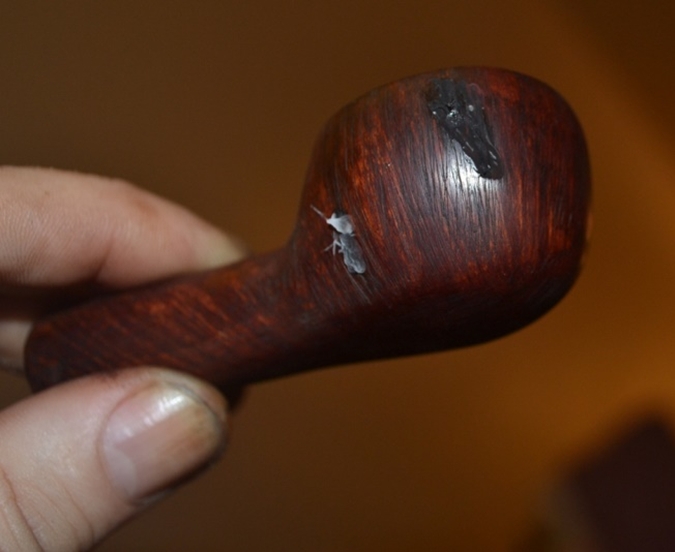
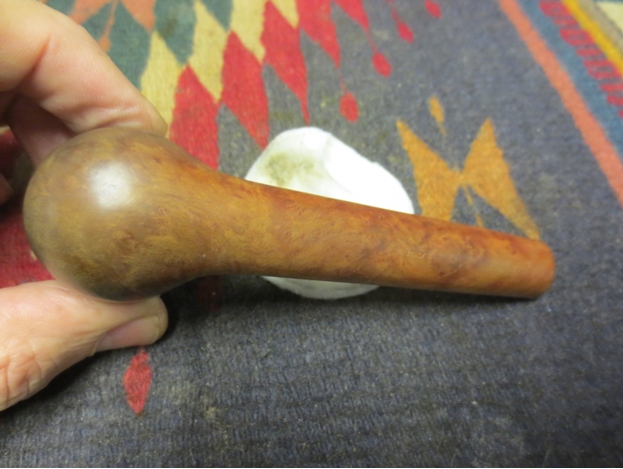
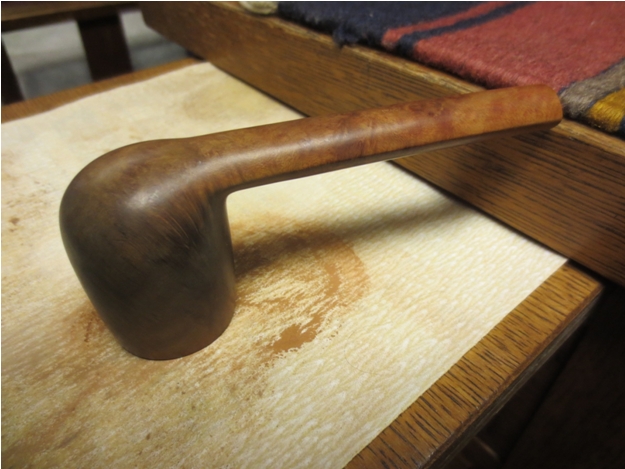
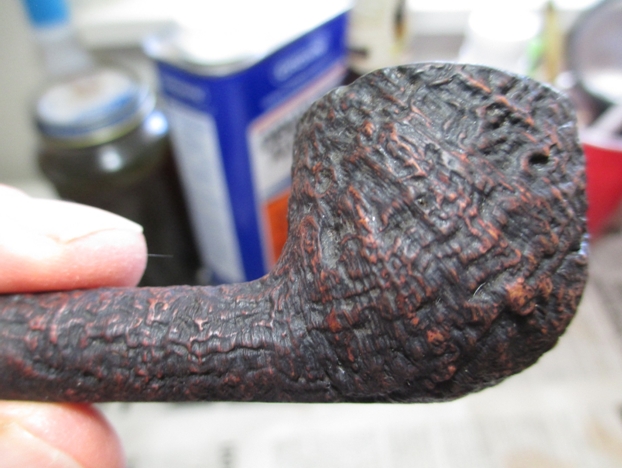
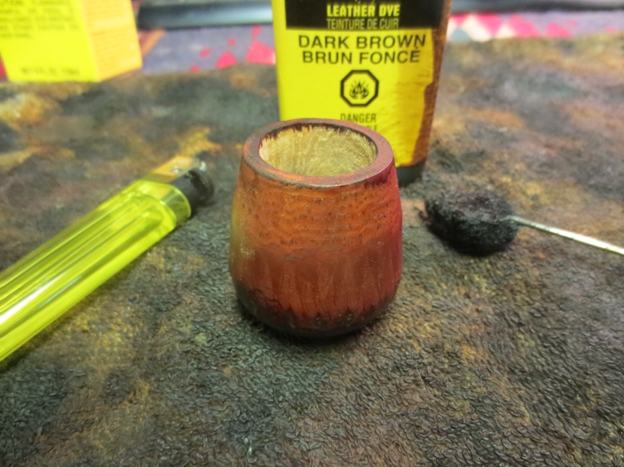
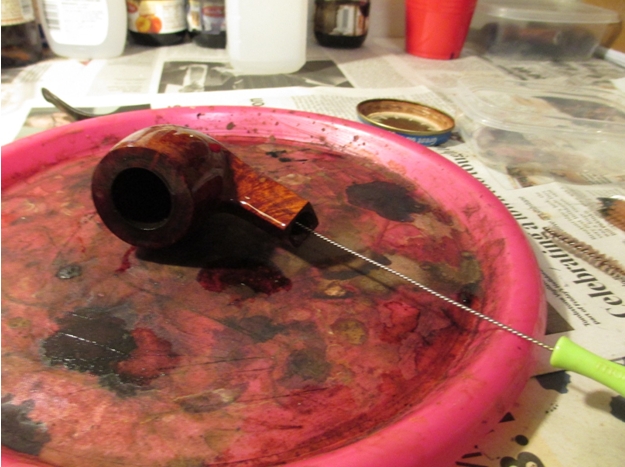
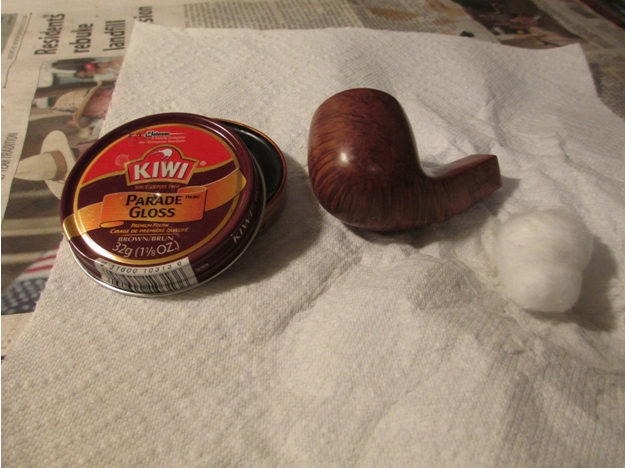
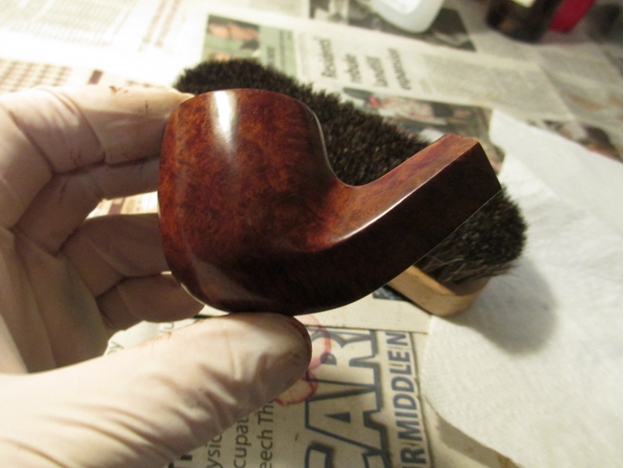
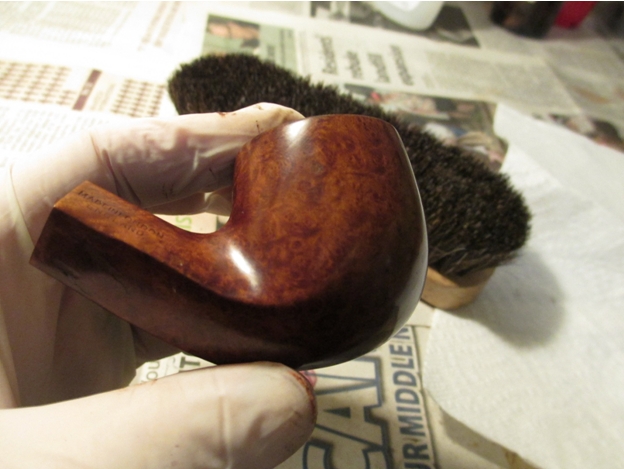
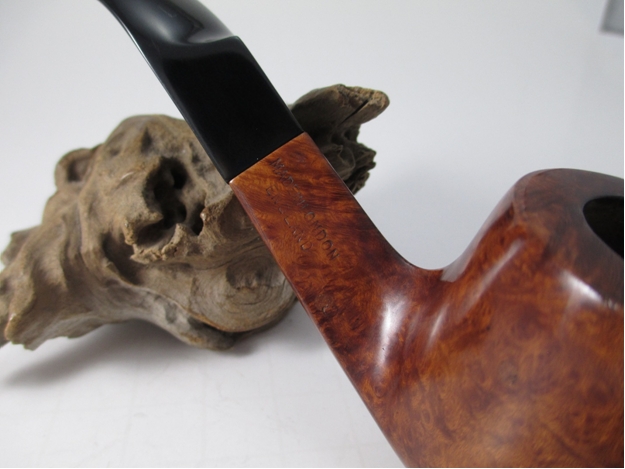
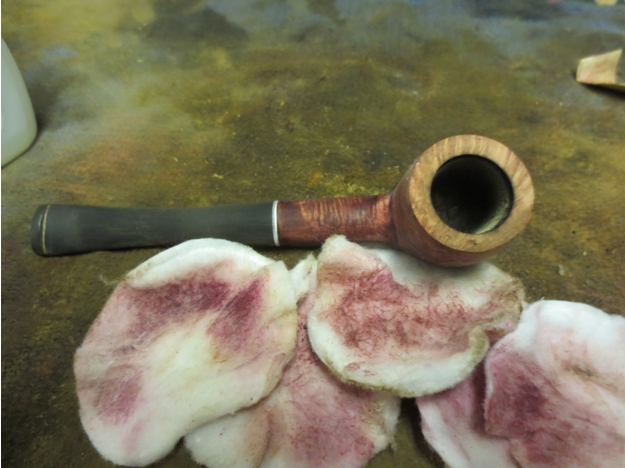
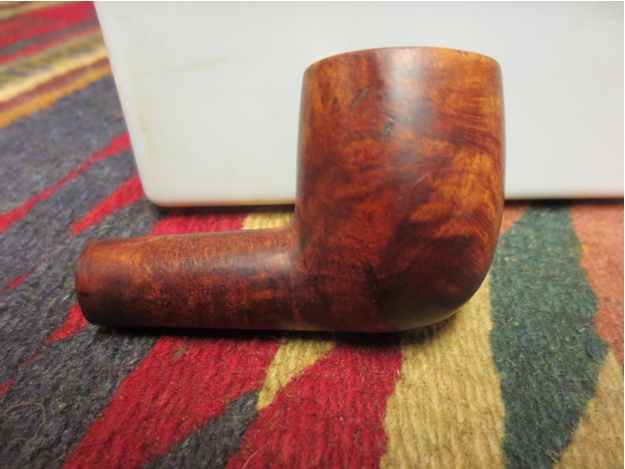
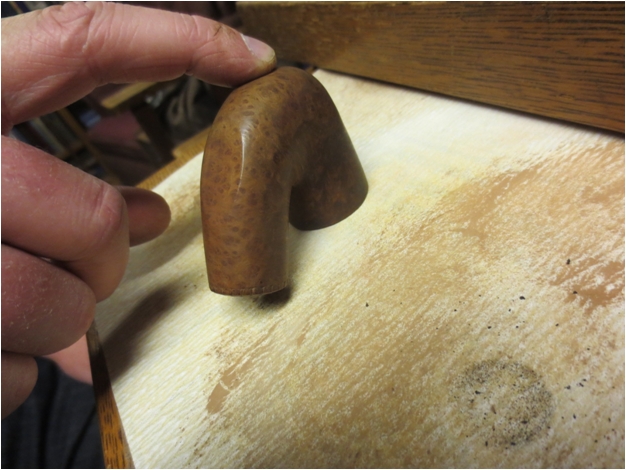 We gave the bowl a coat of medium walnut stain mixed with Danish Oil and rubbed it onto the bowl and off again with a soft cotton pad. The bowl looked good when I had finished wiping it down and buffing it with a shoe brush. The grain is quite stunning.
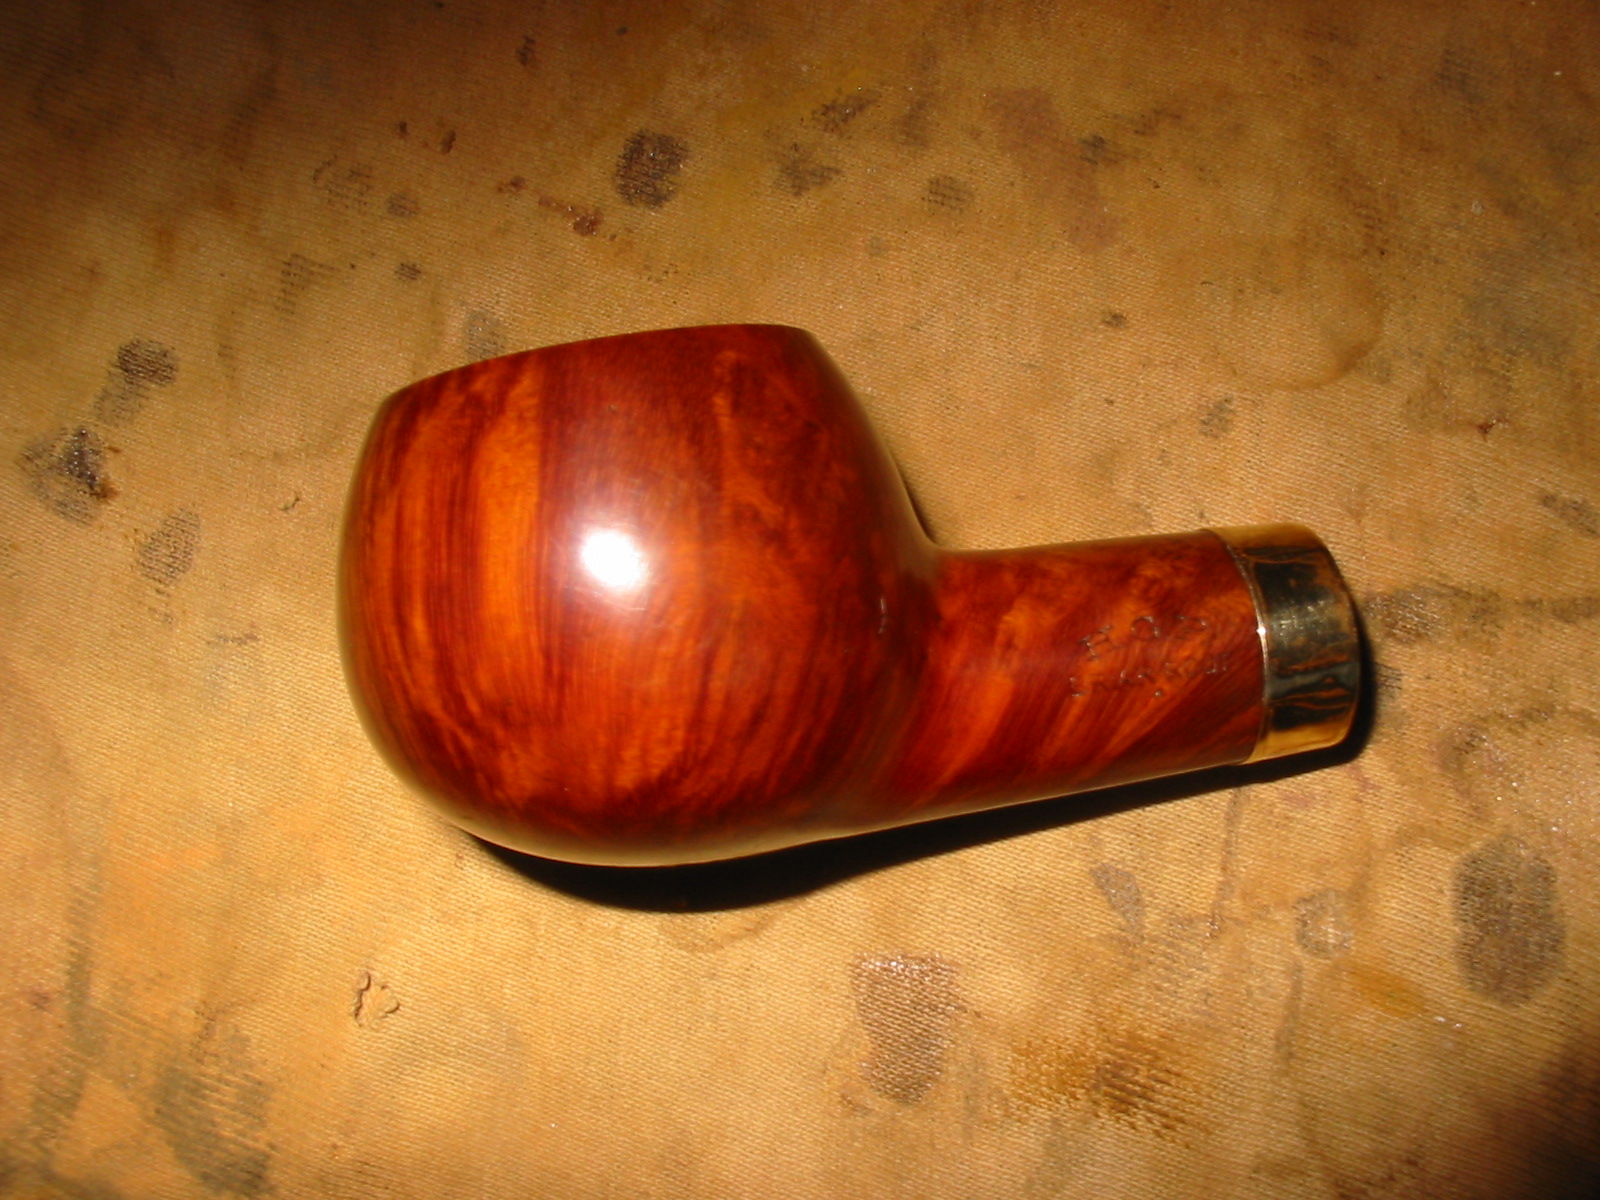
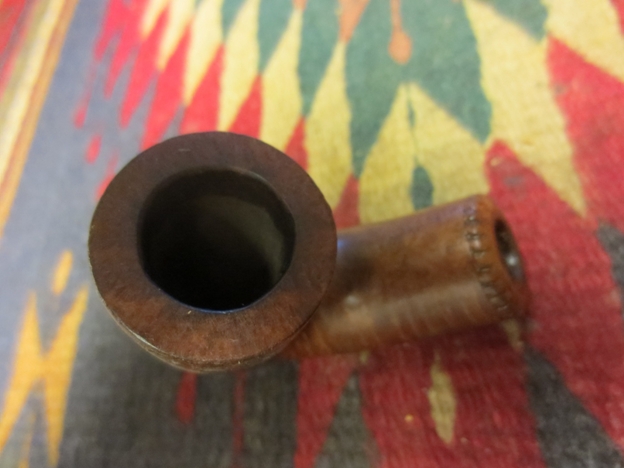
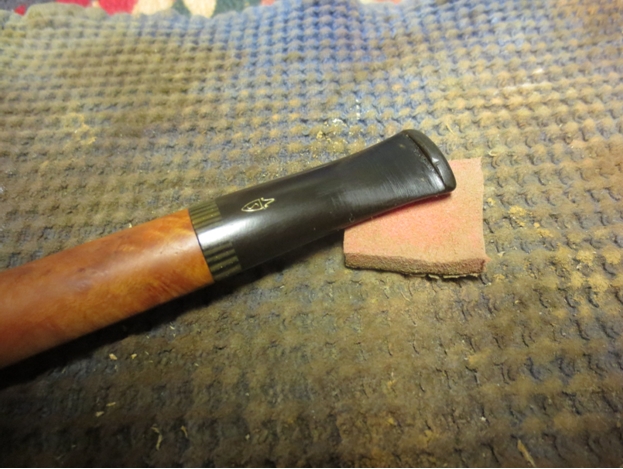
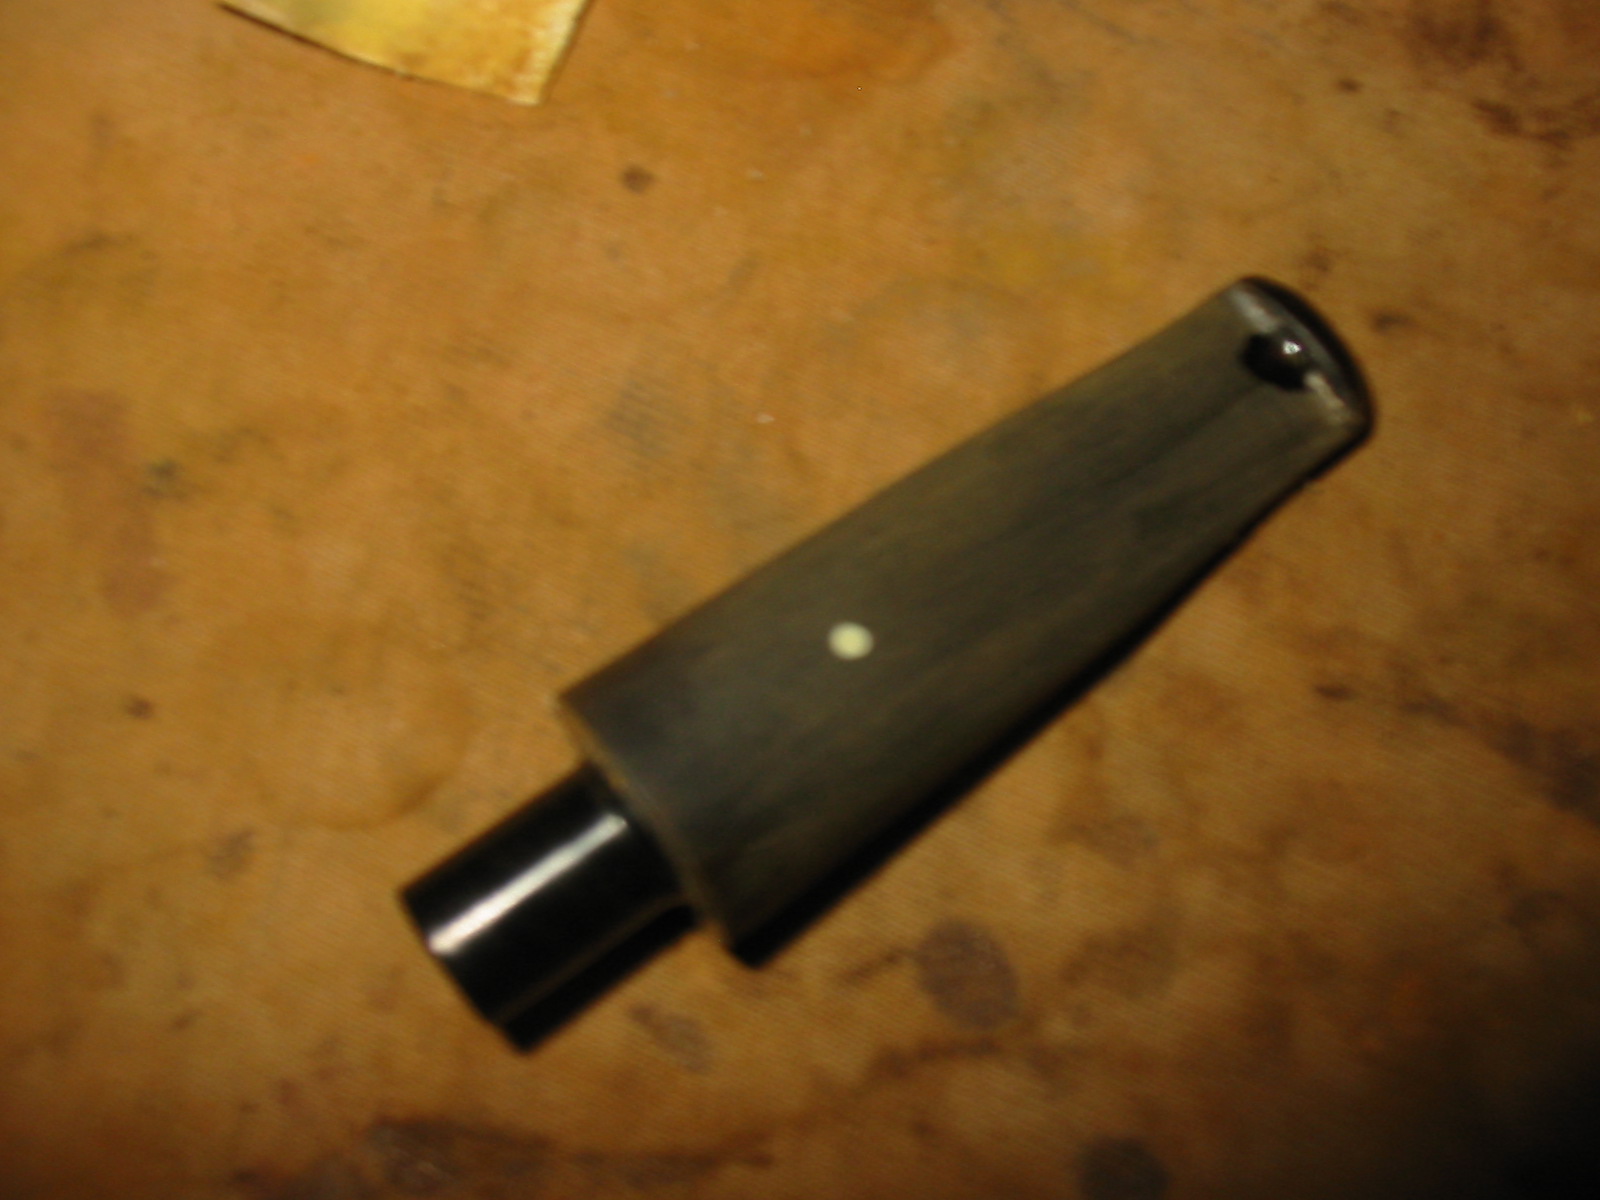
 I buffed the stem with red Tripoli and White Diamond to remove more of the oxidation. I rubbed it down with some Obsidian Oil and set it aside for the pictures below. At this point in the refurbishing the stem is looking quite good. I still need to sand with micromesh pads and then reapply the gold in the P stamp on the left side of the stem.
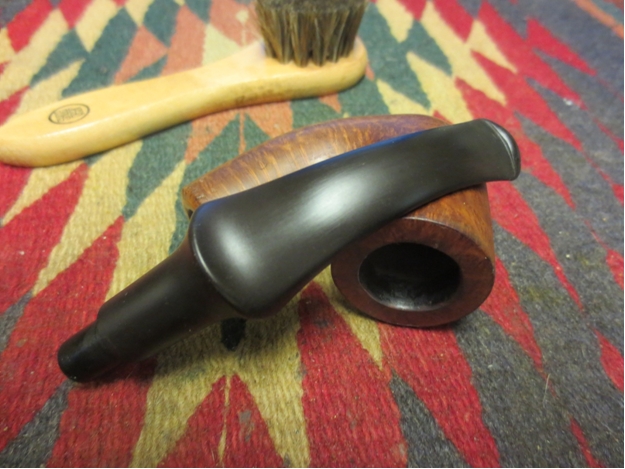
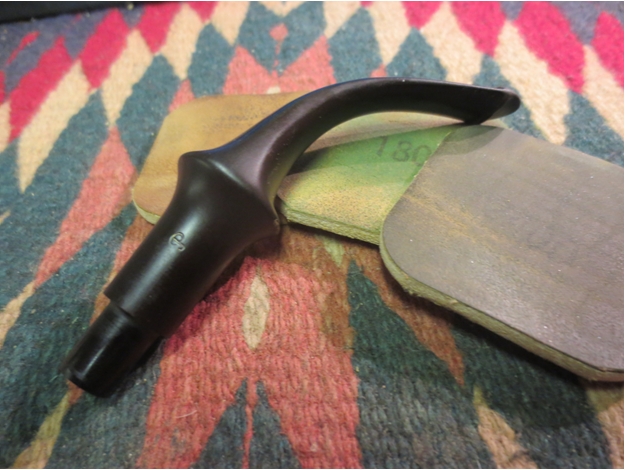
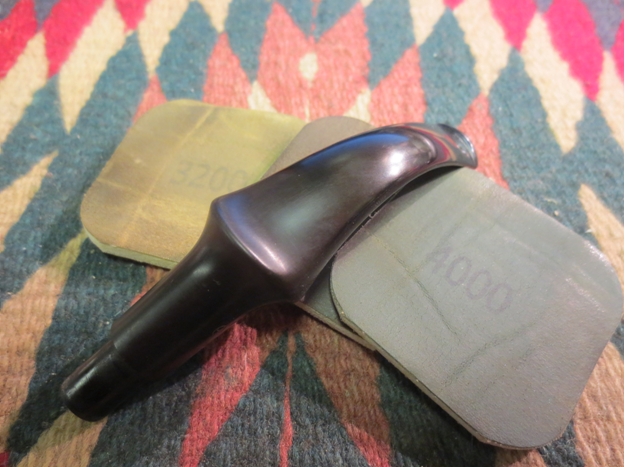
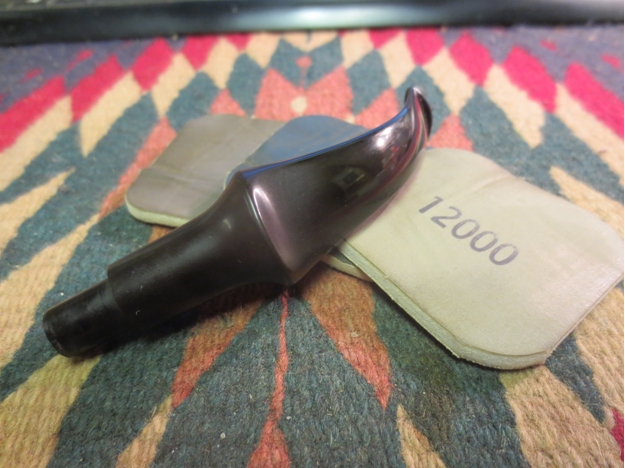
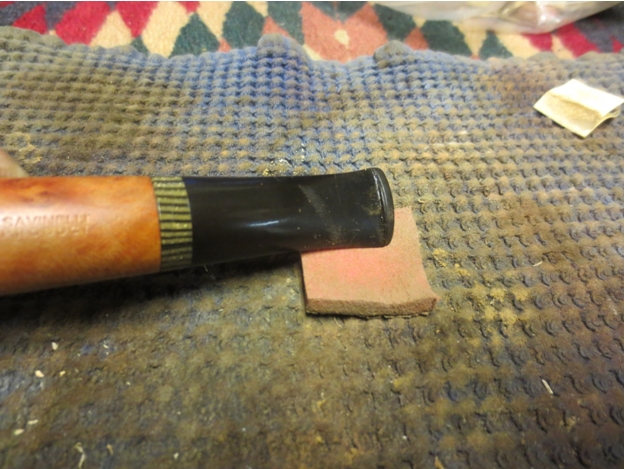
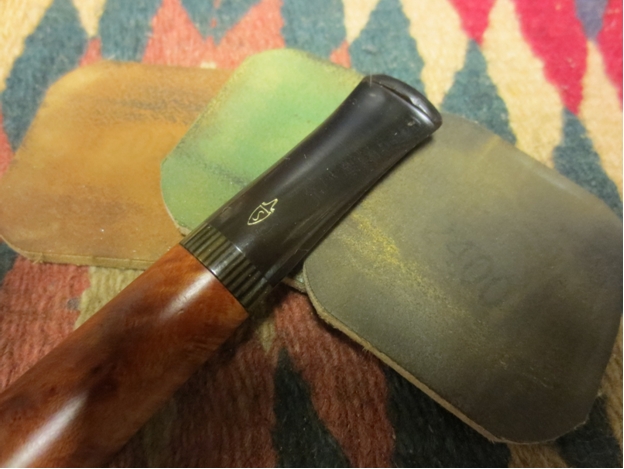
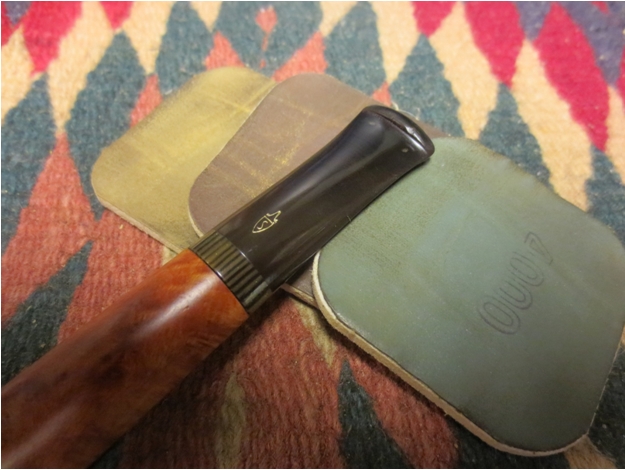
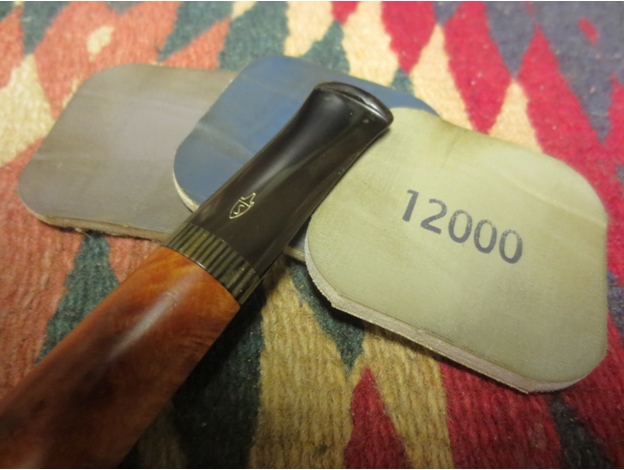
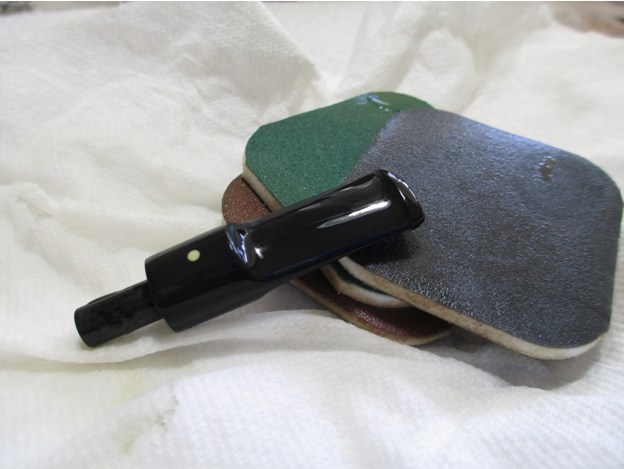
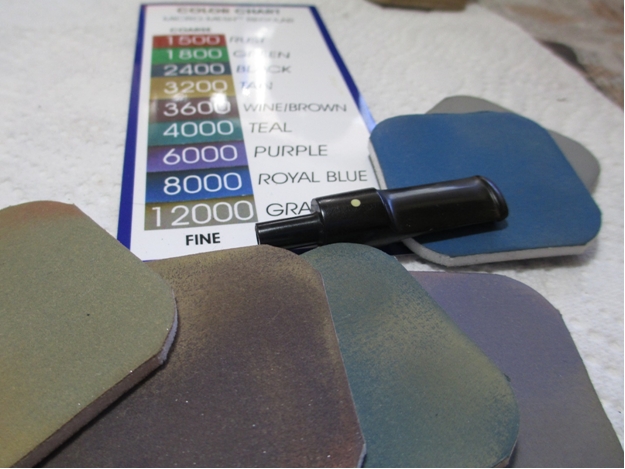
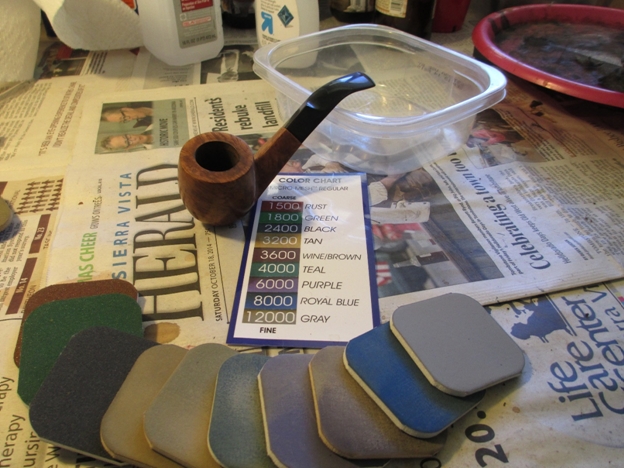
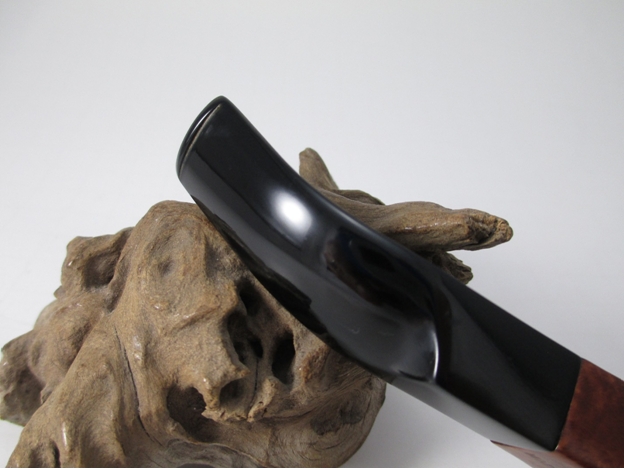
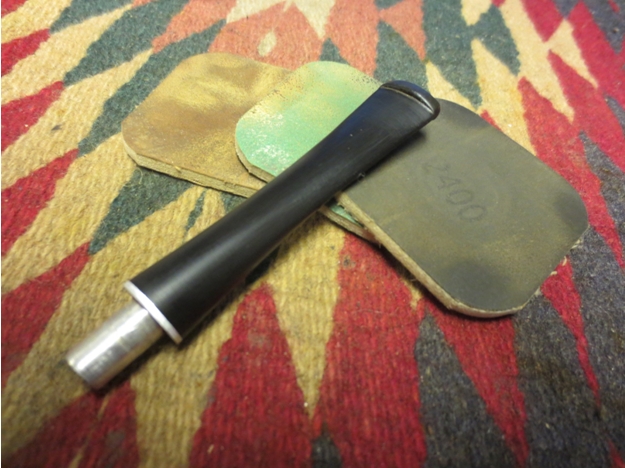
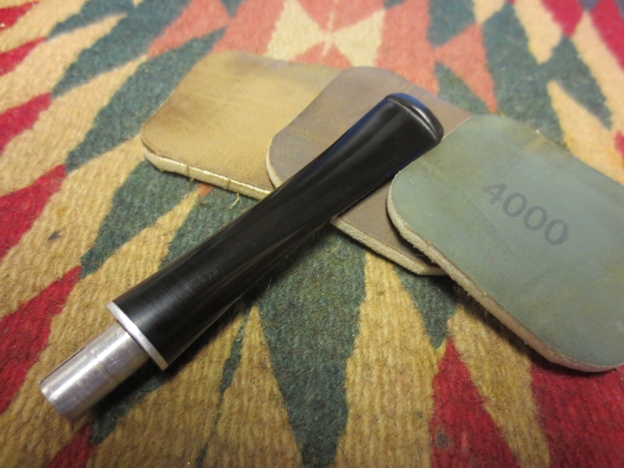
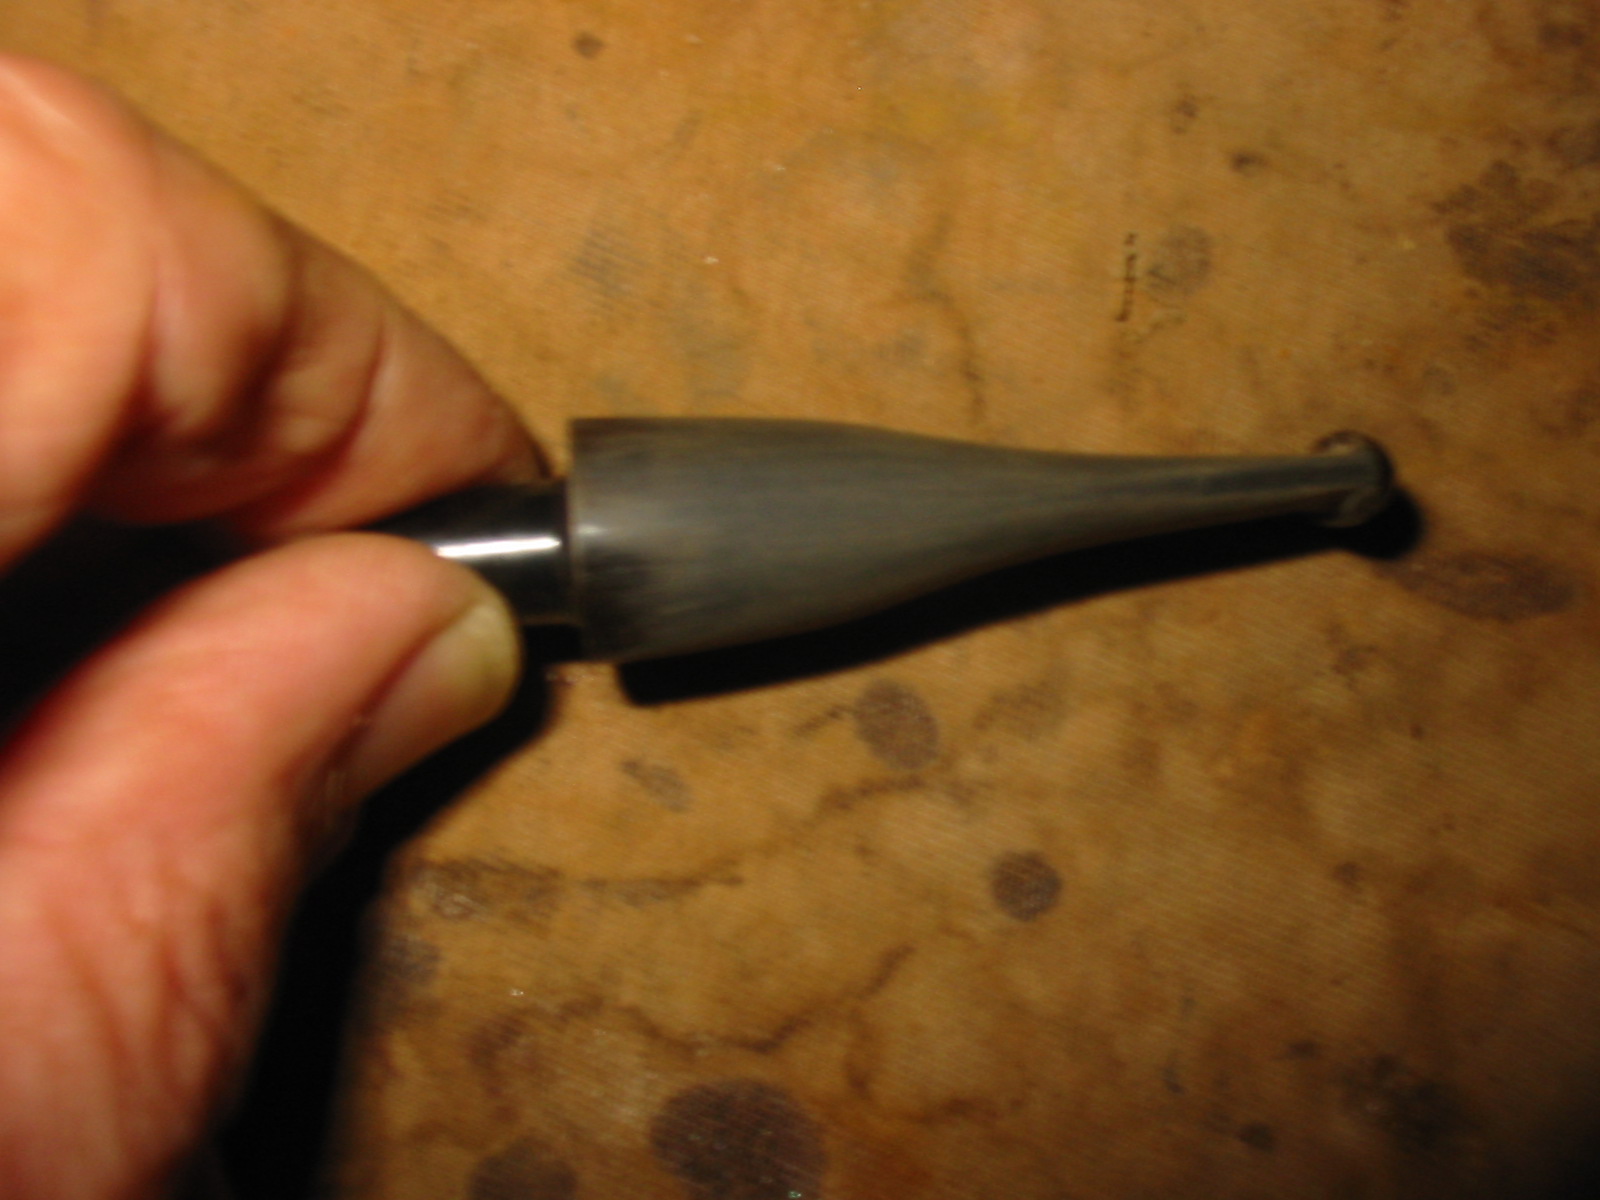
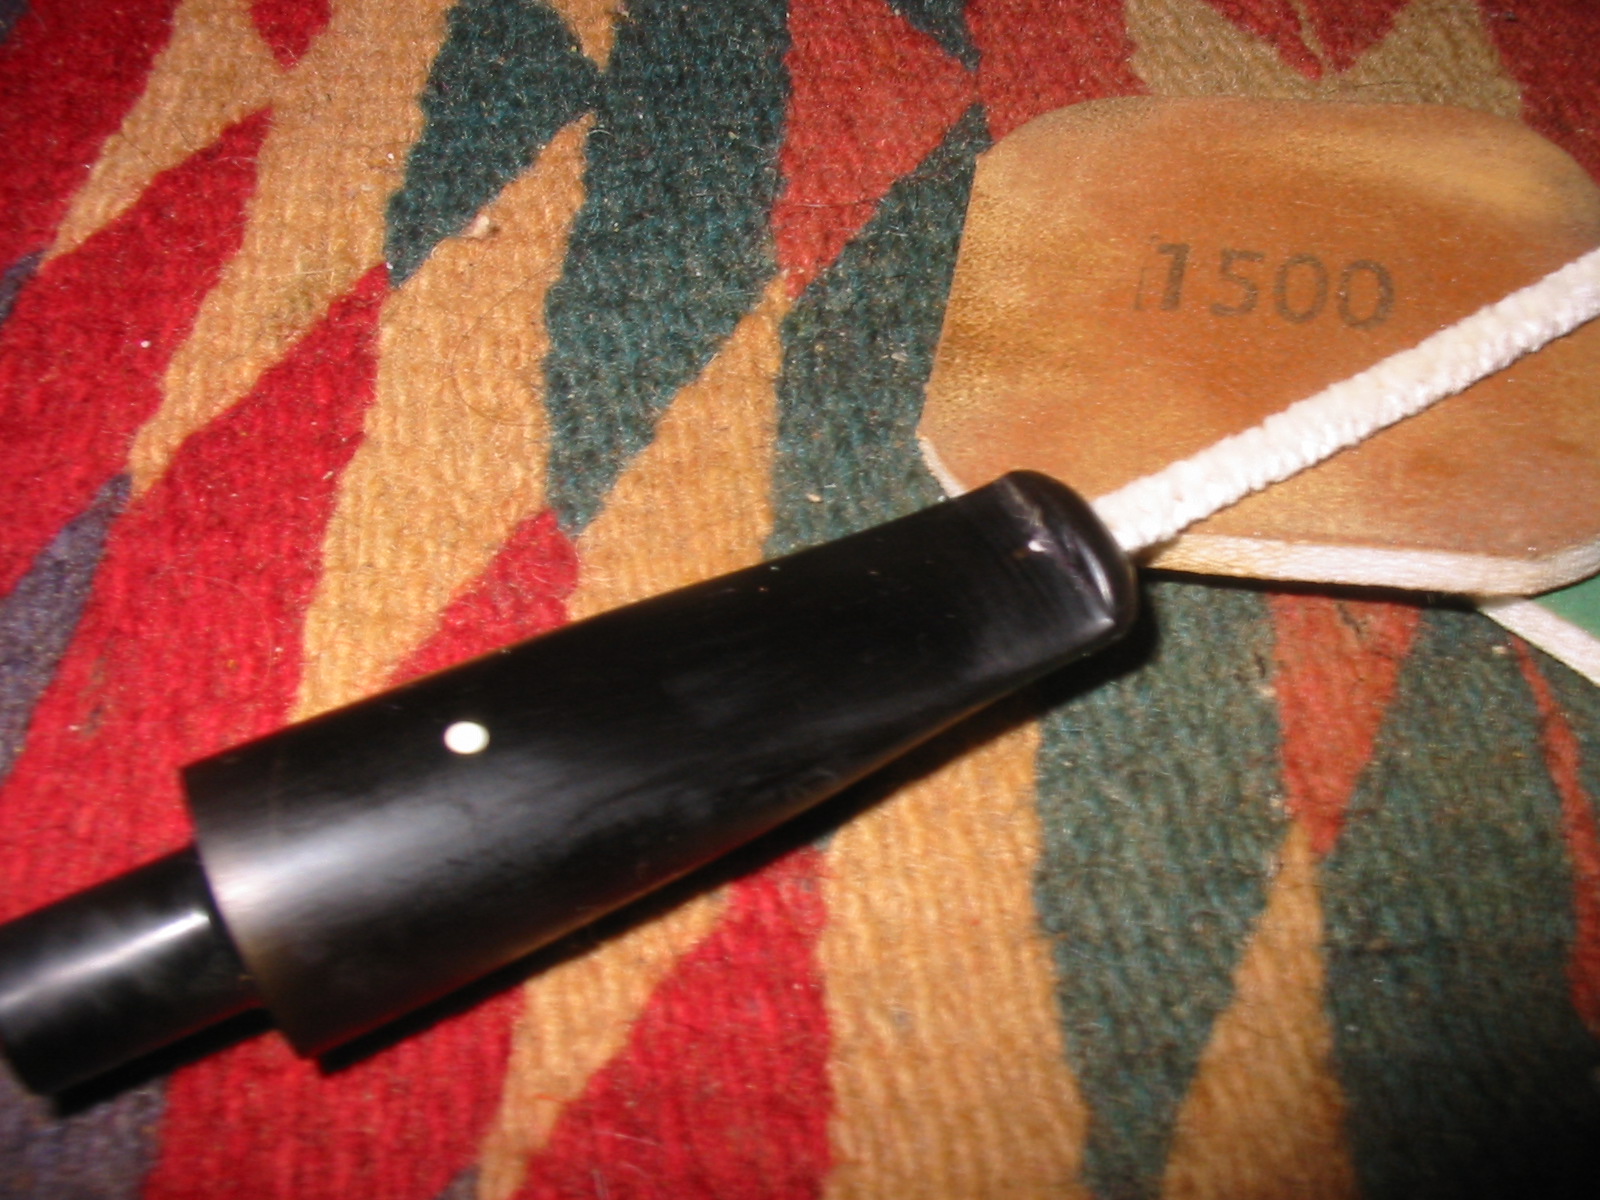
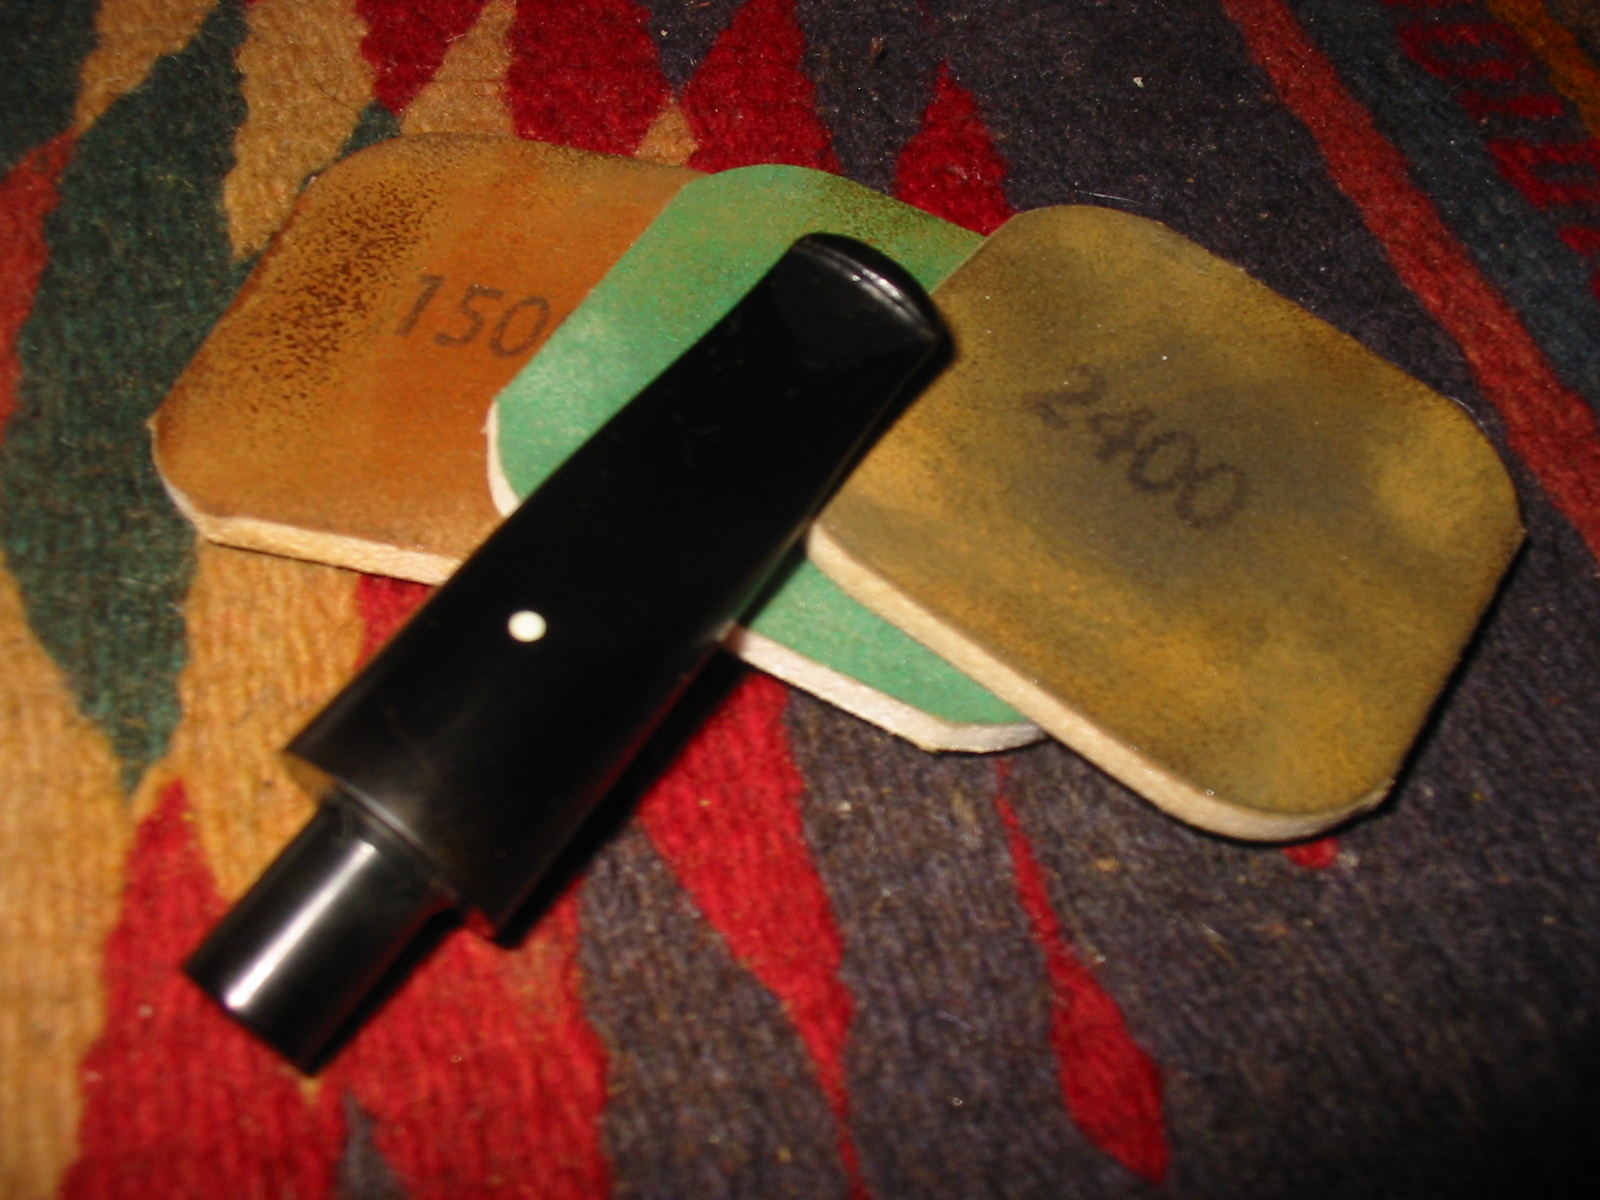
 I wet sanded the stem with 1500-2400 grit micromesh pads and then dry sanded with 3200-12,000 grit pads. In between each set of three pads I wiped the stem down with Obsidian Oil. I finished by buffing the stem with White Diamond and then gave it multiple coats of carnauba wax and buffed it with a soft flannel buffing pad.
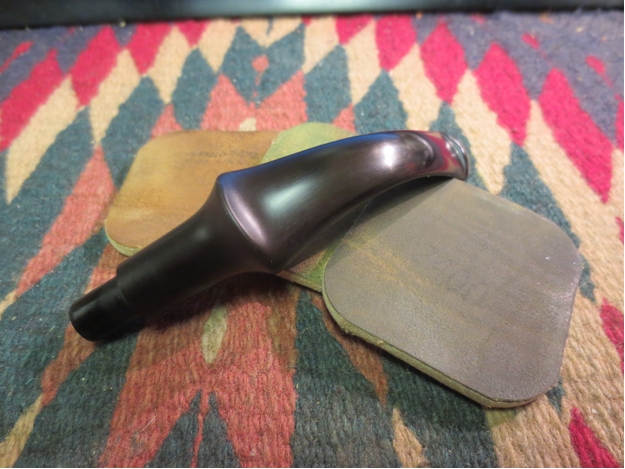
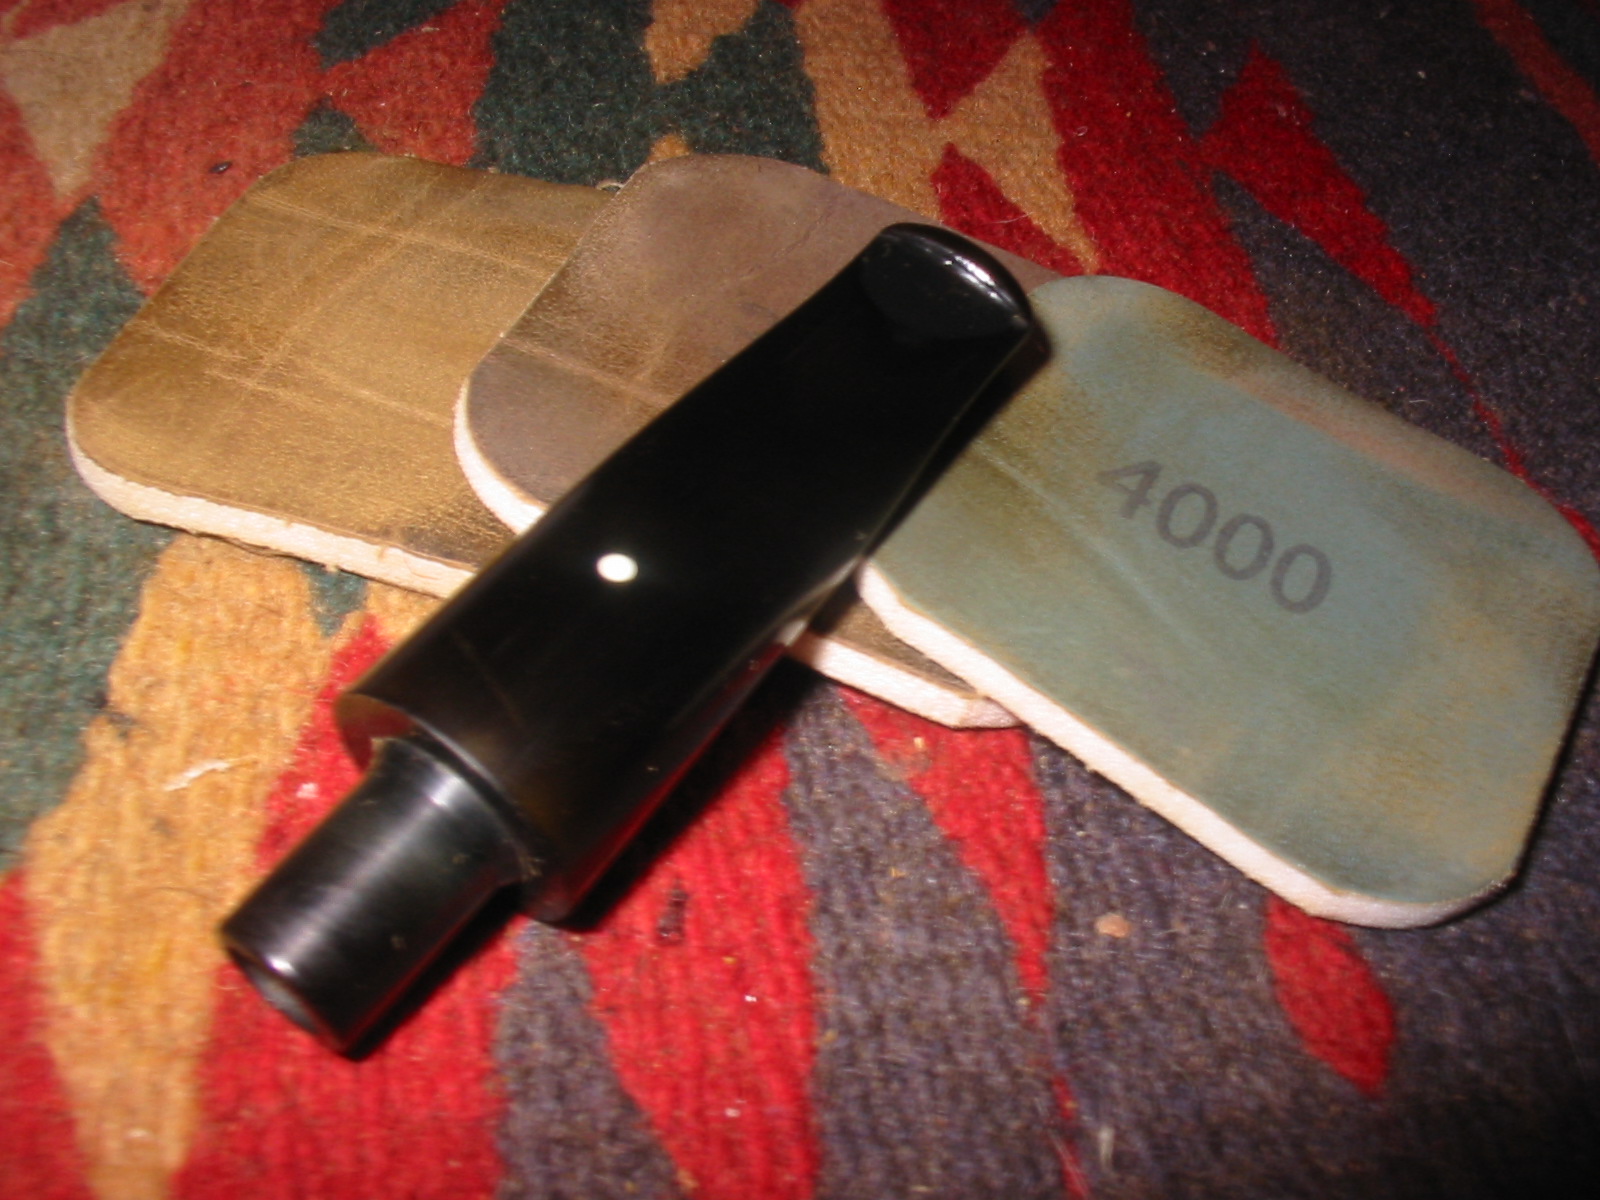
 After sanding it with 3200-4000 grit pads I used a gold paint and applied it to the P logo on the stem and then sanded it again with the same three grits of pad.
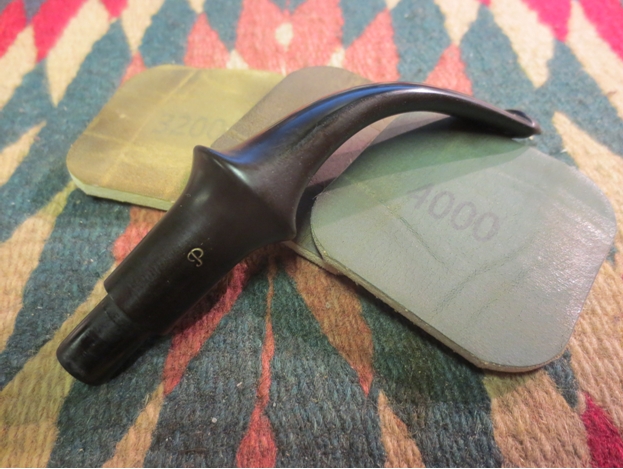
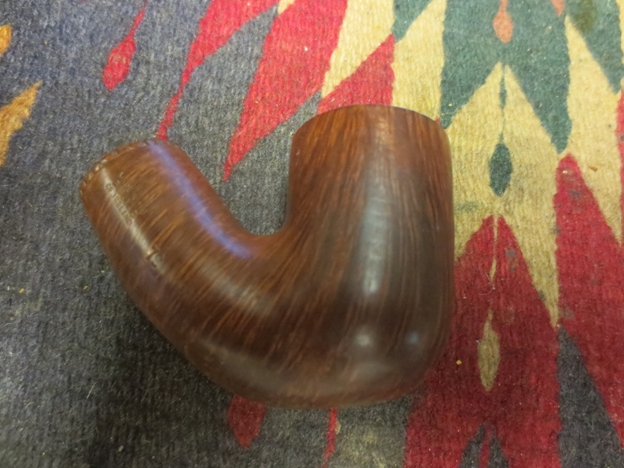
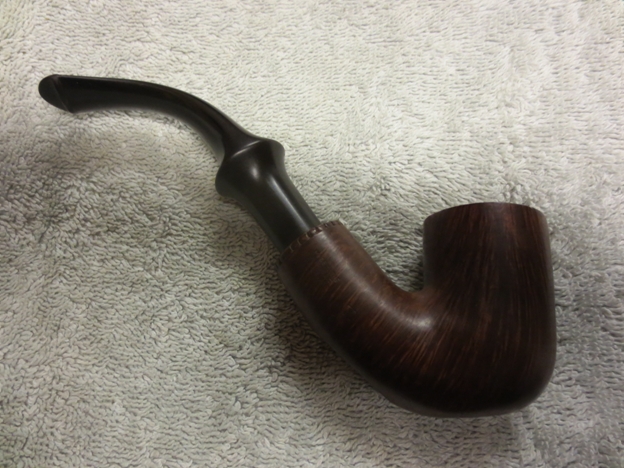
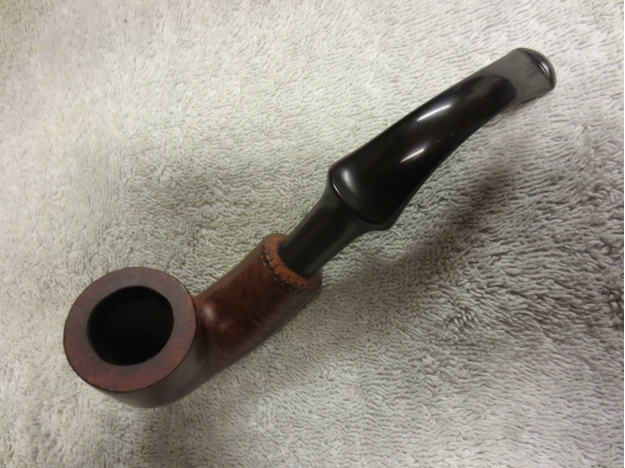
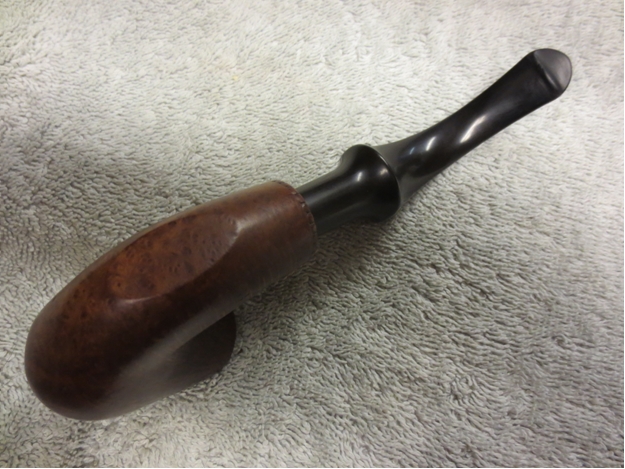
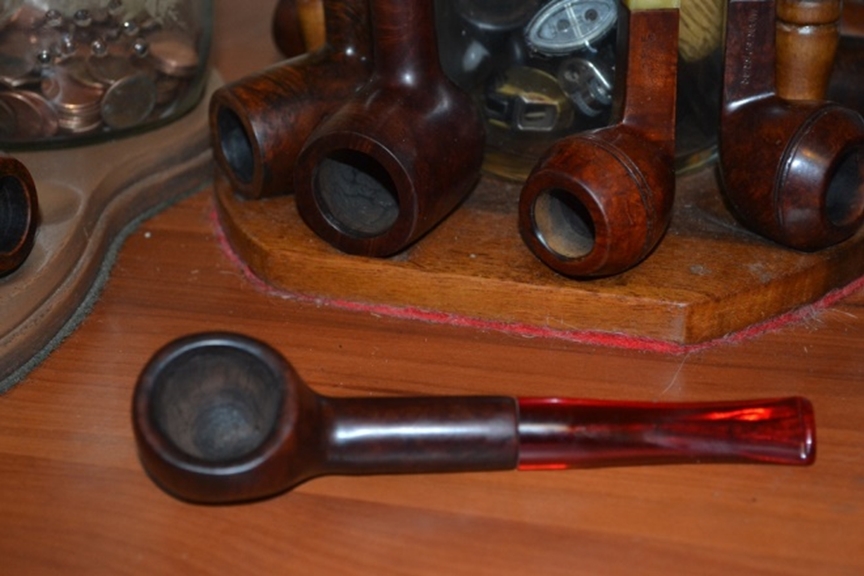
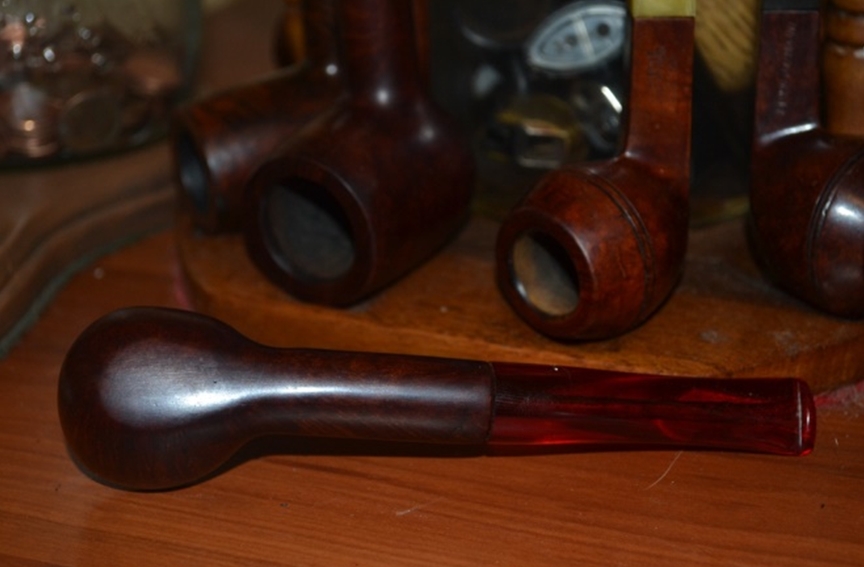
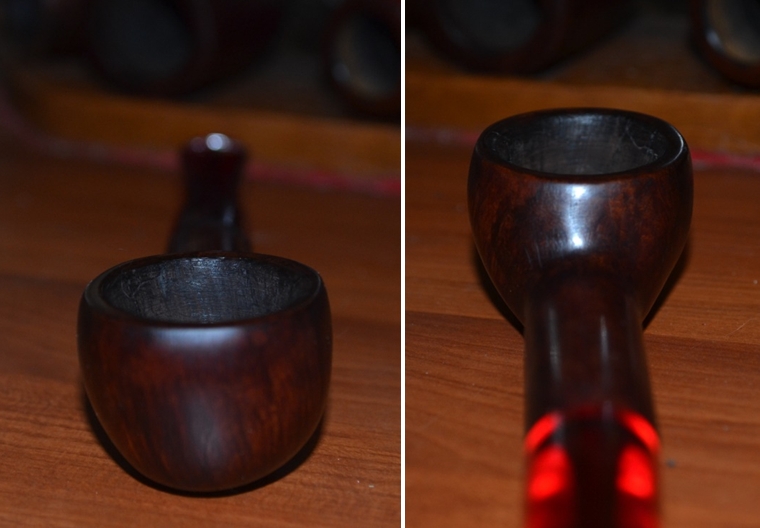
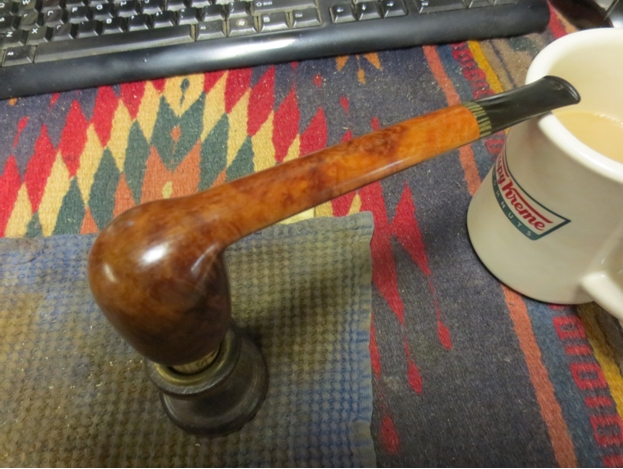
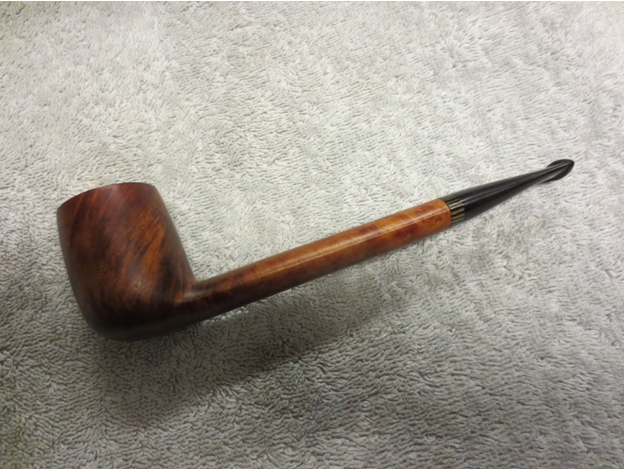
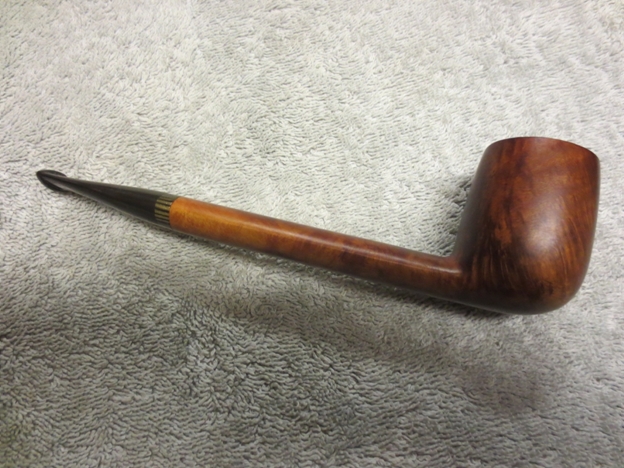
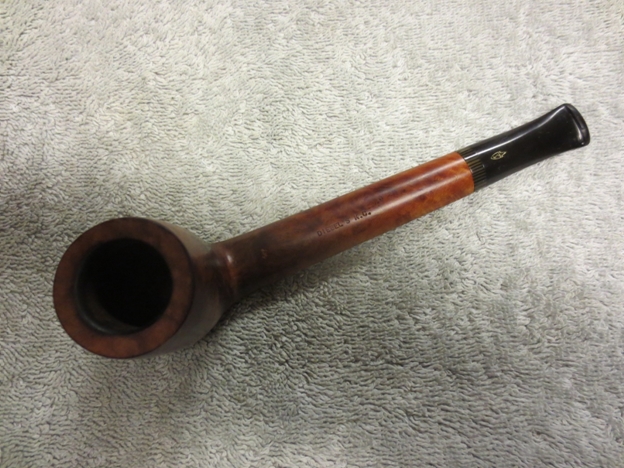
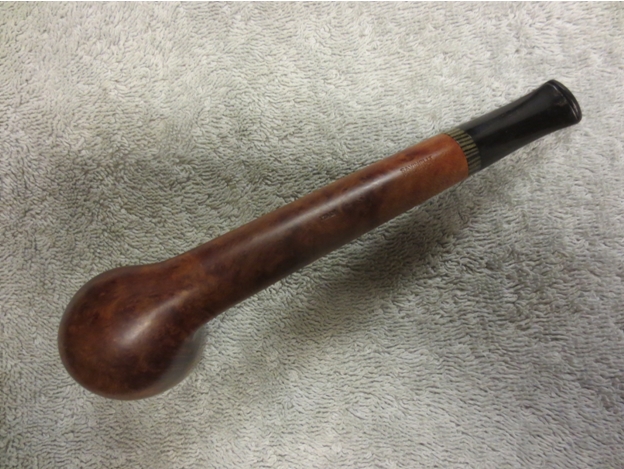
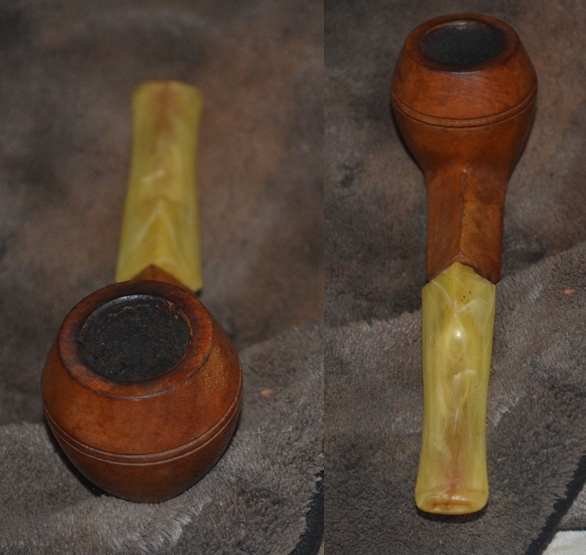
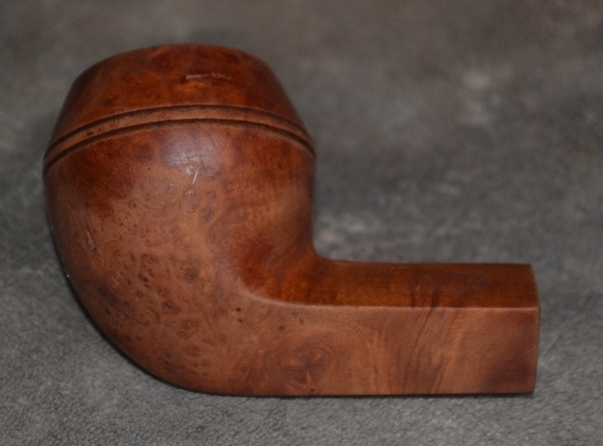
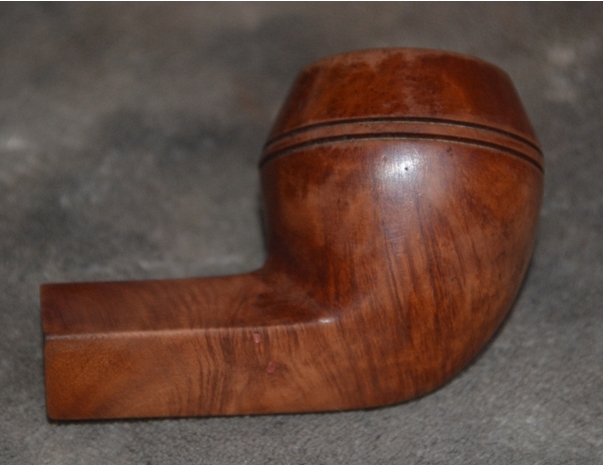
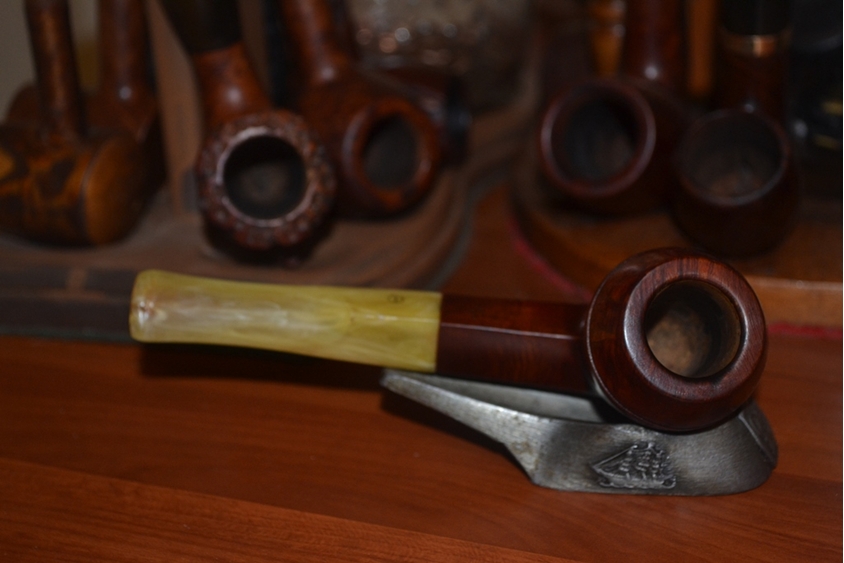
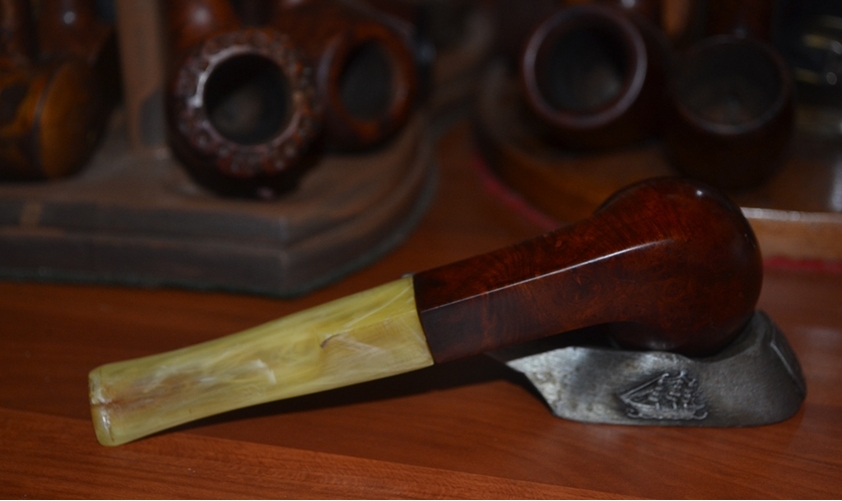
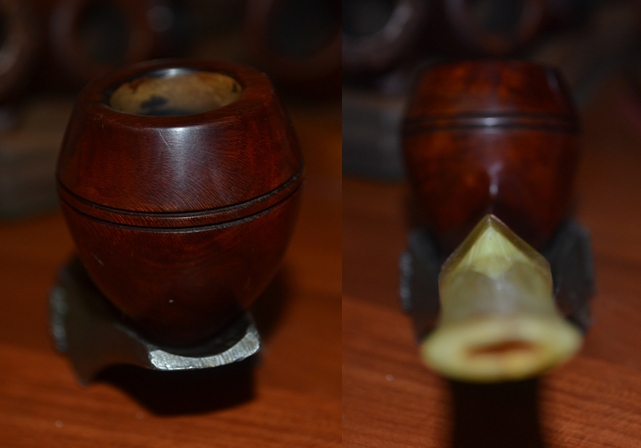
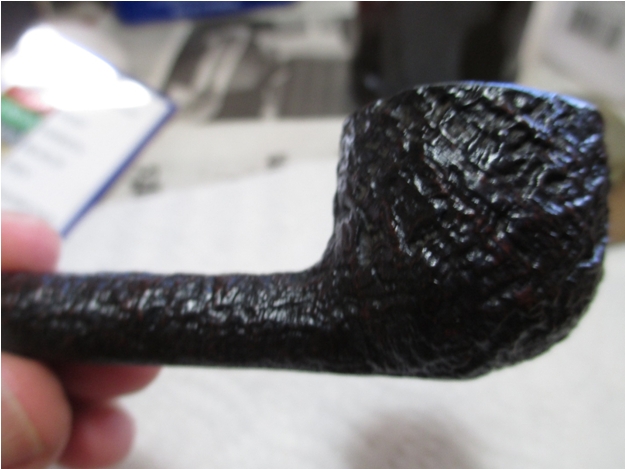
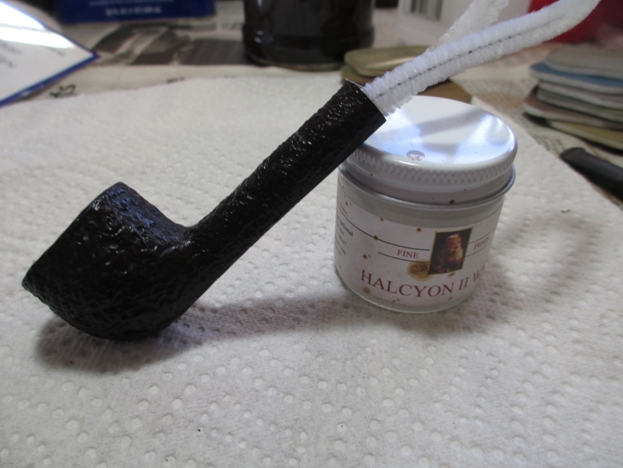
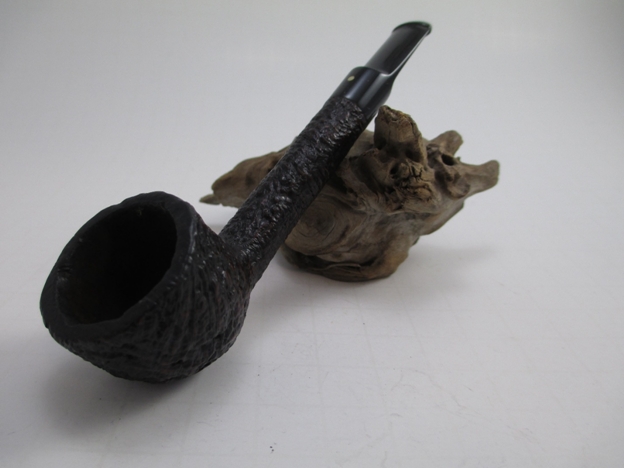
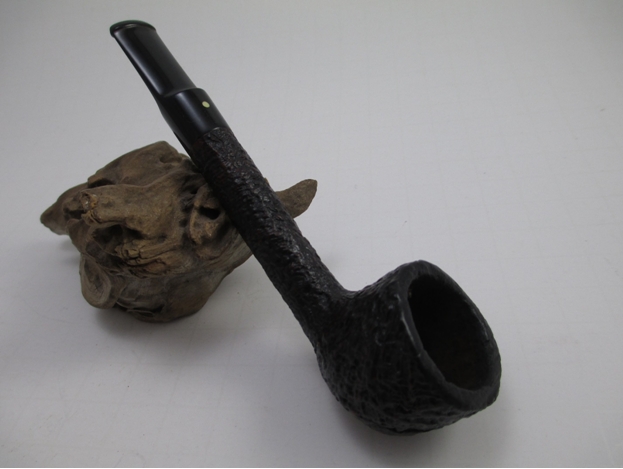
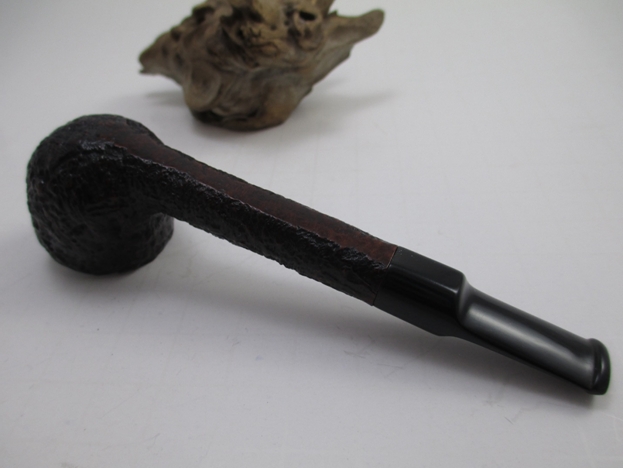
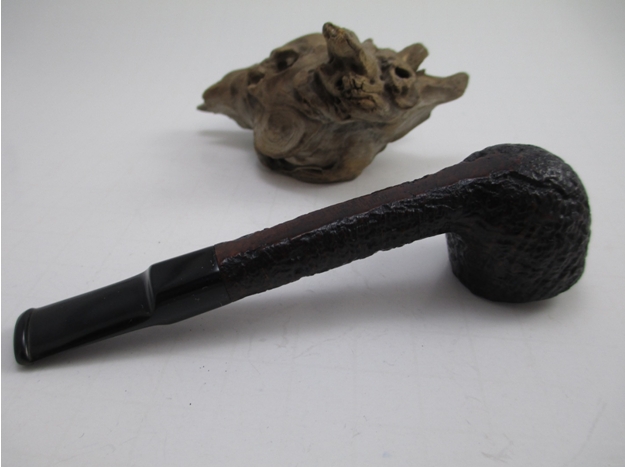
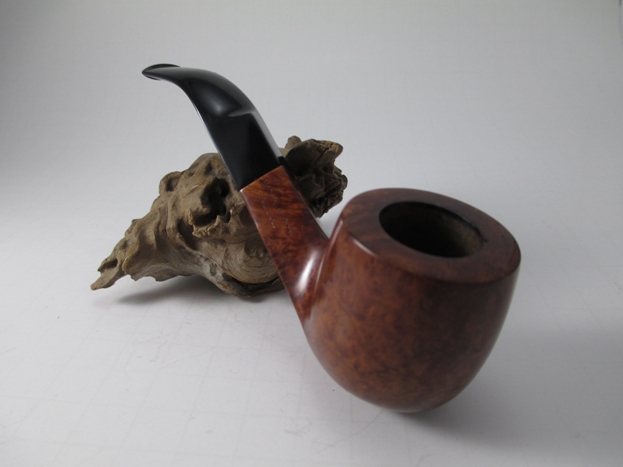
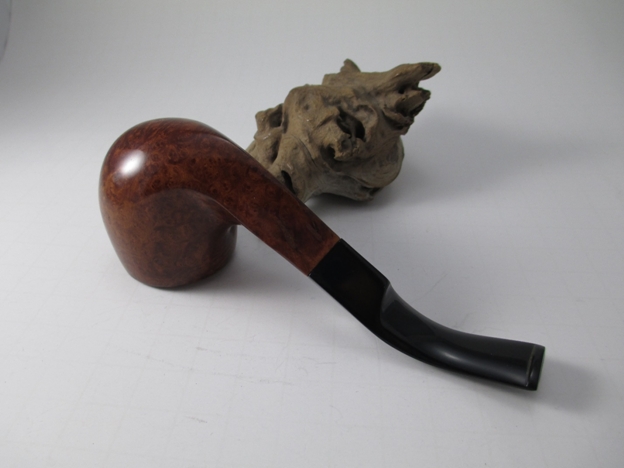
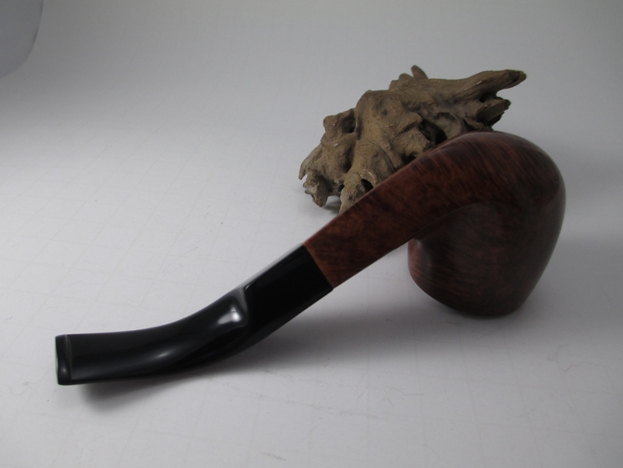
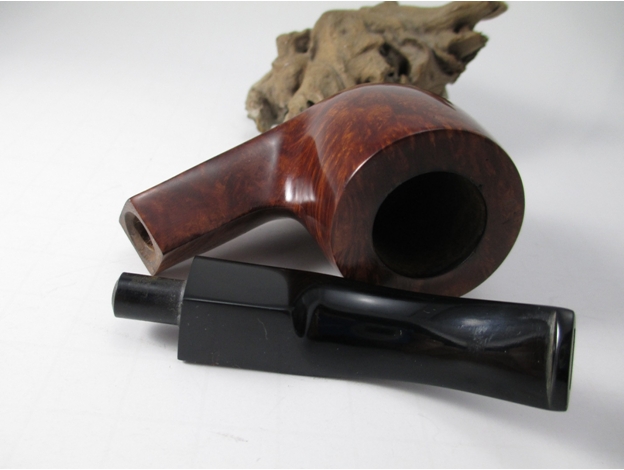
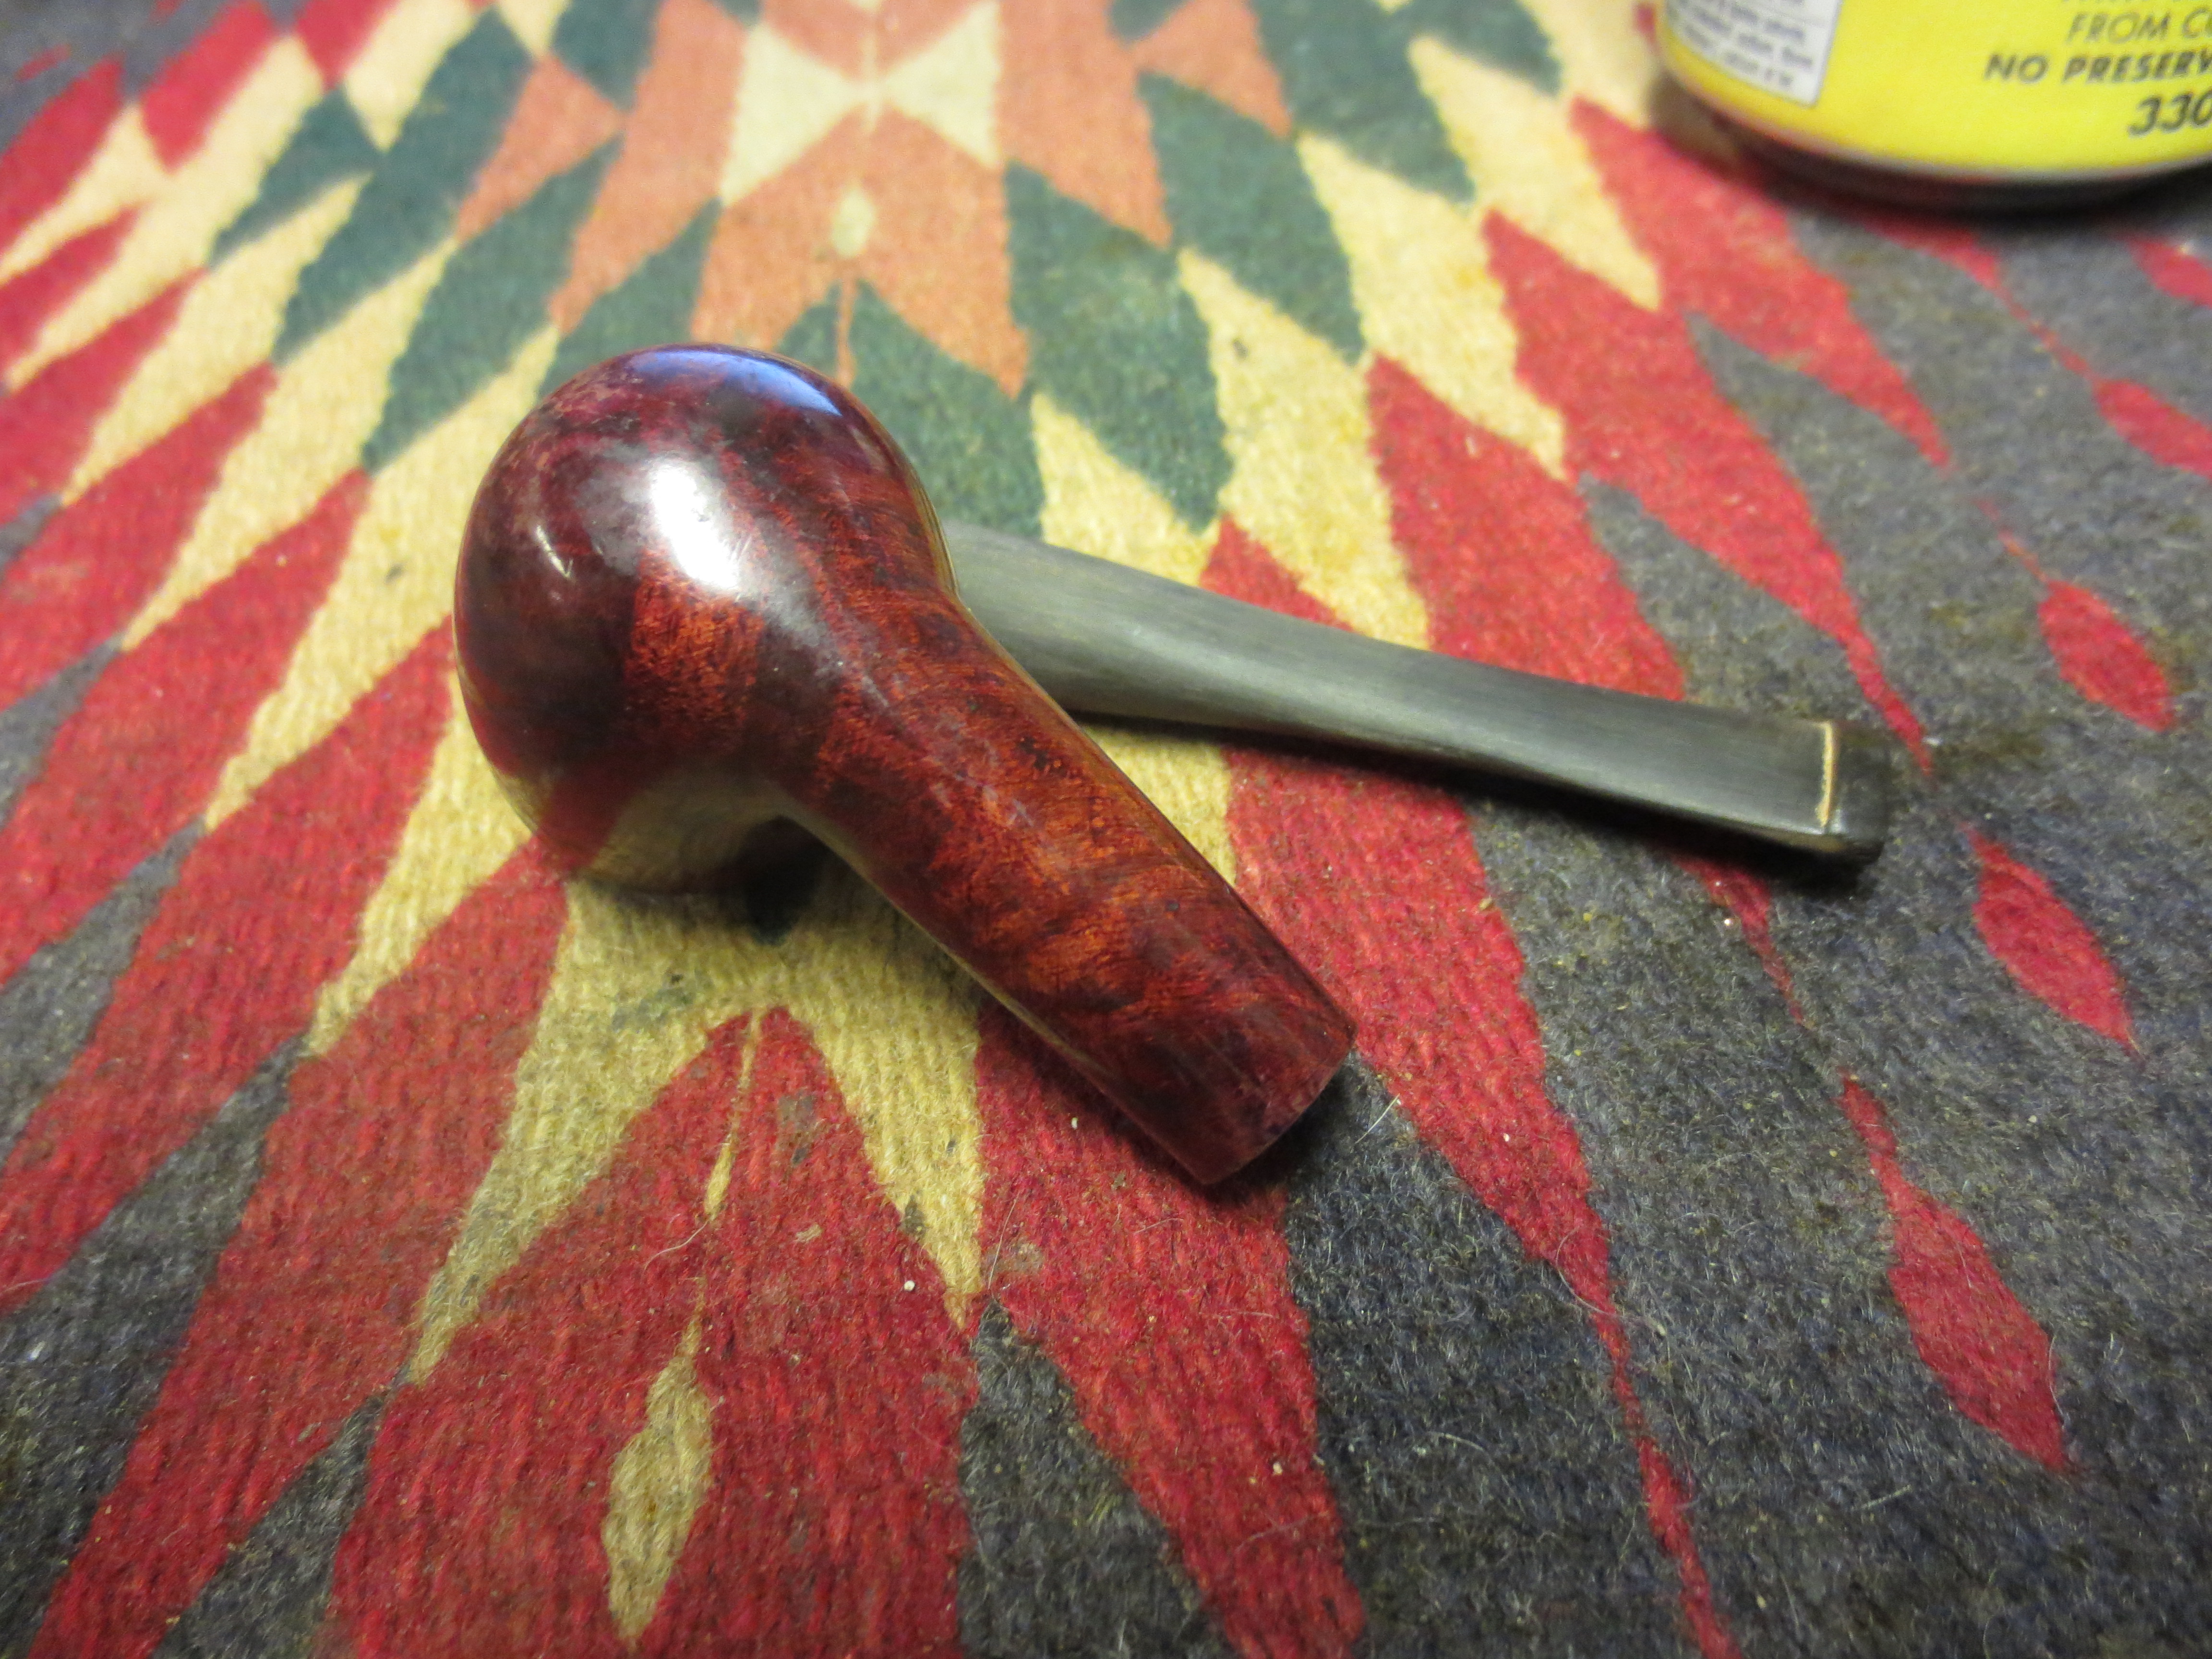
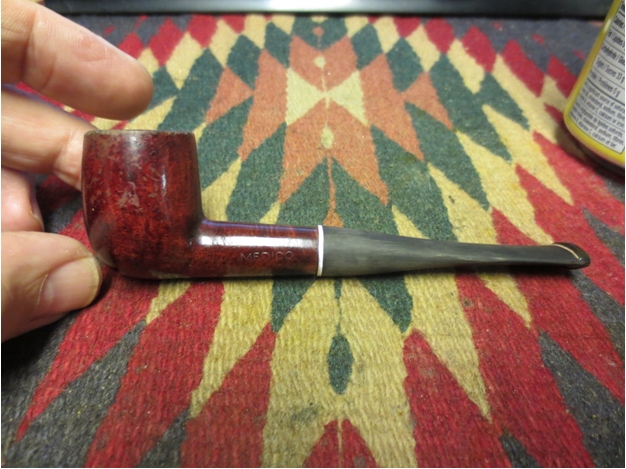
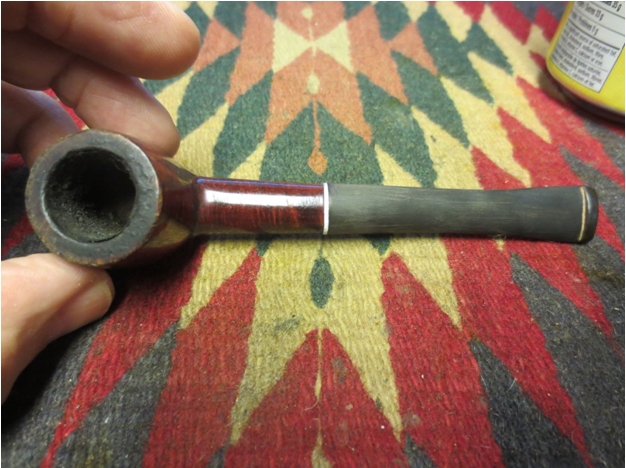
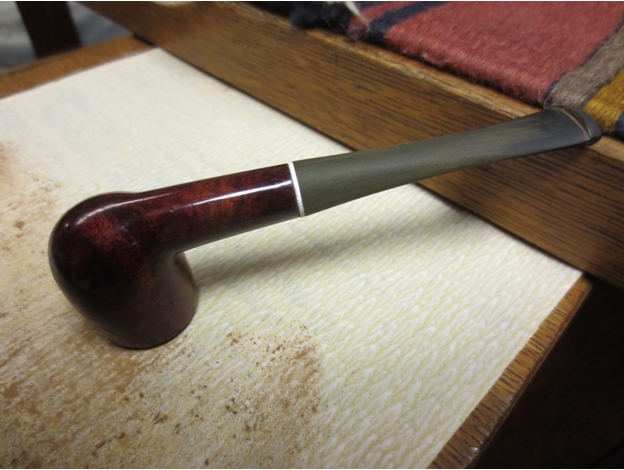
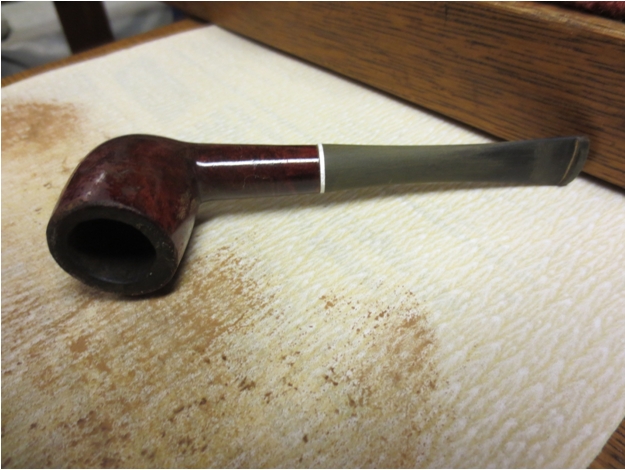
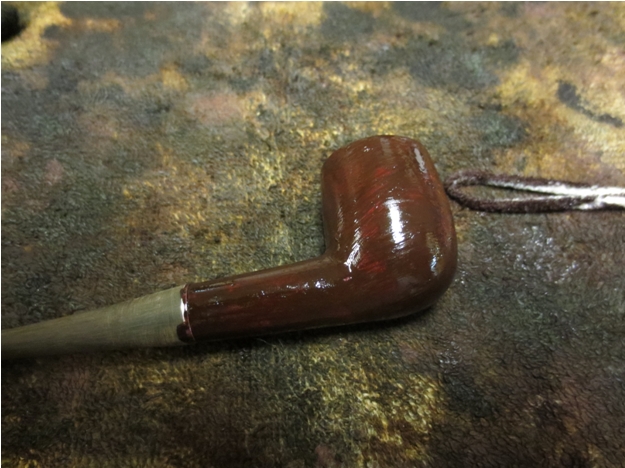
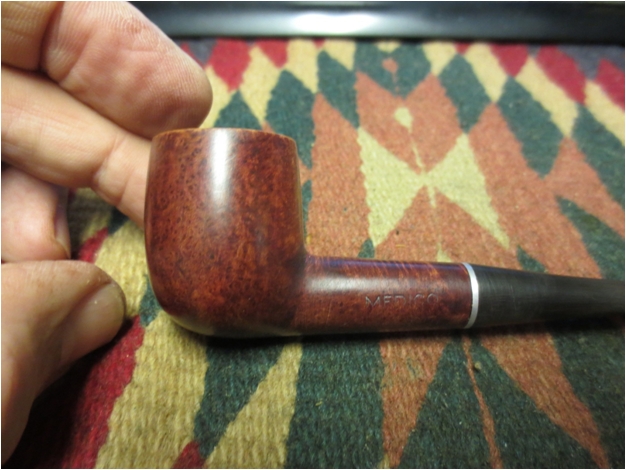
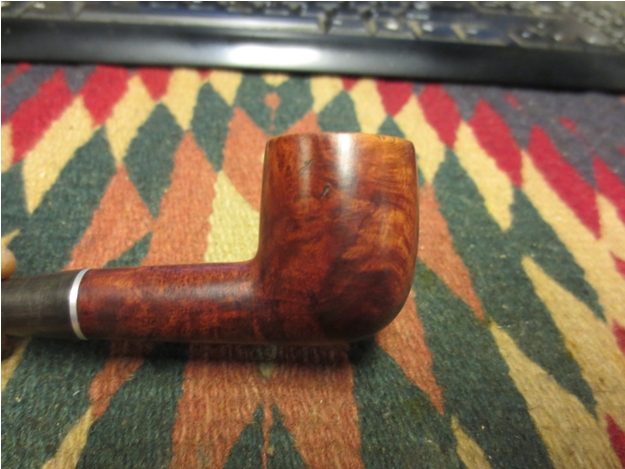
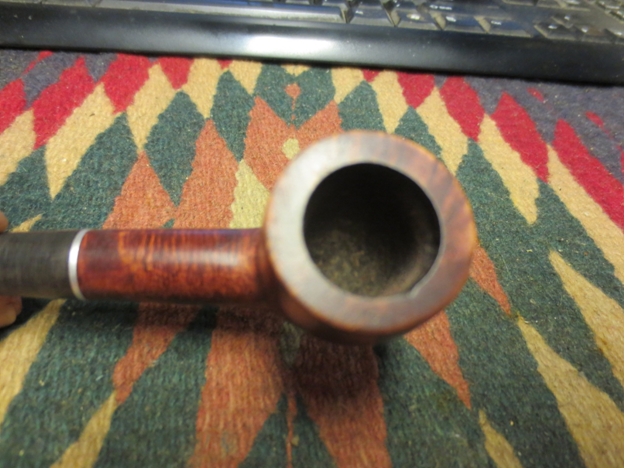
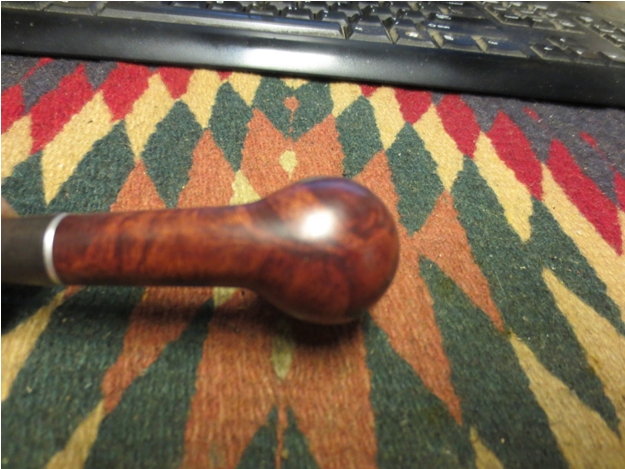
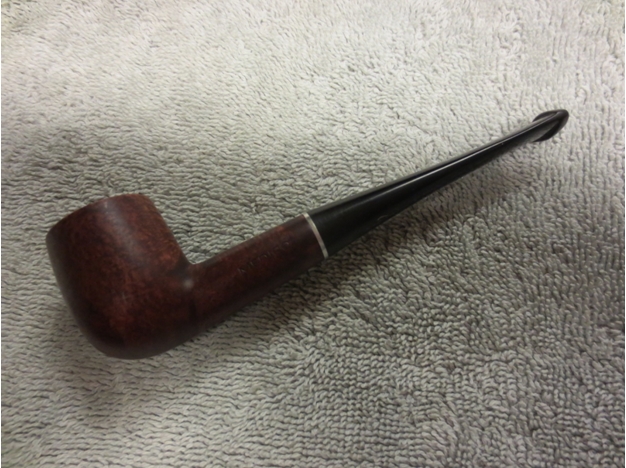
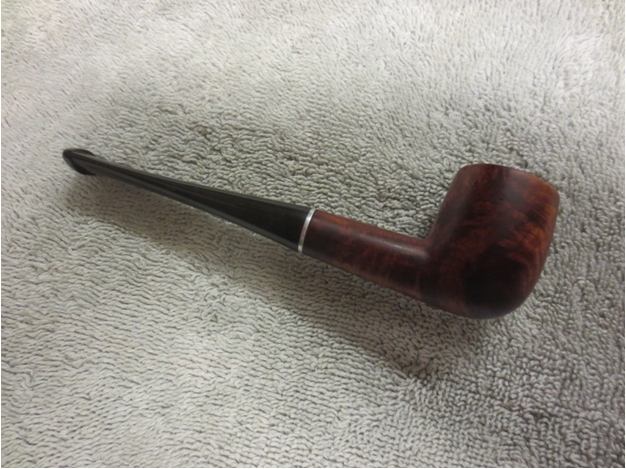
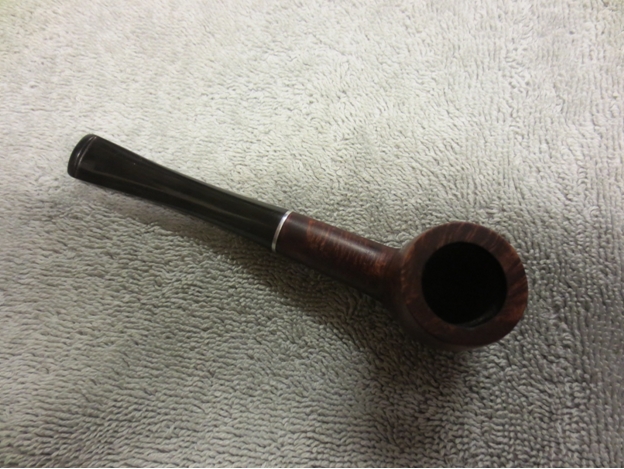
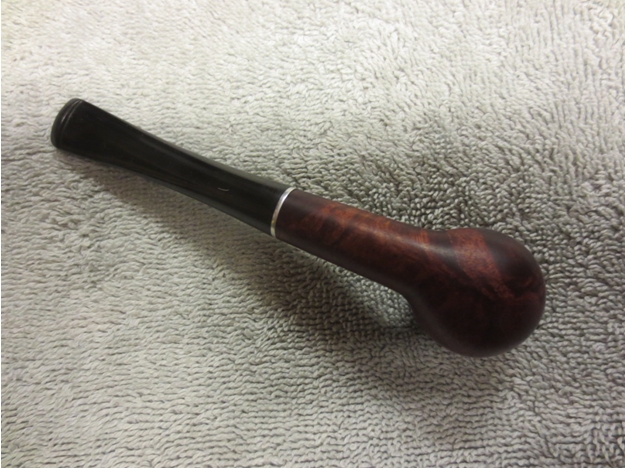
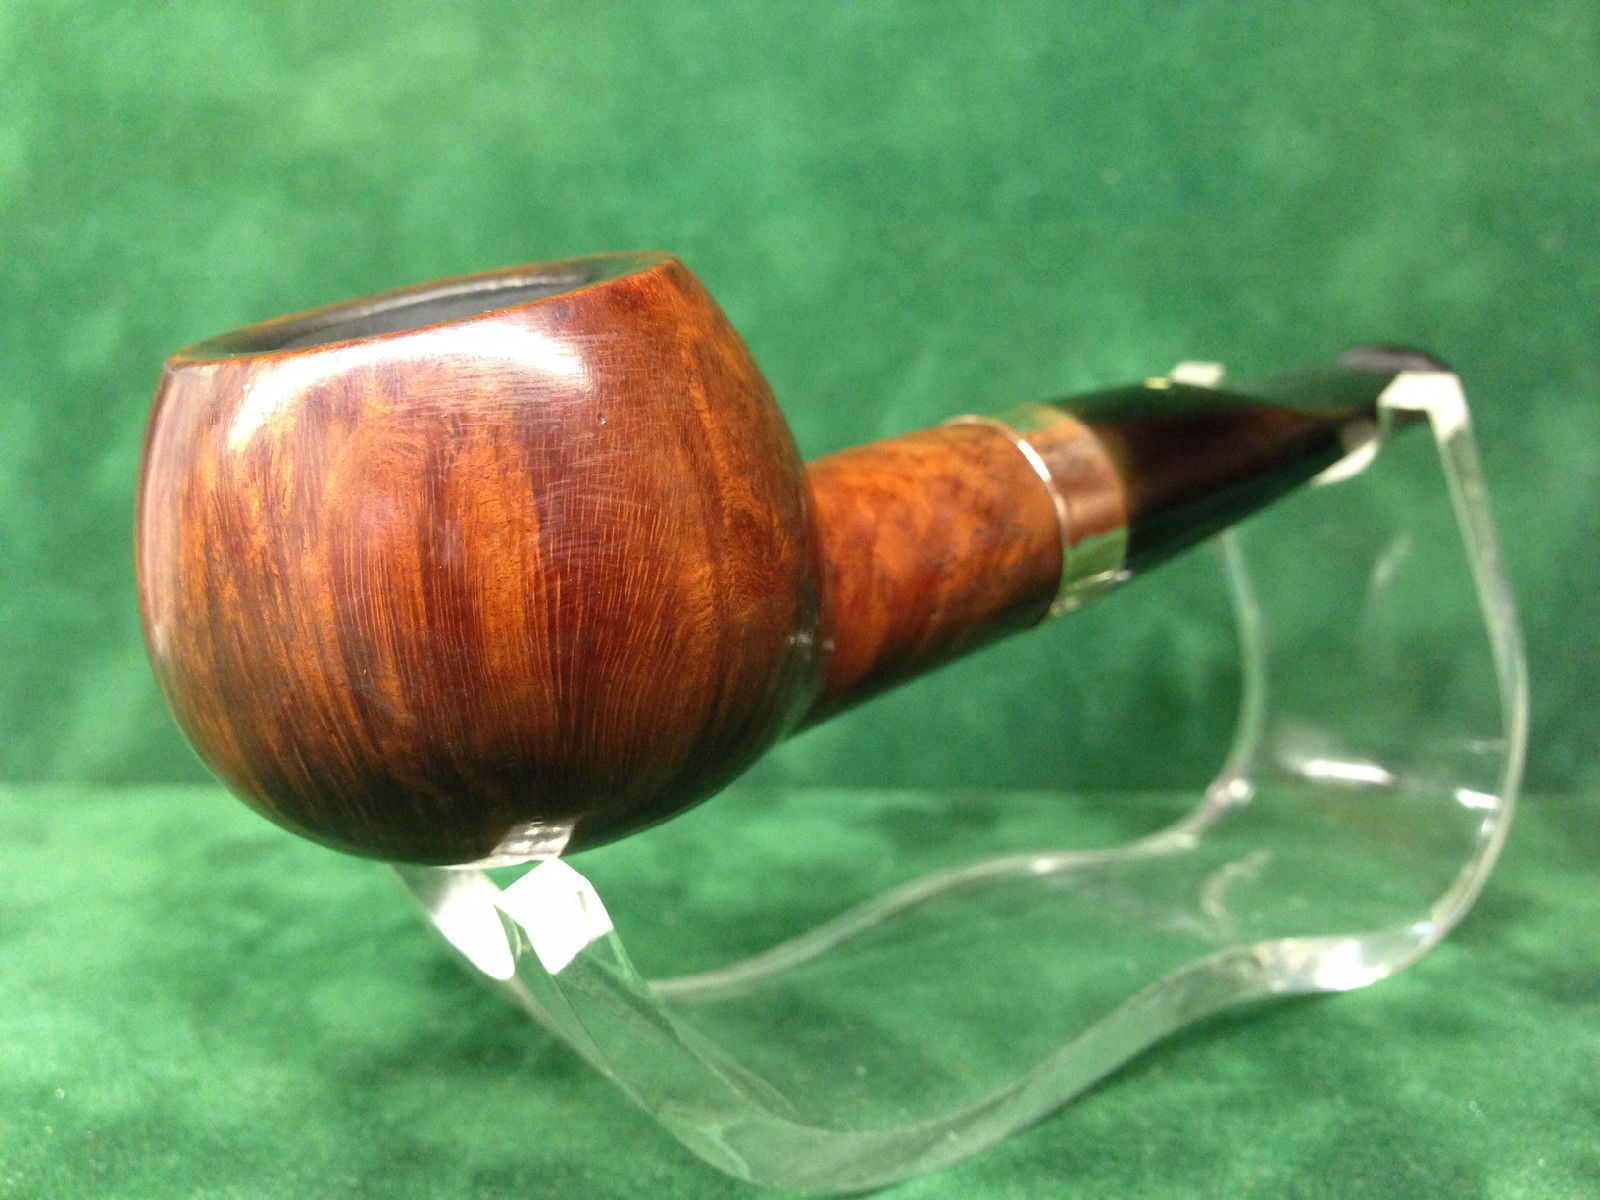
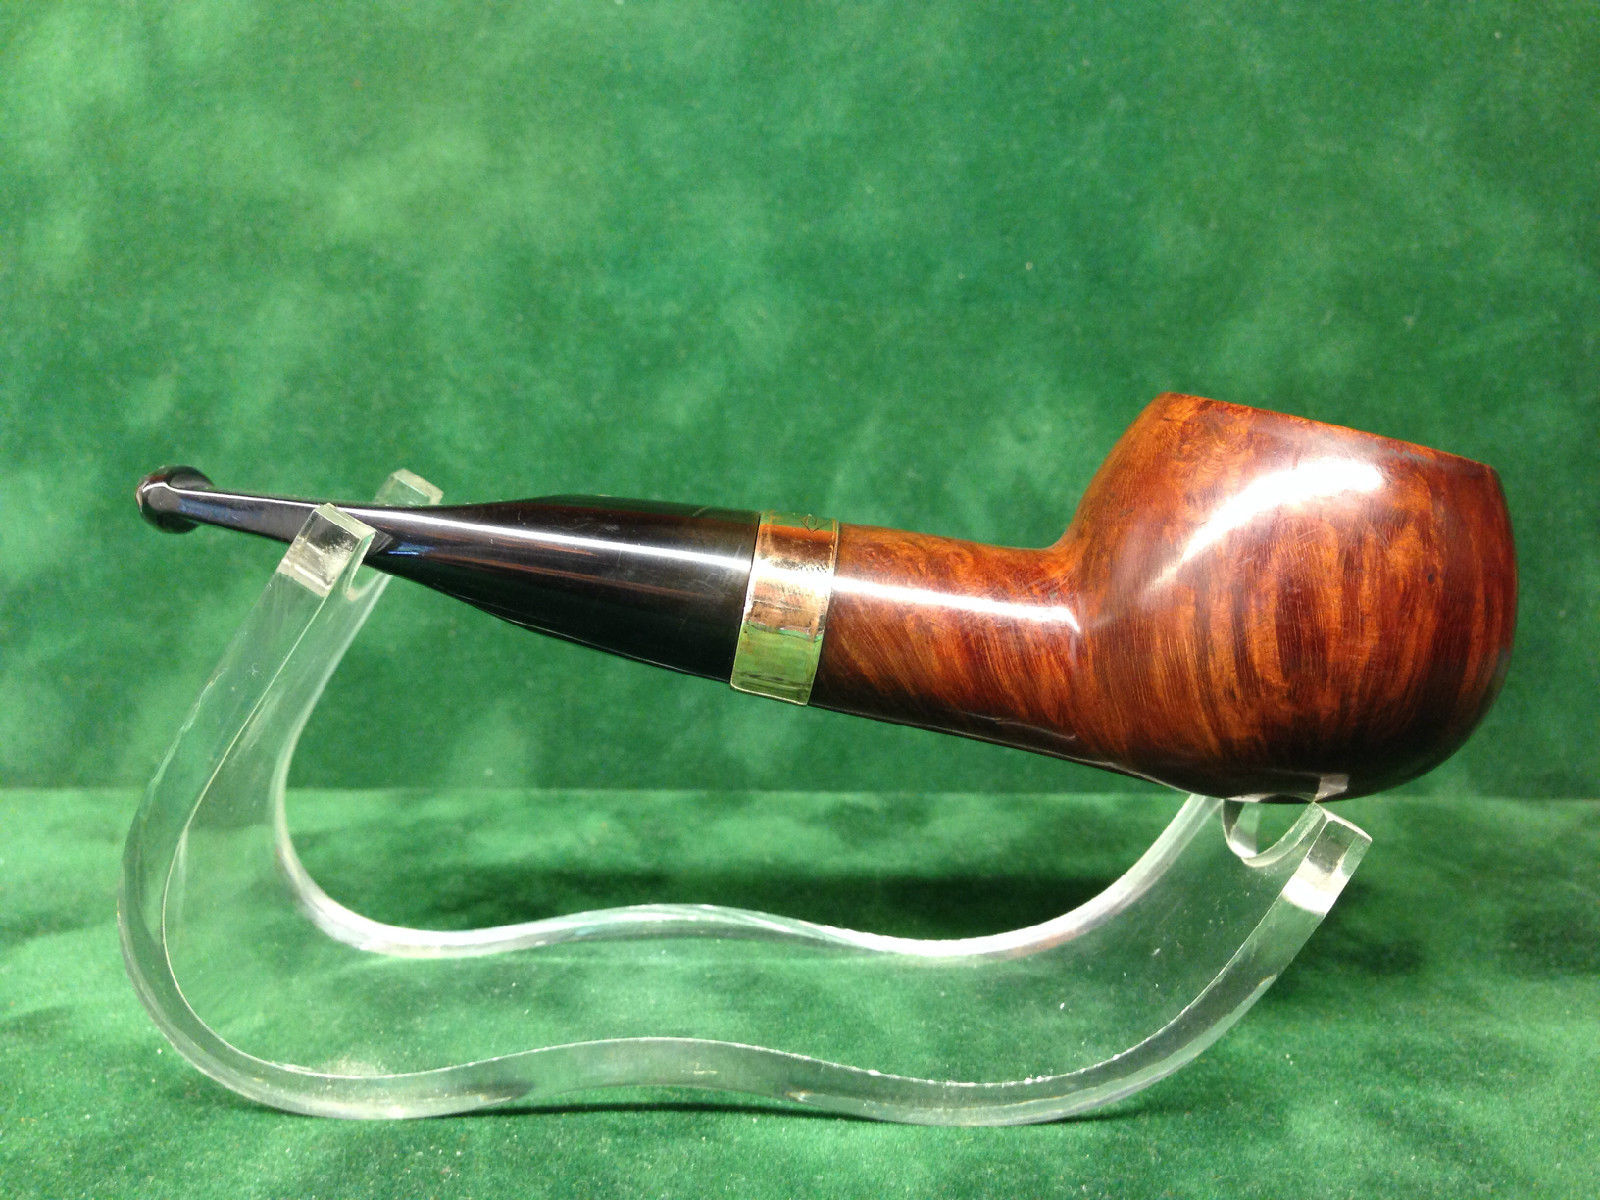
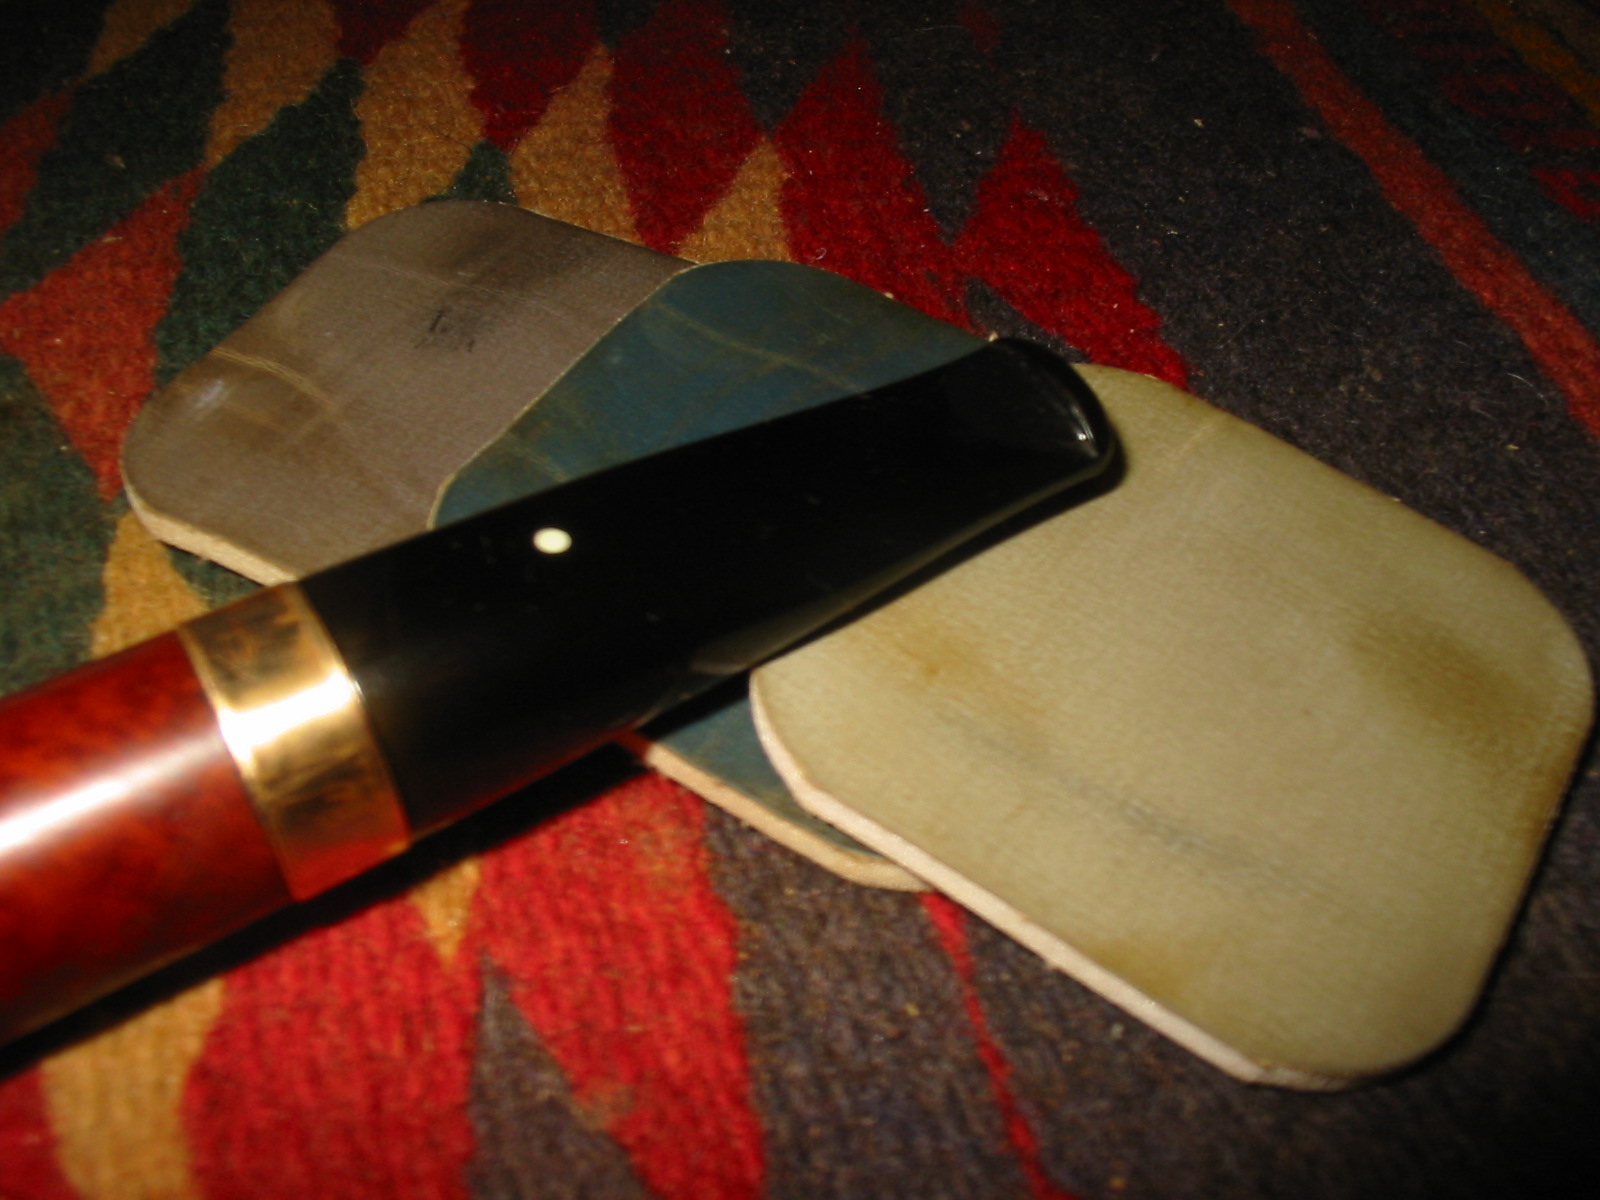
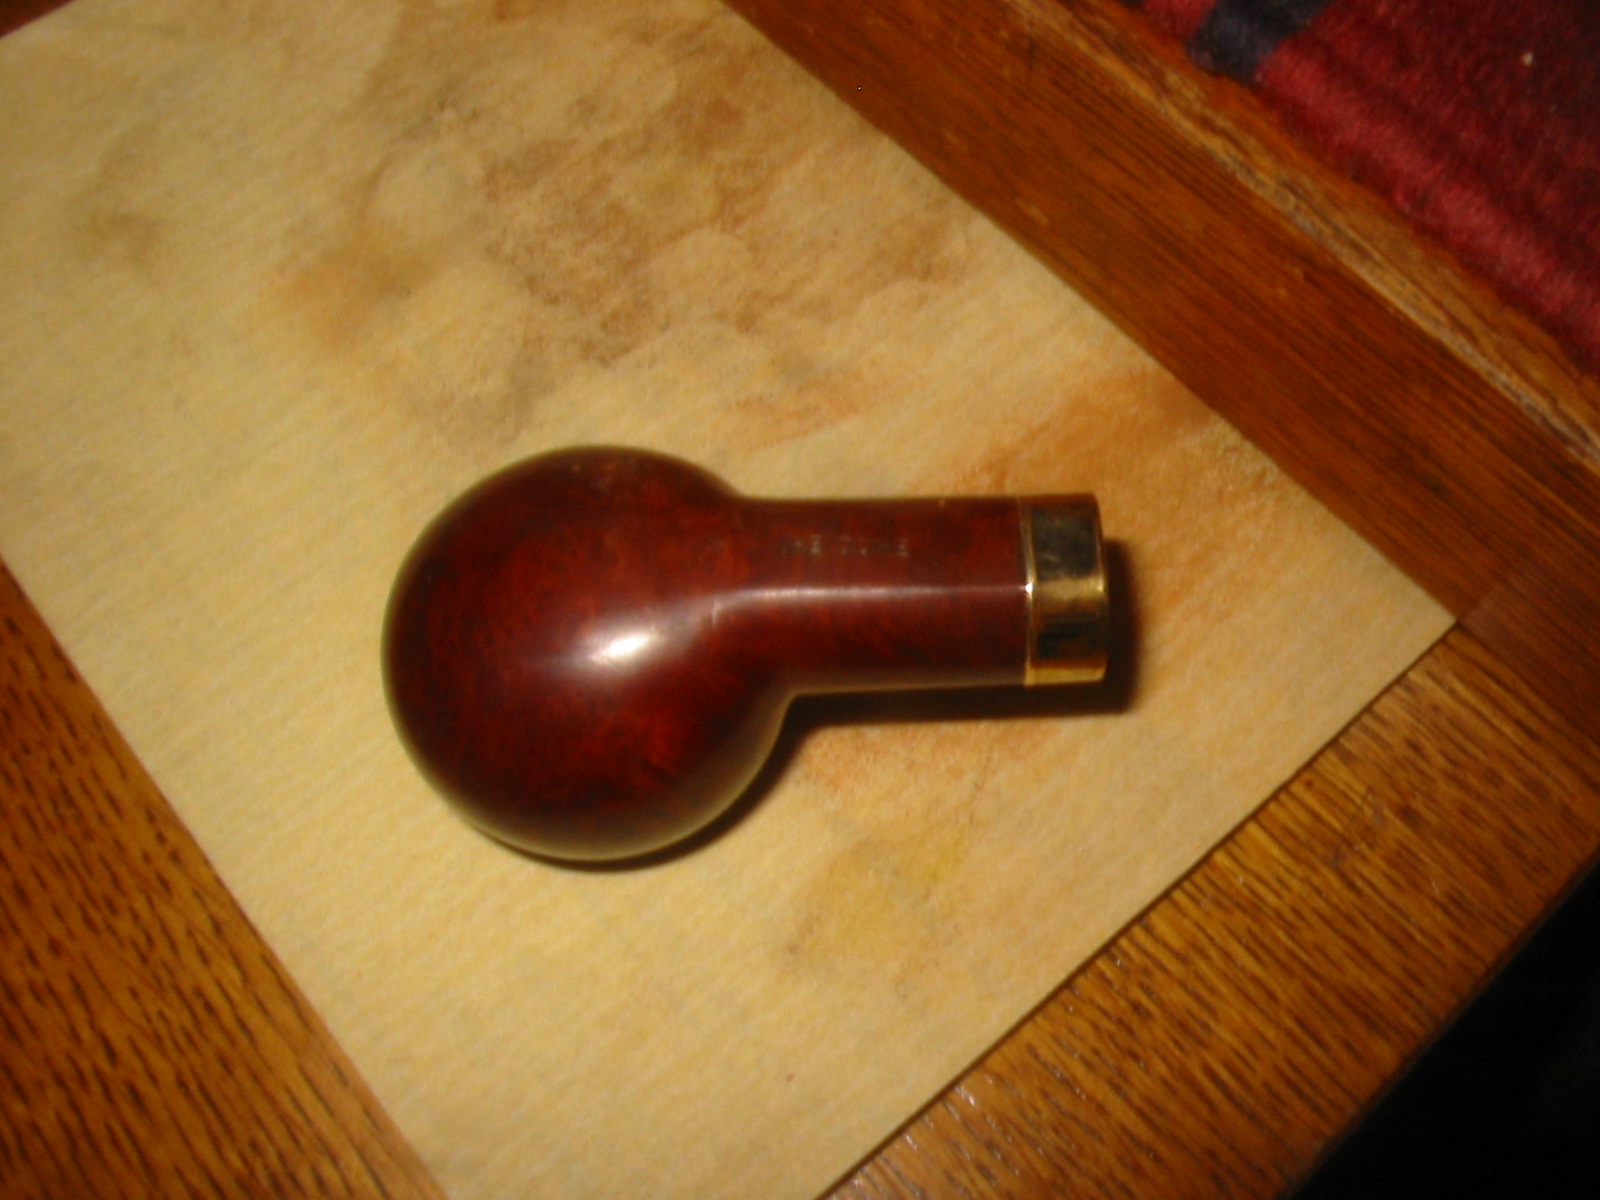
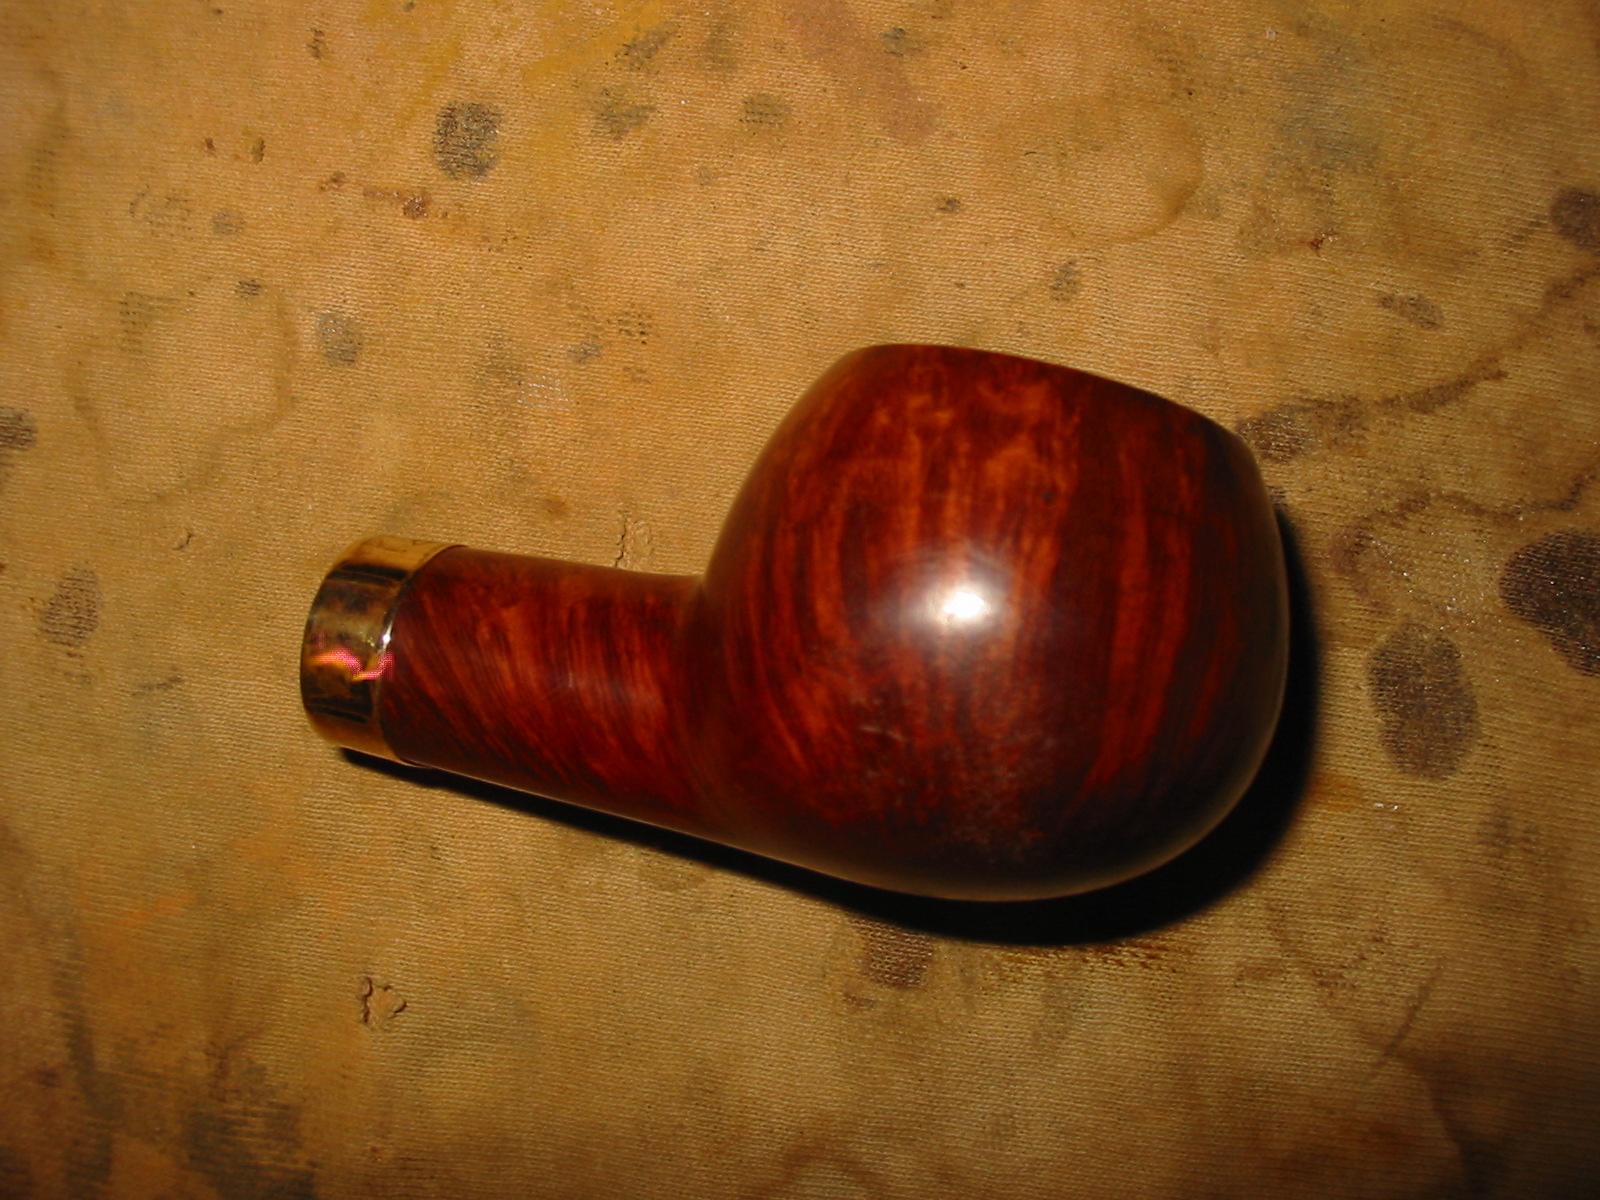
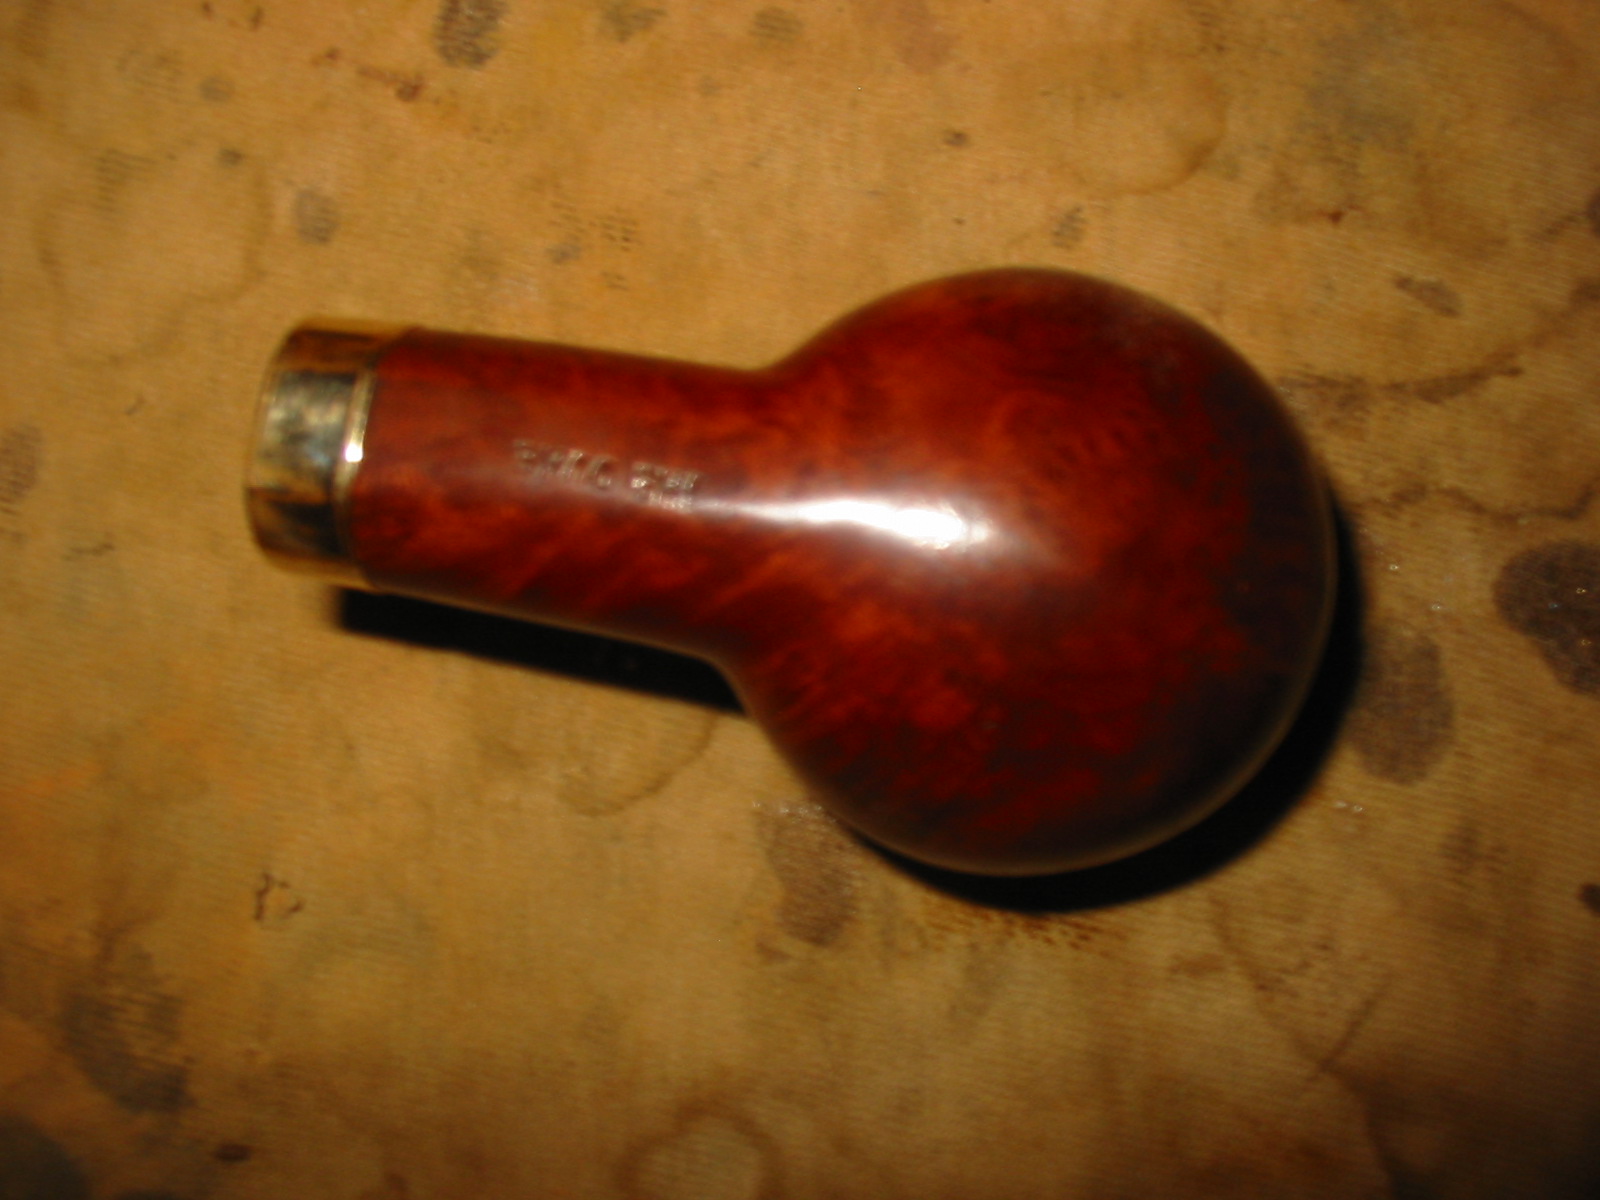
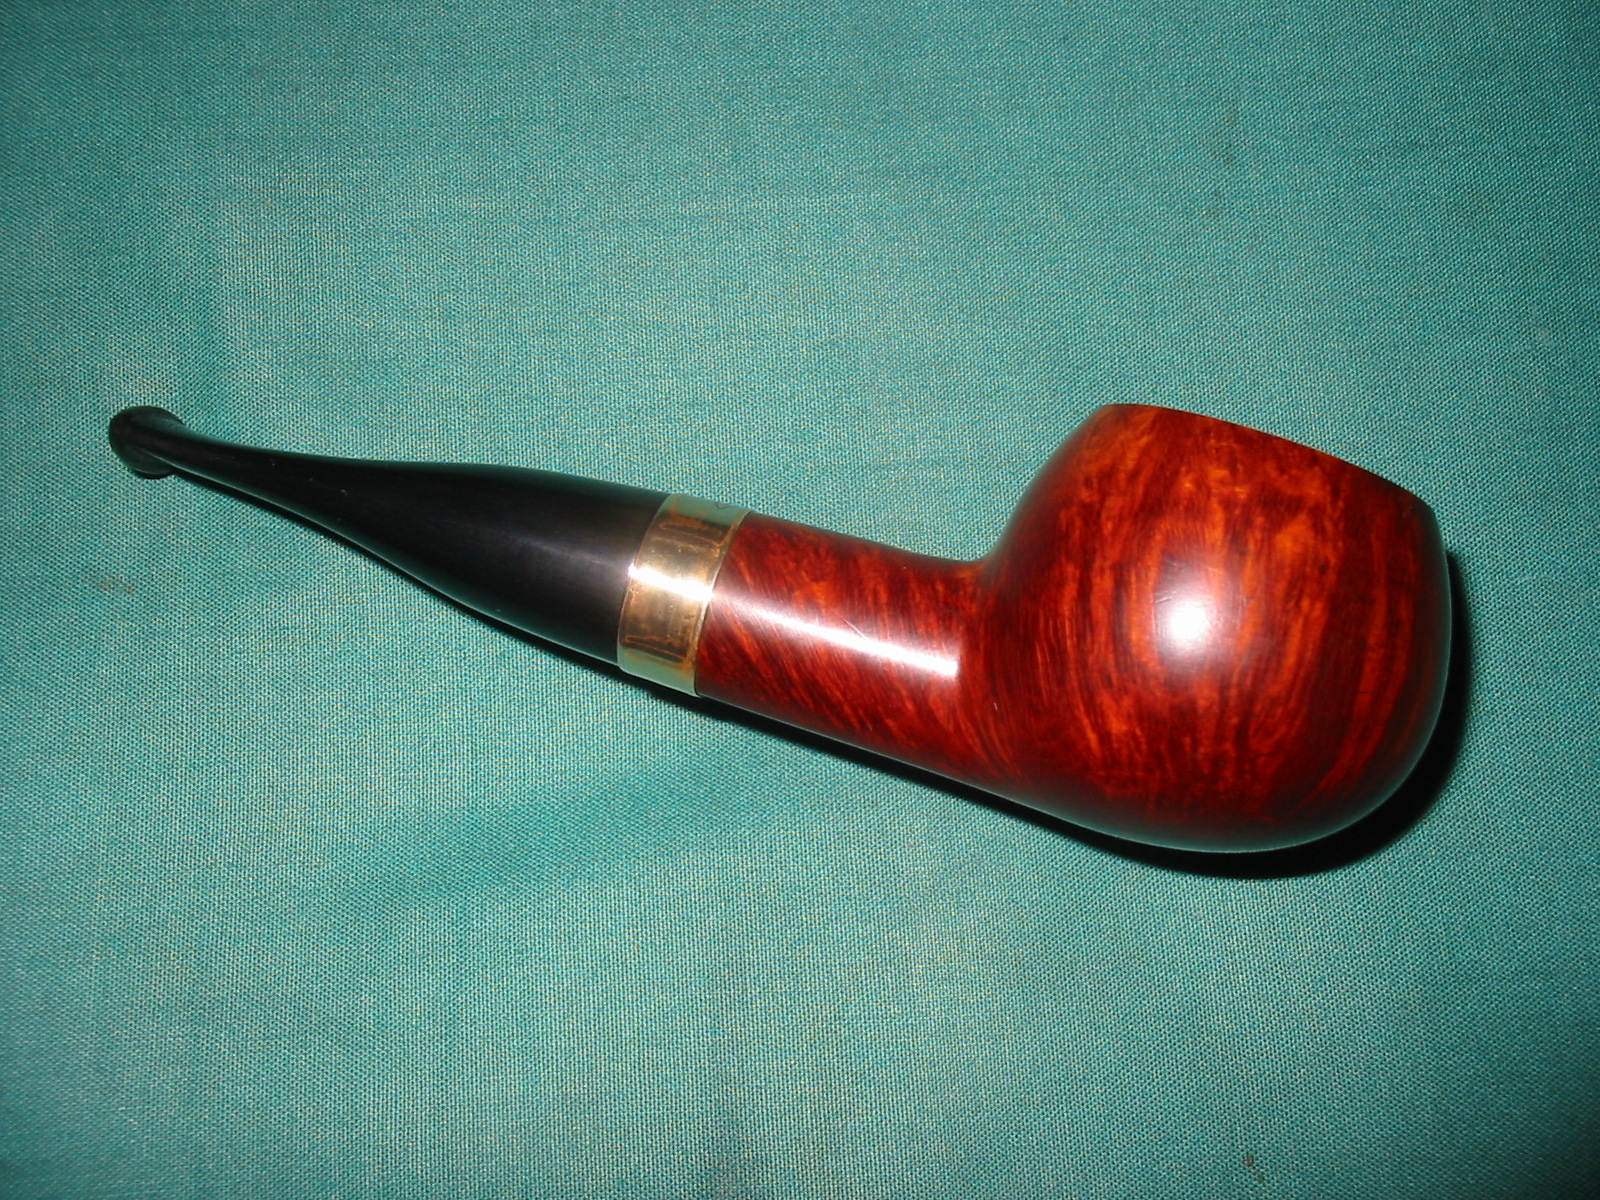
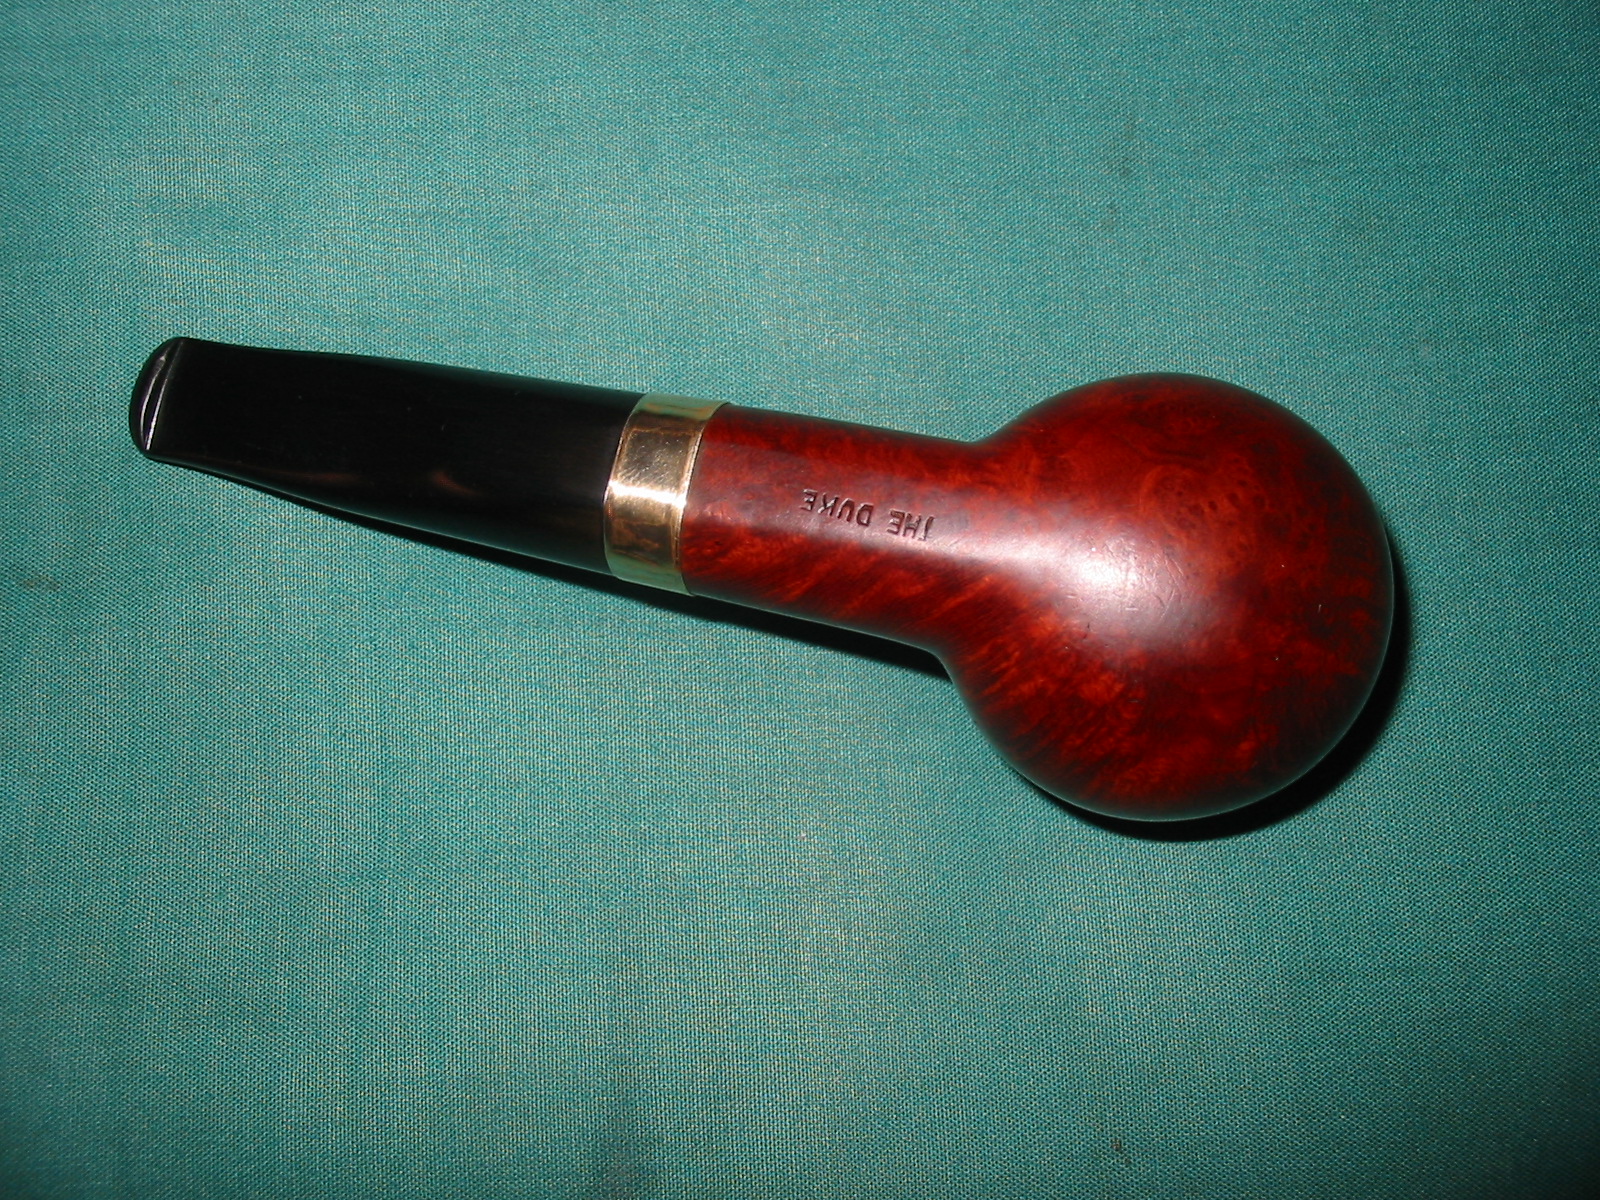
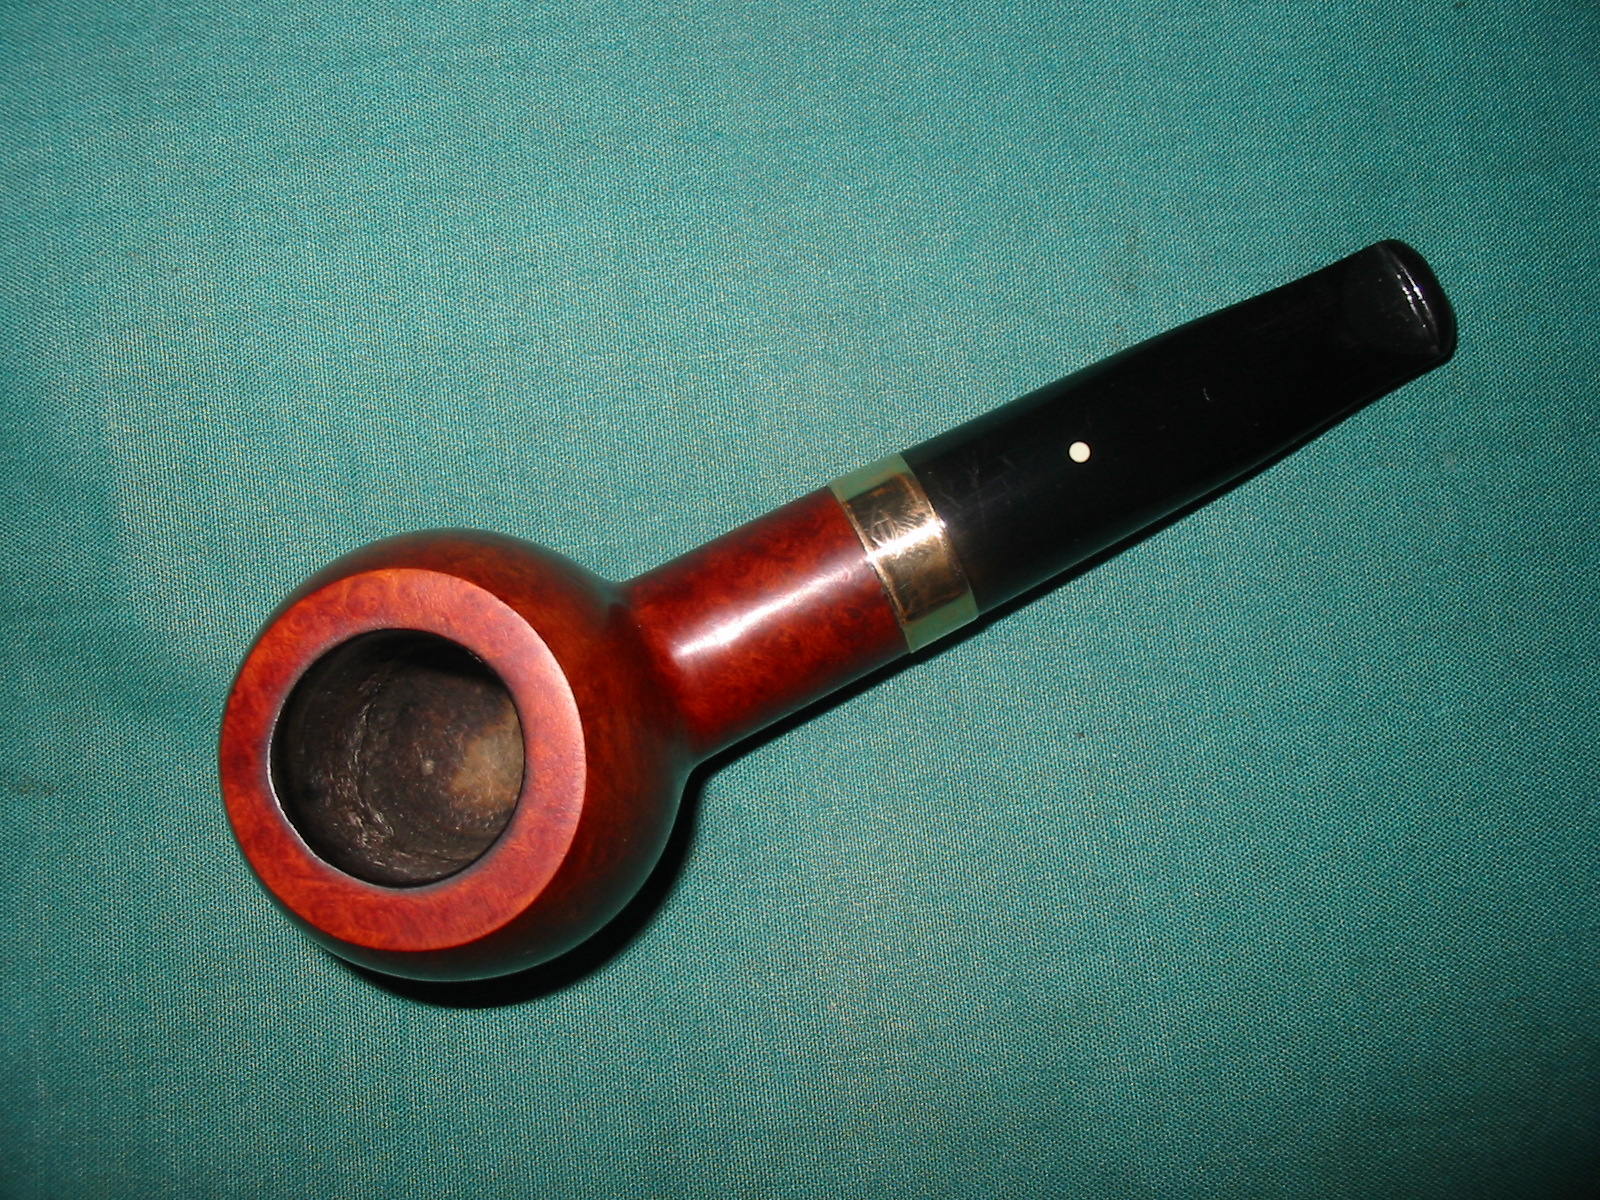
 I put the stem back in the shank and buffed the entire pipe with carnauba wax and with a soft flannel buffing pad. The finished pipe is shown below. The first four photos give a close up look at the bowl so that you can appreciate the beautiful grain on the pipe. The last four photos show the pipe in its entirety. It is truly a stunning piece of briar with no fills or pits. It is ready for its inaugural smoke by my son in law. It looks as good as new and the stunning birdseye grain gives the pipe a rich look. I look forward to hearing what he thinks of his restored pipe and even more what he thinks once he has smoked it.
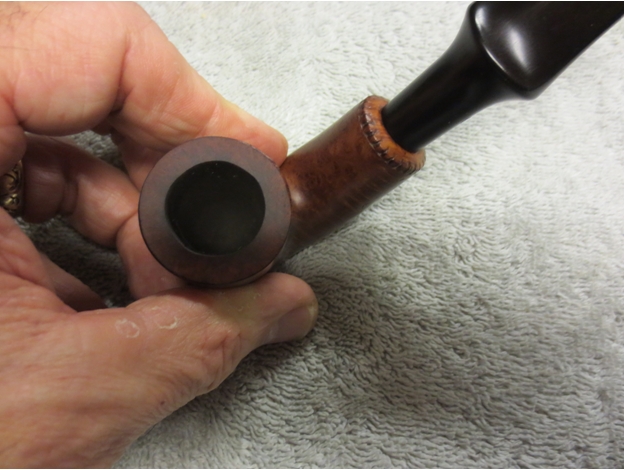


