
Blog by Steve Laug
 The next pipe I have chosen from Bob Kerr’s Estate is a B. Barling & Sons Guinea Grain oval shank apple with a Barling Cross on the top of the stem. It is the first of Bob’s Barlings pipes. (Bob’s photo is to the left). If you have not “met” the man and would like to read a bit of the history of the pipeman, his daughter has written a great tribute that is worth a read. Because I have included it in most of the restorations of the estate to date I thought that I would leave it out this time. Check out some of the recent Dunhill restoration blogs (https://rebornpipes.com/2020/01/01/restoring-the-last-of-bob-kerrs-dunhills-a-1962-dunhill-bruyere-656-f-t-bent-billiard/).
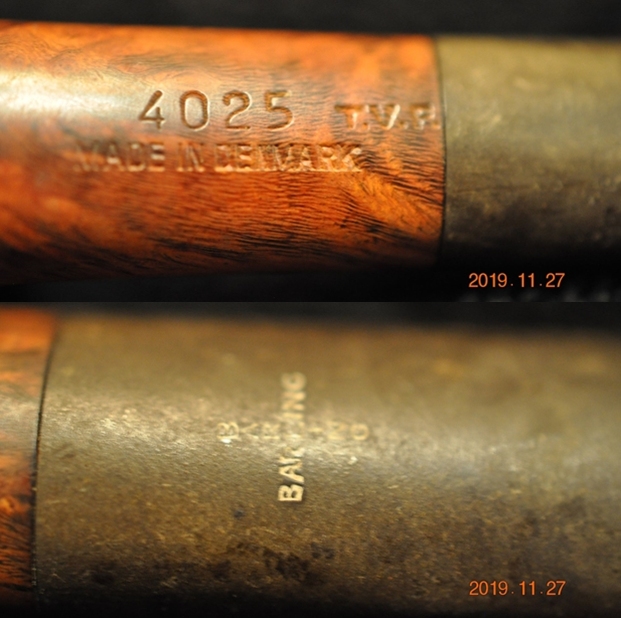
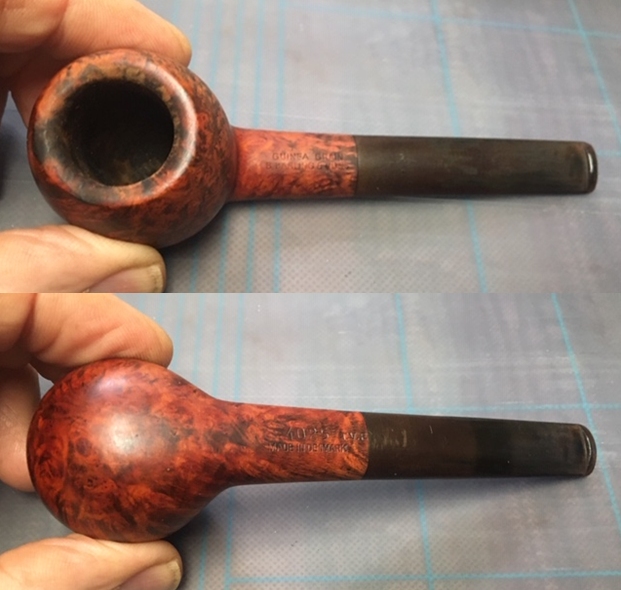
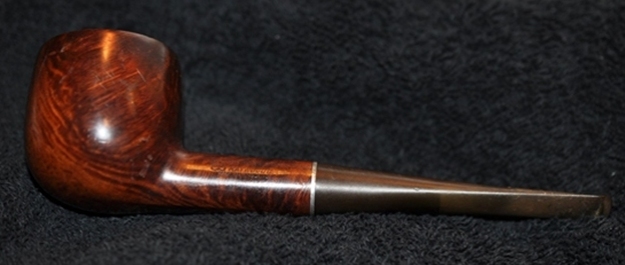
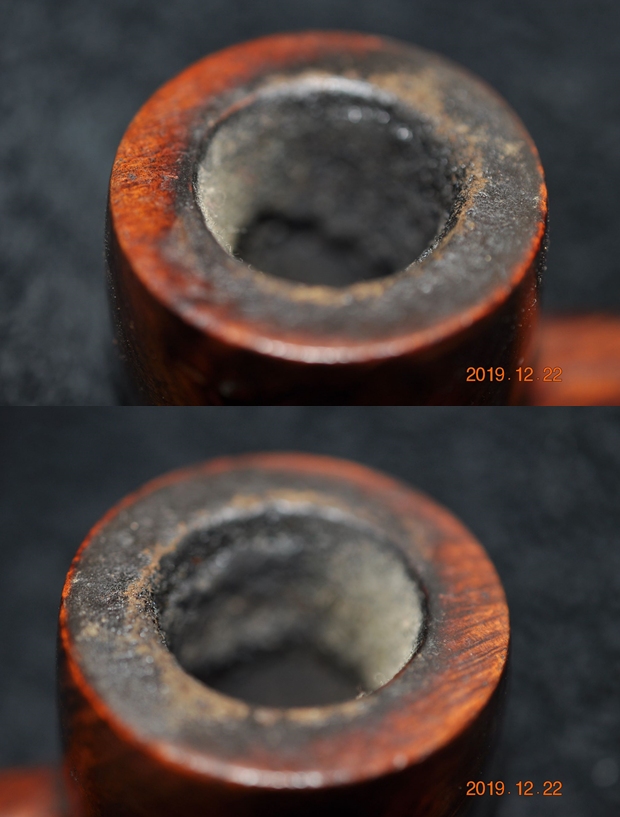
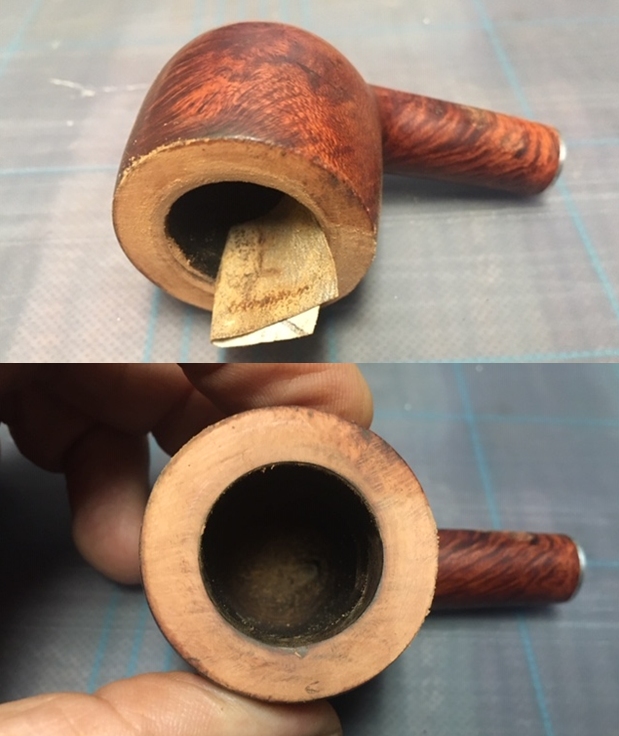
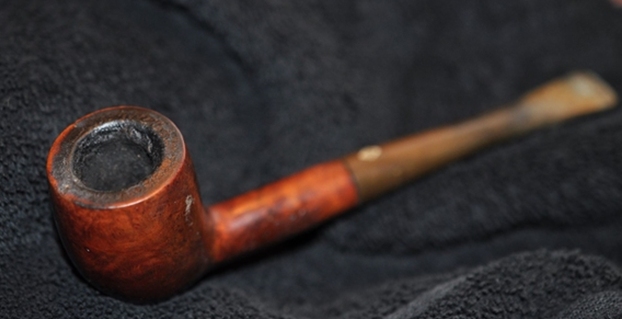
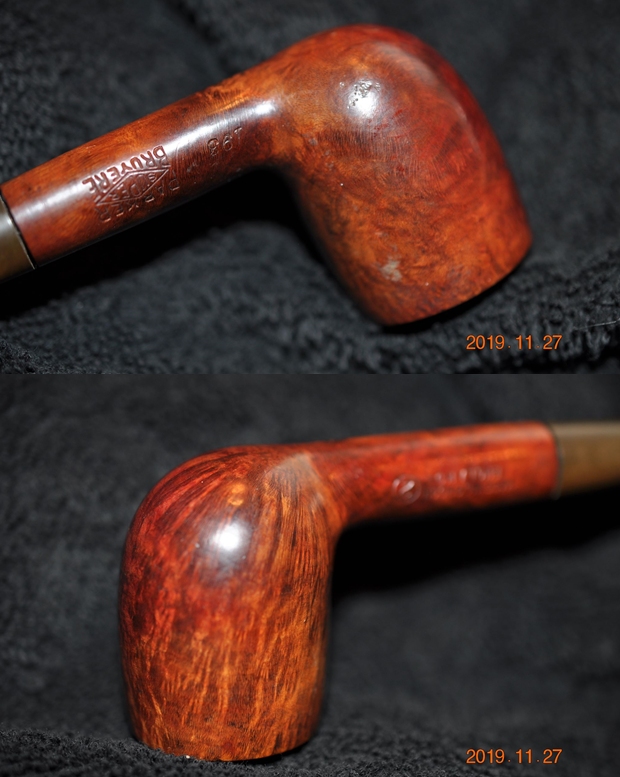
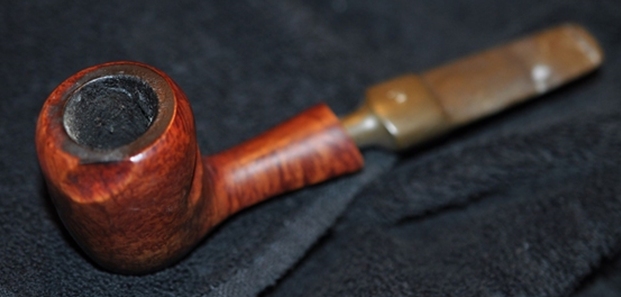
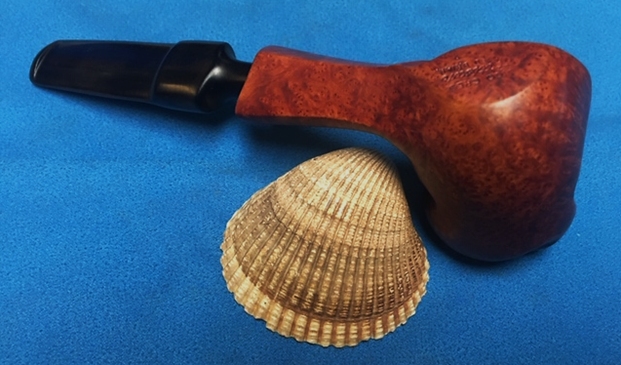
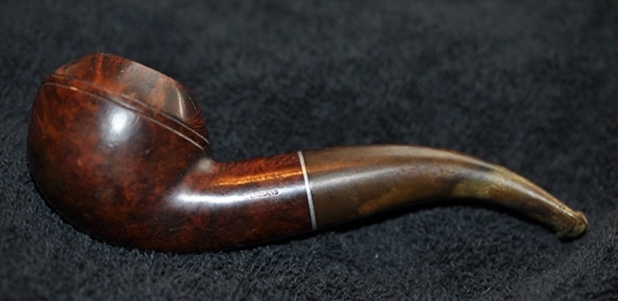
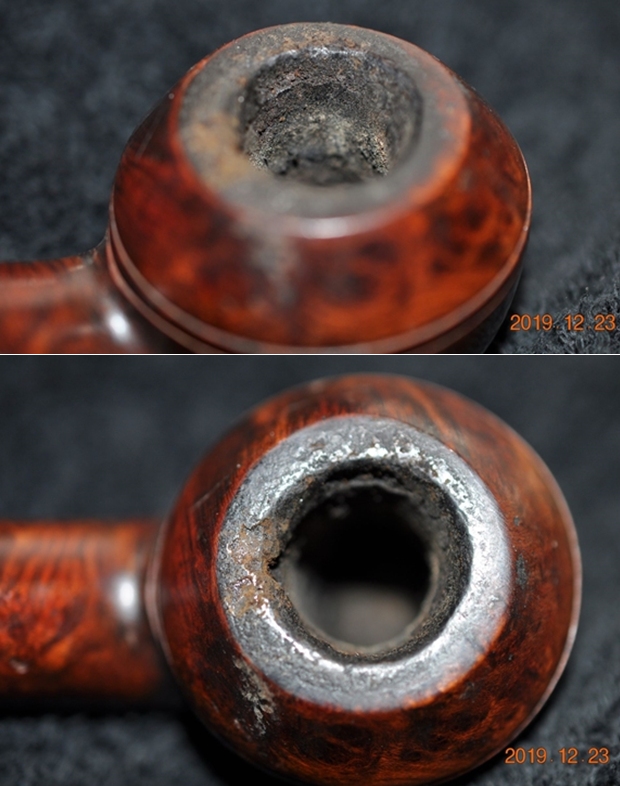
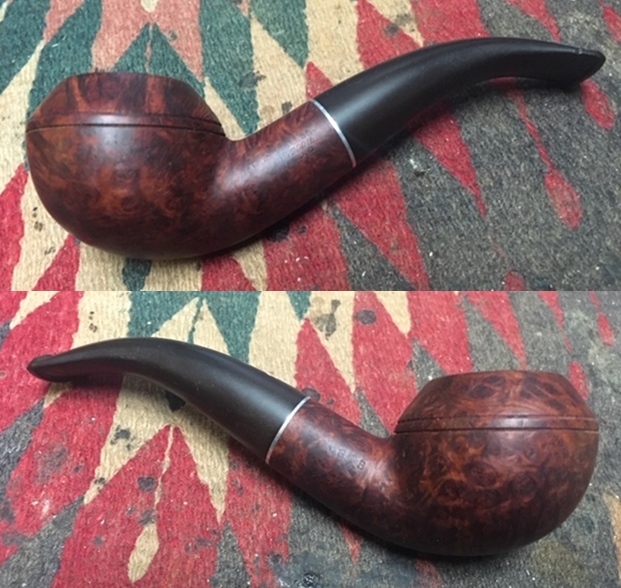
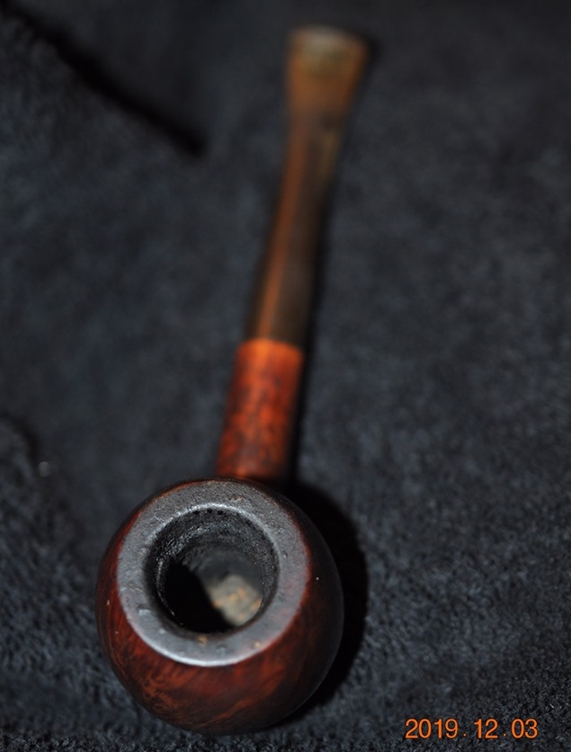
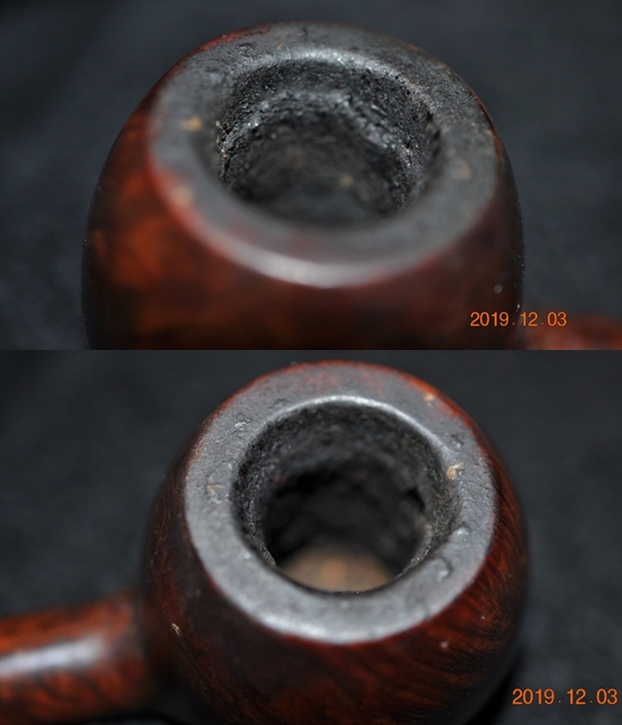
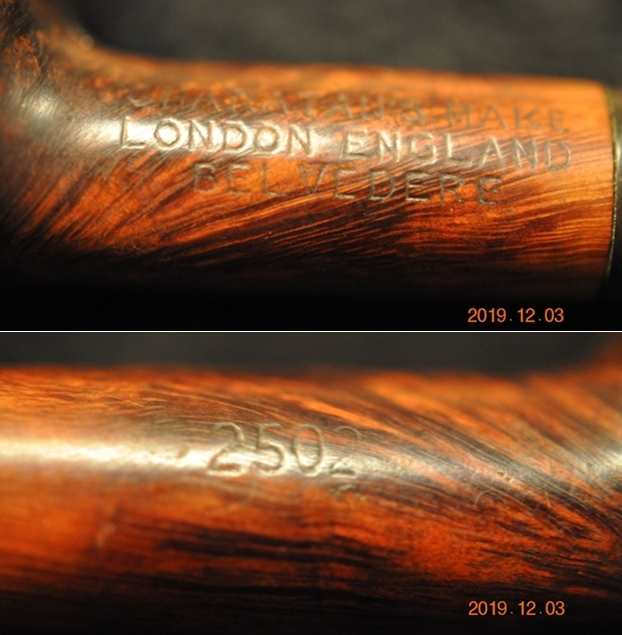
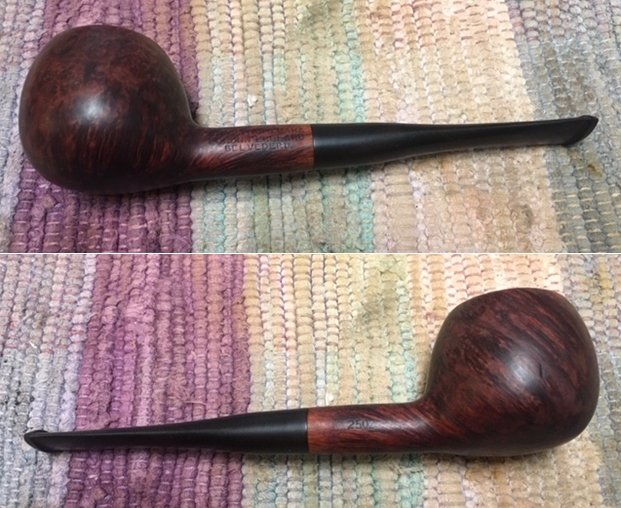
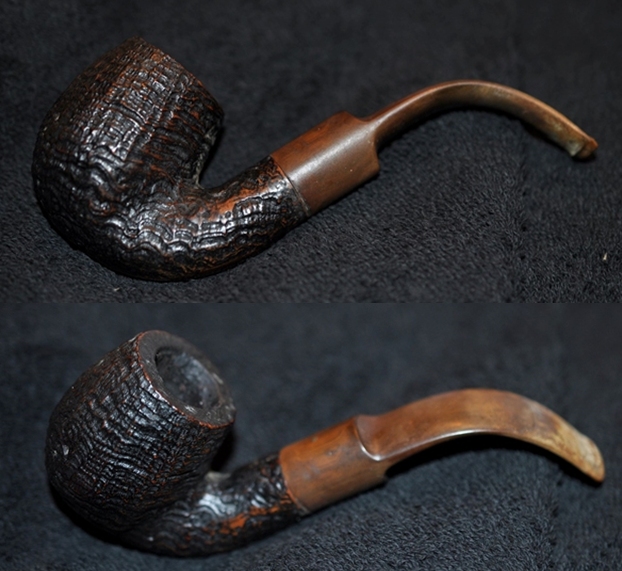
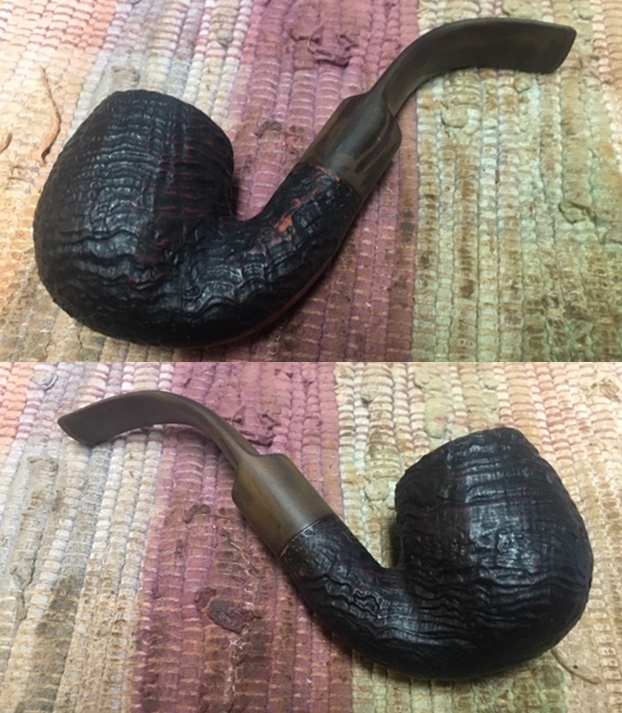
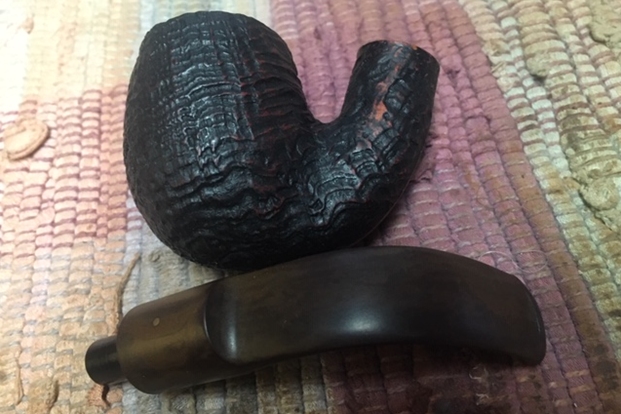
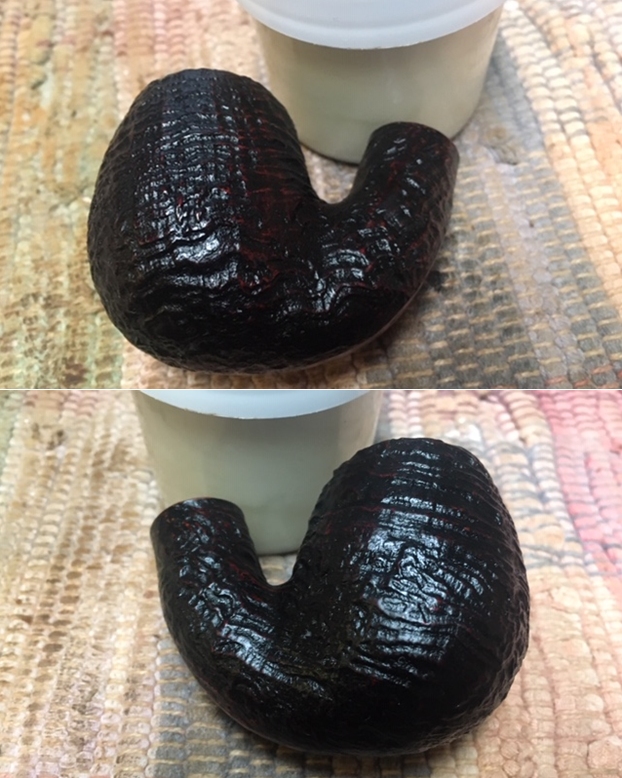
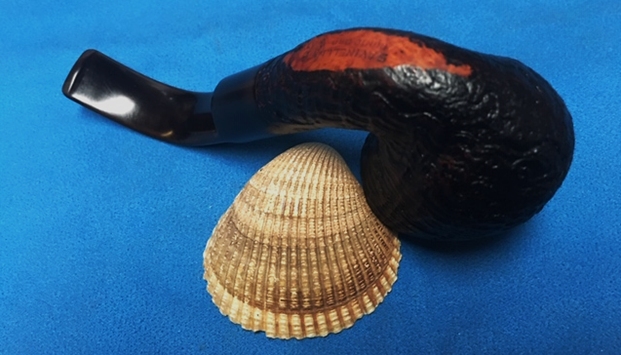
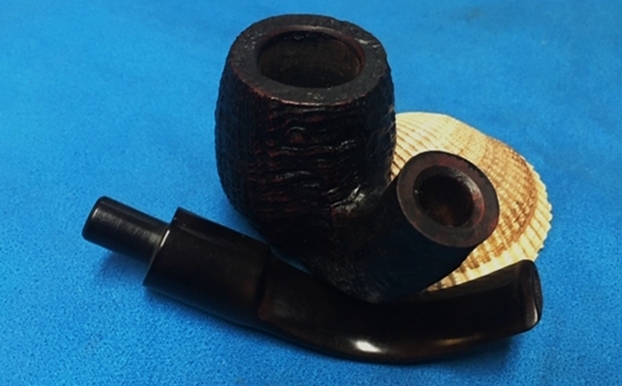
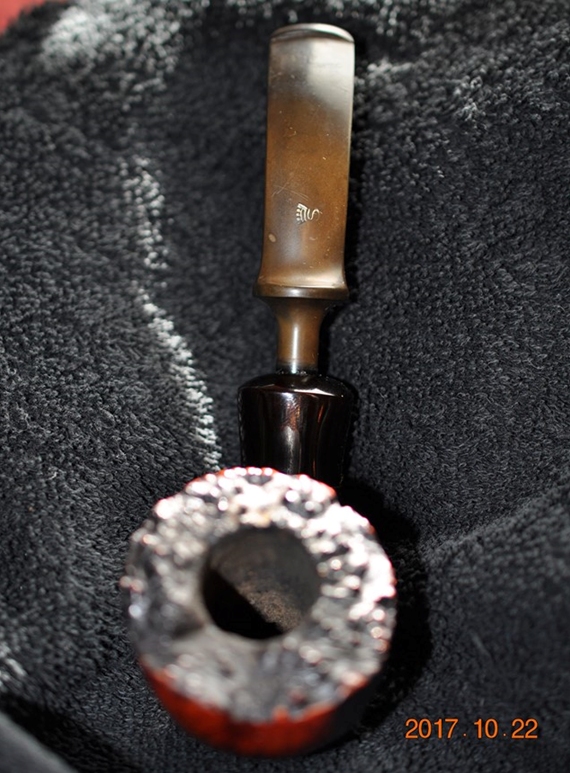
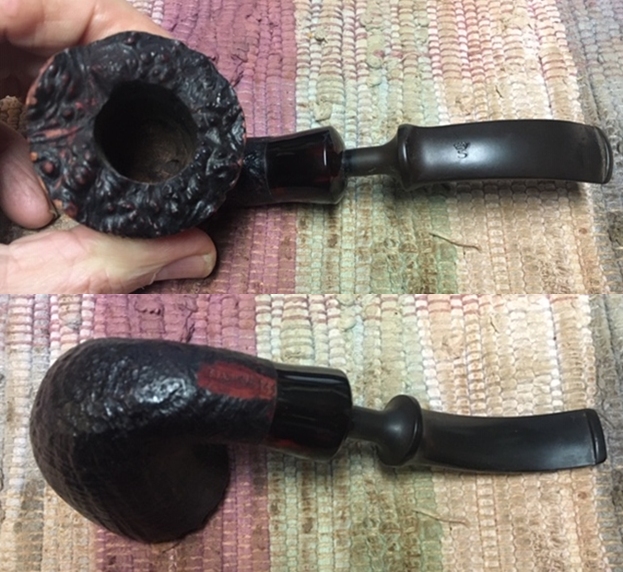
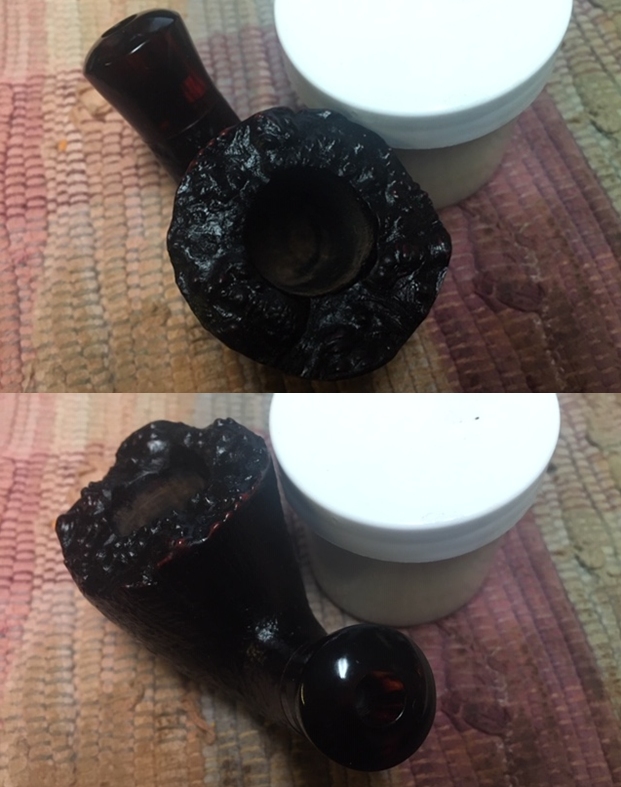
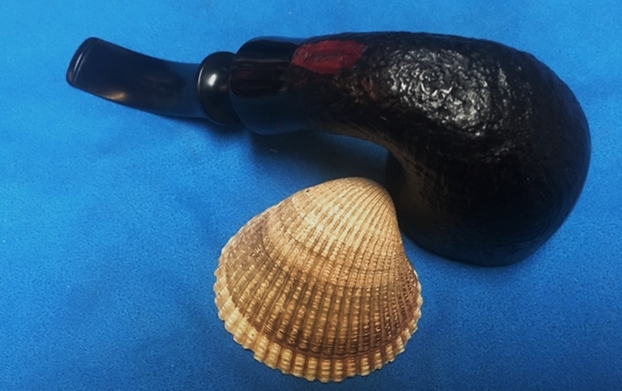
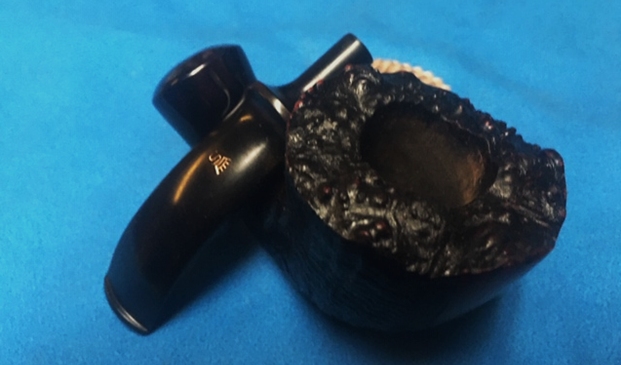
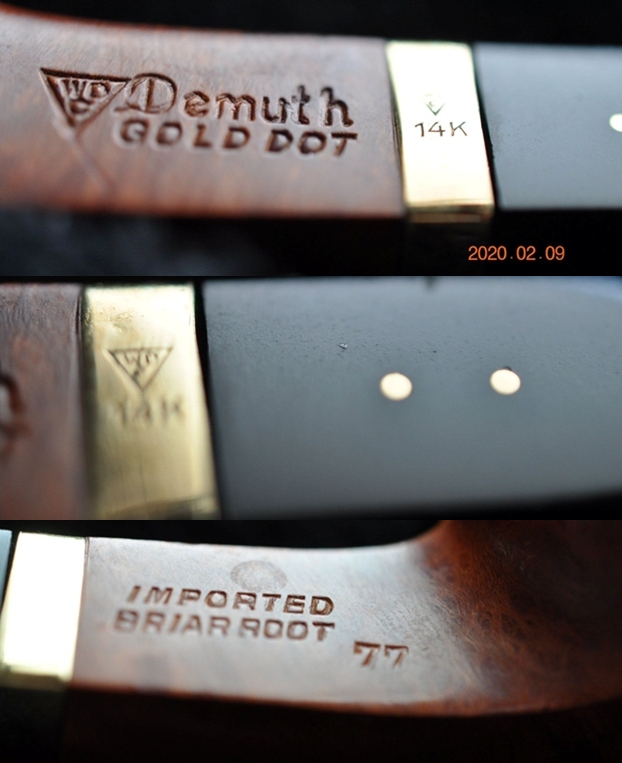
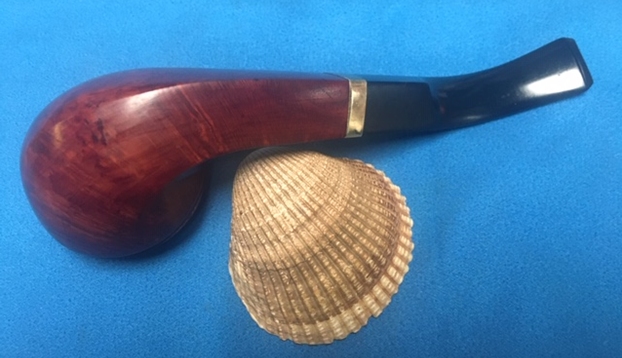
This Apple is stamped Guinea Grain [over] B. Barling & Sons on the top side of the stem. On the underside it is stamped with the number 4025 T.V.F. [over] Made in Denmark. The tapered oval stem had a Barlings Cross on the top. The stem is oxidized, calcified and has light tooth marks and chatter on both sides near the button. The exterior of the bowl is grimy and dirty. There is a thick cake and lava overflow on the rim top. It is thick enough that it is hard to know if there is any damage on top and edges. Jeff took photos of the pipe to show its general condition before he did his cleanup. 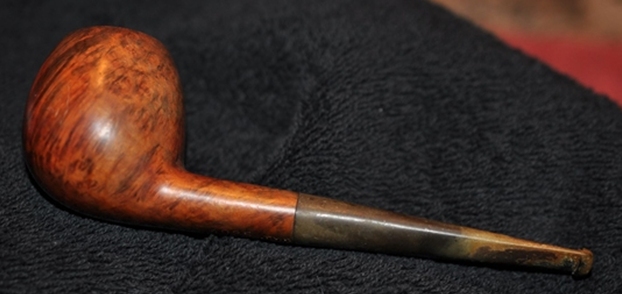
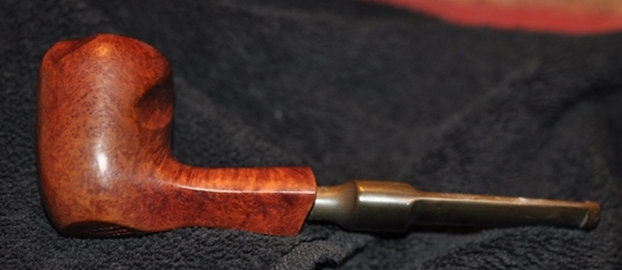
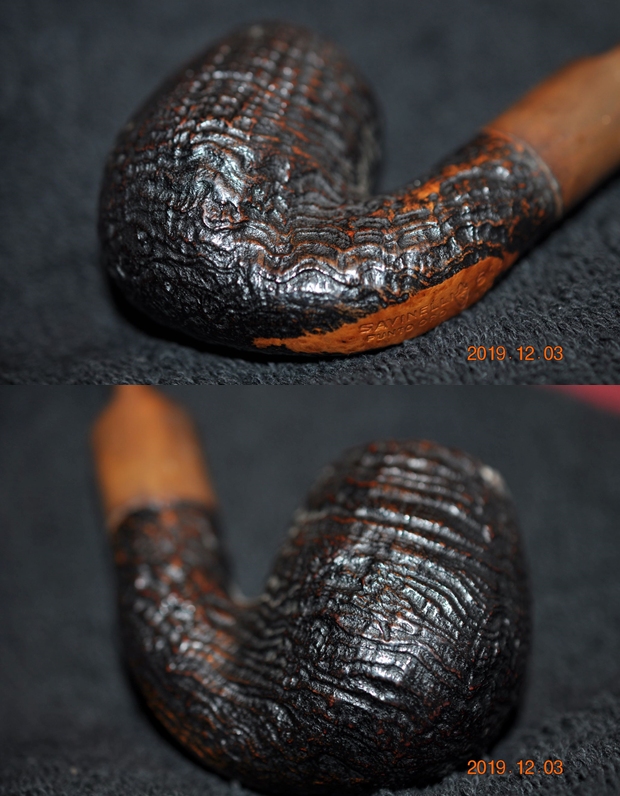
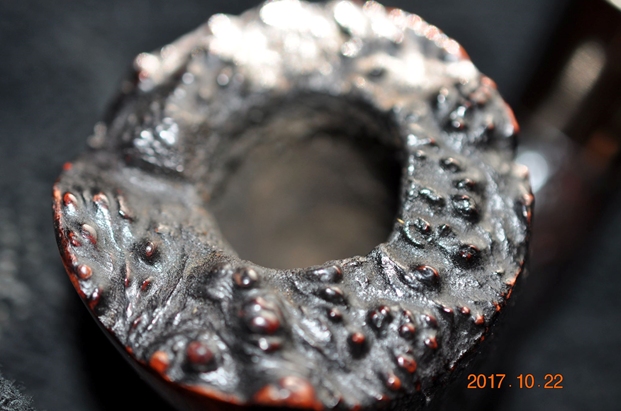
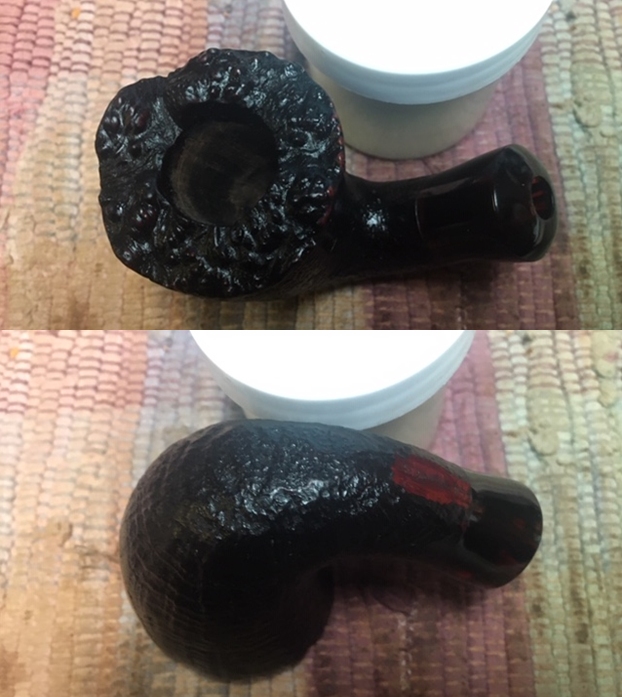
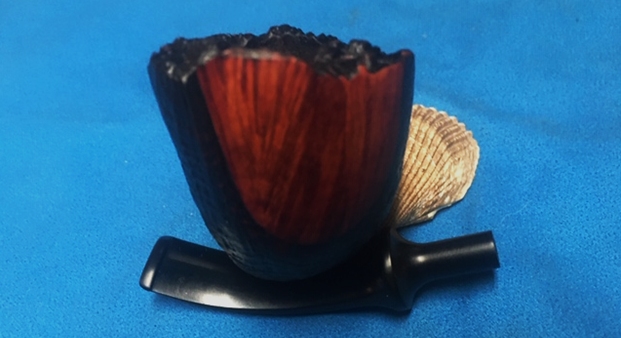
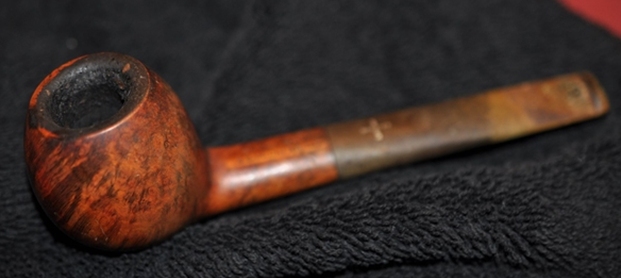 The exterior of the pipe was very dirty – grime and grit ground in from years of use and sitting. The rim top was covered with a coat of thick lava that overflowed the bowl. There was also some darkening on the rim top and inner edge of the bowl as well as a burn mark on the top front of the bowl. The bowl itself had a thick cake with flecks of tobacco stuck in the cake on the sides.
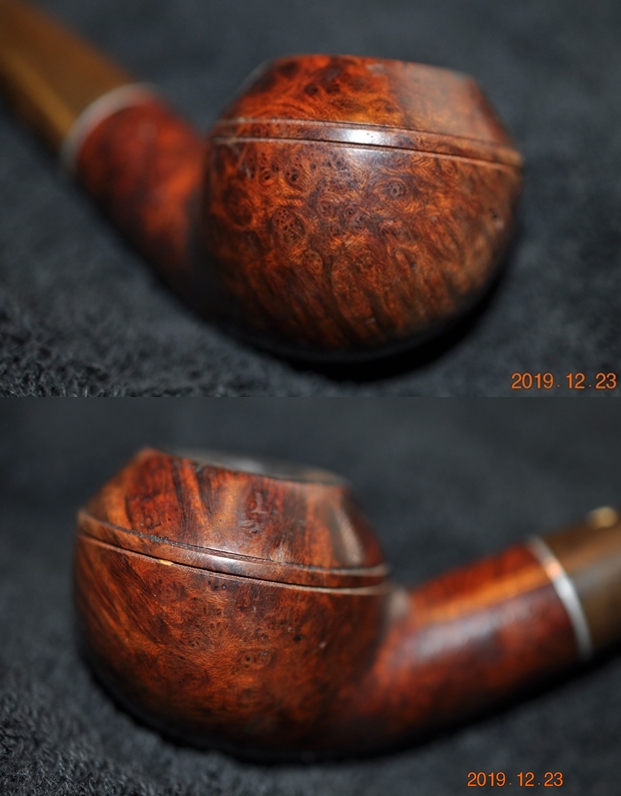
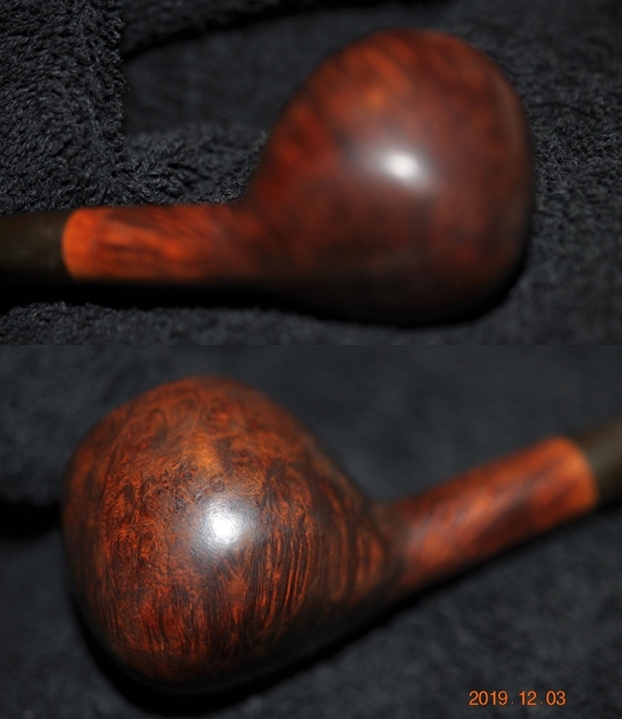
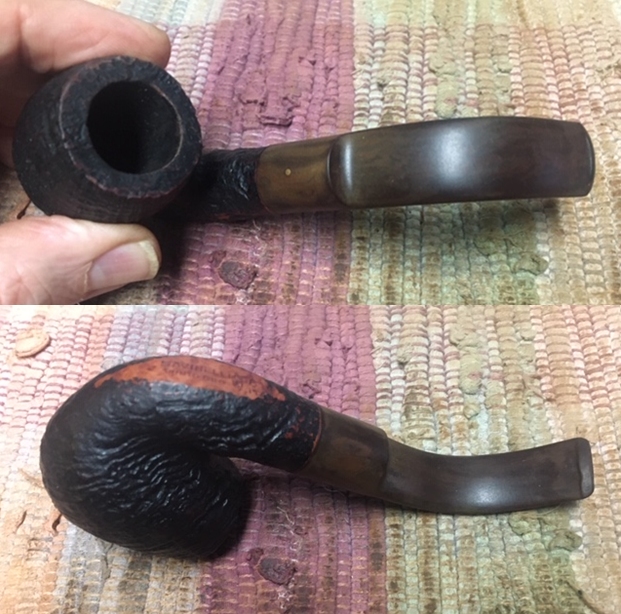
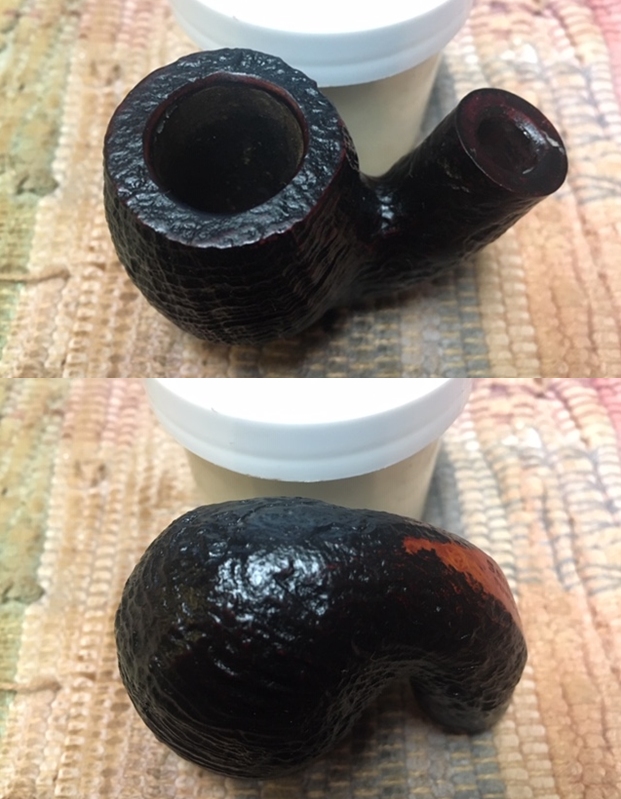
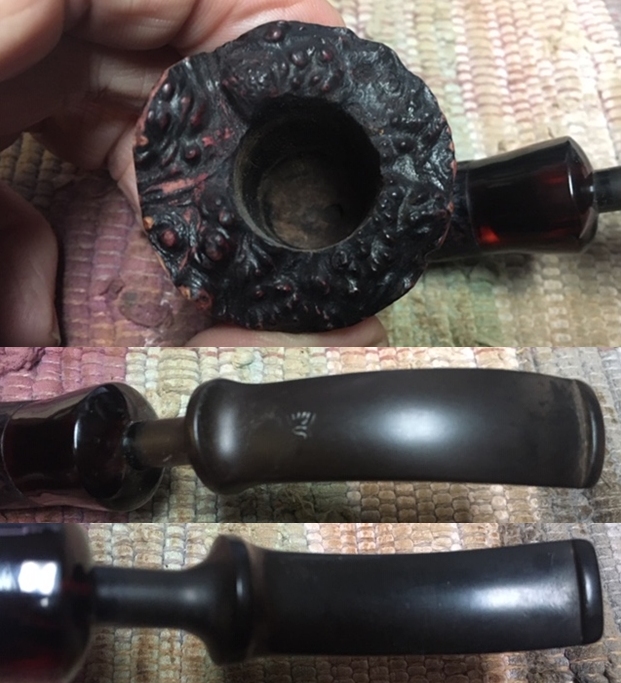
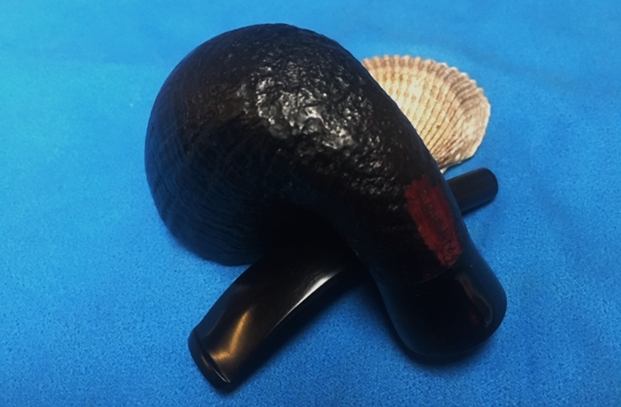
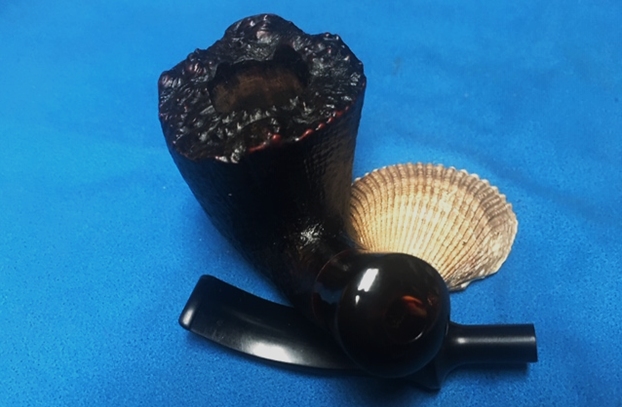
 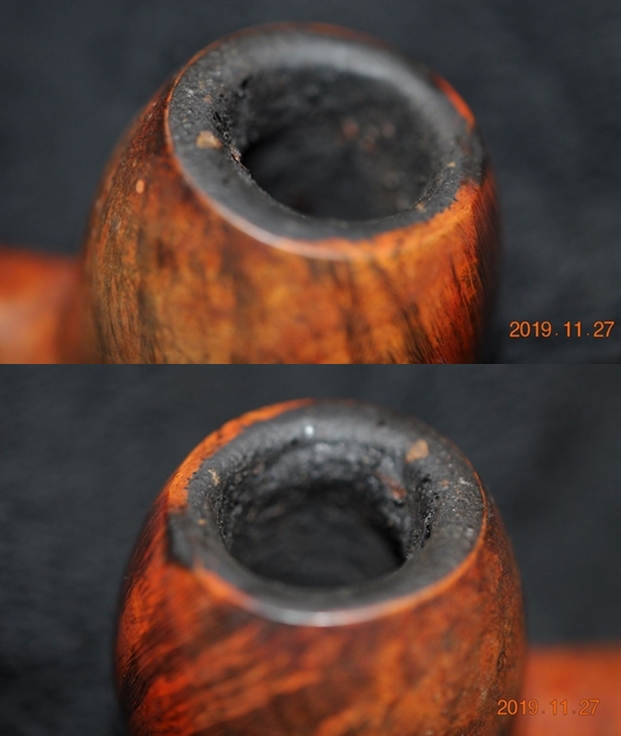 Jeff took photos of the sides and the heel of the bowl to give a better feel for the condition of the bowl.
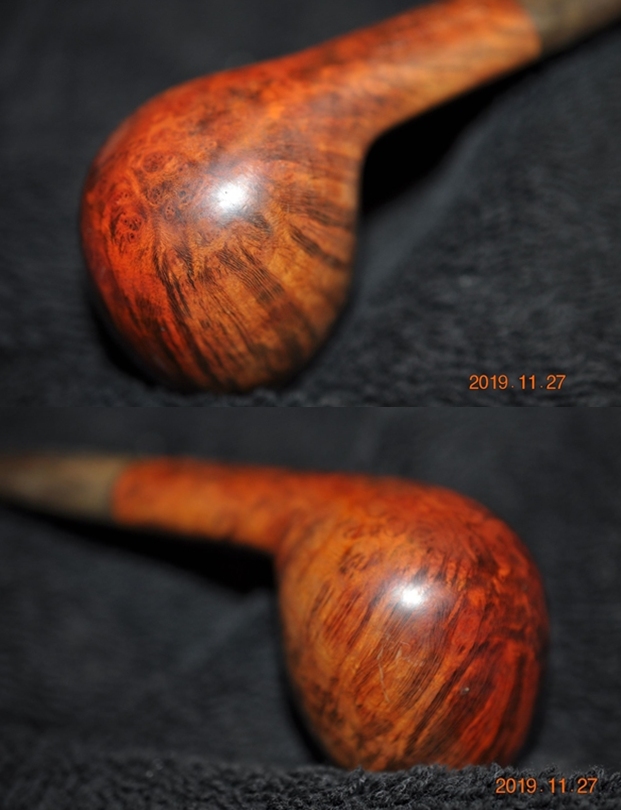
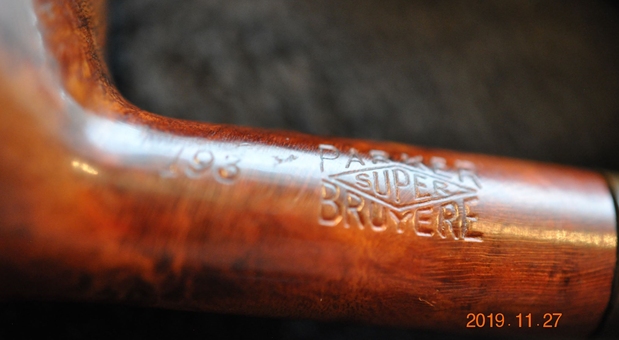
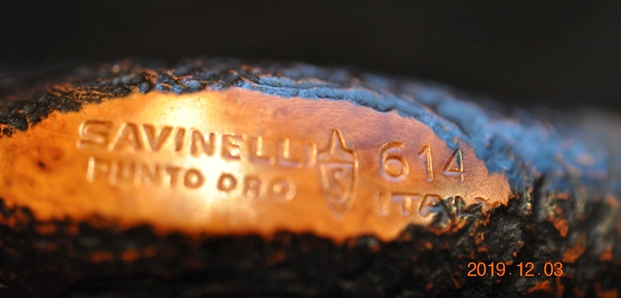
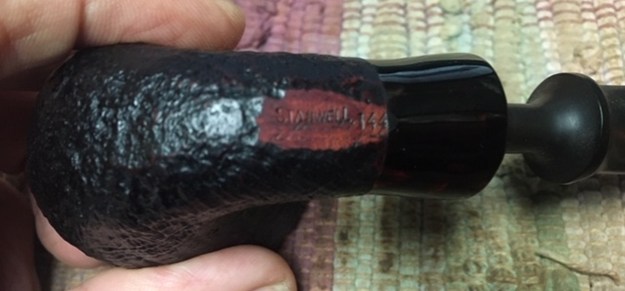
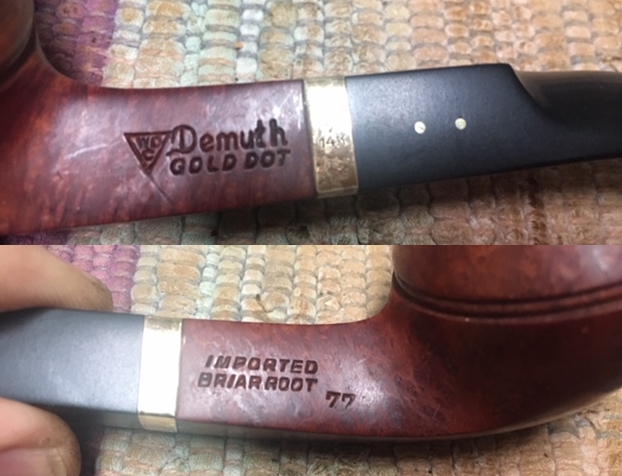
 The next photos show the stamping on the sides of the shank and it is very readable. It reads as noted above.
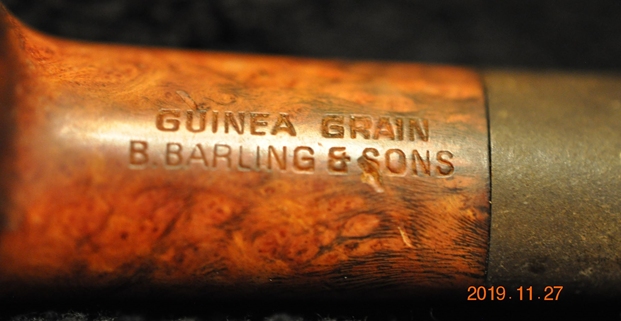
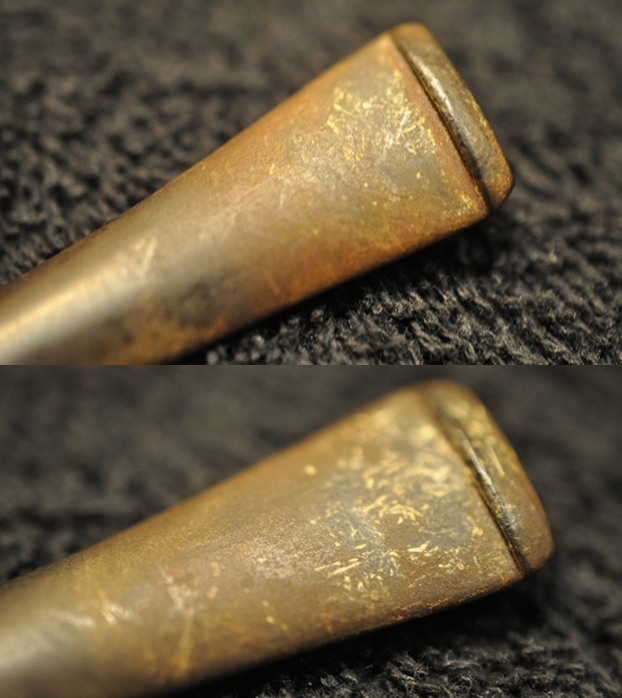
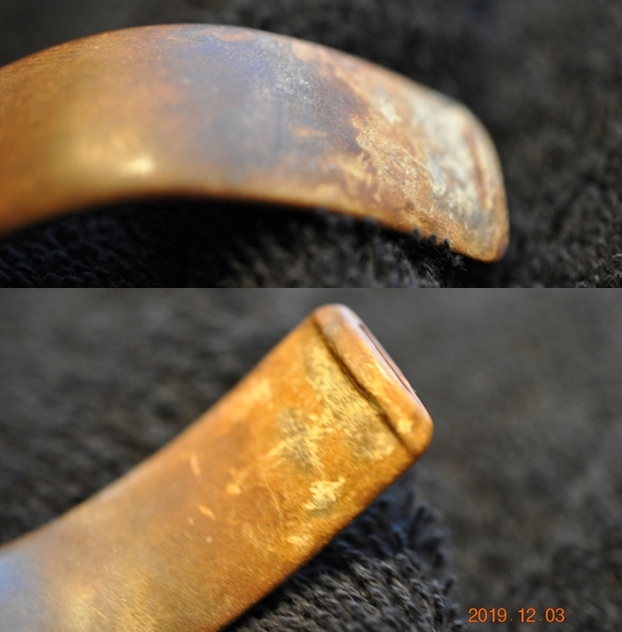
 The stem was dirty and extremely oxidized, calcified and had tooth marks on both sides ahead of the button. It was not nearly as chewed the other pipes in Bob’s estate.
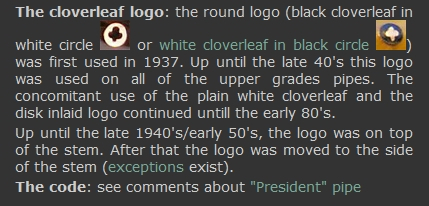
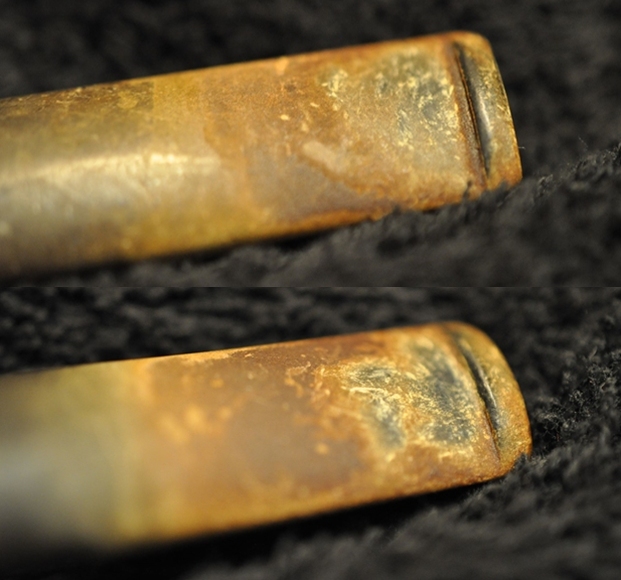 Before doing cleanup work on the pipe I decided to do some research on the pipe. I looked first on the Pipephil website and found some information on the B. Barling & Sons Guinea Grain, Made in Denmark 4025 with an oval tapered stem. (http://www.pipephil.eu/logos/en/logo-barling.html#modernguineagrain). I did a screen capture of the section on the brand that fits the pipe I am working on.
 The pipe is identified as a Modern Guinea Grain and is stamped the same as the one pictured other than the shape number. It is also noted in a memo there as Post-Transition Period.
I turned to Pipedia (https://pipedia.org/wiki/Barling) and read the section on the rough outline on the history of the brand that links the brand with the English section of the company. I quote:
I’m retaining the terms Transition and Post Transition here because the following information underscores why they’re not useful designations. As stated earlier in this update, the Transition era began in October of 1960 and ended in February of 1963. During the first 20 months of the Transition Era, the pipes that the Barling Company produced under Finlay ownership are indistinguishable from the pipes that the Barling Company produced under Barling ownership. The Barling family continued to manage the company for Finlay. The constants are the quality of the product and family management. The product of the first 20 months of the Transition can’t be identified, so the distinction is meaningless.
I did a search on the stamping “Made in Denmark” and came across a discussion on Pipesmoker Unlimited Forum (http://pipesmokerunlimited.com/archive/index.php/t-5515.html). I quote a section from that forum below:
“By 1970, the range of products had expanded to such an extent that Imperial Tobacco decided to reassign the Barling operation to its Ogden branch. About the same time the two Barling factories at Park Street and Jeffrey Place were closed down and the production of Barling pipes was outsourced to independent pipemakers. After a year or so, operations were transferred to Ogden’s Liverpool factory. Production of Barling pipes was shifted to several Danish firms, amongst them Eric Nording.”
The pipe I am working on is definitely from the Corporate Period which includes the Post transition period. The four digit shape number, the block stamping Guinea Grain and B. Barling & Sons, the T. V.F. (The Very Finest) all point to the pipe being from this time period. The Made in Denmark stamp identifies the pipe as being made around 1970 when Barling pipes were made in Denmark by several Danish firms.
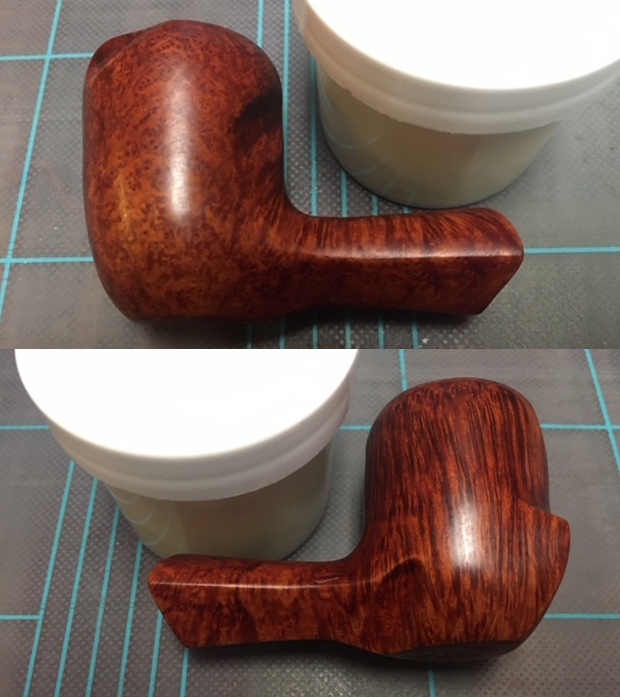
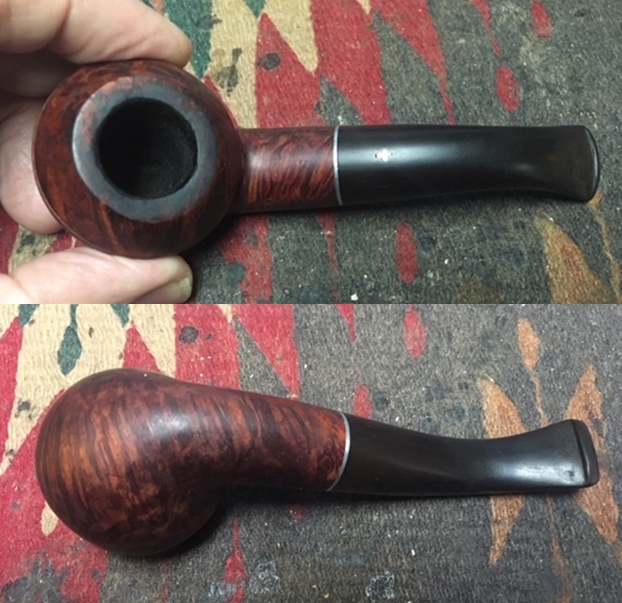
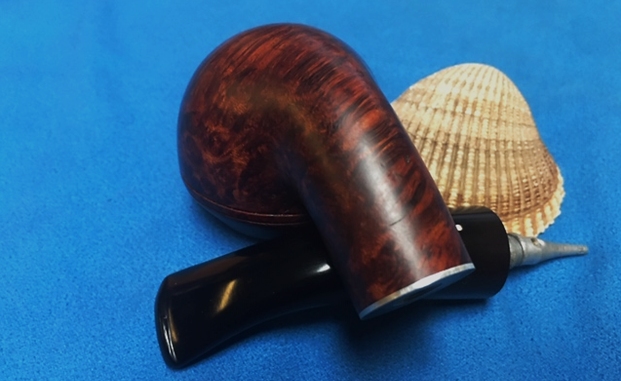
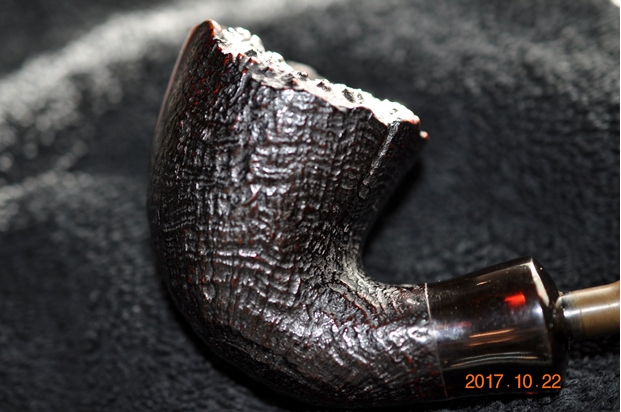
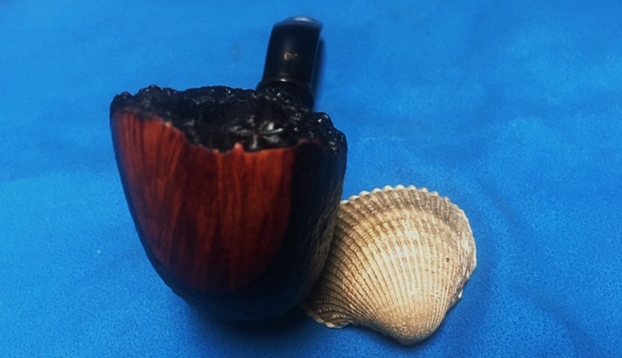
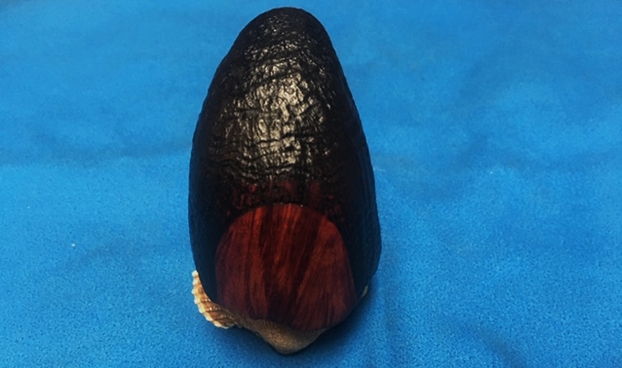
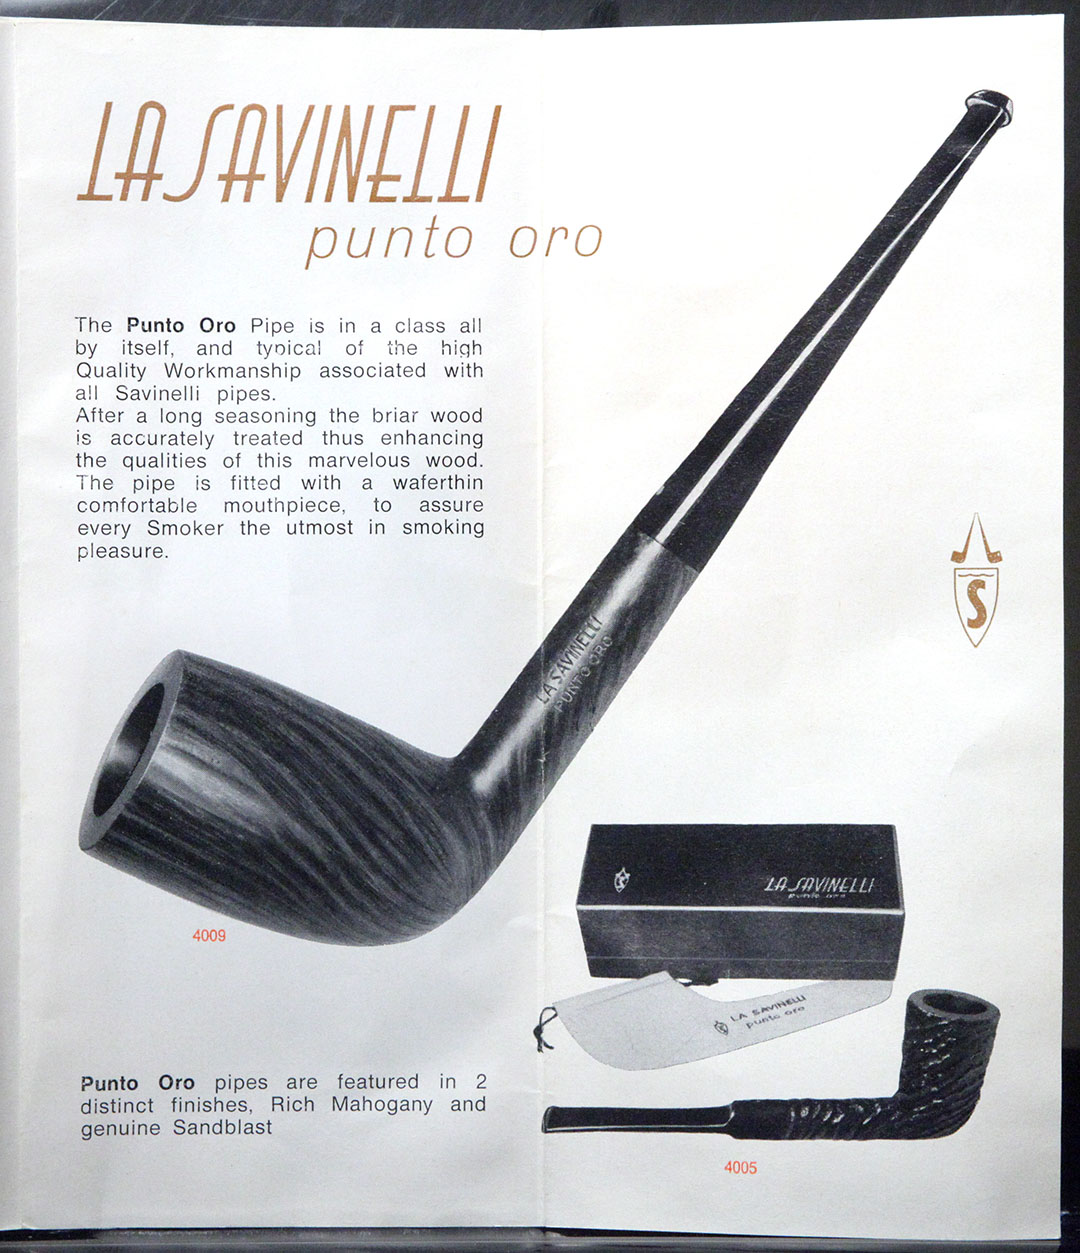
With over 125 pipes to clean from Bob’s estate I took a batch of them to the states with me when I visited and left them with Jeff so he could help me out. Jeff cleaned the pipes with his usual penchant for thoroughness that I really appreciate. Once he finished he shipped them back to me. This one was a real mess and I did not know what to expect when I unwrapped it from his box. He reamed it with a PipNet pipe reamer and cleaned up the reaming with a Savinelli Fitsall Pipe Knife. He scrubbed out the internals with alcohol, pipe cleaners and cotton swabs until the pipe was clean. He scrubbed the exterior of the bowl with Murphy’s Oil Soap and a tooth brush to remove the grime and grit on the briar and the lava on the rim top. The finish looks very good with good looking grain around the bowl and shank. Jeff scrubbed it with Soft Scrub and soaked it in Before & After Deoxidizer to remove the oxidation on the rubber. When the pipe arrived here in Vancouver for the second stop of its restoration tour it looked a lot better. I took photos before I started my part of the work. 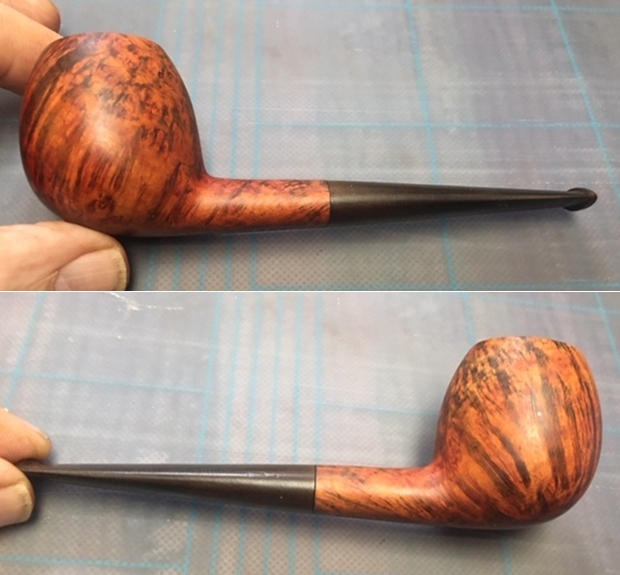
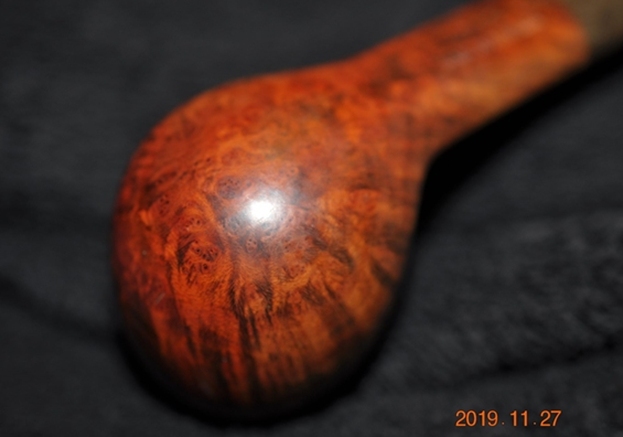
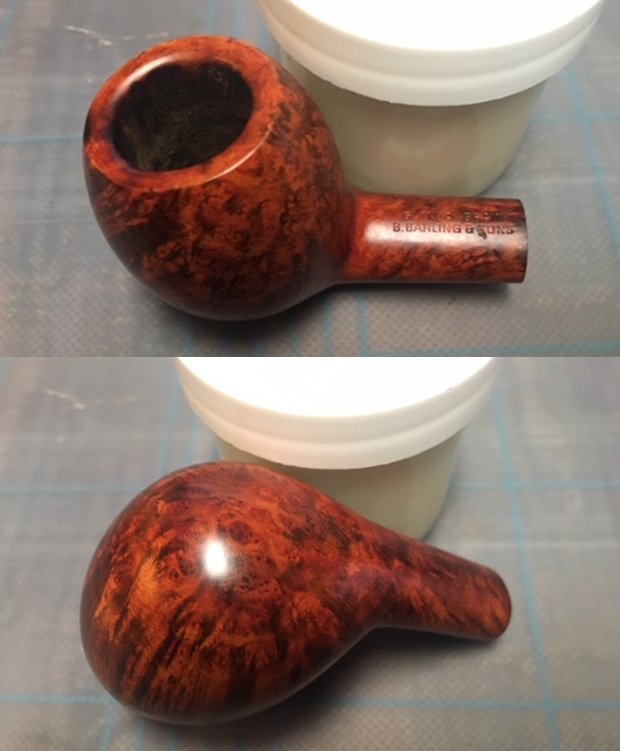
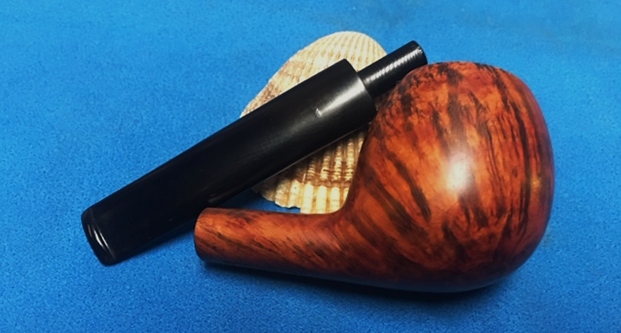
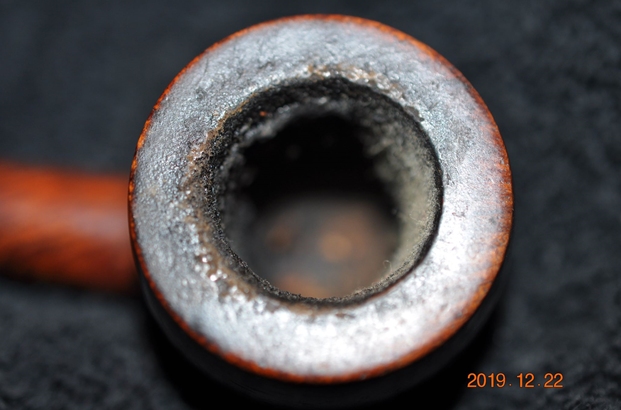
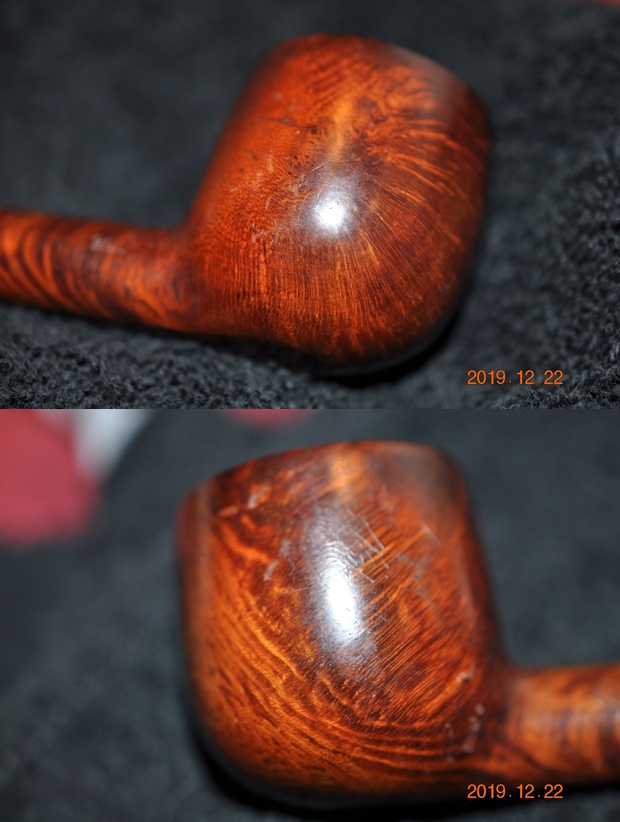
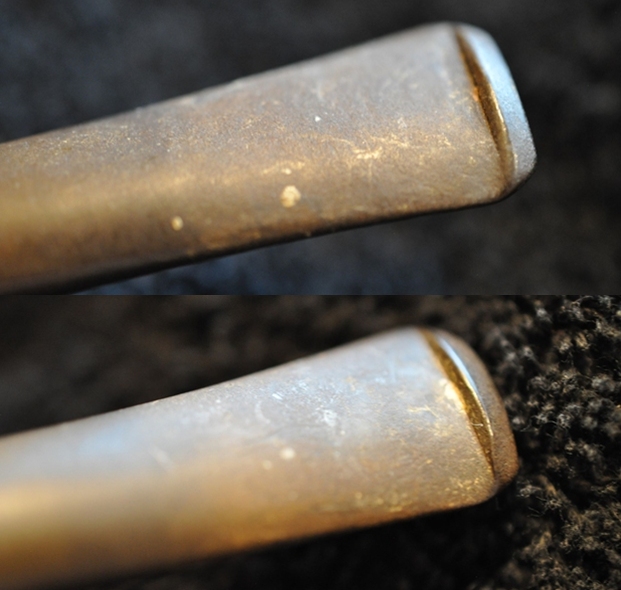
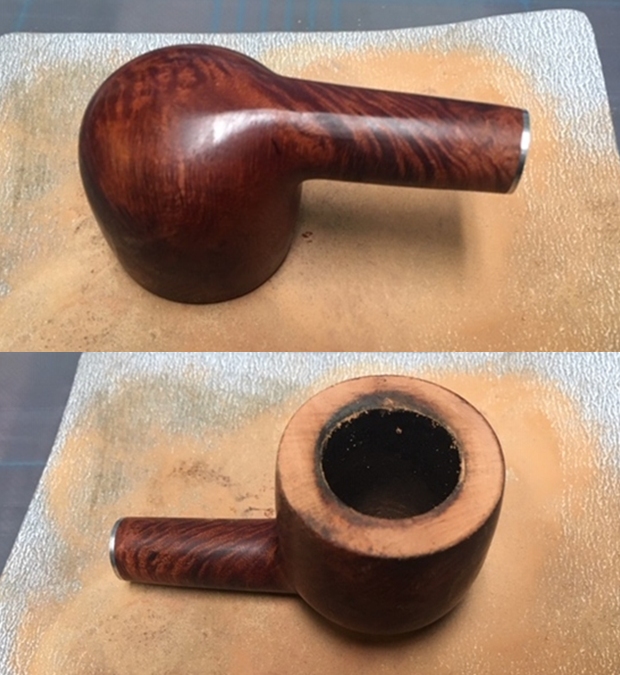
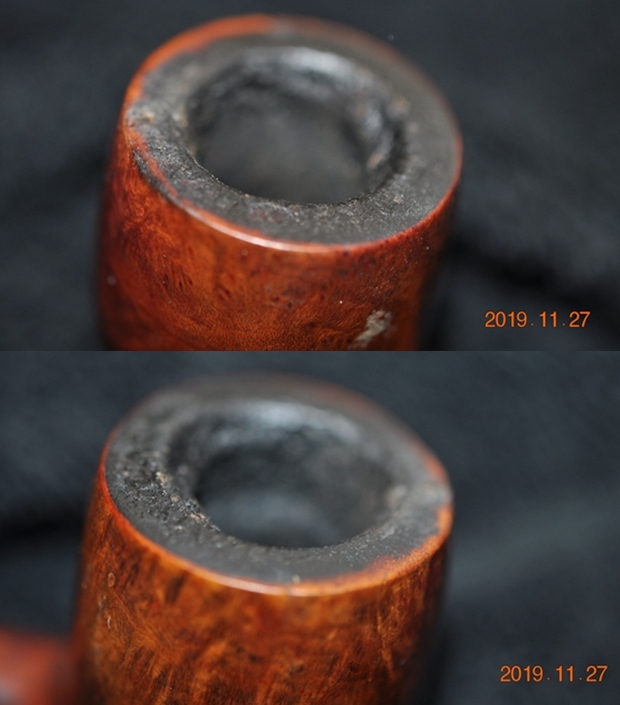
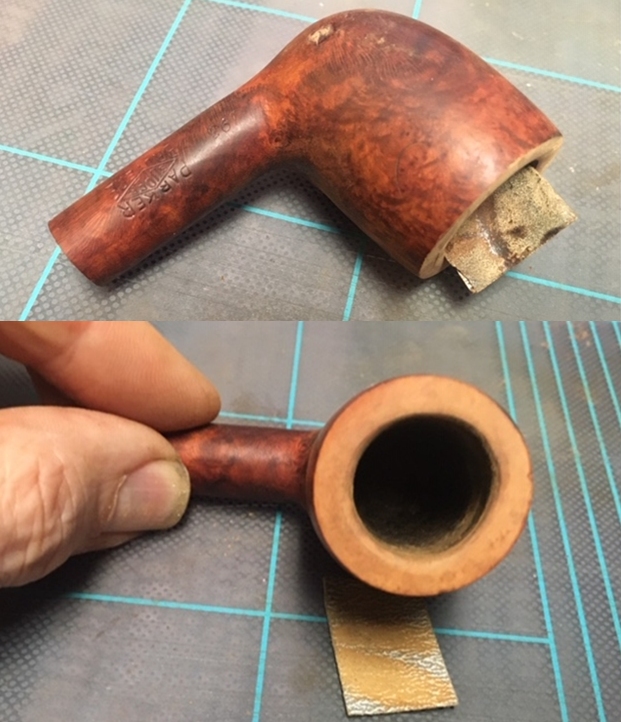
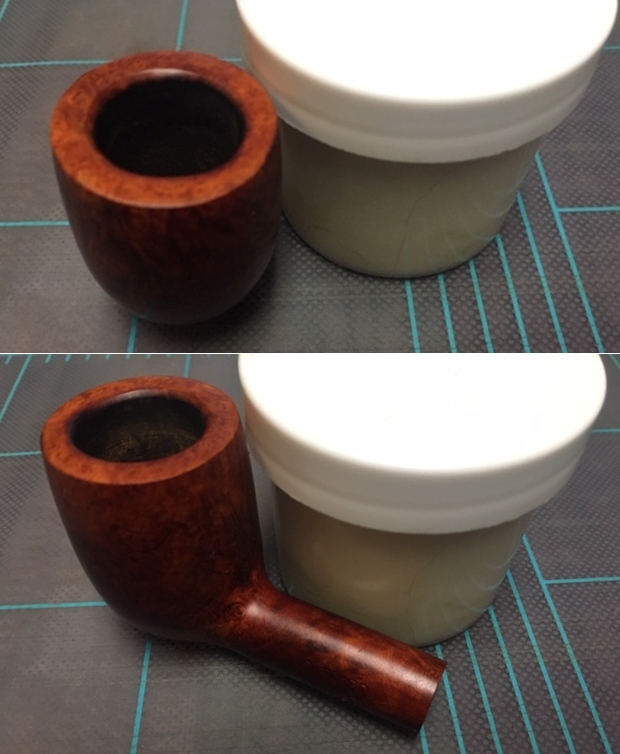
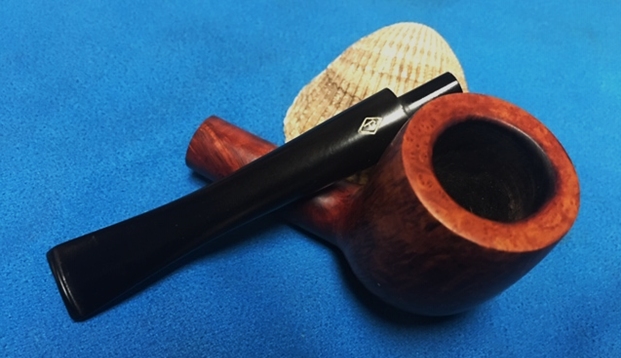
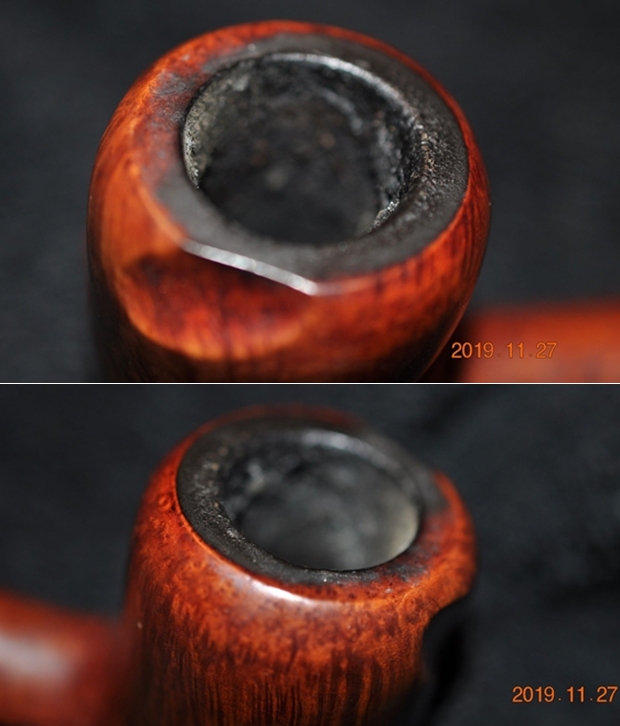
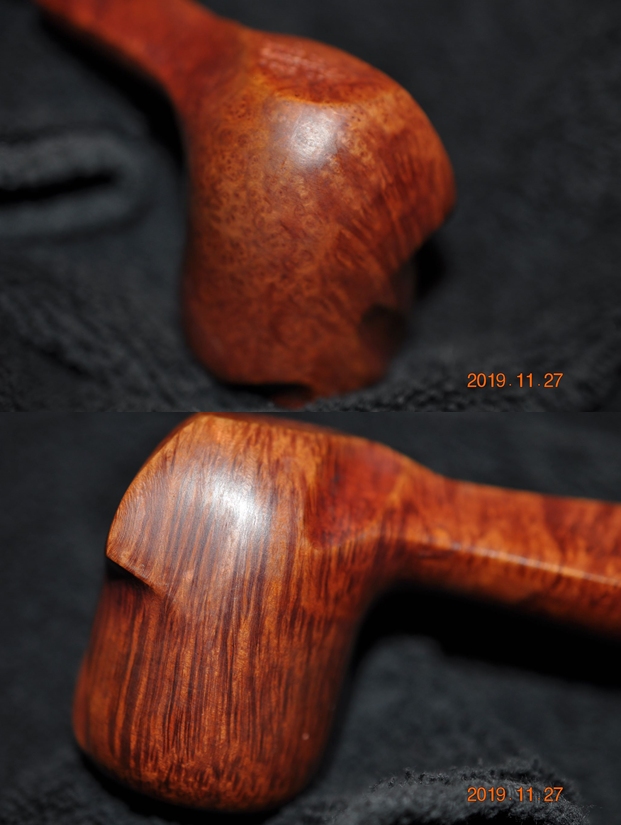
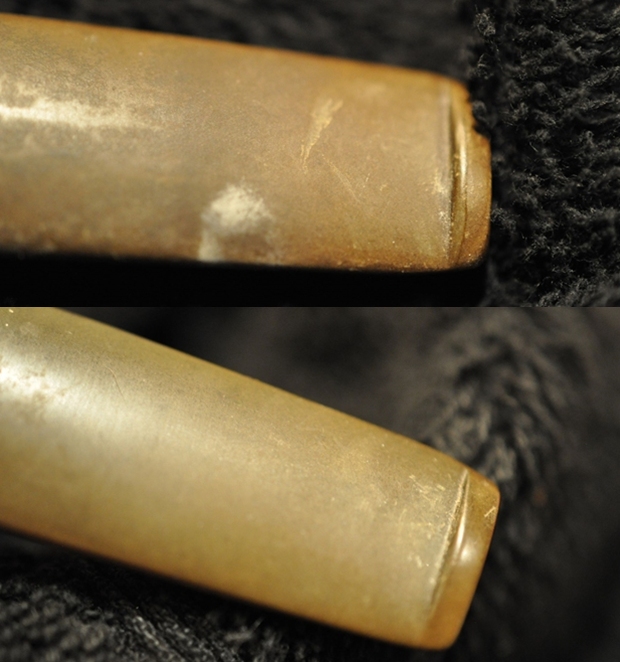
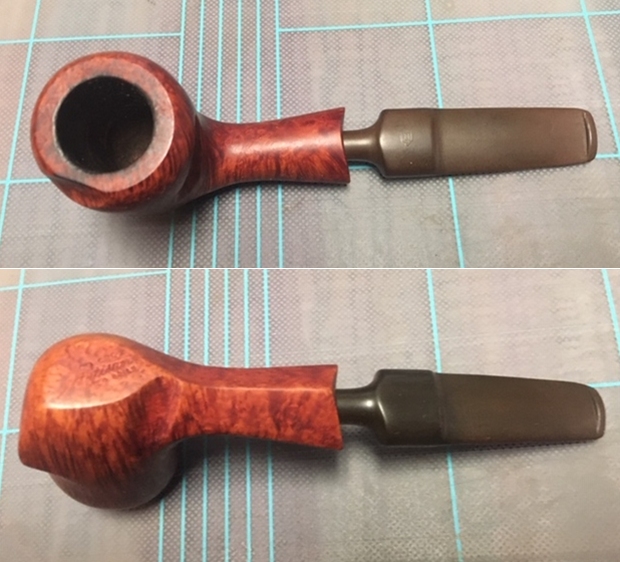
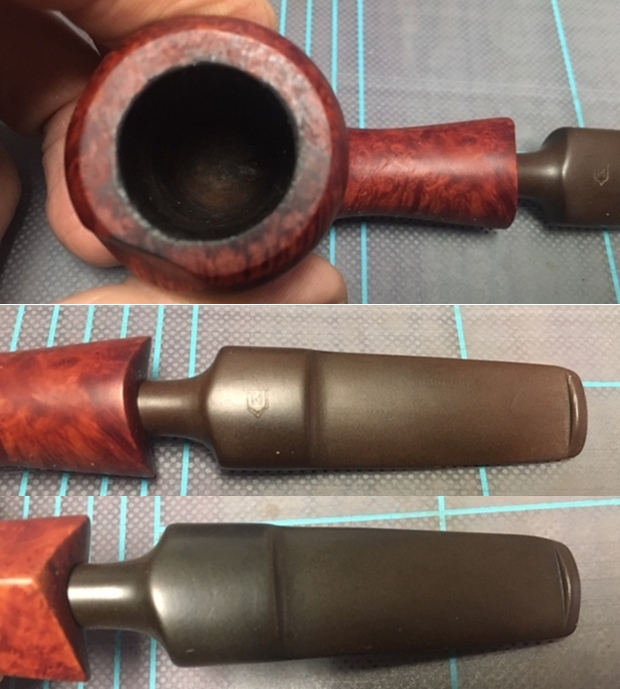
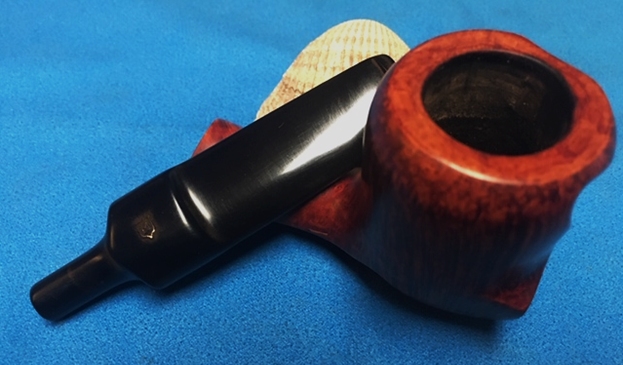
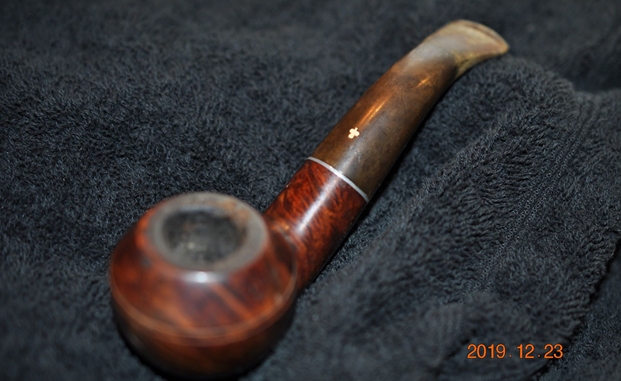
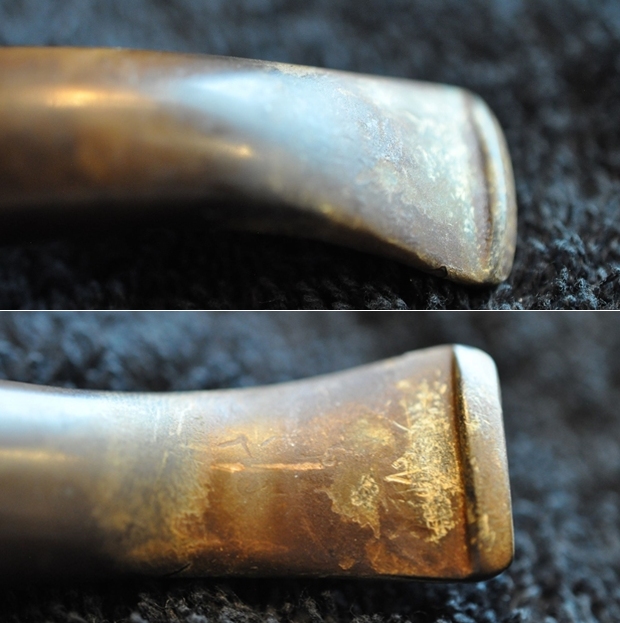
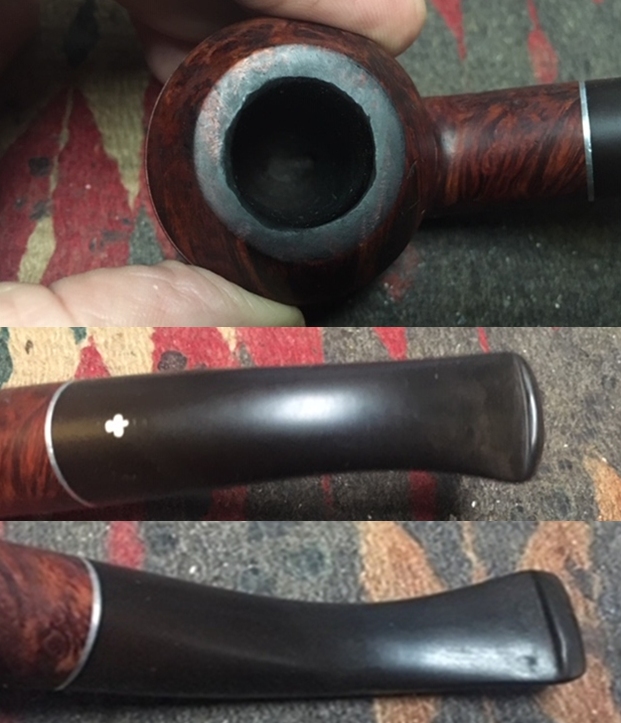
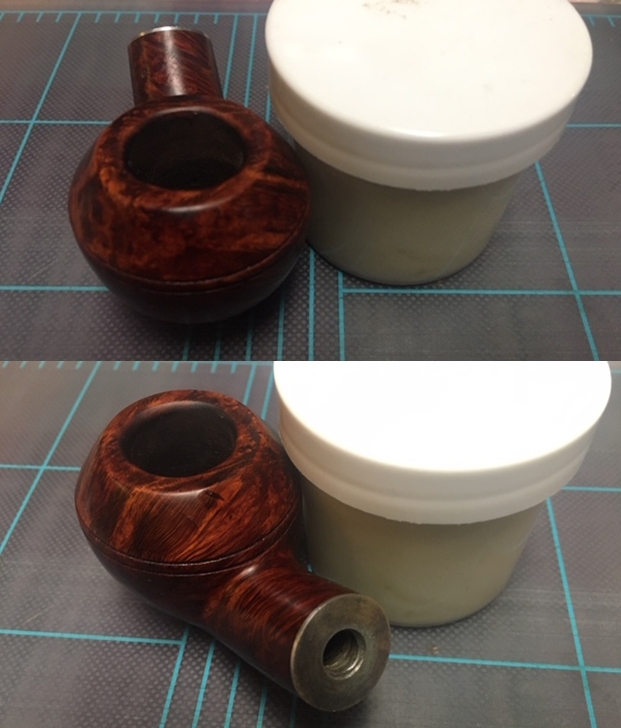
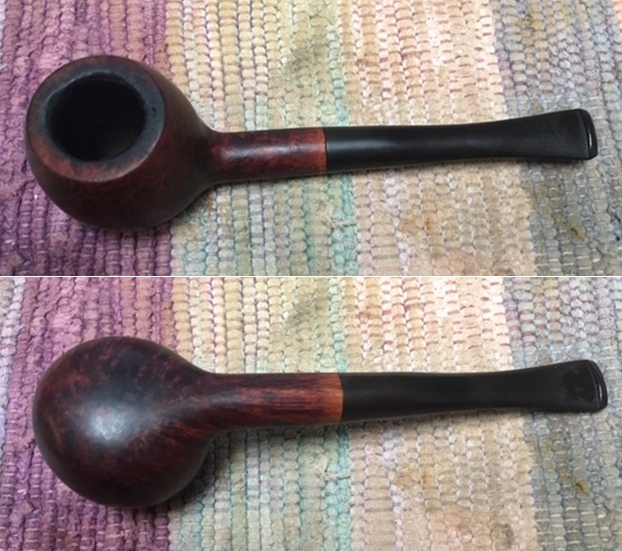
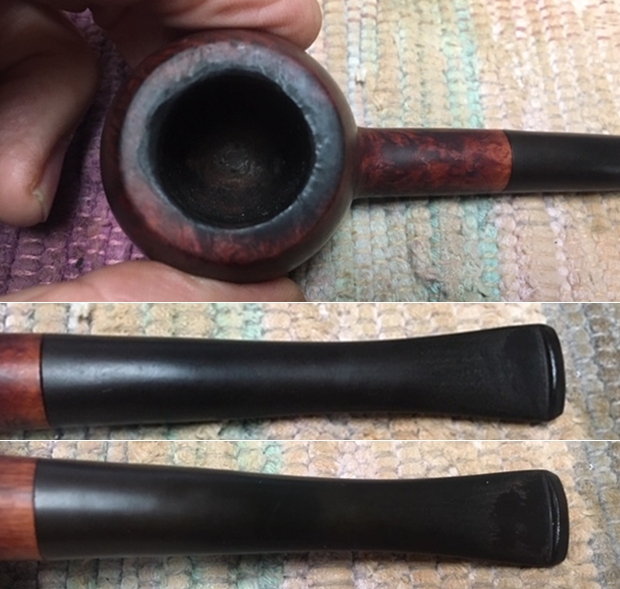
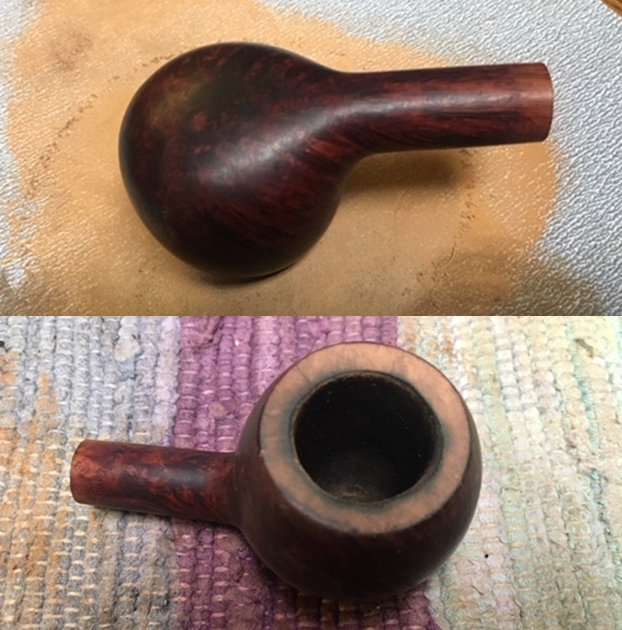
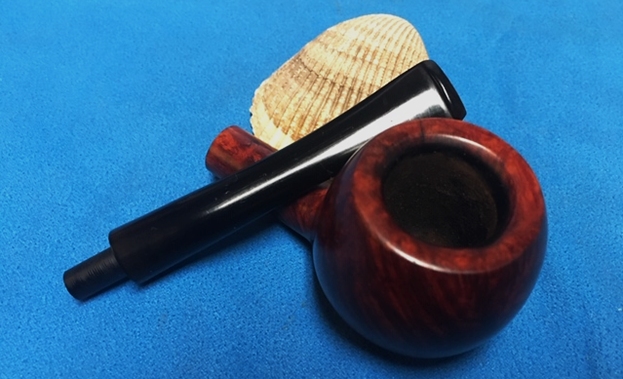
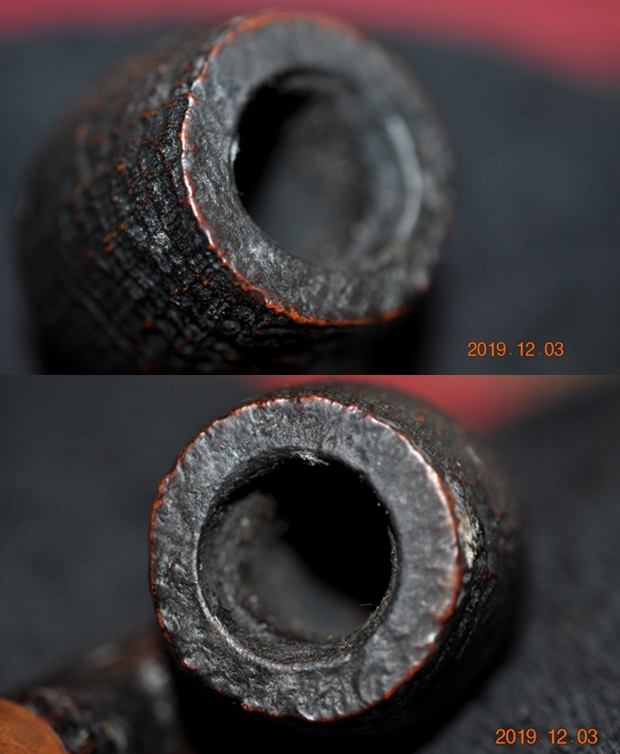
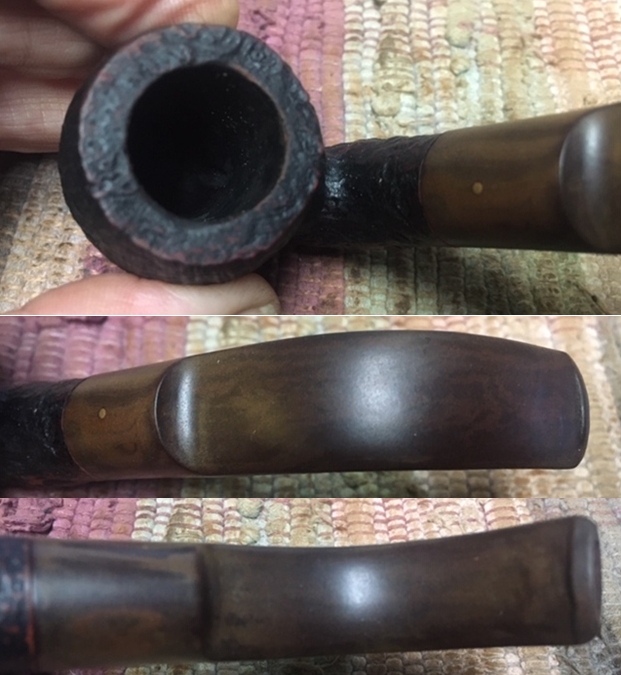
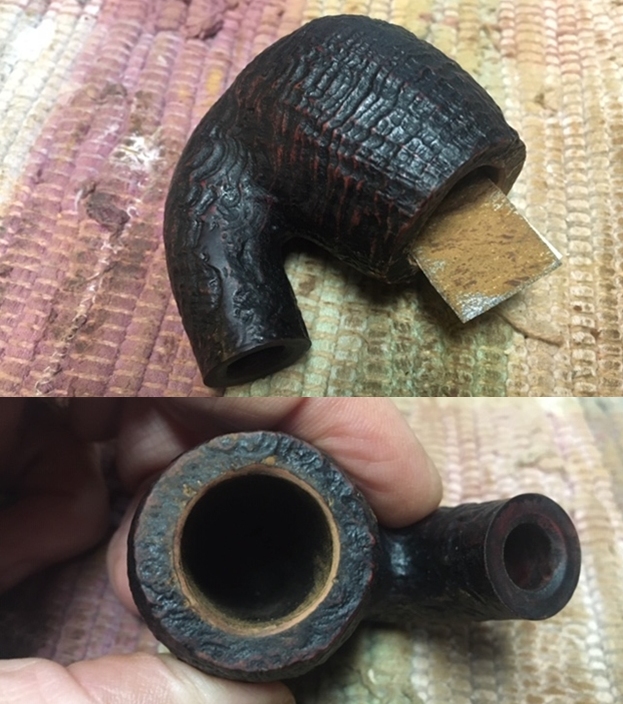
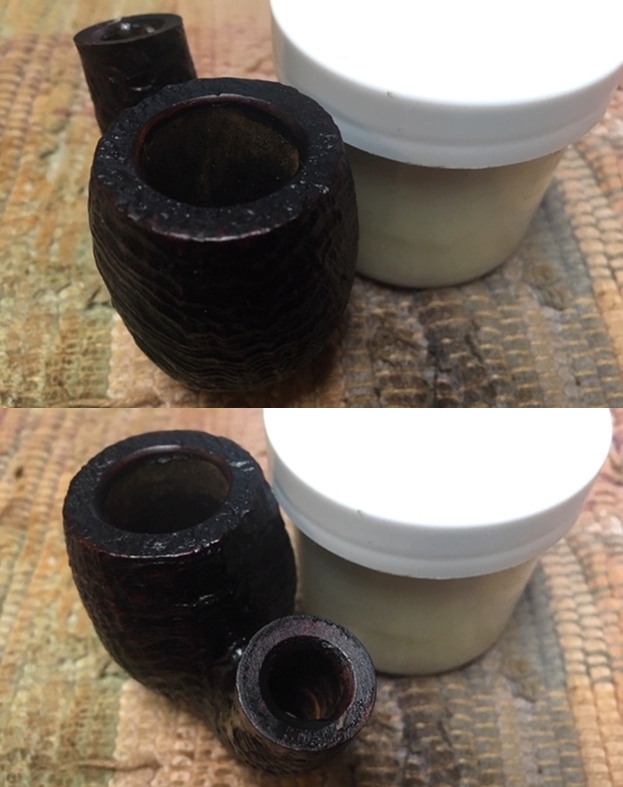
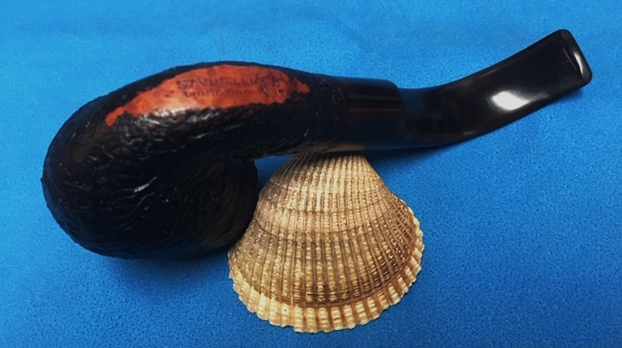
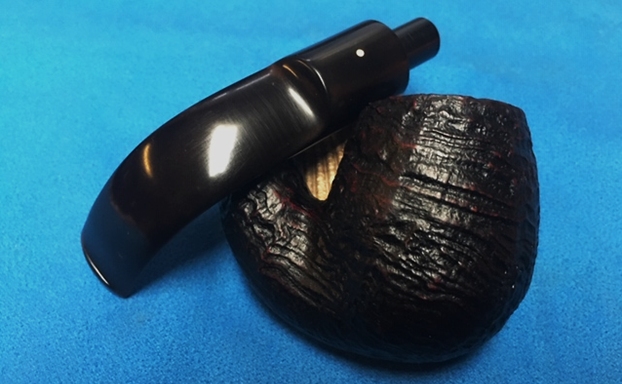
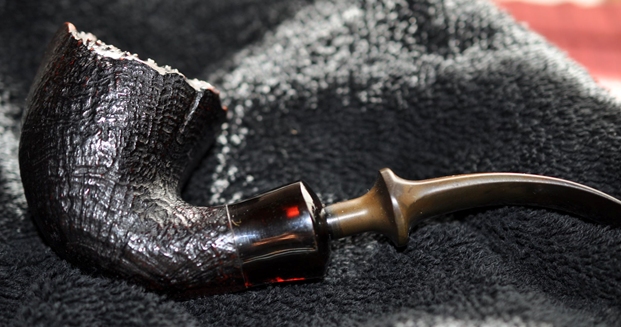
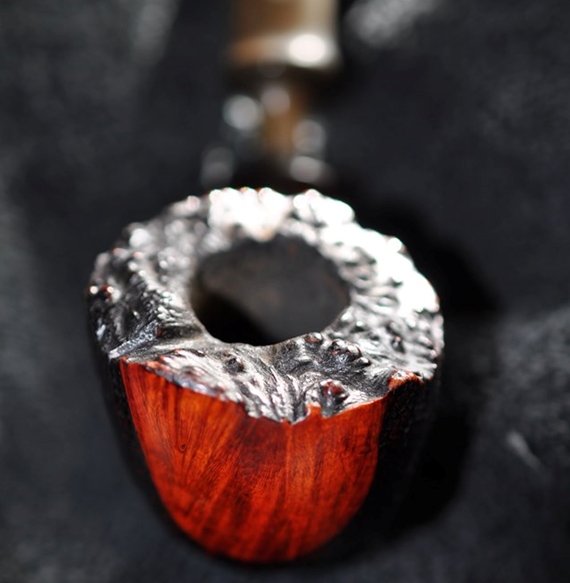
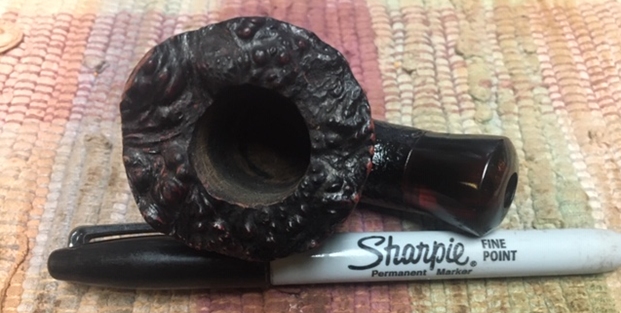
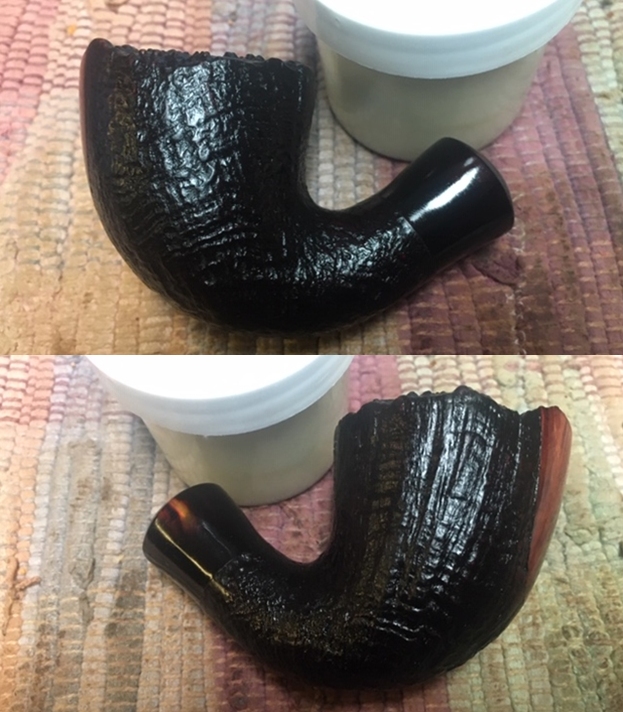
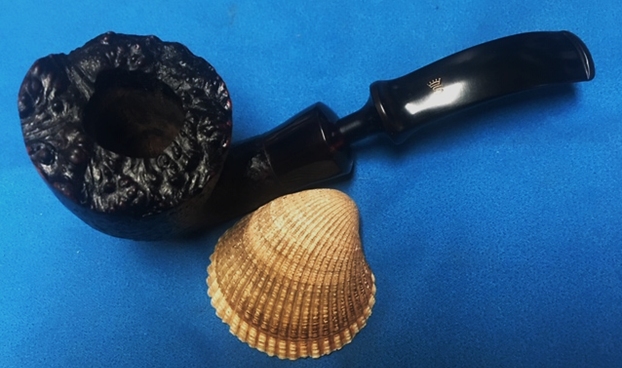
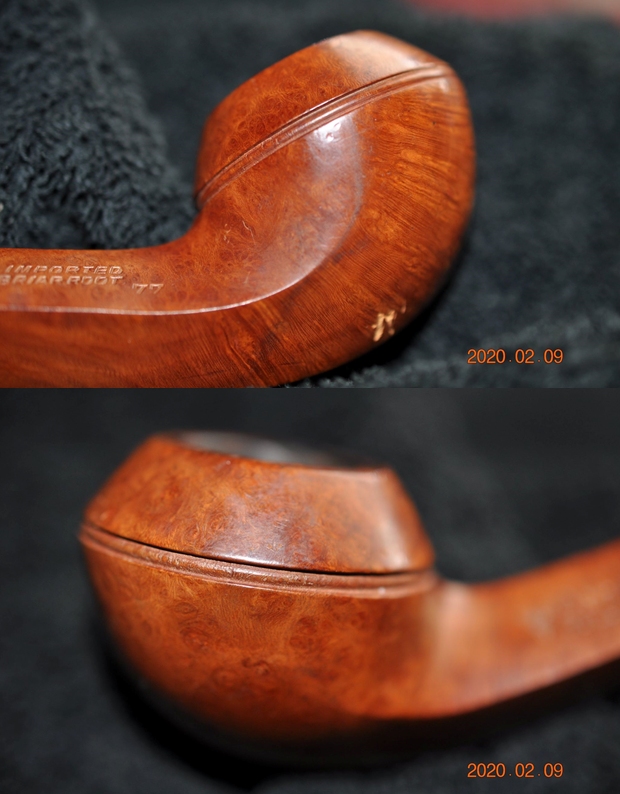
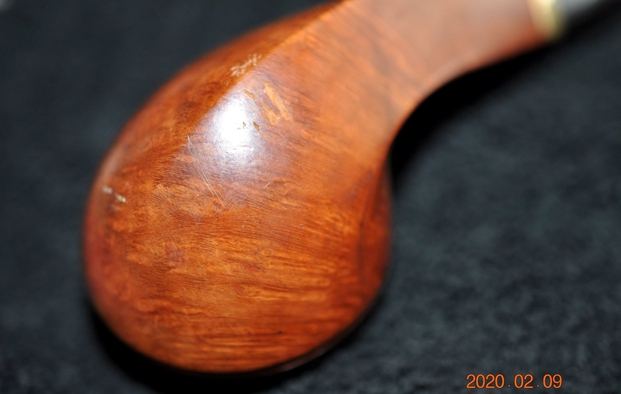
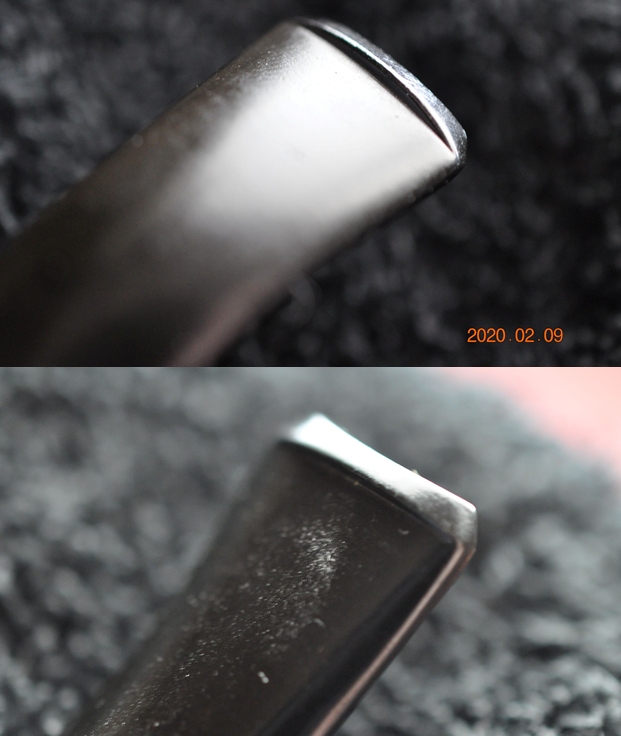
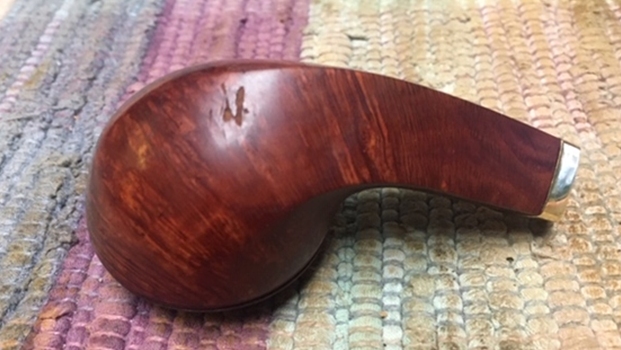
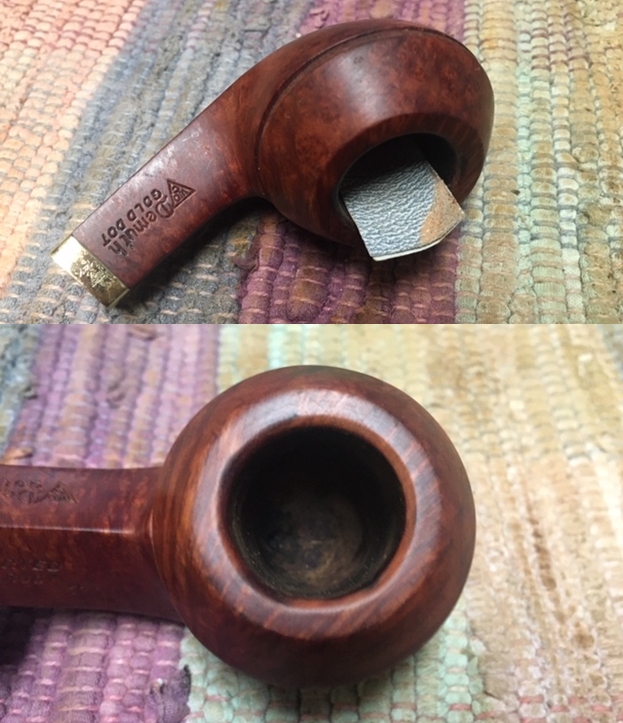
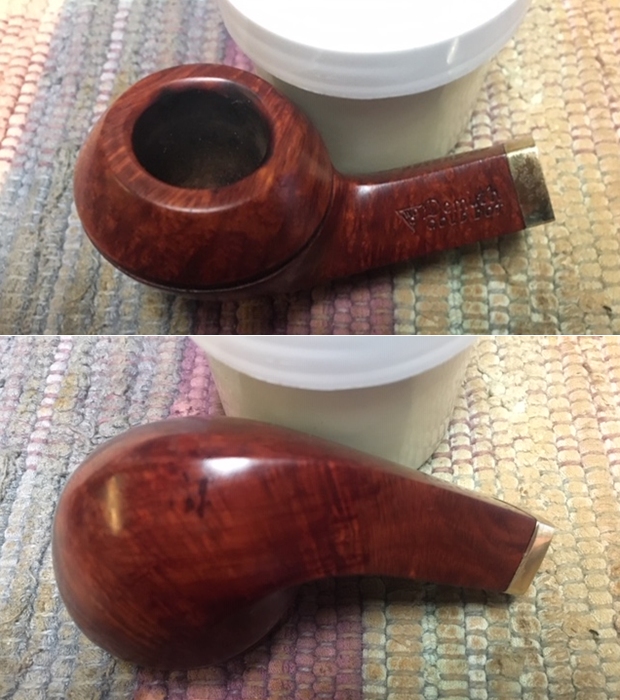
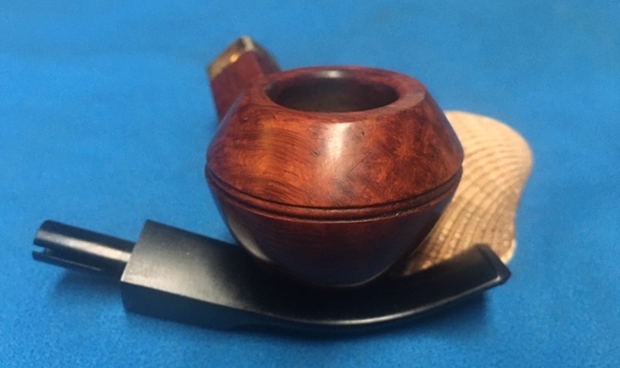
 I took some close up photos of the rim top and also of the stem surface. I wanted to show what cleaned bowl and rim top looked like. The rim top shows damage and charring on the inner edge of the bowl. I also took close up photos of the stem to show the light tooth marks and the remaining oxidation on the stem surface. You can also see the hash marks on the surface of the stem.
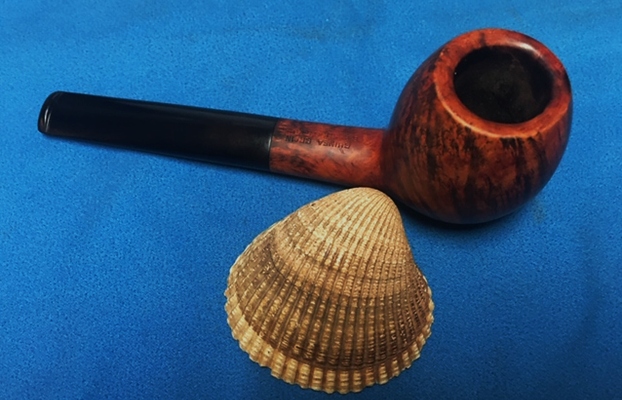
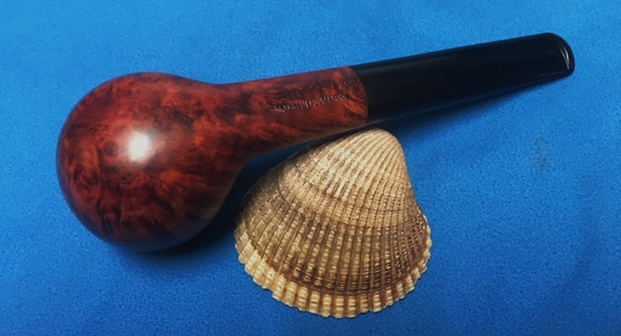
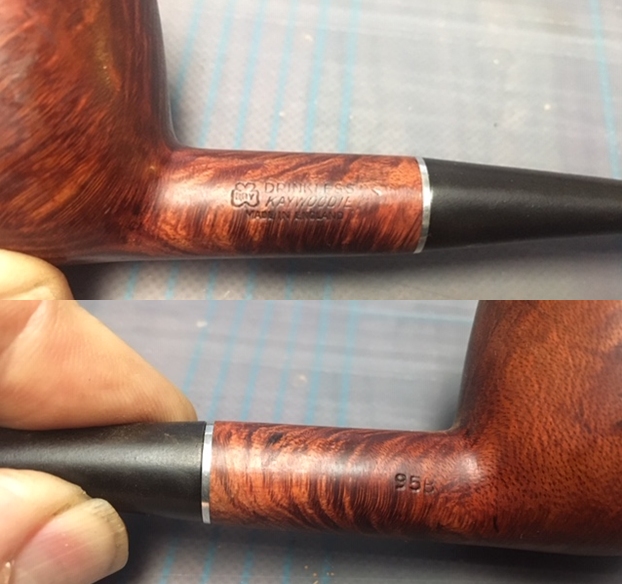
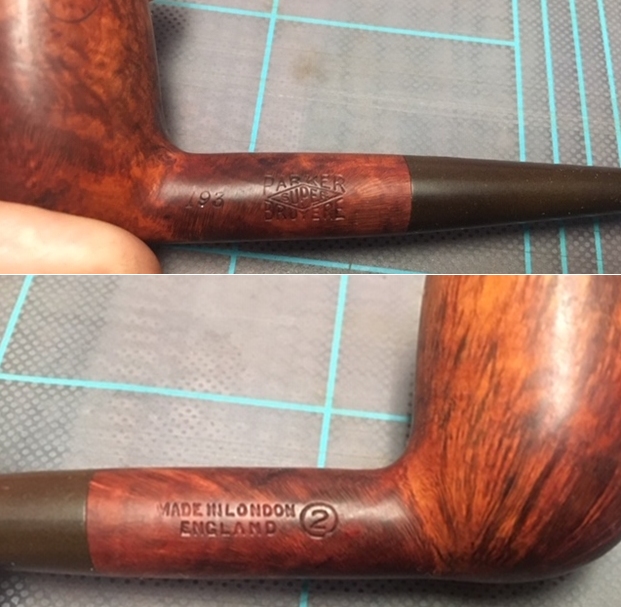
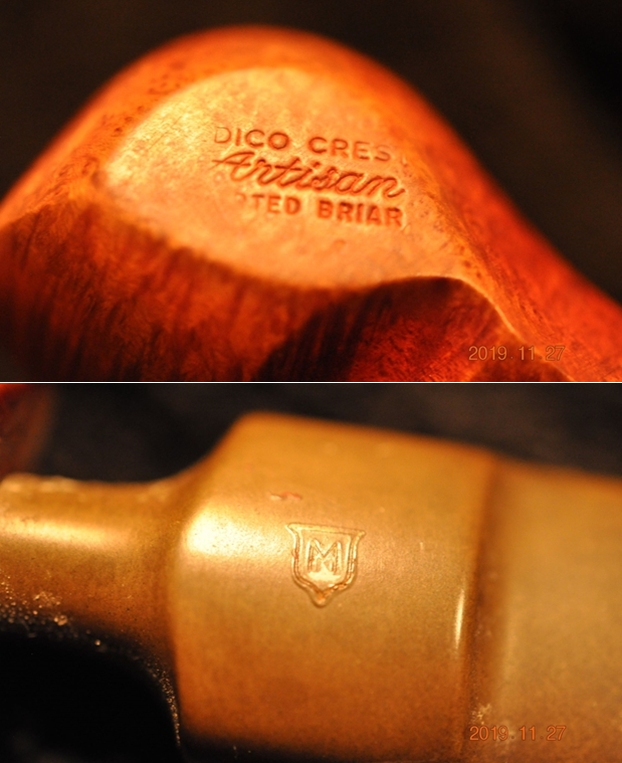
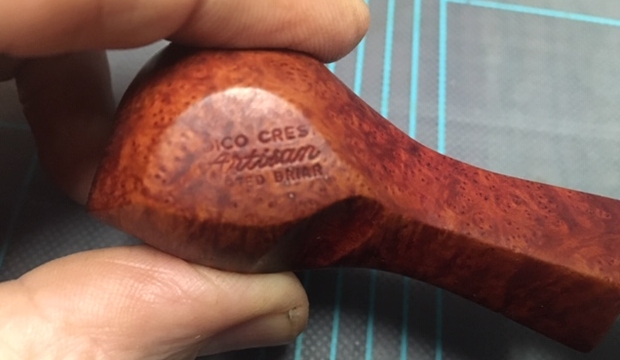
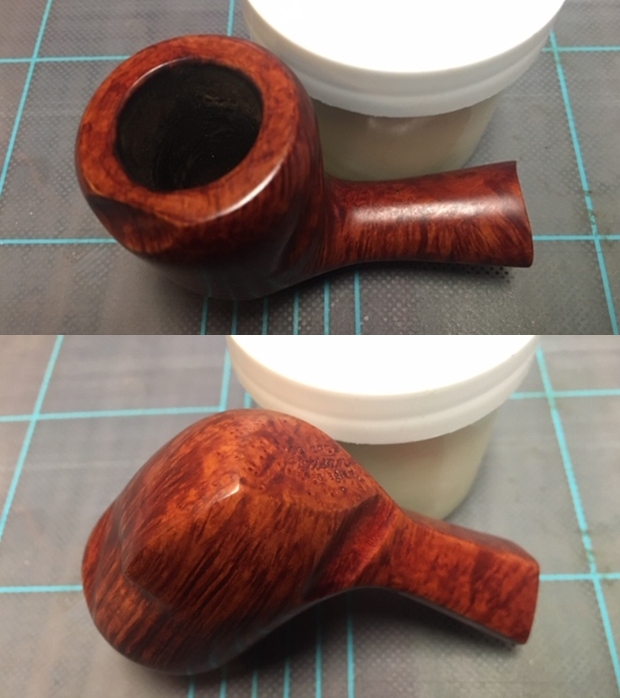
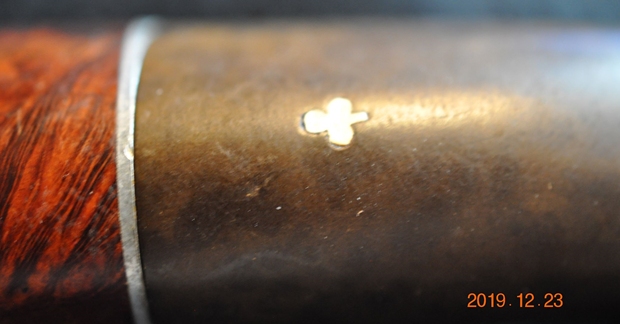
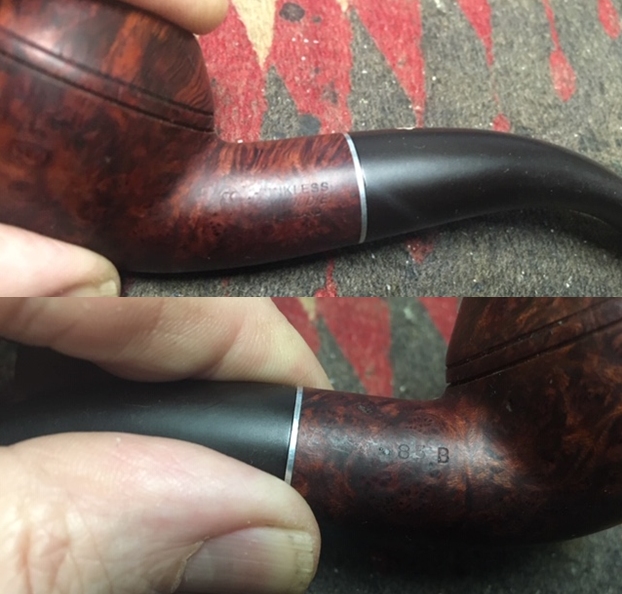
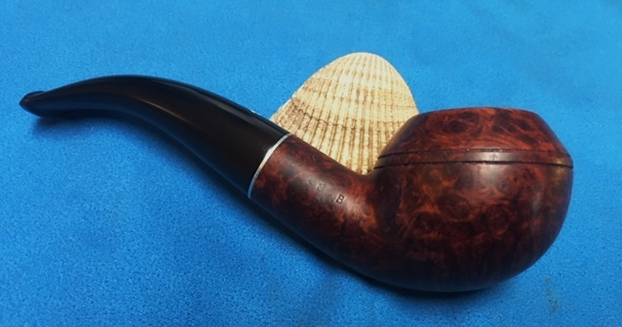
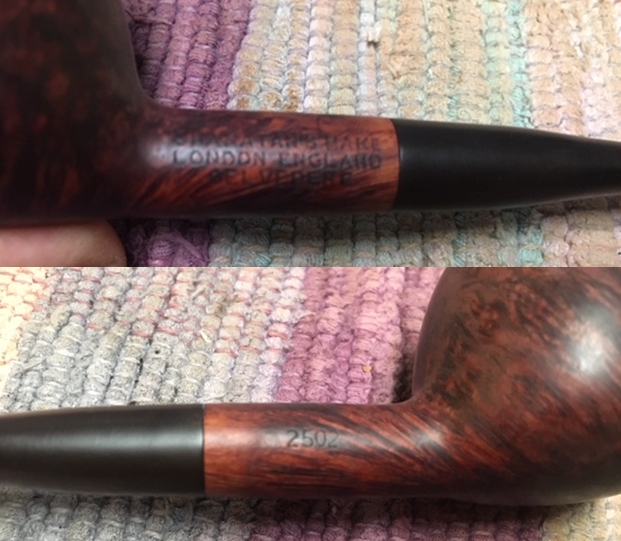
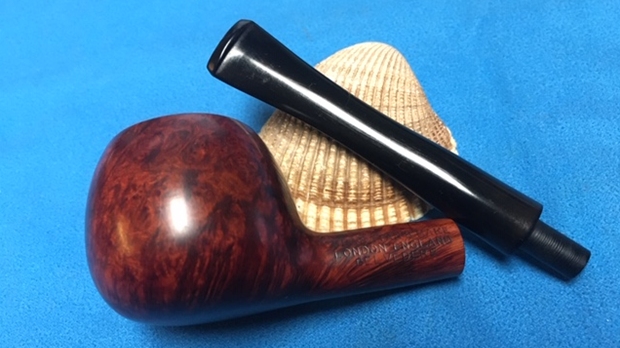
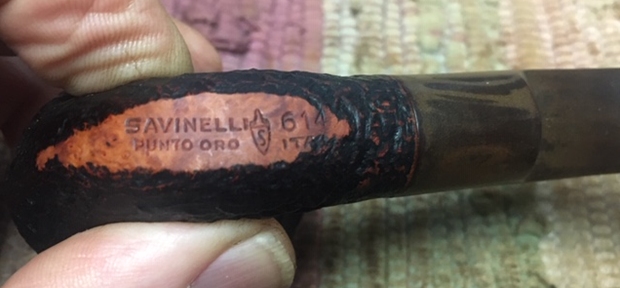
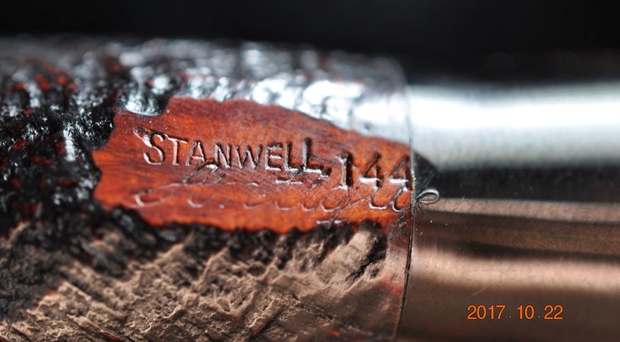
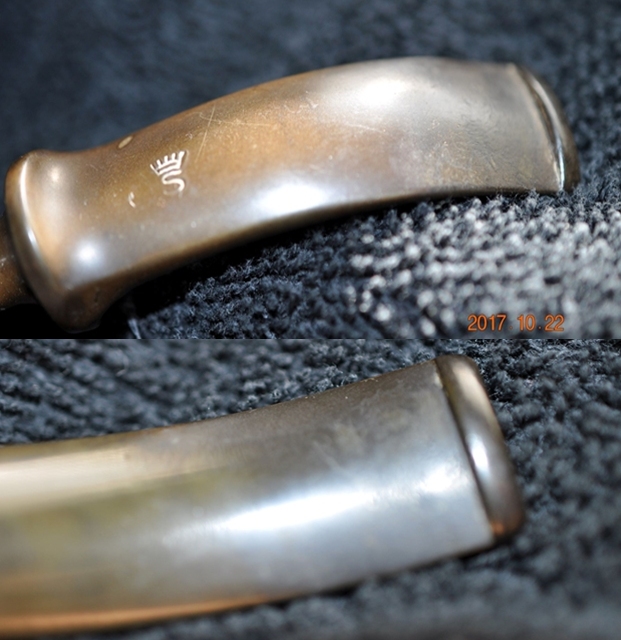
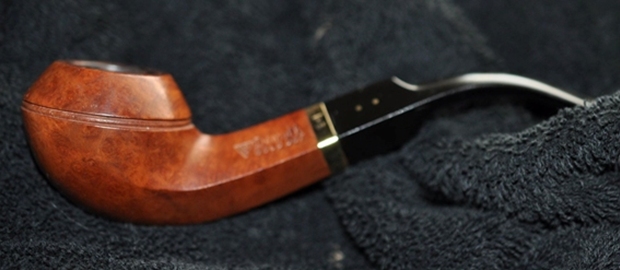
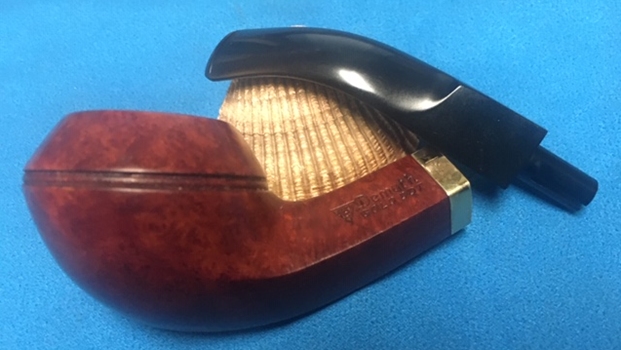
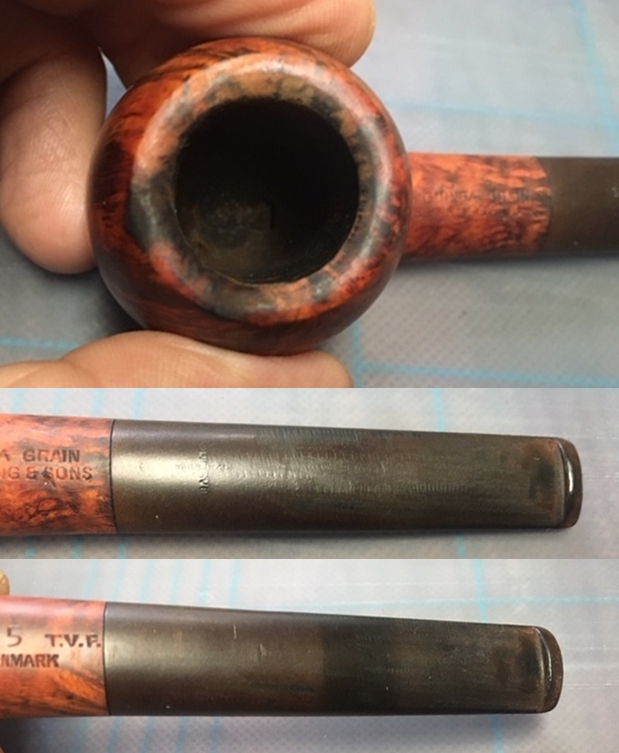 I took photos of the stamping on both sides of the shank and it is clear and readable. It is stamped as noted above. You can see the remnants of the Barling cross on the top of the stem in the first photo below.
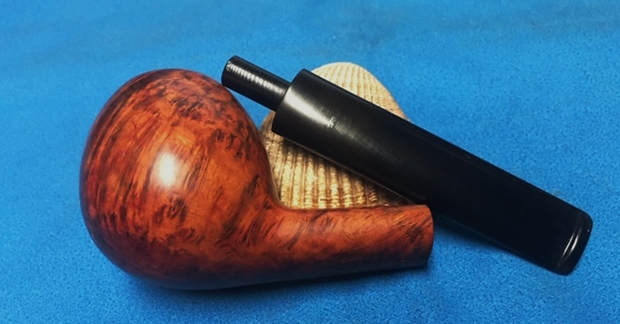
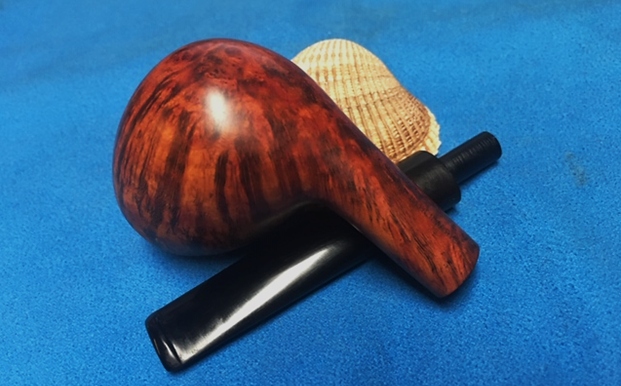
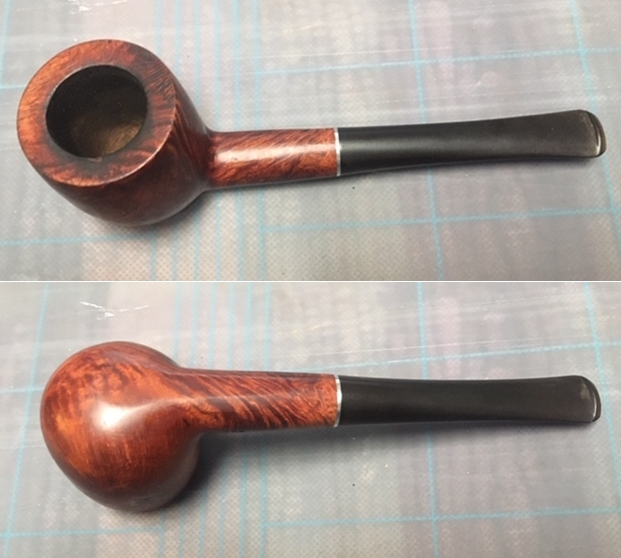
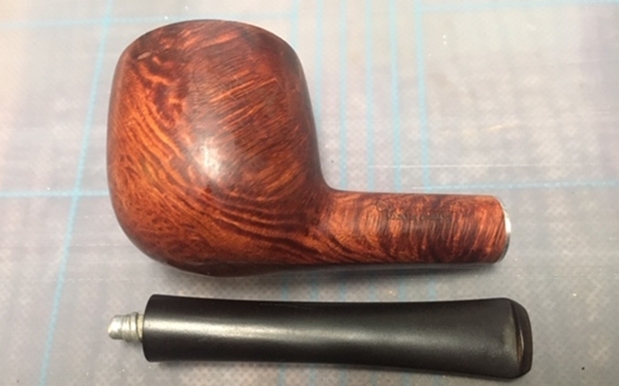
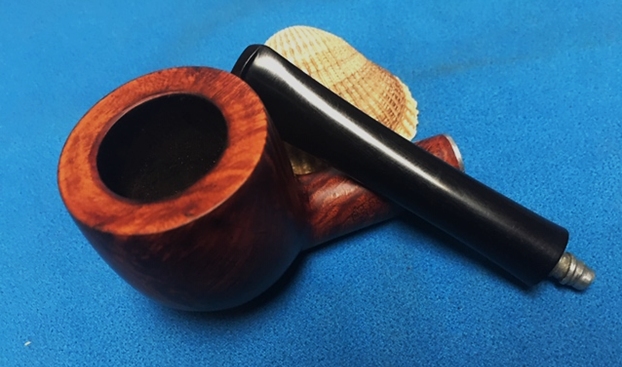
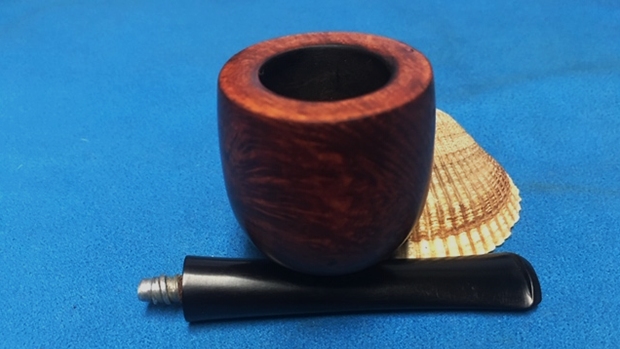
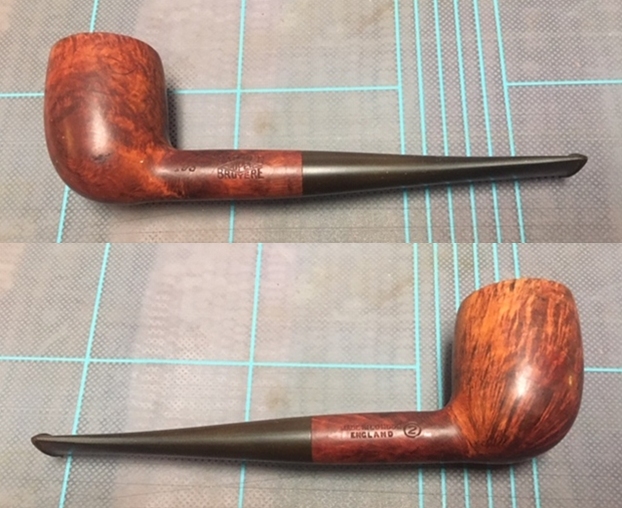
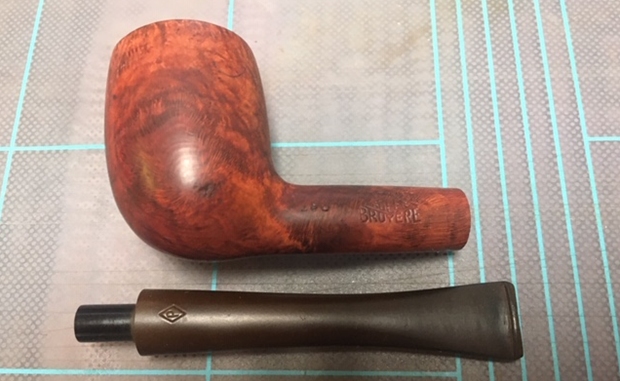
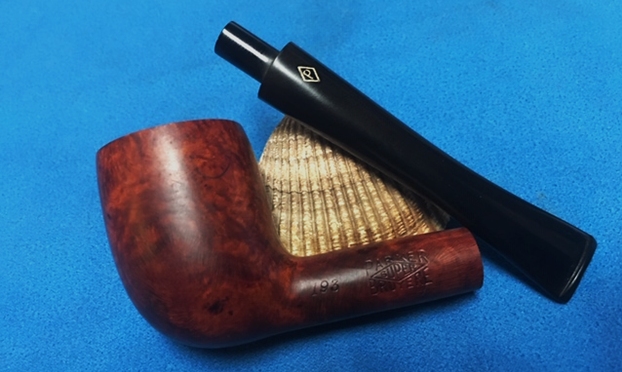
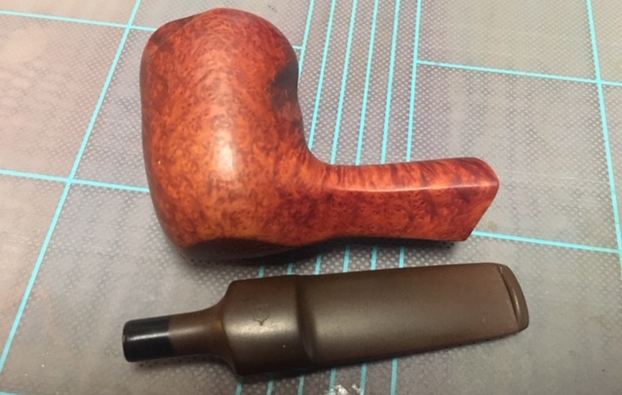
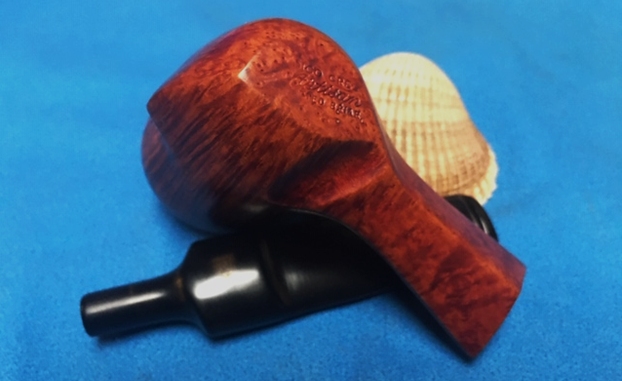
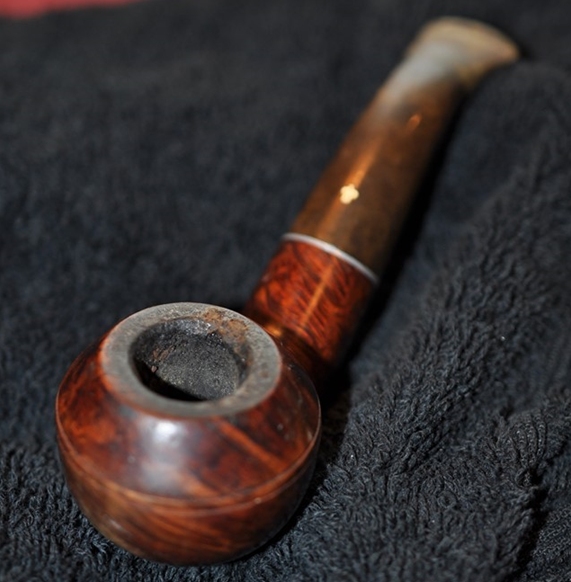
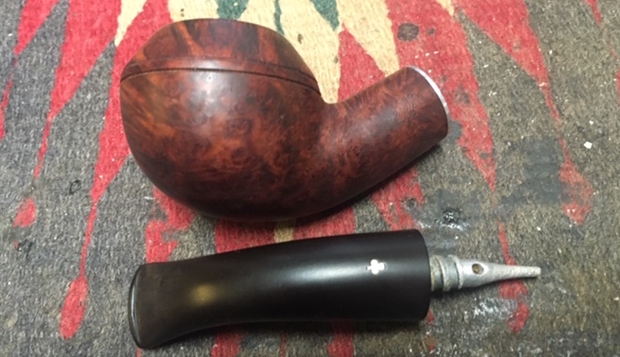
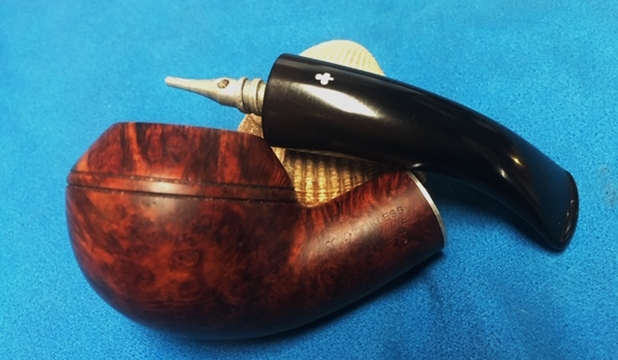
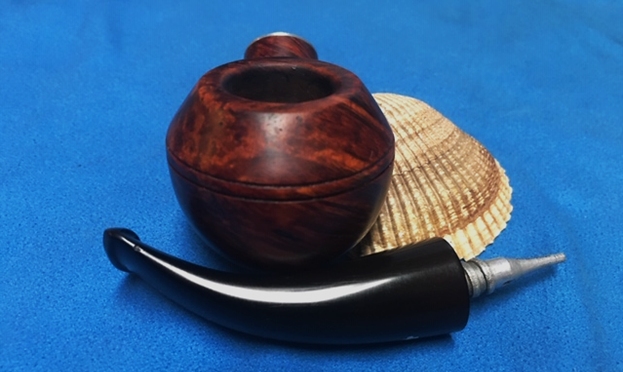
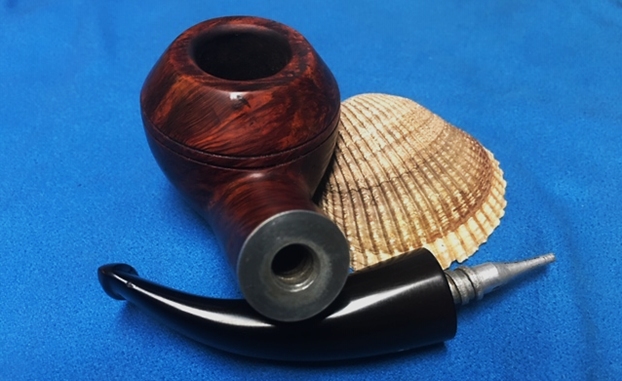
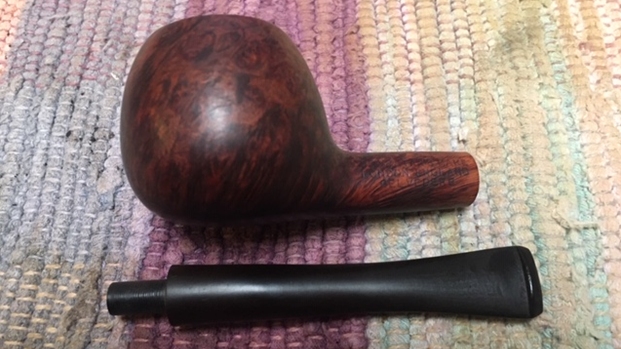
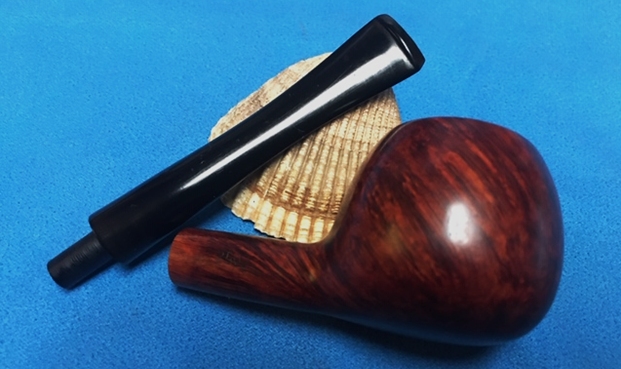
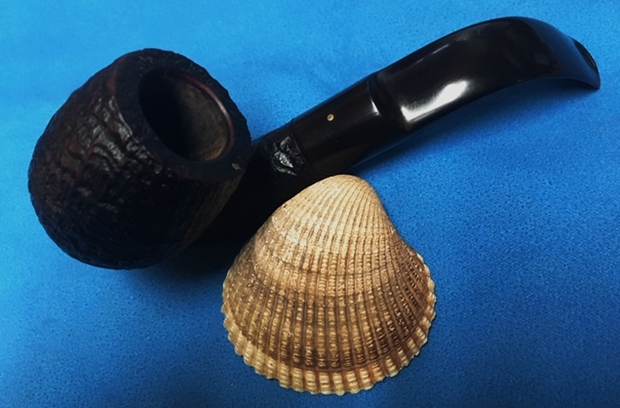
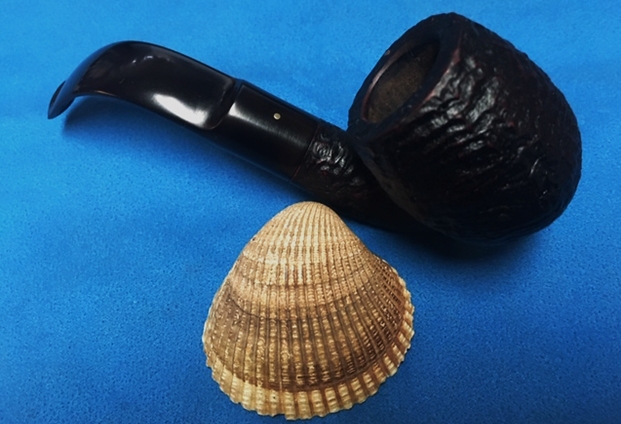
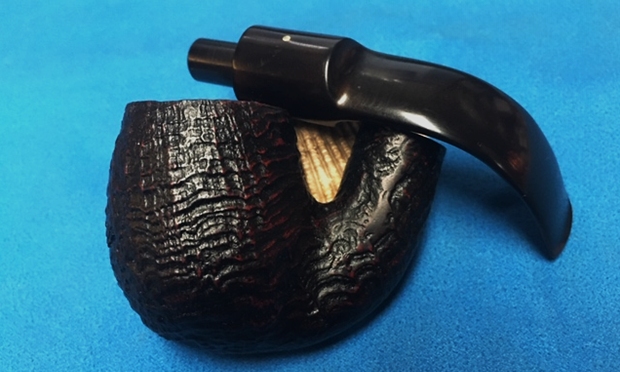
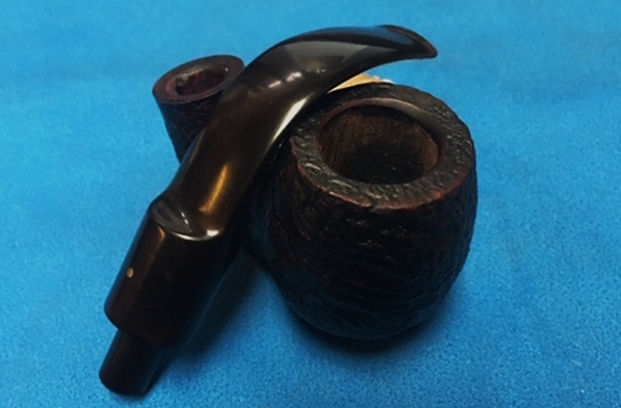
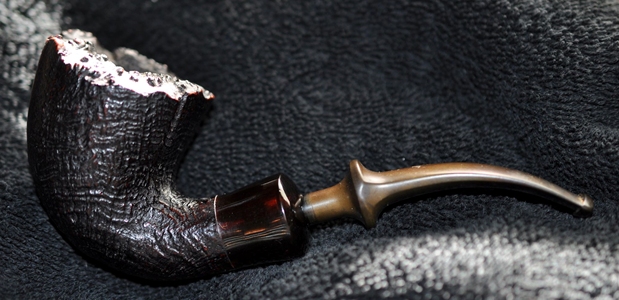
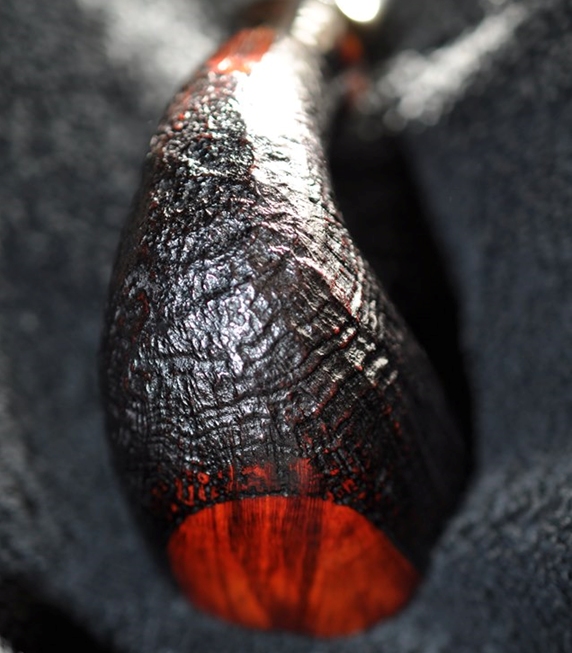
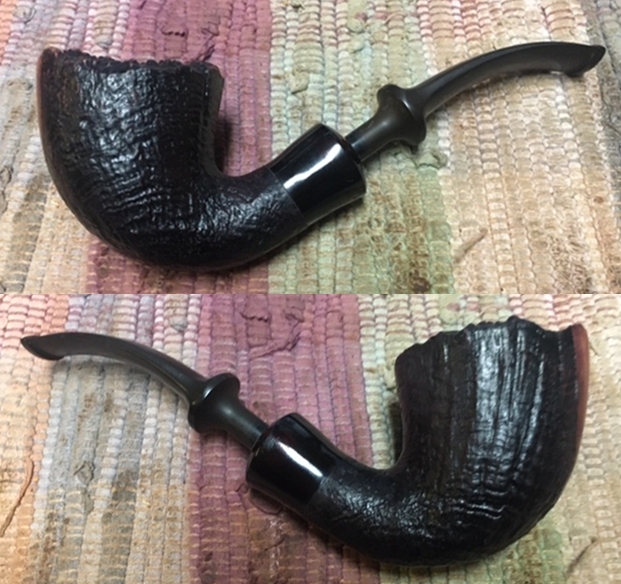
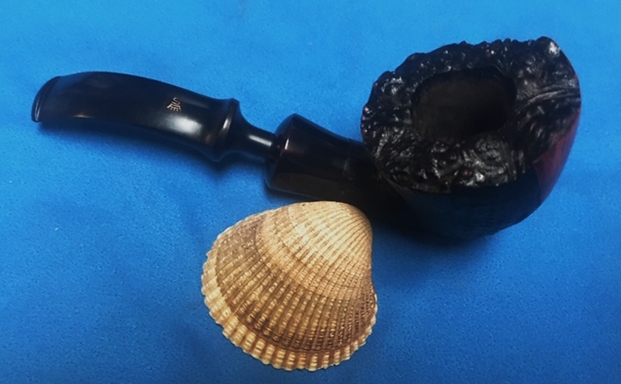
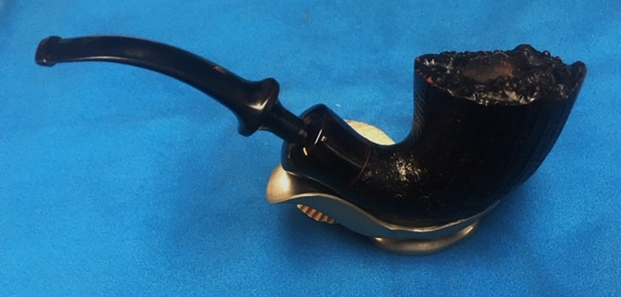
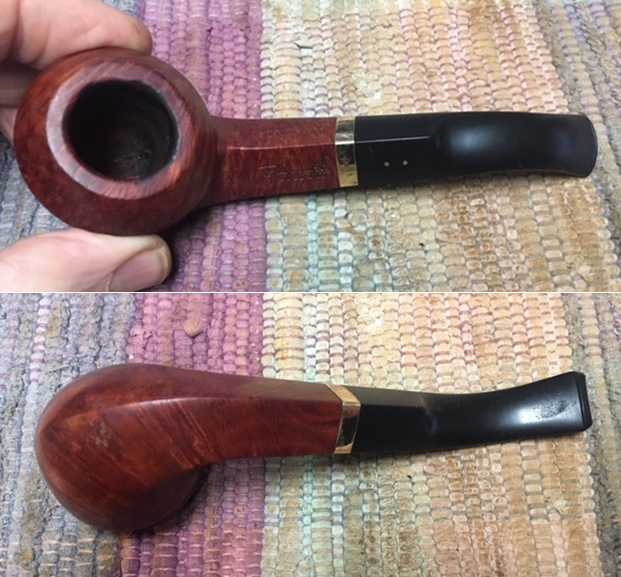
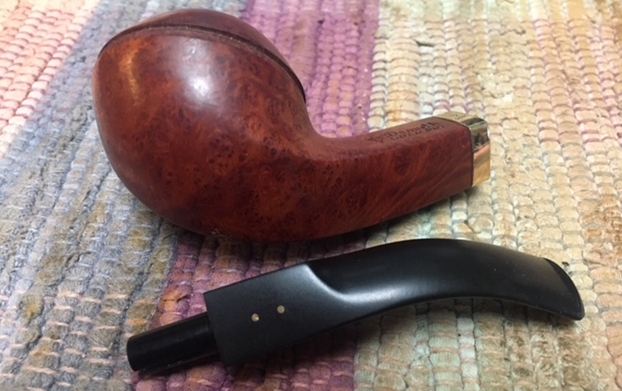
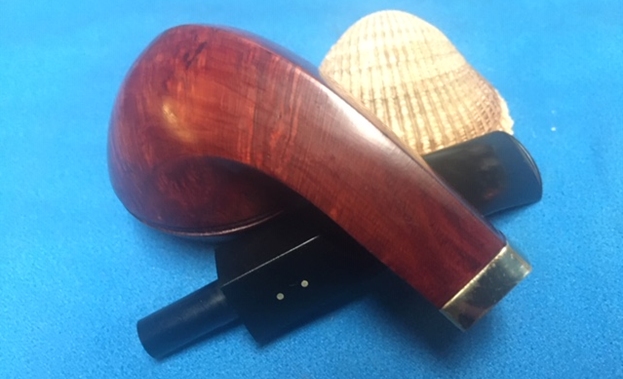
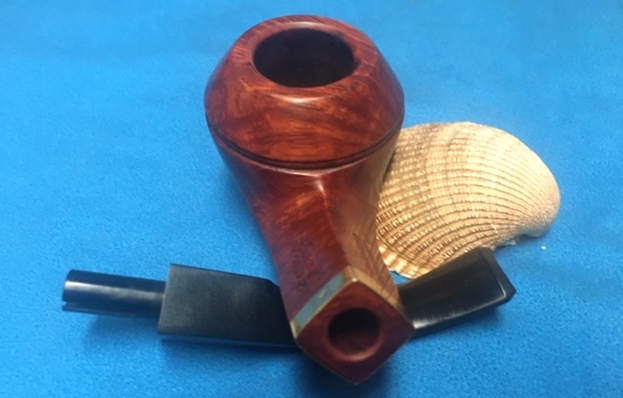
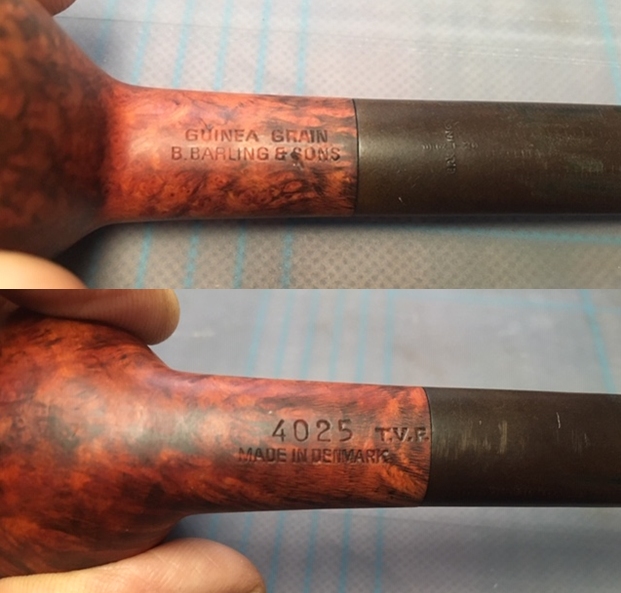 I removed the stem for the shank and took a photo of the bowl and stem to give a picture of what it looked like. You can see scratches in the stem surface.
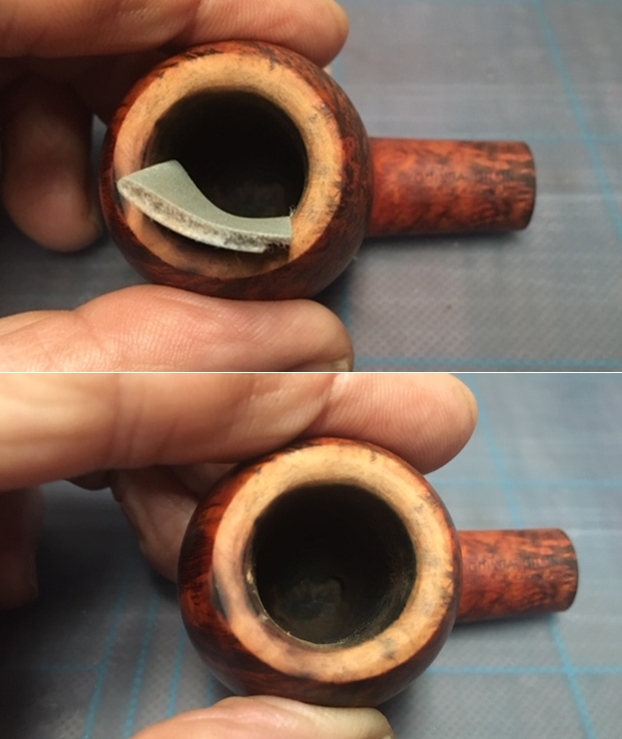
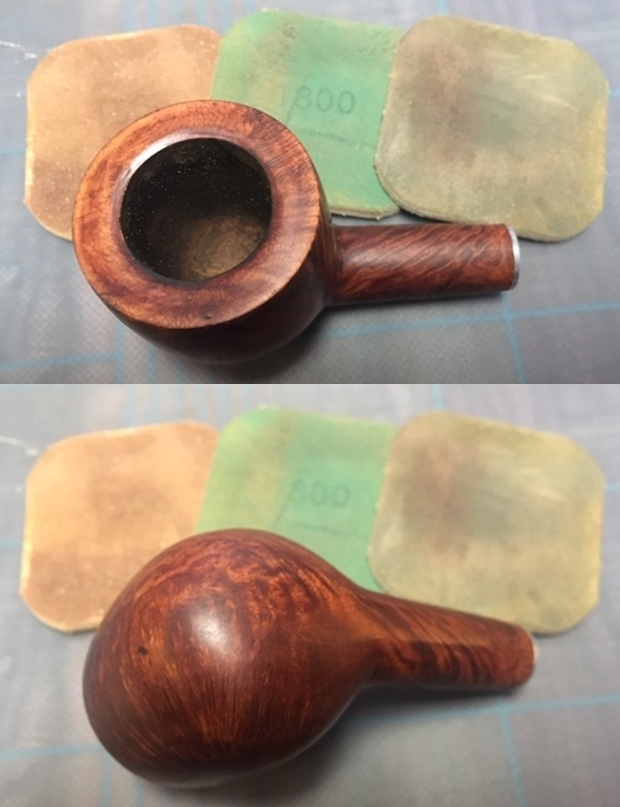
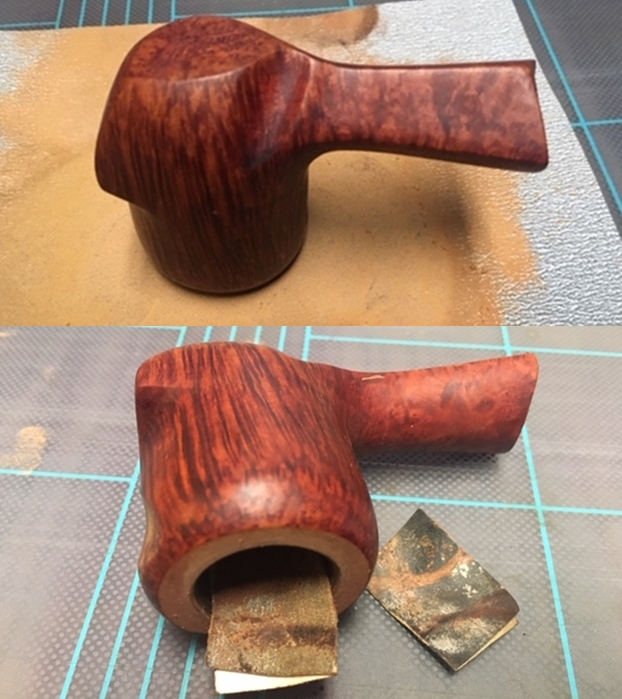
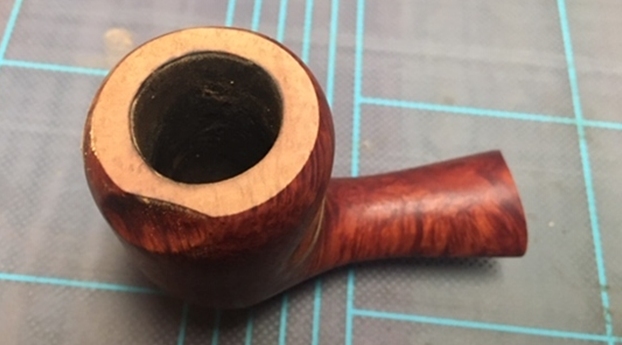
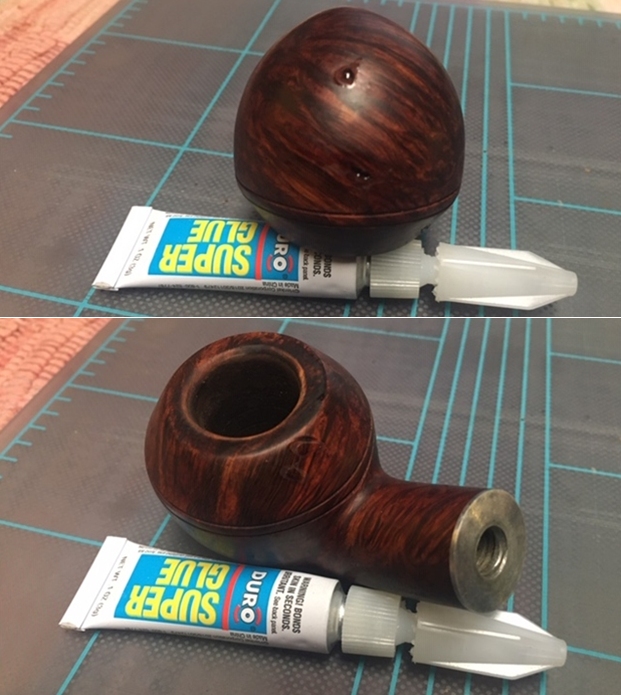
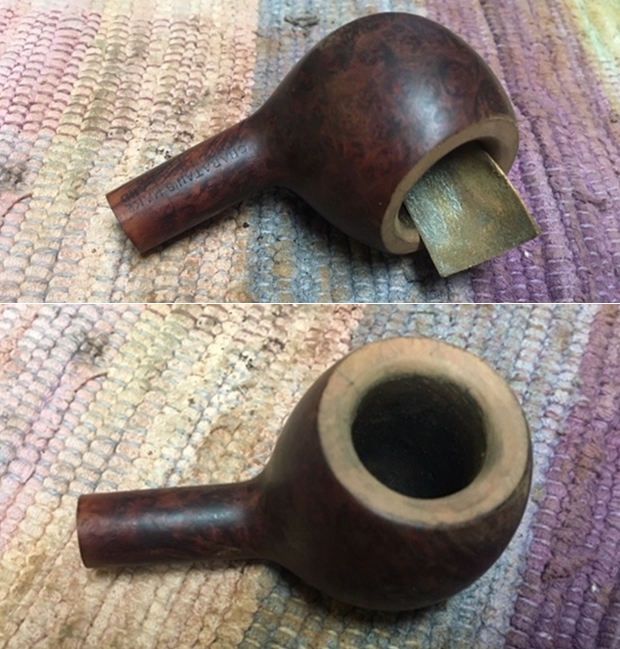
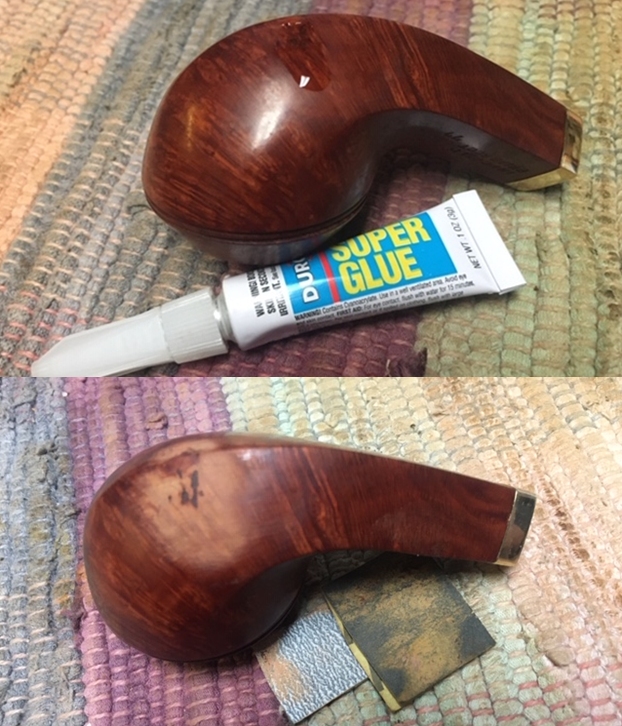
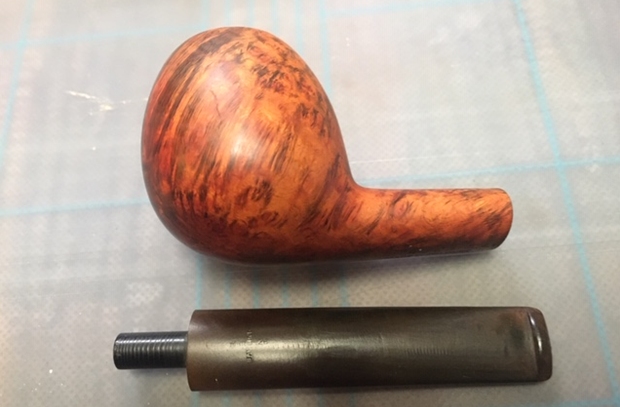 Now, on to my part of the restoration of this Barling’s Guinea Grain pipe. I decided to start by dealing with the damage to the rim top and the inner edge of the bowl. I carefully topped the bowl on a board with 220 grit sandpaper to start removing the damage to the bowl. I used a folded piece of 220 grit sandpaper to clean up the damage to the bevel of the inner edge of the rim.
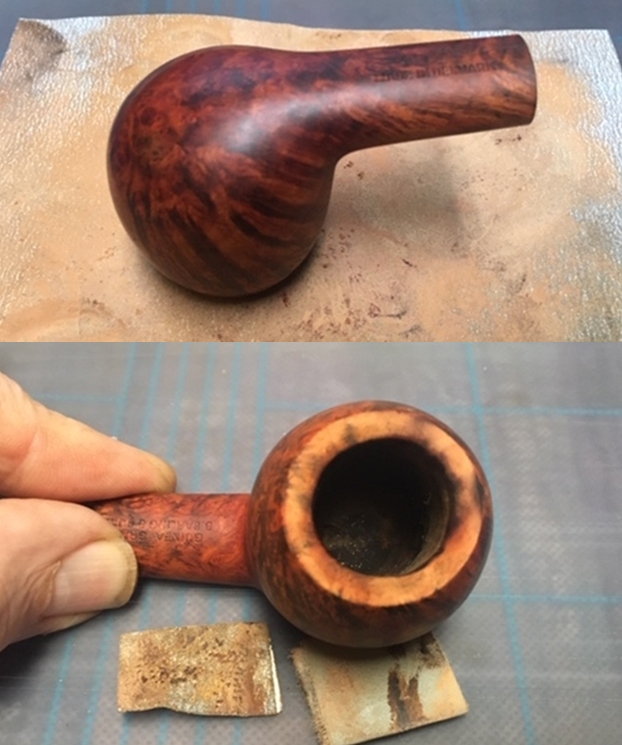
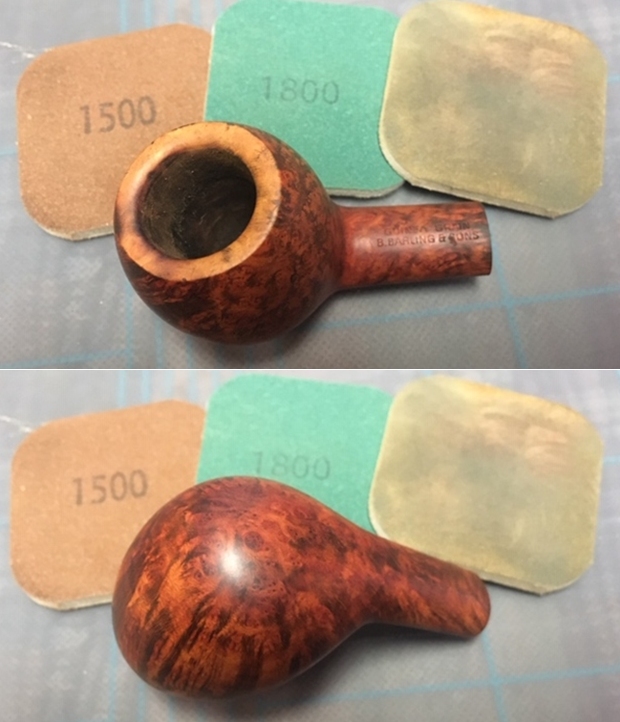
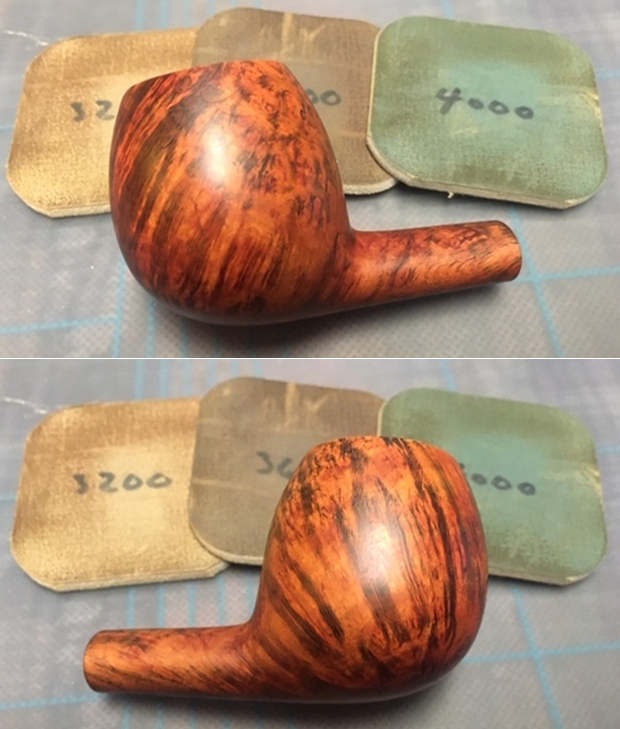
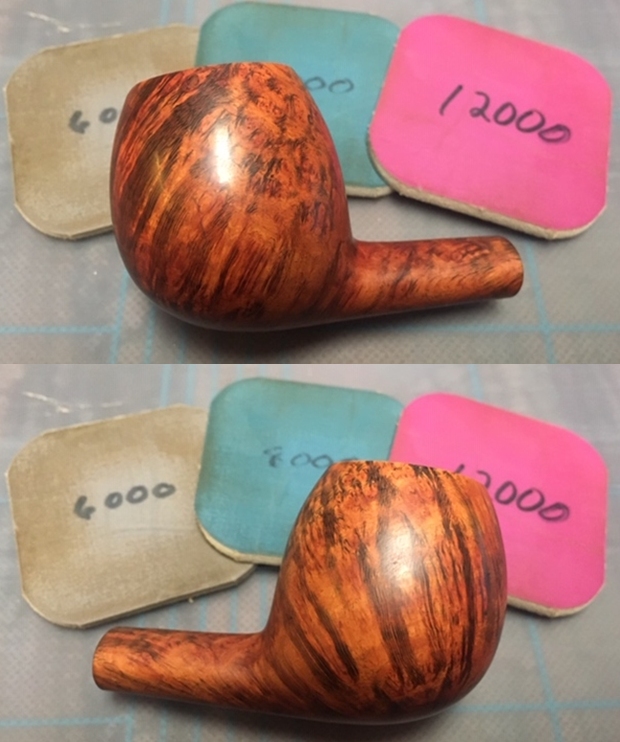
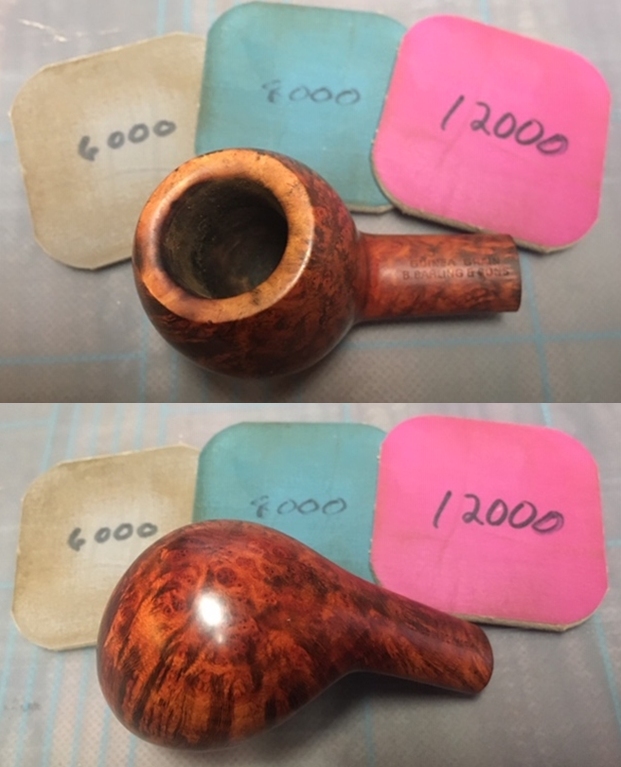
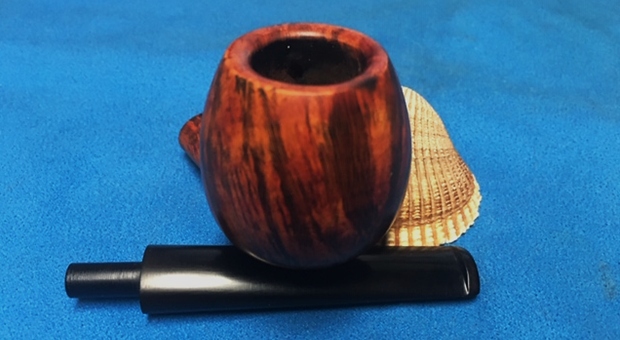
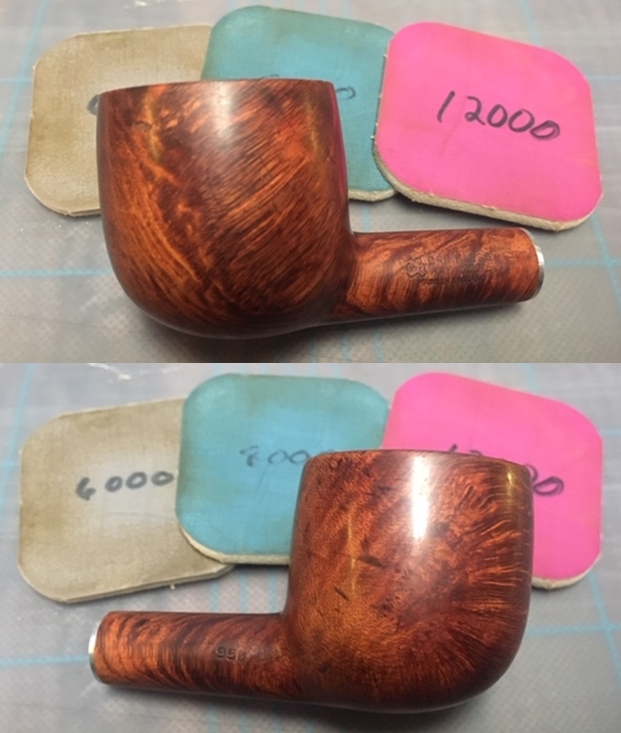
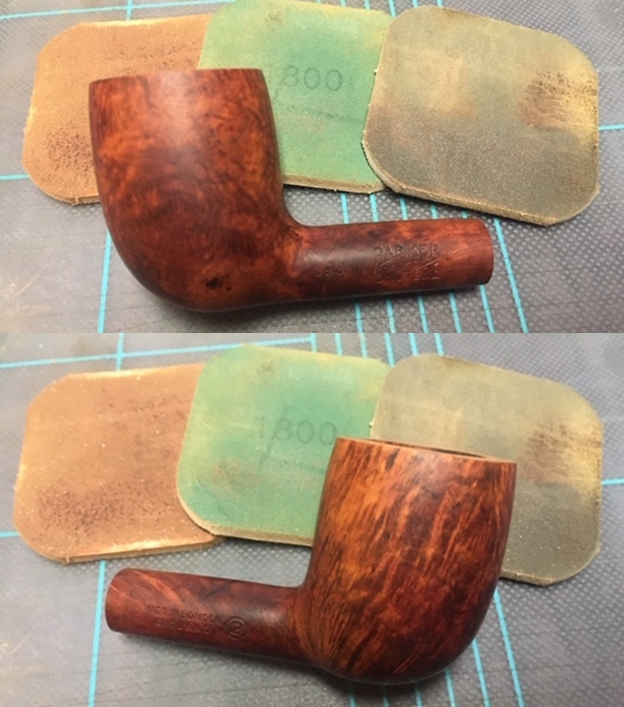
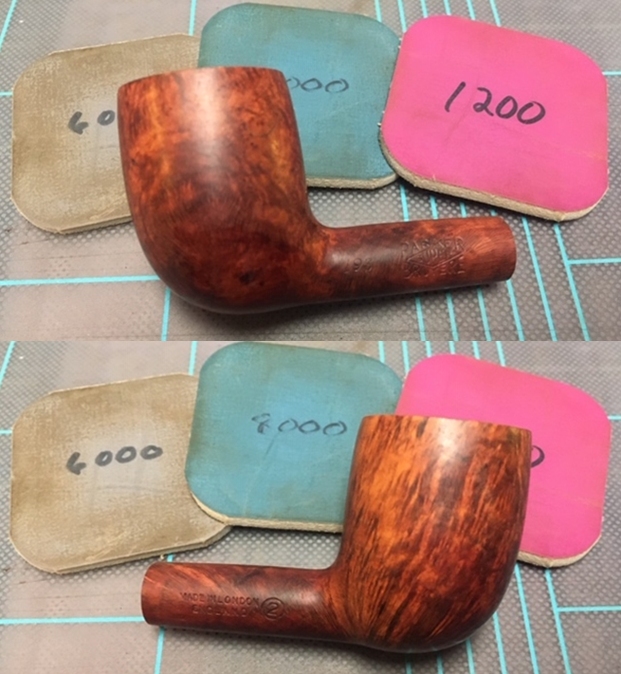
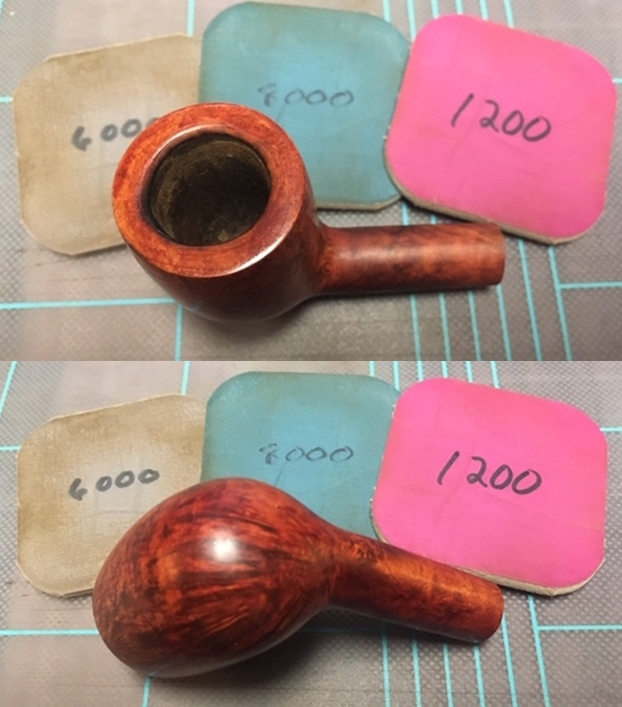
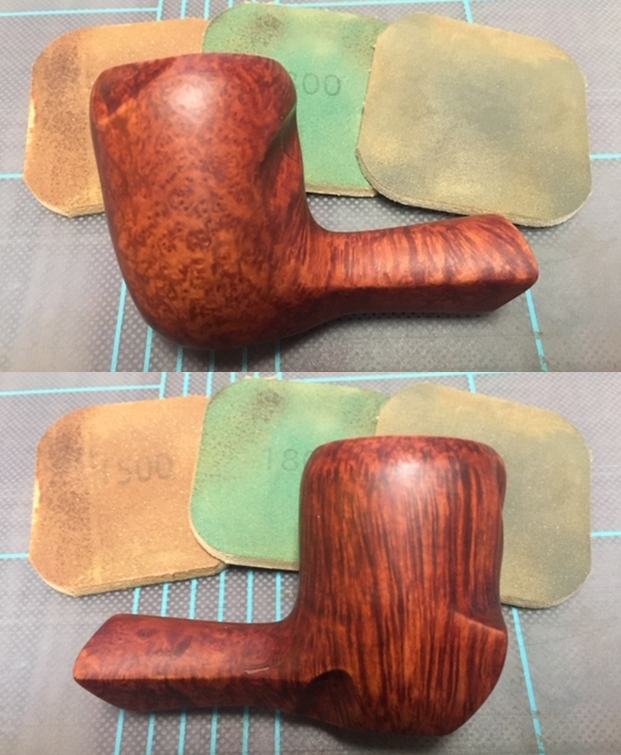
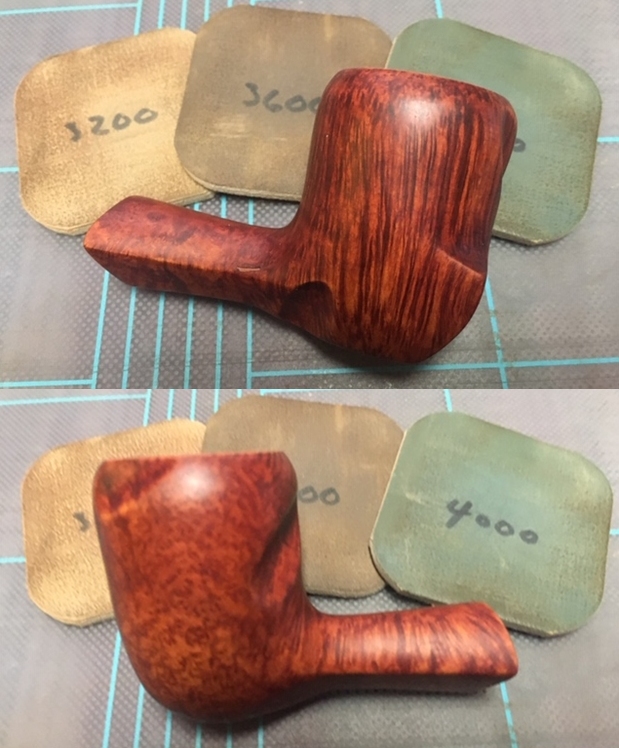
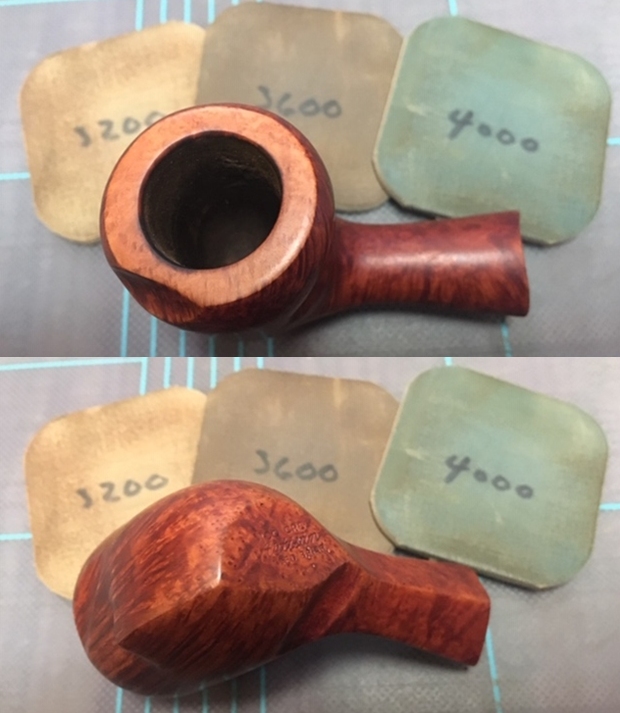
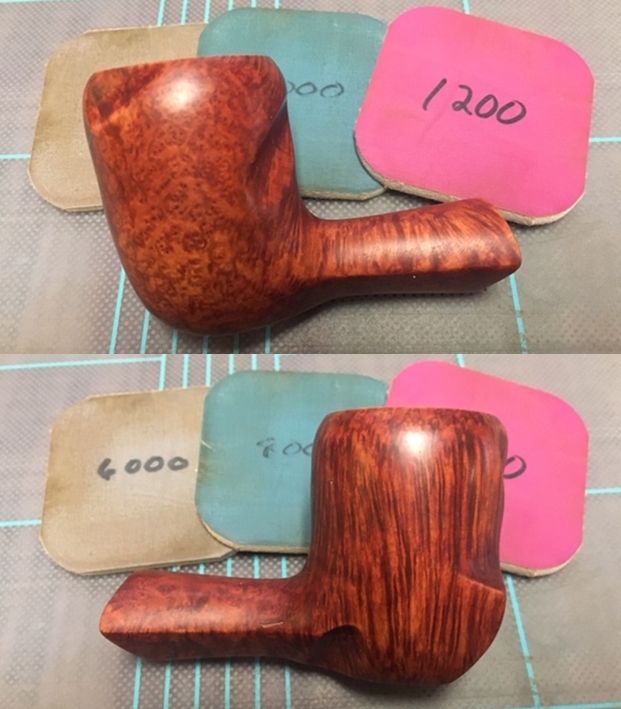
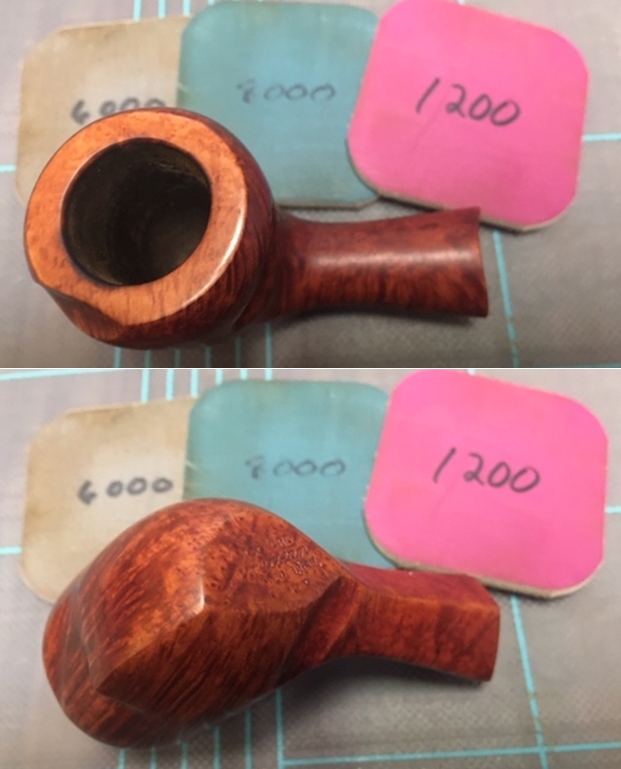
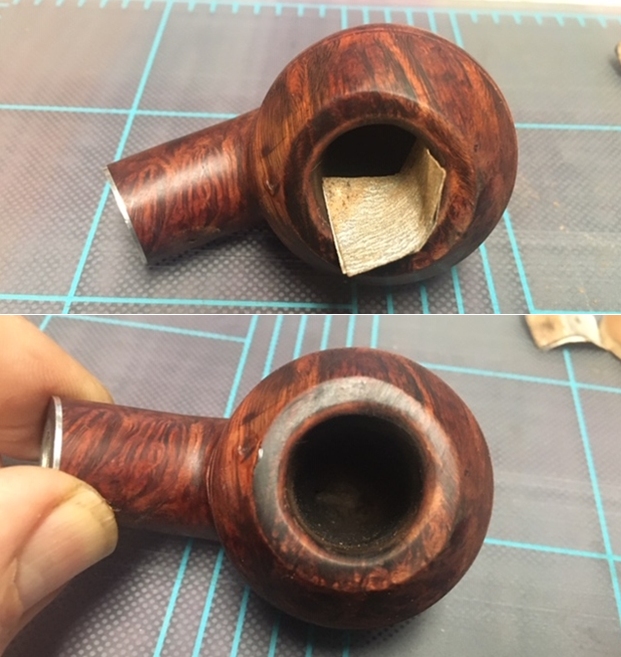
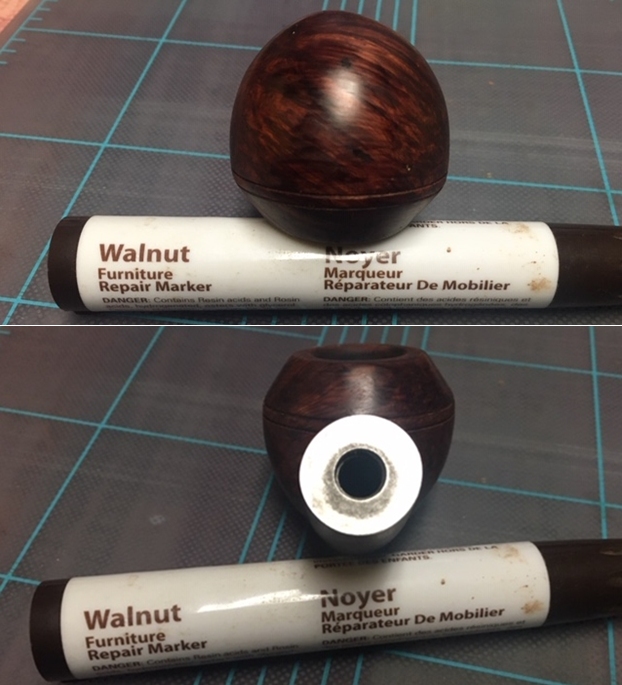
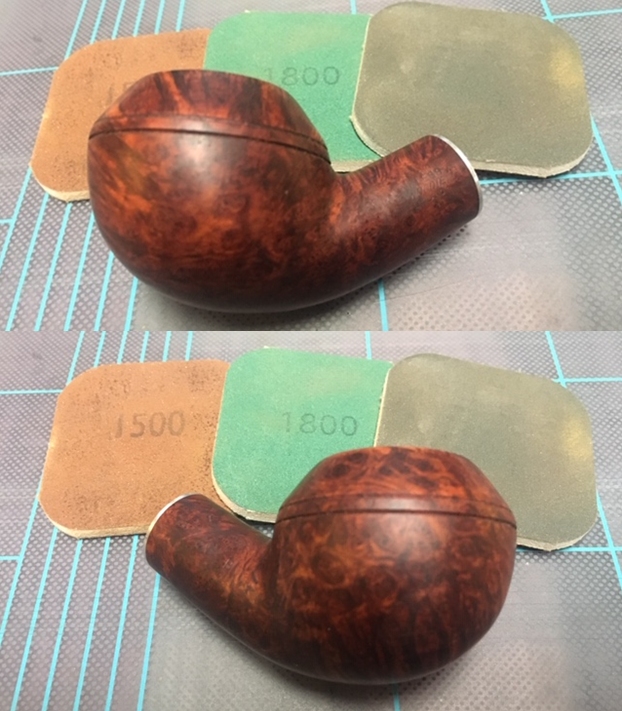
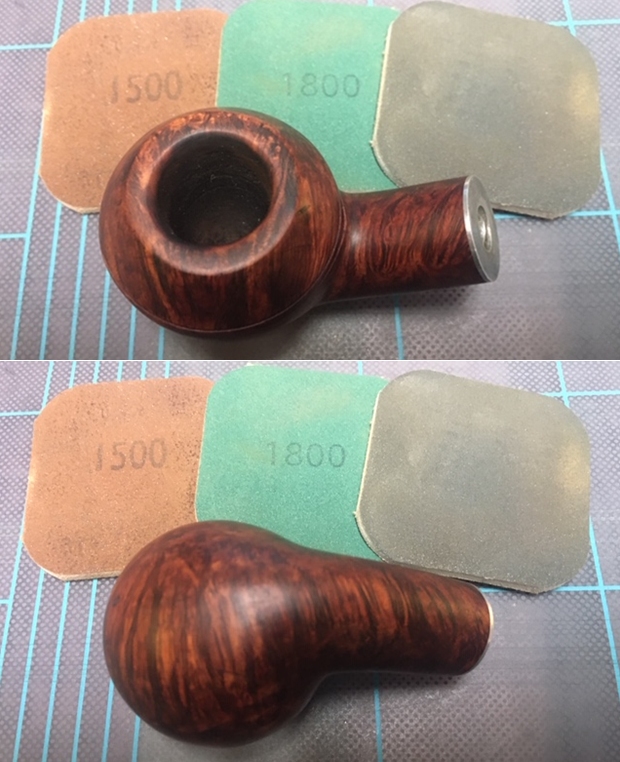
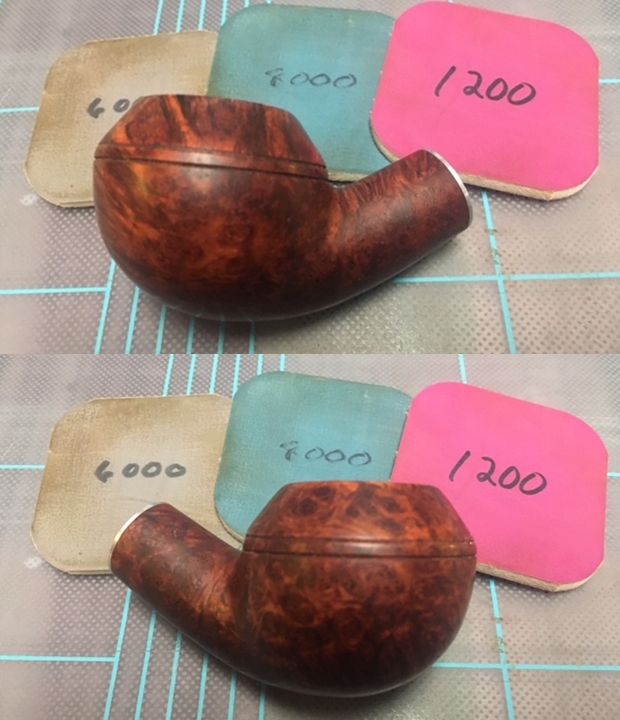
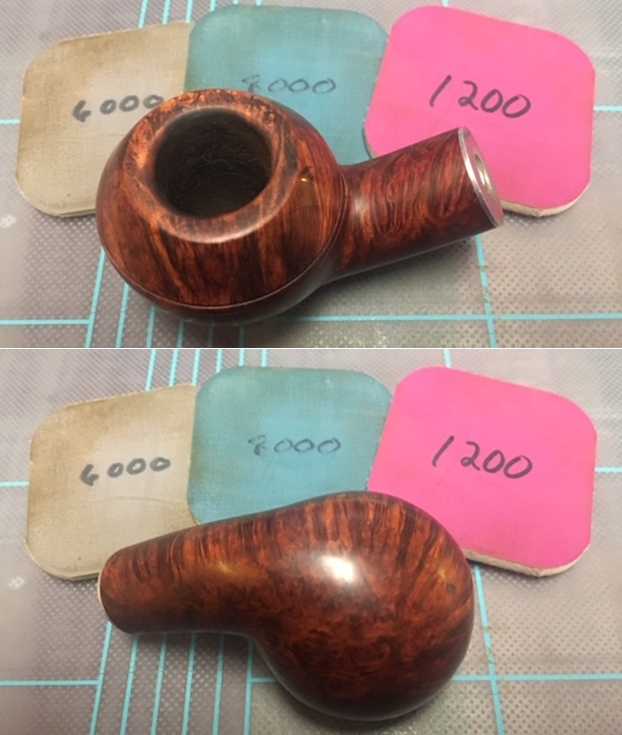
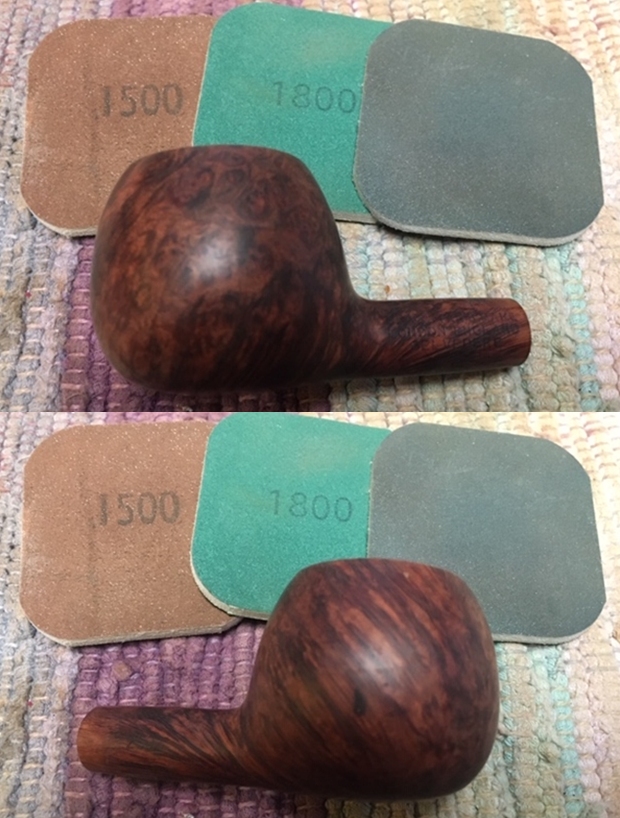
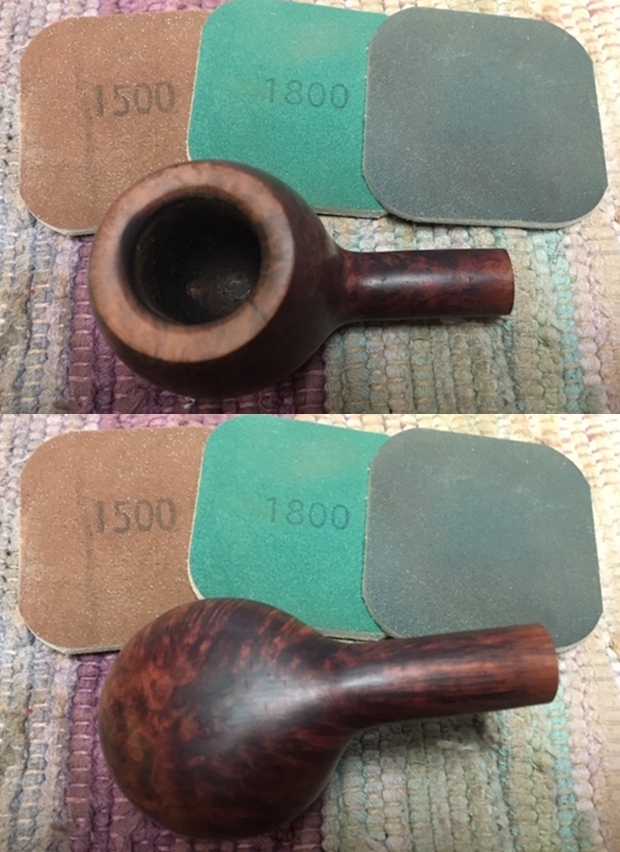
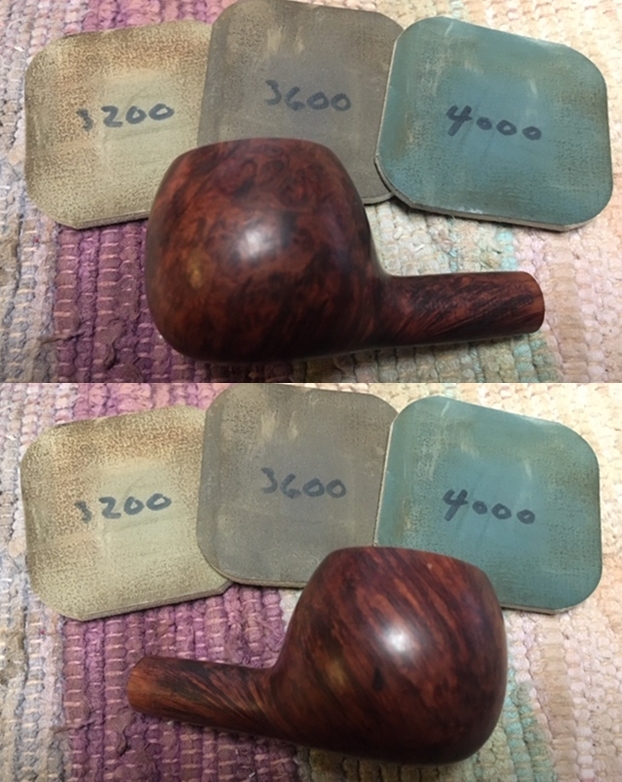
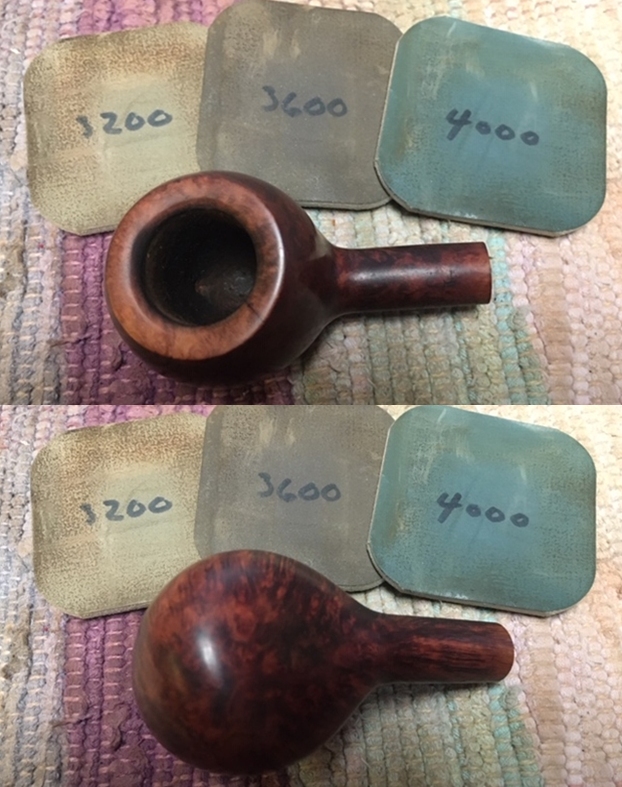
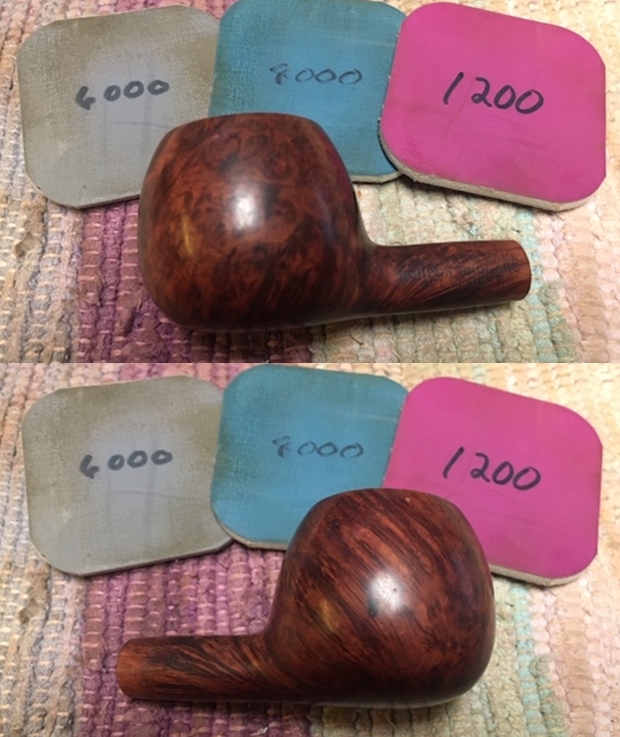
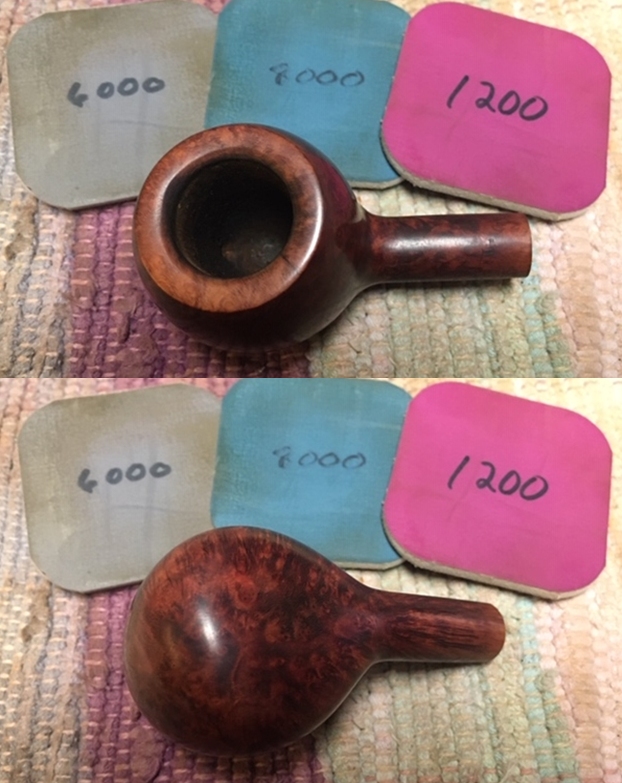
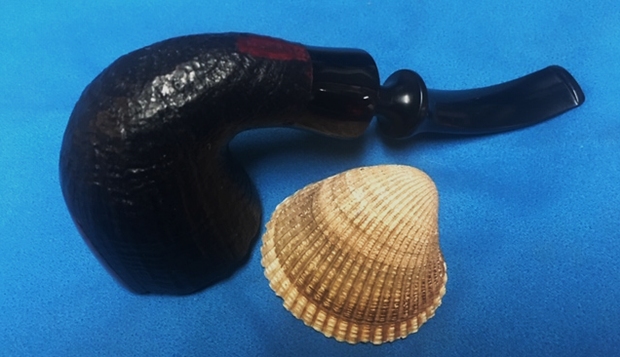
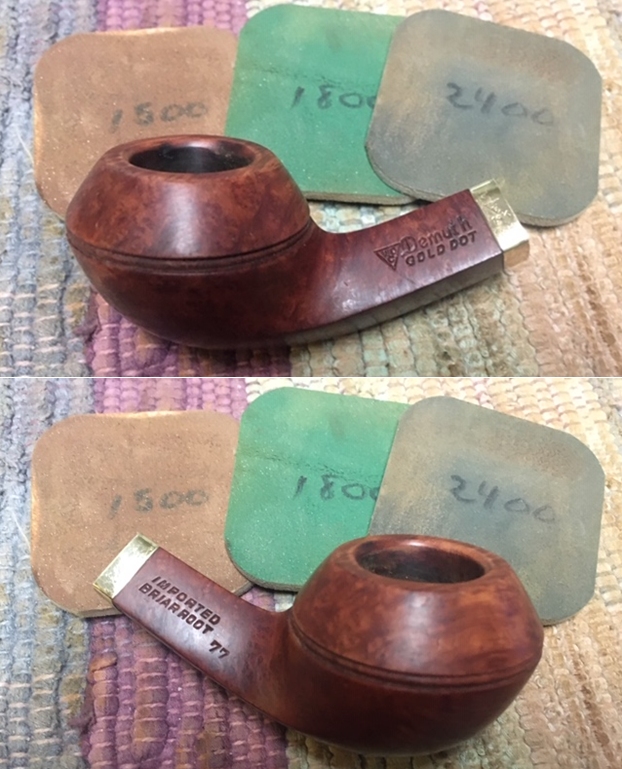
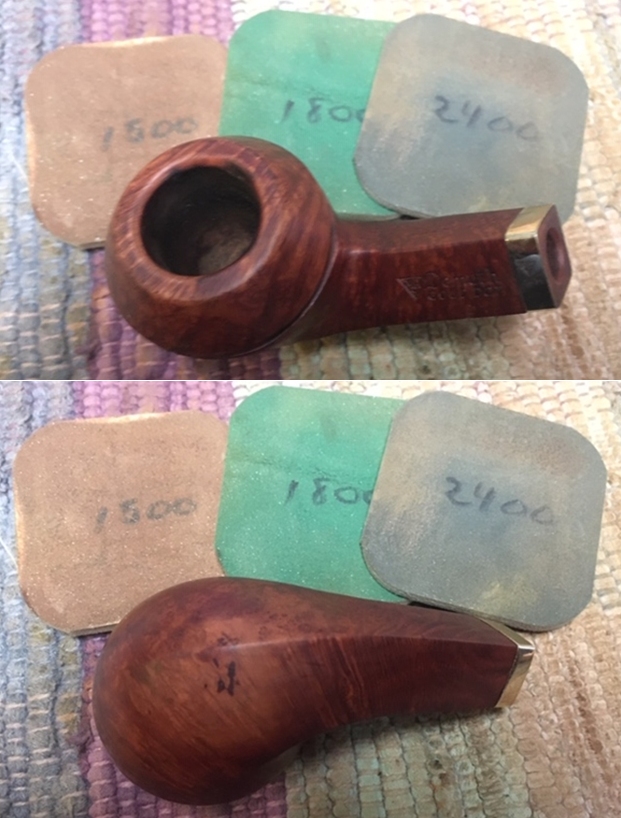
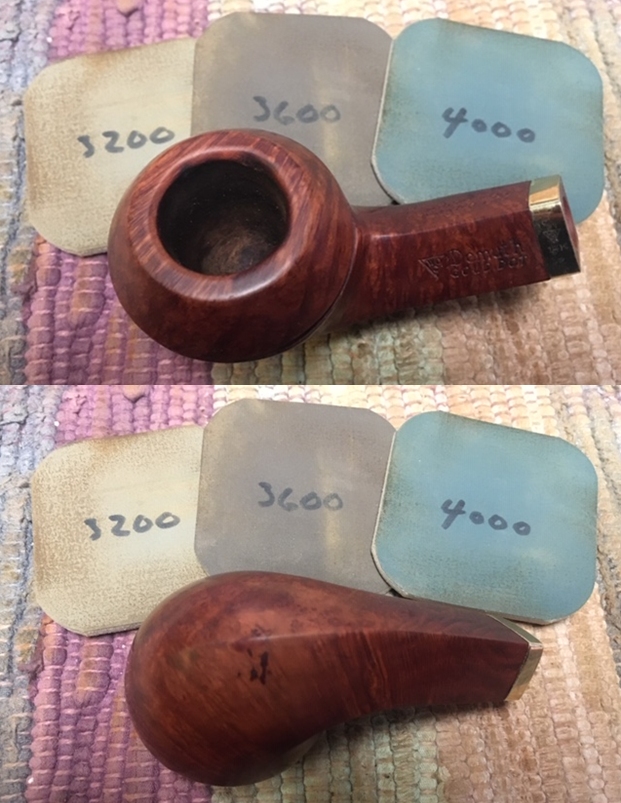
 I polished the bowl and rim top with micromesh sanding pads – wet sanding with 1500-12000 grit pads and wiping the briar down with a damp cloth after each sanding pad.

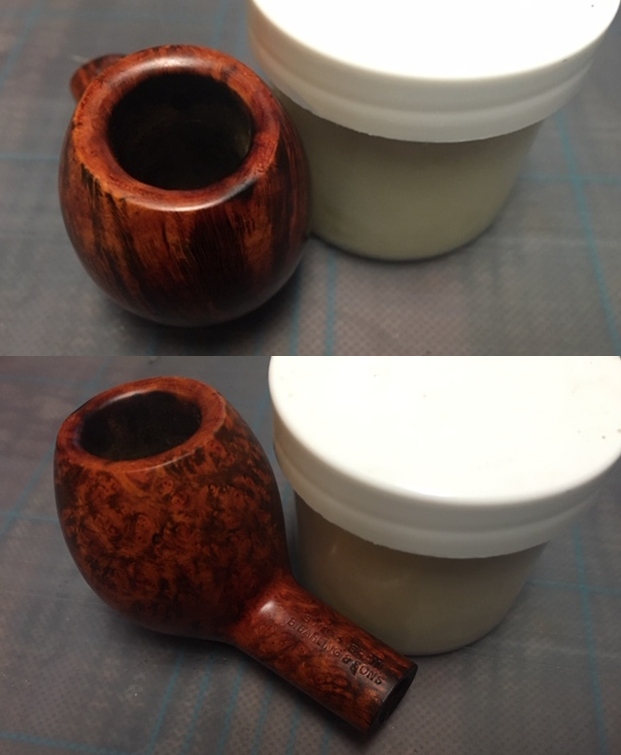
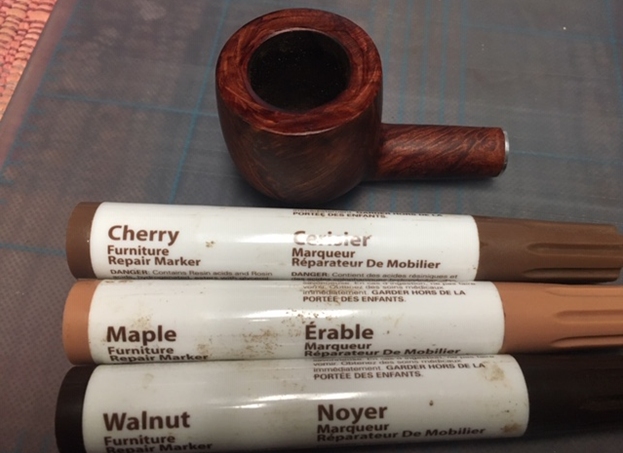
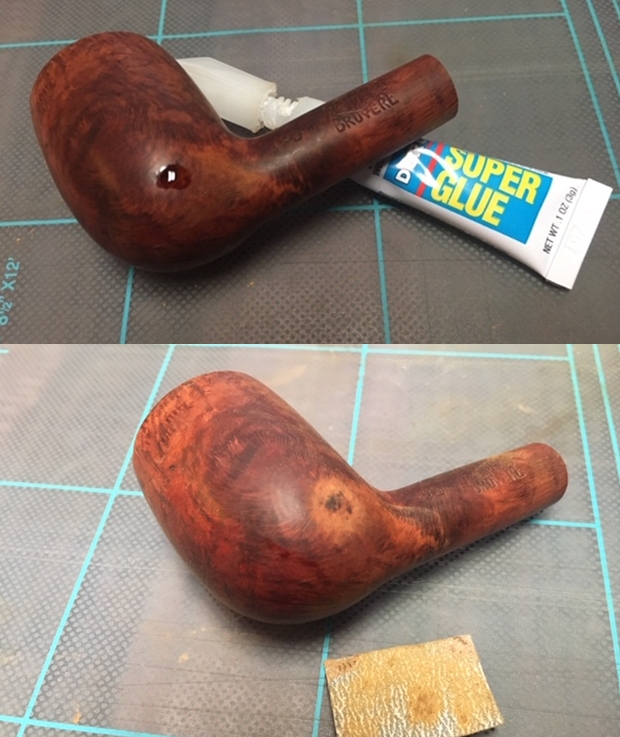
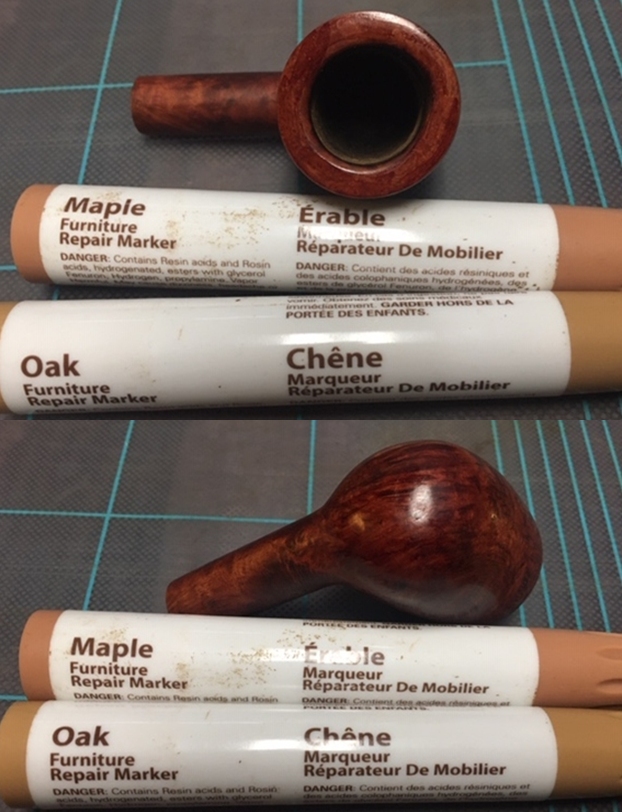
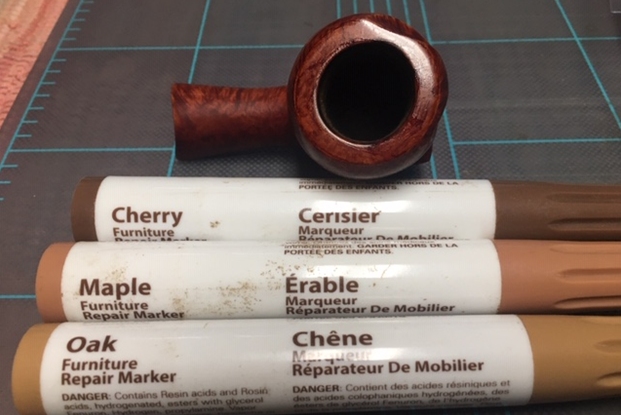
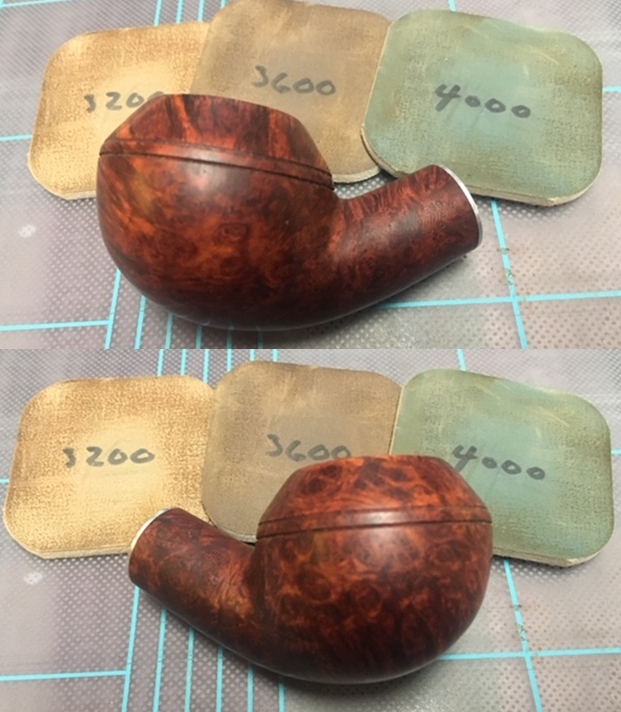
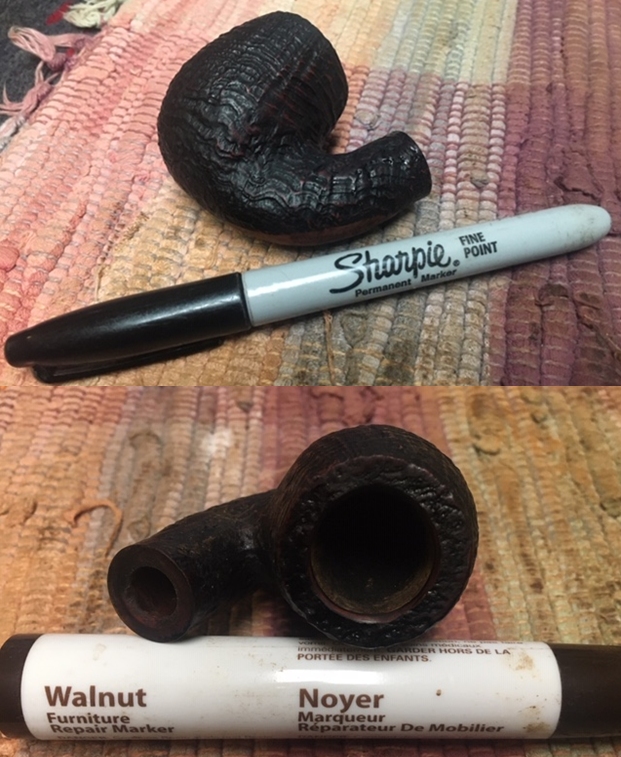
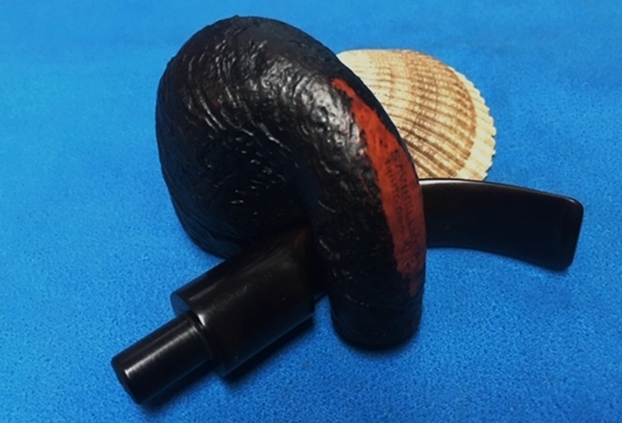
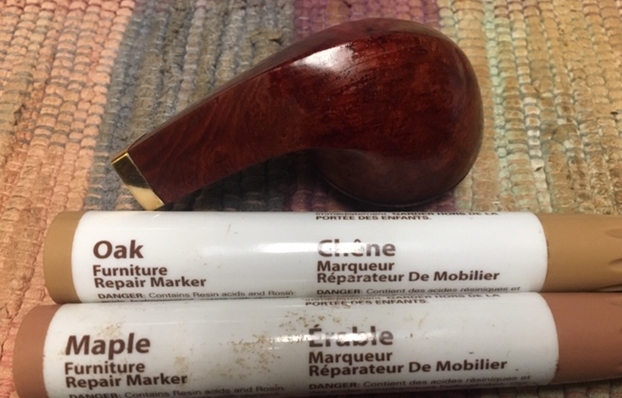
 I stained the sanded rim top with a Maple stain pen to blend it into the surrounding briar. Once the stain cured I polished the briar to further blend it into the bowl.
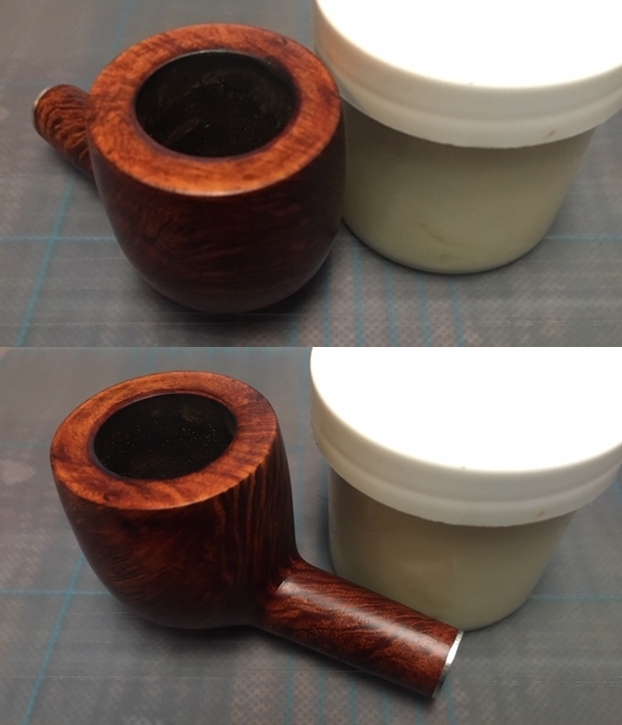
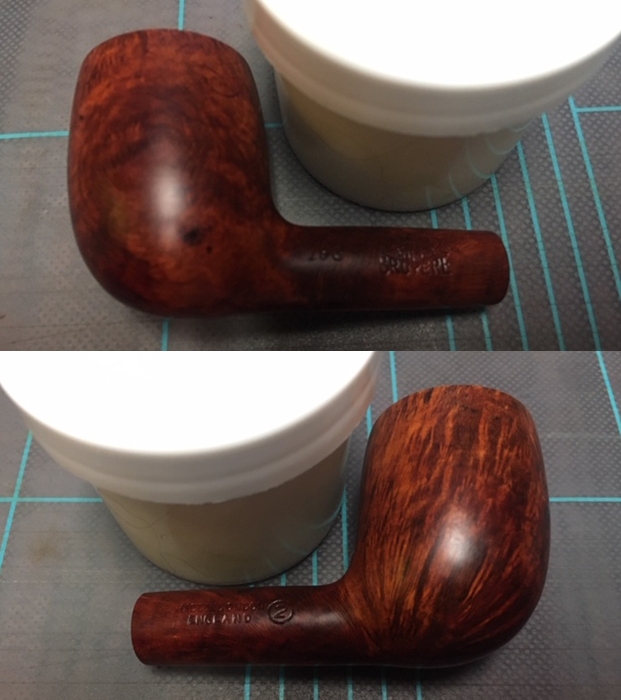
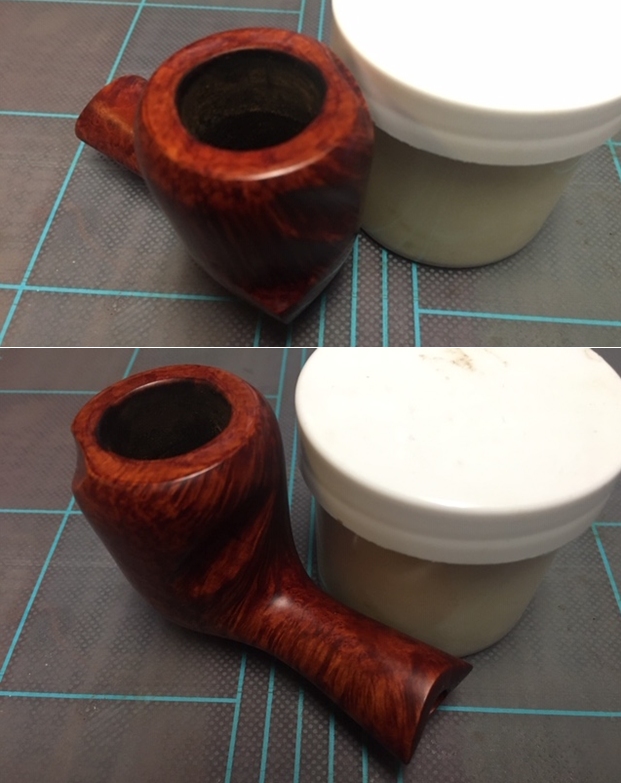
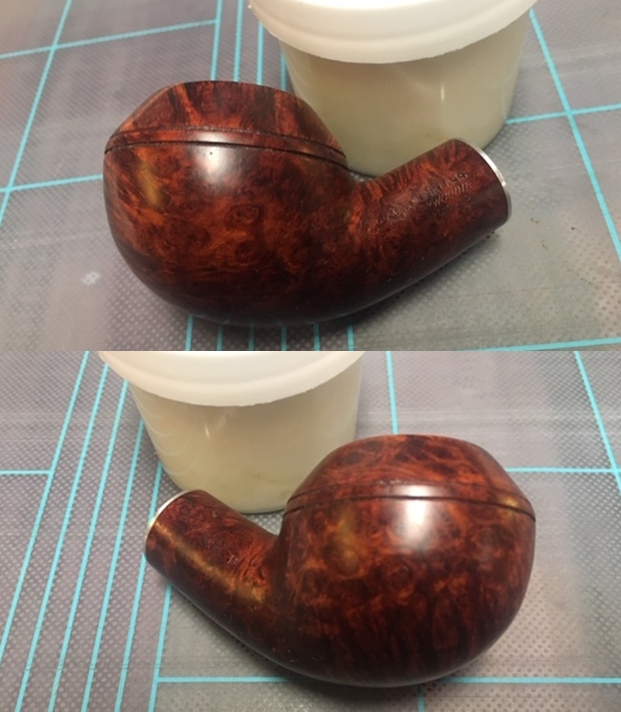
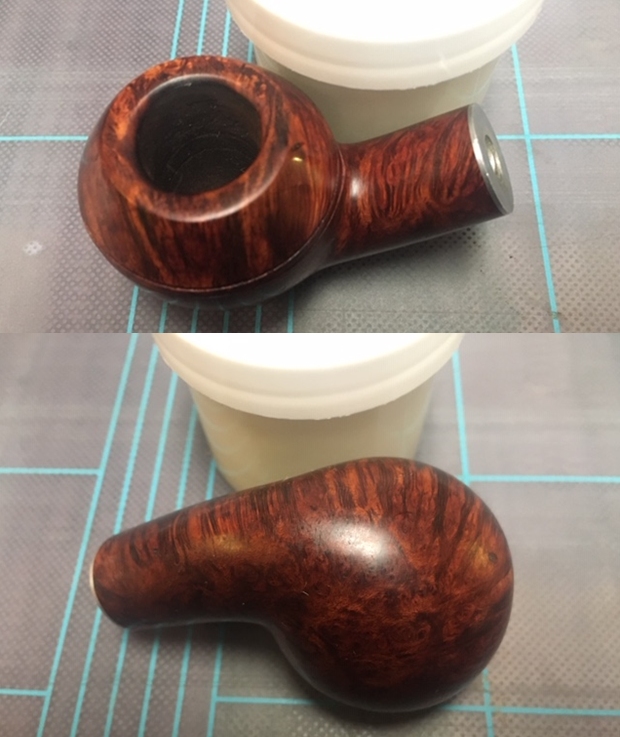
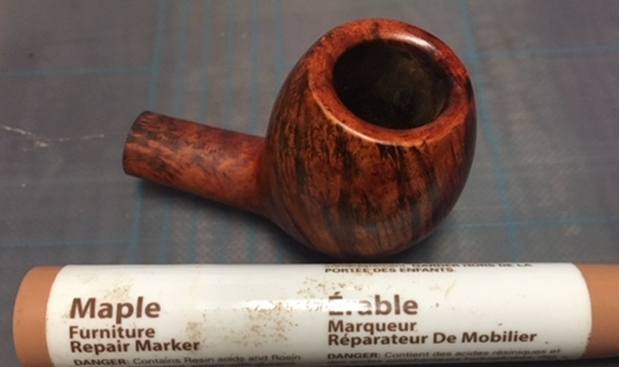 I rubbed the bowl down with Before & After Restoration Balm. I worked it into the surface of the bowl sides and shank with my fingertips to clean, enliven and protect it. I let the balm sit for a little while and then buffed with a cotton cloth and shoe brush to raise the shine.
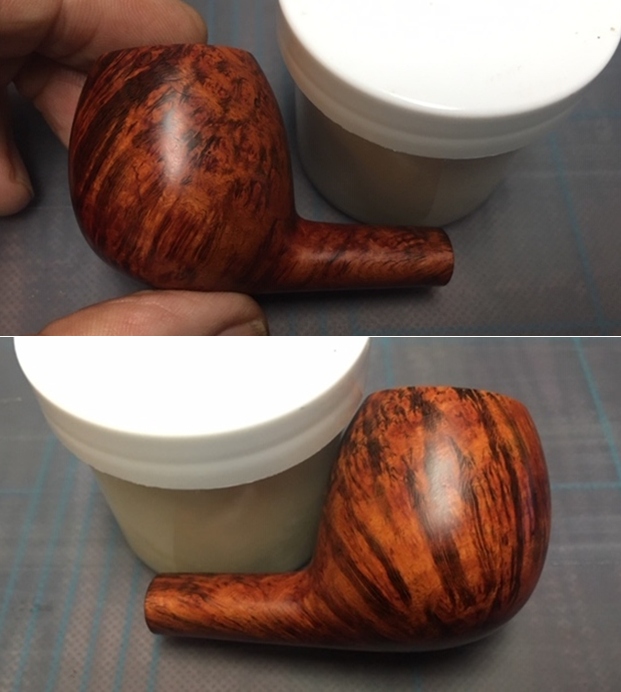
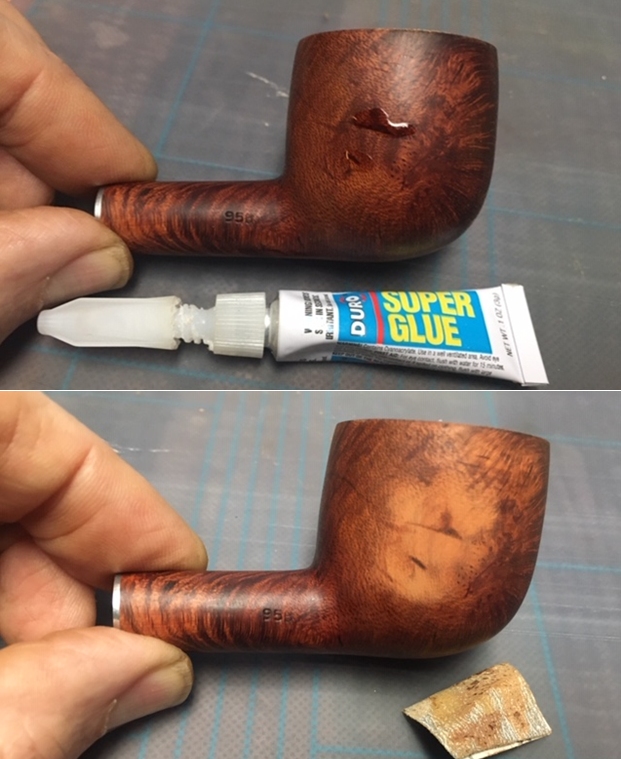
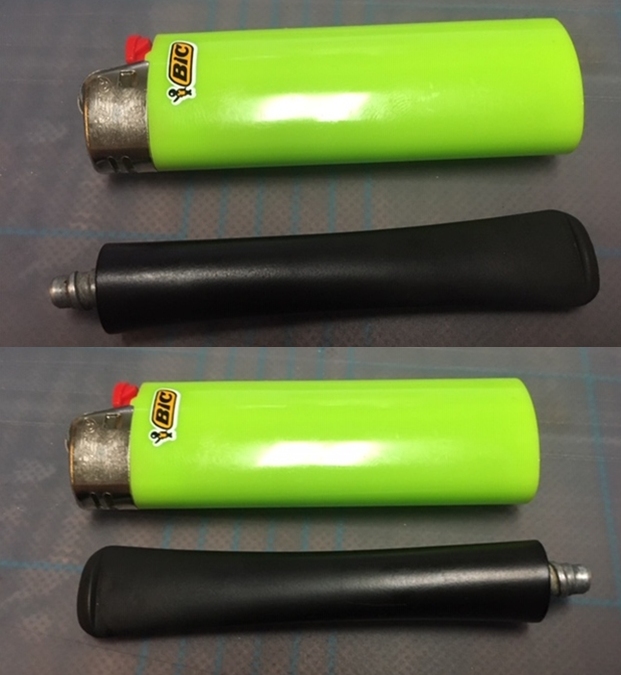
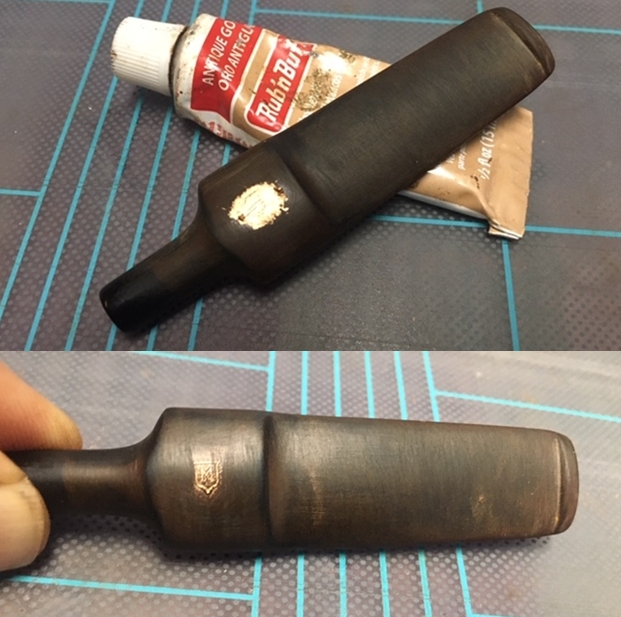
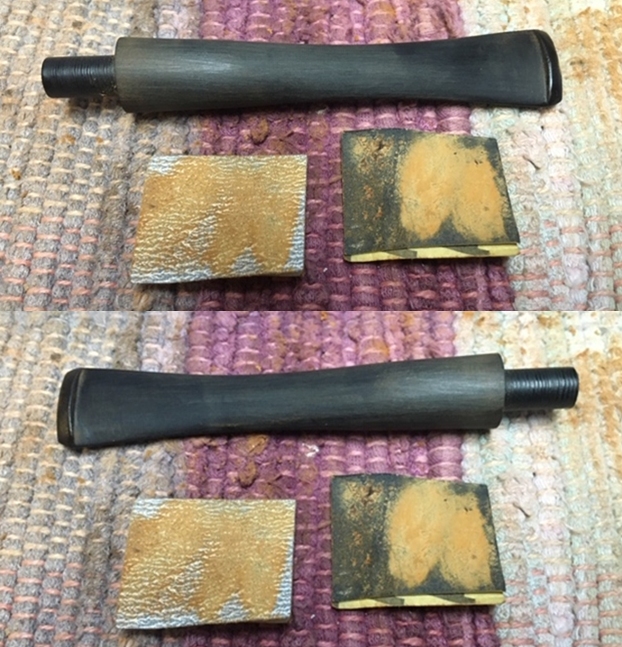
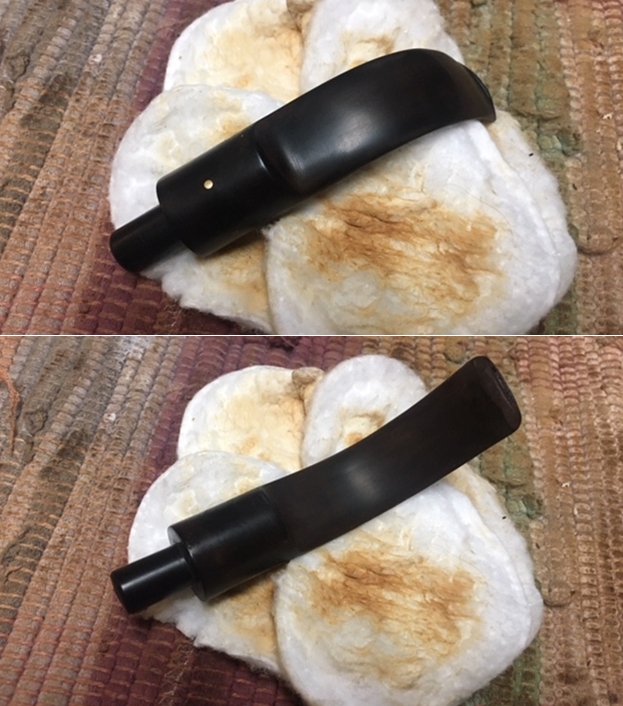
 I set the bowl aside and turned my attention to the stem. I “painted” the surface of the stem with the flame of a lighter. The heat lifted the majority of the dents in the stem surface. It also had the added benefit of burning off some of the oxidation.
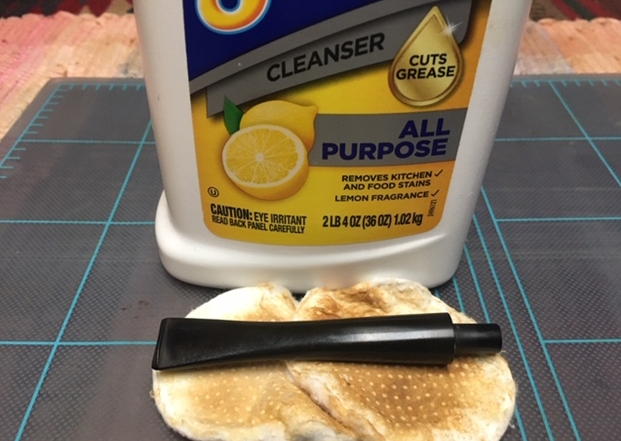
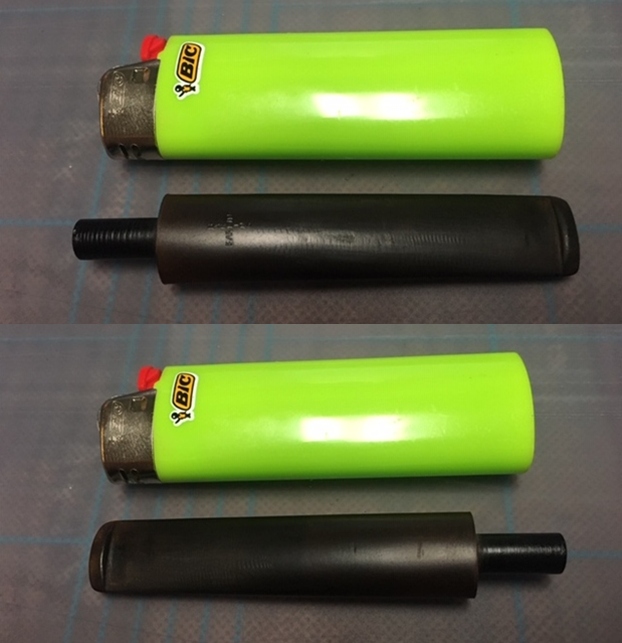 I scrubbed the surface of the stem with Soft Scrub to further remove the remaining oxidation. The product works wonders in removing the oxidation on the stem. It took a bit of scrubbing but I was able to remove the majority of the oxidation around the shank end.
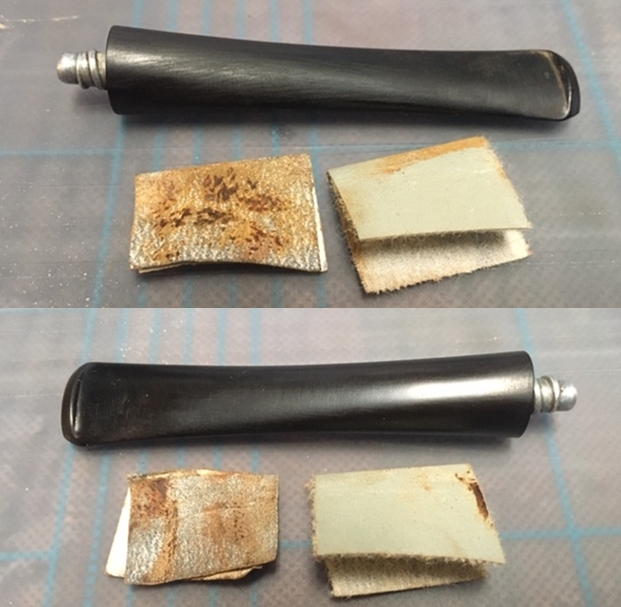
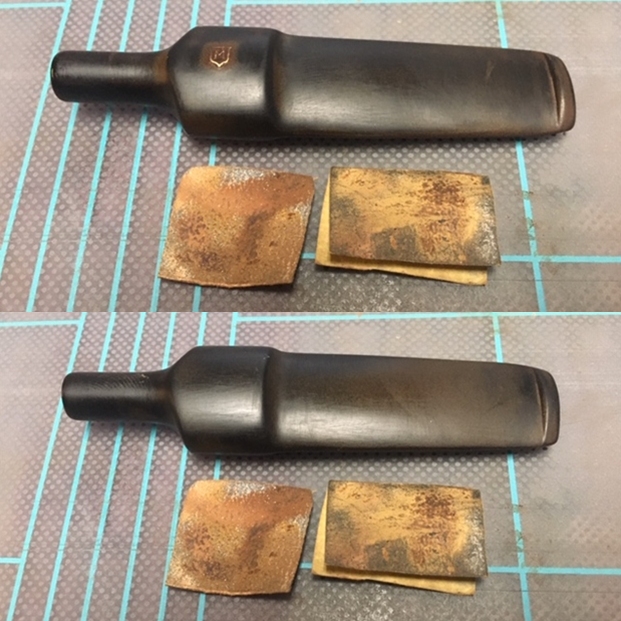
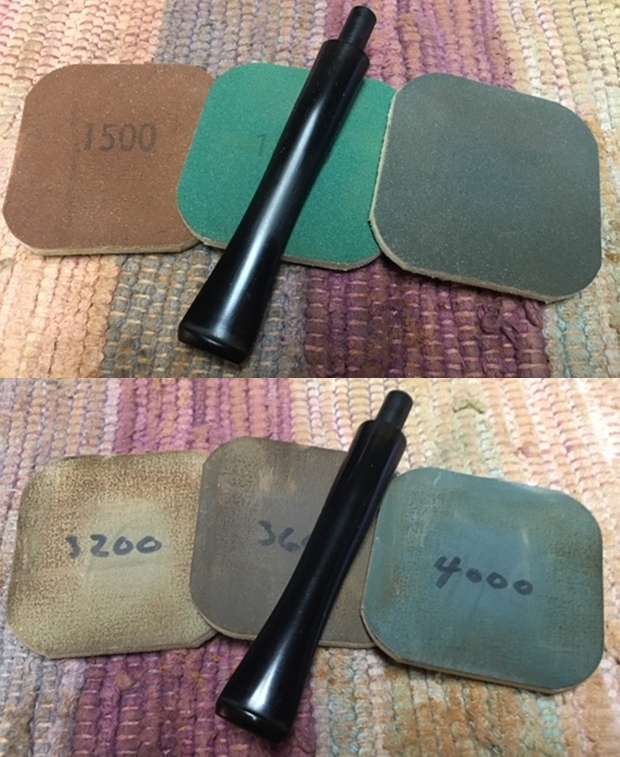
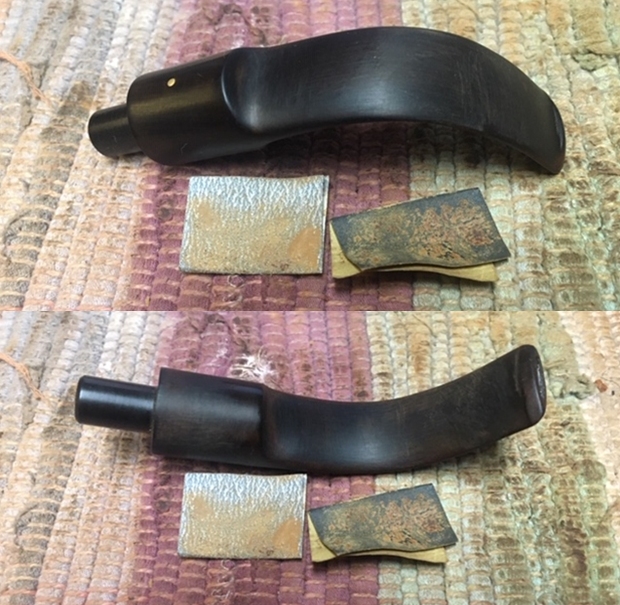
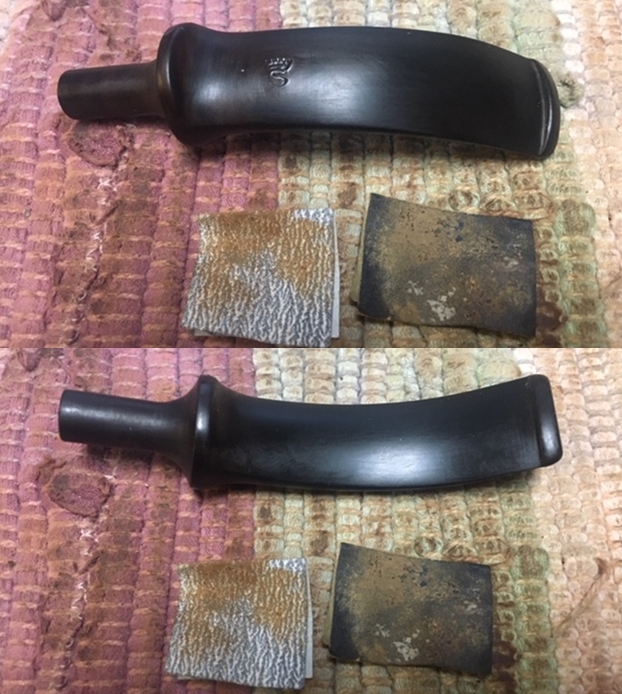
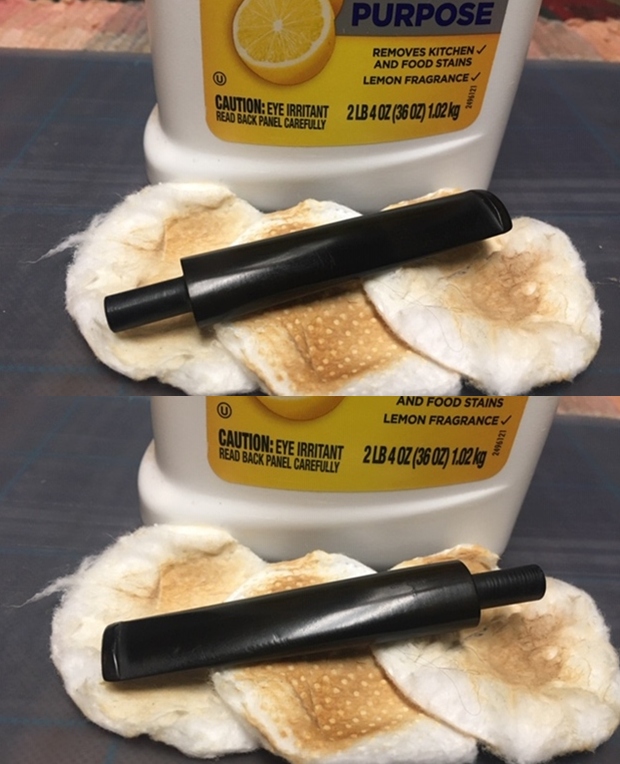 I sanded out the remaining tooth marks and scratches on the stem surface with 220 grit sandpaper and started polishing them with 400 grit wet dry sandpaper.
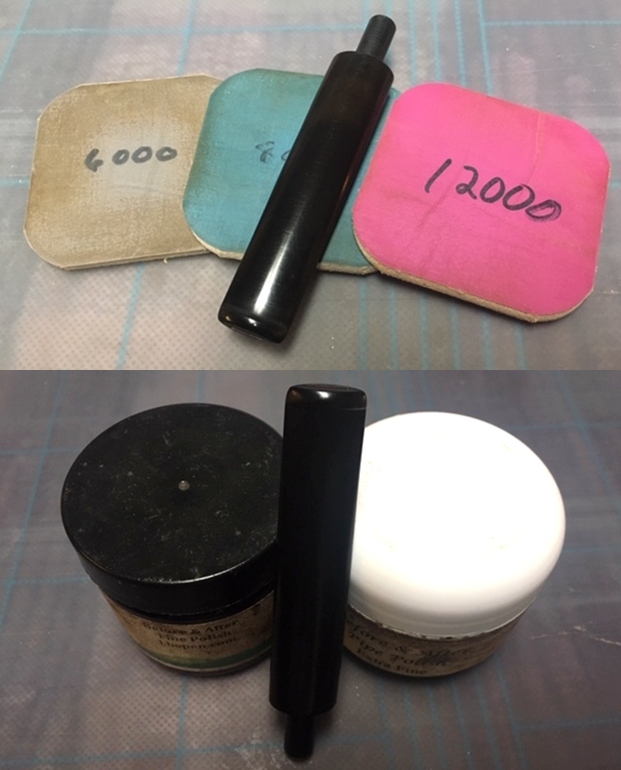
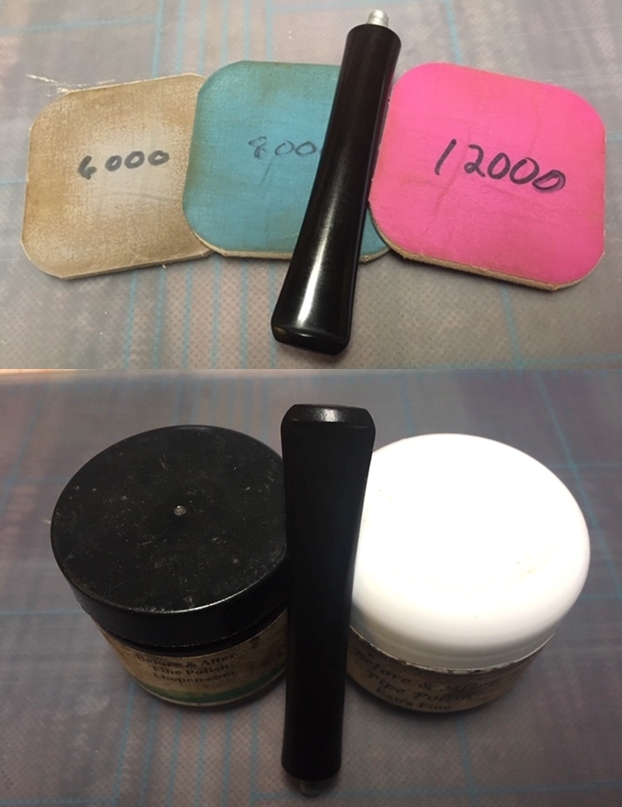
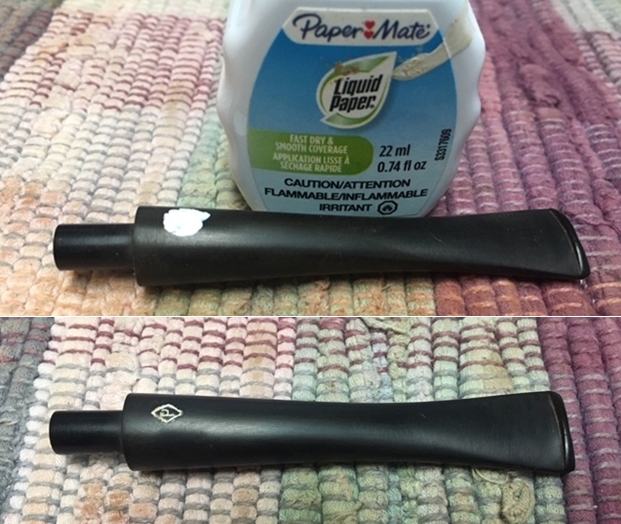
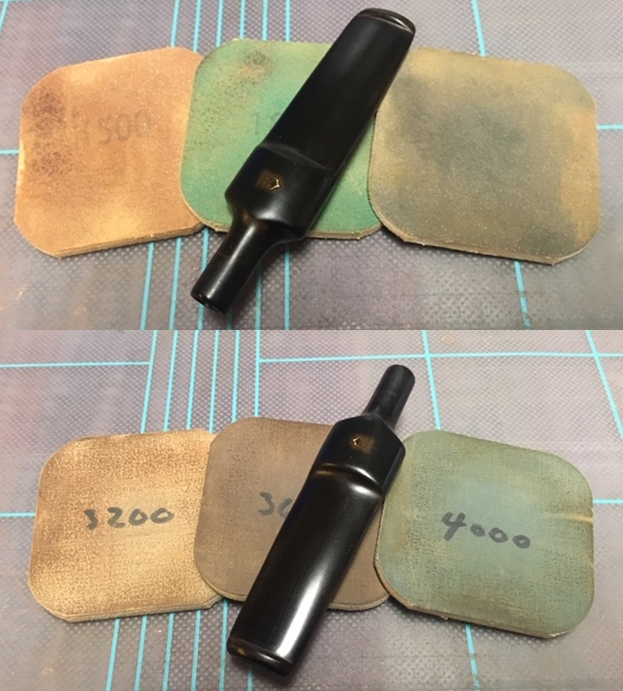
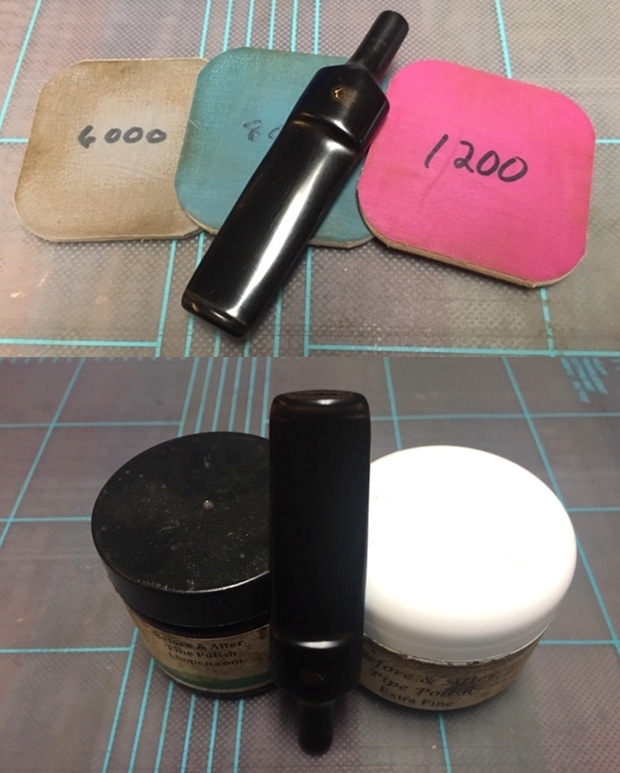
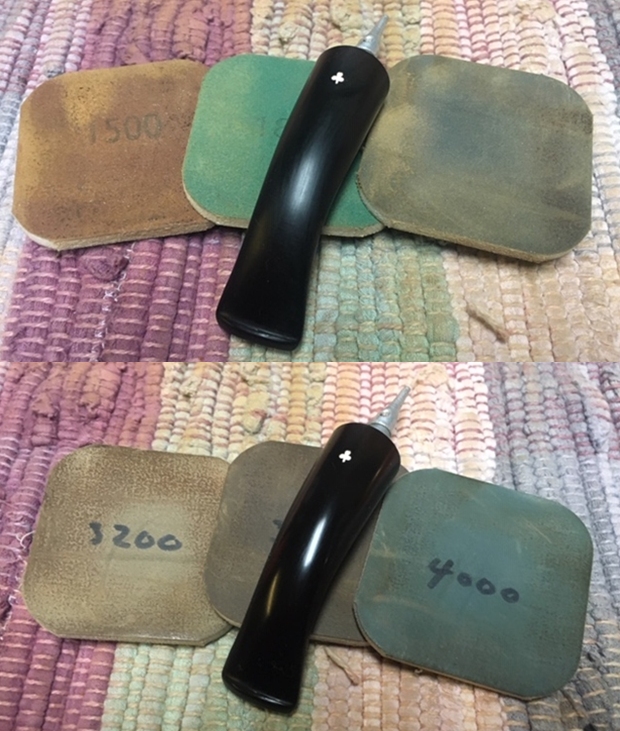
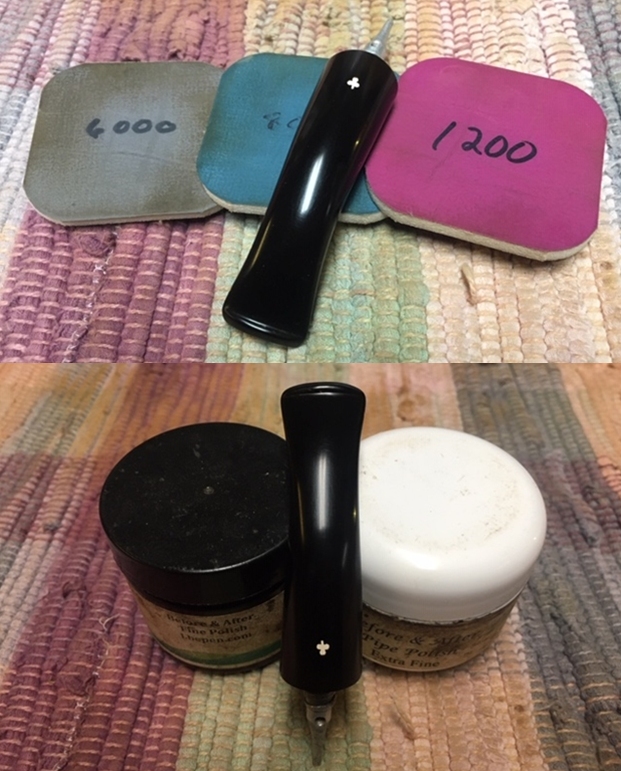
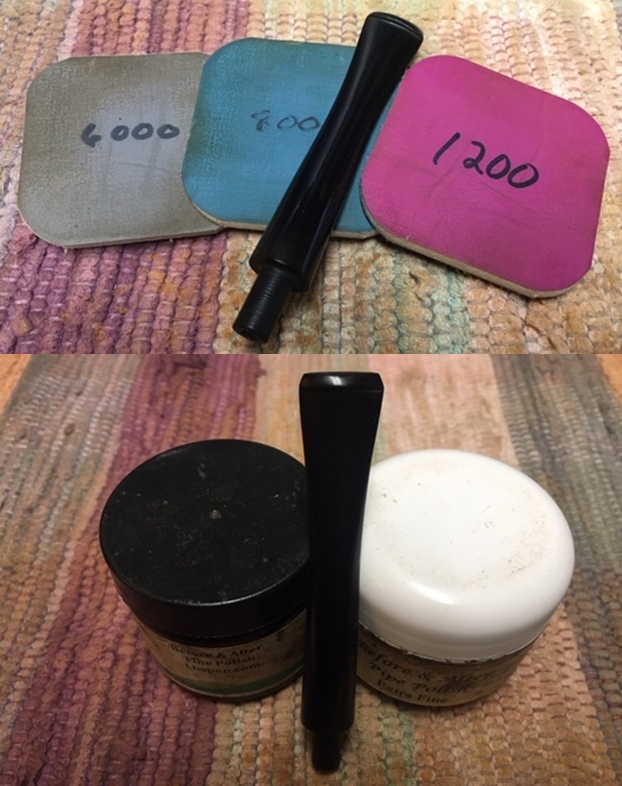
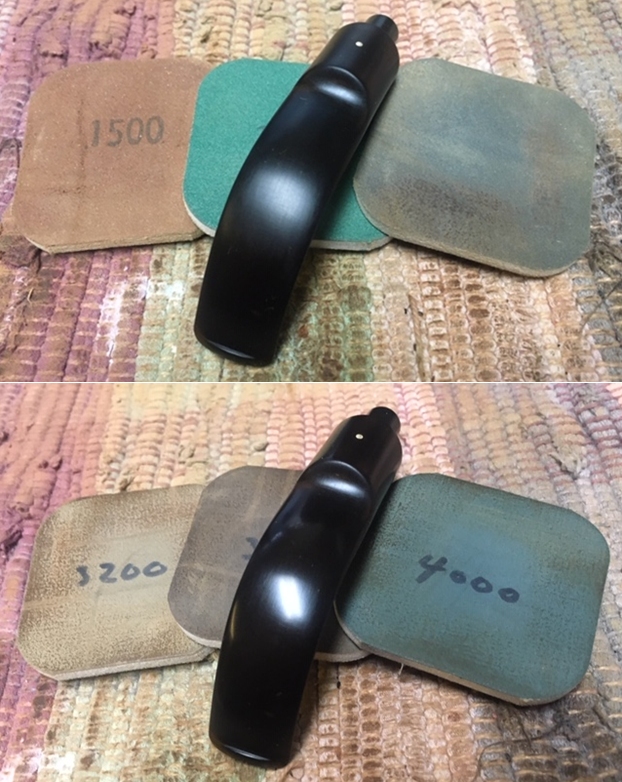
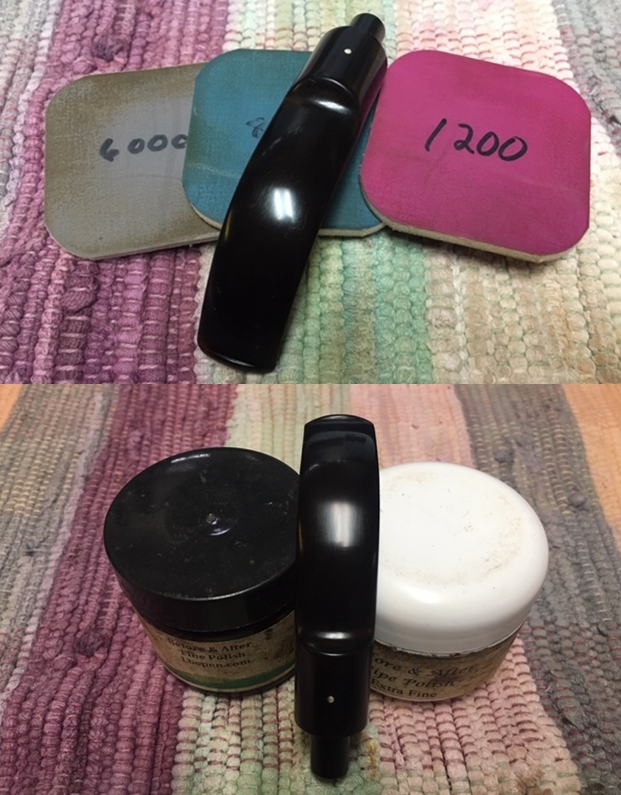
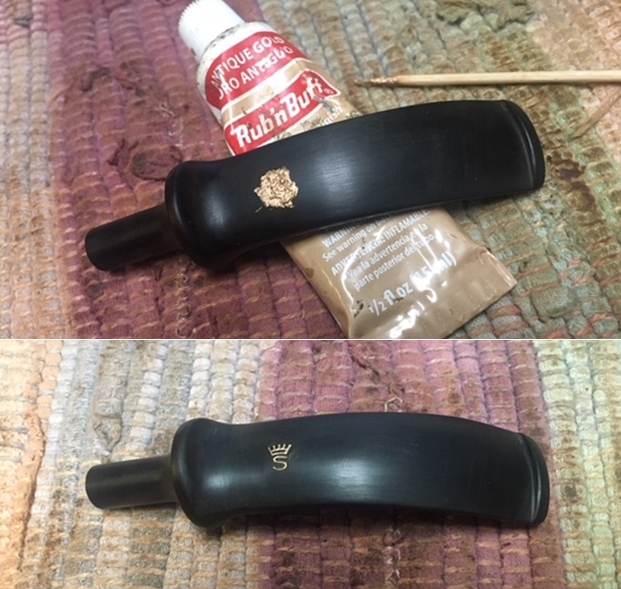
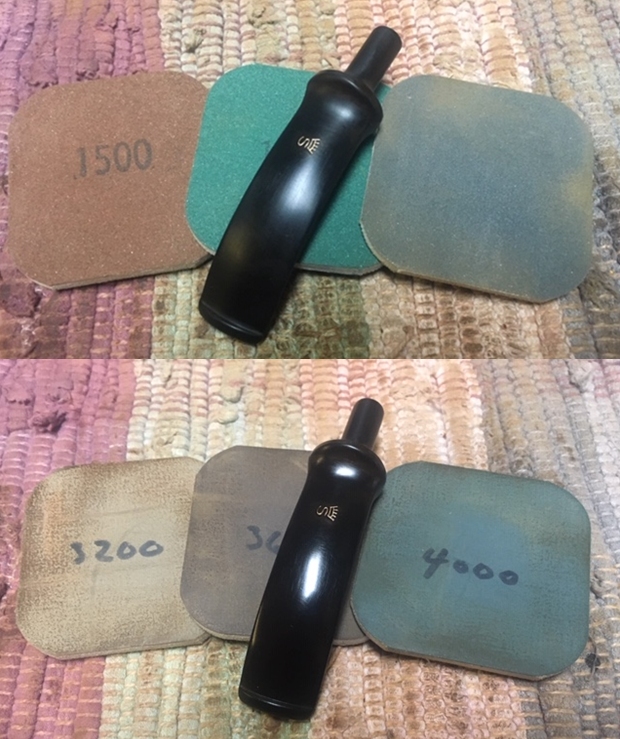
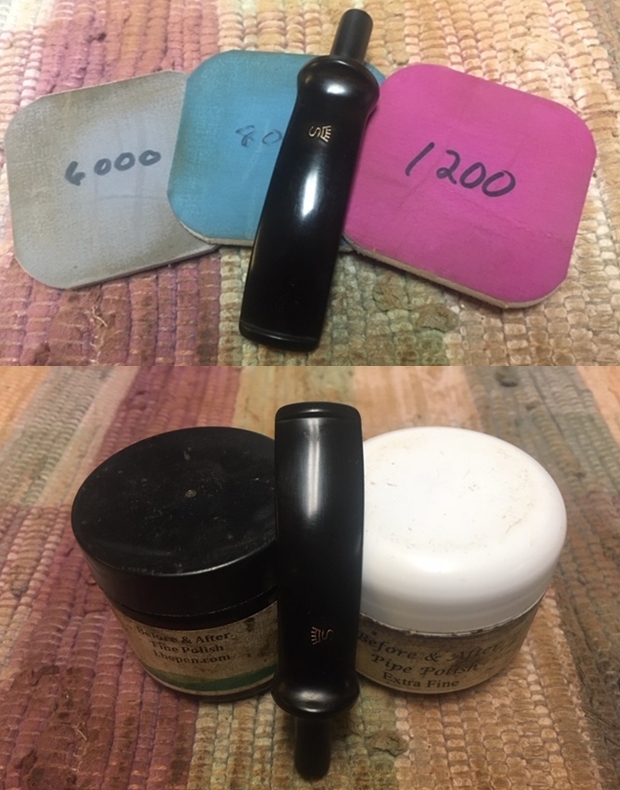
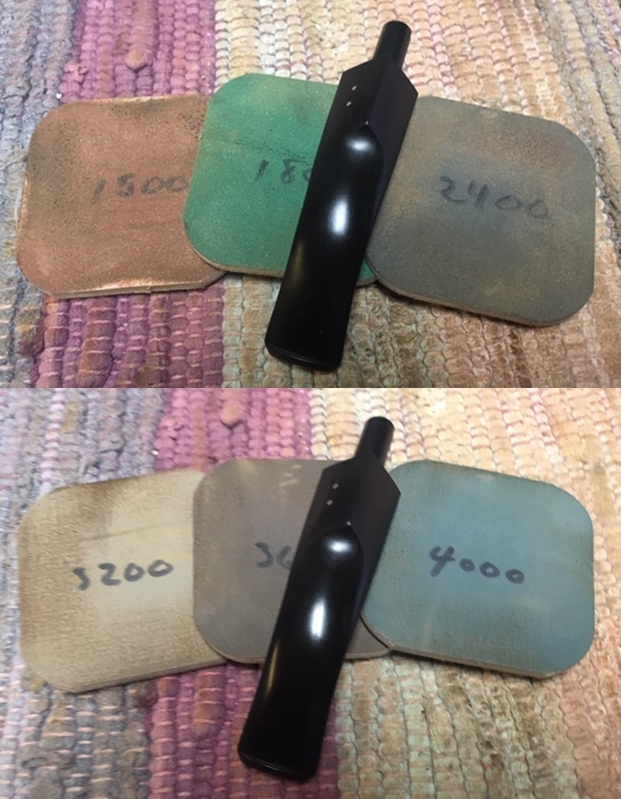
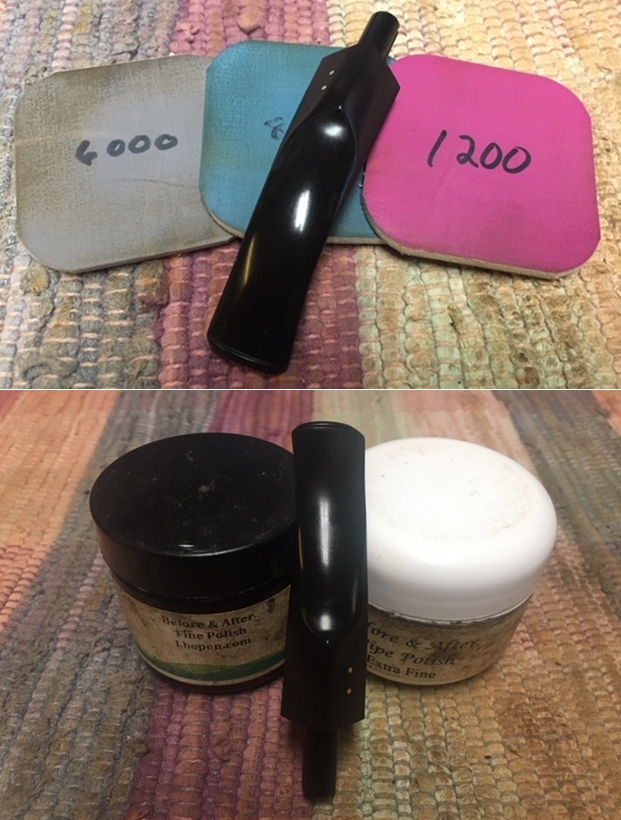
 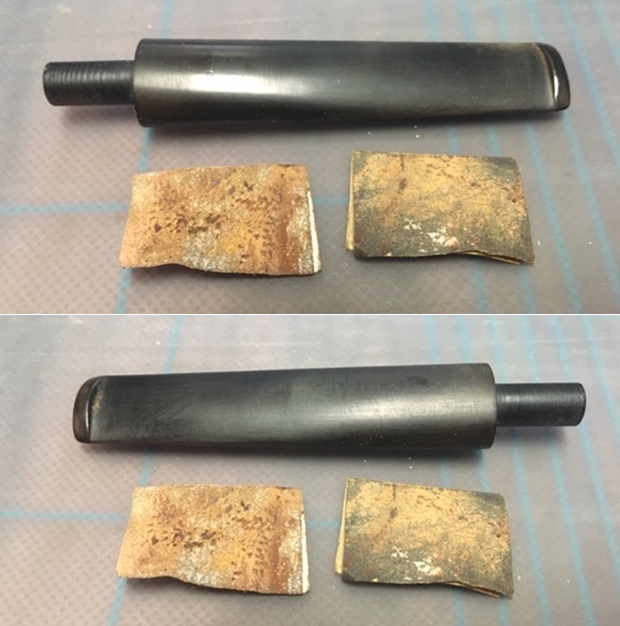 I polished the vulcanite with micromesh sanding pads – 1500-12000 grit pads. I wiped it down with a damp cloth after each sanding pad. I used Before & After Pipe Polish – both Fine and Extra Fine to further polish the stem. Even though I avoided the faint stamping of the Barling Cross there was not enough depth to the stamp to hold white paint. It is still visible but just not deep enough to restore.
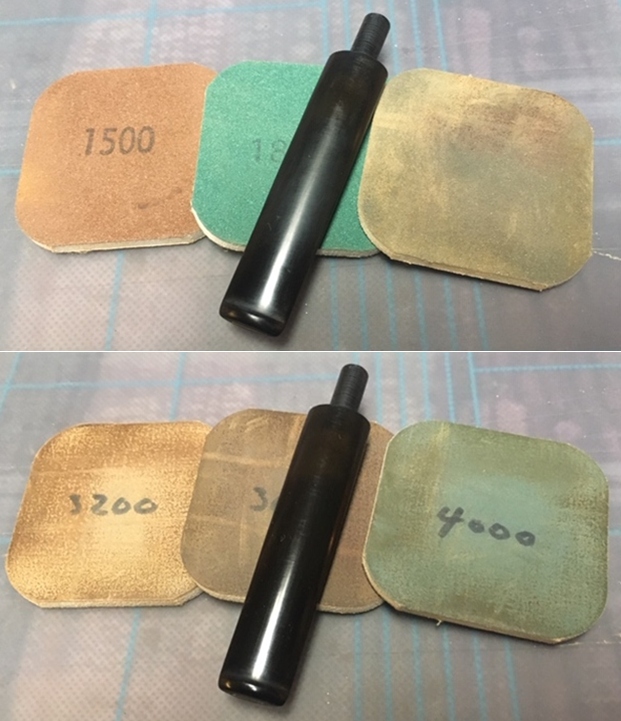
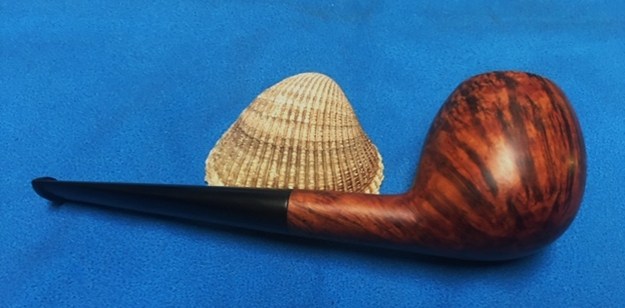
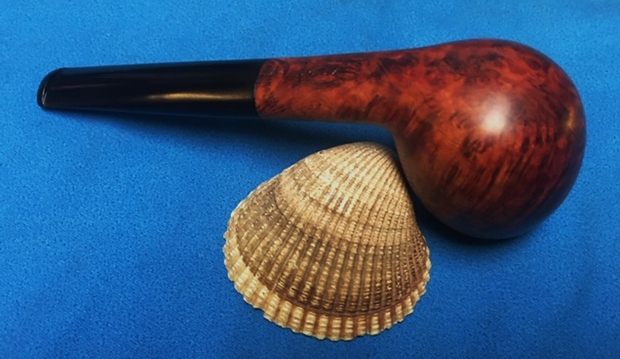
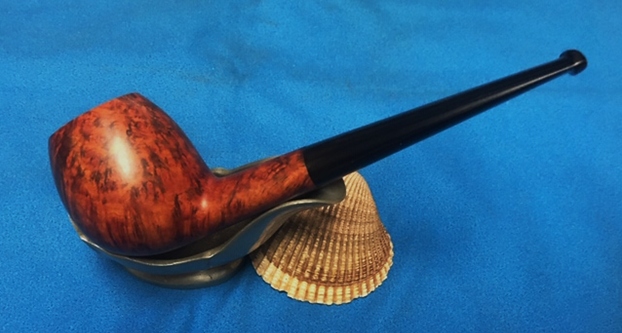
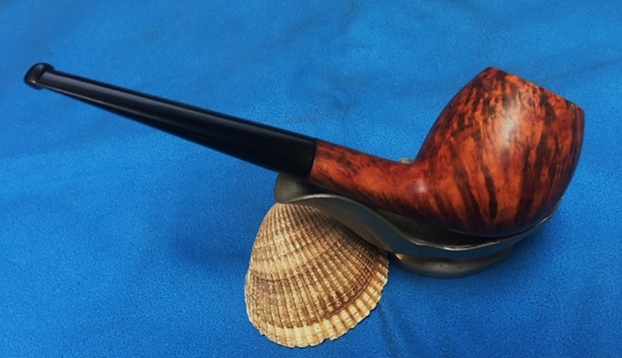
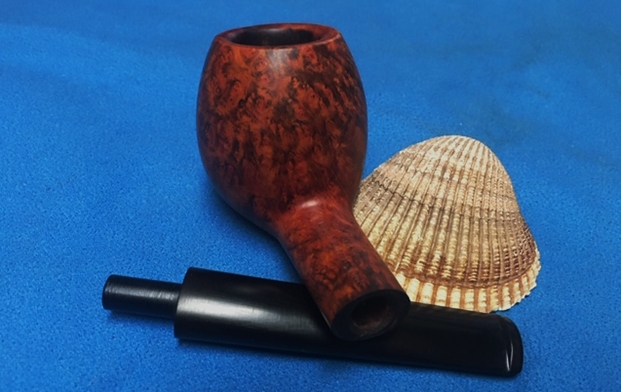
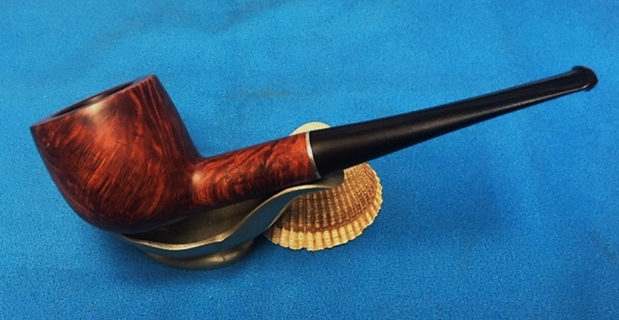
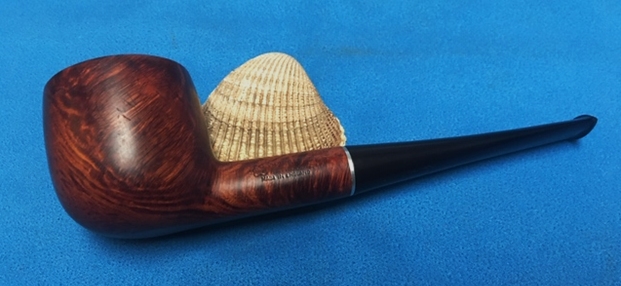
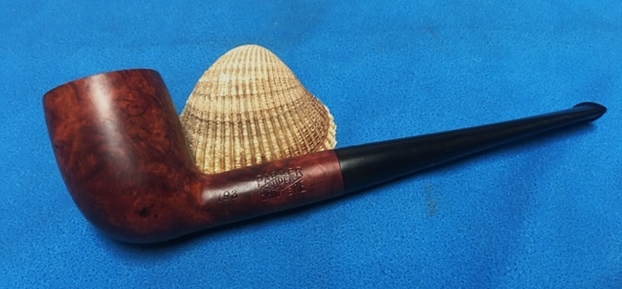
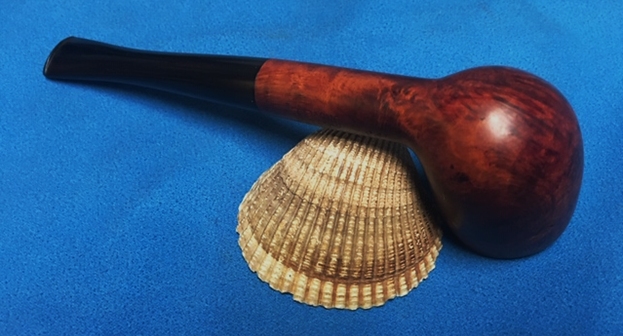
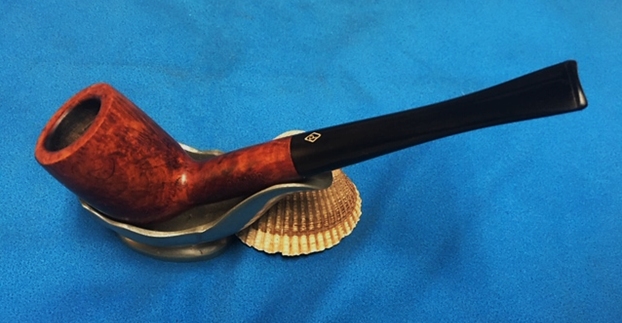
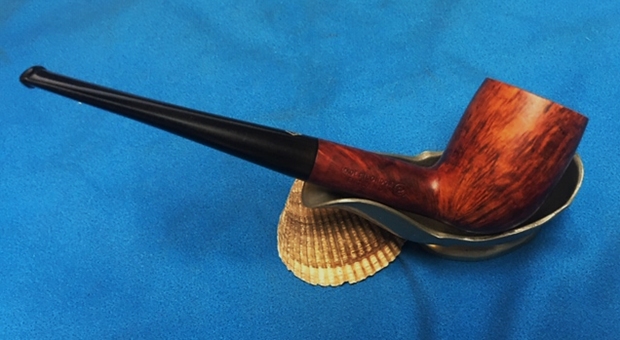
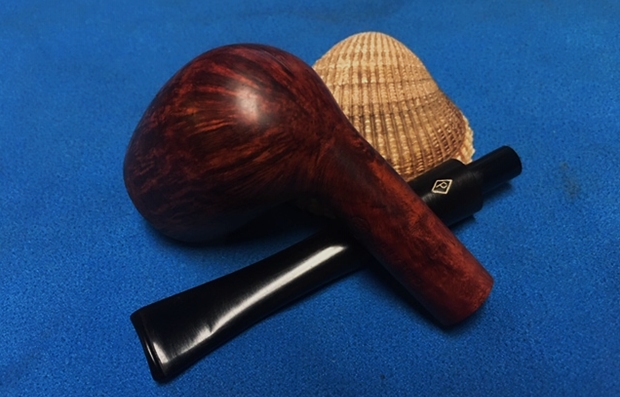
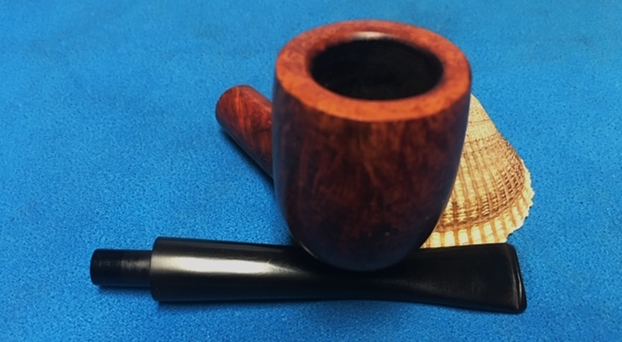
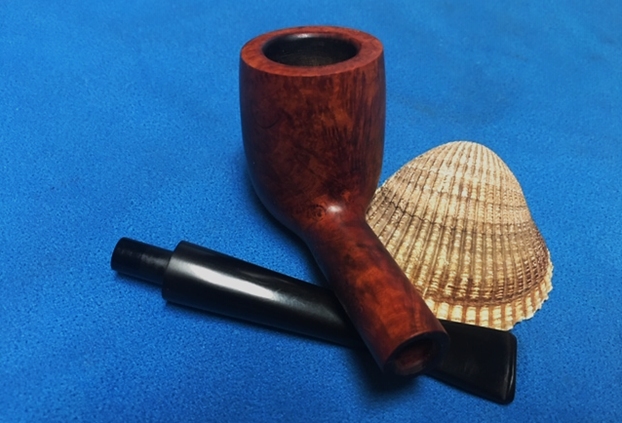
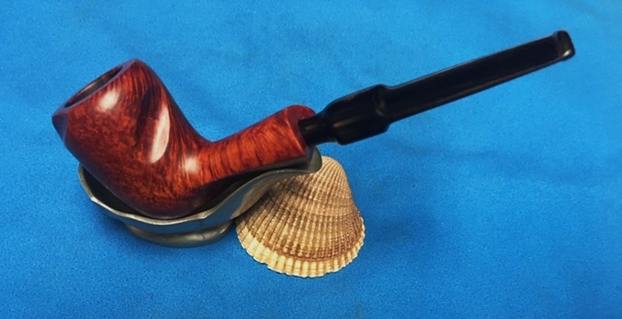
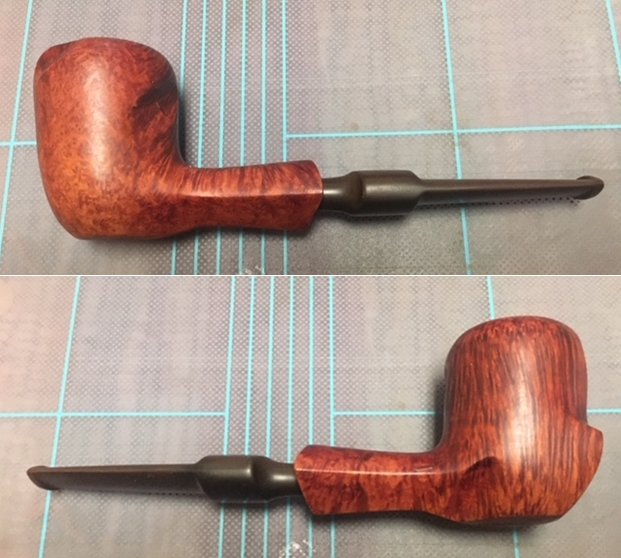
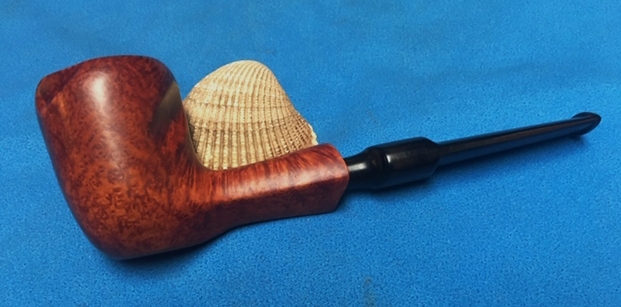
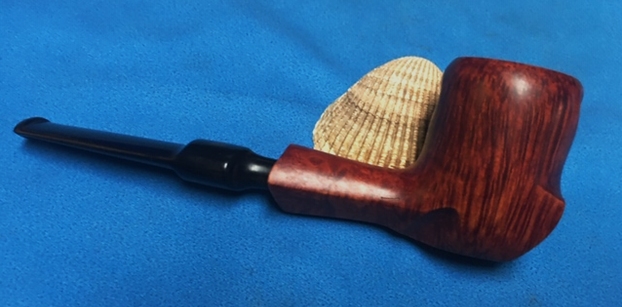
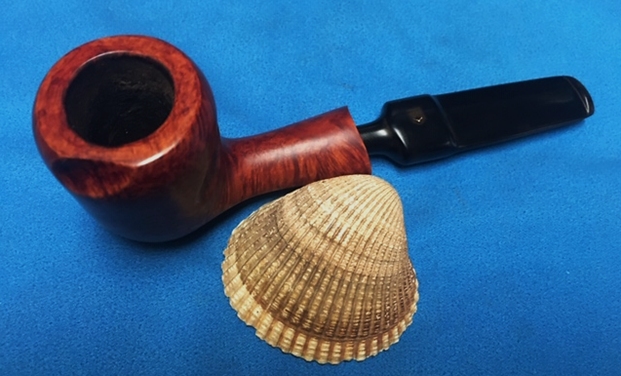
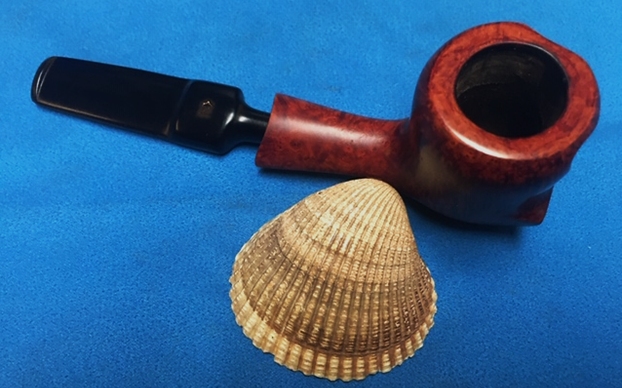
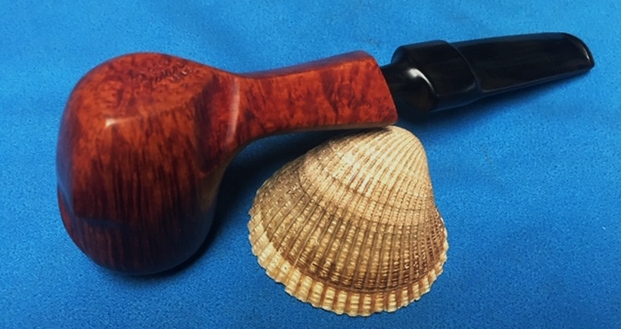
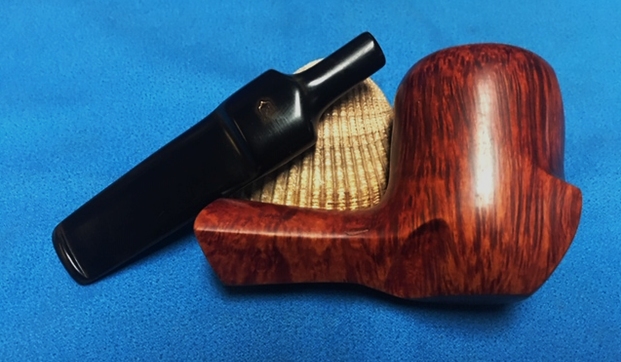
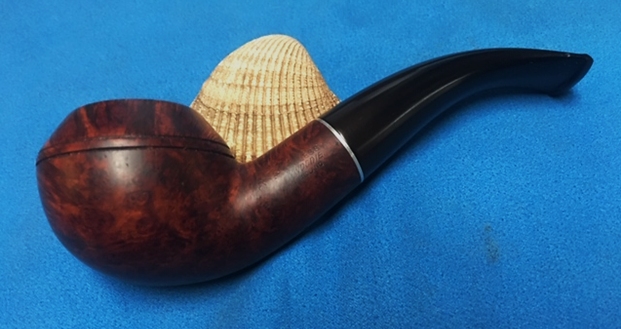
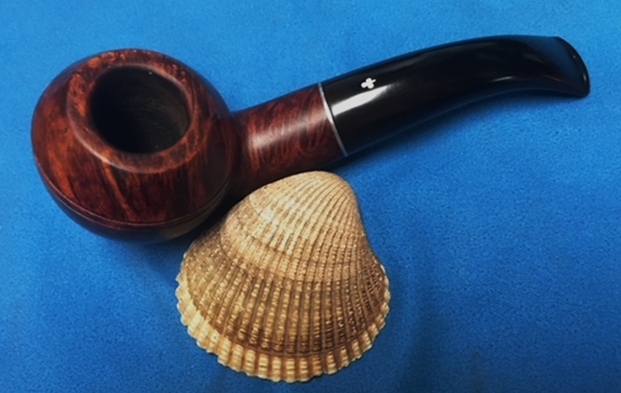
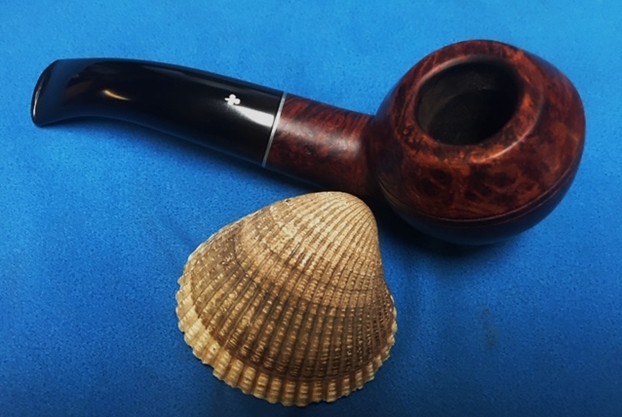
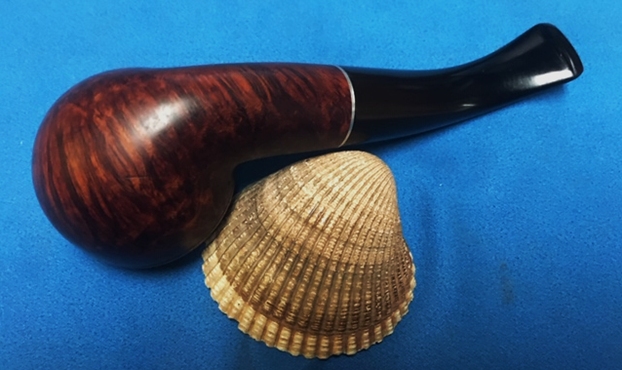
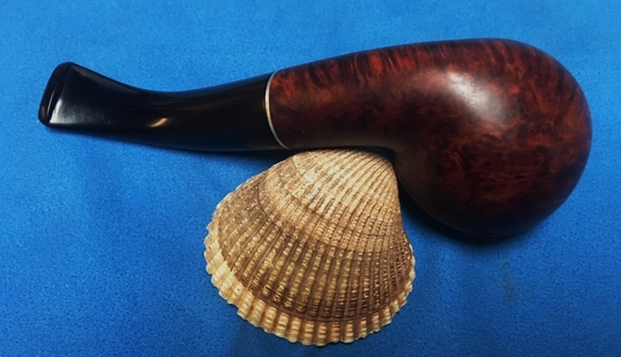
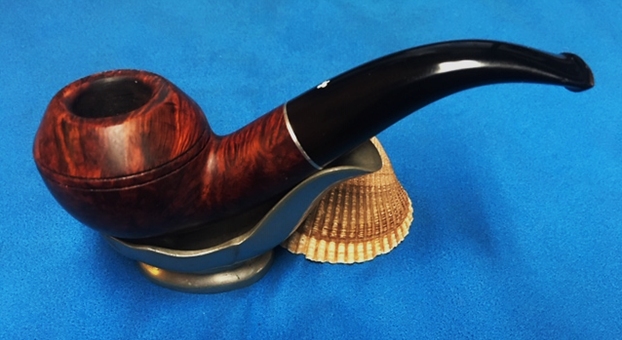
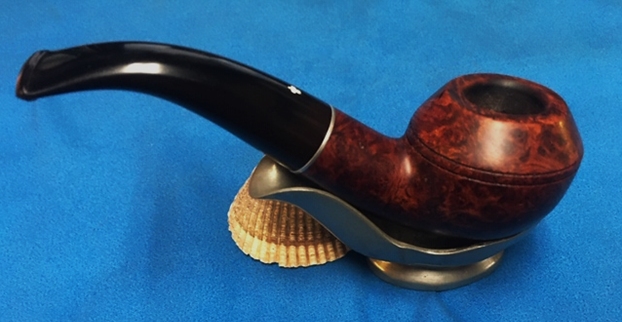
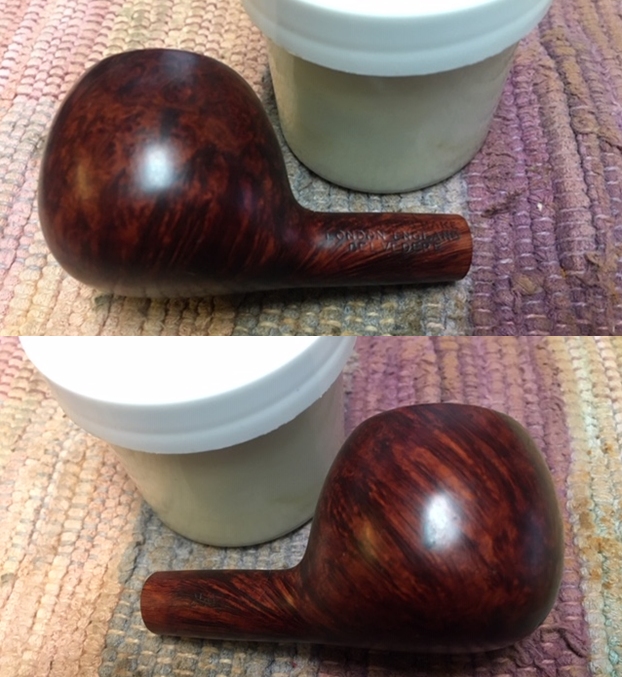
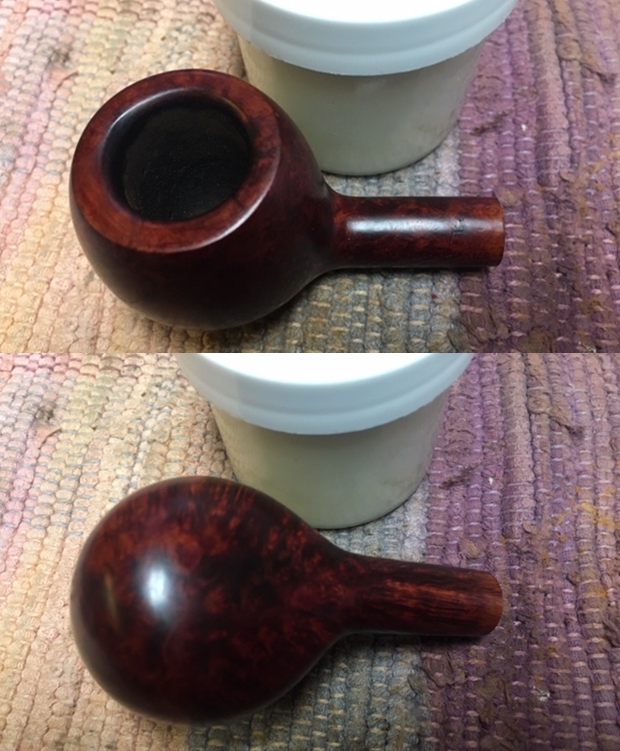
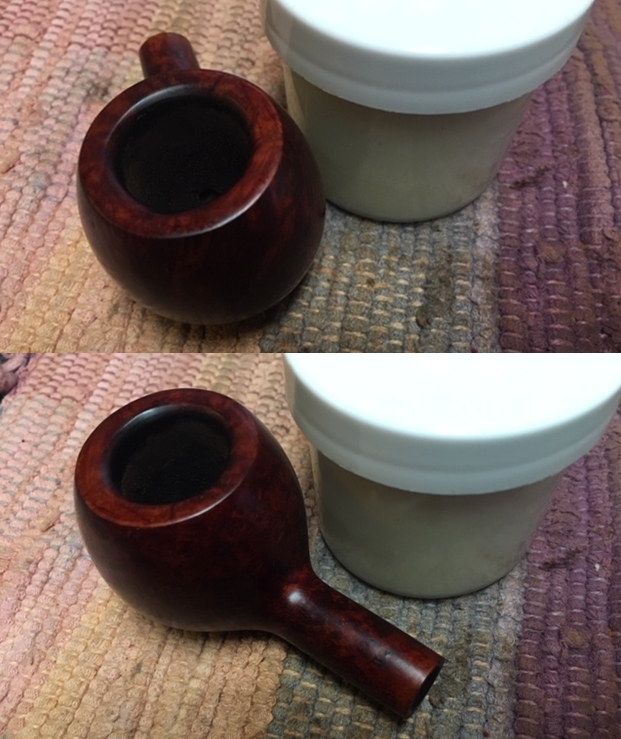
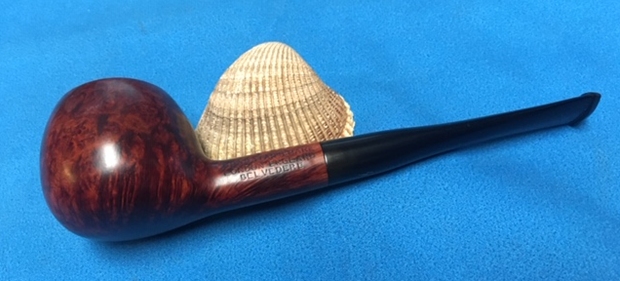
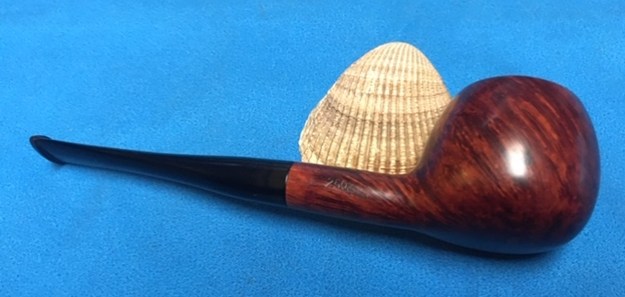
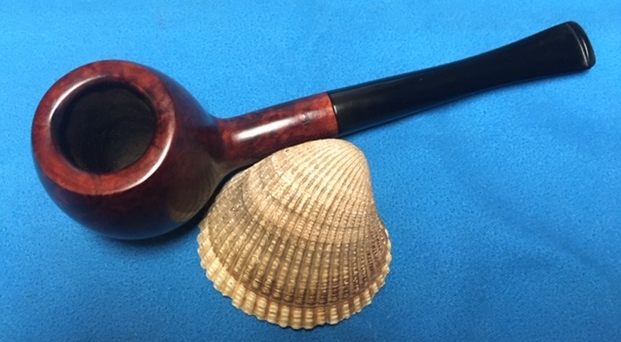
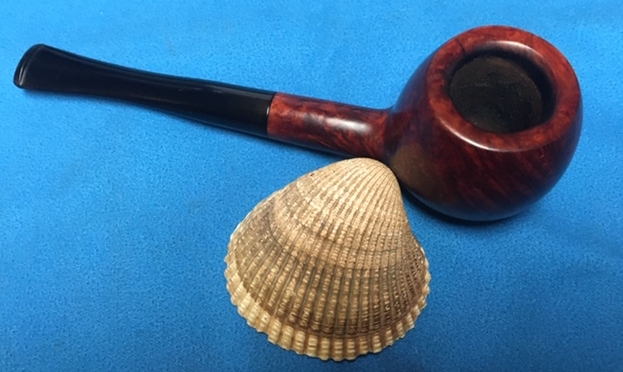
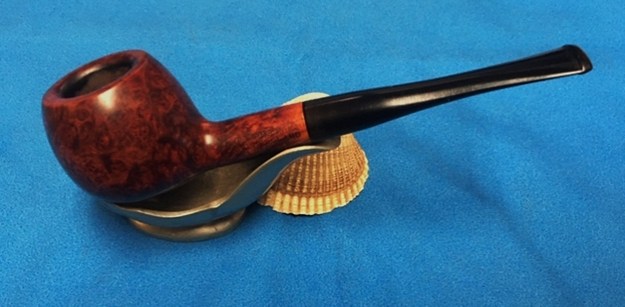
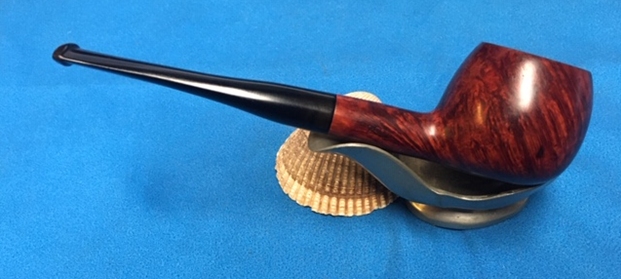
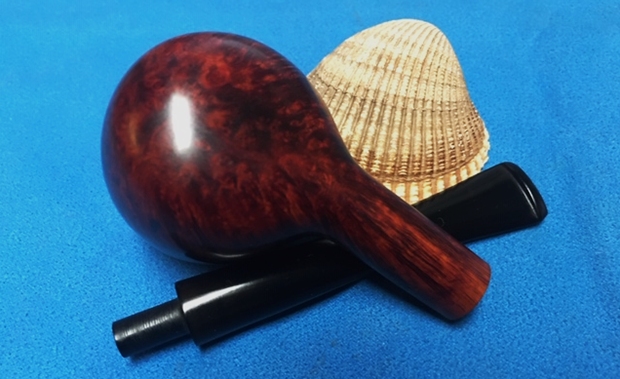
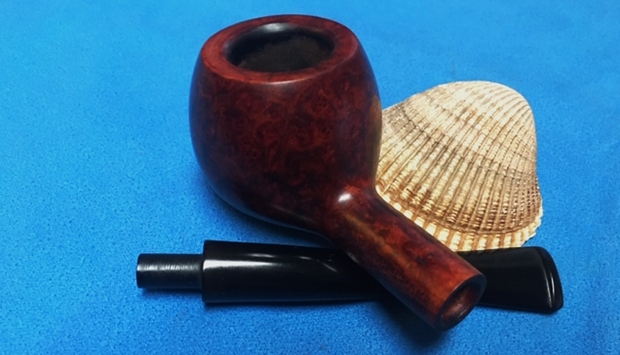
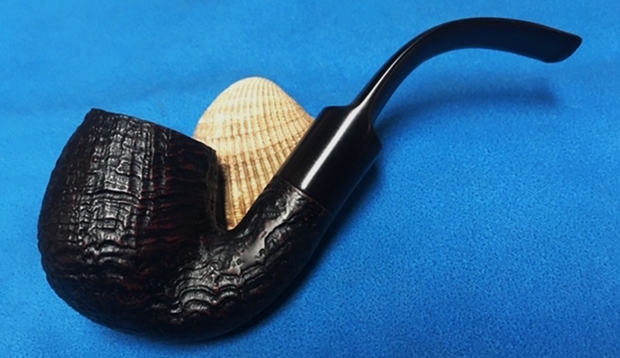
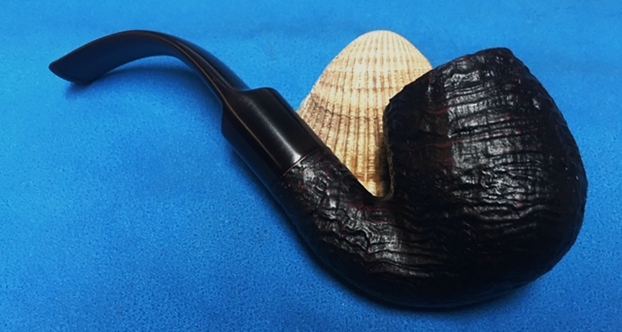
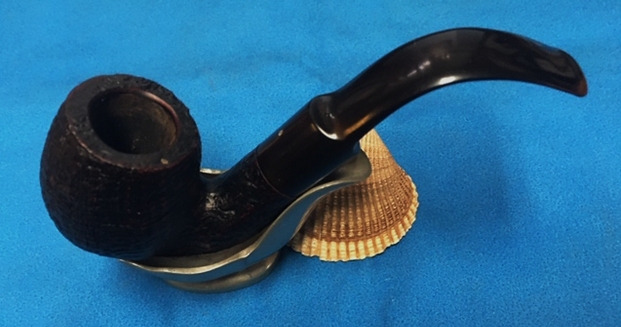
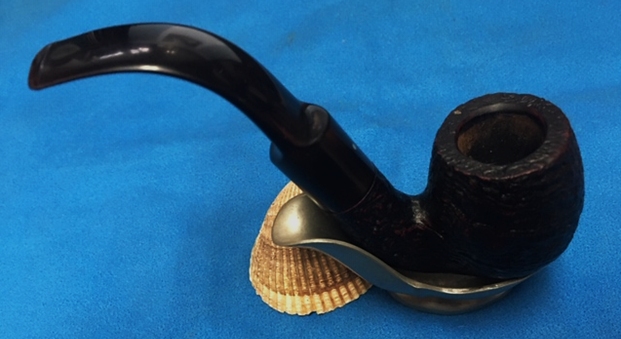
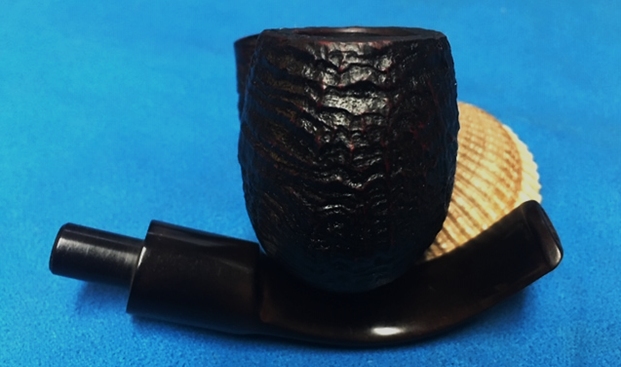
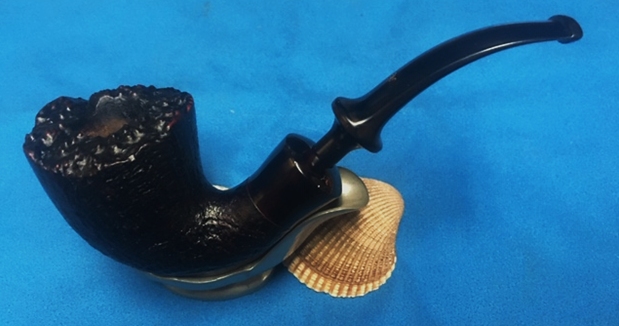
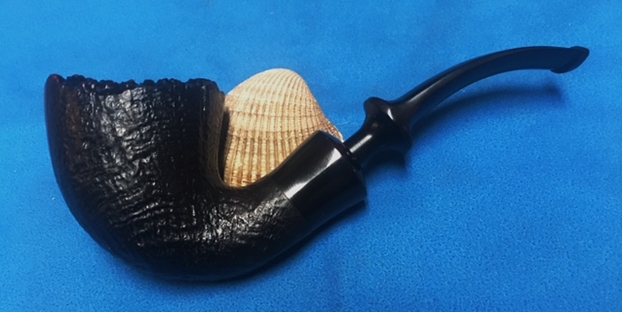
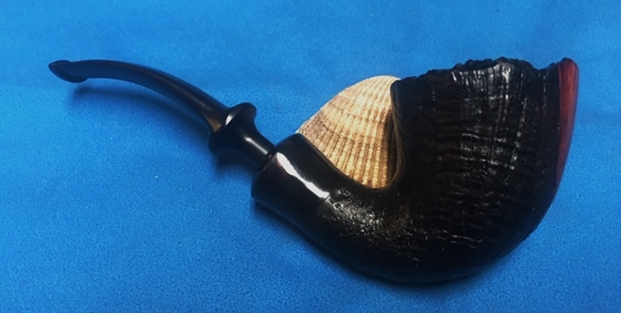
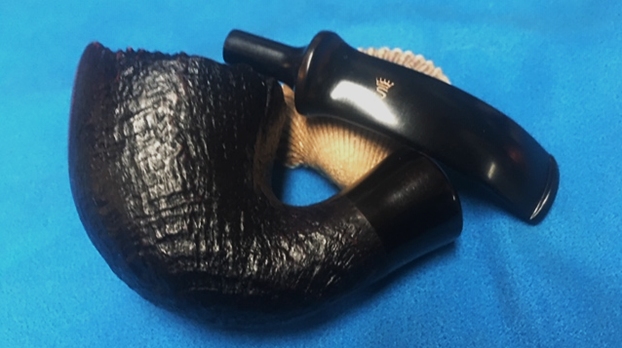
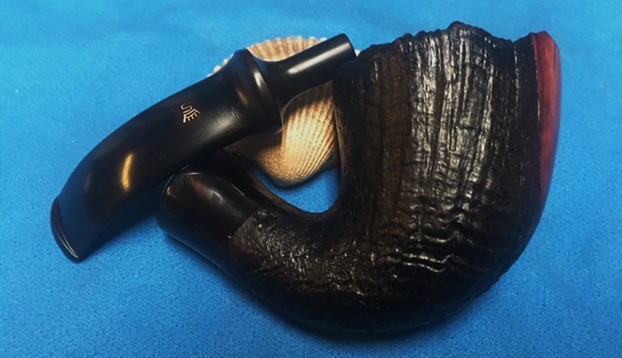
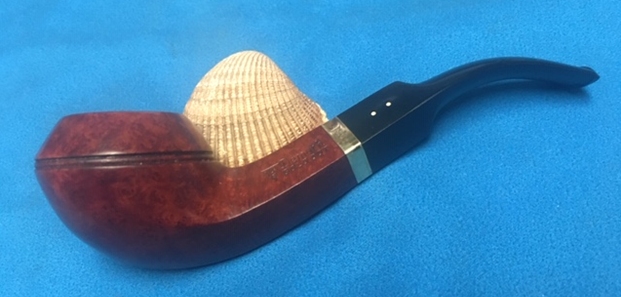
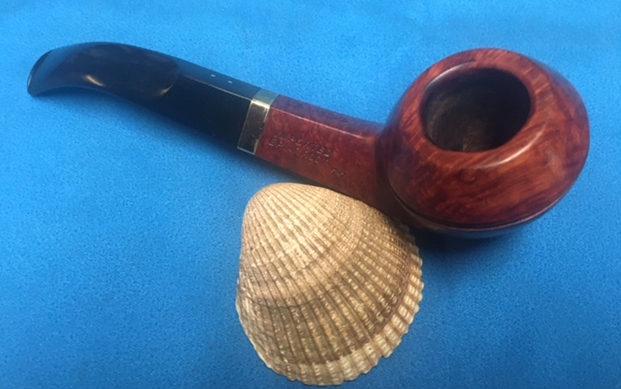
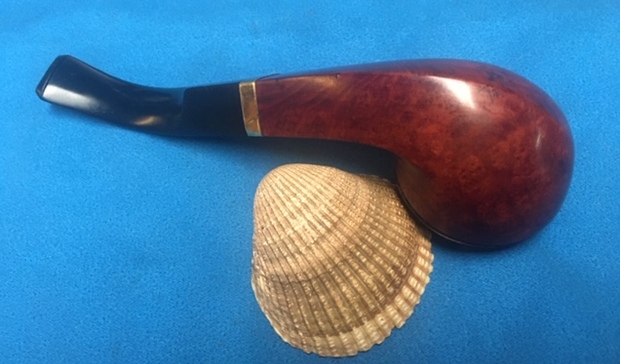
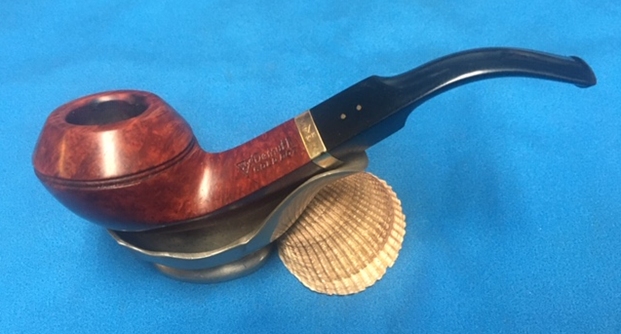
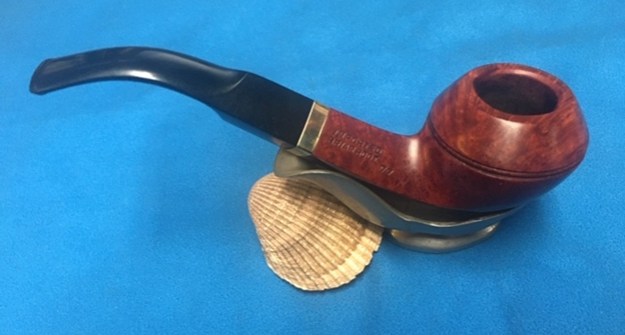
 This Barling Guinea Grain 4025 TVF Apple, Danish made pipe from Bob Kerr’s estate turned out to be another great looking pipe. The finish on the pipe is in excellent condition and works well with the polished vulcanite taper oval stem. I put the stem back on the bowl and carefully buffed the pipe with Blue Diamond on the buffing wheel using a light touch on the briar. I gave the bowl and stem multiple coats of carnauba wax on the buffing wheel and followed that by buffing the entire pipe with a clean buffing pad. I hand buffed the pipe with a microfiber cloth to deepen the shine. The finished Guinea Grain oval shank Apple fits nicely in the hand and feels great. Give the finished pipe a look in the photos below. The dimensions of the pipe are Length: 5 ¼ inches, Height: 1 ¾ inches, Outside diameter of the bowl: 1 ¼ inches, Chamber diameter: ¾ of an inch. This is one of Bob’s pipes that I am holding on to for a while as I really like the Danish flair it has. I have about 10 more of Bob’ pipes to go. Perhaps one of those will catch your attention. Thanks for reading this blog and my reflections on the pipe while I worked on it. This is an interesting estate to bring back to life.
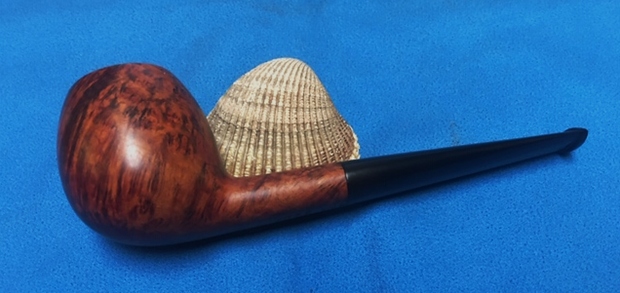


