by Steve Laug
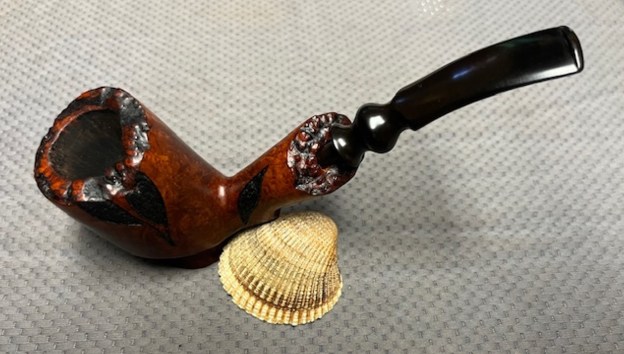
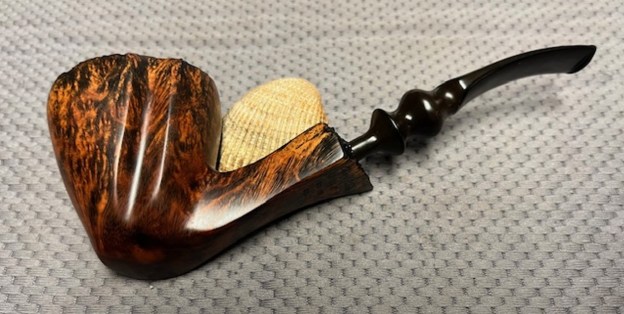
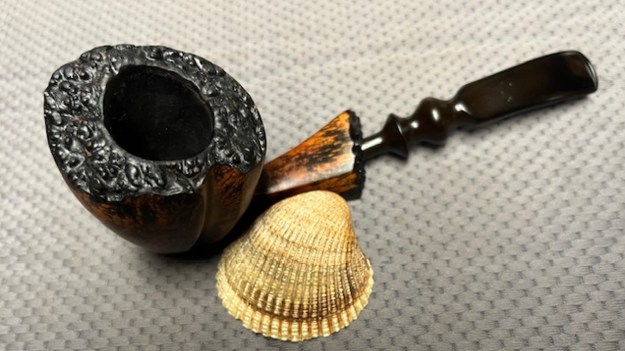
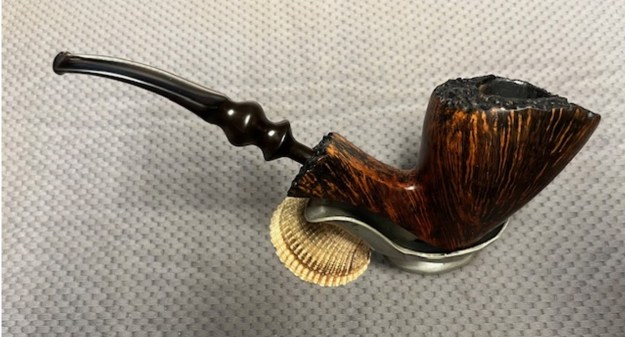
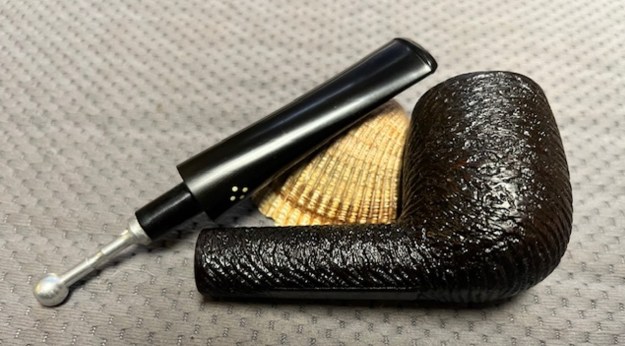
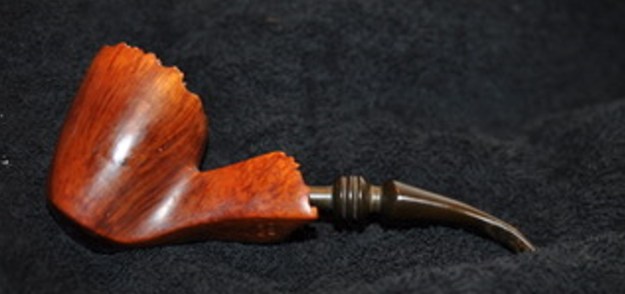
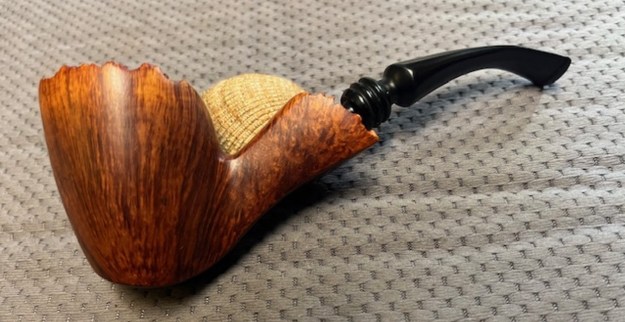
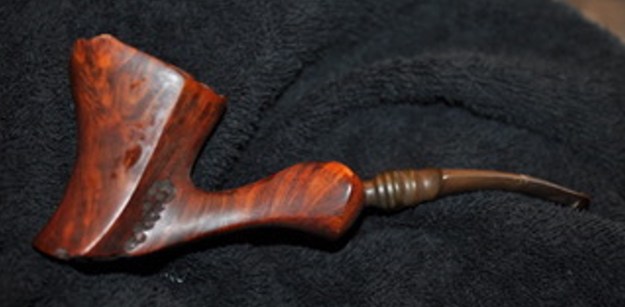
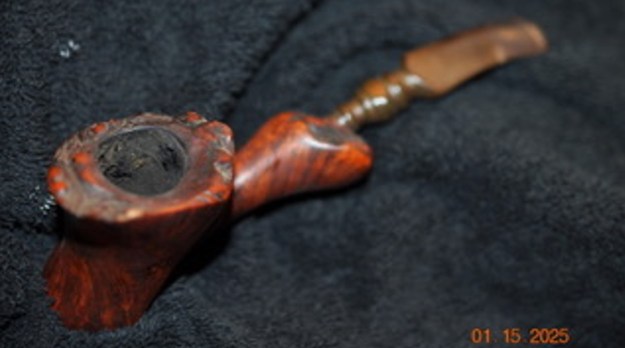
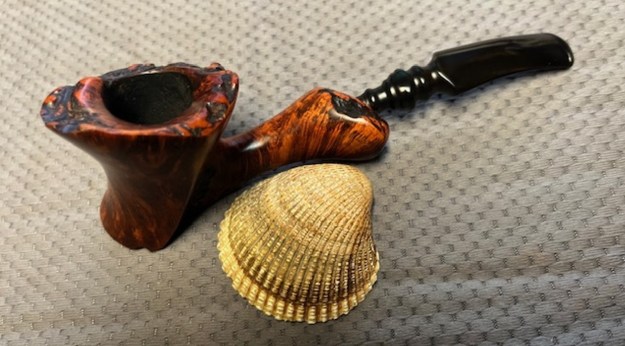
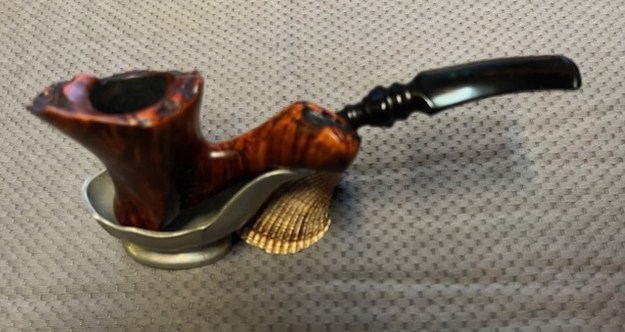
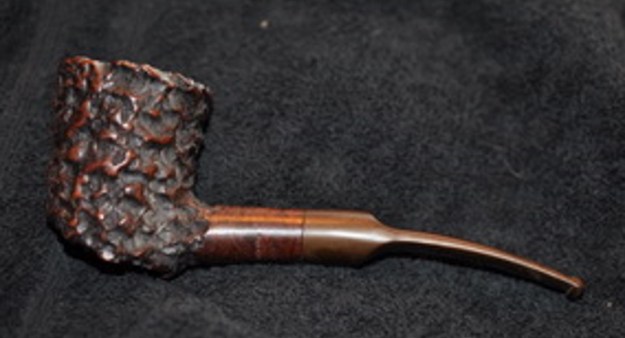
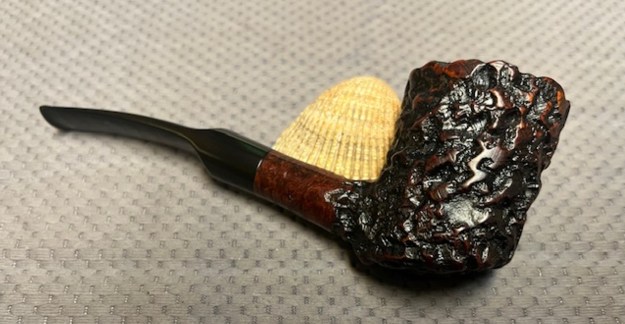
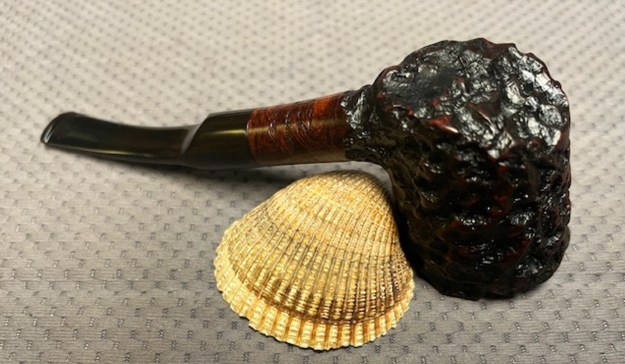
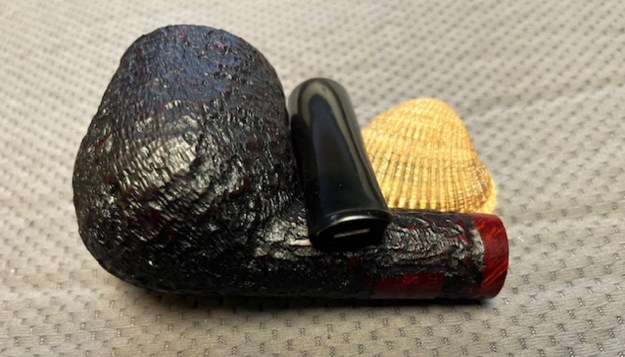
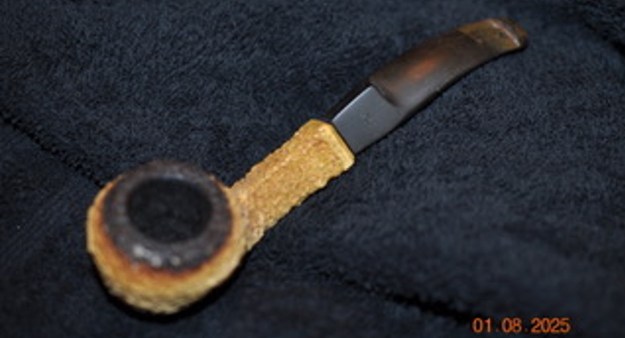
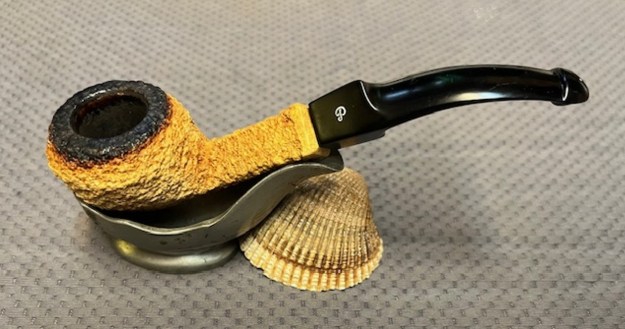
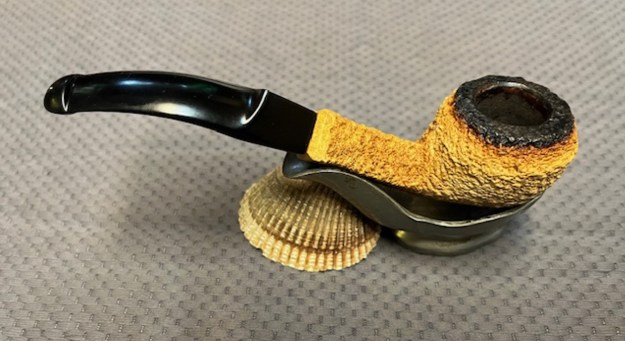
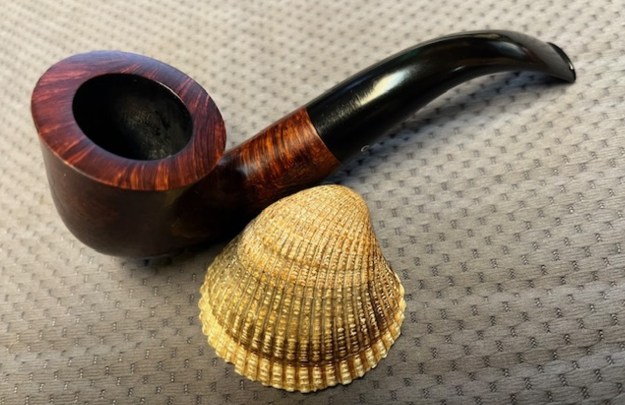
This next Freehand is a bit of an interesting one. I see a lot of similarities to a Soren carved pipes. We picked it from a seller in Saint Cloud, Florida, USA on 04/12/2024. It is stamped on the underside of the shank and reads Hjerte-Brier [over] Denmark. It is clear and readable.This particular pipe has a pedestal on the heel of the bowl and has some leaves carved around the bowl and shank. It has plateau on the rim top and the shank end. The combination of dark and medium stains highlights grain that runs like flames across both sides of the bowl culminating at the flat pedestal heel of the bowl. This is another well-loved pipe as you can see from the thick cake in the bowl and the lava on the plateau rim top. It is hard to know the condition of the inner edge of the bowl due to the lava on the edges. The outside of the bowl and plateau portions are dirty and dusty but the grain pops through. The vulcanite stem was oxidized, dirty and dusty with tooth marks on the blade just ahead of the button on both sides. Jeff took these photos before he started his part of the restoration.
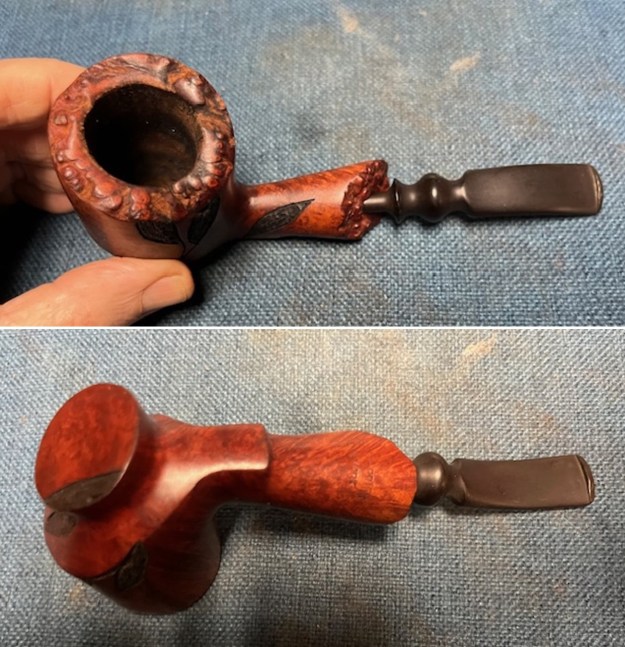
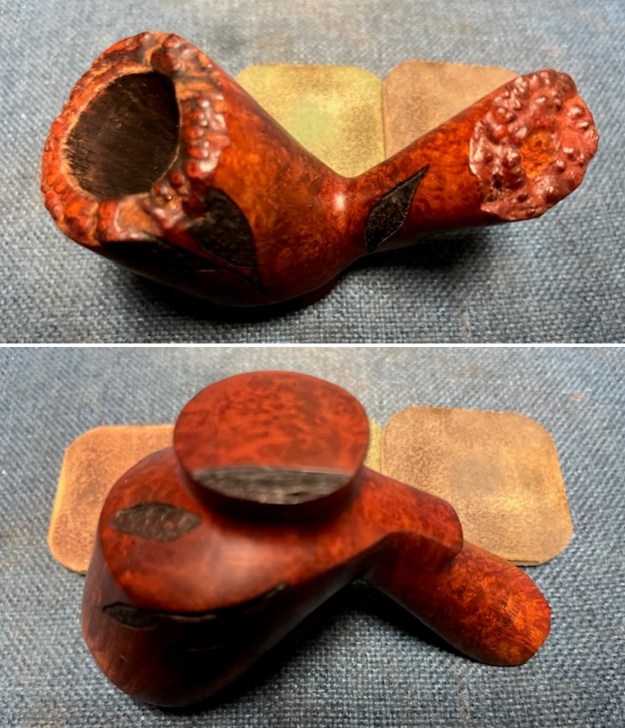
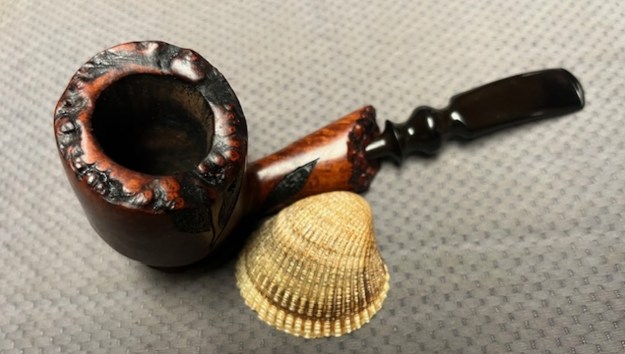
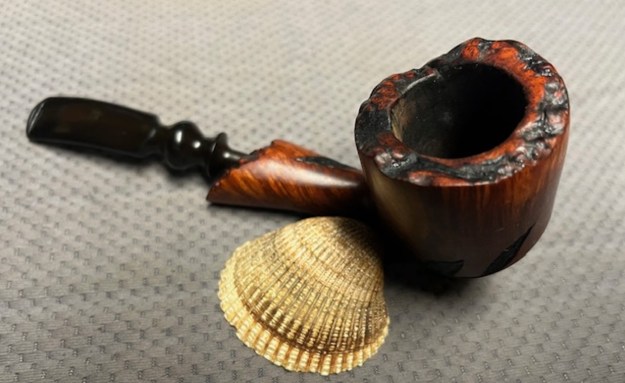
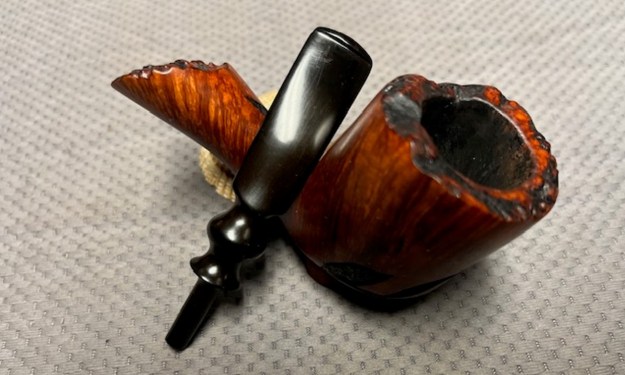
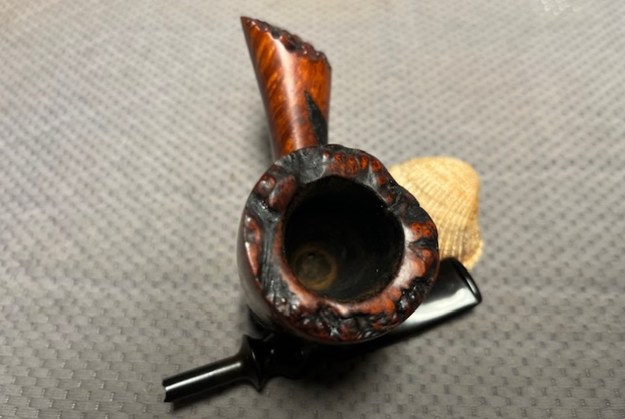
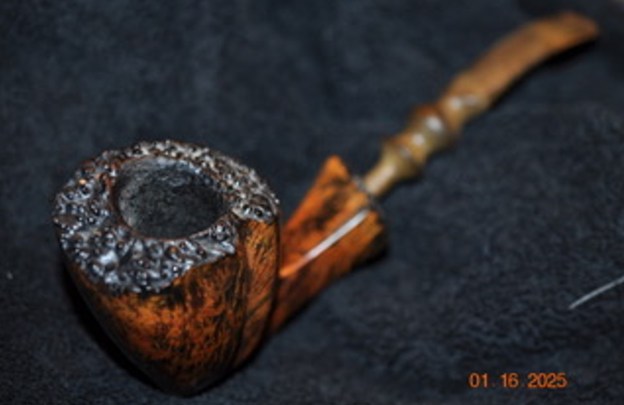
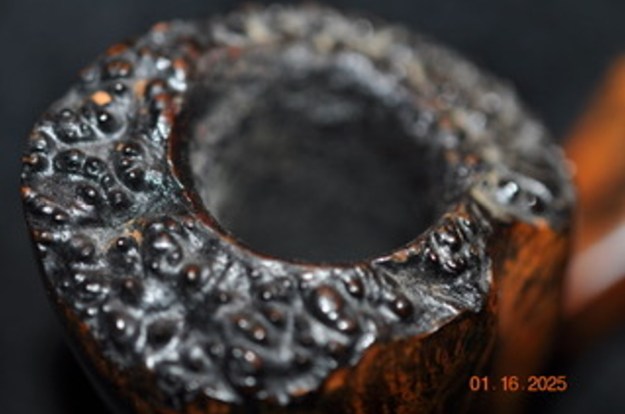
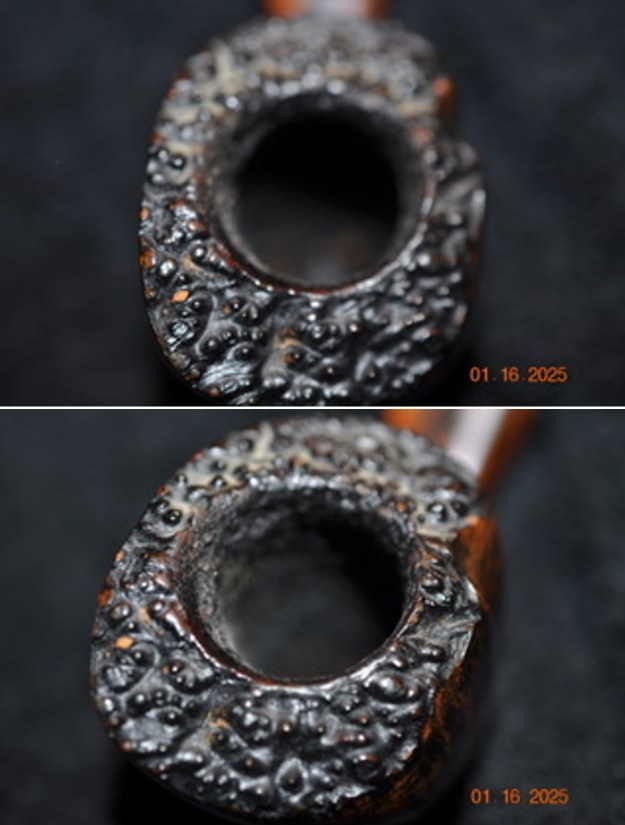
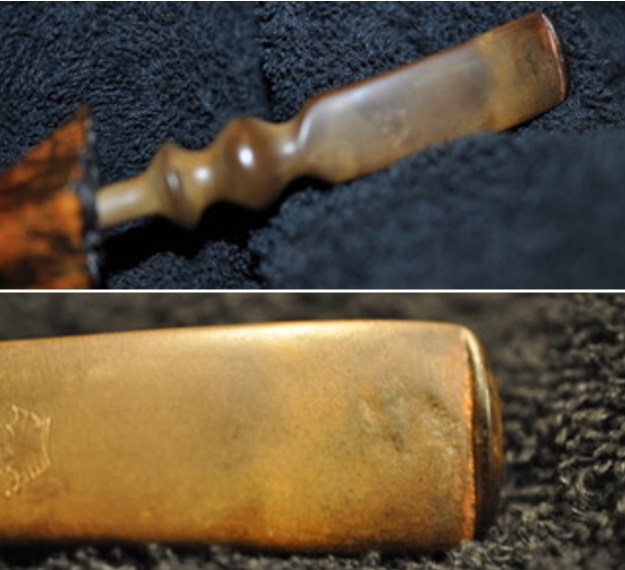
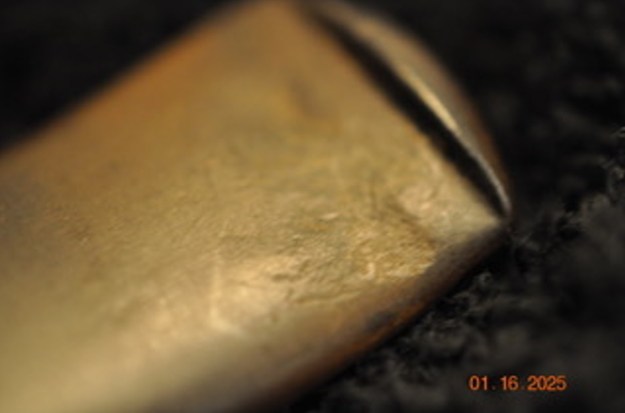
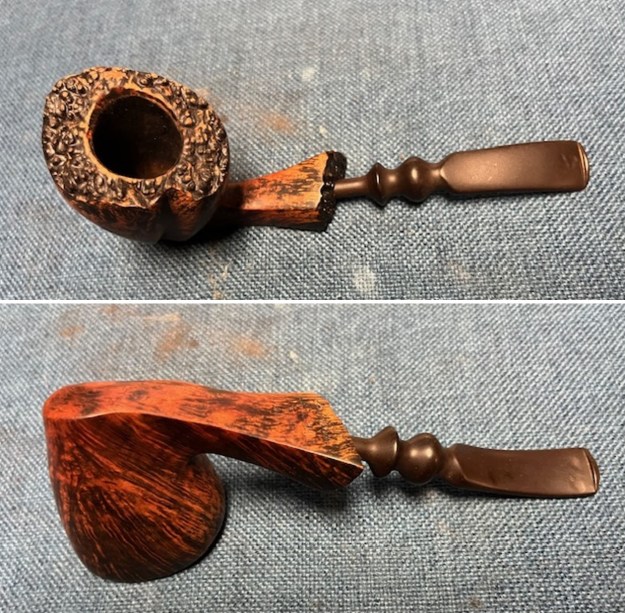
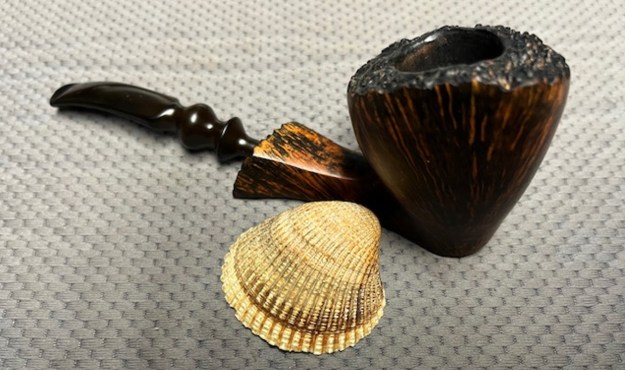
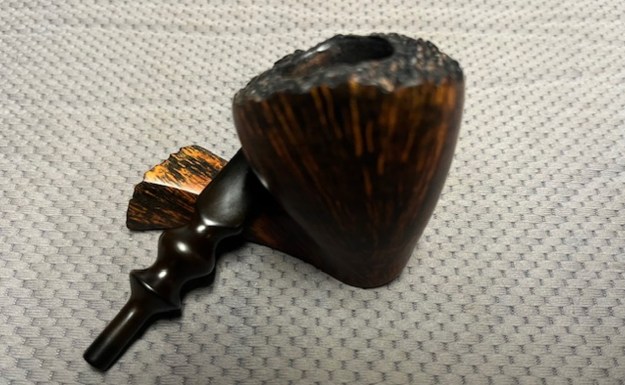
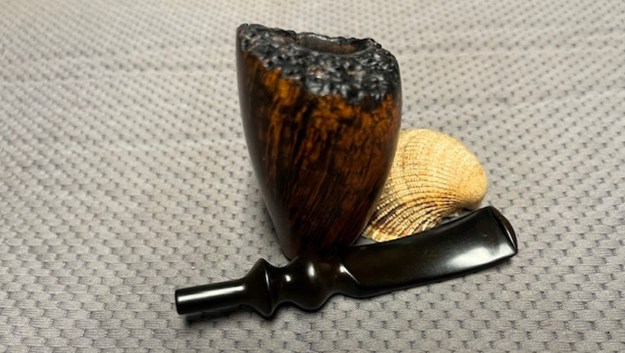
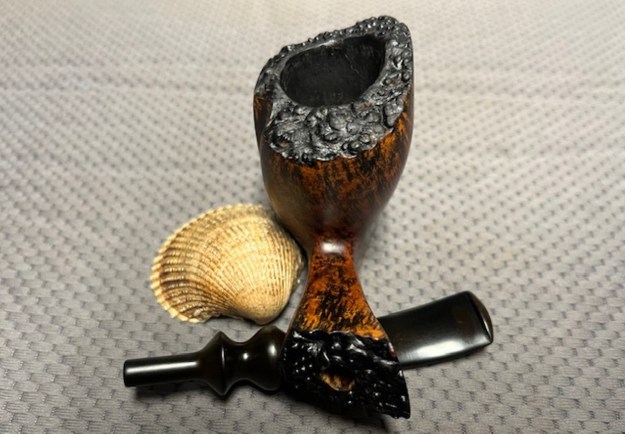
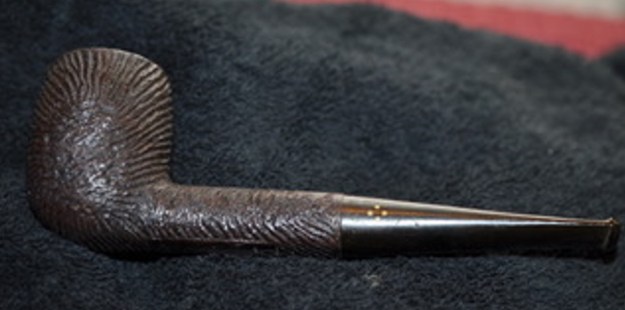
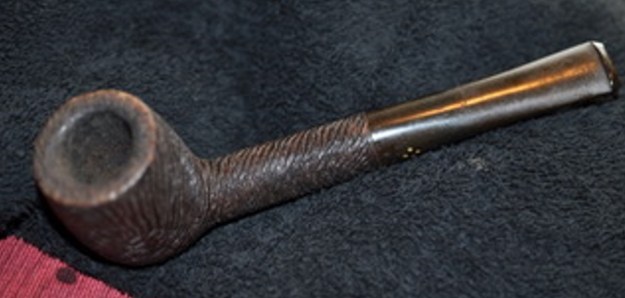
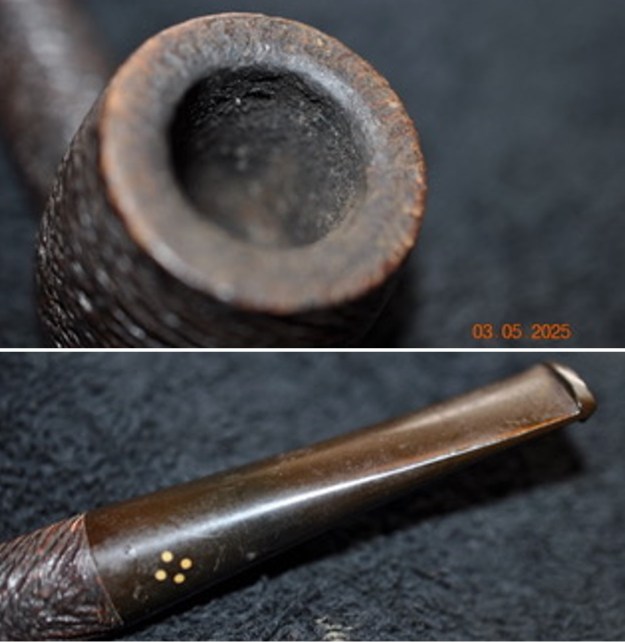
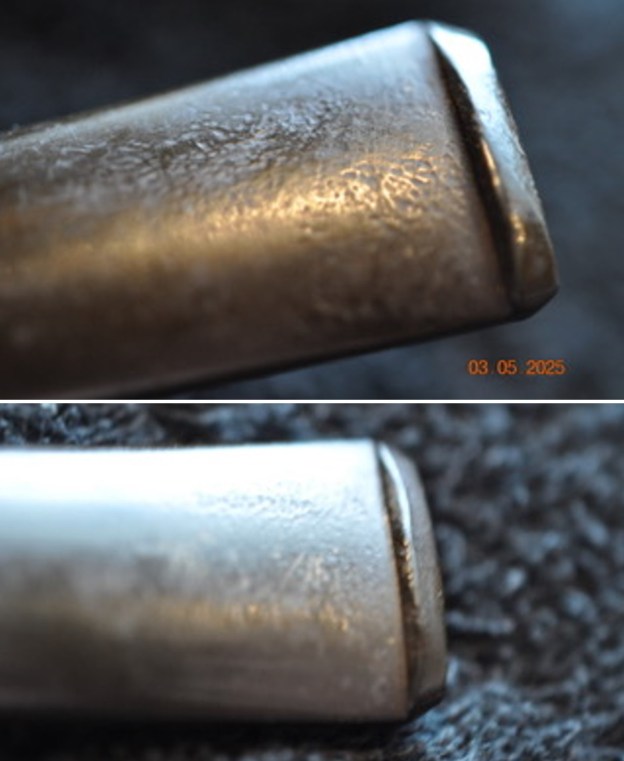
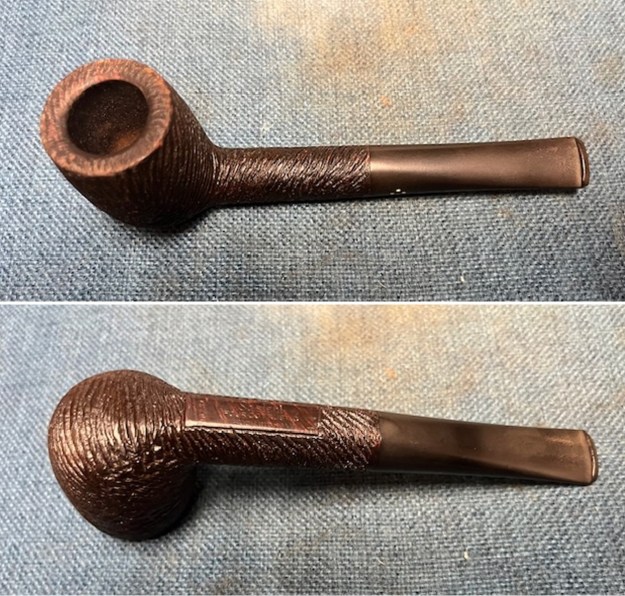
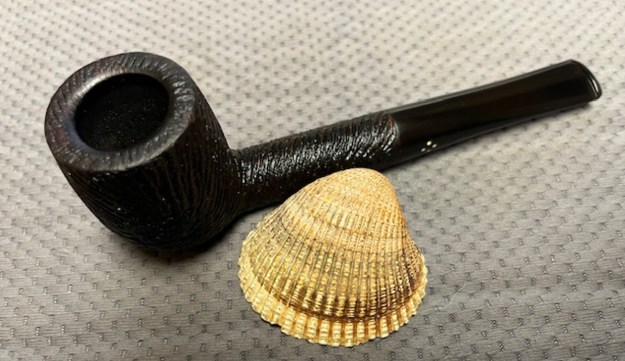
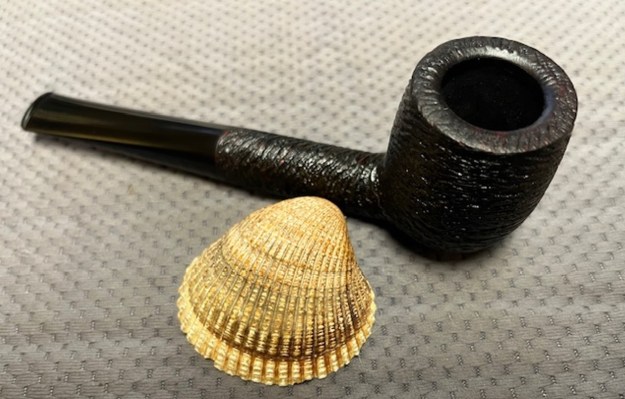
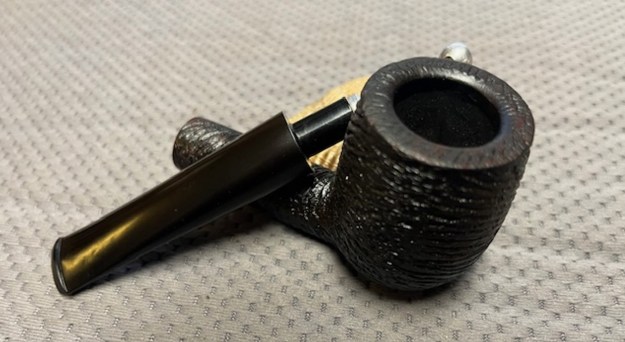
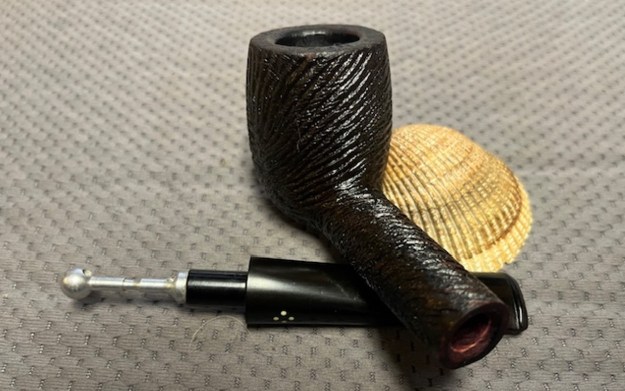
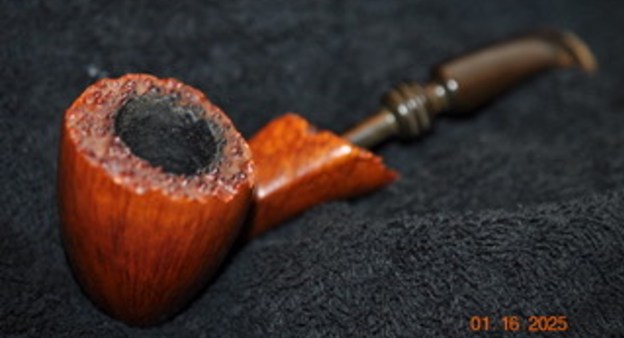
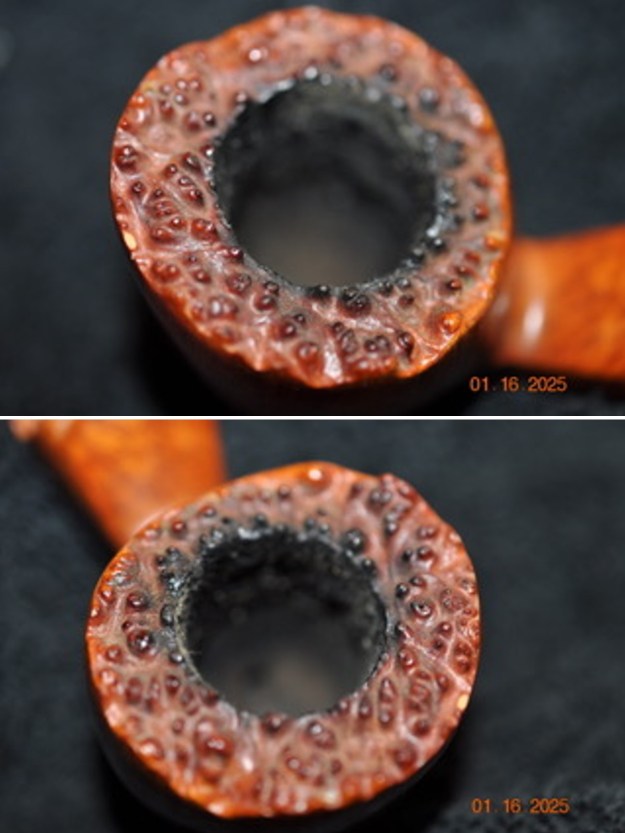
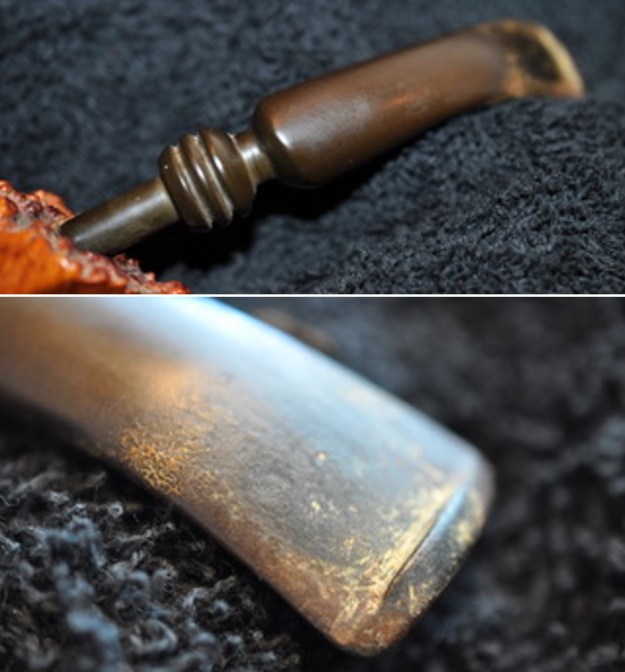
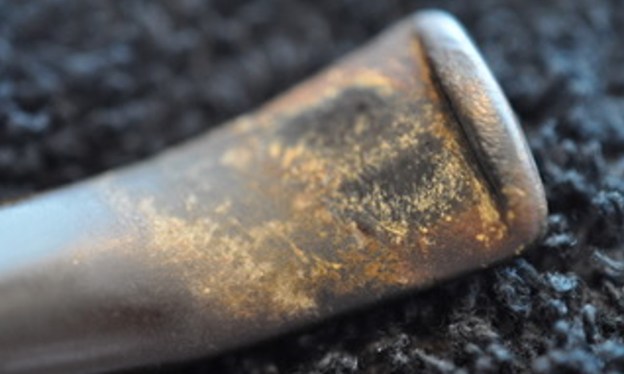
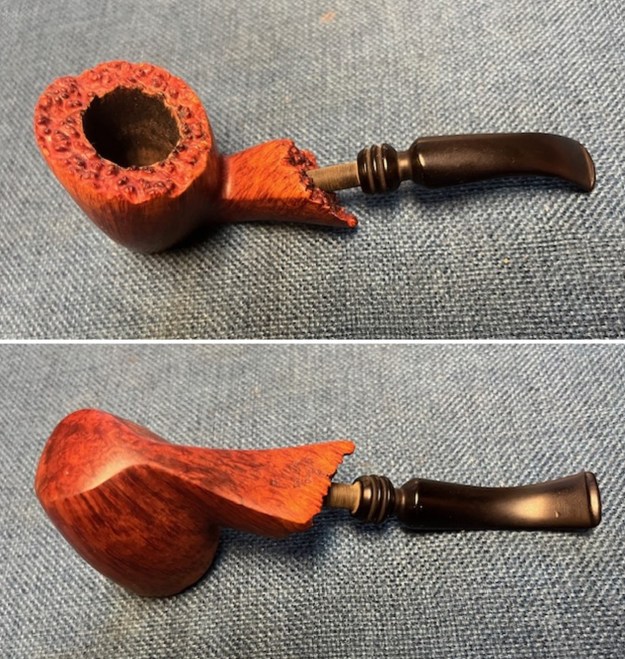
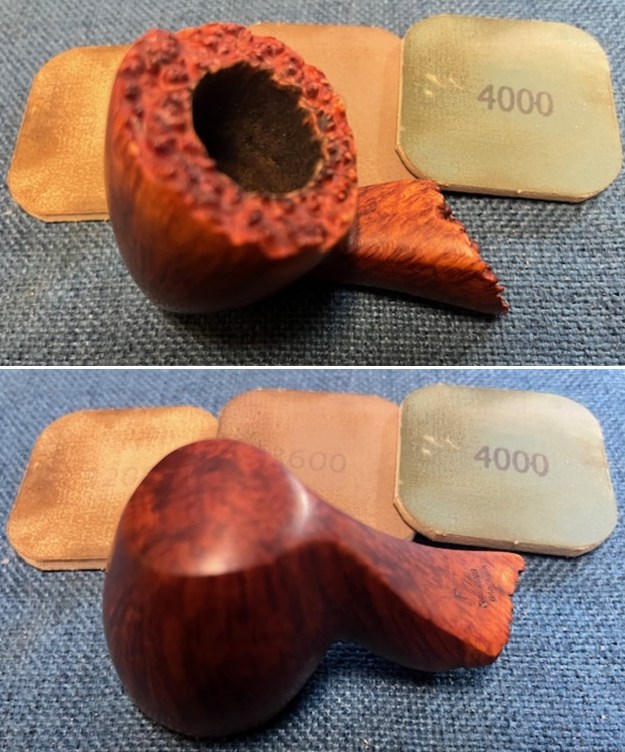
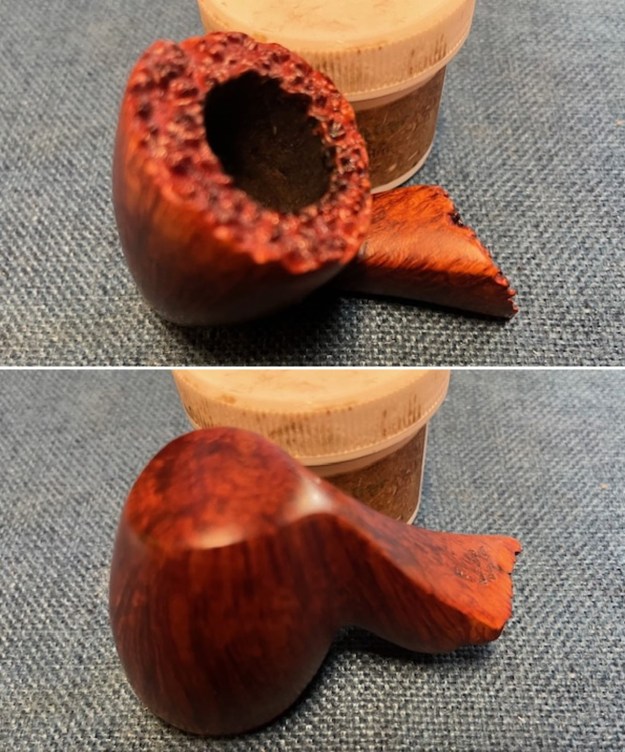
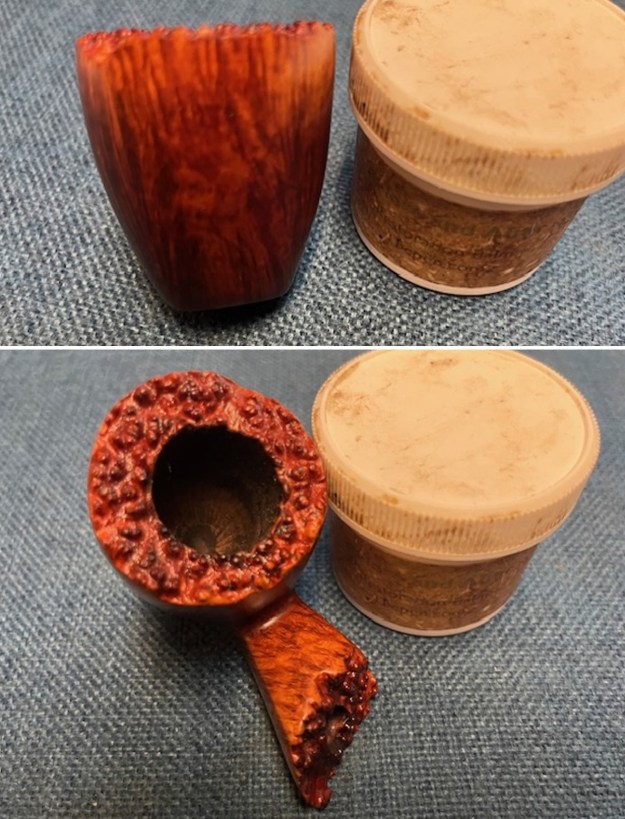
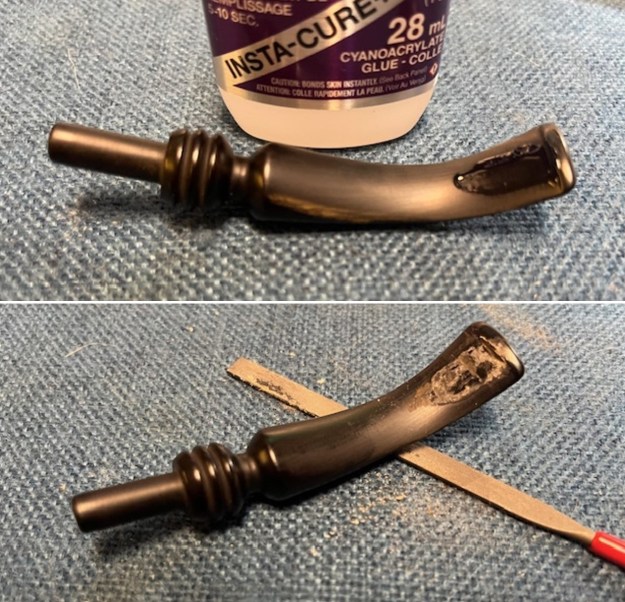
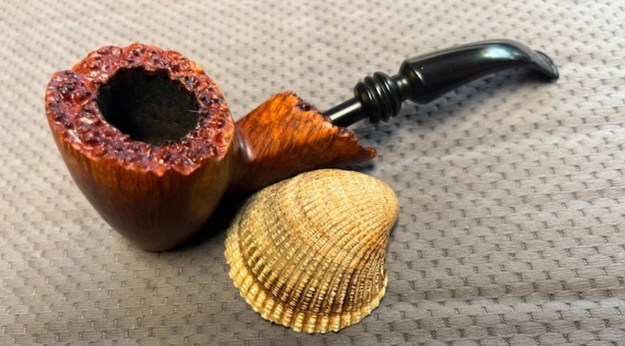
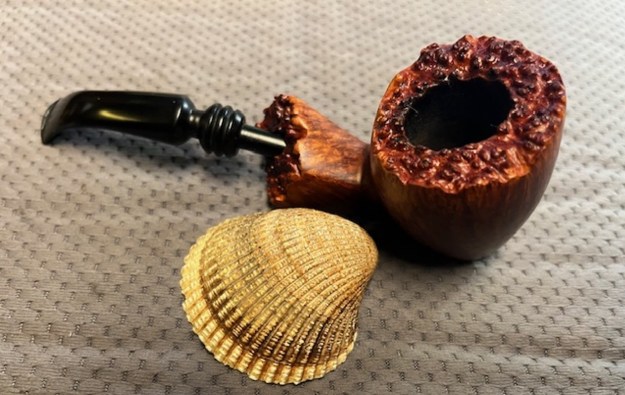
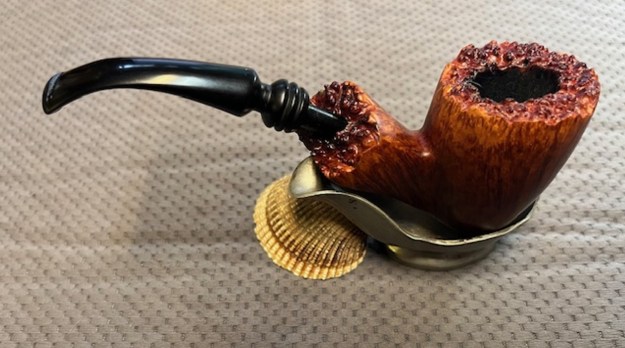
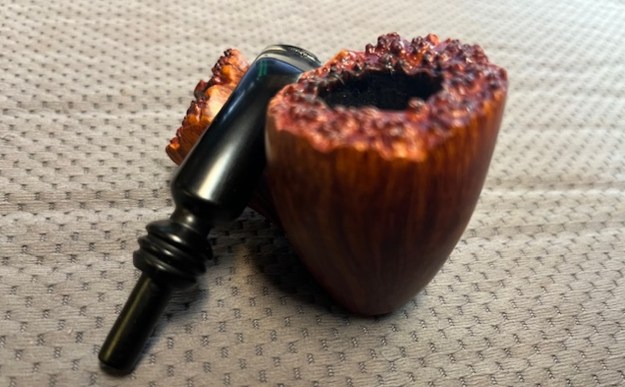
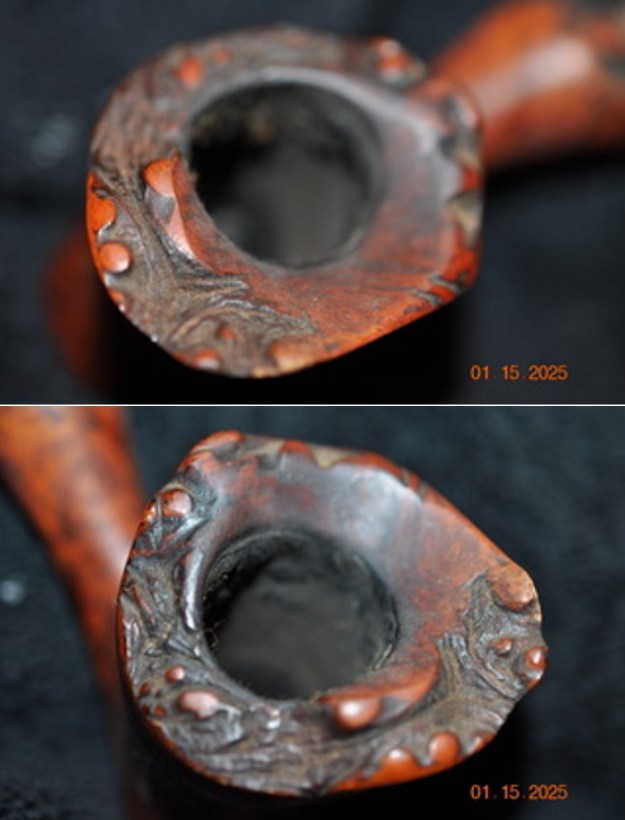
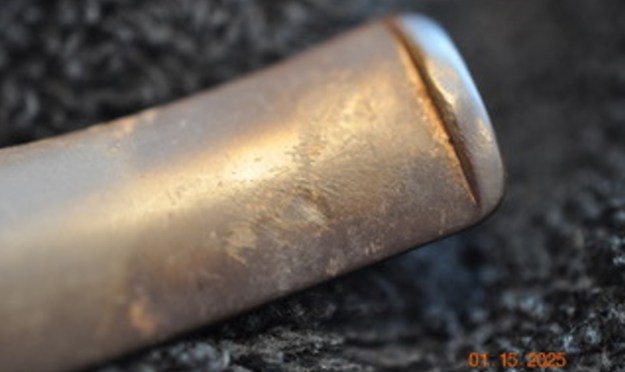
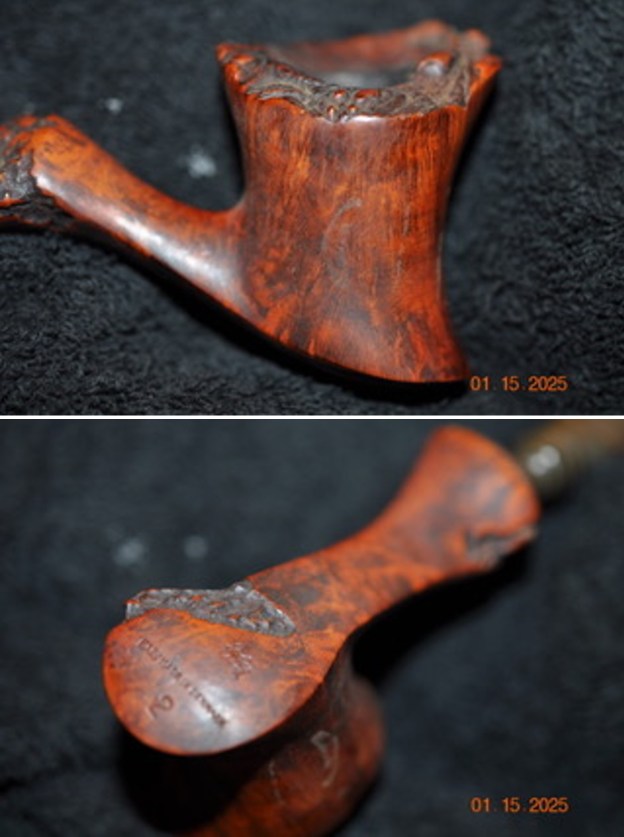
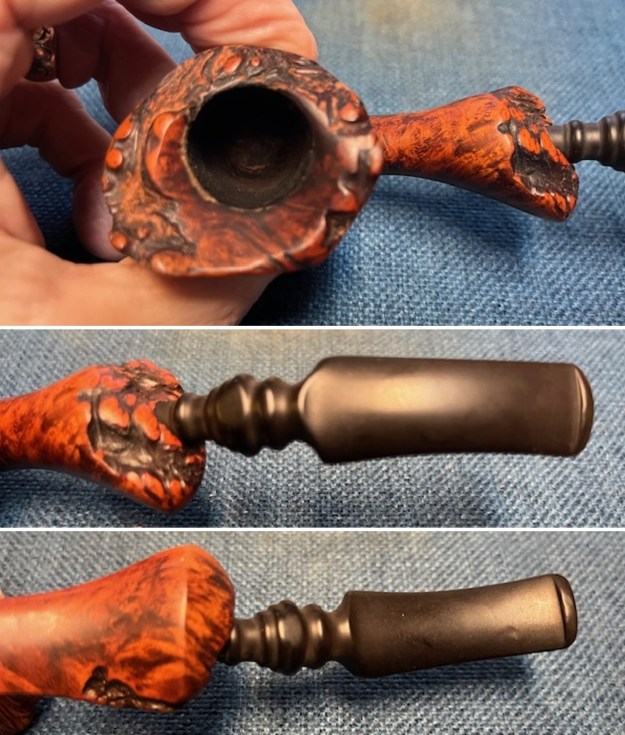
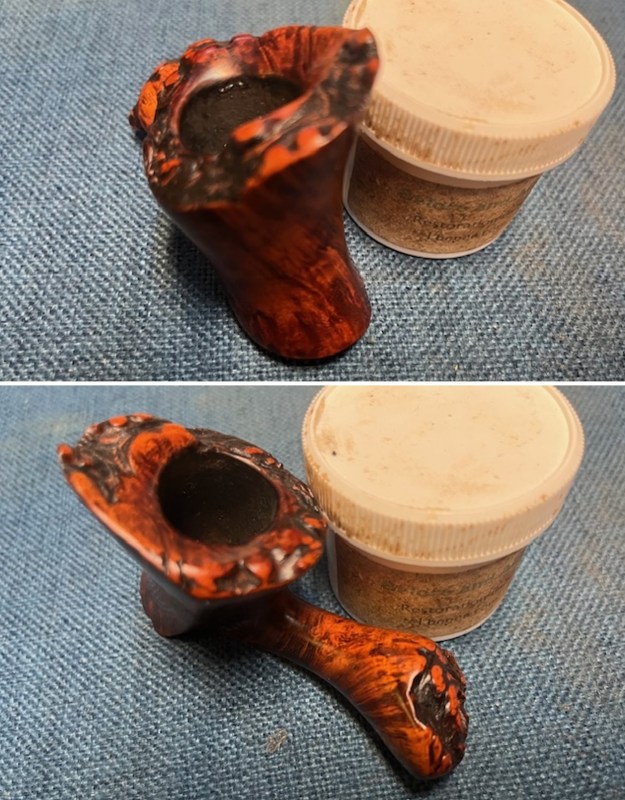
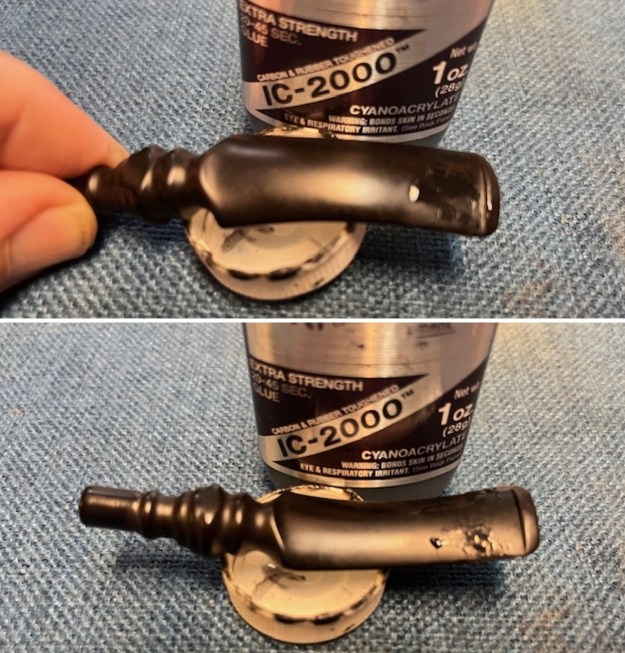
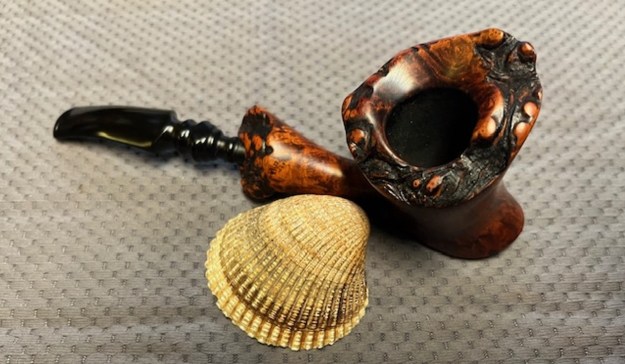
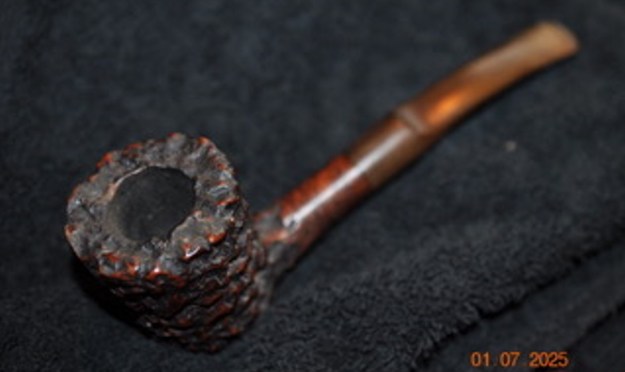
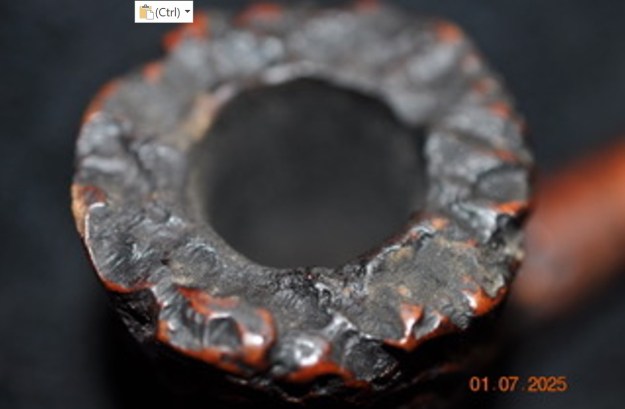
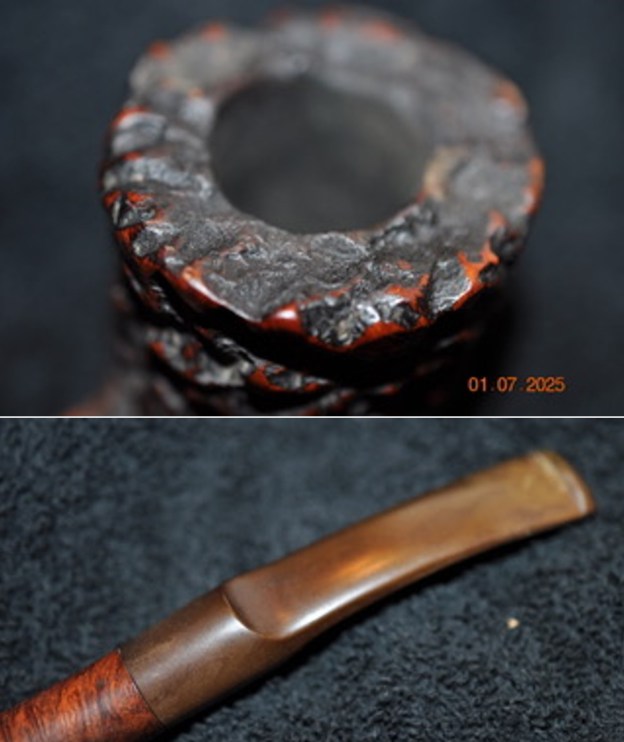
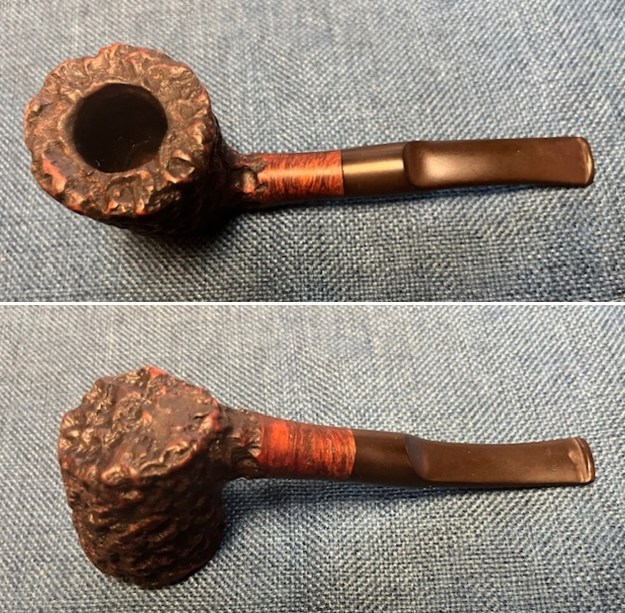
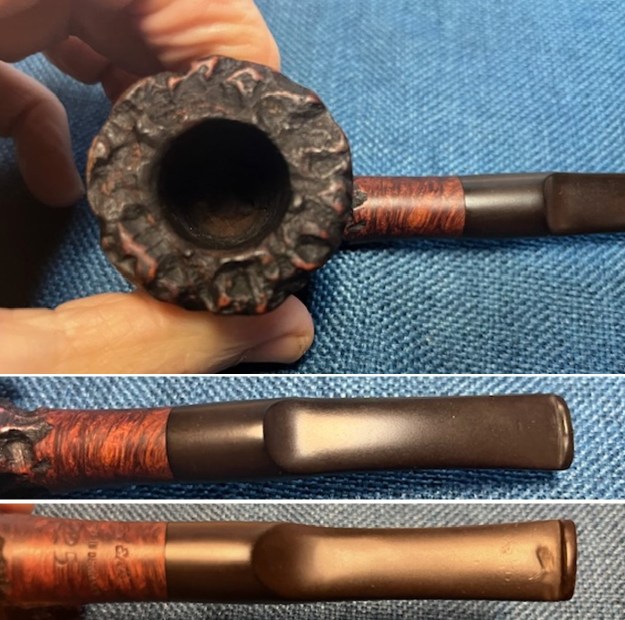
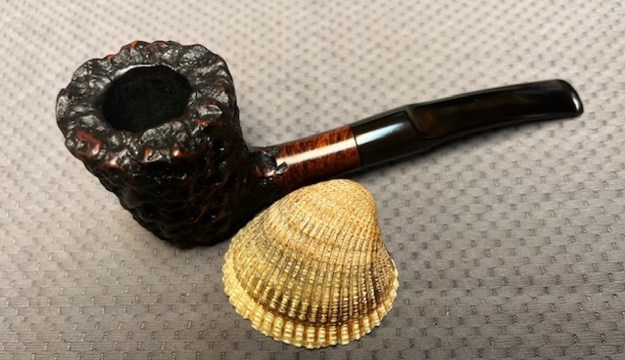
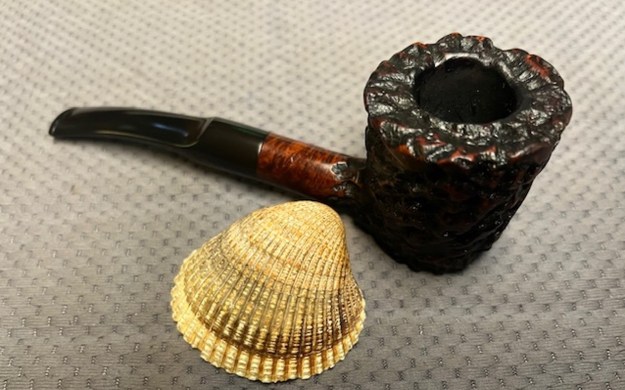
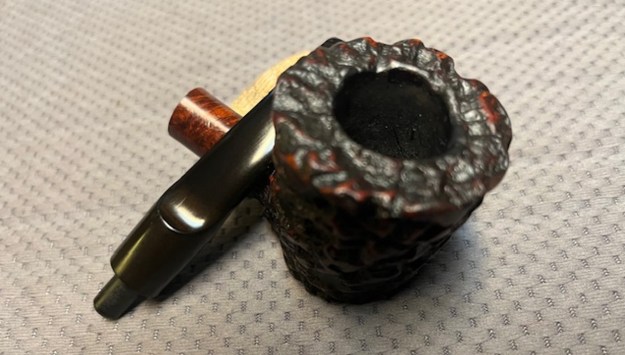
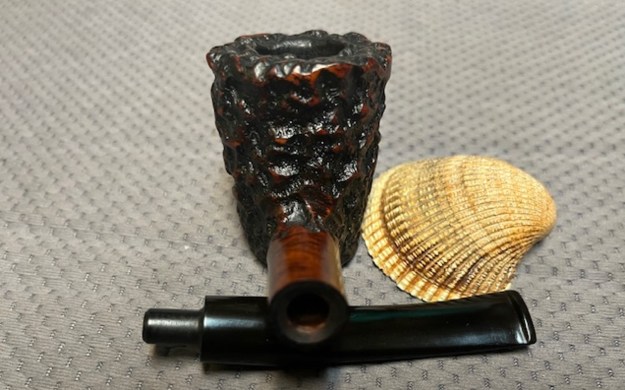
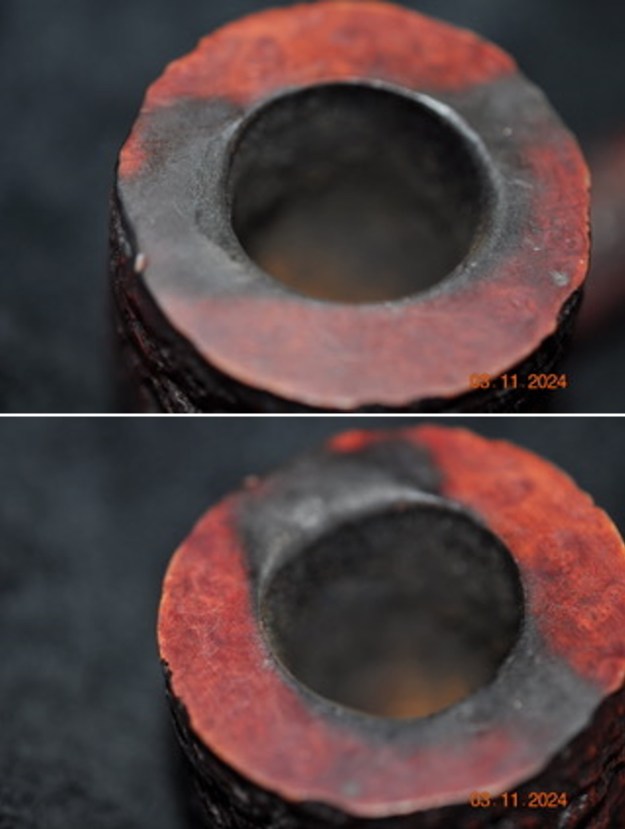
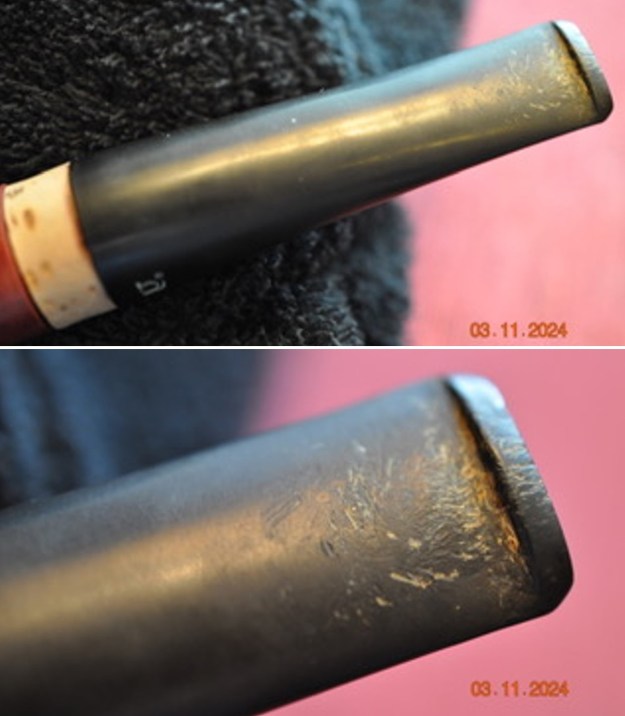
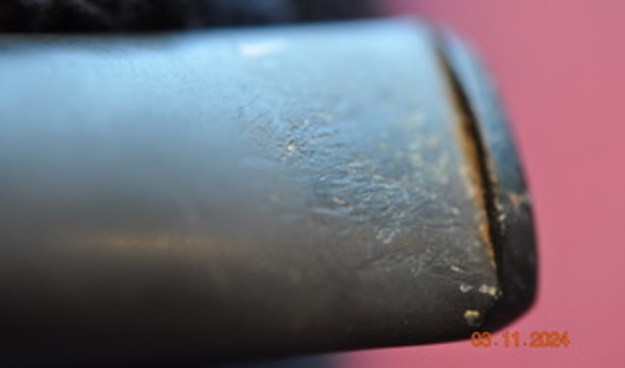
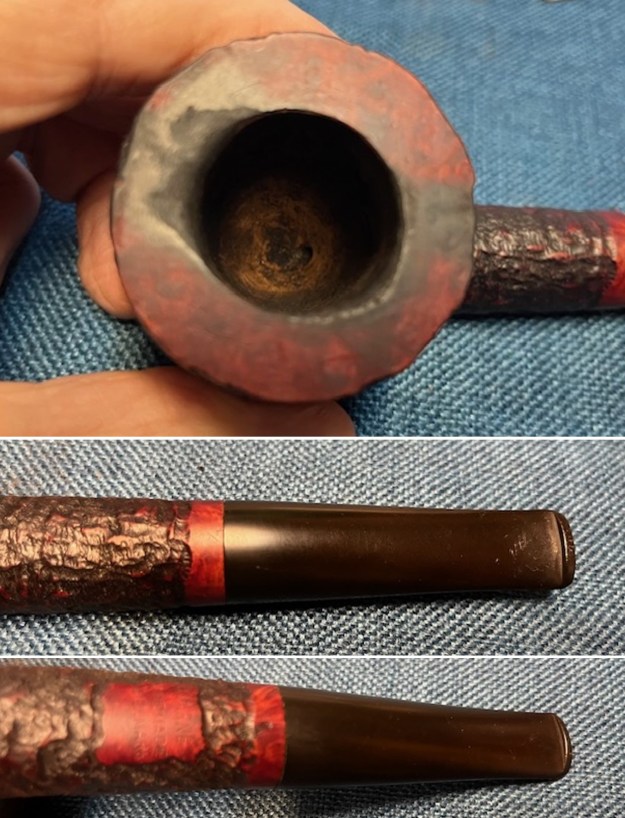
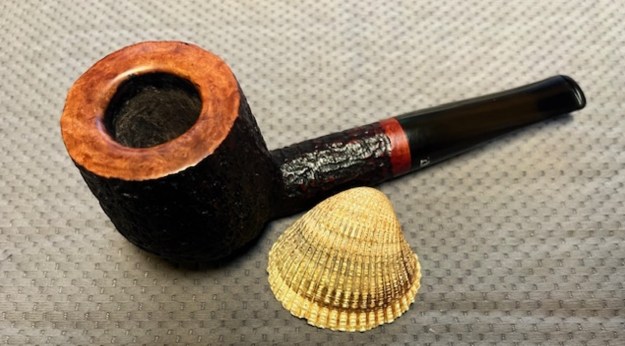
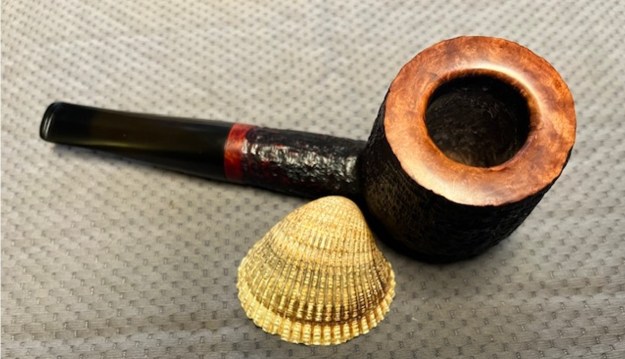
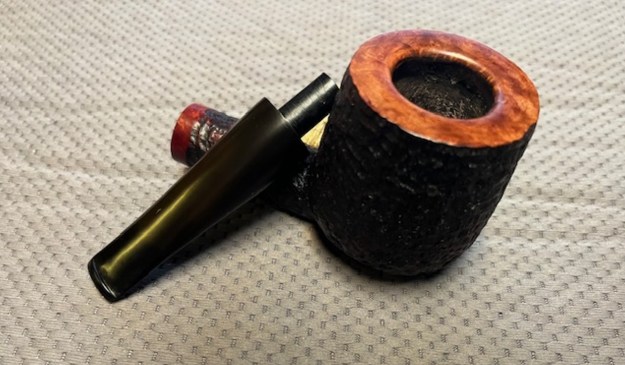
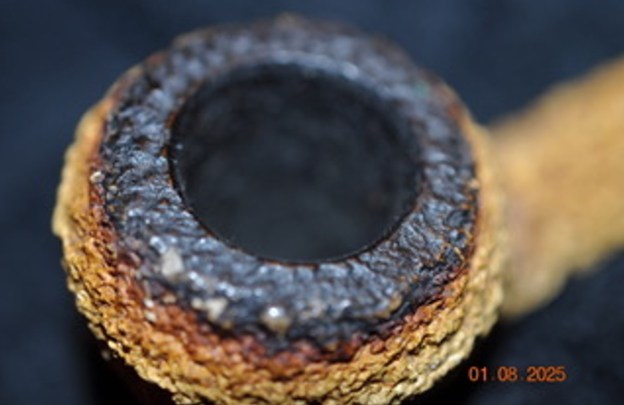
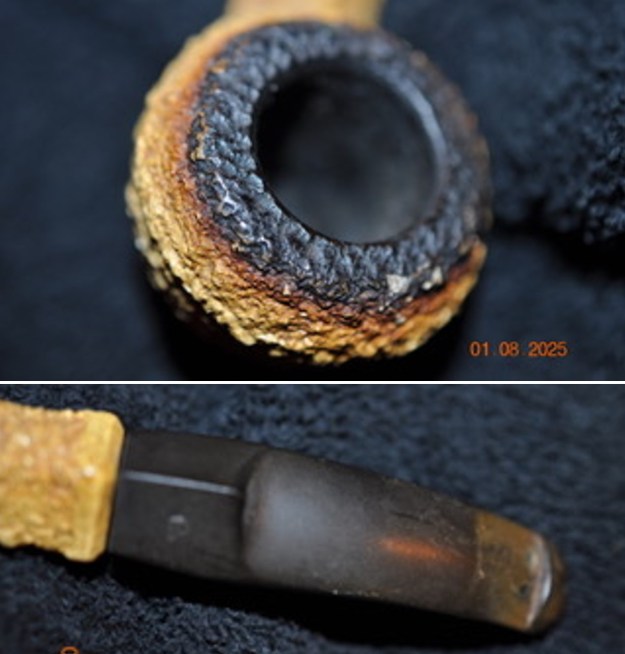
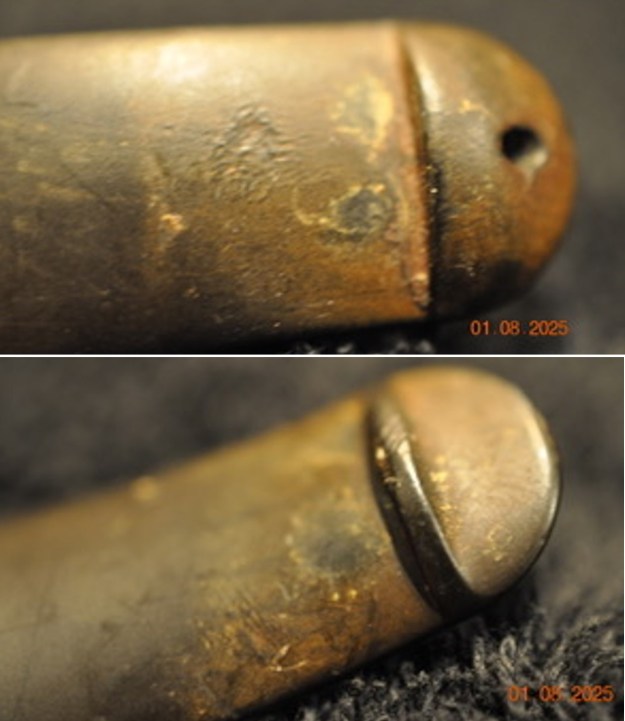
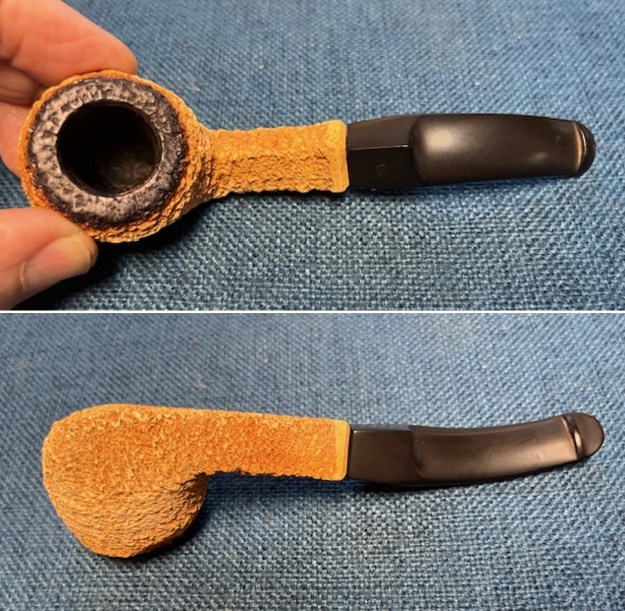
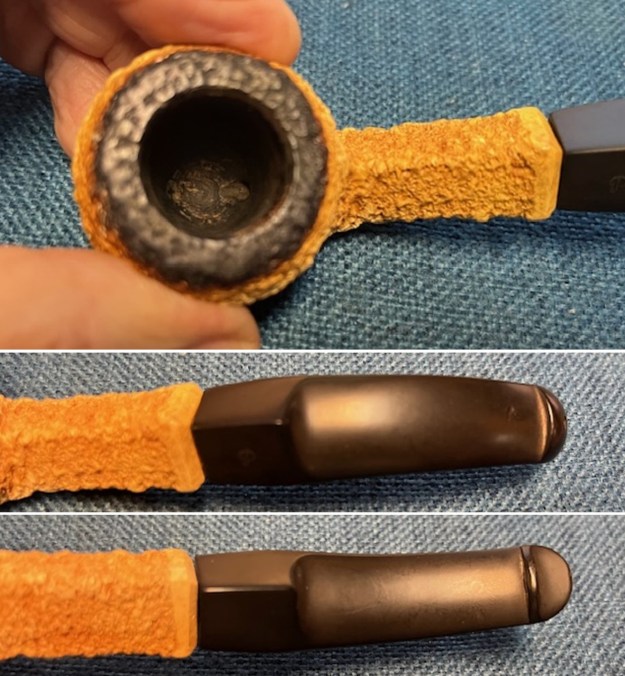
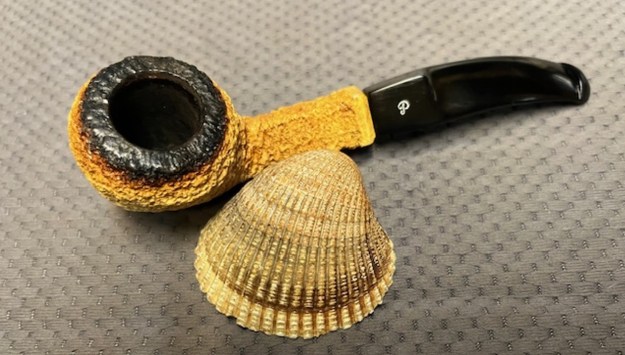
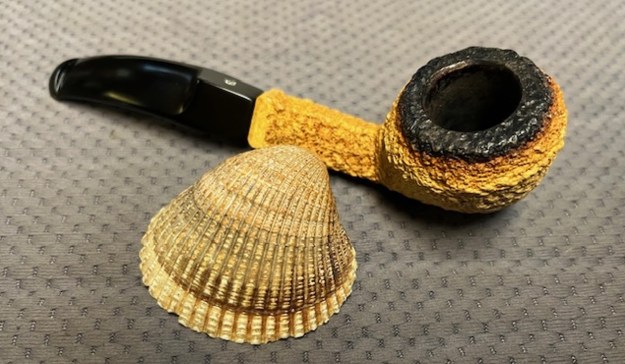
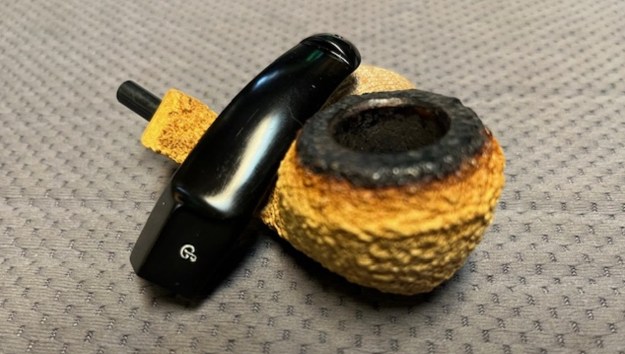
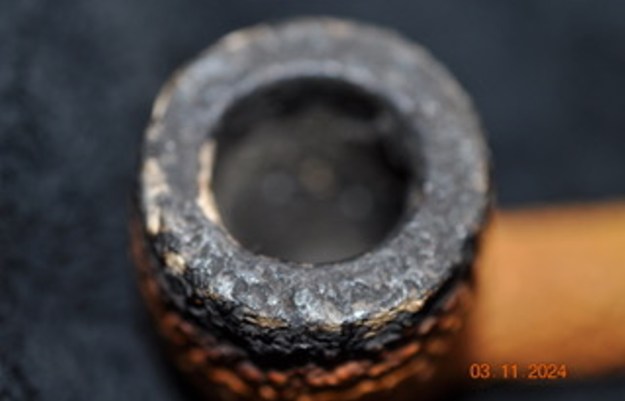
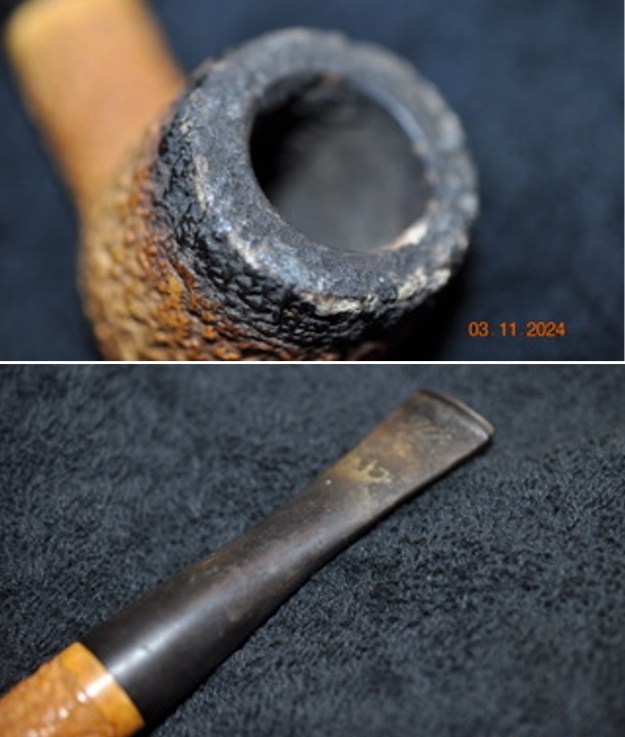
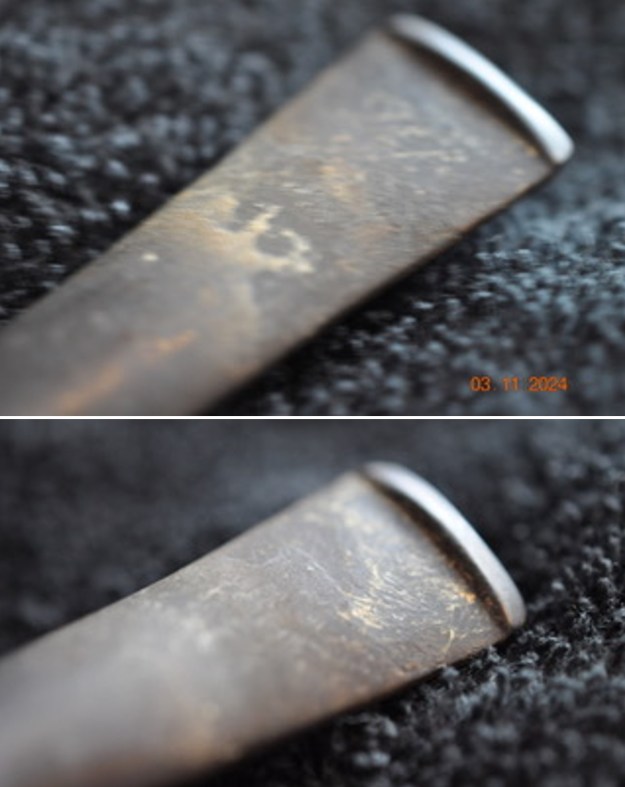
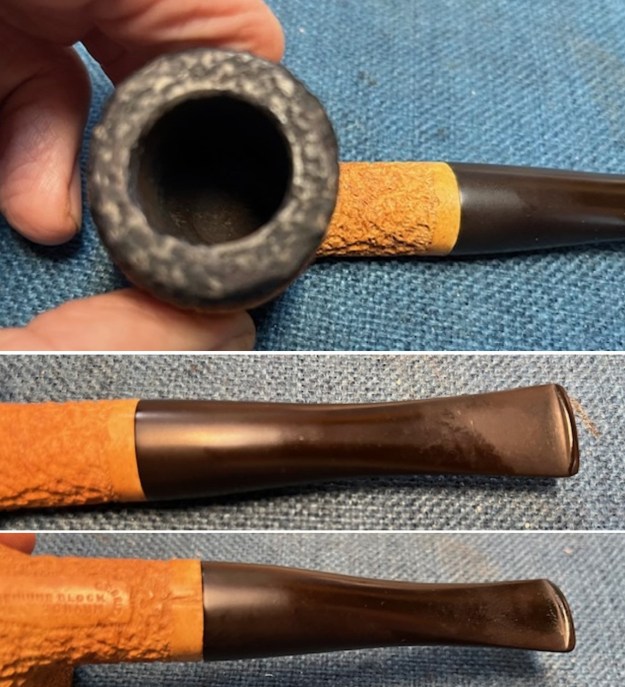
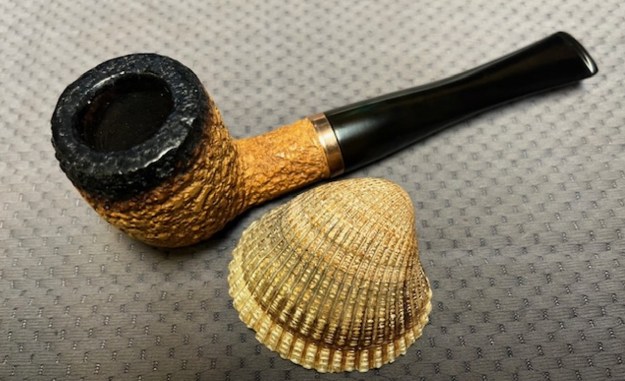
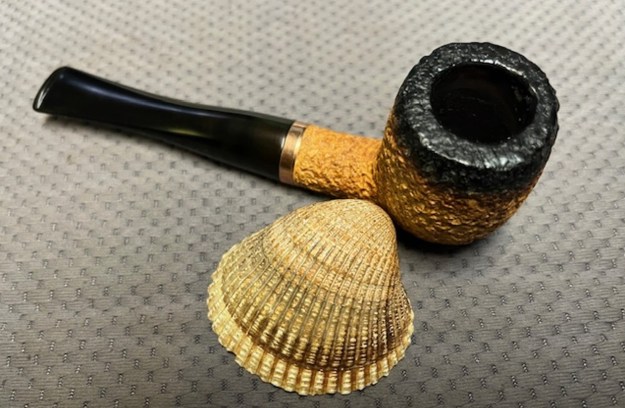
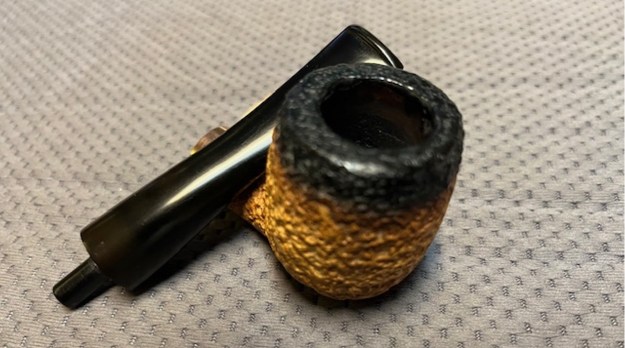
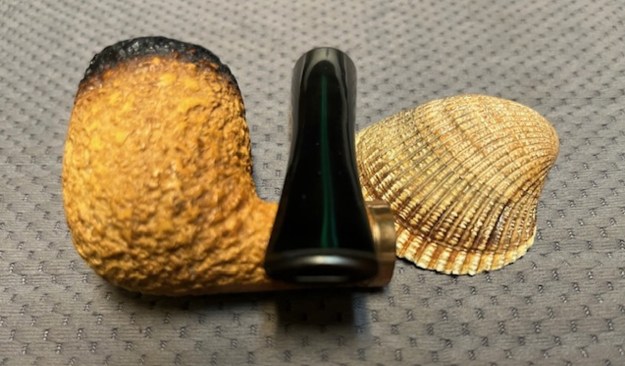
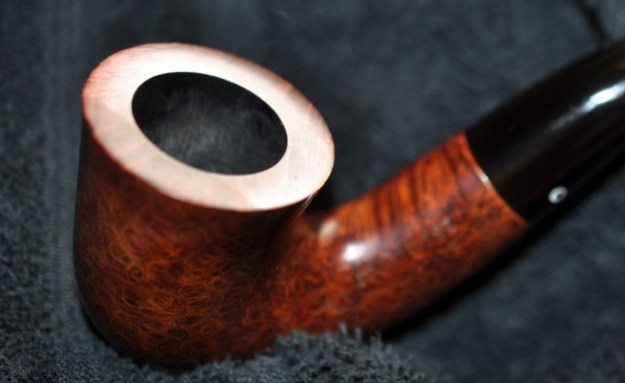
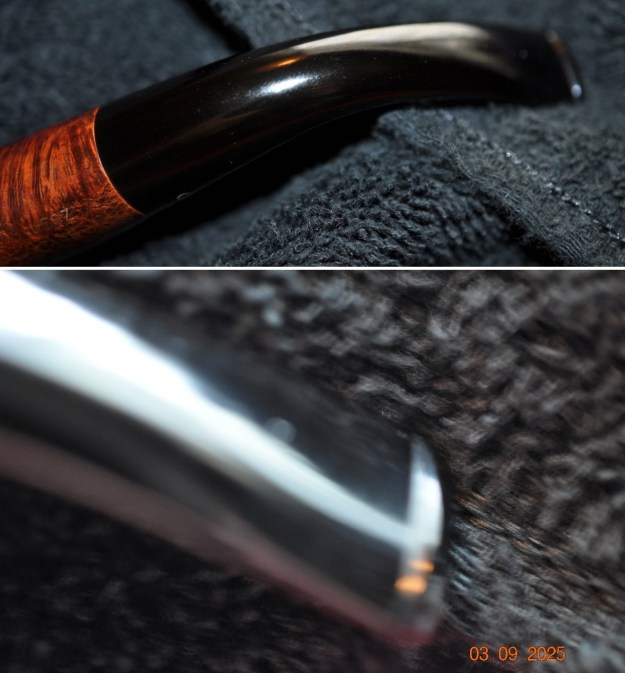
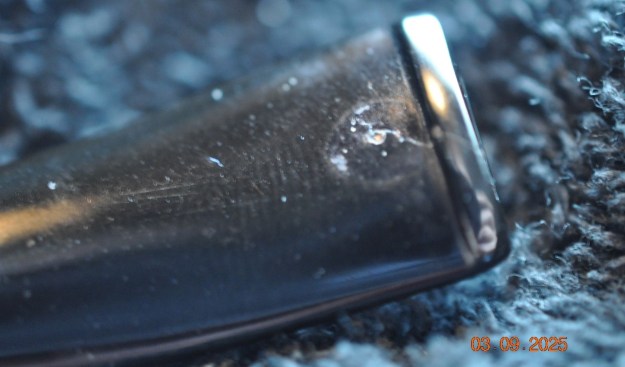
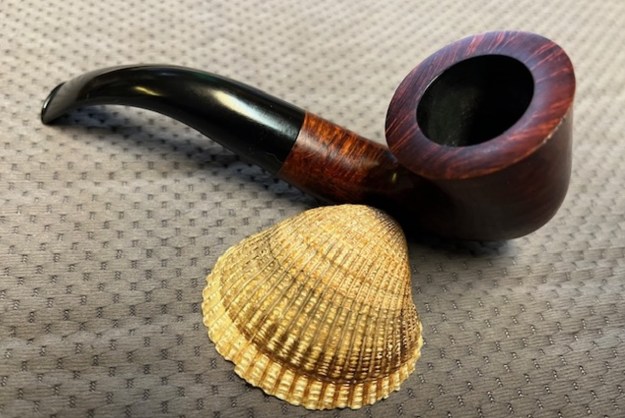
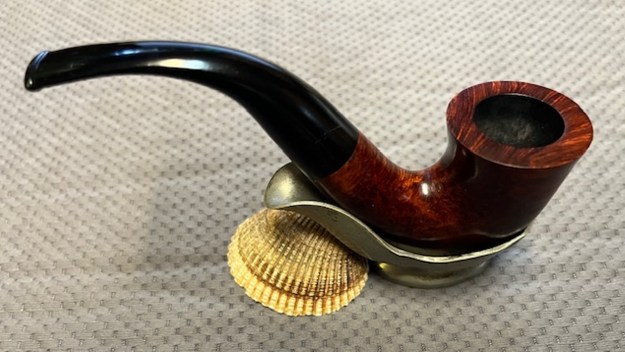
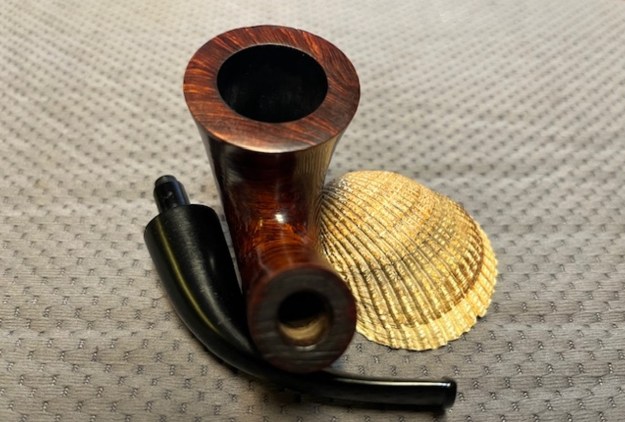
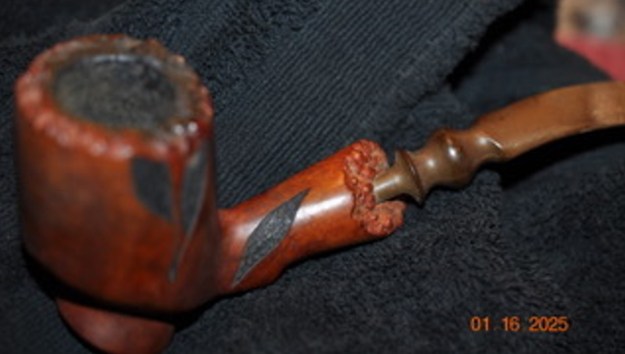 He took close up photos of the bowl and rim top from different angles to show the condition of the plateau finish. The bowl has a thick cake that lining the walls and overflowing into lava. There was lava and build up on the rim top and flowing over the inner edge of the bowl onto the plateau. It is hard to know if there is damage or if the lava protected it. He also took photos of the stem to show the surface of the top and underside of the vulcanite stem. You can see the tooth marks and damage both sides ahead of the button.
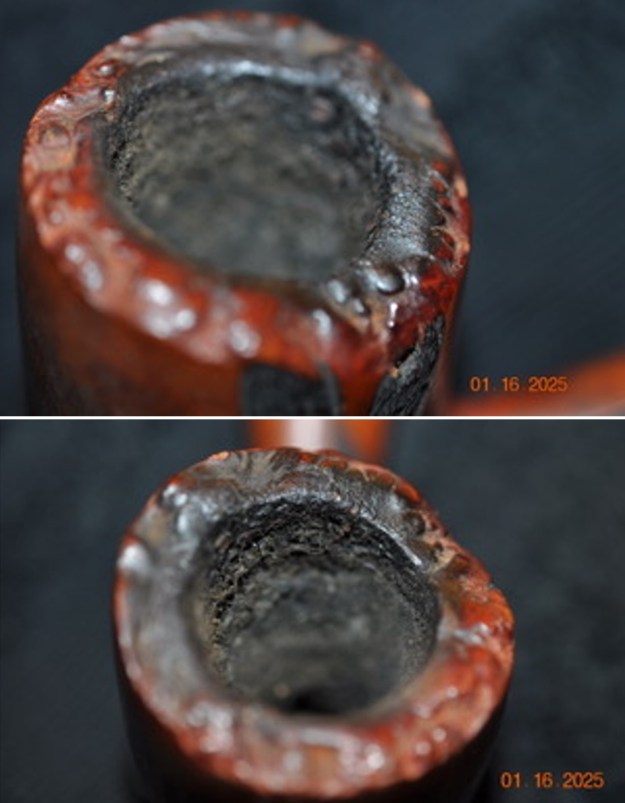
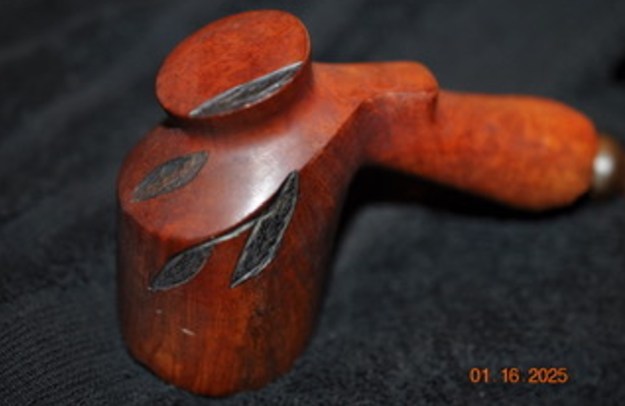
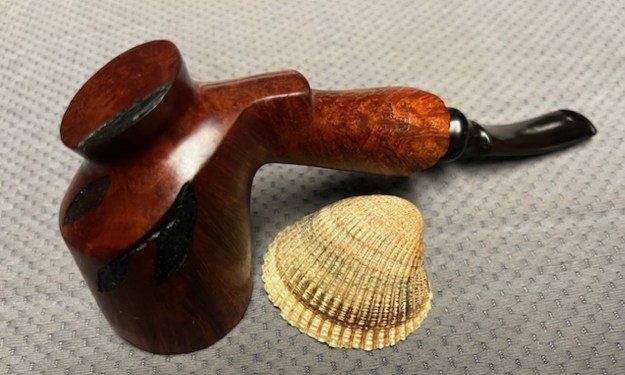
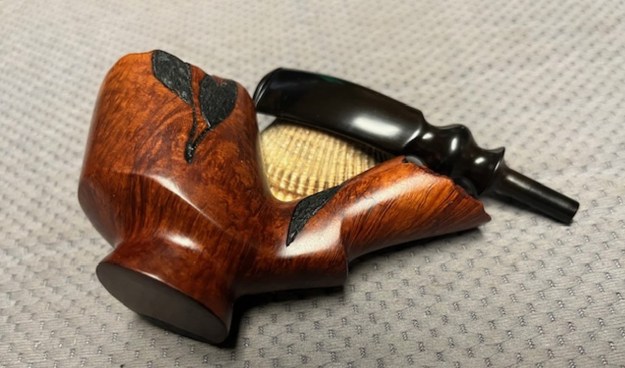
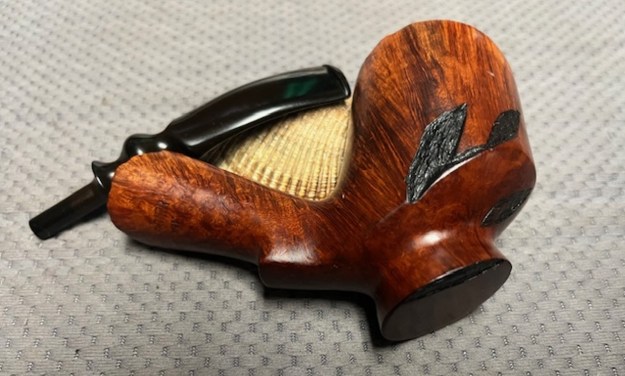
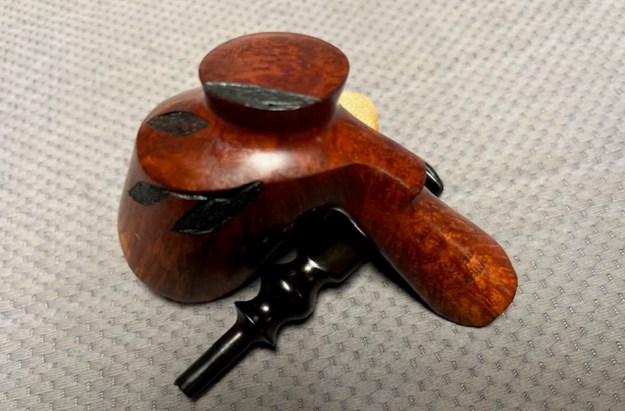
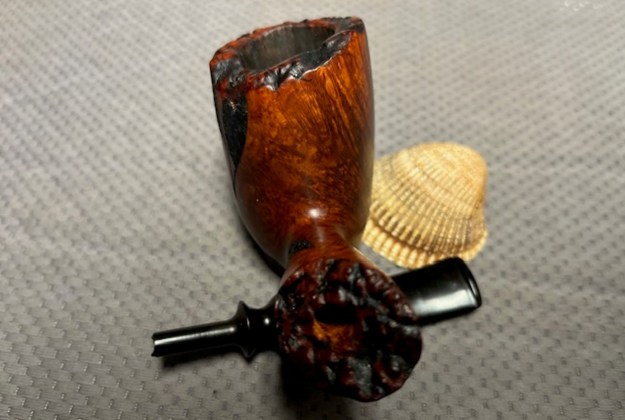
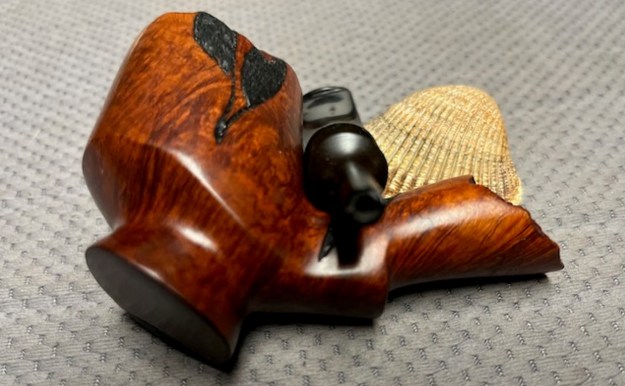
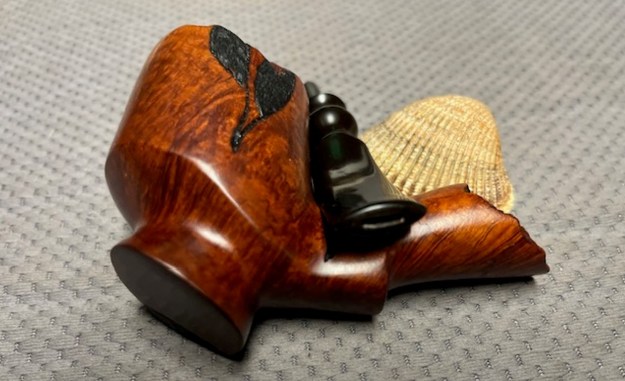
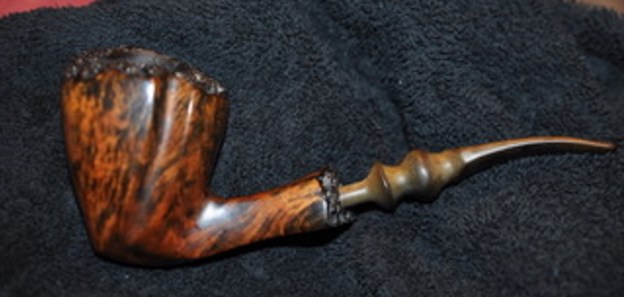
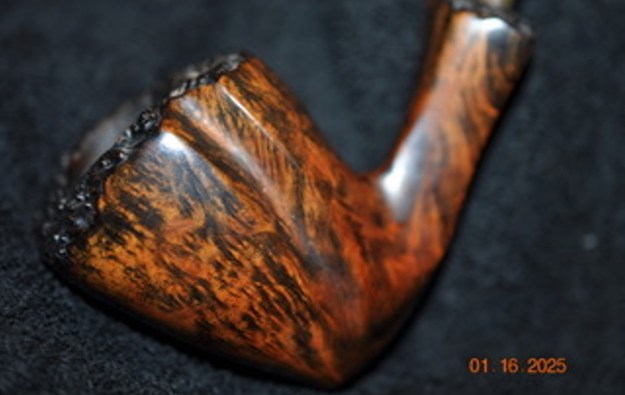
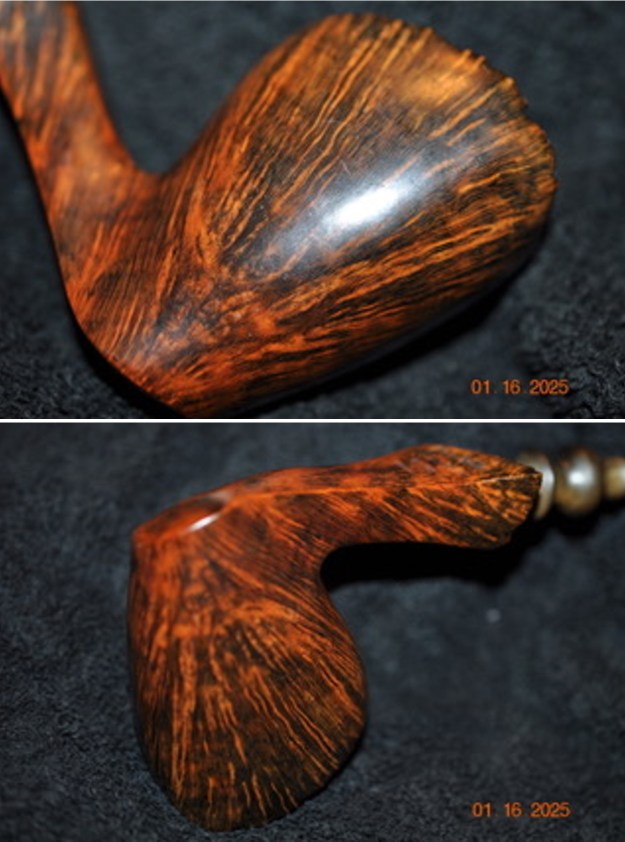
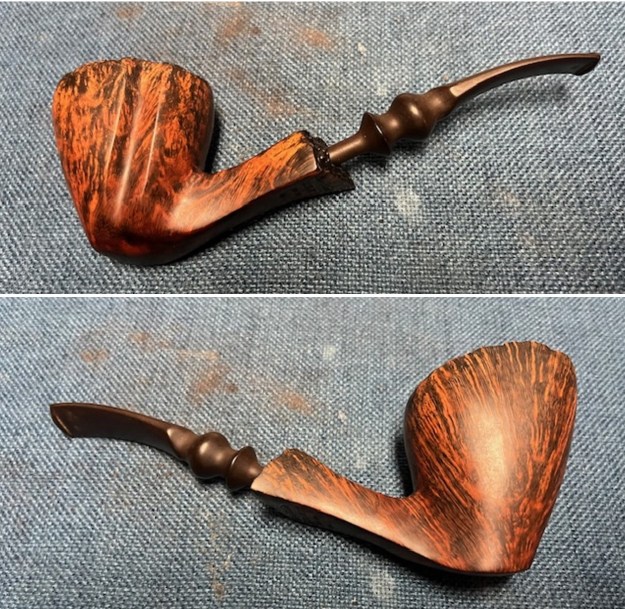
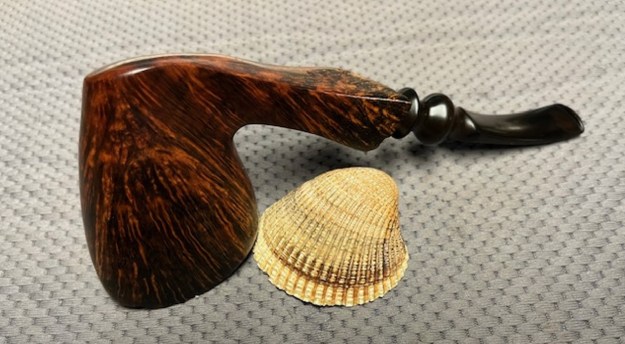
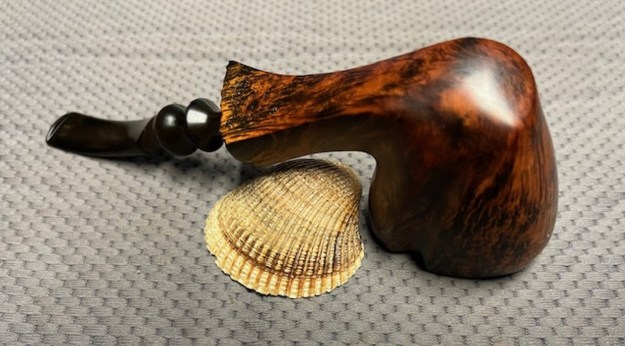
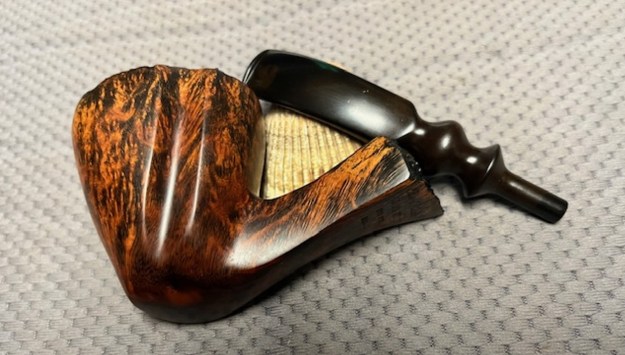
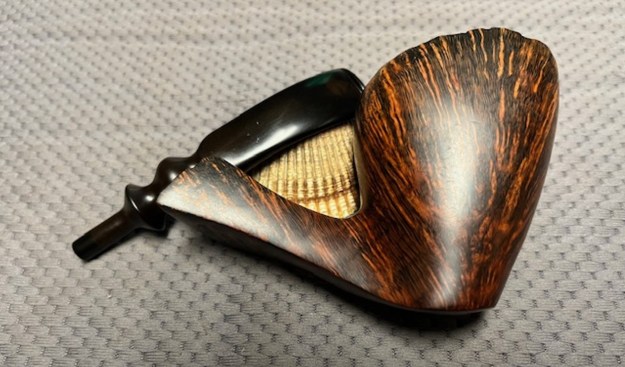
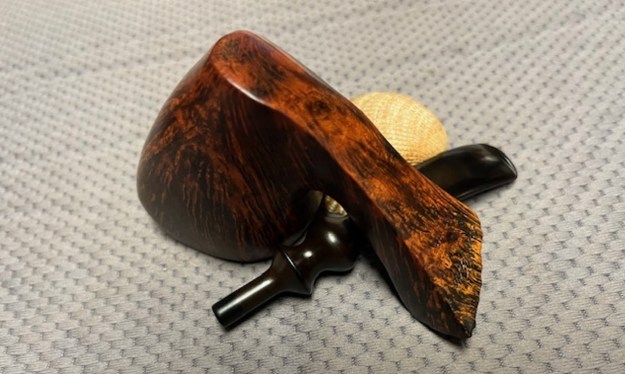
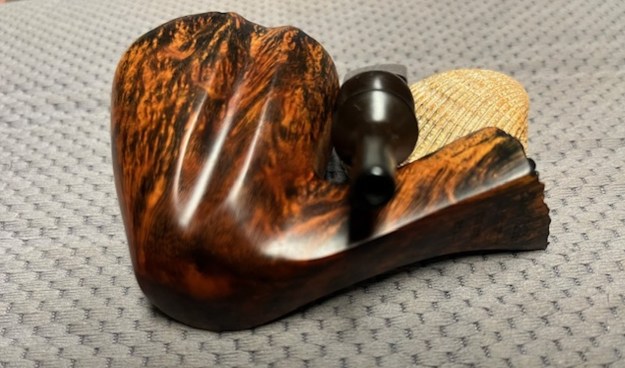
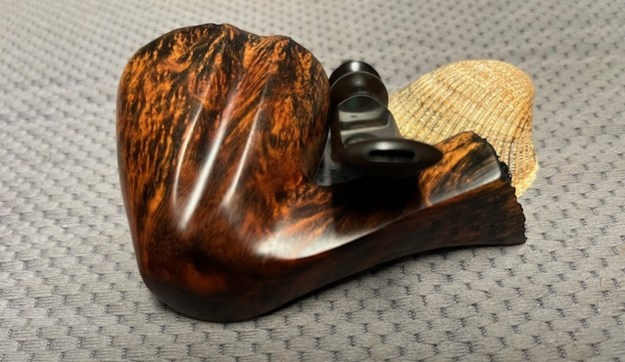
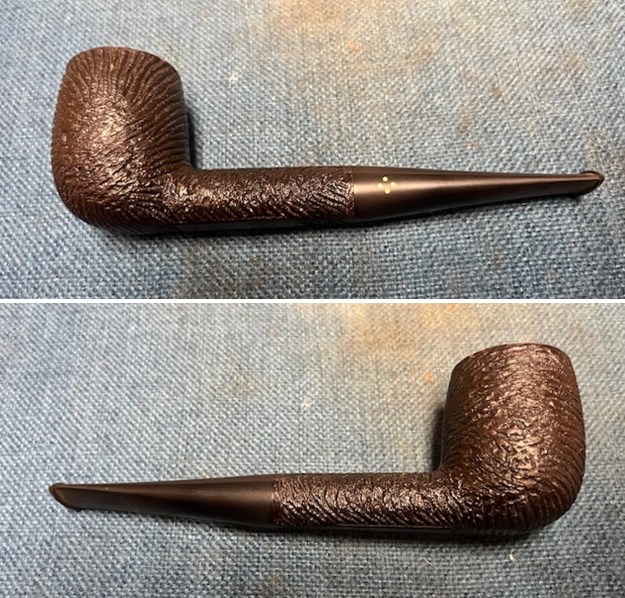
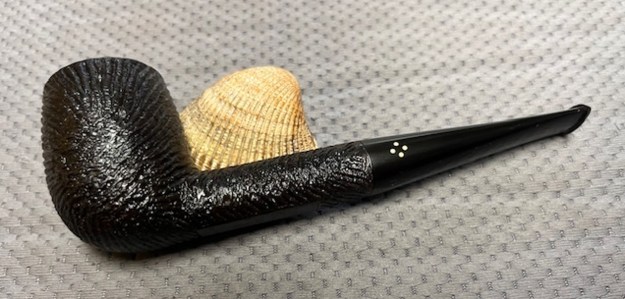
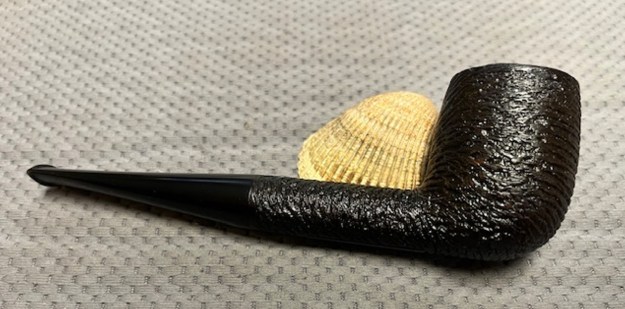
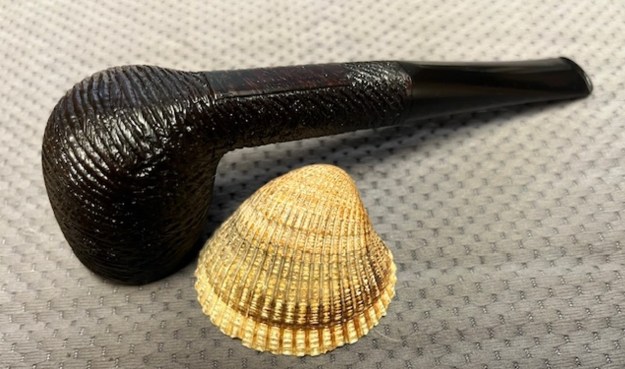
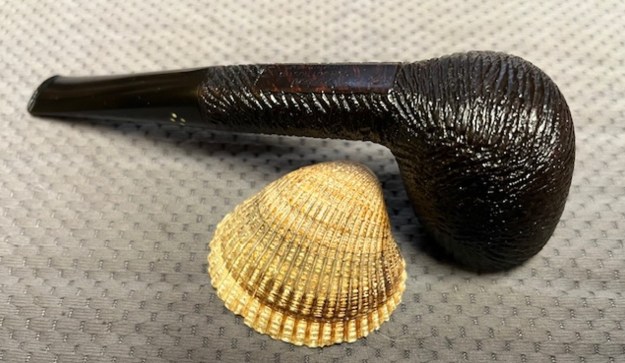
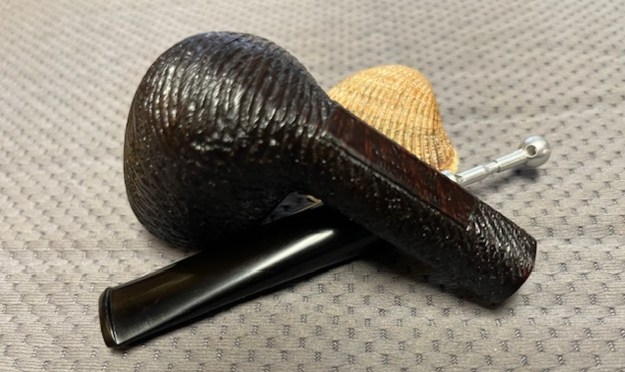
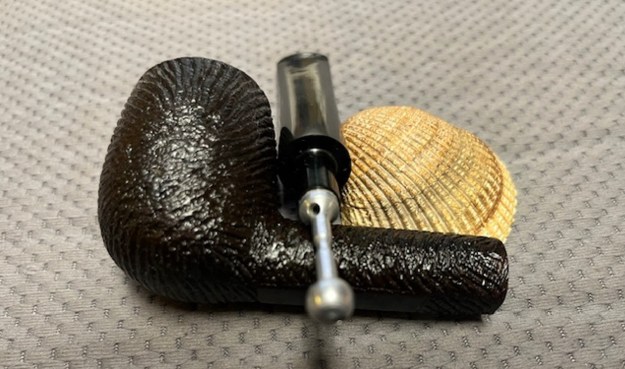
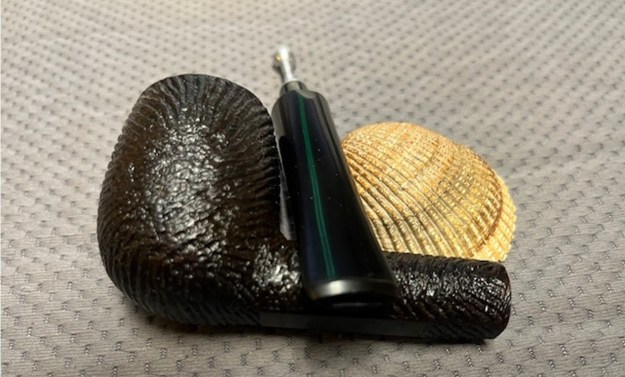
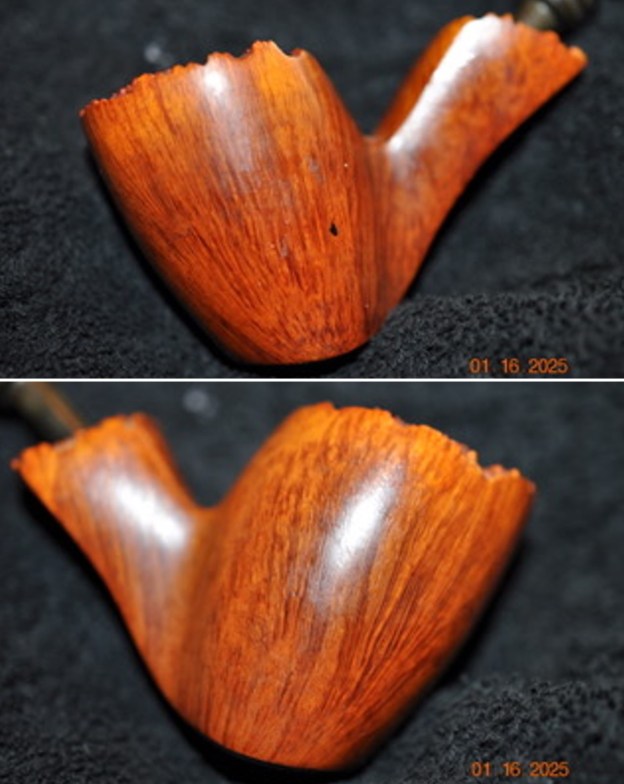
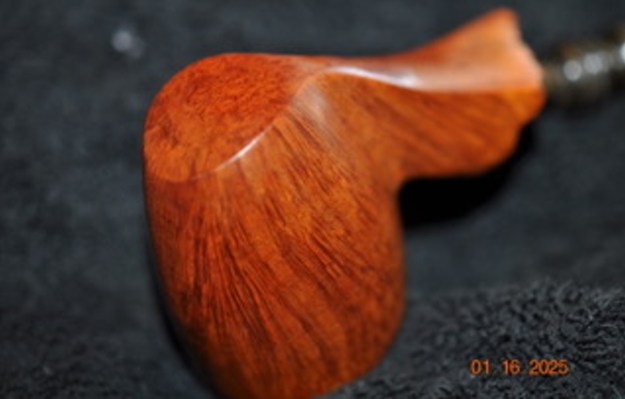
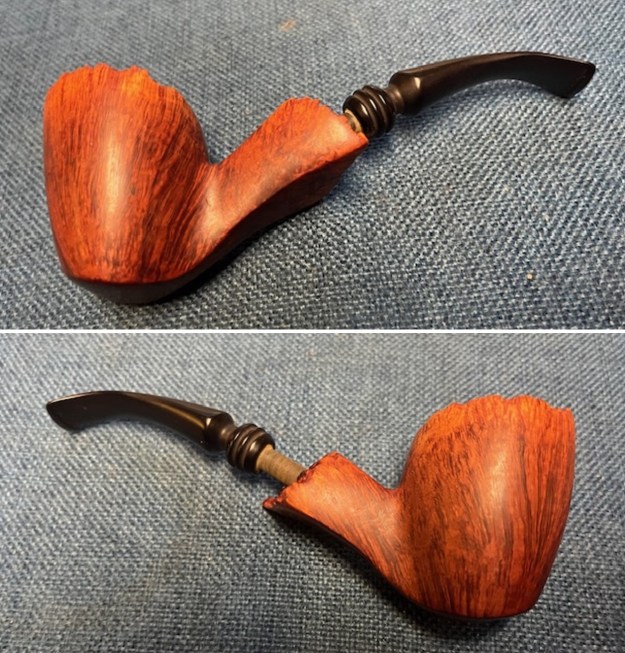
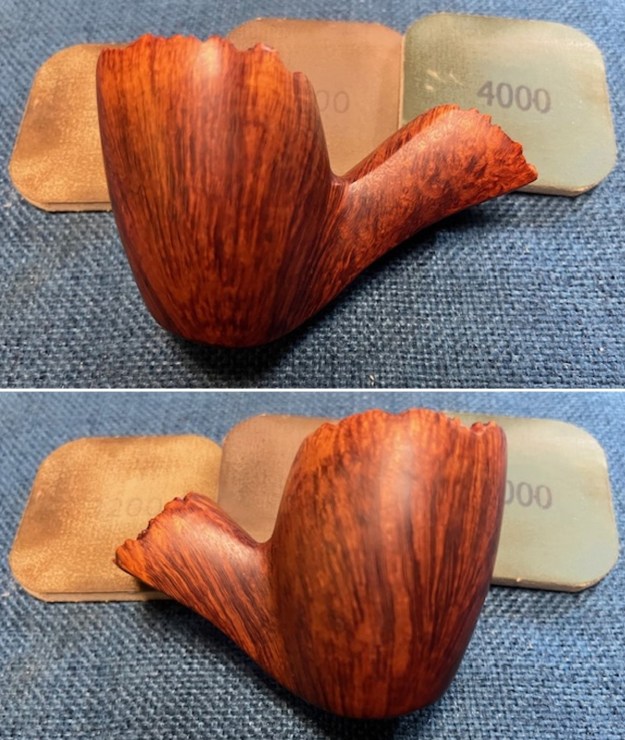
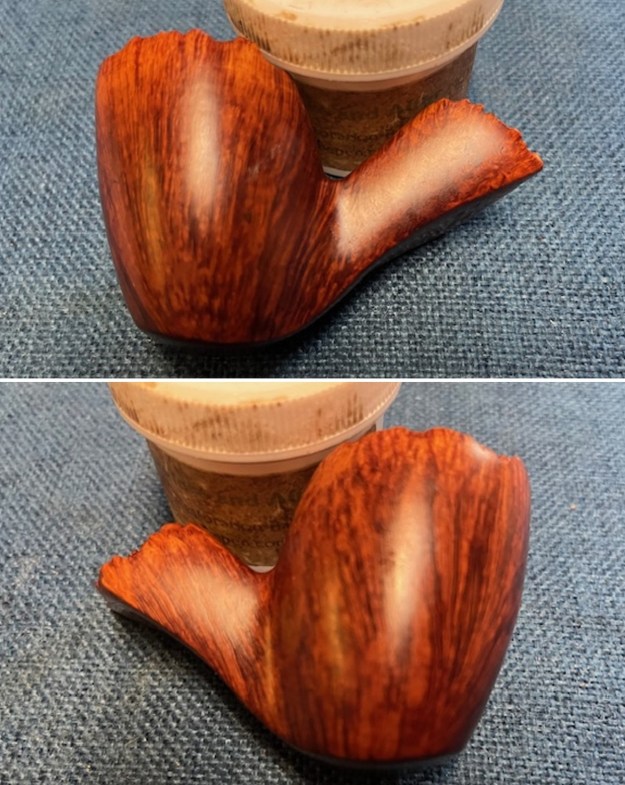
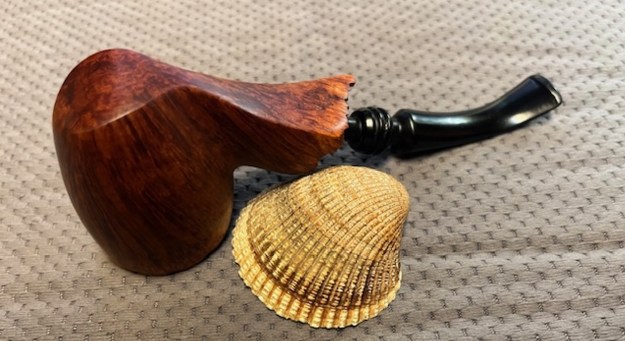
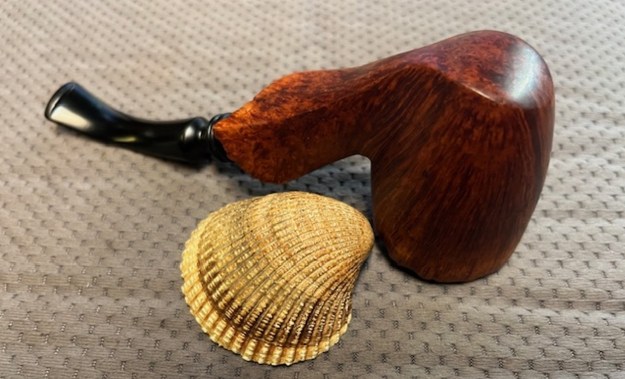
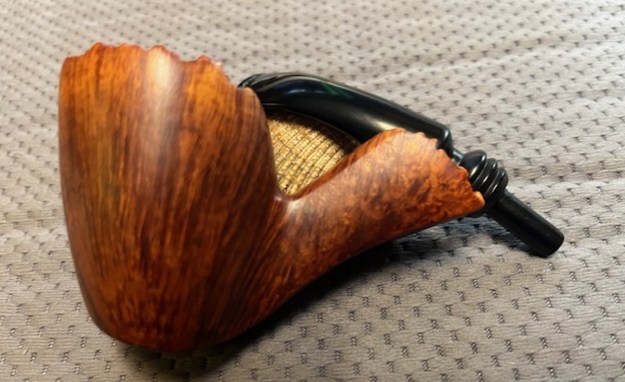
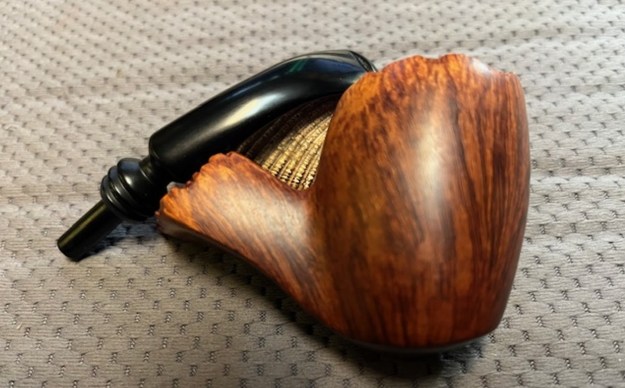
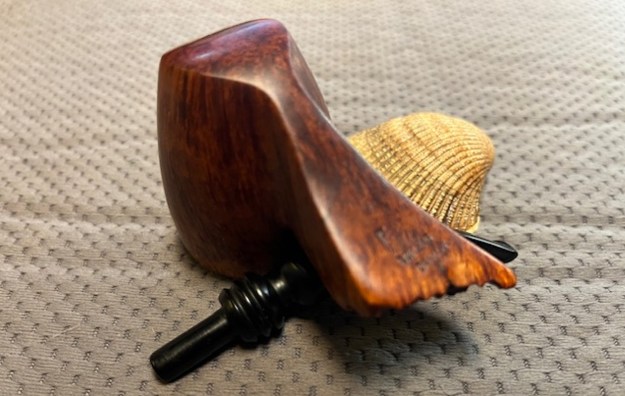
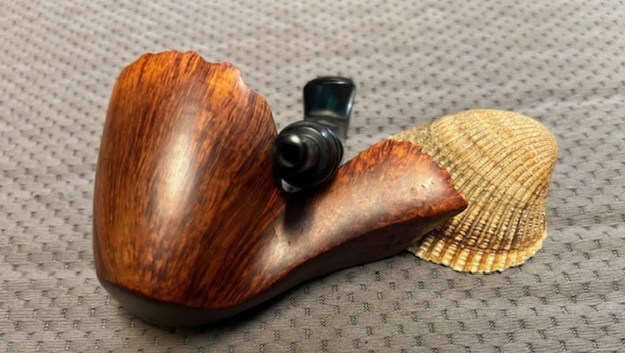
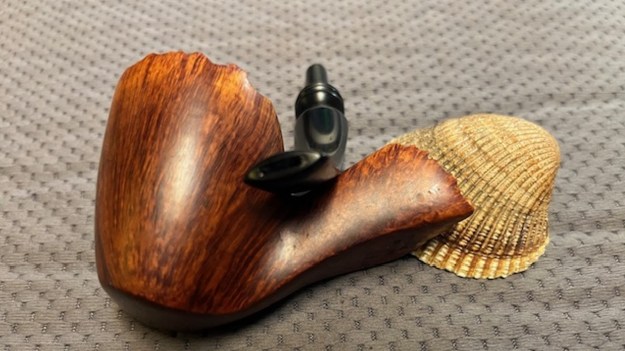
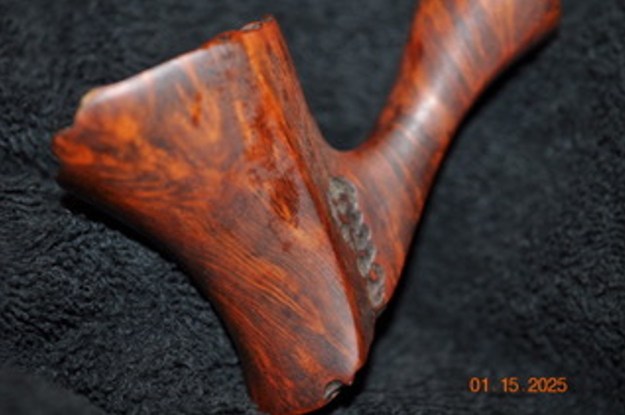
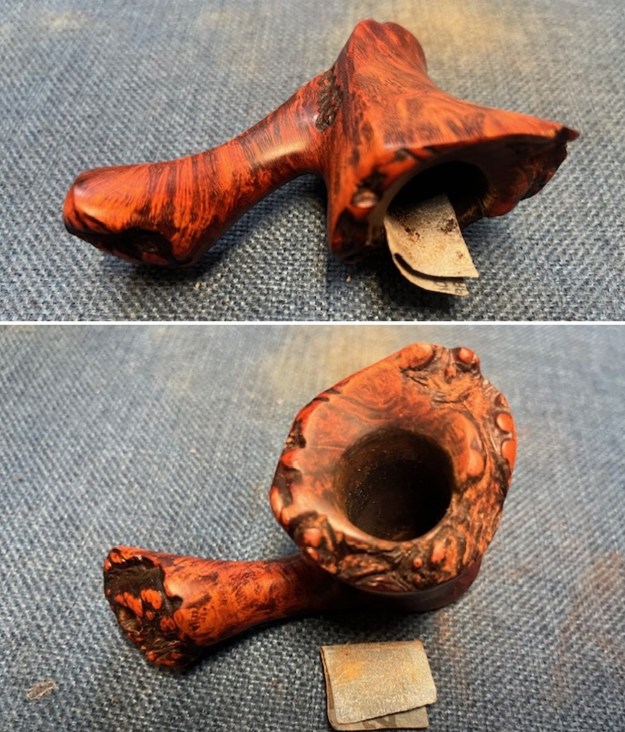
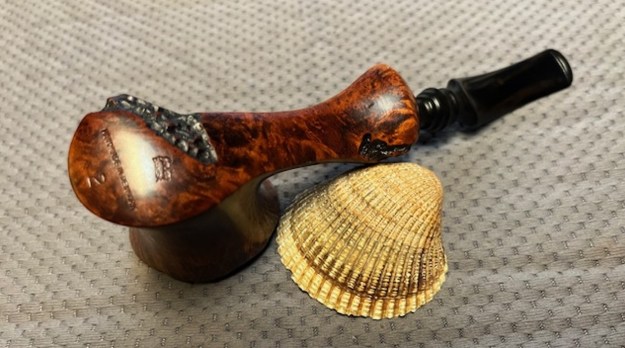
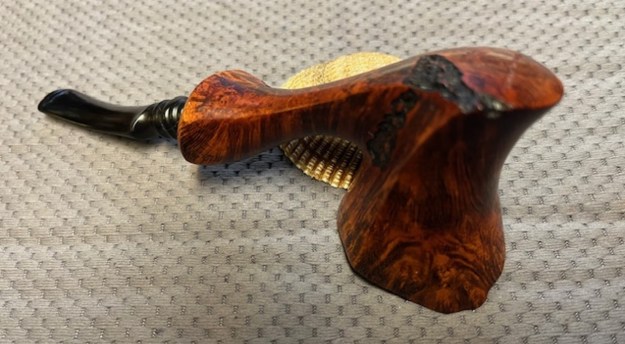
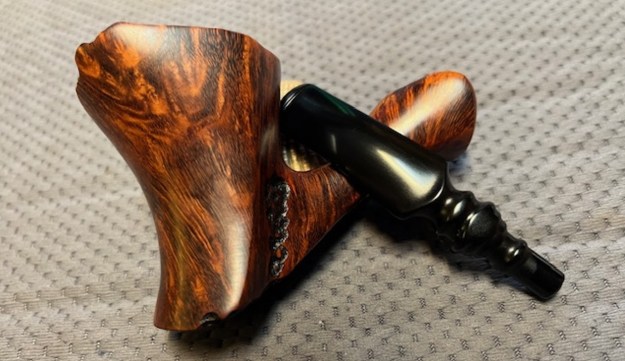
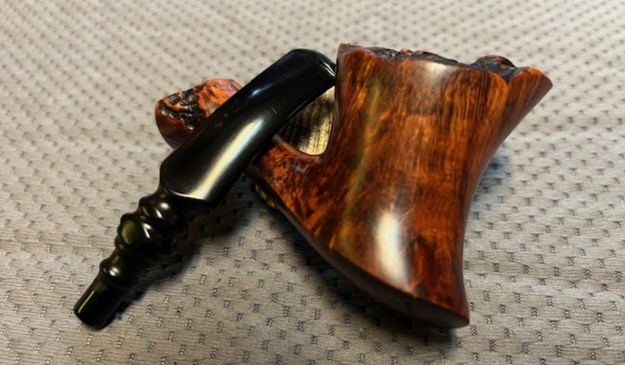
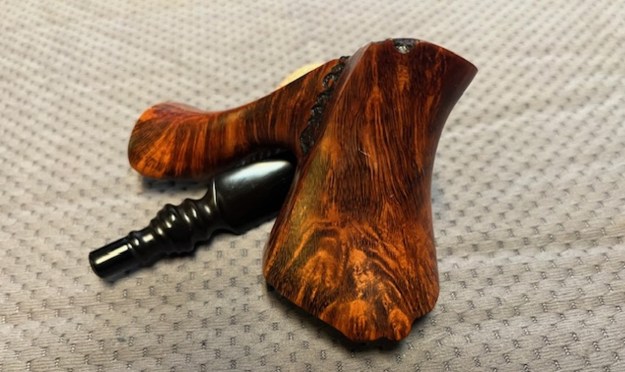
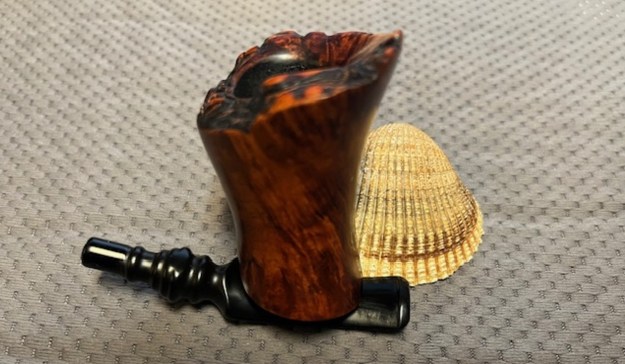
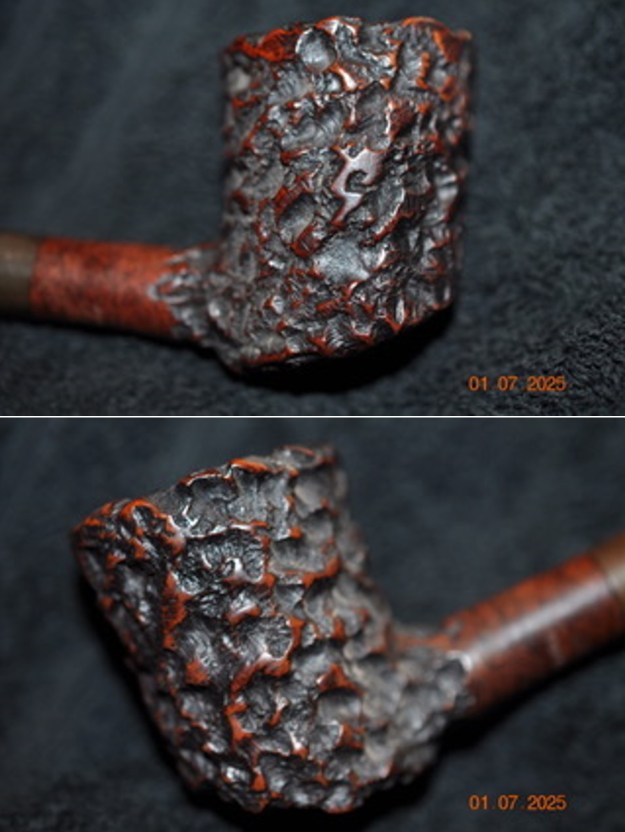
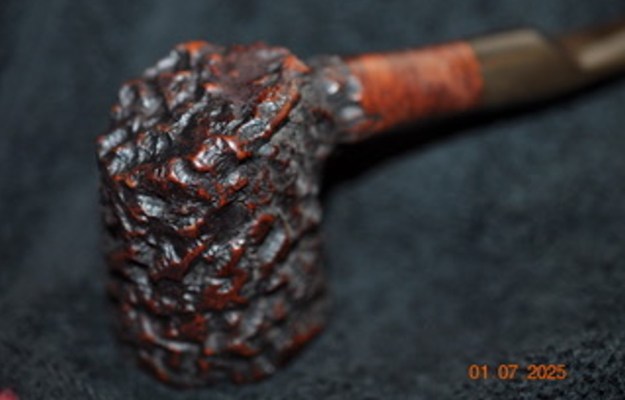
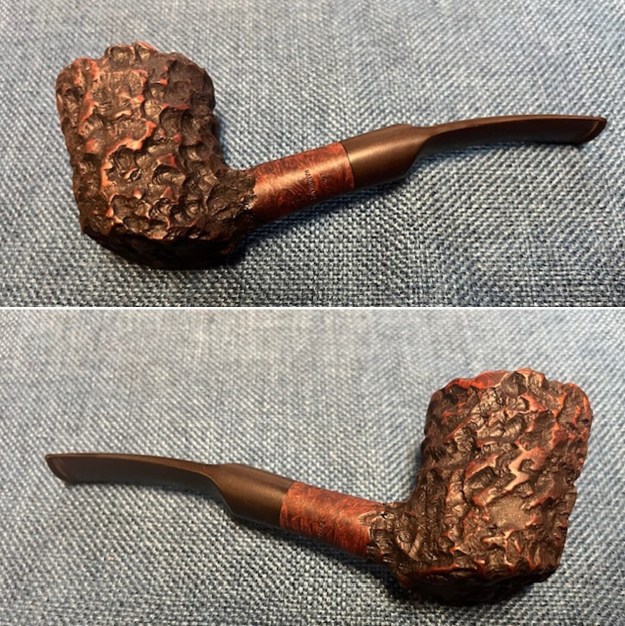
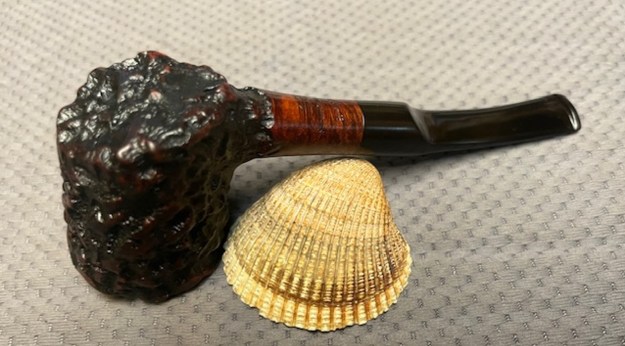
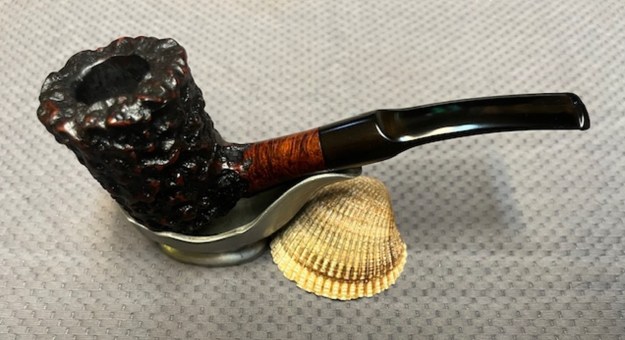
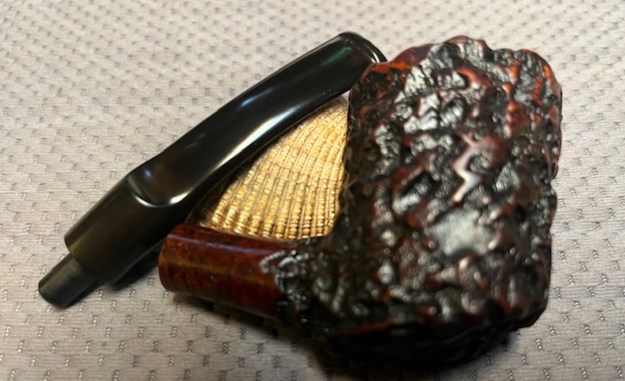
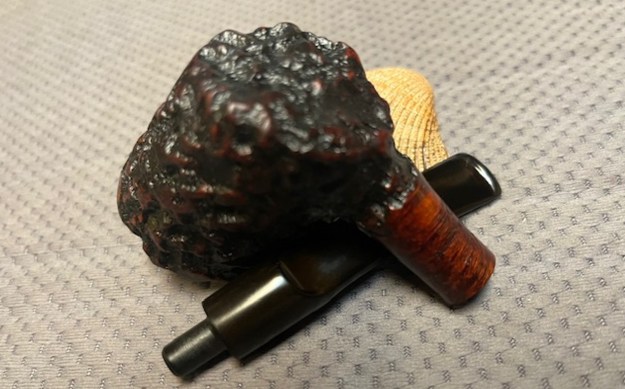
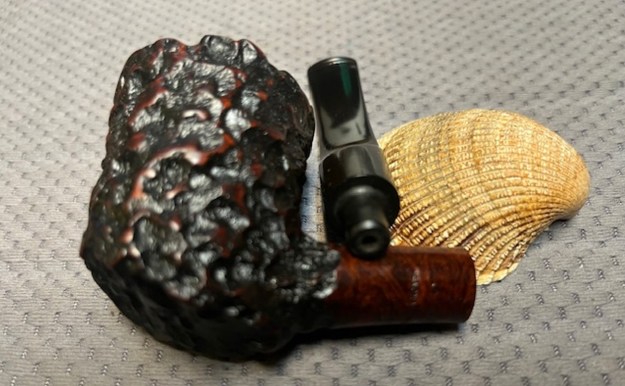
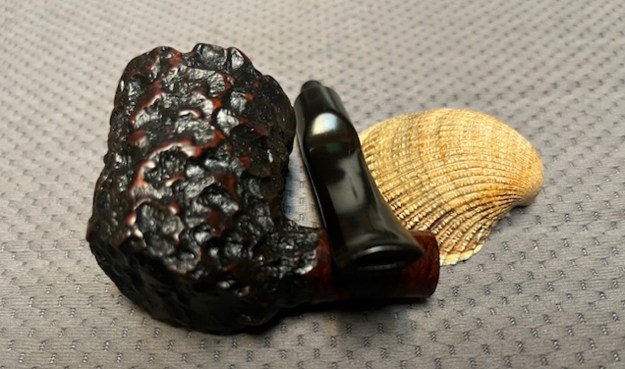
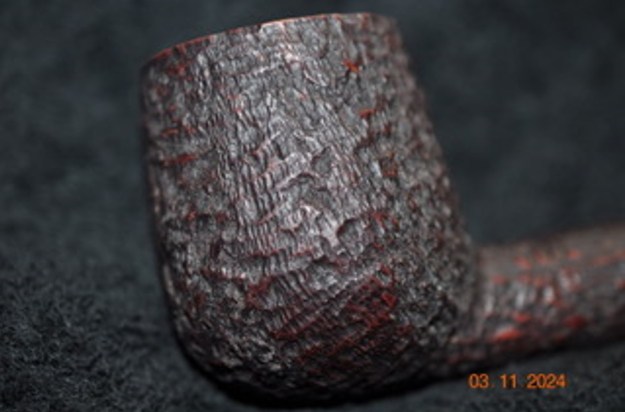
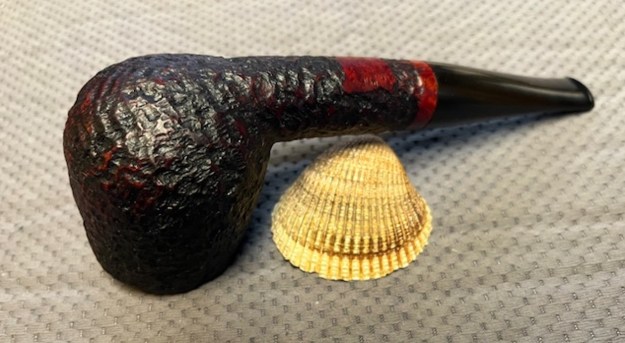
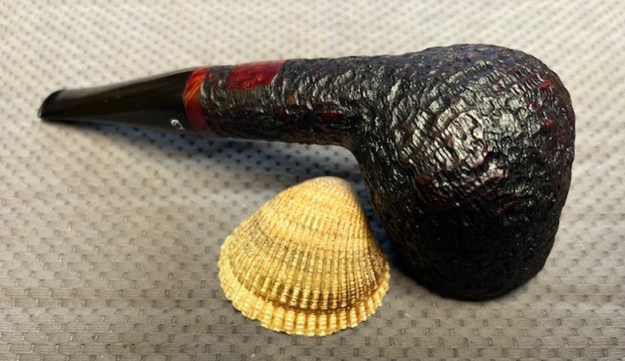
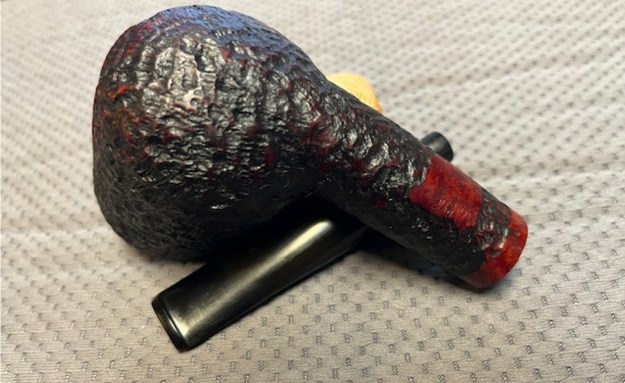
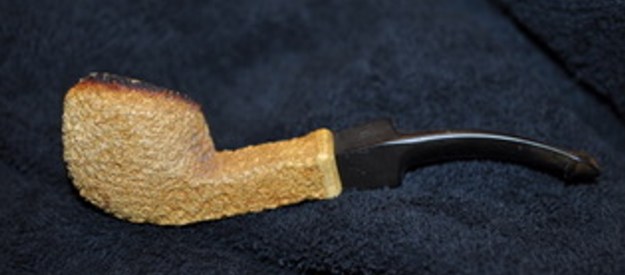
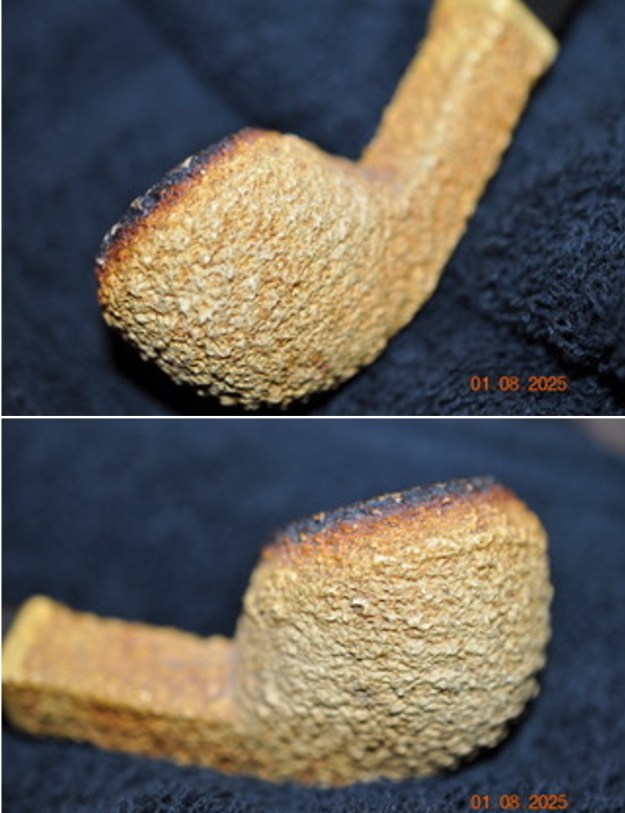
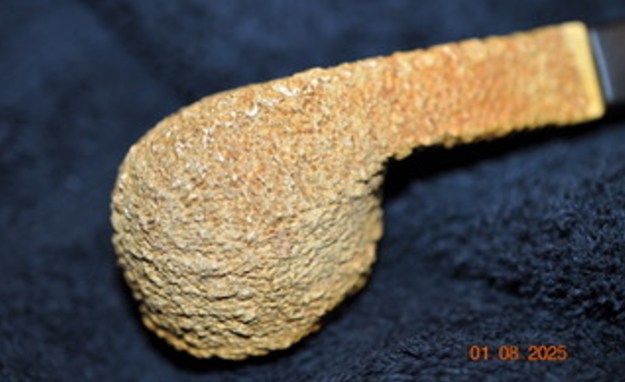
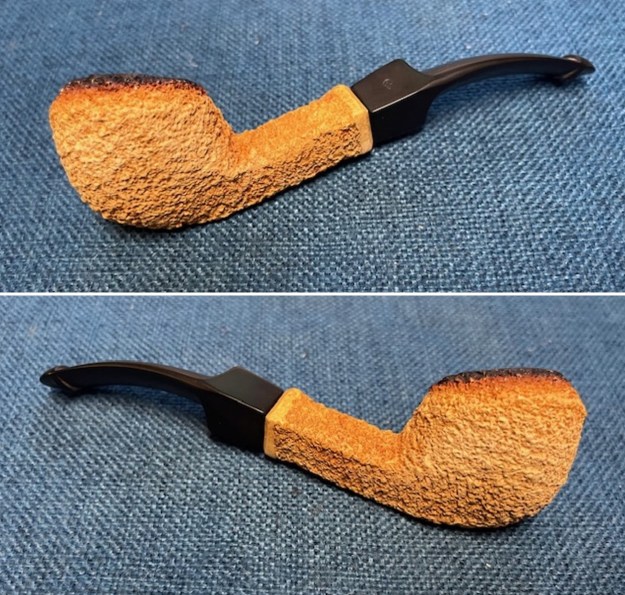
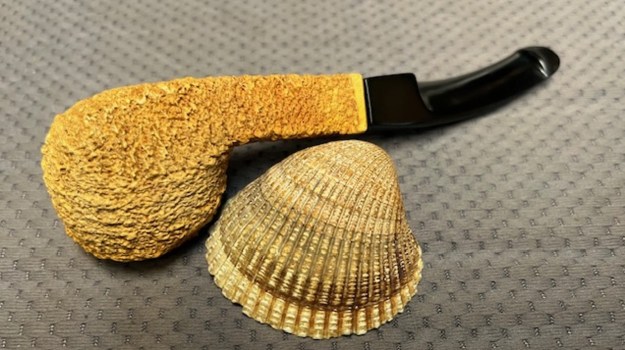
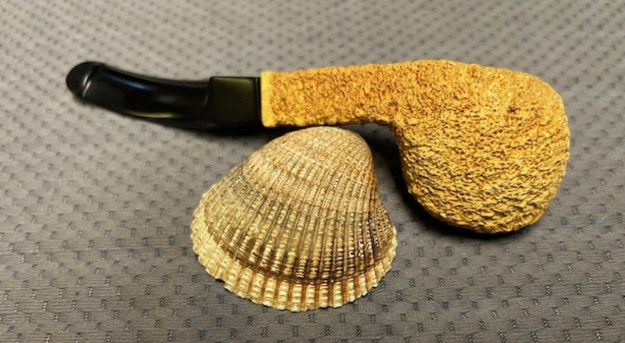
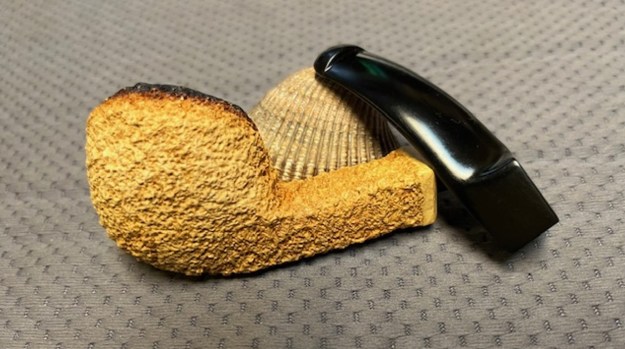
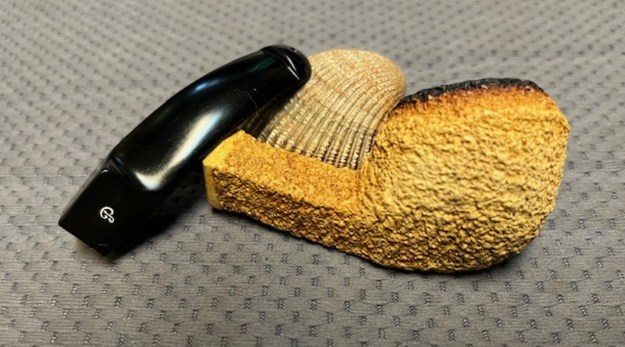
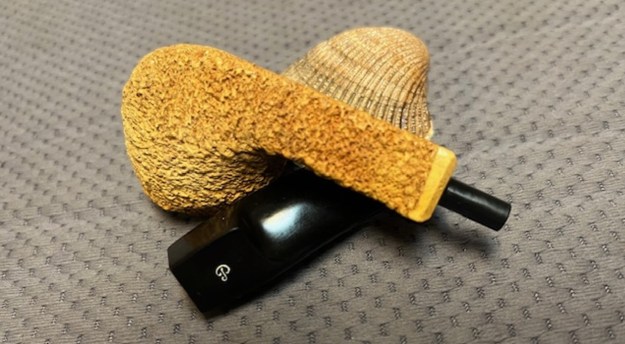
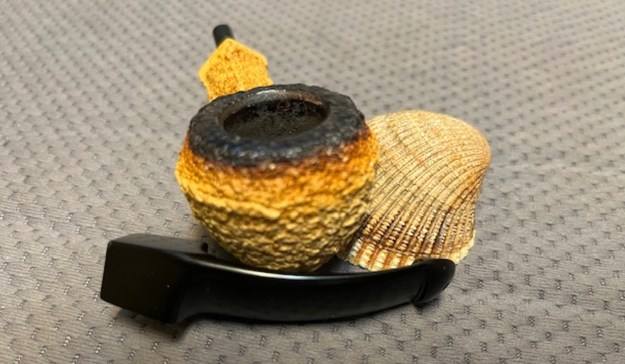
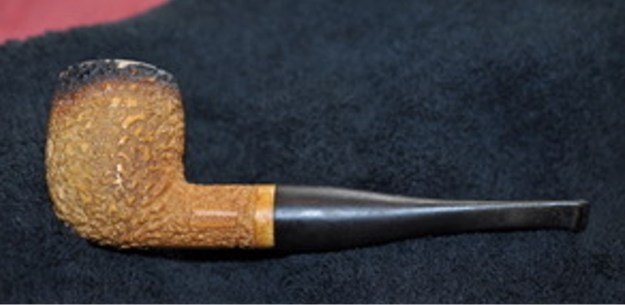
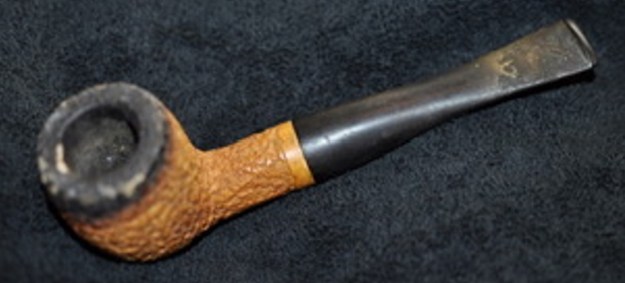
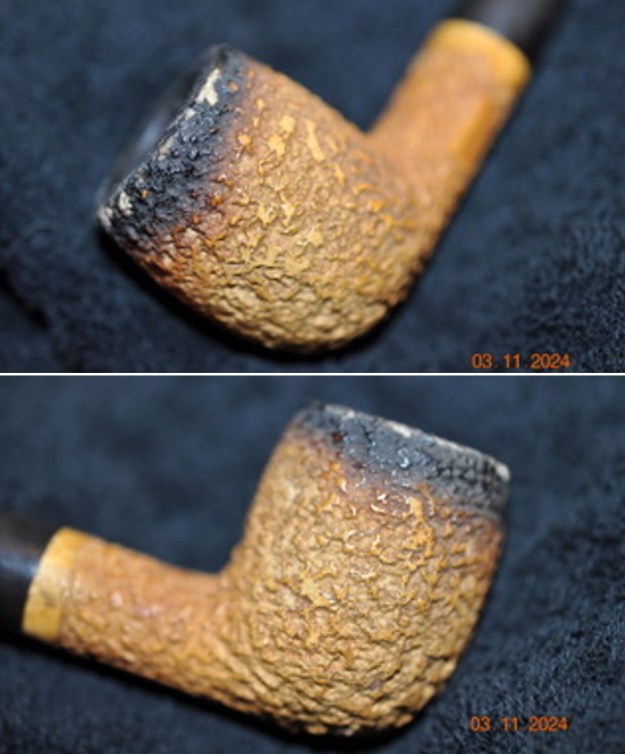
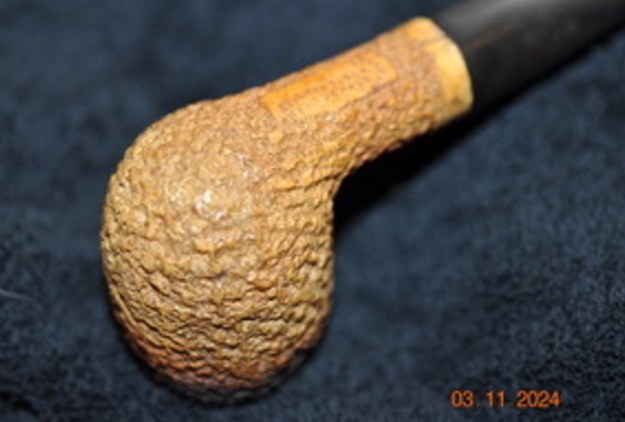
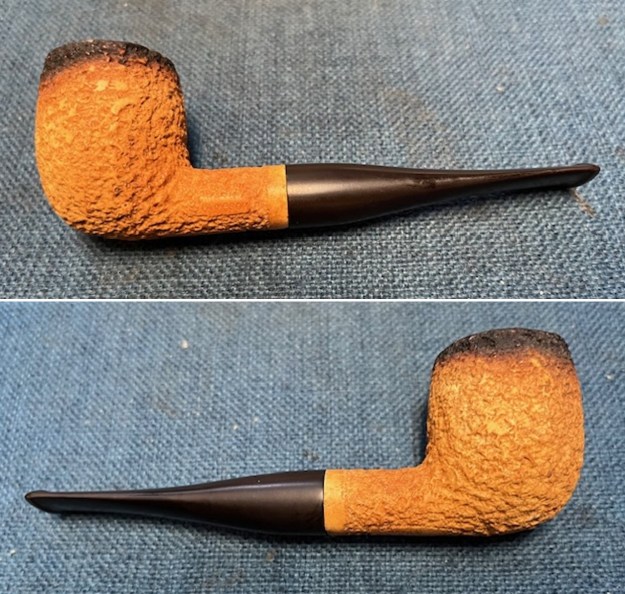
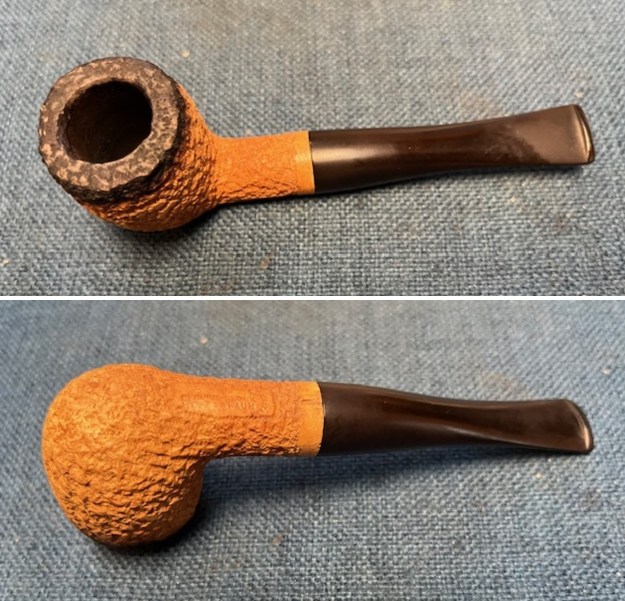
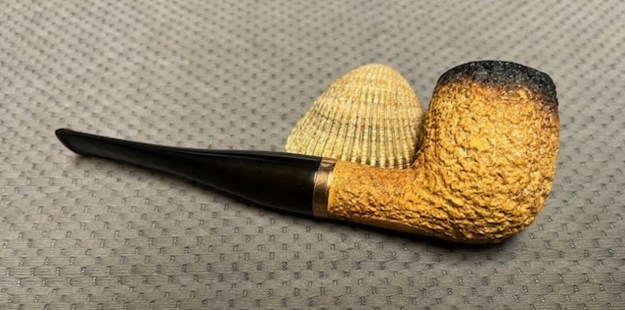
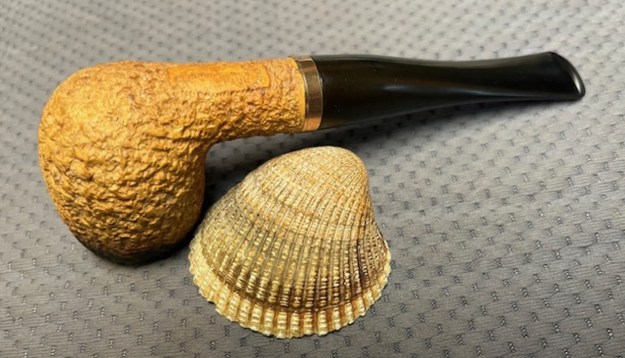
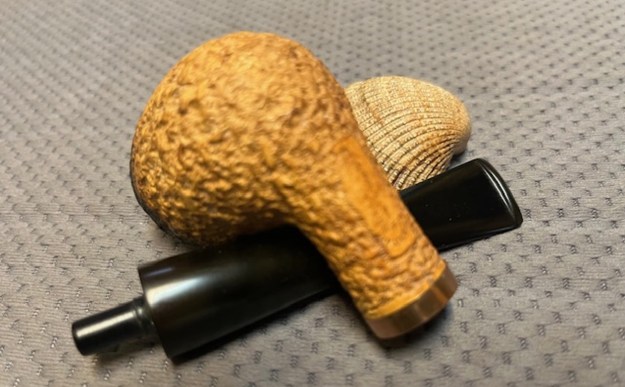
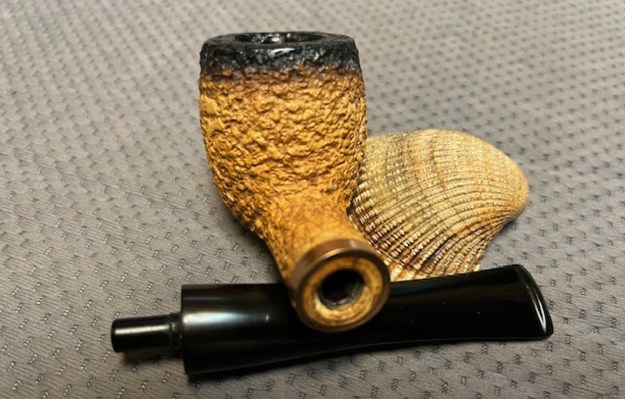
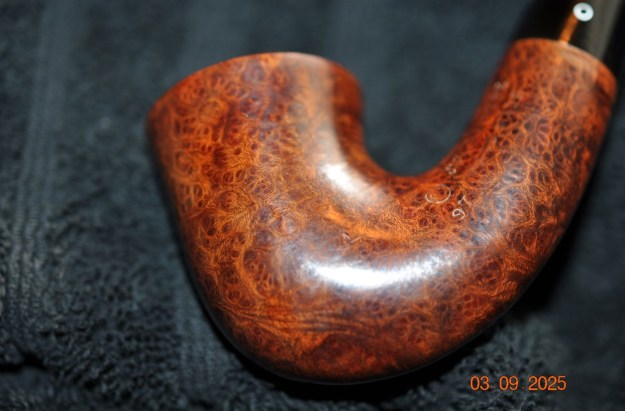
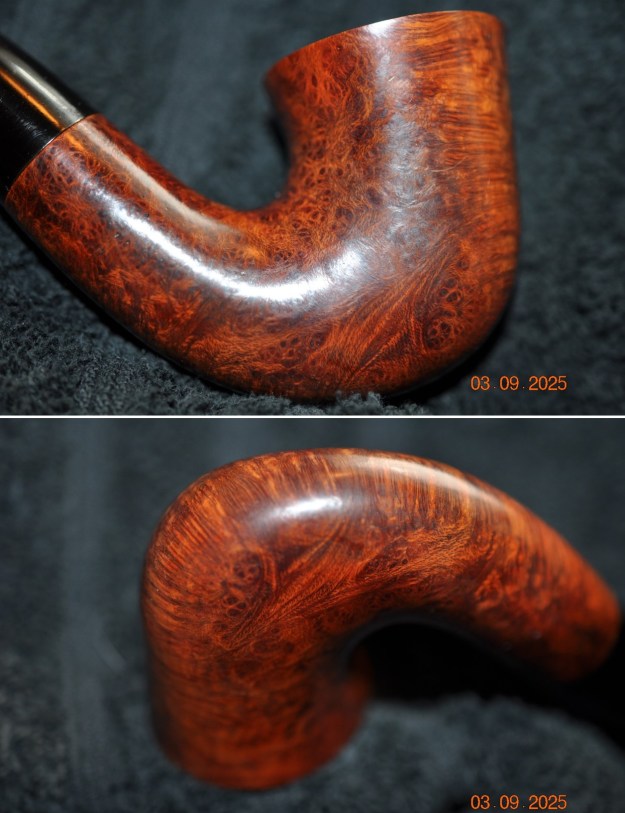
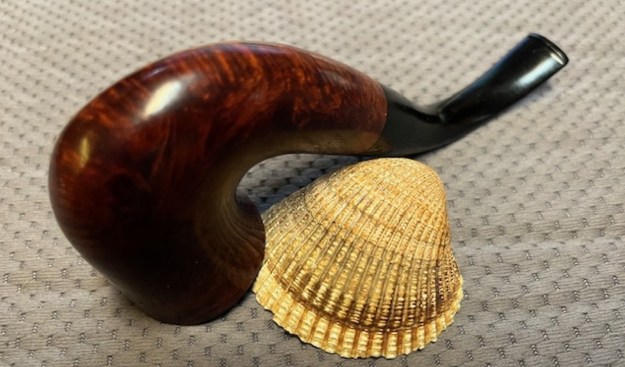
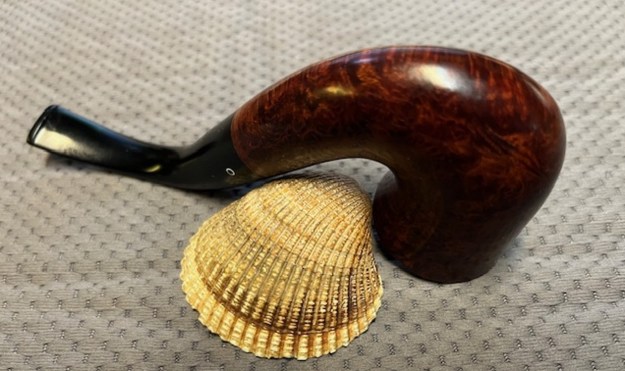
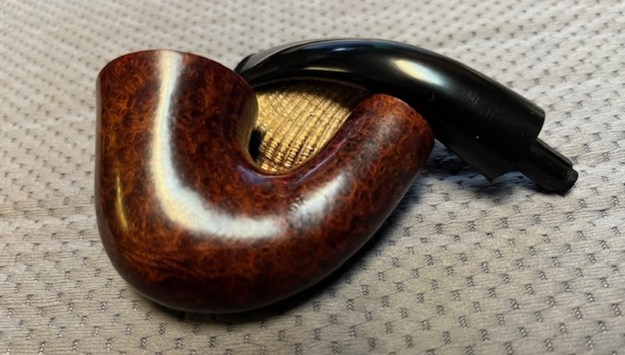
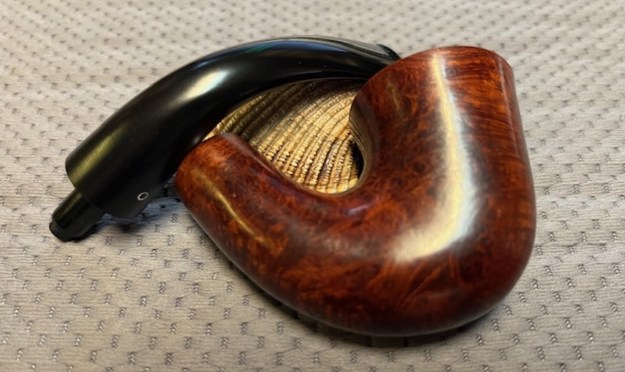
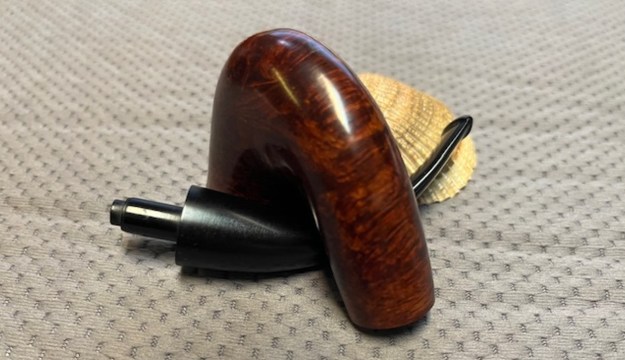
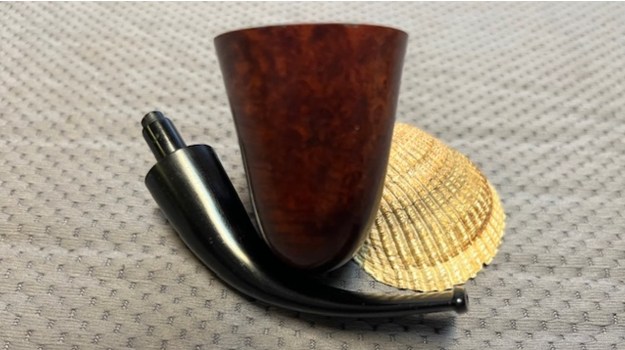
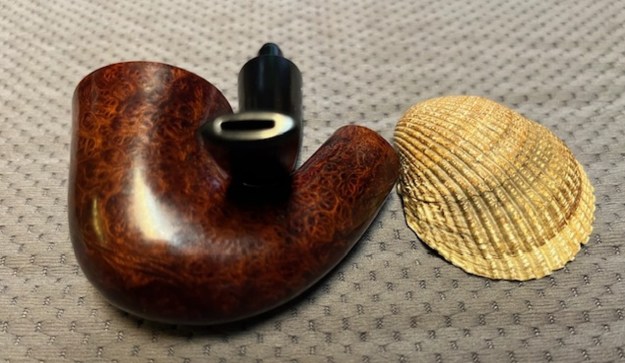
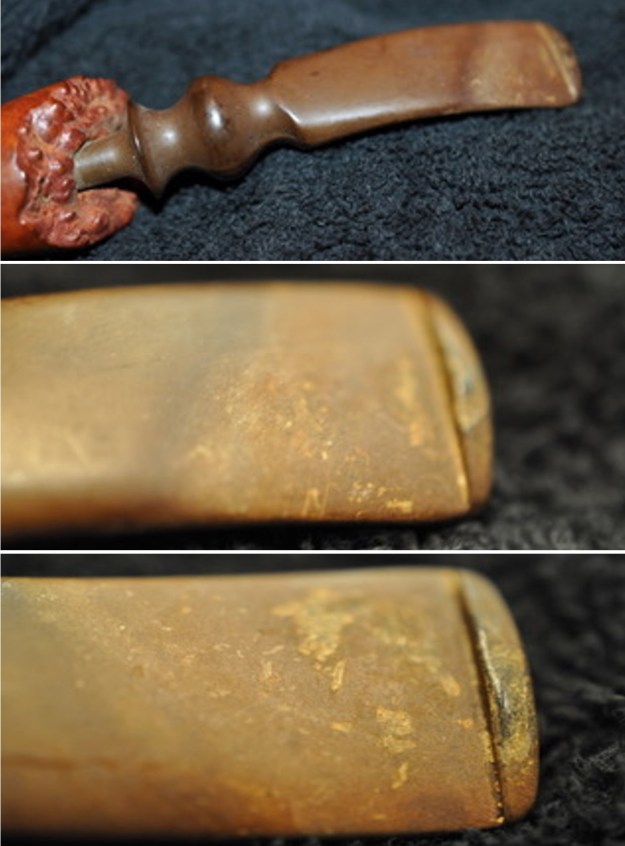 He took photos of the sides and heel of the bowl to show the lay of the grain and the leaves carved around the pipe. It is a beautiful piece of briar. The top of the bowl and shank end are craggy and rugged looking.
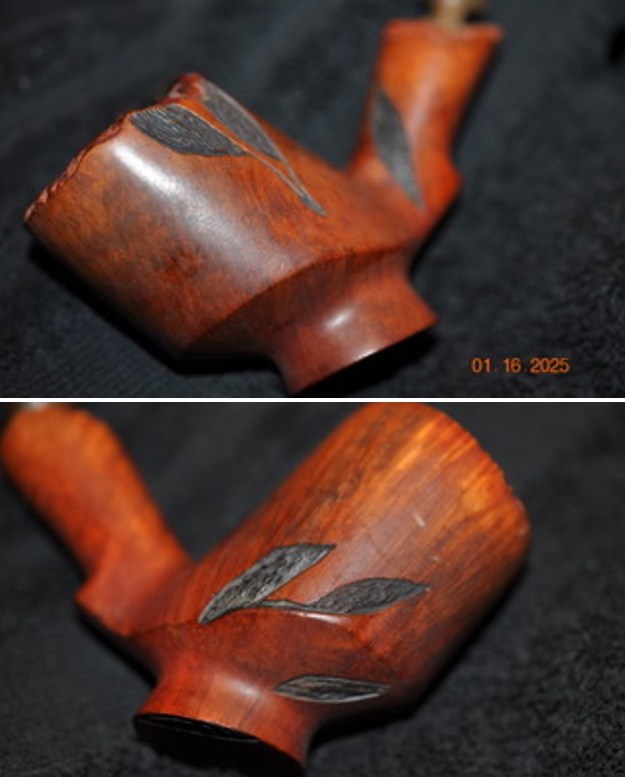
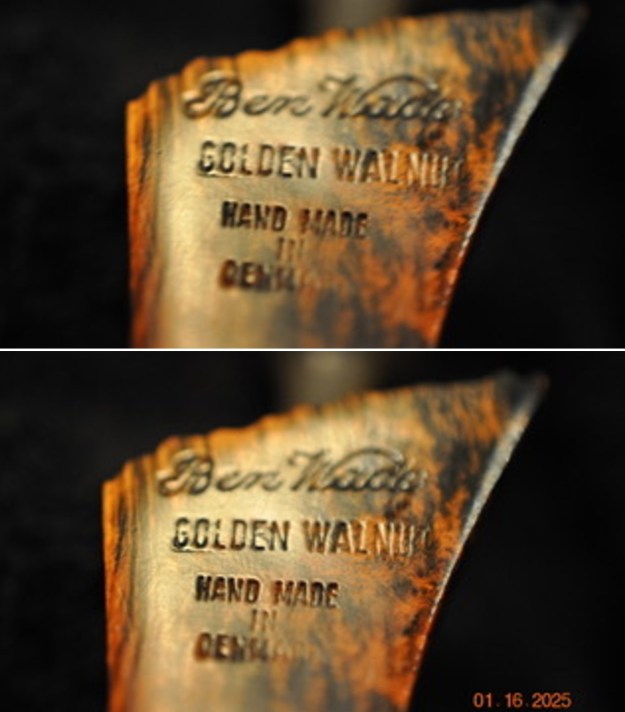
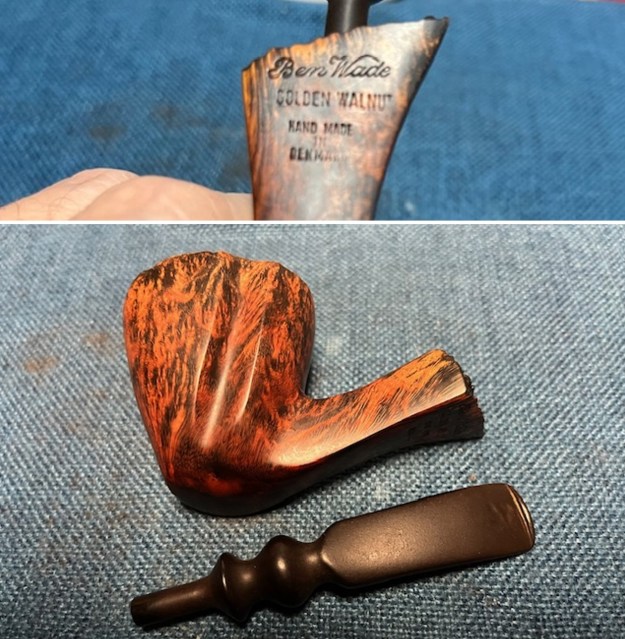
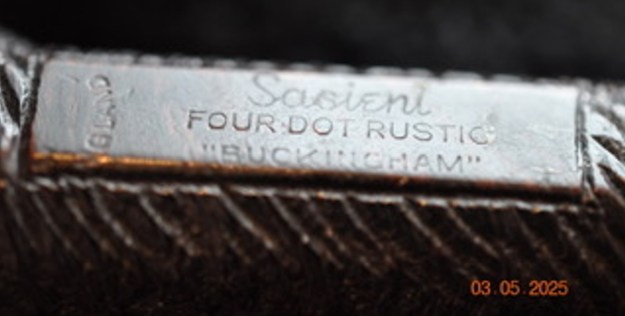
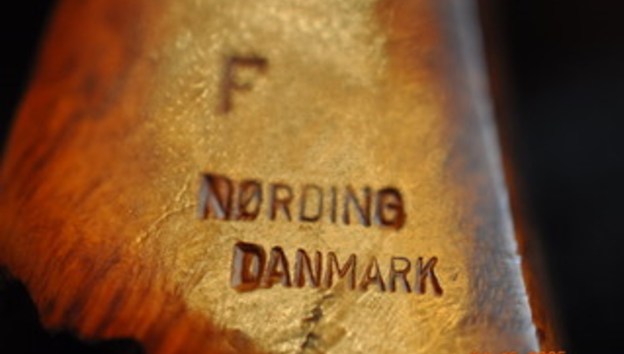
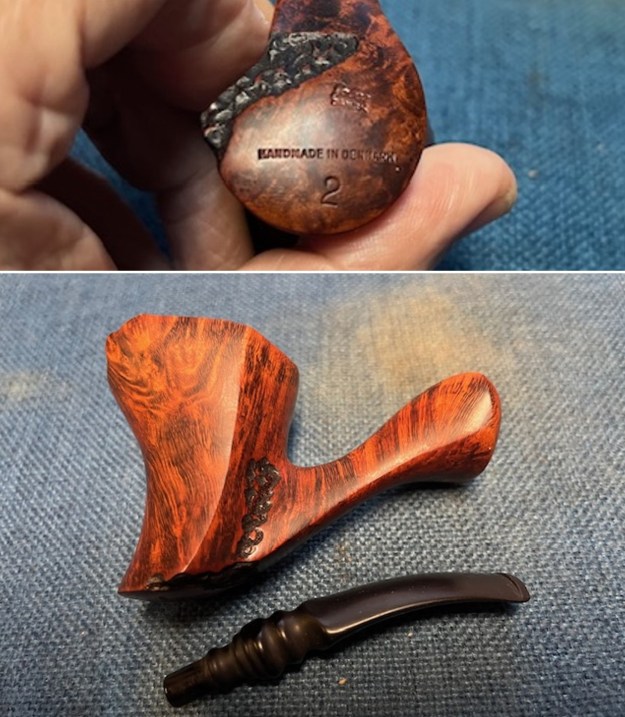
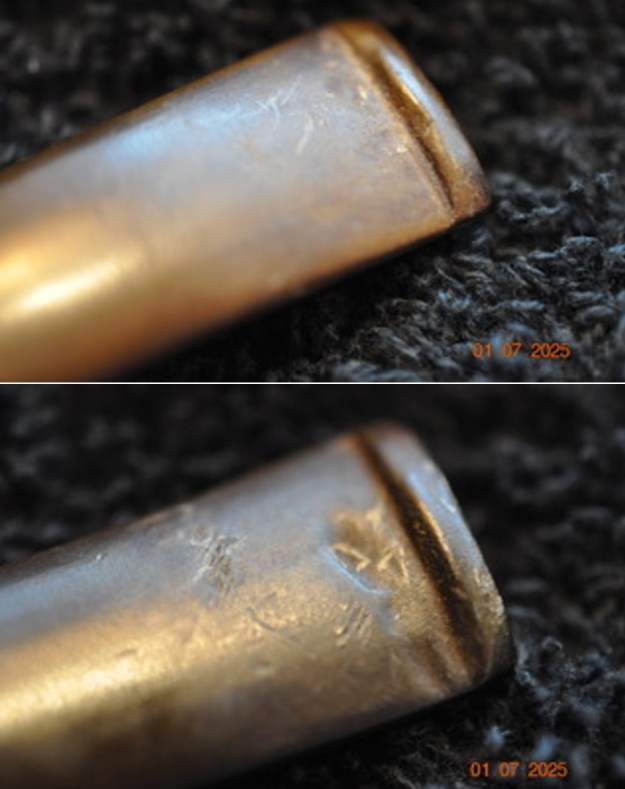
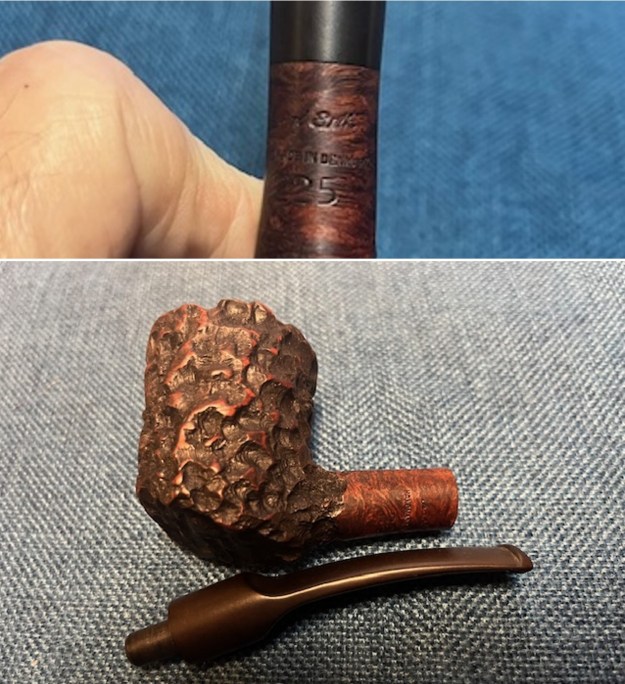
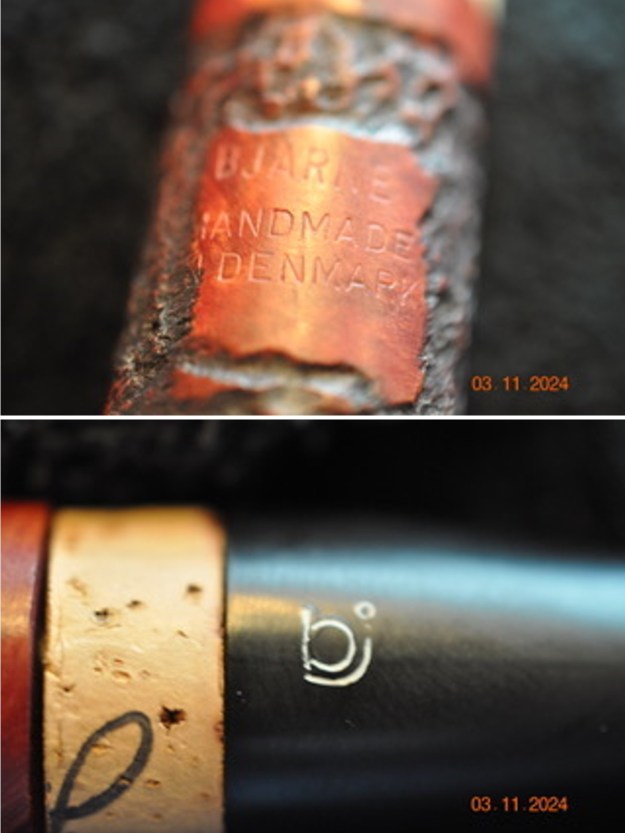
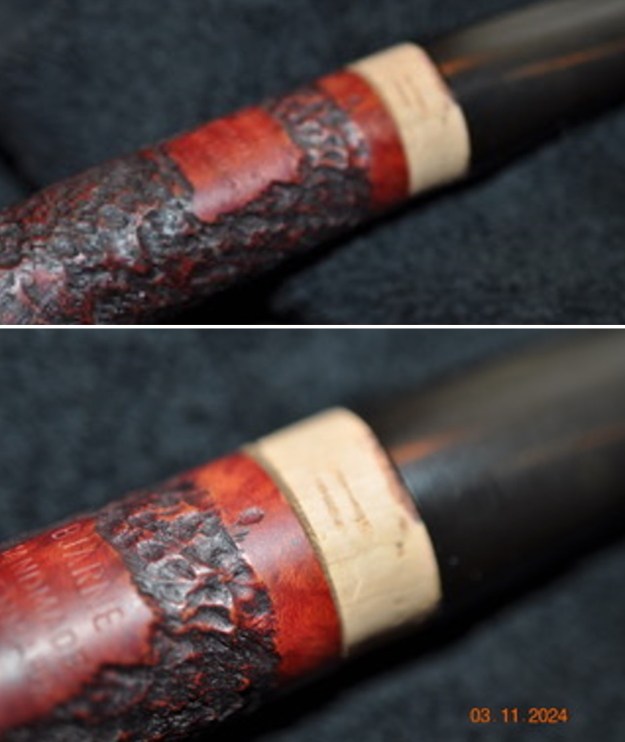
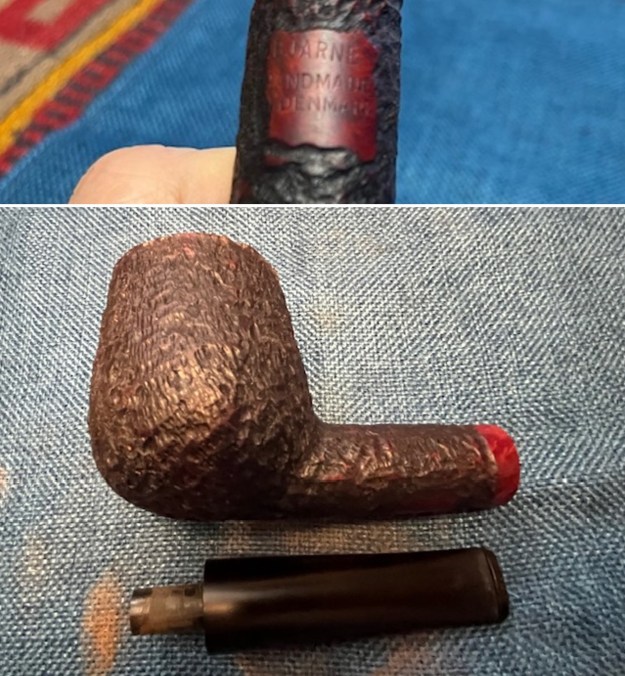
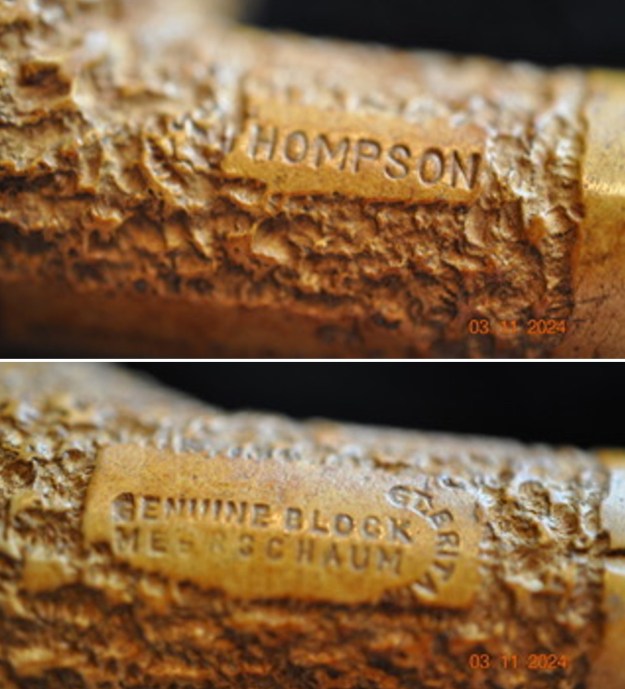
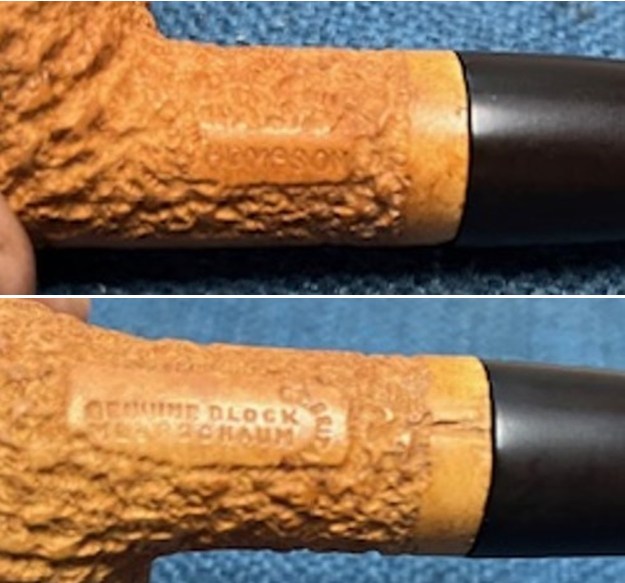
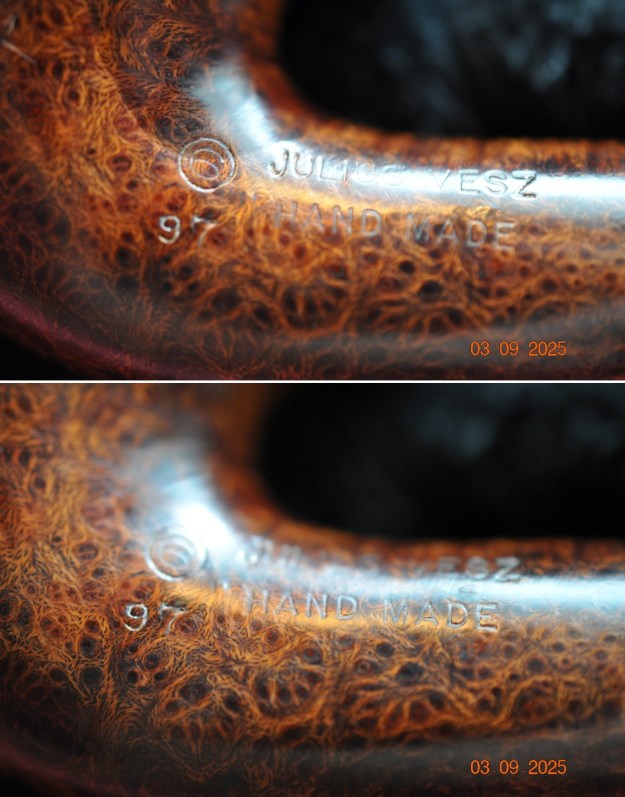
 Jeff took several photos of the stamping on the underside of the shank to capture all of the stamping. It was clear and read as noted above.
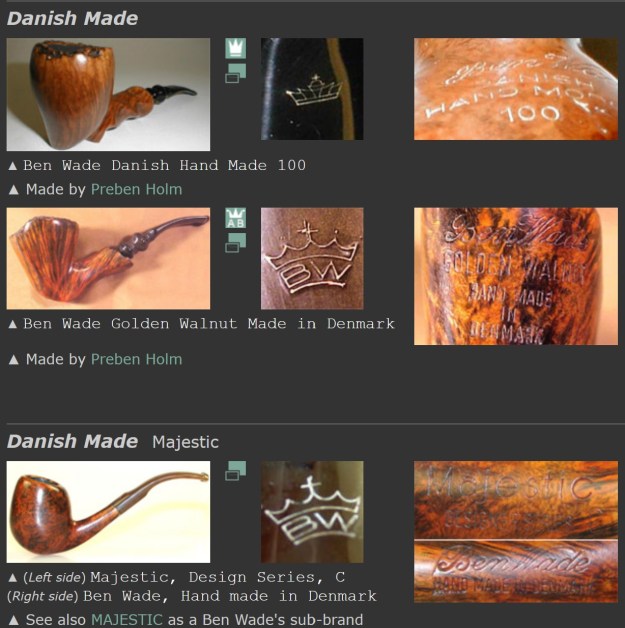
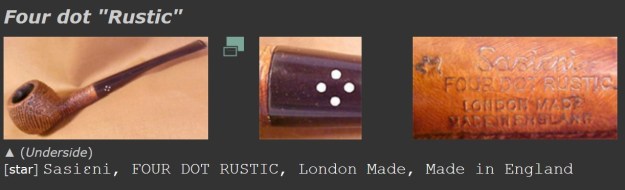
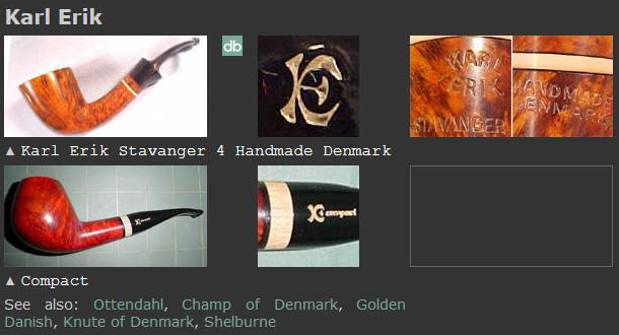
 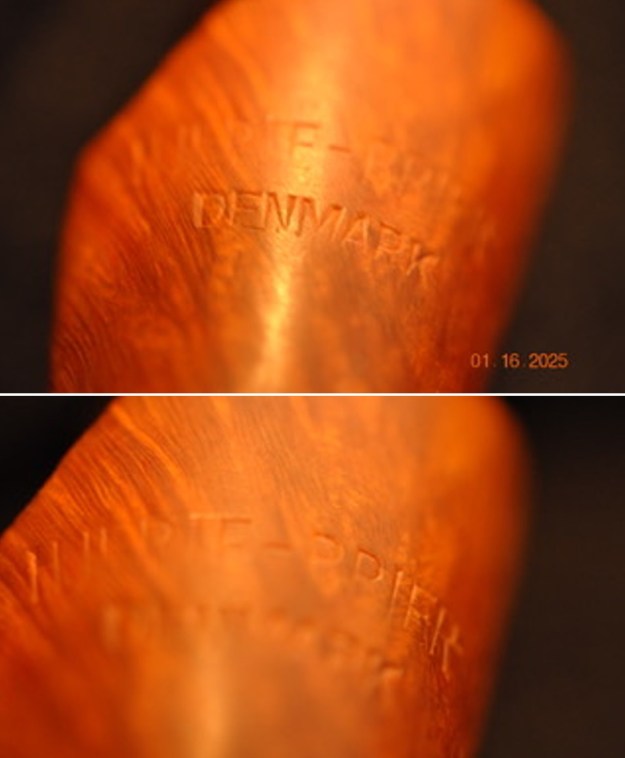 I had never heard of this particular brand of pipes from Denmark so I turned to Pipephil to see if there was any information (http://www.pipephil.eu/logos/en/logo-h3.html). I did a screen capture of the information that was on the brand. The stamping on the one I am working on is slightly different as it is missing the Kobenhavn Denmark stamp. It is a great looking pipe.
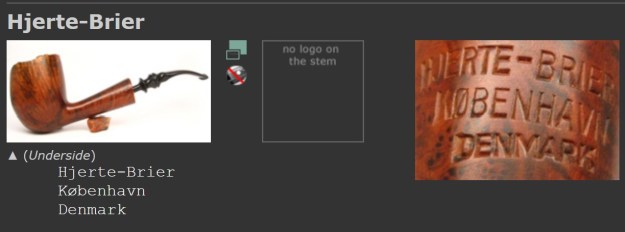 I turned to Pipedia then for more information (https://pipedia.org/wiki/Hjerte-Brier). I have copied the limited information from the site. I have included that information below.
Hjerte-Brier (Heart-Briar) pipes were made in Copenhagen, Denmark. They were stamped Kobenhavn instead of Copenhagen, suggesting they were not made for export. Little else is known about these pipes.
With that information my initial thoughts were confirmed. Hjerte-Brier translated Heart-Briar and the pipe was not made for export but for the Danish market. The freehand rage occurred in the late 70s and I am pretty sure it was made sometime during that time period.
Jeff had done a great job cleaning up the pipe as usual. He reamed the pipe with a PipNet reamer and cut back the cake back to the bare briar. He cleaned up the walls with a Savinelli Fitsall Pipe Knife. He scrubbed the interior of the bowl and shank with pipe cleaners, shank brushes, cotton swabs and alcohol to remove the tars and oils. He scrubbed the exterior of the pipe with undiluted Murphy’s Oil Soap and a tooth brush to remove the grime from the finish. He worked on the rim top lava and darkening with the soap and tooth brush. He scrubbed the inside of the stem with alcohol and shank brushes, pipe cleaners. He scrubbed the exterior with Soft Scrub and then soaked it in Briarville’s Pipe Stem Deoxidizer. He washed it off with warm water to remove the Deoxidizer. The pipe looked far better when it arrived. 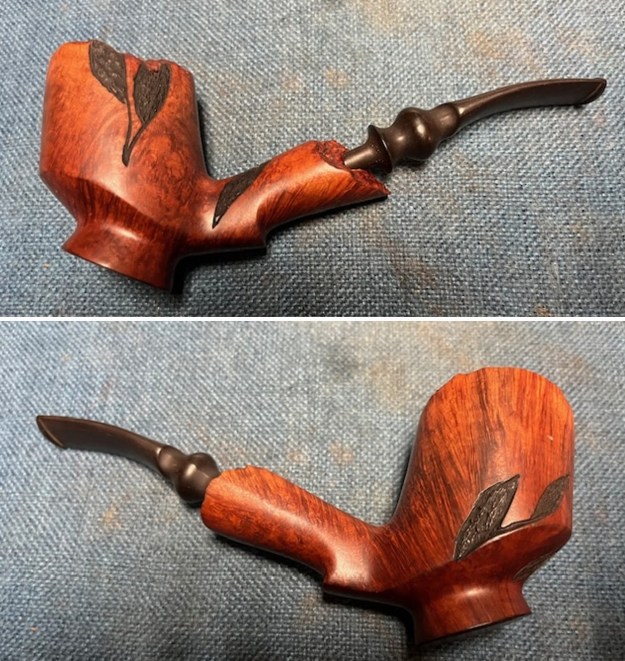
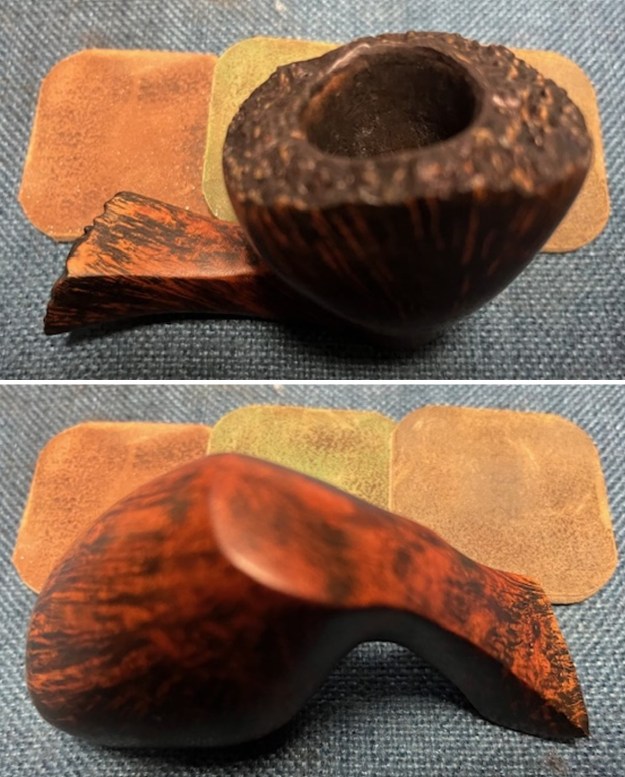
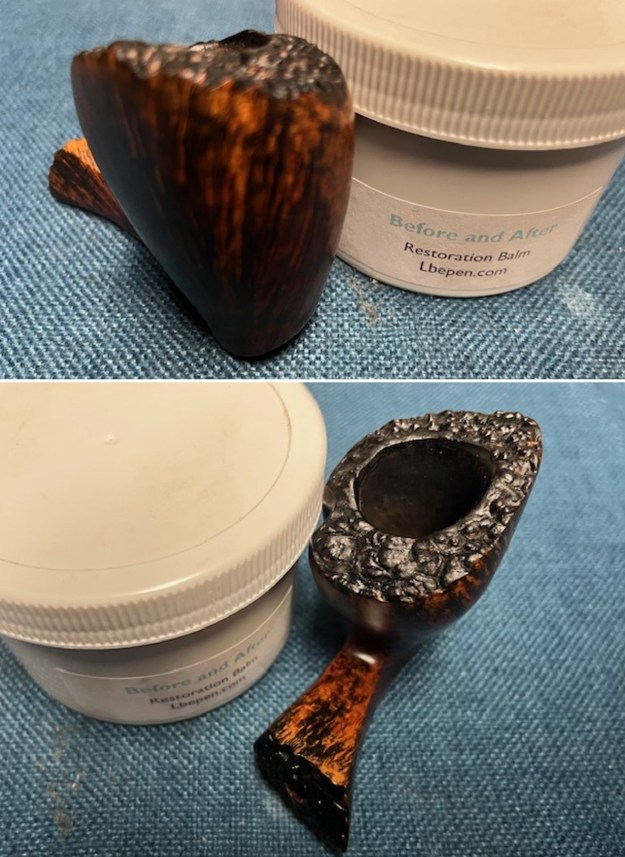
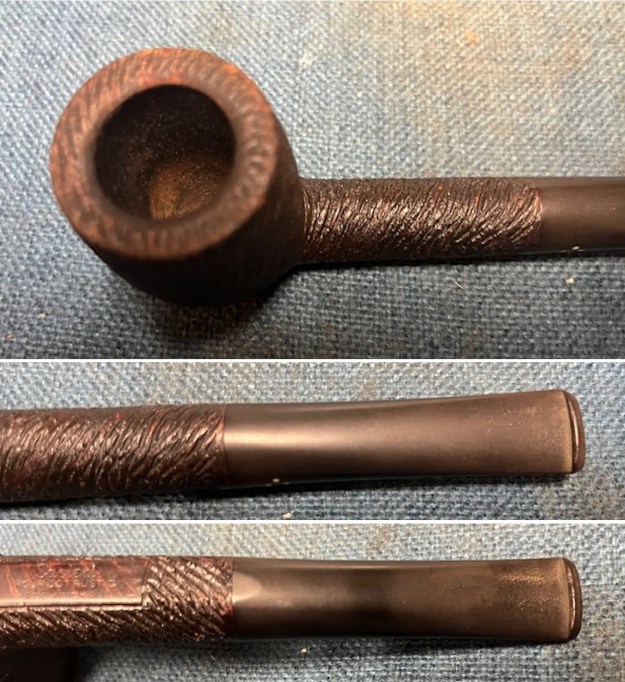
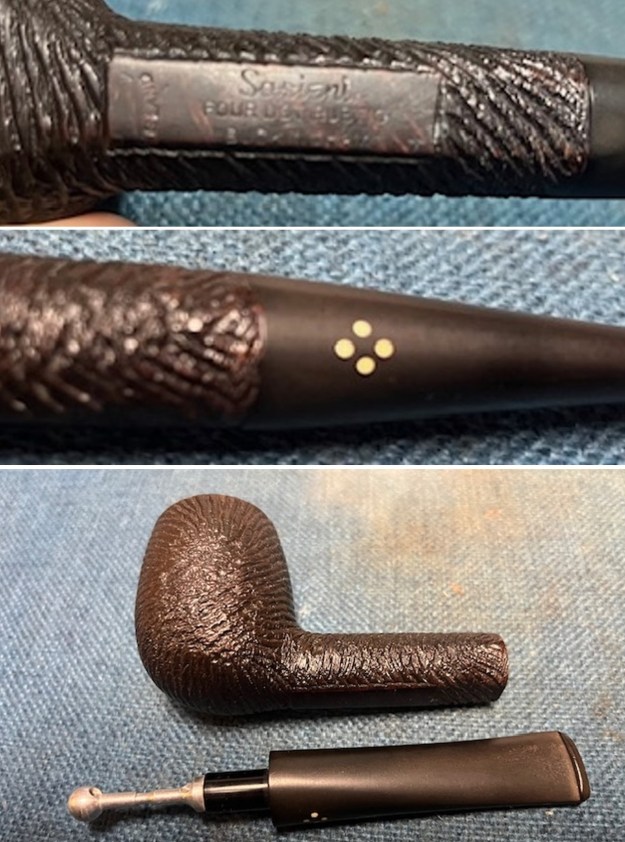
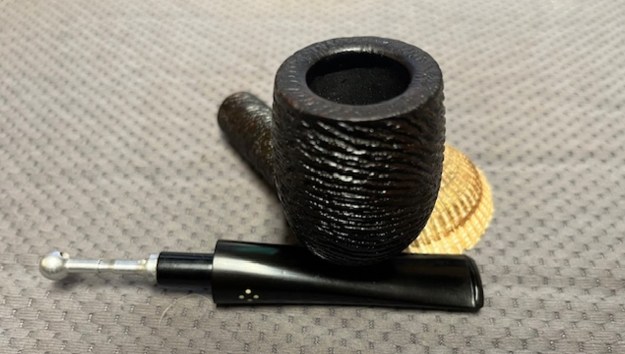
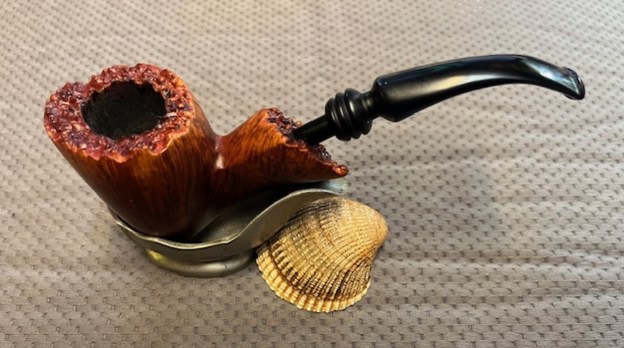
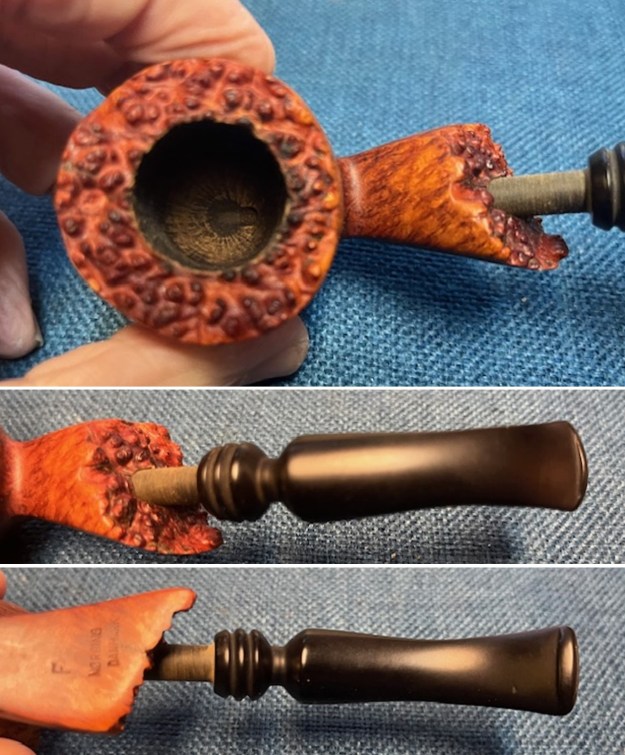
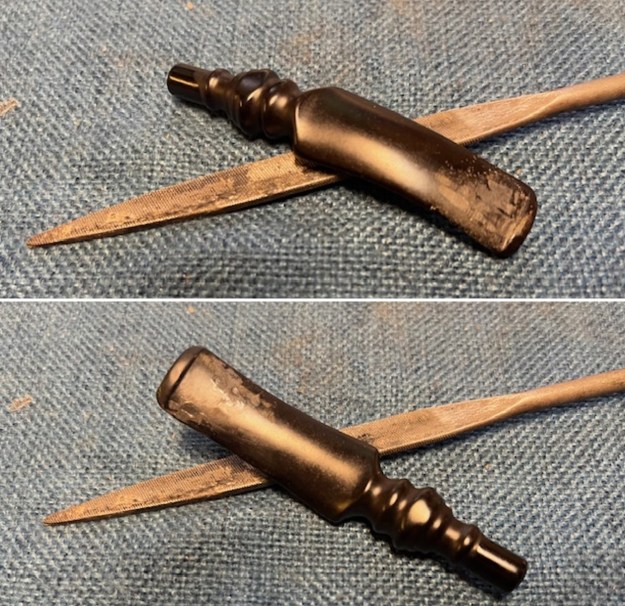
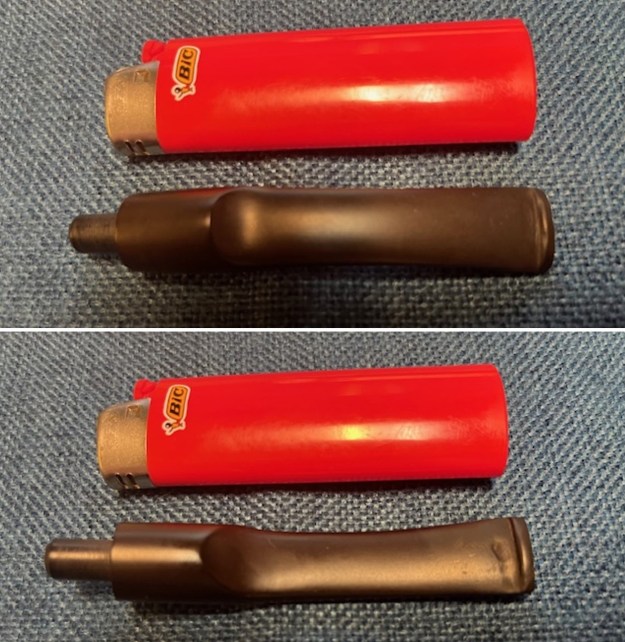
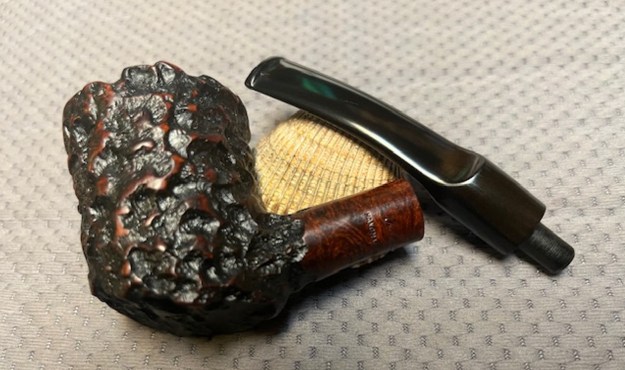
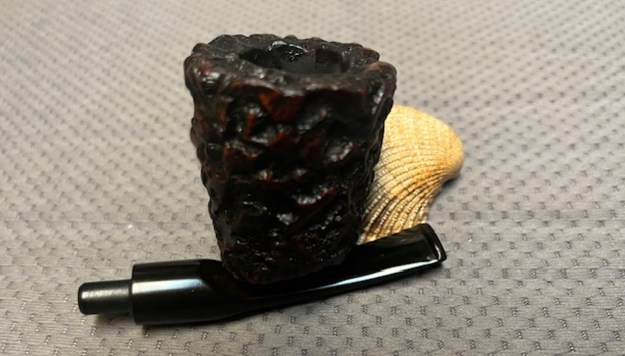
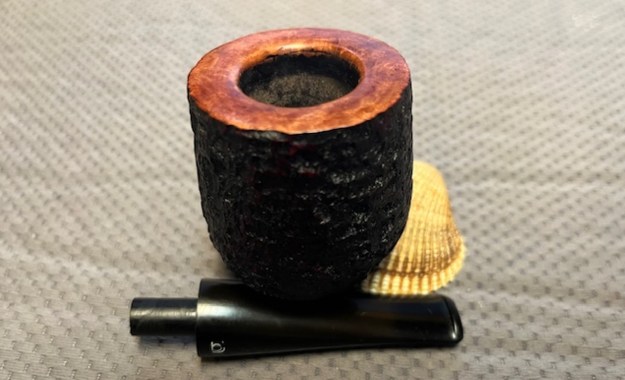
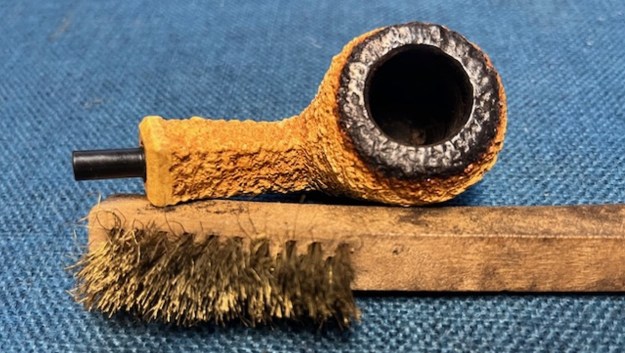
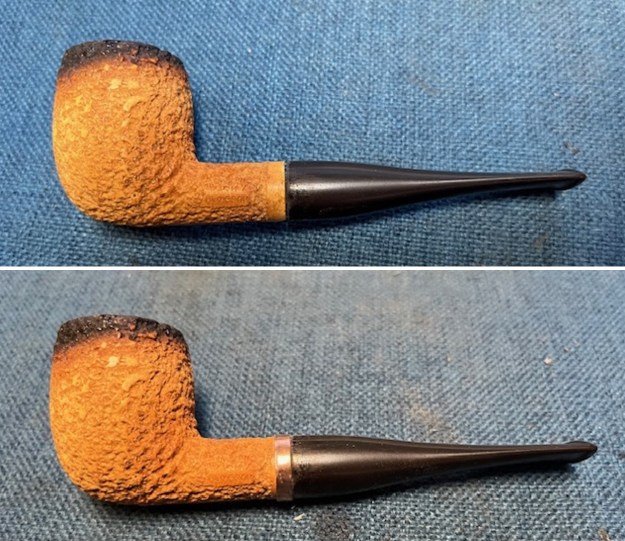
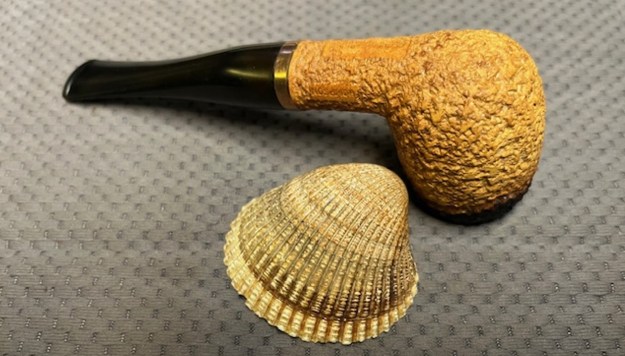
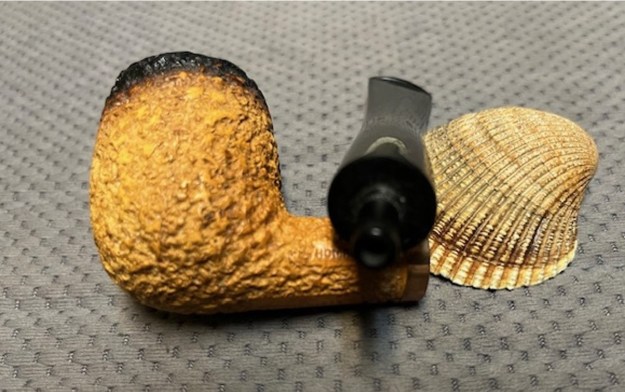
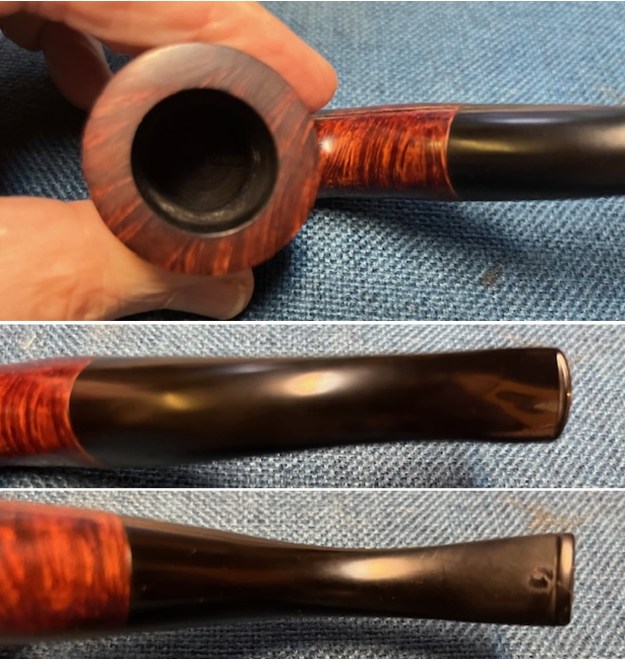
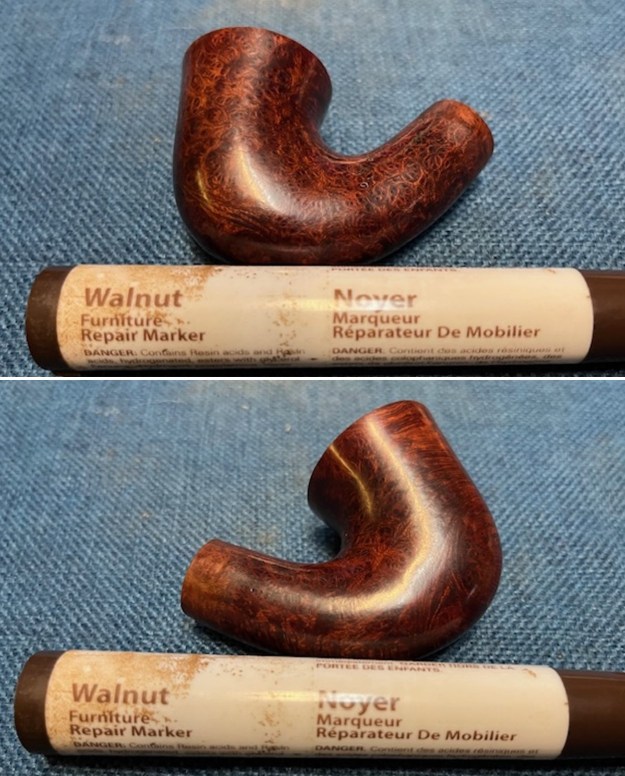
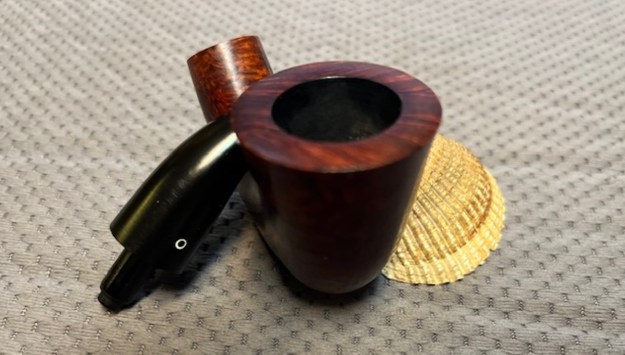
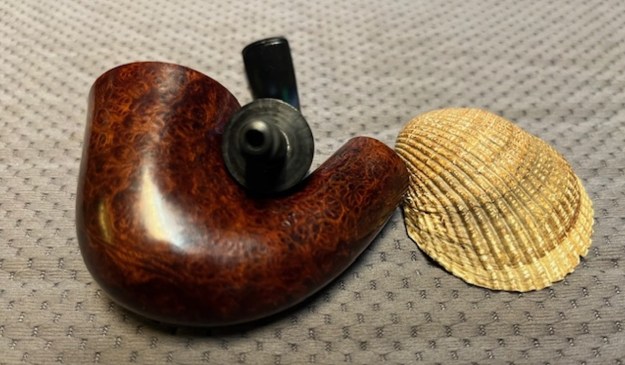
 I took some photos of the rim top and stem to show the condition of them both when it arrived. It looked good. There is some darkening and damage to the inner edge of the bowl. The stem had some deep tooth marks ahead of the button and on the button surface on both sides.
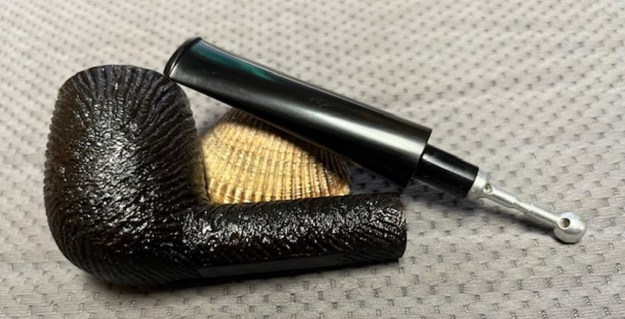
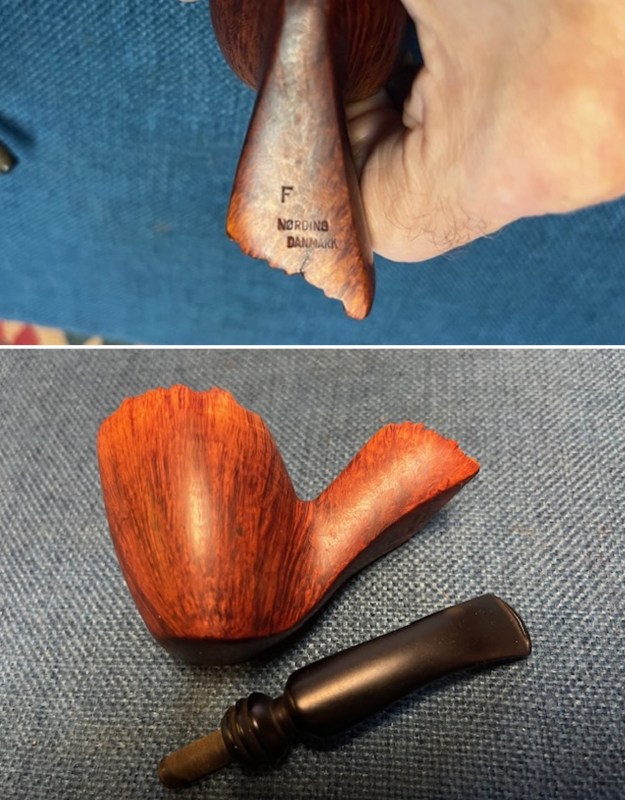
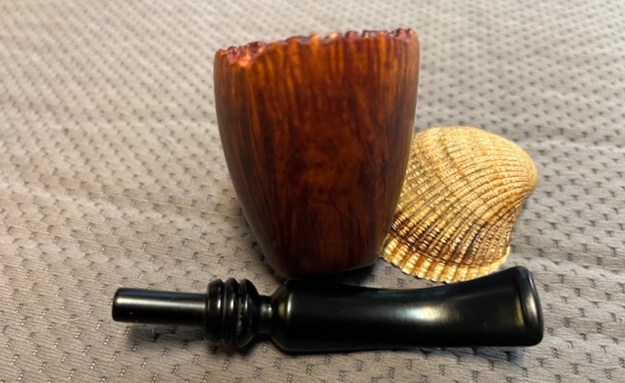
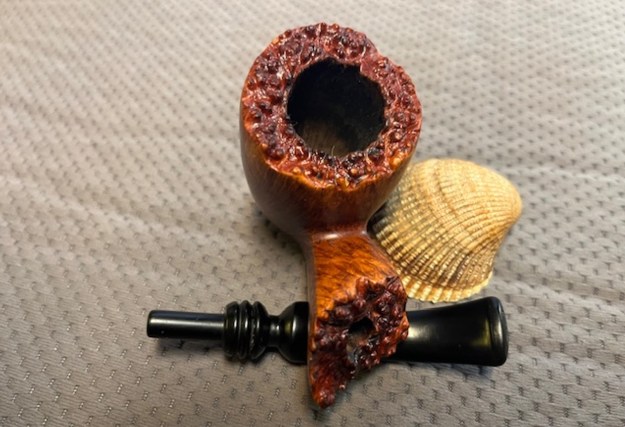
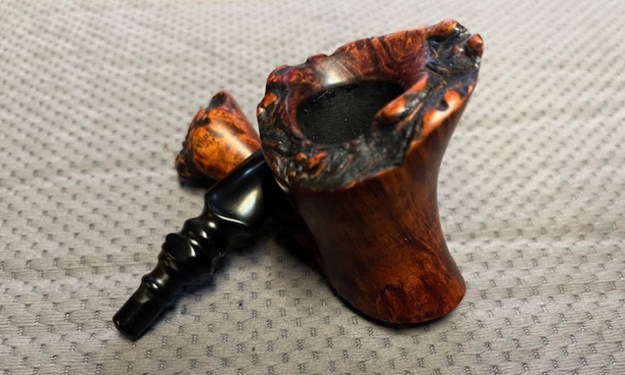
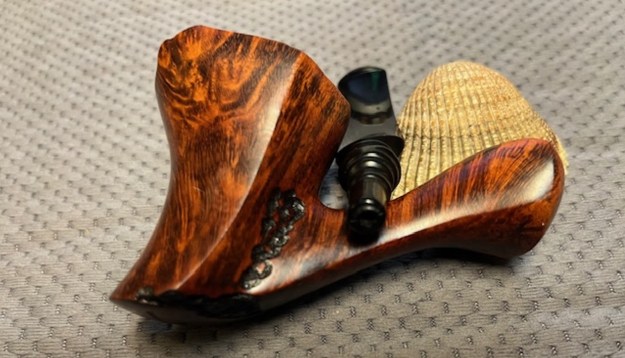
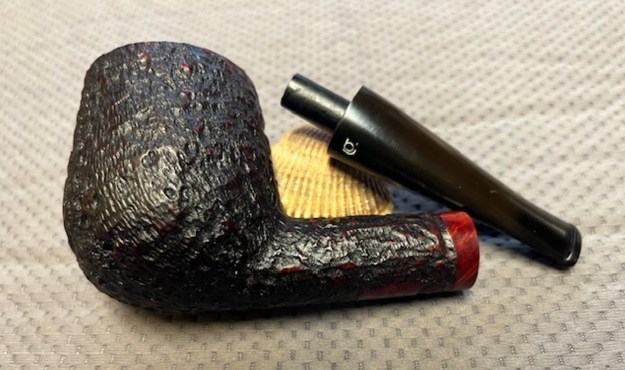
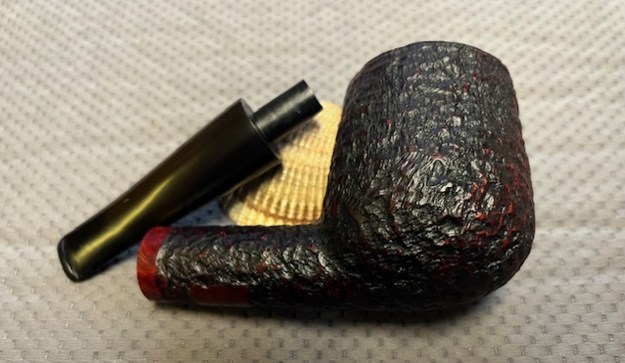
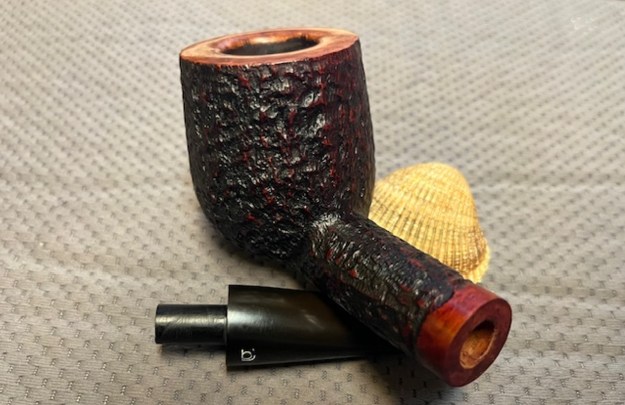
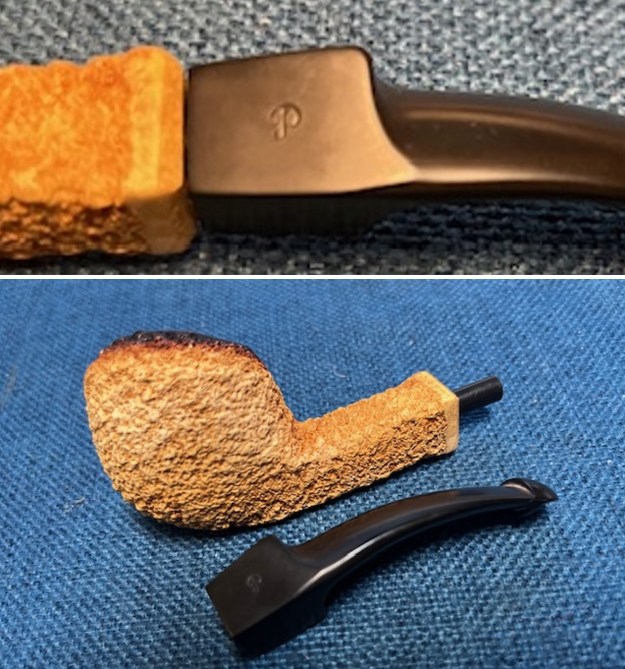
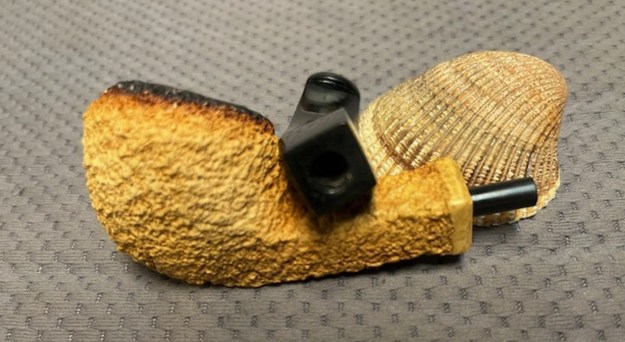
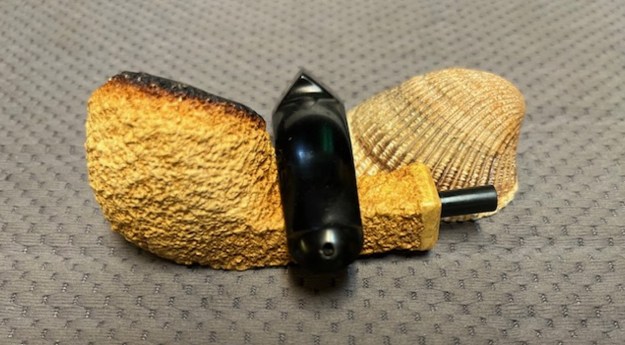
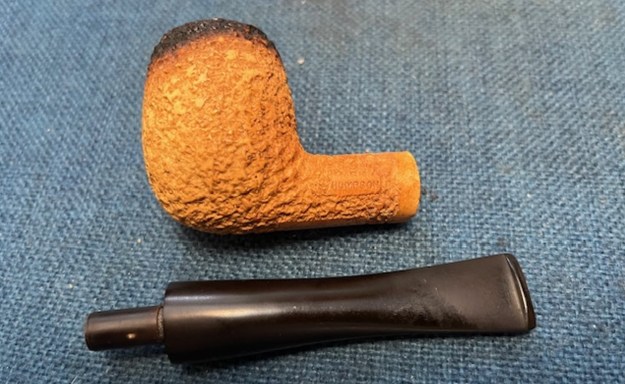
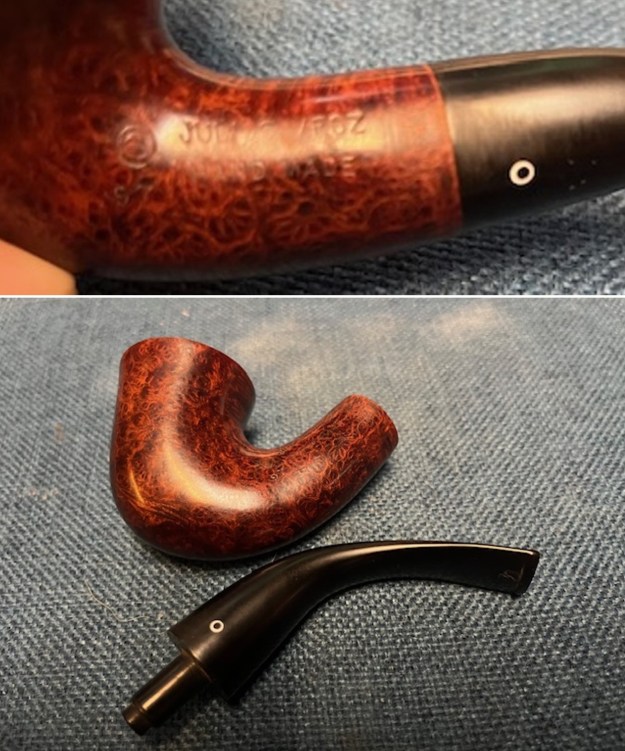
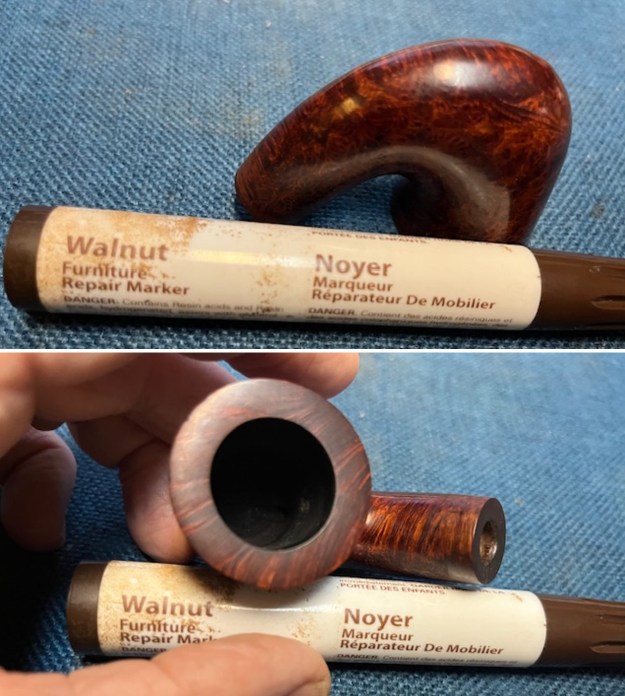
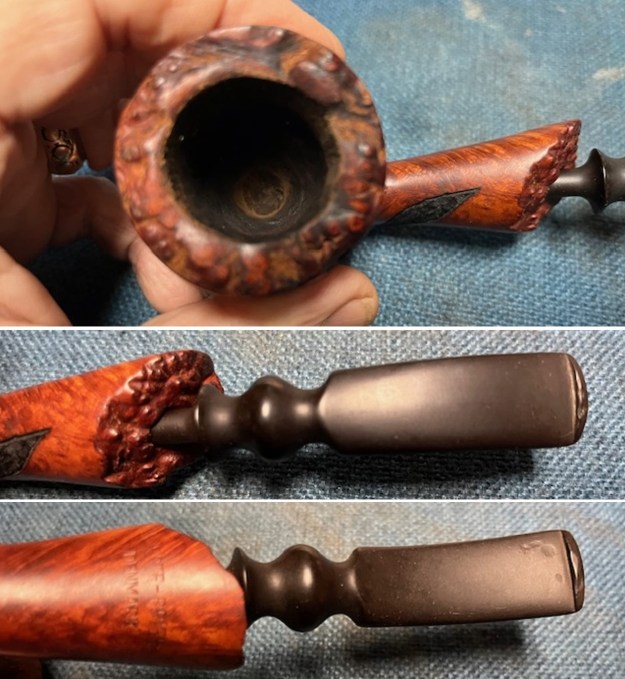 I took a photo of the stamping on the underside of the shank to capture it. There were faint in spots but readable as noted above. I removed the stem and took a photo of the parts to give a sense of the look of the pipe.
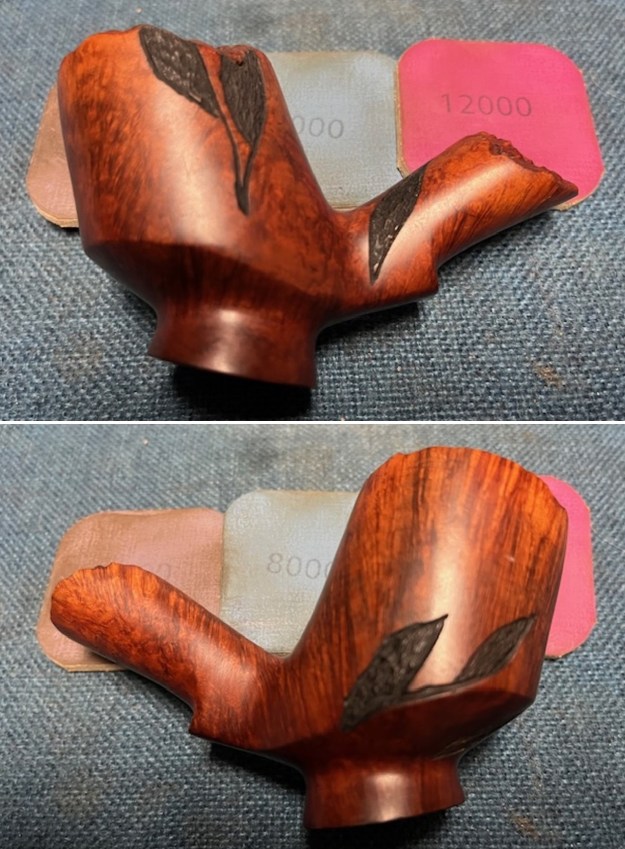
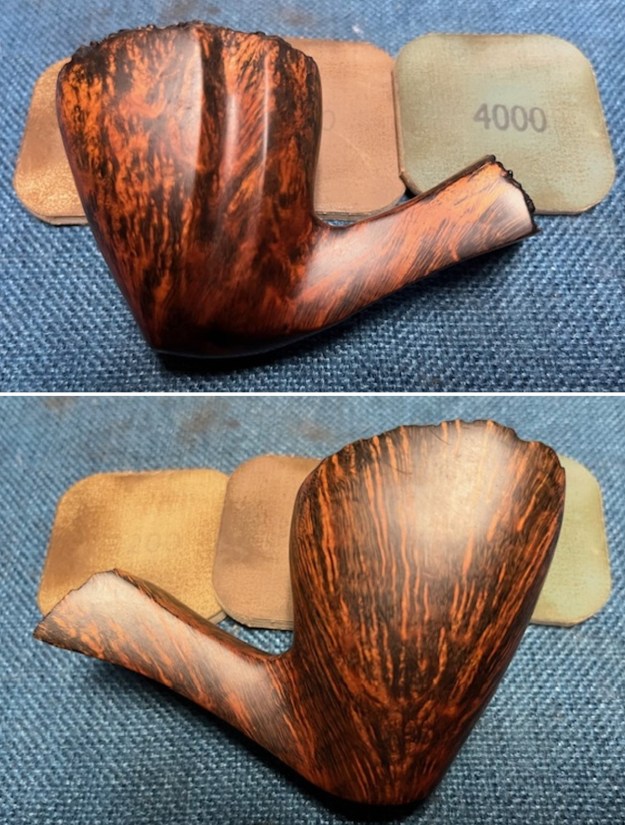
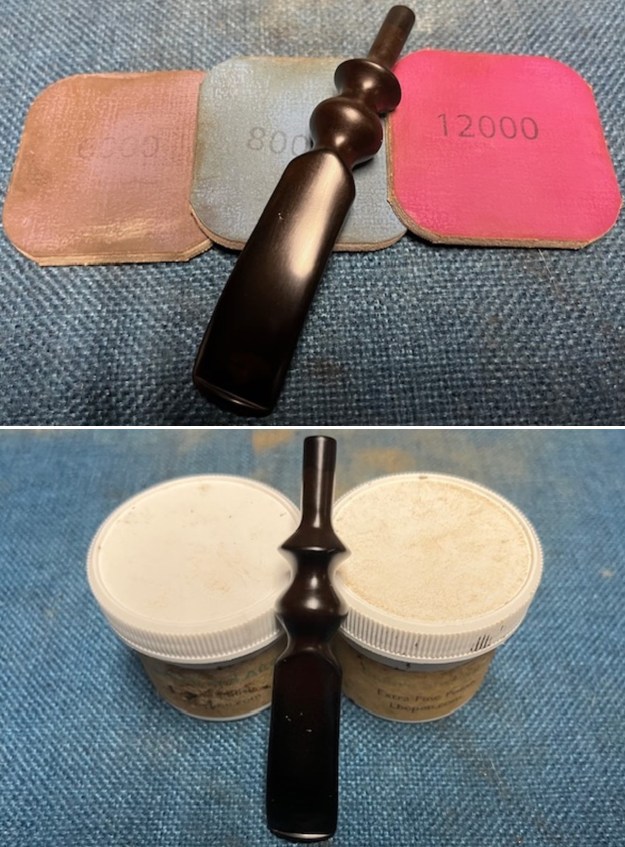
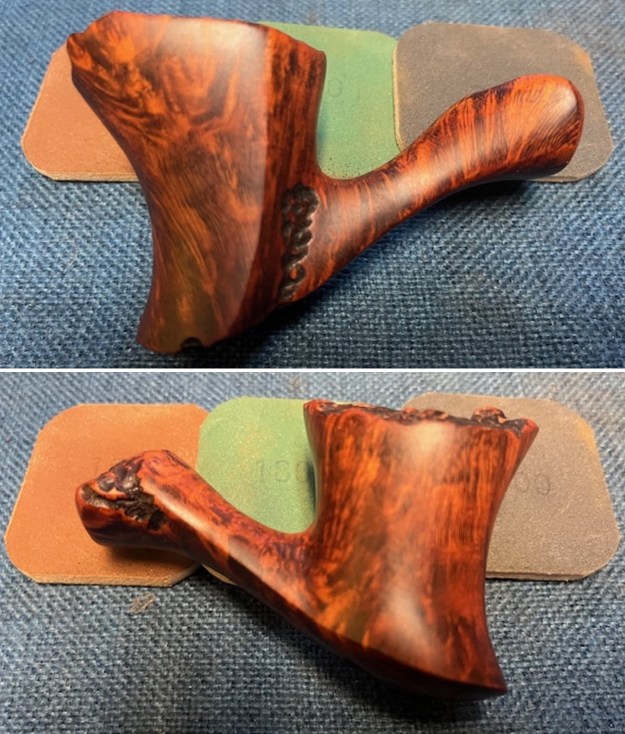
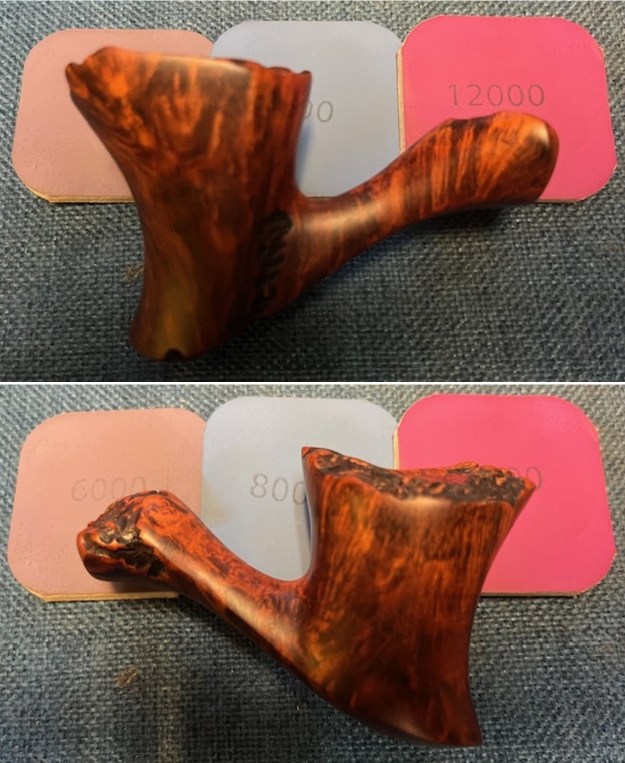
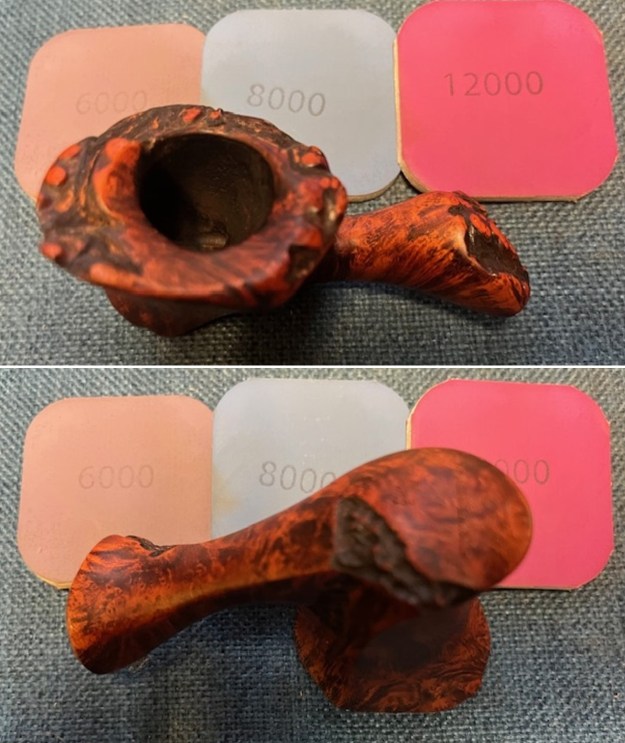
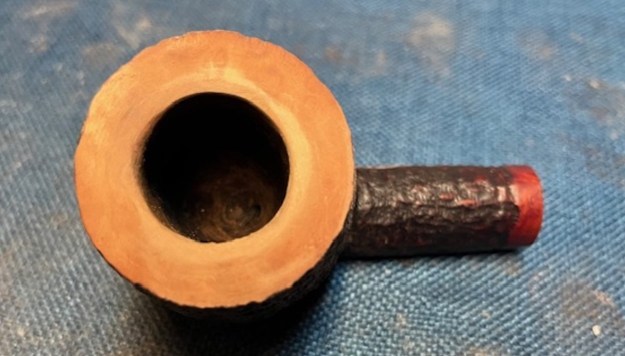
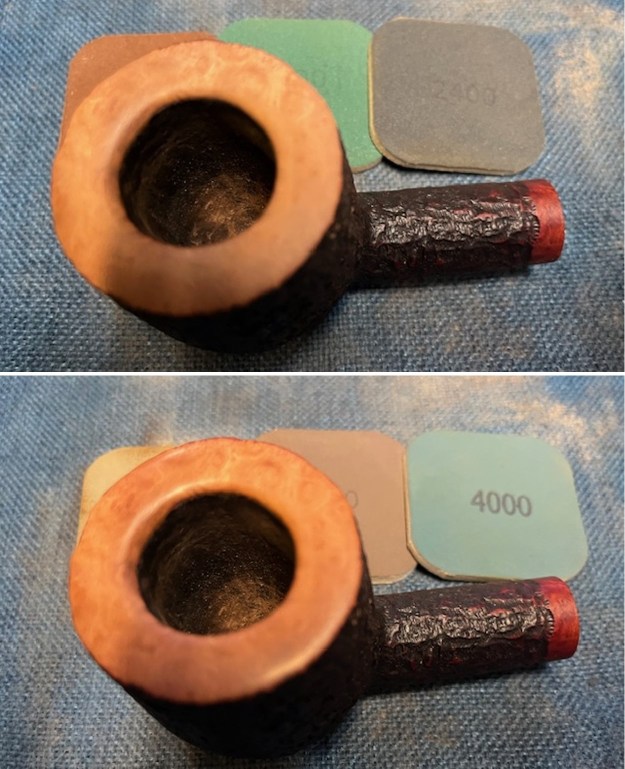
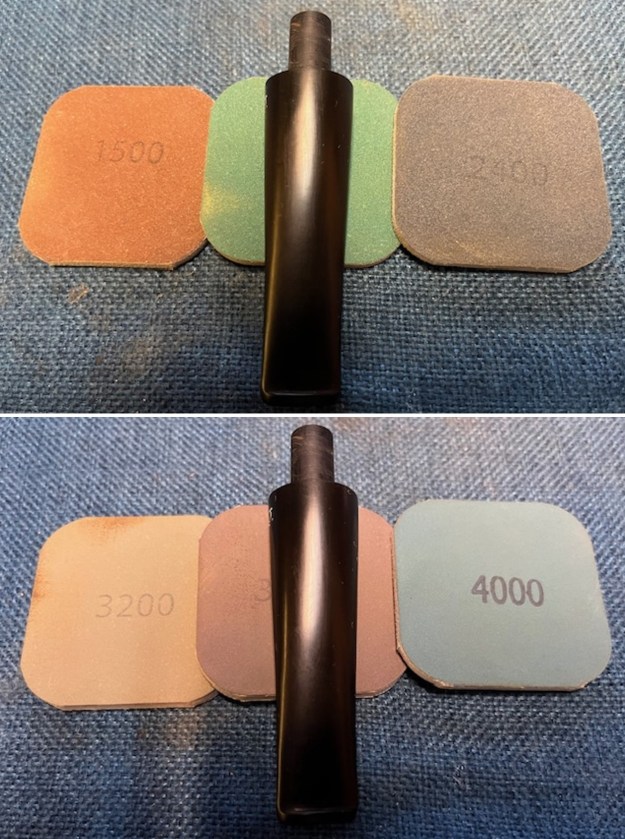
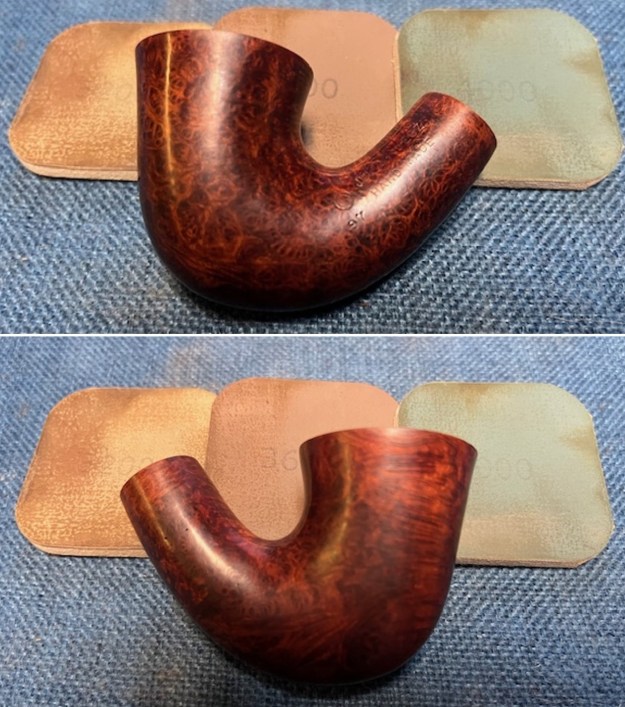
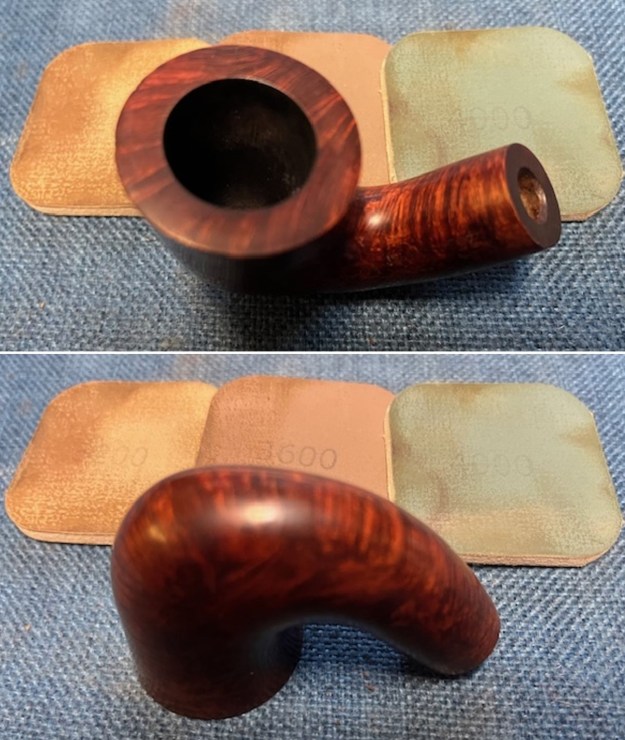
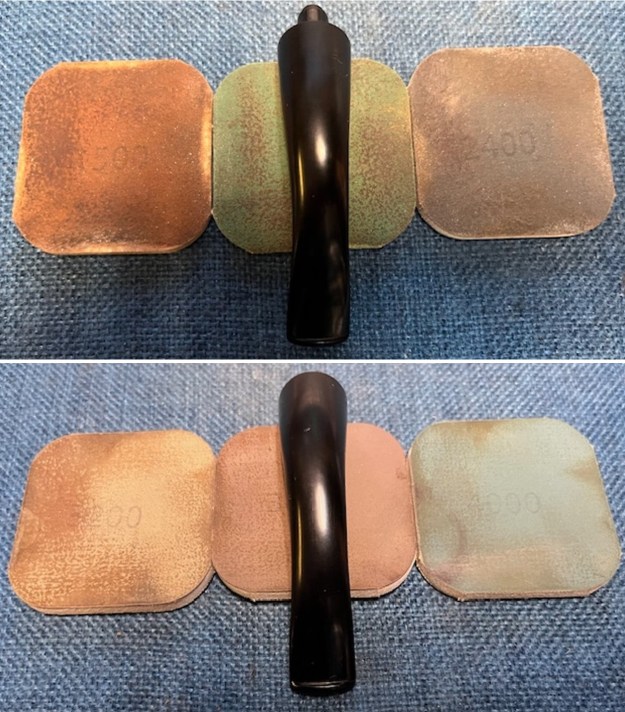
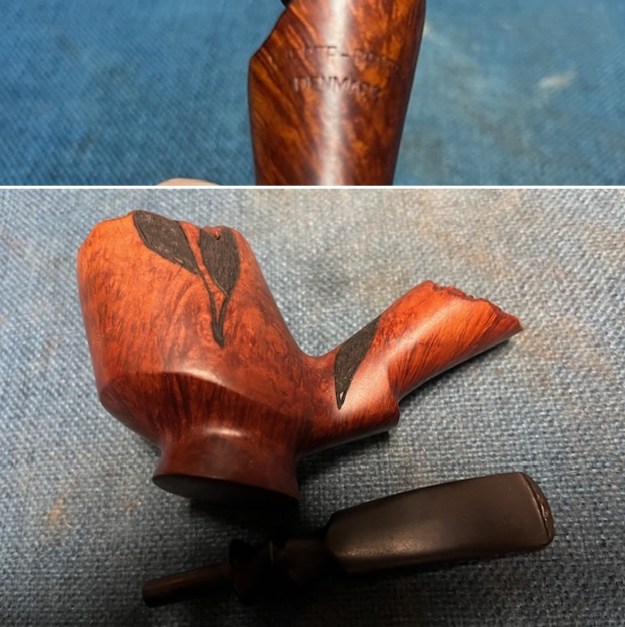 To begin my part of the restoration work I polished the bowl with micromesh sanding pads – dry sanding with 1500-12000 grit pads. I wiped the briar down after each pad with a damp cloth. The bowl is starting to look very good.
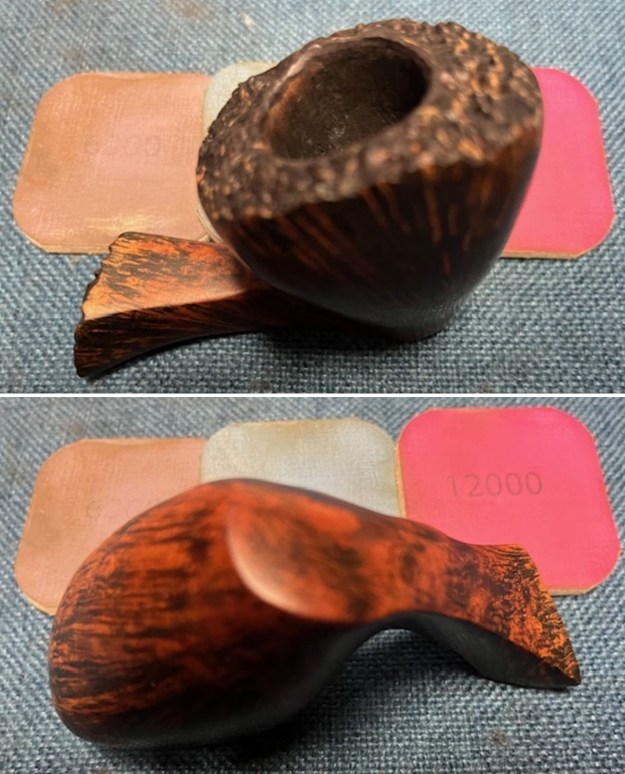
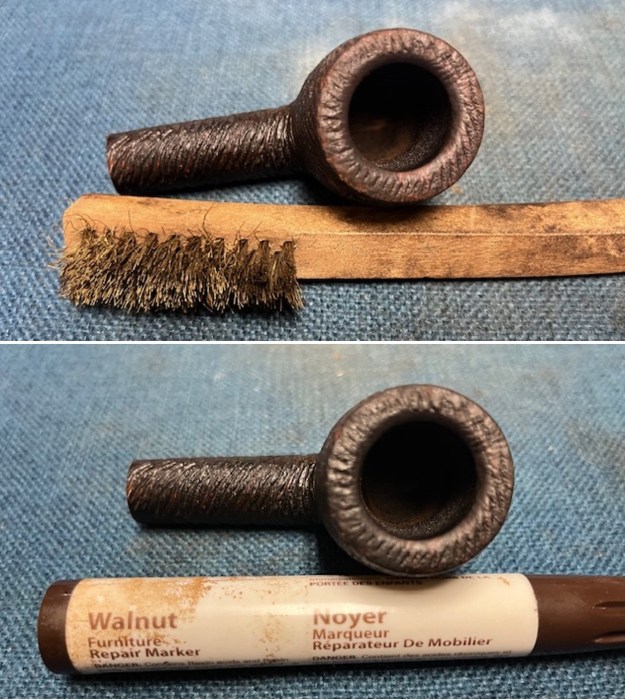
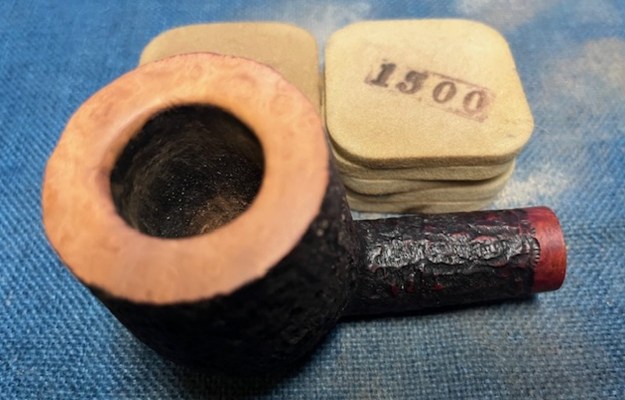
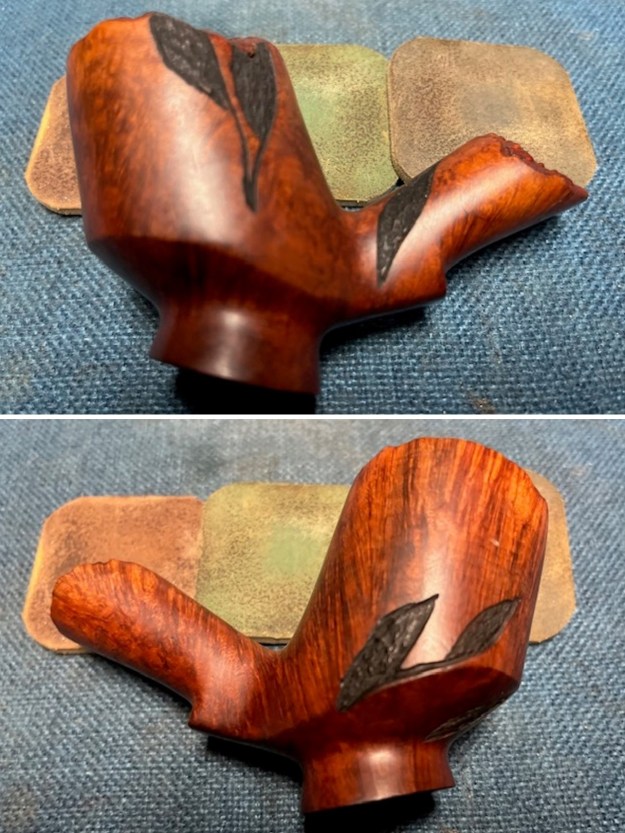
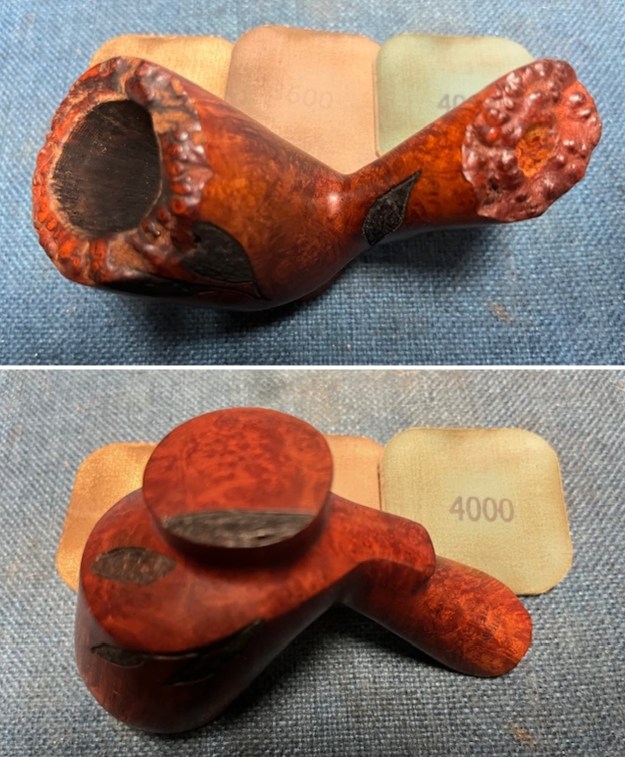
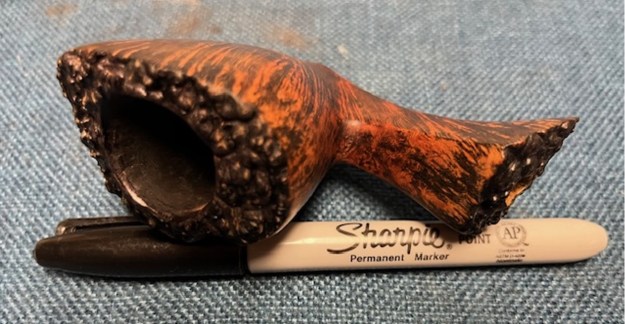
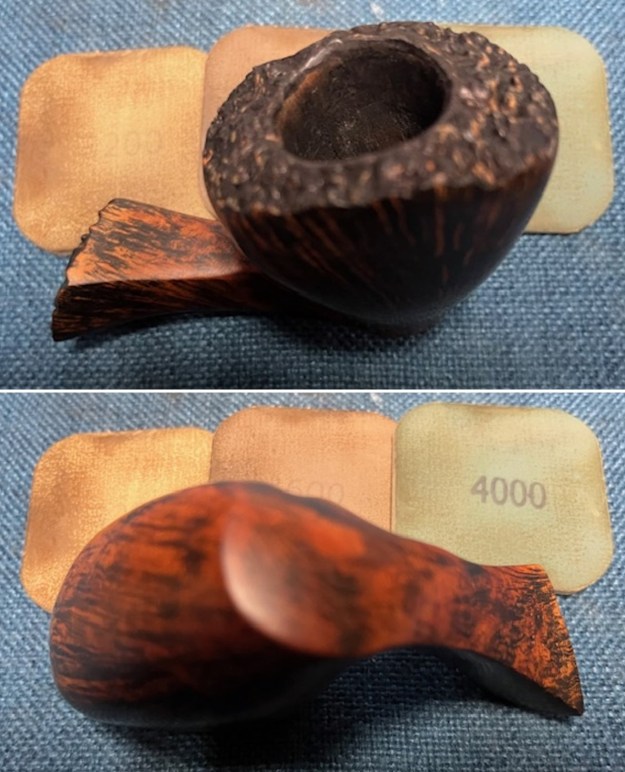
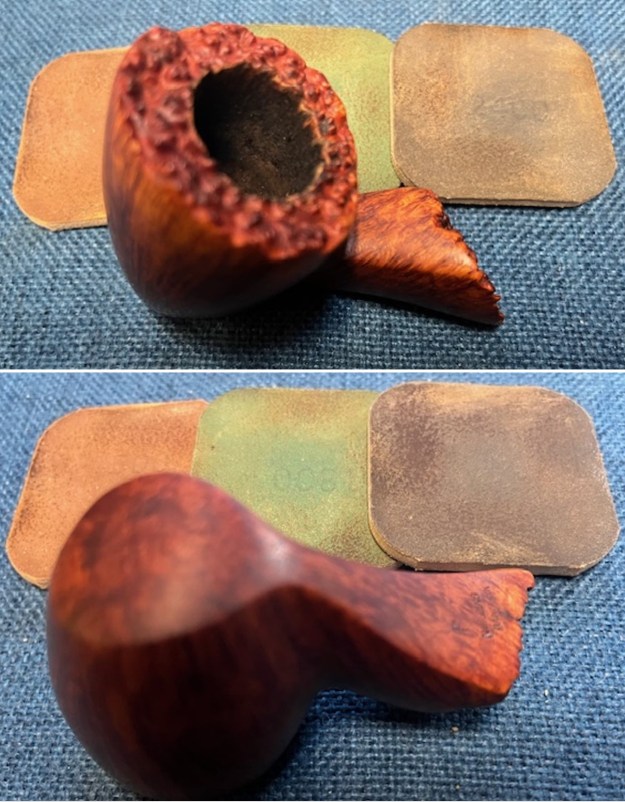
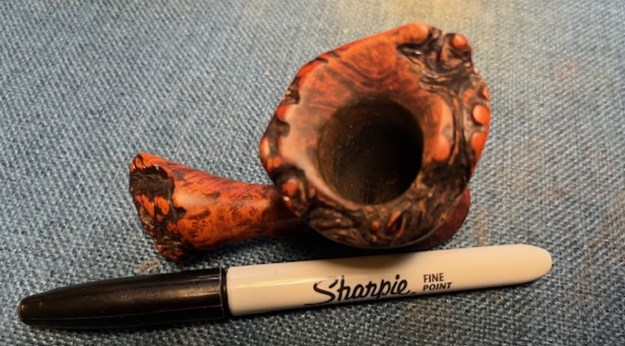
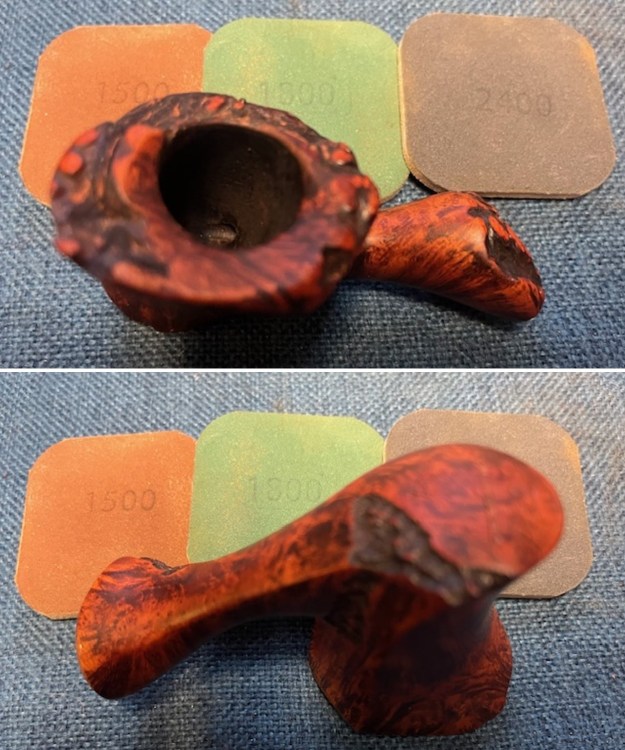
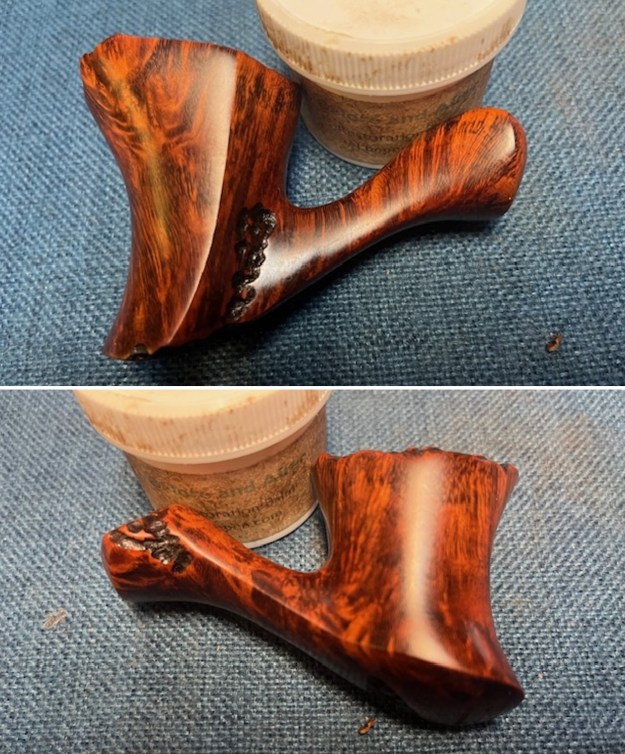
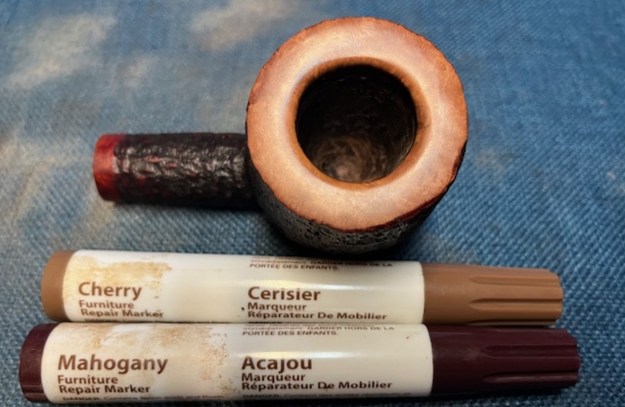
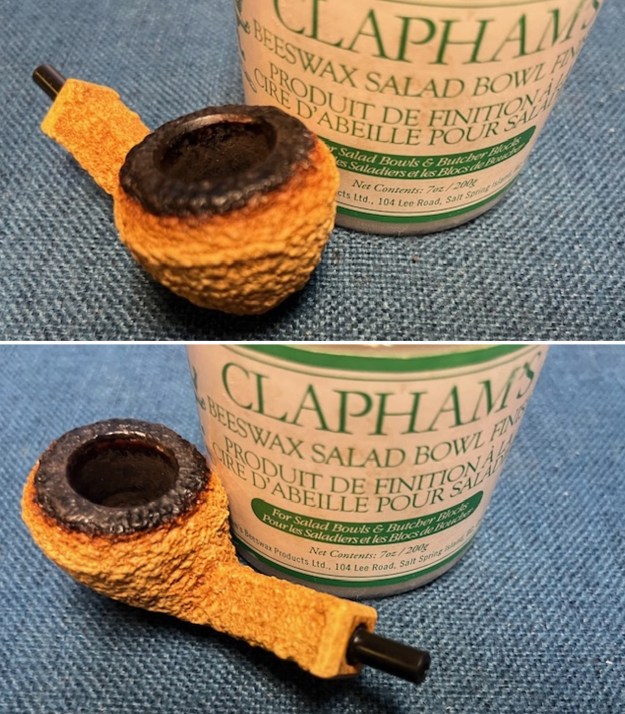
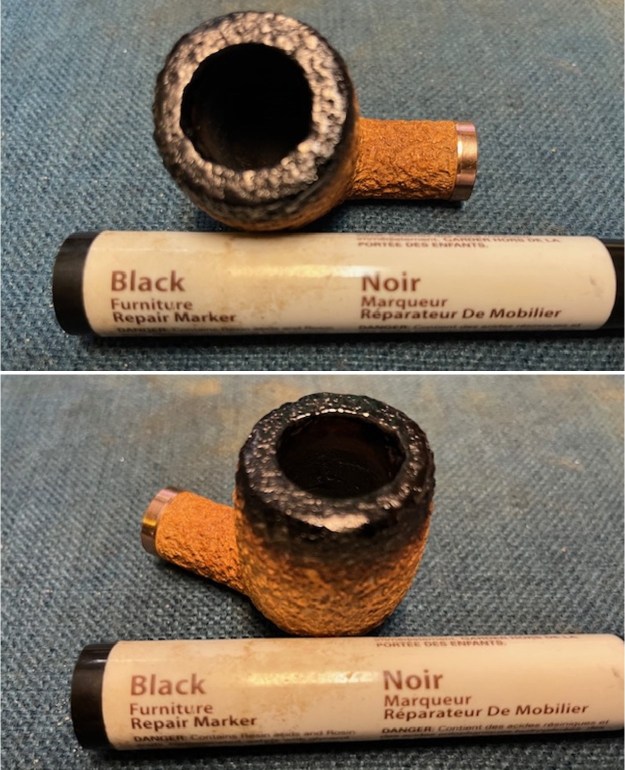
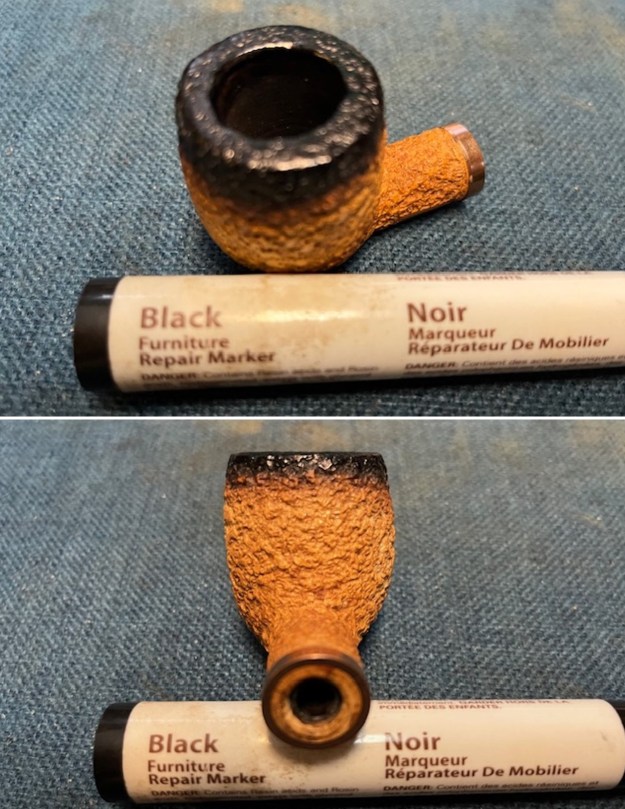
 I restained the valleys in the plateau top and shank end with a Black Sharpie Pen. It is amazing how good the plateau looks once it is cleaned and stained.
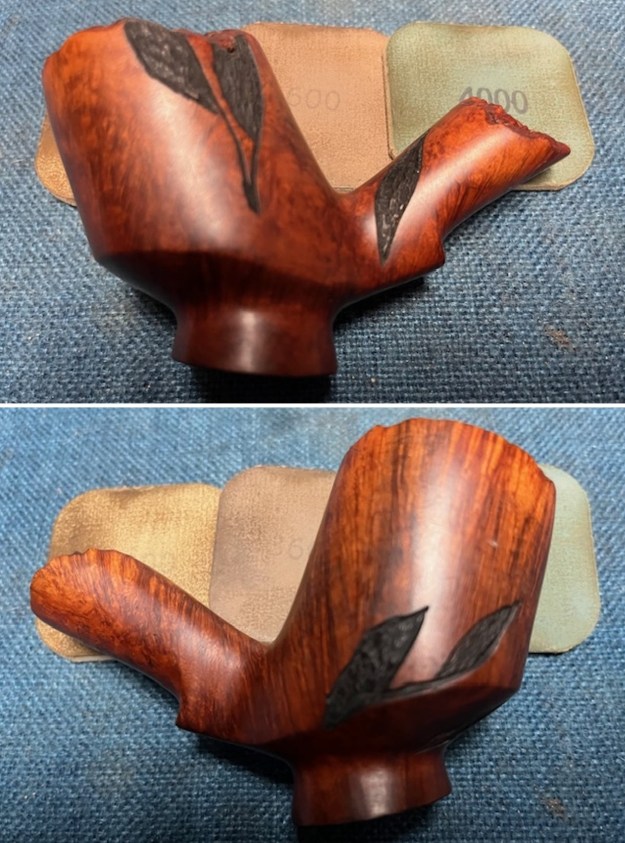
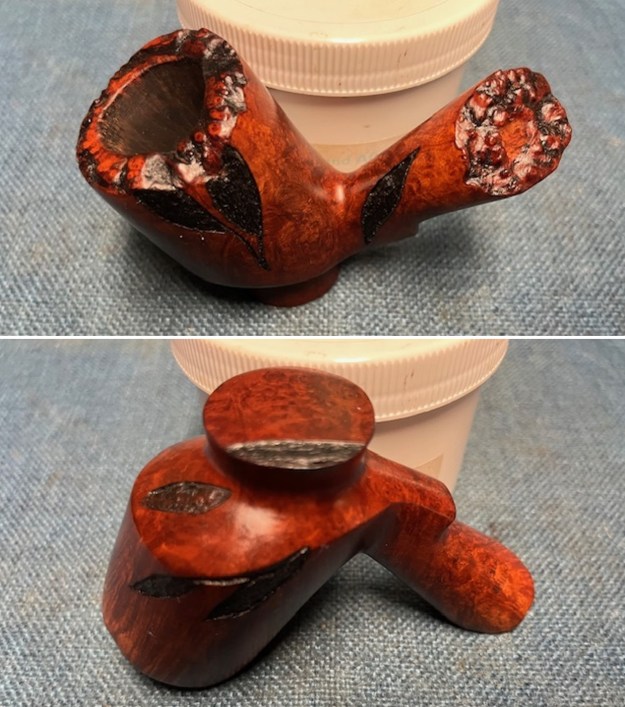
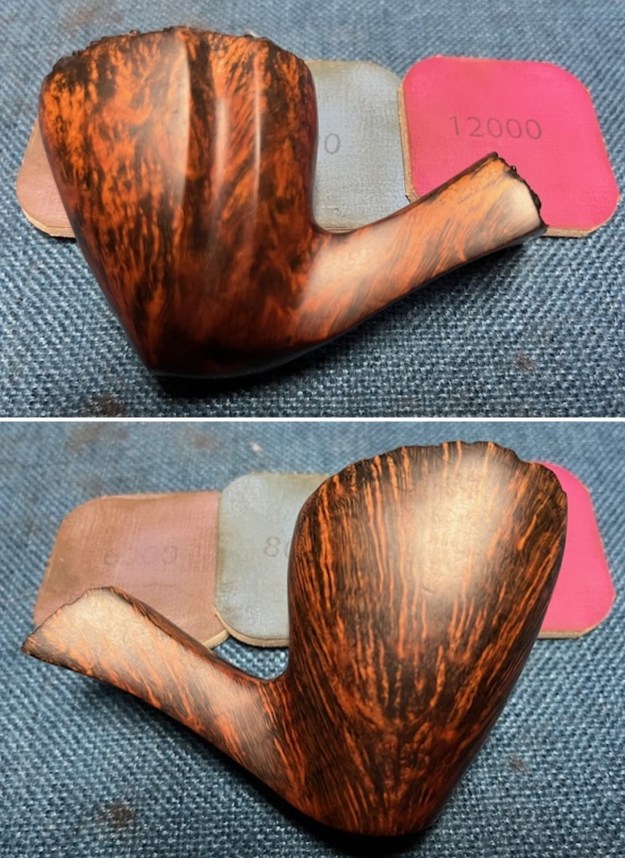
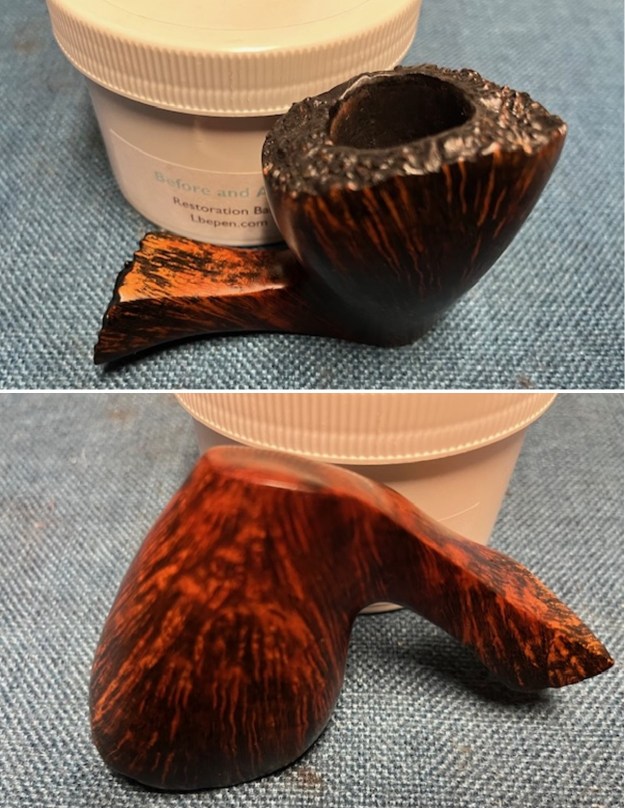
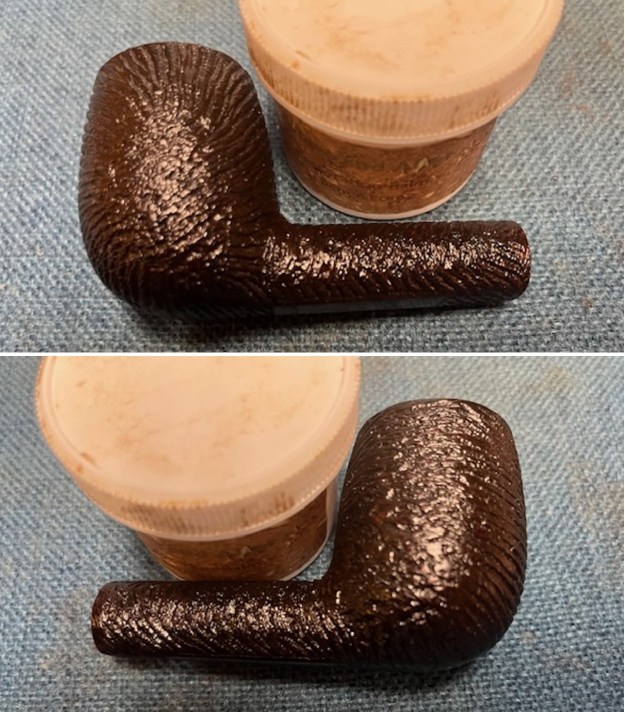
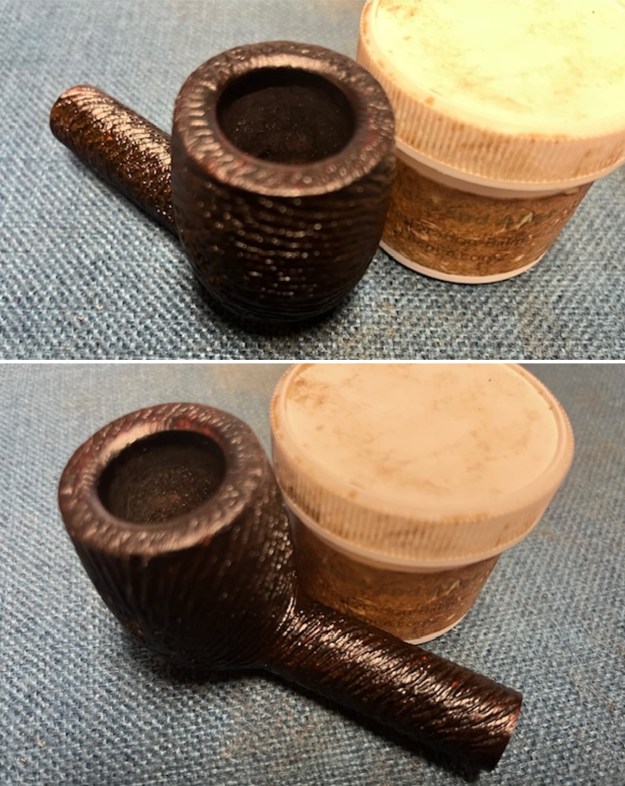
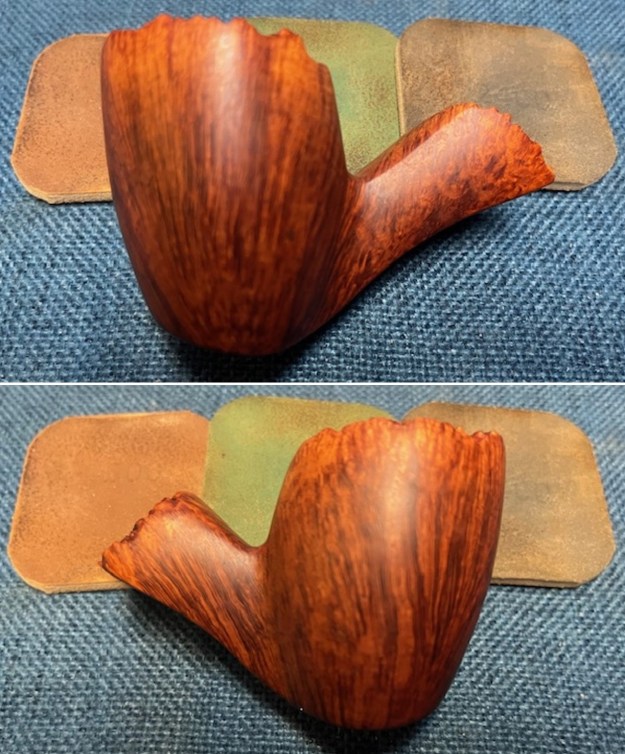
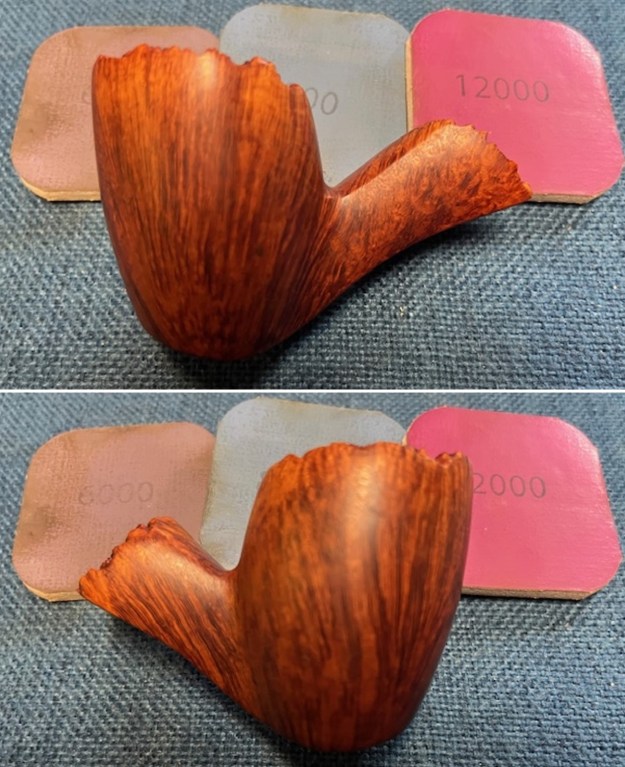
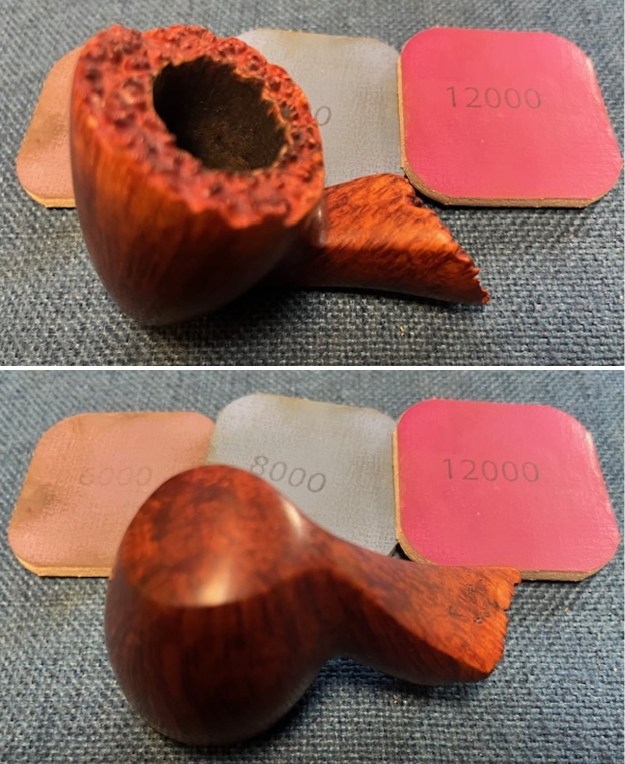
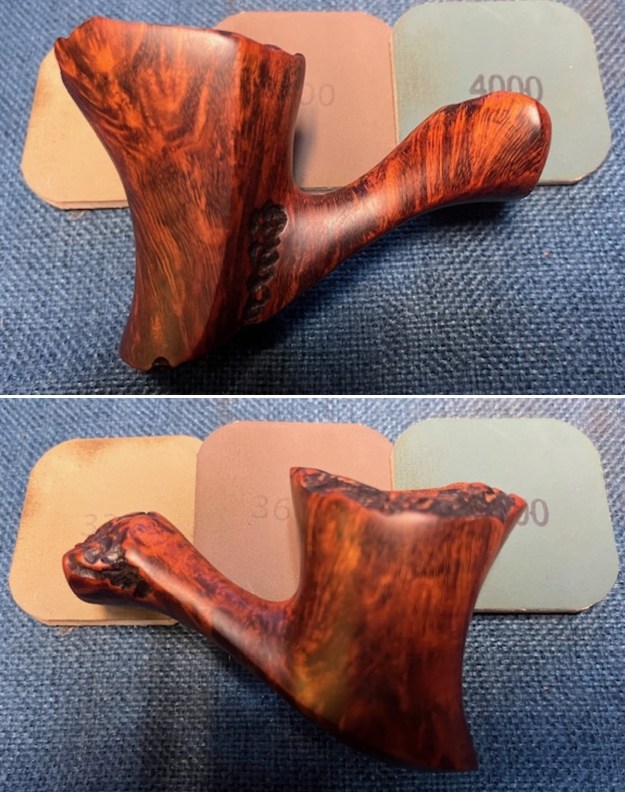
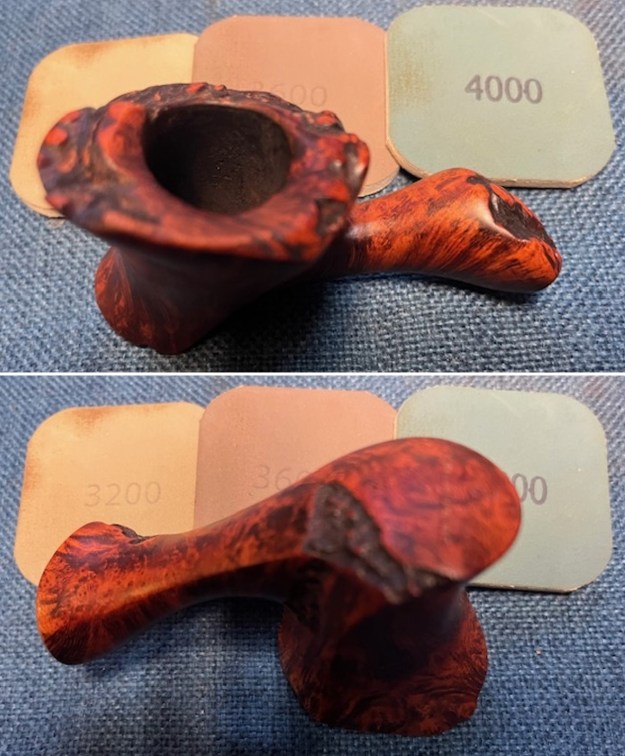
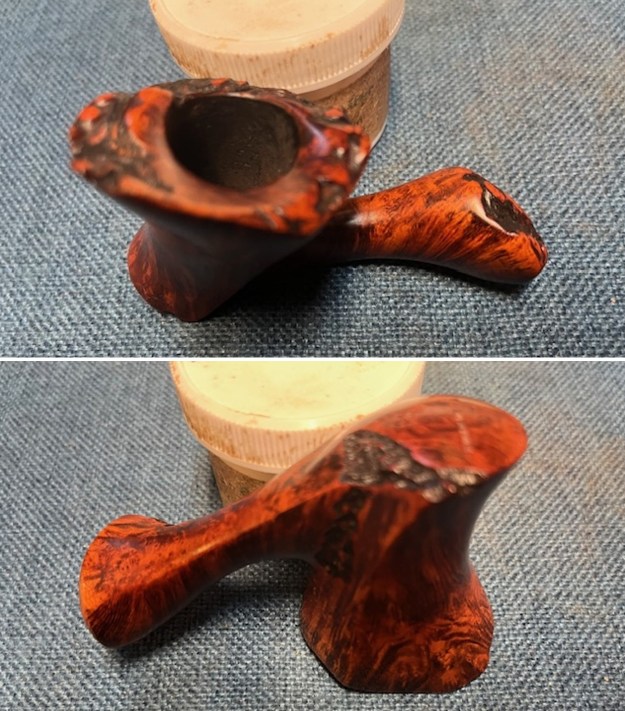
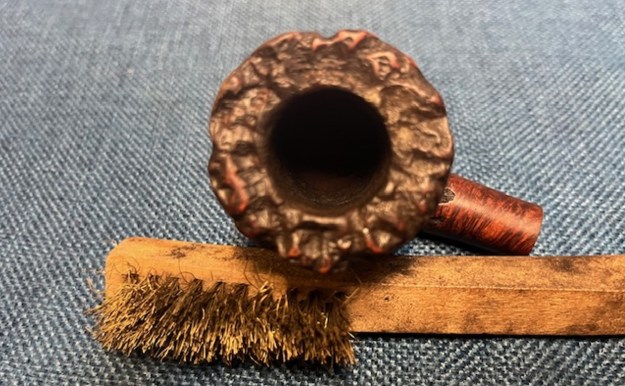
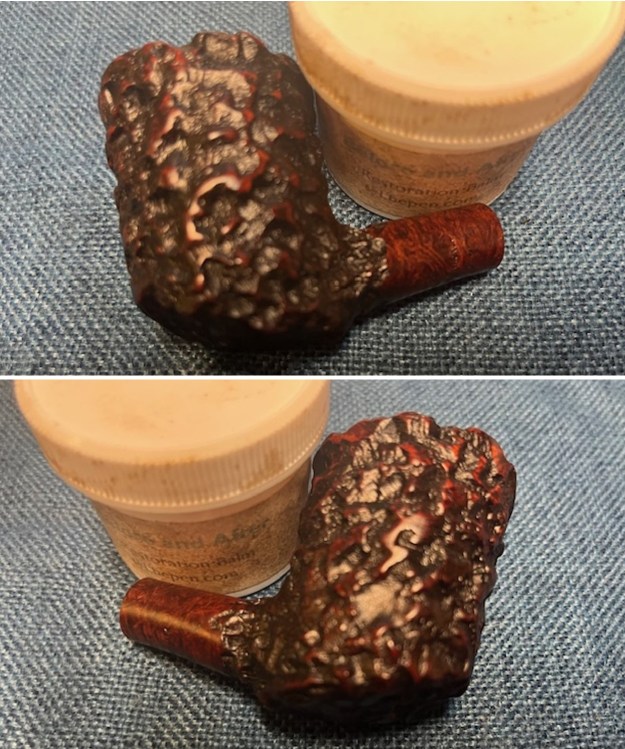
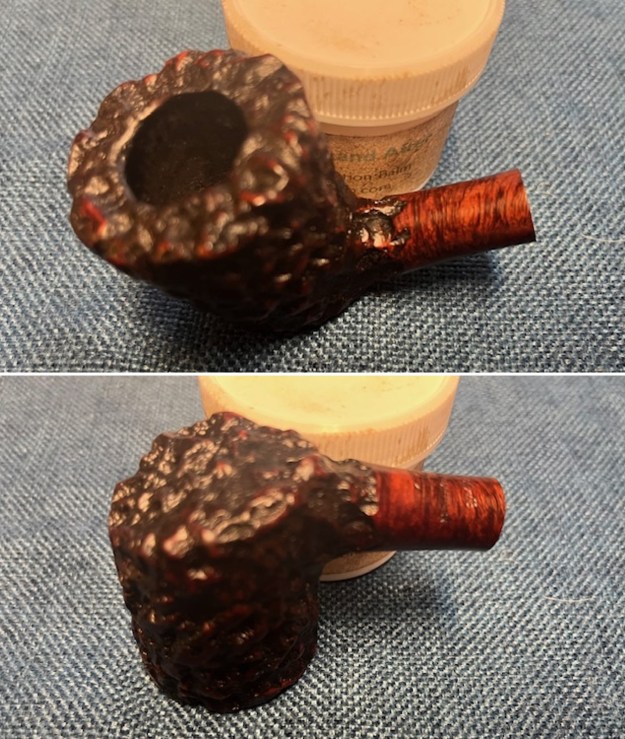
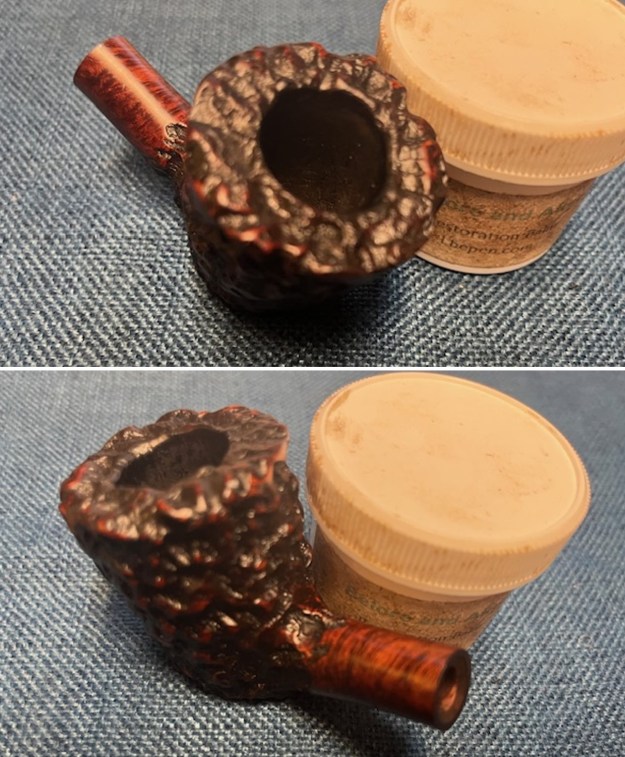
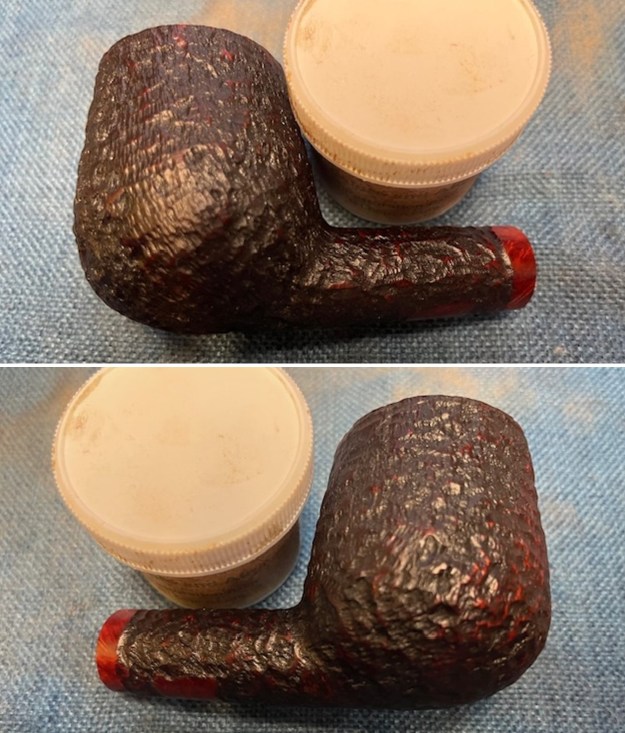
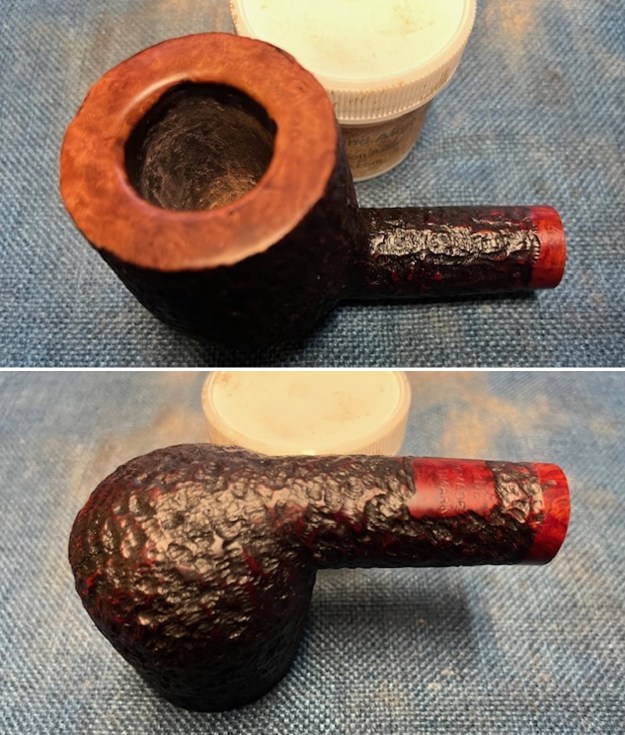
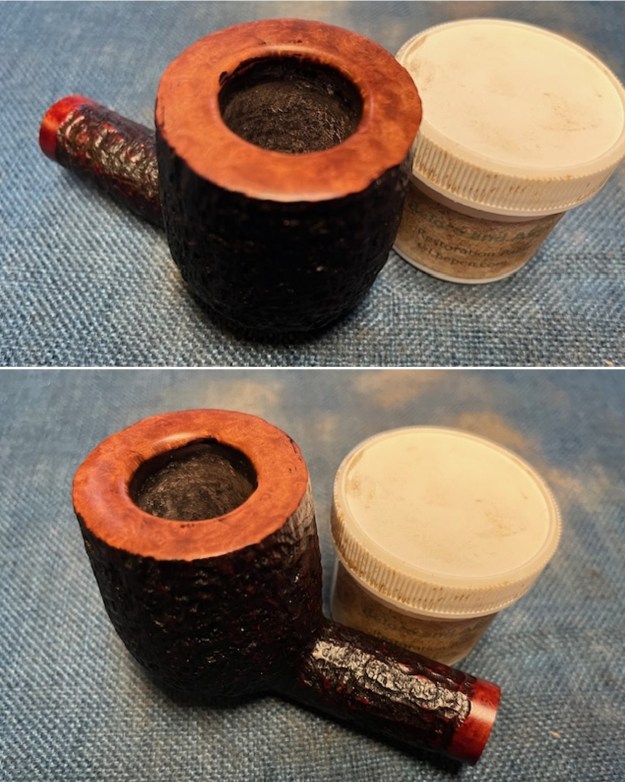
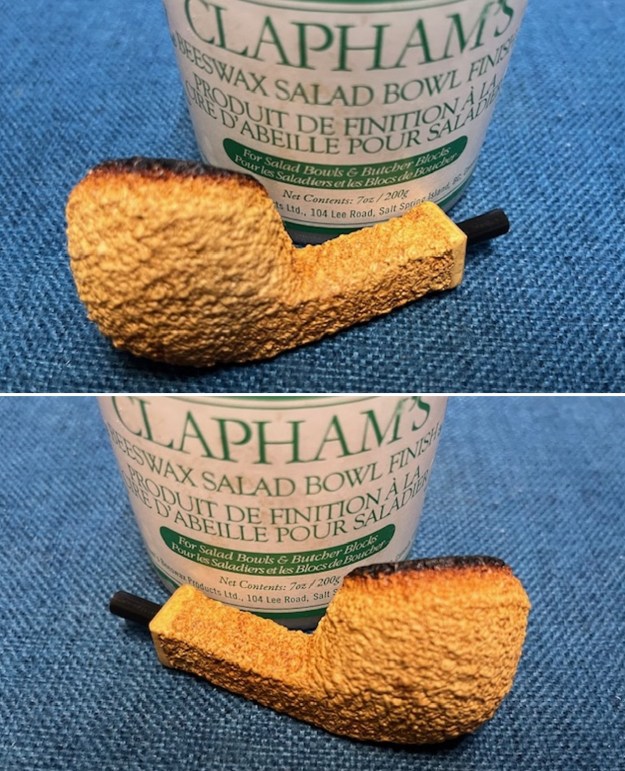
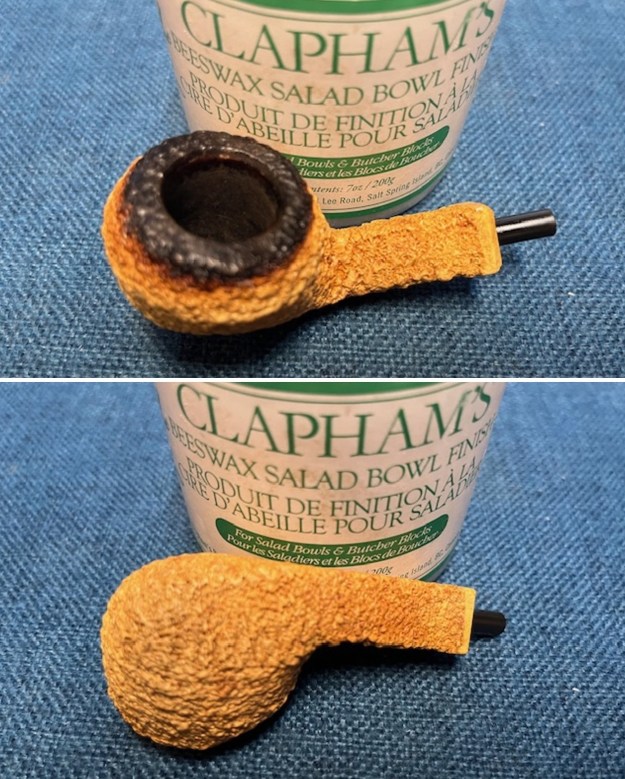
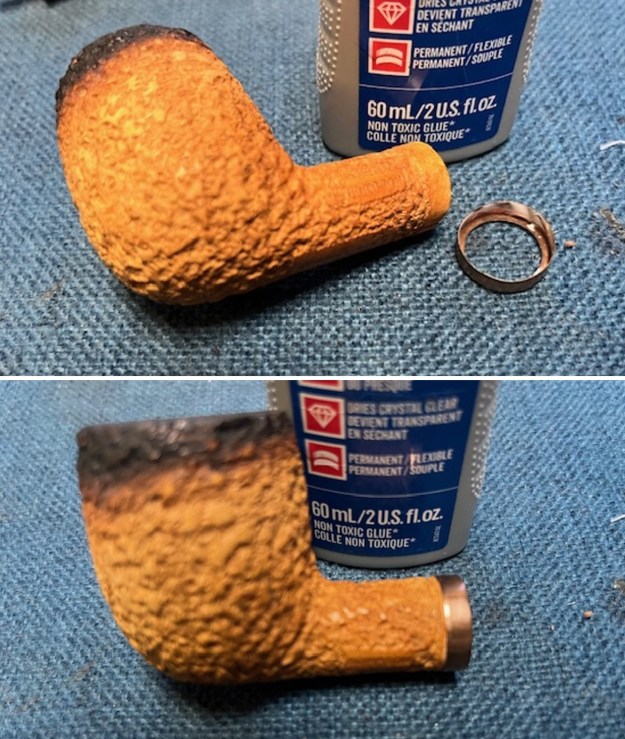
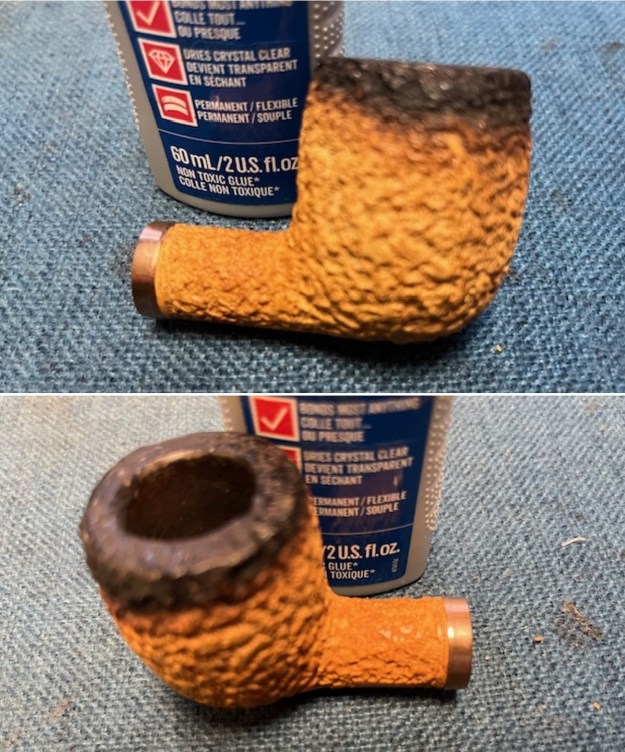
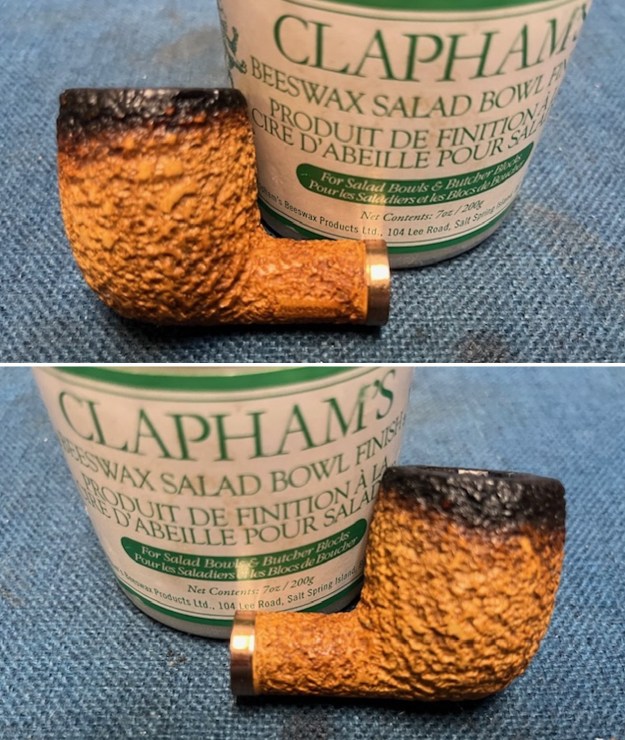
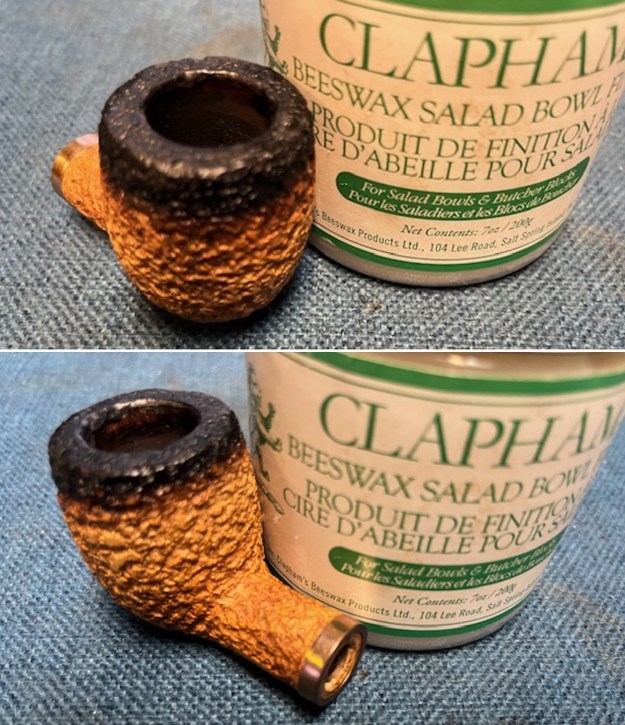
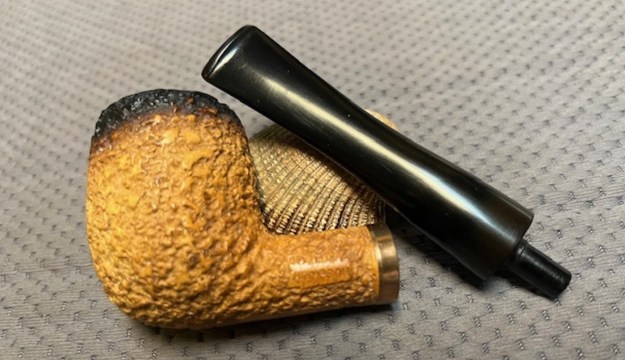
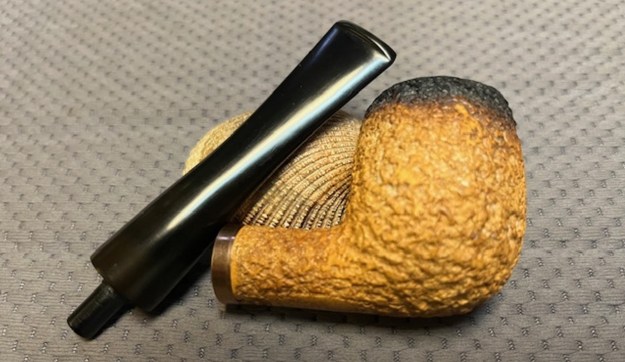
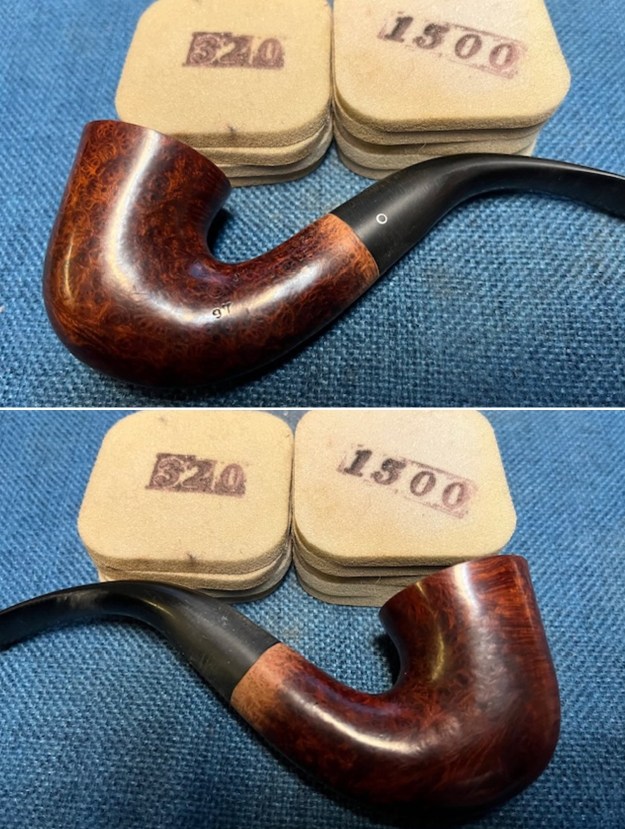
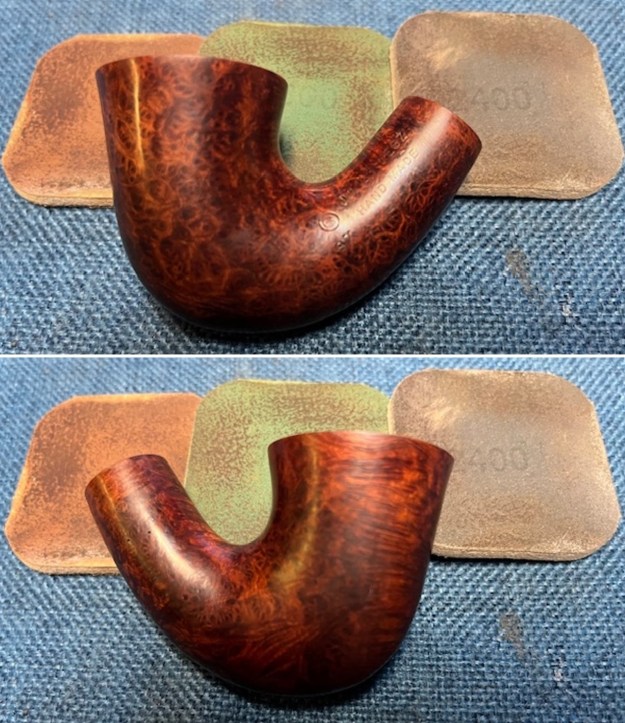
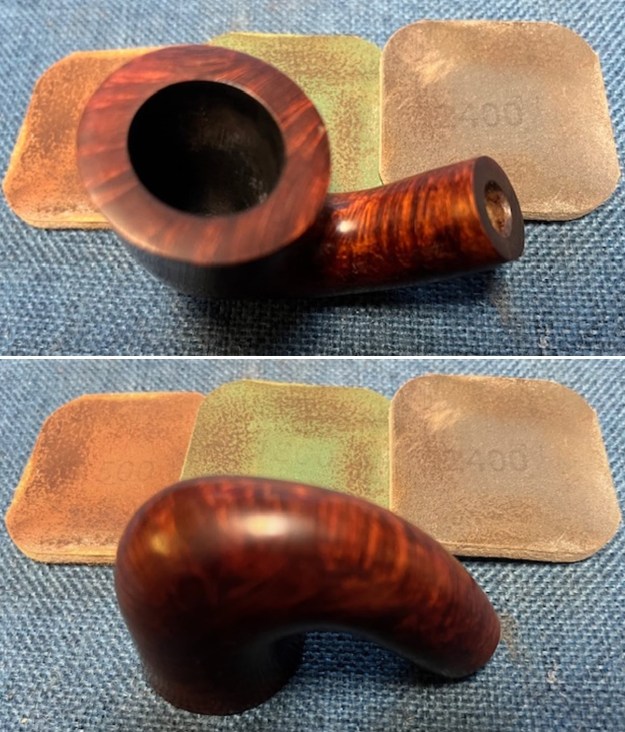
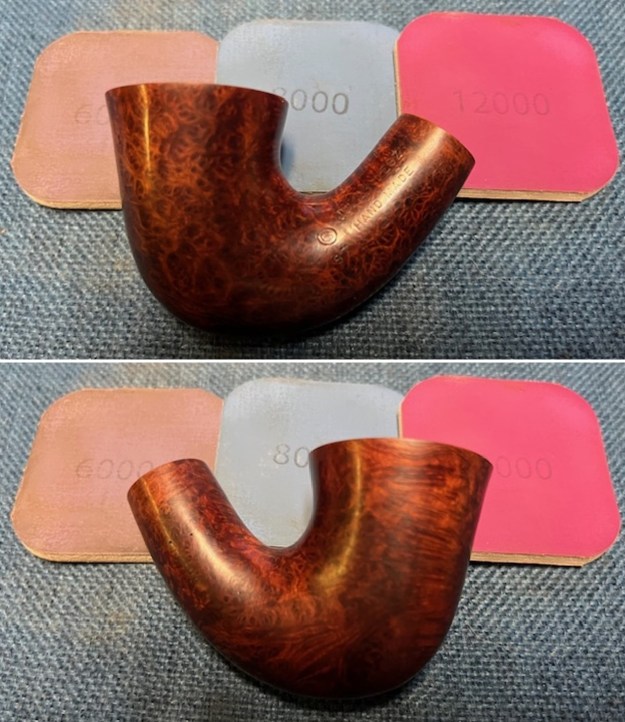
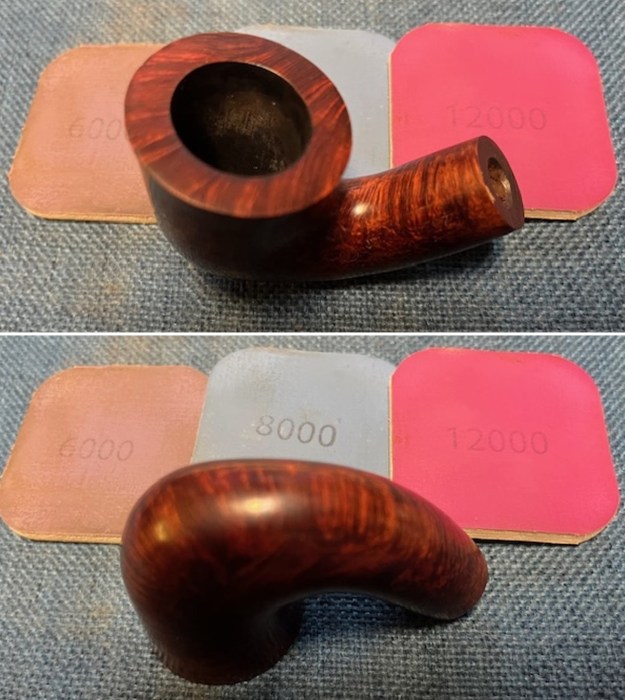
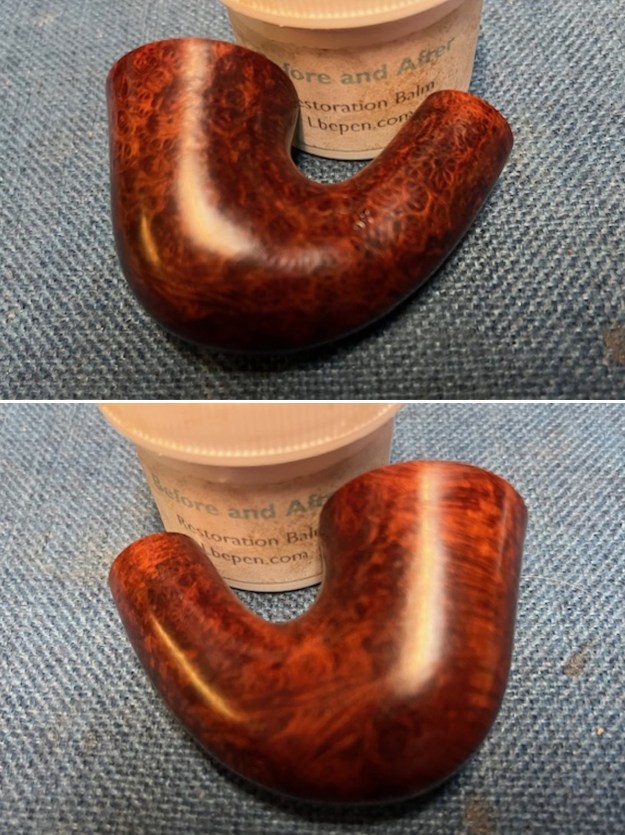
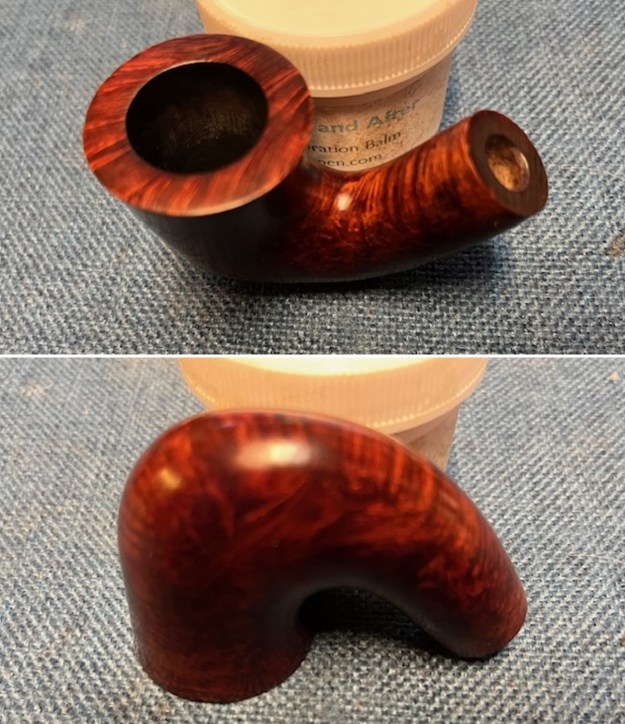
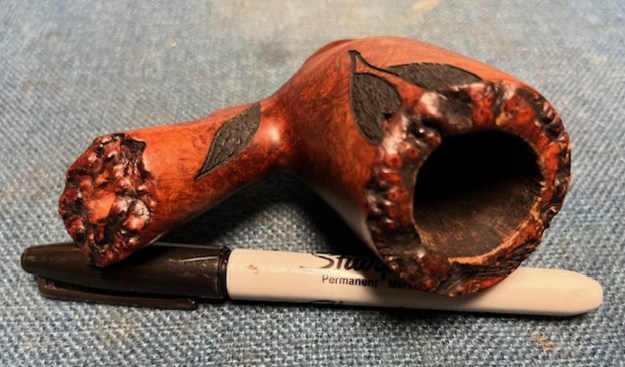 I worked some Before & After Restoration Balm into the surface of the briar with my fingertips and into the plateau rim top and shank end with a horsehair shoe brush to clean, enliven and protect it. I let the balm sit for a little while and then buffed with a cotton cloth to raise the shine. The photos show the bowl at this point in the restoration process.
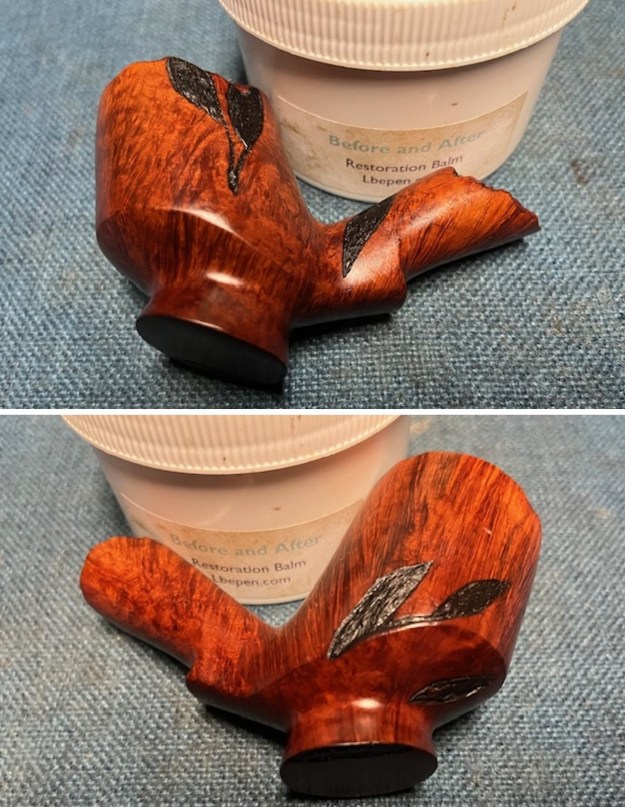
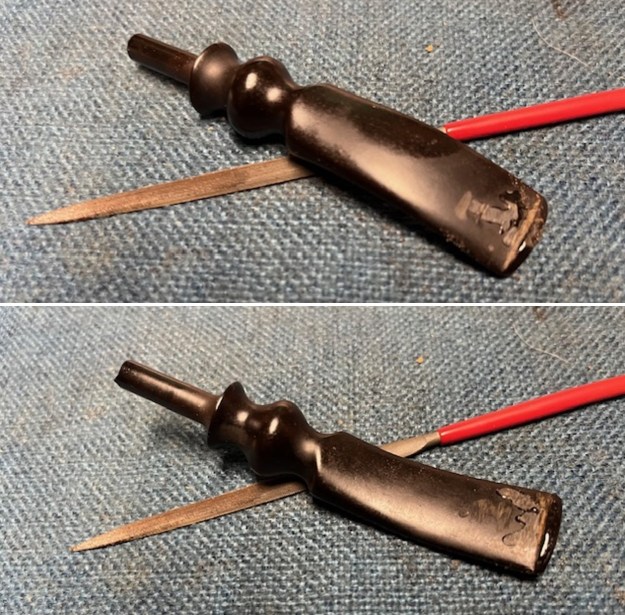
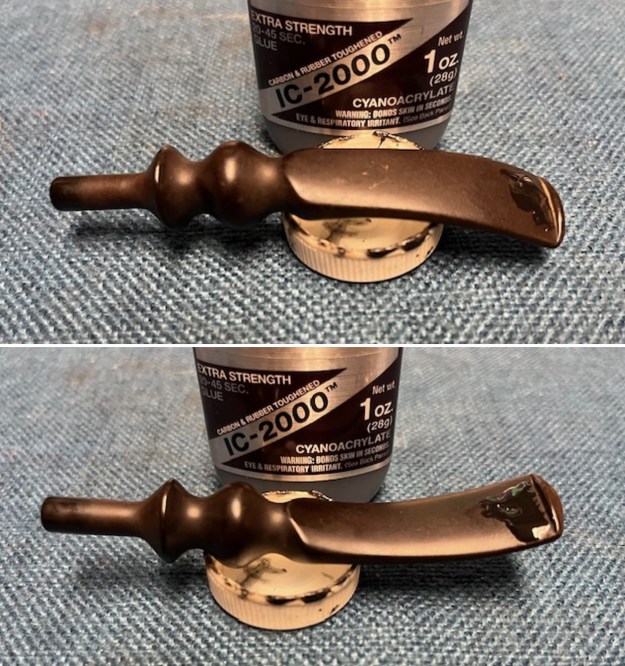
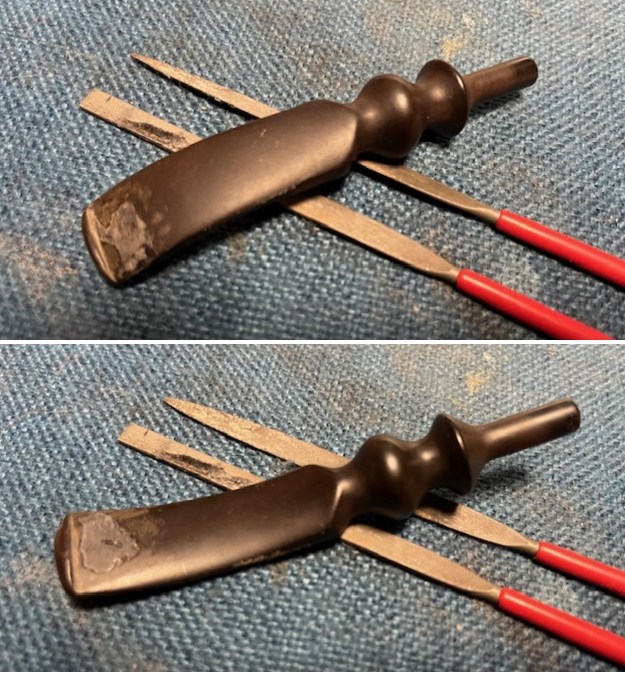
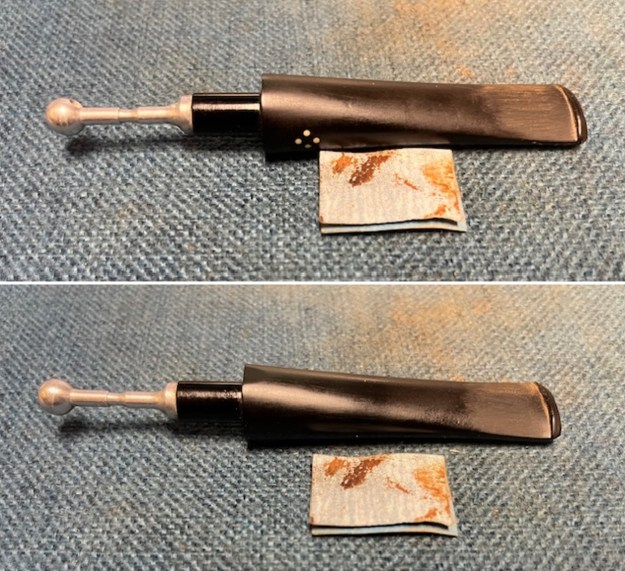
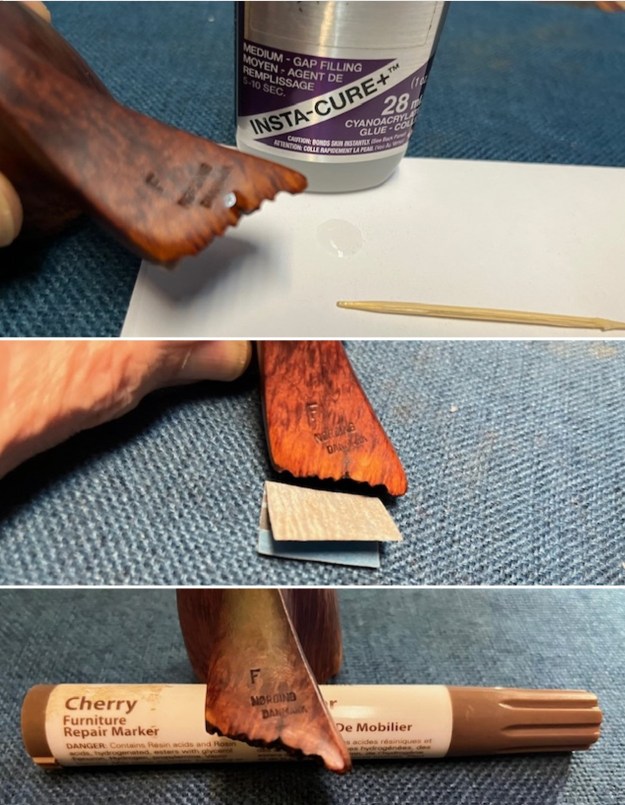
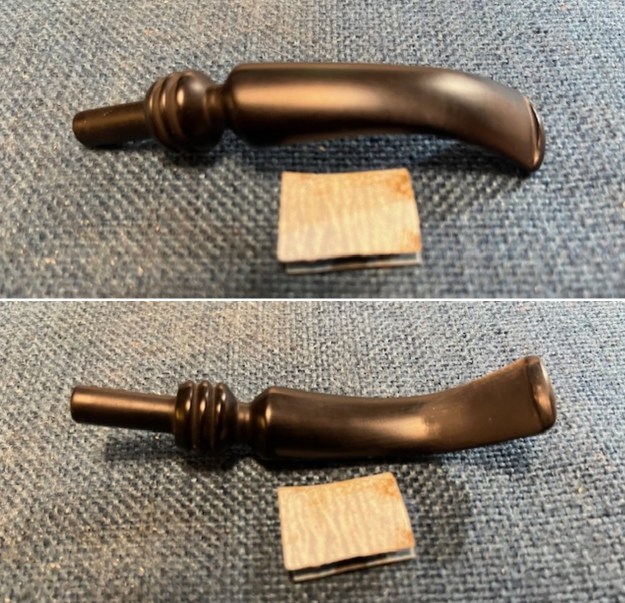
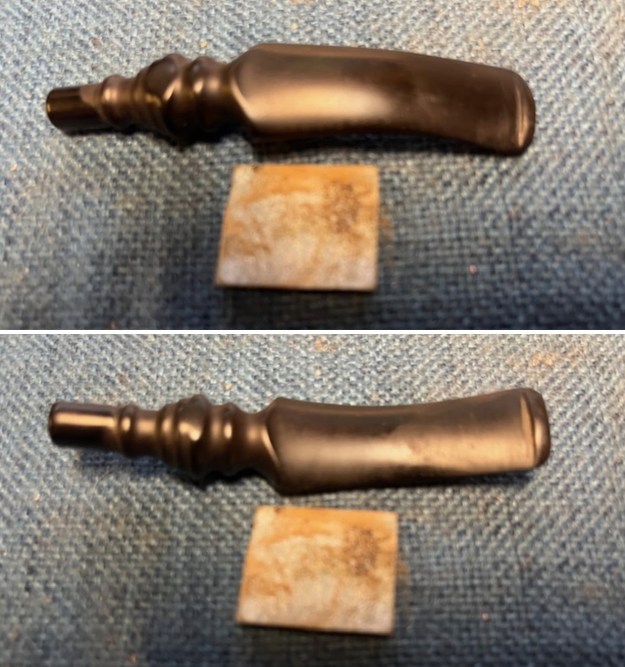
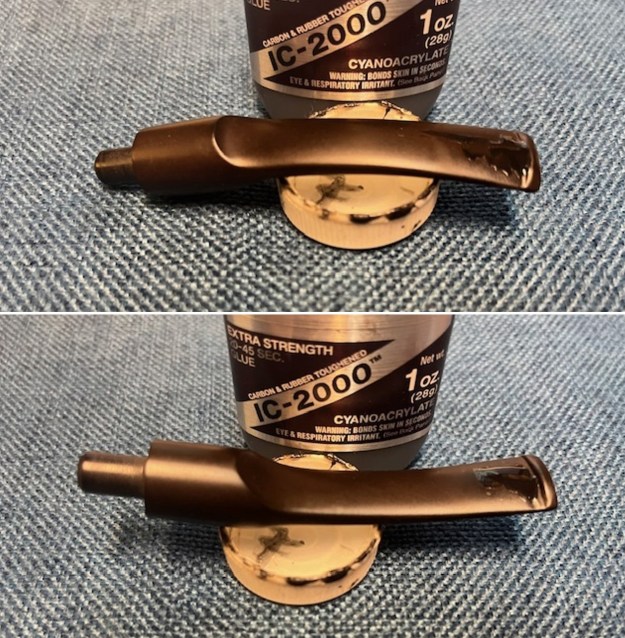
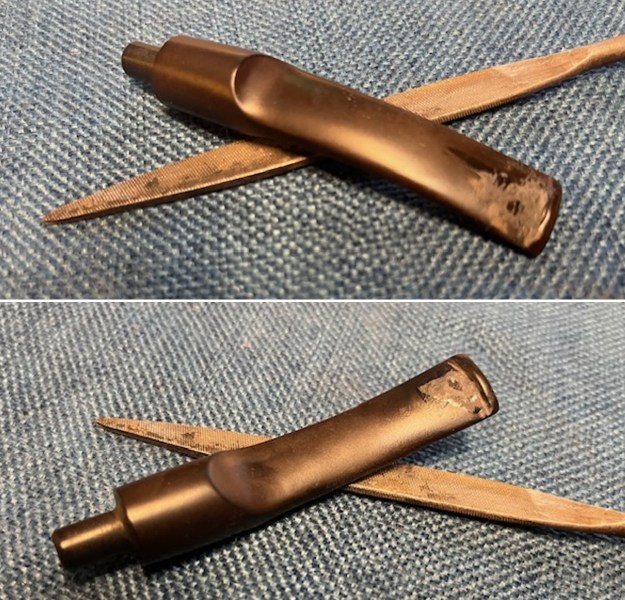
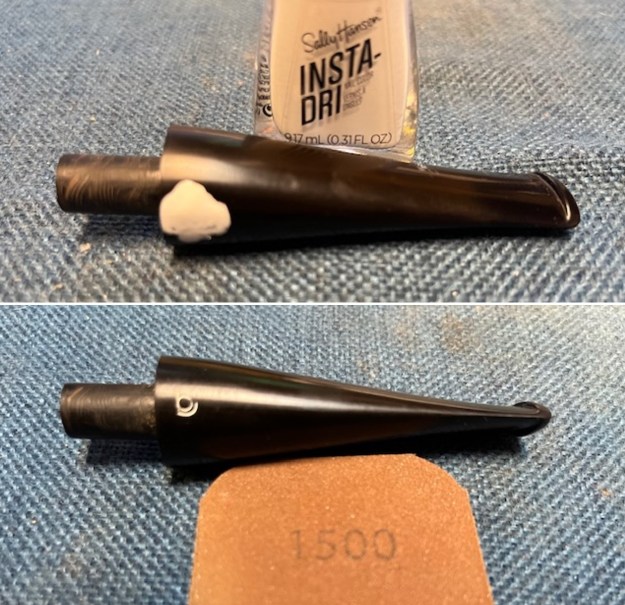
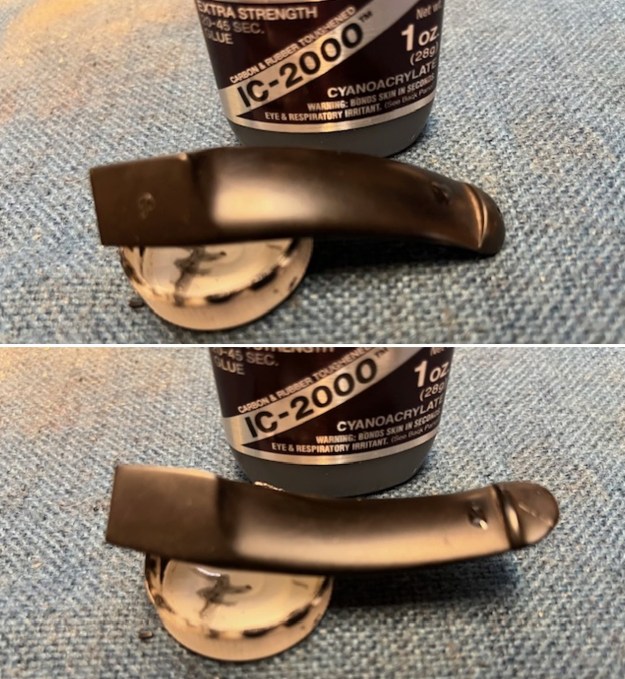
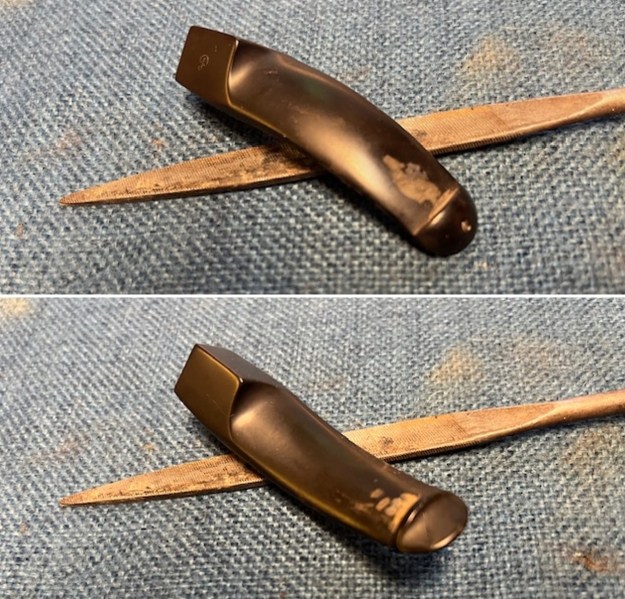
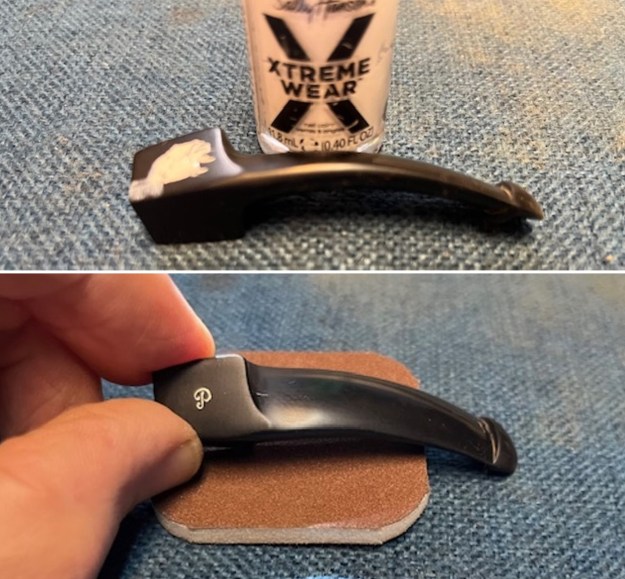
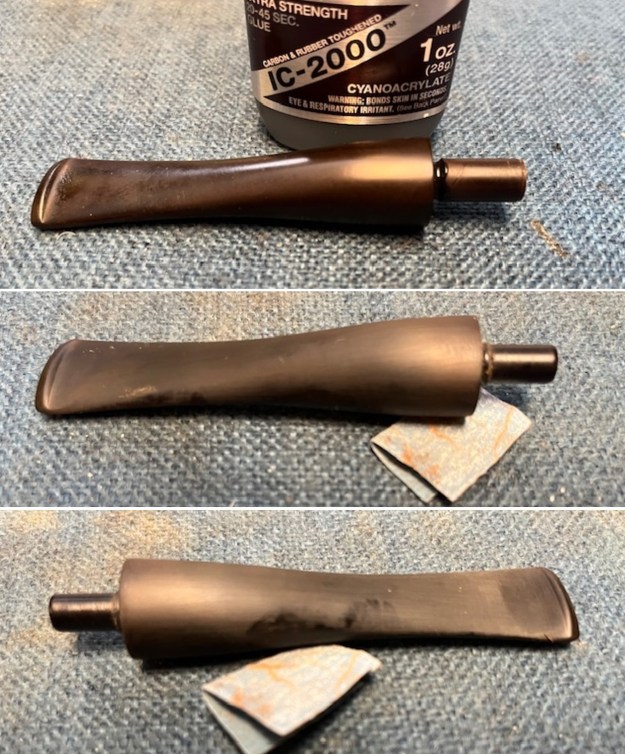
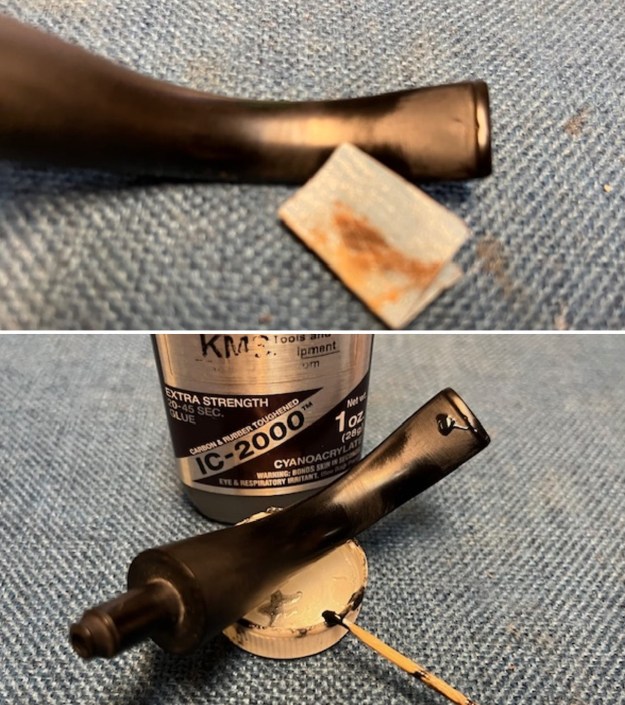
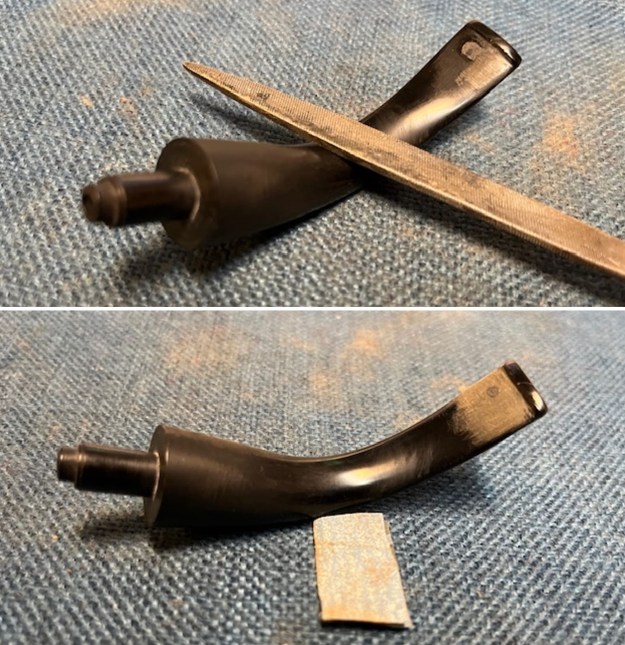
 I set the bowl aside and turned my attention to the stem. The stem was very clean so I filled in the tooth marks with clear super glue and set it aside to cure. Once it had cured I flattened out the repairs and sharpened the edge of the button with a needle file. I sanded out the tooth chatter with 220 grit sandpaper.
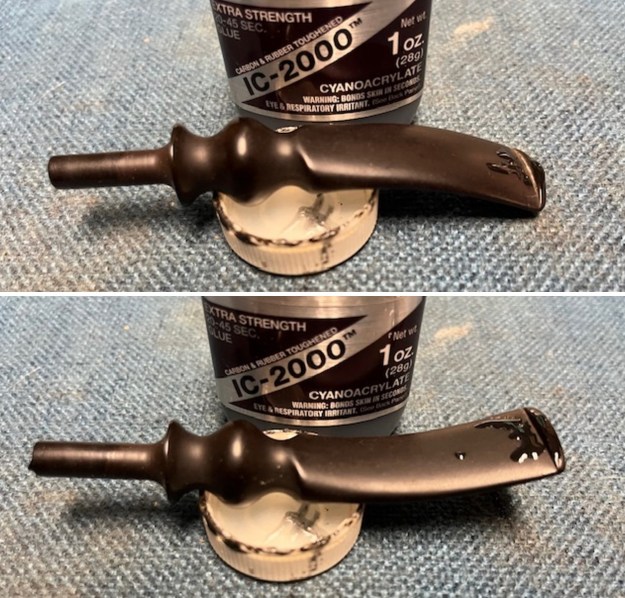
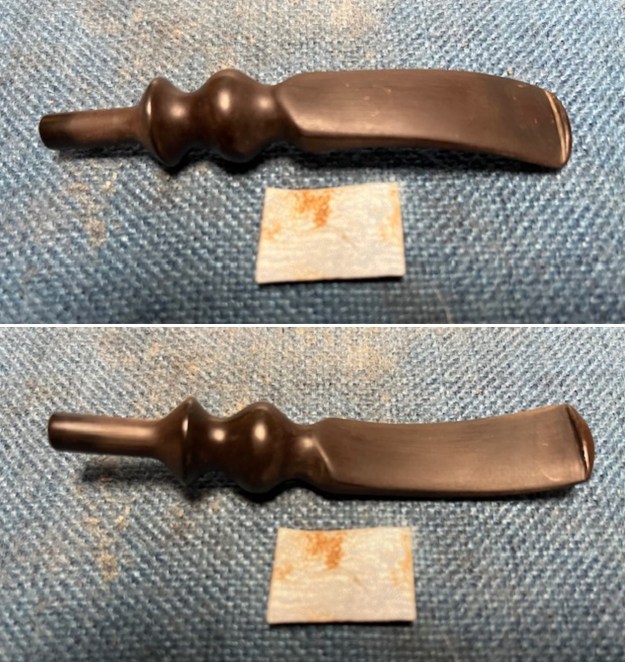
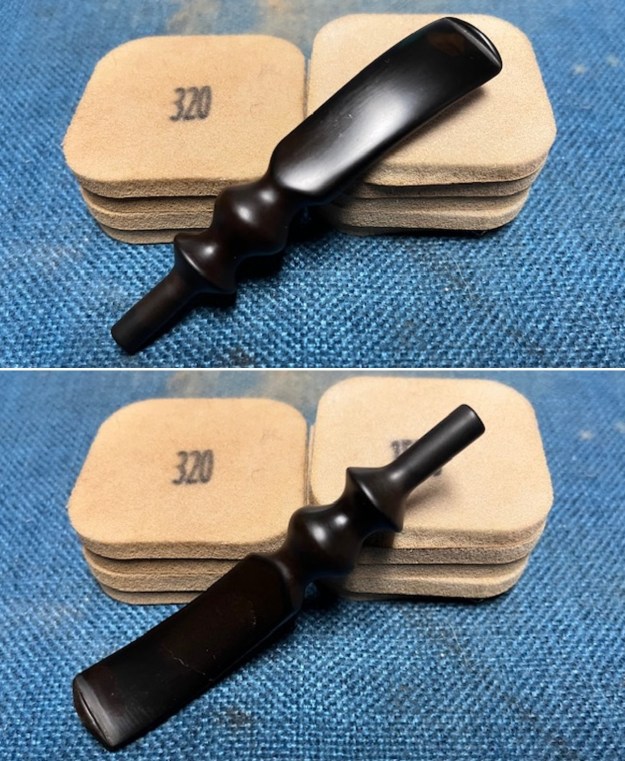
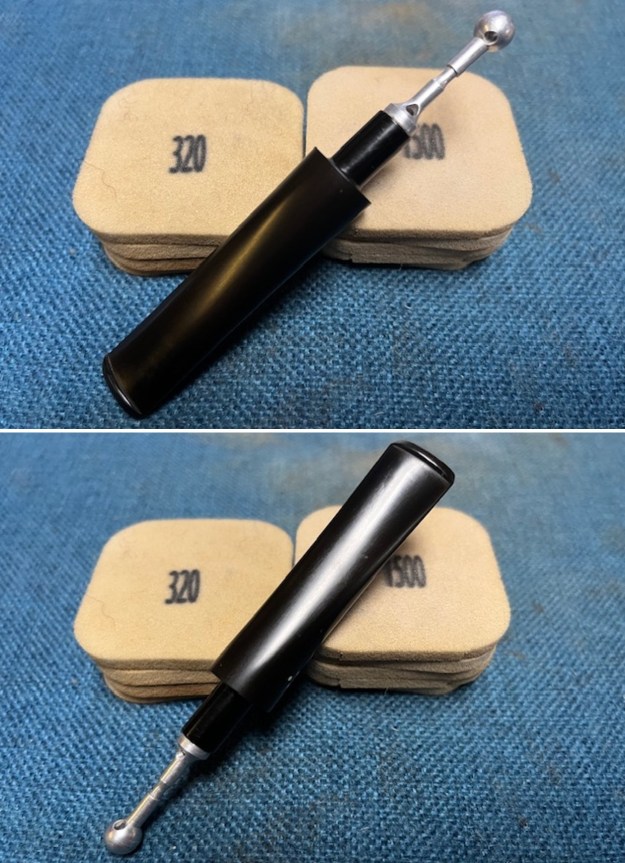
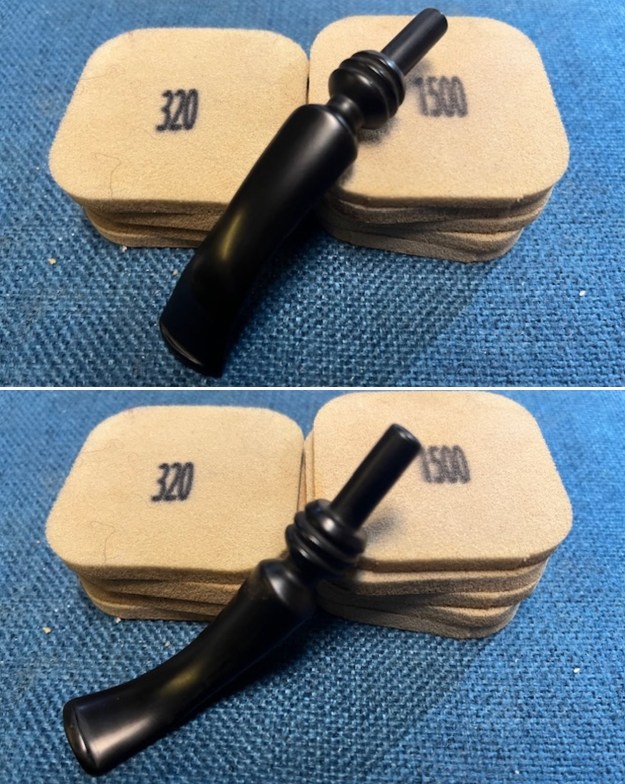
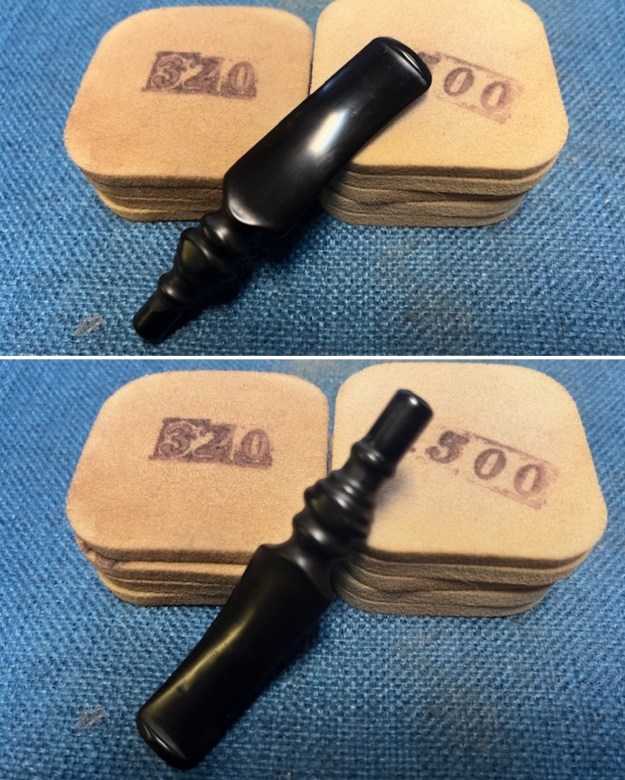
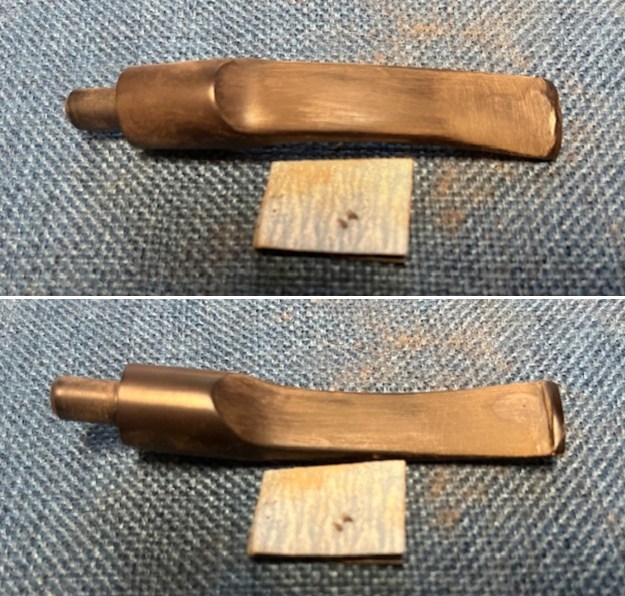
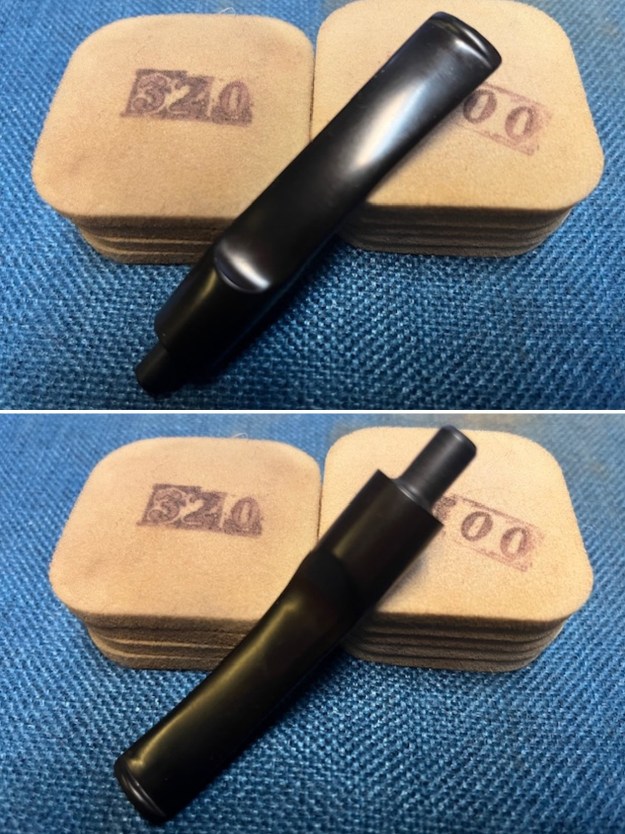
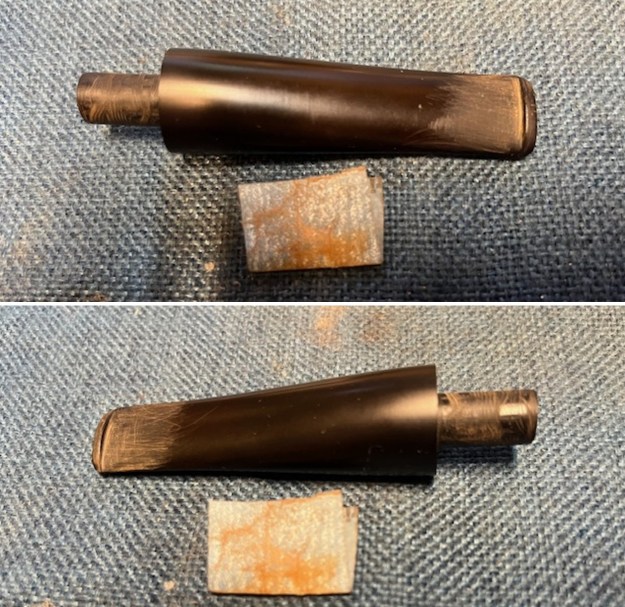
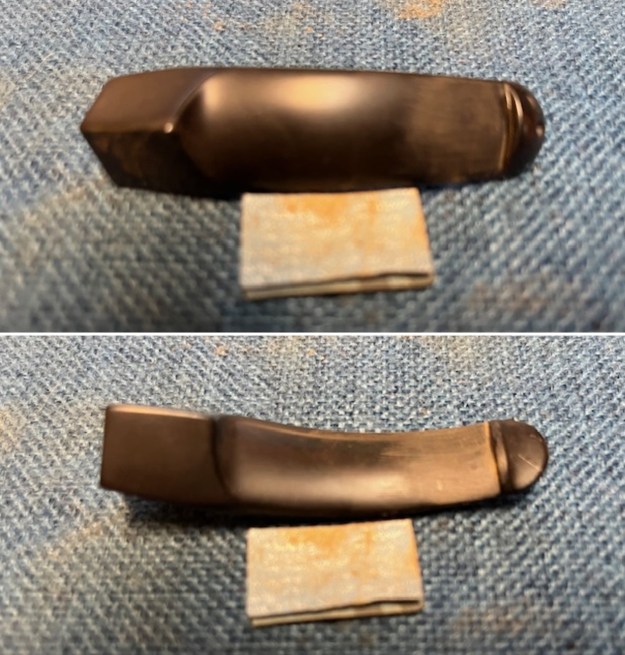
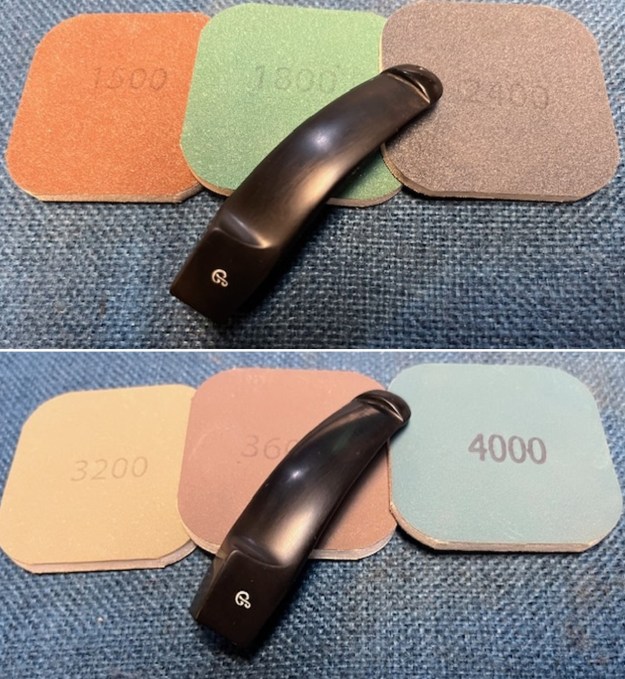
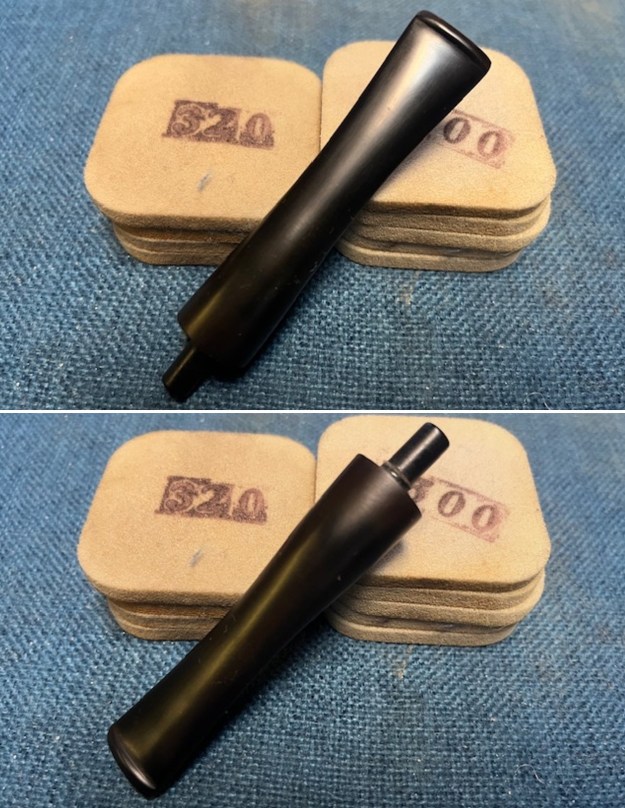
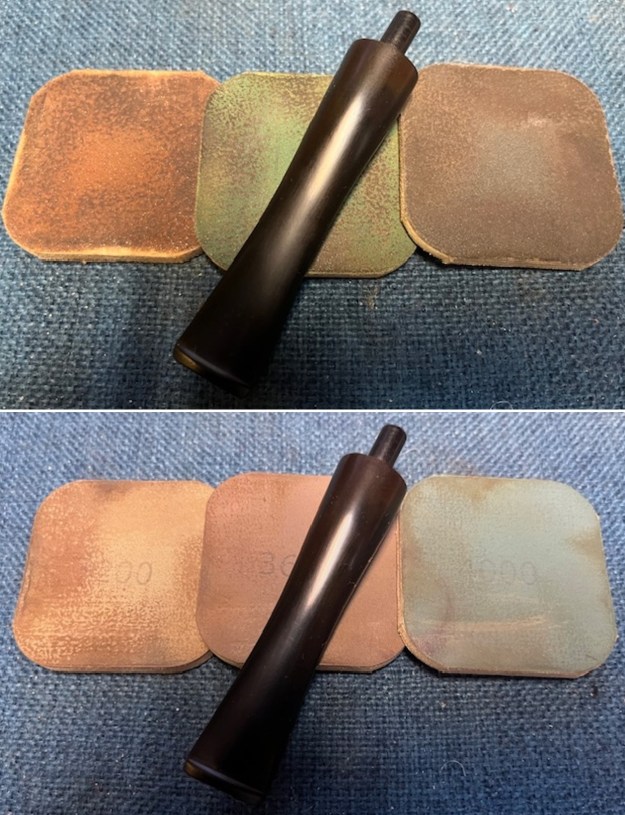
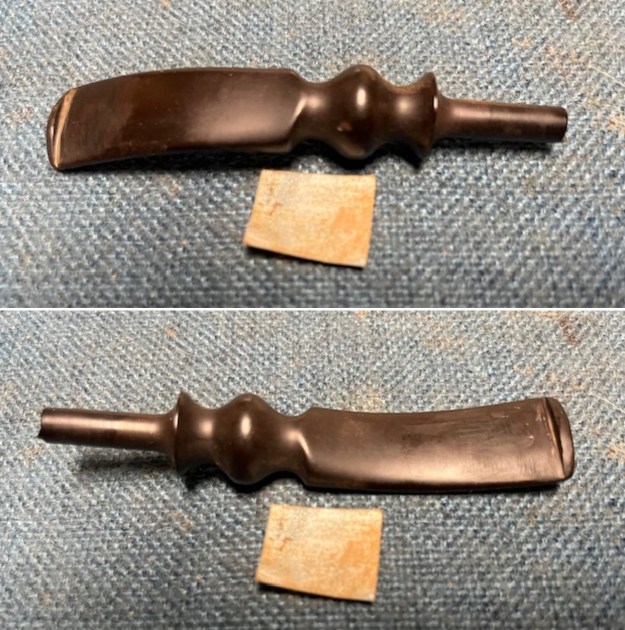 I sanded the stem with 320-3500 grit 2×2 inch sanding pads. I wiped the briar down after each pad with a damp cloth to remove the sanding dust and debris. I wiped it down with an Obsidian Oil cloth. It began to look very good.
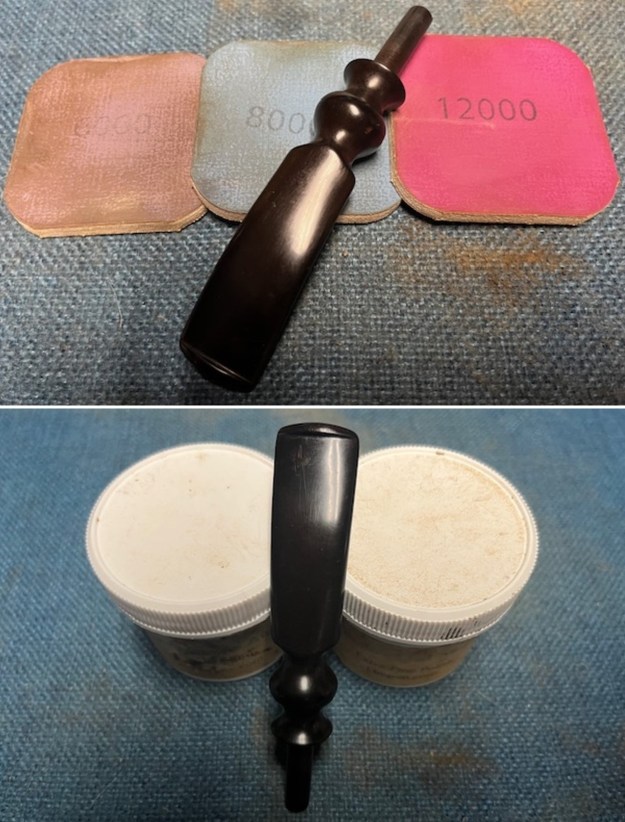
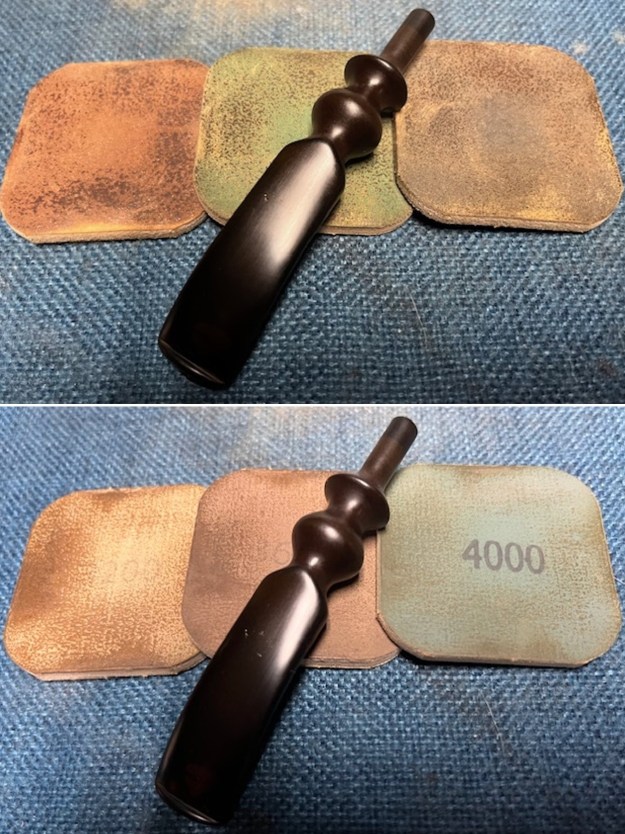
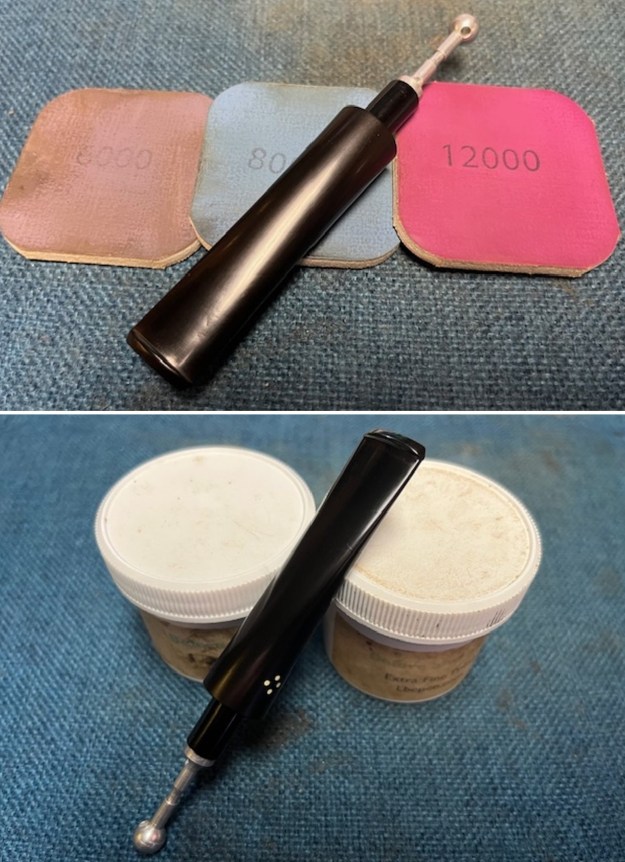
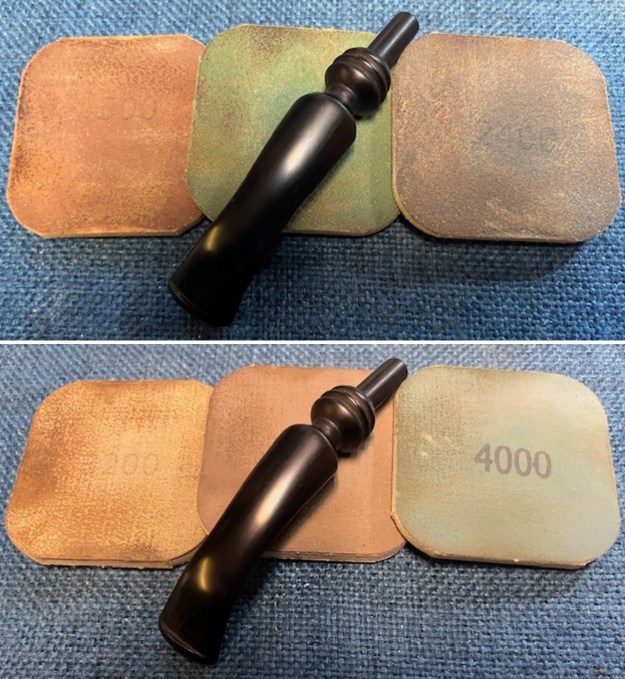
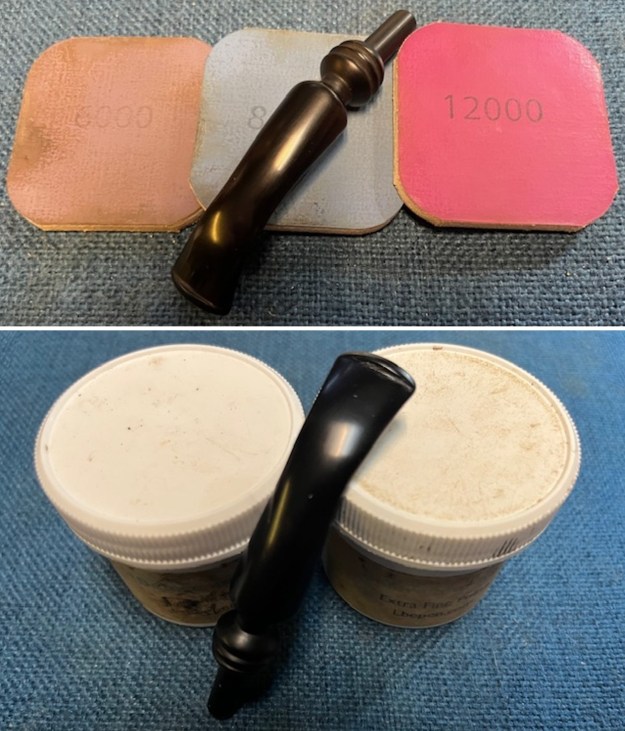
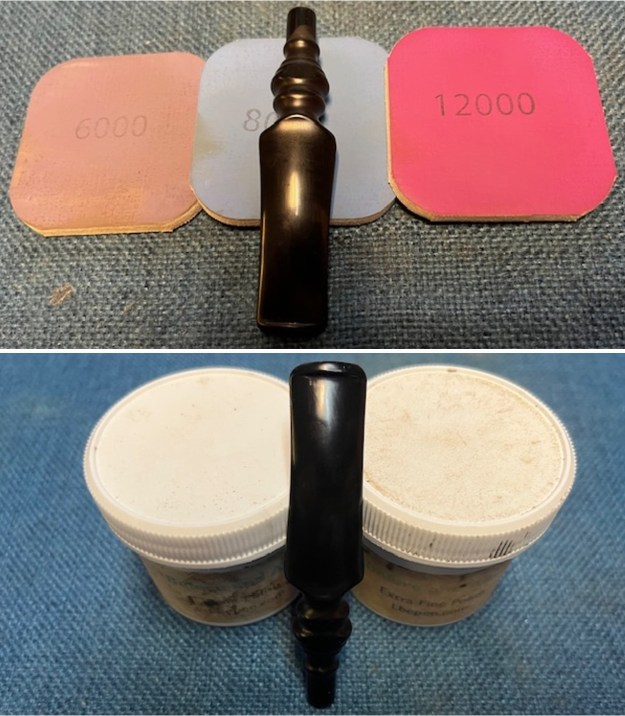
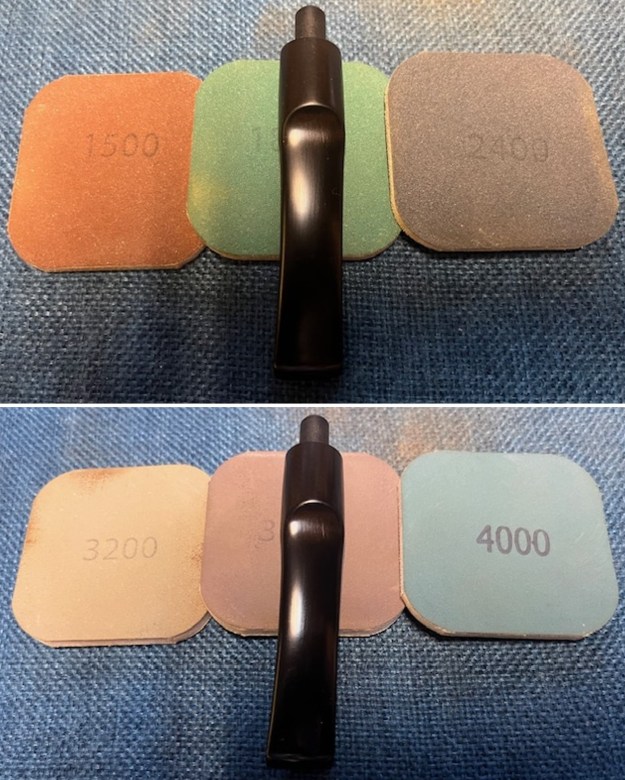
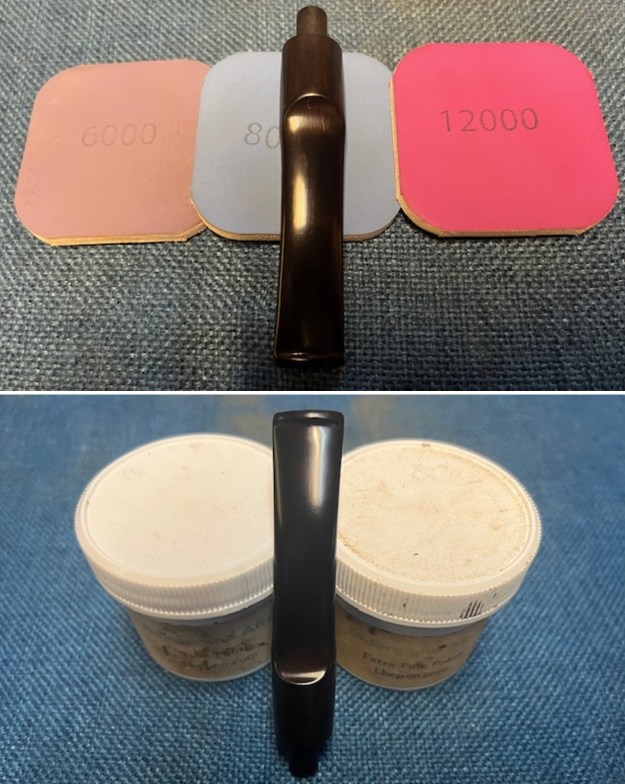
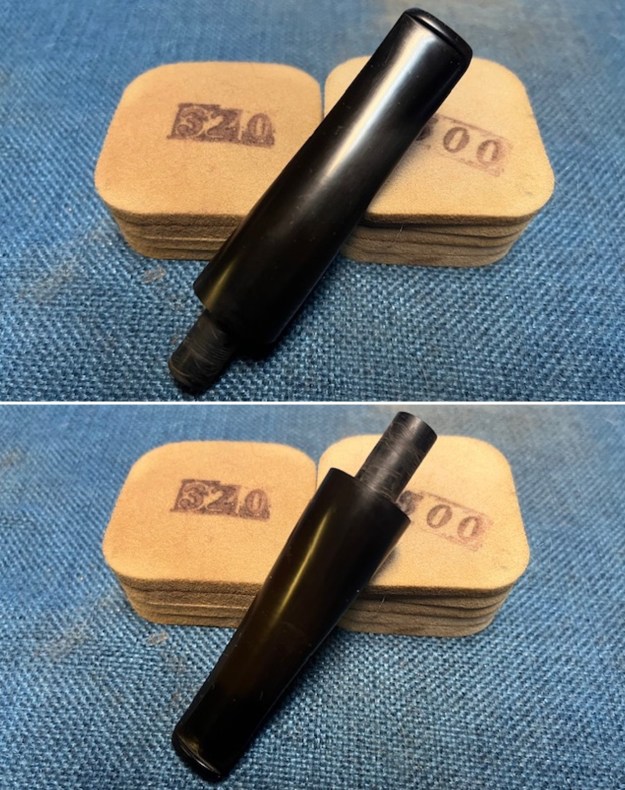
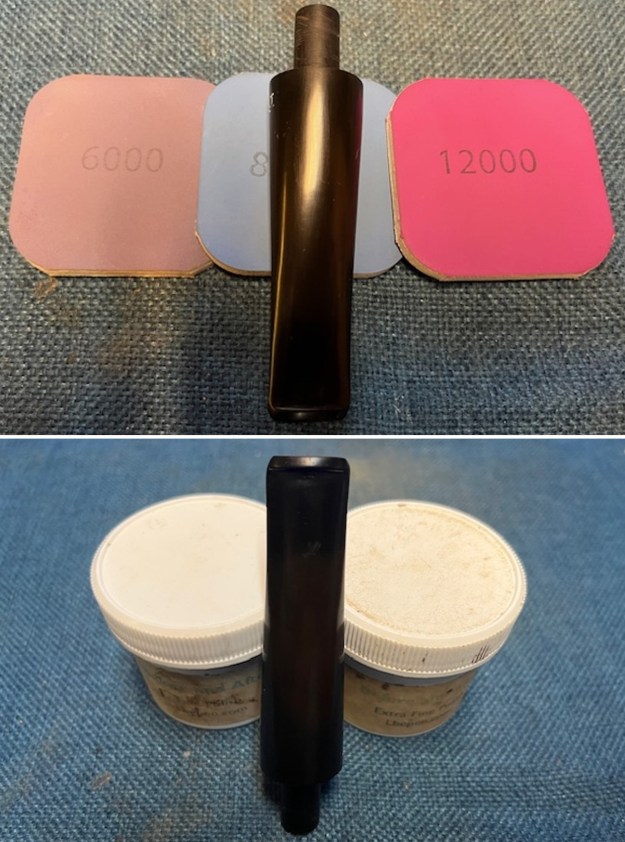
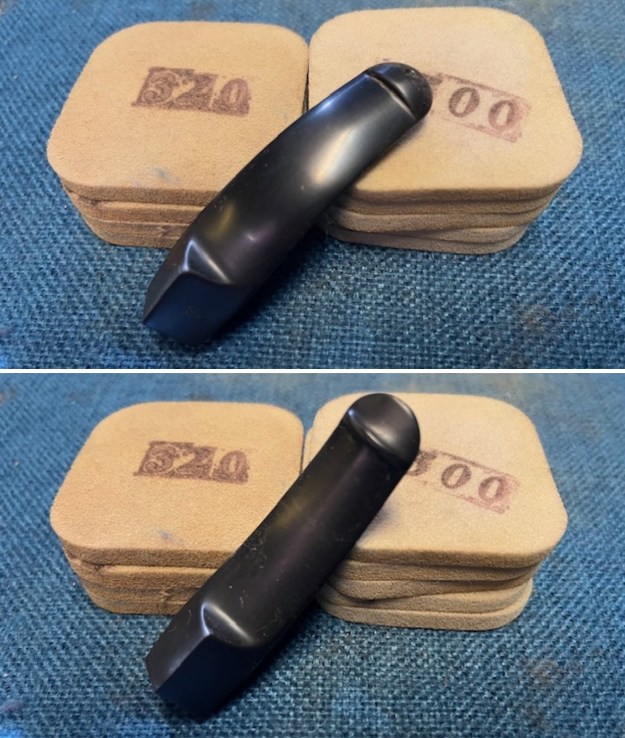
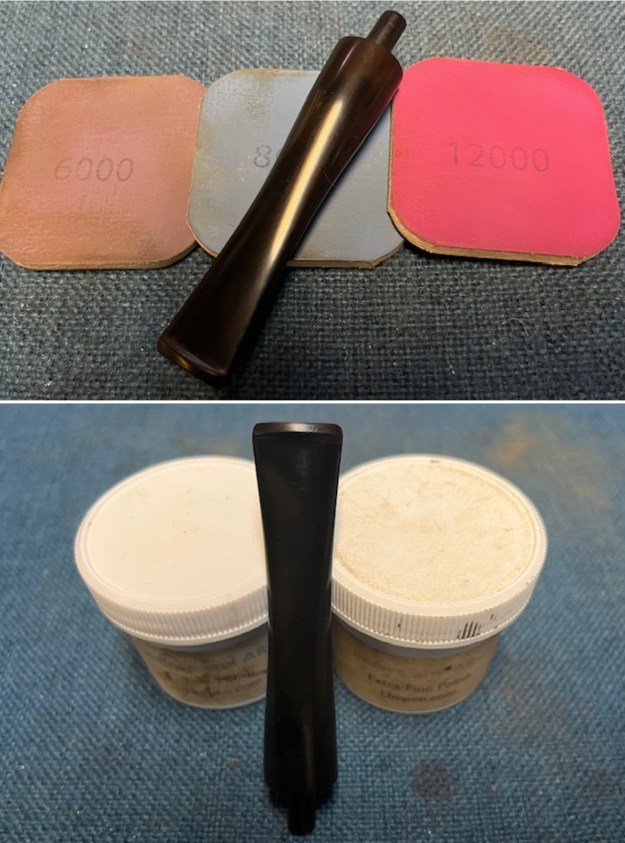
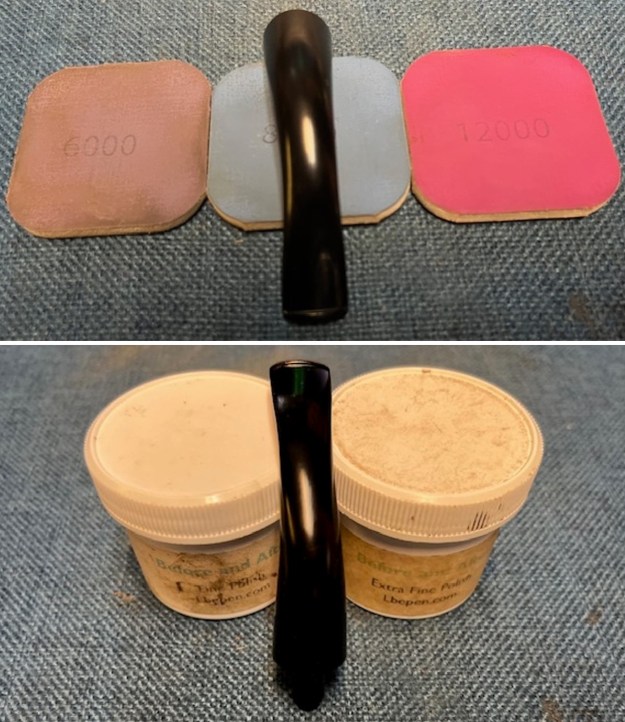
 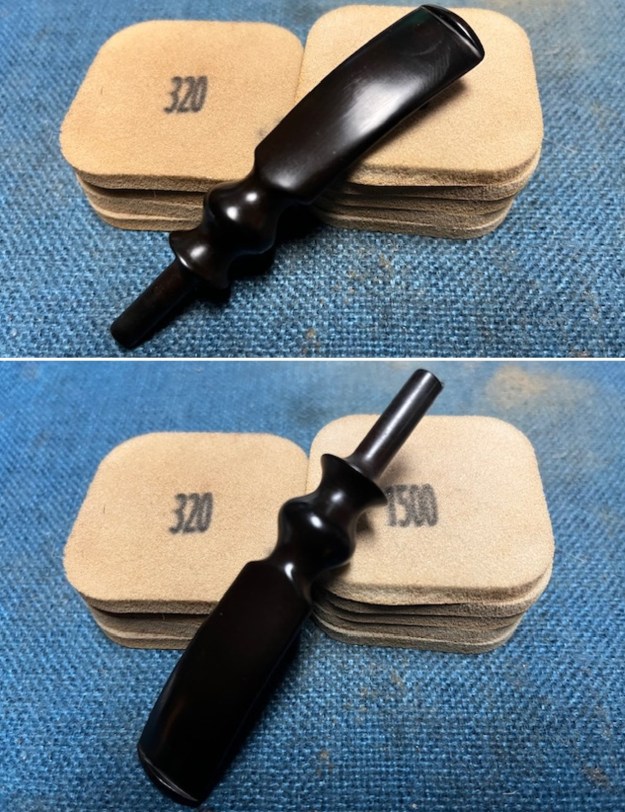 I polished the stem with micromesh sanding pads – dry sanding with 1500-12000 grit sanding pads. I wiped it down after each sanding pad with some Obsidian Oil. I finished polishing it with Before & After Pipe Stem Polish – both Fine and Extra Fine and buffed it off with a cotton cloth. I wiped it down with Obsidian Oil to protect the stem and slow down the oxidation.
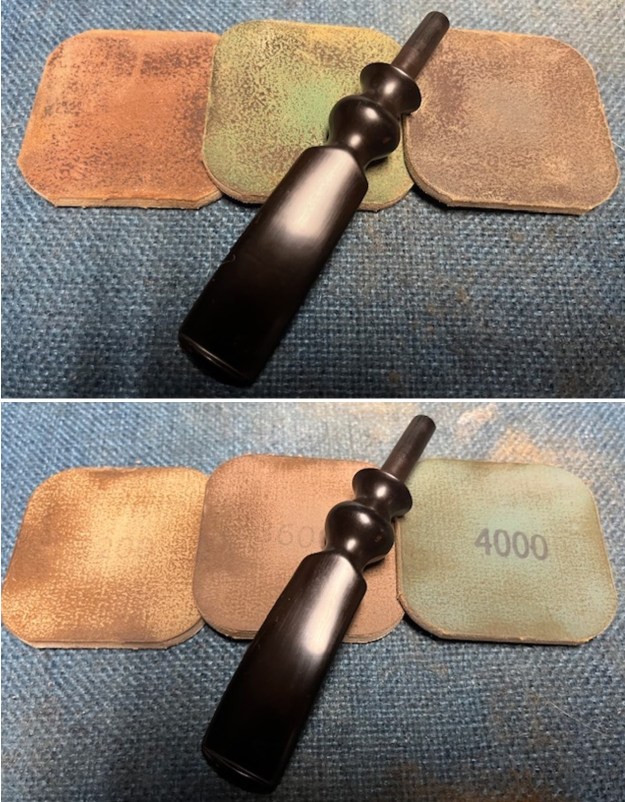
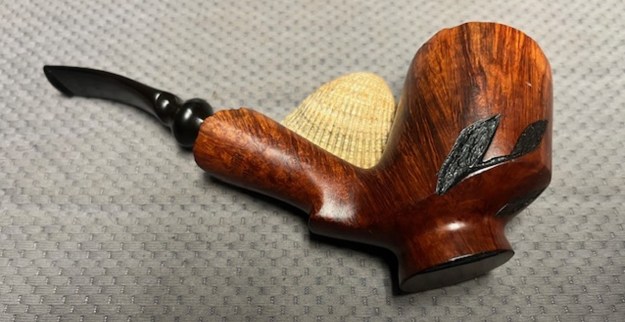
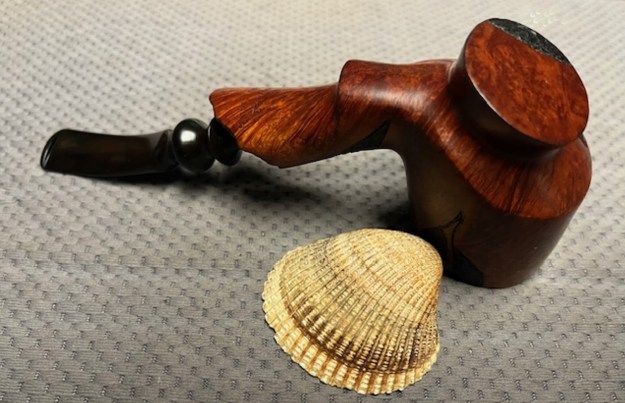
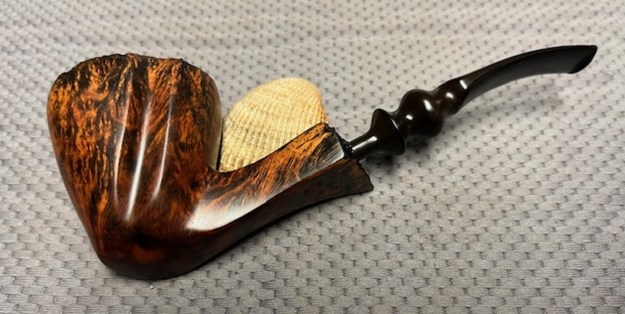
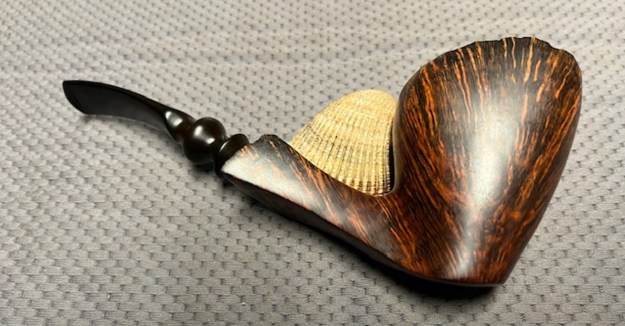
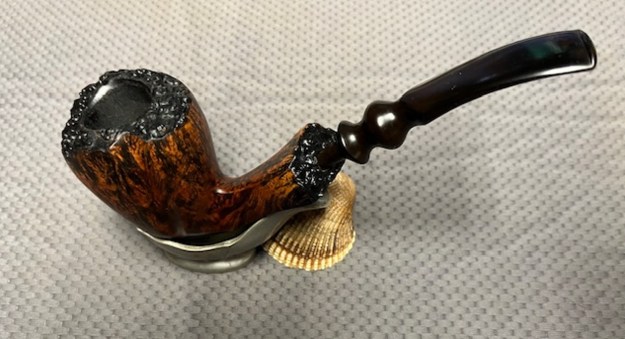
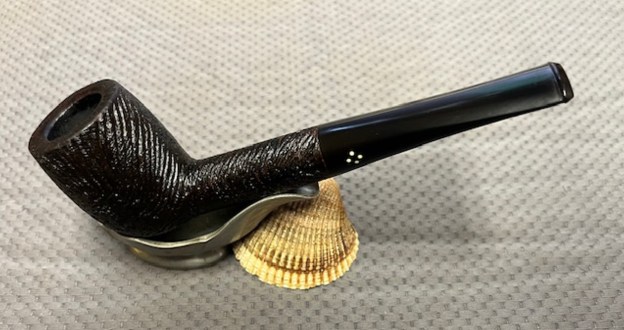
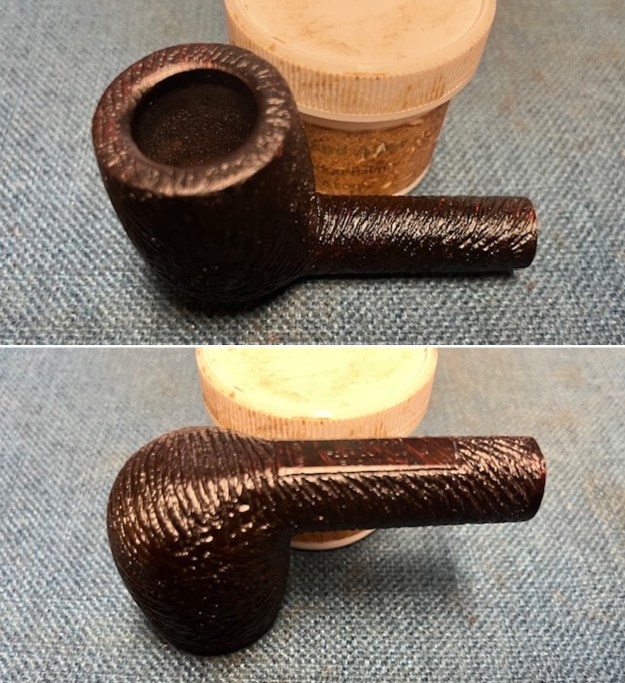
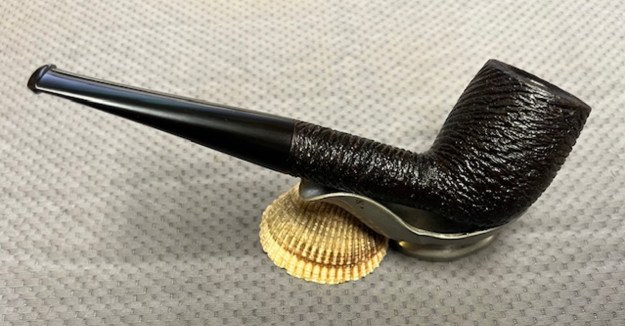
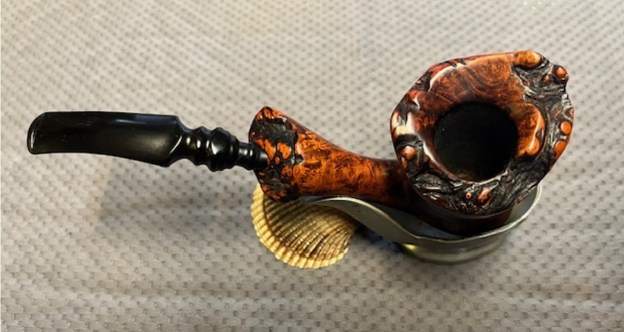
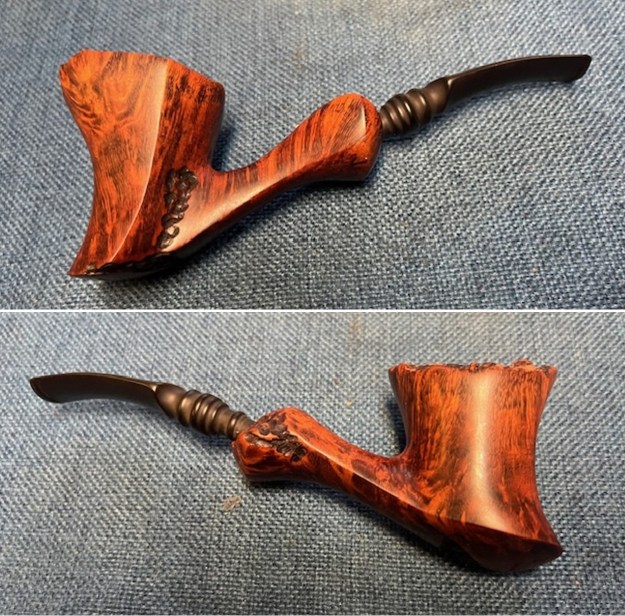
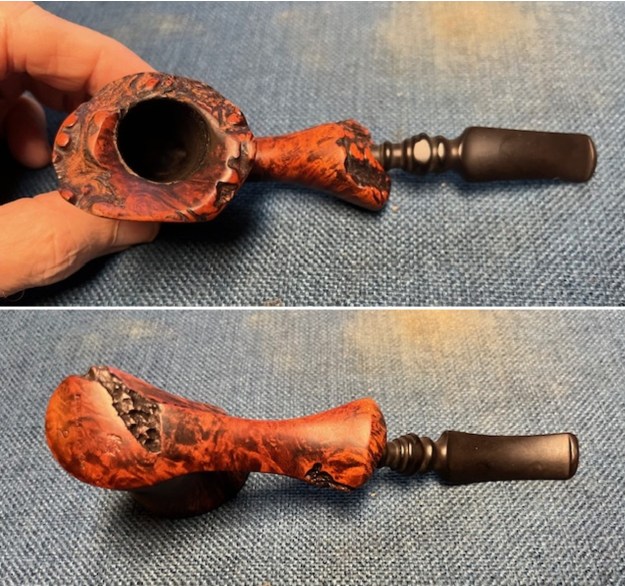
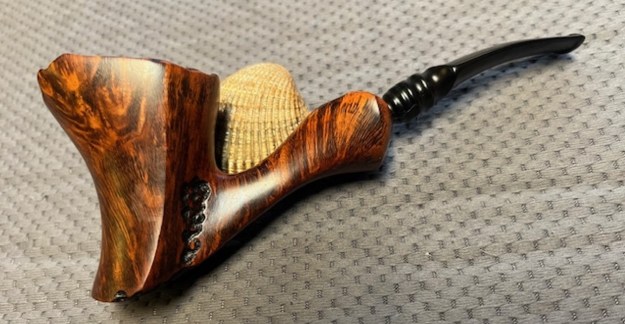
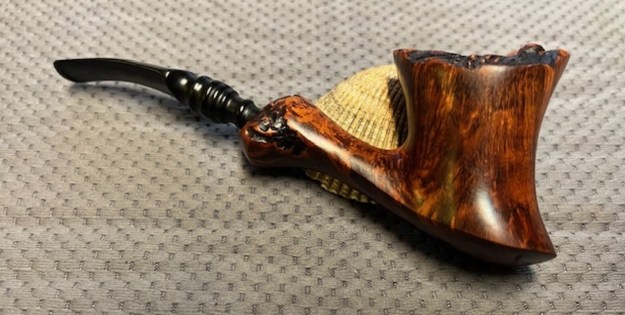
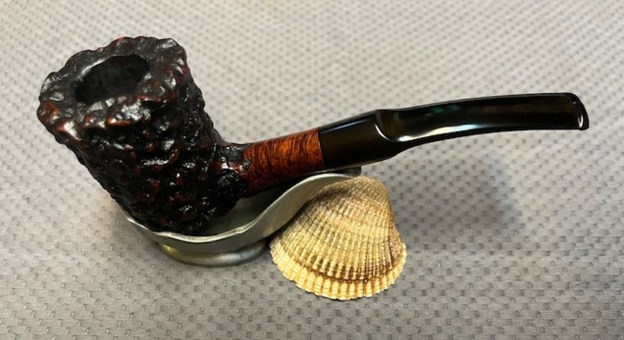
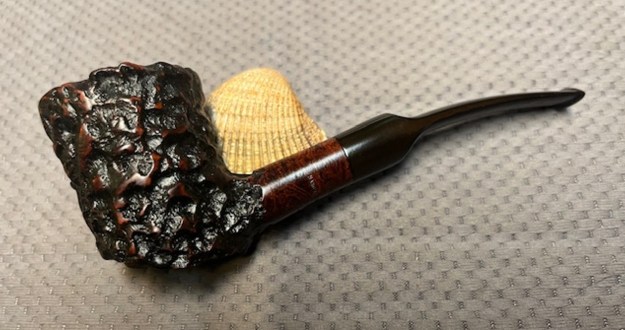
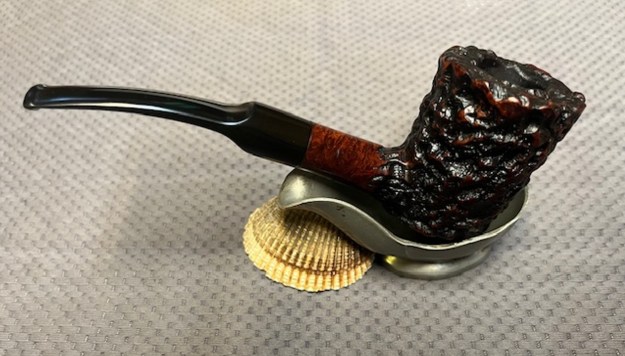
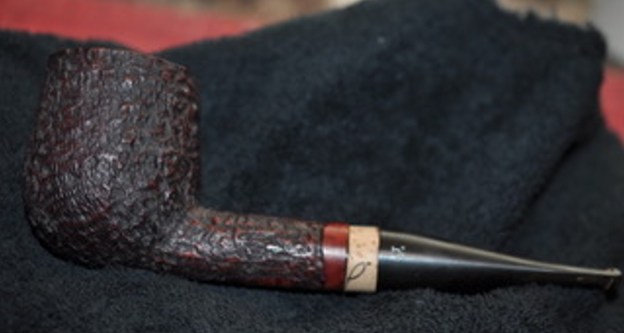
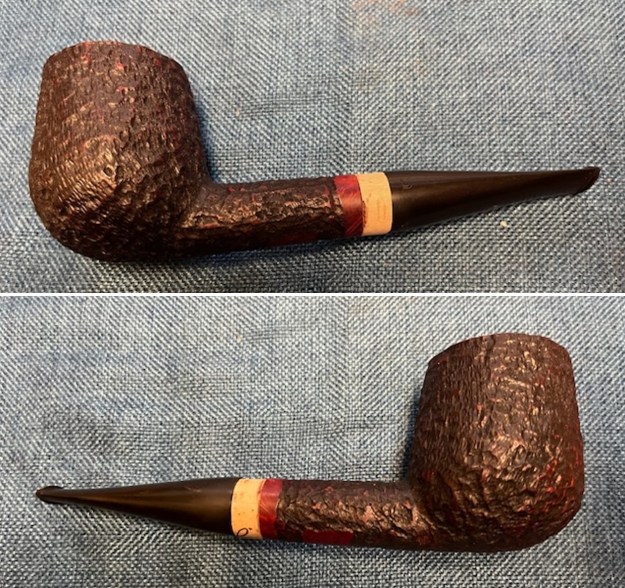
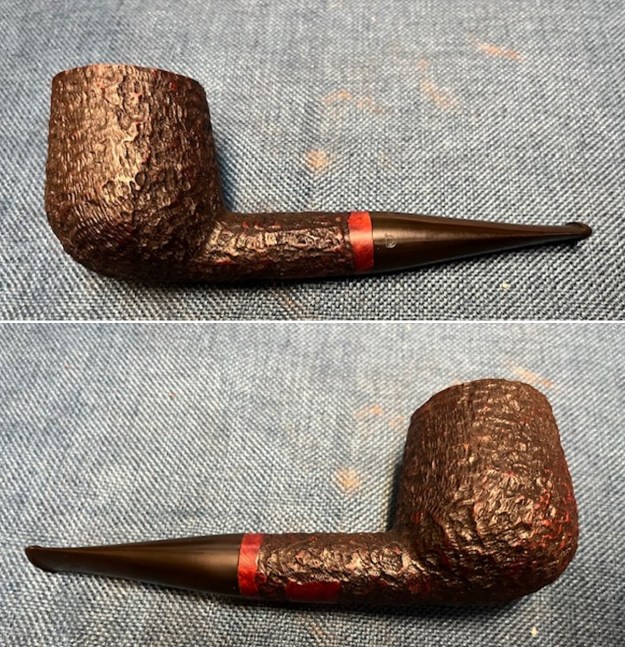
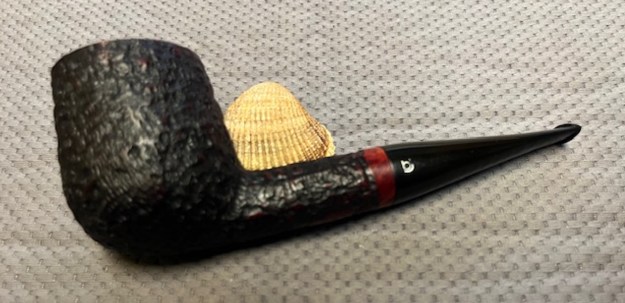
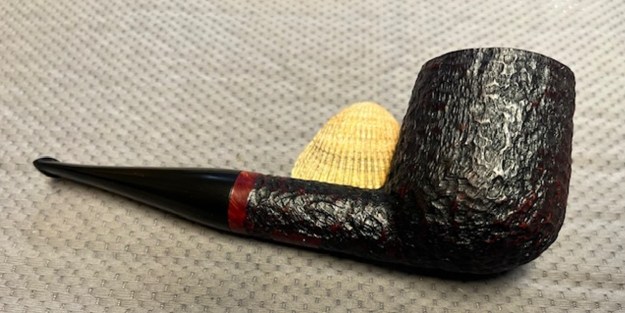
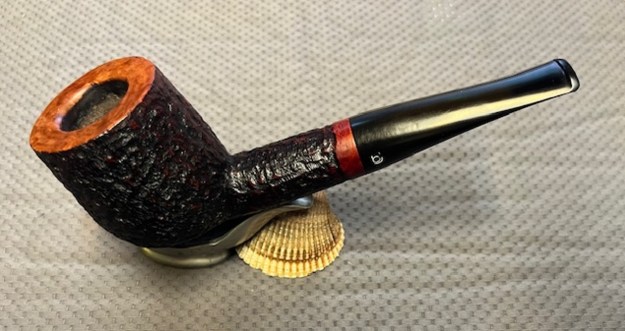
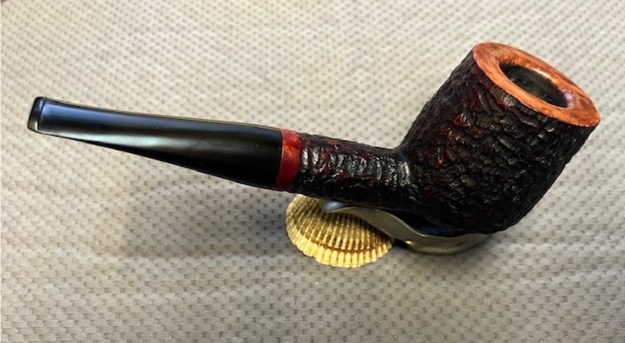
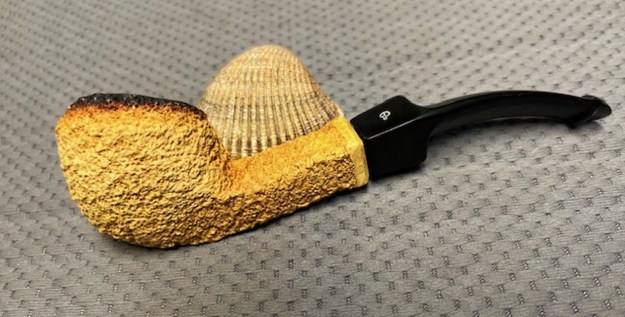
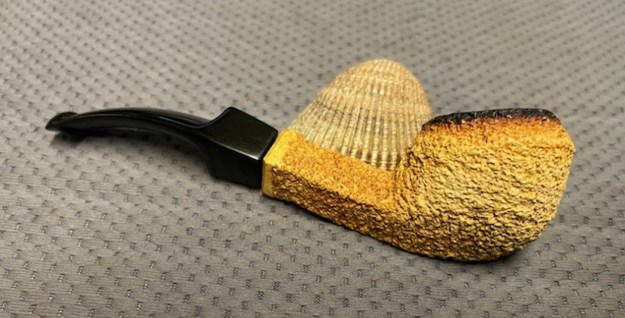
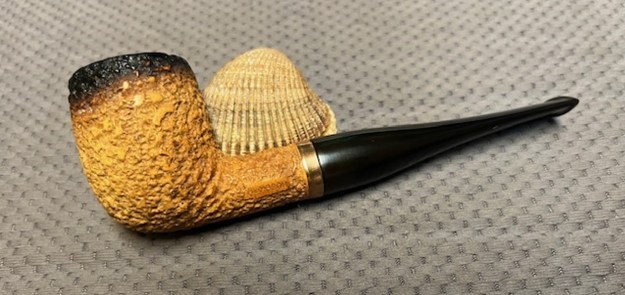
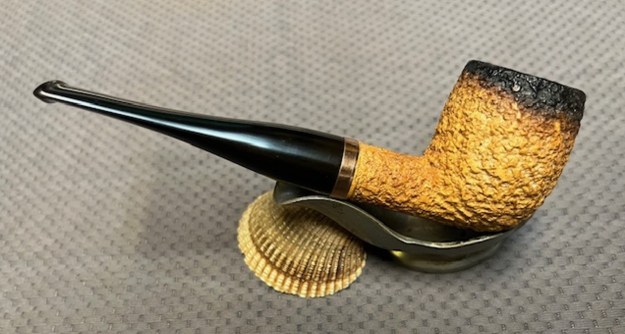
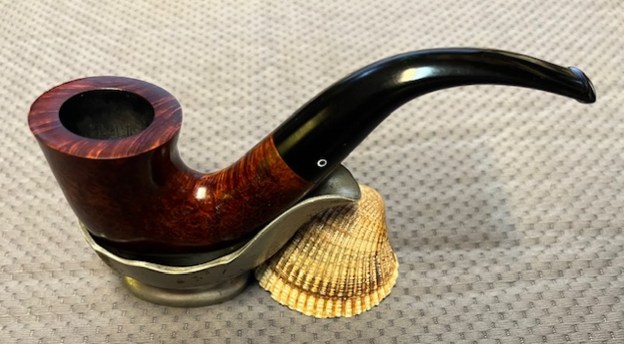
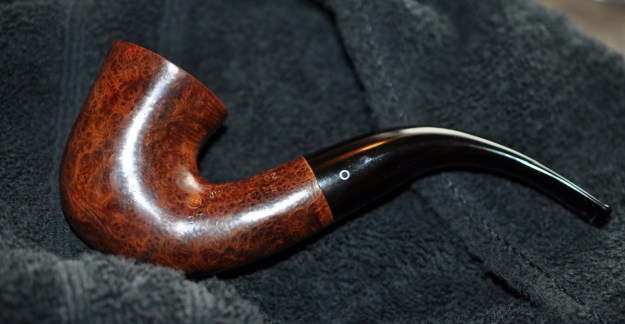
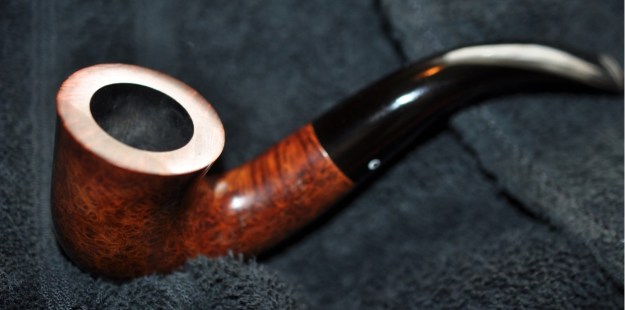
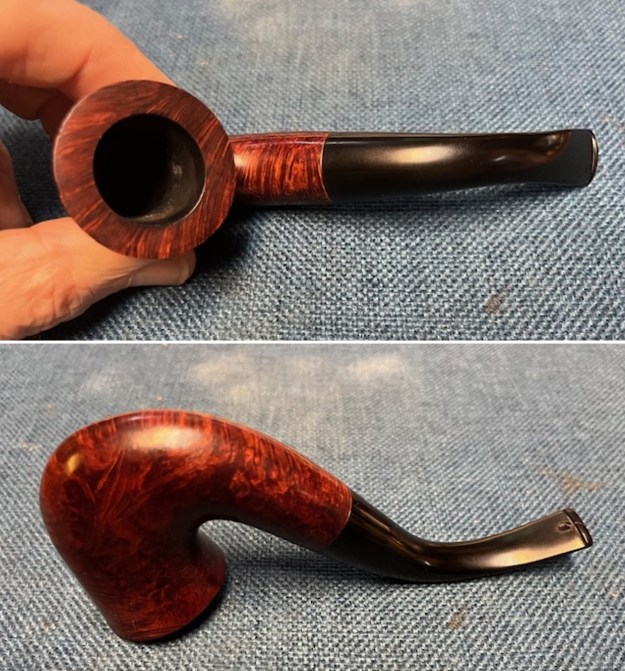
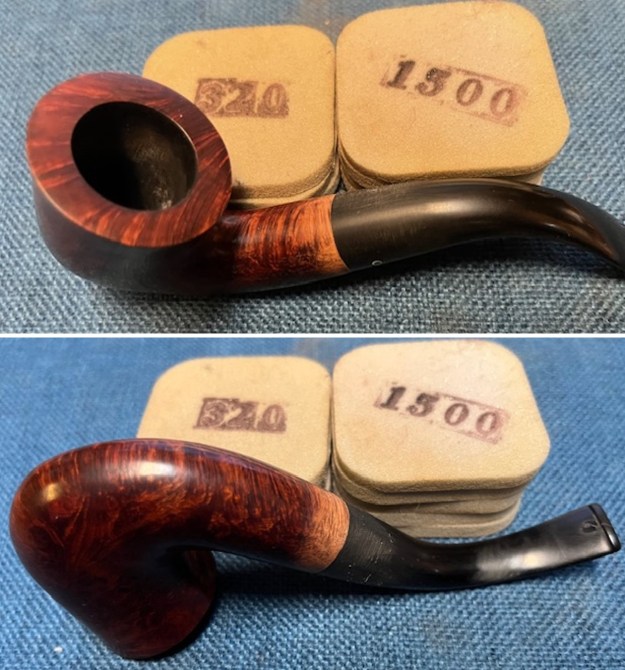
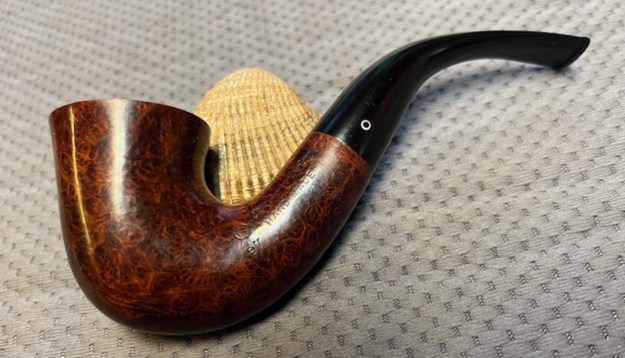
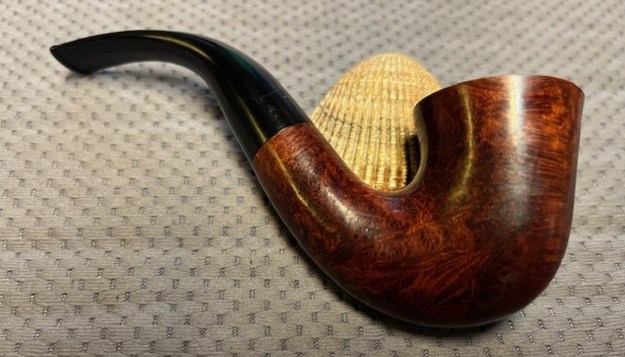
 This is a beautiful Hjerte-Brier Pedestal Freehand with a fancy, turned, black vulcanite stem. It has a great look and feel. The shape fits well in the hand with the curve of the bowl and shank junction a perfect fit for the thumb around the bowl when held. I polished stem and the bowl with Blue Diamond polish on the buffing wheel. I gave the bowl and the stem multiple coats of carnauba wax. I buffed the pipe with a clean buffing pad to raise the shine. I hand buffed it with a microfiber cloth to deepen the shine. The pipe polished up pretty nicely. The rich combination of browns and black in the smooth finish with carved leaves and the plateau areas took on life with the buffing. The rich colour of the briar works well with the polished vulcanite stem. I like the grain and finished look of this Hjerte-Brier Freehand pipe. Have a look at it with the photos below. The dimensions are Length: 6 ¾ inches, Height: 2 ½ inches, Outside diameter of the bowl: 1 ¾ inches, Chamber diameter: 1 inch. The weight of the pipe is 2.86 ounces/ 81 grams. This Danish Freehand is a real beauty. Thanks for walking through the restoration with me as I worked over another beautiful pipe. This one will be going on the rebornpipes store in the Danish Pipemakers Section shortly if you would like to add it to your collection. Thanks for your time.
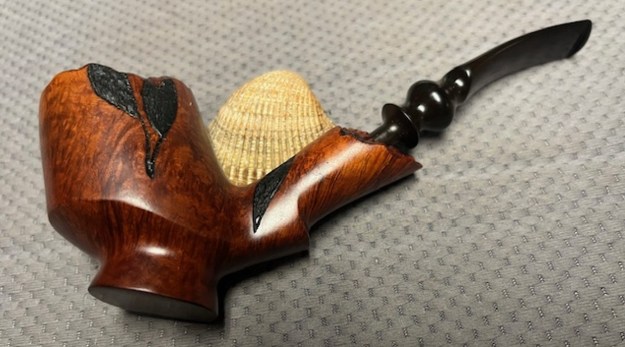


