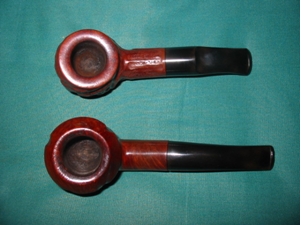
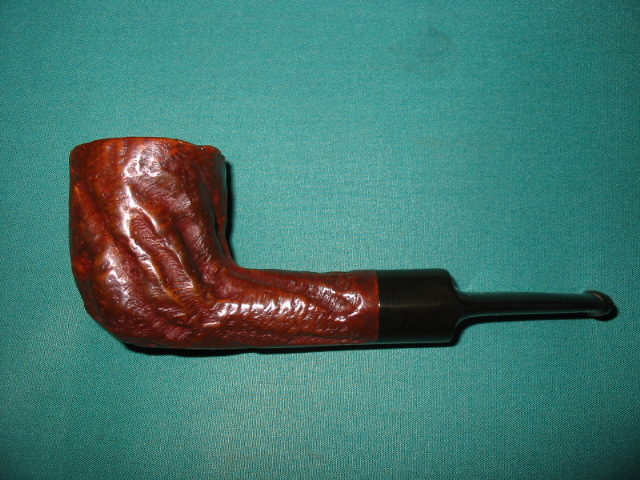
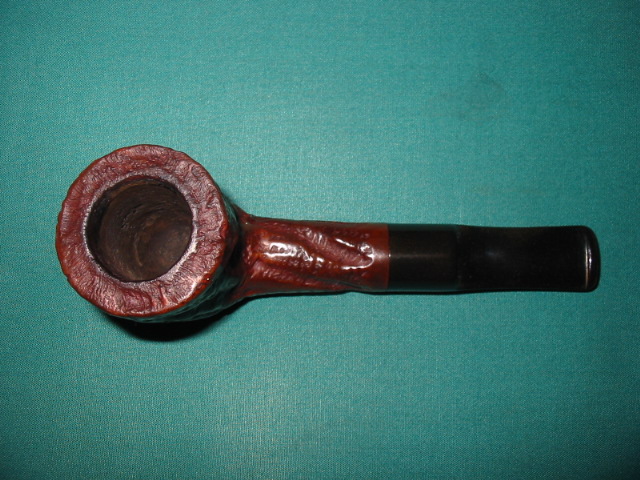
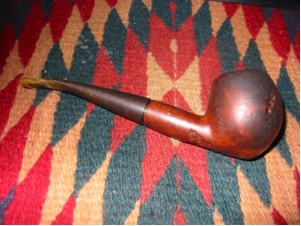
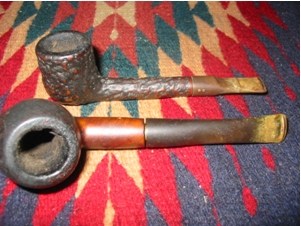
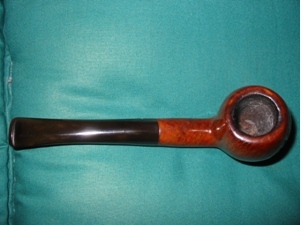
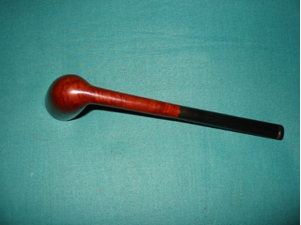
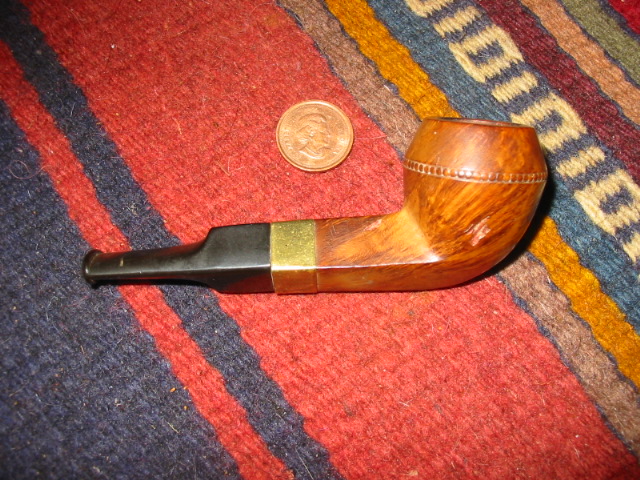
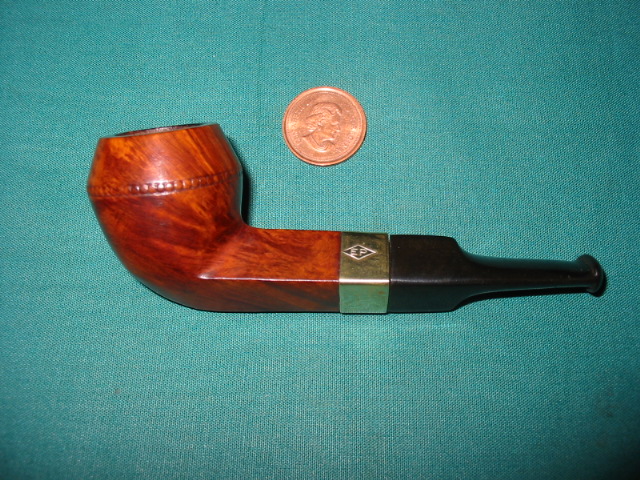
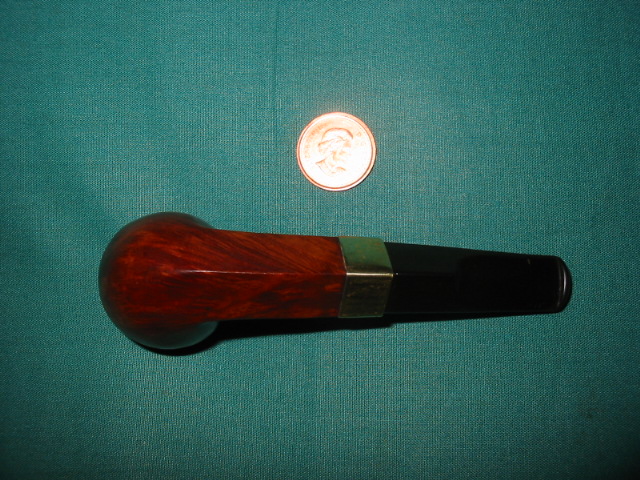
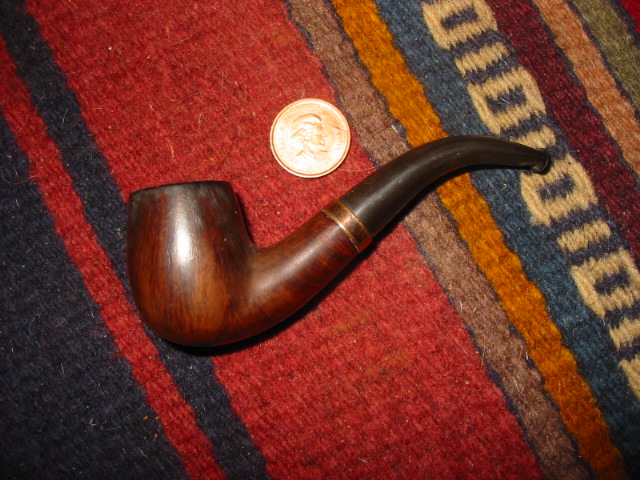
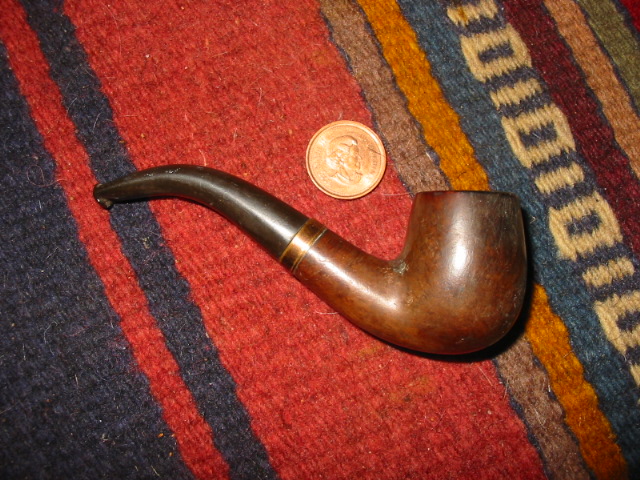
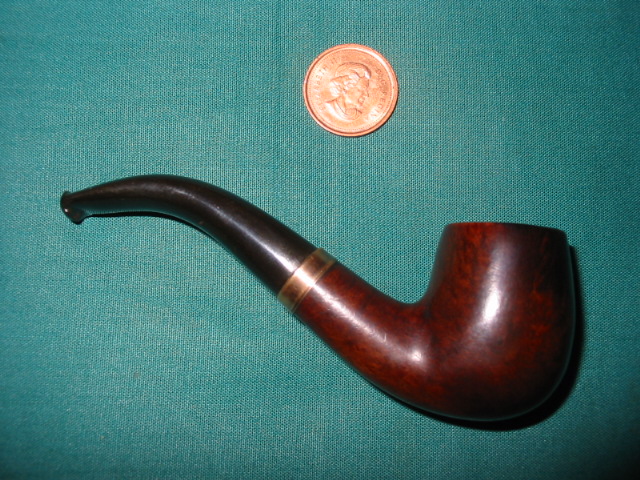
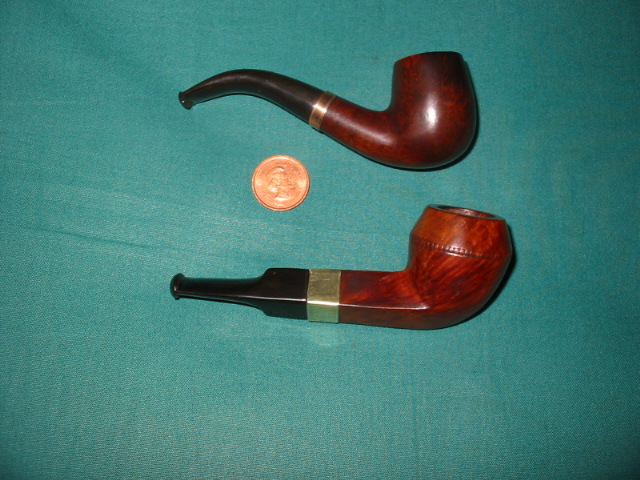
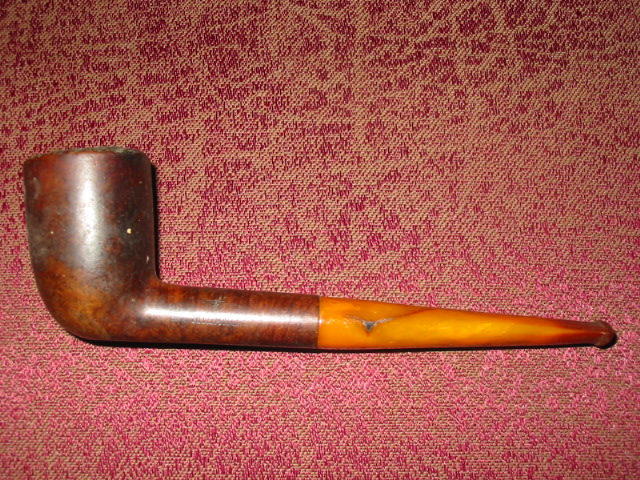
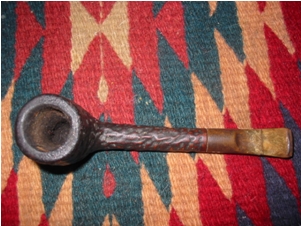
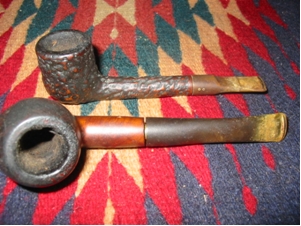
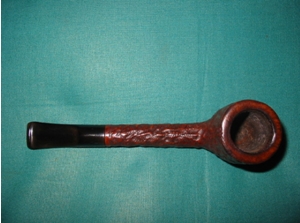
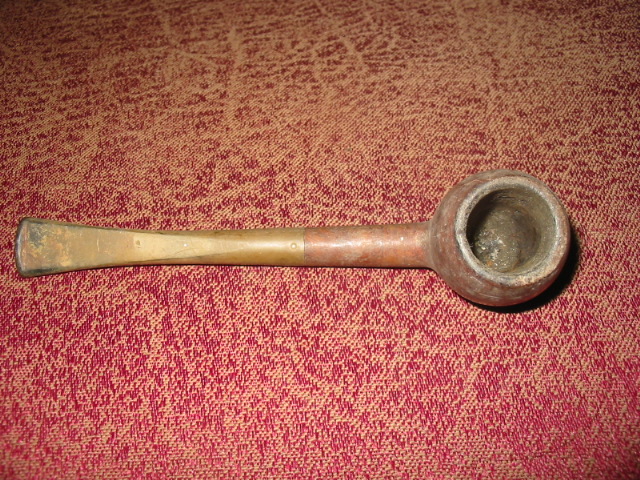
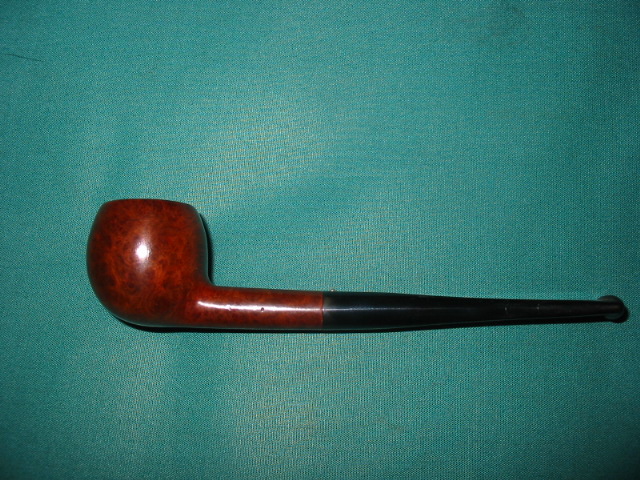
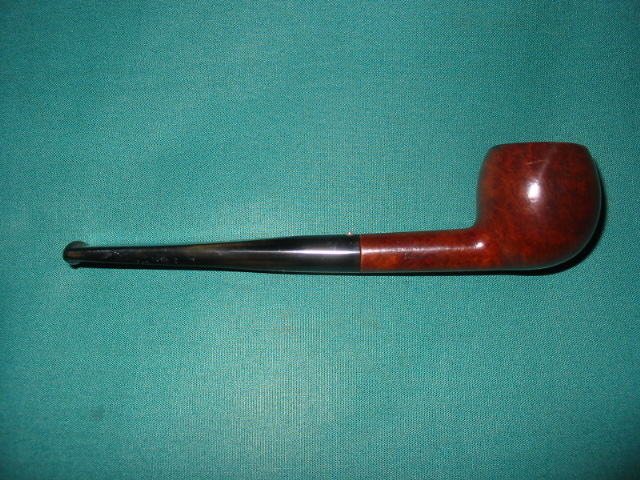
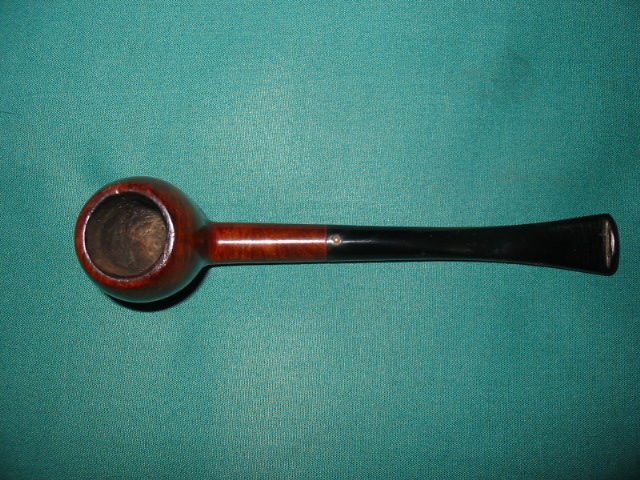
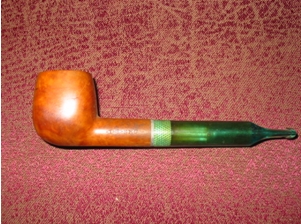
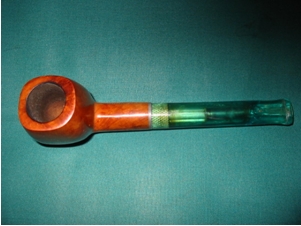
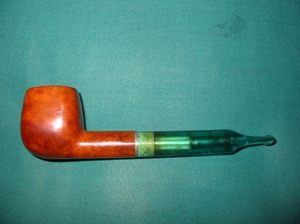
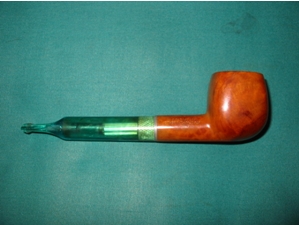
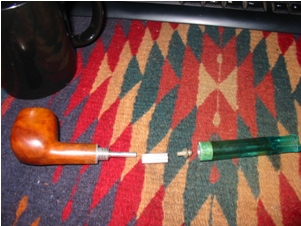
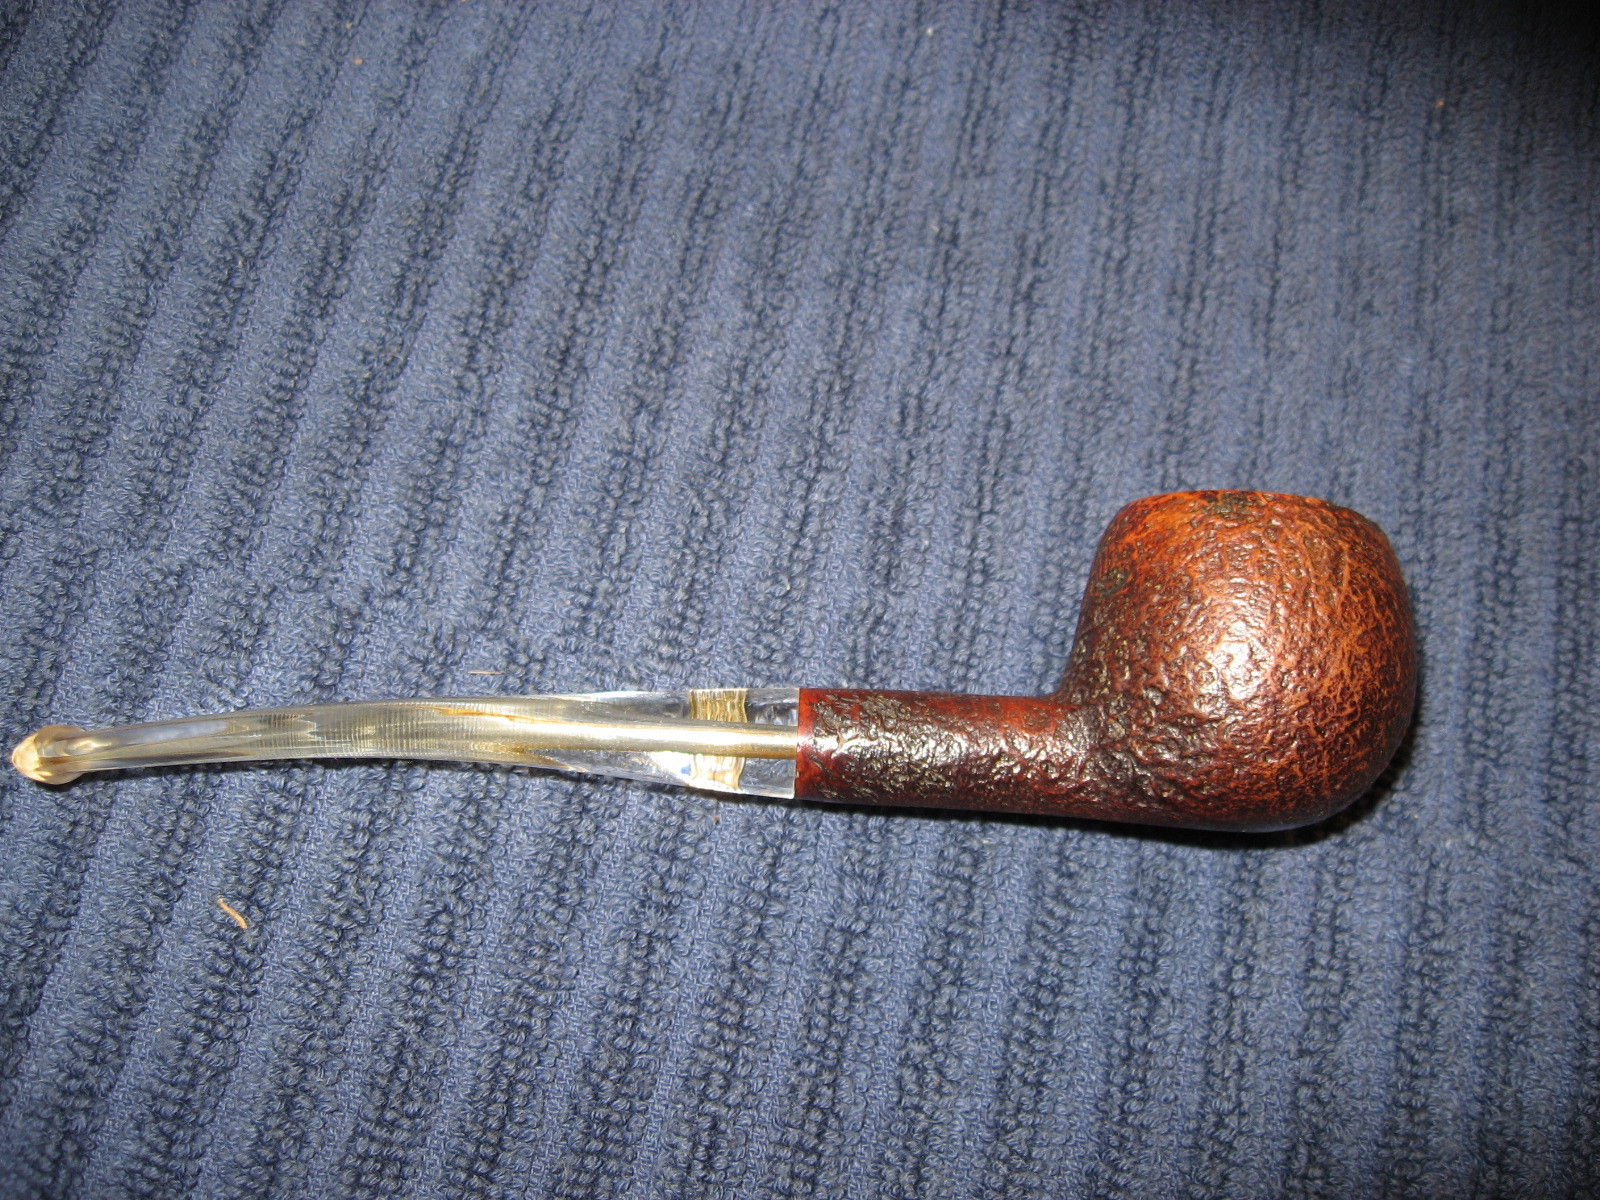
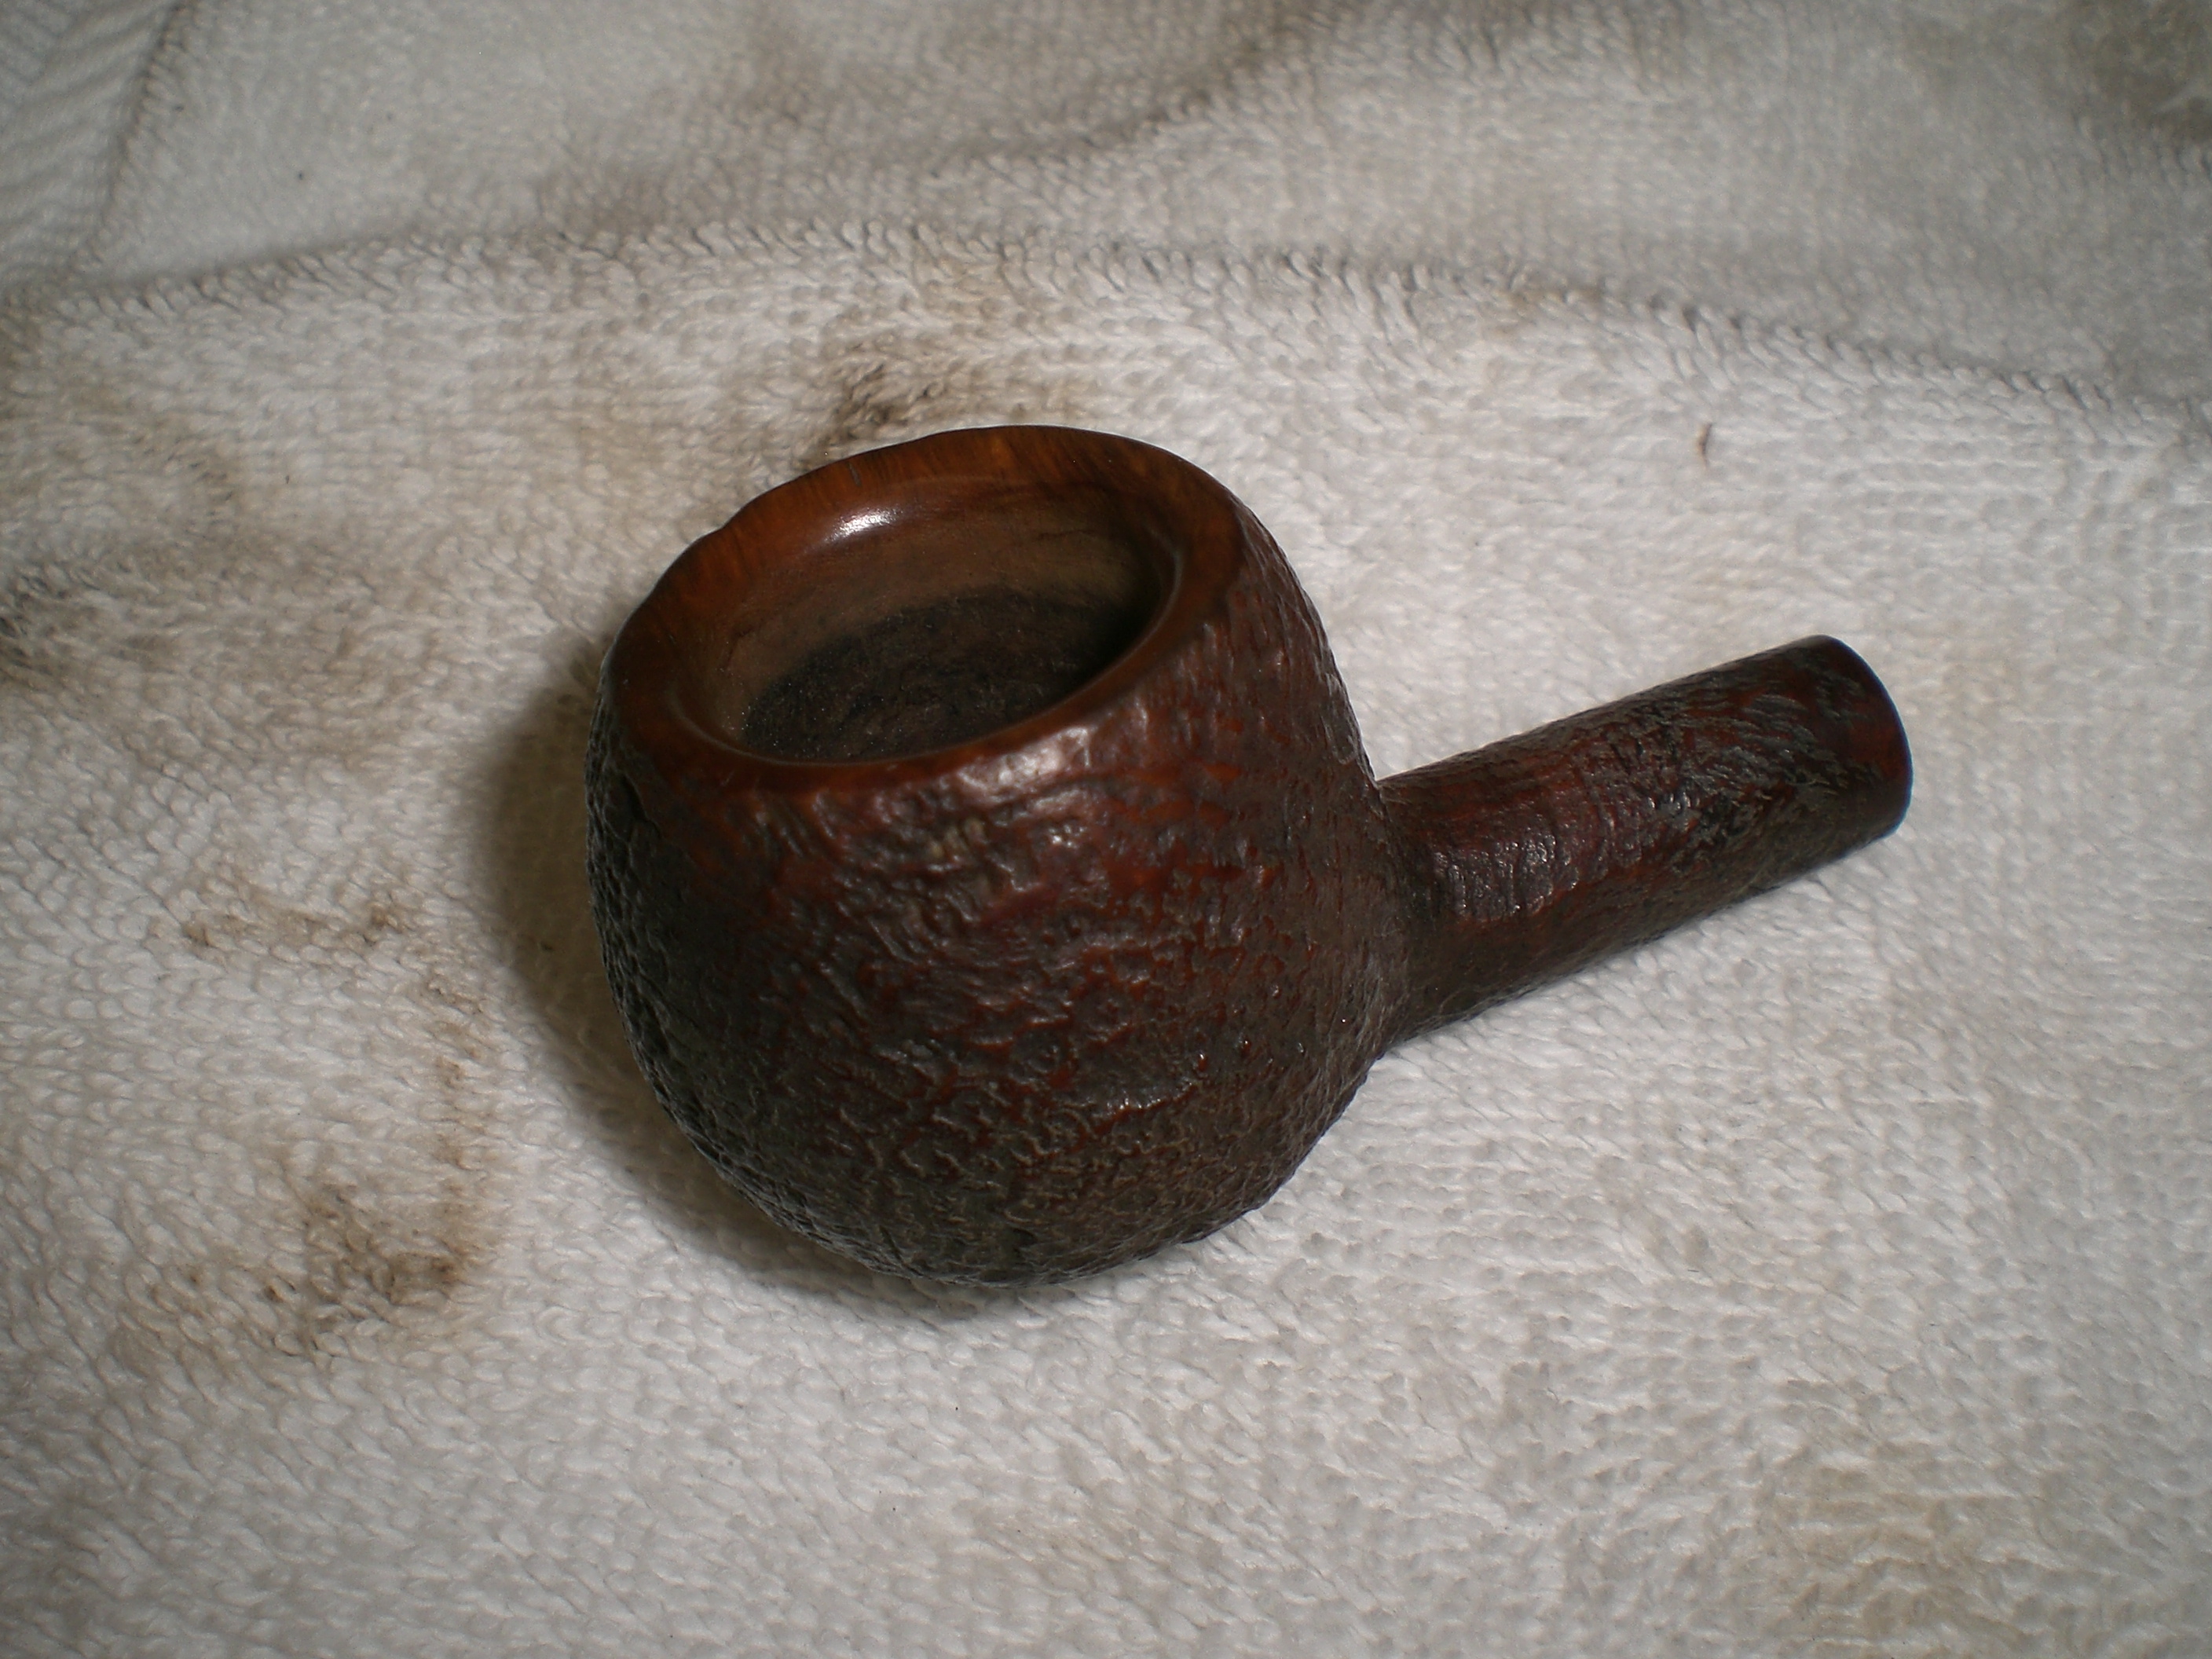
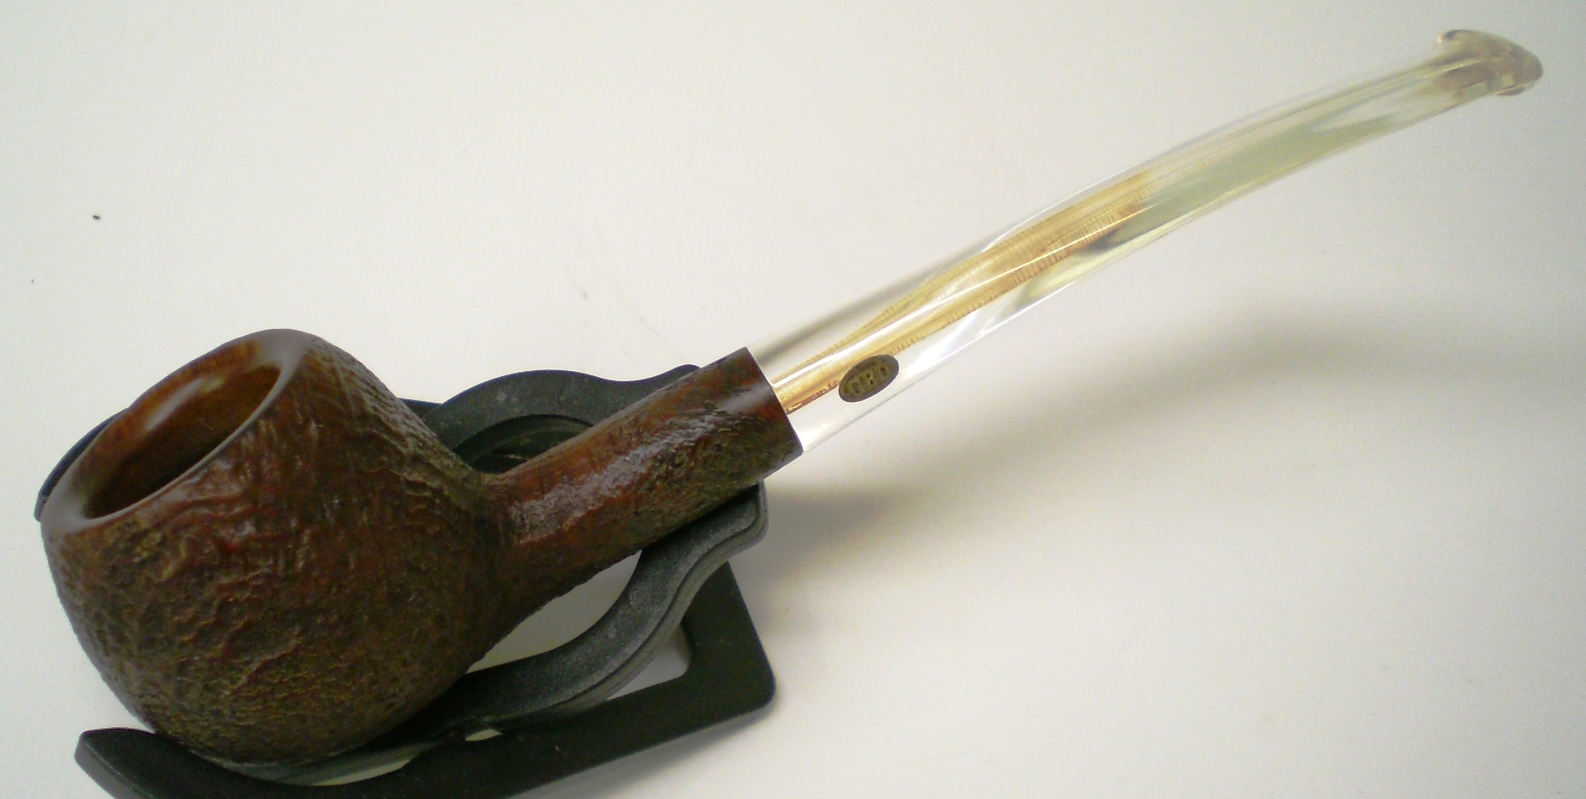
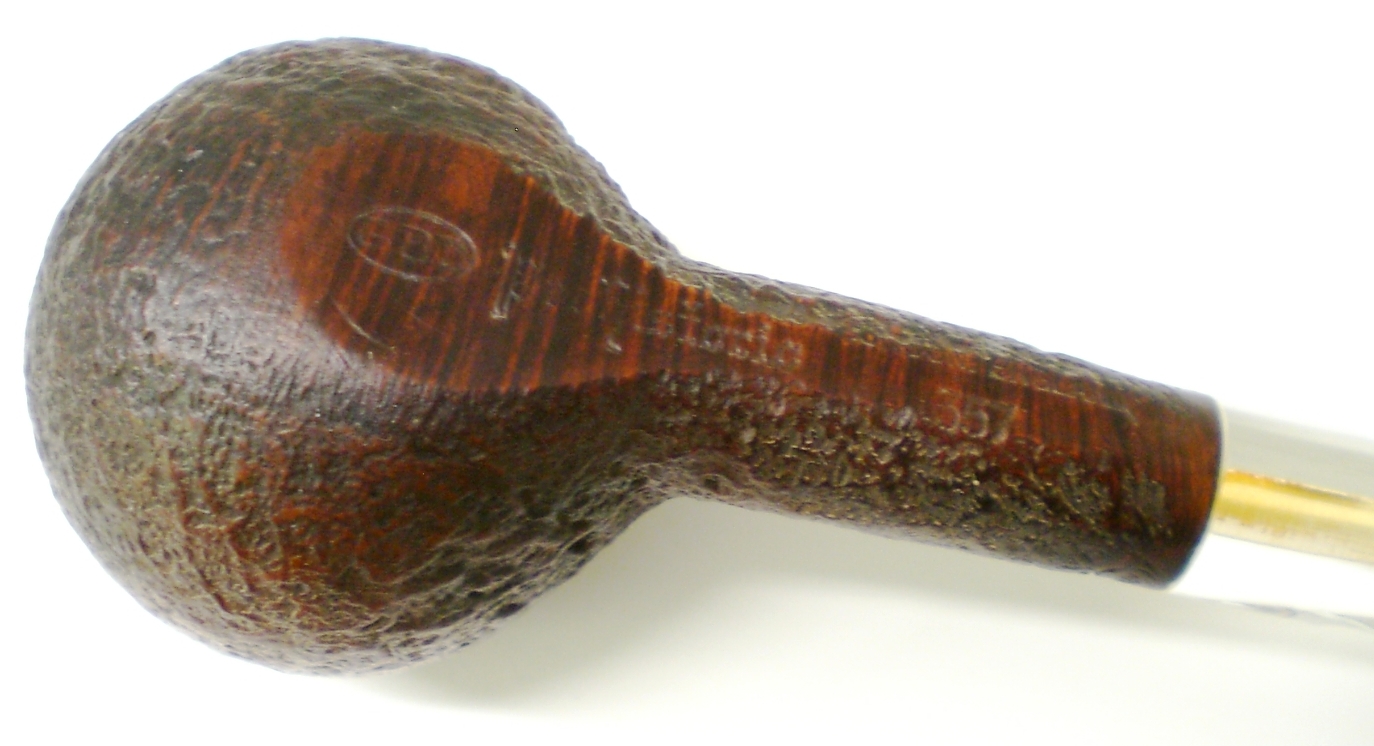
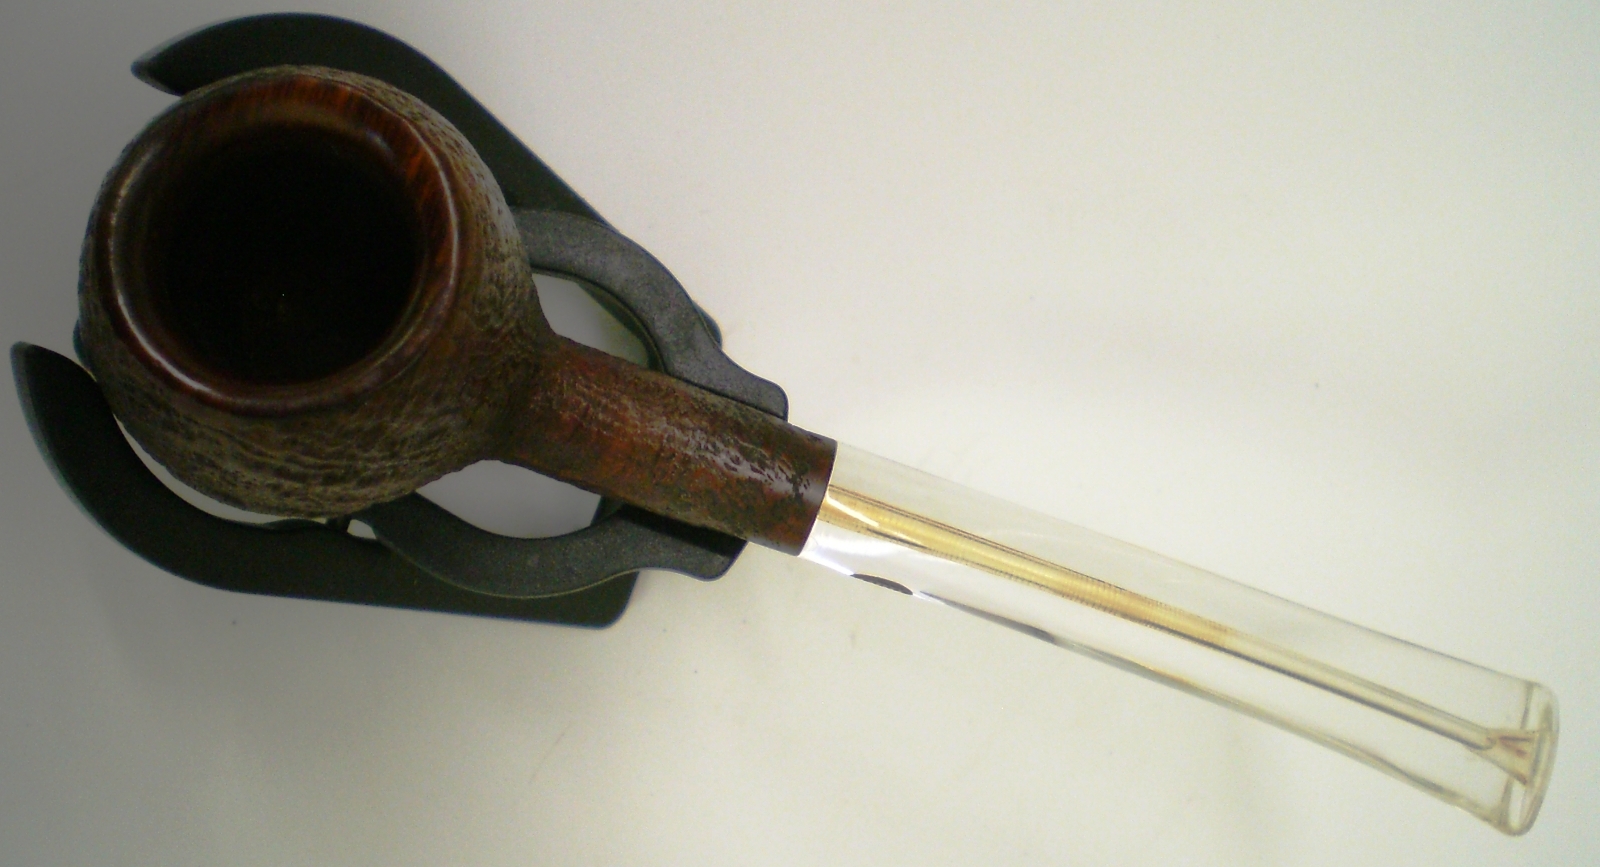
I just finished up on these two Custom Bilt look a likes. The Rhodesian shaped pipe has no stamping other than Imported Briar. The bent pot is stamped Aged Imported Briar on one side and Ben Rogers on the other side. I am not familiar with the brand. So if anyone has information on it please post it here. I would appreciate learning about the twosome.
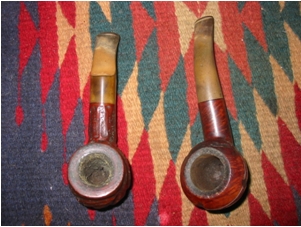
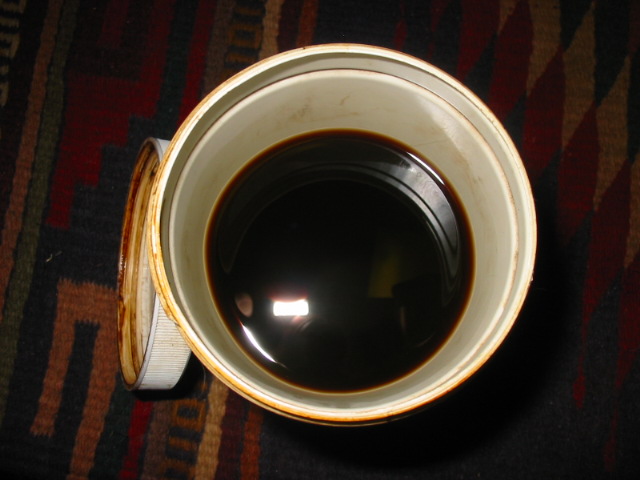
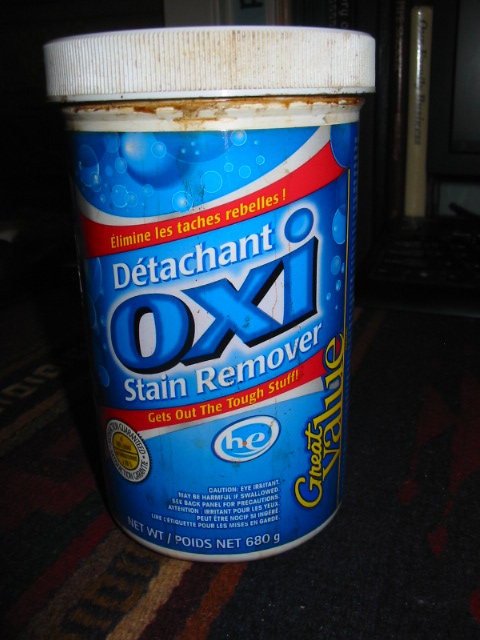
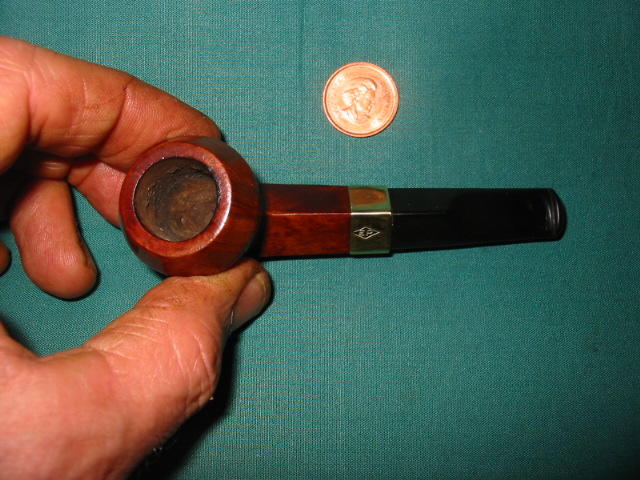
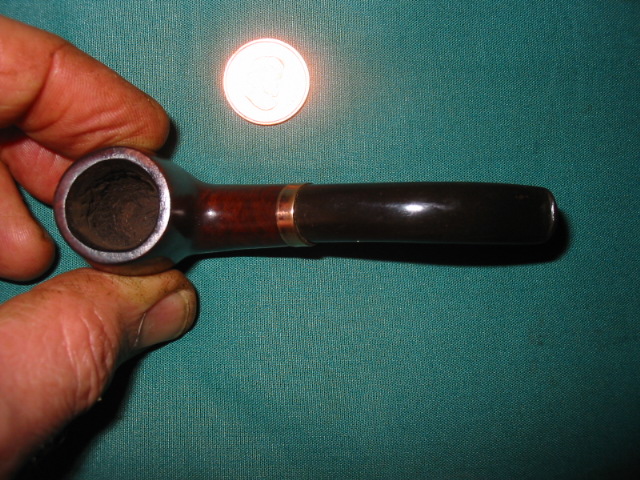
Both pipes needed quite a bit of work to make them smokeable once more. The bowls had a thick cake and each one of them still stuffed with half a bowl of tobacco. The stems were rough and pitted from the oxidation and had a white lime like coat on them. They were very dirty inside and out. I cleaned them with a shank brush, bristle pipe cleaners and finished with fluffy ones all dipped in isopropyl alcohol until they came out clean. I buffed the stems with Tripoli after cleaning them to try and break down the coat of oxidation. It did not do much so I put them both in a bath of Oxyclean to soak. I find that though it does not remove the oxidation it does soften it considerably and makes sanding and buffing it off much easier.
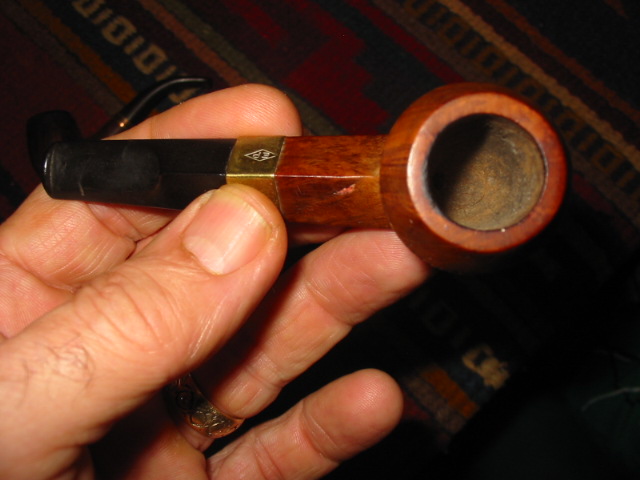
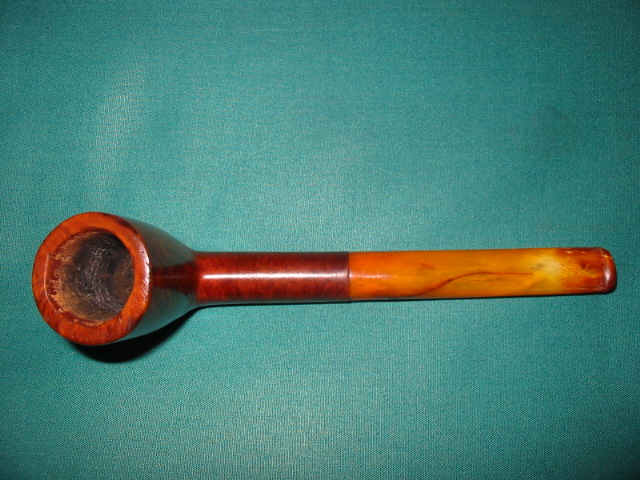
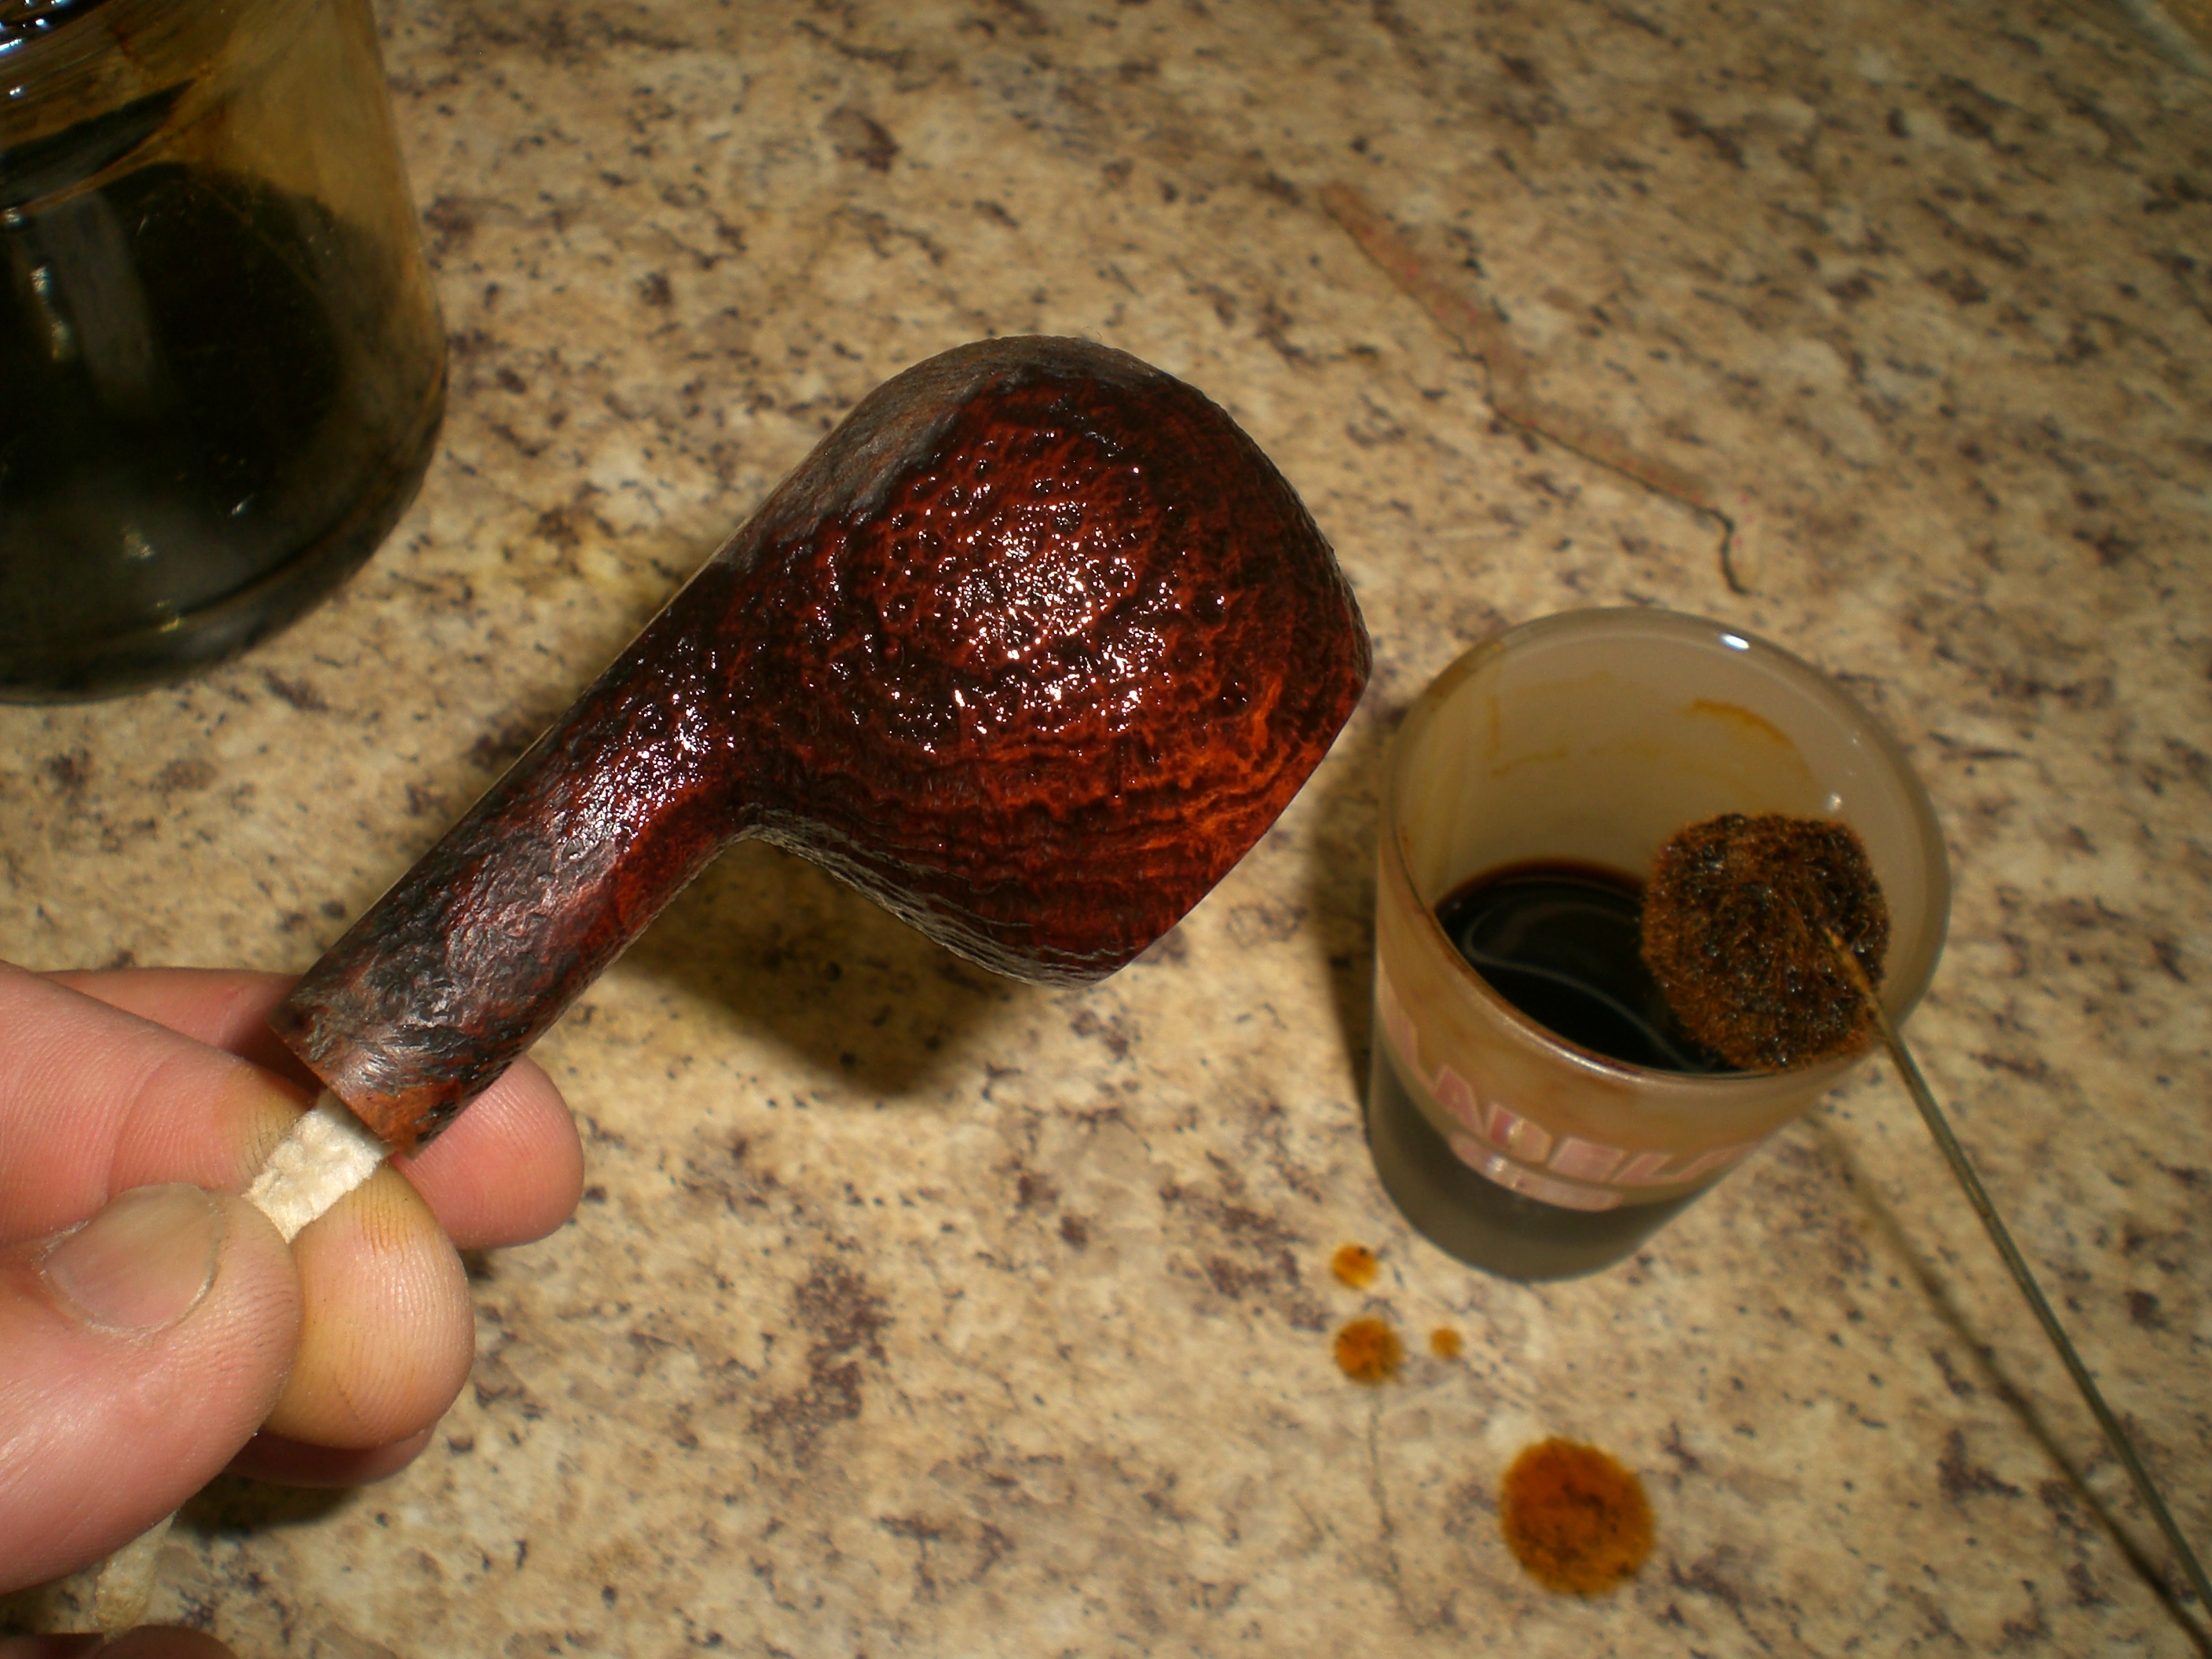
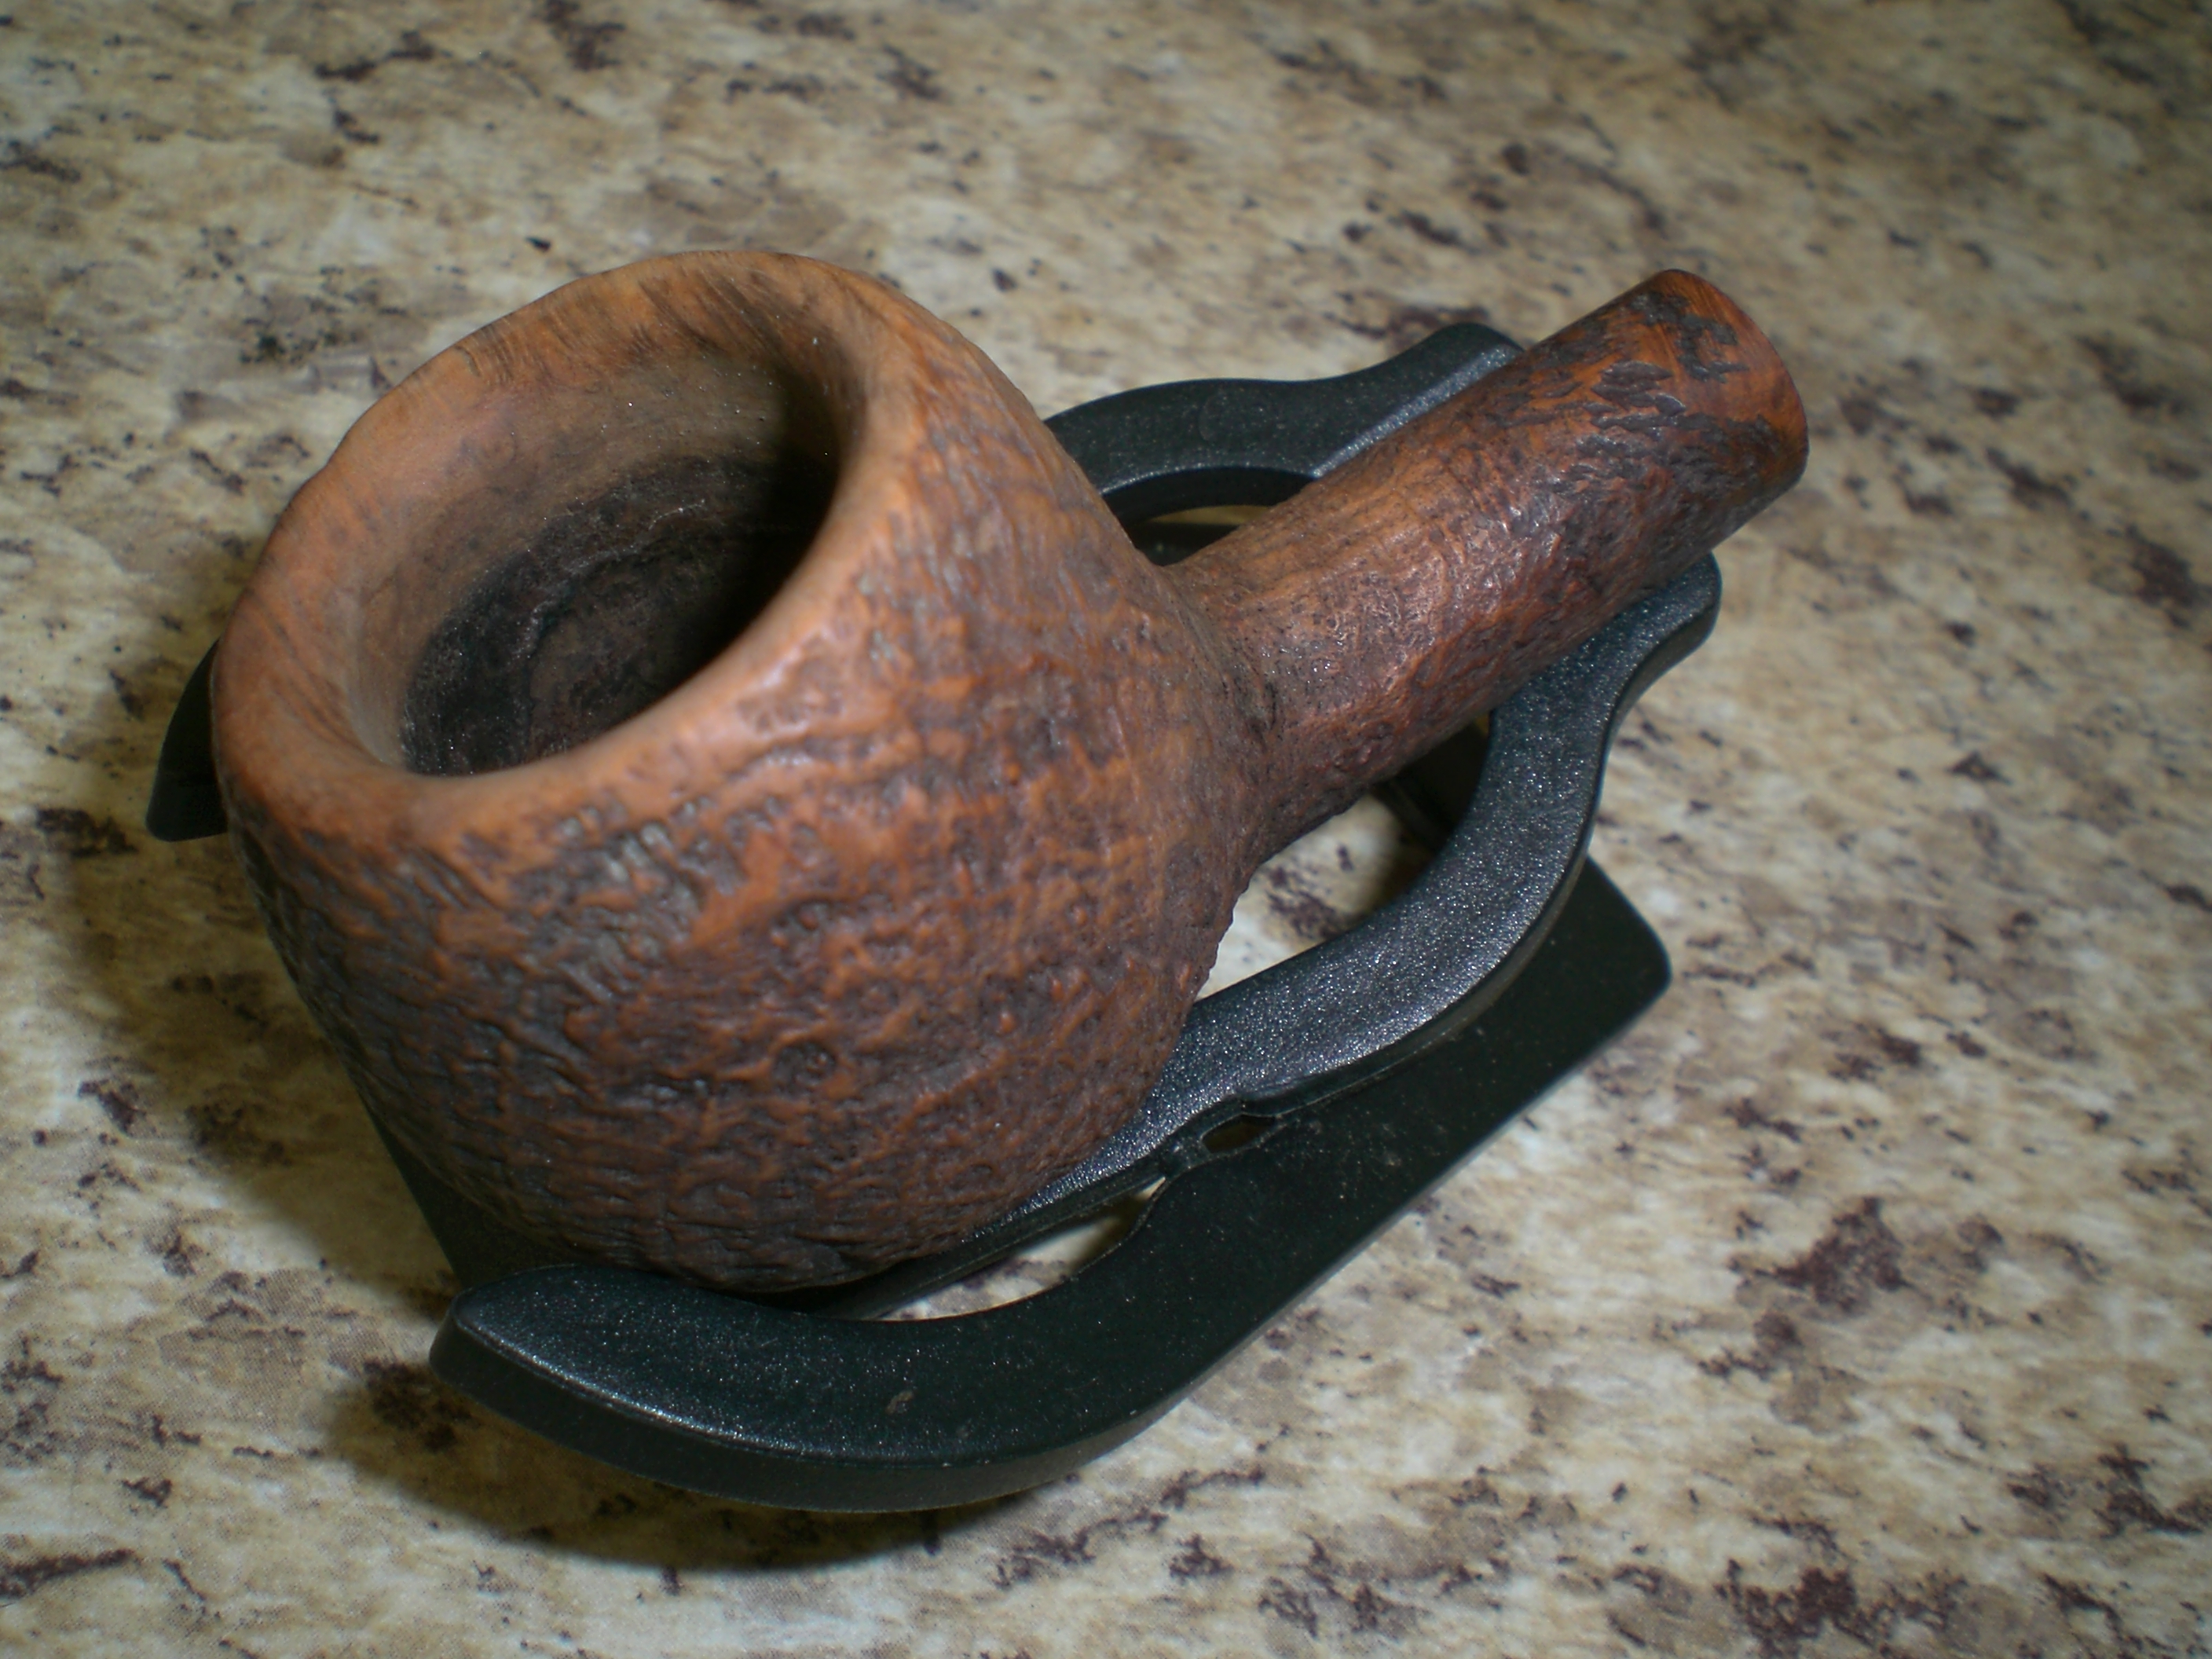
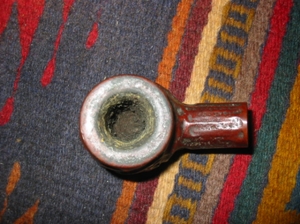
Once they were soaking I turned to the bowls. First I reamed them both to remove the crumbling and uneven cake. I generally take them back to bare wood when they are in this state or at the most leave a thin bit of cake on the walls. I cleaned the rims with alcohol and a soft cloth and sanded it with 600 wet dry sandpaper to remove the tar deposits and carbon on them. Once that was done I dropped them in the alcohol bath to wet them and scrubbed them with a soft bristle toothbrush. I find that on the smooth and semi-rusticated finish of these pipes the tooth brush works very well to remove deep seated grime and loosen oils and dirt. I then left them to soak while I went back to the stems.
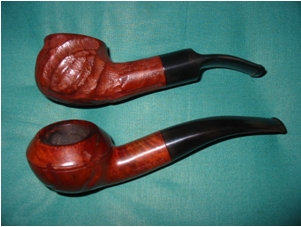
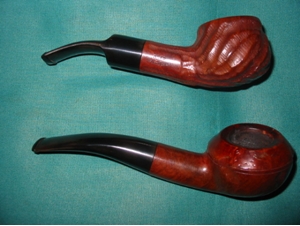
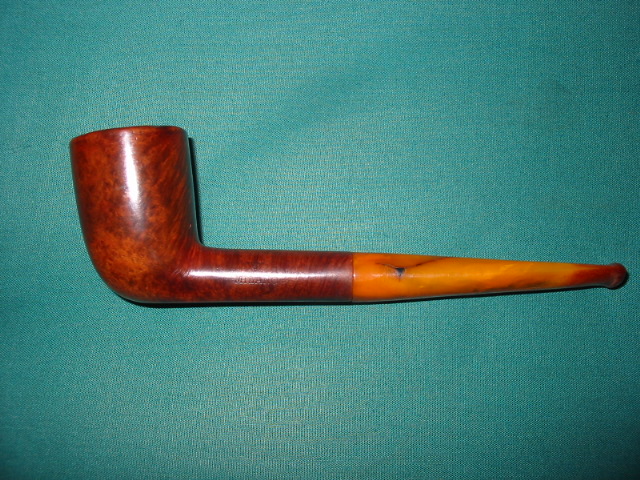
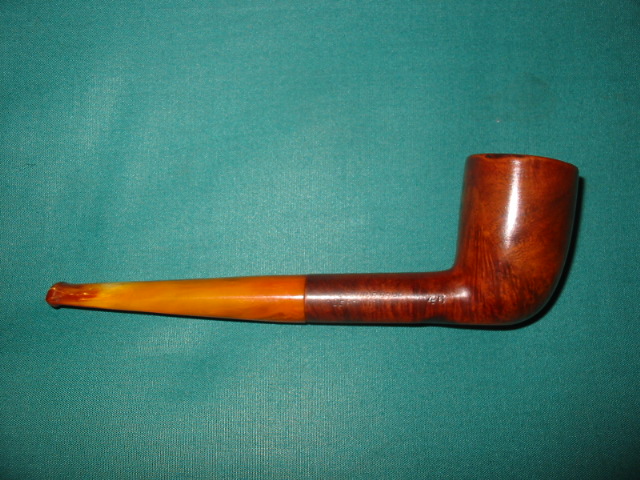
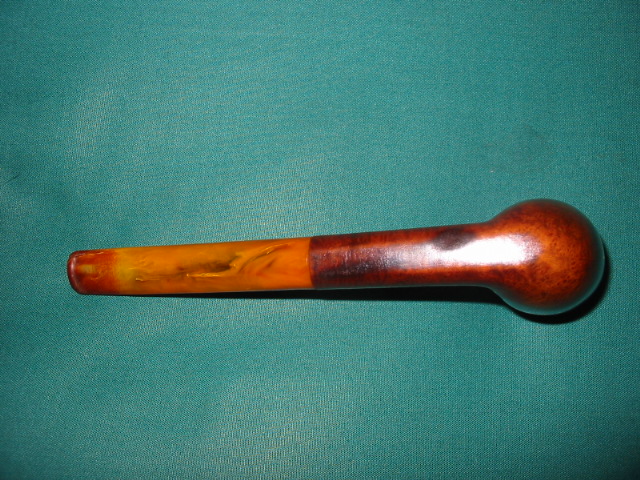
After the soak the stems came clean pretty easily with 240 grit sandpaper, 400 and 600 wet dry sand paper and a finishing buff with Tripoli. I worked on them for a while with the sandpapers and Tripoli and then used White Diamond for the final polishing buff. I was careful to not buff the last bit around the stem edge that would meet the shank. I would finish it once the bowls were stained and ready. Then I would buff them together with carnauba wax.
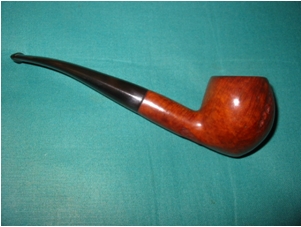
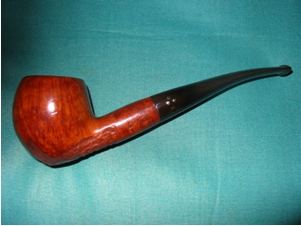
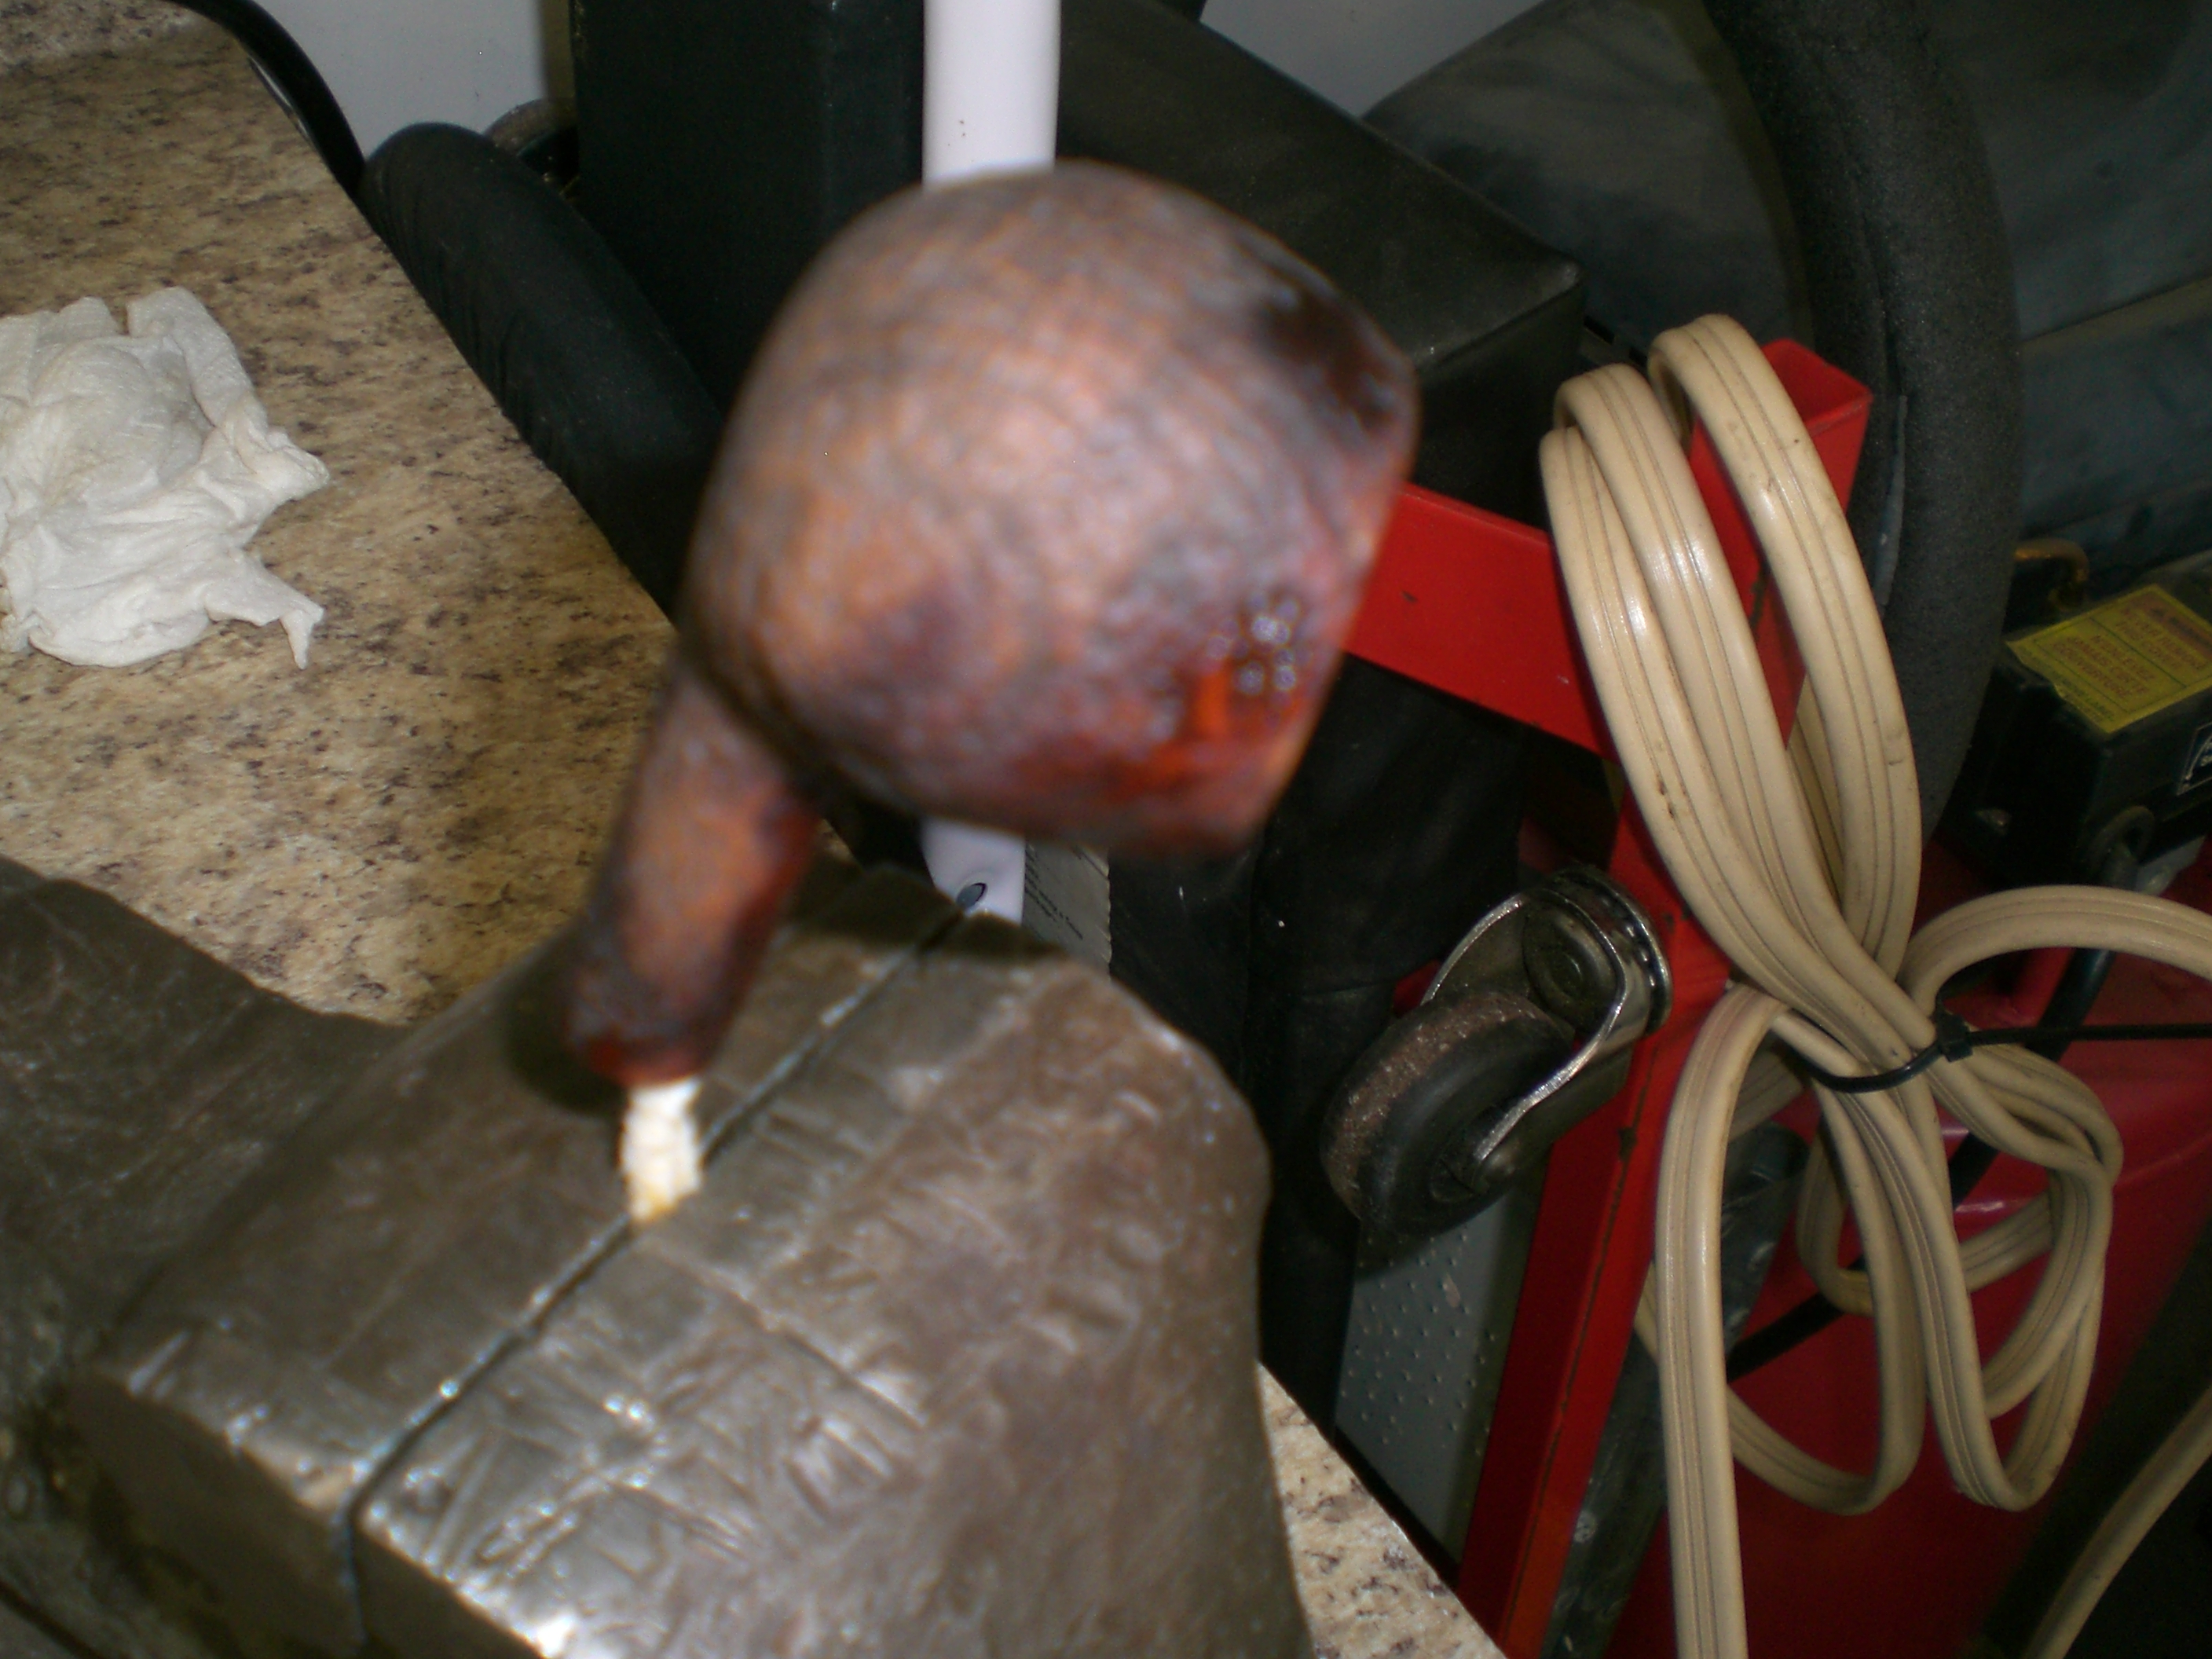
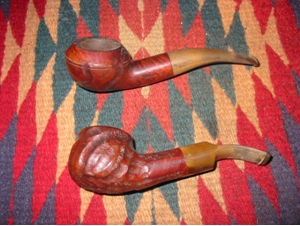
By the time I was done with the stems the bowls were ready. I took them out of the bath and wiped them down. Once they were dry I restained them both with a medium brown aniline stain, flamed the stain and then buffed them with White Diamond to remove excess stain and give a contrast between the smooth portions and the rustication. I hand waxed them both with Halcyon wax and buffed with a soft cotton cloth.