Blog by Steve Laug
 The next pipe I have chosen from Bob Kerr’s Estate is a KB&B Drinkless Kaywoodie English Made Pot with an unmarked stem. It is the last of Bob’s English made Kaywoodies. (Bob’s photo is to the left). If you have not “met” the man and would like to read a bit of the history of the pipeman, his daughter has written a great tribute that is worth a read. Because I have included it in most of the restorations of the estate to date I thought that I would leave it out this time. Check out some of the recent Dunhill restoration blogs (https://rebornpipes.com/2020/01/01/restoring-the-last-of-bob-kerrs-dunhills-a-1962-dunhill-bruyere-656-f-t-bent-billiard/).
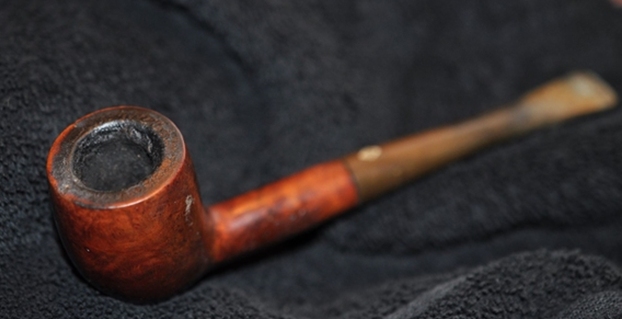
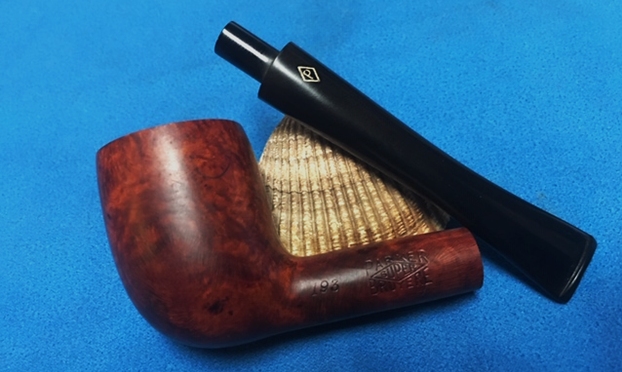
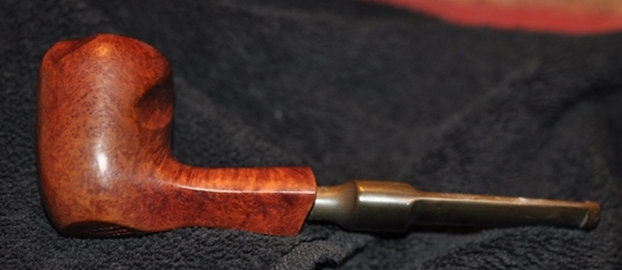
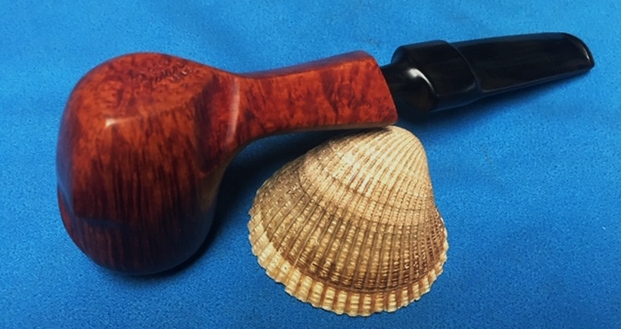
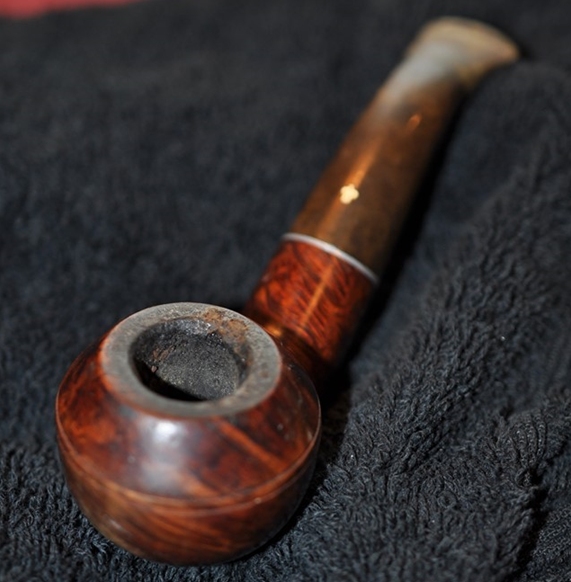
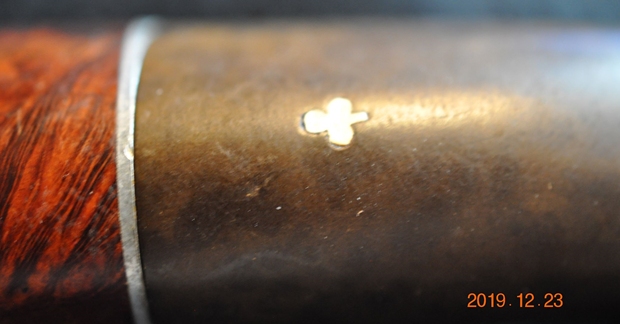
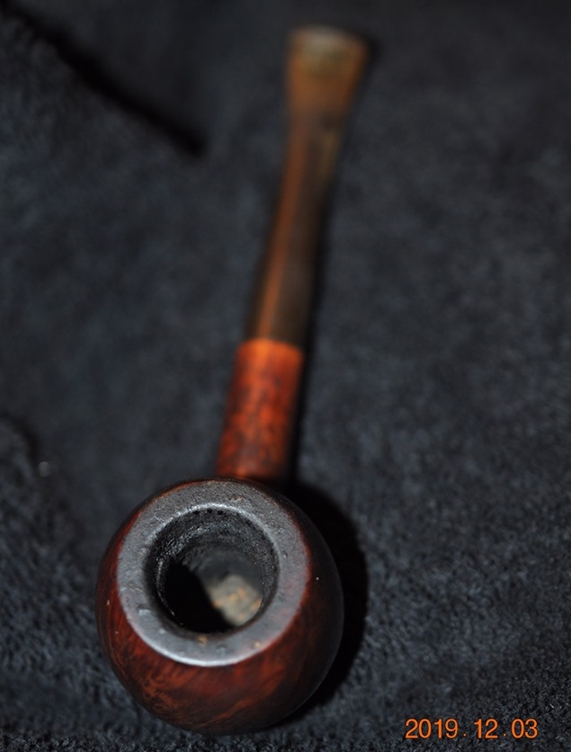
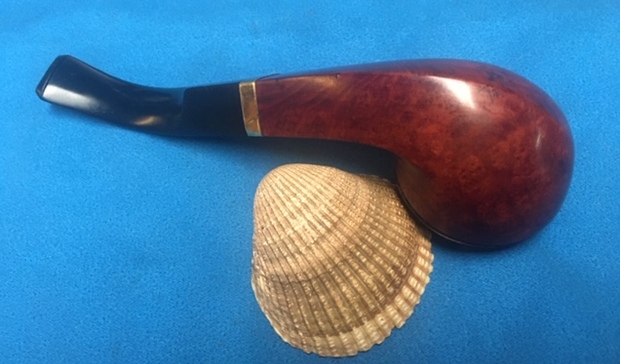
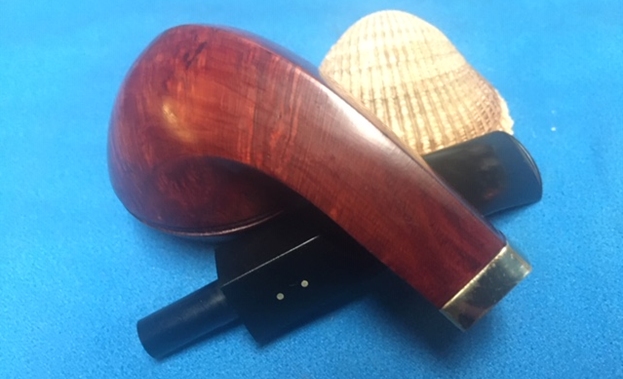
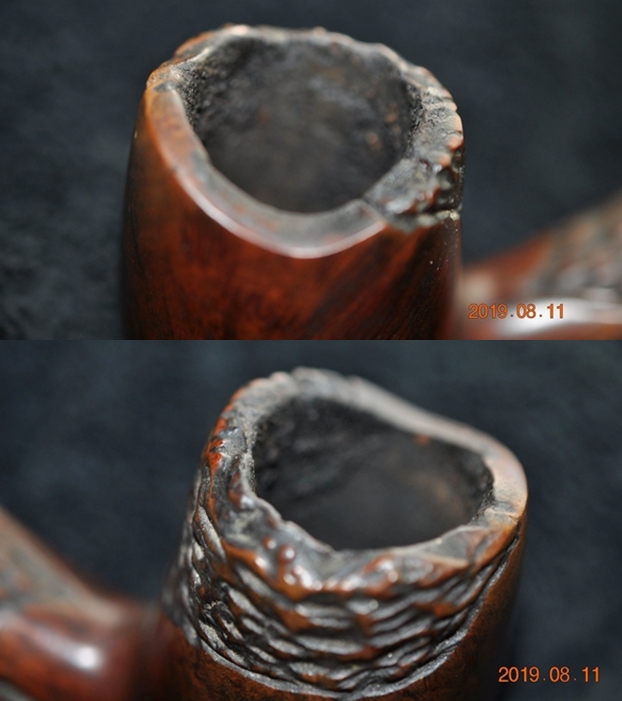
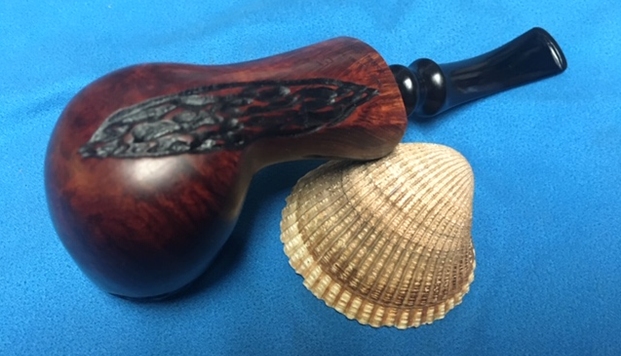
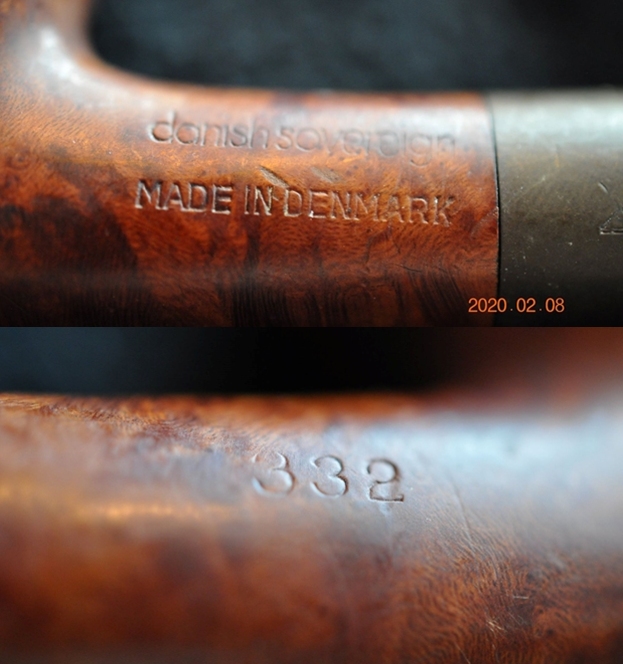
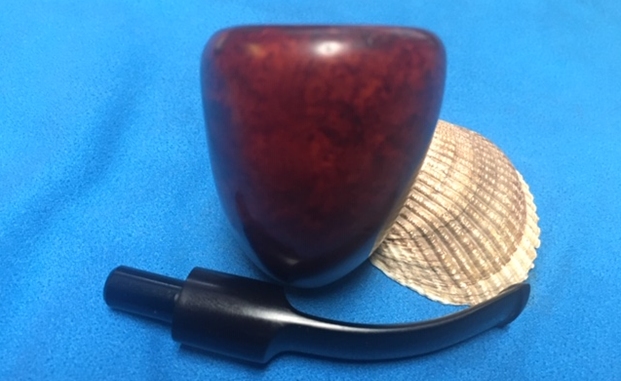
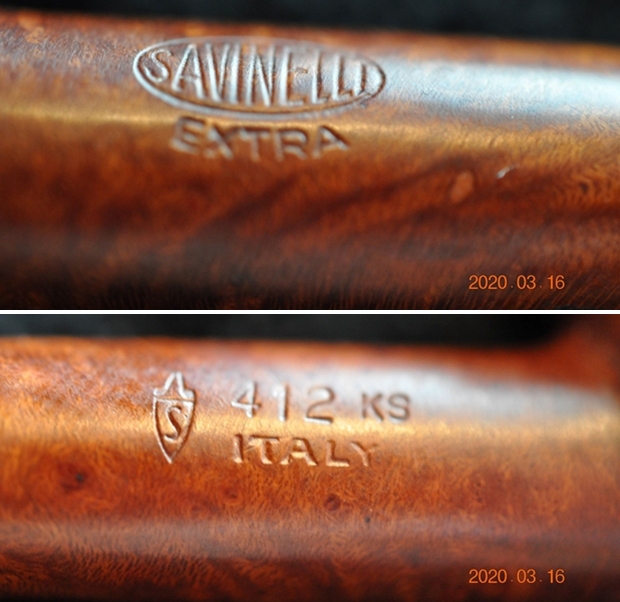
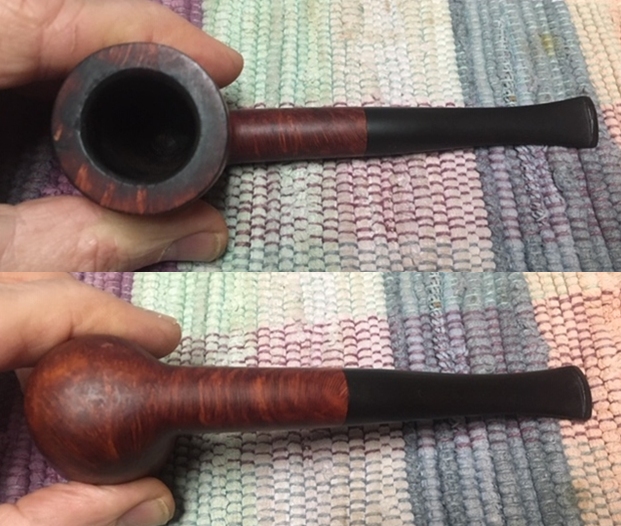
This Pot is stamped DRY in a KBB style cloverleaf followed by Drinkless [over] Kaywoodie [over] Made in England on the left side of the shank. On the right side it is stamped with the number 95B. The DRY stamp in the cloverleaf was new to me. The tapered stem is missing the typical white inlaid Kaywoodie Cloverleaf logo. The tenon is threaded and has been modified with the removal of the stinger. The stem is oxidized, calcified and has light tooth marks and chatter on both sides near the button. The exterior of the bowl is grimy and dirty. There is a thick cake and lava overflow on the rim top. It is thick enough that it is hard to know if there is any damage on top and edges. Jeff took photos of the pipe to show its general condition before he did his cleanup. 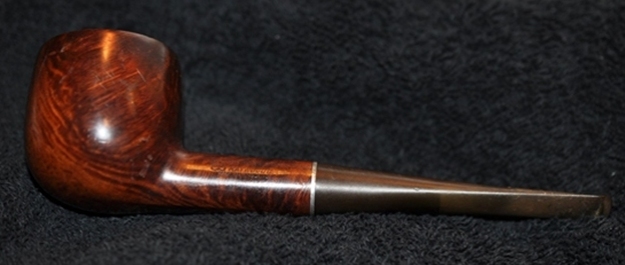
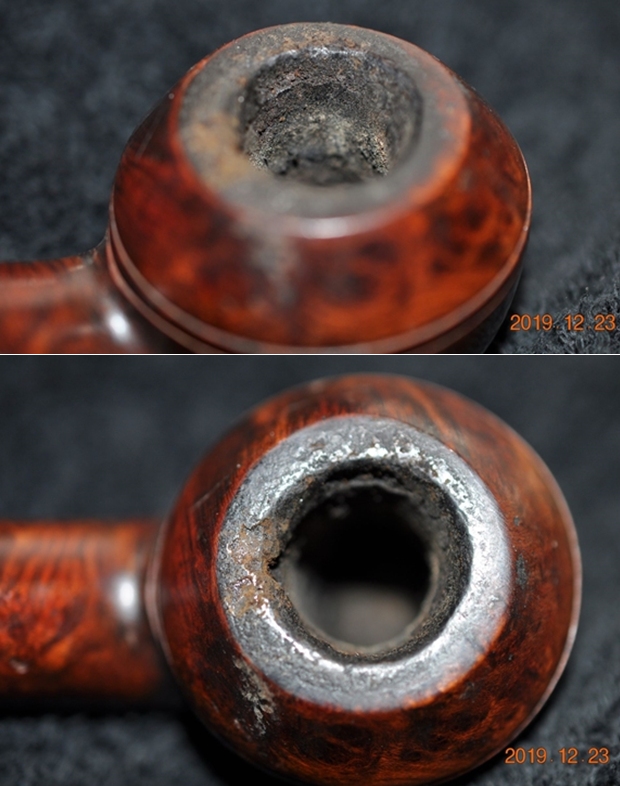
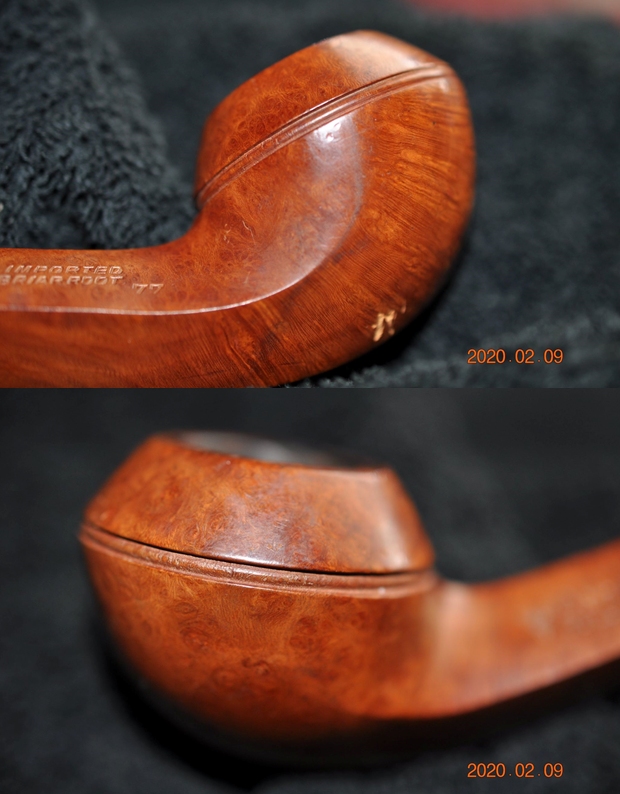
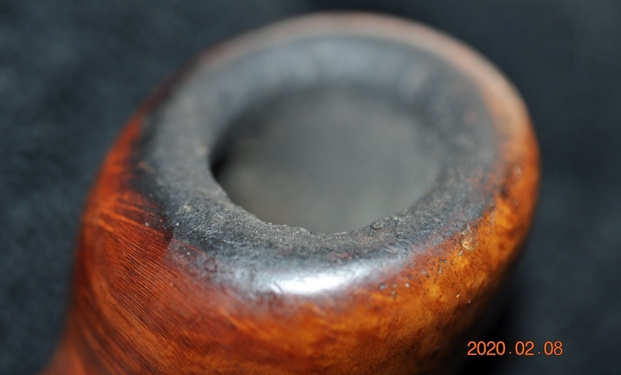
 The exterior of the pipe was very dirty – grime and grit ground in from years of use and sitting. The rim top was covered with a coat of thick lava that overflowed the bowl. There was also some darkening on the rim top and inner edge of the bowl. The bowl itself had a thick cake with flecks of tobacco stuck in the cake on the sides.
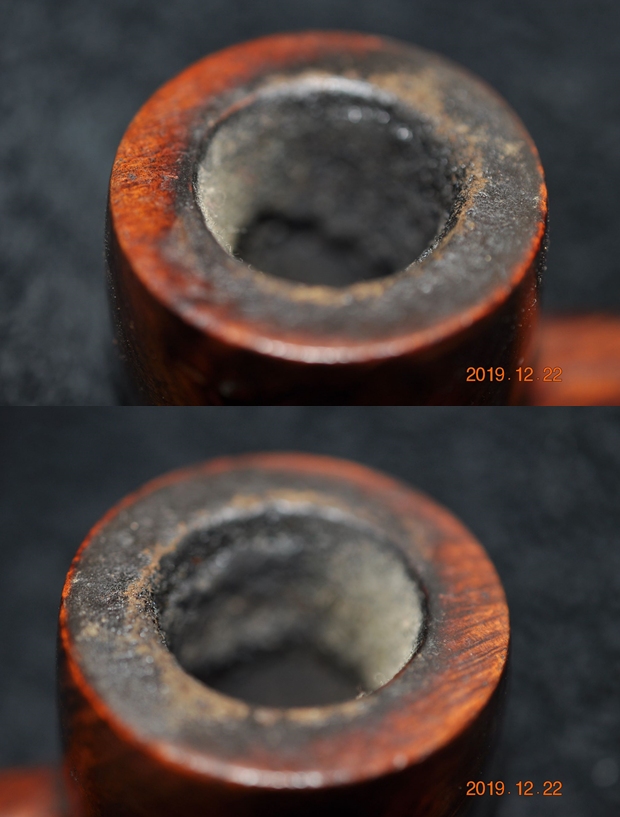
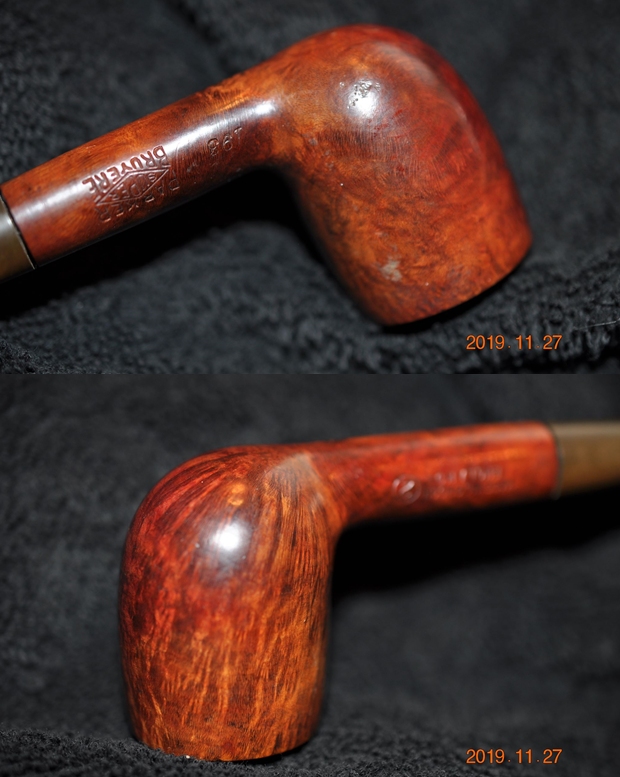
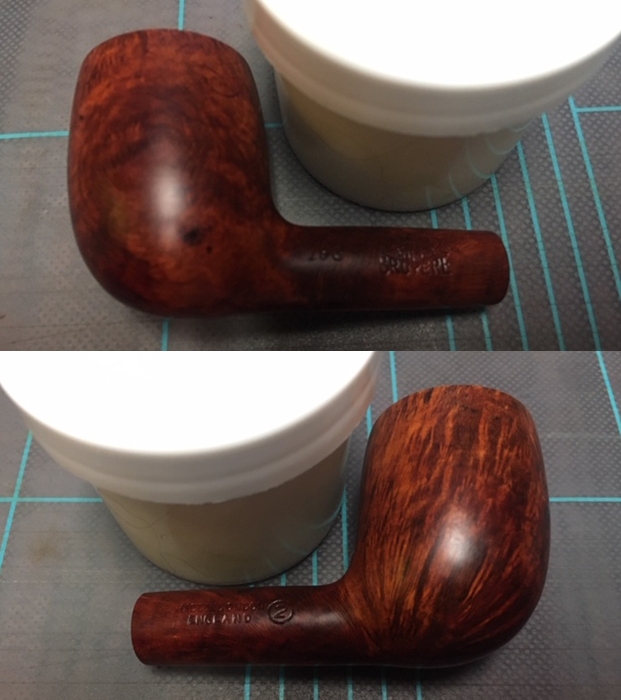
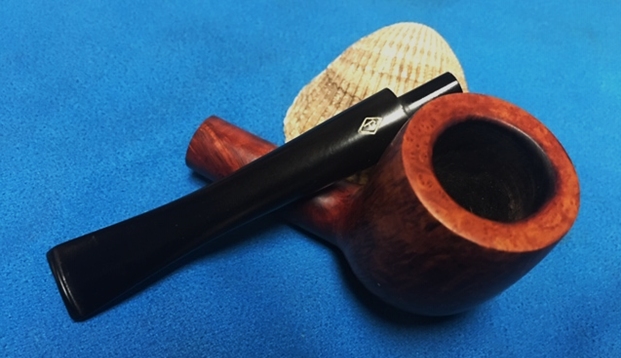
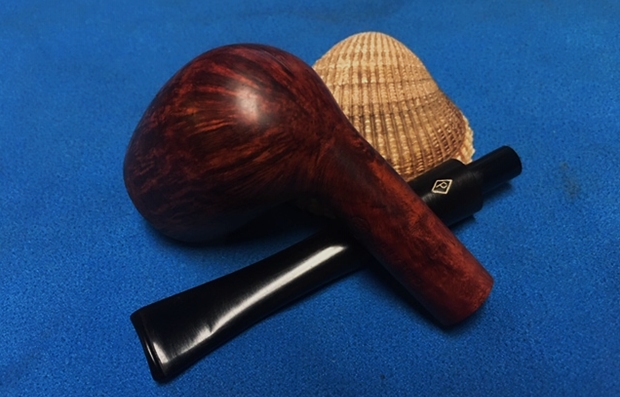
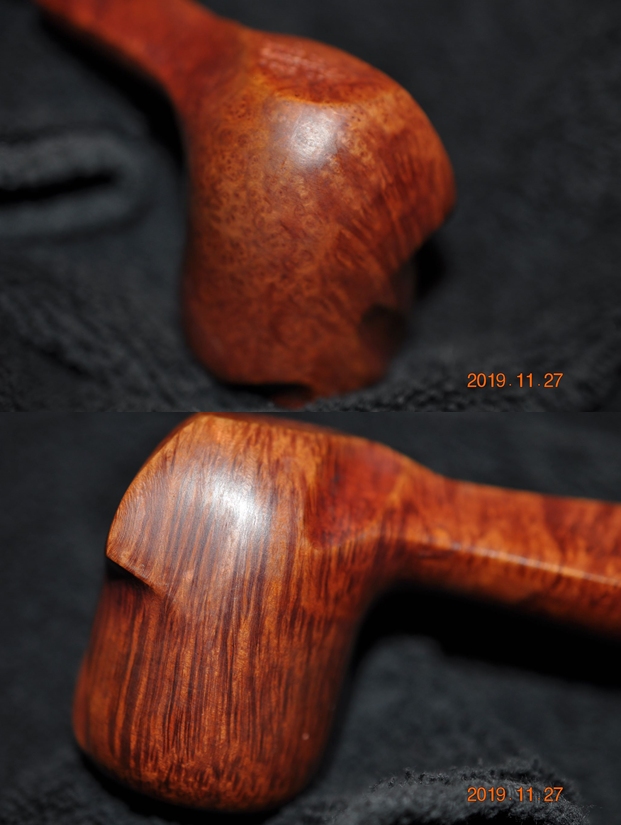
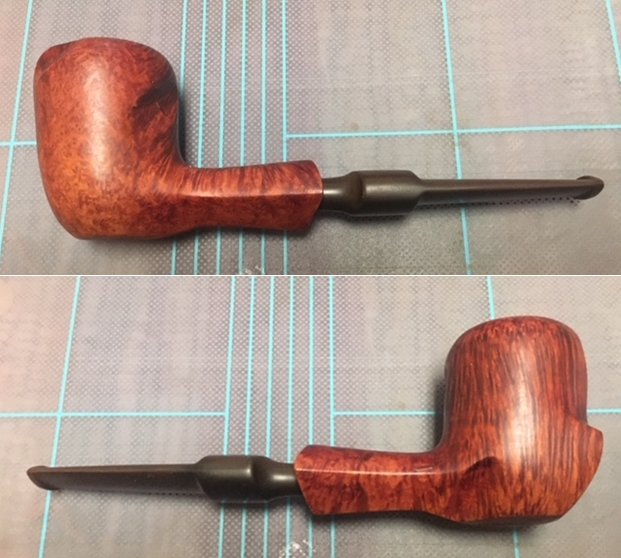
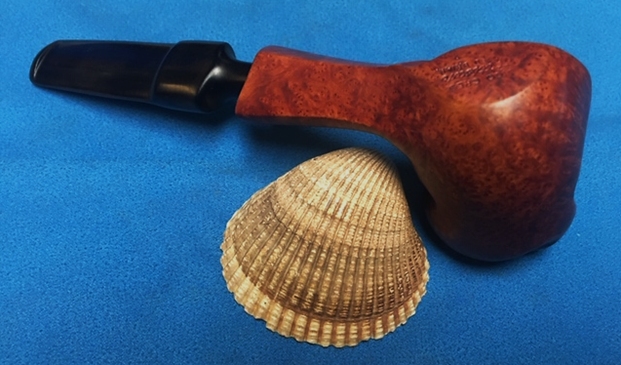
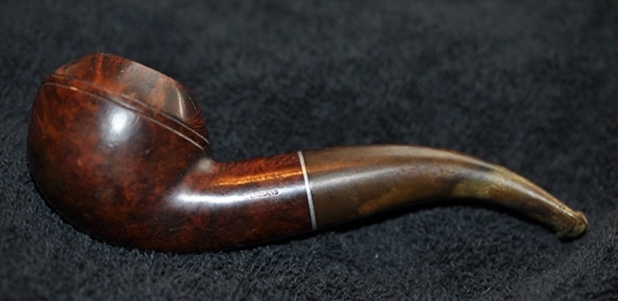
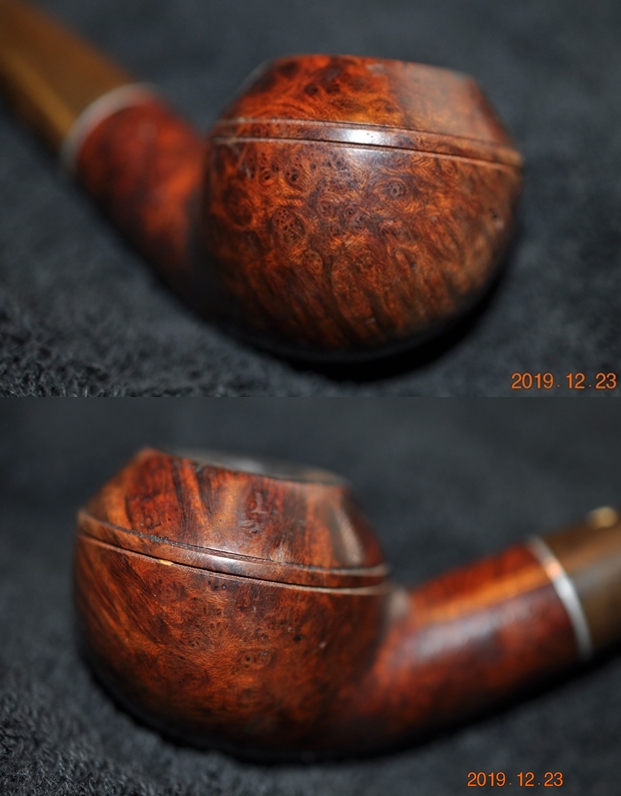
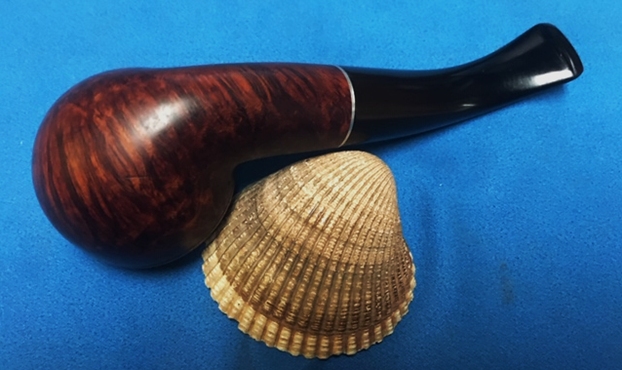
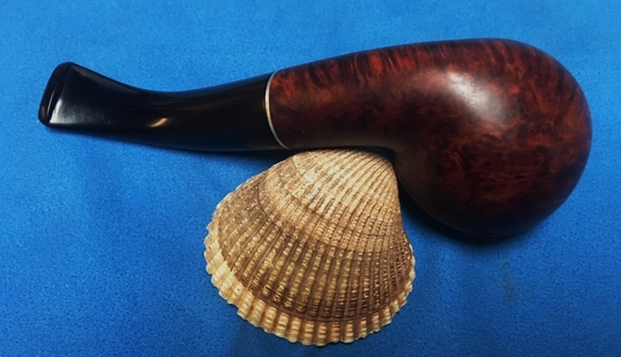
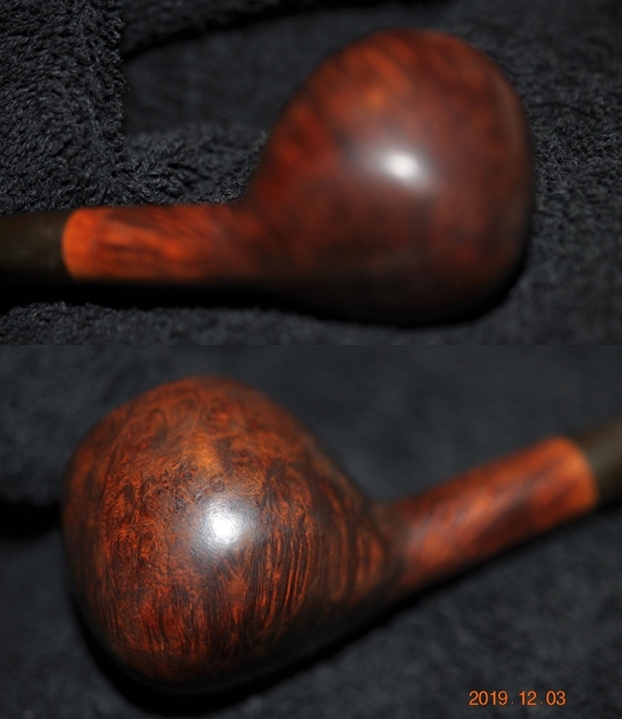
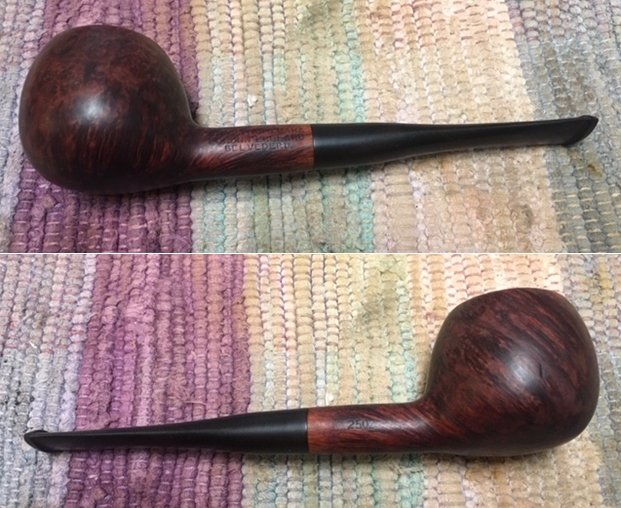
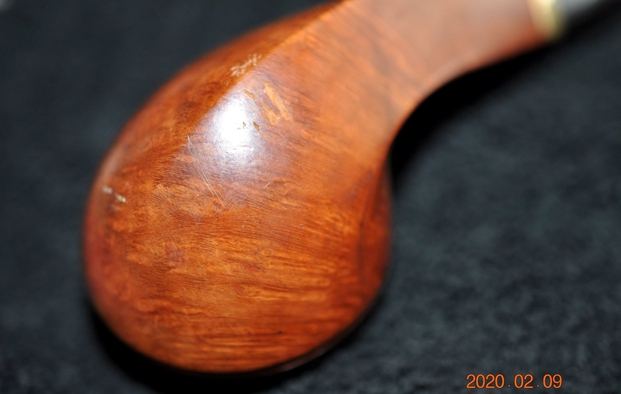
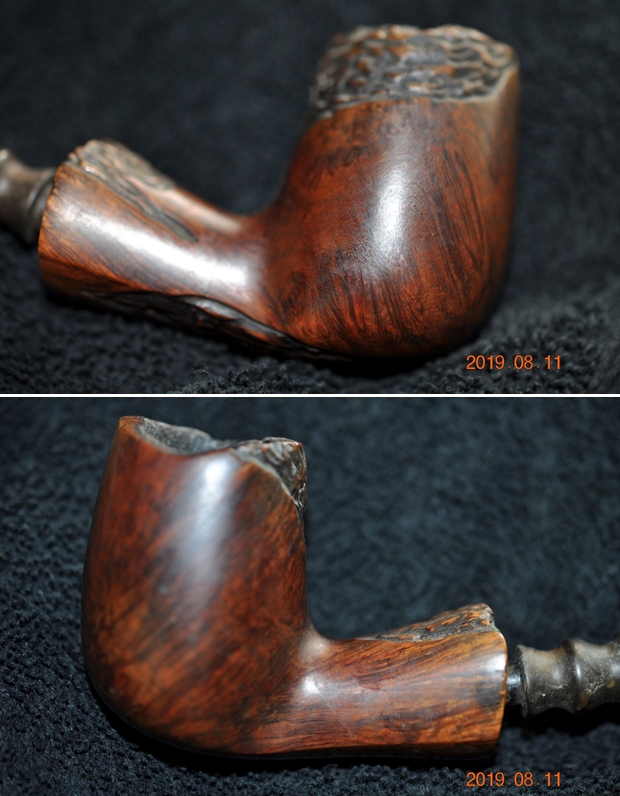
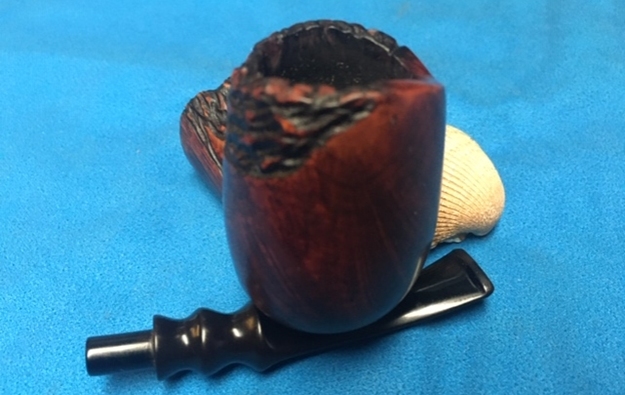
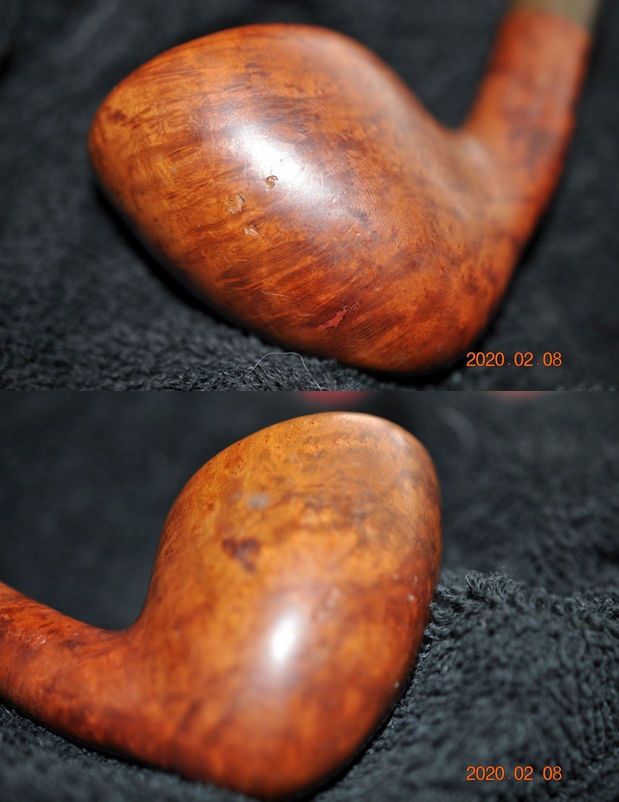
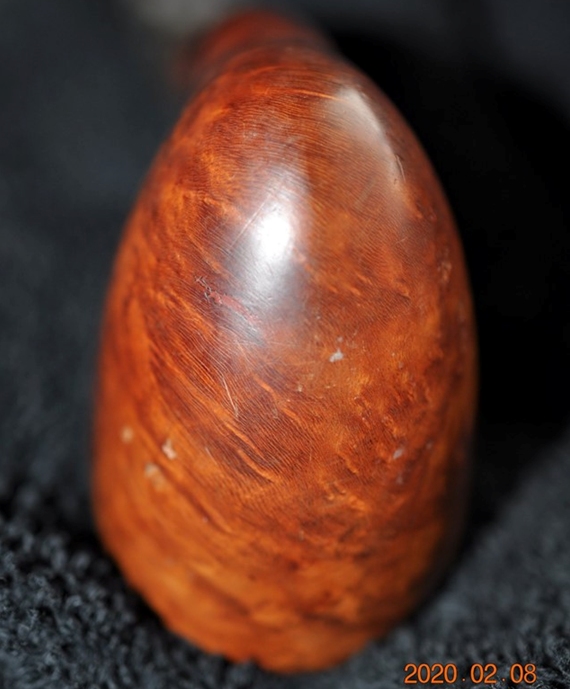
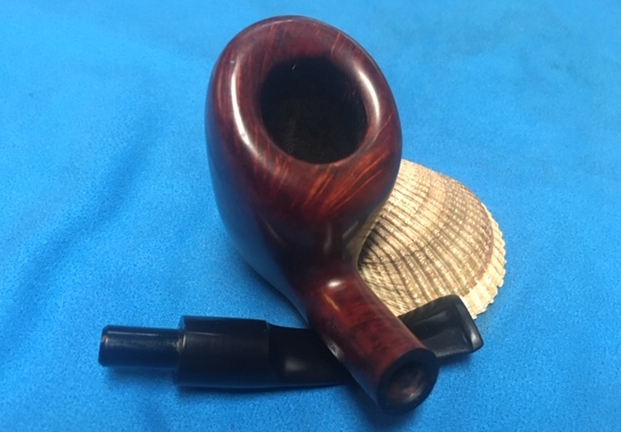
 Jeff took photos of the sides and the heel of the bowl to give a better feel for the condition of the bark around the bowl.
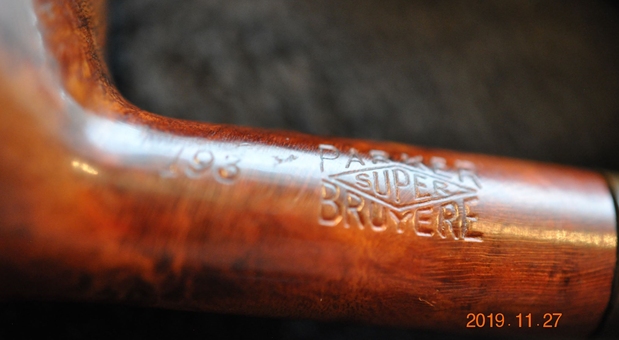
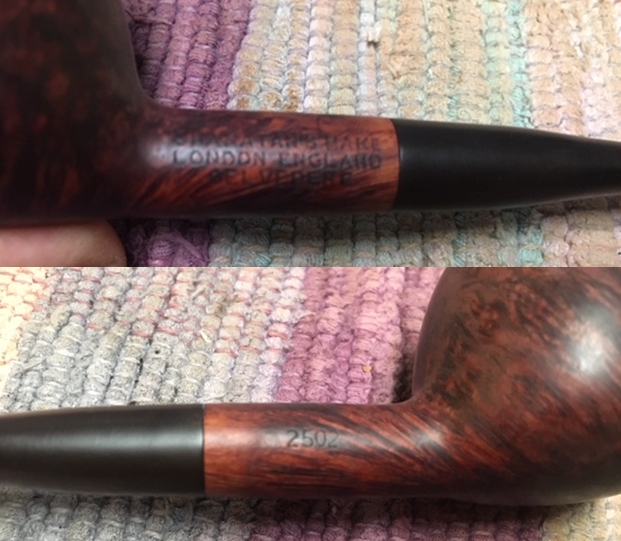
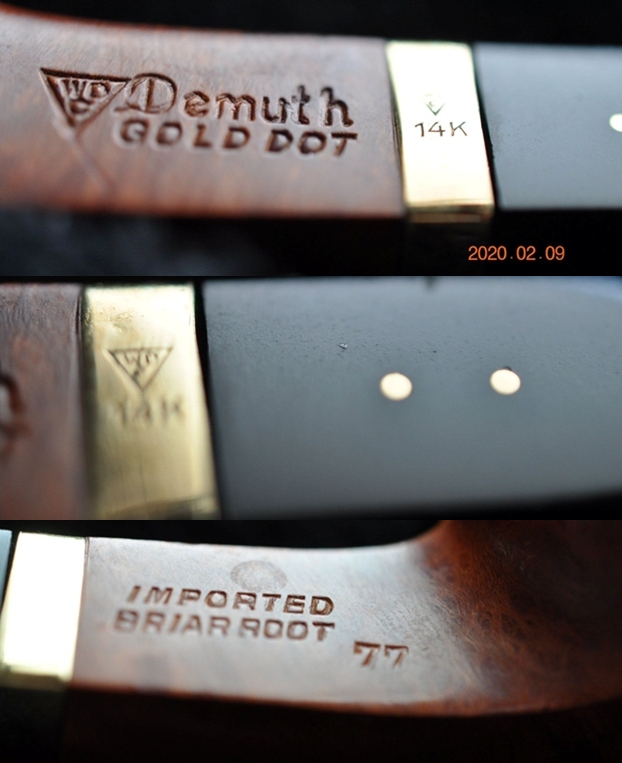
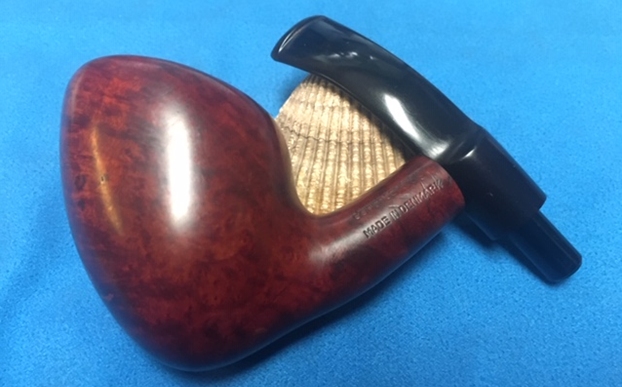
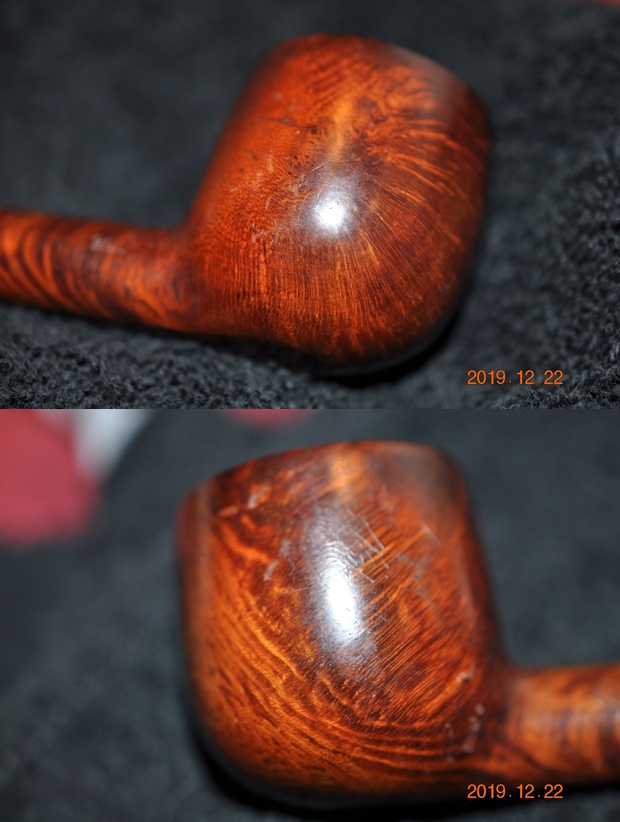 The next photos show the stamping on the sides of the shank and it is very readable. It reads as noted above.
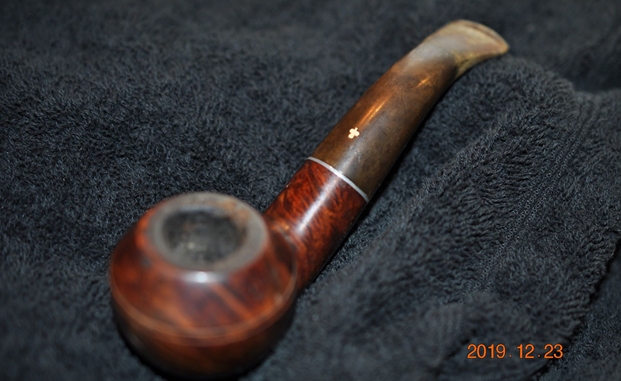
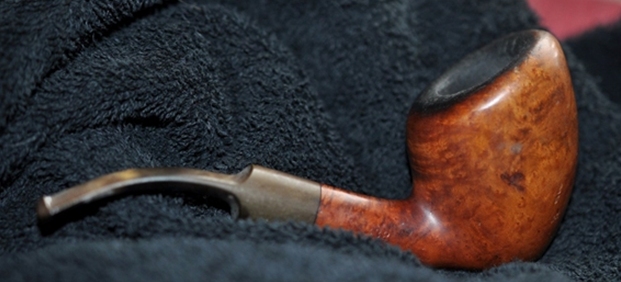
 The stem was dirty and extremely oxidized. The stem appeared to be a replacement as it is missing the Kaywoodie logo and the metal stinger/tenon has been modified. I have learned that Bob was a chewer and his stems seemed to have been replaced often. This one at least fit well to the shank and did not yet have the chew marks that were a norm on Bob’s pipes.
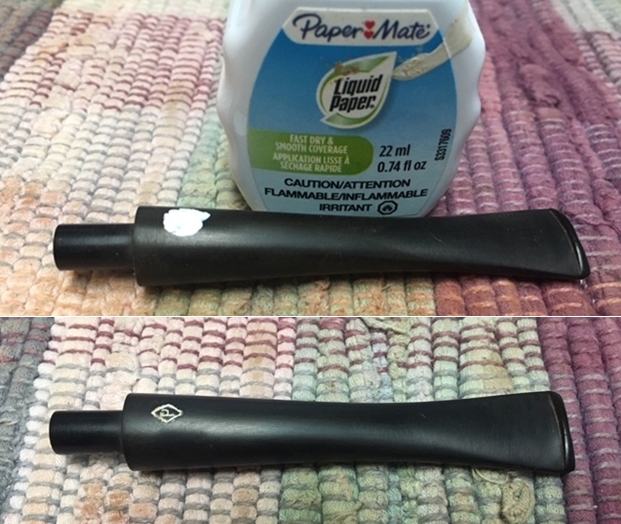
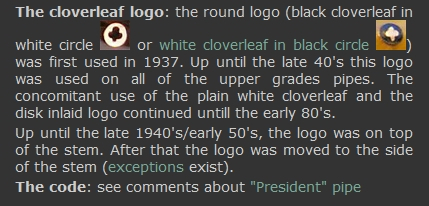
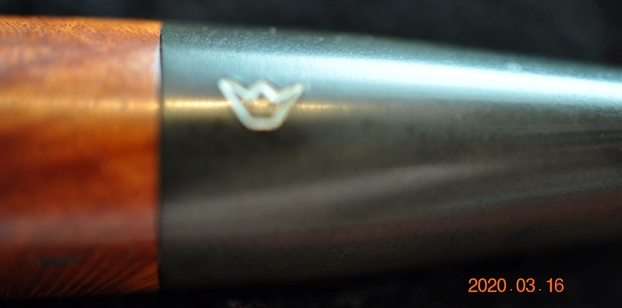
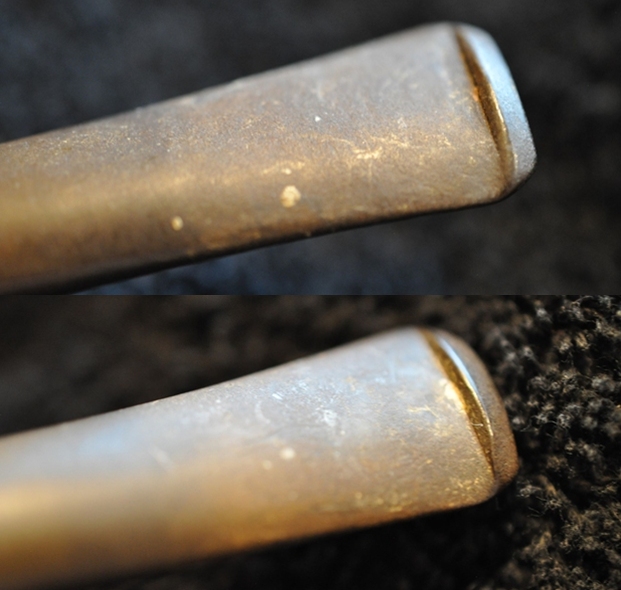 Before doing cleanup work on the pipe I decided to do some research on the pipe. I looked first on the Pipephil website and found some information on the white club inlay on the left side of the tapered stem. (http://www.pipephil.eu/logos/en/logo-kaywoodie.html). Since I did not have the original stem the information there was less helpful.
I turned to Pipedia (https://pipedia.org/wiki/Kaywoodie) and read the section on the rough outline on the history of the brand that links the brand with the English section of the company. I quote:
Again, demand for KBB pipes and especially Kaywoodie prompted another move for both the manufacturing facilities and the corporate offices. In 1930 the corporate office moved into the Empire State Building on Fifth Avenue in New York. By 1935, the manufacturing operations moved from Union City to 6400 Broadway in West New York, New Jersey which, at the time, was touted as the largest pipe making facility in the world. At the height of production, there were 500 employees producing up to 10,000 pipes per day.
The corporate offices were relocated in 1936 to the International Building, Rockefeller Center, 630 Fifth Avenue, New York. The invitation to visit the new office reads, “Kaywoodie is now on display at the world’s most famous address – Rockefeller Center. Here Kaywoodie takes its place among the leaders of industry and commerce.” The move to Rockefeller Center coincided with The Kaywoodie Company’s emergence as a subsidiary of KBB. All of the pipes manufactured by KBB including the Yello-Bole line were also on display here. By 1938 Kaywoodie had opened an office in London to meet worldwide demand. Kaywoodie of London was jointly owned with another famous pipemaker, Comoy’s of London.
From there I turned to a link on the article to a section called Guide to Kaywoodie Pipes (https://pipedia.org/wiki/Collector%27s_Guide_to_Kaywoodie_Pipes#NOTES_ON_.22OTHER.E2.80.9D_KAYWOODIE_PIPES).
English Kaywoodies. All of the catalogs reviewed in this research contained the following copyright notification: Printed in U.S.A., Kaufmann Bros. and Bondy, Inc., New York and London. Kaywoodie Pipe cases and smoker’s accessories were also marked with “New York and London”. The catalogs, however, do not present any information concerning Kaywoodie’s London operations, or how the English Kaywoodies might have differed from those manufactured and marketed in the U.S. Lowndes notes that he has several English Kaywoodies acquired in Vaduz and Zurich. English Kaywoodies are now made by Oppenheimer pipes. Lowndes notes that English Kaywoodies with the “screw-in bit” come in Ruby Grain, Custom Grain, Standard, and Relief Grain grades. The traditional push-bit models come in Continental Plain and Relief, London Made, Minaret, Air-way Polished No. 707, and Lightweight grades. Prices in 1985 ranged from 9.50 (pounds) to 26.00 (pounds). Lowndes notes that the Super Star was a special edition English Kaywoodie made of finest briar with a handmade silver band. Lowndes has two: one from Zurich with a large white-outlined logo, and beautifully cased; and one in walnut finish with the black-in-white logo. A recent catalog shows the Super Star without a band and the ordinary small white logo. A 1985 letter from Oppenheimer states that the black-in-white logo has been discontinued and only the regular white logo is now used.
I turned to Pipedia’s Kaywoodie Shape Number chart to check out the number 95B that is stamped on the shank side (https://pipedia.org/wiki/Kaywoodie_Shape_Numbers). The chart gives the shape information and the time frame in which the shape was made. I did a screen capture of the shape number information and have included it below. From the above information I now knew that the pipe in hand was a Medium sized Pot with a long saddle stem originally. Somewhere in its life that stem disappeared and was replaced by a long taper stem. The pipe was made between 1940-1972 in London by Oppenheimer. It had screw-in bit.
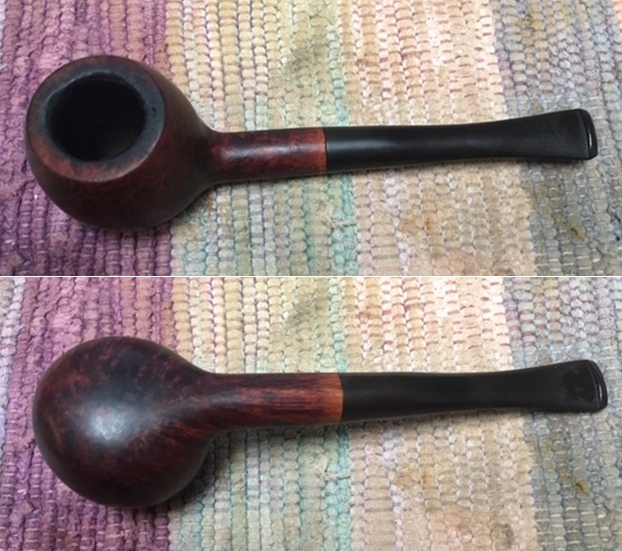
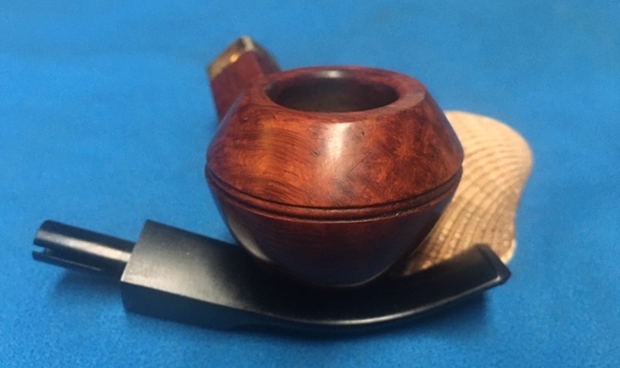
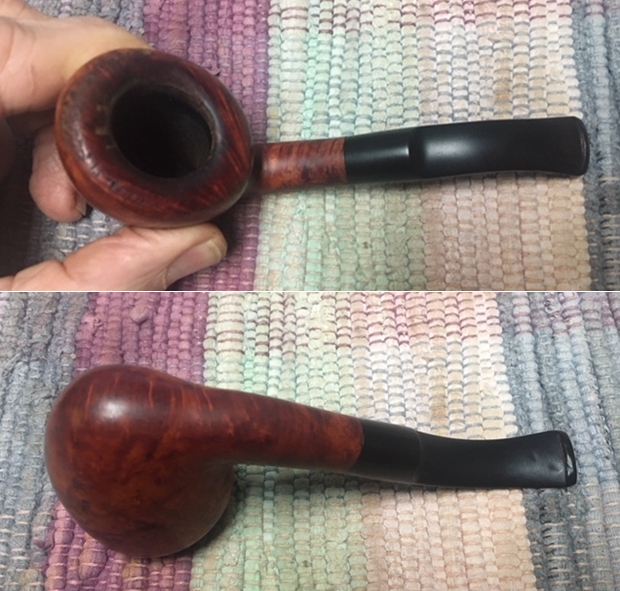
With over 125 pipes to clean from Bob’s estate I took a batch of them to the states with me when I visited and left them with Jeff so he could help me out. Jeff cleaned the pipes with his usual penchant for thoroughness that I really appreciate. Once he finished he shipped them back to me. This one was a real mess and I did not know what to expect when I unwrapped it from his box. He reamed it with a PipNet pipe reamer and cleaned up the reaming with a Savinelli Fitsall Pipe Knife. He scrubbed out the internals with alcohol, pipe cleaners and cotton swabs until the pipe was clean. He scrubbed the exterior of the bowl with Murphy’s Oil Soap and a tooth brush to remove the grime and grit on the briar and the lava on the rim top. The finish looks very good with good looking grain around the bowl and shank. Jeff scrubbed it with Soft Scrub and soaked it in Before & After Deoxidizer to remove the oxidation on the rubber. When the pipe arrived here in Vancouver for the second stop of its restoration tour it looked a lot better. I took photos before I started my part of the work.
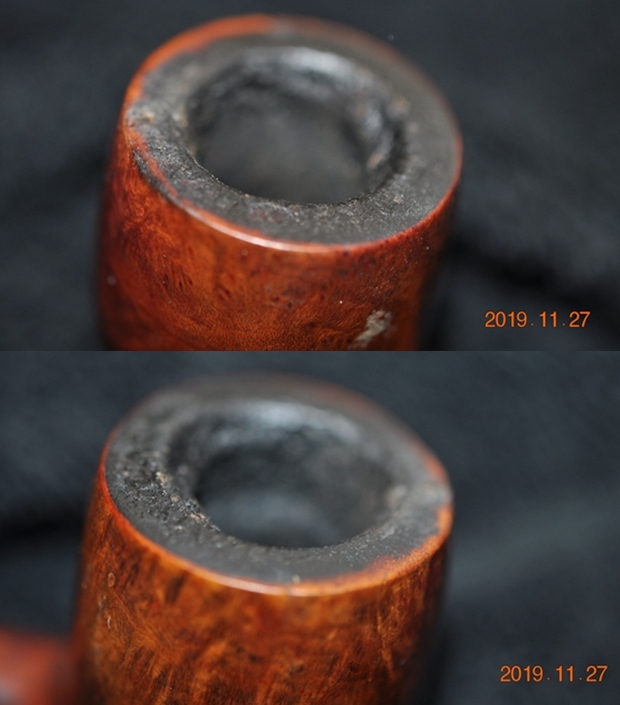
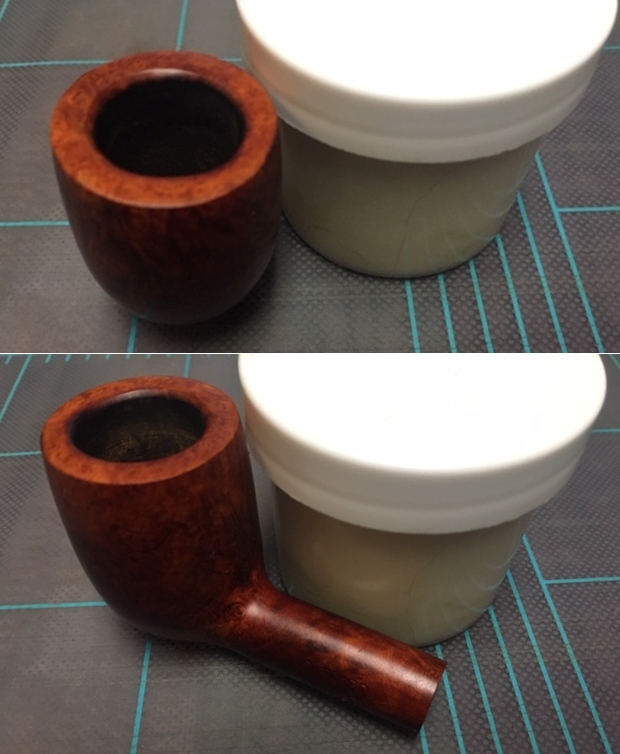
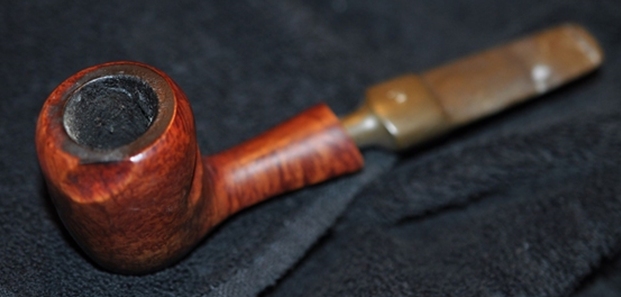
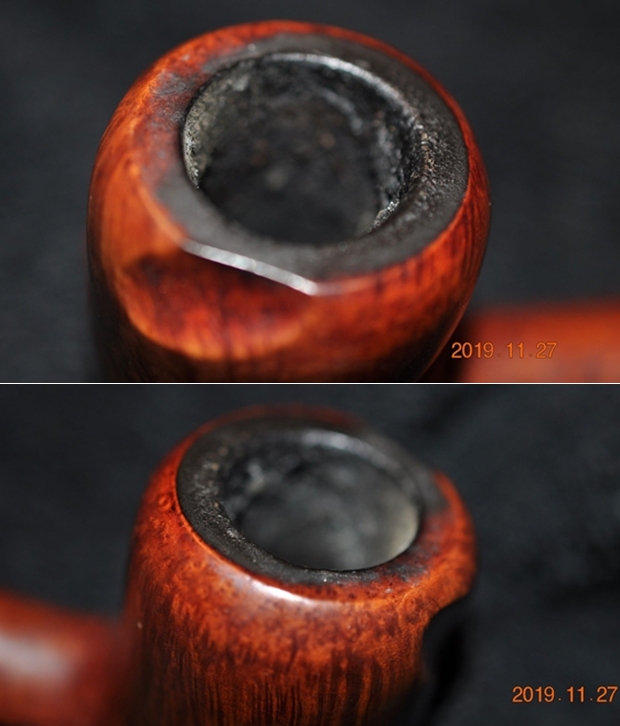
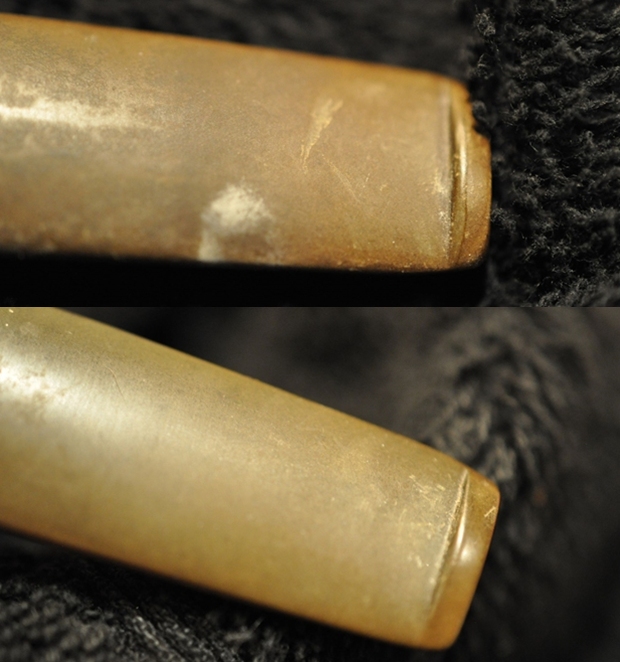
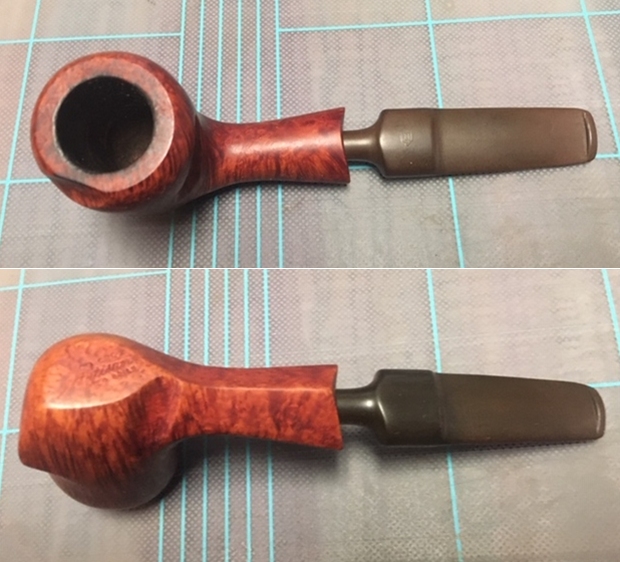
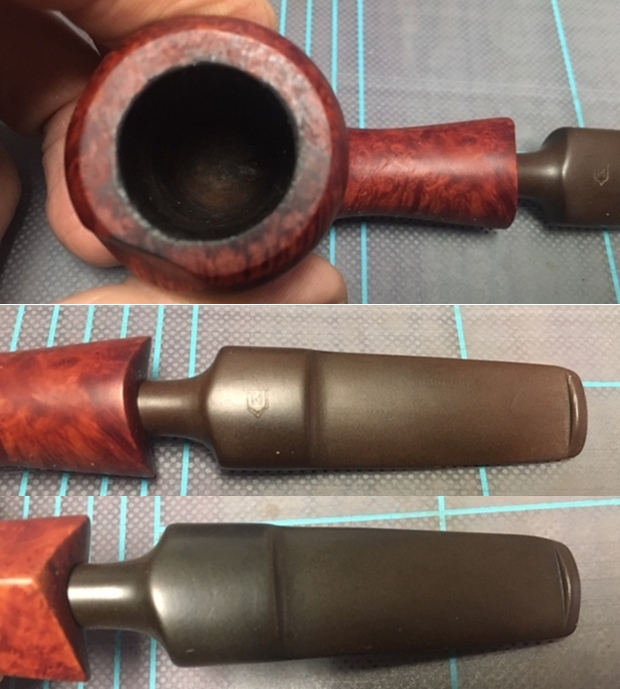
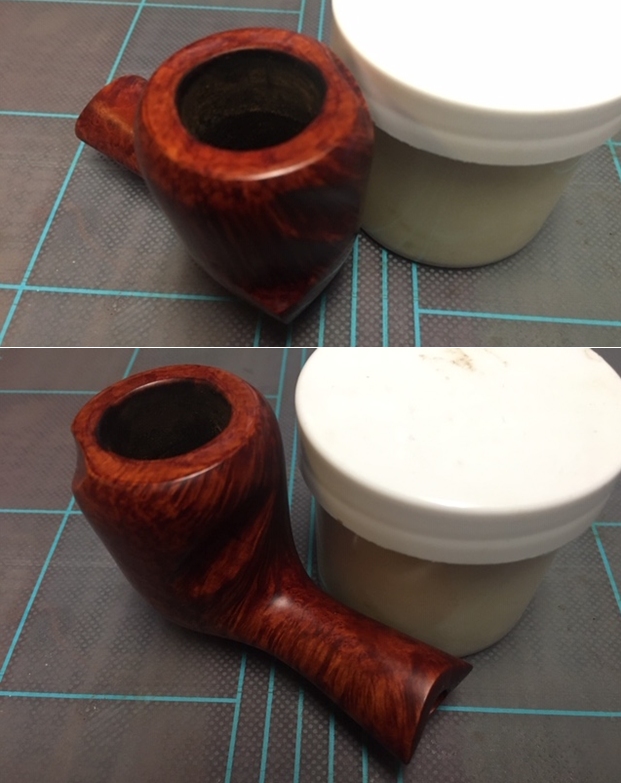
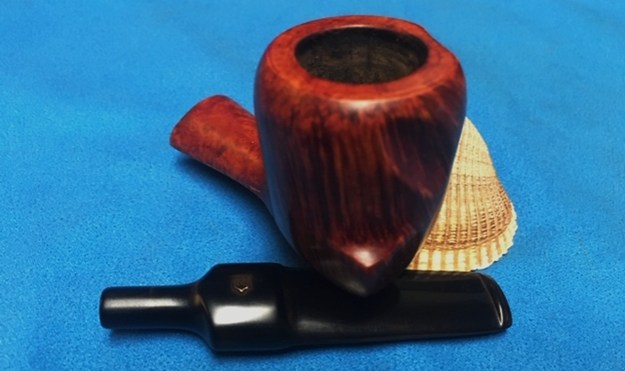
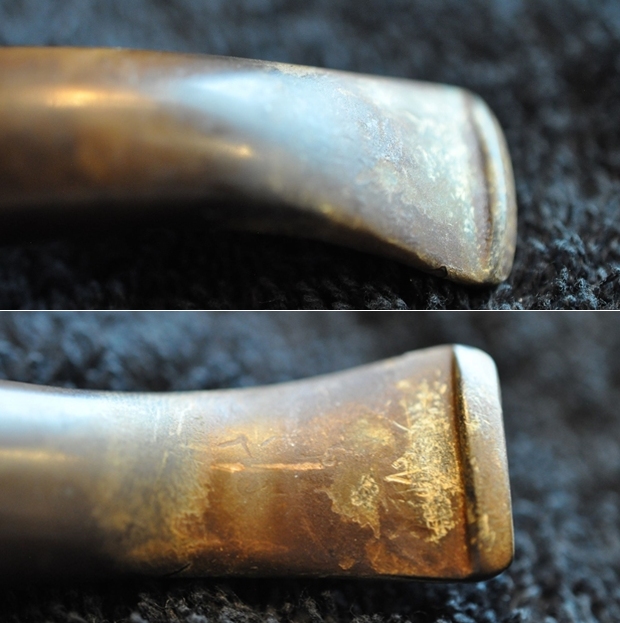
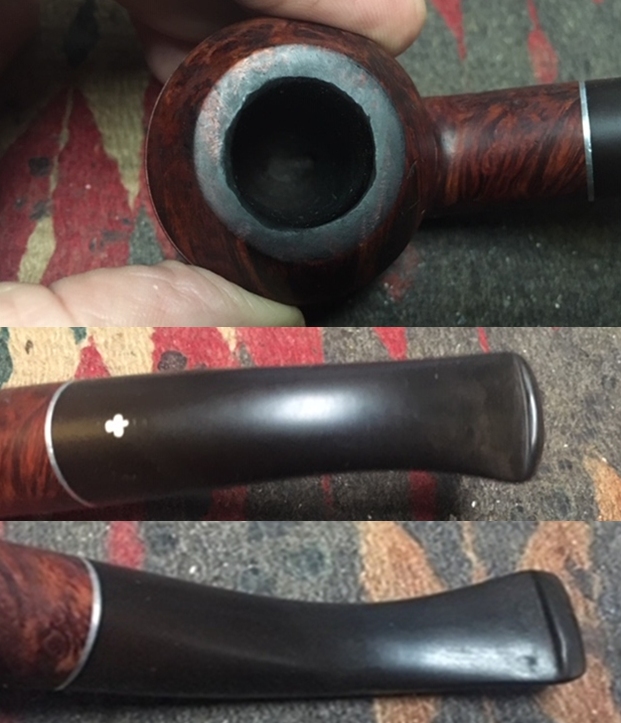
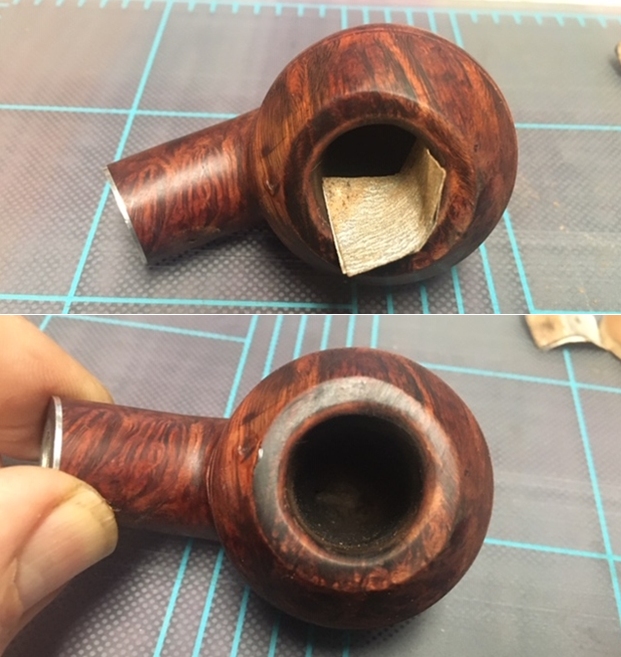
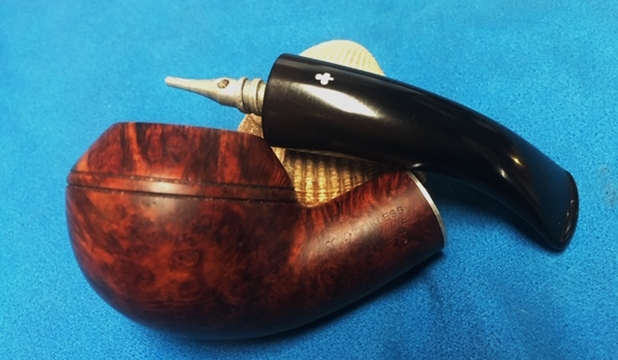
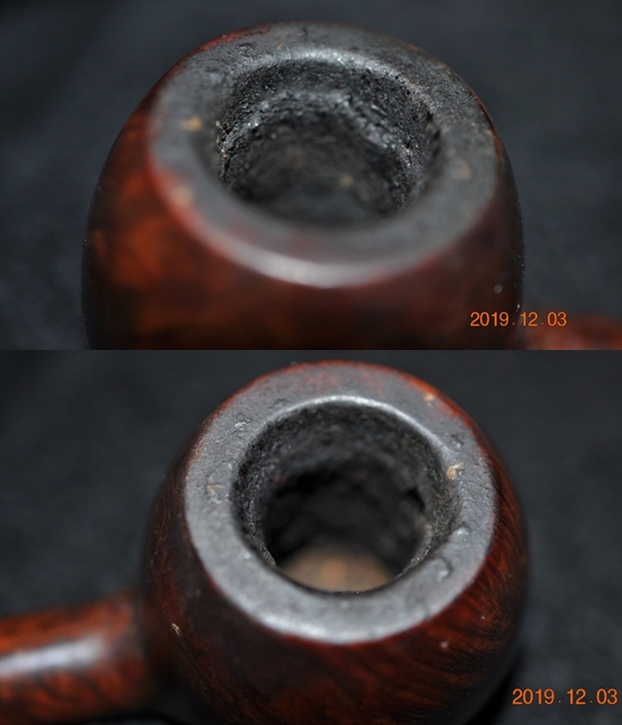
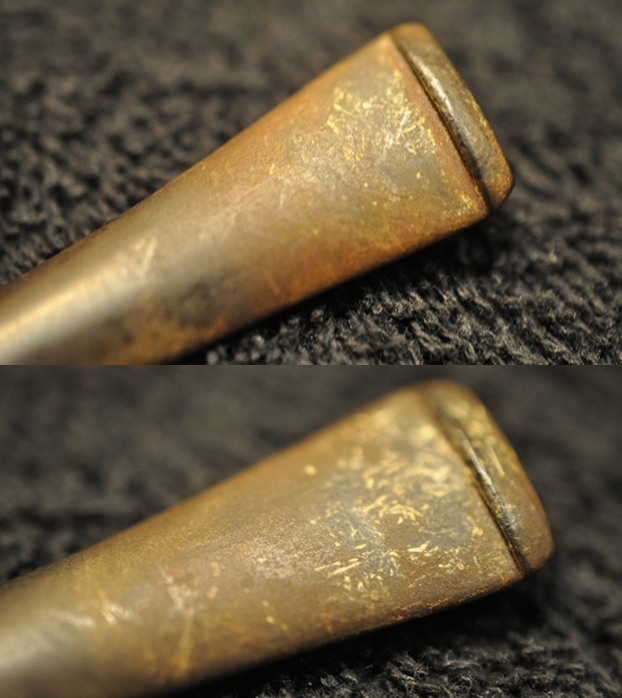
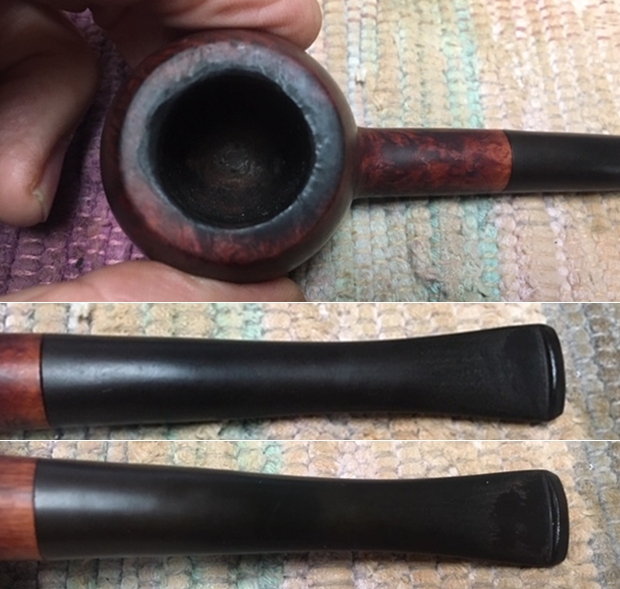
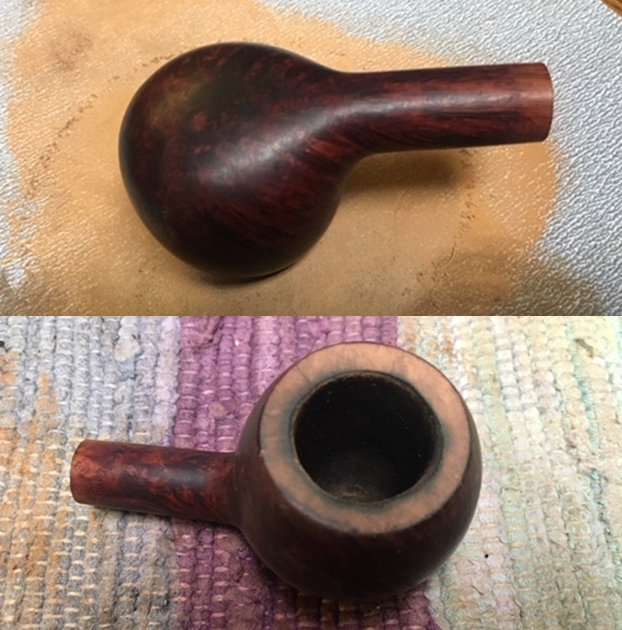
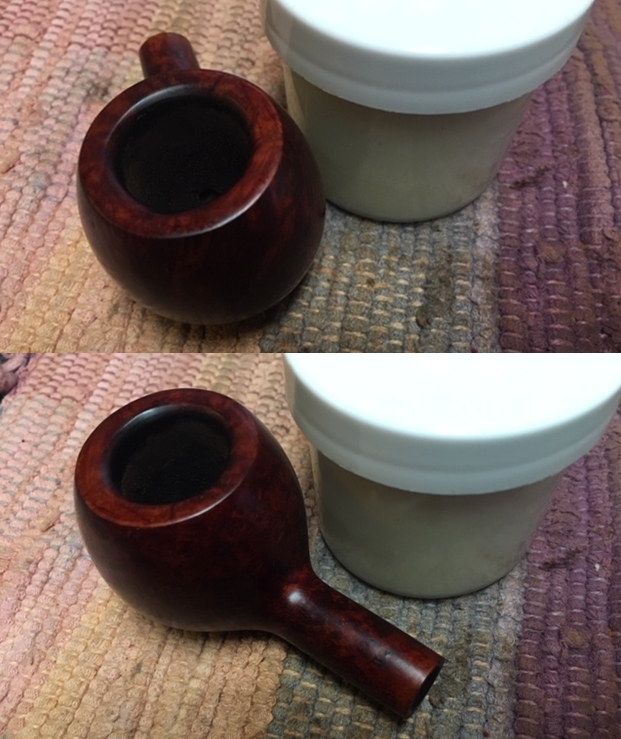
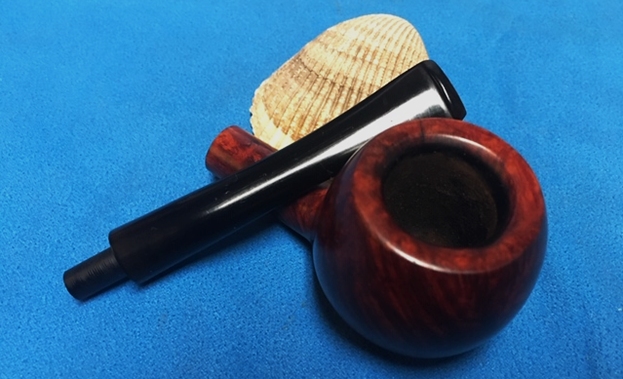
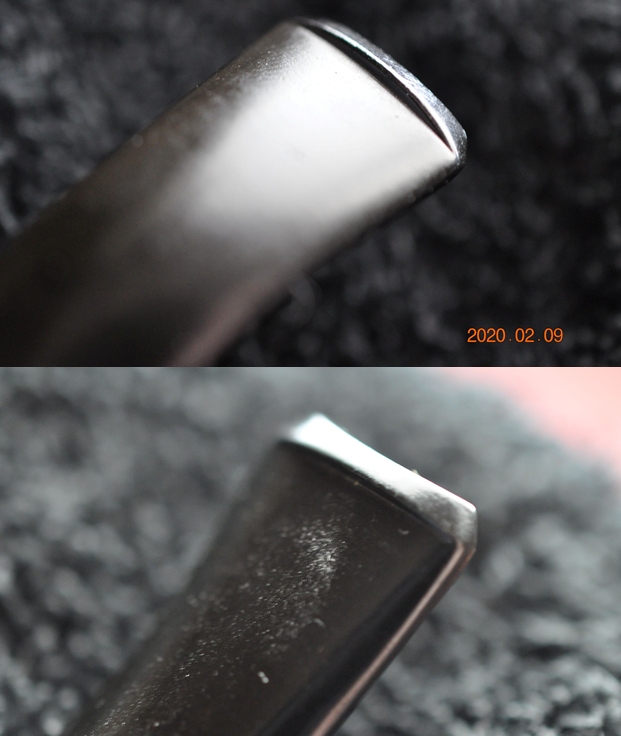
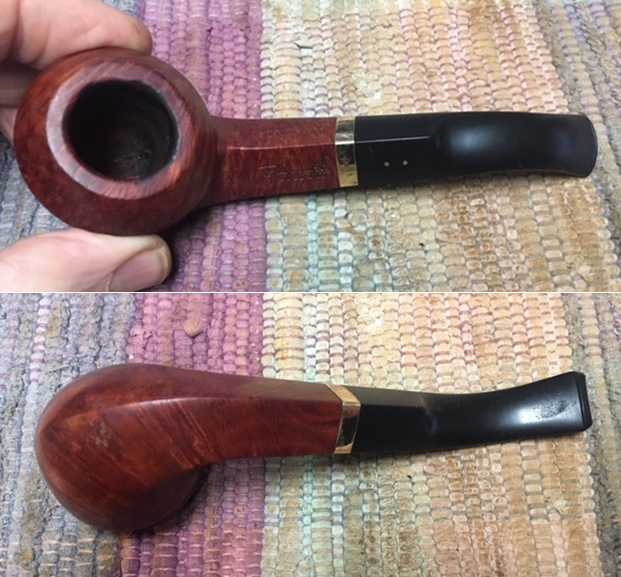
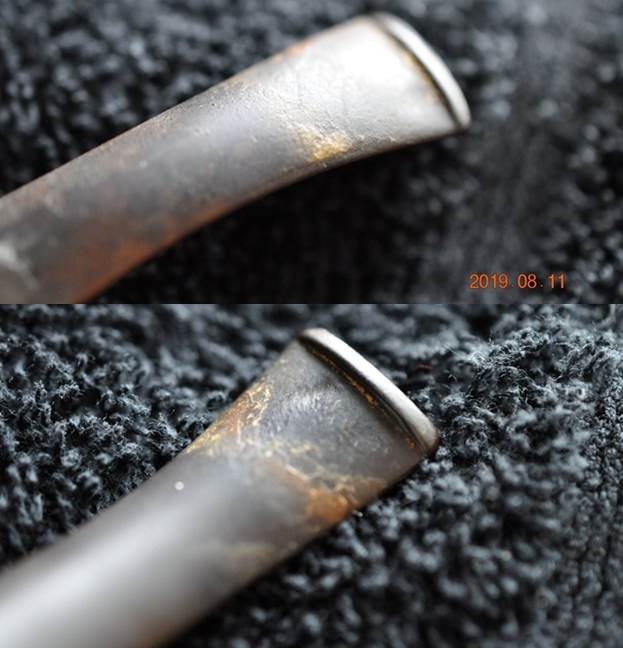
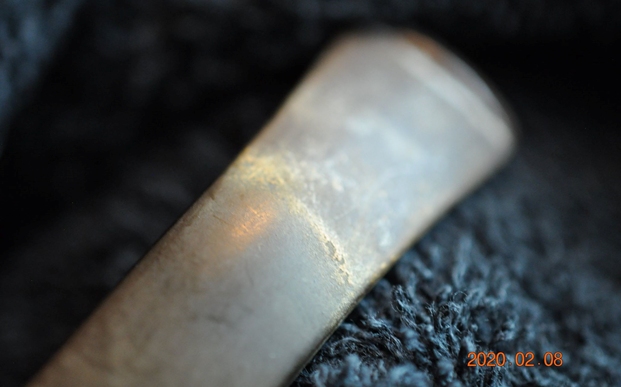
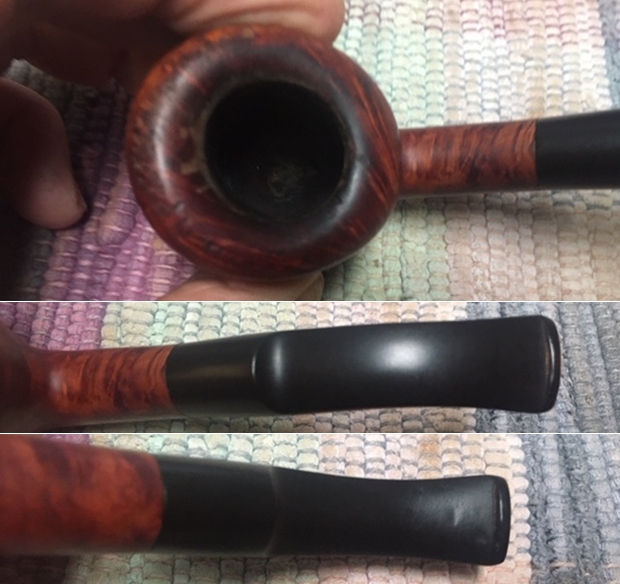
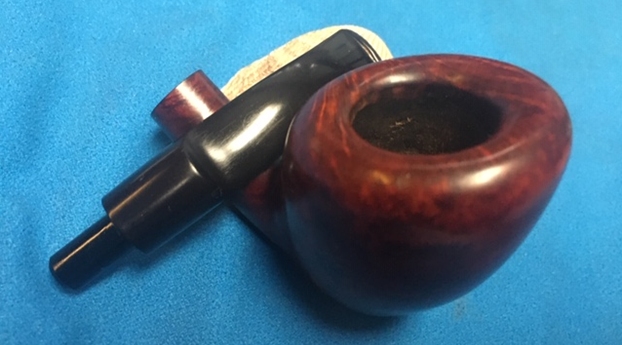
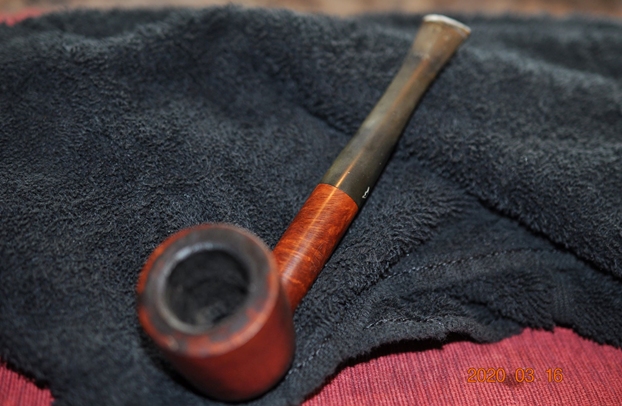
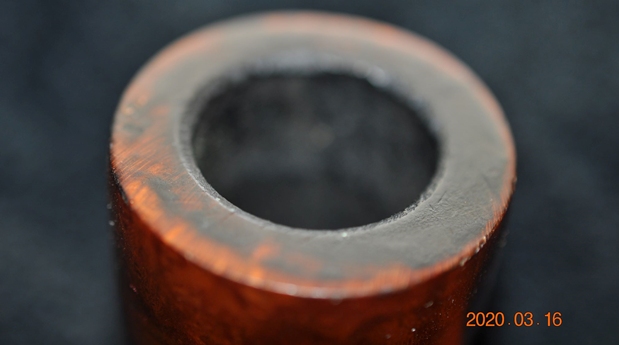
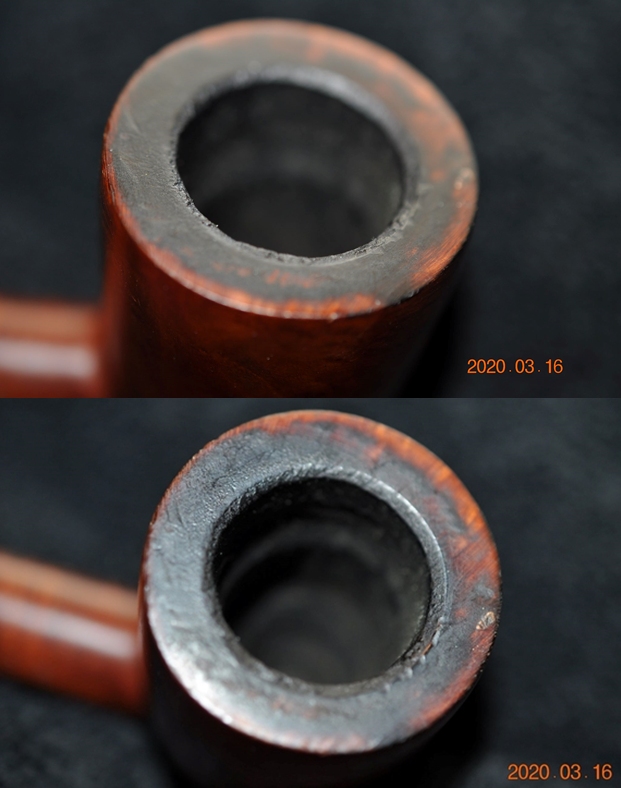
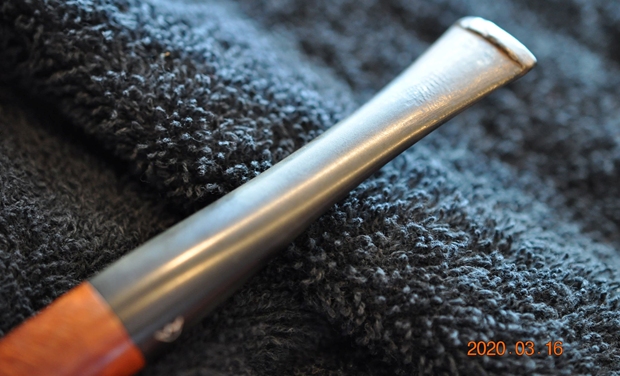
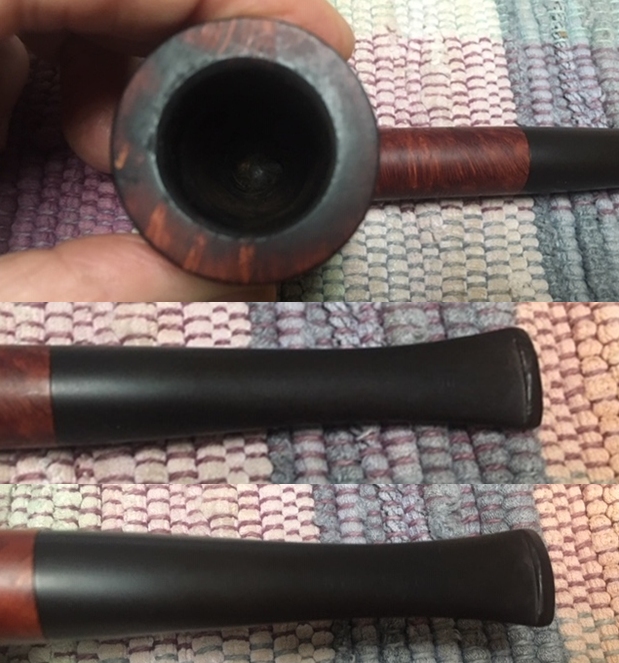
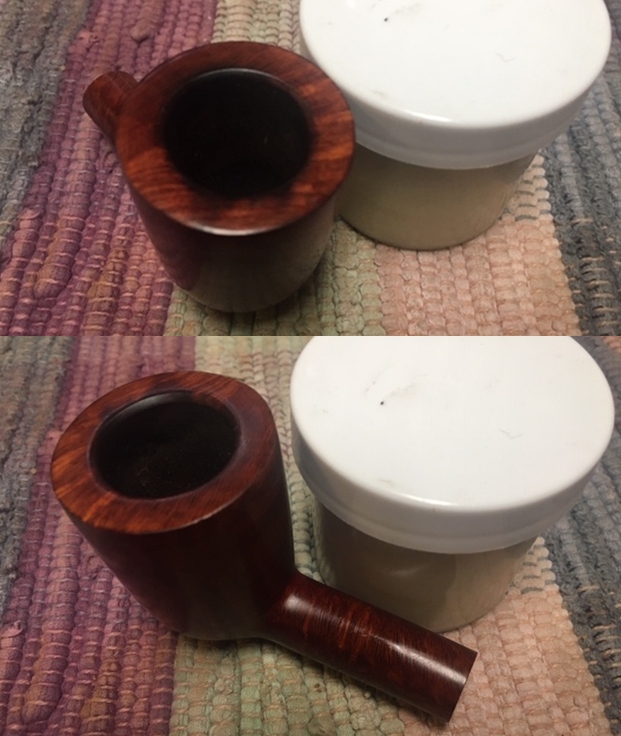
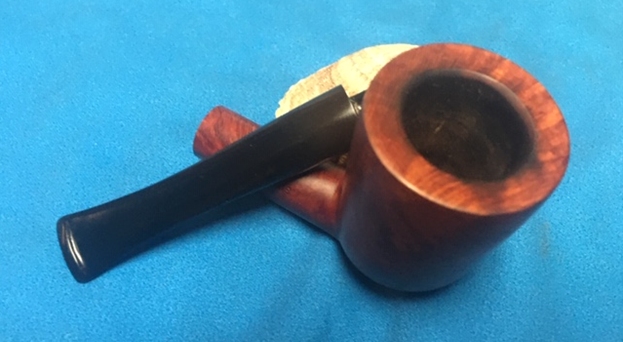
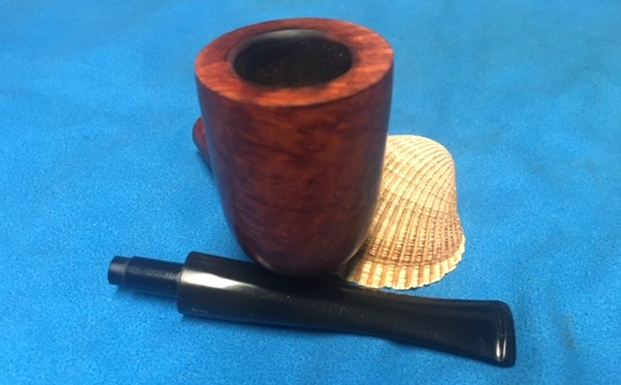
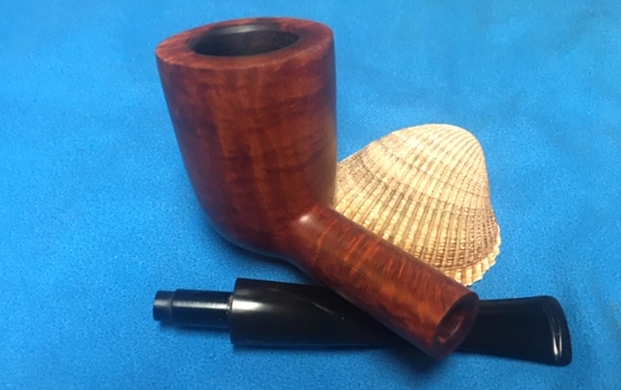
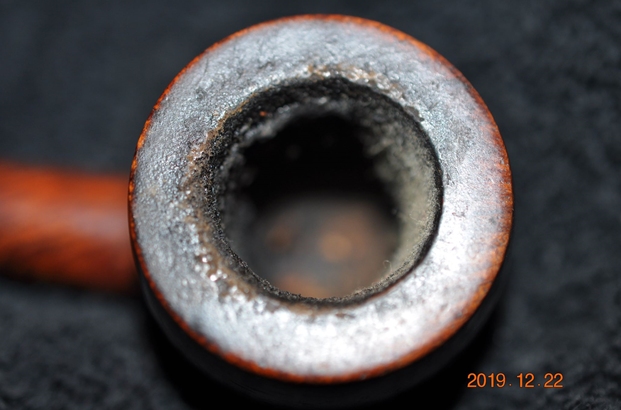
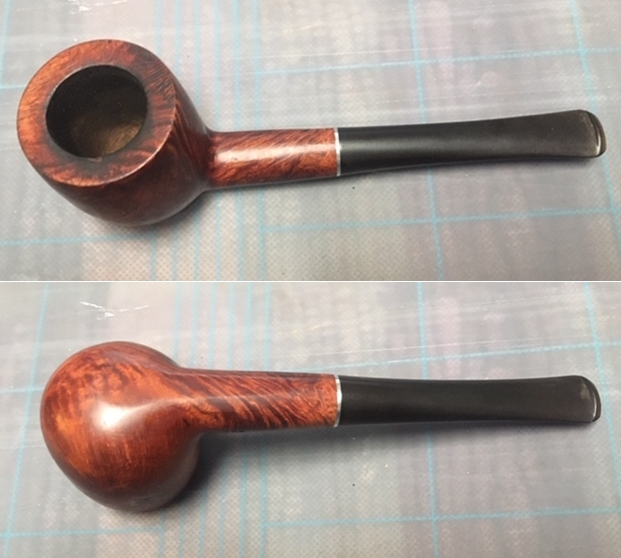 I took some close up photos of the rim top and also of the stem surface. I wanted to show what cleaned bowl and rim top looked like. The rim top shows damage and charring on the inner edge of the bowl. I also took close up photos of the stem to show the light tooth marks and the remaining oxidation on the stem surface.
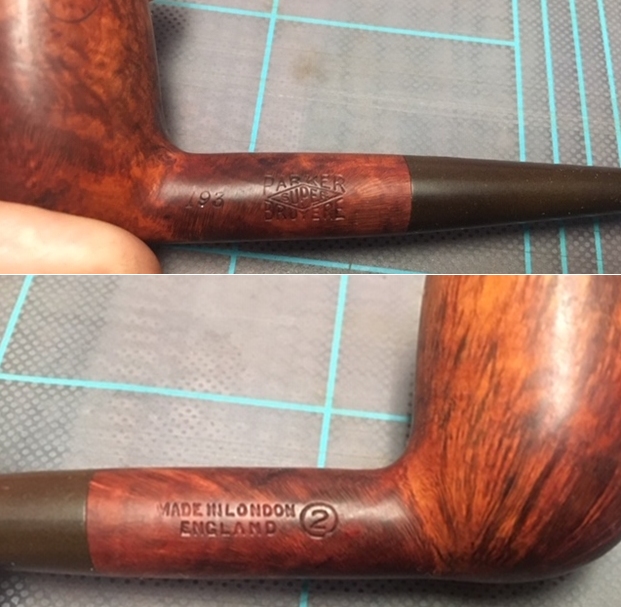
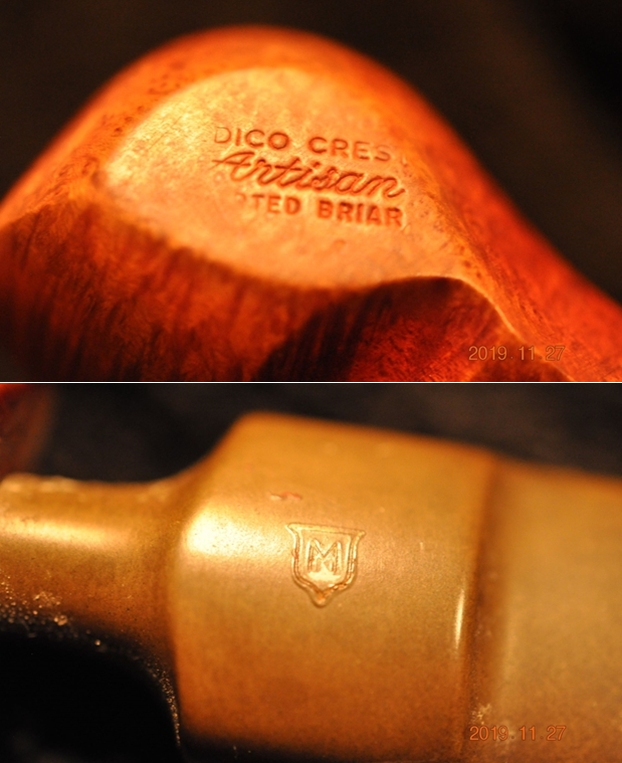
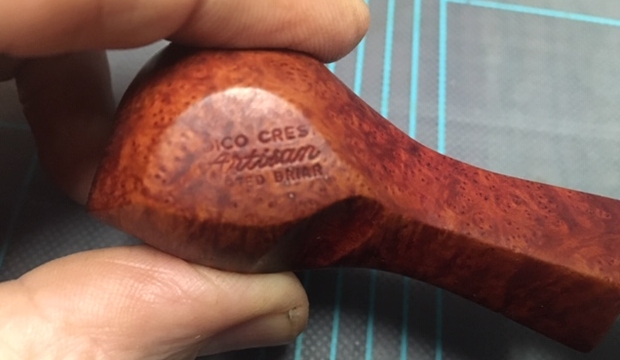
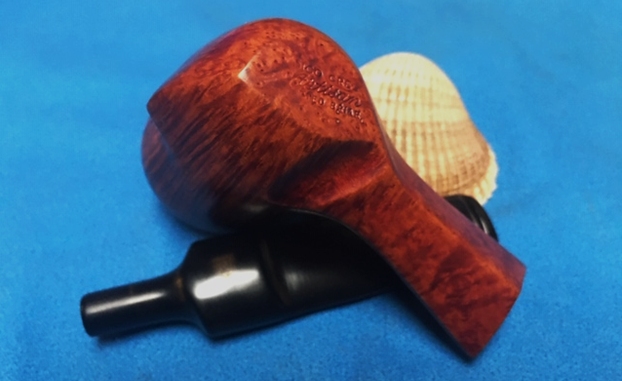
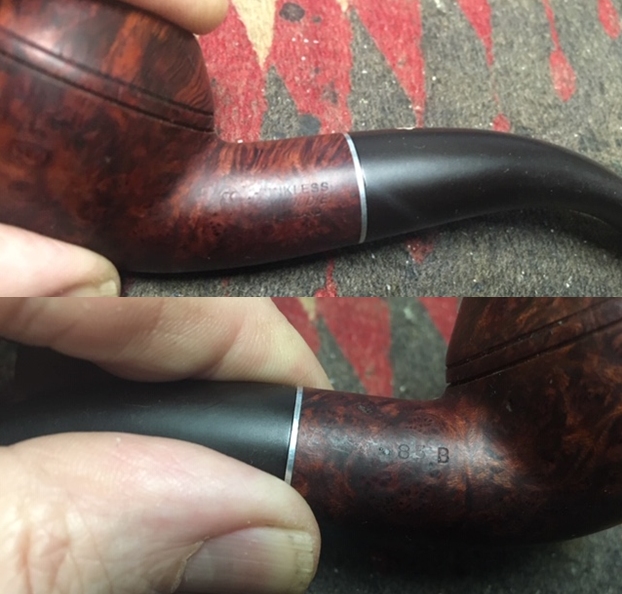
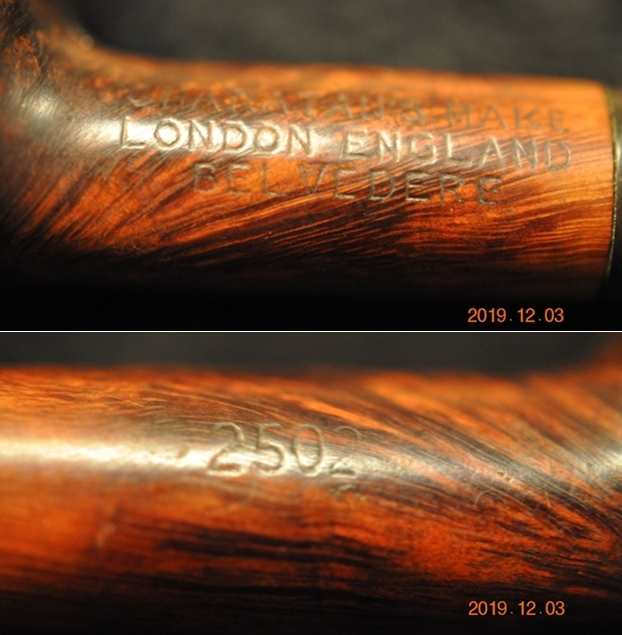
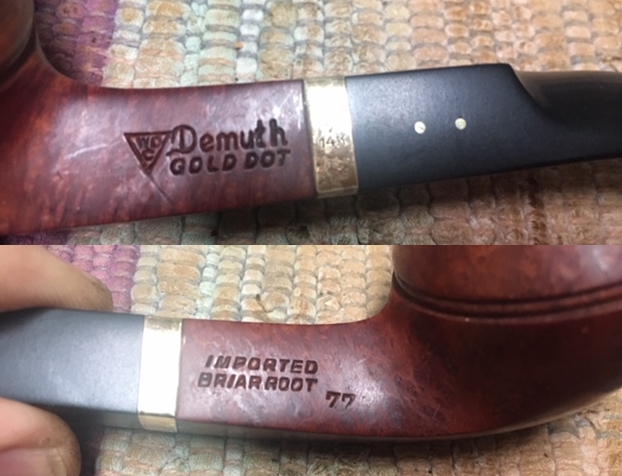
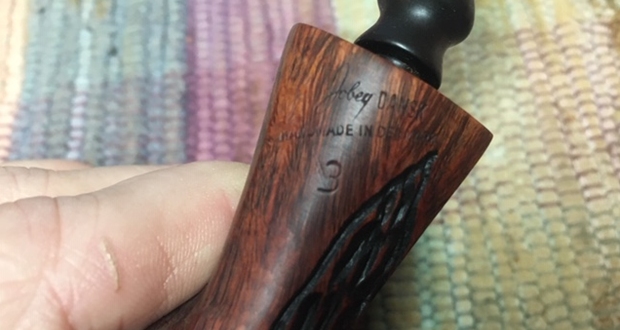
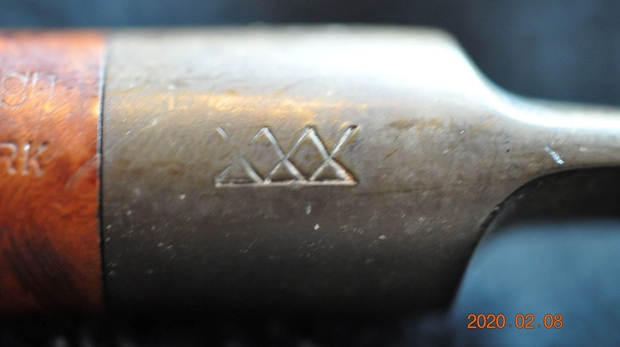
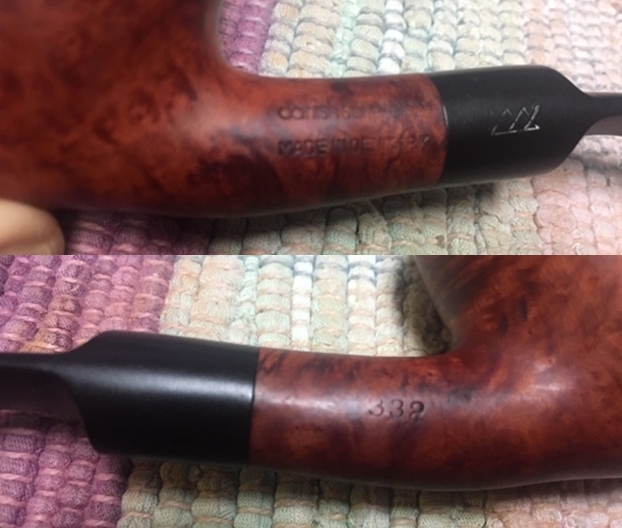
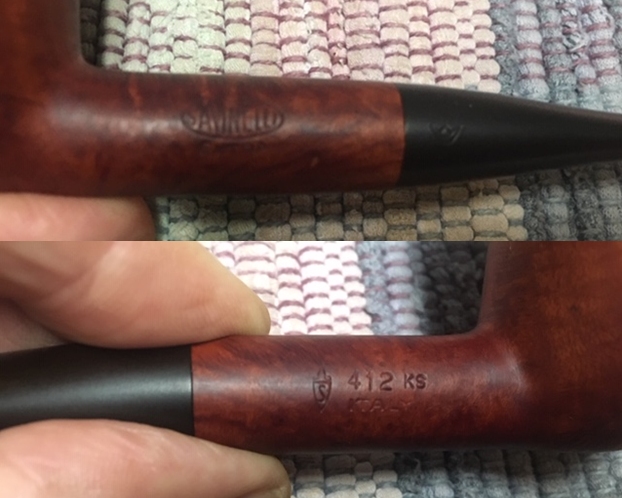
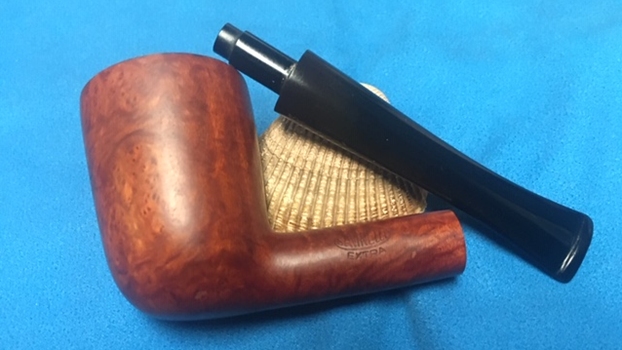
 I took photos of the stamping on both sides of the shank and it is clear and readable. It is stamped as noted above. The new stamp to me is the KBB style Cloverleaf stamp with the word DRY stamped in the center of the leaf pattern.
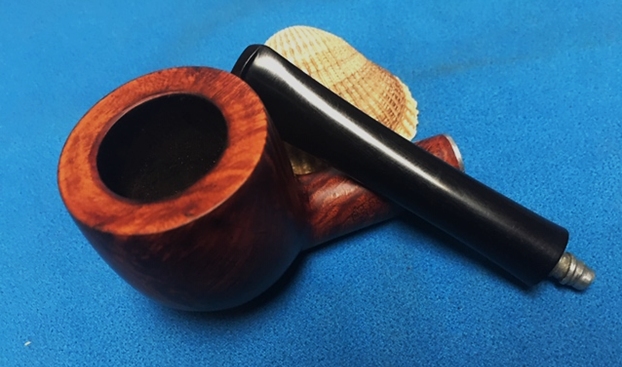
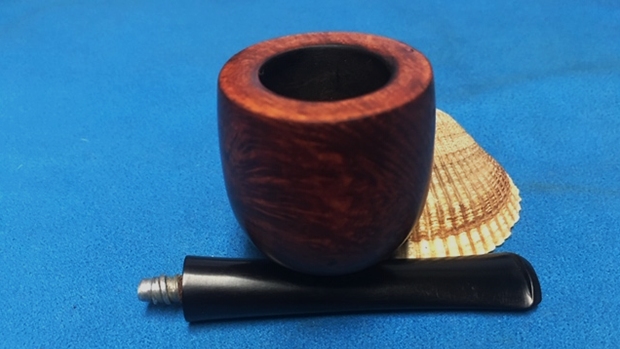
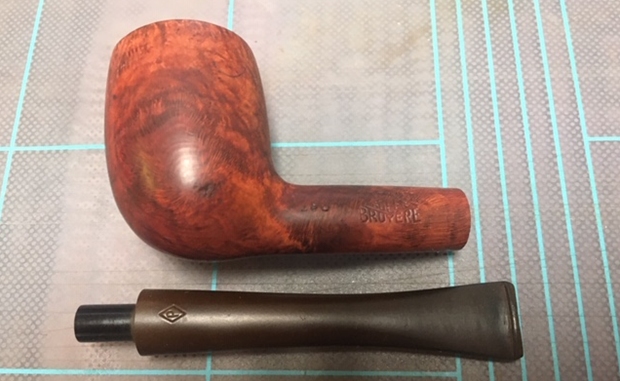
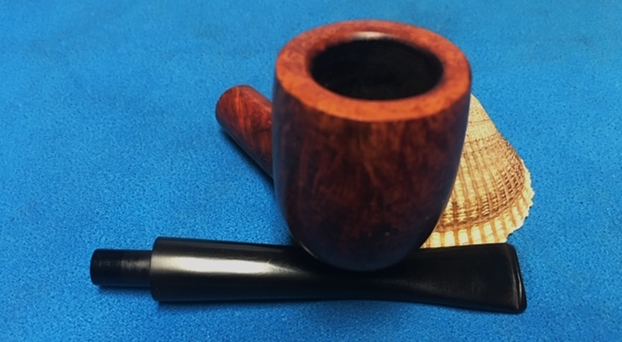
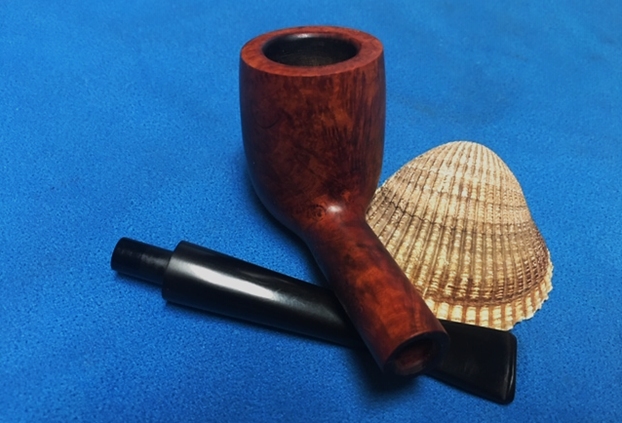
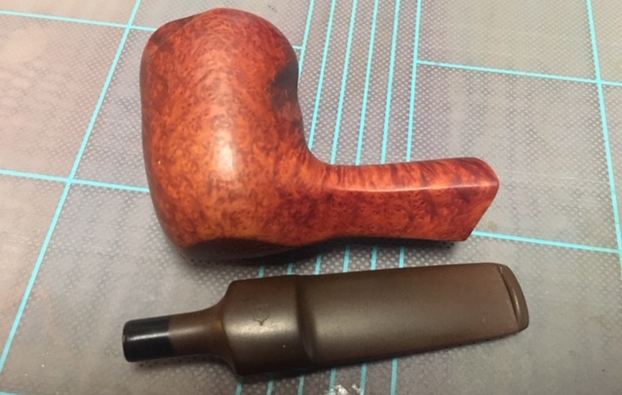
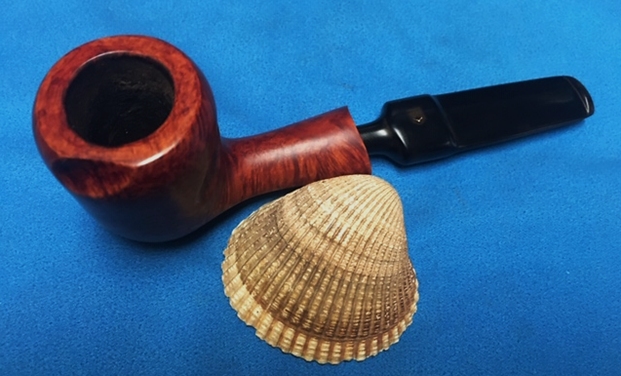
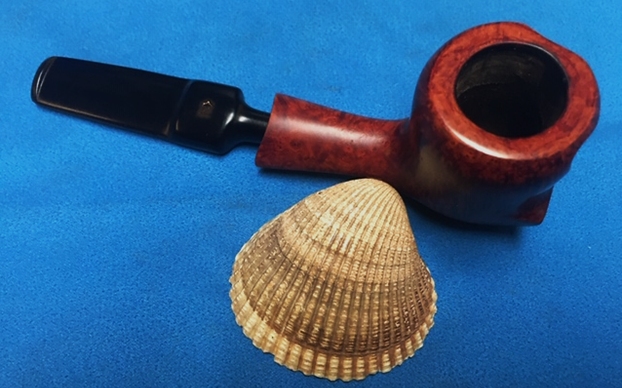
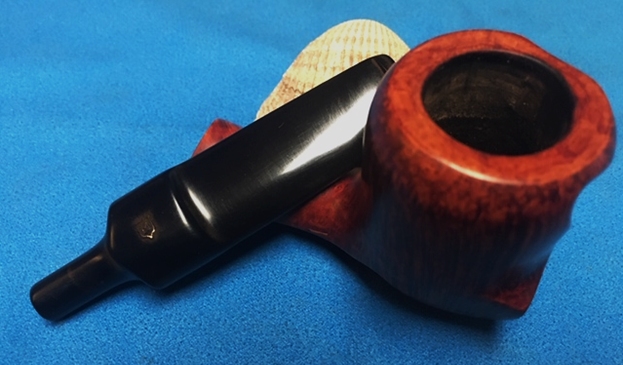
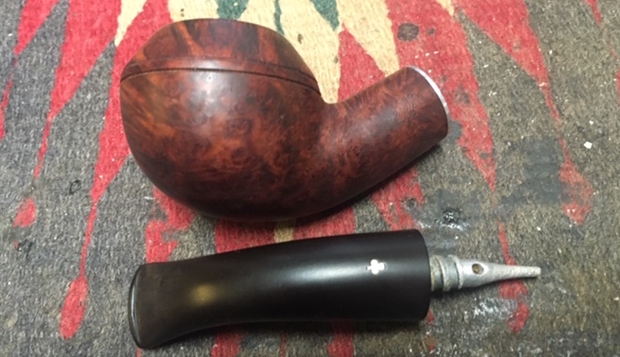
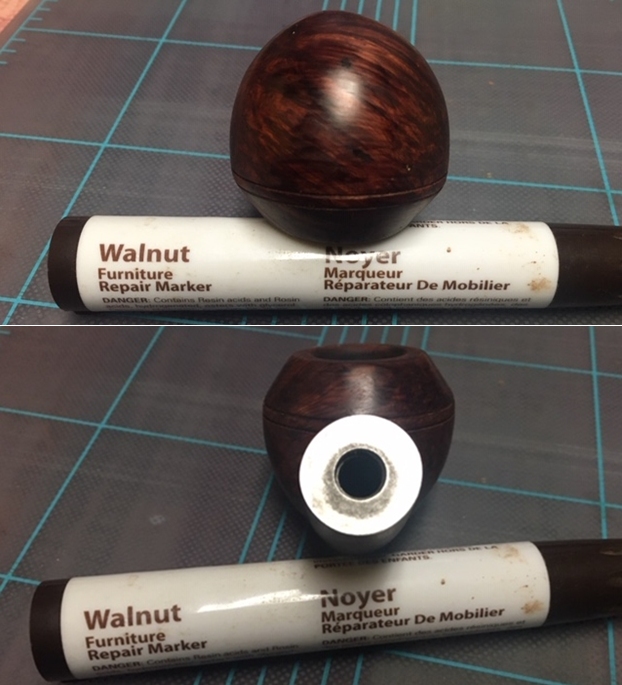
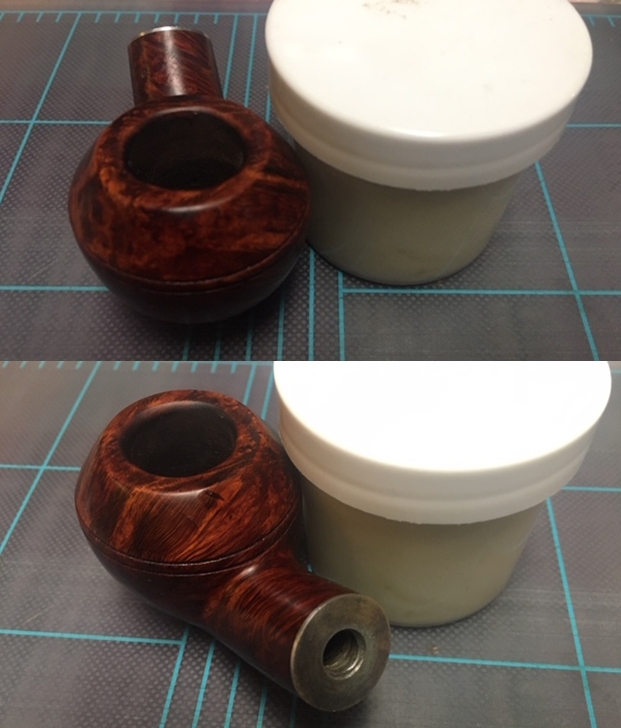
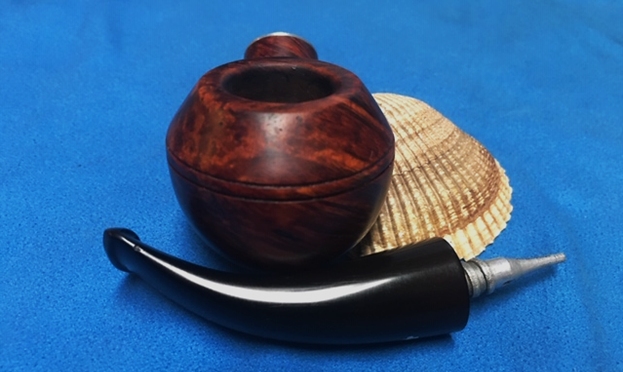
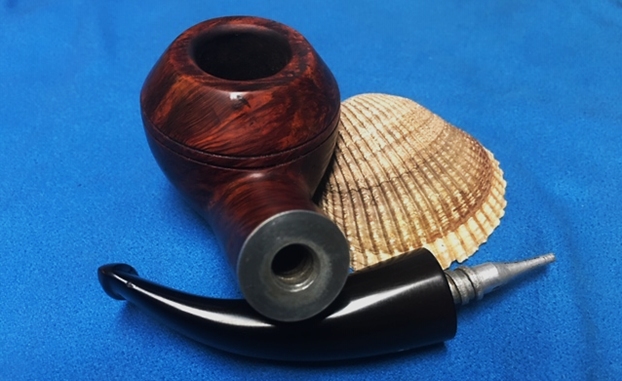
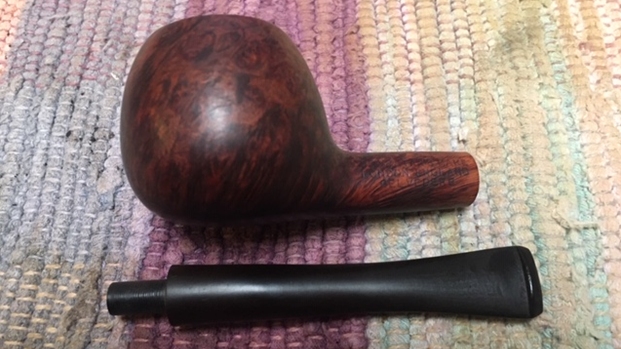
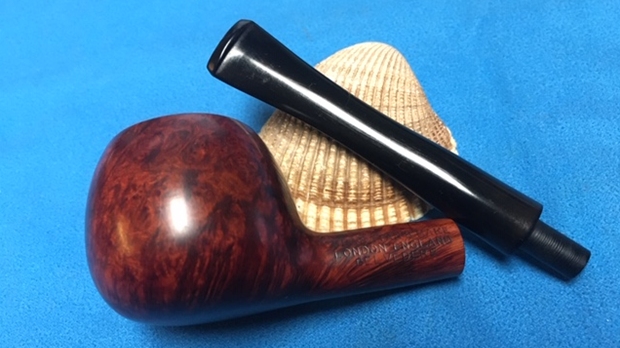
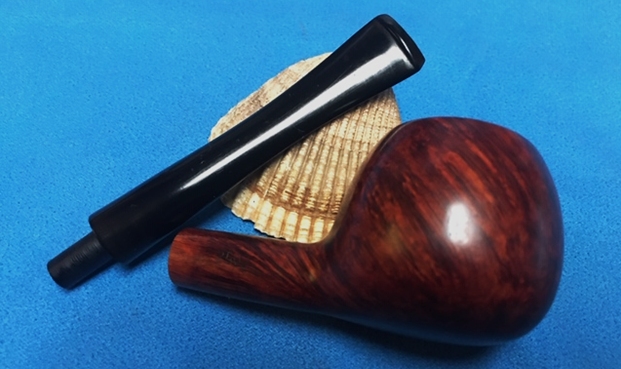
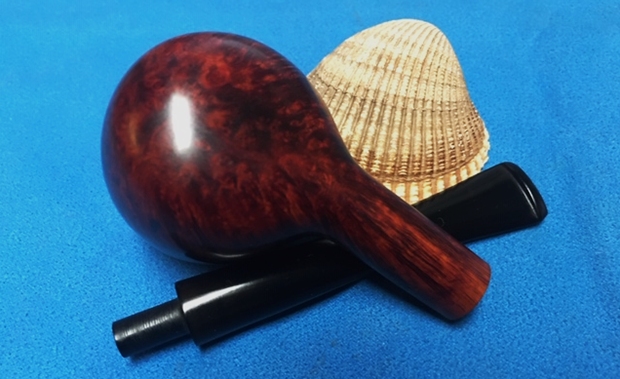
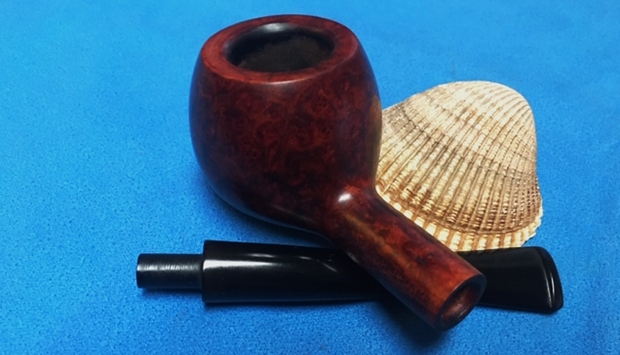
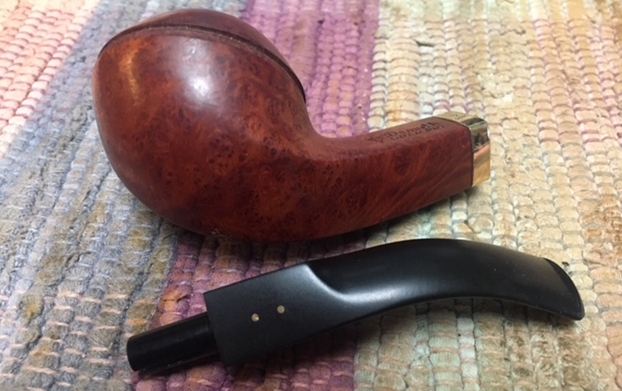
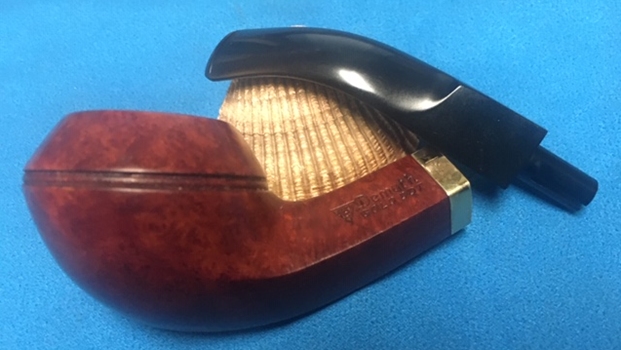
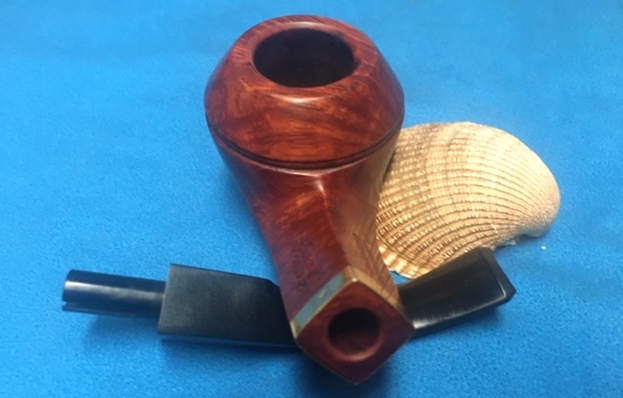
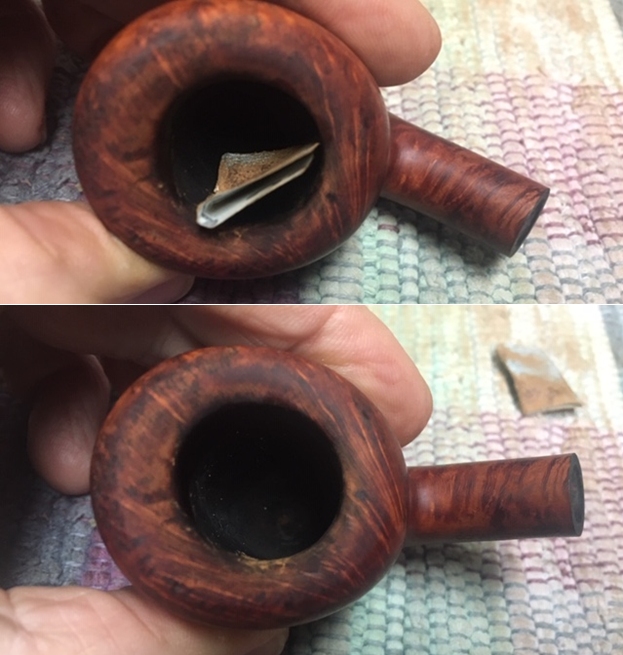
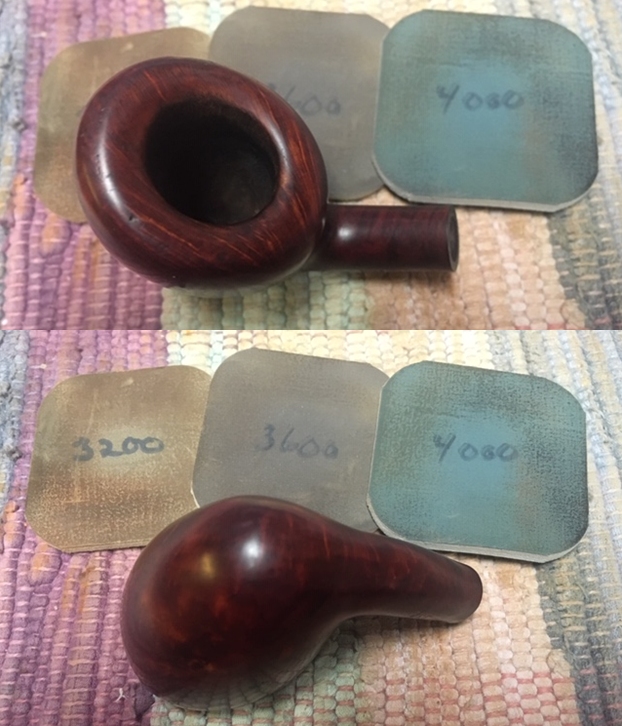
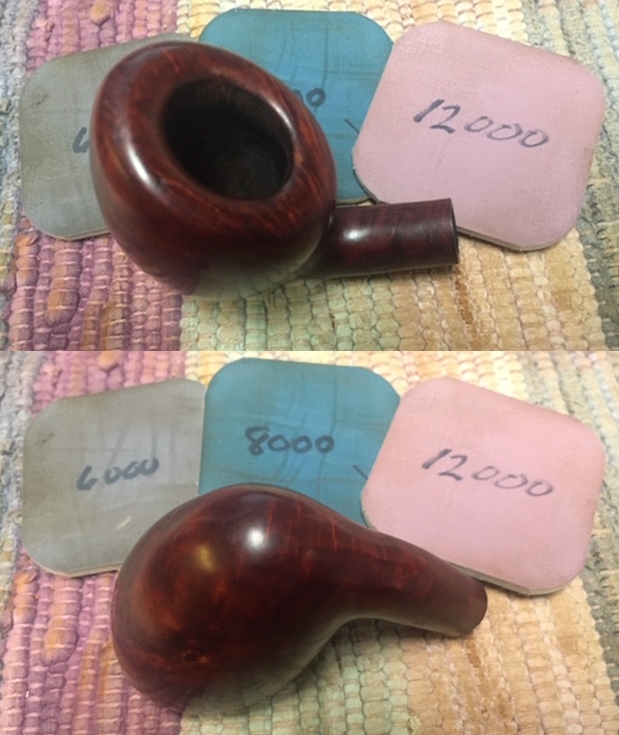
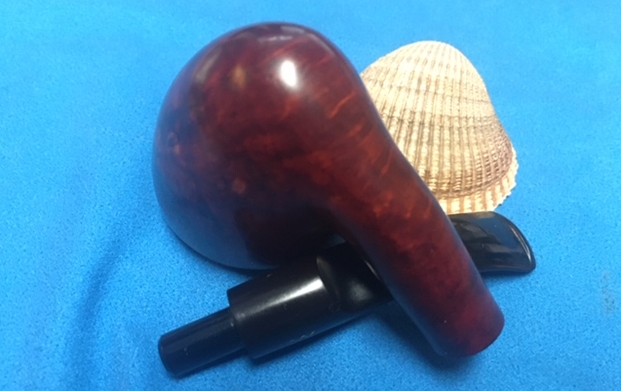
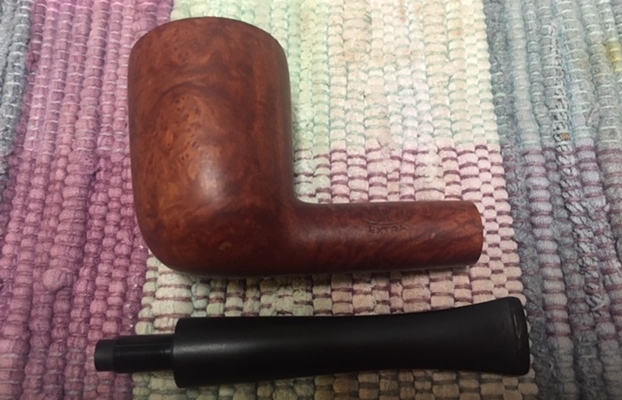
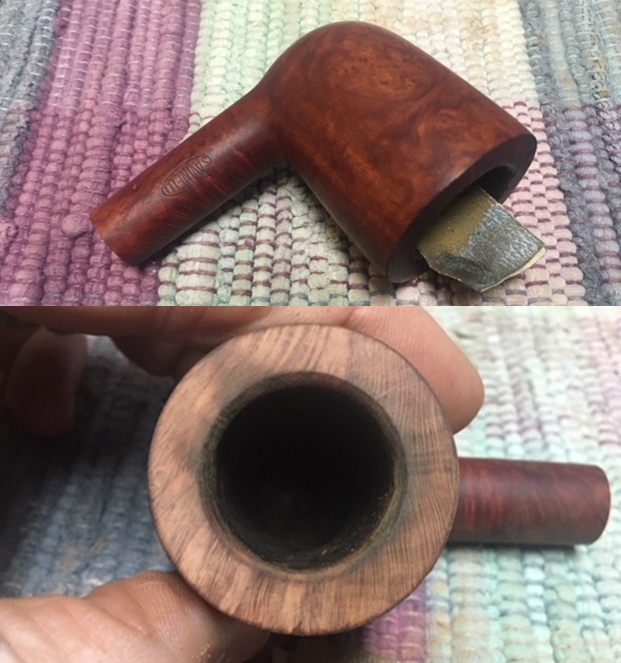
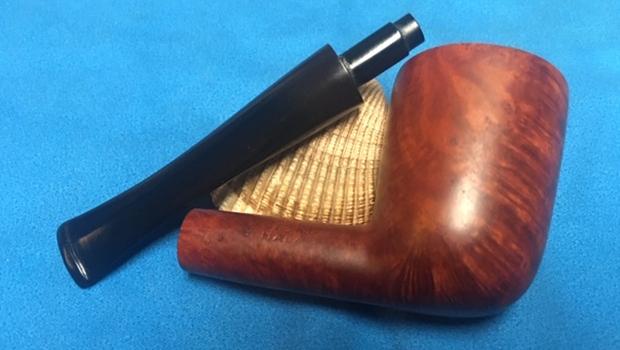
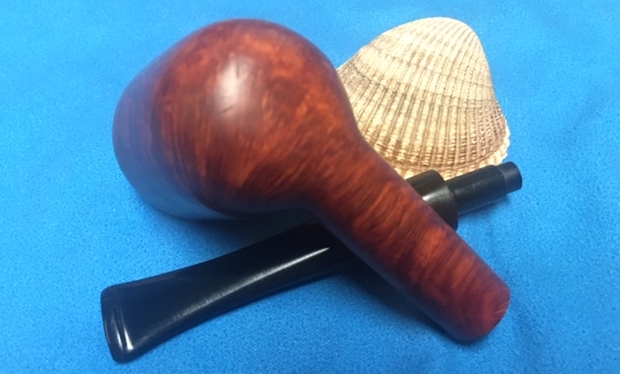
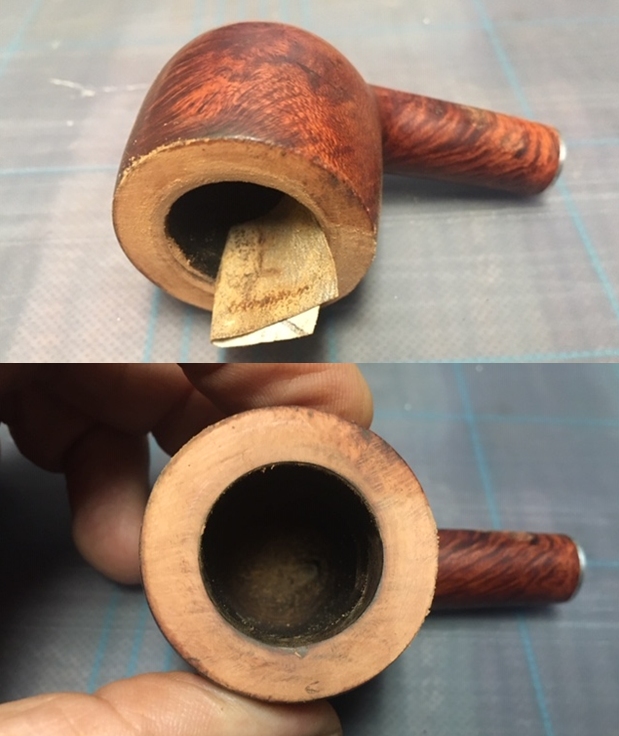
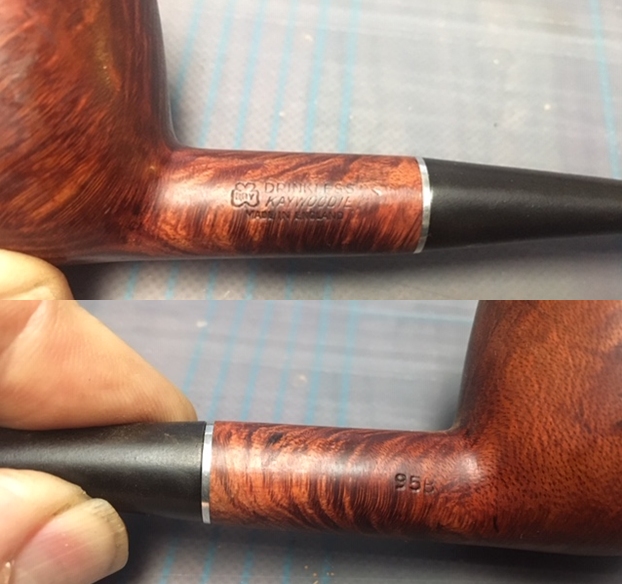 I unscrewed the stem for the shank and took a photo of the bowl and stem to give a picture of what it looked like. You can see the clipped off stinger that has been modified to leave behind a threaded tenon.
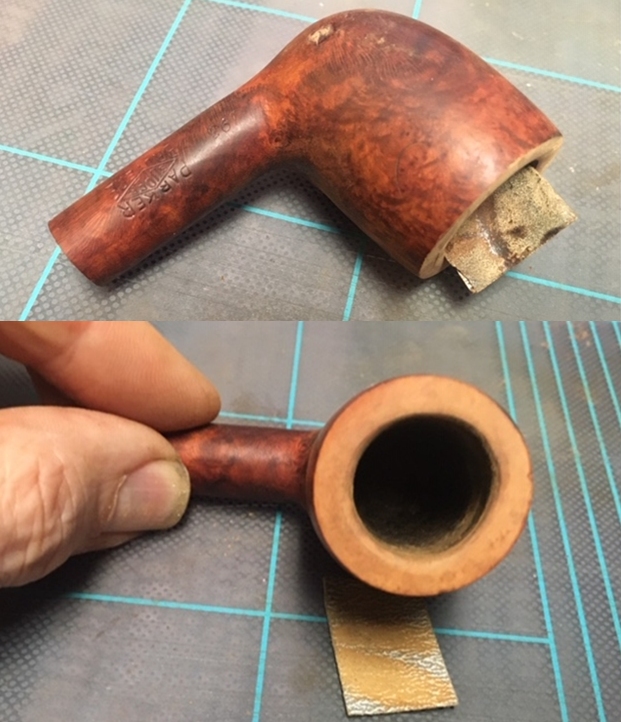
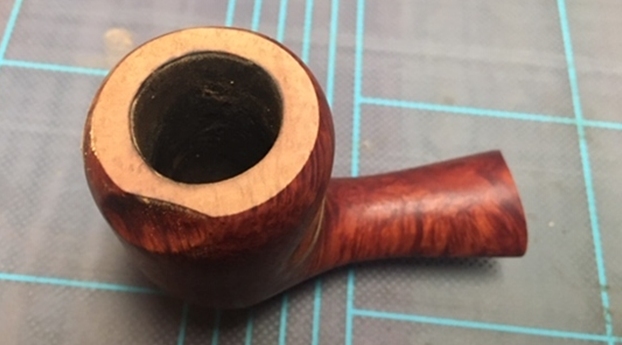
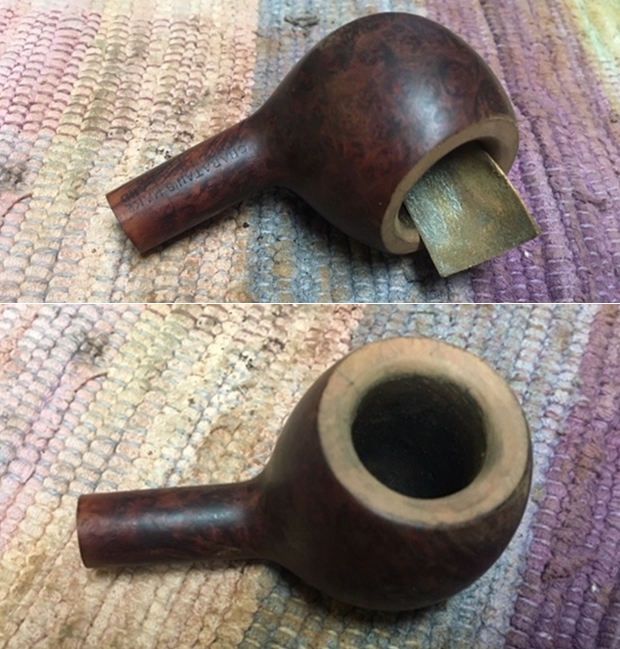
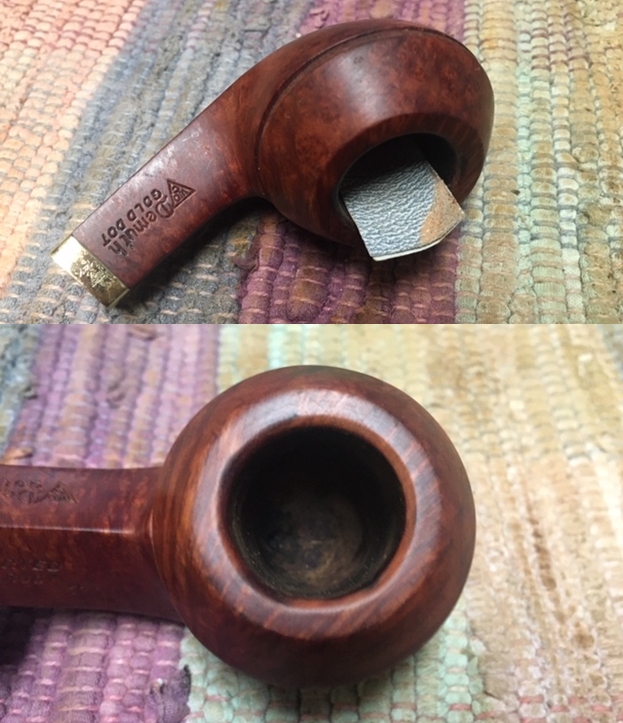
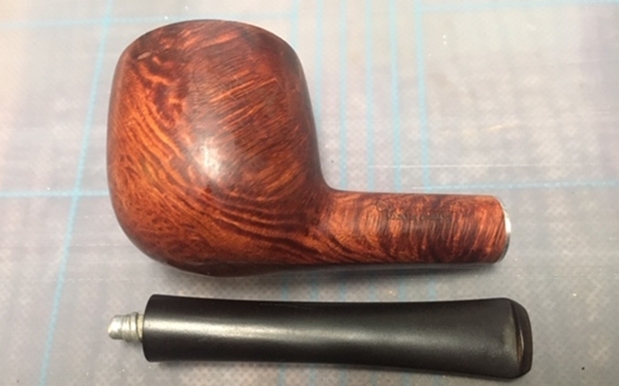 Now, on to my part of the restoration of this KBB English Made Pot. I decided to start by dealing with the damage to the rim top and the inner edge of the bowl. I topped the bowl on a board with 220 grit sandpaper to remove the damage to the bowl. I used a folded piece of 220 grit sandpaper to smooth out the damage to the inner edge of the rim. I worked on the inner bevel to clean up the damage and the darkening.
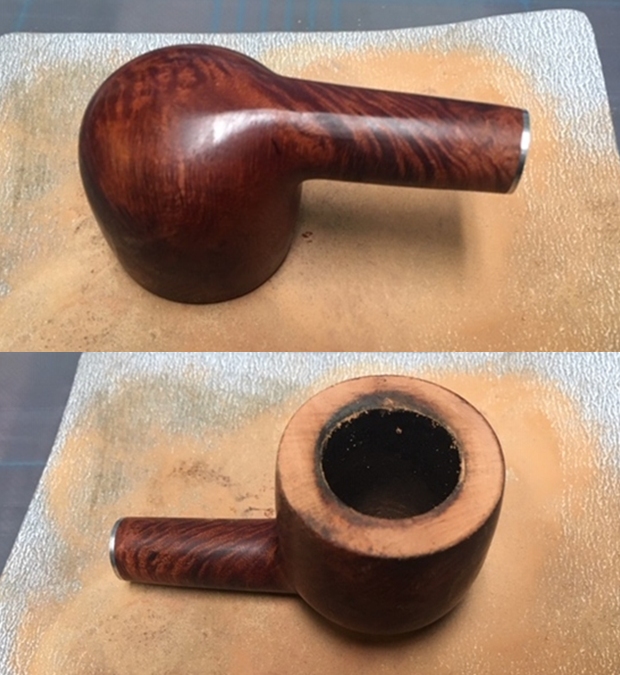
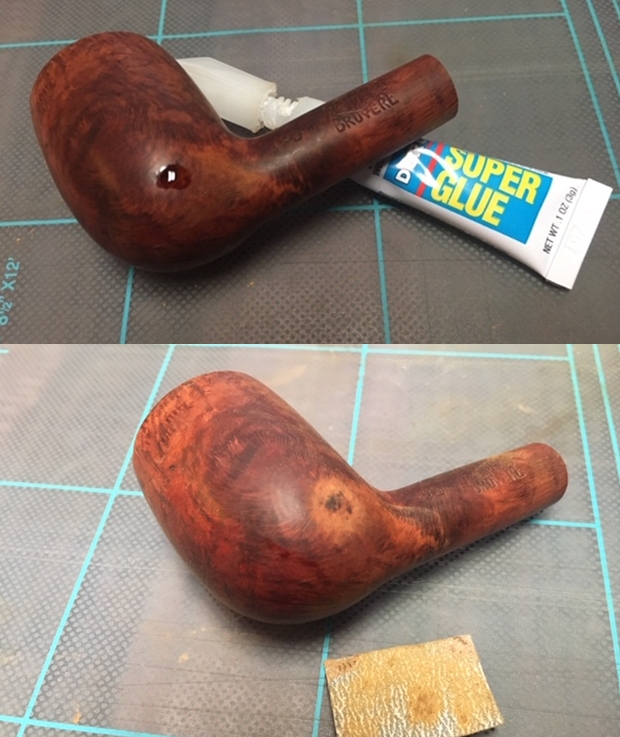
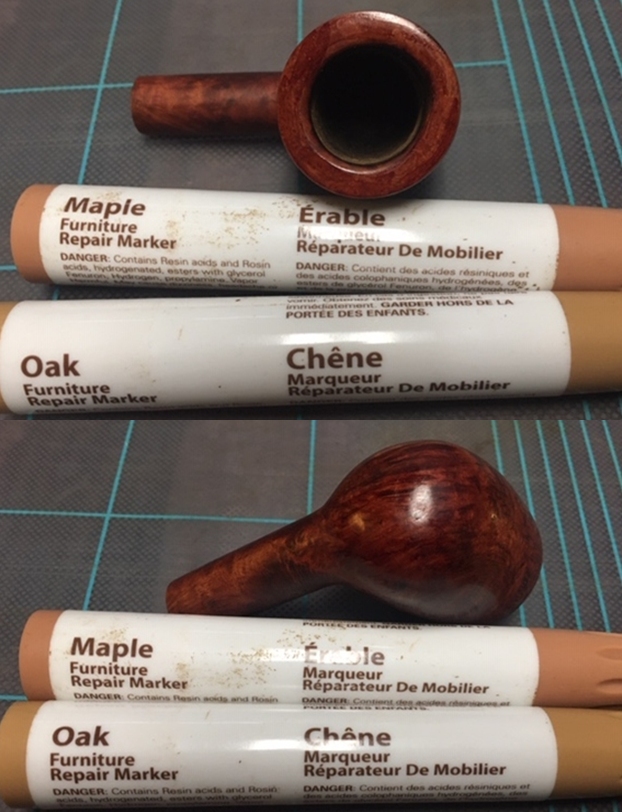
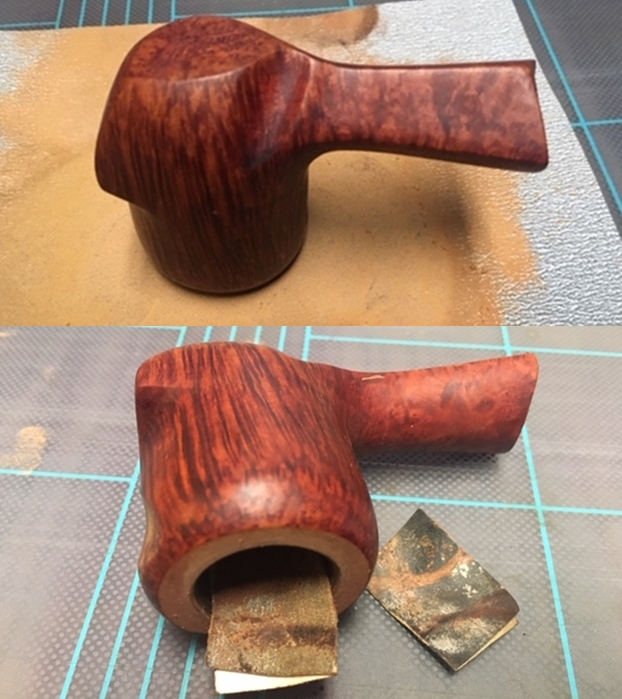
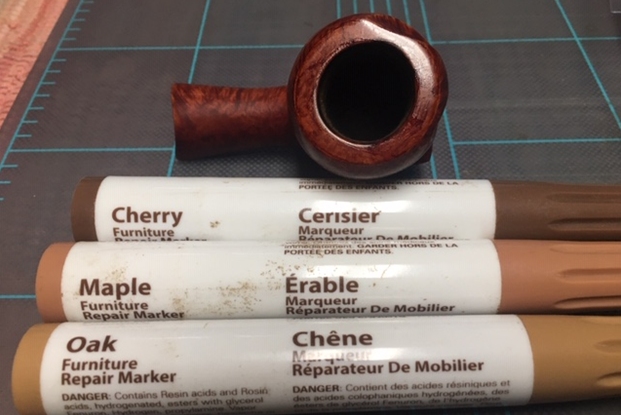
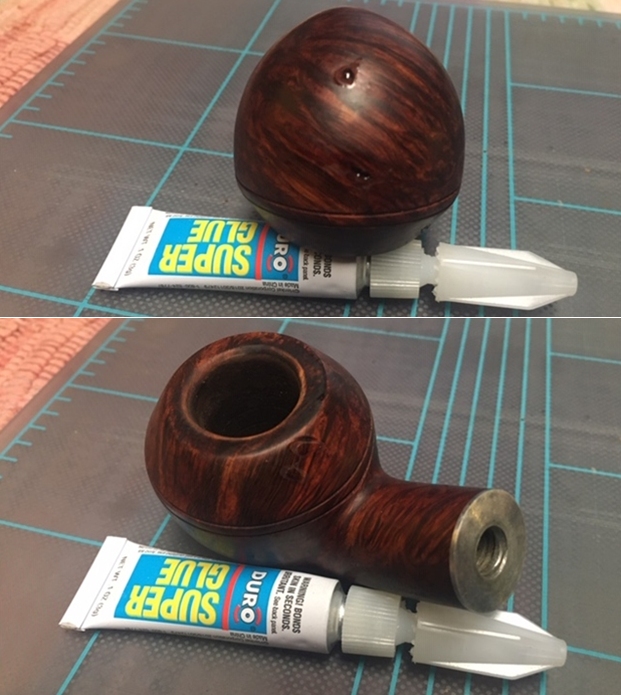
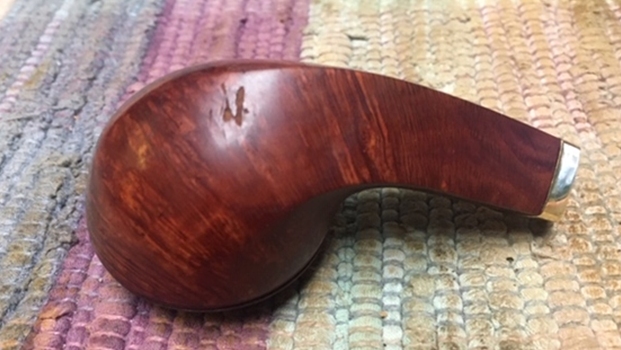
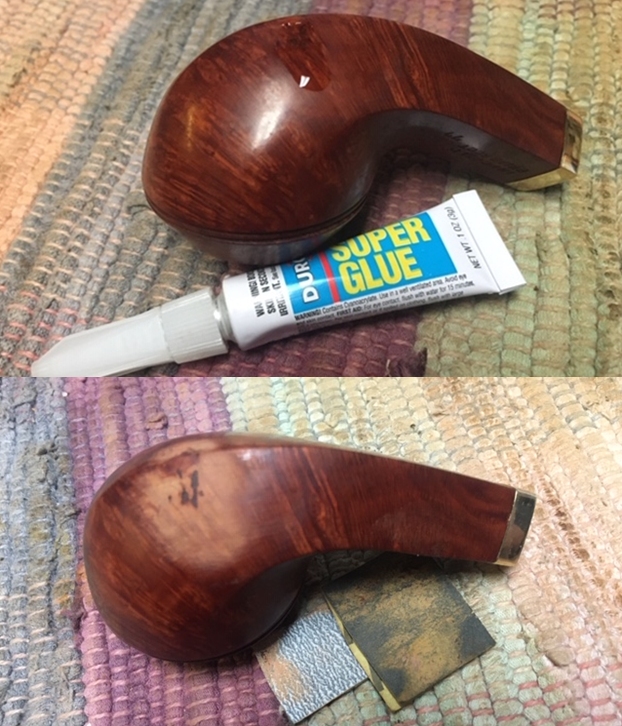
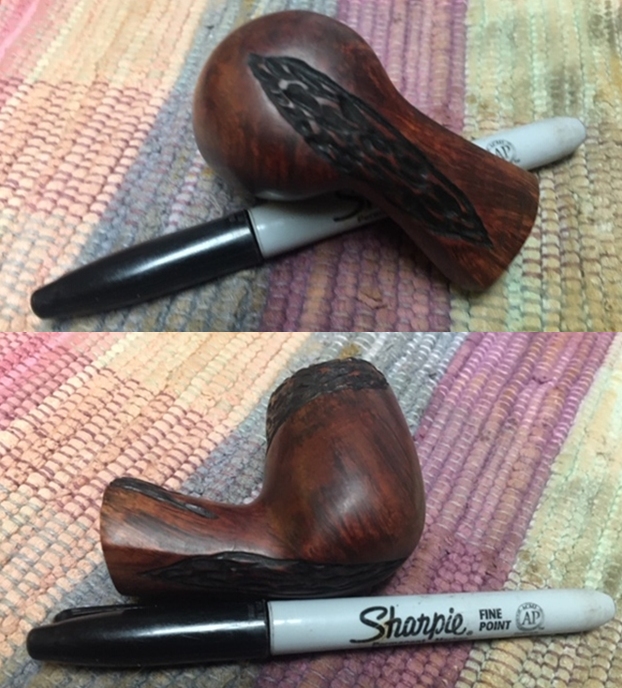
 I moved on to deal with the gouges in the bowl on the right side. I fill them in with clear super glue. When the repairs had cured I sanded them smooth with 220 grit sandpaper to smooth them out.
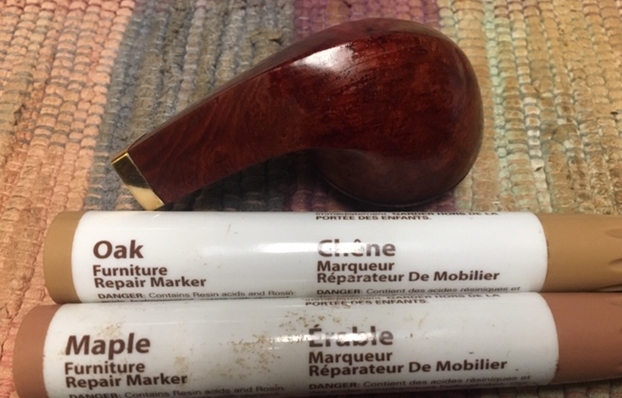
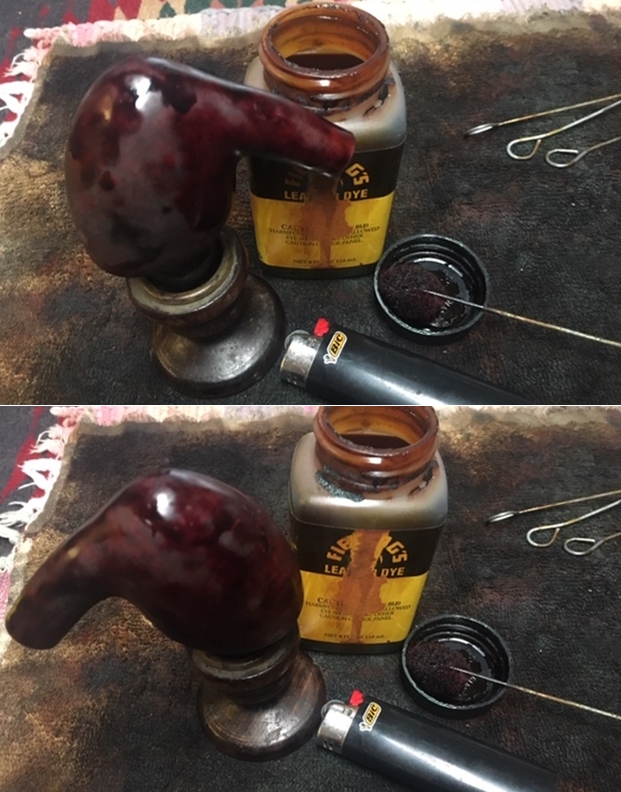
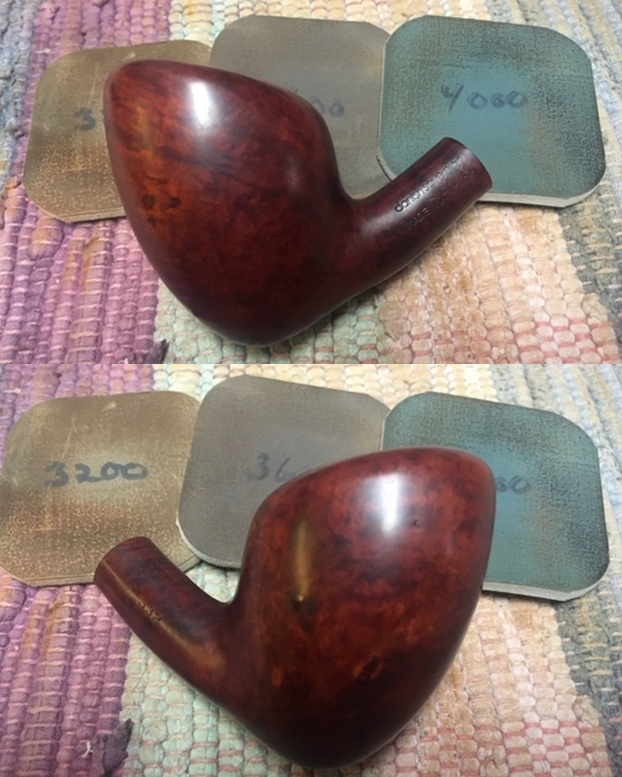
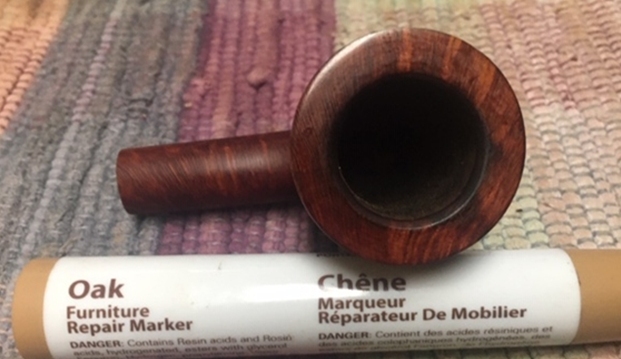
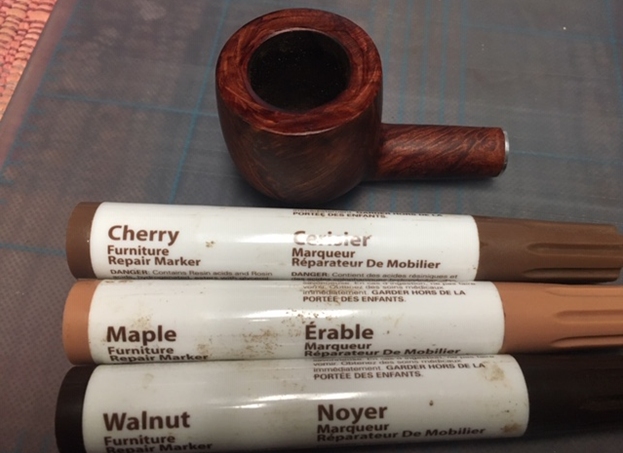
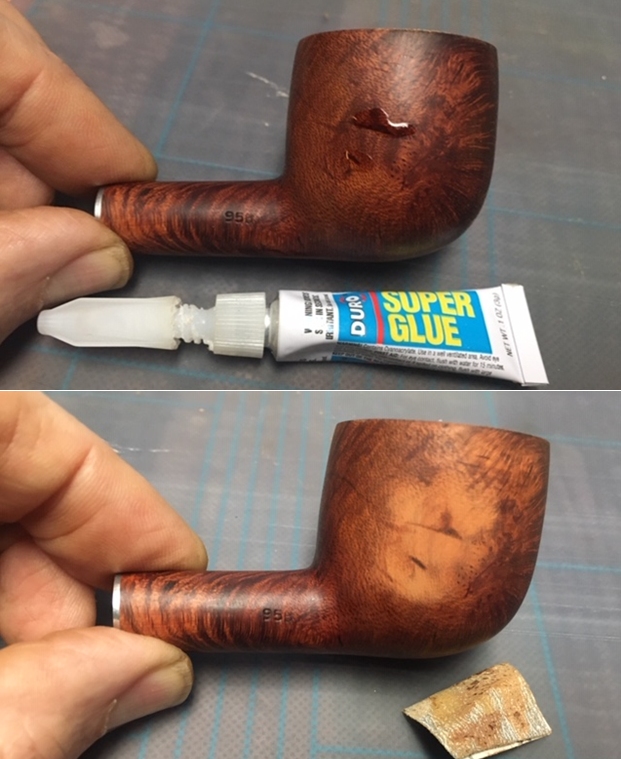 I stained the repaired and sanded areas with a blend of Cherry, Maple and Walnut stain pens to blend them into the surrounding briar. Once the stain cured I polished the briar to further blend it into the bowl.
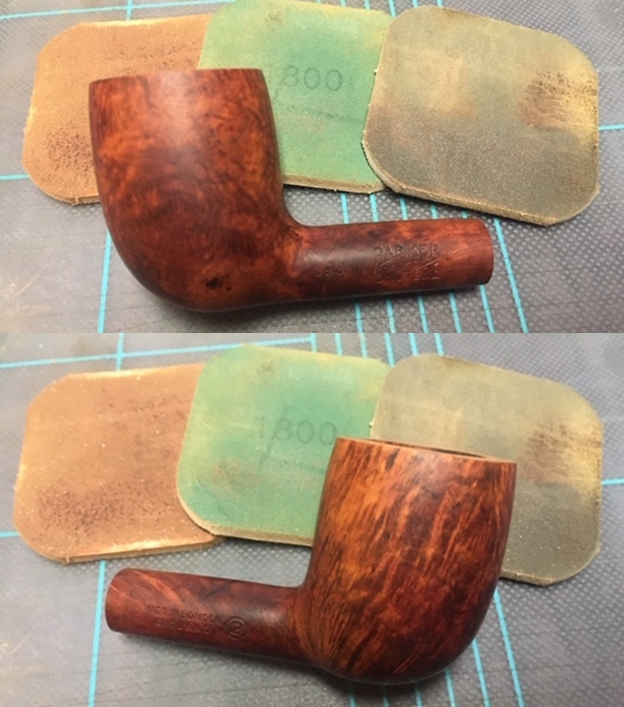
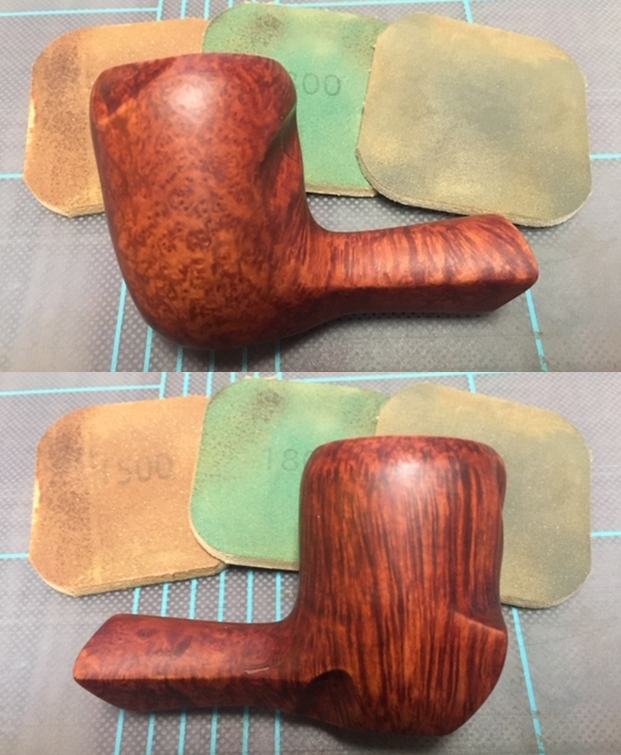
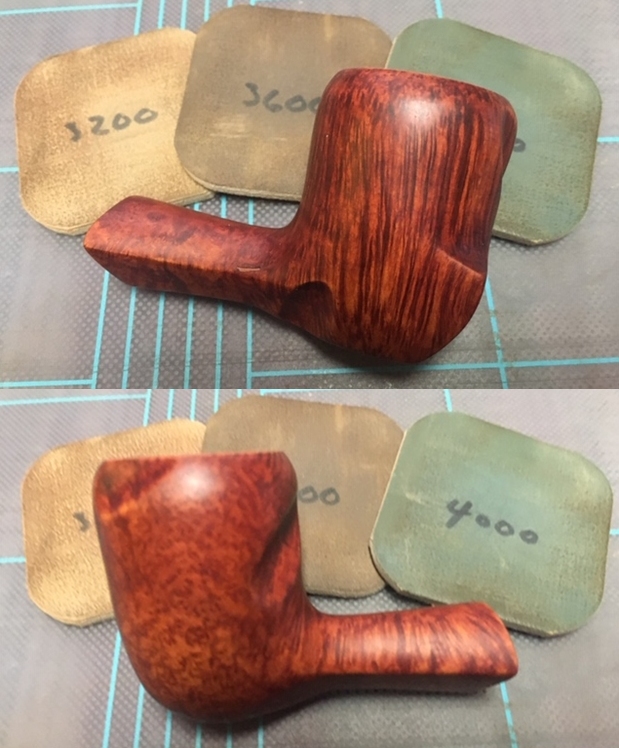
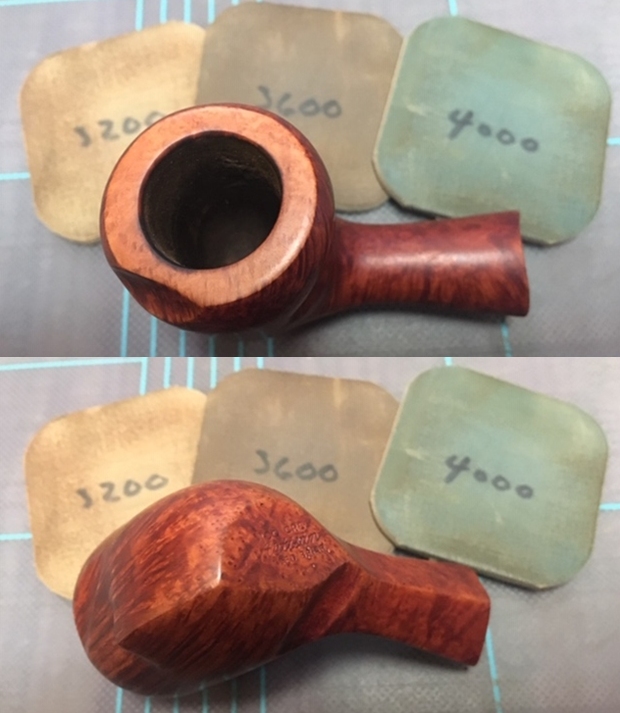
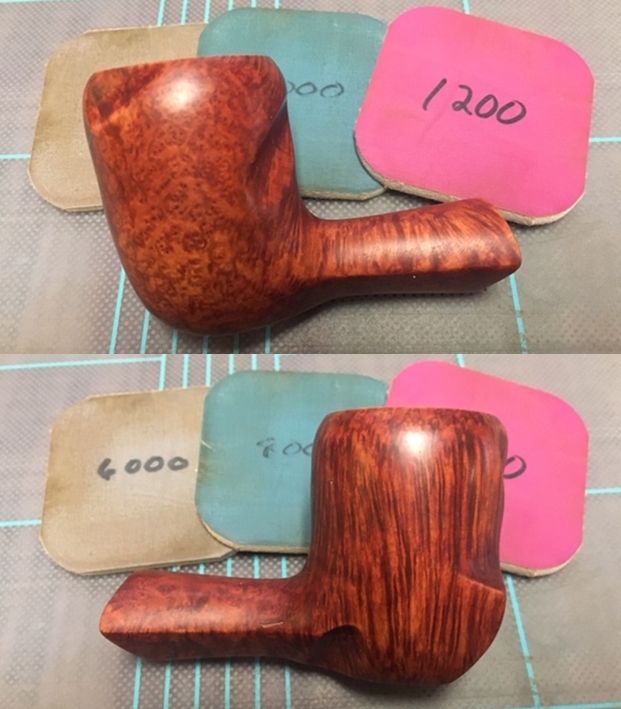
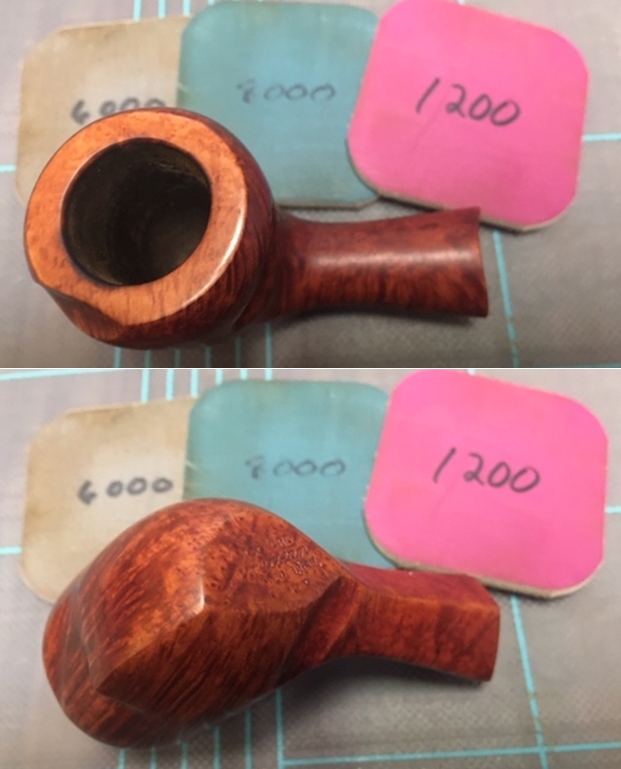
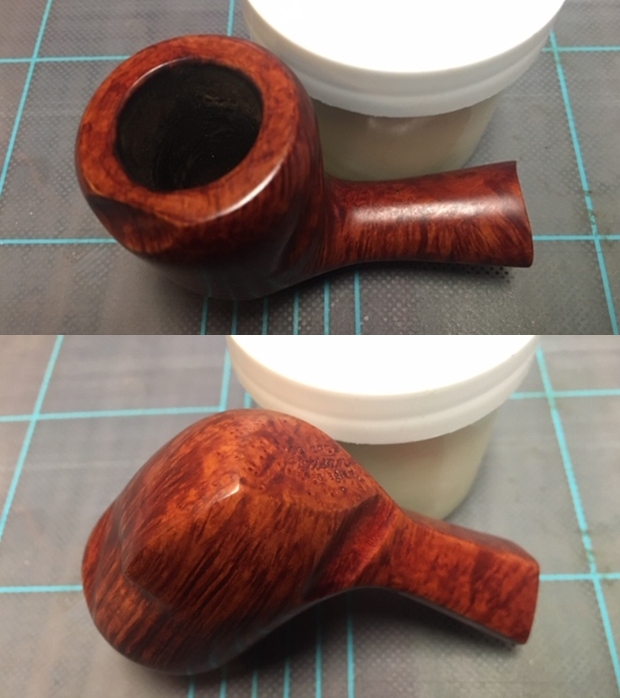
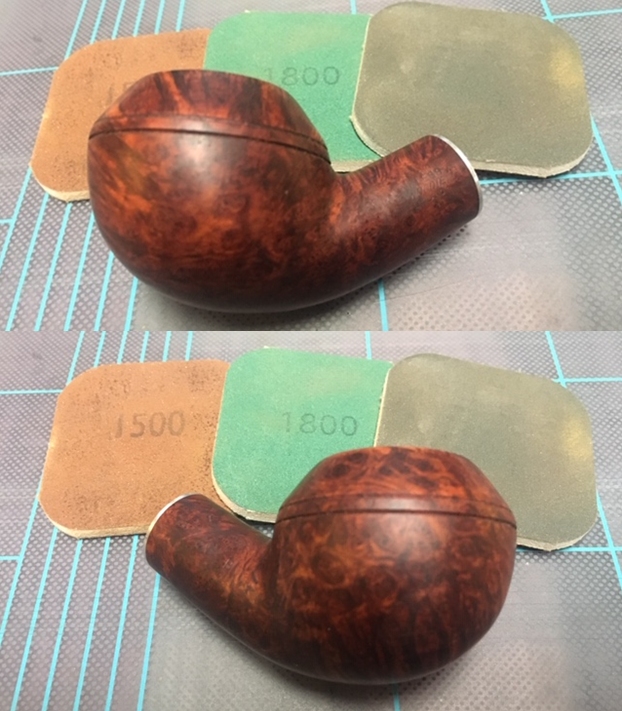
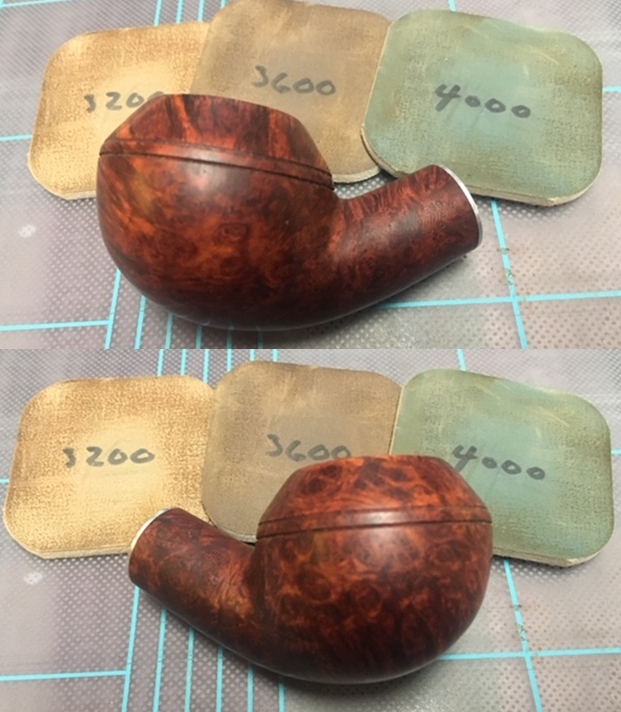
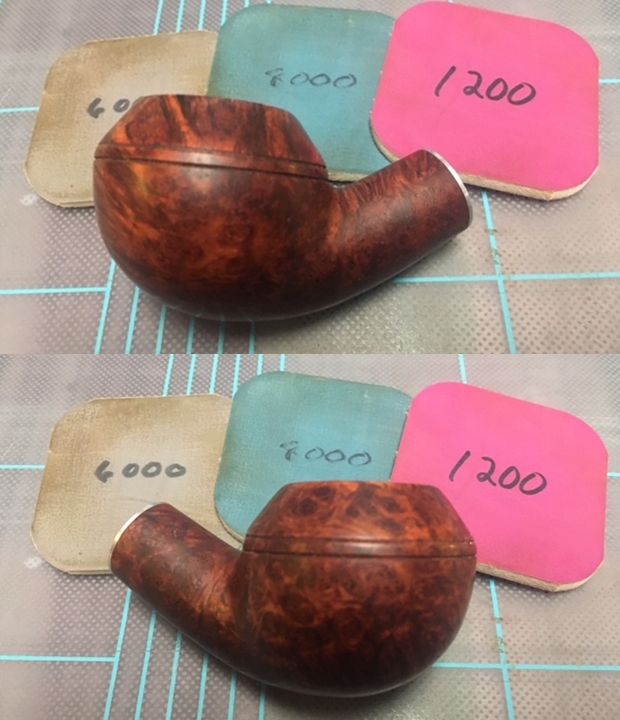
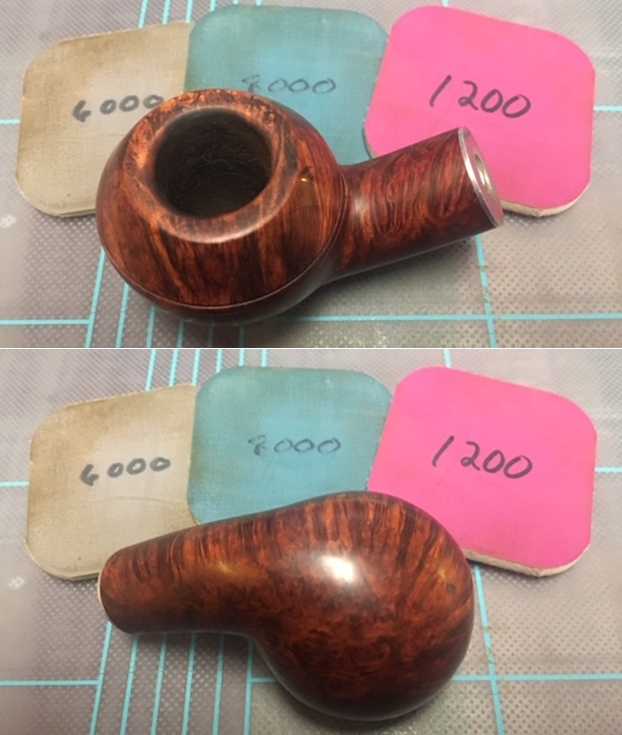
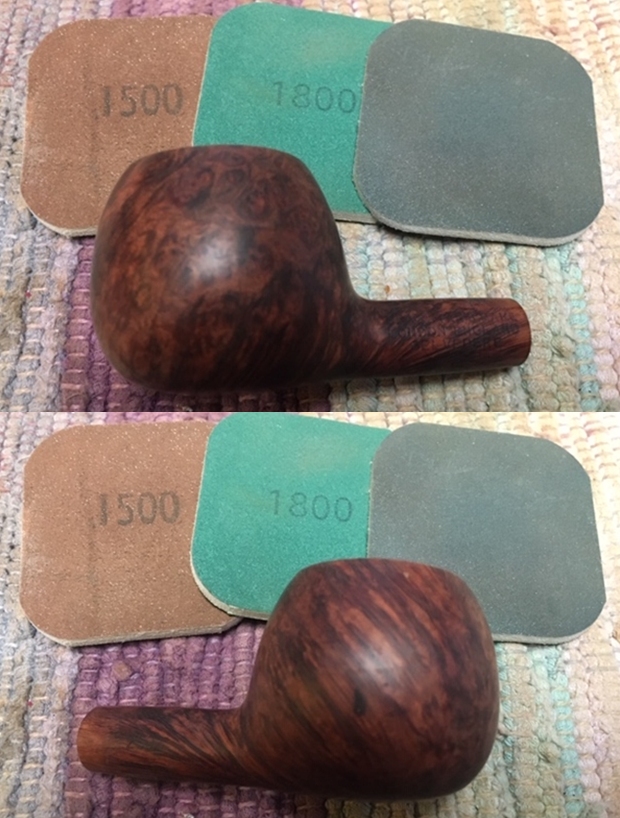
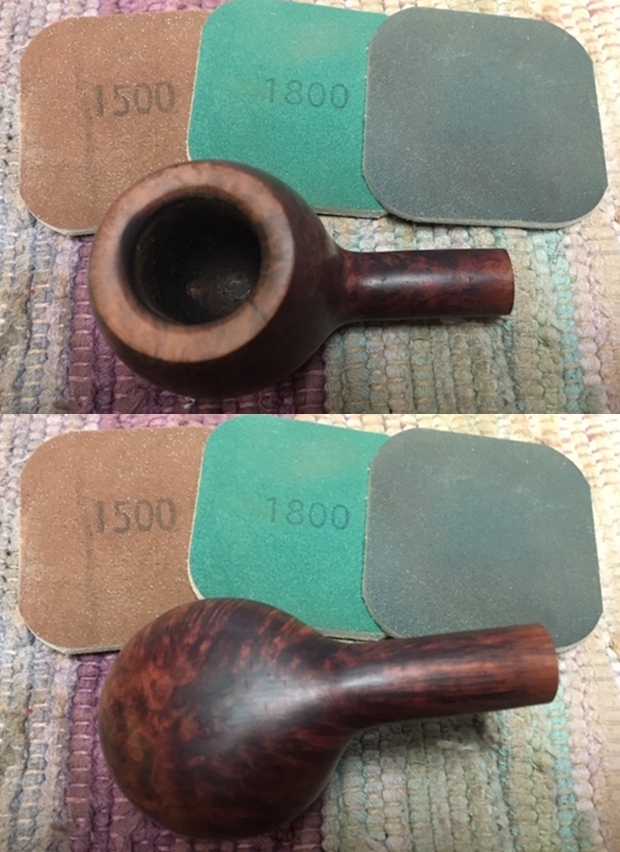
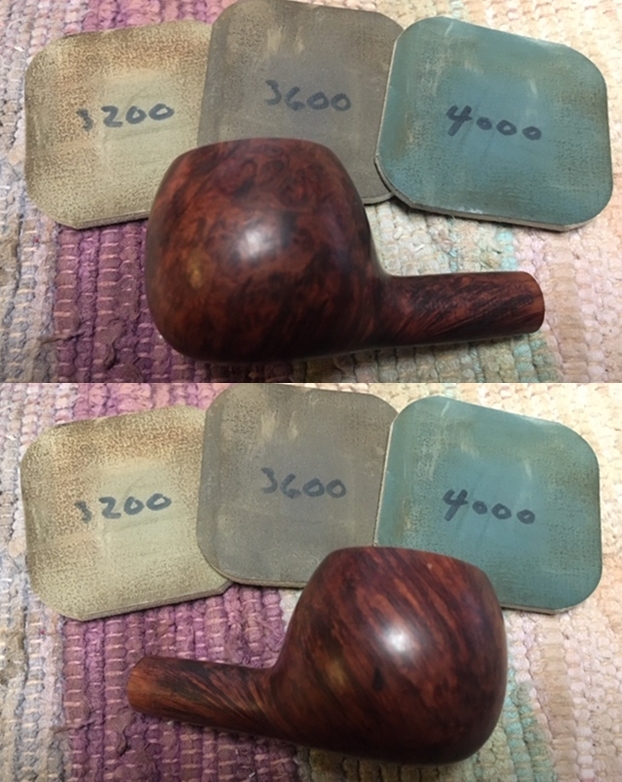
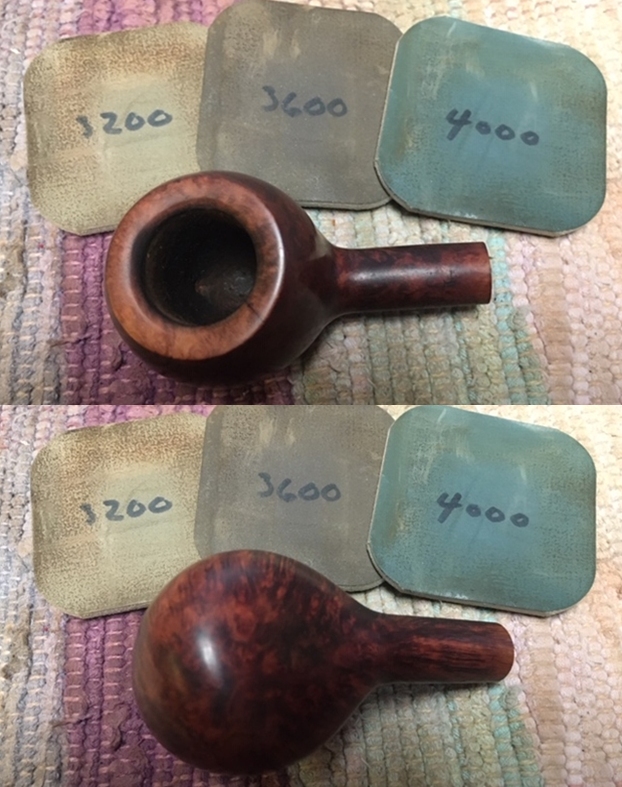
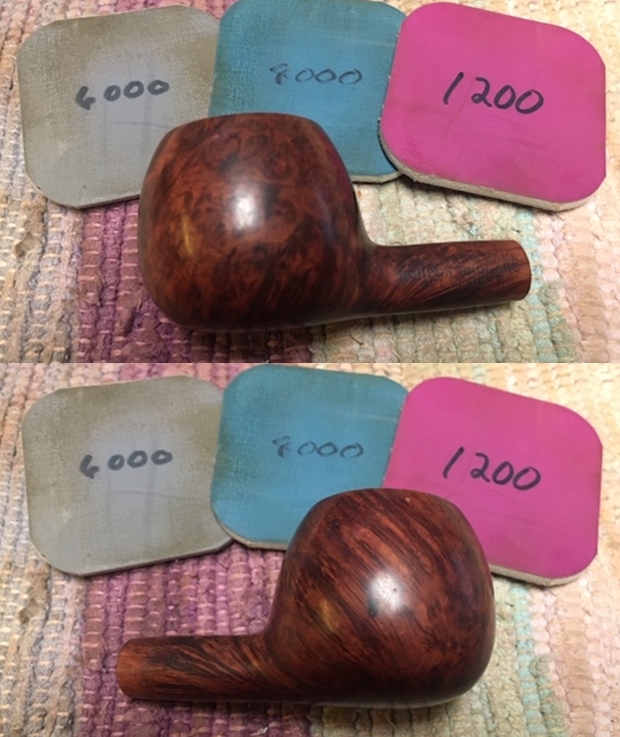
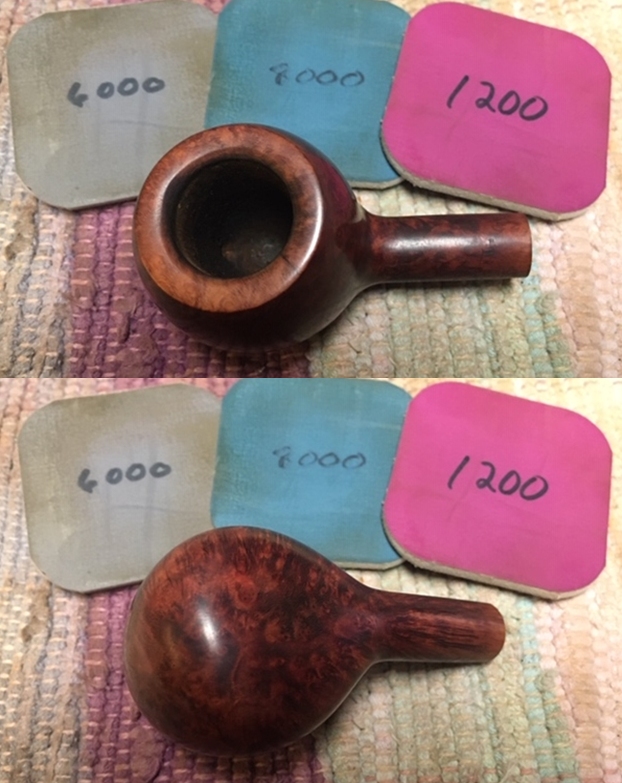
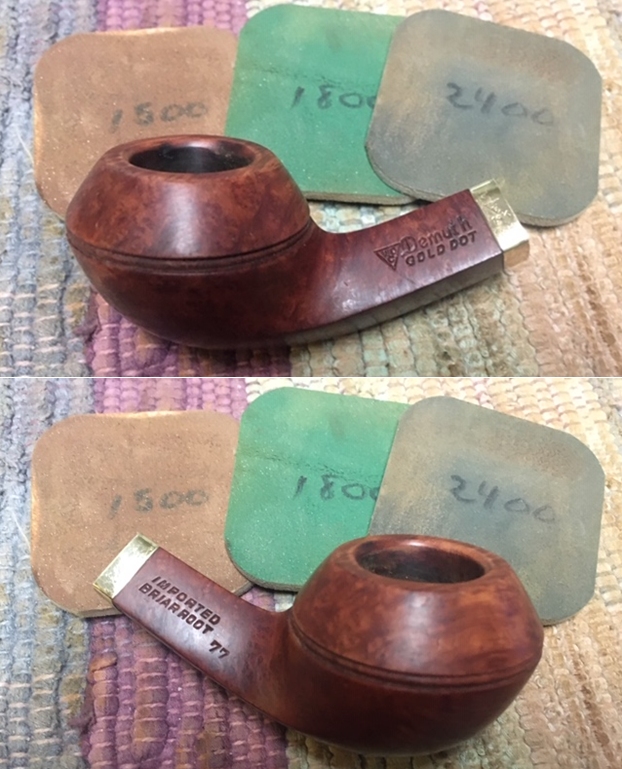
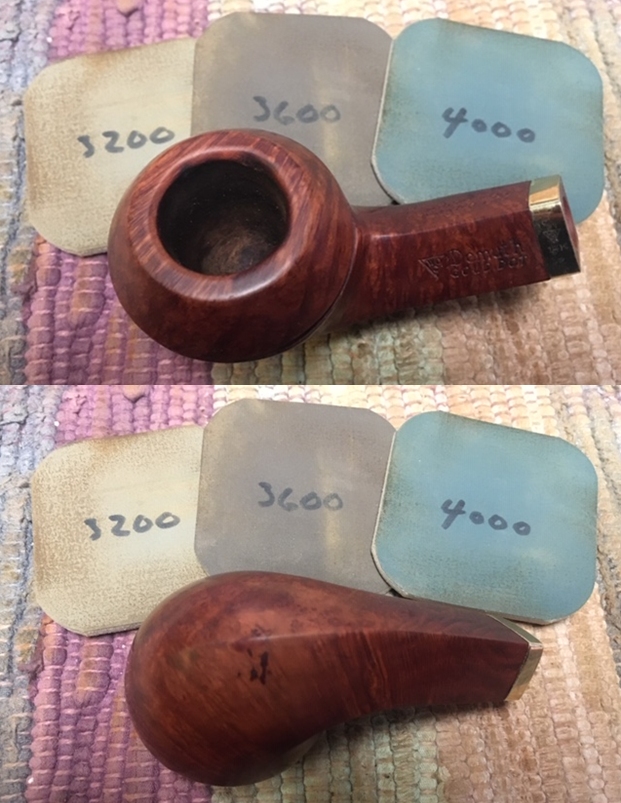
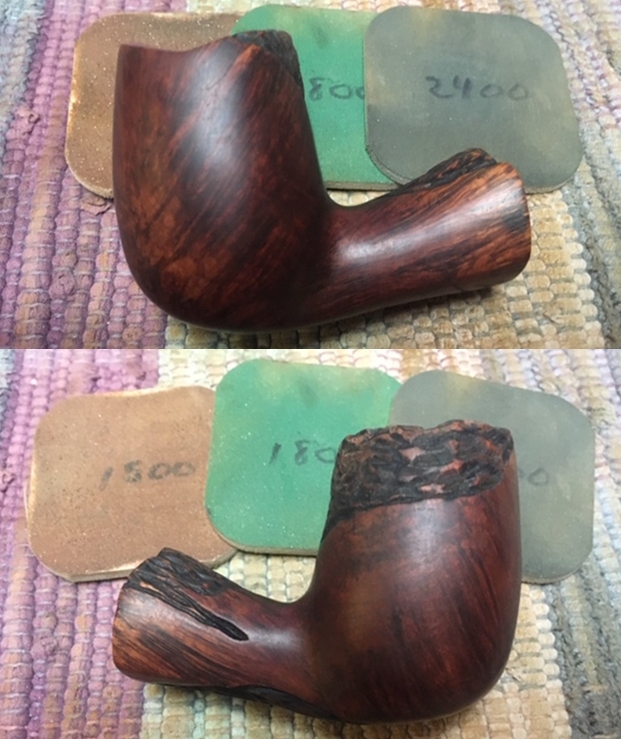
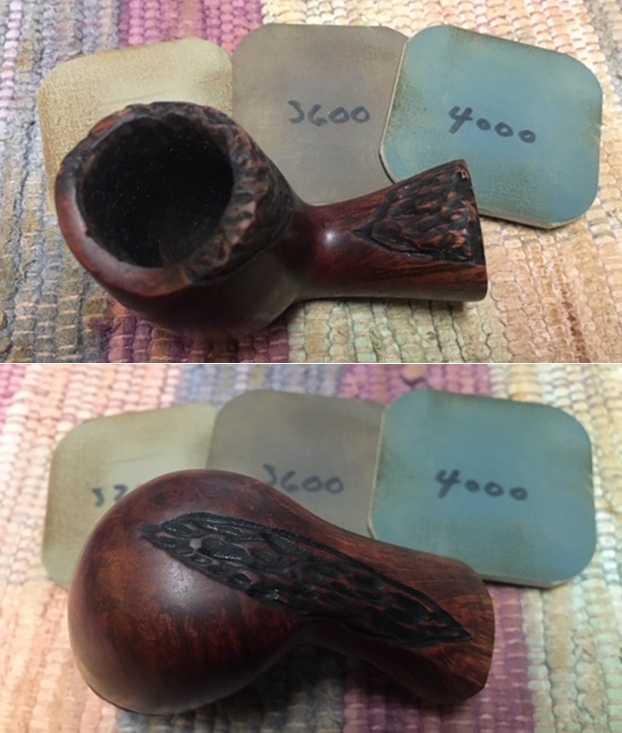
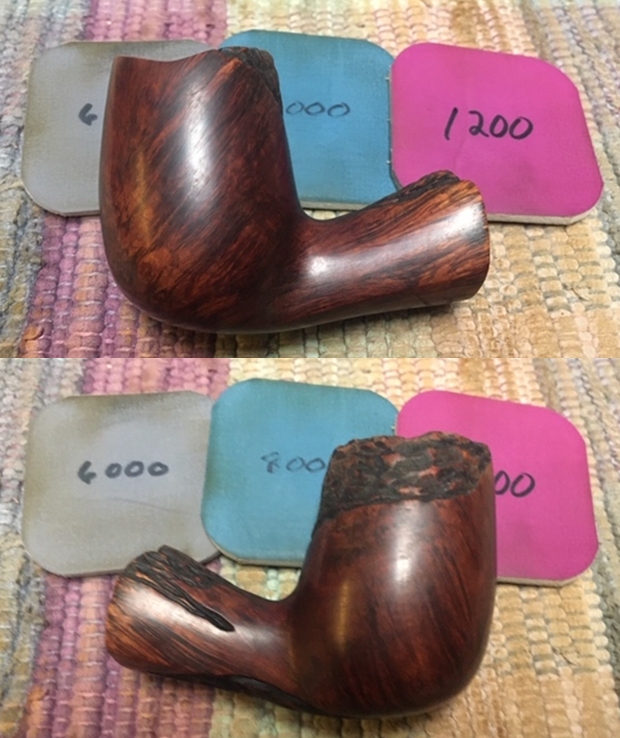
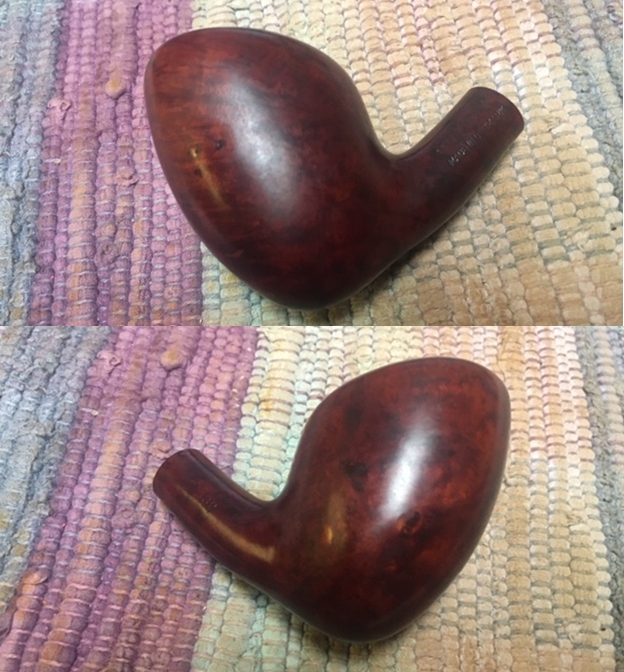
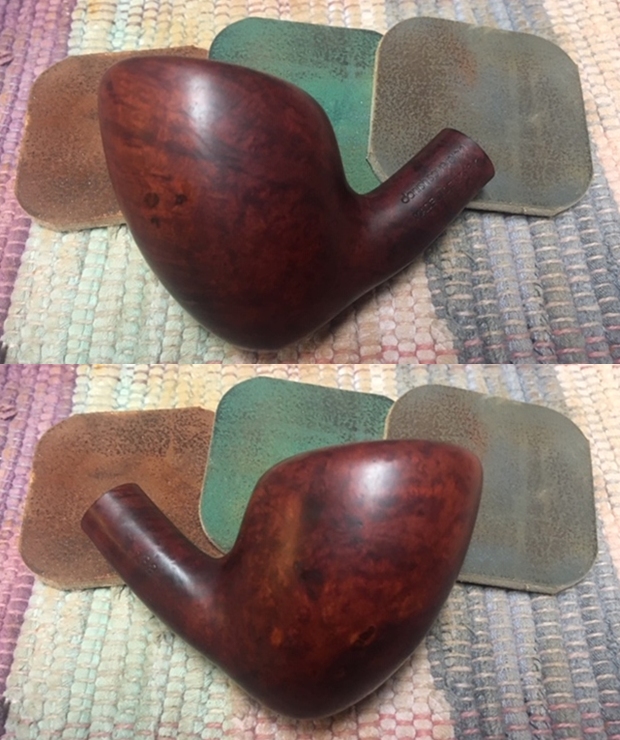
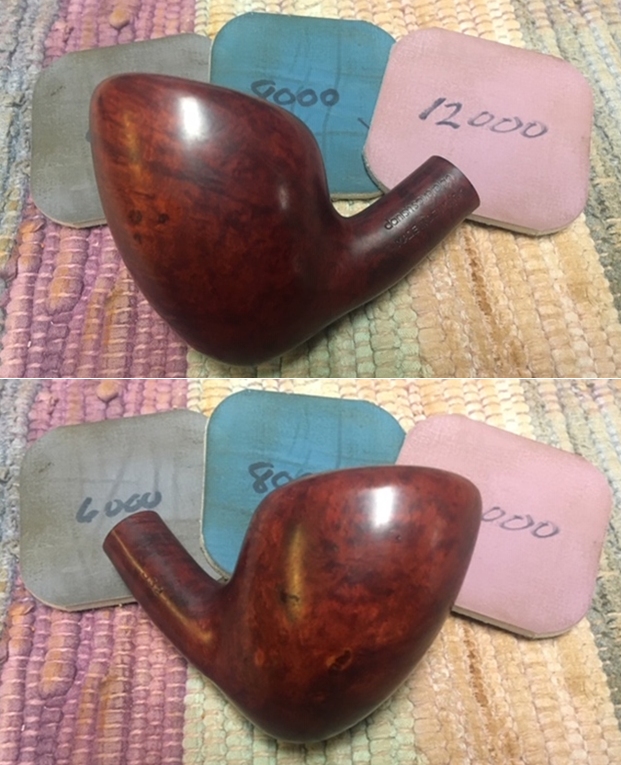
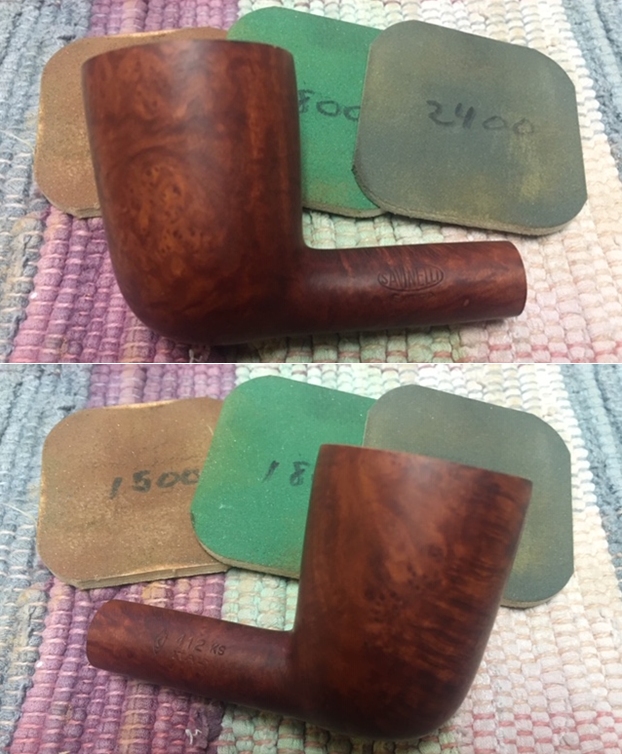
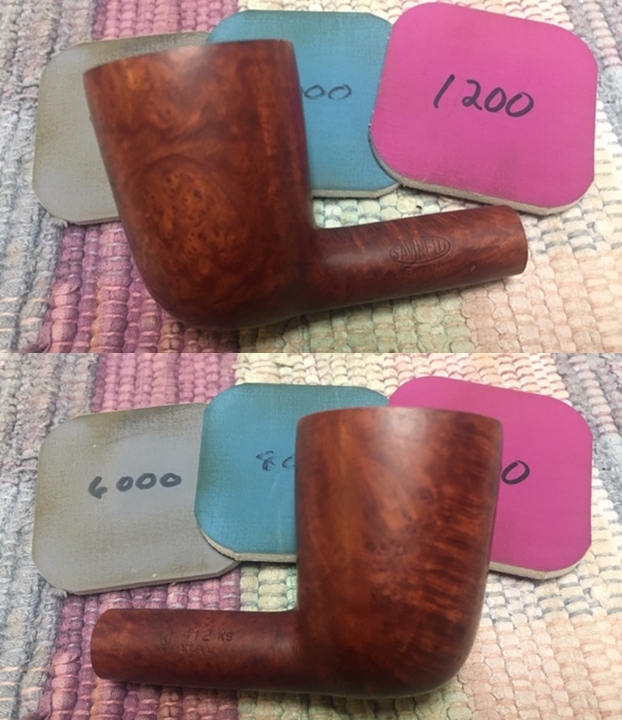
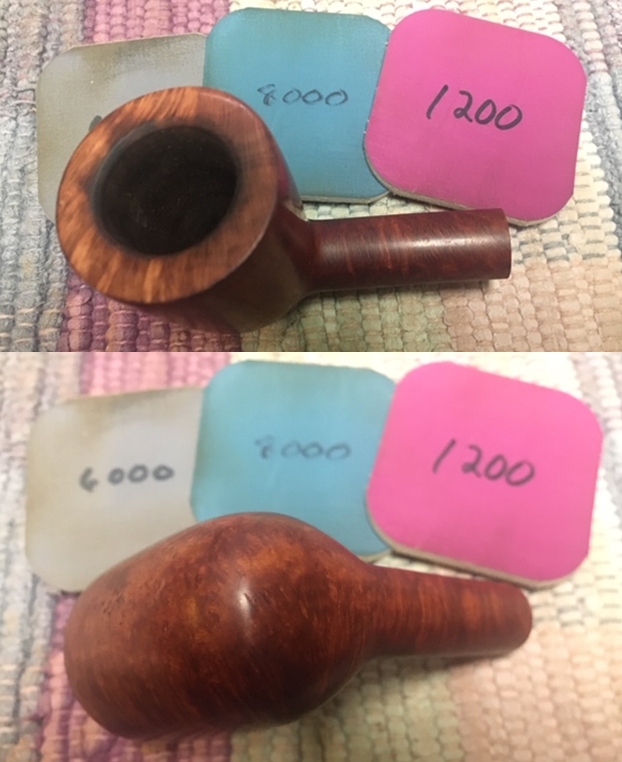
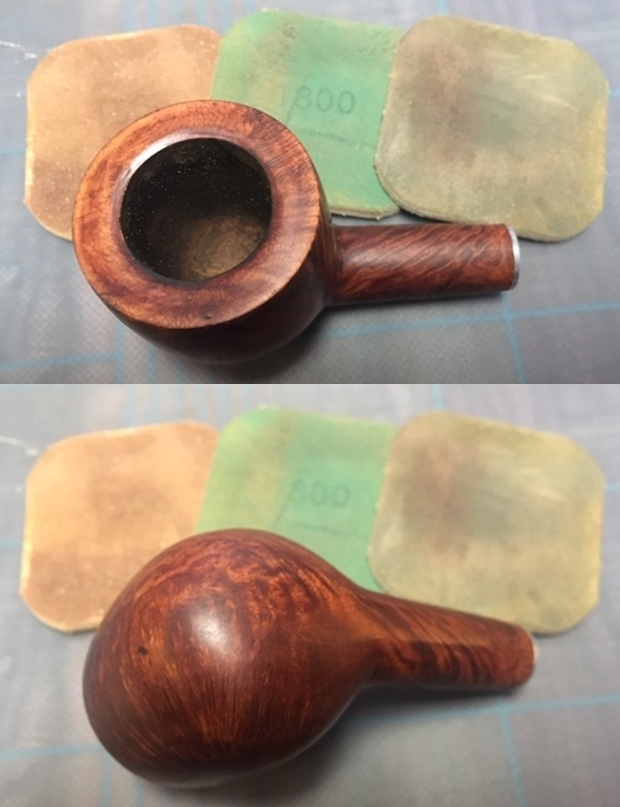
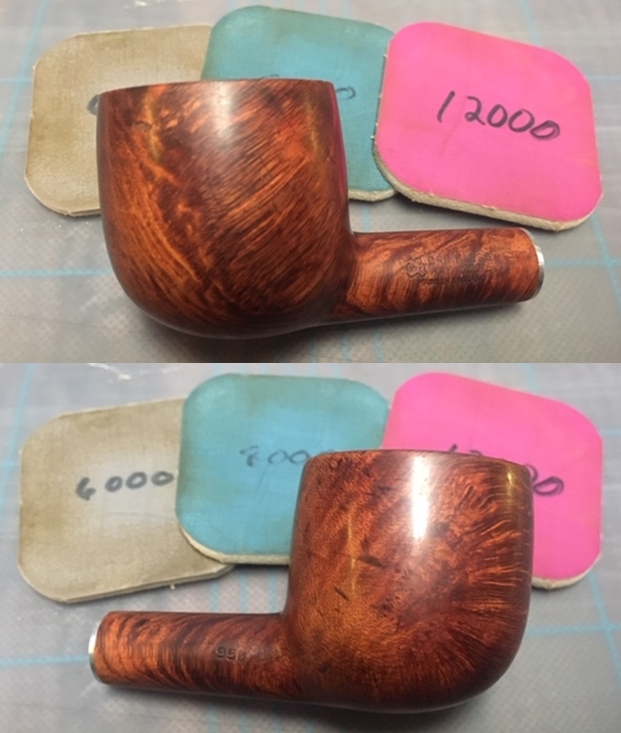
 I polished the bowl and rim top with micromesh sanding pads – wet sanding with 1500-12000 grit pads and wiping the briar down with a damp cloth after each sanding pad.


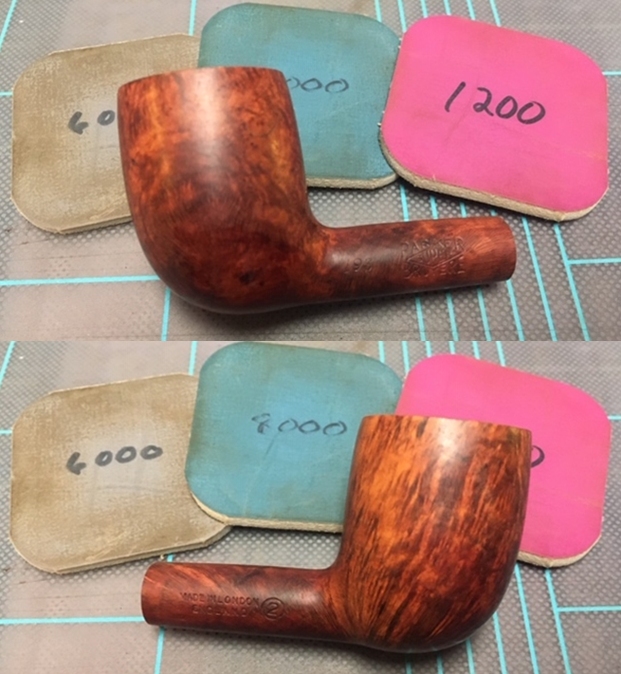
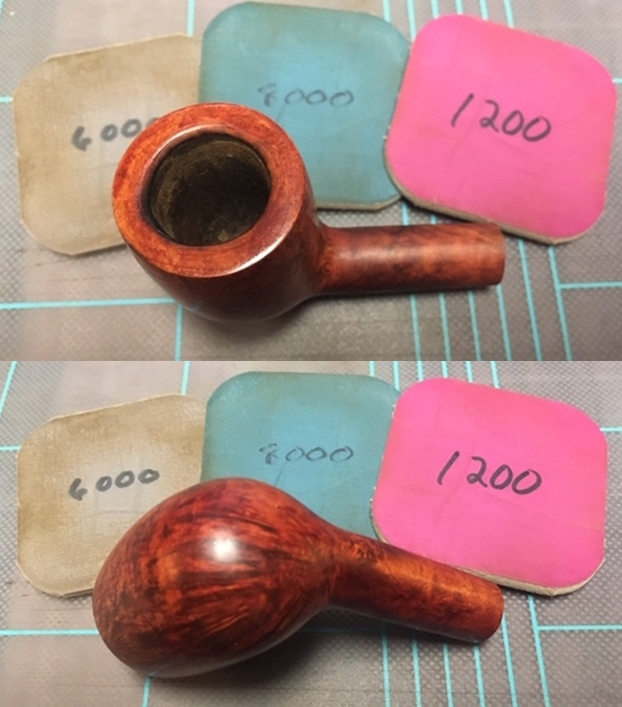
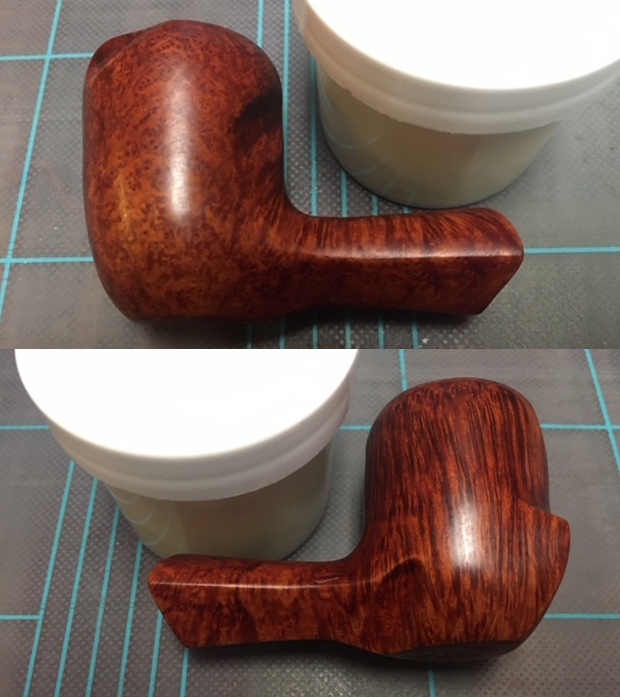
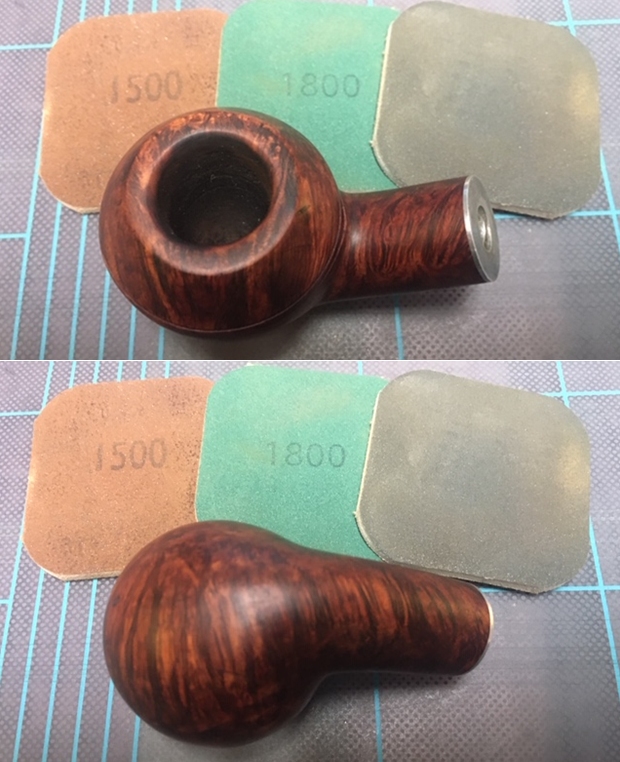
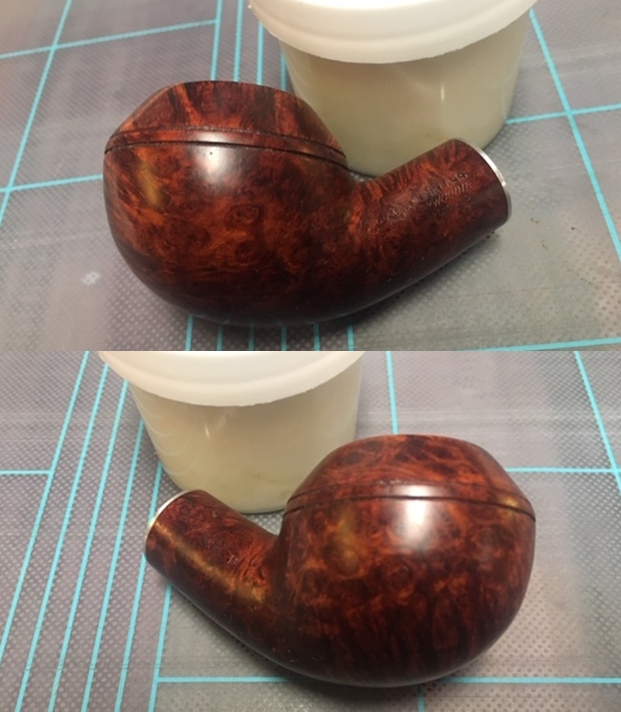
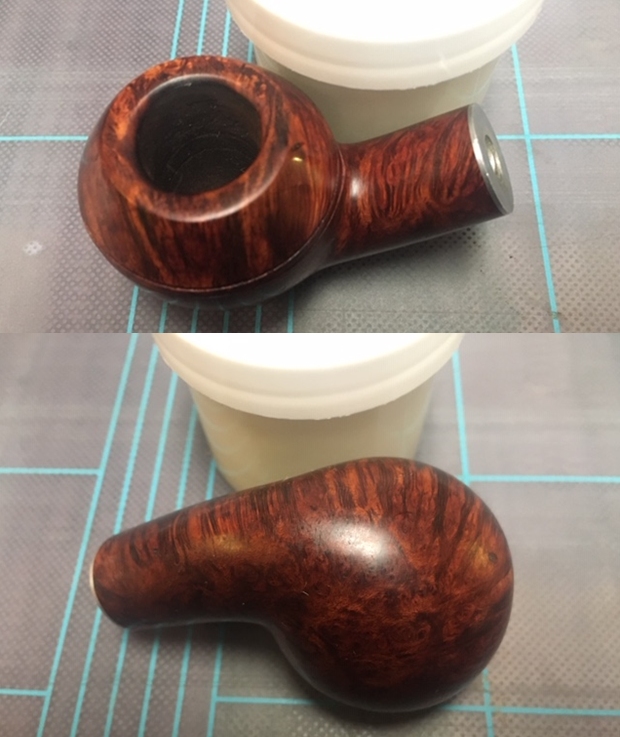
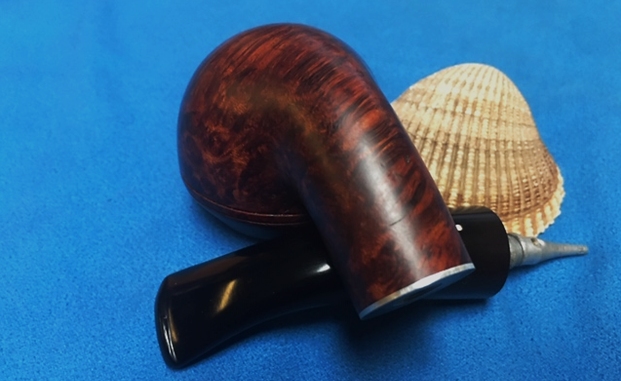
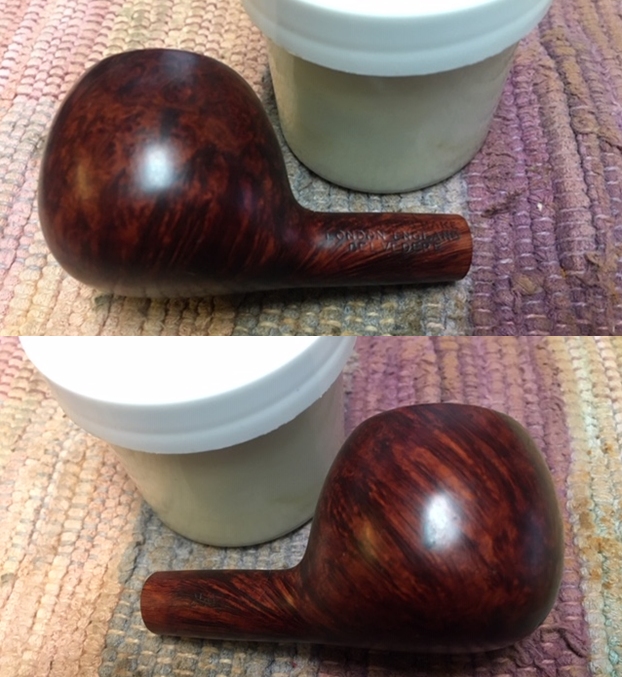
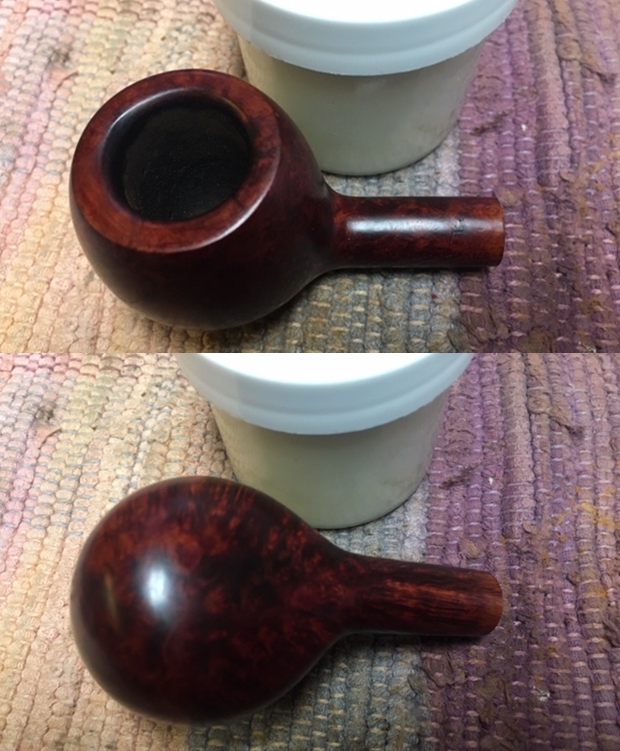
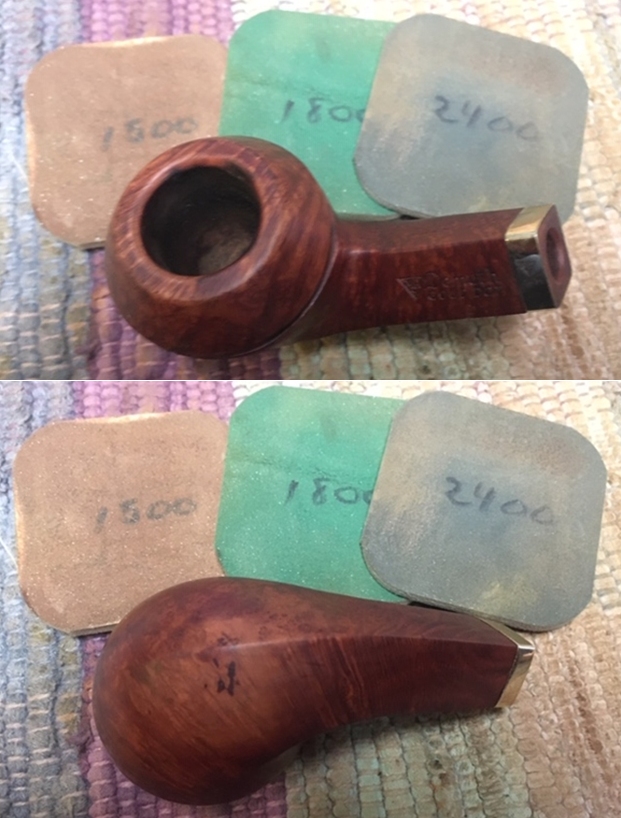
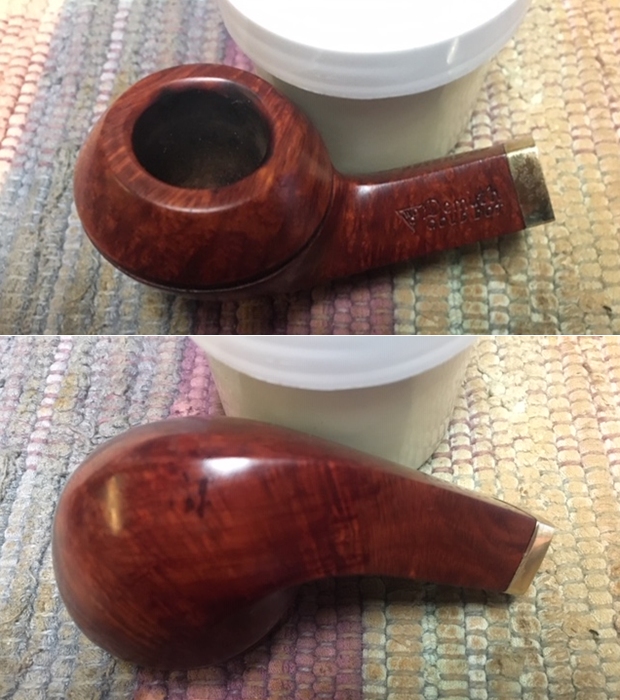
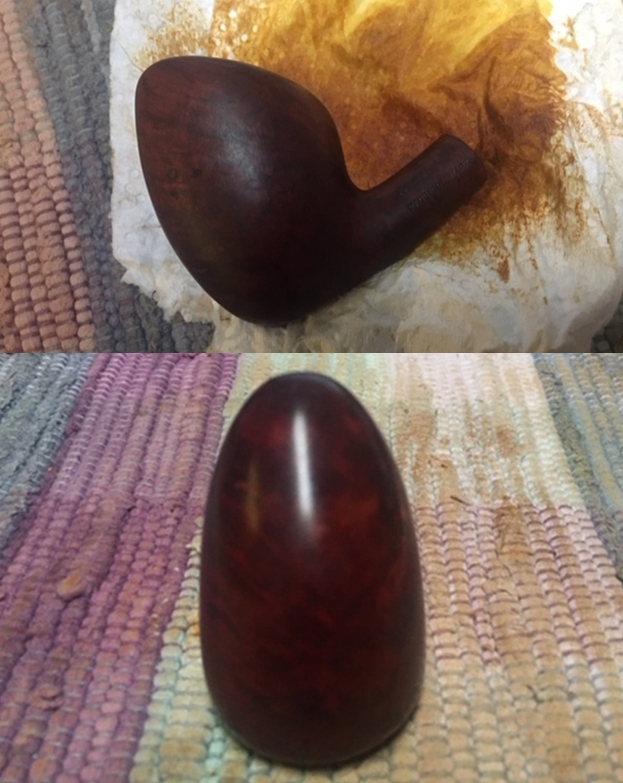
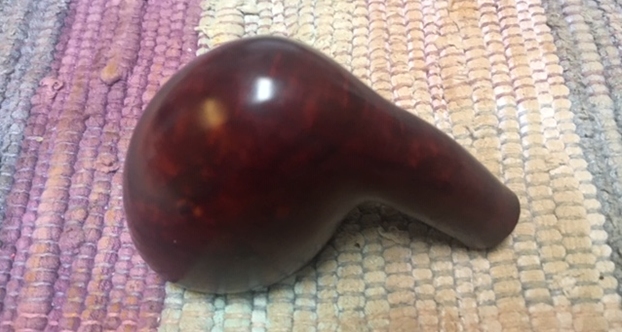
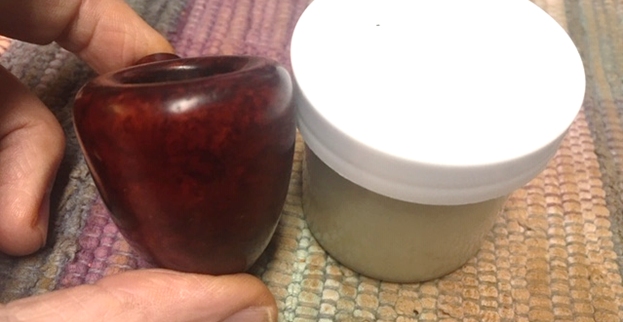
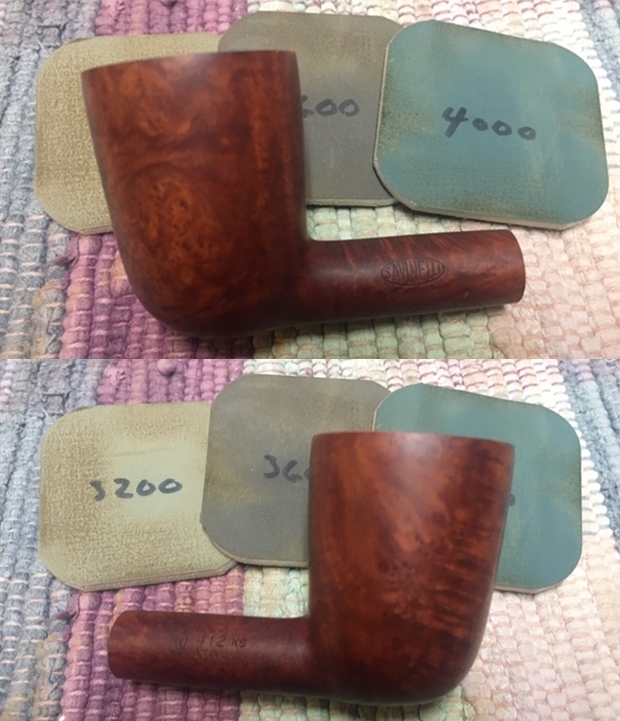
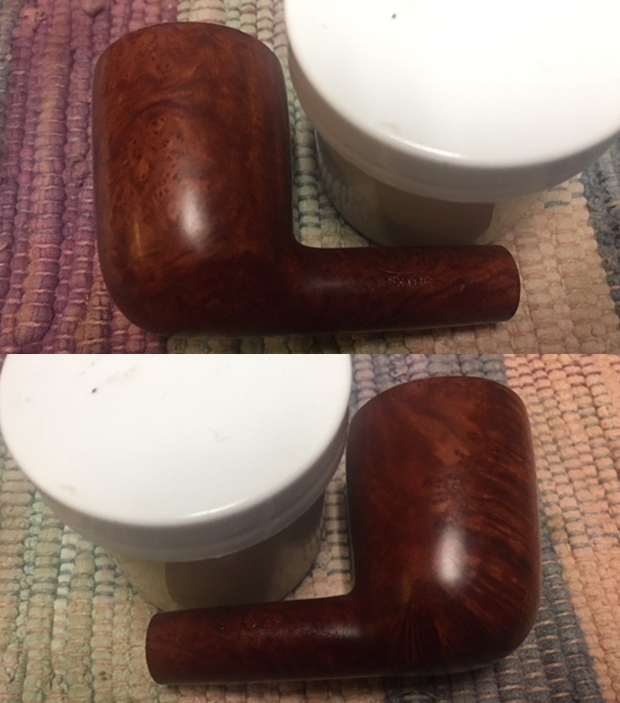
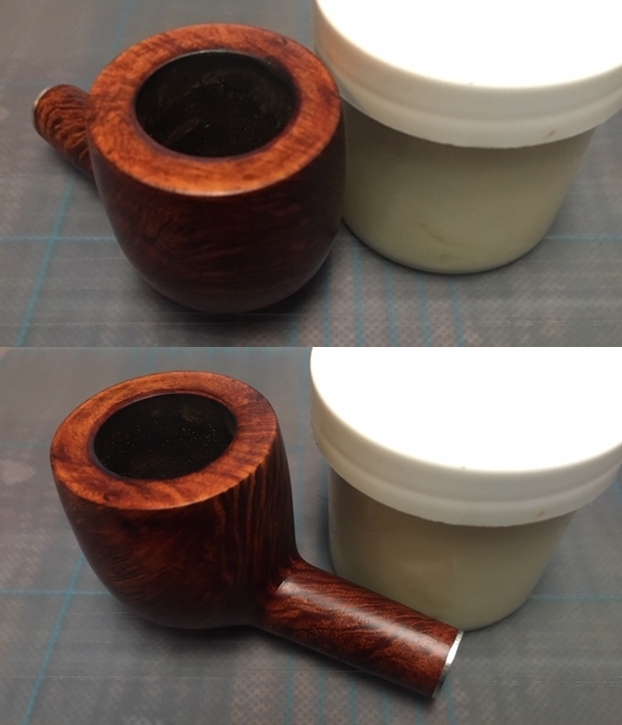
 I rubbed the bowl down with Before & After Restoration Balm. I worked it into the surface of the bark on the bowl sides and shank with my fingertips to clean, enliven and protect it. I let the balm sit for a little while and then buffed with a cotton cloth and shoe brush to raise the shine.

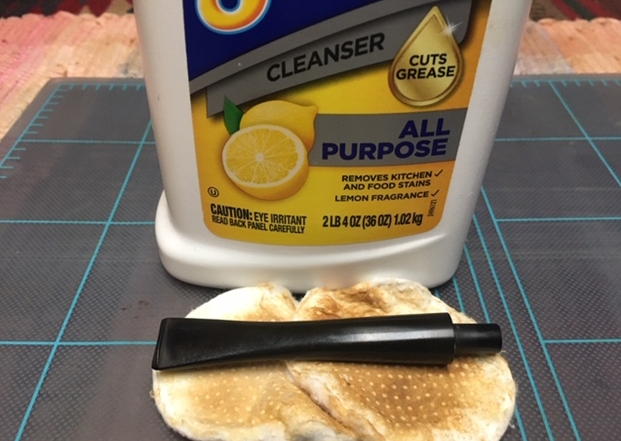
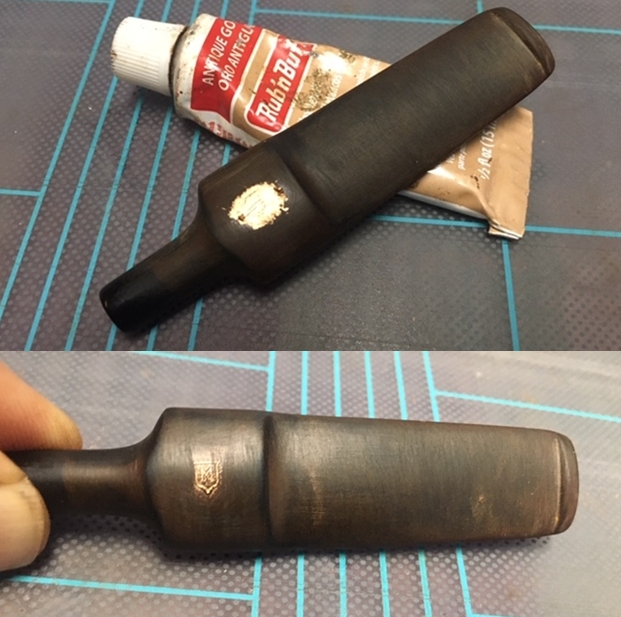
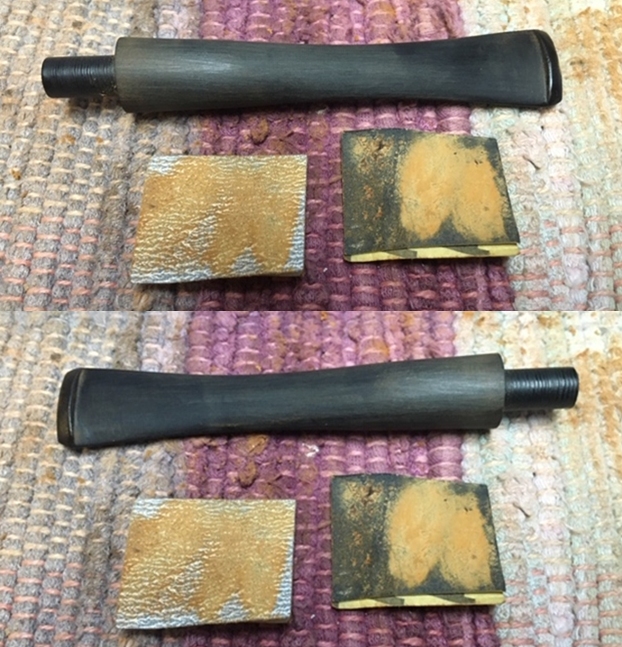
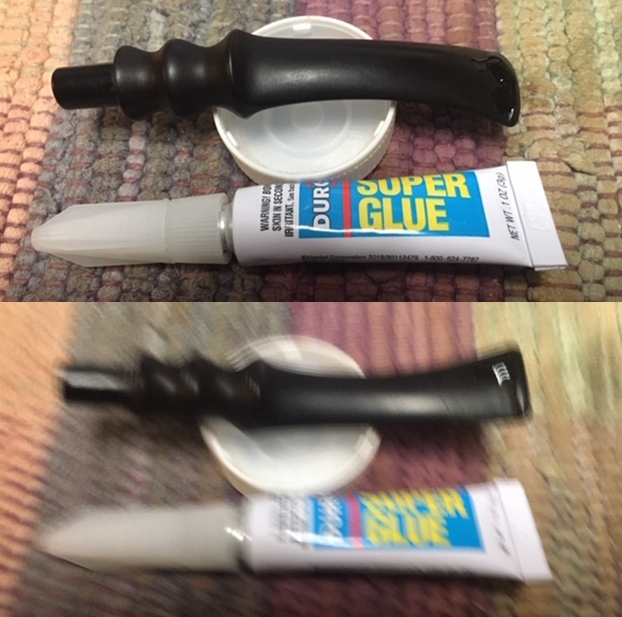
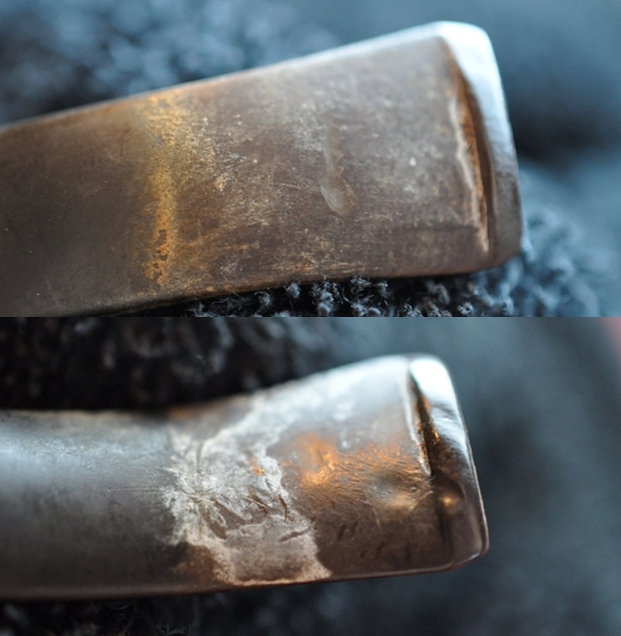
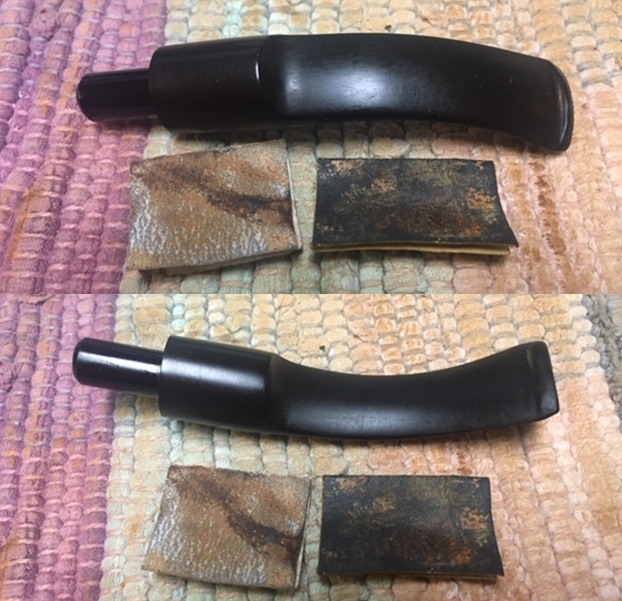
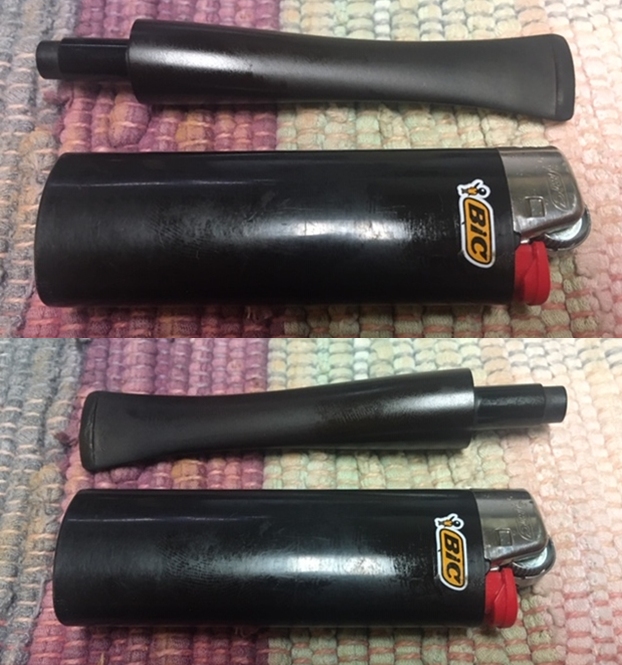
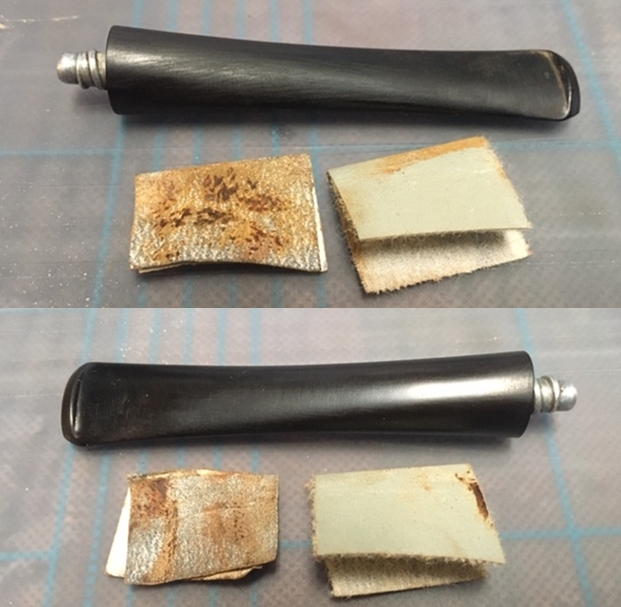
 I set the bowl aside and turned my attention to the stem. I “painted” the surface of the stem with the flame of a lighter. The heat lifted the majority of the dents in the stem surface. There was one tooth mark on the underside that was just ahead of the button.
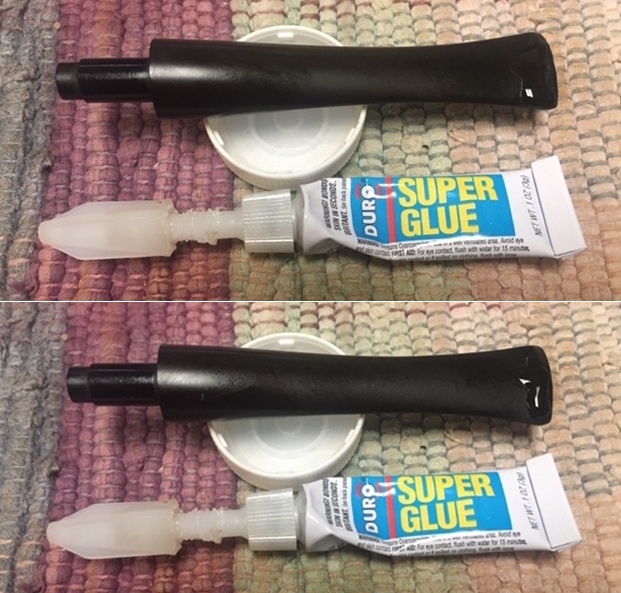
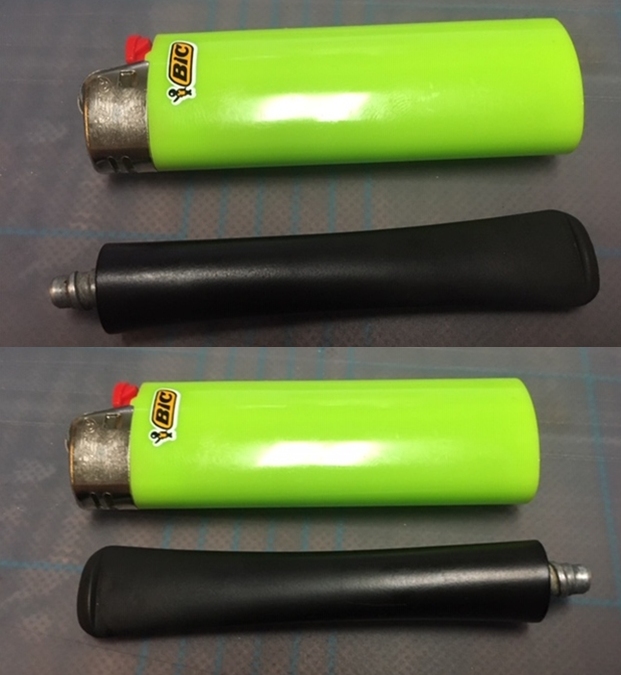 There was one deep tooth mark on the underside of the stem next to the button. I filled it in with clear super glue.
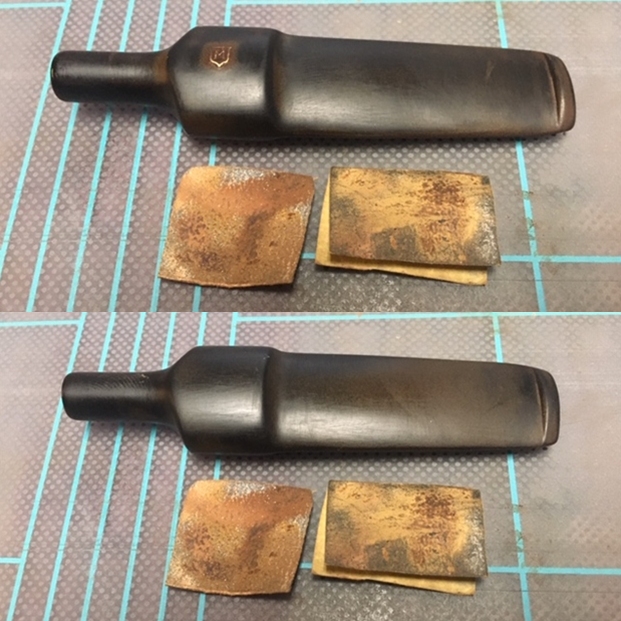
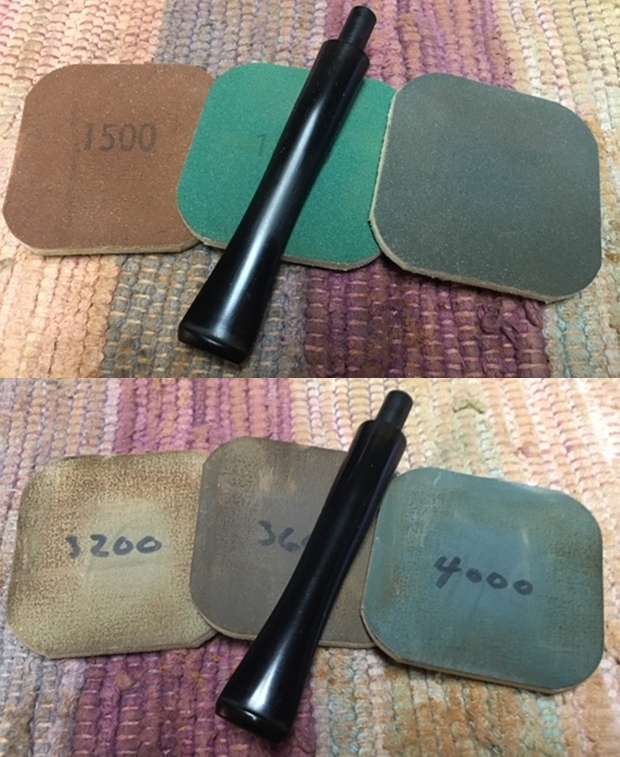
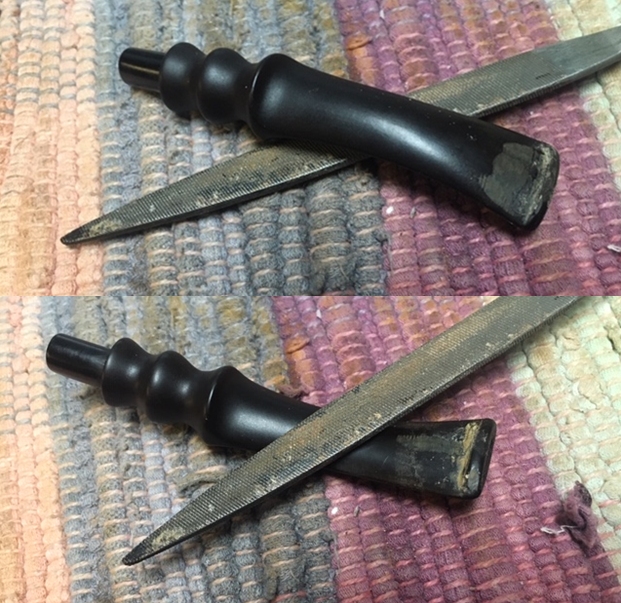
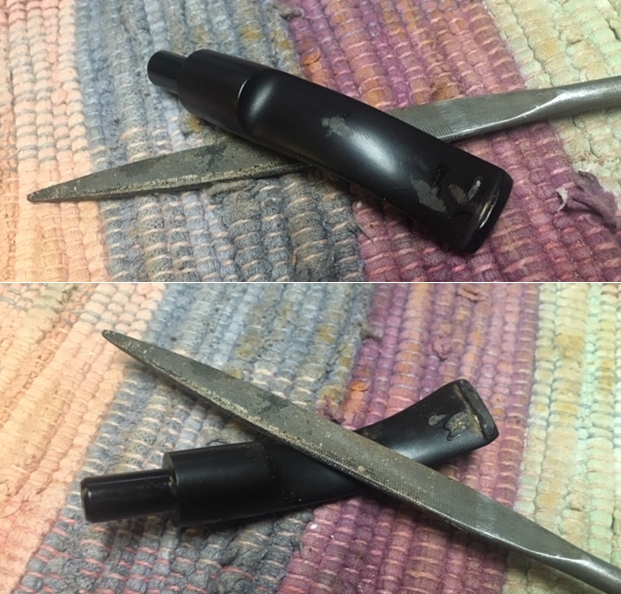
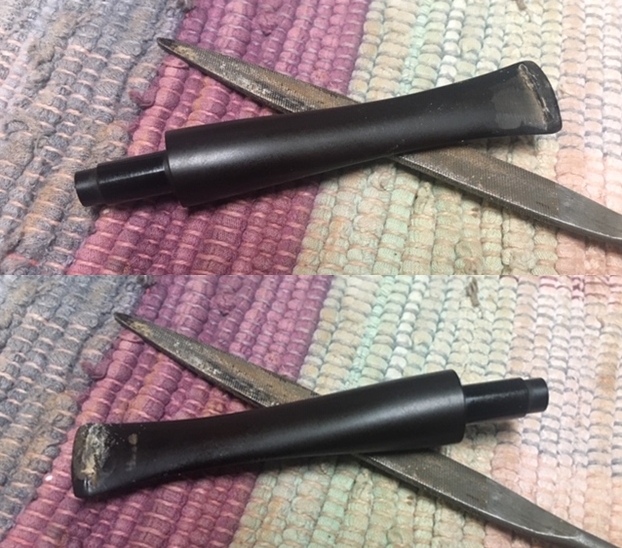
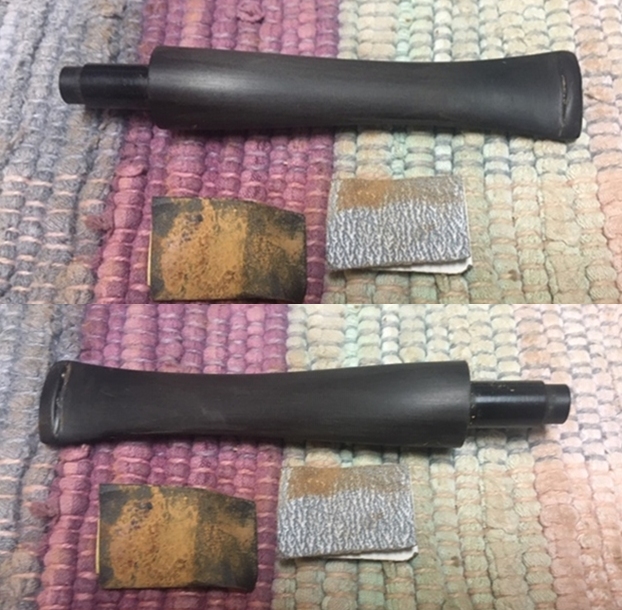
  Once the repair cured I used a needle file to flatten the repair and sharpen the edge of the button. I sanded them out with 220 grit sandpaper and started polishing them with 400 grit wet dry sandpaper.
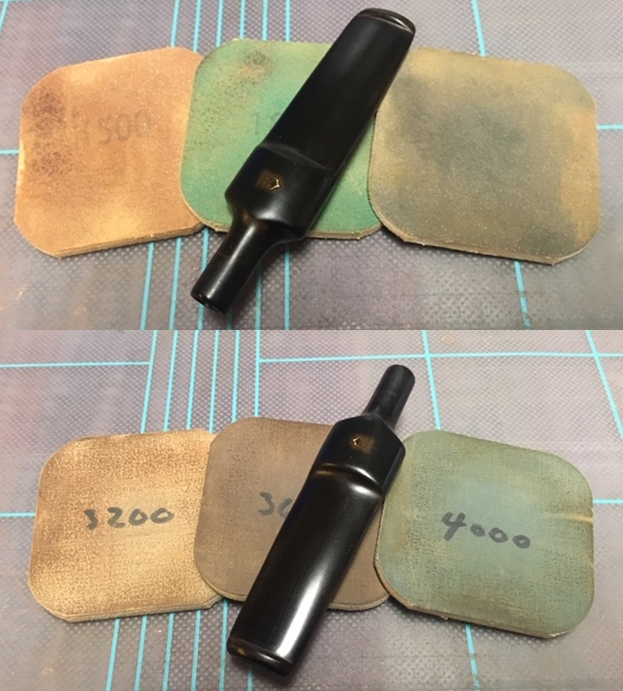
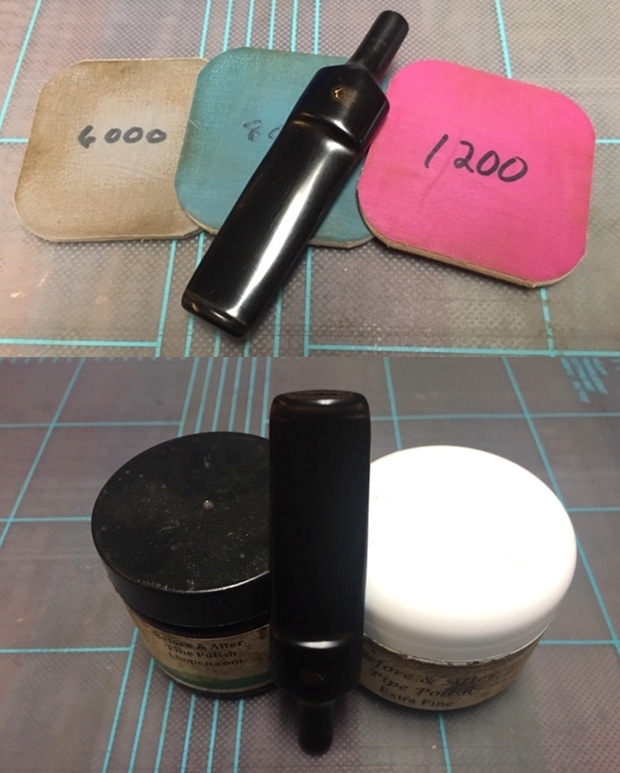
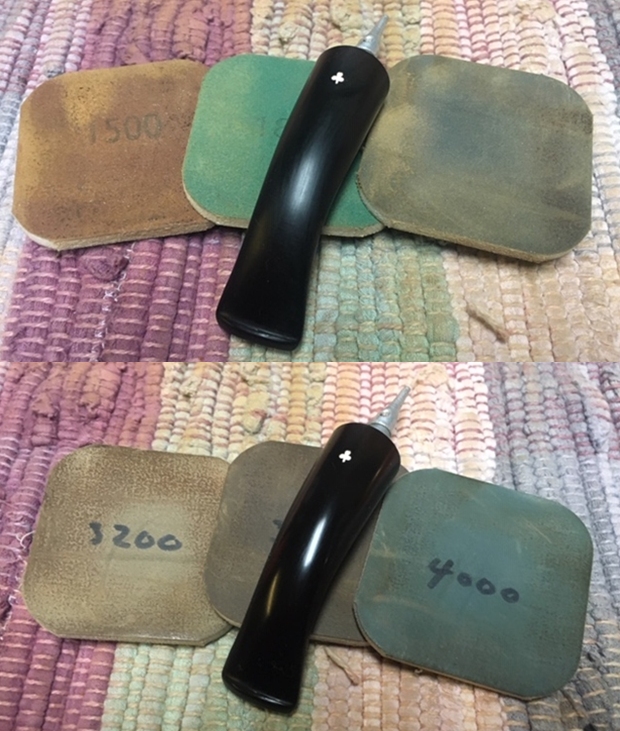
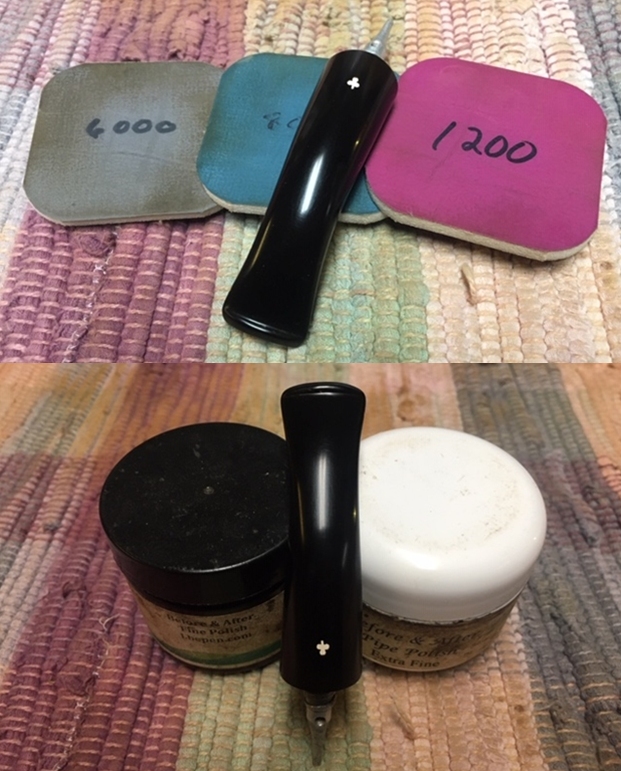
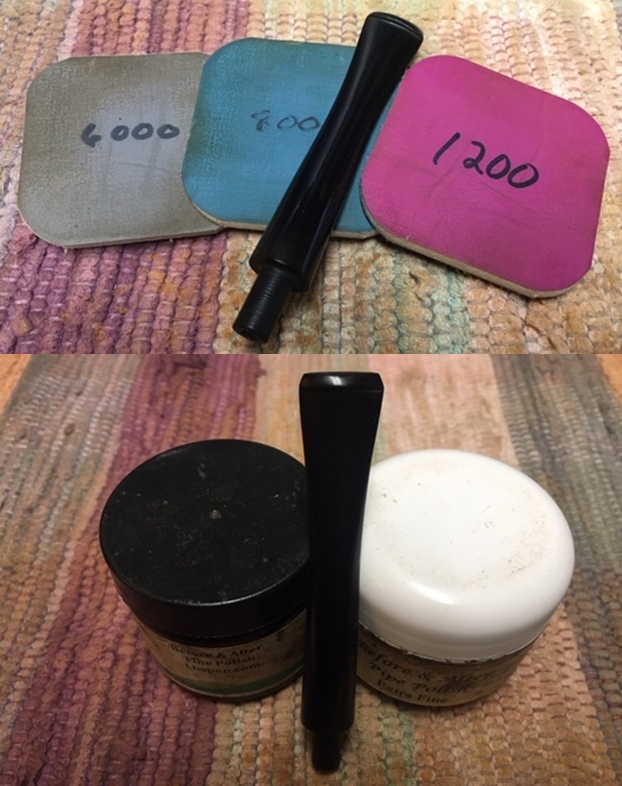
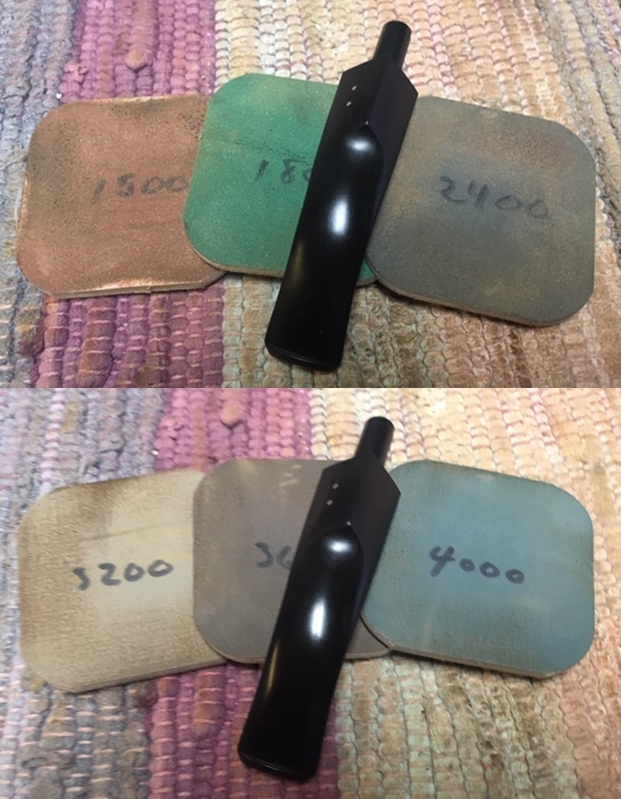
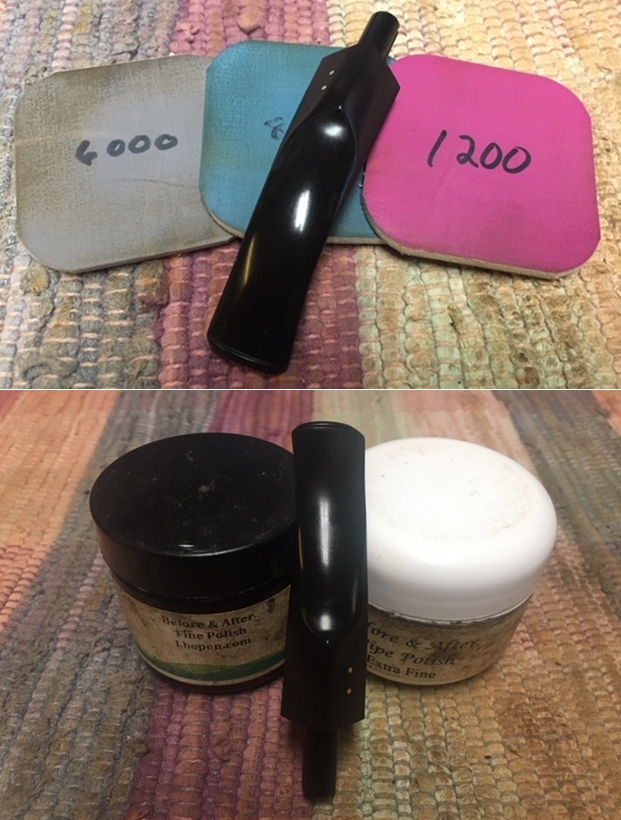
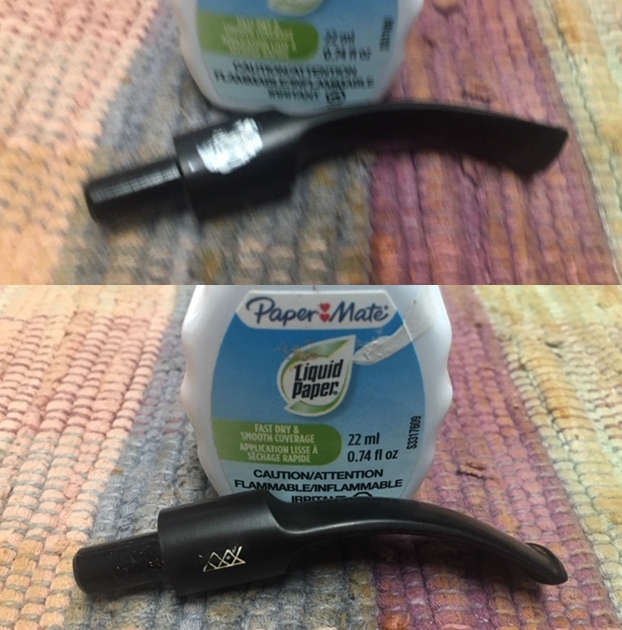
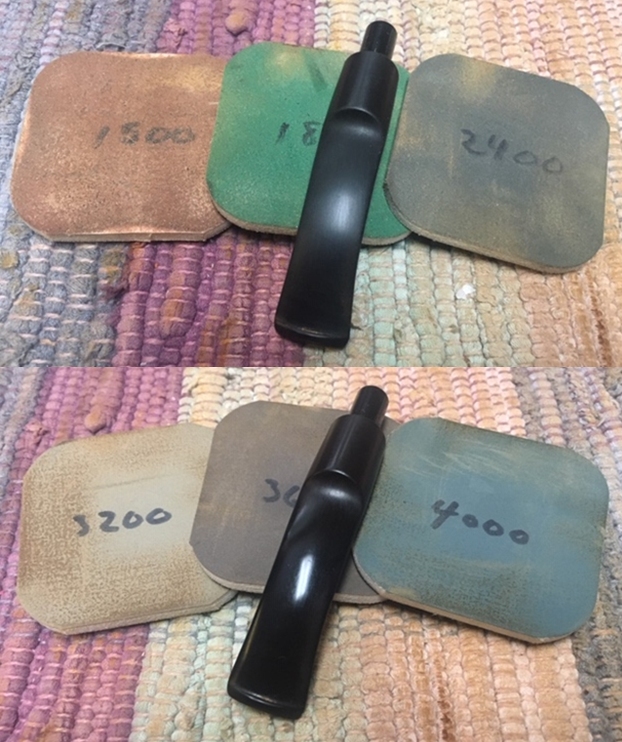
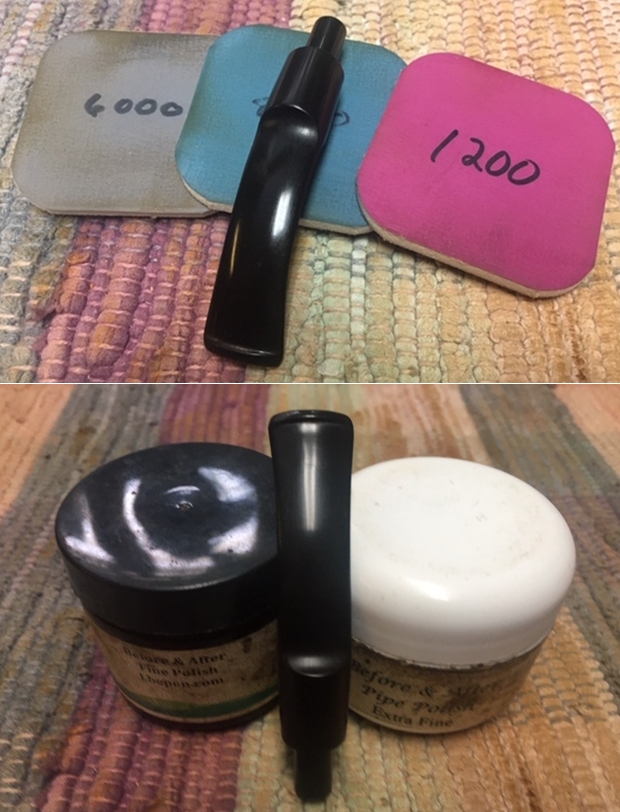
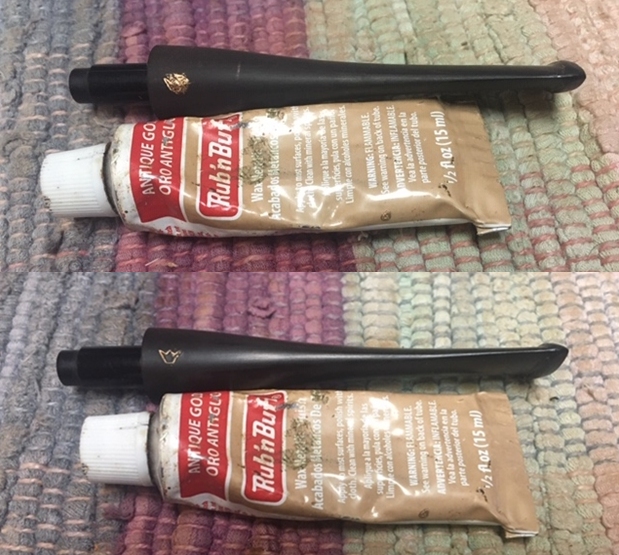
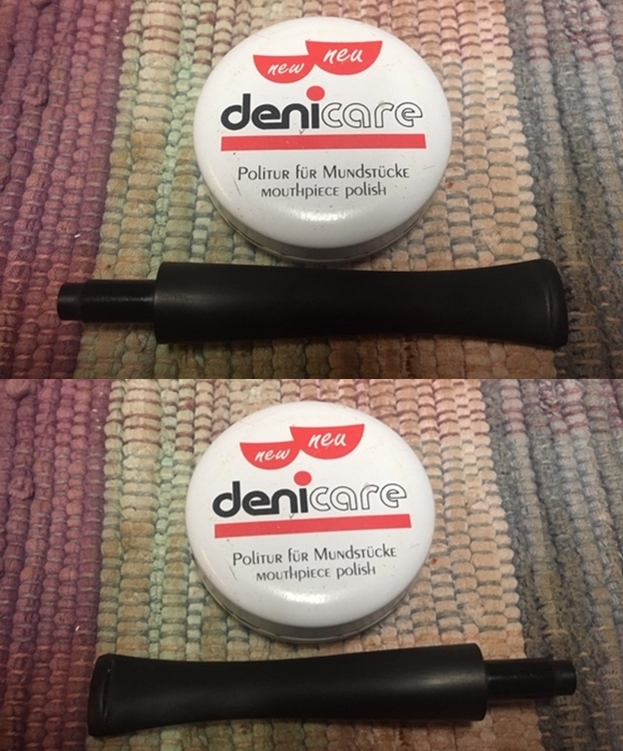
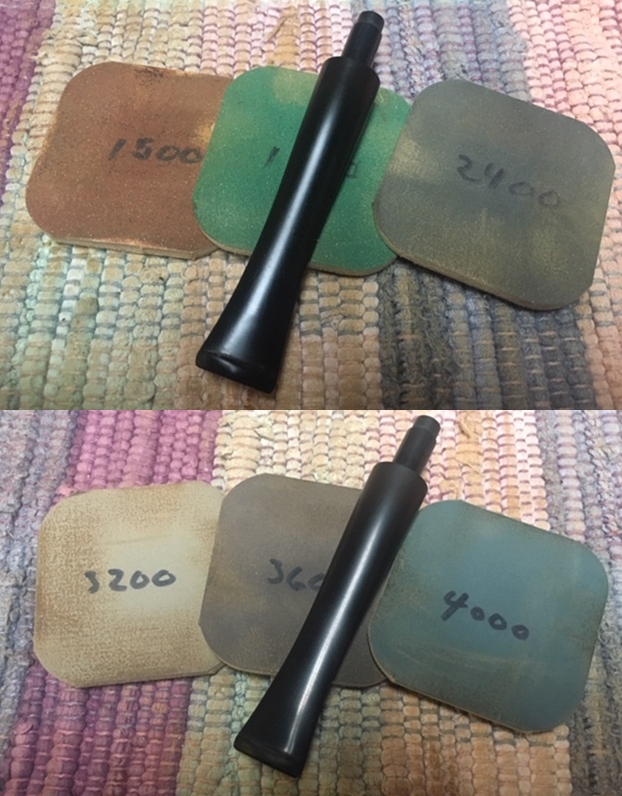
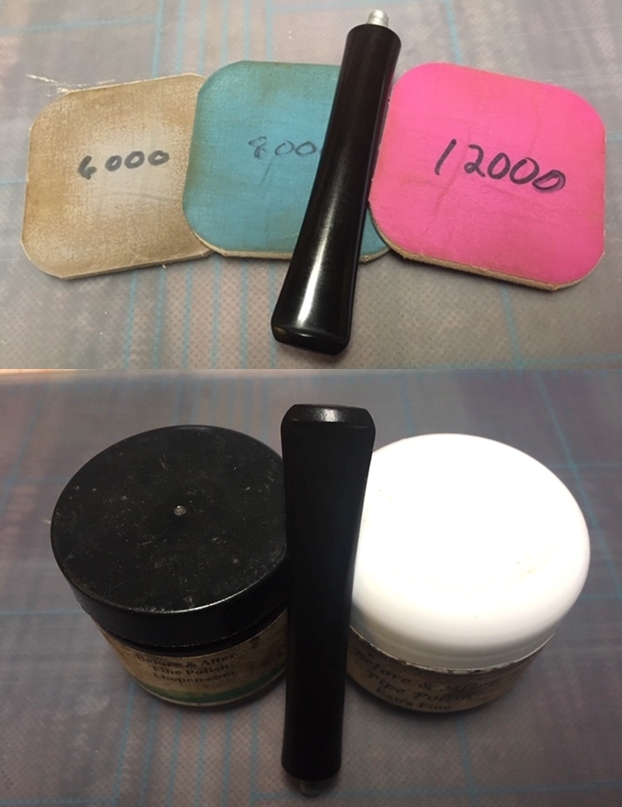
 I polished the vulcanite with micromesh sanding pads – 1500-12000 grit pads. I wiped it down with a damp cloth after each sanding pad. I used Before & After Pipe Polish – both Fine and Extra Fine to further polish the stem.
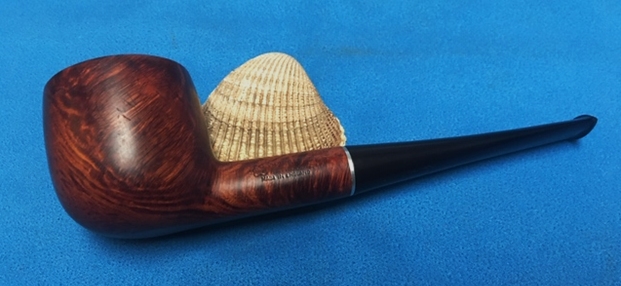
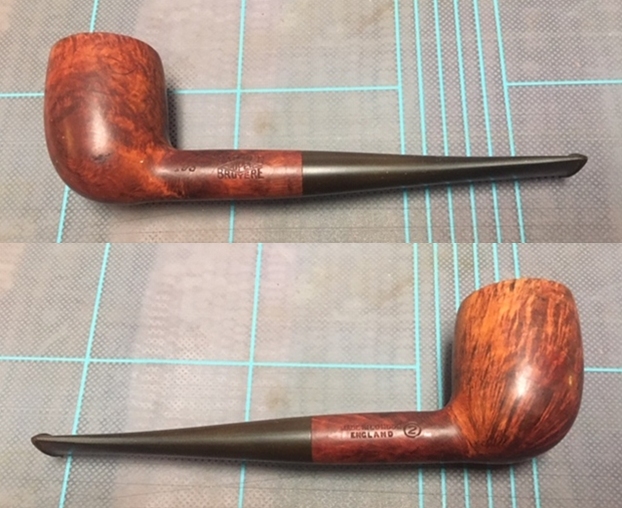
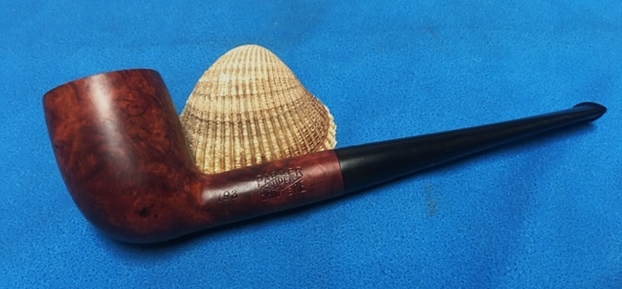
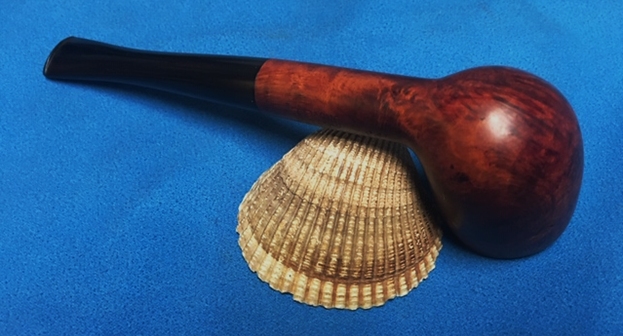
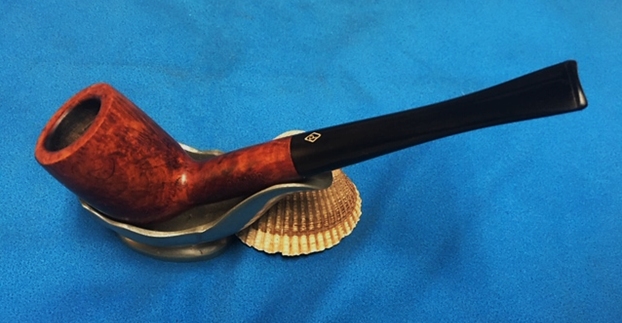
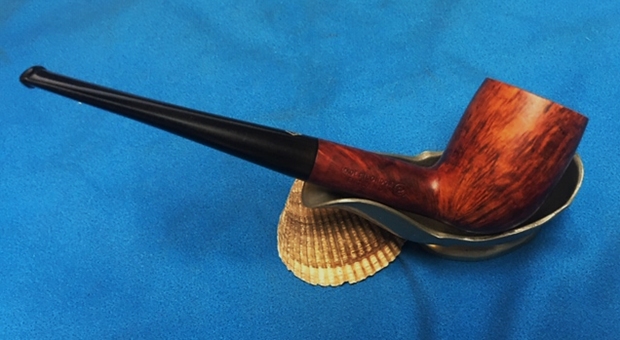
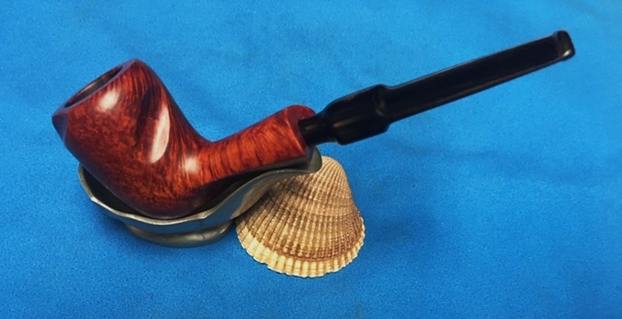
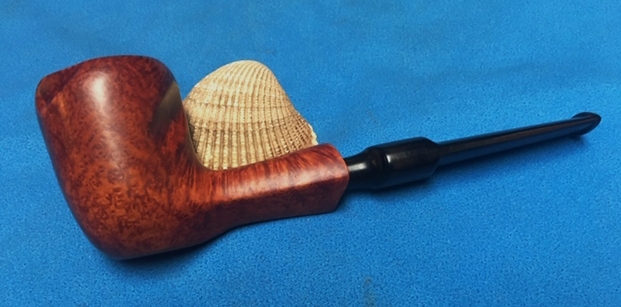
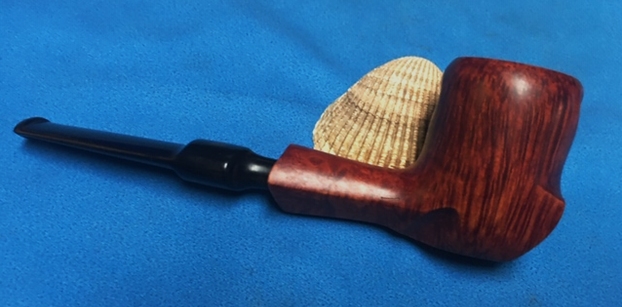
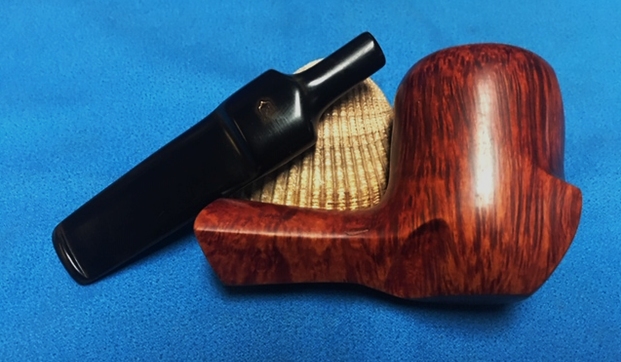
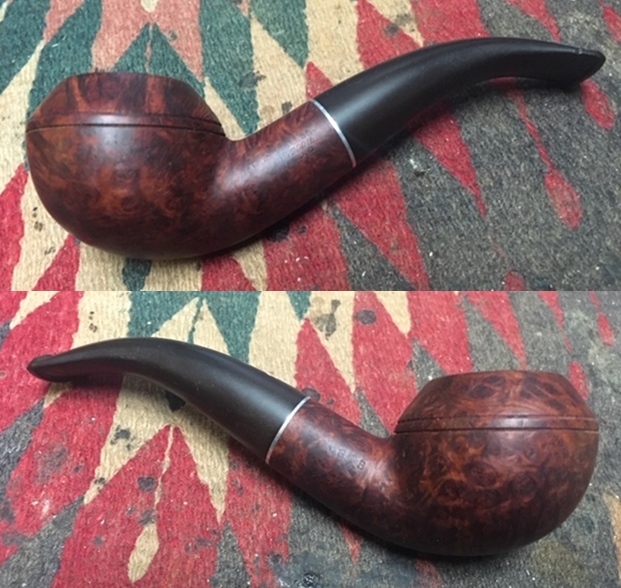
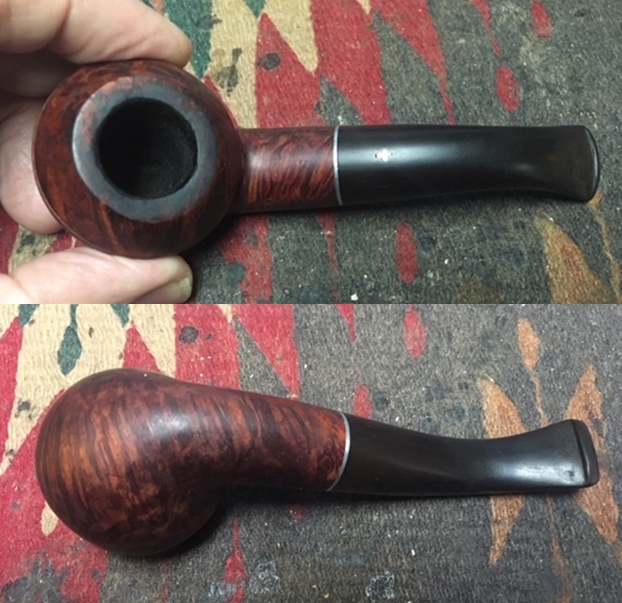
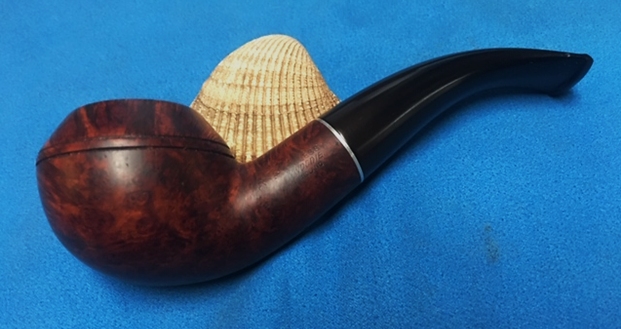
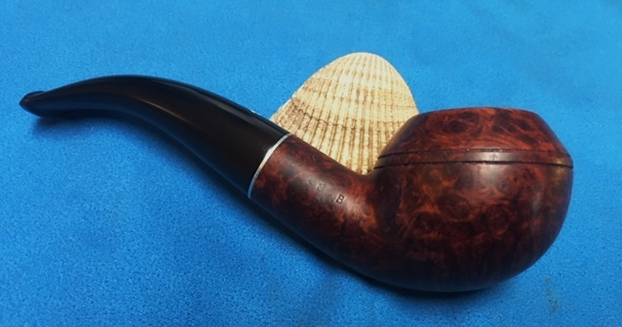
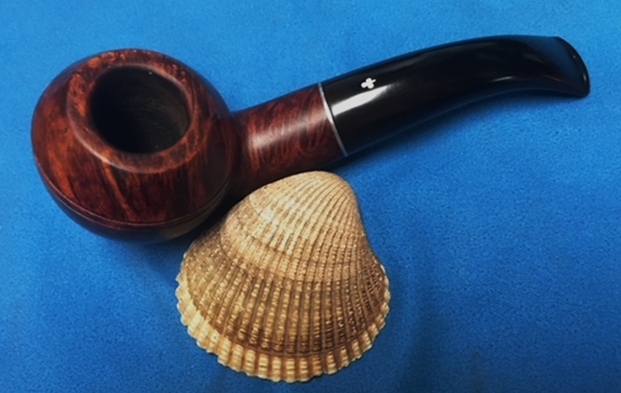
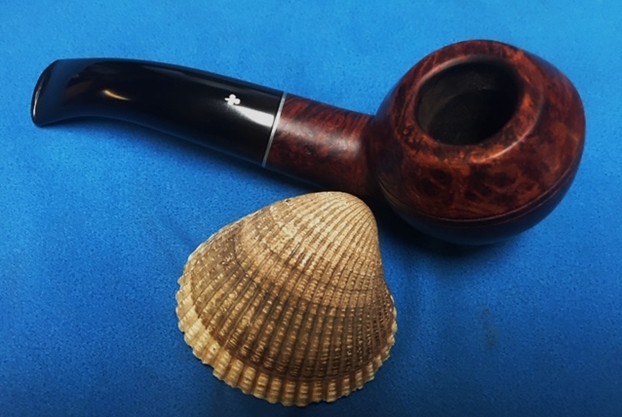
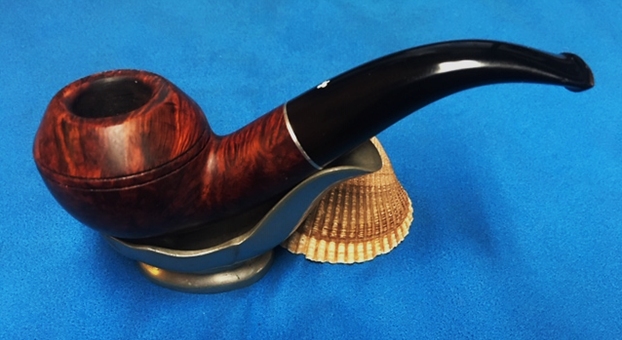
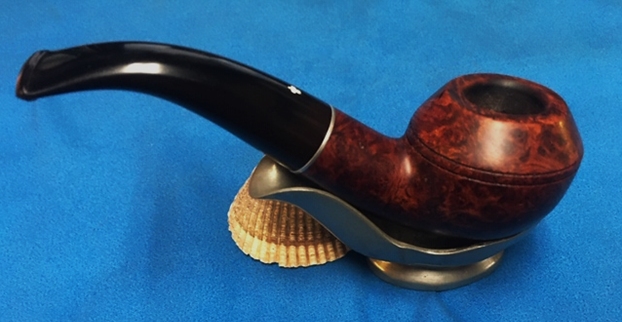
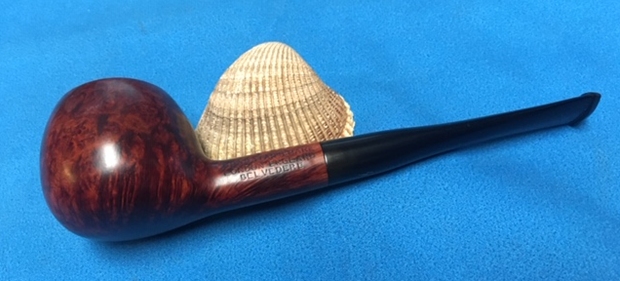
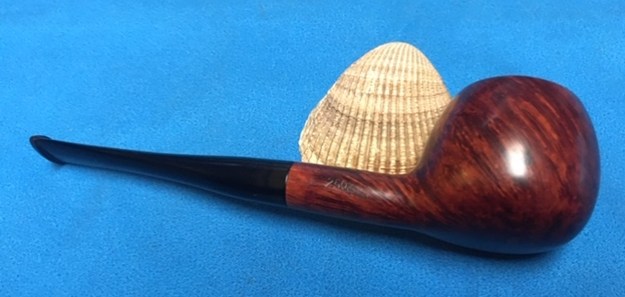
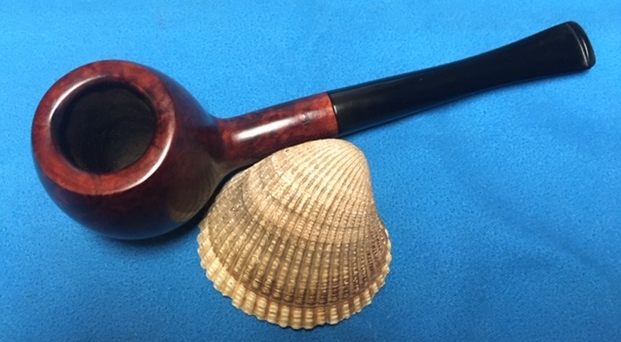
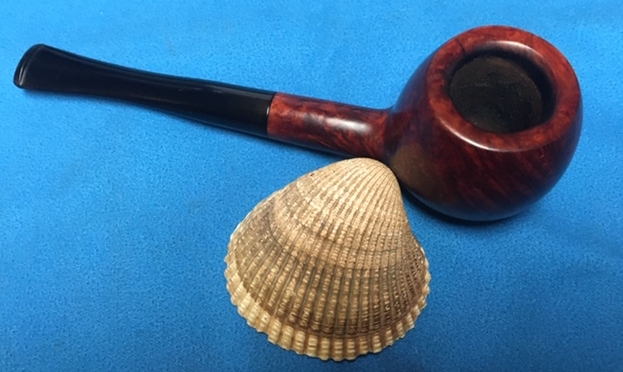
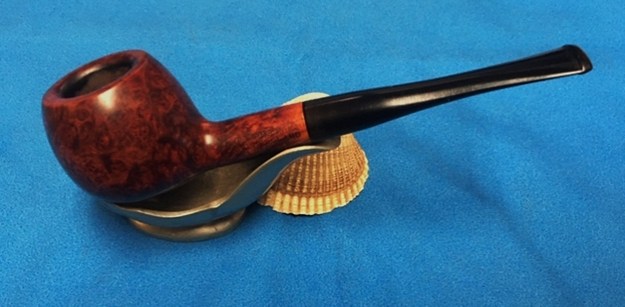
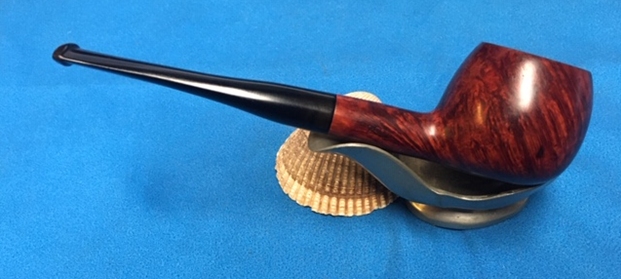
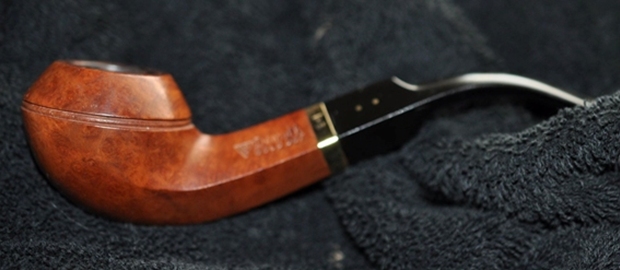
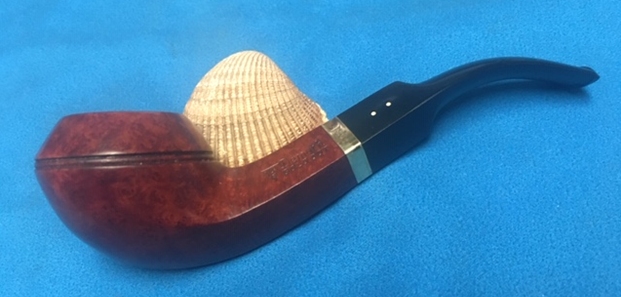
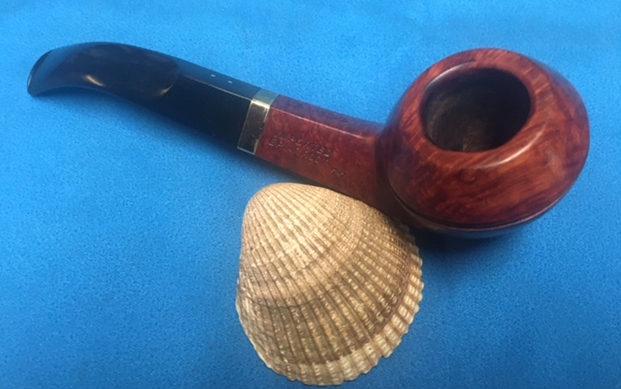
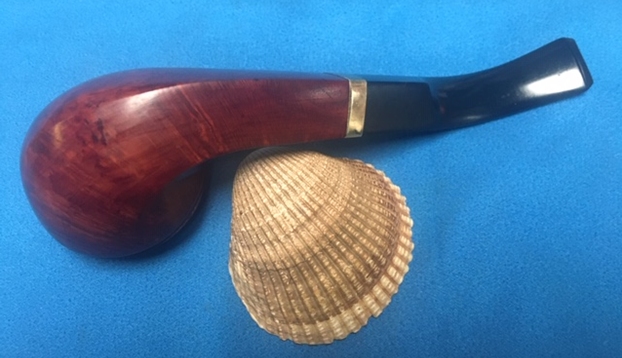
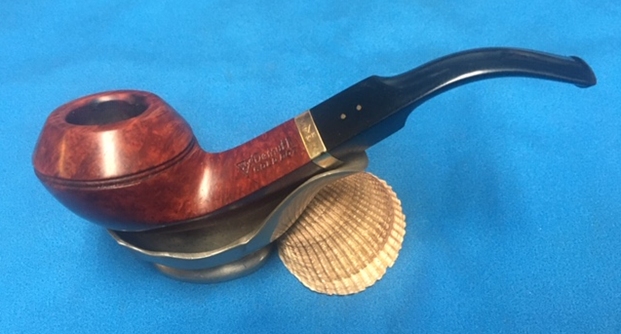
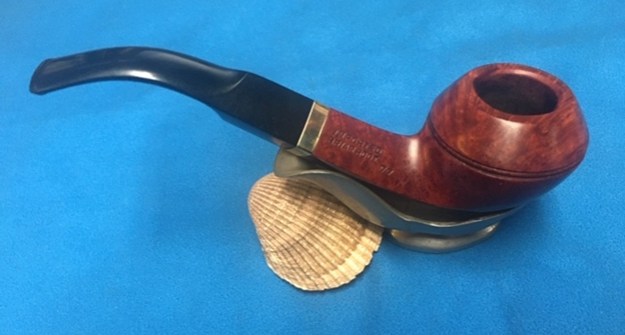
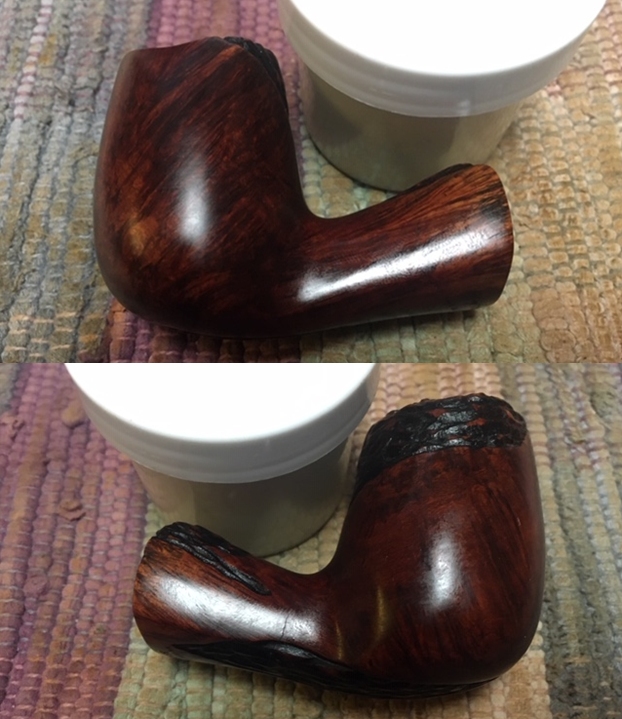
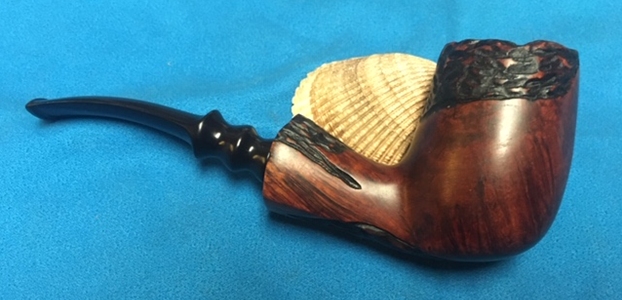
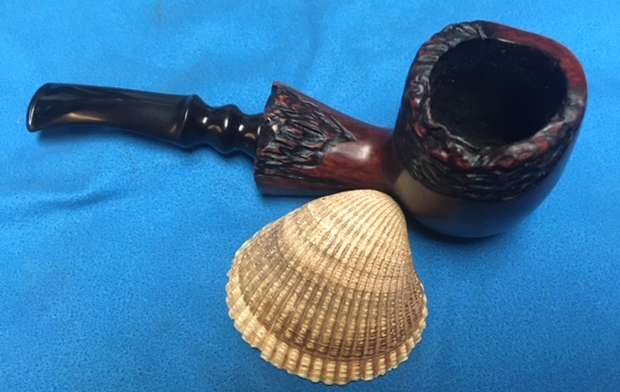
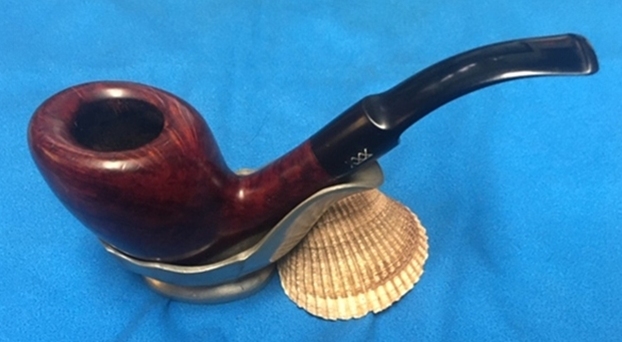
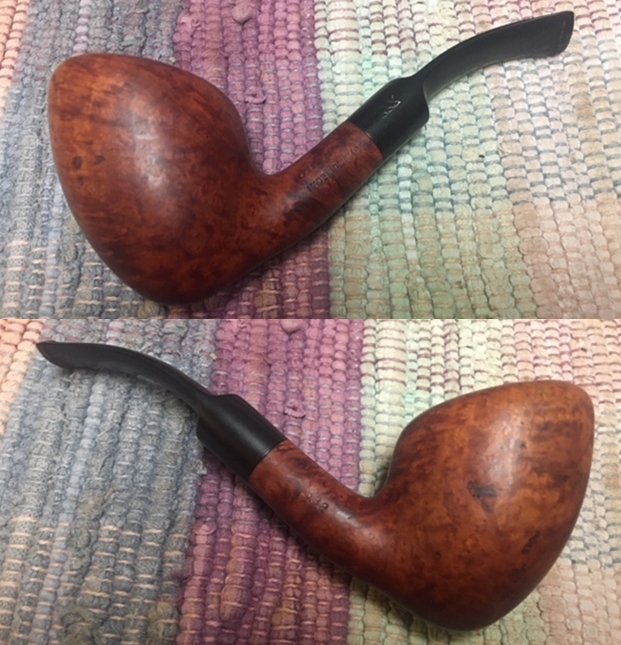
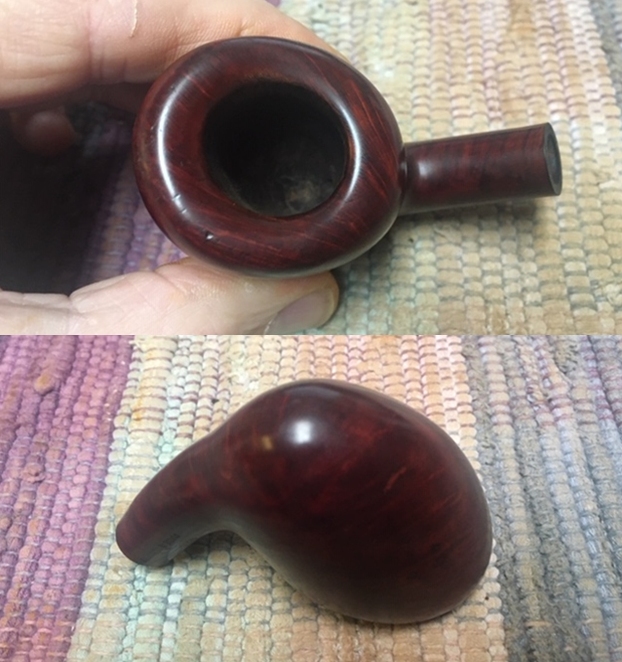
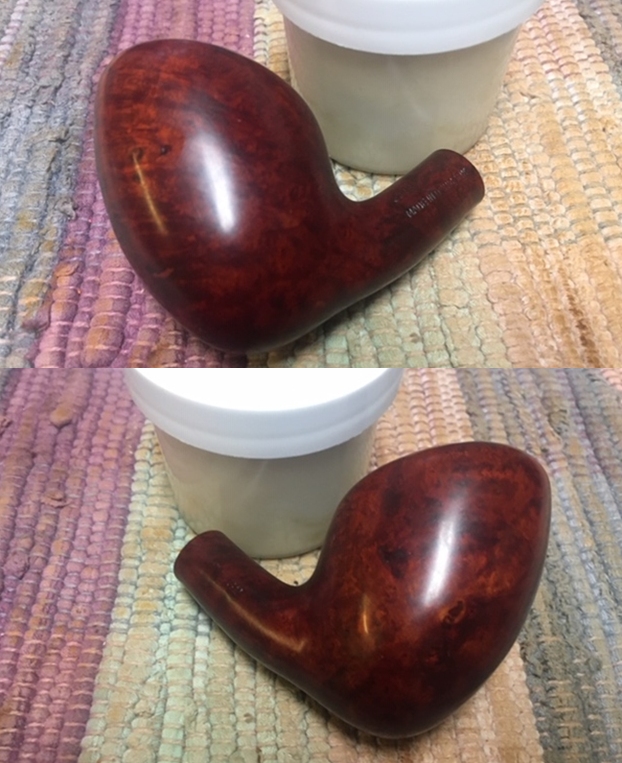
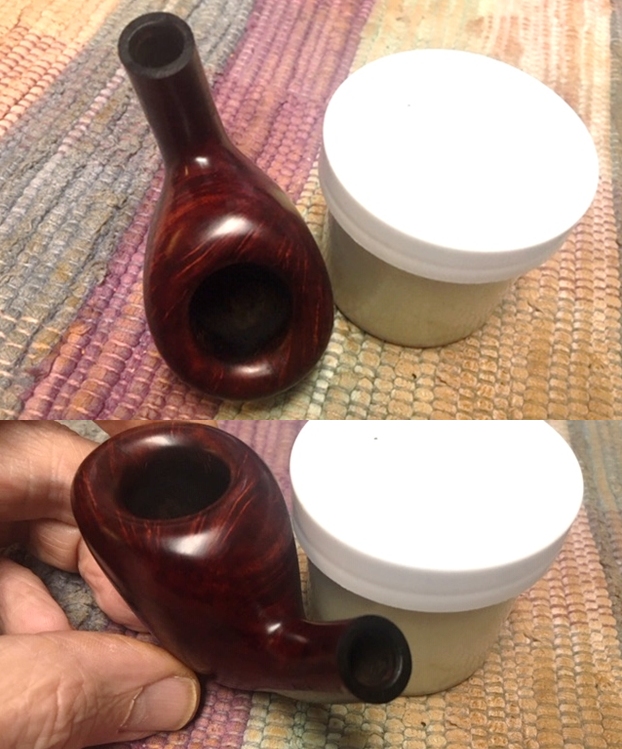
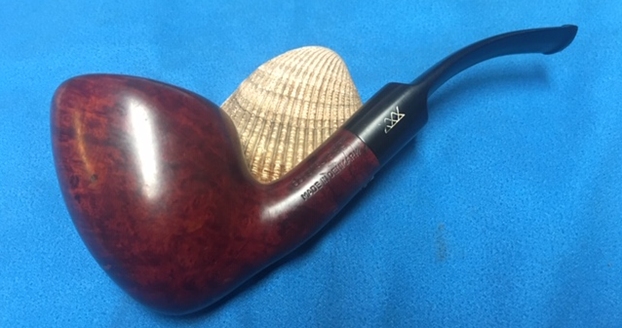
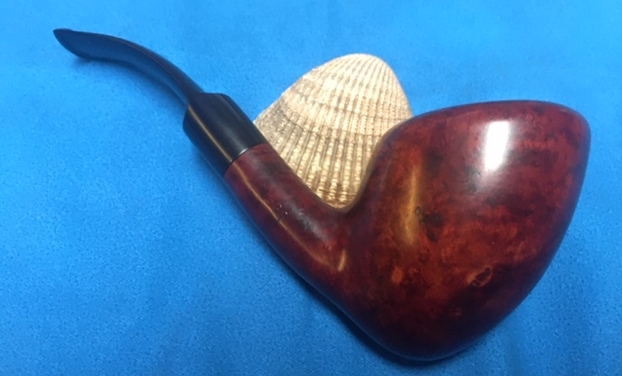
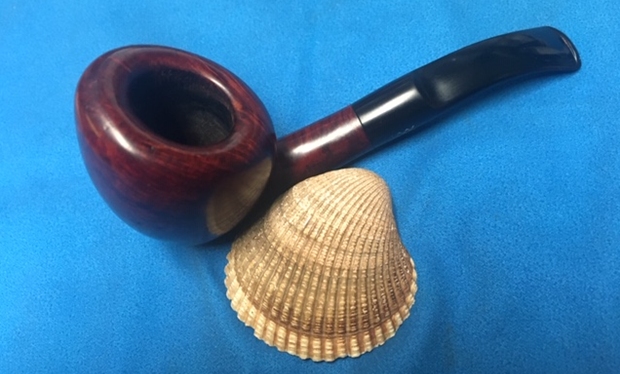
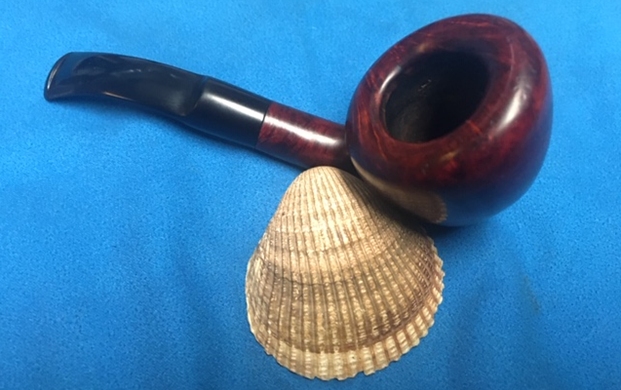
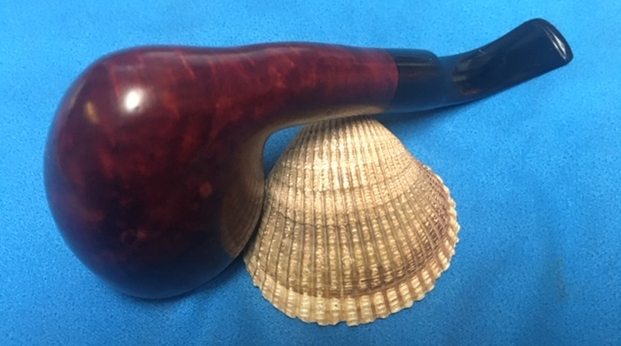
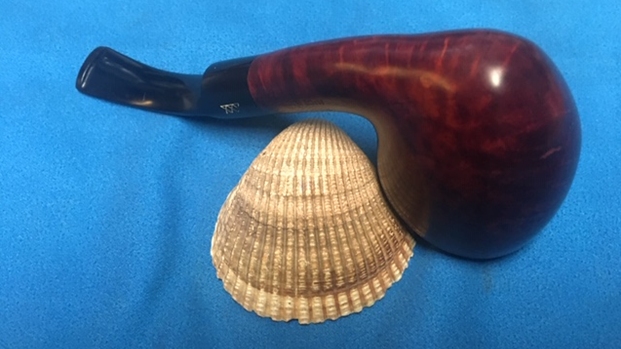
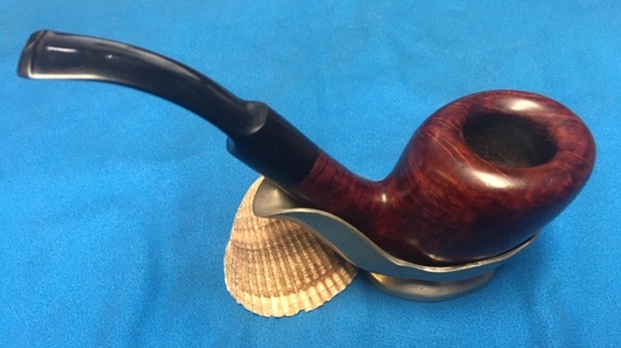
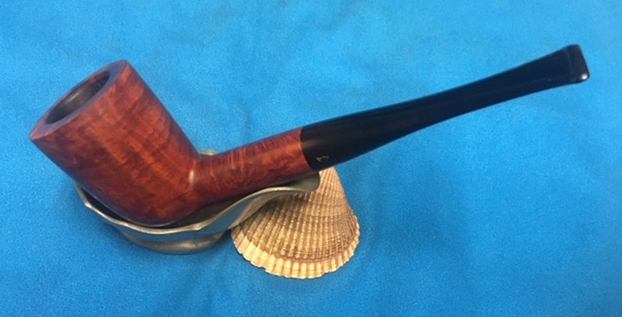
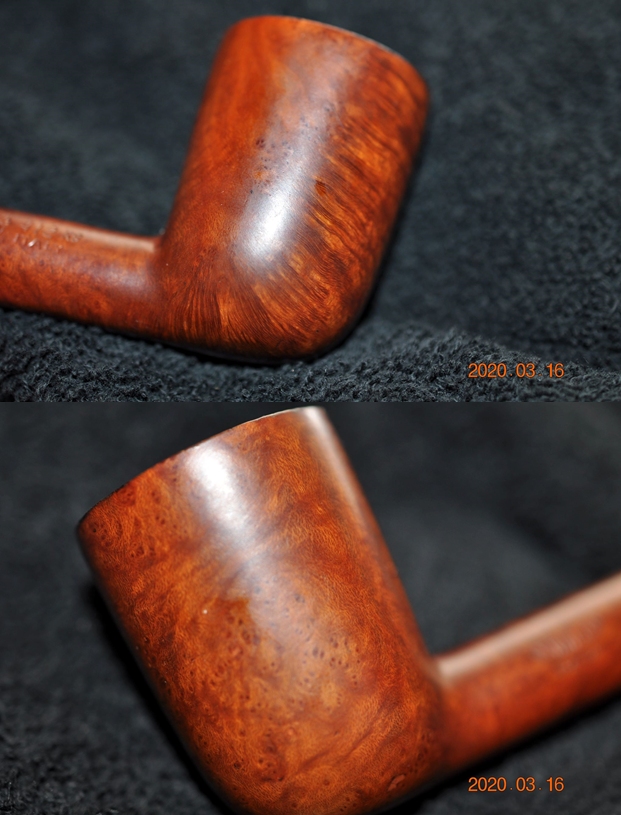
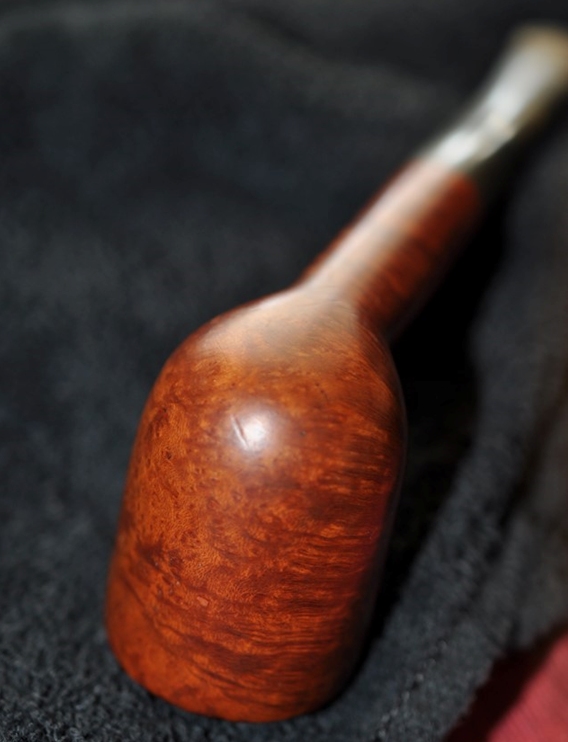
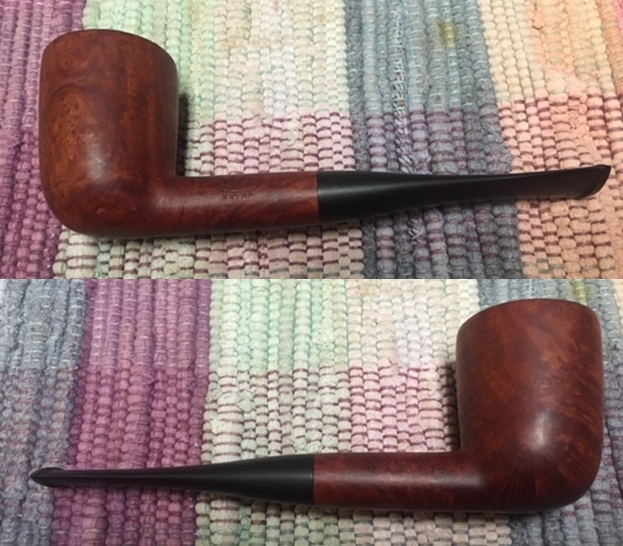
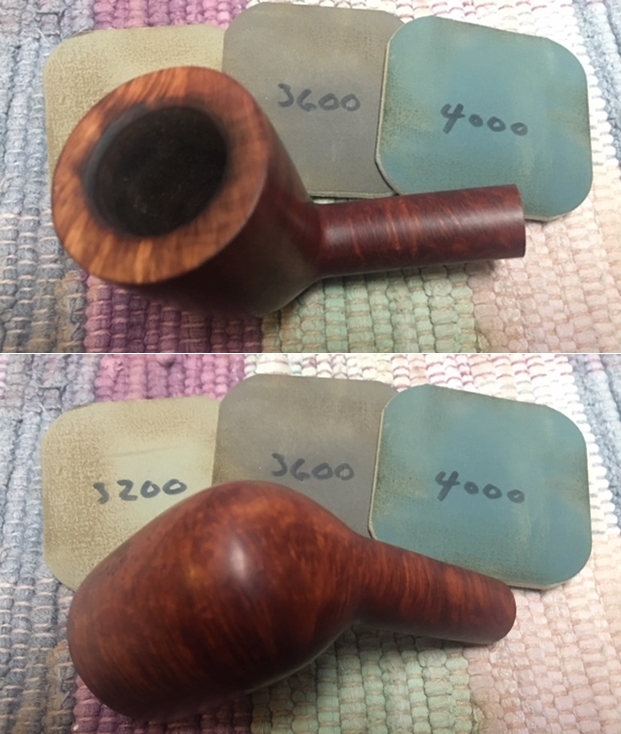
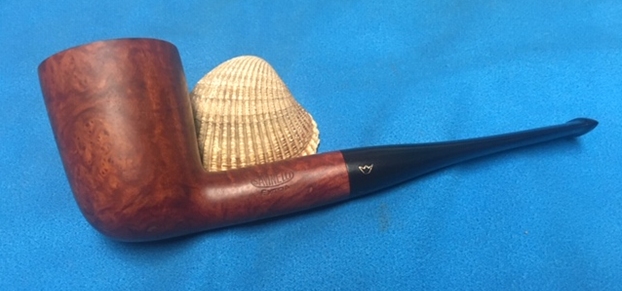
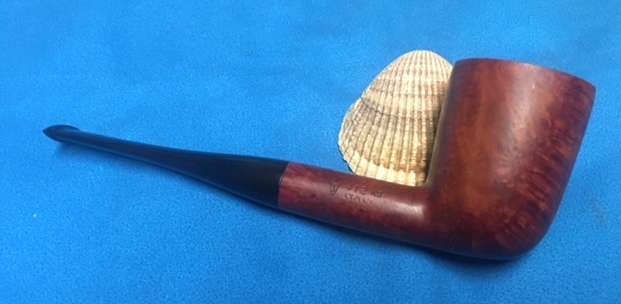
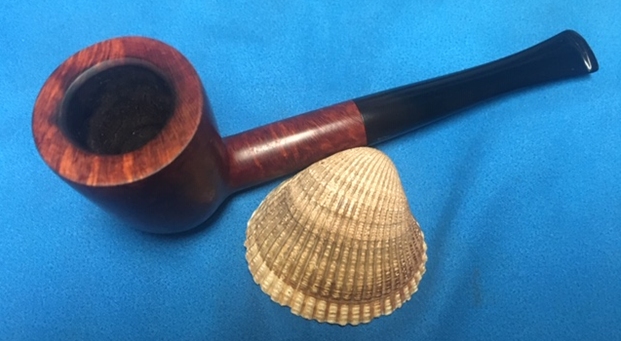
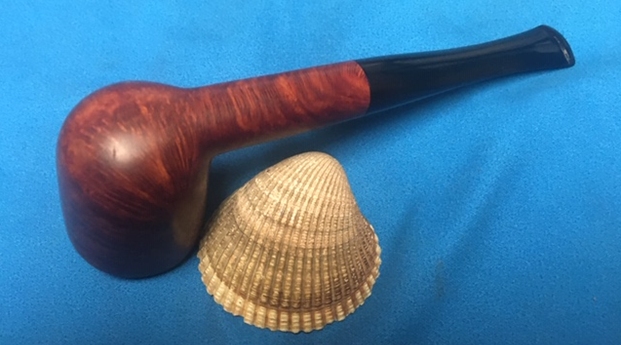
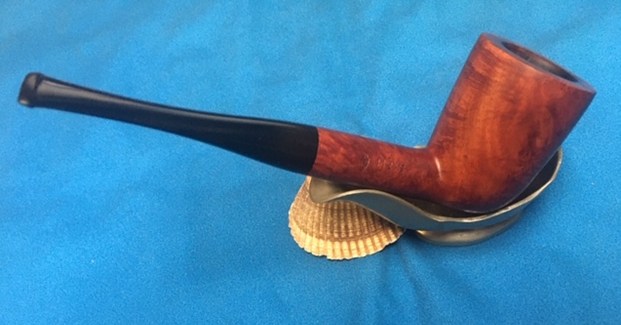
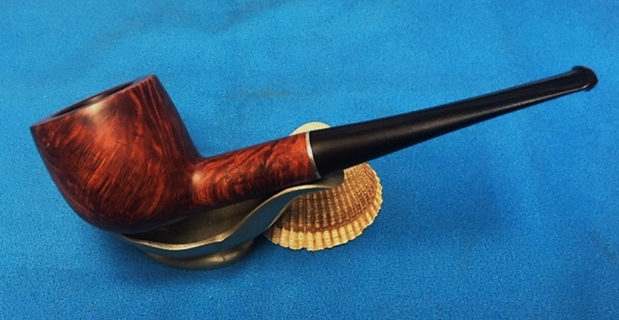
 This KB&B Kaywoodie Drinkless 95B Pot, English made pipe from Bob Kerr’s estate turned out to be another great looking pipe. The Walnut finish on the pipe is in excellent condition and works well with the polished vulcanite taper stem. I put the stem back on the bowl and carefully buffed the pipe with Blue Diamond on the buffing wheel using a light touch on the briar. I gave the bowl and stem multiple coats of carnauba wax on the buffing wheel and followed that by buffing the entire pipe with a clean buffing pad. I hand buffed the pipe with a microfiber cloth to deepen the shine. The finished KB&B Kaywoodie Pot fits nicely in the hand and feels great. Give the finished pipe a look in the photos below. The dimensions of the pipe are Length: 5 ¾ inches, Height: 1 ½ inches, Outside diameter of the bowl: 1 ½ inches, Chamber diameter: 7/8 of an inch. If you are interested in carrying on Bob’s legacy with this pipe send me a message or an email. I have more to work on of various brands. Perhaps one of those will catch your attention. Thanks for reading this blog and my reflections on the pipe while I worked on it. This is an interesting estate to bring back to life.