Blog by Steve Laug
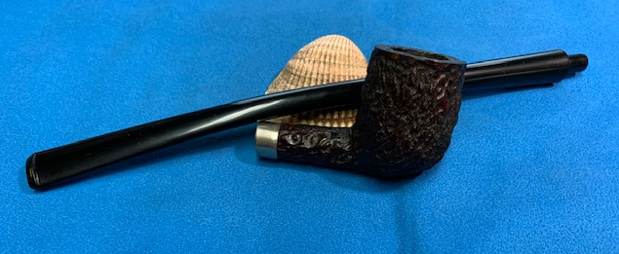
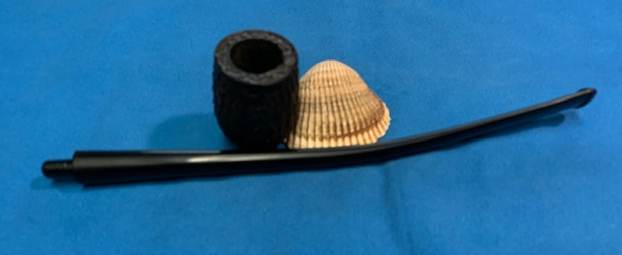
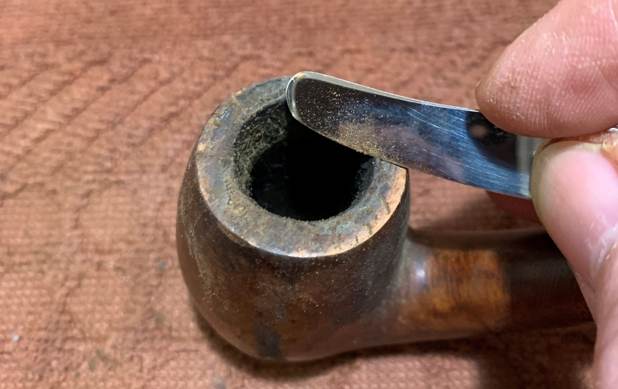
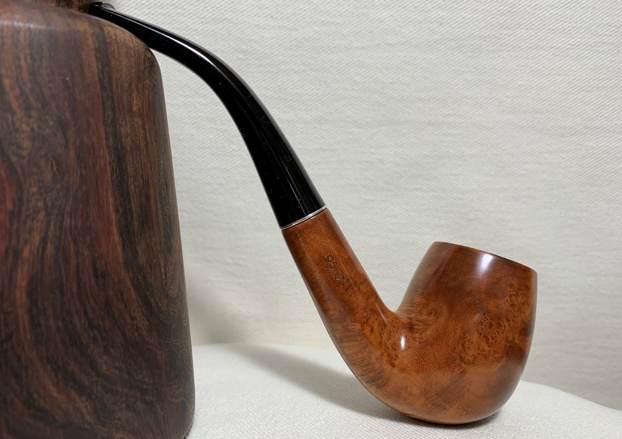
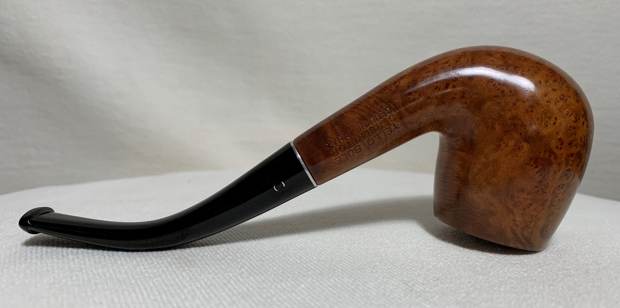
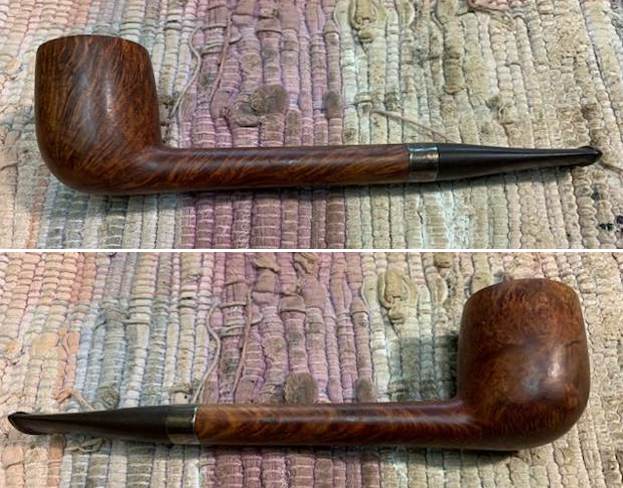
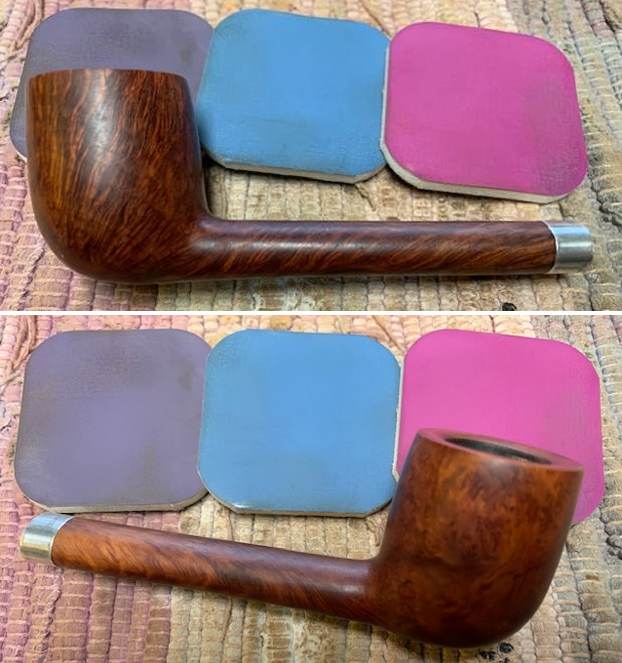
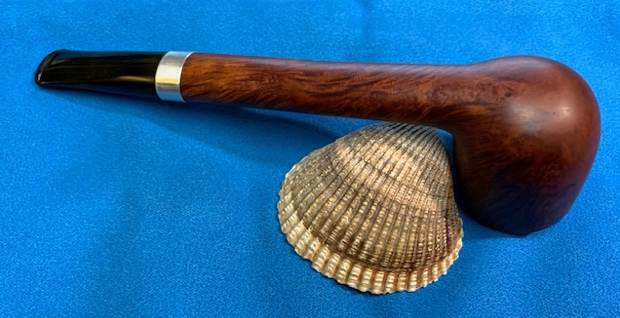
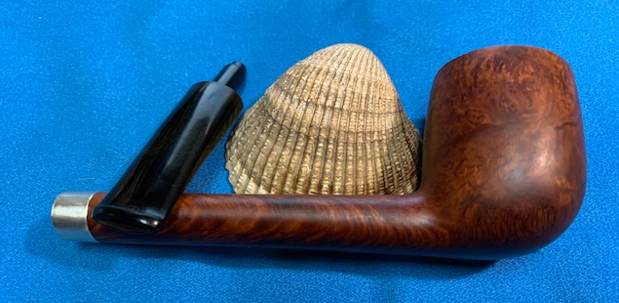
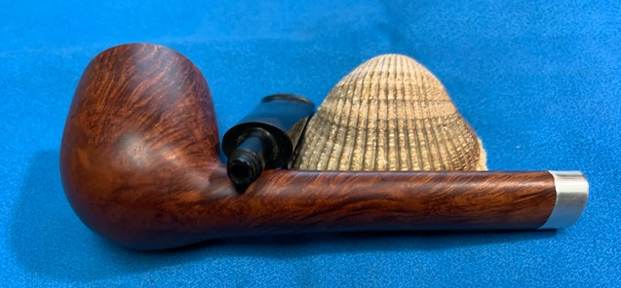
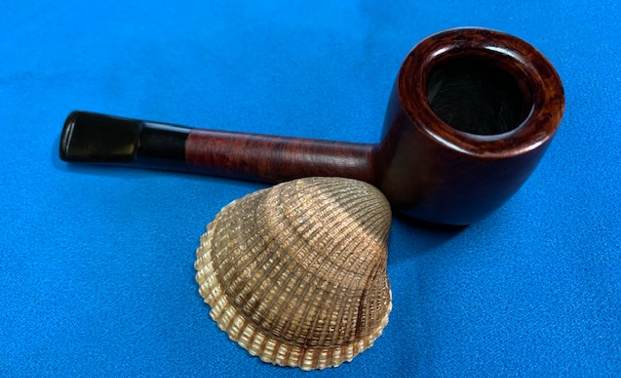
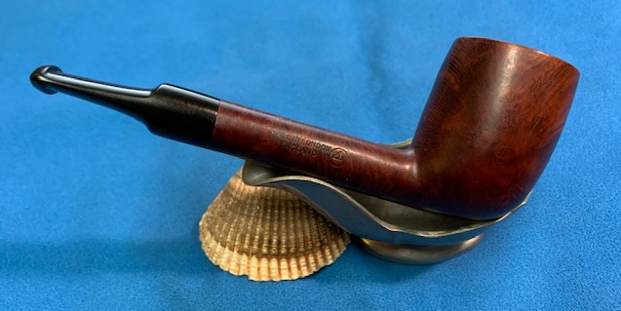
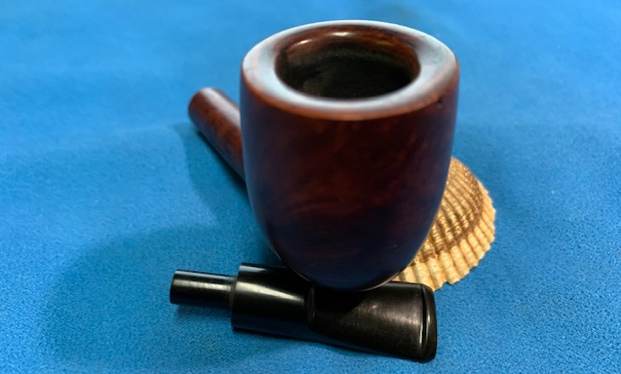
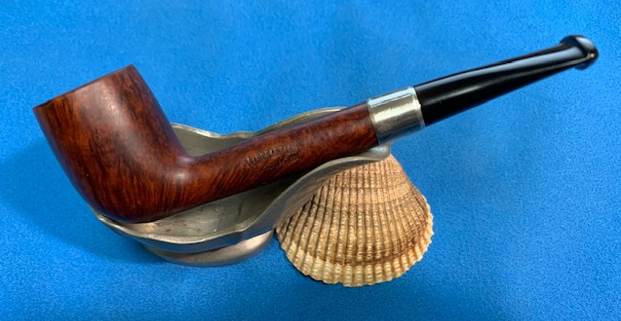
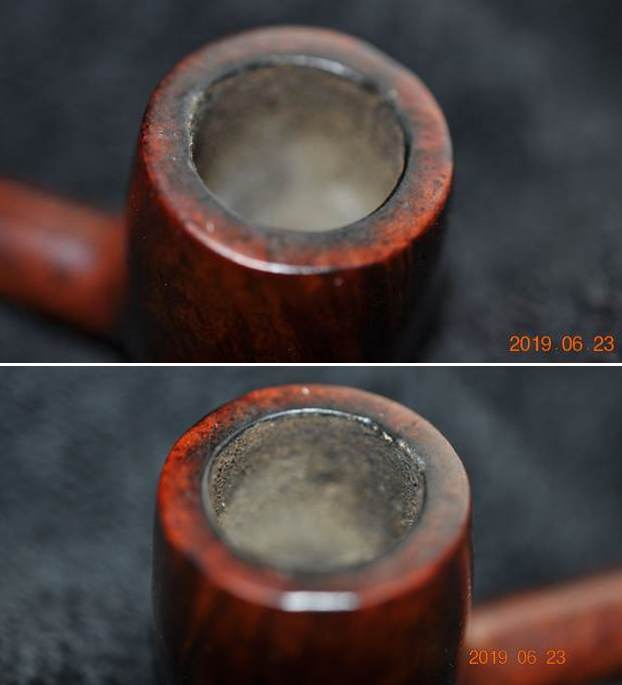
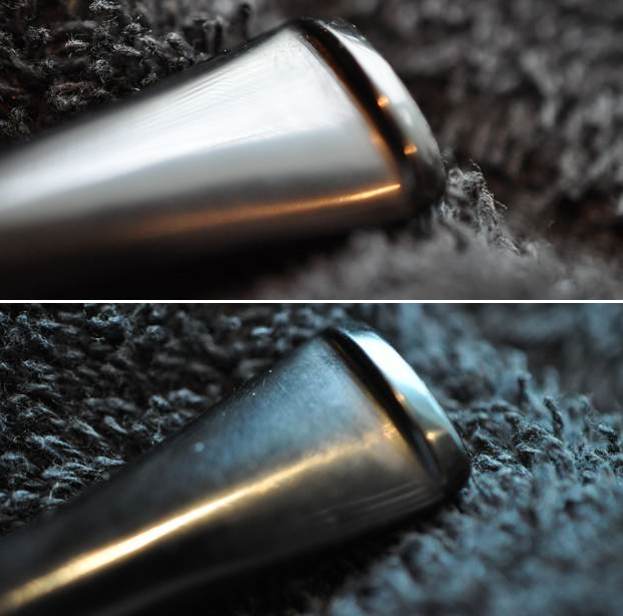
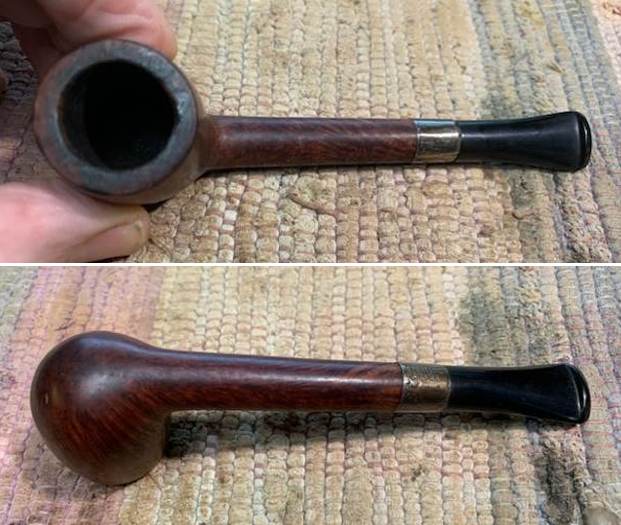
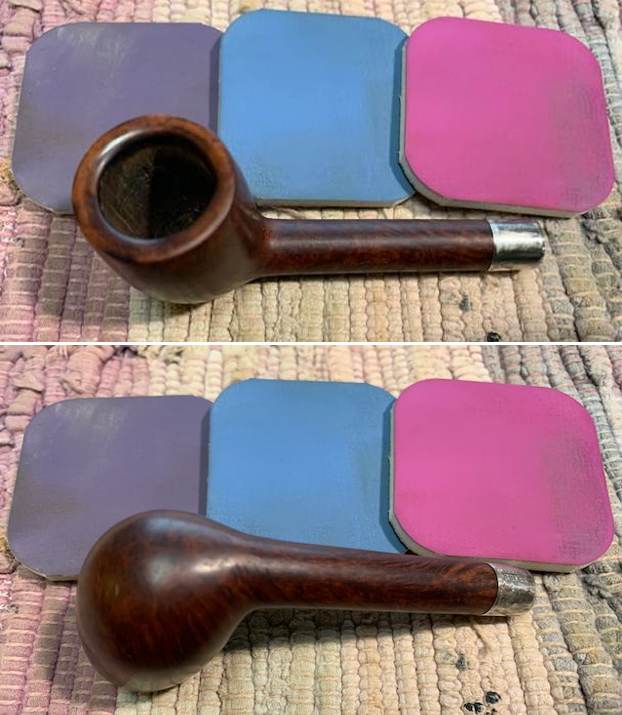
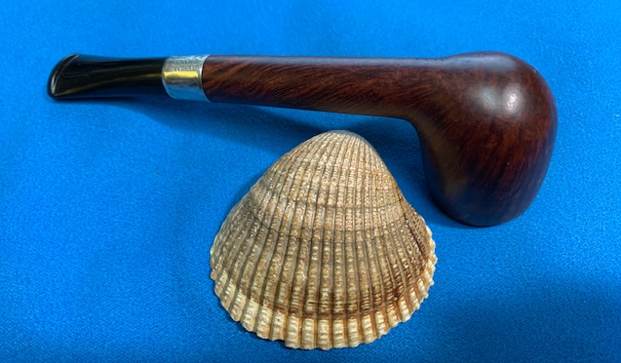
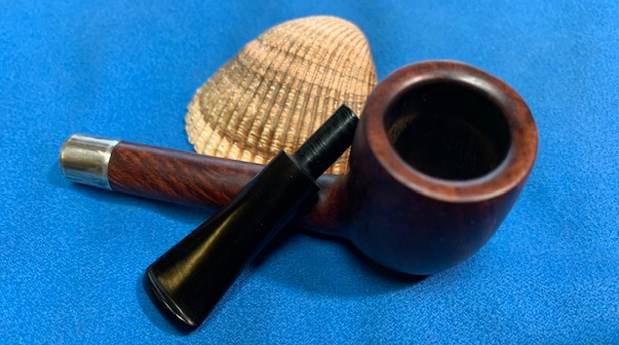
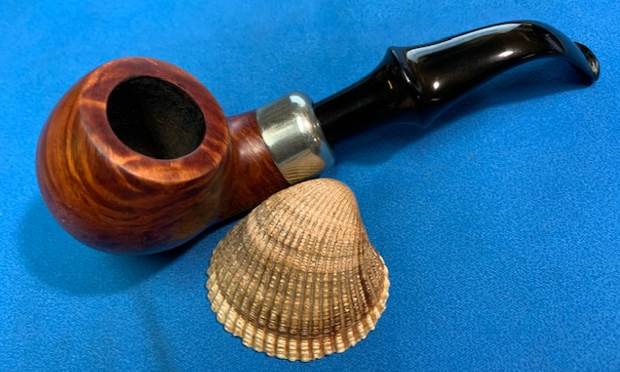
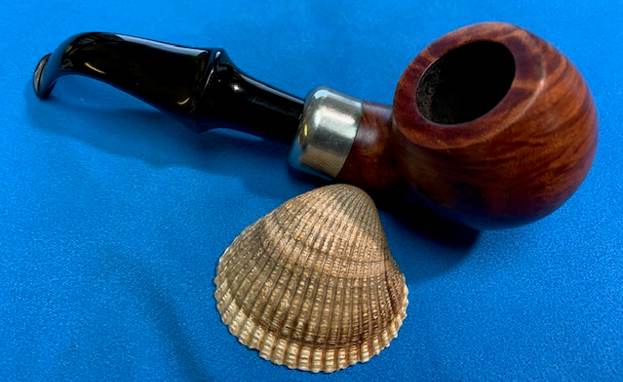
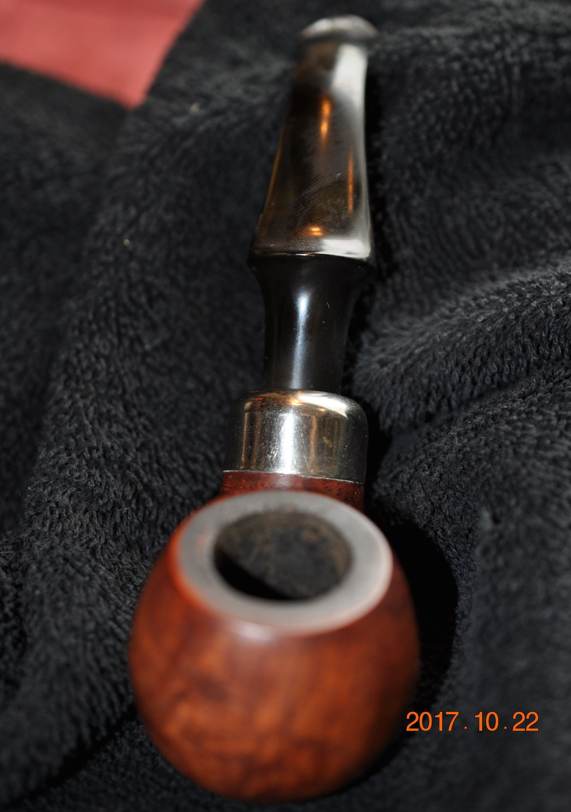
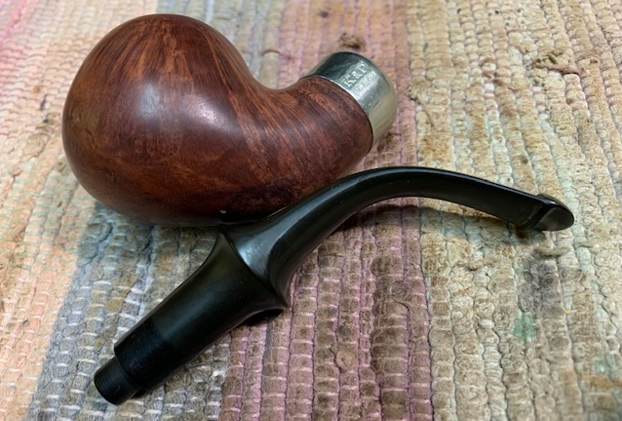
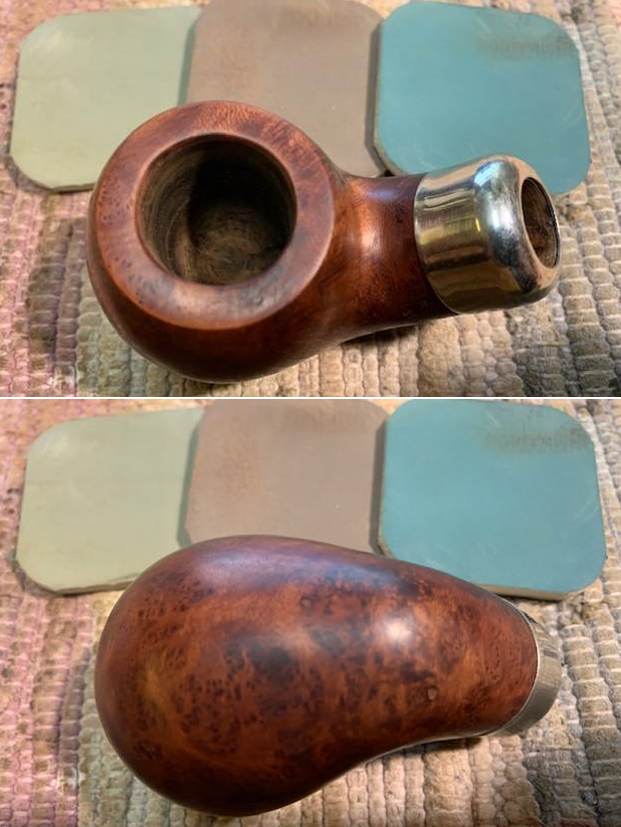
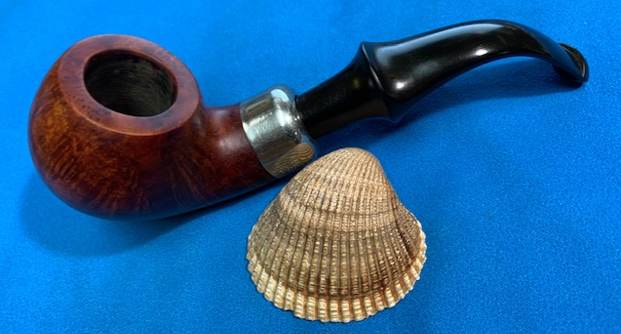
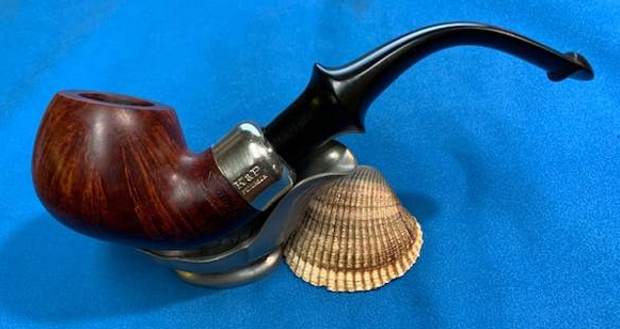
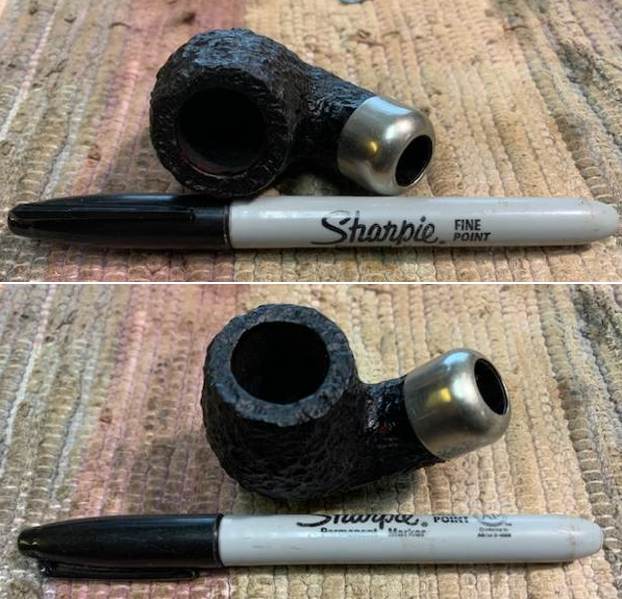
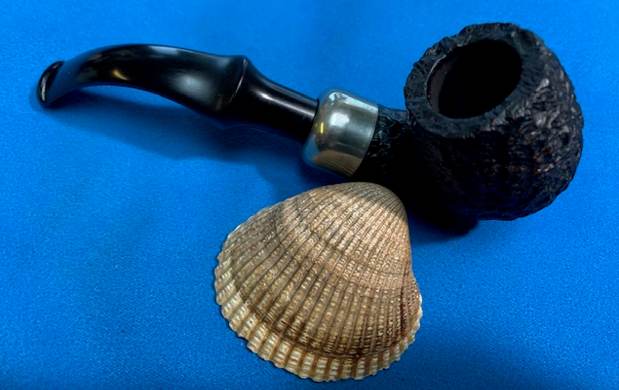
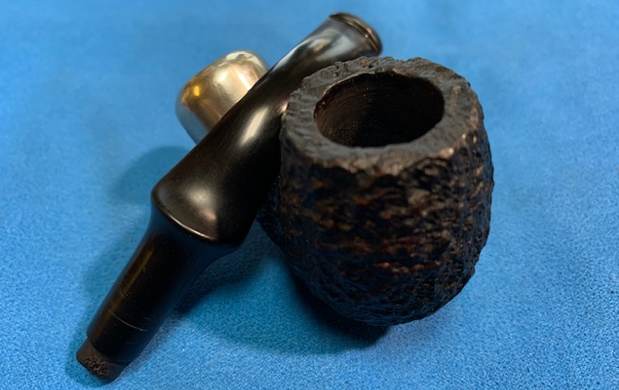
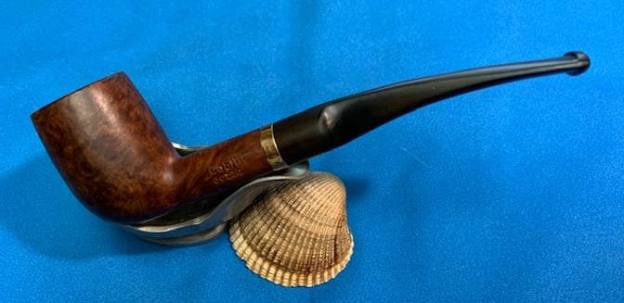
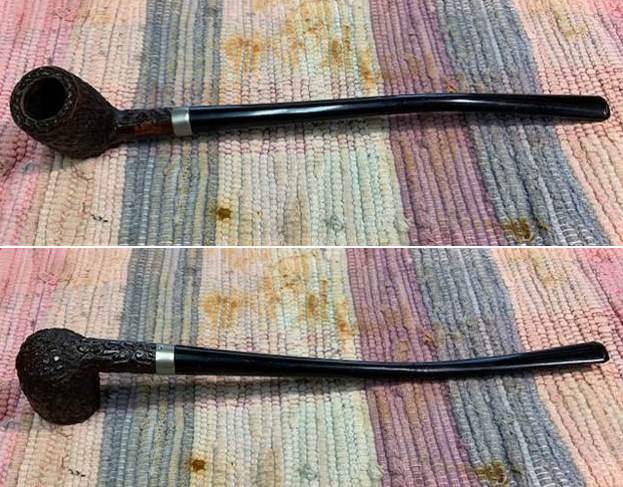
The next pipe on the table was purchased from an antique store on 10/14/17 in Pocatello, Idaho, USA. It is a nice looking Rusticated Billiard Churchwarden with a long straight stem. It is stamped on the left side of the shank and reads TELEVISION [over] Imported Briar [over] Italy. The stamping is very clear and readable. The rusticated finish had a spotty coat of varnish around the rusticated rim, sides and shank but it was primarily on the high spots with little of it going into the depths of the rough rustication. The bowl had a thin cake and dust and debris in the rustication on the rim top and the rest of the bowl and shank. The stem was acrylic and in decent condition with some ripples in the underside from when it had been heated to bend it. It had some tooth chatter and marks on both sides near the button. Jeff took photos of the pipe when he unpacked it and before he started his clean up work. It is a great looking piece of briar. 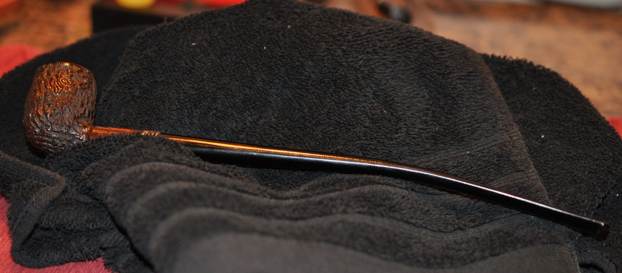 Jeff took photos of the bowl and rim top to show the cake in the light cake bowl and the debris in the rustication. He also took photos of the stem to show the wrinkles in the middle of the underside as well as the light tooth marks and chatter on the acrylic stem.
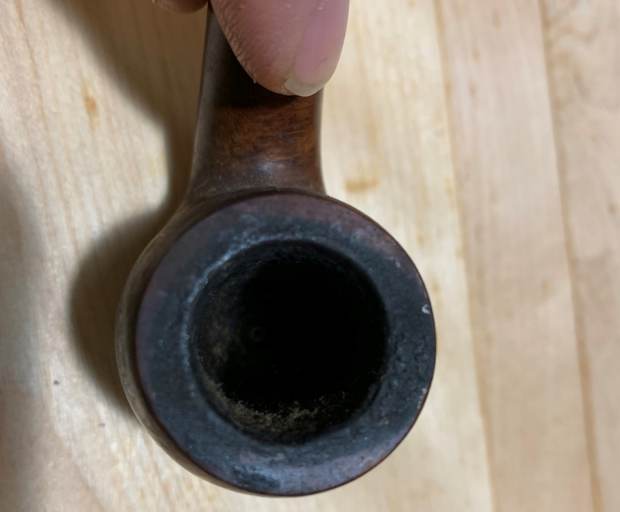
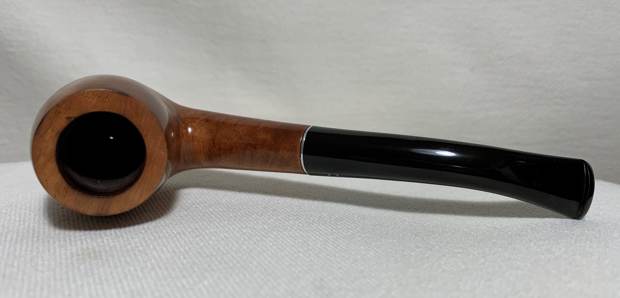
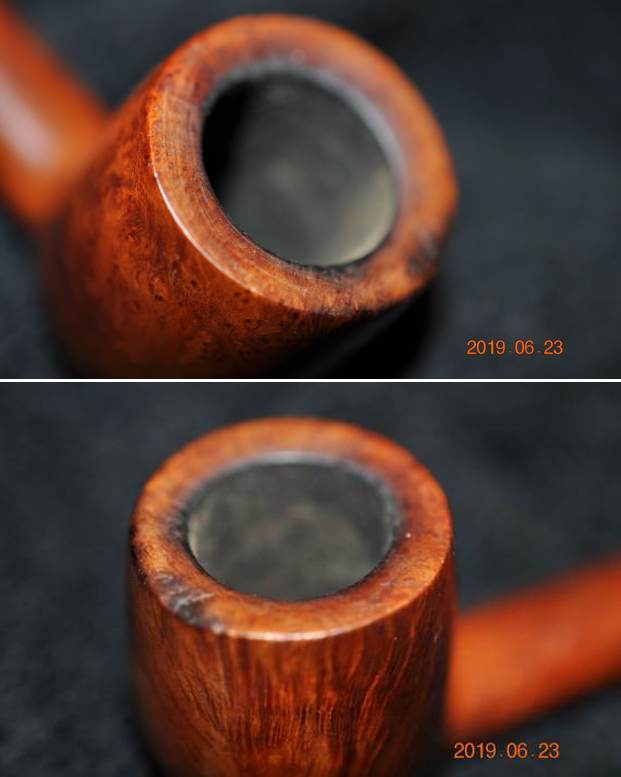
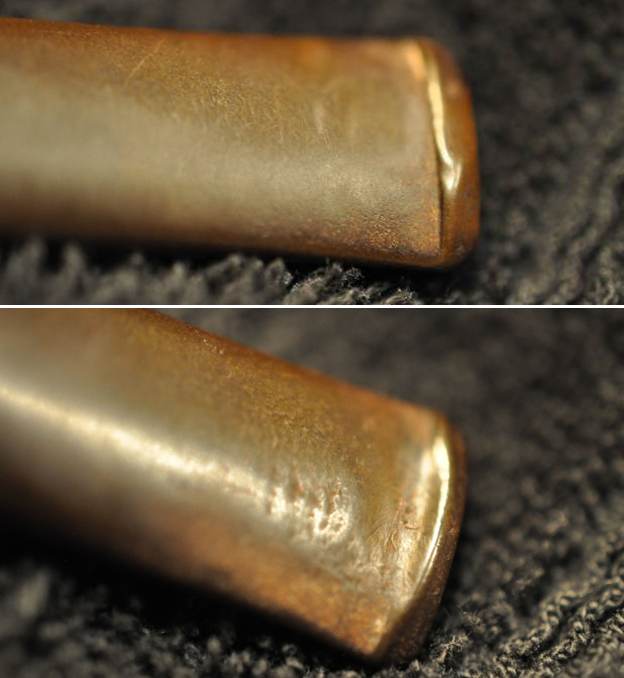
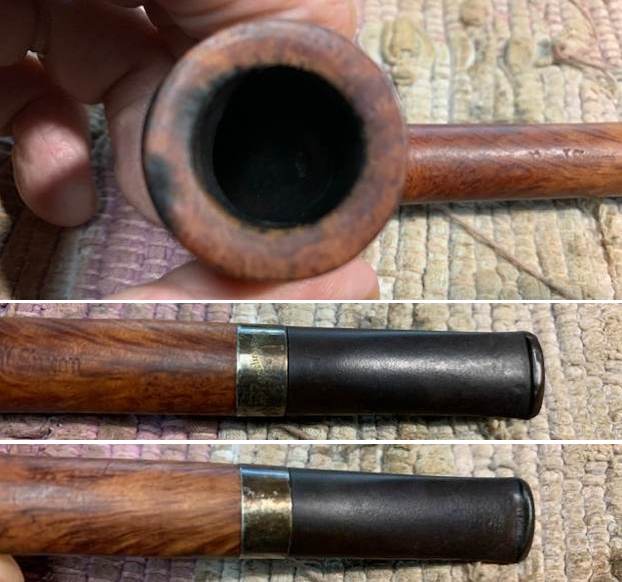
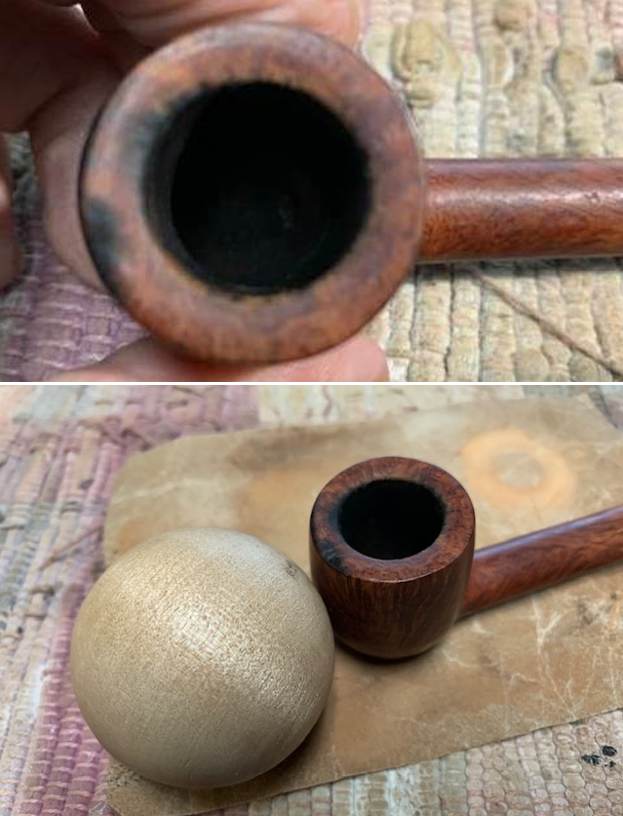
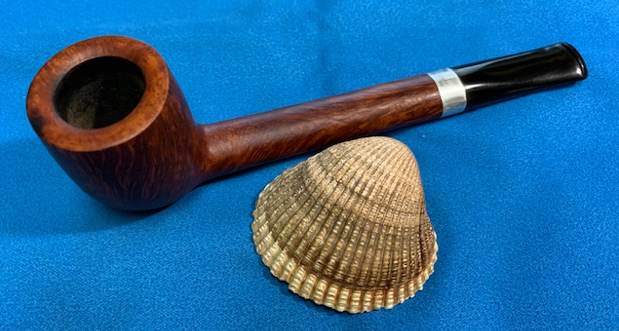
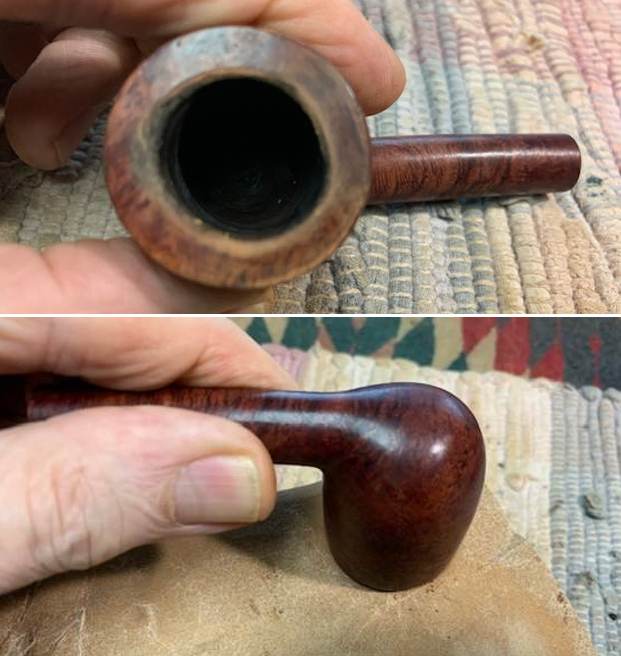
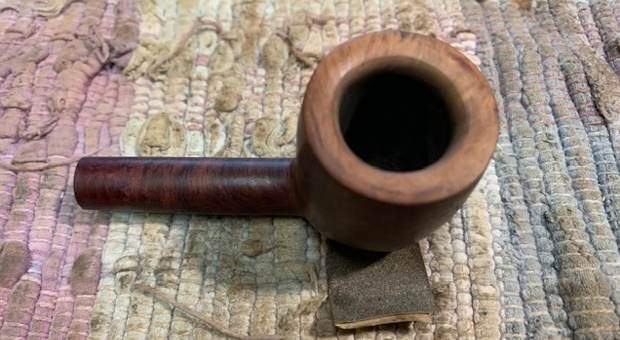
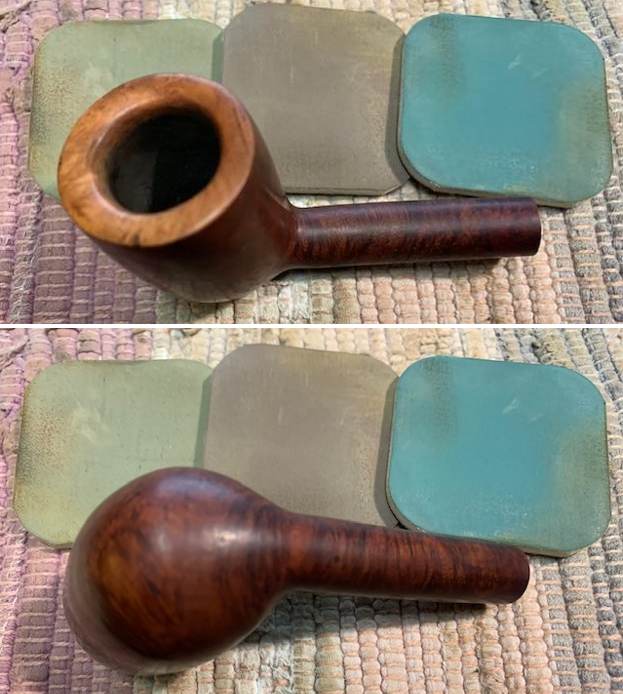
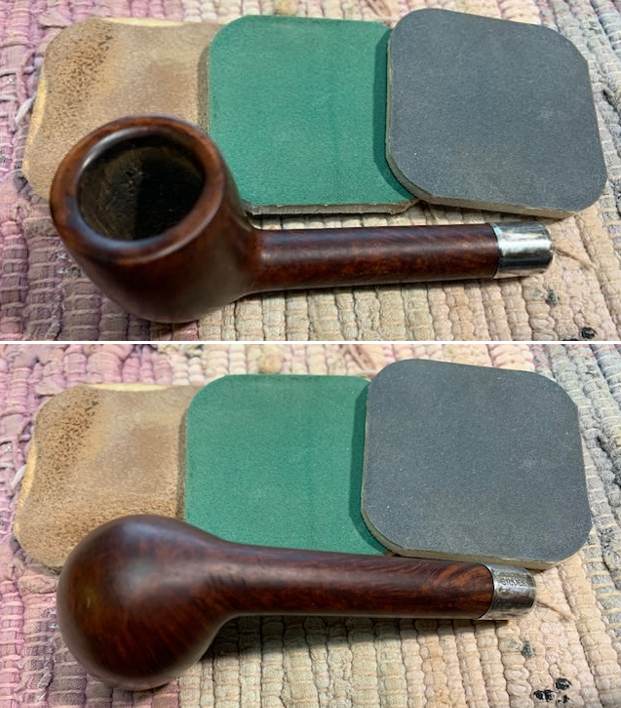
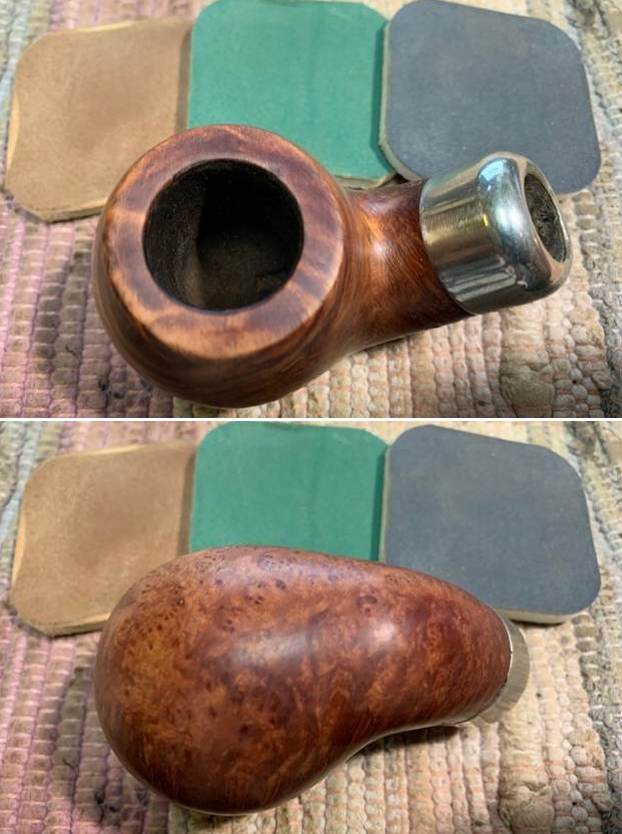
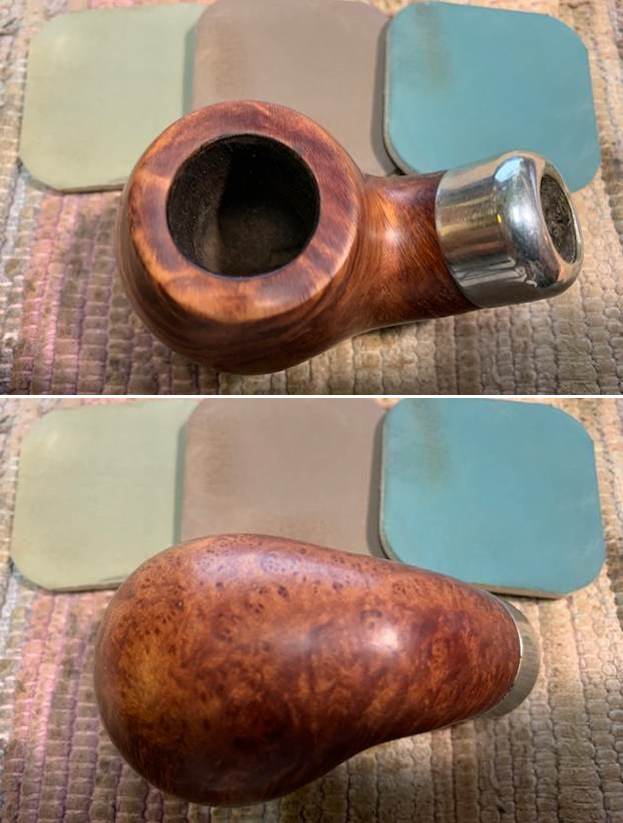
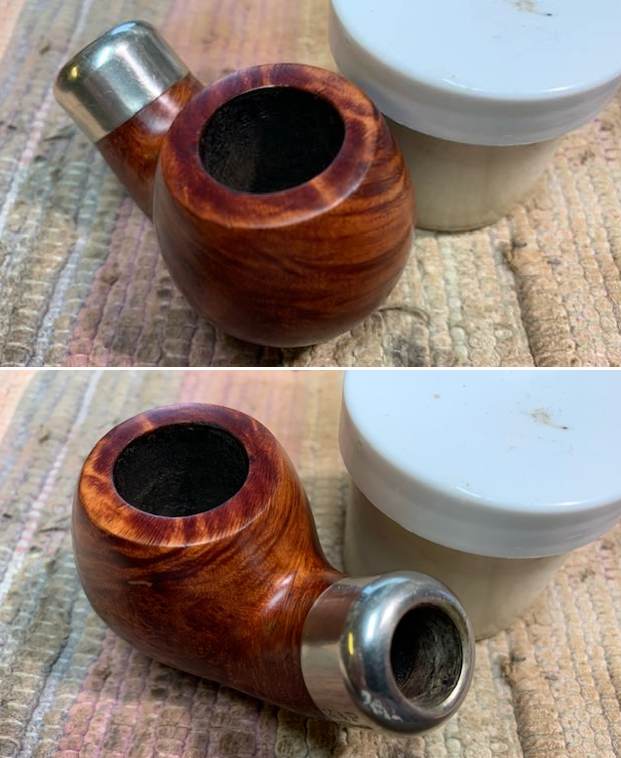
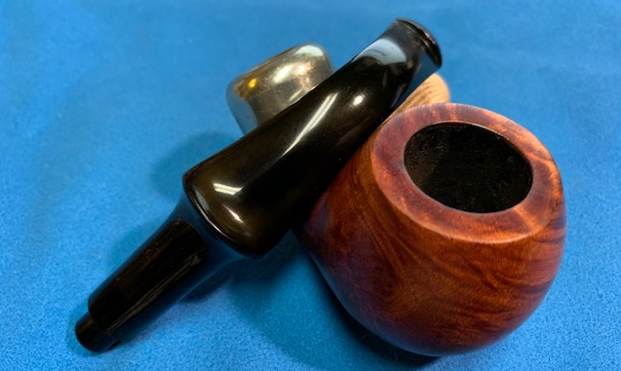
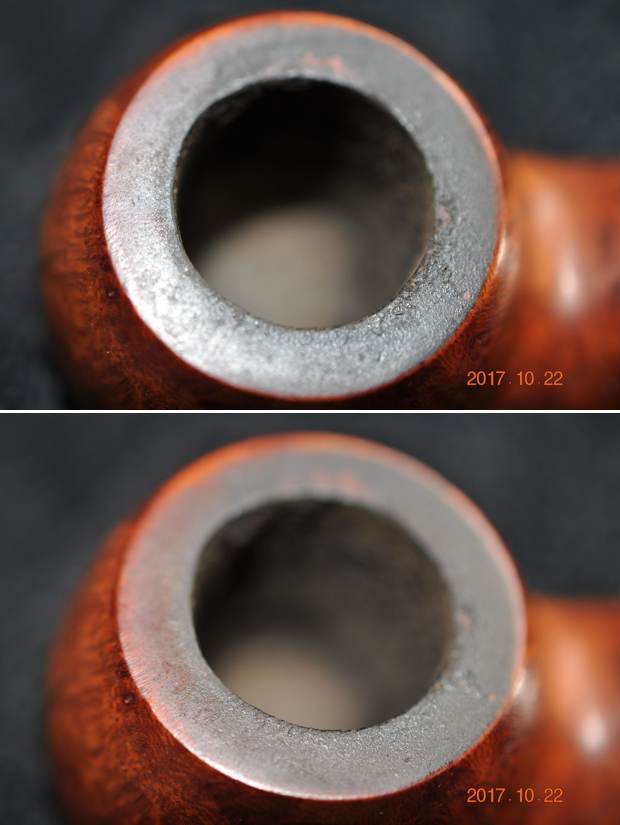
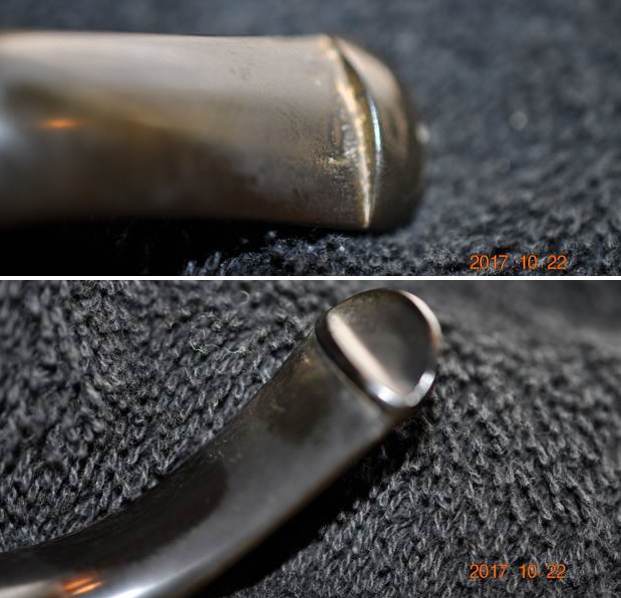
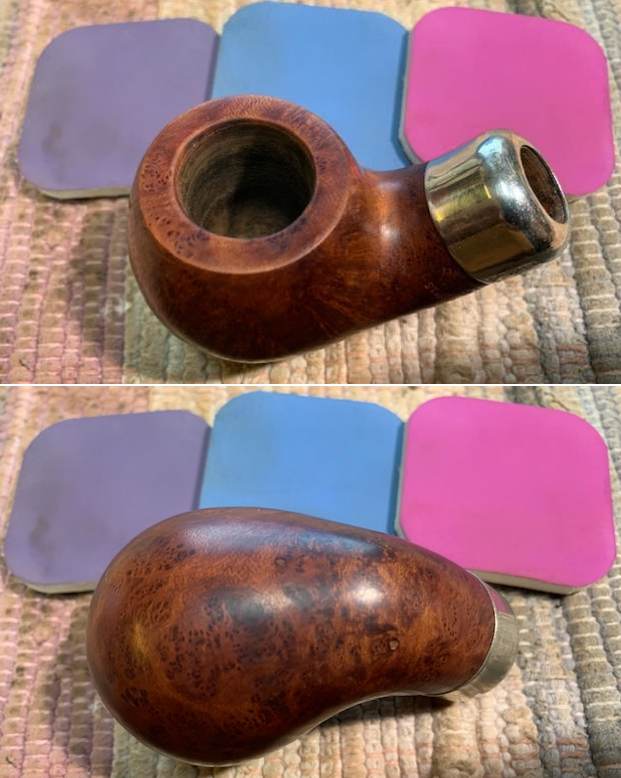
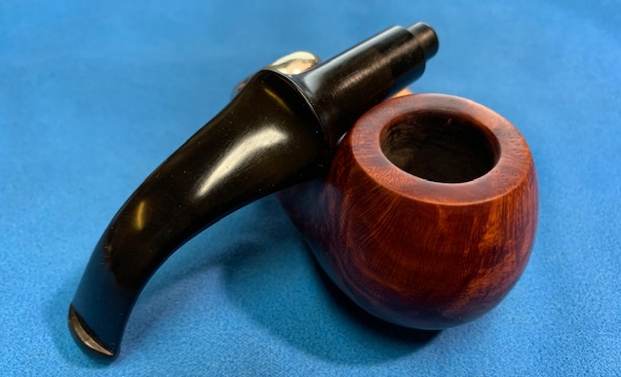
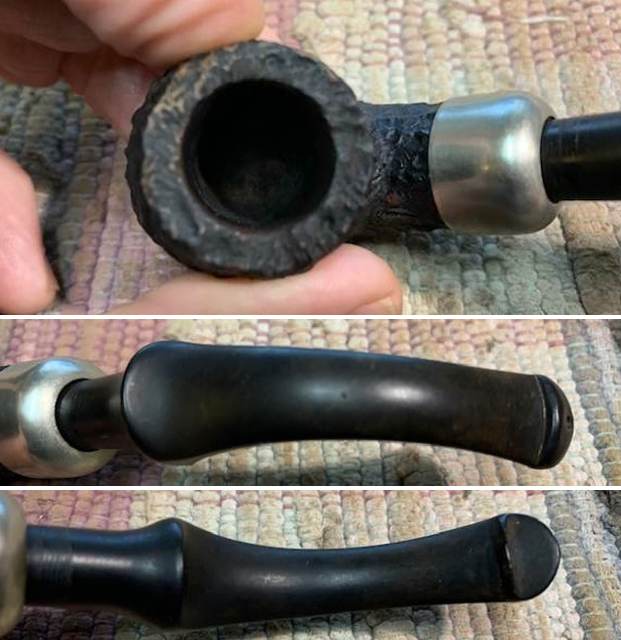
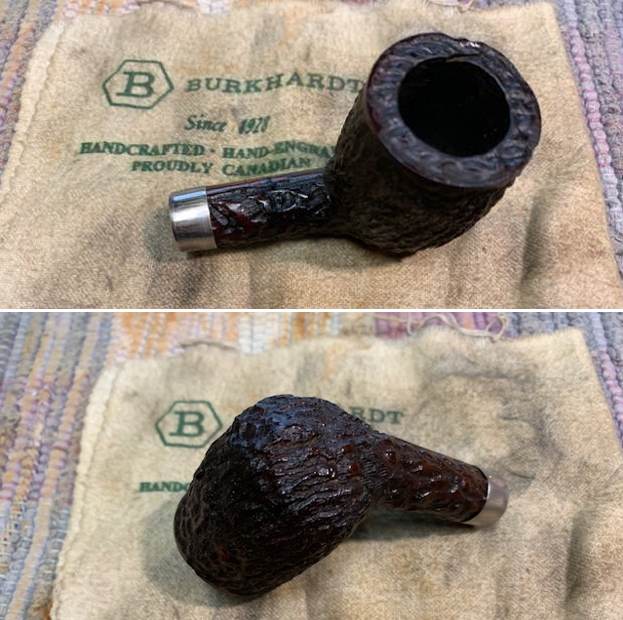
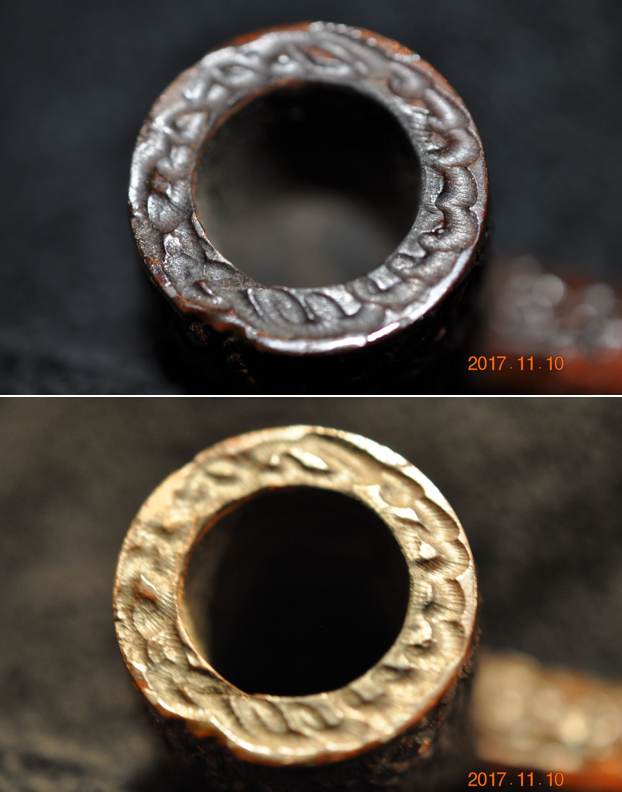
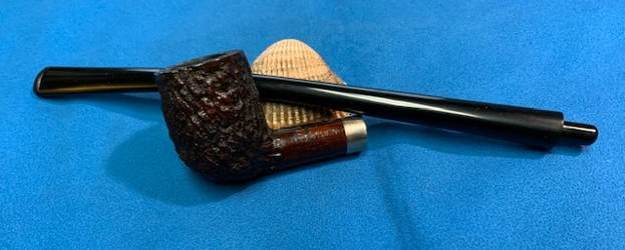
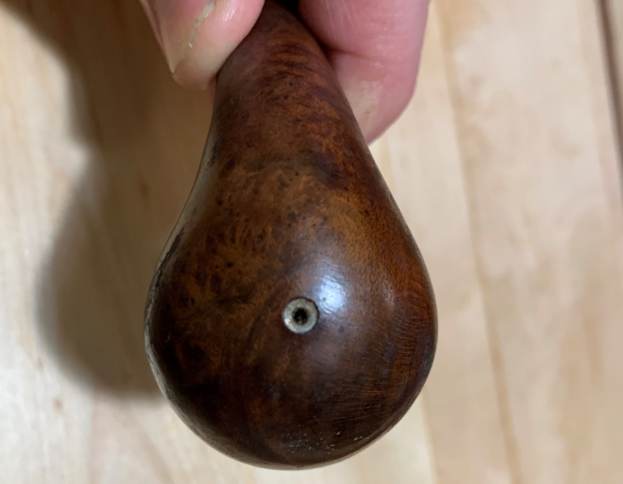
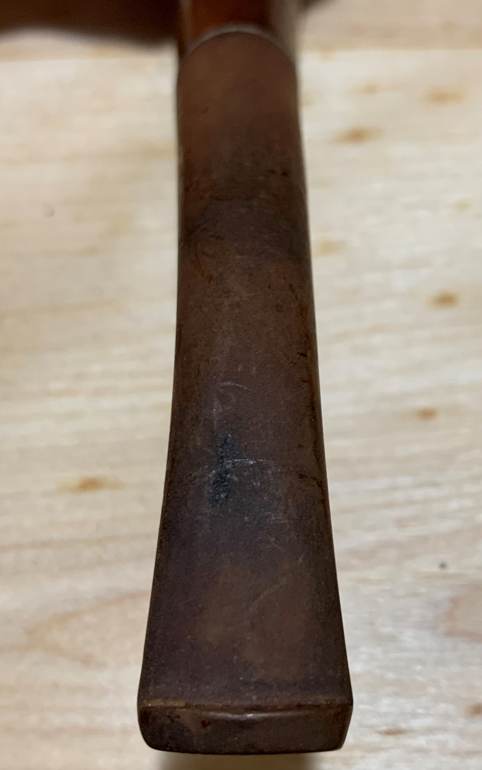
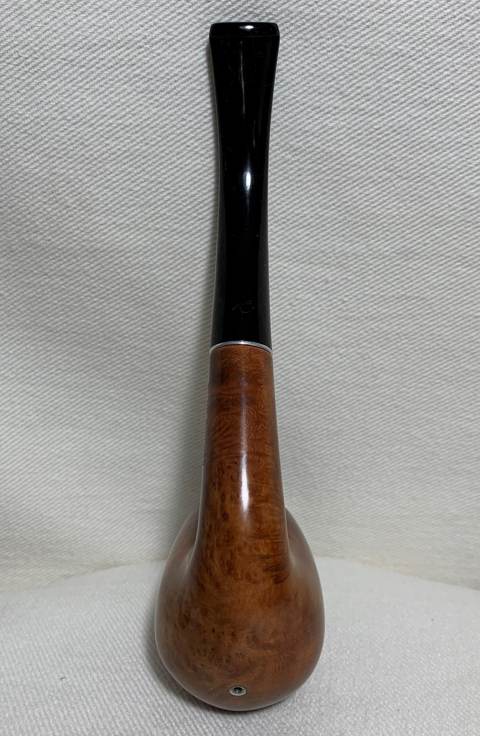
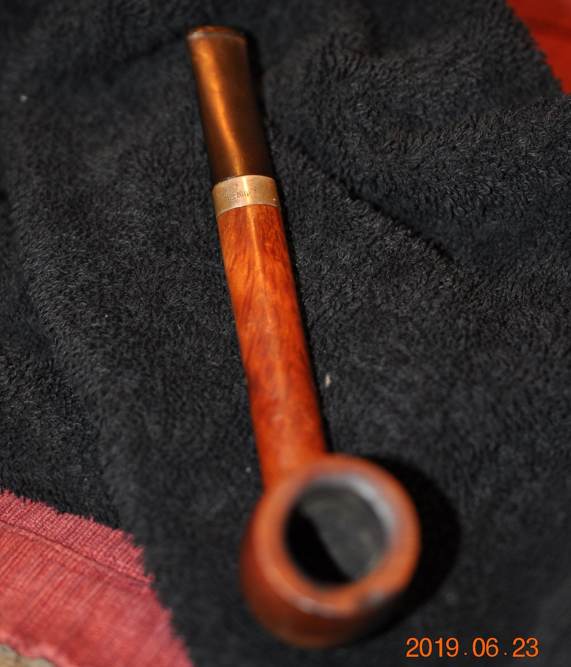
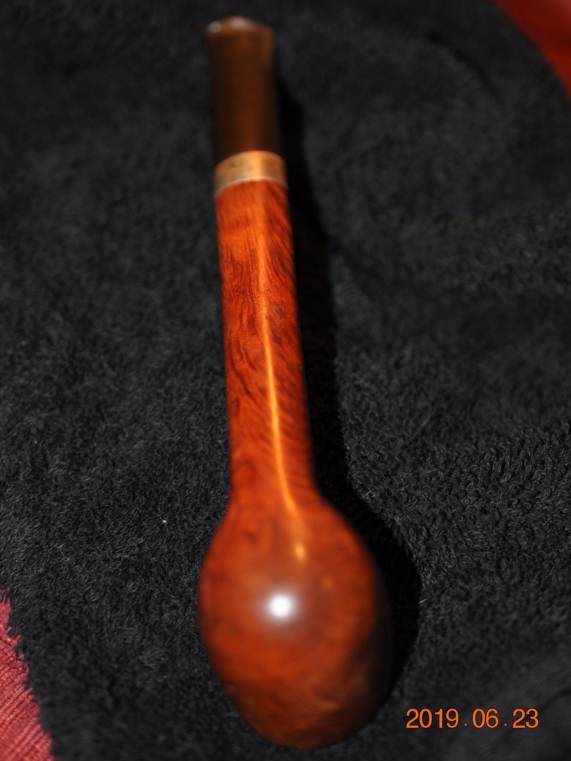
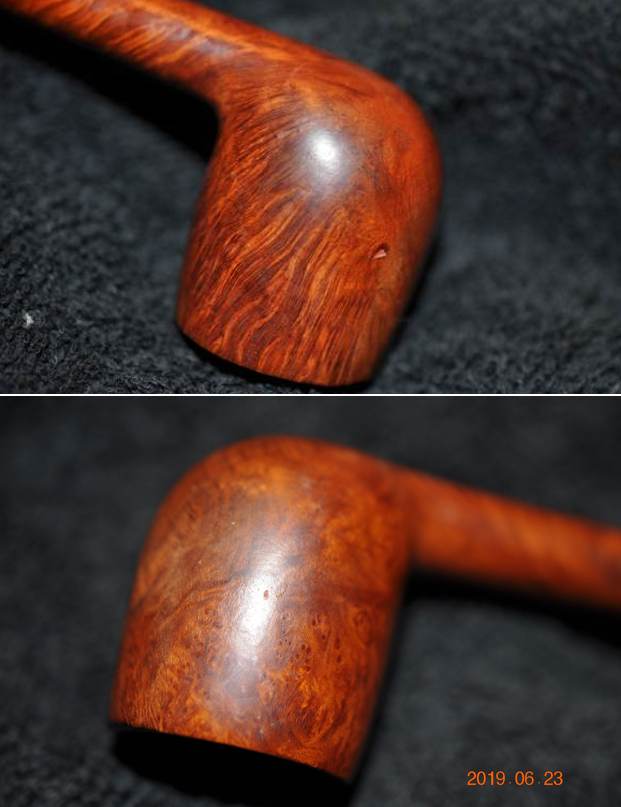
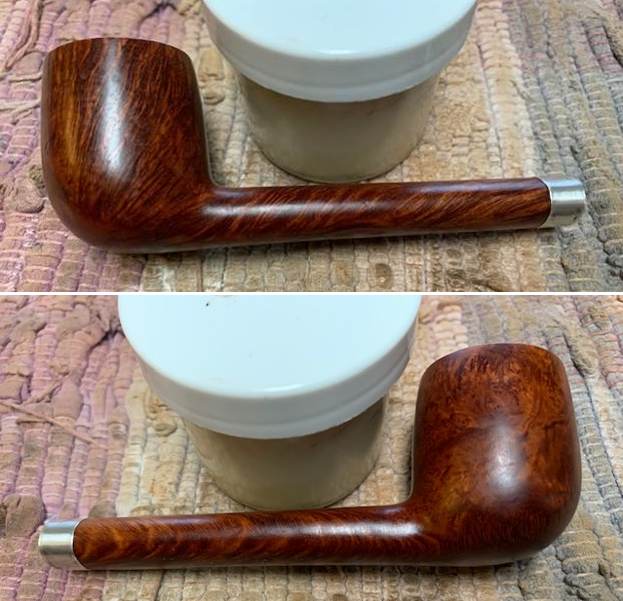
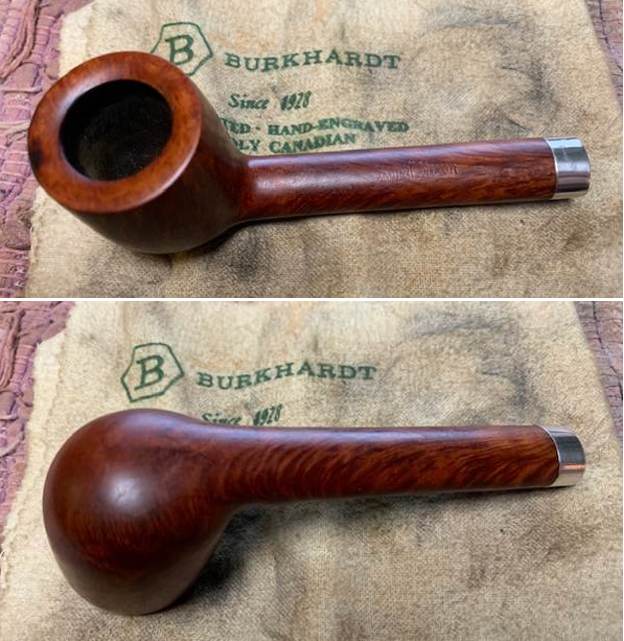
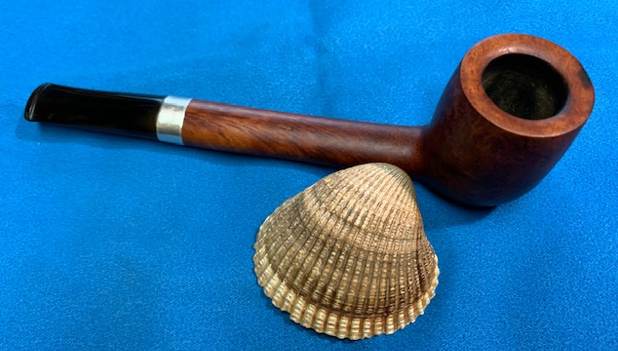
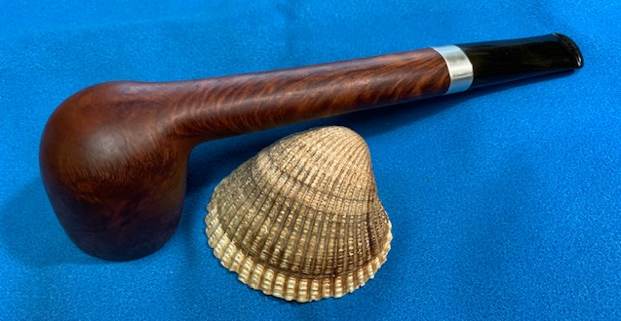
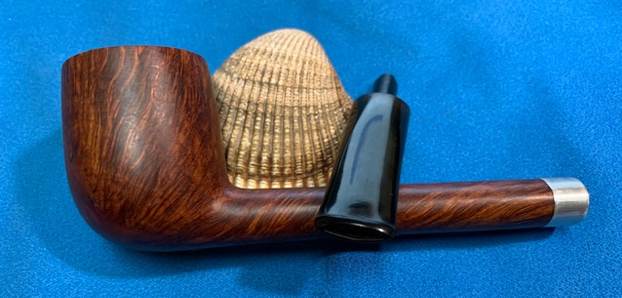
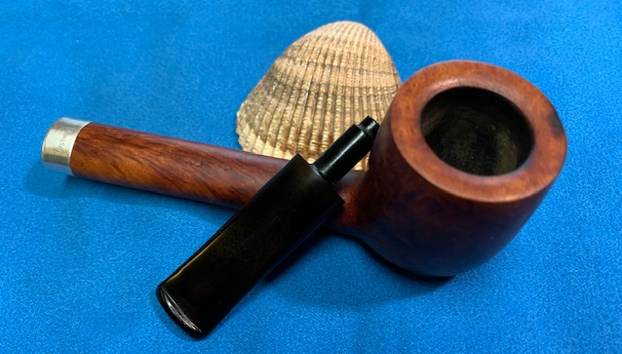
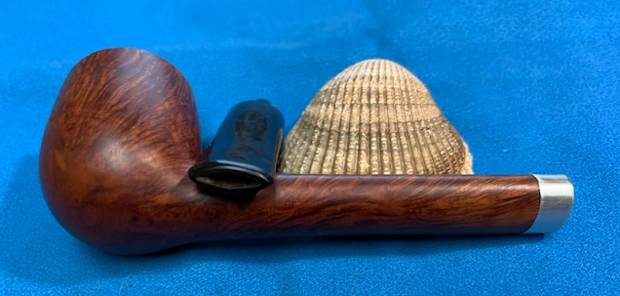
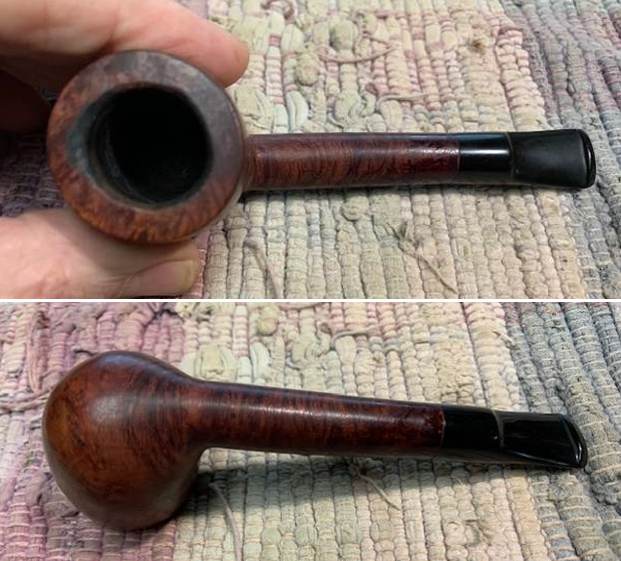
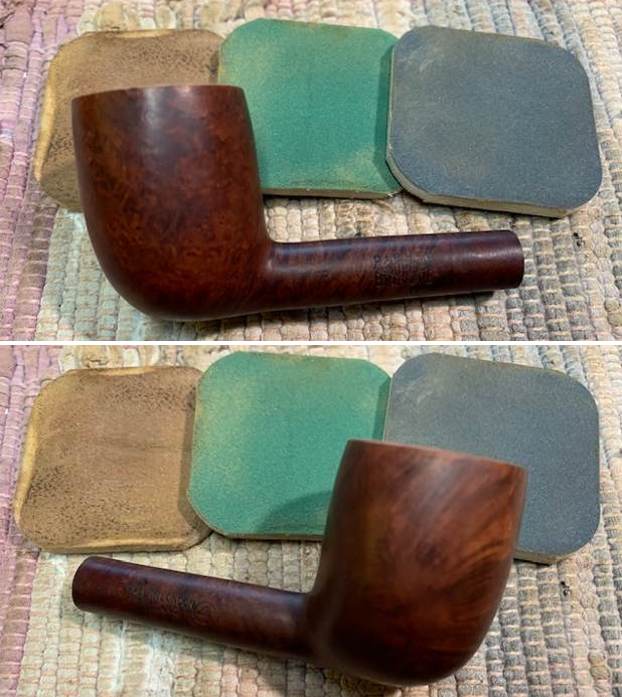
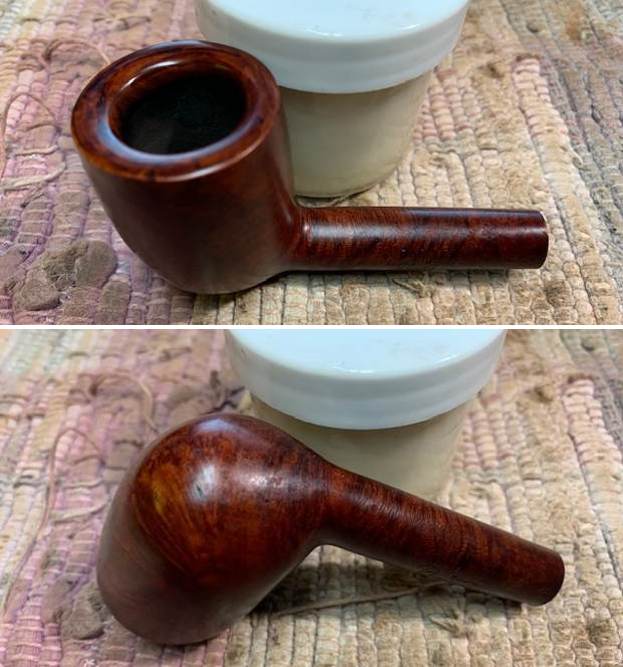
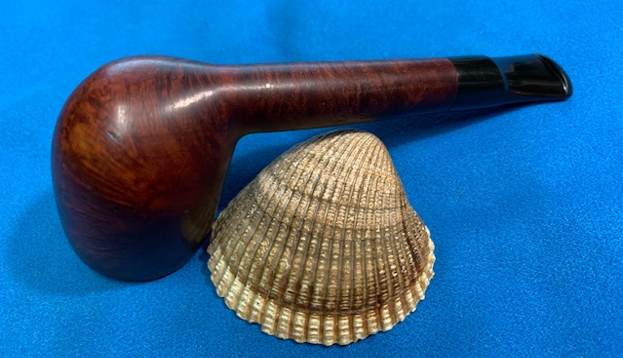
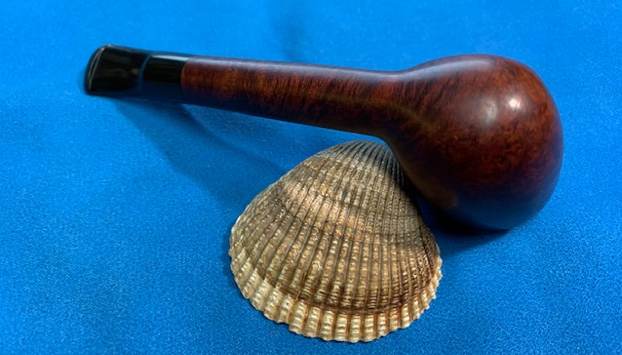
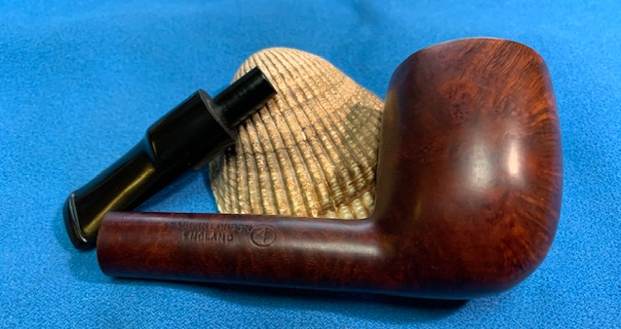
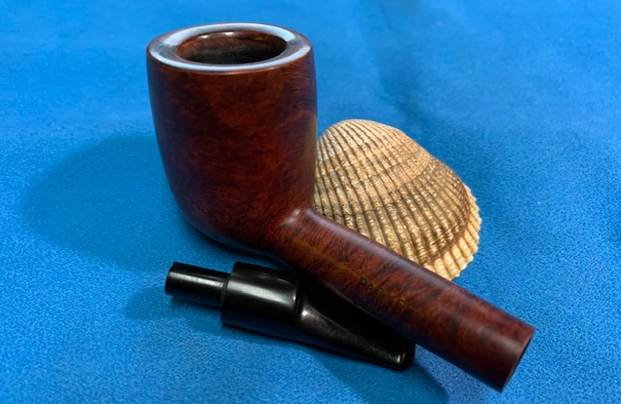
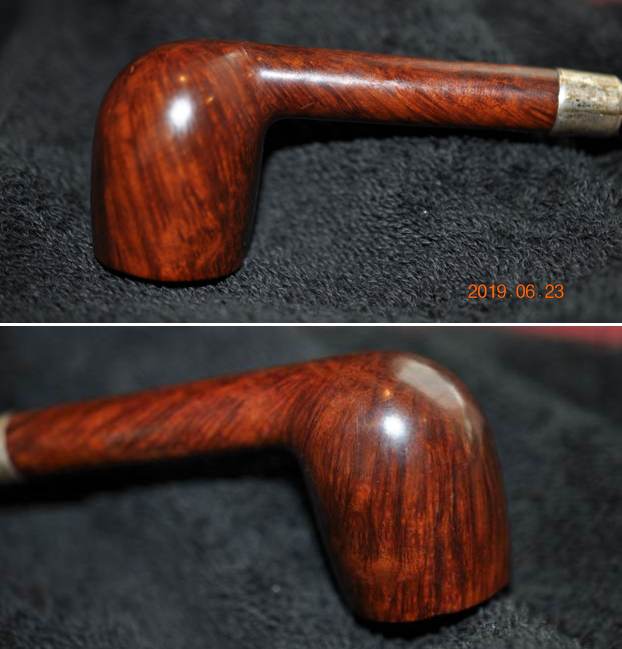
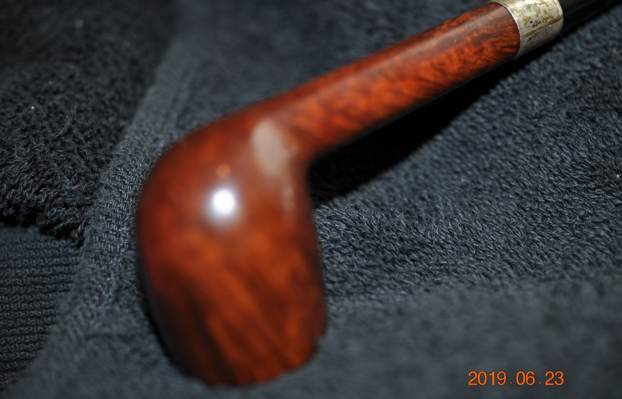
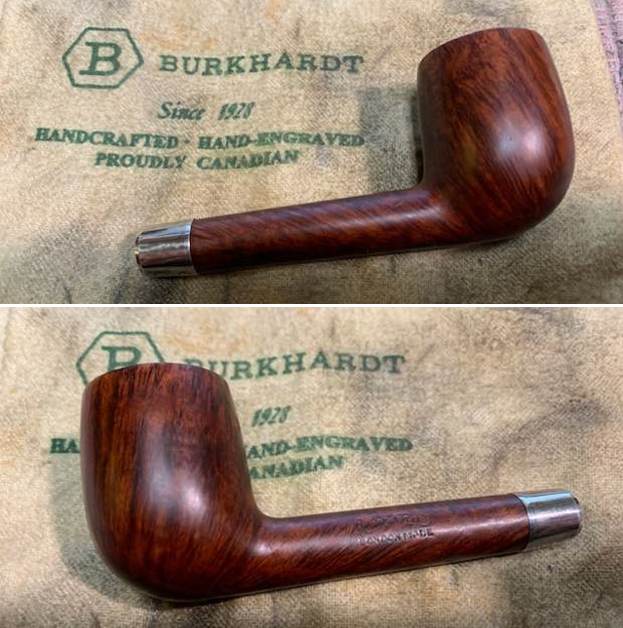
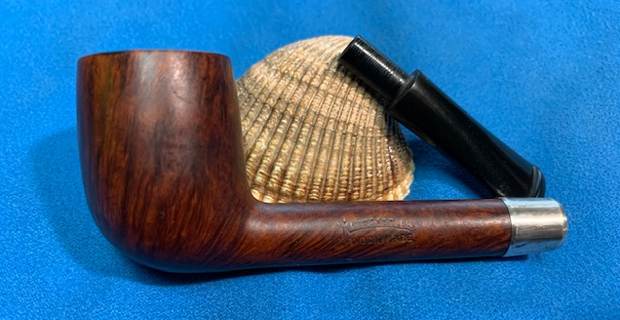
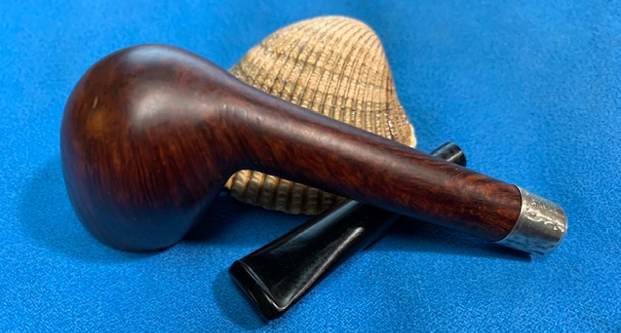
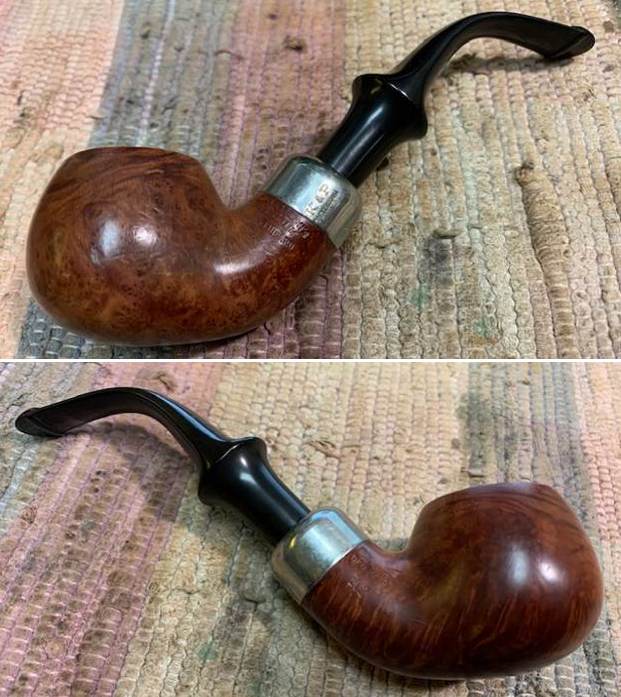
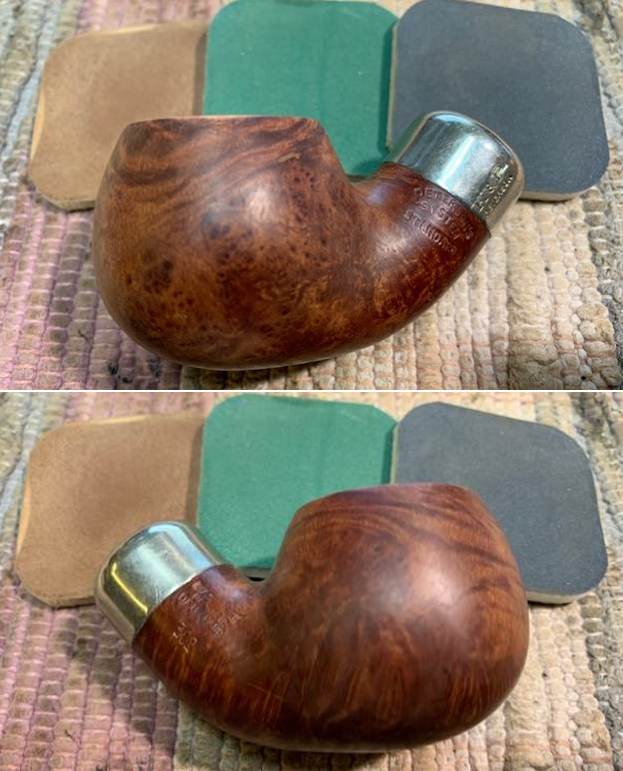
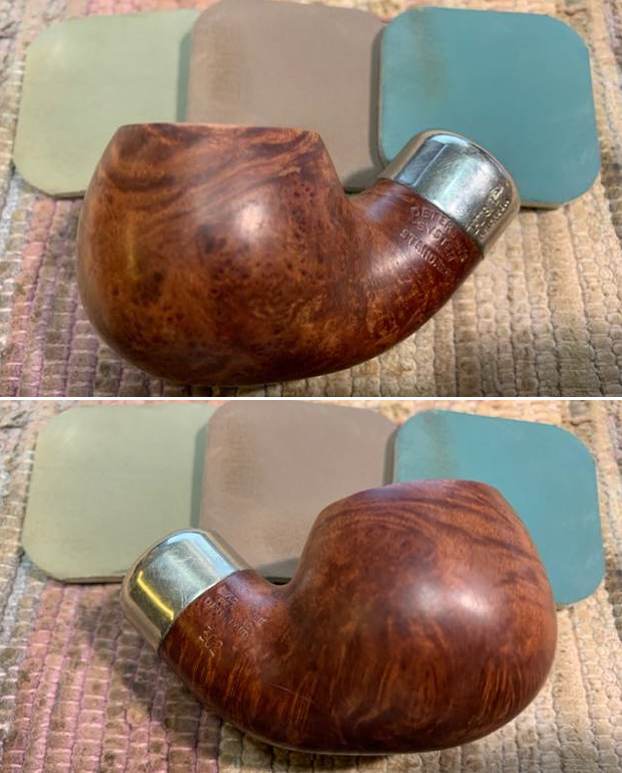
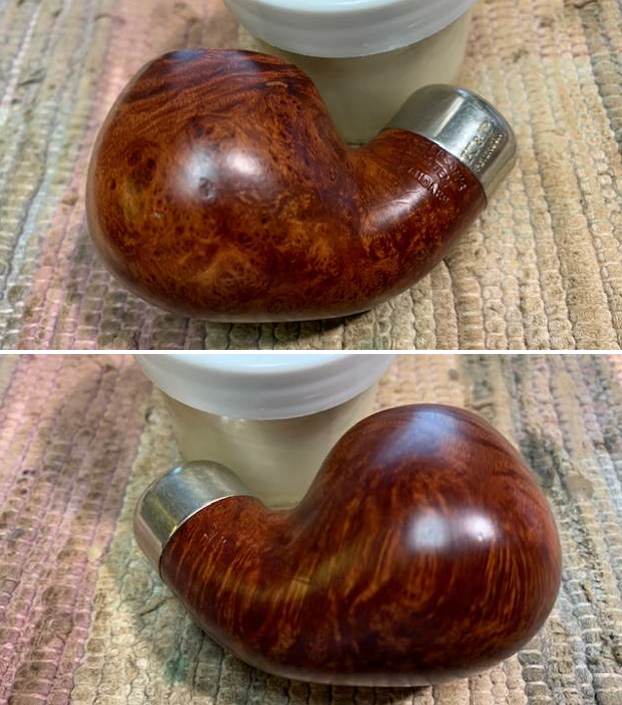
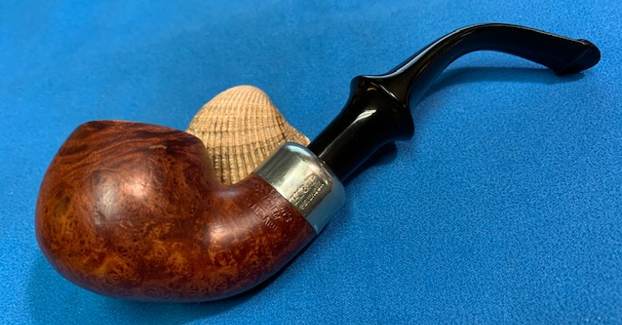
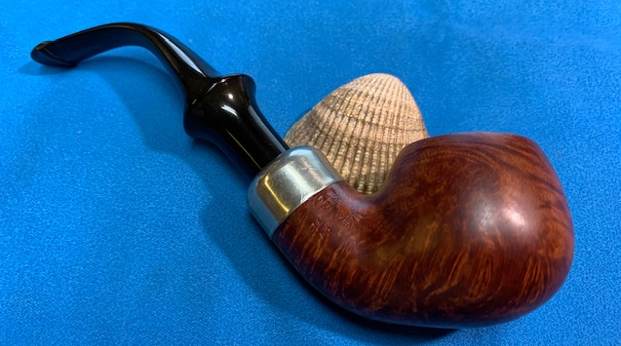
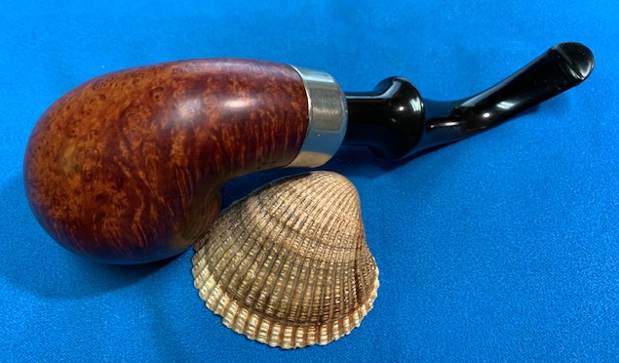
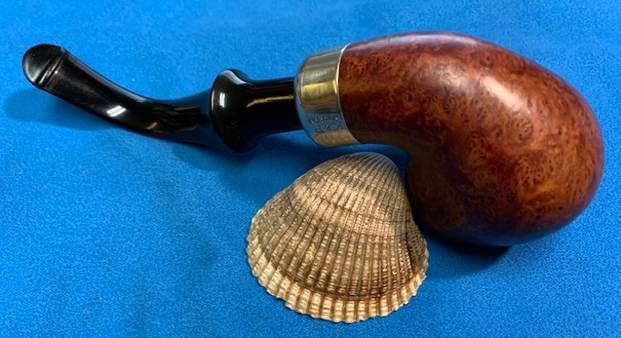
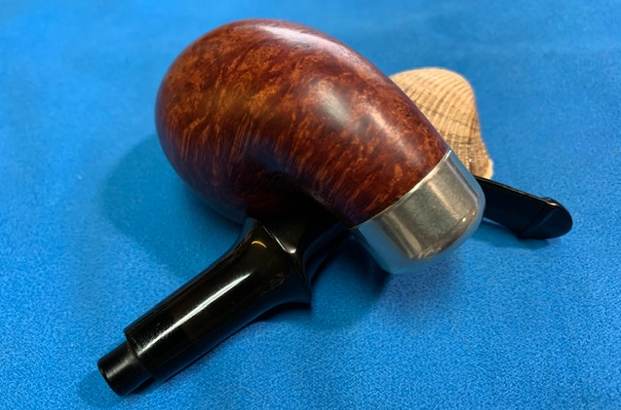
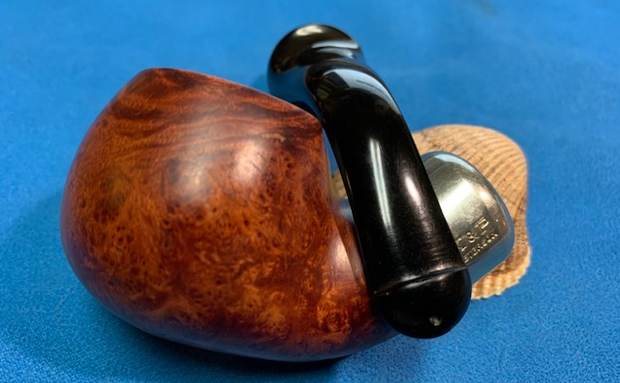
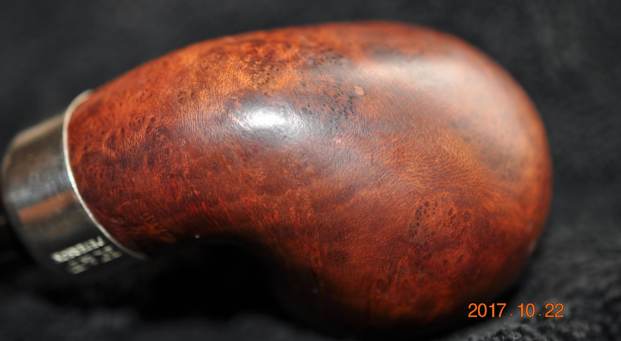
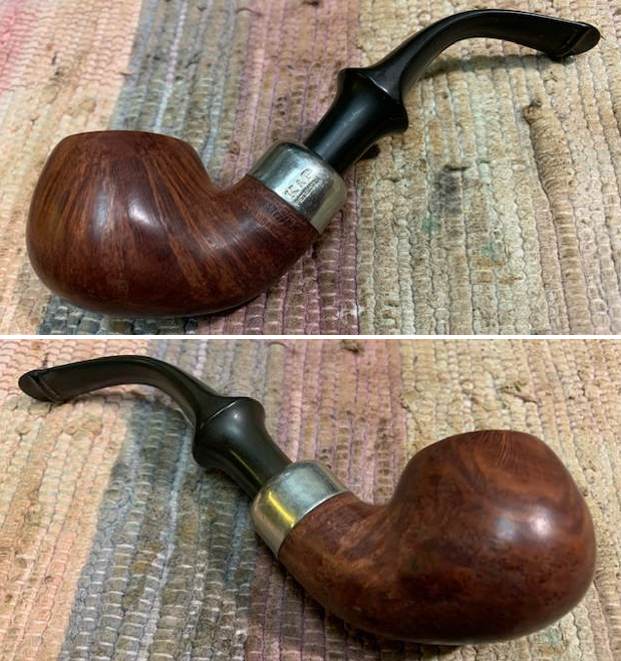
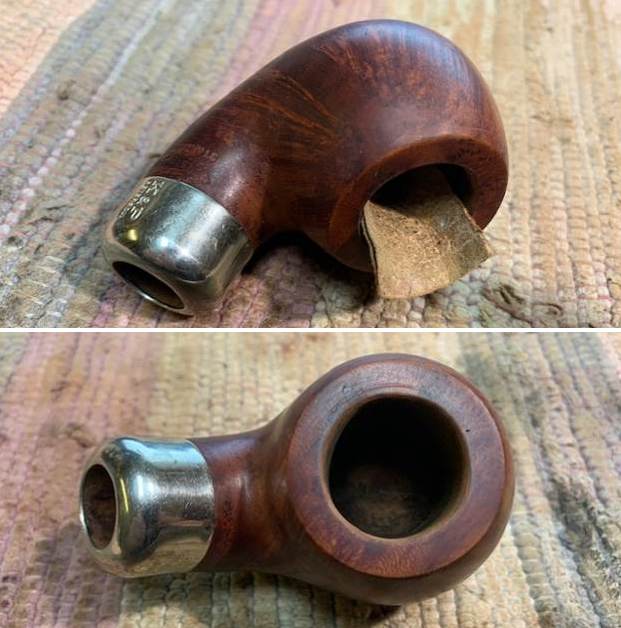
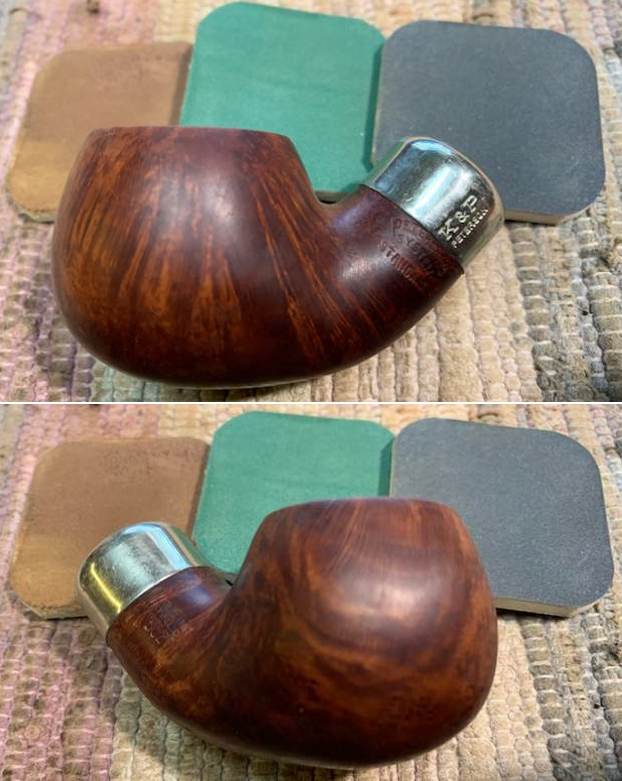
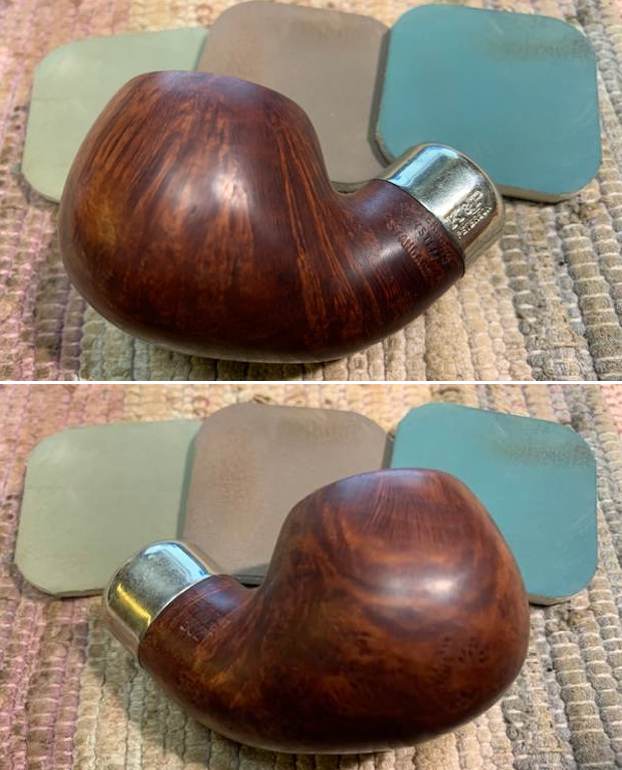
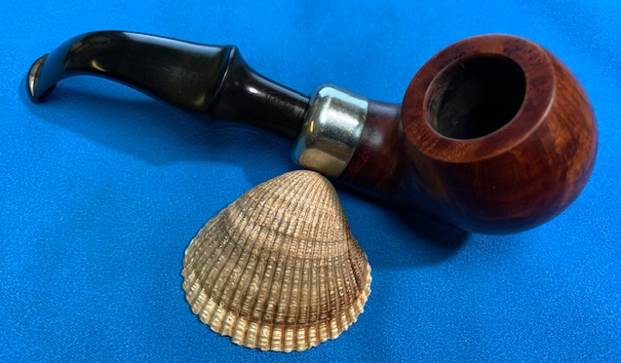
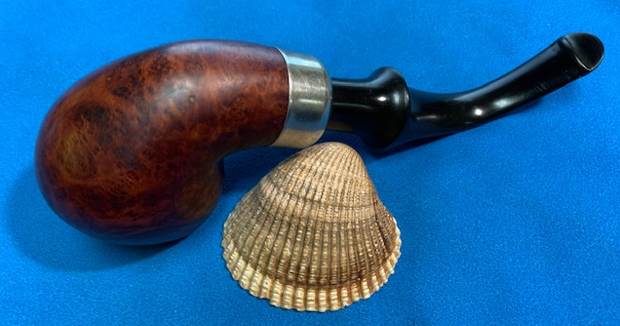
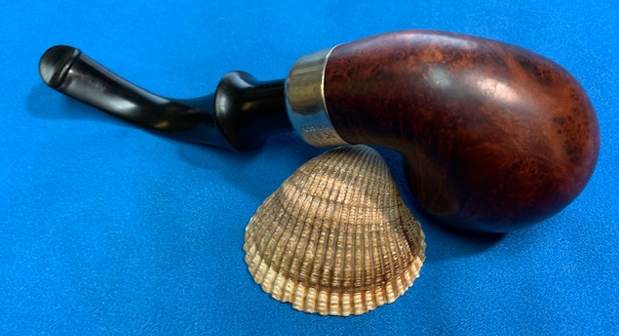
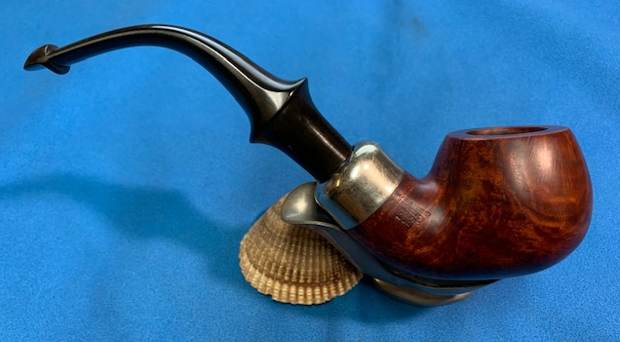
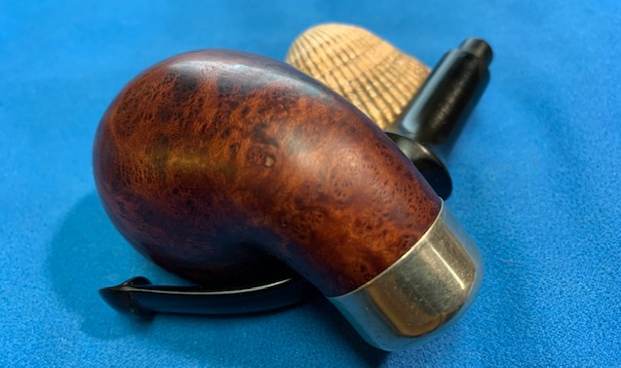
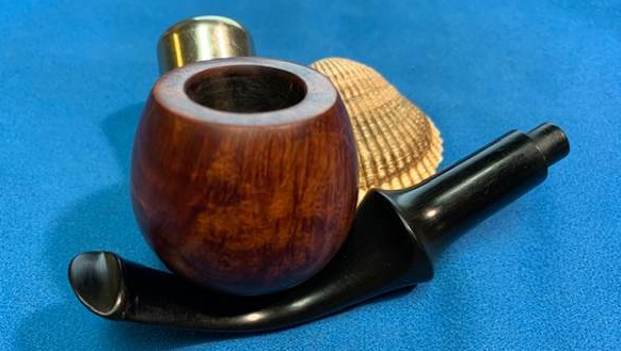
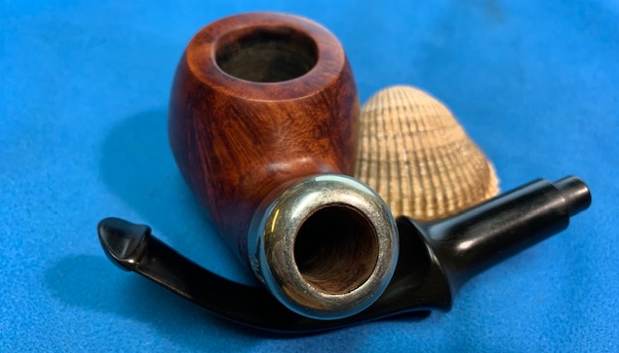
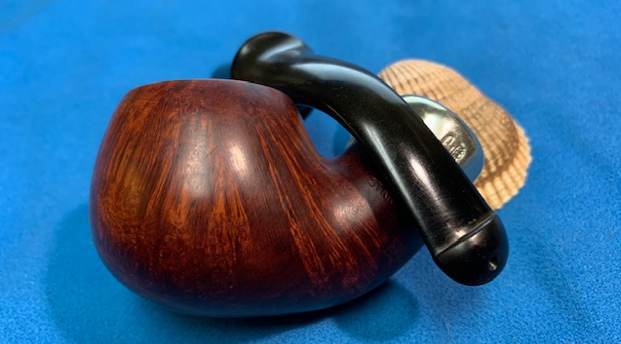
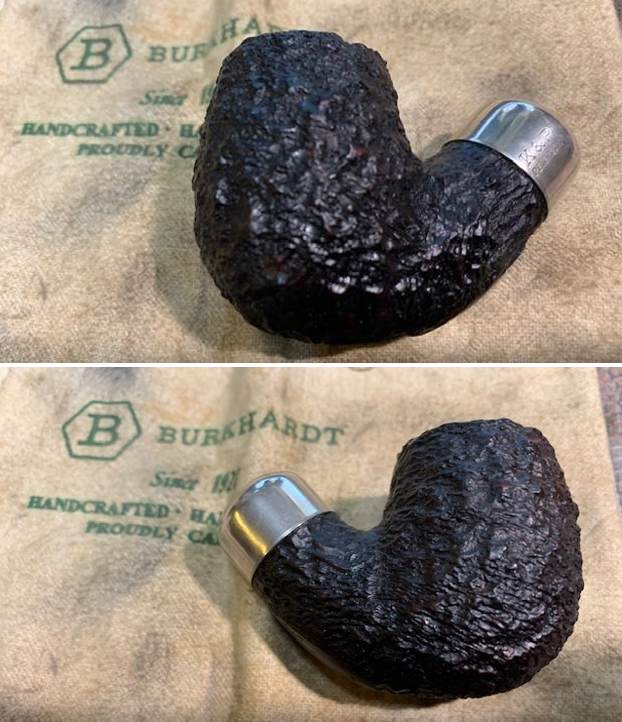
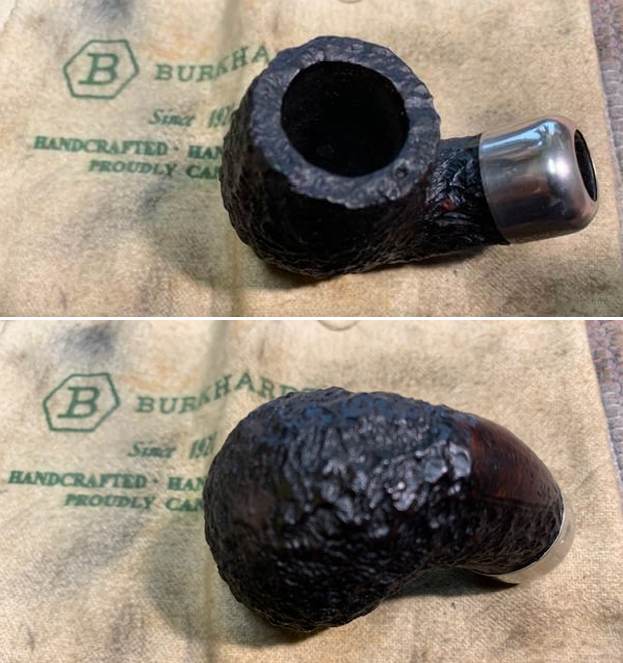
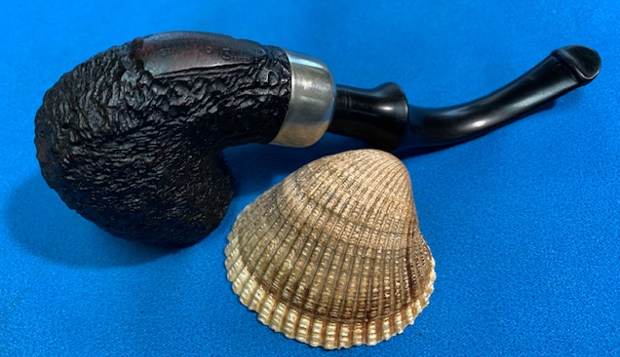
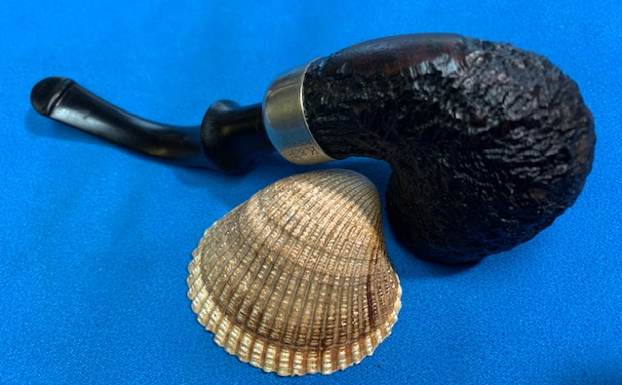
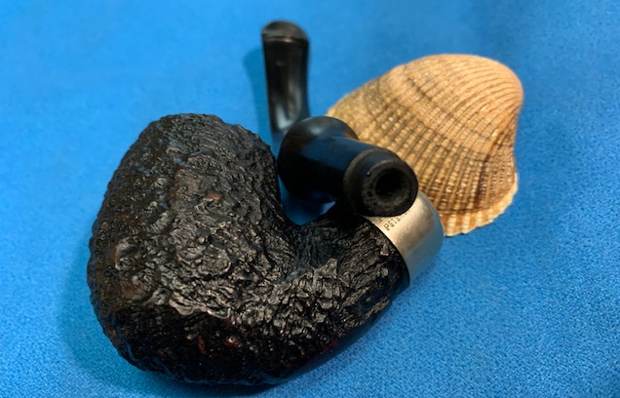
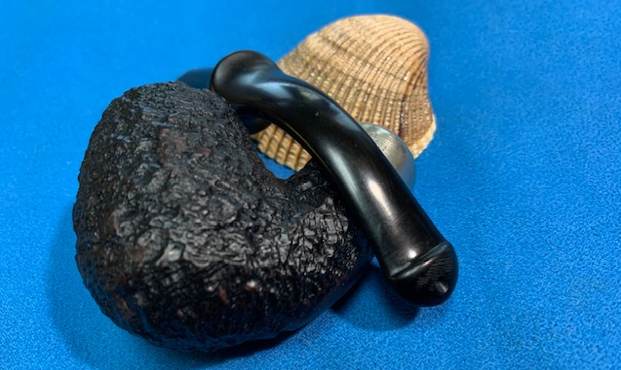
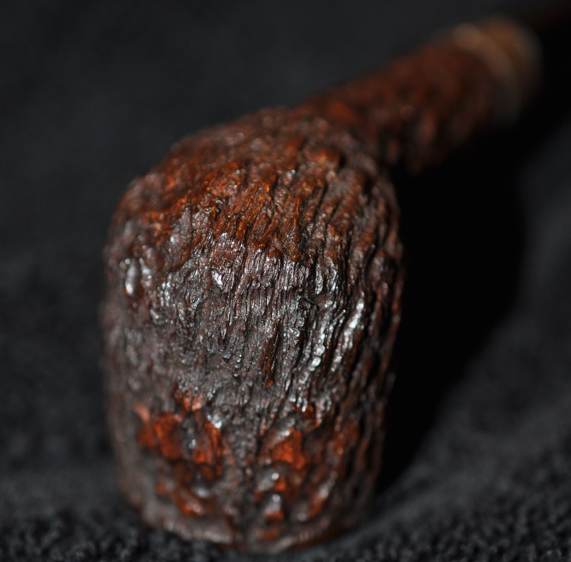
 He took photos of the bowl and heel to show the condition of the finish. Though the photos show the deep rustication around the bowl sides and heel. It is a rugged, tactile looking pipe with a nickel band on the shank. The stamping is on a smooth portion of the shank. You can also see the spotty finish on the bowl and shank.
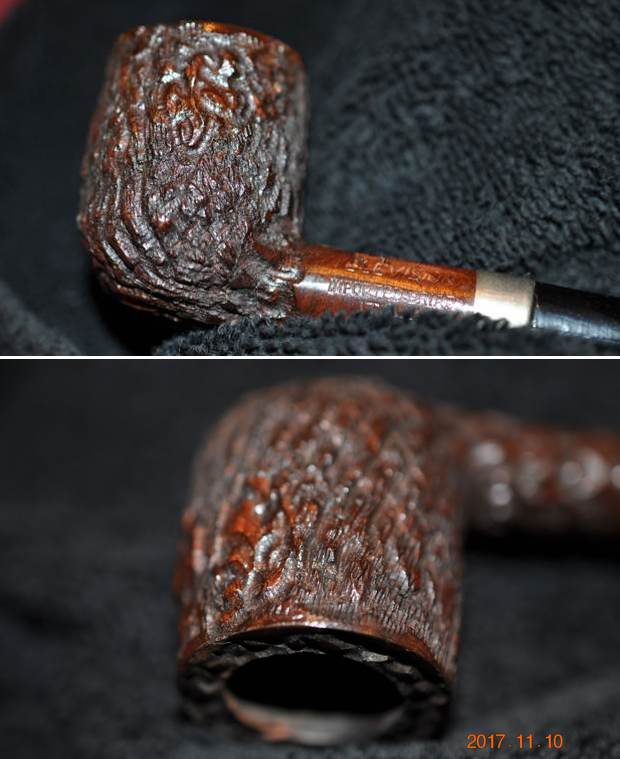
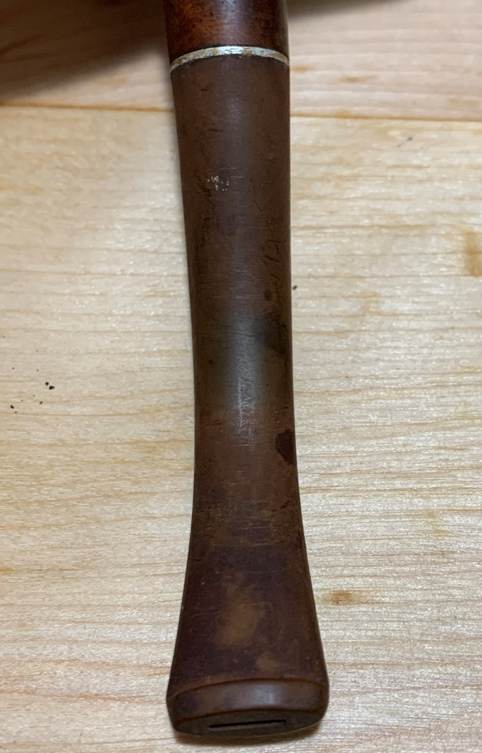
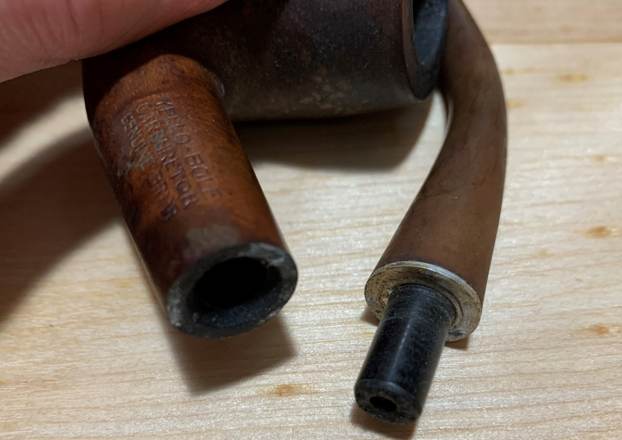
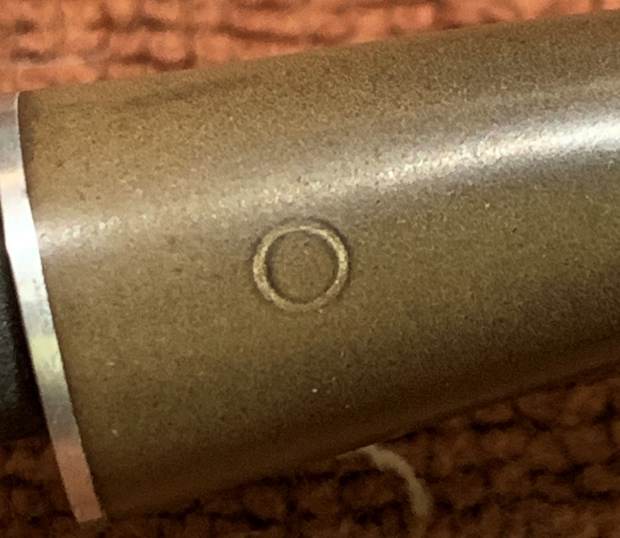
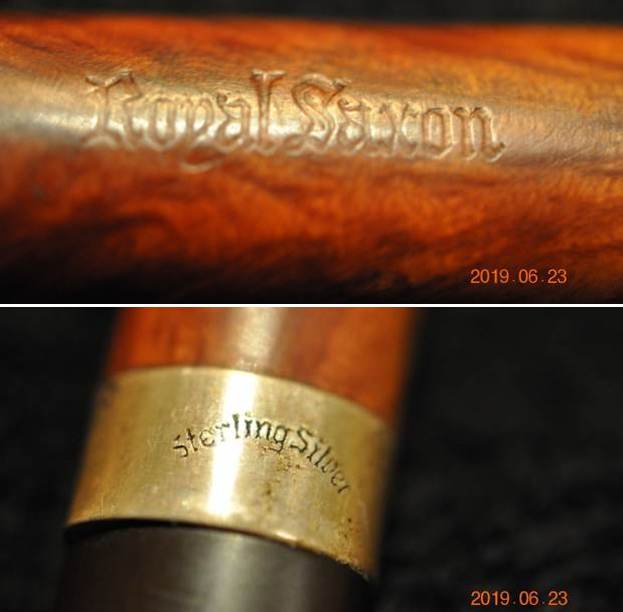
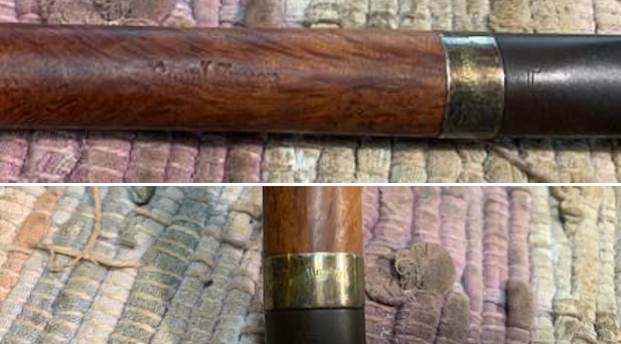
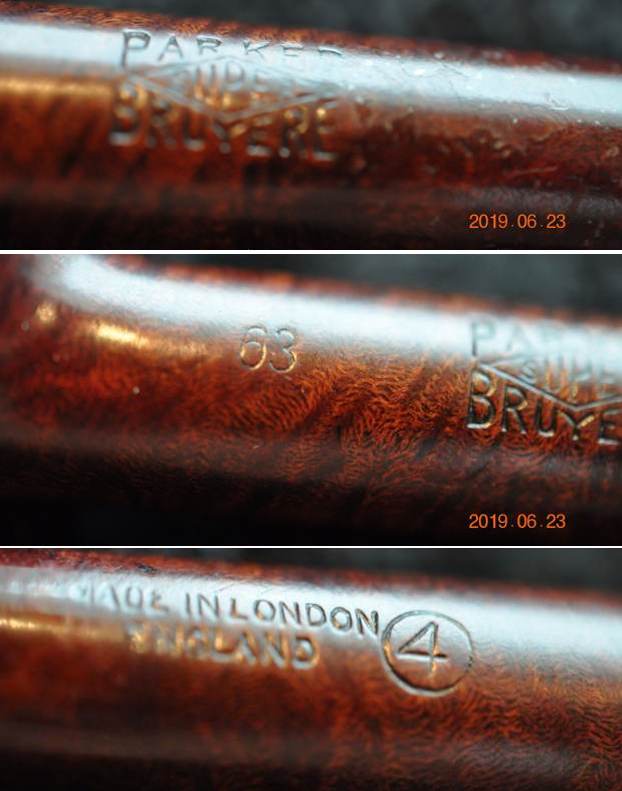
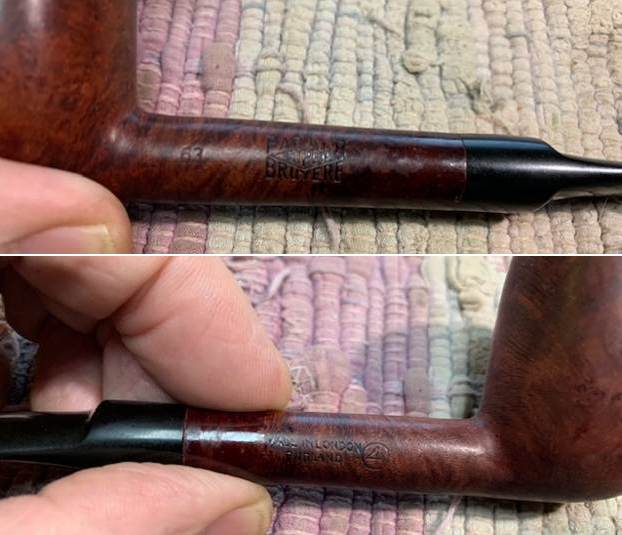
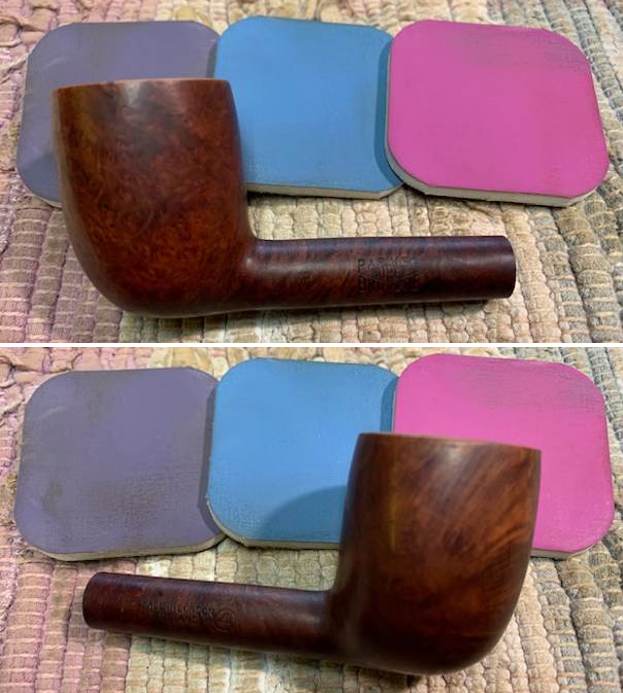
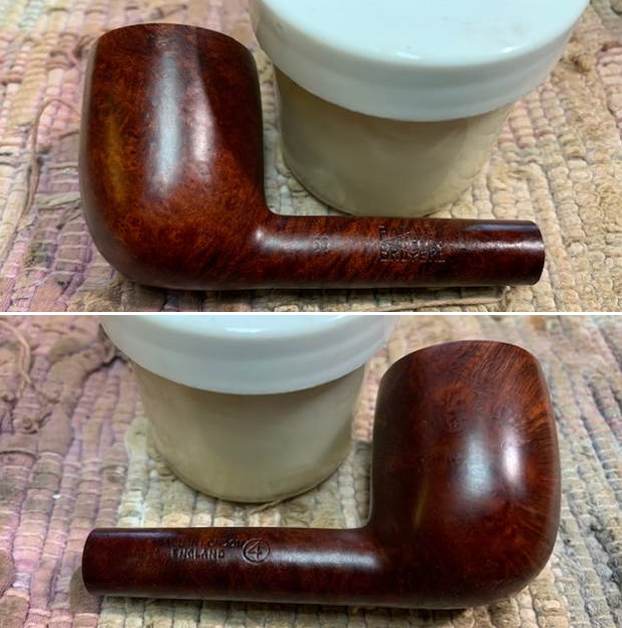
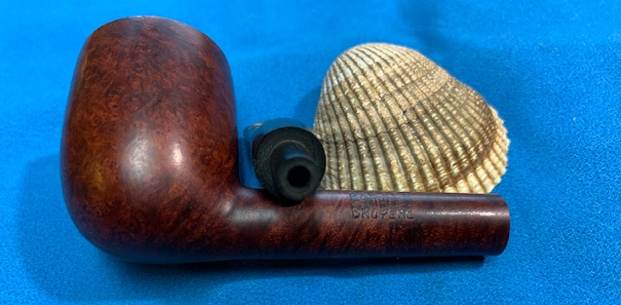
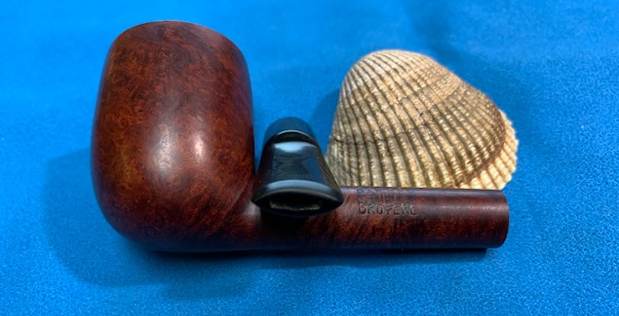
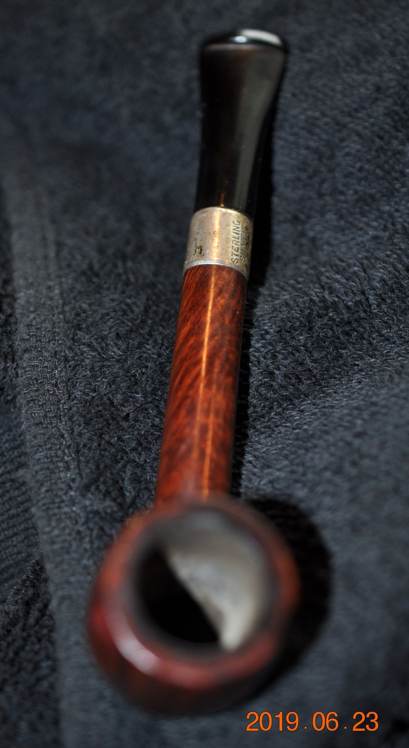
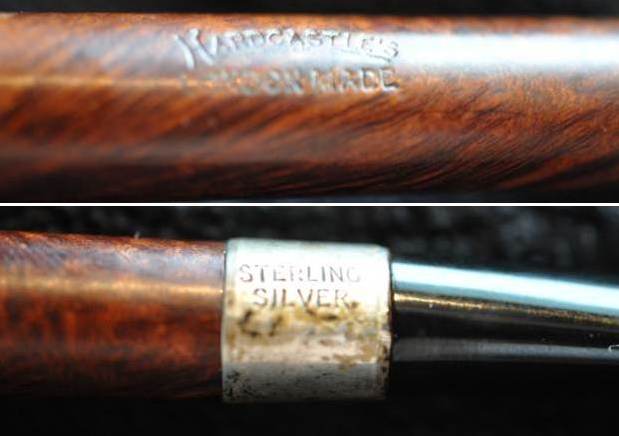
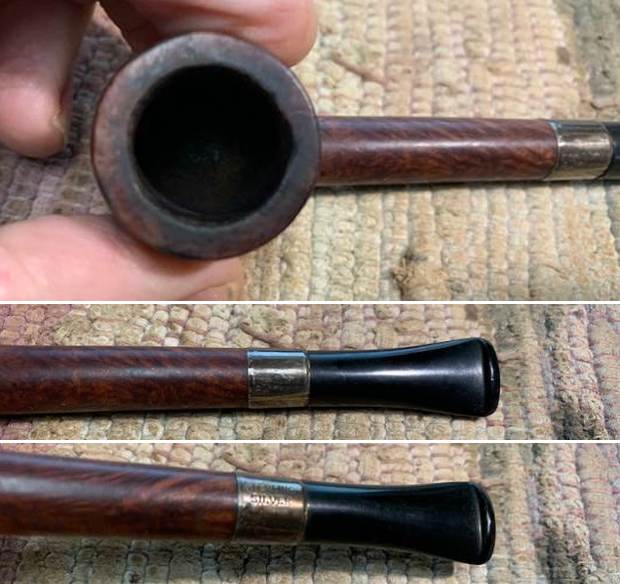
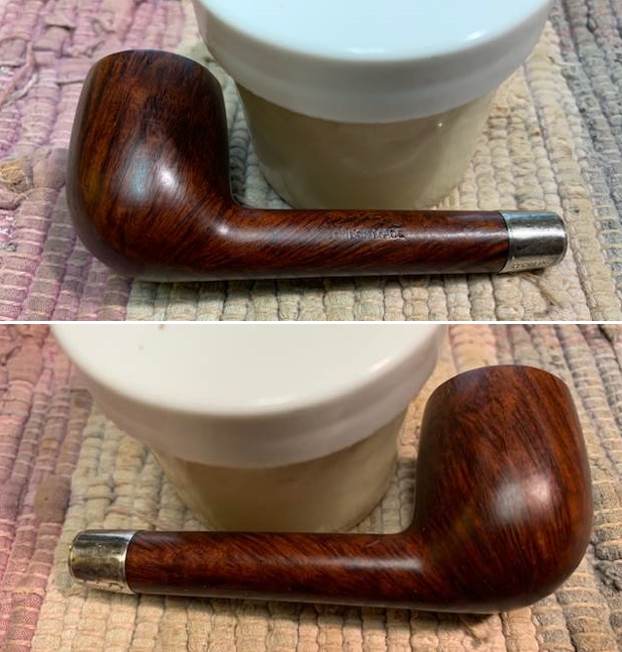
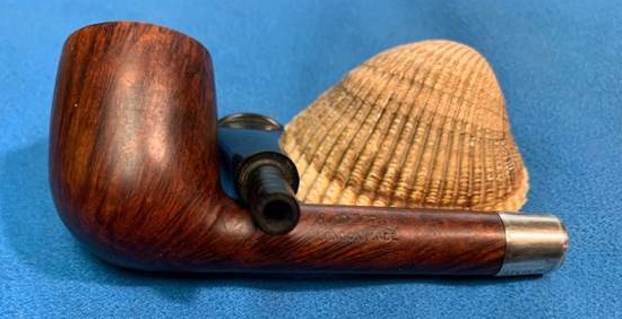
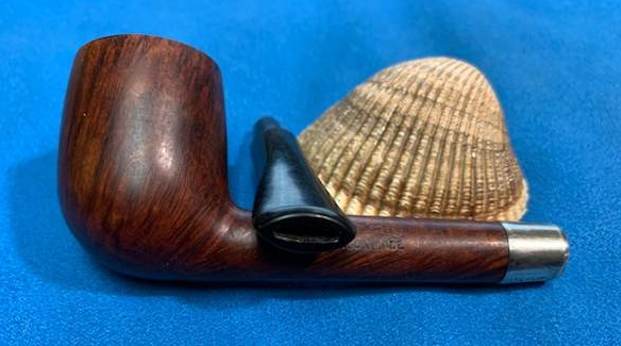
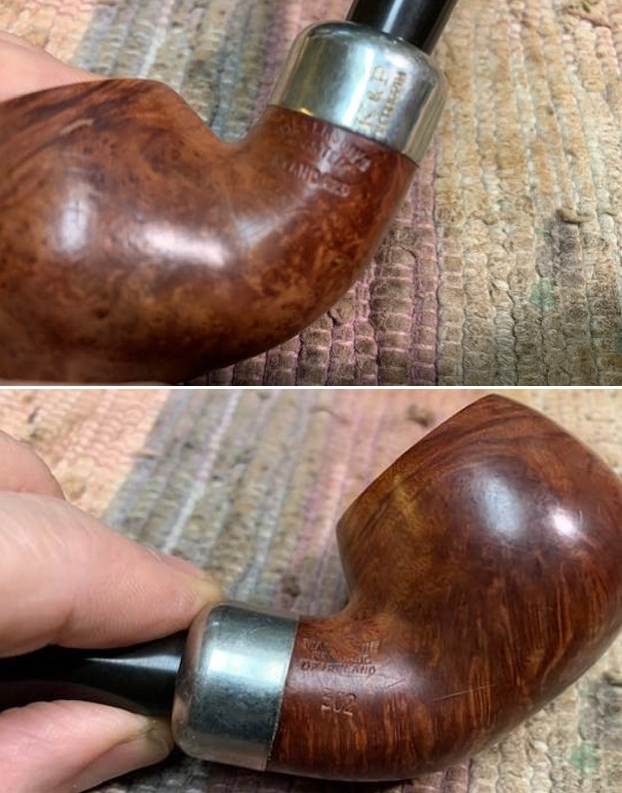
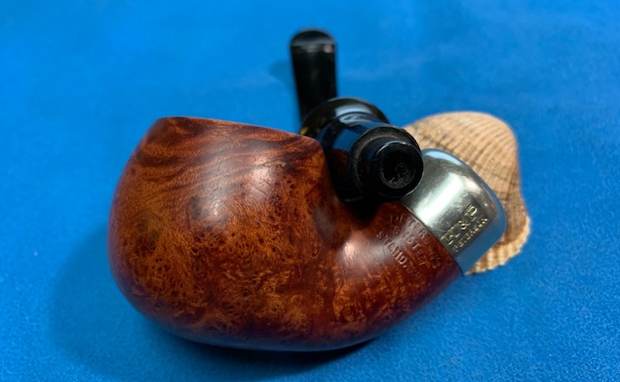
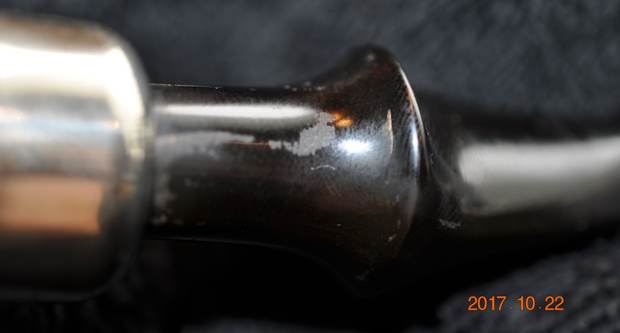
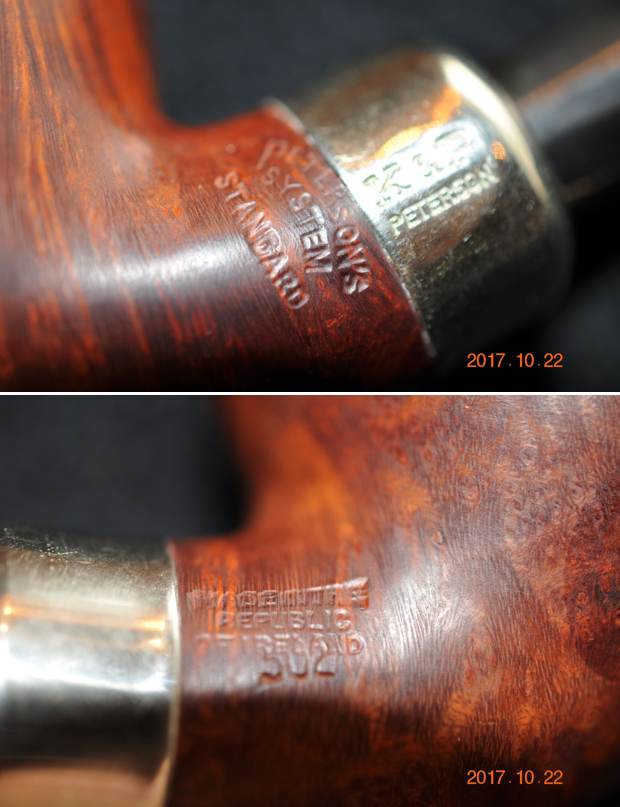
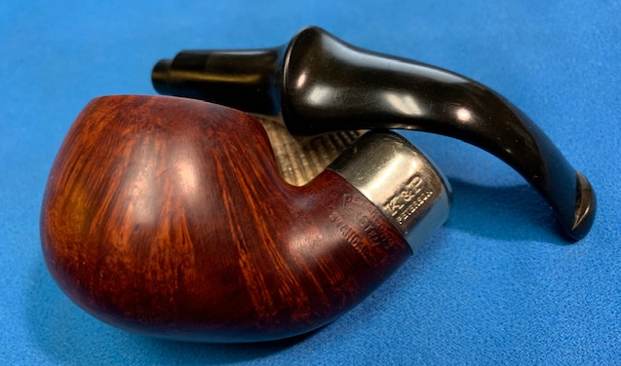
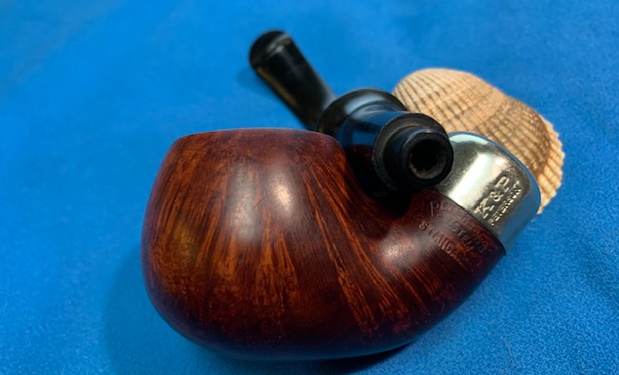
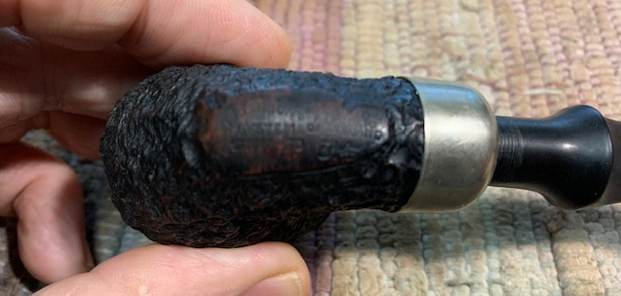
 Jeff took photos of the stamping on the left side of the shank. It read as noted above and was readable. It took two photos to capture the full stamp on the shank. You can also see the crackle in he varnish coat on the shank. Jeff also took photos of the shank band. The photos show that it had an EP in a diamond stamped on it and underneath were some faux hallmarks.
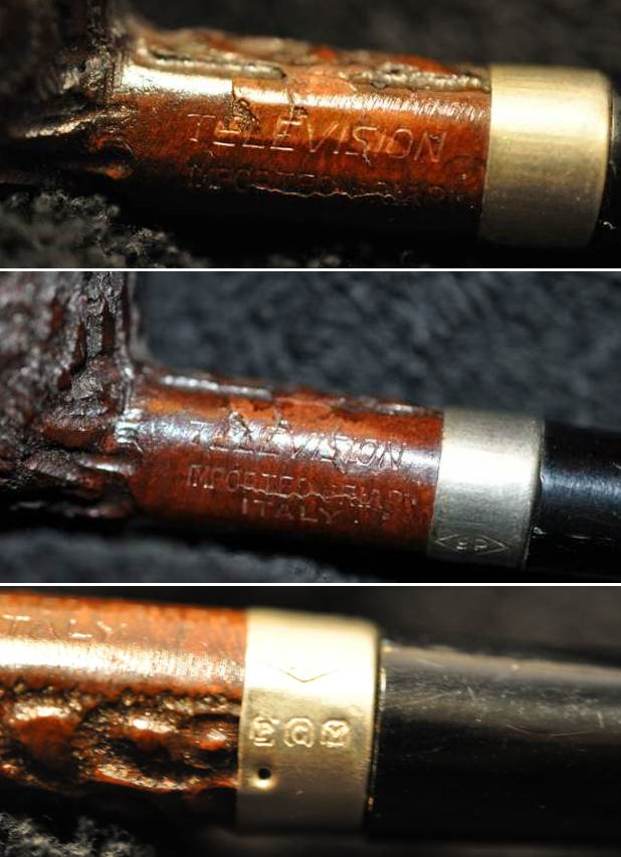 I have worked on quite a few Television Pipes over the years – old timers, billiards and at least one Churchwarden pipe. I checked all the usual sites for information and I could find nothing about the brand. I decided to leave the hunt behind and just work on the pipe.
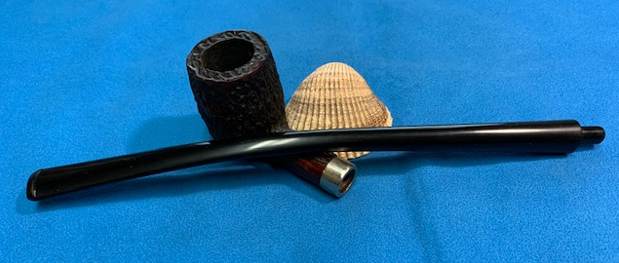
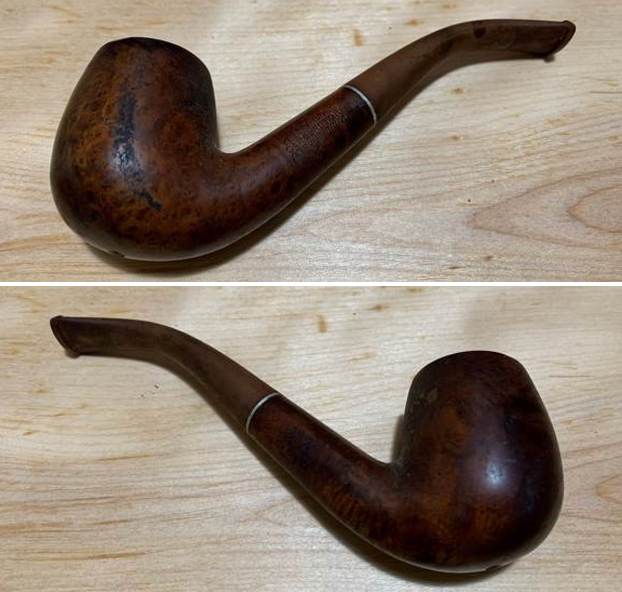
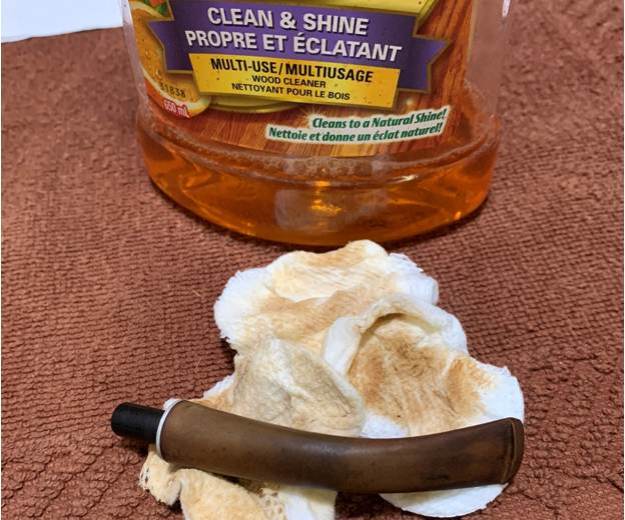
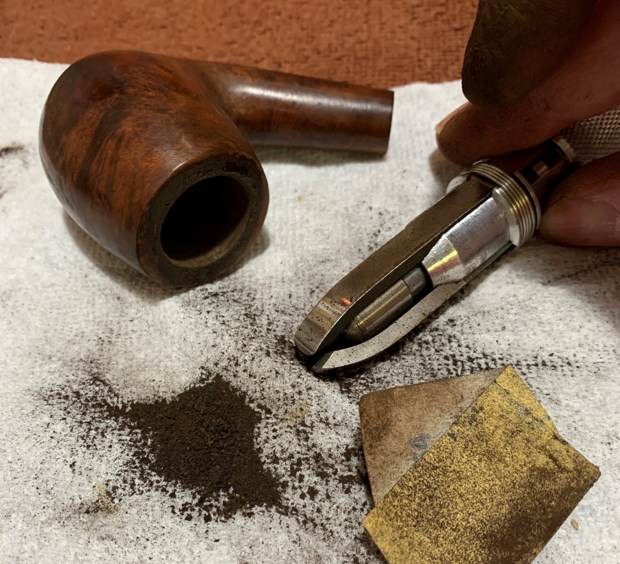
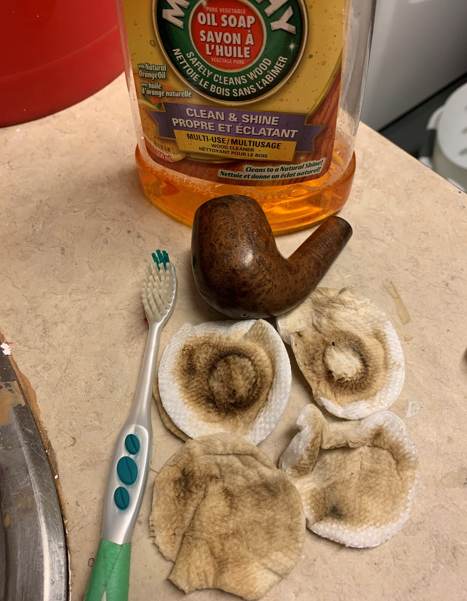
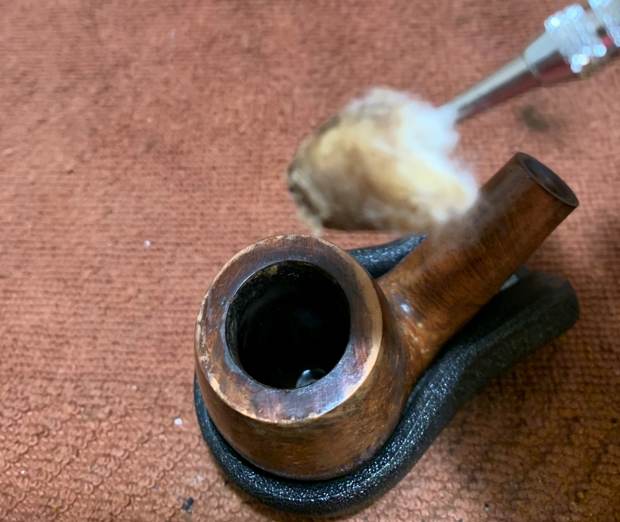
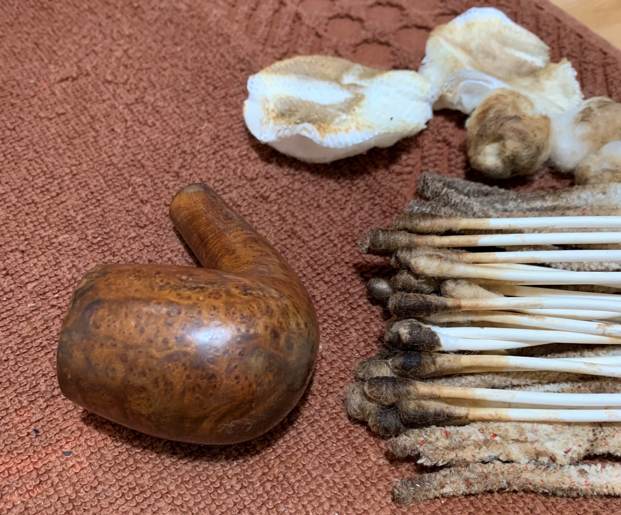
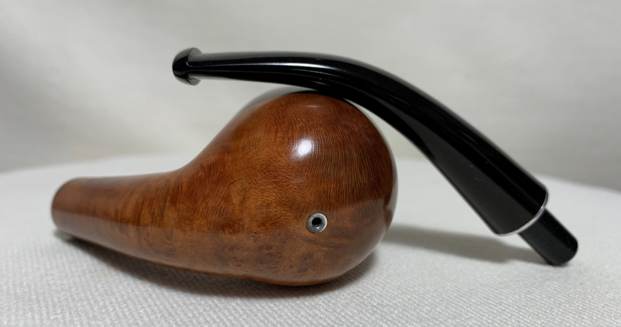
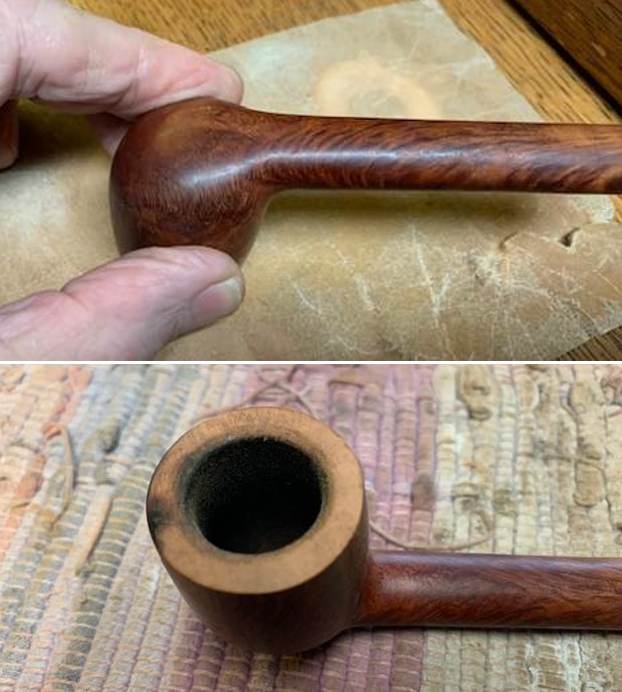
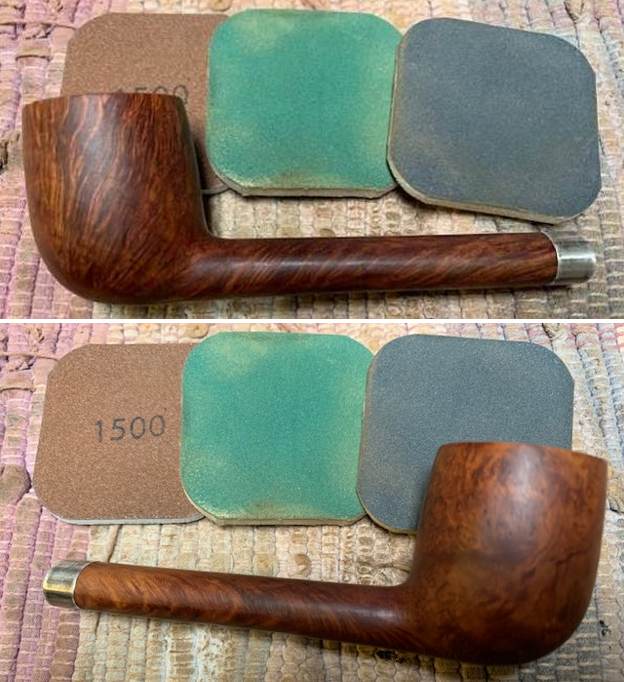
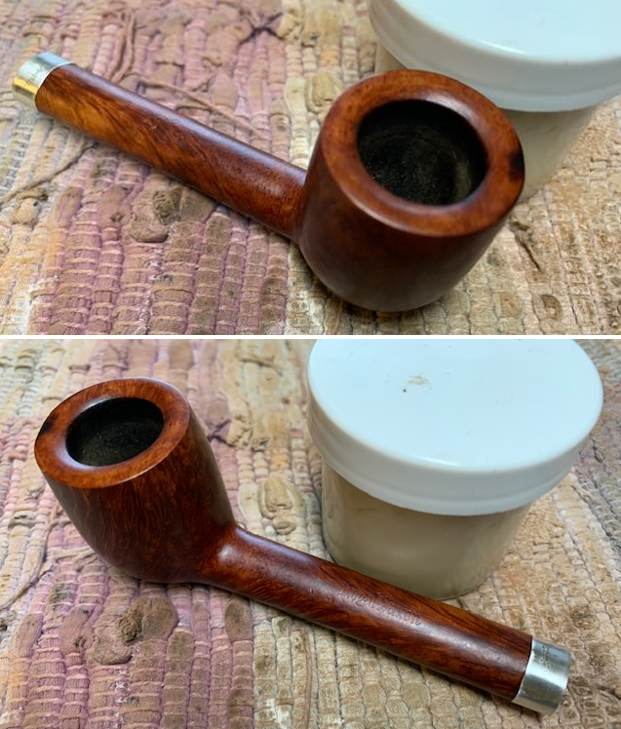
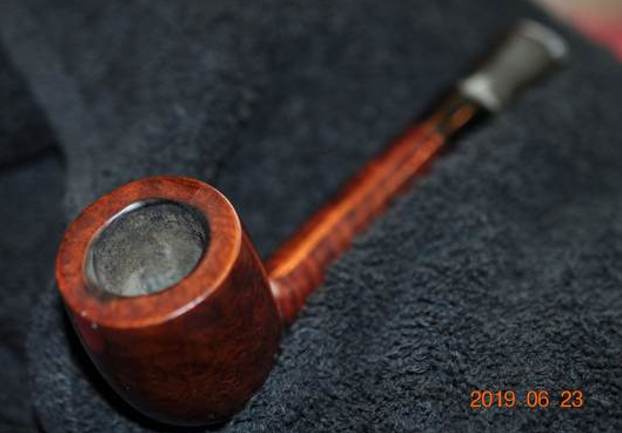
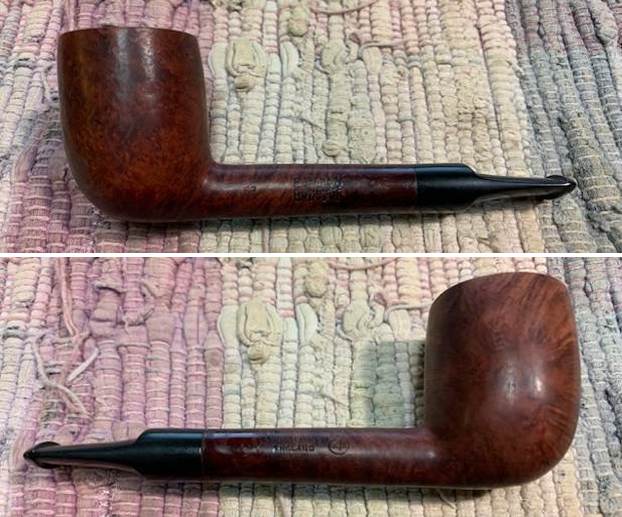
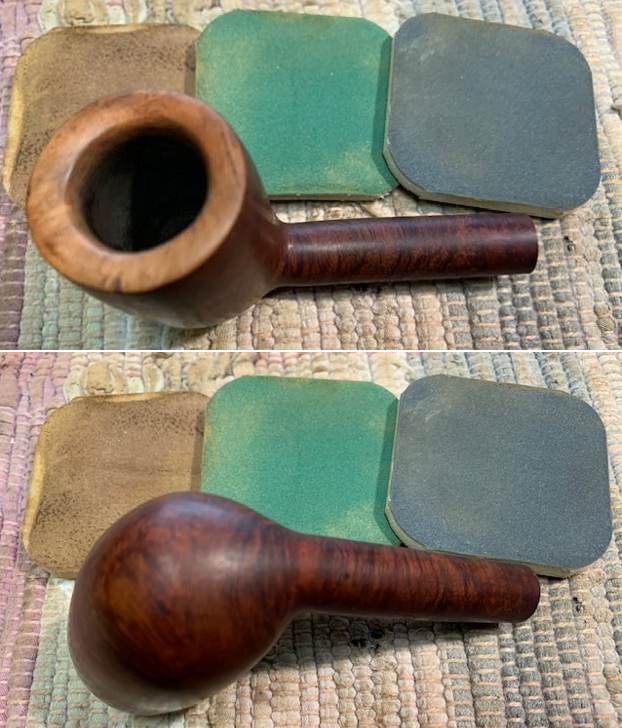
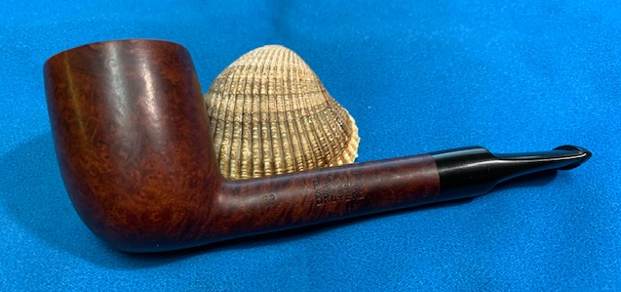
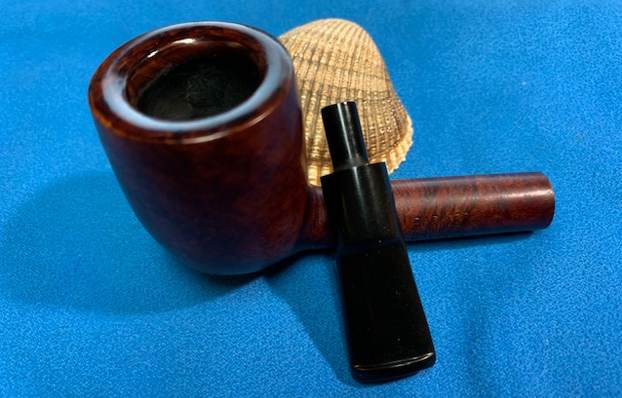
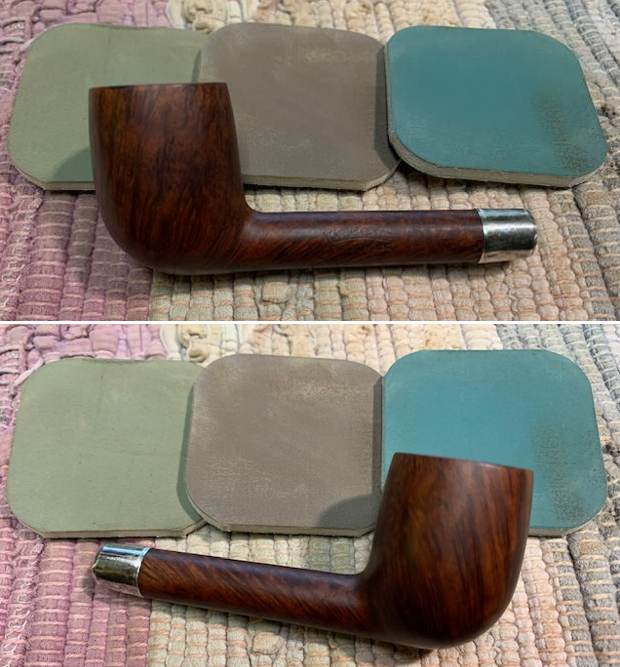
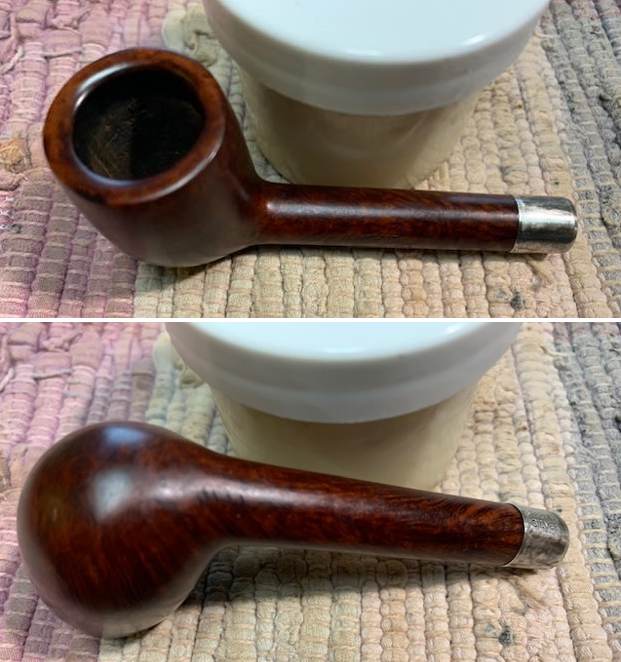
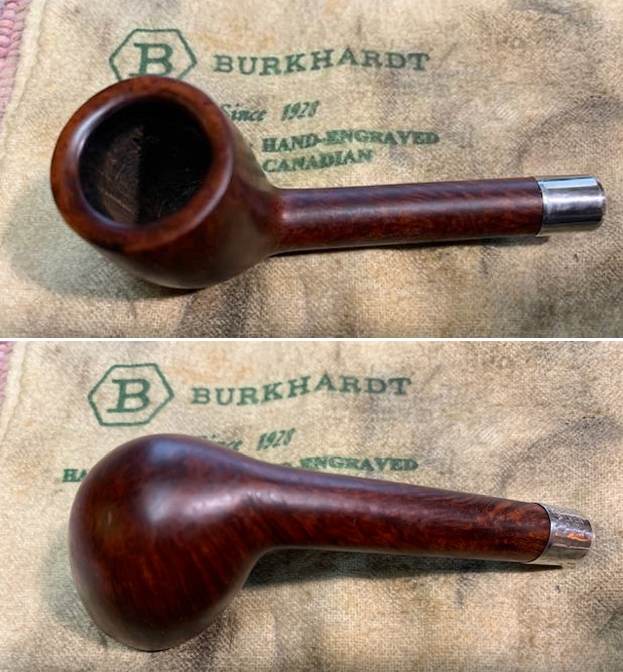
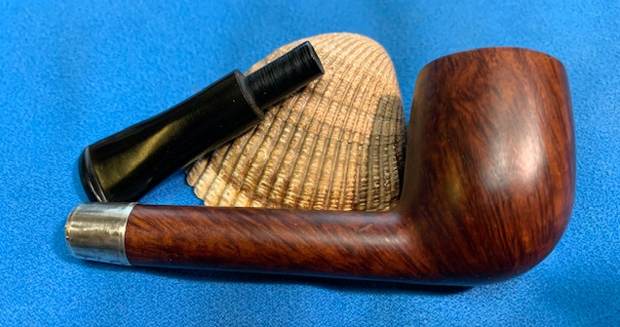
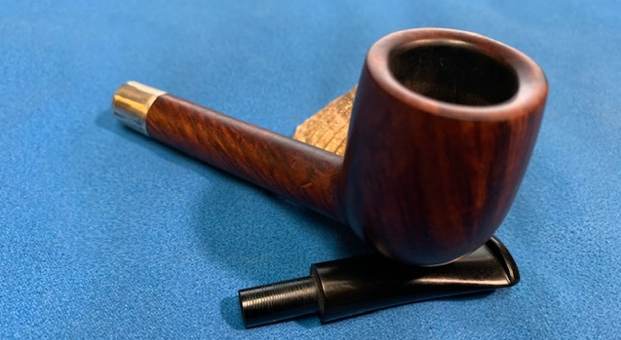
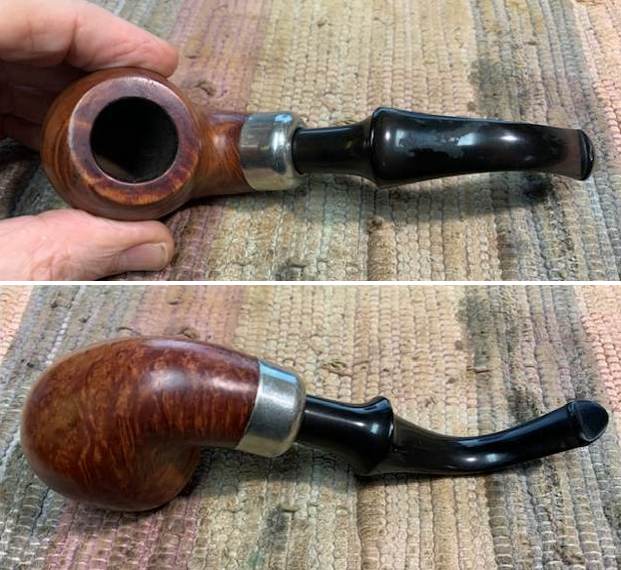
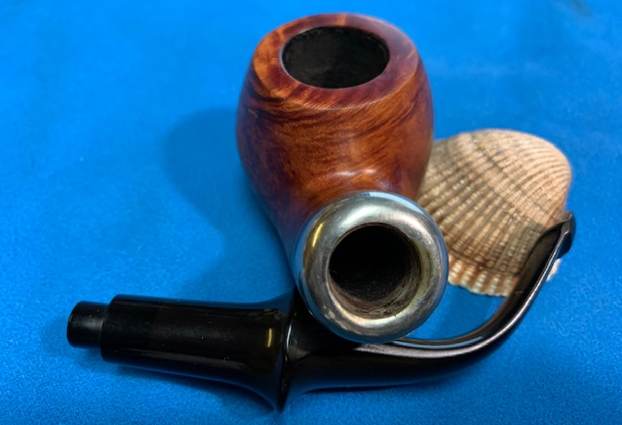
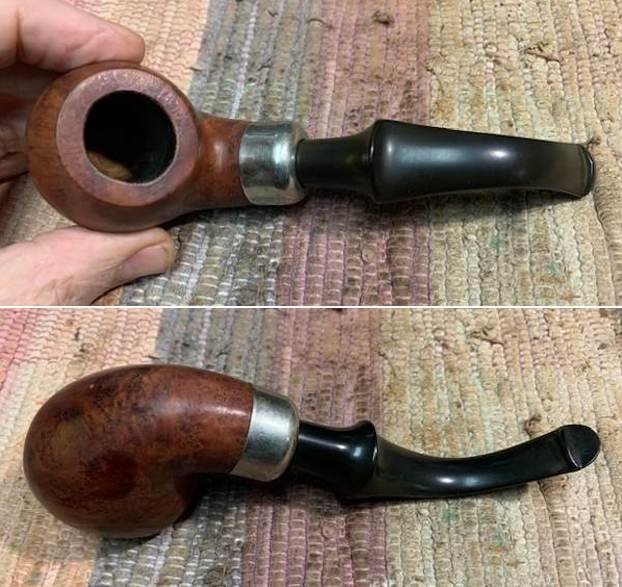
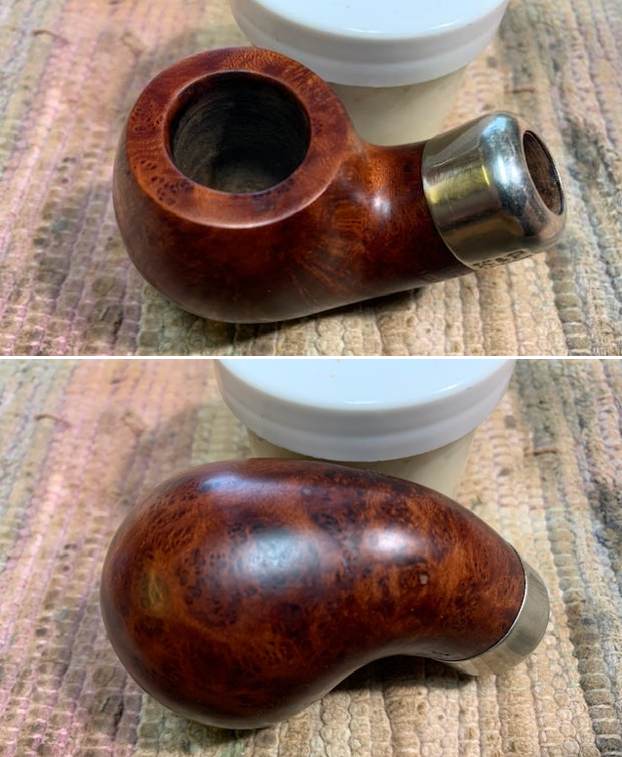
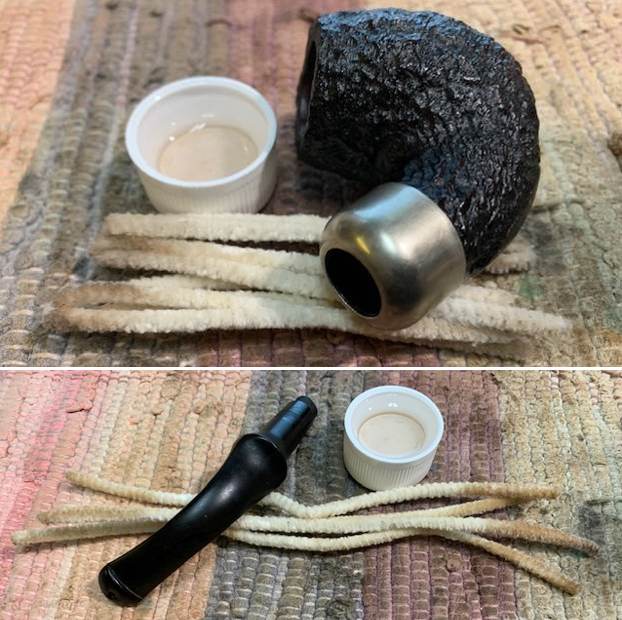
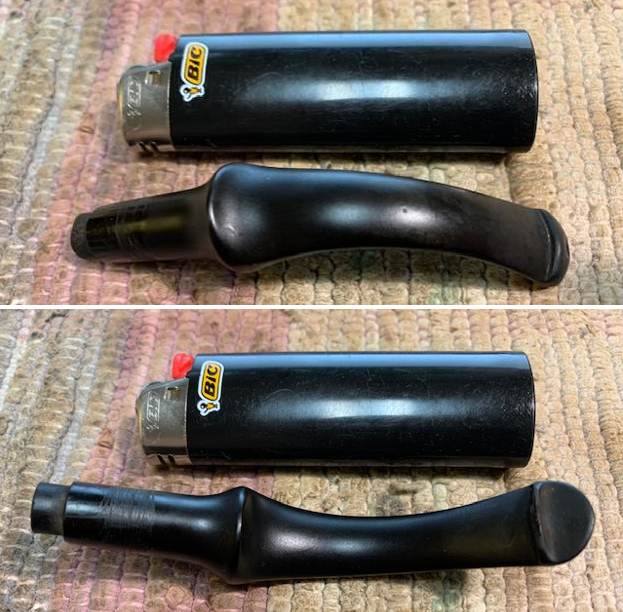
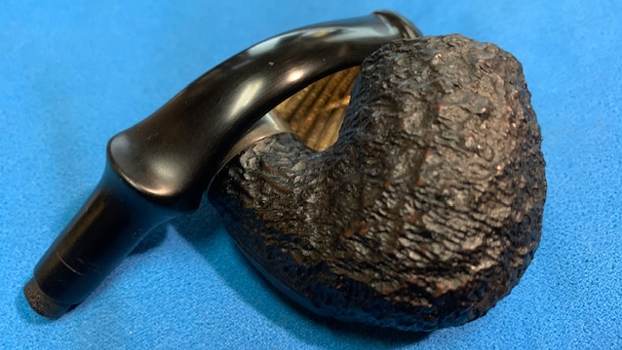
I took some photos of the pipe as I took it out of the box. Here is what I saw. I slid it out of the wrapper around it. I could see that Jeff had cleaned it well. The bowl had been reamed with a PipNet reamer and Savinelli Fitsall Pipe Knife. He had scrubbed the exterior with undiluted Murphy’s Oil Soap. He rinsed it with warm water. He cleaned out the internals with alcohol, cotton swabs and pipe cleaners. The stem was twisted and tweaked to the right as can be seen in the photos of the top and underside of the pipe. The grain on the bowl is quite nice with just a few small fills that are solid and well blended in with the surrounding briar. I took photos of the pipe before I started my work on it.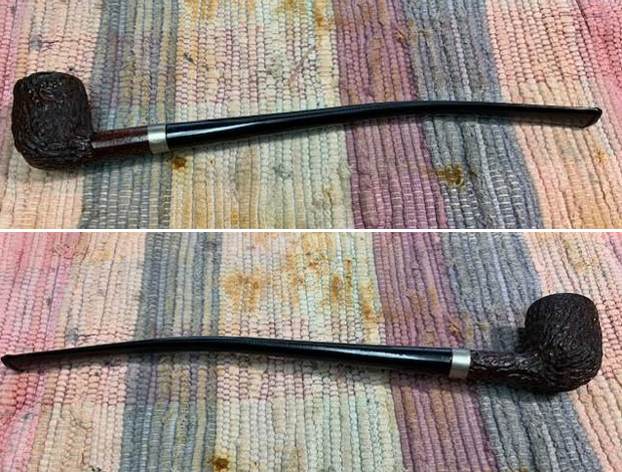
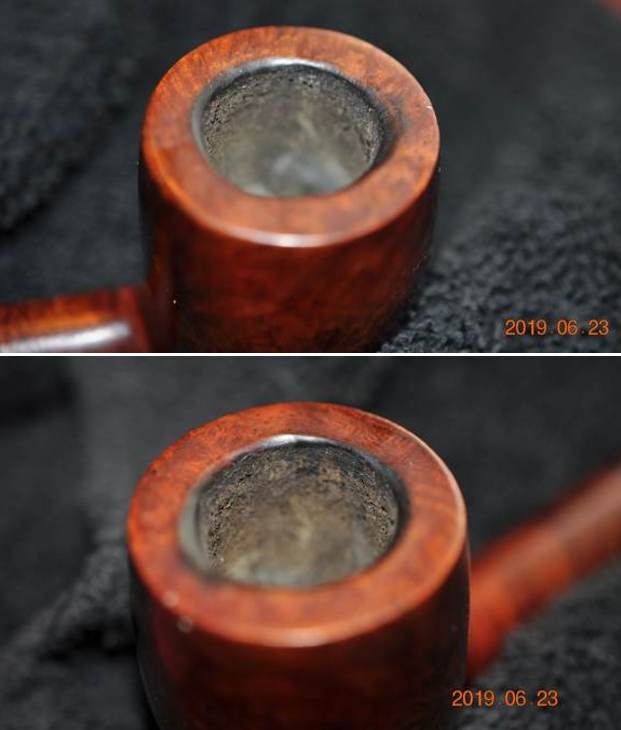
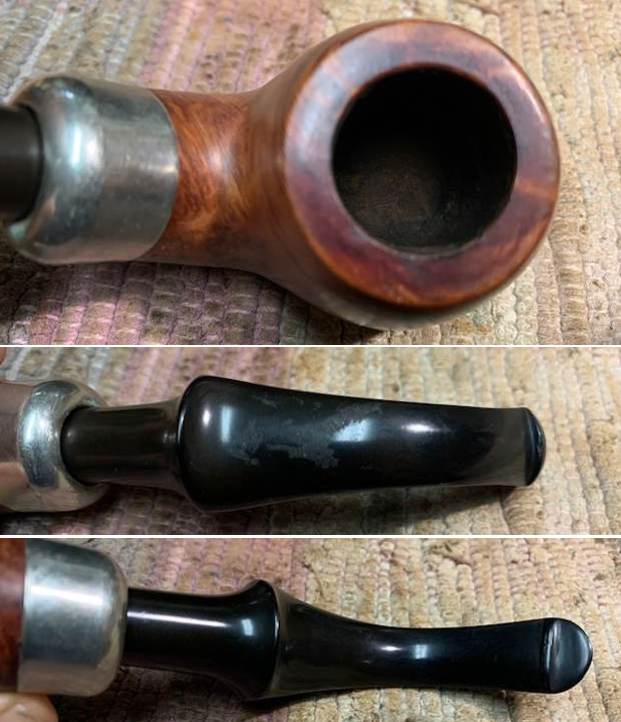
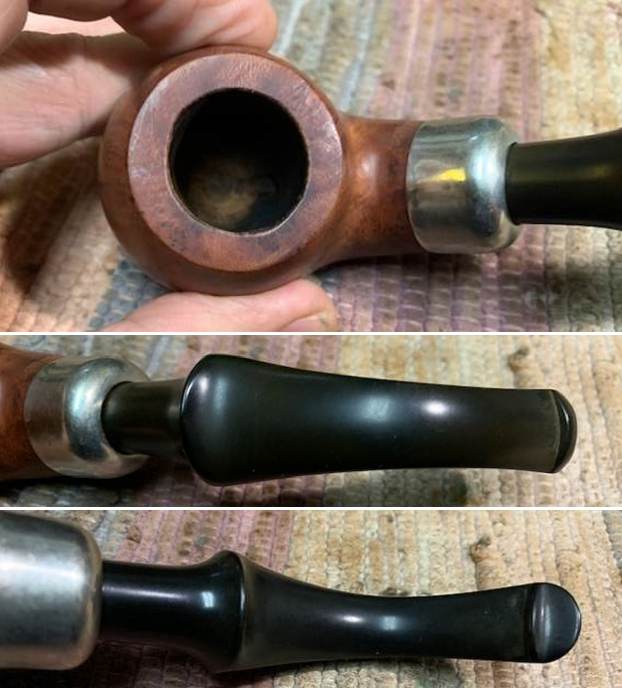
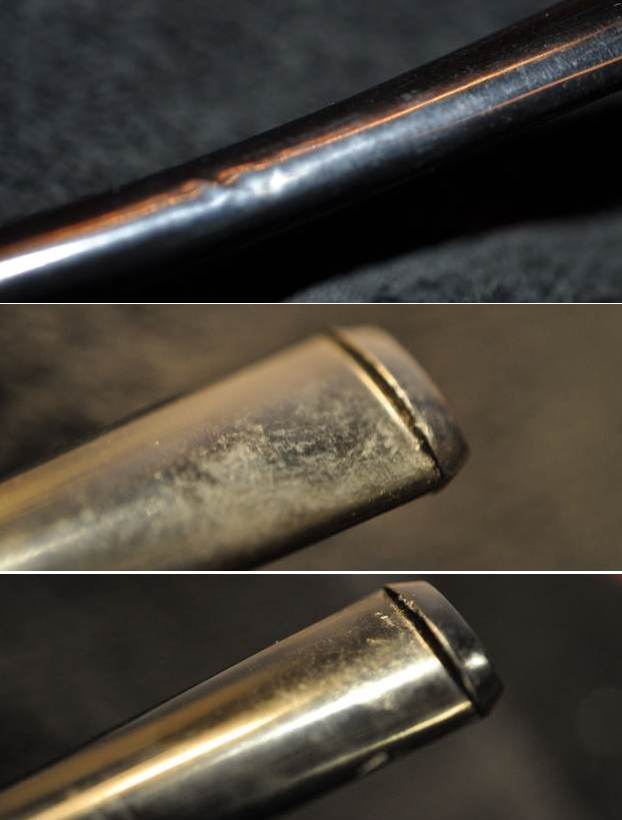
 The rim top had cleaned up very well and the rim top and edges looked very good. The stem was in decent condition other than light tooth chatter on both sides at the button. The stem also has some casting marks on the sides and a wrinkle on the underside from when it was heated and bent originally. I was surprised to see that the stem was acrylic rather than vulcanite. It really does shine.
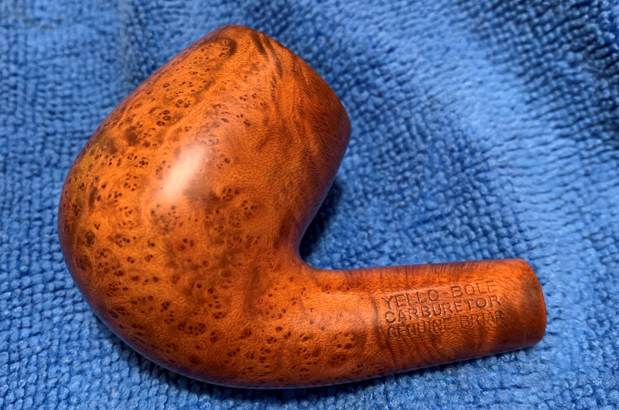
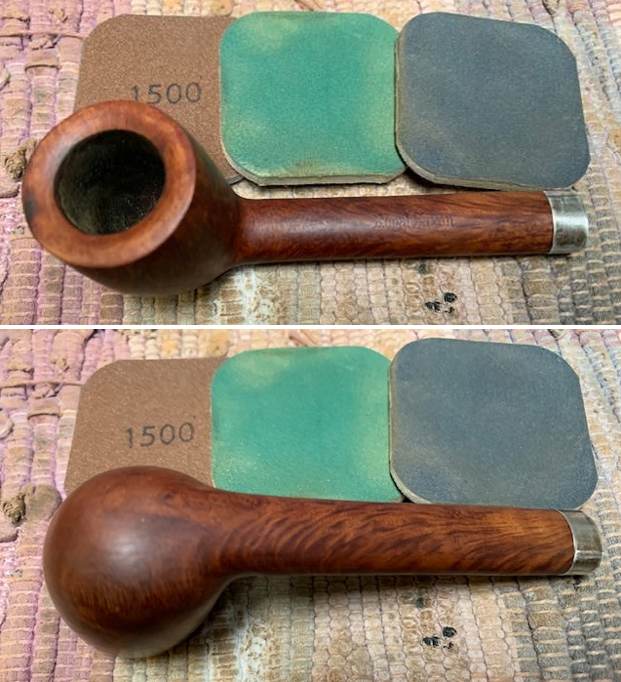
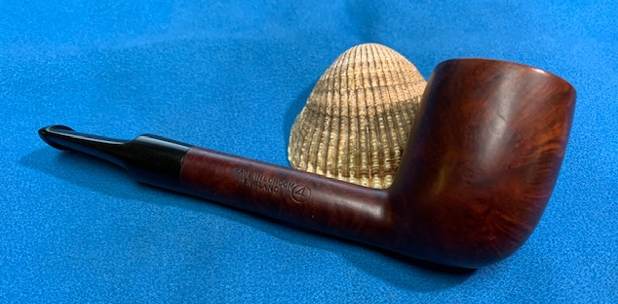
 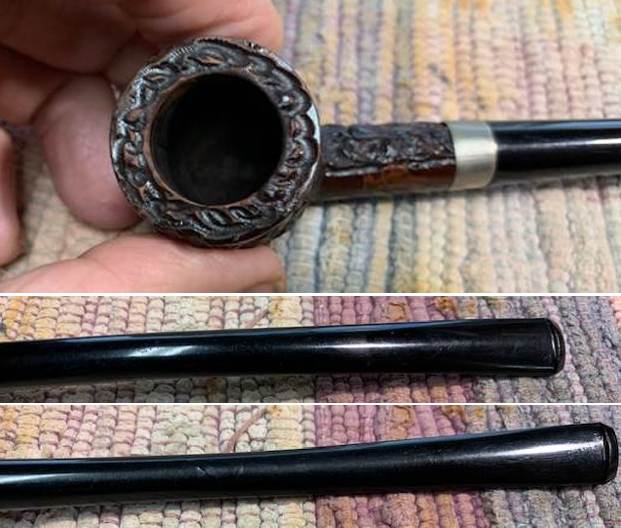 I took a photo of the stamping on the smooth panel on the left side of the shank. It is clear and readable as noted above.
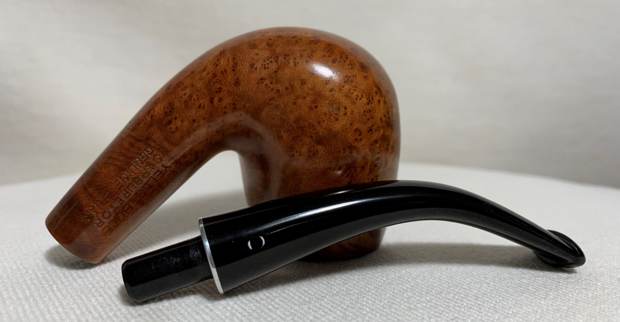
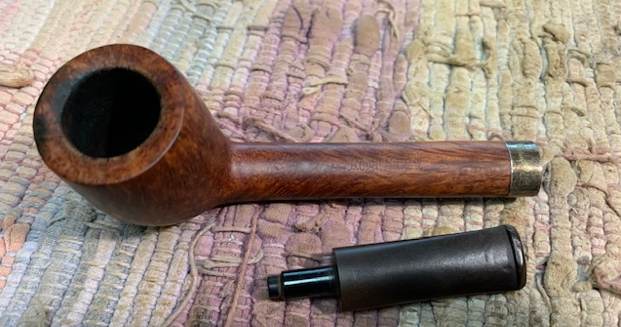
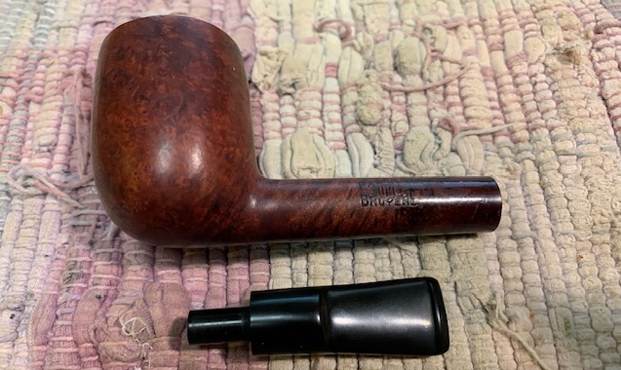
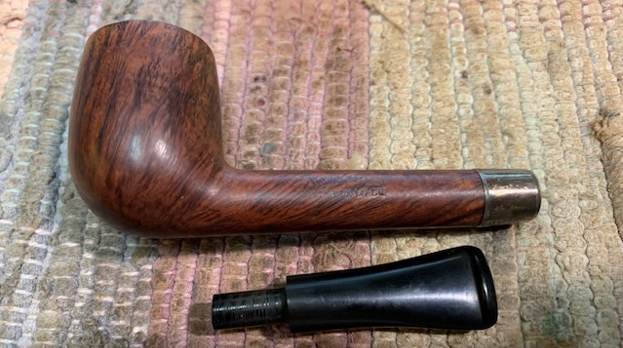
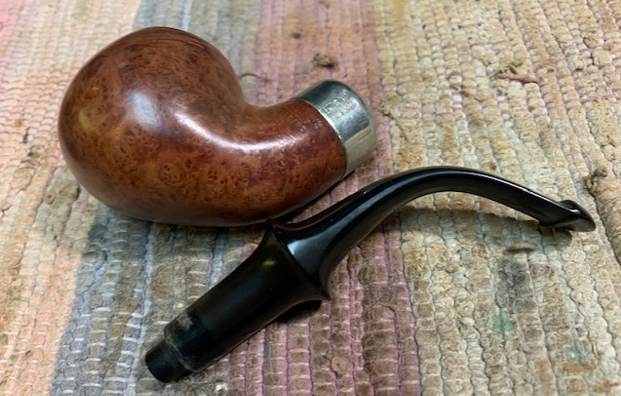
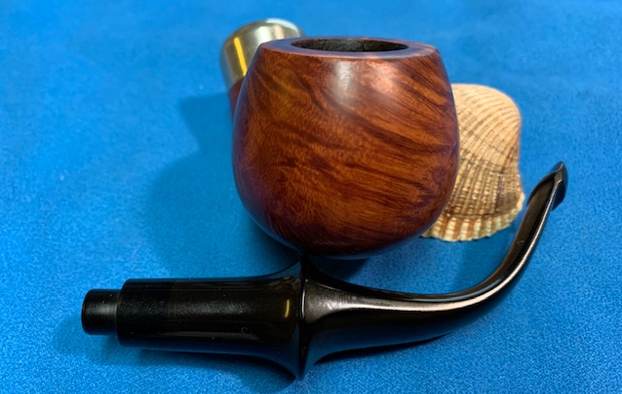
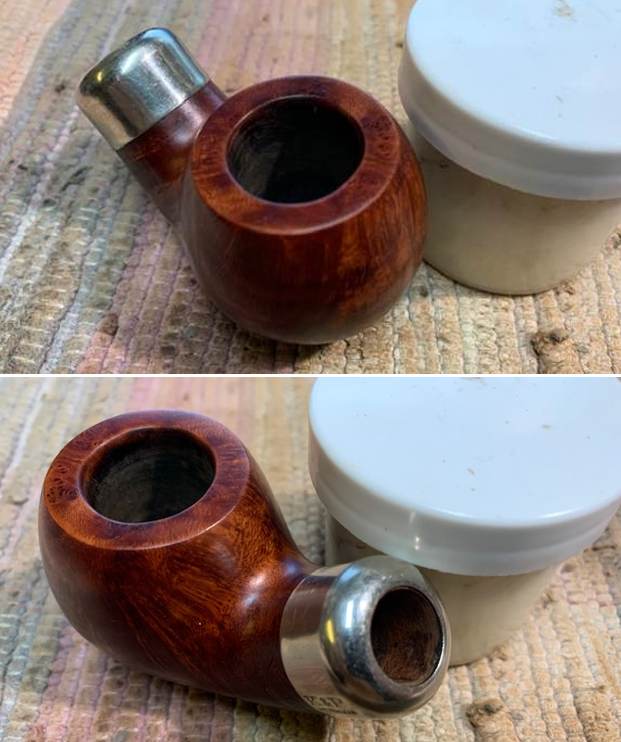
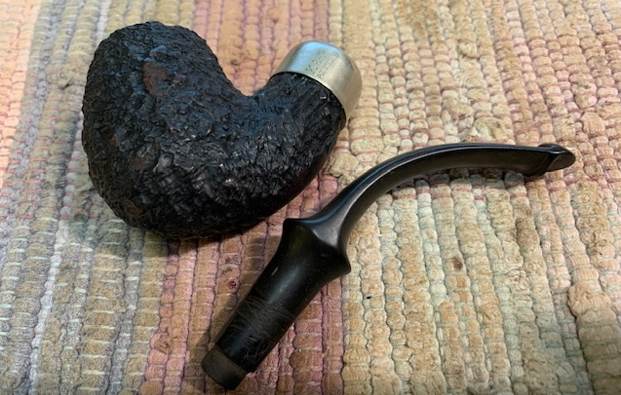
 I removed the stem and took a photo of the pipe to show the proportion of the stem to the bowl. It is a nice looking pipe.
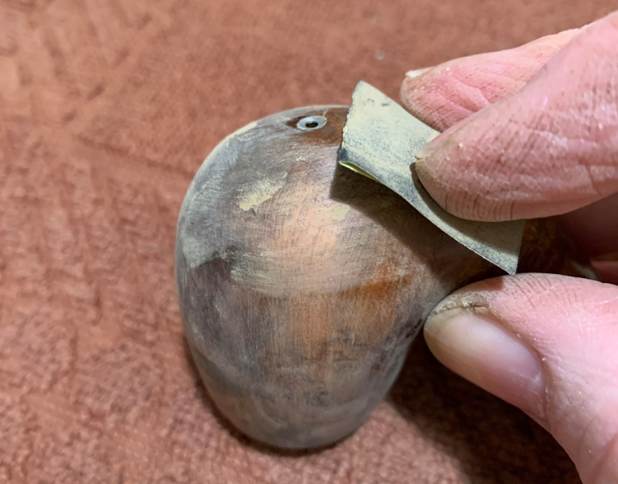
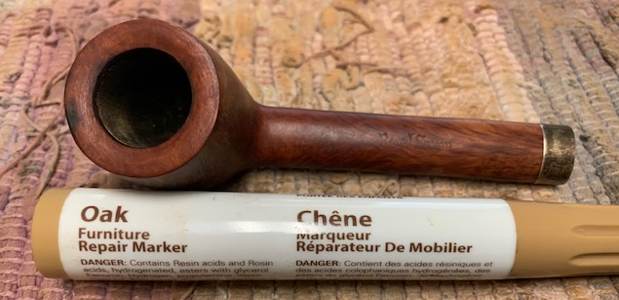
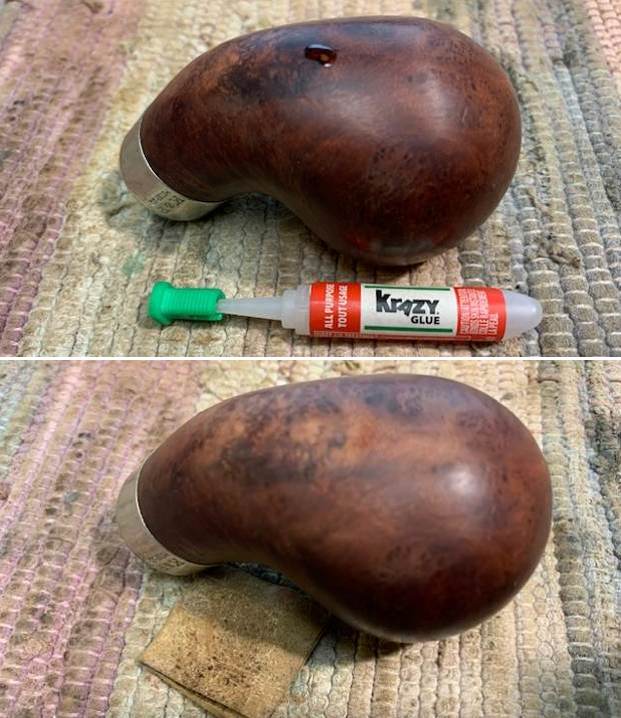
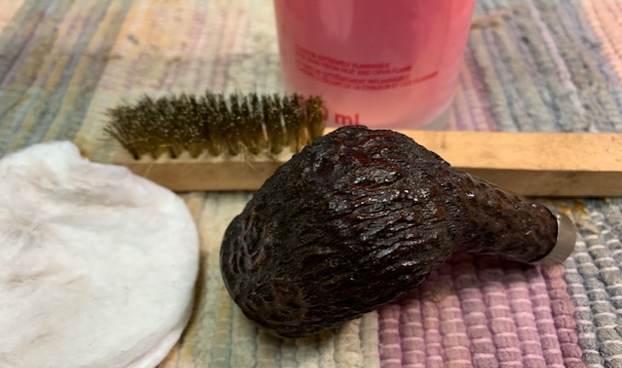
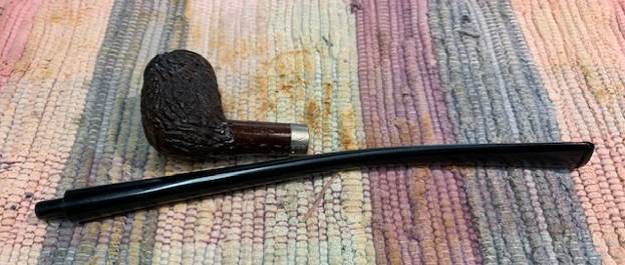 I decided to start work on this pipe by addressing the spotty varnish coat on the bowl. It was a bit odd in that it was on the high spots not in the crevices of the rustication as much. I scrubbed it with a brass bristle wire brush and acetone to try and break it down. Once finished it did look better. I would at least be able to stain the valleys and crevices!
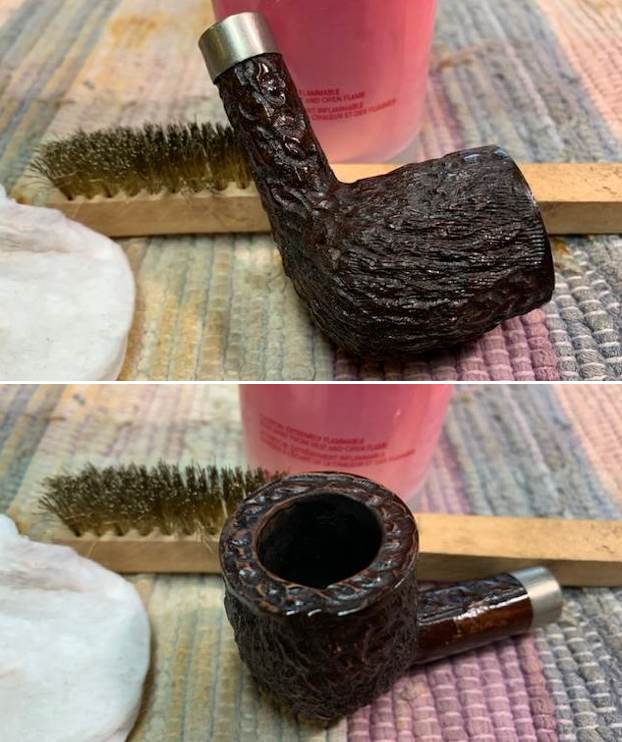
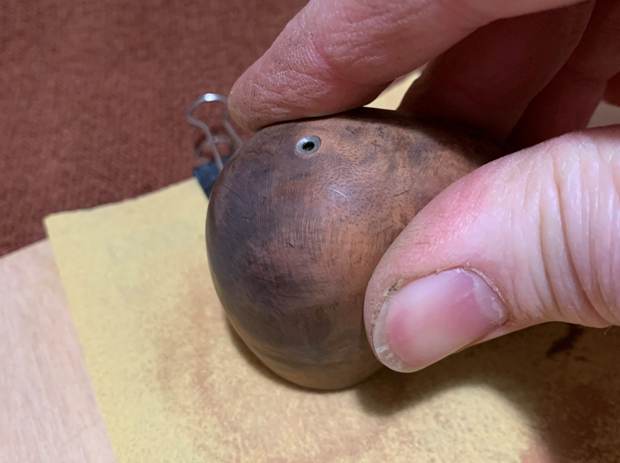
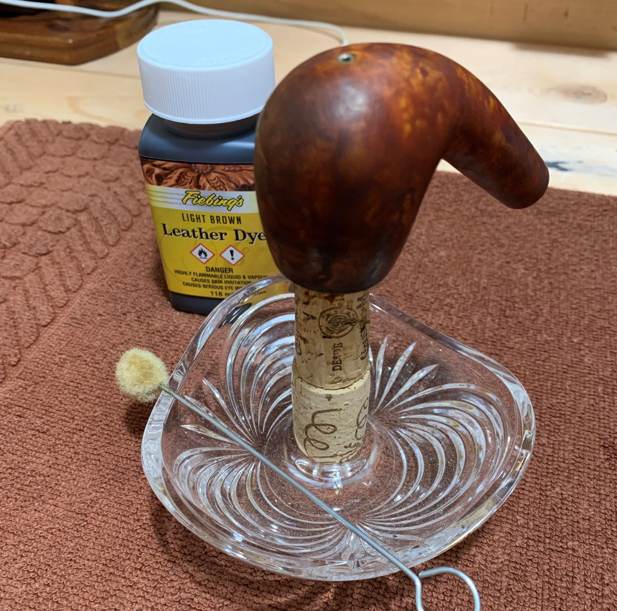
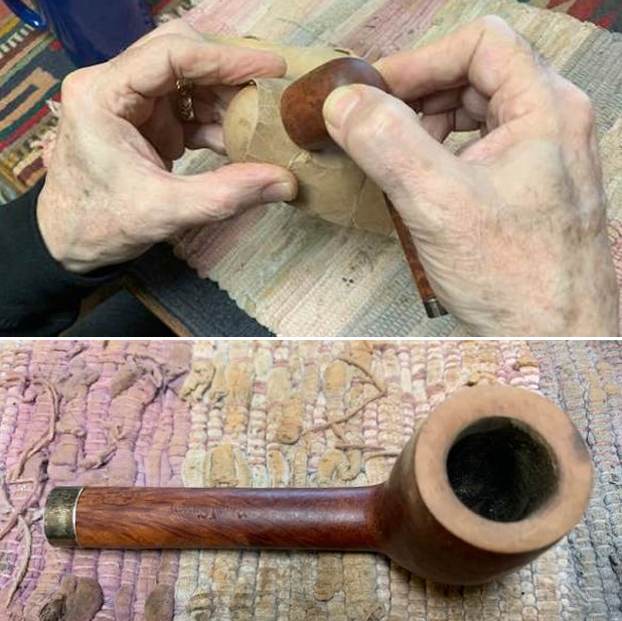
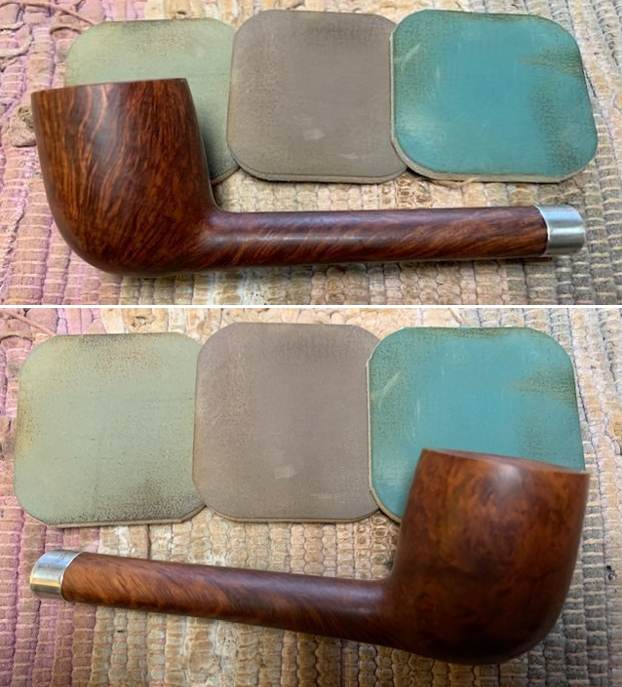
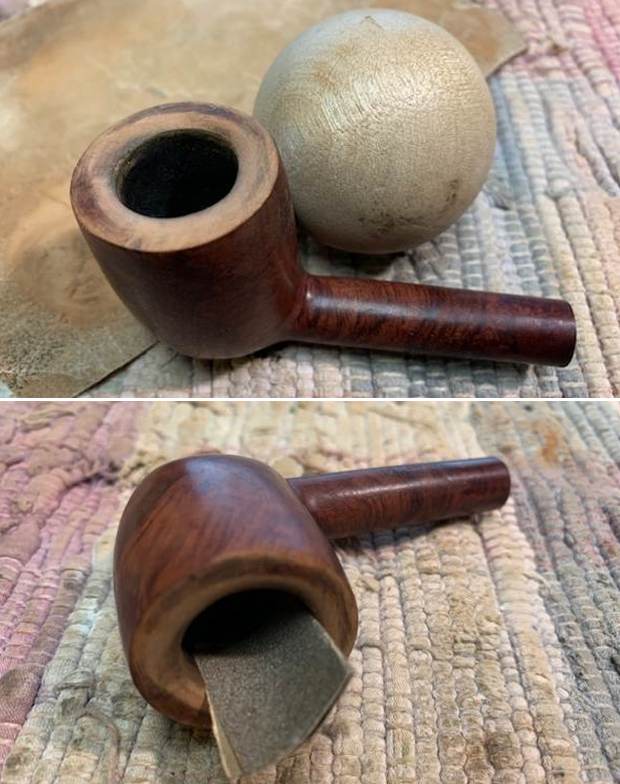
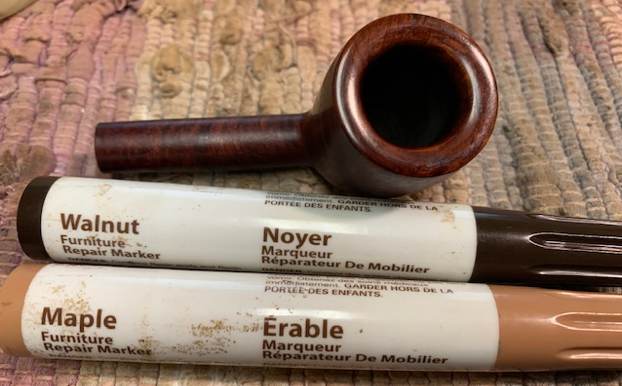
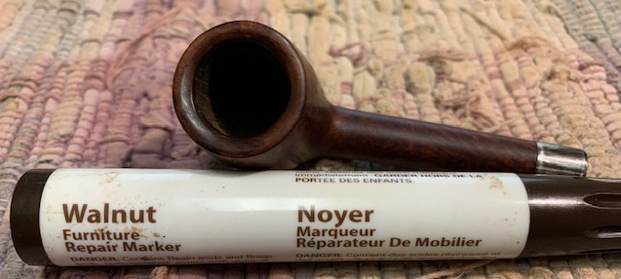
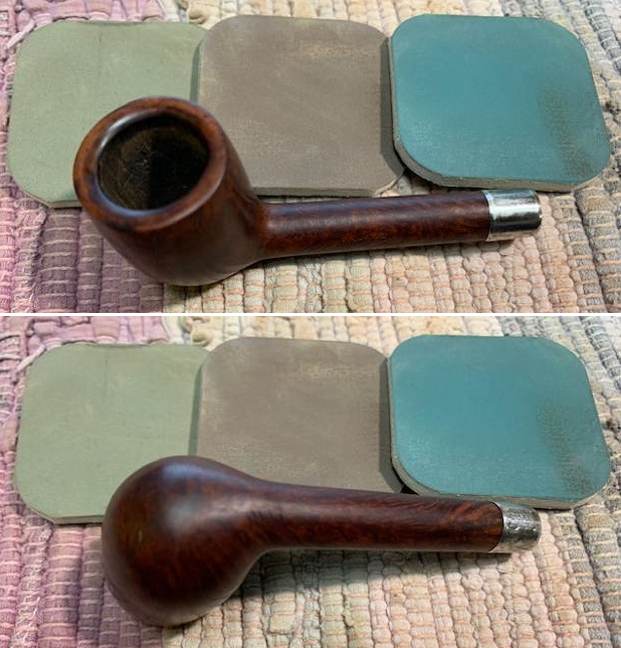
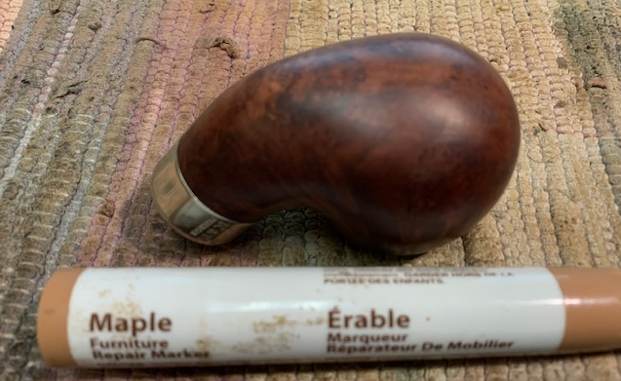
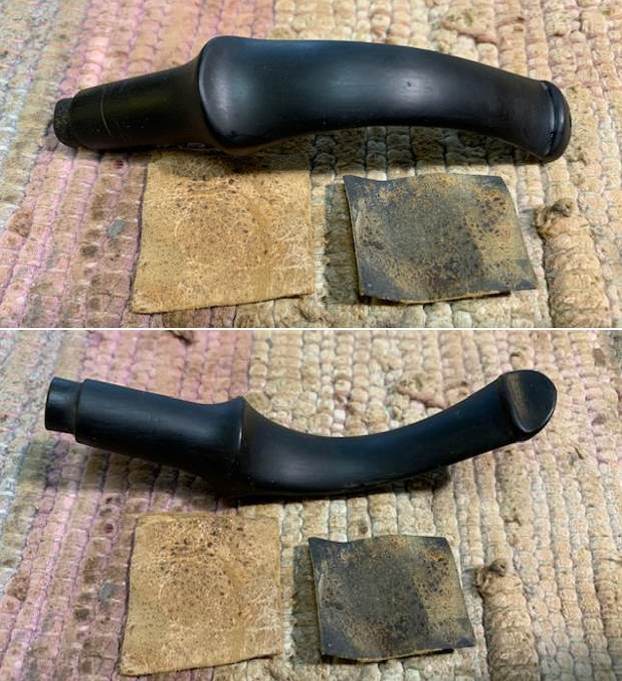
 I stained the bowl with a dauber and a light brown aniline stain. I put the stain on quite heavy to let it get down in the crevices. I flamed it with a lighter to set the stain in the grain and repeated the process until I was happy with the coverage.
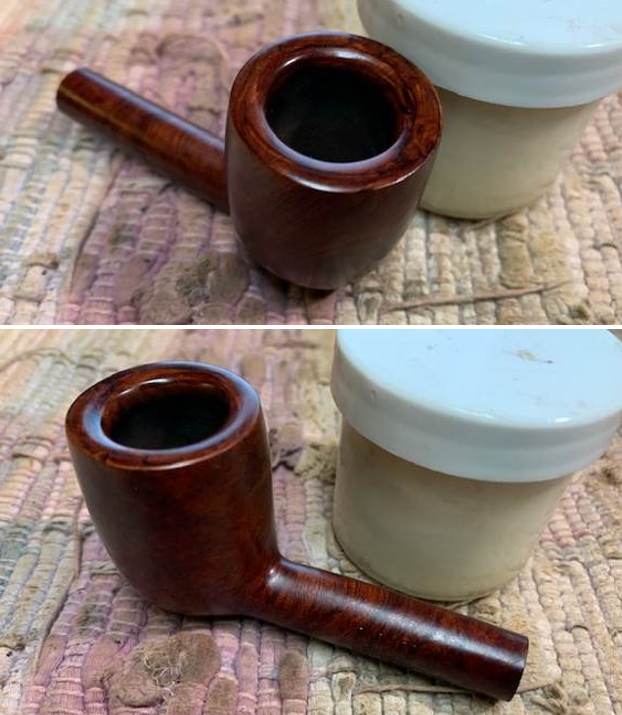
 When the stain dried I buffed the finish with a clean buffing pad and a horsehair shoe brush to raise the shine. I also polished the Electro Plated band with a jewelers cloth to bring out the shine. It is quite nice looking at this point.
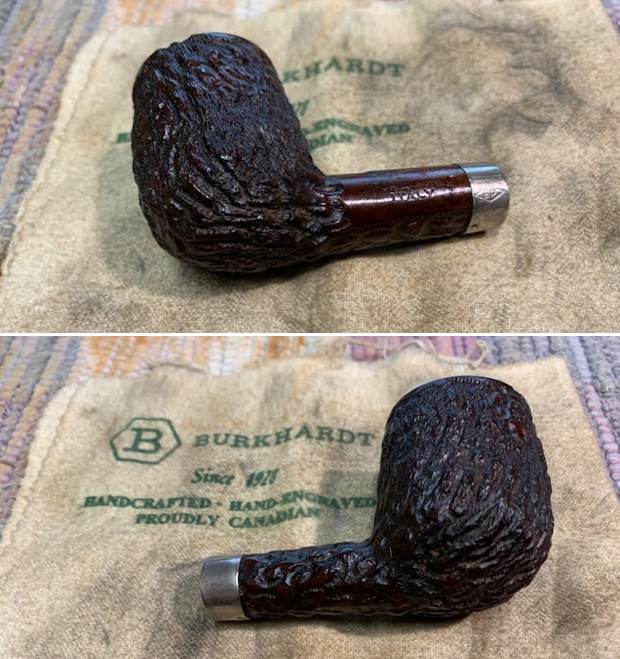
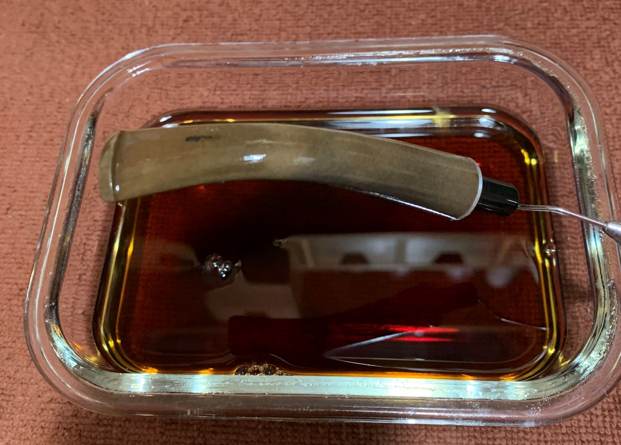
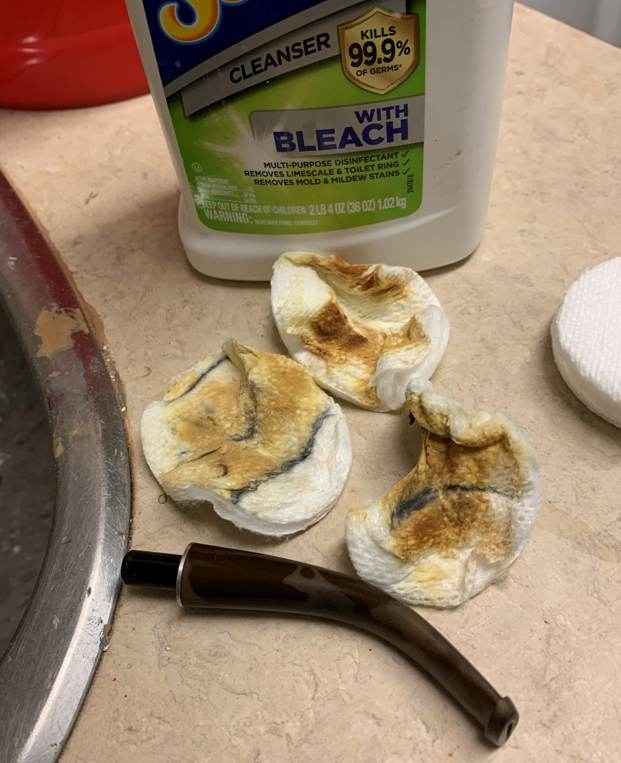
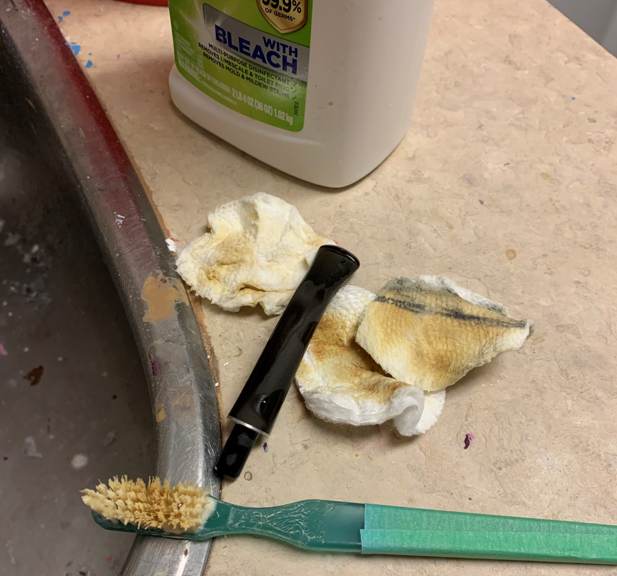
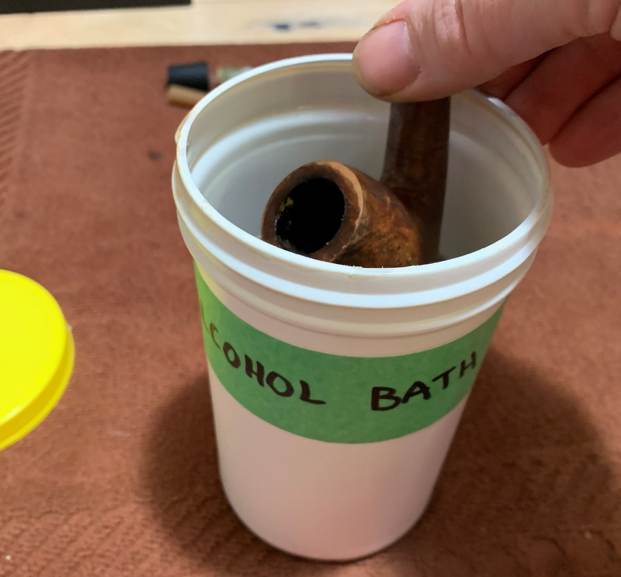
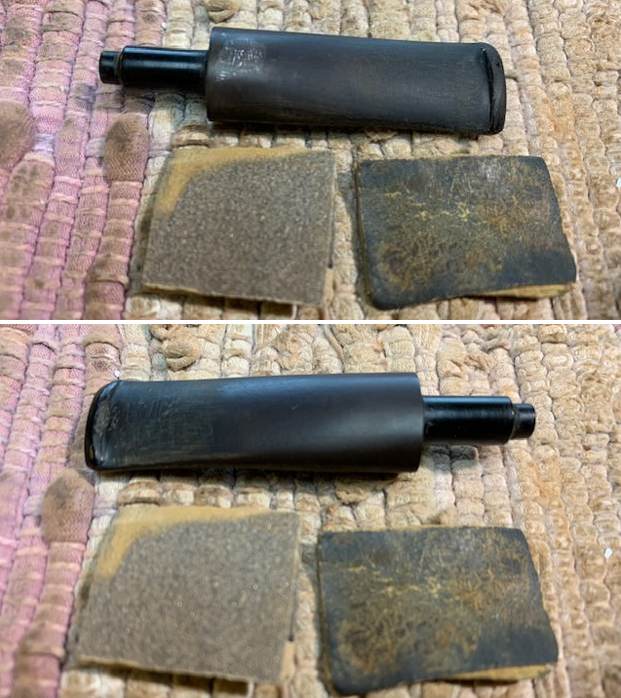
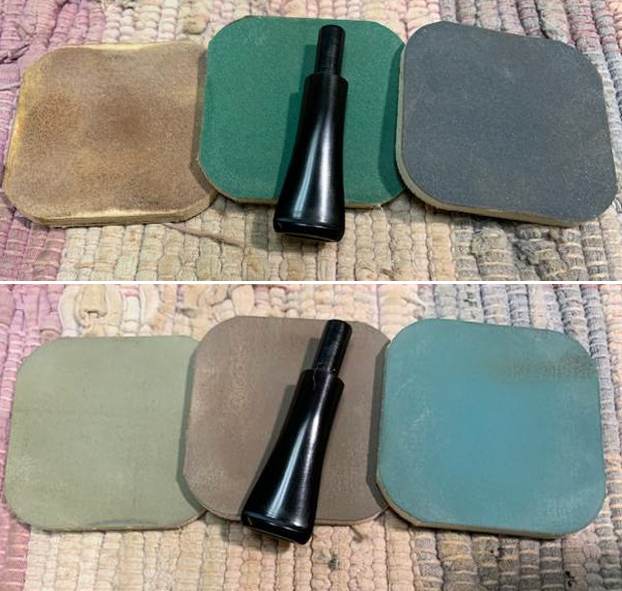
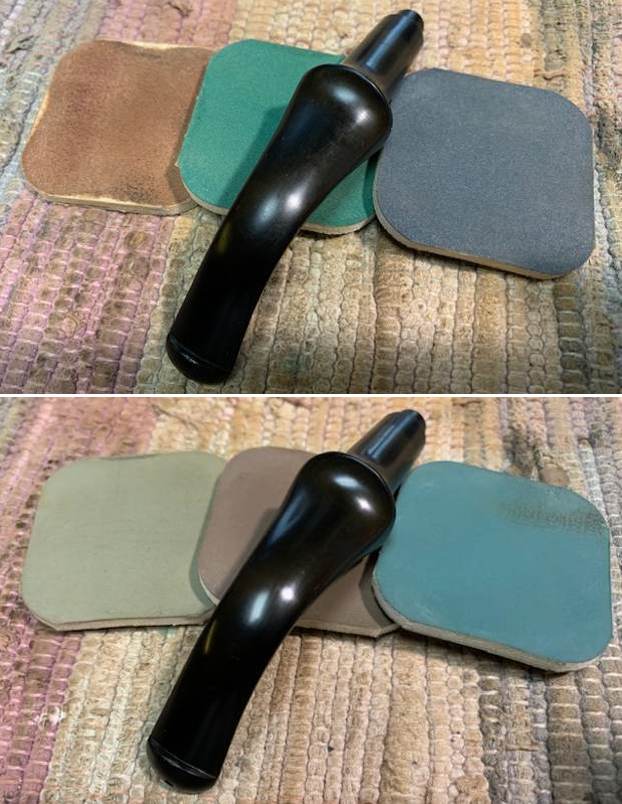
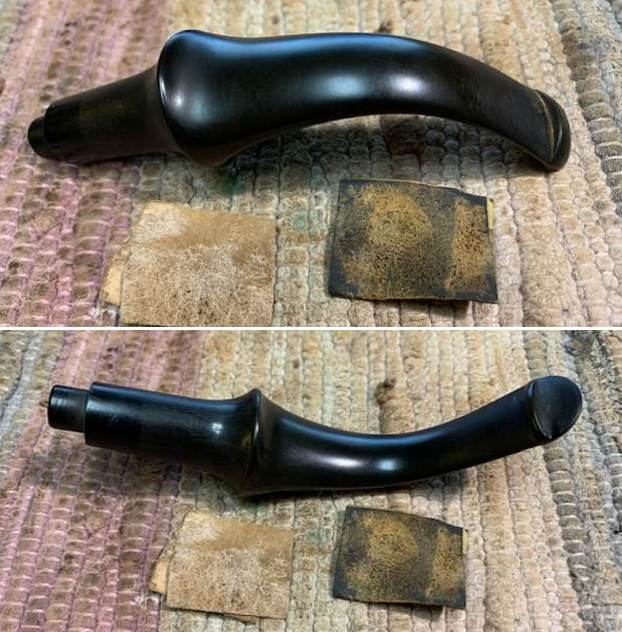
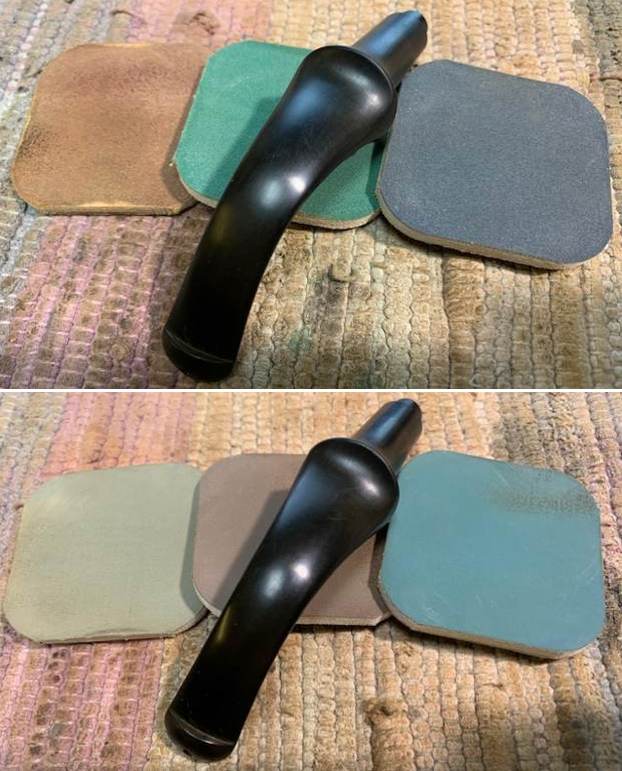
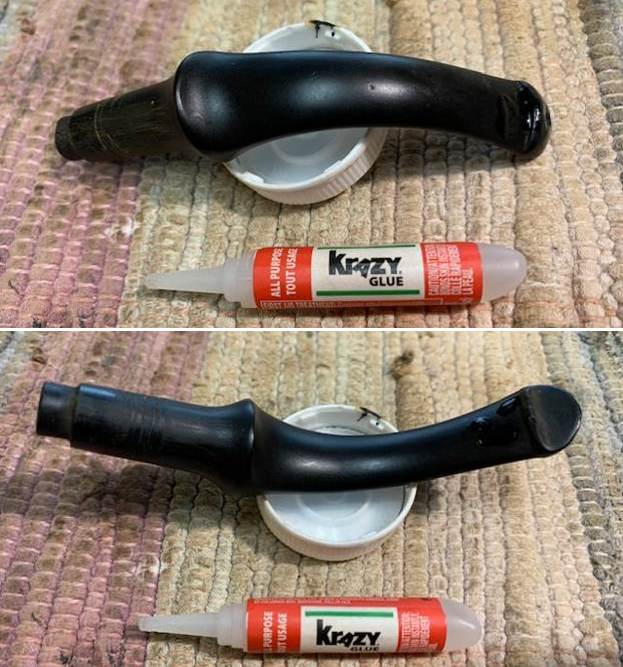
 I set the bowl aside and turned my attention to the stem. I sanded out the casting marks along both sides of the stem as well as the wrinkle in the stem with 220 grit sandpaper. I also smoothed out the tooth chatter on both sides. It became exceptionally clear that I was working with an acrylic stem. The sanding dust was almost blue looking and plastic feeling dust. I started polishing the stem with 400 grit wet dry sandpaper.
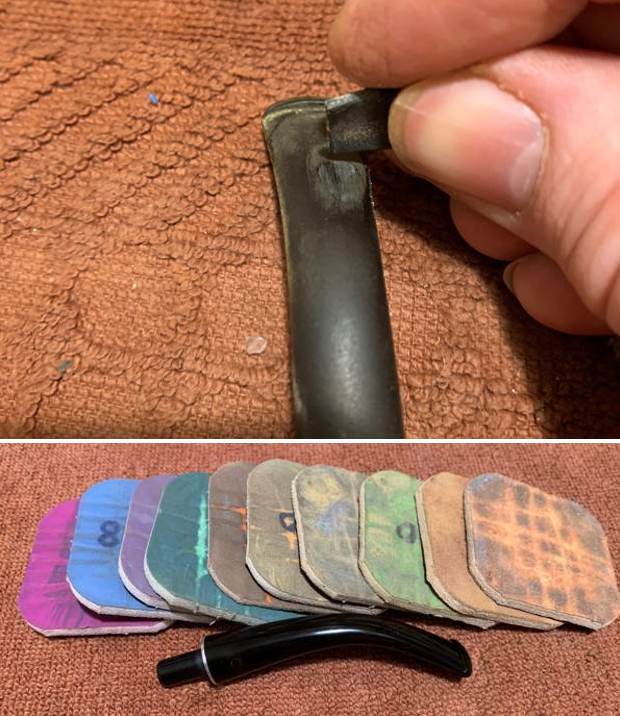
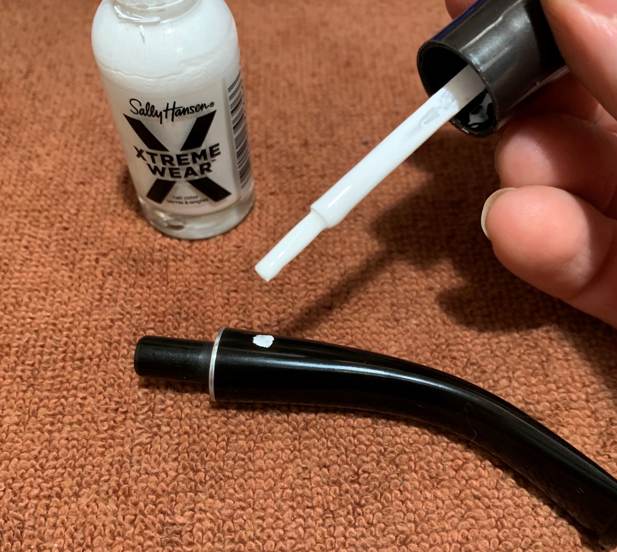
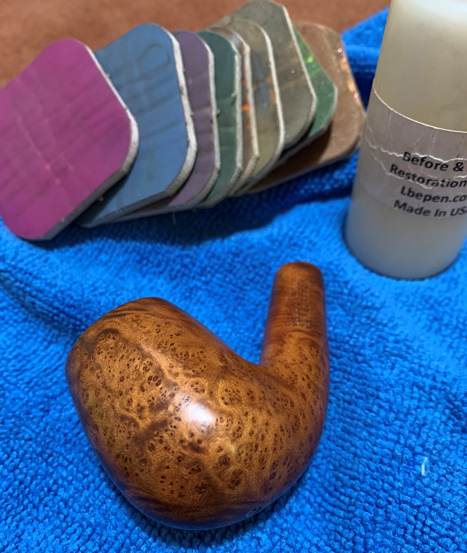
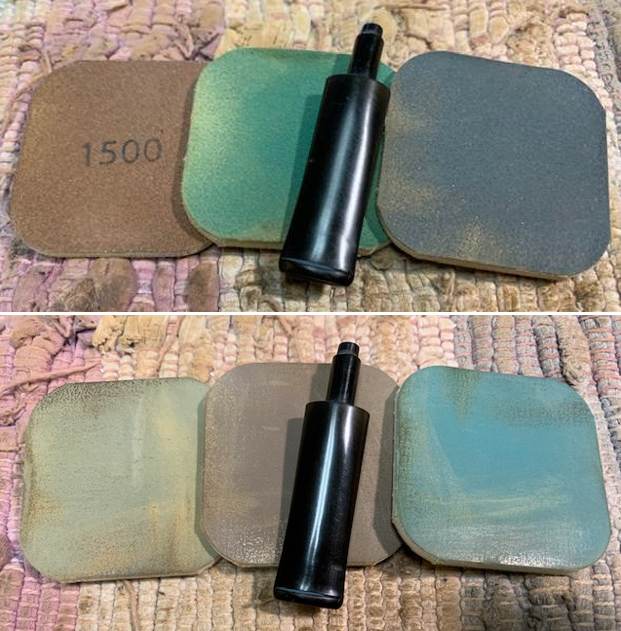
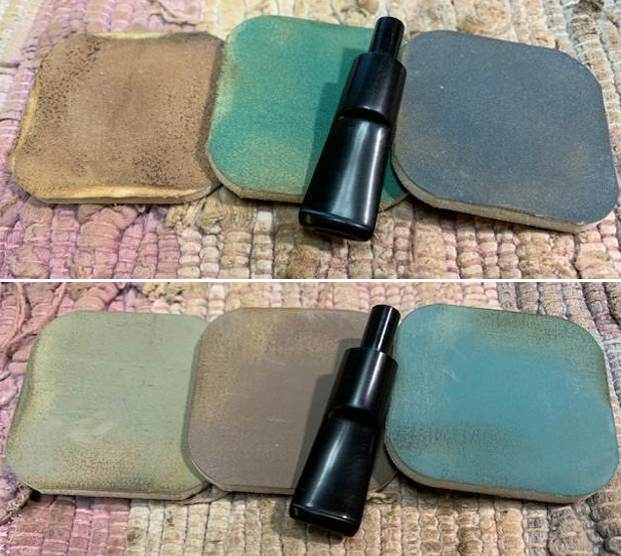
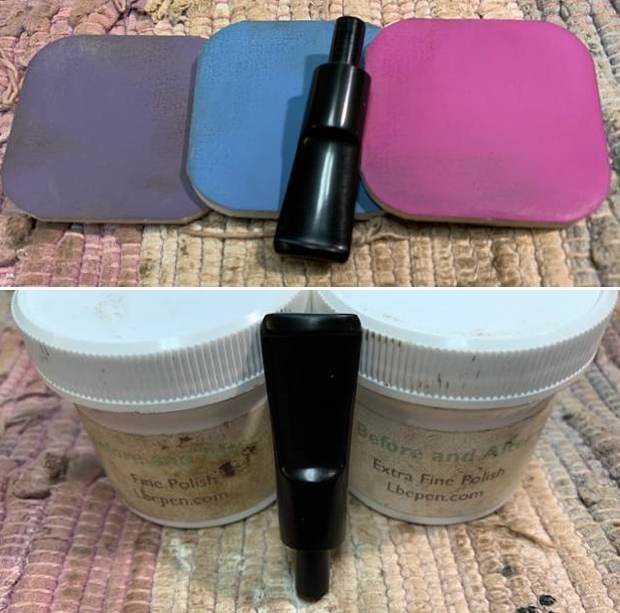
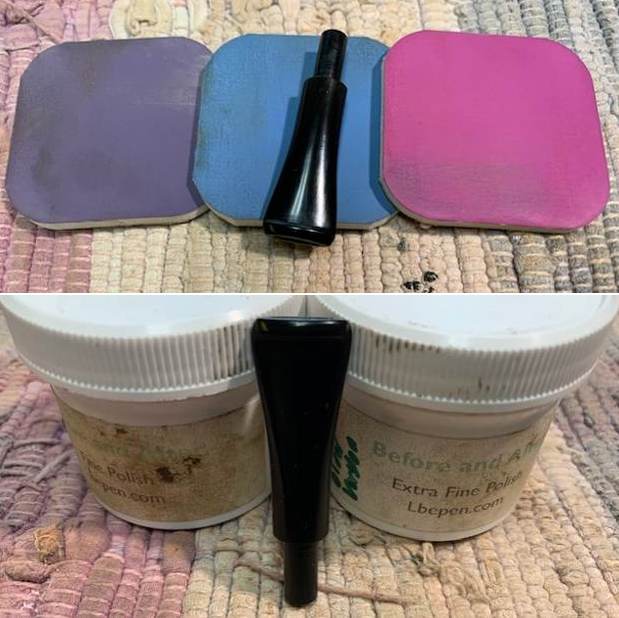
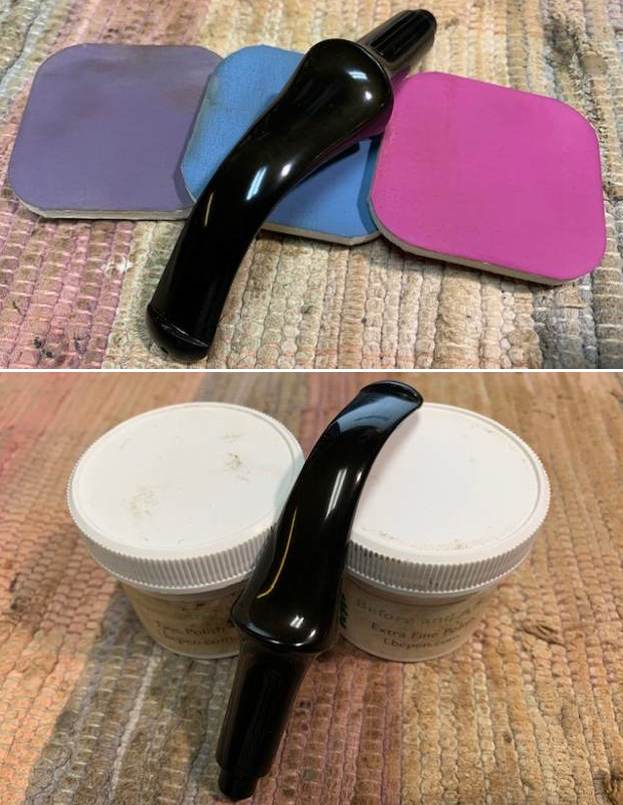
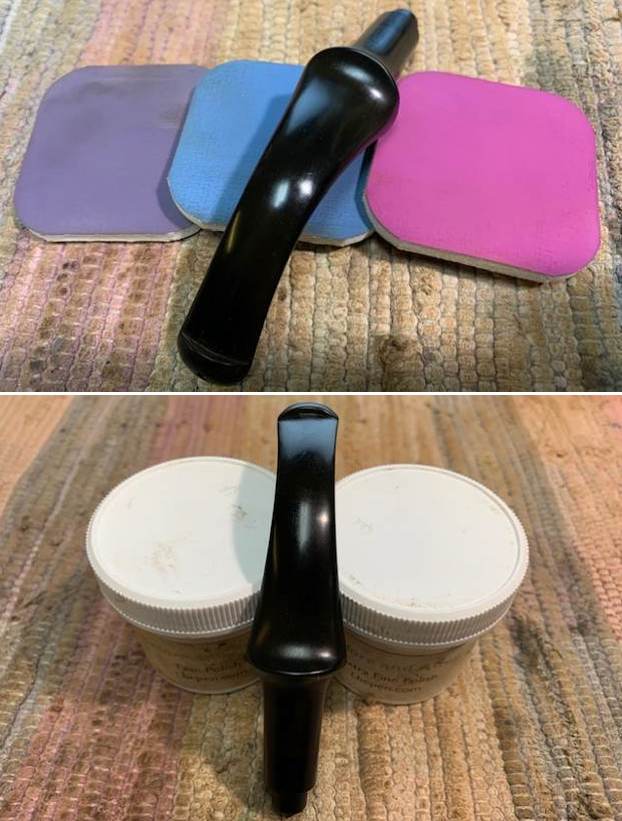
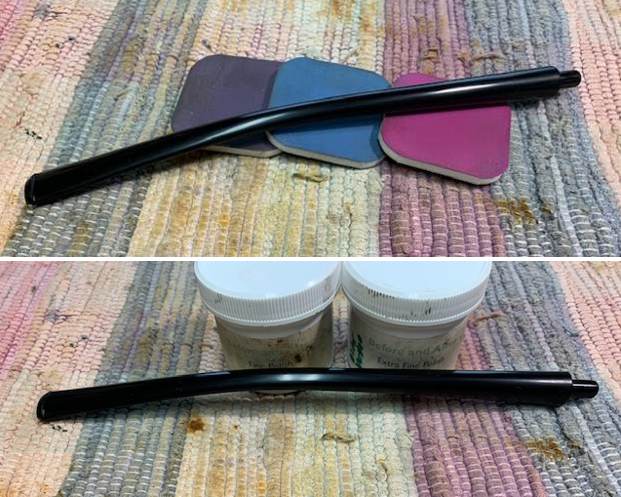
 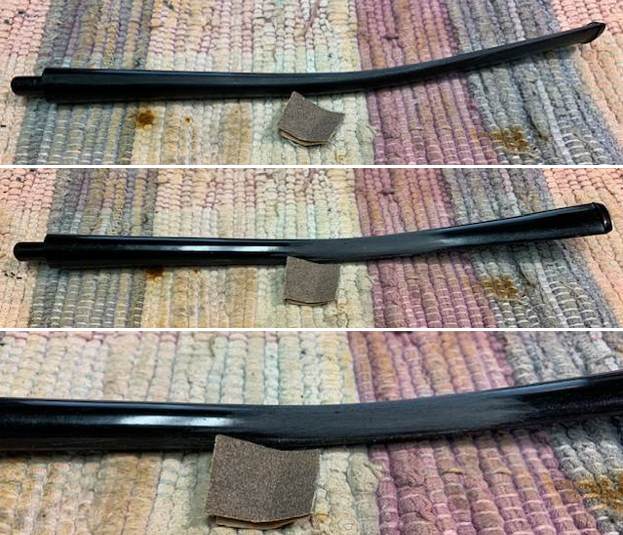 I polished the stem with micromesh sanding pads – 1500-12000 grit pads. I wiped it down with Obsidian Oil after each sanding pad. I used Before & After Pipe Polish – both Fine and Extra Fine to further polish the stem. I gave it a final coat of Obsidian Oil and set it aside to dry.
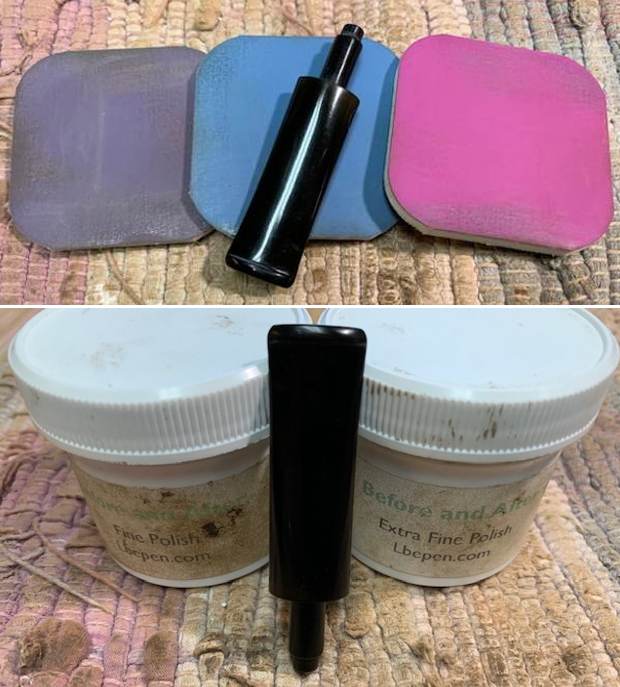
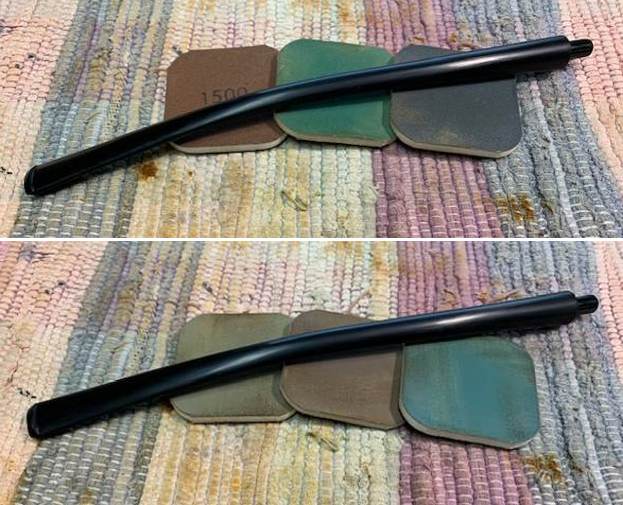
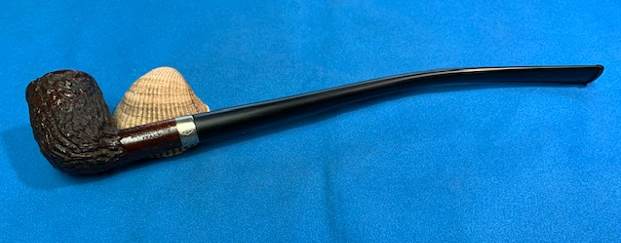
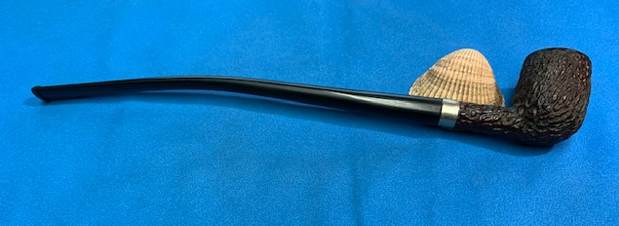
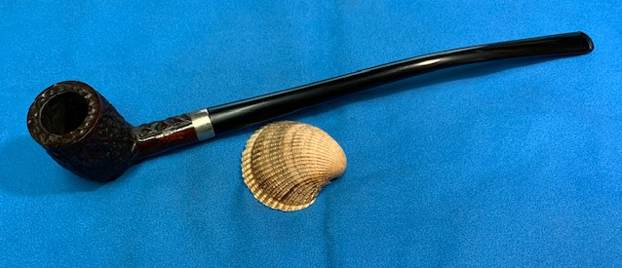
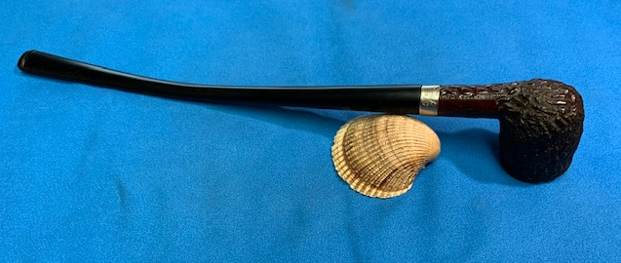
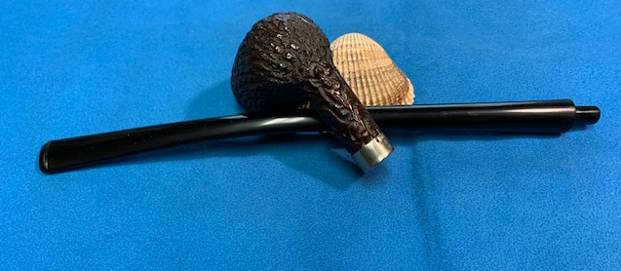
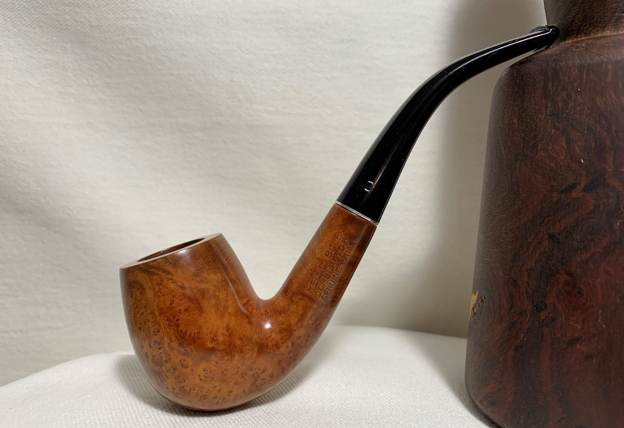
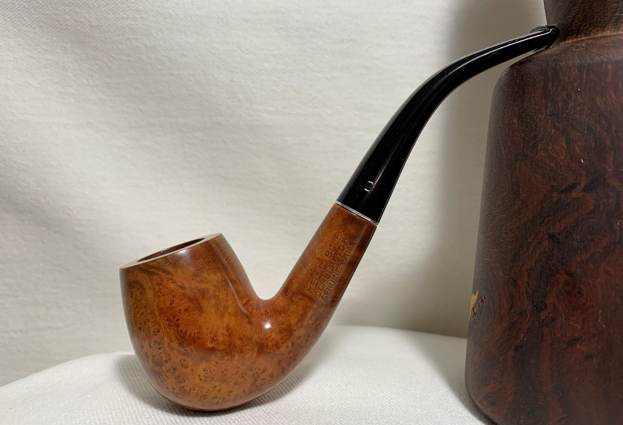
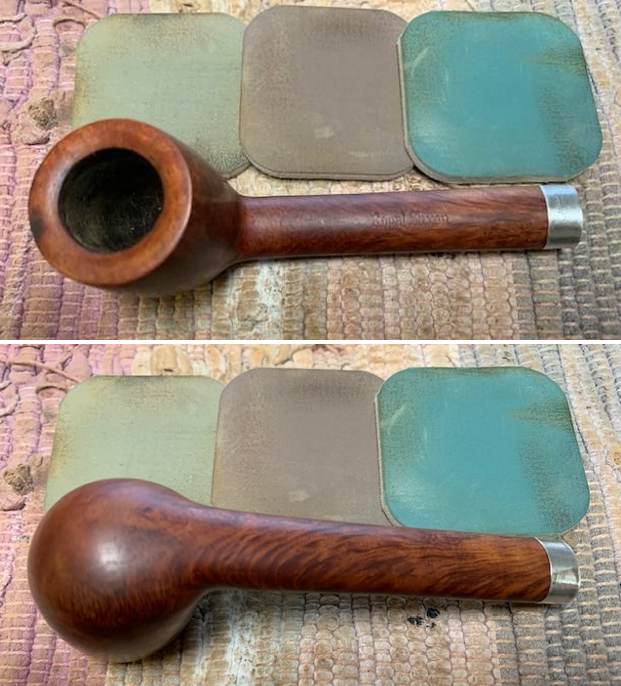
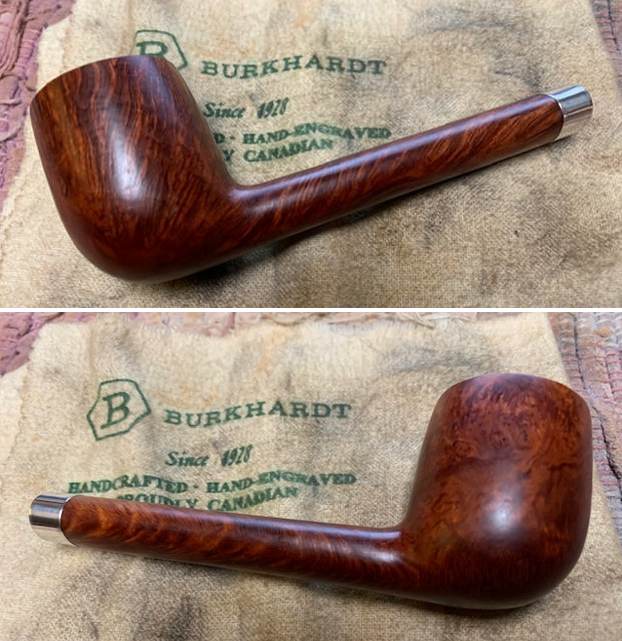
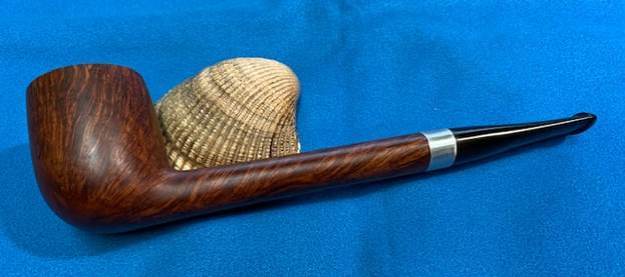
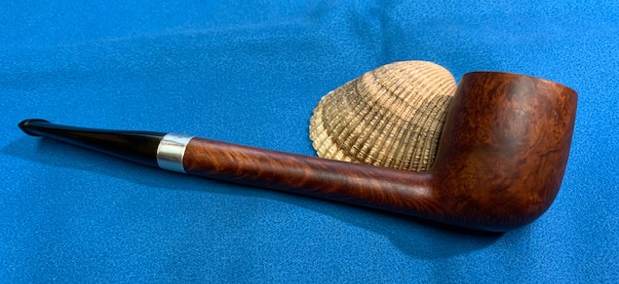
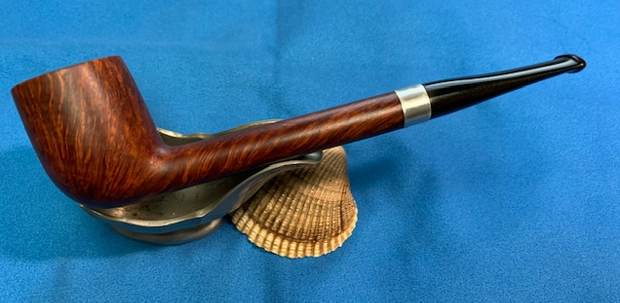
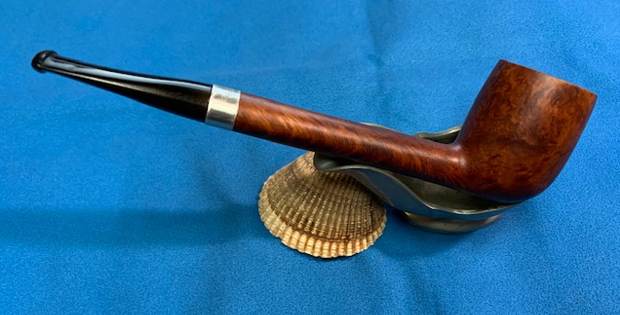
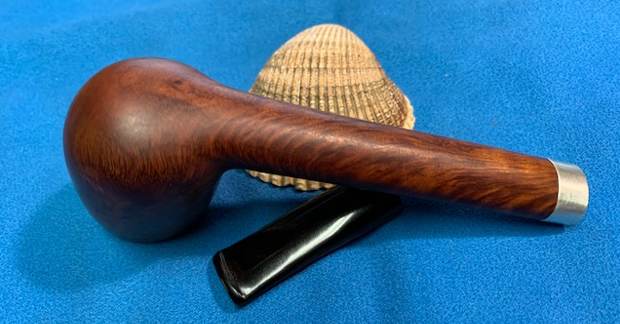
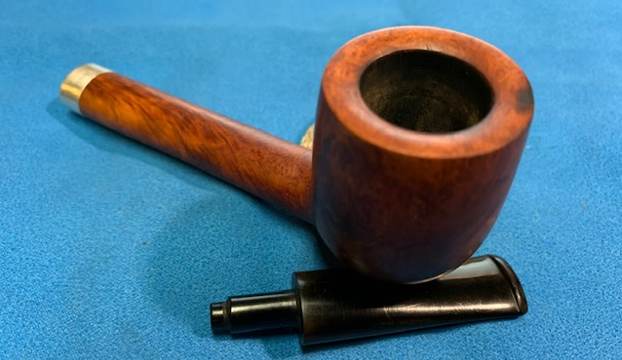
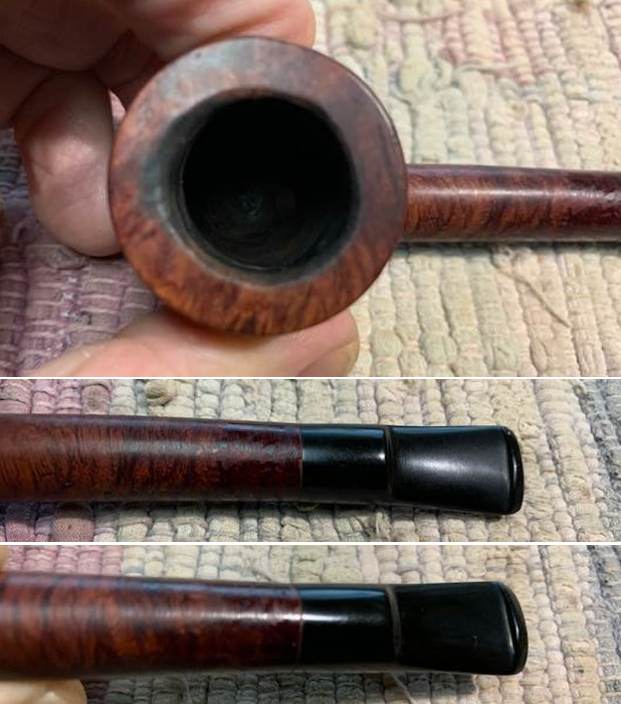
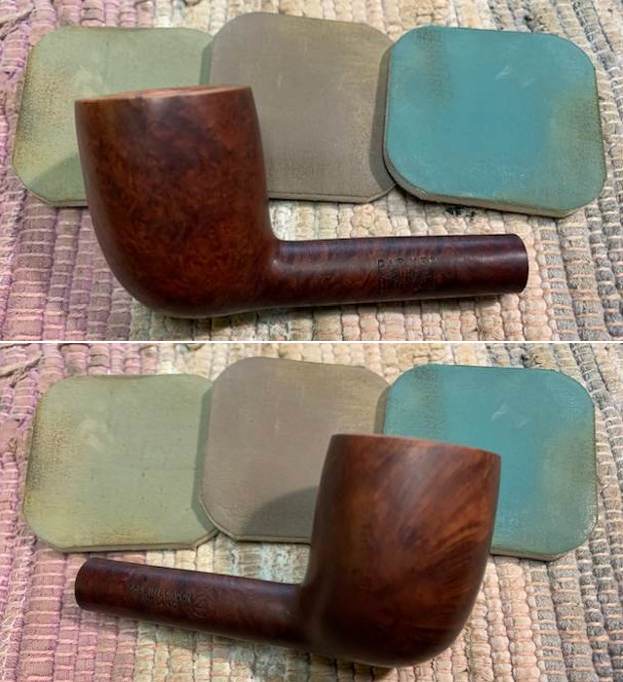
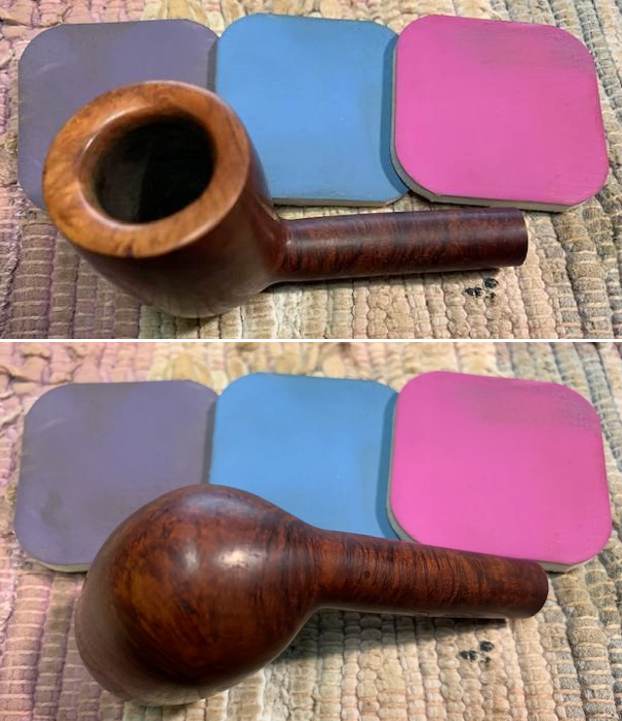
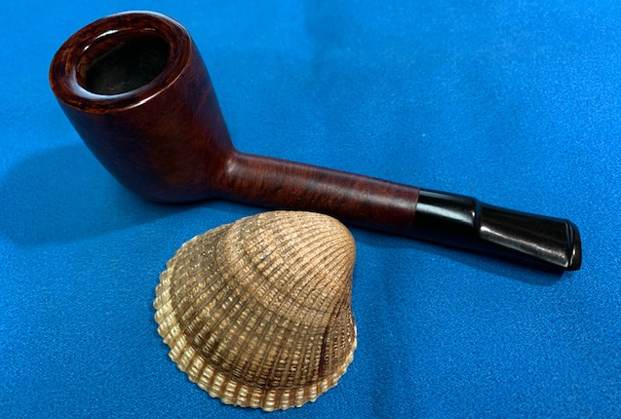
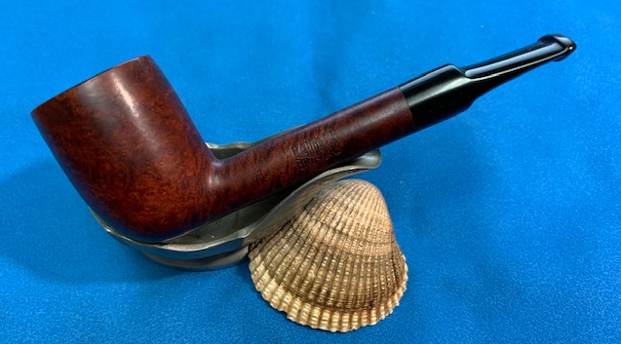
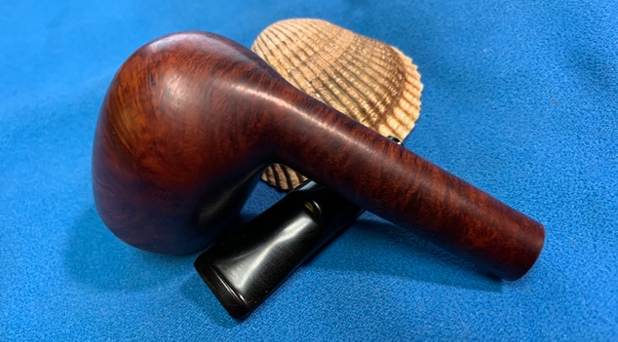
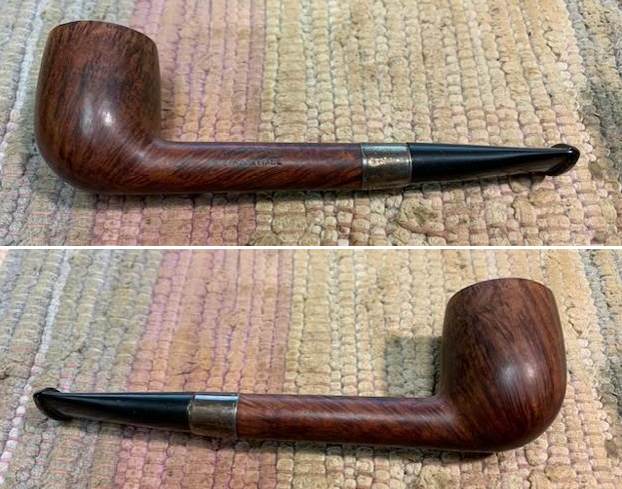
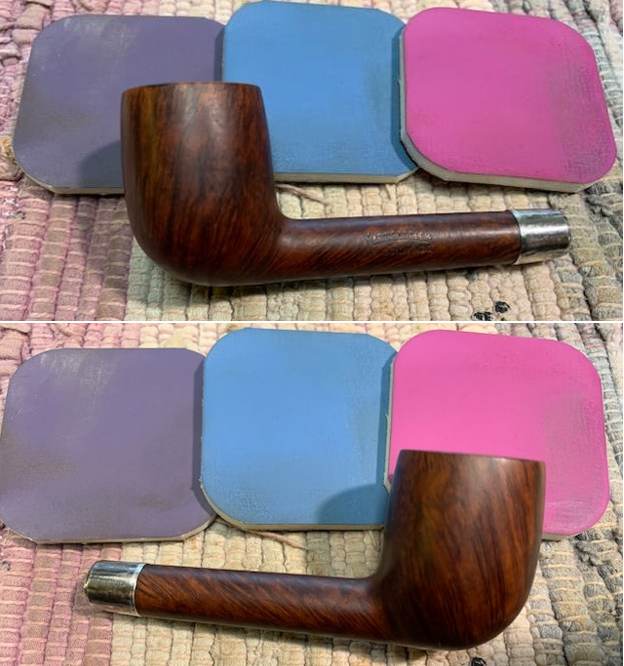
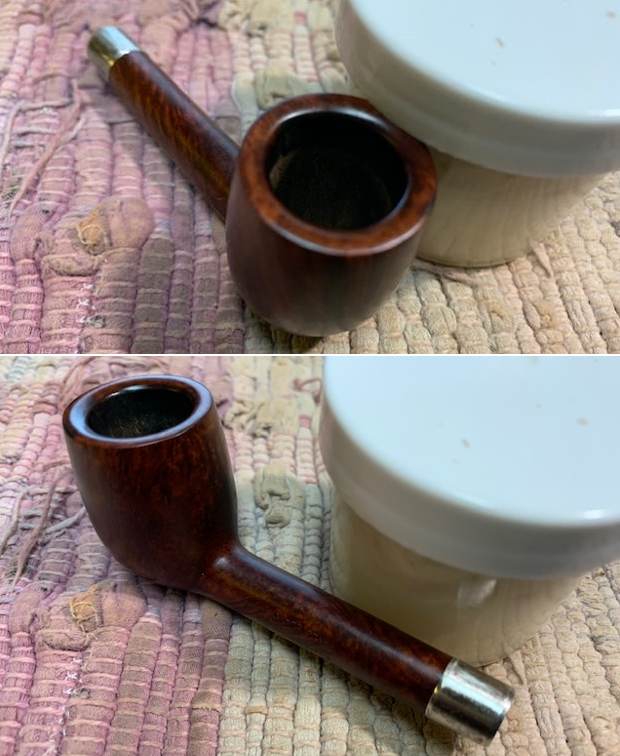
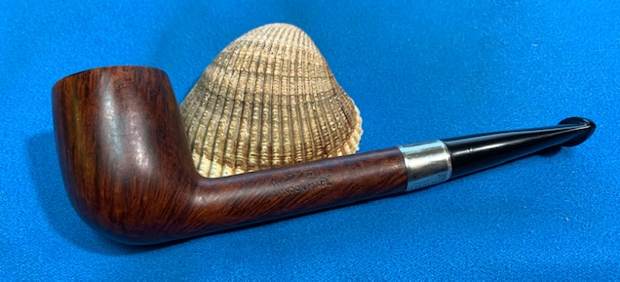
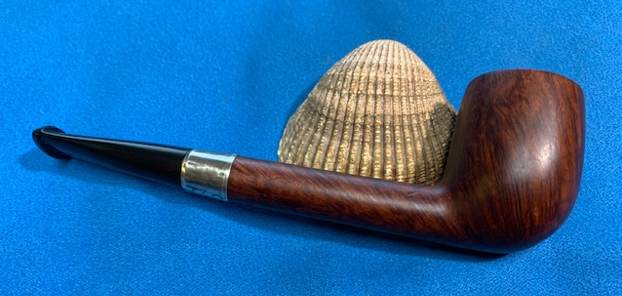
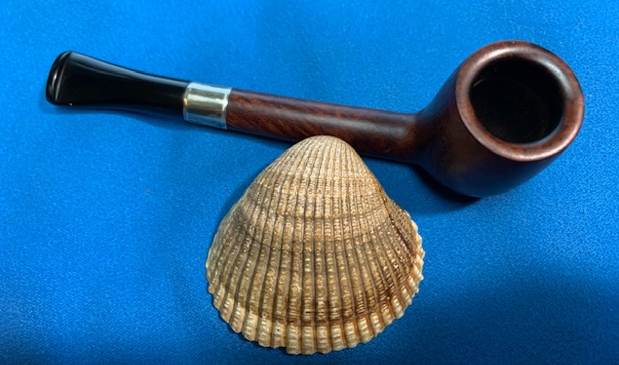
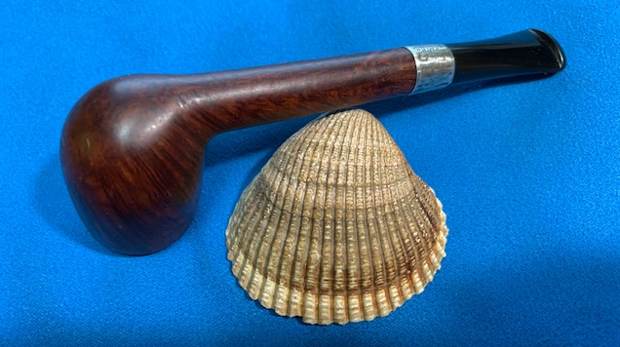
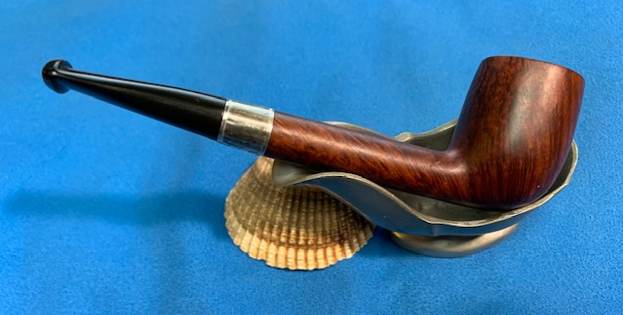
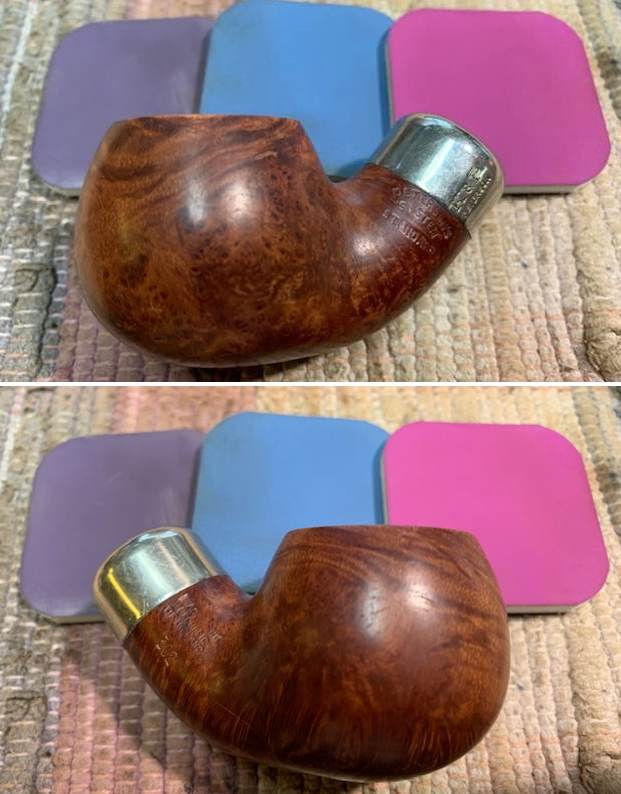
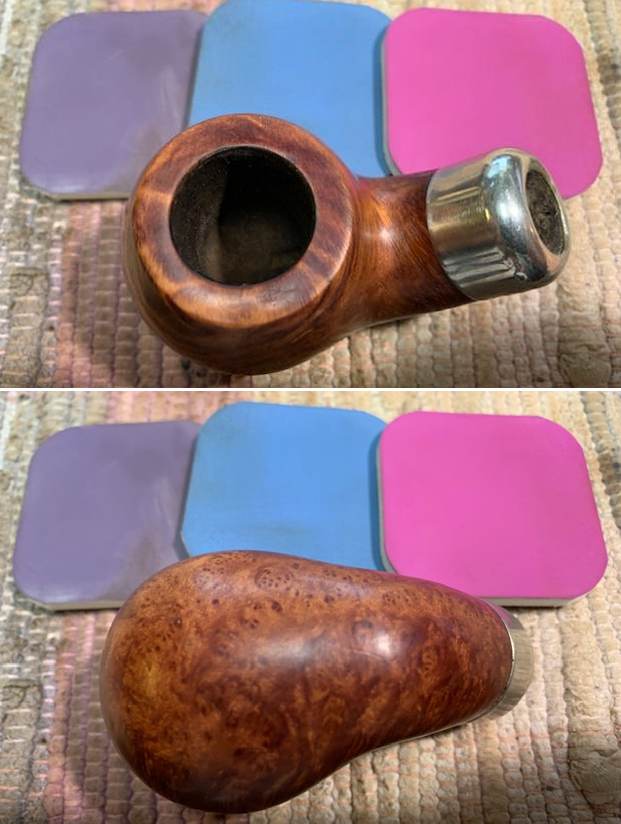
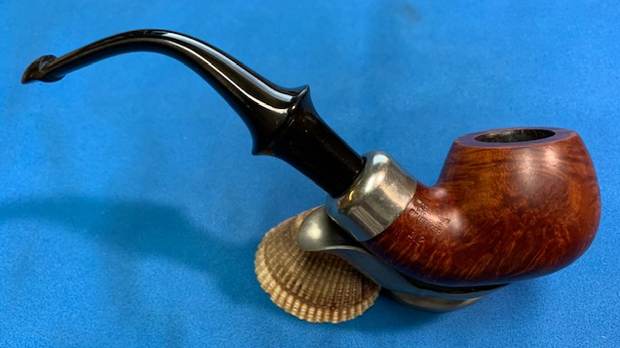
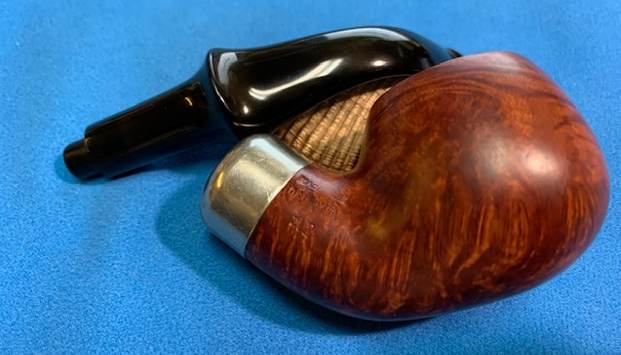
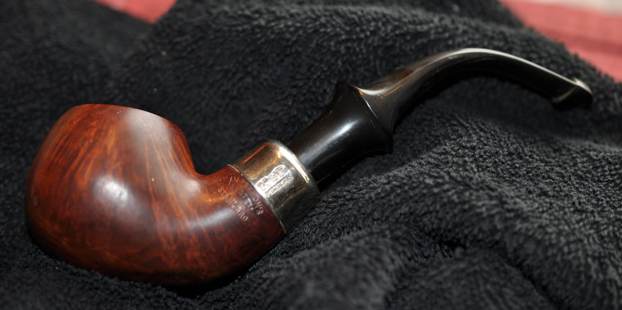
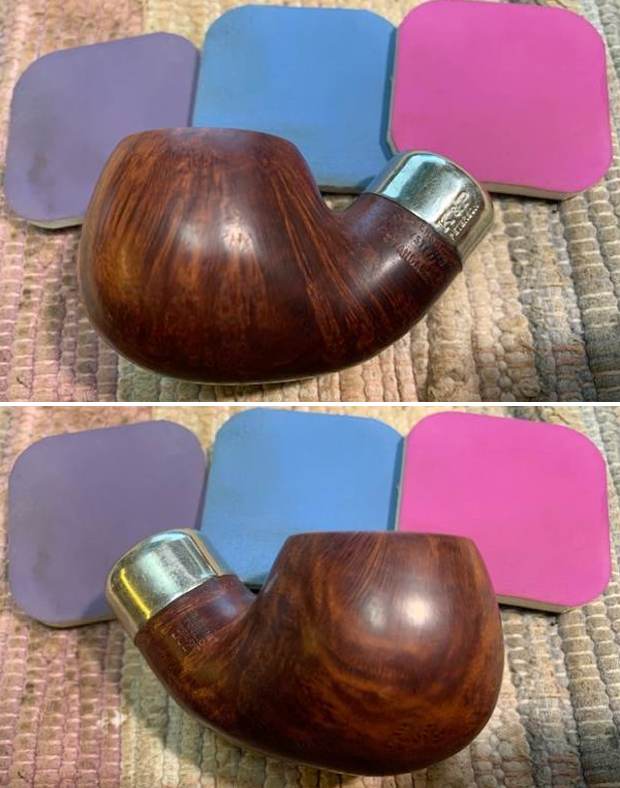
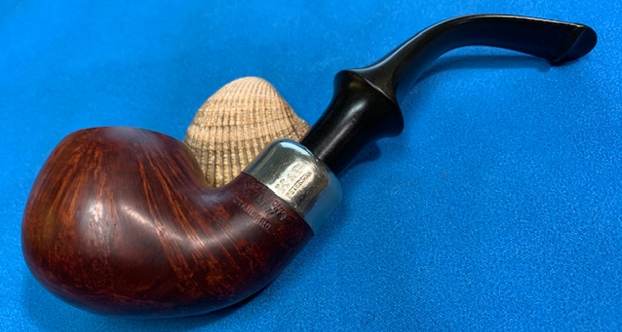
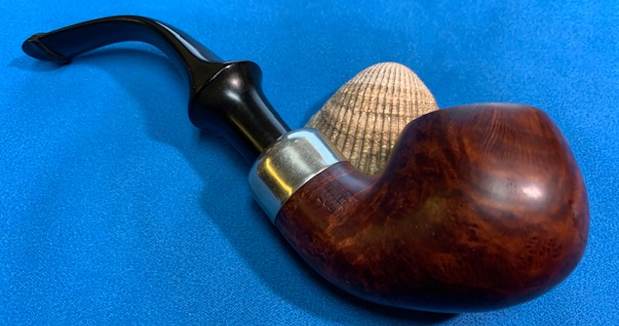
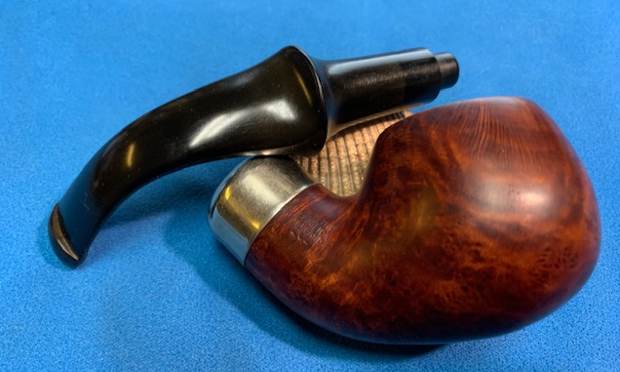
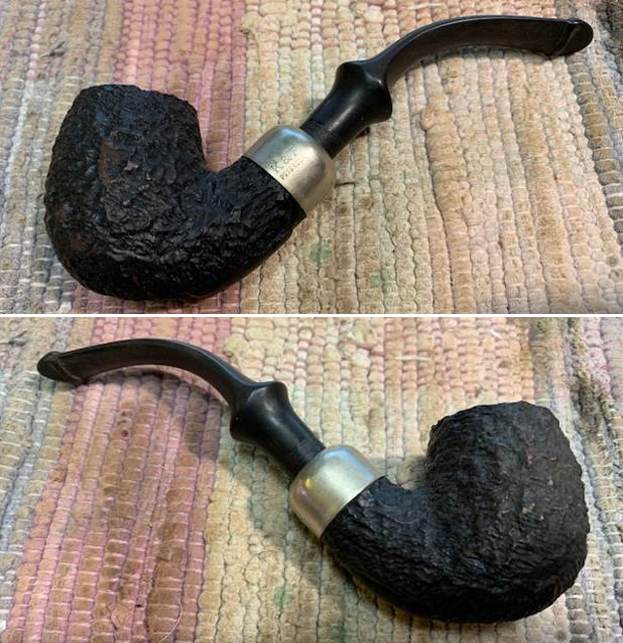
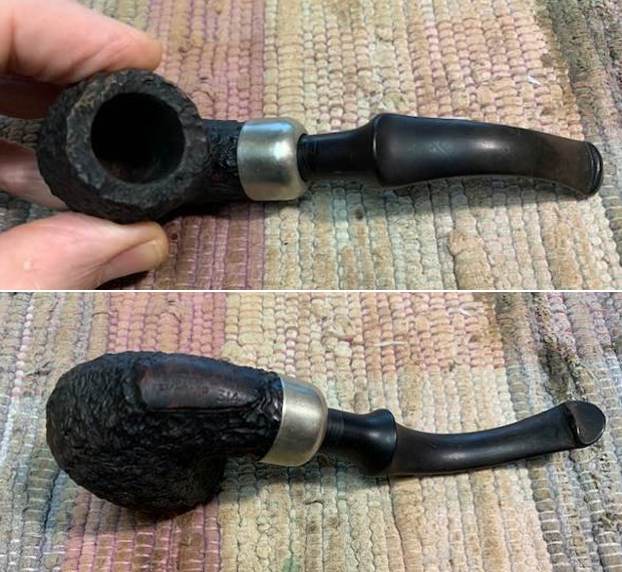
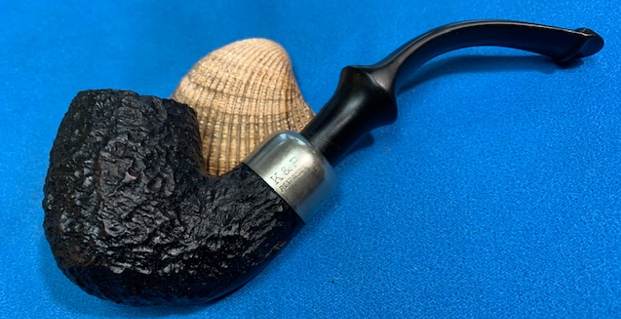
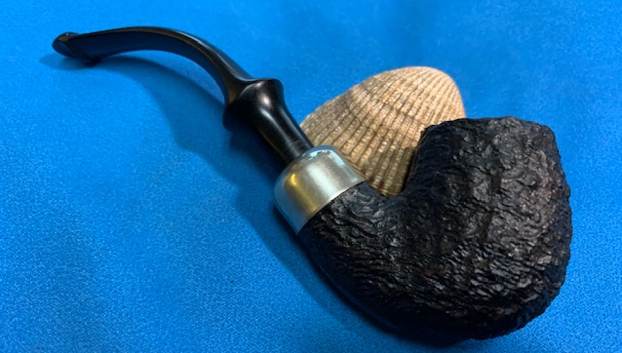
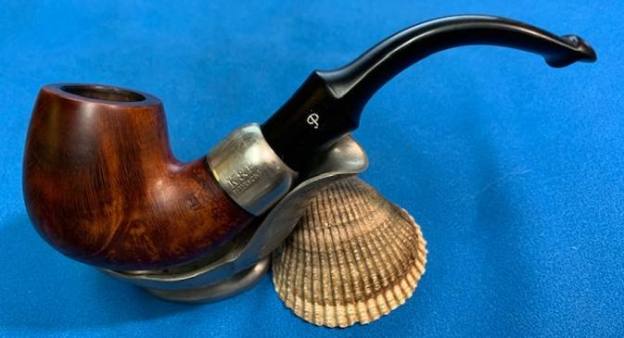
 Once I finished working on the stem, this Television Imported Briar Italy Churchwarden was another beautiful pipe. The rusticated briar around the bowl is clean and really tactile. The rim top and edges are in great condition. The rich brown stains gave the grain a sense of depth with the polishing and waxing. The depth of the rustication really stood out. I put the acrylic stem back on the bowl and carefully buffed the pipe with a clean buffing pad to raise the shine. I hand buffed the pipe with a microfiber cloth to deepen the shine. The finished Television Italian Churchwarden is a beauty and feels great in the hand and looks very good. Give the finished pipe a look in the photos below. The dimensions of the pipe are Length: 11 inches, Height: 1 ¾ inches, Outside diameter of the bowl: 1 ¼ inches, Chamber diameter: ¾ of an inch. The weight of pipe is 1.38 ounces /40 grams. It is another one that is much more beautiful in person than these photos can capture. I will be putting it on the rebornpipes store soon. Look for it in the Italian Pipe Makers section. If you would like to add it to your collection let me know. Thanks for walking through the restoration with me.