Blog by Steve Laug
On December 30th my family and I went to Bellingham – ostensibly to do a bit of Christmas shopping at the mall there, visit Trader Joe’s and a few other stops. I also wanted to get in one last pipe hunt for 2019. We ate breakfast at the Old Town Café on Holly Street in Old Bellingham. They have great food and a great atmosphere. Check it out. After breakfast the girls and I visited a few of my favourite antique malls in the area. One was closed but two were open and we were early customers. I went through the first one with care covering every shelf, display cabinet and nook and cranny and no pipes were to be found. That happens sometimes and I was wondering if the pipe hunt would end up being a bust. I rarely come away empty handed but there is always one of those days. We entered the second shop and after going through three aisles of display cases and coming up empty handed I entered the last aisle. There is a display case in that aisle that generally has a few pipes in it and potentially one of two of interest to me. It is the last part of the store I stop at and this day was no different. I came to the case and looked through the glass case at the lighters, knives, cheap meerschaums and corn cobs. I was beginning to wonder if it was going to be a bust. Then low and behold, underneath the stems of a cob and meerschaum I saw what looked like a briar.
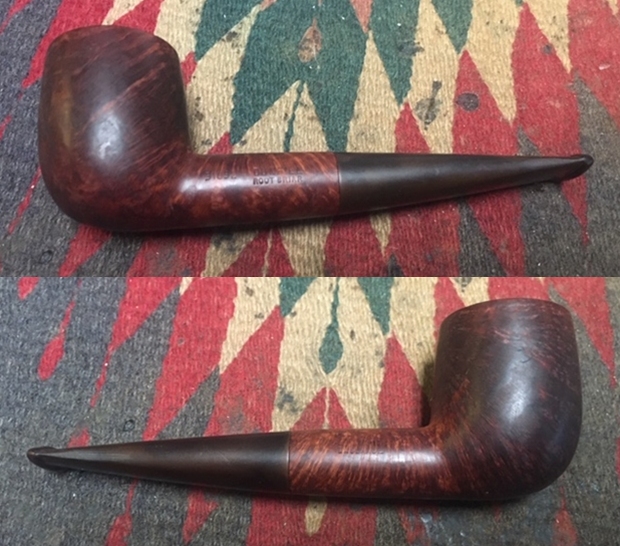
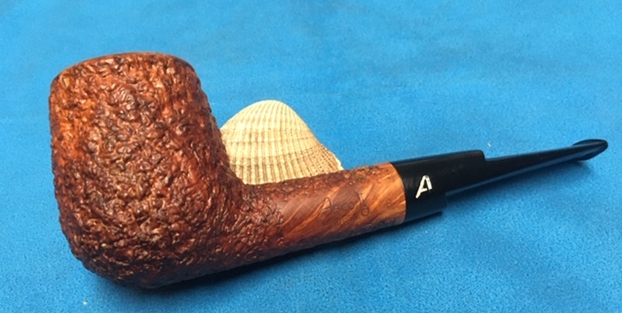
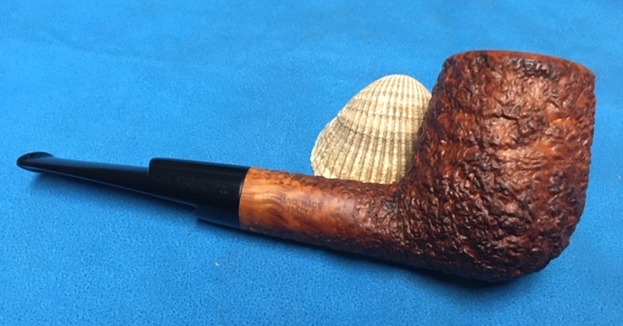
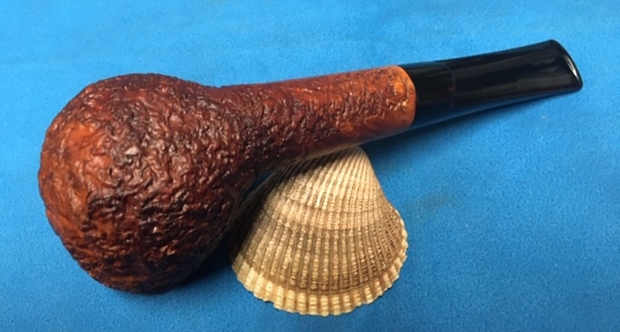
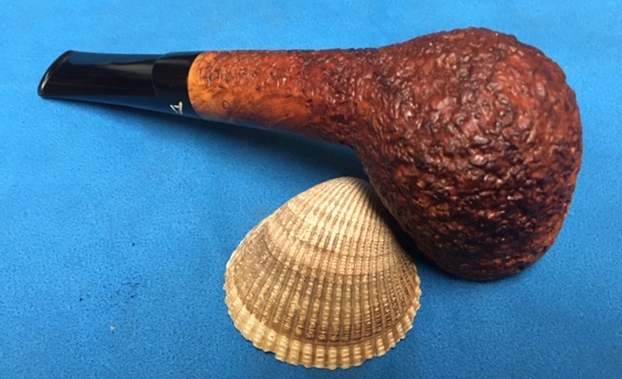
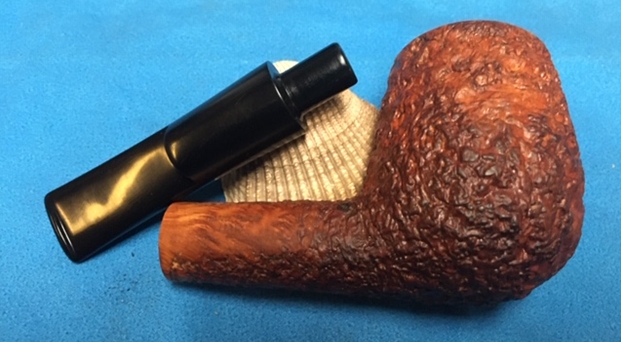
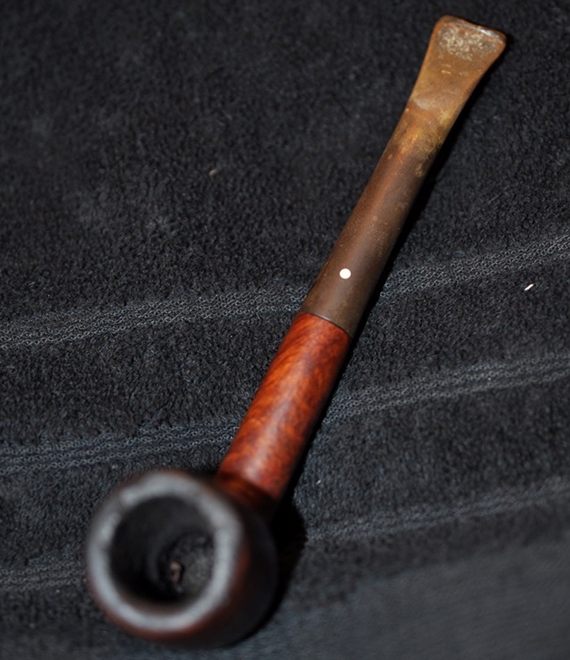
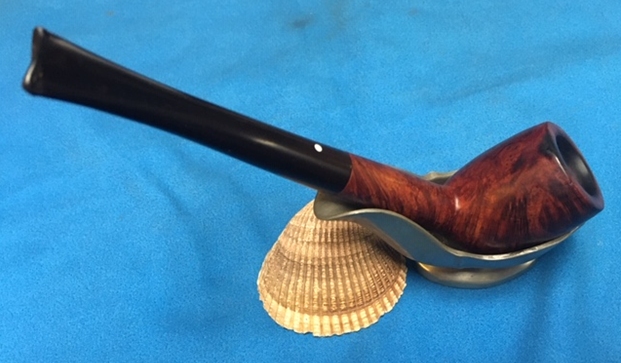
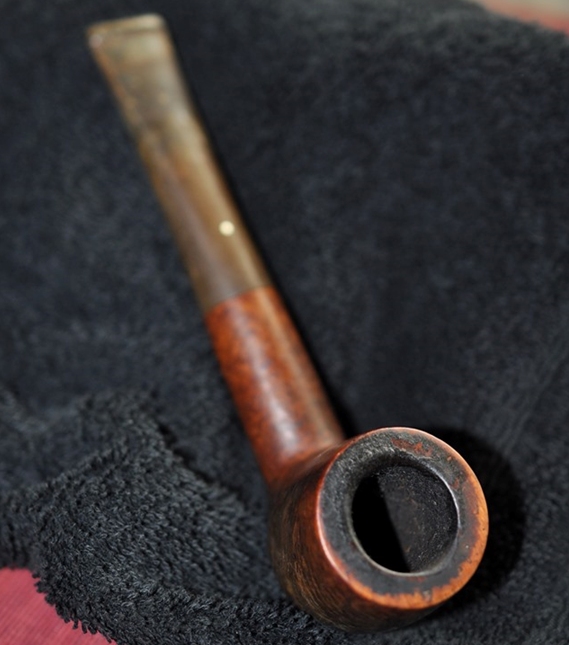
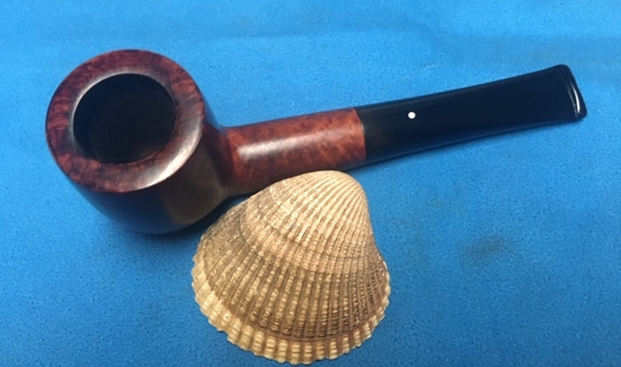
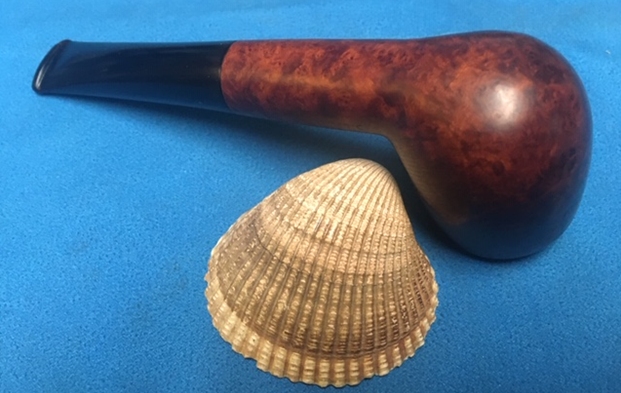
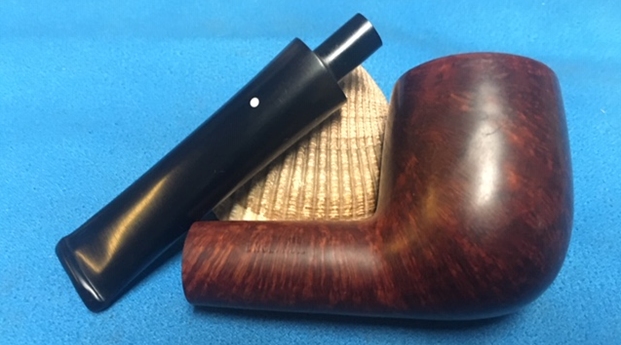
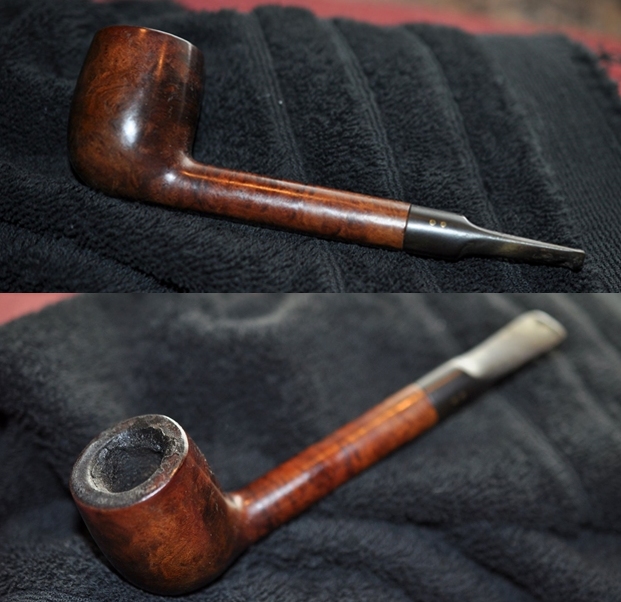
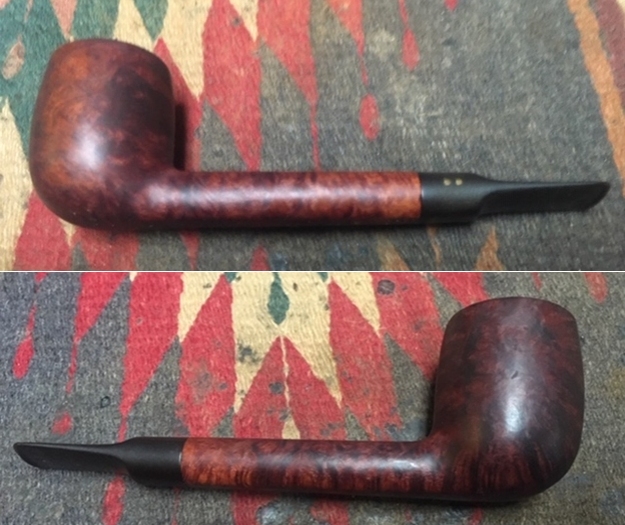
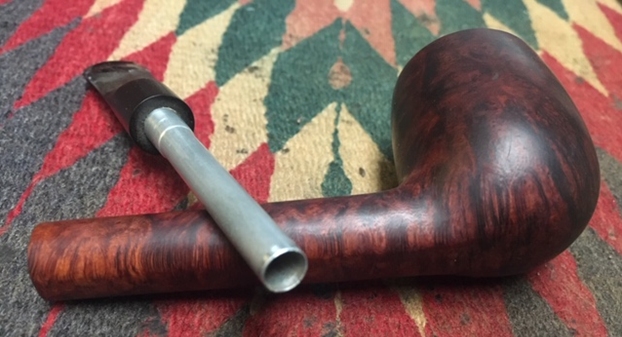
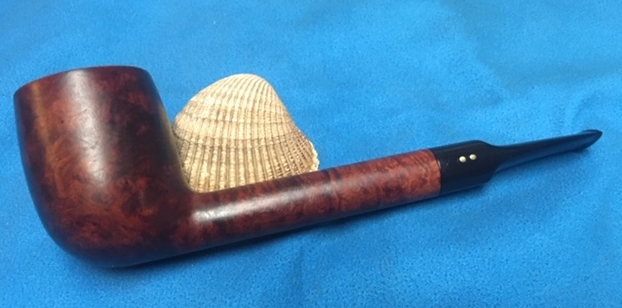
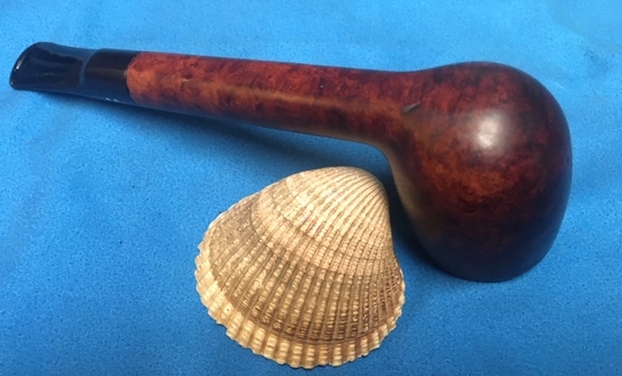
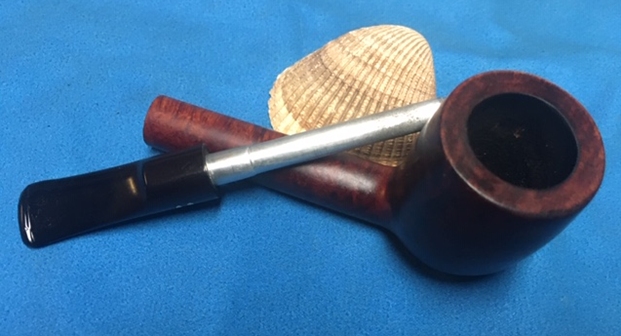
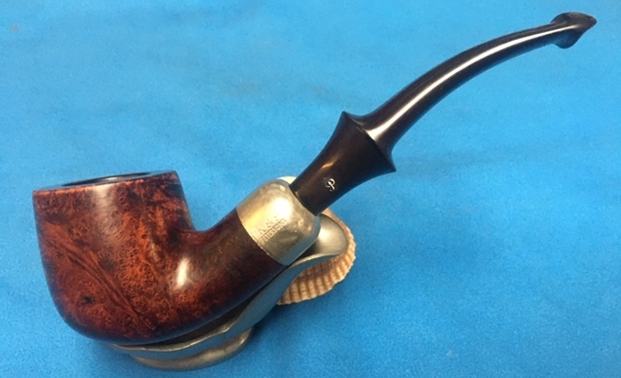
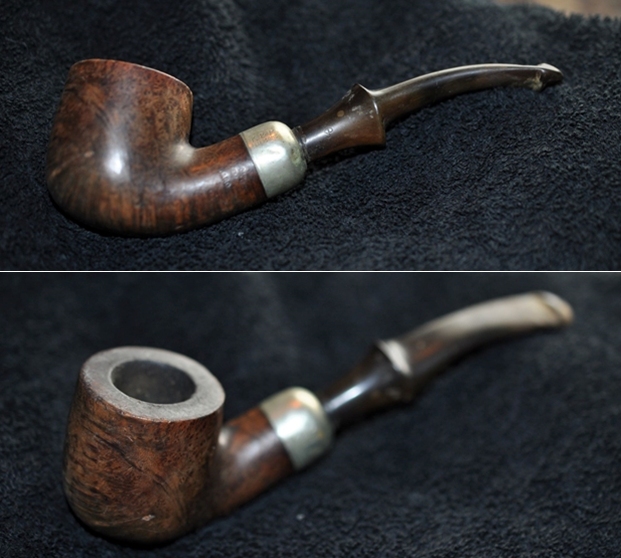
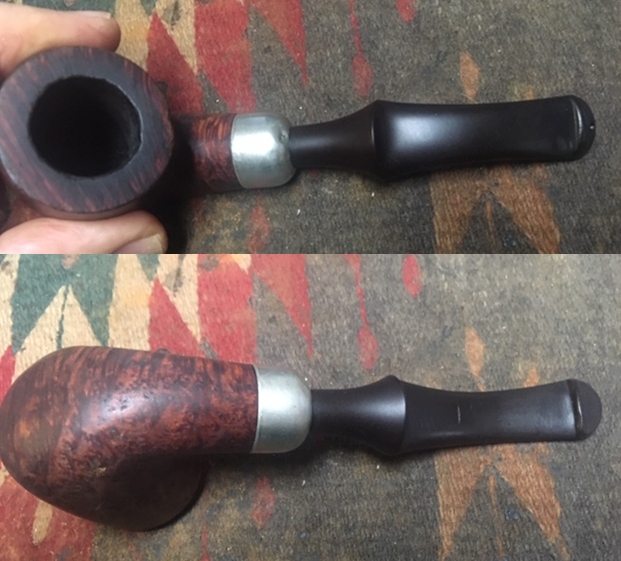
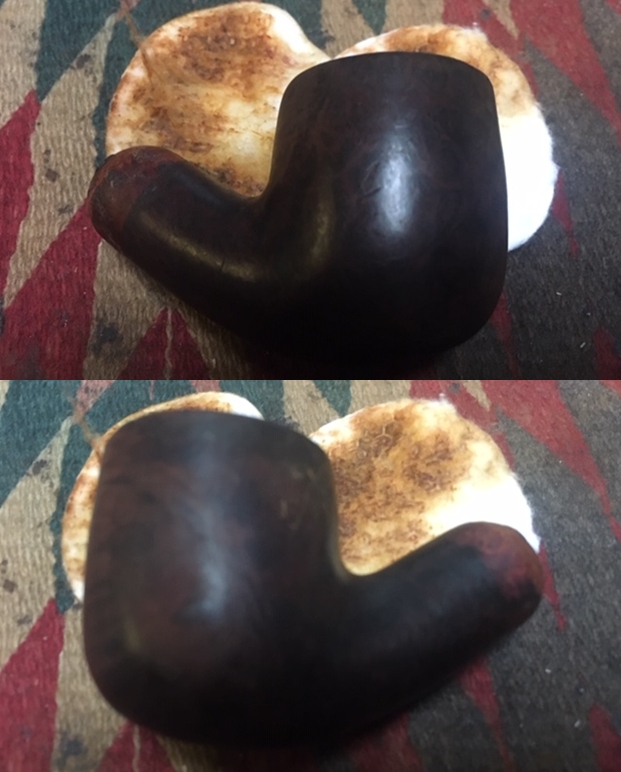
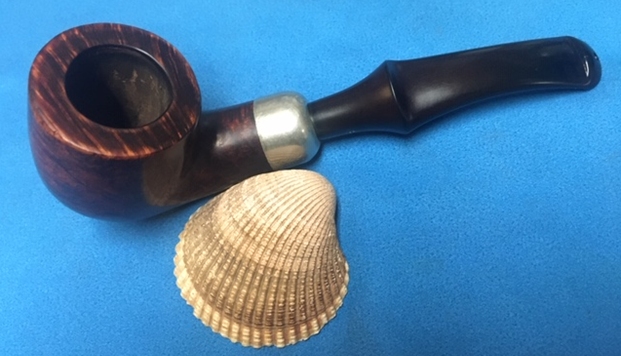
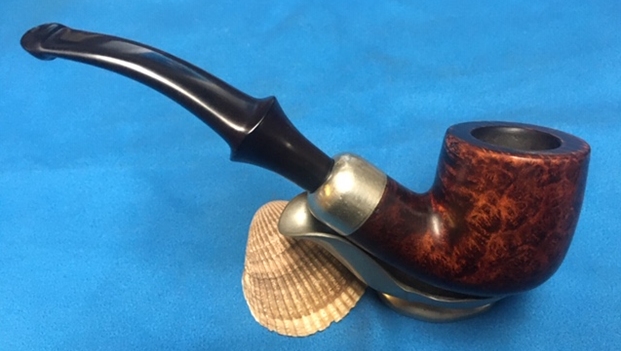
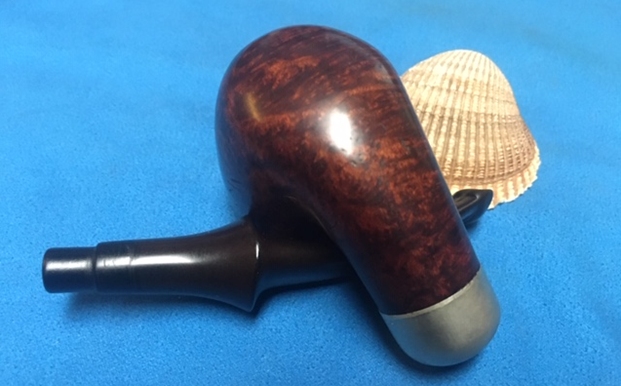
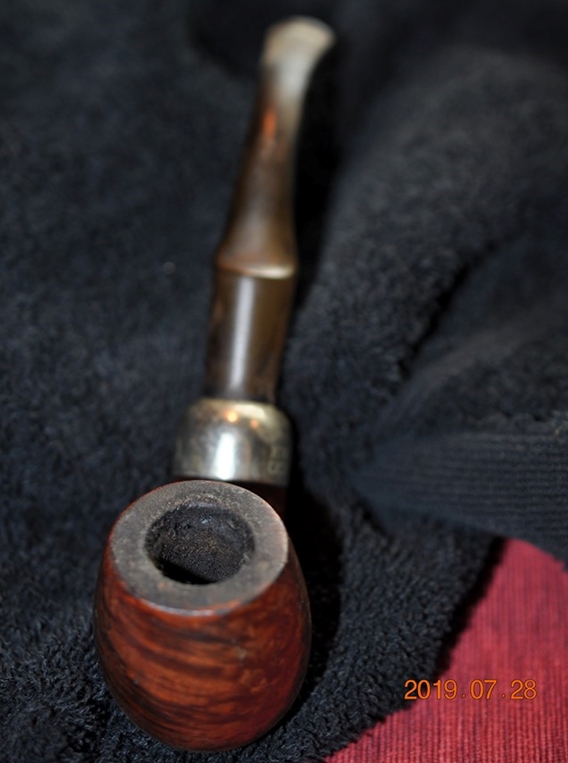
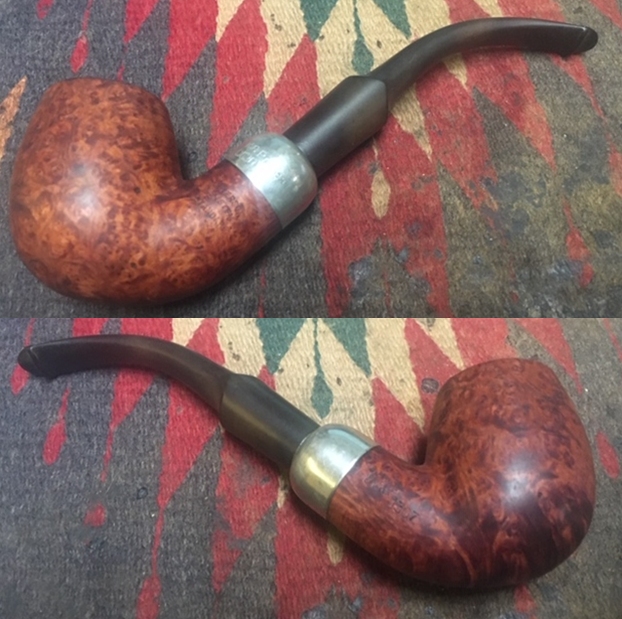
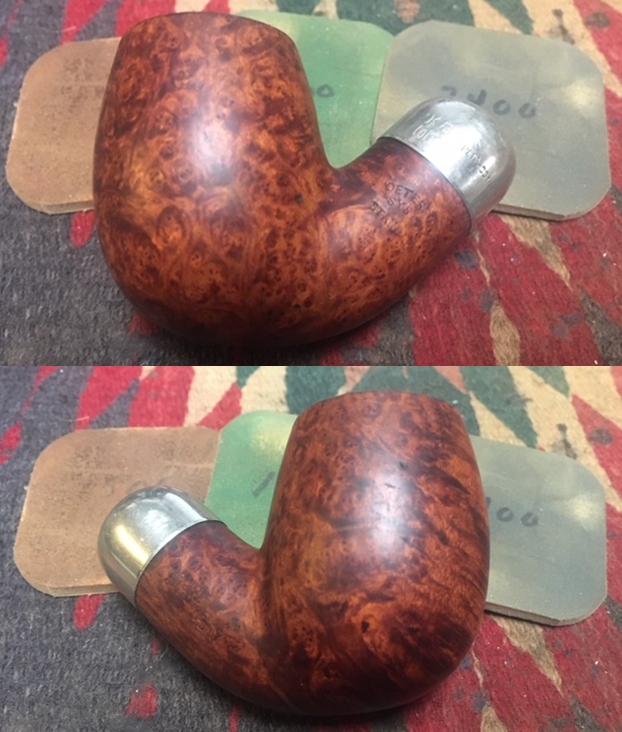
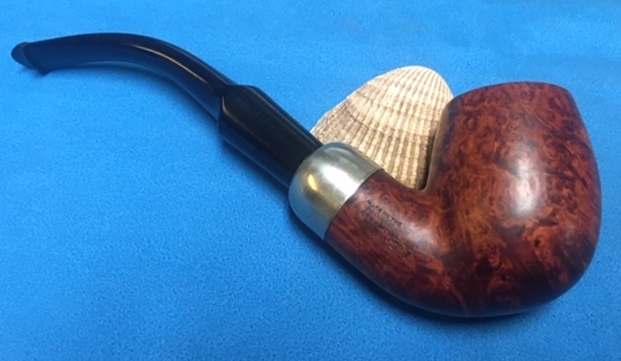
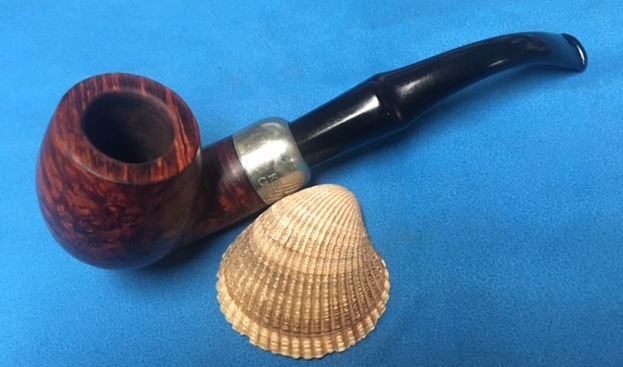
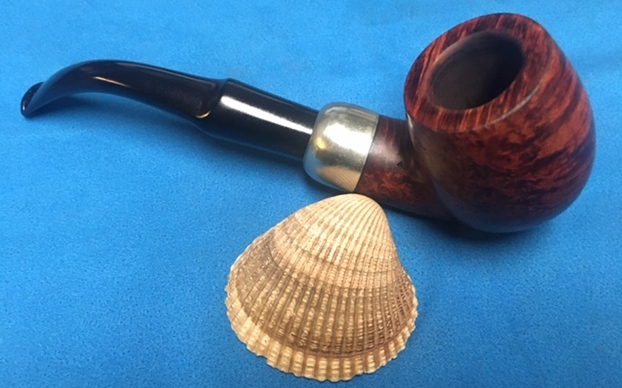
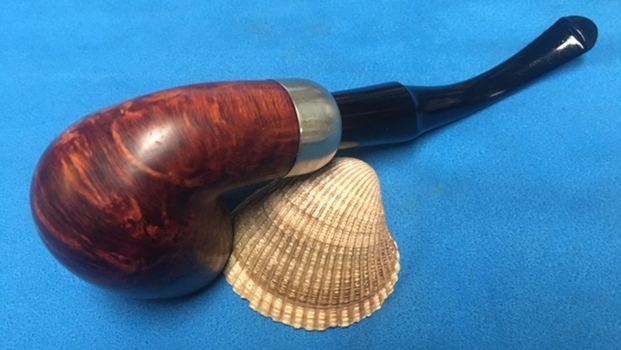
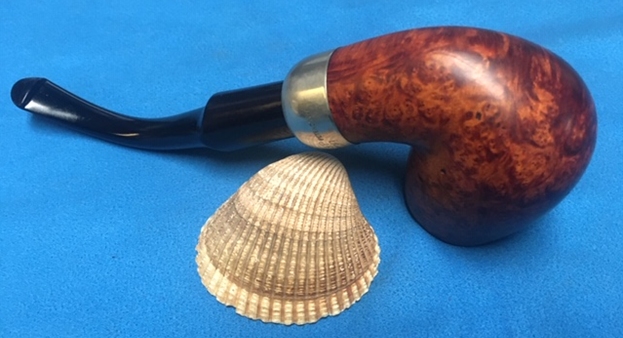
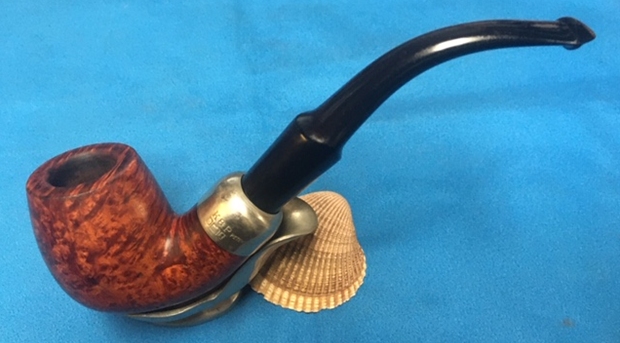
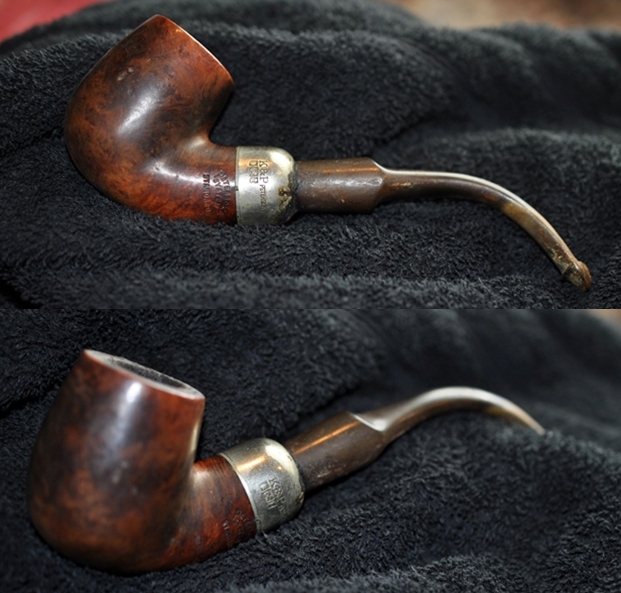
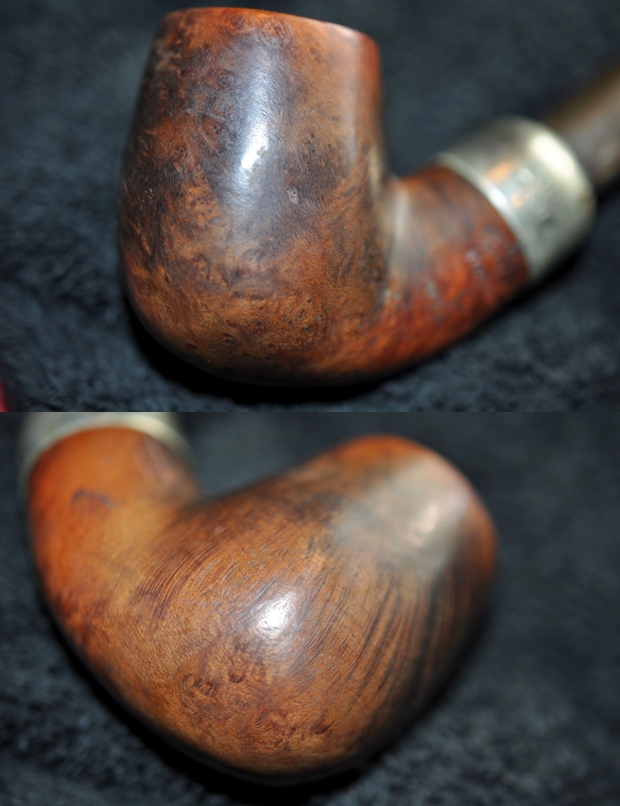
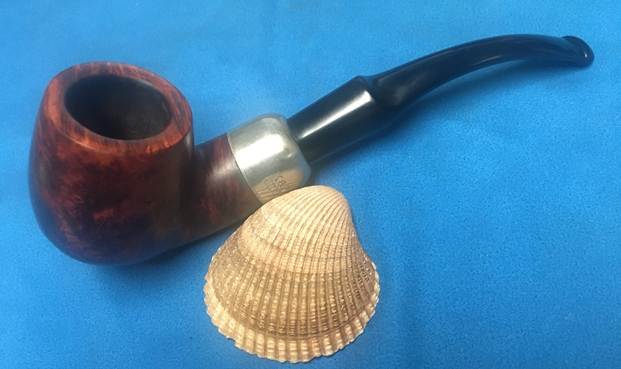
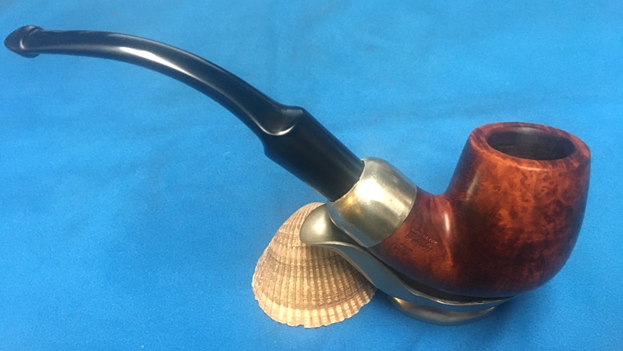
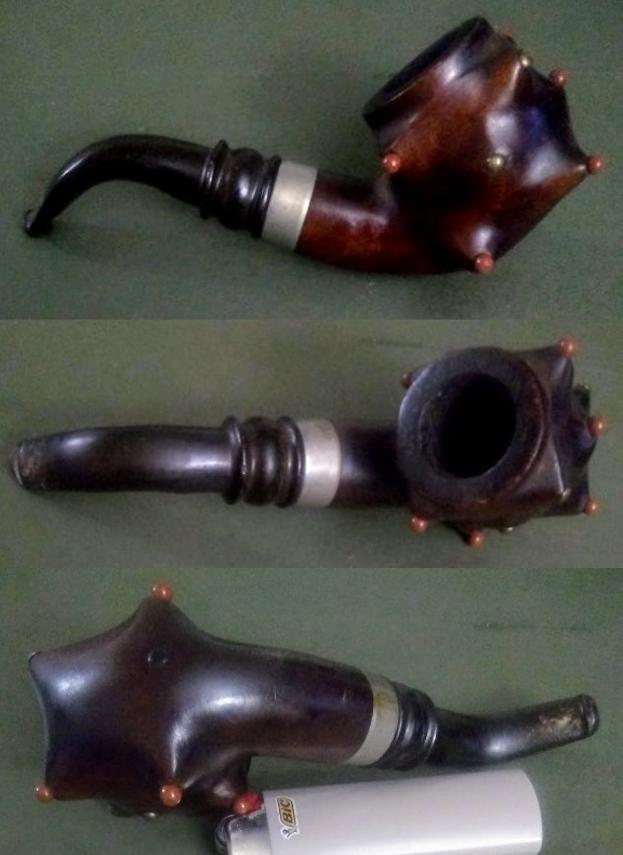
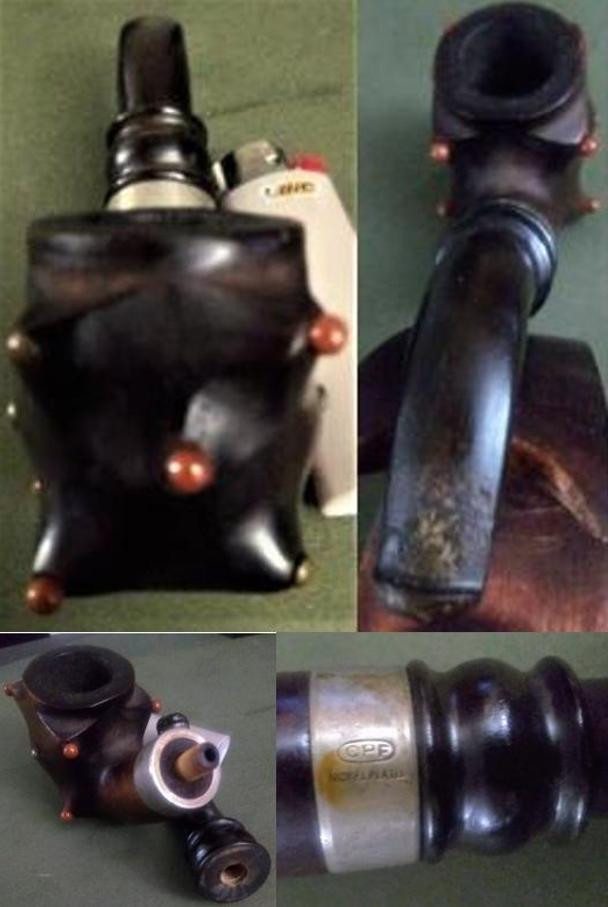
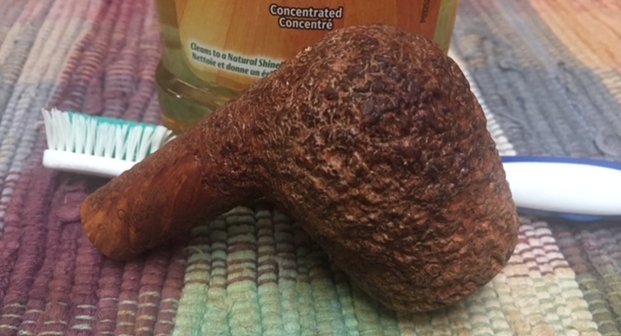
I went to the counter to get the clerk to open the case for me so I could have a better look at the hidden pipe that I had seen. She left me to my hunting and I carefully moved the pipes that had been hiding the briar. It was a larger billiard with a rusticated finish and a smooth rim. I lifted it out of the case and turned it over in my hands. The pipe was dirty with a thick cake in the bowl and some darkening on the smooth rim top. But on the smooth panels on the shank I saw the stamping the were readable. The left side read Ascorti Business KS and the right side read Hand Made Italy. The stem had the characteristic Ascorti A logo and their unique saddle cut. I did not even look at the price. I closed the case and carried my find up to the counter to seal the deal. We negotiated the price and when we came to an agreement the bill was paid and the pipe was mine! When I got to the car I took some photos o fthe pipe as it looked when I picked it up. I sent a copy of the photos to Jeff to show him my find. 
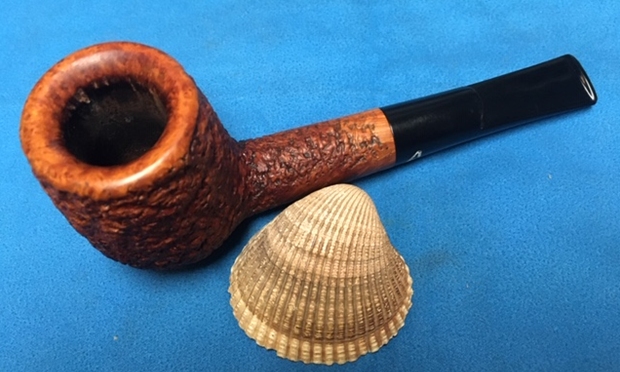
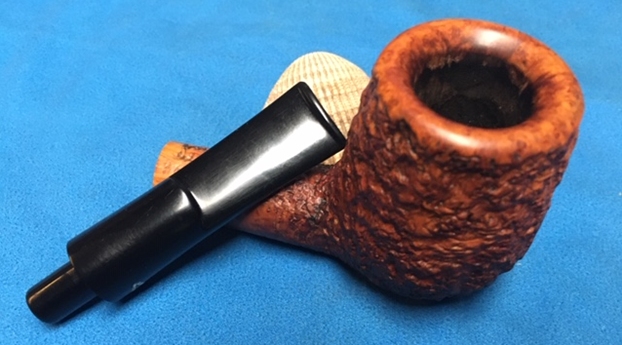
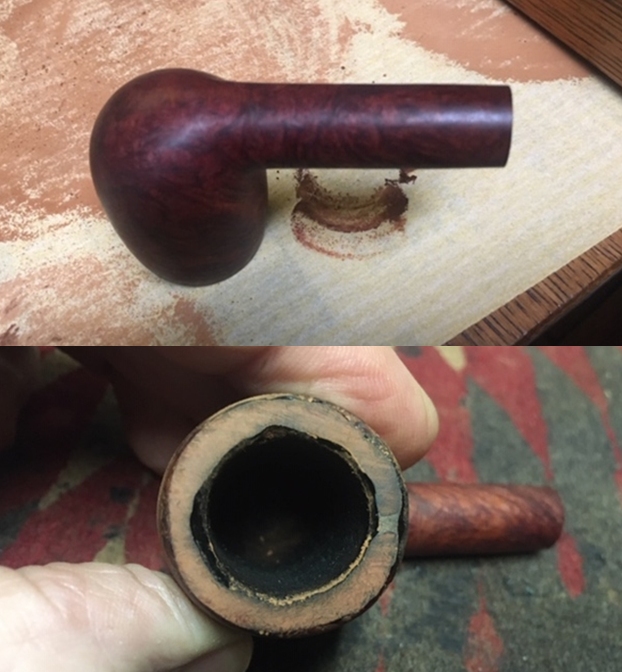
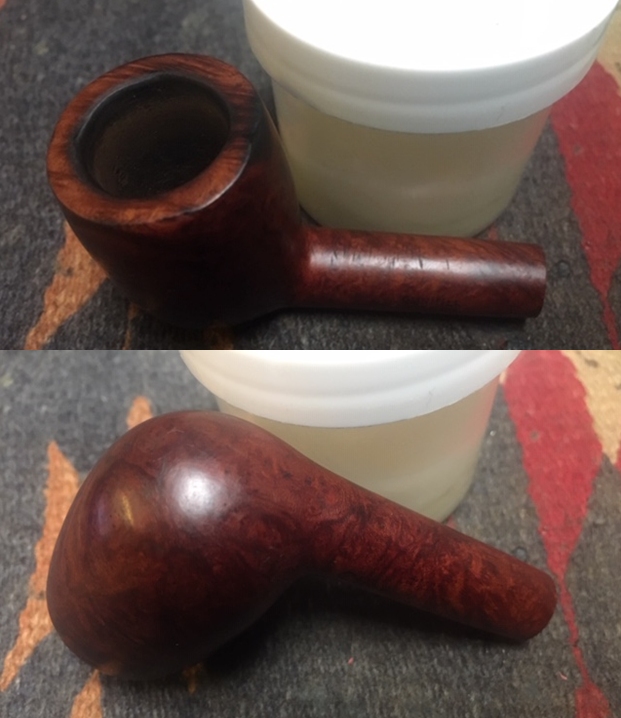
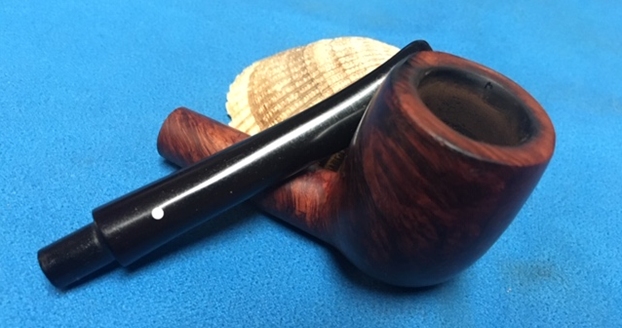
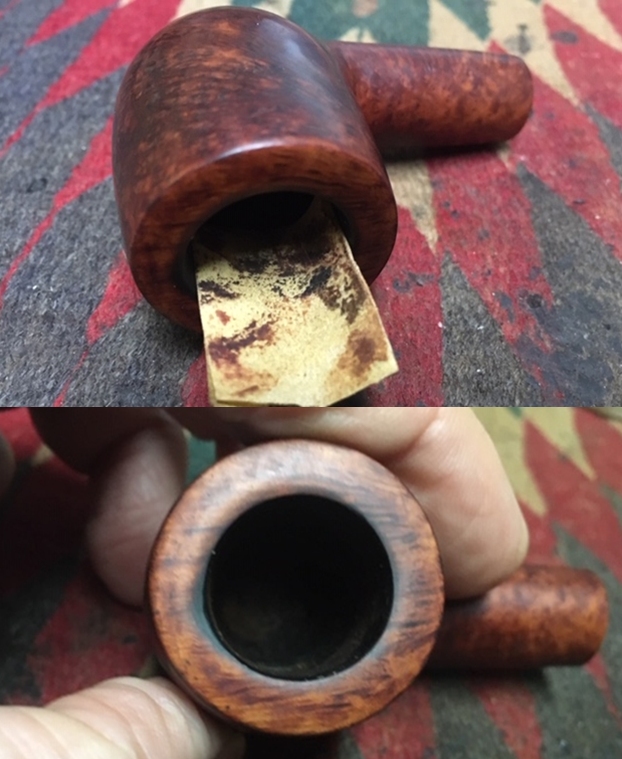
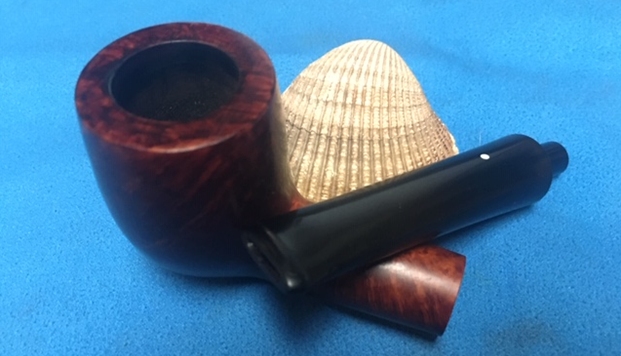
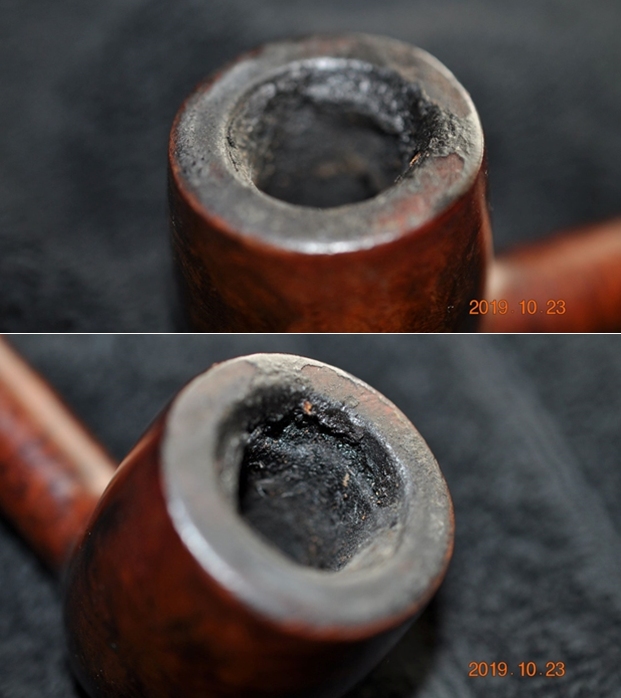
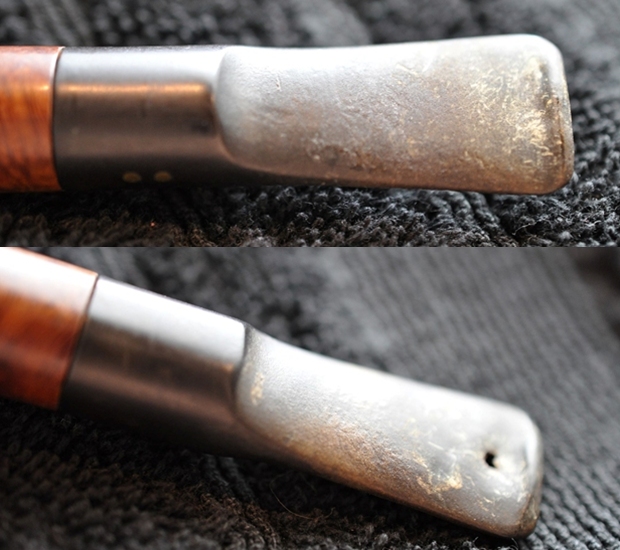
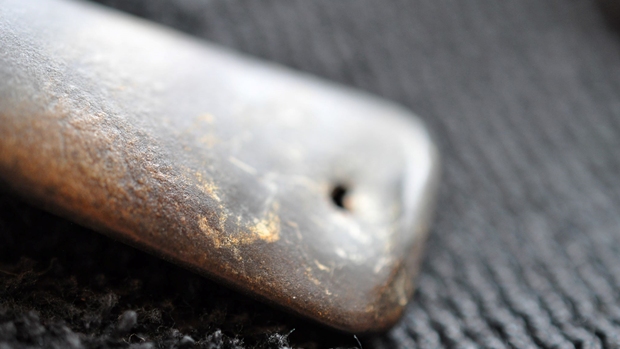
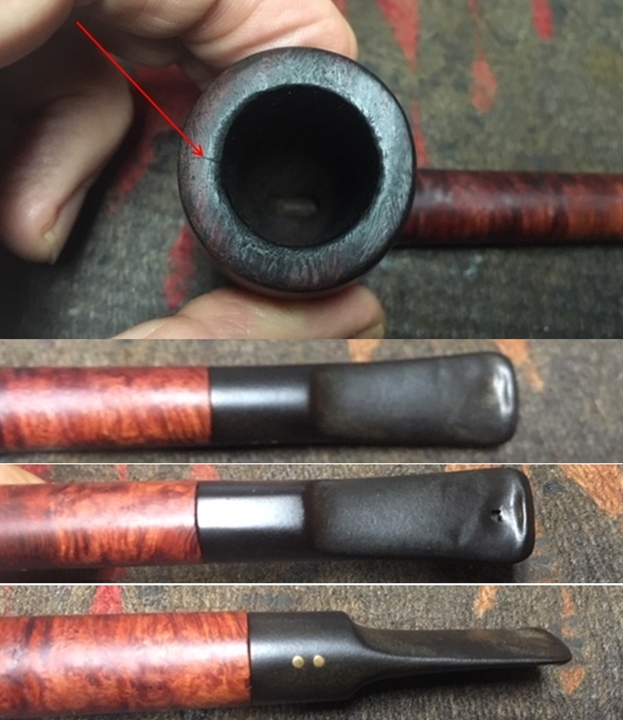
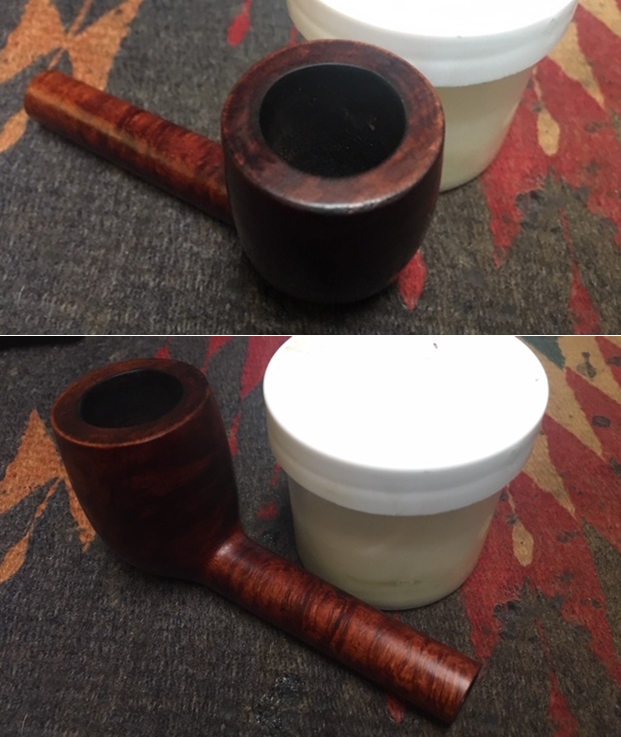
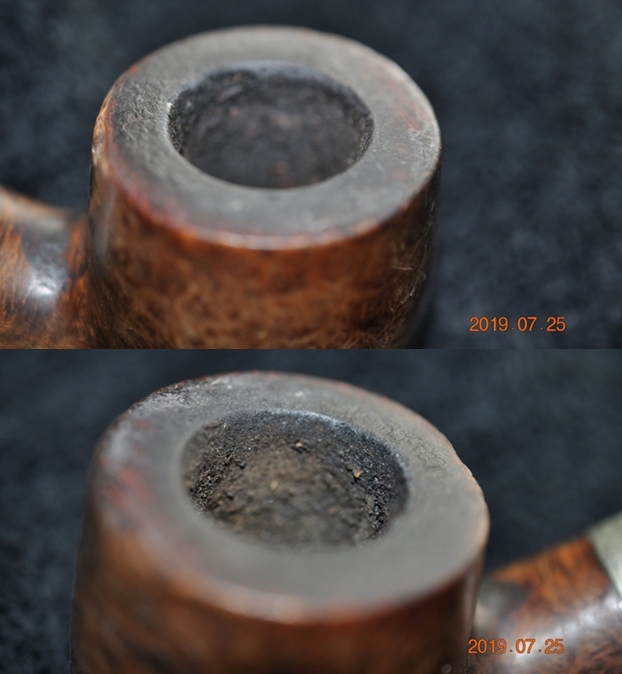
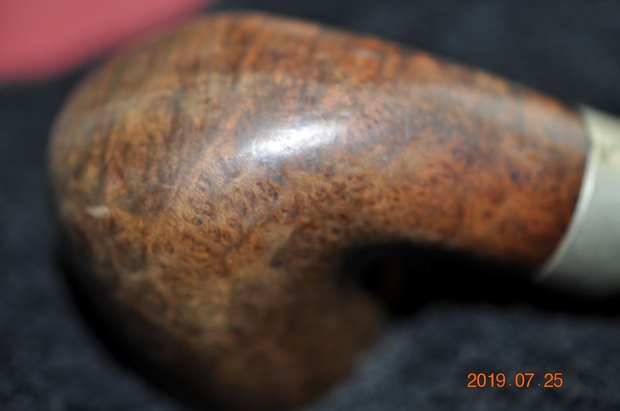
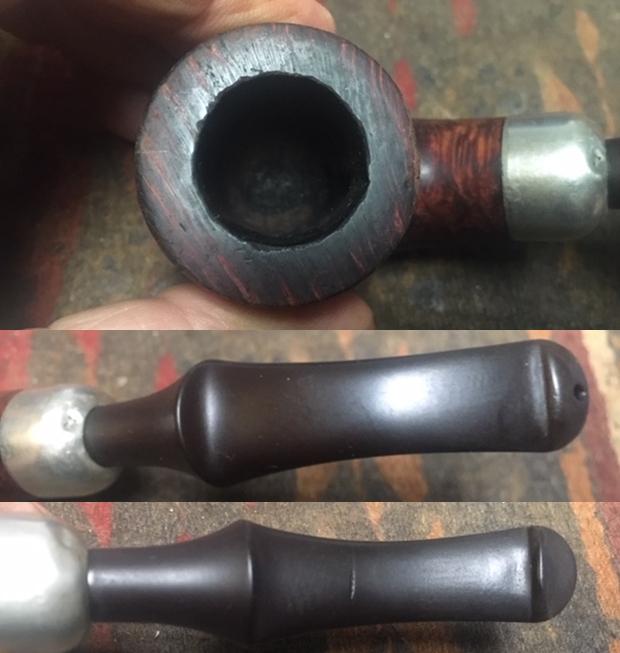
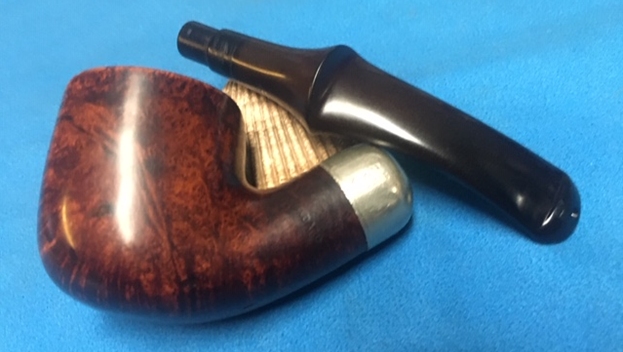
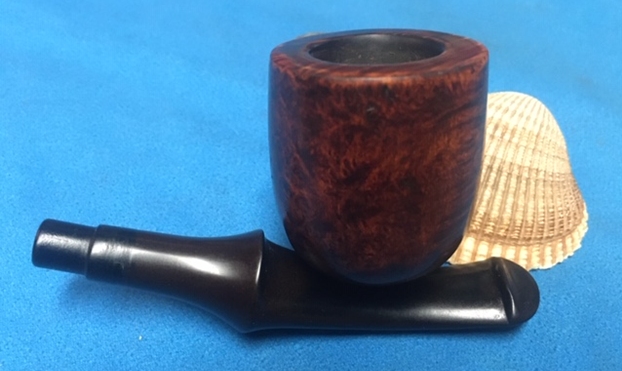
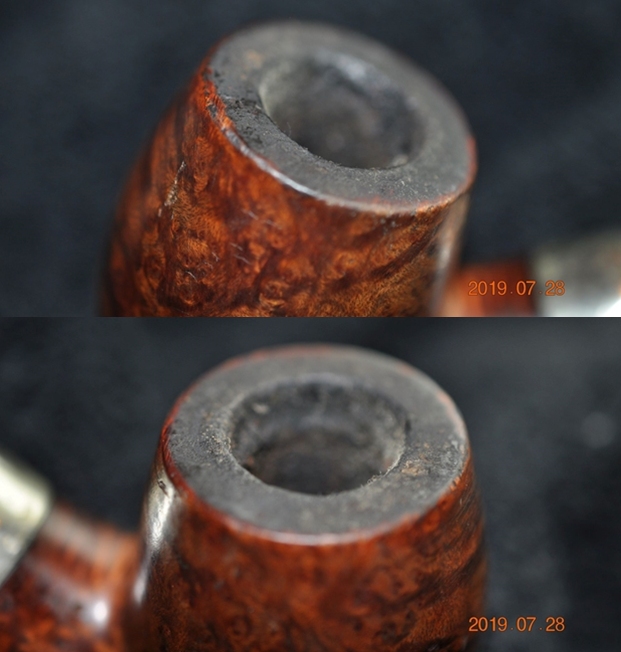
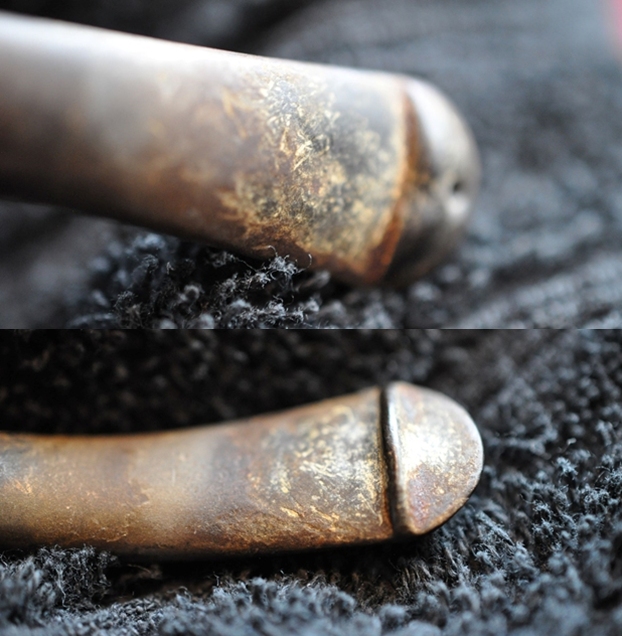
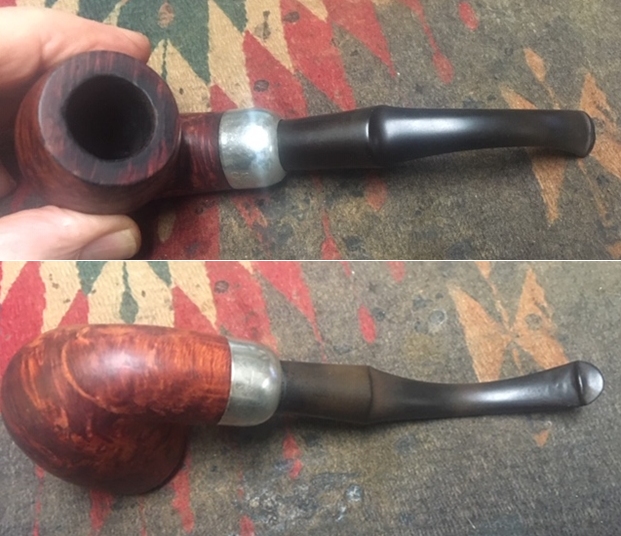
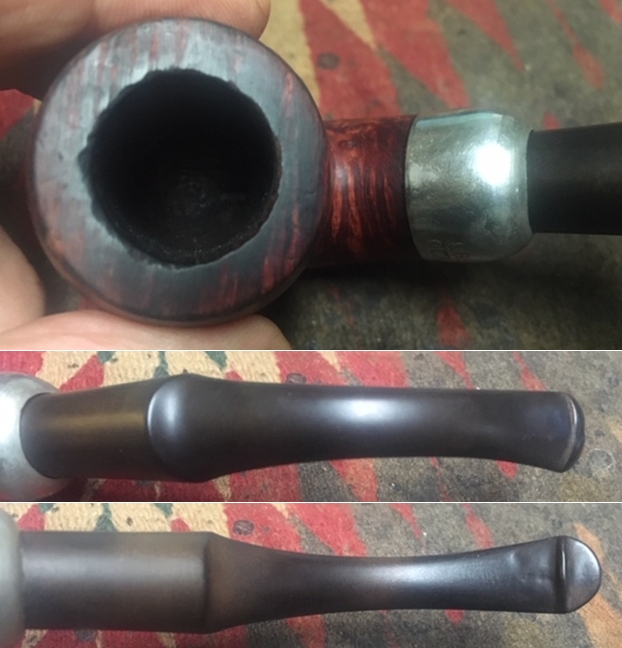
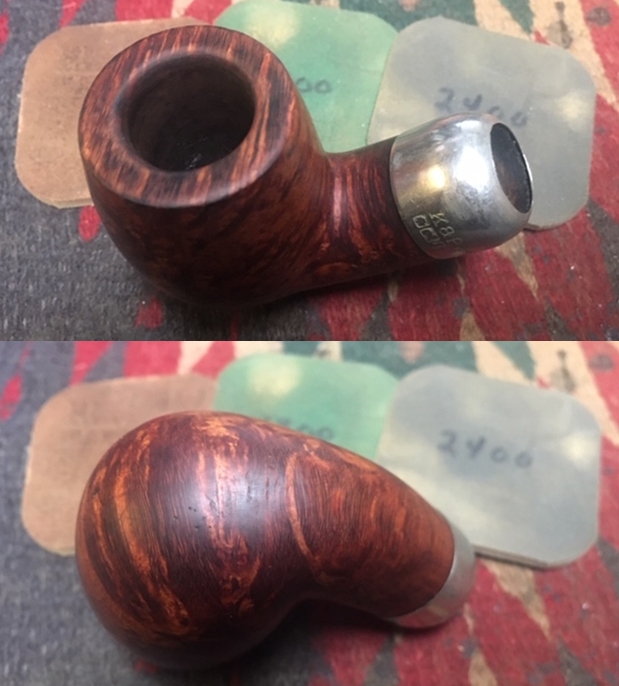
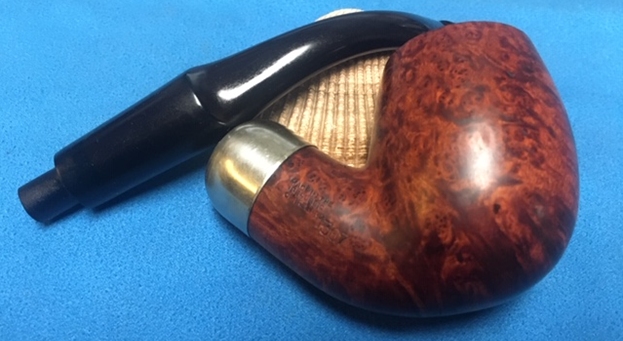
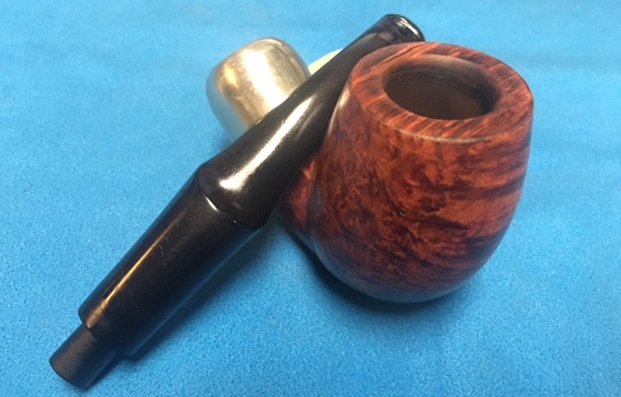
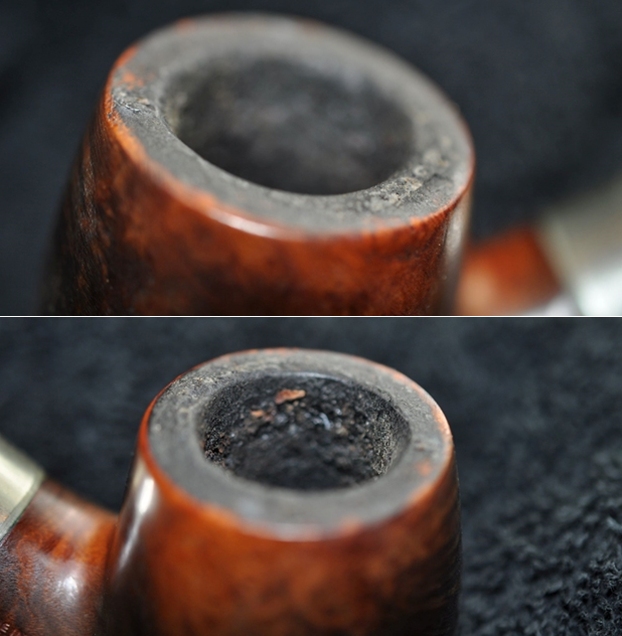
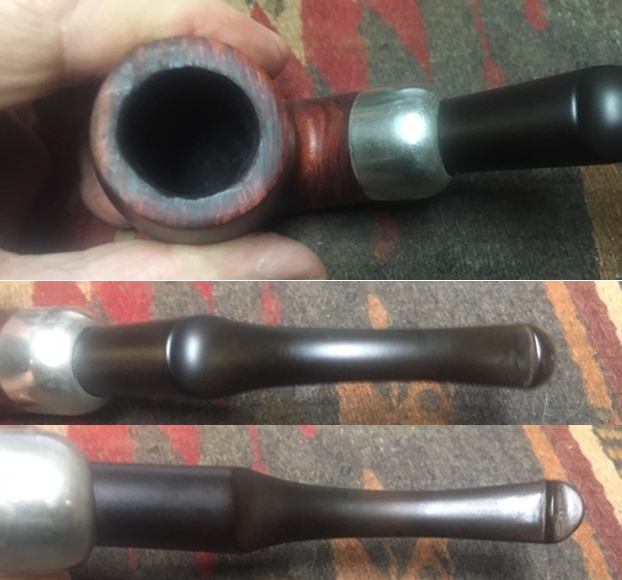
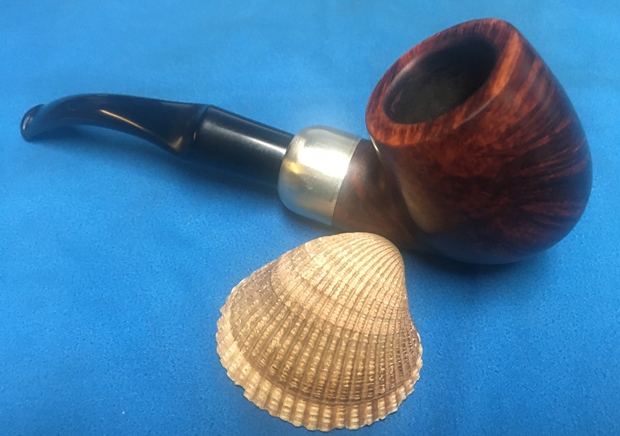
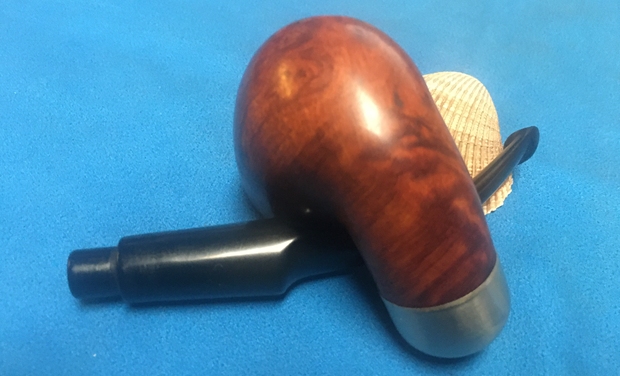
 I took a close up photo of the rim top so Jeff could see its condition. There was a thick cake in the bowl – thicker from mid bowl to the bottom. The top of the bowl seems to have been reamed with a knife. There is some darkening and light lava on the smooth rim top. The acrylic stem photos show the tooth marks on both sides. Overall the tooth marks are light and should be able to be sanded smooth. There is one on the top side that is a little deeper and may need to be repaired. There is also some damage on the edge of the button that will need to be addressed.
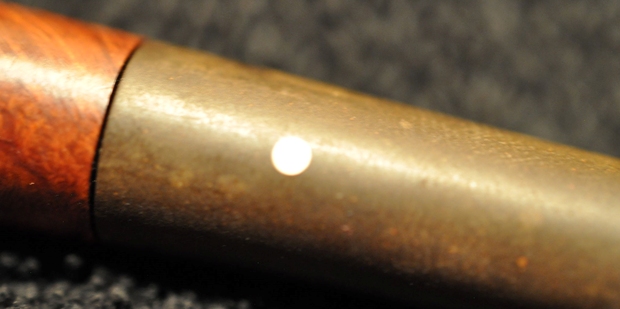
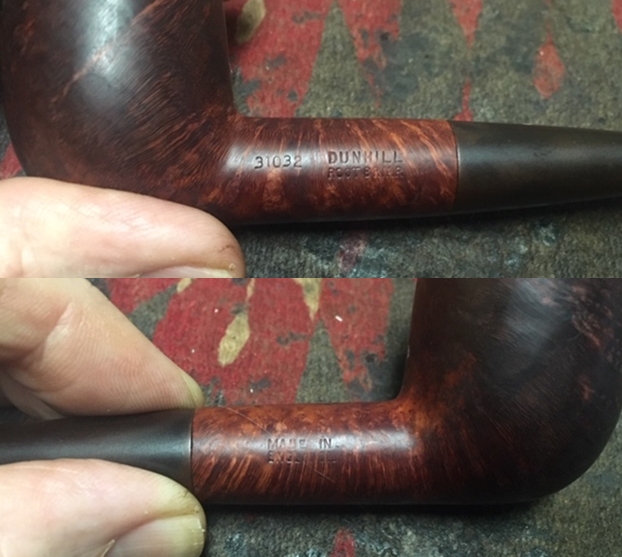
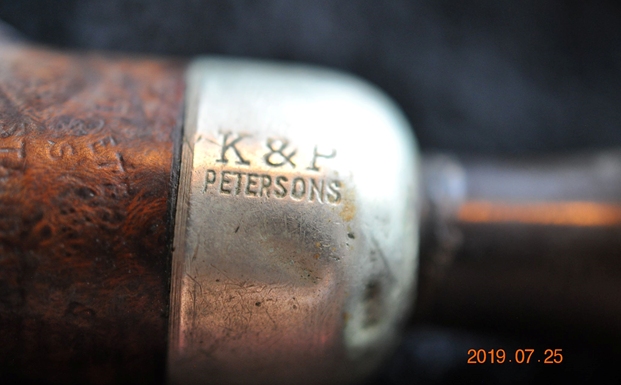
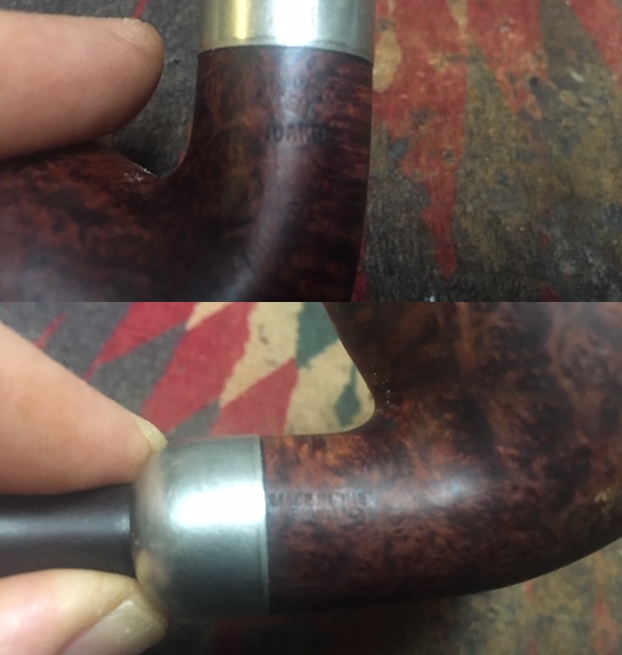
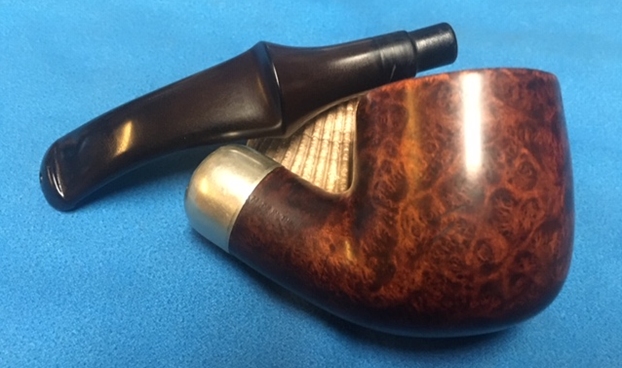
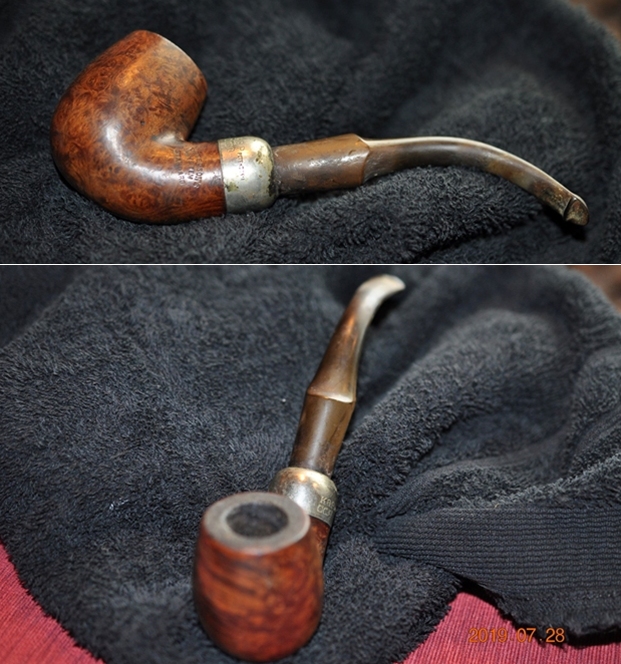
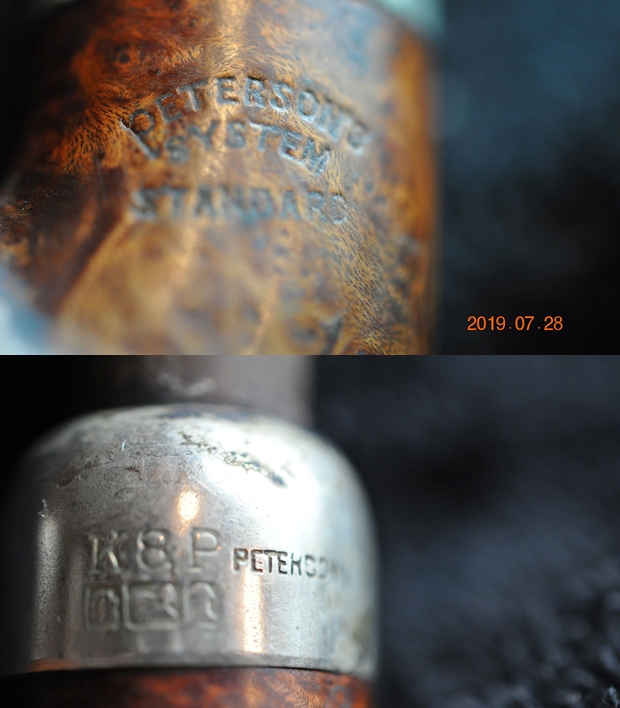
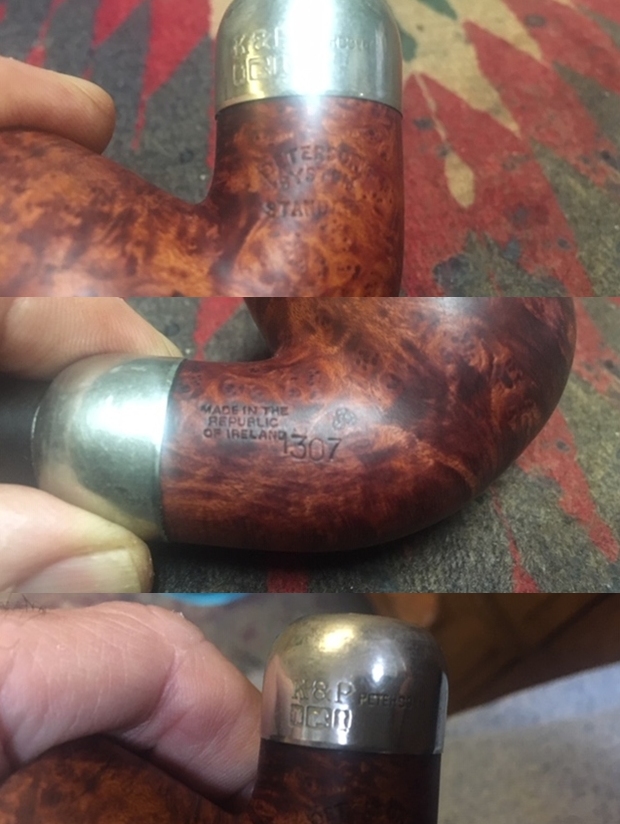
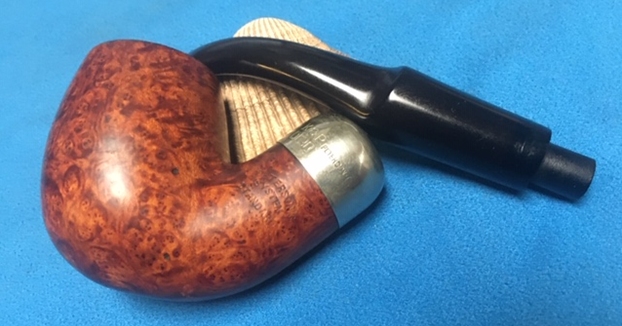
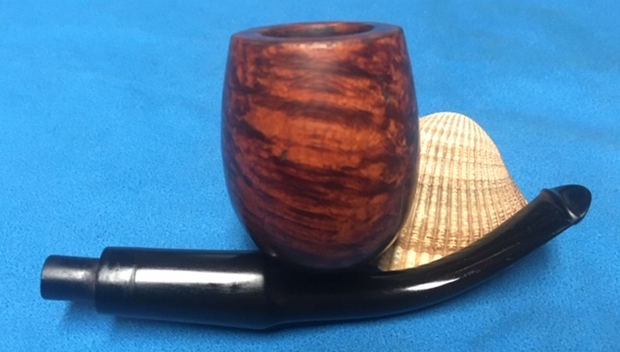
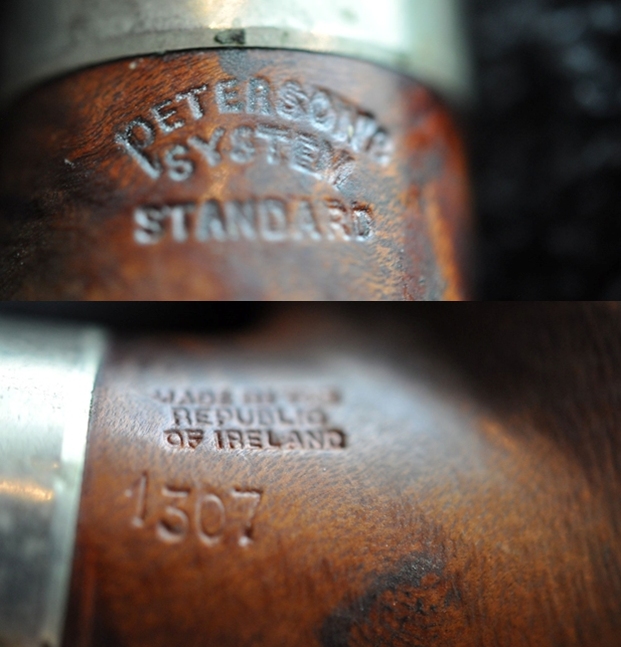
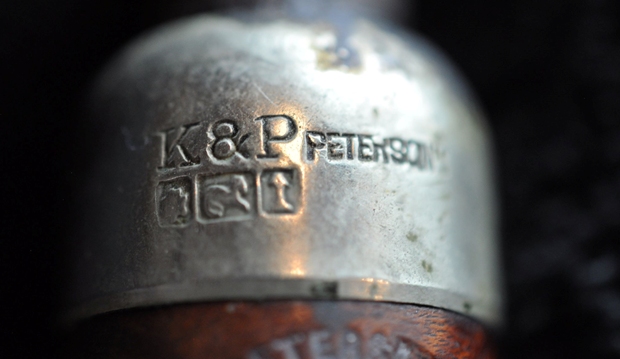
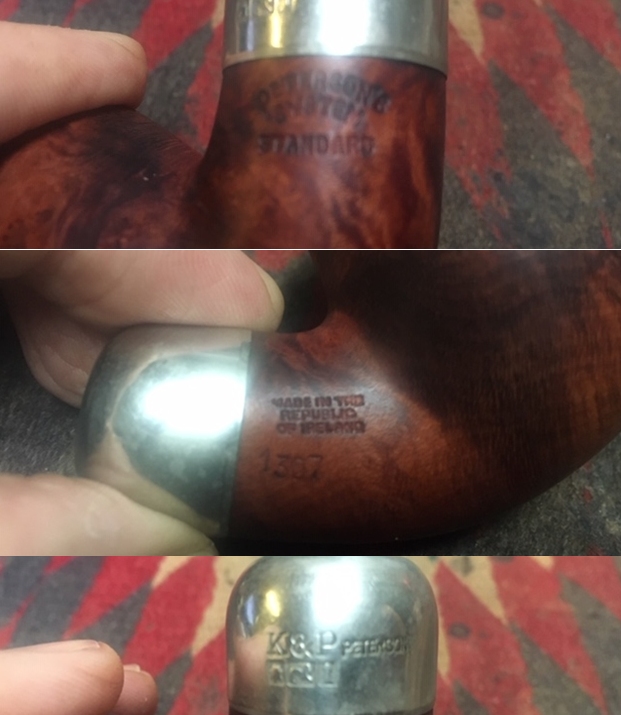
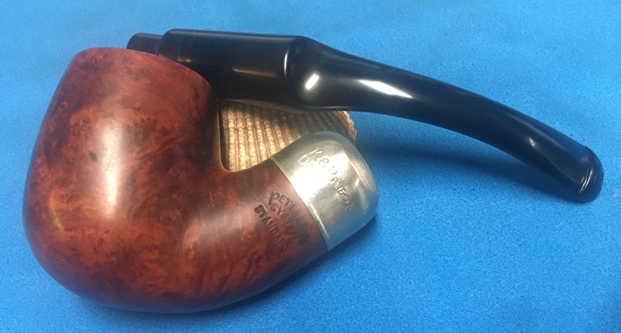
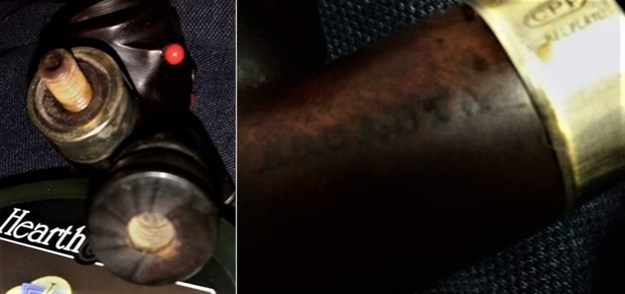
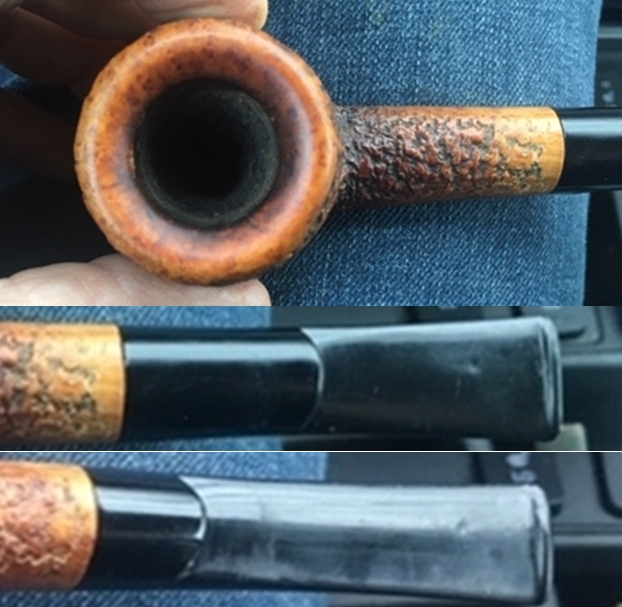 I took a photo of the stamping on the left side of the shank and the saddle portion of the stem. The stamping is clear and reads Ascorti with the tail of the T forming a pipe. Underneath it is stamped Business followed by KS. The stamp on the stem is a classic Ascorti “A”. Most of the white that would have filled it in is worn off.
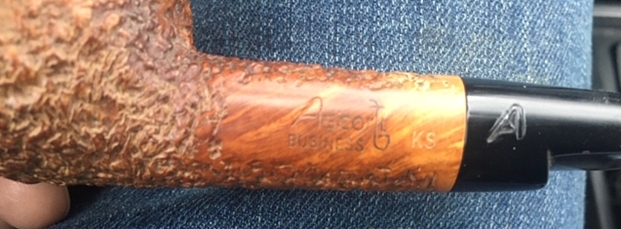 Once I finished the last of Bob Kerr’s Dunhill pipes last evening I set this pipe aside as the pipe I would work on New Year’s Day. This morning I started by reaming the pipe. It had a rock had cake. I had to start the reaming with the smallest cutting head on the PipNet reamer and worked my way through three of the four cutting heads. That reamer usually does the job with a light cleanup from a pipe knife. But not this time! I used a KleenReem to take more of the cake back from the walls of the bowl and smooth out the hard spots. This was a tough cake. I finished with that and turned to the Savinelli Fitsall Pipe Knife to clean up the remaining ridges and bumps in the walls around the airway at the bottom of the bowl. I sanded the walls of the bowl with a piece of dowel wrapped in 220 grit sandpaper. Finally I was able to remove the cake from the walls and leave them smooth.
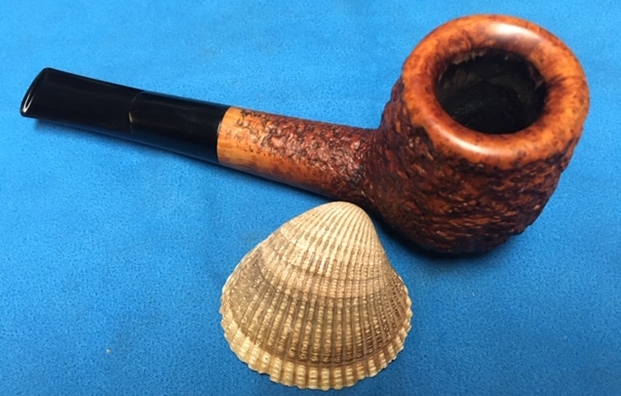
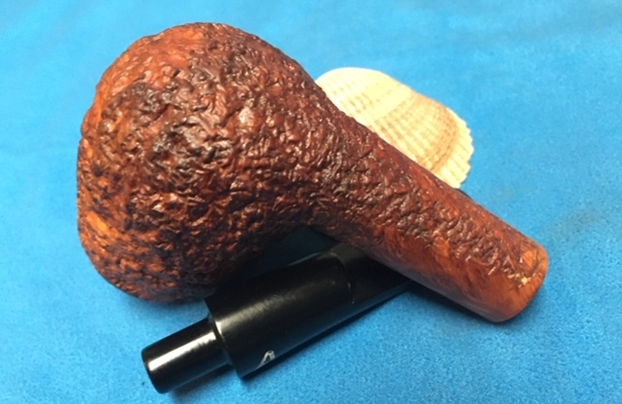
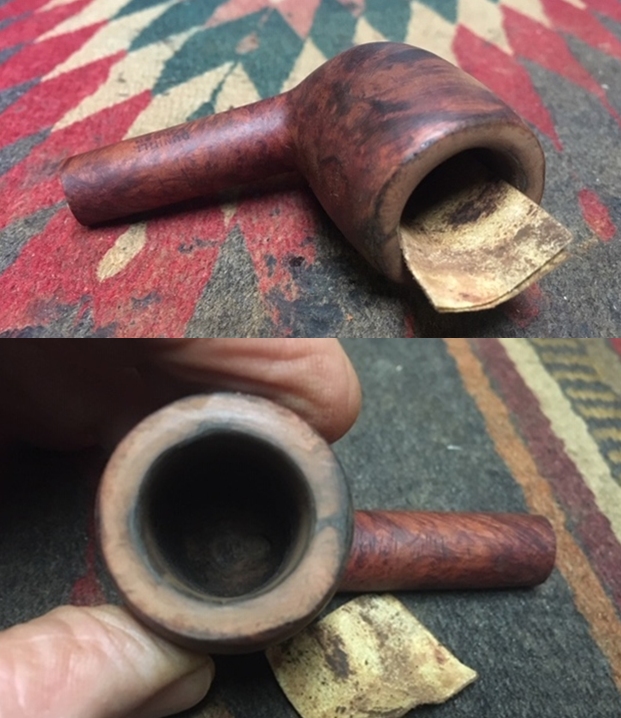
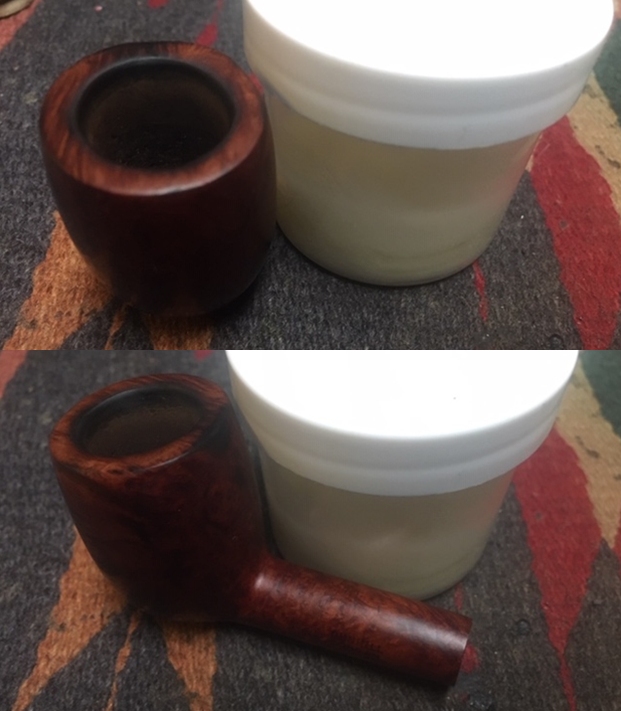
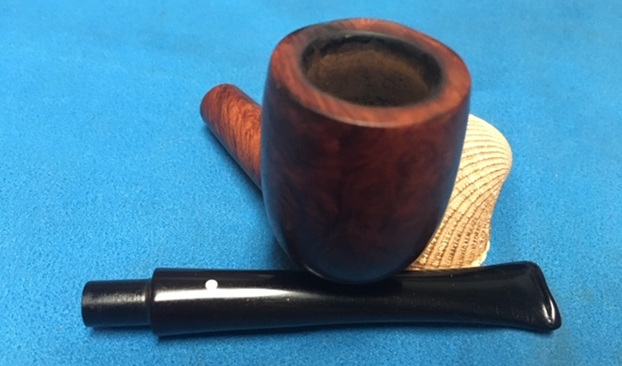
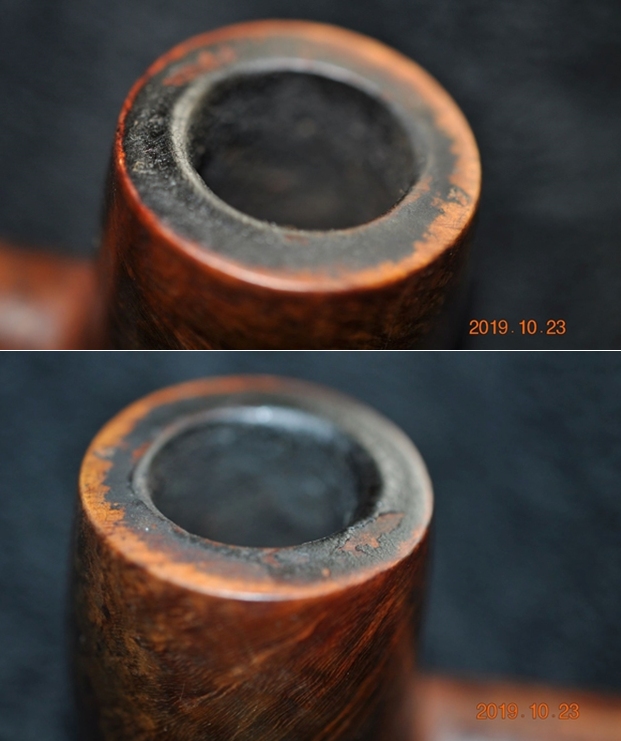
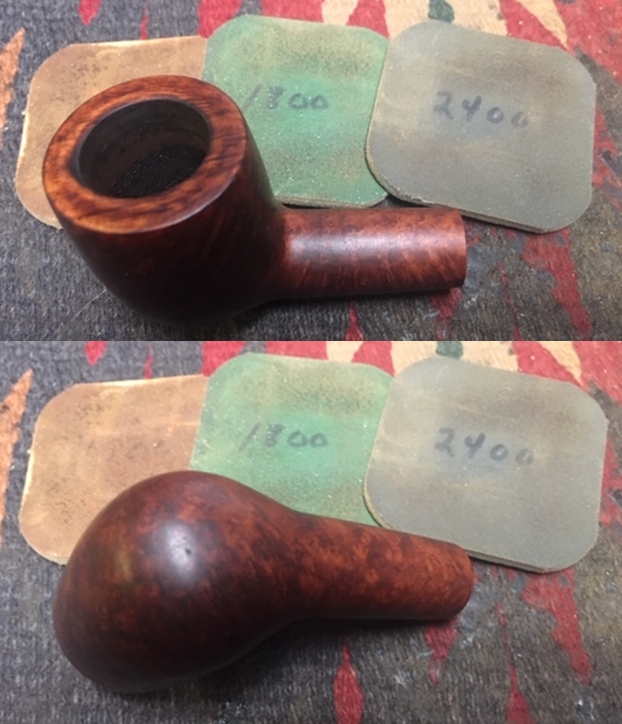
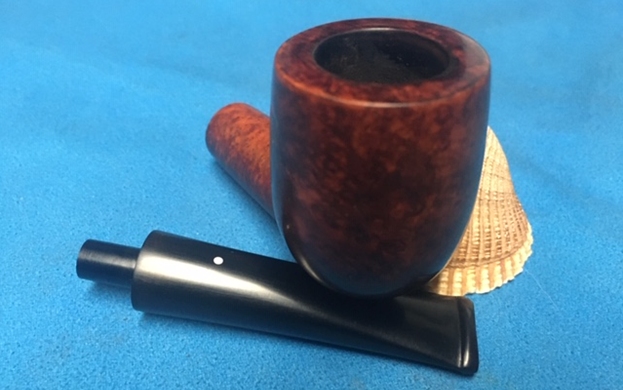
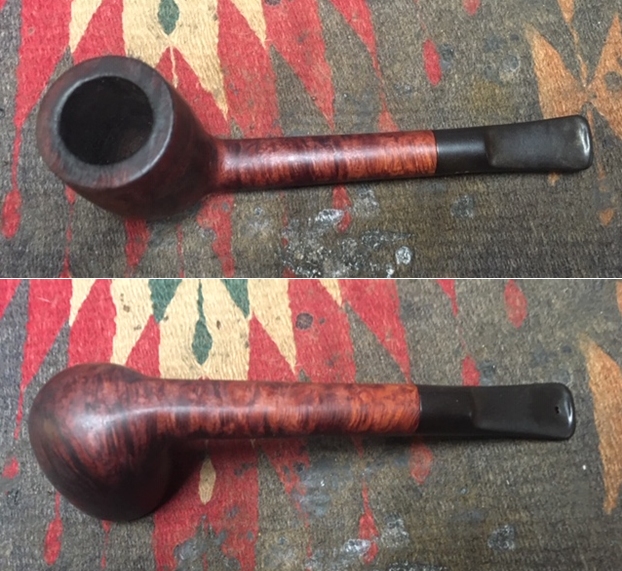
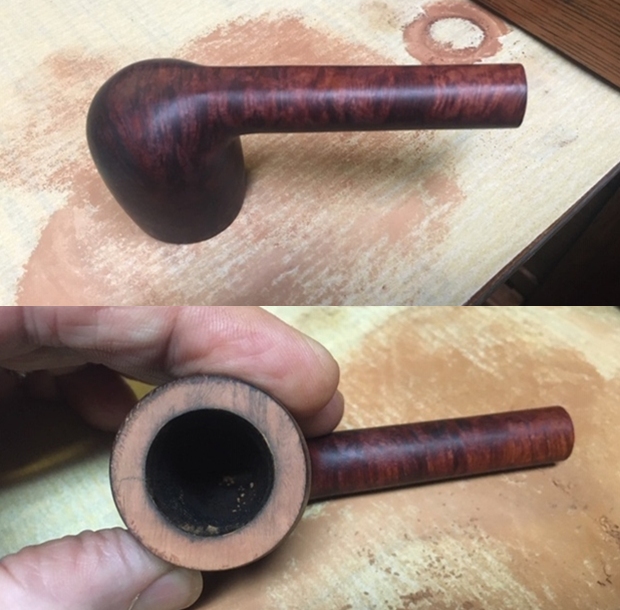
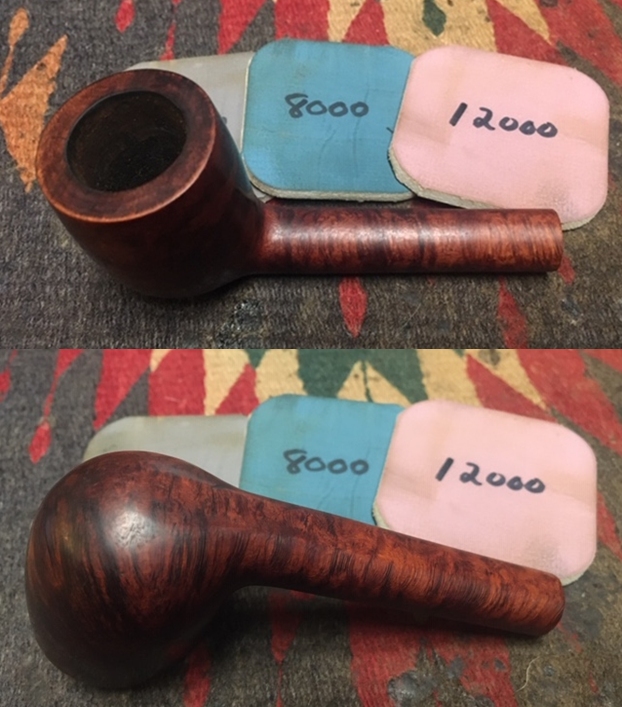
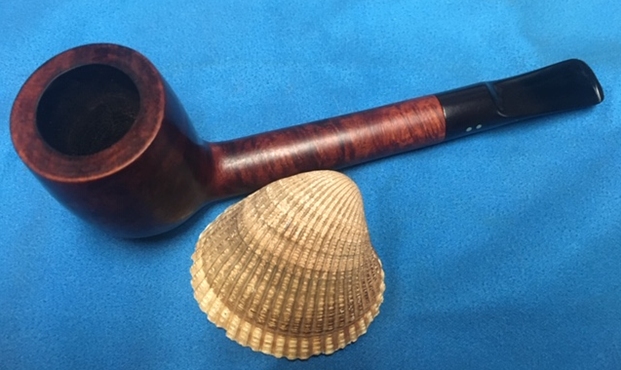
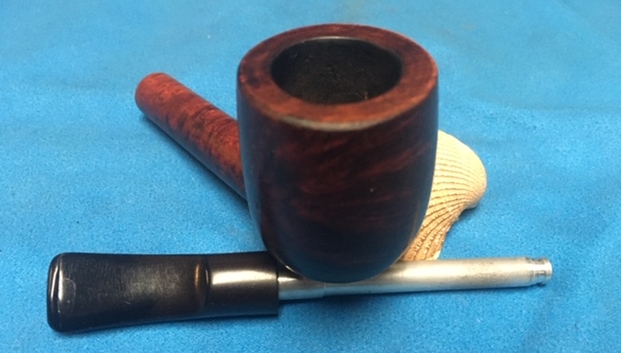
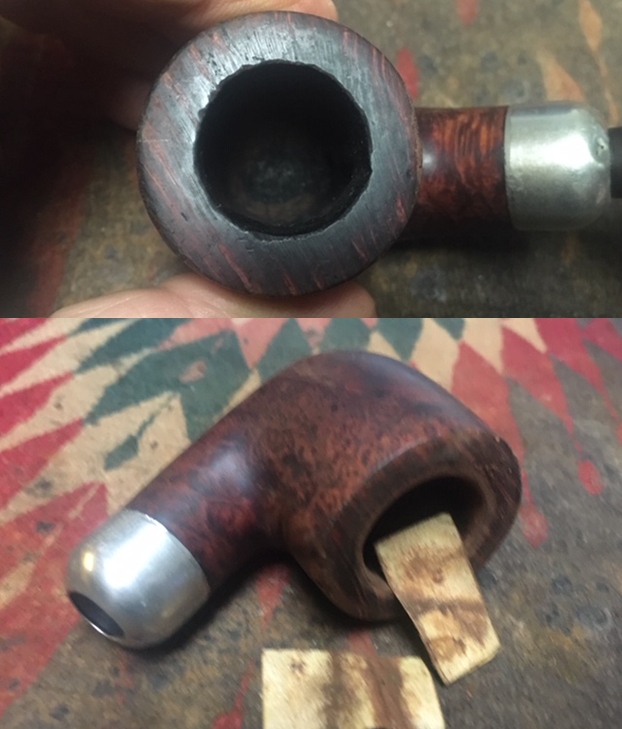
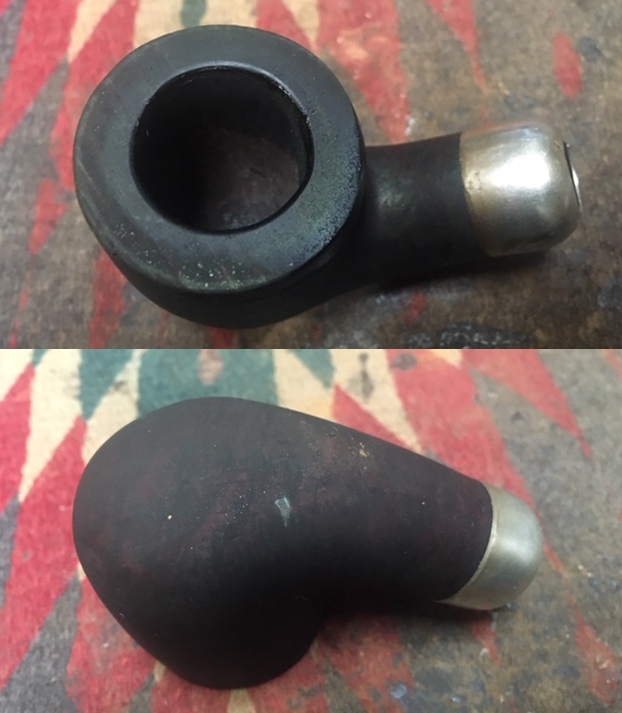
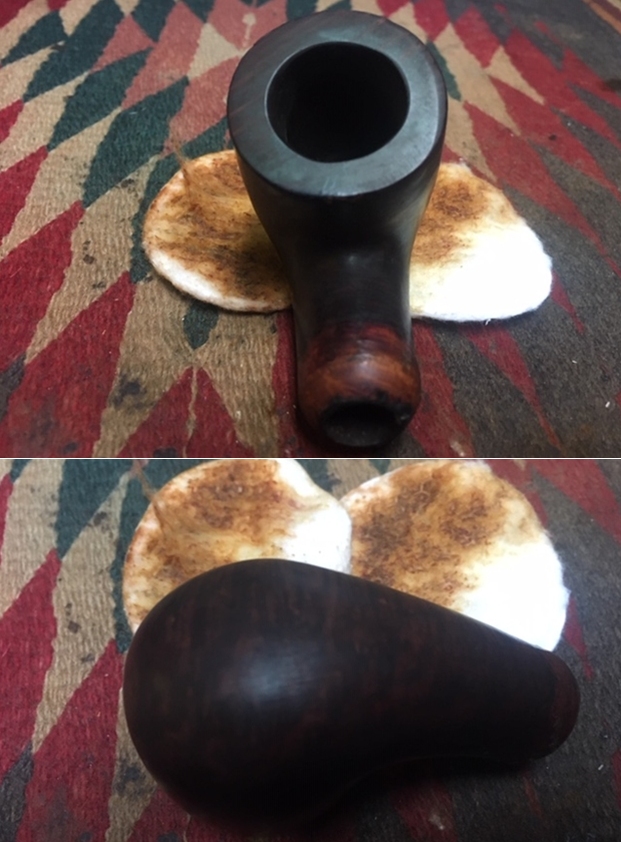
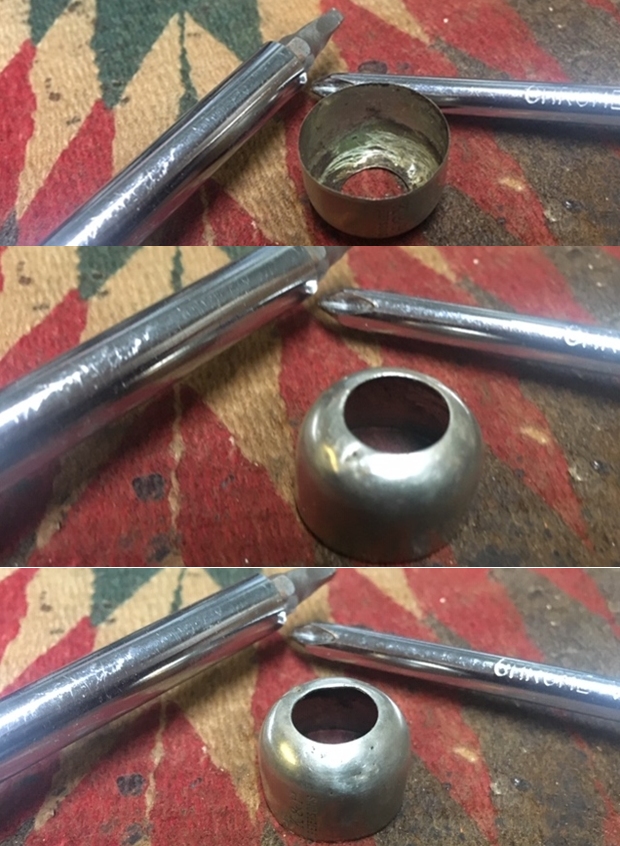
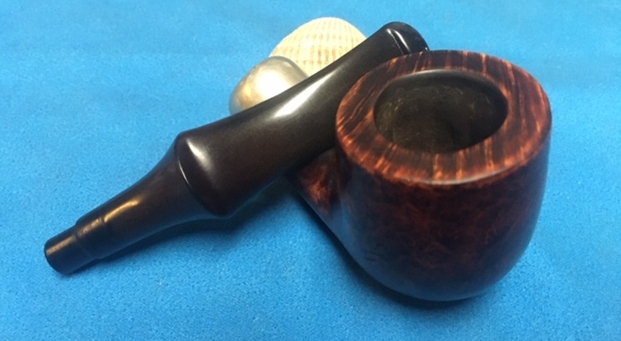
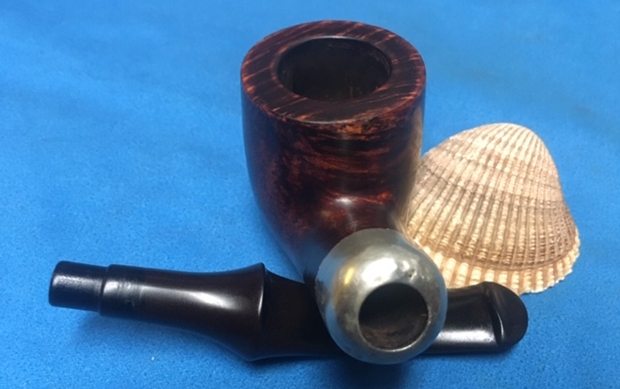
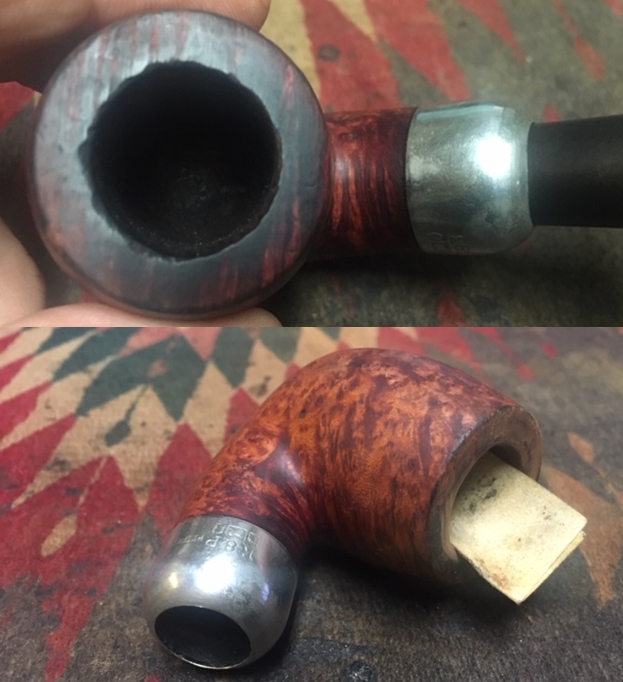
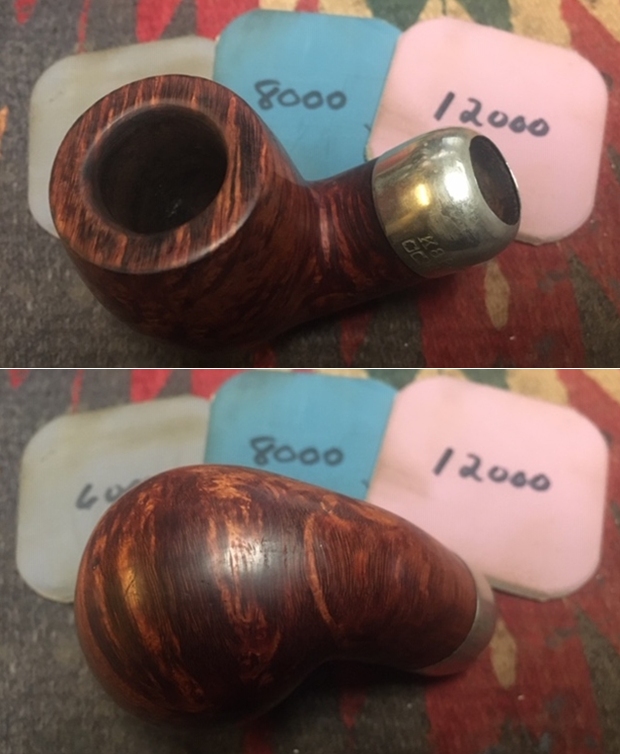
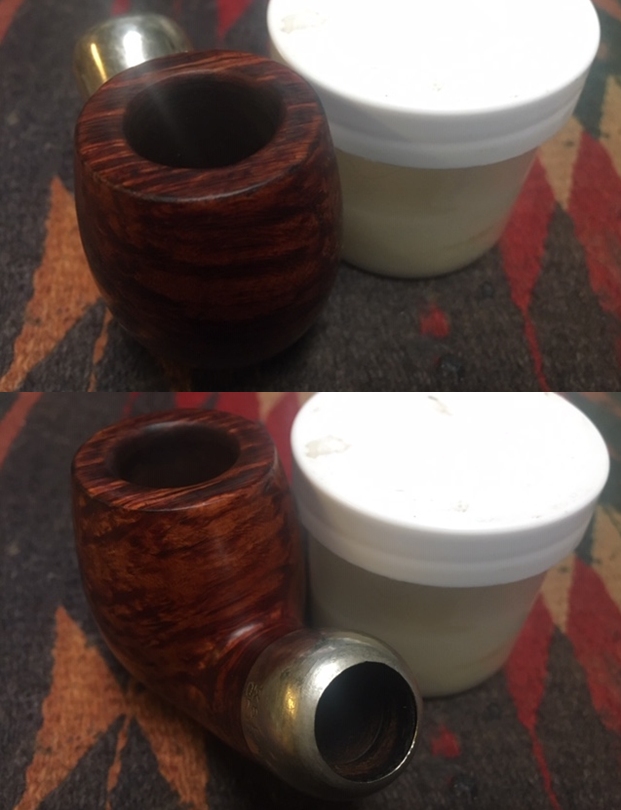
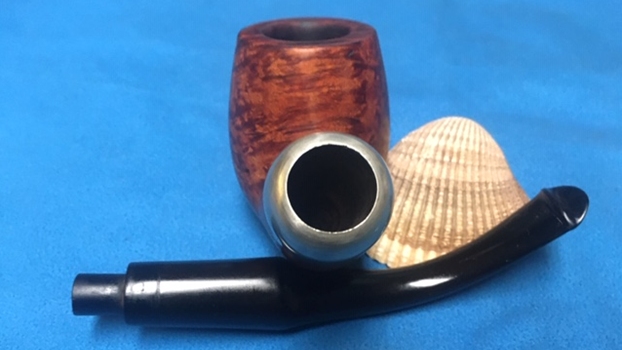
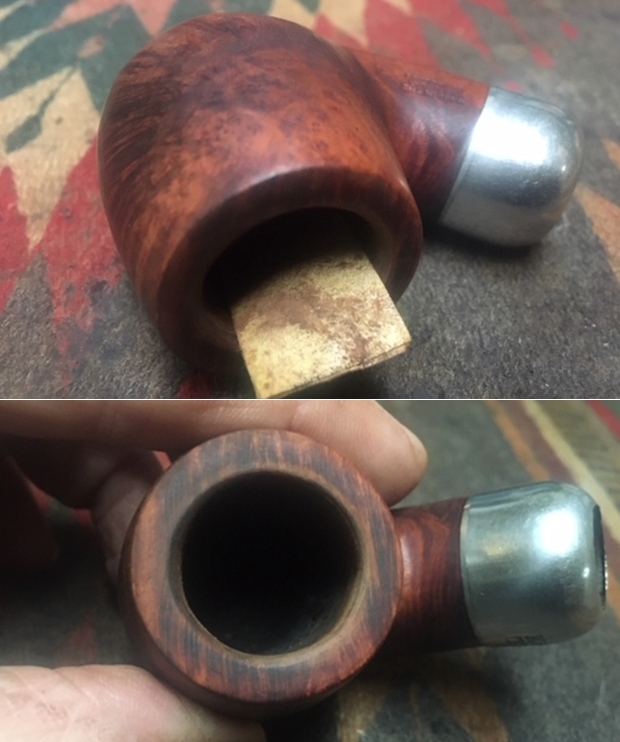
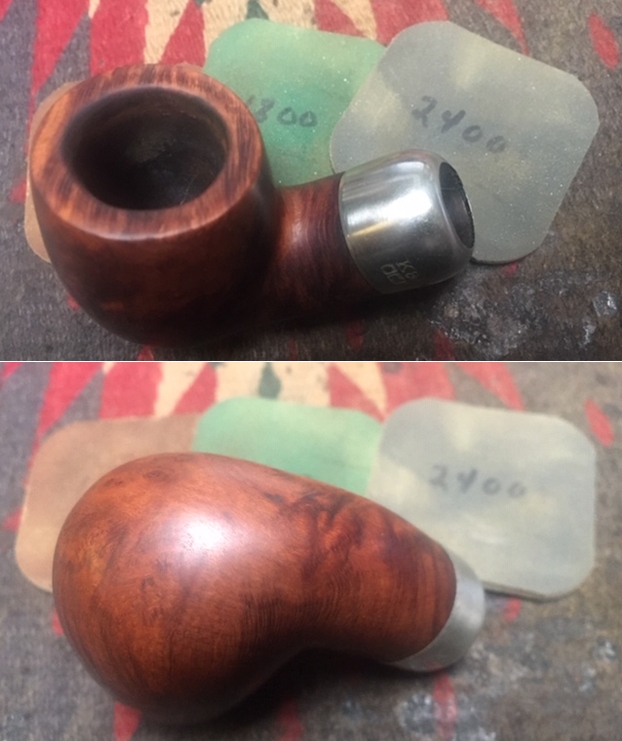
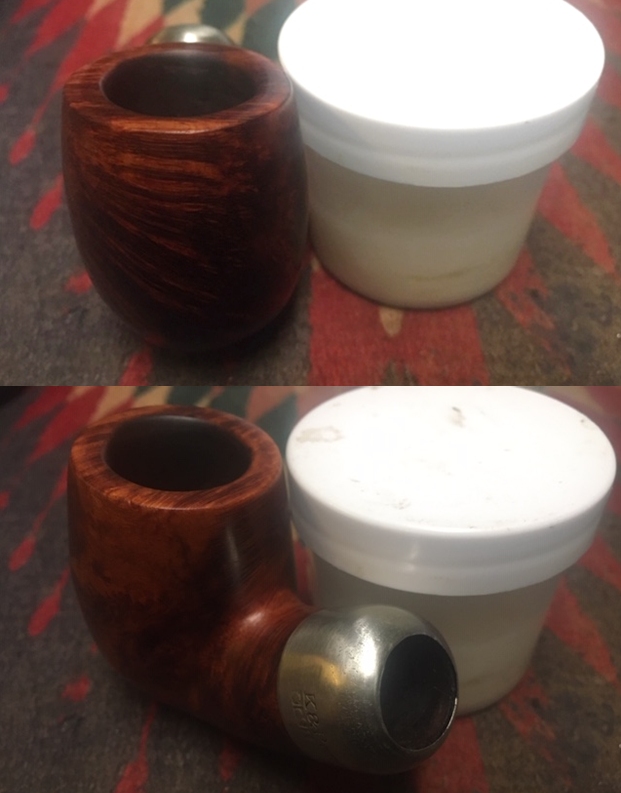
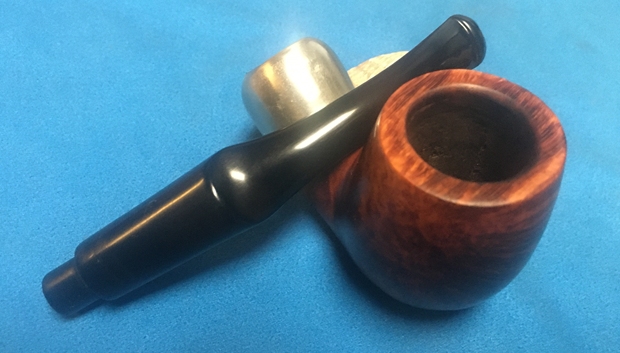
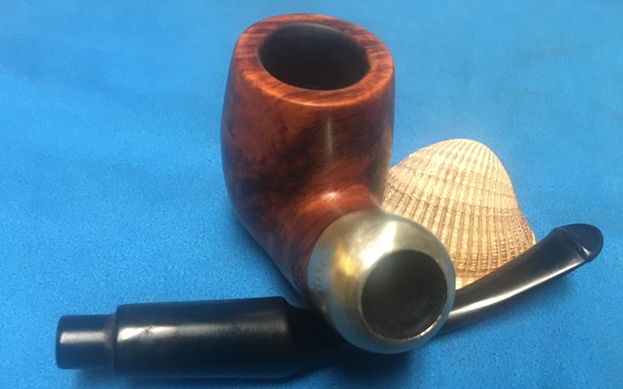
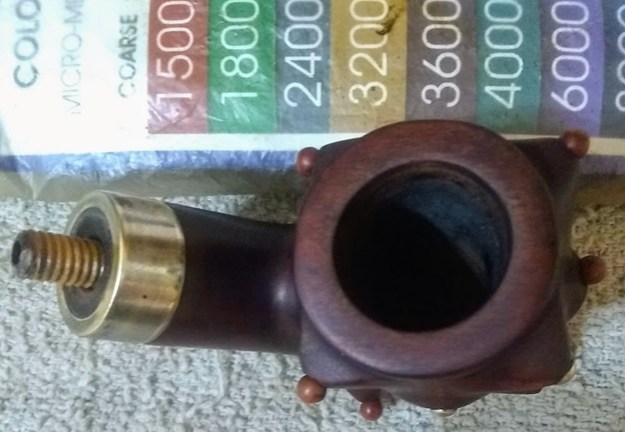
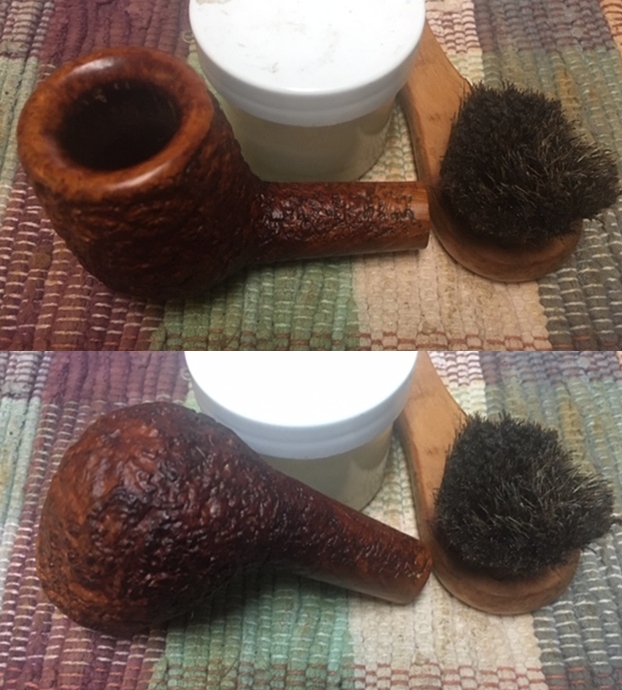
 I took a photo of the reamed bowl and you can see how much cake was removed. It is a large bowl. You can also see the darkening and light lava coat on the inner edge and bevel of the bowl.
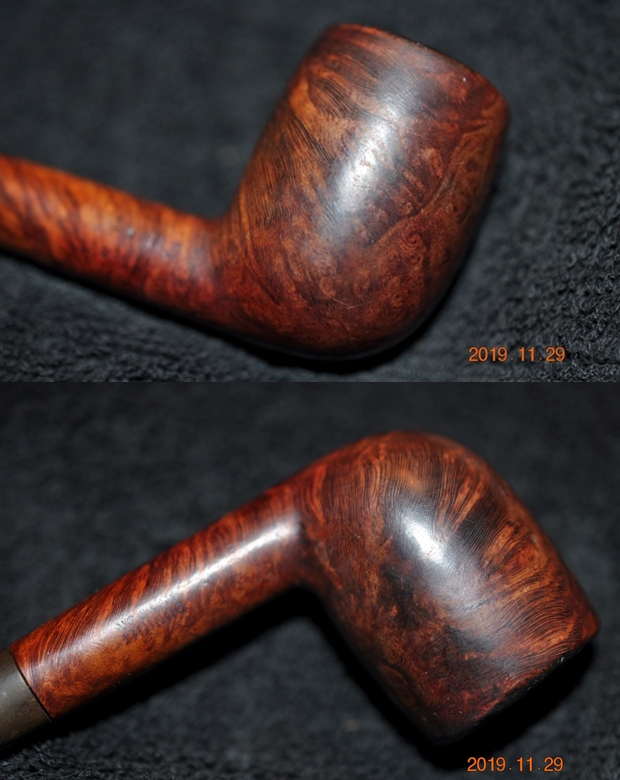
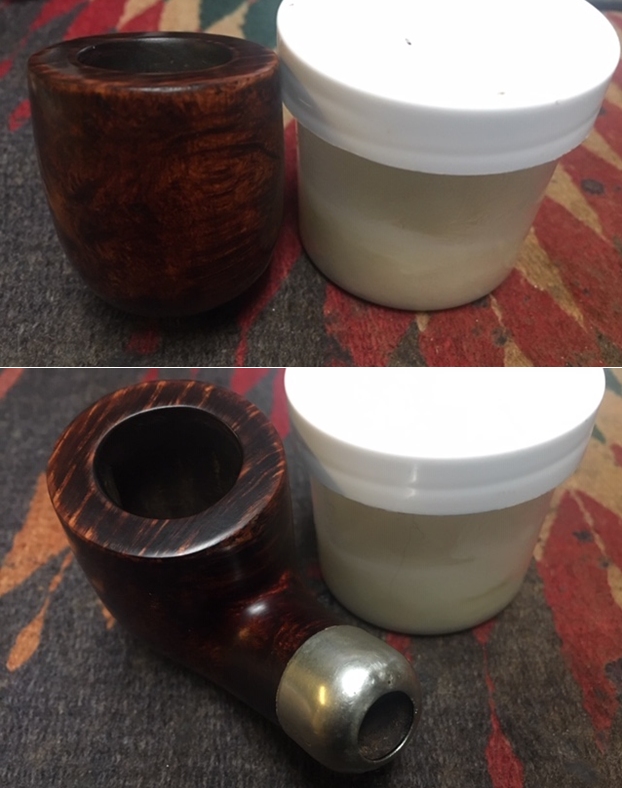
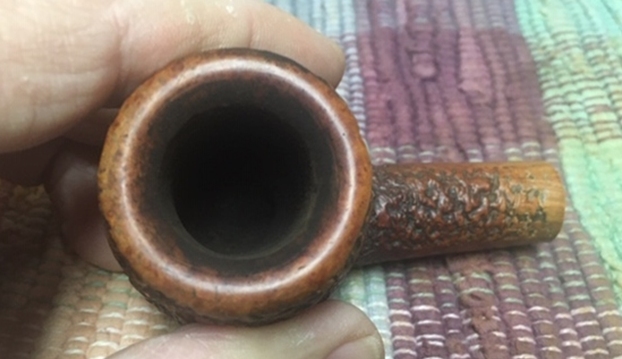 I scrubbed the bowl and rim with Murphy’s Oil Soap and a tooth brush. I was able to remove much of the grime from the rim top and the grooves and valleys of the sandblast finish. I rinsed it under warm running water to flush away the grime and dust in the soap. The following photos show the cleaned rim and bowl sides.
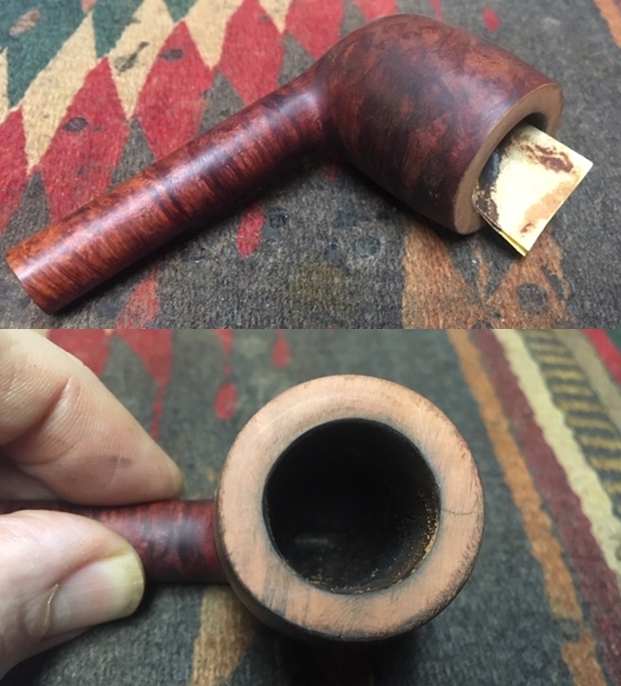
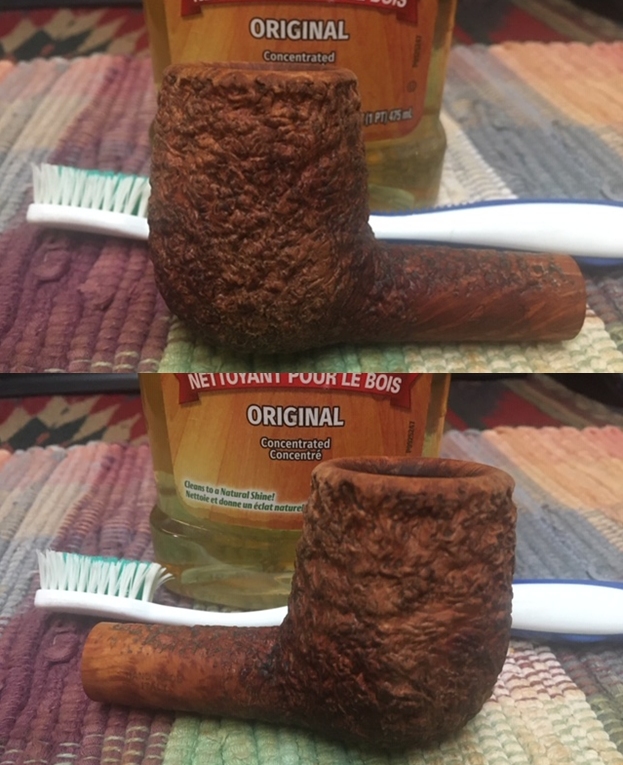

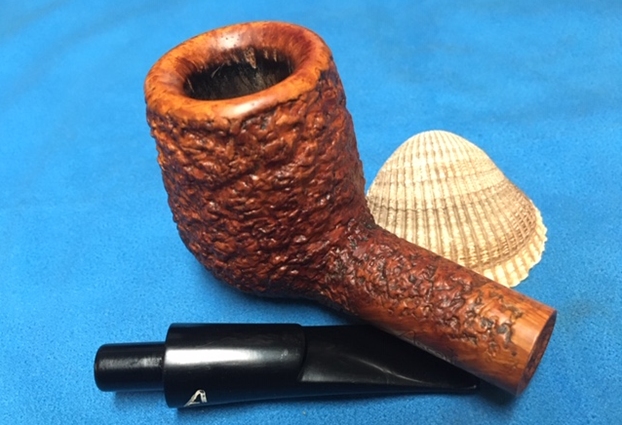
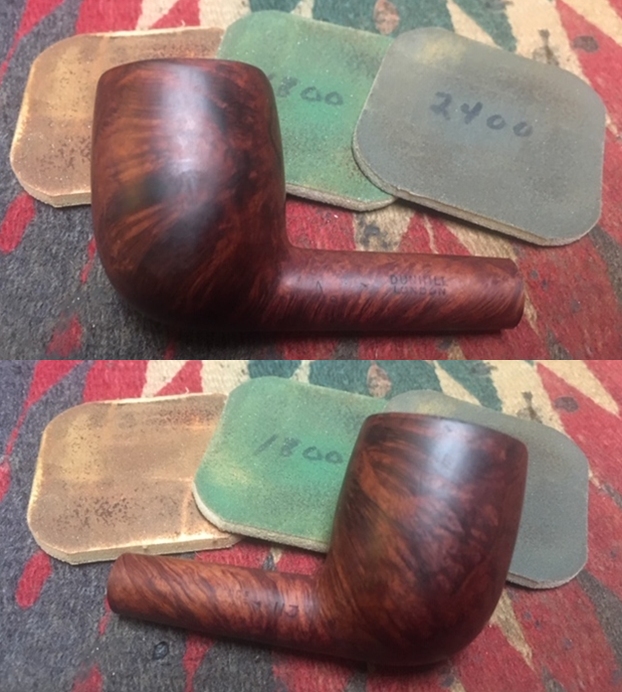
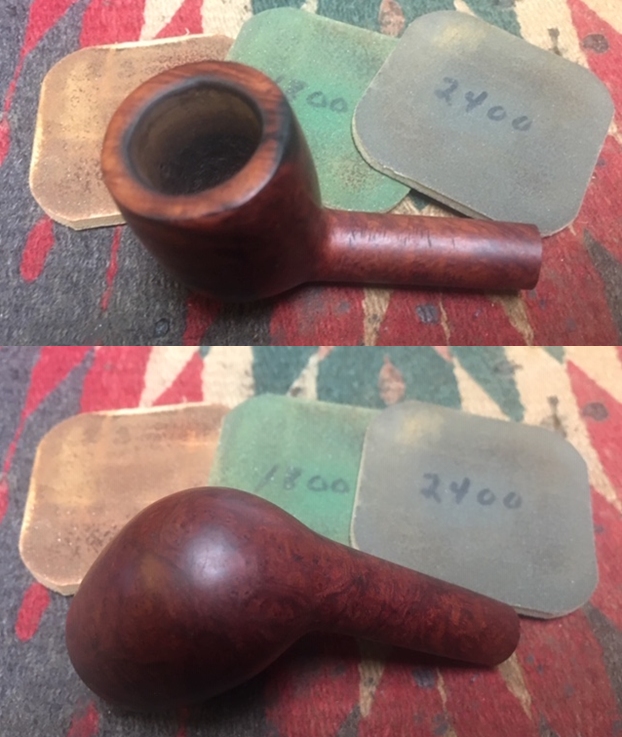
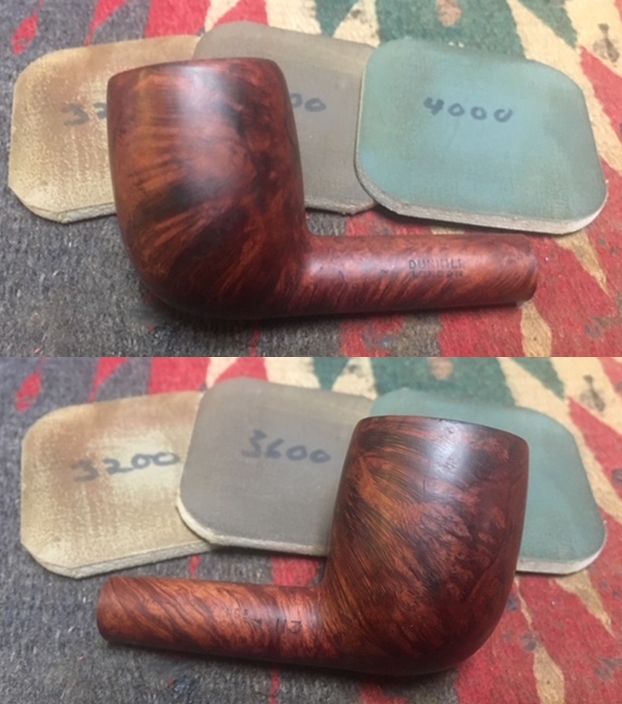
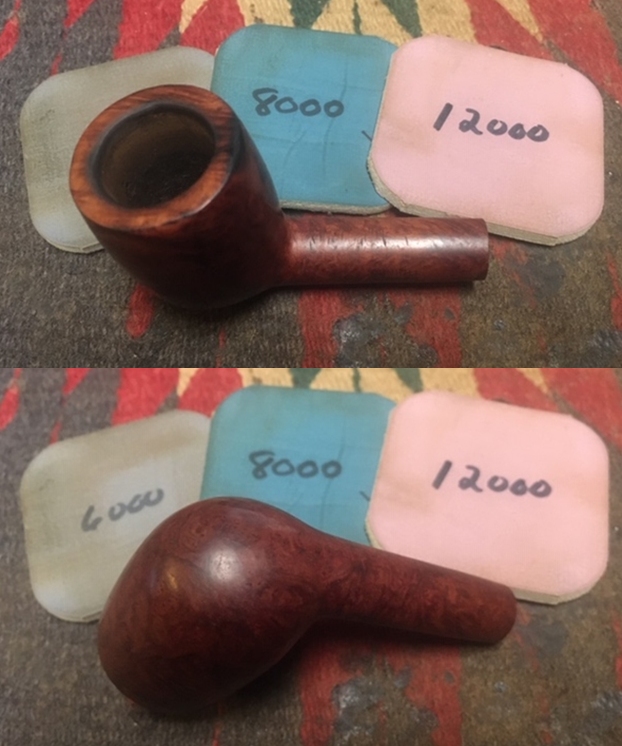
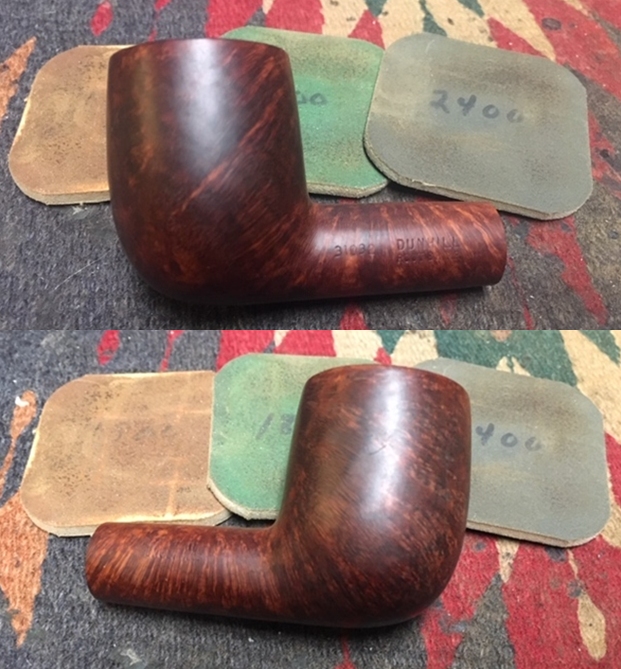
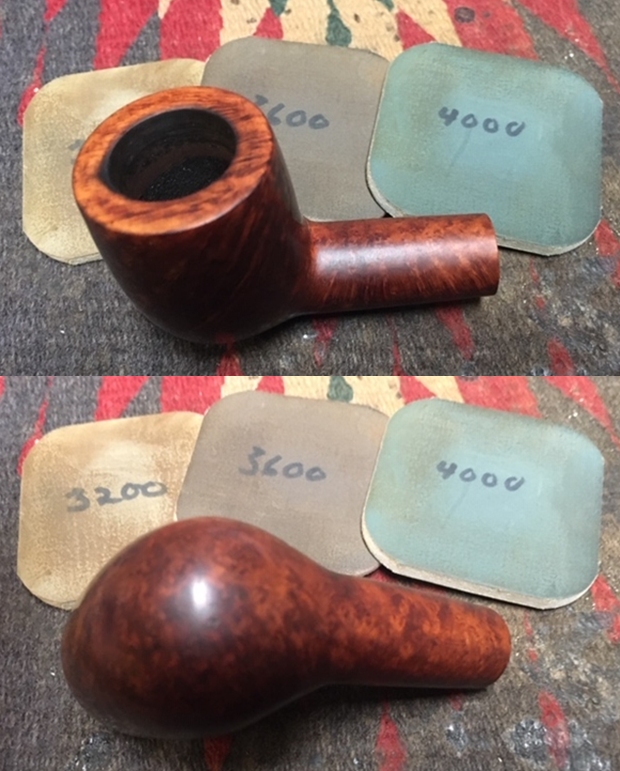
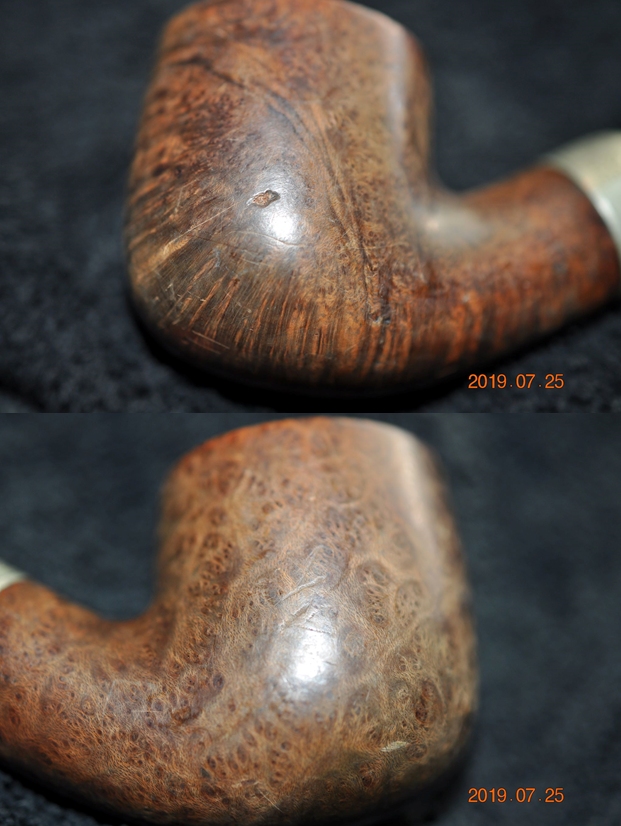
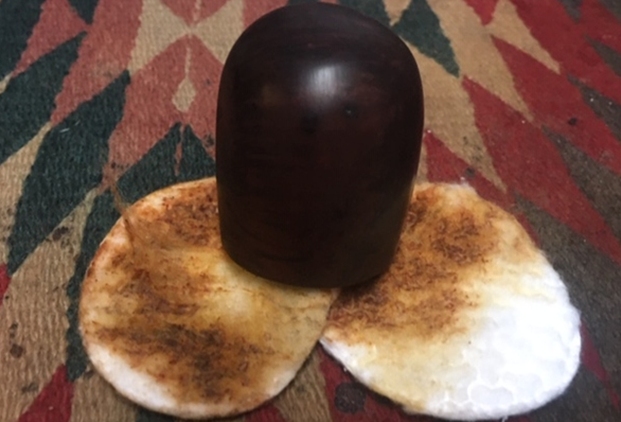
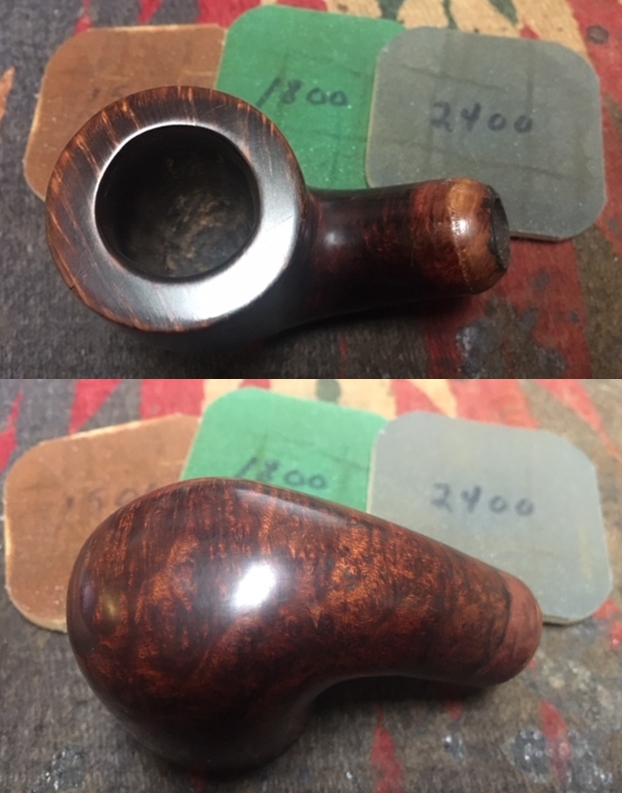
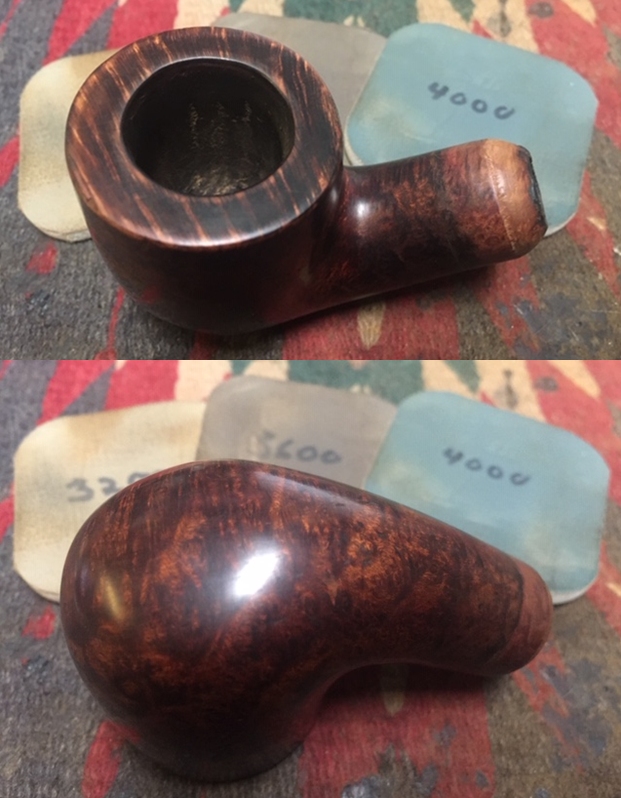
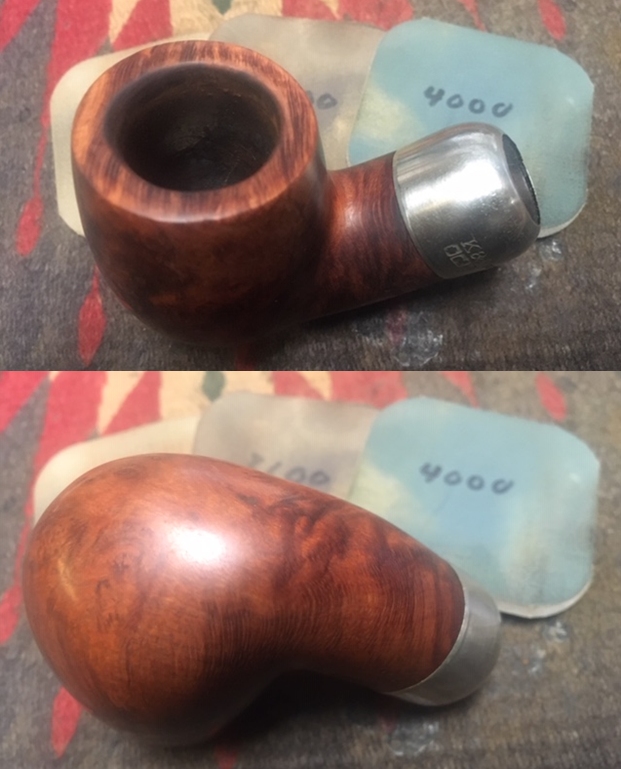
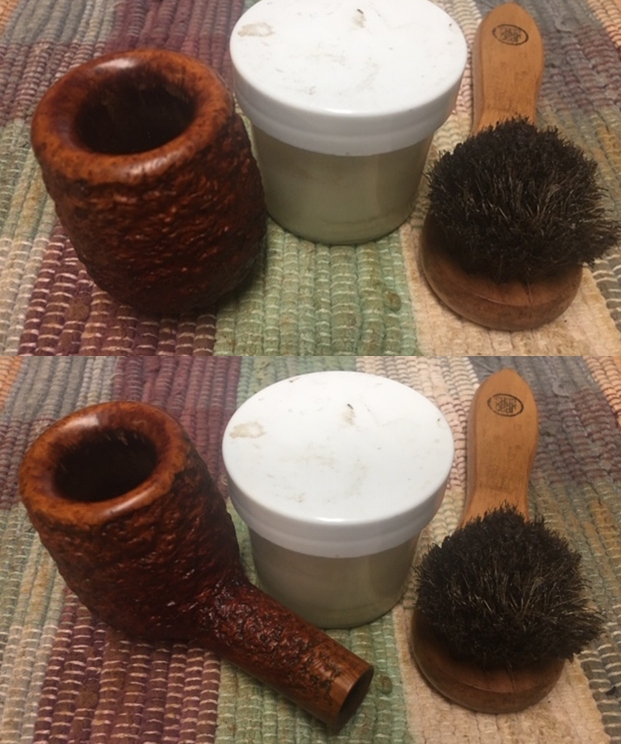
 I worked on the remaining debris and darkening on the rim top with 220 and 400 grit sandpaper. I was able to remove all of it and leave behind a clean rim top.
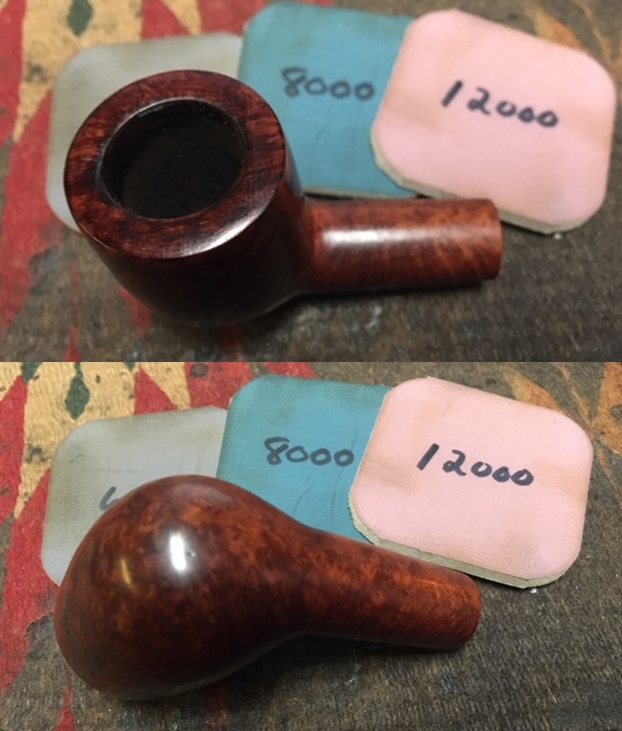
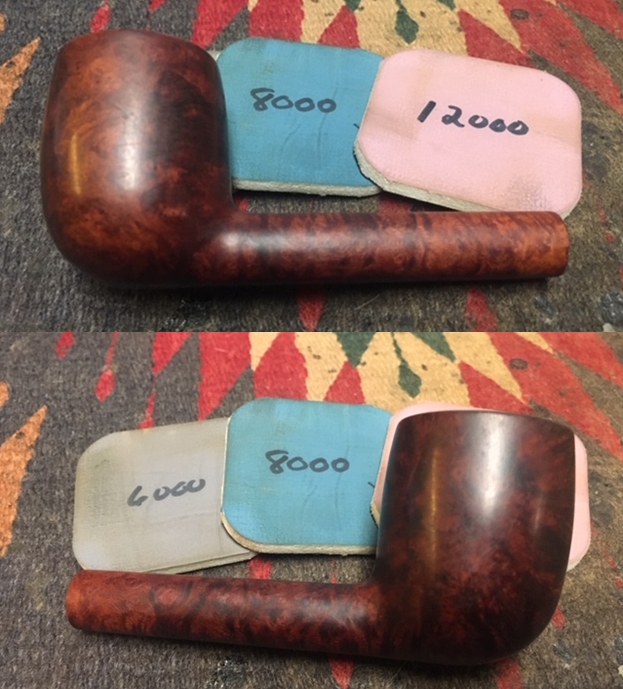
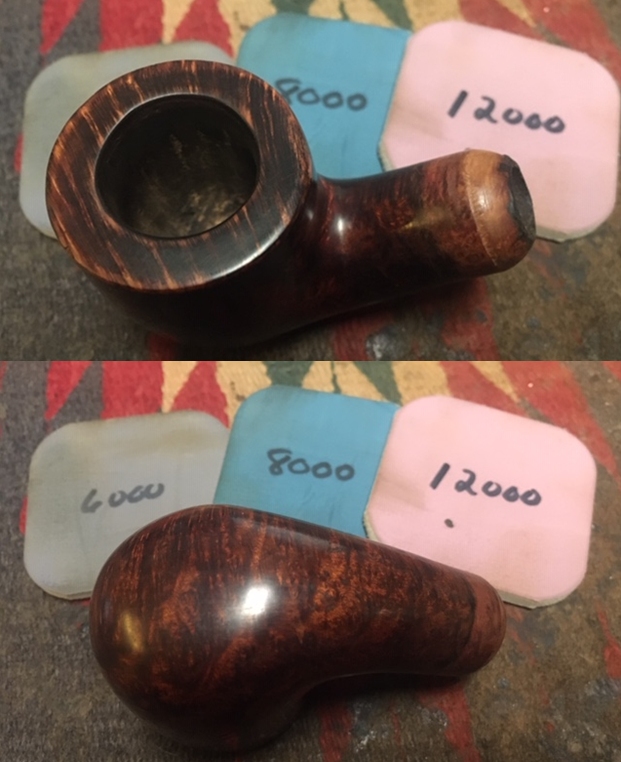
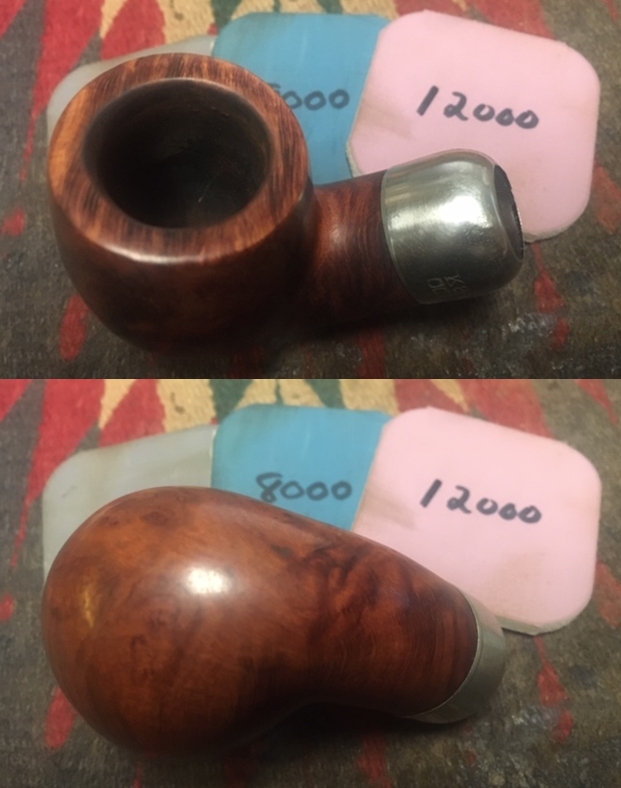
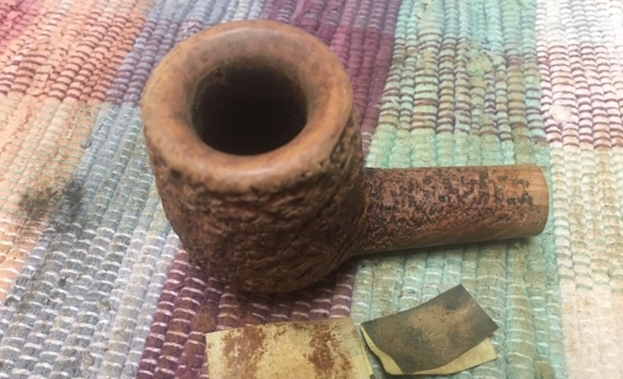 I polished the rim top with micromesh sanding pads to bring out the shine in the smooth briar. I wet sanded it with 1500-12000 grit pads and wiped off the dust after each pad.
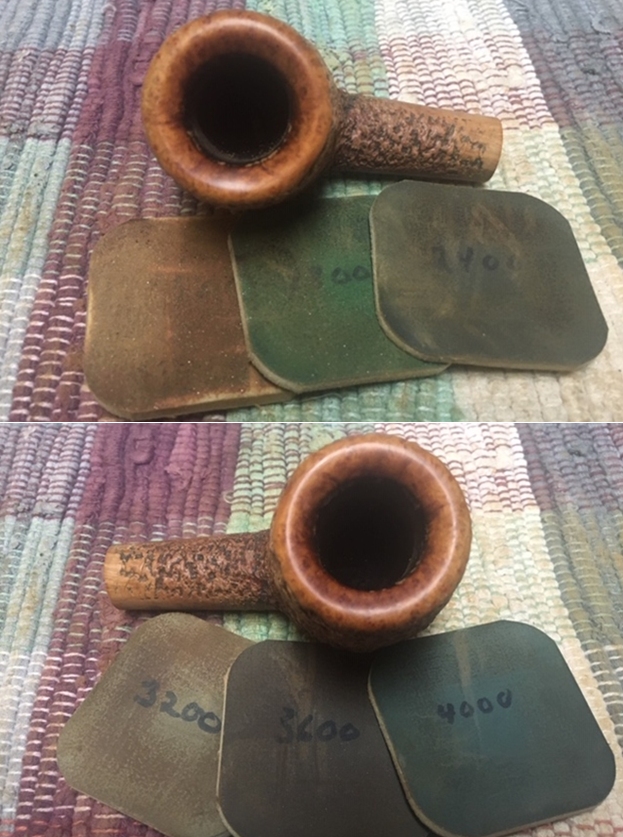
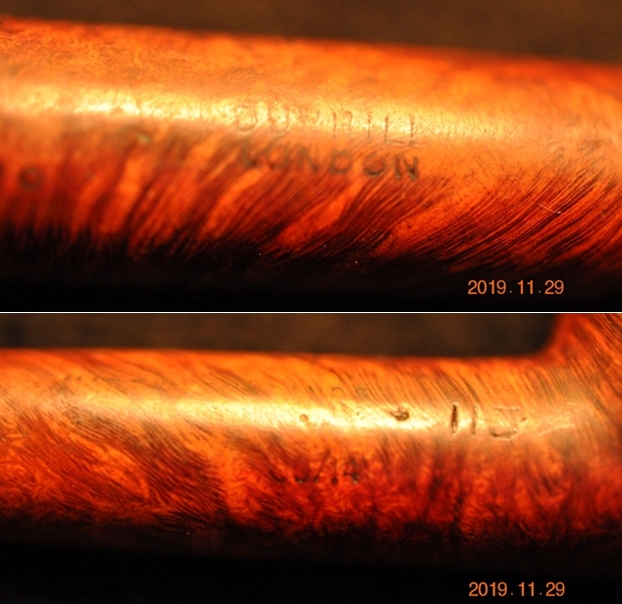
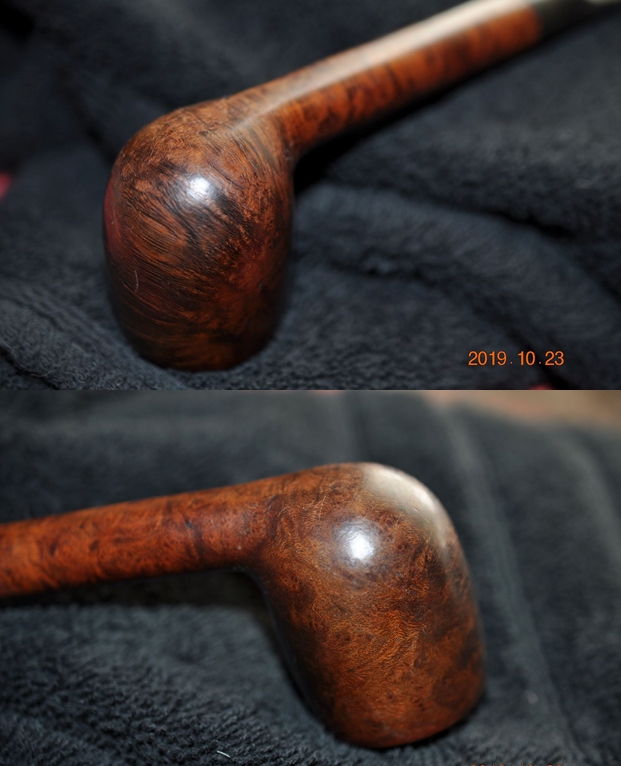
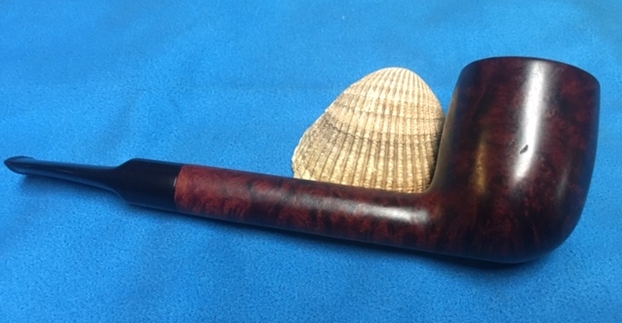
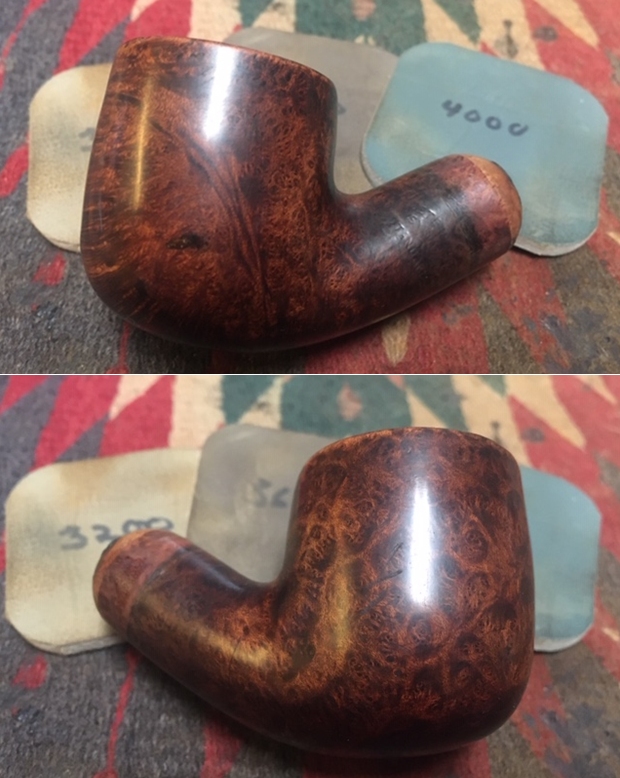
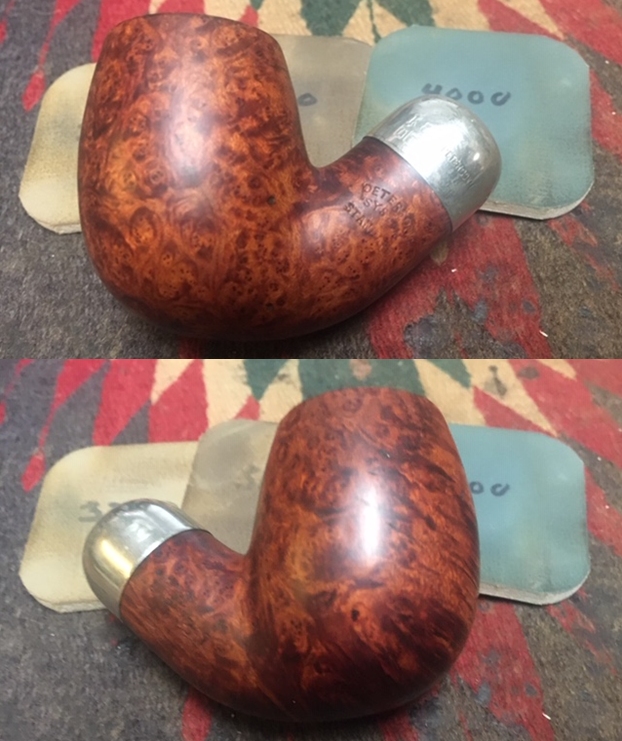
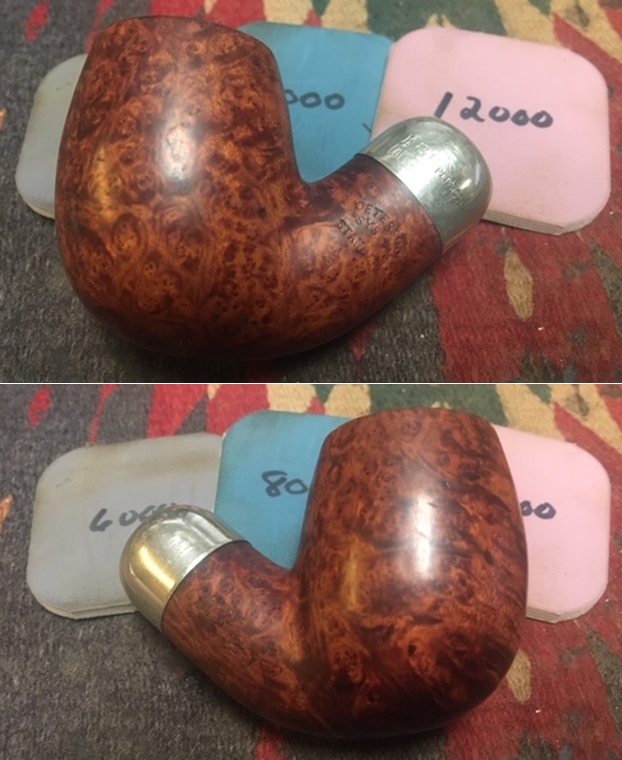
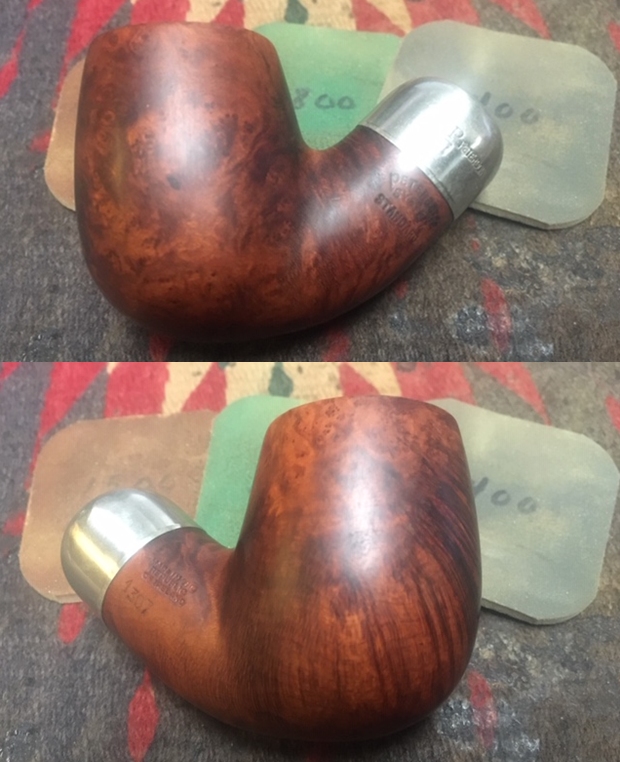
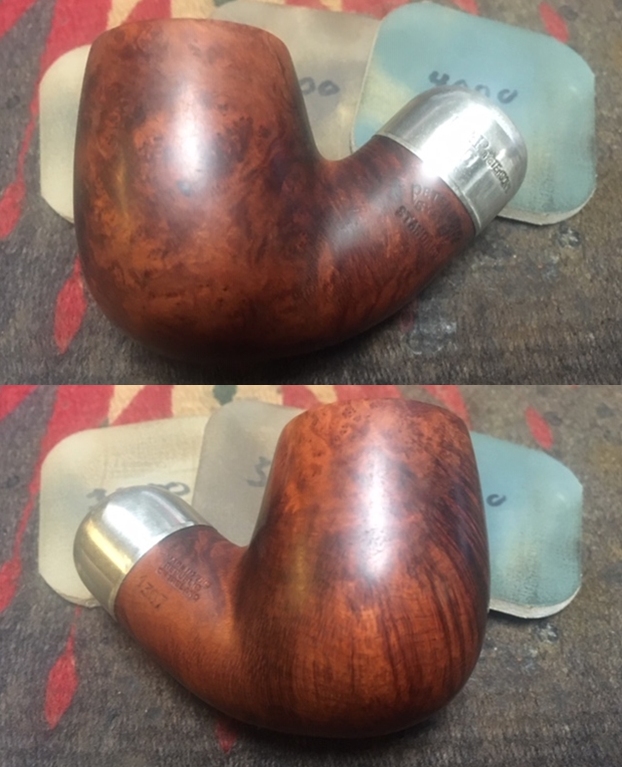
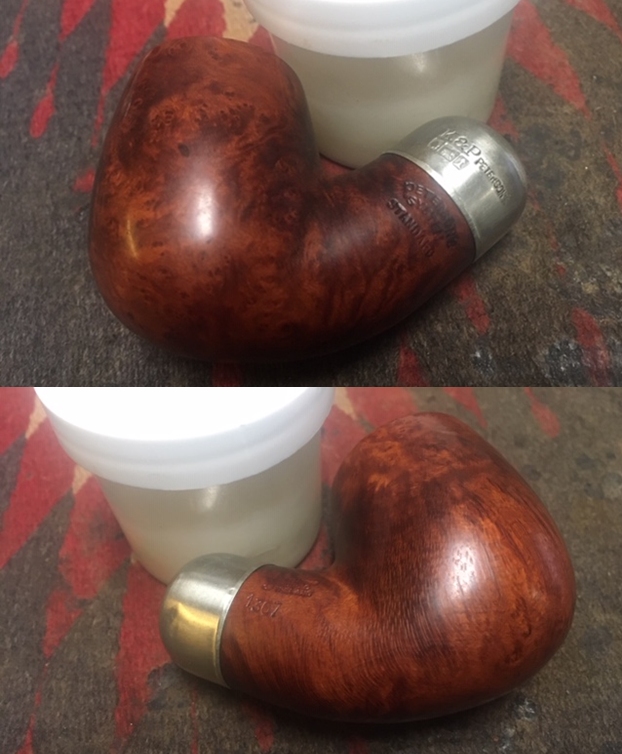
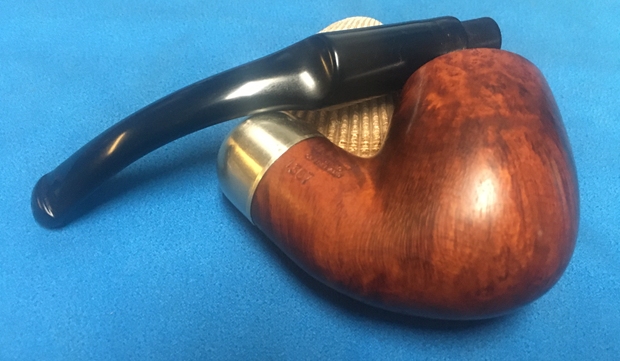
 I paused and took a photo of each side of the shank to show the stamping. The first photo shows the left side and the second shows the right side.
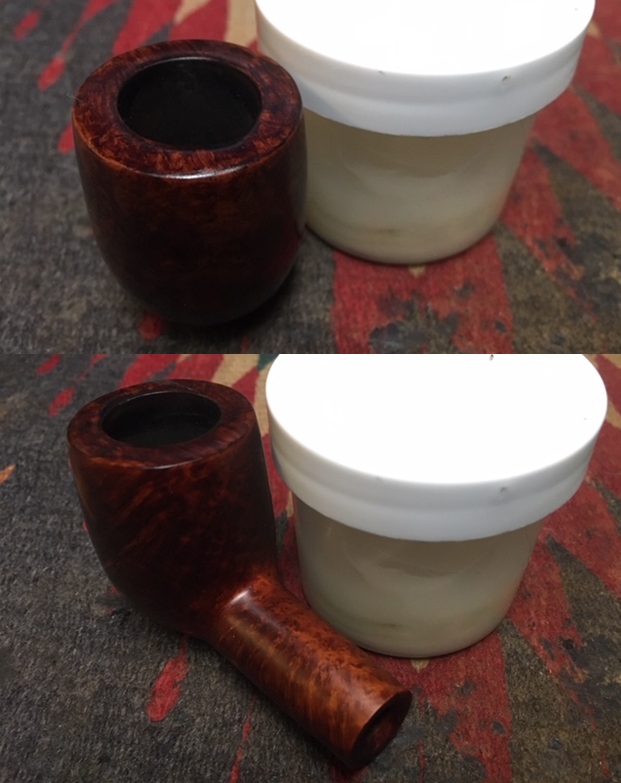
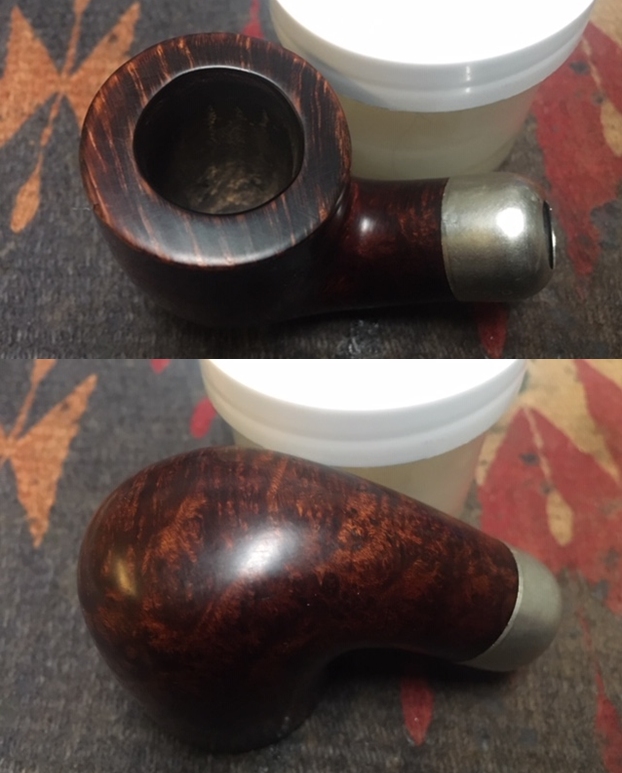
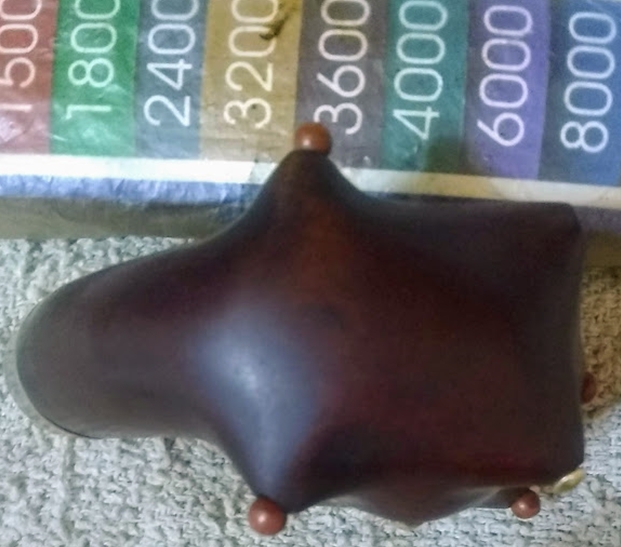
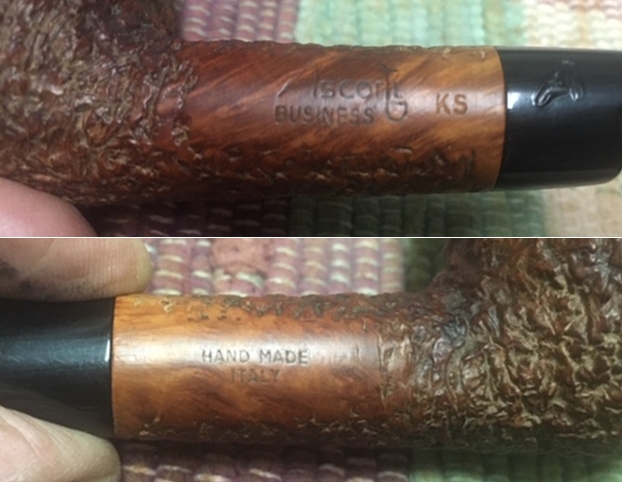 I rubbed the bowl and rim down with Before & After Restoration Balm. I worked it into the surface of the rim top and rusticated briar with my fingertips and with a horsehair shoebrush to clean, enliven and protect it. I let the balm sit for a little while and then buffed the pipe with a cotton cloth to raise the shine. I really like watching the Balm do its magic and bring the briar alive.
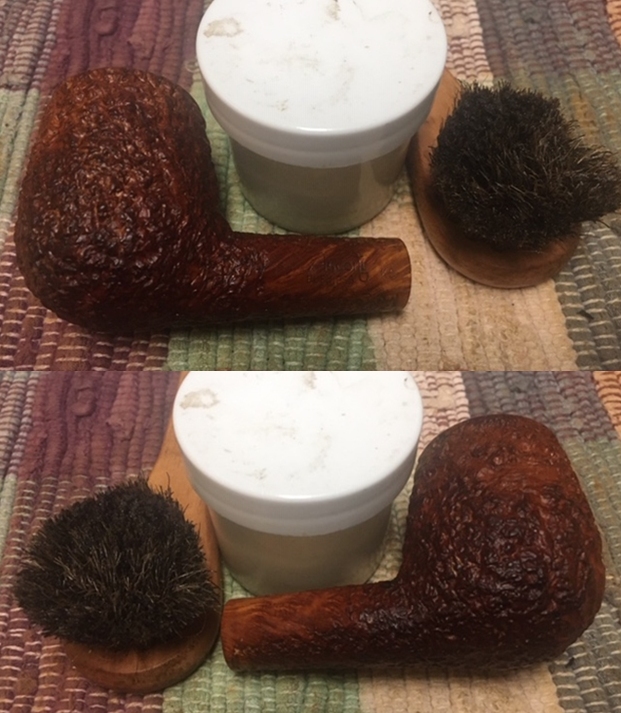
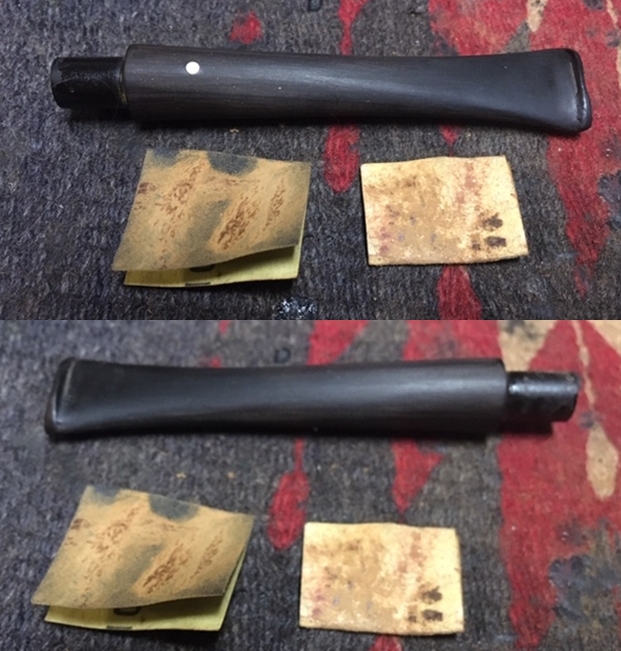
 I was in a rush to see what the rim and the finish looked like and almost overlooked cleaning out the inside of the pipe. Never to late to go back though! I cleaned out the mortise and airway in the shank and stem with cotton swabs, pipe cleaners and alcohol.
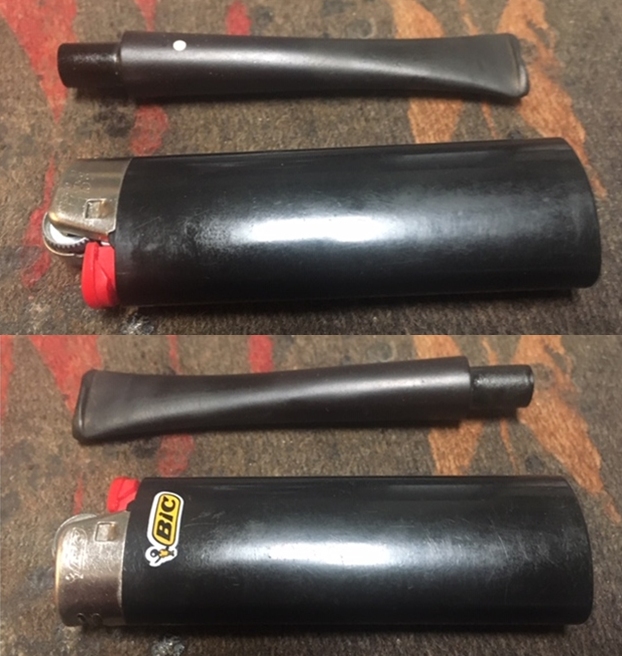
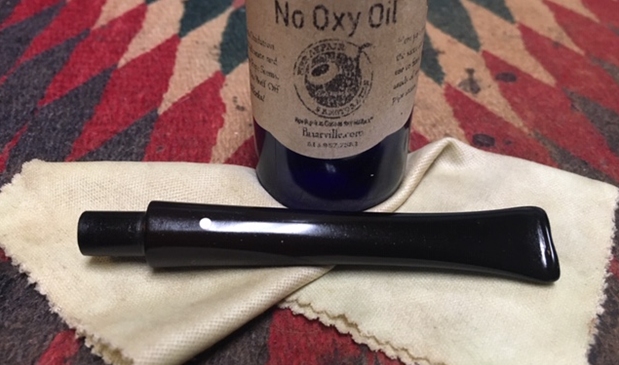
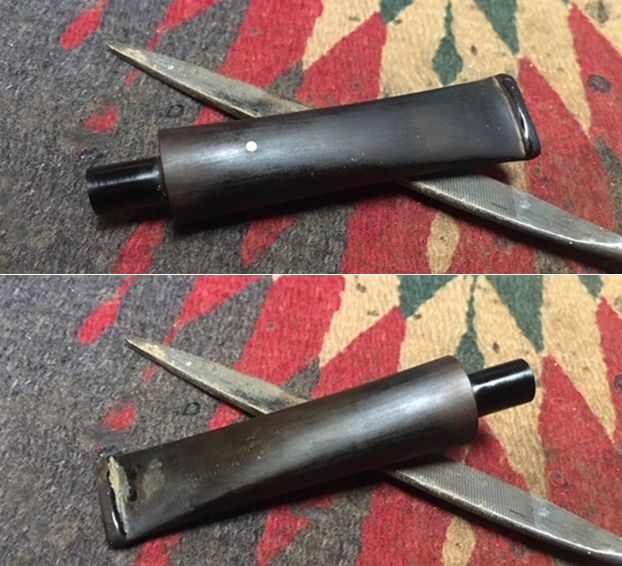
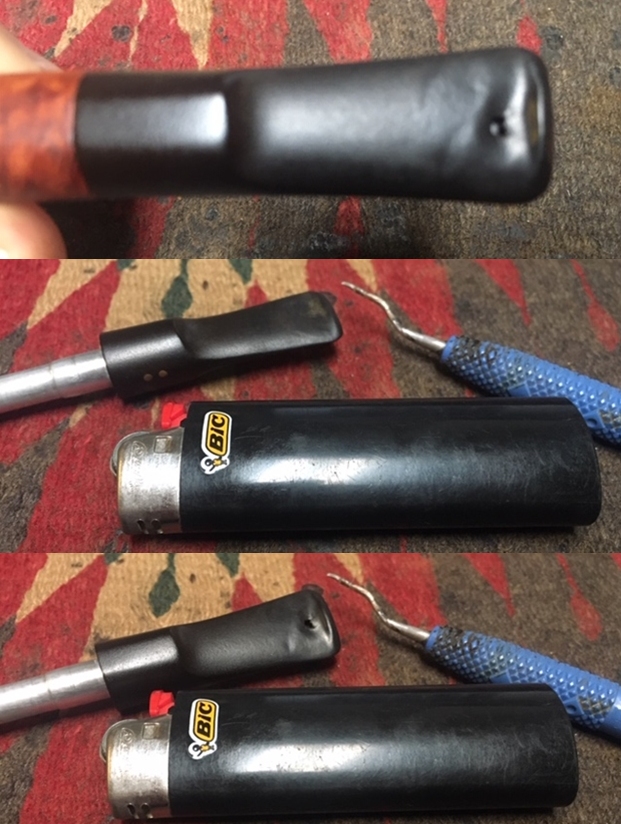
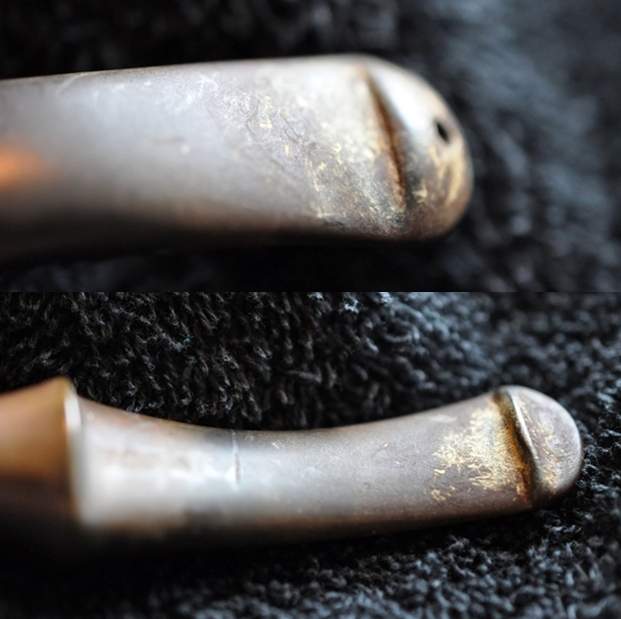
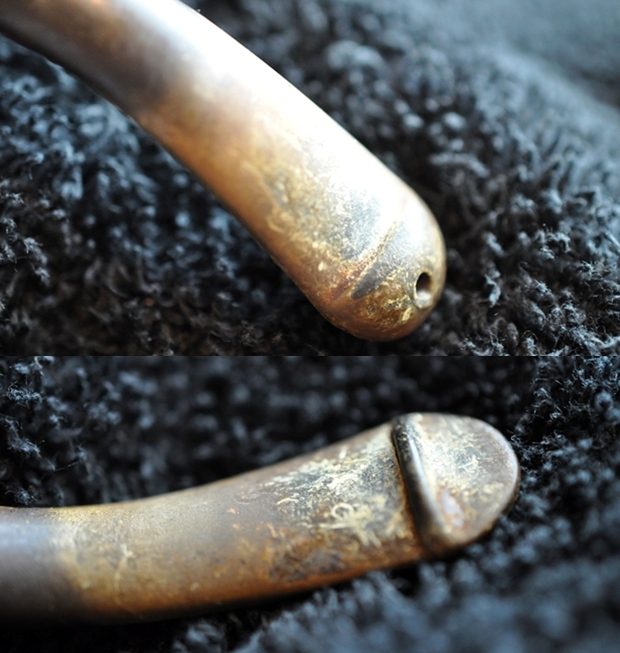
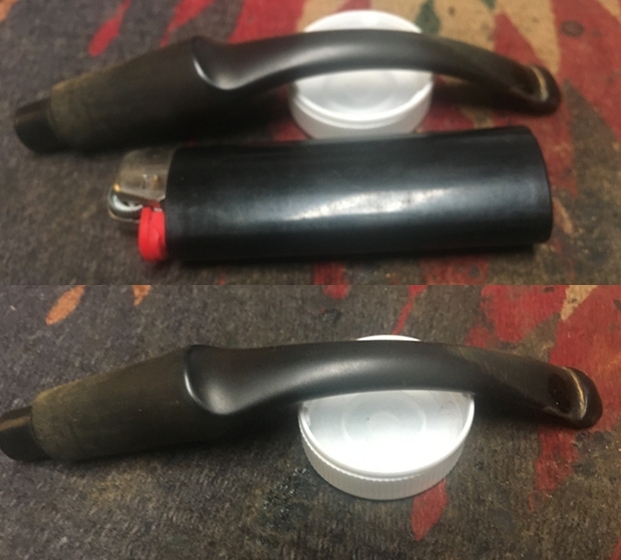
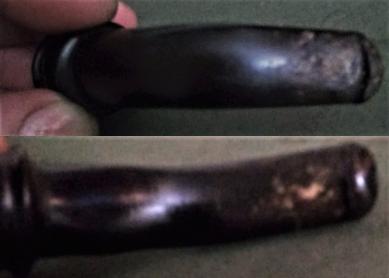
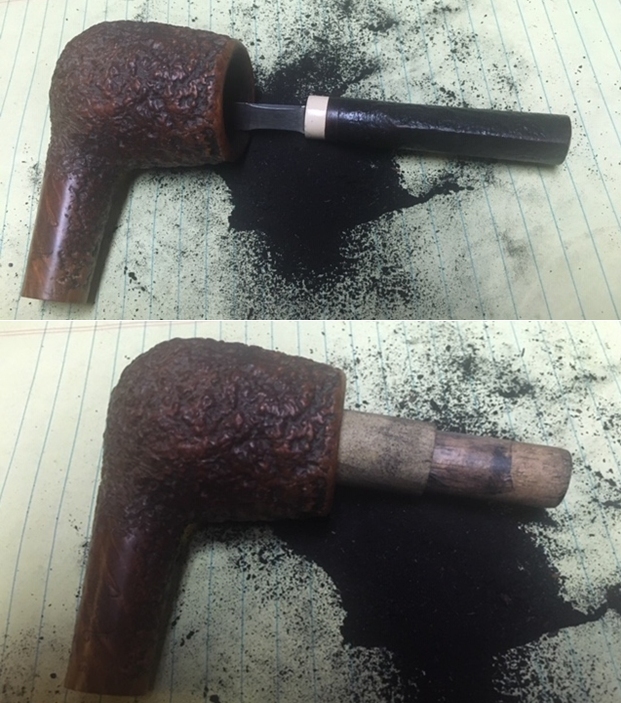
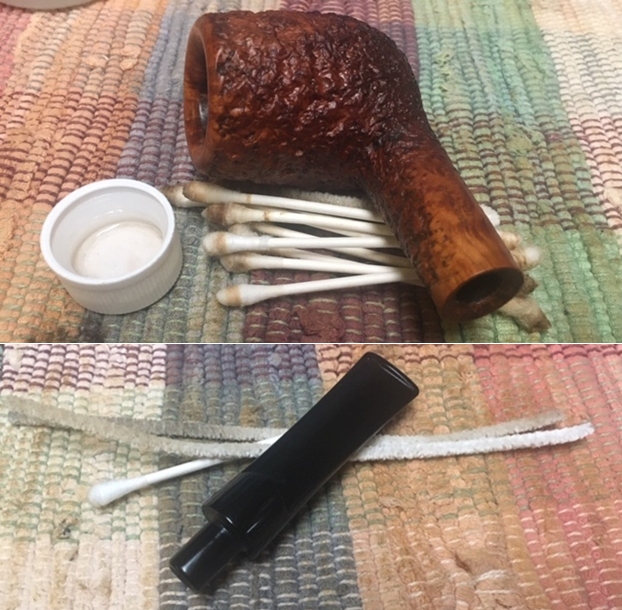 With the bowl done it was time to address the stem. The dents in the top and underside were not too deep. I would be able to sand out most of them and whatever remained give a light fill. I would also need to repaint the A logo on the left side of the saddle. I could not heat the stem with a lighter as acrylic does not have the “memory” of vulcanite so It does not work. I took photos of the stem as a reminder.
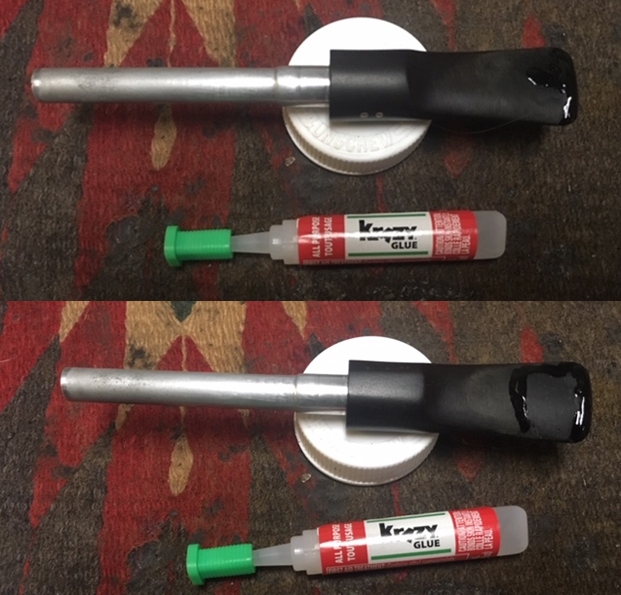
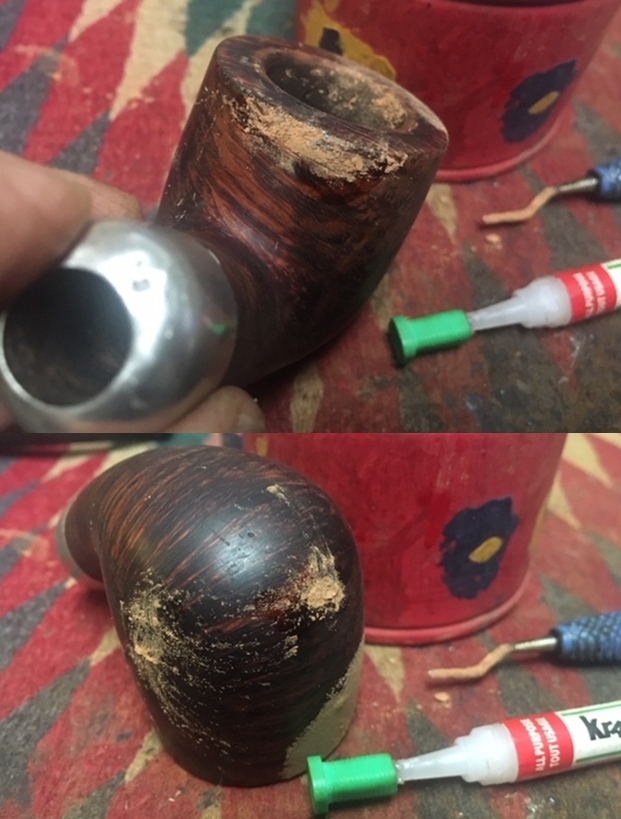
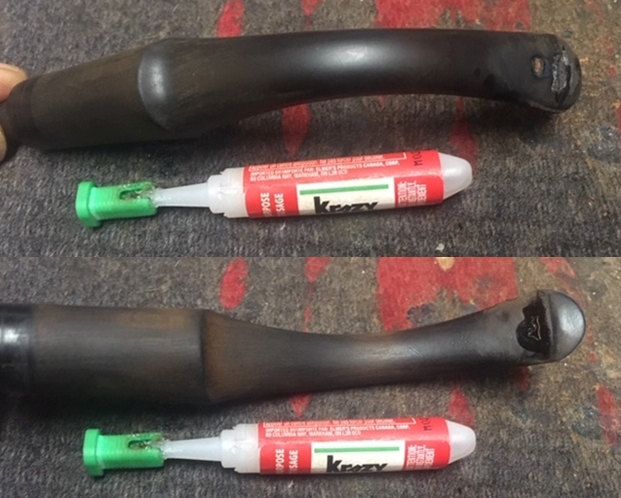
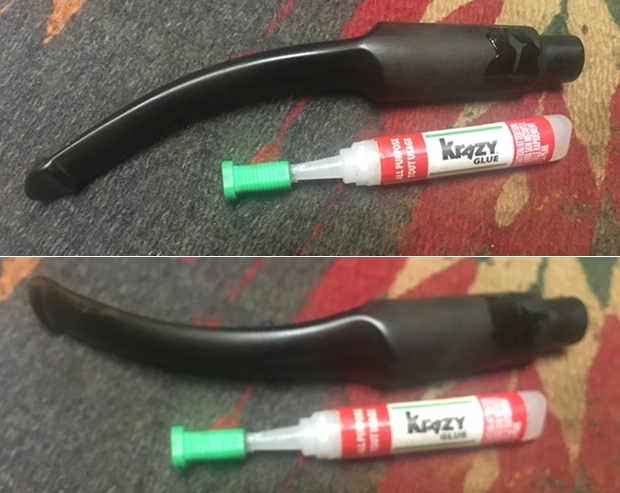
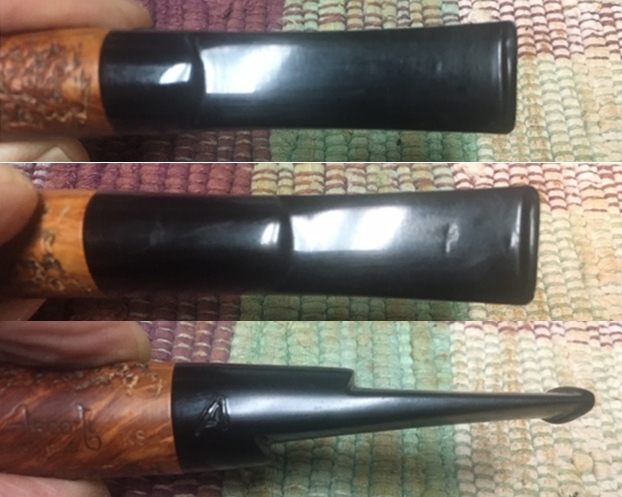 I sanded the stem surface with a folded piece of 220 grit sandpaper and was able to remove the majority of the dents in the stem surface. There was a deeper pit on the top side ahead of the button and on the right side of the button edge. I wiped down the areas that I was going to fill with a cotton swab and alcohol to remove the dust and debris. I filled them in with clear Krazy glue. I built up the damaged edge of the button on the underside as well.
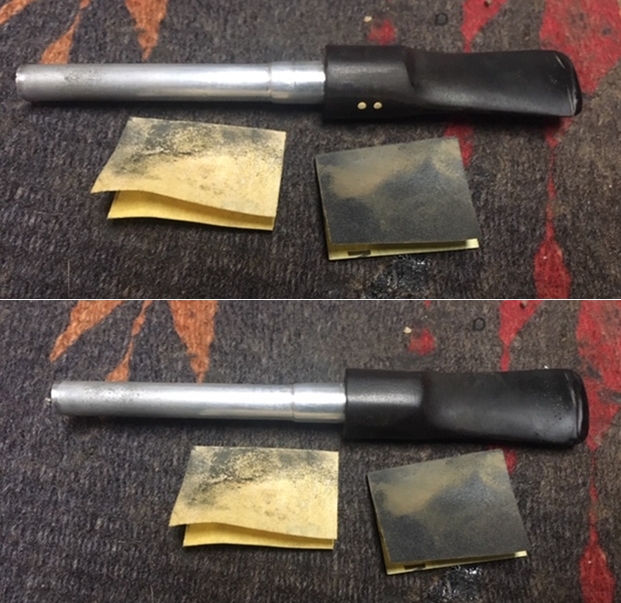
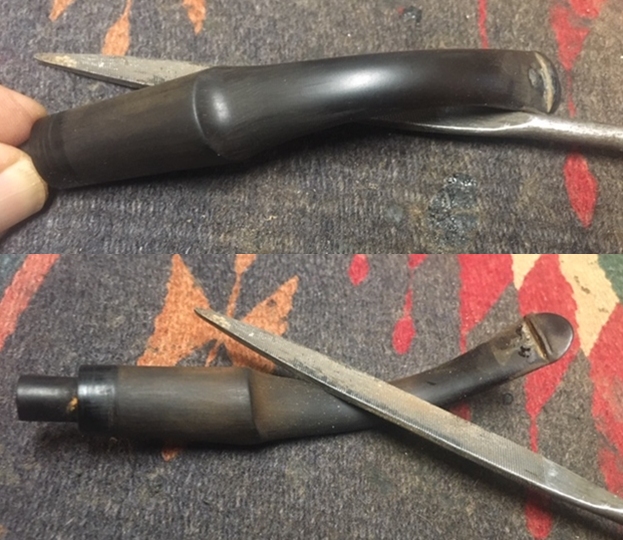
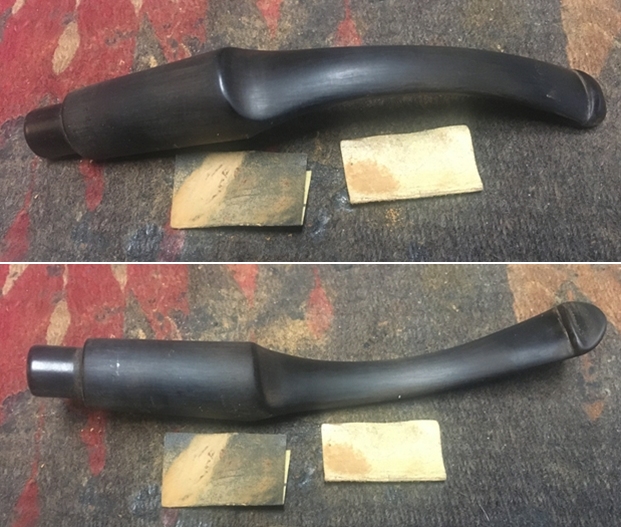
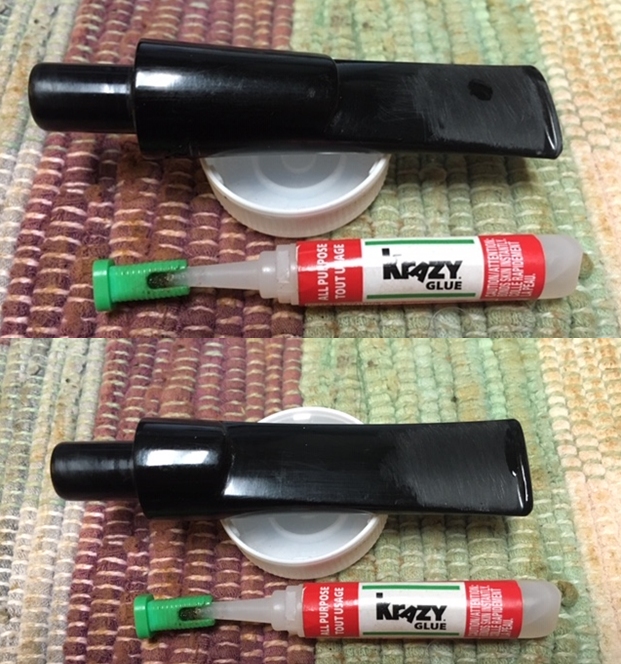 Once the repair had cured I sanded the surface of the stem and the button edges with 220 grit sandpaper to blend in the repairs. I started my polishing of the stem with 400 grit wet dry sand paper.
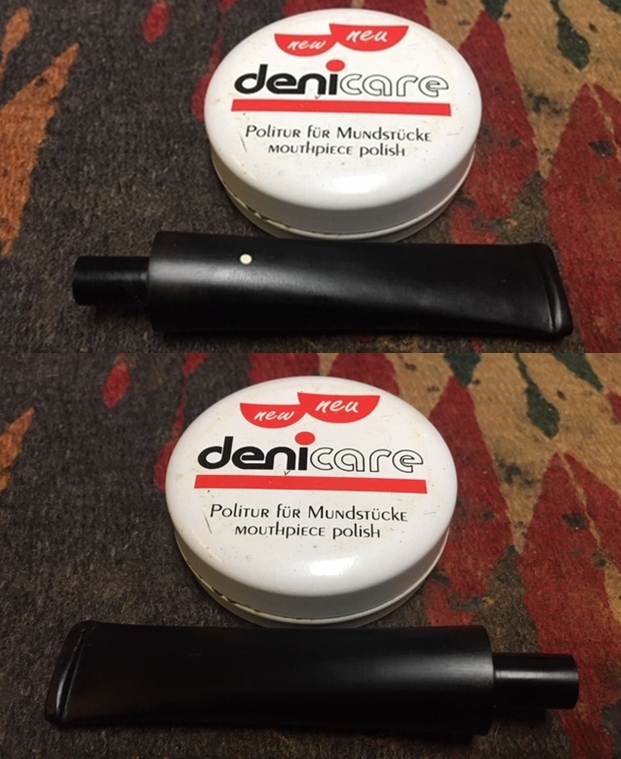
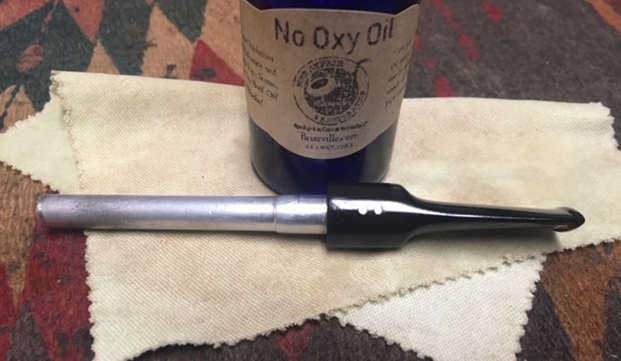
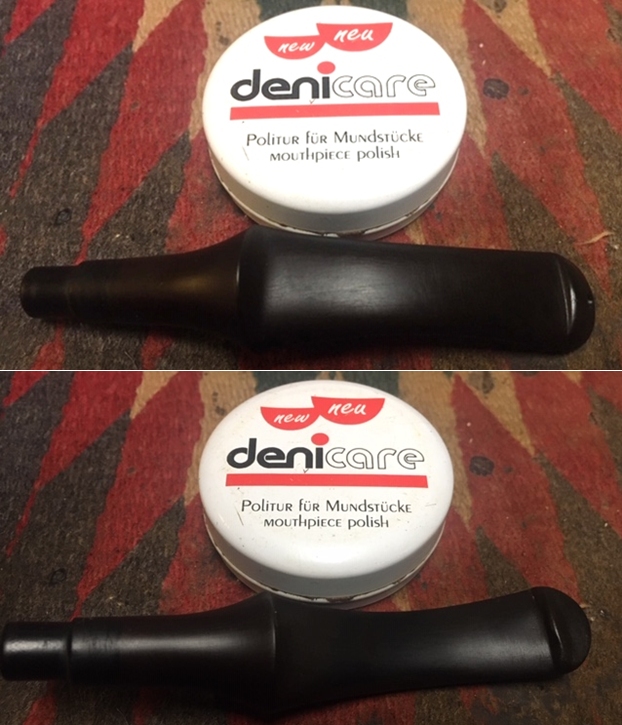
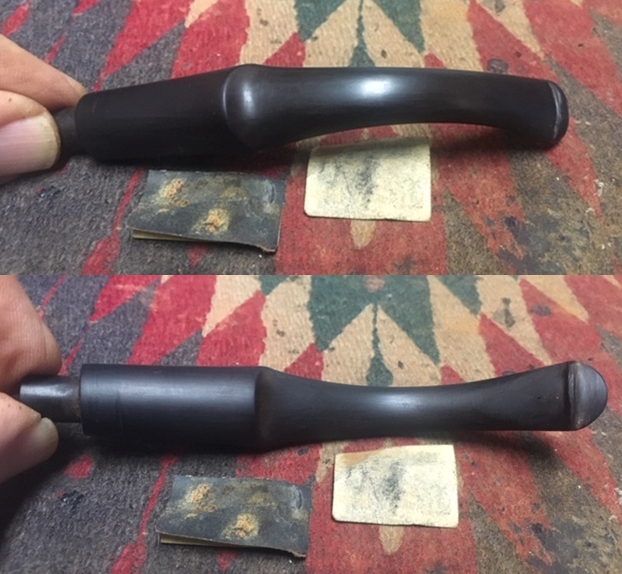
 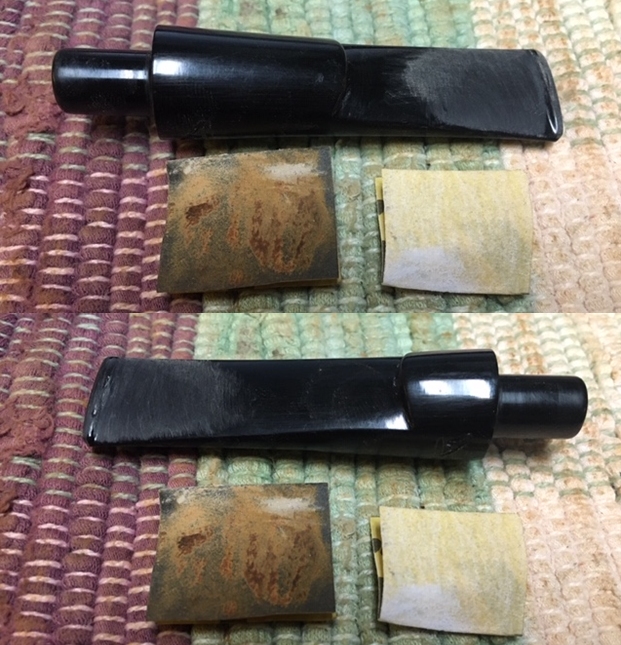 I rubbed the stem down with Denicare Mouthpiece Polish. I have found it is a great pre-polish for my use as it shows me areas that I need to work on with the micromesh sanding pads.
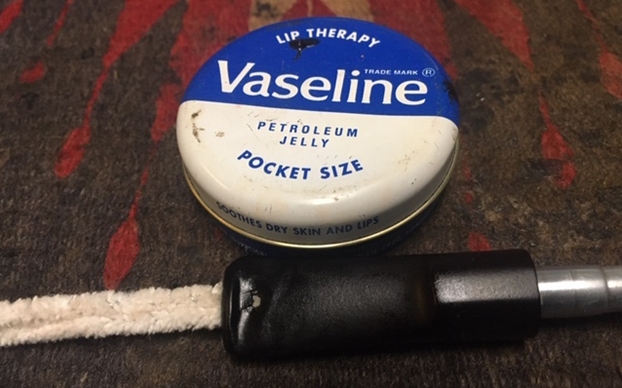
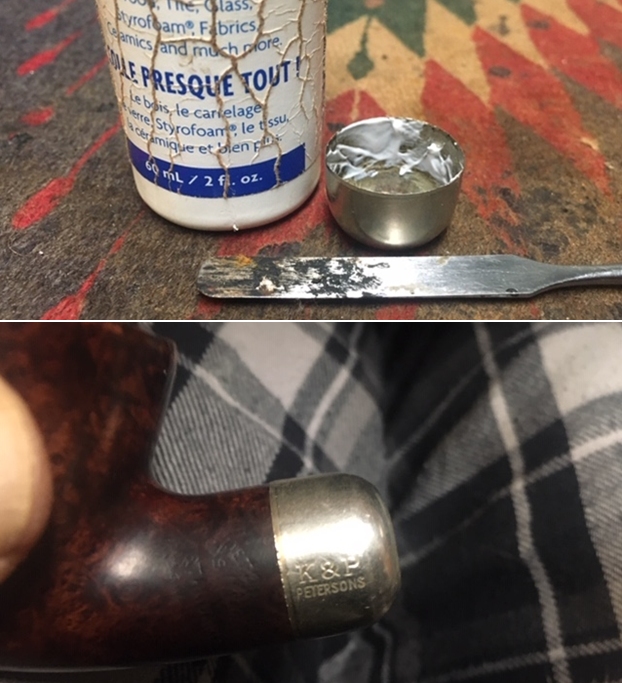
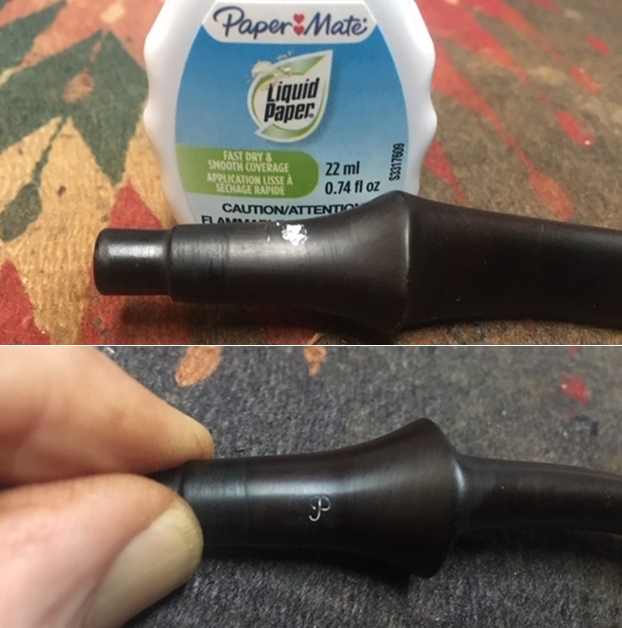
 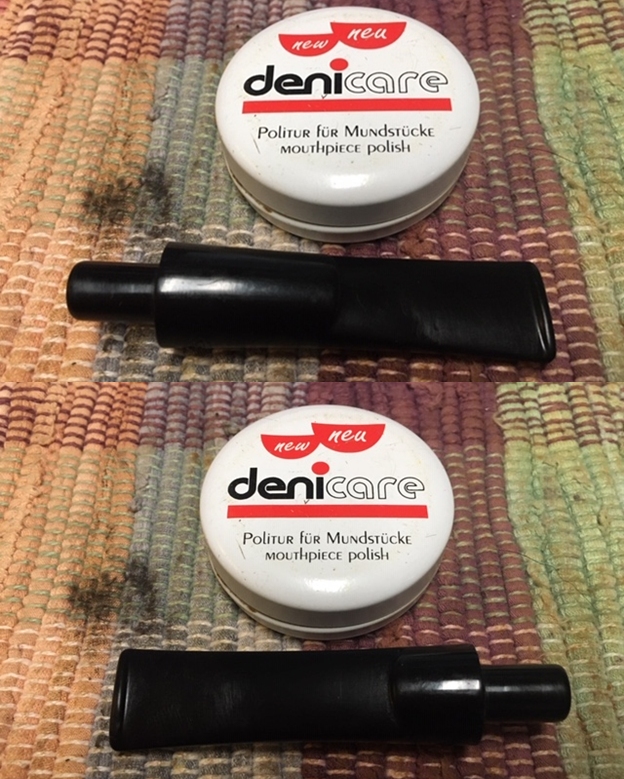 I decided to touch up the A on the left side of the stem before polishing the stem further. I used Paper Mate Liquid Paper and fill it into the deep grooves of the stamping with a tooth pick. Once it has dried I scrape off the excess with the tooth pick and polish it with micromesh sanding pads.
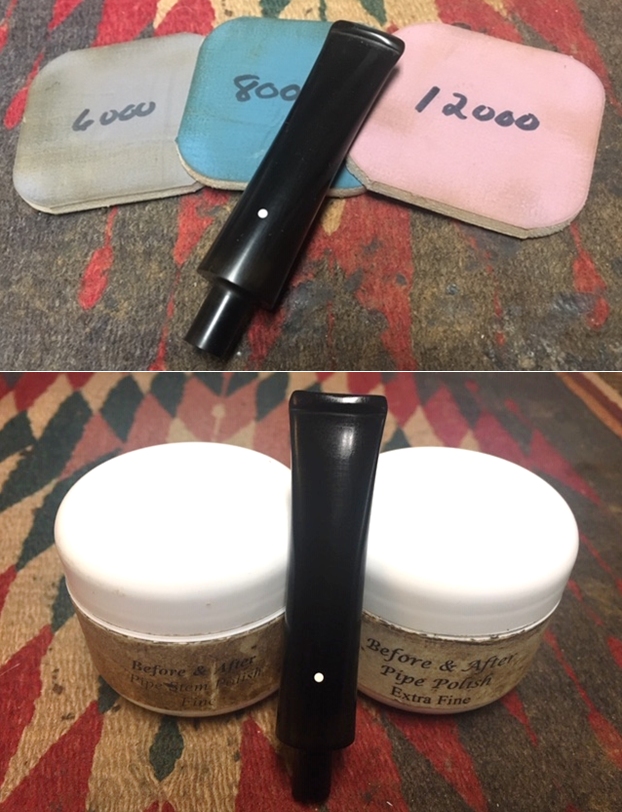
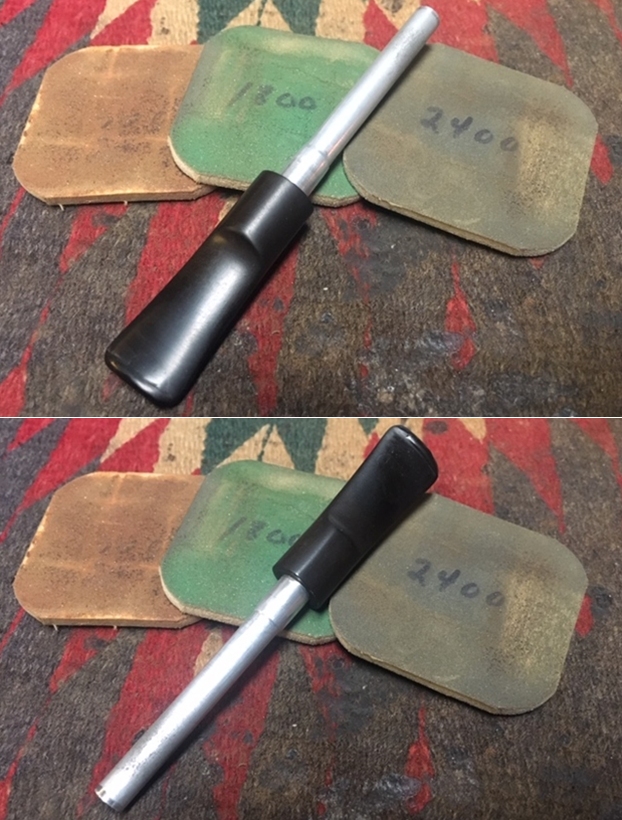
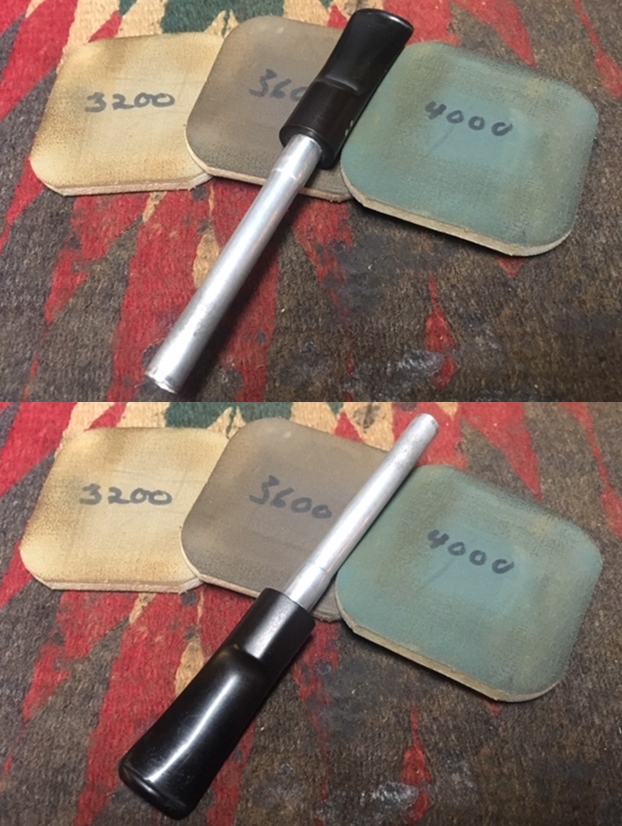
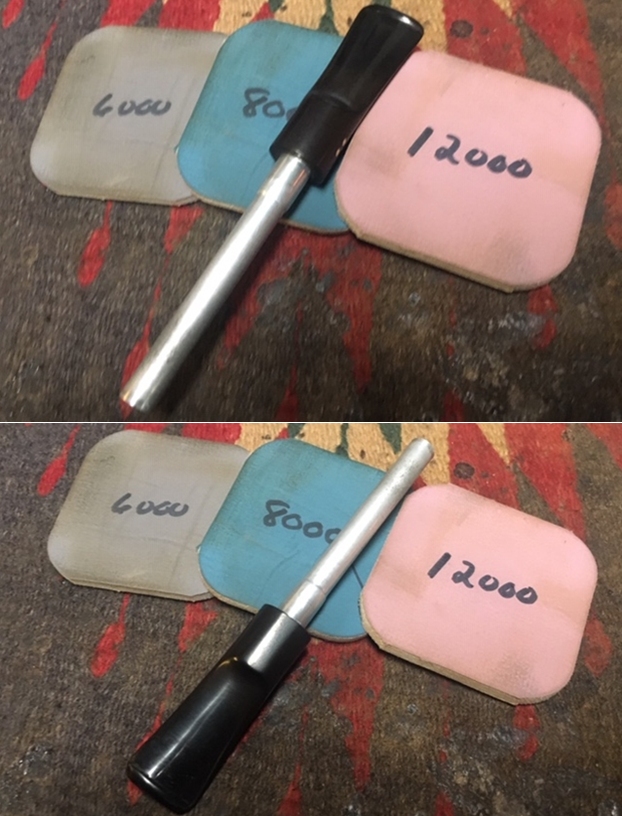
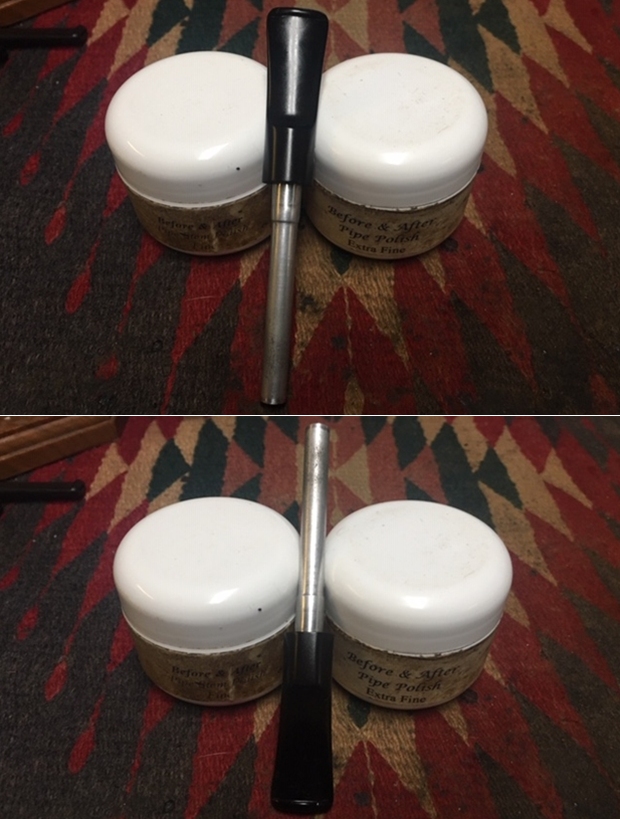
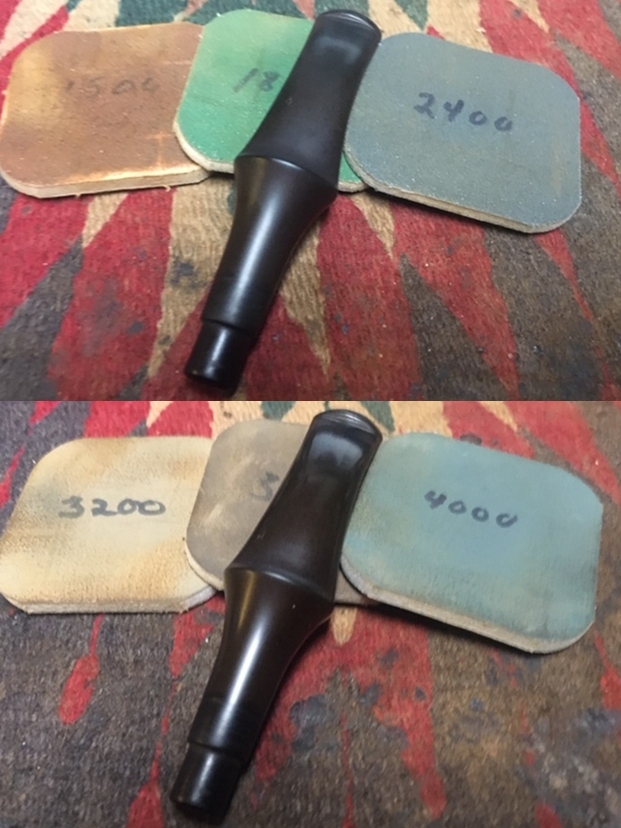
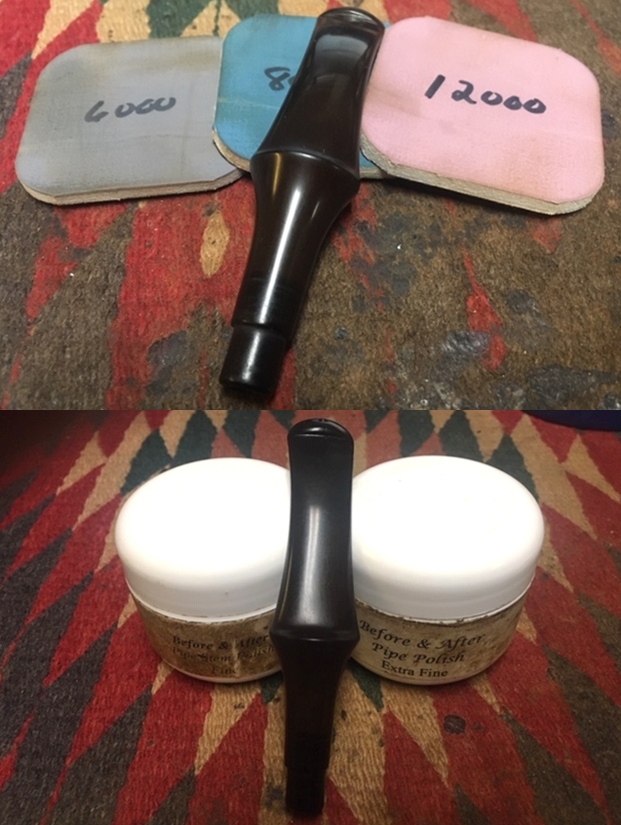
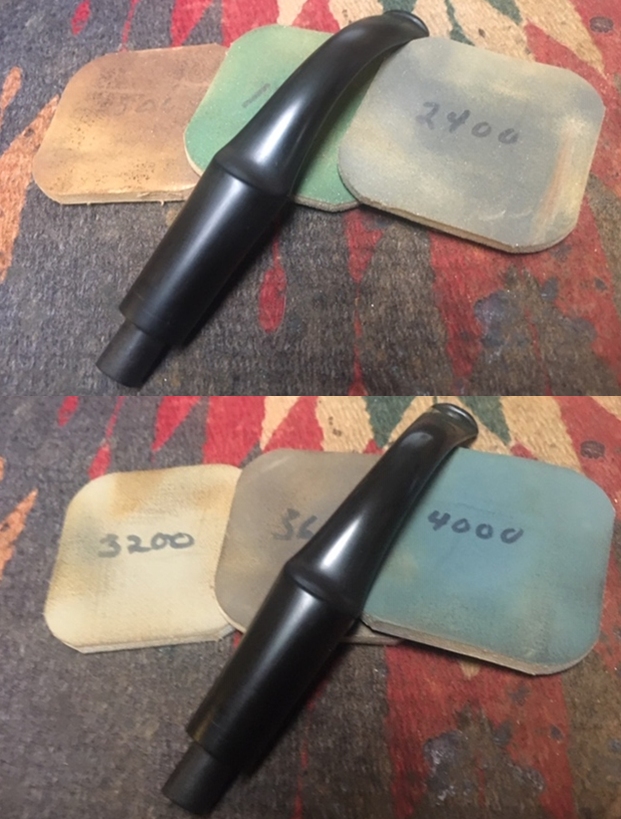
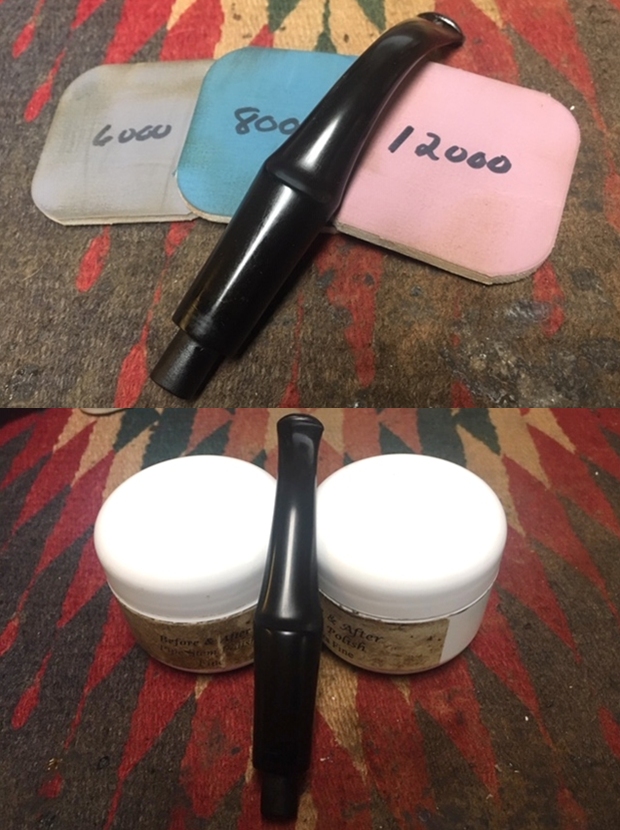
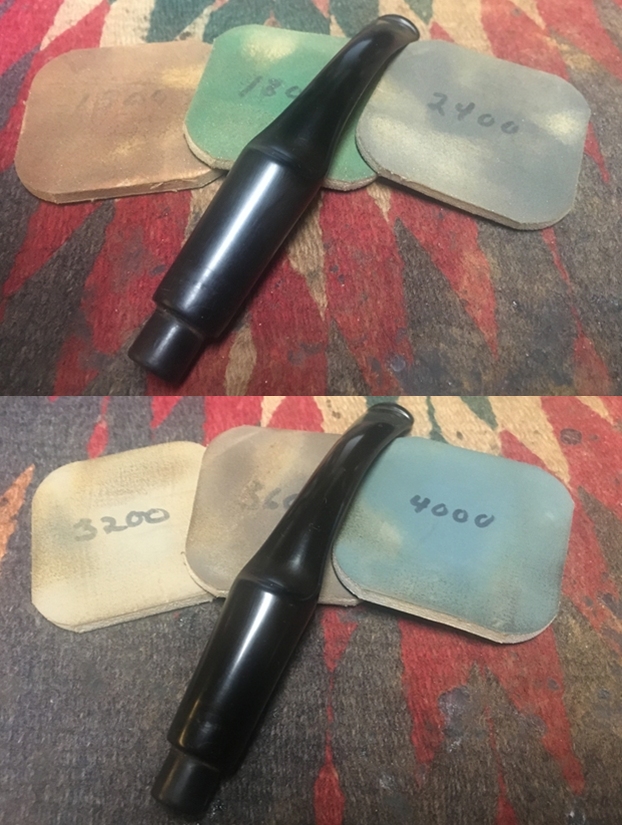
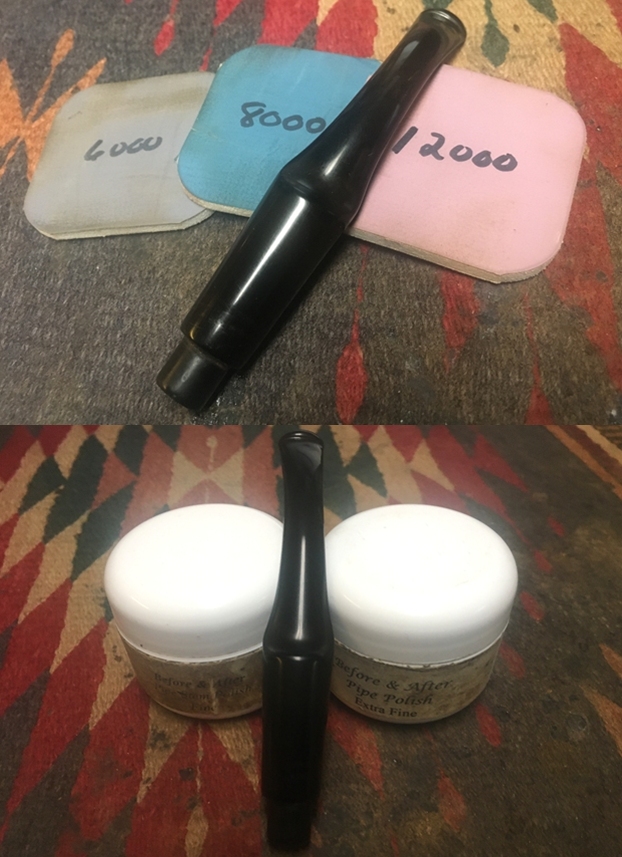
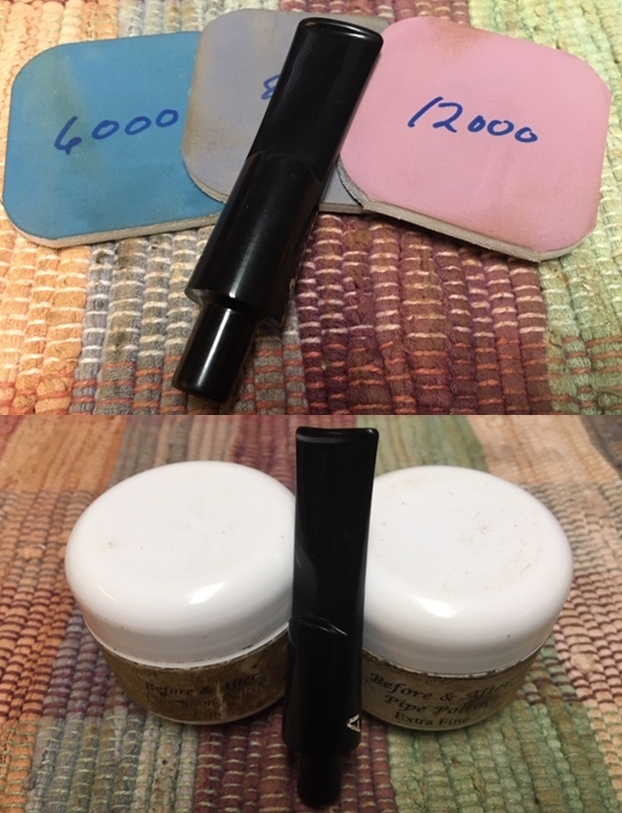
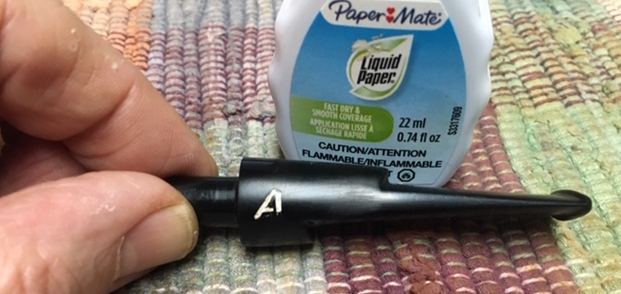 I polished the stem with micromesh sanding pads – wet sanding with 1500-12000 grit sanding pads. I wiped it down after each pad with a damp cloth to remove the sanding dust. I polished it further with Before & After Pipe Polish – both Fine and Extra Fine. I buffed it with a soft cloth to raise a shine.
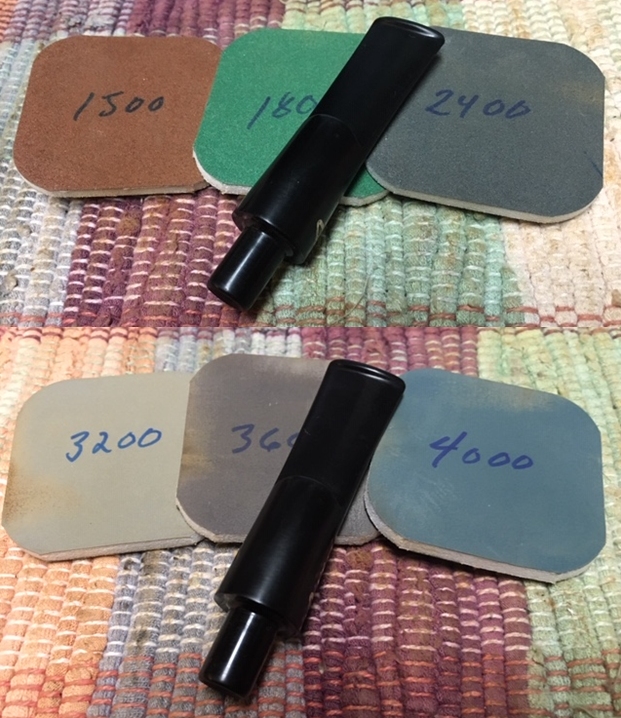
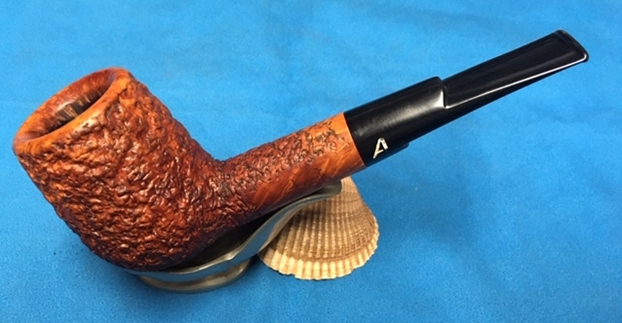
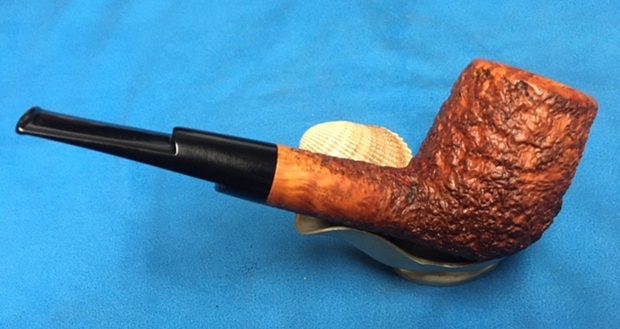
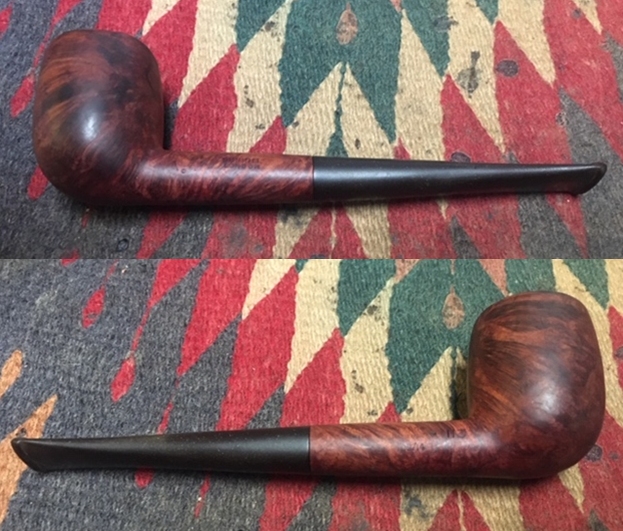
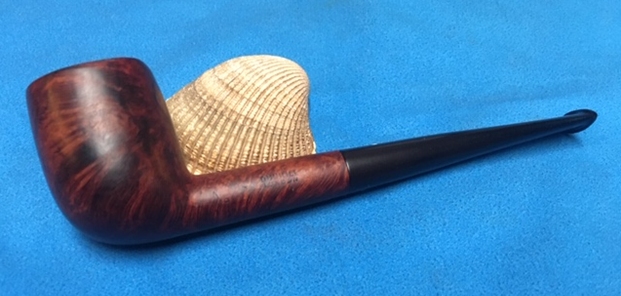
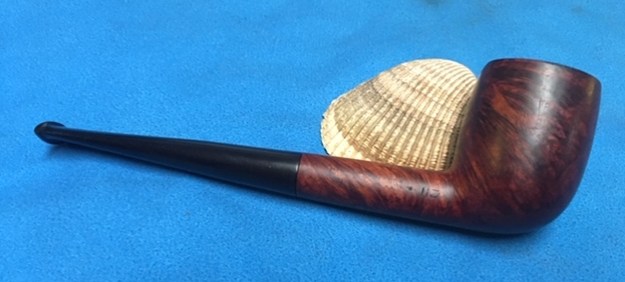
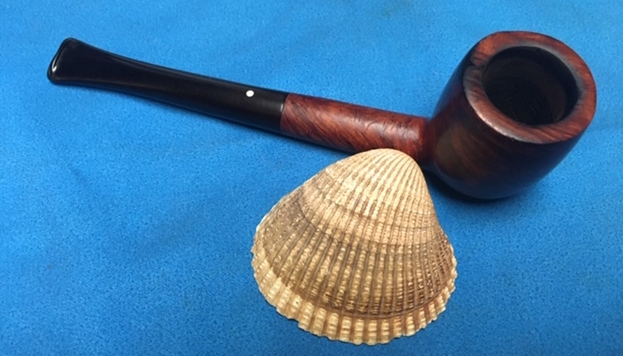
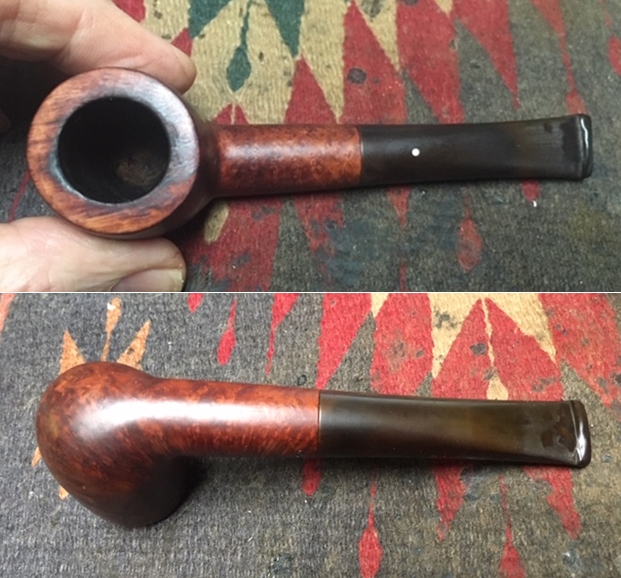
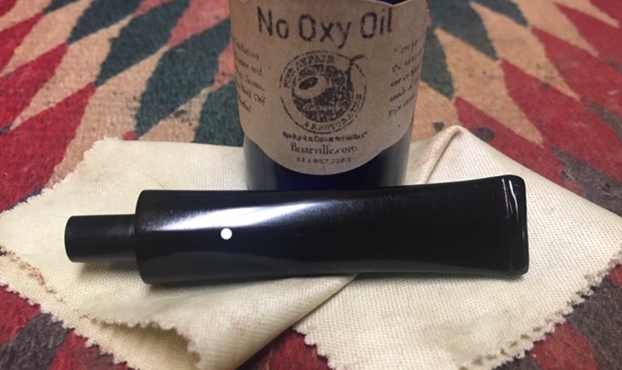
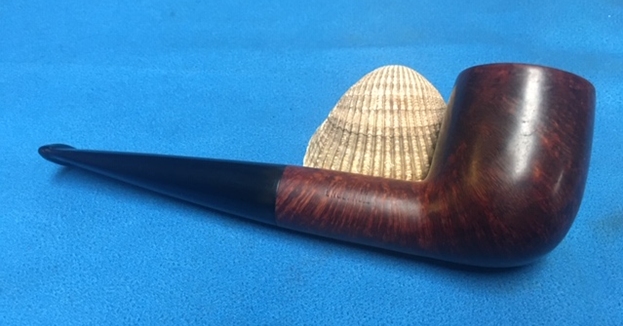
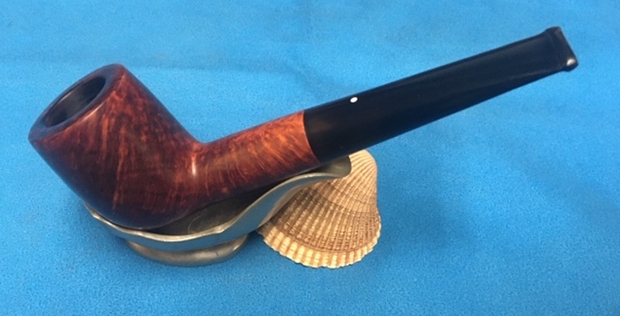
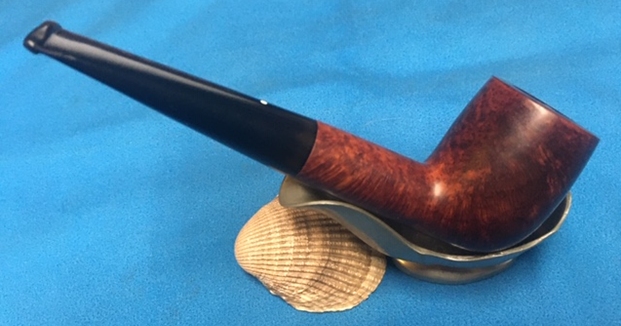
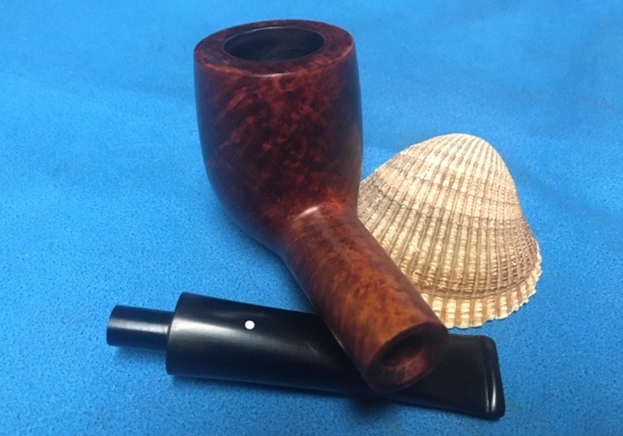
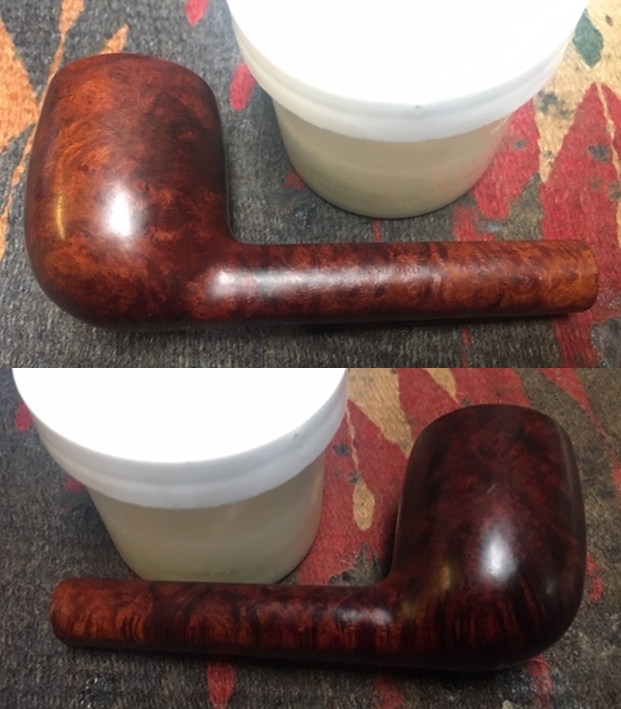
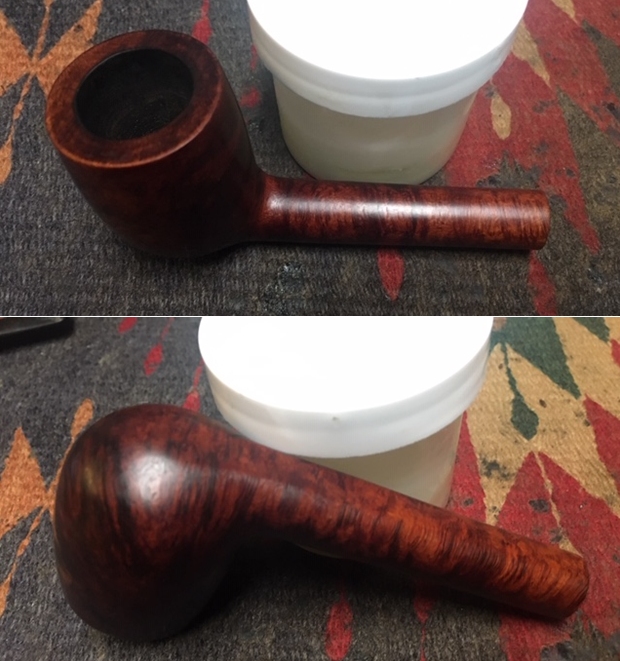
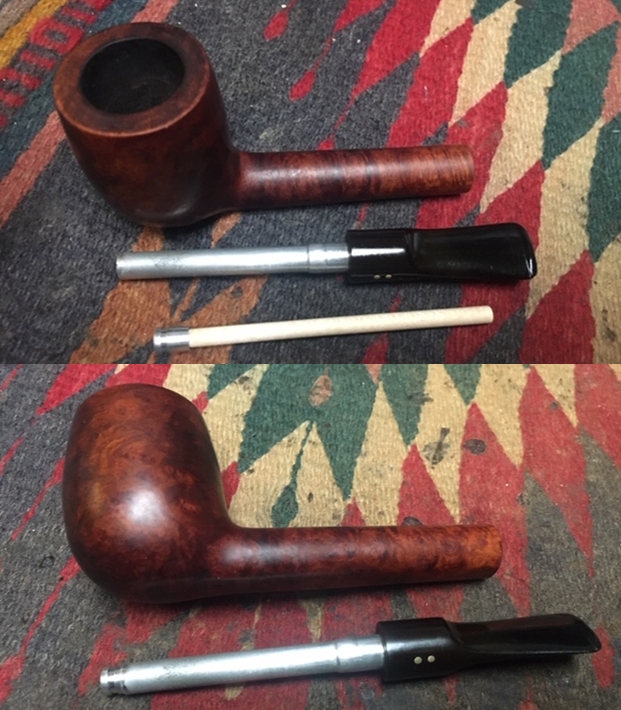
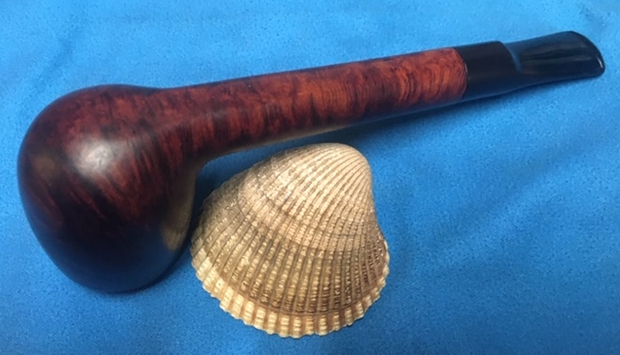
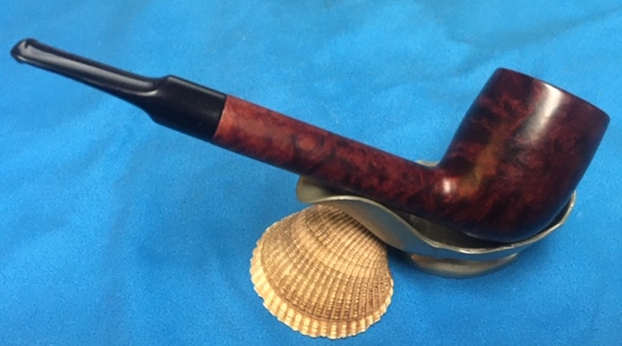
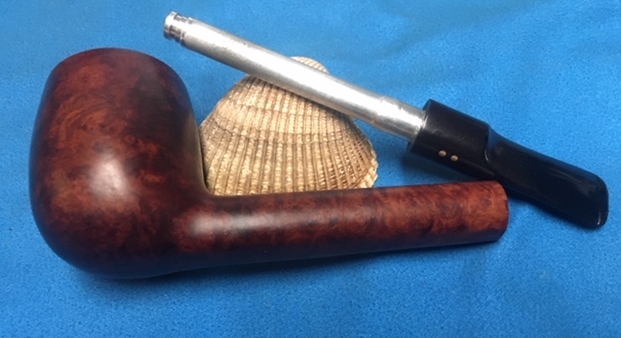
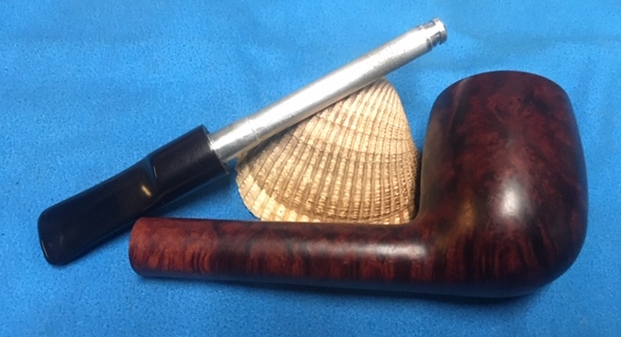
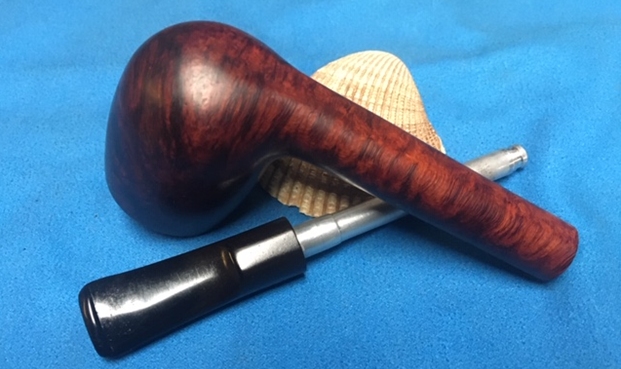
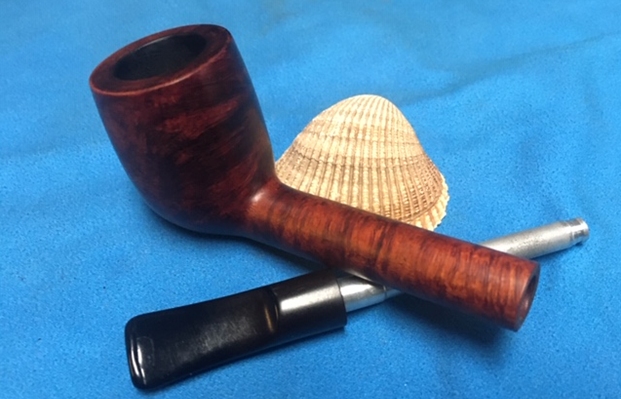
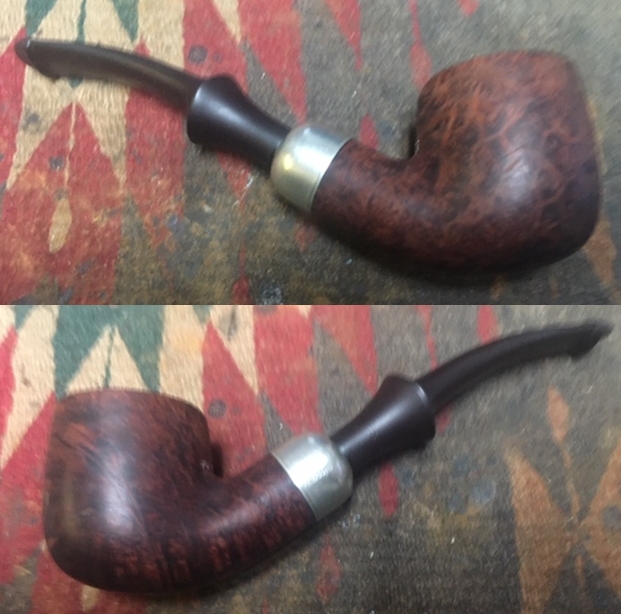
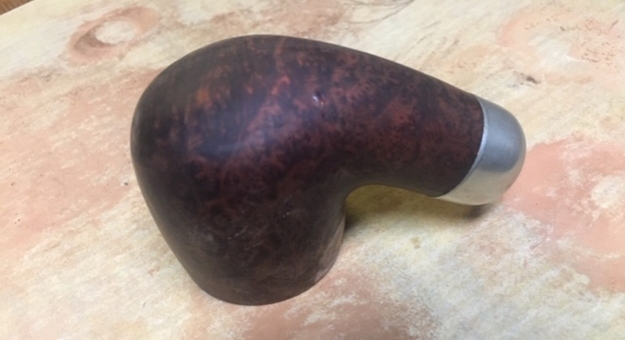
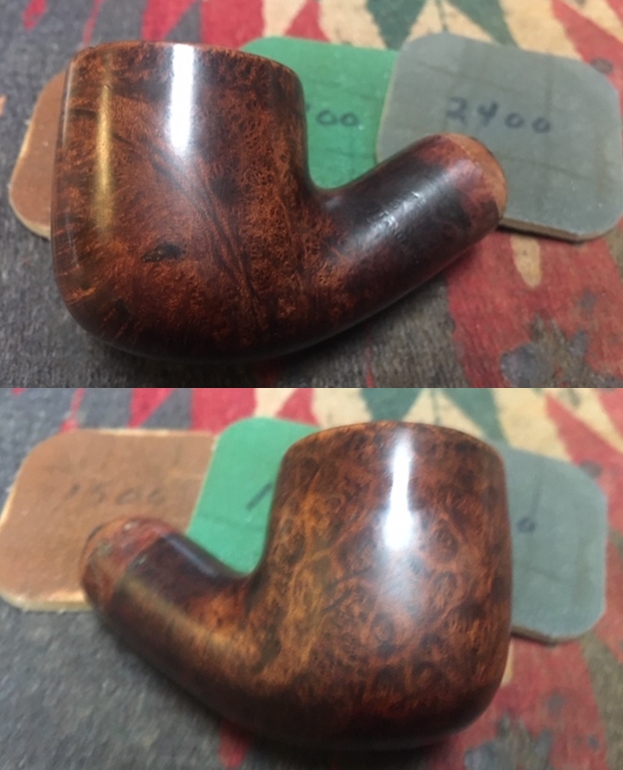
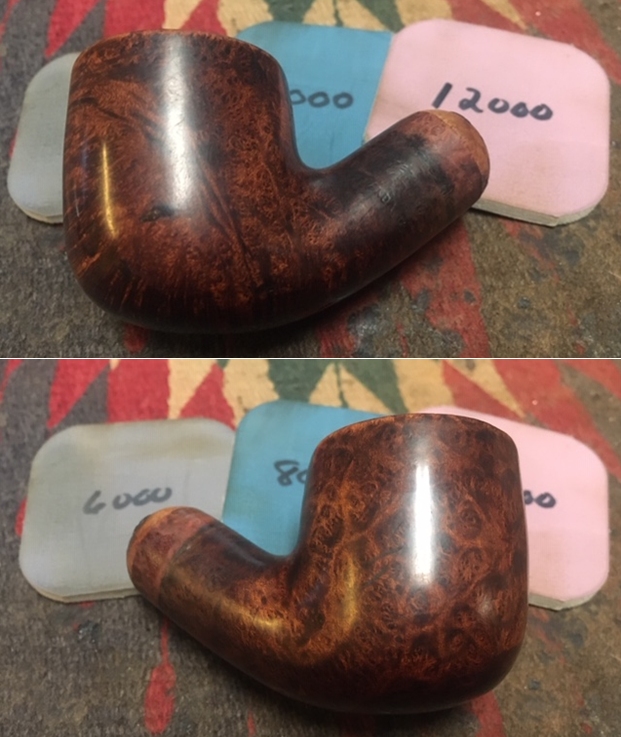
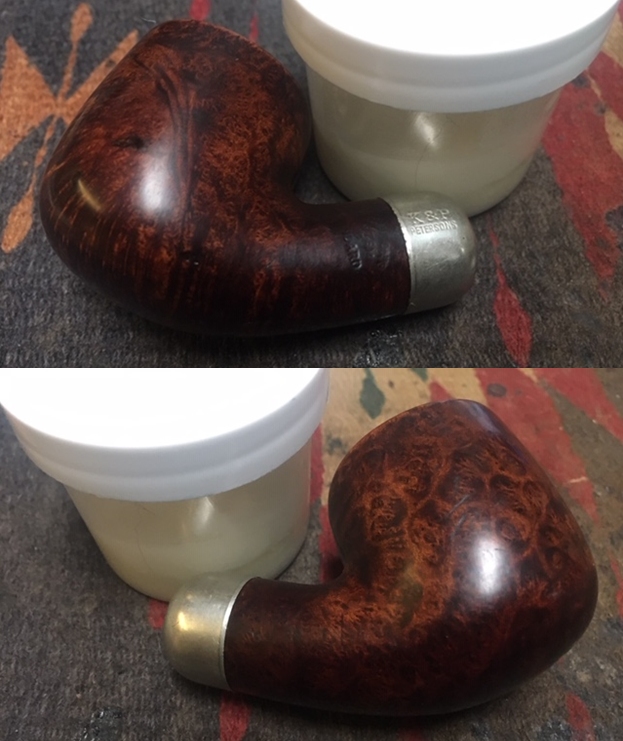
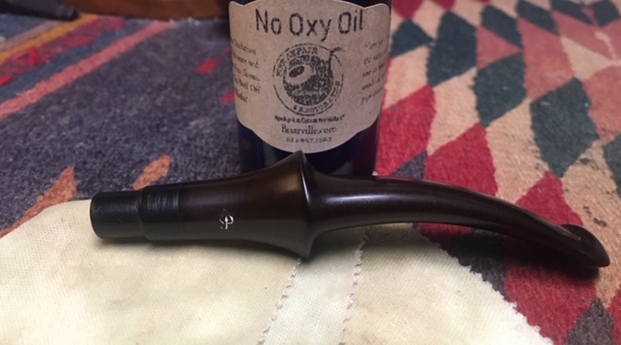
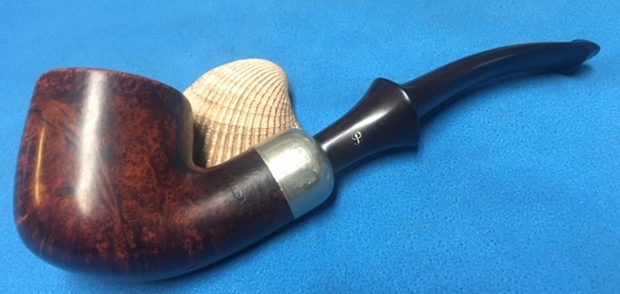
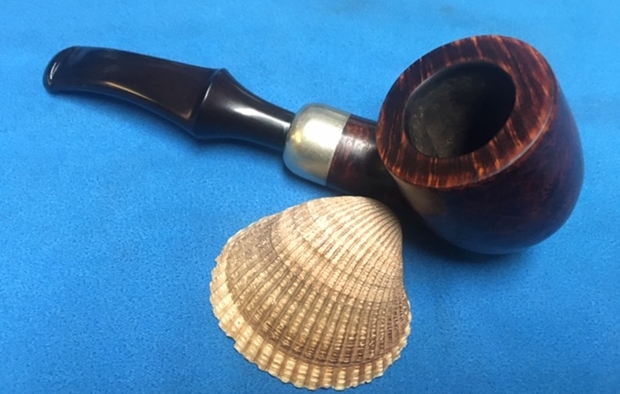
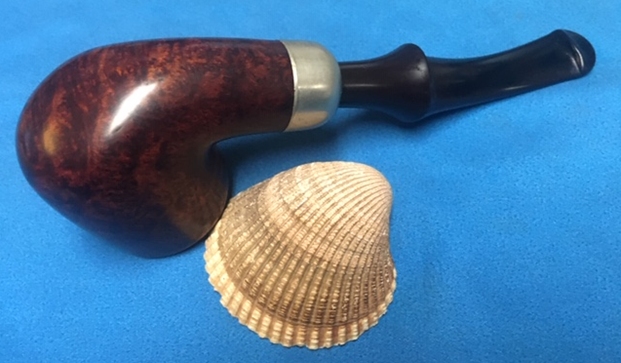
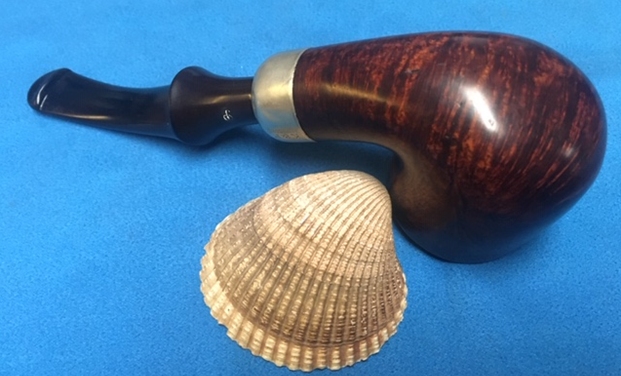
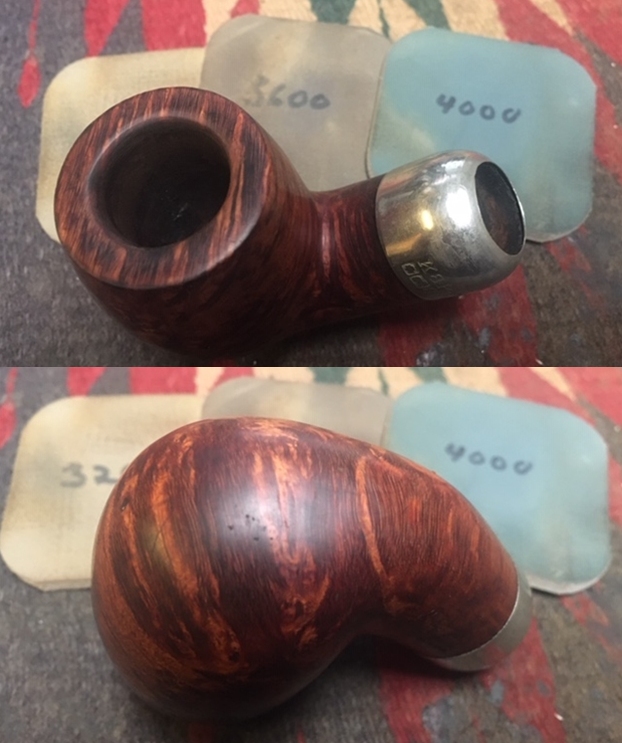
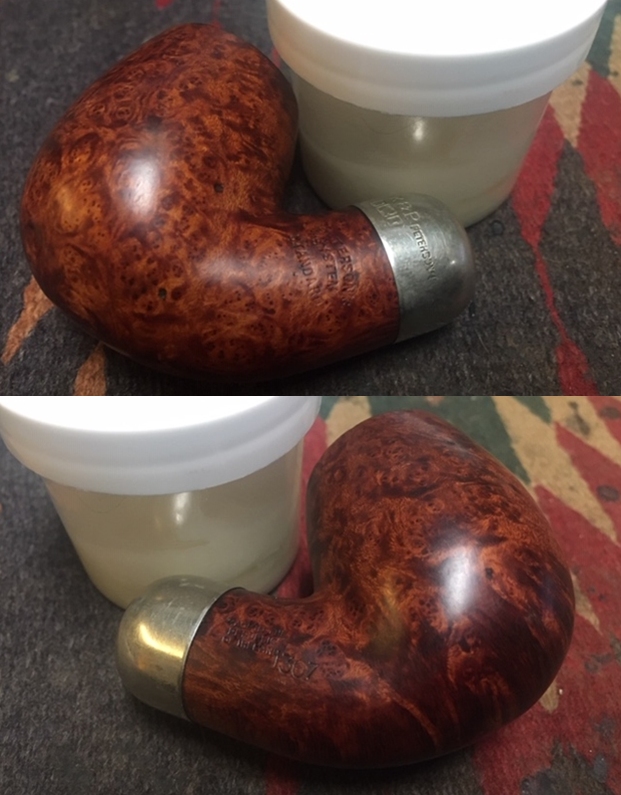
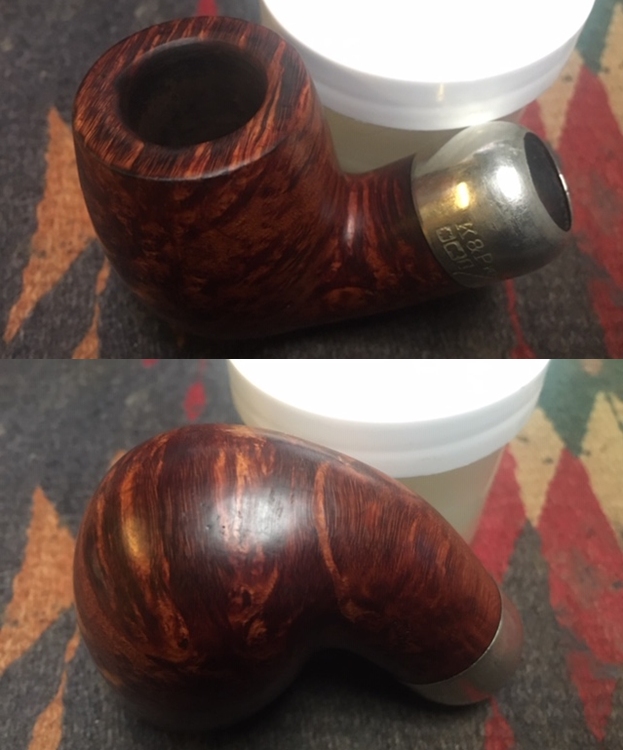
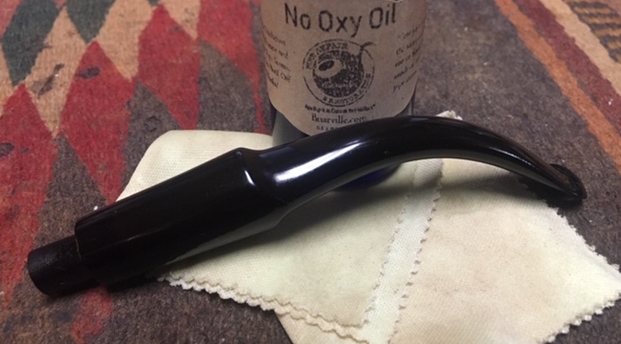
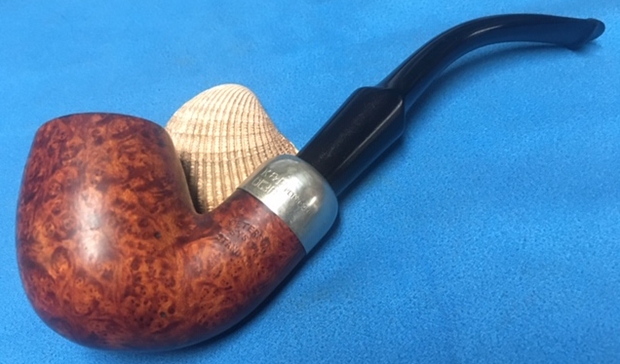
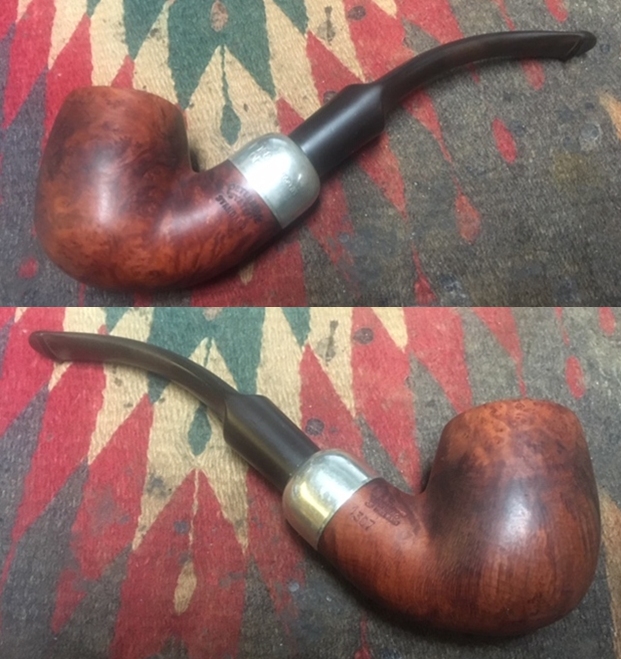
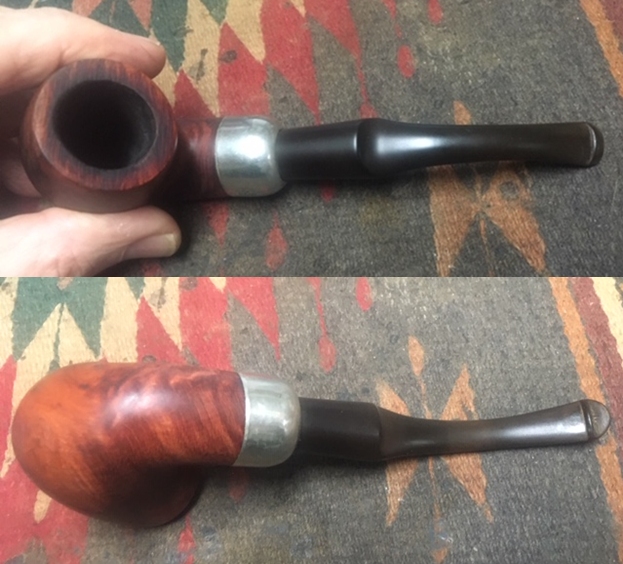
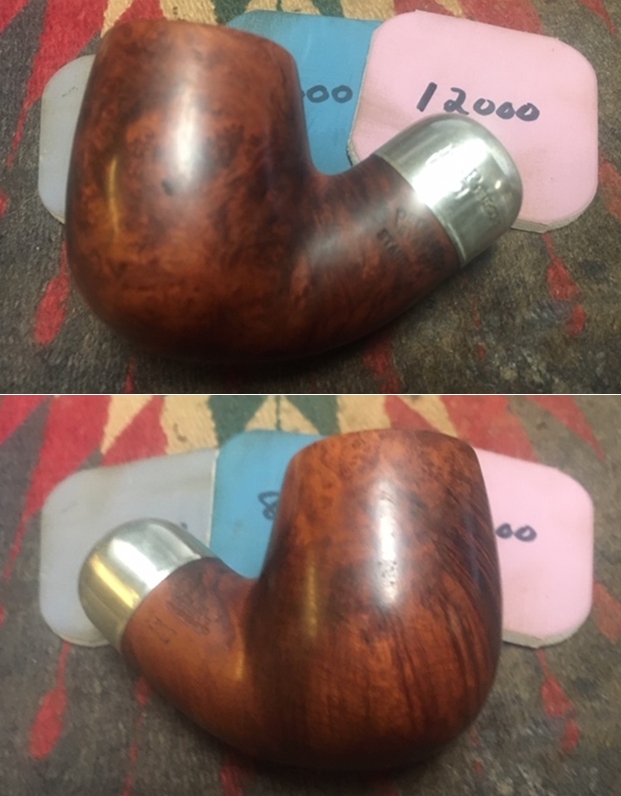
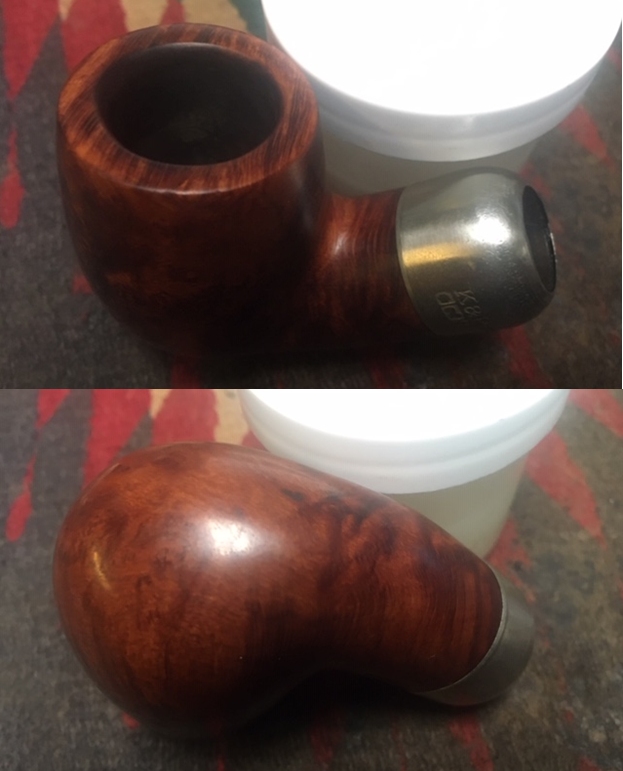
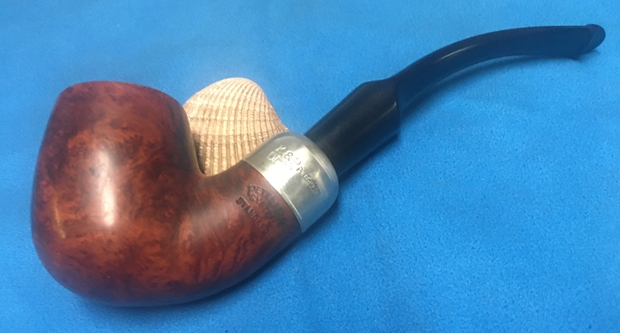
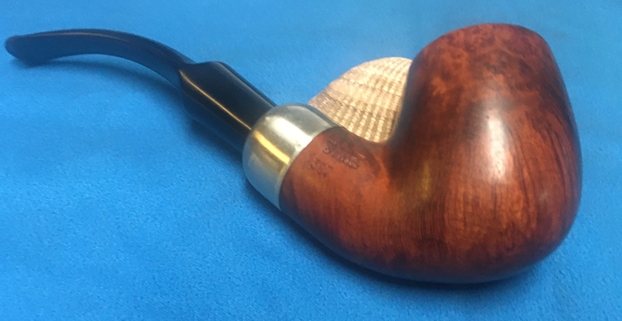
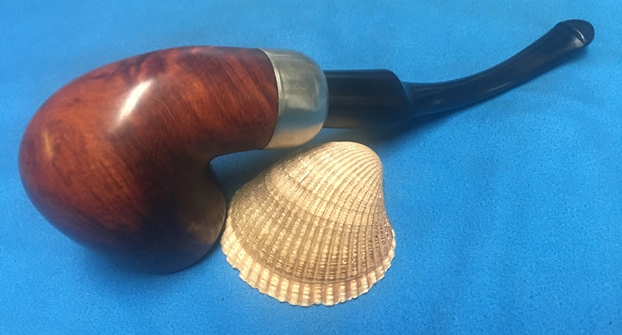
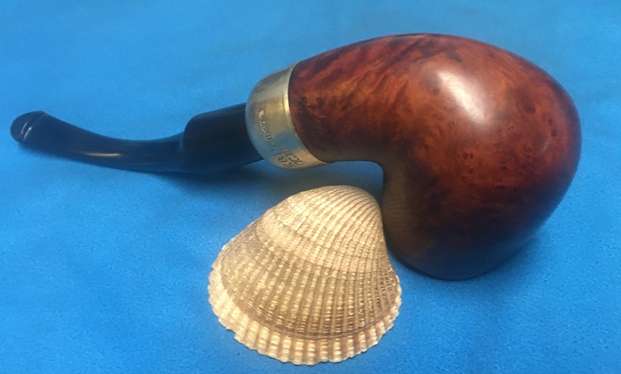
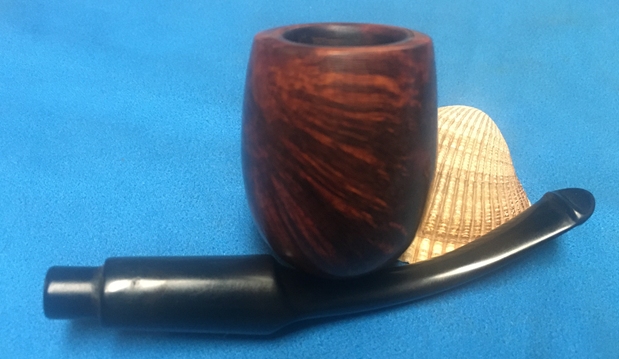
 I put the bowl and stem back together again and buffed it lightly with Blue Diamond on the buffing wheel to raise the shine on the briar and the acrylic stem. The buffing also removes minute scratches in the two materials and adds depth to the shine. I gave the stem several coats of carnauba wax and the bowl multiple coats of Conservator’s Wax. I buffed the pipe with a clean buffing wheel and then by hand with a microfibre cloth to deepen the shine. The pipe was alive now and look great to me. It has a great feel in the hand that is very tactile and should really pop when smoked. The bowl will also develop a deeper colour with smoking. The finished pipe is shown in the photos below. The dimensions of the pipe are Length: 6 inches, Height: 2 ¼ inches, Outside diameter of the bowl: 1 ½ inches, Chamber diameter: 7/8 of an inch. This rusticated Ascorti Business KS Italian Hand Made is a beauty should make someone a great pipe. It is one that will be on the rebornpipes store very soon. If you are interested let me know. Thanks for reading this blog and my reflections on the pipe while I worked on it. This was an interesting pipe hunt find to bring back to life. Here’s to a year ahead of pipe restoration!