Blog by Steve Laug
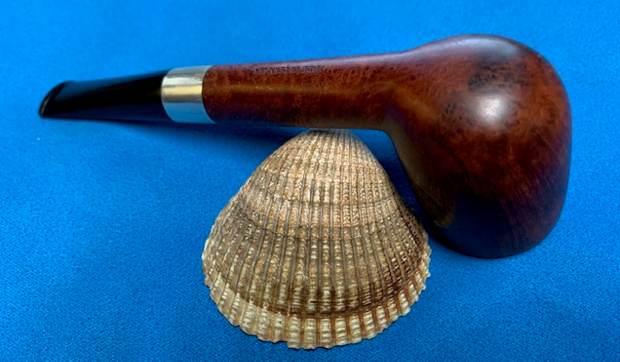
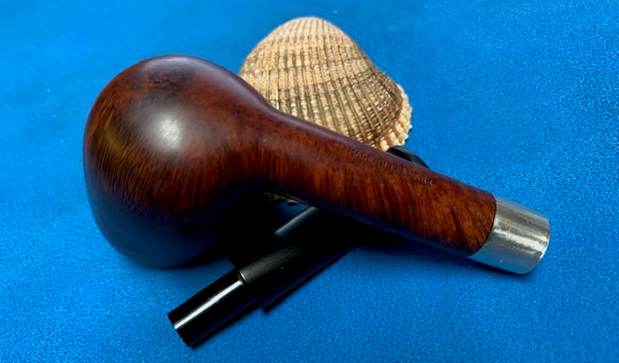
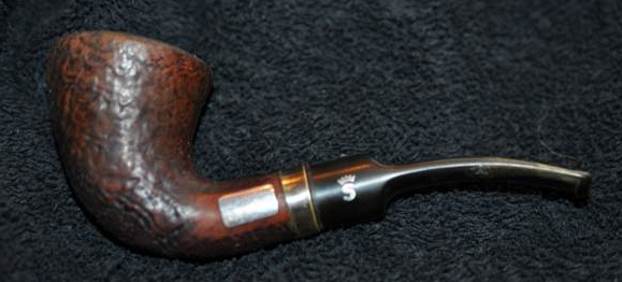
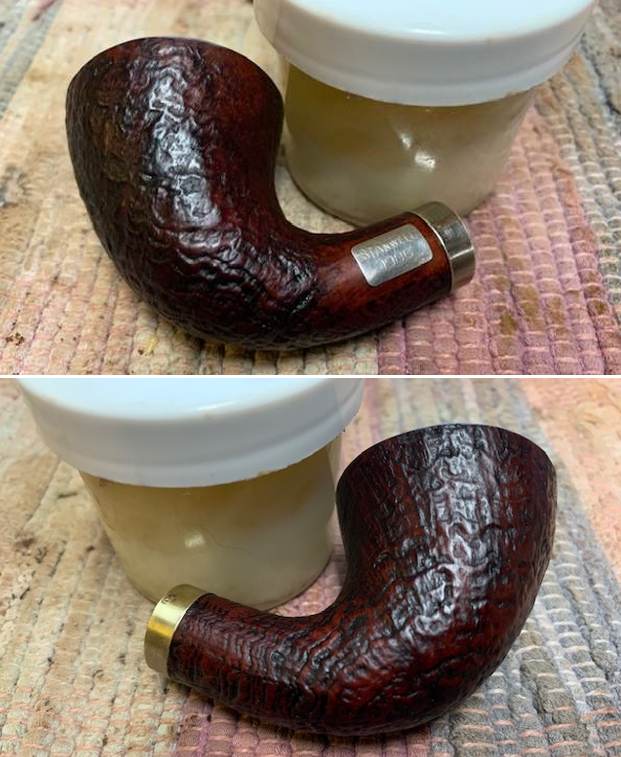
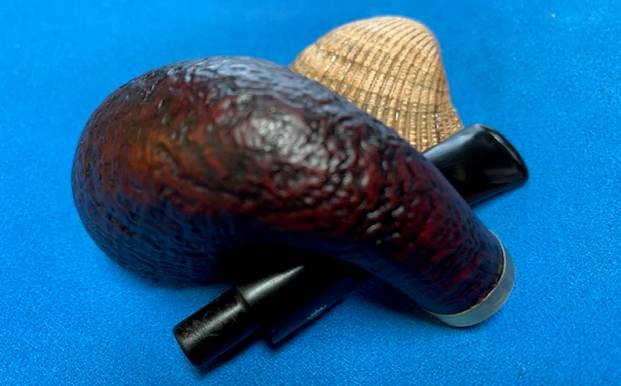
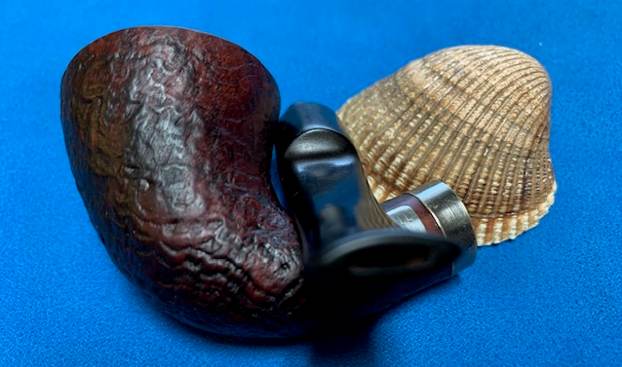
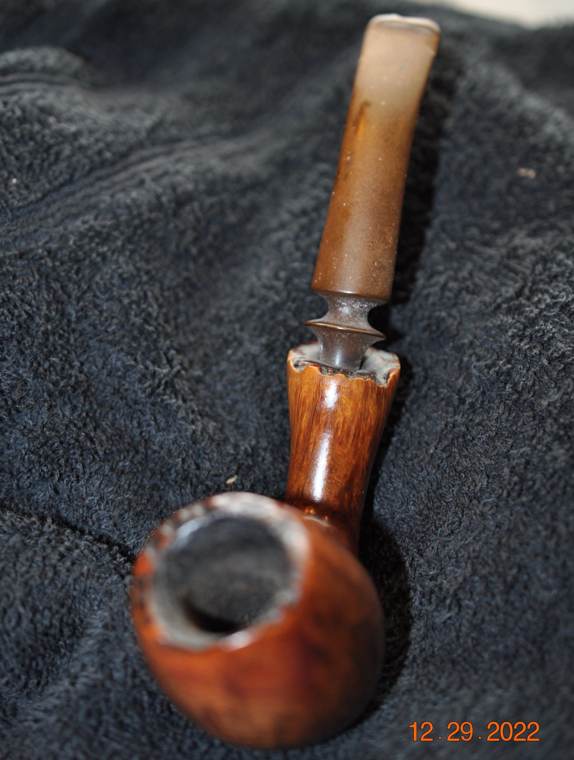
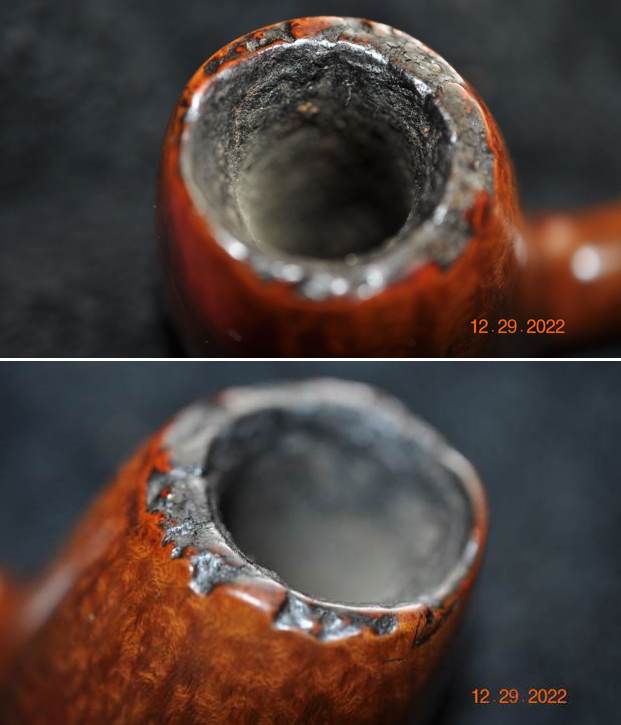
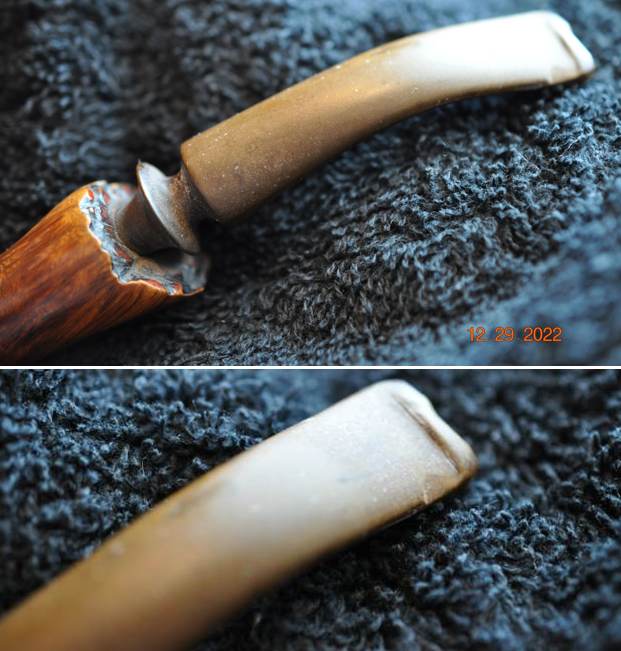
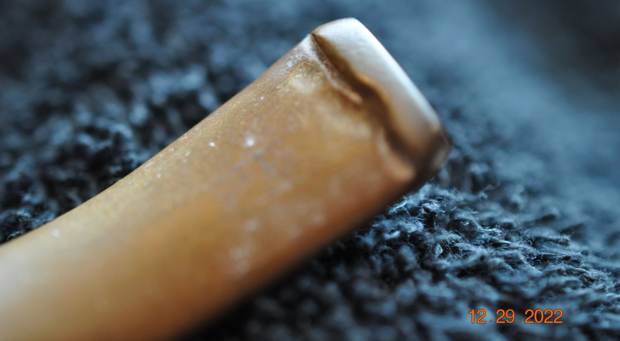
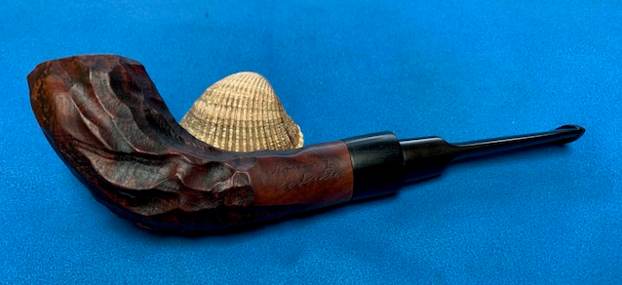
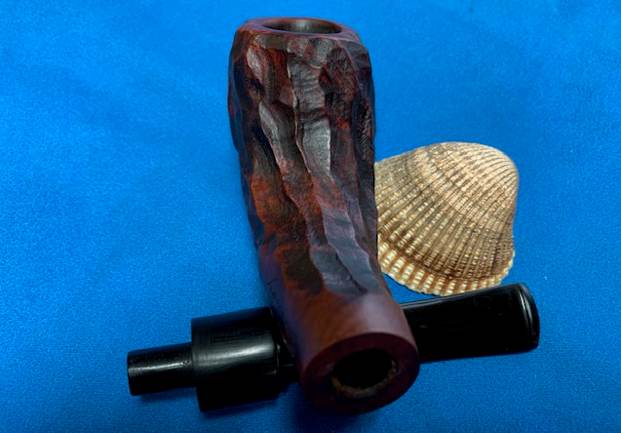
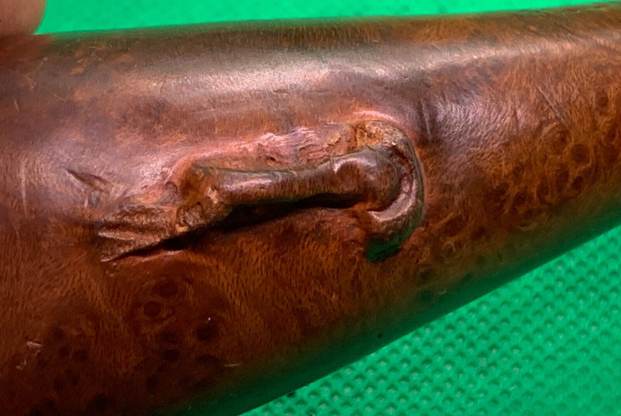
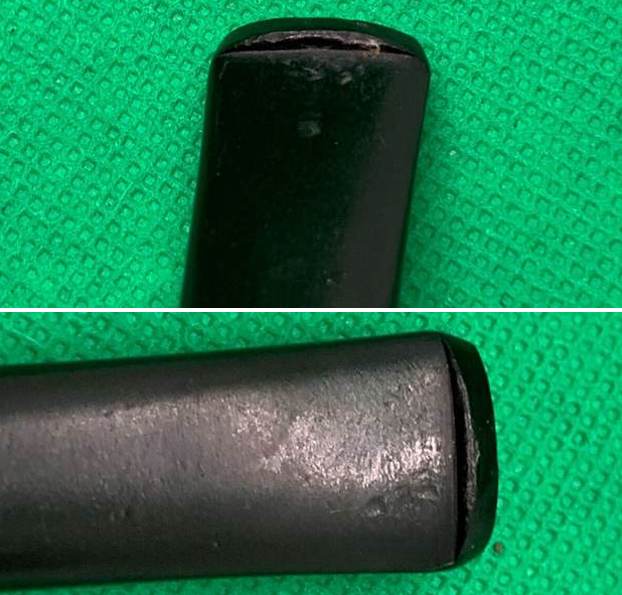
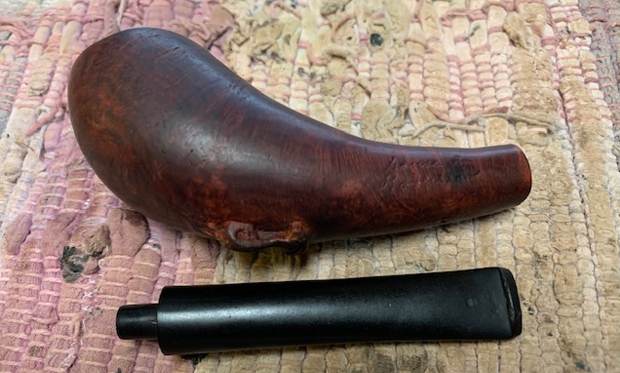
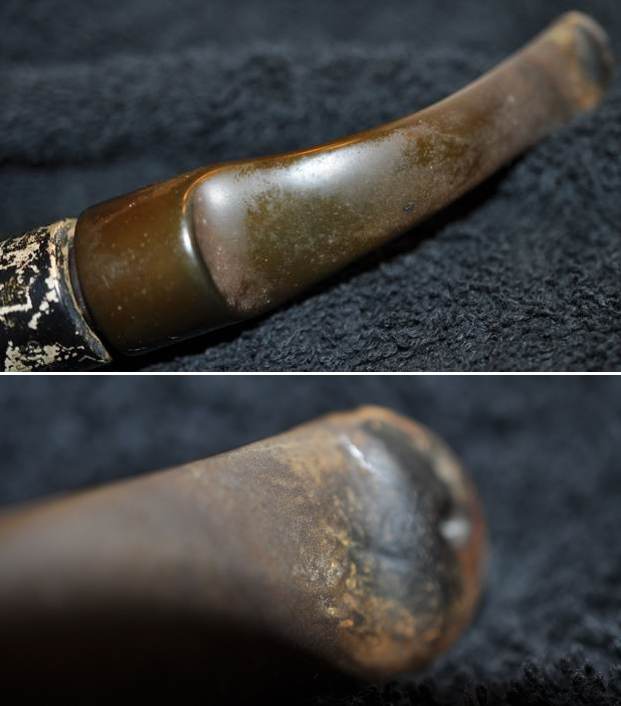
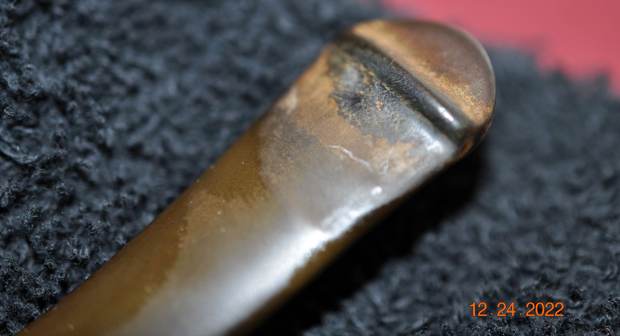
The next pipe I am working on was purchased on 01/10/2023 as part of another group of pipes from a fellow in Copenhagen, Denmark. This was another tired and dirty pipe that was a unique shape. The pipe is stamped on the left side and reads Stanwell [over] Regd. No. 969-48. On the right side it is stamped with the shape number 97. On the underside of the shank it is stamped Made in Denmark. The pipe is an interesting look shape I would call a Liverpool. It is long shank and round with a taper vulcanite stem. There were tars and oils ground into the surface of the briar. The silver band on the shank was original and was stamped Sterling [over] Silver. The bowl had a thick cake that flowed over the top of the rim in a thin coat of a lava and some damage to the inner edge of the bowl. The stem was a black vulcanite taper stem without a logo on the side or top. It was oxidized, calcified and had tooth marks and chatter on both sides ahead of the button. I think it would clean up to be a beautiful pipe. Jeff took photos of the pipes before he started his clean up work. 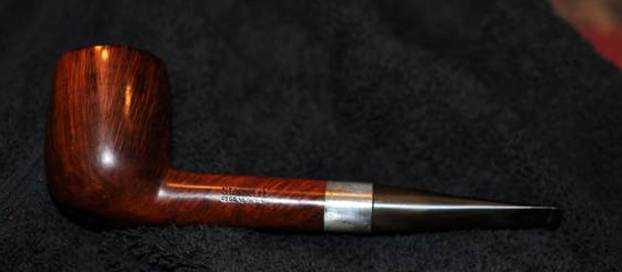
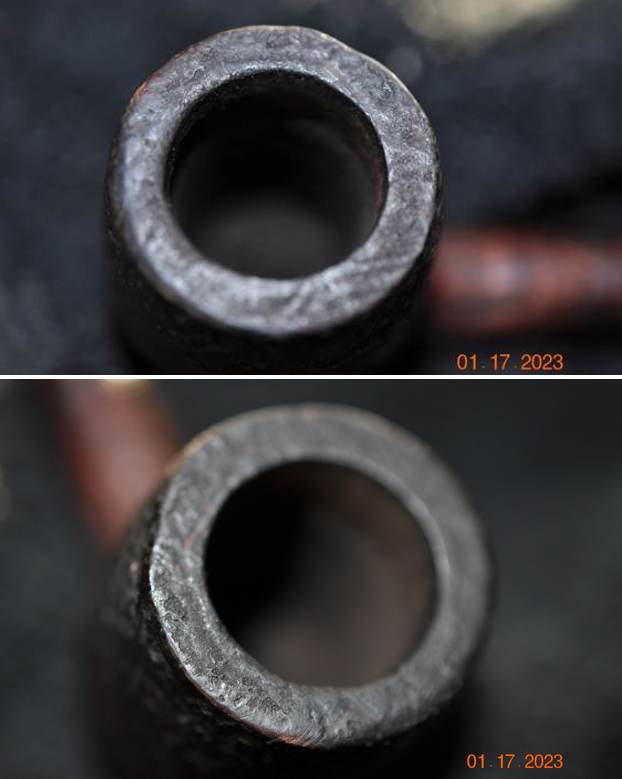
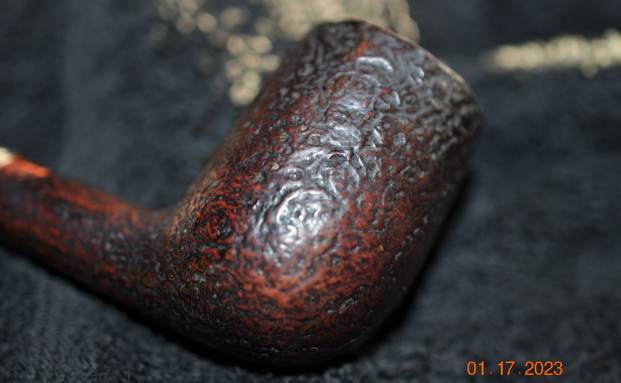
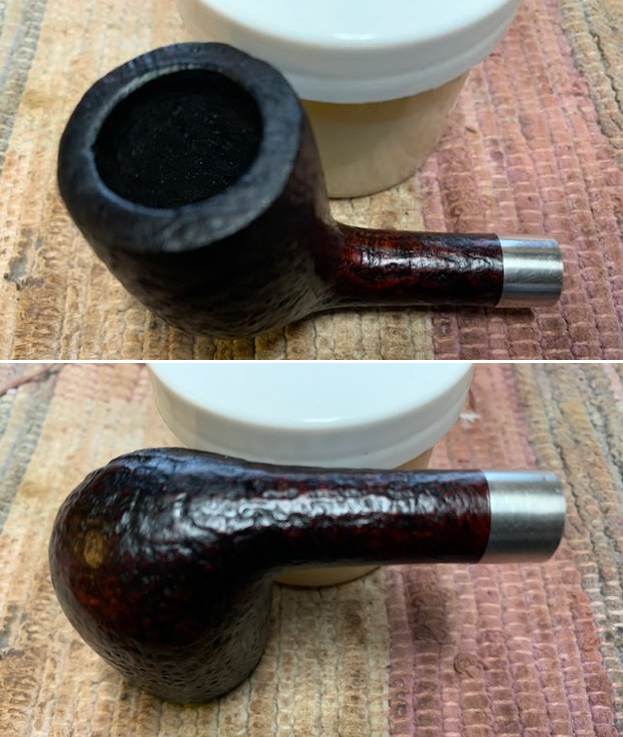
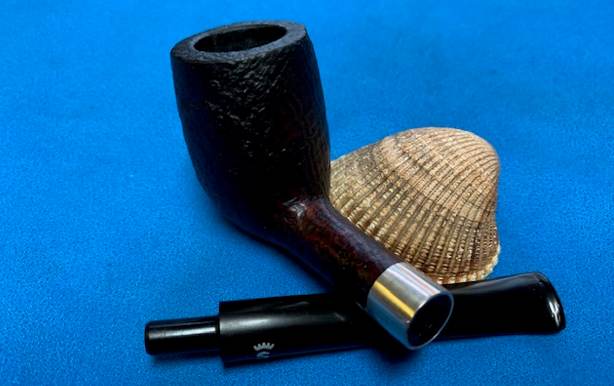
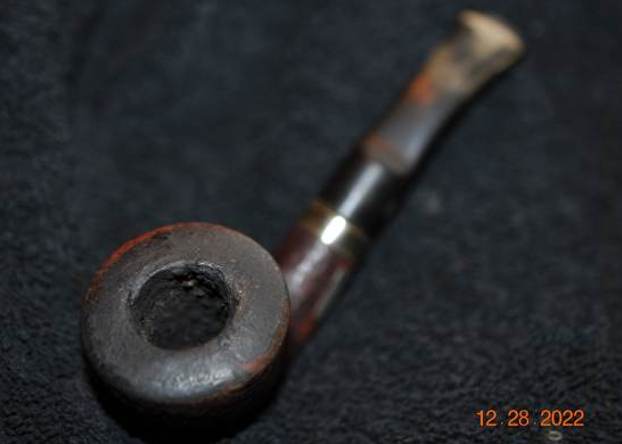
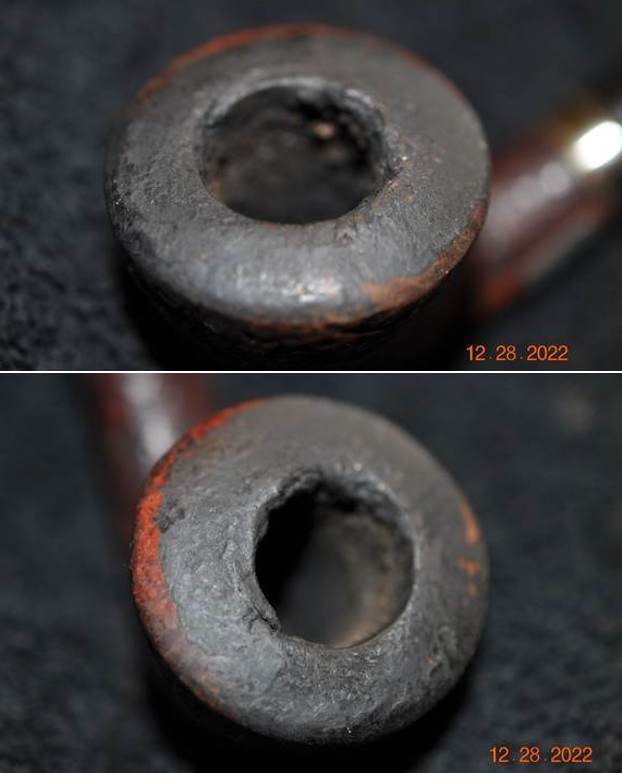
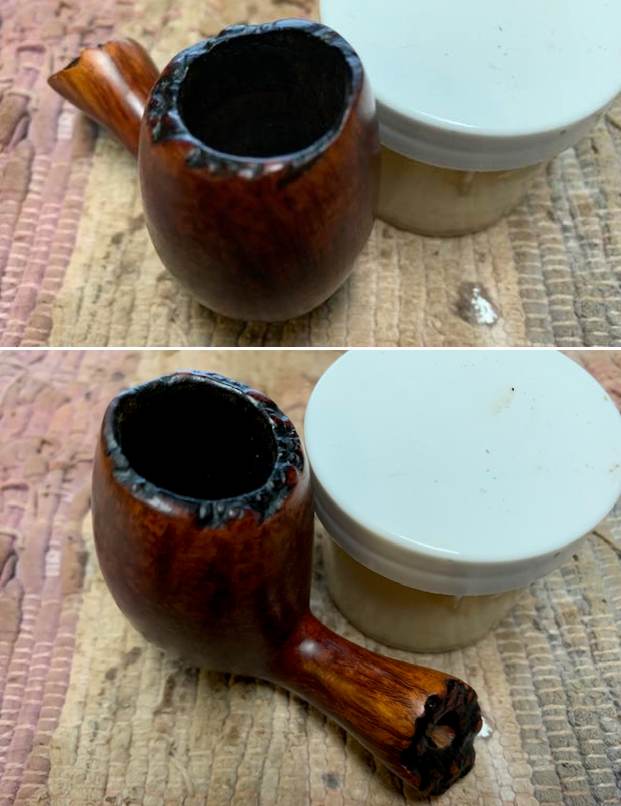
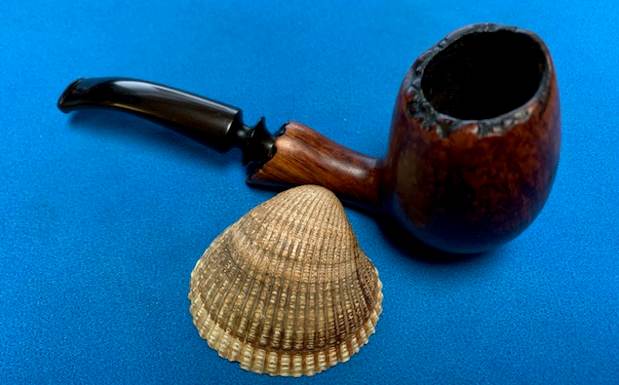
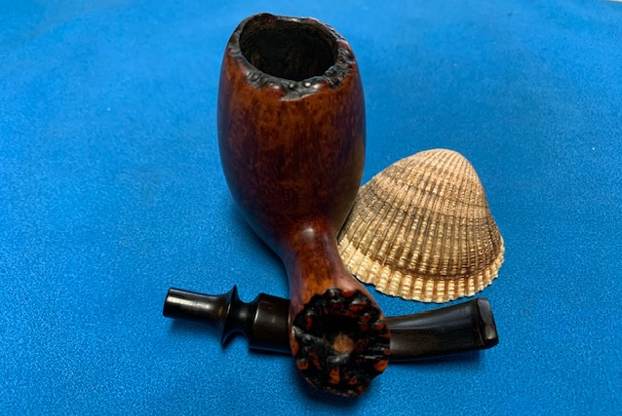
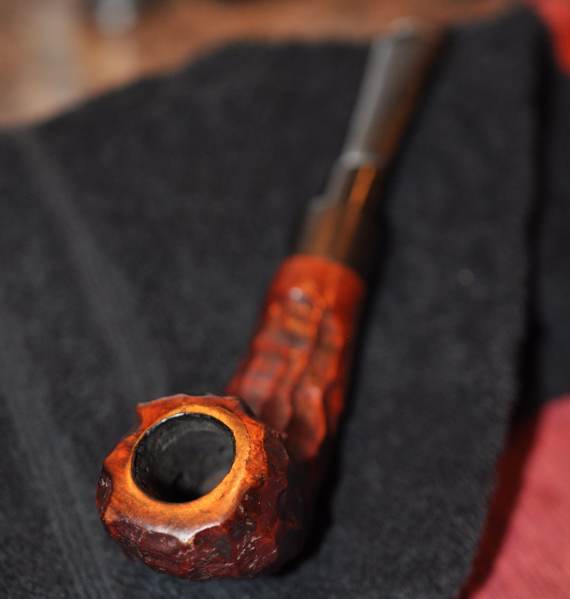
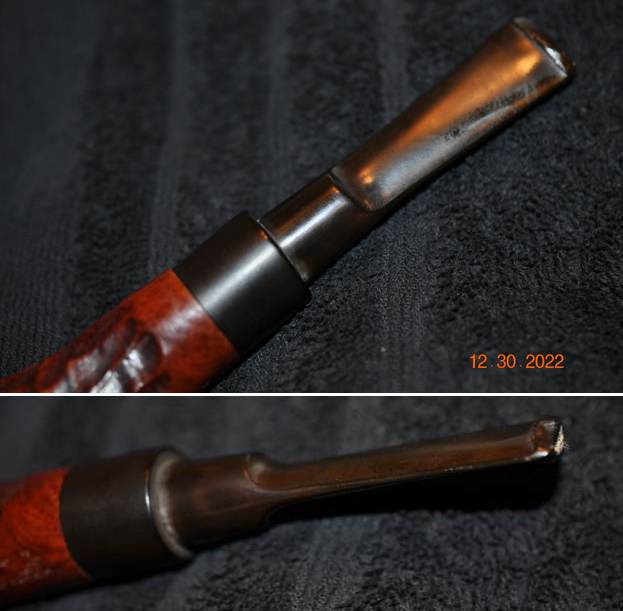
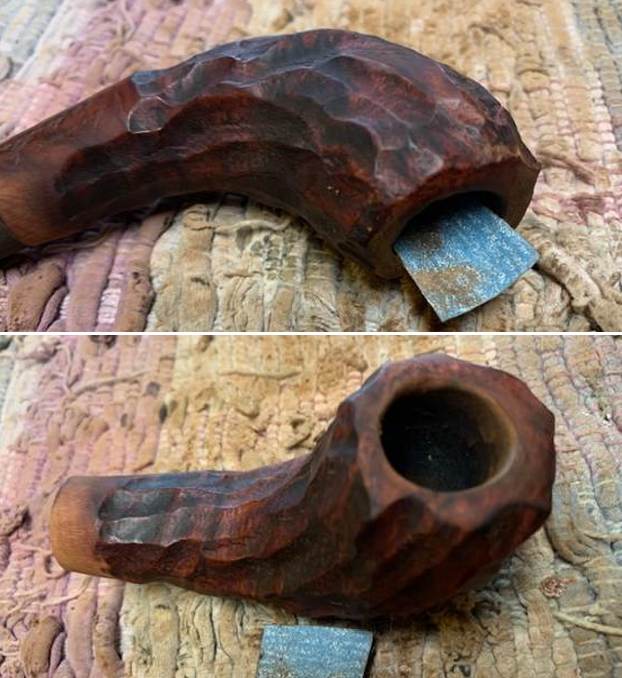
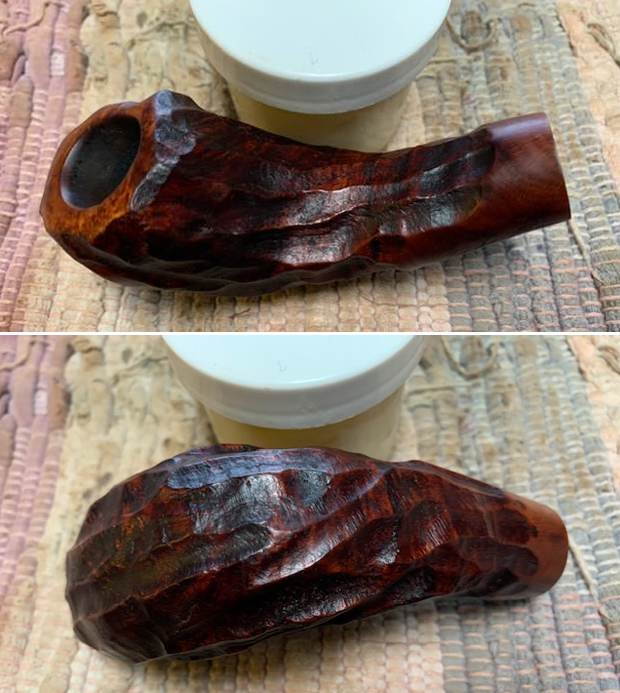
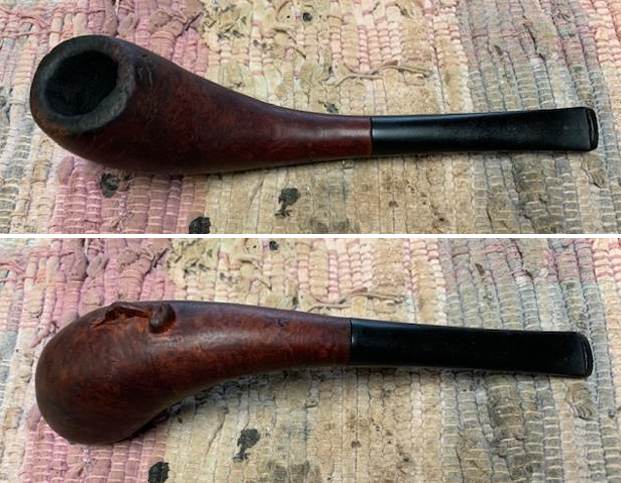
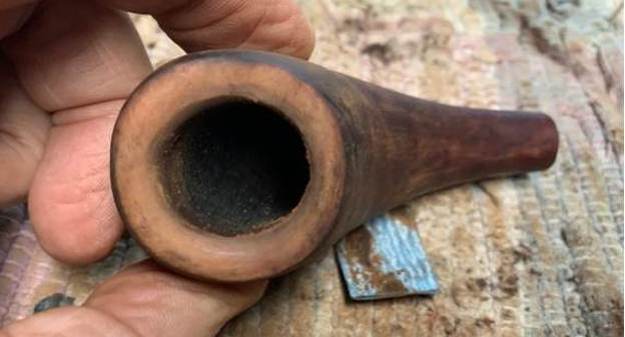
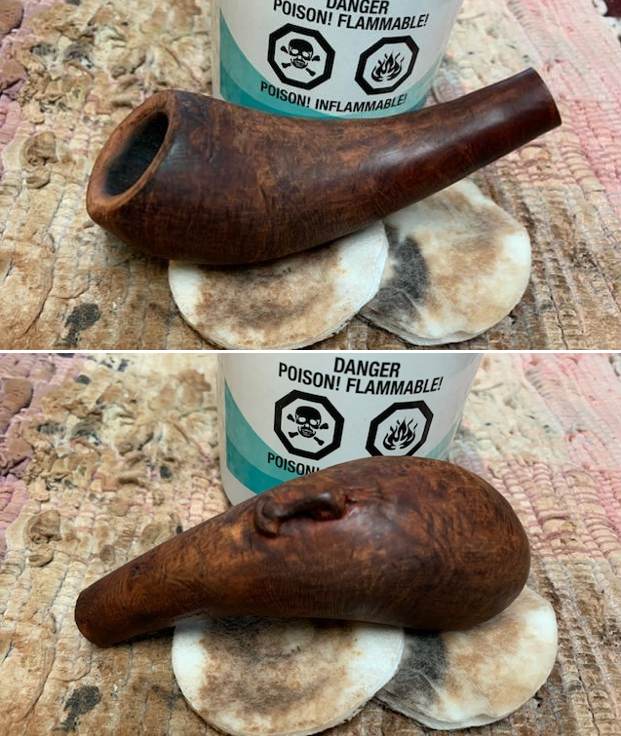
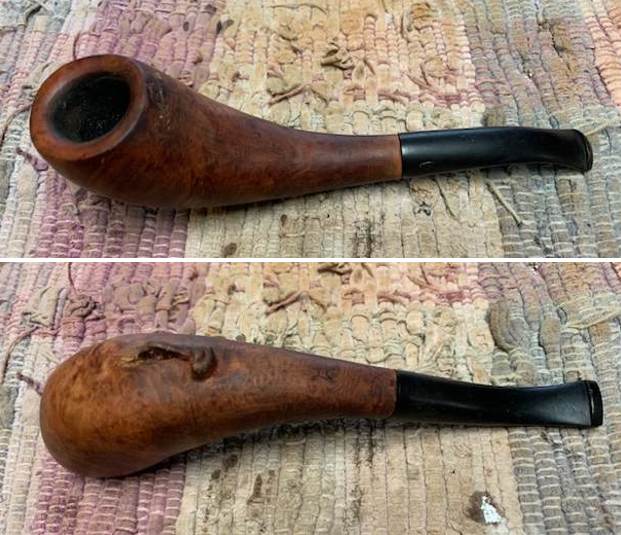
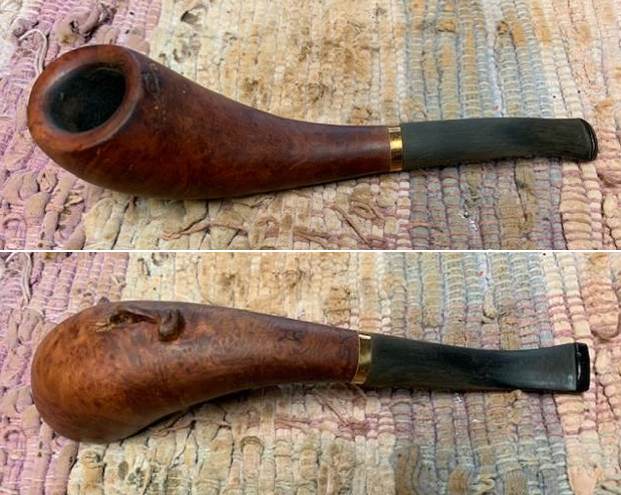
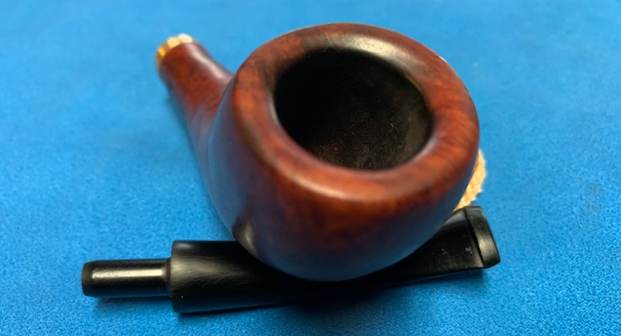
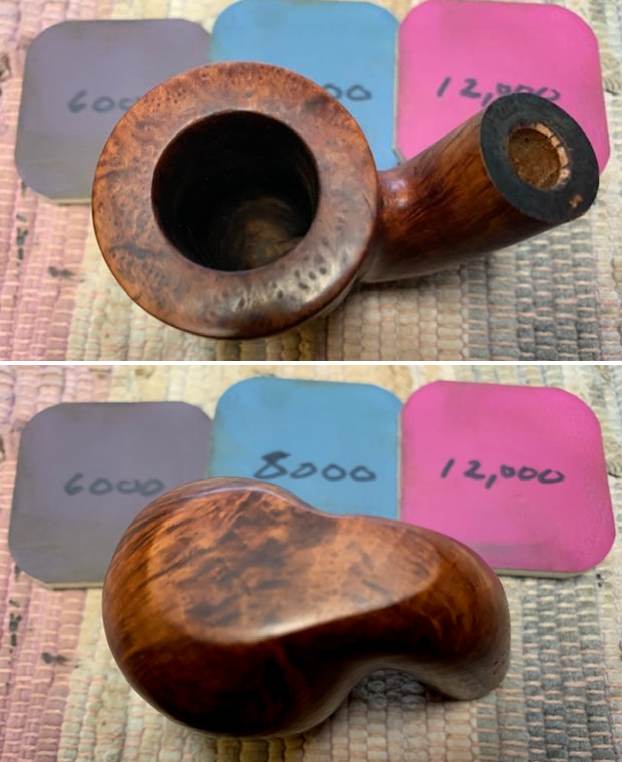
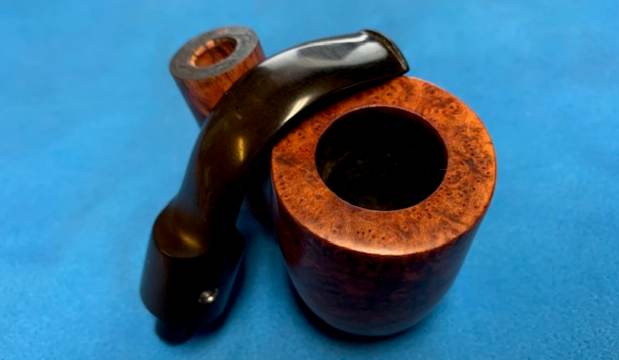
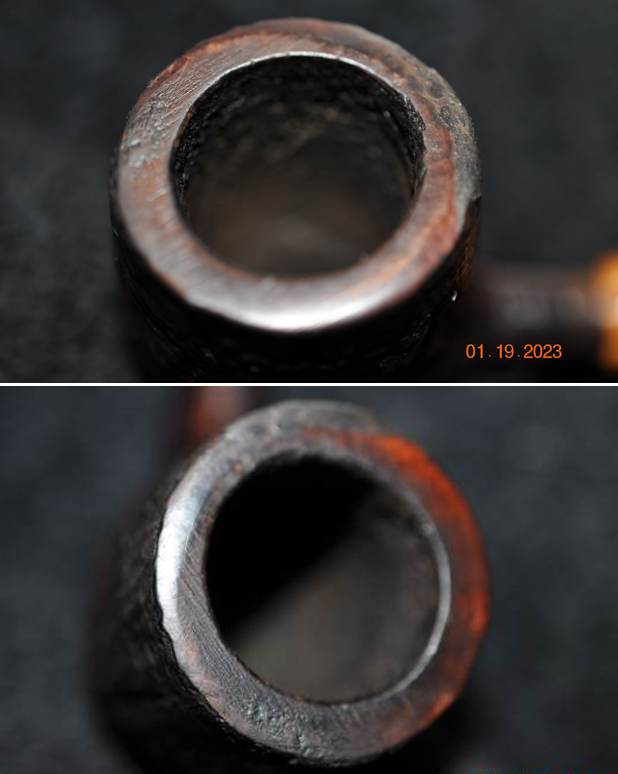
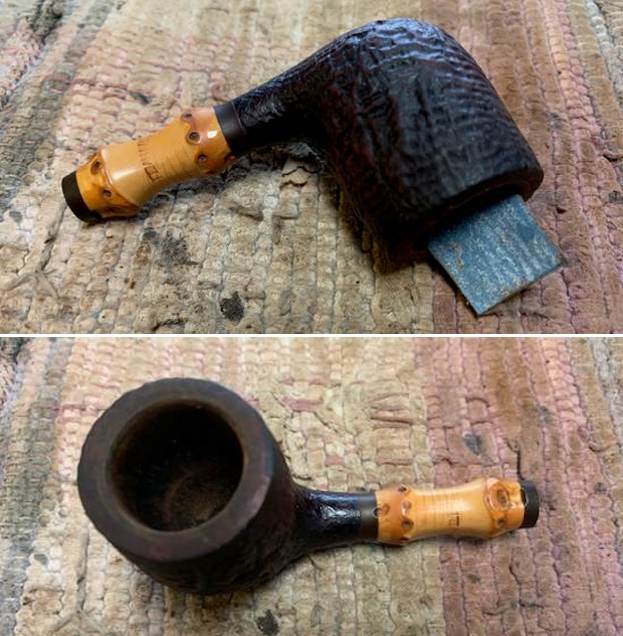
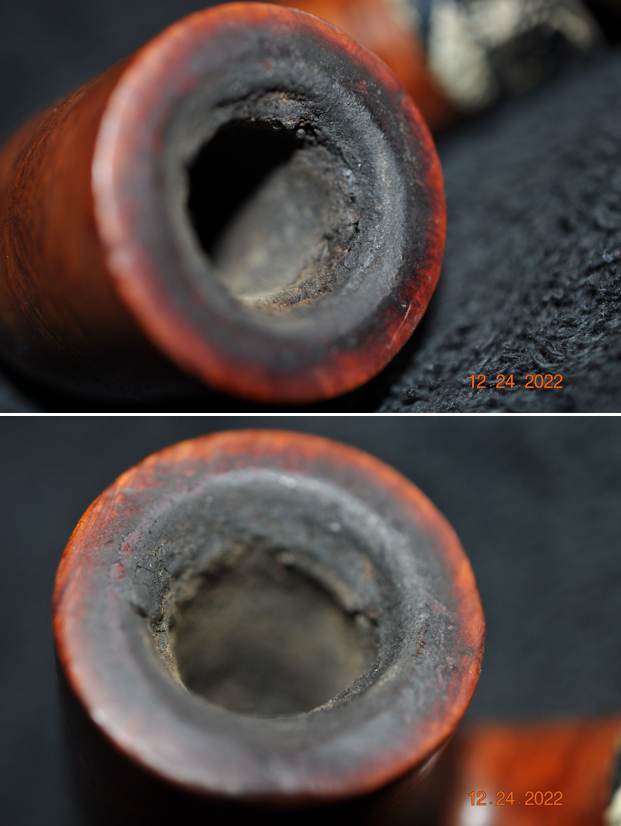
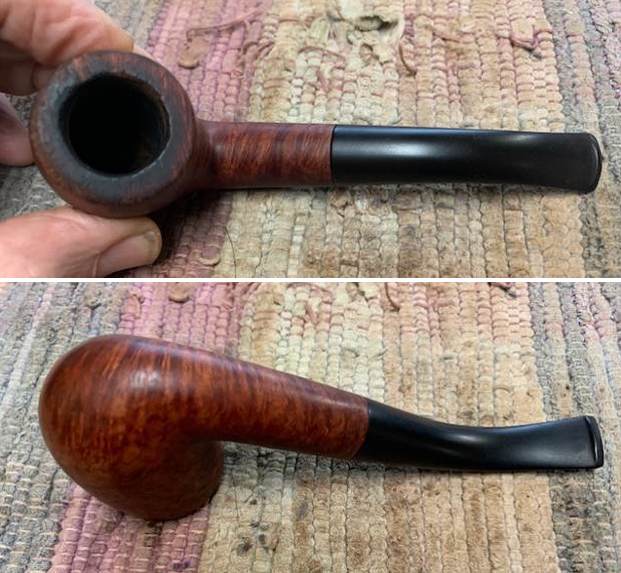
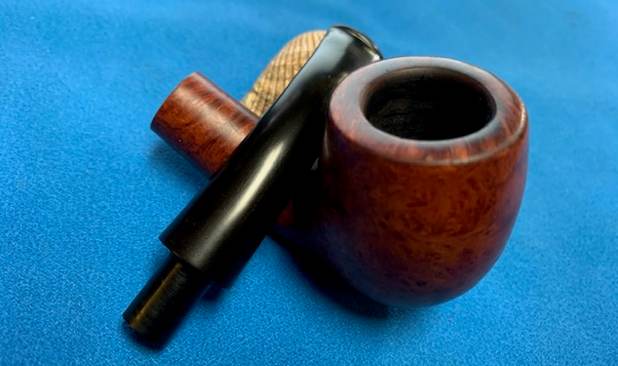
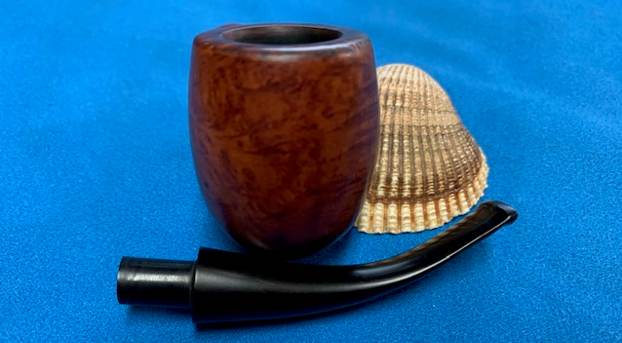
 He took photos of the rim and bowl to show the moderate cake and lava coat covering the rim top. It really was filthy and a mess. You can also see the rim top and inner edge damage in the photos. He also took photos of the stem surfaces to show its overall condition when it arrived.
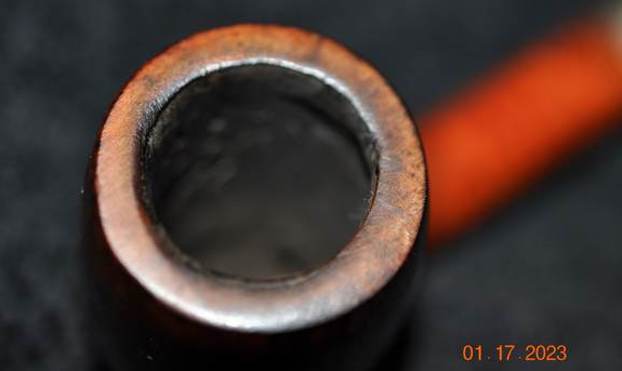
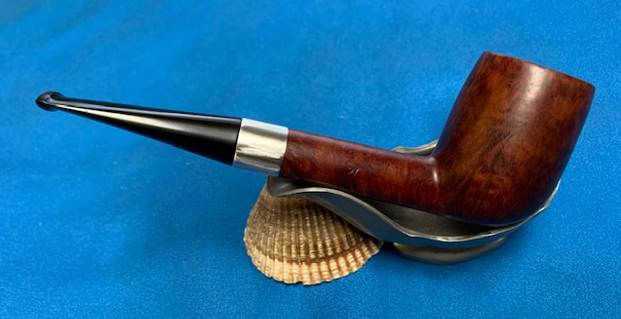
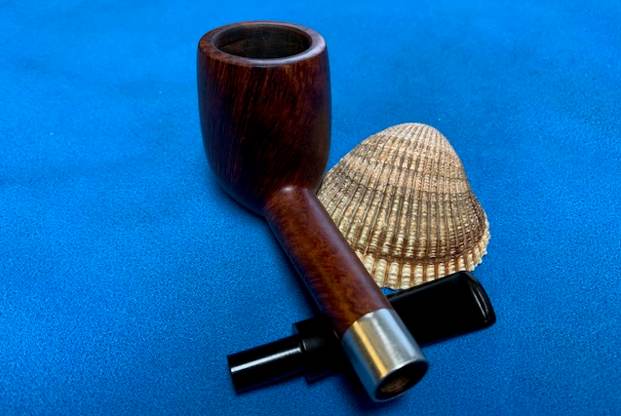
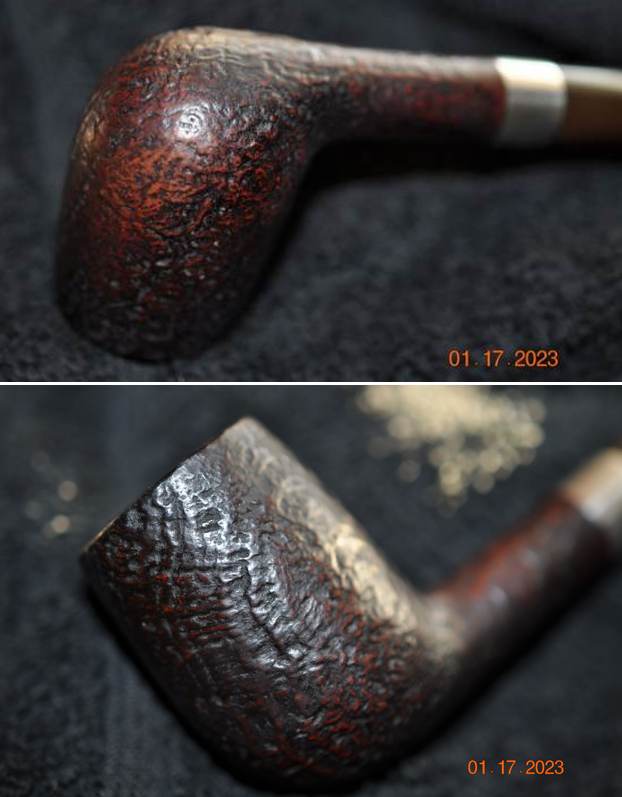
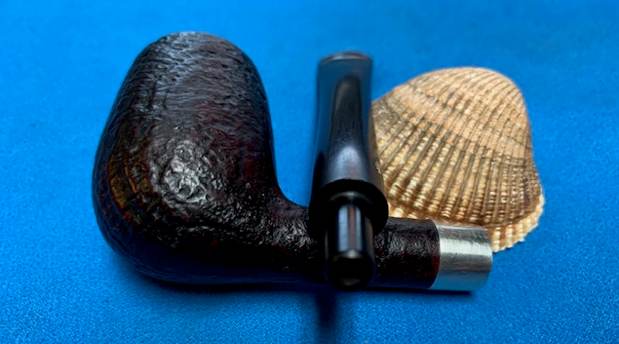
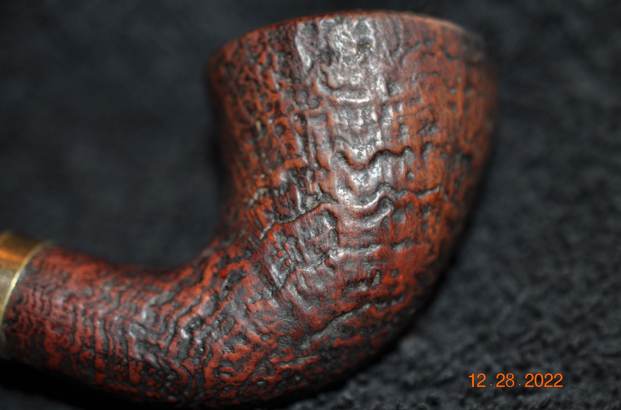
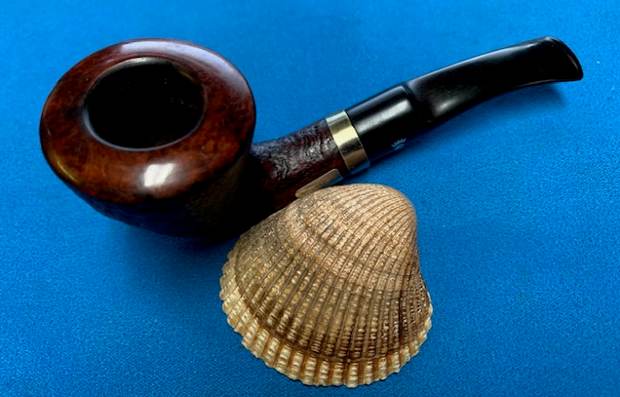
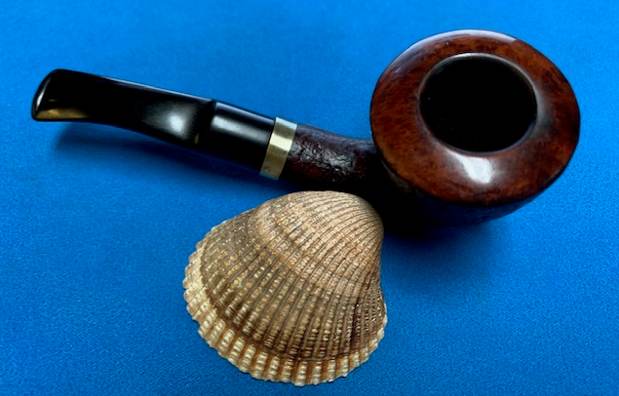
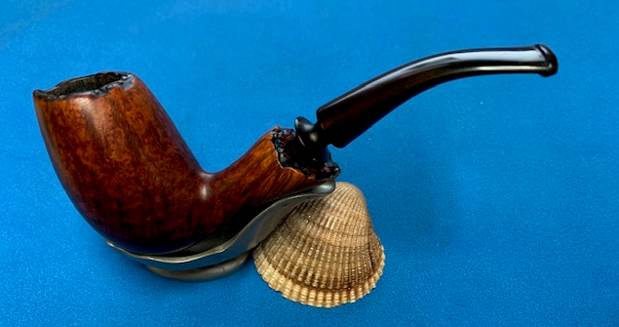
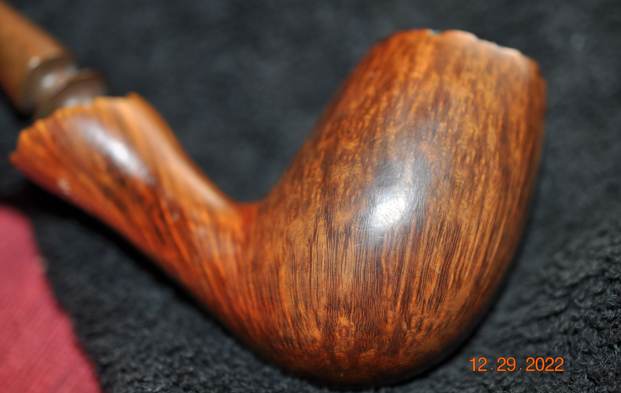
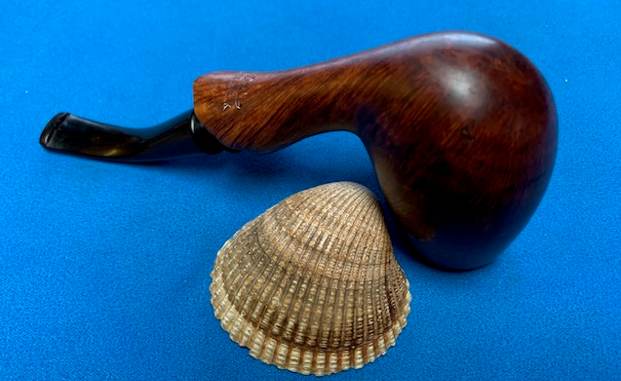
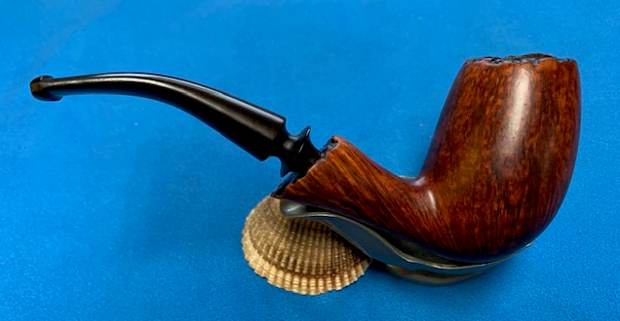
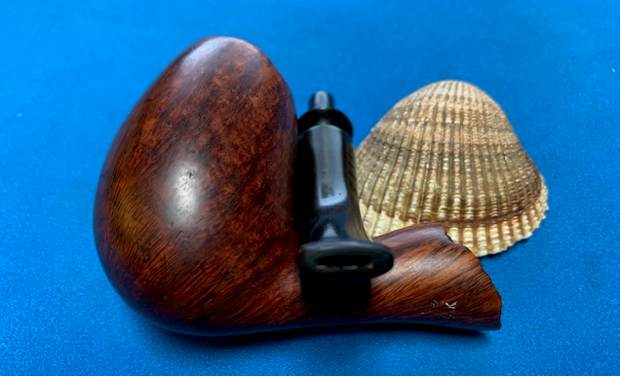
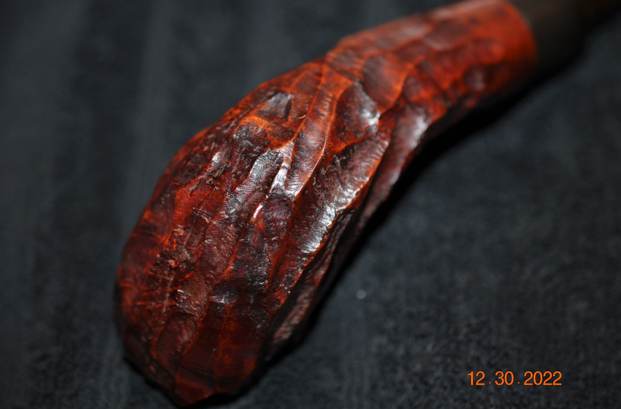
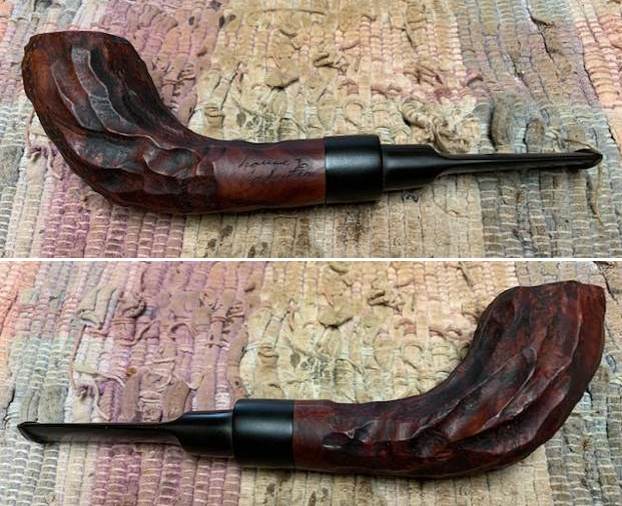
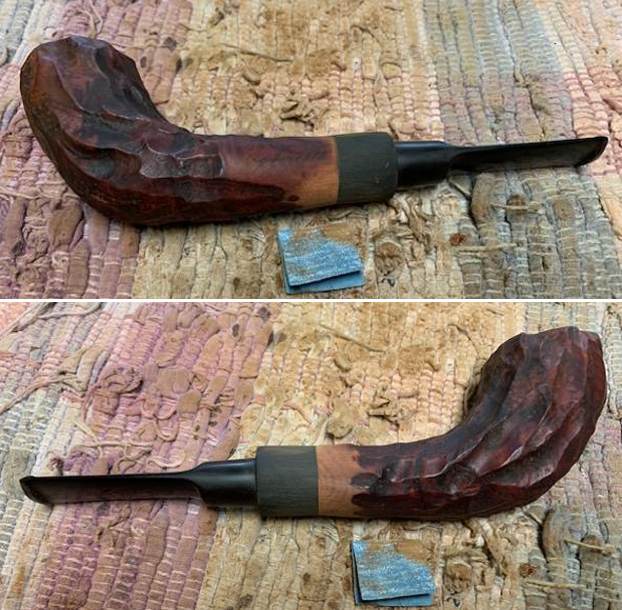
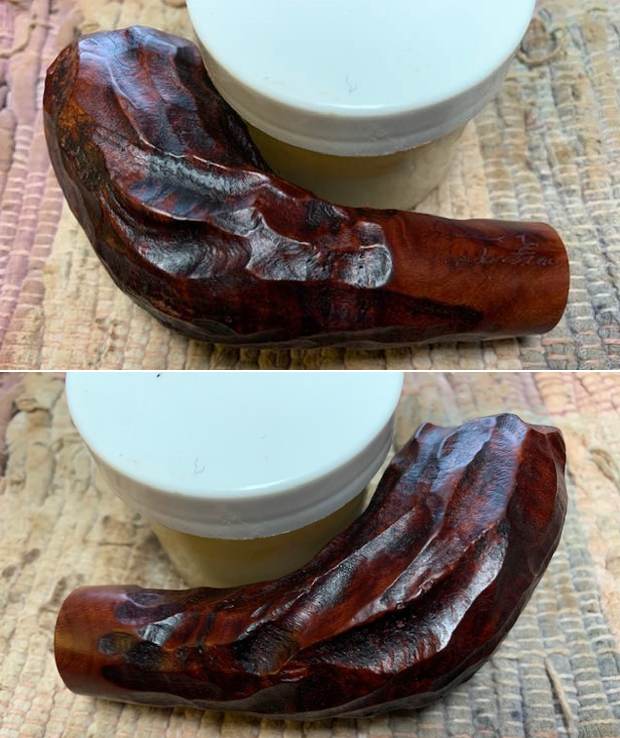
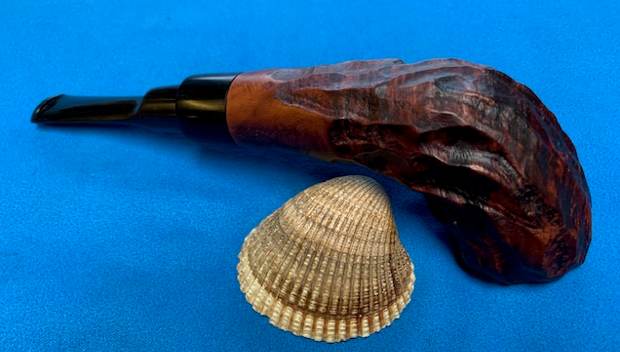
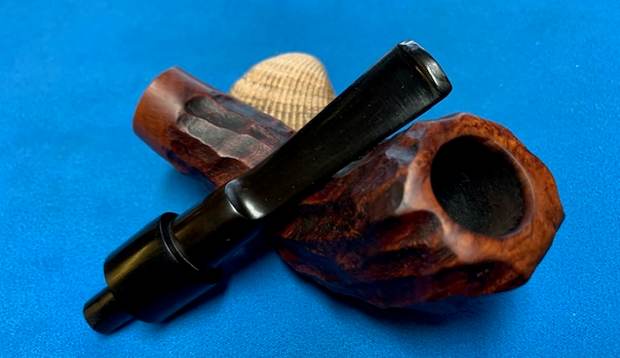
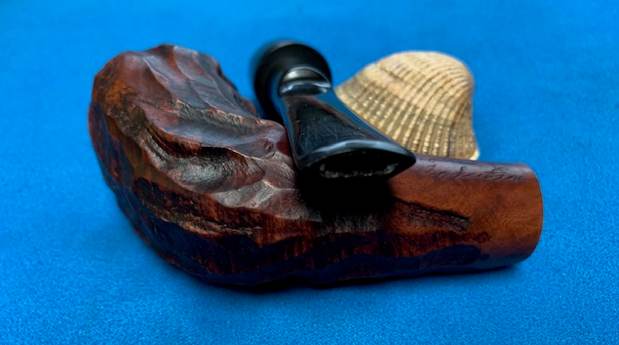
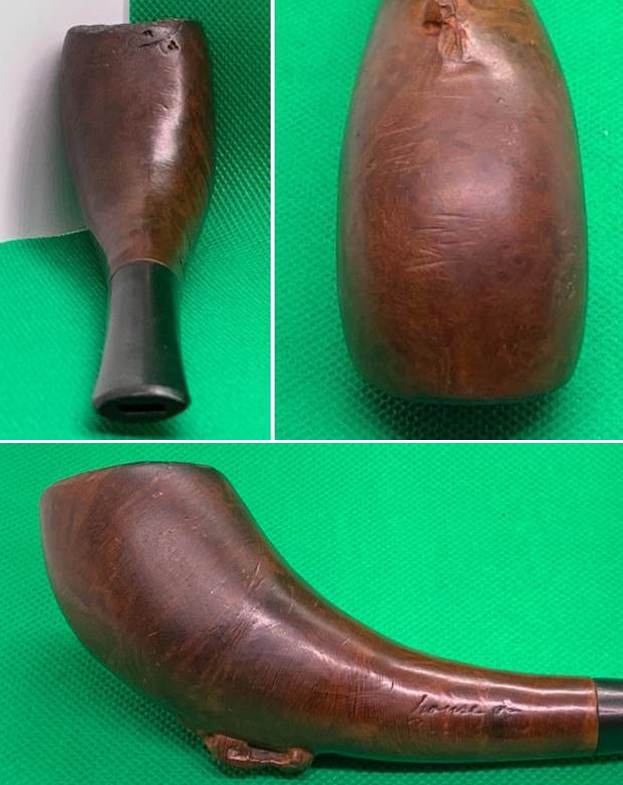
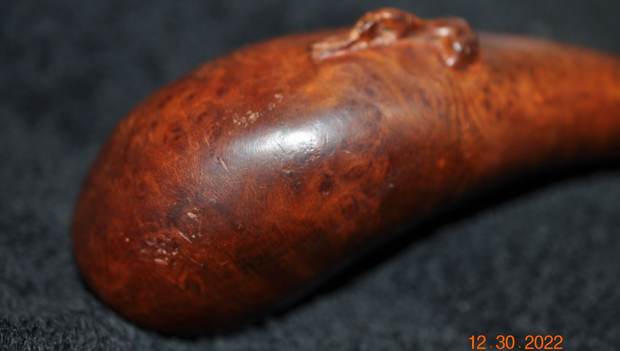
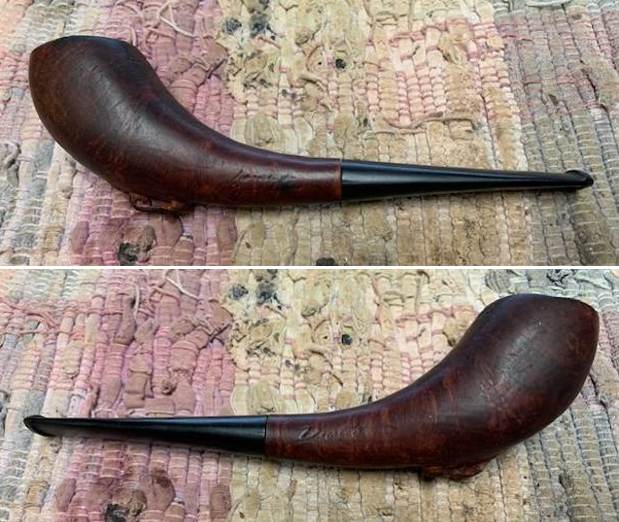
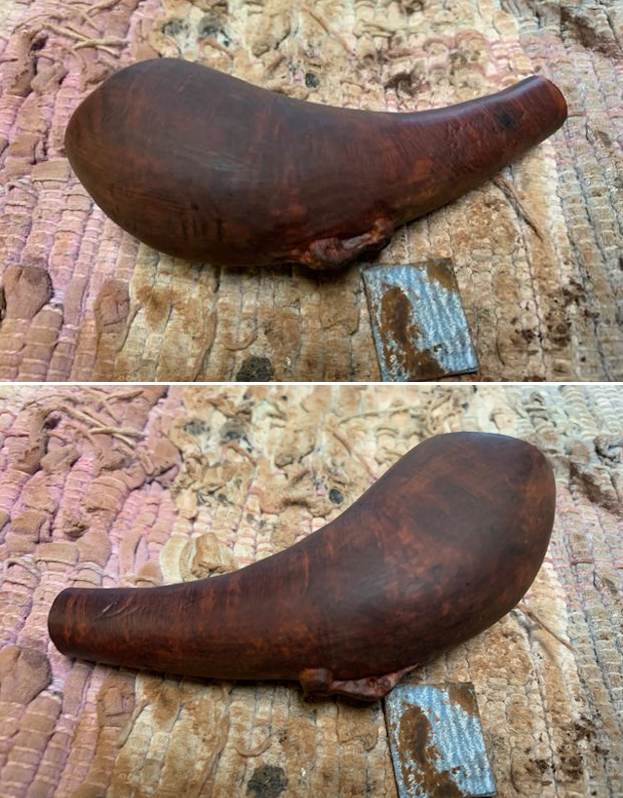
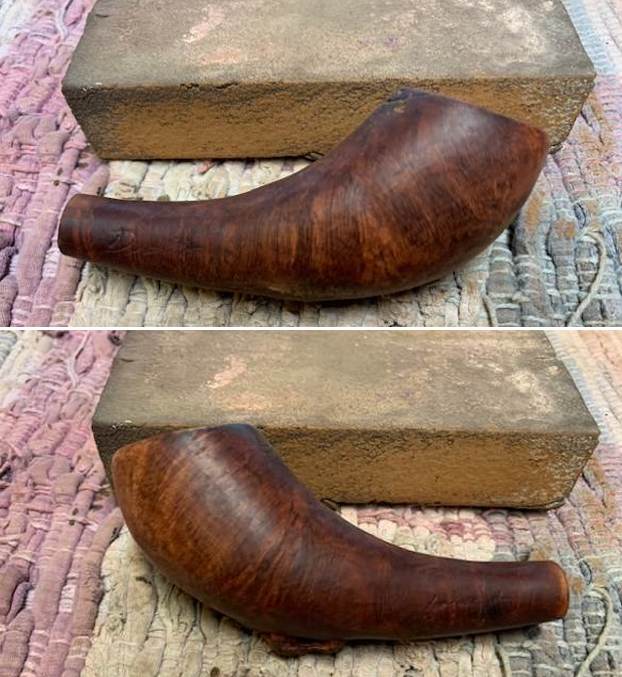
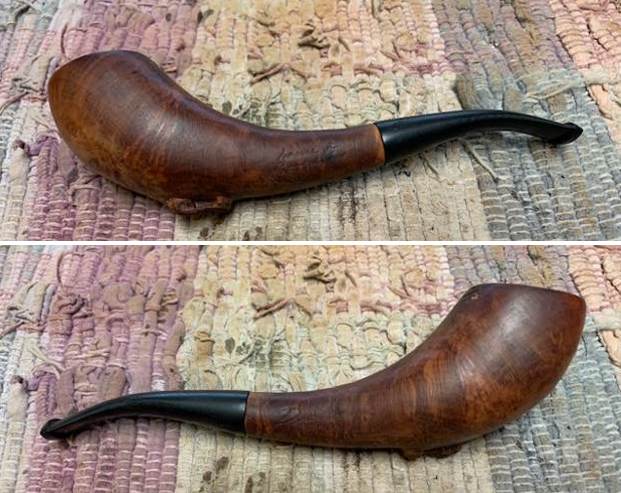
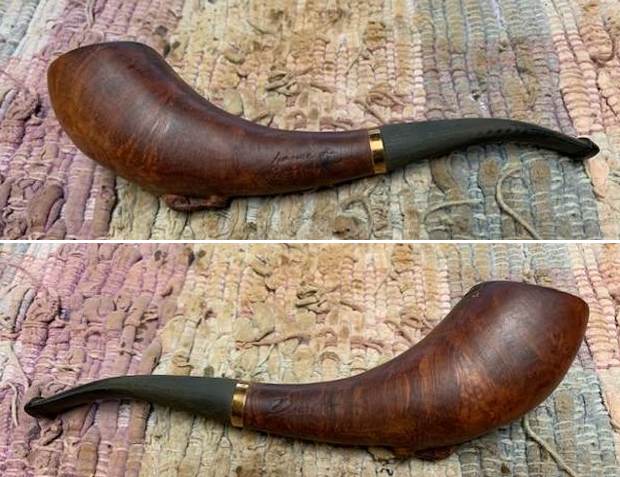
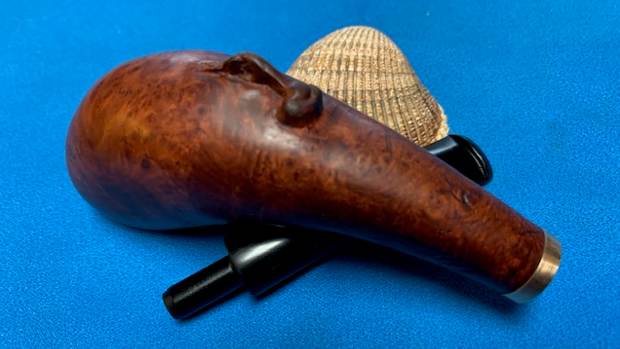
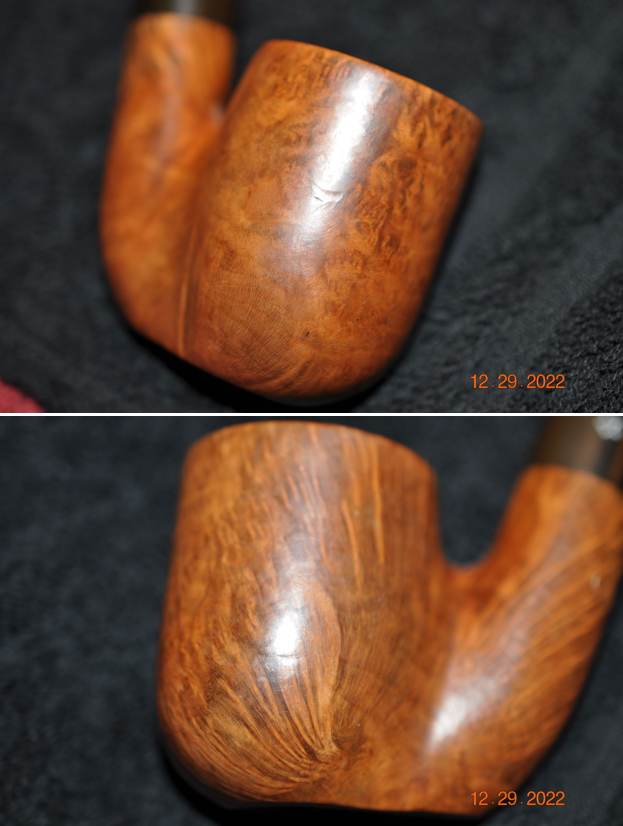
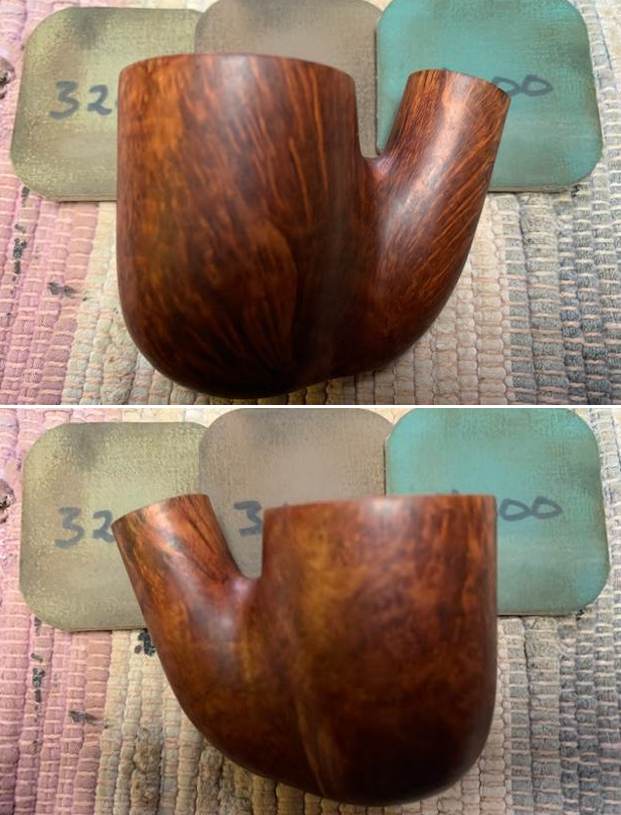
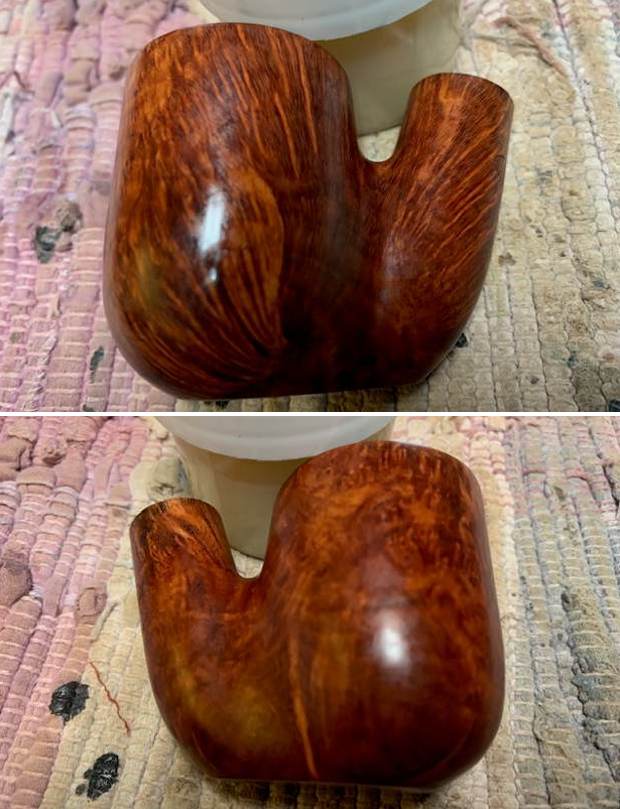
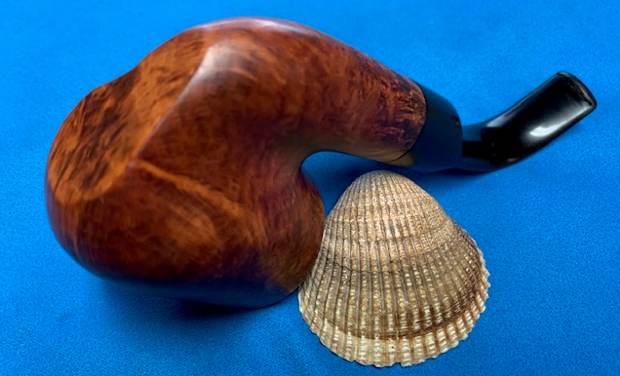
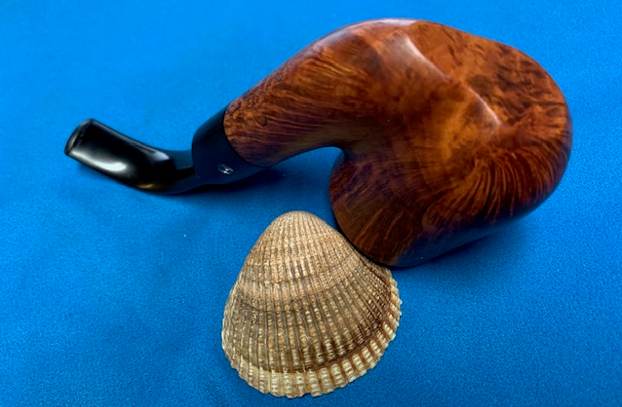
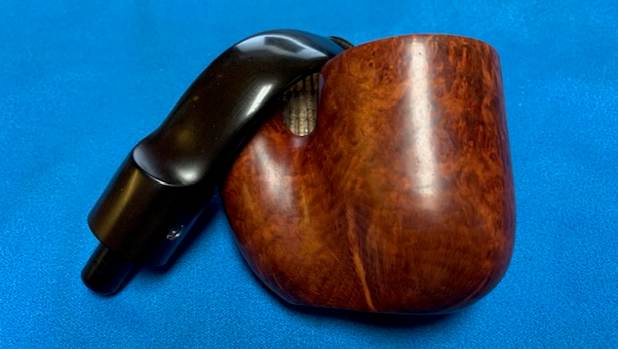
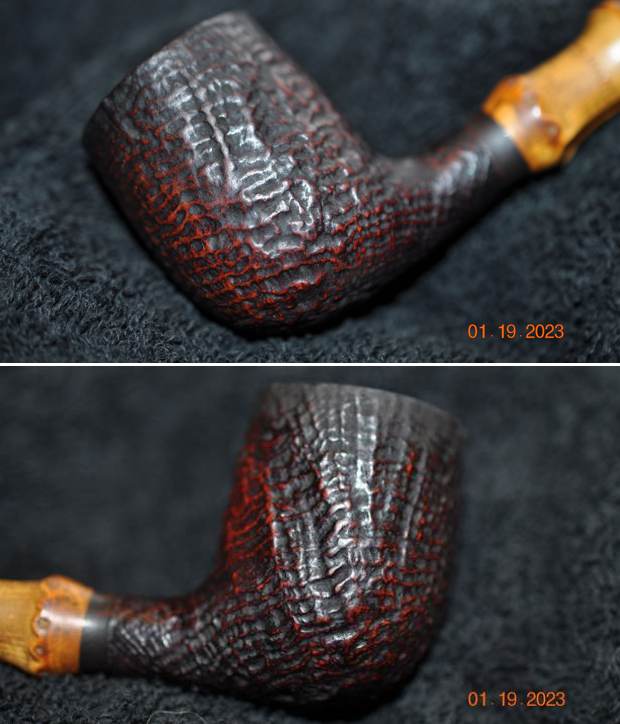
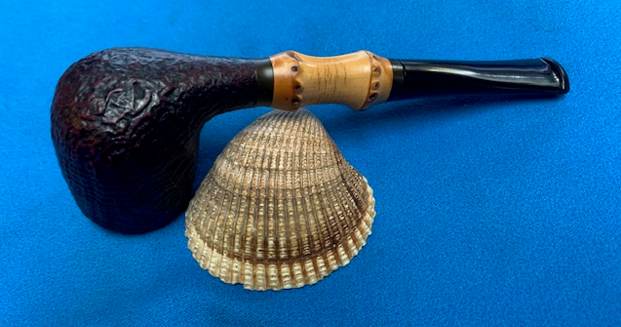
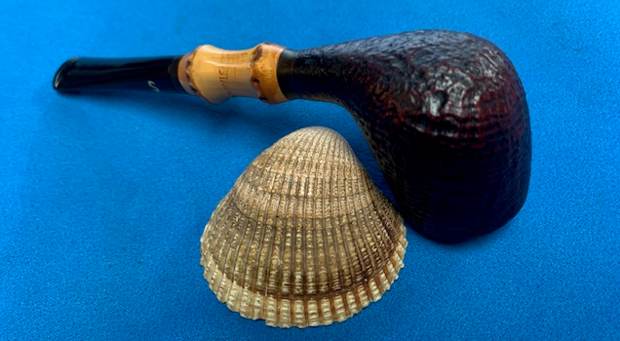
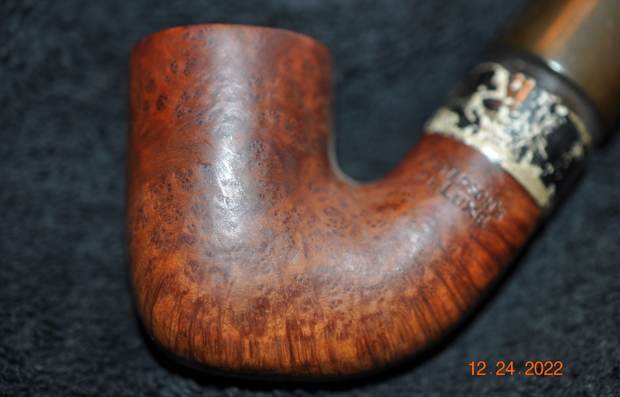
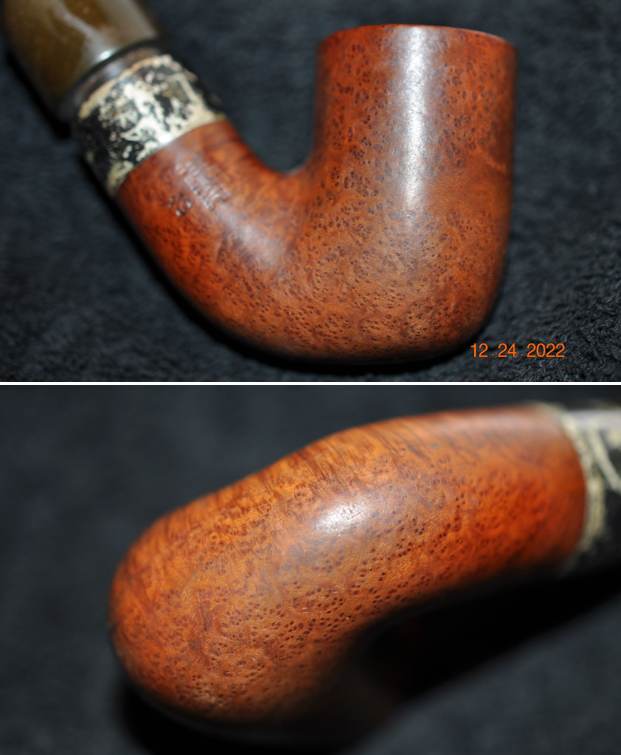
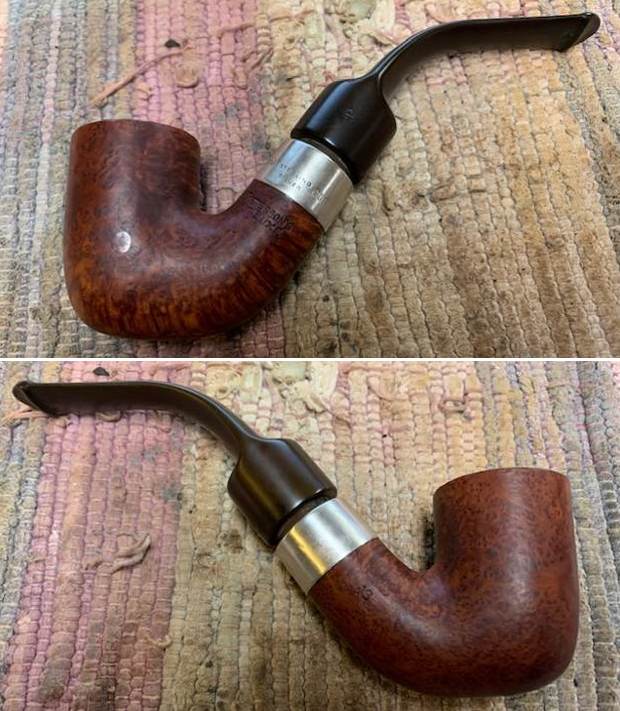
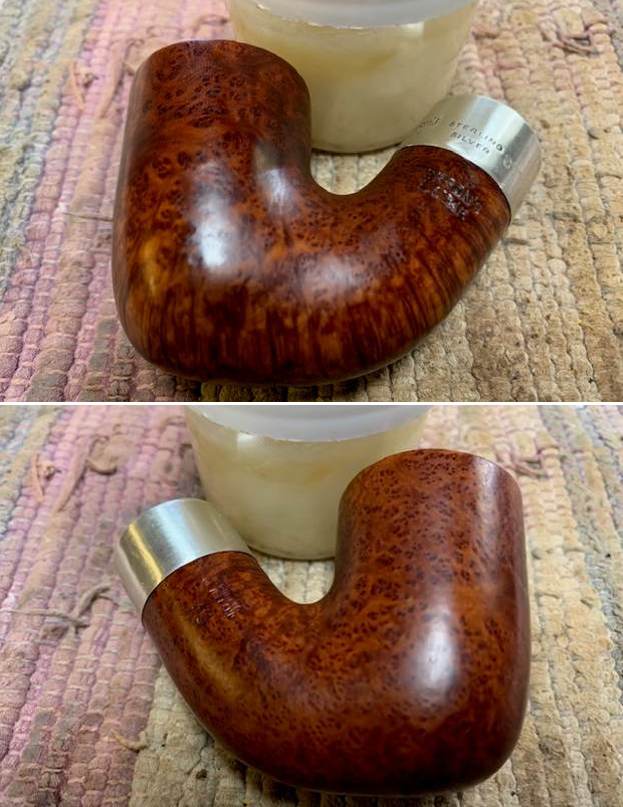
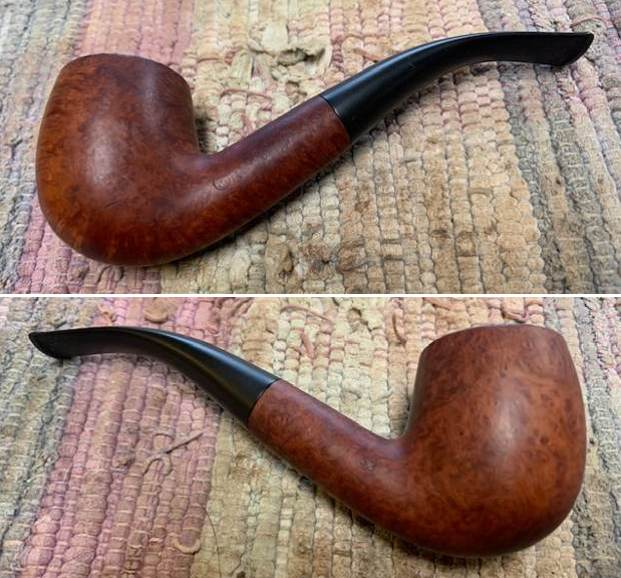
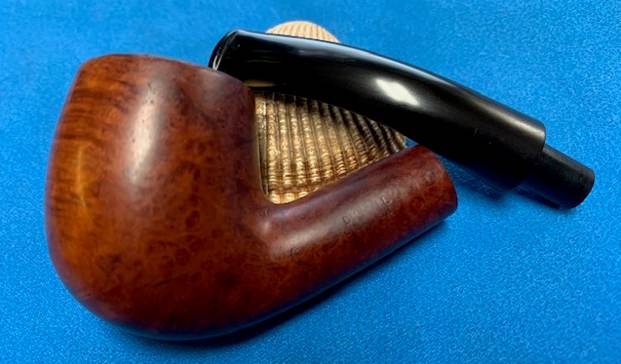
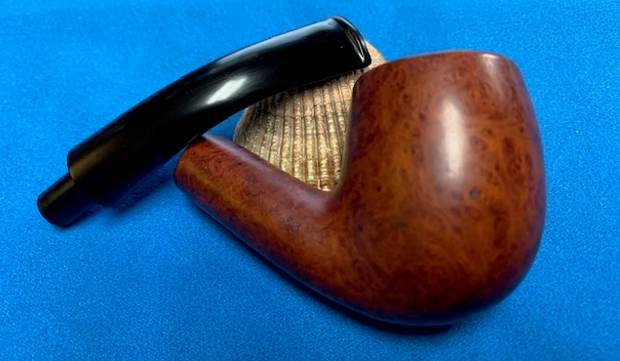
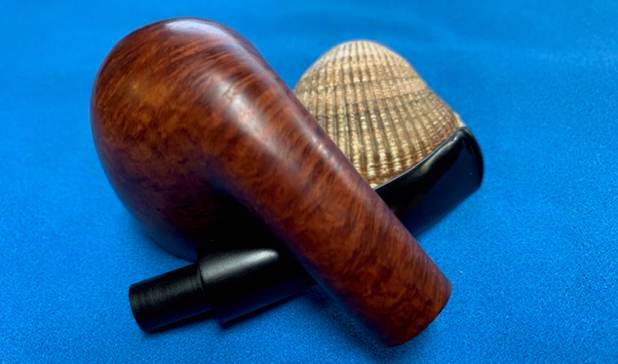
 The photos of the sides and heel of the bowls show beautiful grain around the bowl and shank sides. The rich brown stains highlights the grain and adds depth to the finish. It shows some promise.
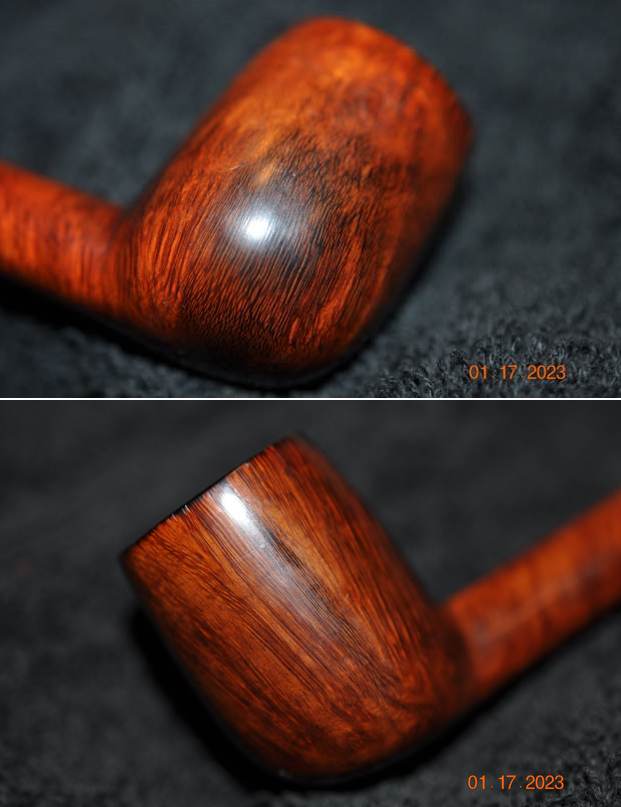
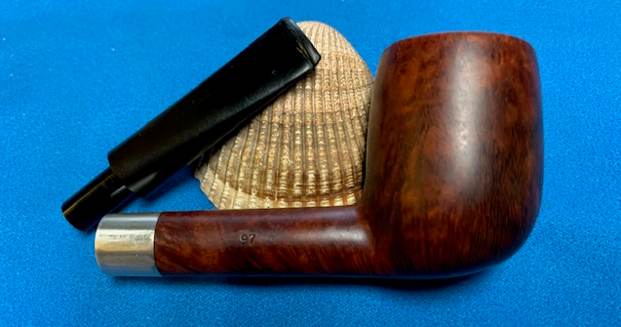
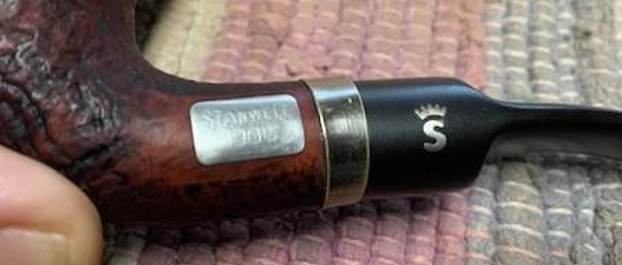
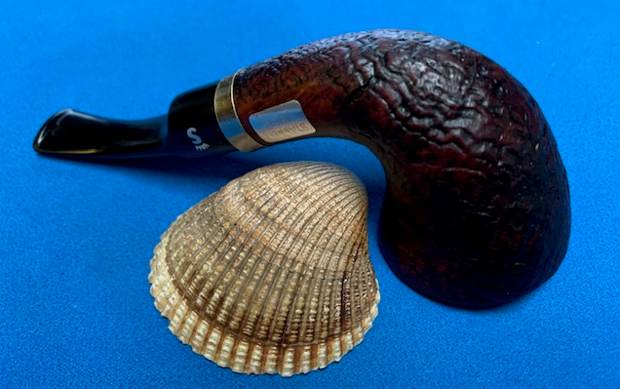
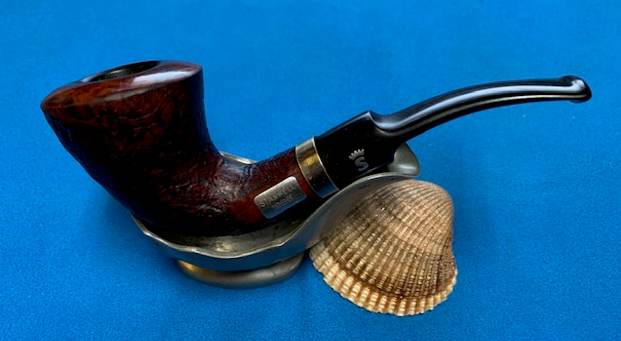
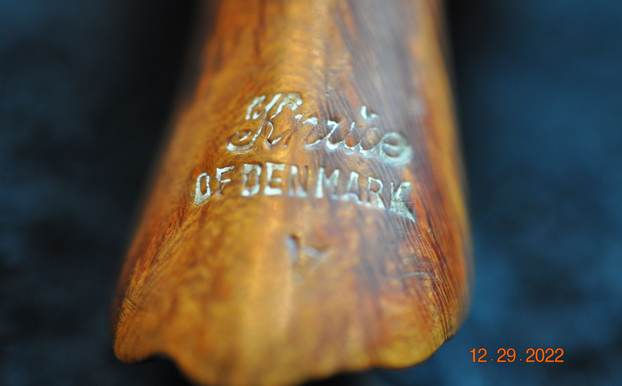
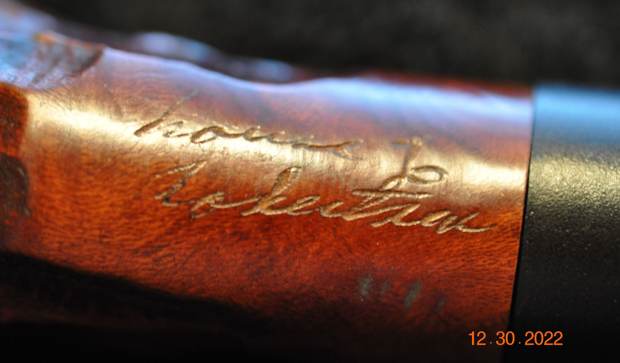
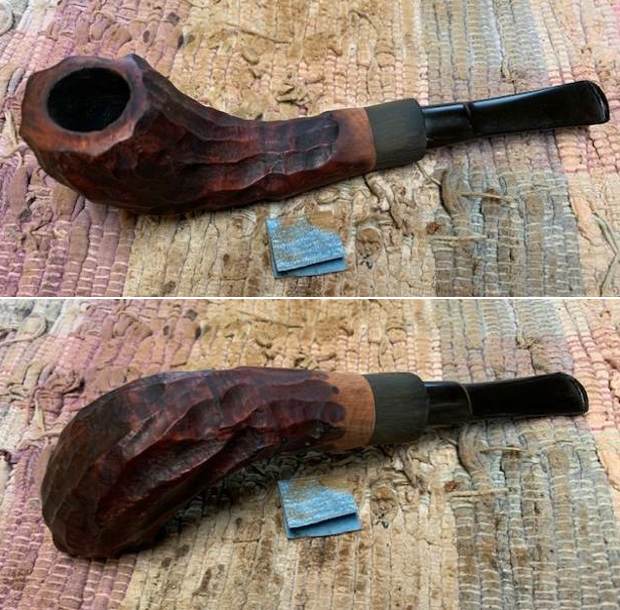
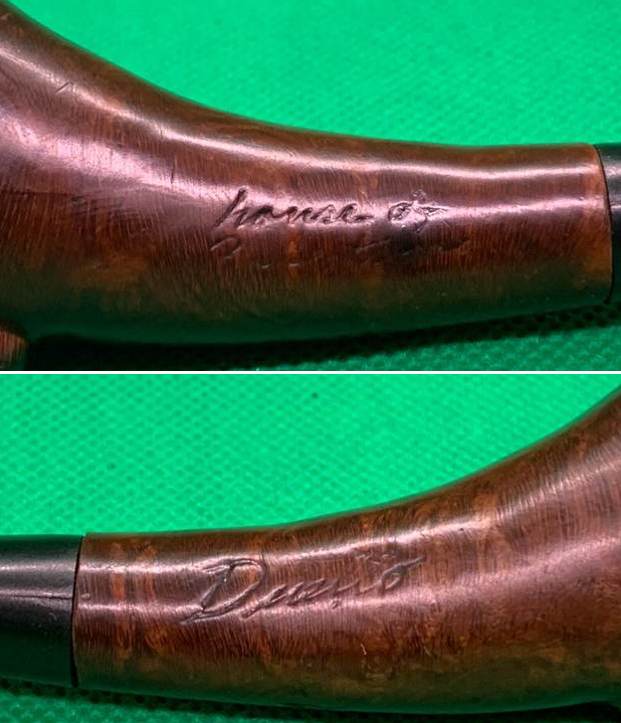
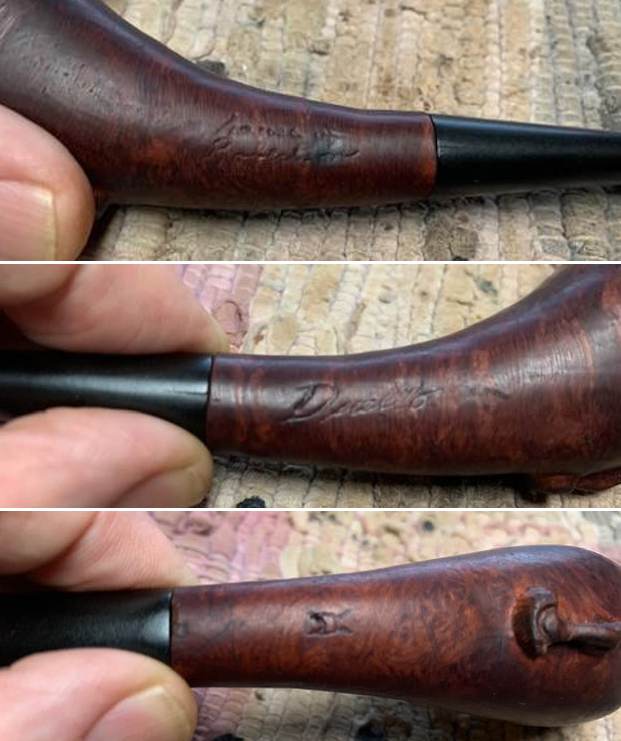
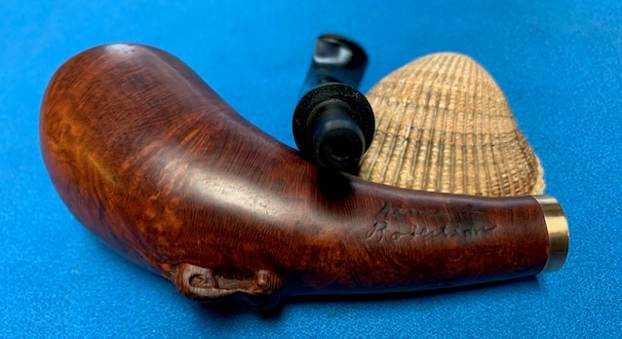
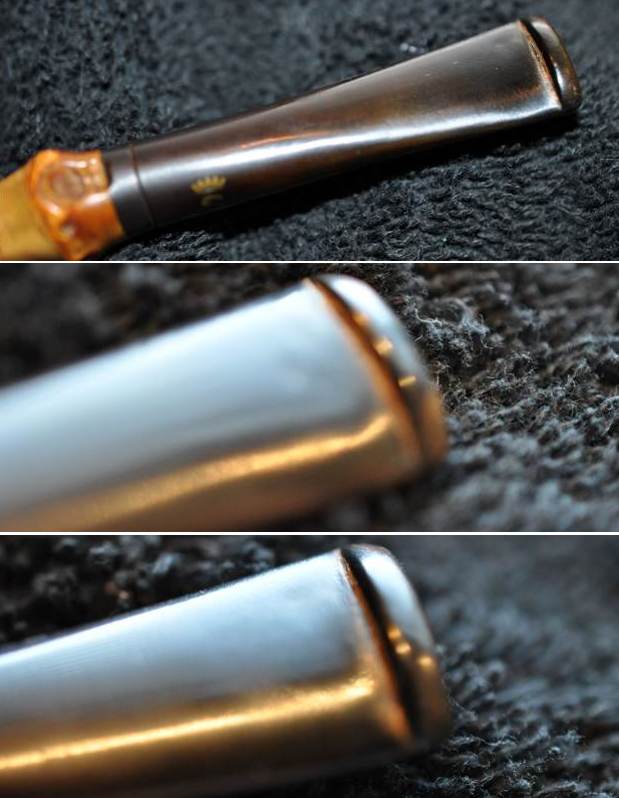
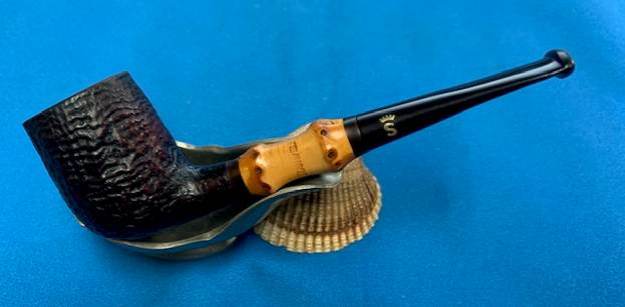
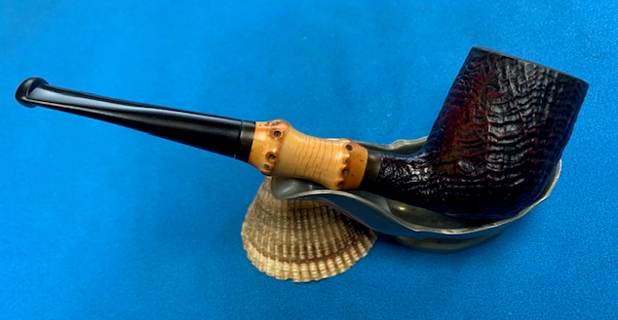
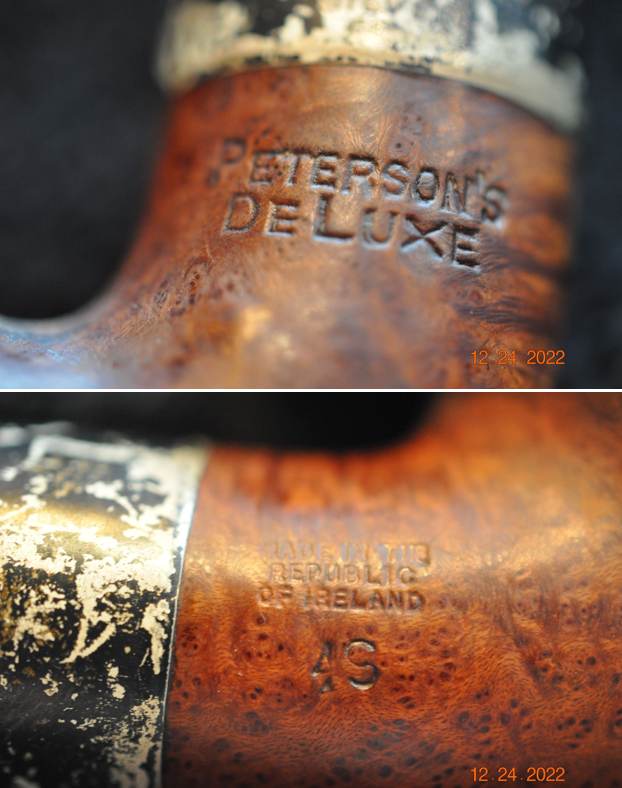
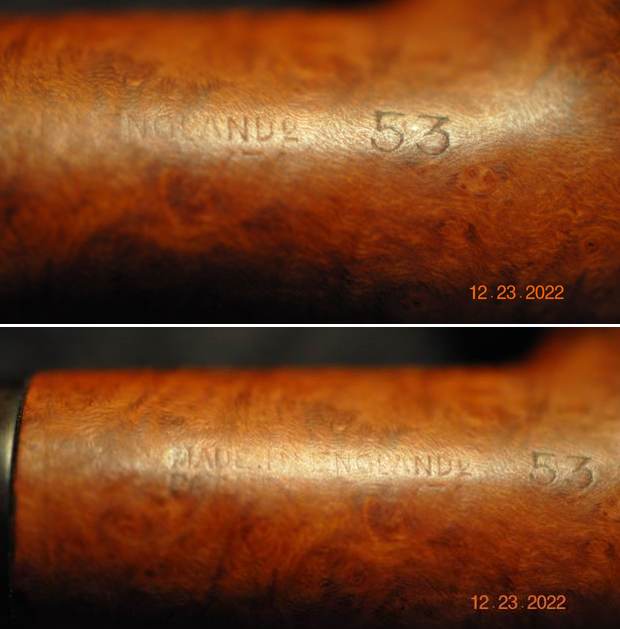
 He also took photos of the stamping on the sides of the shank and the band. They were clear and read as noted above.
 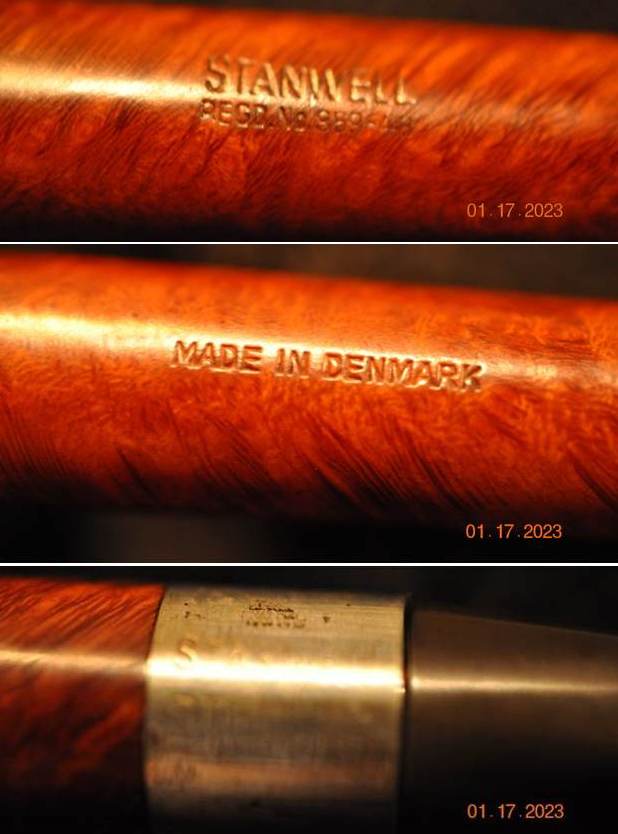 Jeff cleaned up the pipe for me. He reamed the bowl with a PipNet pipe reamer and cleaned it up with a Savinelli Fitsall Pipe Knife. He scrubbed the exterior with Murphy’s Oil Soap and a tooth brush to clean off the grime off the finish and the heavy overflow of lava on the rim top. The cleaning had removed the thick coat on the rim top. He cleaned up the internals of the shank, mortise and stem with pipe cleaners, cotton swabs and alcohol to remove all of the oils and tars in the pipe. He soaked the stem in Before & After Deoxidizer and was able to remove much of the oxidation, calcification. When it arrived here in Vancouver it was a clean pipe and I knew what I had to work with. I took photos of it before I started my part of the restoration.
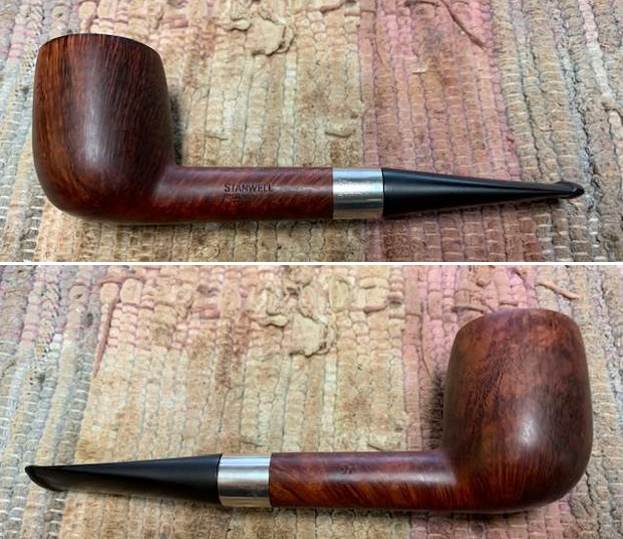
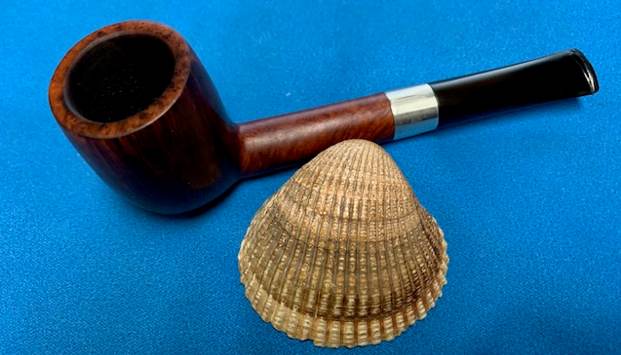
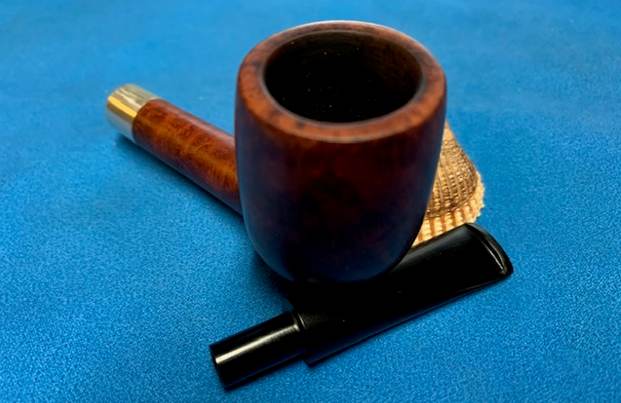
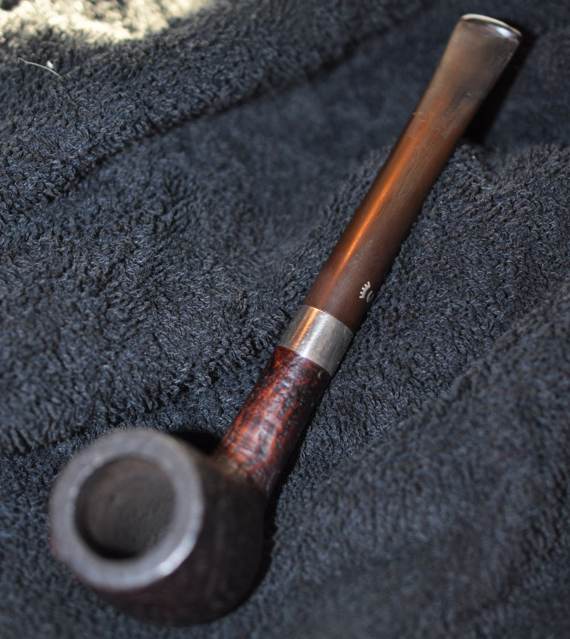
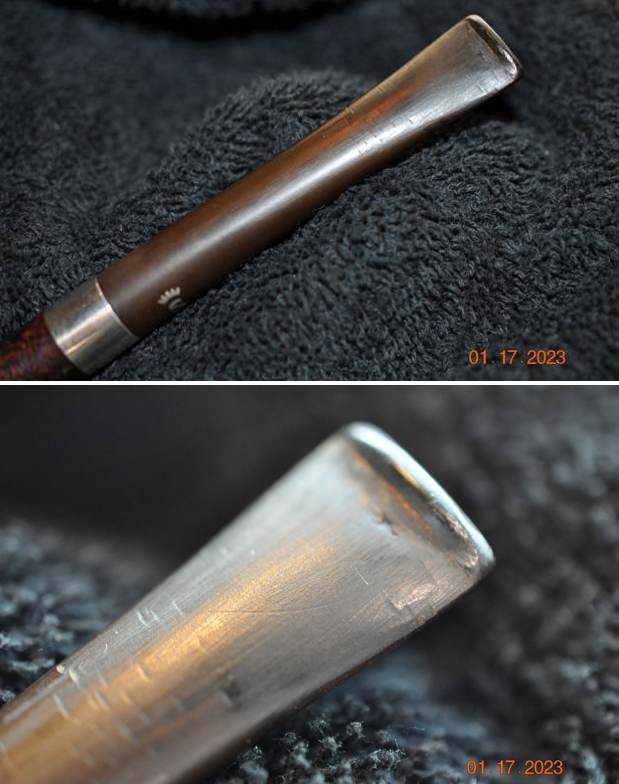
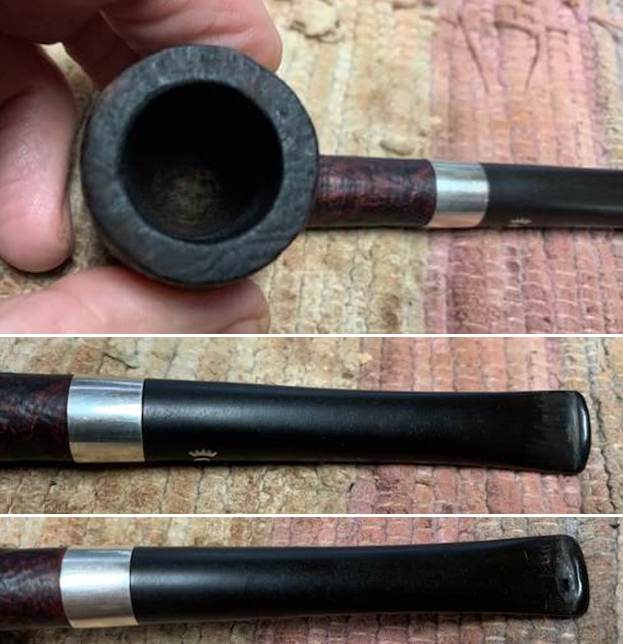
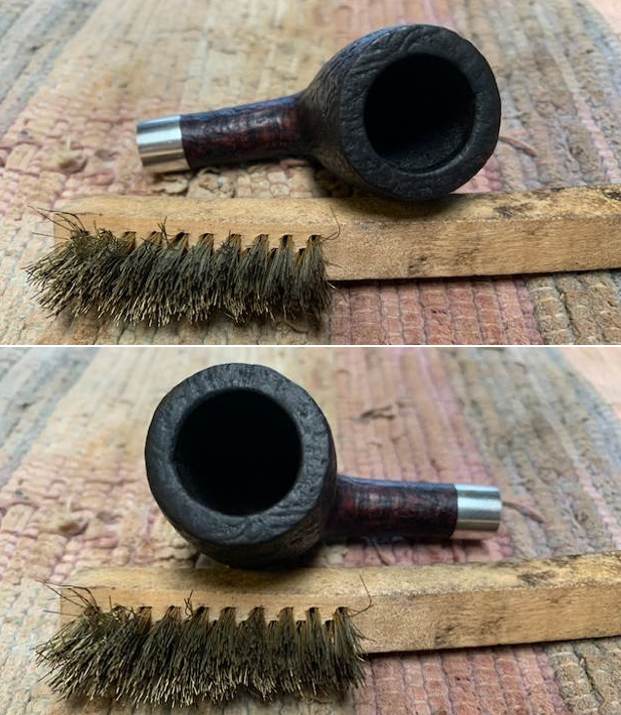
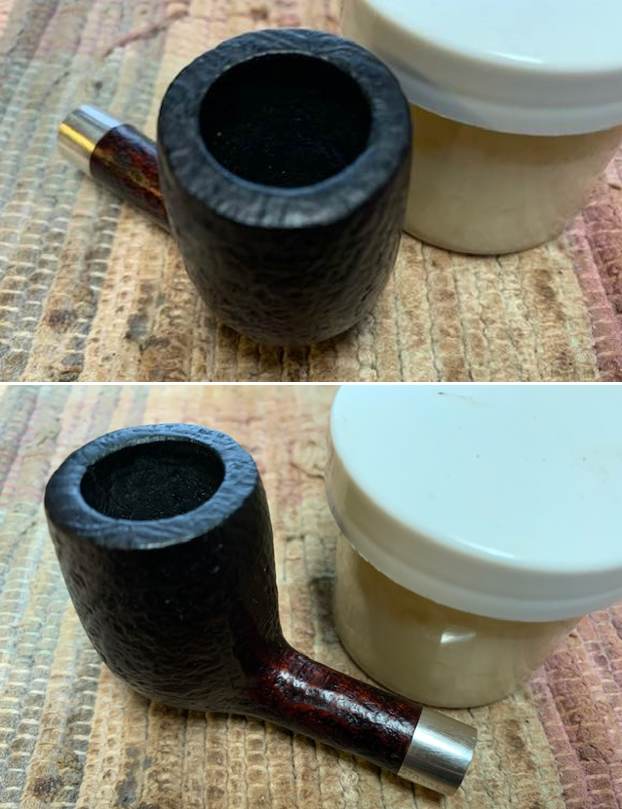
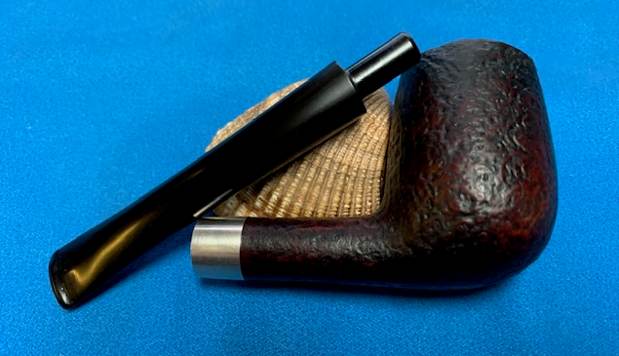
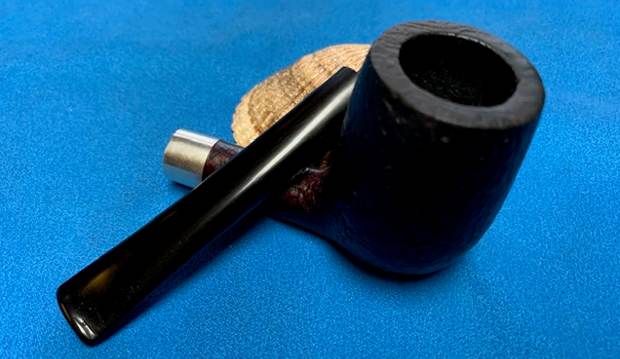
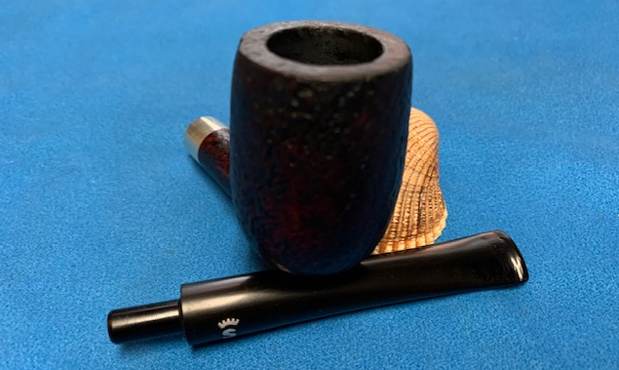
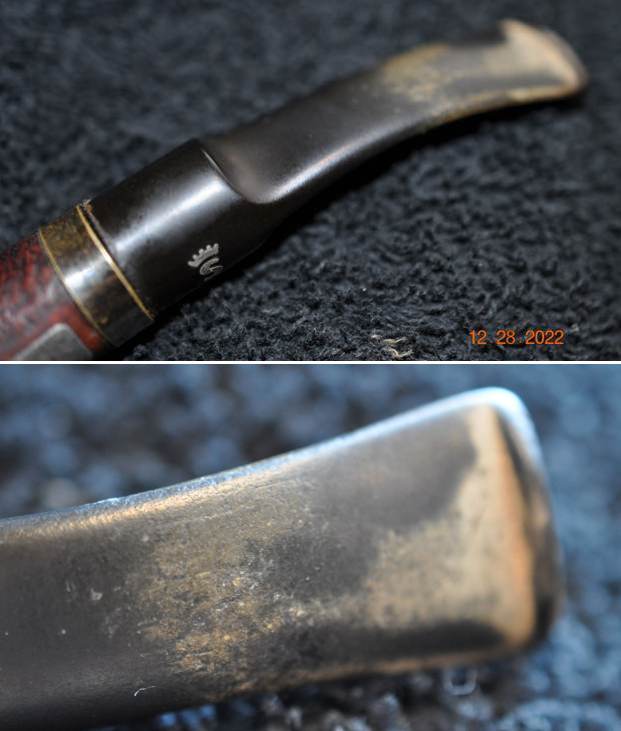
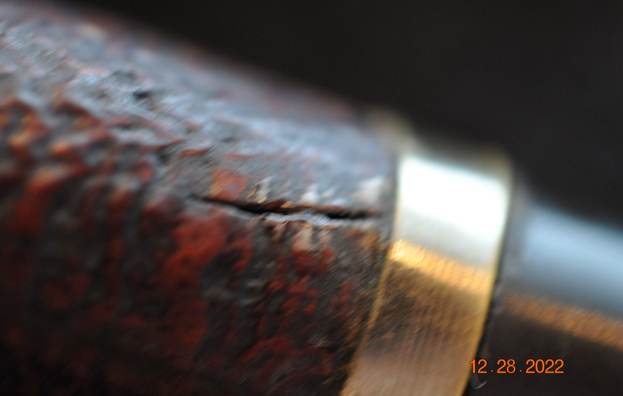
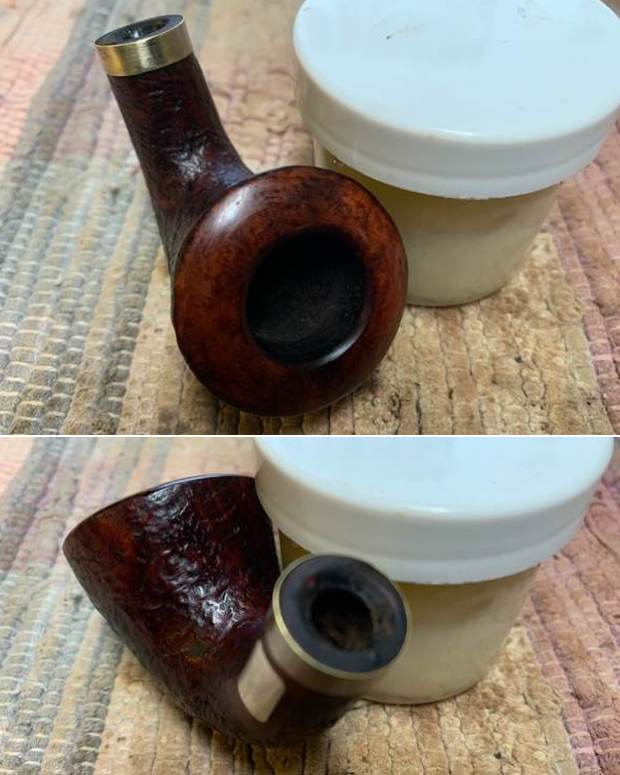
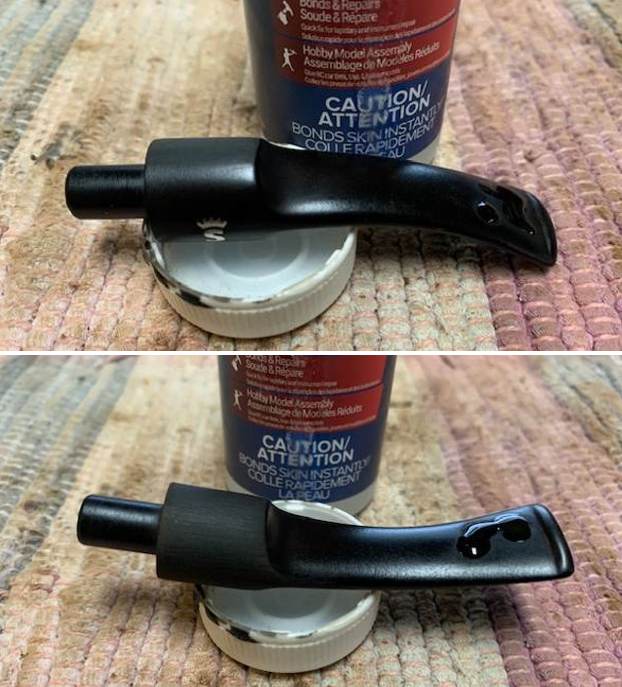
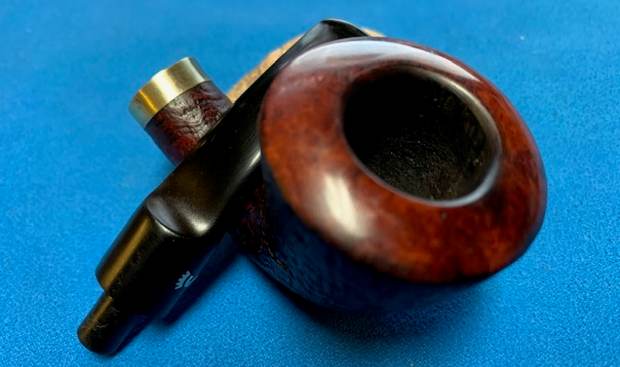
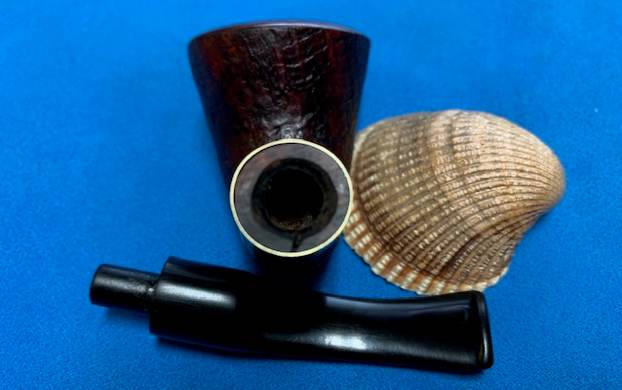
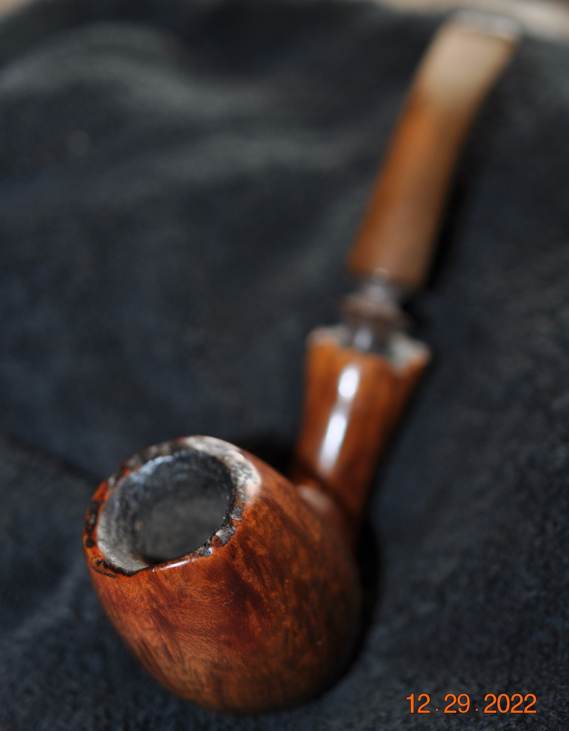
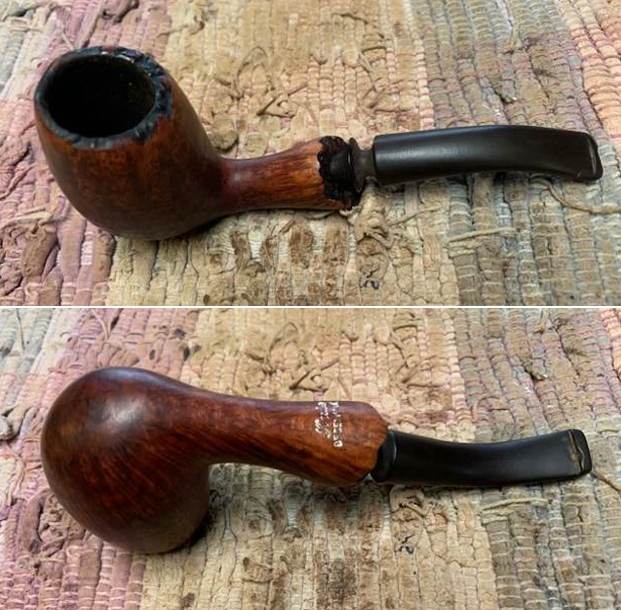
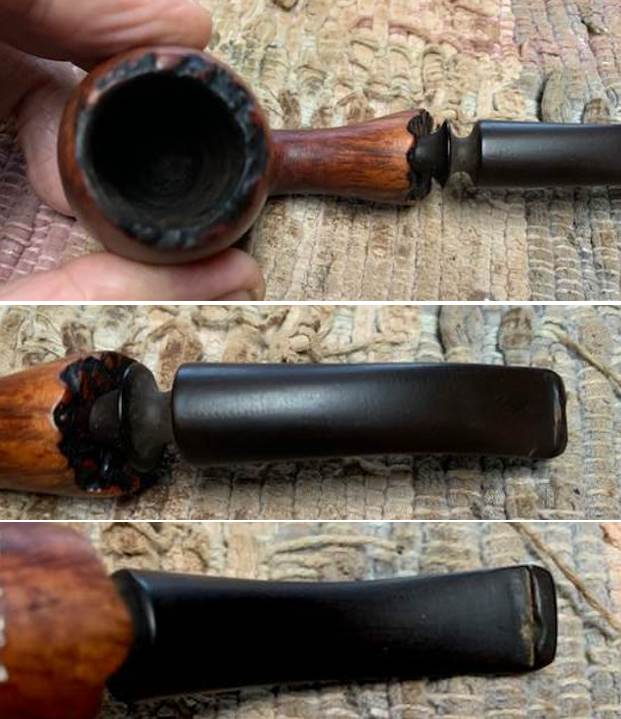
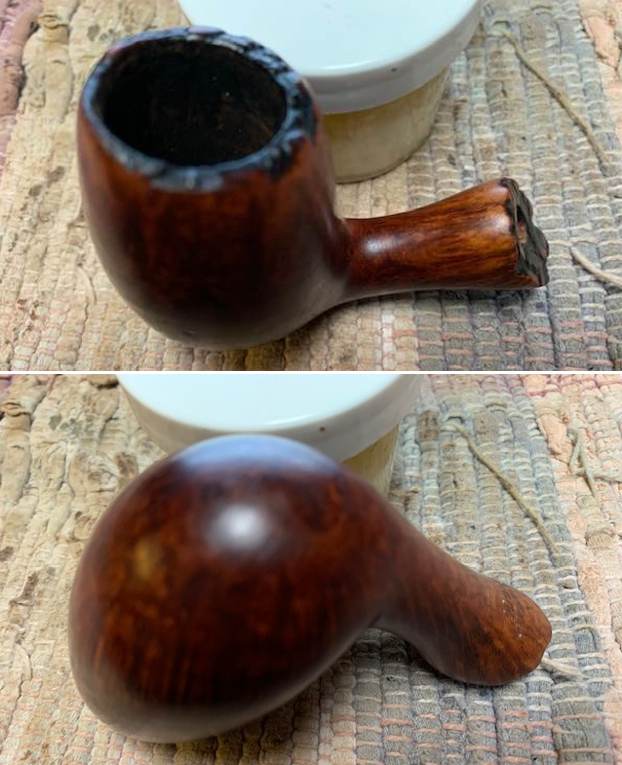
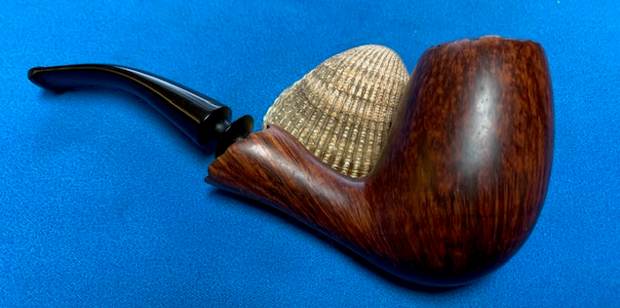
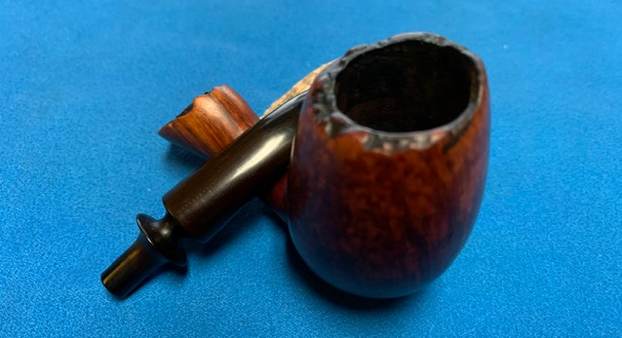
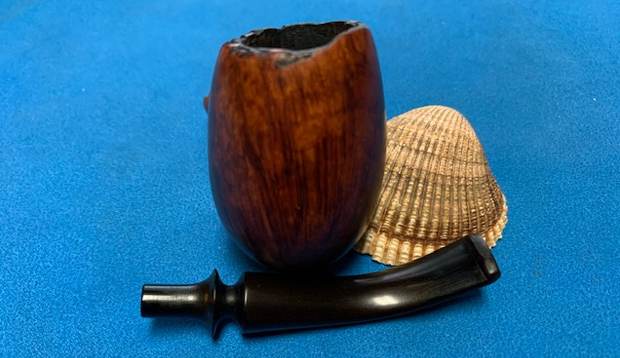
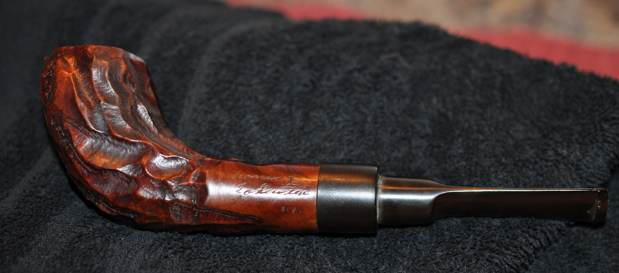
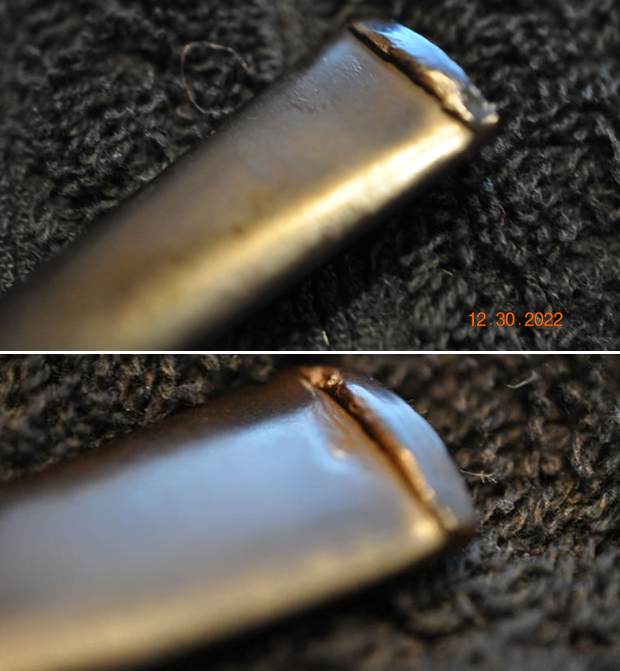
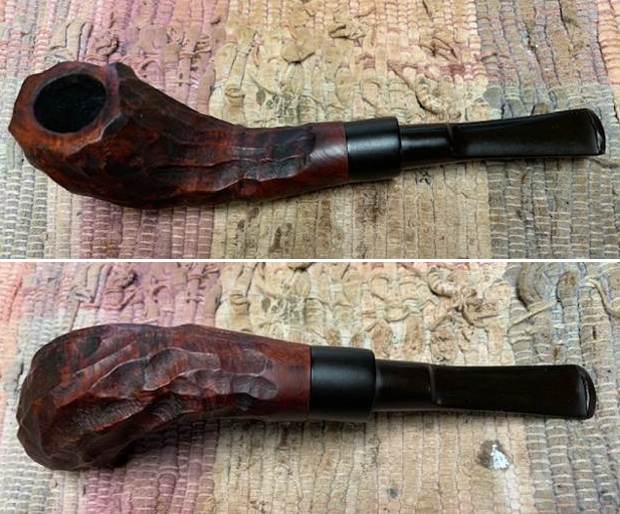
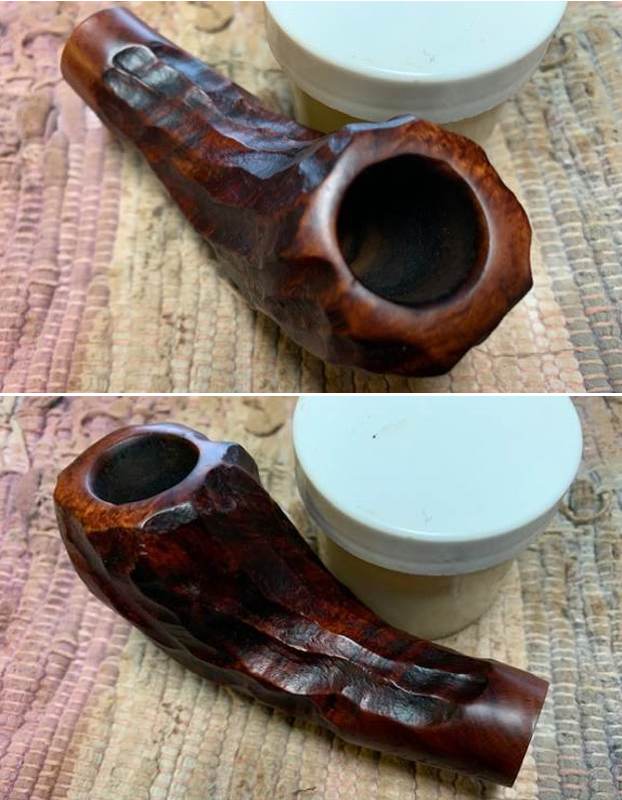
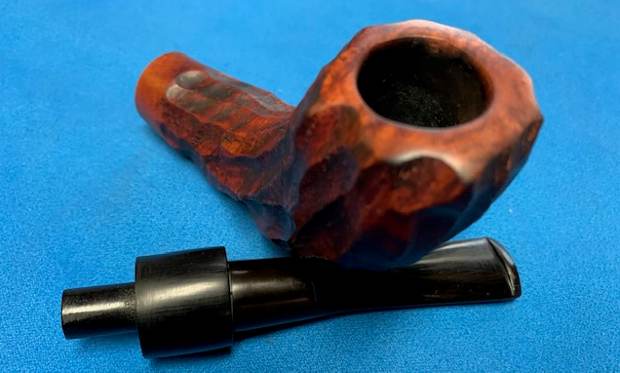
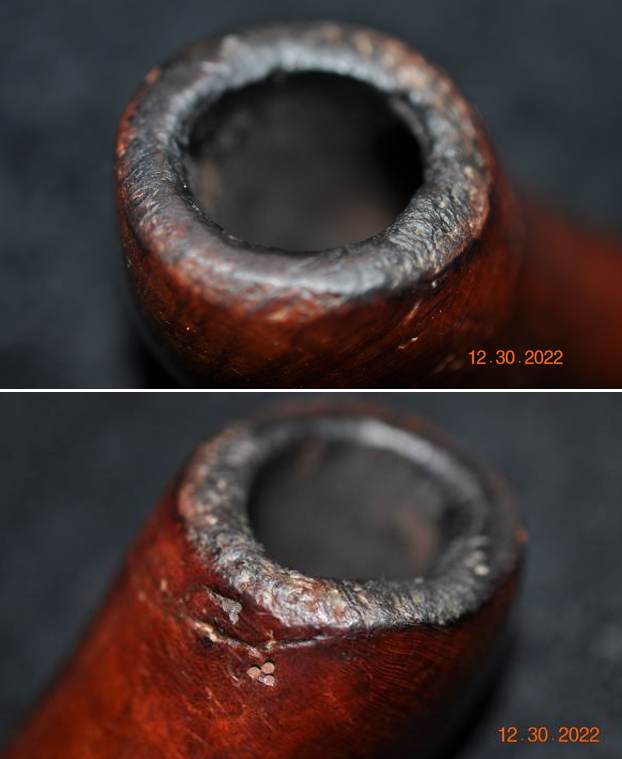
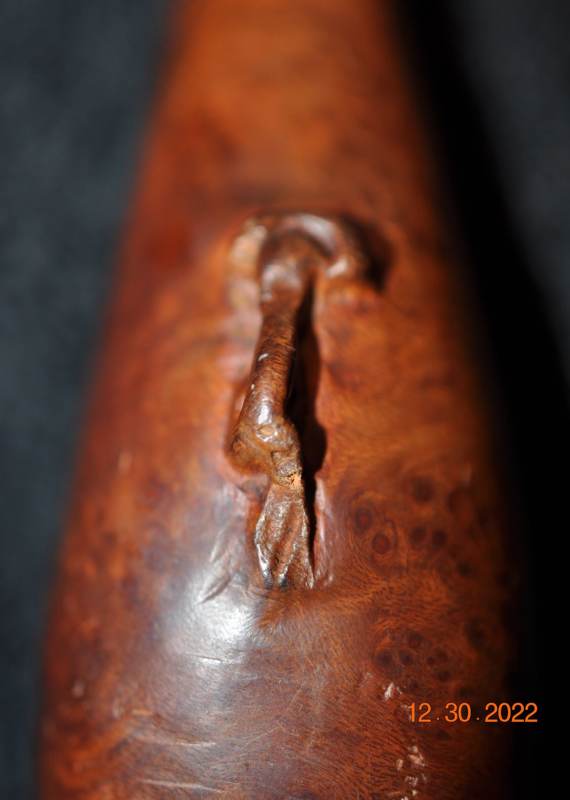
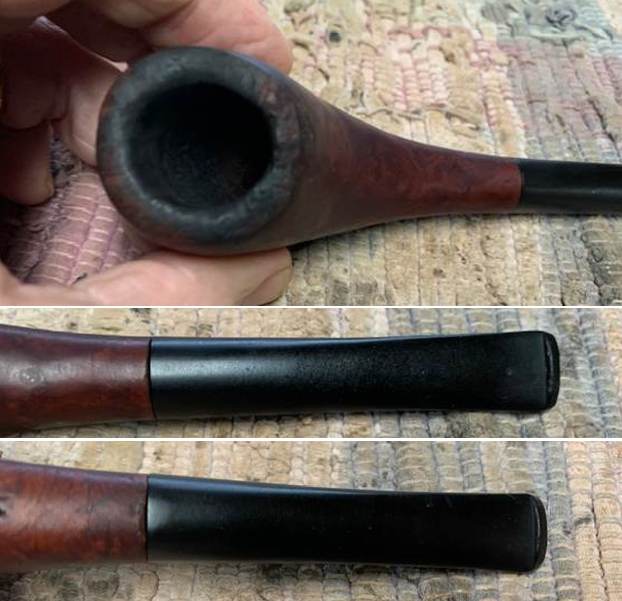
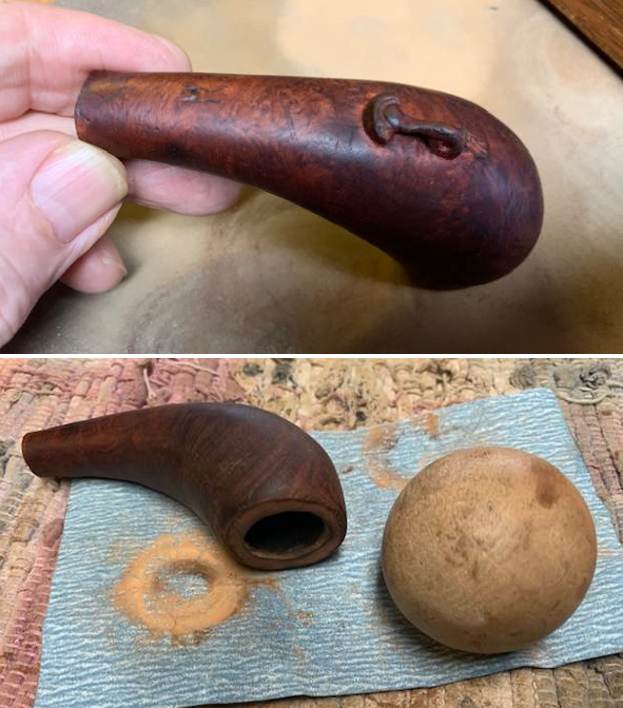
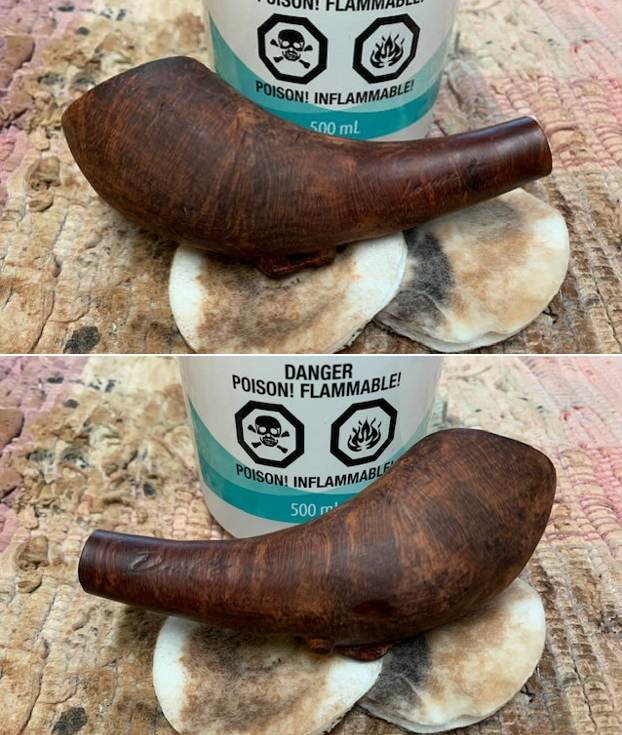
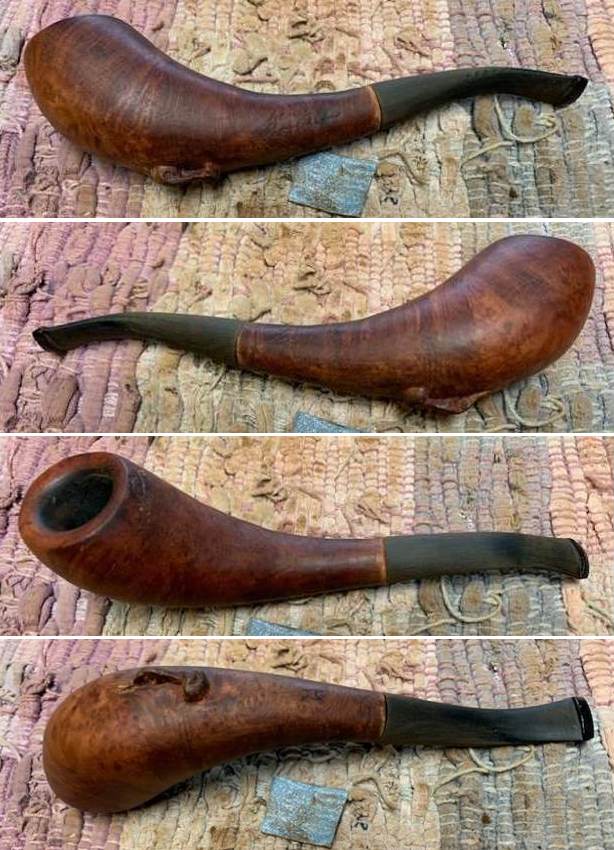
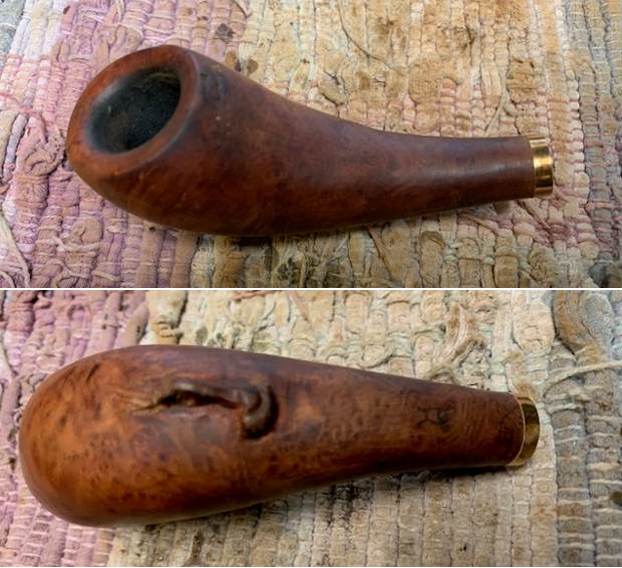
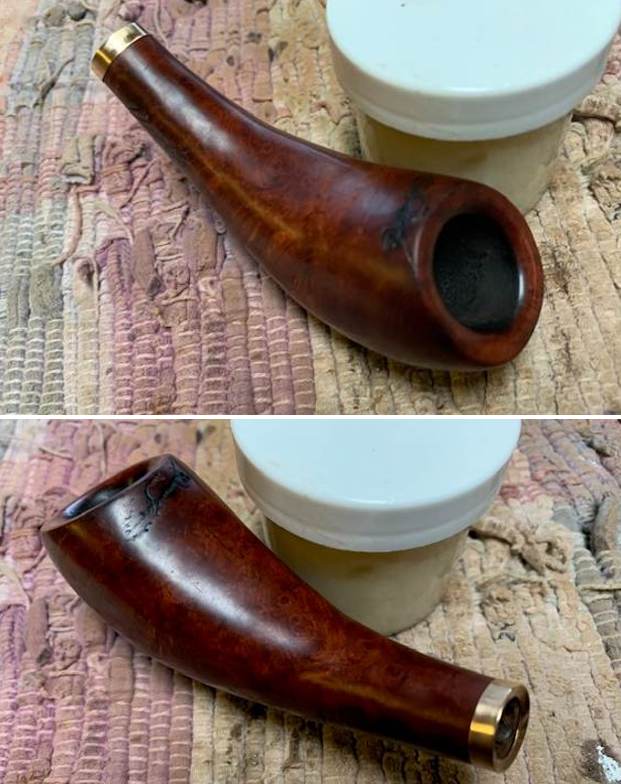
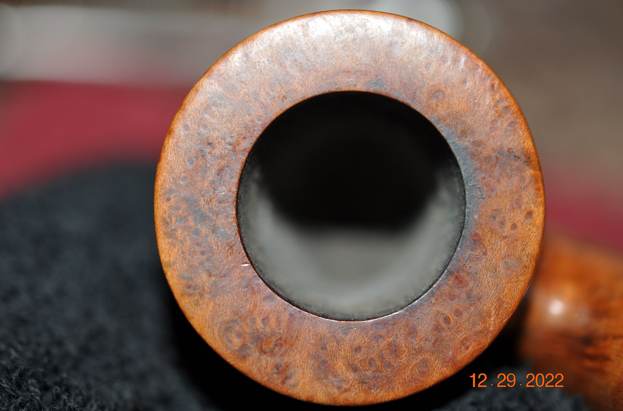
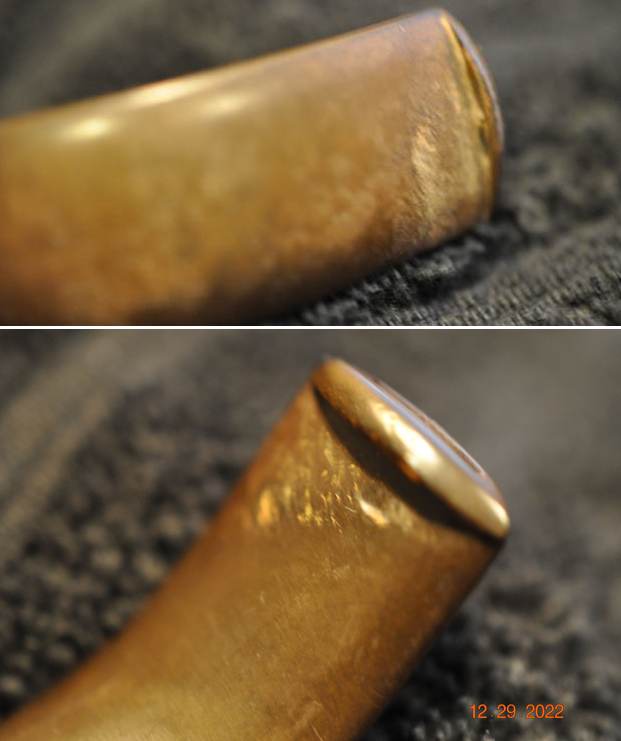
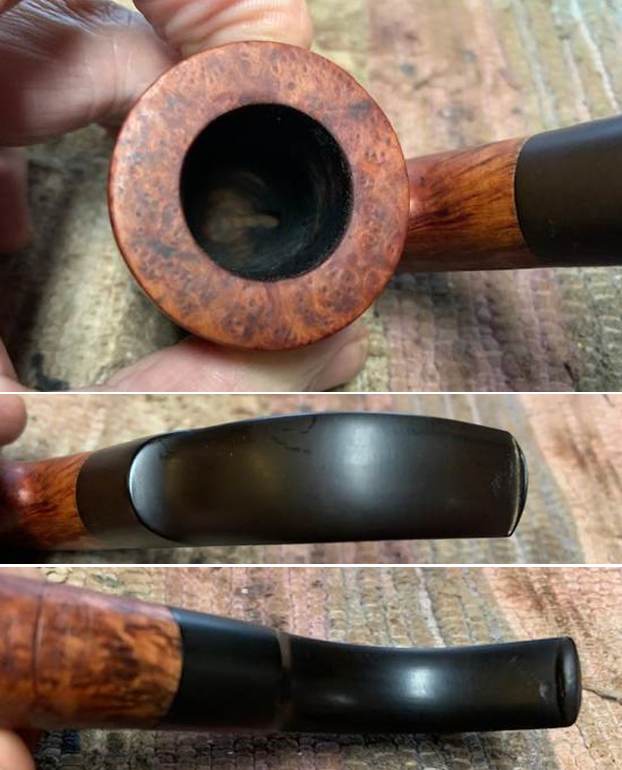
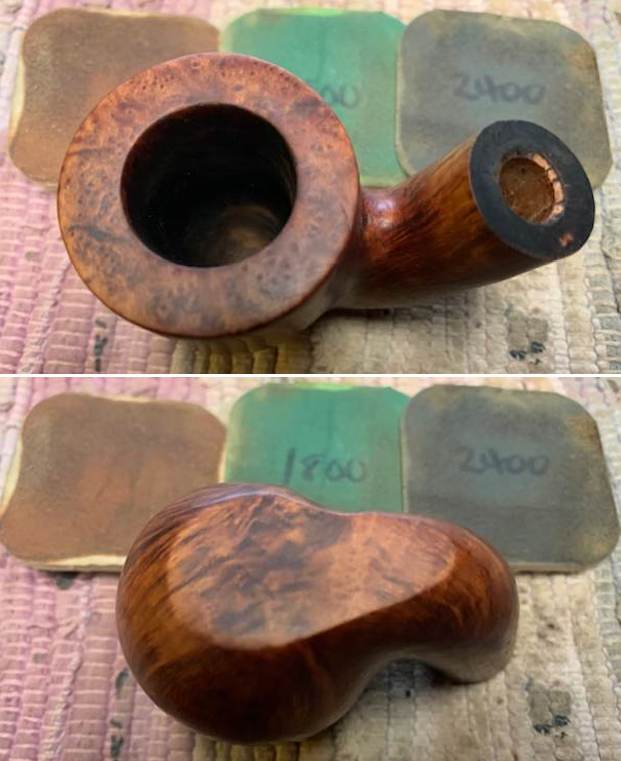
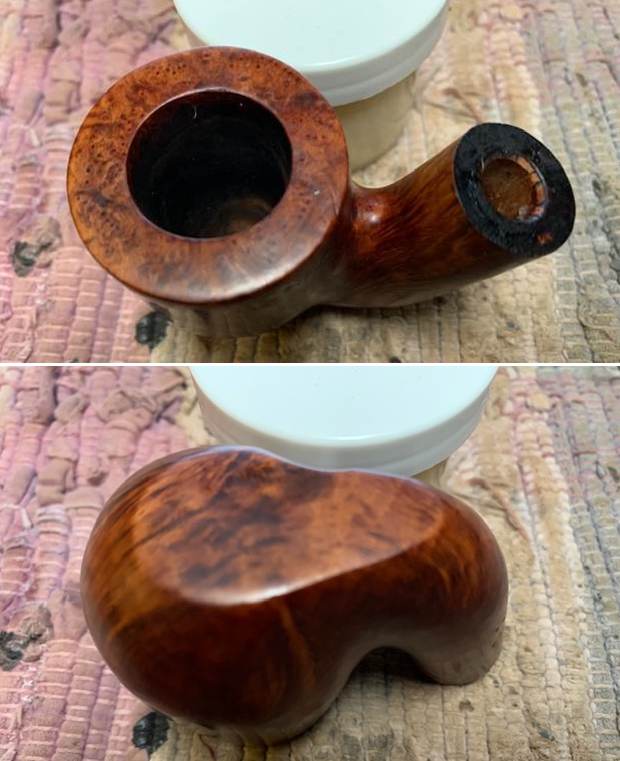
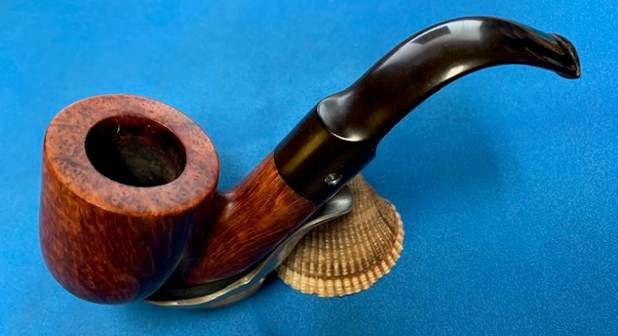
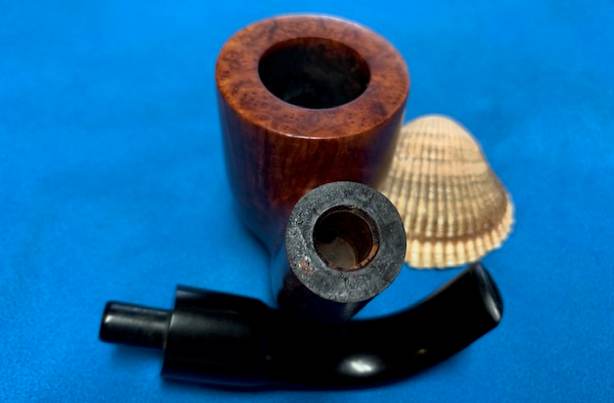
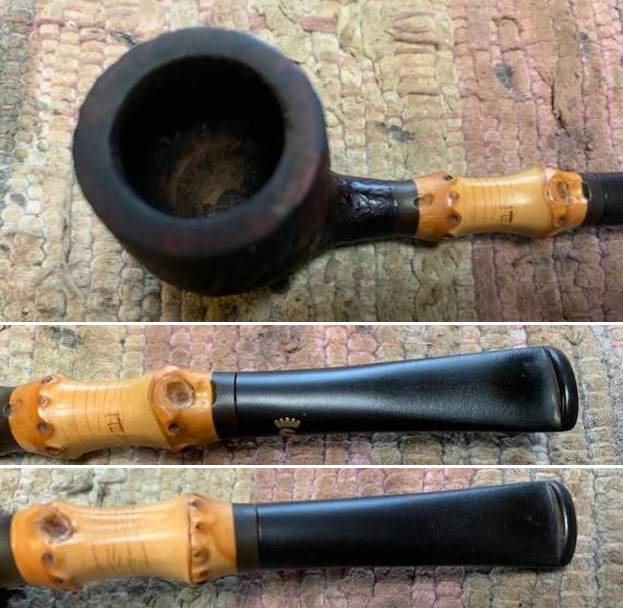
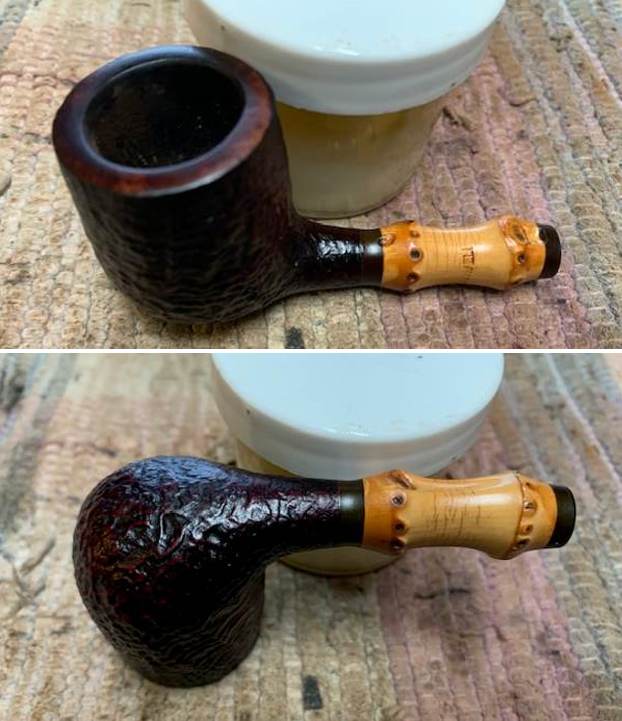
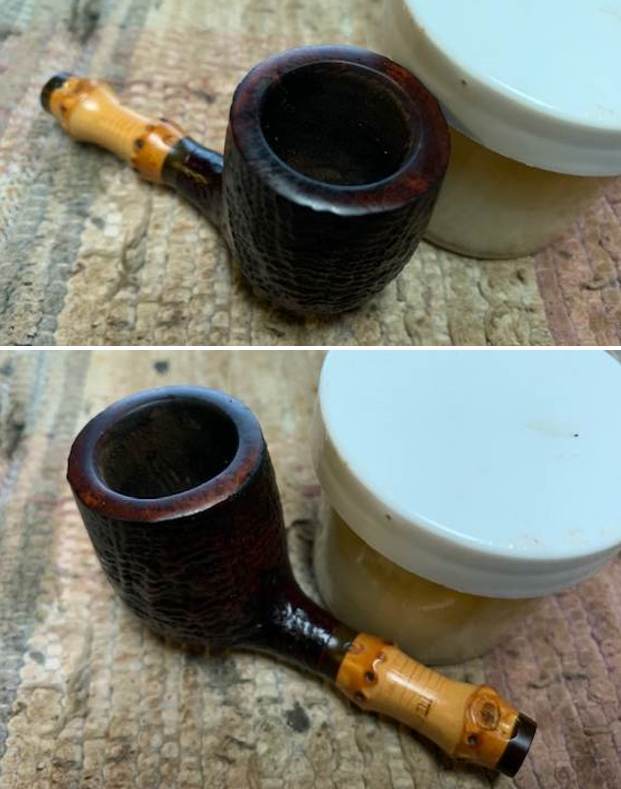
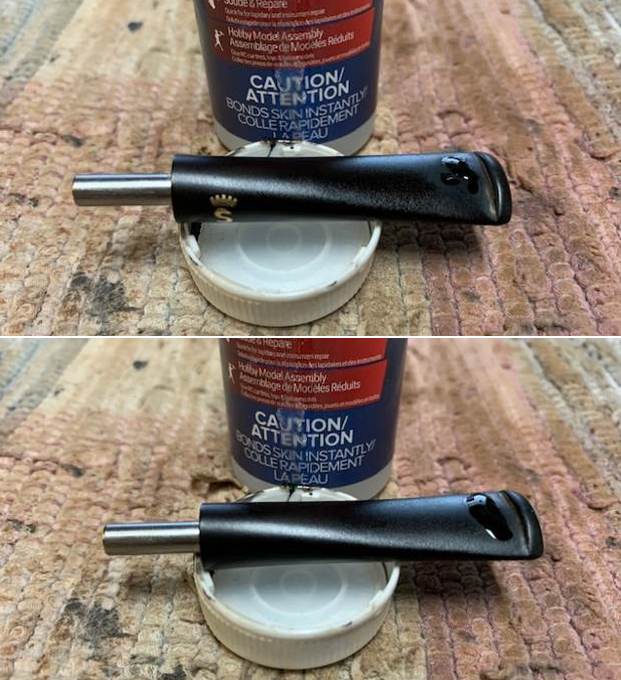
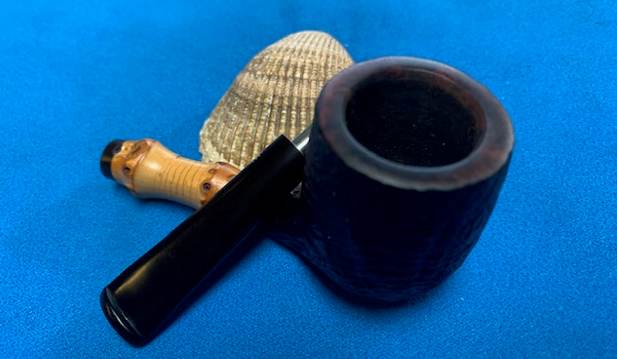
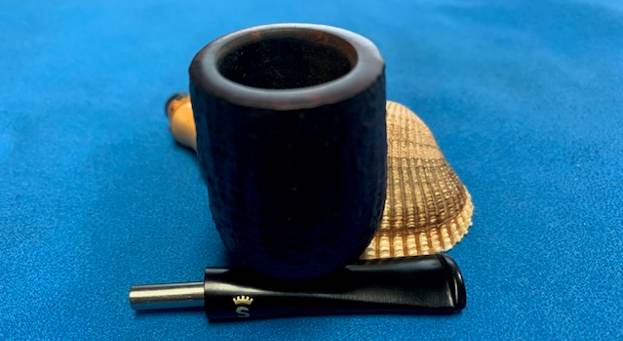
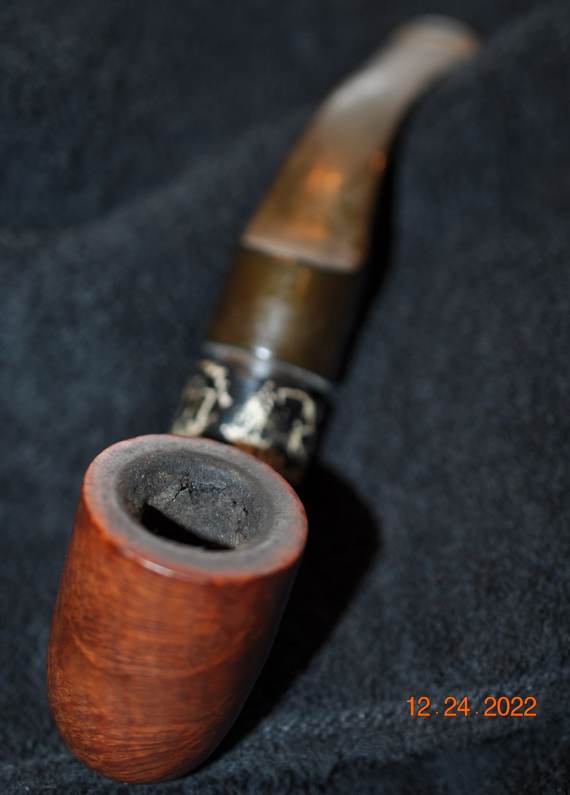
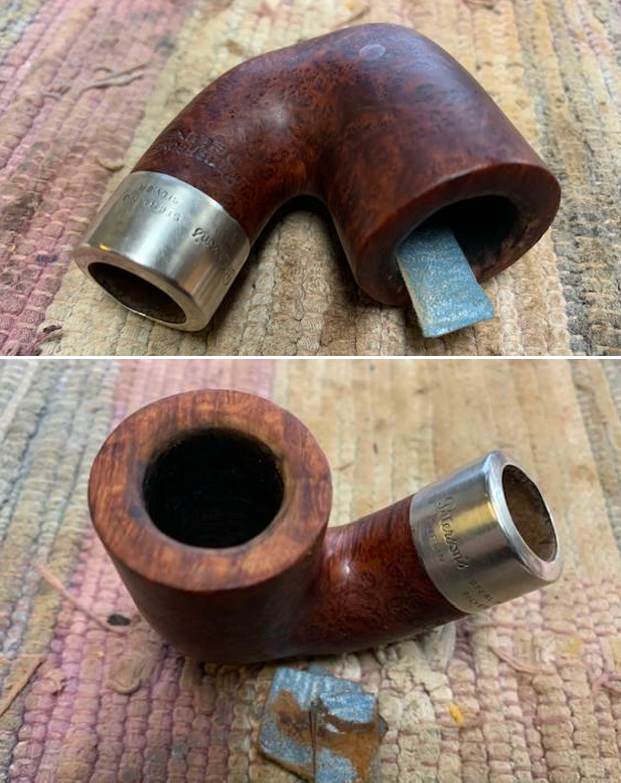
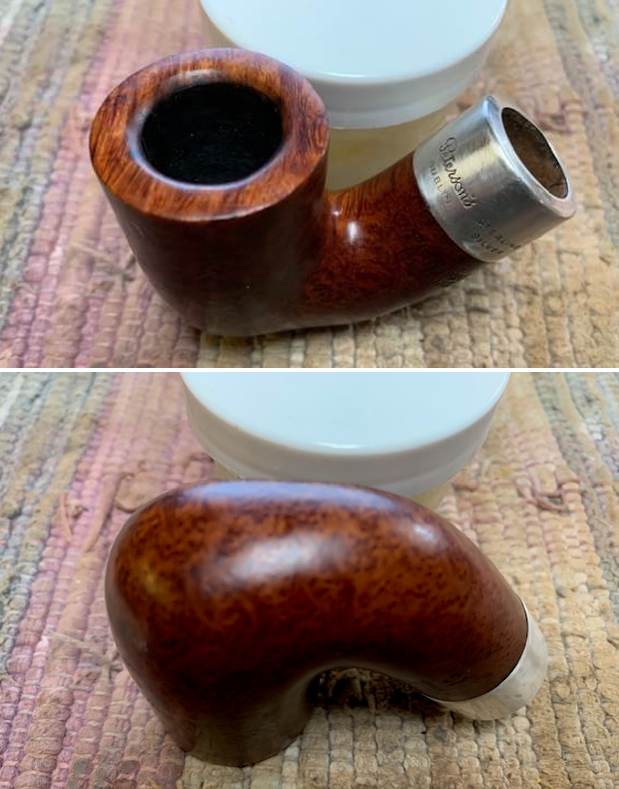
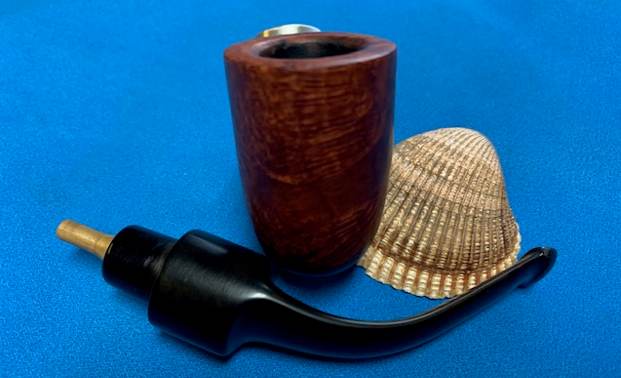
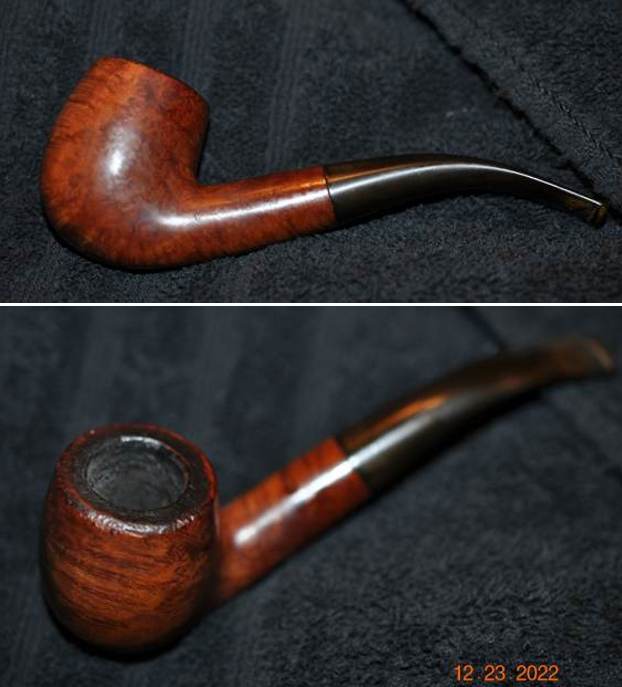
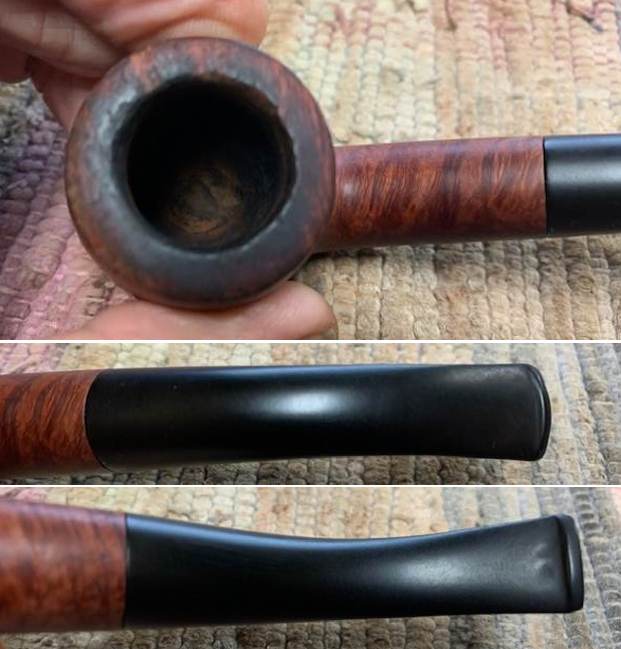
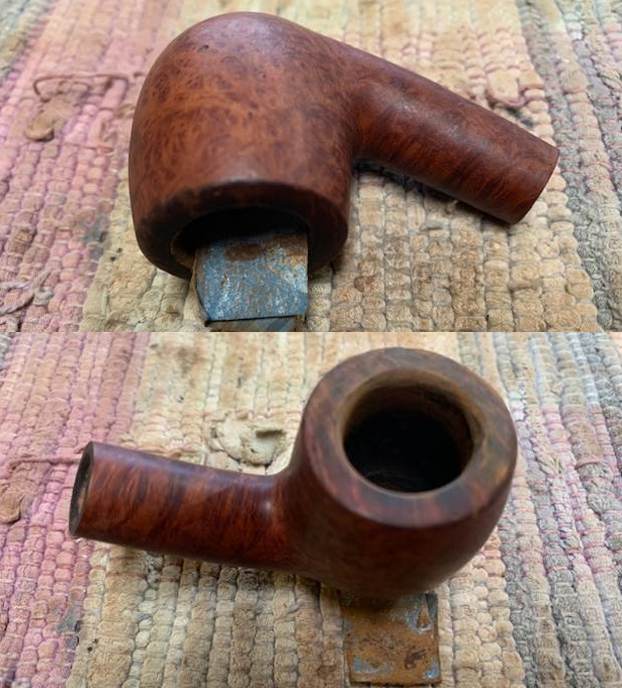
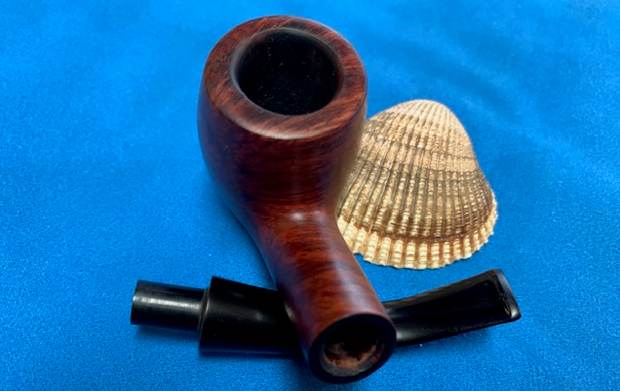
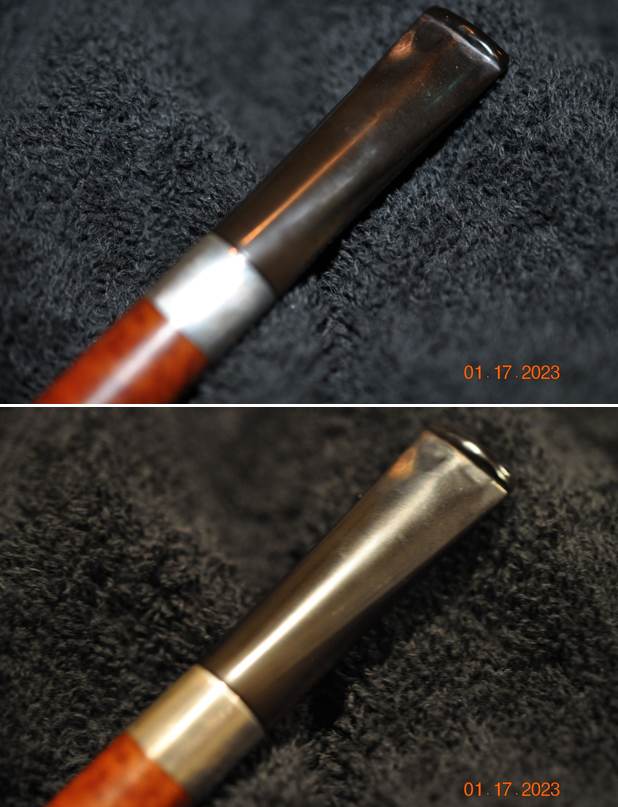
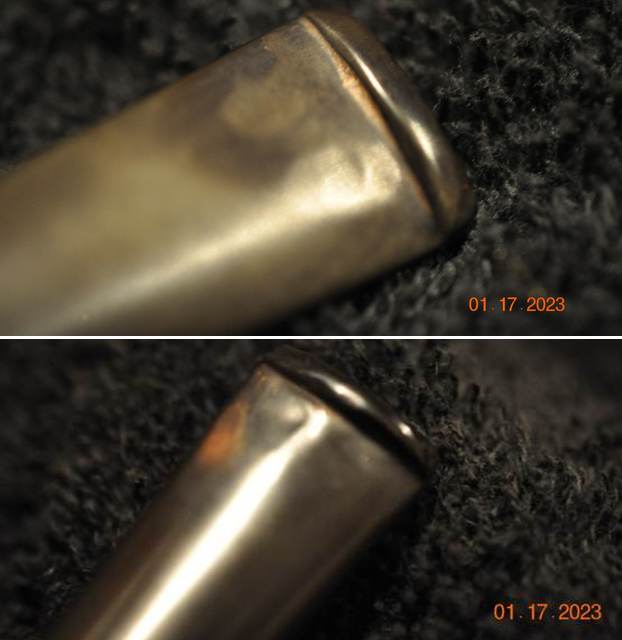
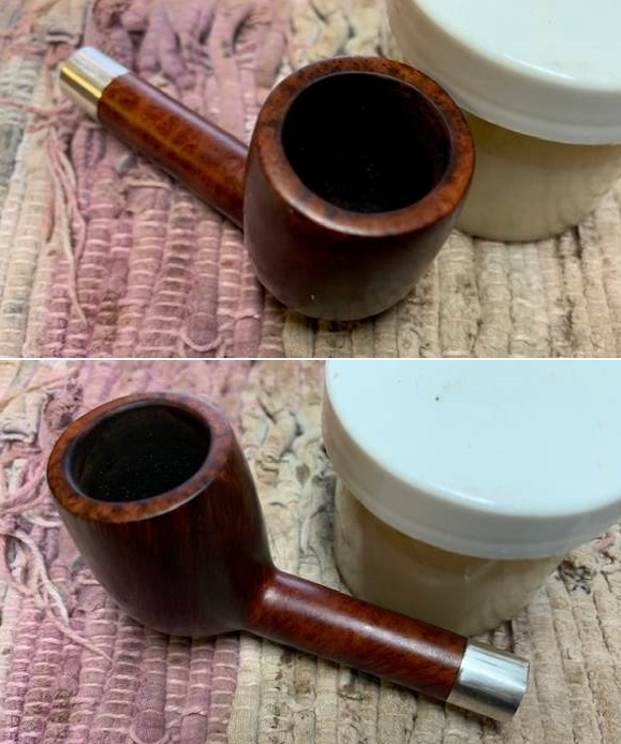
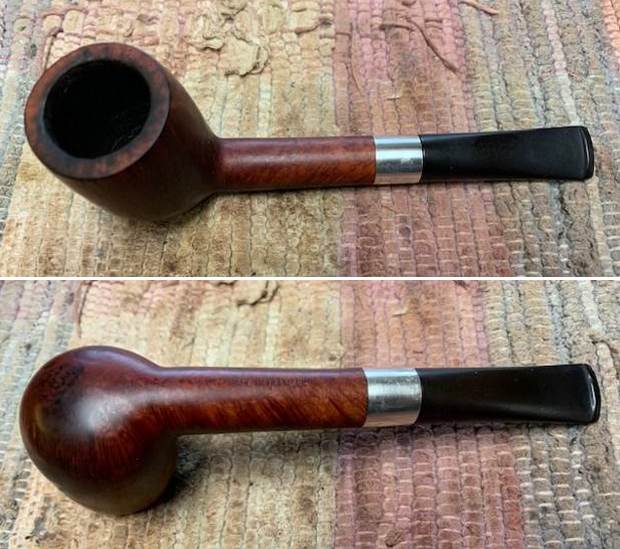 I took a photo of the rim top and the stem to show their condition once it arrived in Canada. Jeff was able to clean up the cake and the lava overflow that was shown in the rim and bowl photos above. The rim top and the inner edge of the bowl showed some damage to the inner edge and some darkening on the rim top. He was also able to get rid of the grime and grit in the surface of the briar. The stem looked better, though there were tooth marks and chatter on both sides near the button.
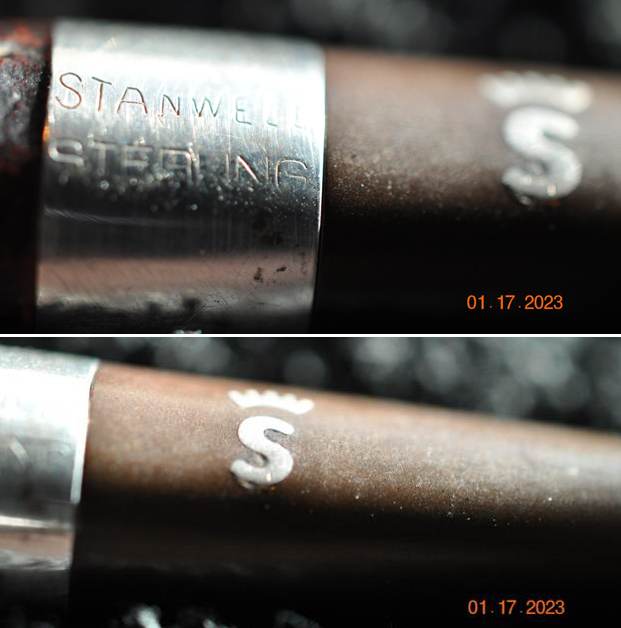
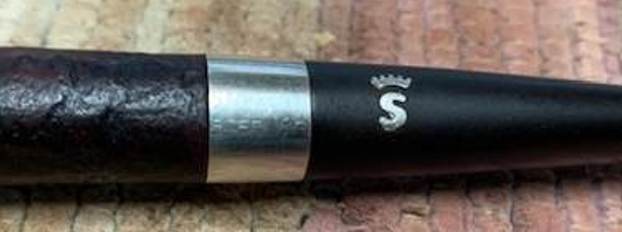
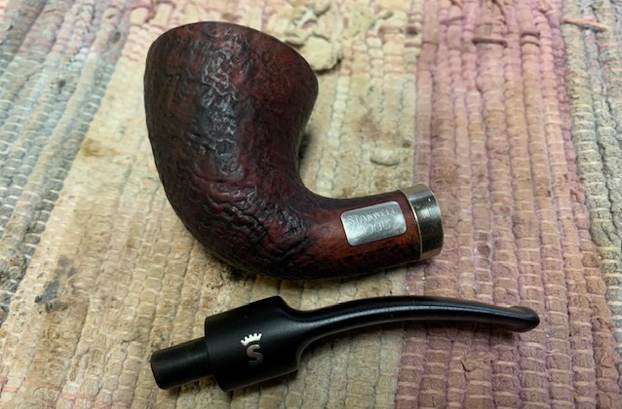
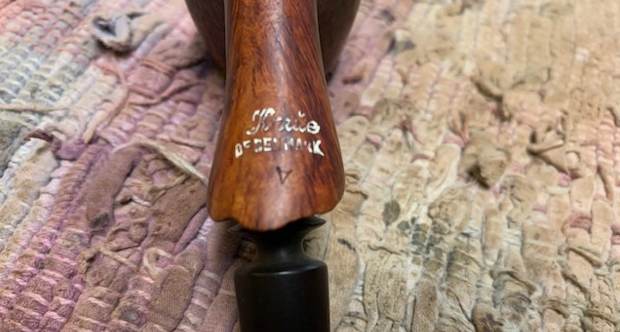
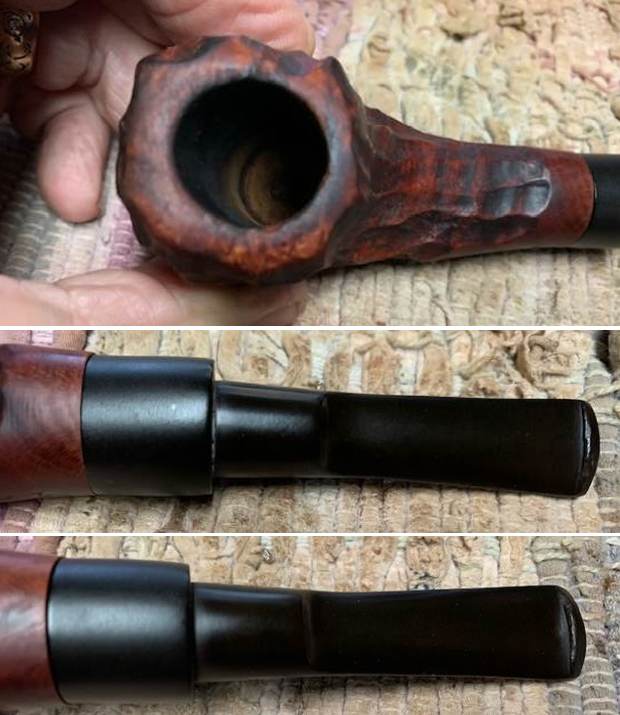
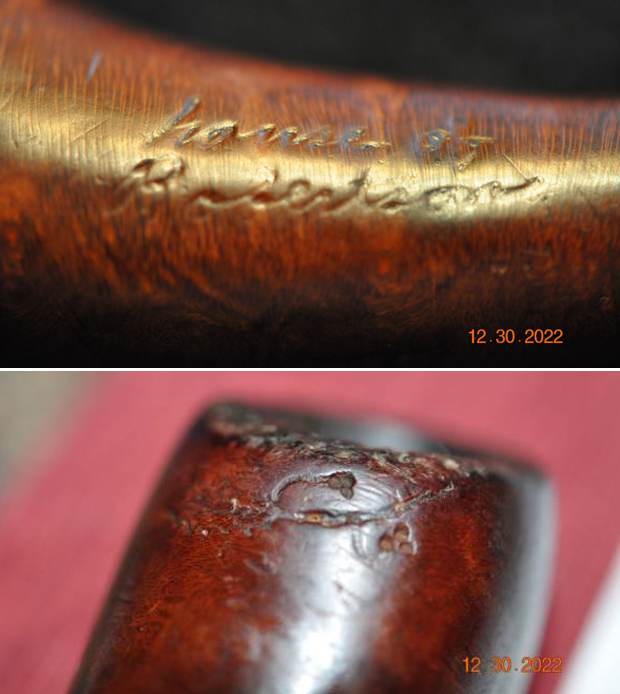
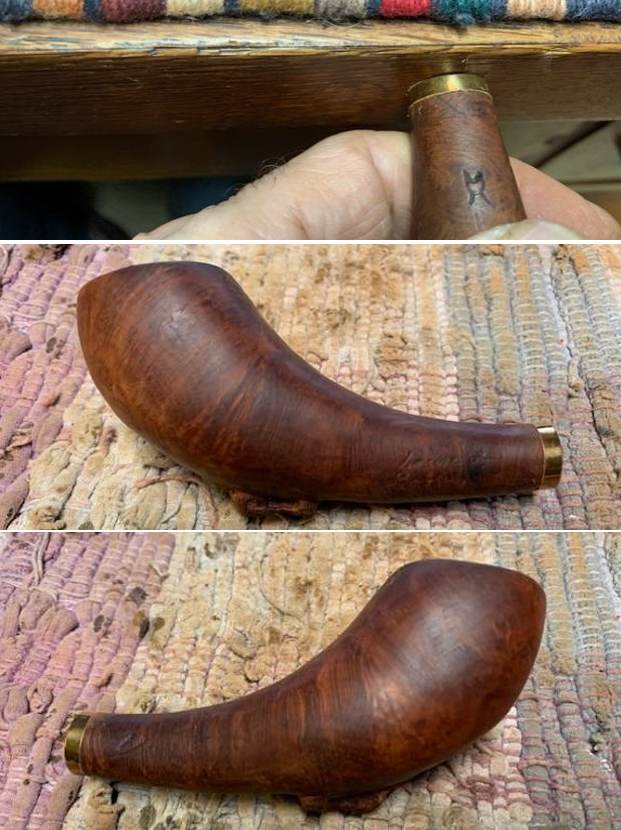
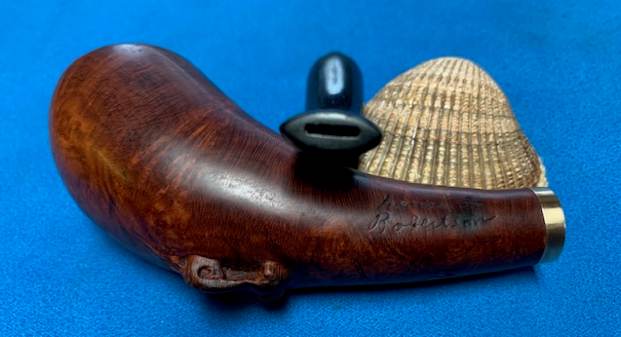
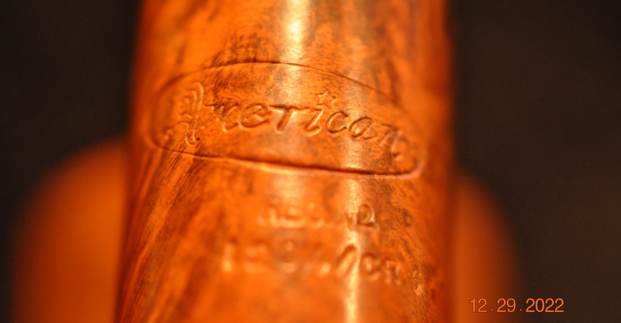
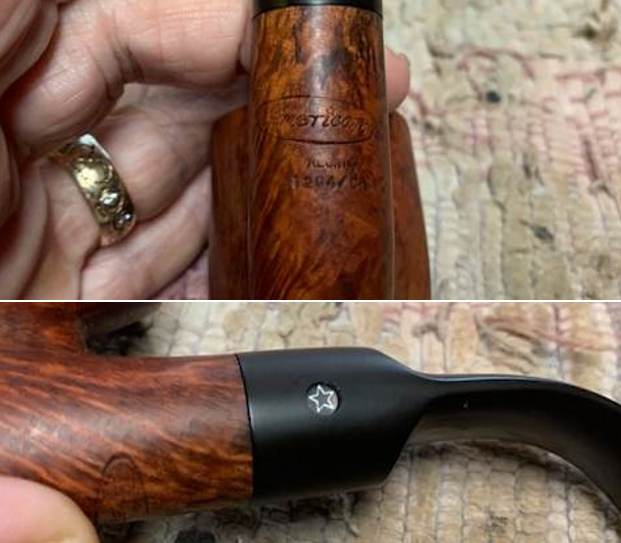
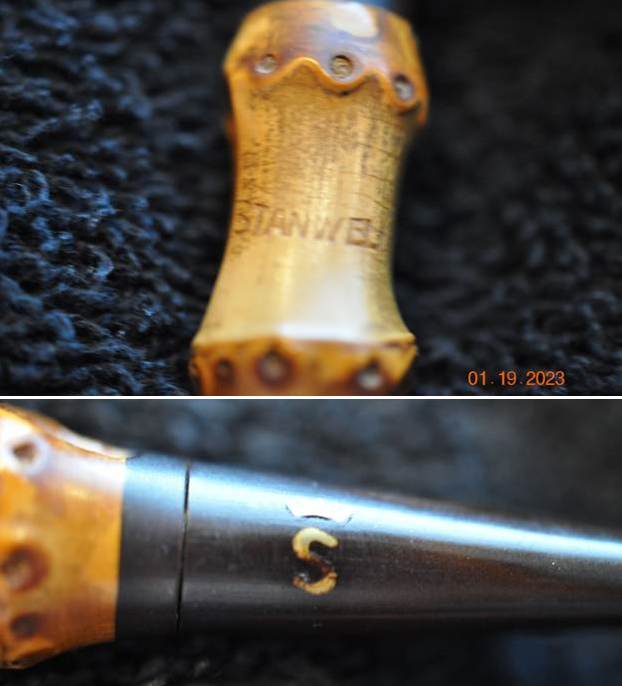
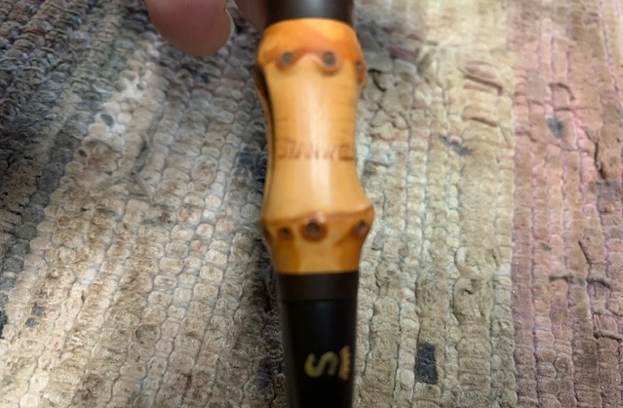
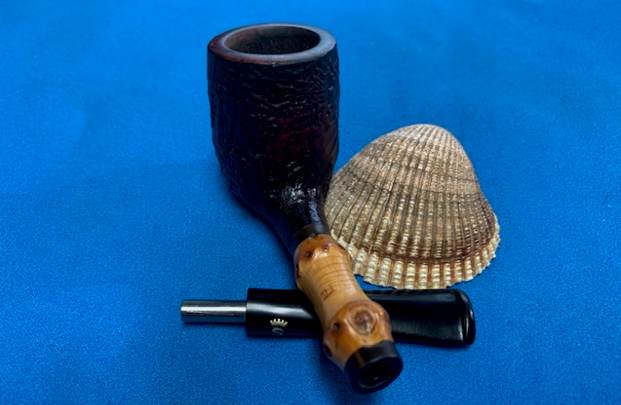
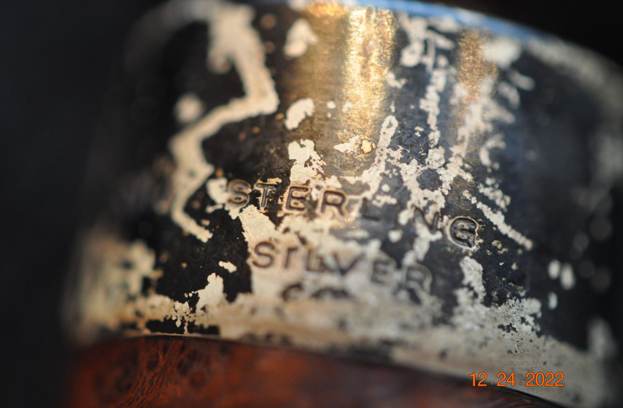
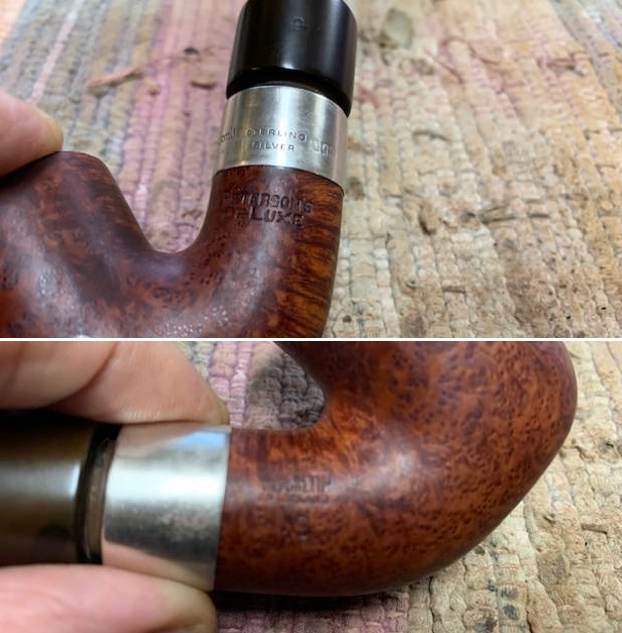
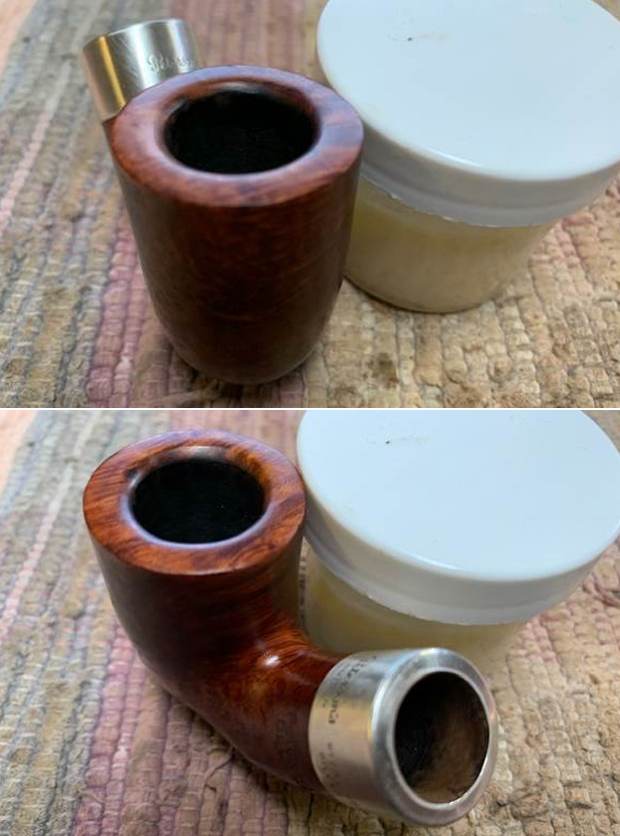
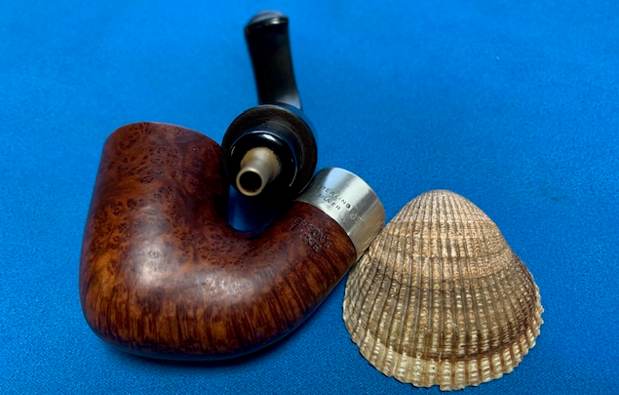
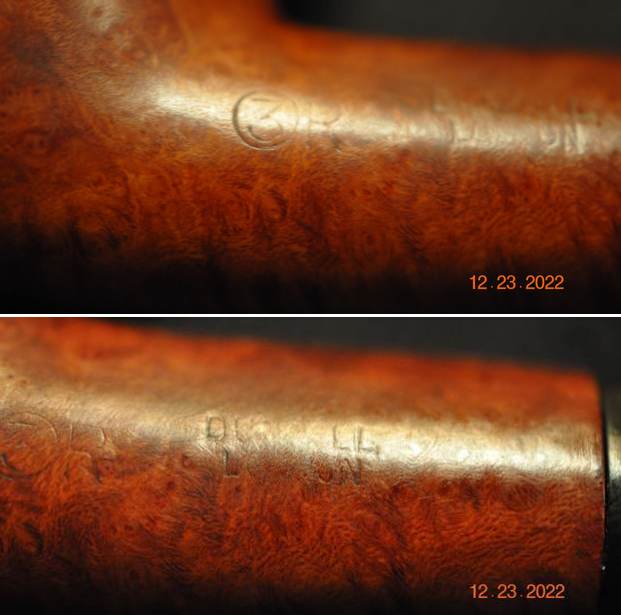
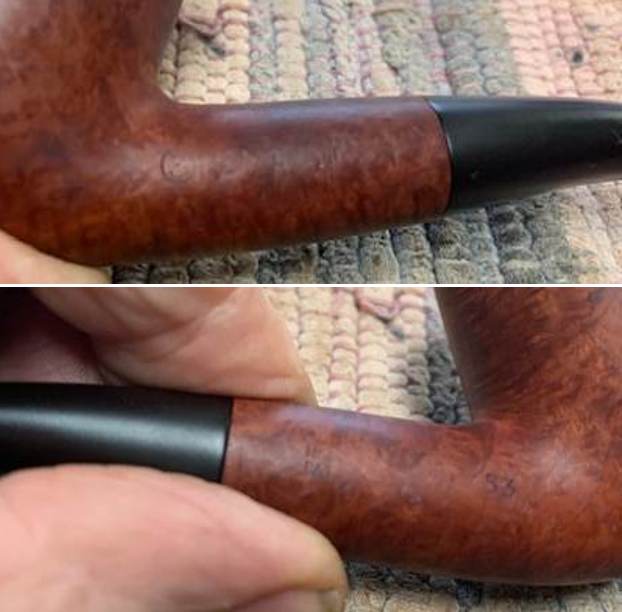
 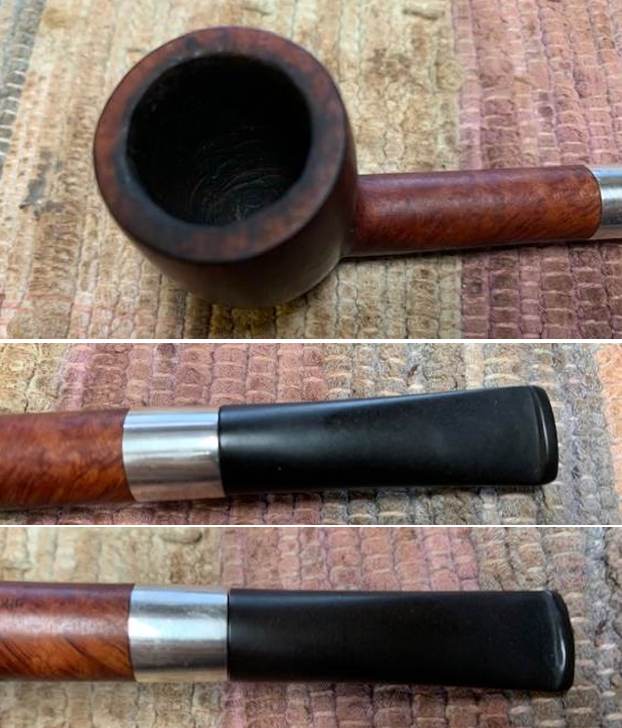 I took photos of the stamping on the sides of the shank and the underside show that it is clear and readable. I tried to capture the Stanwell Sterling on the silver band (first photo below). It is clearer in person than is shown in the photo.
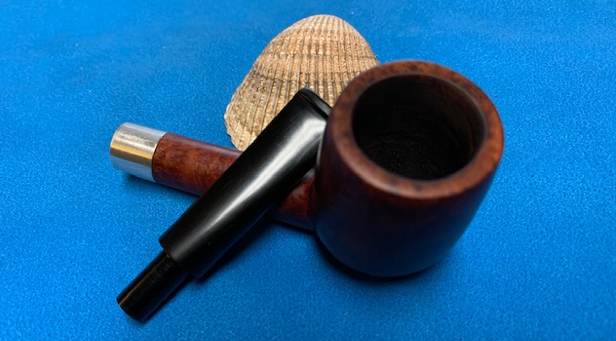
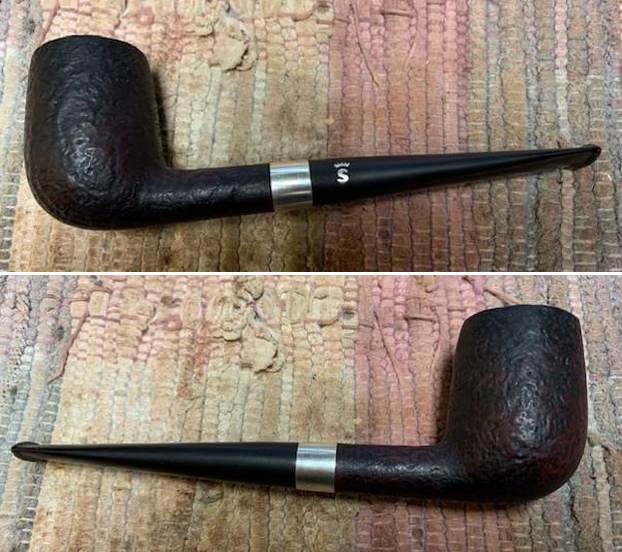
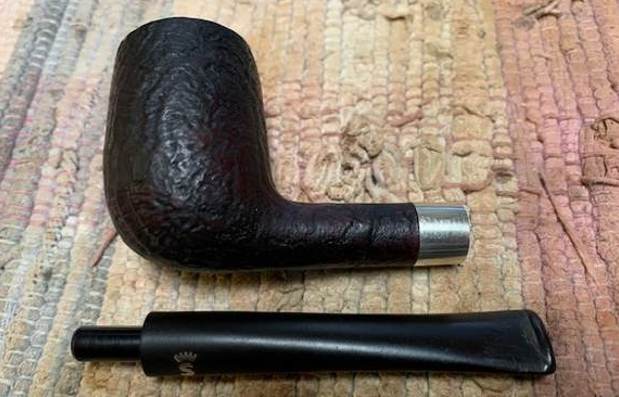
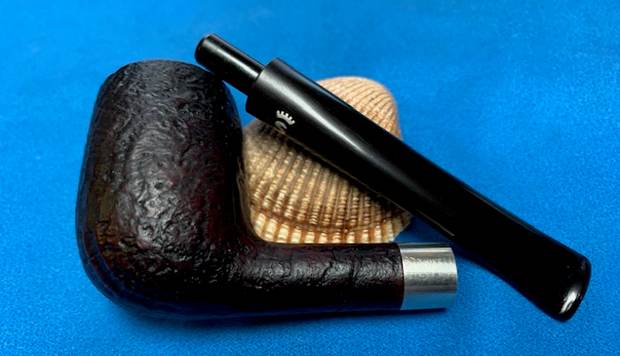
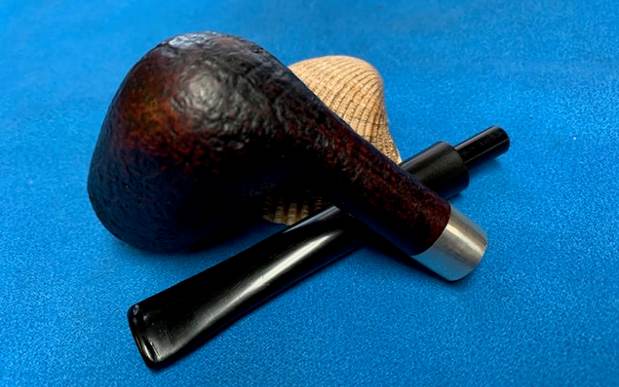
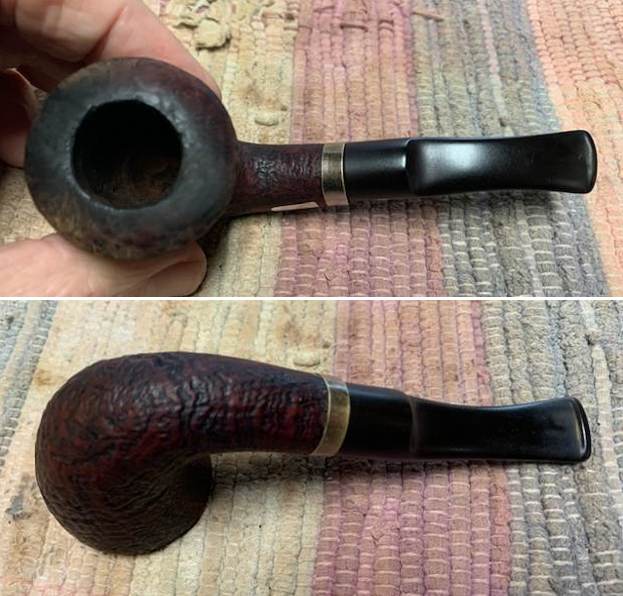
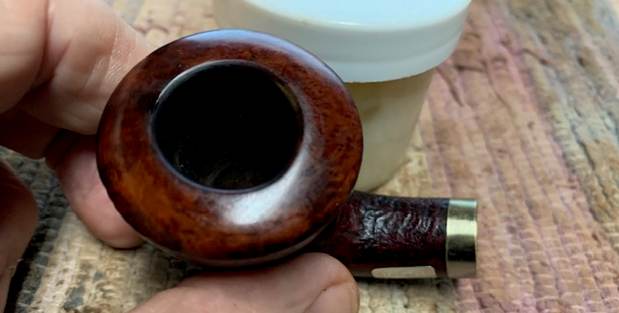
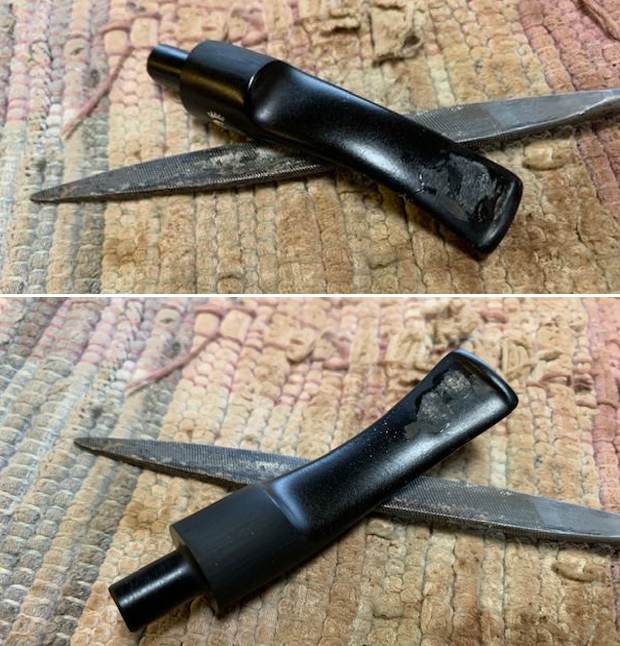
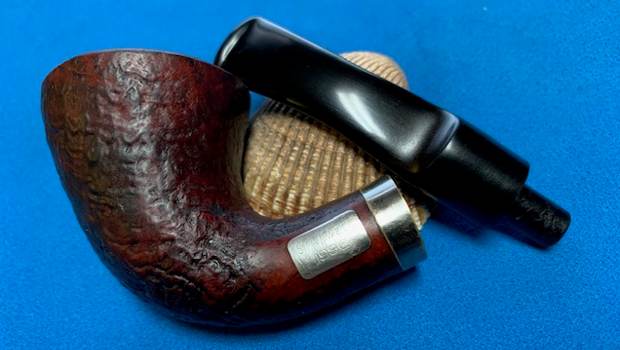
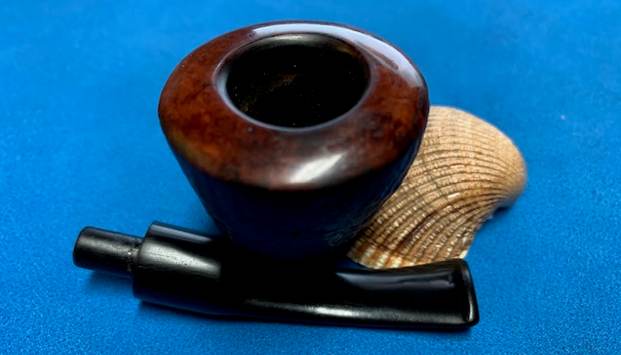
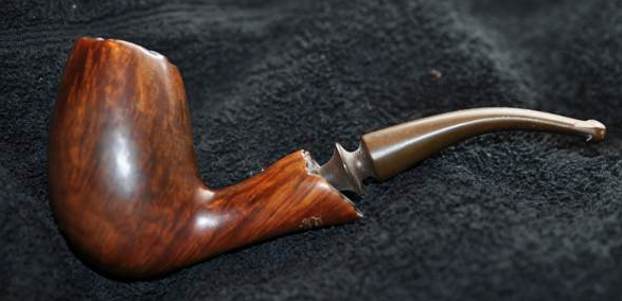
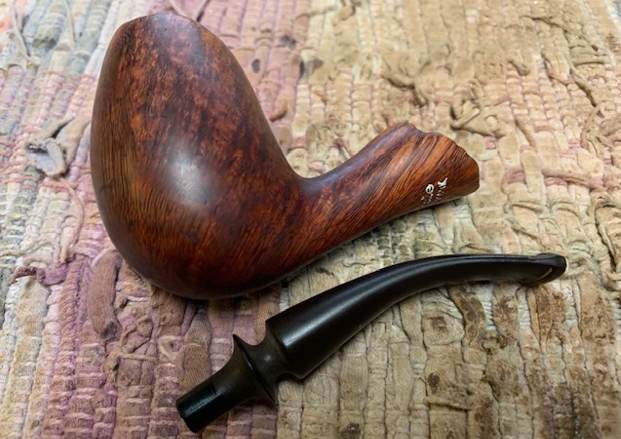
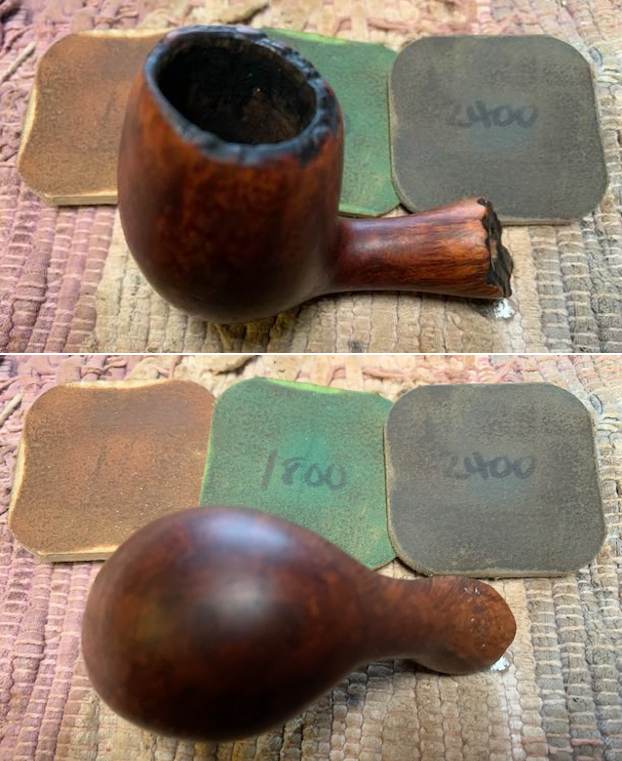
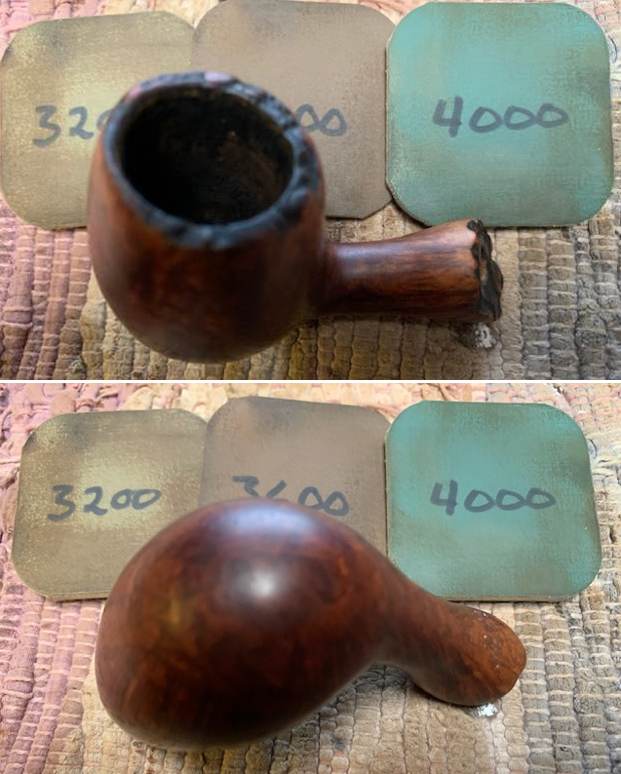
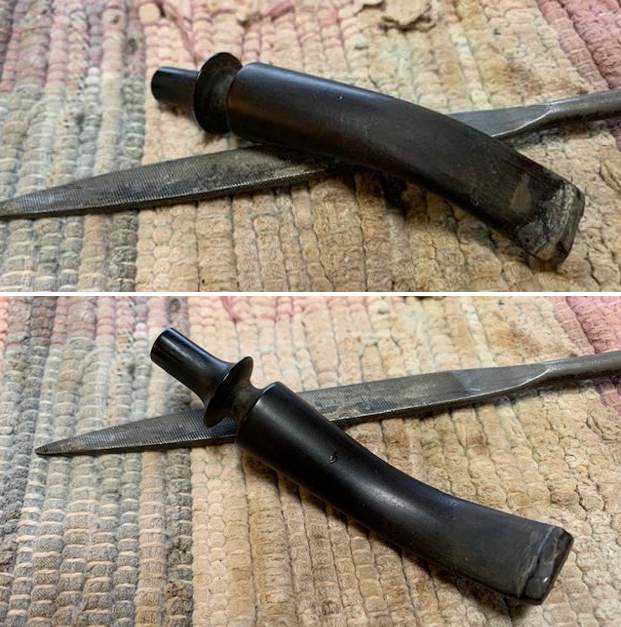
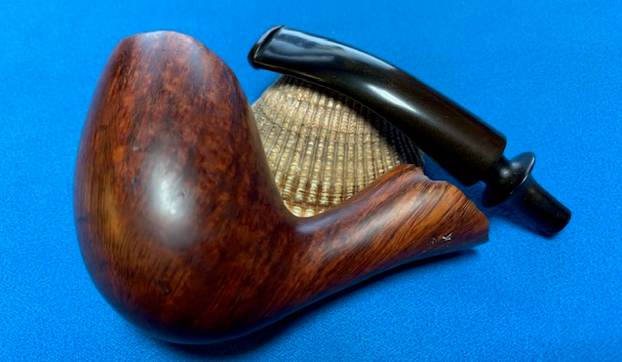
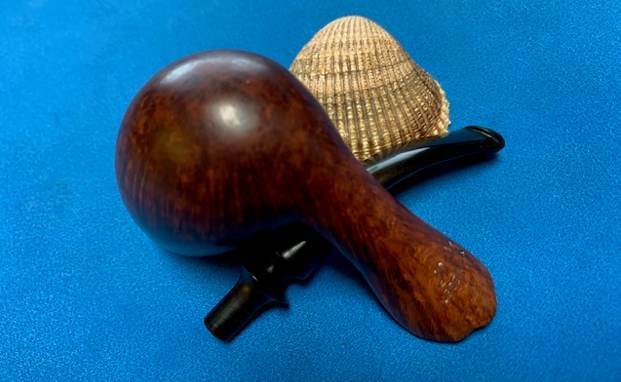
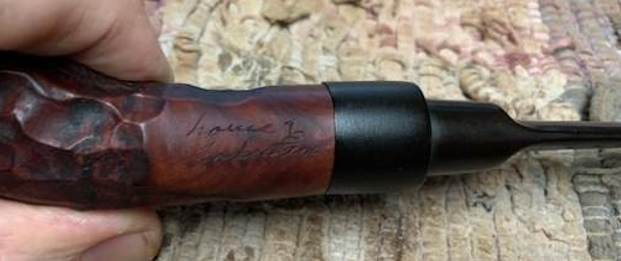
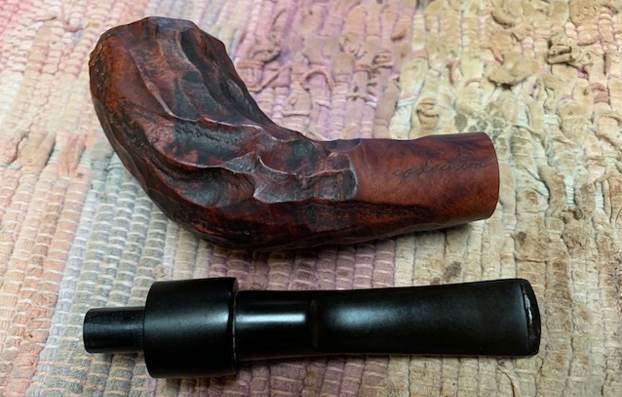
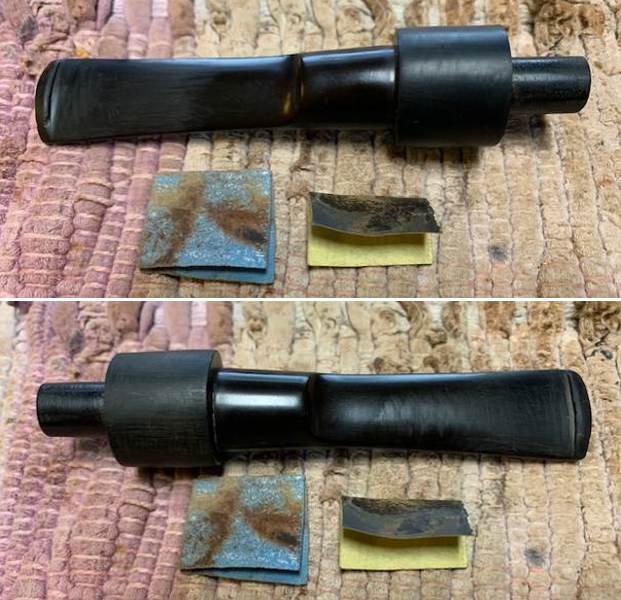
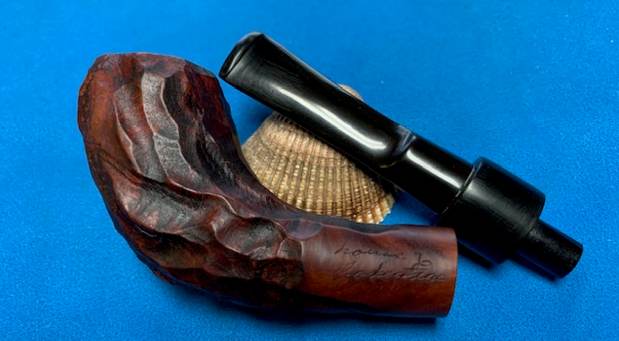
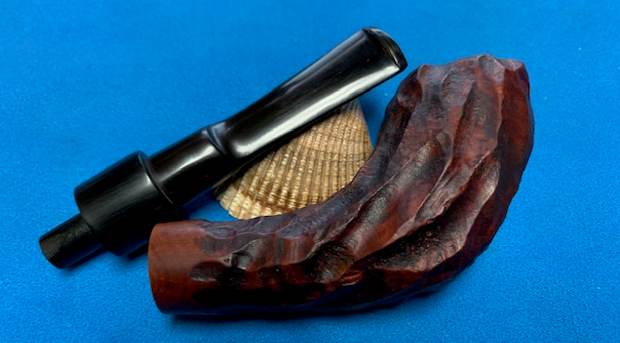
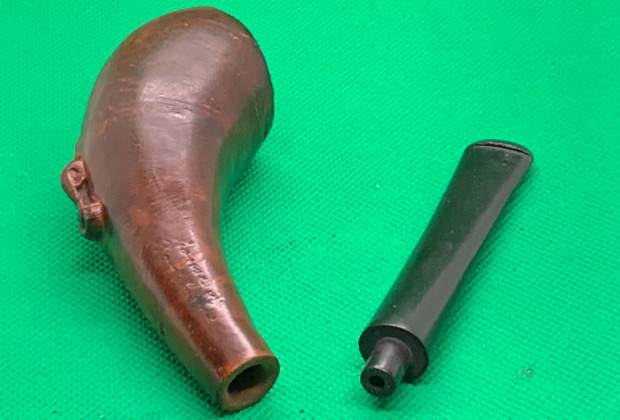
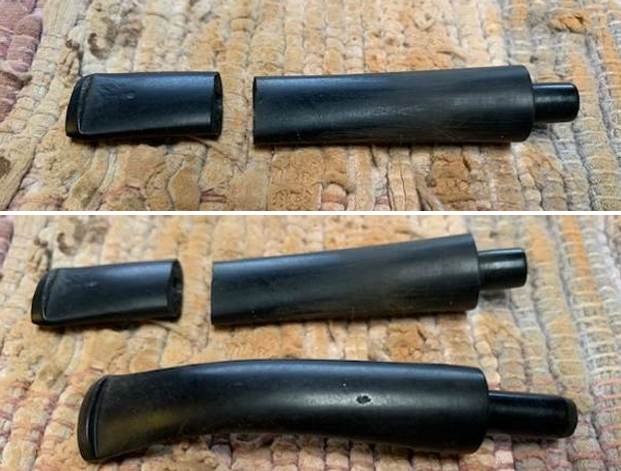
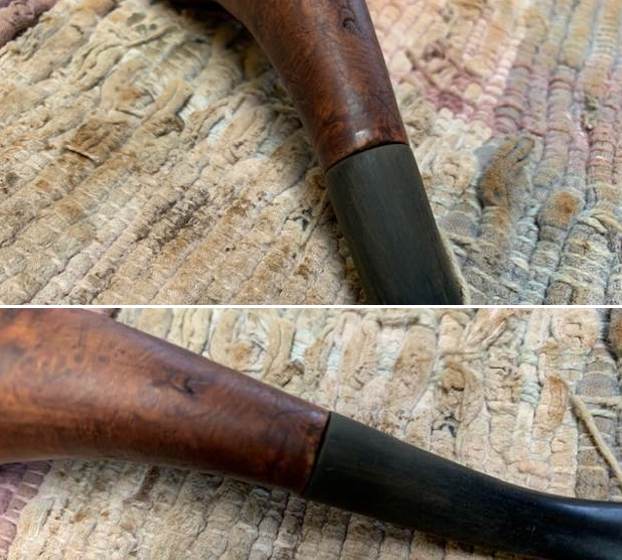
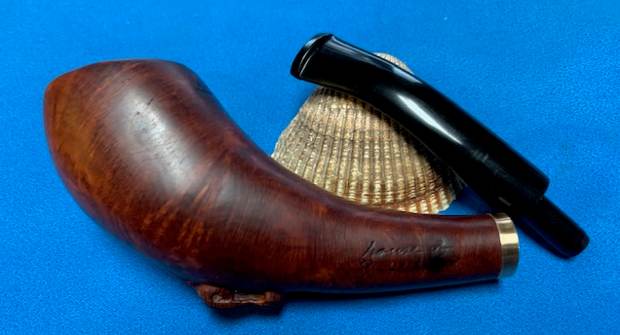
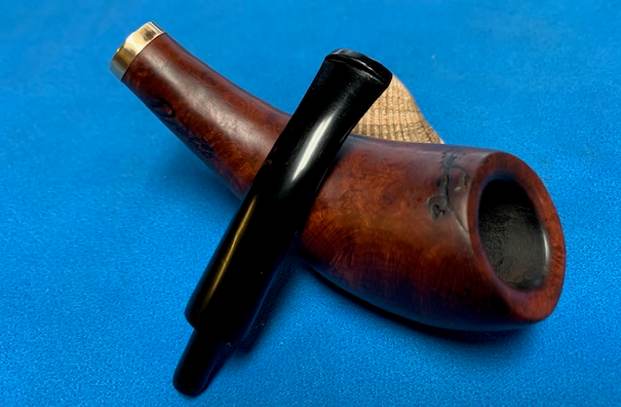
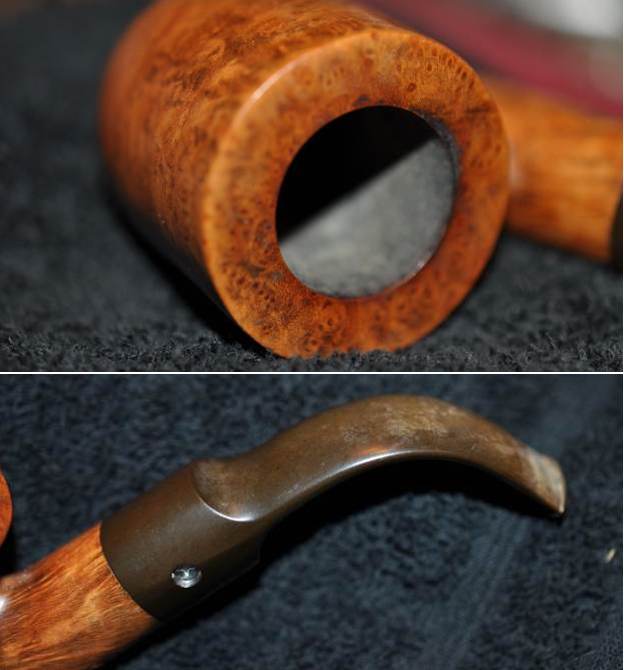
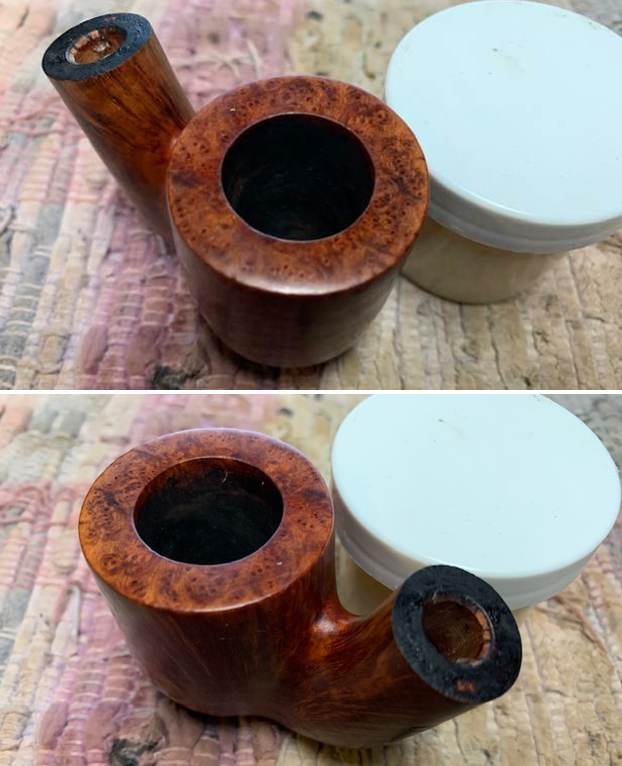
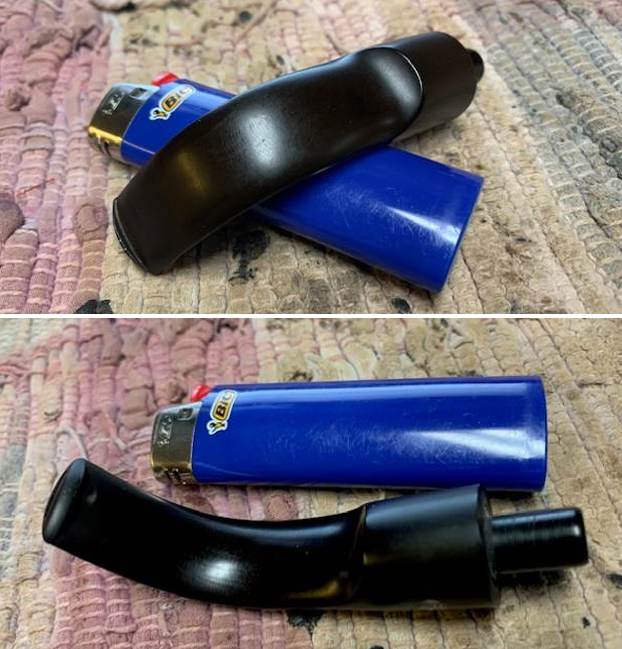
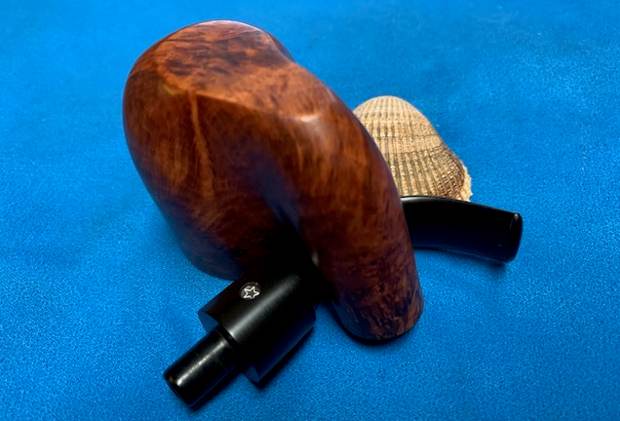
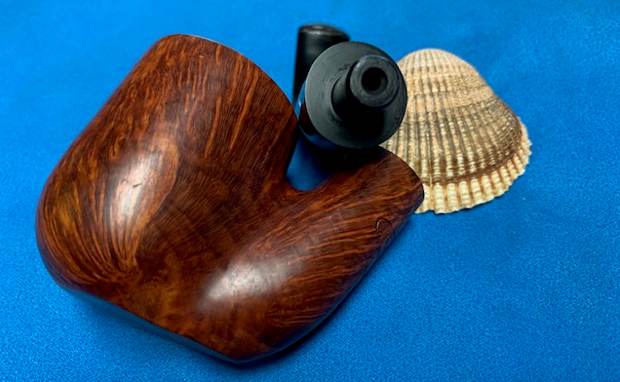
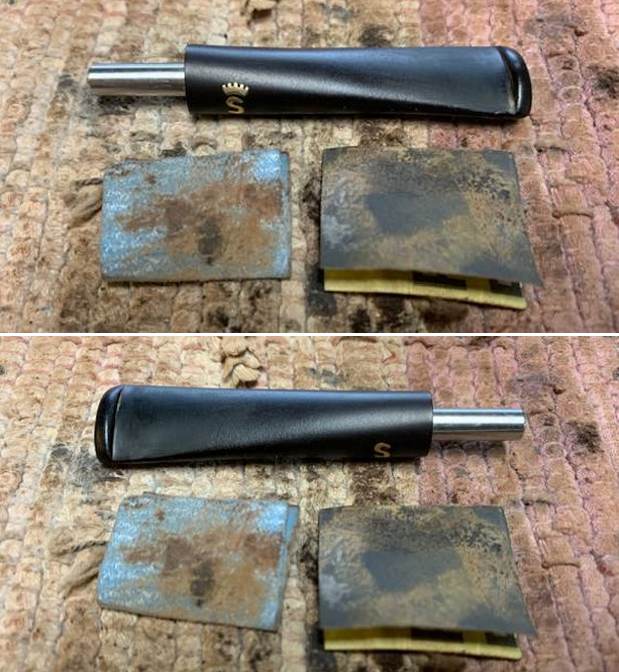
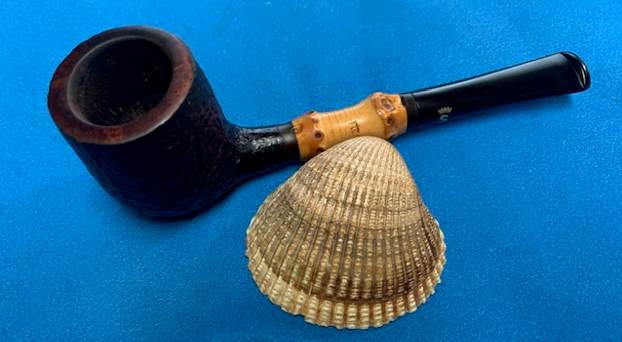
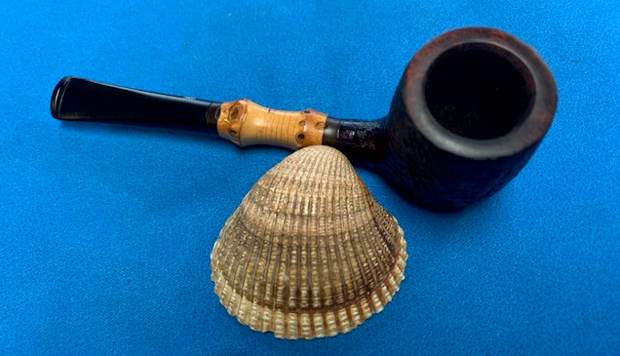
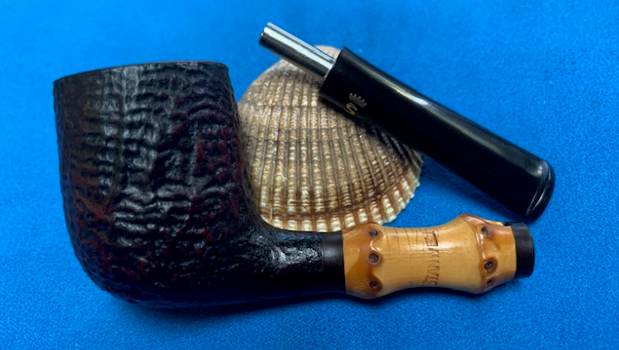
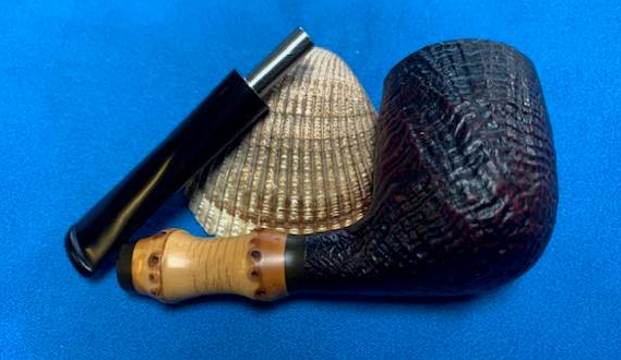
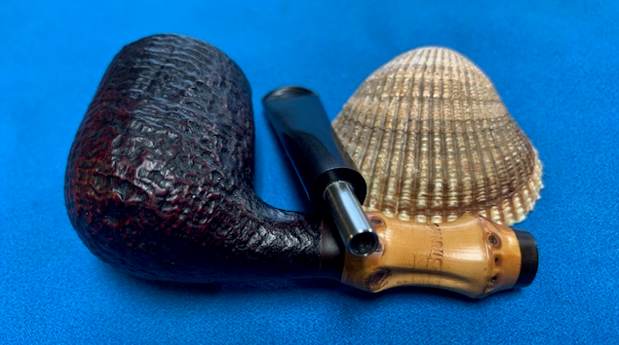
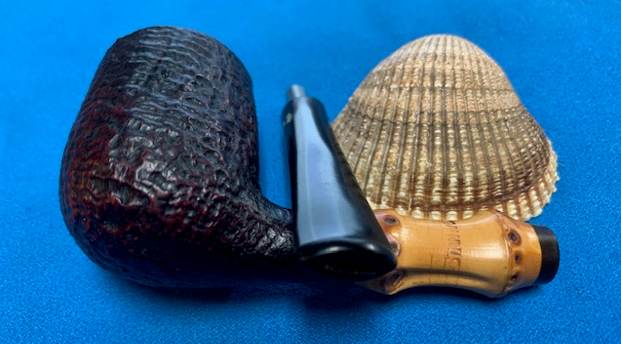
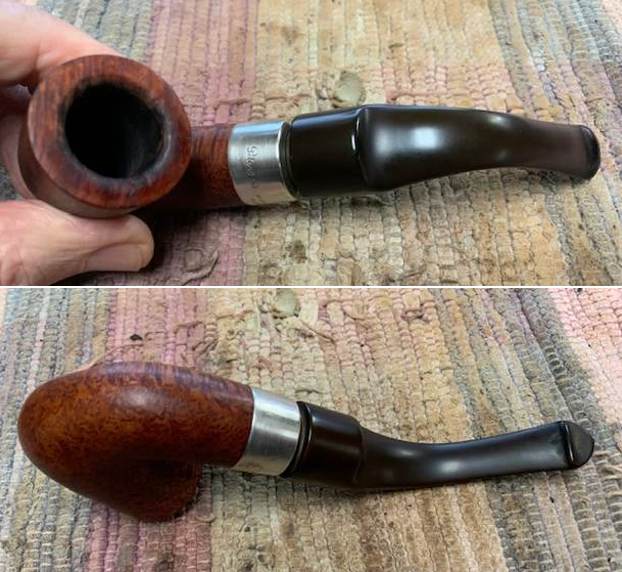
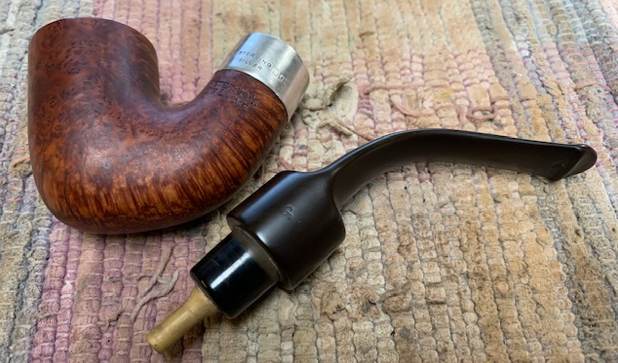
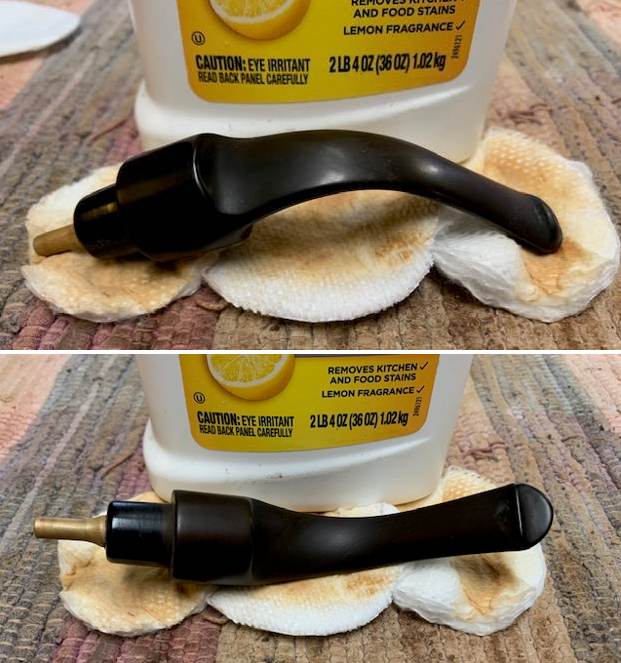
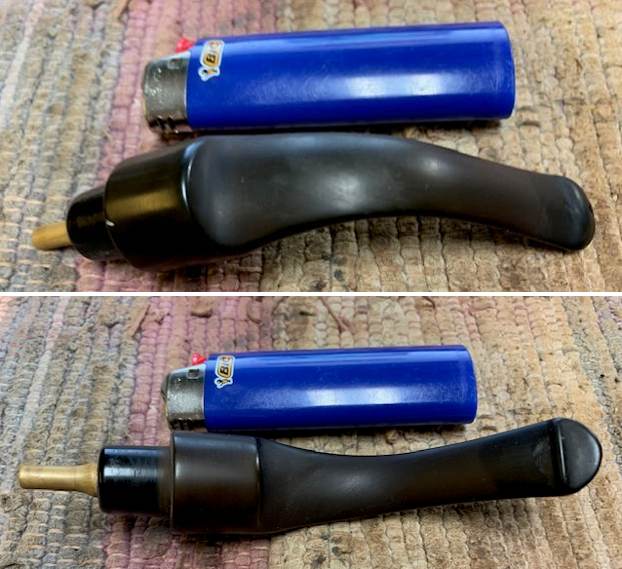
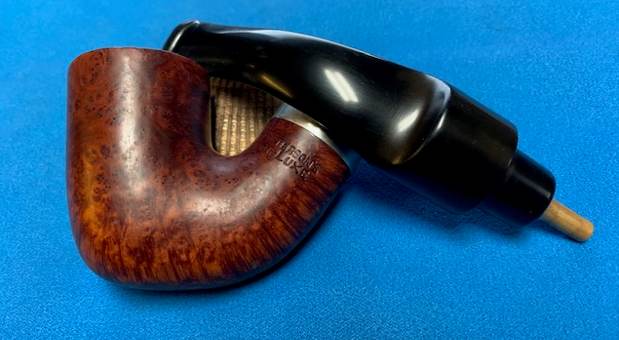
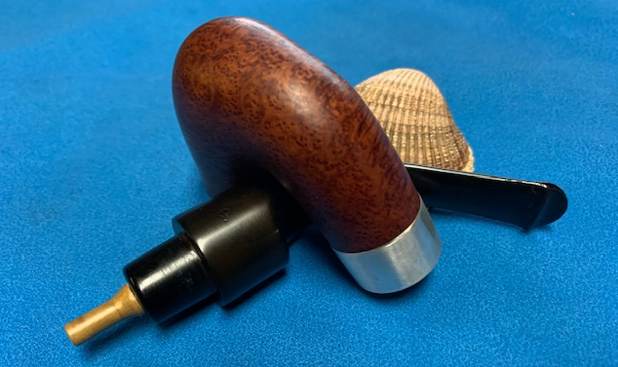
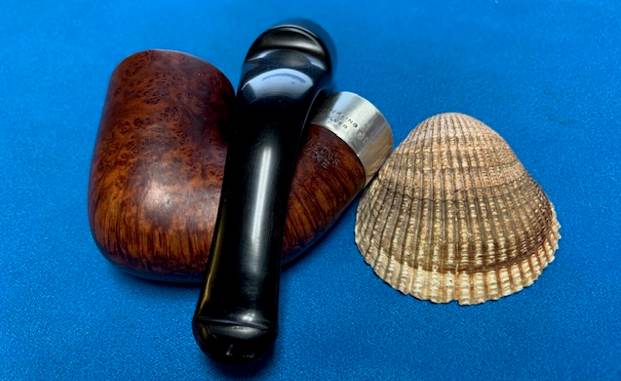
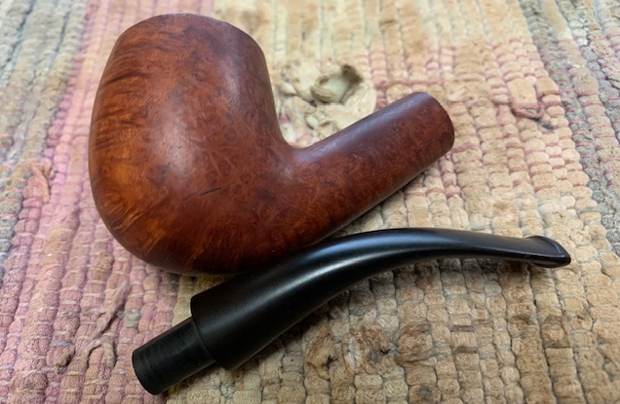
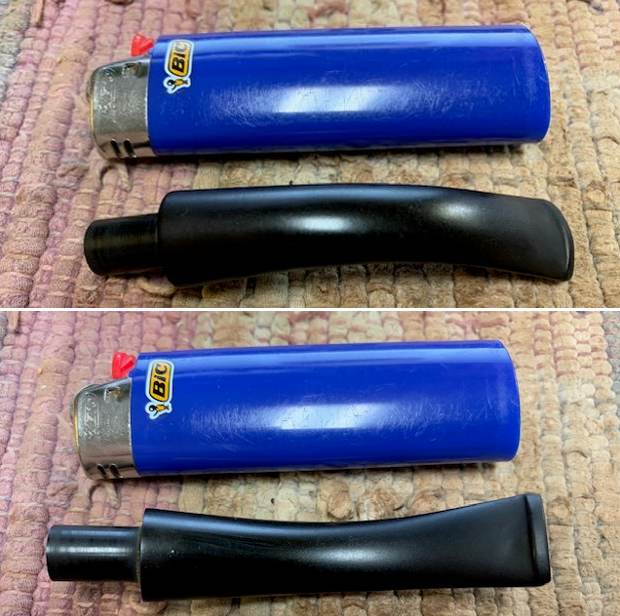
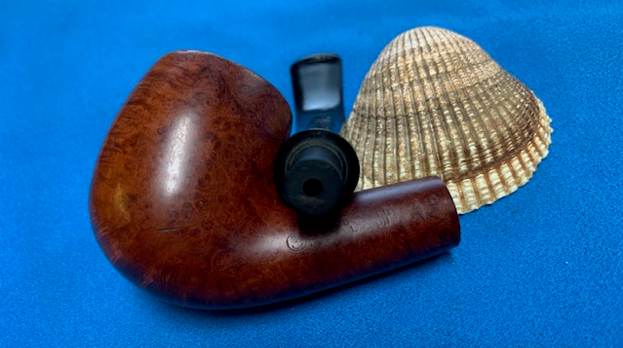
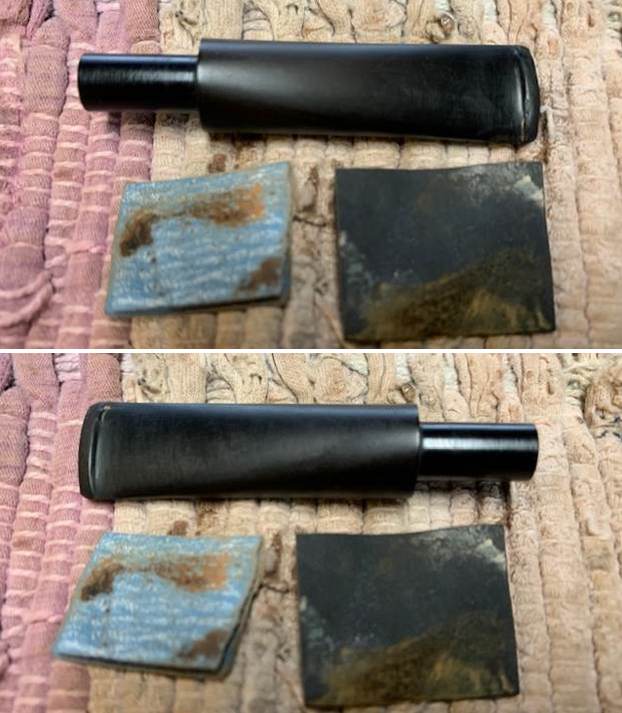
 I removed the stem from the shank and took a photo of the parts to give a sense of what the pipe looks like.
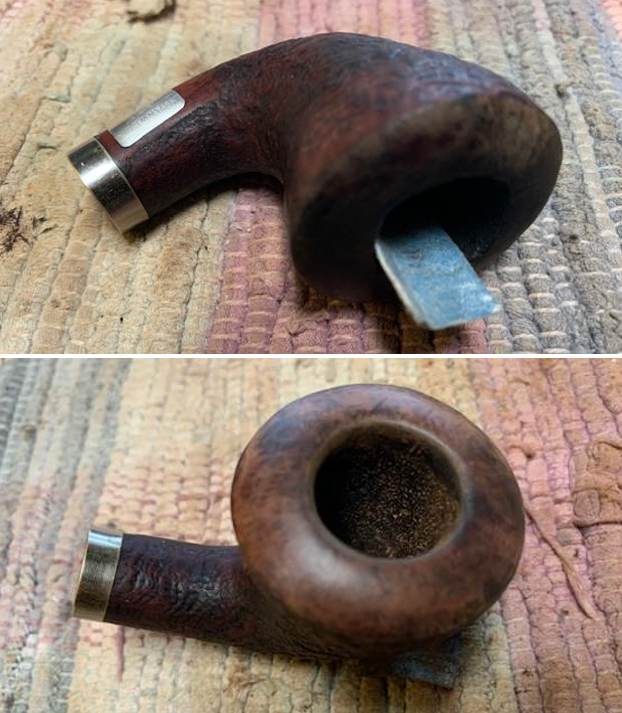
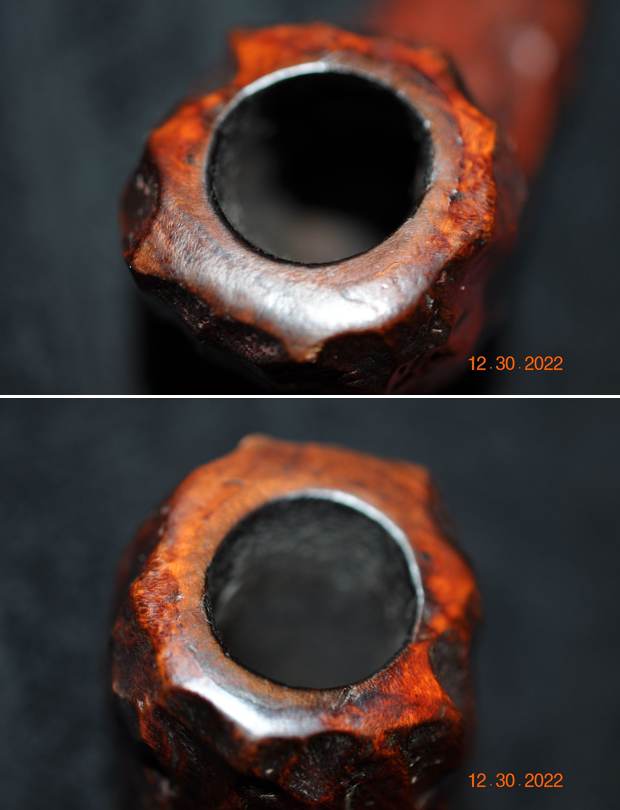
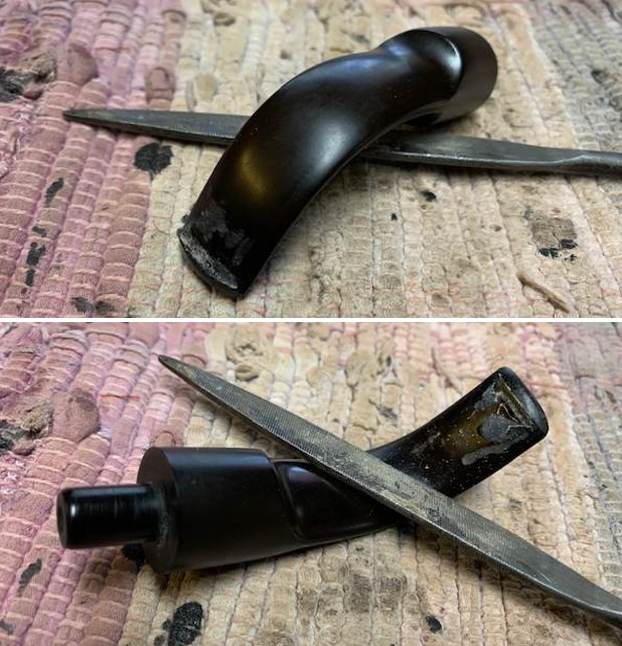
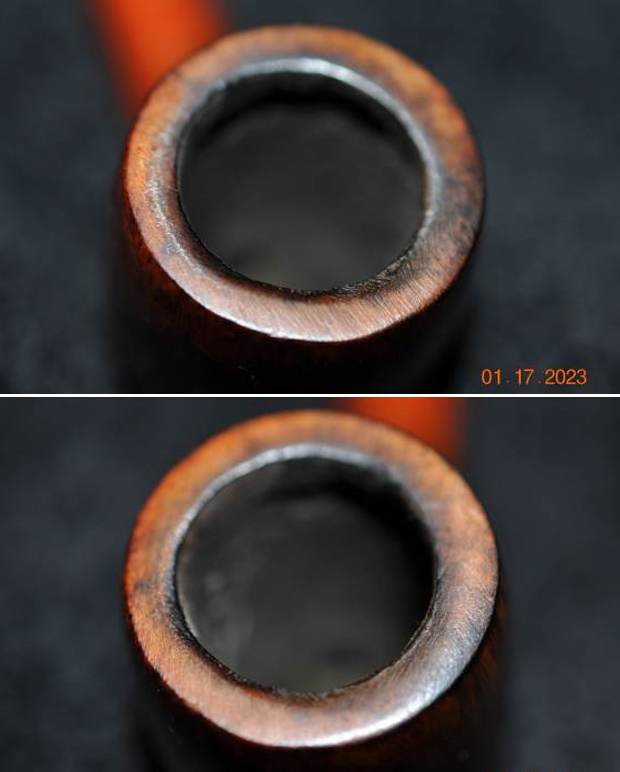
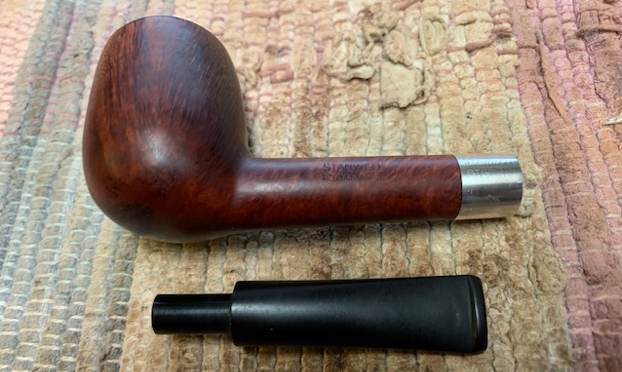 I started my work on the bowl by working on the damage to the inner edge of the bowl and the darkening on the rim top and outer edge with 220 grit sandpaper. I was able to clean it up nicely.
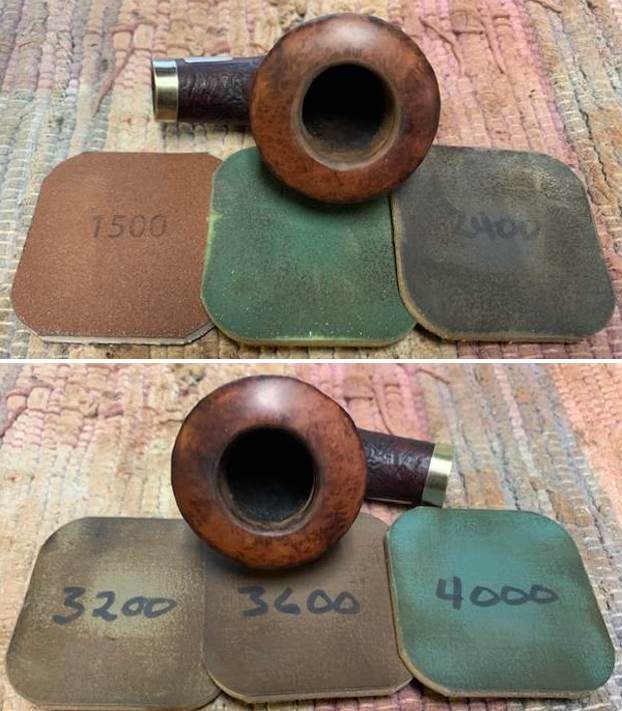
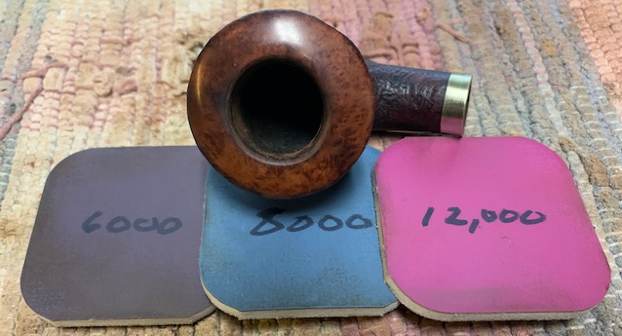
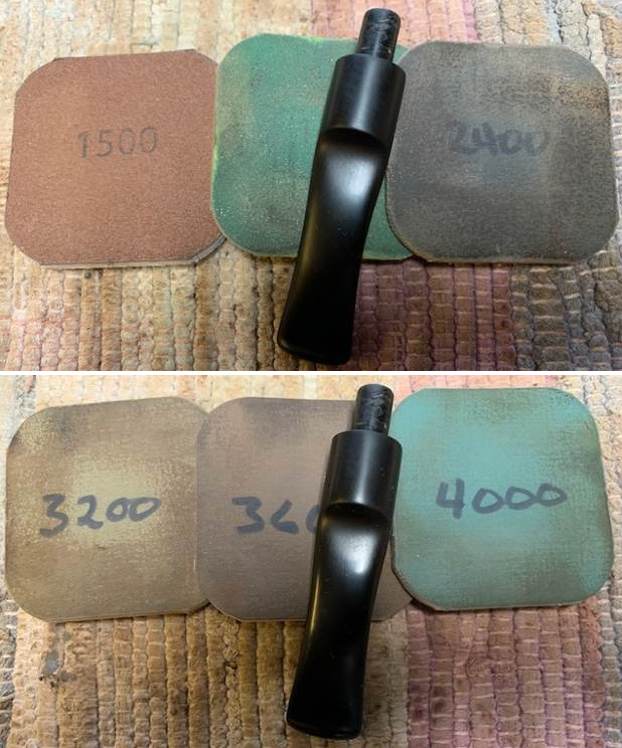
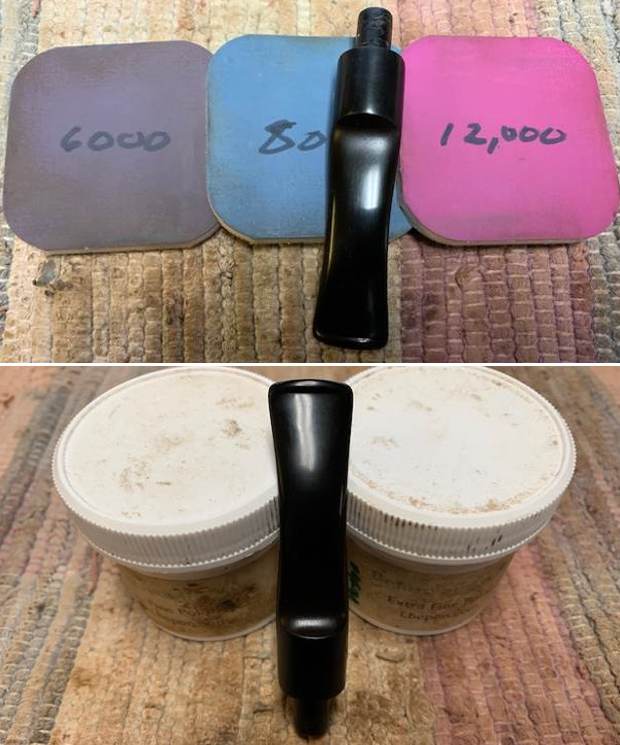
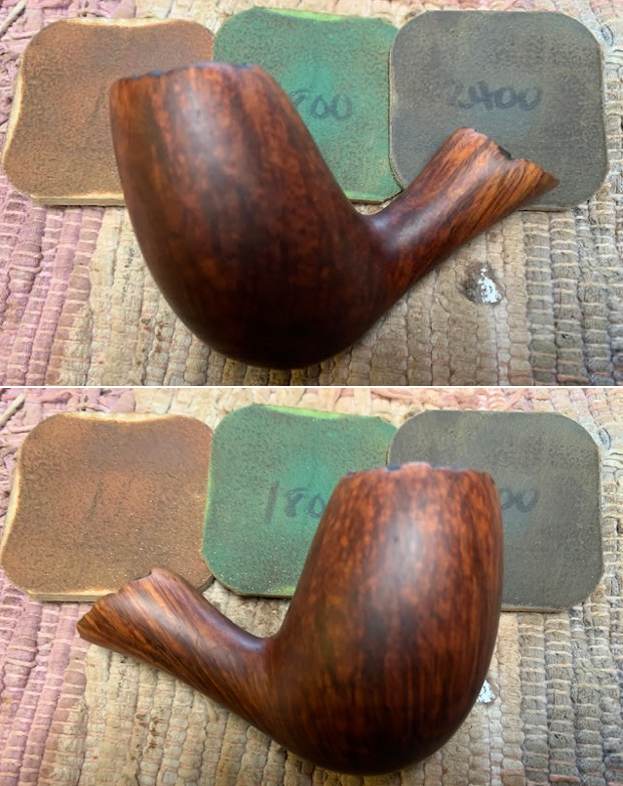
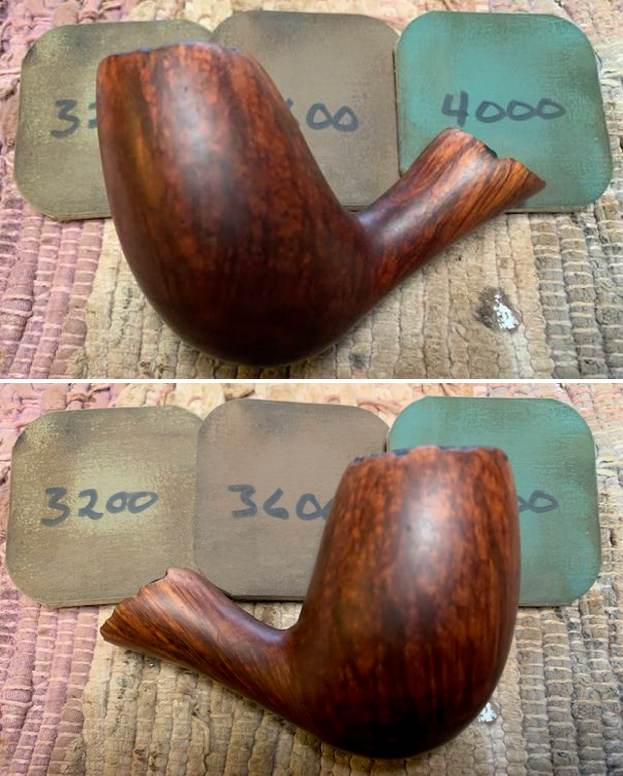
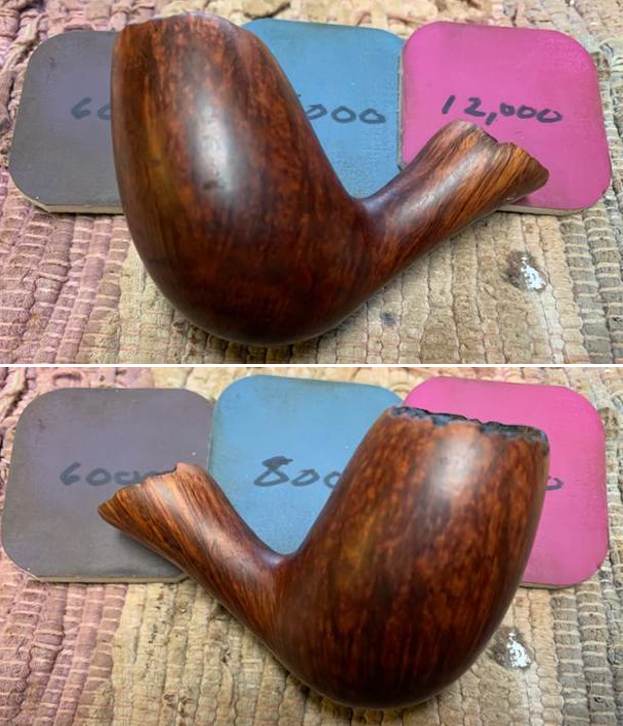
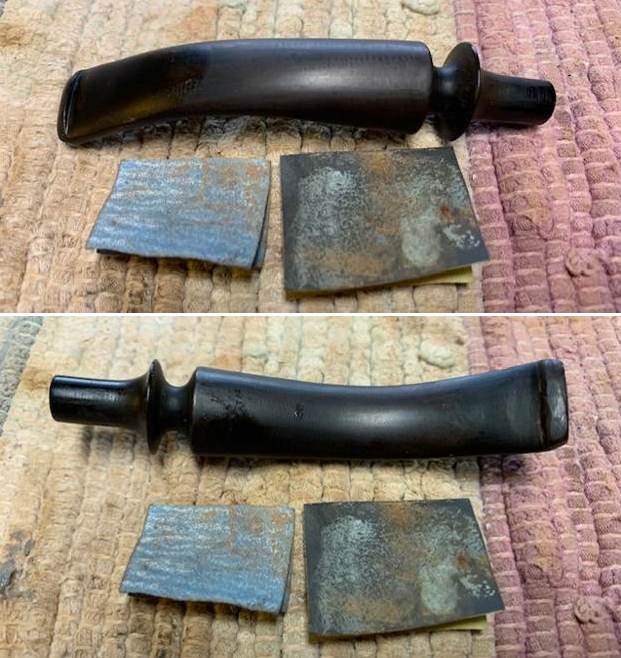
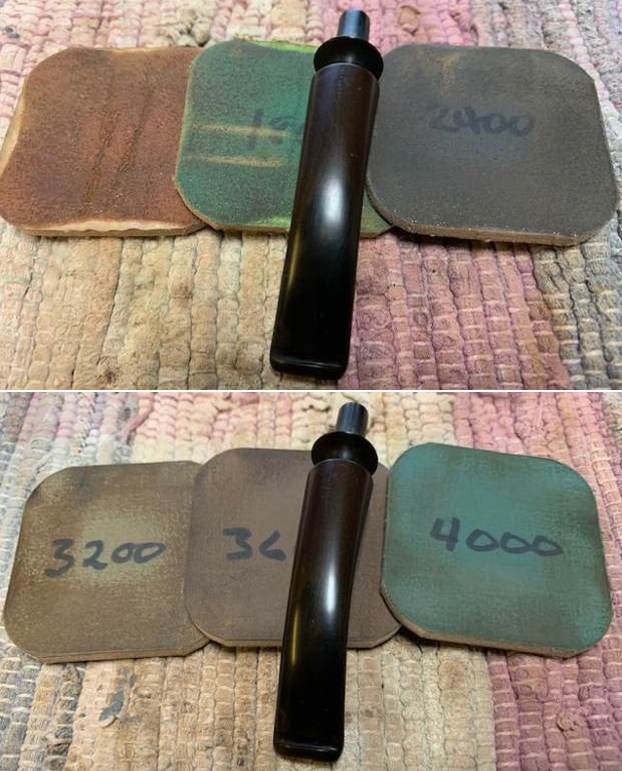
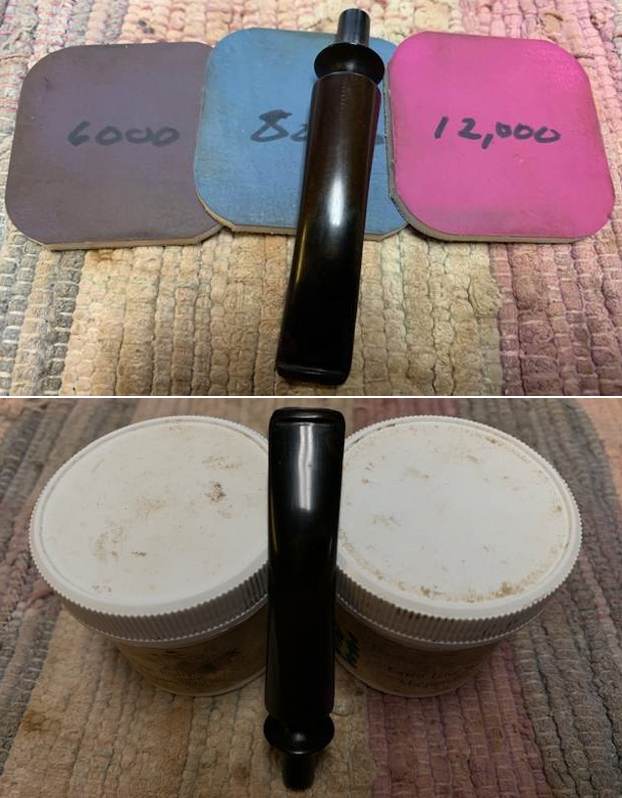
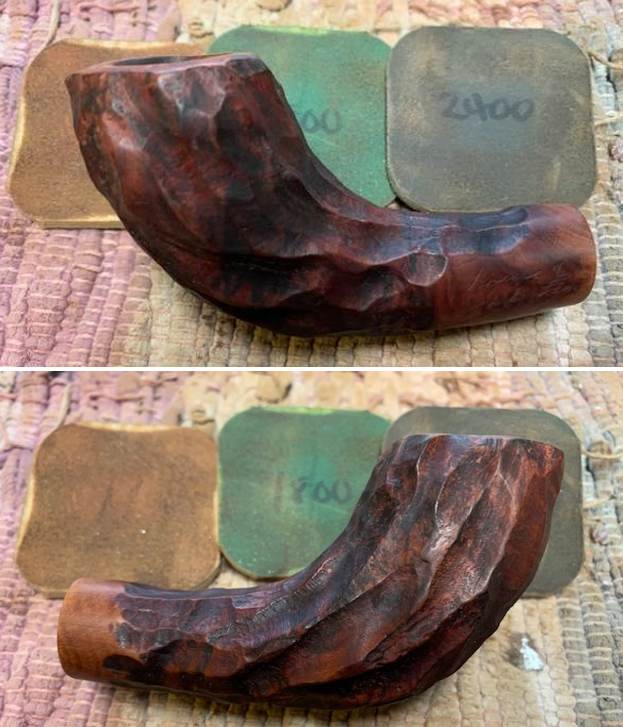
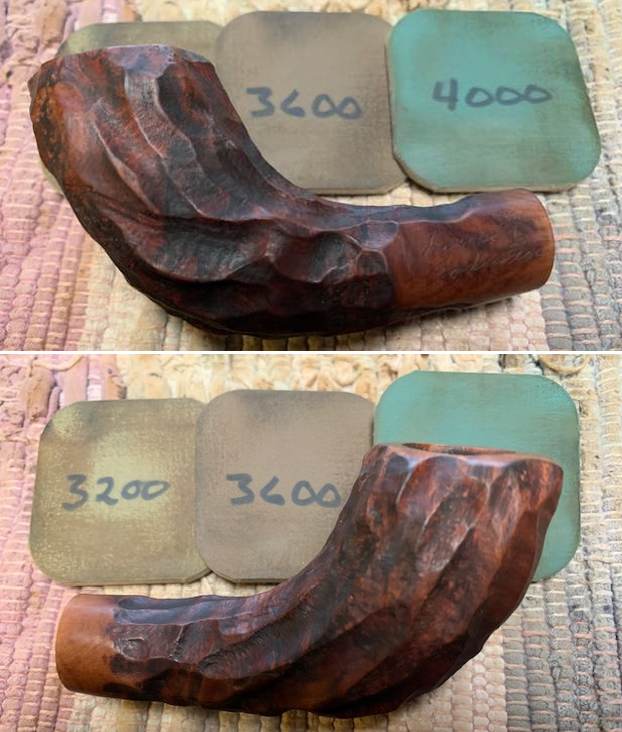
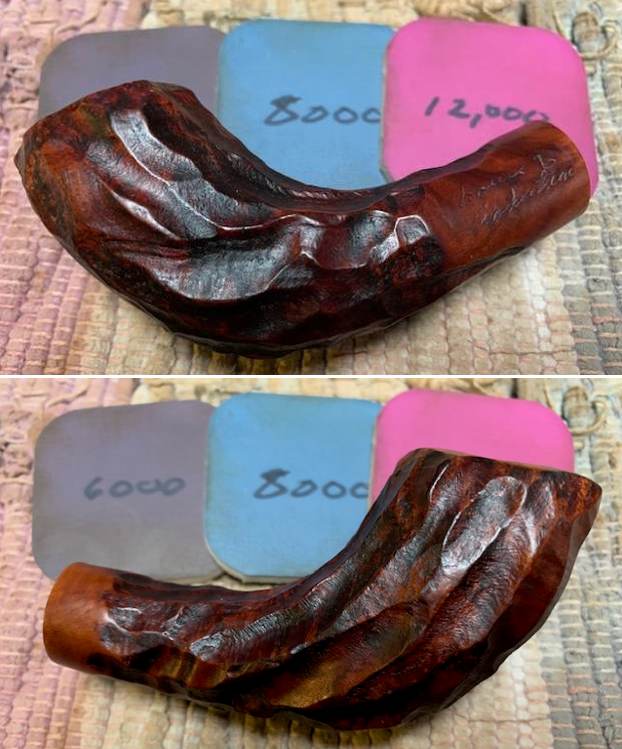
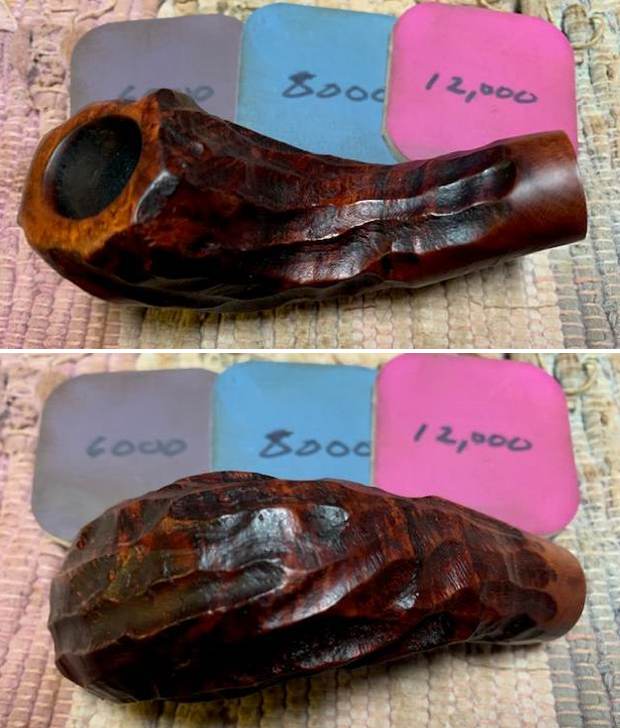
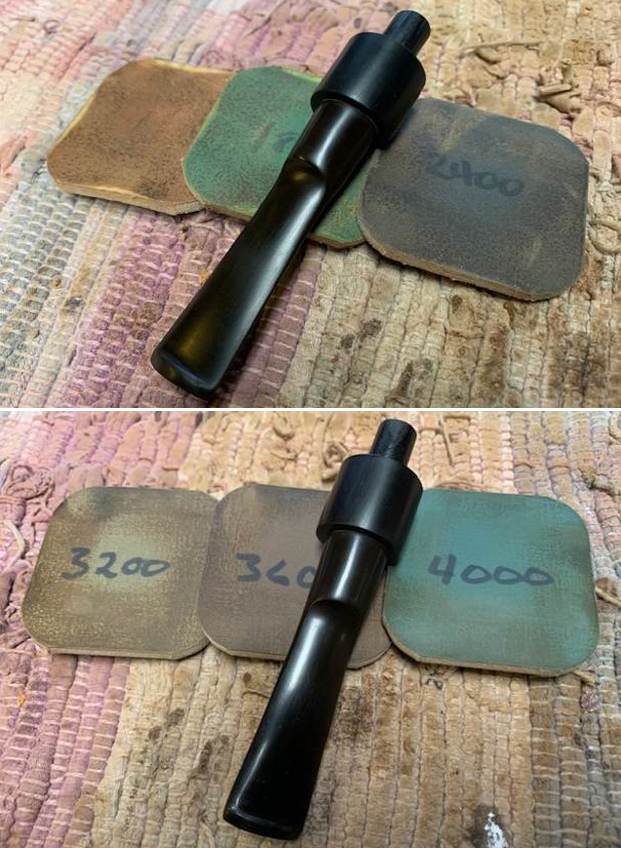
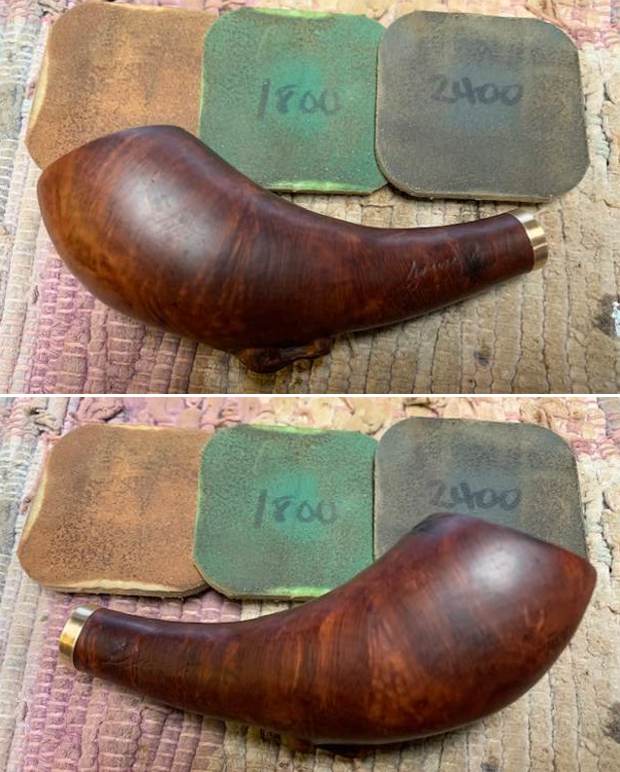
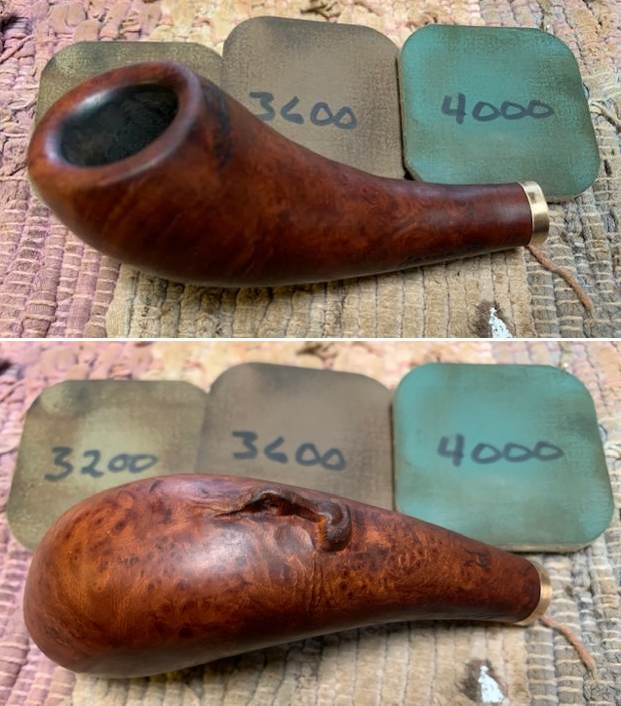
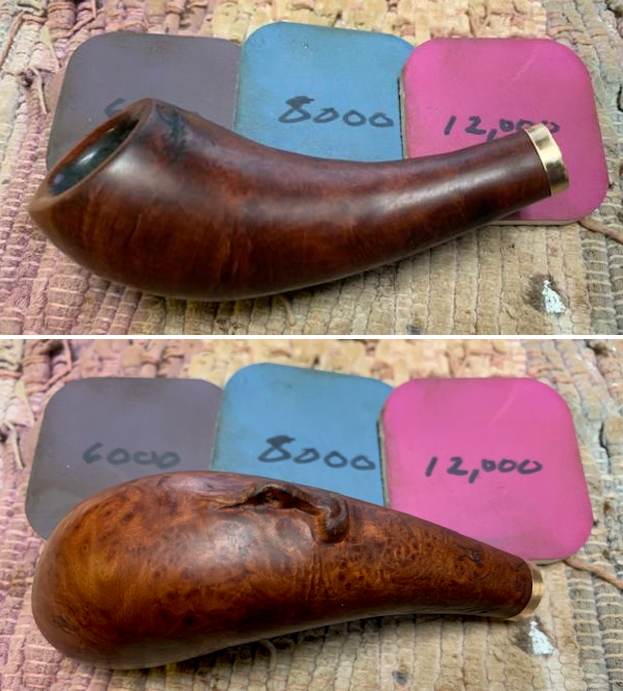
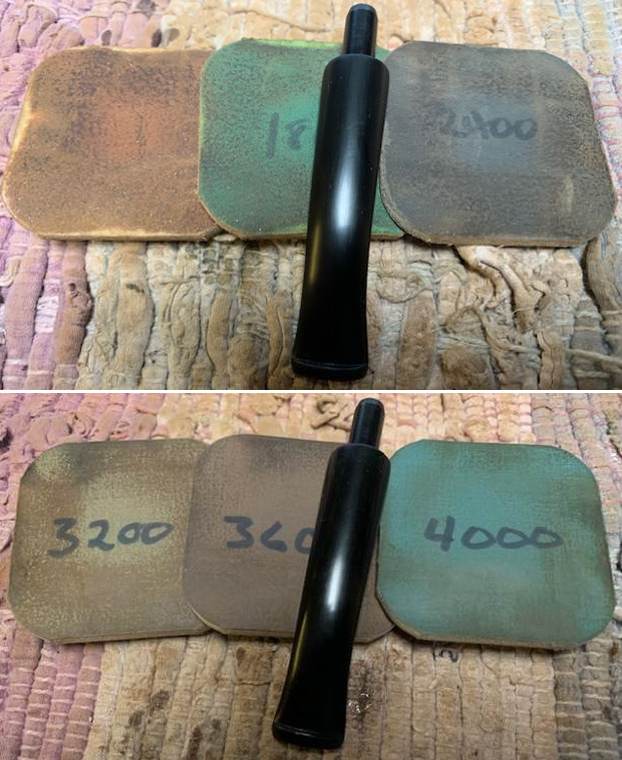
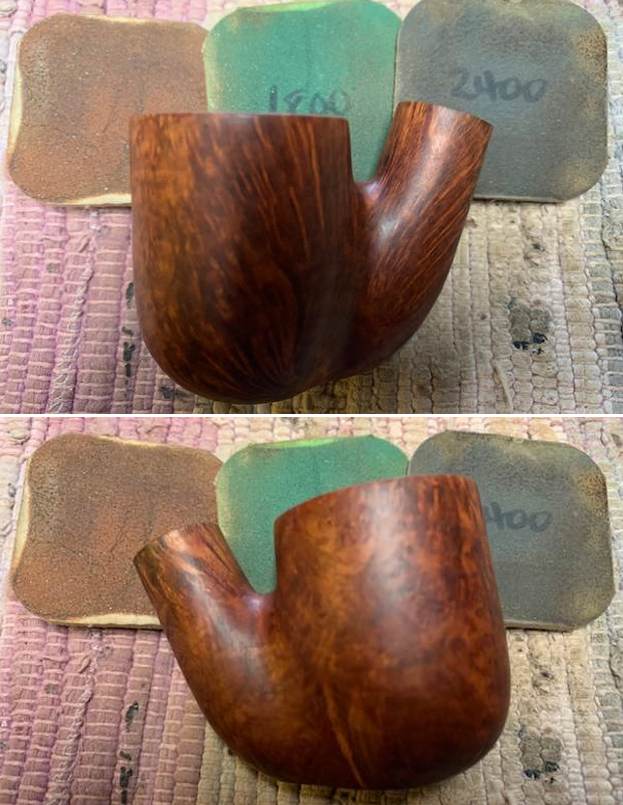
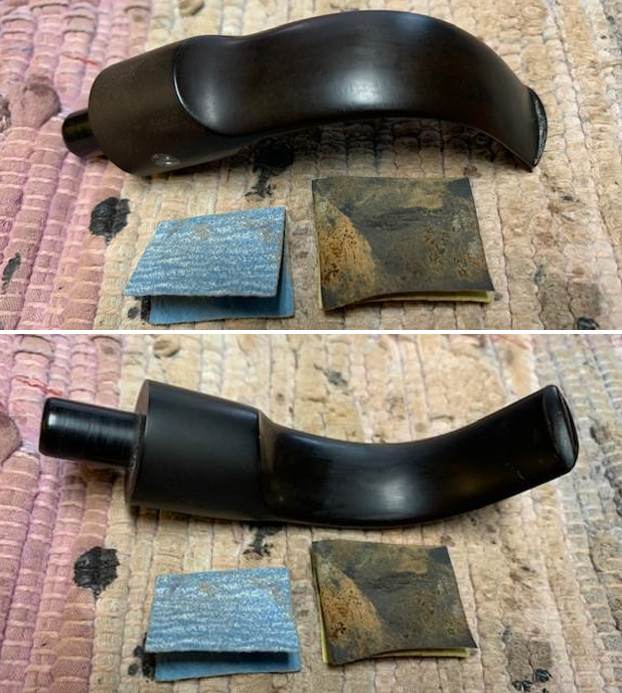
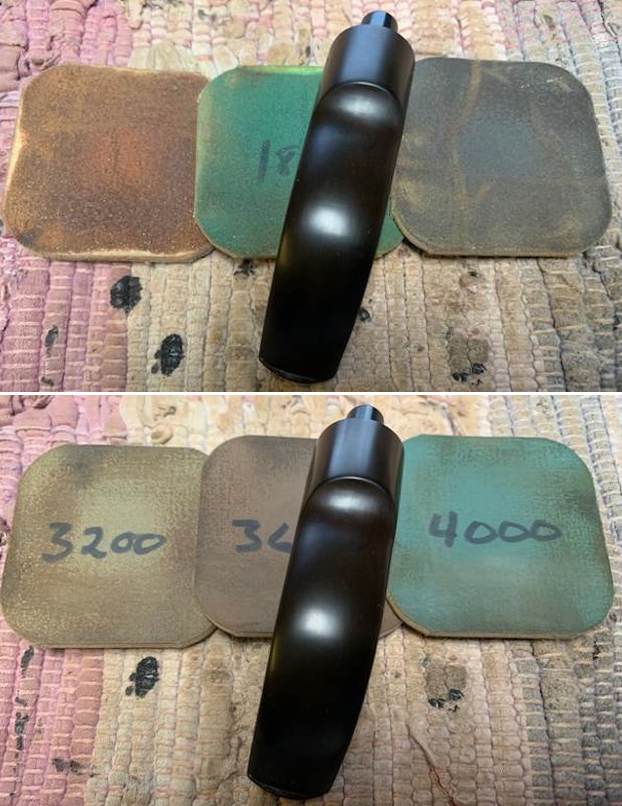
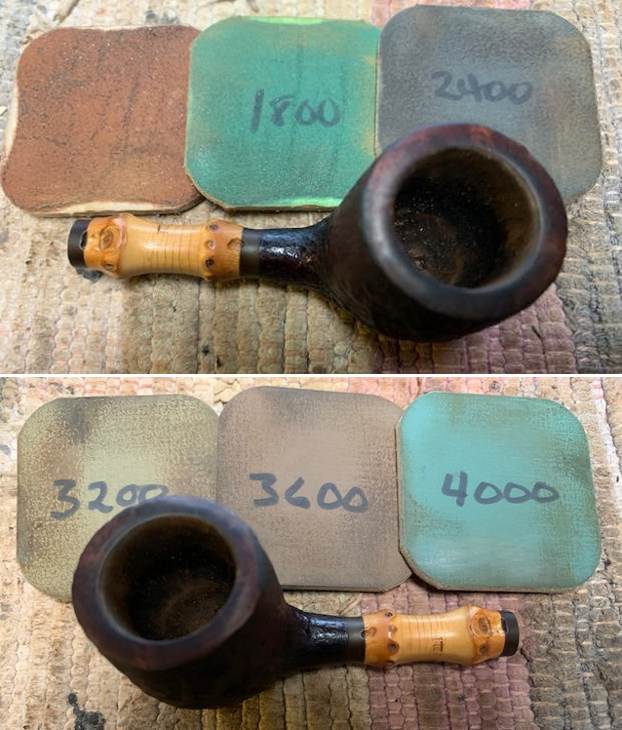
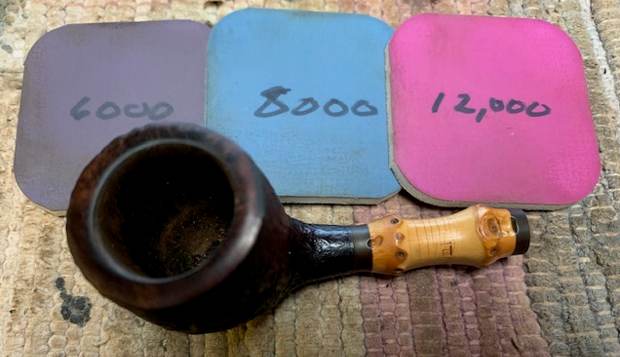
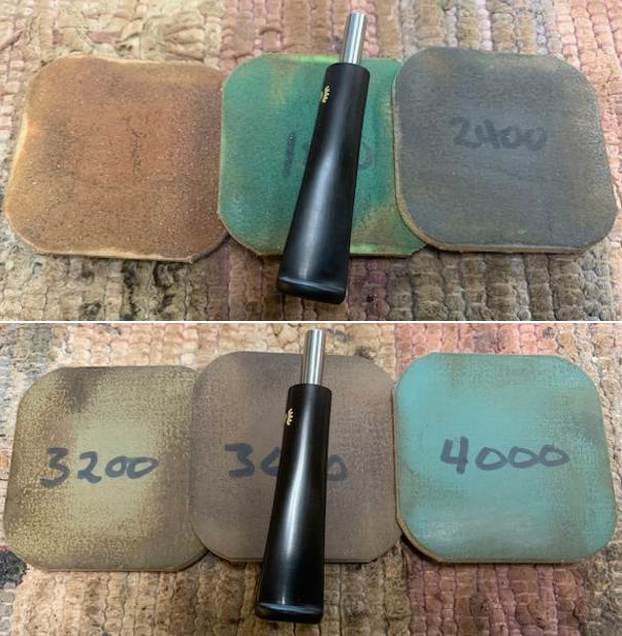
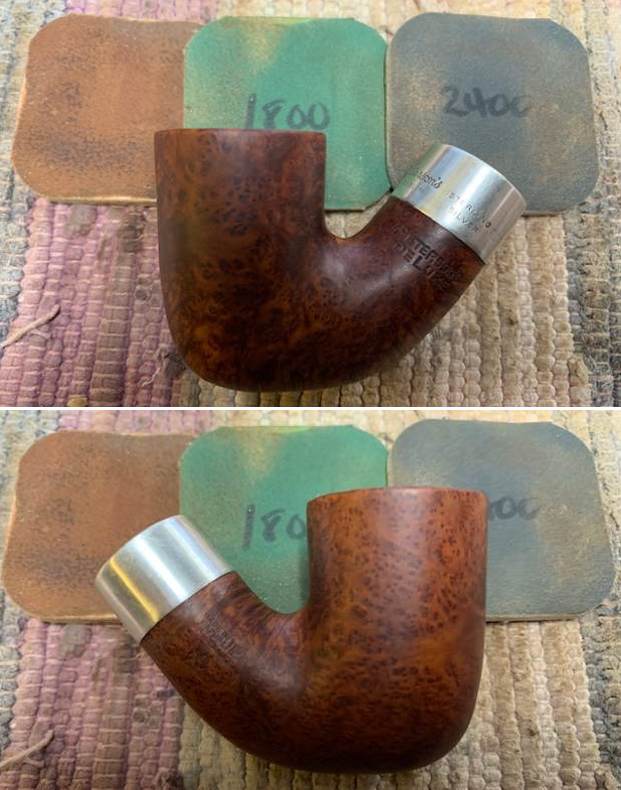
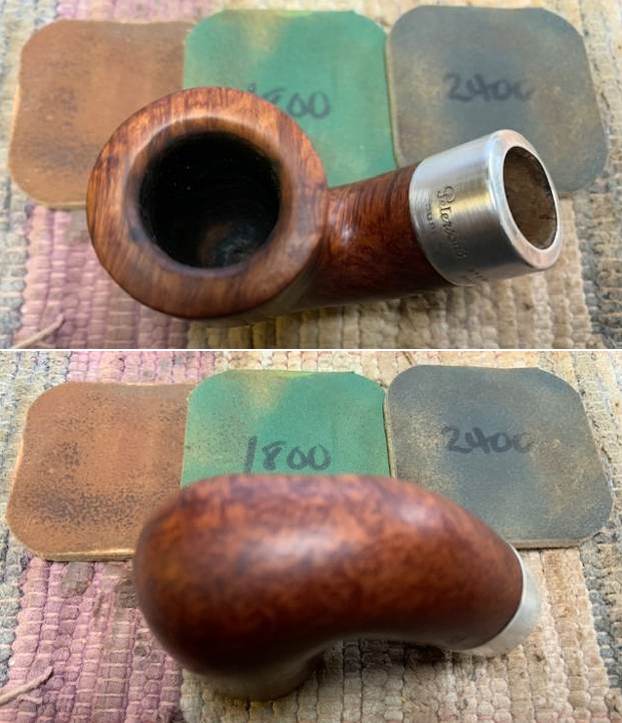
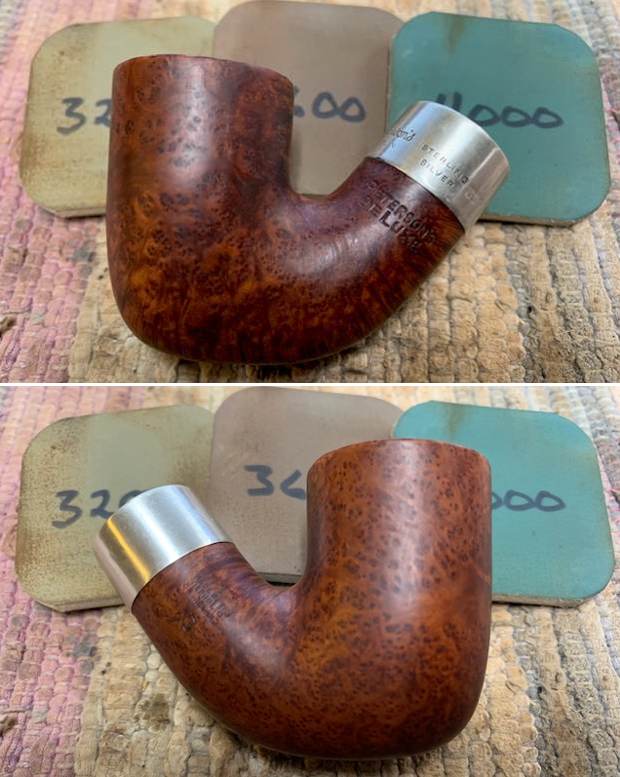
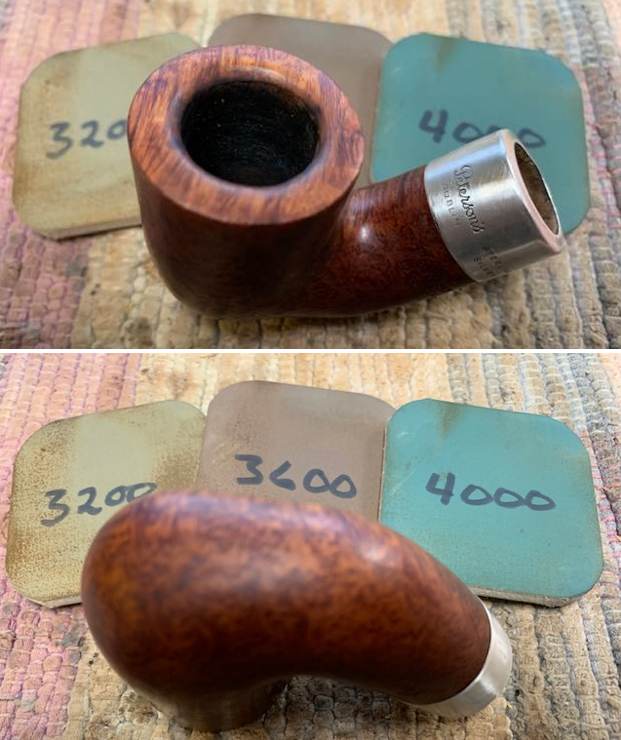
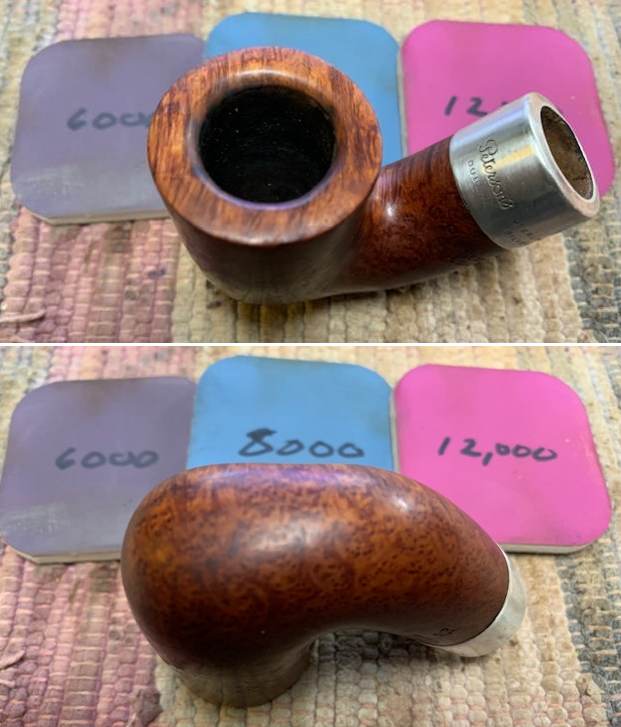
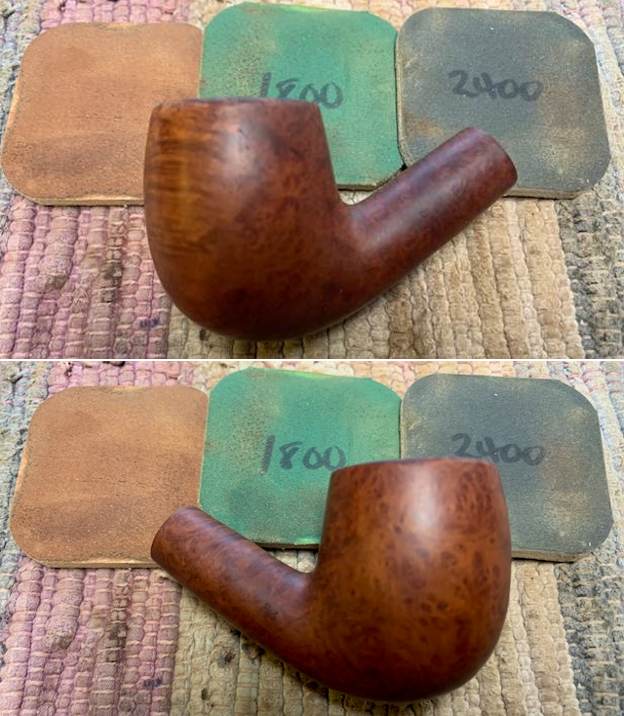
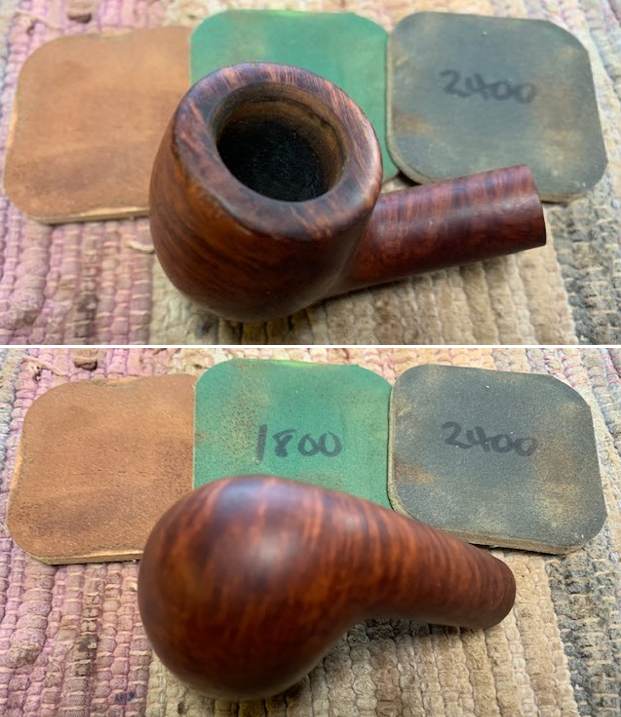
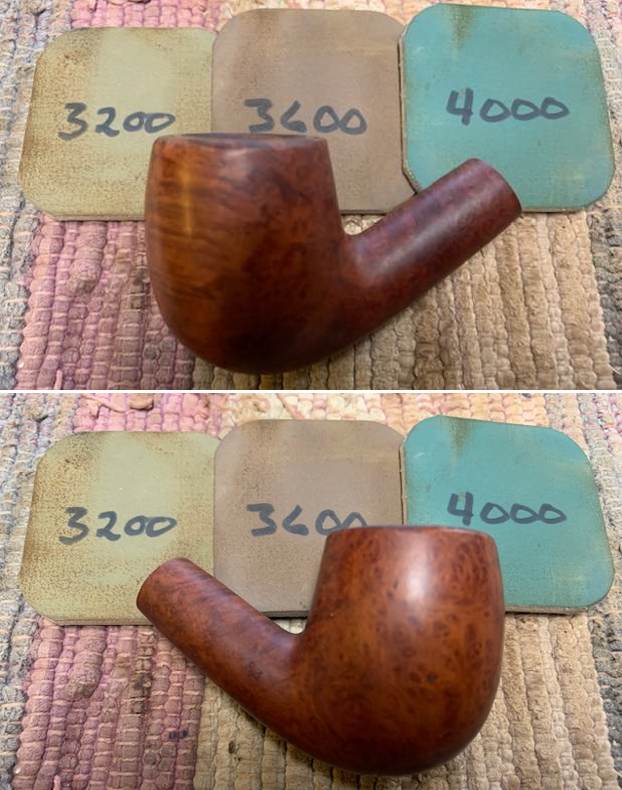
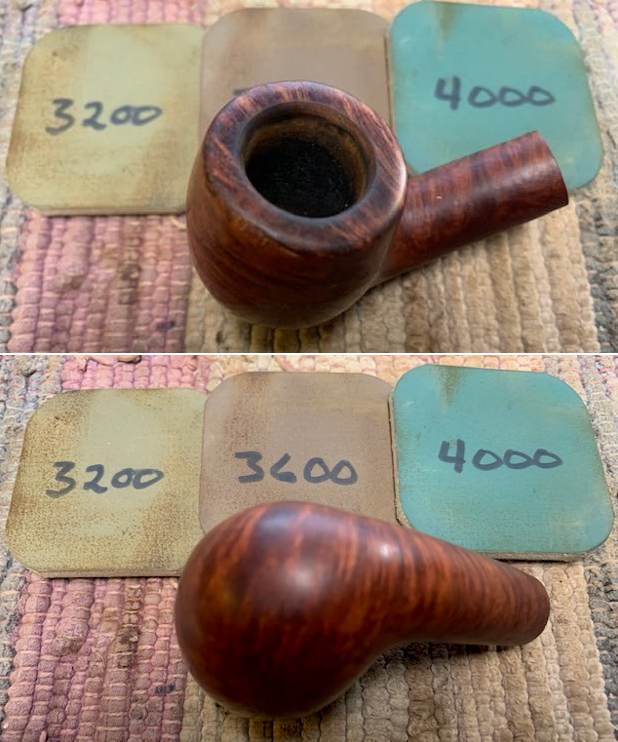
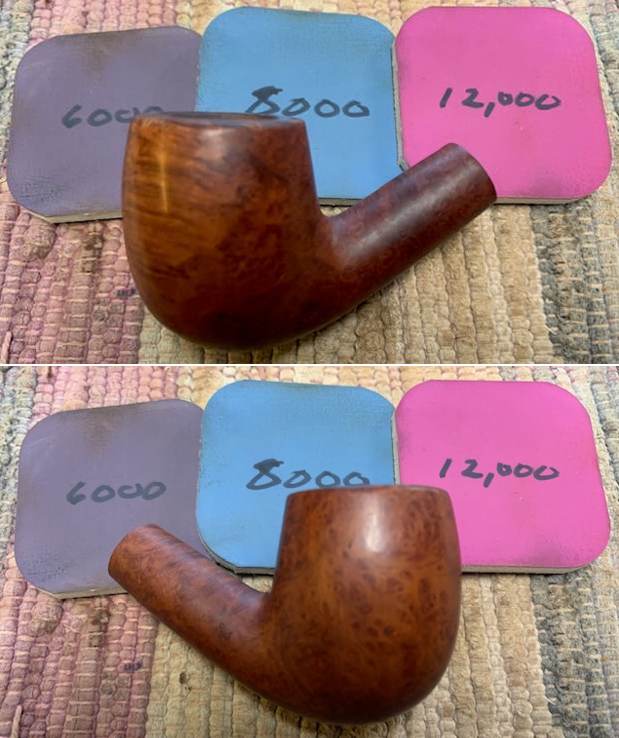
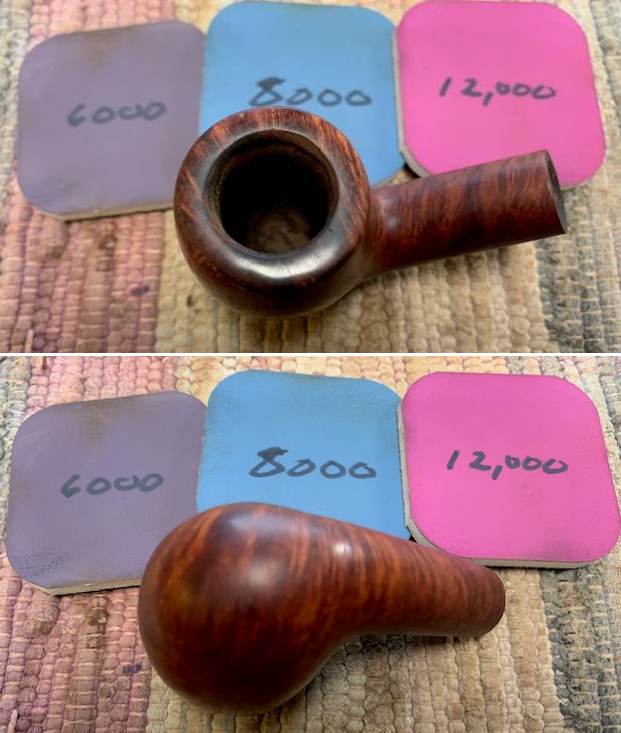
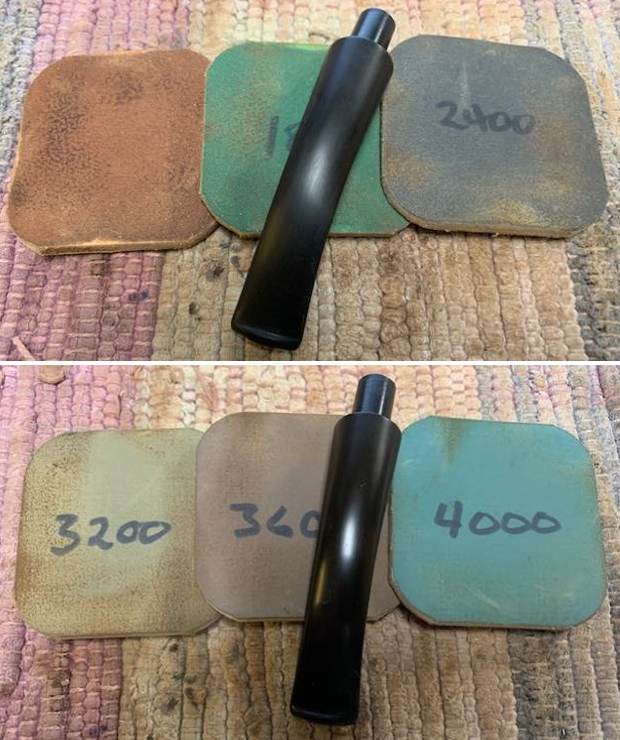
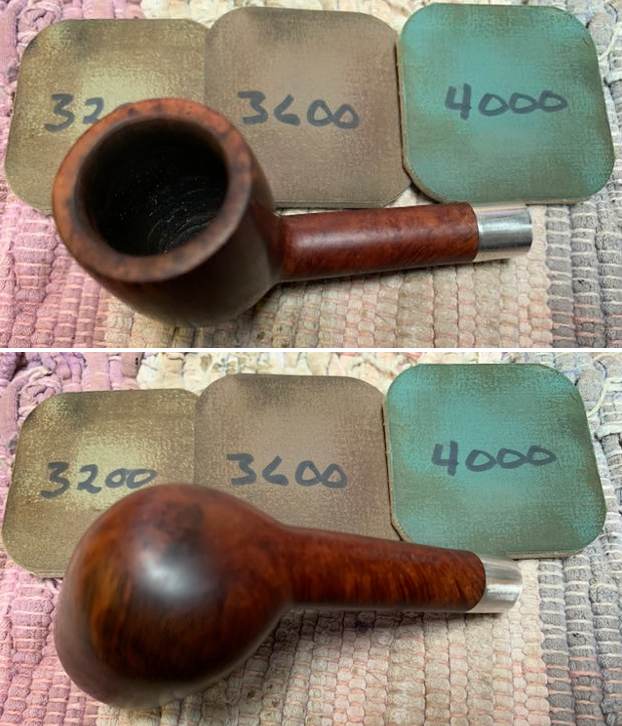
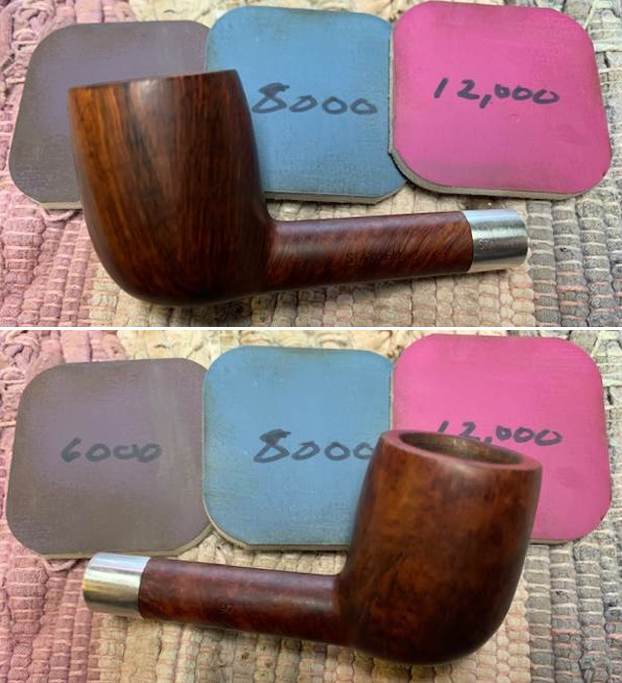
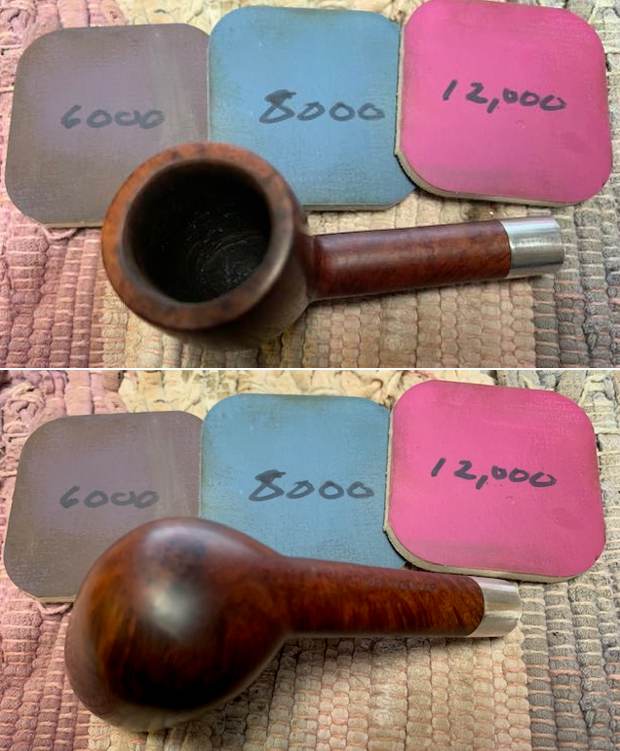
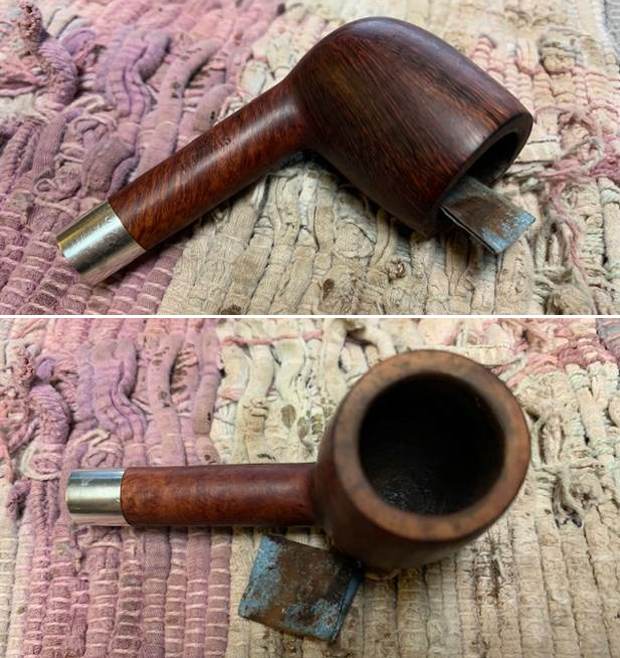 I polished the briar with micromesh sanding pads – dry sanding with 1500-12000 grit pads. I wiped the briar down after each pad.
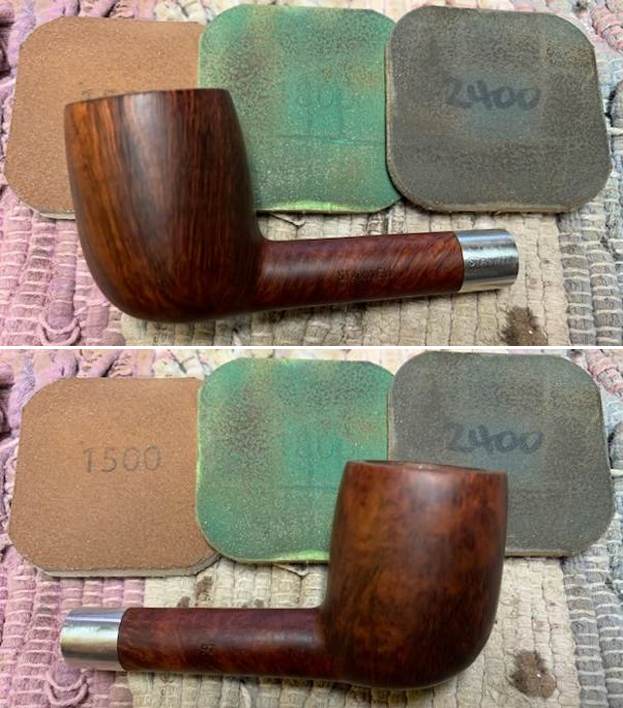
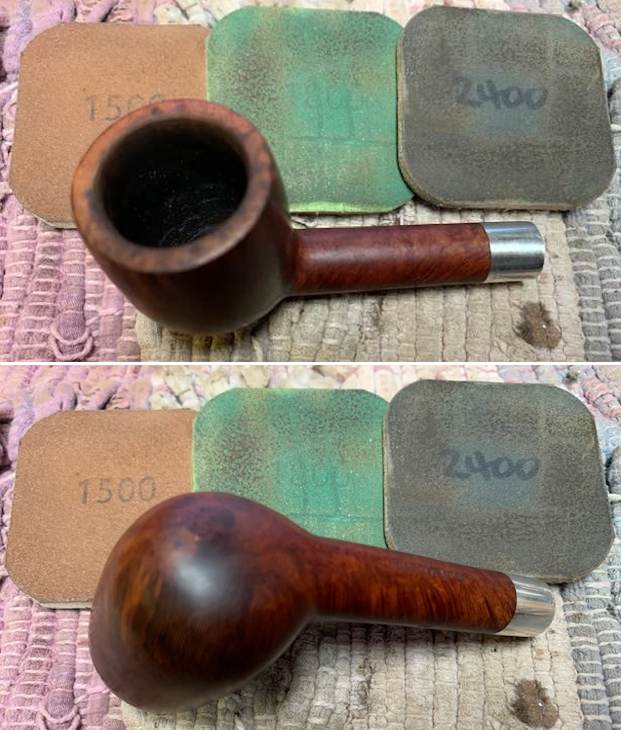

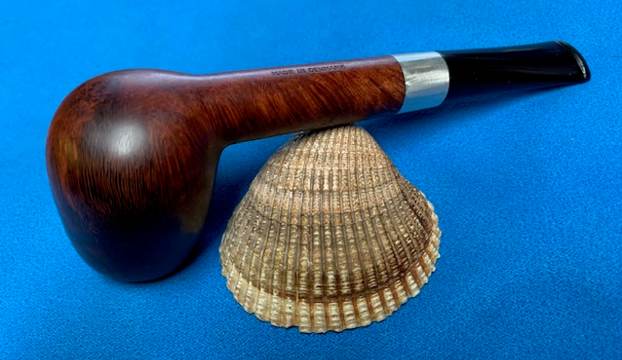
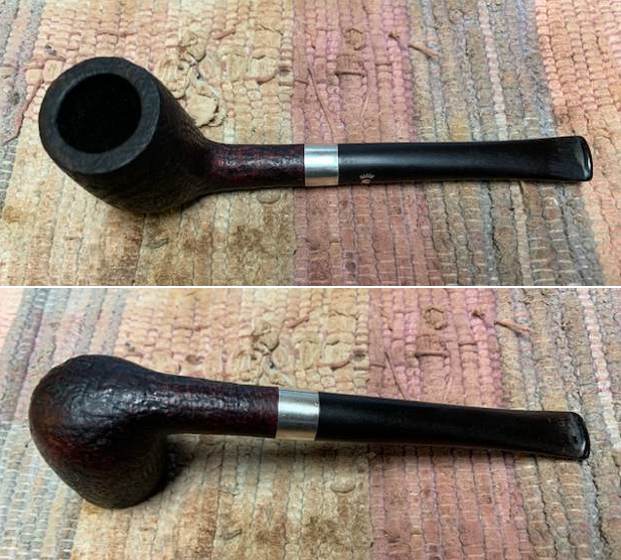
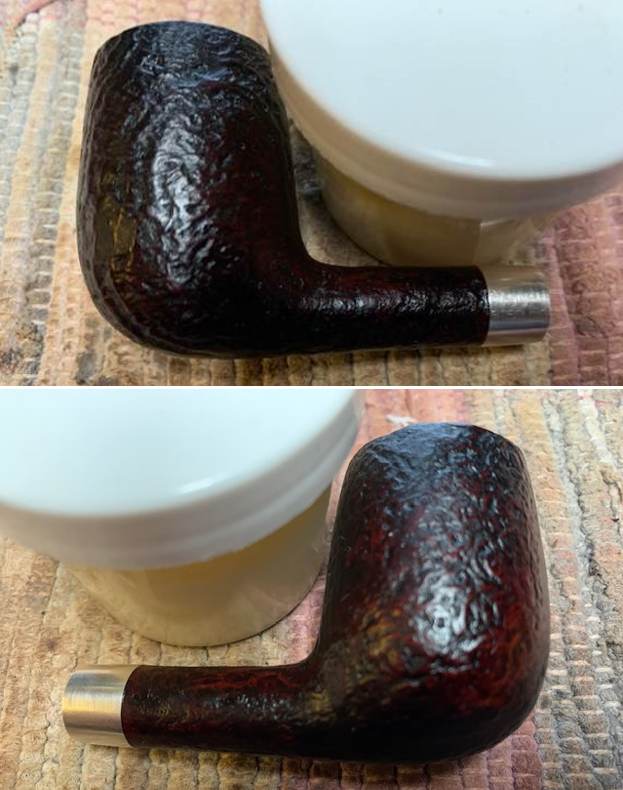
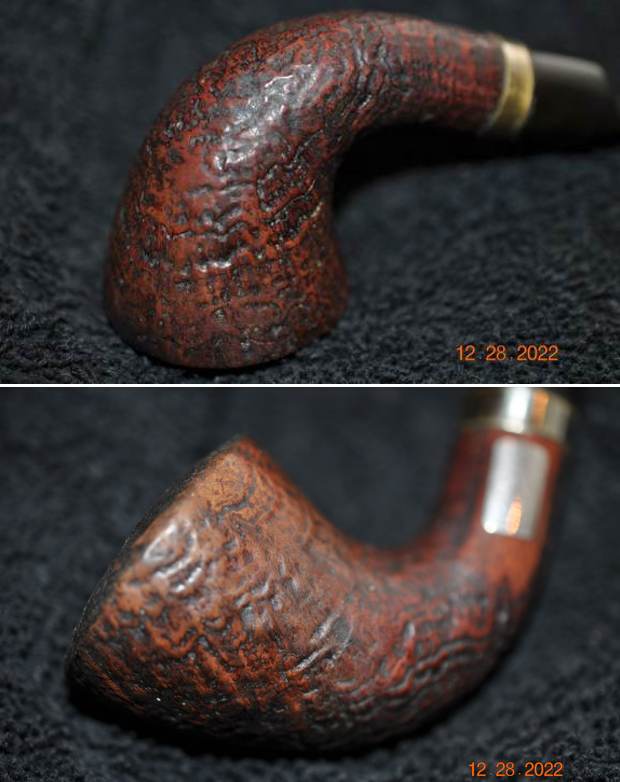
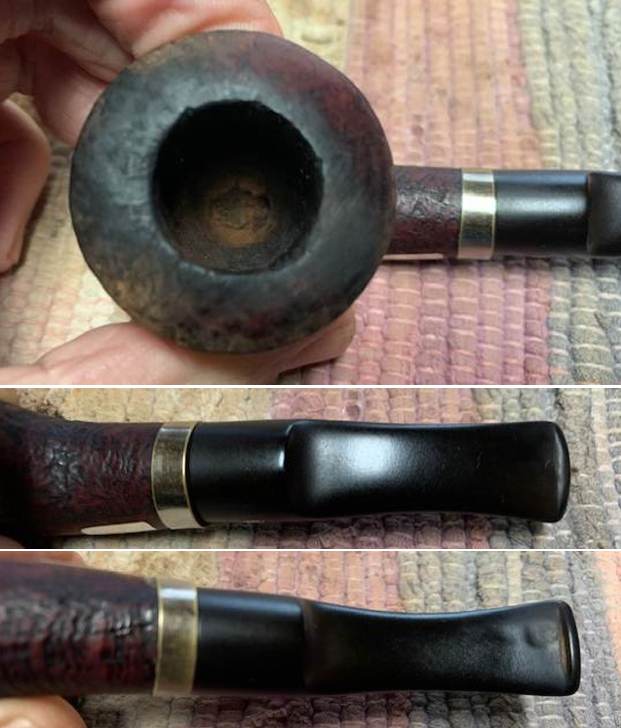
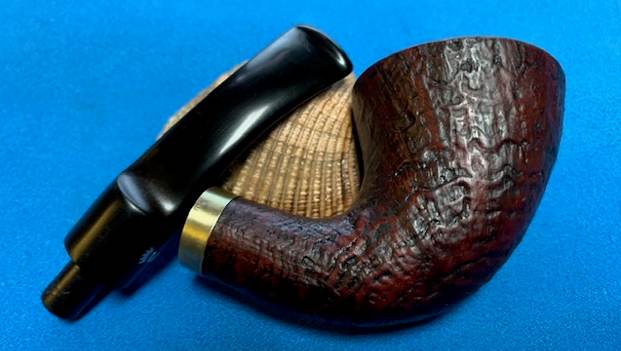
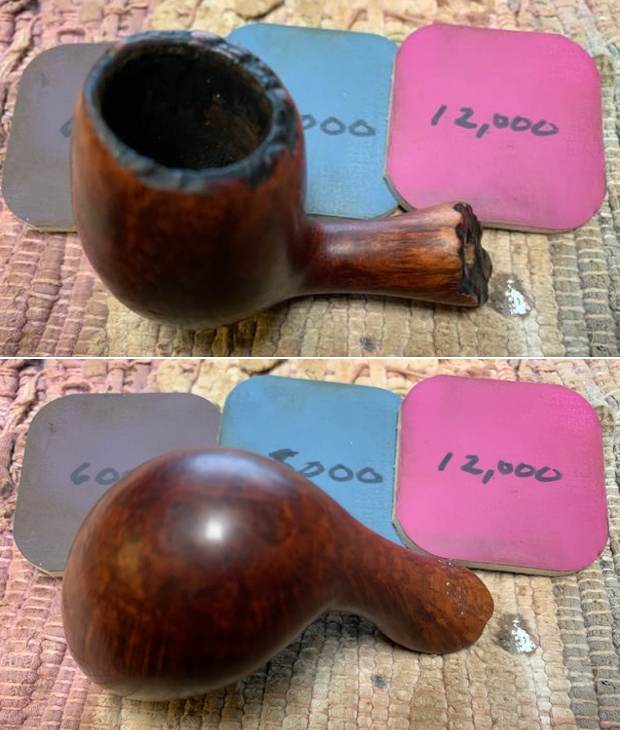
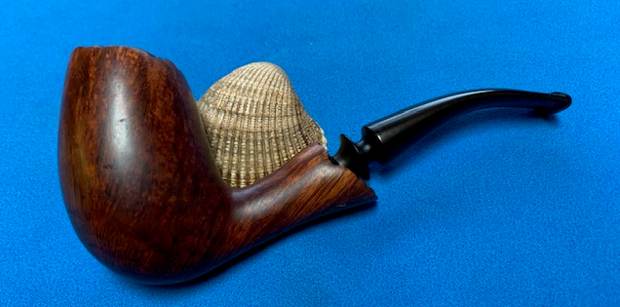
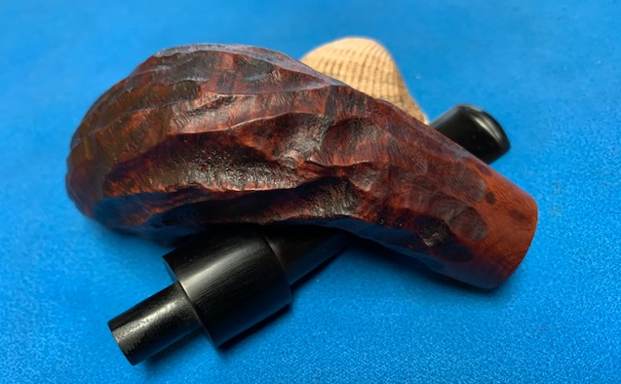
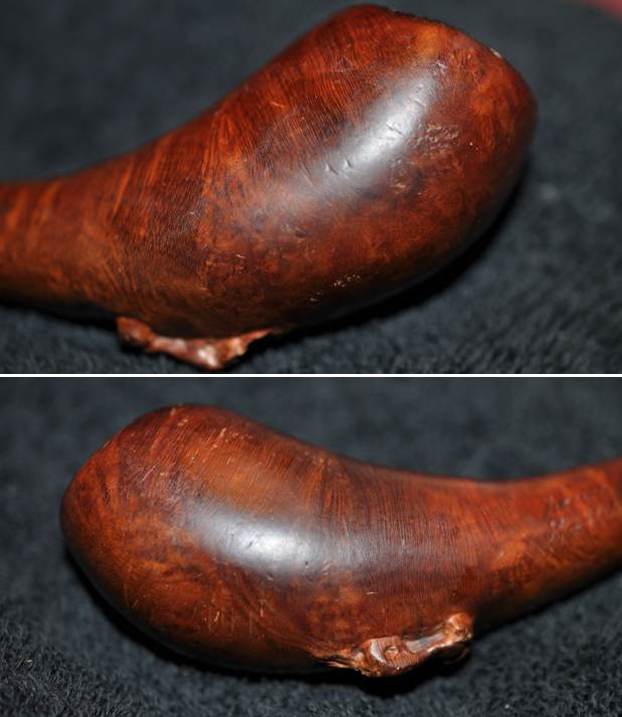
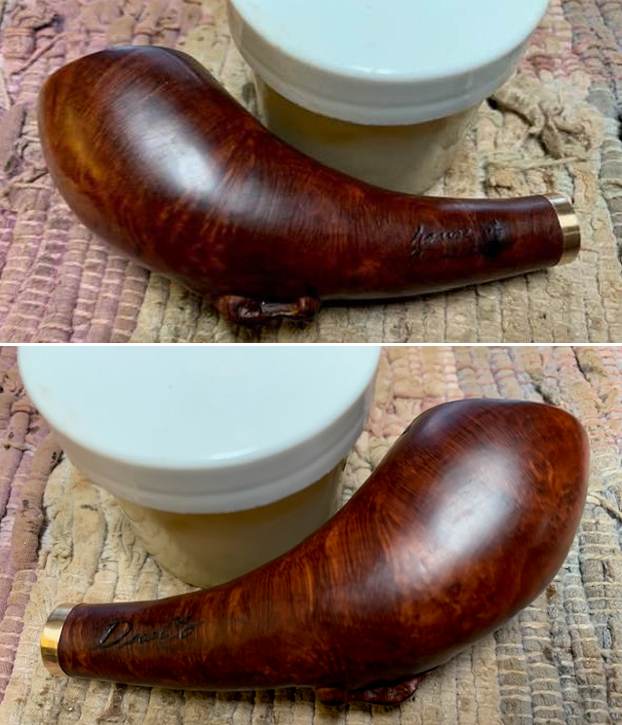
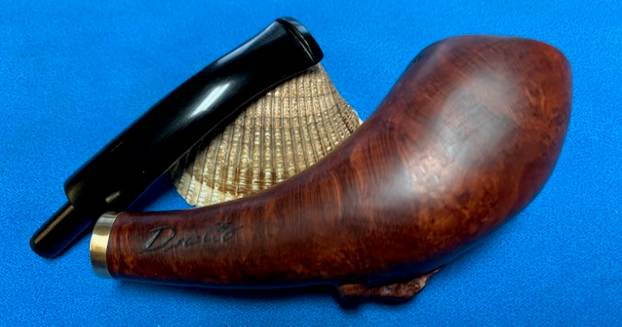
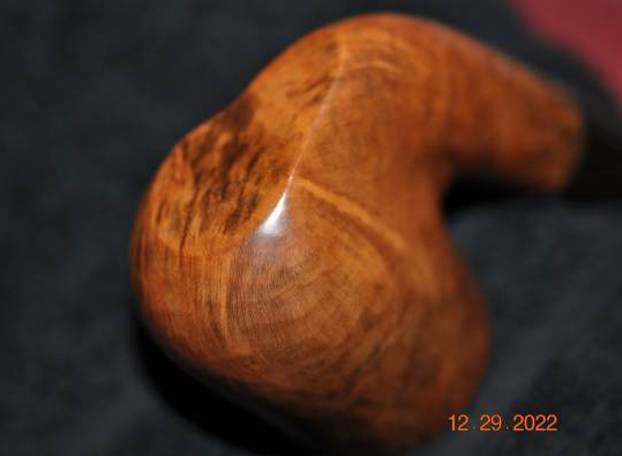
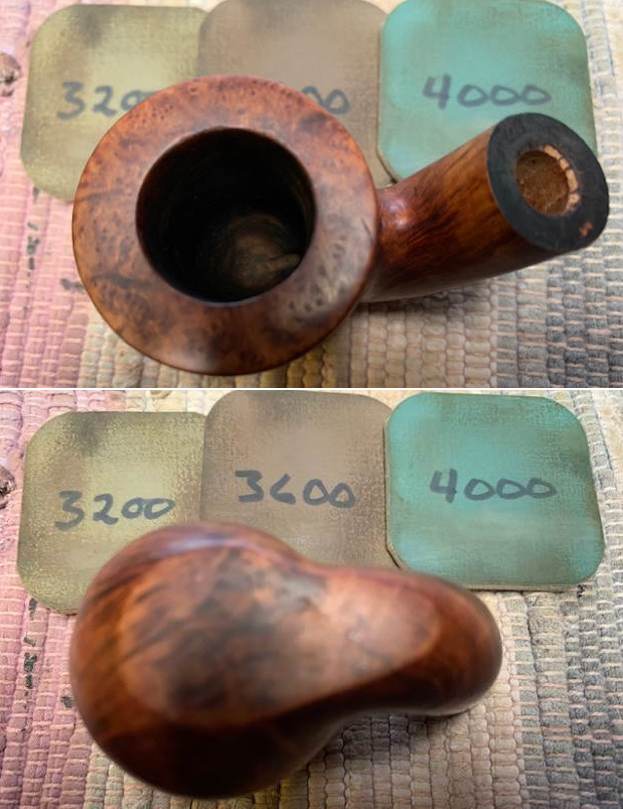
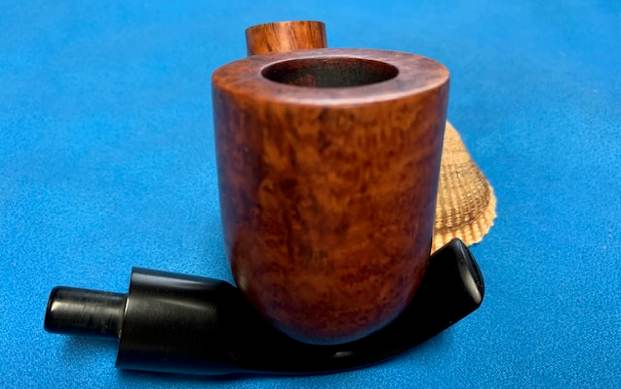
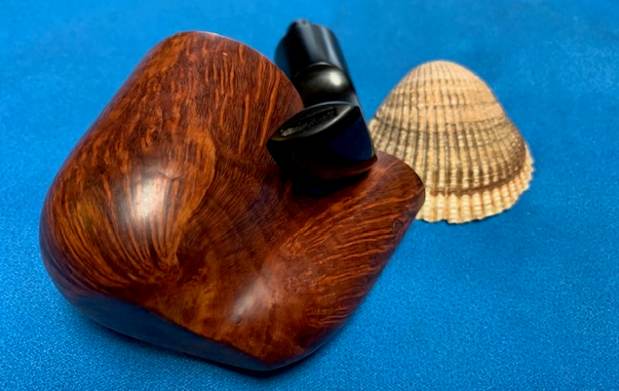
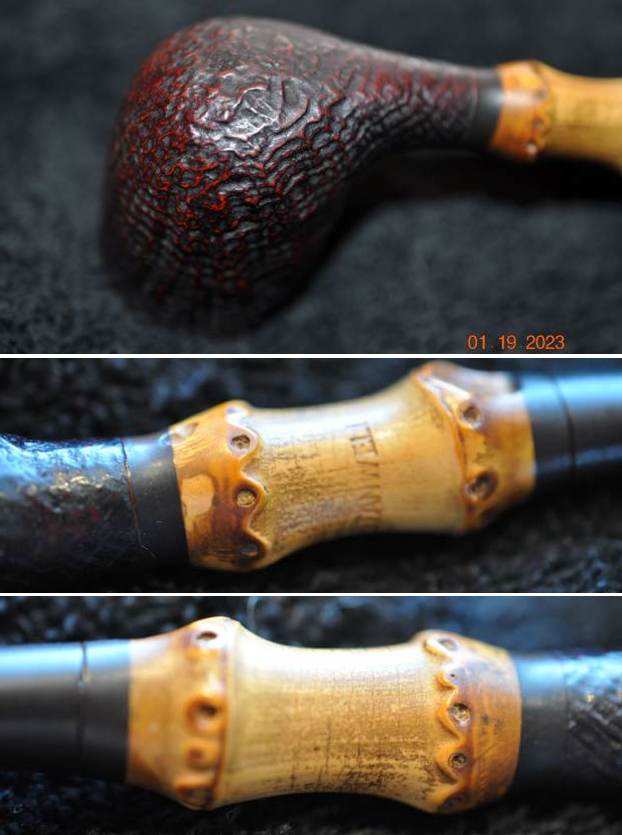
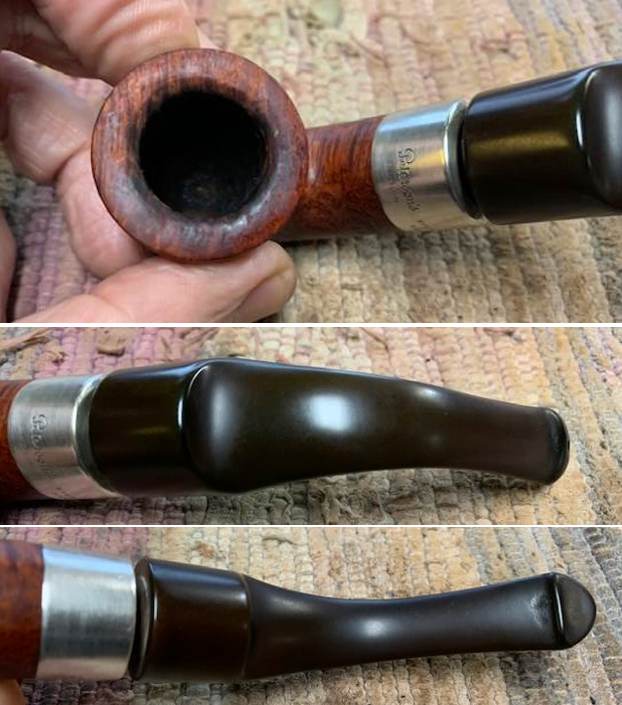
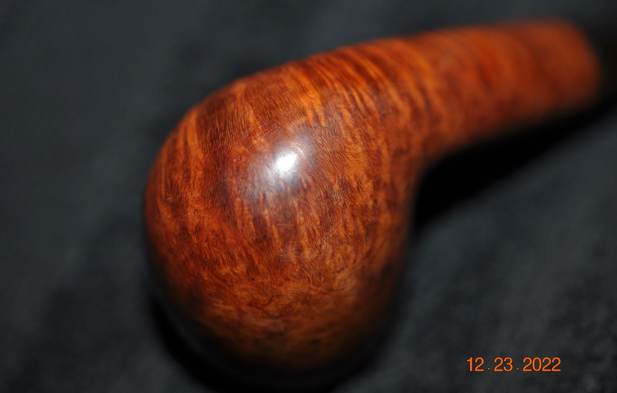
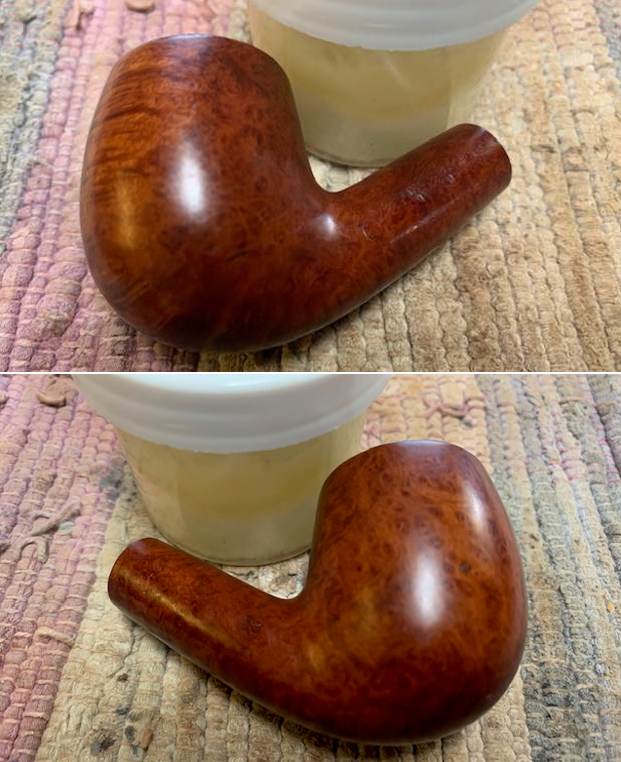
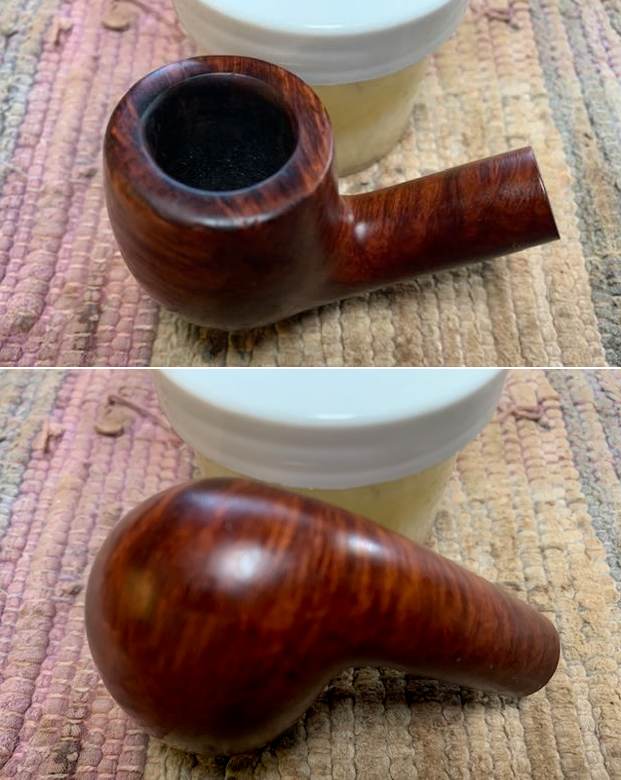
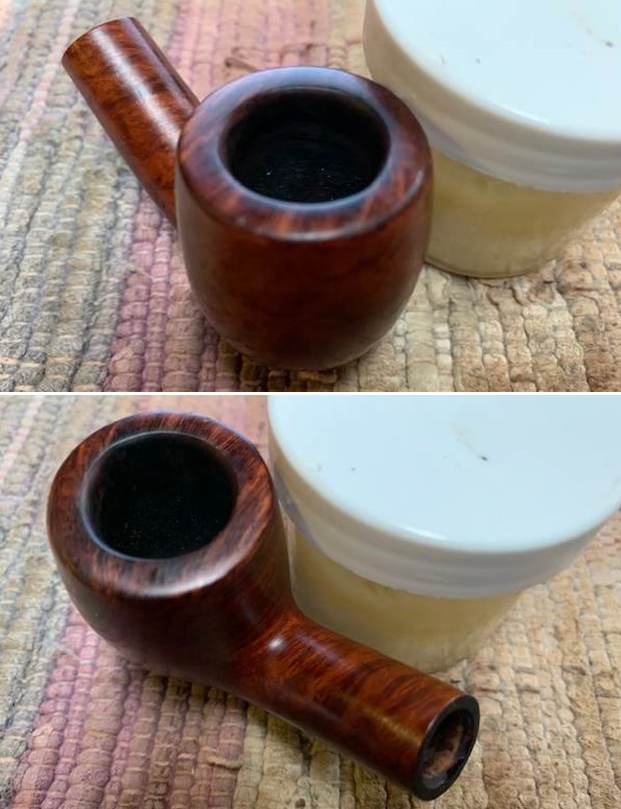
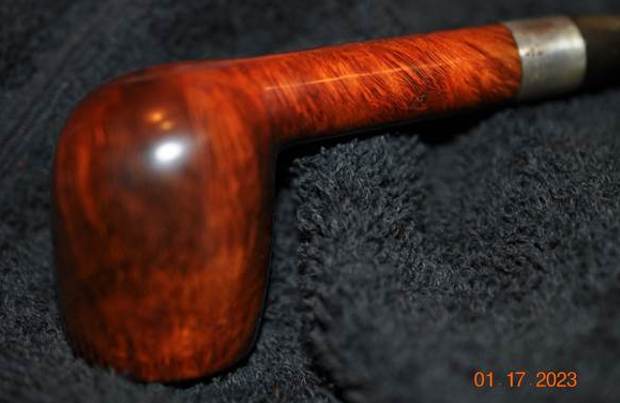
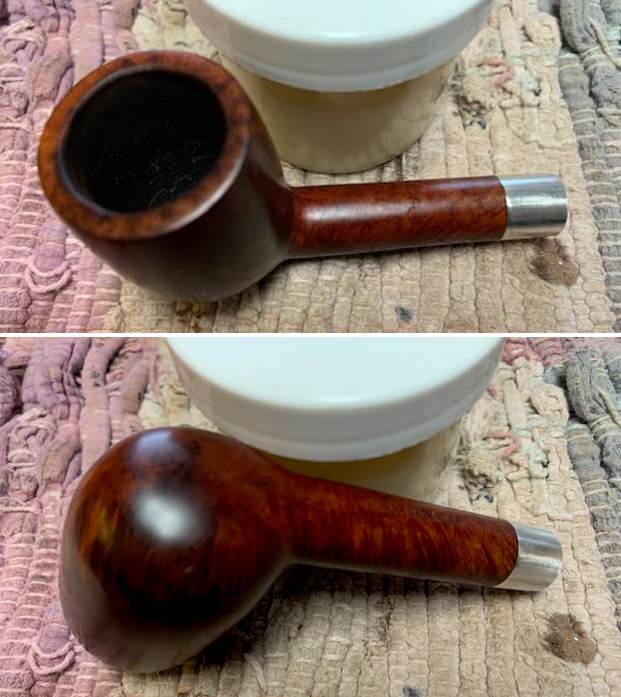
 I rubbed the bowl and shank down with Before & After Restoration Balm to deep clean them. The product works to clean, enliven and protect the briar. I worked it in with my fingers to get it into the briar. I let it sit for 10 minutes then I wiped it off and buffed it with a soft cloth. The briar really began to have a rich shine. I took some photos of the bowl at this point to mark the progress in the restoration. It is a beautiful bowl.
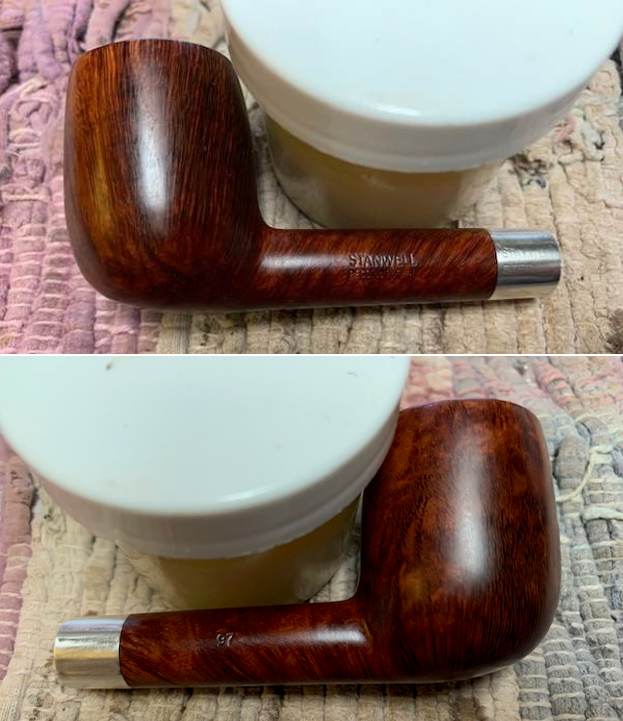
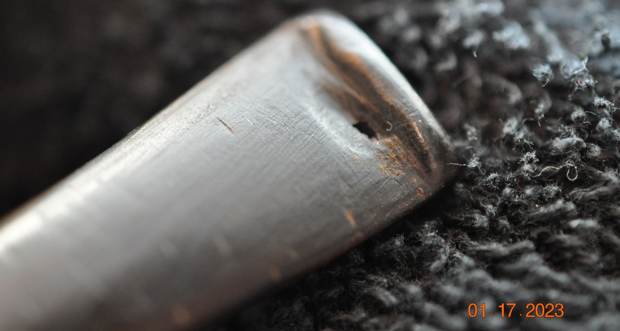
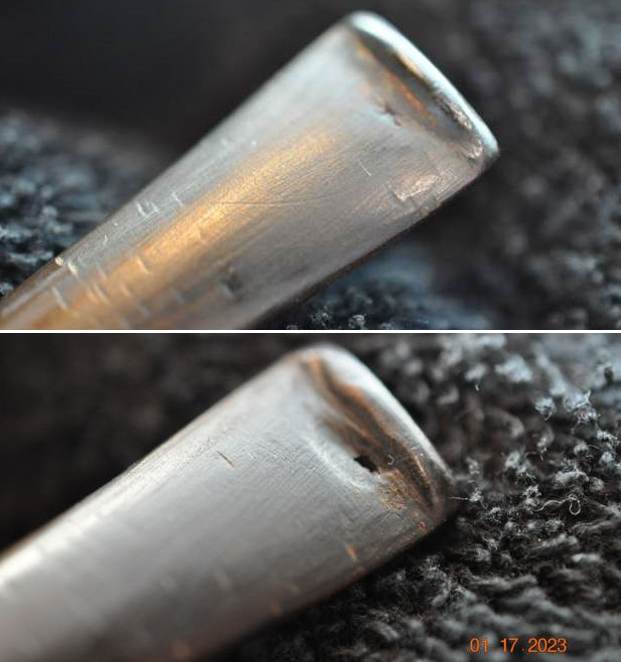
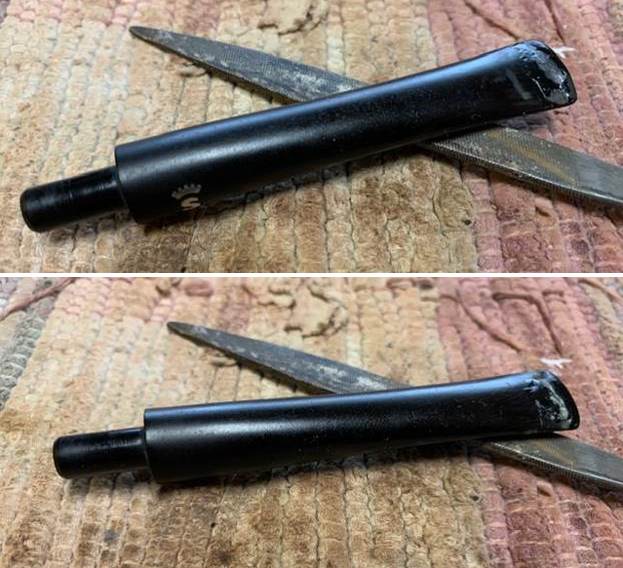
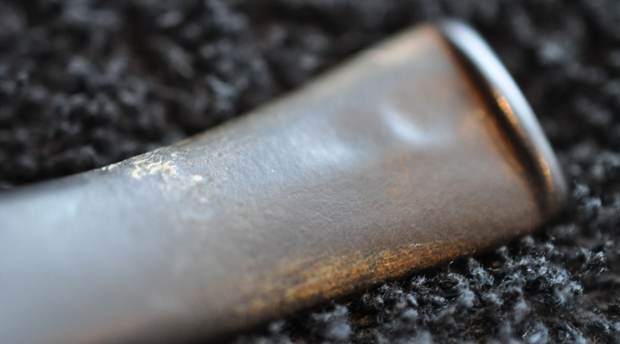
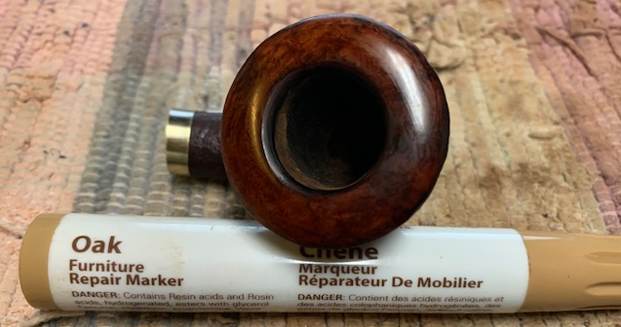
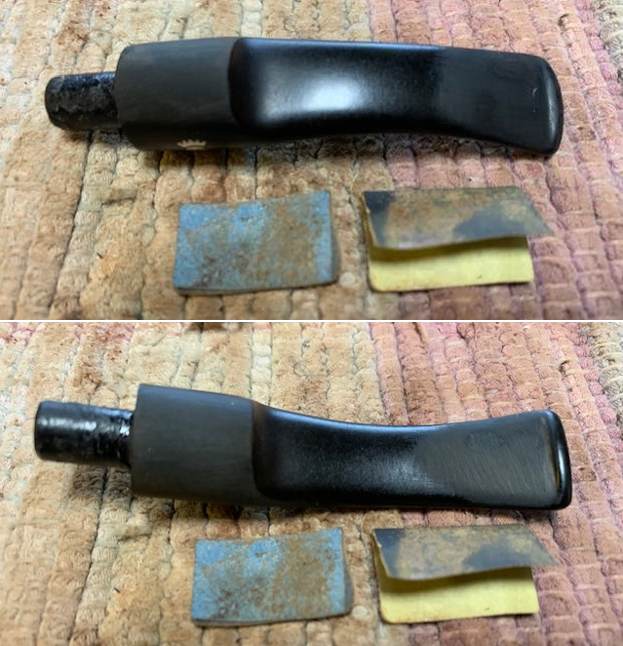
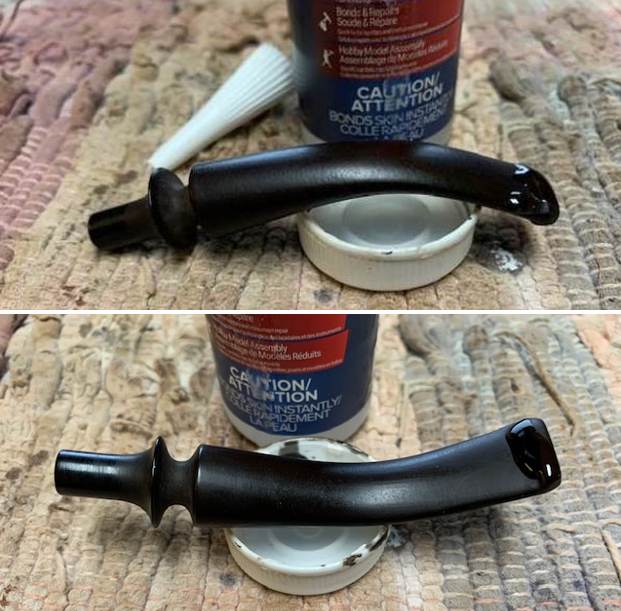
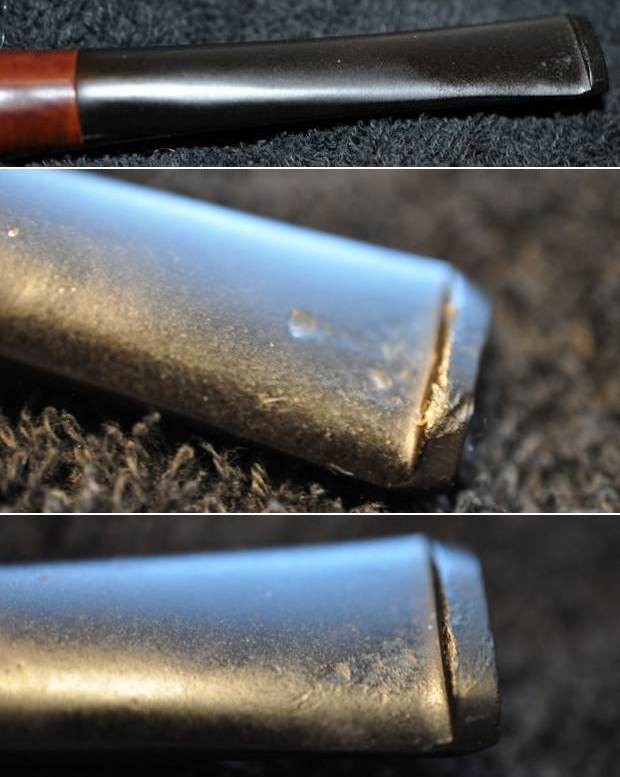
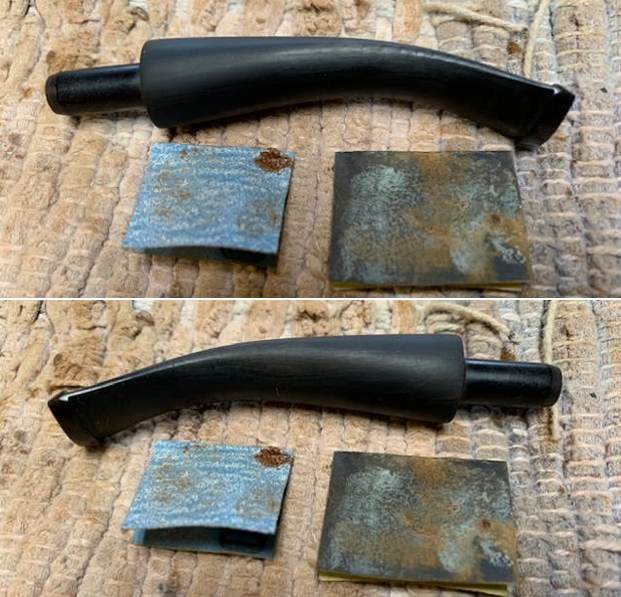
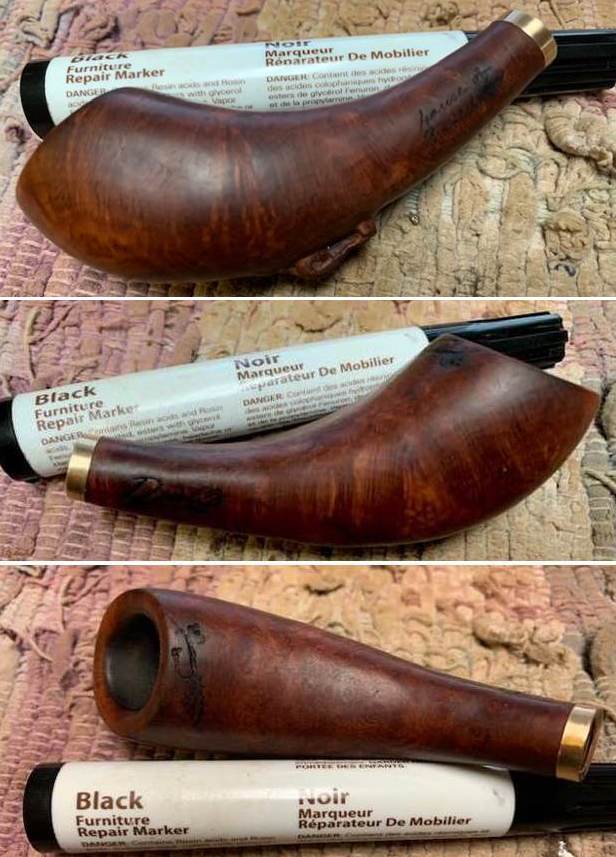
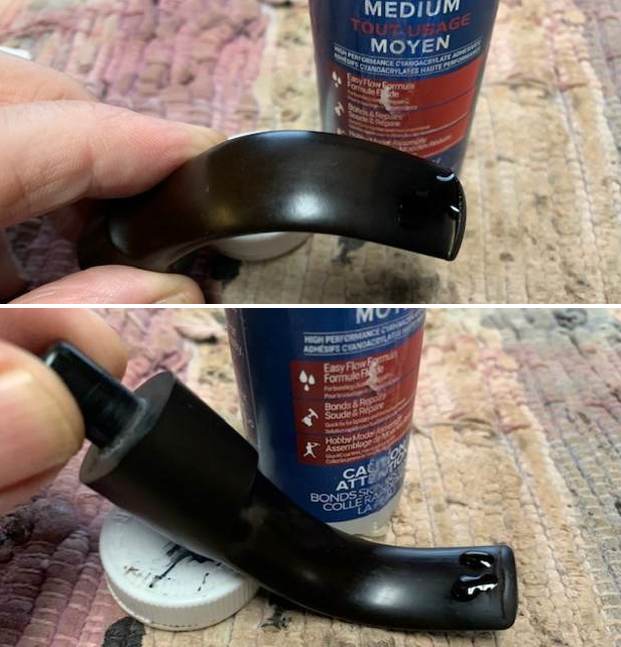
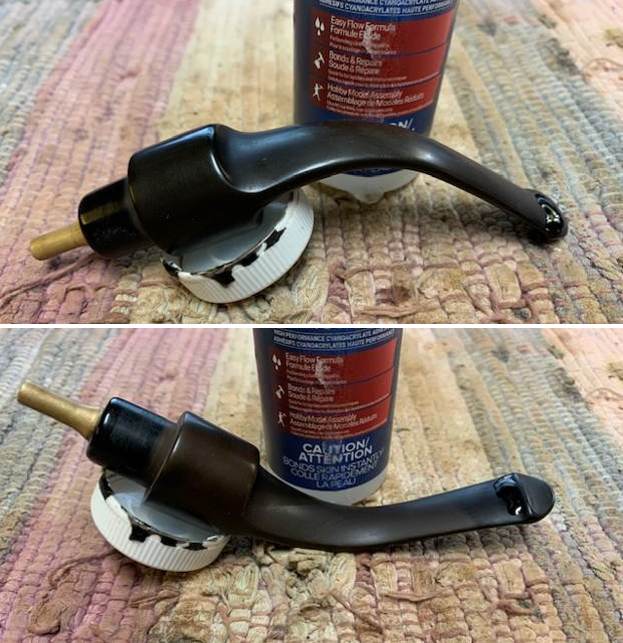
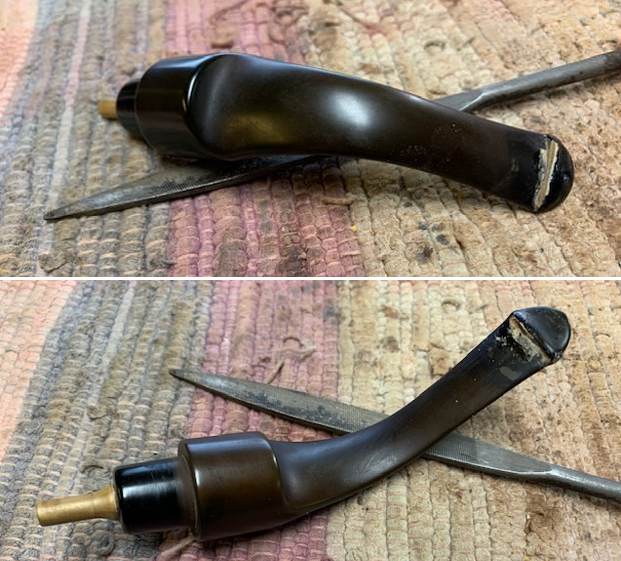
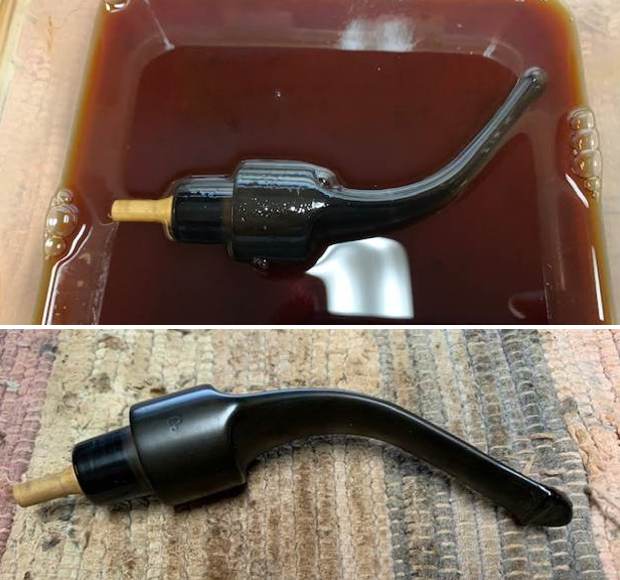
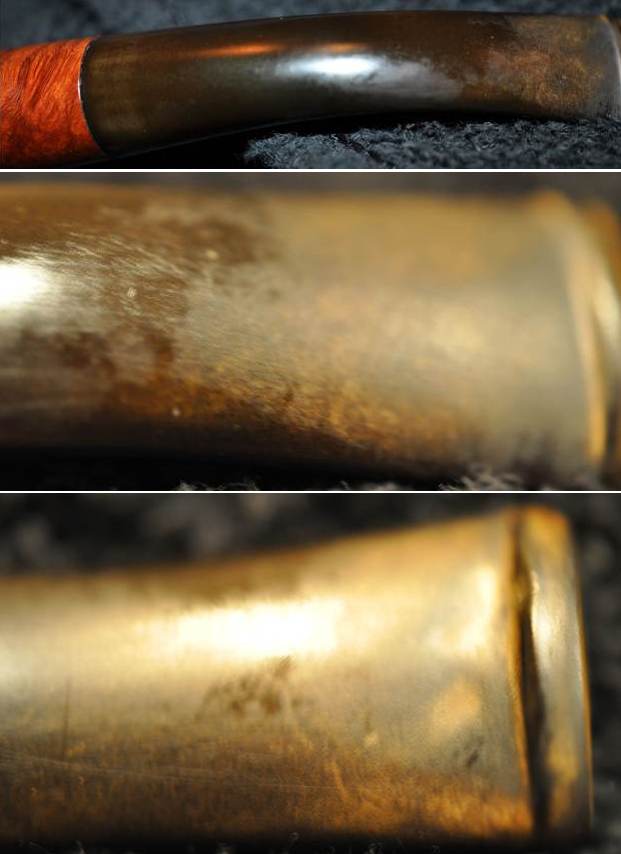
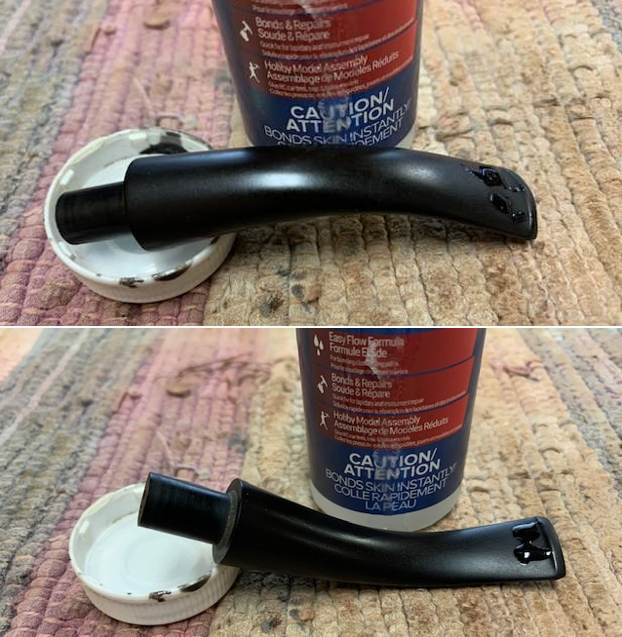
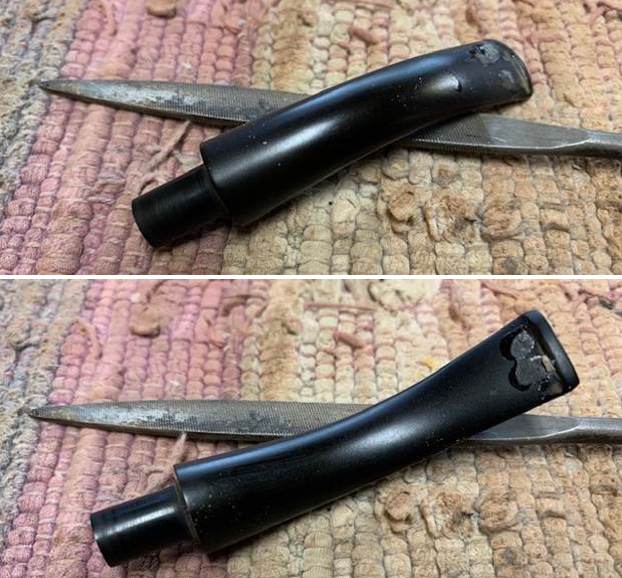
 I set aside the bowl and turned my attention to the damage on the stem. I “painted” the surface of the stem with the flame of a lighter to lift them as much as possible. I filled in the ones that remained with clear CA glue and set it aside to cure. I used a small file to flatten the repairs and recut the button edge. I sanded the stem smooth with 220 grit sandpaper and started polishing it with 400 grit wet dry sandpaper.
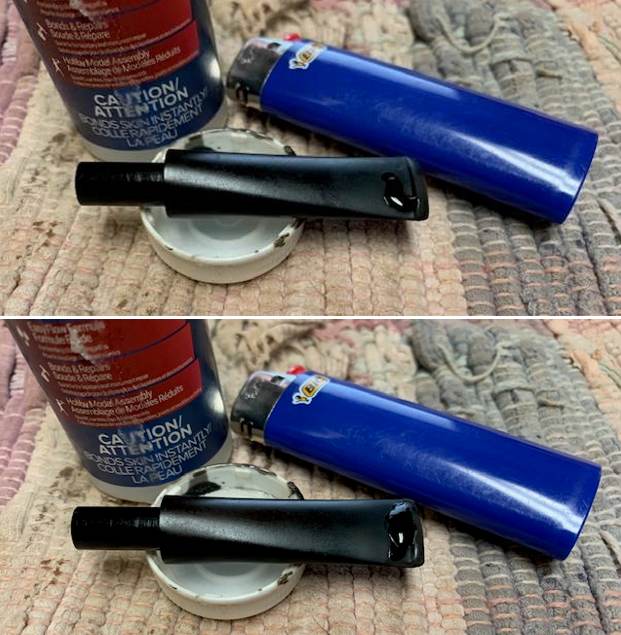

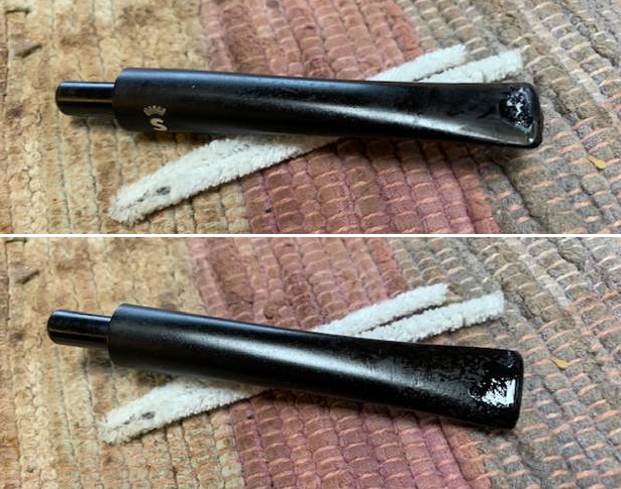
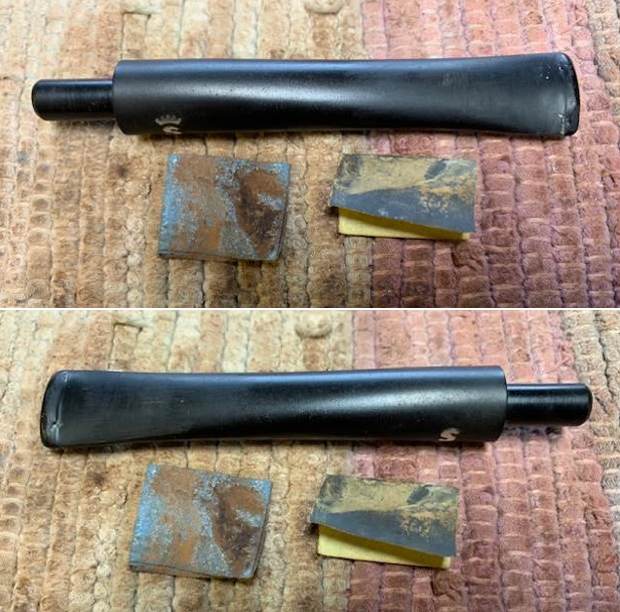
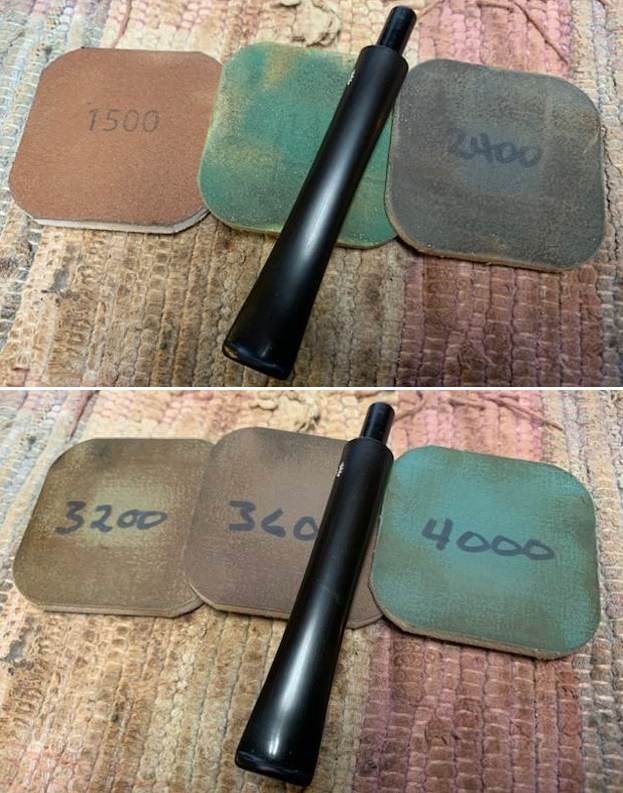
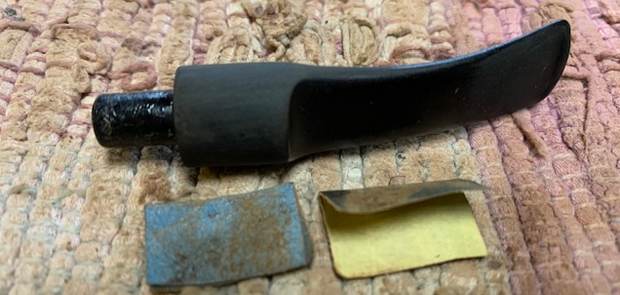
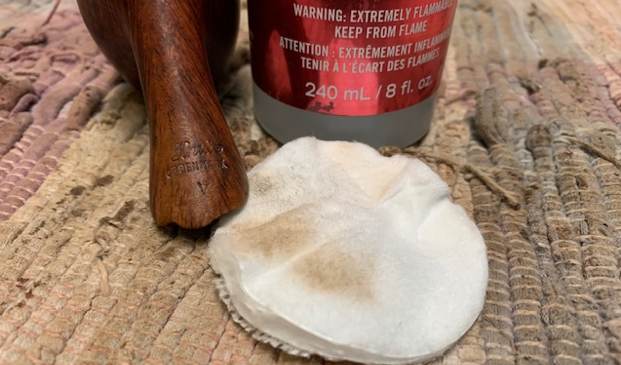
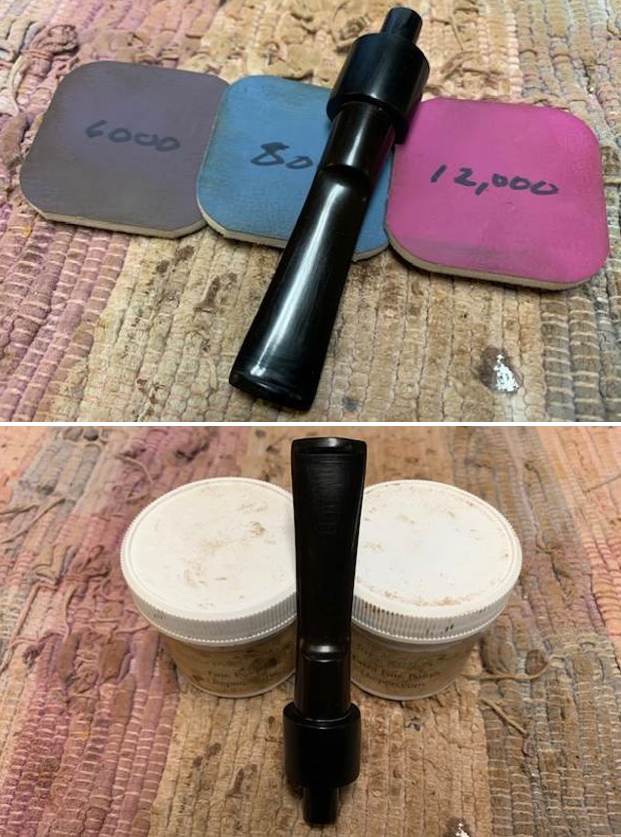
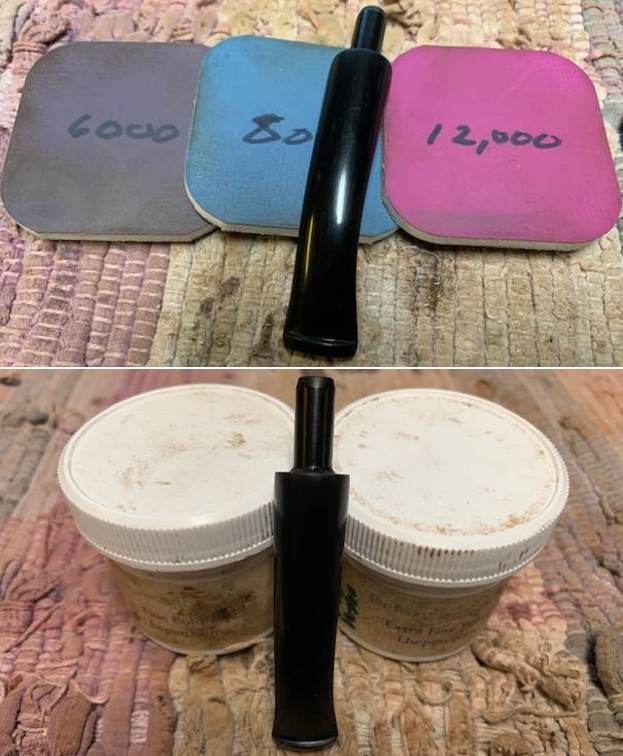
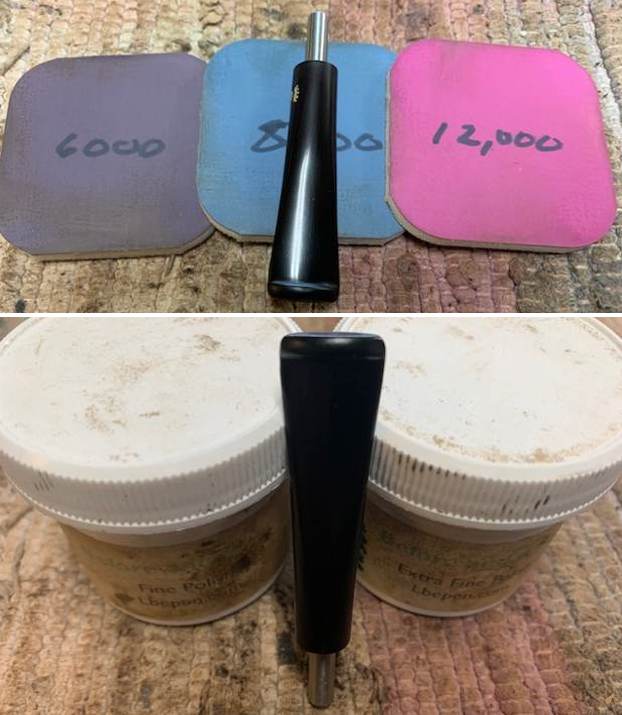
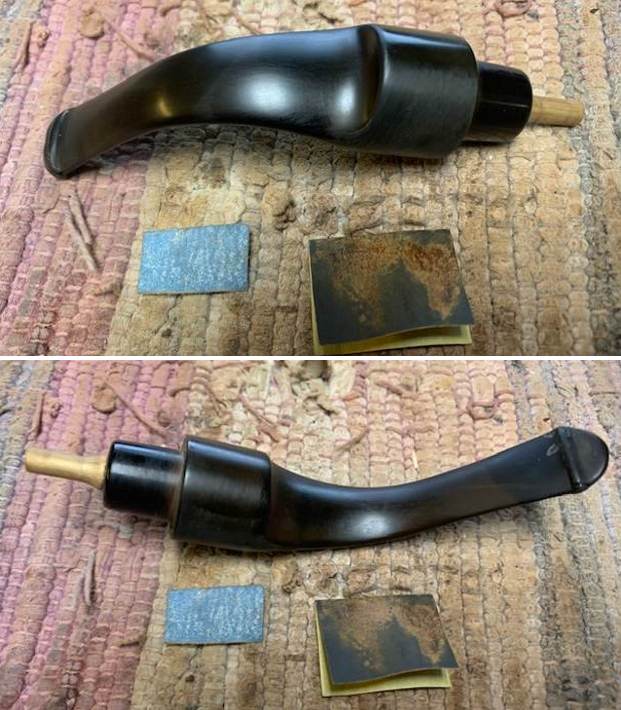
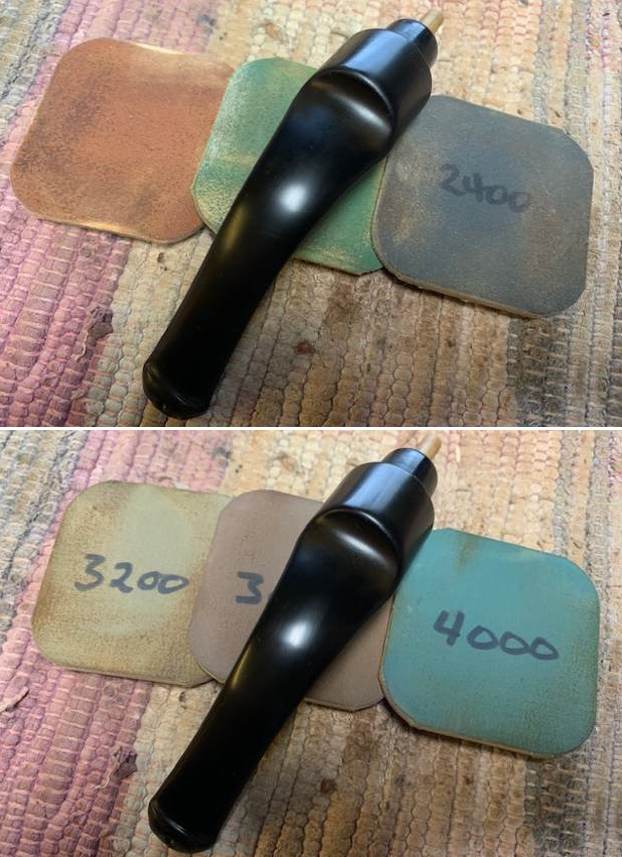
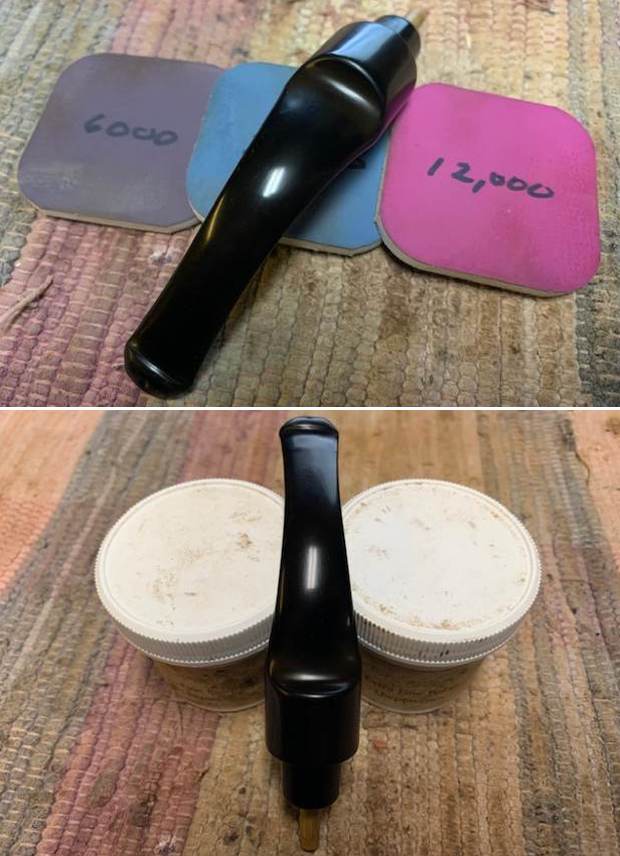
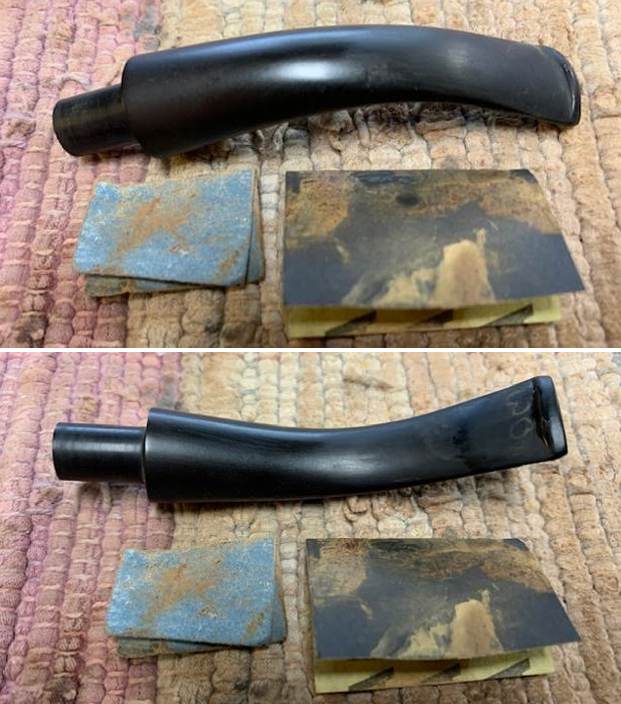
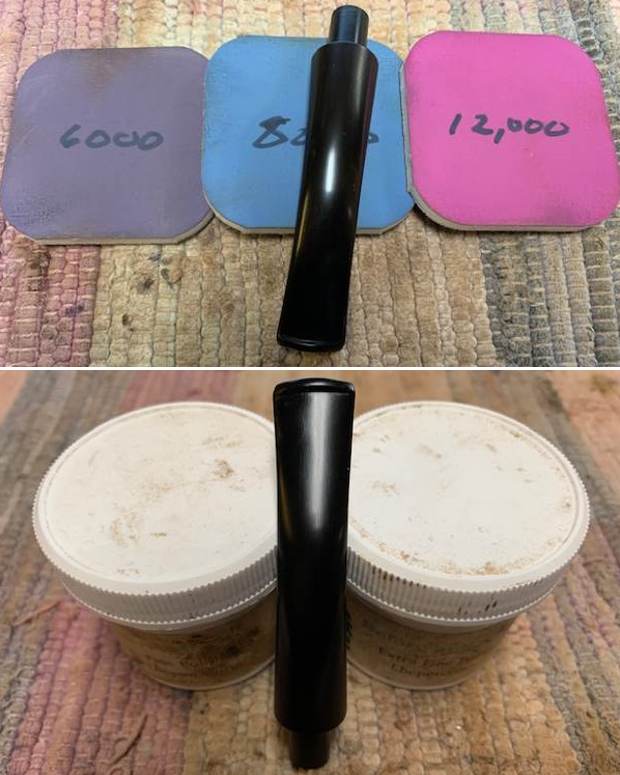
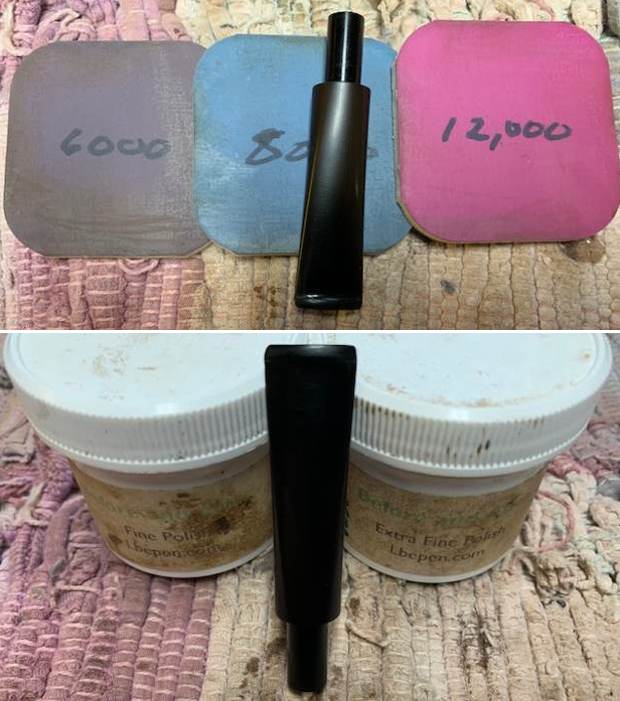
 I polished the stem with micromesh sanding pads – dry sanding with 1500-12000 grit pads. I wiped the stem down after each pad with a damp cloth to remove the sanding dust. I gave it a further polish with Before & After Stem Polish – both Fine and Extra Fine. I finished by wiping the stem down with a final coat of Obsidian Oil and set it aside to dry.
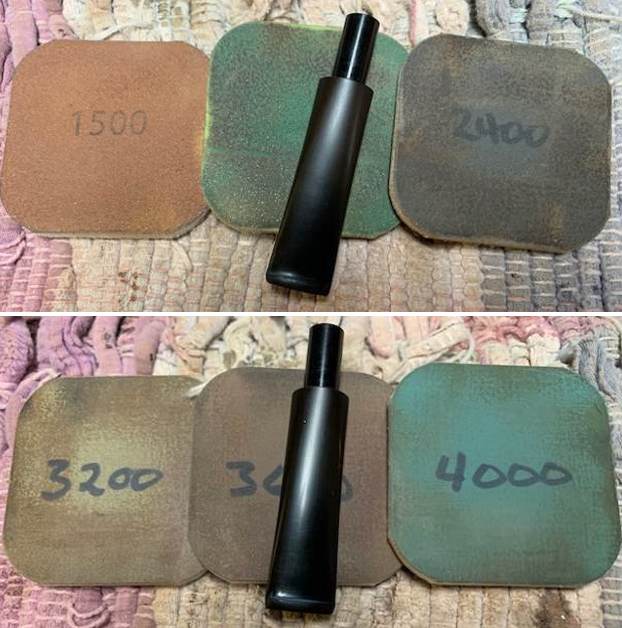
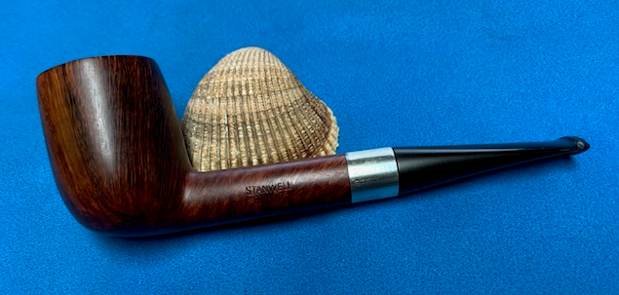
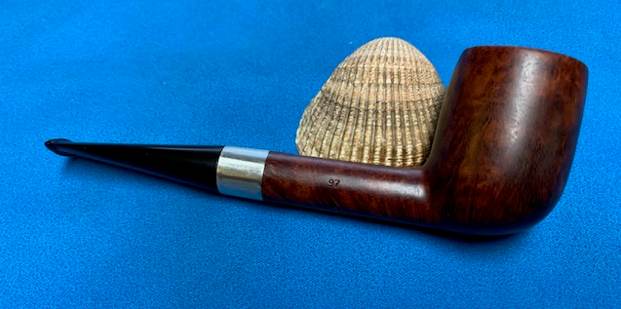
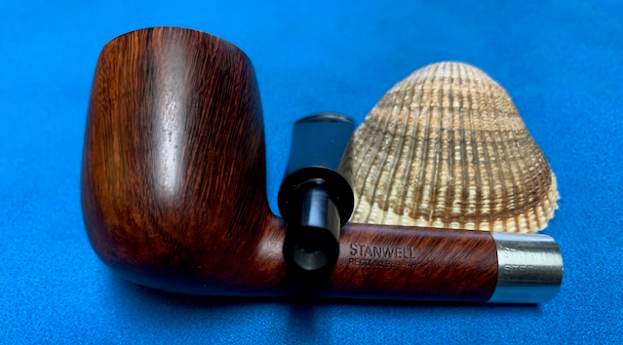
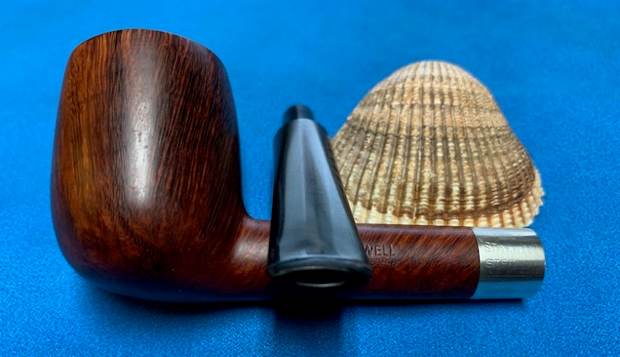
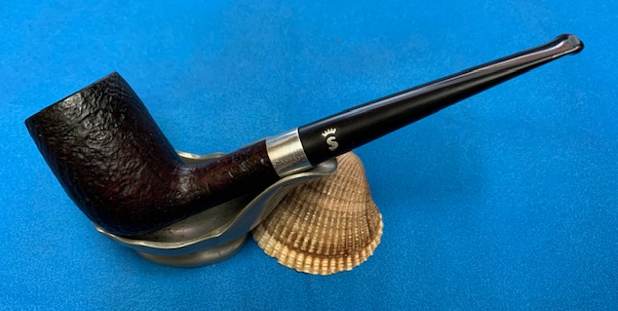
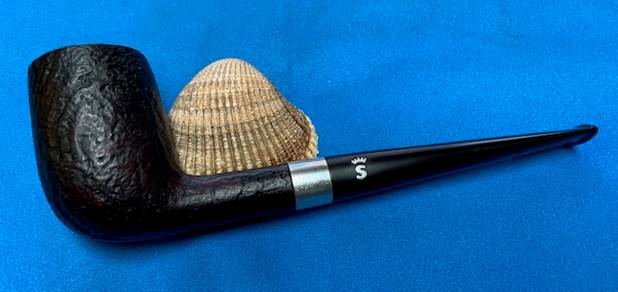
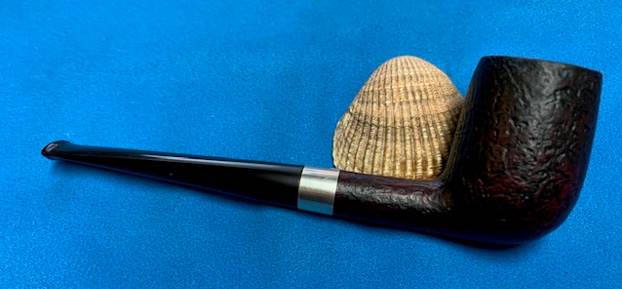
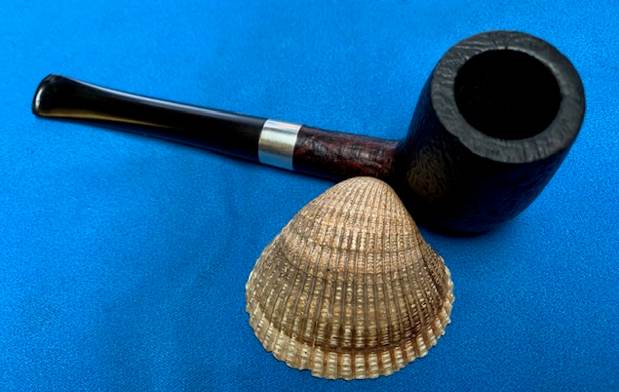
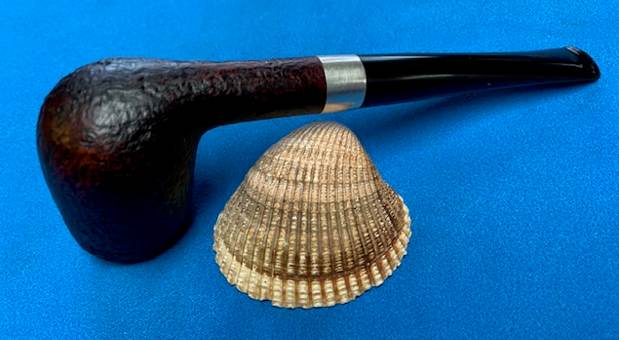
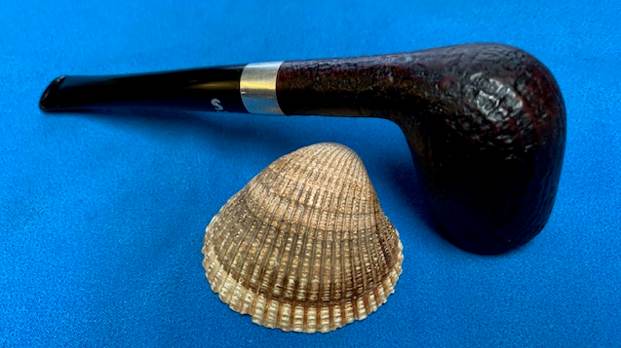
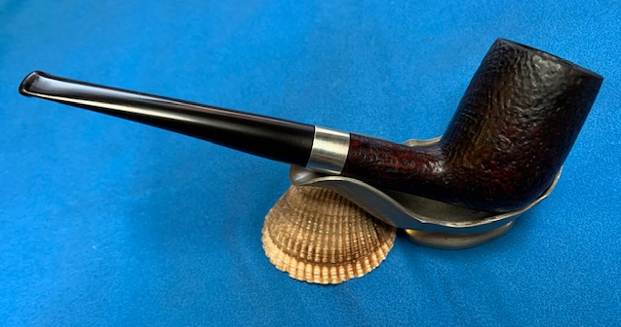
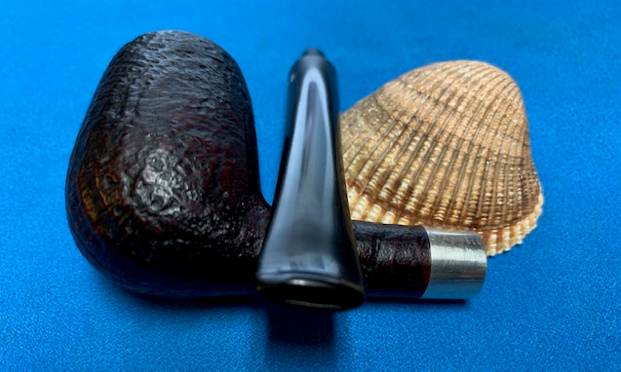
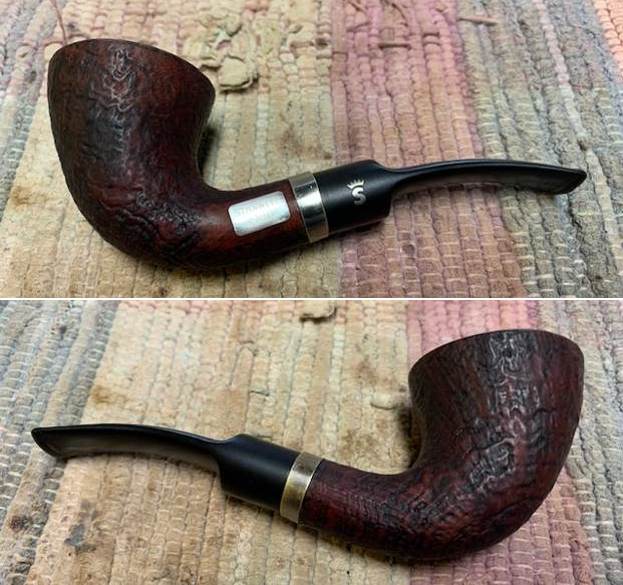
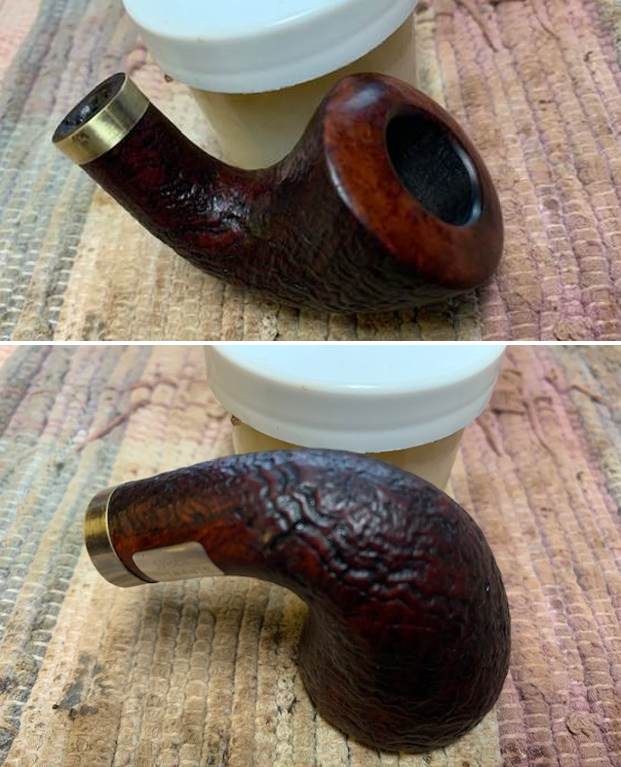
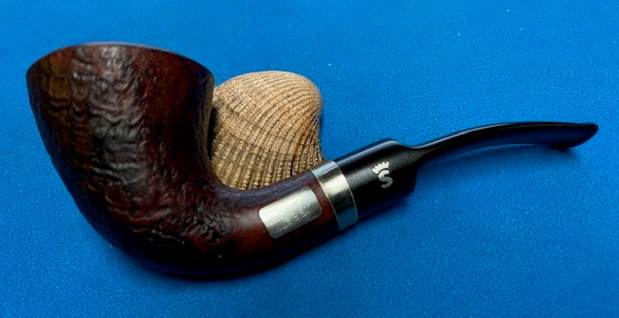
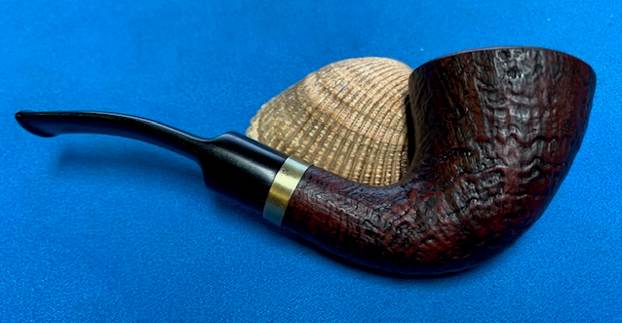
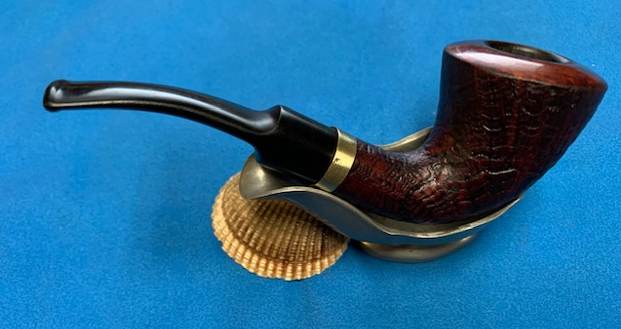
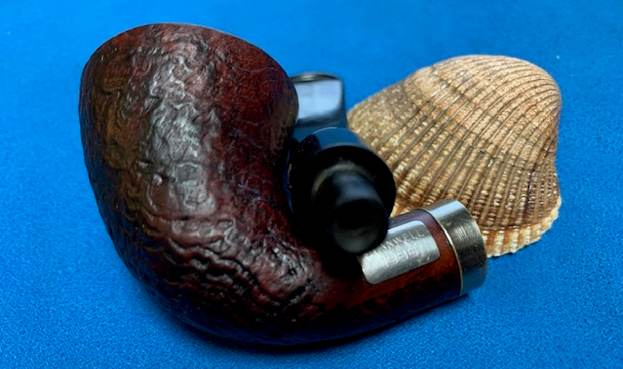
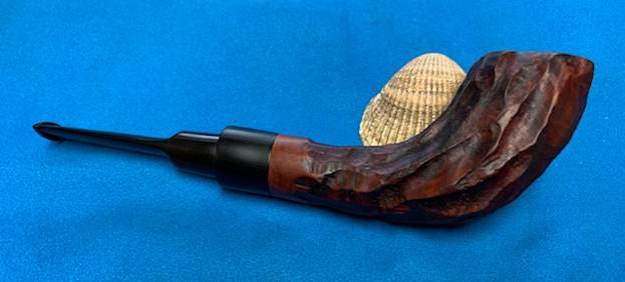
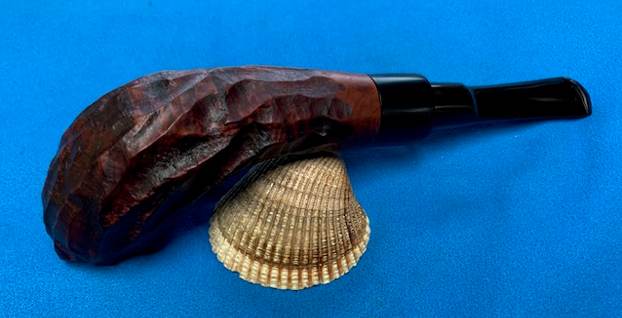
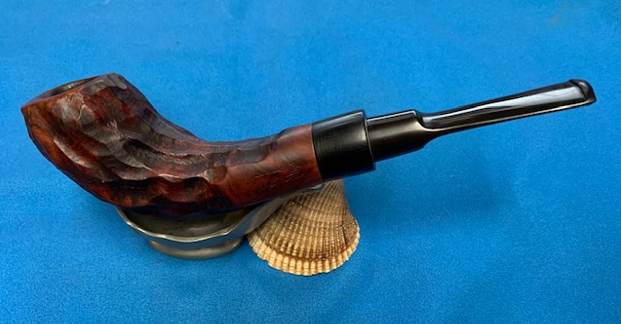
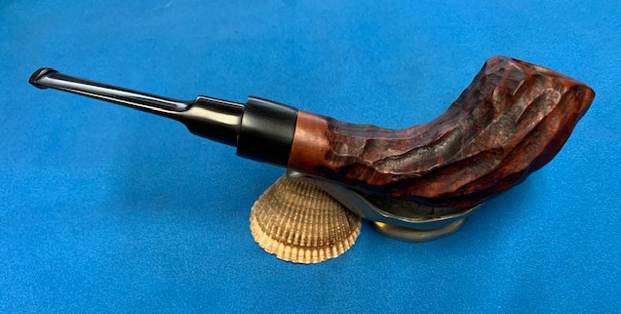
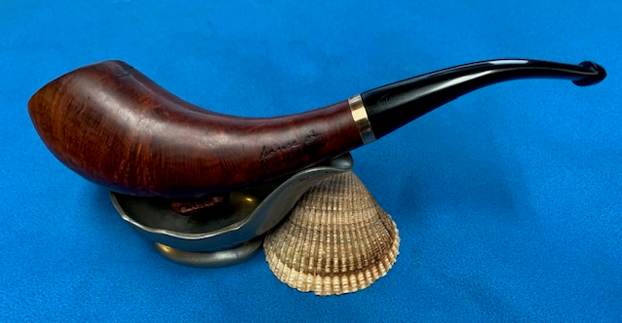
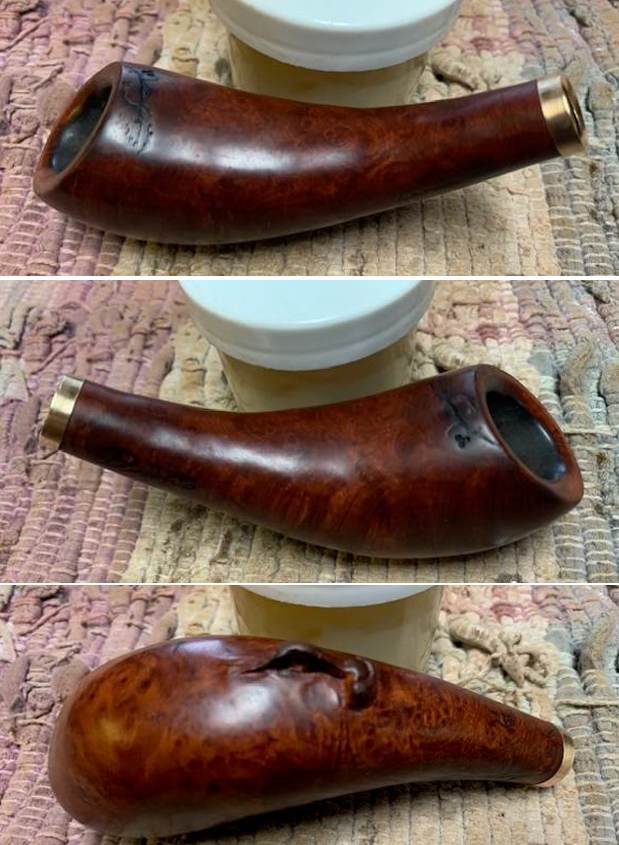
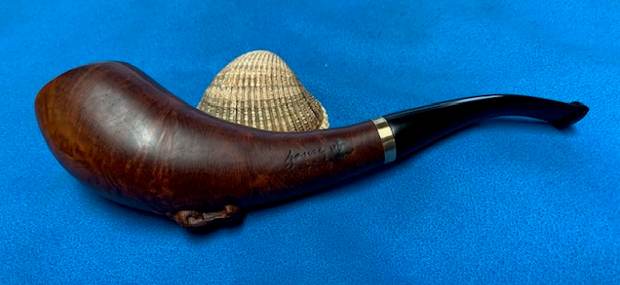
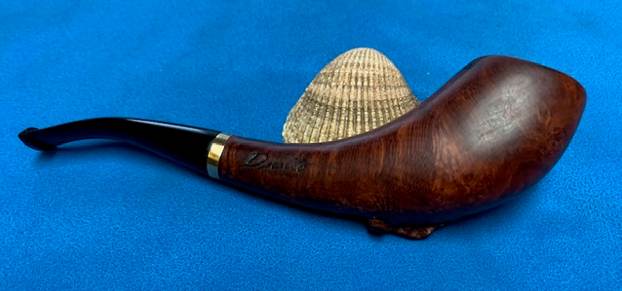
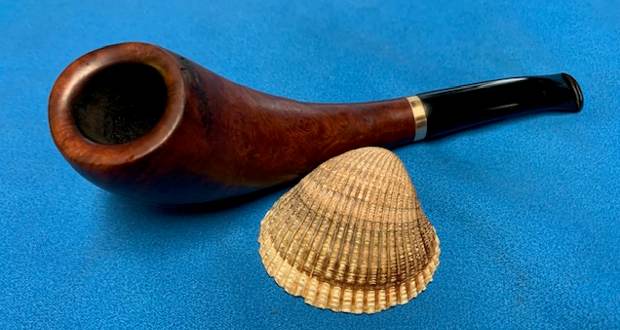
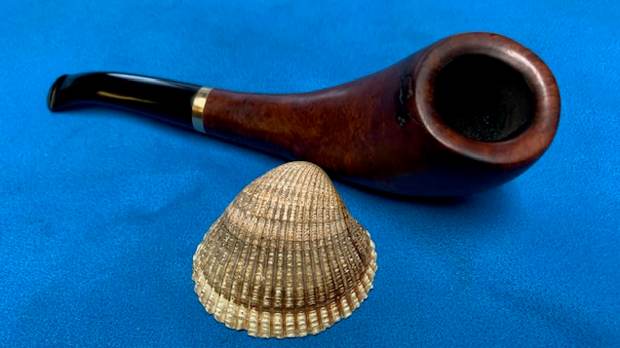
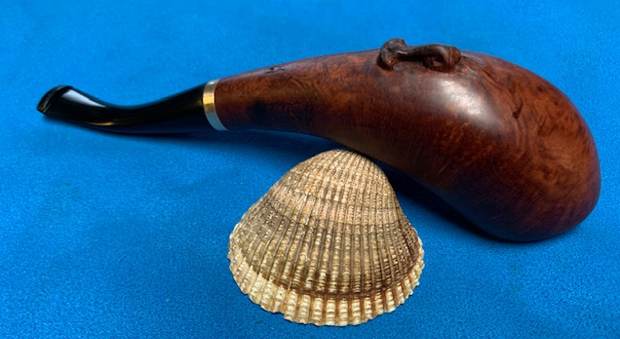
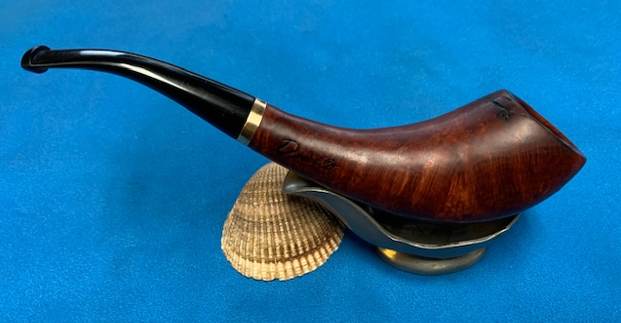
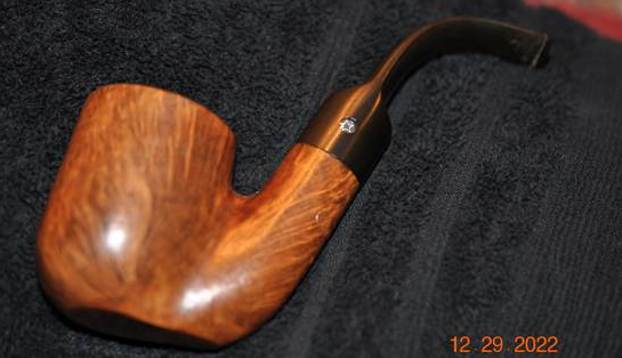
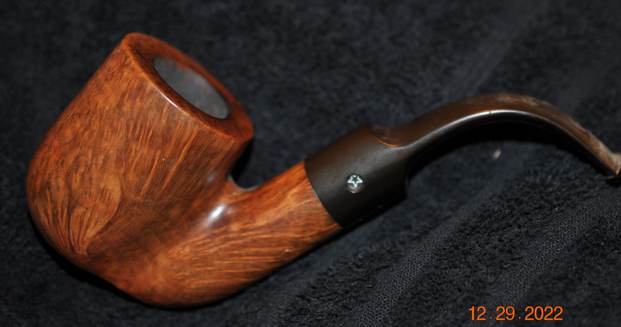
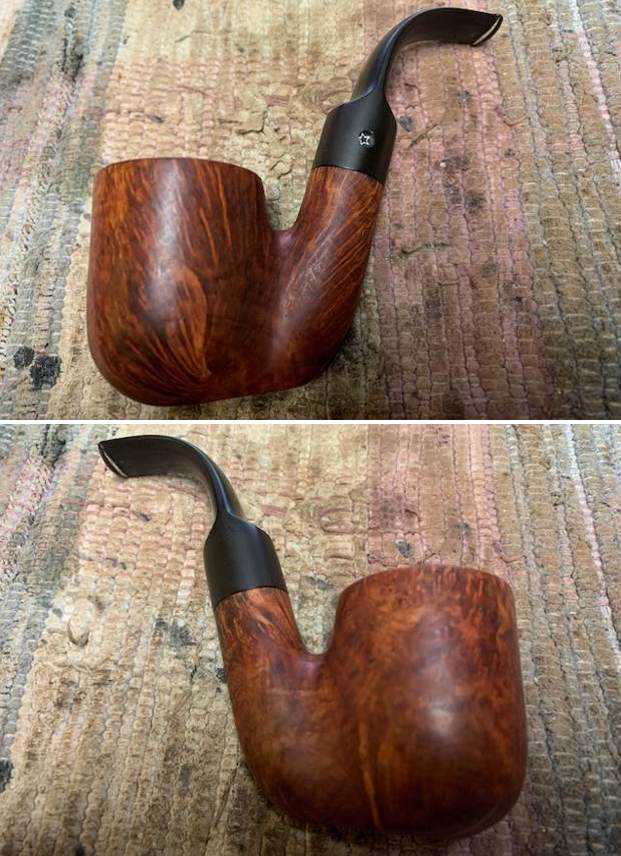
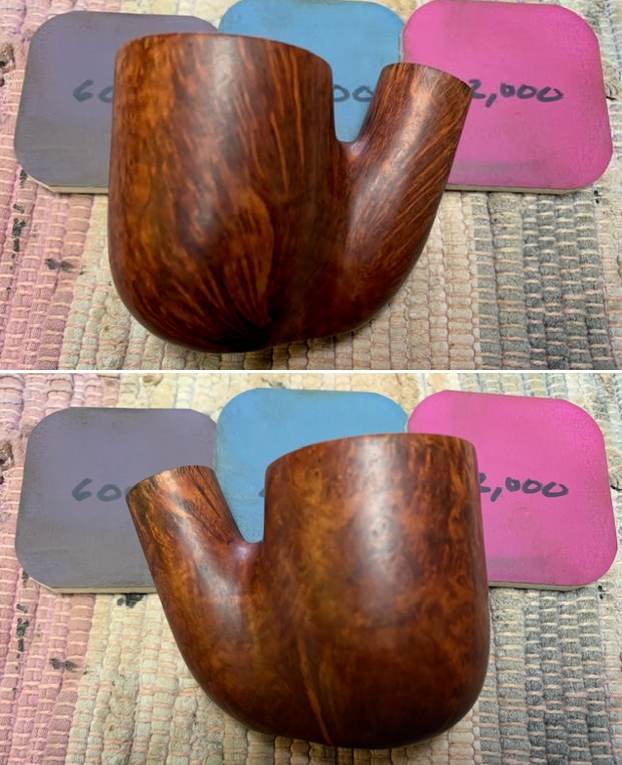
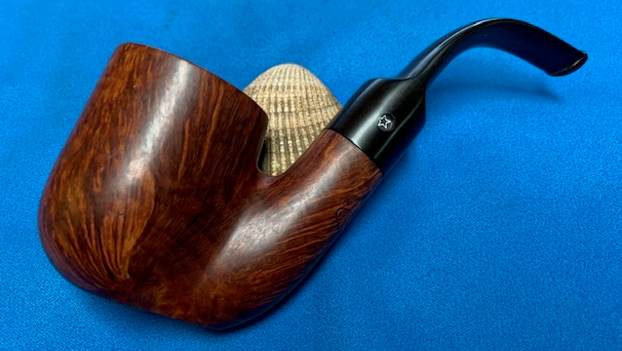
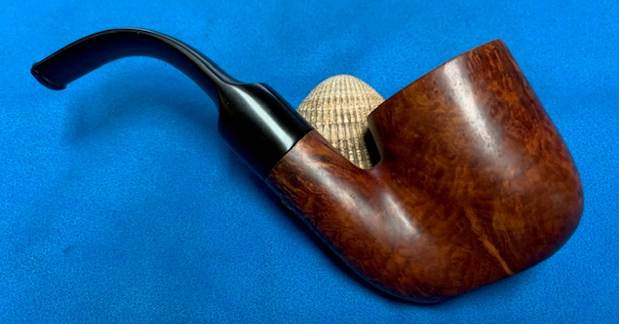
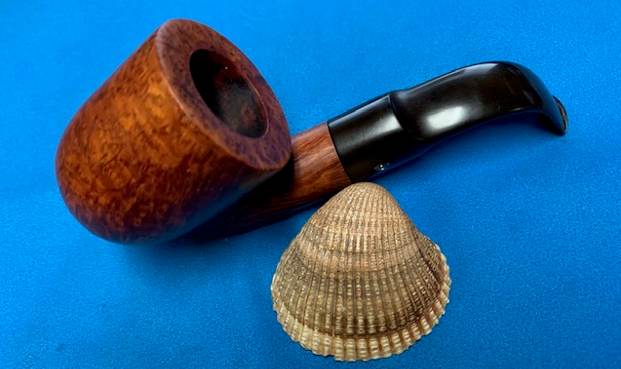
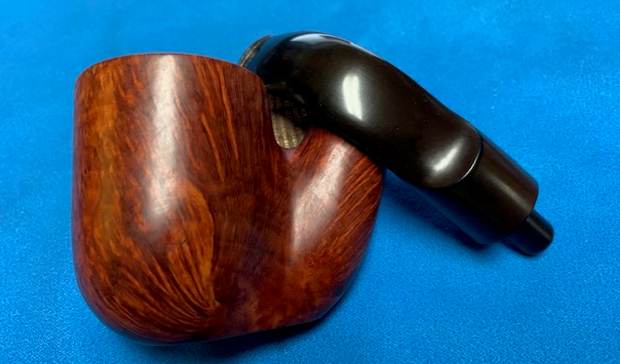
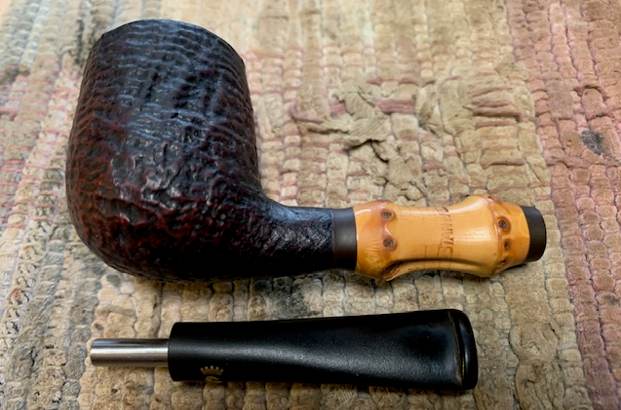
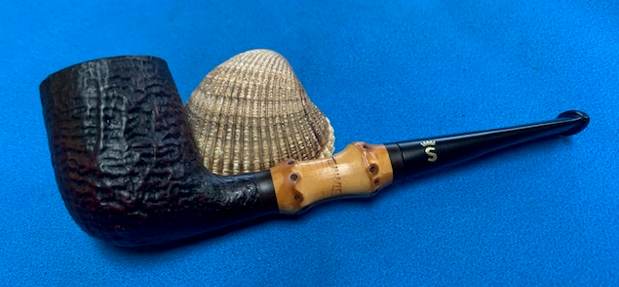
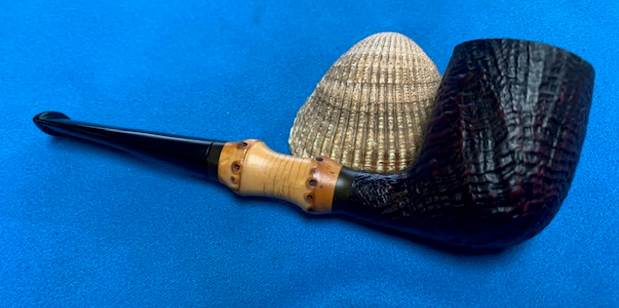
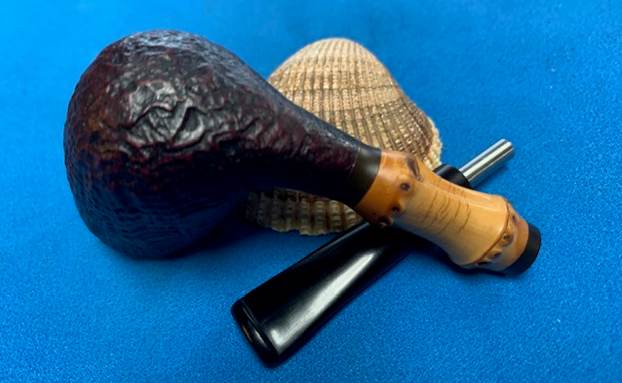
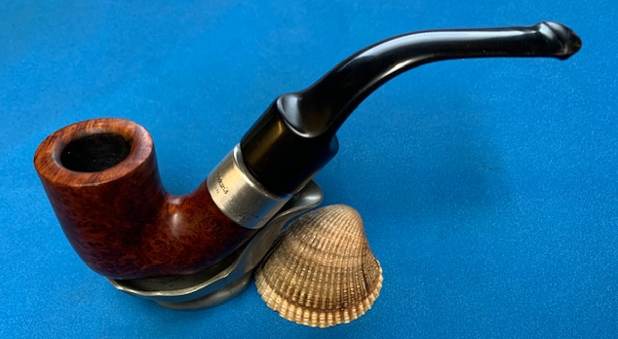
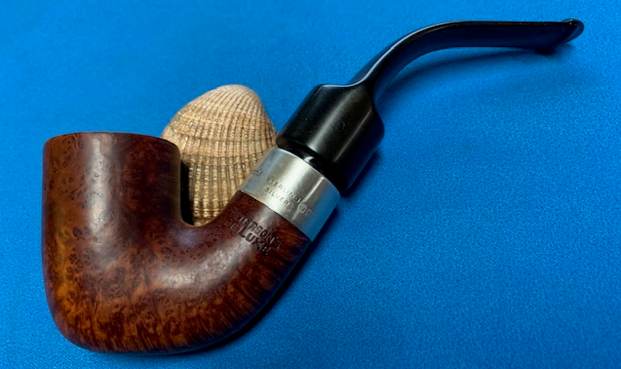
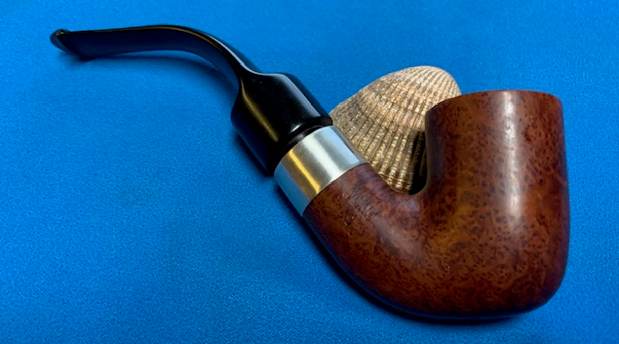
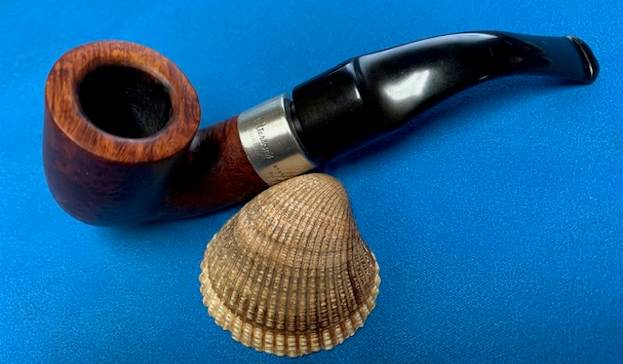
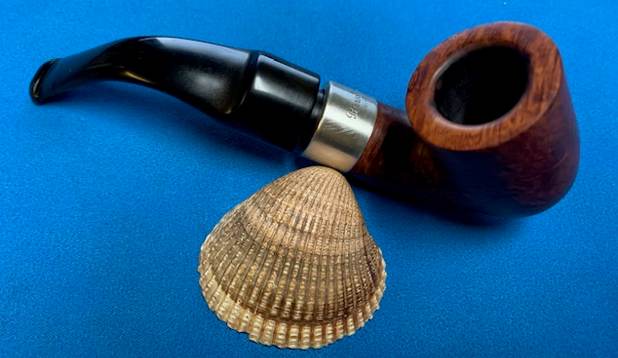
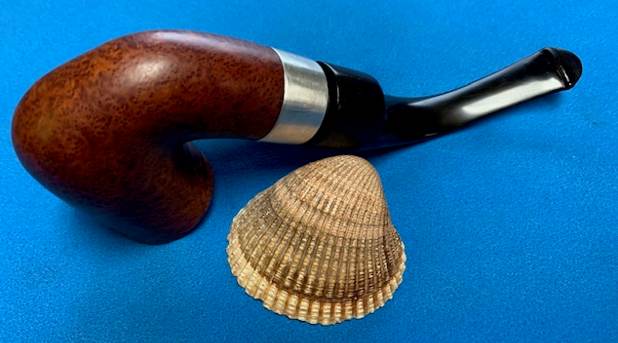
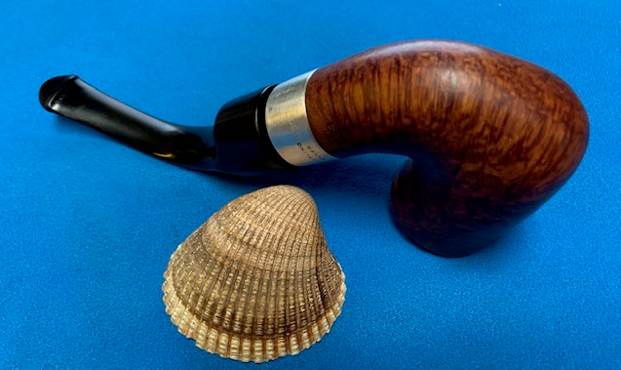
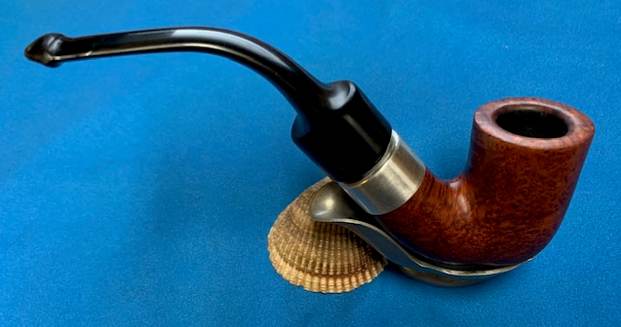
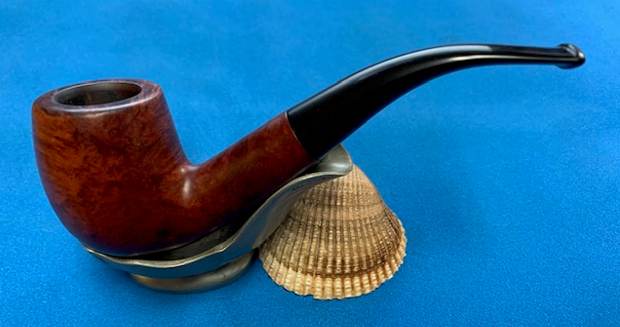
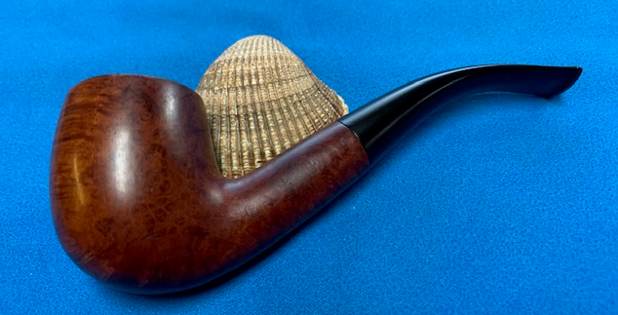
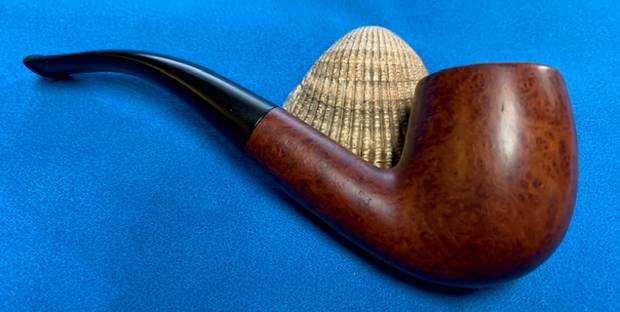
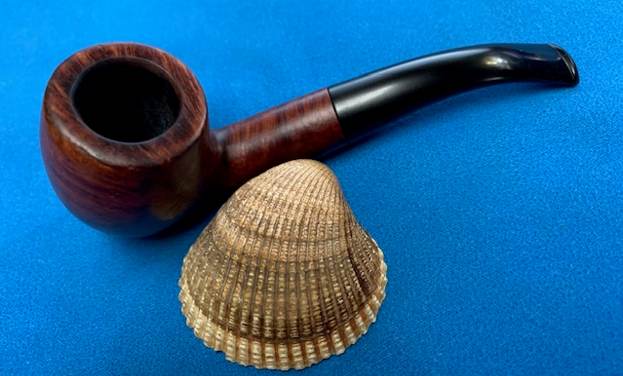
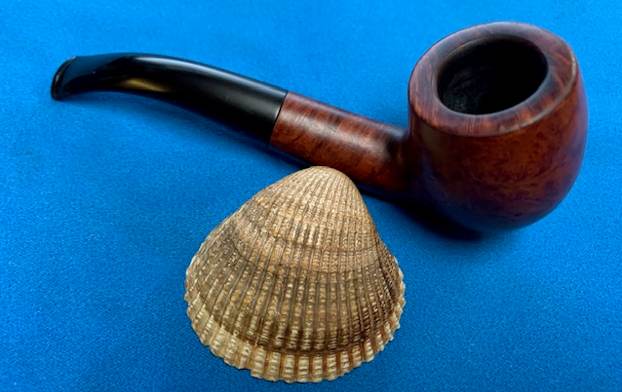
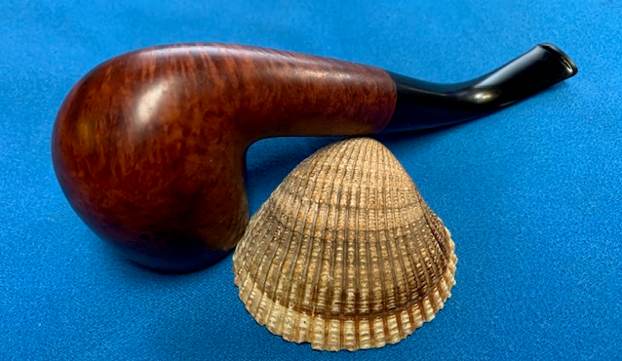
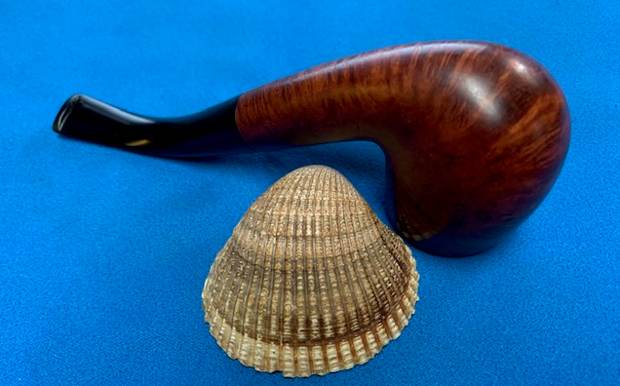
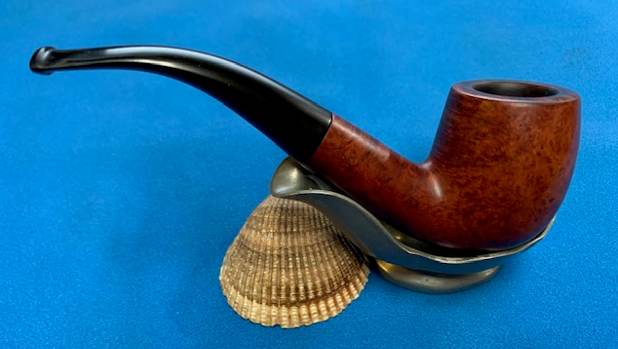
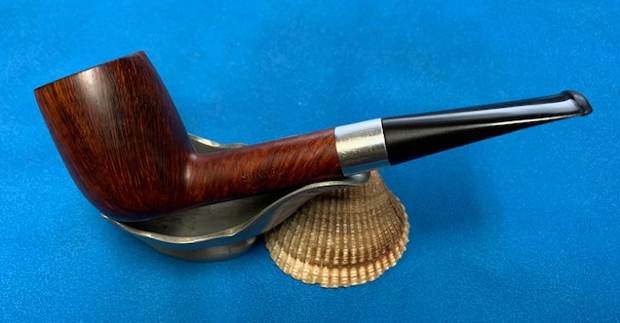
 I put the stem back on the Stanwell Sterling 97 Lovat Reg. No. 969048 Liverpool pipe and took the pipe to the buffer. I buffed the bowl and stem with Blue Diamond to polish the briar and the vulcanite. Blue Diamond does a great job on the smaller scratches that remain in both. I gave the bowl and the stem several coats of carnauba wax and buffed the pipe with a clean buffing pad to raise the shine. I hand buffed it with a microfiber cloth to deepen the shine. Considering the mess the pipe was when we received it I am amazed at how well it turned out. The finished pipe is shown in the photos below. This is a beautiful Stanwell Sterling 97 Reg. No. 969-48 Lovat – the vulcanite taper stem and rim top and smooth finish combine to give the pipe a great look. The polished black, vulcanite stem looks really good with the rich grain standing out on the bowl and shank. The dimensions of the pipe are Length: 5 inches, Height: 1 ½ inches, Outside diameter of the bowl: 1 1/8 inches, Chamber diameter: ¾ of an inch. The weight of the pipe is .99 ounces/28 grams. This is another pipe that I will be putting on the rebornpipes online store in the Danish Pipe Pipemaking Companies Section shortly, if you are interested in adding it to your collection. Thanks for walking through the restoration with me on this beauty!