Blog by Steve Laug
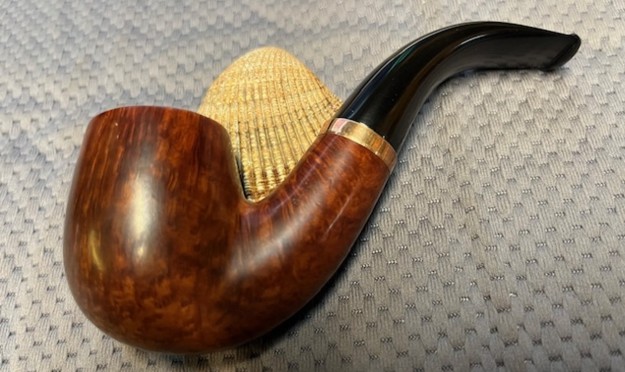
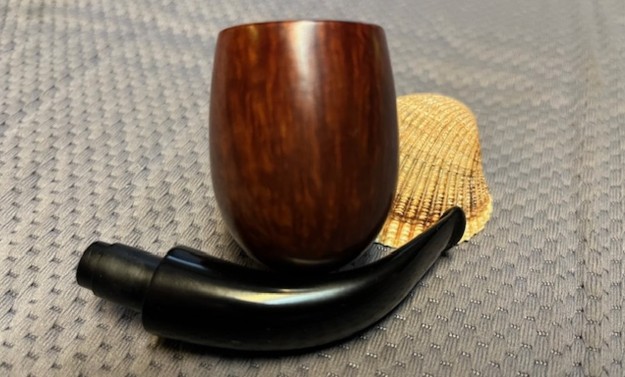
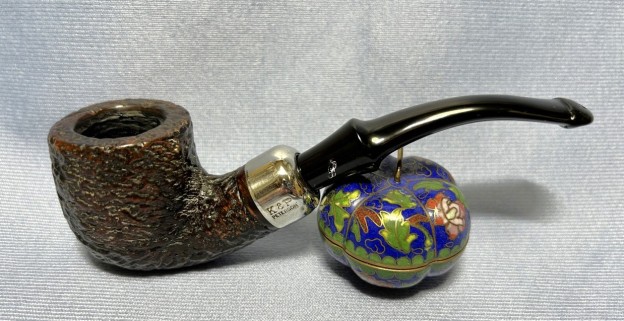
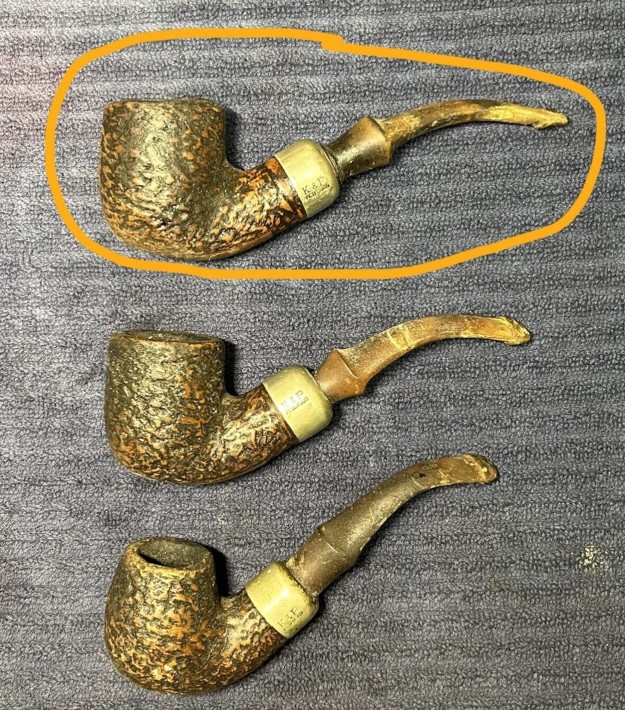
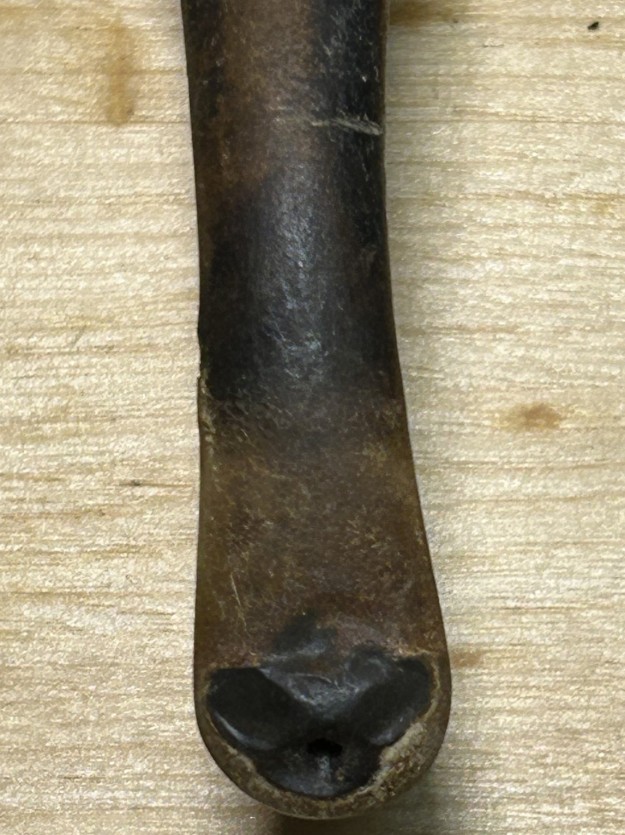
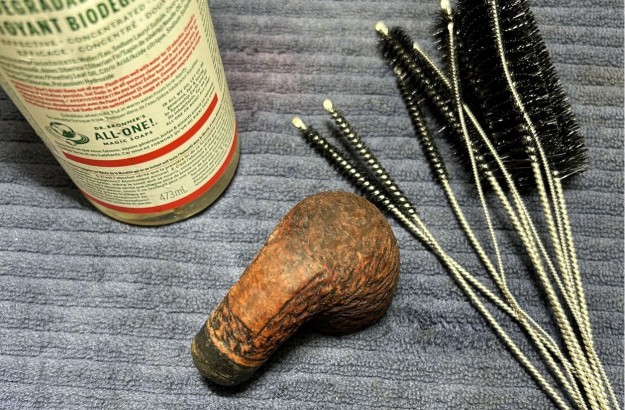
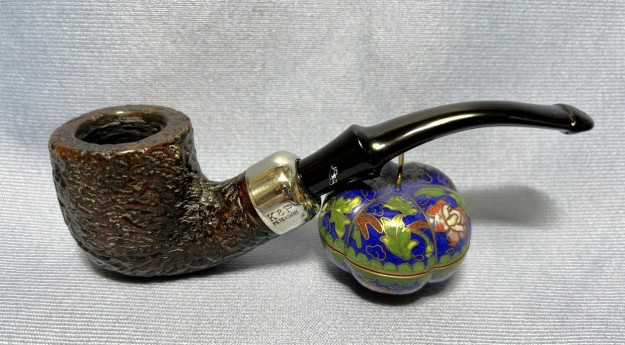
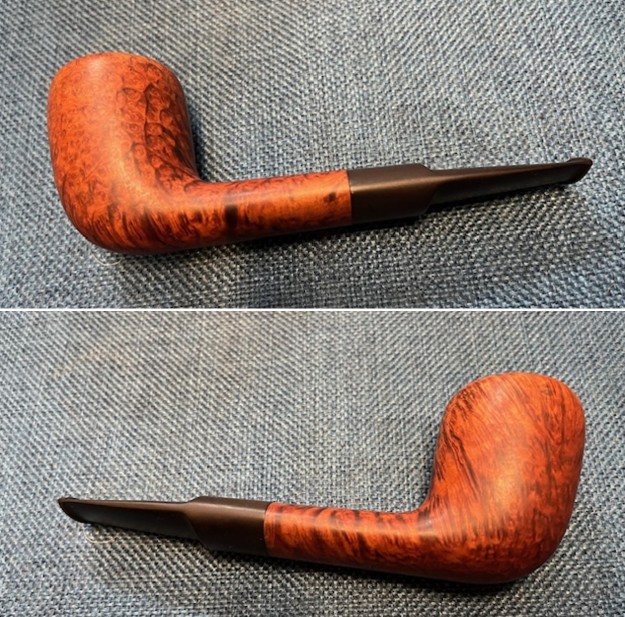
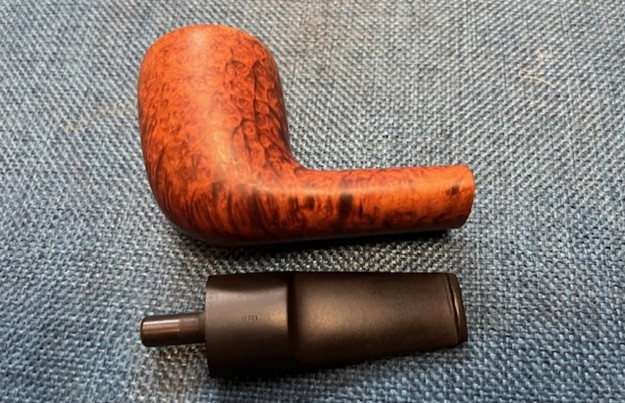
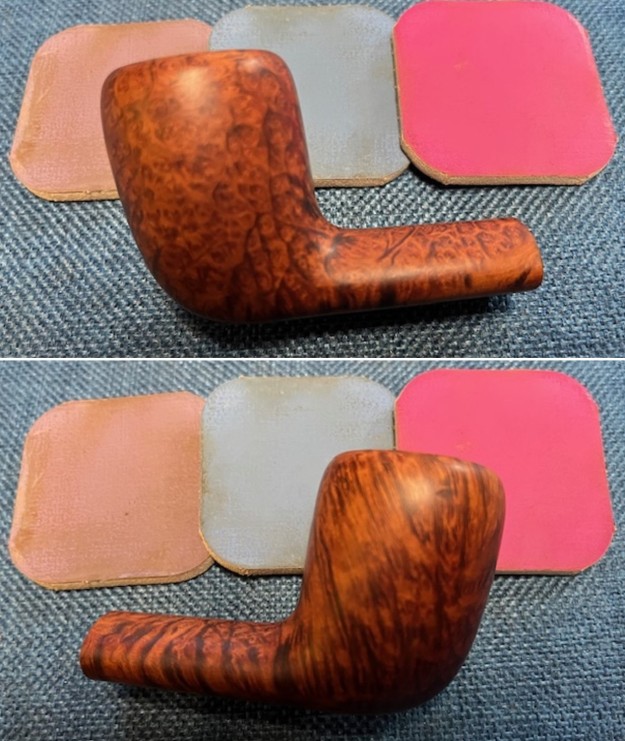
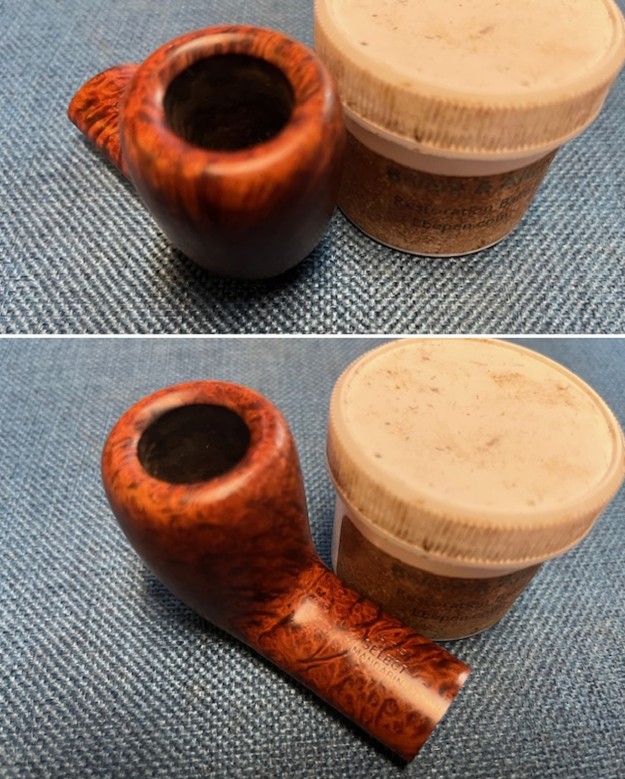
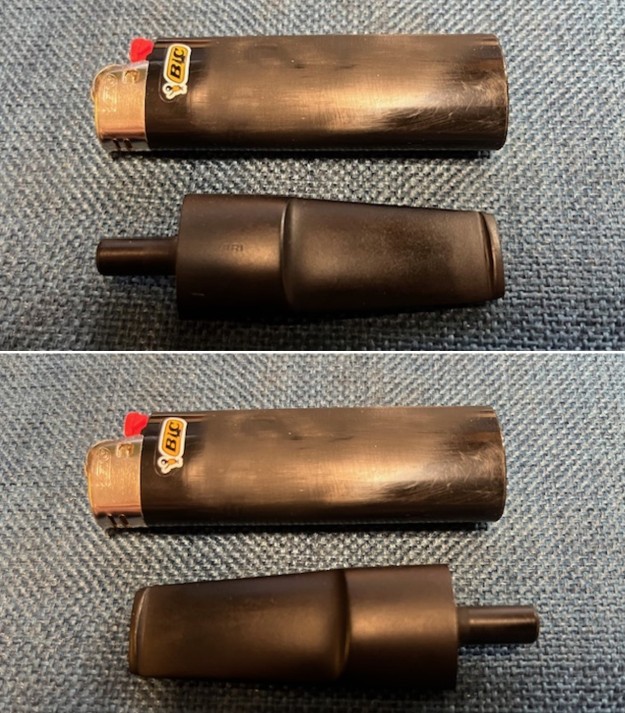
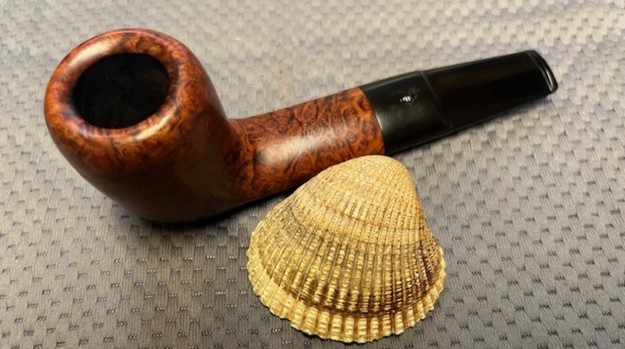
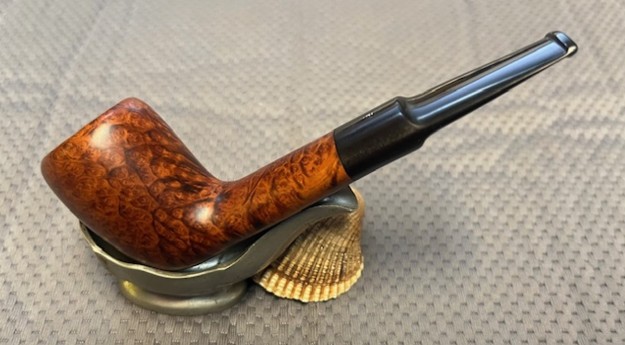
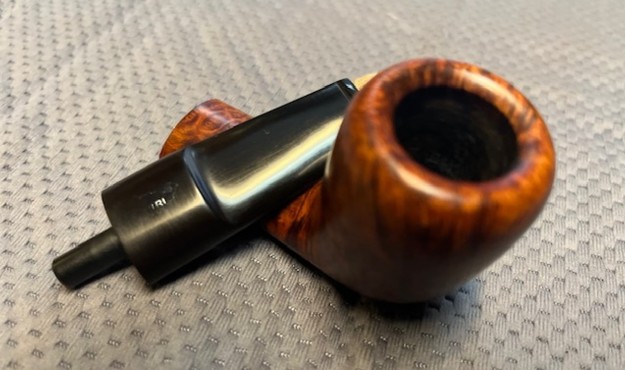
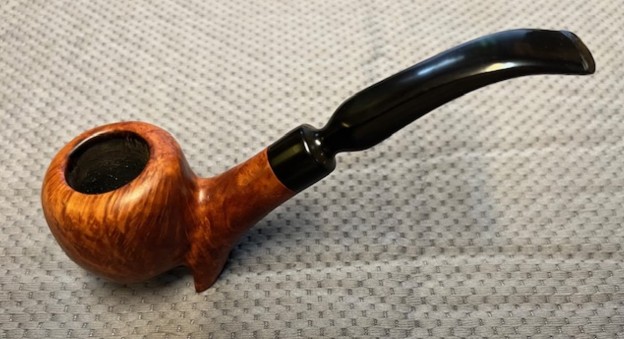
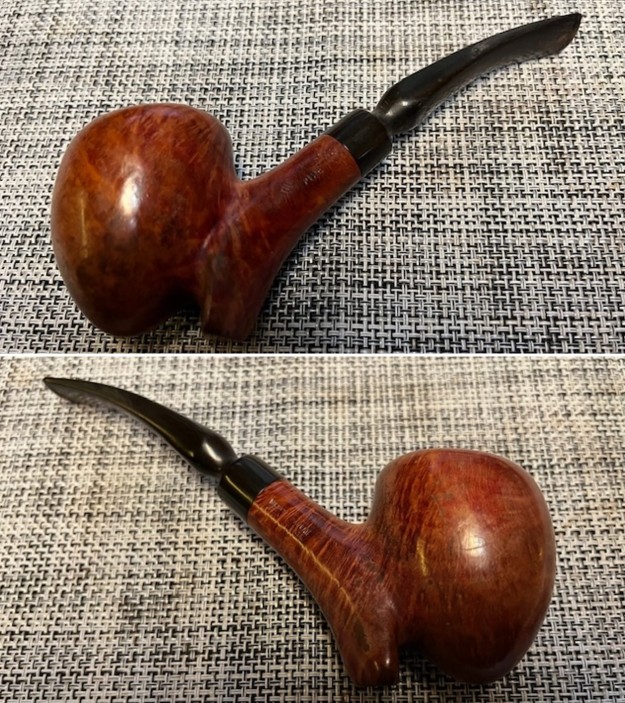
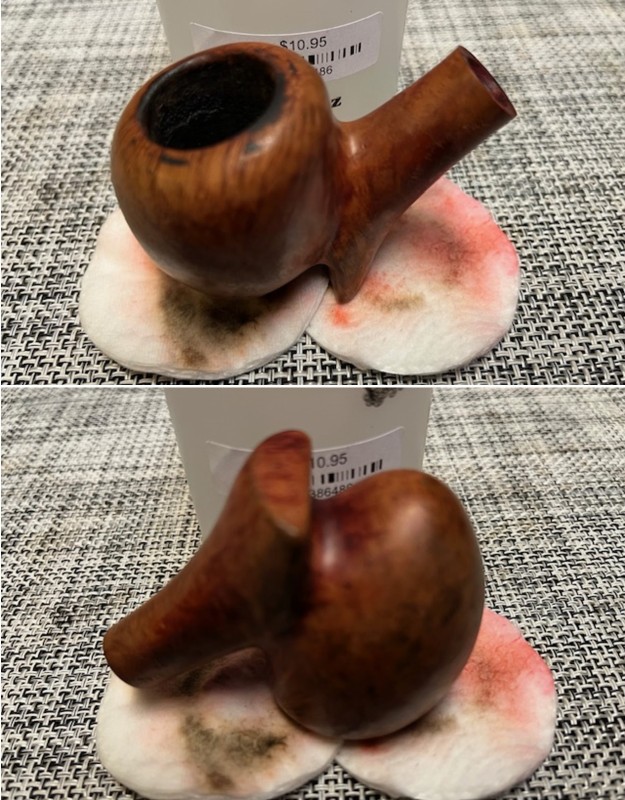
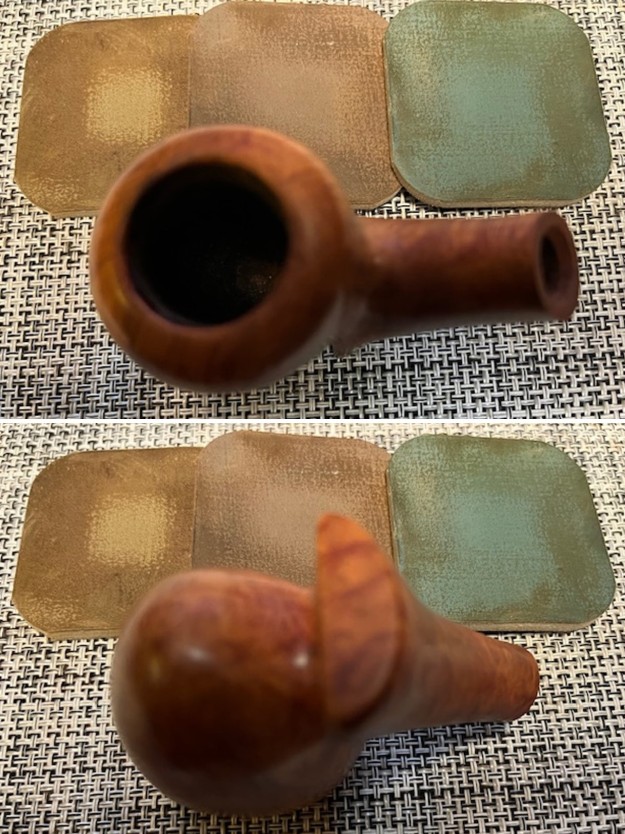
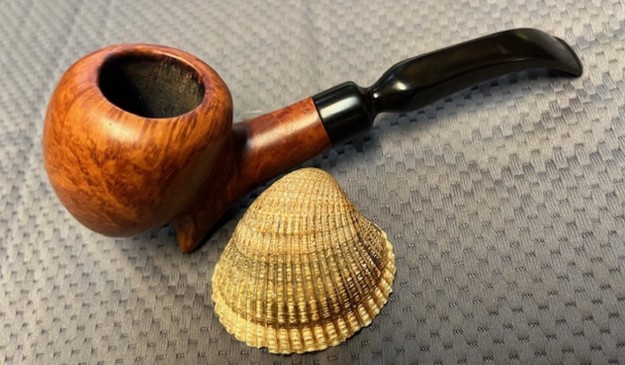
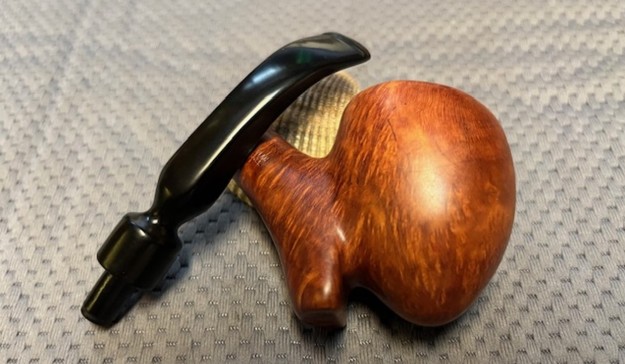
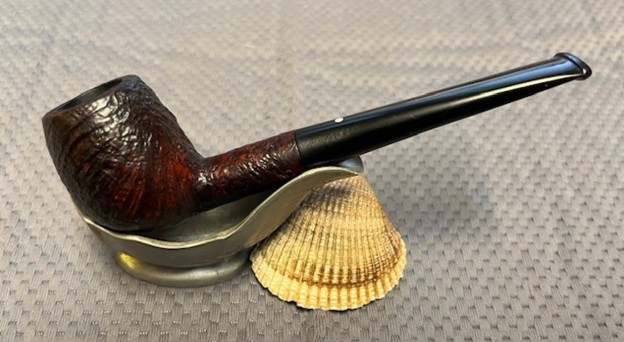
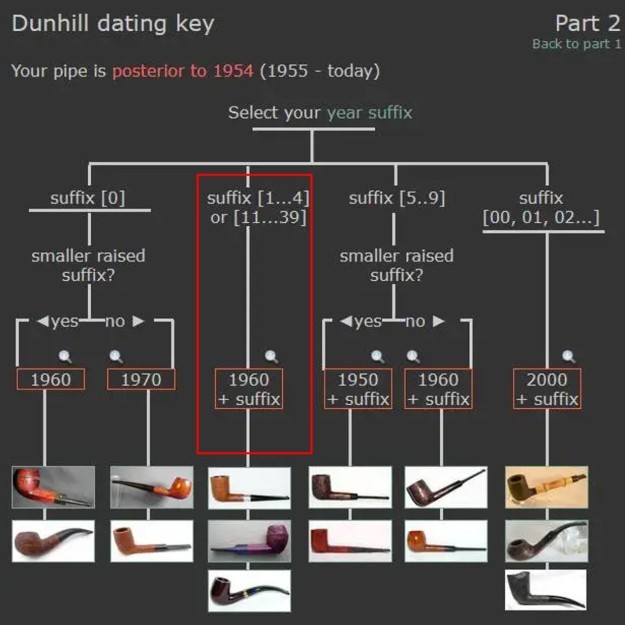
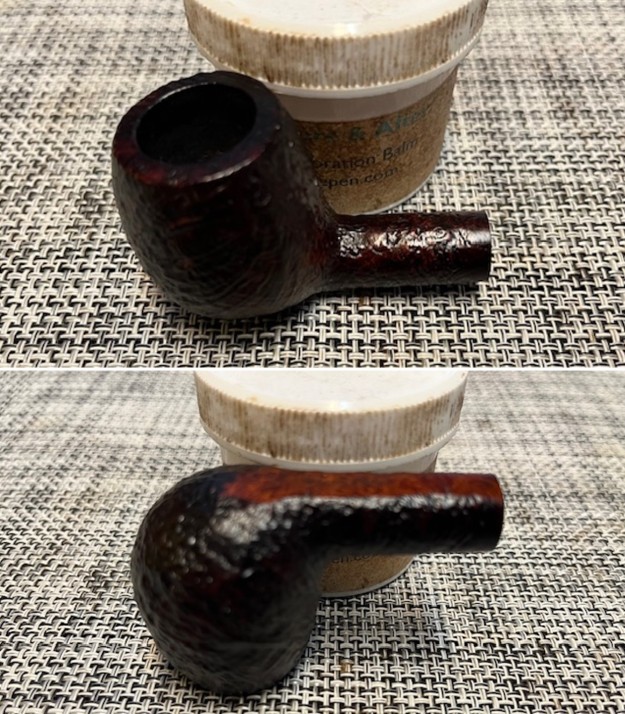
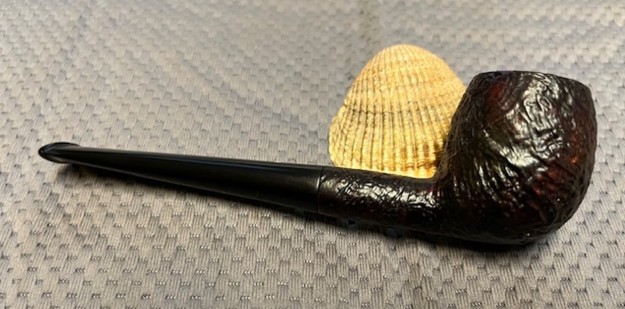
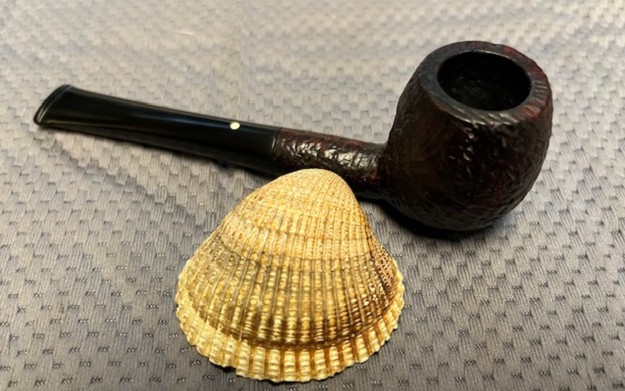
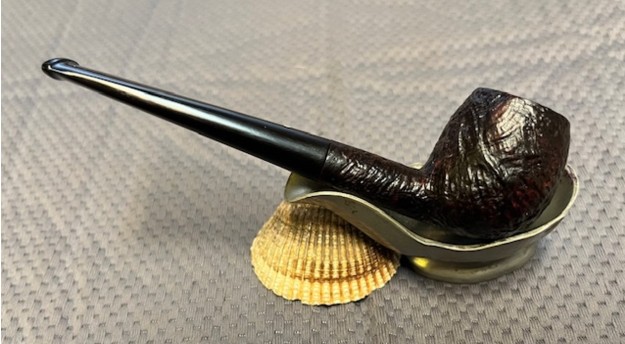
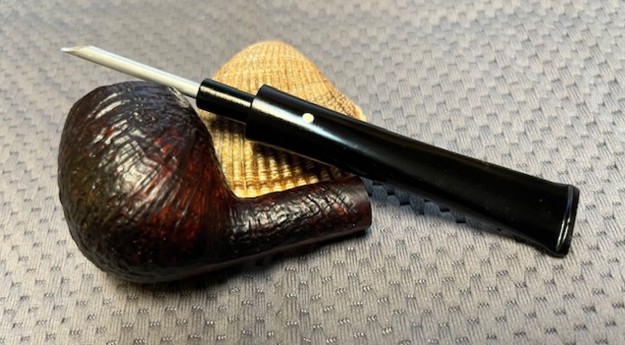
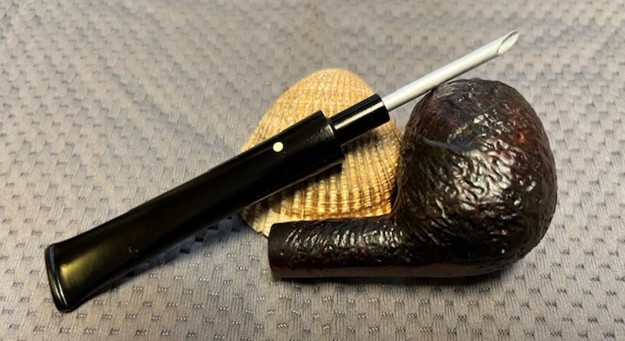
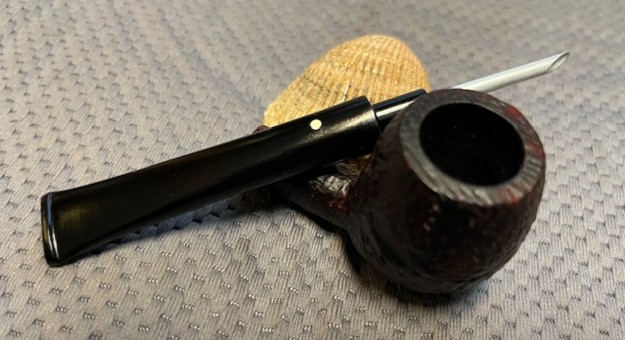
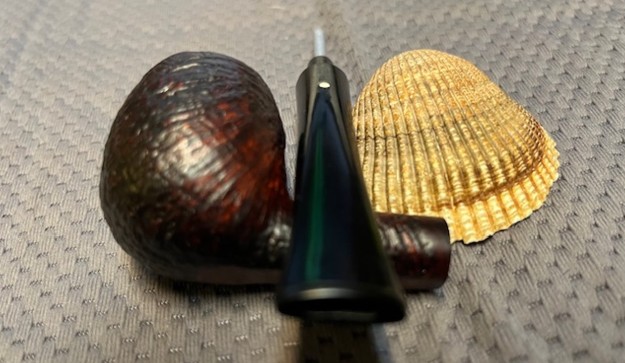
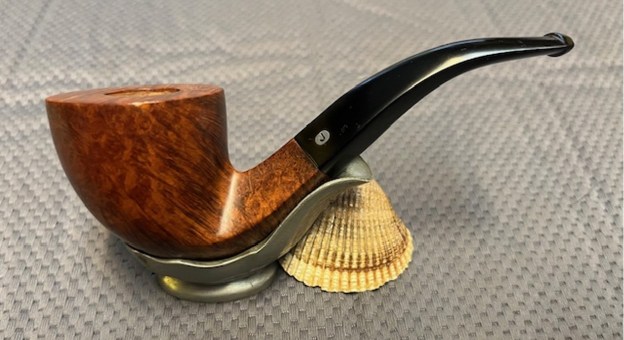
A month or so ago I received an email from a fellow in Japan who had some pipes he wanted to sell. He sent me a few and one of them was this interesting older Barclay Rex Bent Billiard. The Pipe was faintly stamped and read Barclay Rex on the left side of the shank. The stamping was faint but readable. It looks as if it is stamped underneath very faintly and read New York. The rest of the stamping is unreadable and the stamping on the right side of the shank is buffed away. The bowl has been reamed and the pipe cleaned. The rim top is slightly out of round and there are scratches and debris on the rim top. The pipe has been polished and the junction between the shank end and the stem shows some rounding of the edges – something that I truly hate in a restoration. The stem itself is also rounded at the shank junction but is polished and there are light tooth marks on the top and the underside against the button. The shank is very clean inside and the pipe has a faint aroma of English tobacco. Overall, I am happy with it but I will need to deal with rounded joint of the stem and shank. I took photos of the pipe before I started my work on it.
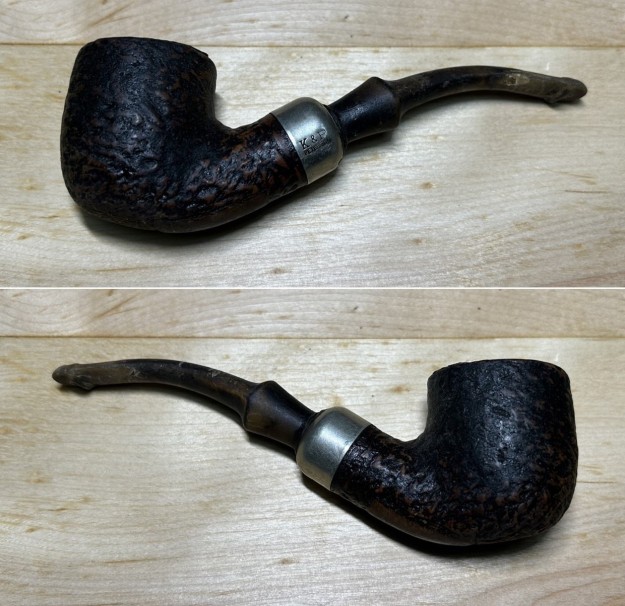
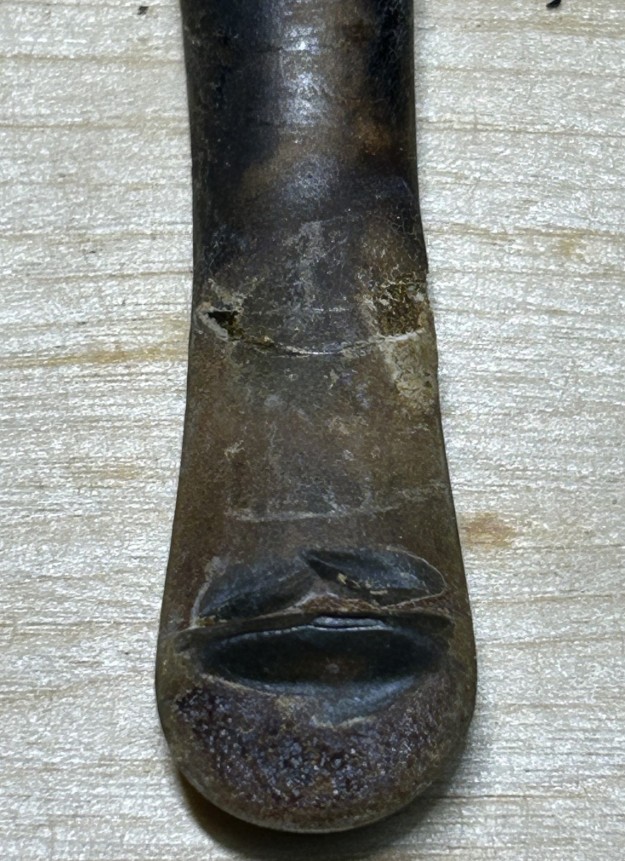
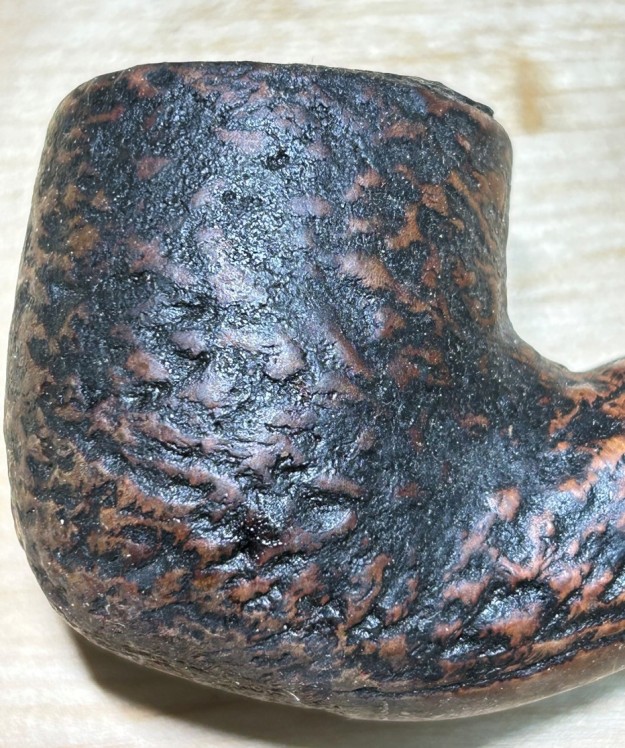
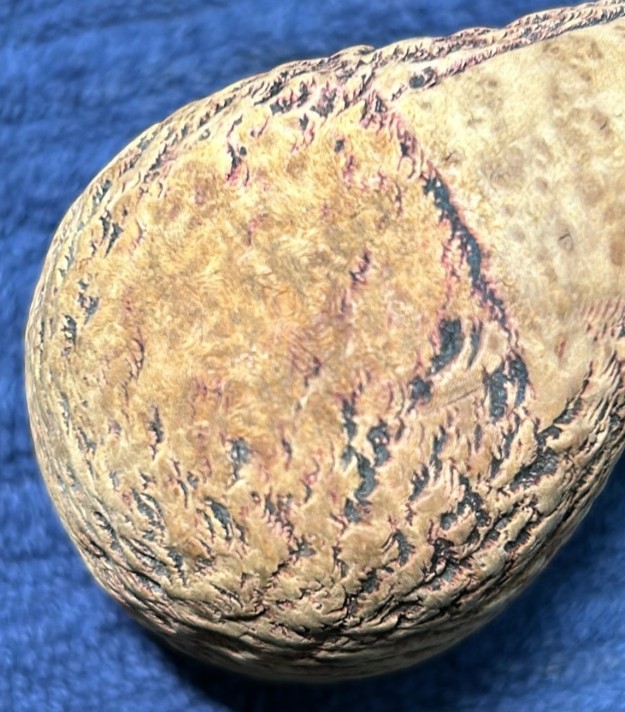
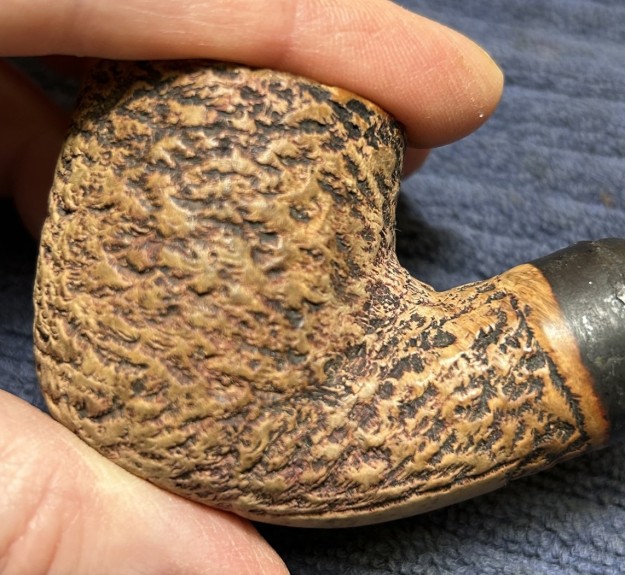
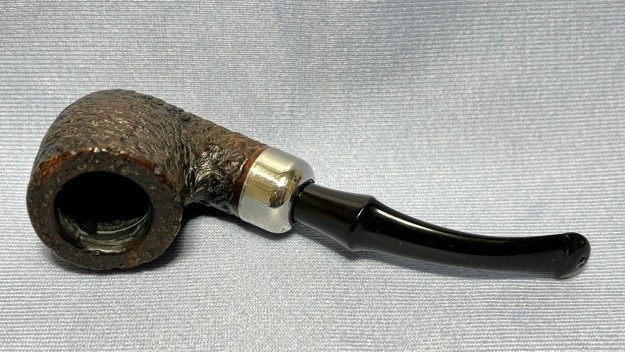
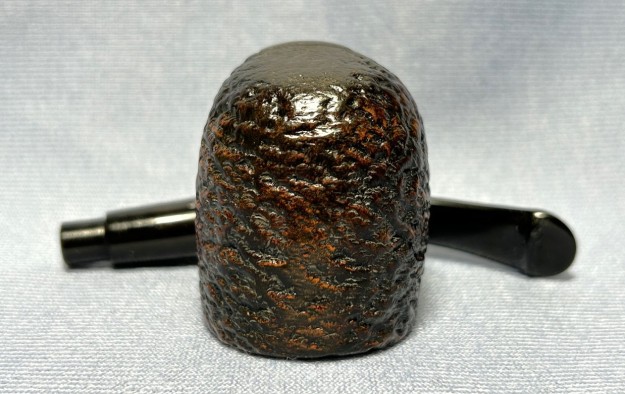
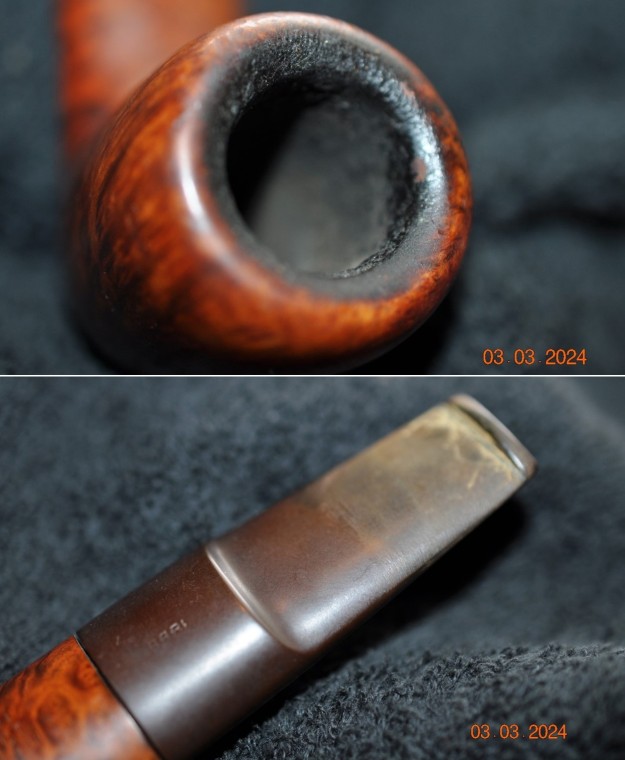
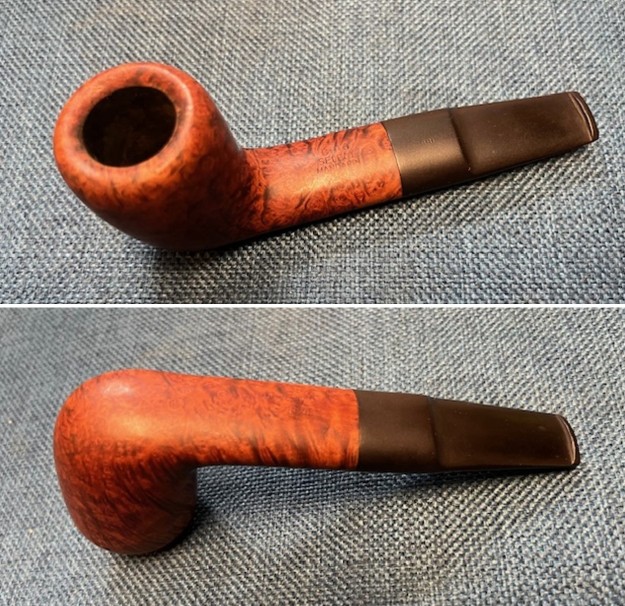
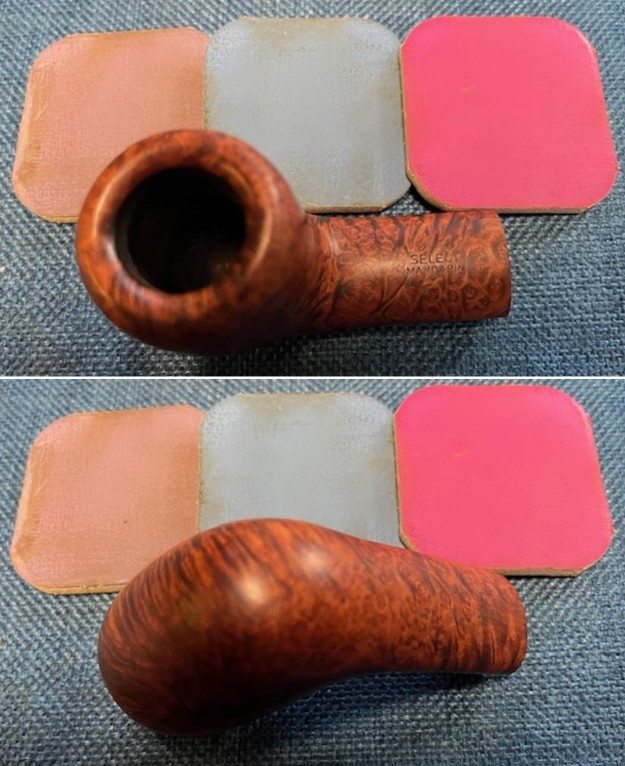
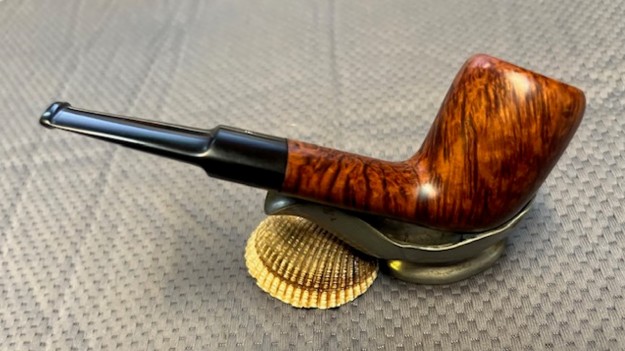
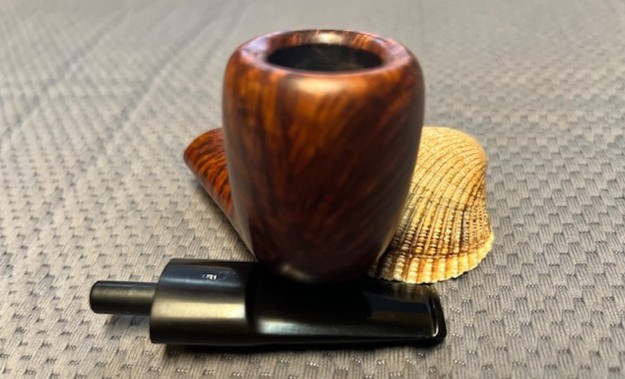
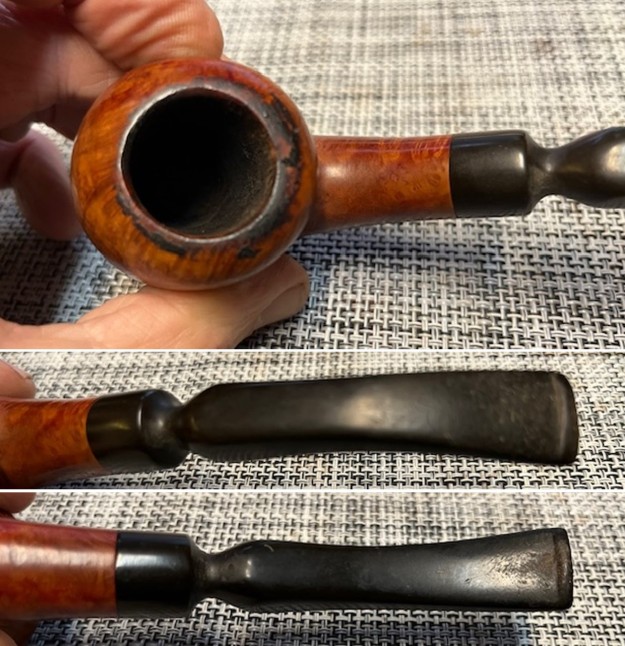
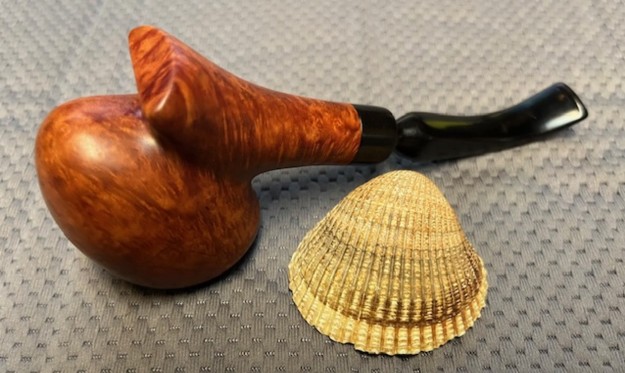
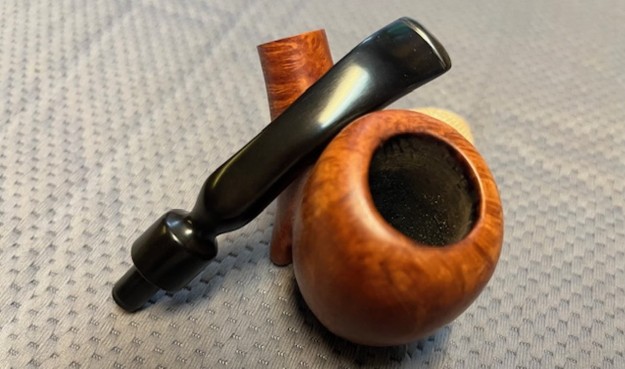
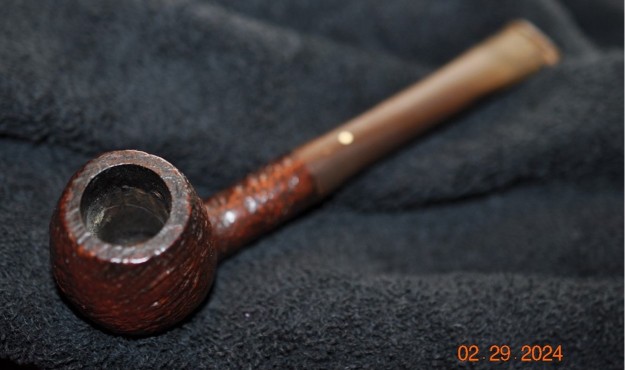
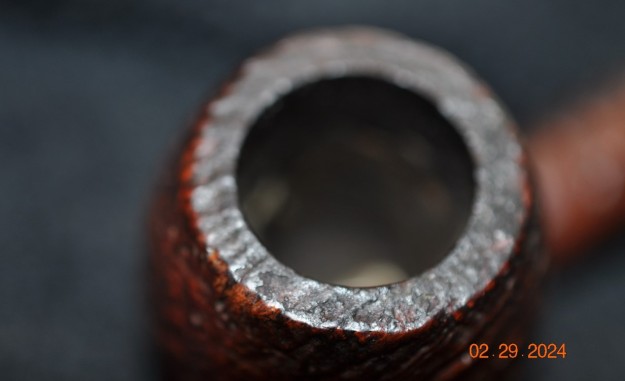
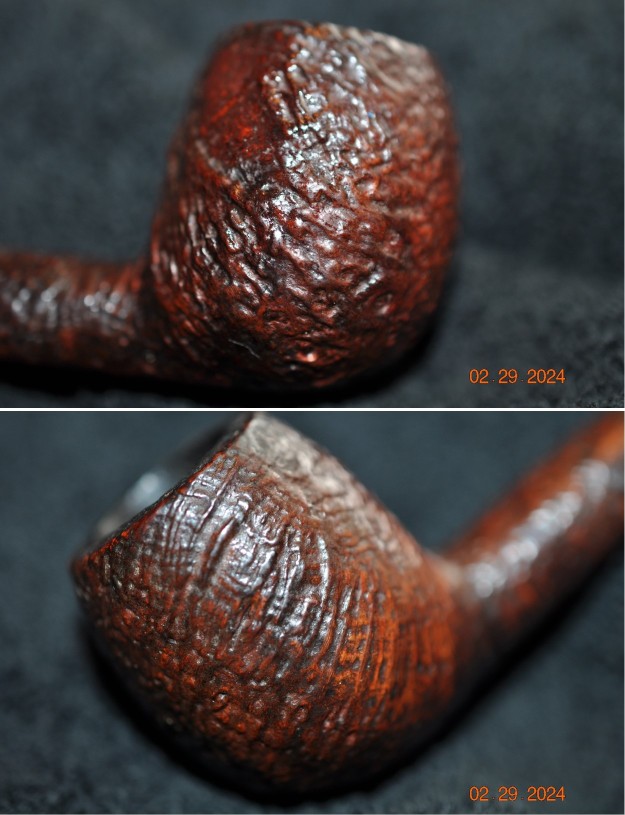
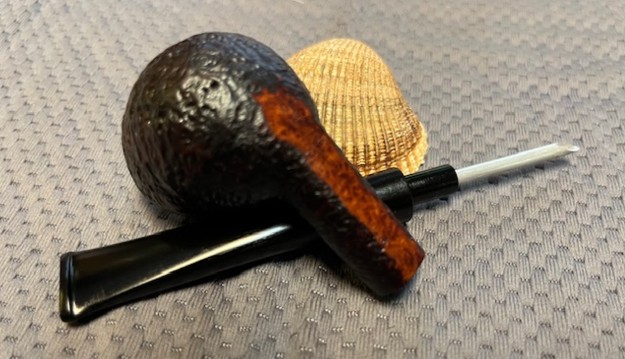
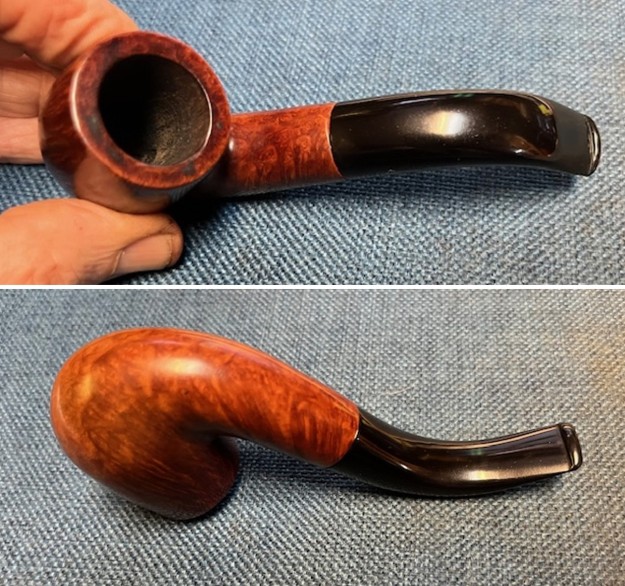 I took a photo of the rim top to show the condition of the bowl and the top. You can see the lava on the rim top that had been left from the restoration previously done. The bowl is slightly out of round due to damage to the inner edge. The shank stem joint shows some rounding to the edges.
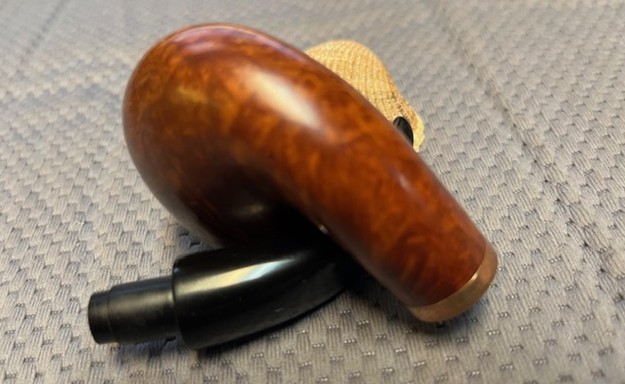
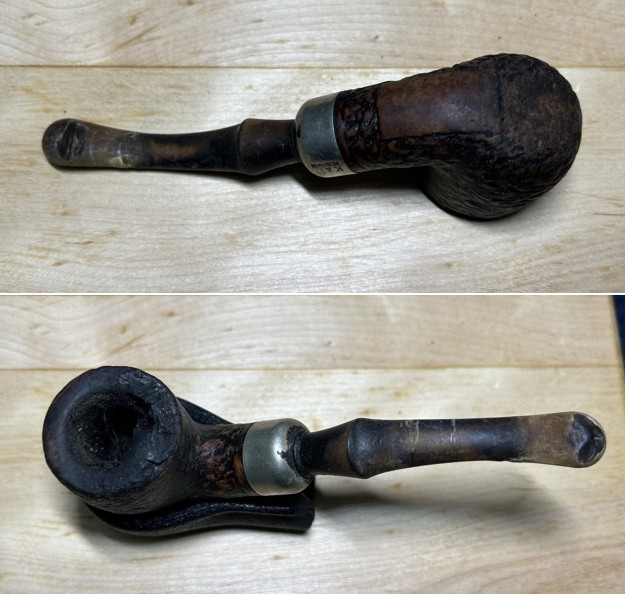
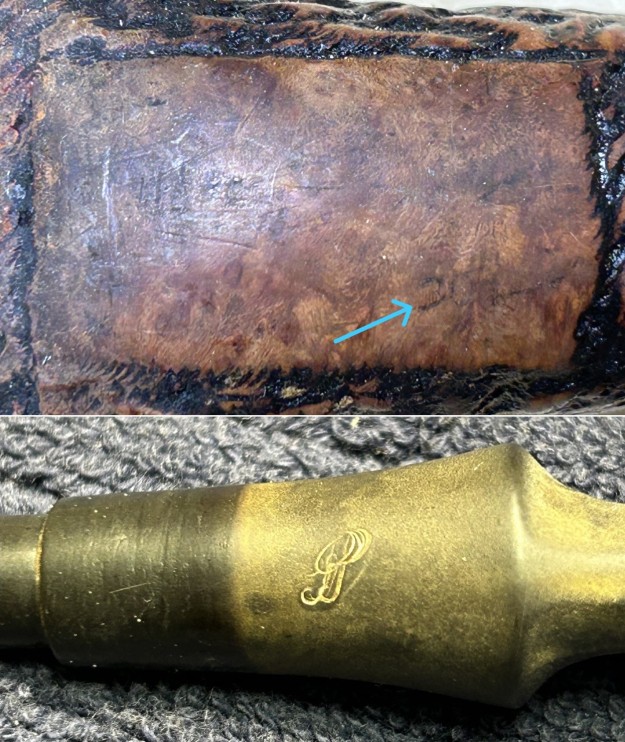
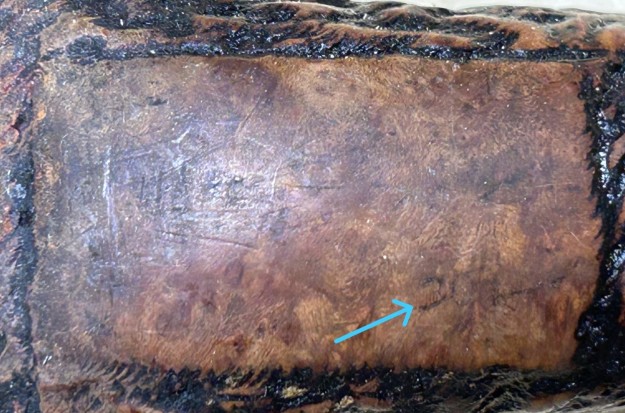
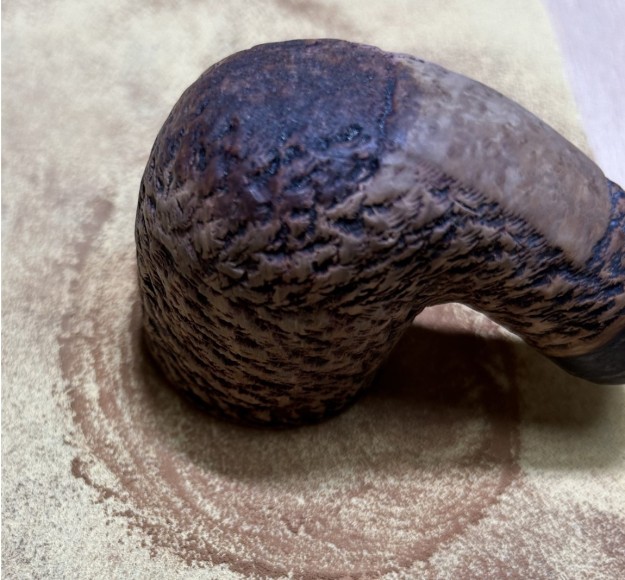
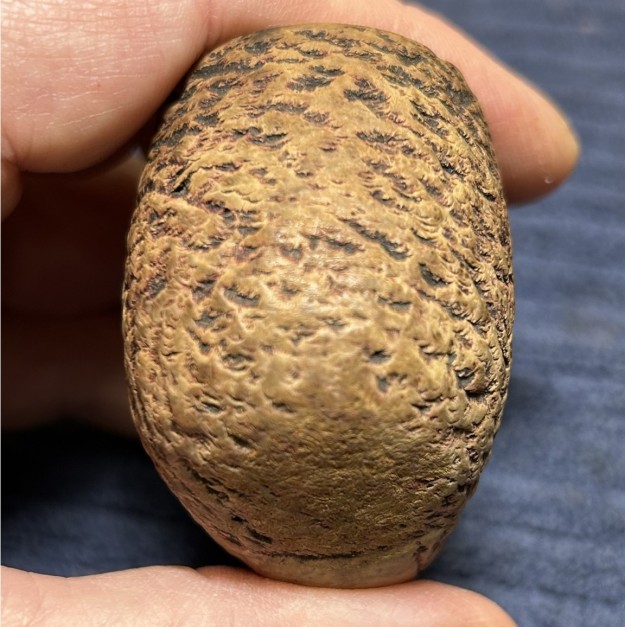
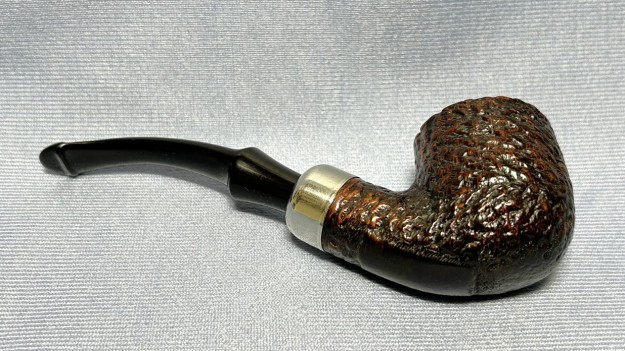
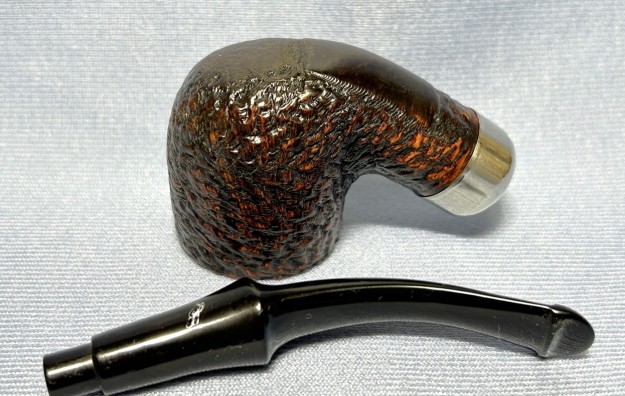
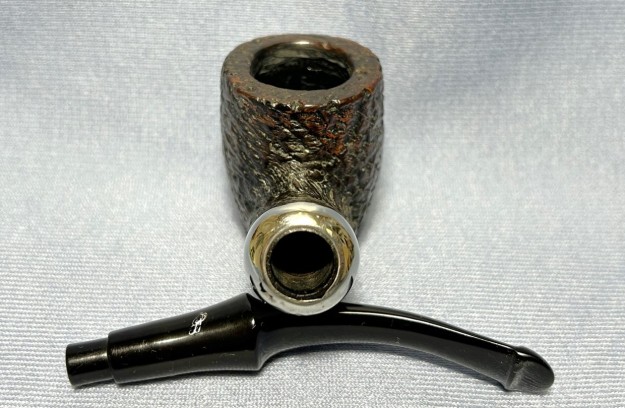
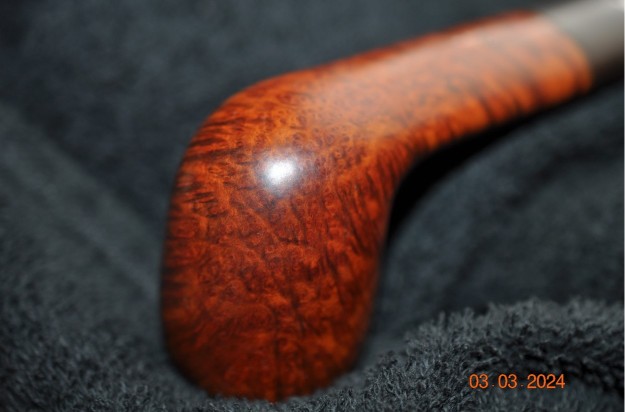
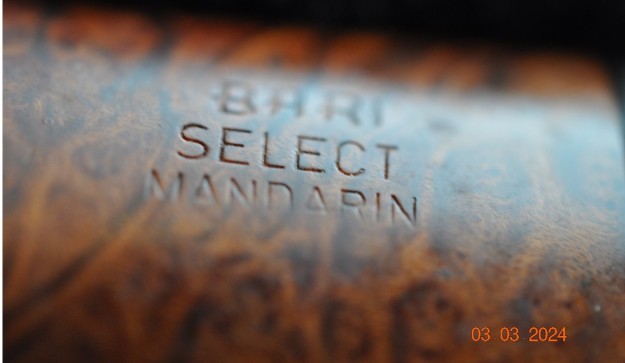
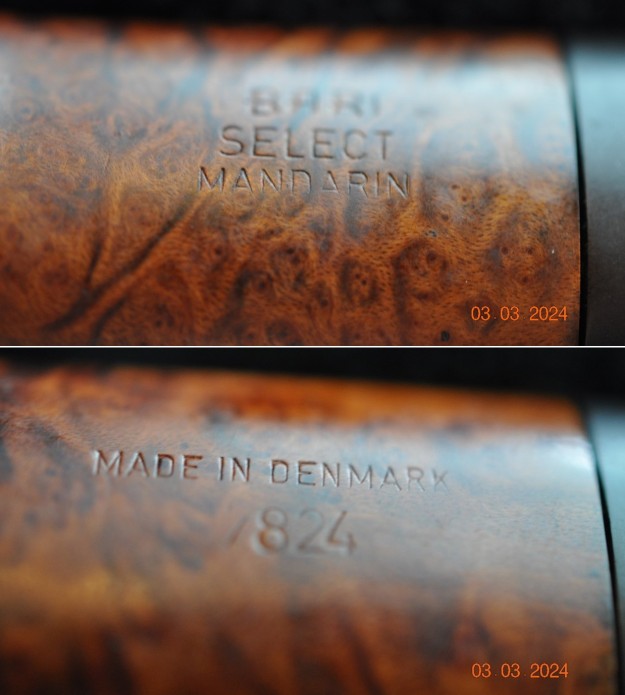
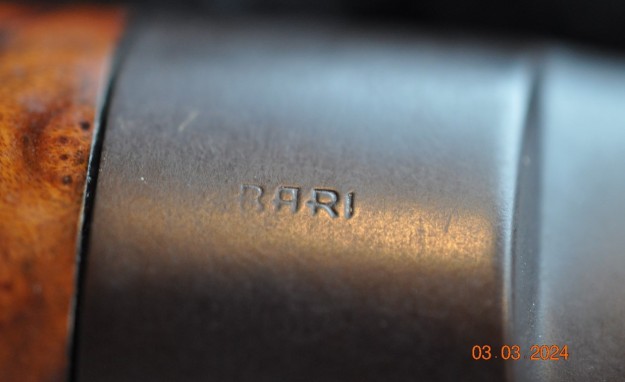
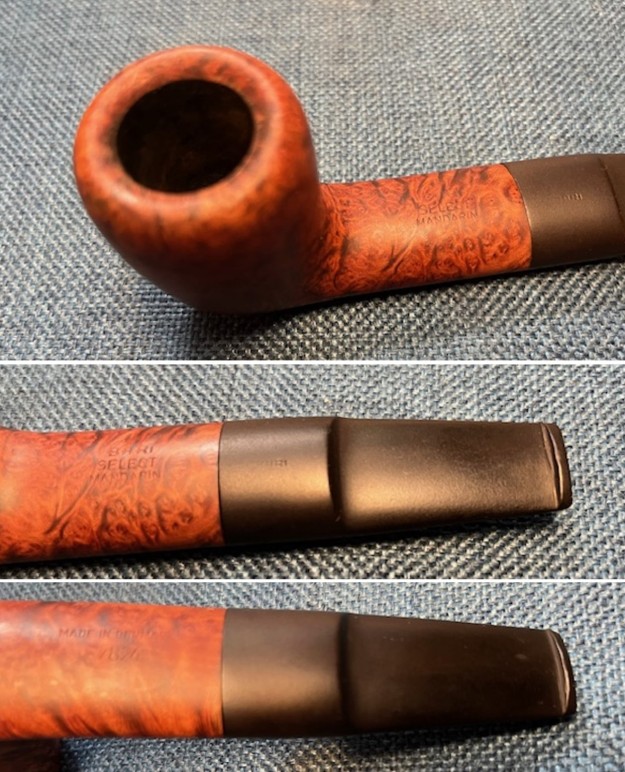
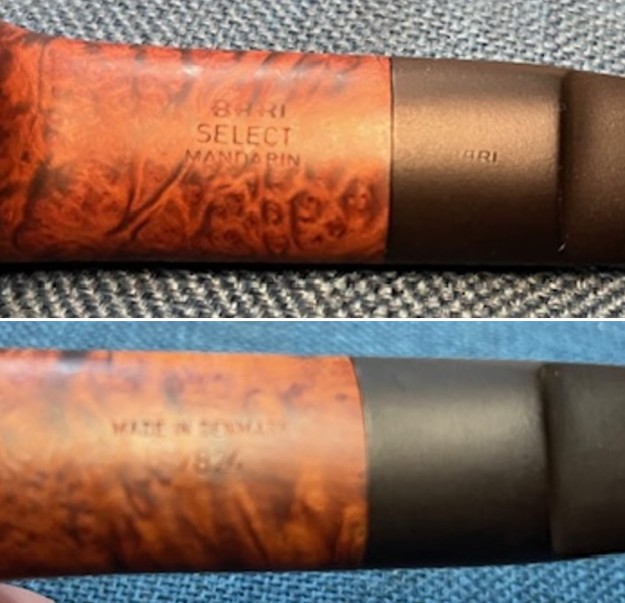
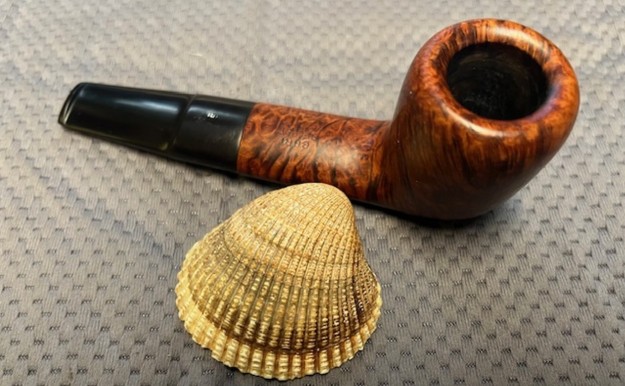
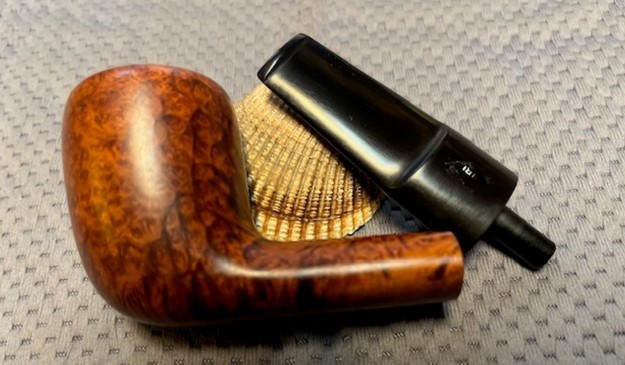
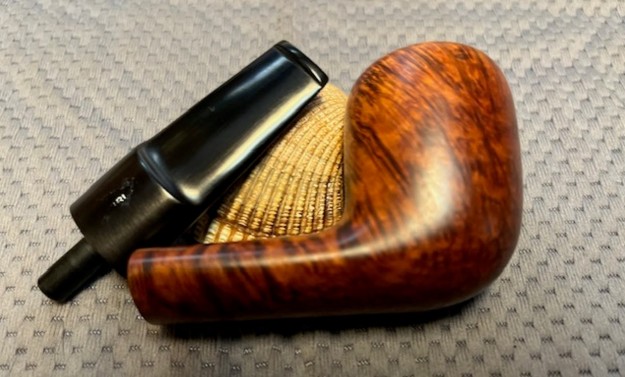
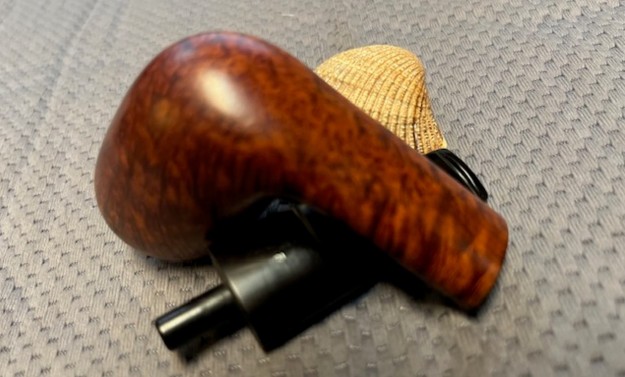
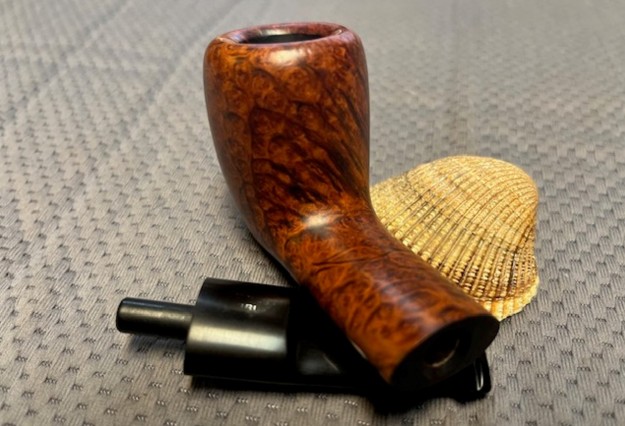
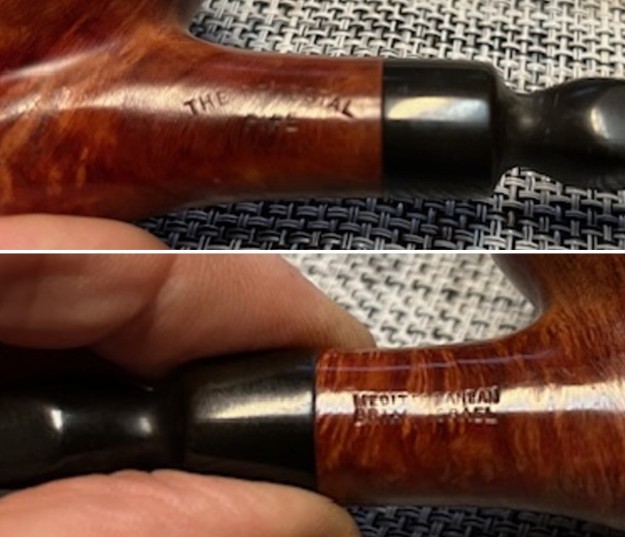
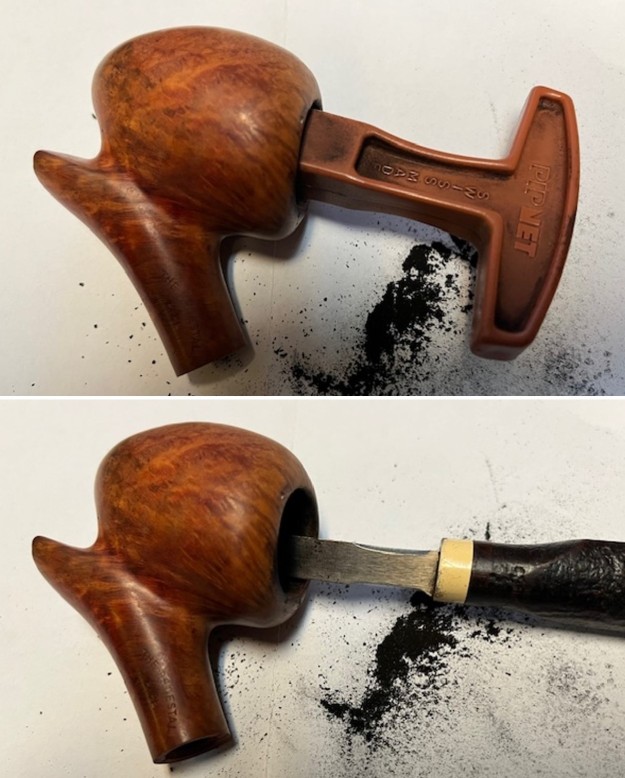
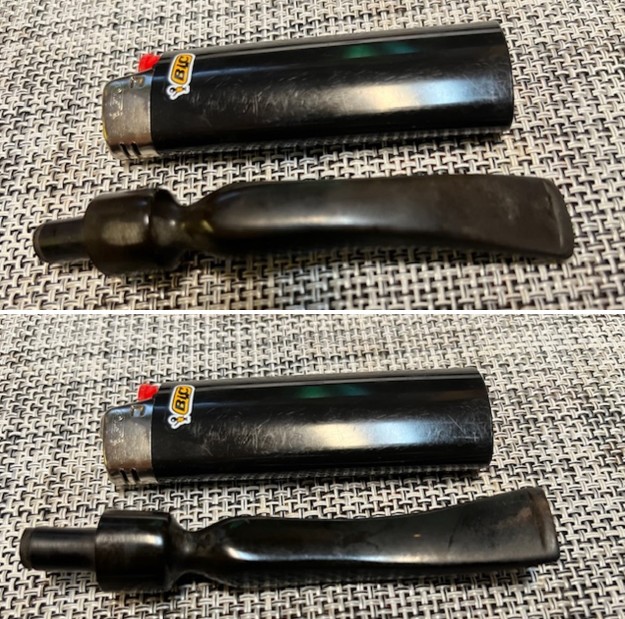
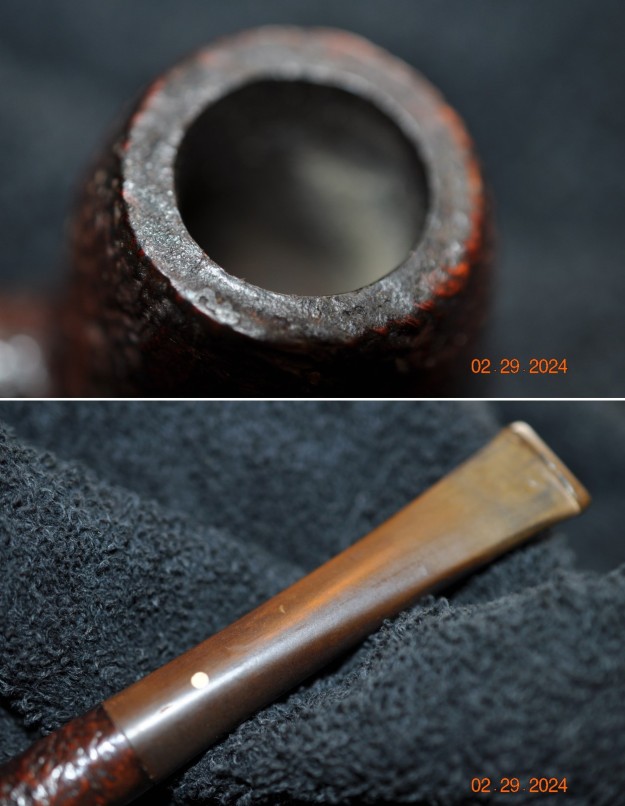
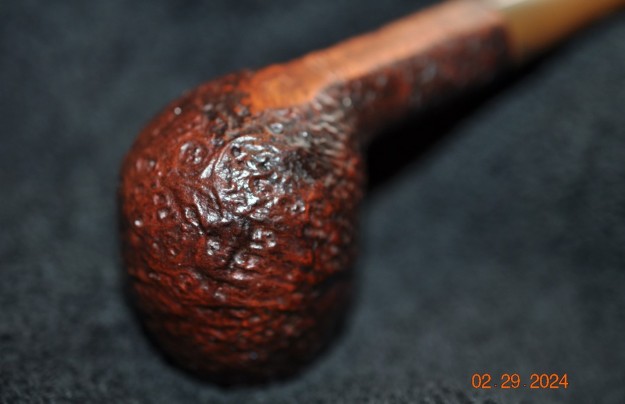
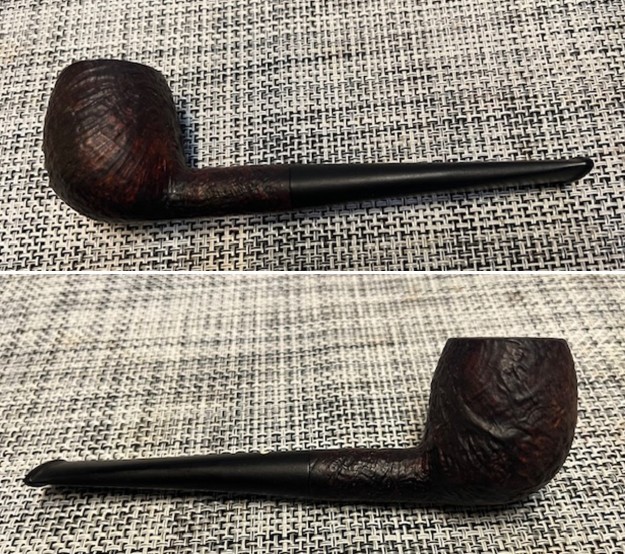
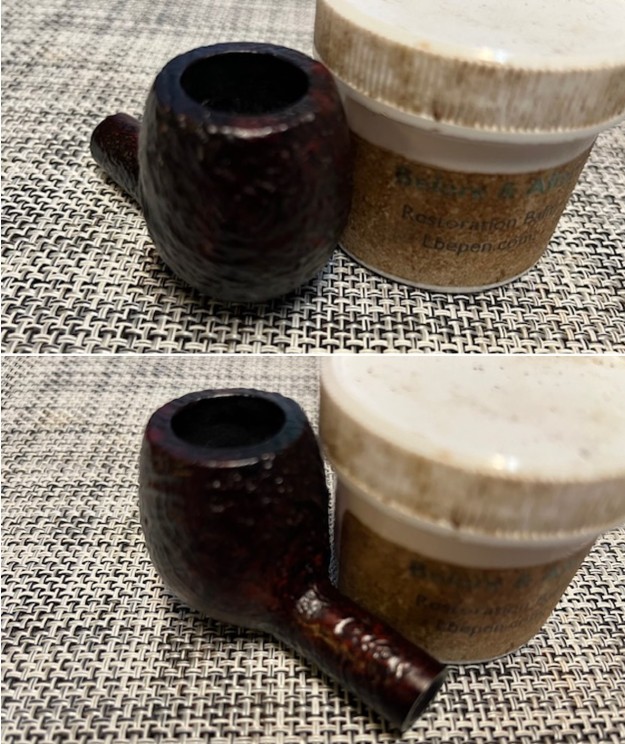
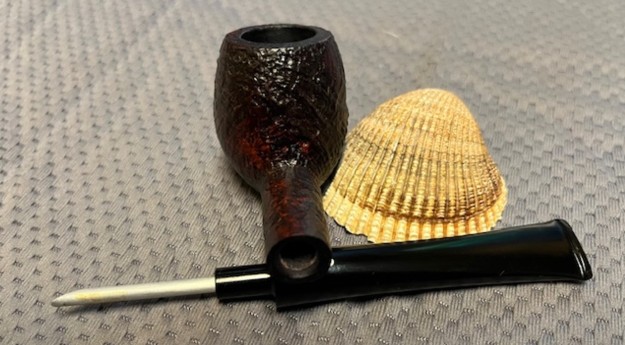
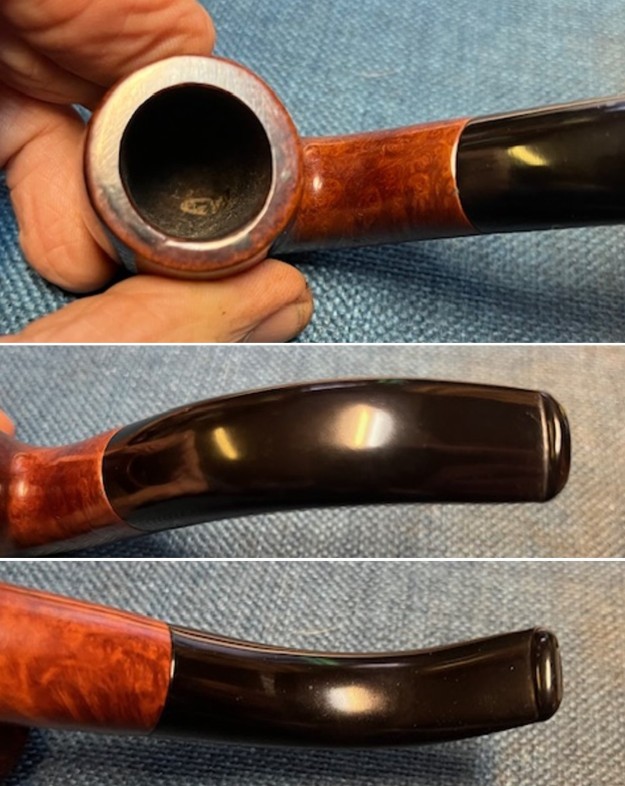 I took a photo to show the stamping on the left side of the shank. It is readable and I think there is also some stamping underneath what is present. I took a photo of the right side as well to see if anything showed up in the photo. It did not show anything on the right side. It has some great grain on the bowl and shank and the rounding at the shank and stem joint. I took the stem off and took a photo of the pipe to show its condition.
 I turned to Pipephil’s site to see what I could learn about the Barclay-Rex brand and particularly the sandblast one I was working on (http://pipephil.eu/logos/en/logo-b1.html). I have included a screen capture of the information that is shown there.
 I quote from the sidebar on the site below as it gives a good summary of information.
Brand created in 1910. The shop was situated on Maiden Lane. Three addresses now (2010): 75 Broad Street, 70 East 42nd Street, 570 Lexington Avenue. See also: André
I turned to Pipedia to try and place this pipe in the timeline of the brand and was able find some helpful information which I have included below (https://pipedia.org/wiki/Barclay_Rex). I quote the information below.
Barclay-Rex, a downtown Manhattan tobacconist, was founded in 1910 by Vincent Nastri, a pipemaker from Salerno, Italy. The store was originally located at Barclay and Church Street, and the name was taken from that location and Nastri’s beloved Great Dane, Rex. The business is still run by Vincent Nastri, III and owned by Vincent Nastri, Jr. They have several locations in New York City. The store has carried pipes from all fine makers, and the Barclay-Rex line of pipes is also much sought after, in that pipes were made in a range from the very inexpensive into the several hundreds of dollars. The pipes were, at least into the 1960’s, made of Algerian briar.
In addition to pipes made by Mr. Nastri over the years, Mr. Nastri, III, has been quoted as stating that a pipemaker just leaving Dunhill made pipes with a small off-white dot on the stem for a time for the shop. As was discovered by Steve Laug of Reborn Pipes, they were evidently made by a pipemaker whose initials were HGP, and stamped on the pipe as such. These pipes were made for a single run only, and then never made again.
In addition, Sasieni at least for a time made private label pipes stamped with the Barclay-Rex name, but with their own shapes and shape numbers.
Locations: (Flagship Store) 75 Broad Street, New York, New York 10004 Telephone: (212) 962-3355
70 East 42nd Street, New York, New York 10165 Telephone: (212) 692-9680
570 Lexington Avenue, New York, New York 10022 Telephone: (212) 888-1015
Email: info@barclayrex.com Website: http://www.barclayrex.com Toll Free: (888) 278-6222 Fax: (212) 962-3372
With the information from Pipedia I knew that I was working on a pipe from the Barclay-Rex Tobacconist in New York City. The fellow I bought it from had no background information on the pipe. I was unable to pin down the date this pipe was made. Now it was time to work on the pipe.
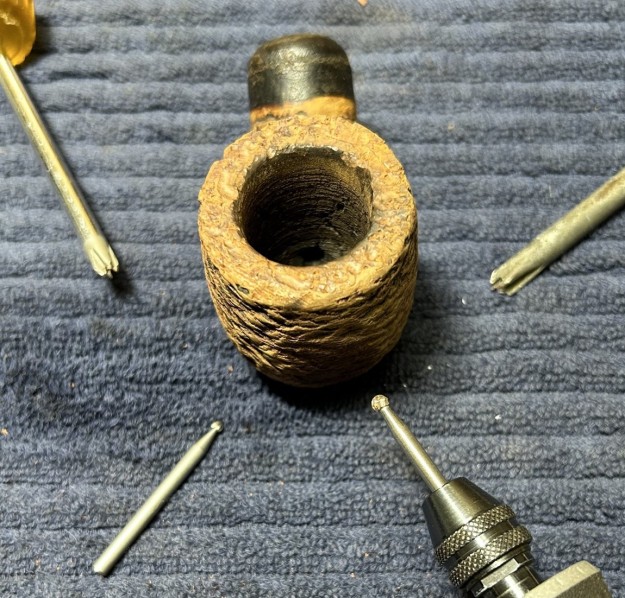
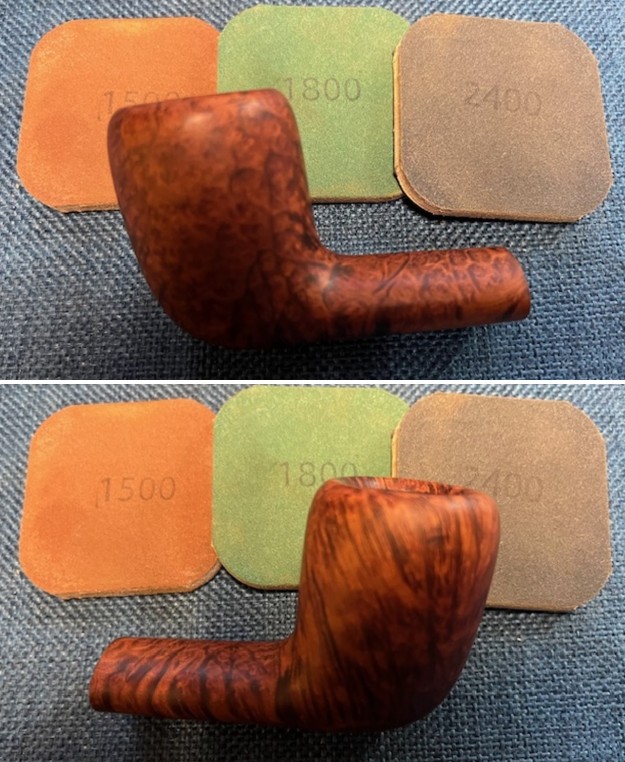
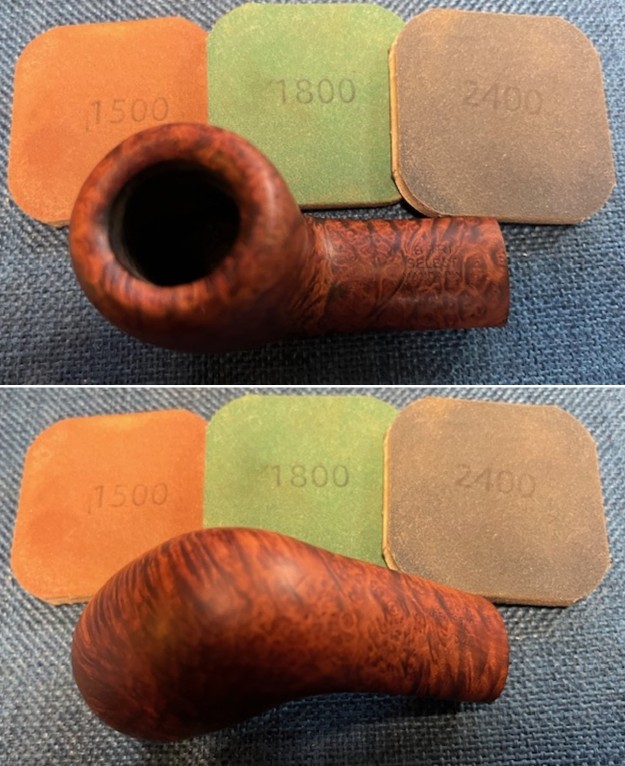
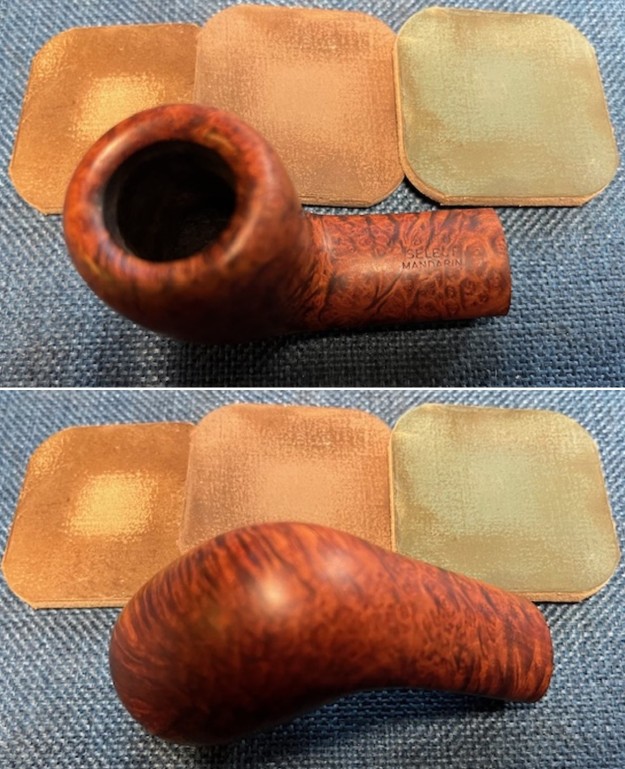
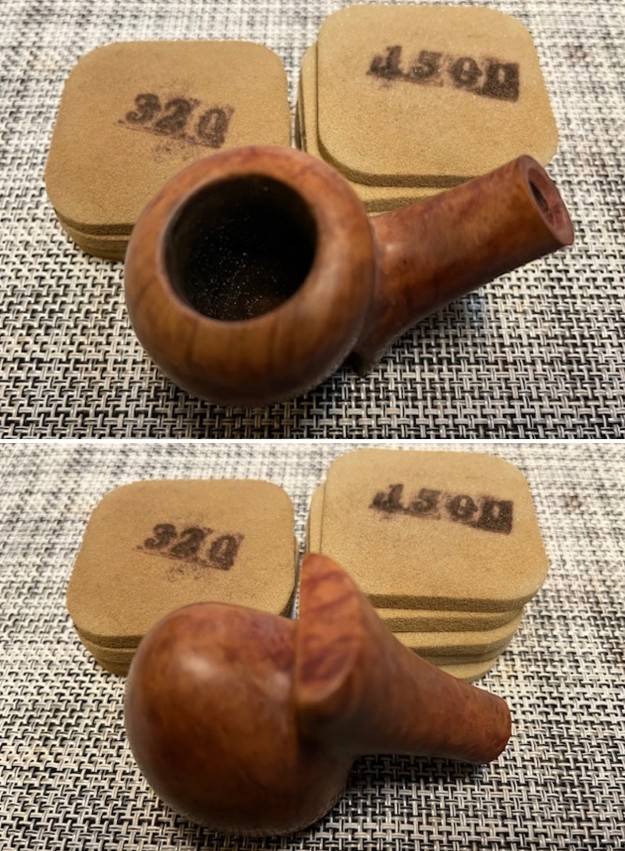
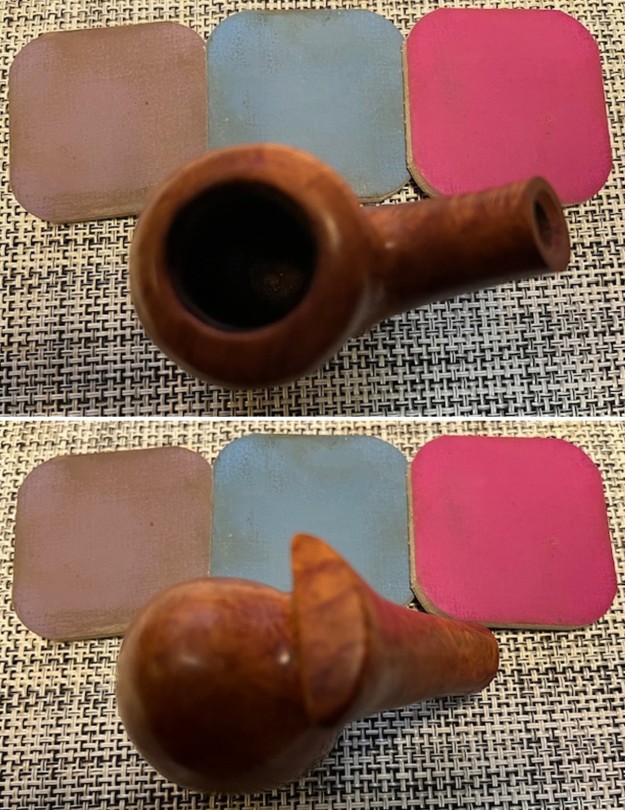
I started my work on the pipe by addressing the spots of lava on the rim top and the damage on the inner edges of the bowl. I used a folded piece of 220 grit sandpaper to work over the inner and outer edge to smooth out the damage. 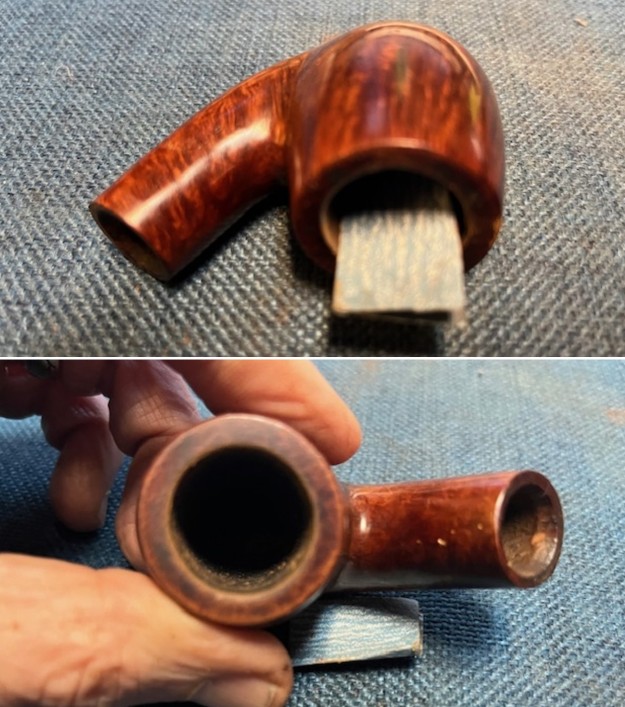 I polished the rim top with 1500-12000 grit micromesh sanding pad – dray sanding to remove the darkening and remaining lava on the rim top as well.
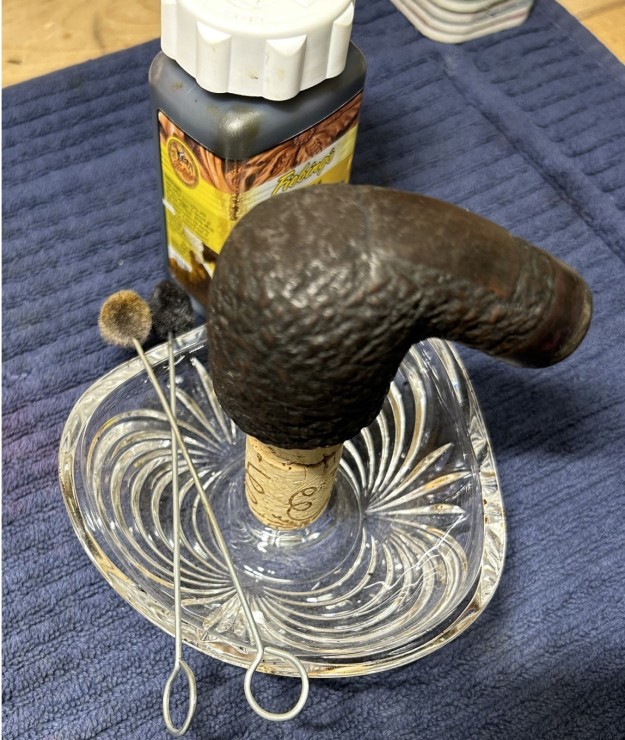
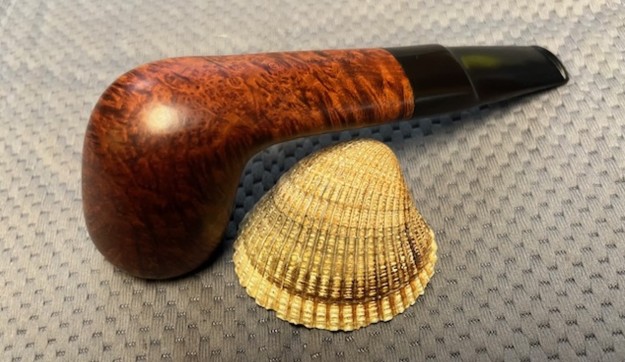
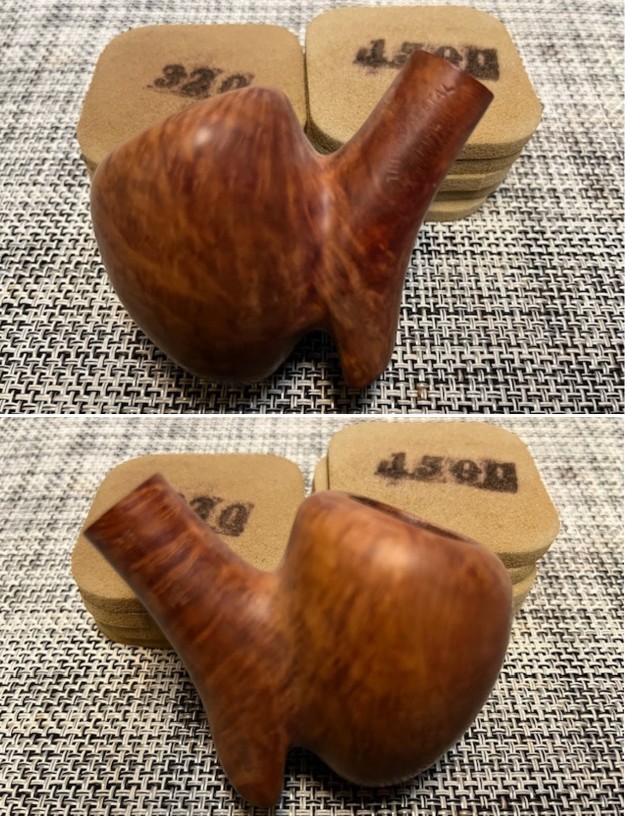
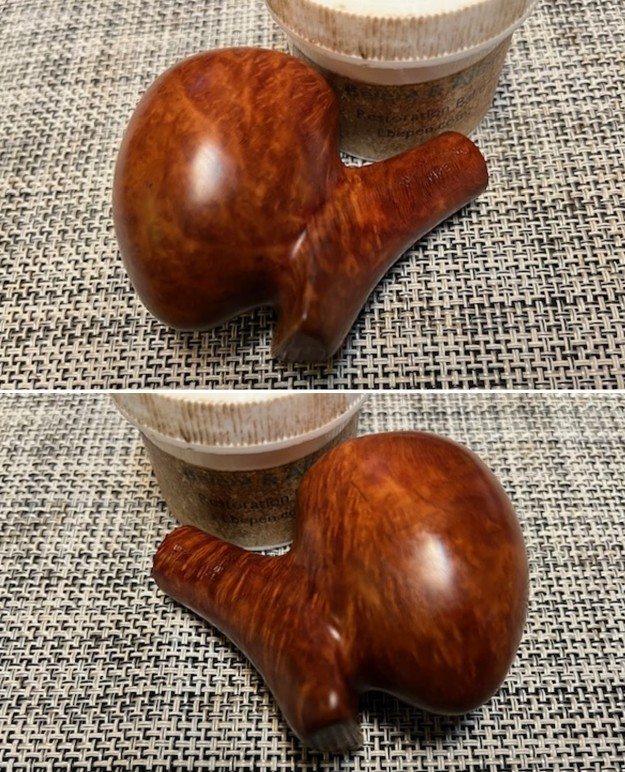
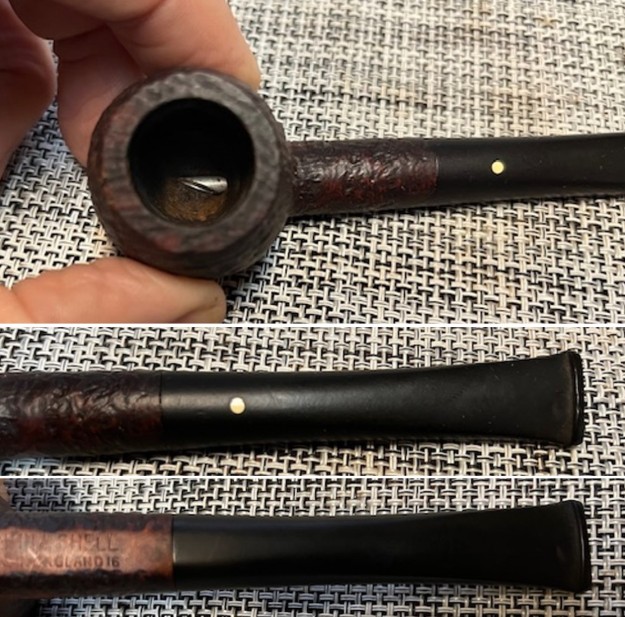
 I worked some Before & After Restoration Balm into the finish of the bowl, rim top and shank with my fingertips to clean, enliven and protect it. I find that the balm really makes the briar come alive again. The contrasts in the layers of stain really made the grain stand out. I let the balm sit for 15 minutes and then buffed with a cotton cloth to raise the shine. The bowl really looks good at this point.

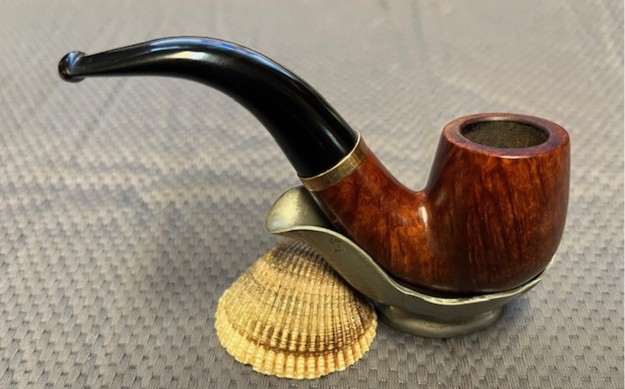
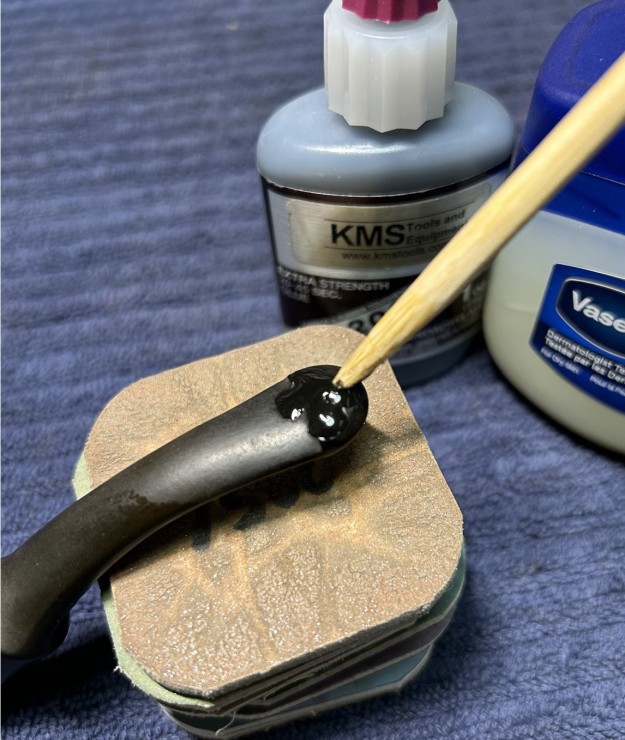
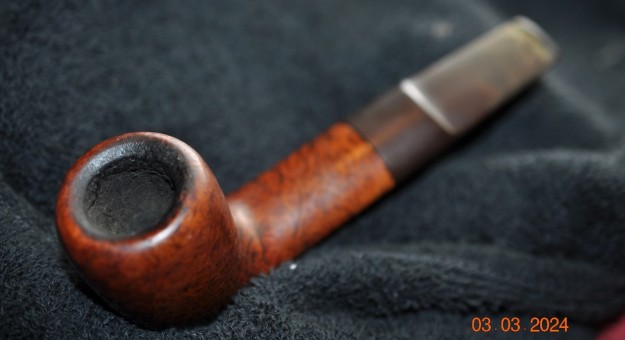
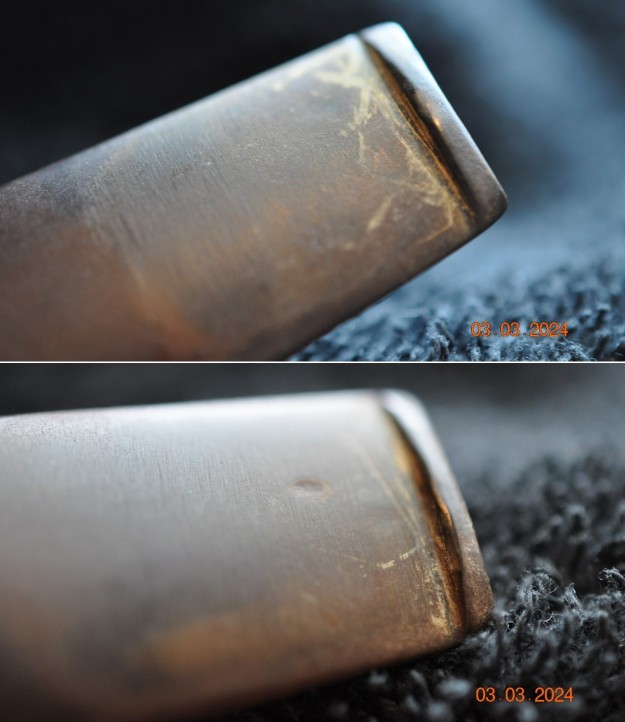
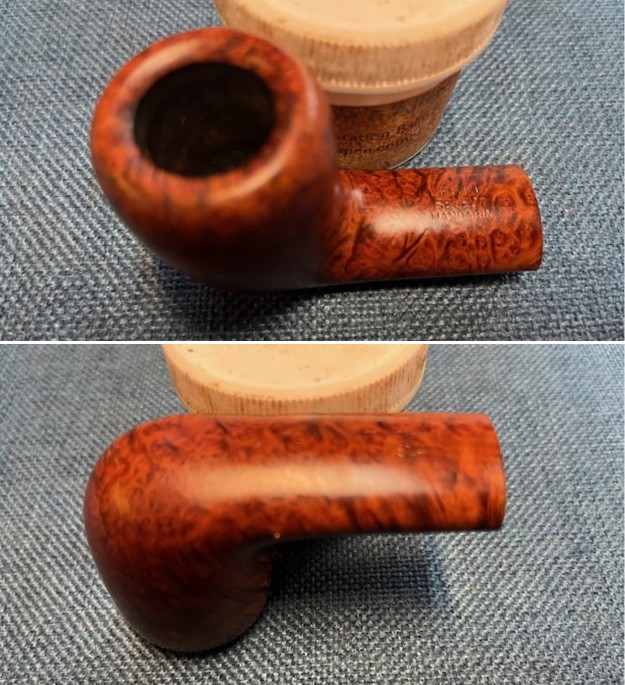
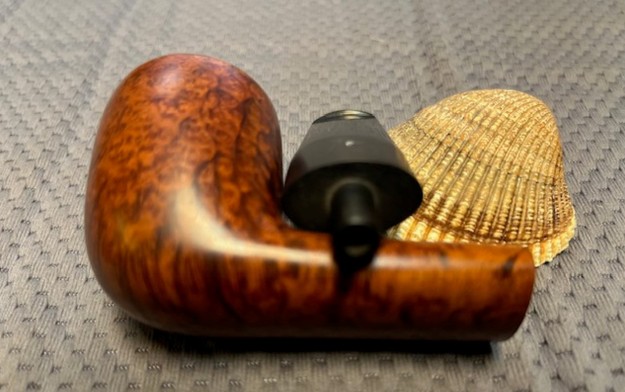
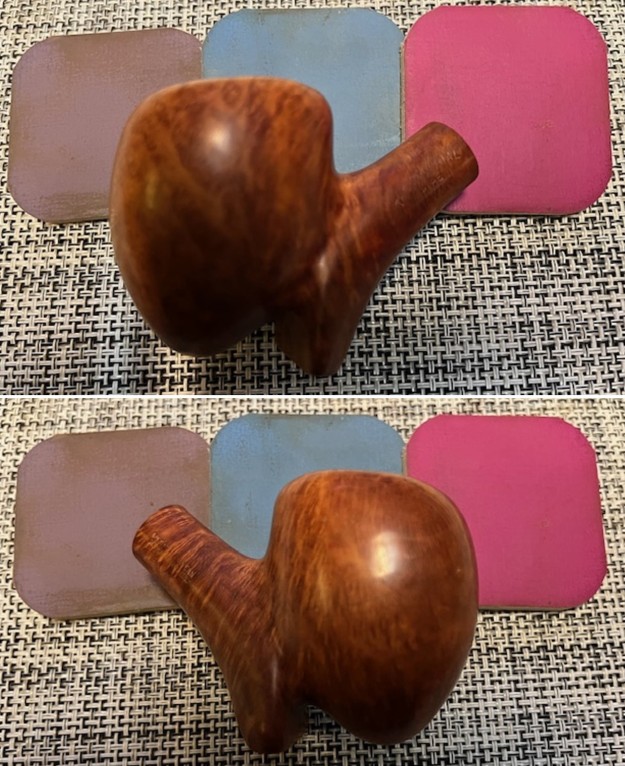
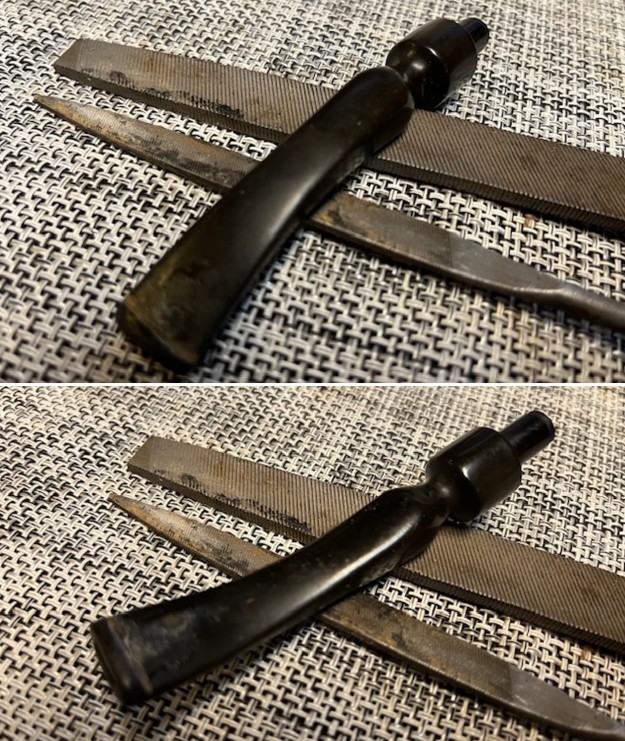
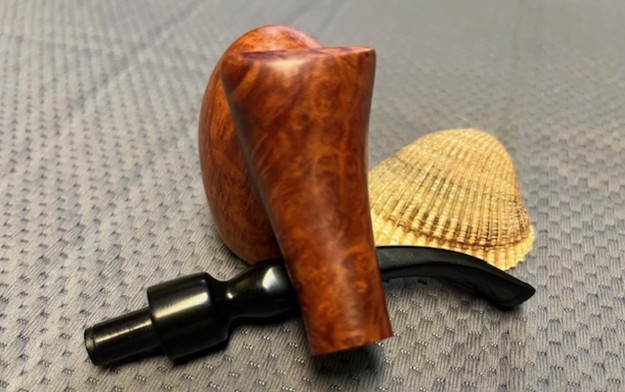
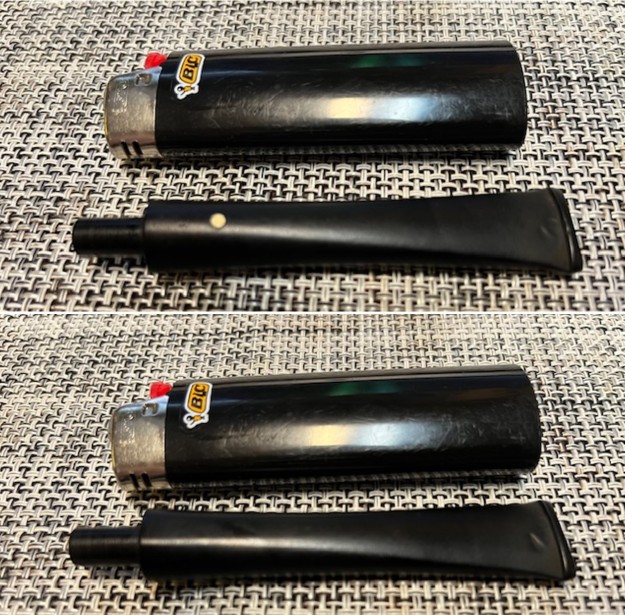
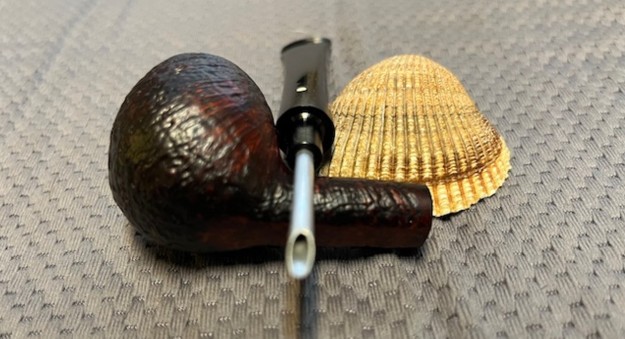
 I spent some time studying the shank/stem junction to see the edges looked. I could see them on both the stem edge and the shank edge. The internal of the shank There as no way to square the shank end to be a smooth transition because of the rounded edges. The top edge of the shank is quite thin so there is no room for smoothing it out. With those issues in mind I chose to band it with a thin brass band to square up the shank edge. The photos of the shank end show the rounding but it worse in person than shown in the photos. I heated the band and pressed it onto the shank end. I took photos of the shank end before and after the banding.


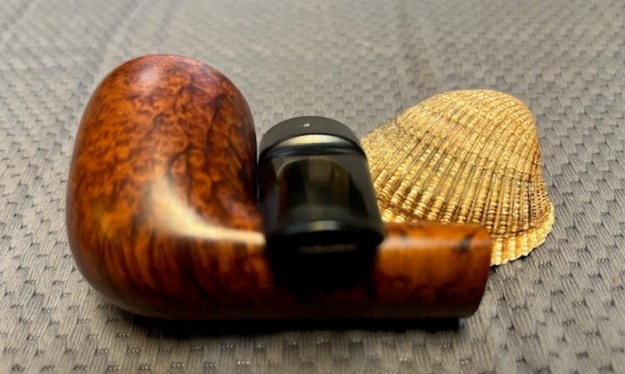
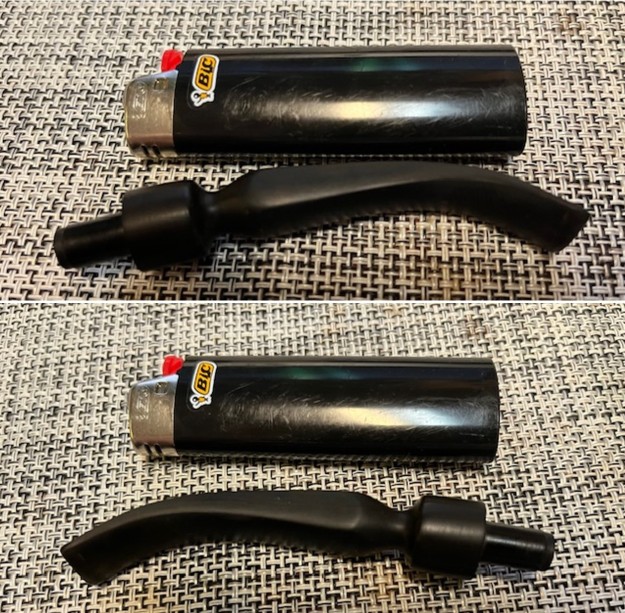
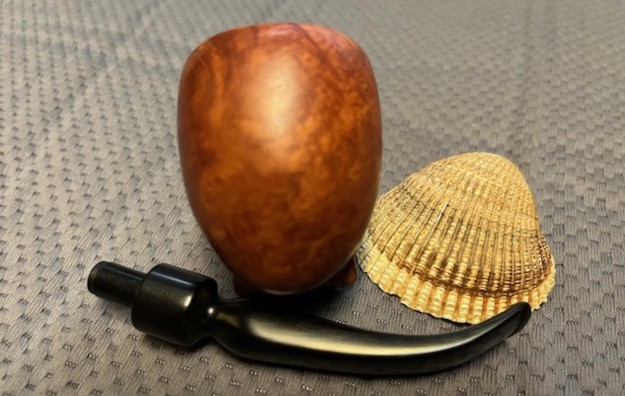
 I put the stem on the shank and took a photo of the pipe with the band in place. I like the look of it as it adds a nice touch of bling.
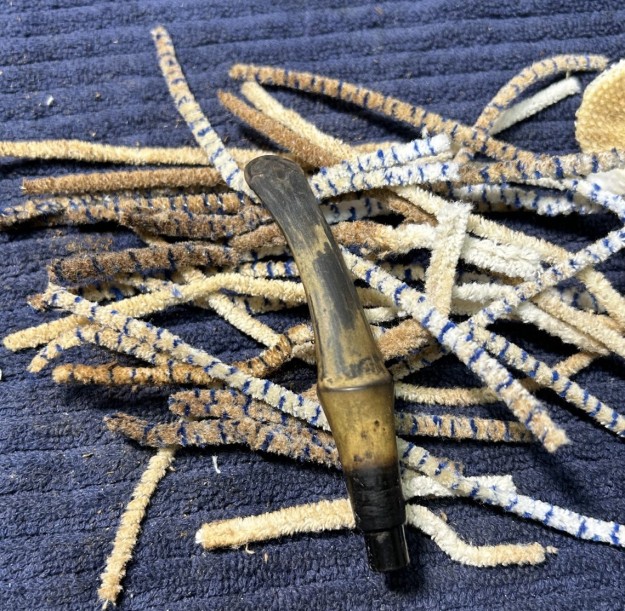
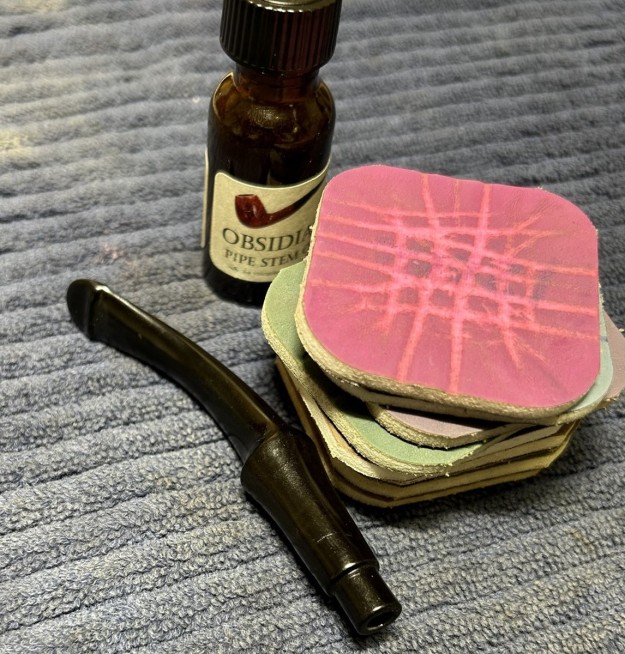
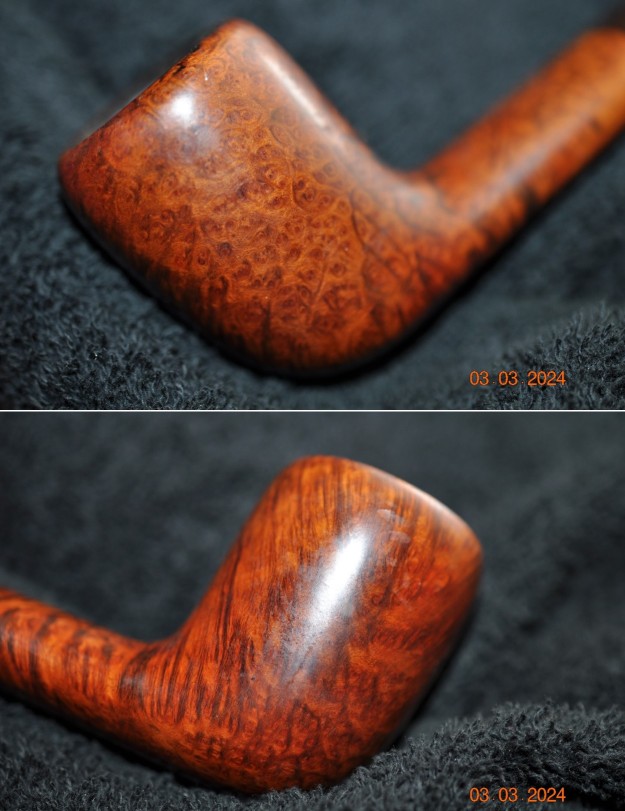
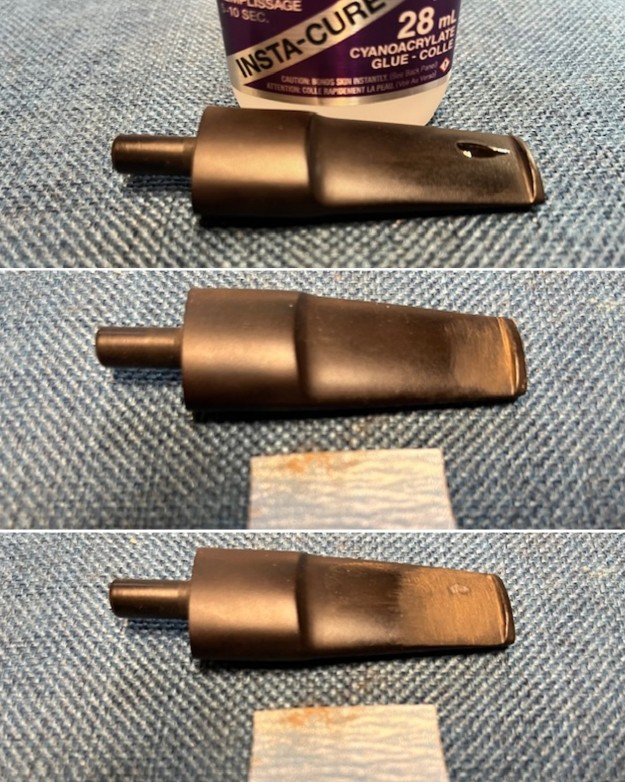
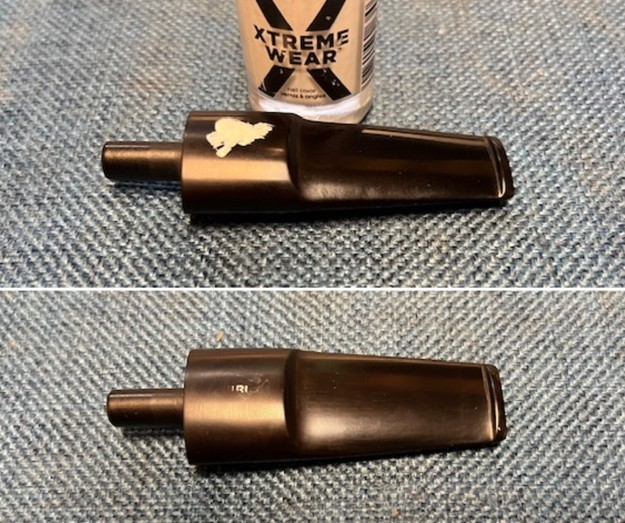
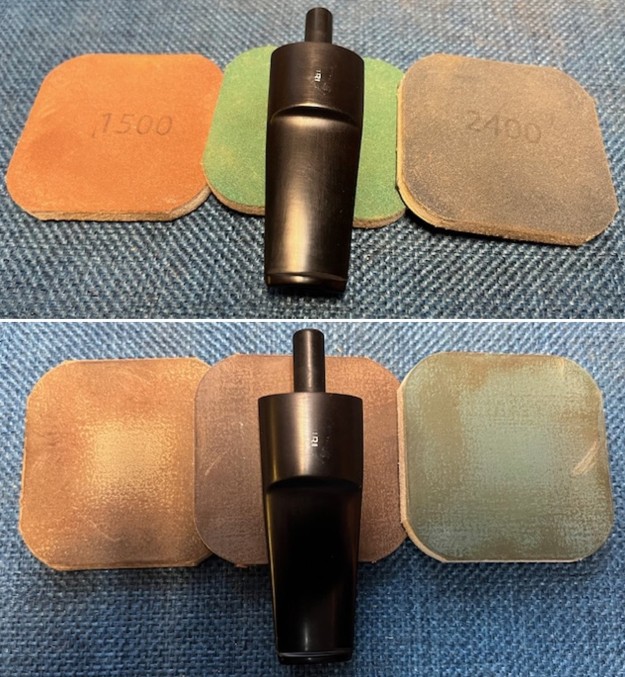
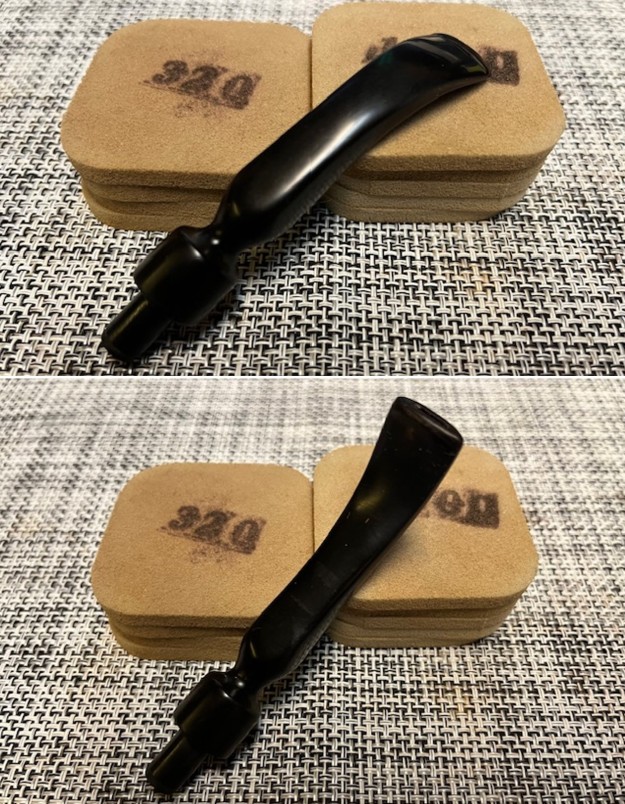
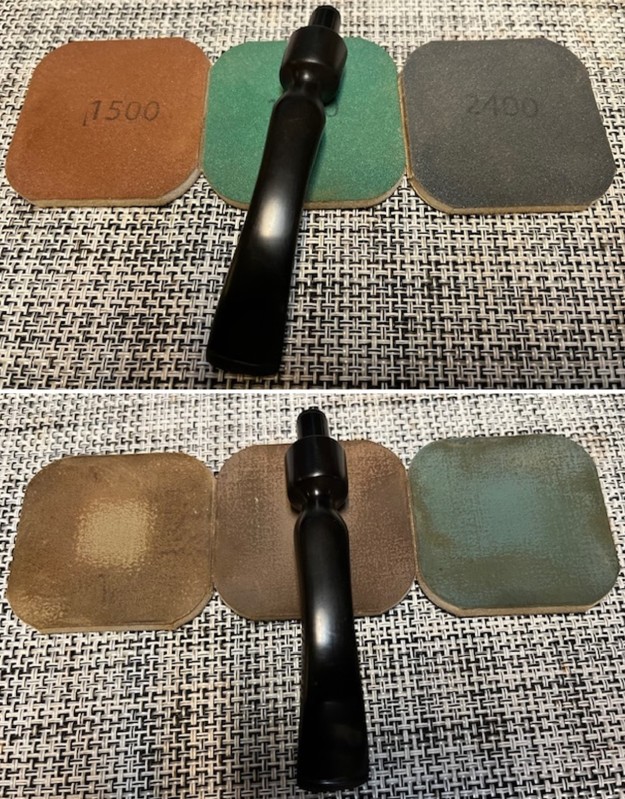
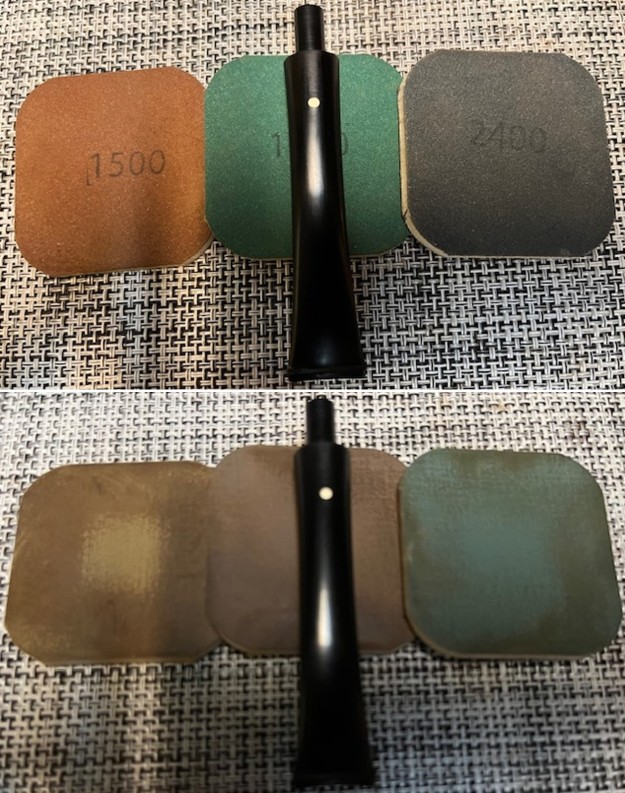
 I set the bowl aside and worked over the tooth marks against the button edge with a folded piece of 220 grit sandpaper to blend them in the rest of the stem surface. Once it was finished the tooth marks were gone. I needed to polish the sanding marks out with micromesh sanding pads.
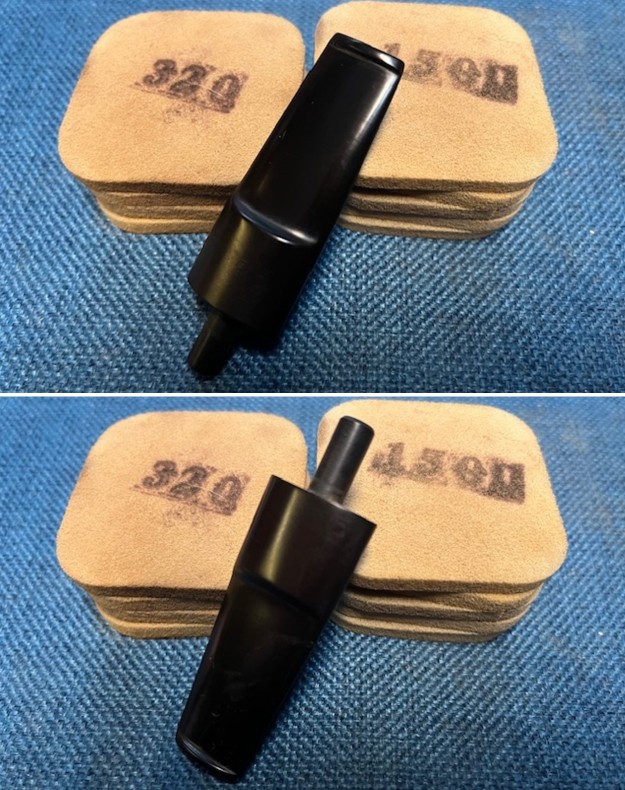
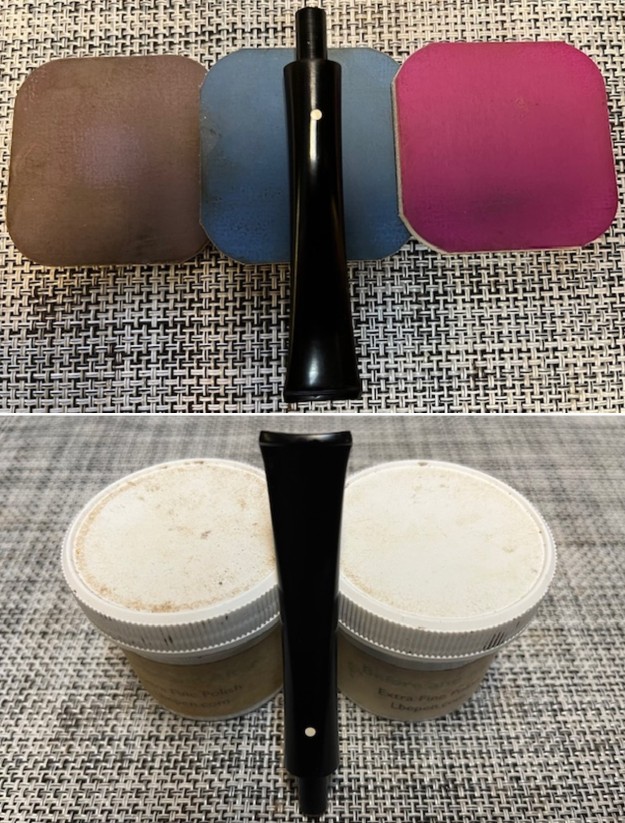
 I polished the stem with micromesh sanding pads – dry sanding with 1500-12000 grit sanding pads. I wiped it down after each sanding pad with Obsidian Oil. I polished it with Before & After Pipe Stem Polish – both Fine and Extra Fine. I gave it a final coat of Obsidian Oil.
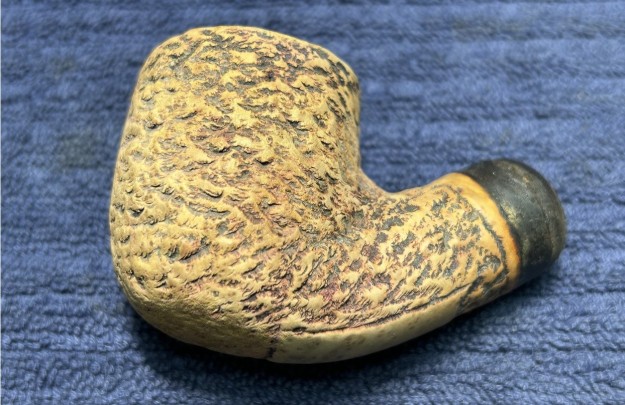
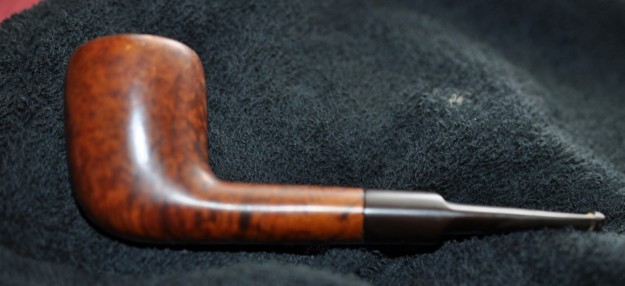
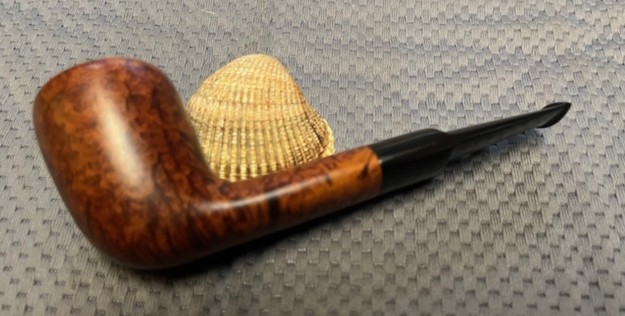
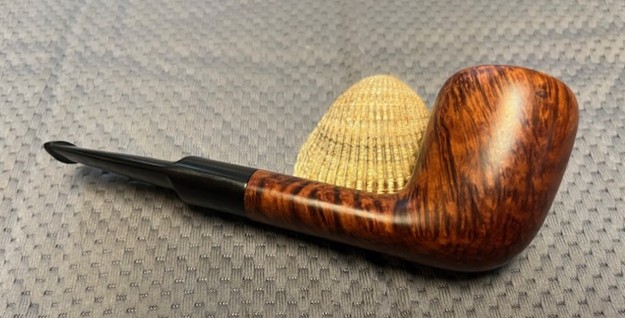
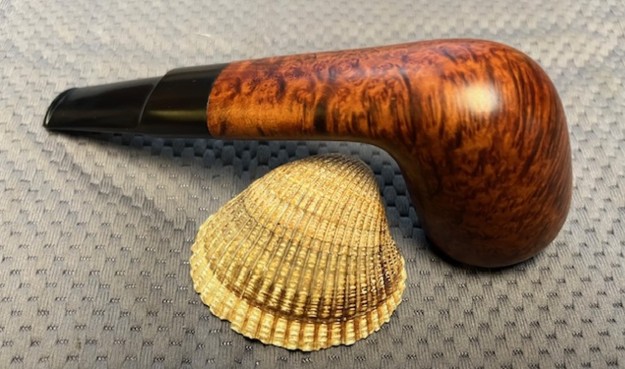
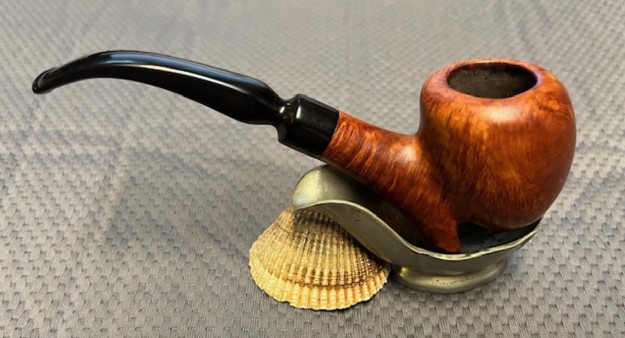
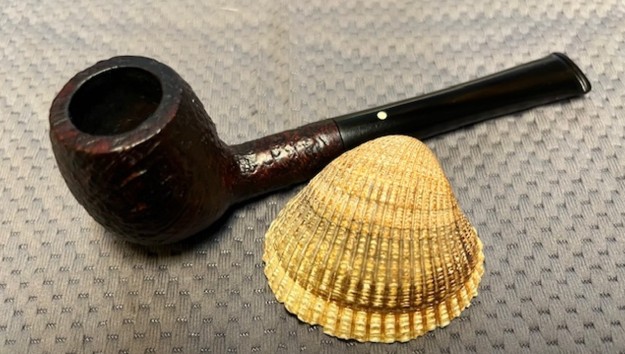
 With the bowl and the stem finished I put the beautiful Barclay-Rex New York Bent Billiard back together and buffed it on the wheel using Blue Diamond to give it a shine. I gave the bowl and the stem multiple coats of carnauba wax on the wheel. I buffed it with a clean buffing pad to raise the shine. I hand buffed it with a microfiber cloth to deepen the shine. It really is a great looking pipe. The dimensions of the pipe are – Length: 6 inches, Height: 1 ½ inches, Outside diameter of the bowl: 1 ½ inches, Chamber diameter: 1 inch. The weight of this large pipe is 1.34 ounces /38 grams. This Barclay-Rex Bent Billiard is another great looking pipe and the brass brought the junction back to square. It is much more beautiful in person than these photos can capture. I will be putting it on the rebornpipes store soon. If you would like to add it to your collection let me know. This is another pipe that has the possibility of transporting the pipe man or woman back to a slower paced time in history where you can enjoy a respite. Thanks for walking through the restoration with me.