Blog by Paresh Deshpande
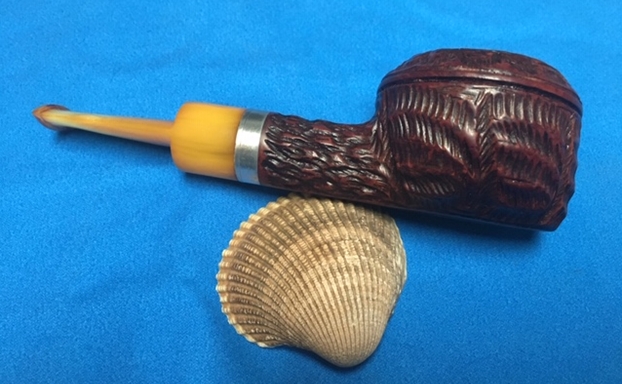
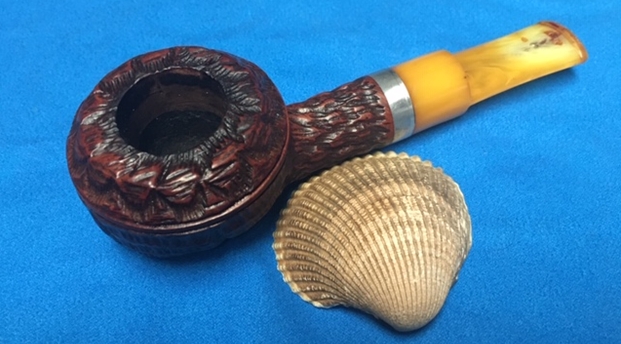
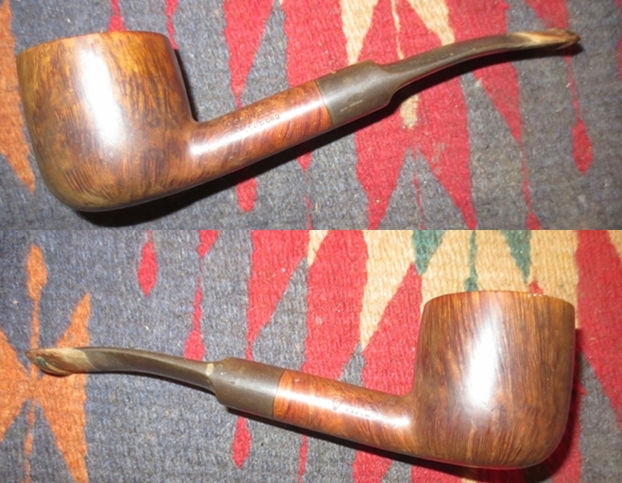
It’s been two months since I had worked on a free hand pipe that was made in Denmark, the last being a “Soren” sitter. The next pipe that I decided to work on from my grandfather’s collection is again a “SOREN”, but this pipe is a monster sized Pick Axe with a humongous bowl!!
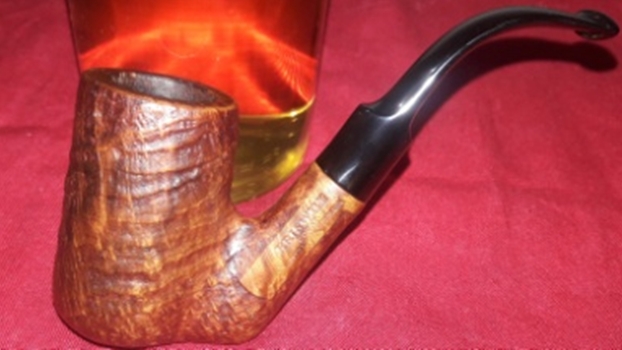
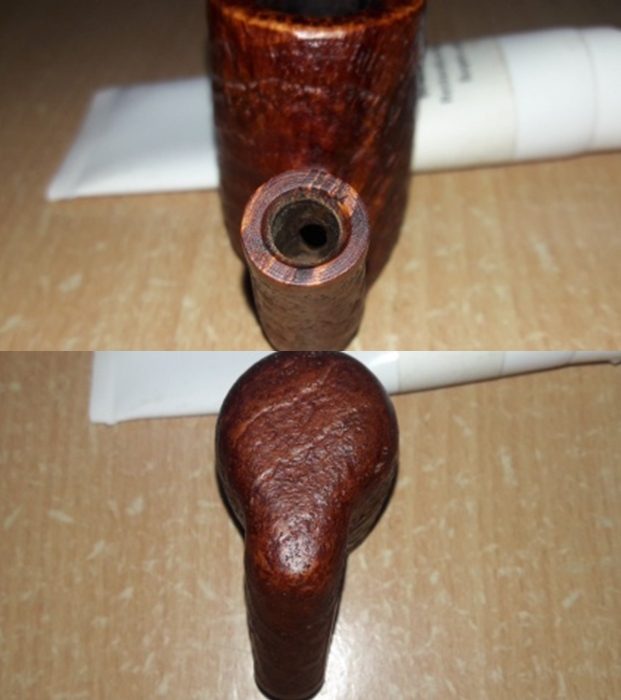
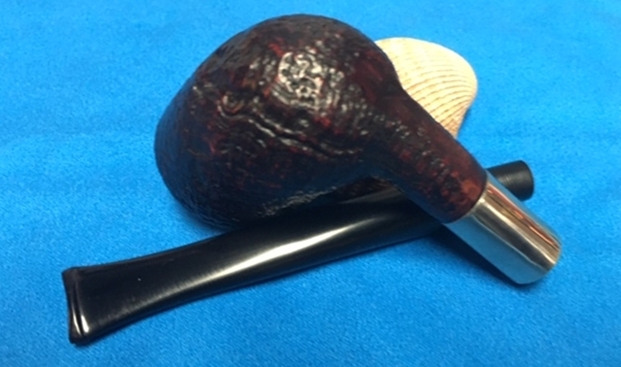
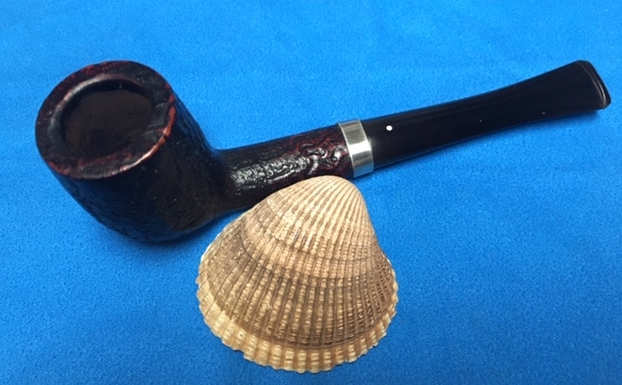
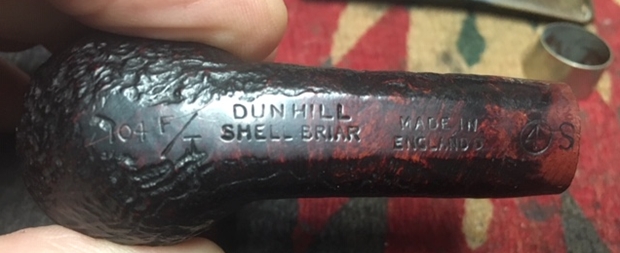
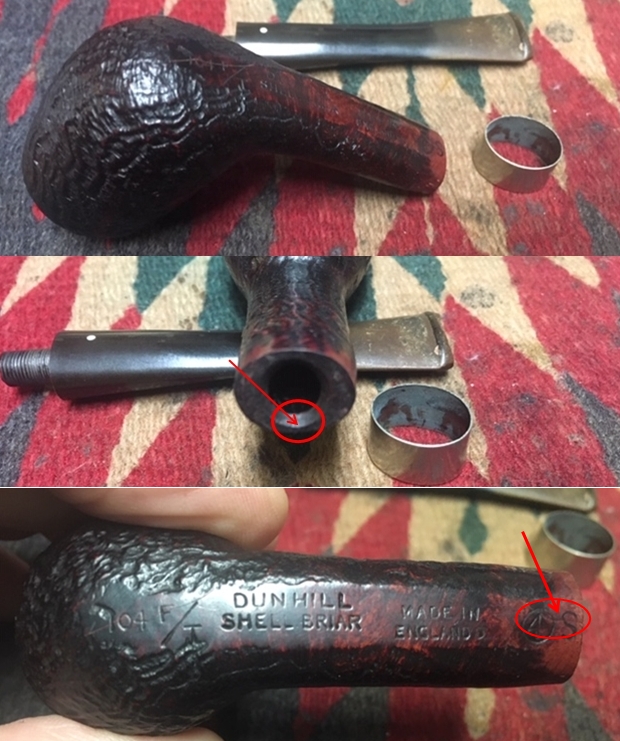
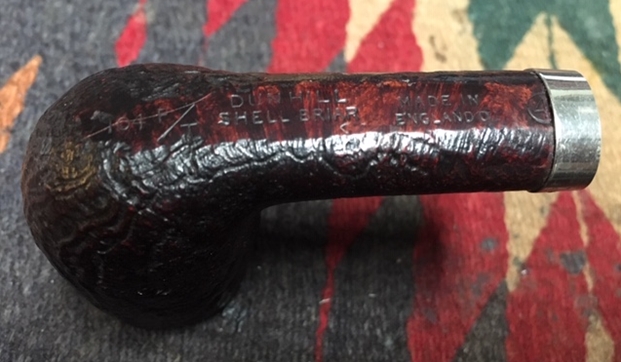
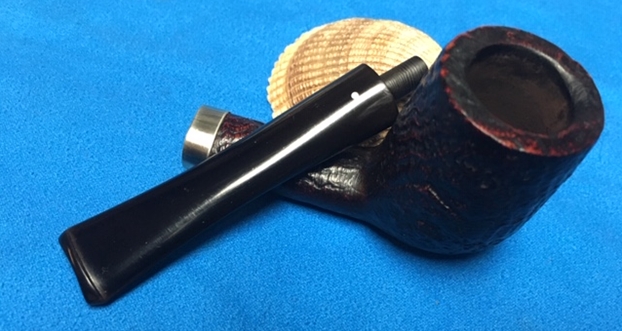
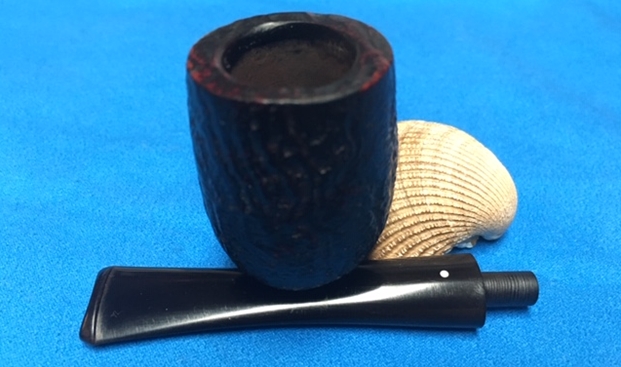
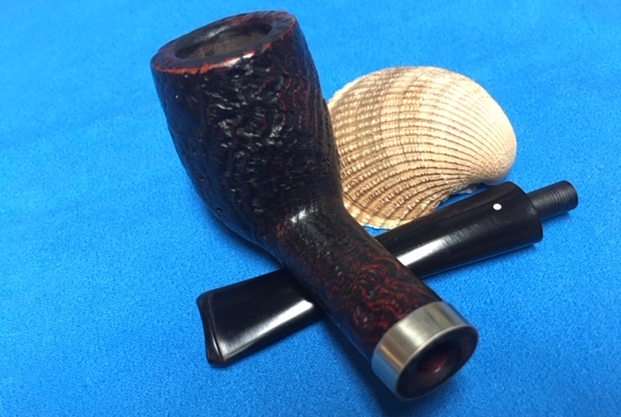
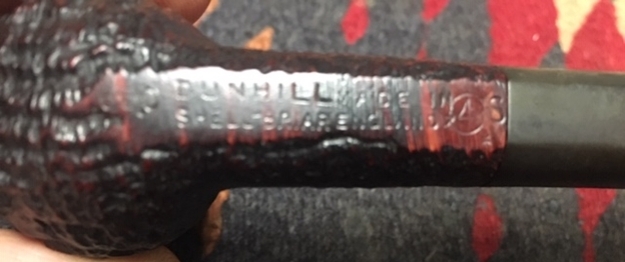
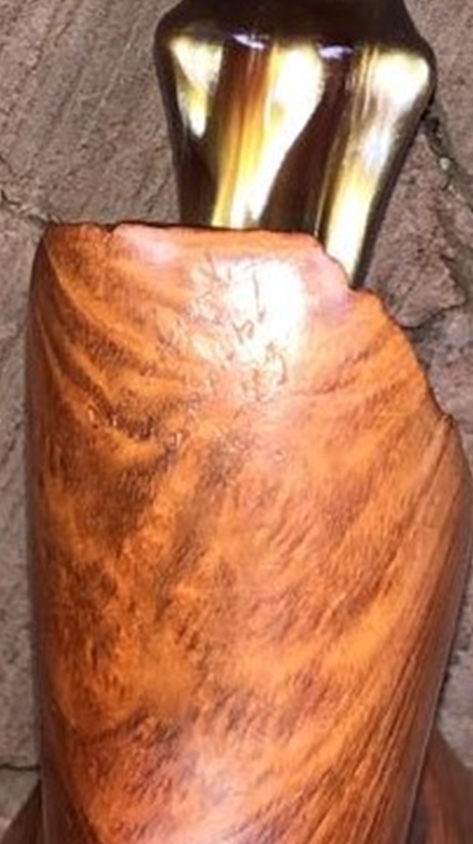
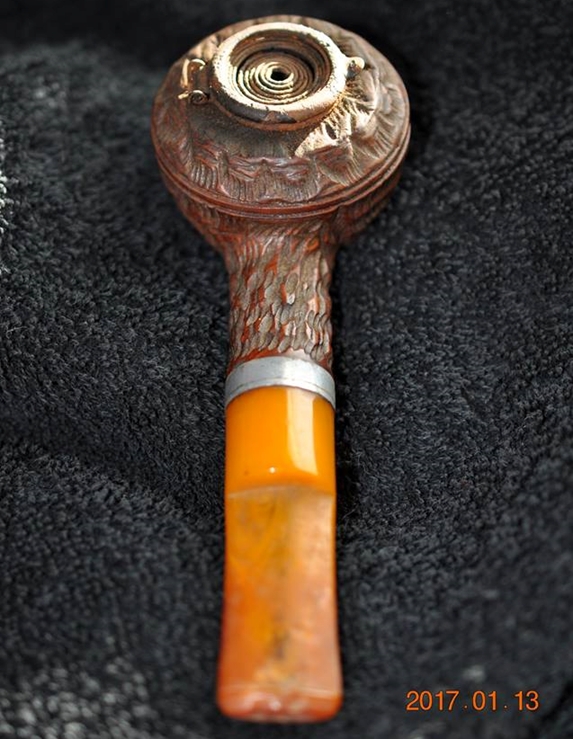
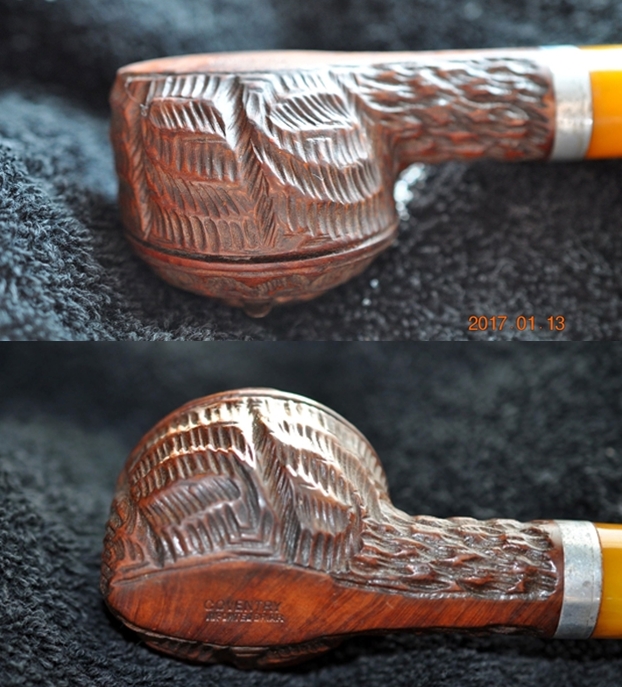
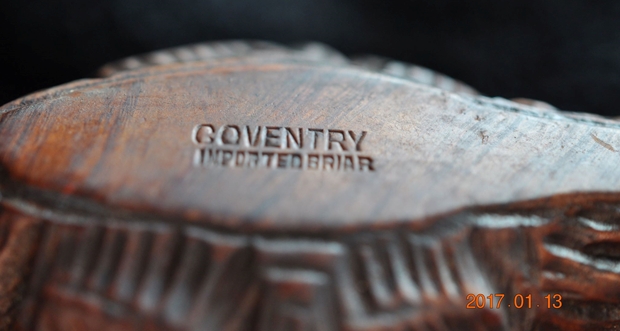
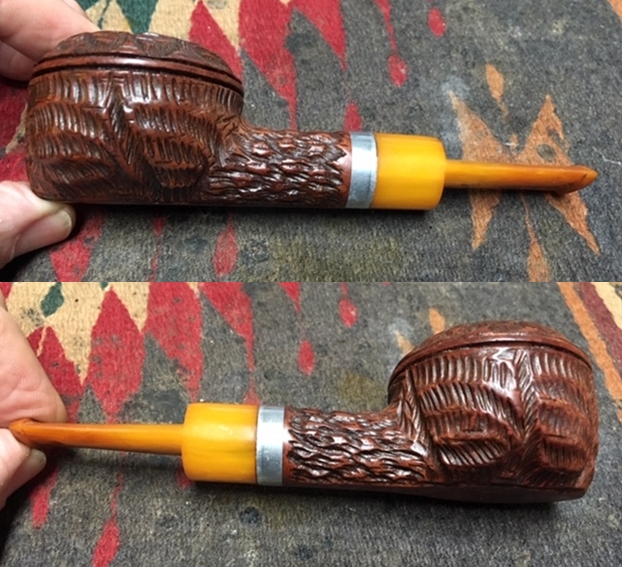
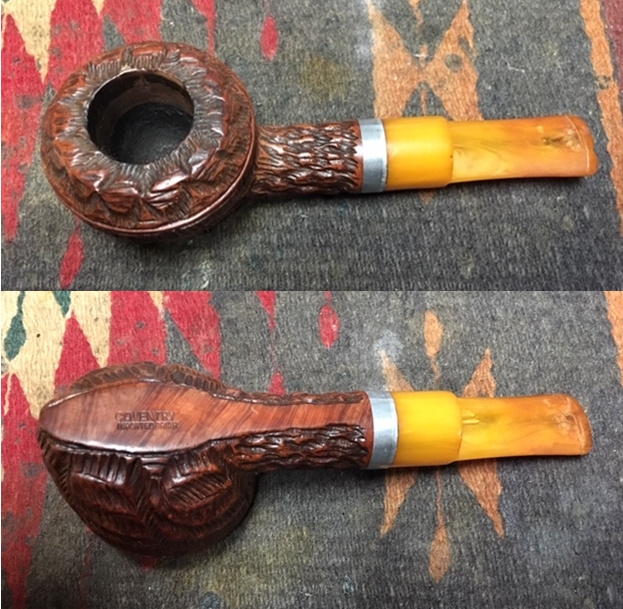
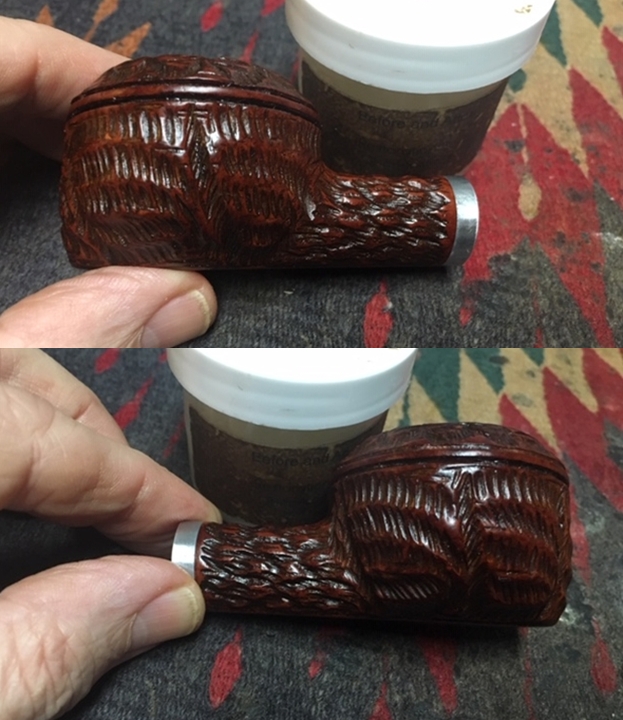
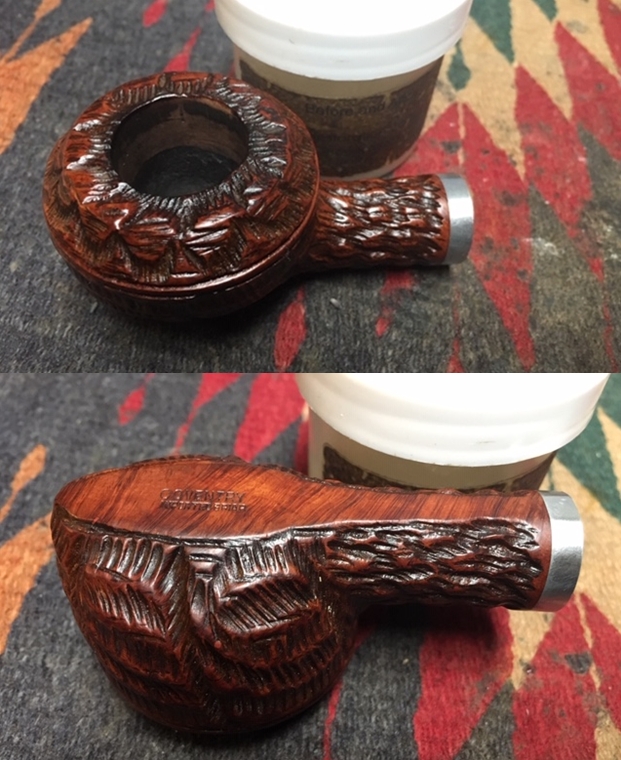
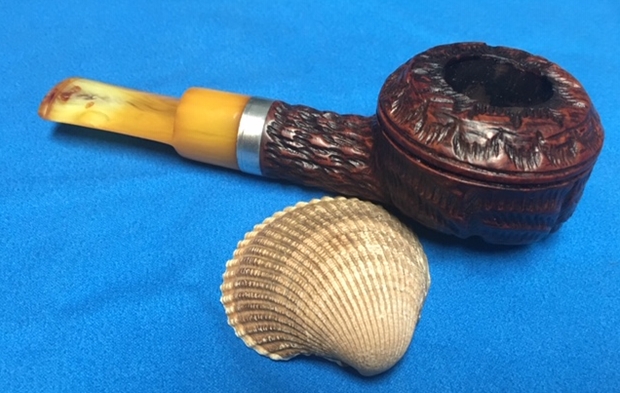
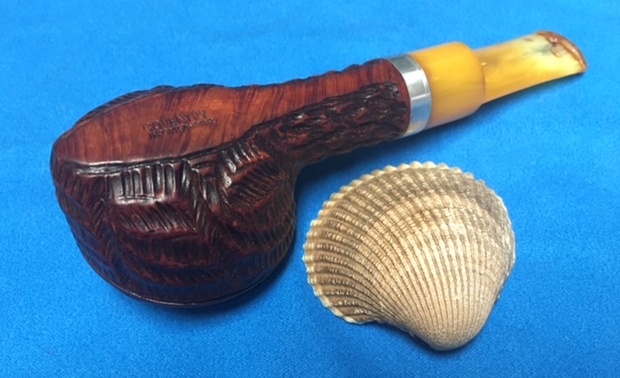
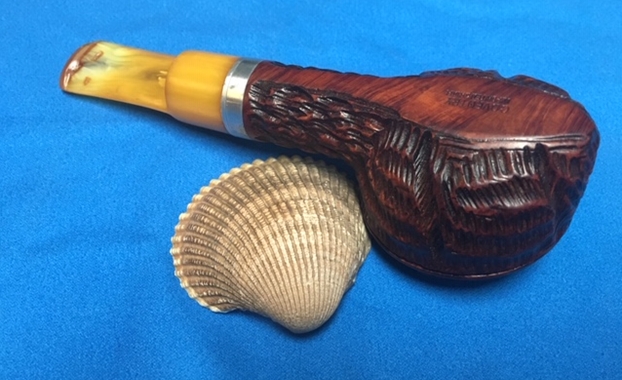
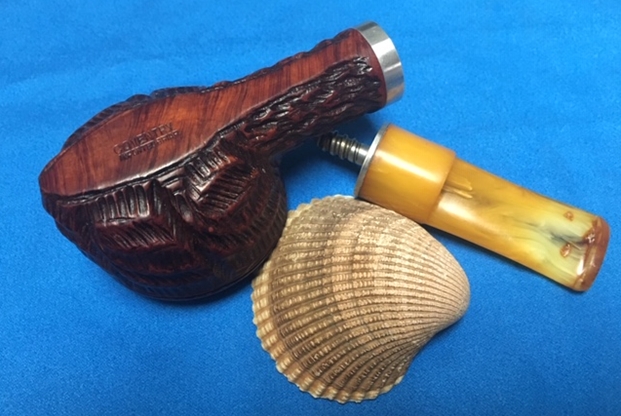
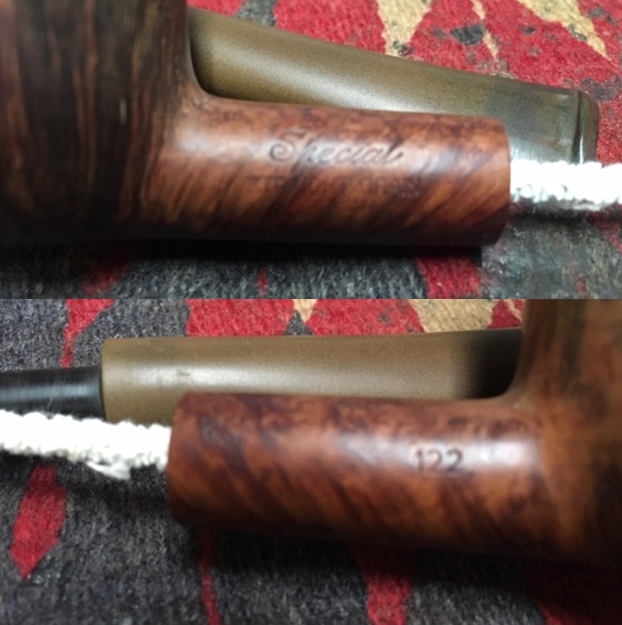
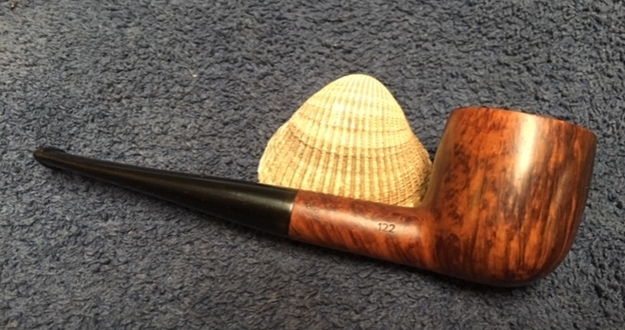
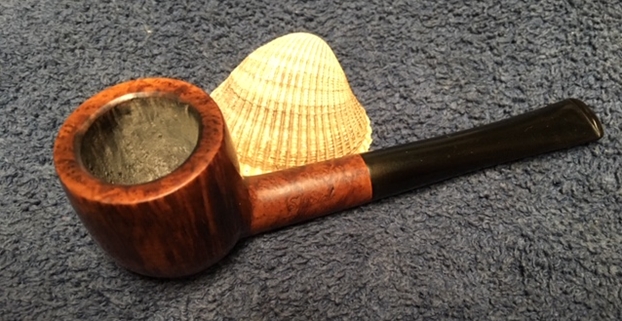
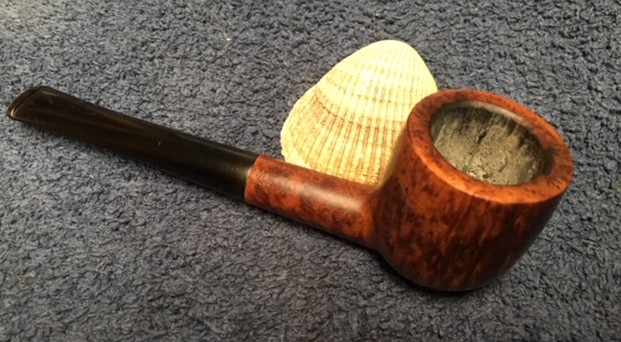
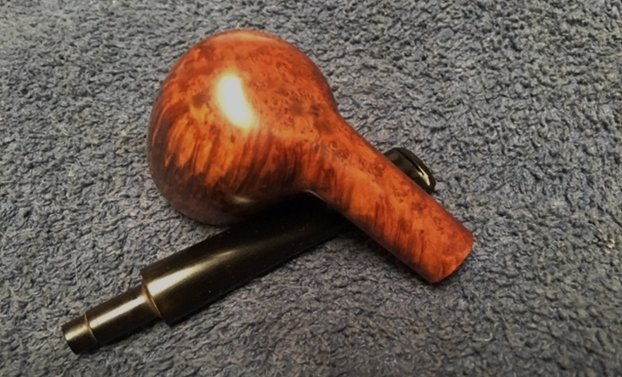
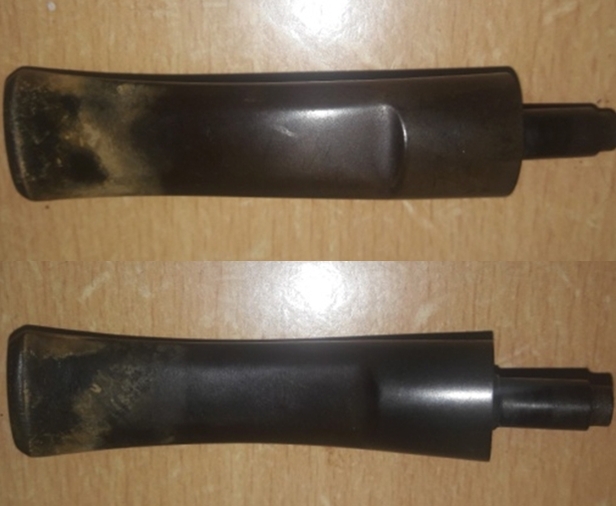
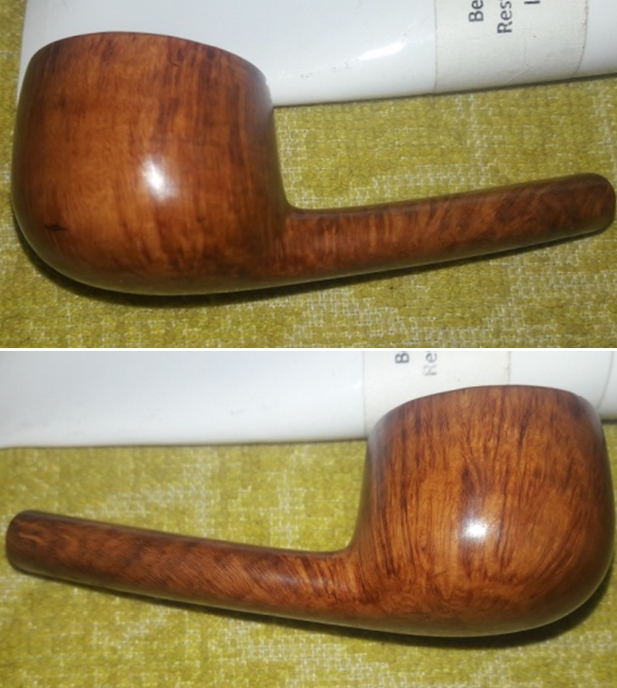
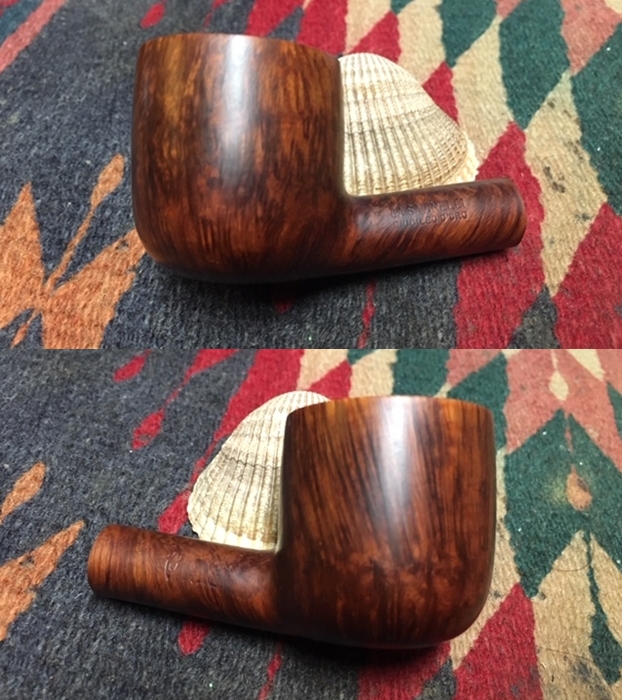
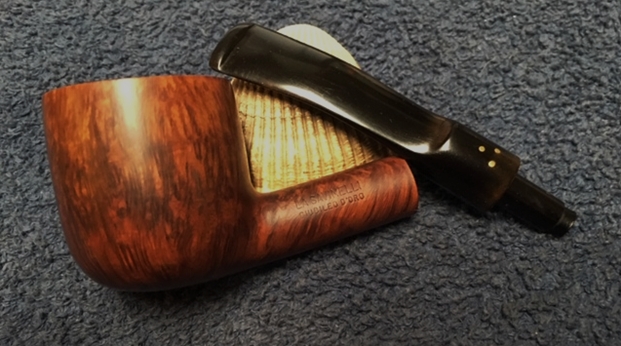
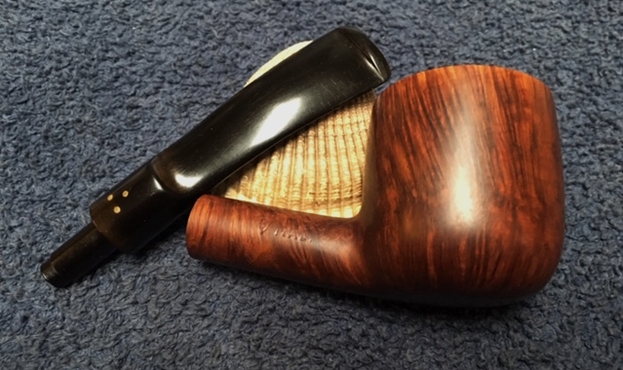
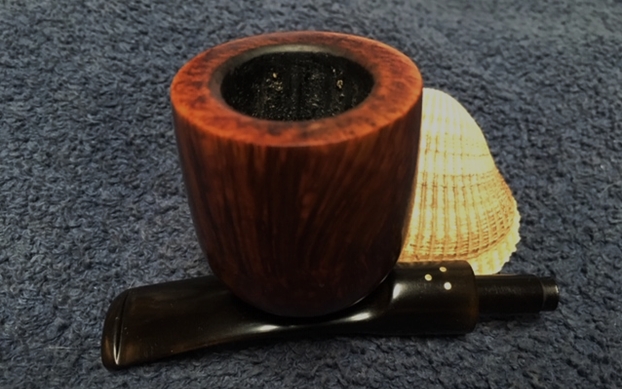
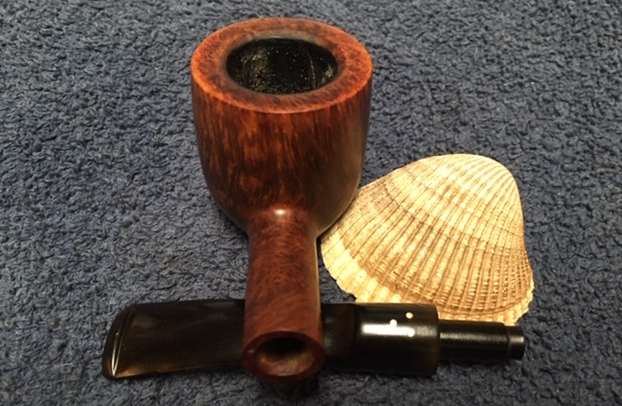
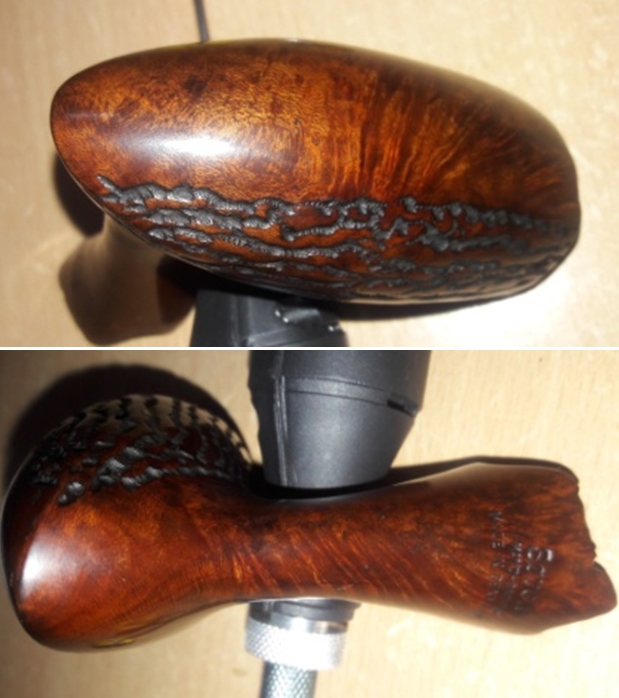
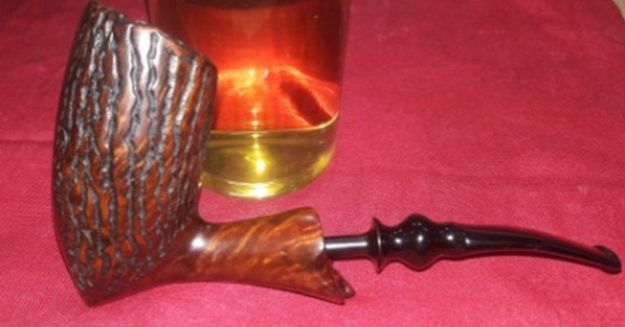
 The large pick axe stummel has a combination of smooth and rusticated surface covering the bowl. The cascading water flow like hand carved rustication extends from the front left side of the bowl to the back while the smooth surface covers most of the front and complete right side of the bowl. Beautiful swirls of grains can be seen on the smooth surface interspersed with flame grains extending upwards from half way of the front of the bowl. The plateau shank end is flared towards the shank end and boasts of lovely flame grains on the right side of the shank. The flared shank end bears the only stamping seen on this pipe. It is stamped as “Soren”, name of the carver in script hand over “HAND-CARVED” over “MADE IN DENMARK” in block capital letters. The fancy vulcanite stem is devoid of any stampings.
While working on my Soren sitter free hand, I had referred to pipedia.com for information on this famous pipe carver from Denmark. I reproduce the information available on pipedia.com for a quick read.
“Søren Refbjerg Rasmussen founded a company in 1969, which employed an average of 8 – 12 craftsmen in the 1970’s. The semi-freehands they produced were traded under his prename Søren. Rasmussen himself finished only the very best pipes. So his way of pipemaking closely resembled the ways of Preben Holm, Karl Erik Ottendahl or Erik Nørding. Altogether more than 1,000,000 pipes were sold.
Today he works alone as Refbjerg and manufactures only a small number of pipes in his workshop in DK-2860 Søborg, which are considered to be tremendously precisely executed. The dimensions mostly range from small to medium sized, corresponding to his personal preferences. The shapes adhere to the classical models, but often he gives them a touch of Danish flair. Refbjerg accepts minor faults but never uses any fillings. “Straight Grain” is the only grading, used for his very best pieces. He likes stem decorations made of exotic woods or metal rings.
As Rainer Barbi once stated “Refbjerg uses only briar from Corsica and more than that, he’s the one and only to import it from there, at least in Europe. He’s supplier to the vast majority of the Danish makers”.
From the above, it can be safely assumed that this pipe was made in the 1970’s as it bears the stamp of the carver’s prename “Soren”!!
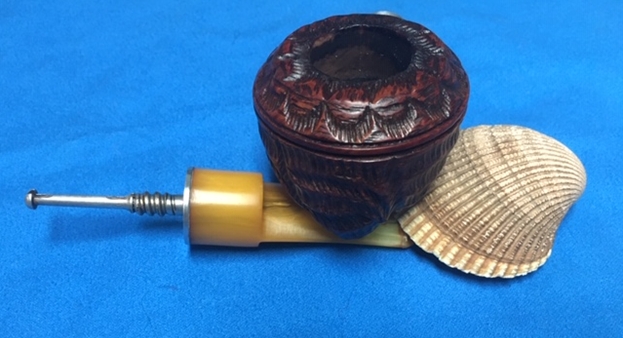
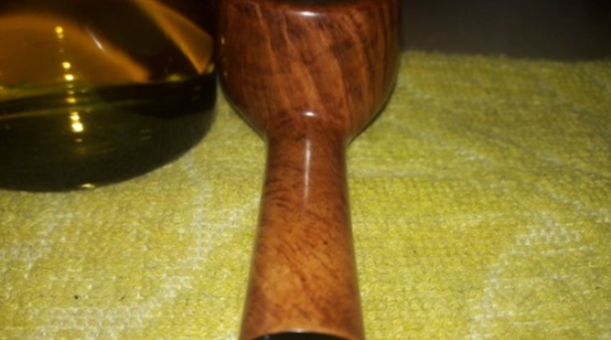
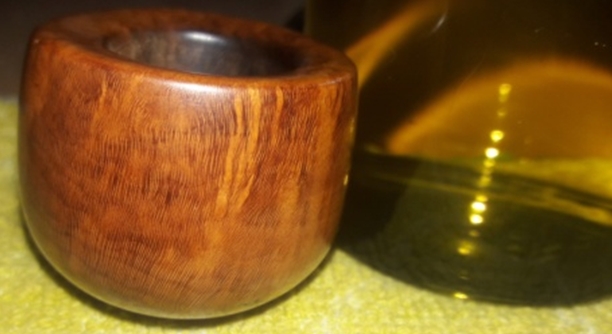
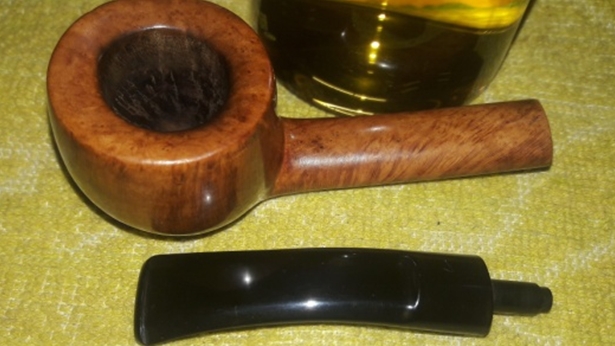
INITIAL VISUAL INSPECTION
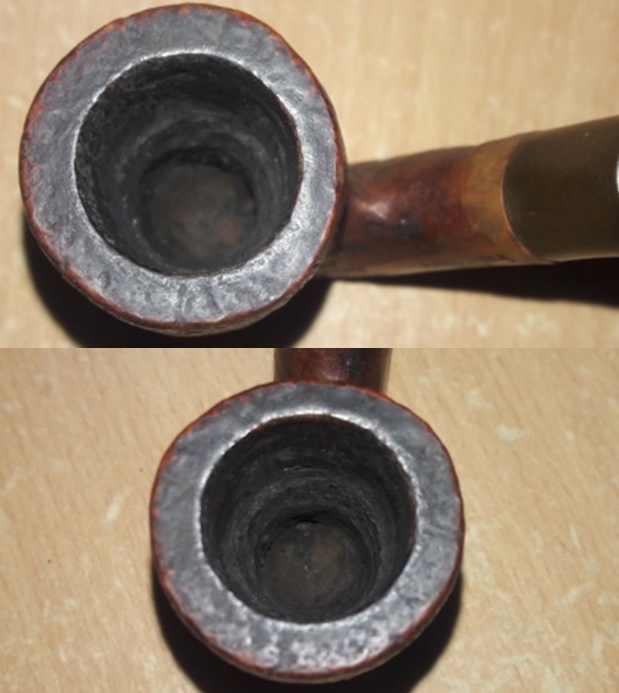
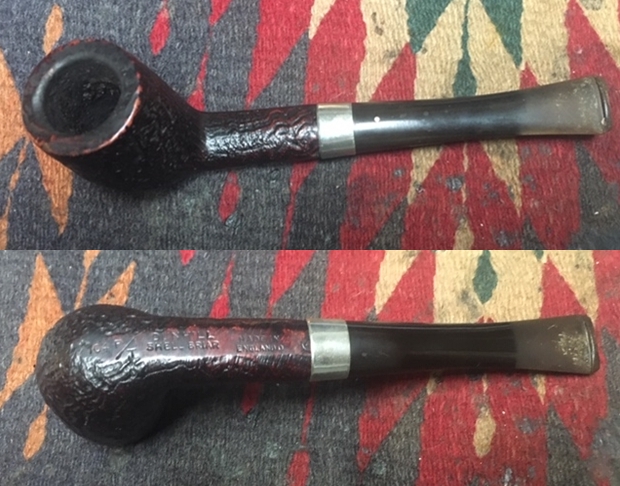
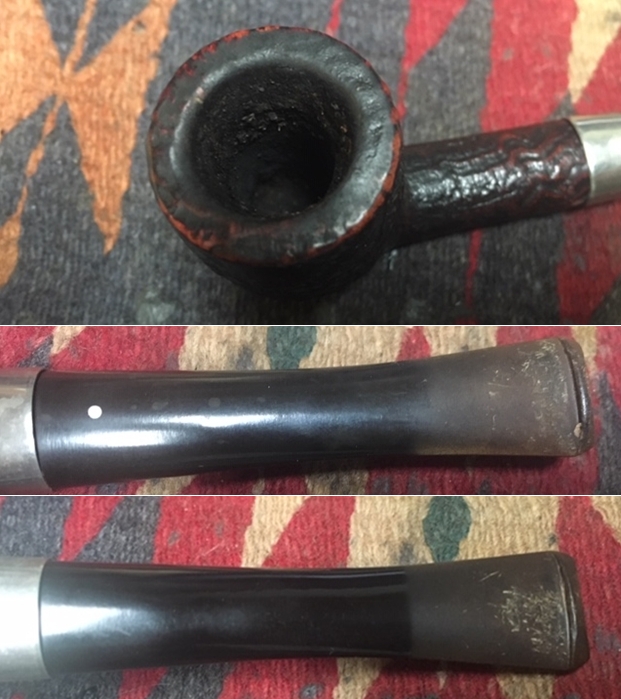
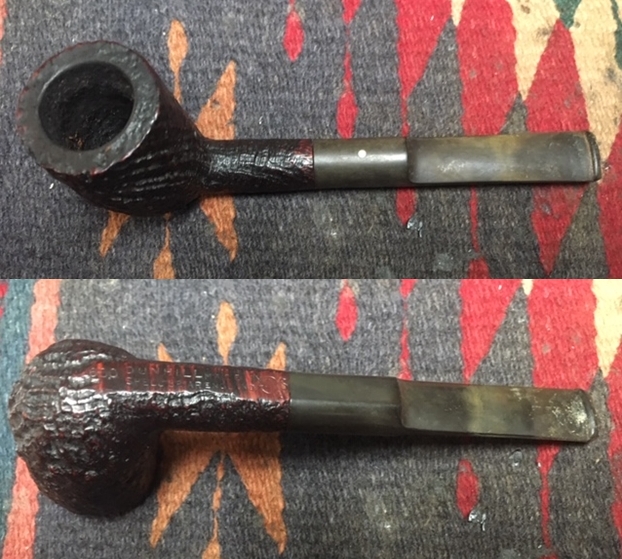
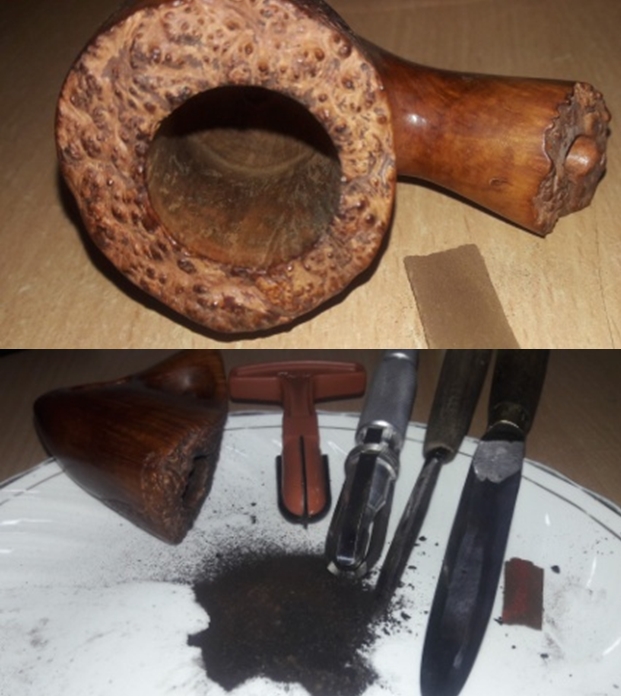
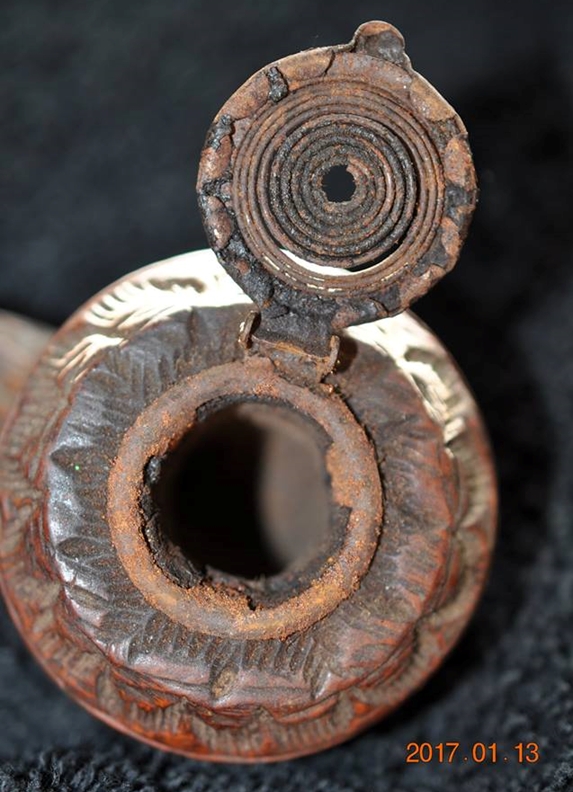
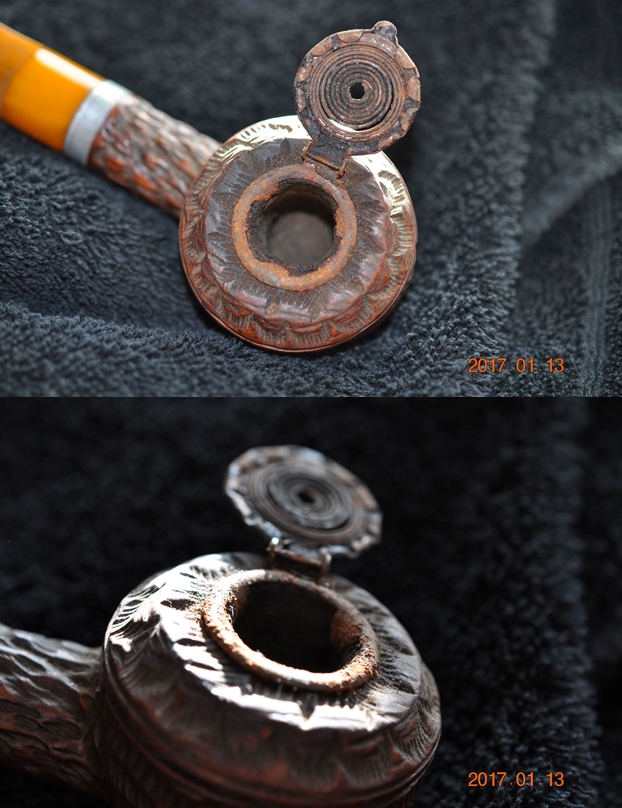
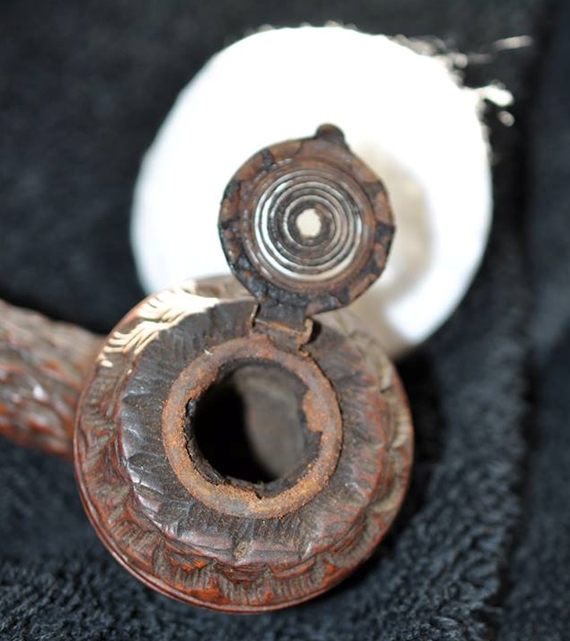
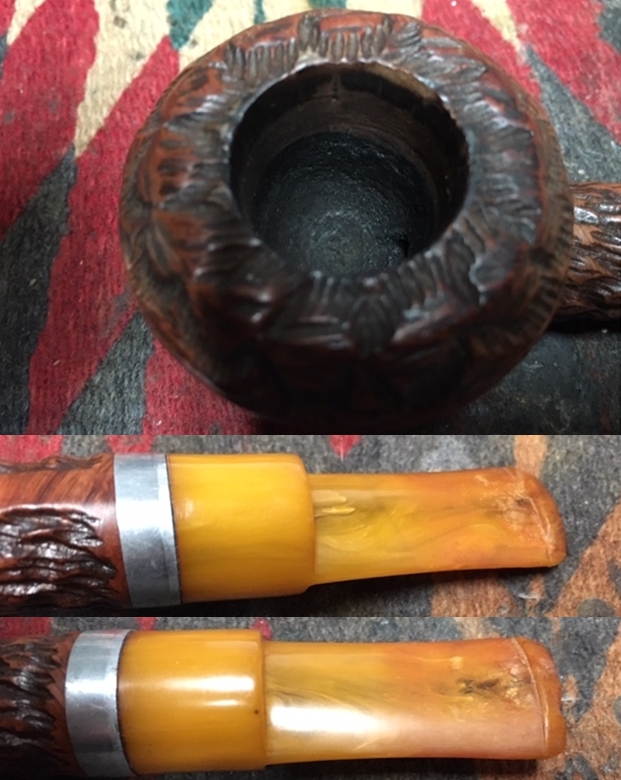
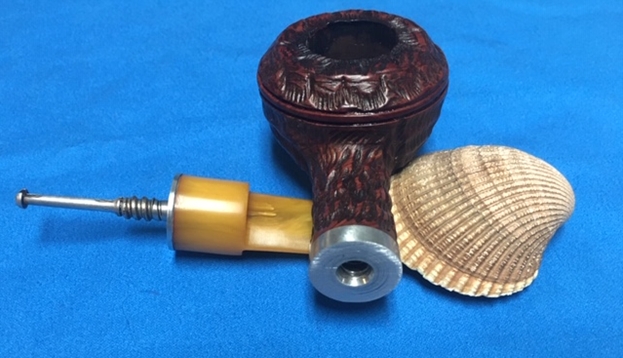
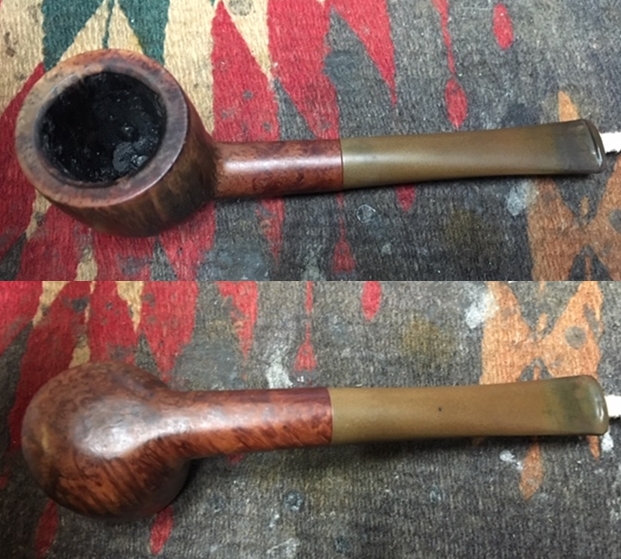
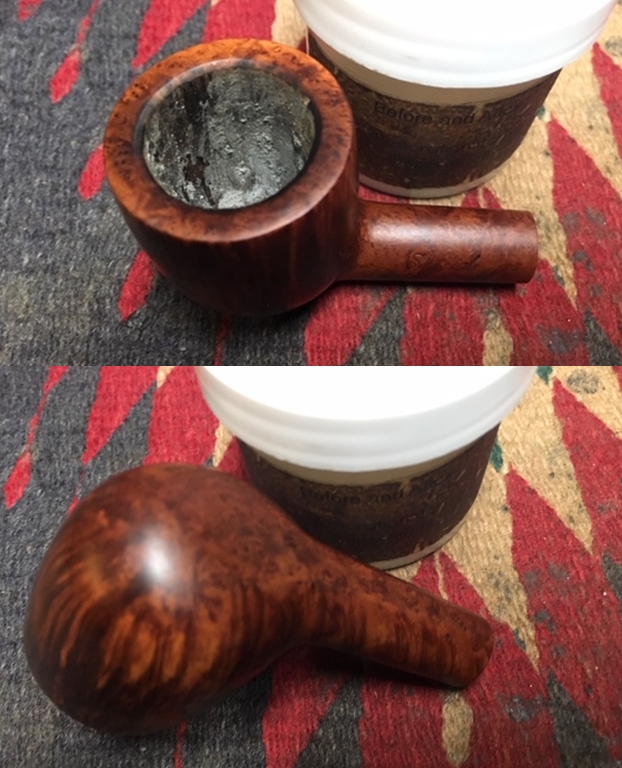
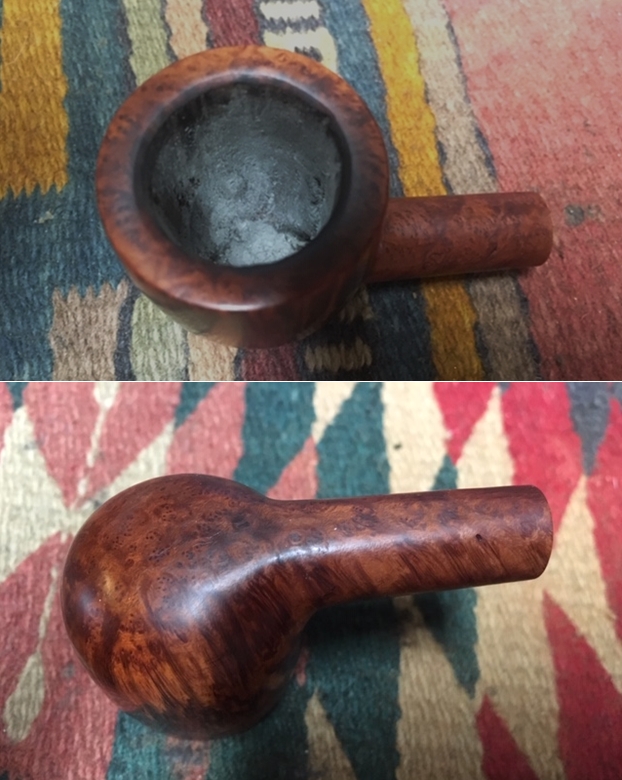
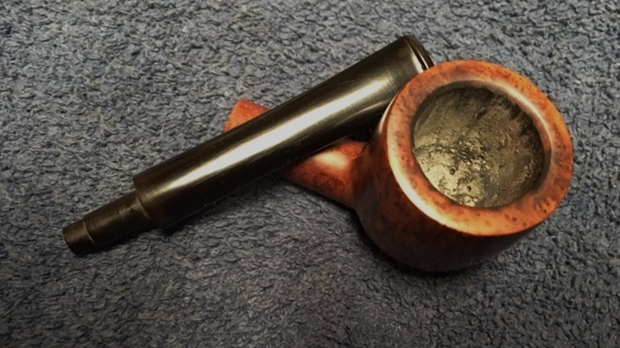
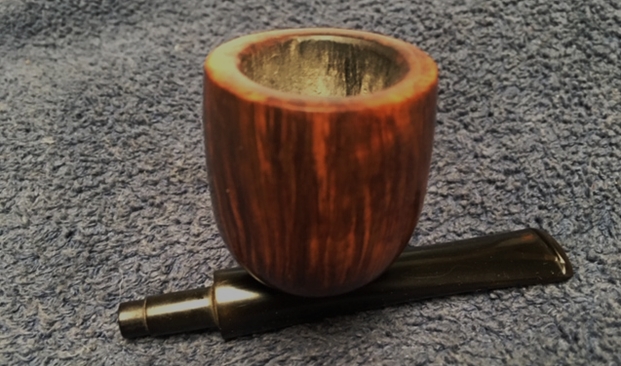
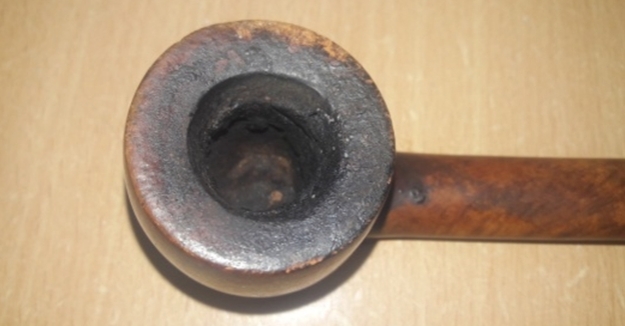
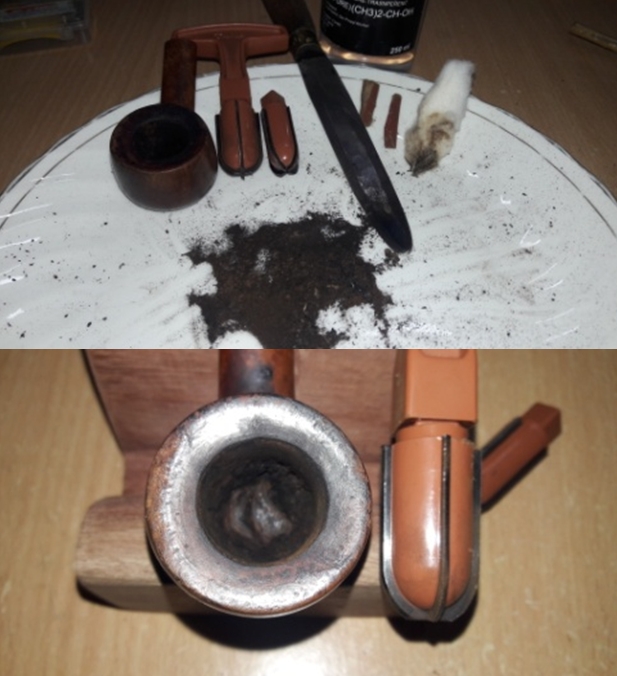
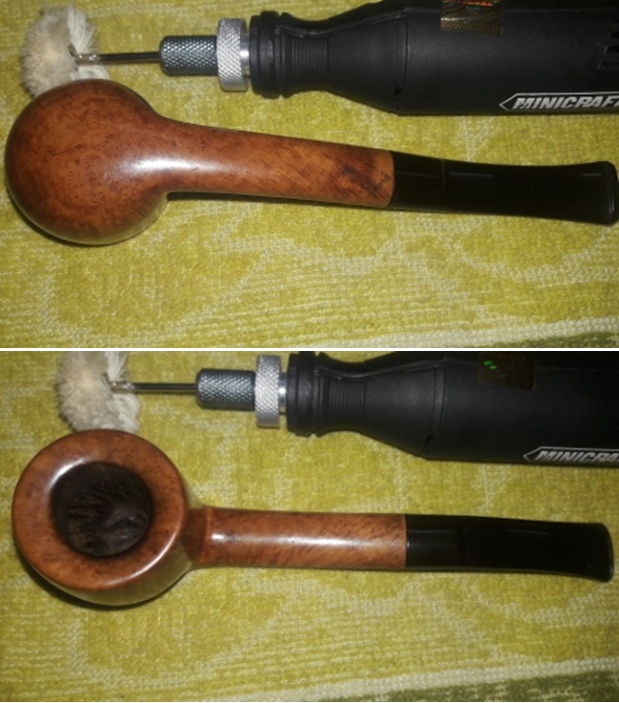
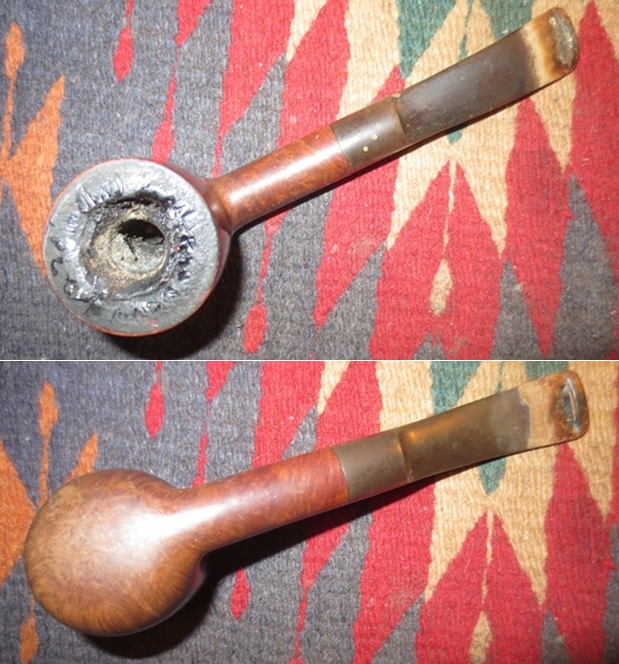
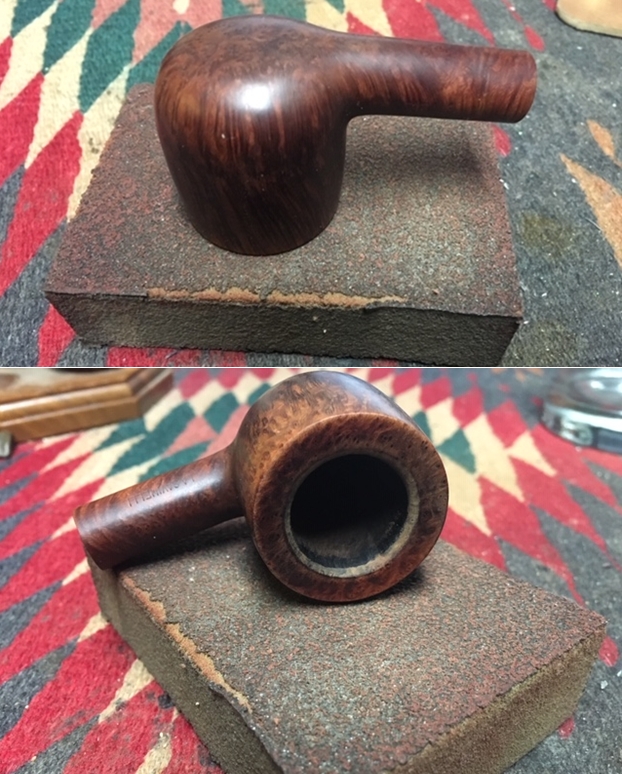
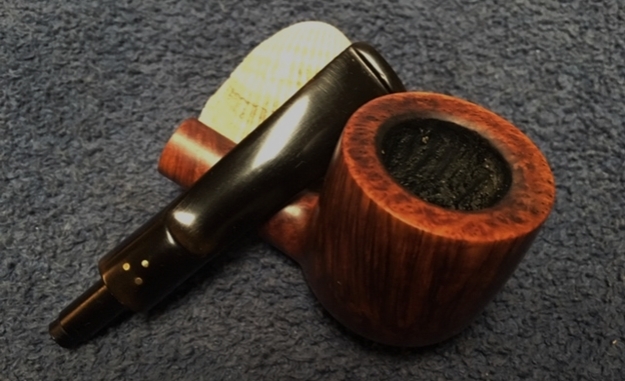
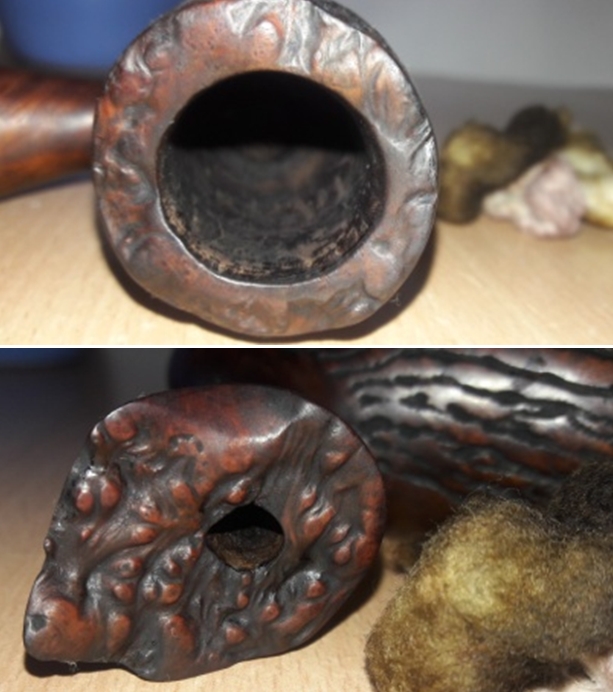
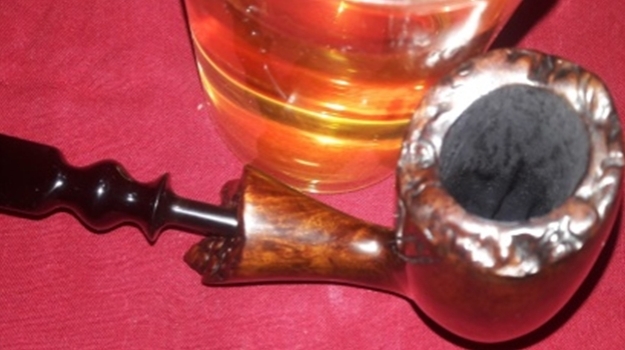
There is a thick layer of cake in the bowl. The external surface of the stummel feels solid to the touch and I think there are no issues with the condition of the chamber. However, there are always surprises when you least expect them!!! I have learnt my lessons!!! Thus, condition of the inner walls of the chamber will be ascertained once the chamber has been reamed and the cake is taken back to the bare briar. There is a strong sweet smell of tobacco which may reduce once the cake has been reamed out and chamber has been cleaned with isopropyl alcohol.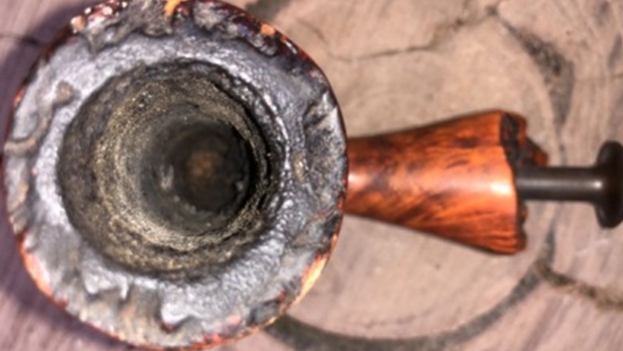 The plateau rim top and shank end is covered in the overflow of lava, dirt and grime. This will have to be cleaned. The condition of the inner edge will be determined only after removing the cake. The air way in the shank is clogged with oils and tars and will require a thorough cleaning.
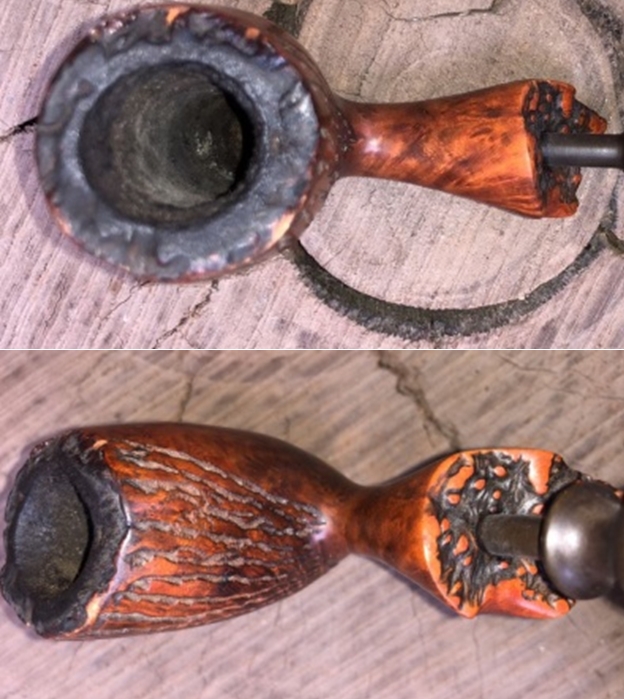
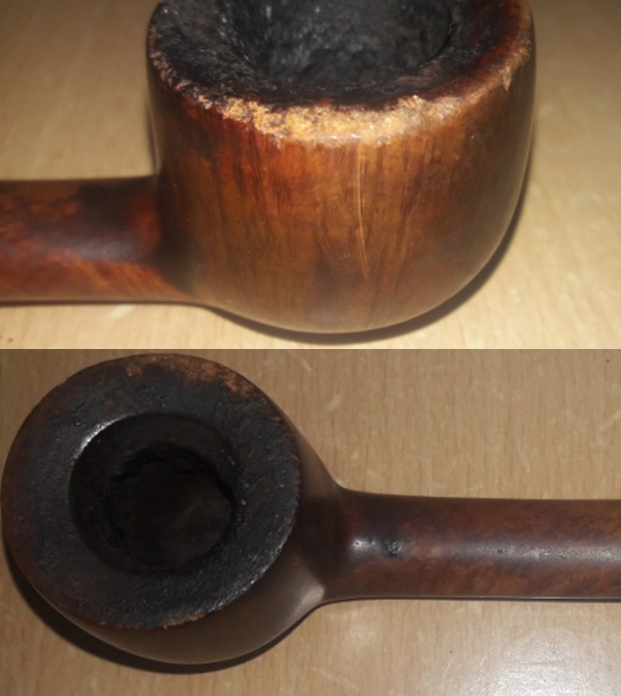
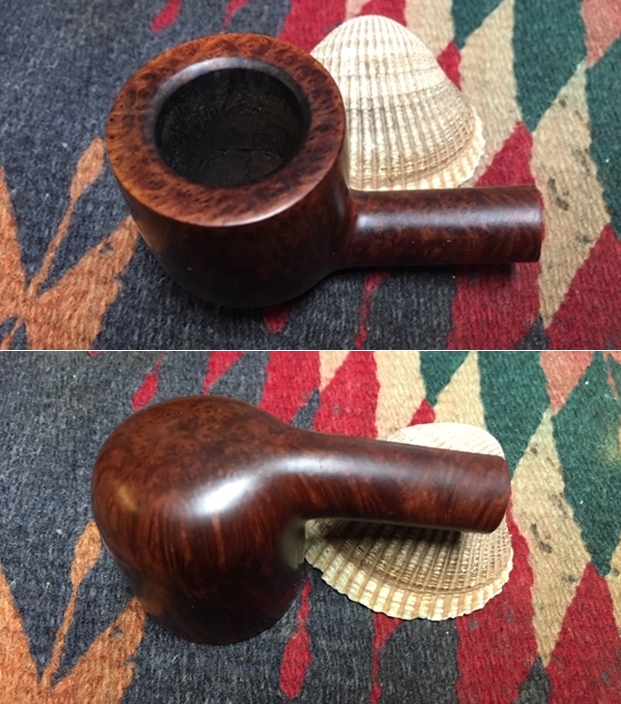
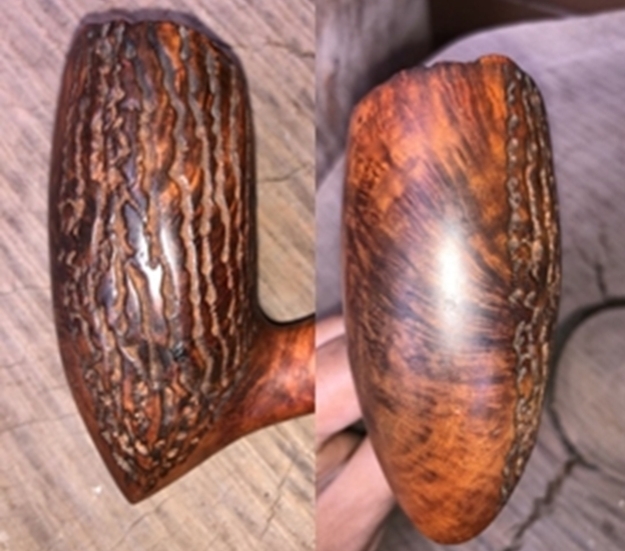
 The stummel is covered in a thick layer of dust, dirt, oils and grime. The stummel looks dull and lackluster. The grains on the smooth surface and the sandblast rustications are all covered in tars, oils and grime. To be able to appreciate these grains and rustications, the stummel will have to be cleaned. However, there is not a single fill to be seen on this large briar estate. A few minor dents and dings are seen on the stummel surface, a result of uncared for storage over a prolonged period. This issue can be sorted out by sanding the stummel surface with a sand paper, followed by micromesh sanding and polishing.
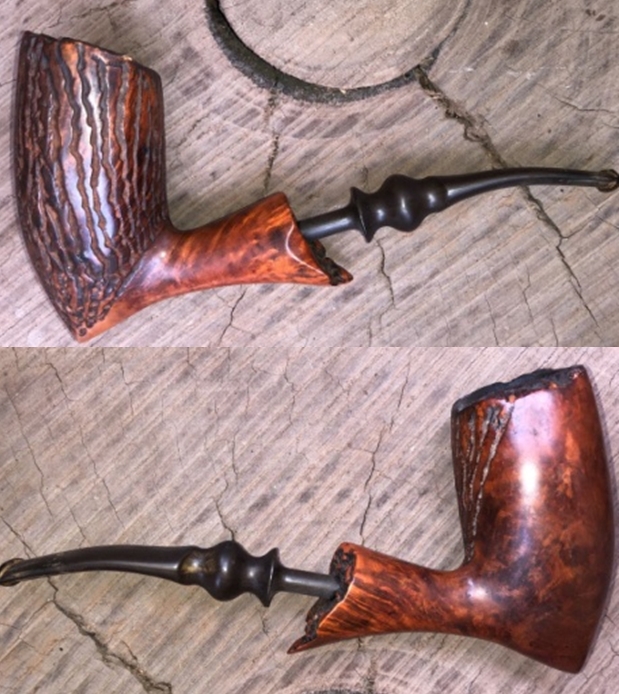
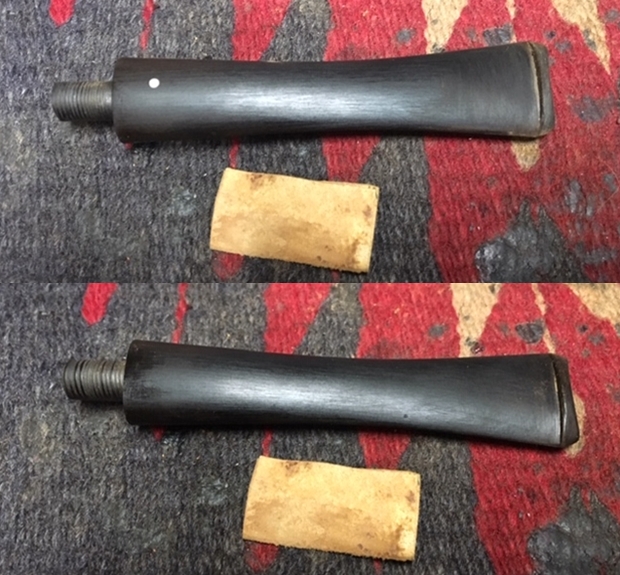
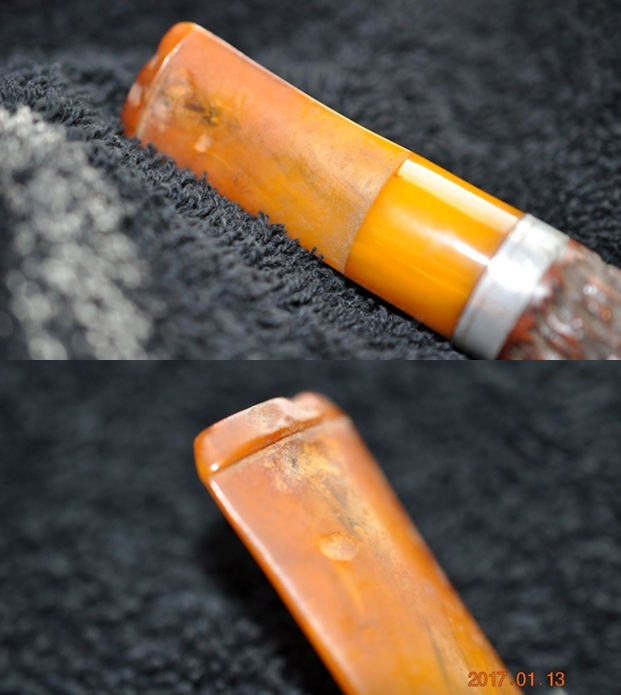
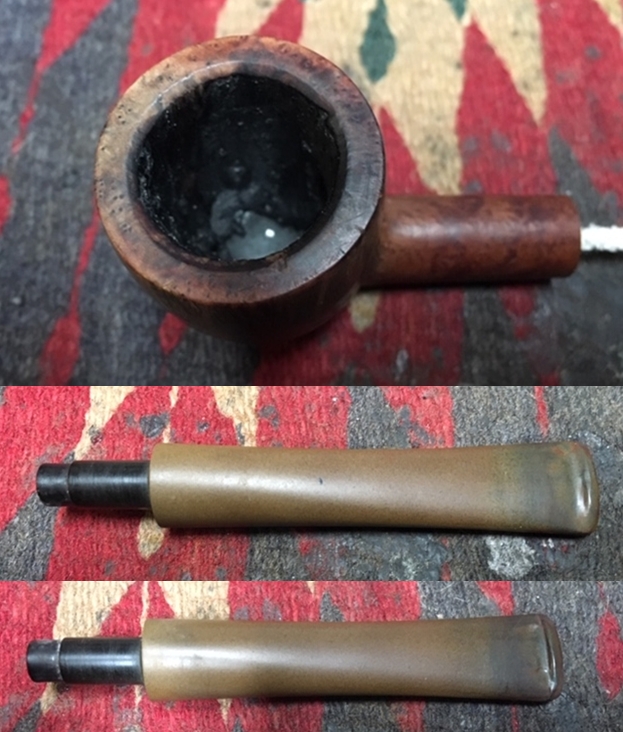
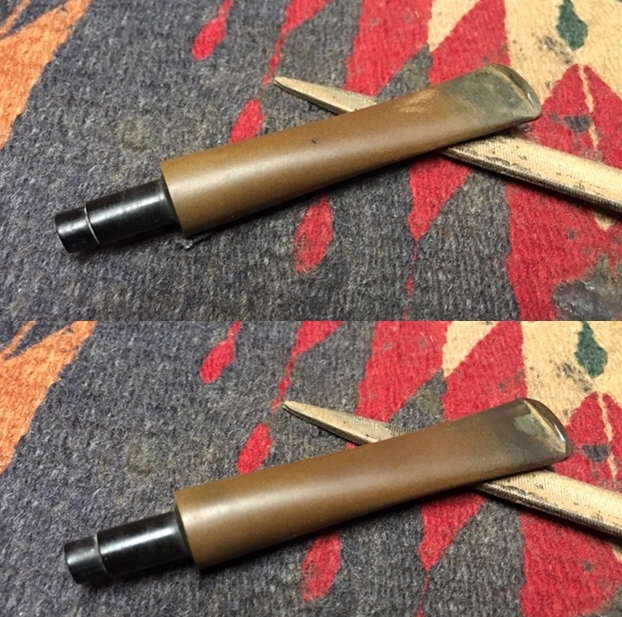
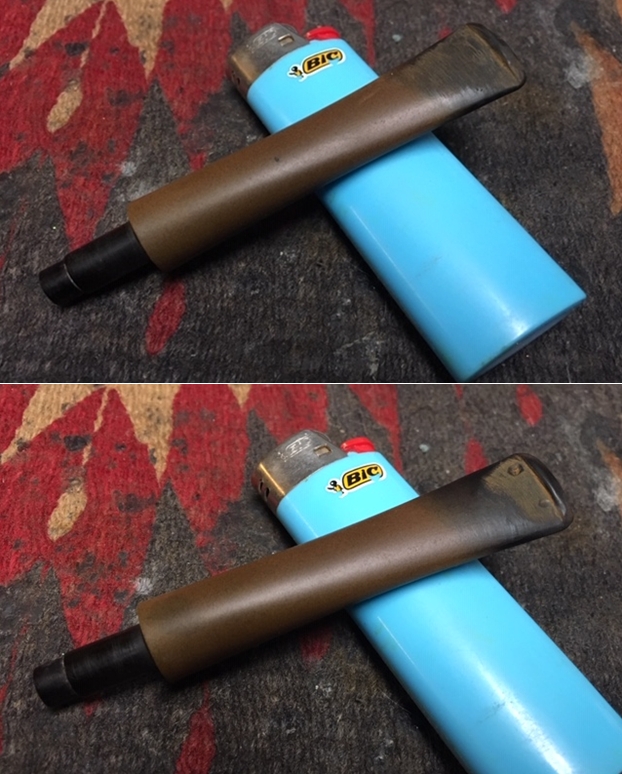
 The fancy quarter bent vulcanite stem is heavily oxidized and two deep bite marks can be seen on the lower surface of the stem. The lips on both upper and lower surface show significant damage due to bite marks and are out of shape. I hope to address these issues by simple heating of the stem with the flame of a Bic lighter. The air way in the stem appears to be clogged and the air flow is laborious to say the least. This will be addressed by thorough internal stem cleaning with pipe cleaners and alcohol. There is calcification seen on either surface about an inch from the button end. The bottom of lip edge shows significant deposition of dirt and oxidation. This will have to be cleaned.
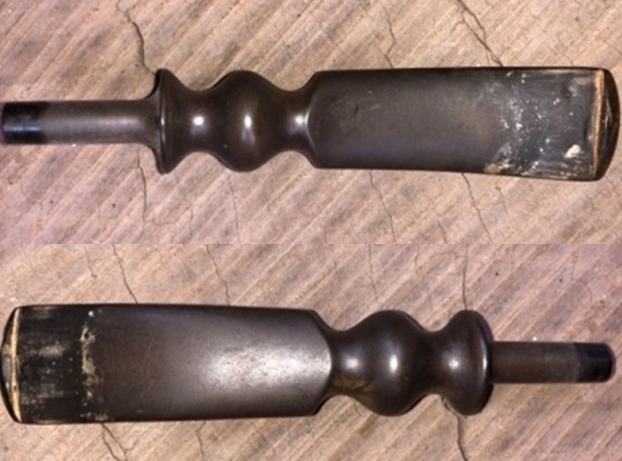 THE PROCESS
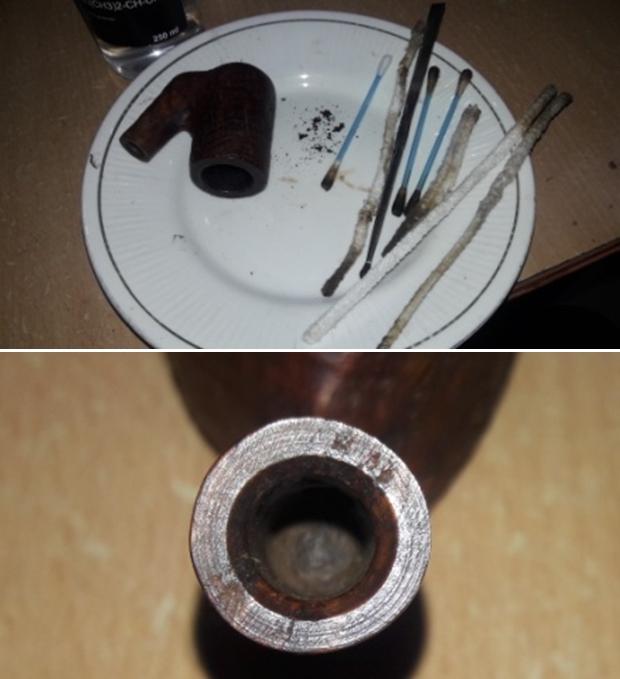
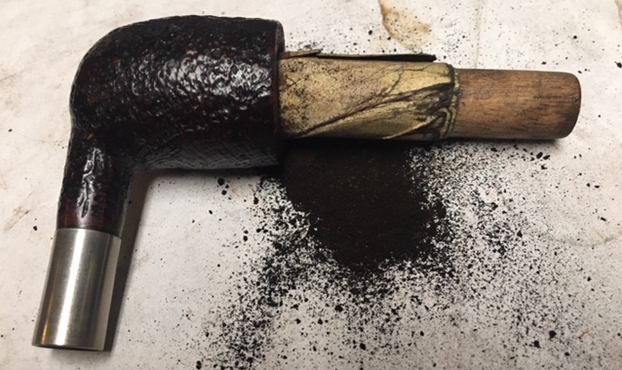
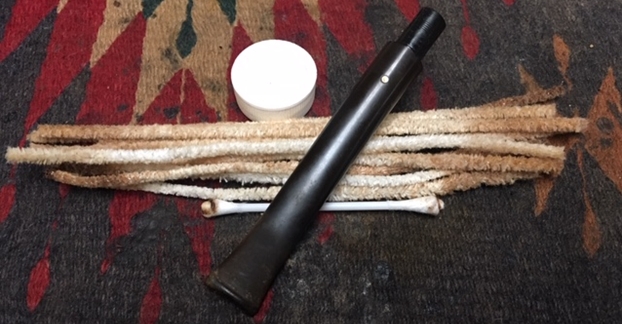
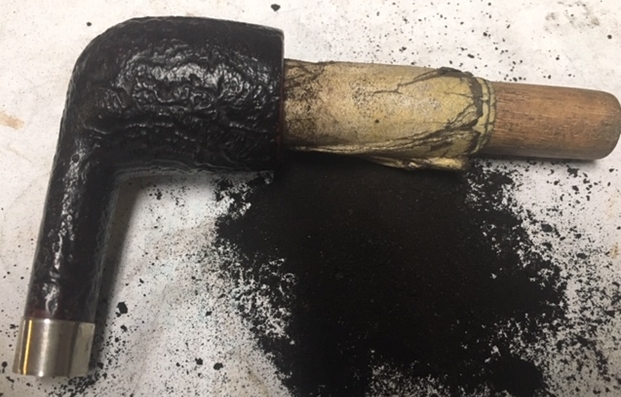
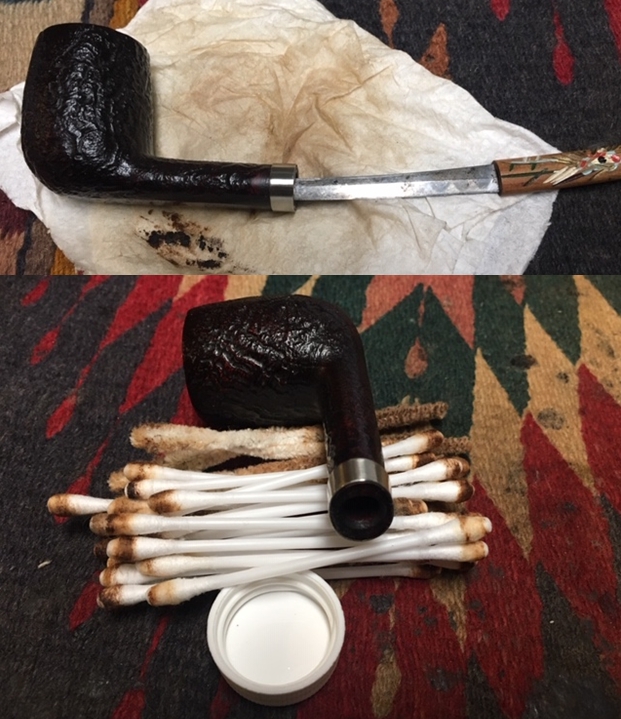
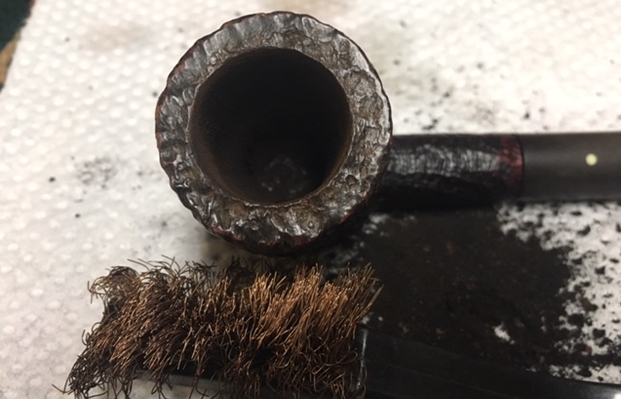
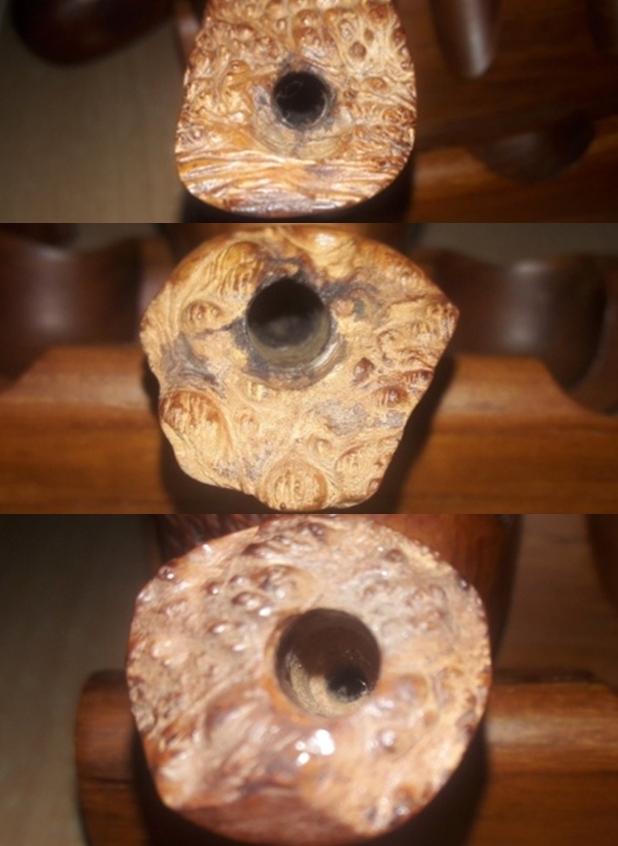
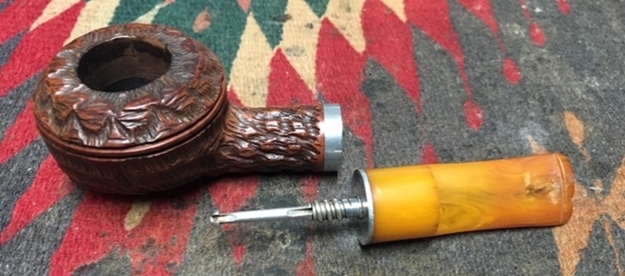
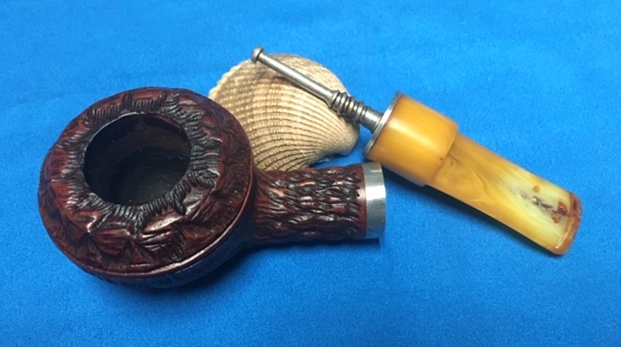
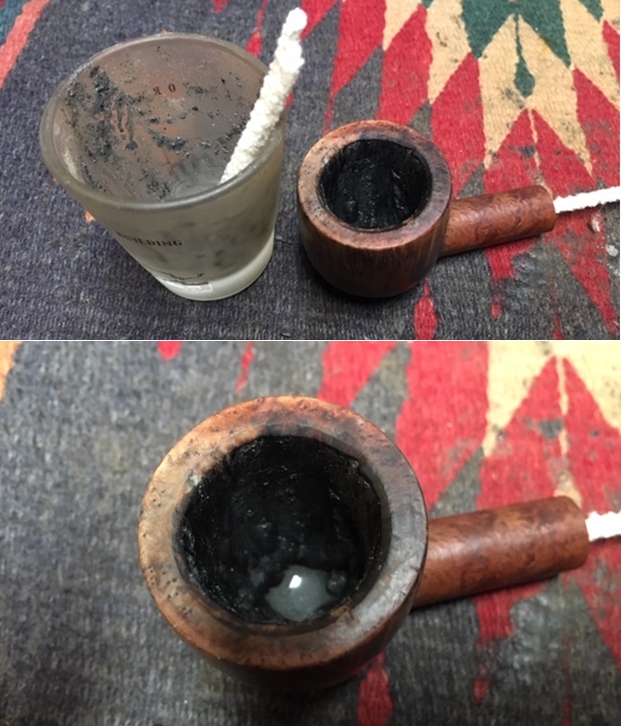
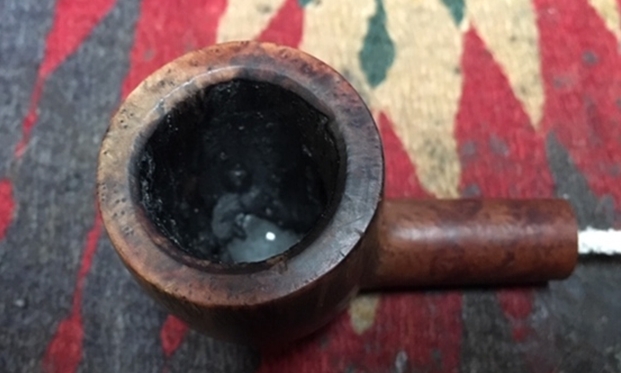
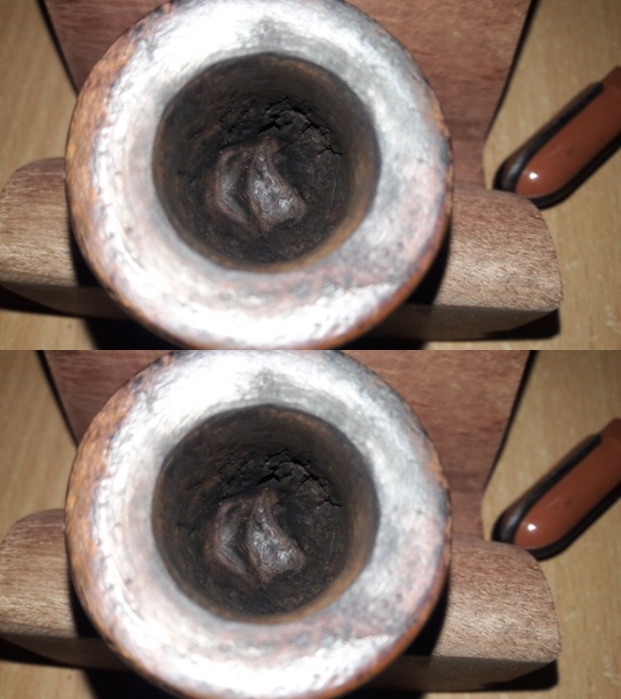
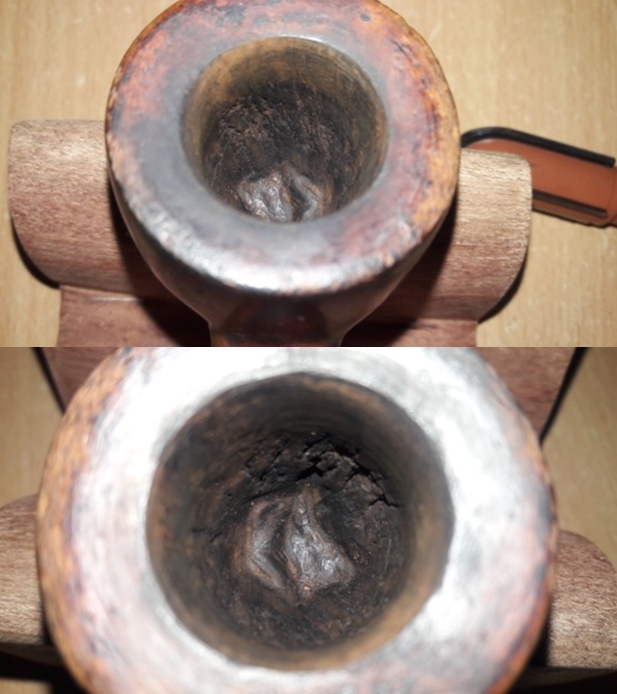
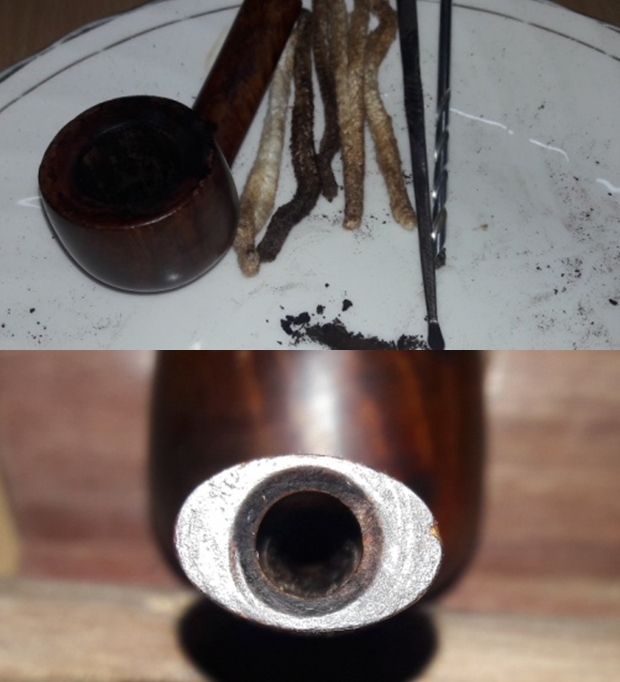
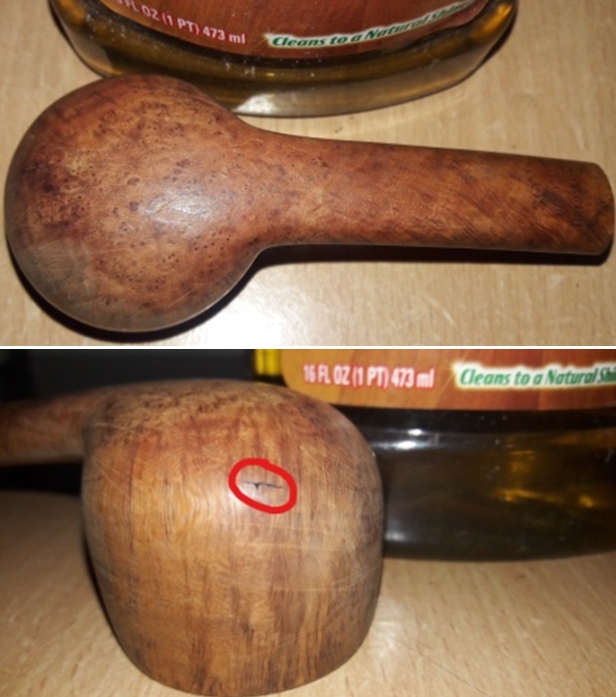
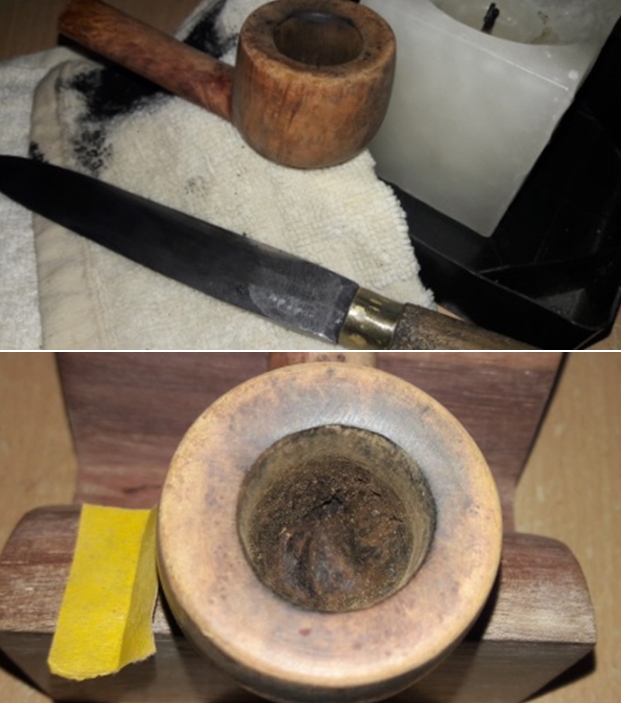
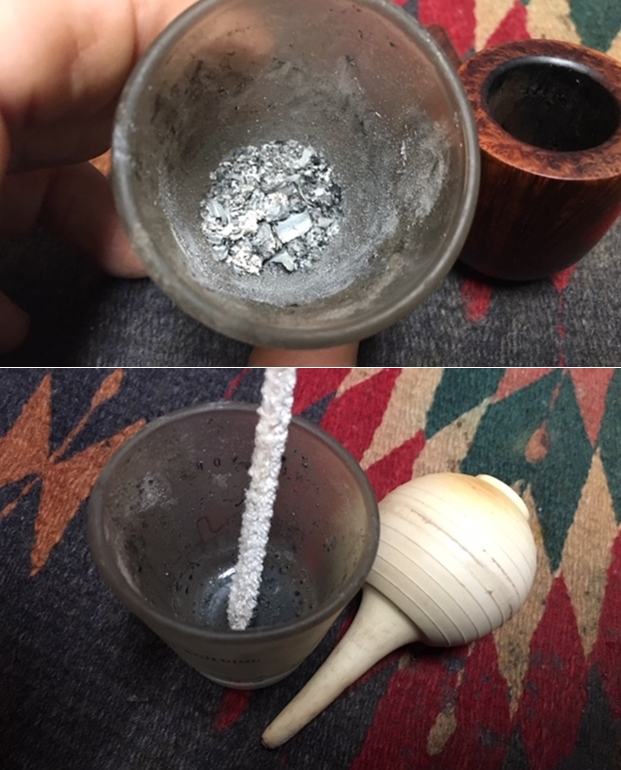
I started this project by reaming the chamber with size 2 and followed it up to size 4 head of PipNet reamer. I used a 220 grit sand paper, pinched between my thumb and forefinger, to sand the inner walls of the chamber of the pipe. Once I had reached the bare briar, I wiped the chamber with a cotton pad dipped in isopropyl alcohol. This removed all the residual carbon dust but this time not the ghost smells. This cleaning revealed the first (and pray it to be the last!!) surprise. There are a few very thin webs of line seen along the front and left side of the chamber walls and one slightly larger gash on the left side. This gash is highlighted in a red circle. I shall address this issue at the end of the restoration by coating the walls with a mixture of activated charcoal and yogurt. This coating will aid in quicker formation of a fresh cake.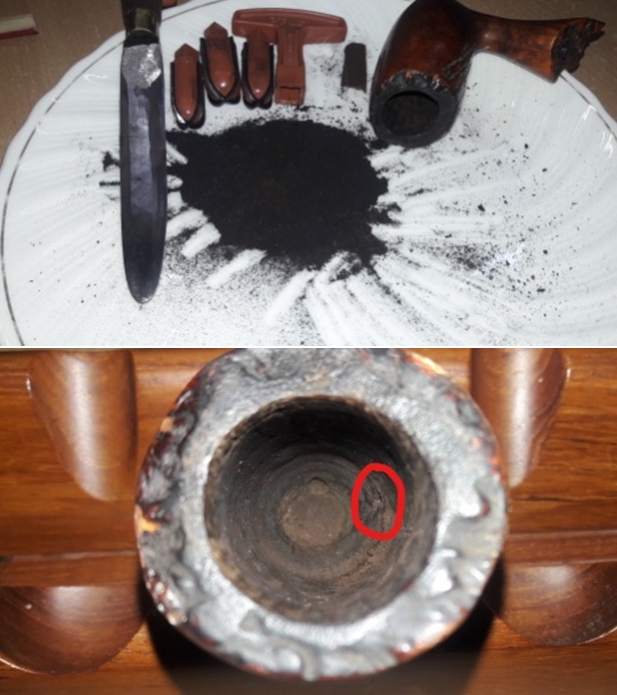 I followed up the reaming by cleaning the mortise and air way of the pipe using hard bristled, regular pipe cleaners and q-tips dipped in alcohol. The mortise and the draught hole was so chock-a- block with all the dried tars, oils and gunk that I had to use my fabricated spatula to scrape out all the muck from the mortise and the draught hole!!!! I gave a final clean with shank brushes dipped in alcohol and dried the mortise with a rolled paper napkin. The shank internals and the draught hole are now nice and clean with an open and full draw. The issue of sweet smells of old tobacco was also reduced to a very large extent.
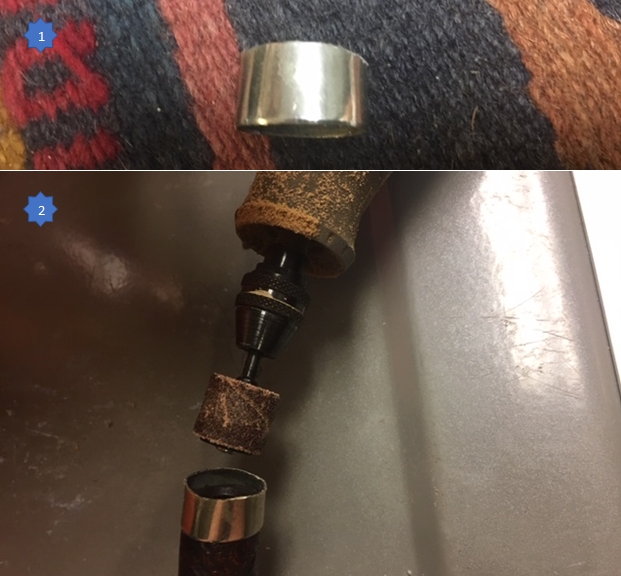
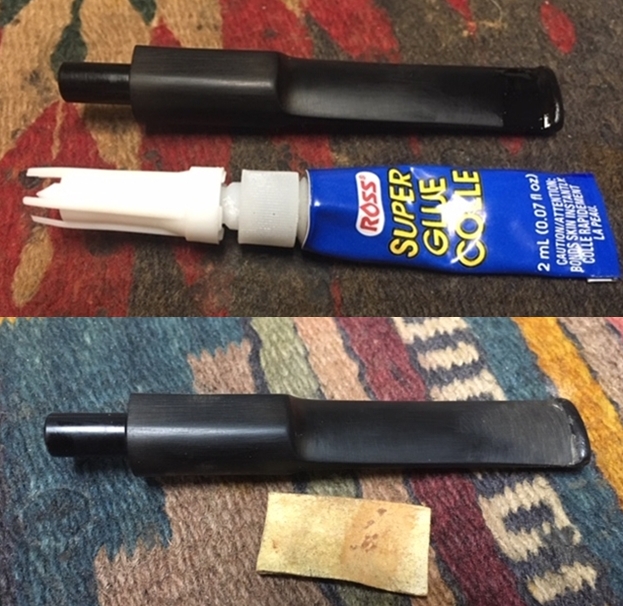
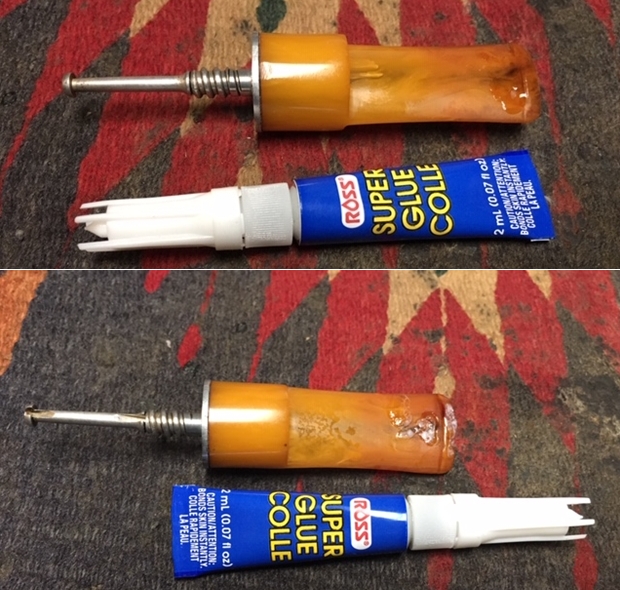
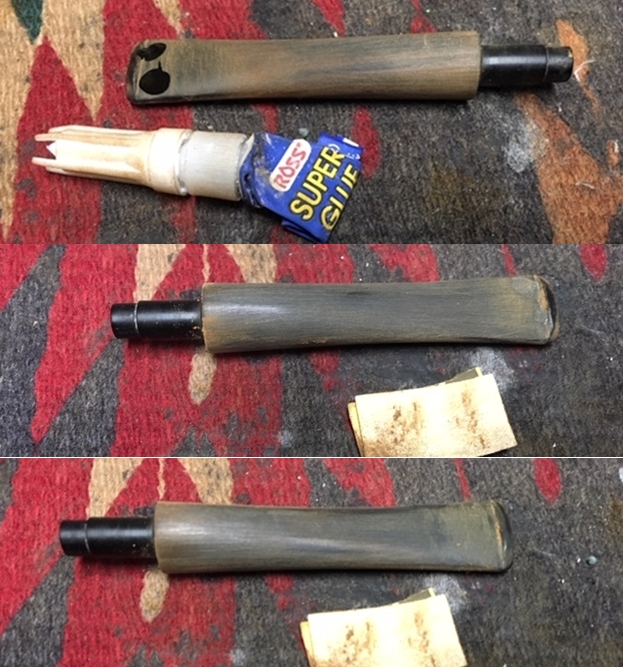
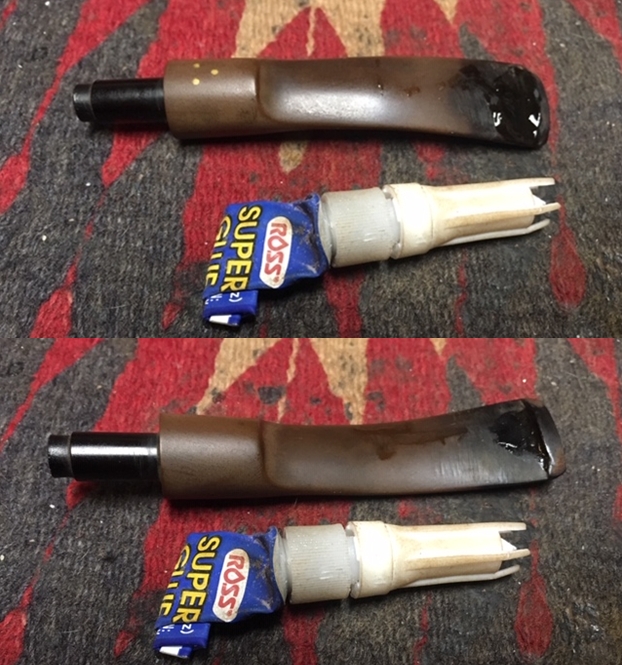
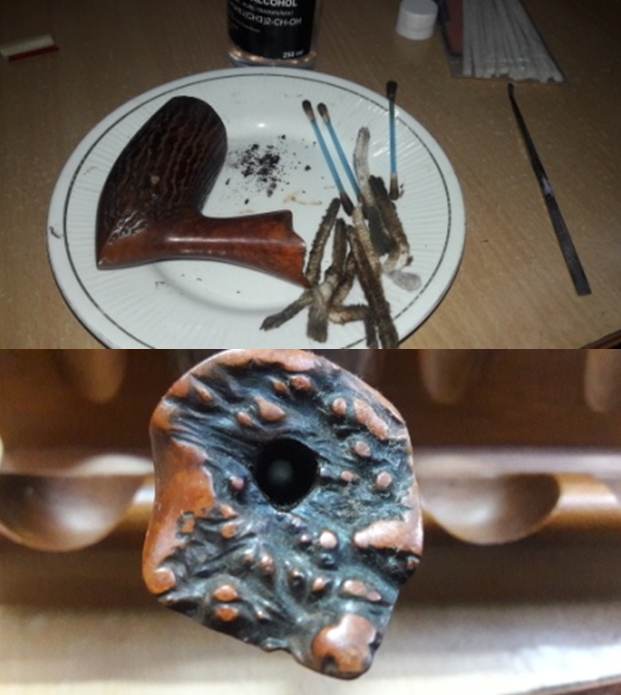 I cleaned out the internals of the stem using hard bristled and regular pipe cleaners dipped in alcohol. I scraped the dried oils and tars from the tenon with the sharp edge of my fabricated dental spatula. The deep bite marks on the stem and lip edges were flamed with the flame of a Bic lighter. This helps to raise the bite marks to the surface. However, this did not work. From my experience, I have learnt that getting rid of the oxidation from and around the surface to be filled helps in subsequent better blending of the fill with the stem surface. With a folded piece of used 150 grit sand paper, I sand the area that is required to be filled. I cleaned the sanded portion of the stem with cotton pad dipped in alcohol and spot filled the damaged area with a mixture of activated charcoal and clear superglue. I set the stem aside for the fill to cure.
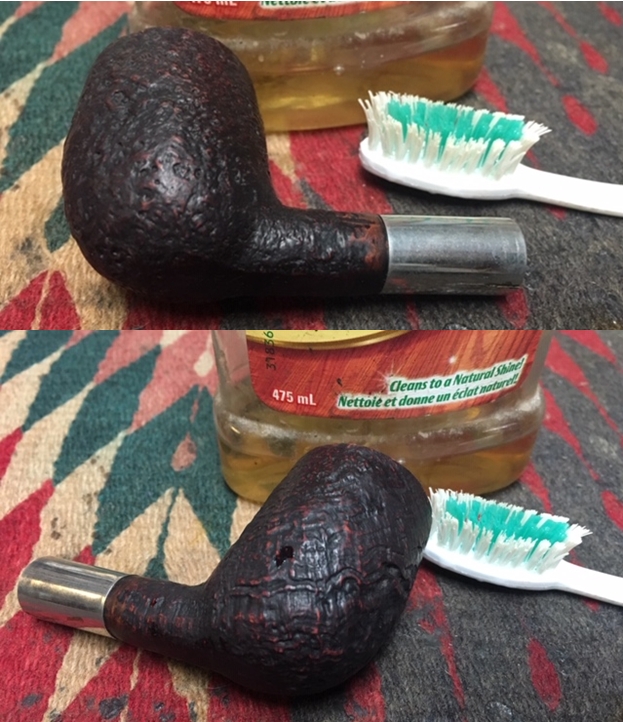
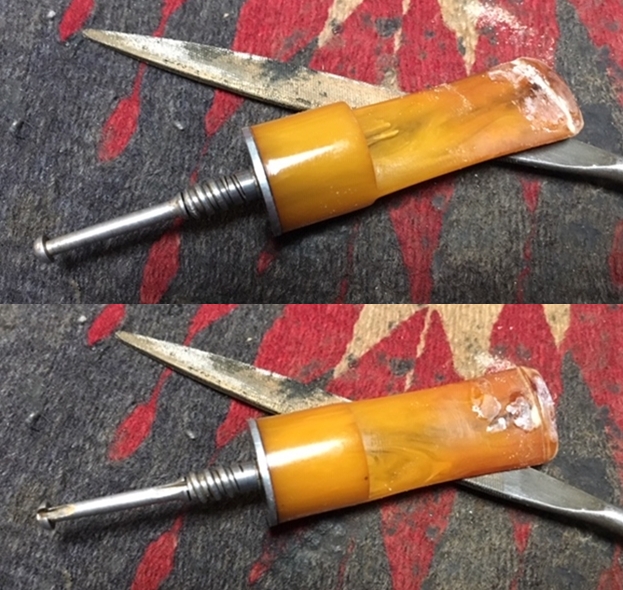
  Now, it was the turn of the stummel of the pipe to get cleaned up. Using a hard bristled tooth brush dipped in undiluted Murphy’s oil soap, I very deliberately scrubbed the stummel, cleaning the surface thoroughly. Special attention was paid to scrub out all the dirt and dust from the crevices in the rustication on the sides and front of the stummel as well as the plateau rim top and shank end. I was surprised to note that while rinsing the pipe under tap water, the water ran a bright orange color. Residual orange color can be seen on the stummel, probably due to a coating of shellac!!! I do not like it and will have to get rid of it, period. The stummel, plateau shank end and rim top were dried using paper napkins and soft cotton cloth.

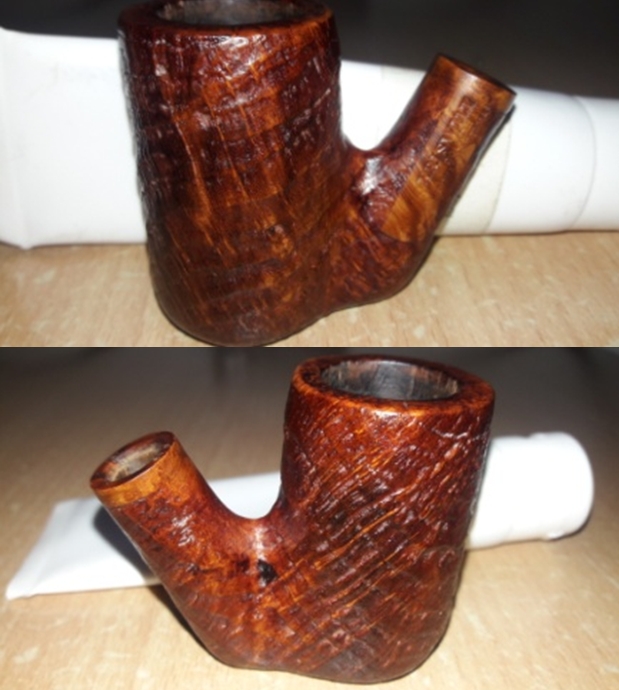
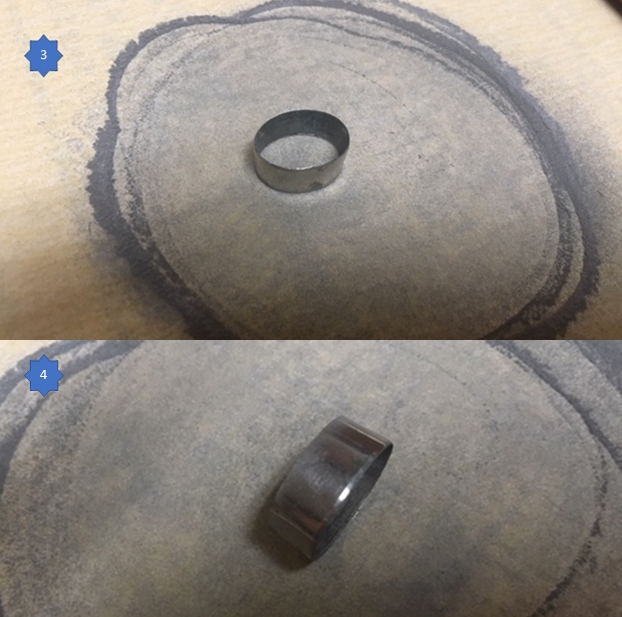
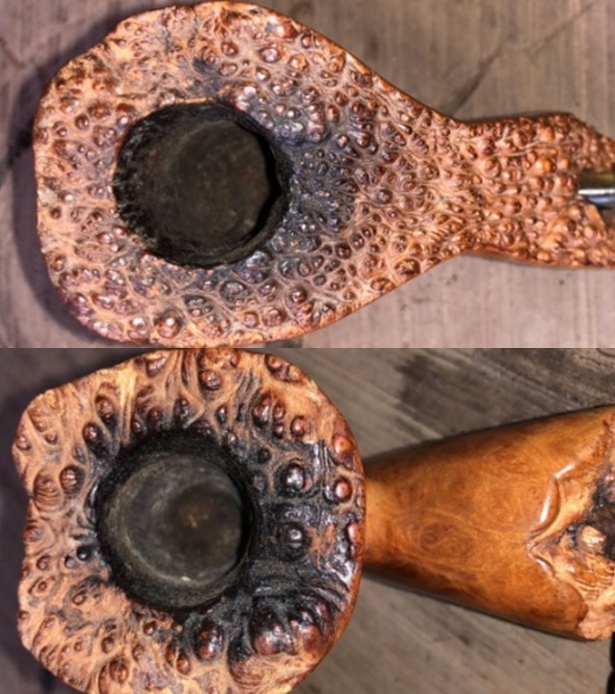
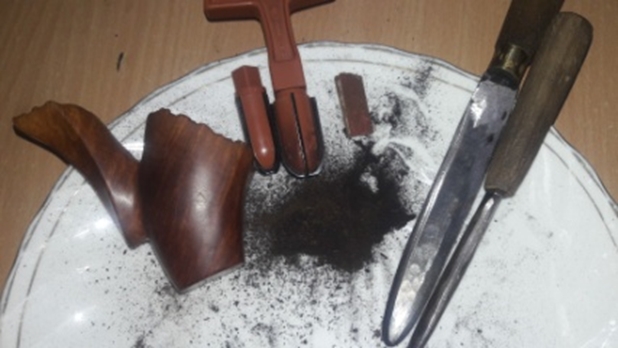
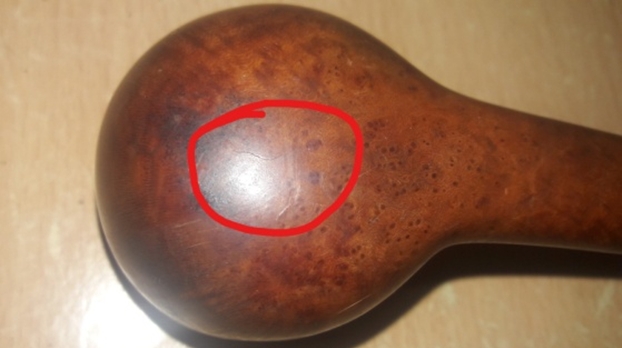
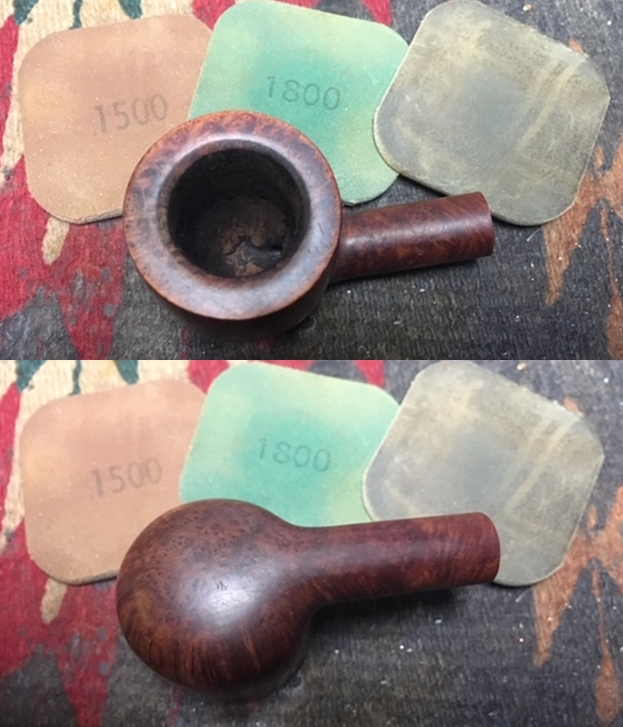
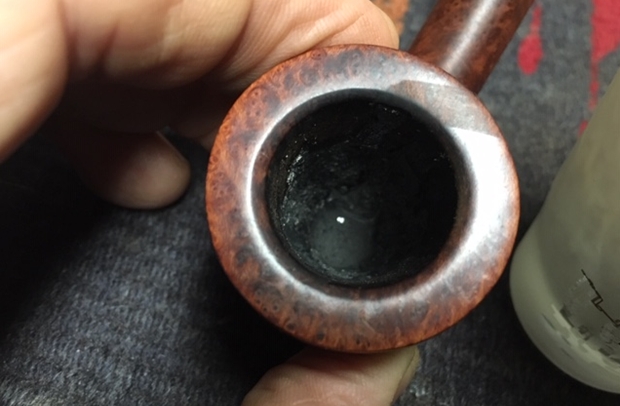
 The cleaning of the stummel revealed the second surprise!! There was a sticky and soft spot present in the rusticated portion on the stummel; this has been marked in a red circle below. When I scrubbed the stummel, it was revealed that this fill had gone soft. I dug out the old and soft fill with my fabricated sharp knife. The alignment of this fill roughly matched with that of the larger gash observed on the left side of the chamber wall. I discussed this issue with my guru, Mr. Steve, after he had seen the pictures of the damage. It was decided that the fill would be refreshed and the inner walls of the chamber should be coated with a layer of activated charcoal and yogurt. There were three other very minor fills; two on the shank end and one in the rusticated portion of the stummel at the back of the bowl. These have been circled in red.
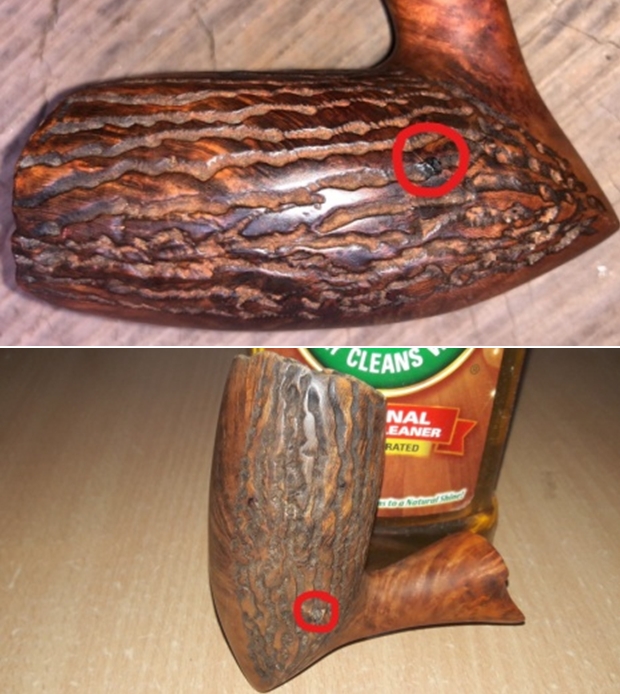
 Before progressing ahead with any further restoration, I decided to address the issues of “fills” in the stummel!!!!! I completely removed the old fills using a sharp, pointed and thin fabricated knife. I press a little briar dust and realizing what a precious commodity it is, I was very careful not to waste even a microgram. I packed it in to the gouges on the stummel, pressing it tightly with the back of a toothpick and spot applied CA superglue over it with the pointed end of the toothpick. I spot filled the shank end fills with only CA superglue as they were not large and deep. With this, I set the stummel aside for the fresh fills to cure.
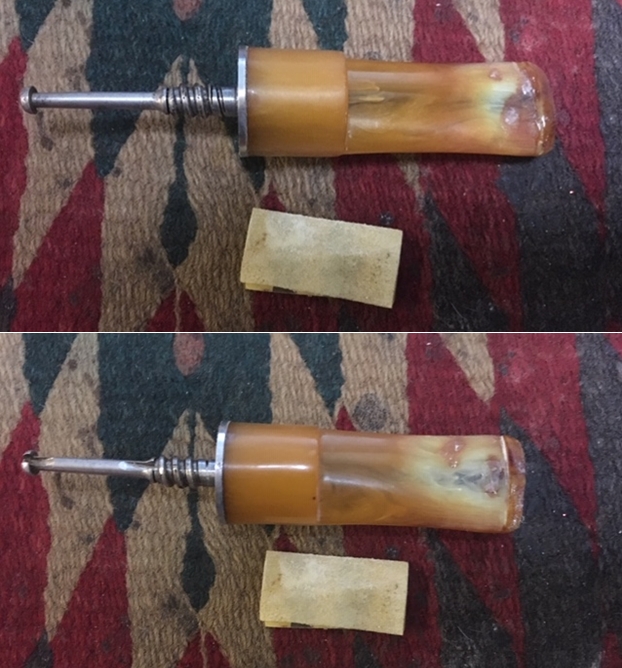
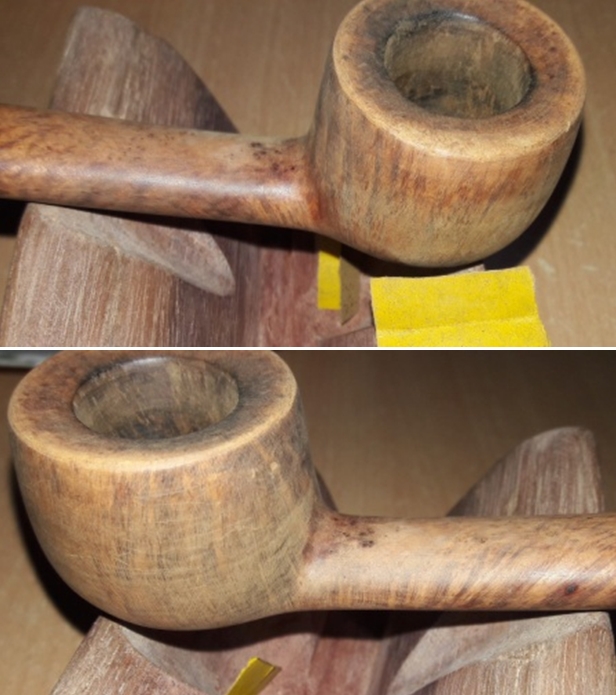
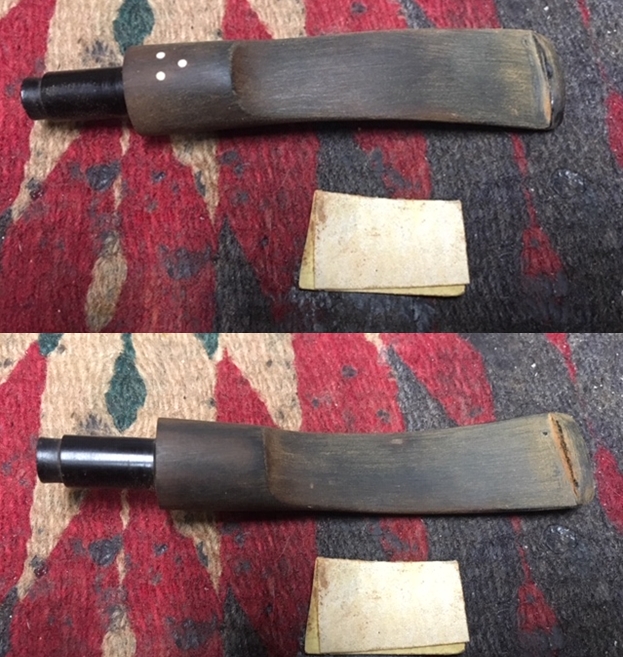
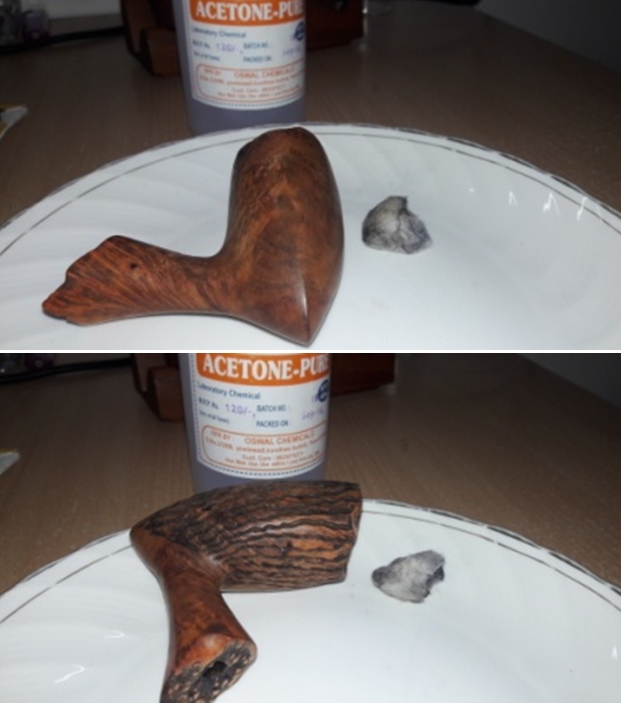
 After the fills had cured, I sand these fills using a flat head and a round needle file to achieve a rough match with the surrounding surface. With a folded piece of 180 grit sand paper, I sand the fills in the rusticated portion to match it with the worm trails in the rustication. I wiped the entire stummel with a cotton swab soaked in acetone to remove the coating of shellac, but without the expected results. The stummel still has that orange coloration. I further sand the entire smooth surface of the stummel with a piece of folded 150, 220, 440, 600 and 1000 grit sand paper to perfectly match the fills with the rest of the stummel surface and also to achieve my aim of completely removing the shellac coating, but the coloration still persists. Hopefully, remnants of the shellac coat will be addressed during the micromesh sanding and polishing process. This use of sand paper, however, addressed all issues of the dents and dings from the stummel surface!!

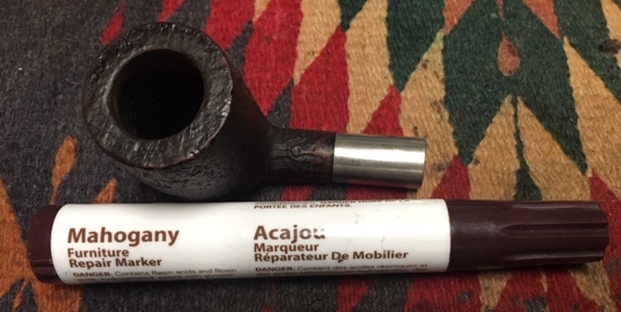
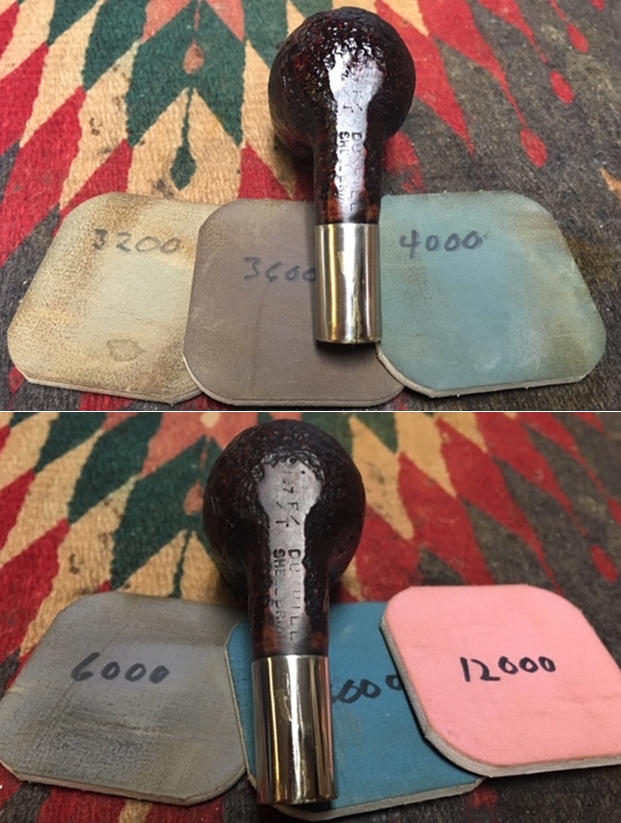
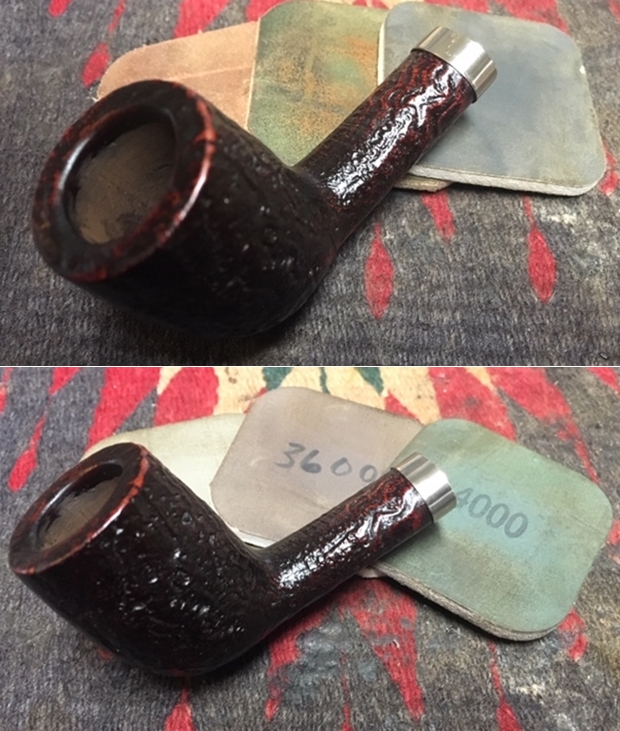
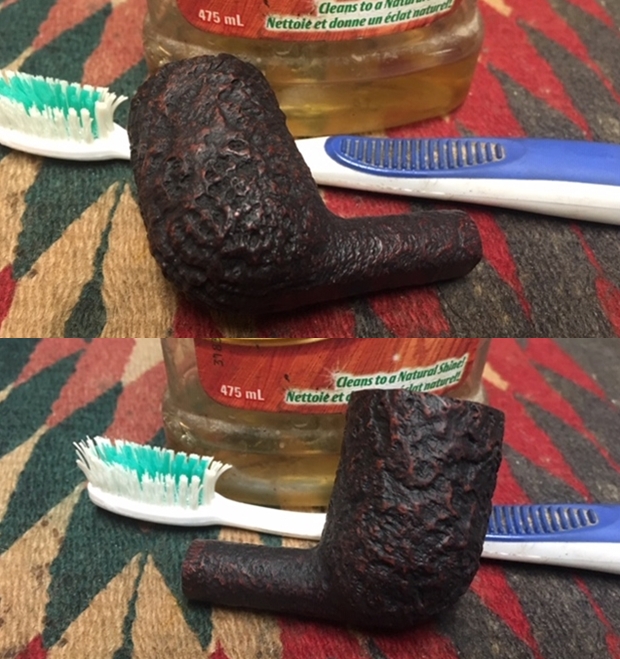
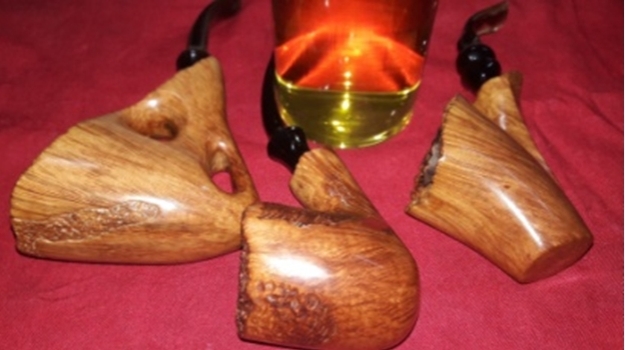
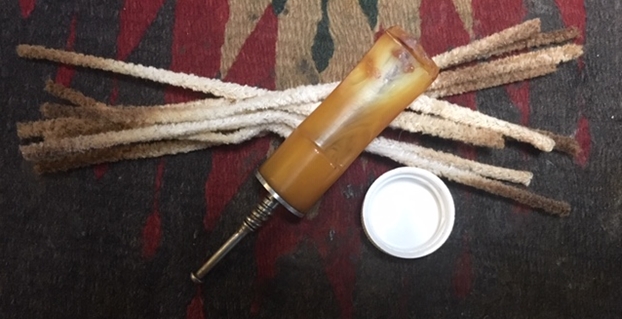
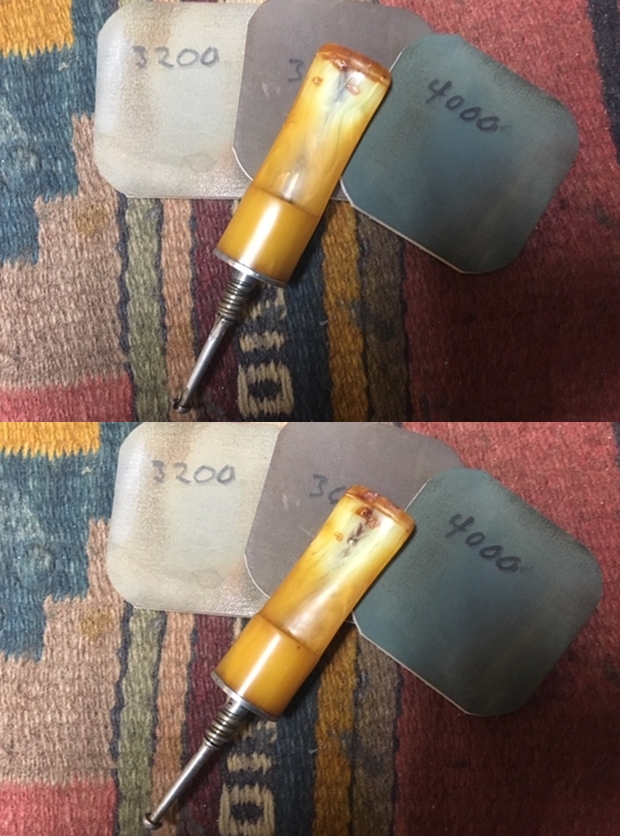
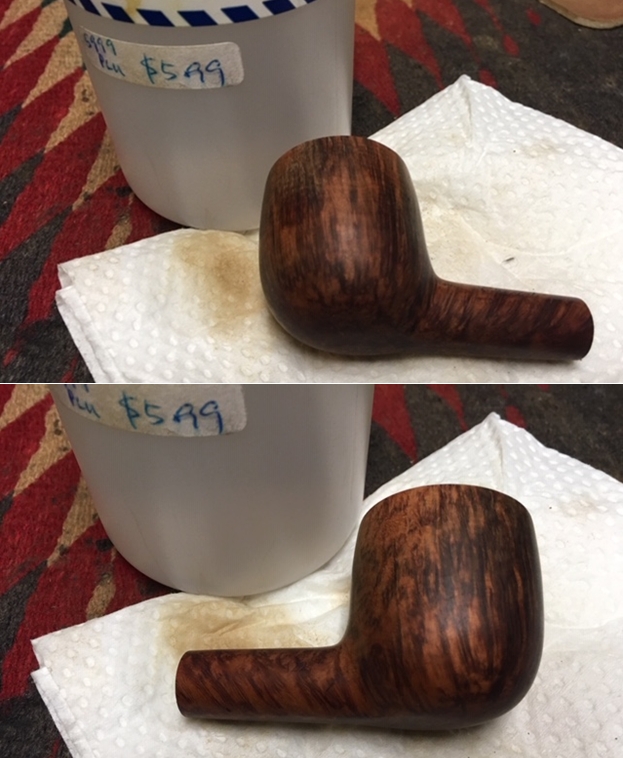
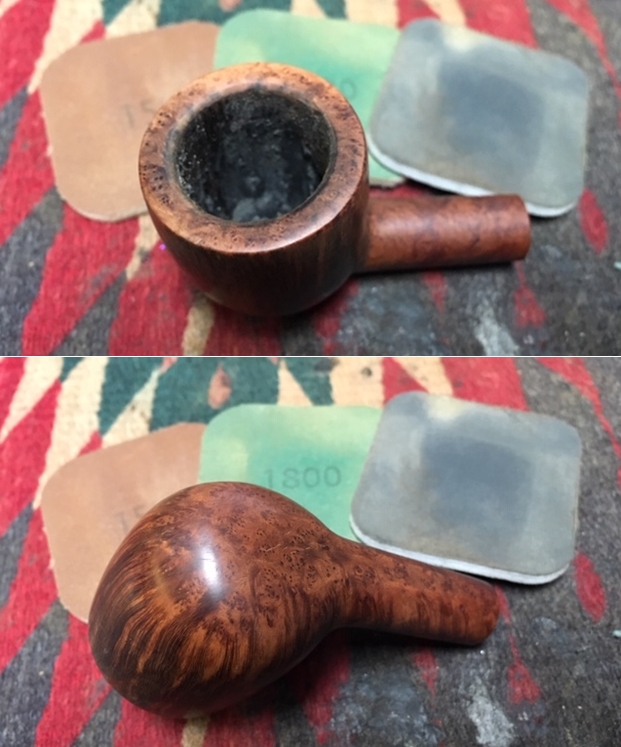
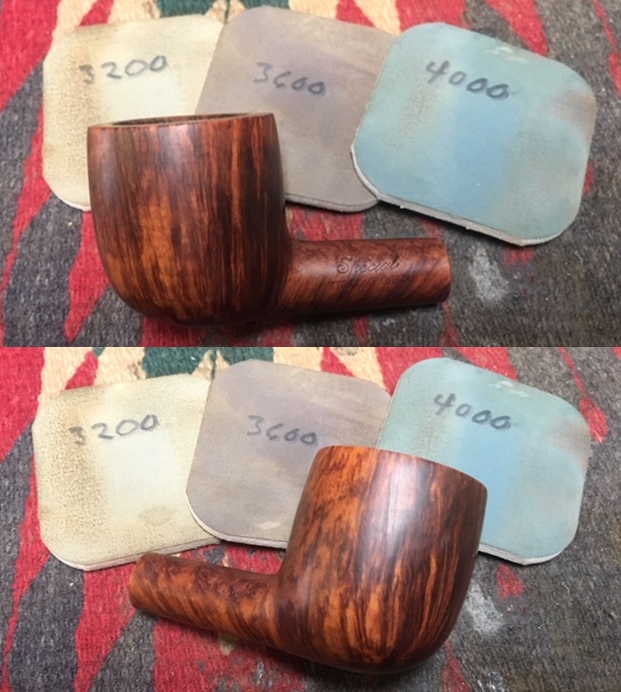
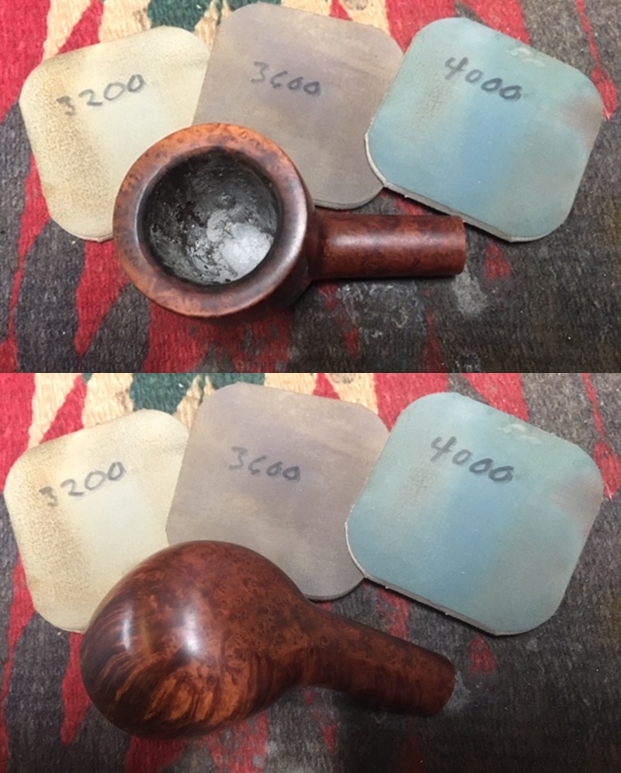
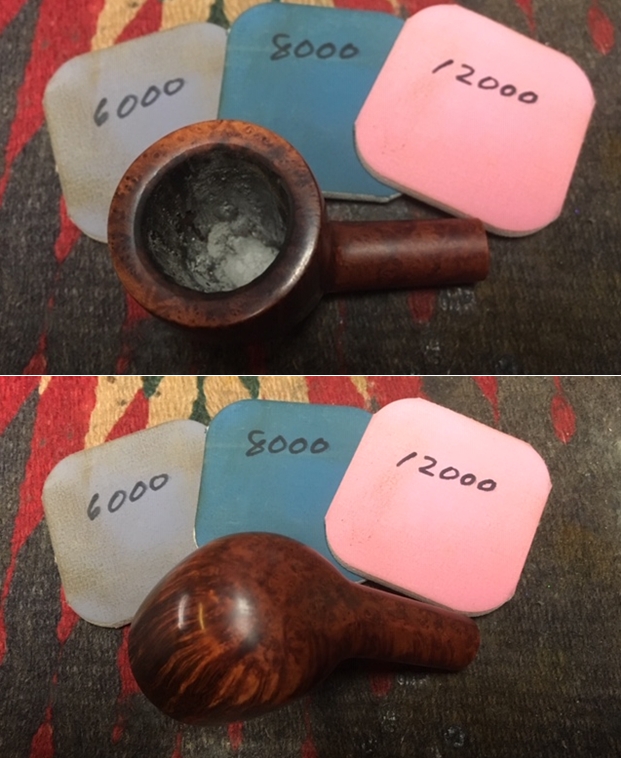
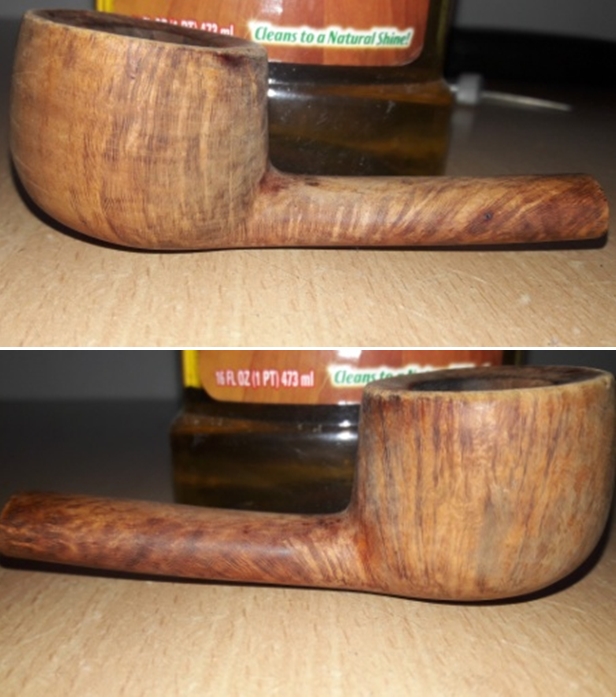
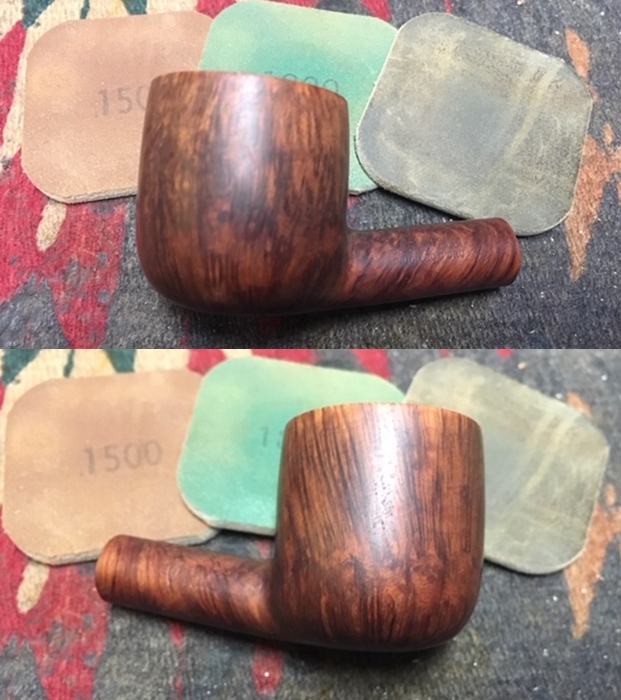
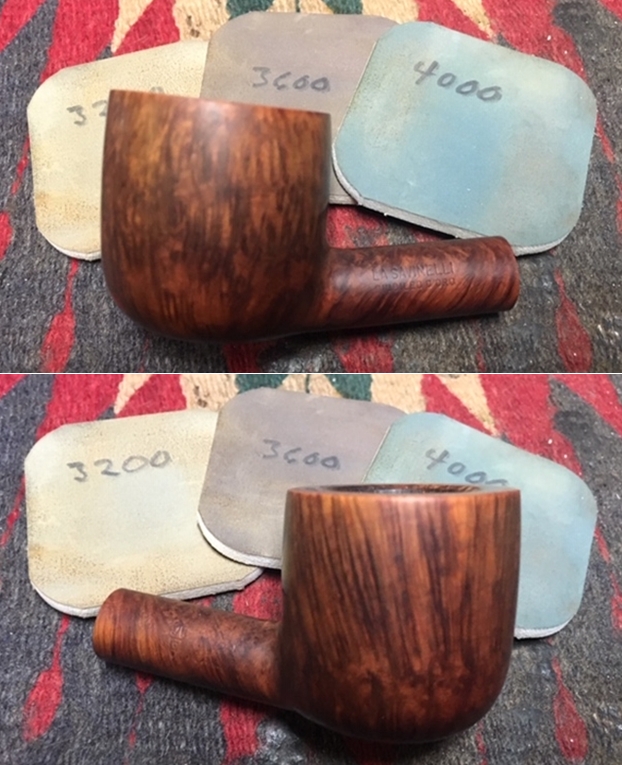
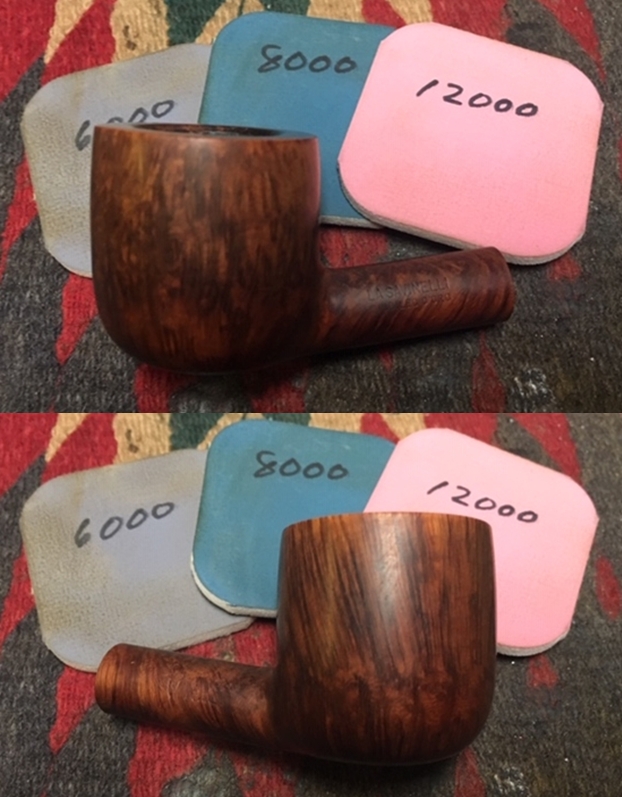
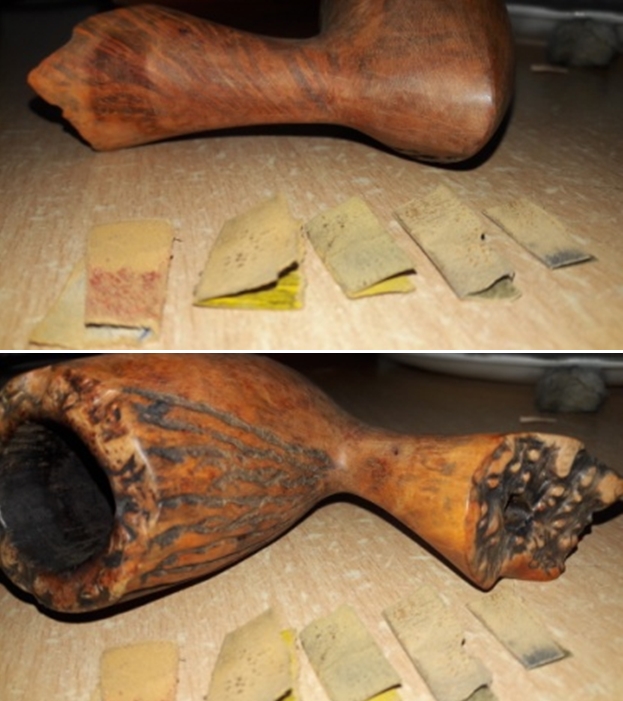 I wanted to remove the coating of shellac while highlighting the grains seen on the smooth portion of the stummel. To achieve this aim, I sand down the stummel using micromesh pads, wet sanding with 1500 to 2400 grit pads and dry sanding with 3200 to 12000 grit pads. I wiped the stummel with a moist cloth to clean the surface of all the dust after wet sanding. The orange coloration on the stummel can be gauged by the color of my hand. I was still not happy with the results of the micromesh sanding. Using a dark brown stain pen, I darkened the worm trails in an attempt highlight and add contrast against the raised portions in the rustication.
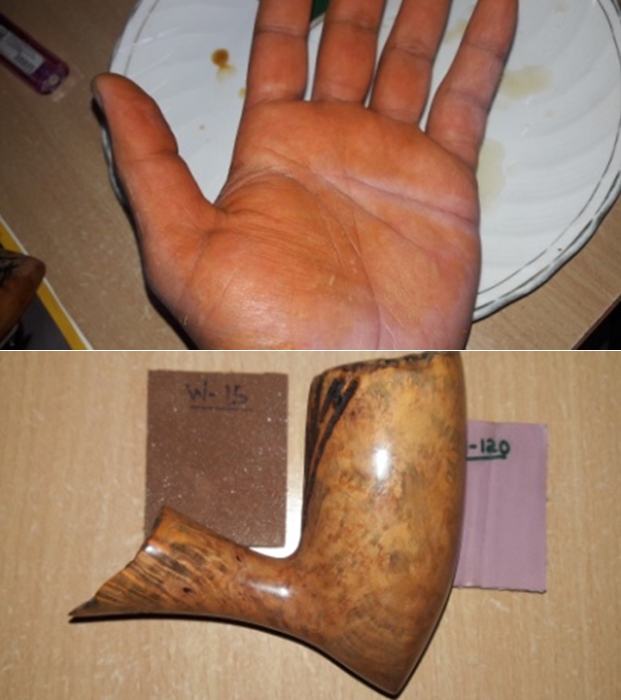

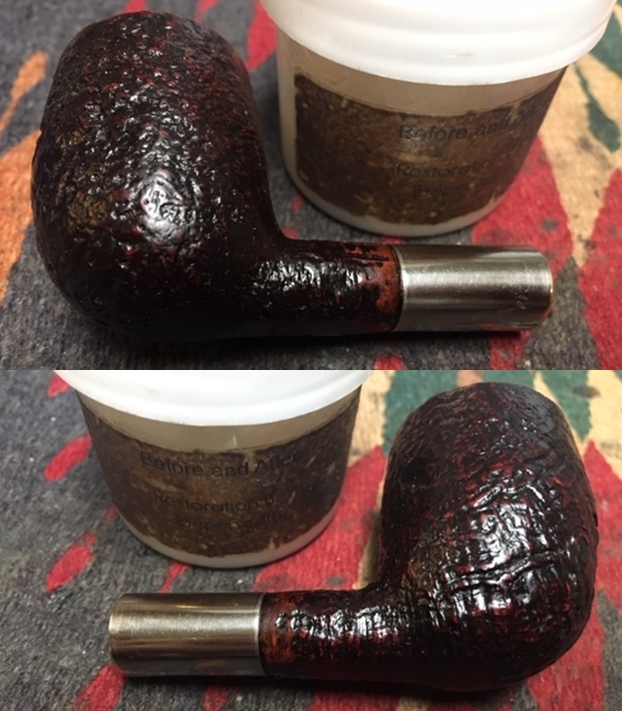
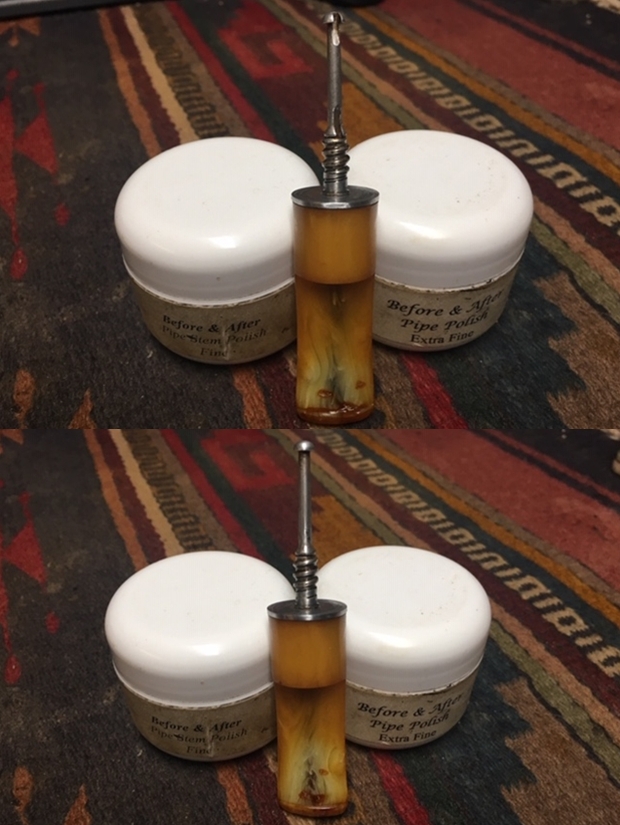
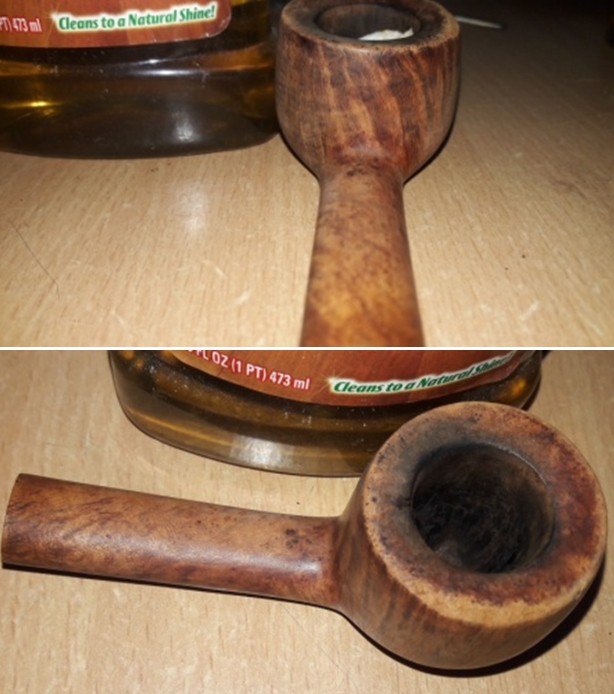
 I was not satisfied with the way the pipe looked at this stage. It was still “loud” and appeared gaudy. I rub a small quantity of “Before and After Restoration Balm” in to the briar and let it rest for a few minutes. I took some extra efforts to work the balm in to the hand carved rustications on the bowl. I hand buffed it with a horse hair brush to a deep shine. I had assumed that this would help improve the look of the stummel. Alas!! That was not to be the result. The bowl still appeared ugly and definitely did not measure up to my standards. I was lost for ideas when I shared pictures of the stummel with my guru, Mr. Steve. This is what he saw.
 In his characteristic style, Mr. Steve suggested that “I would first get rid of the dark stain in the worm trails by wiping the entire stummel and then re-staining it”. This is exactly what I did. I wiped the stummel with a cotton swab dipped in isopropyl alcohol and removed all the stain. Mr. Steve had sent me sachets of easy-to-use stain powder which just needed to be mixed in isopropyl alcohol and applied to the stummel surface. I chose the Walnut stain. Since this was the first time that I would be using a stain, I was a bit apprehensive. I mixed a little quantity of the stain powder and mixed it with a little quantity of 99.9% pure isopropyl alcohol to a liquid consistency. I have purposely not mentioned any specific quantity of each as I had mixed the two just by relying on feel and visual confirmation. I was fortunate that I got the mix spot on in the first attempt. There is a lot of leeway in this process in that if the stain appears too dark after application, desired transparency could be achieved by wiping the stummel with a cotton swab dipped in alcohol!!!! I folded a pipe cleaner and evenly applied the stain over the complete stummel, plateau rim and shank end. This was followed by burning excess of alcohol with the flame of a Bic lighter. This also helps the stain to set on the stummel surface. Just a word of caution to all first timers like me, please wear either plastic or latex rubber gloves if you wish to avoid the struggle of removing the stains from your hands later!!!
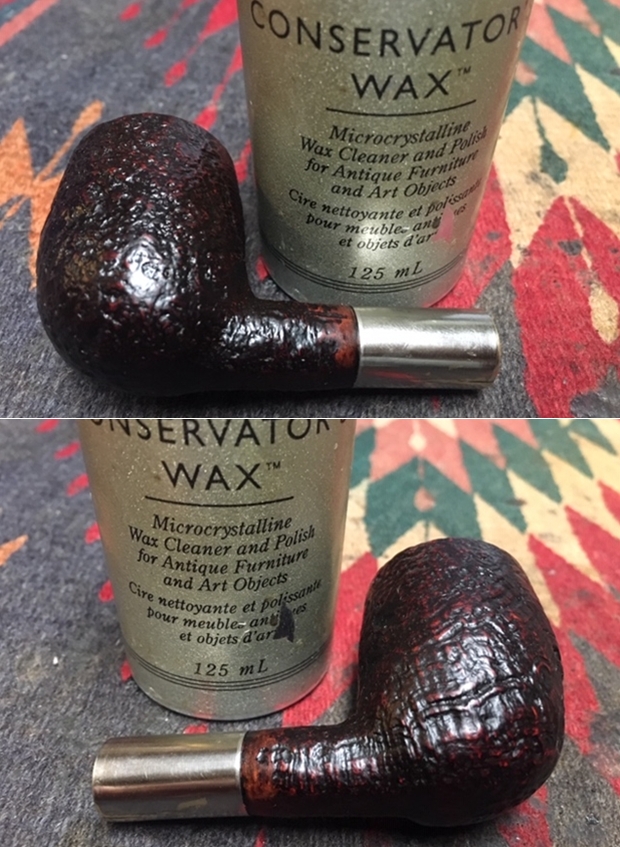
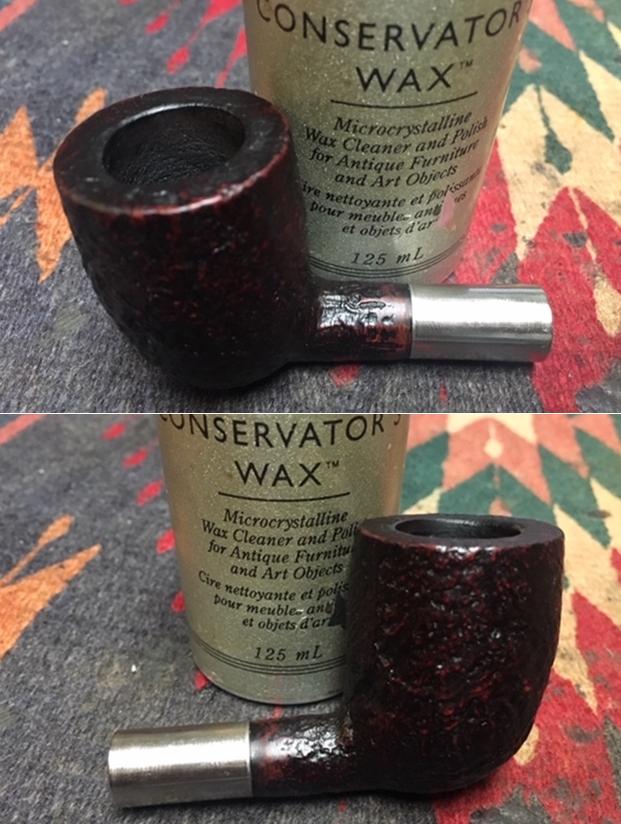
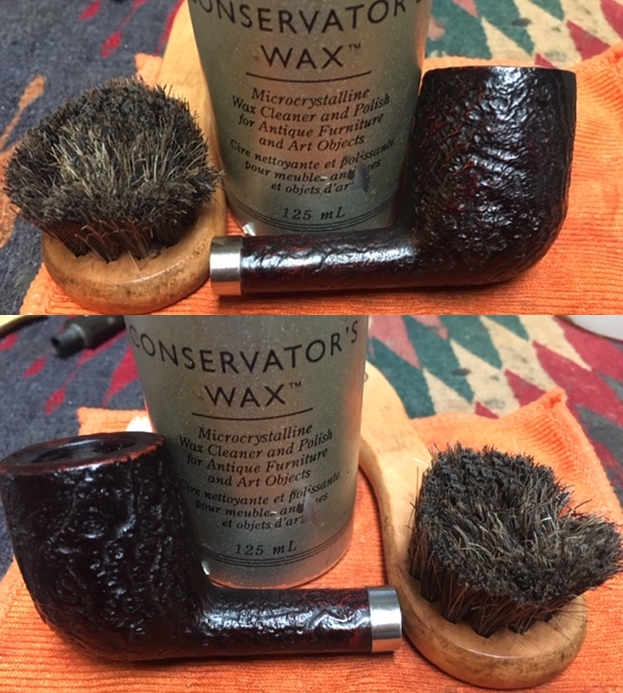
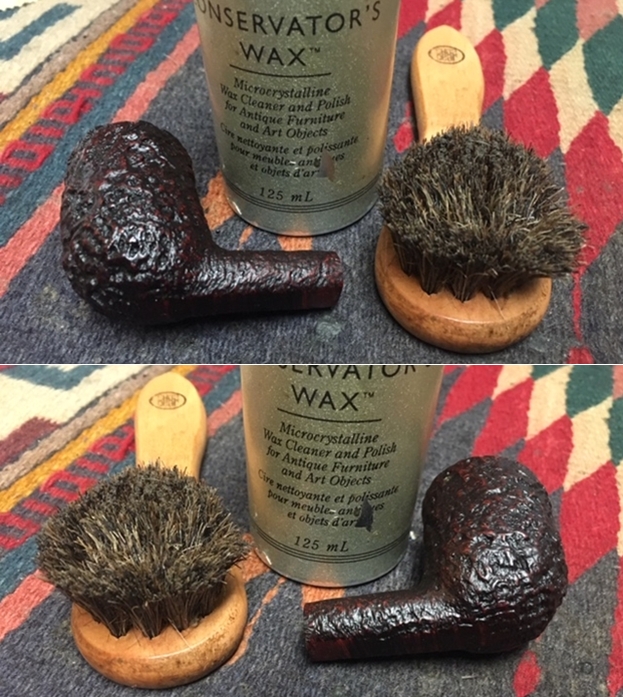
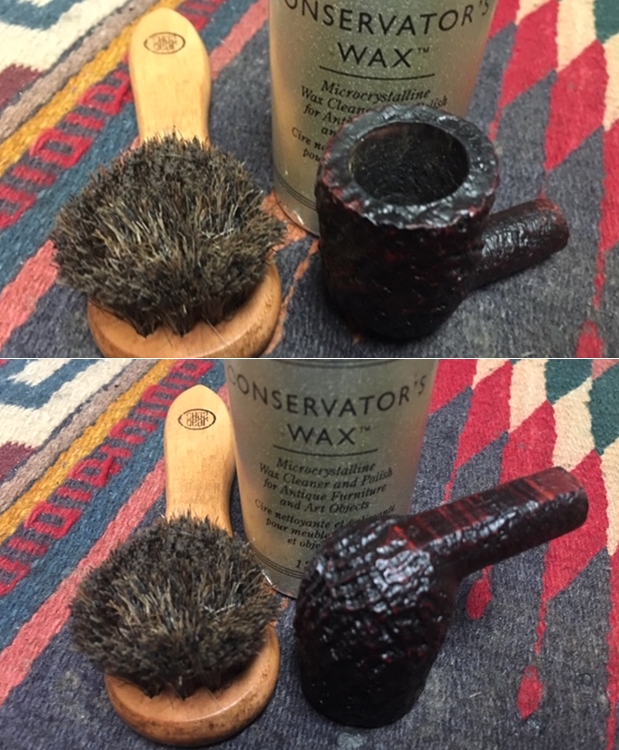
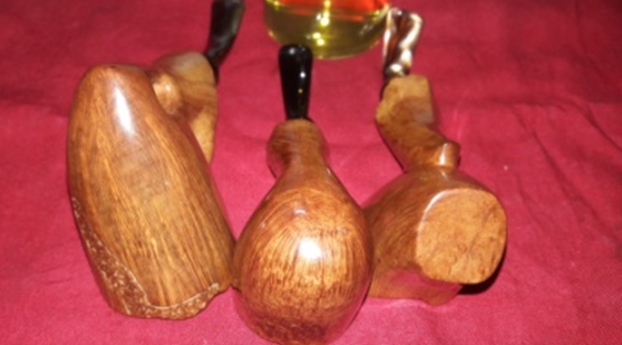
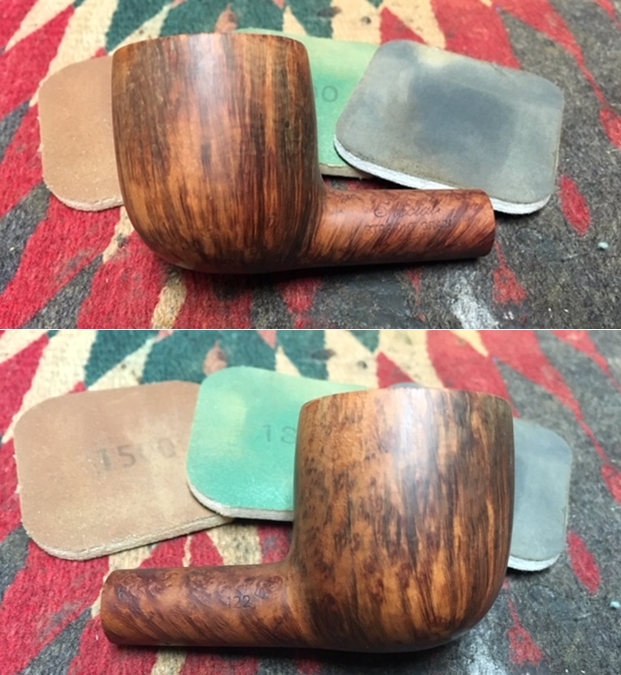
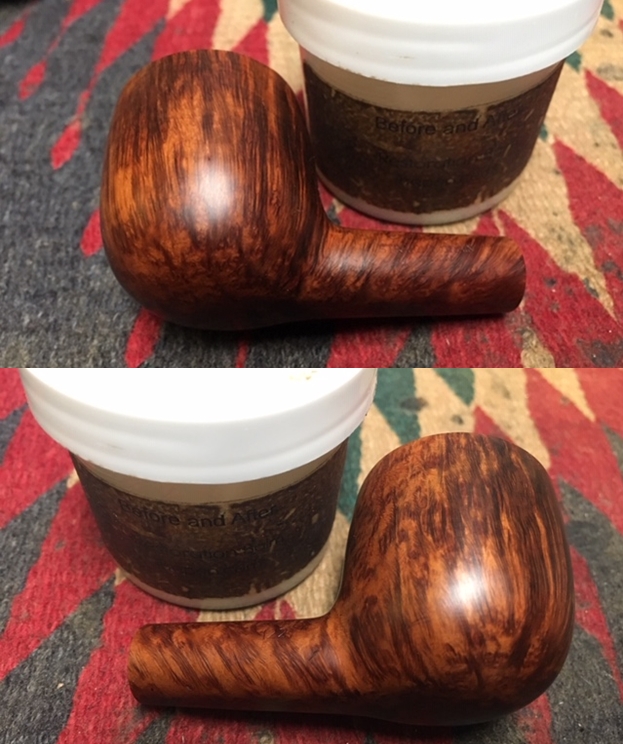
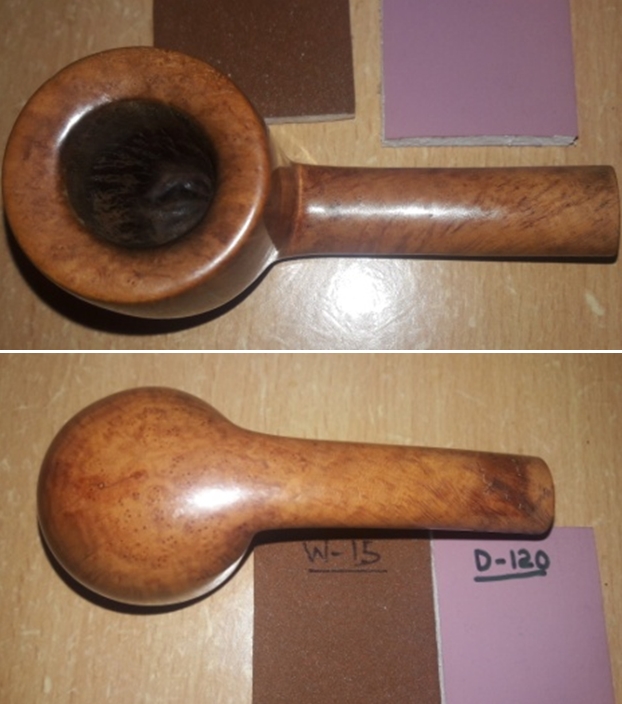
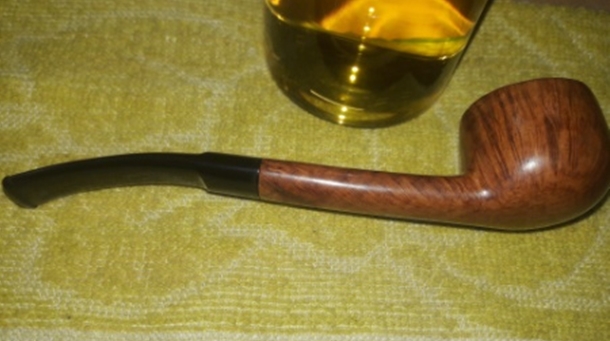
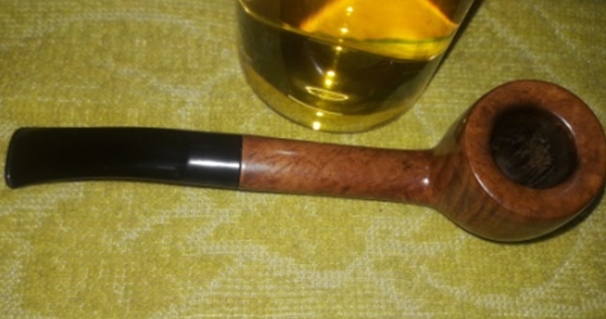
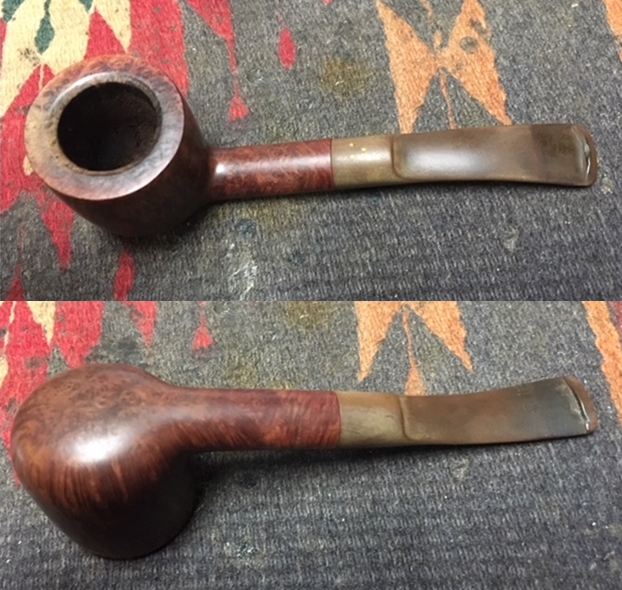
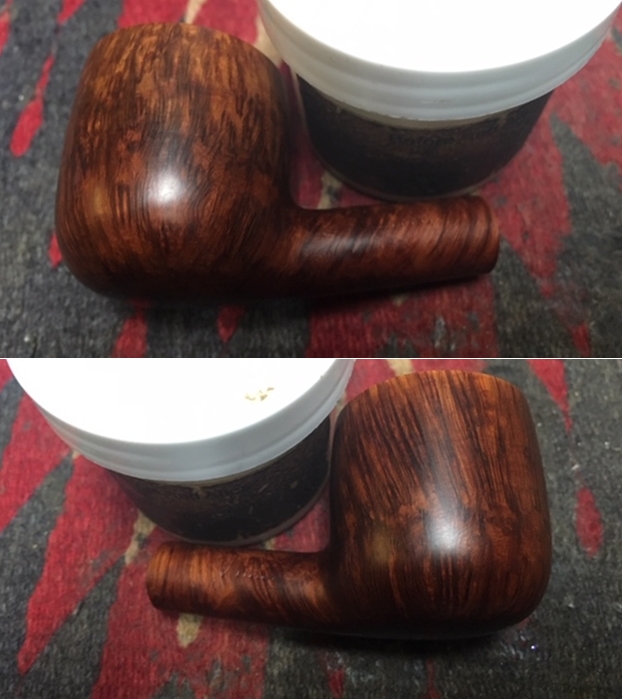
 I wiped the stummel surface with a cotton swab dipped in isopropyl alcohol as the stain was slightly darker and unevenly applied than I would have liked. This helped in bringing more transparency and evenness in the stain application. Once the stain had set, I mount a cotton cloth buffing wheel on to my local machine which is similar to a Dremel. I set the speed at about half of the full power and applied White Diamond compound to stummel of the pipe. I wiped/ buffed the pipe with another clean cotton cloth buffing wheel to clear it of any leftover compound dust. I then mounted another cotton cloth wheel on to the polishing machine and applied several coats of carnauba wax over the stummel. I finished by giving the stummel a rigorous hand buffing using a microfiber cloth to raise the shine further. The grains on the stummel now look beautiful and peek through the stain. I shared the pictures of the stummel with Mr. Steve who appreciated the look of the stummel at this stage.

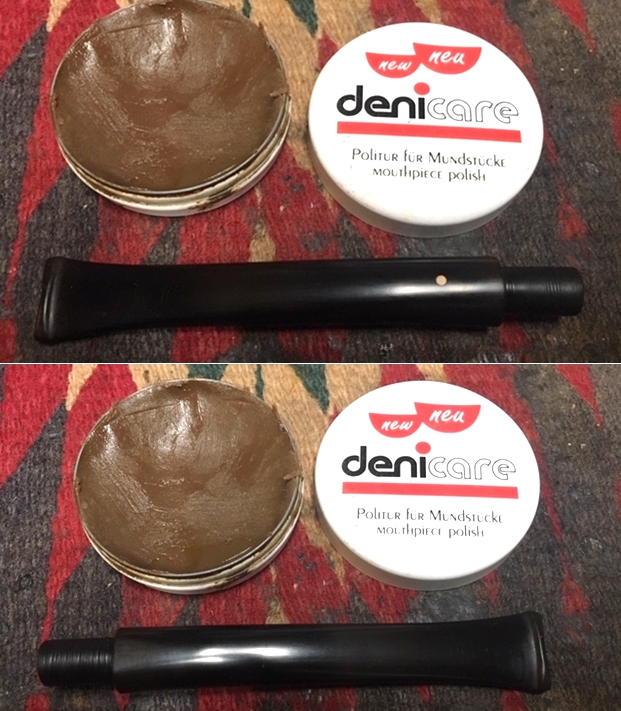
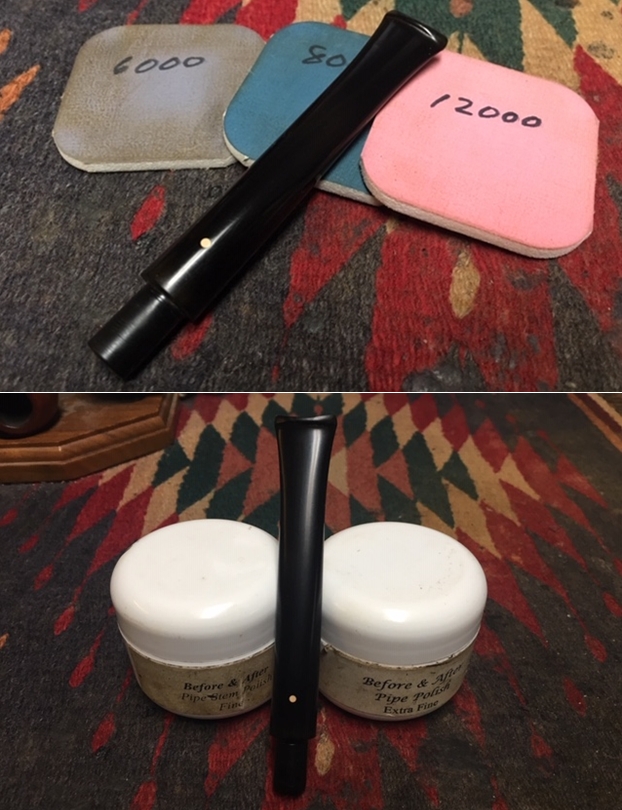
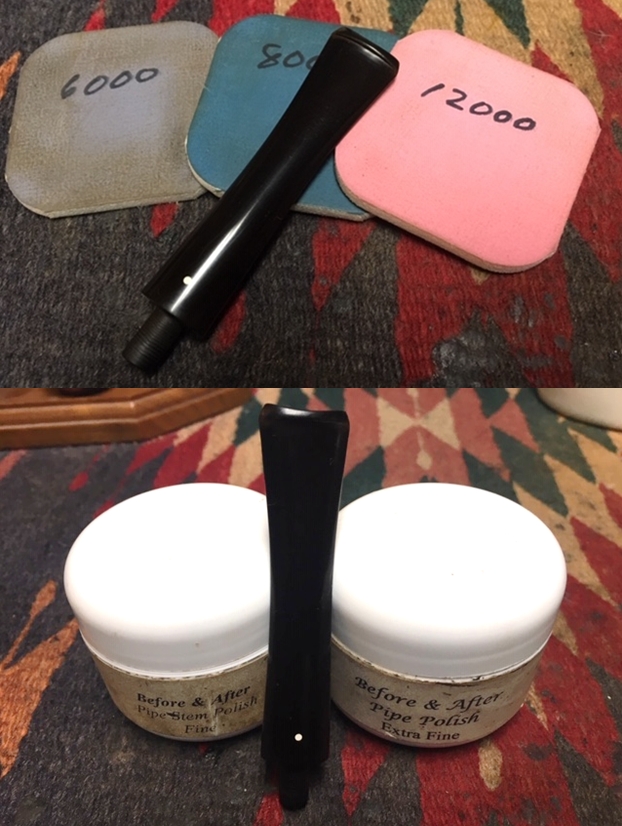
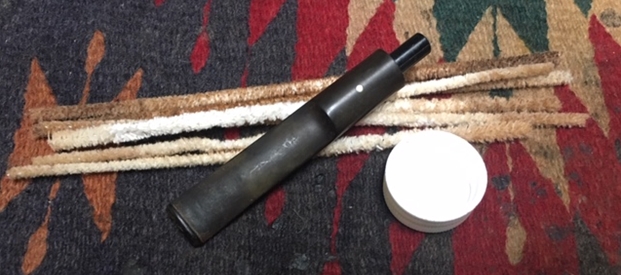
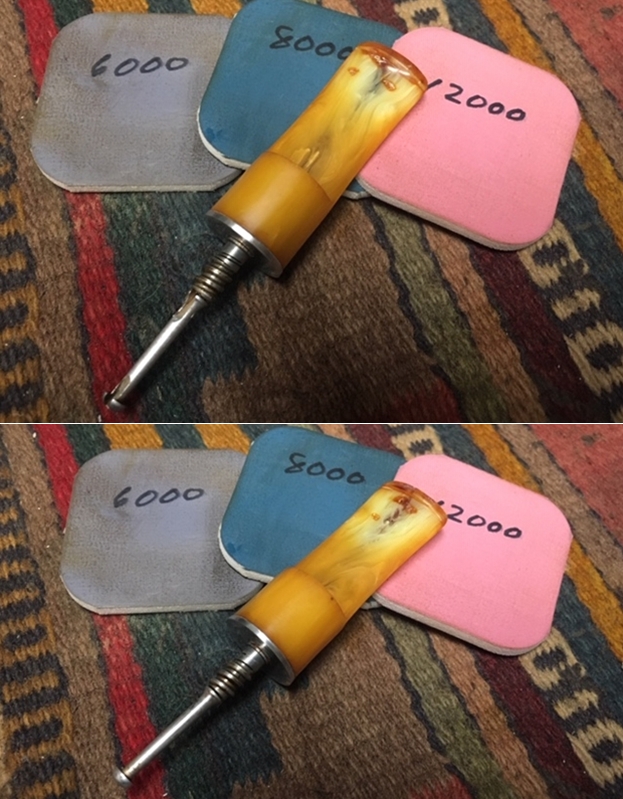
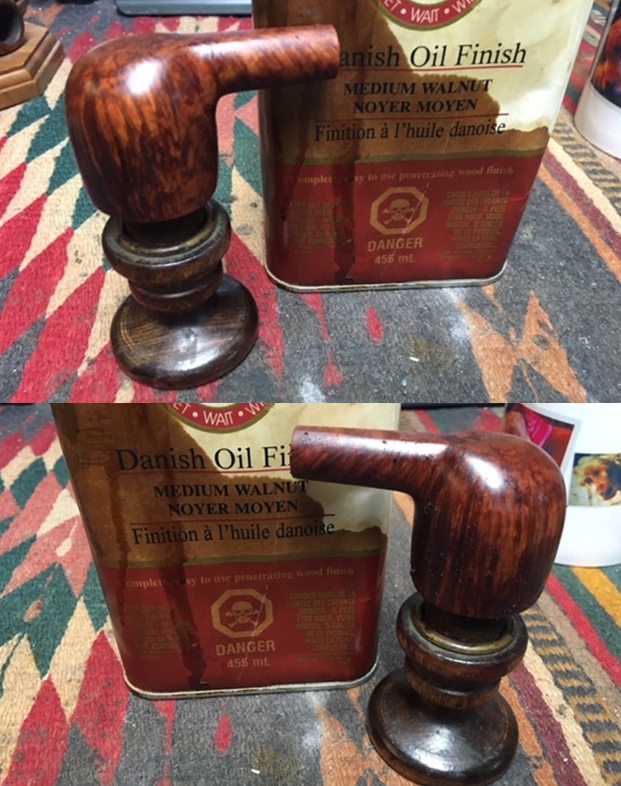
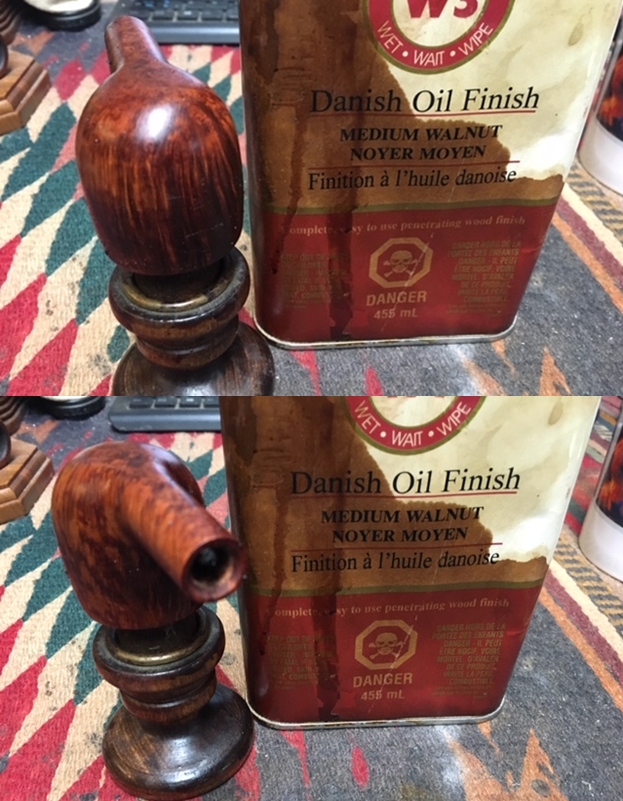
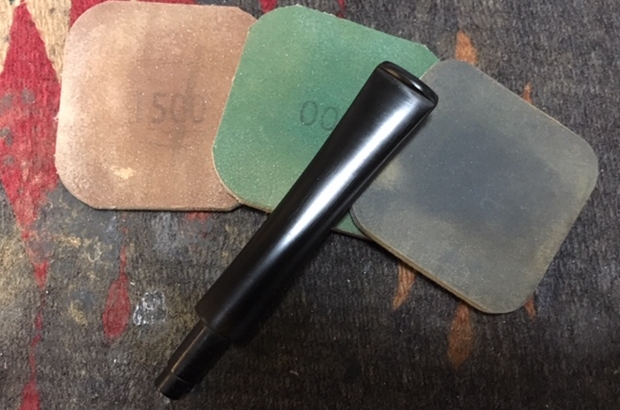
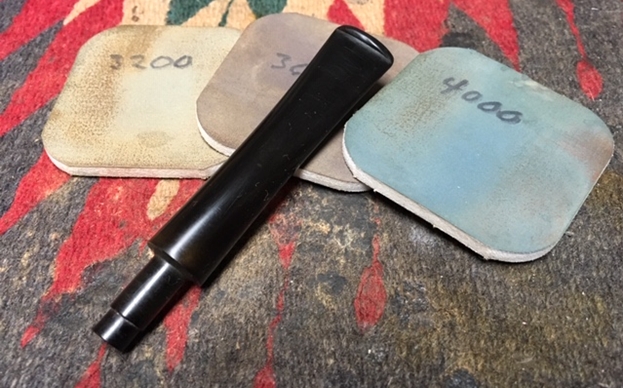
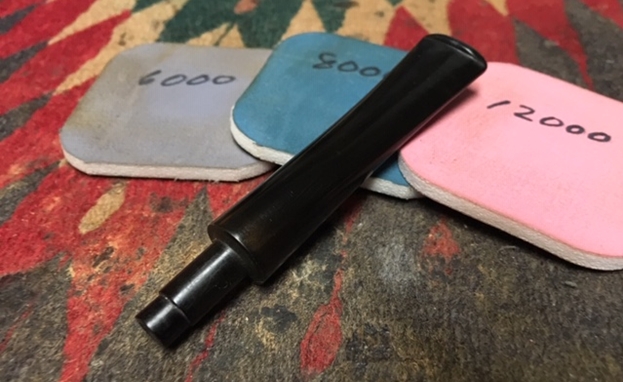
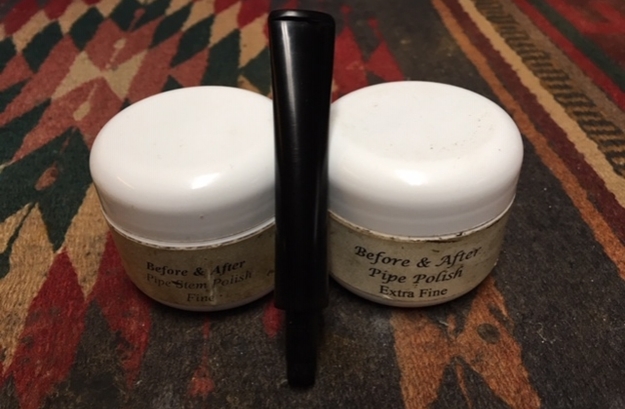
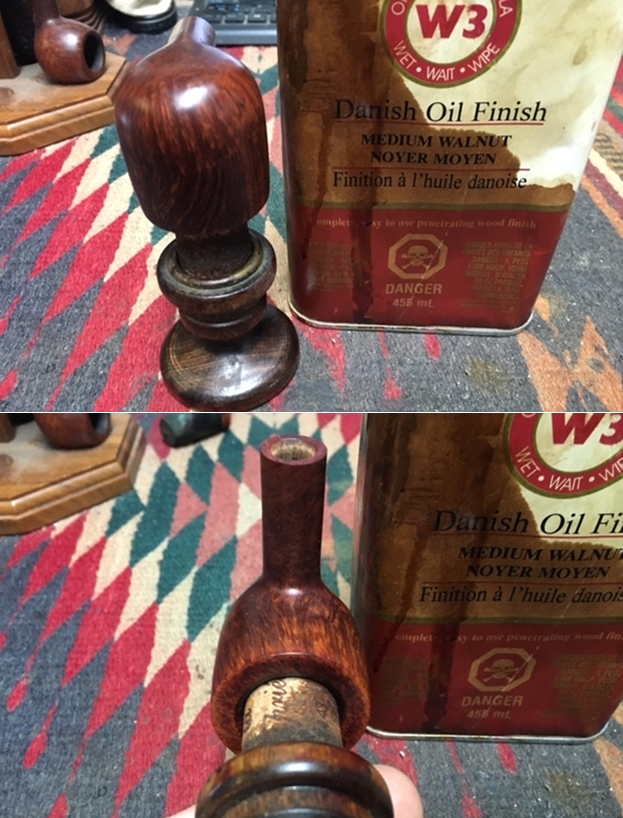
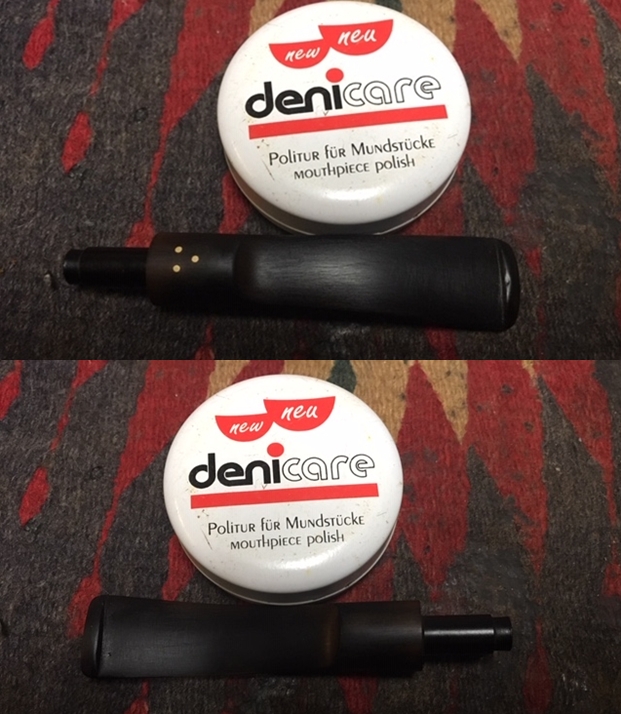
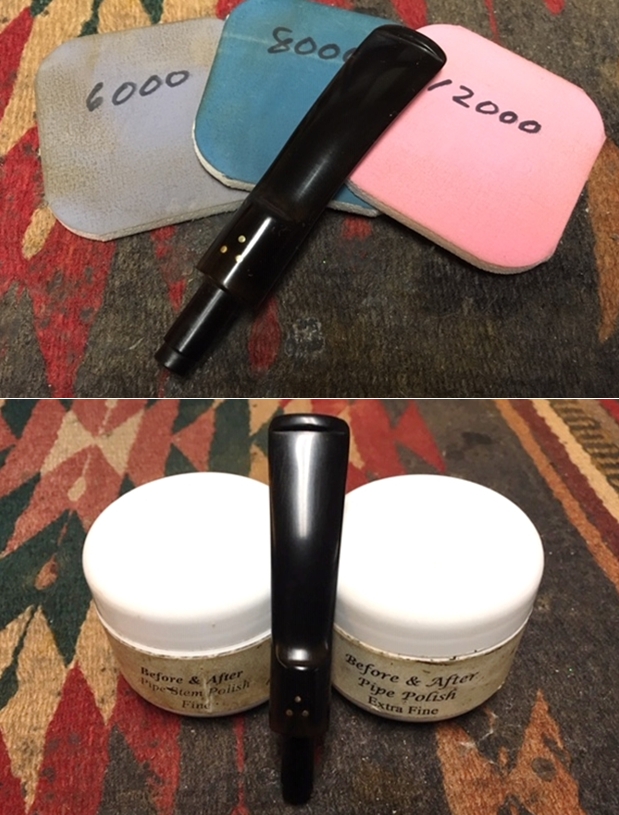
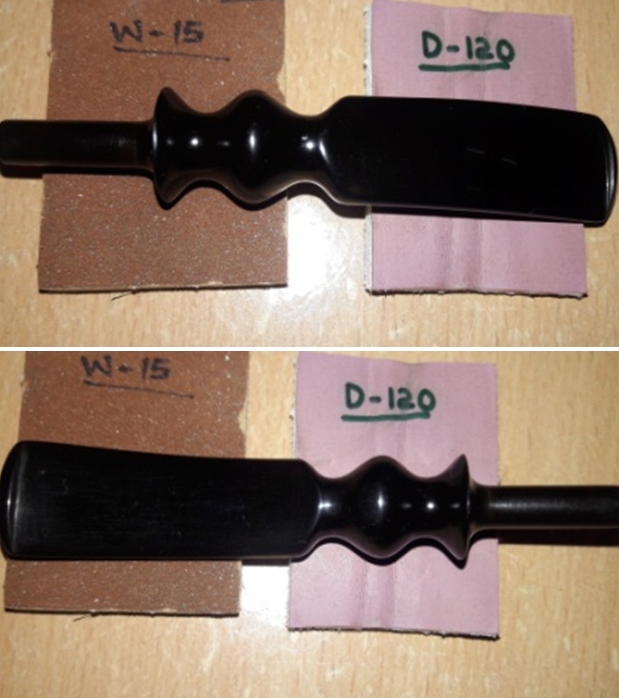
 With the stummel nice and clean and attractive, I worked the stem of the pipe. The fill on the stem had cured nicely and I sand it down with a flat head needle file. I sharpened the lip edges using a needle file and sand the entire stem with 220 followed by 400, 800 and 1000 grit sand paper. This helps to reduce the sanding marks left behind by the more abrasive 220 grit paper, while this process eliminated the deep oxidation seen on the vulcanite stem of the pipe. To bring a deep shine to the vulcanite stem, I went through the complete set of micromesh pads, wet sanding with 1500 to 2400 grit pads and dry sanding with 3200 to 12000 grit pads. I wiped the stem with alcohol after each pad and rubbed it down with Extra Virgin Olive oil. The internals of the stem was cleaned out using alcohol and pipe cleaners. The pictures of the process and final results are shown below.
 The only issue remaining to be addressed, before I could proceed with the final polish, was the deeper gash seen in the walls of the chamber. I mixed activated charcoal and yogurt to a consistency which would enable an even spread and applied it on the inner walls of the chamber and set it aside to cure it overnight.
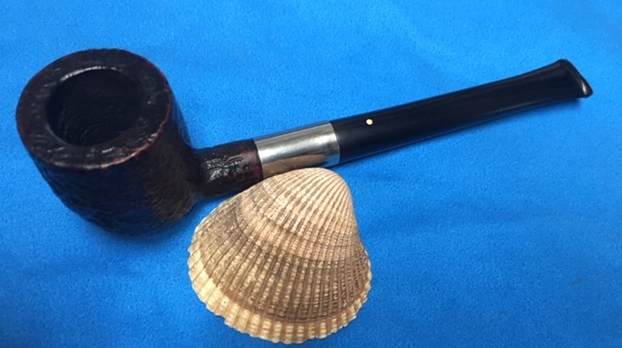
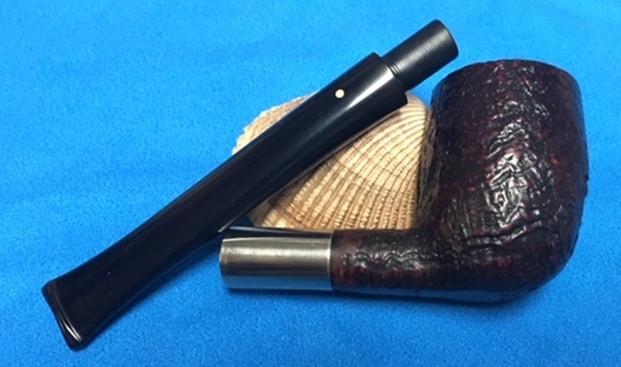
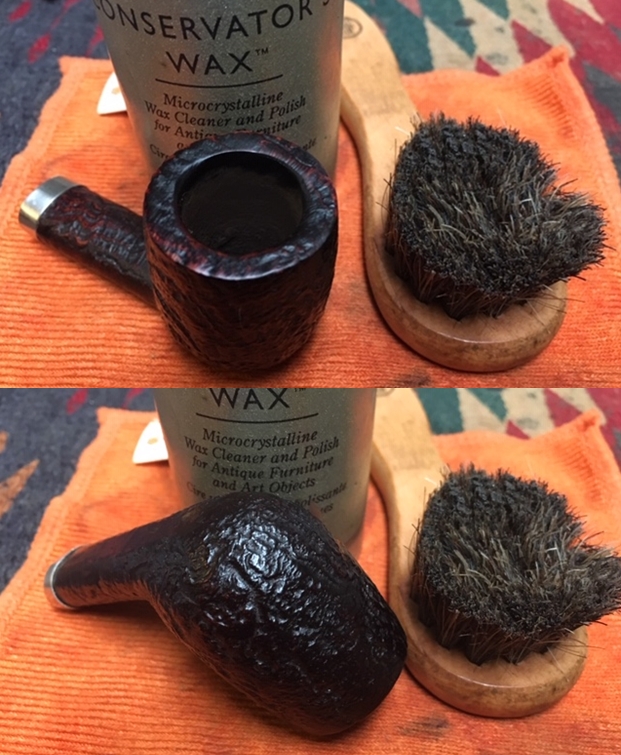
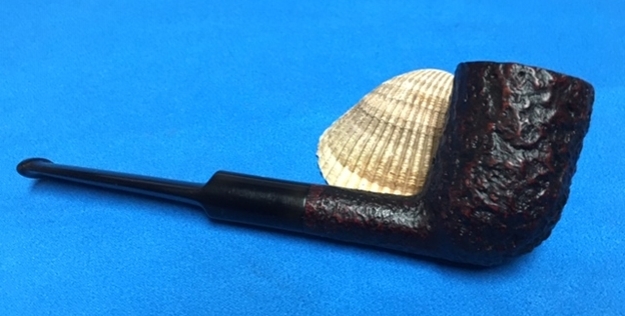
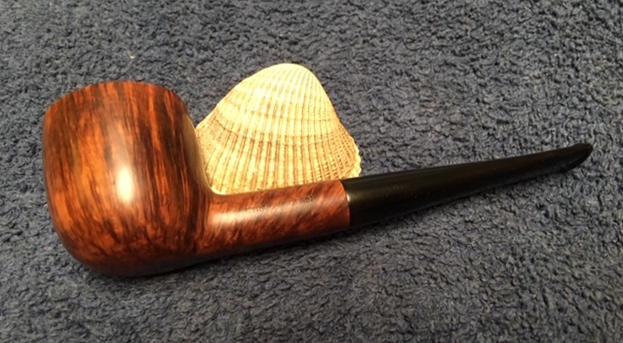
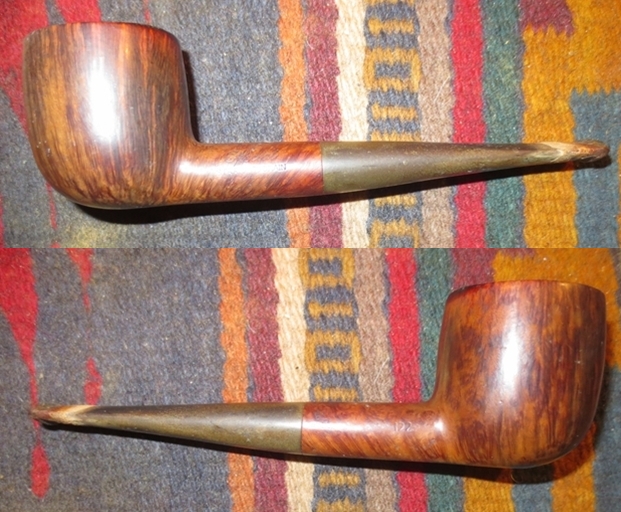
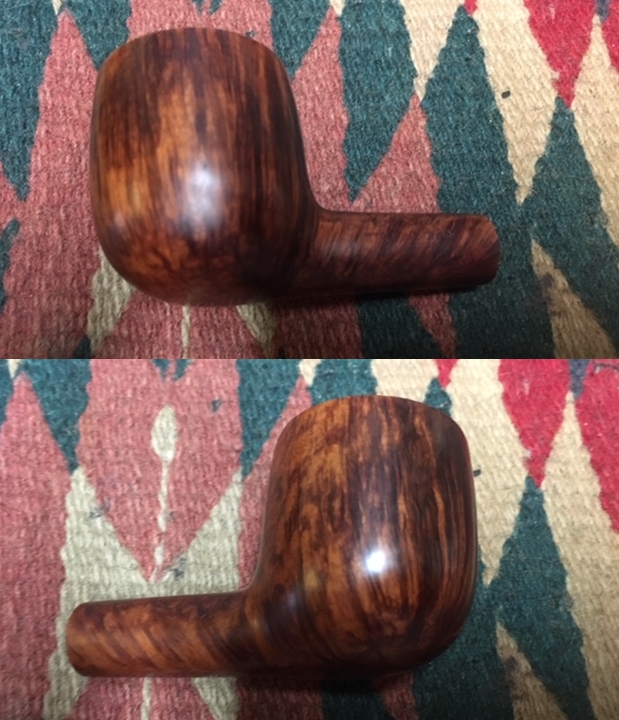
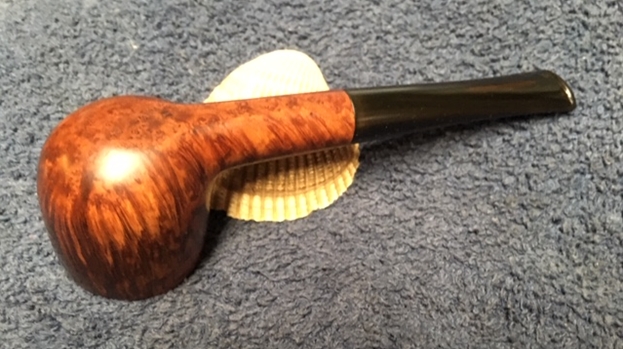
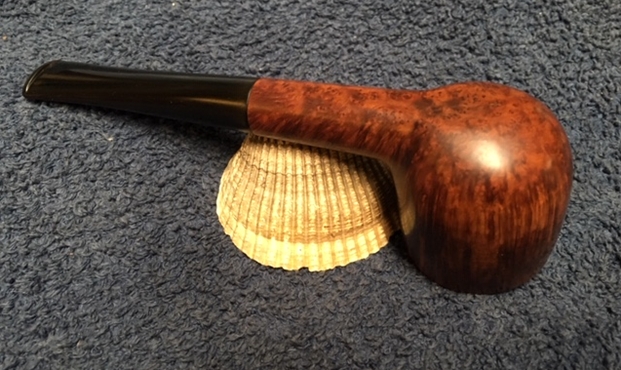
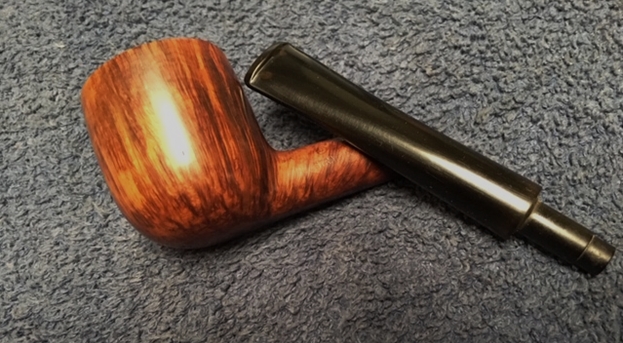
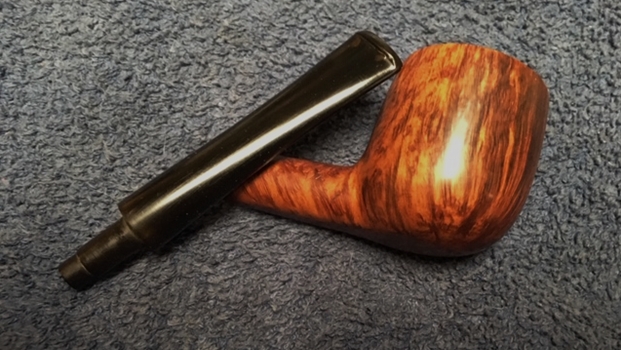
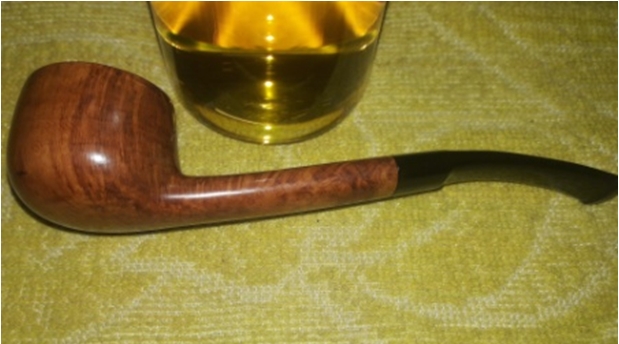
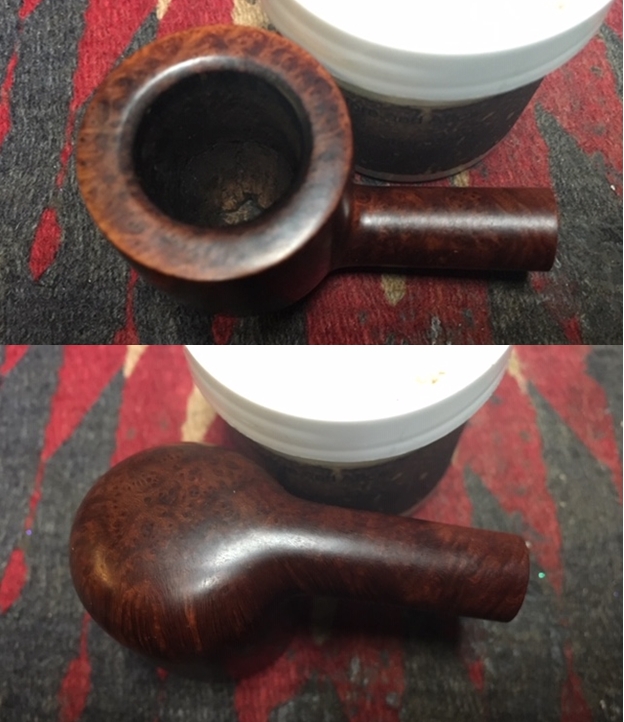
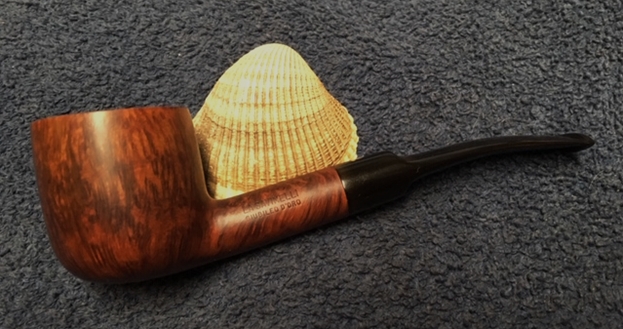
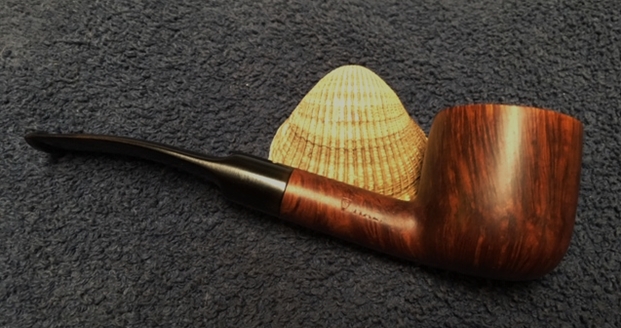
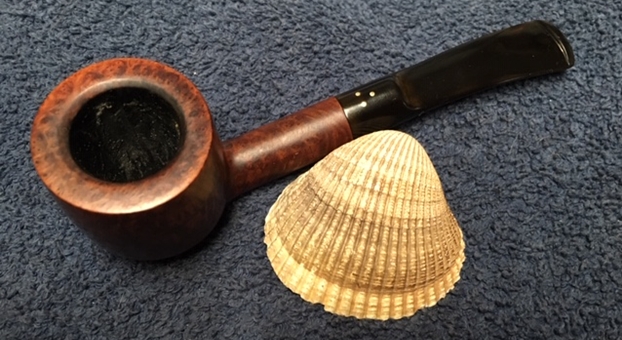
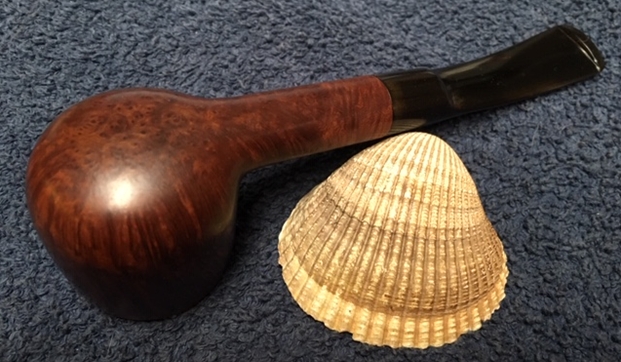
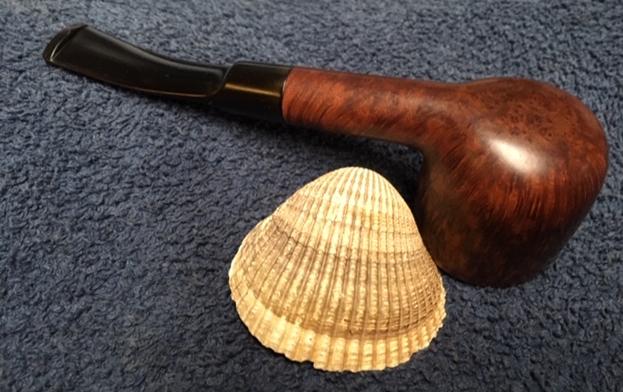
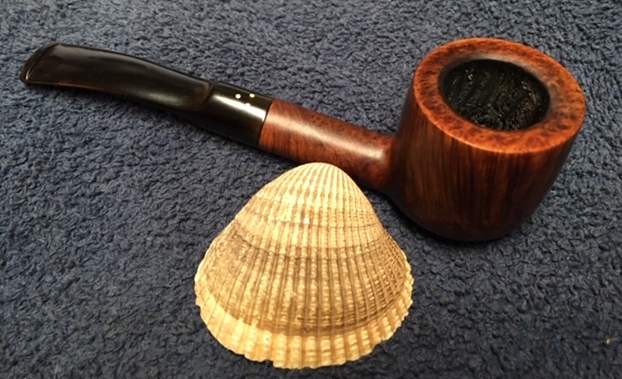
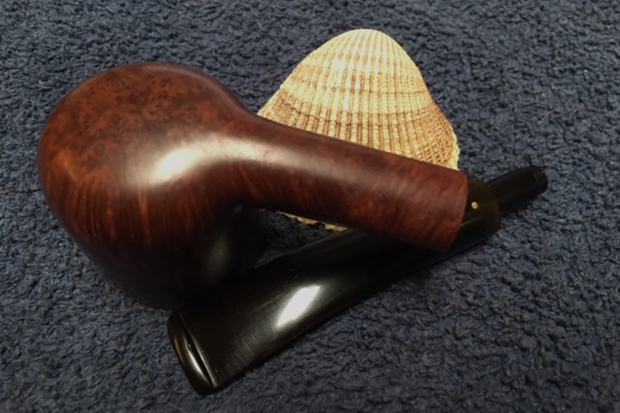
 To finish, I re-attach the stem with the stummel. I mount a cotton cloth buffing wheel on to my local machine which is similar to a Dremel. I set the speed at about half of the full power and applied White Diamond compound to stummel of the pipe. I wiped/ buffed the pipe with a soft cotton cloth to clear it of any leftover compound dust. I then mounted another cotton cloth wheel on to the polishing machine and applied several coats of carnauba wax over the stummel and the stem. I finished the restoration by giving the pipe a rigorous hand buffing using a microfiber cloth to raise the shine further. The completed pipe, with the dark brown hues of the stummel contrasting with the shiny black stem, looks lovely, fresh and vibrant; the photographs speak for themselves. The beauty, size and shape of this pipe make it one of my favorite and will find a place of pride in my modest collection. If only the pipe could tell some of the stories and incidents that it has witnessed while my grand old man puffed away.…………… Cheers!!!


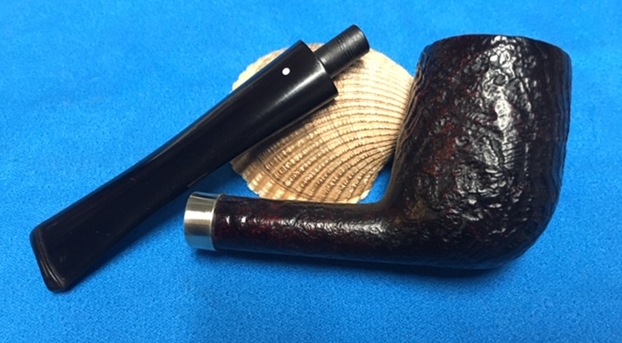
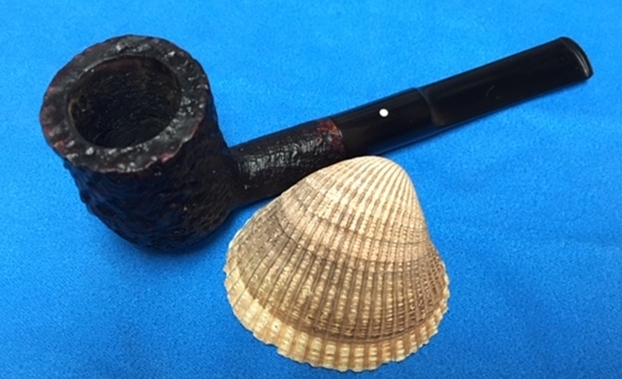
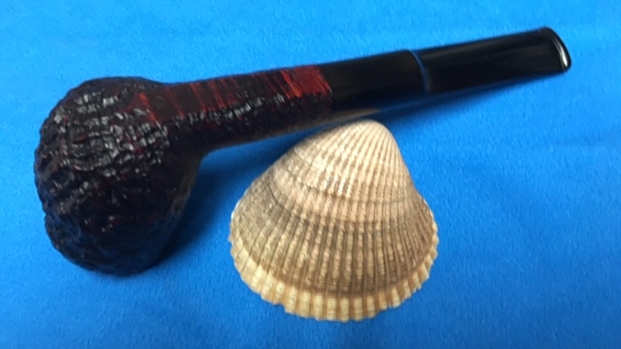
 PS: The oversized and shape of the stummel coupled with an equally proportionately long stem, posed a challenge while taking pictures of the complete finished pipe!!!! This is one of the many areas where I need to make a lot of progress. If I am unable to capture the beauty of the finished pipe and present it in an attractive manner, I feel my efforts are in vain.