Blog by Steve Laug
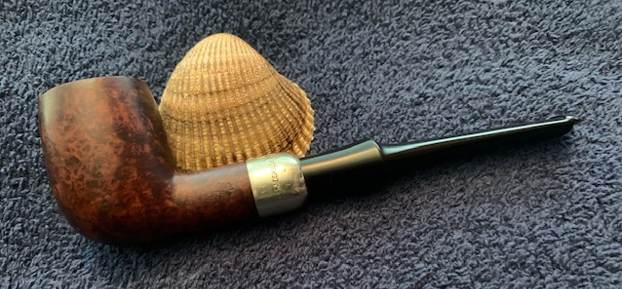
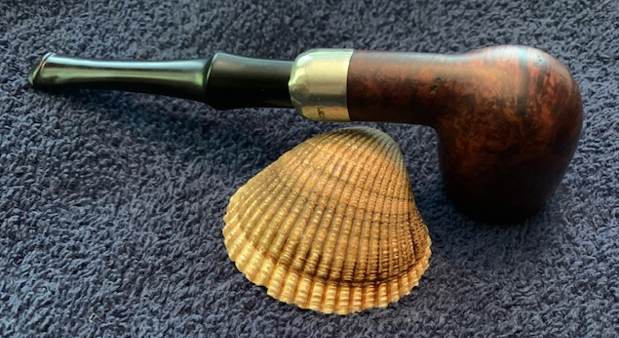
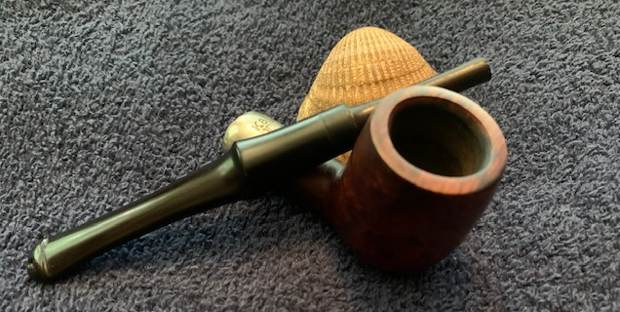
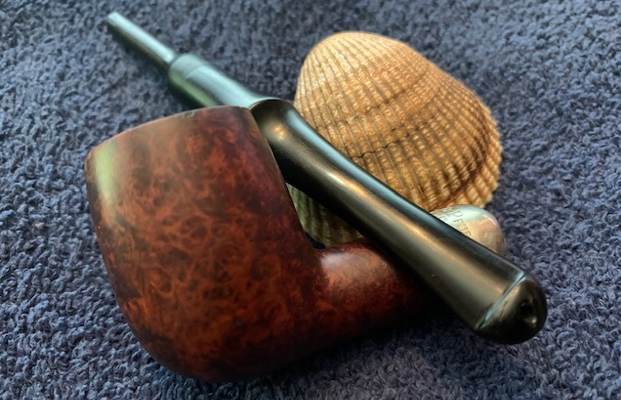
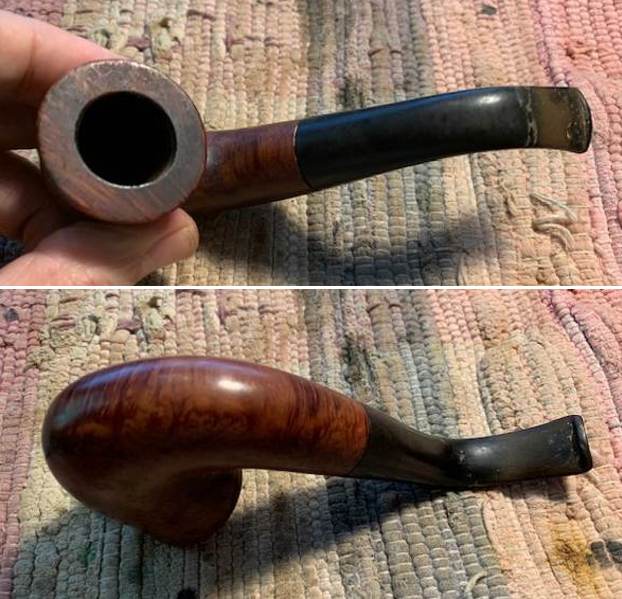
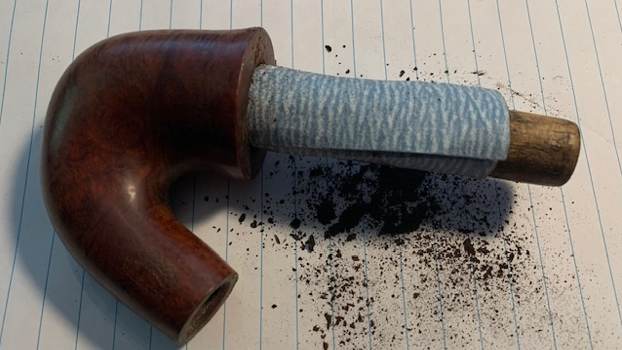
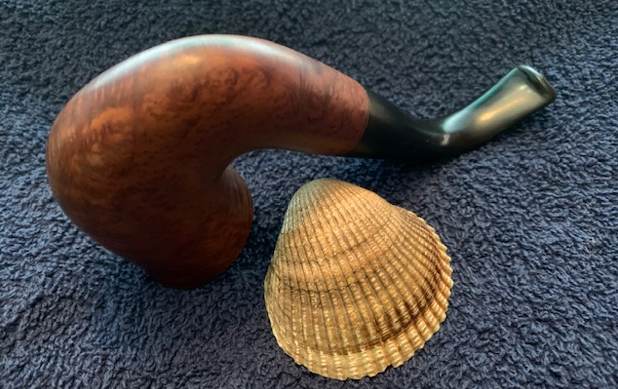
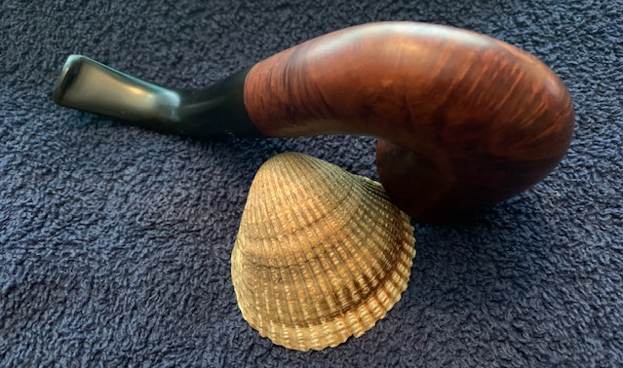
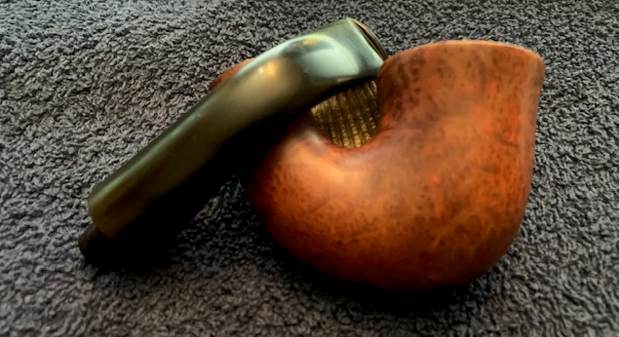
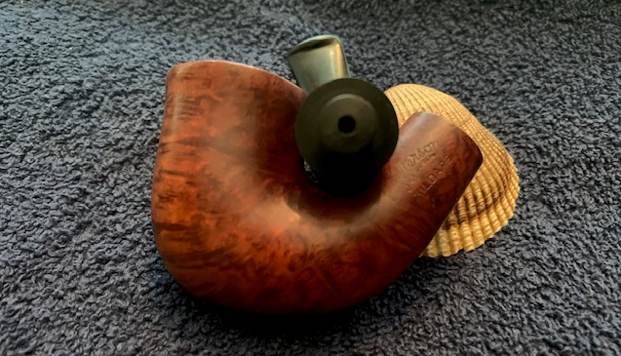
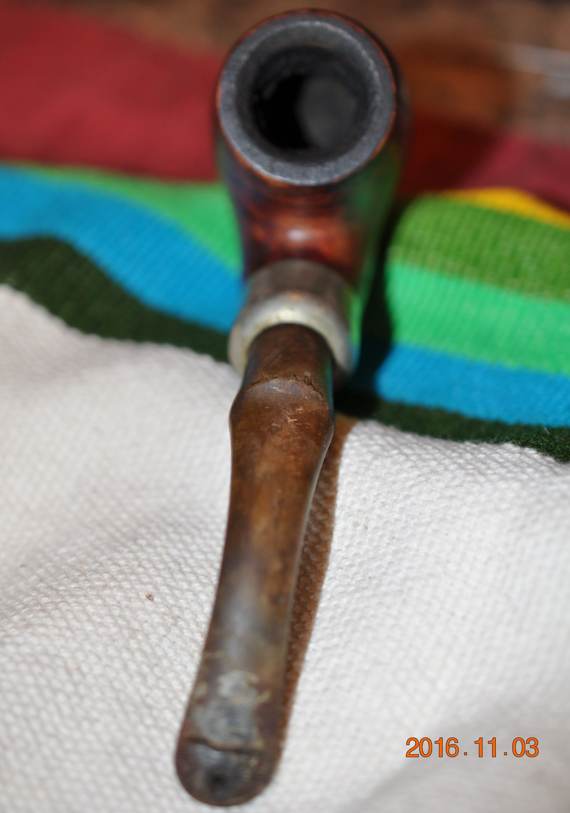
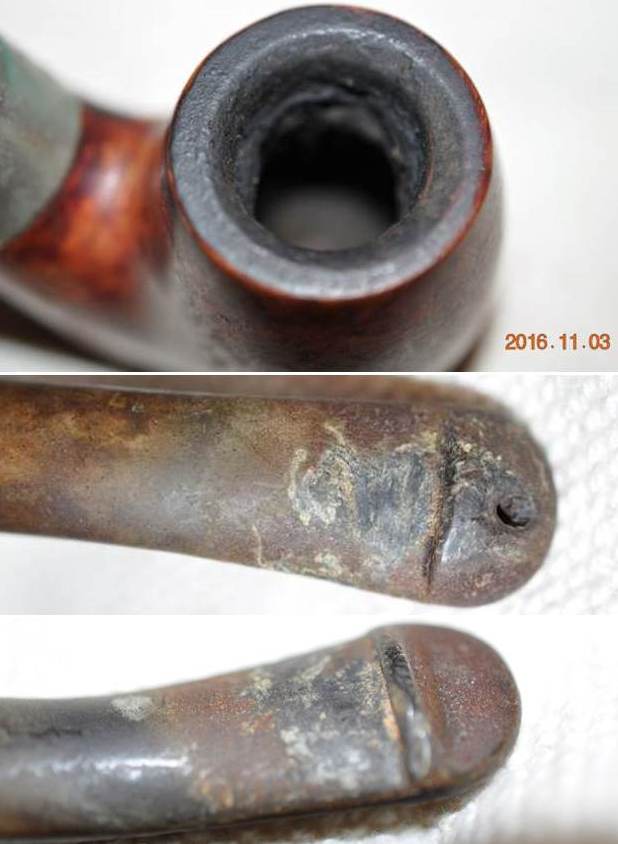
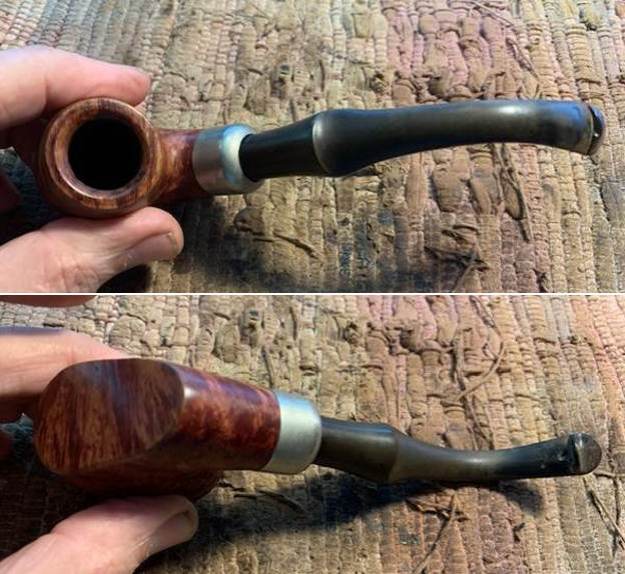
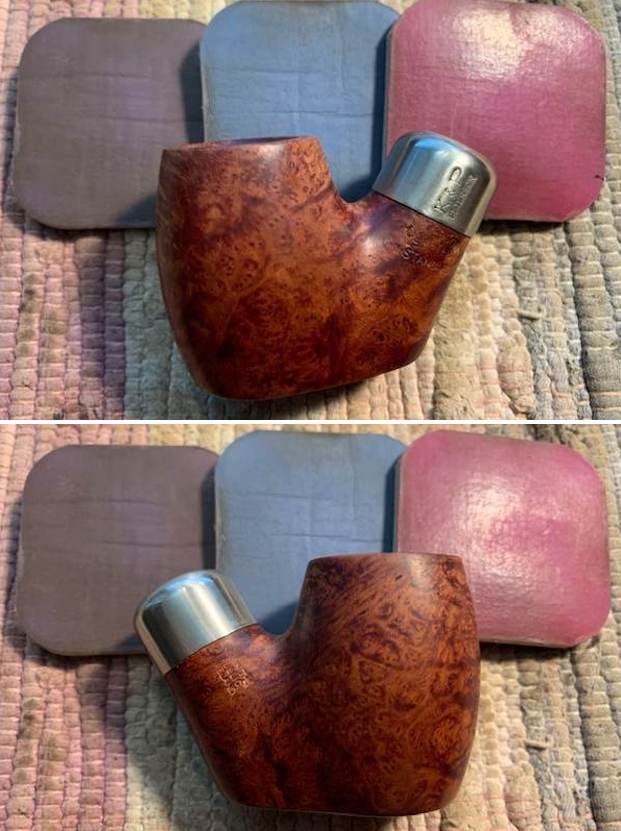
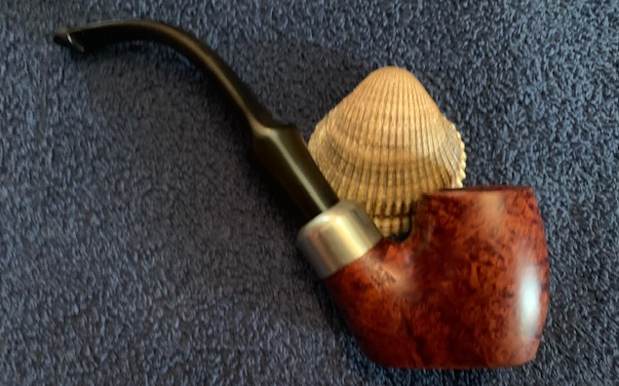
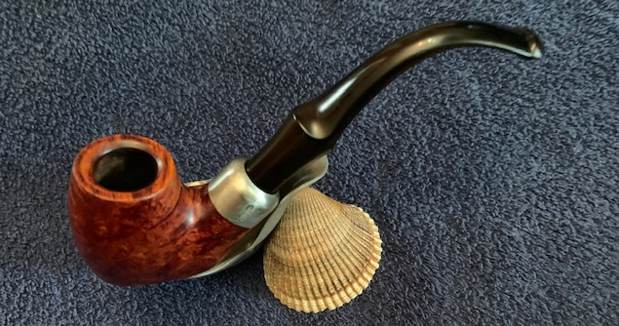
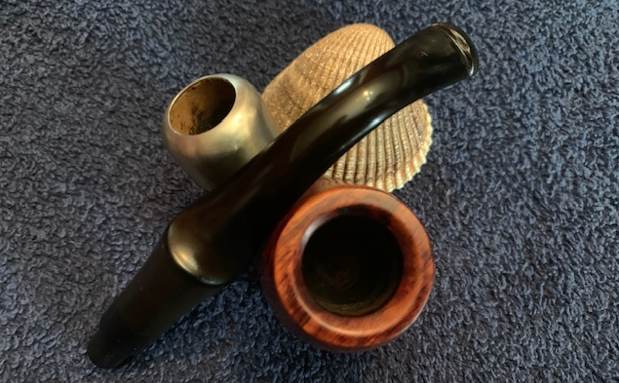
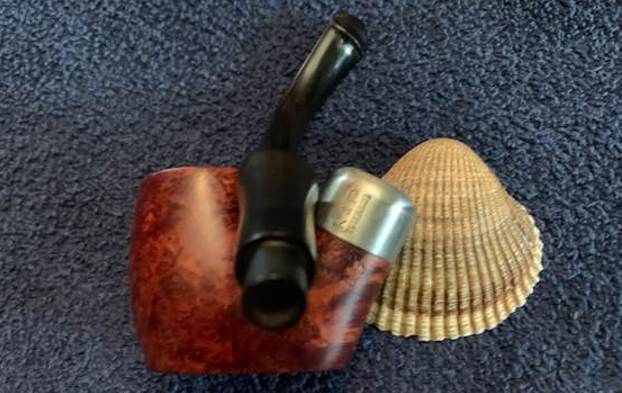
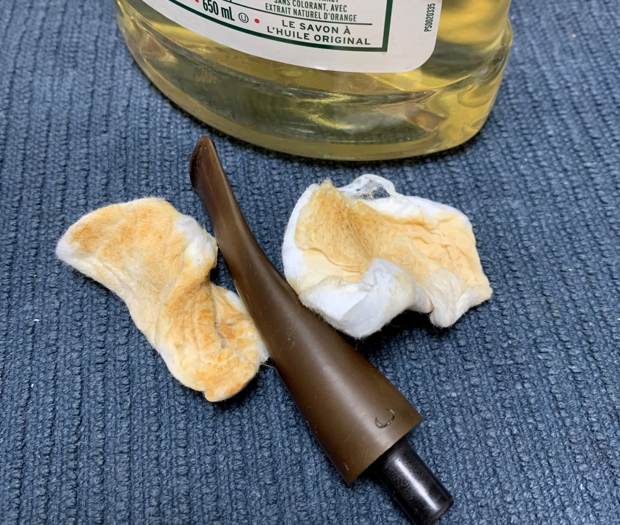
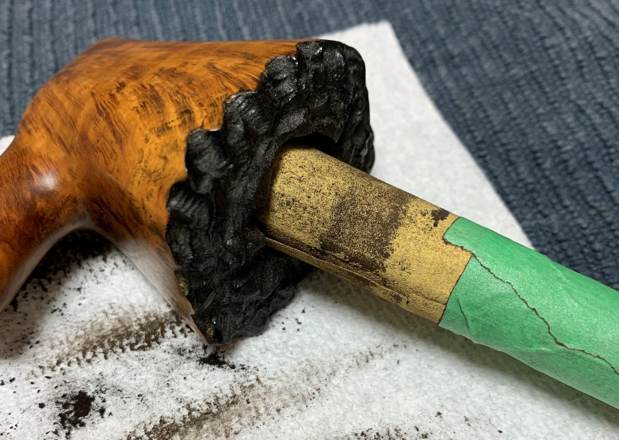
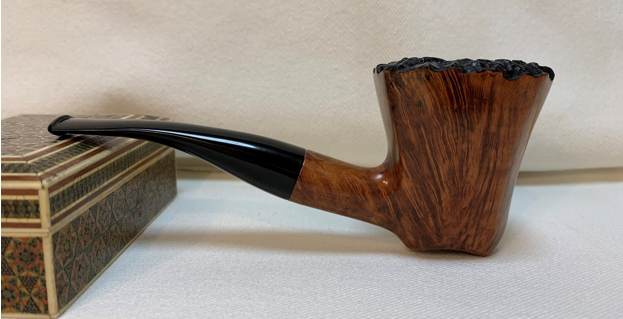
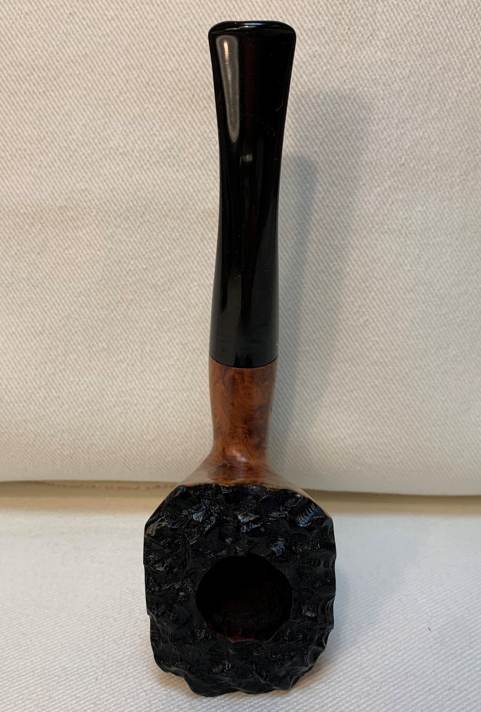
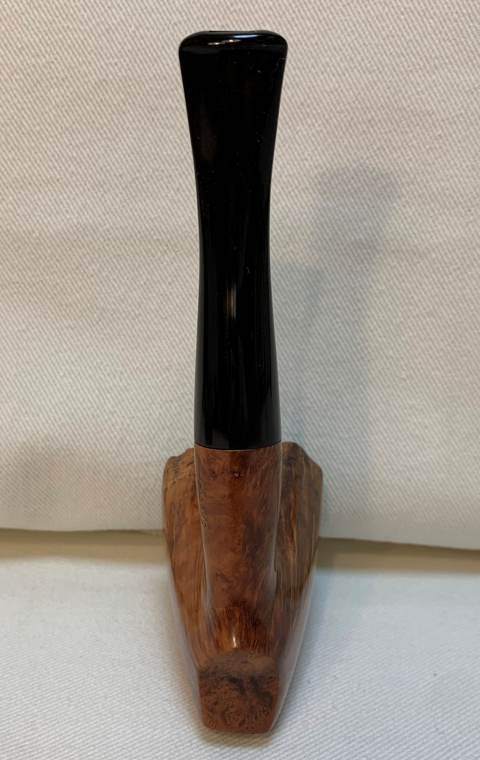
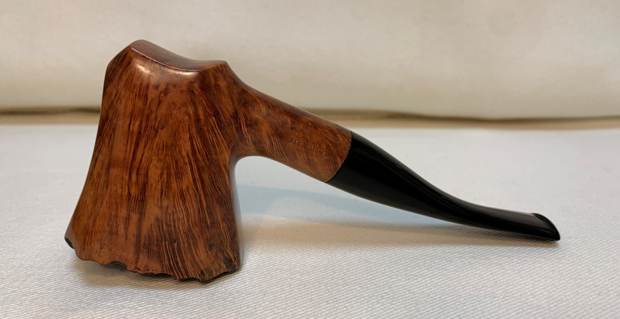
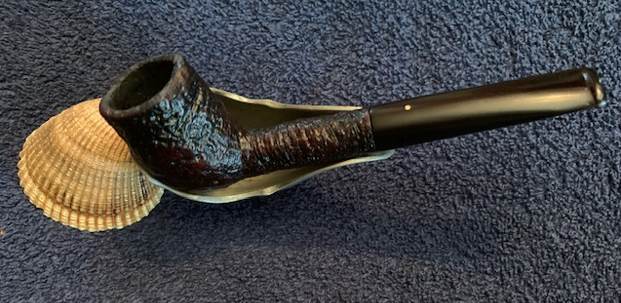
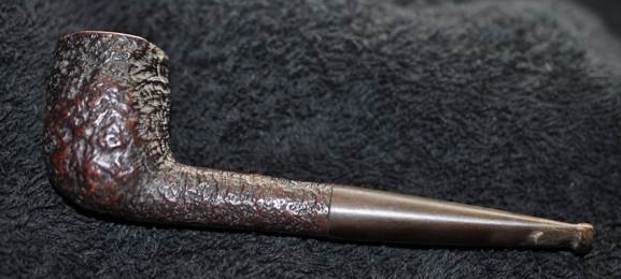
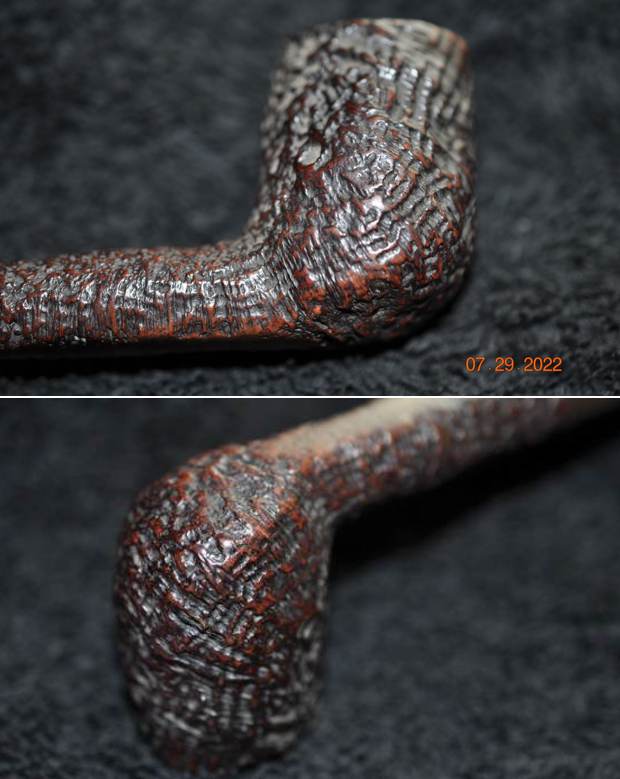
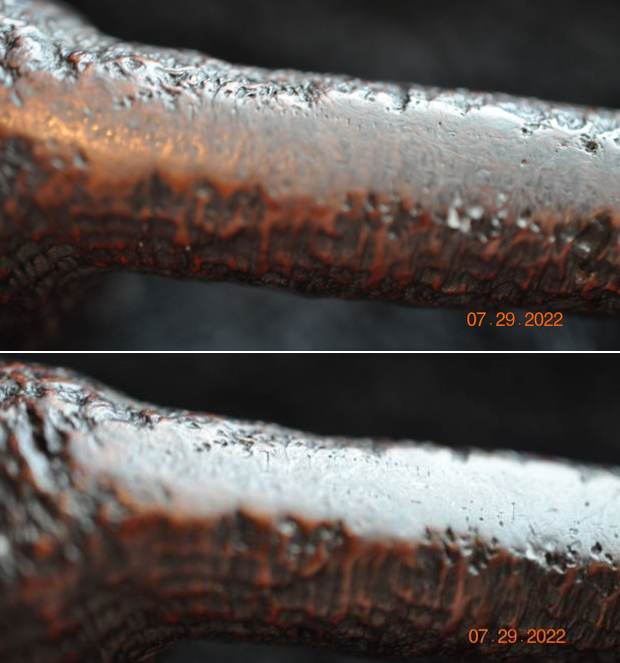
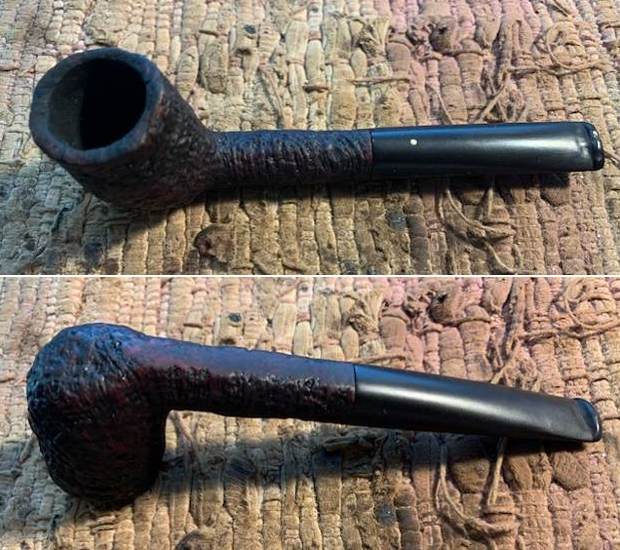
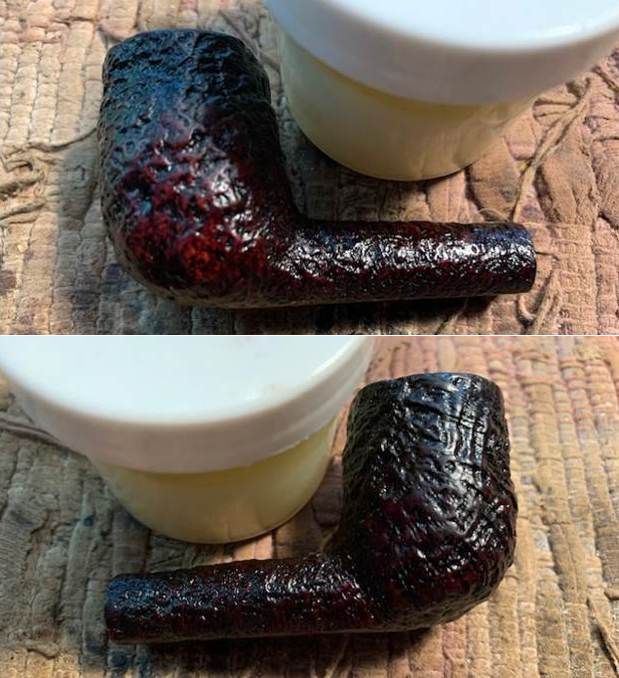
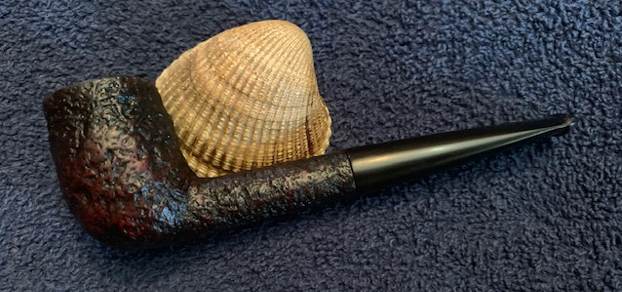
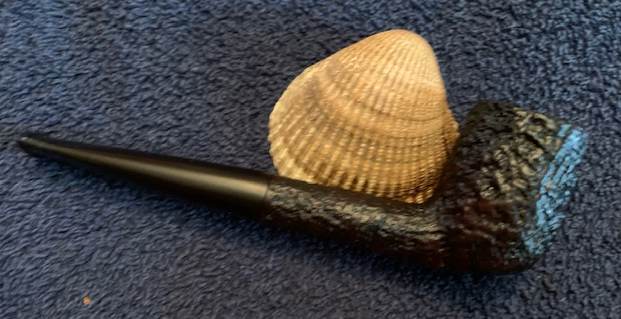
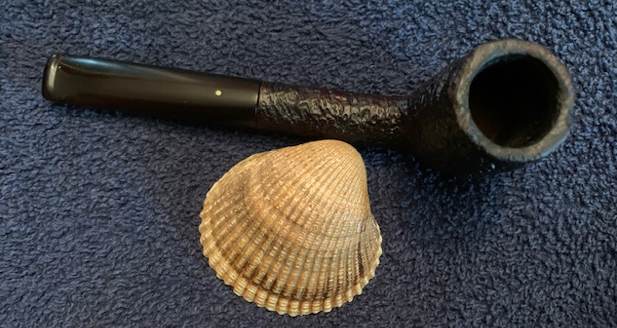
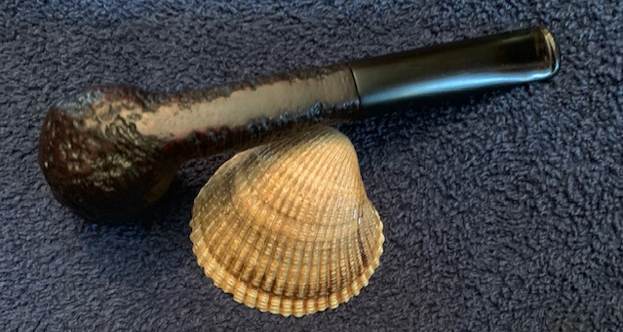
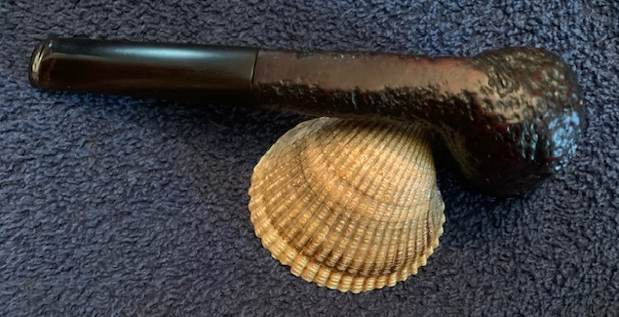
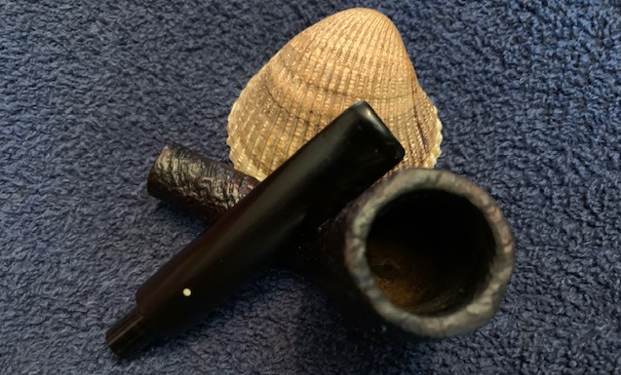
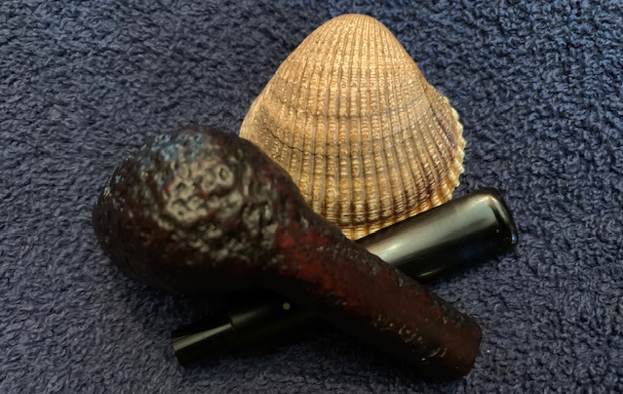
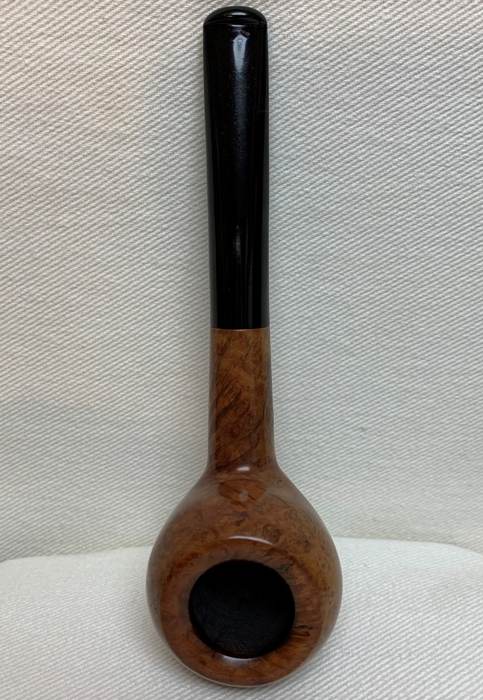
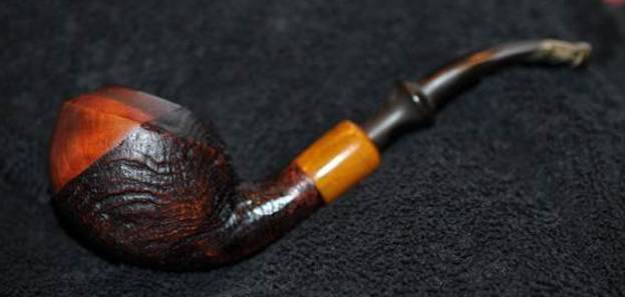
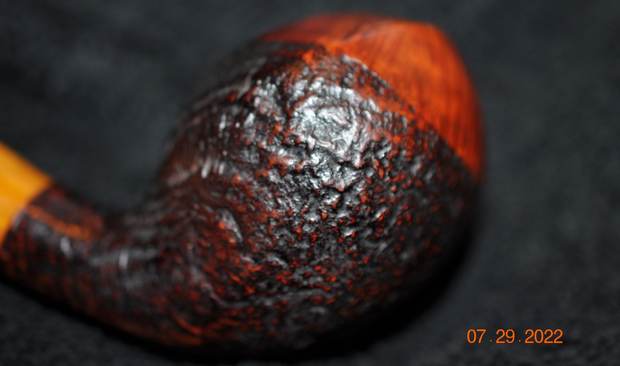
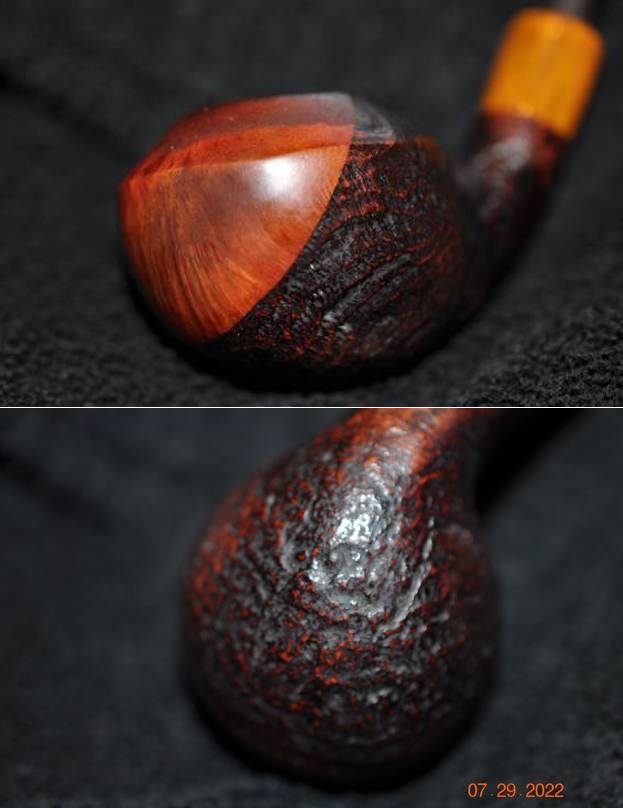
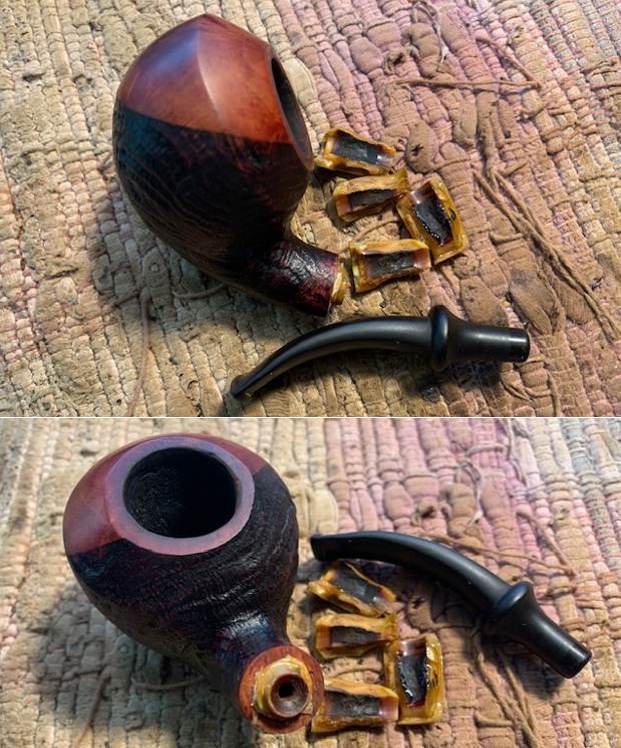
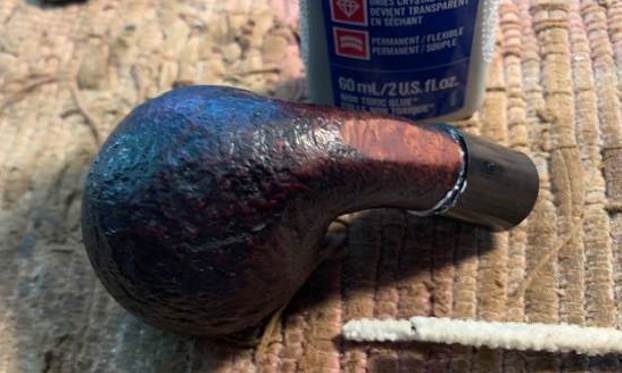
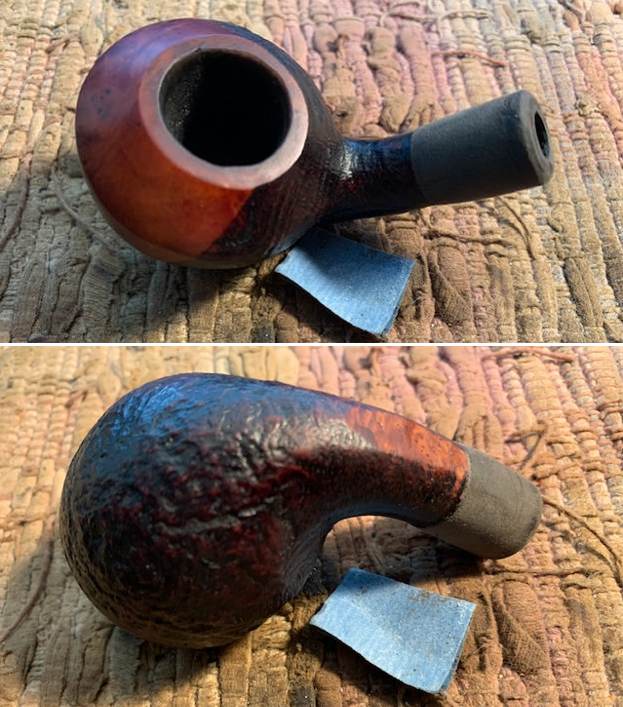
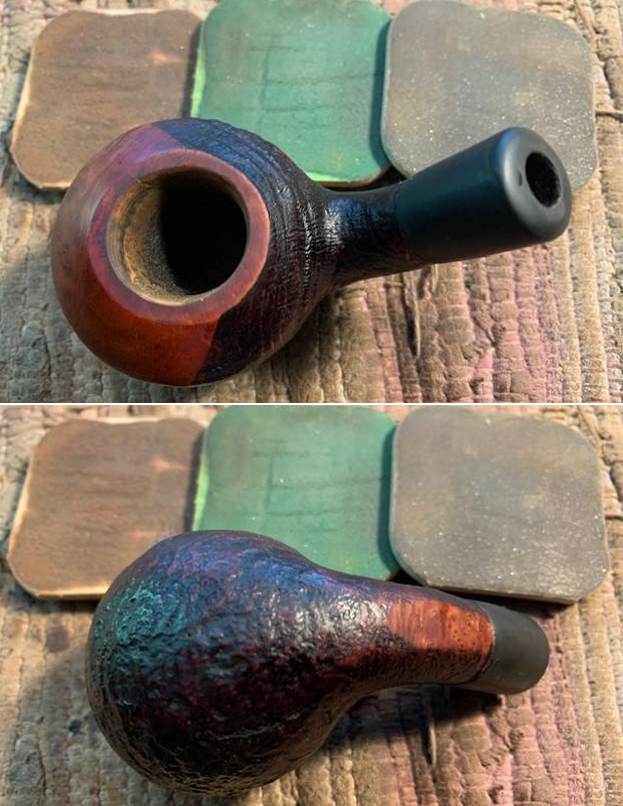
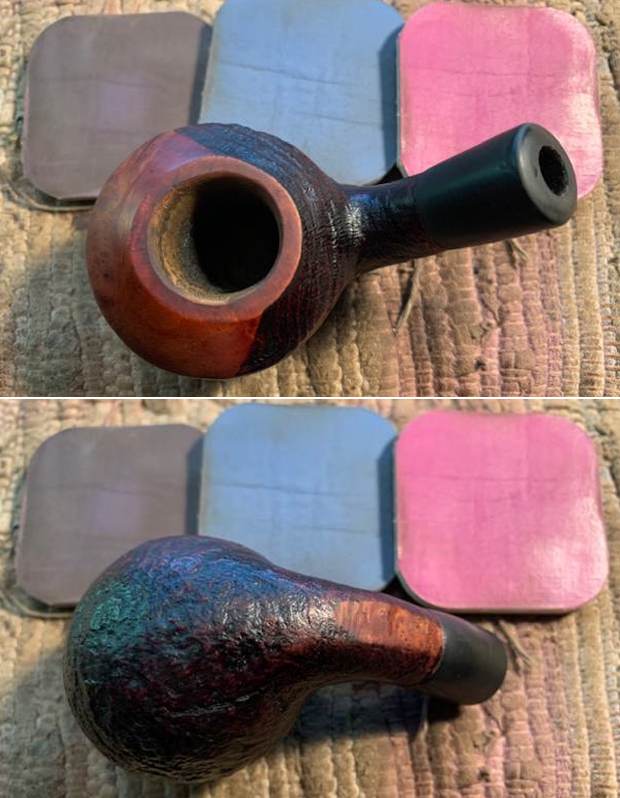
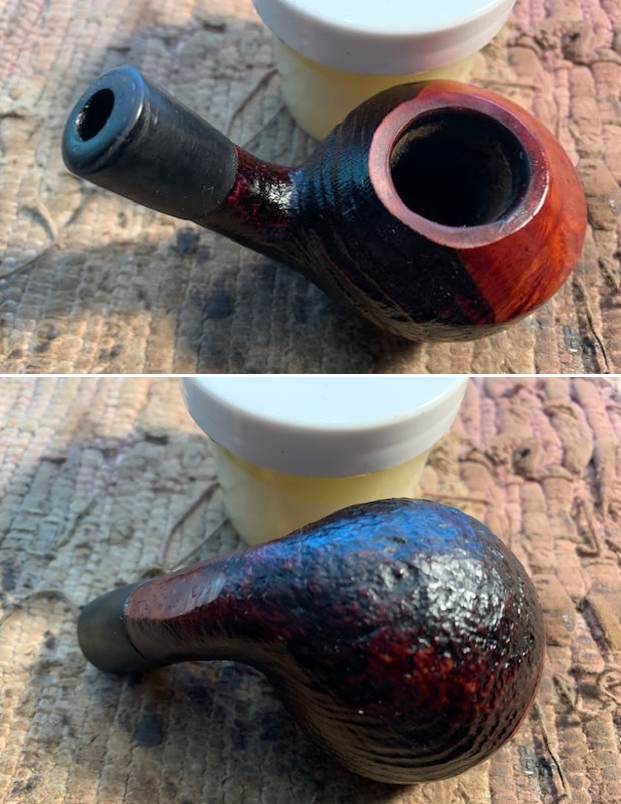
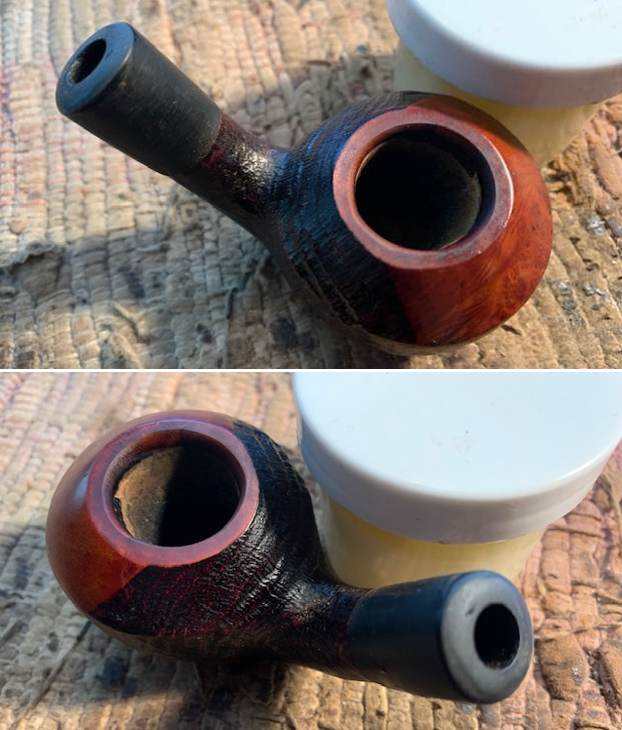
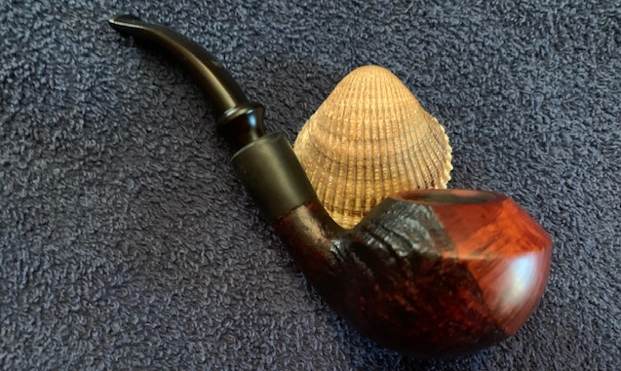
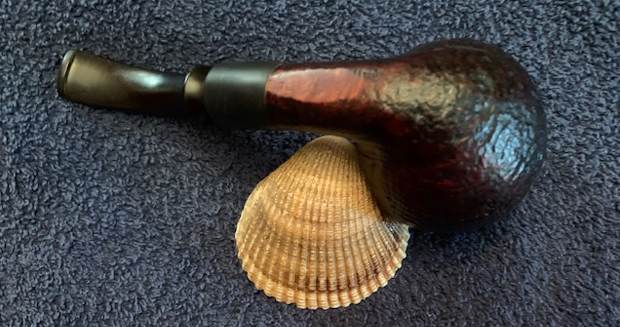
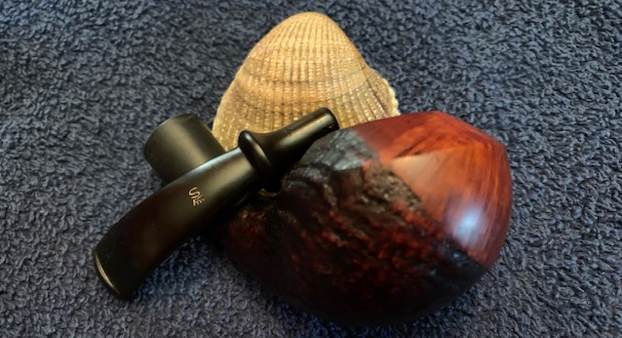
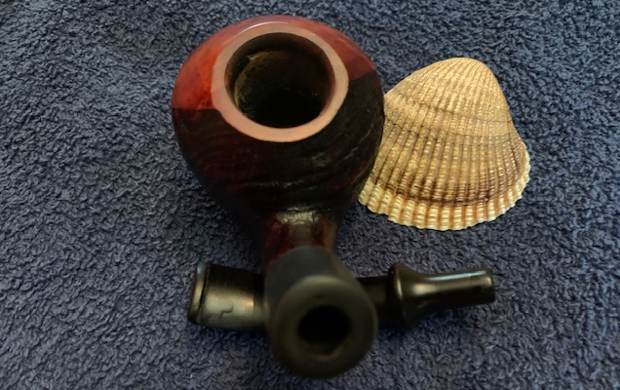
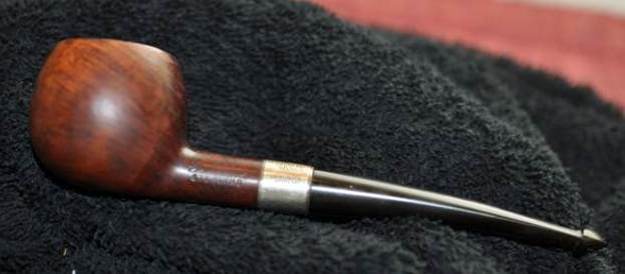
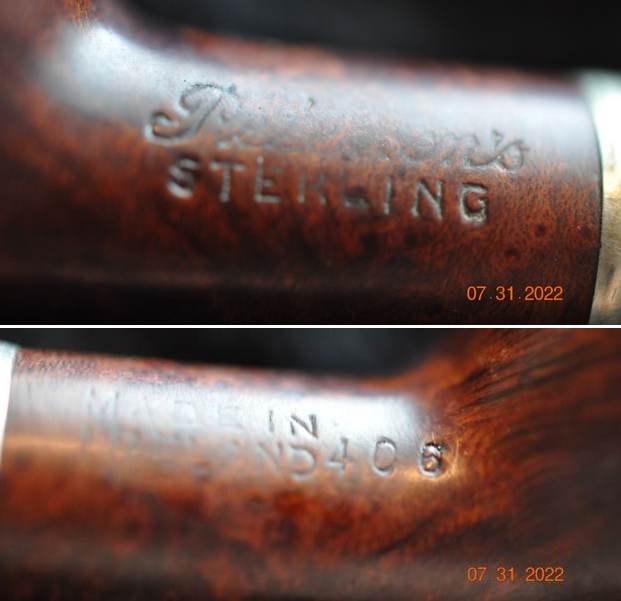
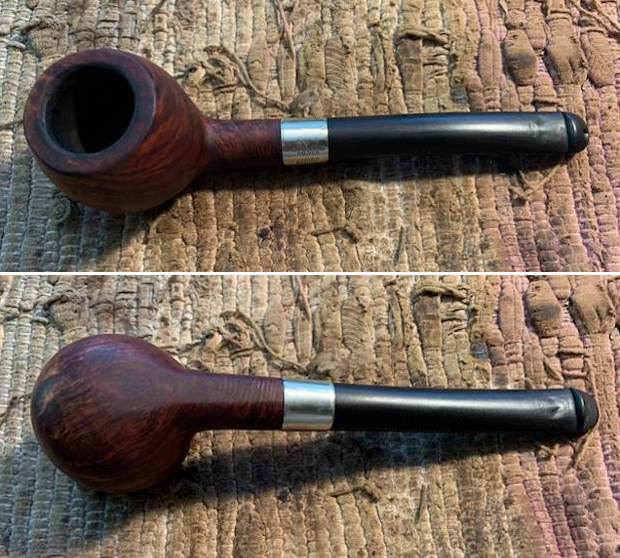
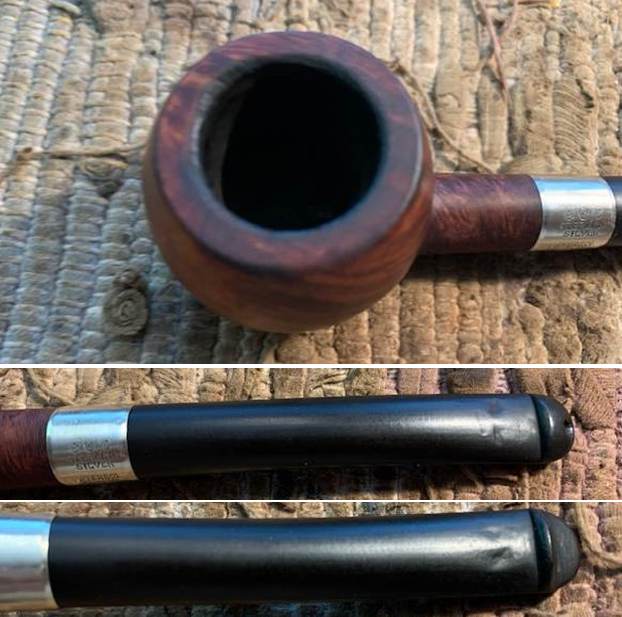
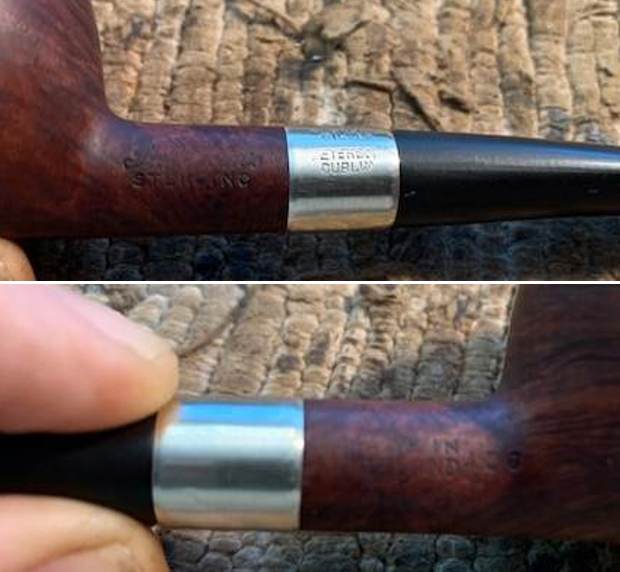
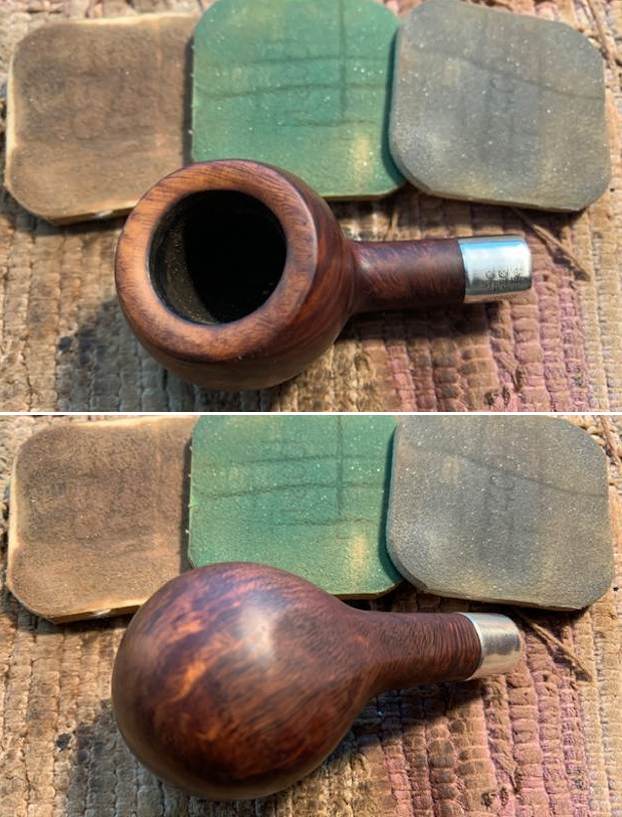
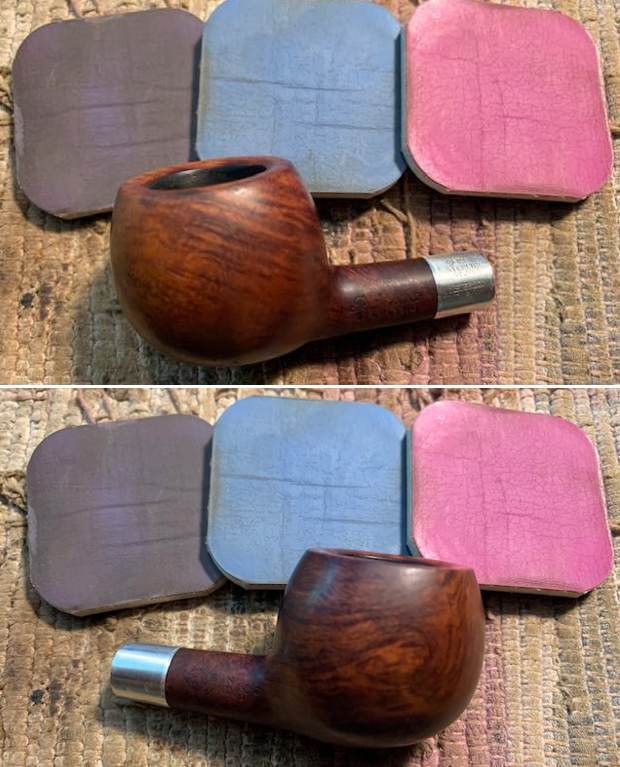
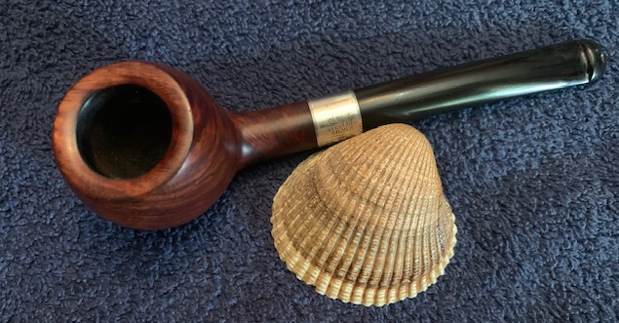
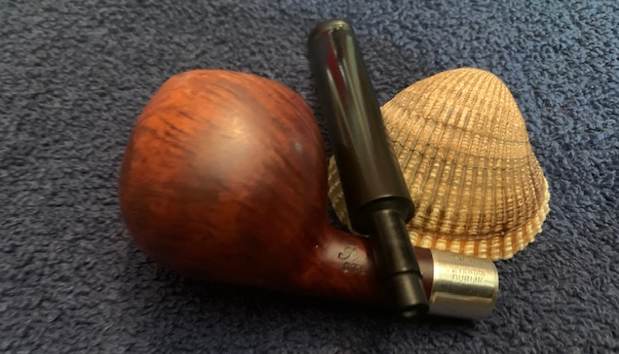
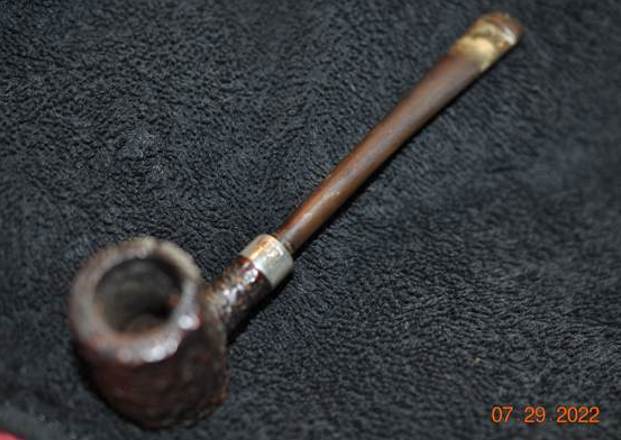
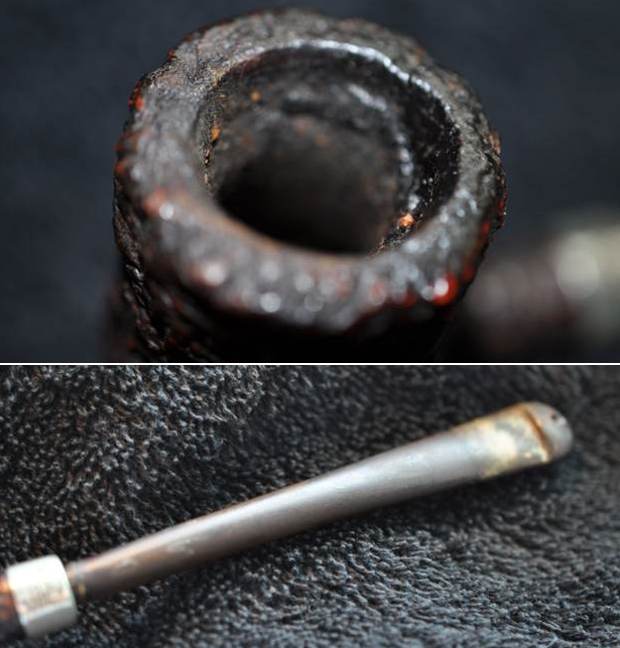
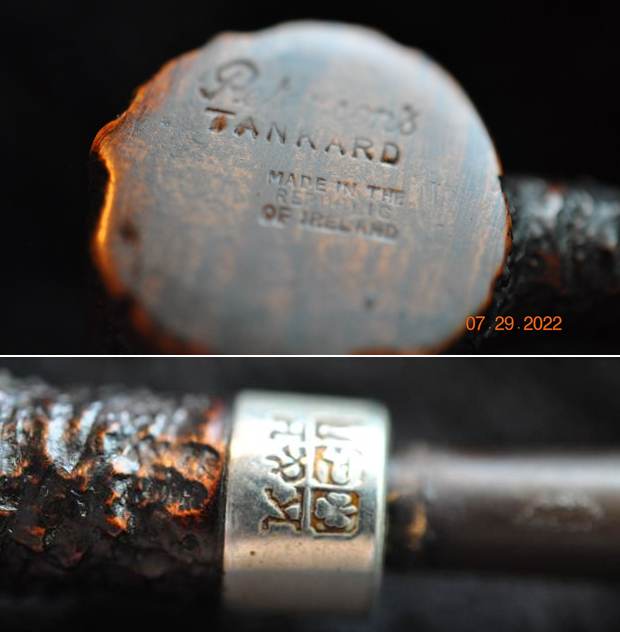
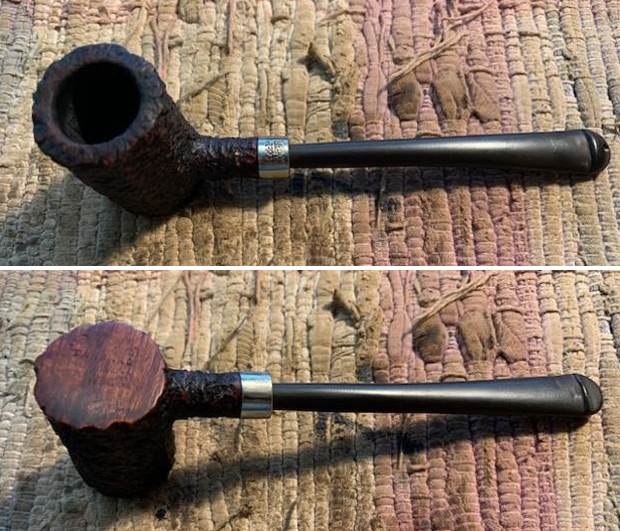
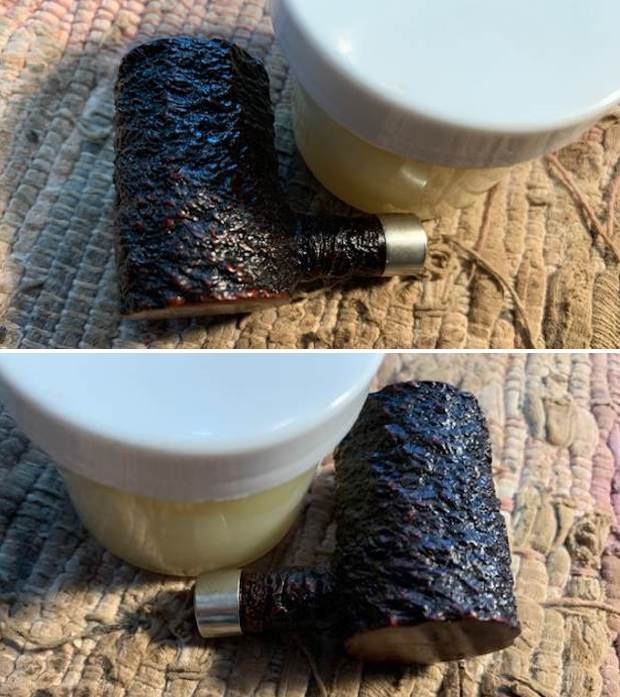
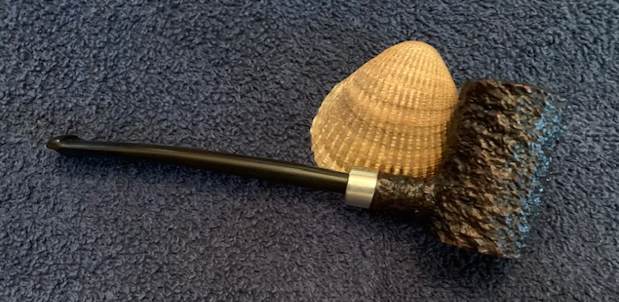
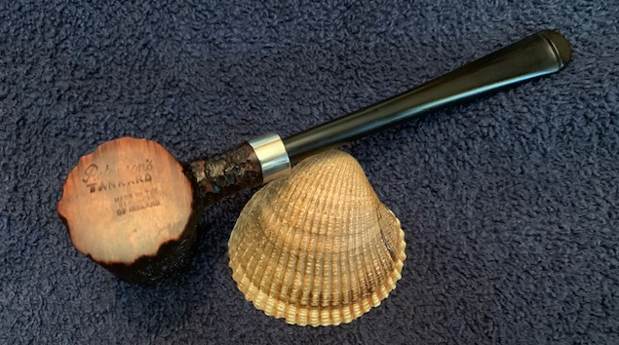
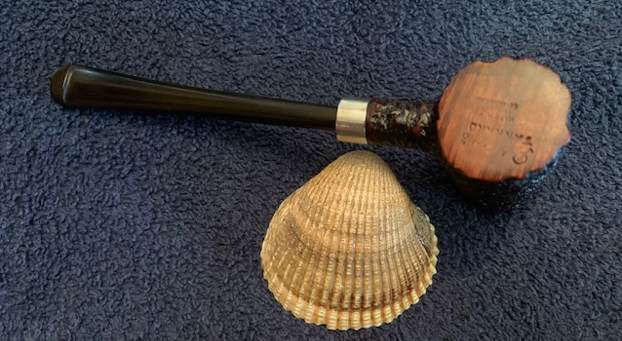
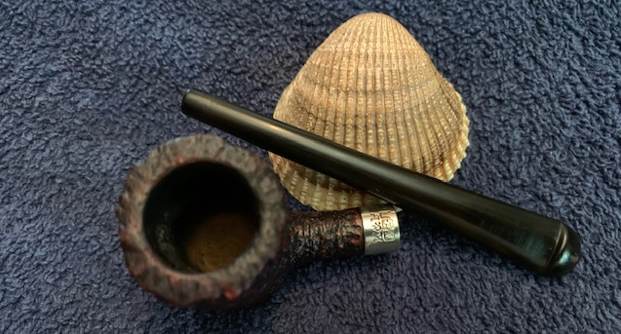
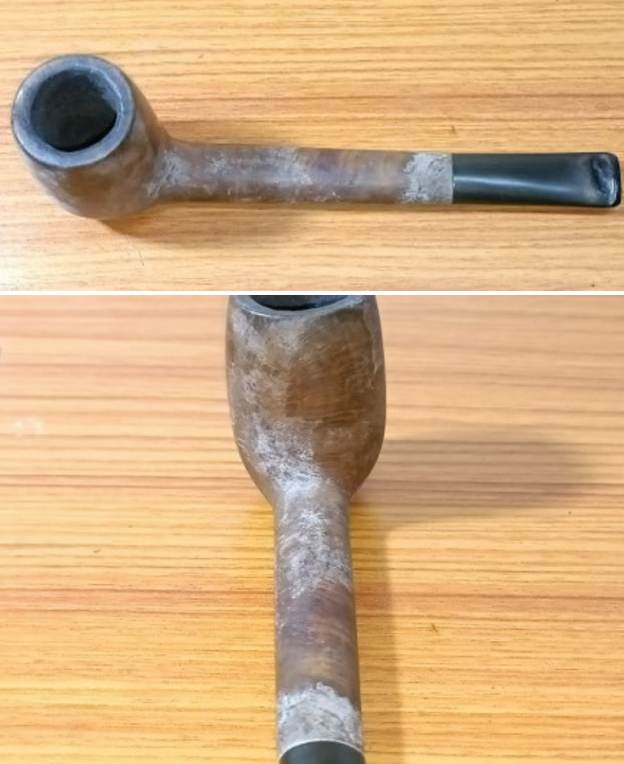
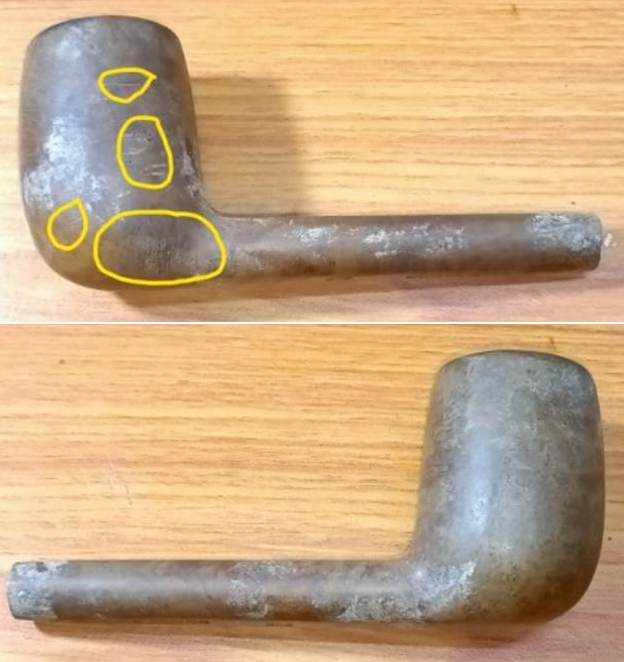
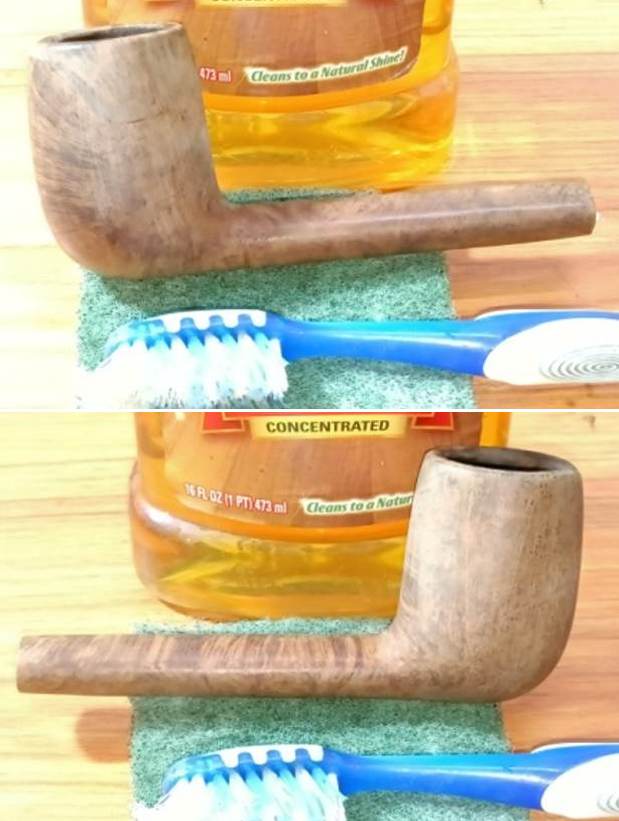
This is another one of those pipes that has been here for a long time and I have no memory where it came from. I had not been cleaned so it is not one that ever went to Jeff for clean up. It was a dirty but appeared to have some great grain under the grime. The bowl had been reamed somewhere in the journey and was quite clean inside. The smooth rim top was damaged and had some darkening. The edges – both inner and outer had some damages by burning and the bowl was out of round. The smooth finish is dirty with grime and grit deep ground into the sides of the bowl and shank. There were some deep nicks in the briar on the right side and heal of the bowl. The pipe stinks like heavily cased aromatics. The stamping on the shank is clear and readable. The left side is stamped Peterson’s [arched over] System. On the right side it was stamped Made in the Republic of Ireland (3 lines). To the right of that stamp is the shape number 31. The nickel band is oxidized and dirty but it has the K & P stamp over three symbols. Next to that it was stamped Peterson’s. It had some nicks and dents around shank end of the ferrule. The stem was quite clean and has deep tooth marks and chatter on both sides ahead of the button and on the topside of the button. I took some photos of the pipe before I started my work on it. 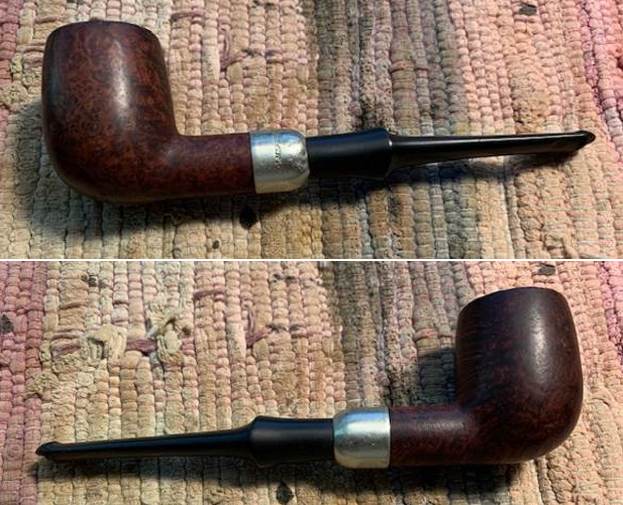
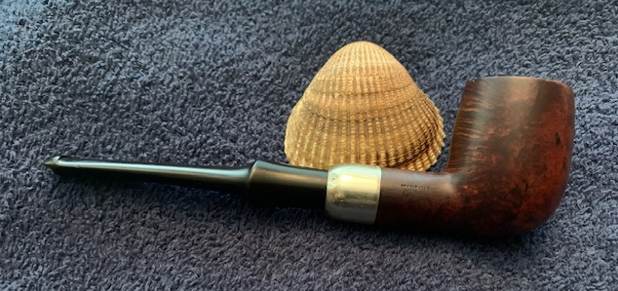
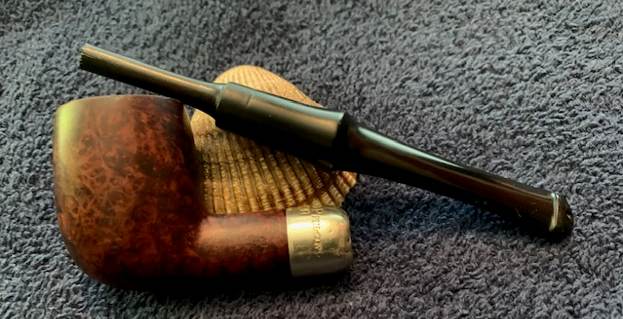
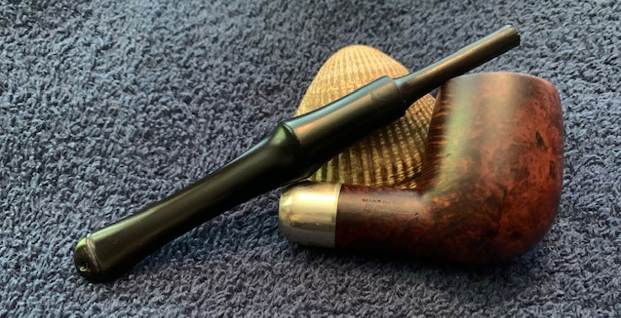
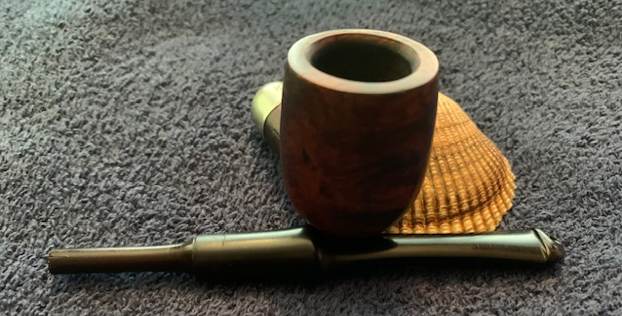
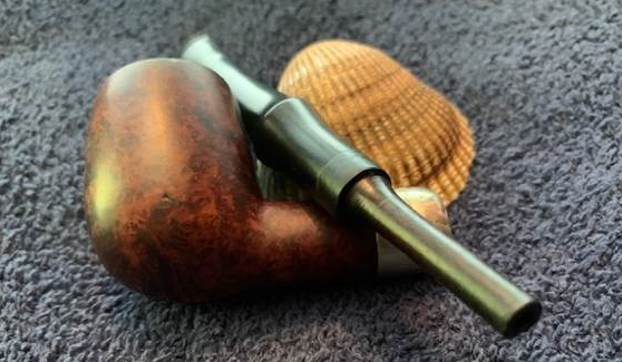
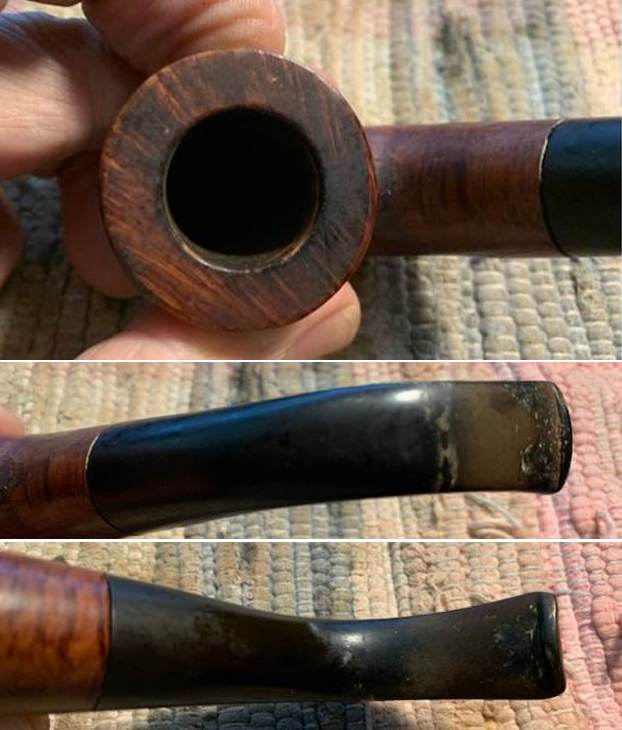
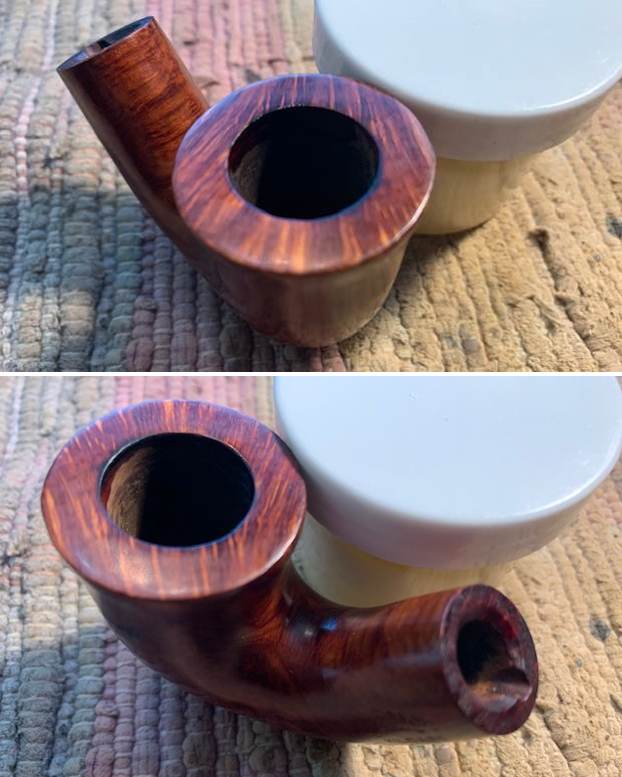
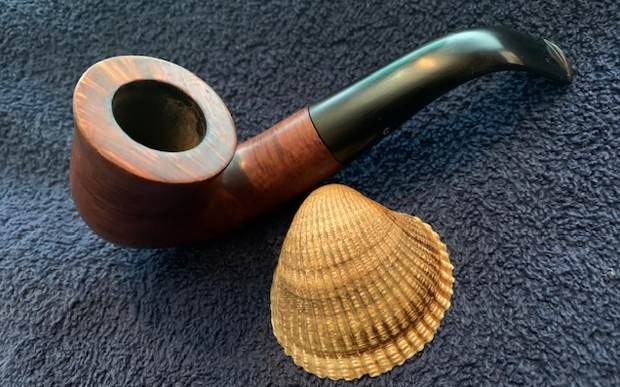
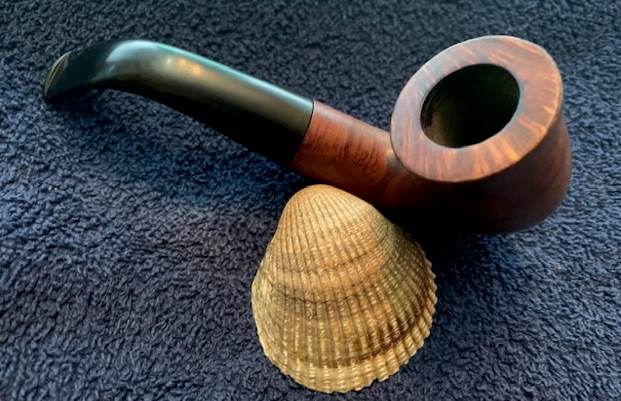
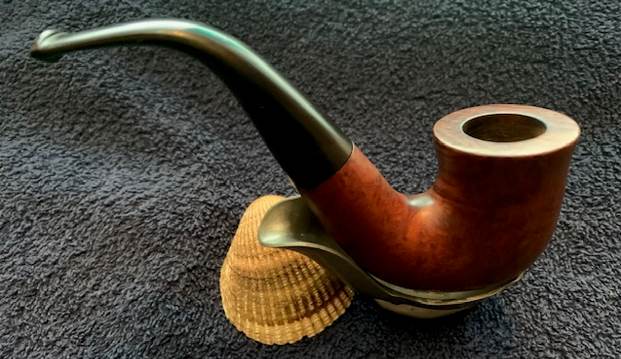
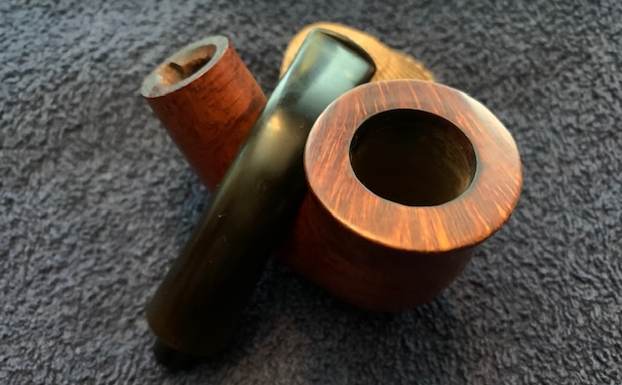
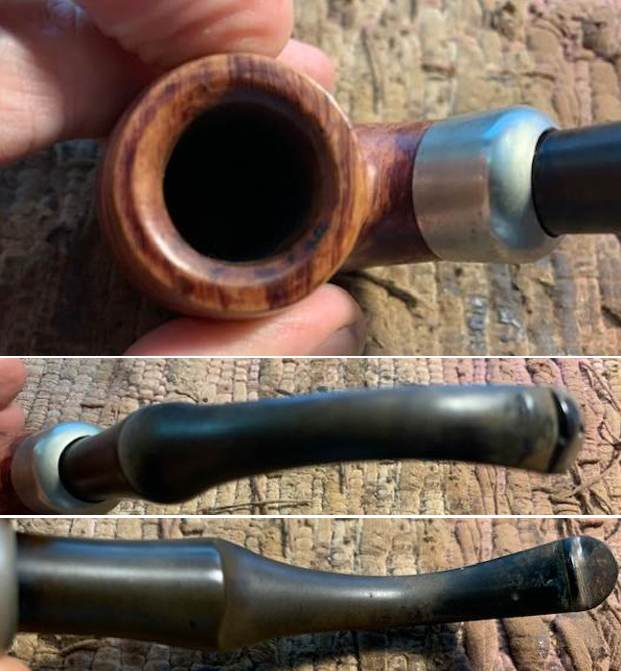
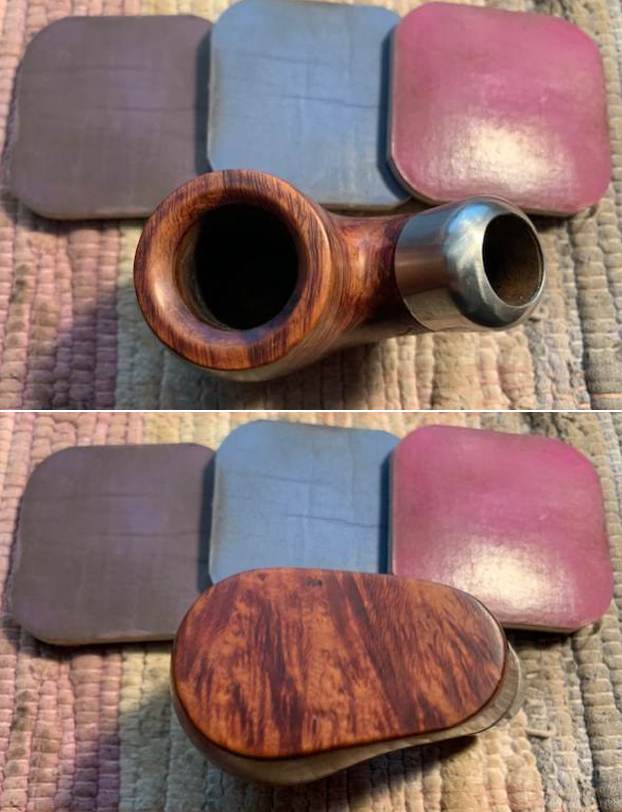
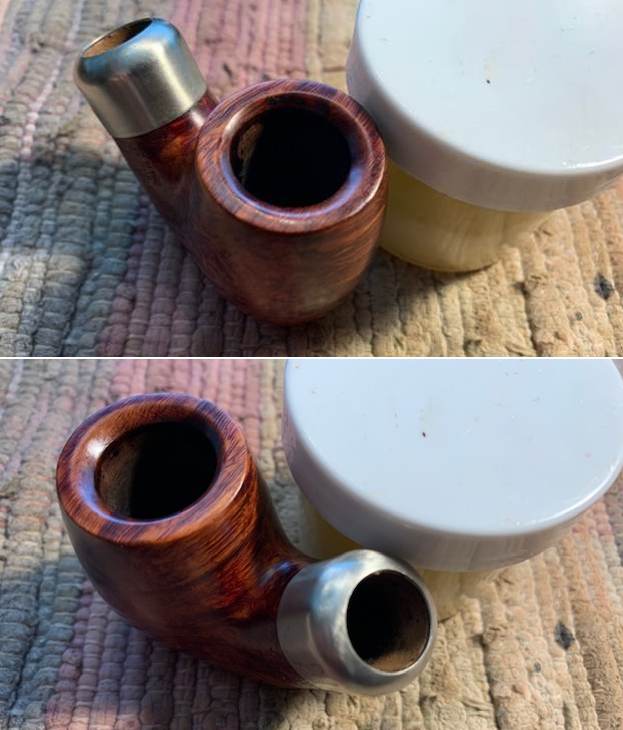
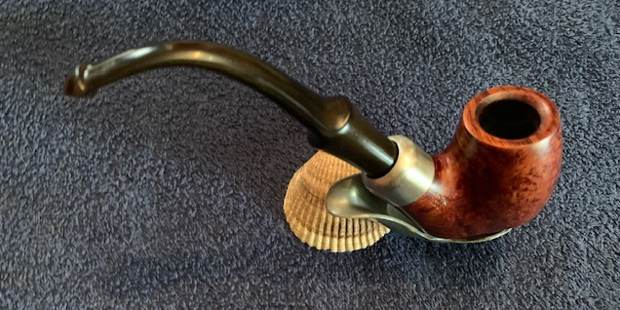
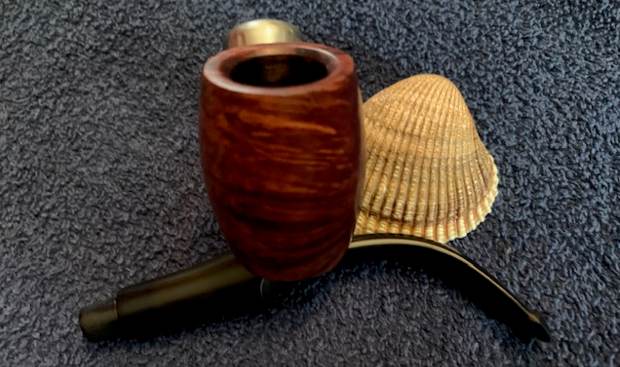
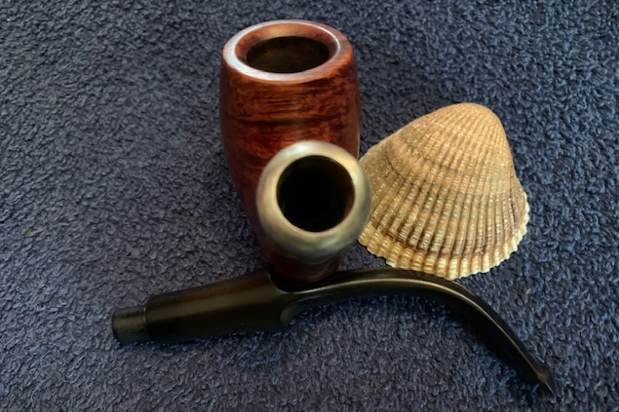
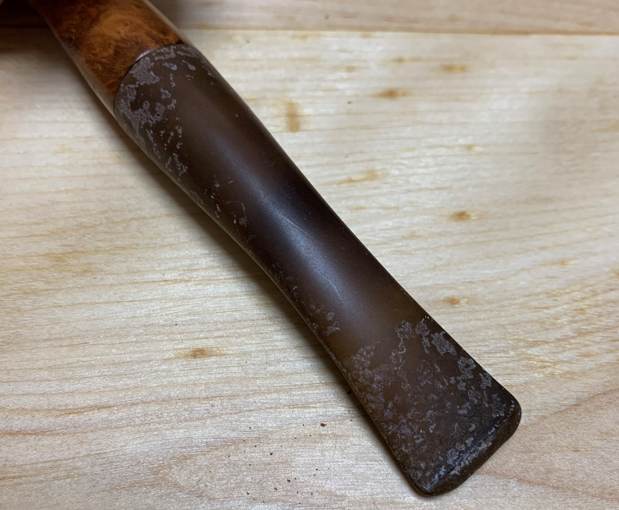
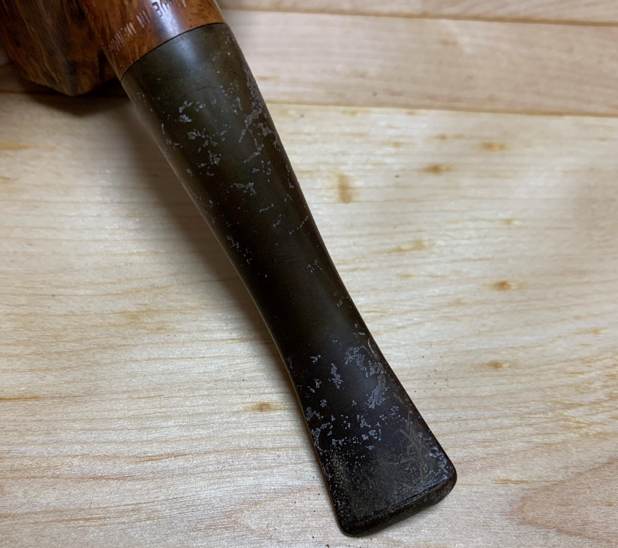
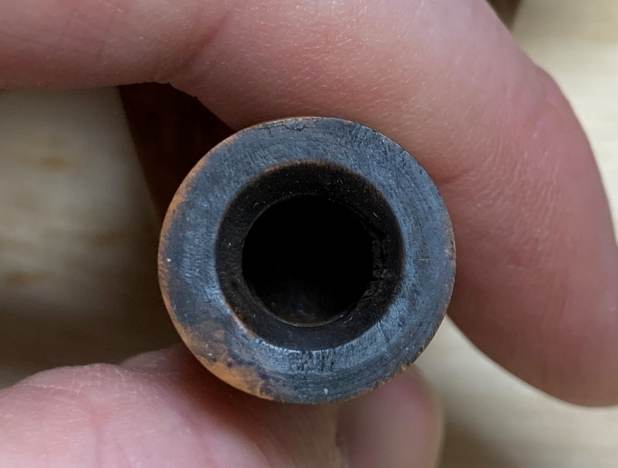
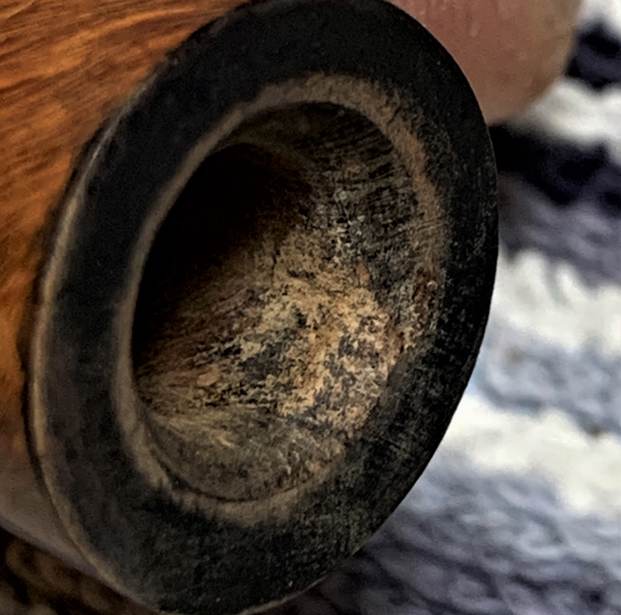
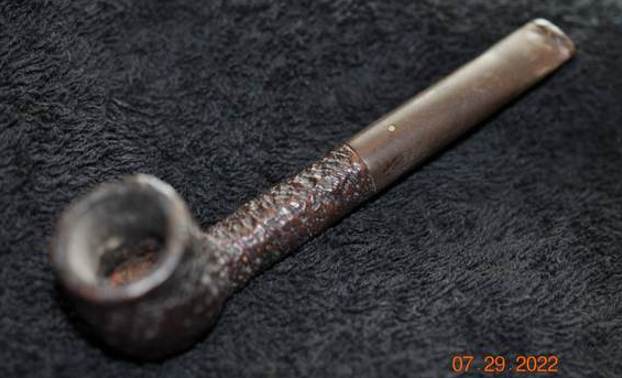
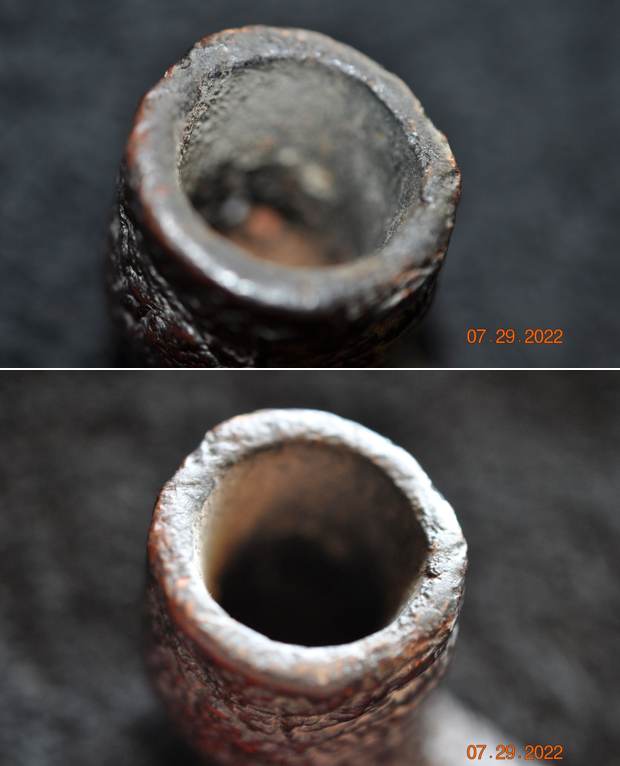
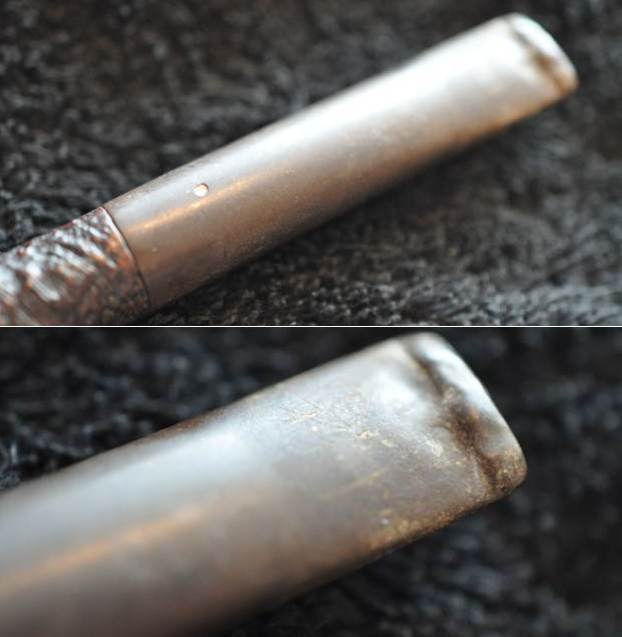
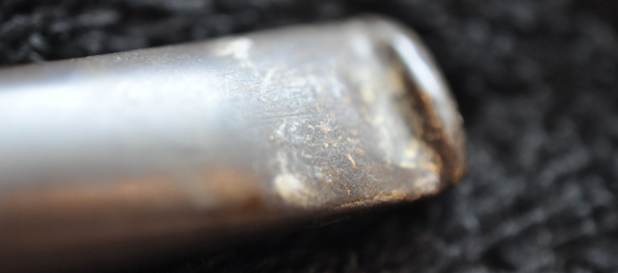
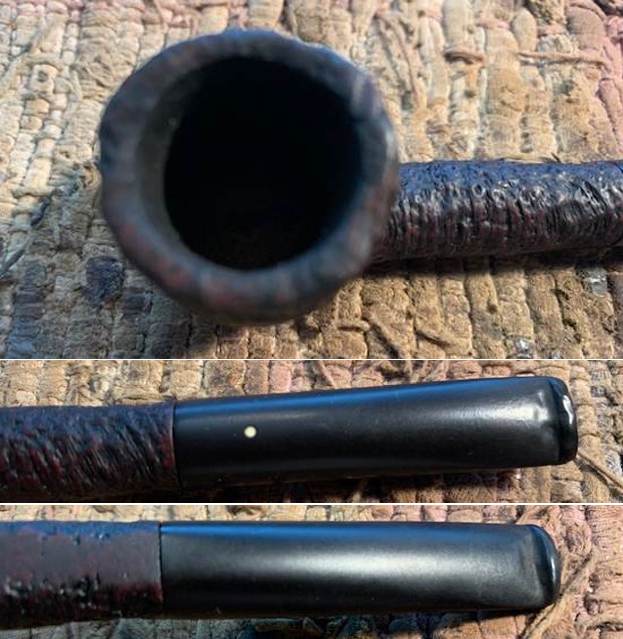
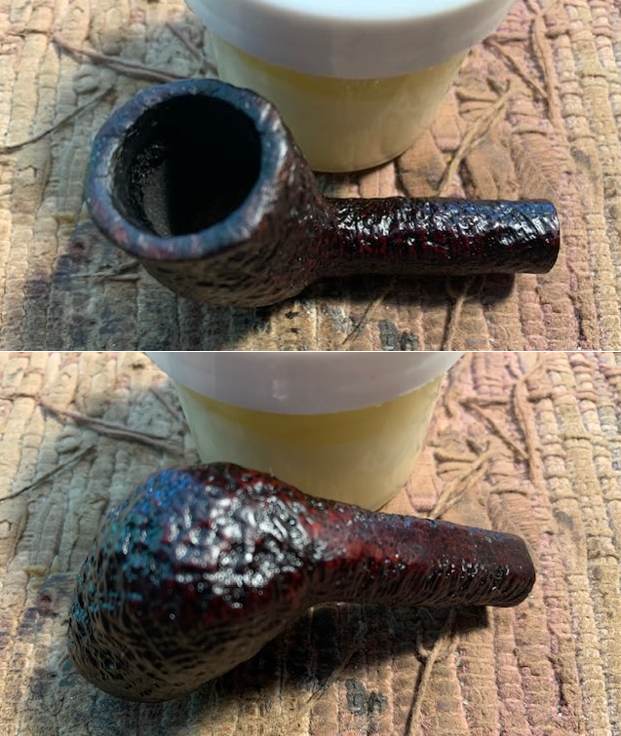
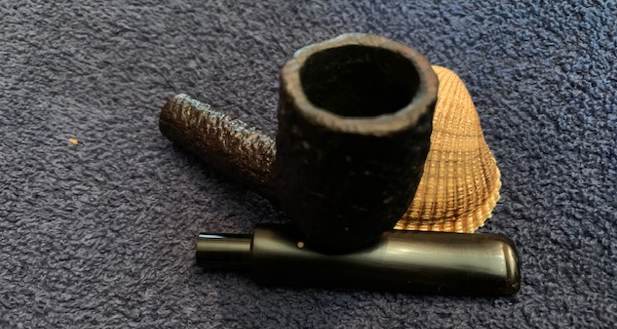
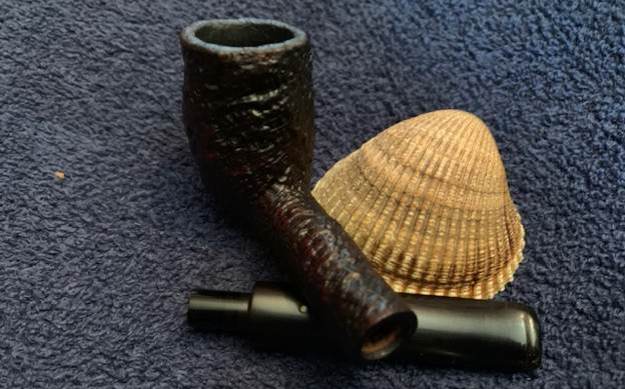
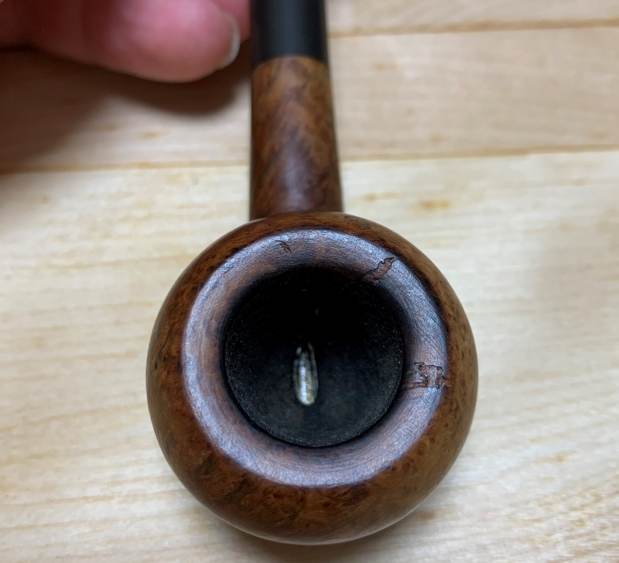
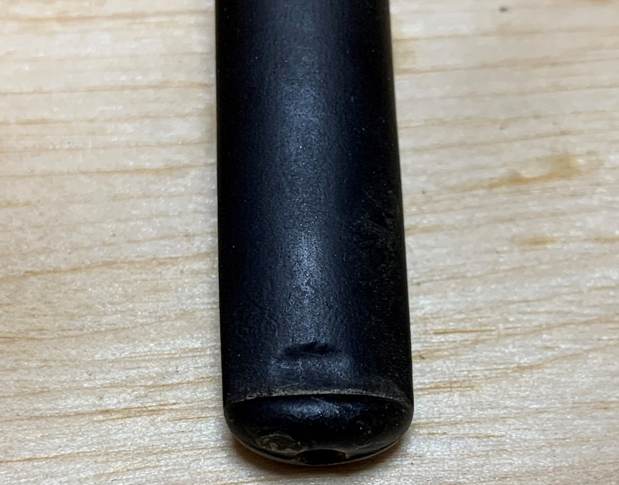
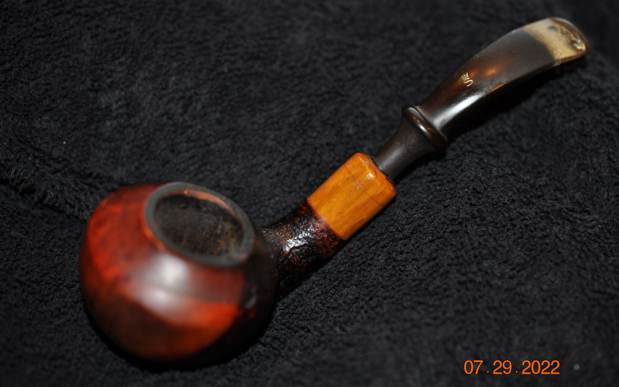
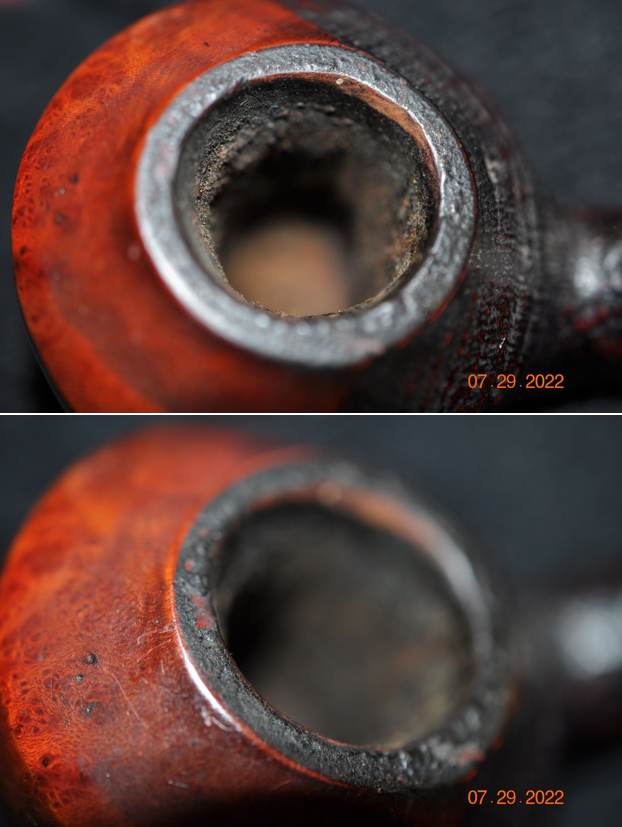
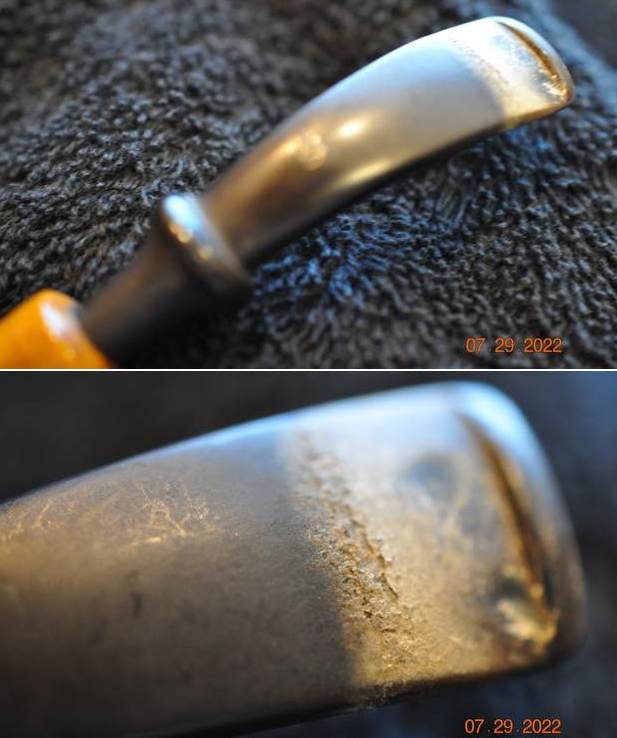
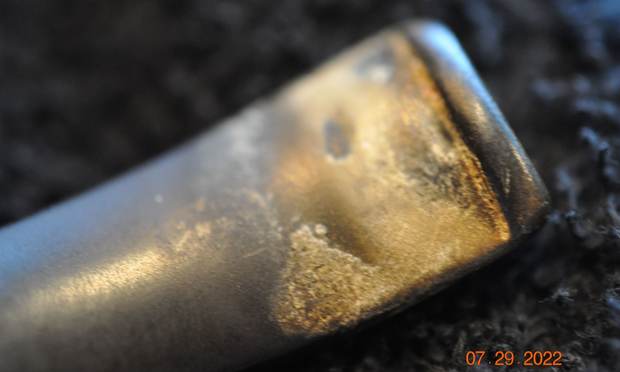
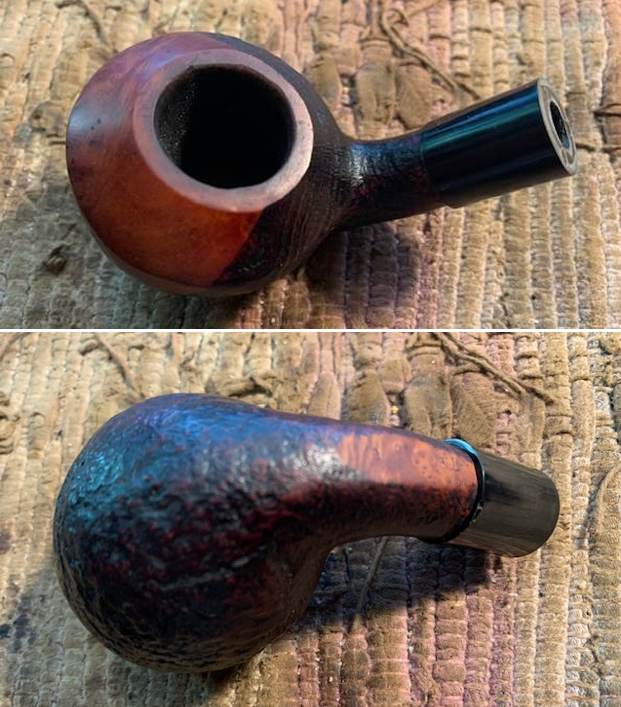
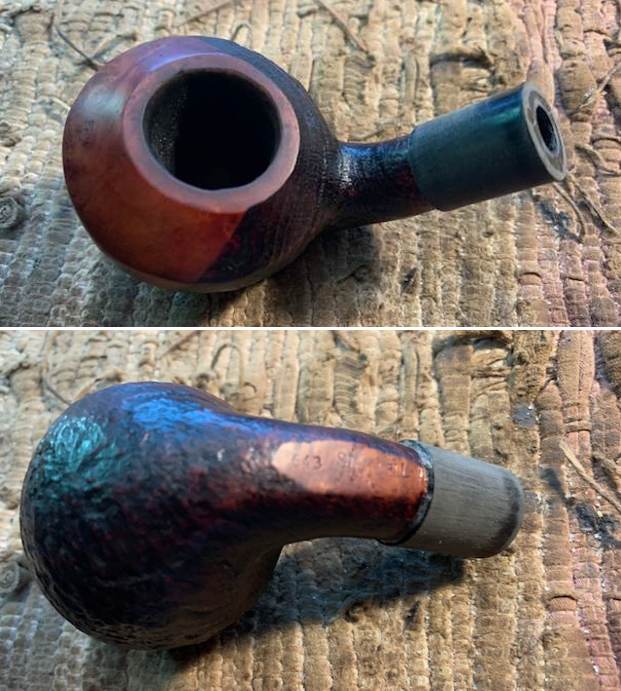
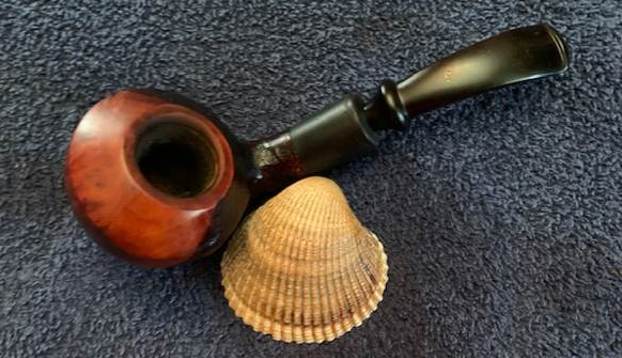
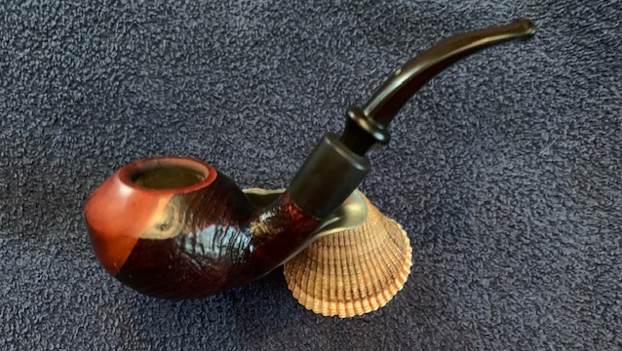
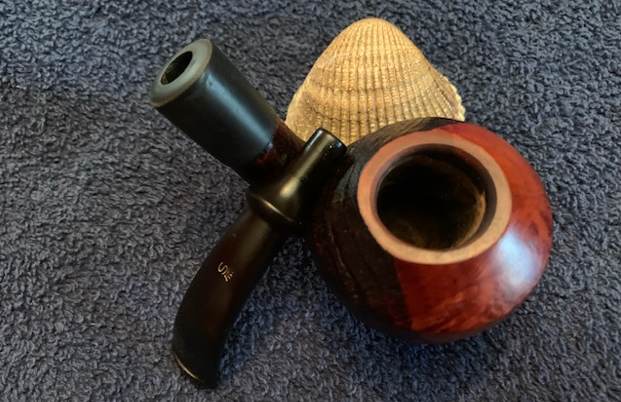
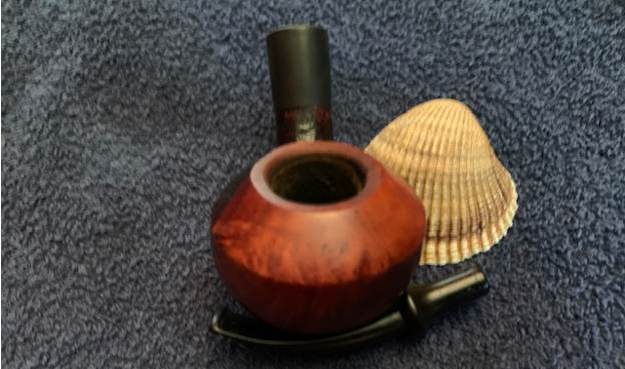
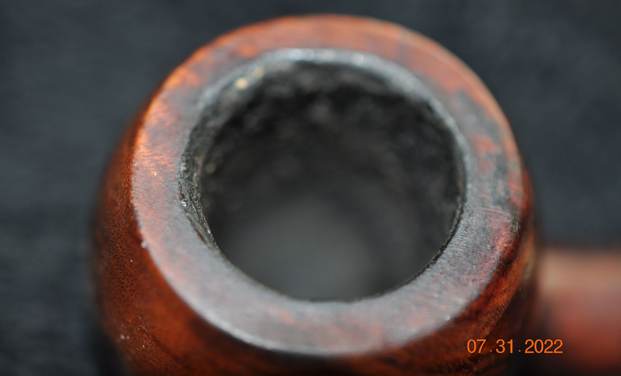
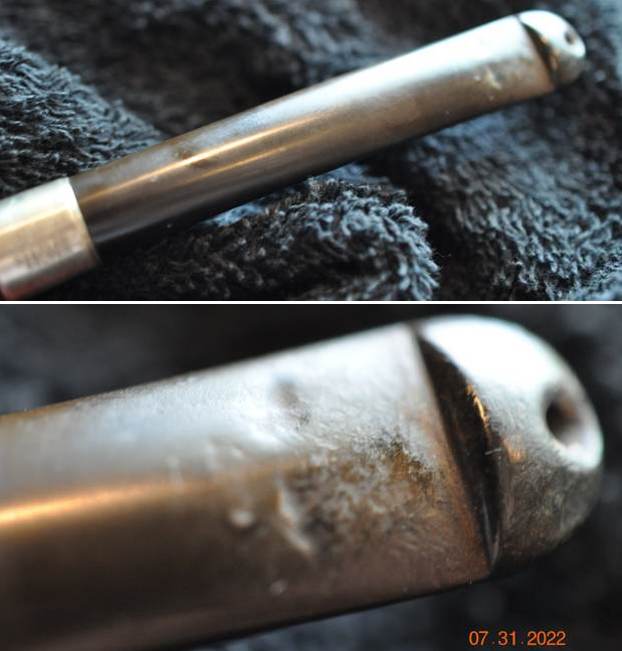
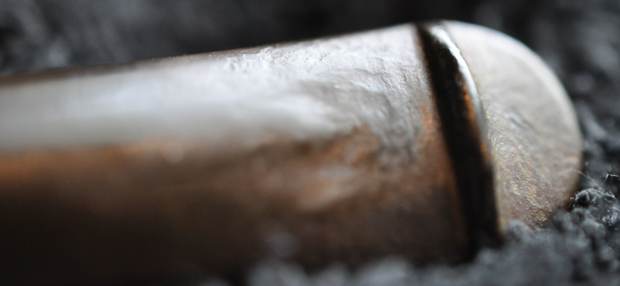
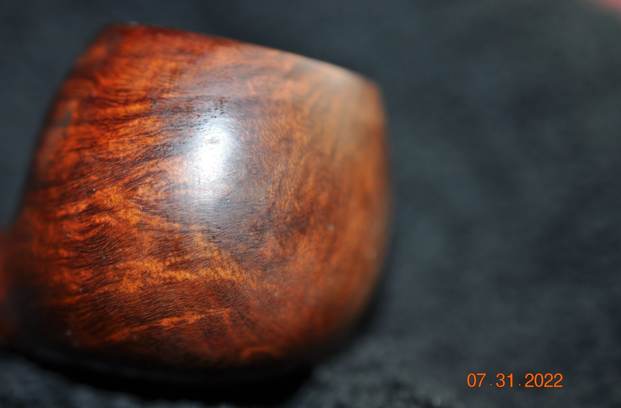
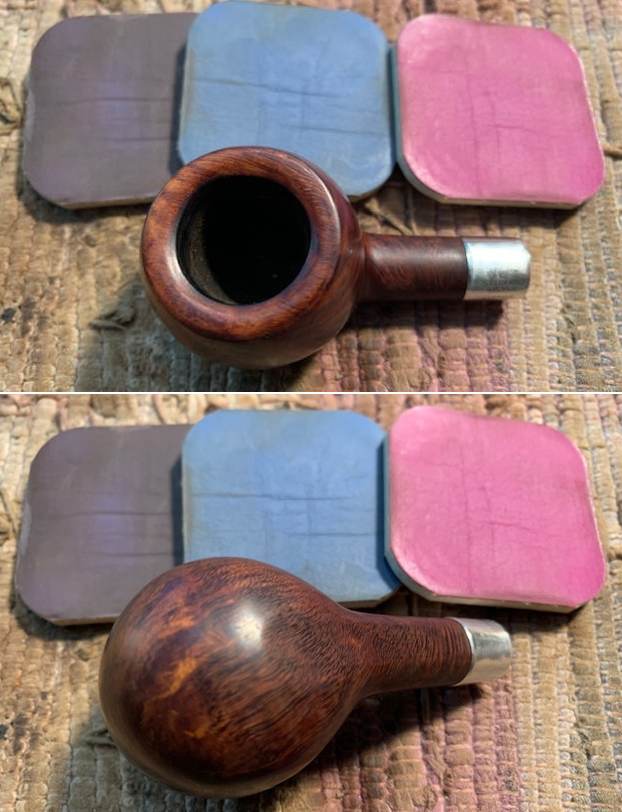
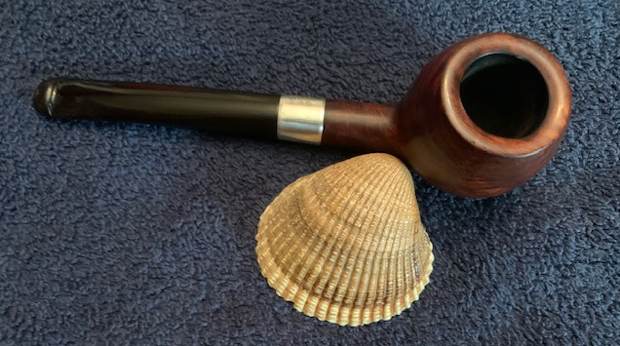
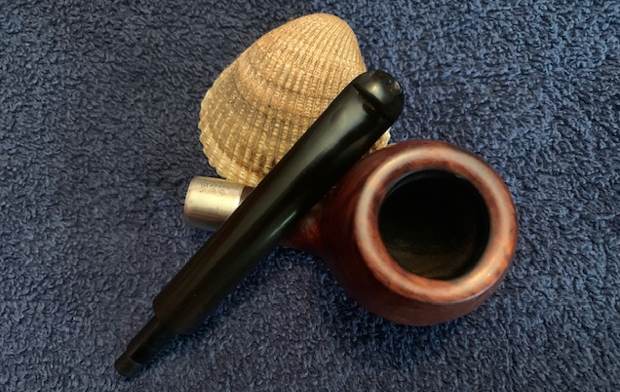
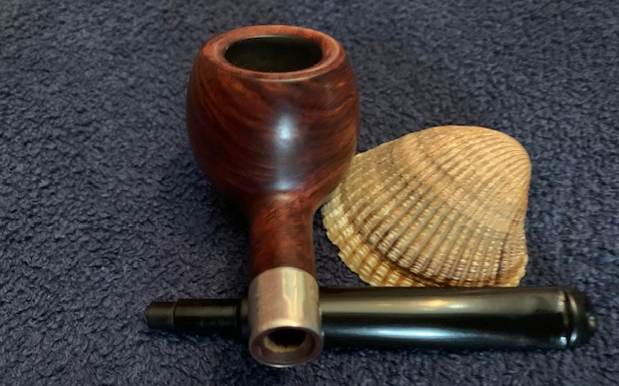
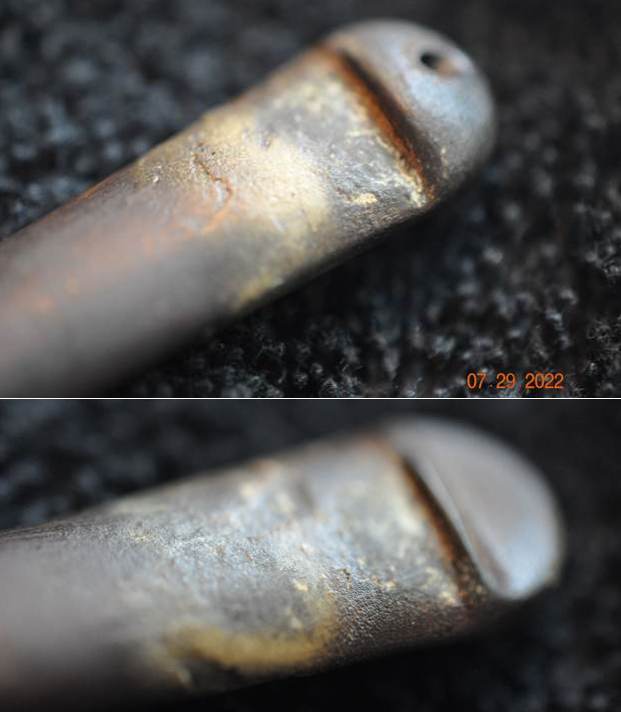
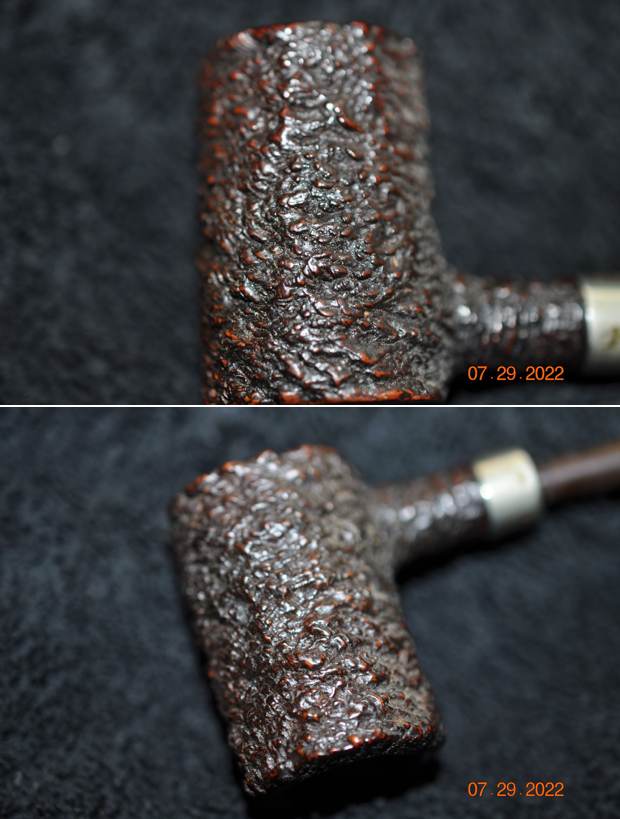
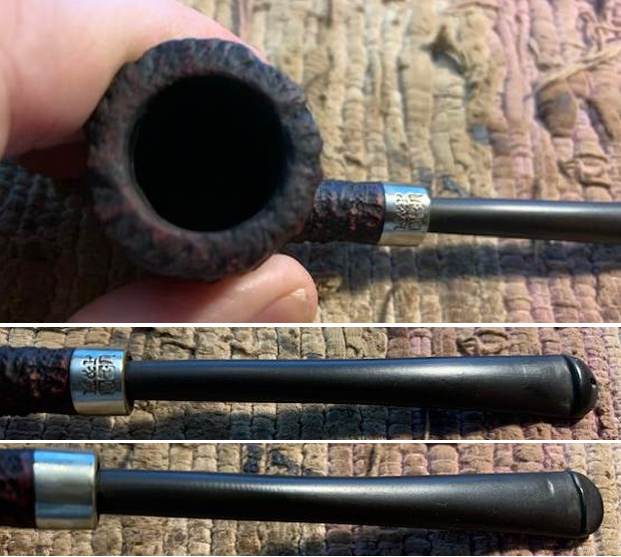
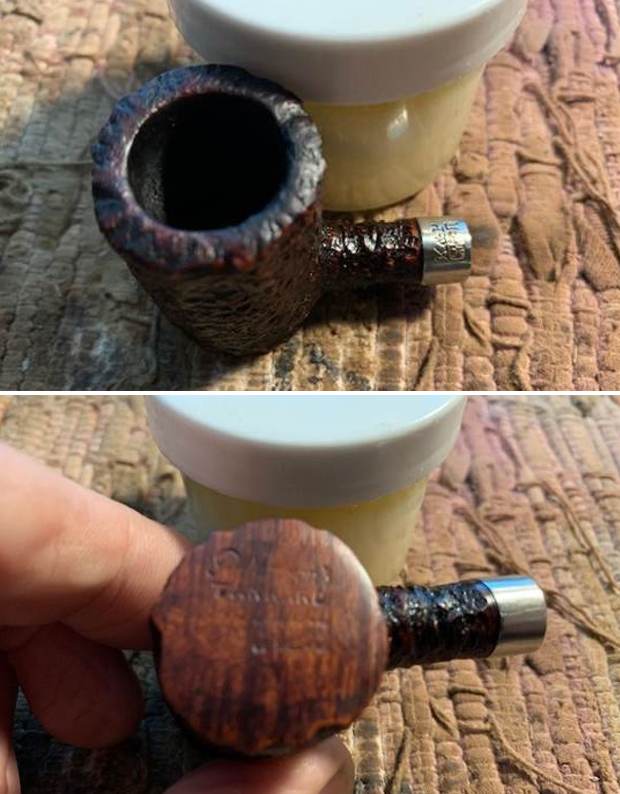
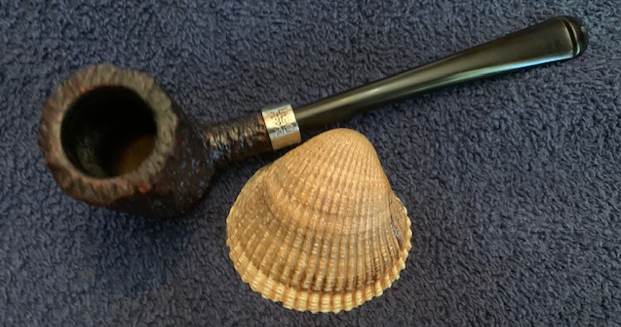
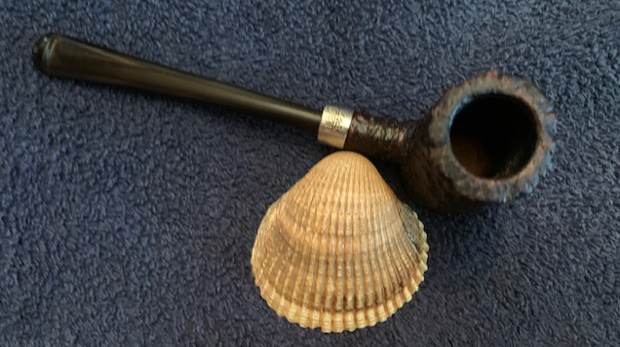
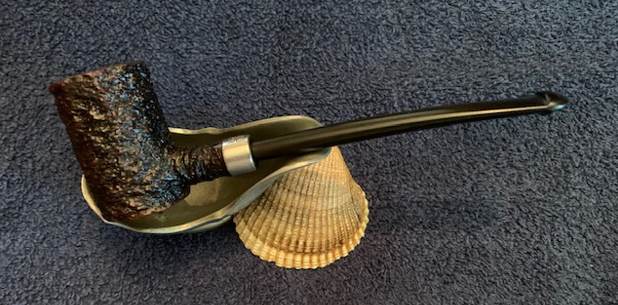
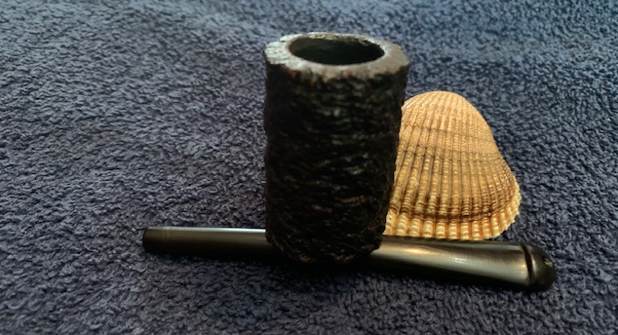
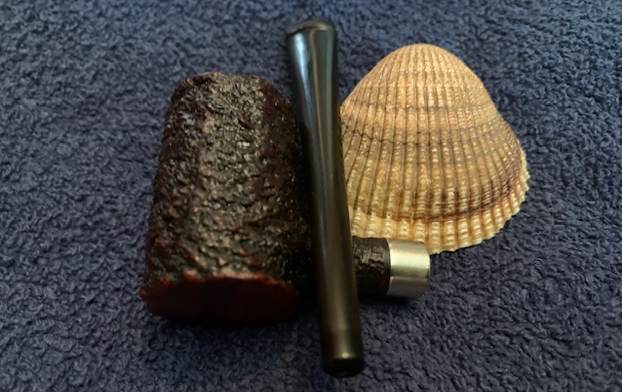
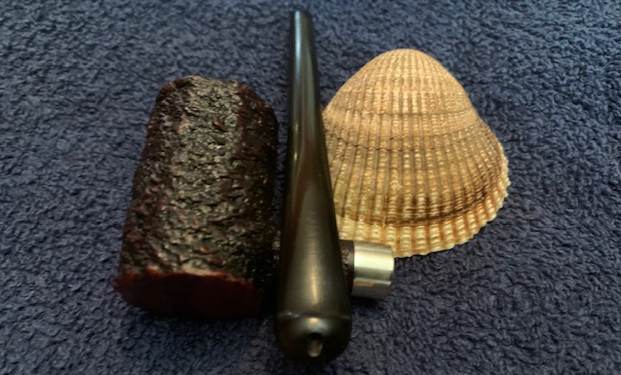
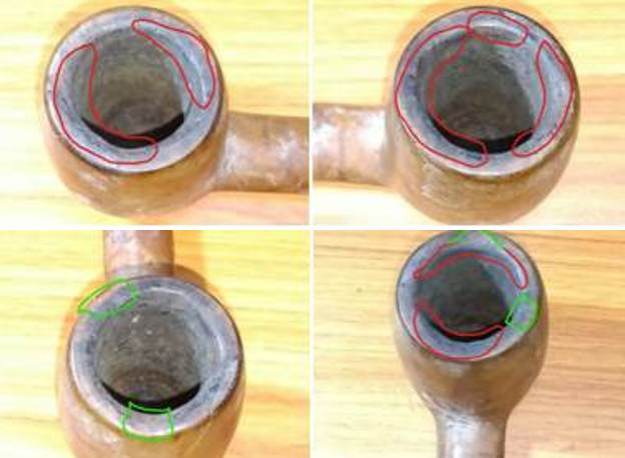
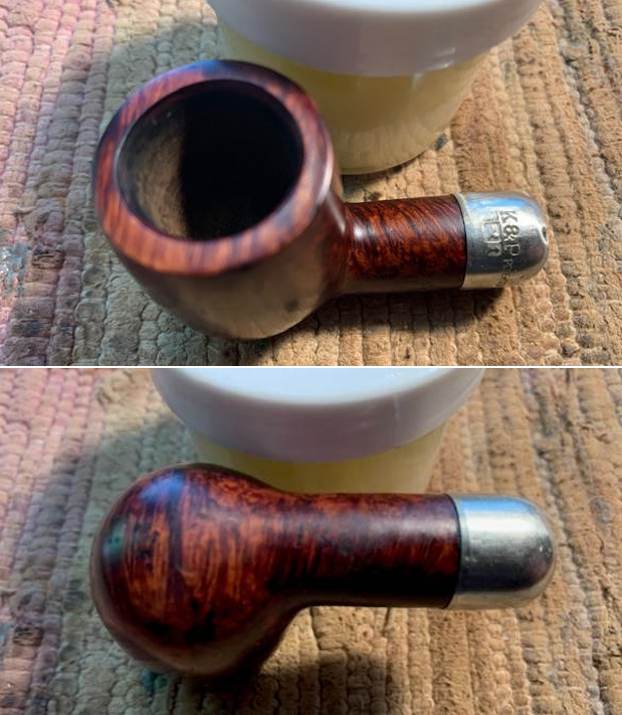
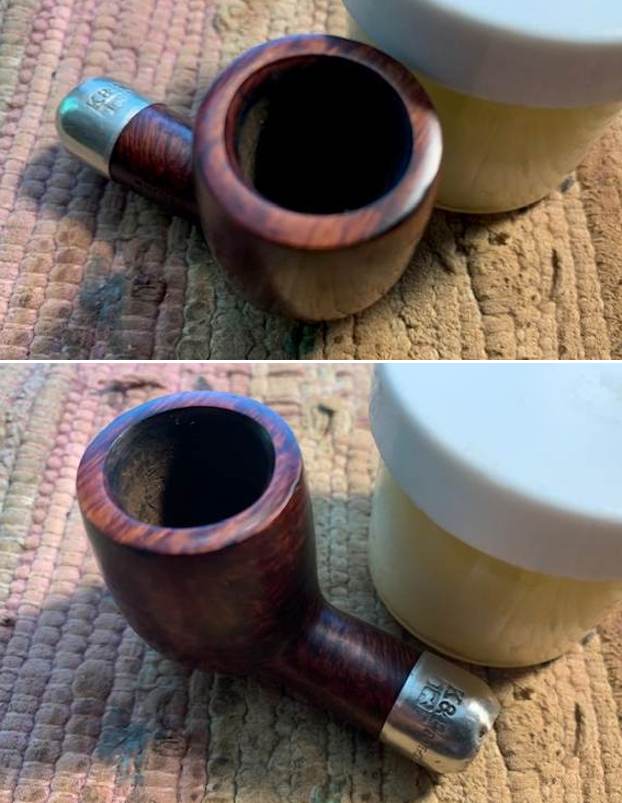
 I took close up photos of the bowl and the stem. You can see the reamed bowl and the darkening and light lava on the rim top. The bowl reeked of aromatic tobaccos. The stem surface was clean but there are deep tooth marks and chatter on both sides on and ahead of the button.
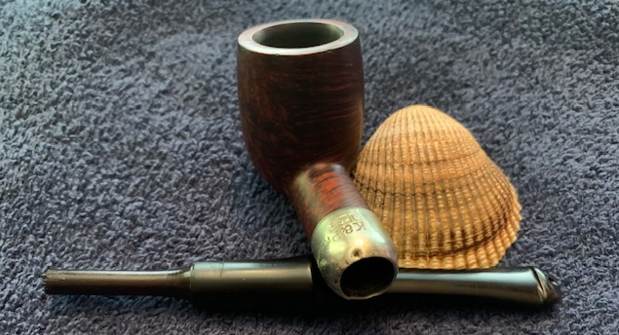
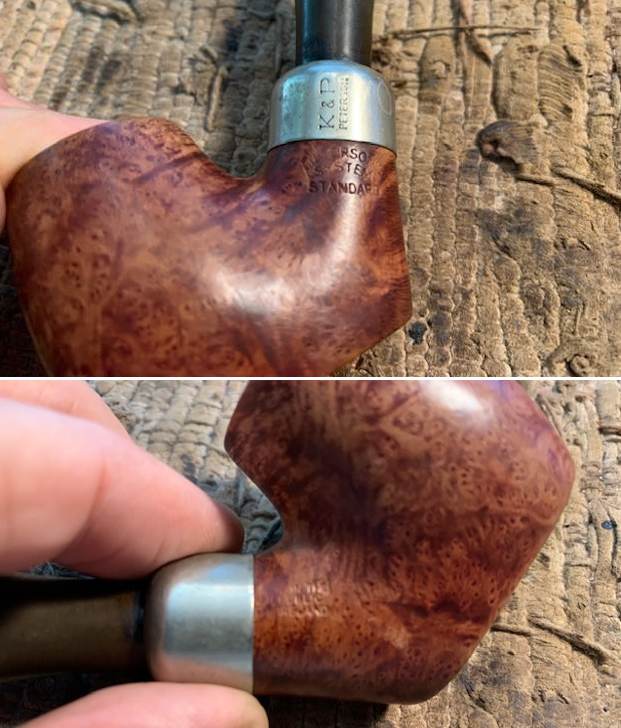
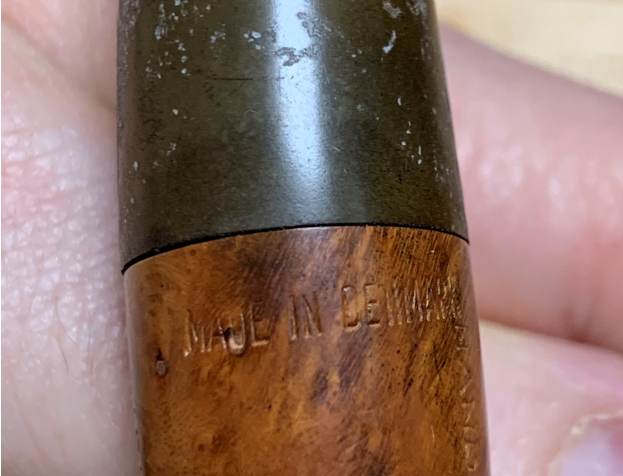
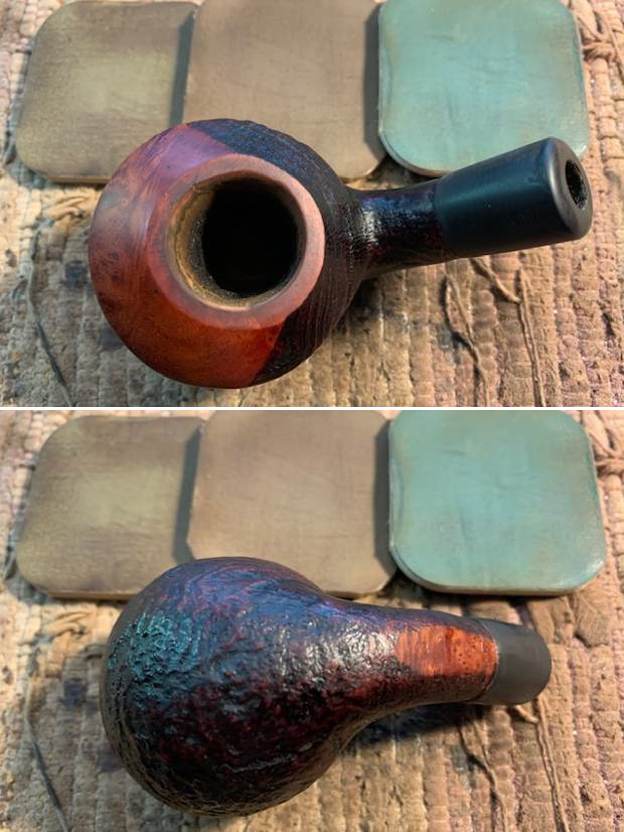
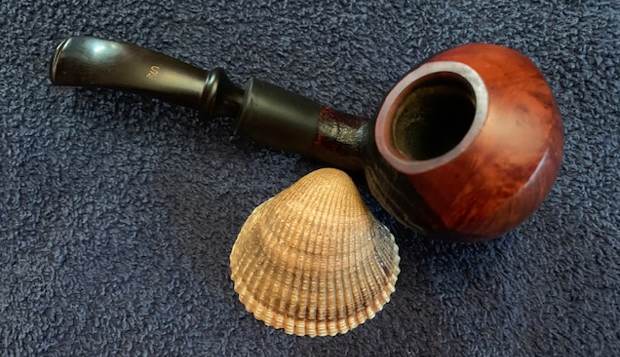
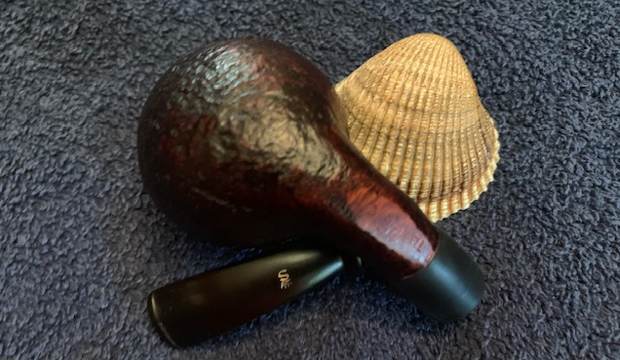
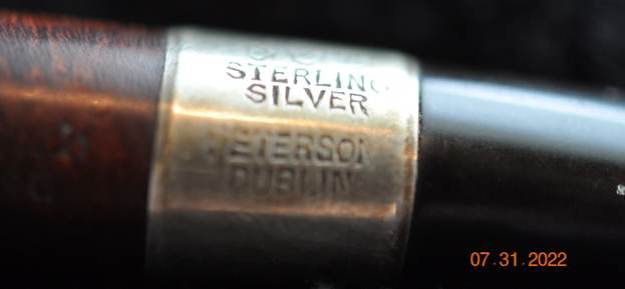
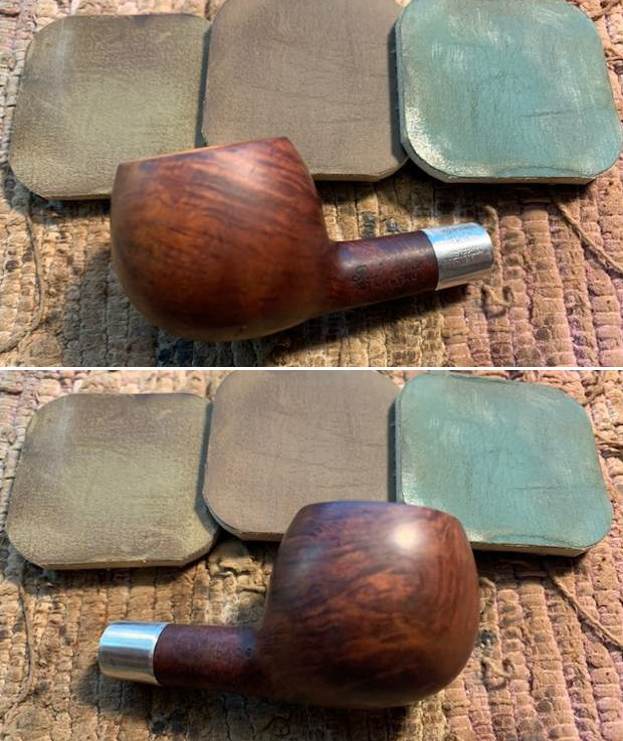
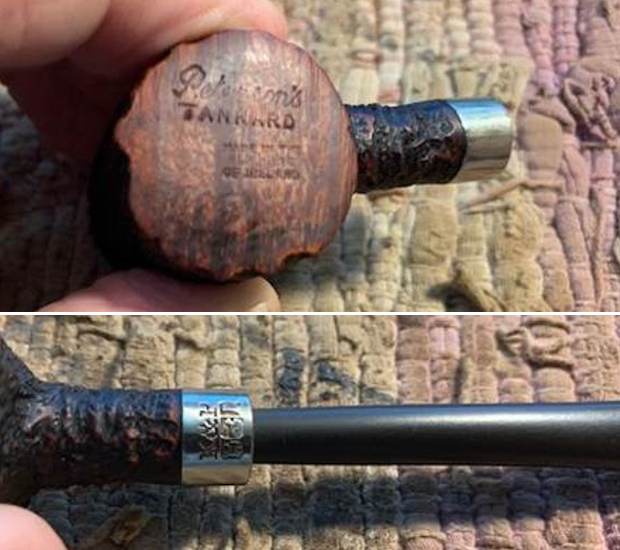
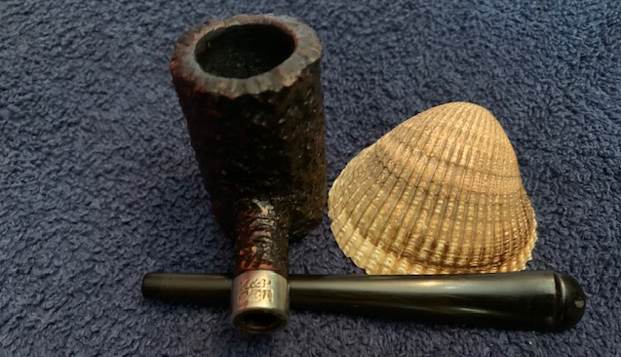
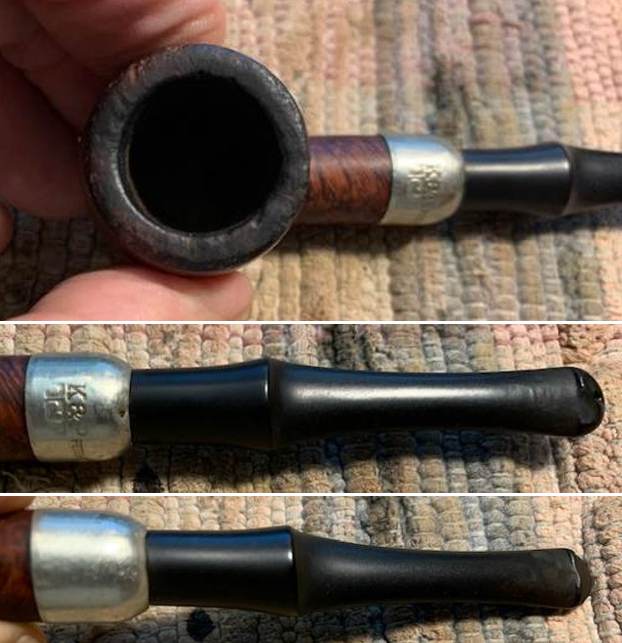 I took a photo of the stamping on the sides of the bowl and shank. It is clear and readable as noted above.
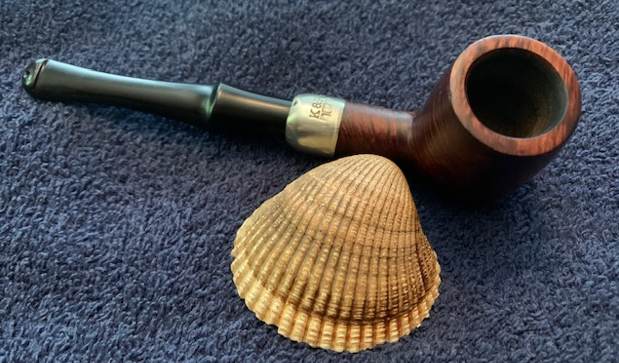
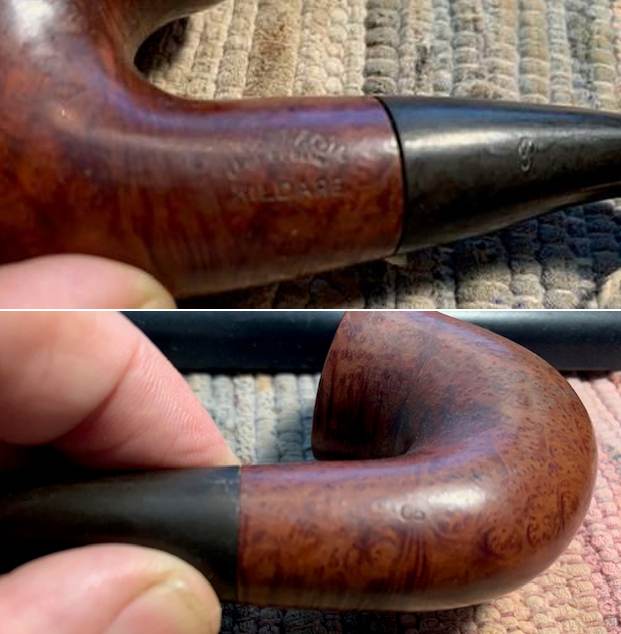
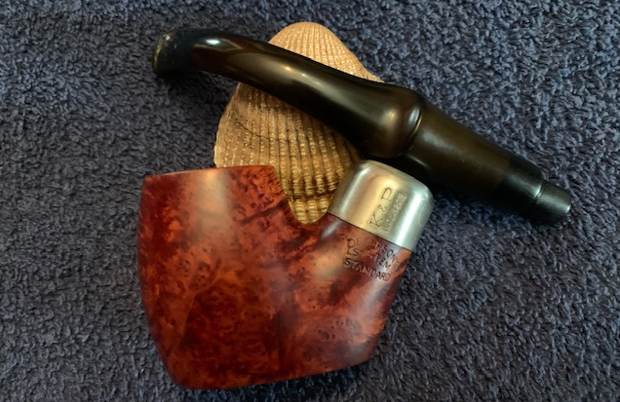
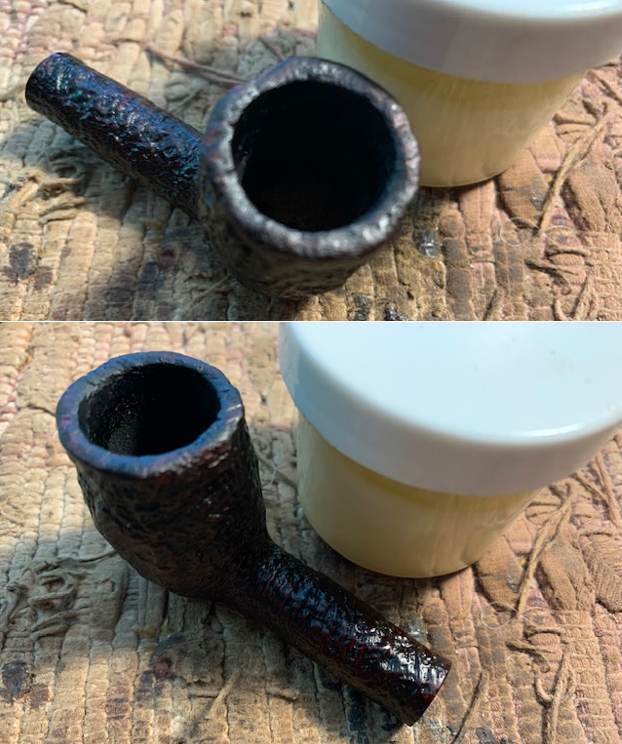
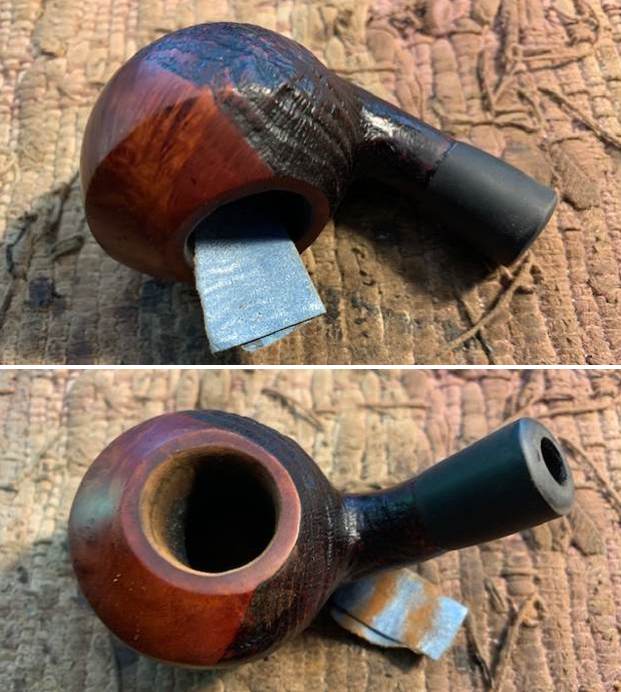
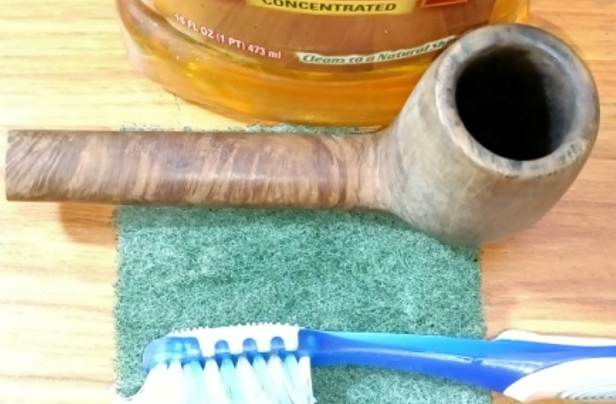
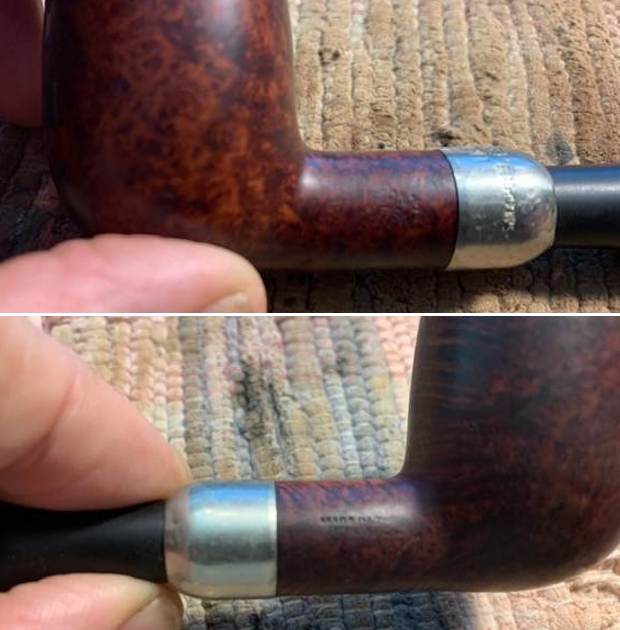
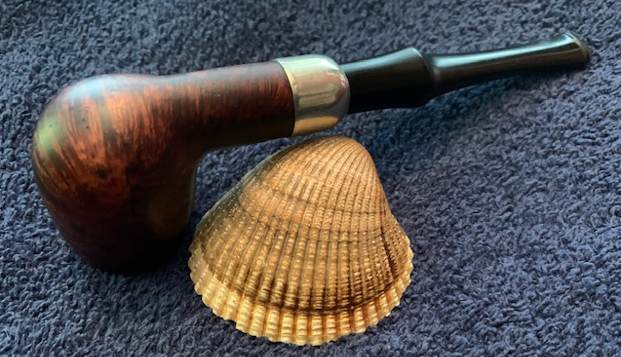
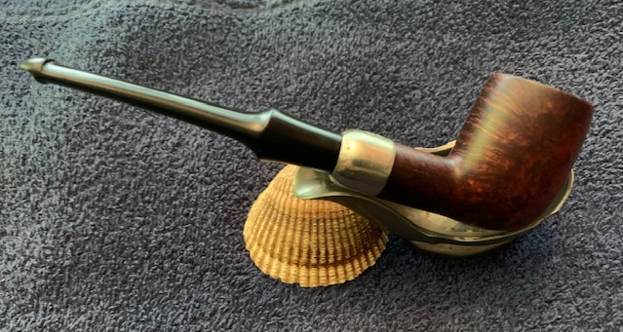
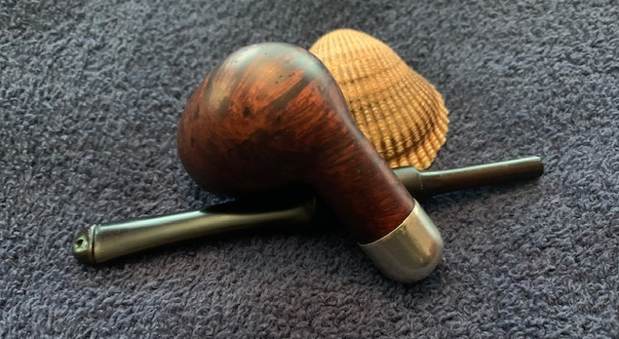
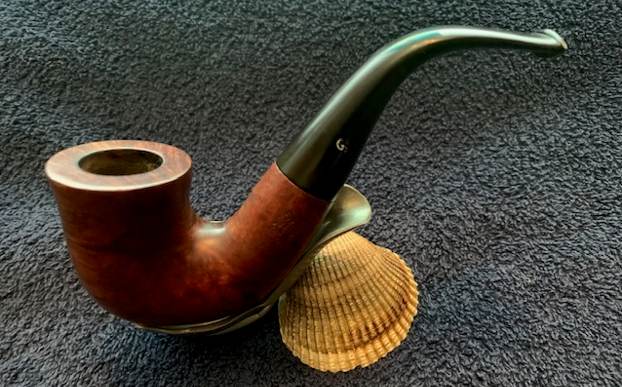
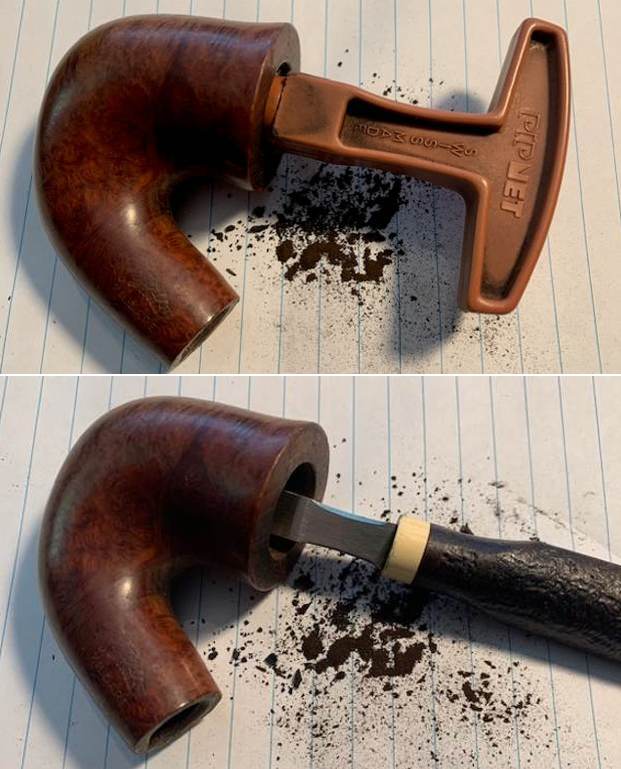
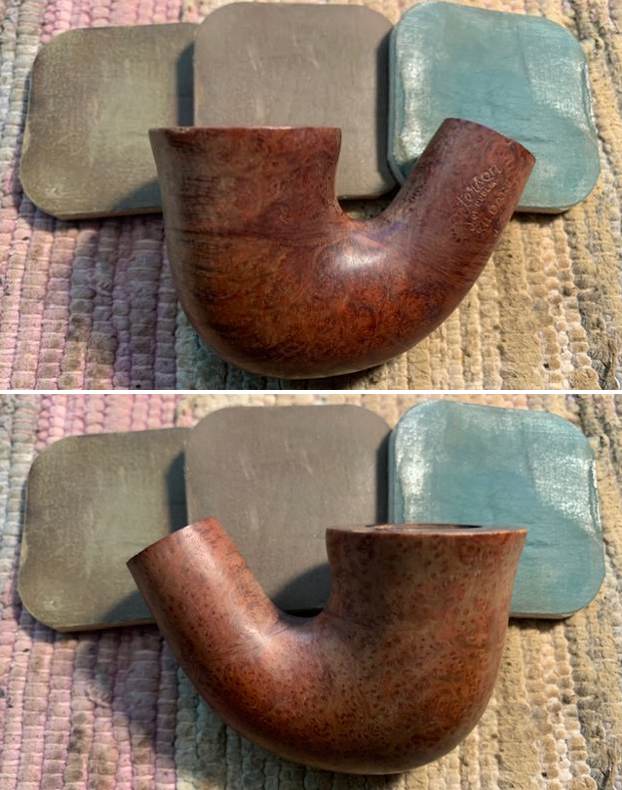
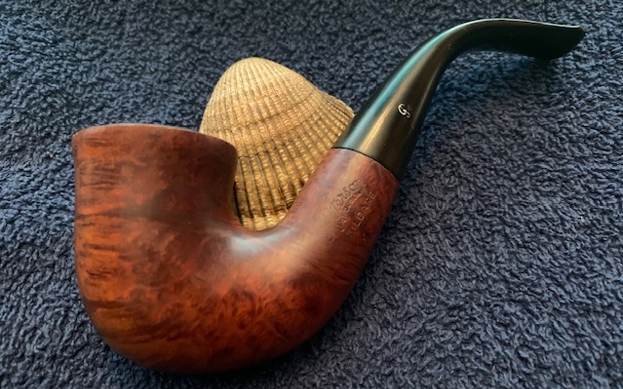
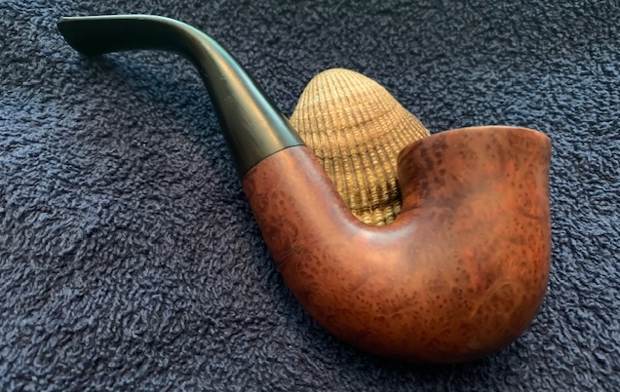
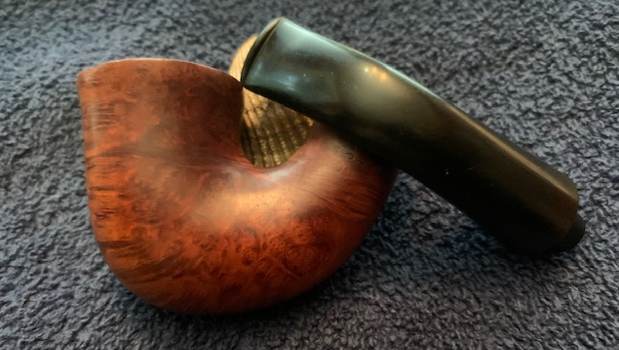
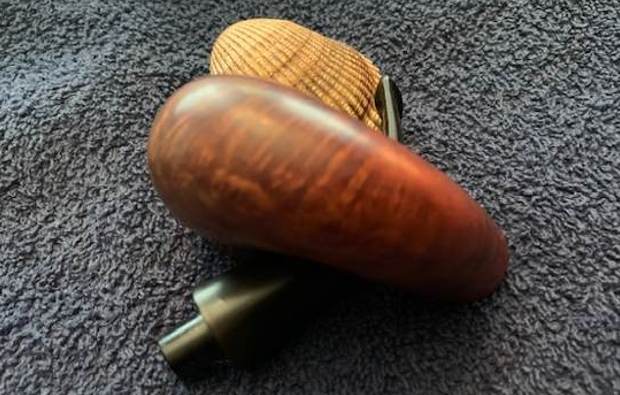
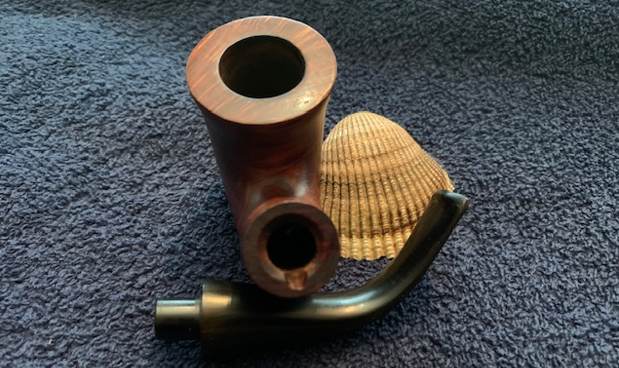
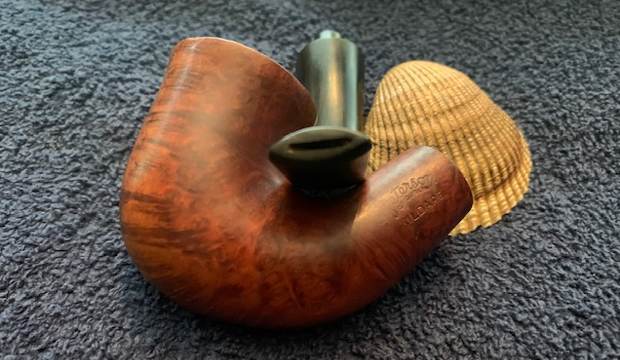
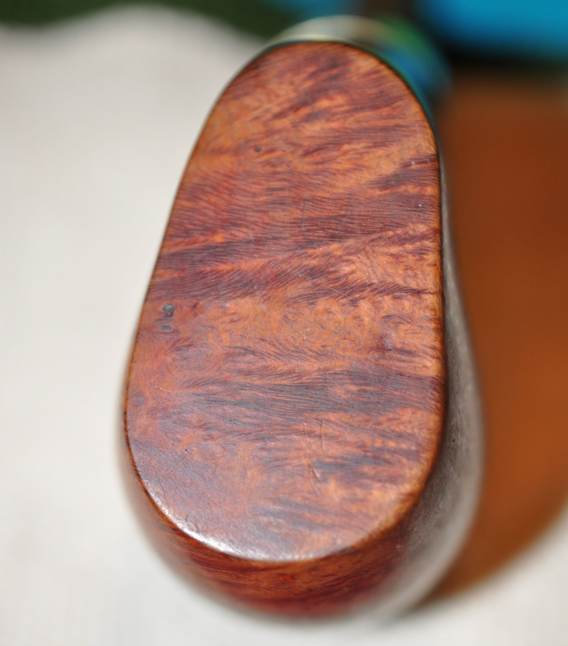
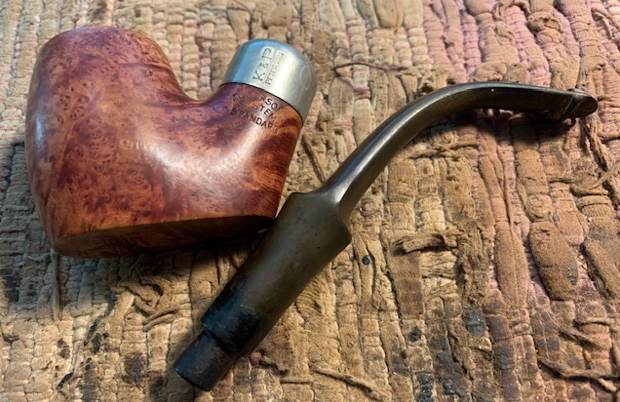
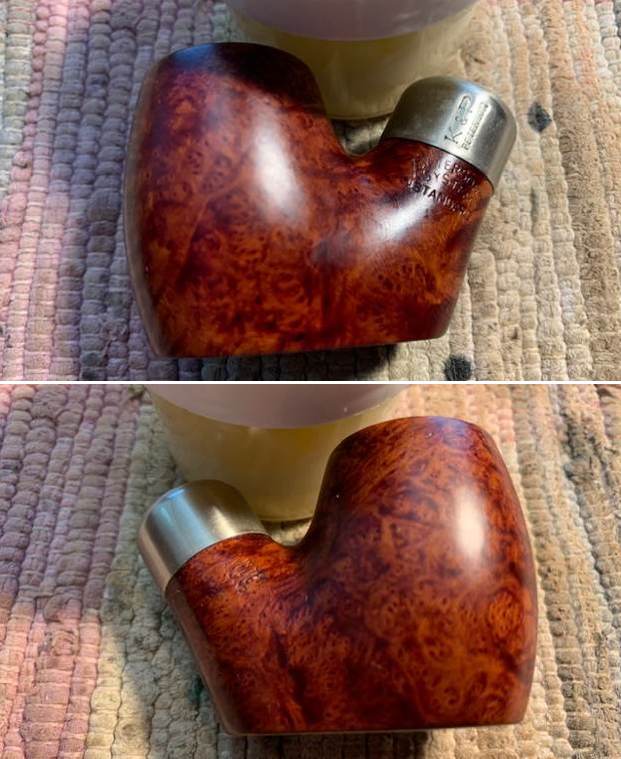
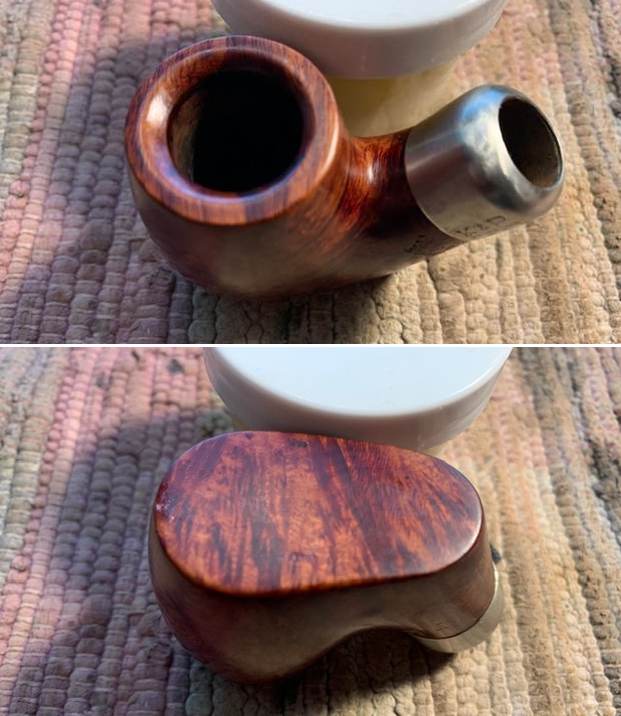
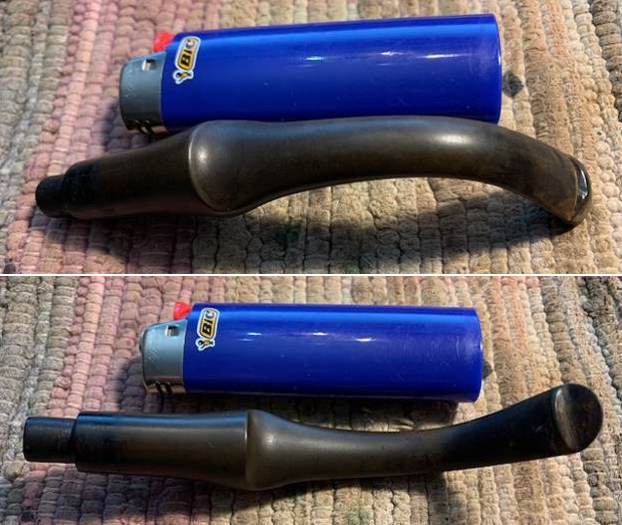
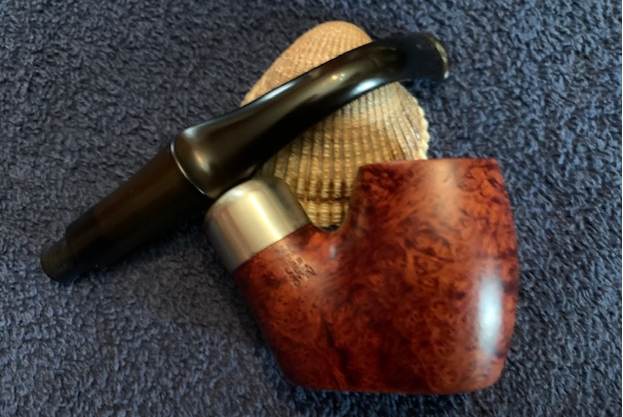
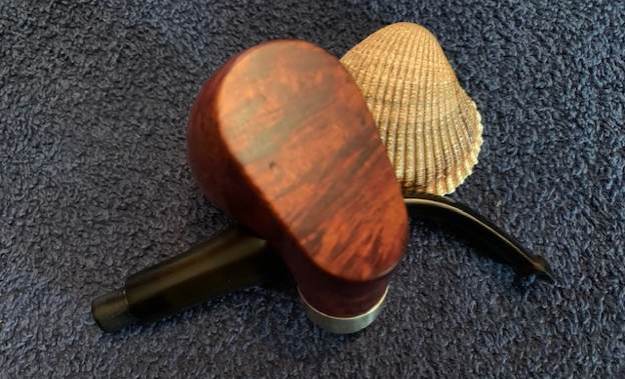
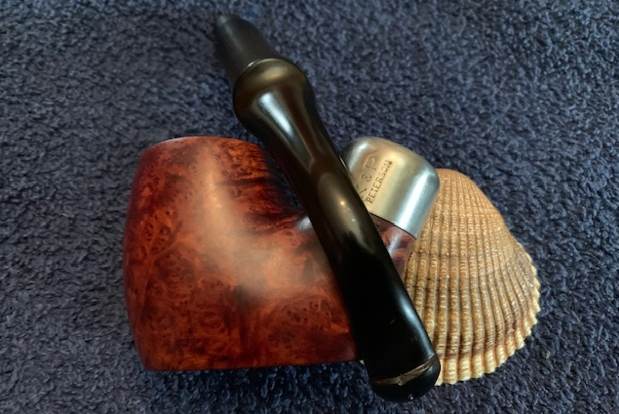
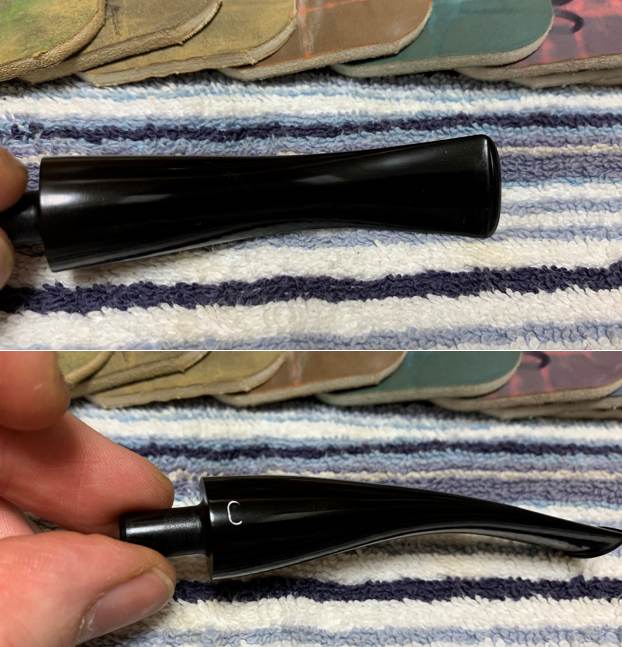
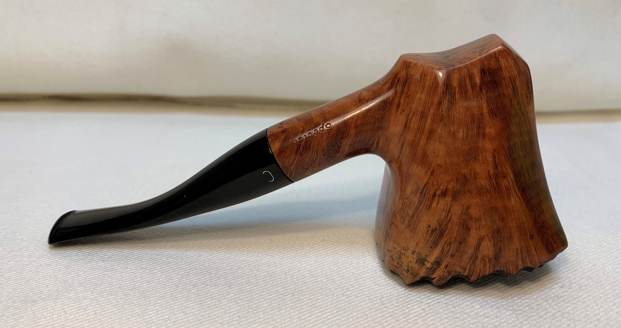
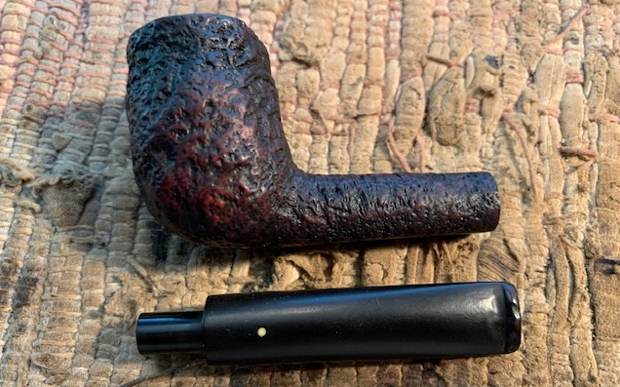
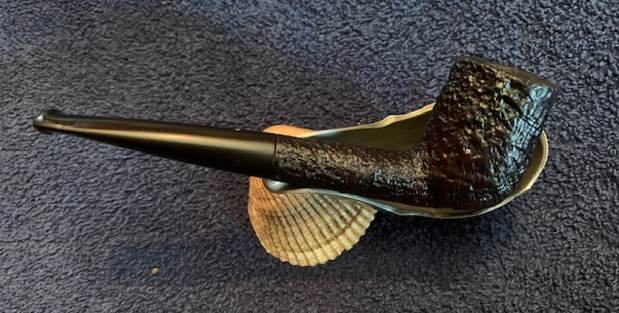
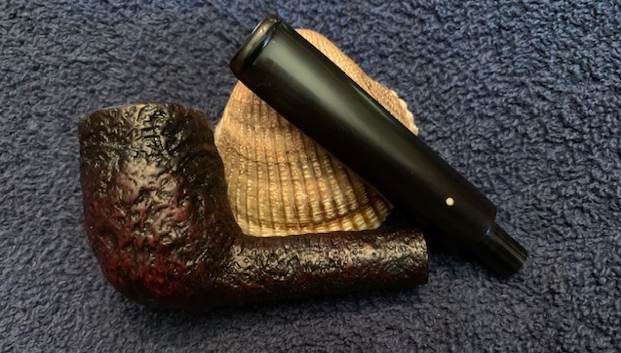
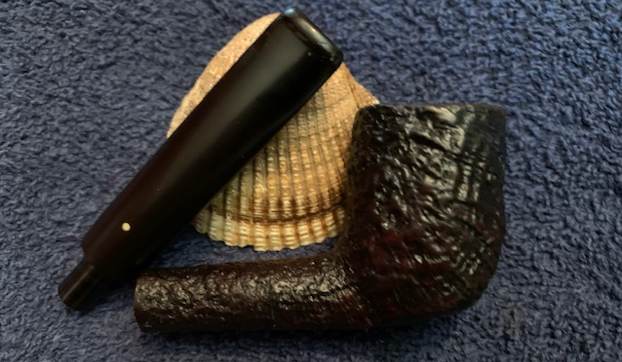
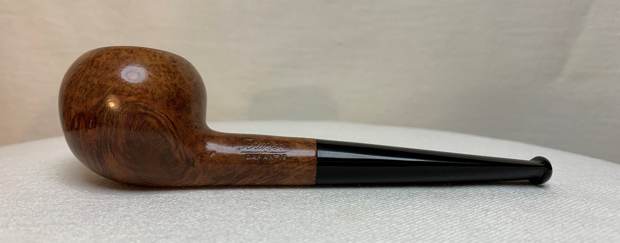
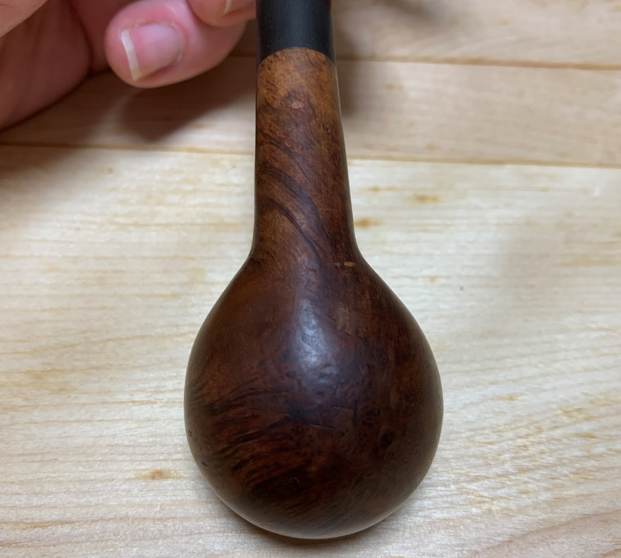
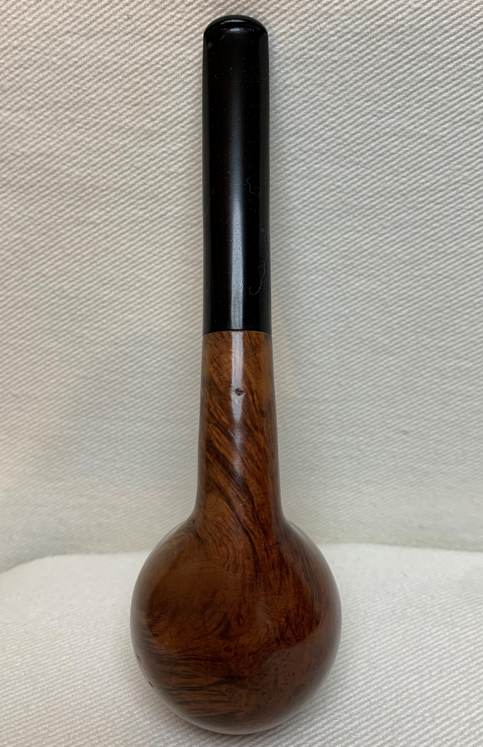
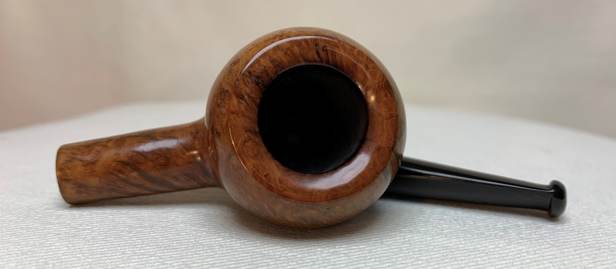
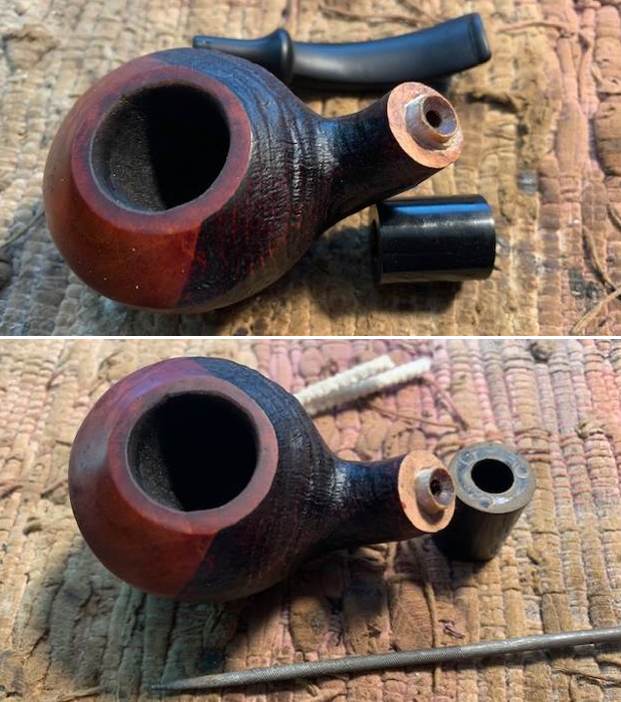
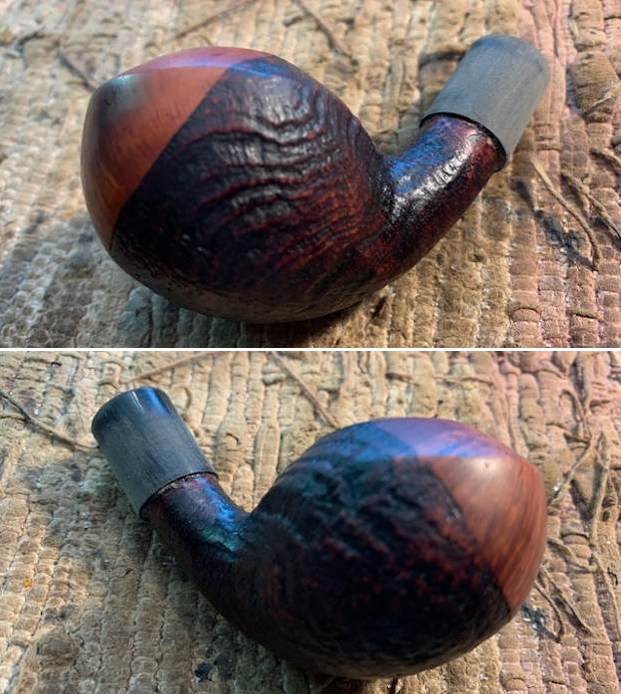
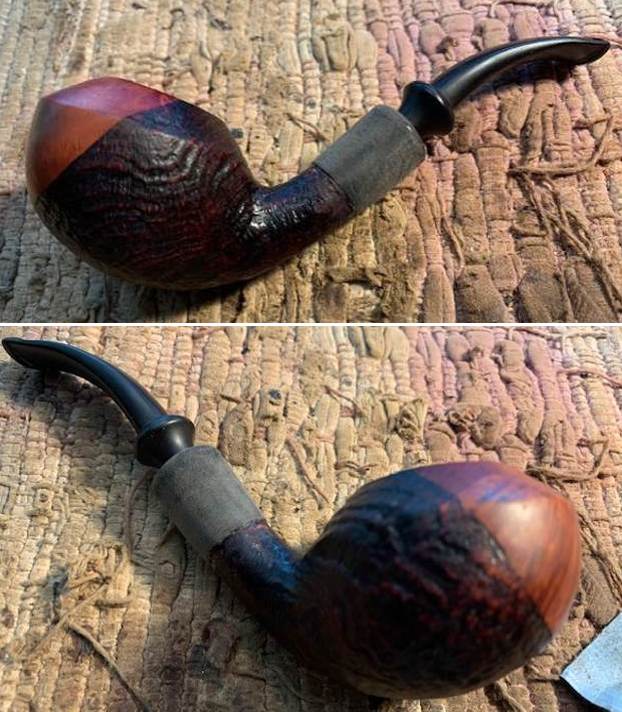
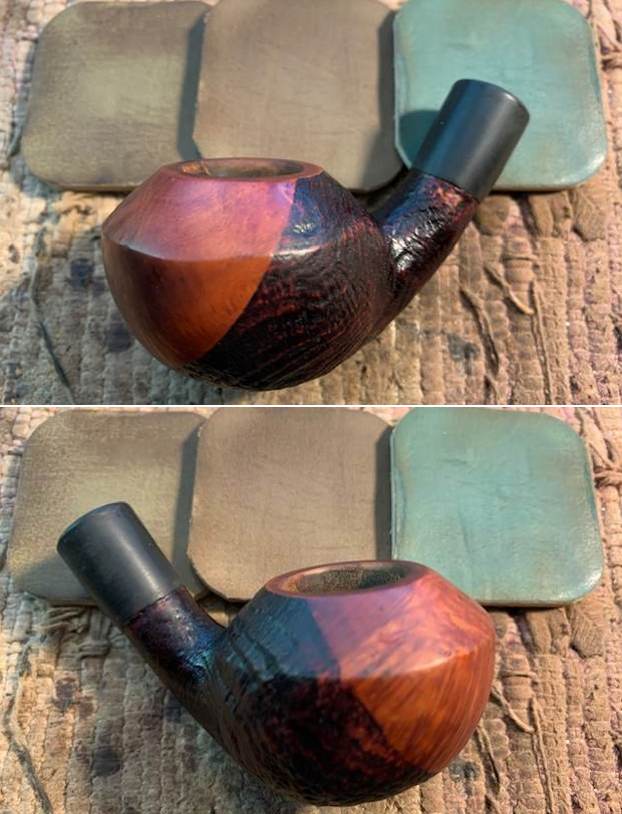
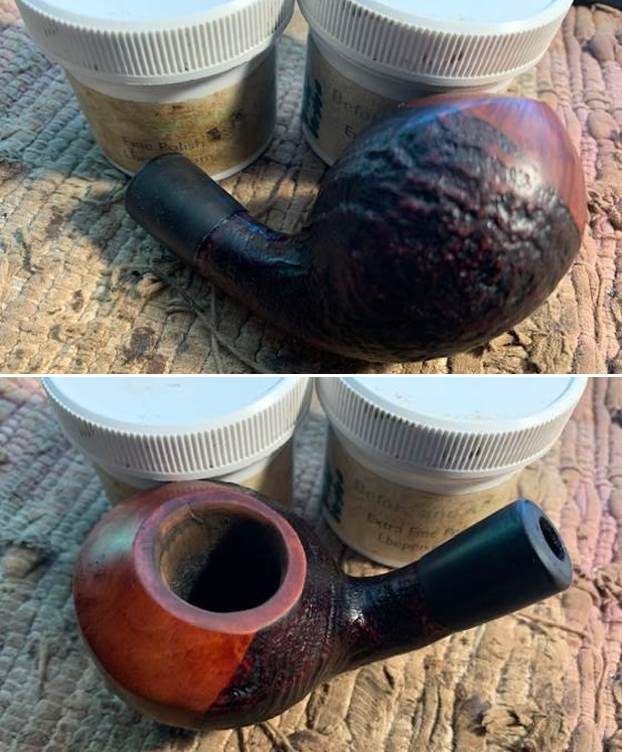
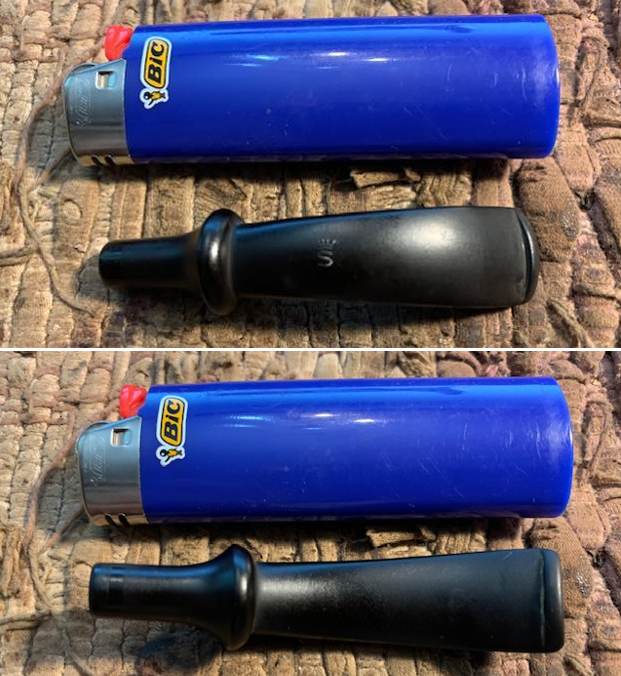
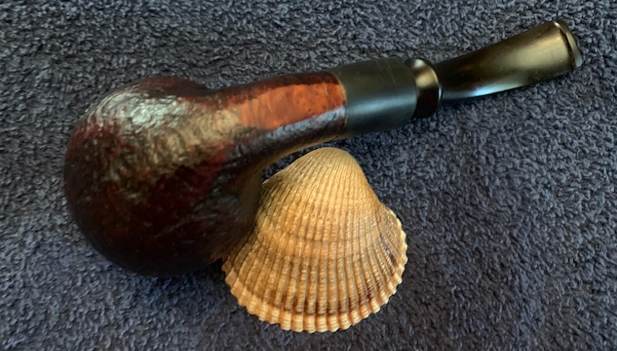
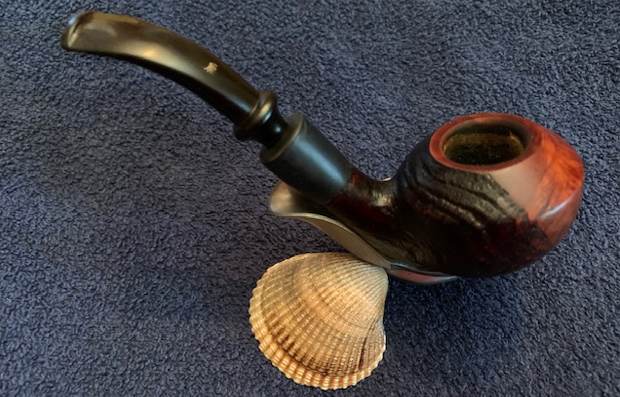
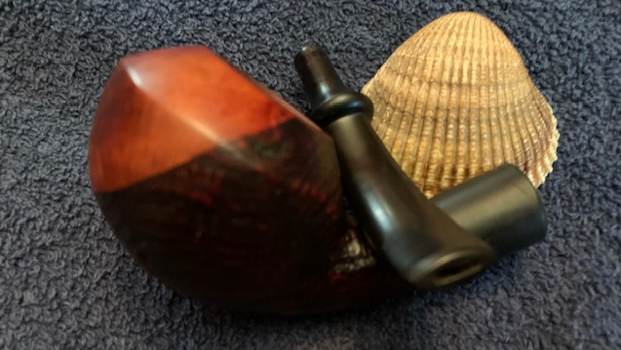
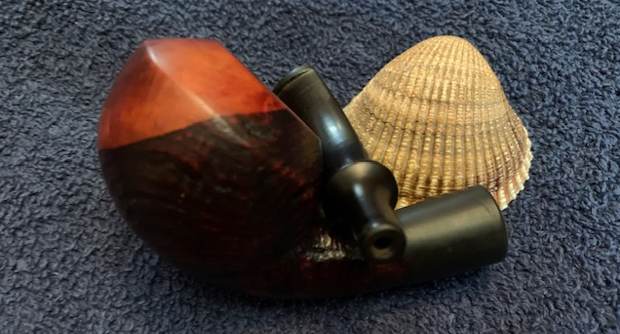
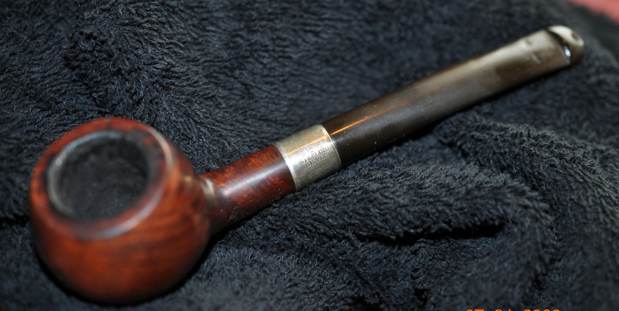
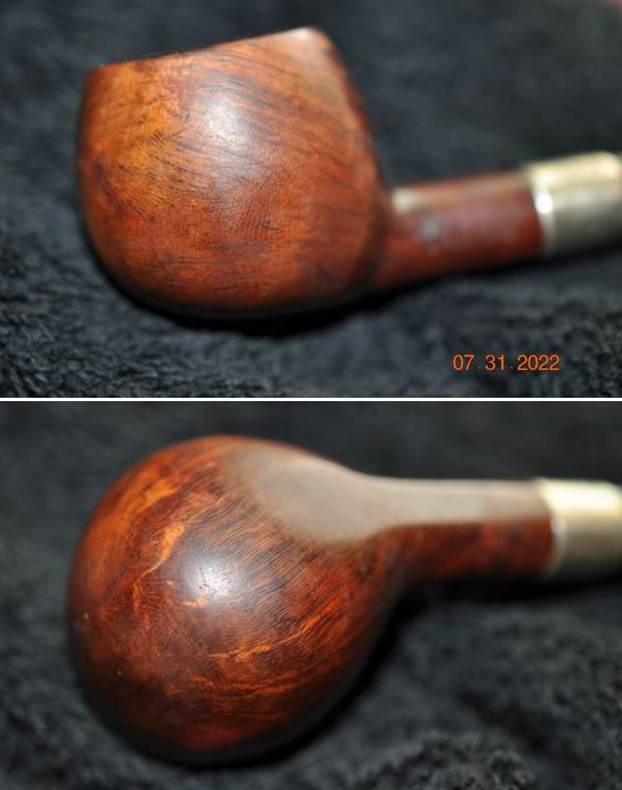
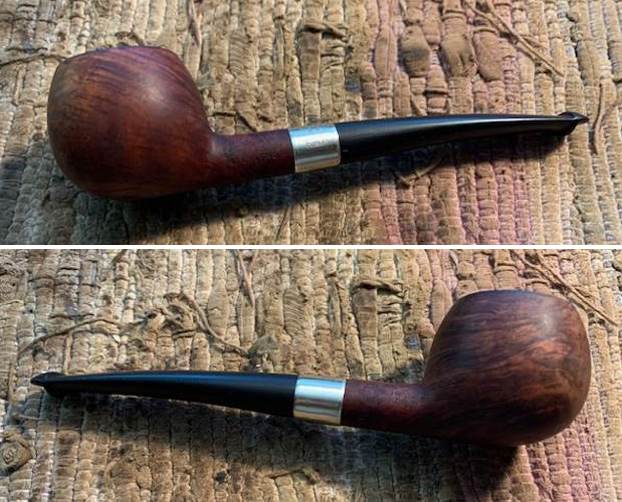
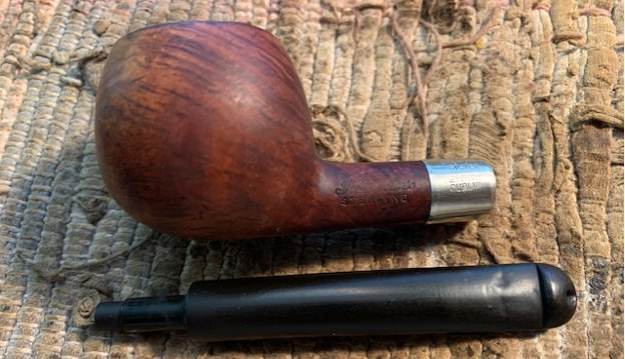
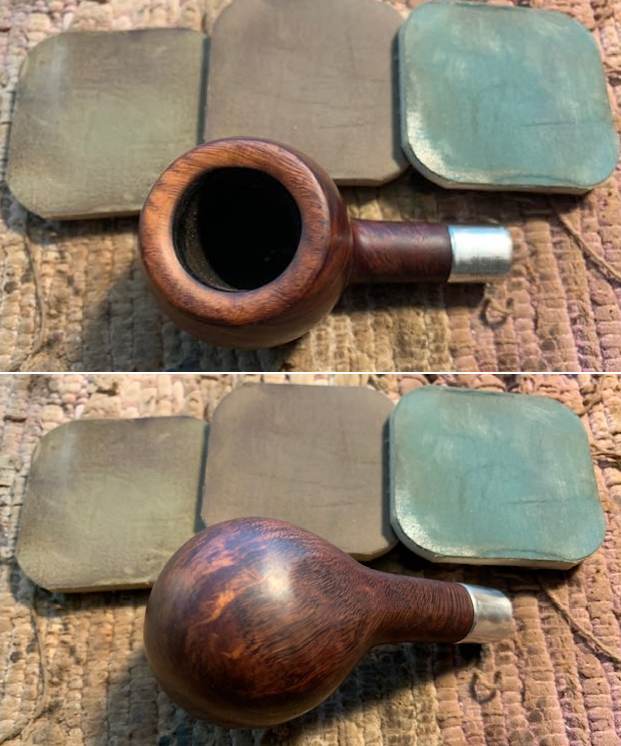
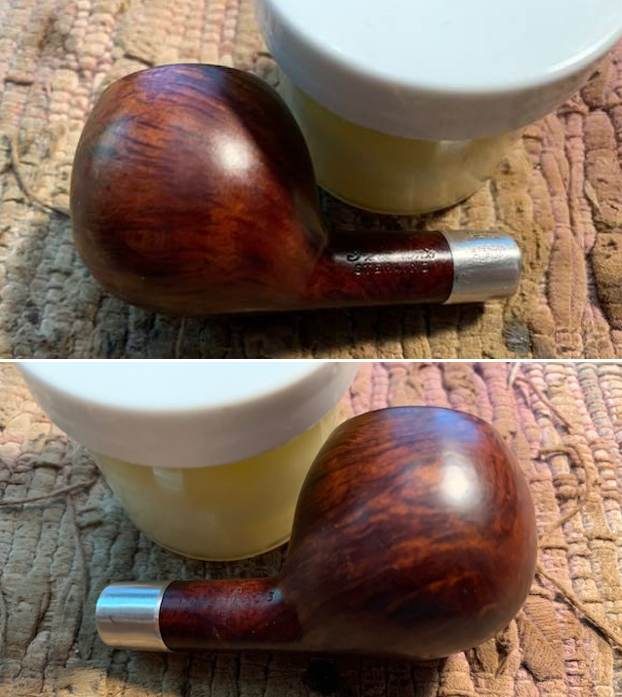
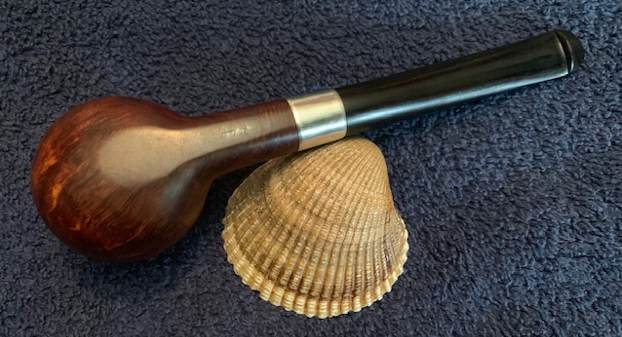
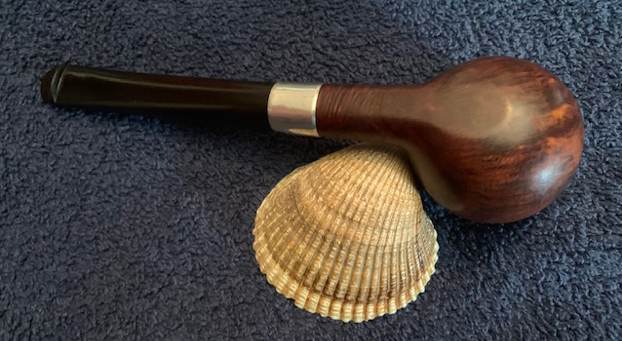
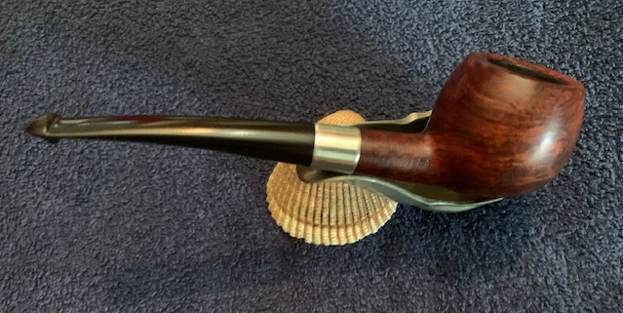
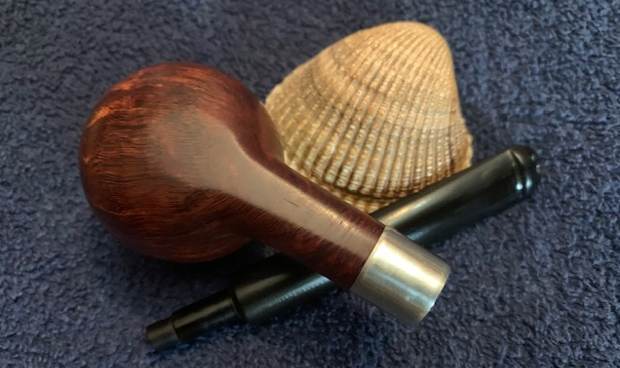
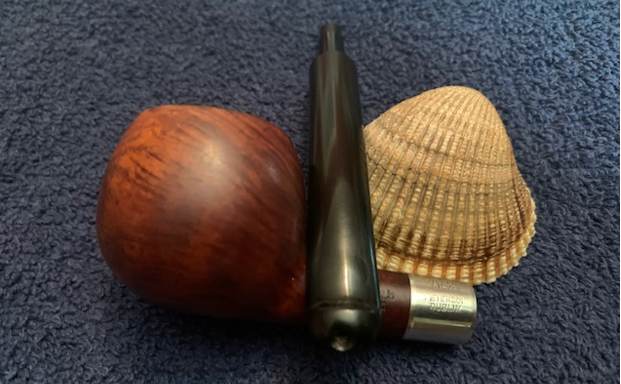
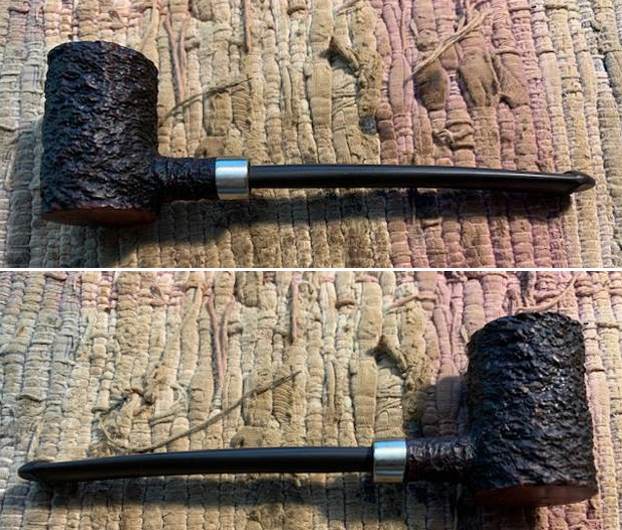
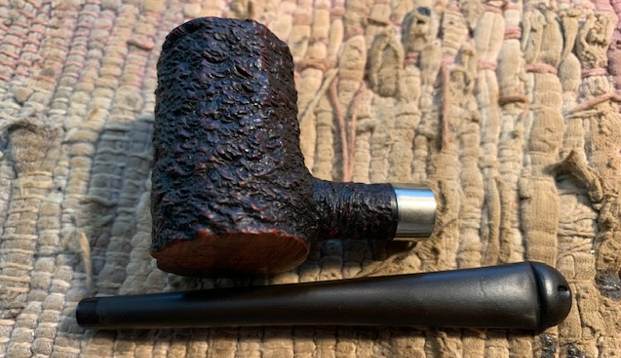
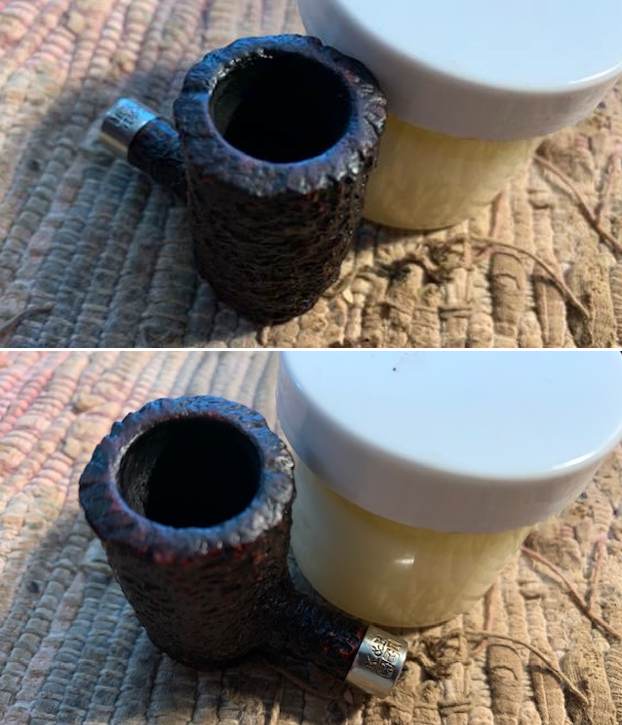
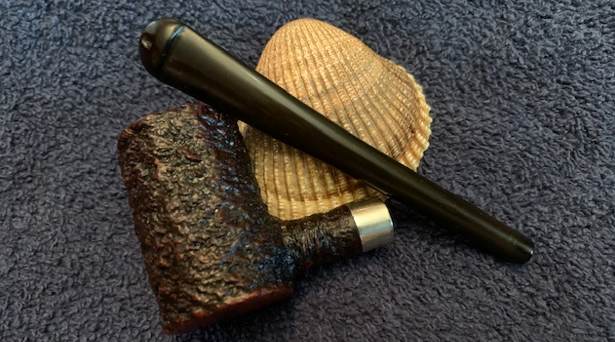
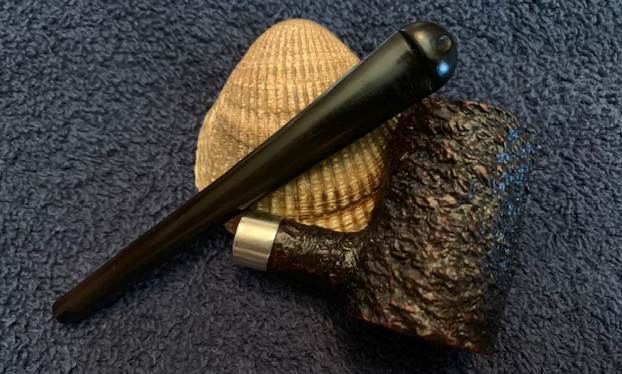
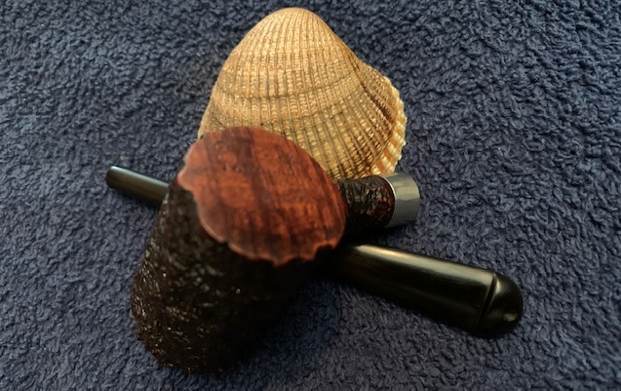
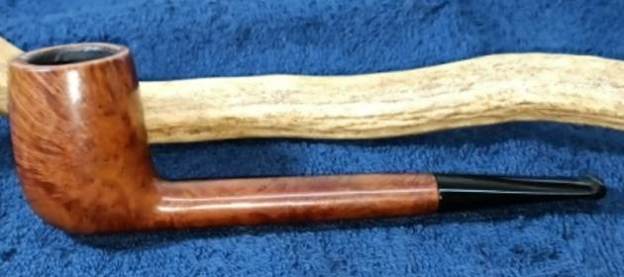
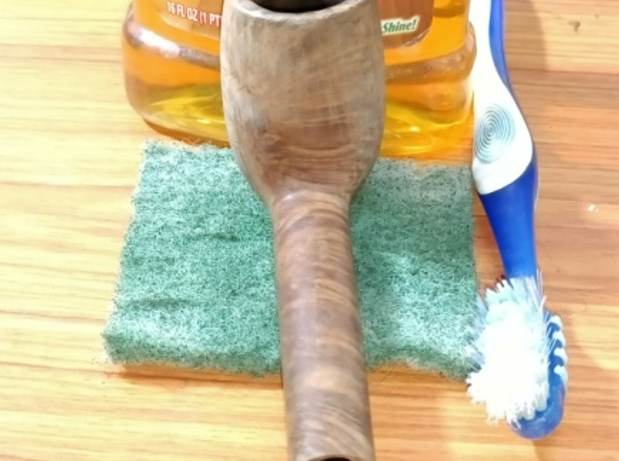
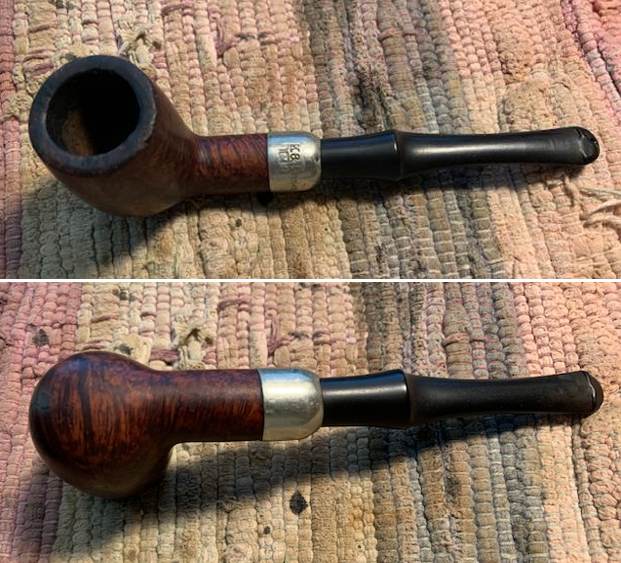
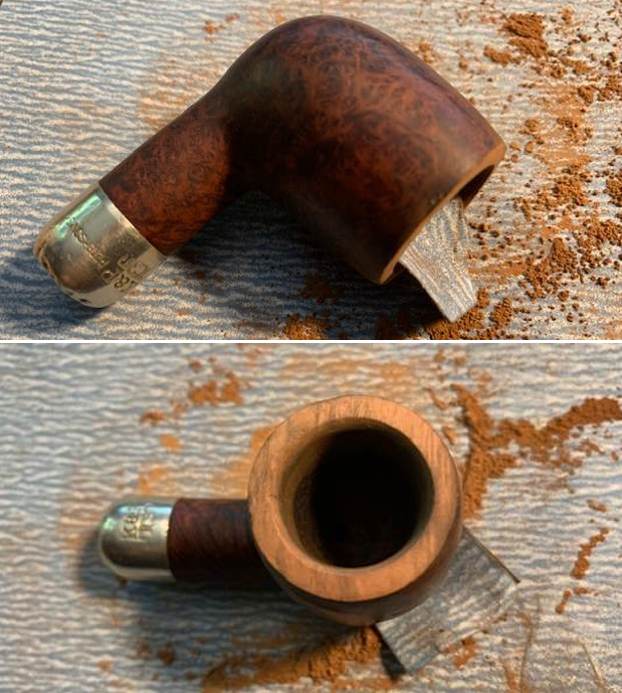
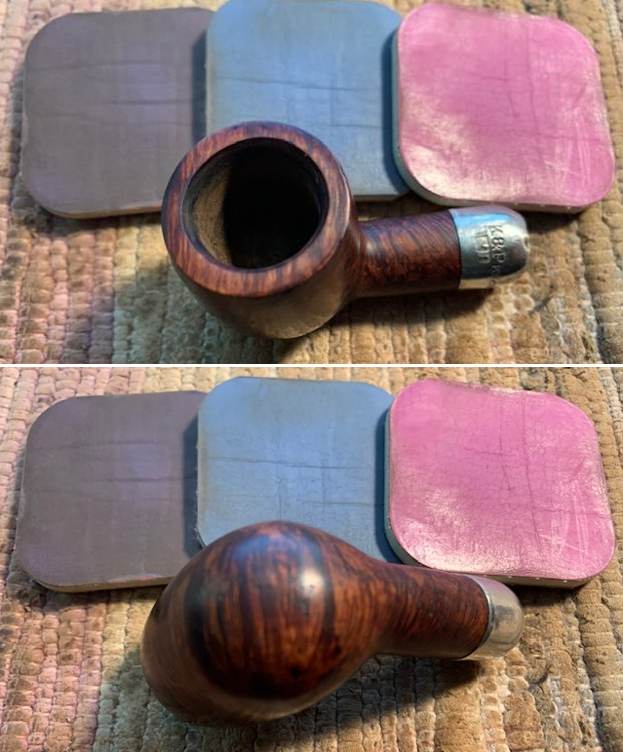
 I removed the stem from the shank and took a photo to give a sense of the proportions of the pipe. It is really quite nice looking.
 I am including the information from Pipedia’s article on Peterson pipes. It is a great read in terms of the history of the brand (https://pipedia.org/wiki/Peterson). I have included a bit of the pertinent history here.
1950 – 1989 The Republic Era – From 1950 to the present time, the stamp for this era is “Made in the Republic of Ireland” in a block format generally in three lines but two lines have been used with or without Republic being abbreviated.
During the 1950’s and 60’s the Kapp & Peterson Company was still in the ownership of the Kapp family. However 1964 saw the retiral of the company Managing Director Frederick Henry(Harry) Kapp.
I found a great description of the System 31 shape on smokingpipes.com (https://www.smokingpipes.com/pipes/new/peterson/moreinfo.cfm?product_id=192182). I am including a portion of that below.
Peterson’s “31” shape is the only straight pipe featured in the System Standard line, yet it still features system drilling. Featuring a push-style tenon and a long, tapering metal tube, it houses a condensation chamber just under the bowl itself — providing the same gurgle free smoke you’d expect of a bent System configuration.
I did a search on Google about the Peterson System 31 Straight Billiard to see if I could learn any specific information on the shape. I found a link to a pipe for sale on Smokingpipes.com. I quote:
Paresh had worked on System 31 pipe so I went back and reread his work on that smooth pipe. It was very helpful for the background information included (https://rebornpipes.com/tag/peterson-system-31-pipe/).
I knew that I was dealing with a Republic Era pipe made between 1950-1989. The K&P mark on the nickel band ties to Kapp & Peterson brings the date to the time between 1950-1964. It was a smooth Straight billiard with a unique shape and chamber beneath the bottom of the bowl. The finish was stained with a combination of rich reddish brown stains. Now it was time to work on the pipe.
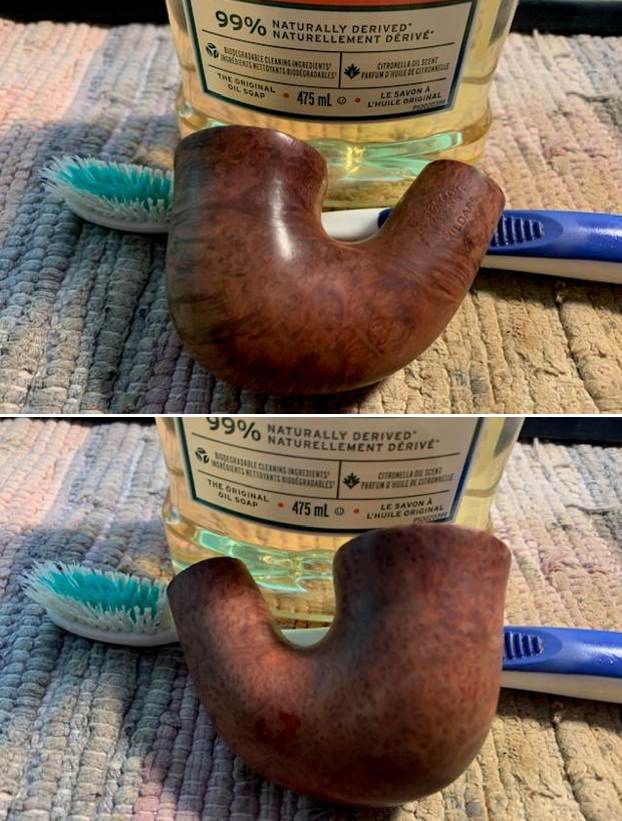
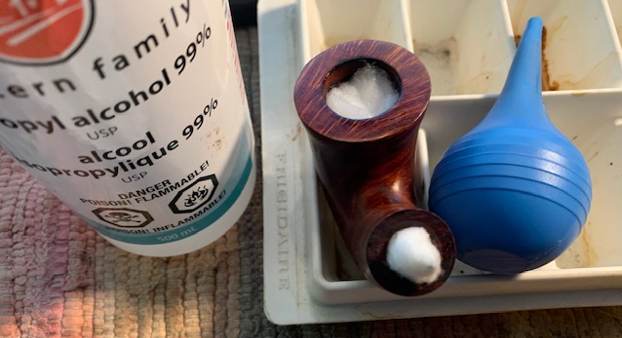
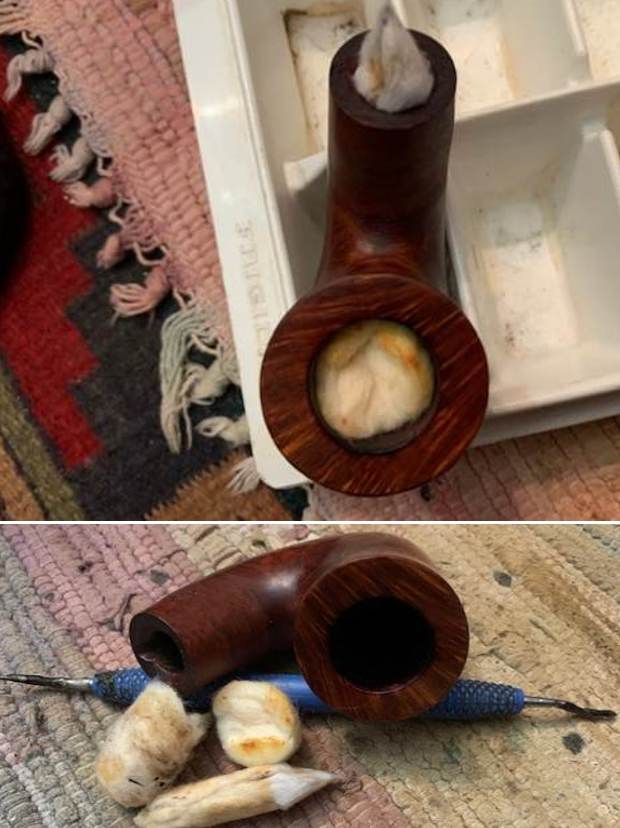
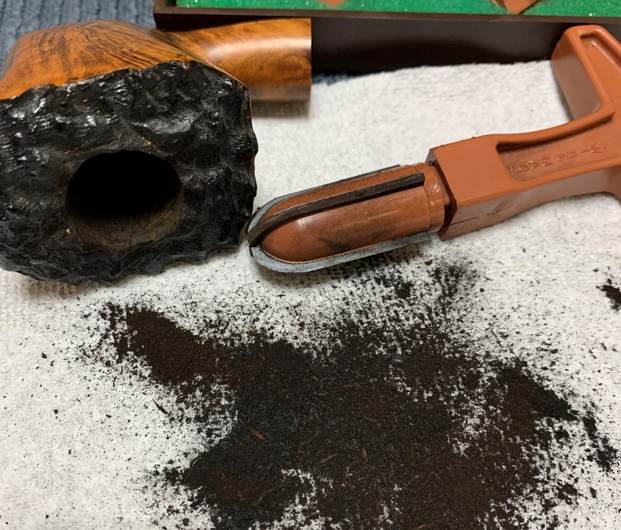
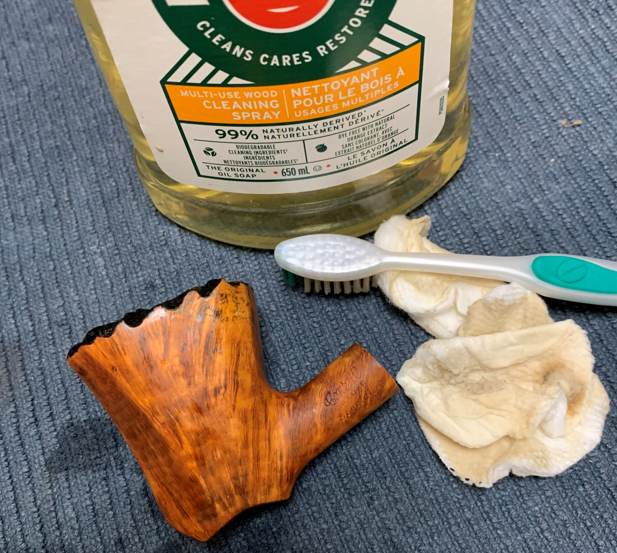
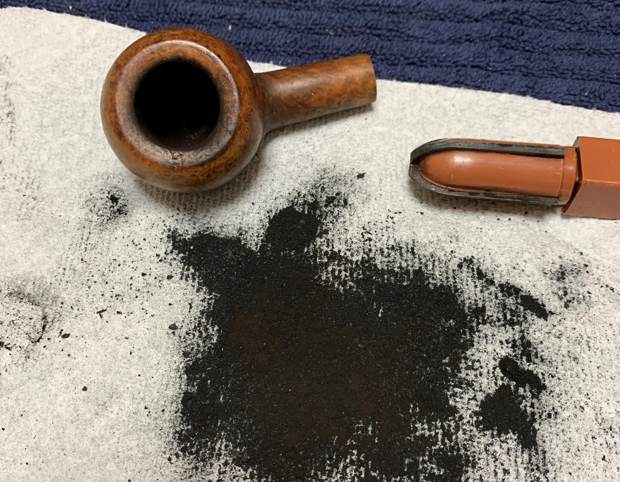
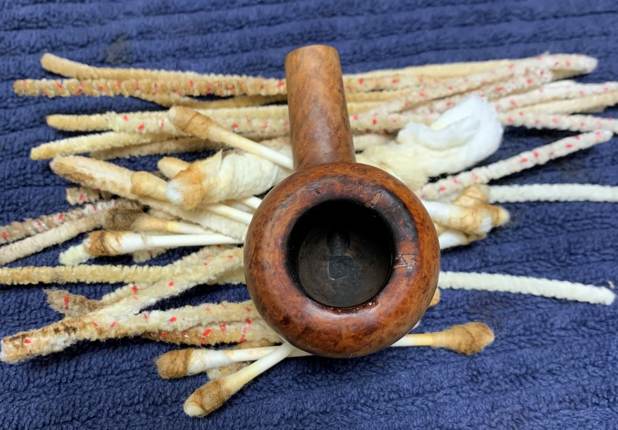
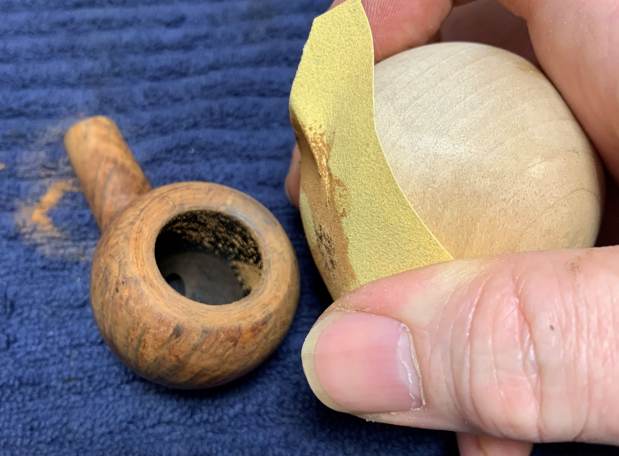
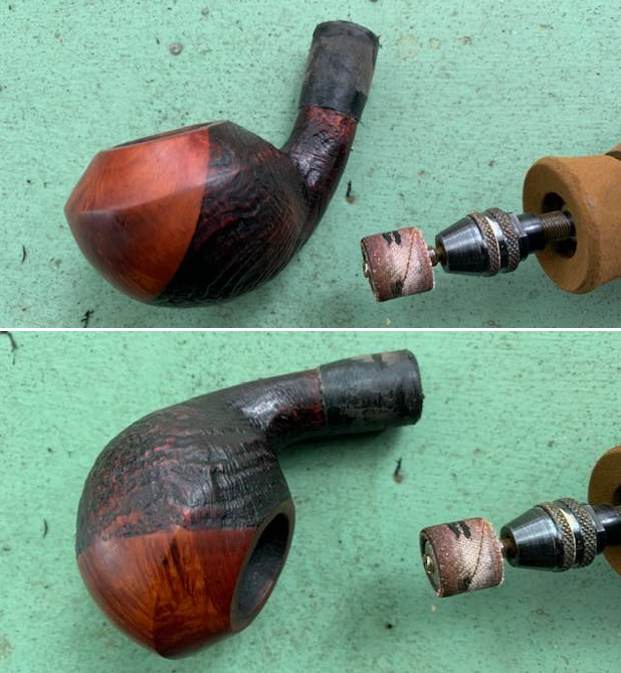
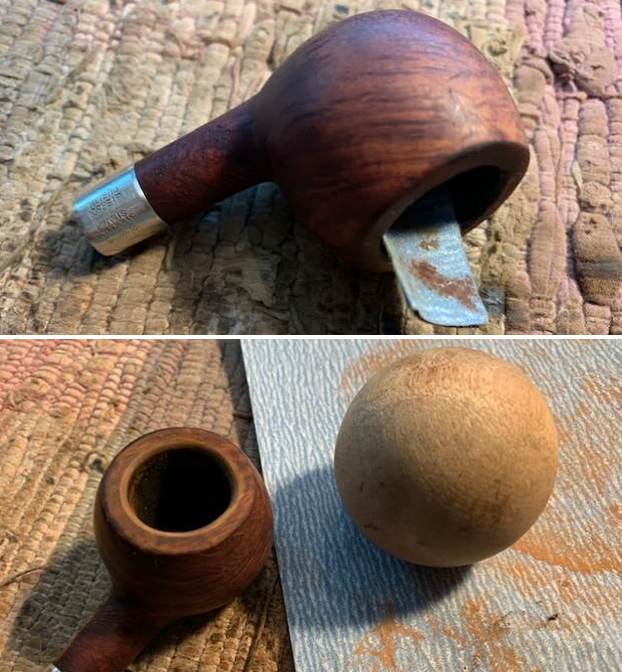
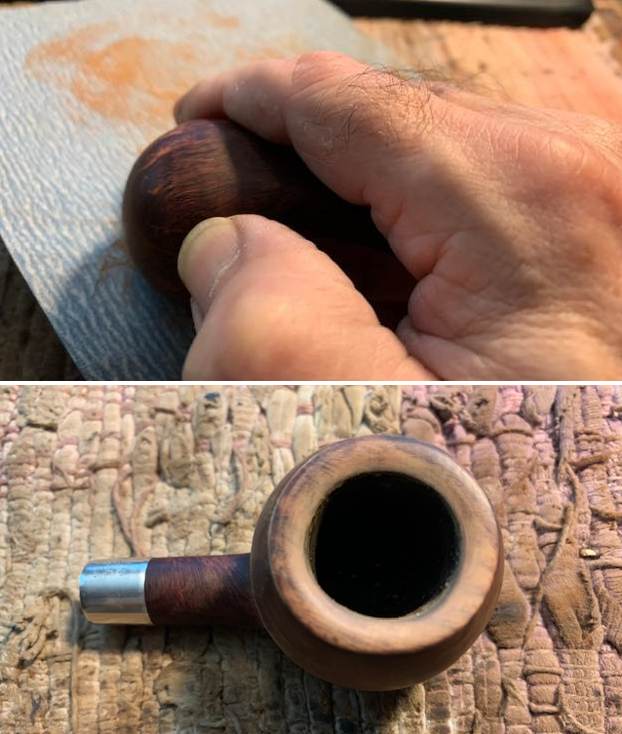
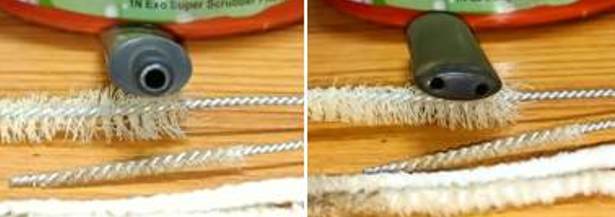
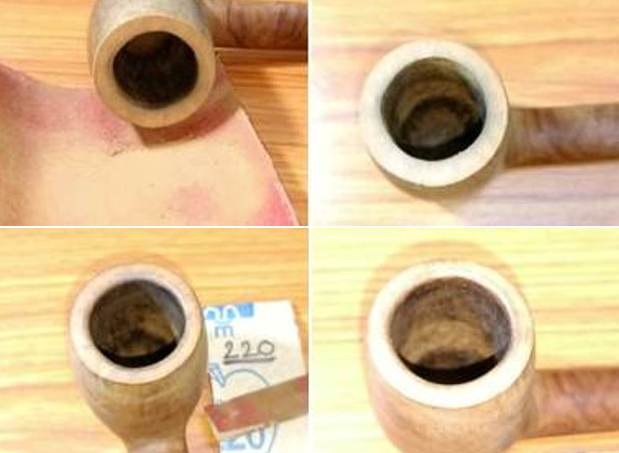
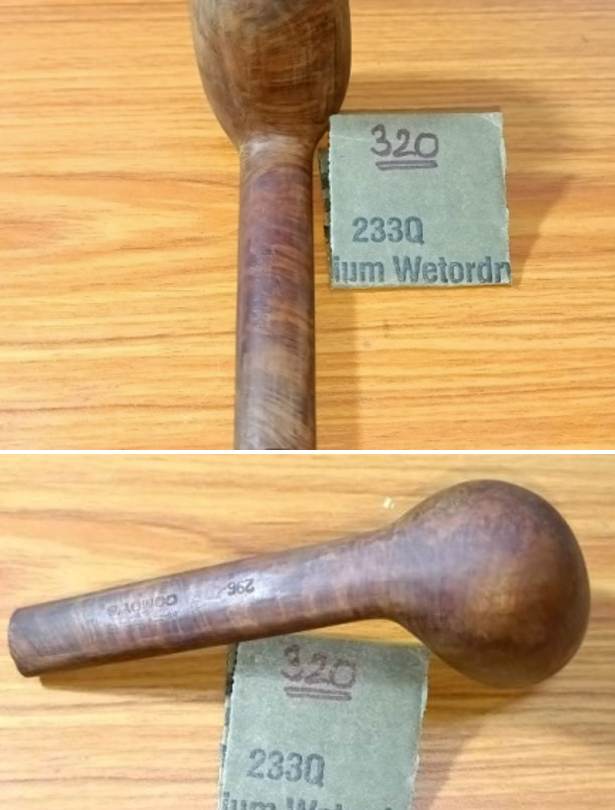
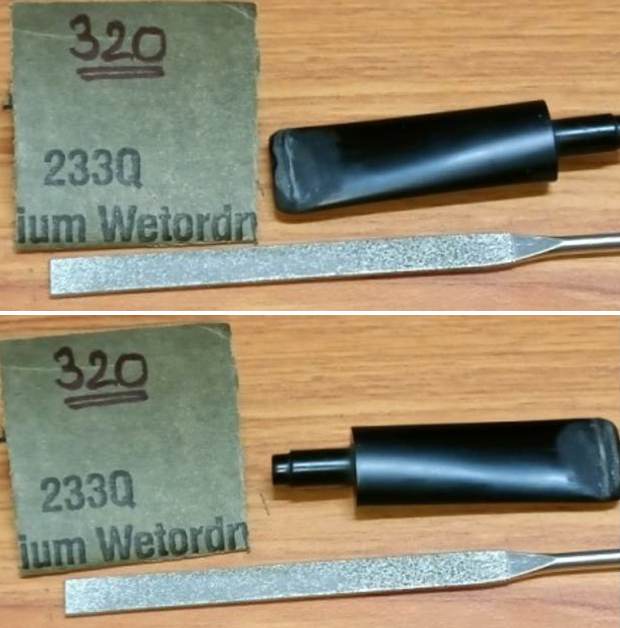
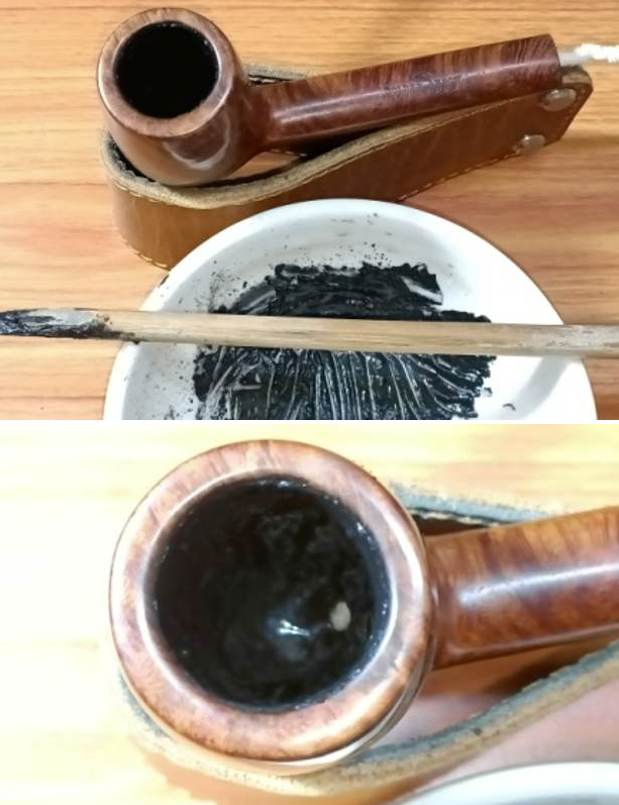
The bowl had been reamed and cleaned. I started working on the pipe by cleaning out the inside of the shank and the airway into the bowl and the stem. I scraped the shank out with a small pen knife to remove the thick tars. I then cleaned it with a isopropyl alcohol, cotton swabs and pipe cleaners until it was clean. 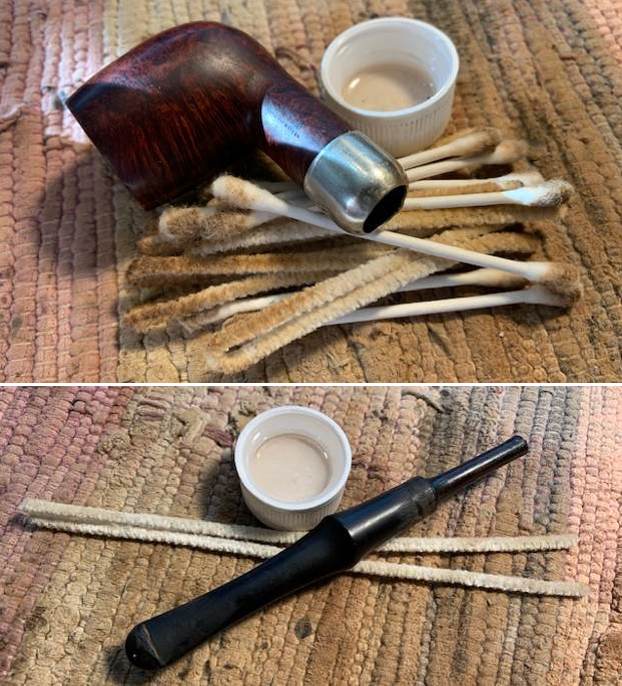 I topped the damaged rim top on a topping board with 220 grit sandpaper to remove the damage on the rim top and edges of the bowl. I used a folded piece of 220 grit sandpaper to smooth out the inner edge of the bowl. I gave the inner edge of the bowl a slight bevel.
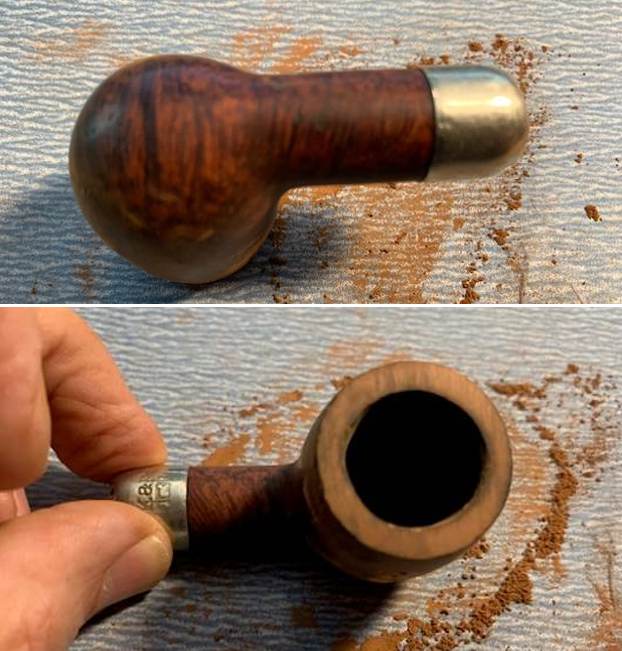
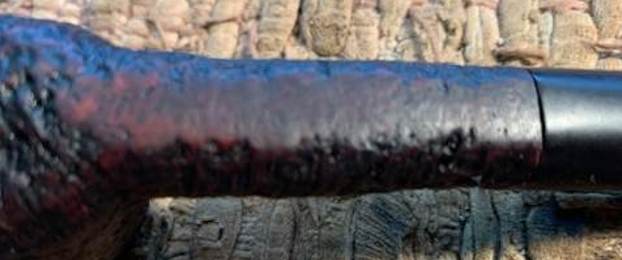
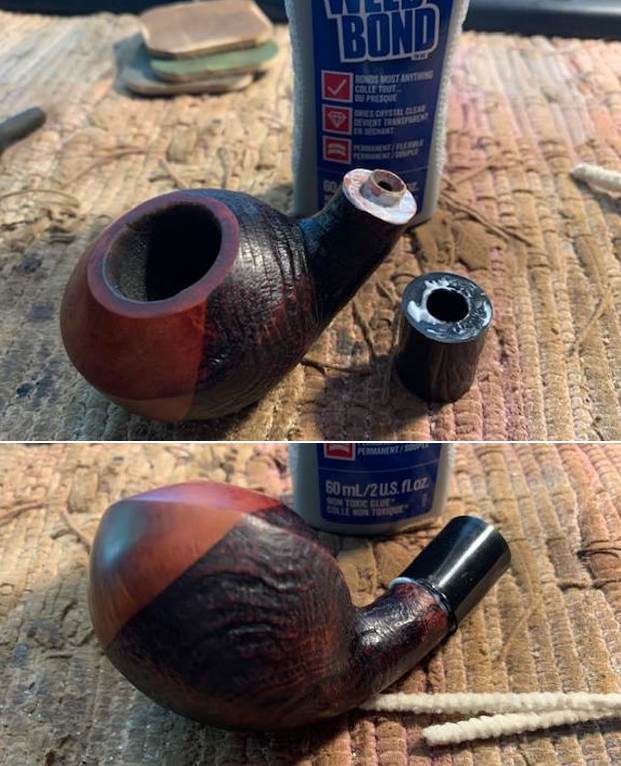
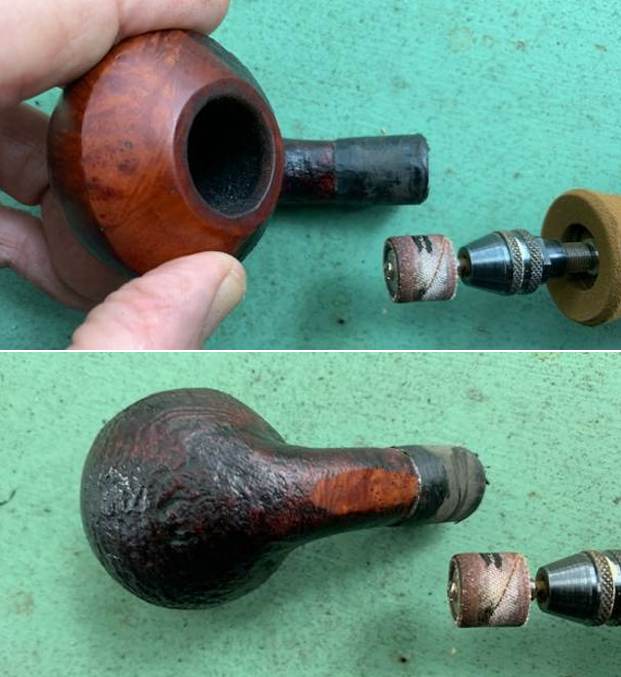
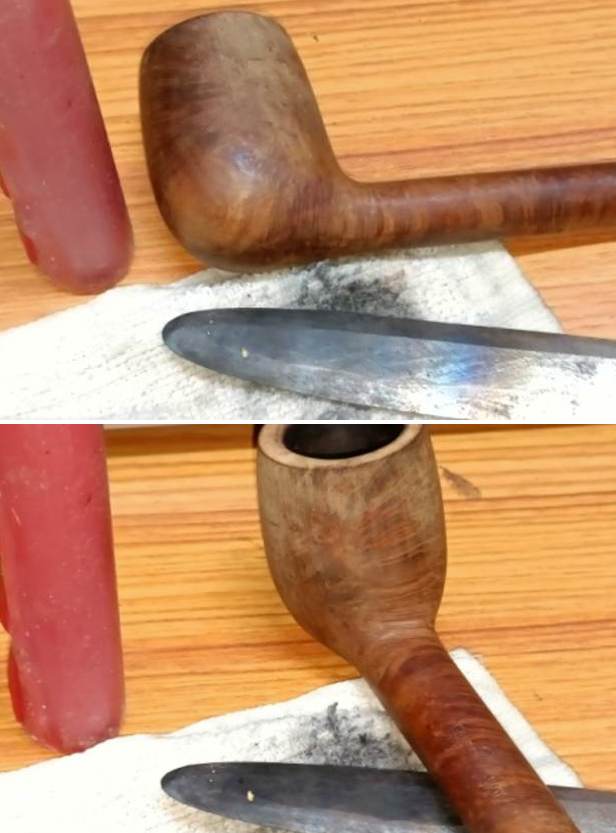
 I filled in some of the deep gouges in the briar on the right side and heel of the bowl with some clear CA glue. Once the repairs cured I sanded the briar surface with 220 grit sandpaper to smooth it out and blend it into the surrounding briar.
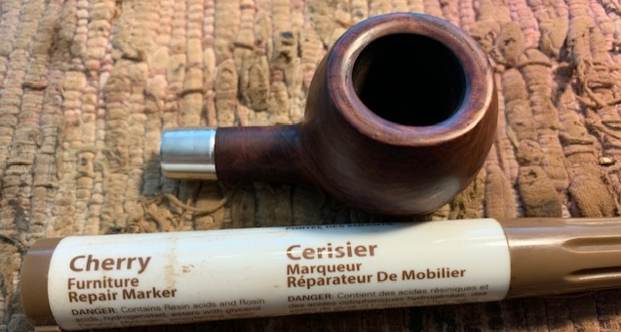
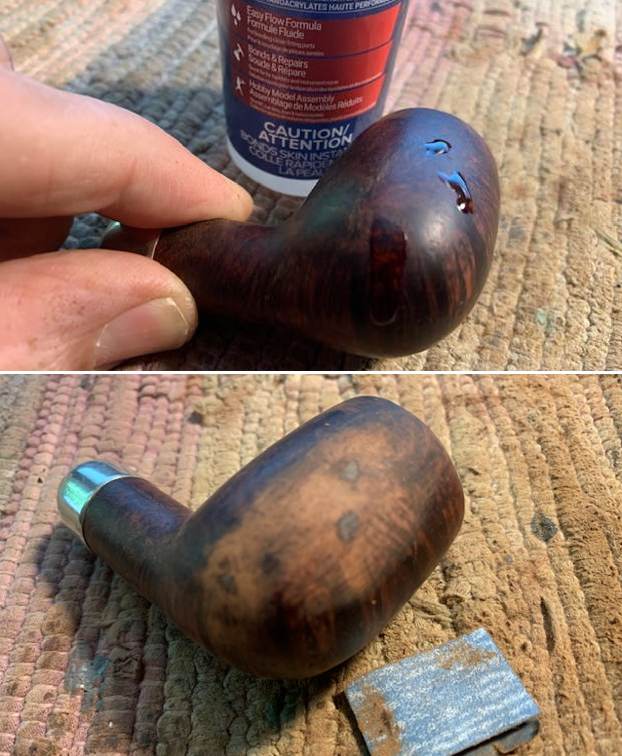 I stained the sanded area on the bowl side and the rim top with a Cherry stain pen to lay a base coat and then did a top coat of Mahogany stain pen.
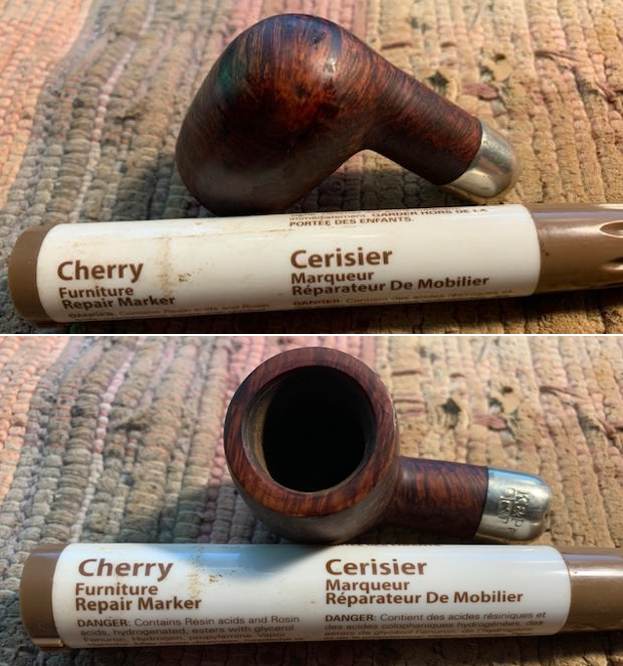
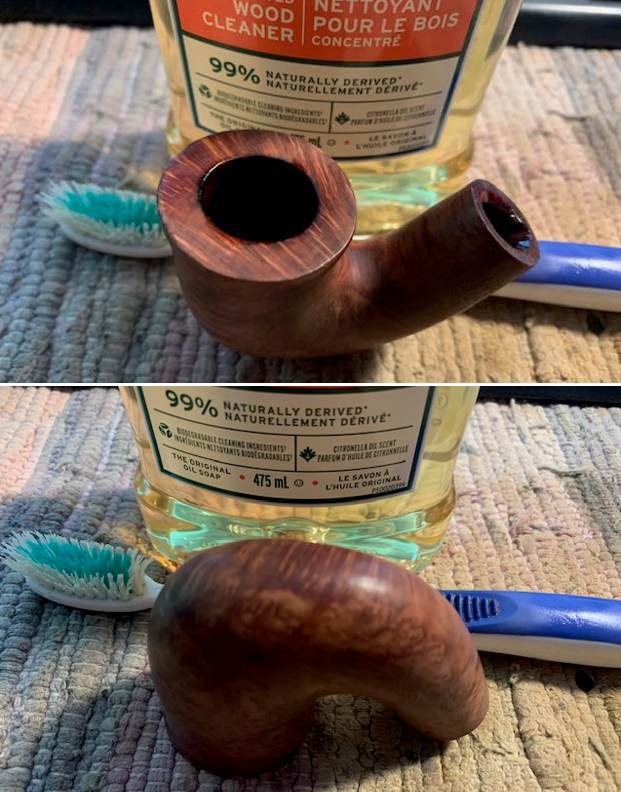
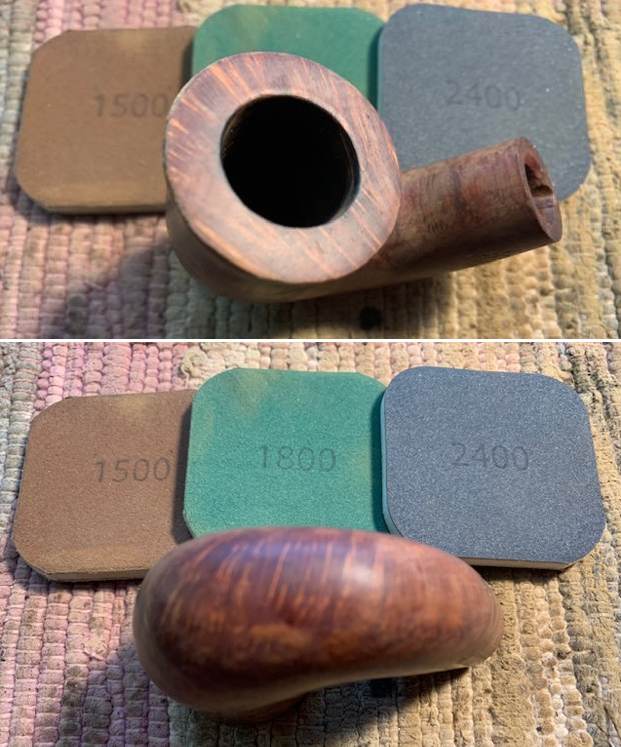
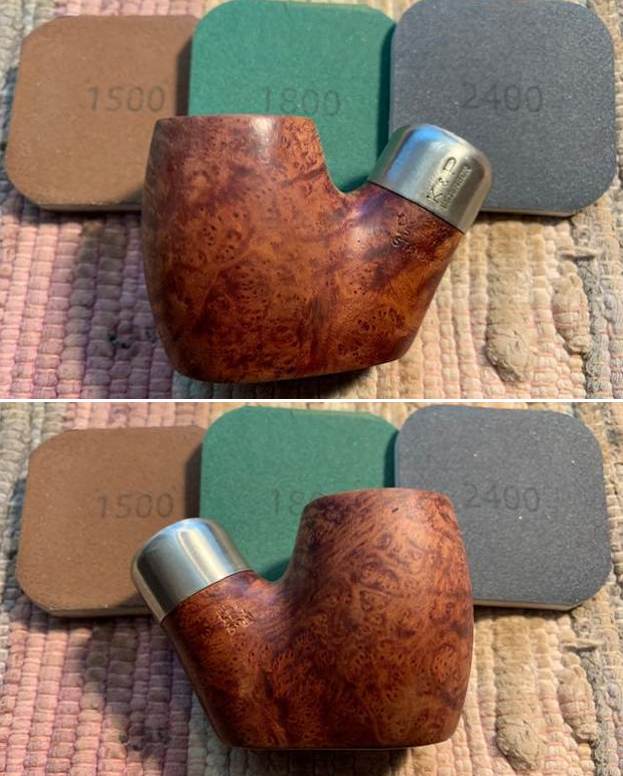
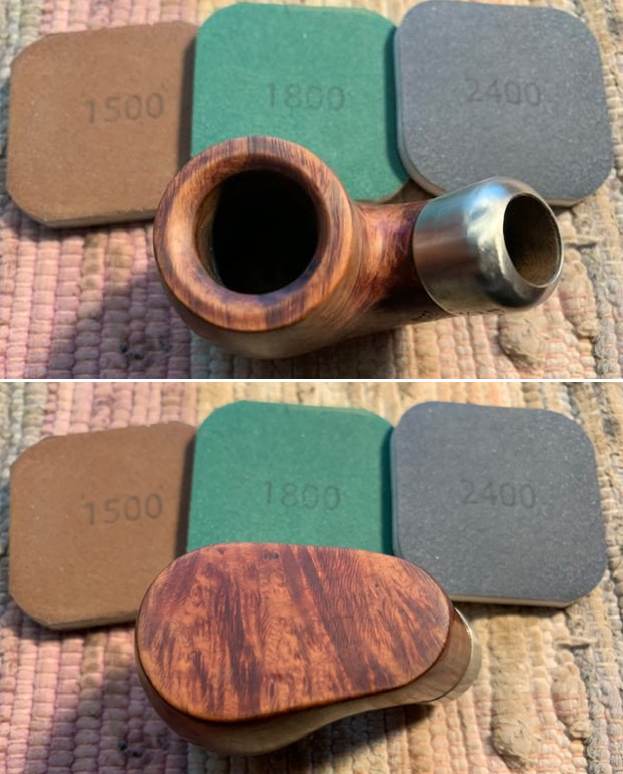
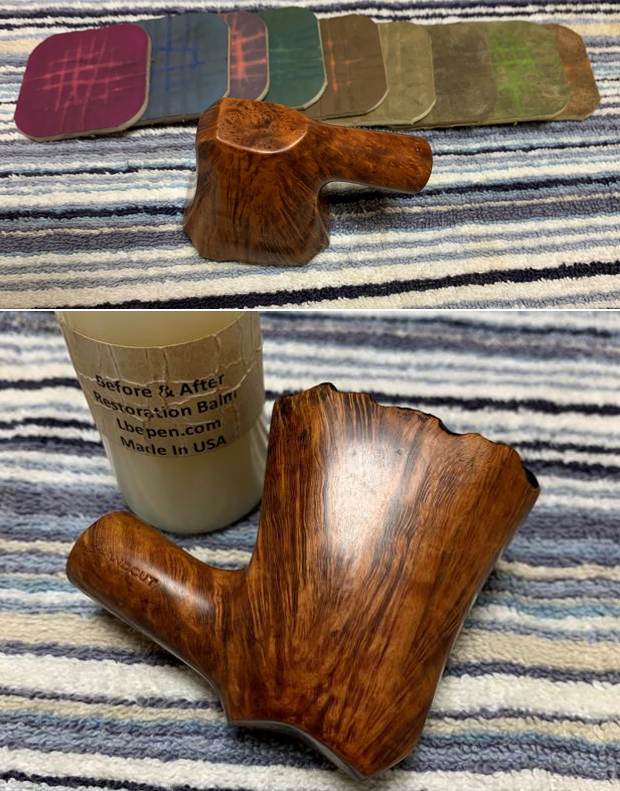
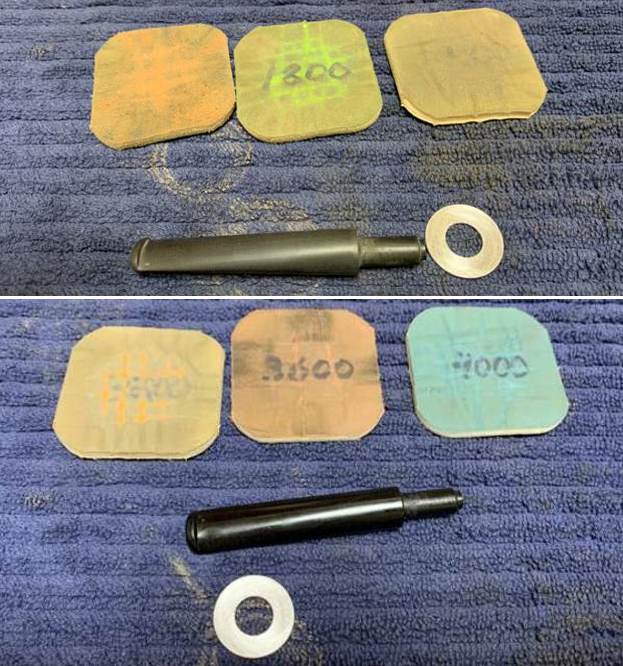
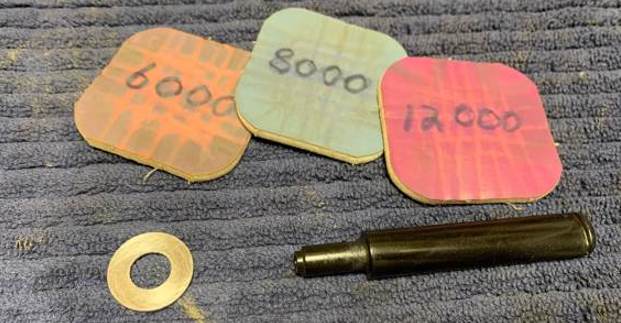
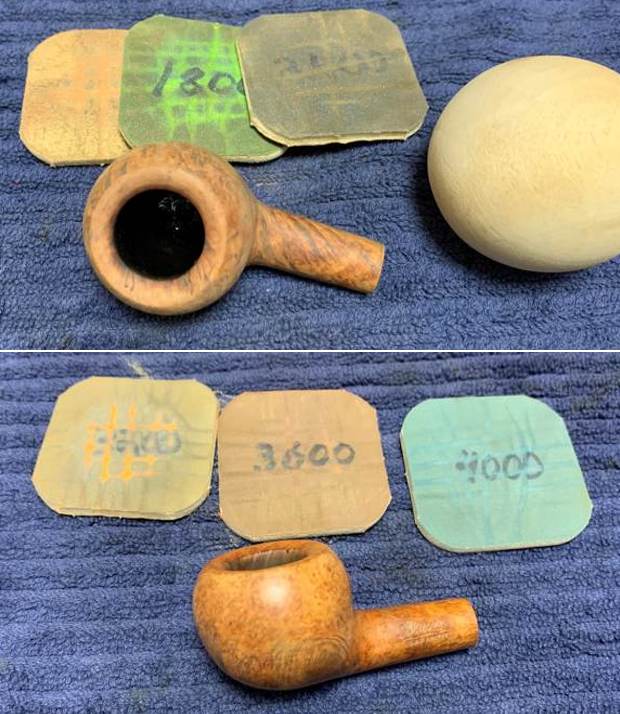
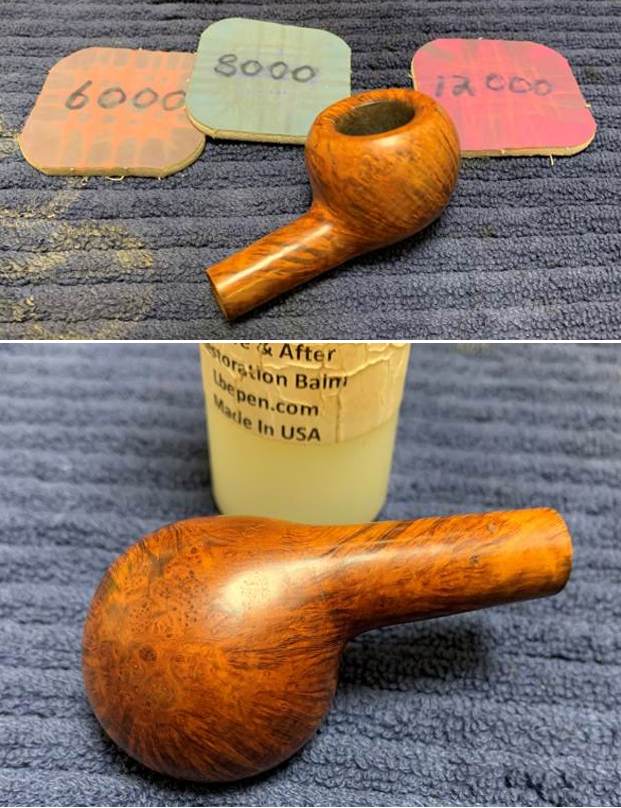
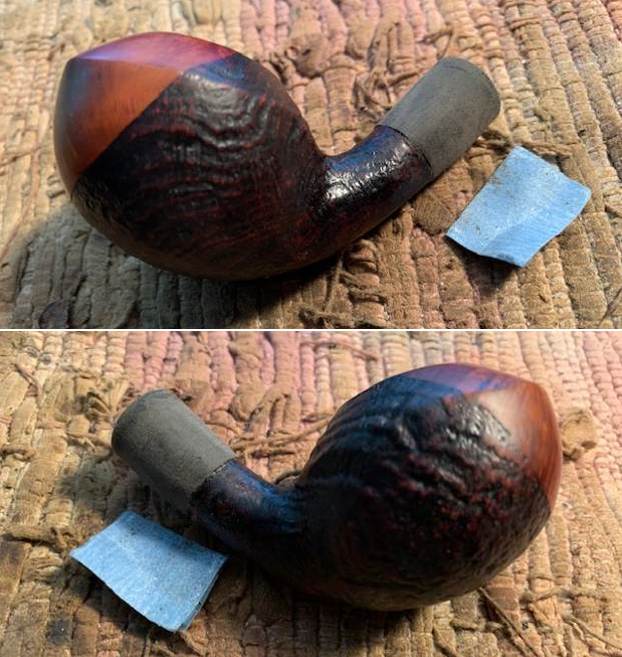
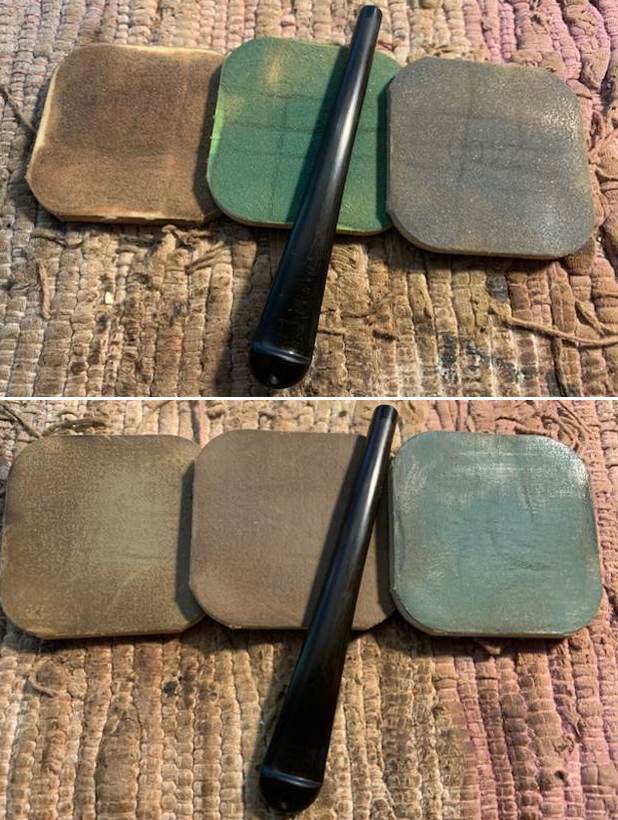
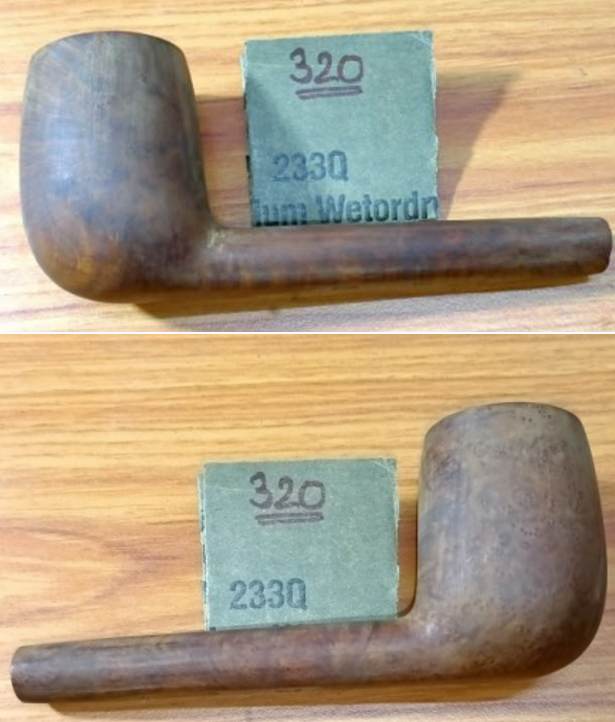
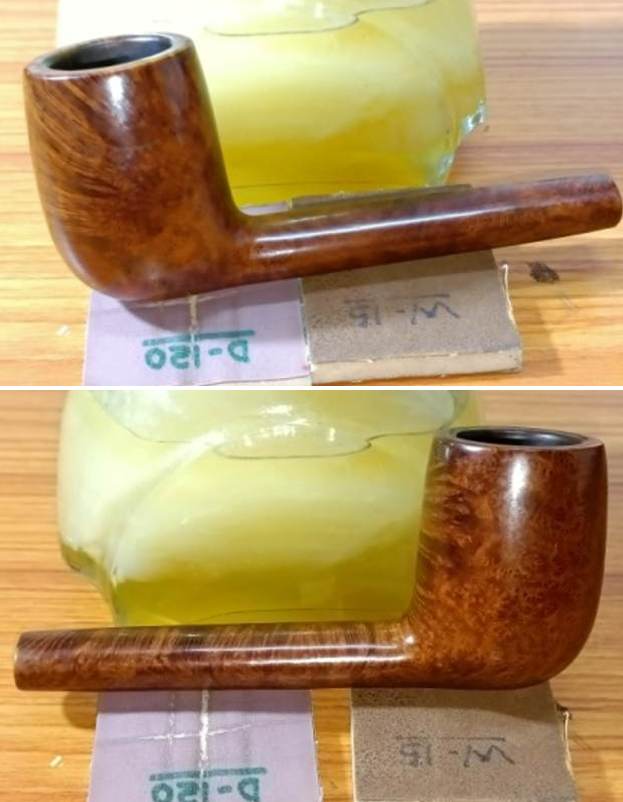
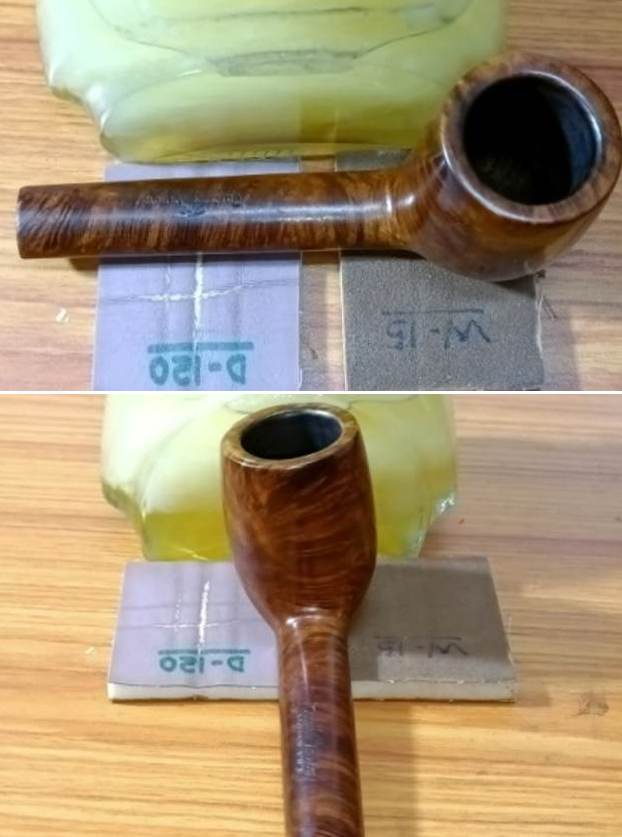
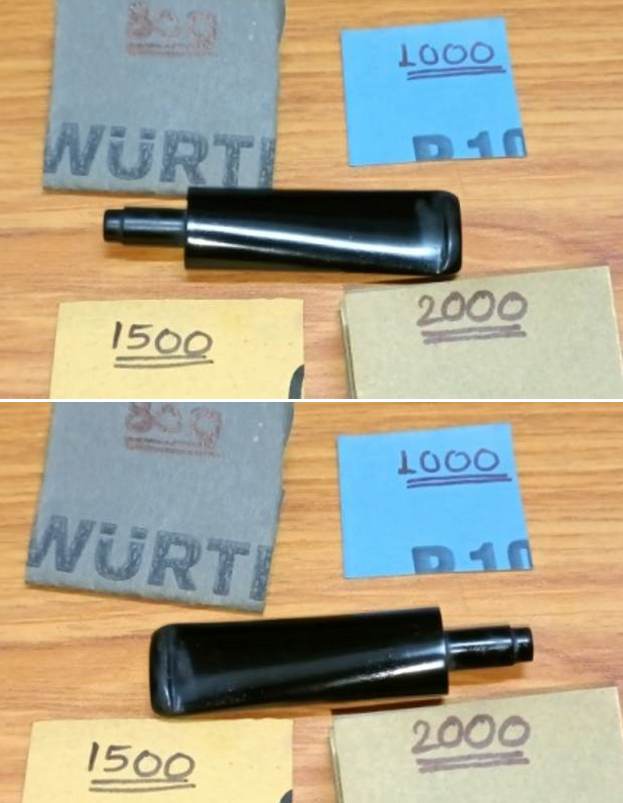
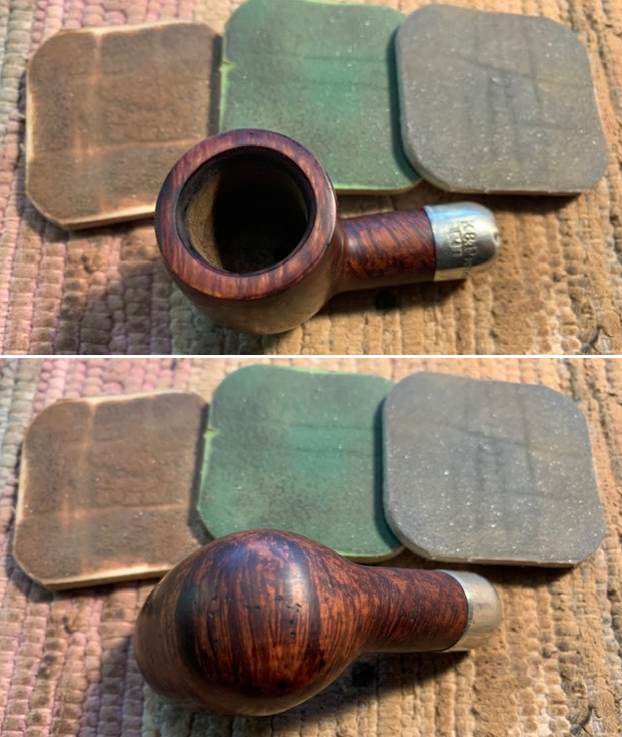
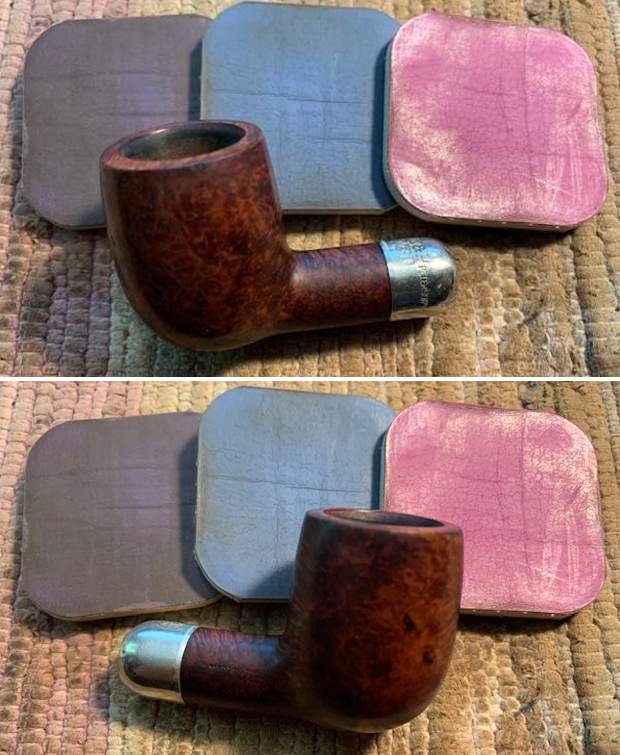
 I polished the rim top and edges with micromesh sanding pads – dry sanding with 1500-12000 grit pads to raise a shine. I wiped it down with a damp cotton pad to wipe off the debris after each sanding pad.
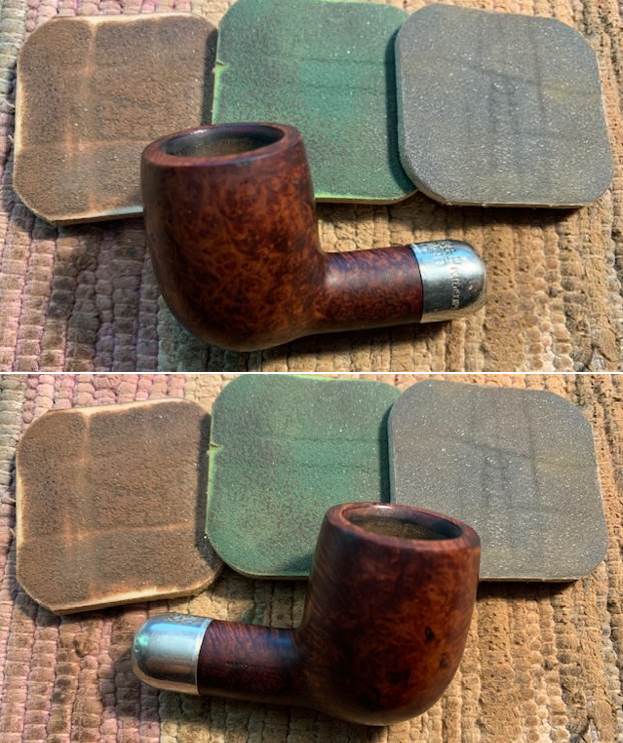


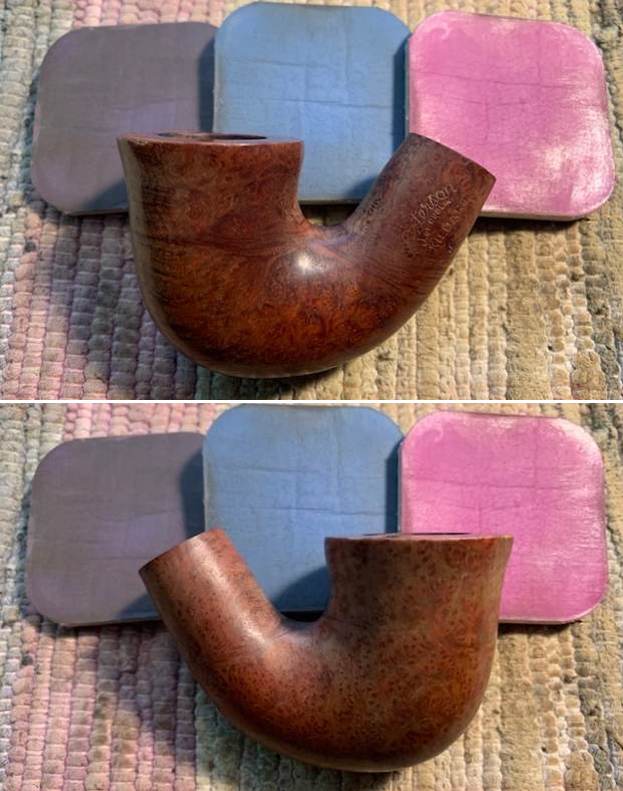
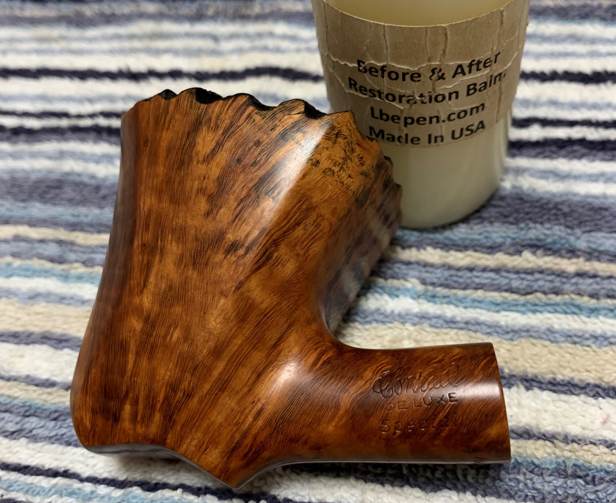
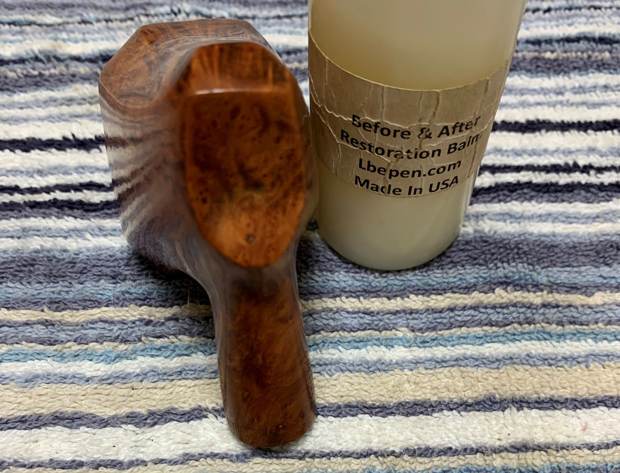
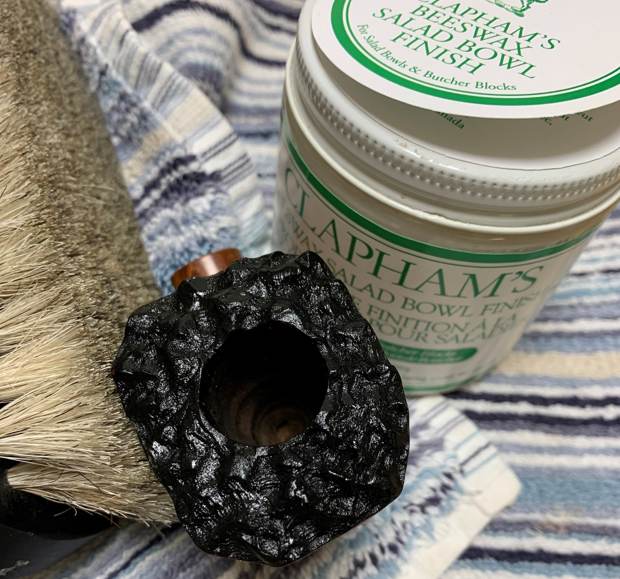
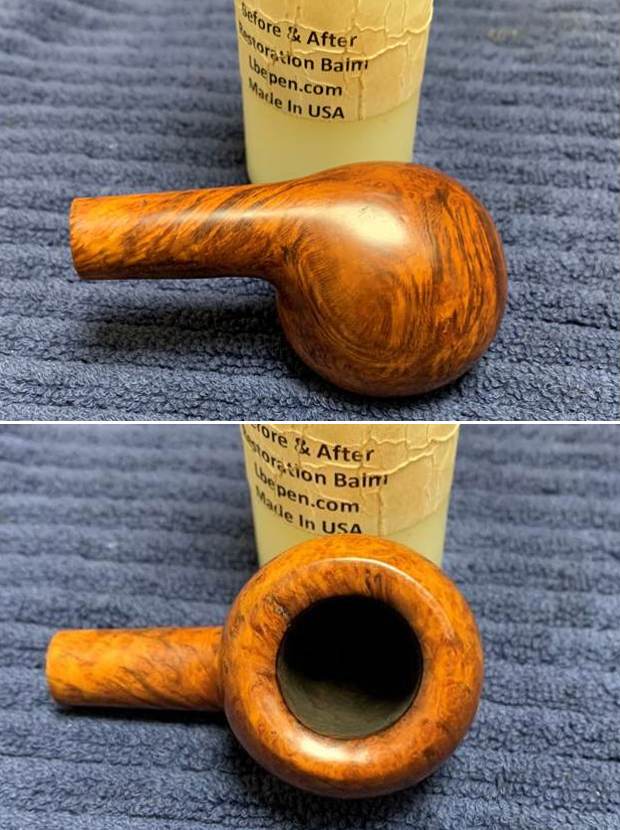
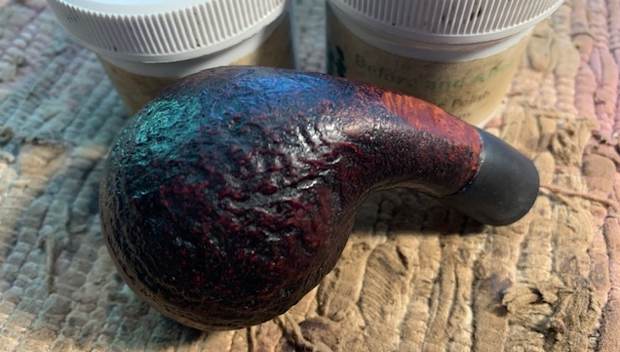
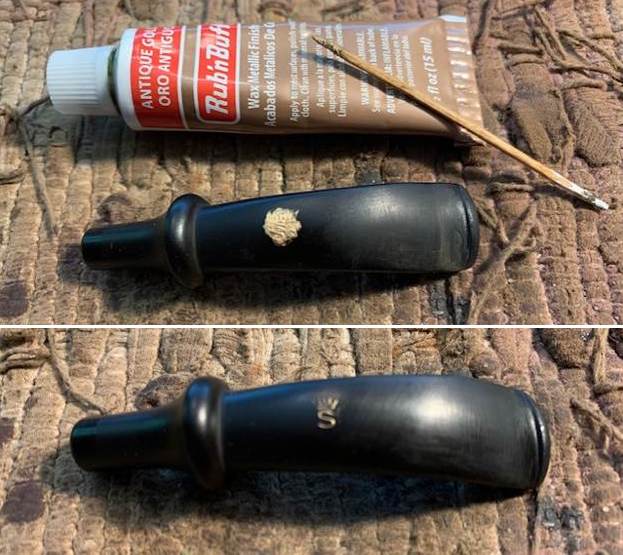
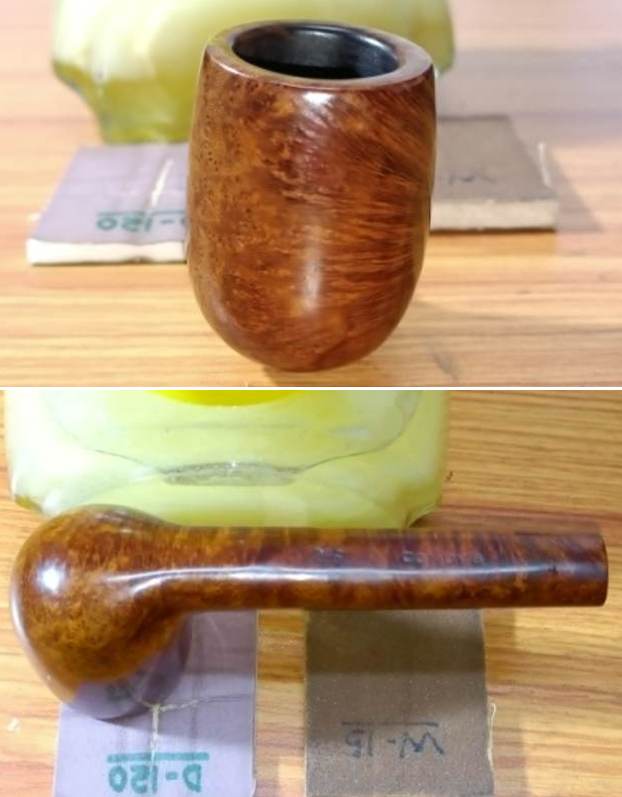
 I worked some Before & After Restoration Balm into the surface of the briar with my fingertips. It works to clean, enliven and protect the briar. I let it sit for 15 minutes then buffed it off with a soft cloth and raised the shine. The bowl looks great at this point.
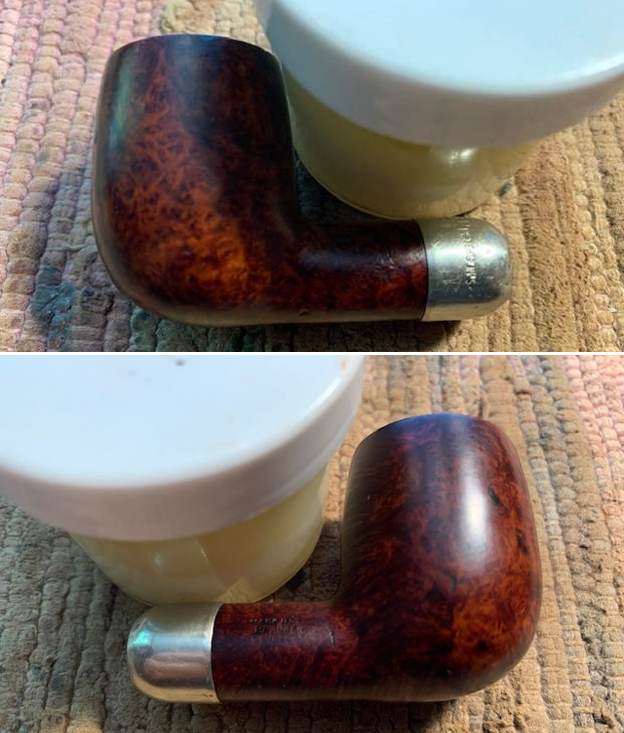
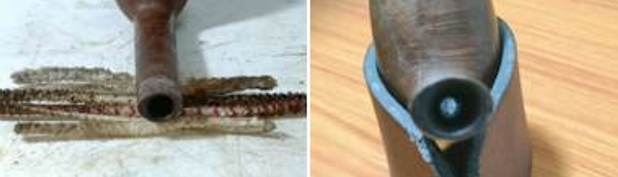
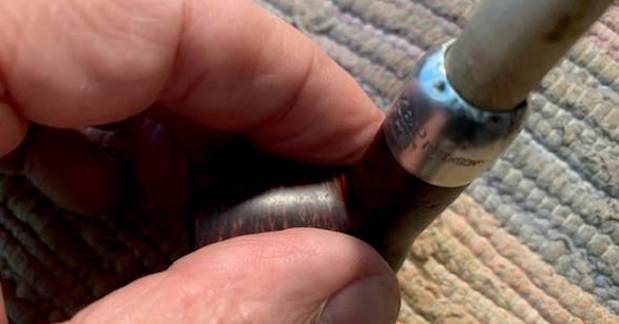
 The nickel ferrule was out of round and dented. It was solidly connected to the shank end so I did not want to removed it. Instead I fit a dowel into the end of the ferrule that was round and heated the nickel with a lighter to soften it. Once it was softened I used a small furniture hammer to bring the ferrule end back to round. I repeated the process until the opening in the ferrule was round and the stem fit well. It was not perfect but it was better than when I started.
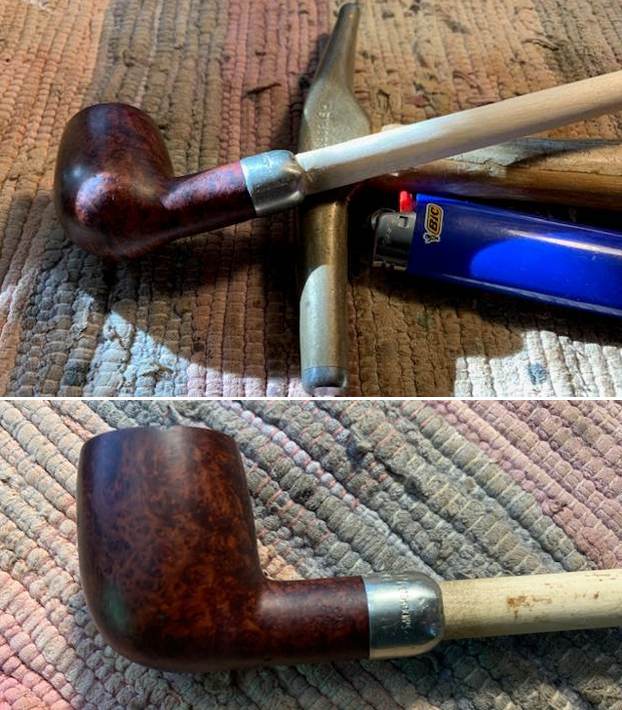
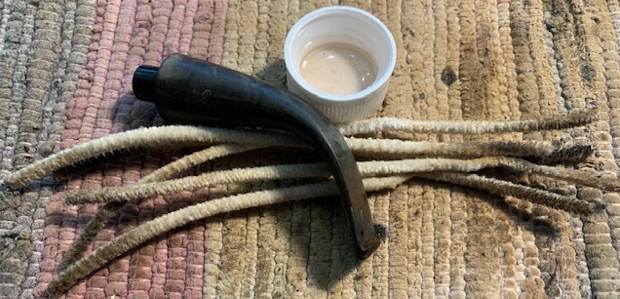
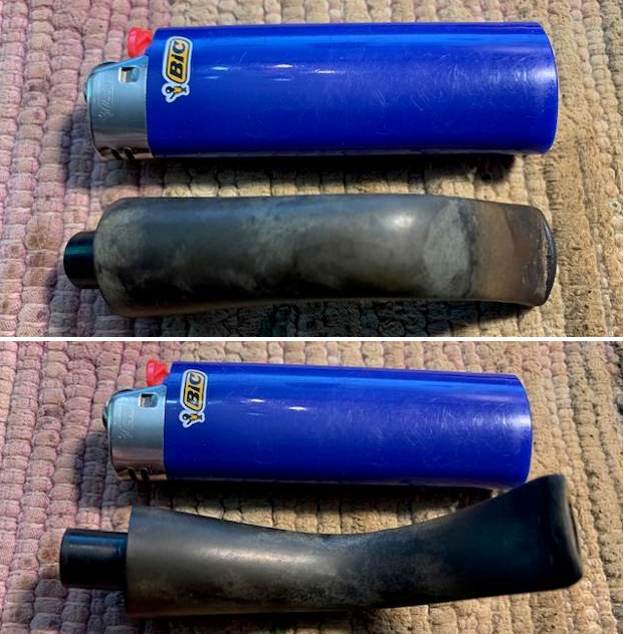
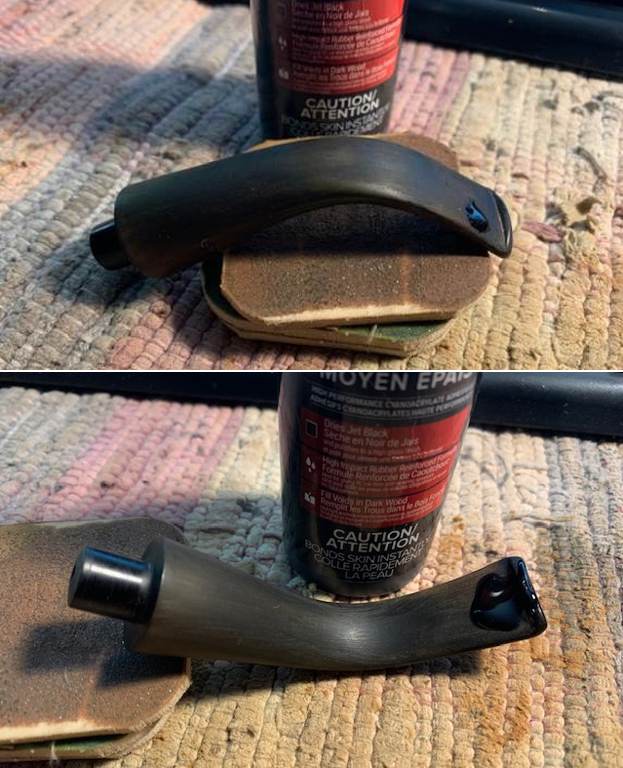
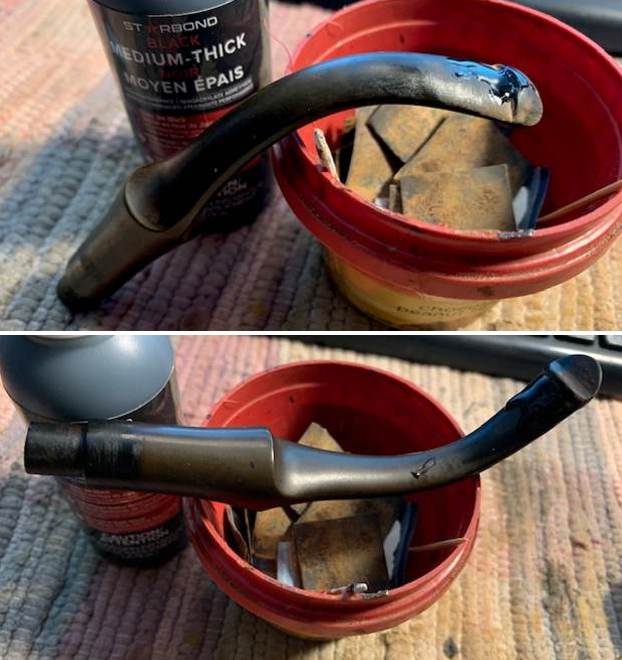
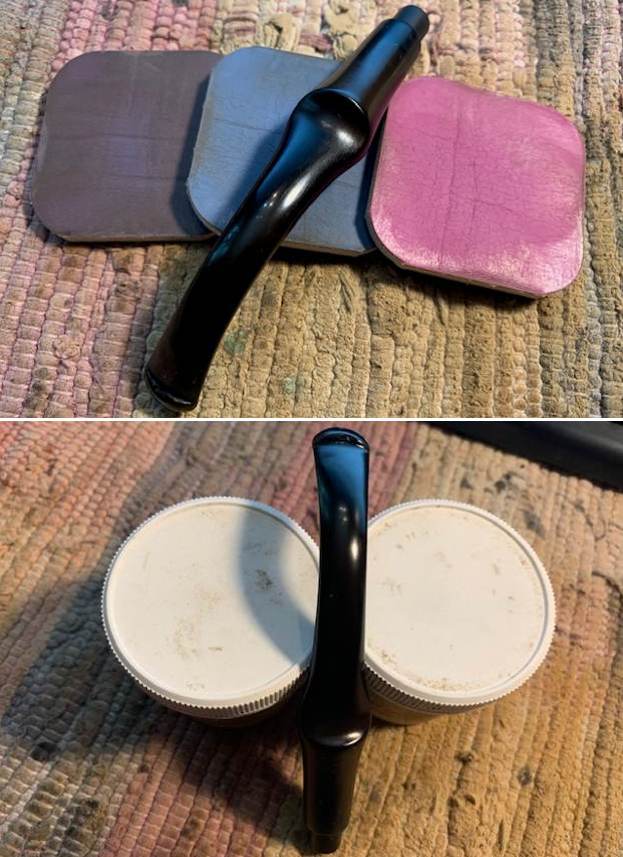
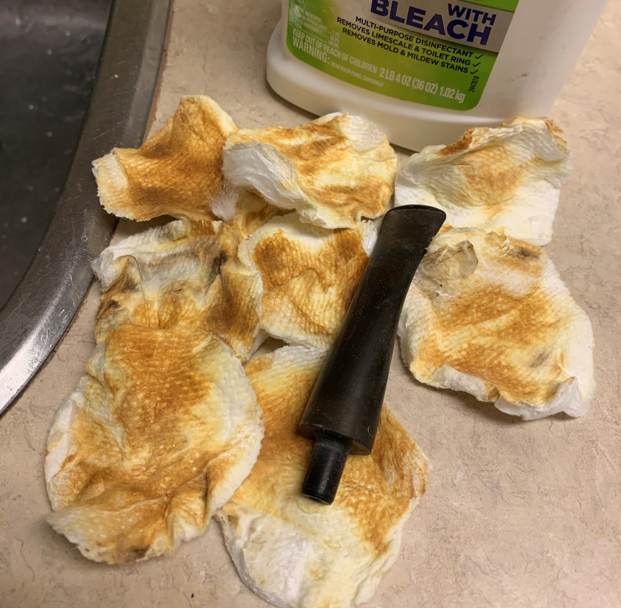
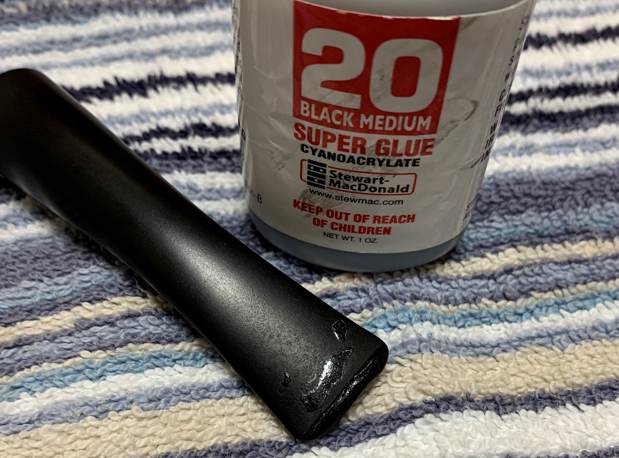
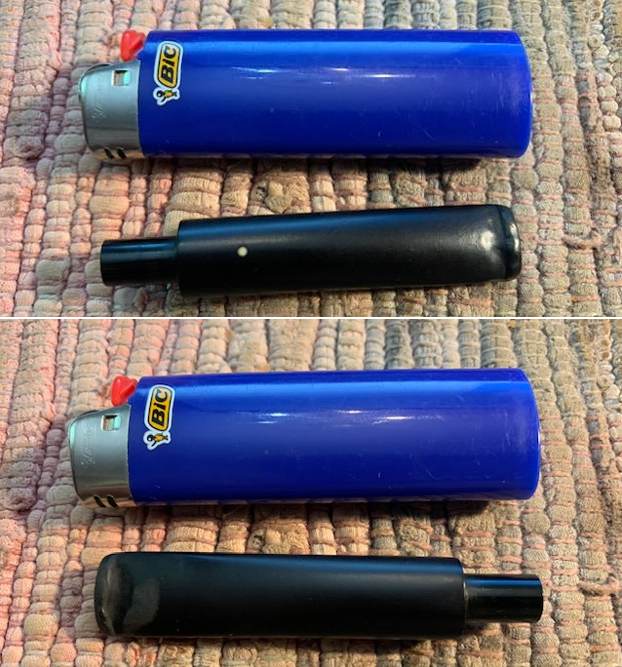
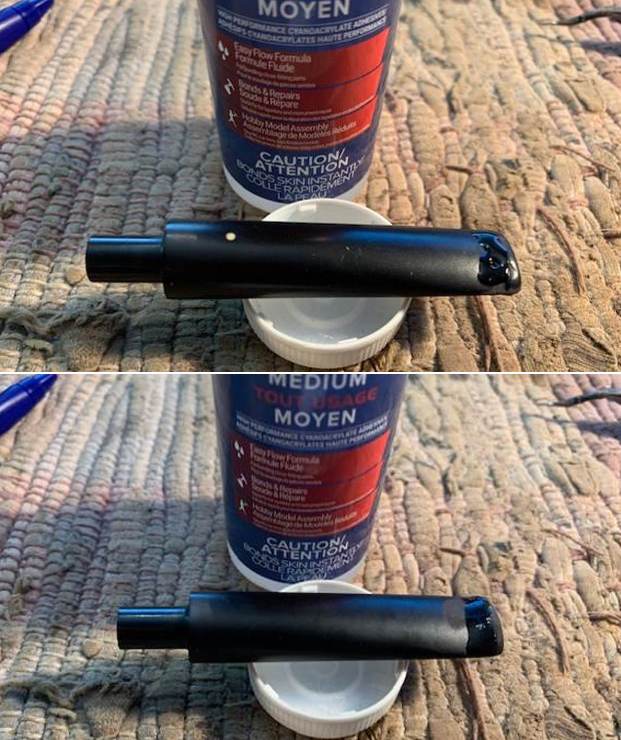
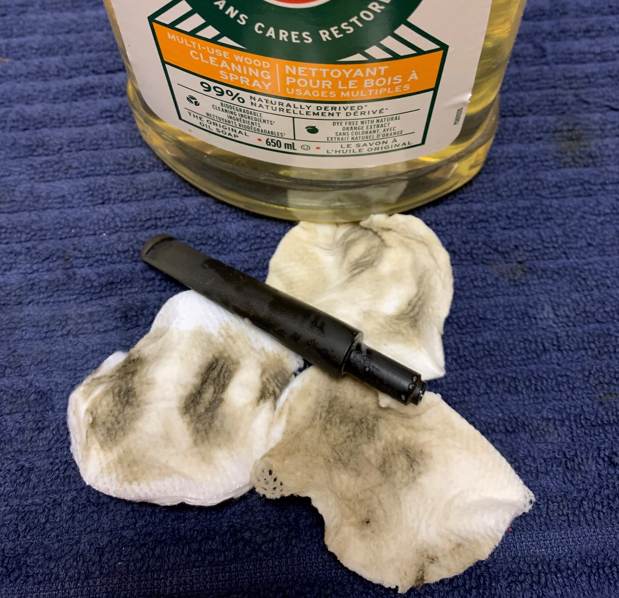
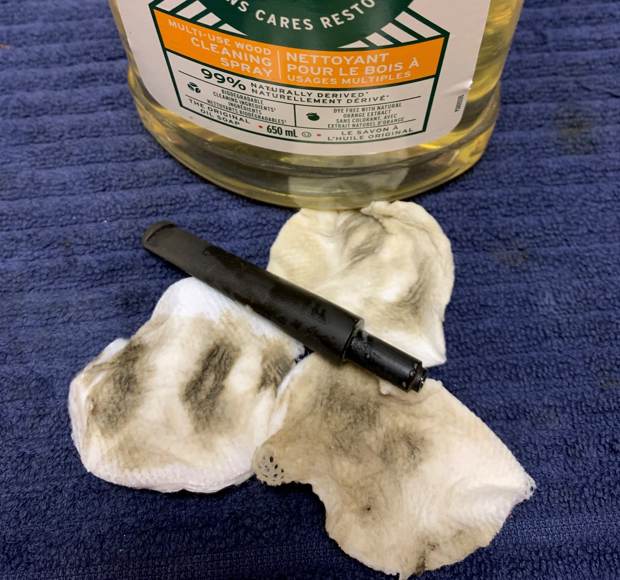
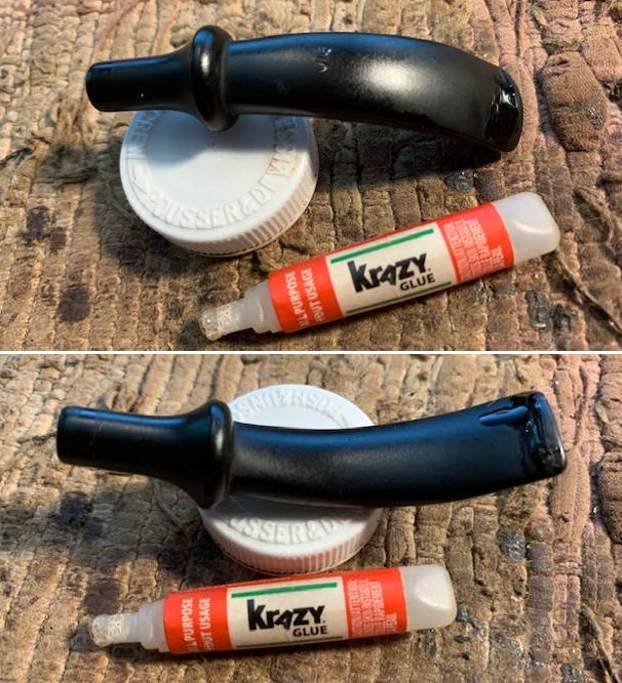
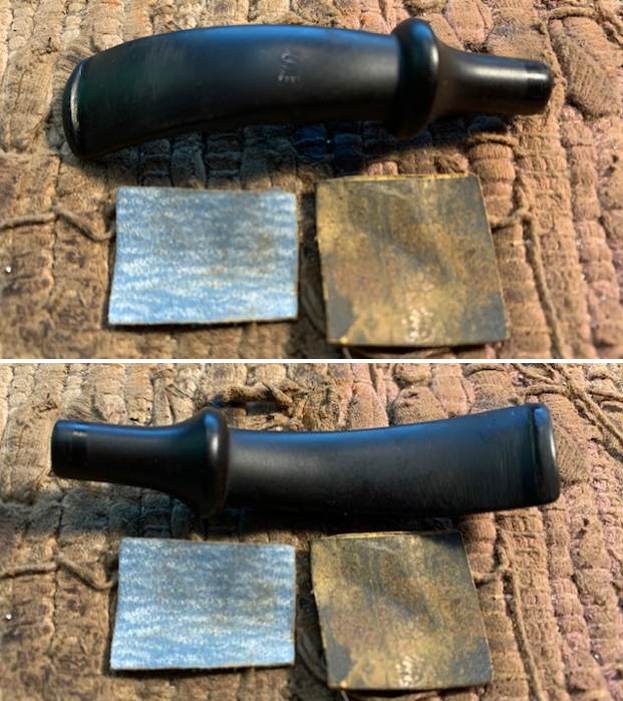
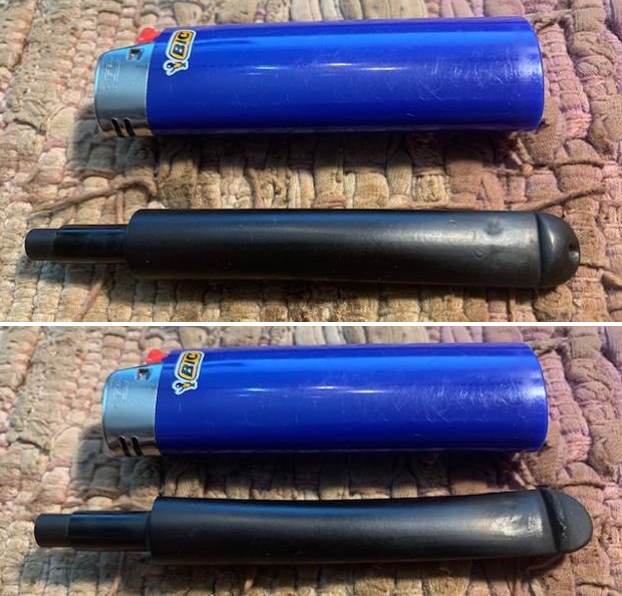
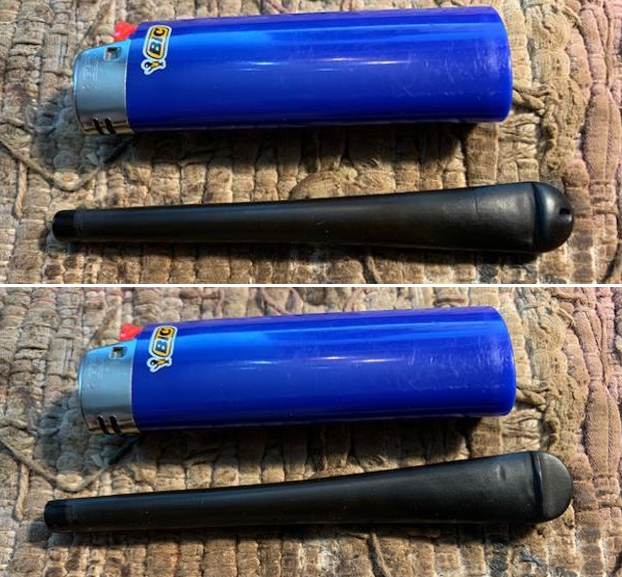
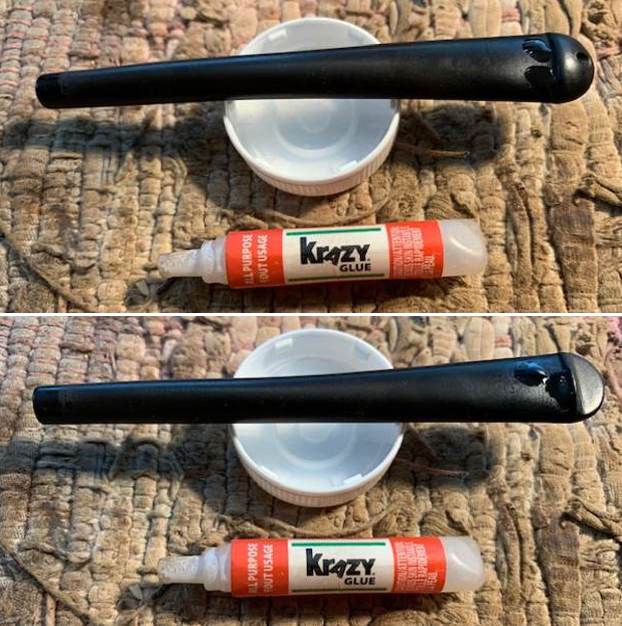
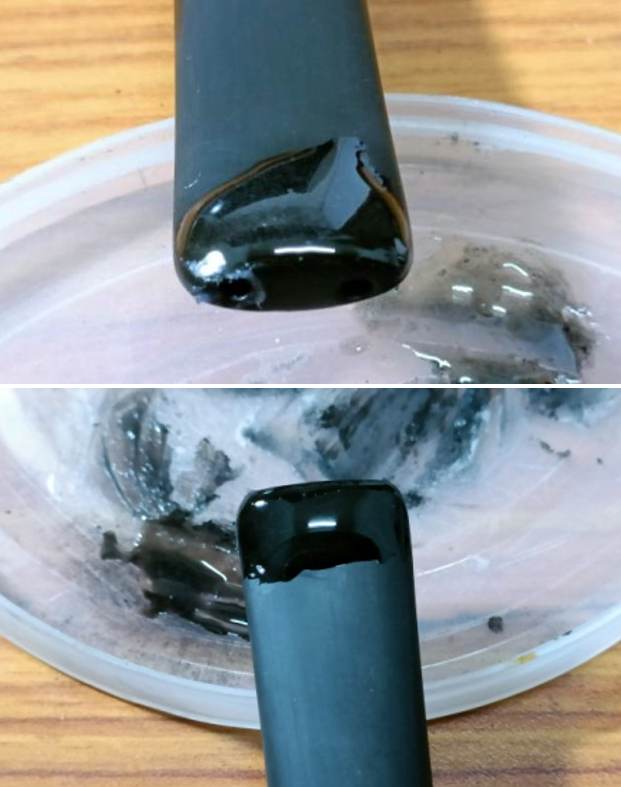
 I set the bowl aside and worked on the stem. I “painted” the stem with the flame of a Bic lighter to lift the tooth marks in the stem. I was able to raise them slightly. I filled in the remaining marks with Black CA glue. Once the repairs cured I sanded it smooth with 120 grit sandpaper and started polishing it with 400 grit wet dry sandpaper.
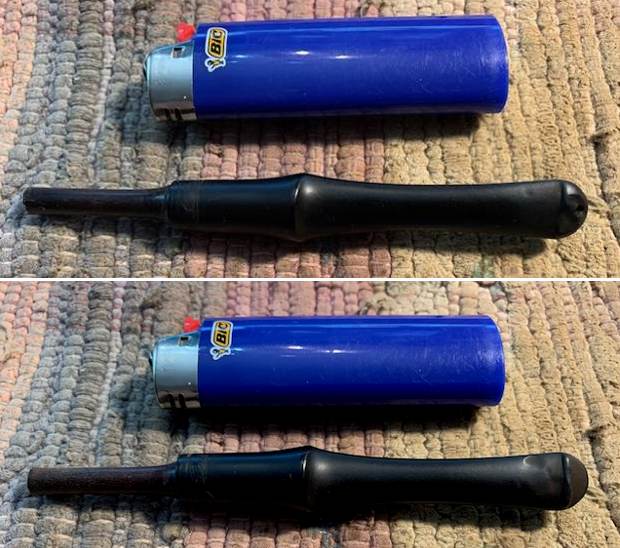
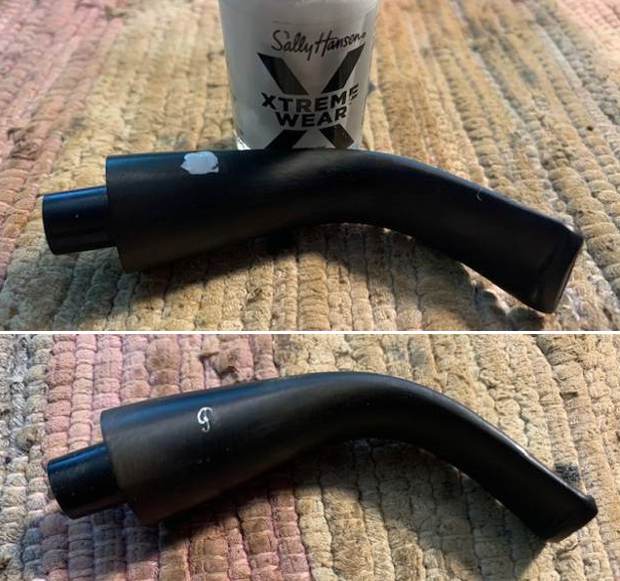
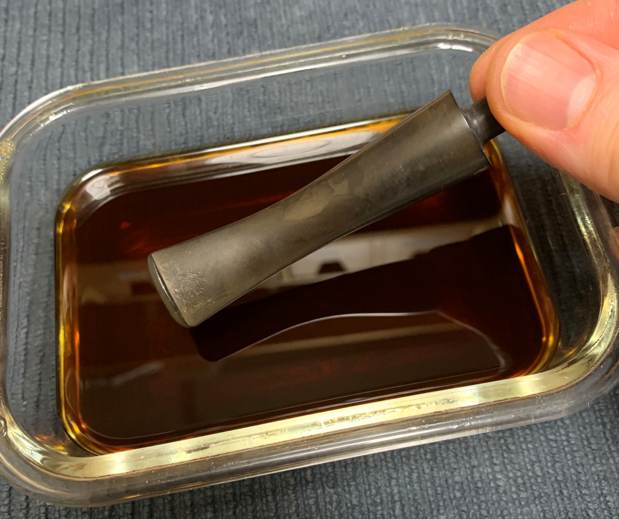
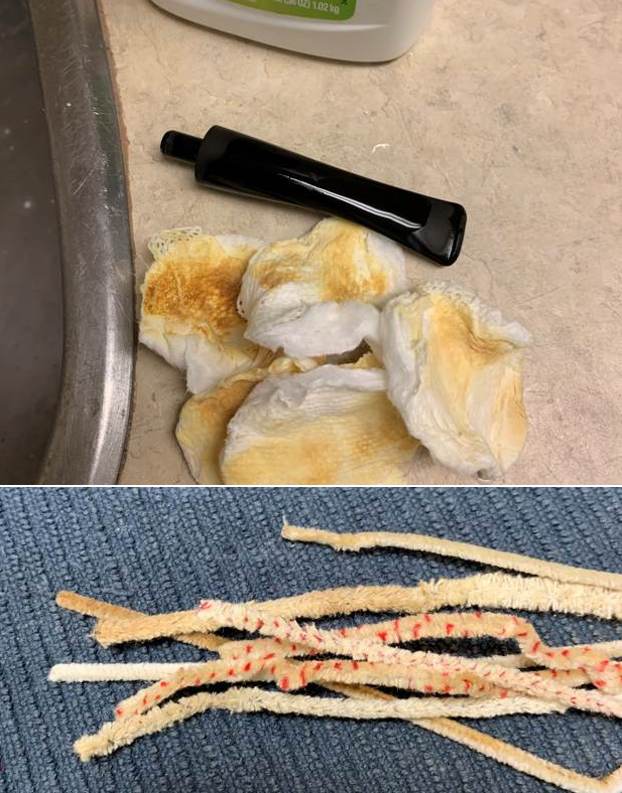
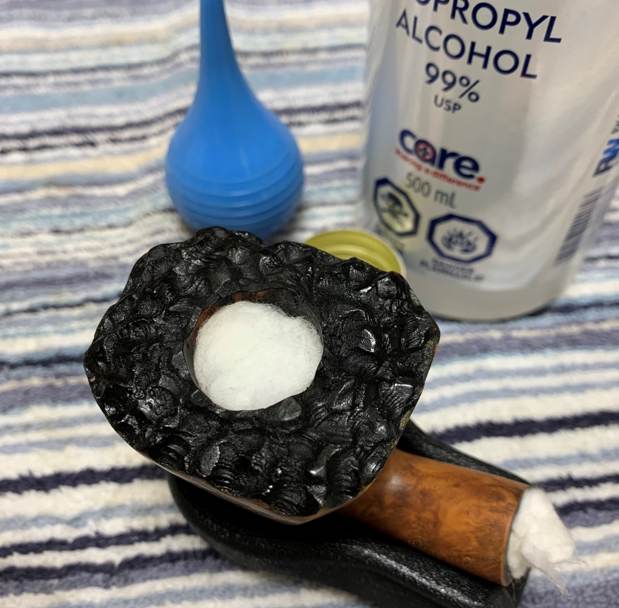
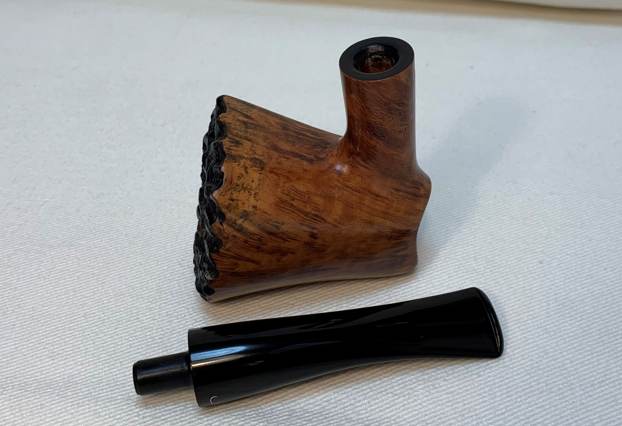
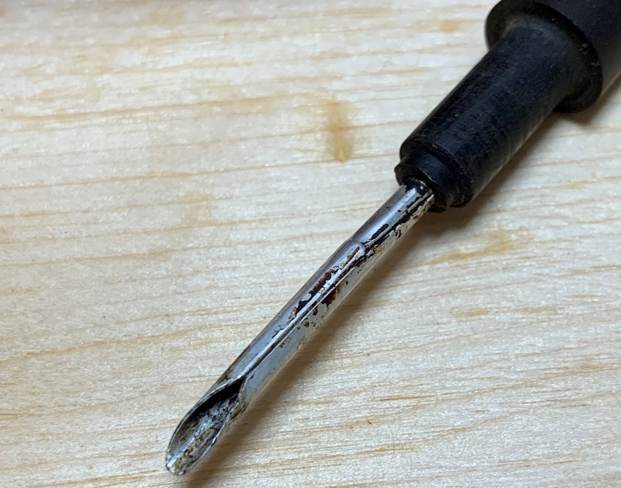
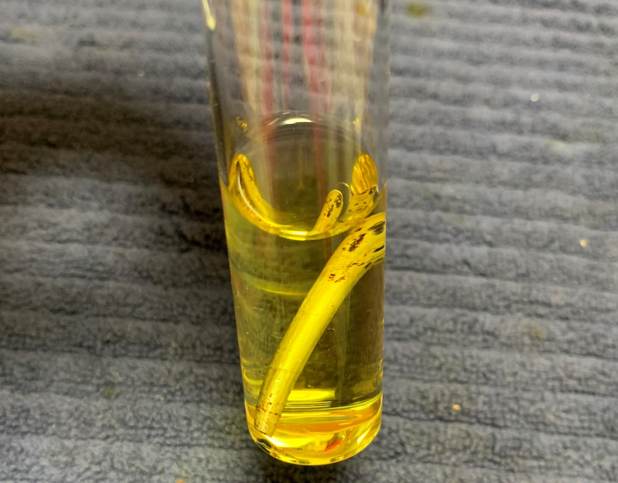
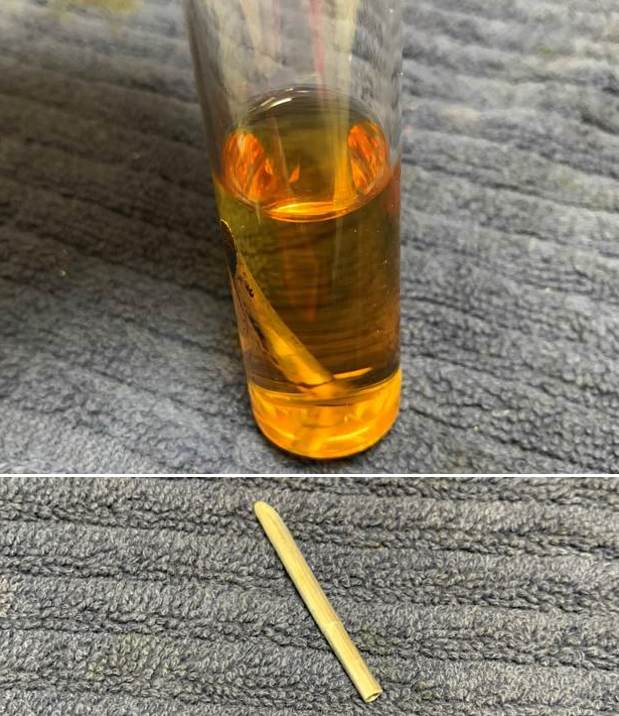
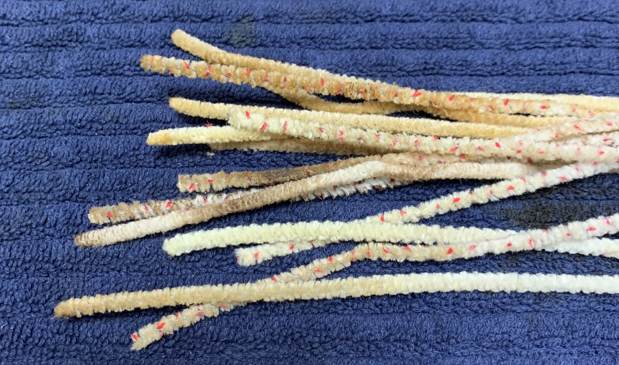
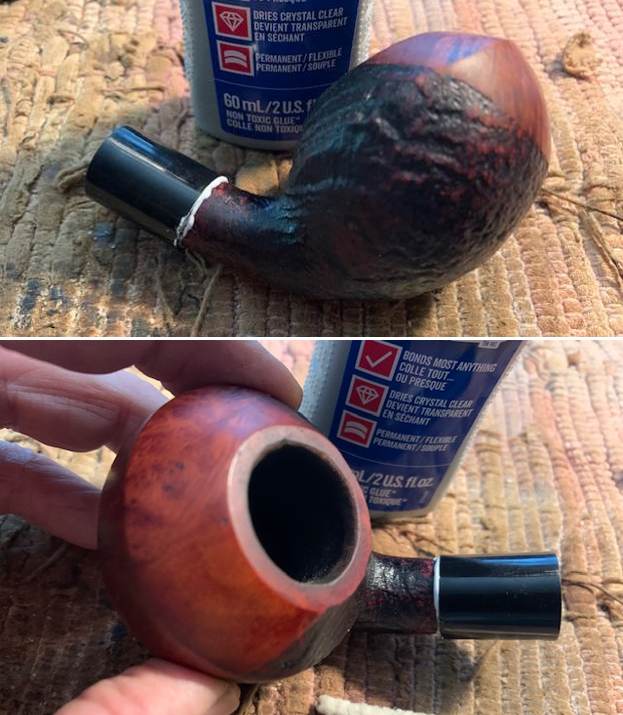
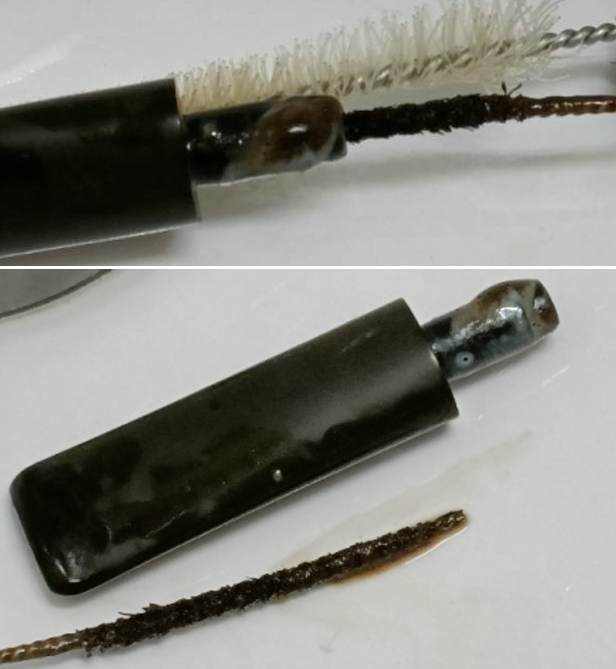
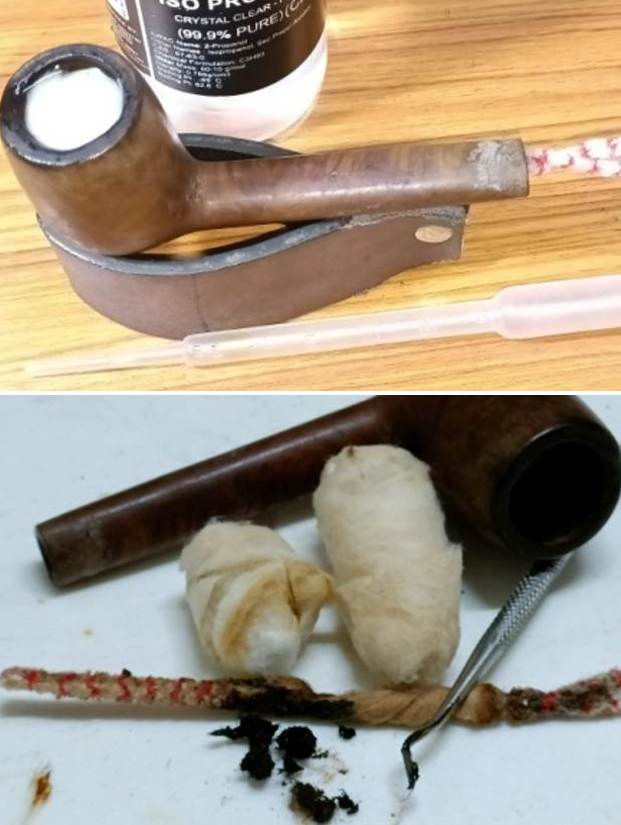
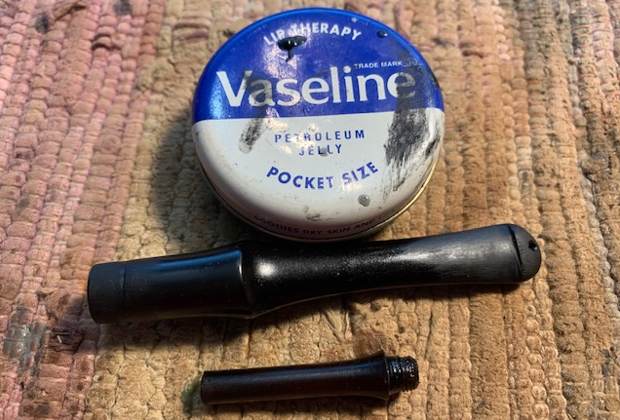
 I unscrewed the extension tube from the end of the stem. I cleaned up the threads on the extension and inside the stem with pipe cleaners, cotton swabs and isopropyl alcohol. It did not take long to clean it. I coated the threads on the extension with Vaseline and screwed the extension back into the stem.
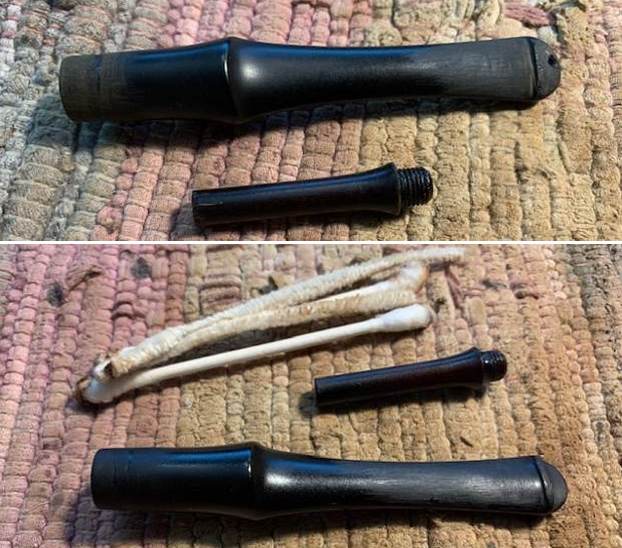
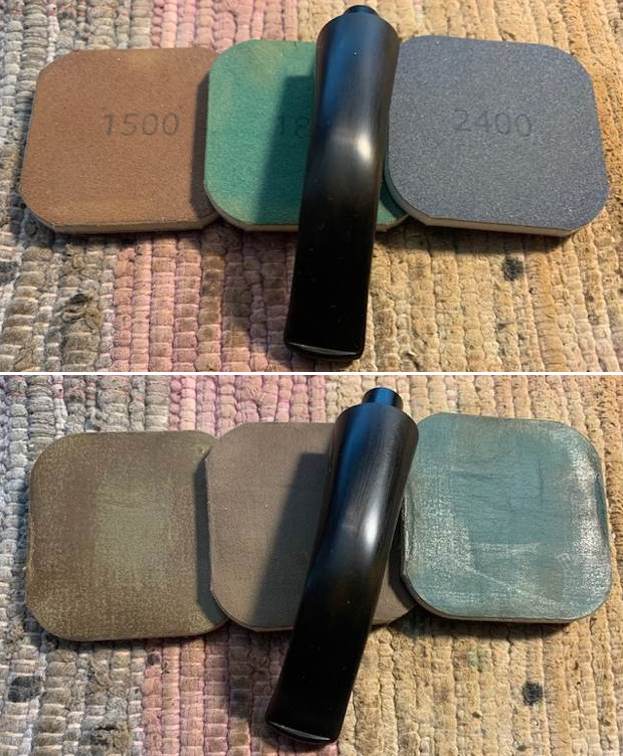
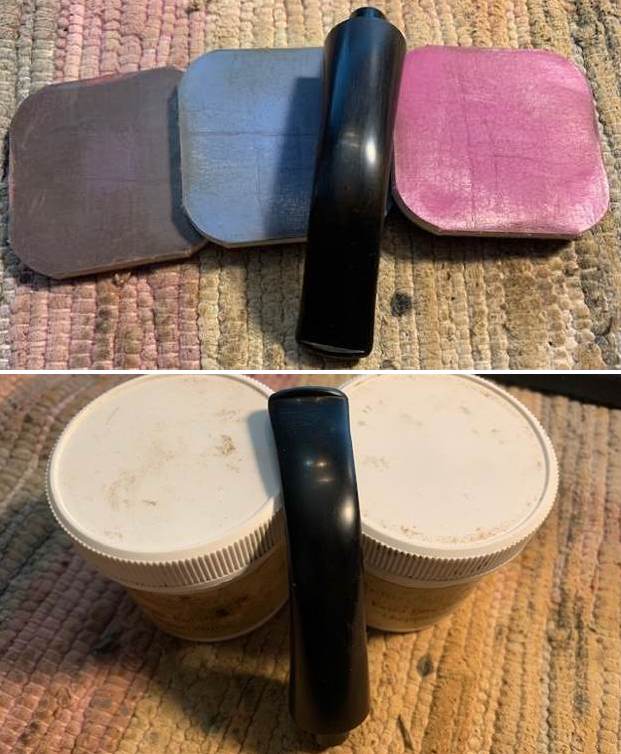
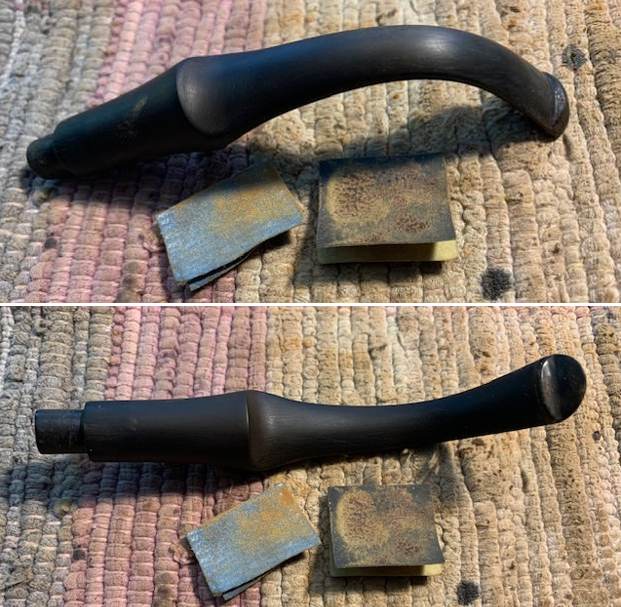
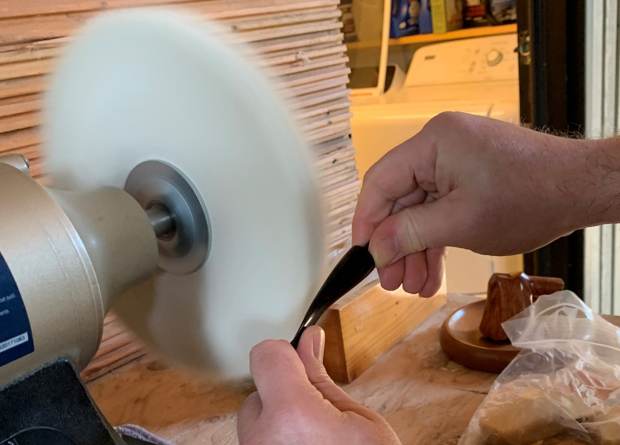
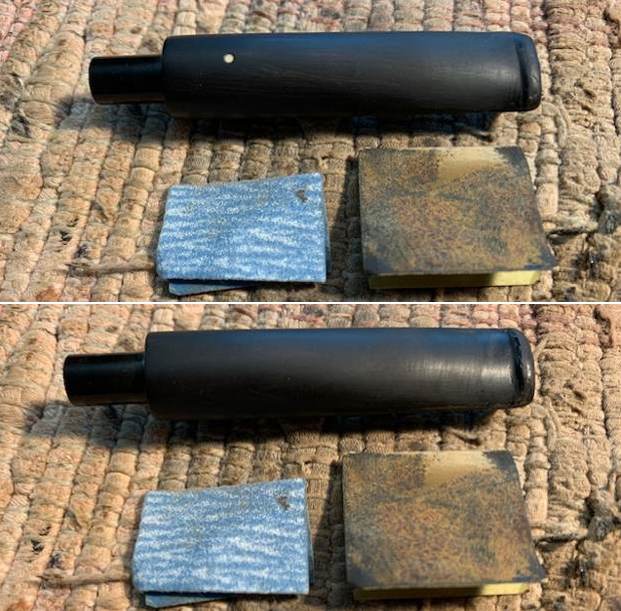
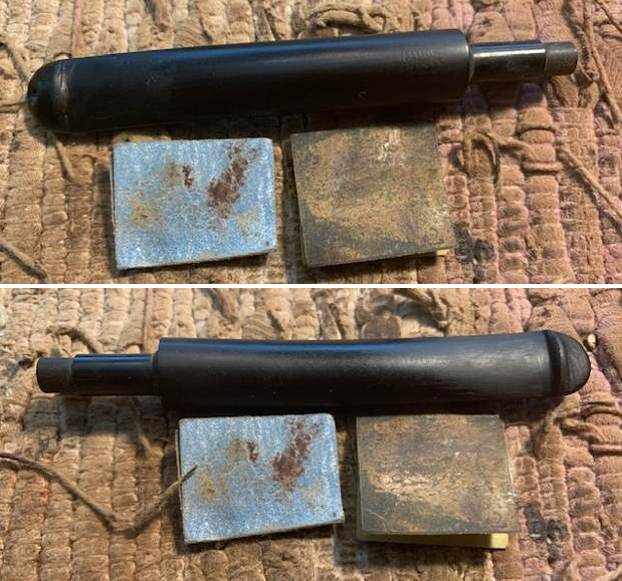
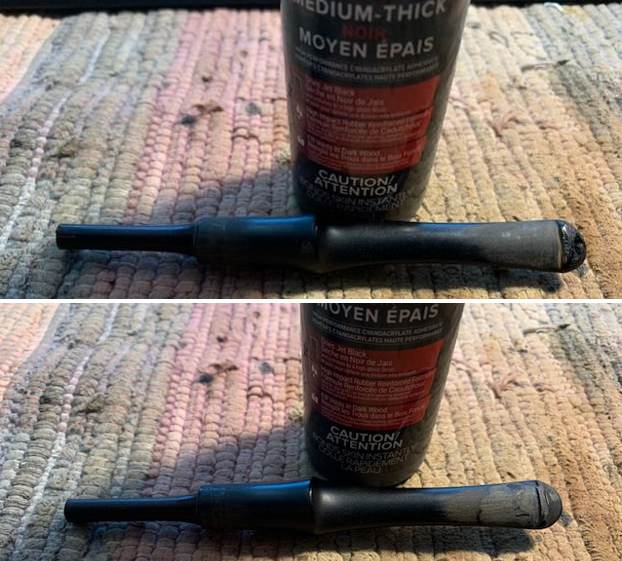
 I worked on the stem to further smooth and reshape the button and stem with the 220 grit sandpaper and the 400 grit wet dry sandpaper.
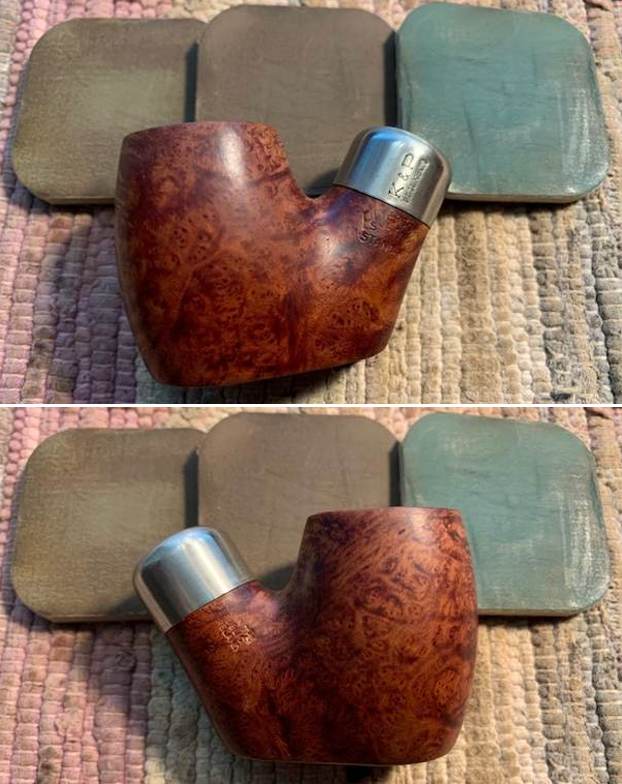
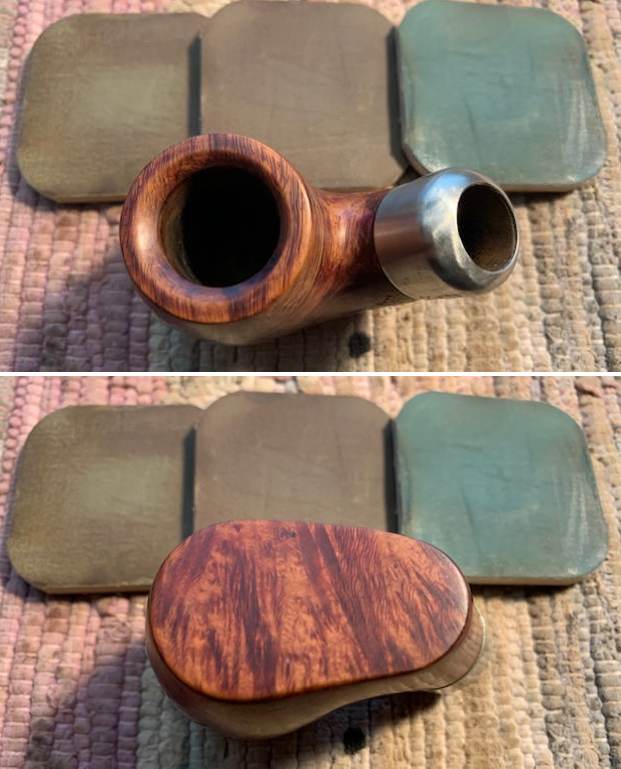
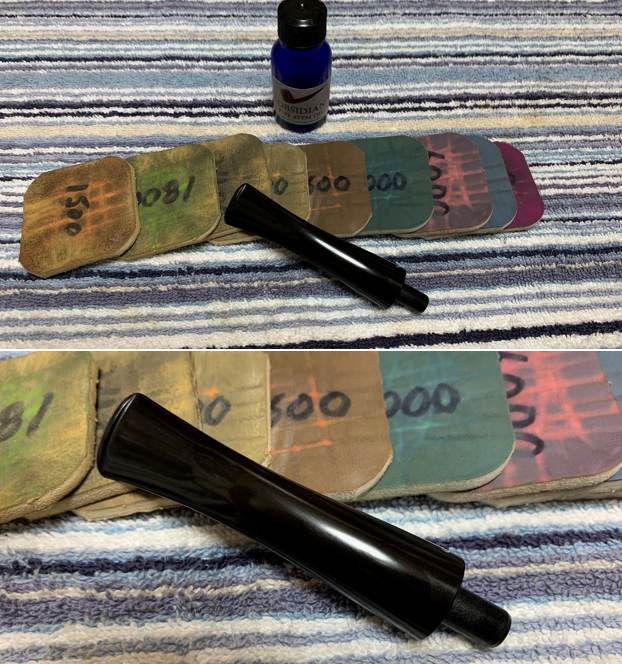
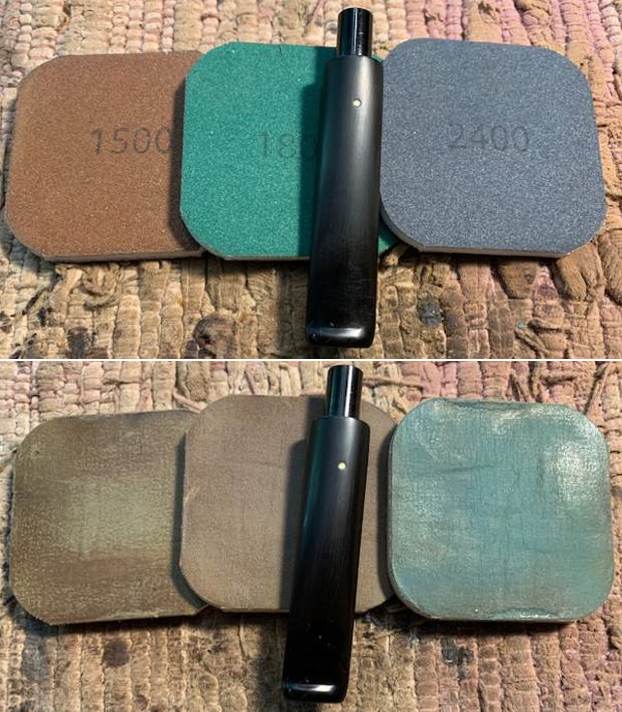
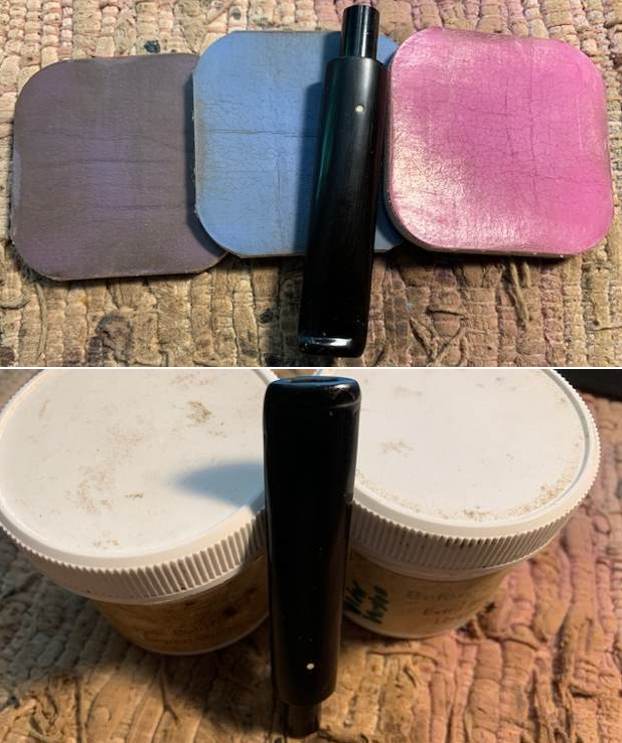
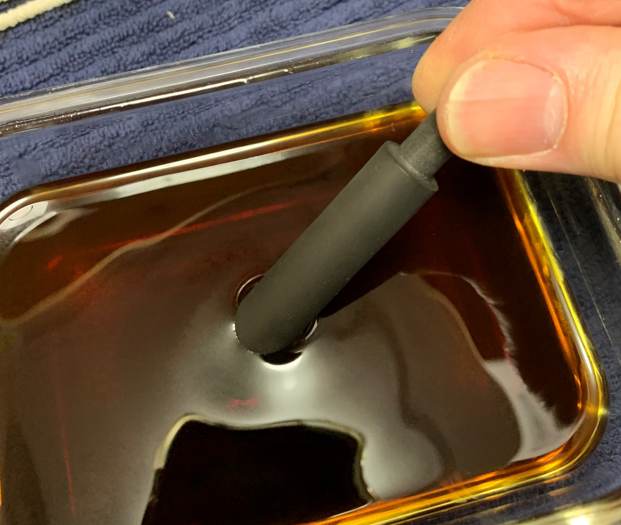
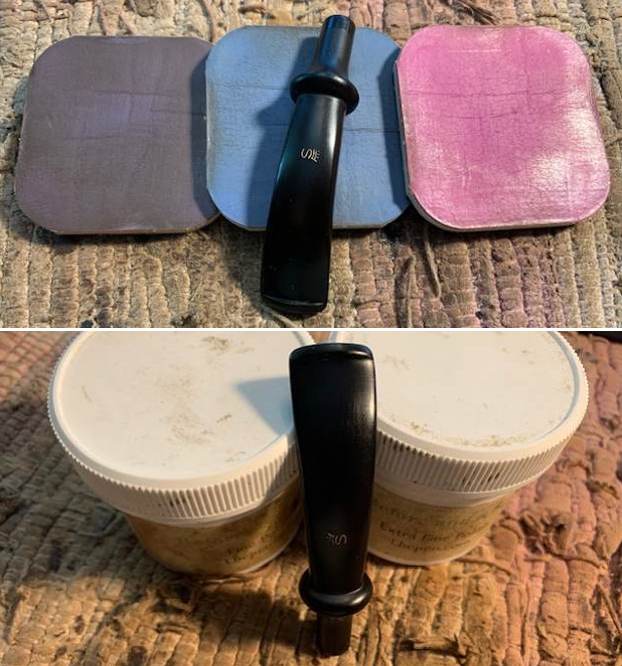
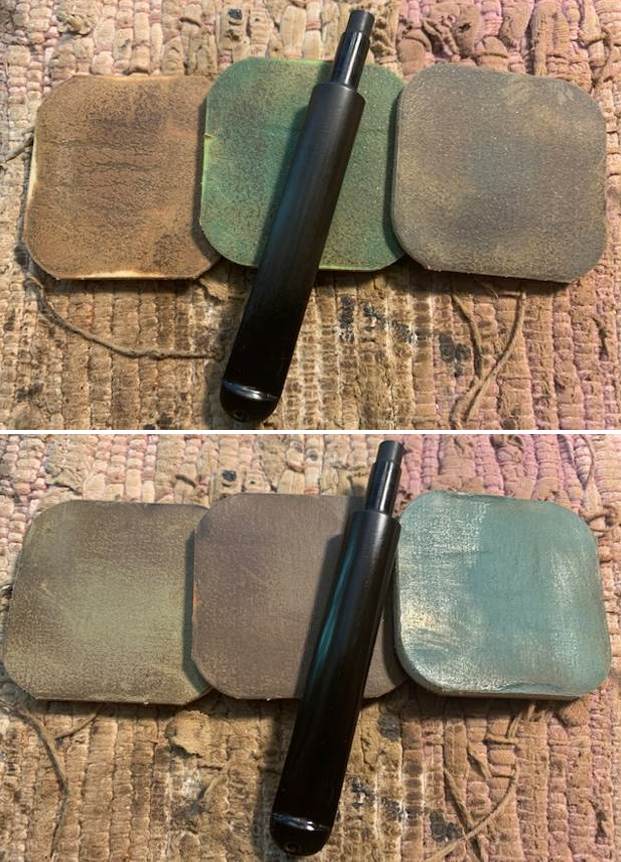
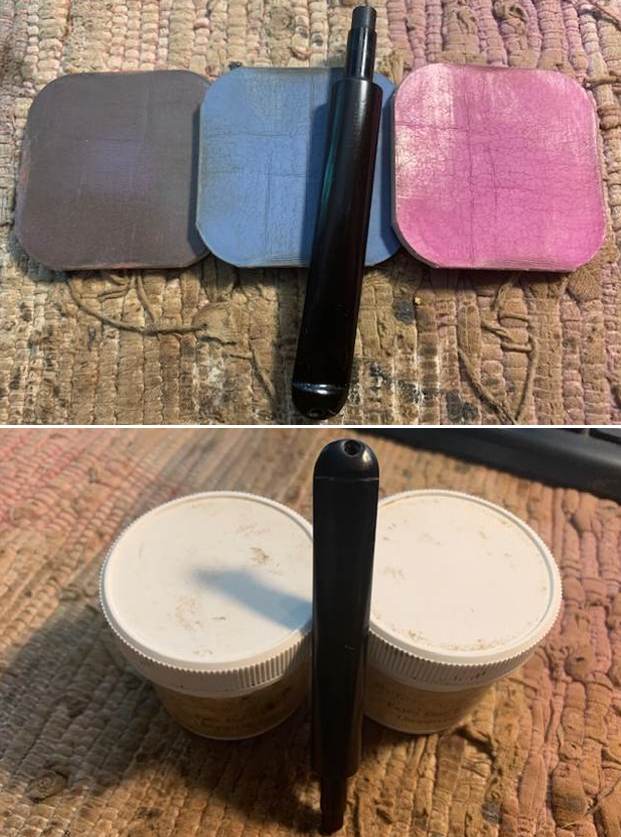
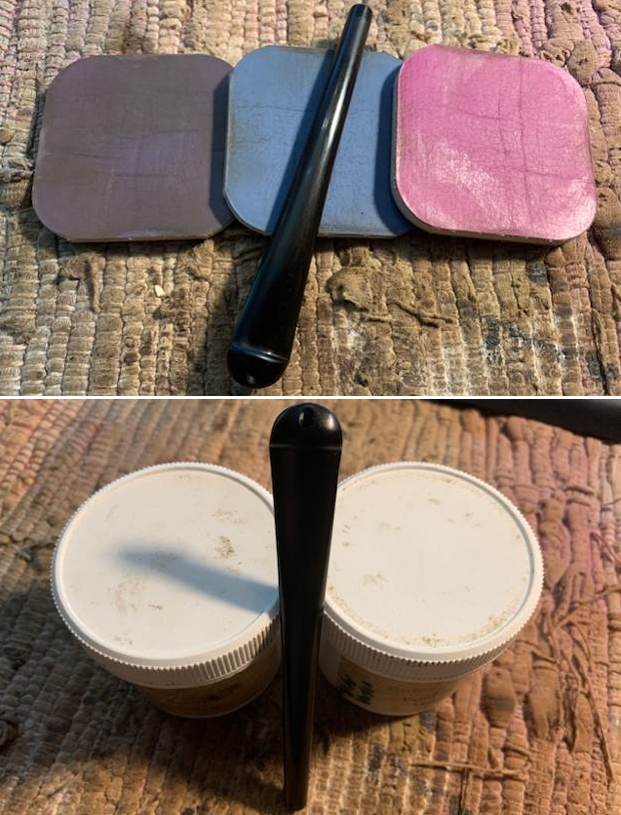
 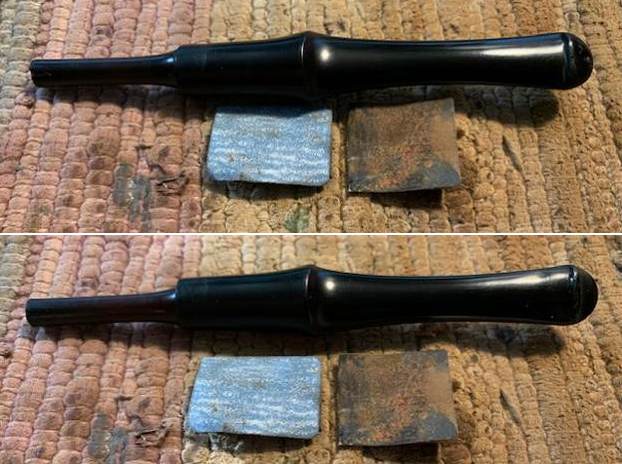 I polished the stem with micromesh sanding pads – dry sanding it with 1500-12000 grit pads. I wiped the stem down with Obsidian Oil after each pad. I polished it with Before & After Pipe Polish – both Fine and Extra Fine and gave it a final coat and set it aside to dry.
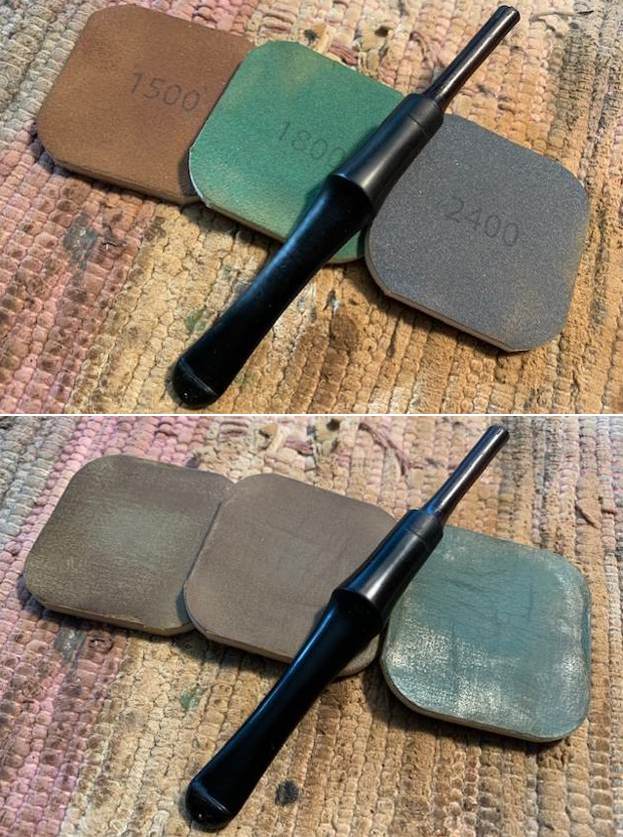
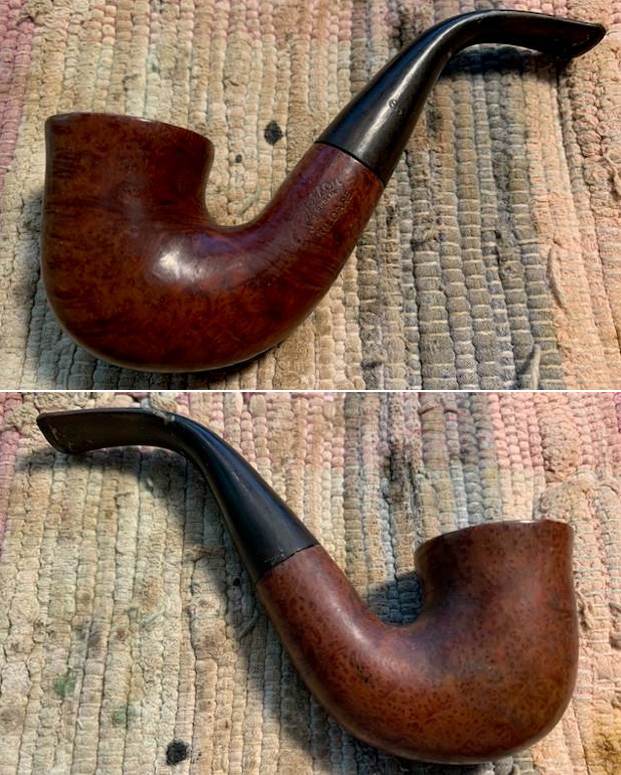
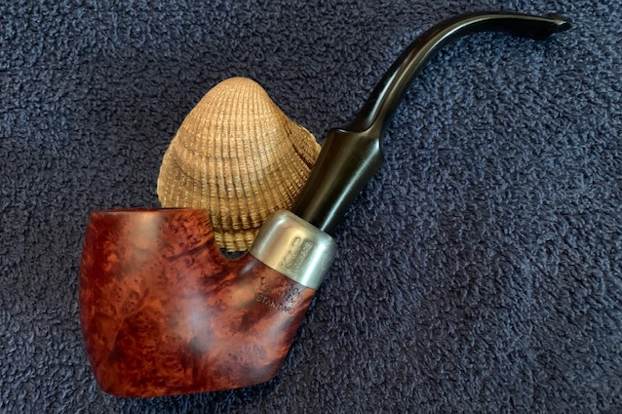
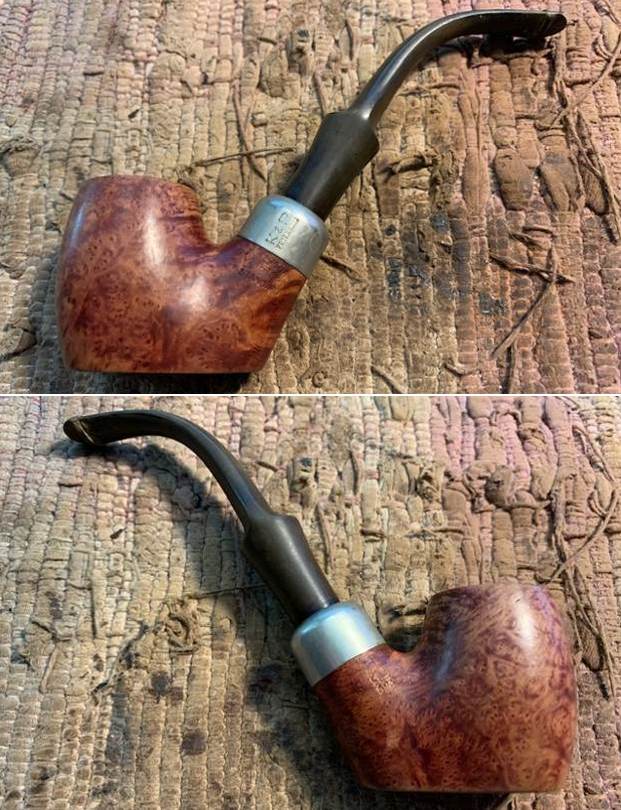
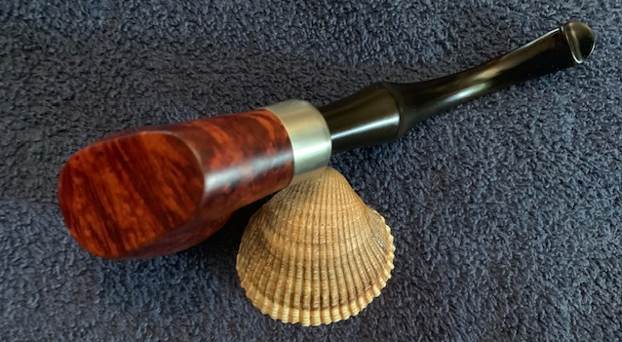
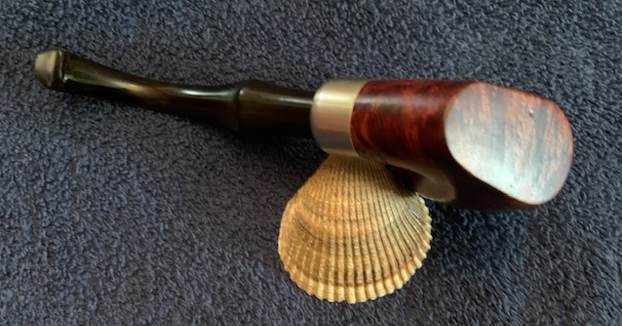
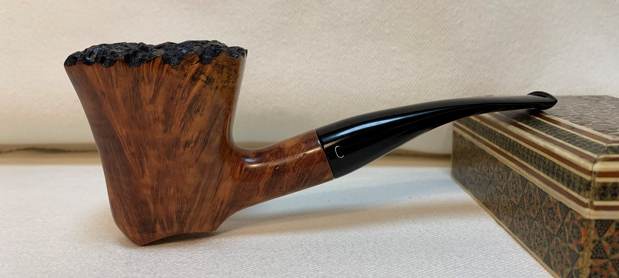
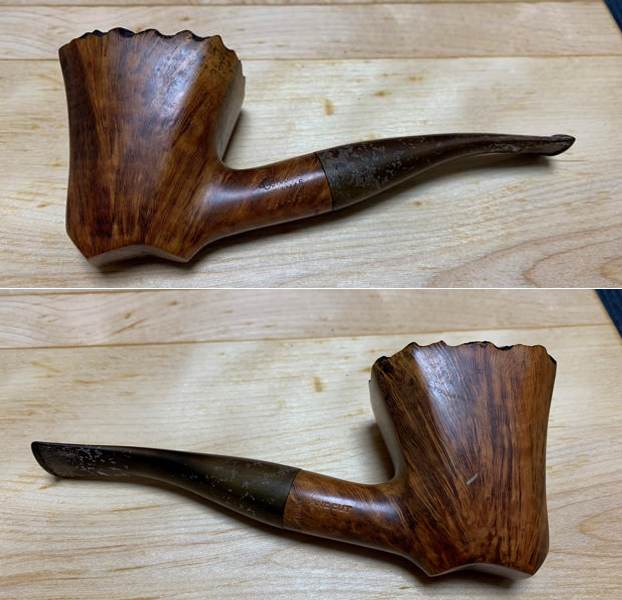
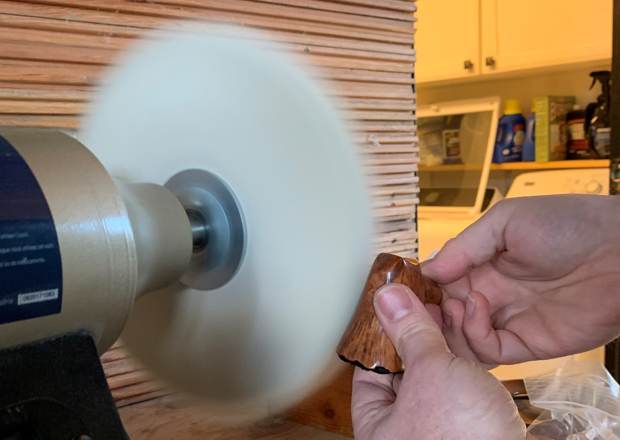
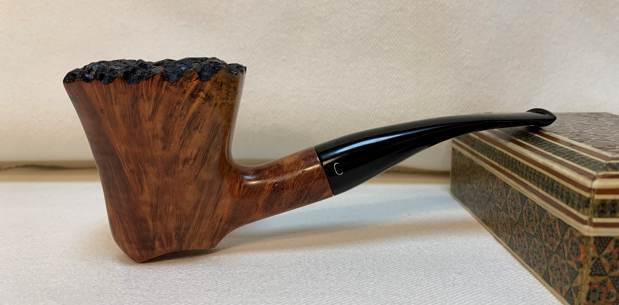
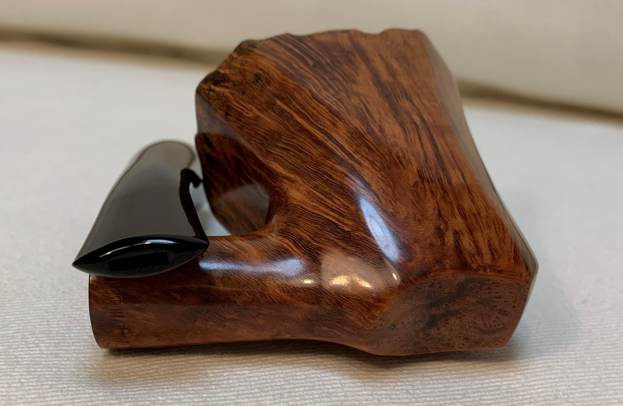
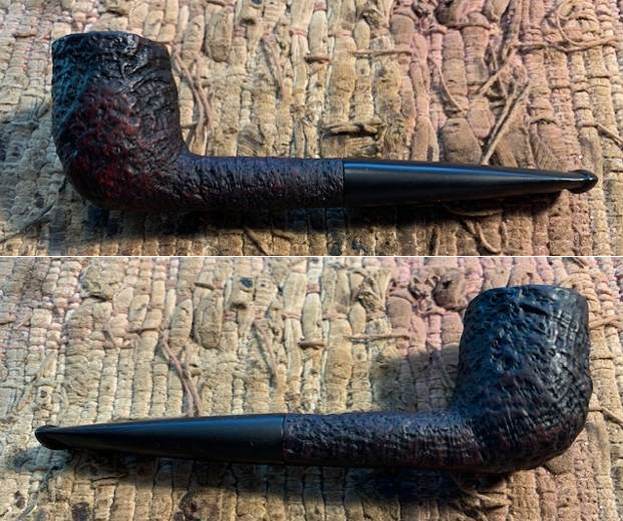
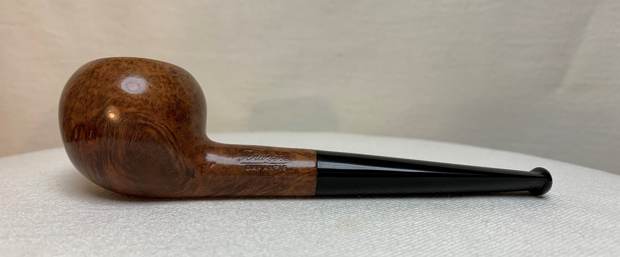
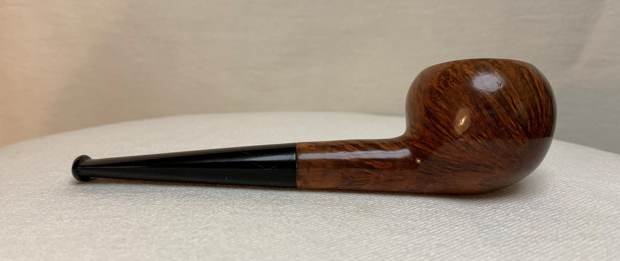
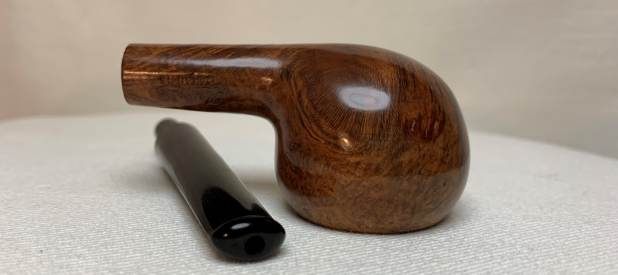
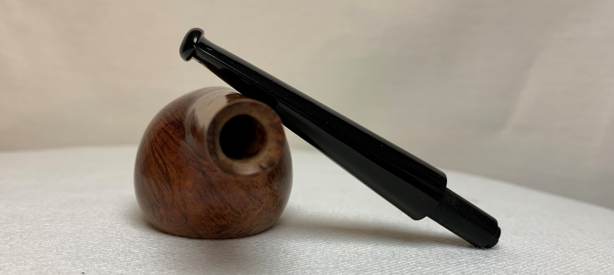
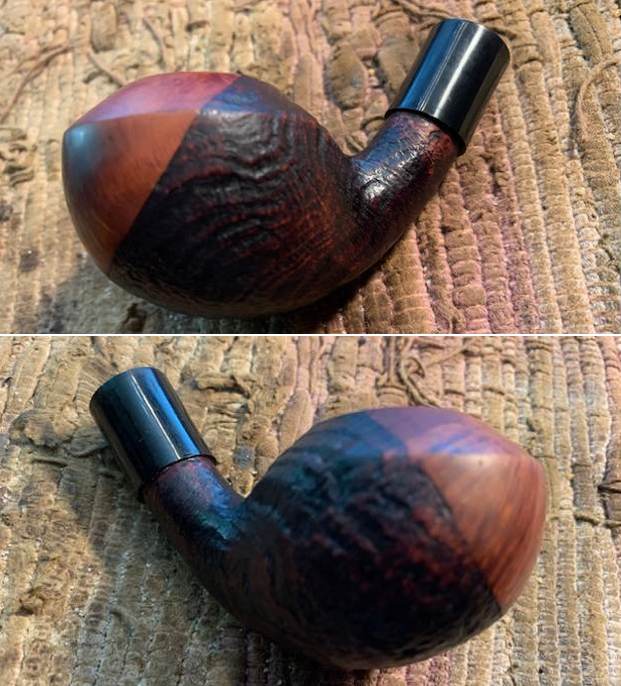
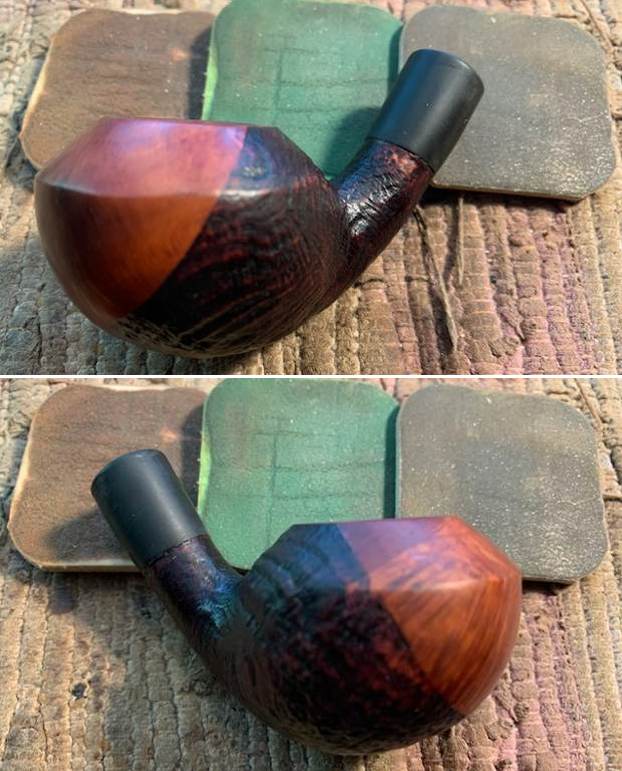
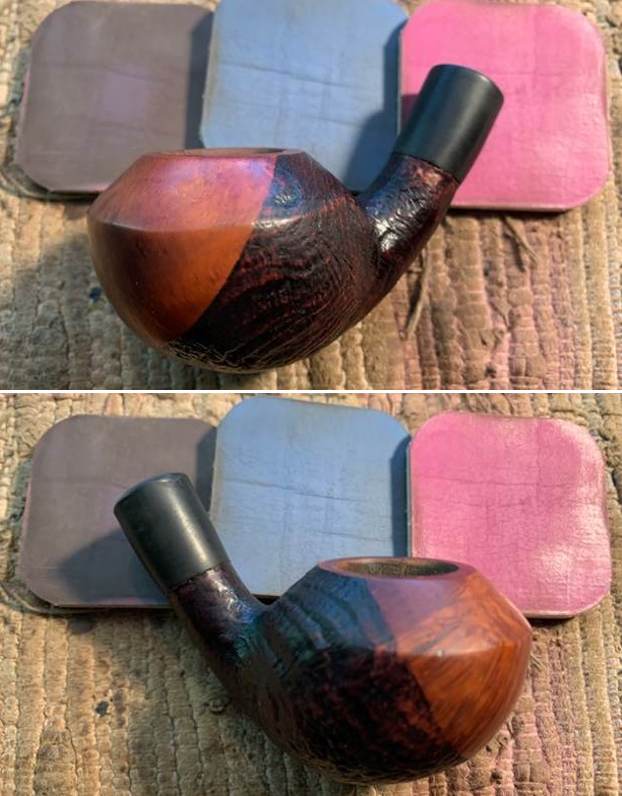
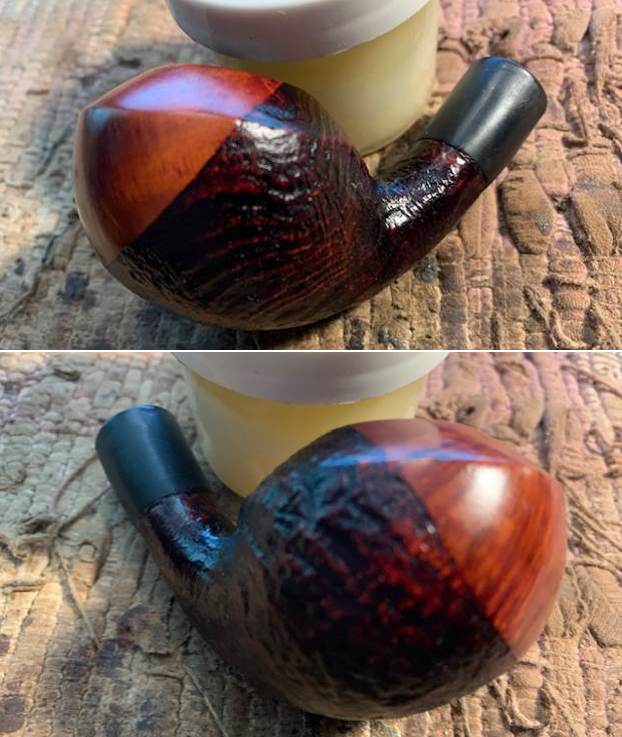
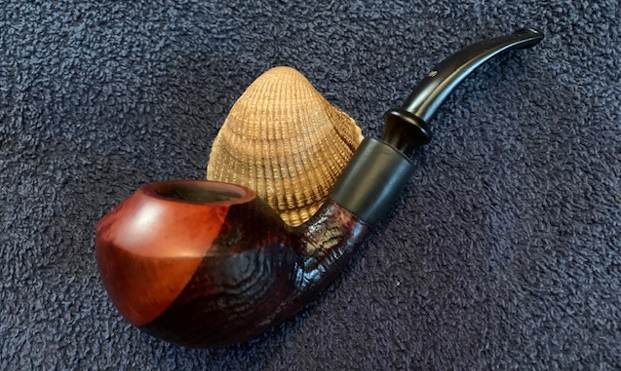
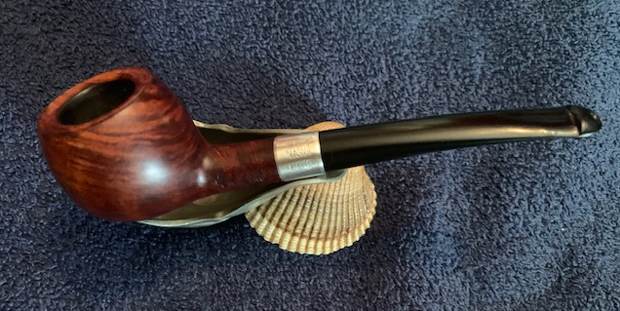
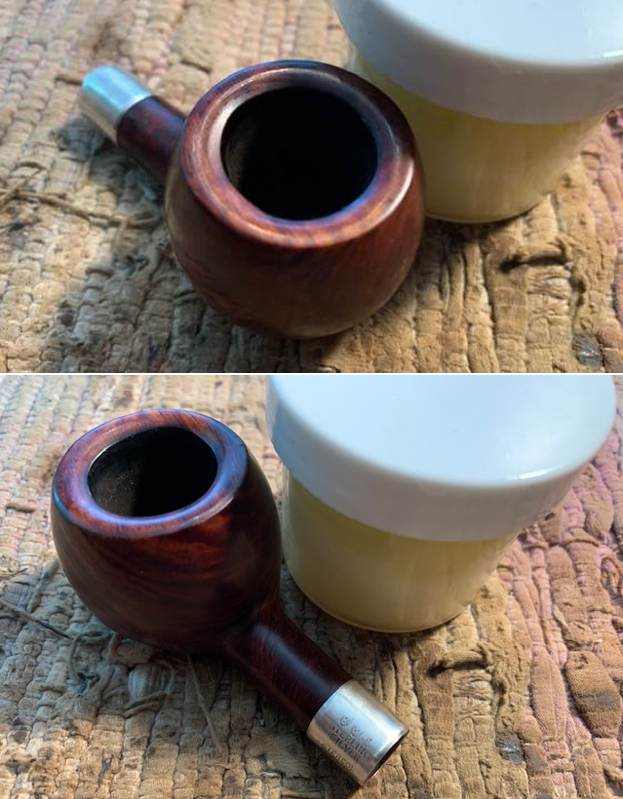
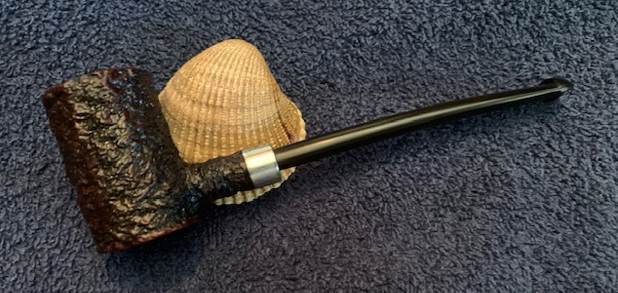
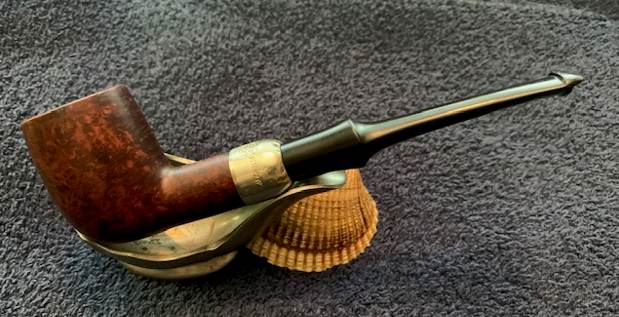
 I put the stem back on the Peterson’s System 31 Straight Billiard and buffed the pipe with Blue Diamond on the buffing wheel. I polished the briar and the vulcanite of the stem until there was a rich shine. This classic Peterson’s shape and finish really highlights a proportionally well carved pipe. Once I buffed the pipe the briar came alive and popped with polishing. The black vulcanite stem has a rich glow. This Peterson’s System Straight Billiard fits well in the hand and sits right in the mouth. Have a look at it with the photos below. The dimensions are Length: 5 ½ inches, Height: 1 ½ inches, Outside diameter of the bowl: 1 1/8 inches, Chamber diameter: ¾ of and inch. The weight of the pipe is 1.23 ounces/35 grams. This beauty will be going on the rebornpipes online store in the Irish Pipemakers Section. If you are interested let me know. Thanks for walking through the restoration with me as it was a pleasure to work on.