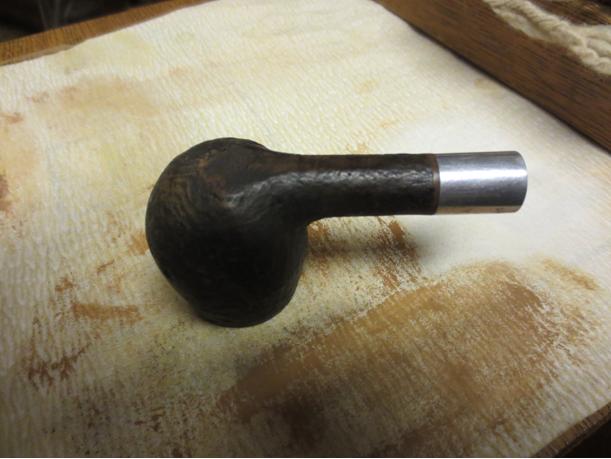
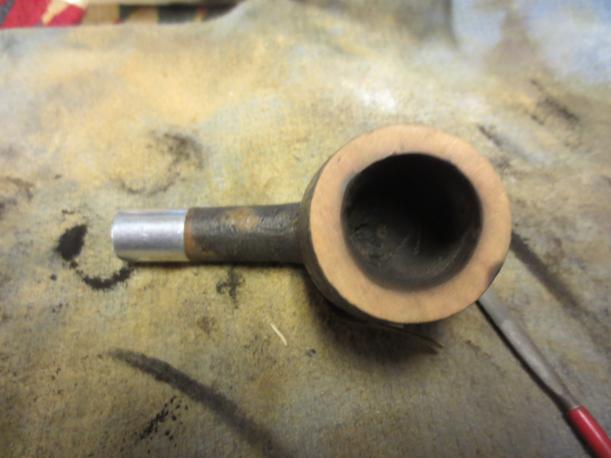
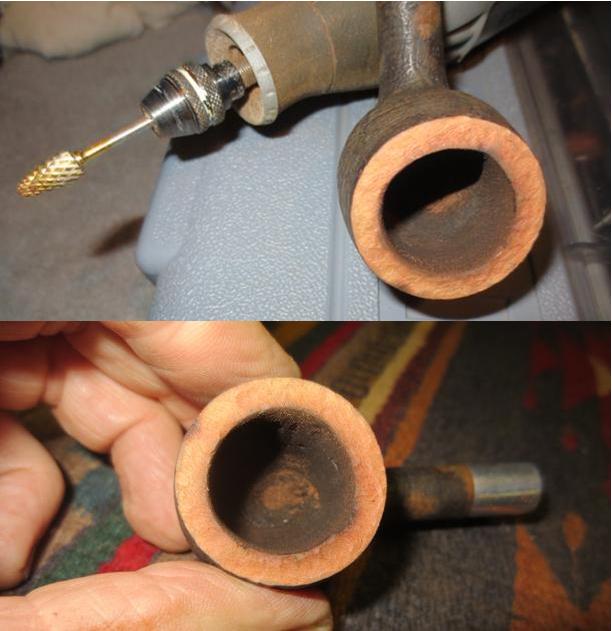
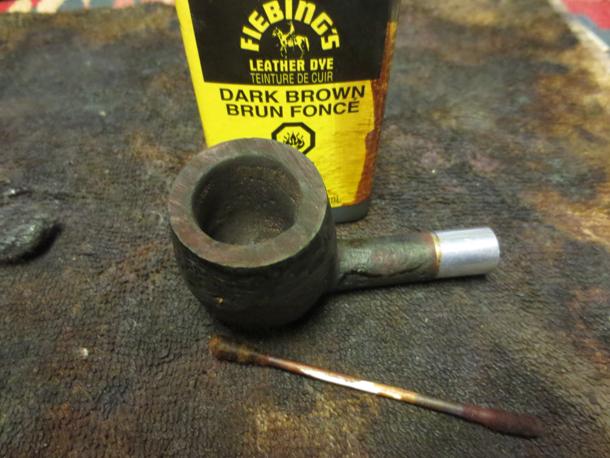
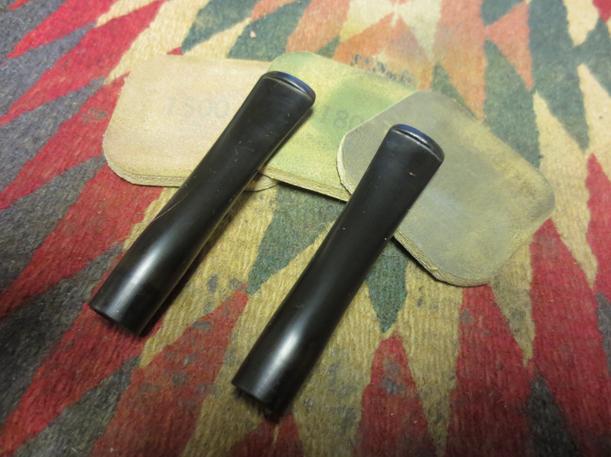
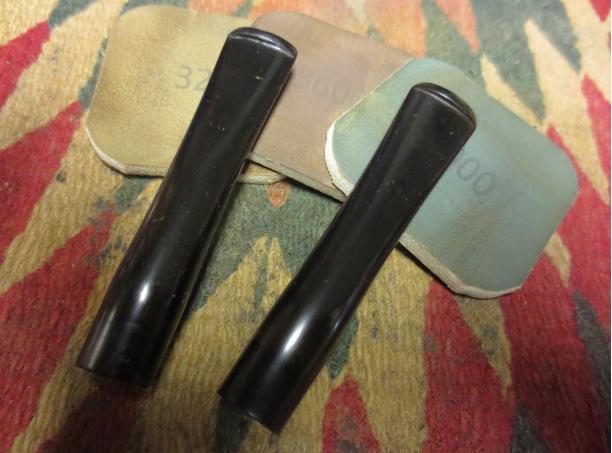
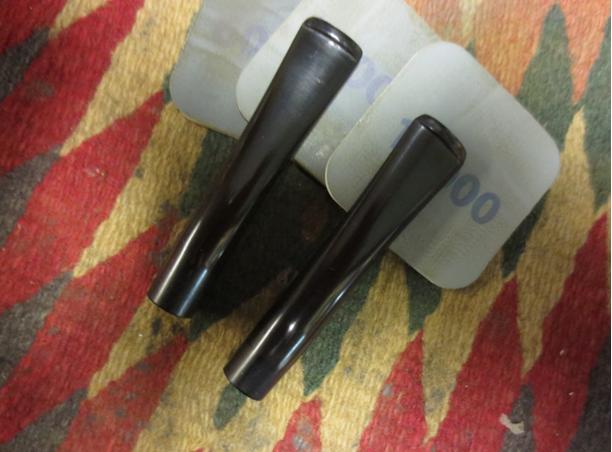
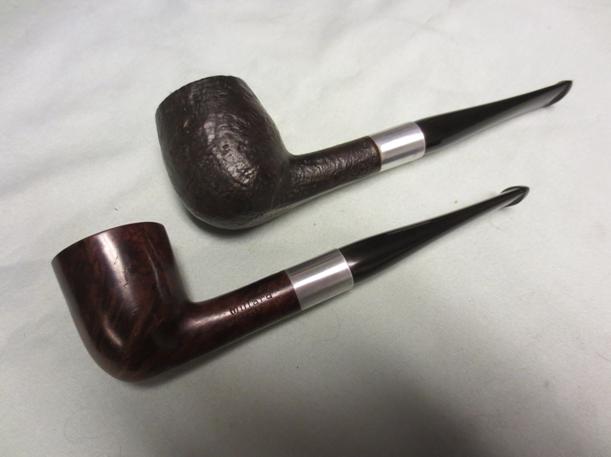
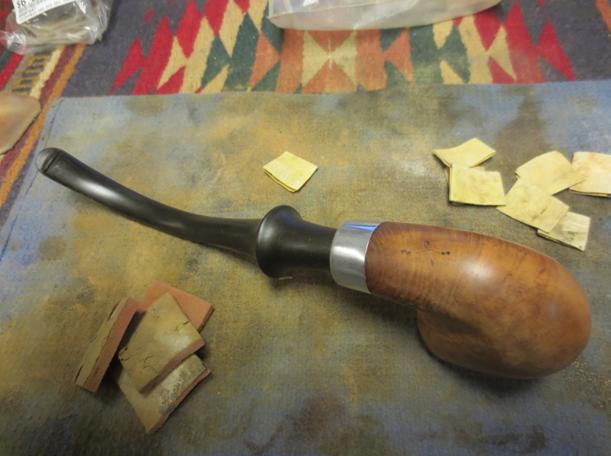
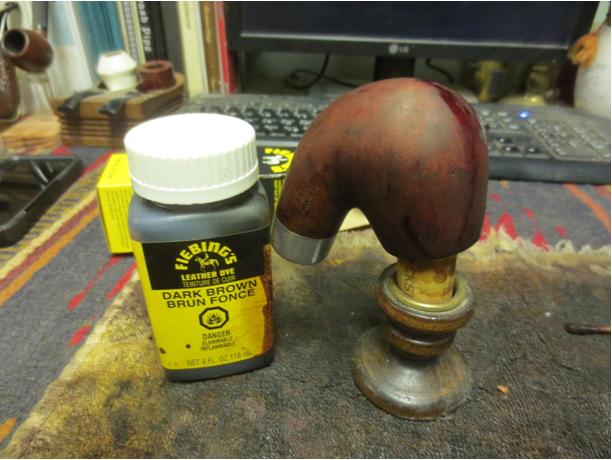
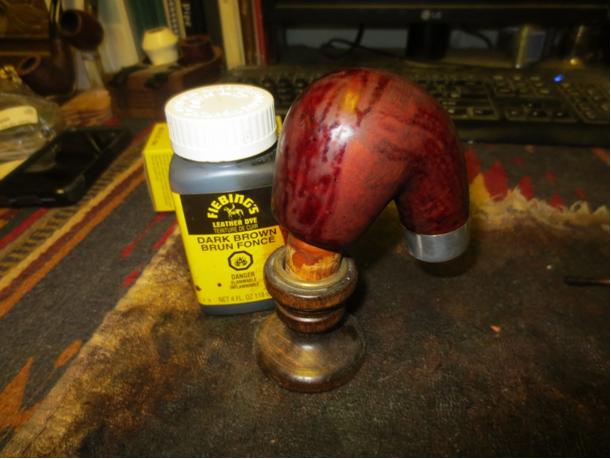
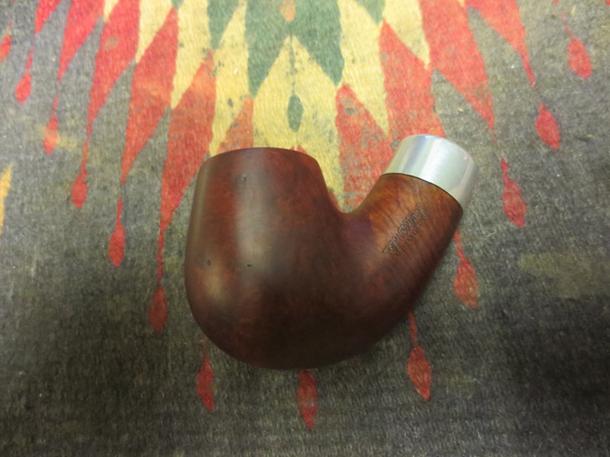
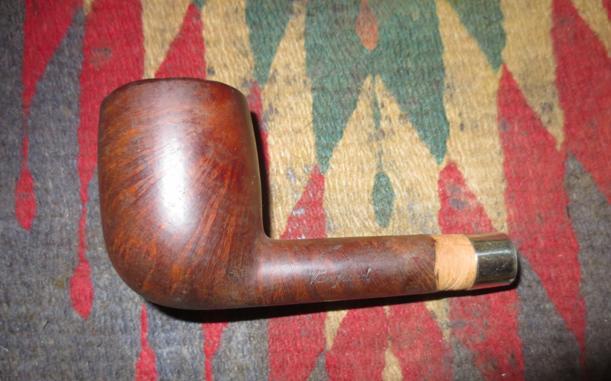
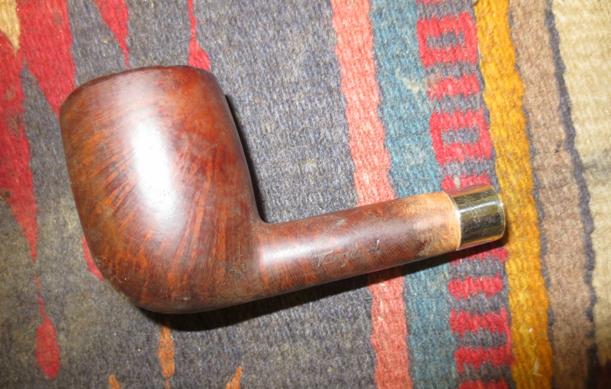
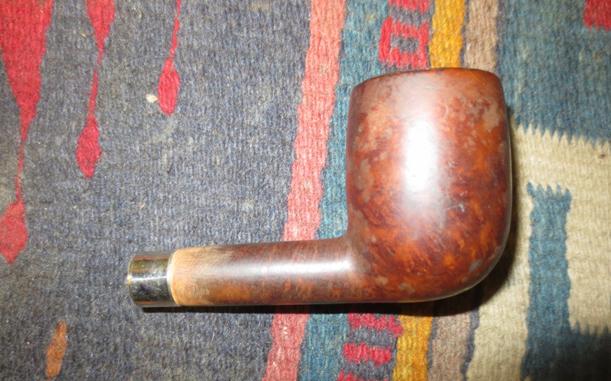
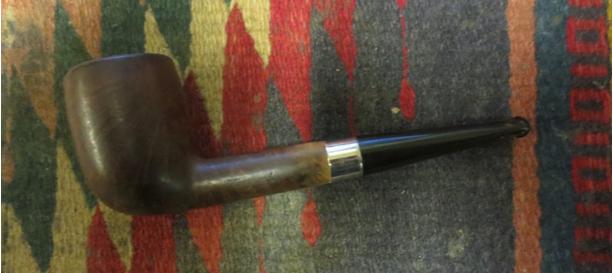
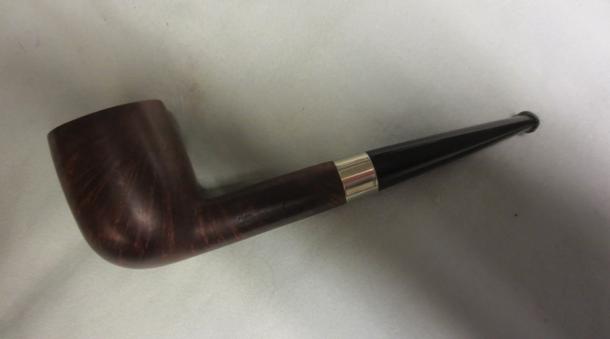
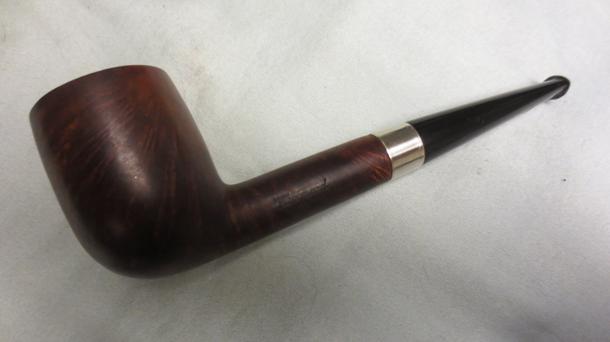
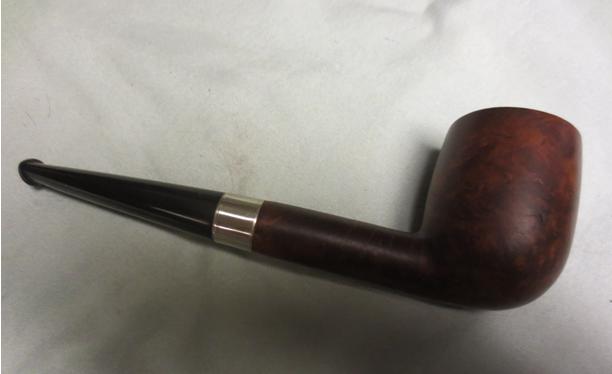
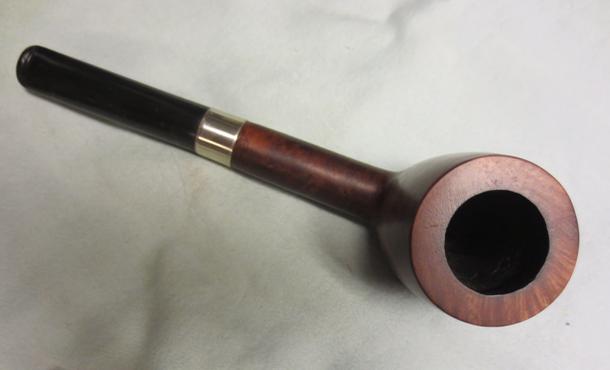
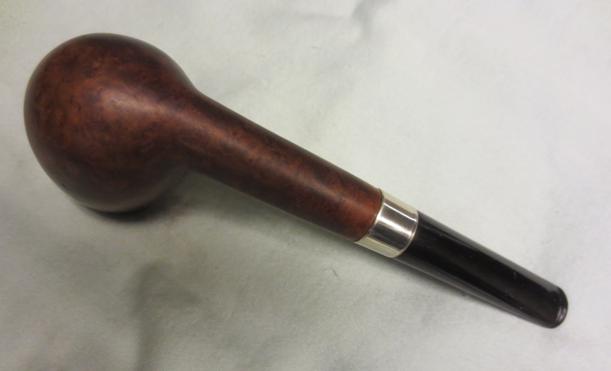
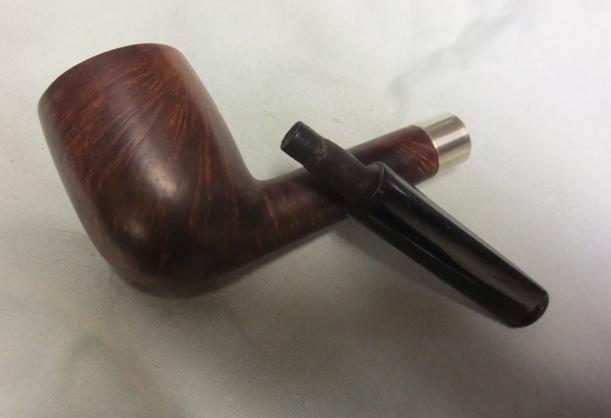
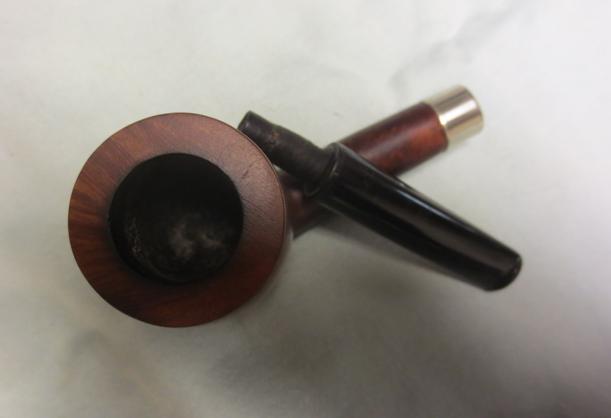
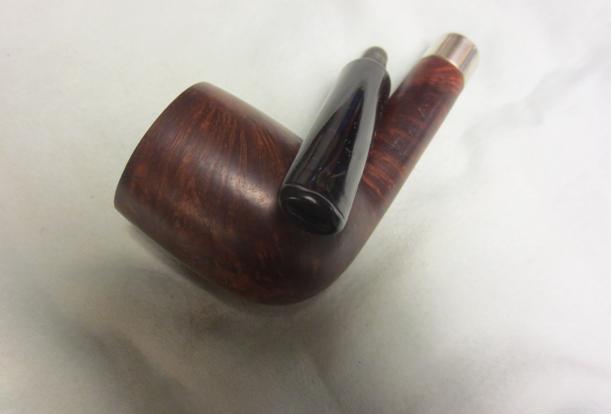
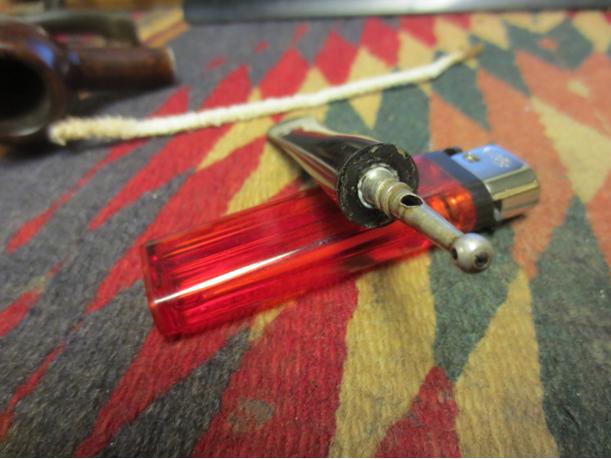
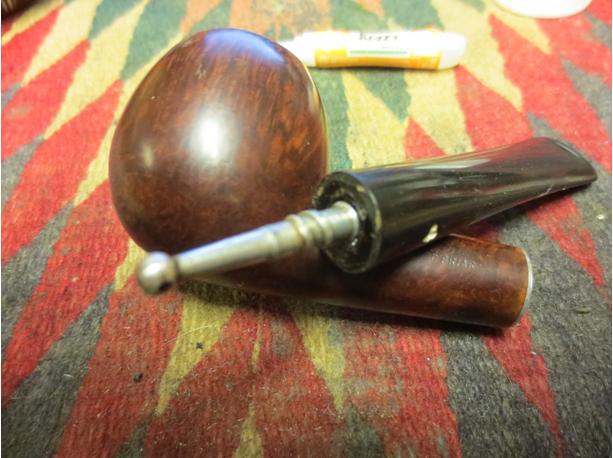
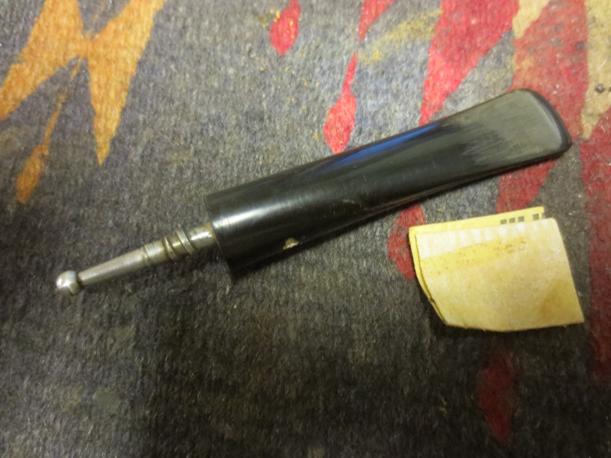
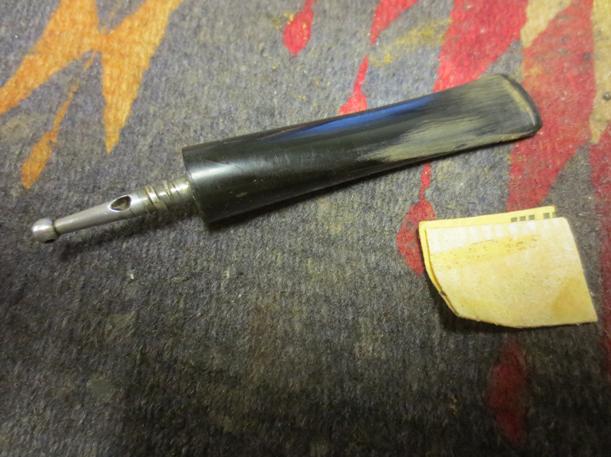
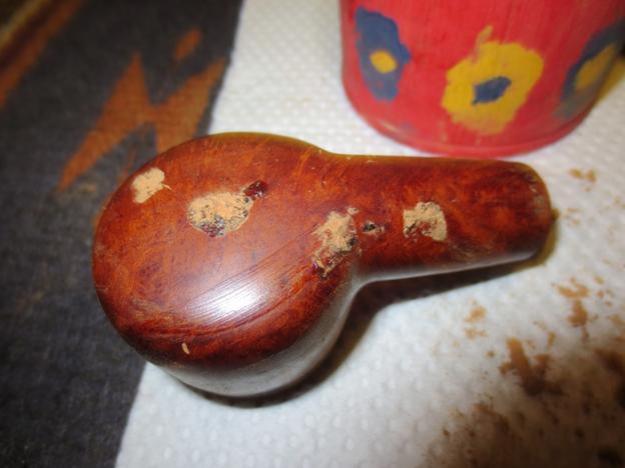
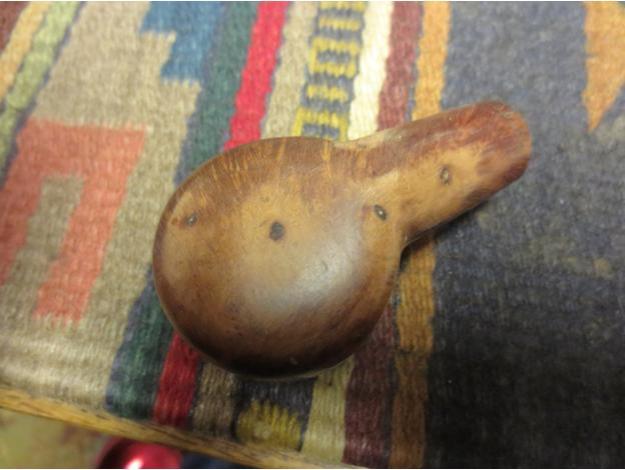
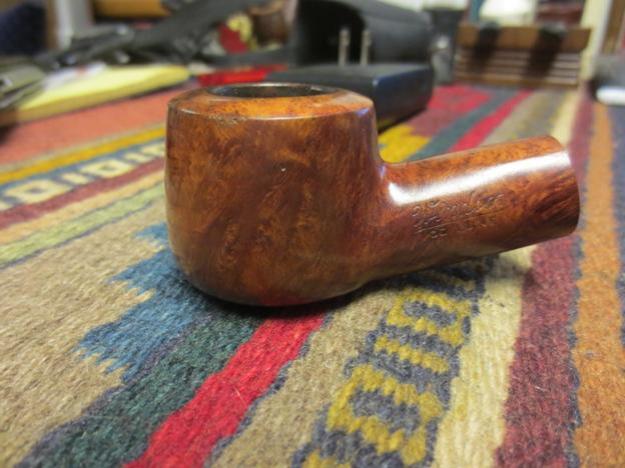
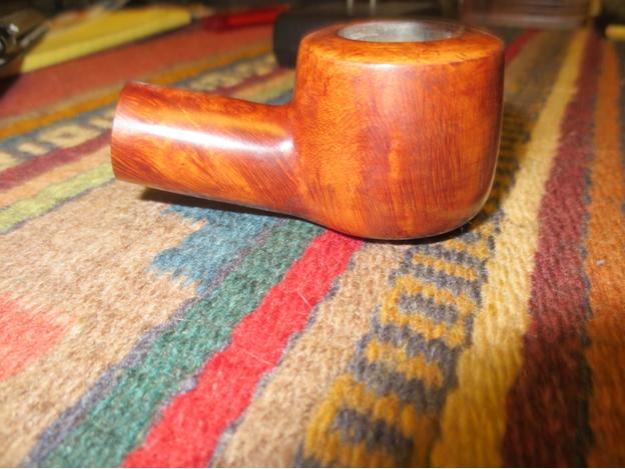
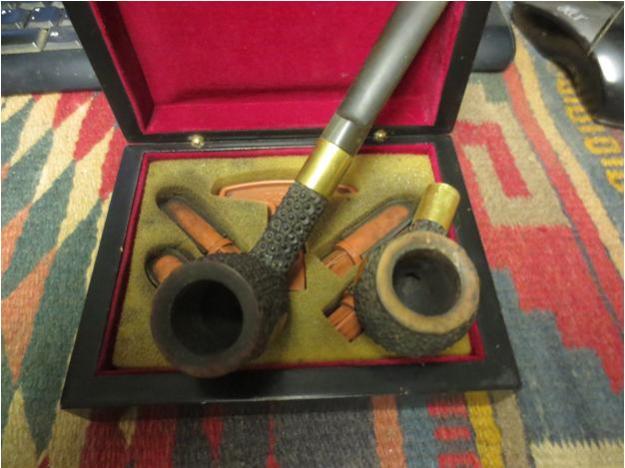
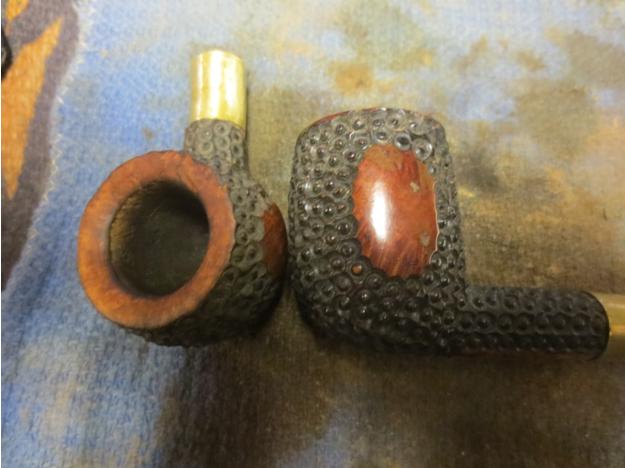
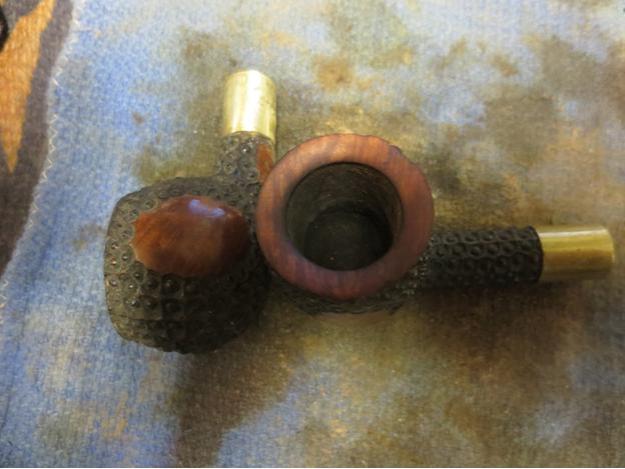
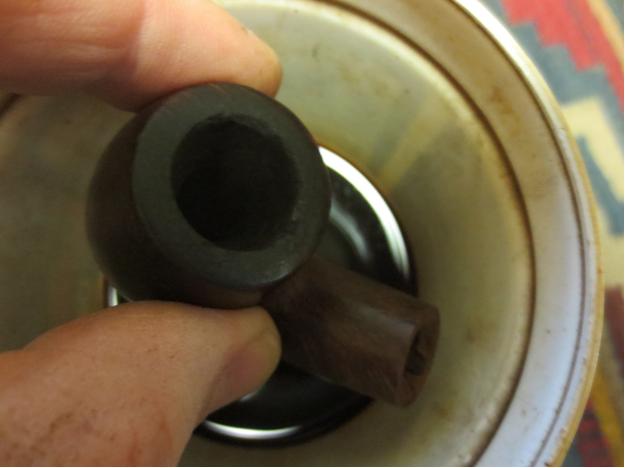
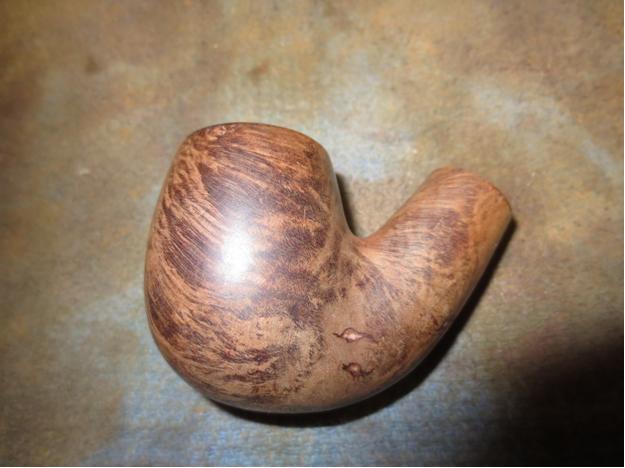
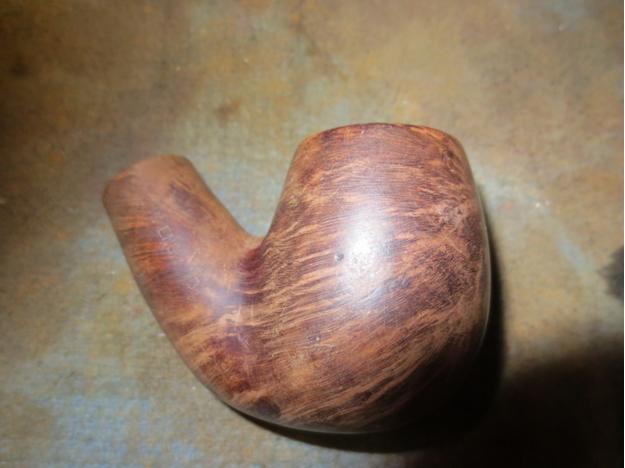
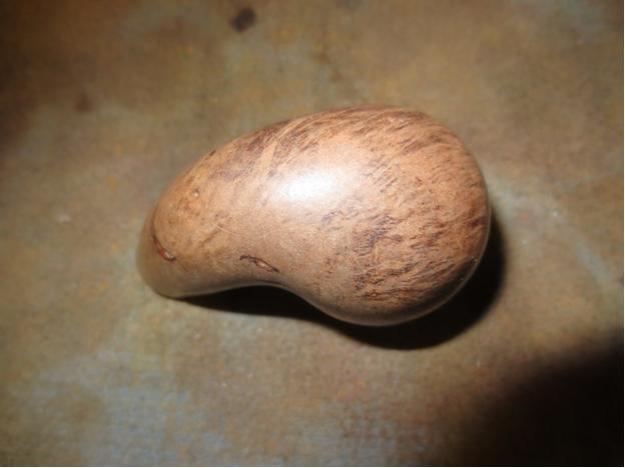
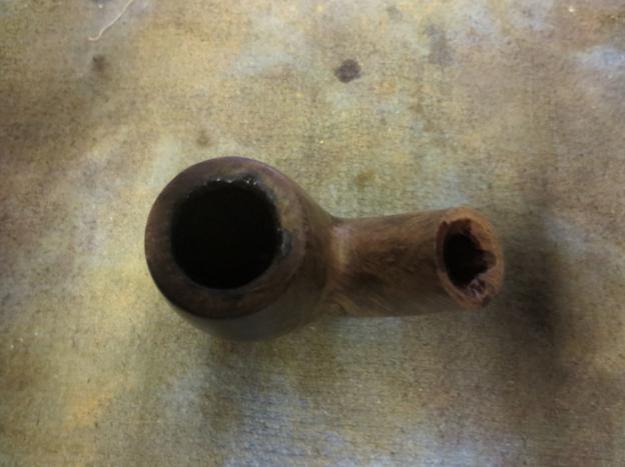
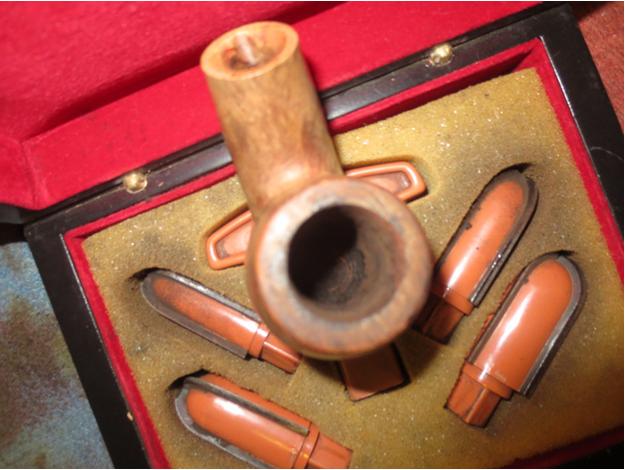
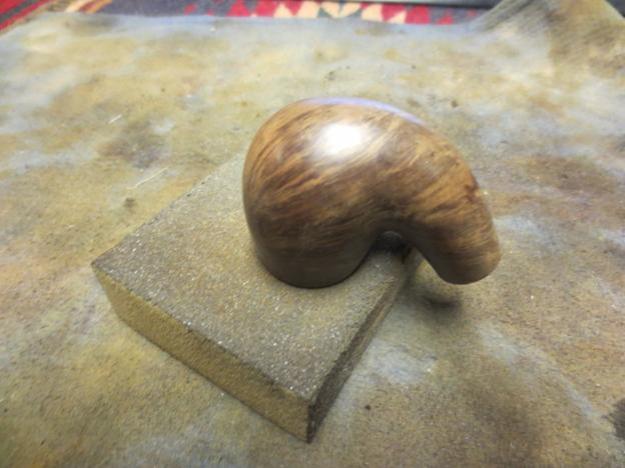
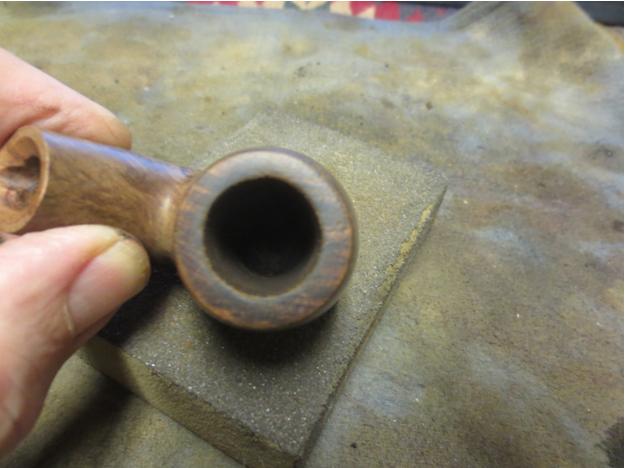
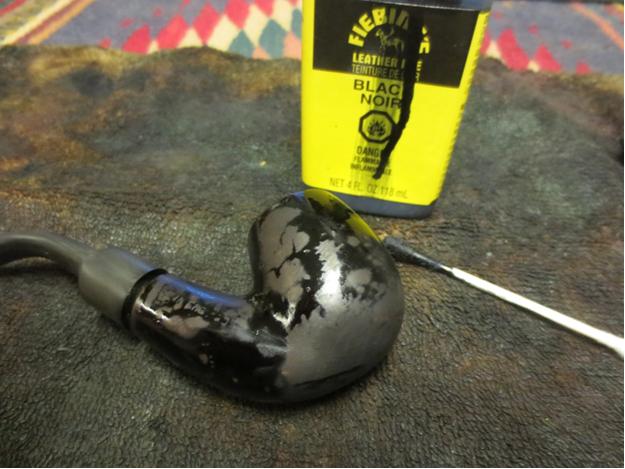
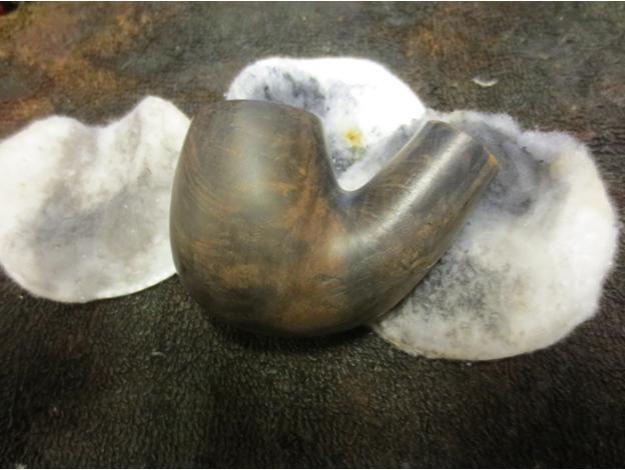
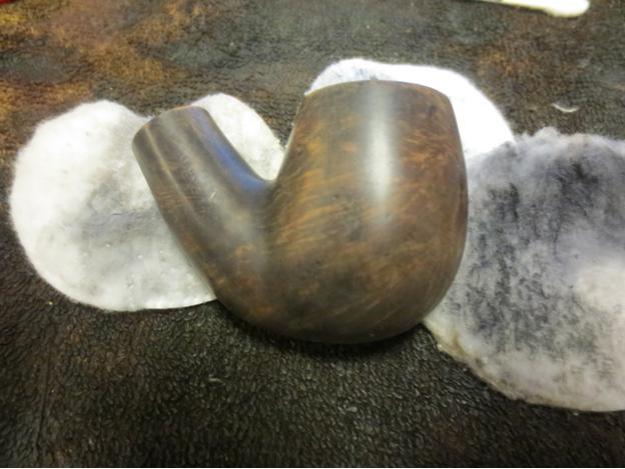
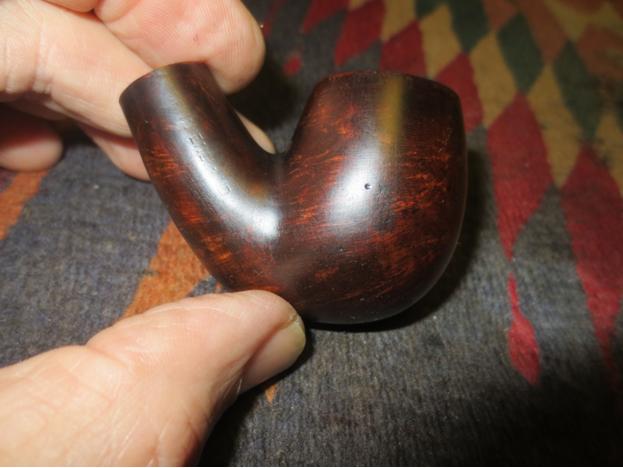
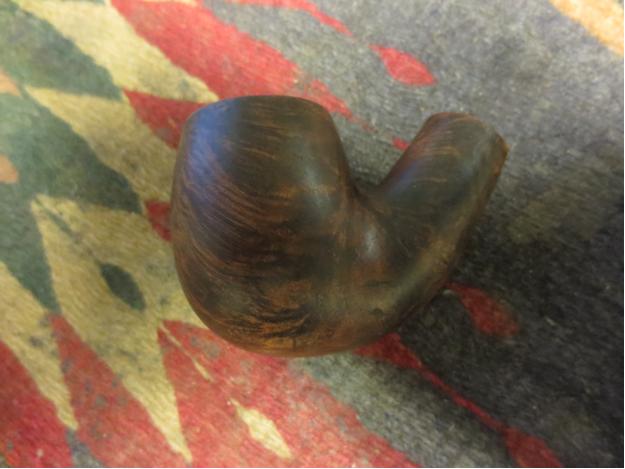
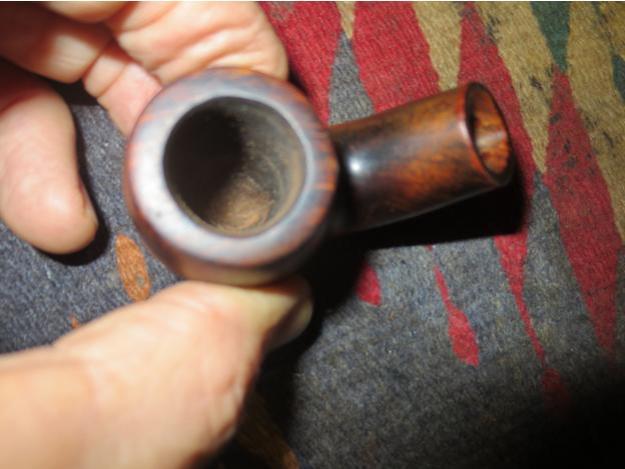
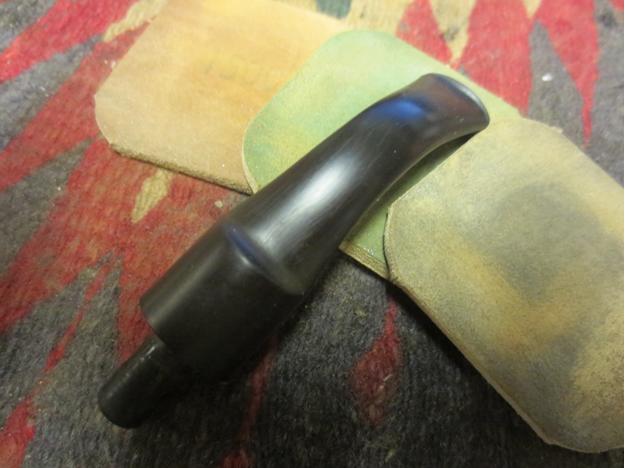
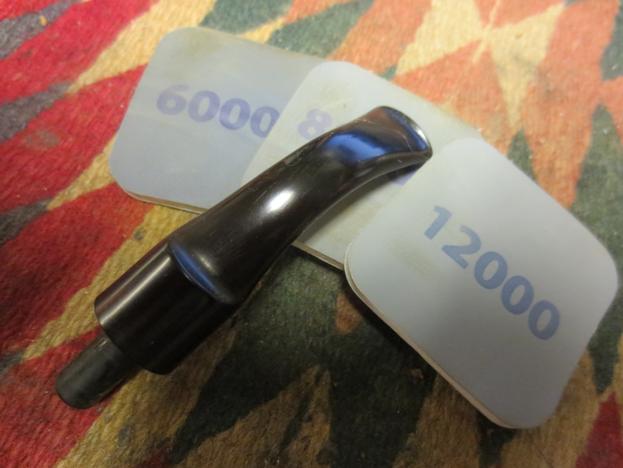
Tag Archives: removing tooth marks

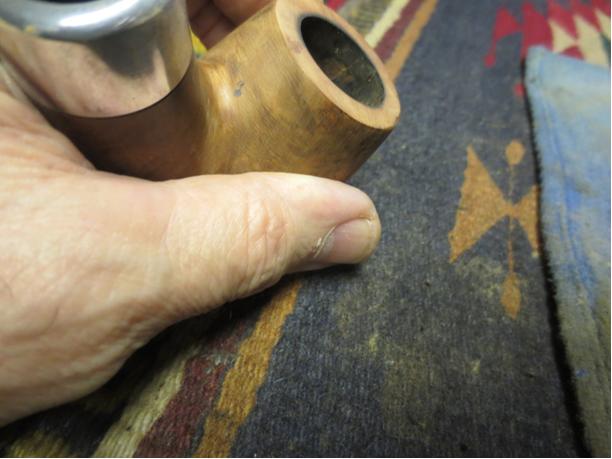
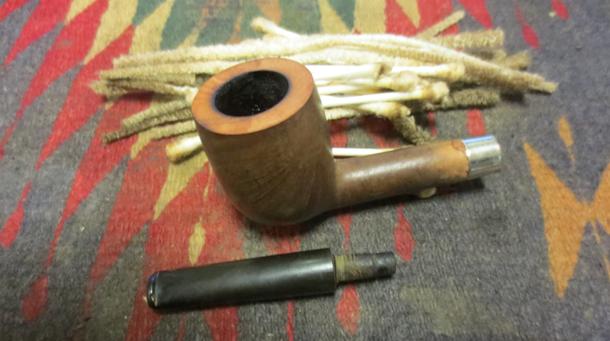
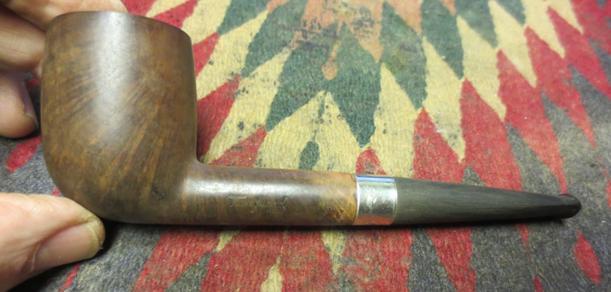
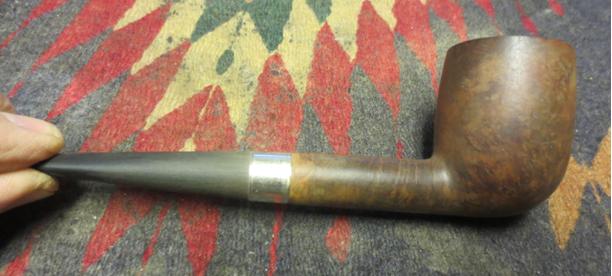
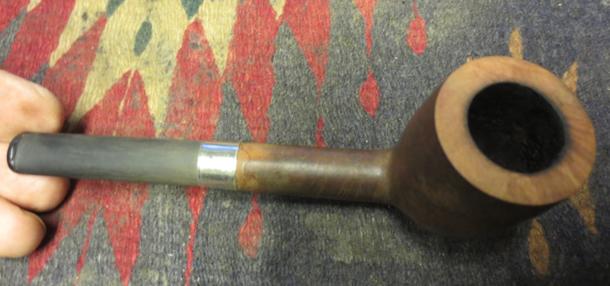
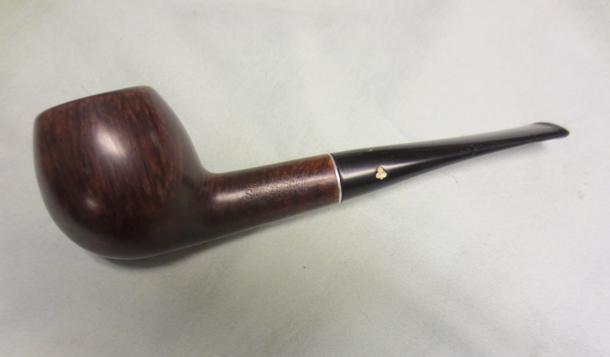
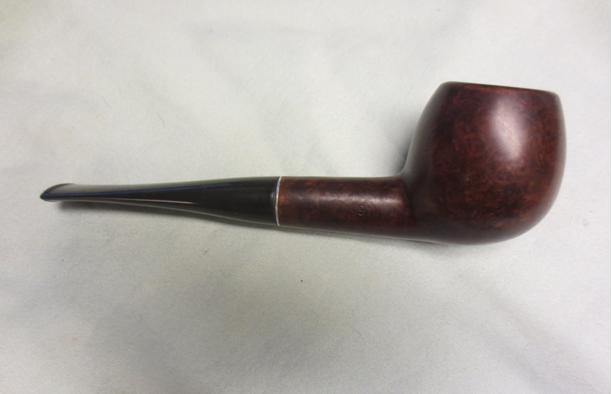
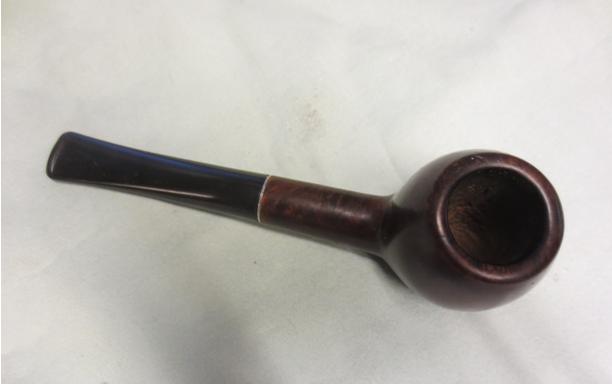
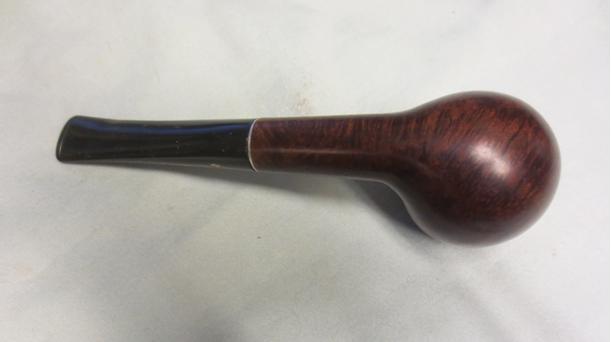
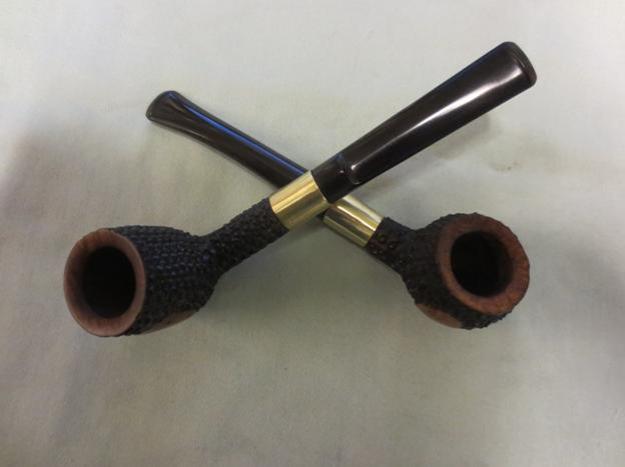
A Simple Mistake Forced a Restem on a Meerschaum Billiard


Blog by Steve Laug

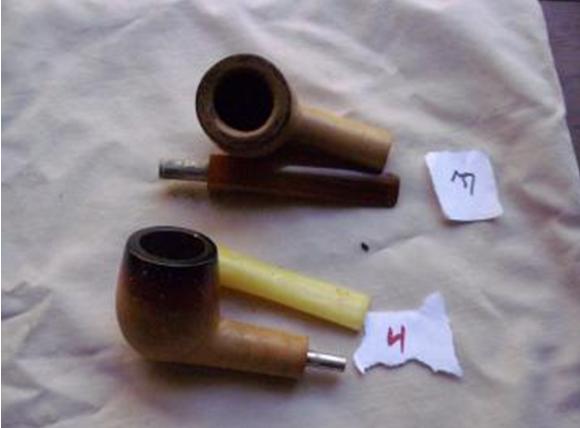
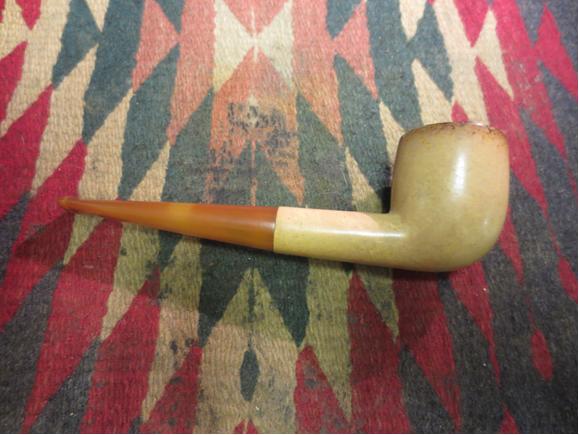
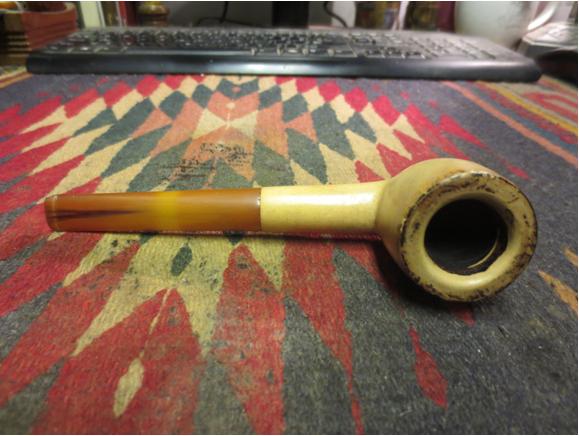
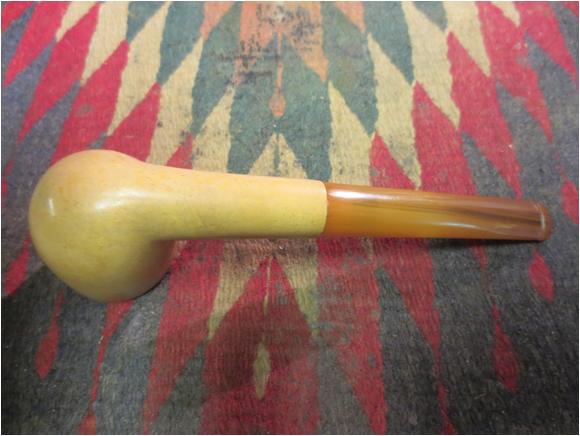
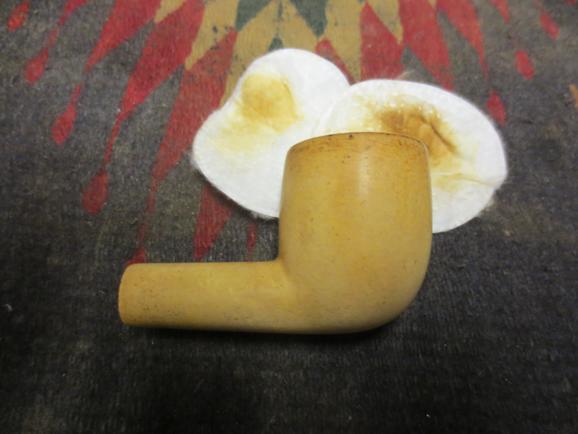
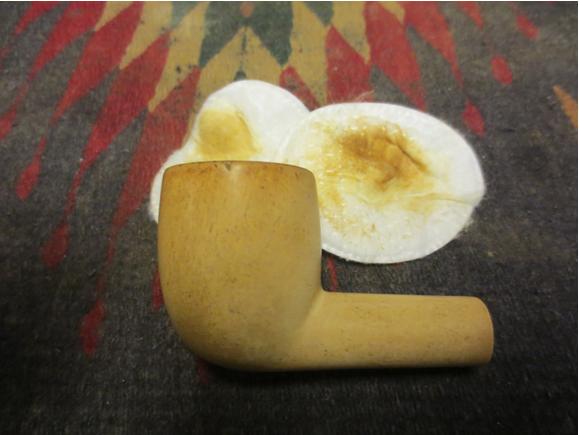
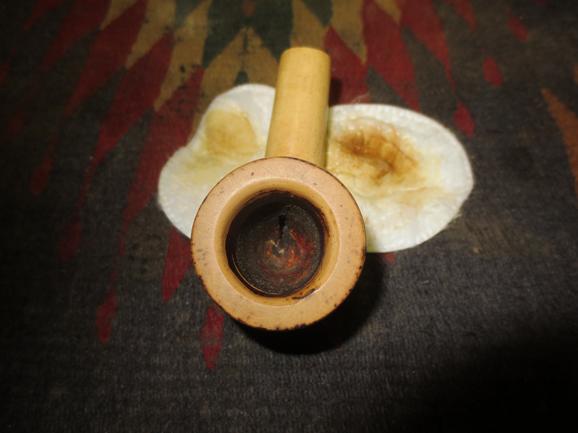
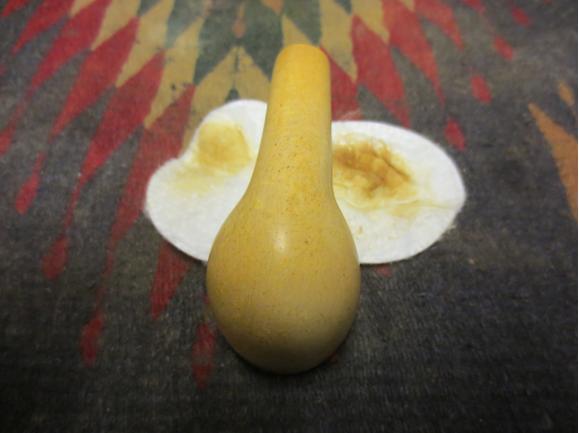
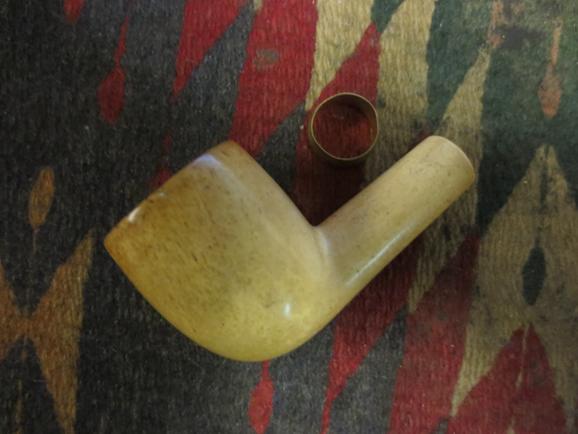
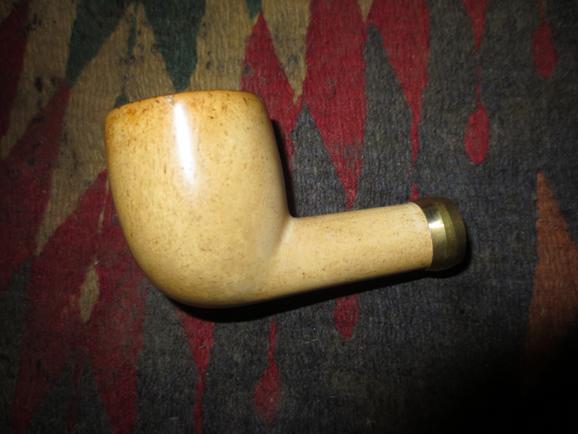
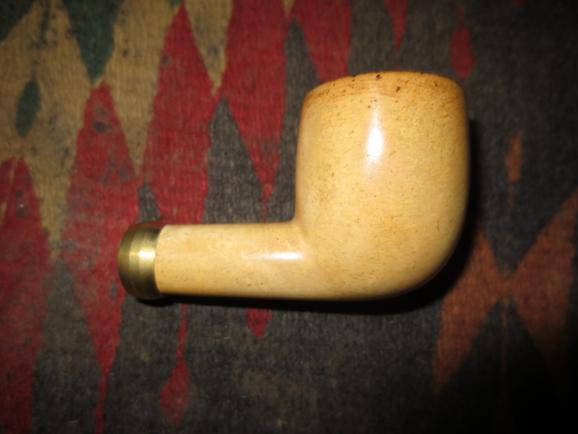
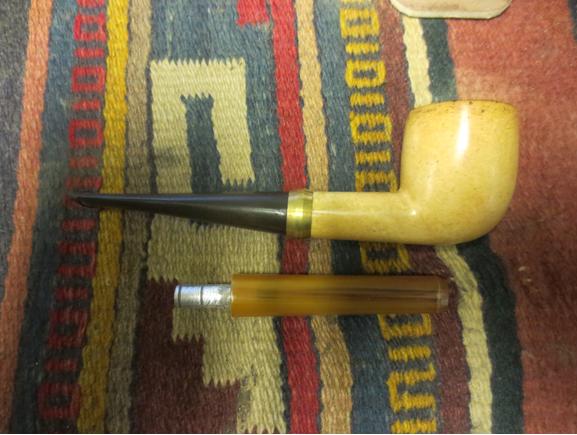
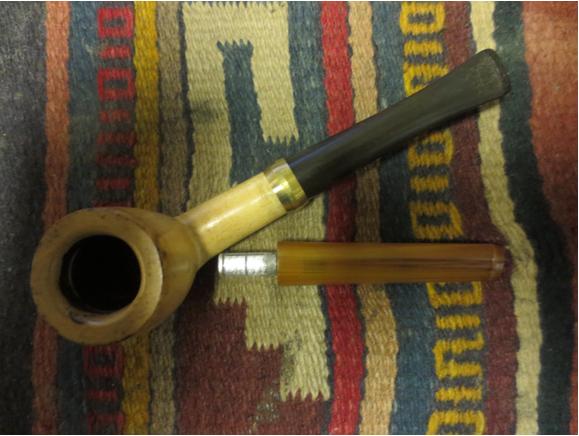
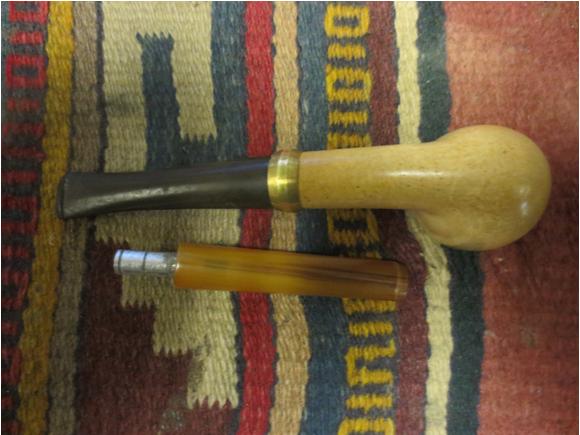
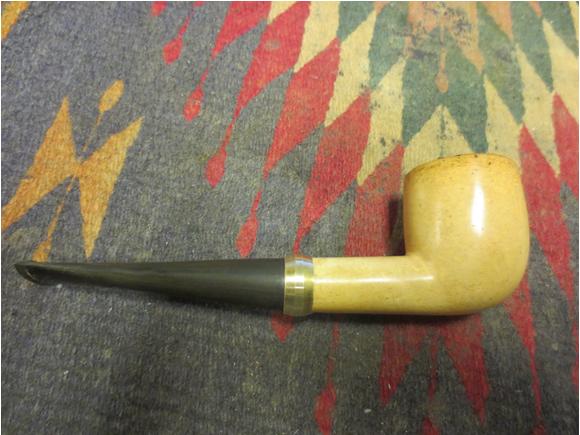
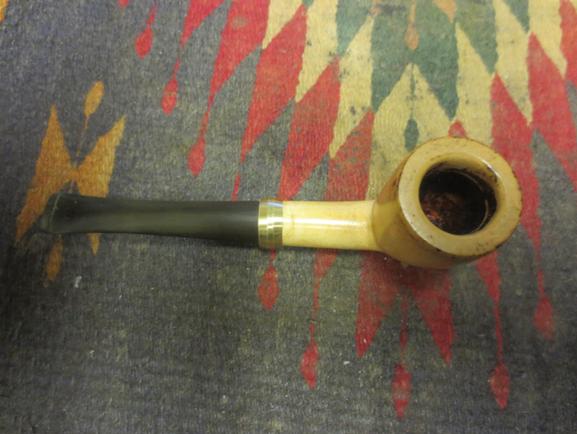
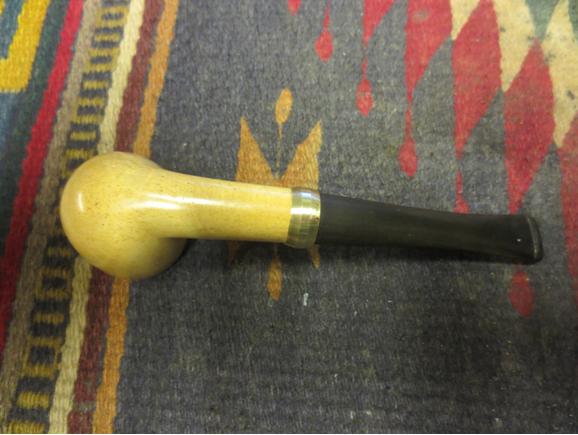
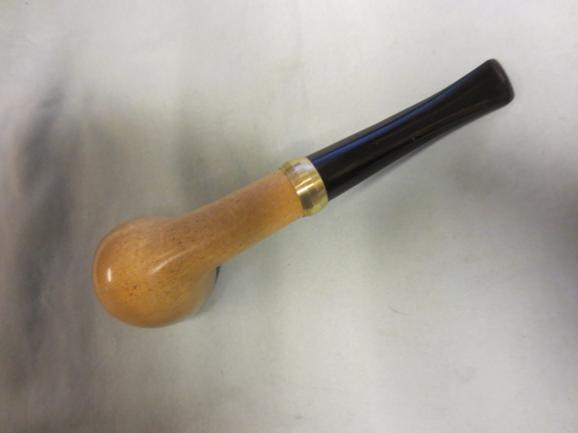
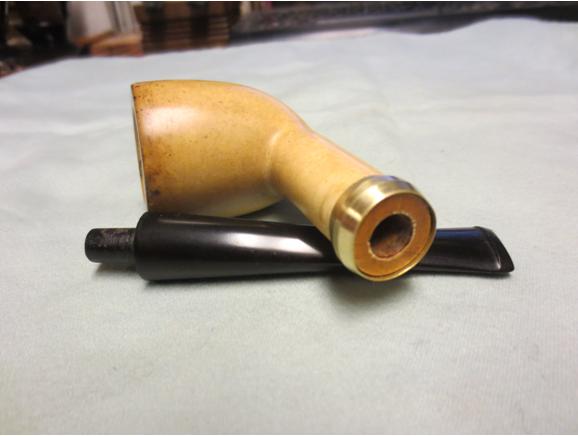
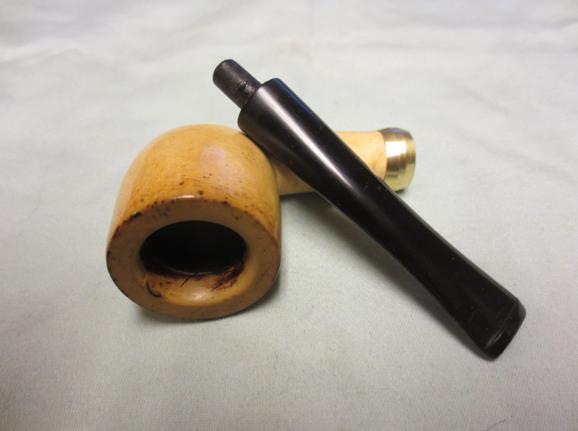
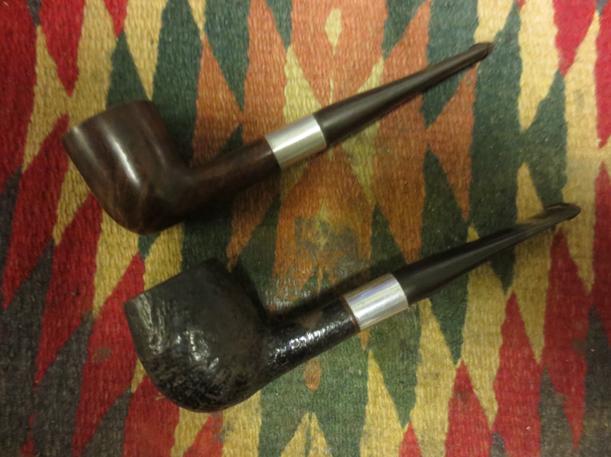
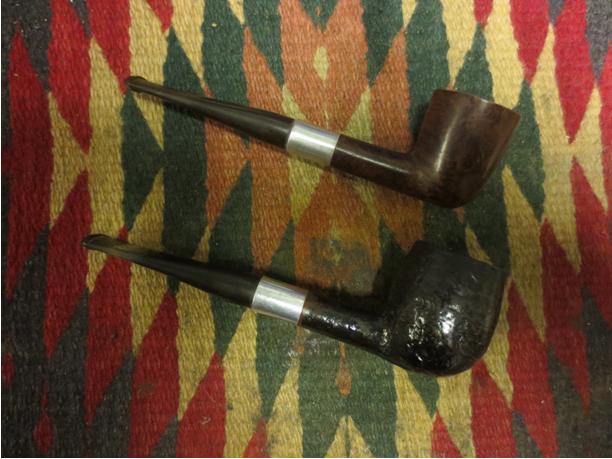
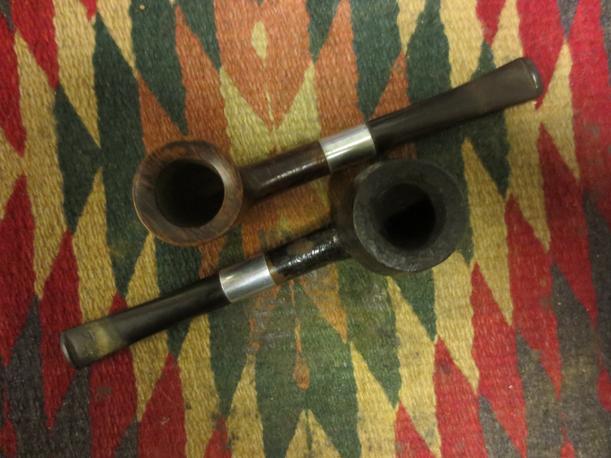
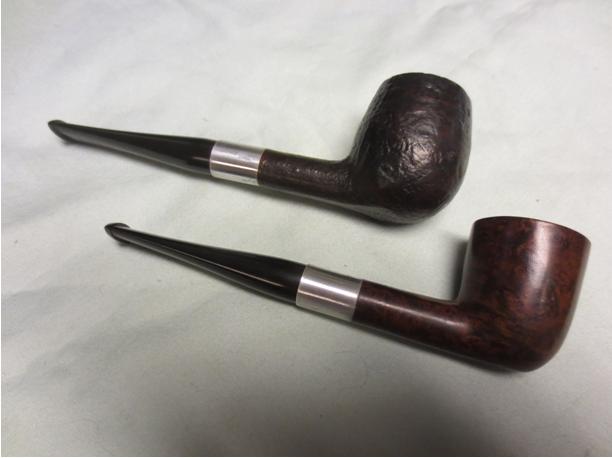
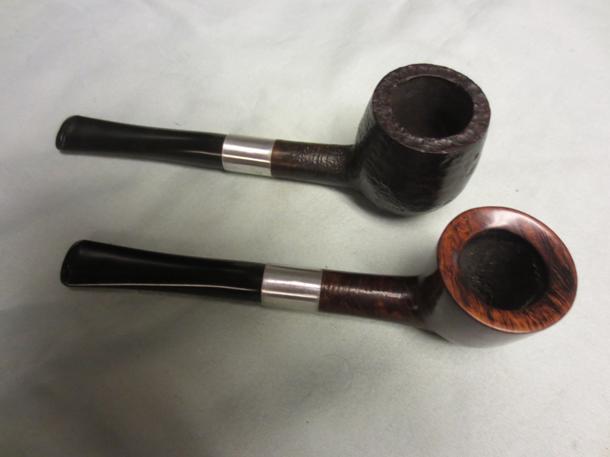
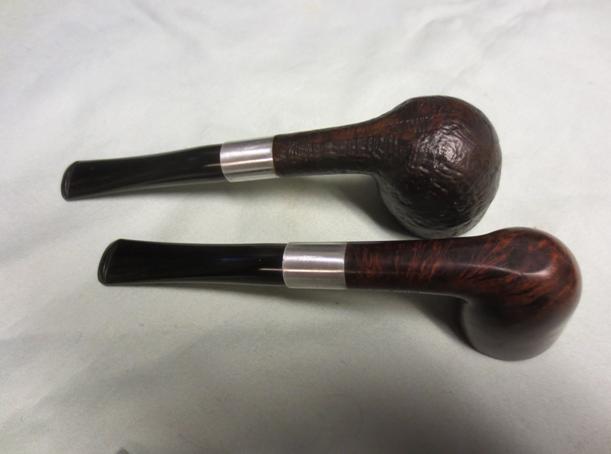
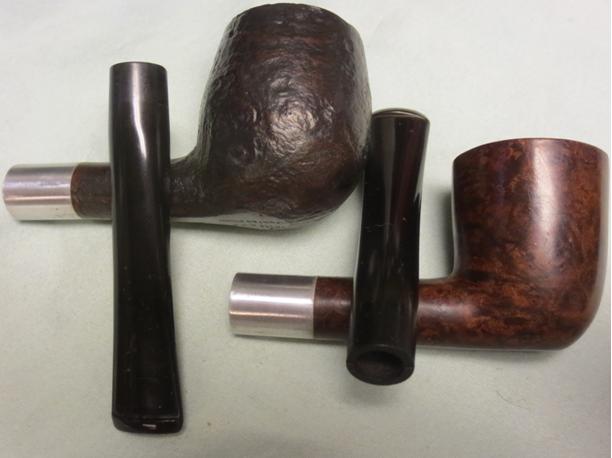
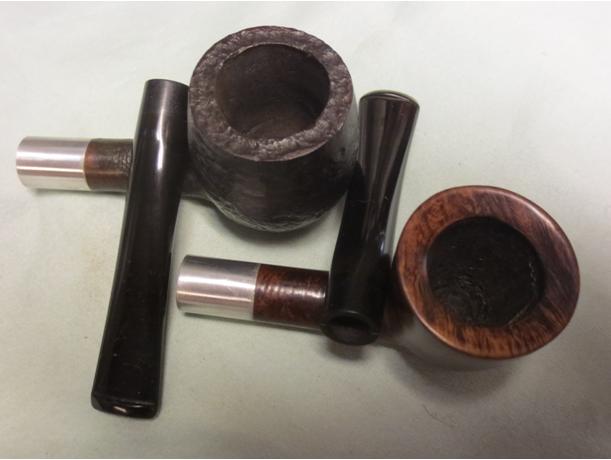
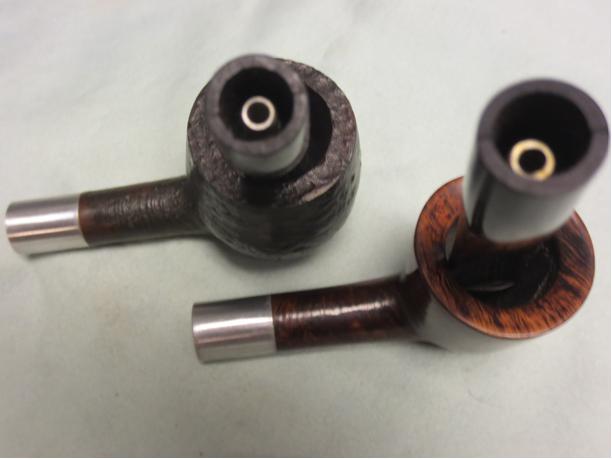
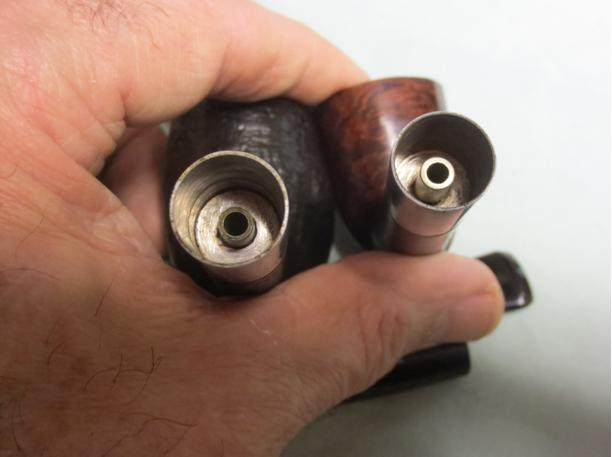
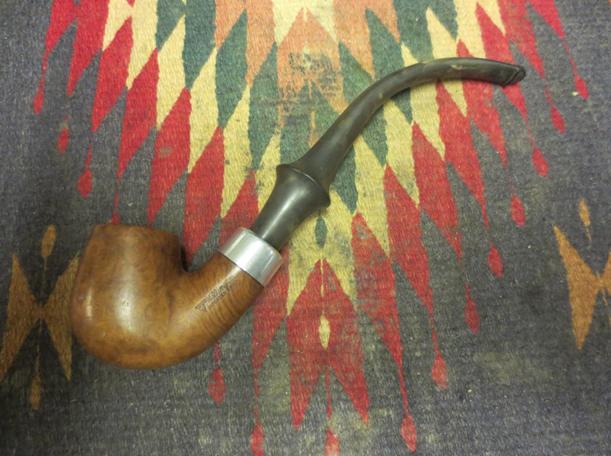
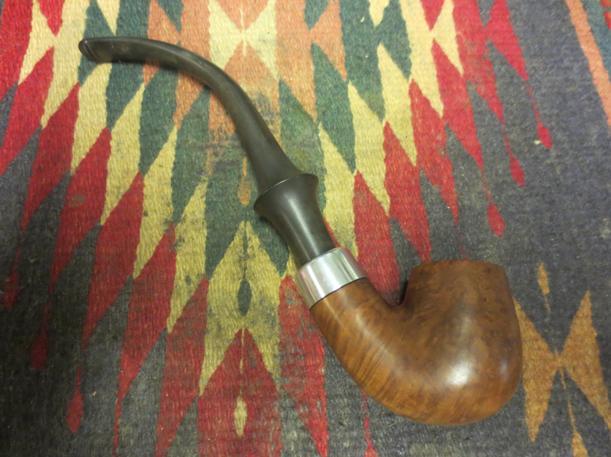
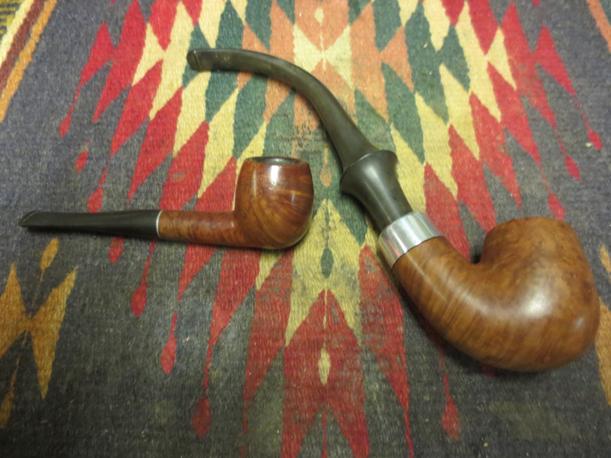
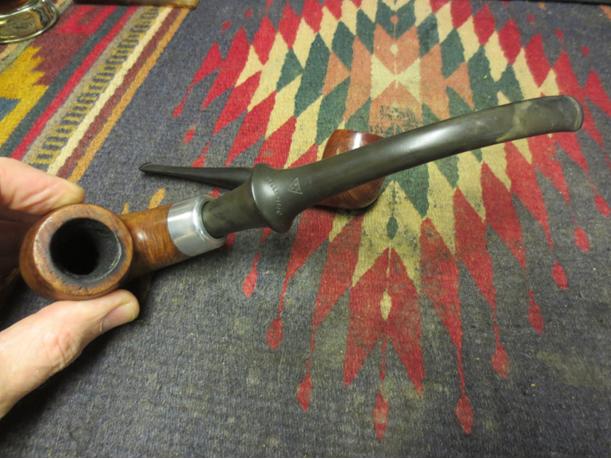
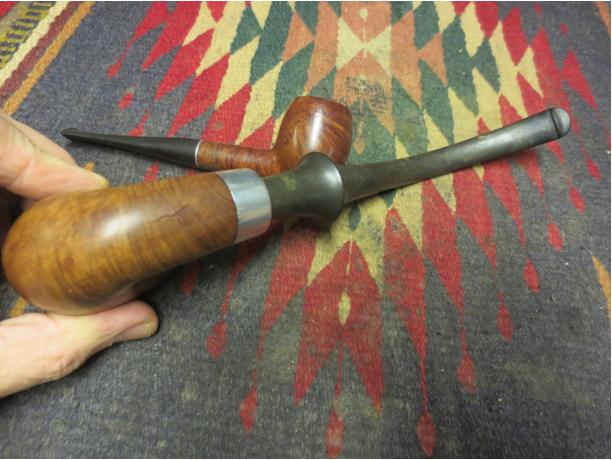
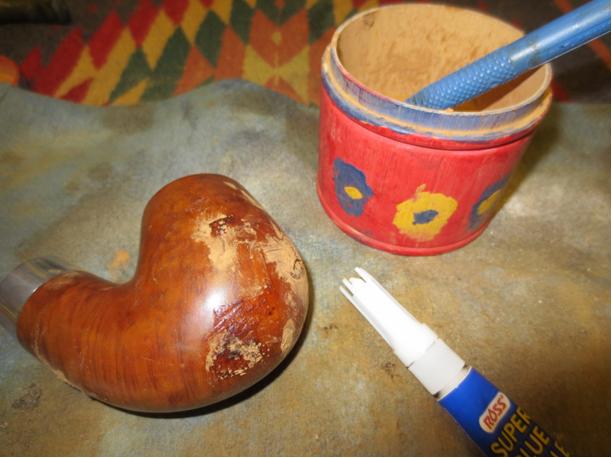
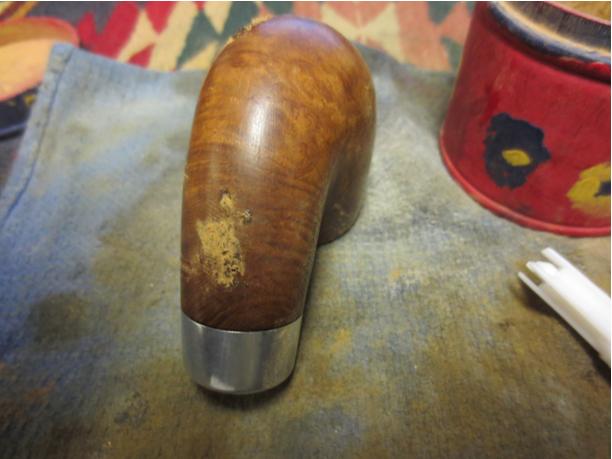
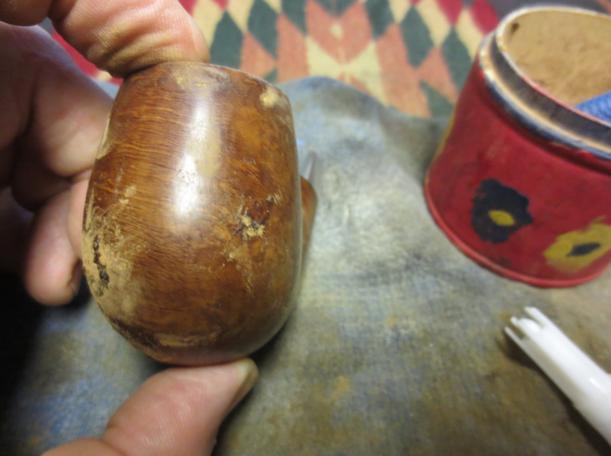
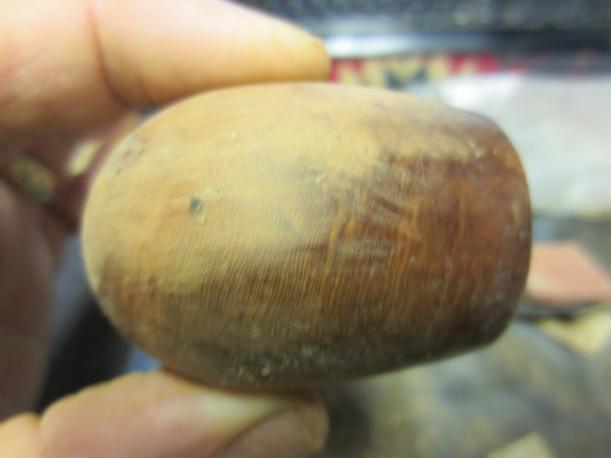
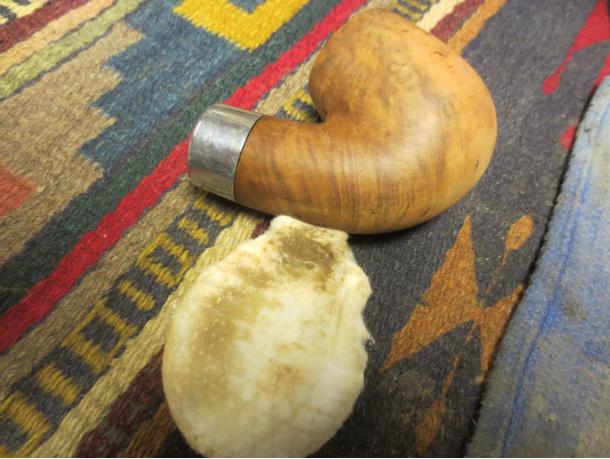
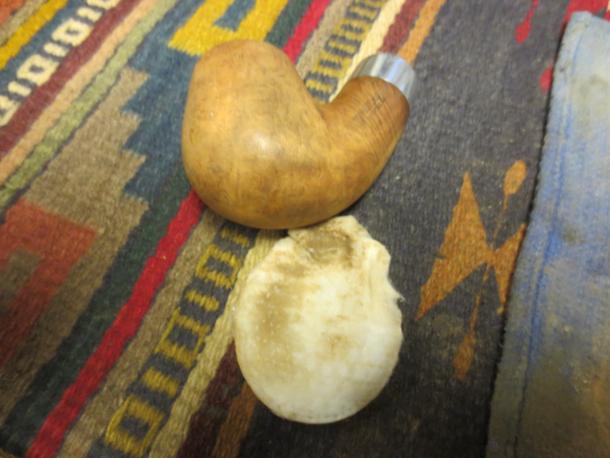
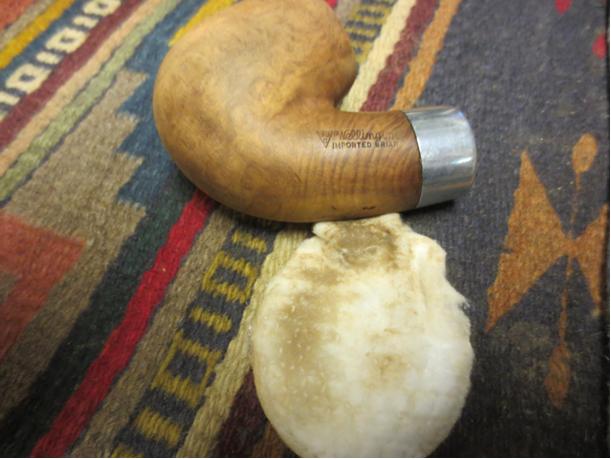
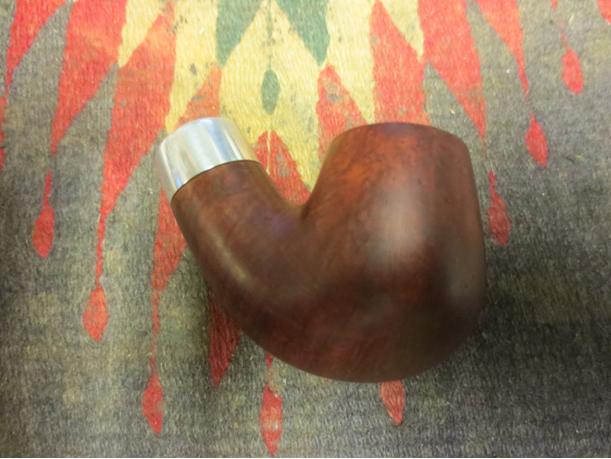
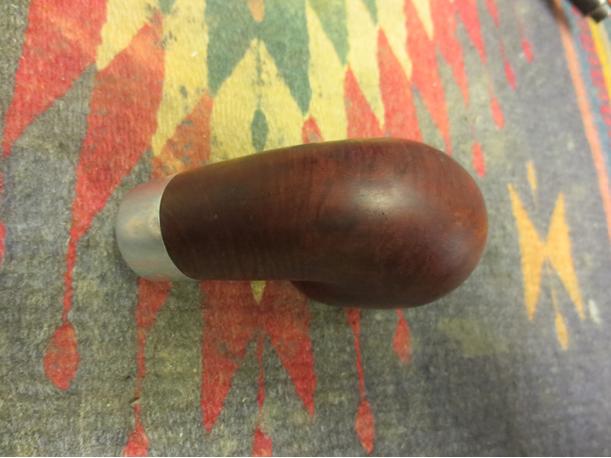
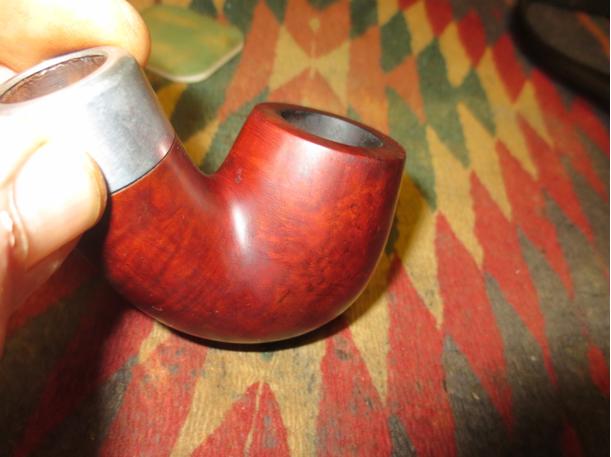
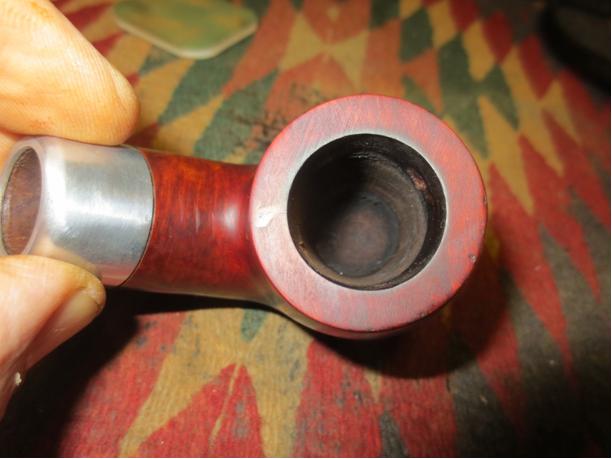
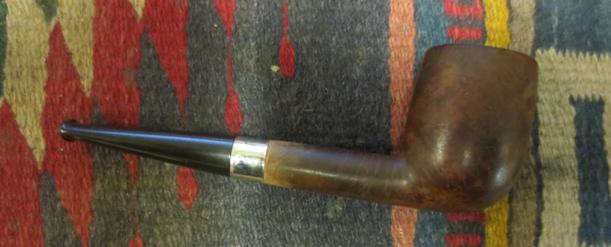
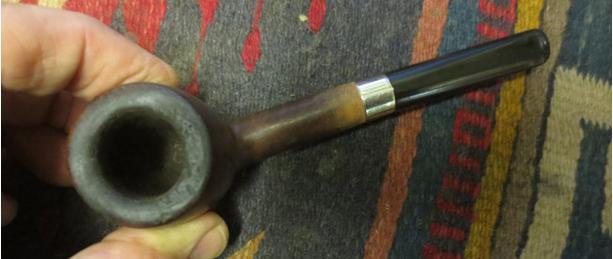
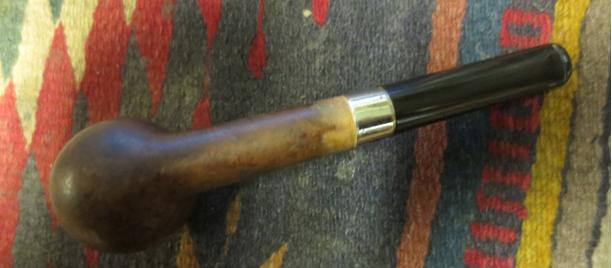
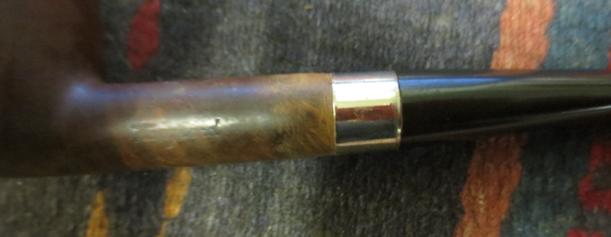
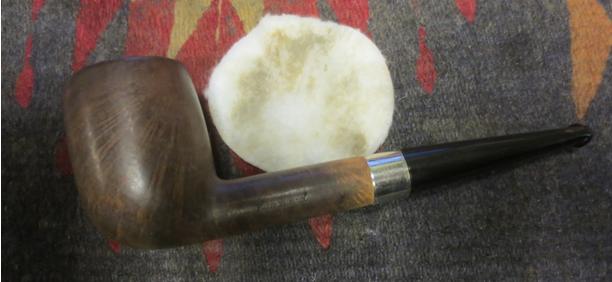
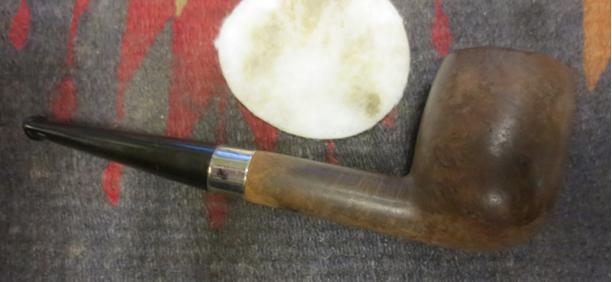
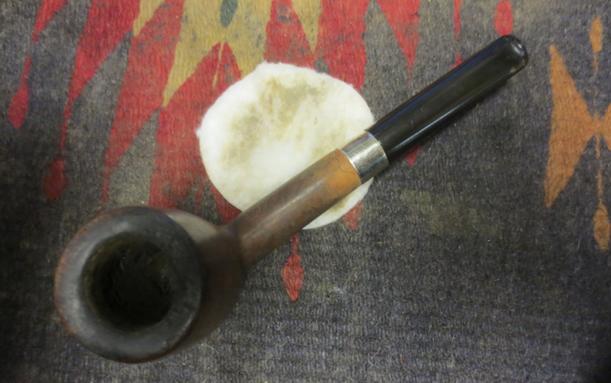
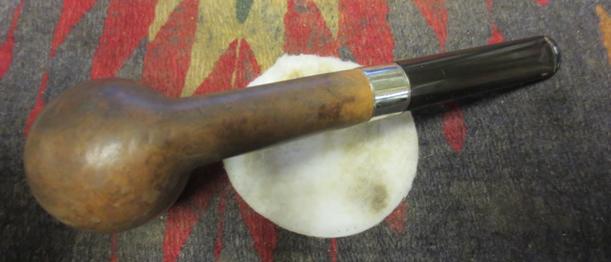
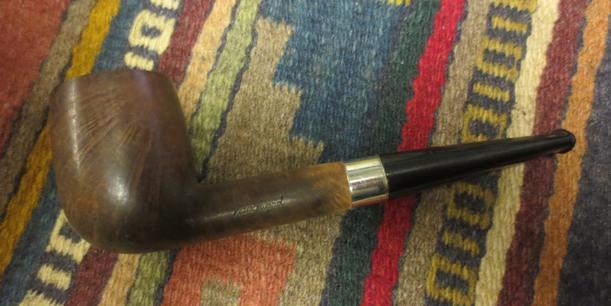
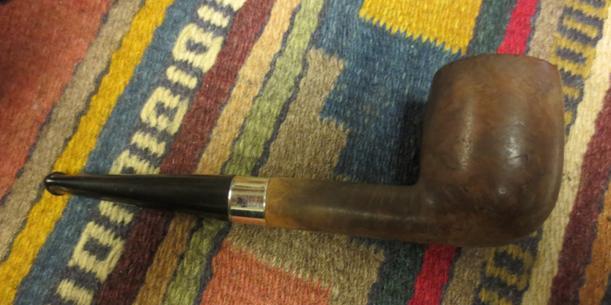
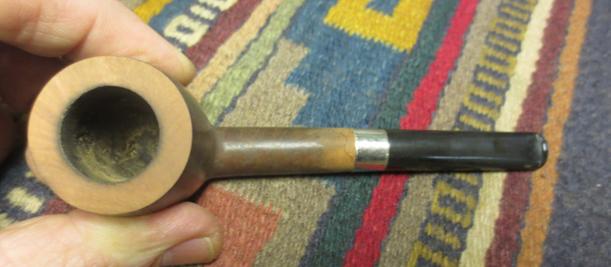
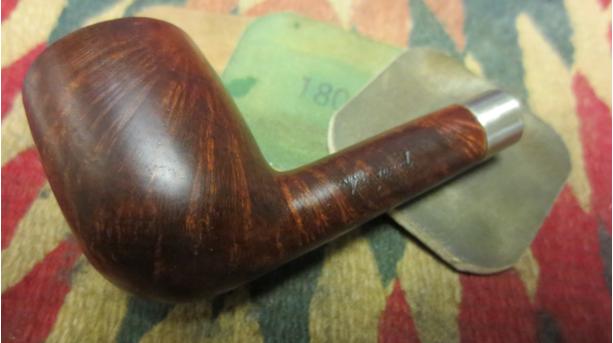
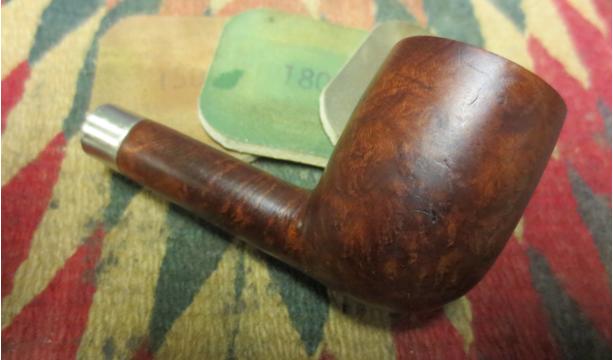
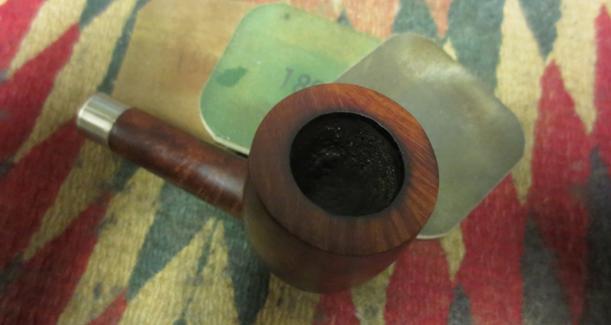
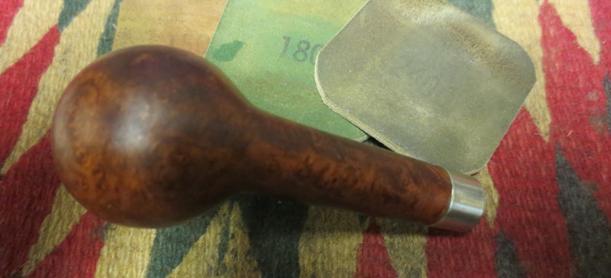
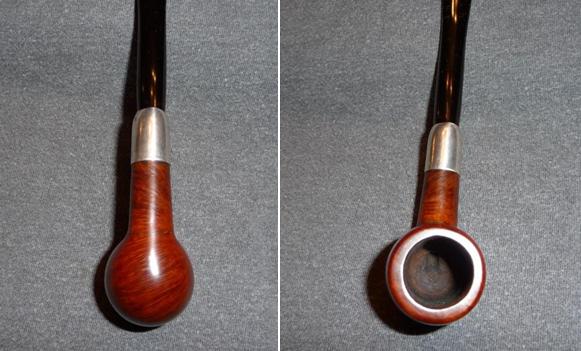
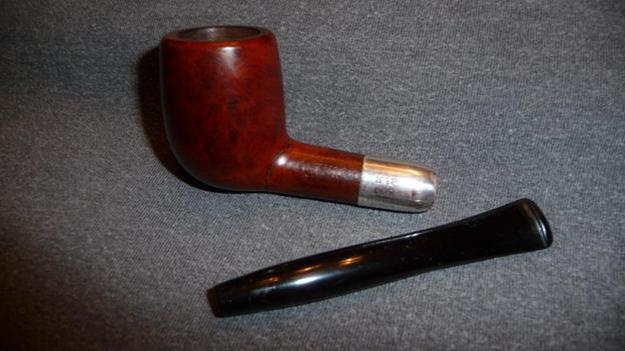
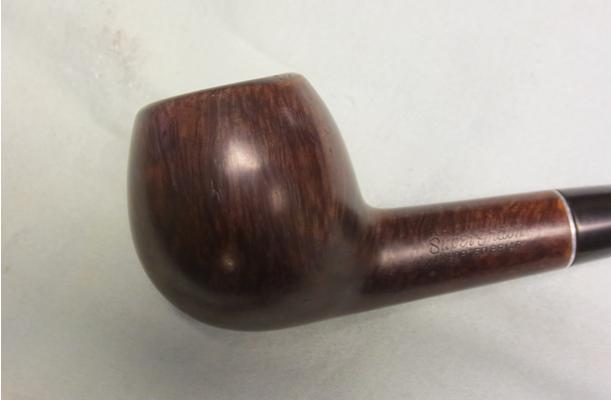
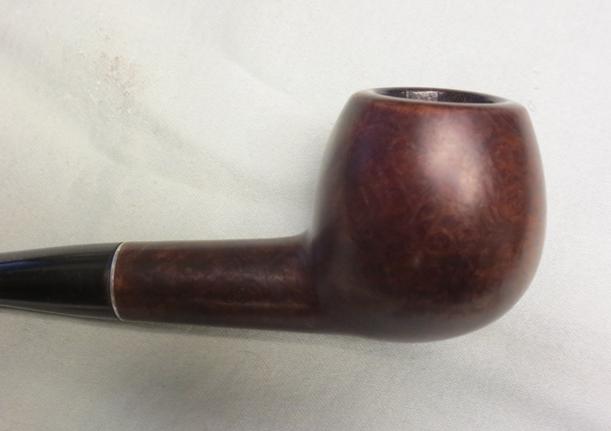
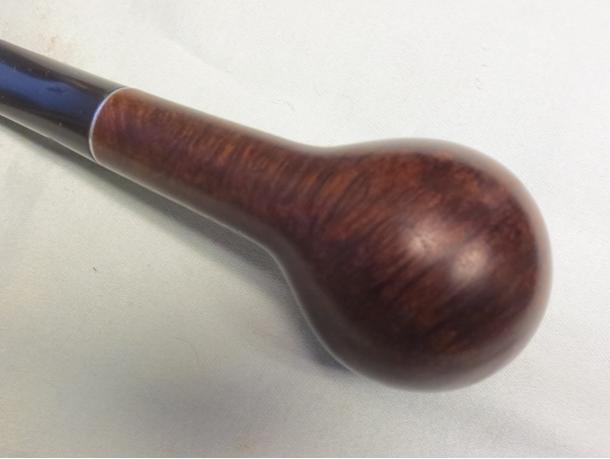
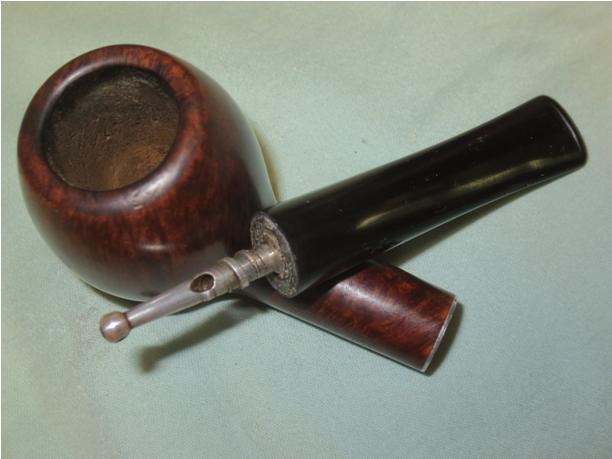
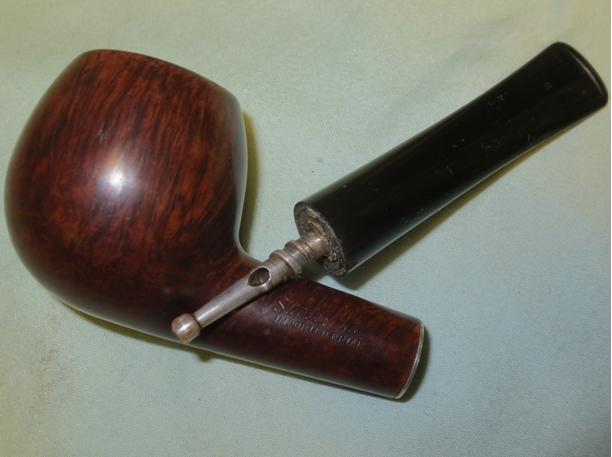
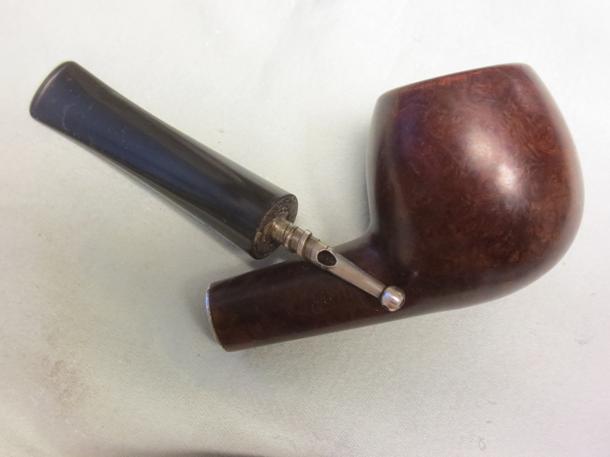
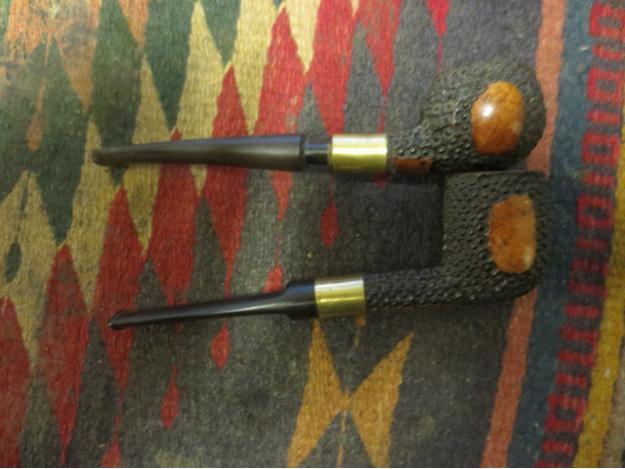
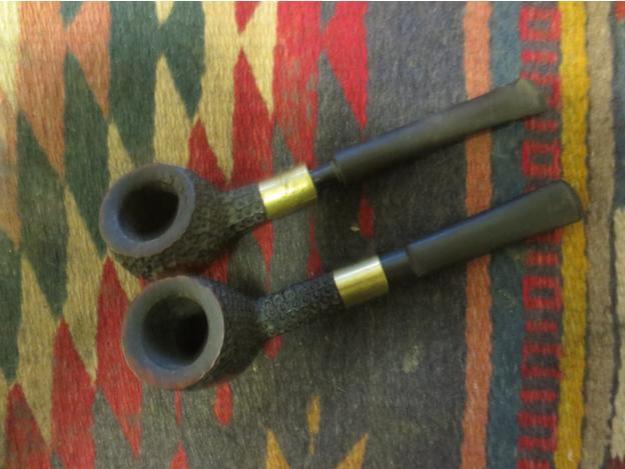
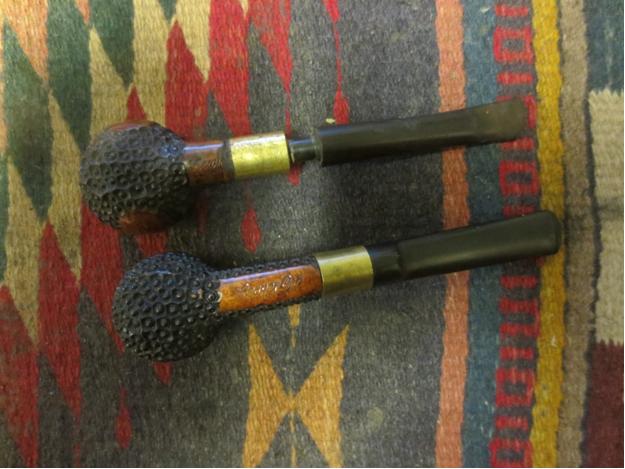
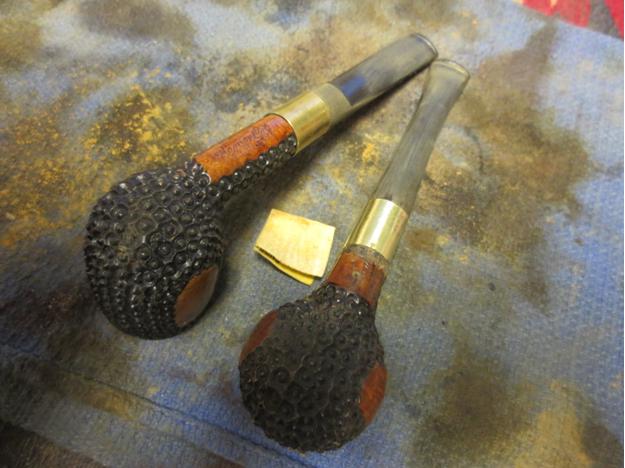
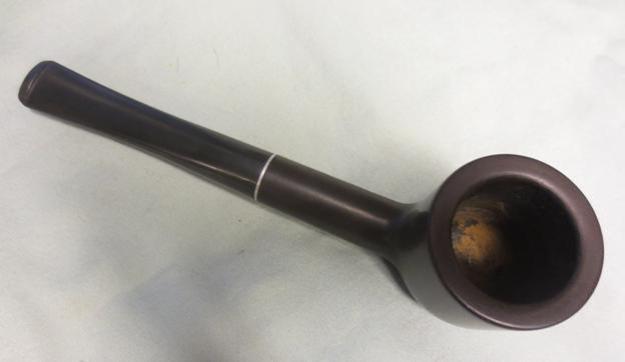
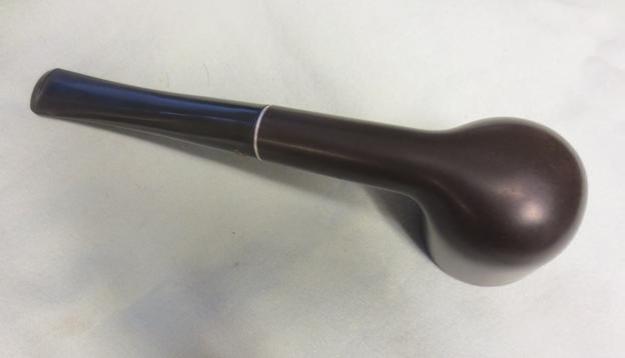
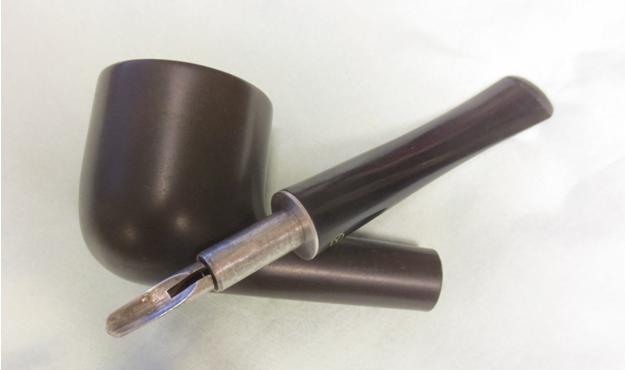
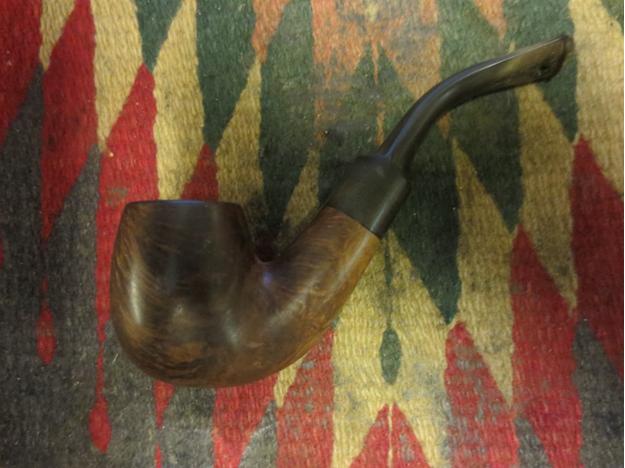
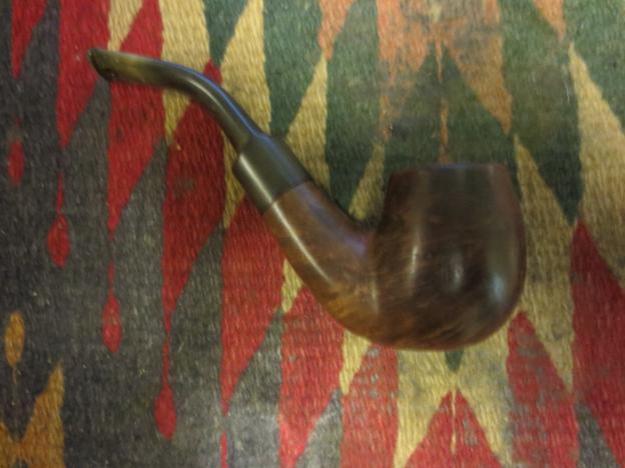
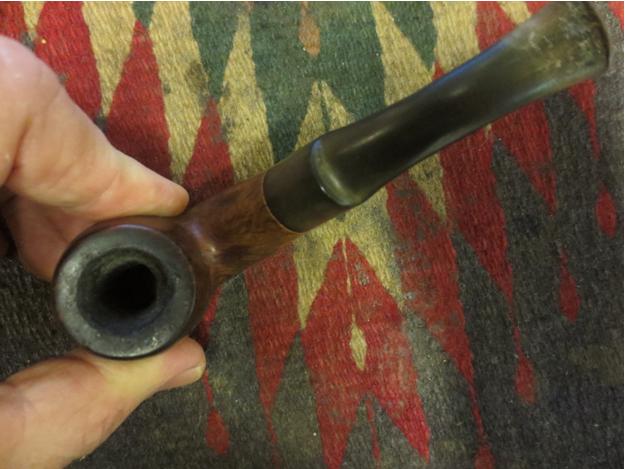
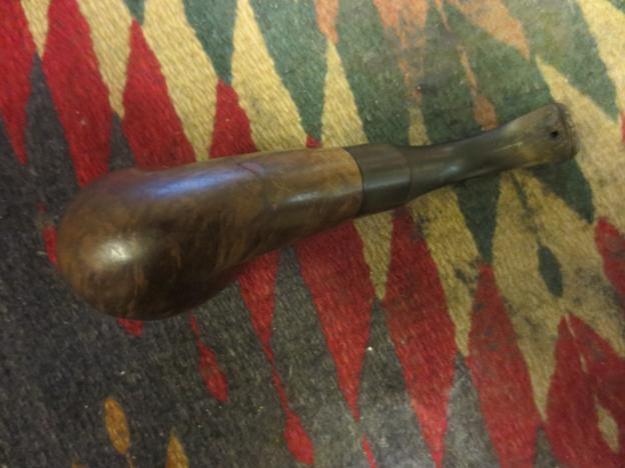
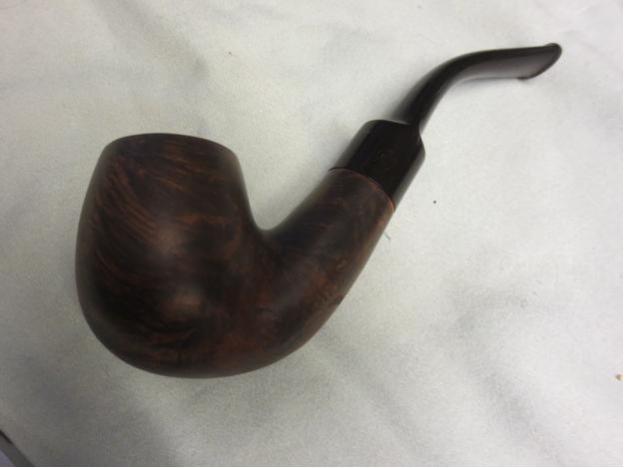
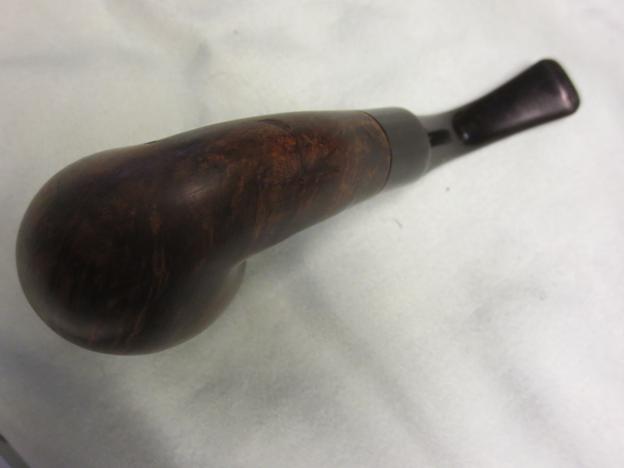
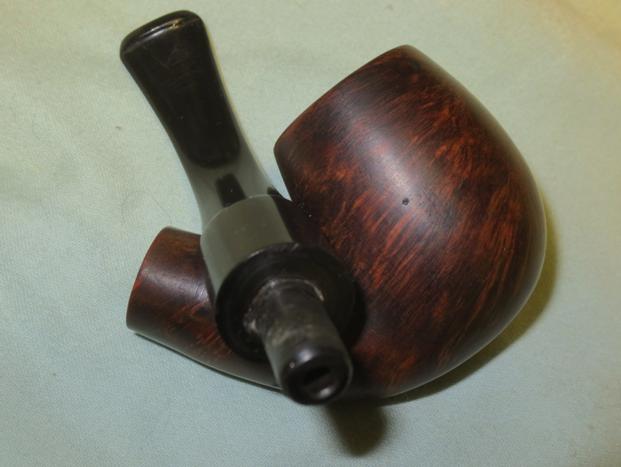
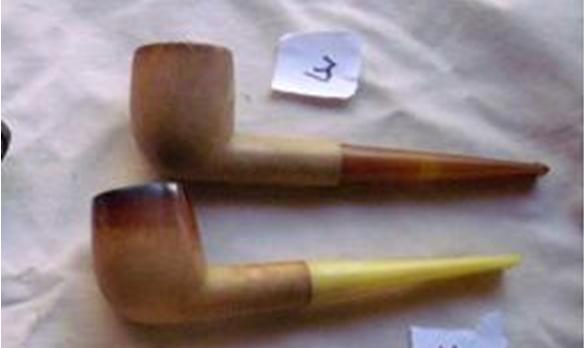
I found these two no name meerschaum billiards on one of the web forums that I frequent. The seller gave me a decent price on the two. The top pipe was older than the bottom one and I chose to work on it first. The stem was Bakelite and had a metal tenon. It did not fit in the shank either in terms of the diameter of the tenon or the diameter of the stem. It fit very loosely and wobbled in the mortise. The stem itself was about 1/8 inch in some places and 1/16 inches in others smaller than the shank of the pipe. The pipe was dirty and in need of some effort to clean it up and restore it. The next three photos show the pipe from different vantage points.Meer1
Meer2

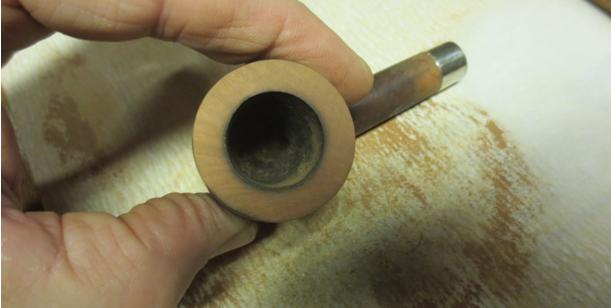
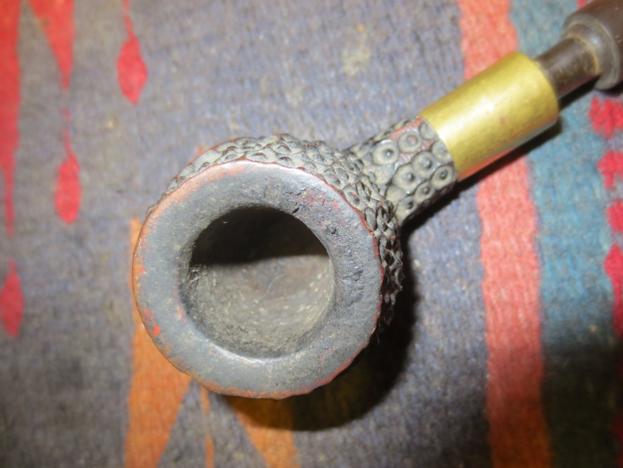
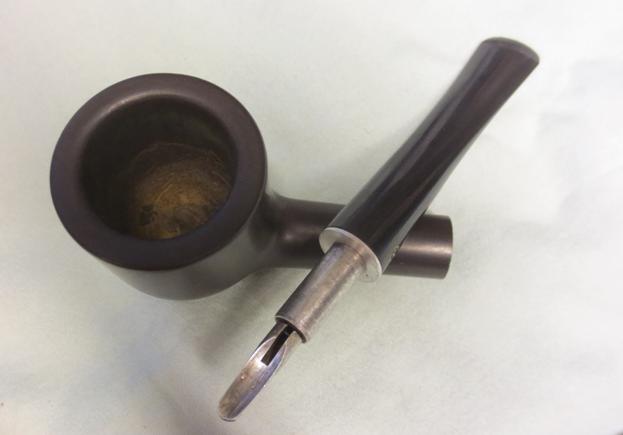
Meer3 Once the pipe arrived I was able to have a clear look at it. The rim on the bowl was tarred and the outer edge was chipped. The bowl surface itself was dirty and spotty looking. It had a light brown patina under the dirt. The tars on the rim ran down the outside of the bowl. The shank also was dirty on the outside. The inside of the bowl had been reamed and cleaned. There was some wax in the bottom of the bowl. The airway entering the bowl was damaged and had been worn upward about ½ an inch to form a trough along the back wall of the bowl. The inside of the shank was clean and still undarkened by smoke. There were no threads or marks on the inside of the shank so I was pretty sure that the original stem had been a push stem. It may even have been a Bakelite stem like the one that had been substituted on this pipe. But I was pretty certain that I was working with a replacement stem and poorly fitting one at that.Meer4

Meer5

Meer6

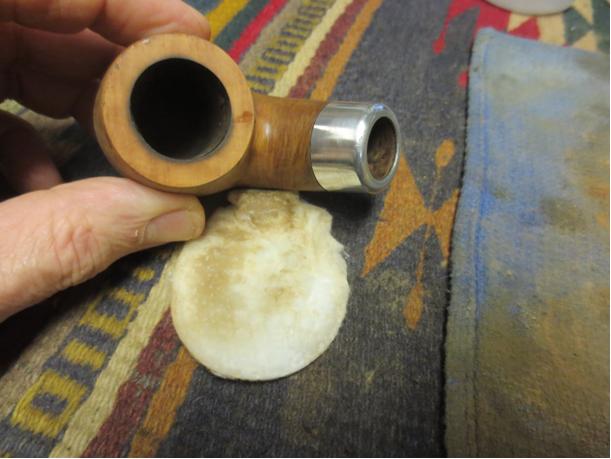
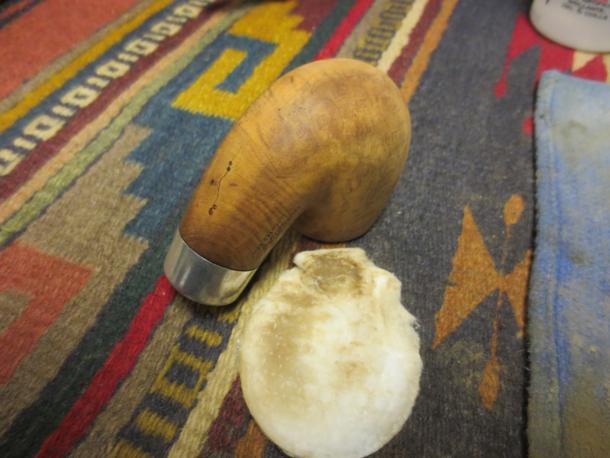
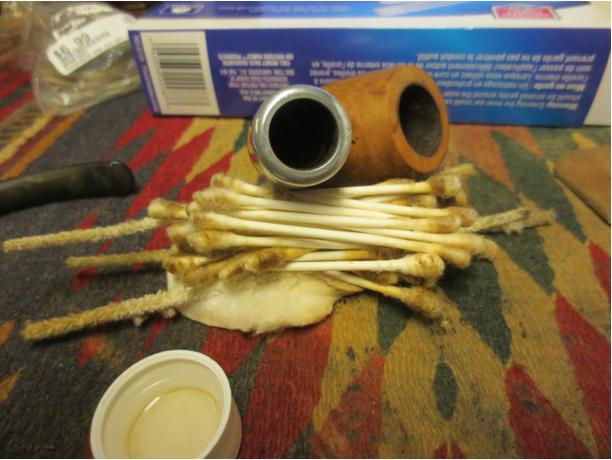
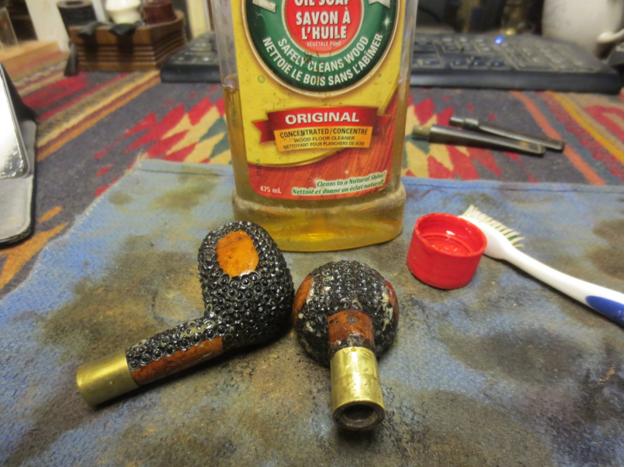
Meer7 The close up photo of the rim shows the rim damage and the damaged airway in the bottom of the bowl.Meer8 The next photo shows the oxidized aluminum tenon on the stem. I thought about adding a coating of superglue to the tenon to tighten the fit but that would not do anything for the diameter issue. I was pretty sure that I would have to restem this pipe to get a good fit on the stem and shank union. In the mean time I cleaned up the bowl. I should have paid attention to my initial thoughts here and just set the stem aside but I did not and would regret it soon enough.Meer9 In the mean time I cleaned up the bowl. I used a medium grit and a fine grit sanding block to remove the tars and deposits on the rim. I scrubbed the bowl with Murphy’s Oil Soap to remove the grime on the surface and leave as much of the patina intact as possible.Meer10
Meer11

Meer12

Meer13

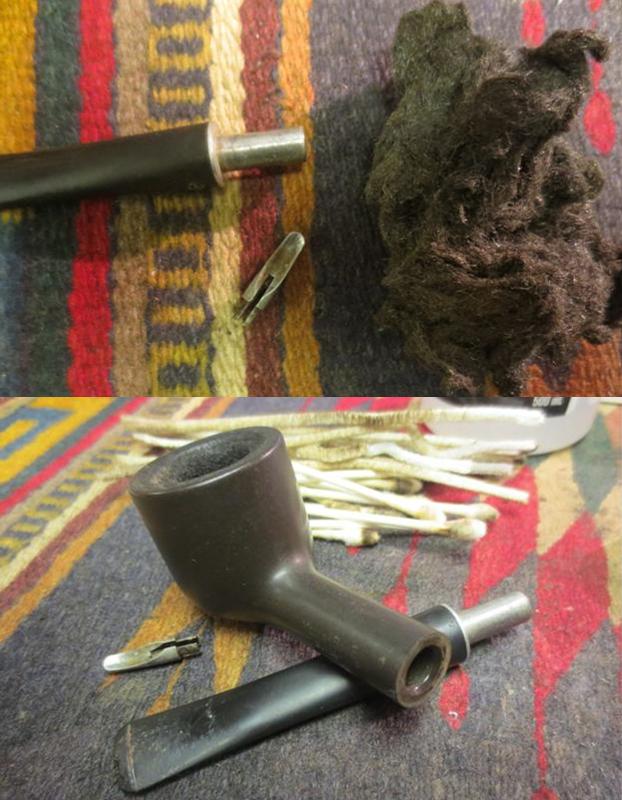
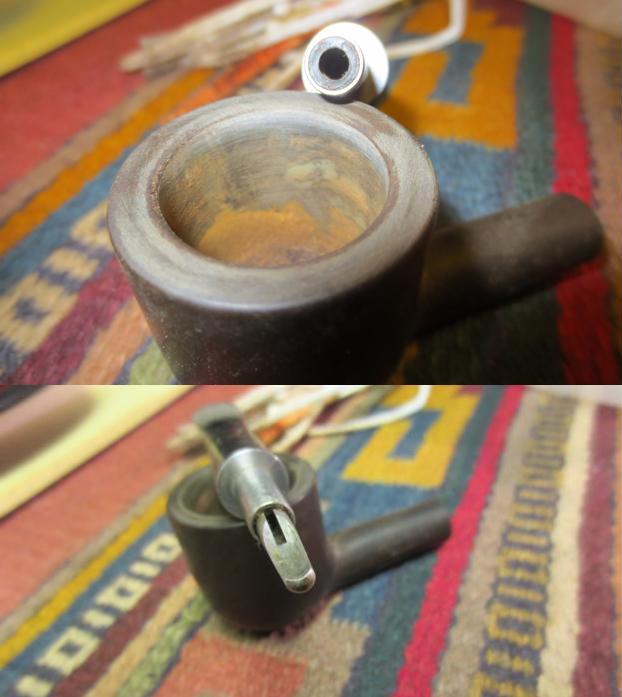
Meer14 I decided to put a coat of superglue on the tenon and see if I could build it up for a snug fit. I should have left well enough alone. Needless to say my “quick fix” did not work. I got the fit correct or what I thought was correct and when I removed it from the shank I heard a popping sound and noticed that I a small chunk of meerschaum had cracked and come out of the shank. I was sick with having broken a chunk out of the shank because I had not gone with my first instinct of cutting a new stem. Now I had made work for myself. I glued the chunk back in place on the shank with some epoxy and then cleaned up the repair so I could band it. I had used some brass pressure fittings on some meerschaum pipes I had restemmed earlier and like the look of them so I found one that was the right diameter for this shank as well. I heated it with a heat gun and pressed it in place on the shank. I covered the majority of the repaired shank and protected it from breaking further.Meer18
Meer15

Meer16

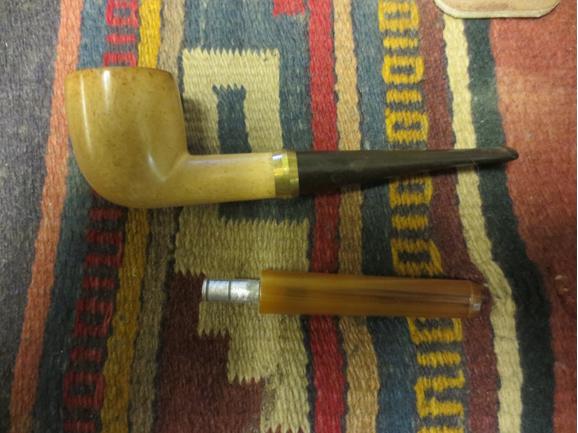
Meer17 I found a stem that was the right diameter for the shank of the pipe in my can of stems. I sanded the tenon to get a snug fit in the shank and put it in place. The photos below show the stem before I had put the finishing touches on it and cleaned it up. They do give a good idea of how the new stem will look with the band.Meer19
Meer20

Meer21

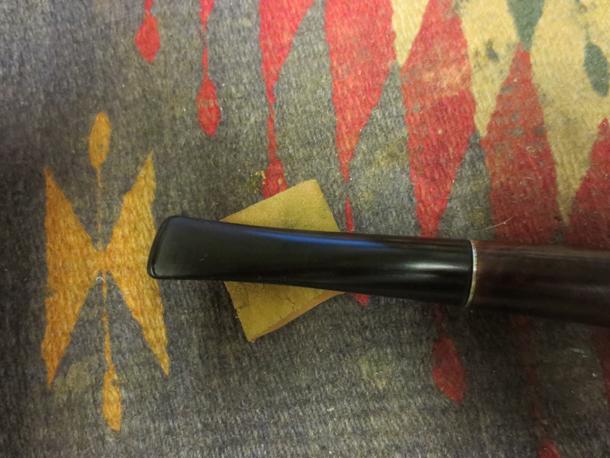
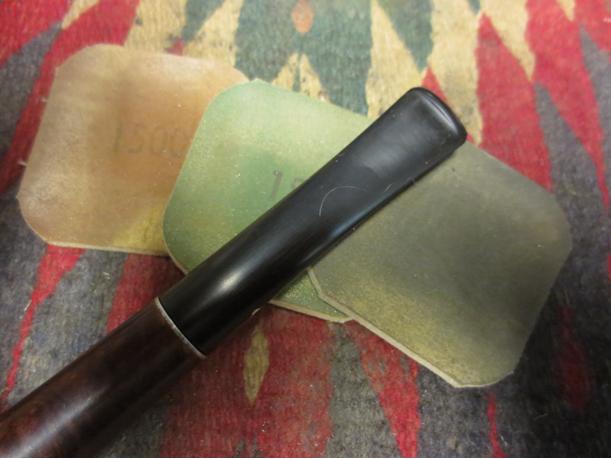
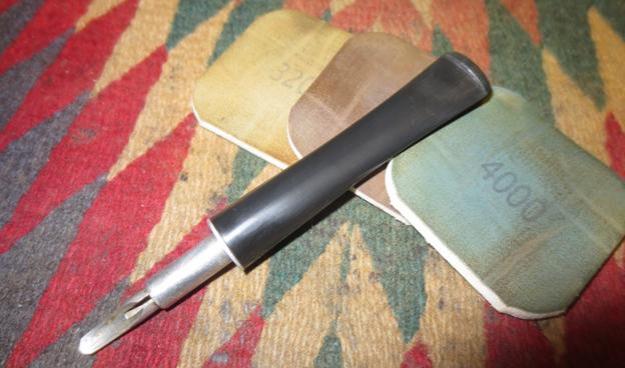
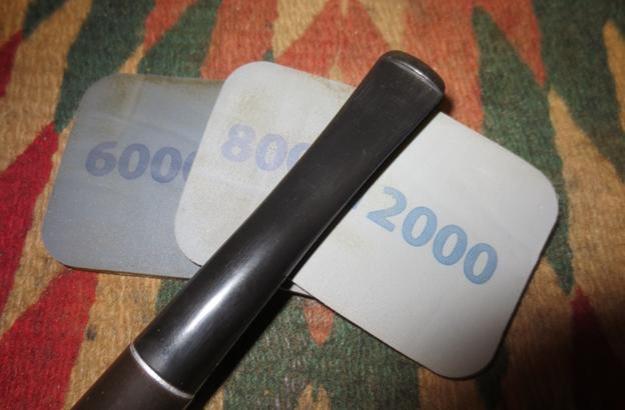
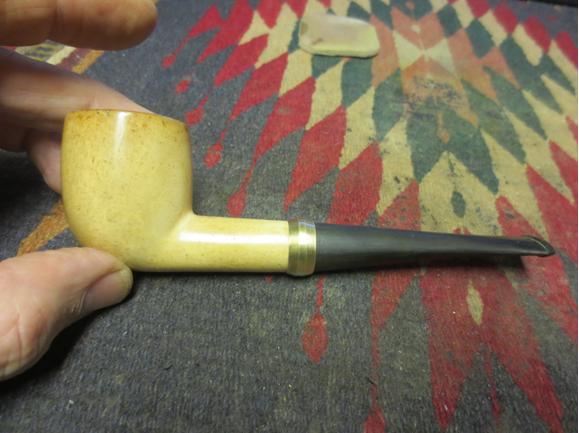
Meer22 The stem style is wide at the button and more tapered than the one that had probably graced the pipe originally but I liked the new look of it. I sanded it with 220 grit sandpaper to remove the tooth chatter and tooth marks at the button. I also sanded to remove the oxidation. I sanded it with a medium and a fine grit sanding sponge. I sanded the bowl with micromesh sanding pads- 1500-12000 grit and polished it by hand.Meer23
Meer24

Meer25

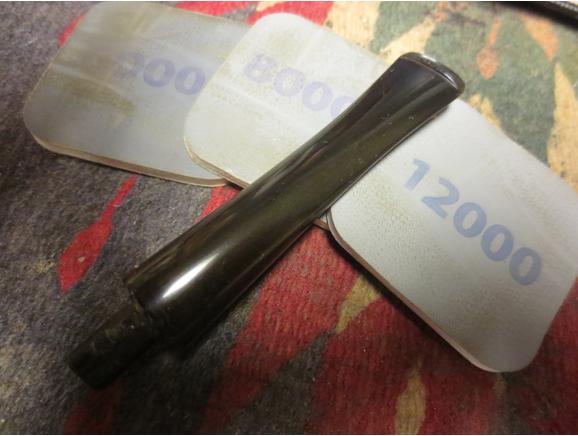
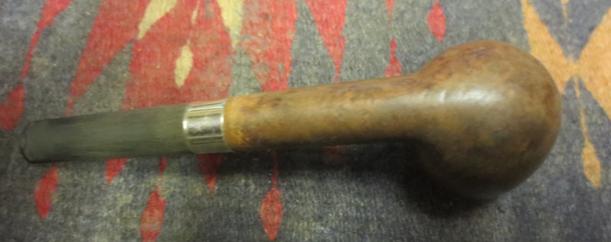
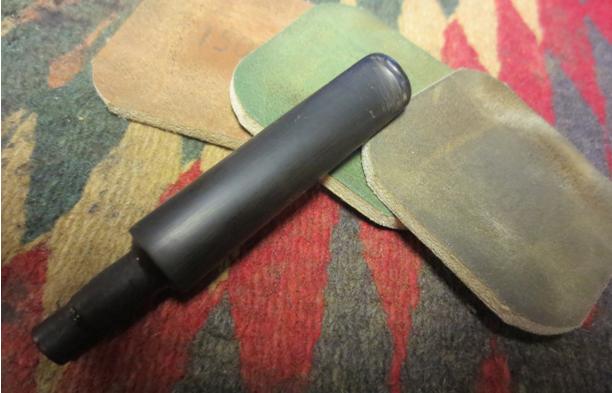
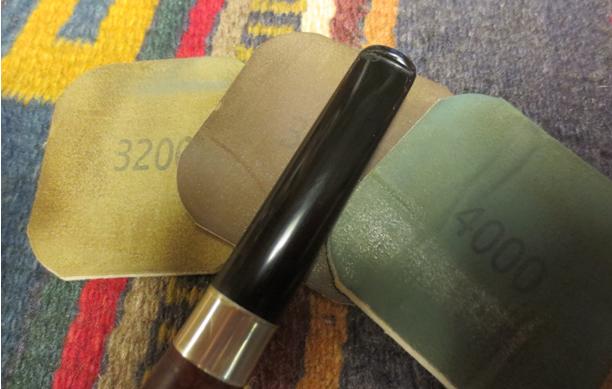
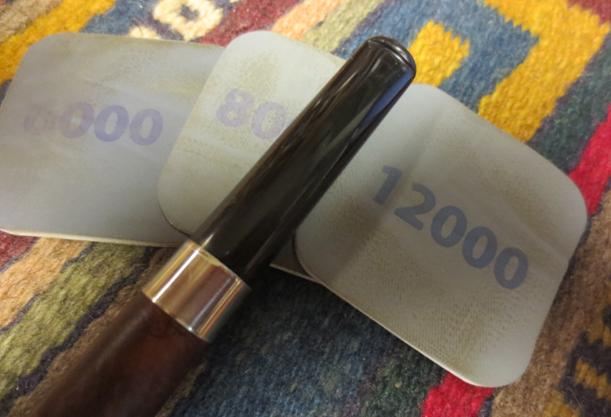
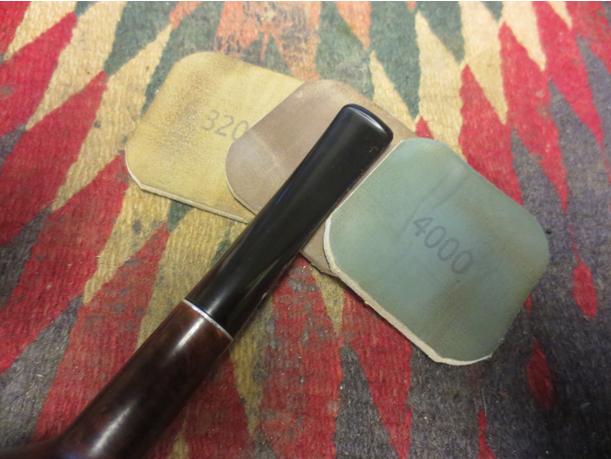
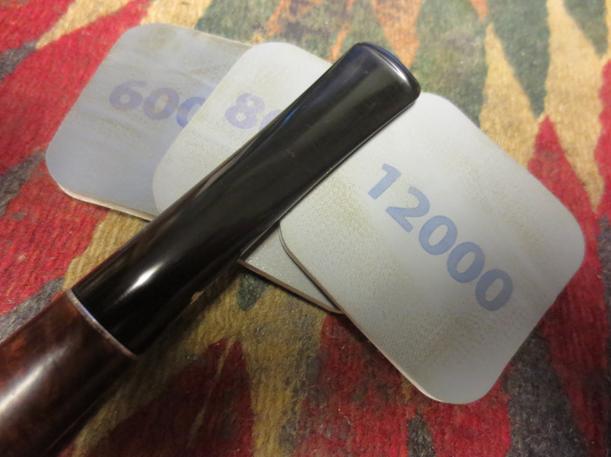
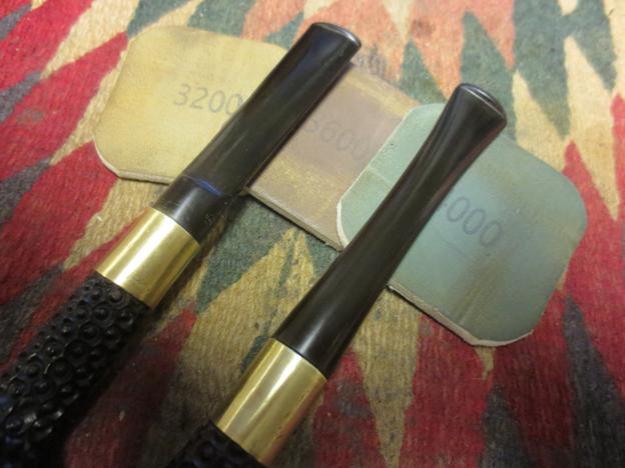
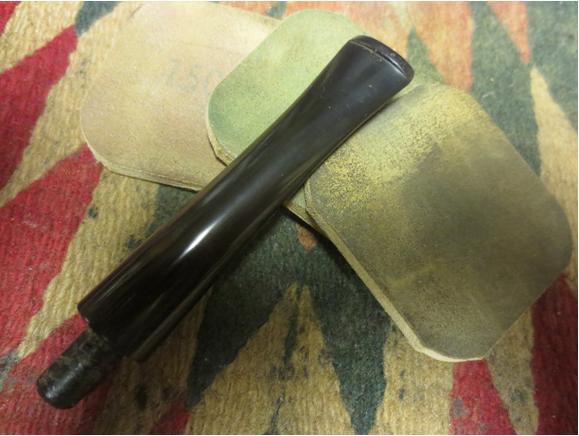
Meer26 I sanded the stem with micromesh sanding pads – wet sanding with 1500-2400 grit sanding pads and dry sanding with 3200-12000 grit pads. I rubbed the stem down after each set of three pads with Obsidian Oil and then kept sanding. When I finished with the 12000 grit pad I gave it a final coat of oil and let it dry.Meer27
Meer28

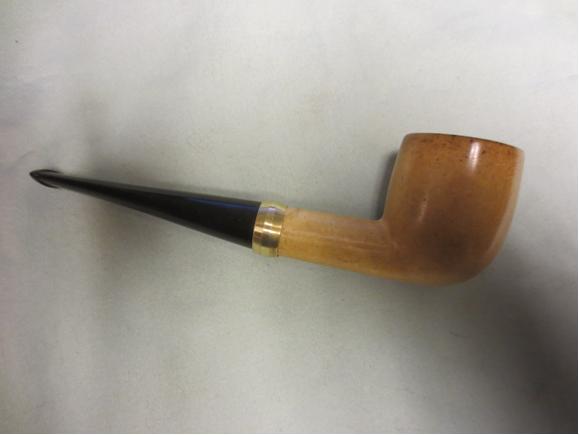
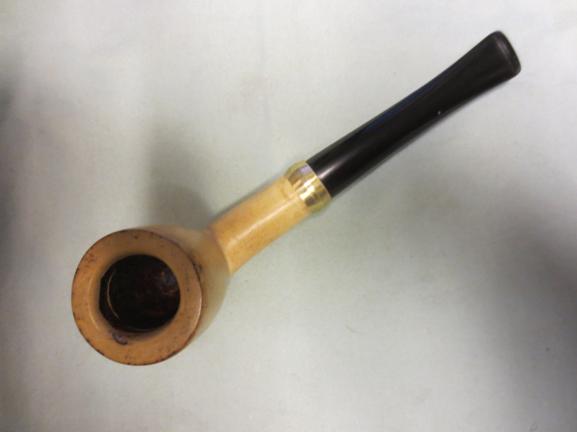
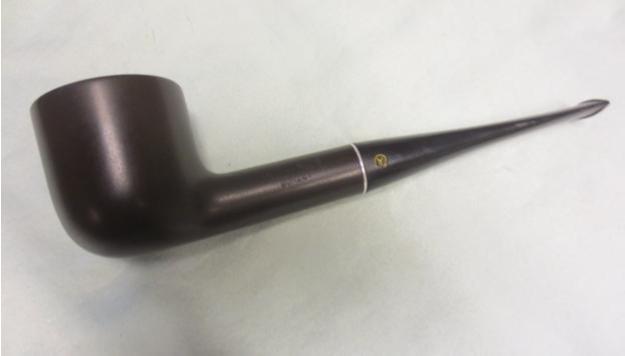
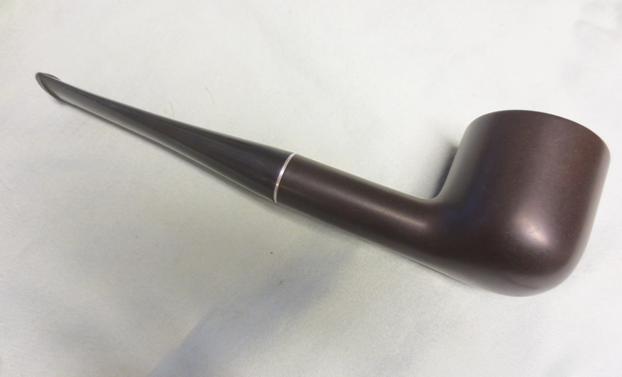
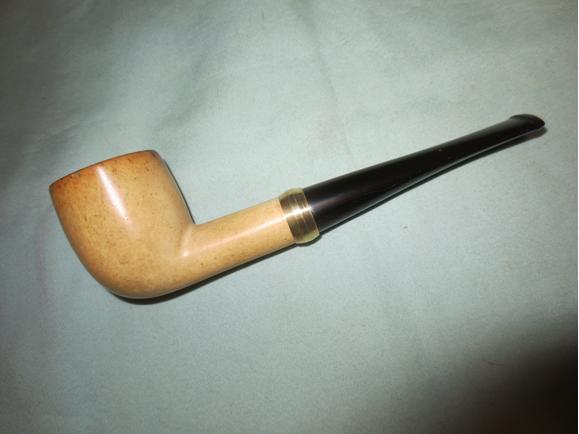
Meer29 When it was dry I buffed the stem with Blue Diamond on the buffing wheel until it shone. Then I gave it multiple coats of carnauba wax and buffed it by hand with a microfibre cloth. I gave the bowl several coats of white beeswax paste that I have here and then buffed it as well. The finished pipe is shown in the photos below. I am actually happy how the finished pipe turned out. The issues that arose during the clean up worked out better than I had expected. For that I am thankful.

The meer polished up nicely and the spotty brown colouring was a nice contrast with the brass and the black vulcanite. I like the look of the band on the shank and only wish that I had not cracked the shank and made it necessary and not just cosmetic. Ah well it is nearly invisible and it will still give a good smoke. I need to figure out some way to repair the airway on the inside of the bowl. I am still puzzling over several options but will probably use a natural plaster of Paris to build up the groove on the back wall of the bowl. Time will tell. I will add that repair to the end of this blog once I decide how to do it. Thanks for looking.Meer30
Meer31

Meer32

Meer33

Meer34

Meer35

A Pair of Millard Perfect Pipes – A Sandblast Apple and Dublin


Blog by Steve Laug

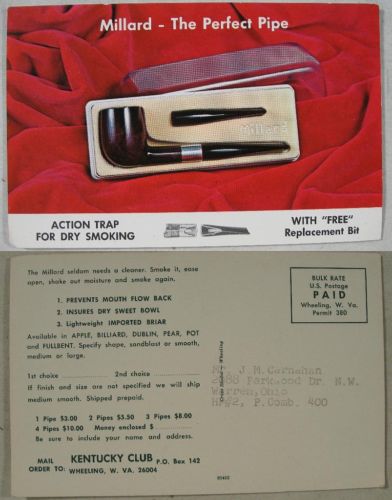
When I came across the Millard – the Perfect Pipe coupon in the two boxes of Kentucky Club that I found I was fascinated with the look of the pipe. It reminded me of the Keyser Hygienic pipes that I had restored over the years. The stem that fit into the metal mortise shank insert and the tubes on the inside of the stem and the shank were similar. While the Keyser tubing in the shank looked identical the one in the stem was different. Keyser was directed downward while the Millard was two straight tubes that met in the mortise. They did not touch but the metal chamber became a condensing chamber, or as they call it an Action Trap, for the smoke and collected the moisture before it continued through the tube in the stem. I looked up the brand online and found the following advertisement postcard that shows the way the system works. I found that the stems were interchangeable between the shapes that the pipe came in. The straight stems could be easily transferred from pipe to pipe. In fact the pipe originally came with an extra or replacement stem. The pipe came in a sandblast and a smooth finish in six shapes – apple, Dublin, billiard, pear, pot and bent. It came in two sizes: medium or large. In the advertisement below you can see that the pipe cost $3. I also found that Mastercraft supplied the pipes through the coupon sales. Knowing a bit of history about the company I know that they did not make pips so they were sourced from the original manufacturer.Millard1I mentioned in the Kentucky Club Blog that I would love to get my hands on one of these. I received a comment from one of the readers, Pam who offered to send me one. She had picked one up in a lot of pipes she was working on restoring. I could have it. I thanked her and she sent me the following photos of the pipe. It is a little (or what Kentucky Club called Medium in the advertisement above). It was a sandblast apple. It was in decent shape and would clean up quite nicely. The finish was spotty and the stain was lightened and missing in some spots. The rim had some buildup of tars. The cake was quite thick. The inner rim edge was out of round. The stem was oxidized and had some calcification in front of the button.Millard2

Millard3

Millard4 While I awaited the arrival of Pam’s gift I took a look on eBay and found that the pipe that I had pictured in the Kentucky Club Blog was for sale. The seller wanted $12 for the pipe. It was a Dublin shaped pipe with a smooth finish. It looked to be a Medium sized Millard as well. On a whim I put a bid on it and won. The seller said that it was restored but my past experience with these kinds of sales made me pretty certain that all that it meant was that it was polished. Now I went from no Millard pipes to two in a matter of days. The photos that follow were from the seller. The pipe looked sound. The finish was pretty decent though there were ripples and dents on the bowl sides. The beveled rim was not clean and there were still spots where the tars had been left and polished. The inside of the Action Trap was dirty with tars and oils. The stem had some tooth chatter and dents. Once the pipe arrived I would have a better idea of what I had to work with on this one.Millard5

Millard6

Millard7

Millard8

Millard9

Millard10 Pam’s gift pipe arrived first. It was a beautiful smaller sized apple (even though the advertising from Millard called it a Medium). The length was 6 inches. My original assessment from the photos proved to be pretty accurate. The finish was worn but the sandblast was quite nice – shallow but still tactile. The light spots on the top of the shank were spots where the finish was gone but the blast was still present. The cake was thicker than I thought it would be, particularly in the bottom of the bowl. The bowl was more out of round than I had guessed and had a burn spot on the back middle inner edge that contributed to the misshapen inner edge. The tar build up was deep and there appeared to be a burn spot on the top of the rim at the front right side. The inside of the shank, the Action Trap, was dirty and had tar, oil and tobacco shellac. The airway was tight and constricted when I blew air through it. The stem was oxidized and under the calcification there were some deep tooth marks and cuts that would need to be addressed. The inside of the stem has a chamber with the tube in the middle and that area was dirty with tars and oils. The airway was constricted even more than the one in the shank. I was pretty sure that something was clogging it and causing the constriction. The slot had been reduced by half with the buildup of grime.

The second pipe arrived at my home a short time after Pam’s. It too proved my original conjecture about the concept that some people have of what “restored” means. This pipe had been given a light polish on the briar and the stem. The polish had merely wiped over the dents, dings and scratches on the briar. There were ripples along the top of the shank. The rim still had spots of tarry buildup that had been polished and there were scratches from what looked like a quick scrub with a coarse scrubber. The bowl had a slight ridge around the inside just below the rim from an incomplete reaming. The inside of the Action Trap was dirty and the oils and tars had hardened. The airway was constricted and dirty and the opening in the bowl bottom was plugged with grit. The aluminum mortise insert was oxidized and dull. The stem was oxidized and there were ripples in the surface from where someone had either buffed hard or tried to remove tooth chatter or tooth marks. The inside of the stem chamber was dirty with tars and oils and the inside of the stem looked as if it had never seen a pipe cleaner. So much for the term “restored”.

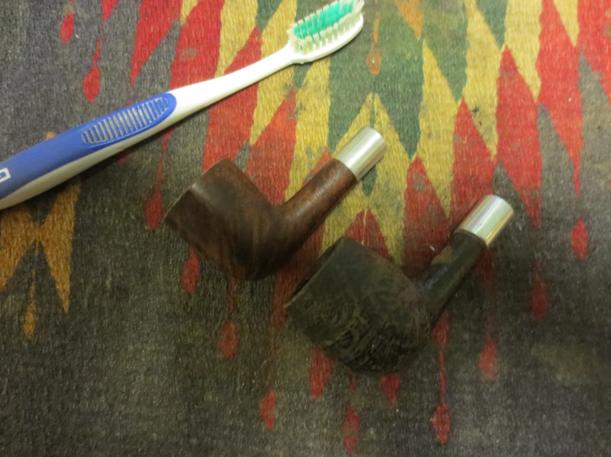
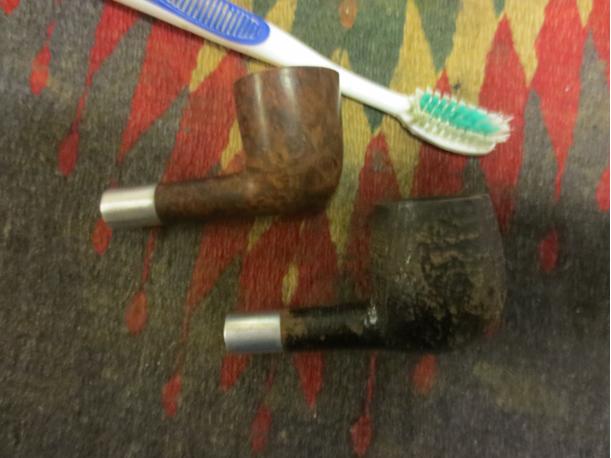
I decided to work on both pipes at the same time so that I could compare the internals and the briar on them. It would be a fun project to do them both together and watch the truly restored pipes emerge from the tired pipes that had arrived at my work table. The next four photos show the pair together.Millard11

Millard12

Millard13

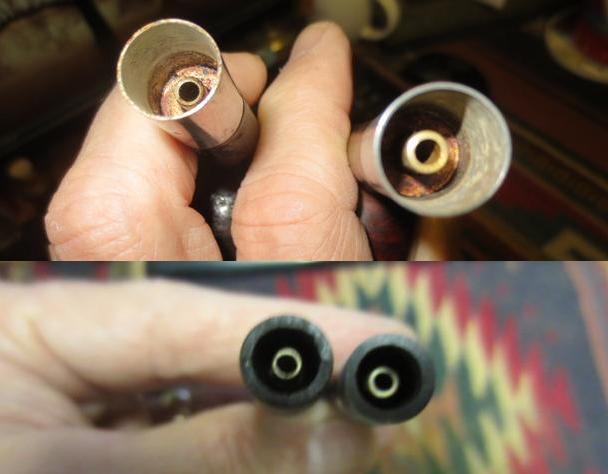
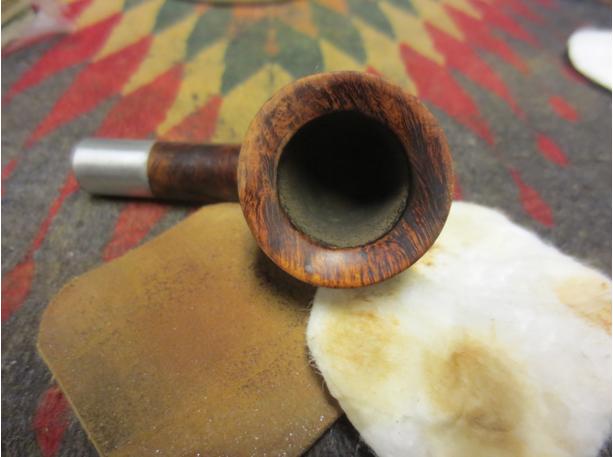
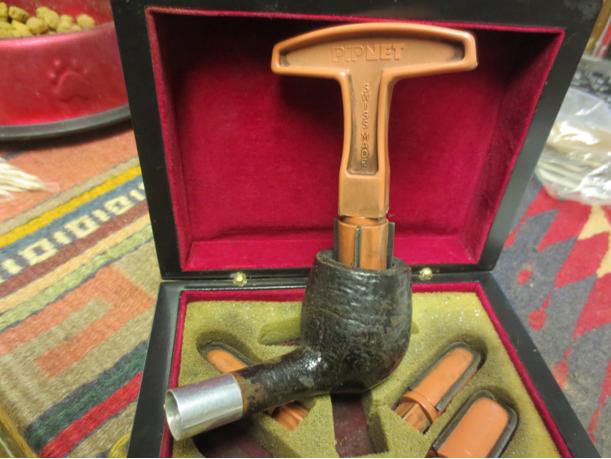
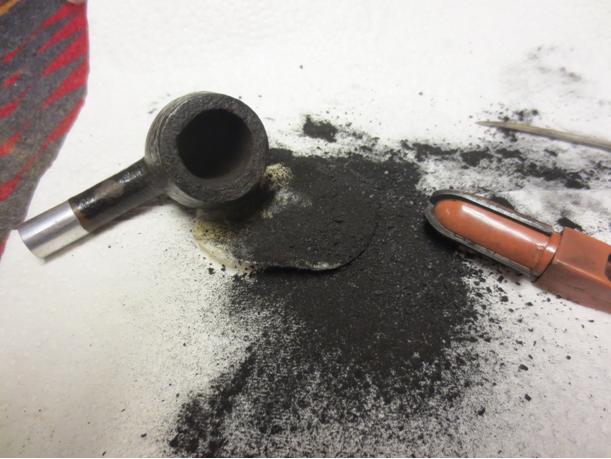
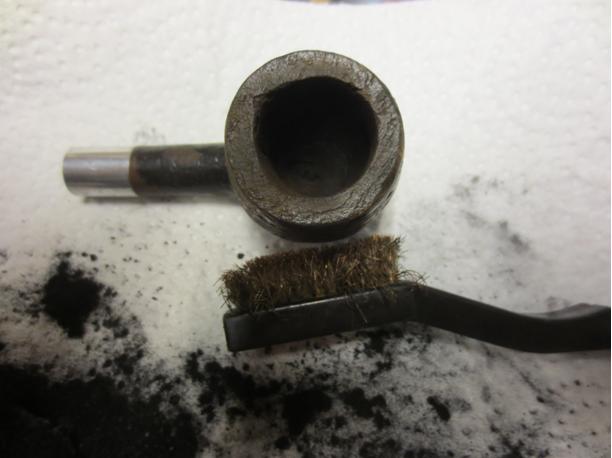
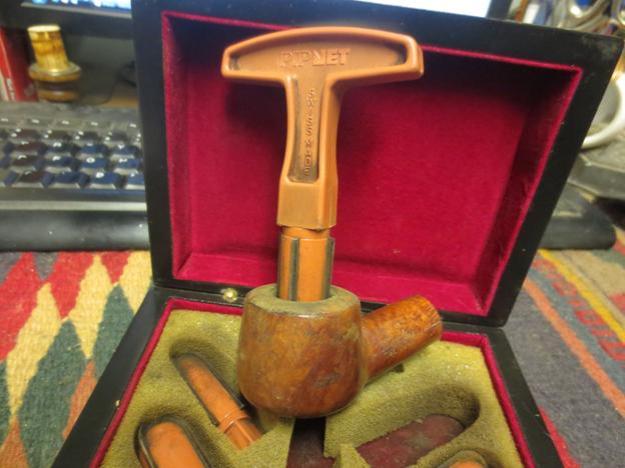
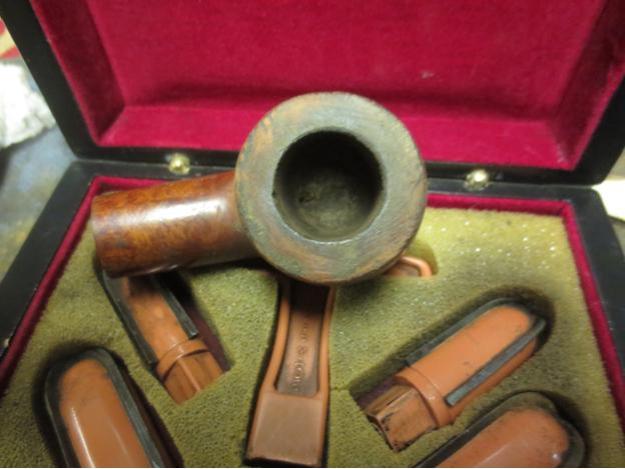
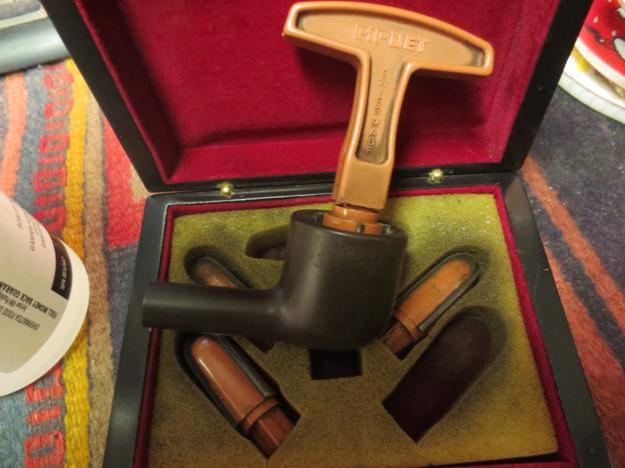
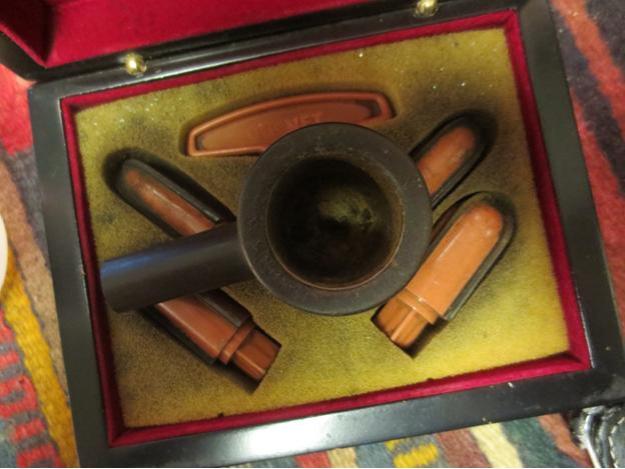
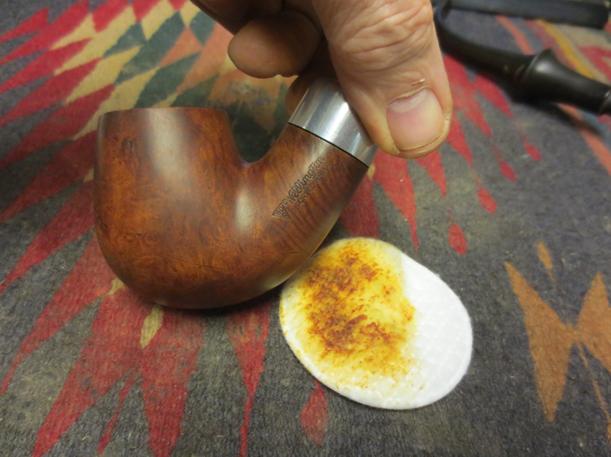
Millard14 I took some close up photos of the two bowls to show what I would be working on. The first photo shows the bowl of the apple shaped pipe. You can see the cake and the damage to the top of the rim. The bowl is out of round. The second photo shows the rim of the Dublin and you can see the scratches and the incomplete cleaning of the rim tars.Millard15 The next photo shows the stems removed from the shanks. The stems are interchangeable so as I had expected from the advertisement shown above one stem size and shape could be used interchangeably on any of the straight pipes.Millard16 I took a photo of the internals of the mortise insert to show the tube inset in the middle of the aluminum chamber. This is the Action Trap that the adverts spoke of. The “restored” Dublin was just as dirty inside as the untouched apple sent by Pam. While both look the same the tube in the Dublin extends further into the Trap than the one in the apple. The second photo shows the end view of the two stems. You can see the tube inset in the middle of the stem. Again the tube in the Dublin stem is shorter than the one in the apple. I am not sure the reason for this as when both are interchangeably inserted in the bowl the draw and fit is identical so it may well be just inconsistency in the manufacture.Millard17 I cleaned up the inside of the Dublin bowl with a PipNet reamer to remove the ridge along the top portion of the bowl just below the beveled rim. I scrubbed the rim with saliva and cotton pads to work on the tars left behind. I found that they were hard so I used a 1500 grit micromesh pad to sand and work on the deposits until they were gone and the rim was smooth. It also worked to remove the scratching on the rim that had been left behind by the previous “restoration”.Millard18 I reamed the bowl on the apple with the PipNet reamer and took the cake back to bare briar. The second photo shows the large amount of carbon that I removed from the bowl.Millard19

Millard20 With the bowl reamed you can see the damage to the inner edge that left the bowl out of round. There was a burned area on the rim at that point that did not go too deeply into the bowl but it was present. I scrubbed the rim with a brass bristle tire brush to remove the overflow of cake on the rim.Millard21

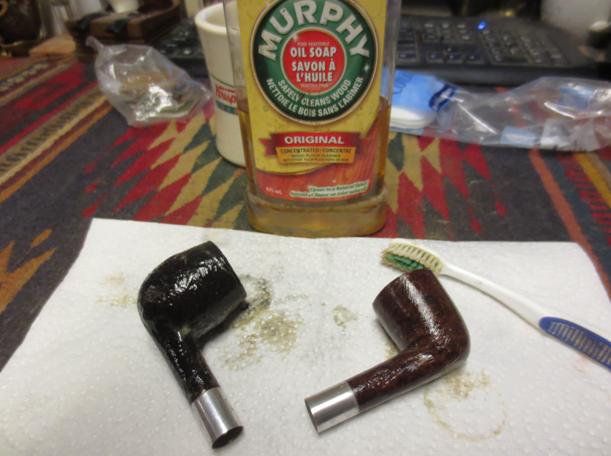
Millard22 I scrubbed both bowls with a tooth brush and Murphy’s Oil Soap to remove the spotty finish on the apple and the grime on both bowls. I also removed the polish that had been applied to the Dublin so I could work on the scratches and dings. After scrubbing them I rinsed them under warm water in the sink to remove the soap and the grime that had been loosened.Millard23

Millard24

Millard25

Millard26 I scrubbed both bowls with acetone on a cotton pad to remove the remaining finish and clean up the briar. The finish on the Dublin was pretty clean. The one on the apple came off with the scrubbing and the remaining finish was removed.Millard27

Millard28 With the bowls and finish cleaned up it was time to address the internals. I used pipe cleaners, cotton swabs and alcohol to clean out the debris in the shank and the mortise of both pipes. I used a folded pipe cleaner and a cotton swab that I thinned the cotton on to get inside of the mortise to clear out the build up there.Millard29 To address the damaged rim on the apple I decided to top the bowl. I set up the topping board and a piece of 220 grit sandpaper and worked on the rim to flatten it and remove the damaged areas. In doing this I found another burned spot on the front right top of the rim. I worked on the inner edge of the rim with a folded piece of sandpaper to correct the out of round condition. When I was finished the rim looked far better. Now I needed to work on rusticating the rim to match the sandblast on the finish of the pipe.Millard30

Millard31 To rusticate the rim I used a dental burr in my Dremel and carefully worked it over the surface of the bowl rim. It had to be deep enough to show, tight enough to look like a sandblast and somehow blend into the bowl finish. I carefully worked the Dremel over the surface being careful to keep it on the flat rim and not damage the edges of the inside or outside of the bowl. The next two photos show both the burr and the work done on the rim. Though it is a little hard to see the rustication came out really well. It will become clear in later photos.Millard32 I stained the bowl and rim with a dark brown aniline stain. I applied the stain and flamed it. I reapplied it and reflamed it.Millard33

Millard34

Millard35 The next photo shows the rustication very clearly. I touched it up with a dark brown stain pen and then waxed the bowl and rim with a microcrystalline Conservators Wax. The bowl was looking far better.Millard36

Millard37 With the basic work done on the bowls and rims I turned my attention to the stems. I cleaned both stems with pipe cleaners, alcohol and cotton swabs until they were clean. I picked out the slots on both stems with a dental pick to make sure they were wide open. The stem on the Dublin had a very tight draw. I ran a straightened paper clip through the stem and a large chunk of tar and cotton from pipe cleaners dropped out of the end. The draw was unconstricted and the airflow was clear in both stems.Millard38 I sanded both stems with 220 grit sandpaper to remove the oxidation and also clean up the tooth marks and ripples in the surface of the vulcanite. I sanded them with a medium and fine grit sanding sponge to remove the scratches left behind by the sandpaper. I repaired the tooth damage and the cuts in the surface of the stem for the apple with black super glue. After the repair had dried I sanded it with 220 grit sandpaper and the sanding sponges once again.Millard39 I wet sanded the stems with 1500-2400 grit micromesh sanding pads. I rubbed the stems down with Obisidian Oil and then dry sanded with 3200-4000 grit pads. I gave the stems another coat of oil and dry sanded with 6000-12000 grit pads. I buffed the stems with Blue Diamond on the buffing wheel and then gave them several coats of carnauba wax. I buffed them with a clean flannel buffing pad and then a microfibre cloth.Millard40

Millard41

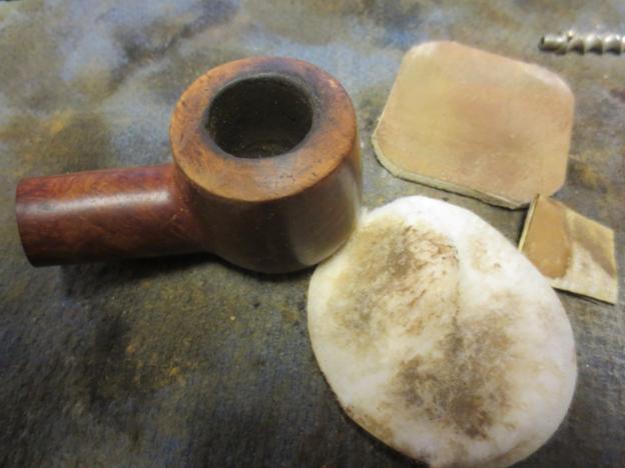
Millard42 I polished the aluminum ferrule/mortise inserts on the shanks with the last three grits of micromesh sanding pads and then rubbed them down with a jeweler’s cloth. I lightly buffed the stems and bowls with Blue Diamond and then gave the entire smooth pipe several coats of carnauba wax. I buffed the two pipes with a clean flannel buff and then with a microfibre cloth to raise the shine. The inside of the Active Trap is stained but it is clean. These are a couple of great looking pipes now. The rusticated rim worked really well with the finish on the bowl and gives the apple a clean look. The clean beveled rim on the Dublin has a rich shine that shows the grain off very well. The finished pipes are shown in the photos below. Thanks for looking.Millard43

Millard44

Millard45

Millard46

Millard47

Millard48

Millard49

Millard50

Millard51

Repairing Cracks in a Large WDC Wellington Bent


Blog by Steve Laug

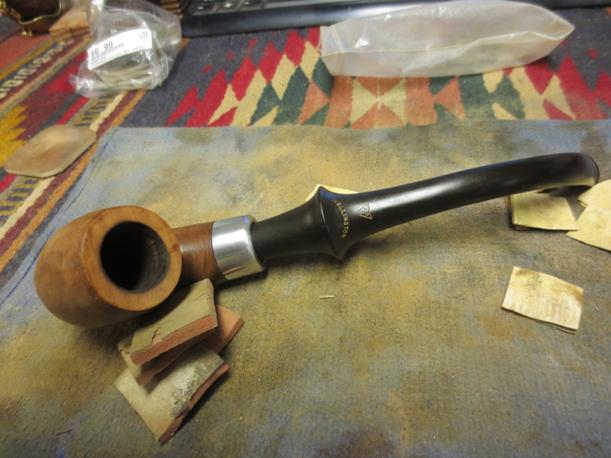
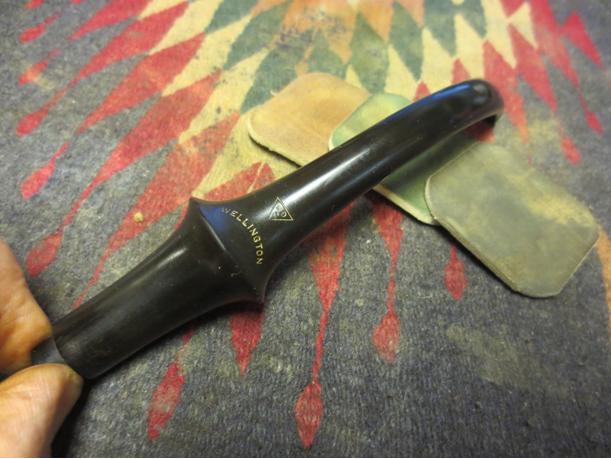
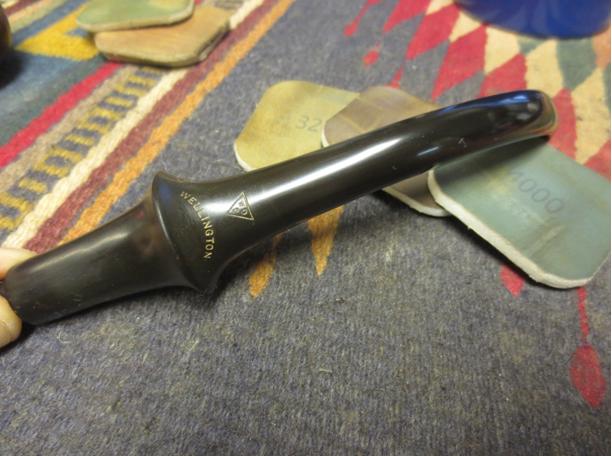
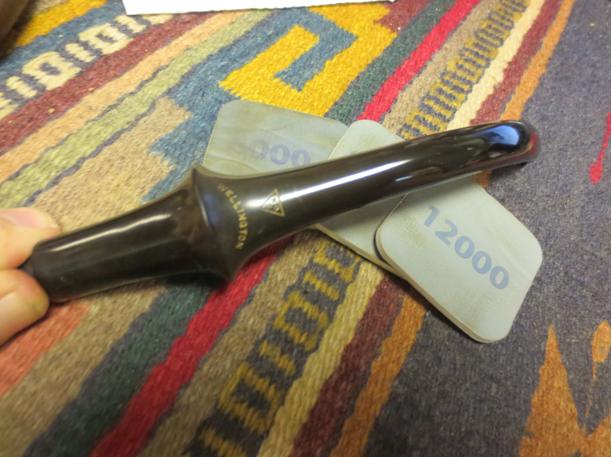
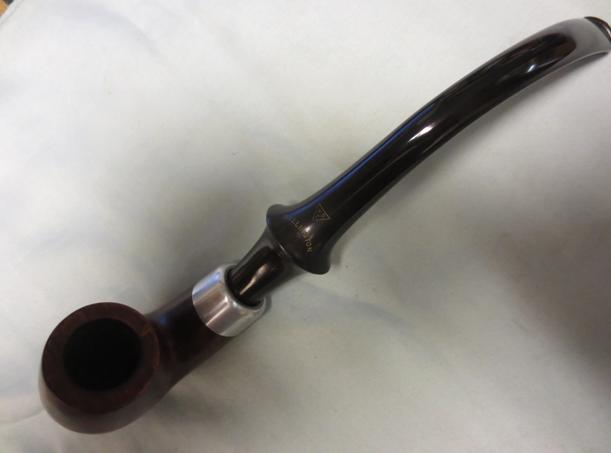
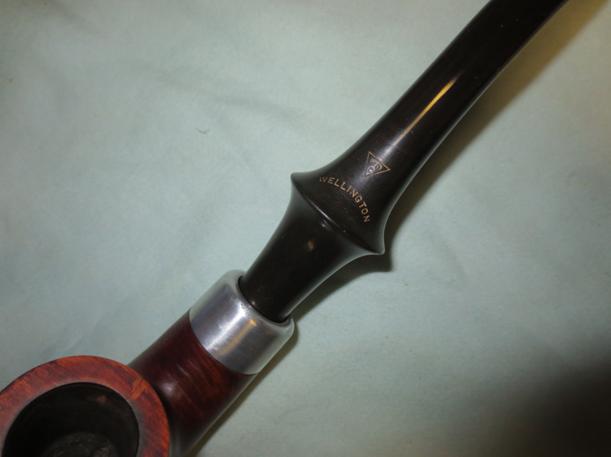
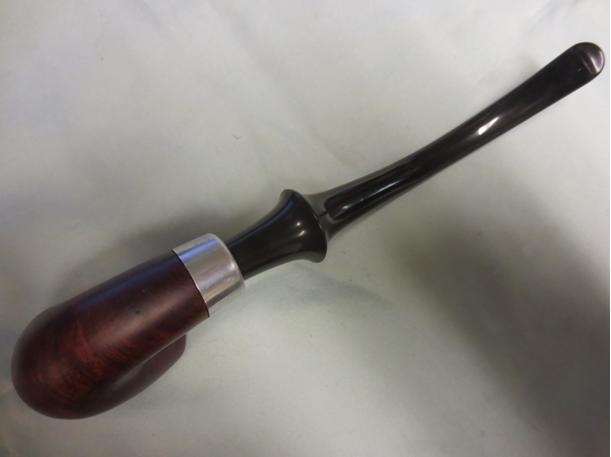
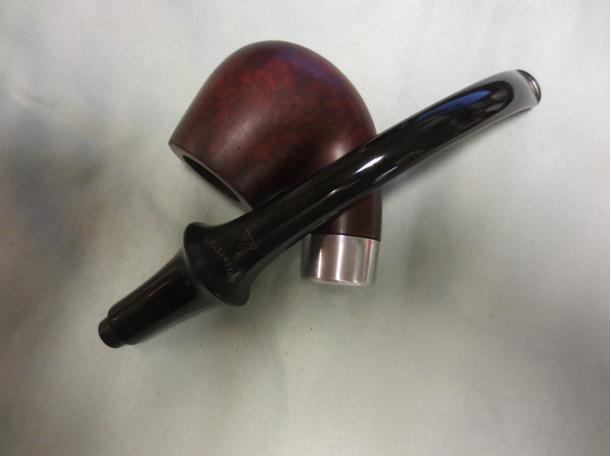
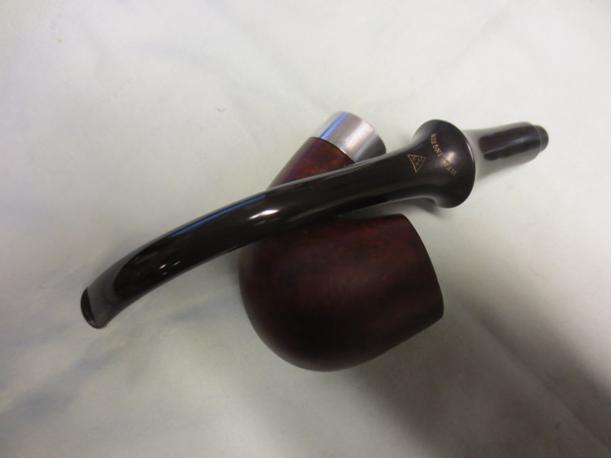
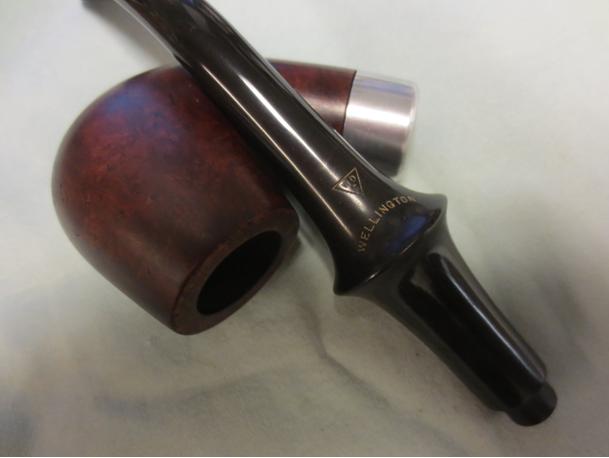
Through Facebook I connected with a new friend Warren. He wrote me about how to repair a crack in a pipe that he was reworking for a friend of his. As I described the process he asked if he could send it to me to work on. At that point my refurbishing box was getting low as I had repaired and moved out a lot of the pipes that had been there. So I agreed. Last week it arrived here. A funny side note is that I have a stem for the same pipe and have been looking for a bowl for the stem for a while now. Now I get the opportunity to work on a pipe with the same stem. It is stamped WDC in a triangle on the stem with Wellington arced below the triangle. It is also stamped on the left side of the shank with the WDC triangle and Wellington in script to the right of the triangle. Underneath the script it reads Imported Briar. There is no other stamping on the pipe. It is a large pipe with a length of over 10 inches and a bowl height of 2 inches. The diameter of the bowl is 7/8 inches. The third picture below shows a comparison of a 5 ½ inch long pipe and average bowl so you can see how big this pipe truly is.Wellington1

Wellington2

Wellington3 The briar had some attractive grain in it but there were some issues as well. It had a lot of fills on the front left, front right and bowl front. There was some damage to the surface of the rim that looked as if the pipe had been dropped on concrete. The outer edge of the rim on the front had some damage and was rounded over and the inner back edge of the rim had burn damage that made that portion out of round. Fortunately it was not a deep burn and would be relatively easy to address. There was also a ¾ inch crack on the underside of the shank that had one ¼ inch branch going toward the left side of the shank.Wellington4

Wellington5 I took a series of close up photos to show the damaged areas of the pipe. The first shows the damage to the rim surface and edges. The second shows the crack in the shank. The third photo shows the missing fills and divots in the bowl sides.Wellington6

Wellington7

Wellington8 I decided to address the crack in the bottom of the shank first. I used a micro drill bit on my Dremel to drill some small holes at the end of the crack and the branches of the crack to stop the damage from spreading further. The bit is very tiny as can be seen from the holes that are left behind after drilling. I drill two holes on each end because after the first hole I examined it with a lens and could see that extended slightly beyond my first hole. I picked out the damaged putty fills with a dental pick and wiped the bowl down so that I could repair the crack and the fills. I used a clear super glue and fine briar dust to replace the fills and to fill in the drill holes on the shank bottom. In each case I over filled the holes so that as the glue and dust were sanded I would not need to repeat the process due to shrinkage.Wellington9

Wellington10

Wellington11

Wellington12 My intention was to restain the entire bowl so I sanded the bowl and the repairs with 220 grit sandpaper to smooth out the repairs. I followed that by sanding the bowl and repairs with a medium and a fine grit sanding sponge.Wellington13

Wellington14

Wellington15 I reamed the bowl with a PipNet reamer starting with the head that would fit and working up a head that took the cake back to bare briar. In looking at the back side of the bowl I could see a small hairline crack and I wanted to know if it went all the way through.wellington16

Wellington17 I topped the bowl with the topping board and took off all of the damage to the inside and outside rim as well as the rim surface. I sanded it with the medium and fine grit sanding sponge as well to smooth out the scratches.Wellington18

Wellington19 After sanding and topping the bowl I could see that indeed there was a hairline crack that went across the rim at 5 o’clock and went down the back side of the bowl about ¾ of an inch. It was small and did not separate. It looked like it went all the way through to the inside of the bowl but upon examination appeared to only extend about 1/16th of an inch into the bowl. I topped it a little bit more to take care of the internal crack. I drilled the back side of the bowl at the bottom of the crack to stop it from going further down the bowl.Wellington20 I wiped down the bowl side and then picked out the crack with a dental pick. I filled it with super glue and briar dust and sanded it down with 220 grit sandpaper and the medium and fine grit sanding sponges until it blended into the surface of the bowl. I picked out the rim crack as well and filled it with the same mix. I sanded it with the topping board once again and then with the medium and fine grit sanding sponge.Wellington21

Wellington22 I scrubbed the bowl with acetone on cotton pads to remove the remaining finish on the briar and to clean up the dust from all of the sanding of the fills. There was some beautiful grain that was showing through. The patches and fills actually looked much better.Wellington23

Wellington24

Wellington25

Wellington26

Wellington27 I cleaned out the shank, bowl and airway in the shank and stem with alcohol, cotton swabs and pipe cleaners.Wellington28

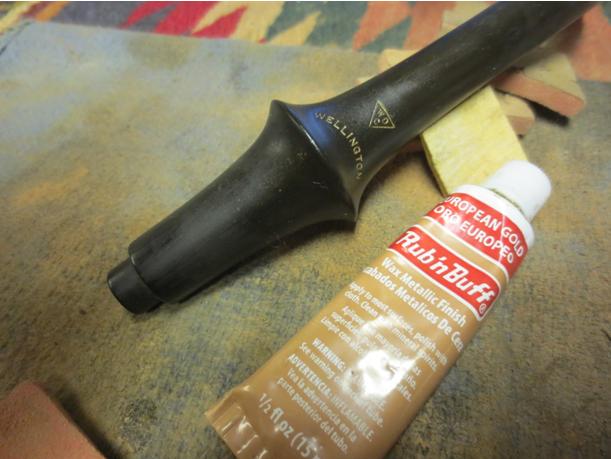
Wellington29 I sanded the stem with 220 grit sandpaper and a medium and fine grit sanding sponge being careful not to damage the stamping. I went over that area with a 1500 grit micromesh pad. I then use an antique gold oil based product called Rub and Buff to fill in the stamping. The next photo shows the finished rework of the gold in the stem stamp.Wellington30 I put the stem in place on the bowl to get an idea of the improvement that the repairs, fills and stem work had done. I wanted to see what the pipe would look like as I finished.Wellington31

Wellington32

Wellington33

Wellington34 I wiped the bowl down with a final wash of isopropyl alcohol and then heated it so that I could give it a stain coat. I stained it with a dark brown aniline stain thinned by 50% with isopropyl alcohol. I applied it and flamed it. I reapplied the stain and flamed it again and then set it aside to dry.Wellington35

Wellington36 When it had dried I gave it a light buff with a microfibre cloth to see what the colour looked like. It was still a bit dark to my liking but the coverage was good. The repairs and fills while visible looked far better than when I started.Wellington37

Wellington38

Wellington39

Wellington40

Wellington41 I wiped the bowl down with alcohol on a cotton pad to make it a bit more transparent and make the grain shine through. It did not take much to coax the grain to the surface and highlight the beauty of the pipe.Wellington42

Wellington43

Wellington44

Wellington45 I worked on the long stem. To clean it thoroughly I had to wrap pipe cleaners together to extend the length of the stem. I wet sanded it with 1500-2400 grit micromesh sanding pads to clean up the oxidation and scratches in the stem. I rubbed it down with Obsidian Oil afterwards and then dry sanded with 3200-4000 grit micromesh pads. I gave it another coat of oil and then finished sanding it with 6000-12000 grit pads. I gave it a final coat of the wax and set aside to dry.Wellington46

Wellington47

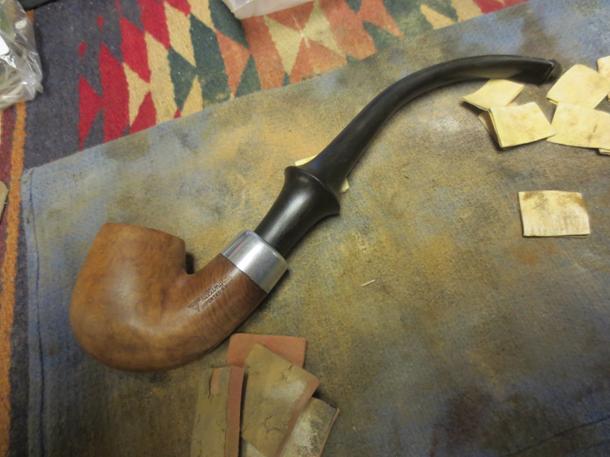
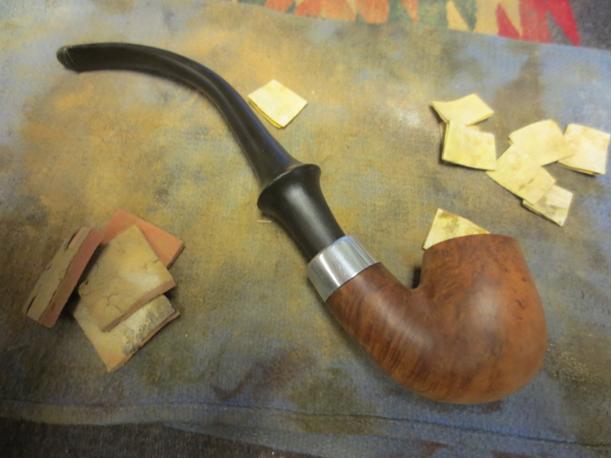
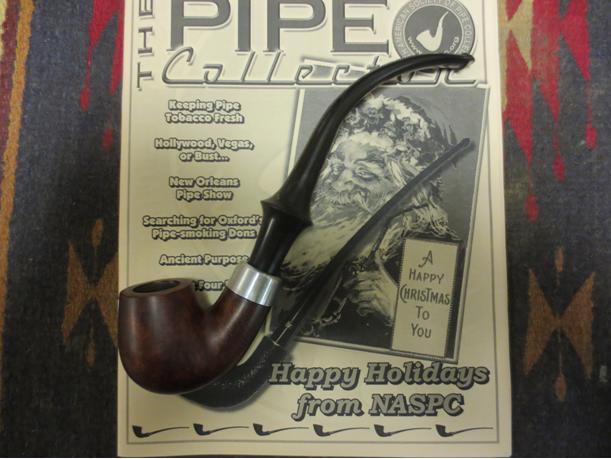
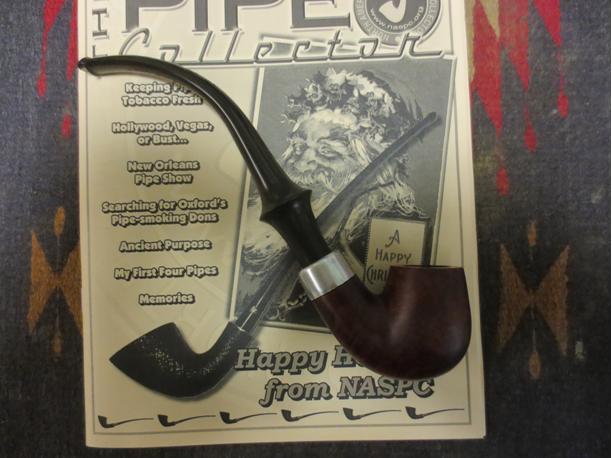
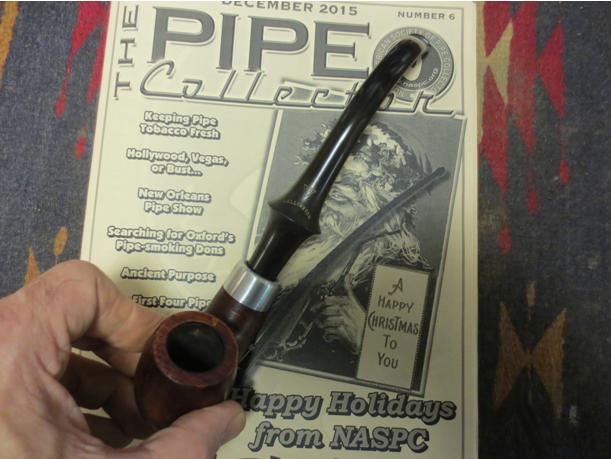
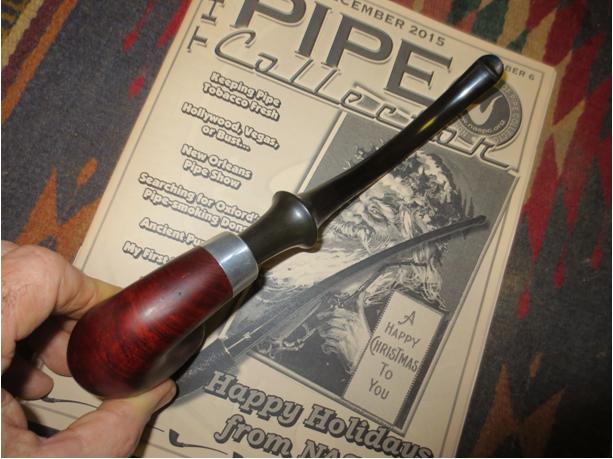
Wellington48 At this point I laid the pipe on top of the current issue of the Pipe Collector and took a series of photos to show it before I buffed it.Wellington49

Wellington50

Wellington51

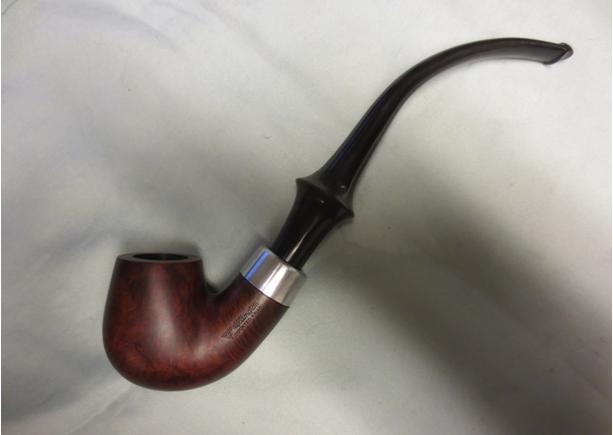
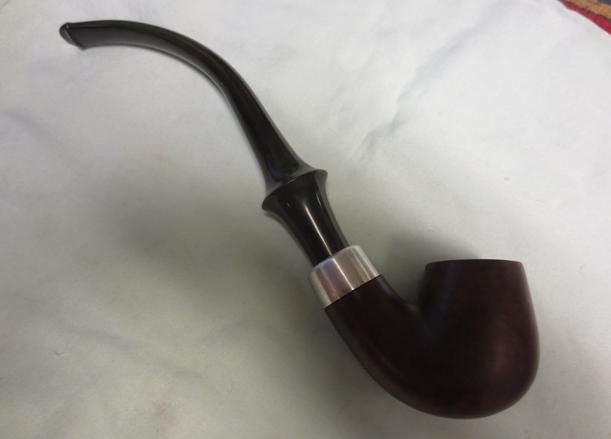
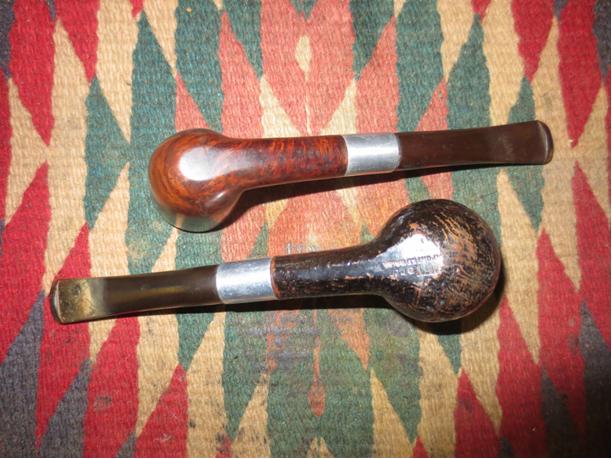
Wellington52 I polished the nickel ferrule with a silver polishing cloth and gave it and the bowl several coats of carnauba wax. A light touch is imperative on the nickel as it will darken the buffing pad and then transfer to the bowl. I hand buffed the bowl and ferrule with a microfibre cloth. I buffed the stem with Blue Diamond polish on the wheel and then gave it several coats of carnauba as well. I buffed the stem with a clean flannel buff and then with the cloth as well. The finished pipe is shown below. It is repaired and serviceable for many years to come. Thanks for looking. Thanks for the challenge Warren.Wellington53
Wellington54

Wellington55

Wellington56

Wellington57

Wellington58

Wellington59

Wellington60

What a Mess – A Vanguard Reg’d. Lumberman with a Bit of History


Blog by Steve Laug

I recently came across an EBay lot of bowls without stems and broken tenons still in the shanks. In the lot was one that intrigued me. It was the only one with a stem. The stem was short and tapered. It was very narrow and the button and slot made me think that it was old. The lot had the look of older English pipes but there was no information on the stamping. When the lot arrived in Vancouver, the stemmed pipe was stamped Vanguard over Reg’d on the left side of the shank. All other stamping, if there had been any, was lost.lot1 The bowls finish was gone. The colour was almost grey and there were spots all over this bowl and the others as can be seen in the photo below.lot3 From the third and fourth photo provided by the seller I could see that the shank was cracked and would need to be addressed. The rim appeared to be very thickly covered with lava and the outer edge had been damaged and rounded.Lot5 The next photo shows the large crack that was present in the shank of the pipe. It had started to open and the edge of the shank where it met the stem had some nicks.lot8 When the box arrived the pipe was actually in worse shape than the photos had shown. The bowl rim was not all that was caked with tars. The bowl itself was almost 1/3 full of half burned tobacco, dottle that was rock hard and filled the bottom of the bowl. The cake on the rest of the bowl was not thick but was very hard. The finish was not only grey and spotty but was dented and rough to the touch. I could feel the ridge where the sides of the crack in the shank had separated. The rim edges were not only damaged and rounded but were also rough from banging out the burnt tobacco against something hard. The stem had tooth marks and chatter on both sides of the stem at the button. The button and slot were intact. The stem appeared to be as old as or older than I first thought. This was going to be a challenge to bring back to life but the age of it made it something I could not wait to tackle.Van5

Van6

Van7

Van8 I took some close up photos of the state of the rim and cracked shank once the pipe arrived. It was a mess that is for sure. The rim and bowl were in bad shape and smelled awful. The shank crack was worse than I had imagined. The first photo of the cracked shank is from the top and the second photo is from the side.Van9

Van10 I looked up the Vanguard name in Who Made That Pipe and found that there were two makers. There was a French maker and an English maker. The French pipe was made by Marchal, Rouchon 1907 and the English one was made by A. Oppenheimer/Bernhardt & Meyers. Given that I cannot be definitive as to which maker crafted this pipe. But the interesting thing is that the Marchal & Rouchon Cie which later became GBD France came under control of Oppenheimer in Great Britain. So you can see that though I may not know which one ultimately made the pipe the fact is that the two brands came together in 1902 when Marchal & Rouchon Cie sold out to Oppenheimer. I now have in my collection a pipe which may well have bridged the union of the two companies. The Vanguard thus could easily bear both the French and the English stamping. The lack of a “Made in…” stamp may well signify the years that the companies joined. That in itself made cleaning up and restoring this old-timer interesting for me.

I decided to start the clean up by reaming back the cake and cleaning out the dottle from the bowl. I used a PipNet reamer and started with the smallest head and worked up to the one that fit the bowl. I took the cake back to bare wood to check for damage to the inside walls of the bowl. With a pipe this worn I find that this is extremely necessary. I do not want any surprises after I have cleaned it up.Van11

Van12 To repair the damaged shank I opened the crack as much as possible without making it worse and used a dental pick to push super glue into the crack. I pressed it together until it dried. I then used the sanding drum on the Dremel to take down the shank slightly so that a band would fit snugly on the shank and hold the crack tightly together. I pressed the band onto the end of the shank and took the picture below before I heated the band and pressed it into place.Van13 I heated the band with a heat gun and then pressed it against a flat surface until the band was in place on the shank. I pressed it onto the shank and then used a folded piece of sandpaper to clean up the edge of the band and shank. I left about 1/8th of an inch of the band extending past the shank to deal with the chipped and damage shank end. The stem would not have had a clean fit against the shank because of the damage. When the stem was in place it fit inside of the band against he shank and looked great.Van14

Van15

Van16 With the band in place the shank was repaired and the tenon would no longer fit in the mortise. The contraction of the briar by the band cleaned up the crack and tightened up the loose fitting stem. I lightly sanded the tenon with a sanding drum on the Dremel and then by hand to get a snug fit in the shank.Van17

Van18

VaN19

Van20

Van21 I scrubbed the surface of the briar with acetone and cotton pads to remove the grime, spotting and remaining finish. There was some interesting grain under the grime.Van22

Van23

Van24

Van25 The damaged rim surface and outer edge required that the bowl be topped. I used the topping board and 220 grit sandpaper to remove the damaged surface and sharpen the edge of the bowl.Van26

Van27 I scrubbed the surface of the bowl down again with acetone and cotton pads to remove the dust and grime from topping.Van28

Van29

Van30 I cleaned the inside of the shank and the stem with alcohol, cotton swabs and pipe cleaners. I used the drill bit from the Kleen Reem pipe reamer to clean out the airway from the mortise to the bowl. When I was finished I swabbed out the bowl with cotton swabs and alcohol and was pleased to find that the rank smell was gone.Van31 I sanded the bowl and stem with 220 grit sandpaper and a medium and fine grit sanding sponge to remove the tooth marks on the stem and scratches in the briar. I steamed the dents in the briar with a knife blade and wet cloth.Van32

Van33

Van34

Van35 I sanded the stem with micromesh sanding pads – wet sanding with 1500-2400 grit pads and dry sanding with 3200-12000 grit pads. I rubbed the stem down with Obsidian Oil between each grit and then continued sanding until I had worked through the lot of pads.Van36

Van37

Van38 I wiped the bowl down with a light coat of olive oil and then sanded it with 1500-2400 grit micromesh pads and then continued through the rest of the grits of pads. I continued to polish the bowl with the remaining grits of micromesh.Van39

Van40

Van41

Van42 I buffed the pipe with Blue Diamond polish on the wheel and then gave it several coats of carnauba wax. I buffed it with a clean flannel buff and then hand buffed it with a microfibre cloth. The finished pipe is shown in the photos below. It came out well for a pipe that potentially was made 108 years ago. Thanks for looking.Van43

Van44

Van45

Van46

Van47

Van48

Van49

Van50

Repairing and Restoring a1929 Irish Free State Billiard


Blog by Aaron Henson – 11/29/15

I think the thrill of the hunt is part of what makes this hobby so enjoyable. Going into a new store or happening upon a pipe in an unlikely place, never knowing just exactly what you are going to find and always keeping a lookout for that forgotten gem.

This past summer I was on vacation with my family in Seaside, Oregon. Between Seaside and Astoria I visited 14 different antique stores and only two had any pipes at all. And of those, they were all on the pricy side; too rich for me.

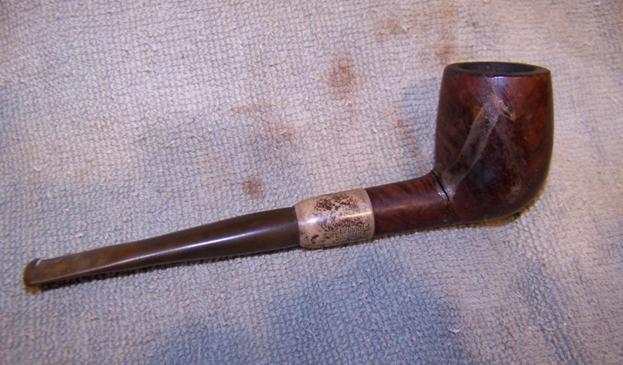
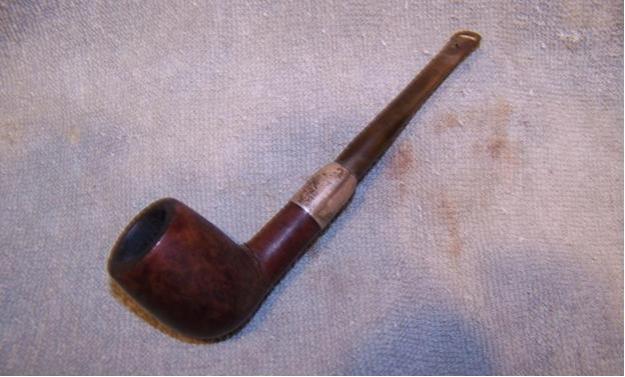
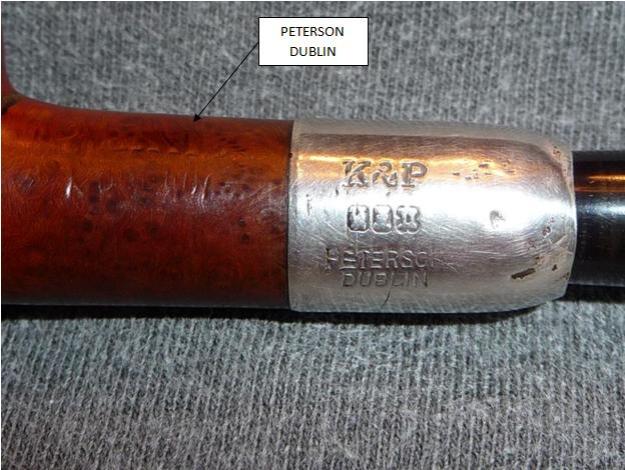
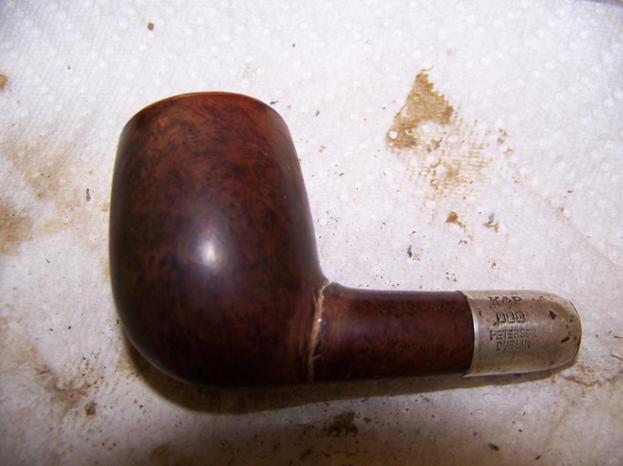
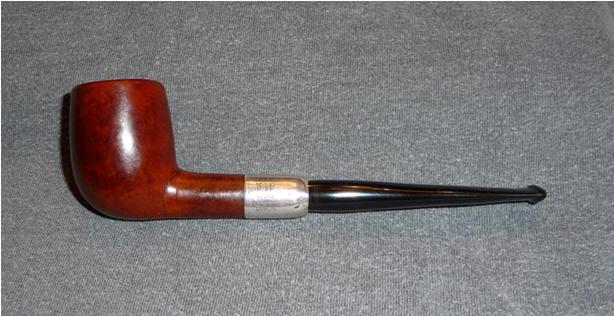
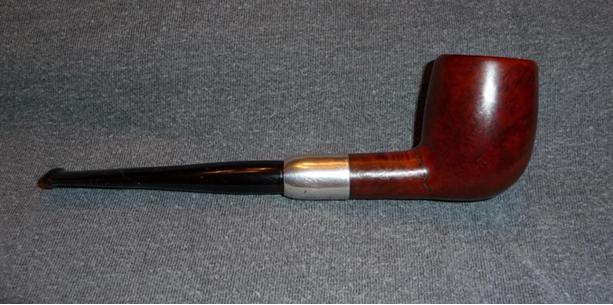
Partly on a whim and partly out of desperation, I went into a second-hand store that I had passed by several times. It was more “junk” than “antique” and of course that is where I made my score although I didn’t think so at first. Three pipes: the first was a non-briar volcano with “Italy” stamped on the bottom, the second was a Medico that was in such bad shape it could only be used for parts but the third was intriguing with a silver band. I could not read the markings for all the filth on the pipe. I negotiated with guy behind the counter and walked out will all three for $15.Aaron1 It was clear that this had been a very nice pipe in its day. The wood grain that could be seen through the grime was beautiful and the Army Style push stem I thought gave the pipe a classy feel. When I got it back to the house and looked it over in better light, I noticed that the band had been rotated on the shank so the writing was upside down and in the dim light of the store I could not read it. Now I could see that it clearly said “Peterson” and “Dublin” stamped in the silver band.

A Peterson, my heart skipped a beat. I was well aware of Peterson’s long history of making quality pipes and now I had picked up an early model for 5-bucks!Aaron2

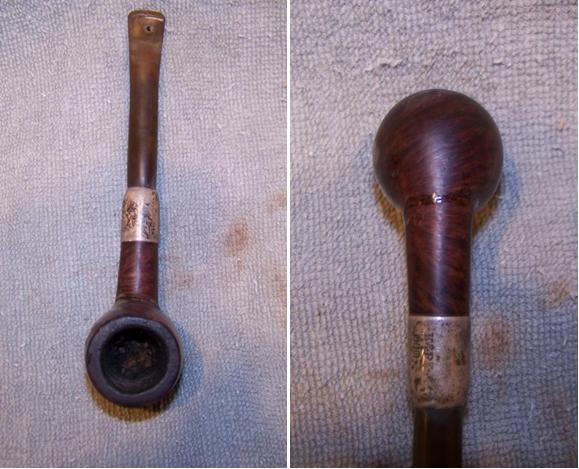
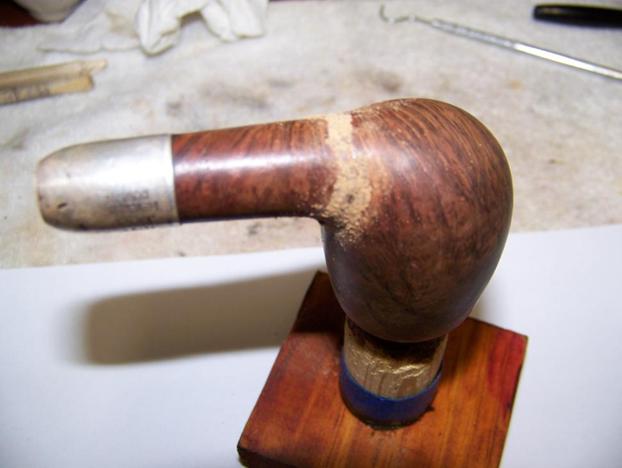
Aaron3 The bowl had a good build up of cake and a fair amount of unburned tobacco in the bottom. Some build up of tars on the rim but otherwise seemed to be in good condition. The shank had clearly been broken, however and the glue used for the repair was spread all over one side of the bowl. The stamping on the band, as stated before, were worn and not very readable. The stem was oxidized and had a hole in the top near the button. This must have been a favorite pipe of the previous owner.

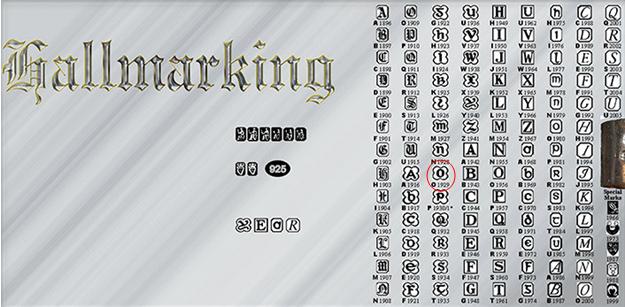
When I got home from vacation, I tried to understand the symbolic hallmarks on the band. Not being familiar with Peterson marking I sent a picture to Steve Laug to ask his opinion. Steve very graciously referred me to his Peterson expert, Mark Irwin. With Mark’s help I was able to understand Peterson’s hallmarking and dated the pipe as 1929 – placing it in the Irish Free State era: 1922 – 1937. At least, that was my interpretation of the third hallmark, an “O”.Aaron4

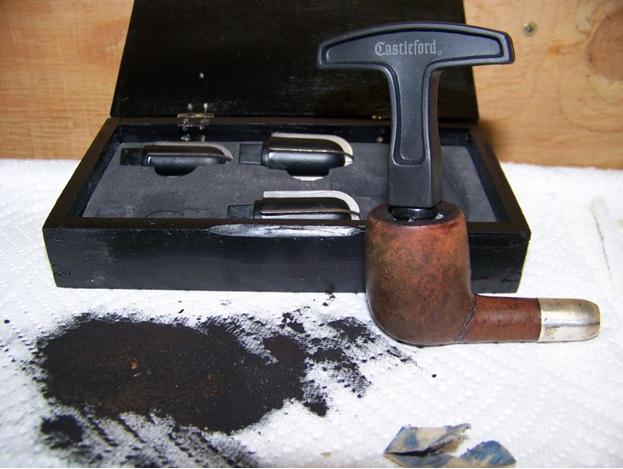
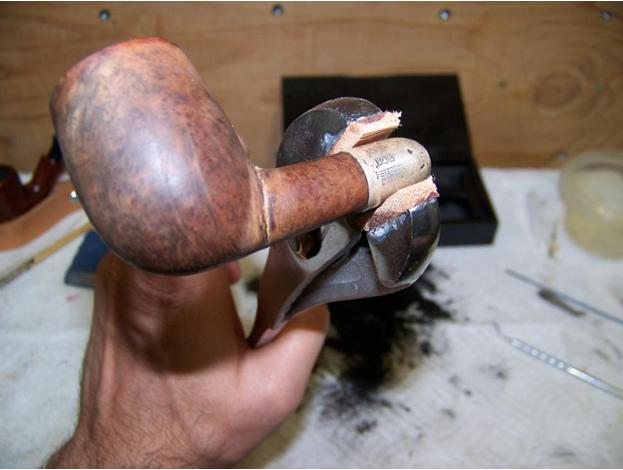
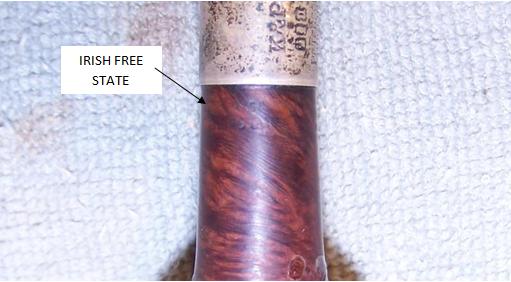
Aaron5 I began by reaming out the cake with a Castleford reamer and took the interior back to bare wood. There were some burn marks under the tar on the rim so I elected to top the bowl with some 220 grit paper laid on the flat work bench.Aaron6 Next I heated the band with a flame and then using leather jawed pliers and carefully rotated the band back into correct alignment.Aaron7 The outside of the bowl I wiped down with a cotton pad soaked in acetone. This removed the grime and the glue. I had been worried that the glue was covering a crack in the bowl but it turned out that the person doing the shank repair had just been sloppy. The glue came away and revealed pristine briar underneath. In just the right light, I also could see a very faint IRISH FREE STATE stamped into the bottom side of the shank – Confirmation!Aaron8 The break between the bowl and the shank had been complete. I could see the seam all the way around the shank but it had been a clean break. There were no gaps, rounded edges nor missing pieces; so far, so good.

At this point I turned my attention to the stem. I put the stem to soak in a mild chlorine bath to raise the oxidation. A light sanding with some worn 400 grit paper removed the oxidation completely. I picked the loose material out of the hole, made backing plug out of toothpicks and slipped it into the airway. This would hold my patching material in place. Next I mixed up some StewMac black super glue with some activated charcoal powder and worked it into the hole with another tooth pick. I set the stem aside to cure over night.Aaron9

Aaron10 When I came back to the stem I sanded down the fill with 220 grit paper. The plug blended nicely and I proceeded to polish the stem with 1500 – 12000 micromesh pads. Cleaning the inside of the stem was quite simple, four of alcohol soaked pipe cleaners (2 bristled and 2 soft) took care of the insides and the stem was done.Aaron11 Returning to the stummel, I began to work the bowl-shank joint back and forth with ever increasing force. I caught myself holding my breath, afraid of breaking the pipe beyond repair but dismissed that thought as fear of the unknown and pushed on. Eventually the crack began to open up and the shank and bowl were separated. I was surprised to see that the original repair had included two small brads – or pins – set on either side of the air hole to strengthen the break. Since the brads were already in proper alignment I decided to reuse them in my repair.Aaron12 After some research, I settled on the J-B Kwik Weld as my epoxy of choice. Its resistant temperature is less than that of original J-B Weld (300 vs 550 degrees); however, I do not think the shank should reach 300 degrees during a smoke. But the real advantage in my minds was that the set time is only 6 minutes compared to 4-6 hours. I didn’t want to have to come up with a way to hold the two parts together for several hours and risk the parts slipping.

In order to keep the airway clear during the repair, I pushed a pipe cleaner through the airway before smearing the epoxy on the both surfaces with a tooth pick. With the clock running on the set time, I pushed to the two parts together using the old brads as alignment pins. Looking back I think it would have been better if I had only used one of the pins. The fit was tight and I was fighting against the pins to get the two parts tight together when the time ran out on the epoxy. I was left with a larger gap between the pieces than I thought was right; I had been hoping for a flush fit. Before setting the pipe aside to cure I wiped off the excess epoxy and removed the pipe cleaner.Aaron13 I let the pipe sit overnight and the next day I used a dental pick to remove some of the epoxy from the gap between the stummel and bowl. The gap was very small, less than a 1/32 of an inch on top and near flush on the bottom. When the crack was as clean as I could get it, I filled it with briar dust and placed drops of clear super glue on top to hold the dust in place. When the super glue dried I smoothed out the repair with 220 grit sand paper.Aaron14 There were some minor dents in the bowl and I decided to steam them out by wrapping the bowl with a damp terry cloth rag and going over the rag with a clothes iron set on high. If you used this method I would advise keeping your figures well clear of the iron. Speaking from personal experience, you don’t have to be very close to the iron get burned by the steam. Fortunately, I did not drop bowl!

I sanded the entire bowl with 400 – 2000 grit paper to remove all the dents and scratches but being sure to stay clear of the marking on the shank. The markings were faint but I wanted to preserve as much of them as I could.

The bowl had beautiful grain and I wanted to use a light brown stain to highlight it. I used one part Fiebing’s light brown mixed with 2 parts isopropyl alcohol applied with a cotton swab in layers until the color looked just right. I flaming each layer and wiped off the excess with a cotton pad moistened with alcohol.

The next to last step was to polish the sterling silver band. For this I tried a new technique that I had recently learned on this blog using a small amount of cigar ash and saliva. I was careful not to polish too much – or at all – around the hallmarks. The final step was a trip to the buffer for three coats of carnauba wax on the briar and stem. I hand applied a light coat of Walker Briar Works carnauba wax sealer on the silver band and I buffed the pipe with a micro fiber cloth to bring up the shine.Aaron15

Aaron16

Aaron17

Aaron18

Putting a New Stinger and Tenon on a Kaywoodie Super Grain Apple 33


Blog by Steve Laug

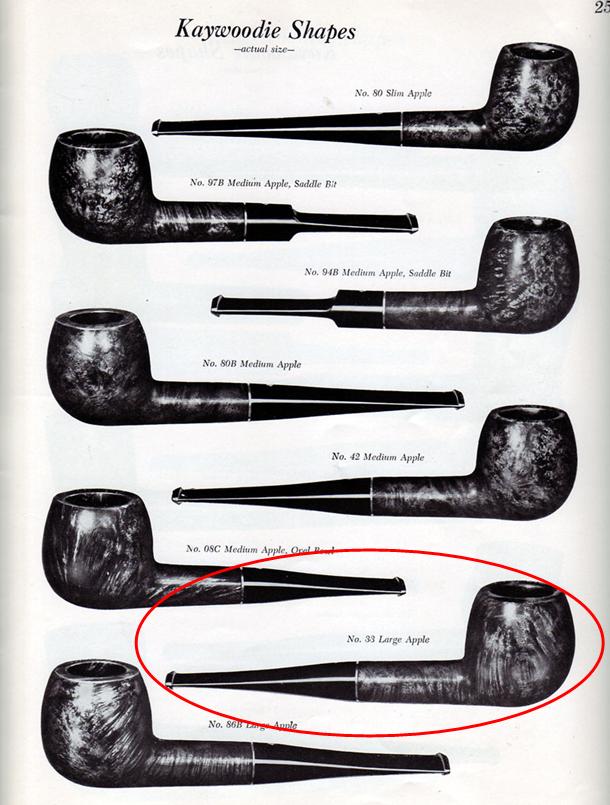
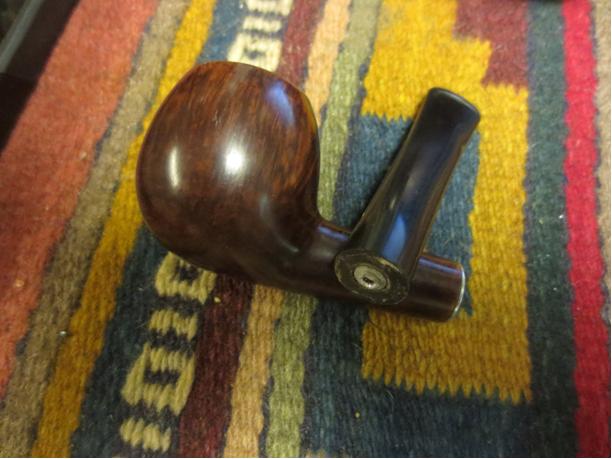
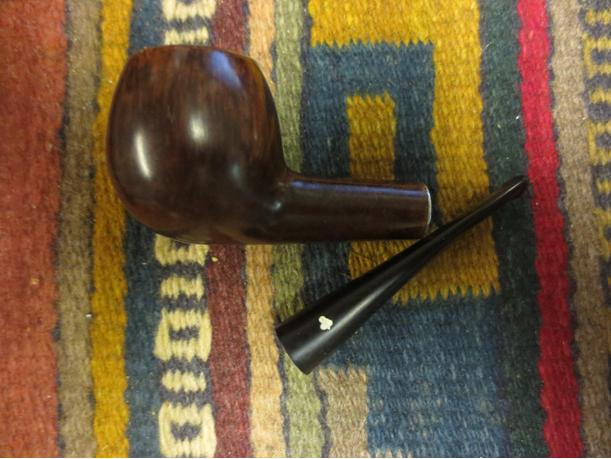
In a trade with Dave Gossett I acquired this Kaywoodie Super Grain Apple. The bowl was in really great shape other than a few nicks and dents here and there. The finish was clean and the bowl had been cleaned and reamed. There were some small pin pricks on the back left side of the outer edge of the rim that looked to me were made when the pipe was dropped. They had been sanded a little so that the outer edge was no longer even around the bowl but sagged at this spot. The top of the rim was clean and smooth. The pipe was stamped on the left side of the shank with the words Kaywoodie over Super Grain over Imported Briar. The right side is stamped with the shape number 33. In looking through the various shape charts I found that the 33 was the stamping for a Large Apple (see the first photo below). The aluminum stinger had been broken off in the stem. It was hard to tell if I was dealing with what had originally been a four hole stinger or a three hole stinger. I know that many can tell the age on these KW’s by the stamping but I am not one of them. I knew that the three hole stinger/tenon apparatus was pressure fit in the stem and the four hole was threaded and screwed into the stem. Once I was able to drill out the broken stinger I would have a better idea regarding the type of stinger it had. The stem itself was fairly clean. There were some ripples in the stem on both the top and the bottom of the stem near the button. This told me that there were tooth marks that someone had either tried to buff out or sand out. These would need to be smoothed out. The interior of the stem and the shank were clean of debris and tar.KW1 The next three photos show the broken metal tenon in the stem and the state of the stem and bowl when it arrived. The briar has some beautiful straight grain and birdseye.KW2

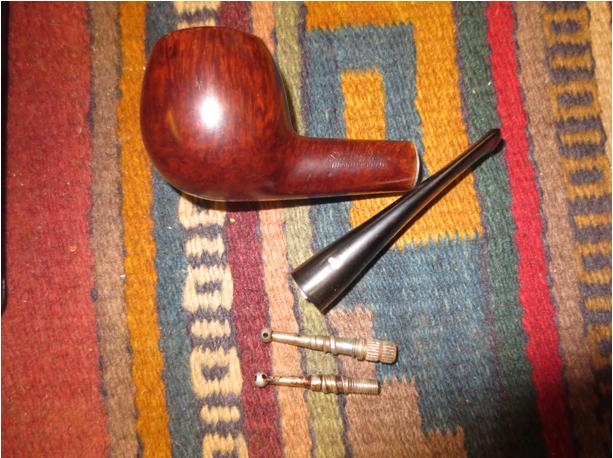
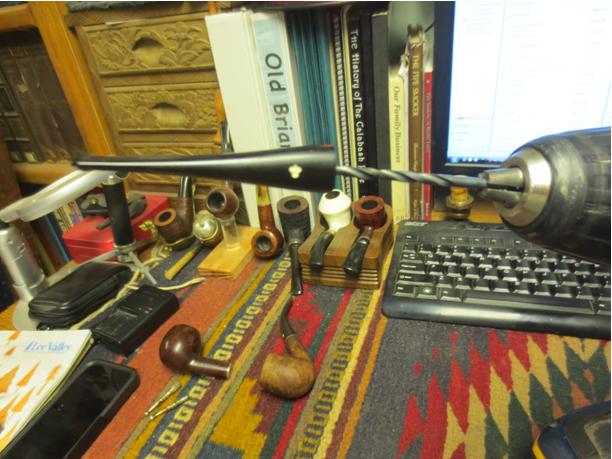
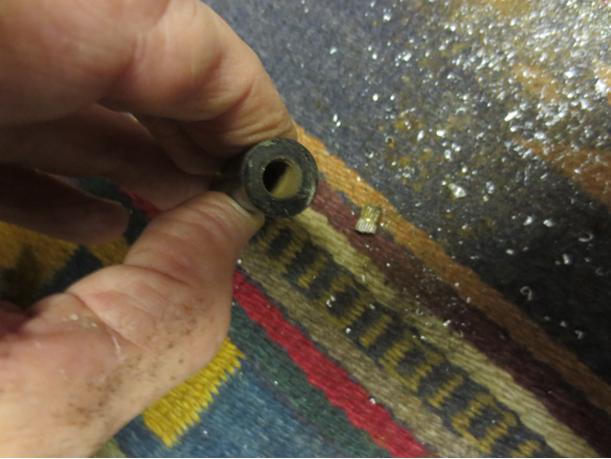
KW3 I had several broken Kaywoodie stems in my can of stems that I cannibalized the stingers from. In the photo below the top stinger is the three hole one with the pressure fit end that fit in the stem. The bottom stinger is the four hole one that is threaded and screwed into the stem. What made it a bit interesting for me is that both stingers came from stems that had the same white clover leaf as the stem I was working on.KW4 I used my cordless drill to act as a holder for the drill bit and turned the stem onto the bit to begin to remove the broken tenon/stinger. I started with a bit slightly larger than the airway on the broken part. I worked my way up to a size that finally grabbed a hold of the broken tenon piece in the stem and when I twisted the bit out brought metal piece with it. The second photo below shows the broken tenon piece amongst the bits of aluminum. I had my answer it was the pressure fit three hole stinger/tenon apparatus. (I should have done this with a paper down to catch the bits and bobs of metal but did not so I ended up having to vacuum up my mess.)KW5

KW6 I cleaned out the inside of the stem with pipe cleaner and alcohol and the drilled out end with cotton swabs and alcohol. I cleaned the new stinger/tenon the same way and polished it with 0000 steel wool. I applied twisted the tenon into the mortise and then applied glue to the end that would go into the hole in the stem. I pushed the stem in place on the glued part and let is set. I unscrewed the stem and set it aside to let the glue cure. I used an all purpose white glue to set the tenon in place because I wanted to be able to adjust the fit with heat. I topped up the glue around the end with some clear super glue.KW7

KW8 With the tenon in place it was time to clean up the damage to the stem. I sanded it with 220 grit sandpaper to remove the wavy lines and clean up the residual tooth marks. There was also a nick in the side of the stem on the underside so I cleaned up the taper there as well. I then sanded it with a medium and a fine grit sanding sponge to minimize the scratching.KW9

KW10

KW11 With the stem surface smooth it was time to polish it with micromesh sanding pads. I wet sanded the stem with 1500-2400 grit pads. I rubbed it down with Obsidian Oil before going on to dry sand with 3200-4000 grit pads. I gave it another coat of oil and then sanded it with 6000-12000 grit pads. I rubbed it down a final time with Obsidian Oil and let it dry.KW12

KW13

KW14 I sanded the bowl with 4000-12000 grit micromesh sanding pads to smooth out the outer rim edge and the sides of the bowl. I wiped the bowl down with some pipe polish. I buffed the bowl and stem with Blue Diamond polish and then gave it multiple coats of carnauba wax. I buffed it with a clean flannel buff and then hand buffed it with a microfibre cloth. The finished pipe is shown in the photos below. Thanks Dave for the opportunity to restem this beauty. It was a fun one to work on. Thanks for looking.KW15

KW16

KW17

KW18

KW19

KW20

KW21

KW22

KW23

KW25

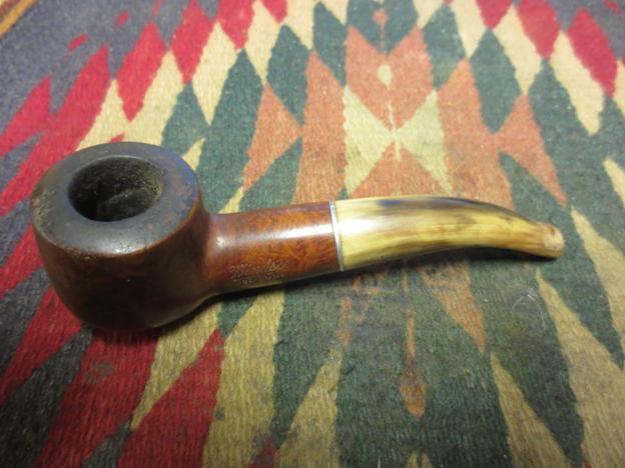
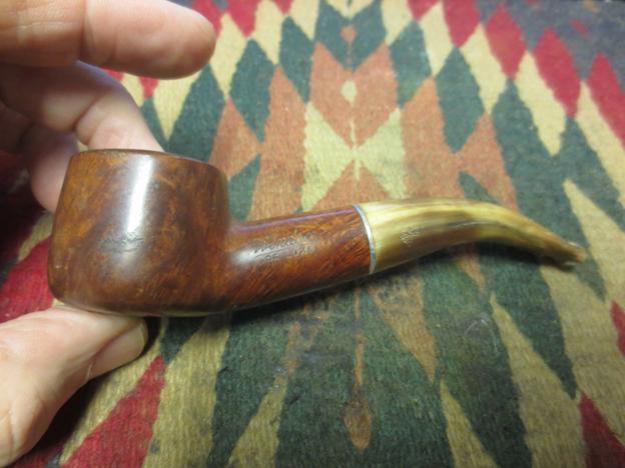
Restoring a Windsor De Luxe 13106 Unique with a Horn Stem


Blog by Steve Laug

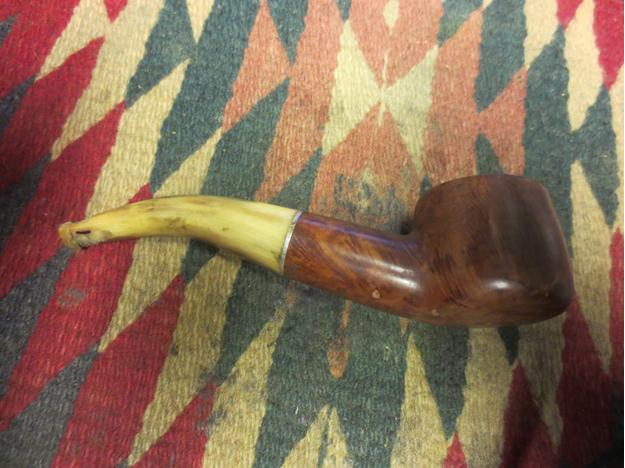
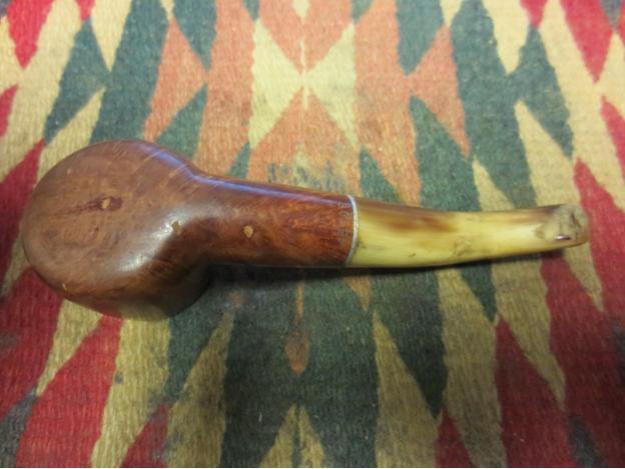
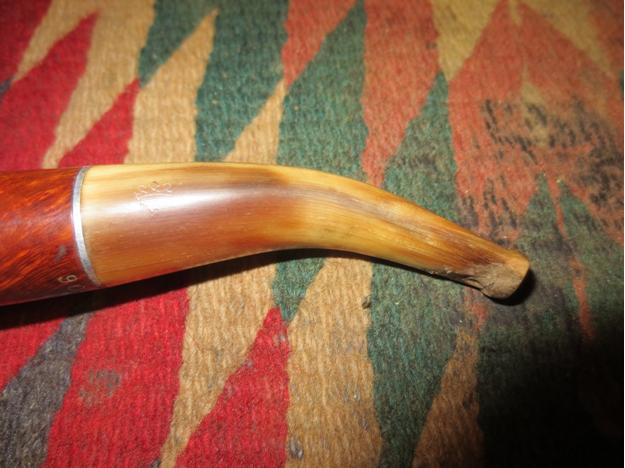
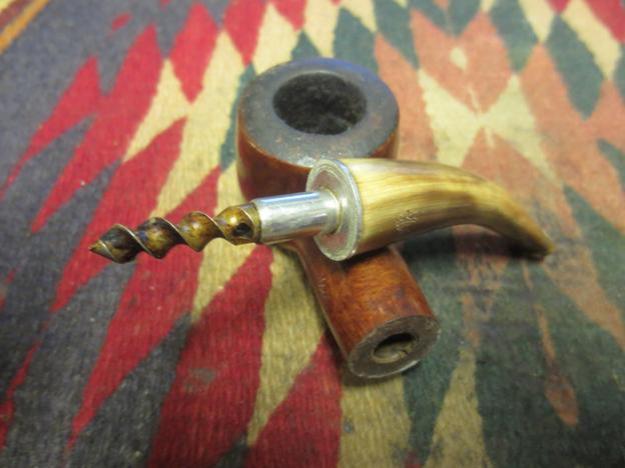
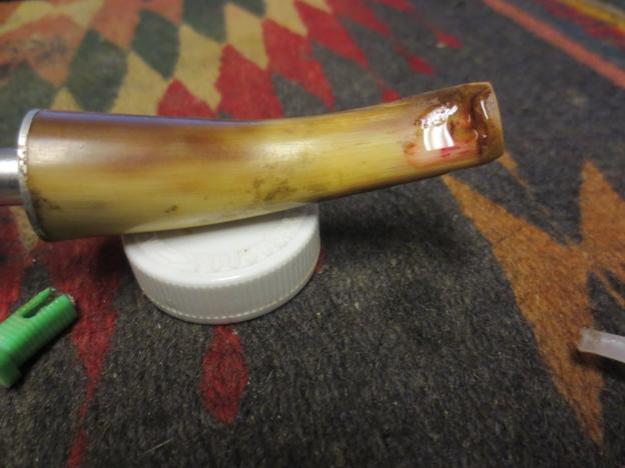
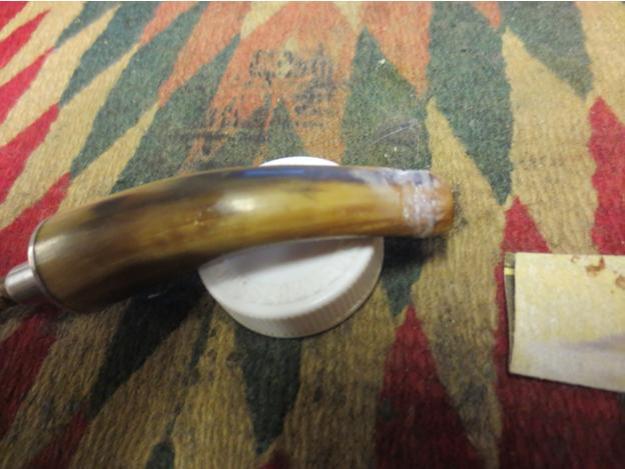
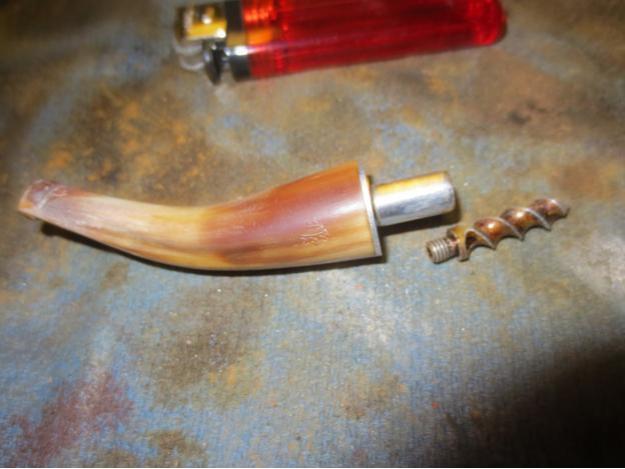
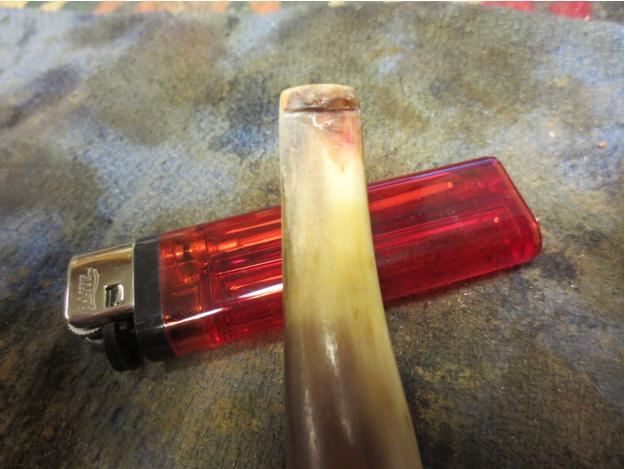
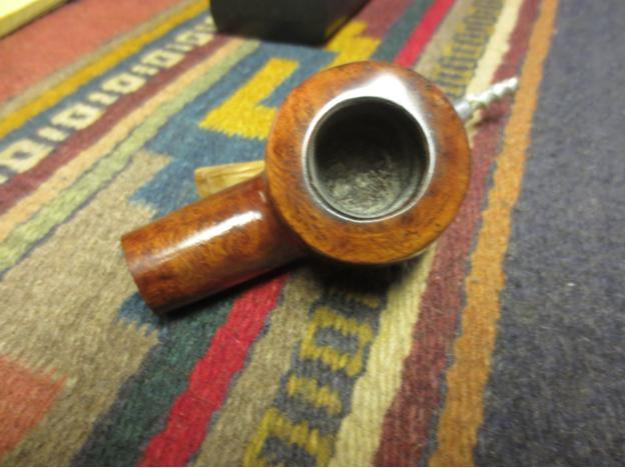
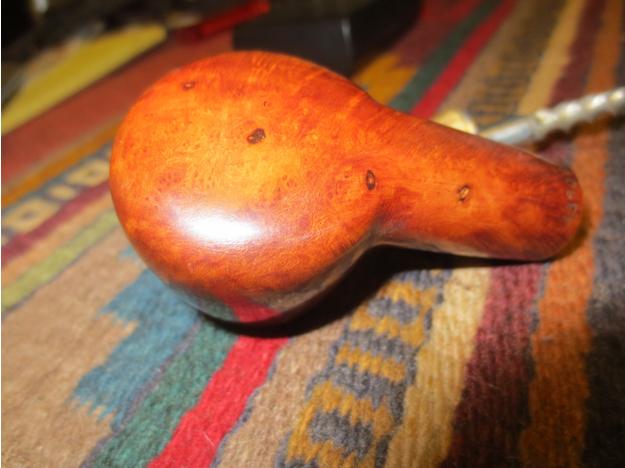
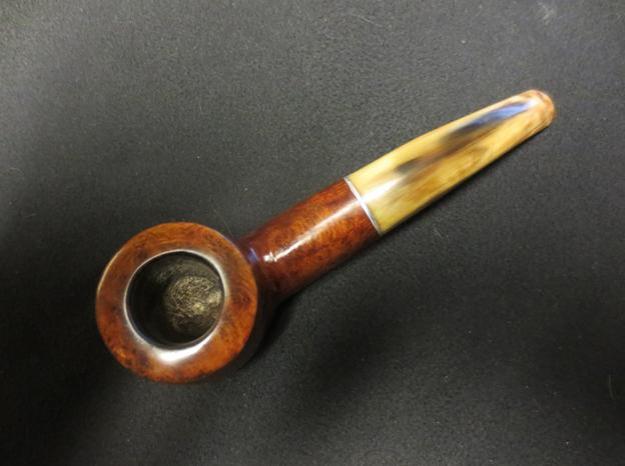
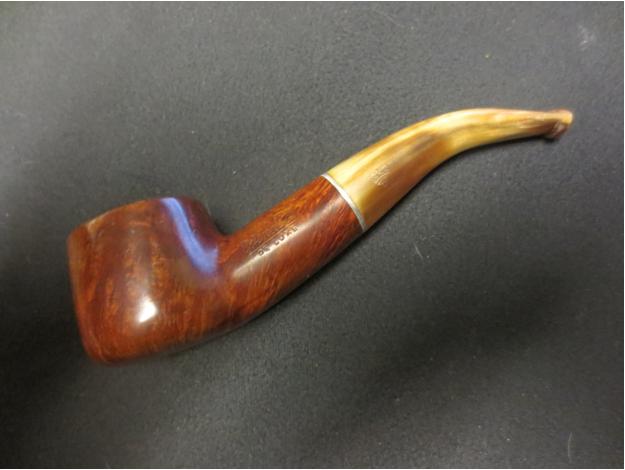
When I saw this old horn stem pipe on Ebay UK I immediately put in a bid and I won the pipe. It had a great striated horn stem that had lots of deep colours. The area in behind the button on the top and the bottom of the stem was really damage with large chunks of horn missing. On the underside of the stem there was a dark red stain in the striations of the horn near the button. The stem has a metal push tenon with a twisted stinger apparatus screwed into the end of the tenon. The metal ring between the shank and the stem was attached to the stem. The stem had a faint crown stamped in the horn. The bowl had a thick cake and the rim was heavily covered with lava that flowed over from the bowl. The underside of the bowl had a half-dozen fills in it that were shrunken and filled with white putty. The stamping on the shank said Windsor in a script with a flouring line underneath. Stamped under that was De Luxe. On the underside of the shank next to the stem it was stamped 13106. I have no clue as to the provenance of the pipe – WMTP says that there are several makers in England that made the brand. All have stamping that is slightly different. The finish on the bowl looked to be in decent shape under the grime and build up on the sides of the bowl. (Anyone have any ideas on the maker let me know).horn1

horn2

horn3

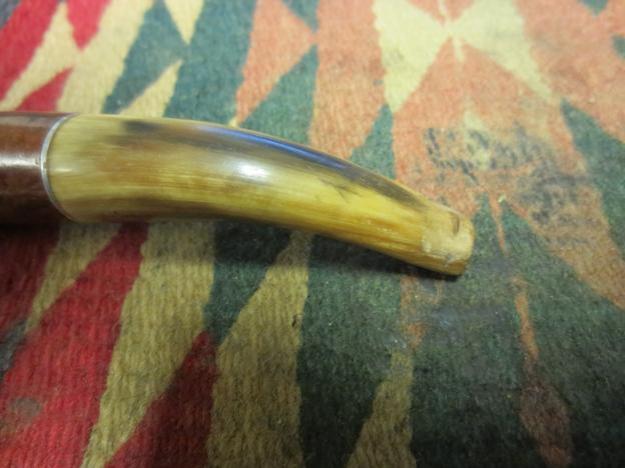
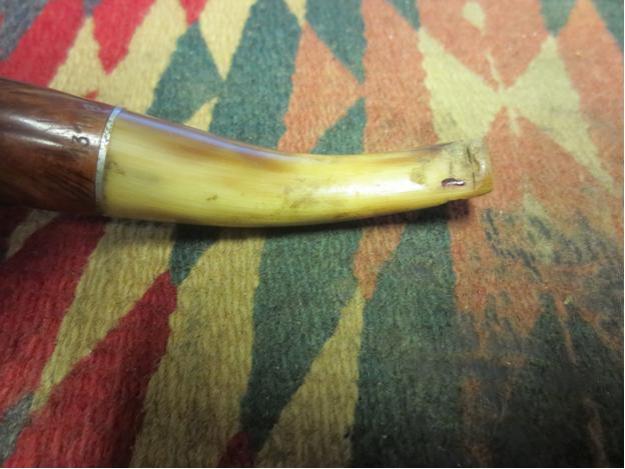
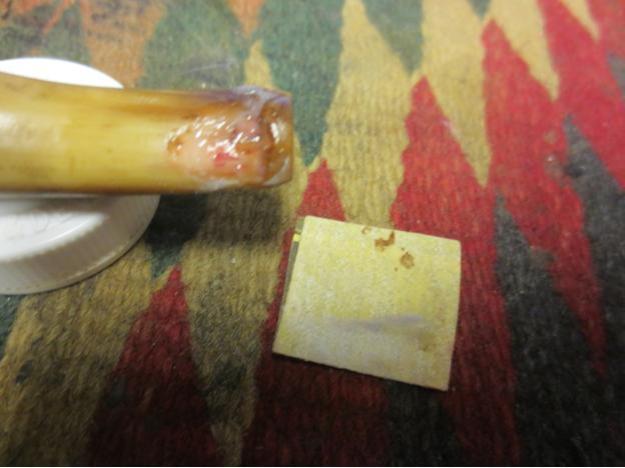
horn4 I took close up photos of the stem to give an idea of the damage that I would be working with on this pipe. On both sides of the stem there was serious damage in the form of missing chunks of horn. These chunks were missing in the sharp edge of the button and in the surface of the horn itself. The first and second photos show the top and bottom sides of the stem. In the second photo below there is a dark line at the bottom edge of the stem next to the button – that is the red mark that was in the surface of the horn. The third photo below shows the profile of the stem and clearly shows the missing chunks in the horn.horn5

horn6

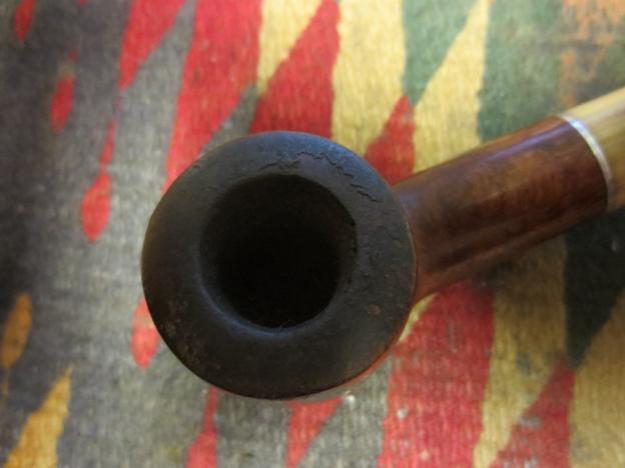
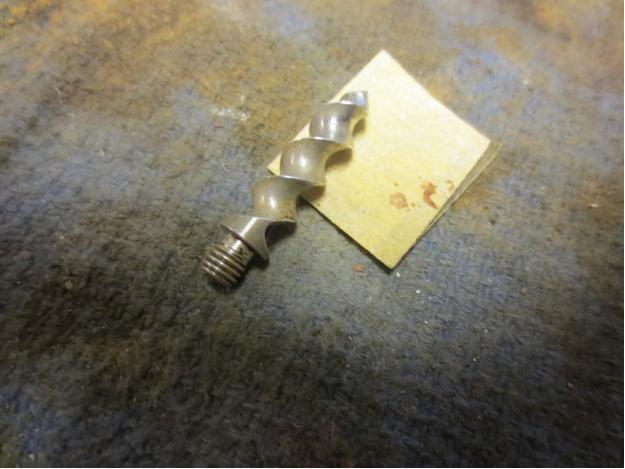
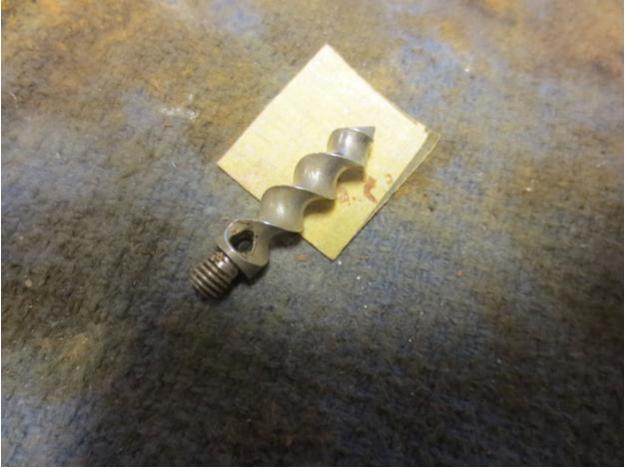
horn7 The close up photo of the rim below shows the overflow of lava on the surface that would need to be removed to assess damage to the bowl and rim.horn8 The twisted aluminum stinger apparatus was hefty and at first glance seemed to be stuck in the tenon. I tried to turn it and pull it and it would not budge. I would need to heat it to see if I could loosen the tars that bound it to the tenon.horn9

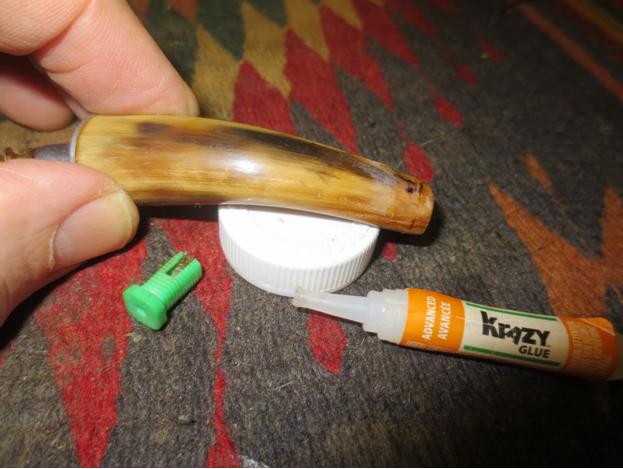
horn10 I decided to work on the stem first. I enjoy working on and repairing horn stems. I find great satisfaction in bringing them back to life and bringing out the rich glow that come from a polished piece of horn. In this case I sanded out the damaged areas with 220 grit sandpaper to smooth the edges of the holes and to clean up the debris. I wiped it down with a cotton pad and alcohol to clean off all the debris. I decided to add a little colour to the horn before filling in the hole so that the darker striation would continue to the button. I used a black permanent marker to colour in a stripe from the place it ended on the undamaged portion back to the button. I filled in the damaged areas on the surface of the stem and on the button with clear super glue. The area on the underside where the red spot was cleaned up a bit but the red bled through. I added multiple coats of the glue to build up the areas. I overfilled them so that I had material to work with in reshaping the button and the stem surface.horn11

horn12

horn13

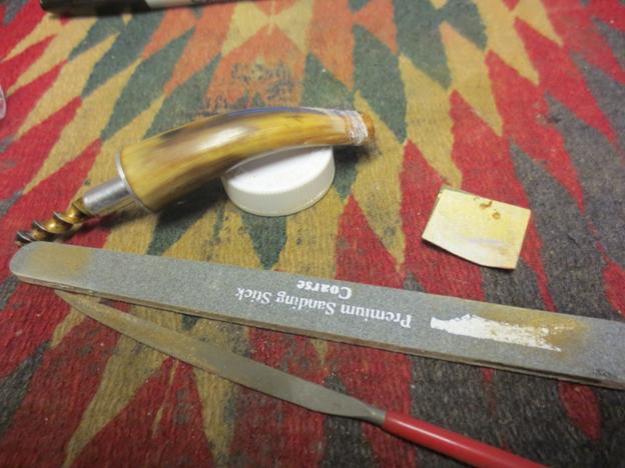
horn14 Once the glue dried I used a needle file and a coarse sanding stick to recut the edge of the button and clean up the top face of the button. I wanted a clean defined area that matched the undamaged part.horn15 I sanded the entire stem, carefully avoiding the area of the stamping with 220 grit sandpaper to blend the repair into the surface of the stem and to shape the button. I heated the metal tenon with a lighter and was able to unscrew the stinger from the end.horn16 I worked on the shape of the button and the flow into the button with sandpaper and sanding sticks. The shiny areas in the photo below next to the button are the patches of superglue. Much polishing still remains to be done at this point but the surface is smooth to the touch.horn17

horn18 I cleaned up the stinger with 0000 steel wool to remove the tars and tarnish. I cleaned out the inside of the stinger with pipe cleaners, cotton swabs and alcohol.horn19

horn20 I reamed the bowl with the PipNet reamer and took the cake back to bare wood. I wanted to check out the inside of the bowl for damage or cracks. Fortunately it was very clean.horn21

horn22 I scrubbed the rim with alcohol and cotton pads to remove the tars. It was very hard so I also used a 1500 grit micromesh sanding pad. I was able to get most of the build up off the rim. There was some darkening that I would need to sand with a more aggressive grit of sandpaper. I scrubbed the exterior of the bowl down with acetone on cotton pads as well to remove the grime and old finish.horn23With the basic work done on the exterior I cleaned out the shank and the airway in the stem. I also scrubbed out the inside of the bowl with alcohol, cotton swabs and pipe cleaners.horn24

horn25 I put the pipe back together to get a look at how things were coming along. I wanted to see what the repaired stem looked like. In the photos below you can see the new look of the stem from all angles. I am pleased with the overall repair of the stem.horn26

horn27

horn28

horn29 I took the stem off the pipe and worked on it with the micromesh sanding pads – wet sanding with 1500-2400 grit pads and dry sanding with 3200-12000 grit pads. I rubbed the stem down with Obsidian Oil between each pad as I have found when working with horn that the oil gives it a better bite into the material and helps raise the shine.horn30

horn31

horn32

horn33

horn34 I lightly buffed the stem with Blue Diamond and then gave it several coats of carnauba wax. I buffed it with a soft flannel buff and then hand buffed it with a microfibre cloth.

With the stem done I turned to the finish on the bowl. I used a dental pick to remove the putty fills from the bottom of the bowl and shank. I wiped the bottom of the bowl down with alcohol and then packed briar dust into the holes where I had removed the putty. Once the dust was packed in I put a drop of clear super glue on top of the dust and then packed it down with the pick. I added more briar dust to top up the fill.horn35

horn36 When the patches had dried I sanded them with 220 grit sandpaper to remove the excess material and blend the surface of the patch into the bowl surface.horn37 I heated the briar and then stained it with a medium brown aniline stain. I flamed the stain to set it in the briar. I buffed the bowl with Blue Diamond on the wheel and then gave it several coats of carnauba wax to give it a shine. I hand buffed it with a microfibre cloth.horn38

horn39

horn40

horn41 I pushed the stem back in place and gave the entire pipe a final coat of wax and then buffed it with a clean flannel buff. I finished by buffing it by hand with the cloth. The finished pipe is shown in the photos below. It is a beautiful pipe and the horn just shines. I am looking forward to enjoying it in the days ahead. What would you call this shape? Any ideas?horn42

horn43

horn44

horn45

horn46

horn47

horn48 Thanks for looking.
Cleaning up Two Sisters – A pair of Beaver Cut Genuine Briar Pipes


Blog by Steve Laug

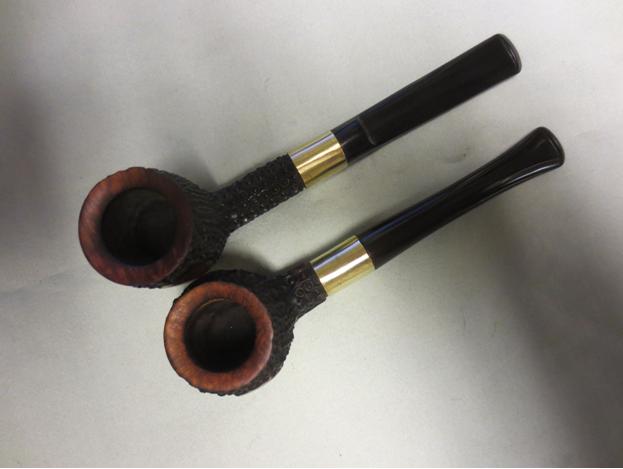
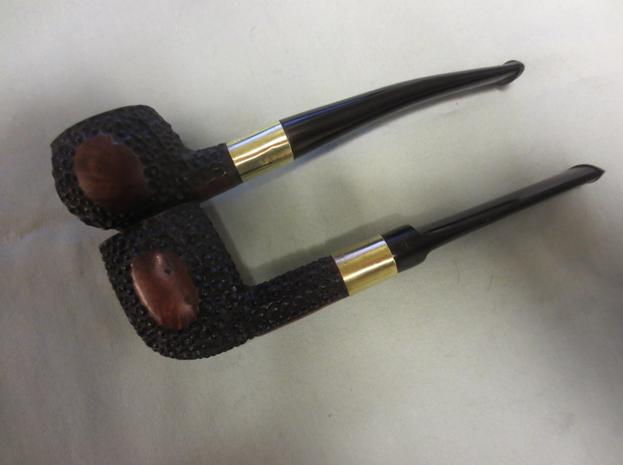
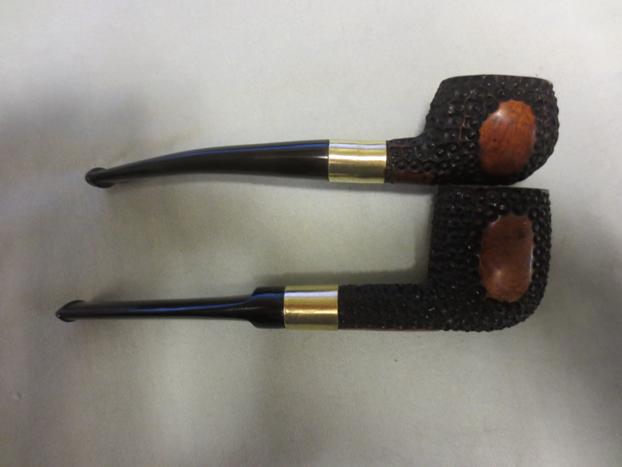
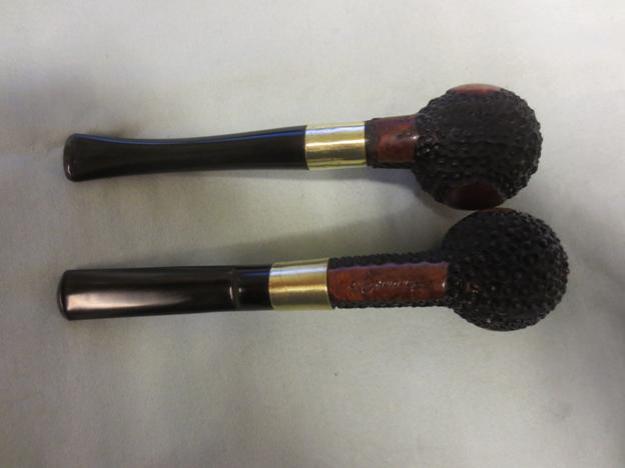
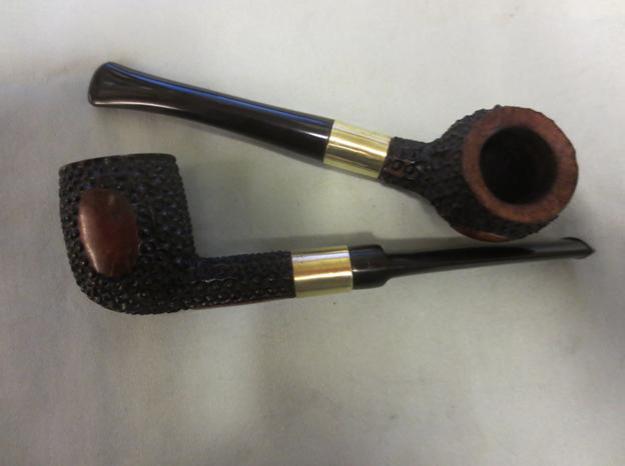
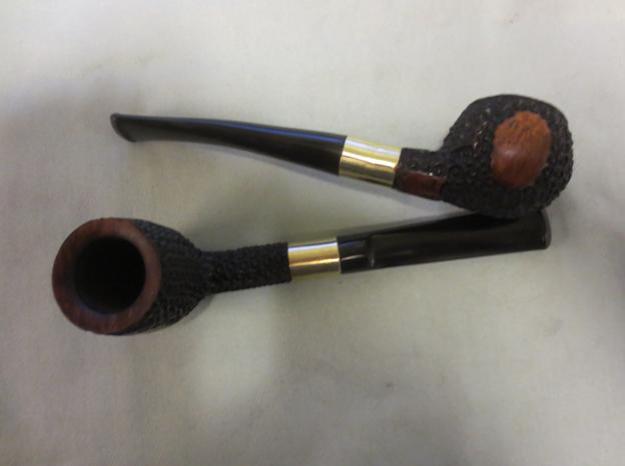
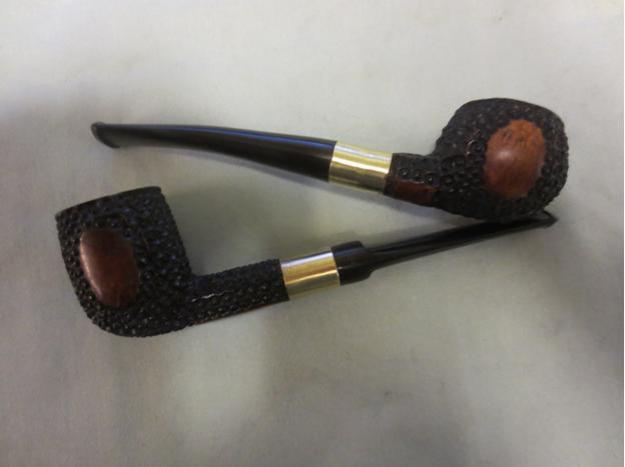
I received this pair of pipes from Charles Lemon of Dad’s Pipes Blog. He picked them up as part of an estate from London, Ontario, Canada. They are both stamped on the bottom of the shank on a smooth surface with the words Beaver Cut in script over a block script Genuine Briar. He did some hunting on the web and could find nothing that gave any sense of history of the brand. When I got them I did the same and found absolutely nothing. The Genuine Briar stamping tells me it is post WW2 and is made in the USA. I found another Beaver Cut for sale on Worthpoint but it also did not have any information. From what I can find that is the extent of the information available.

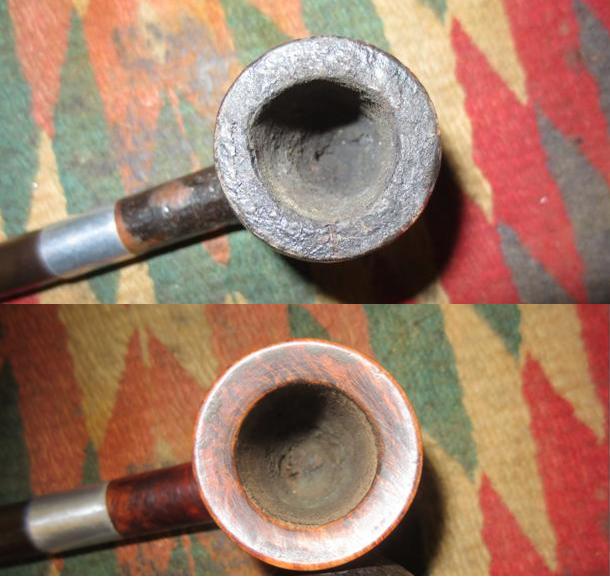
The top pipe in the photo is Prince. The rustication was dirty and a lot of dirt and debris had collected in the grooves. It had a rustication pattern that I had not seen before. It is like rows and rows of birdseye cuts in the surface of the briar. There is a smooth patch on both sides and on the bottom of the shank. The bowl had a thick cake and the shank had a lot of debris and oils in it. The rim had an overflow of lava and oils on the top of the bevel. The inner and outer edge of the rim was in great shape and the bowl was still in round. The brass band on the shank appeared to be factory as it was on both pipes and was identical. It was scarred and had tarnished. When it was installed the installer had made a mess of the shank. He had cut the shank back farther than the length of the band so that when it was installed it left a groove between the edge of the band and the rustication on the shank. It looked almost as if the band was an afterthought. I am pretty certain that it was sent out from the factory with that look. The stamping had been cut in two by the chopping of the briar to fit the band. The stem did not fit the shank due to the buildup internally. The stem was also missing a large chunk on the right side near the button and someone had cut a groove in the top of the stem to begin cutting a new button but had not finished the work.

The lower pipe is a Billiard with the exact same grain pattern. It was in a bit better shape than the Prince. The grooves in the unique rustication were actually clean. There was a varnish coat on the smooth parts of the bowl even though there were several sandpits in each smooth spot. The bowl had a thick cake and the rim had an overflow of tars and lava which obscured the bevel. The fit of the band to the shank on this one was better though looking at it from the end of the mortise it was clear that the shank was out of round. The brass was also scratched and marred on this pipe. The stamping on this one was clean and deep. The stem diameter extended further on the right side than on the left though the stem was of equal diameter all the way around. There were some light tooth marks on the top and the bottom of the stem near the button and there was tooth chatter. The stem was oxidized but was faintly stamped with a B in a circle.Beaver1

Beaver2

Beaver3

Beaver4 I took a close up photo of the rim on each of the pipes. The first photo below shows the rim on the Prince and the second shows the rim on the Billiard. The buildup and the uneven cake are visible in both pipes. It is hard to see the bevel on the rim in the Prince but it matches the one on the rim of the Billiard.Beaver5

Beaver6 I also took some close up photos of the stems on both pipes to show the state of the stem. The first two photos show the stem on the Prince. You can see the damage of the broken area on the side of the button and the cut off button. You can also see the groove or divot that had been cut in the stem to make the pipe useable. The third and fourth photos show the stem on the Billiard and you can see the tooth marks and chatter on the stem surface. It is also clear that it does not fit well against the side of the band.Beaver7

Beaver8

Beaver9

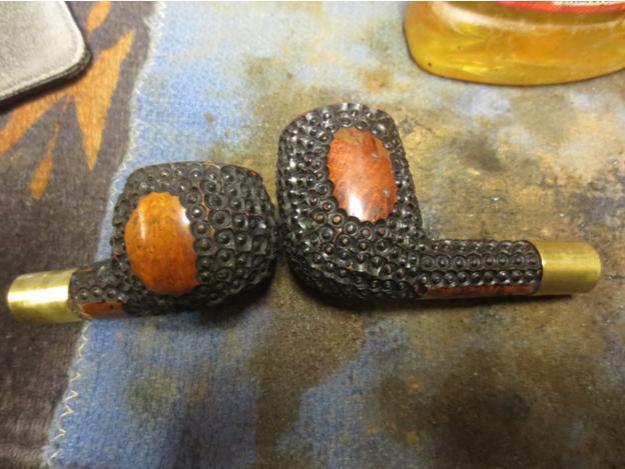
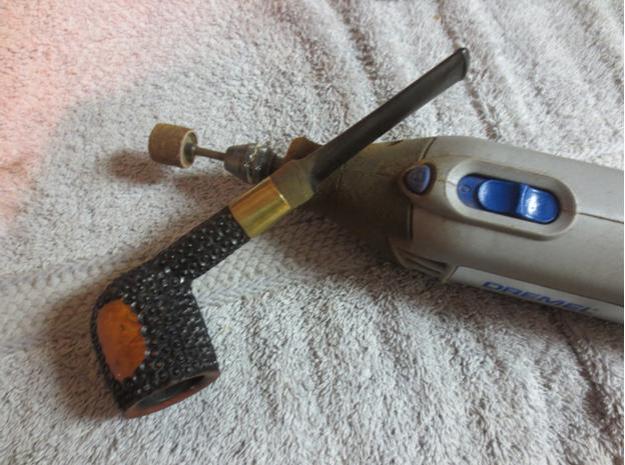
Beaver10 I decided to restem the Prince so I found a stem in my can of stems that was the same diameter as the shank and slightly longer than the broken stem to account for the missing button. I turned the tenon with a sanding drum on a Dremel to get a close fit and then hand sanded until it push snuggly into the mortise.Beaver11 To deal with the badly fit shank band I cleaned the area with a dental pick and then pressed briar dust into the groove just ahead of the band. I dripped clear super glue into the briar dust and then as it settled add more glue and more briar dust. I wanted the transition between the shank and the band to be smooth. I sanded the repair with a folded piece of 220 grit sandpaper and then with a medium and a fine grit sanding sponge to smooth out the scratches in the surface.Beaver12 I reamed both bowls back to bare wood with a PipNet reamer. I sanded the beveled rim on the Prince to clean off the oils and lava and to show the bevel. More work would need to be done on both rims.Beaver13

Beaver14

Beaver15 I worked on the bevel of the rims with 220 grit sandpaper to remove the buildup and also to smooth out the bevel. It took quite a bit of sanding on both rims to get the angle consistent all the way around the bowl and also to remove the burn damage on the inner edge of both. I sanded both with a medium and fine grit sanding sponge to finish the cleanup.Beaver16 I stained the newly cleaned surfaces of the rim with a light brown stain pen to approximate the colour on the smooth portions on the bowl sides and bottom of the shank.Beaver17 I sanded them both with 400 grit wet dry sandpaper to smooth out the remaining scratches that showed up with the stain. It also lightened the stain enough that the match was perfect.Beaver18

Beaver19

Beaver20

Beaver21 With the rims finished it was time to scrub the rustication. I used Murphy’s Oil Soap and a tooth brush to scour the rustication pattern on both bowls. I scrubbed them and then rinsed them under warm running water.Beaver22

Beaver23

Beaver24 To address the difference in diameter of the stem and the band on the shank on the Billiard I used a Dremel and sanding drum to take down the top, bottom and right side of the saddle stem. I repeatedly checked the fit until I had it very close then I finished adjusting the fit by hand with 220 grit sandpaper. I sanded the stem on the Prince with 220 grit sandpaper to remove the oxidation and the calcification on the end of the stem.Beaver25

Beaver26

Beaver27 With the fit finished on the stems it was time to clean out the internals of the stems and shanks. I used alcohol, cotton swabs and pipe cleaners to scrub the insides until they were clean.Beaver28

Beaver29 I wet sanded the stem and the brass with a 1500 grit micromesh sanding pad for the first round of sanding on both. It worked to remove many of the scratches and marks in the brass and the vulcanite.Beaver30 I worked on the stem with the micromesh sanding pads – wet sanding with 1500-2400 grit pads and dry sanding with 3200-12000 grit pads. I rubbed the stem down with Obsidian Oil between each set of three pads. When I finished sanding with the 12000 grit pad I let the oil dry on the stem.Beaver31

Beaver32 In the final sanding I sanded the brass and it carried over onto the top portion of each stem giving it a bit of a brown look in the next photo. This all came off when I buffed the stem with red Tripoli and White Diamond.Beaver33 I heated the stem on the Prince and gave it a slight bend to give it a more finished looked. I buffed the stems and rims with White Diamond and Blue Diamond and then gave them multiple coats of carnauba wax. I also waxed the smooth portions on the bowl sides, shank bottoms and the rims. I buffed these with Blue Diamond as well. I wiped the rustication down with a light coat of olive oil to bring some life back to the briar. The finished sisters are shown below.Beaver34

Beaver35

Beaver36

Beaver37

Beaver38

Beaver39

Beaver40

Beaver41 Thanks for looking. Does anyone have any information about this brand? It would be great to be able to get a little information. Please post anything you know in the comments below. Thanks.
Breathing New Life into a Yello-Bole Burley Pot


Blog by Steve Laug

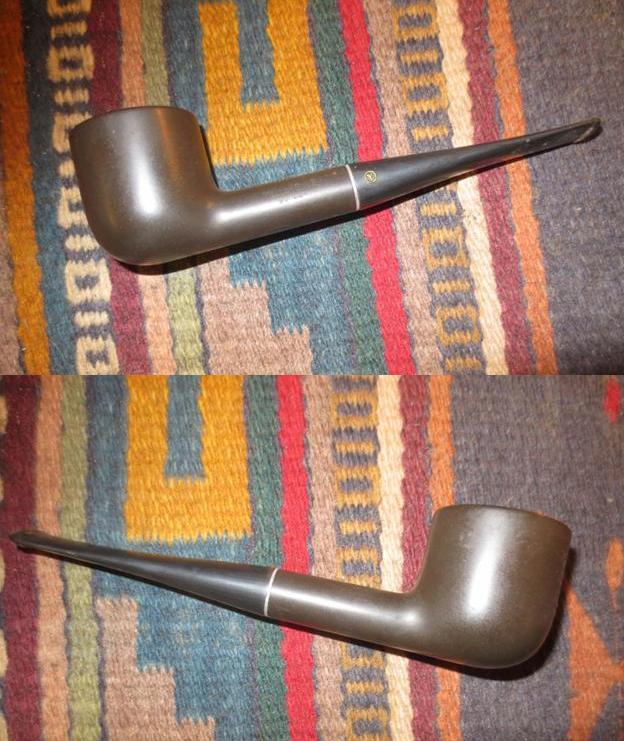
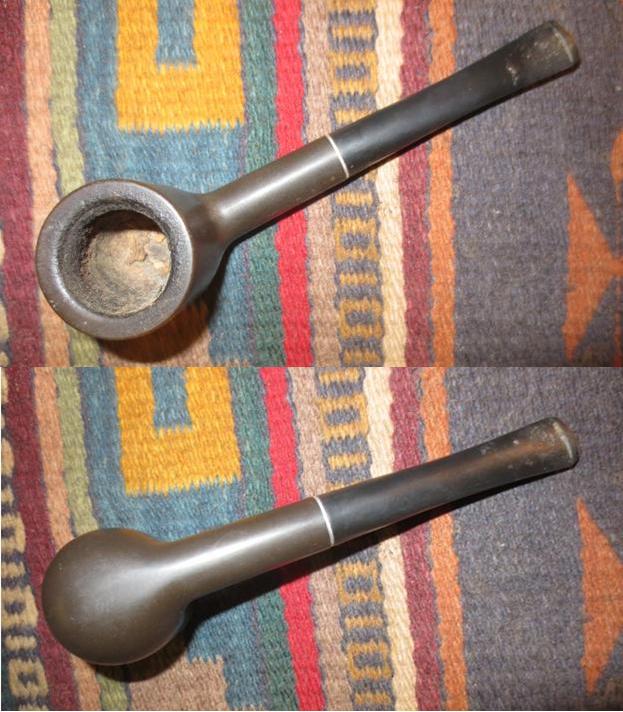
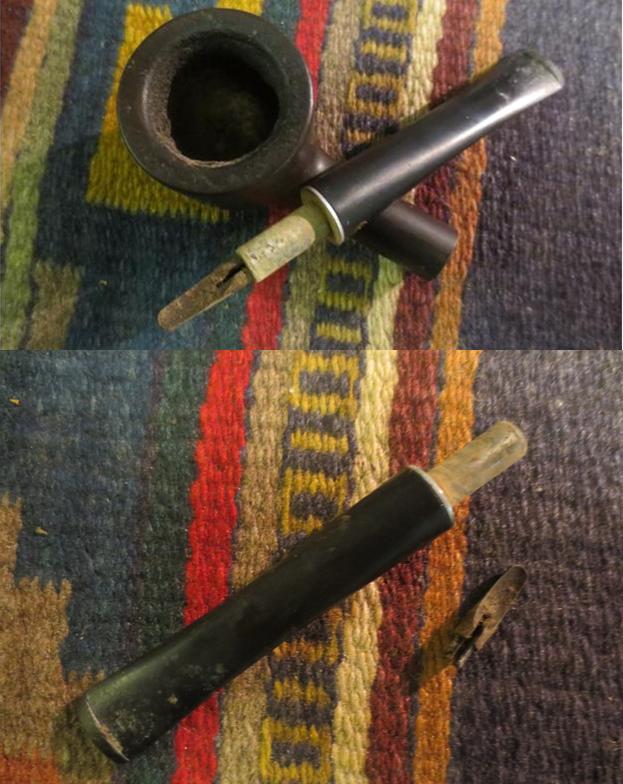
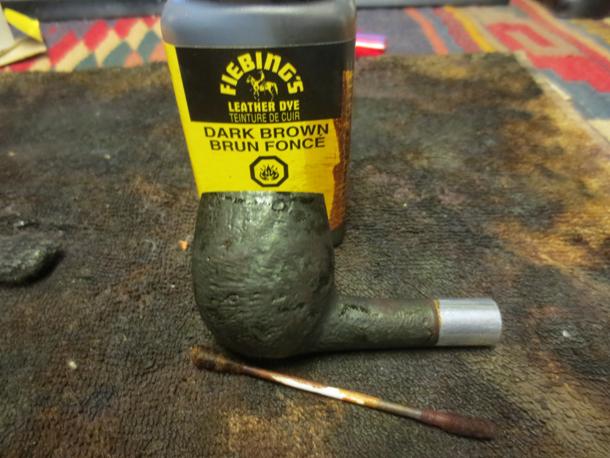
In one of the antique malls in Idaho Falls I found a pipe that I had not seen before. I have had Medico Brylon pipes and other pipes from manmade materials but I had not seen one of these before. This pipe was stamped on the left side of the shank with the words Yello-Bole over Burley with a ® trademark symbol. It appeared to be made of the same material as a Medico that I picked up the day my eldest daughter was born – Brylon. I was sure that the Medico and the Yello-Bole were made by the same company. I was not sure but thought it would be worth picking up as I had not seen one of these before. Besides the price was right – I think it was $8 or so. The bowl had a fairly thick cake at the top and some remnants of the last tobacco smoked in the bottom of the bowl. The stem was stuck in the stem and took a little effort to move it as it was inserted upside down. When I got it out of the shank the aluminum tenon was badly oxidized and there was some corrosion on the surface. The shovel scoop stinger that is a hallmark of Yello-Bole pipes was black with tars and it was stuck in the tenon. The pipe had a heavy smell of English tobacco that made me wonder if it had ever met a pipe cleaner.Burley1

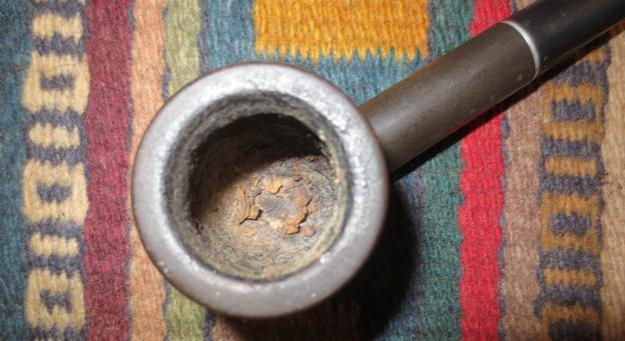
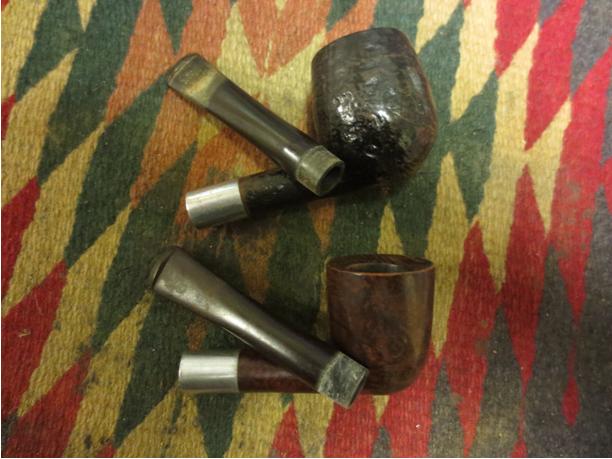
Burley2 I took some close up photos of the bowl and the tenon and shovel stinger apparatus when I got the stem off the shank. The first photo shows the thick cake on the inside of the bowl, the remnants of tobacco and the tars on the rim. It takes a long time (from my experience) and lots of smoking to build up a cake like this in a Brylon pipe. The second photo shows the corroded metal tenon as well as the dirty shovel stinger apparatus. The stem also had some tooth marks and a lot of tooth chatter on both sides of the stem at the button. I was able to wiggle the stinger out of the tenon with a little effort the third photo shows the tenon and stinger.Burley3

Burley4 Since I had not heard of the brand before I did some research before I cleaned up the pipe. I found a link to Pipedia that gave a short history of the brand and I found out that Brylon was developed by SM Frank and Company in 1966. It was a combination of resins and briar dust and was a synthetic that was cheaper alternative to briar. It is virtually indestructible and I have read other place that folks used to throw them in the dishwasher to clean them… The one I had certainly had never met this fate and I would not resort to that method in cleaning it. Here is a portion of the quote from Pipedia with a photo of the Brylon pipe. It also gives information regarding the four lines of Brylon that SM Frank sold.Burley5“This material was immediately used for Yello-Bole pipes, and millions of these pipes have been sold in the decades since then. They continue to be part of the Yello-Bole and Medico brands. At the moment Yello-Bole offers:
• 4 lines of Brylon pipes: Ebony, Nova, Burley and Standard (Prices $15.95 – $18.95) and
• 4 lines of Briar pipes: Spartan, Pug, Checker and Imperial (Prices $19.95 – $24.95).
The Yello-Bole Burley was billed as a great pipe delivering top-notch Brylon quality for just a few bucks. Featuring a push-bit with an aluminum scoop, this no-nonsense pipe is a great starter, or knock-around pipe. http://pipedia.org/wiki/Yello-Bole

I also found another link that lead on tobaccopipes.com that gave a little more history of the Yello-Bole line. I cite from that article below. http://www.tobaccopipes.com/yello-bole-pipes-history/

Yello Bole Changes Hands -Throughout the 1950s the brand changed hands a few times, finally coming to rest with S.M. Frank & Company in 1955. The brand has been made by this corporation ever since. Brylon, a synthetic pipe material, first began to be used after S.M. Frank took control and is still used today.

Affordable tobacco pipes – Today Yello Bole pipes are made of both Brylon and briar and are made to be an affordable tobacco pipe for the every-man.

Today Yello Bole tobacco pipes come in eight different lines. The Brylon pipes are Ebony, Nova, Burley, Standard and Spartan series. The smoking pipes made from briar wood include Pug, Checker and Imperial lines.

Brylon pipes are generally less expensive than briar wood pipes, generally costing only a little more than a corn cob pipe. All Brylon pipes come with a push bit and scoop. The scoop helps to trap hot flakes of tobacco. It is removable for those who don’t care for this device.

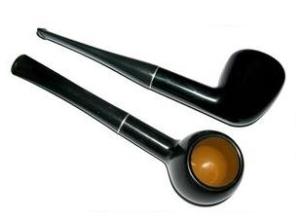
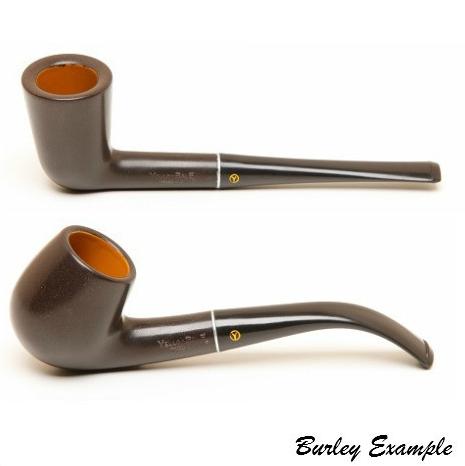
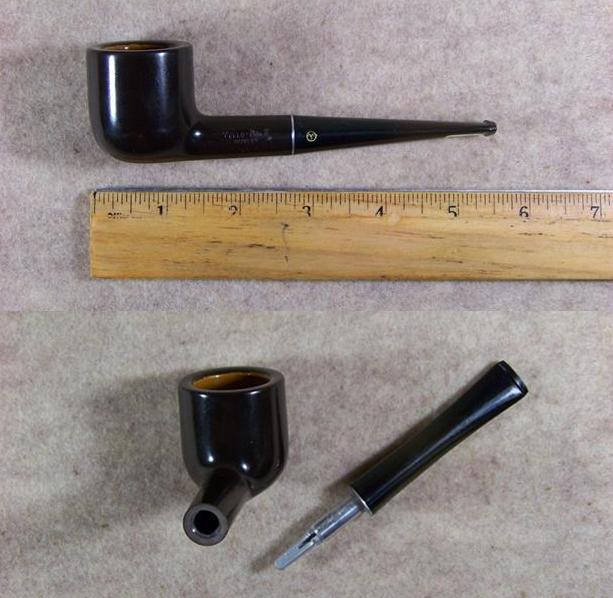
I also found several pictures of the pipe online. The first is one that I include to show the look of the pipe when it was new. The second and third photos show the same model of Burley that I had found. The pipe has a jaunty look to it that catches the eye. The one I have must have been a good smoking pipe as it was heavily used.Burley6

Burley7 I scrubbed the tenon and the stinger with 0000 steel wool to remove the corrosion and grime. It did not take much scrubbing before it was shiny and clean. I cleaned out the inside of the shank and the stem with alcohol, cotton swabs and pipe cleaners. There is a rubber grommet inside the end of the tenon that holds the shovel stinger tightly in place.Burley8 I reamed the bowl with a PipNet reamer using the largest cutting head. I was able to get most of the cake out of the bowl. I also sanded the inside of the bowl to finish removing the buildup. It was fascinating to find some of the Yello-Bole bowl coating underneath the cake on the bottom half of the bowl.Burley9

Burley10 The next photo shows the cleaned and sanded bowl and the cleaned rubber grommet in the end of the tenon. The second photo shows the shovel inserted in the grommet.Burley11 I scrubbed the exterior of the Brylon with a cotton pad and alcohol to remove the grime and build up on the rim. With the bowl finished I worked on the stem. I sanded it with 220 grit sandpaper, 400 grit wet dry sandpaper and with a fine grit sanding sponge to minimize the scratches. On both the top and the bottom side I was able to get rid of most of the tooth chatter but there were some deeper tooth dents that would need some more work.Burley12 I cleaned the surface of the stem with alcohol and then used clear super glue to fill the deeper dents on both surfaces.Burley13 I resanded the stem with 220 grit sandpaper and with 400 grit wet dry sandpaper to smooth out the repairs and blend them into the surface of the stem. I sanded it with a medium and a fine grit sanding sponge.Burley14 The nylon stems are a pain to work on and it takes a lot of sanding to get rid of the scratches. I wet sanded with 1500-2400 grit micromesh and paid a lot of extra attention to the repaired areas. I avoided the stamping on the stem so as not to damage that. I rubbed the stem down with Obsidian Oil and while it was still wet sanded the stem with 3200-4000 grit micromesh sanding pads. I gave it another coat of oil and sanded it with 6000-12000 grit pads.Burley15

Burley16

Burley17 I buffed the pipe and stem with Red Tripoli very lightly to raise a shine on the stem and then finished buffing it with Blue Diamond plastic polish. I gave the bowl and stem several coats of carnauba wax and buffed it with a clean flannel buff. I finished by hand buffing it with a microfibre cloth to deepen the shine. The finished pipe is shown in the photos below.Burley18

Burley19

Burley20

Burley21

Burley22

Burley23

A Mysterious Little Bent Billiard Brought to Life


Blog by Steve Laug
This is another pipe I picked up at the antique mall in Idaho Falls. It is a bit of a mystery pipe in that the stamping is faint on the left side of the shank. On the right side it is stamped Made in England. On the right side it is missing some of the first letters but is stamped _ ANTE_ over London. Searching through Who Made That Pipe the best option I found for that combination of letters was a CANTERBURY. The brand was made by Comoy’s. There is a very faint C in a Circle on the stem that also matches the CANTERBURY stamping so I think that may well be the stamping on this mystery pipe. The pipe was in pretty rough shape. The previous owner was in the antique mall when I bought it and he walked me through its deficiencies as he saw them. He had wrapped a piece of Teflon tape around the tenon to hold it in the shank. The stem itself had deep bite marks on the top and a large bit through on the underside near the button. The bowl had some fills on the left side and the underside that were quite large. The finish was shot and was dirty with lots of dents and dings. The rim was smooth but had tars and lava overflow. The bowl was heavily caked and the cake was as hard as rock. The inner edge of the rim was slightly damaged and out of round. The outer edge was clean with a small fill on the front of the bowl near the rim.Cant1

Cant2

Cant3

Cant4 I took the next photos to give a clear picture of the bite through on the underside of the stem and a close up of the thick cake in the bowl.Cant5

Cant6 I tried to ream the bowl with a PipNet reamer and barely made a dent in it. It was very hard. I decided to let it soak in an alcohol bath to soften the cake. I left it in the bath overnight.Cant7

Cant8

Cant9 When I took it out of the bath the finish was clean. The briar looked pretty good. The grain was quite nice. The fills softened and were white putty that would need to be removed and refilled.Cant10

Cant11

Cant12

Cant13 The softened cake came out easily with the PipNet reamer and then I scraped it further with a pen knife. The next photo shows the cleaned out bowl. I wiped down the rim with a soft cloth to remove the tars.Cant14 I lightly topped the bowl with a medium and fine grit sanding block to clean up the rim surface. The cleaned up rim looked very good.Cant15

Cant16 I cleaned out the bowl and shank with alcohol, cotton swabs and pipe cleaners.Cant17 I picked out the putty fills with a dental pick. I filled in the holes with briar dust and then covered that with super glue. I added more briar dust to smooth out the repairs.Cant18

Cant19 I sanded the bowl repairs with 220 grit sandpaper and then with a medium and a fine grit sanding sponge. I forgot to take photos after sanding the bowl.

I set the bowl aside and worked on the stem. I cleaned out the bite marks on the top of the stem and the underside with a dental pick, alcohol and cotton swabs. Once they were clean I put some charcoal powder and black superglue on the bite marks on the top of the stem and leveled the repair with the edge of the dental pick. I set it aside to dry.Cant20 Once the topside repair was cured I put Vaseline on the point of an old nail file that I use to repair bite throughs. I inserted it in the slot on the button. I mixed some black super glue and charcoal powder and filled the hole in the stem with the mixture. I spread it and leveled it with a dental pick. When the repair was finished I set the stem aside to cure once again.Cant21

Cant22 The next morning I sanded the repairs on the top and bottom of the stem with 220 grit sandpaper and with a series of sanding sticks to smooth out the surface. The sanding sticks allowed me to get a good angle on the sharp edge of the button. I started with the coarse stick and worked my way up to the fine stick.Cant23

Cant24 I cleaned out the inside of the stem to remove the Vaseline and the dust from sanding using alcohol, pipe cleaners and cotton swabs. I heated the tenon with a lighter and inserted an ice pick in the airway in the tenon to expand the tenon enough to get a good solid fit in the shank.Cant25 With the stem repair complete and the pipe clean inside and out I decided to do some contrast stain work on the bowl. I stained it with a black aniline dye for the first coat. I wanted to blend in the fills a bit and also highlight the grain. I was aiming for a darker colour in the finished product so this was the first step.Cant26 I applied the stain and then flamed it. I wiped it off with alcohol on cotton pads to lighten the surface coat while leaving the black in the grain and the fills.Cant27

Cant28 I sanded the bowl with micromesh sanding pads to remove more of the finish and then gave it a top coat of a medium brown stain. I applied it and flamed it before hand buffing it.Cant29

Cant30 The colour of the pipe was still too dark to really make the grain pop so I sanded it with a medium and a fine grit sanding sponge to further remove some of the dark colour and to also minimize the scratches in the briar. I wiped it down with acetone to lighten it further.Cant31

Cant32

Cant33

Cant34 With the finish on the bowl complete I sanded the stem with micromesh sanding pads. I wet sanded with 1500-2400 grit pads and dry sanded with 3200-12000 grit pads. Between each set of three pads I rubbed the stem down with Obsidian oil. On the last rub down I let it sit until it was absorbed.Cant35

Cant36

Cant37 I buffed the pipe with Red Tripoli and White Diamond to further lighten the top coat of stain and to polish the stem. I then buffed the pipe with Blue Diamond and gave it multiple coats of carnauba wax. The finished pipe is shown below.Cant38

Cant39

Cant40

Cant41

Cant42

Cant43

Cant44