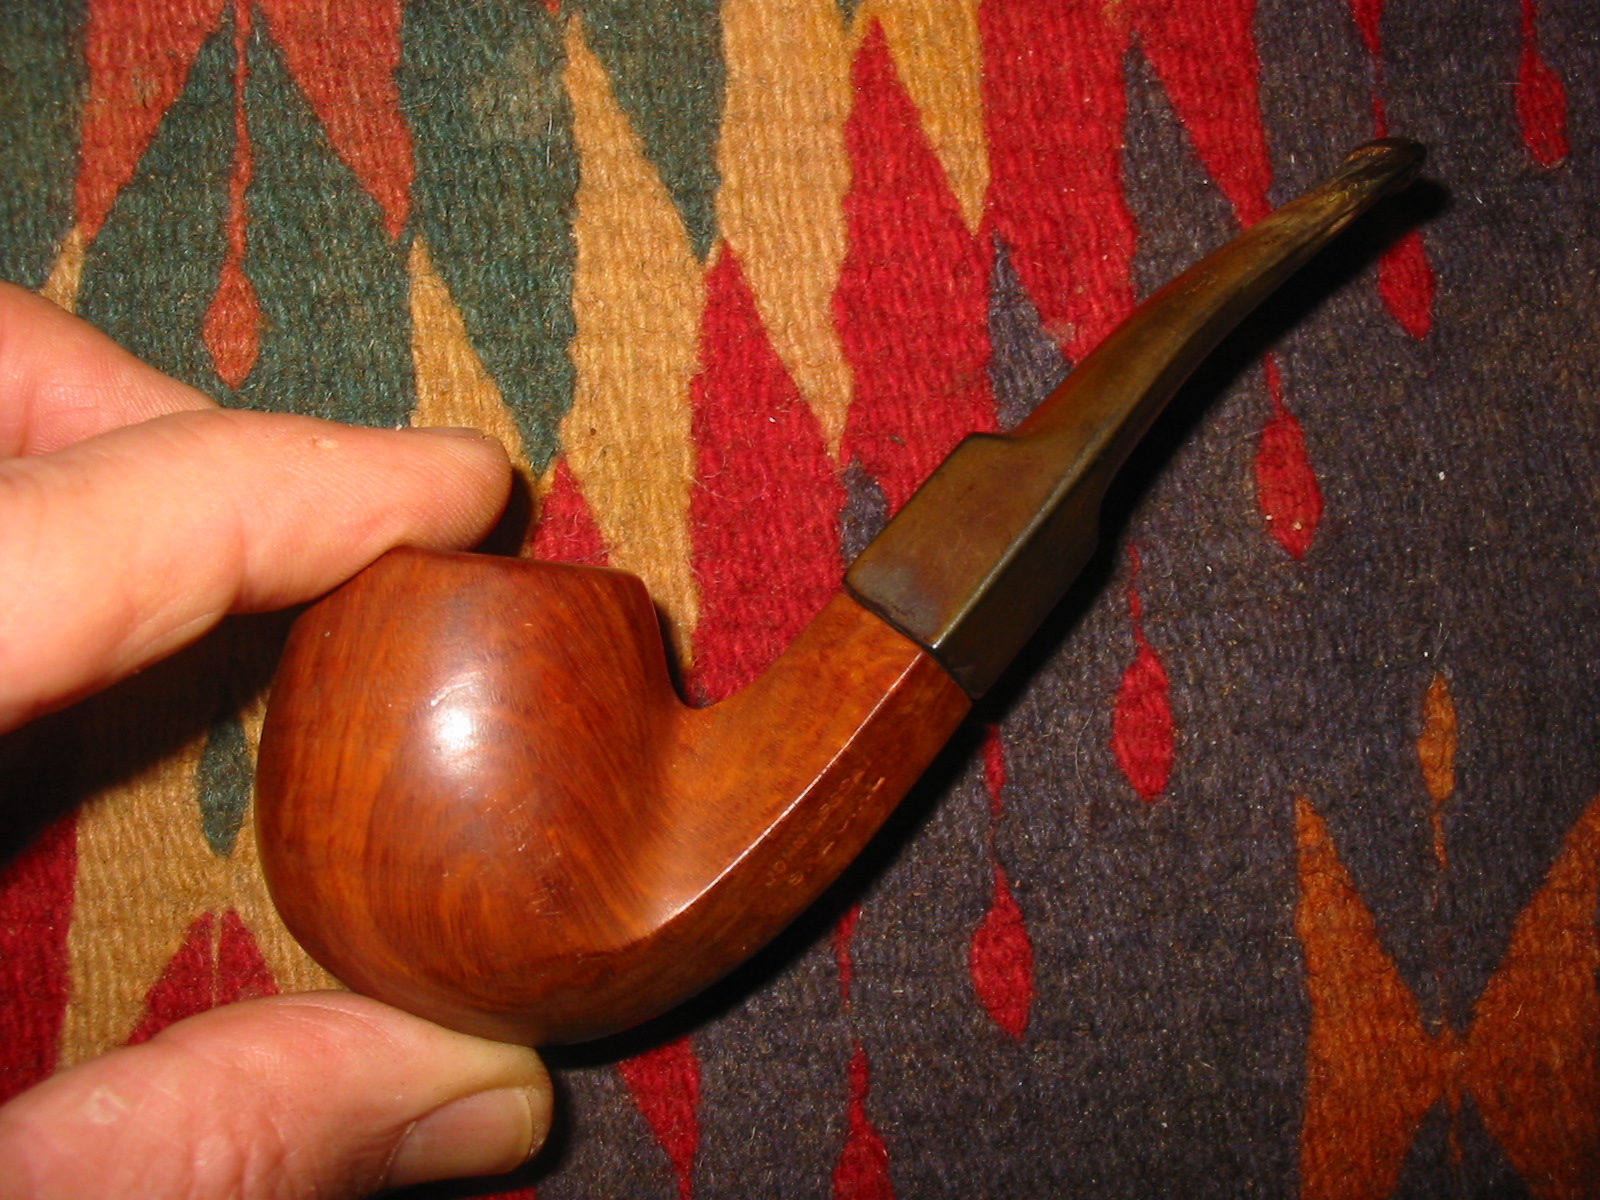
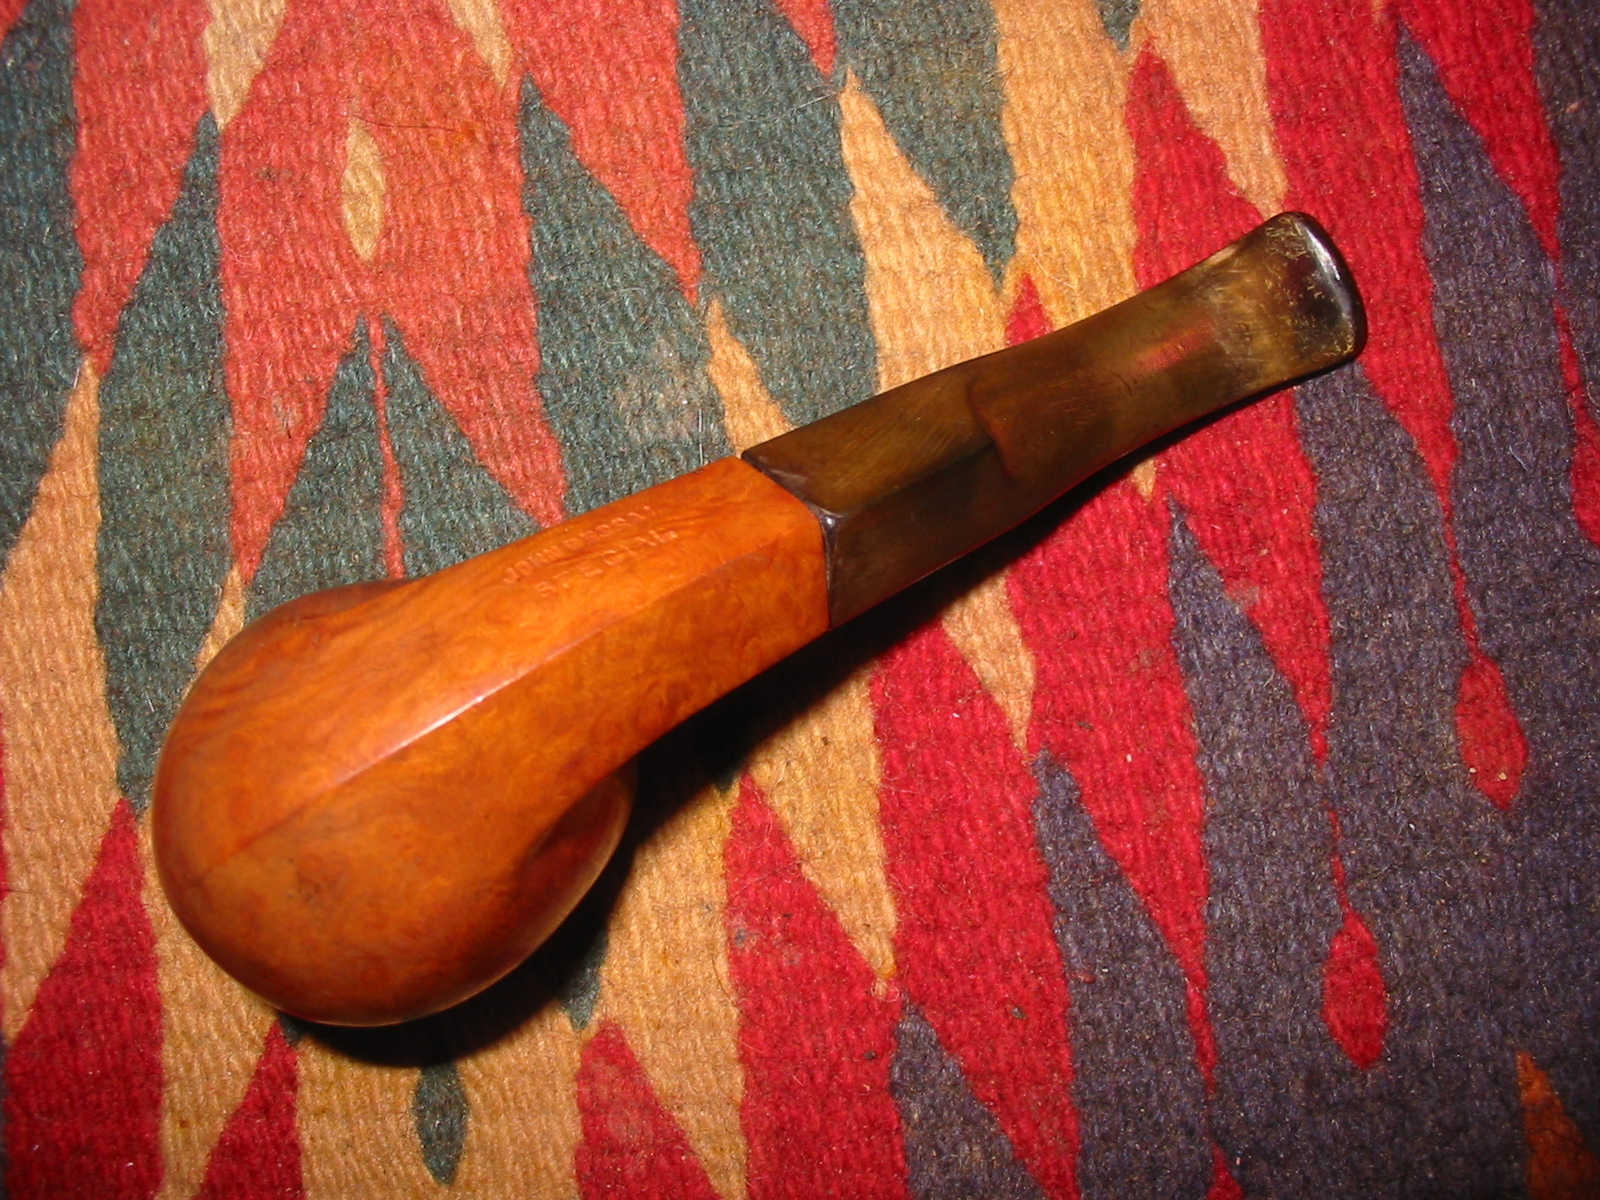
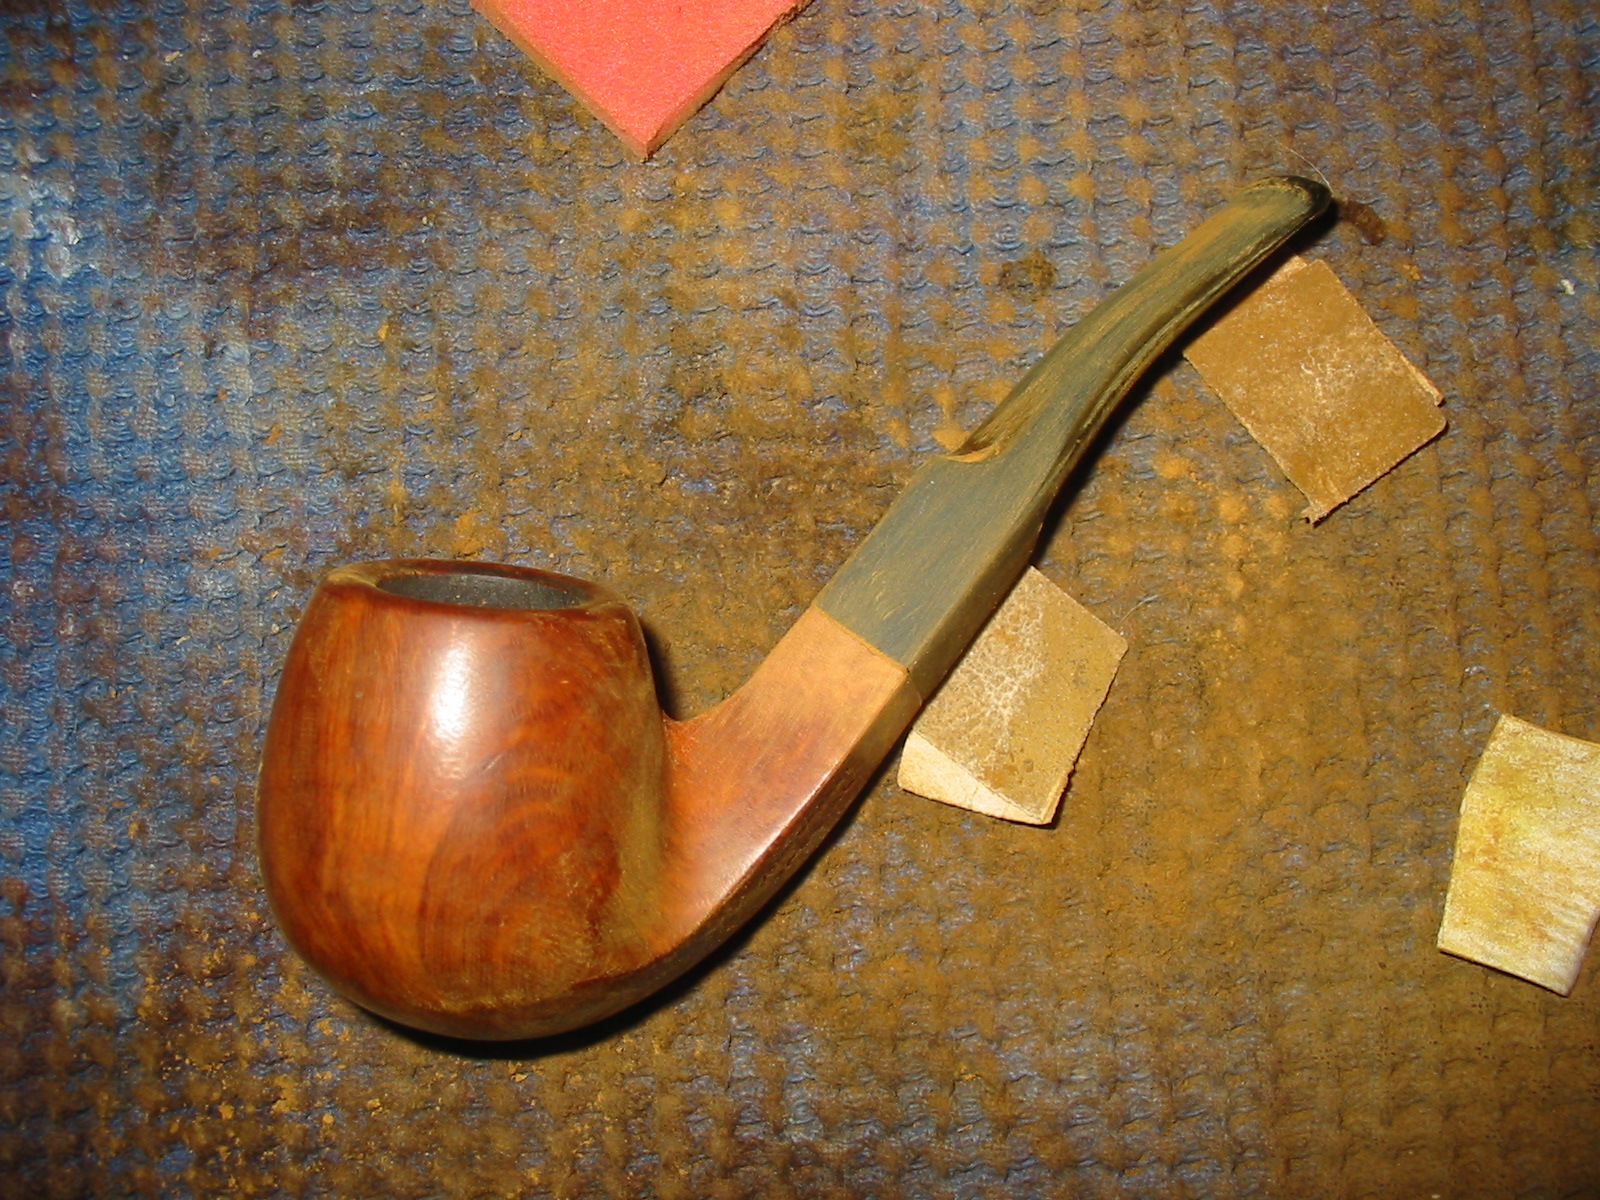
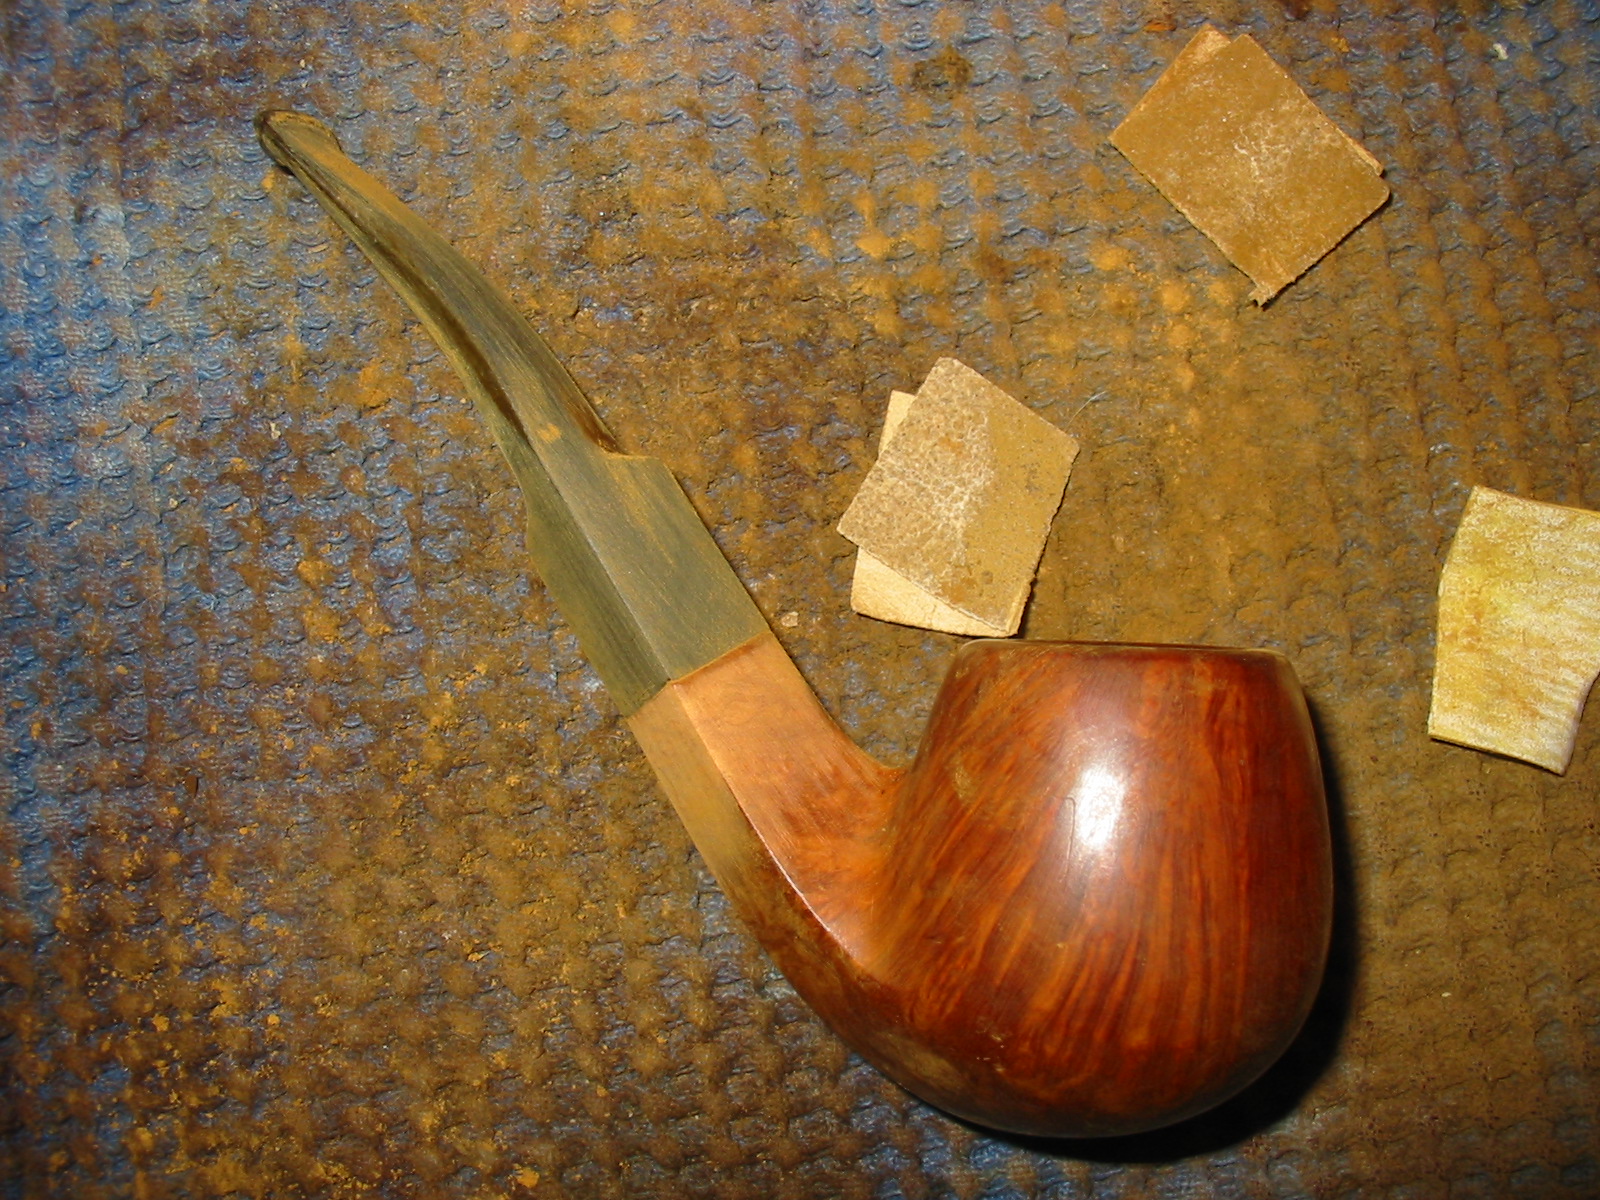
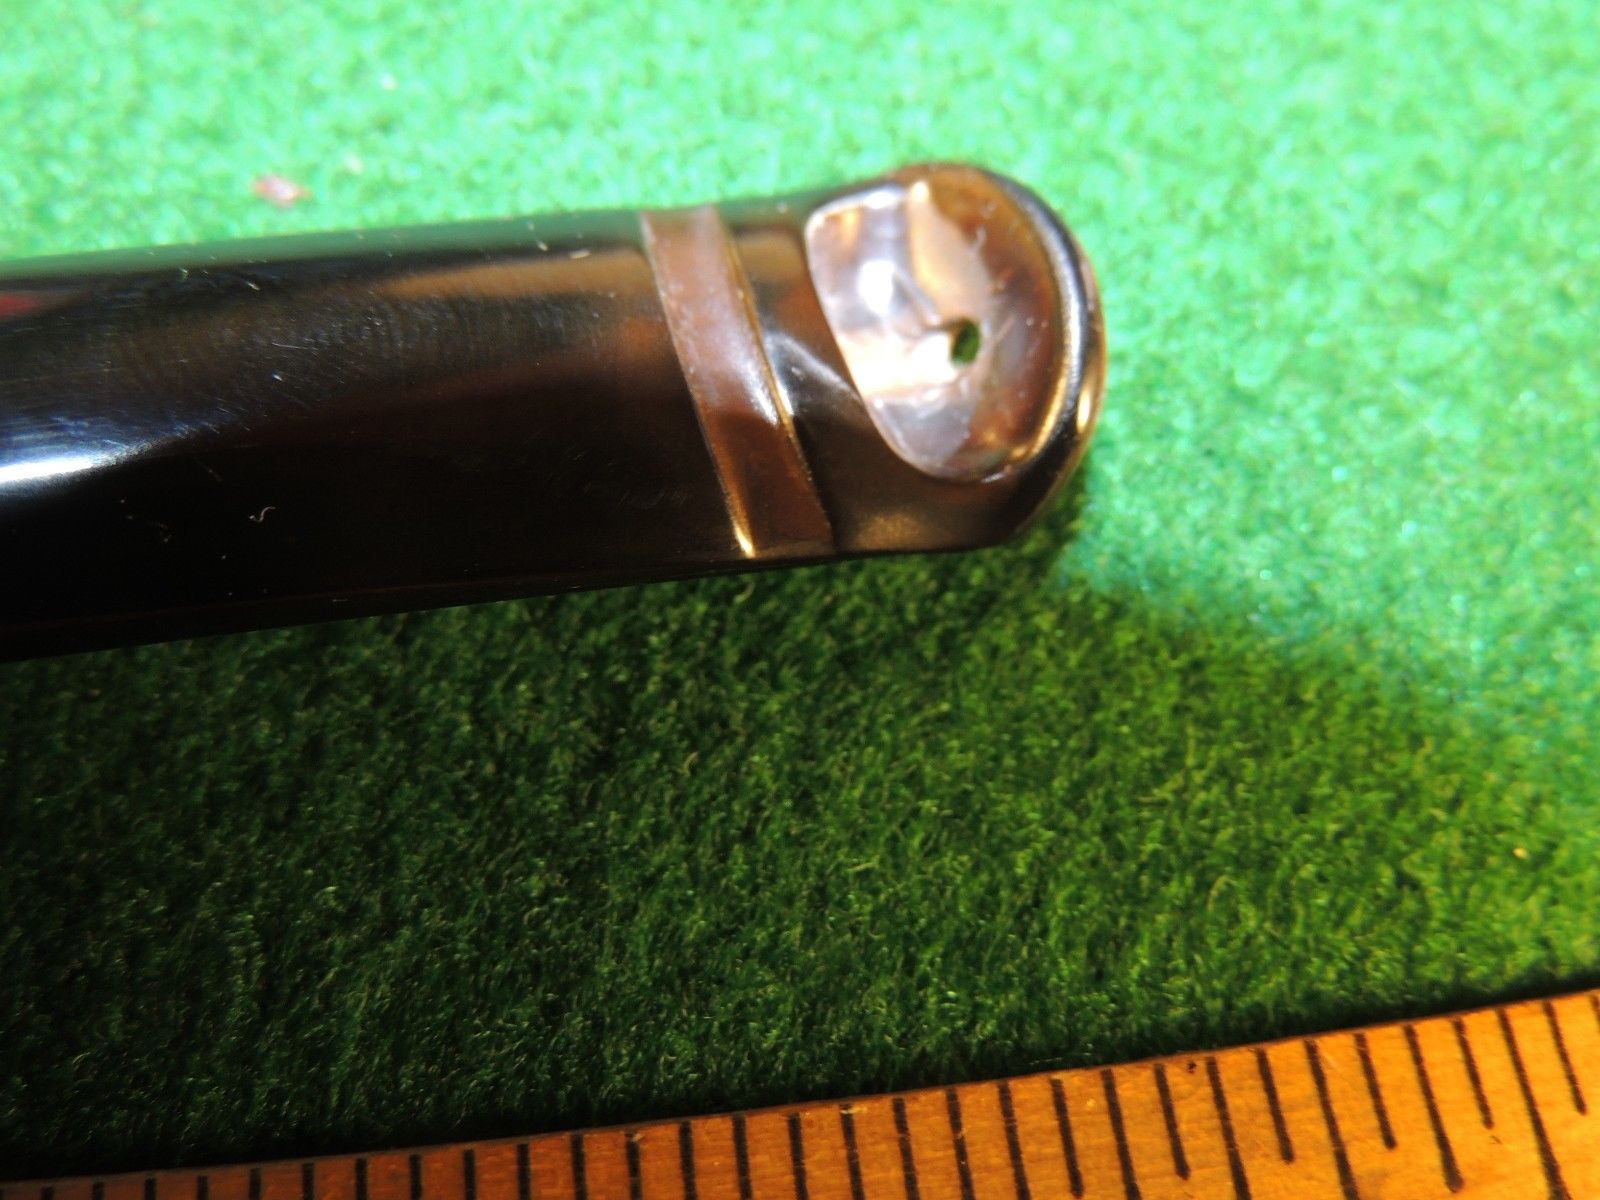
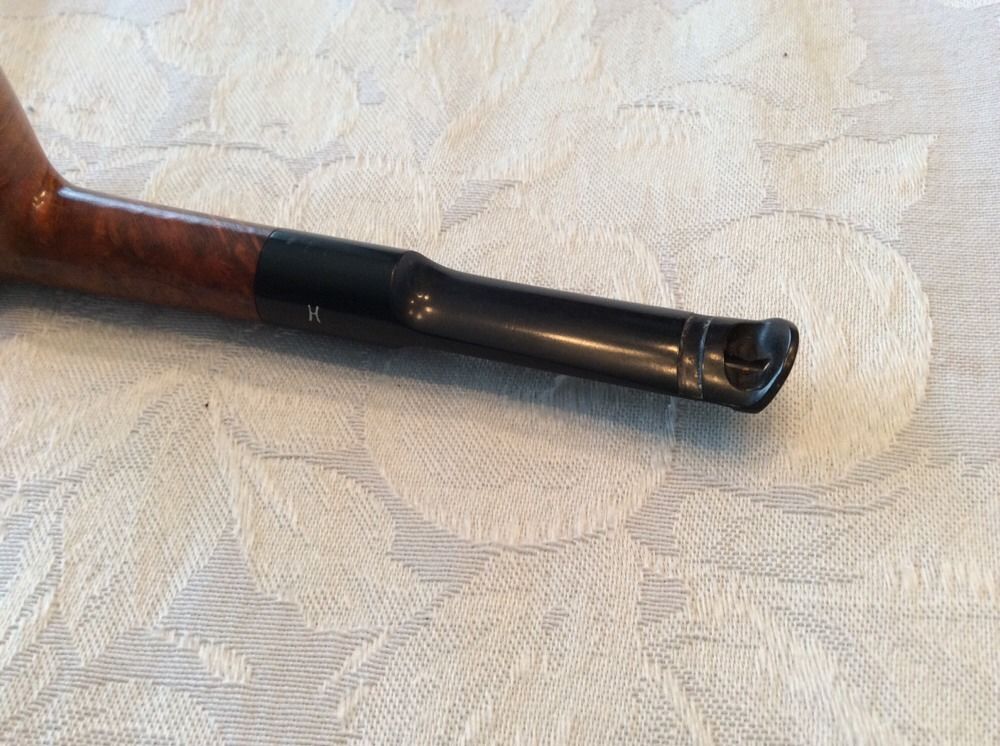
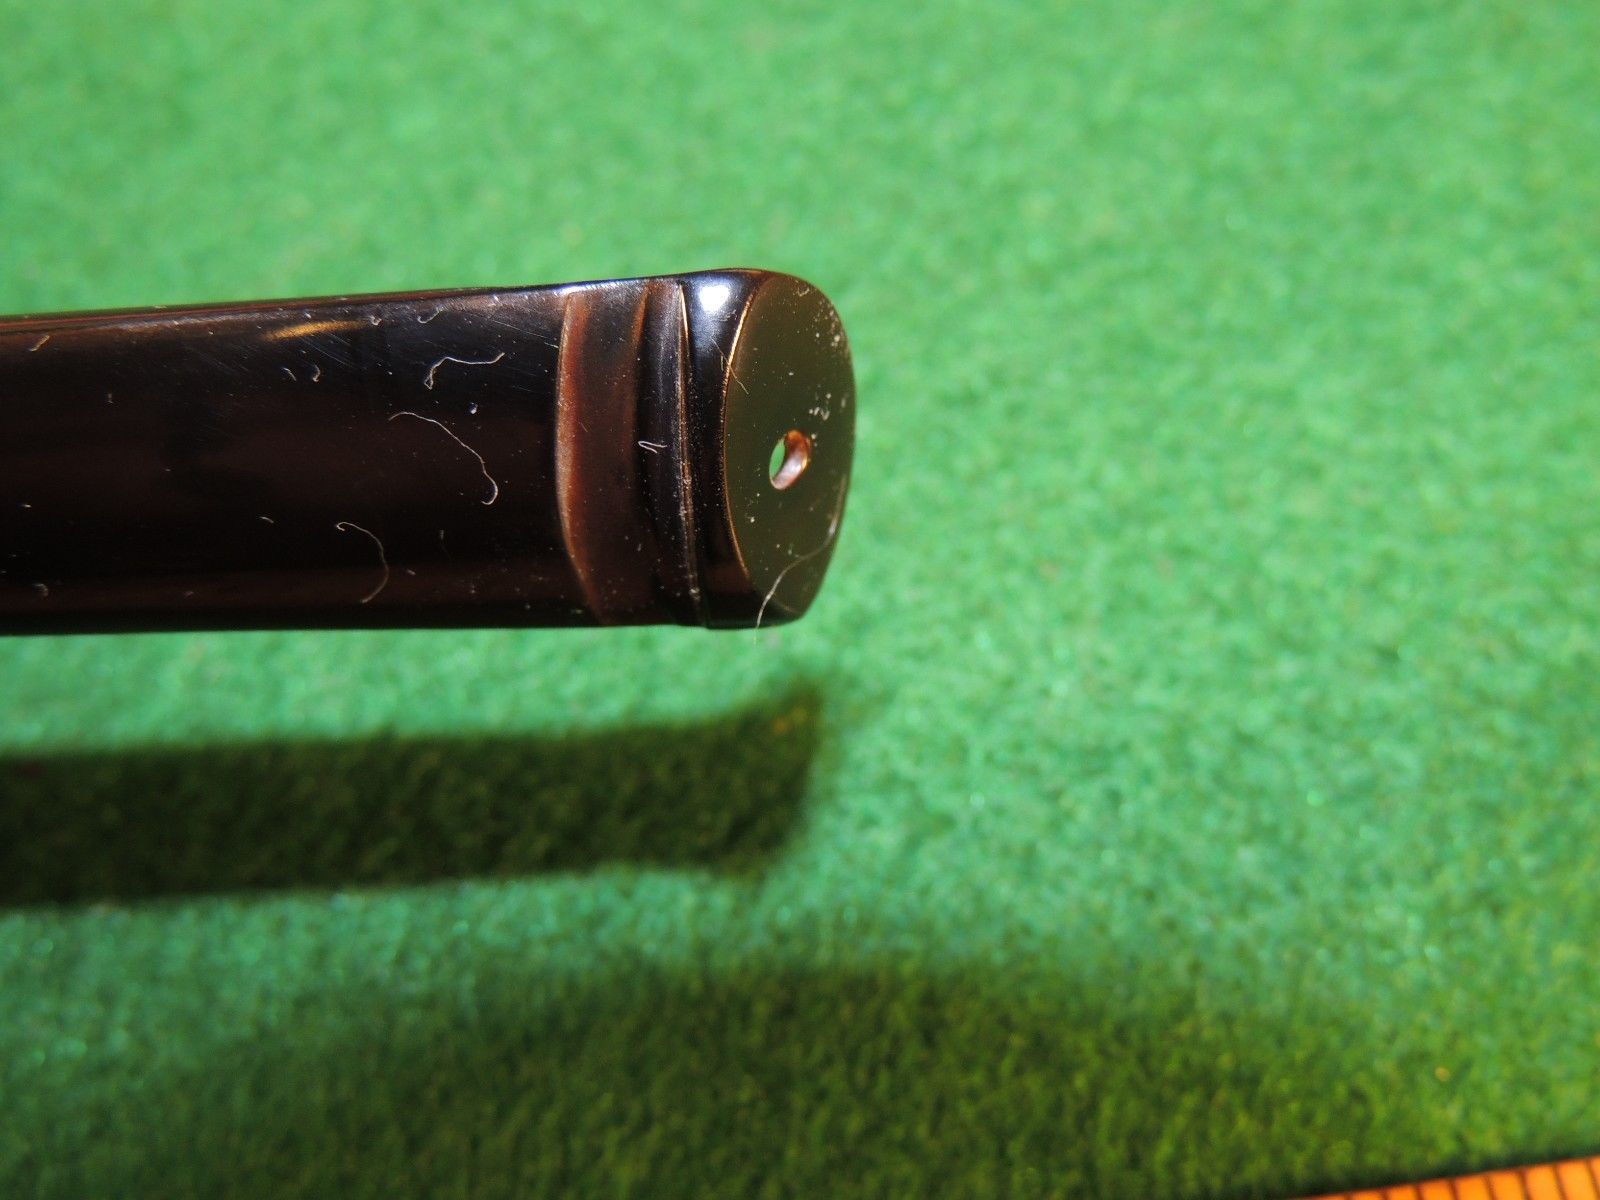
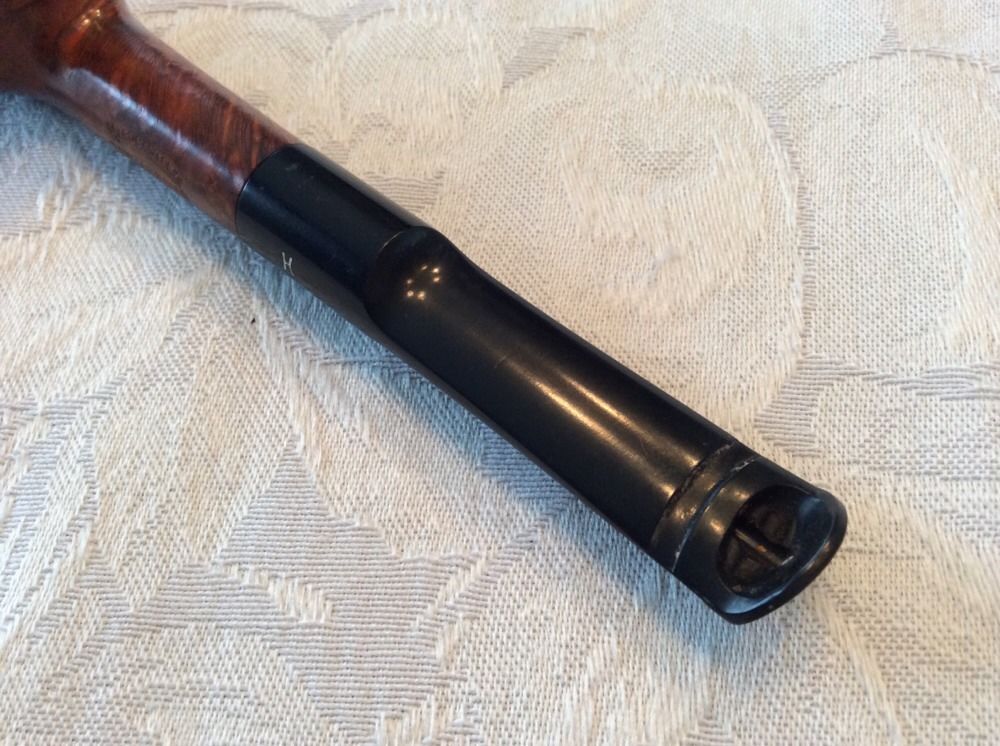
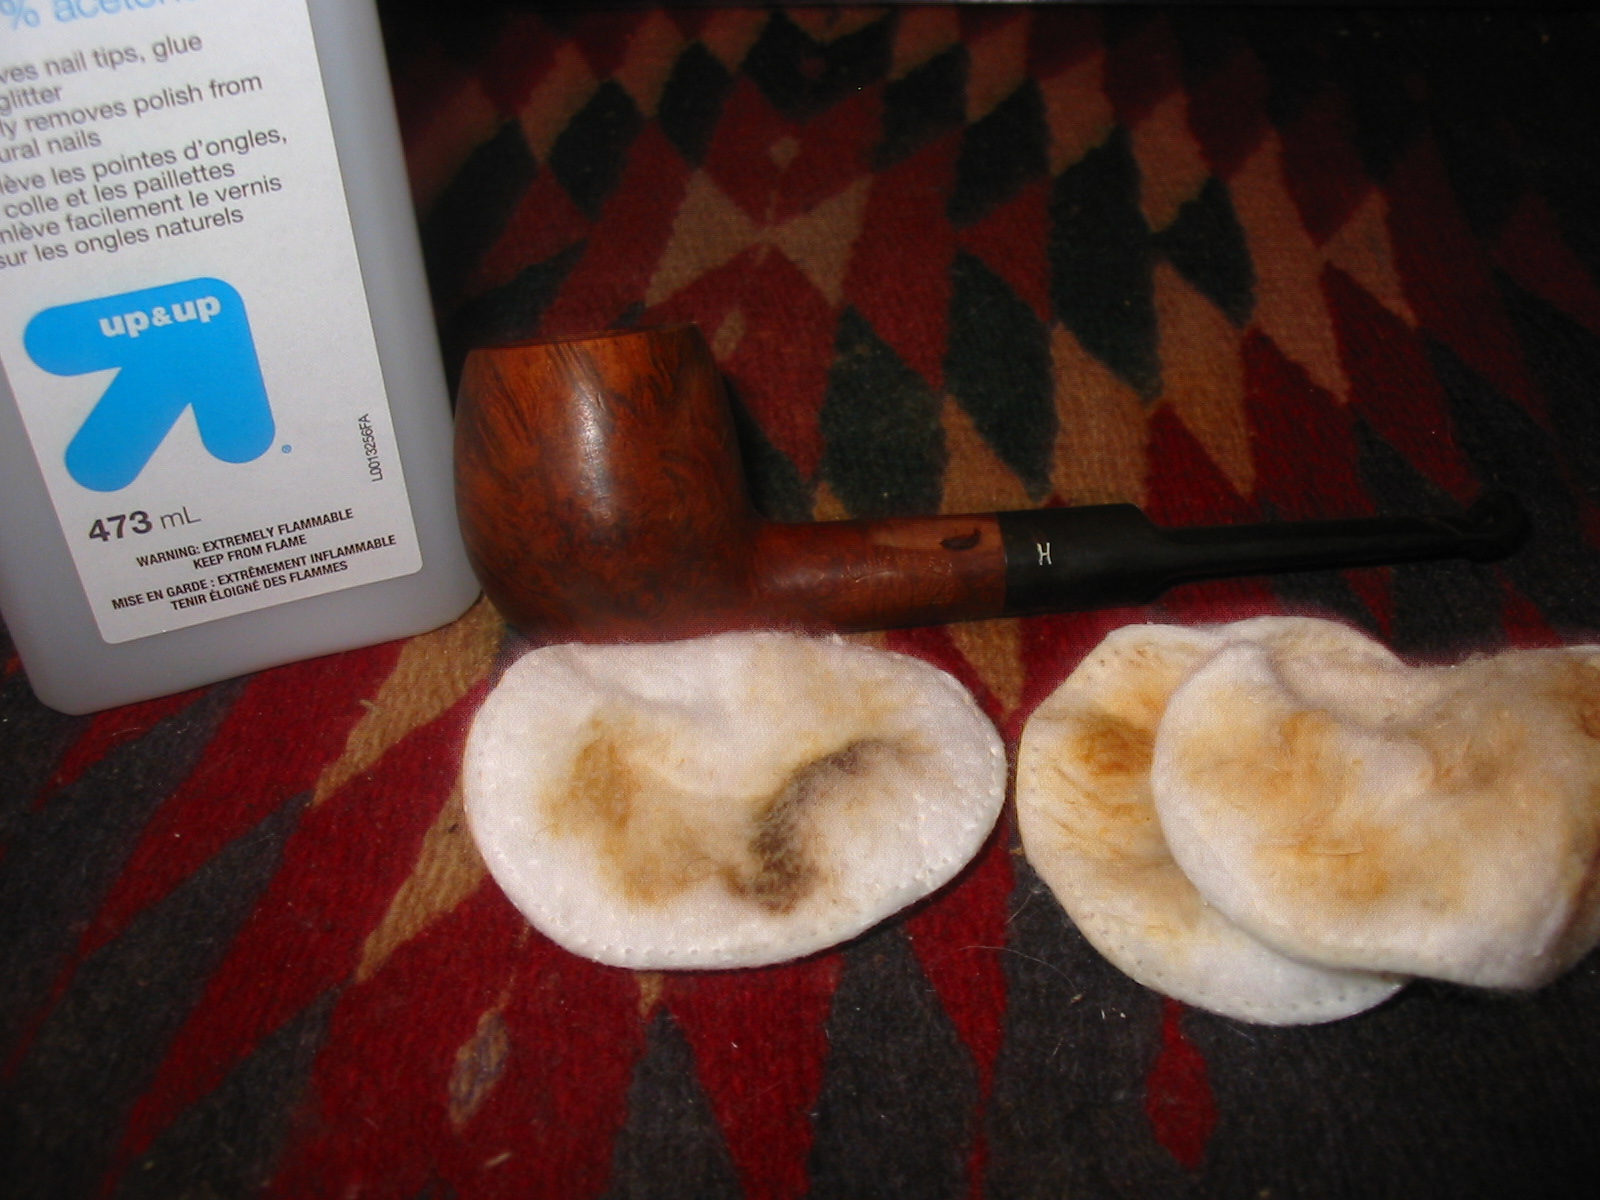
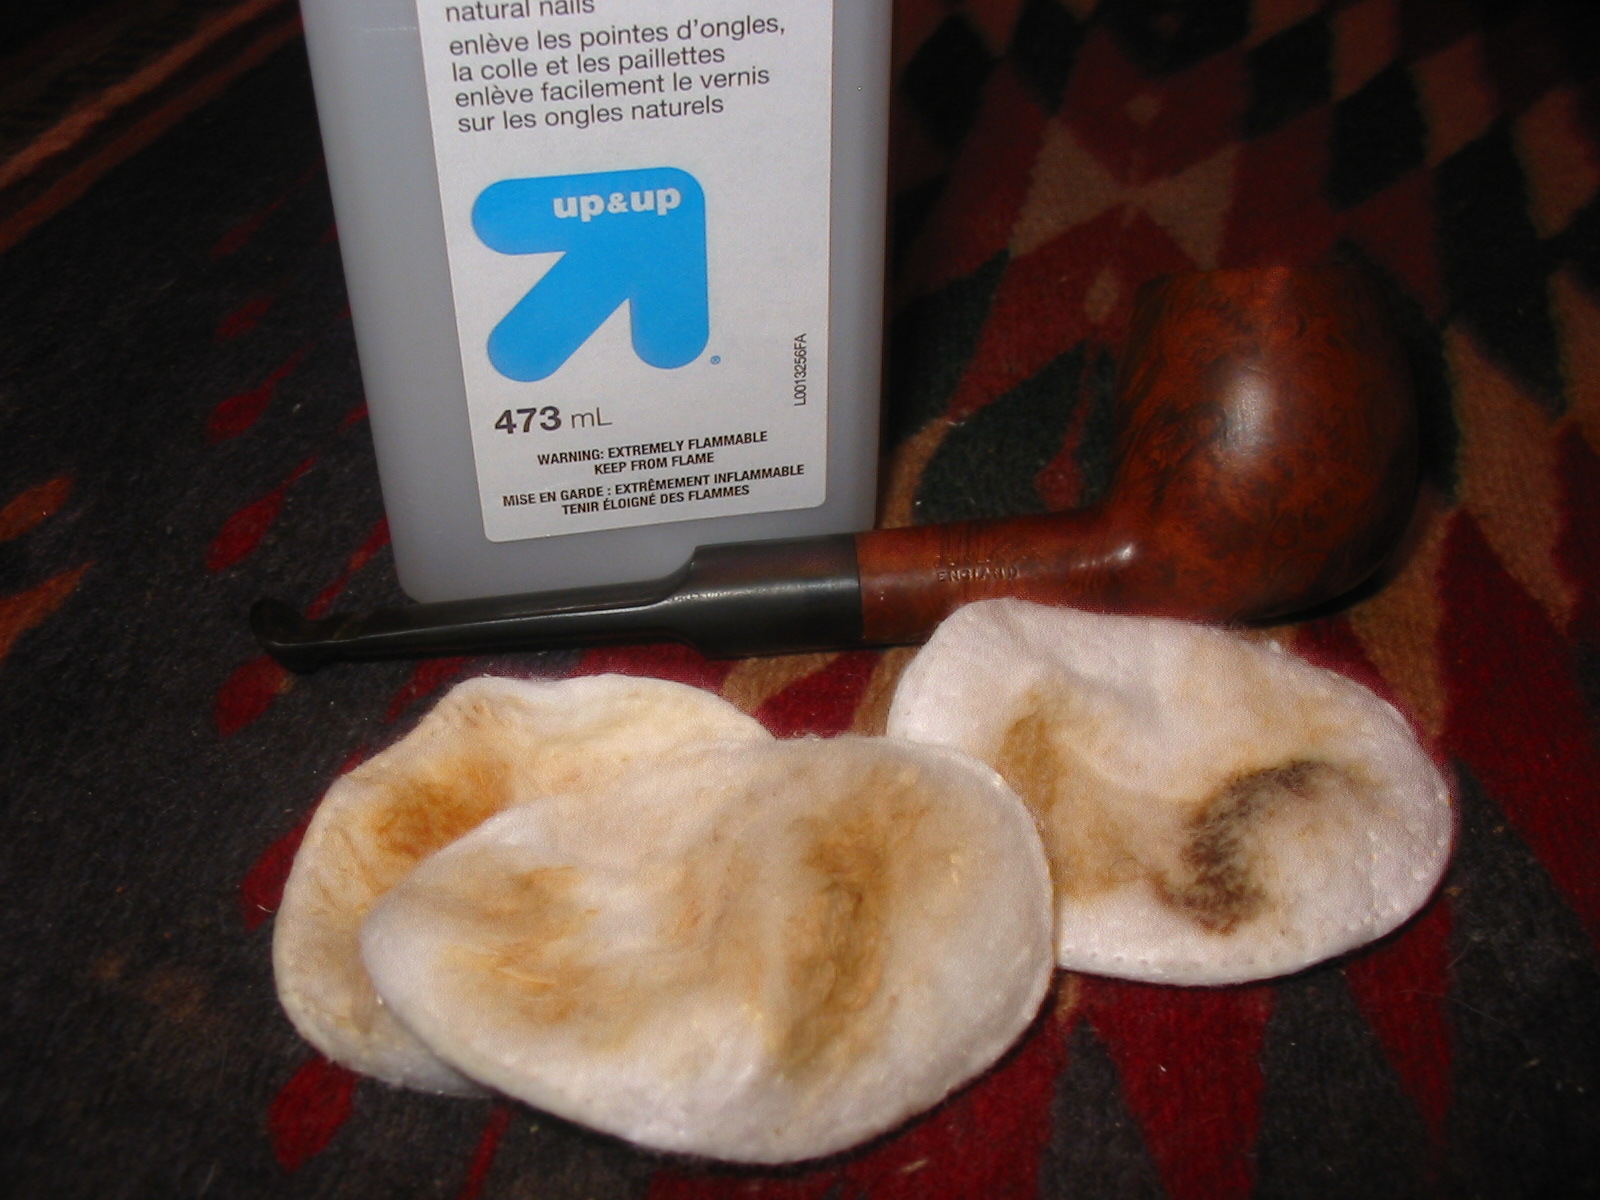
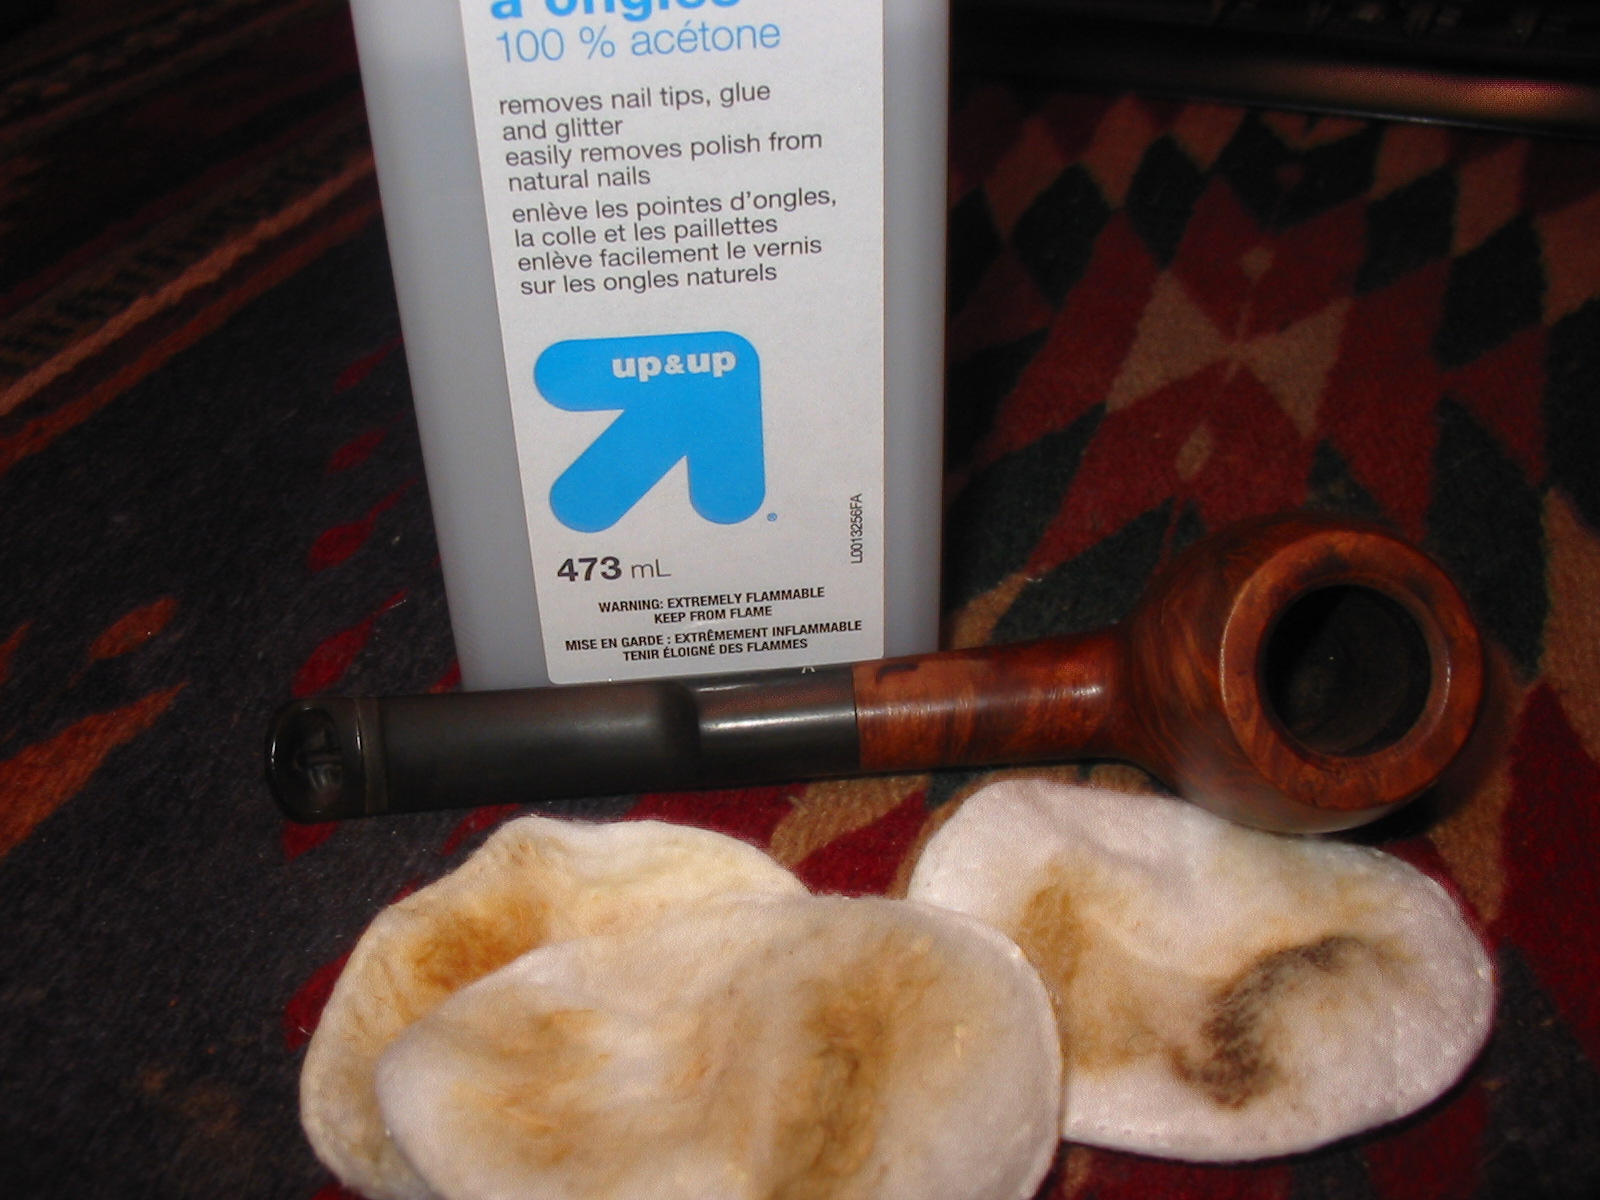
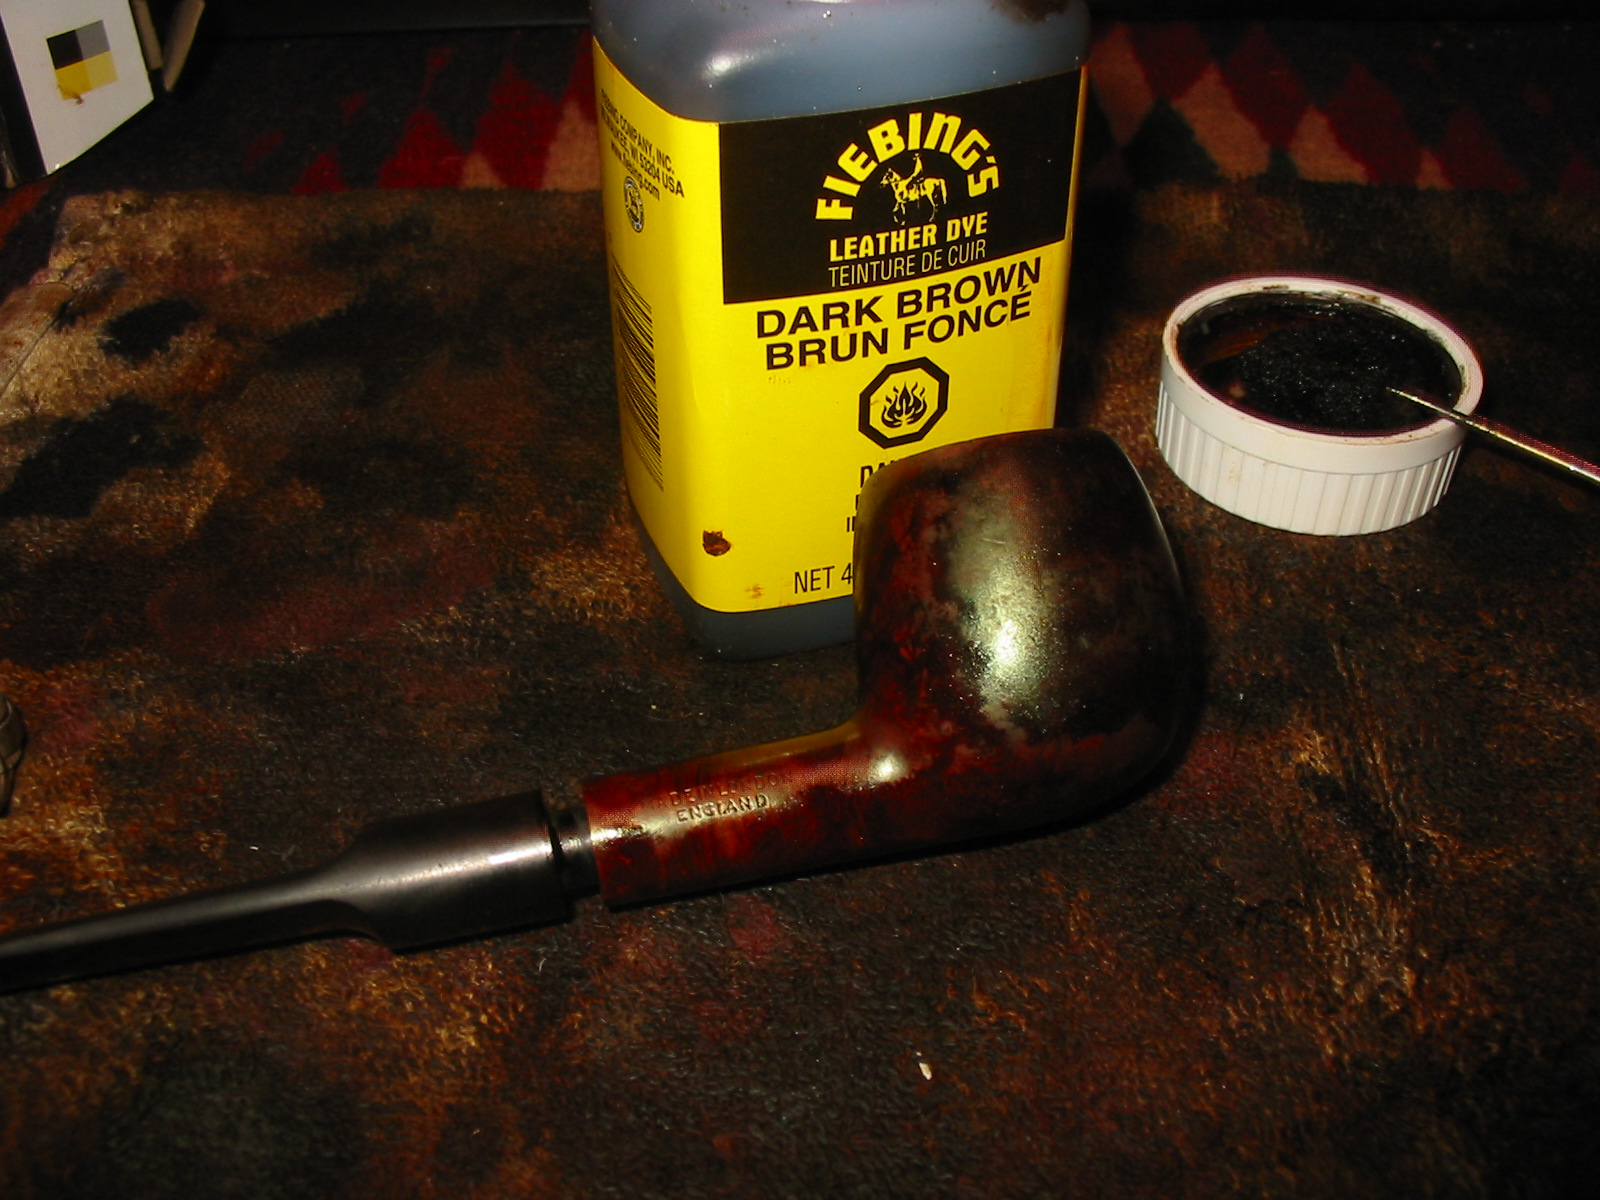
Tag Archives: removing oxidation

Maintaining Vulcanite Stems – Ric Farrah Of Briarville Pipe Repair & Restoration


bvlogo1I have chatted with Ric from Briarville several times on Skype and not only found him great to talk with and full of ideas but also that we share the same passion for pipe refurbishing and restoration. I visited his website http://www.briarville.com/briarvilleblog.htm and found not only a great service that is offered to those who do not wish to repair or refurbish their own pipes but also much helpful advice in his blog. The following article is reproduced here with Ric’s permission. Thanks Ric for what you provide and for the permission to reprint your blog post here on rebornpipes.

As you probably already know there are two primary materials used for making pipe stems, acrylic and vulcanite. The brand names for these materials are Lucite and Ebonite respectively.

Vulcanite starts as a powdered rubber substance that is vulcanized and molded into rods for hand cutting stems or poured into molds of various stem shapes and sizes to be fitted as replacements when an original stem breaks.

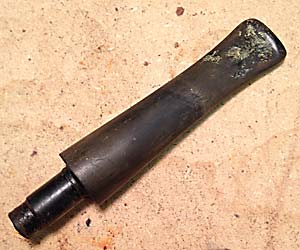
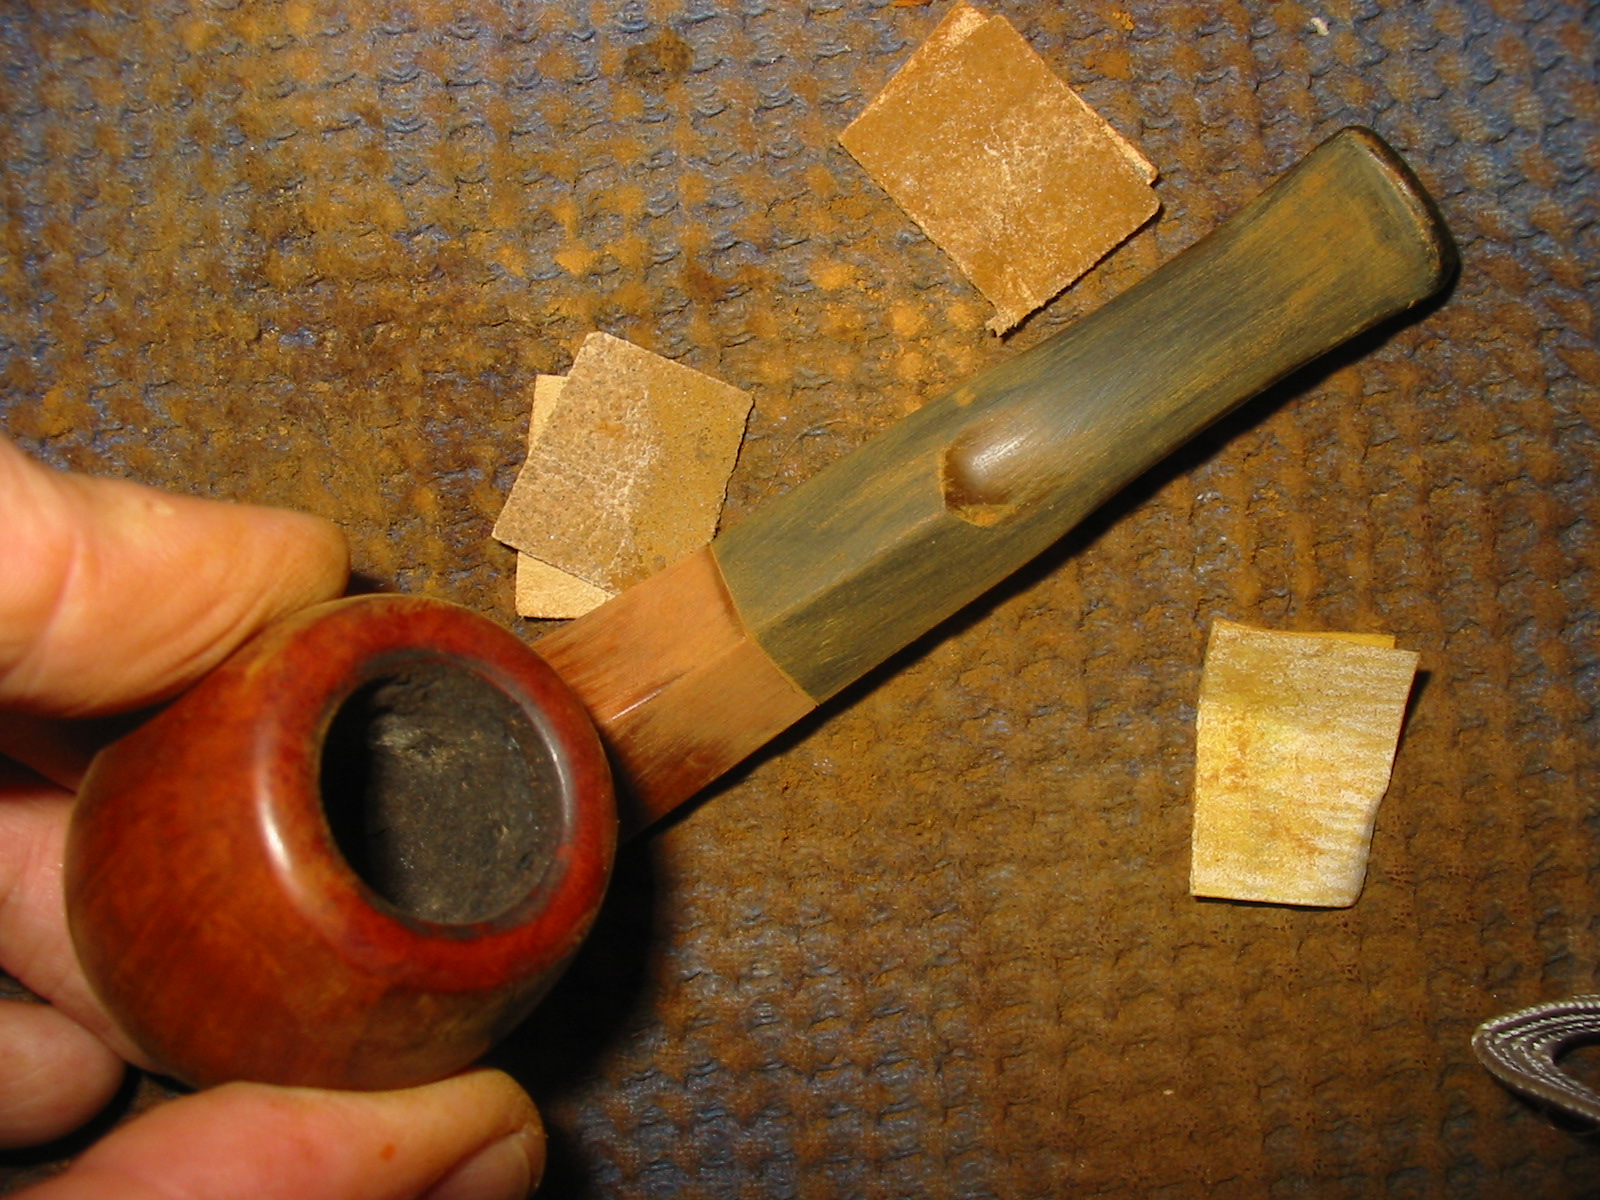
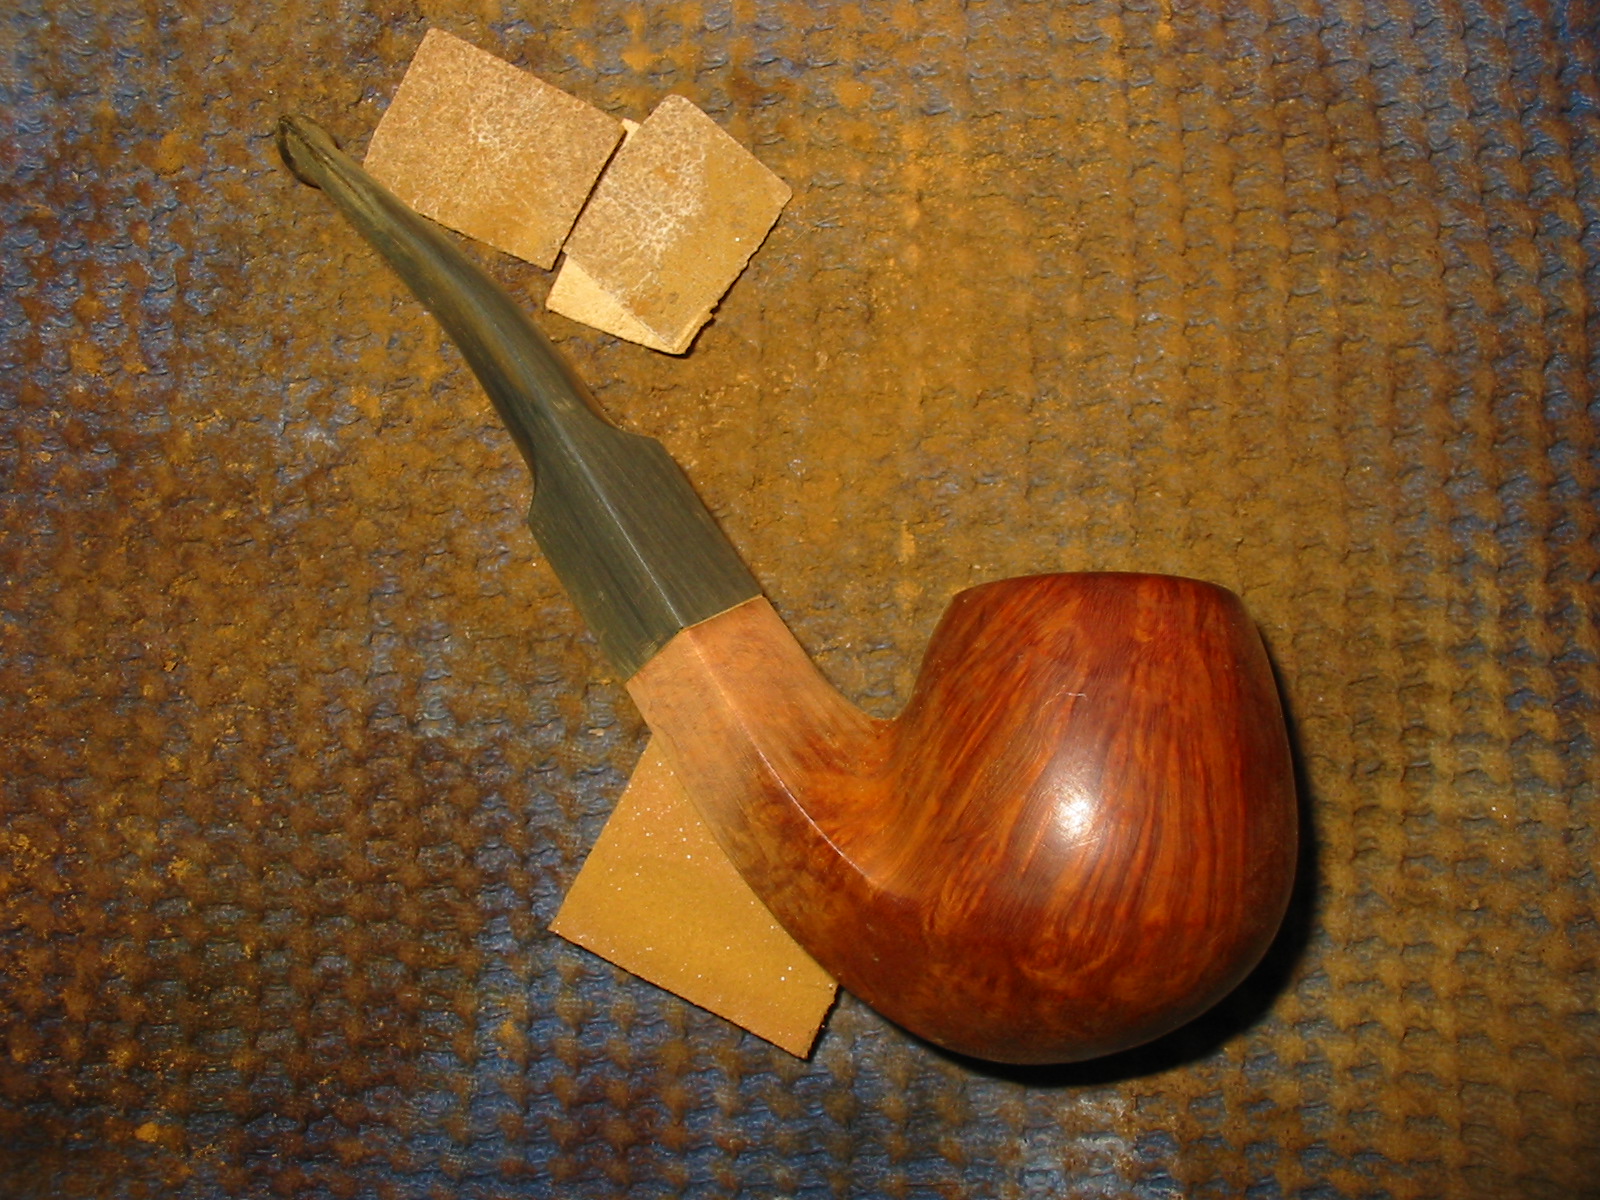
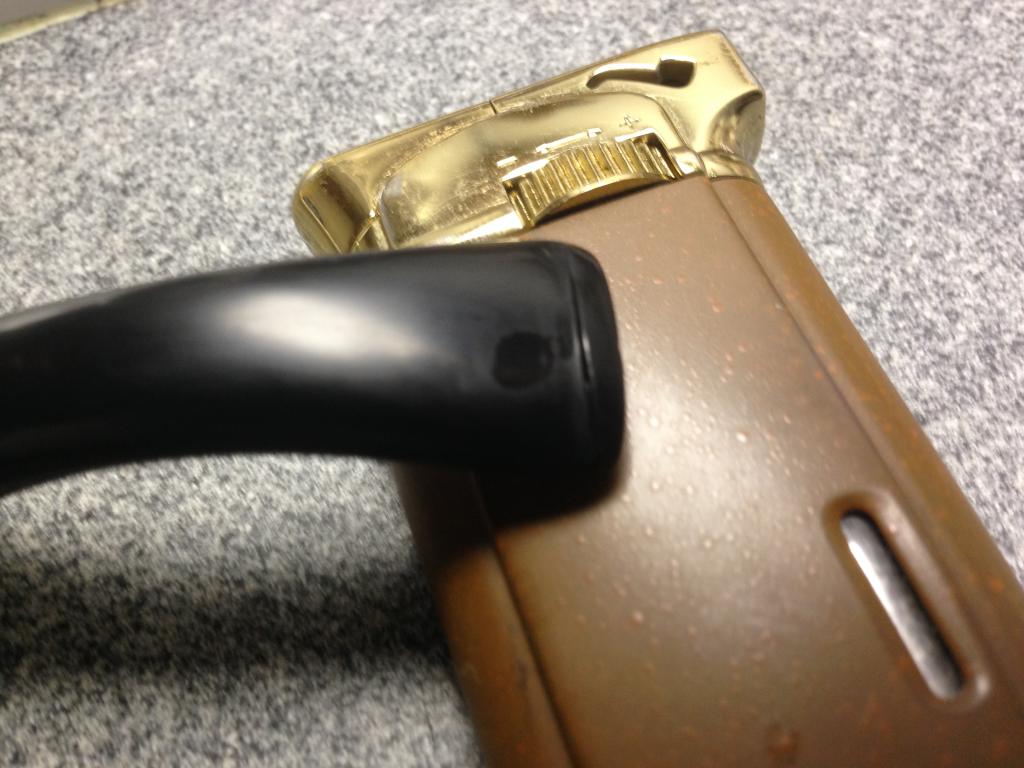
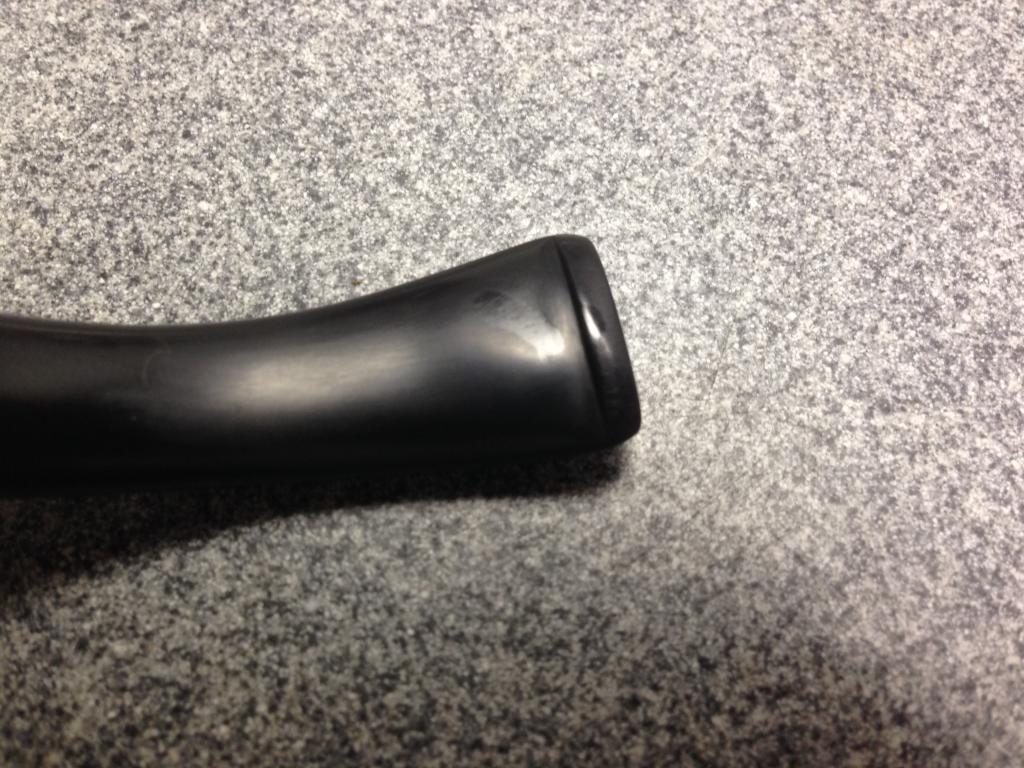
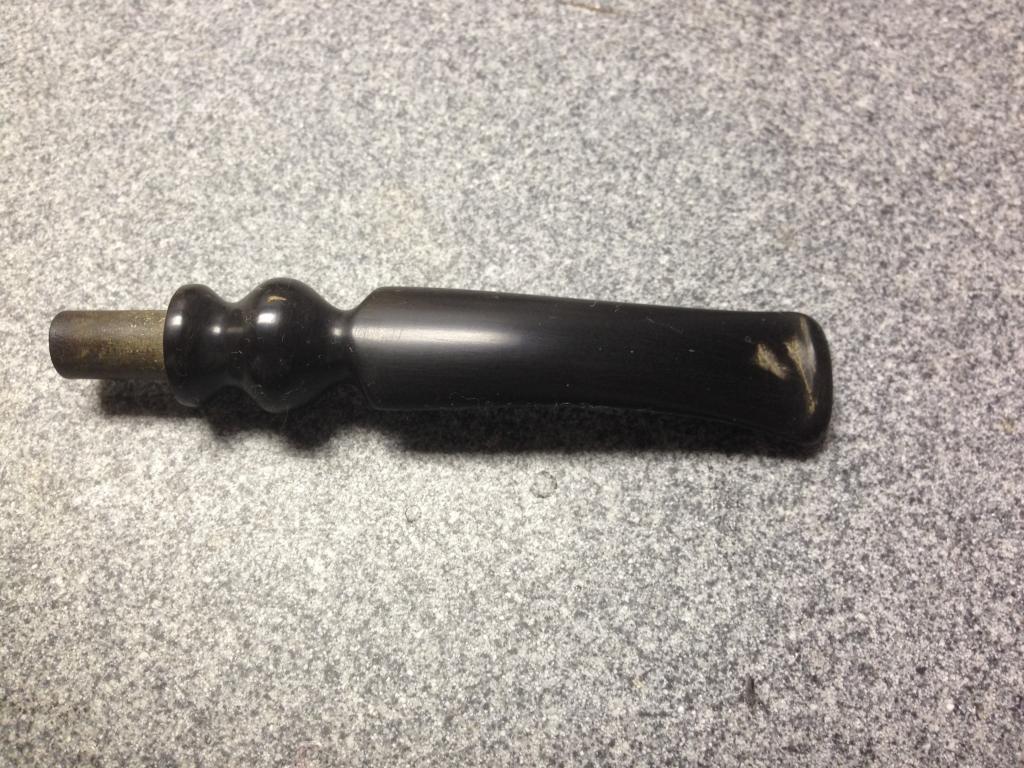
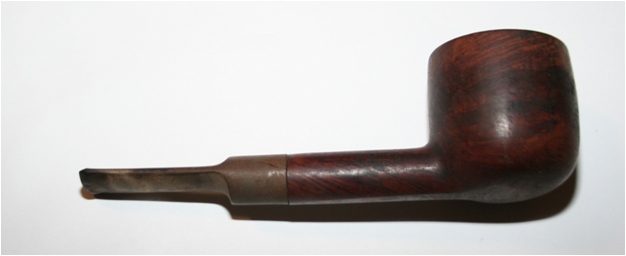
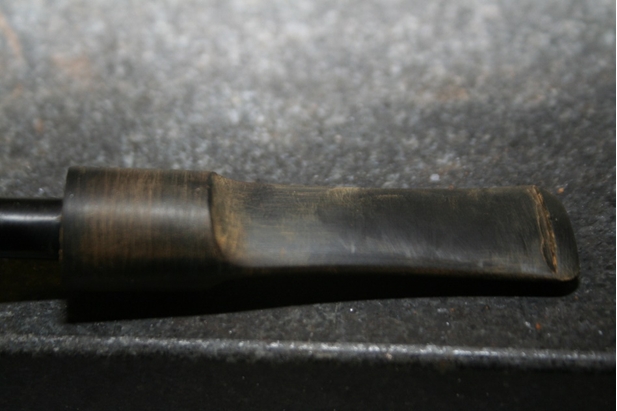
Unlike acrylic, a hard plastic that can be either molded or hand cut into stems, vulcanite oxidizes which causes a bitter taste and changes colors anywhere from white, brown or even green. Consequently vulcanite requires a little maintenance whereas acrylic, not so much.
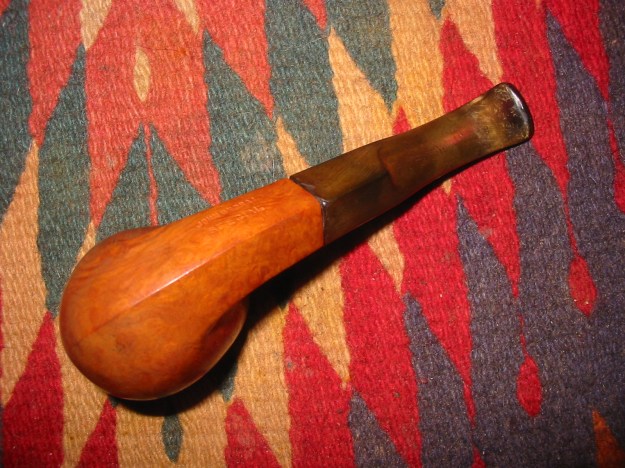
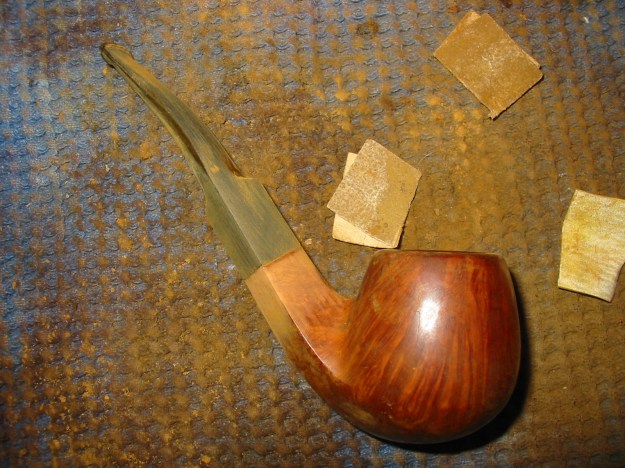
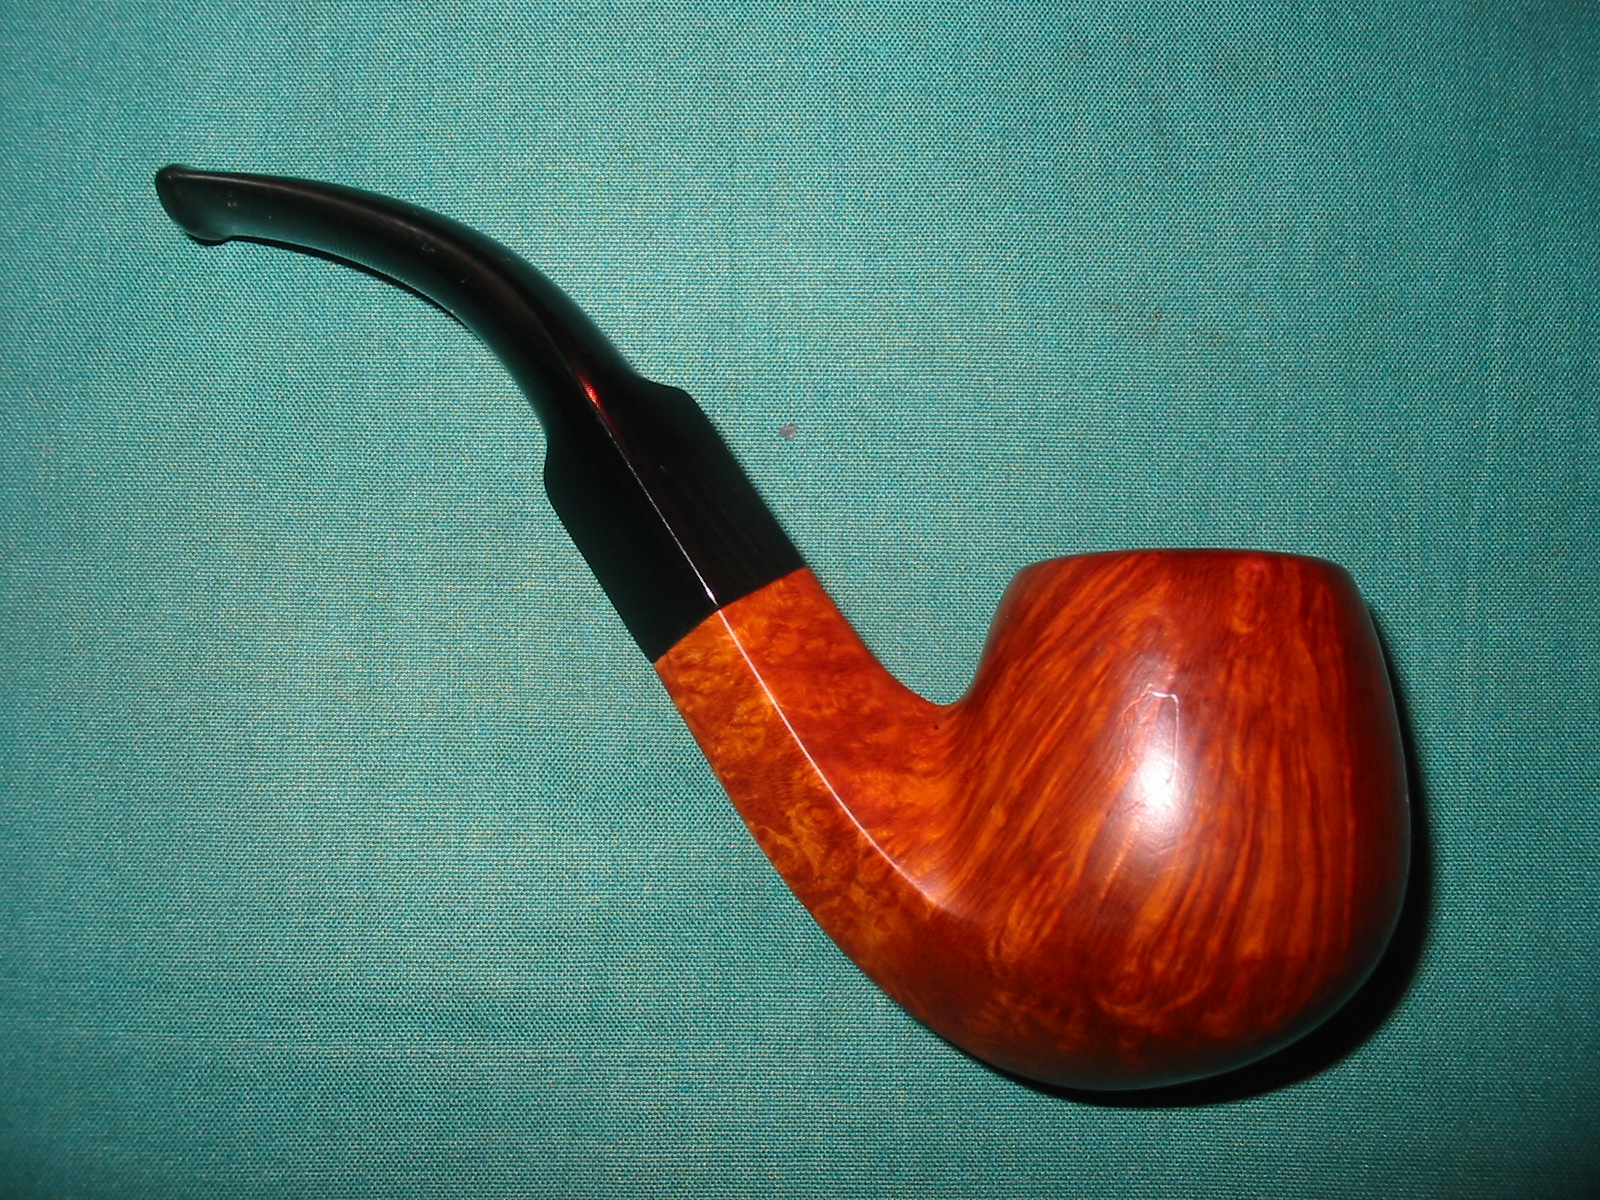
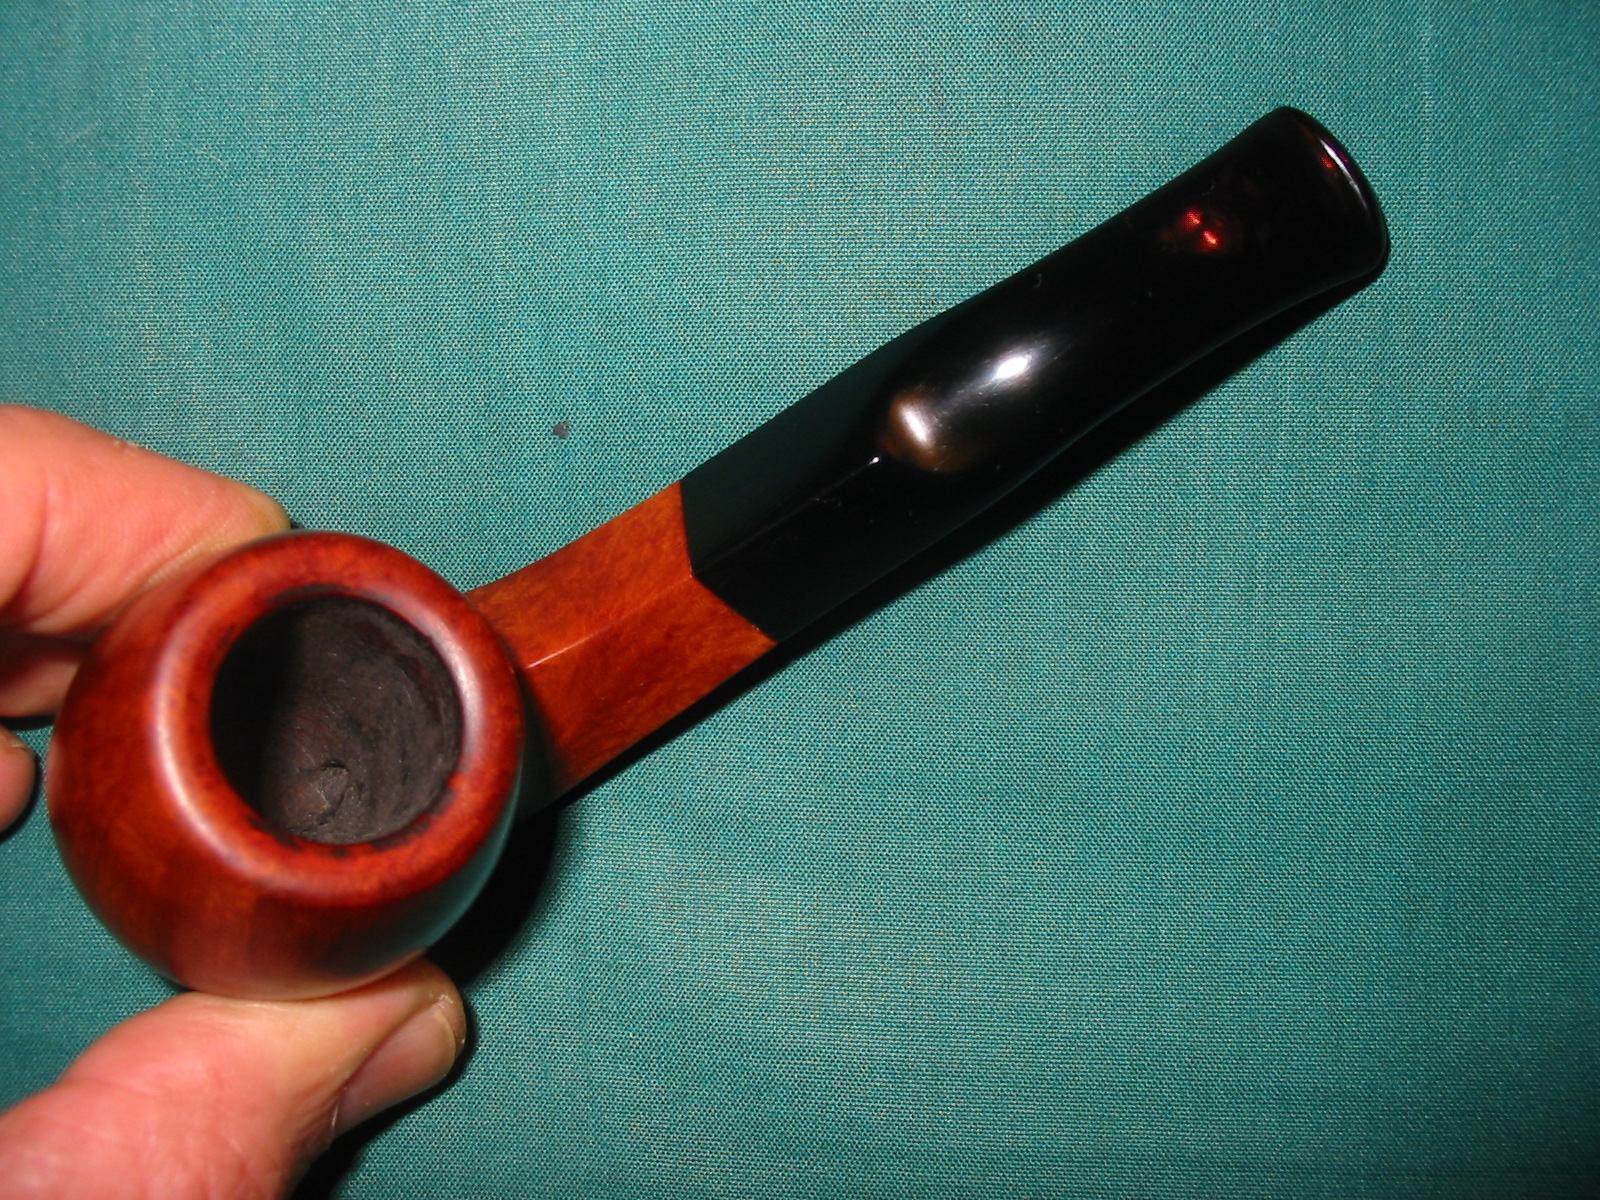
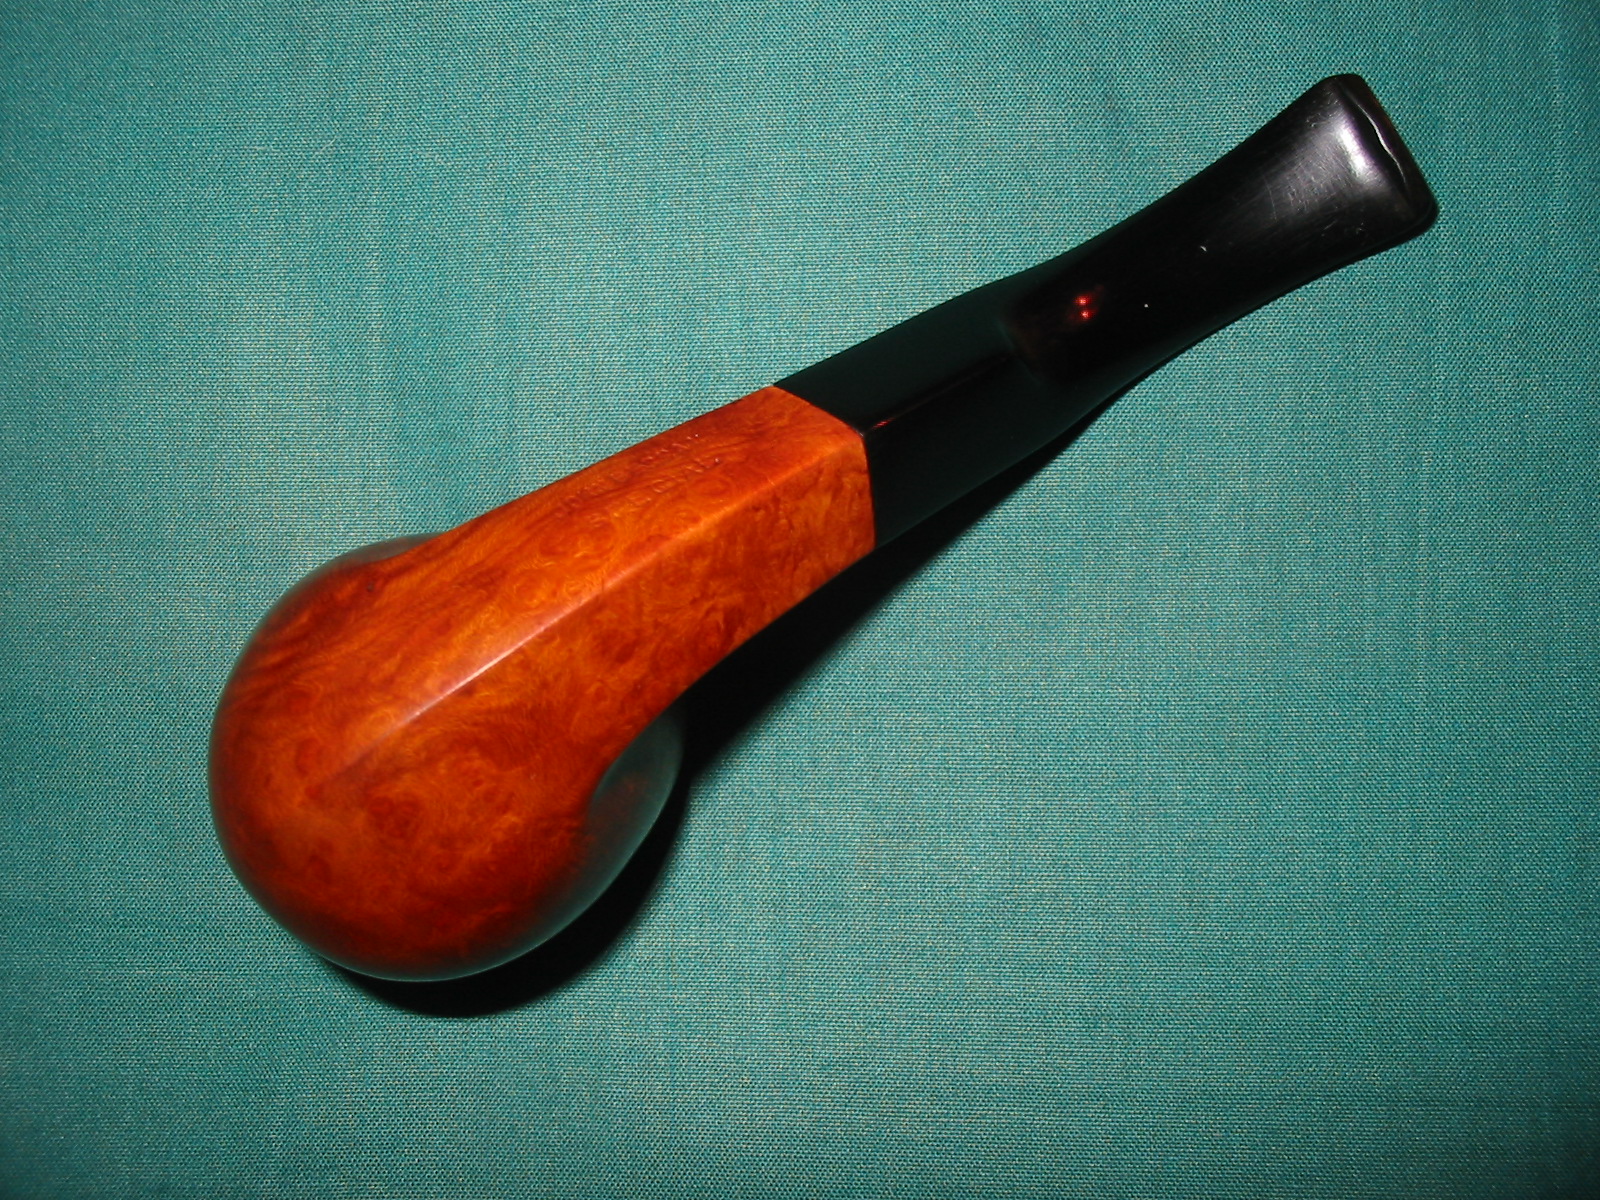
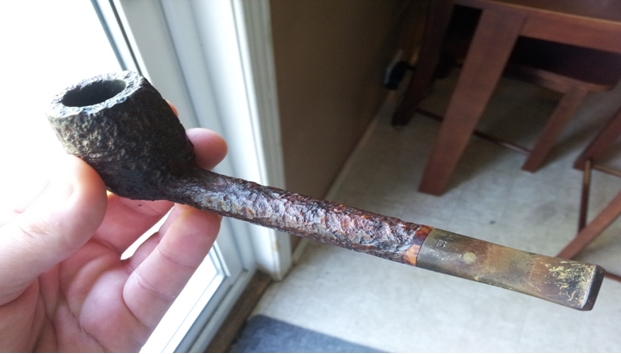
stem-beforeLG
Nevertheless, because of tradition and a more comfortable smoke, vulcanite is still a favorite for about half of us. I’ve seen many polls and enjoyed many debates about the best pipe stem material and it’s always pretty close with perhaps acrylic gaining very slight favor.

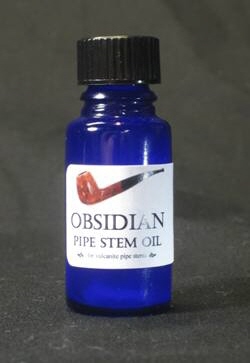
Maintenance before the stem oxidizes is the best way to keep vulcanite from oxidizing at all. Obsidian Oil is the best product I’ve found to prevent oxidation. After smoking, simply wipe a few drops on the stem, let stand for about 30 minutes and buff clean with an old cotton tee shirt. Follow this regiment and your stems will never oxidize. obsidian oil2

But what to do with your estate purchases or when some of the stems in your own collection are already oxidized? For the do-it-yourself guys without professional buffing mandrels, tripoli and white diamond, a little elbow-grease and a few easily obtained materials are all that’s needed.

Vulcanite oxidation, like rust to ferrous metals, feeds off the rubber. It grows into the stem and must be removed. You can remove or at least soften the oxidation by soaking your stems in either OxyClean or bleach. I prefer bleach but be aware, bleach will eat away stamping, logo inlays, threaded metal tenons and stingers! I would advise against using bleach with stems fitted with metal parts as are common with Kaywoodie pipes. Stamping and logos can be protected with a dollop of petroleum jelly applied over the top of them.

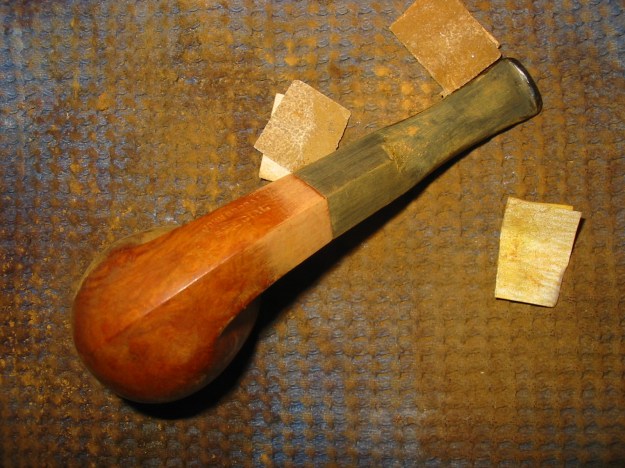
Let your stems soak overnight and then rinse them with water. They will dry to a pale gray. What has happened is the beach has eaten away the oxidation leaving your stem covered with microscopic peaks and valleys. In fact, under a microscope they’d look like the Himalayas. Those peaks and valleys absorb light and the stem appears dull.

Light being reflected back off the stem is what we perceive as a shine so the peaks and valleys must go. In the shop we use a buffing mandrel with 500 grit tripoli applied to the wheel spinning on the lathe at 1800 RPM to re-smooth the stem and then follow up with white diamond to bring out the glass-like appearance of a new, finely polished stem.

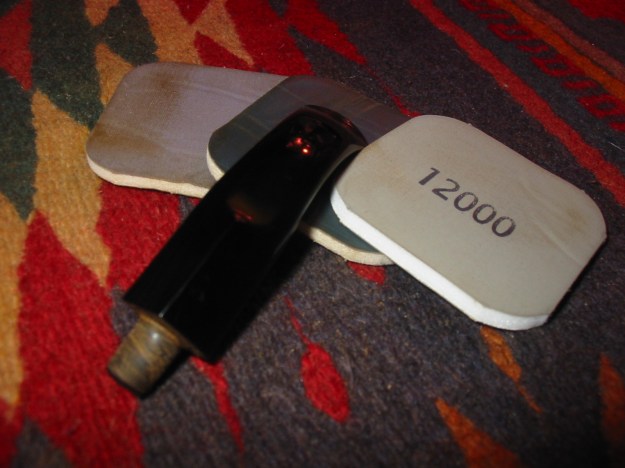
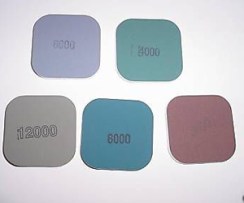
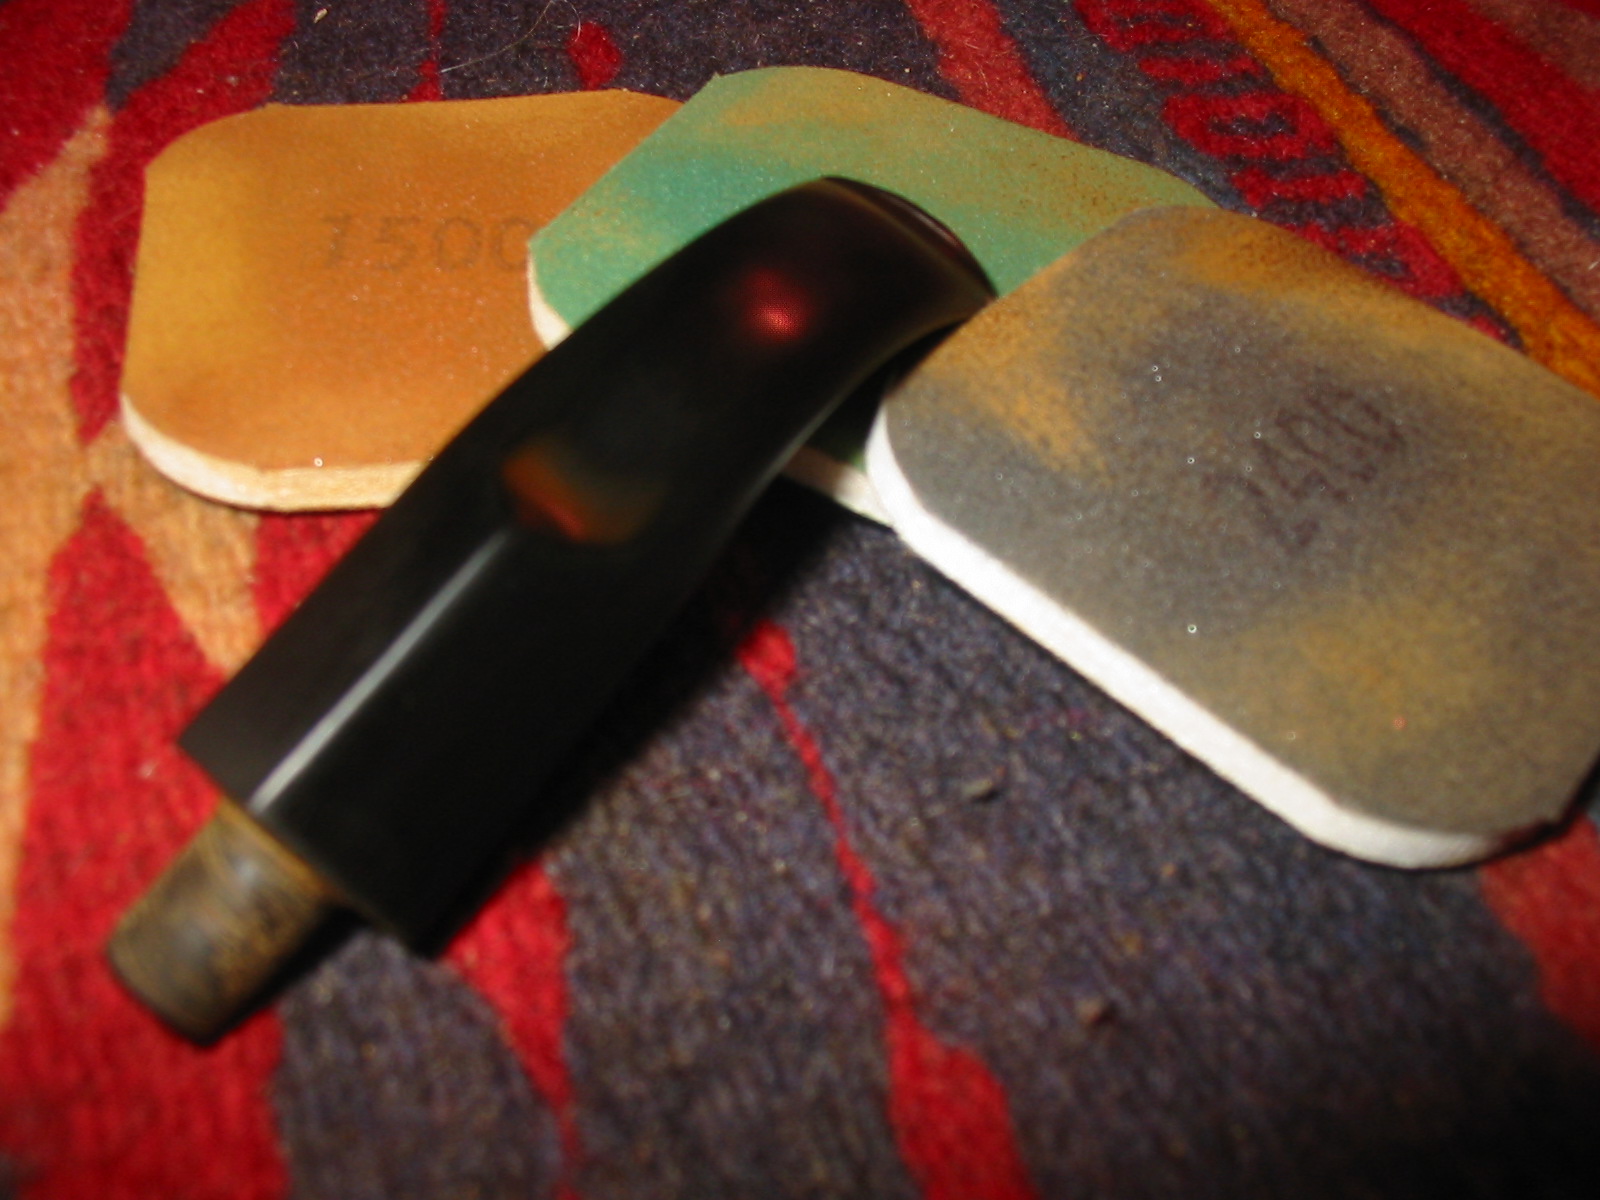
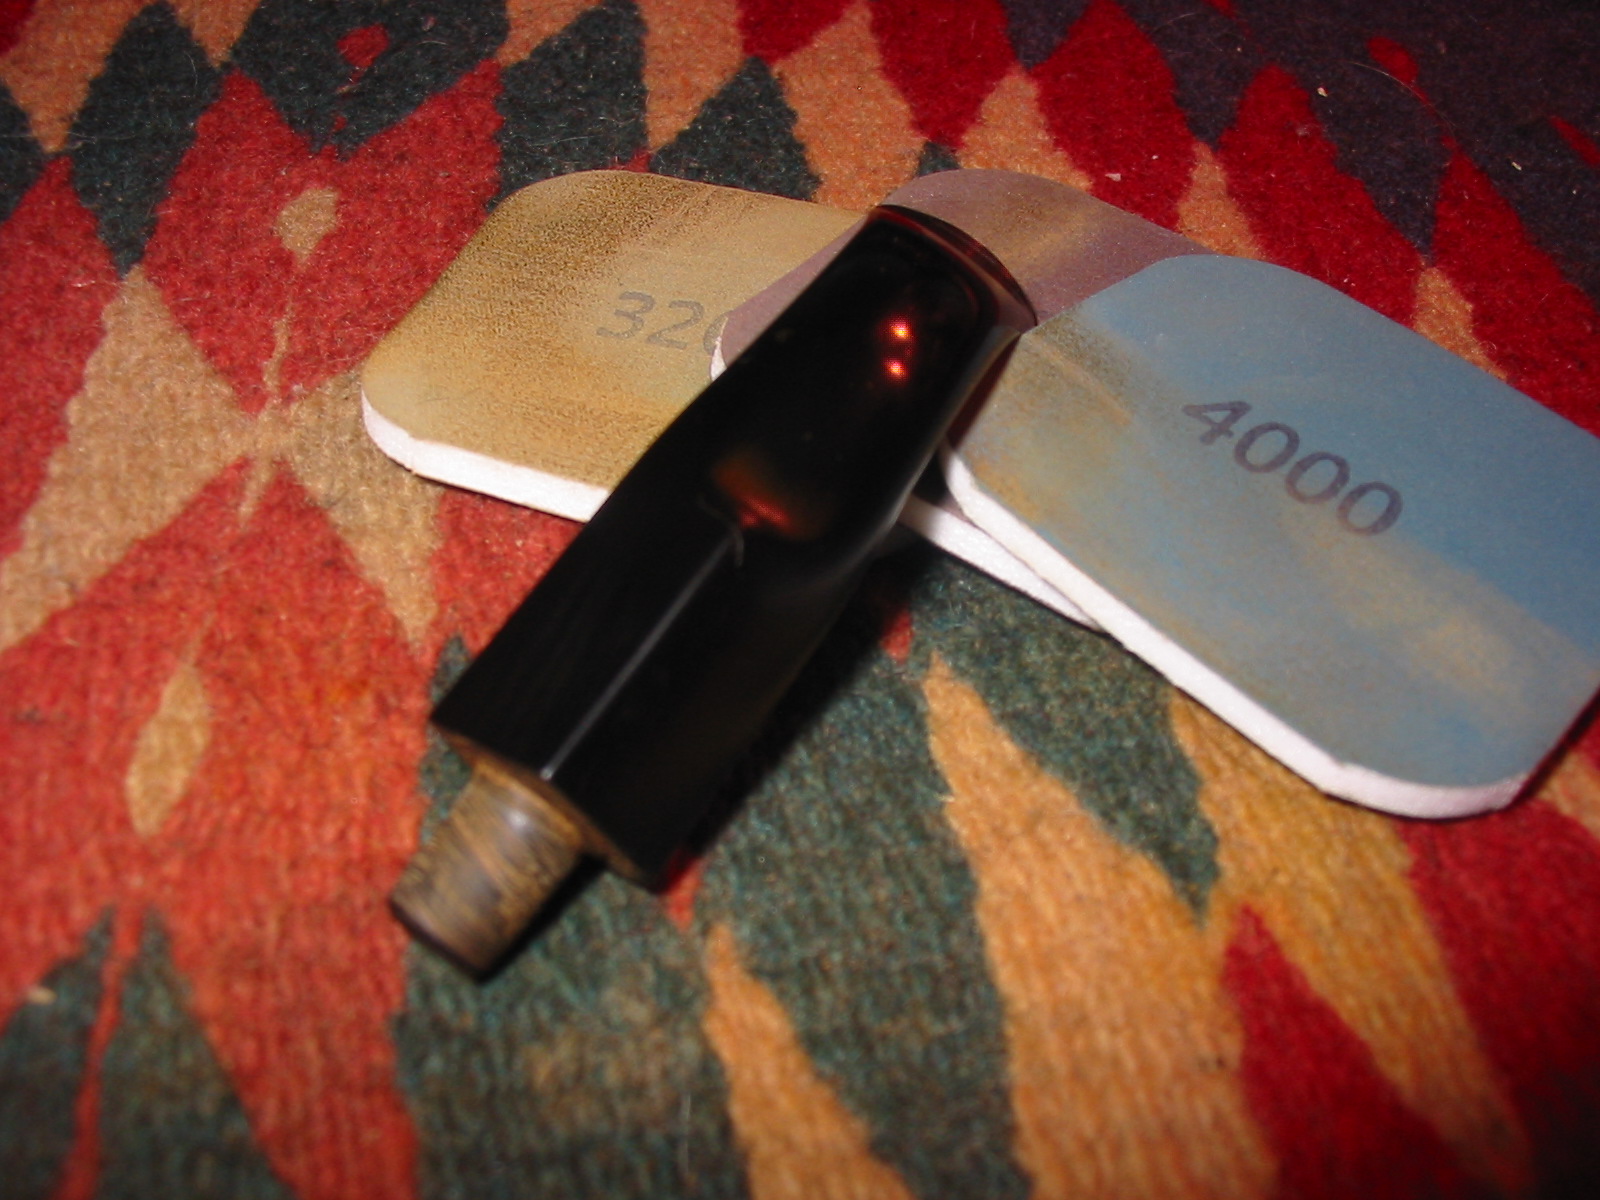
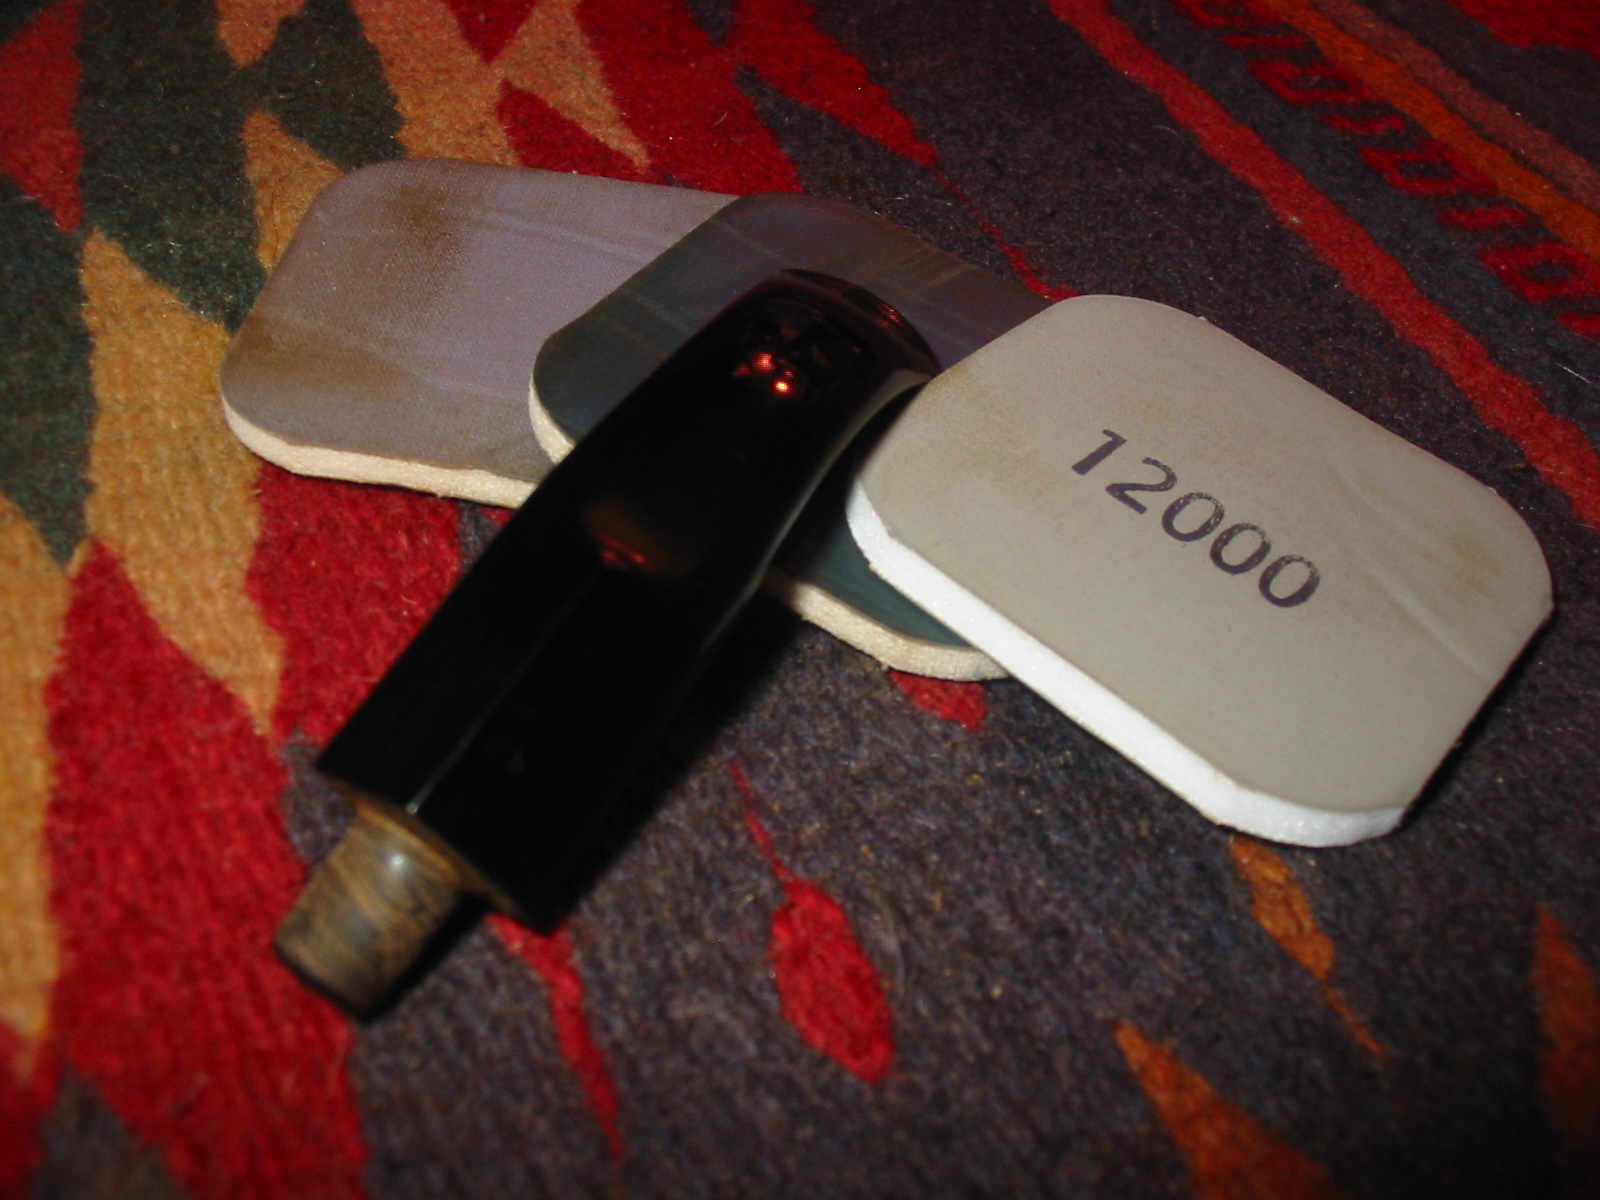
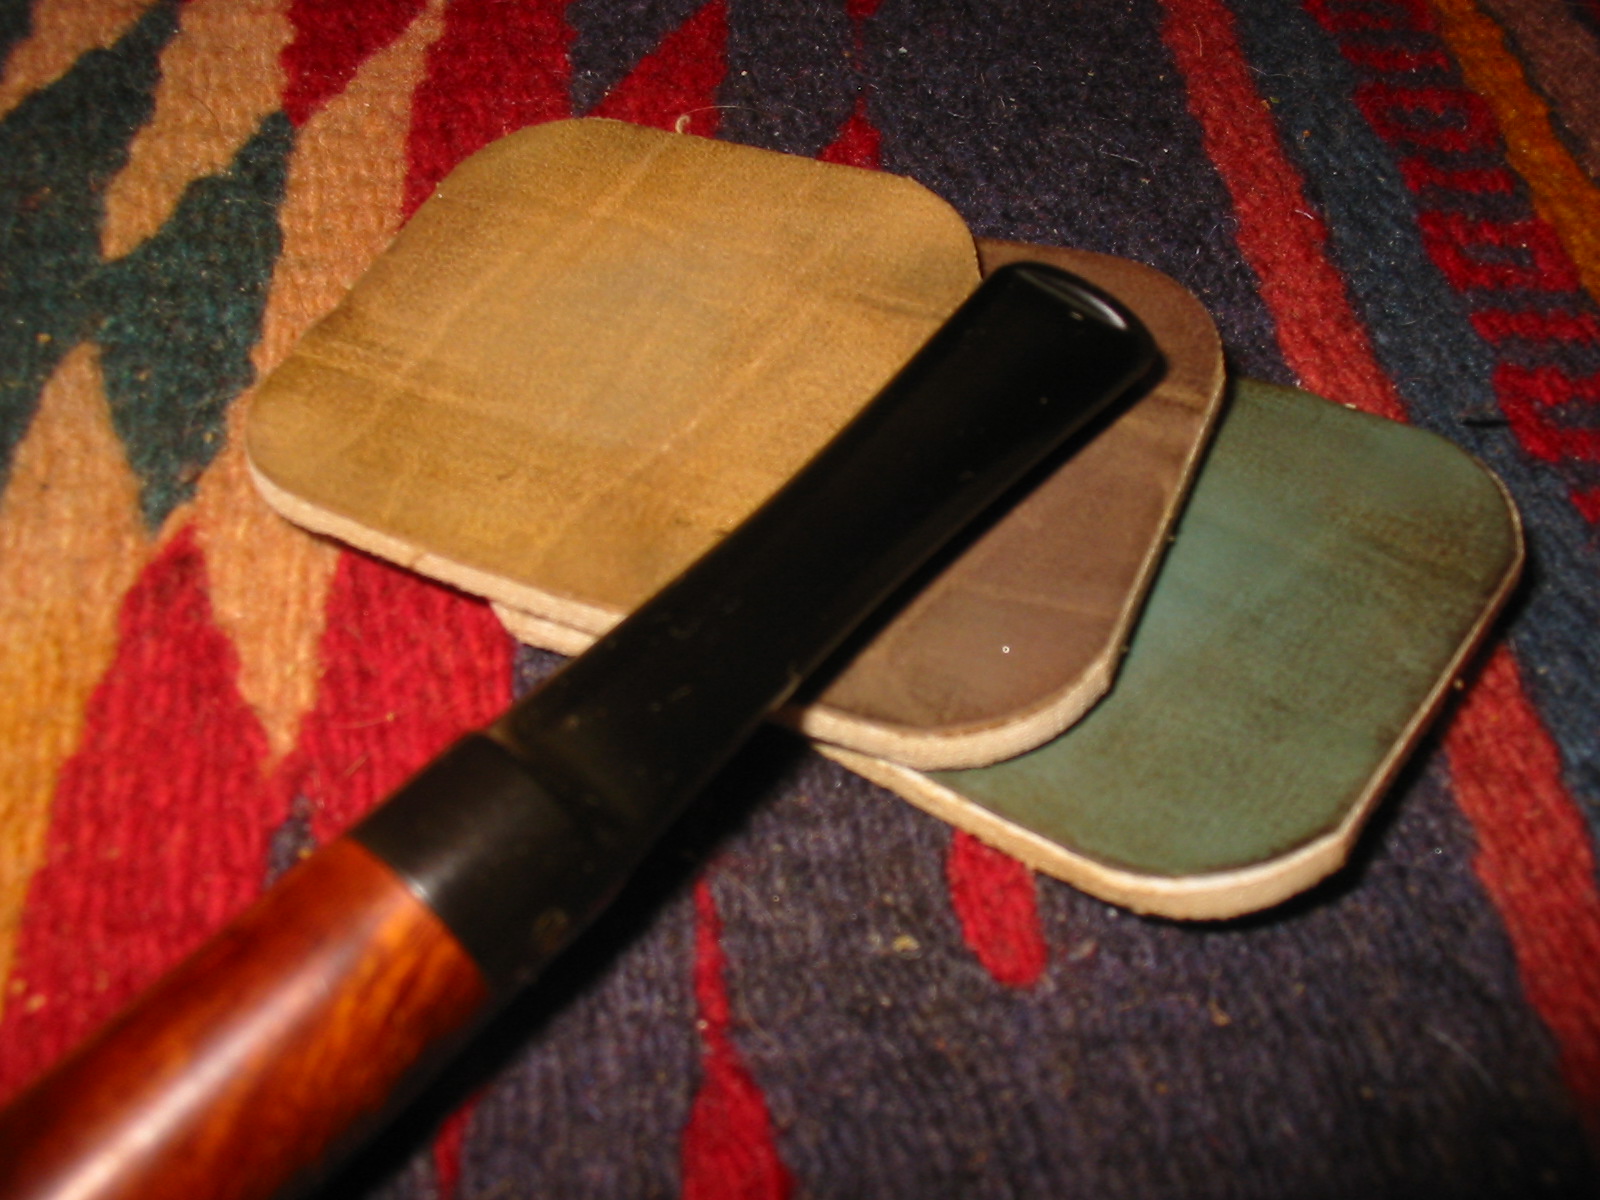
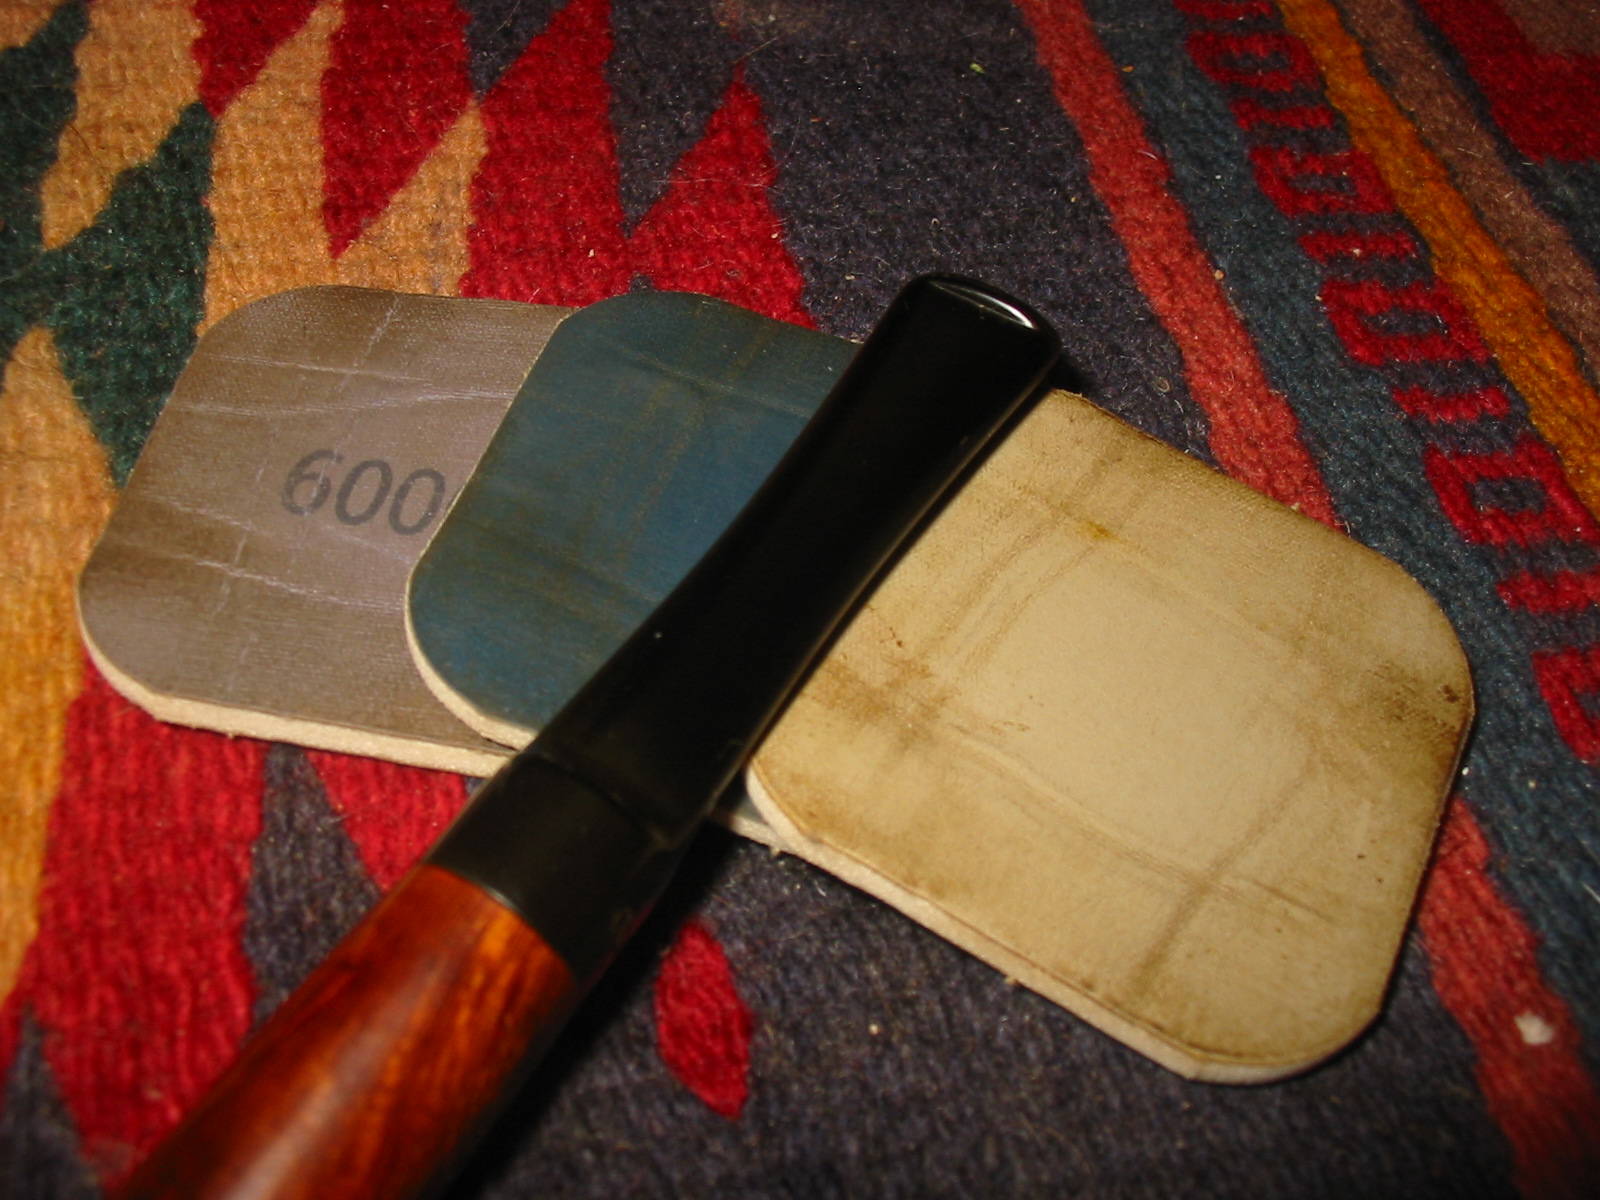
Our buffing promicromesh1cess can be reasonably replicated with micro mesh pads, wet and dry sanding pads in various grits. A set of micro mesh pads can be ordered on Amazon or eBay. The grits range is 1500, 1800, 2400, 3200, 3600, 4000, 6000, 8000, 12000. Have a bowl water handy to wet sand the stem through the various grits. The magic comes between 6000 and 12,000 grits.

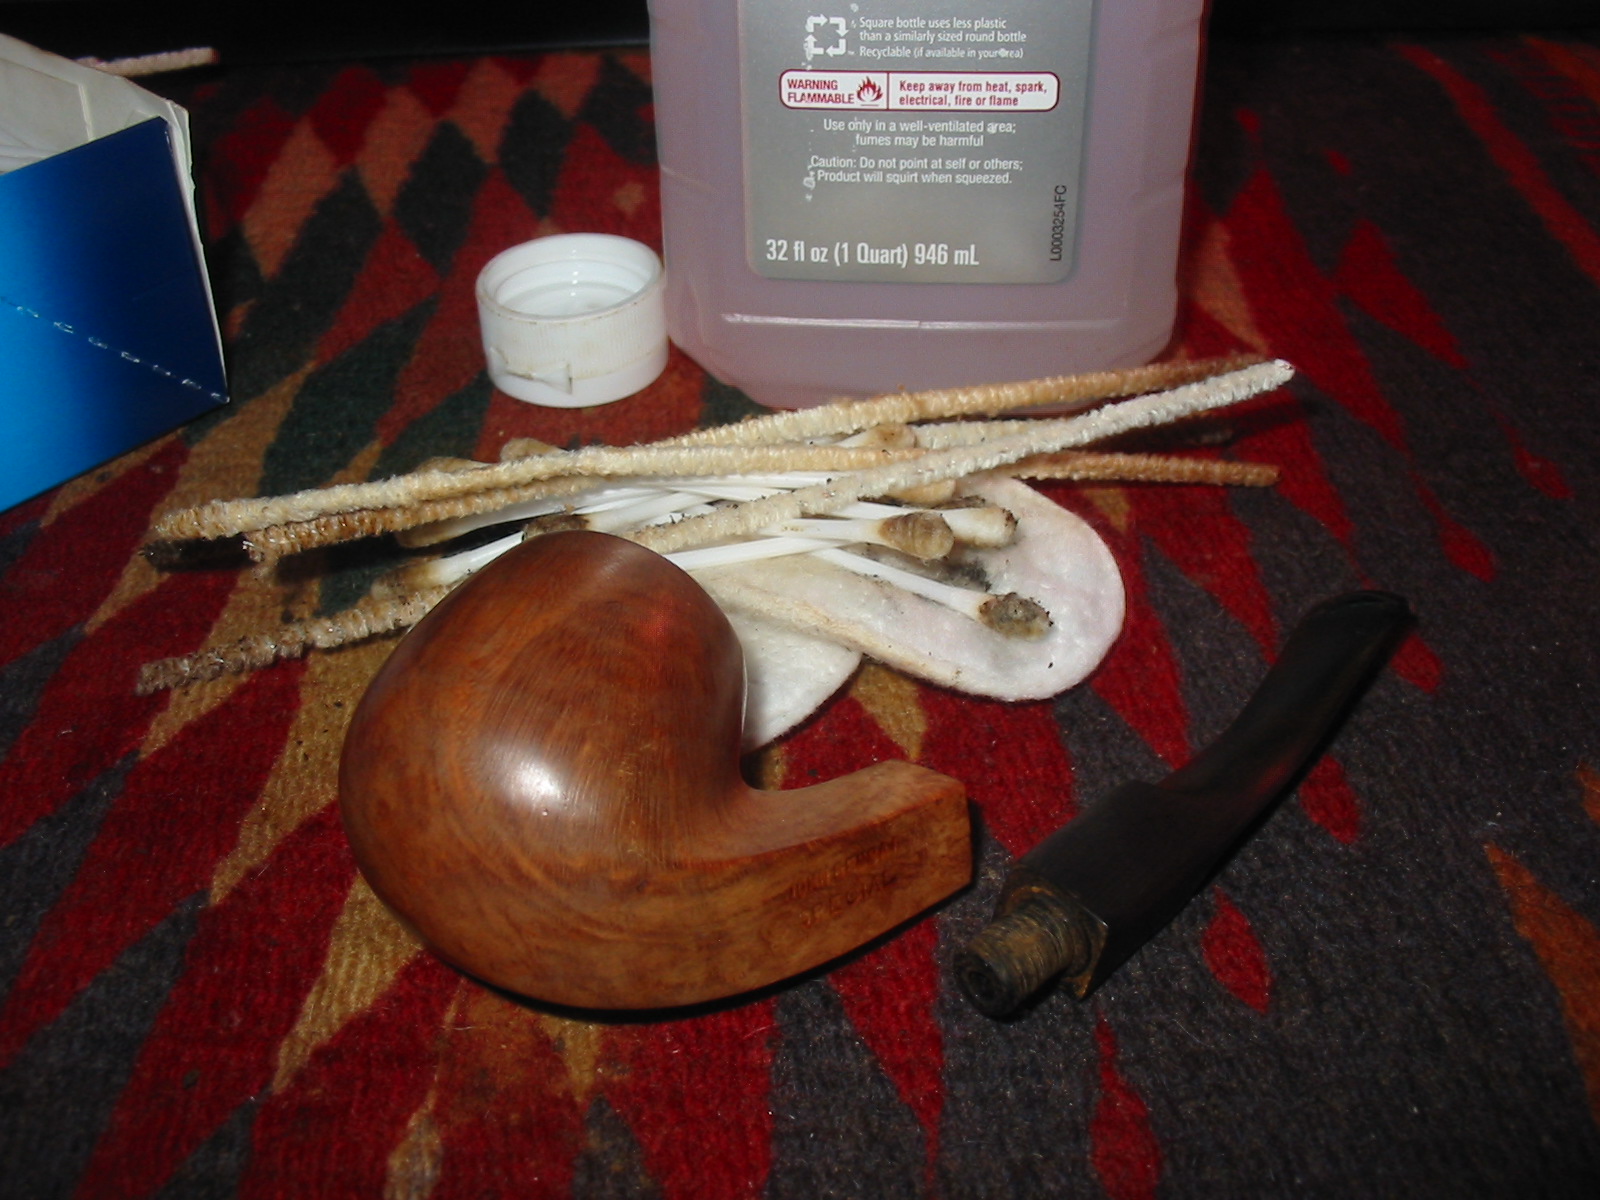
Once the outside of your stem is to your satisfaction use some pipe cleaners soaked in denatured alcohol or your favorite high proof booze to clean the inside of the oils and gunk the bleach didn’t remove. Finally, apply the Obsidian Oil and buff with a cotton cloth.

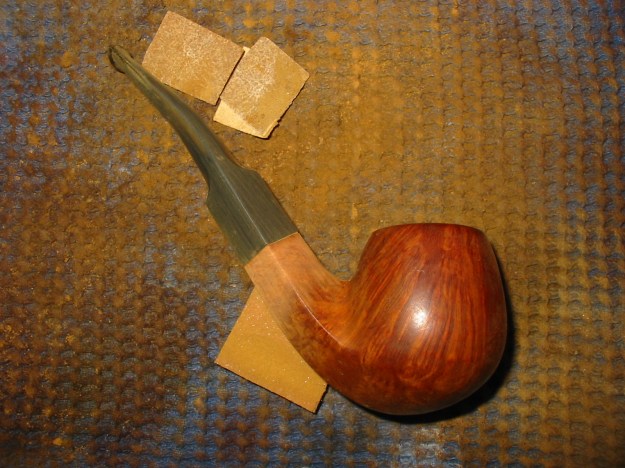
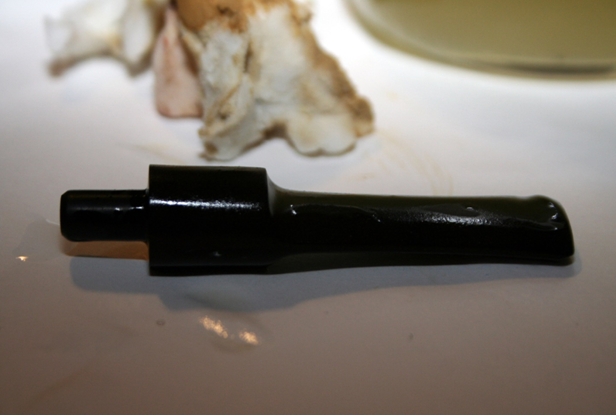
stem-afterWhile this method won’t bring the stems to “as new”, it will get them close.

Of course, you can save yourself the hassle… (Here comes the shameless plug) …send your pipes for a quick visit to Briarville. Starting February Briarville is an online retailer of Obsidian Oil and all repaired and refurbished pipes with vulcanite stems will leave the shop with an application to retard future oxidation.

Reworking a WDC Wellington – Removing a Finish and Restemming the Bowl


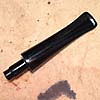
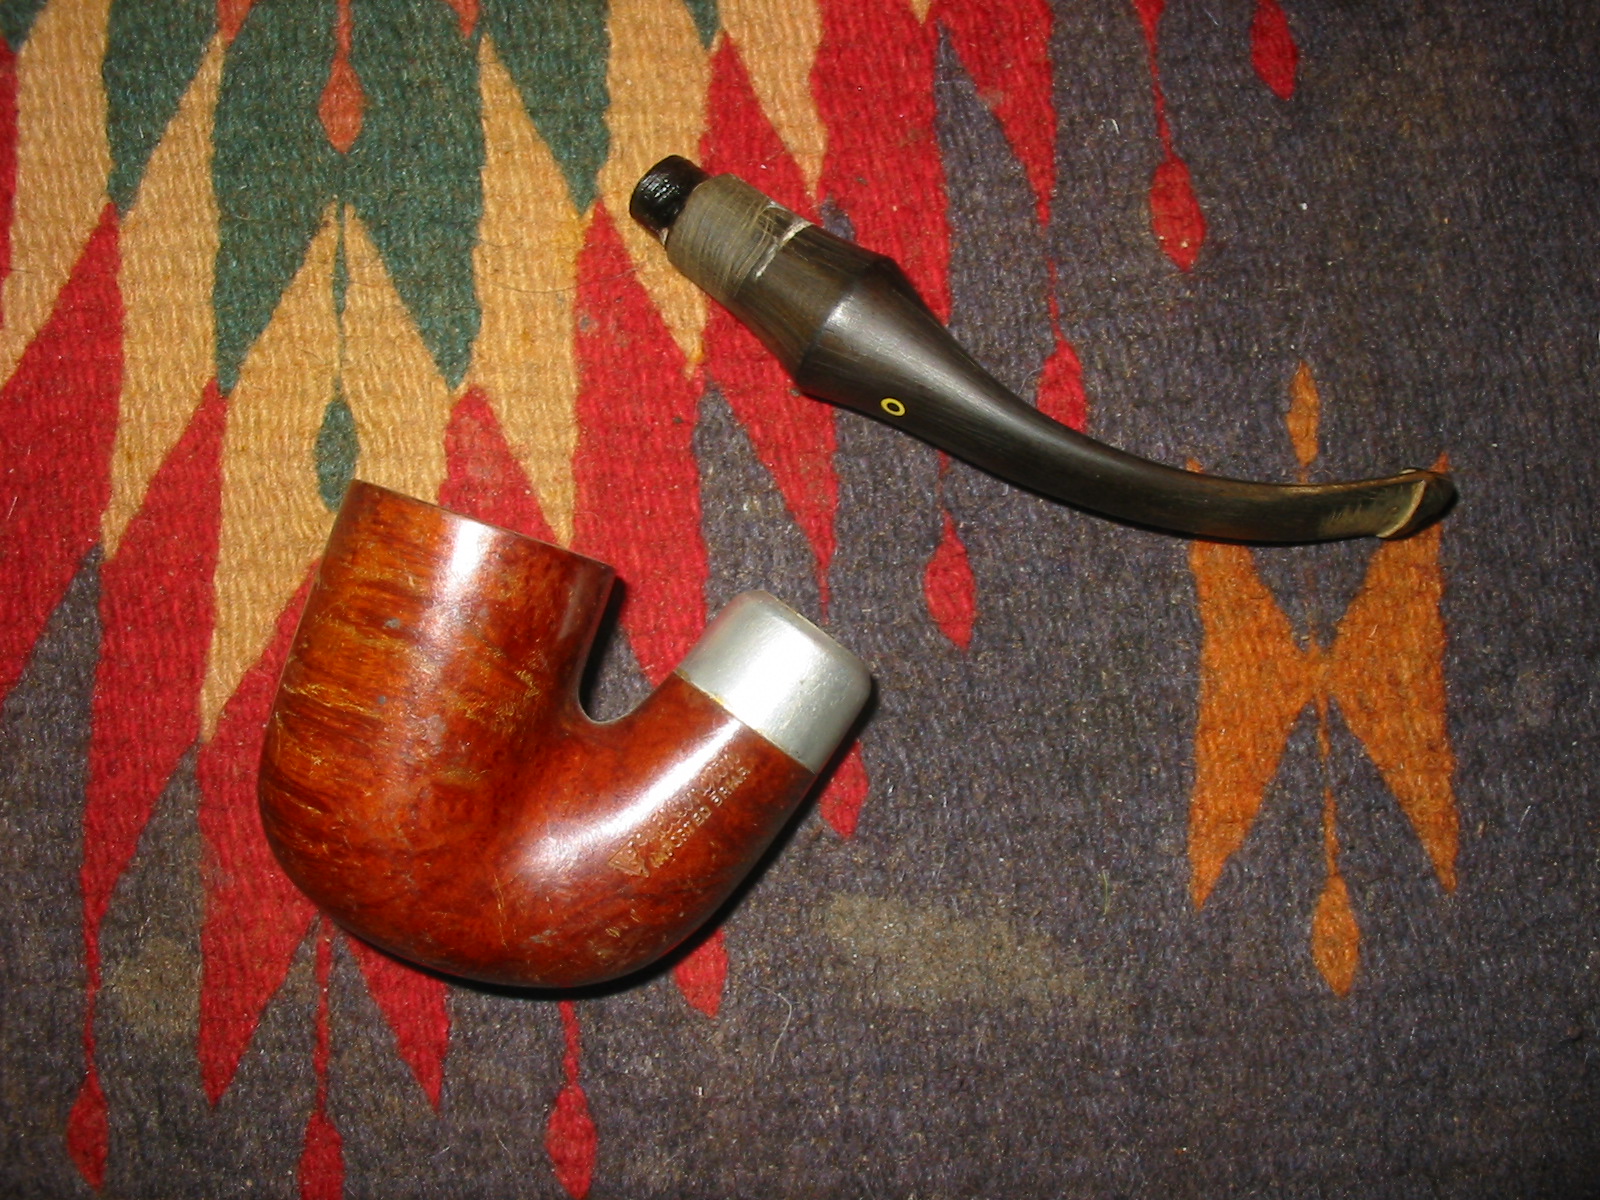
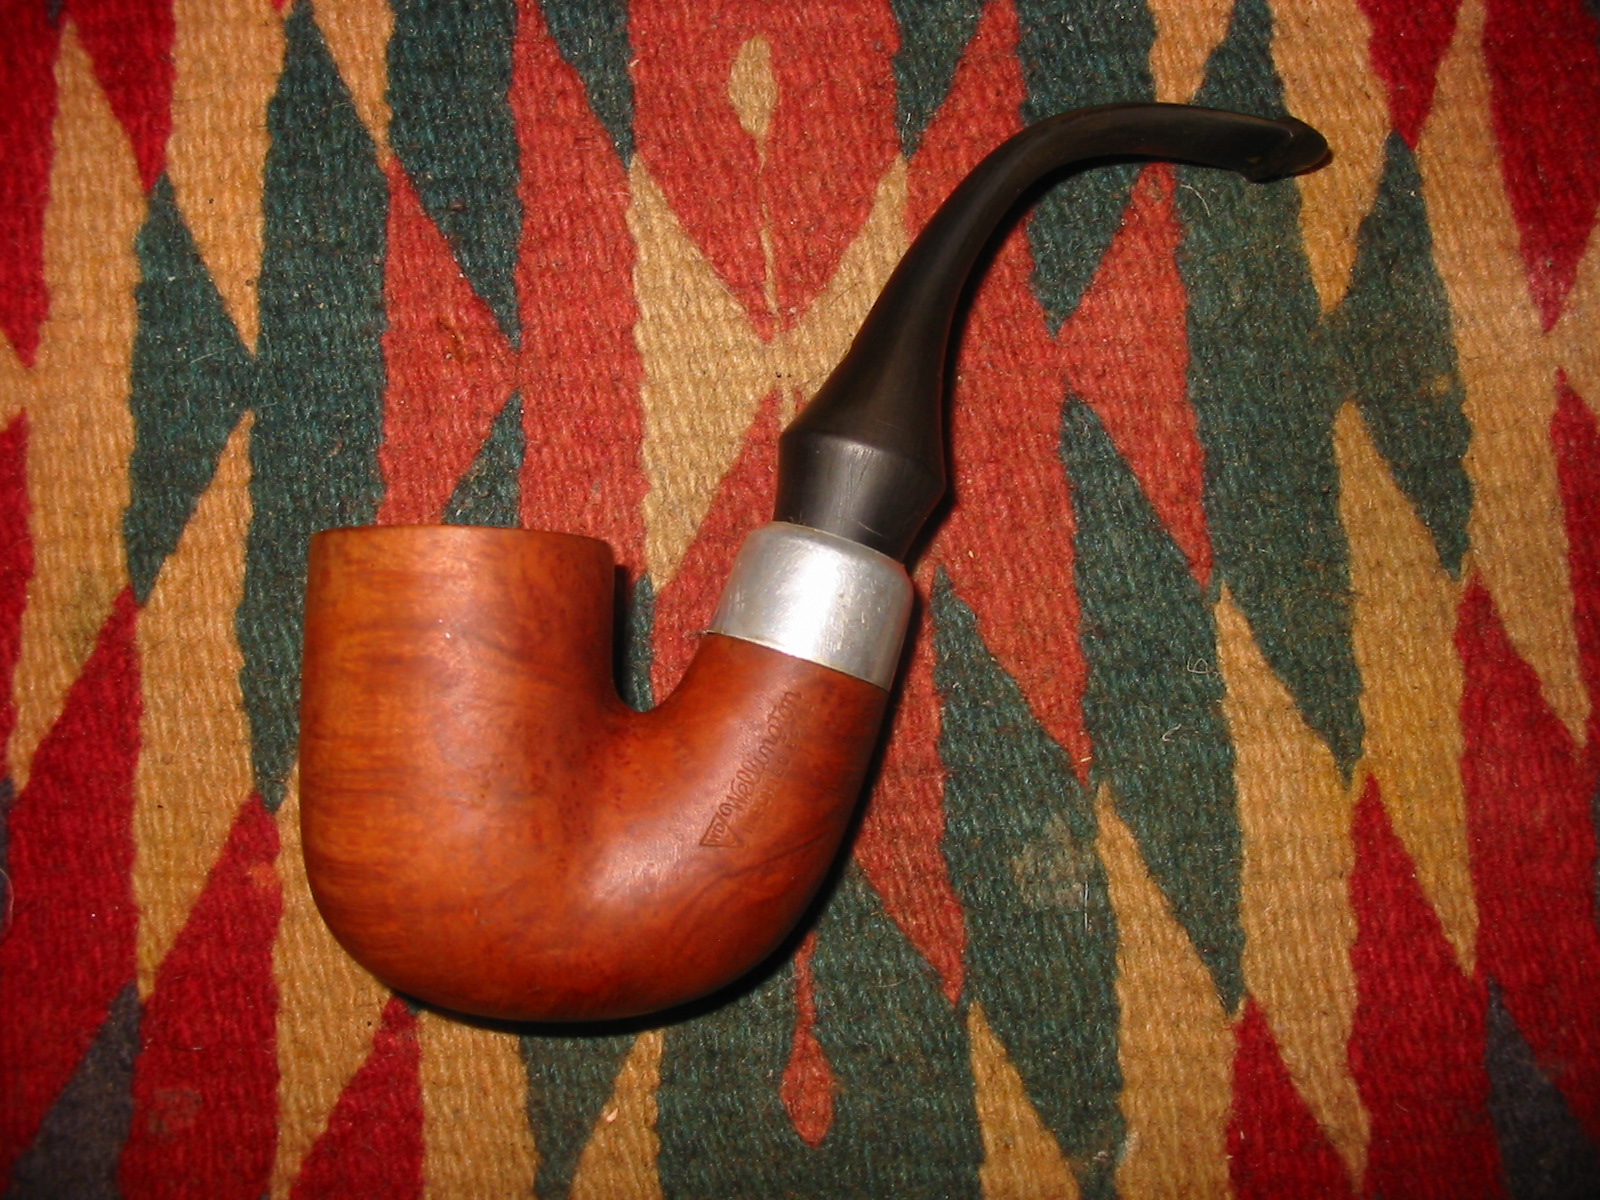
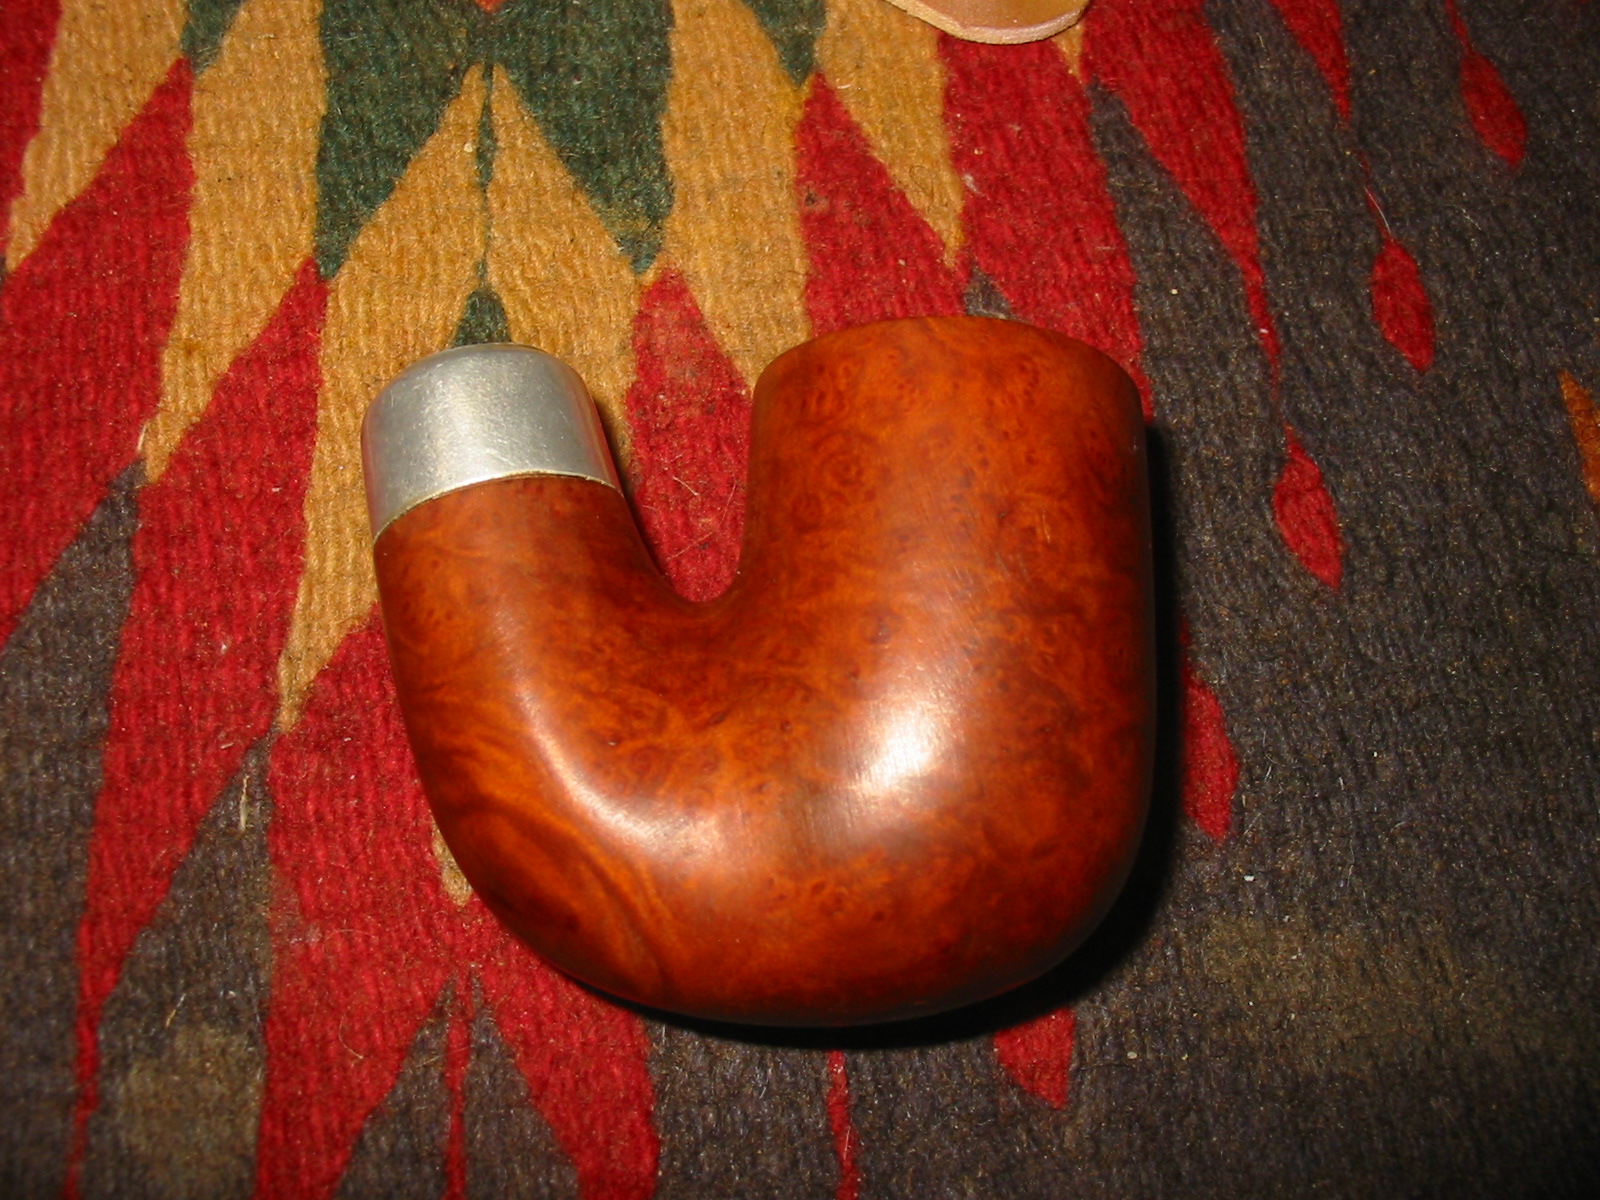
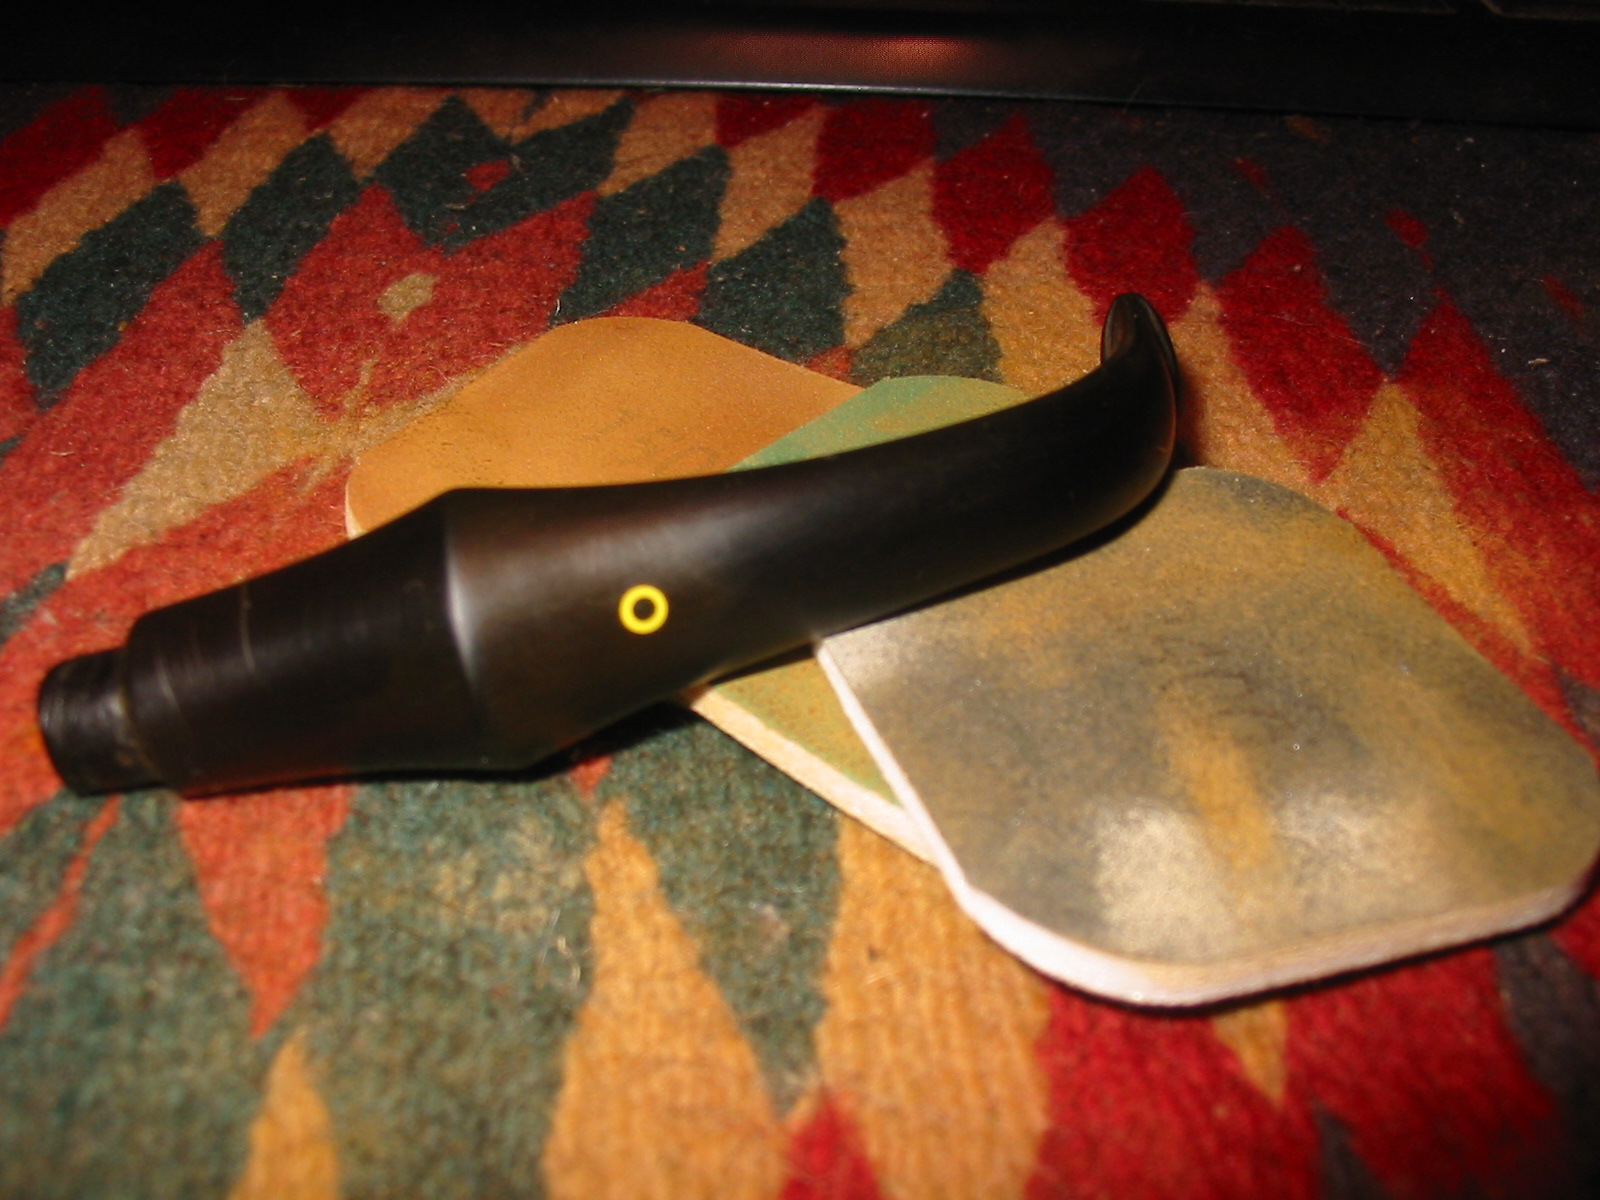
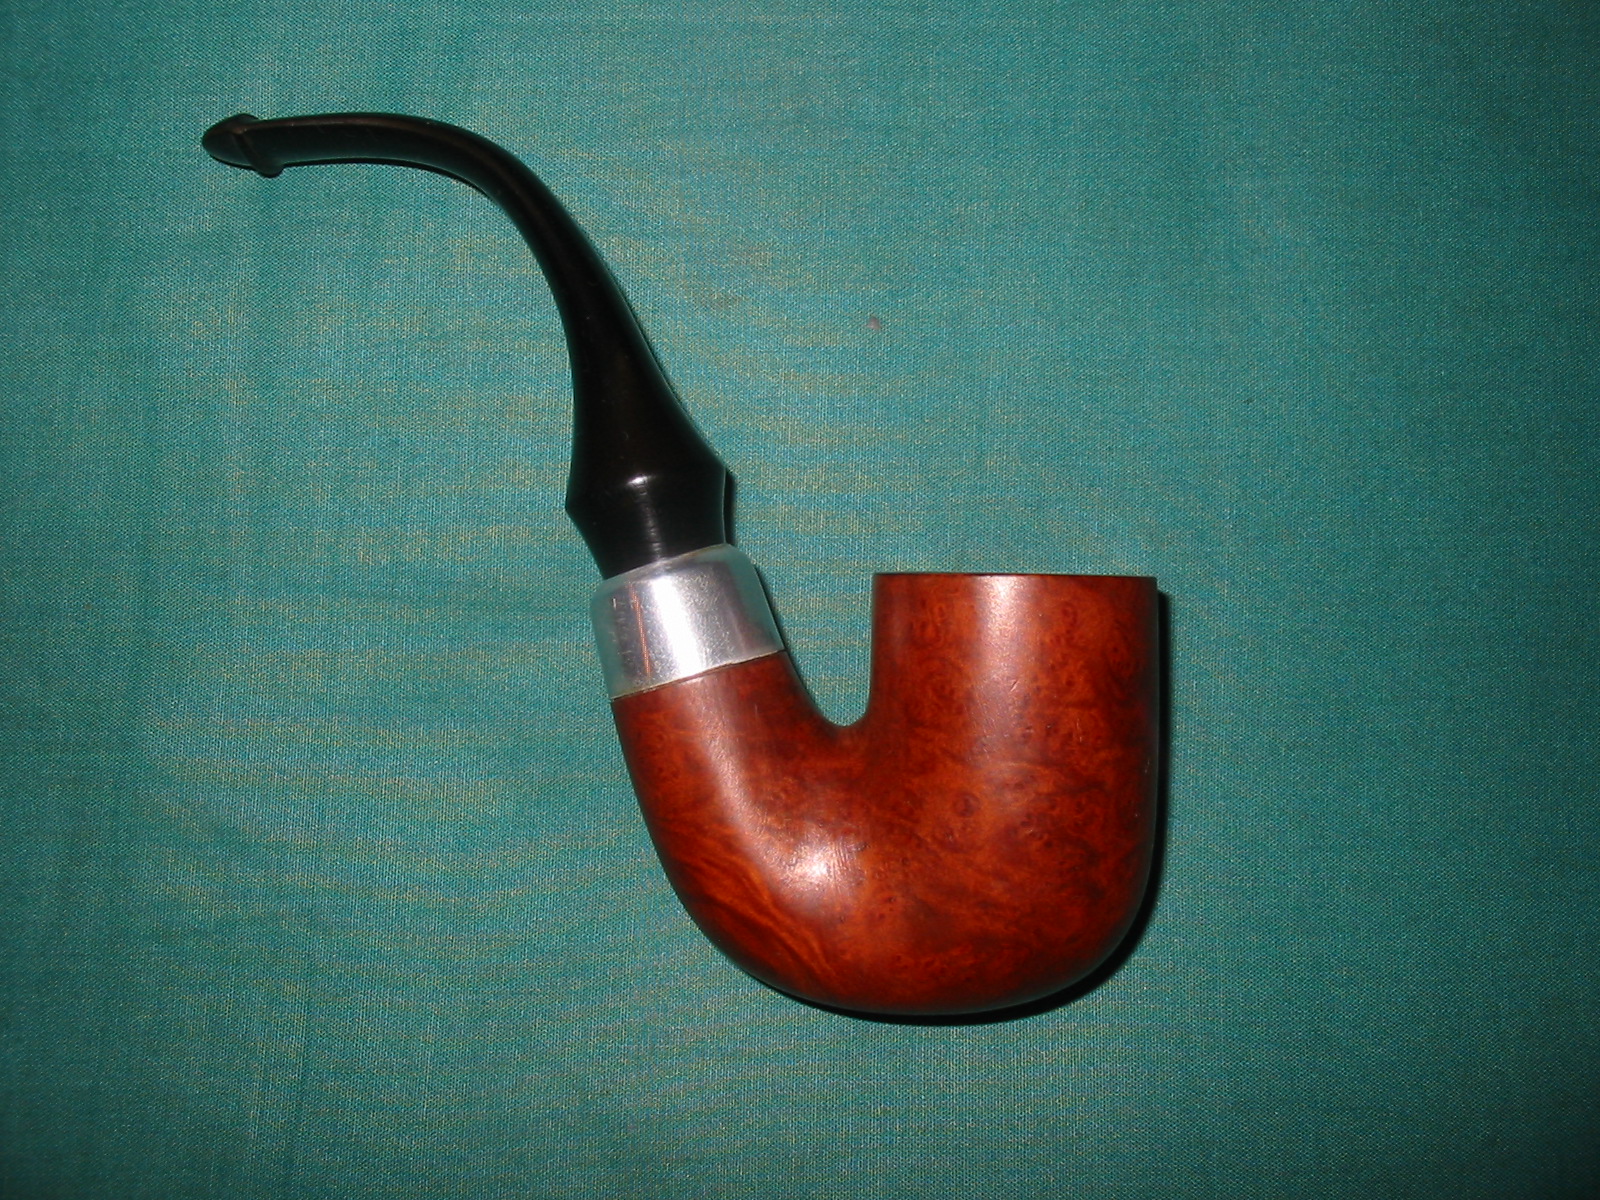
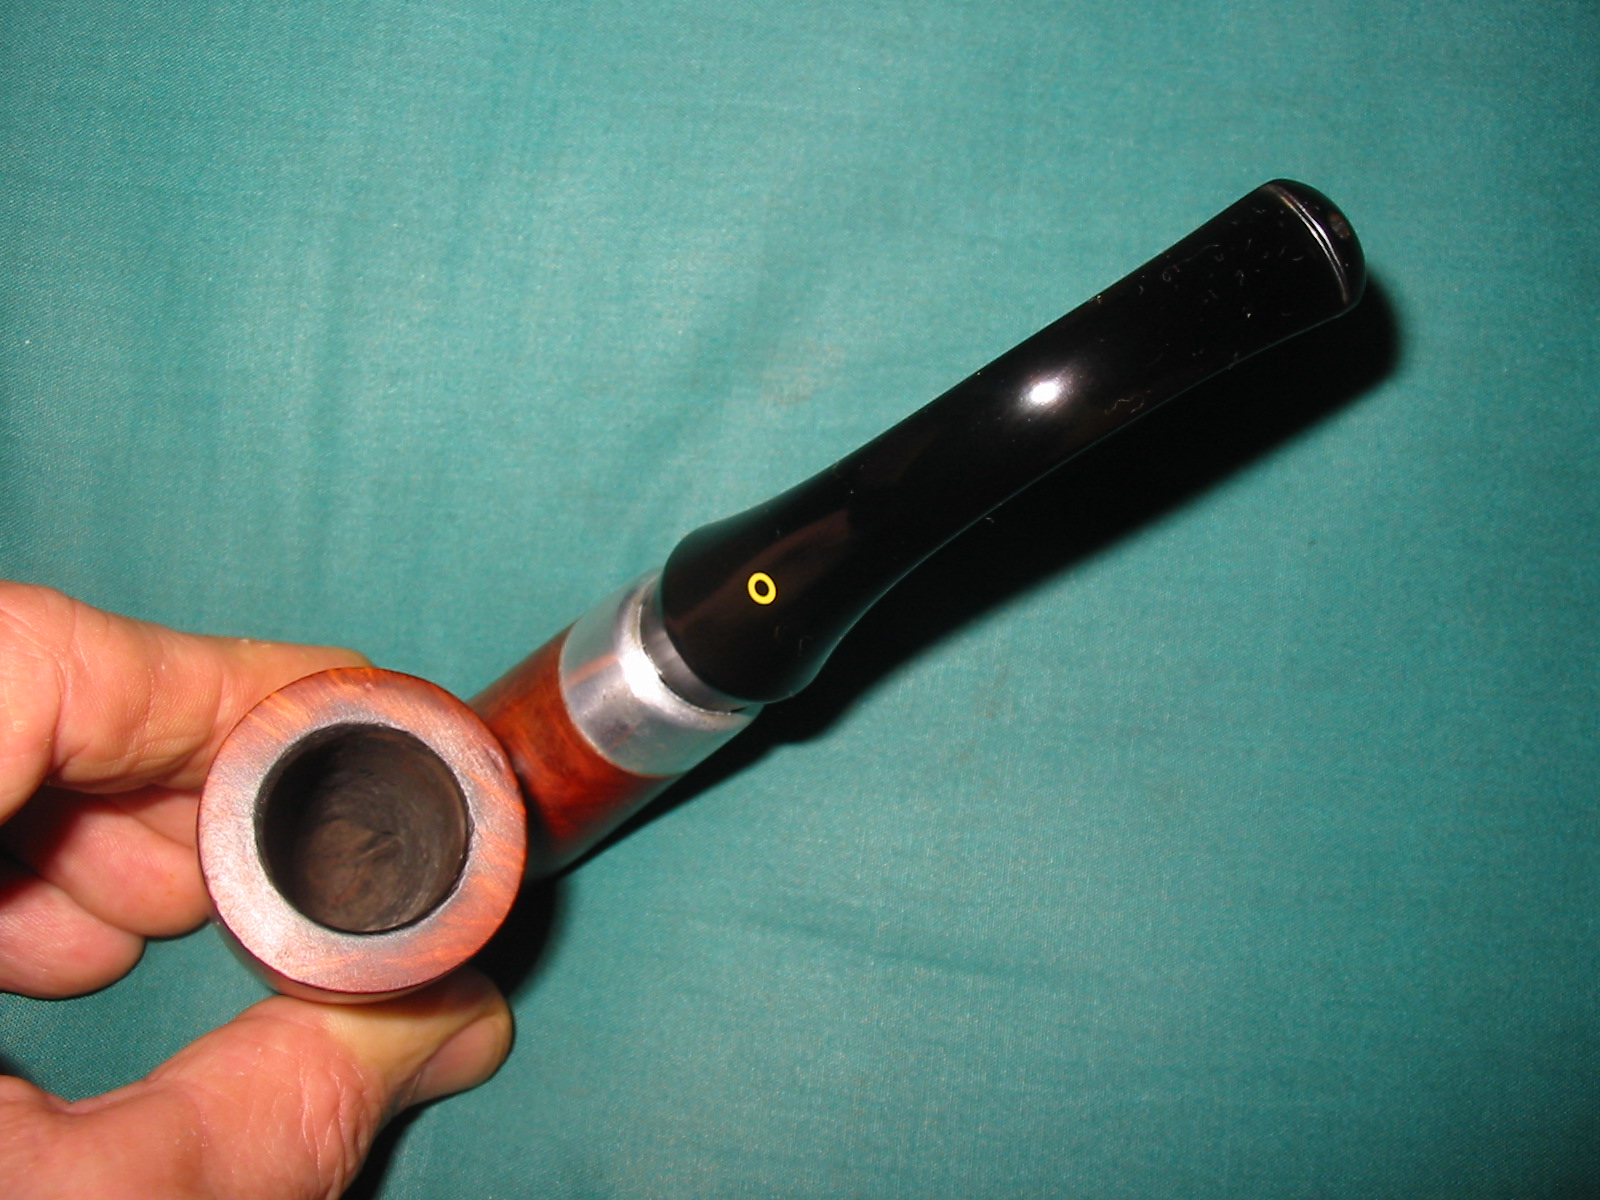
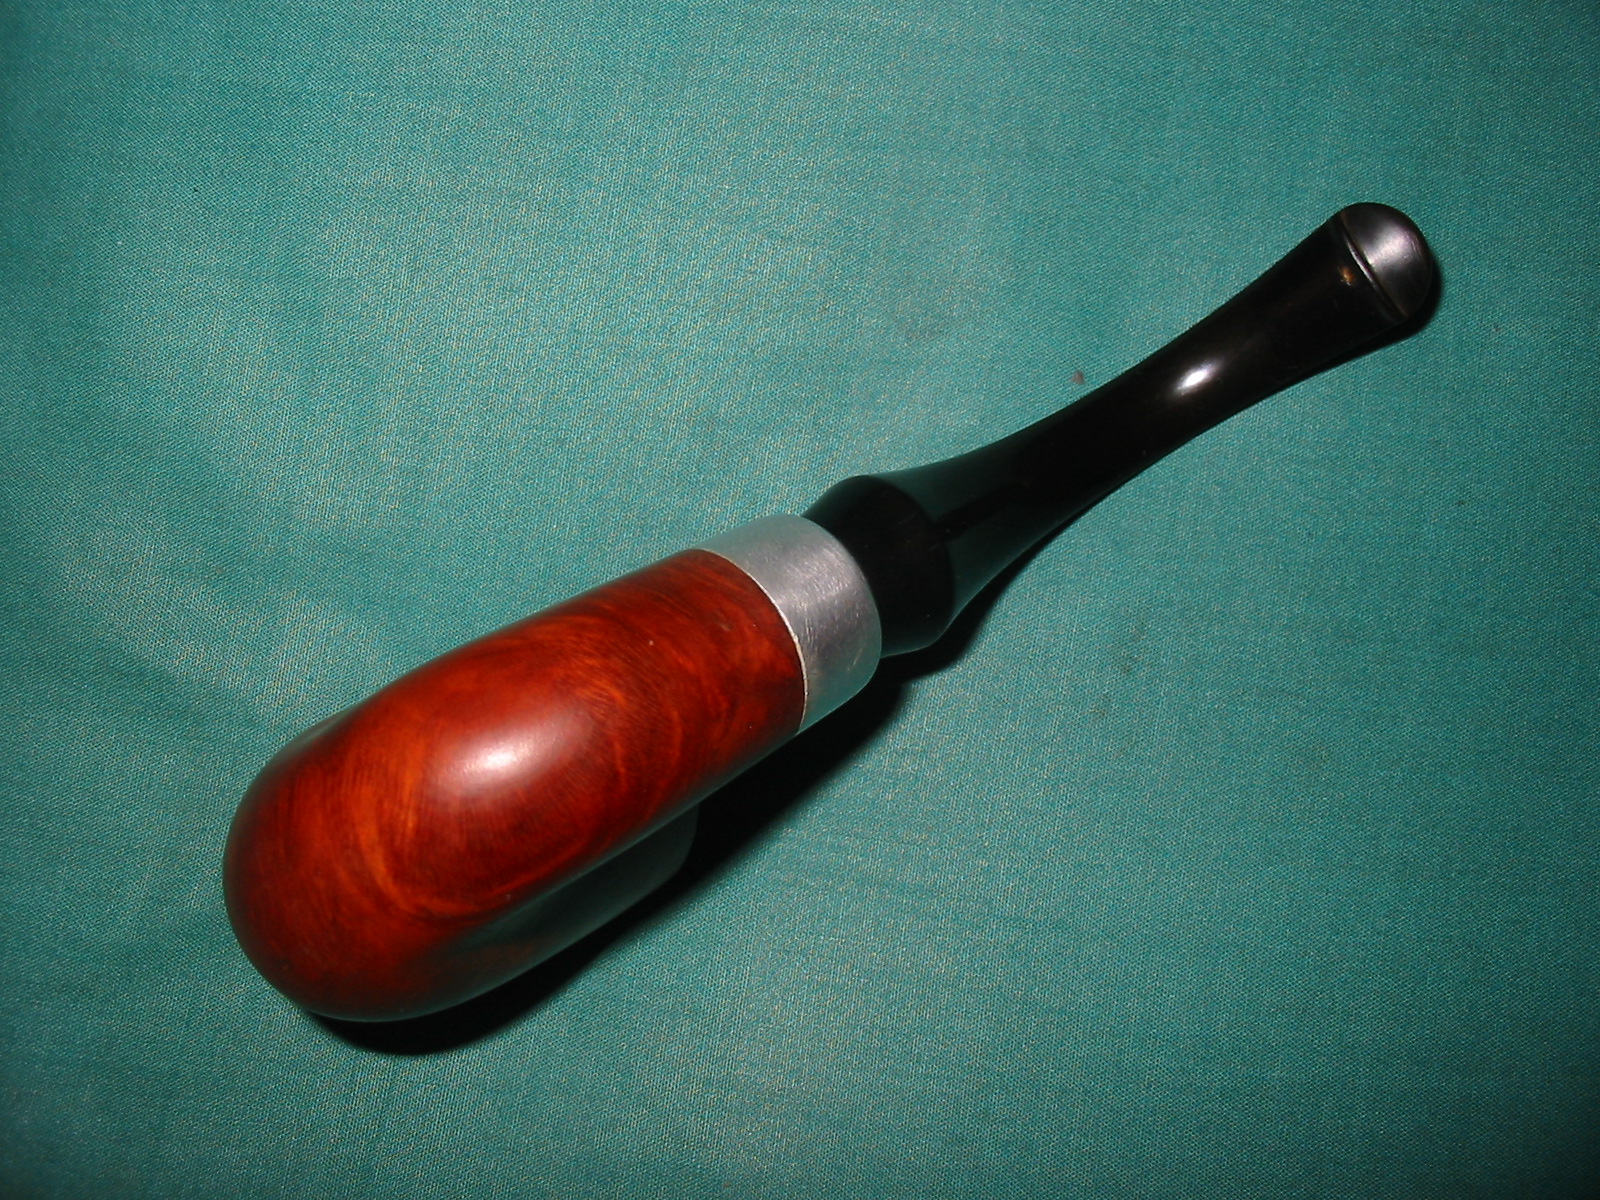
The second bowl I decided to work on from the box of bowls I was gifted was an old Wellington bowl that was actually in decent shape. The bowl is 2 inches tall and 1 3/8 inches in diameter. The bowl has an internal diameter of 7/8 inches. It is quite a large bowl. The nickel ferrule was in good shape but slightly oxidized with a few small nicks and dents. There was an uneven cake in the bowl and the sump area was filled with tars and oils. The finish was varnished but peeling as can be seen in the photo below. The rim had a tar build up and the varnish was peeling under it. The inner edge and outer edge of the rim was in excellent shape. The stamping on the bowl was on the left side of the shank and included the WDC inverted triangle and letters and next to that Wellington in script over the words IMPORTED BRIAR. There was no other stamping on the bowl. The stem did not come with the bowl. I had an old Yello Bole stem from the same era as the Wellington and with the same structure at the tenon and the P-lip. It was scratched and oxidized and had some tooth marks on the top and bottom sides just ahead of the button. The stem has a bright yellow “O” on the top. The bend in the stem had straightened so it would need to be re-bent to work well with the bowl.
IMG_7308
I have several WDC pipes and have done quite a bit of research on the brand that I have written about on the blog. I have even repaired and given away quite a few Wellington’s over the years. This one appeared to be a great piece of briar so I wanted to repair it. I also wanted a quick refresher about this line of WDC pipes and how it fit within the hierarchy of WDC lines. The following is a brief excerpt from the pipedia.org article on WDC pipes.

“William Demuth, a native of Germany, entered the United States at the age of 16 as a penniless immigrant. After a series of odd jobs he found work as a clerk in the import business of a tobacco tradesman in New York City. In 1862 William established his own company. The William Demuth Company specialized in pipes, smoker’s requisites, cigar-store figures, canes and other carved objects.
The Demuth Company is probably well known for the famous trademark, WDC in an inverted equilateral triangle. William commissioned the figurative meerschaum Presidential series, 29 precision-carved likenesses of John Adams, the second president of the United States (1797-1801) to Herbert Hoover, the 30th president (1929-1933), and “Columbus Landing in America,” a 32-inch-long centennial meerschaum masterpiece that took two years to complete and was exhibited at the World’s Columbian Exposition in Chicago in 1893.

The Presidential series was the result of Demuth’s friendship with President James A. Garfield, a connoisseur of meerschaum pipes. Demuth presented two pipes to Garfield at his inauguration in 1881, one in his likeness, the other in the likeness of the President’s wife. Later, Demuth arranged for another figurative matching the others to be added to the collection as each new president acceded to the White House, terminating with President Hoover.

In 1897 Ferdinand Feuerbach joined the Demuth Company and by 1903 had become the production manager. Feuerbach is credited with developing Demuth’s popular Royal Demuth and Hesson Guard Milano pipelines. He left in 1919, when Sam Frank Sr. needed an experienced pipe man to run his pipe factory, located at 168 Southern Blvd., in the Bronx. Feuerbach and Frank had been close friends since Frank started his own business in 1900 and was closely associated with the sales staff of WDC, selling their line of pipes.

In early 1937, the City of New York notified S.M. Frank & Co. of their intent to take by eminent domain, part of the land on which the companies pipe factory was located. This was being done to widen two of the adjacent streets. As a result of this, Frank entered into negotiations to purchase the Wm. Demuth Co.’s pipe factory in the Richmond Hill section of Queens. It was agreed upon that Demuth would become a subsidiary of S.M. Frank and all pipe production of the two companies would be moved to DeMuth factory. New Corporate offices were located at 133 Fifth Avenue, NYC.

Demuth pipes continued to be made at the Richmond Hill plant till December 31, 1972. Then the Wm. Demuth Company met its official end as a subsidiary company by liquidation. Demuth’s mainstay pipe, the Wellington continued to be offered in the S.M. Frank catalog until 1976. In the mid-80’s, the Wellington even made a brief return as a direct to the consumer offer.”

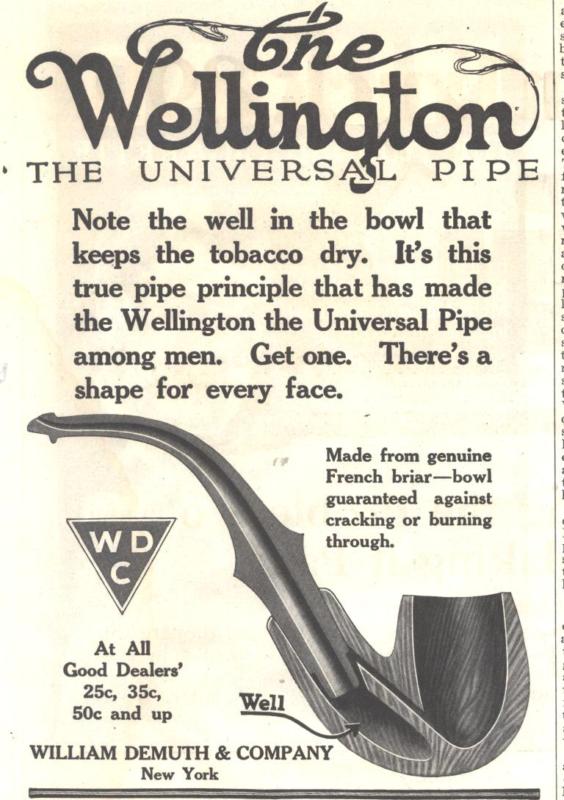
The two leaflets below give some of the details on the Wellington pipe. The first one is a sales leaflet that speaks of the assets of the pipe and what it has to offer the pipe smoker. The second one is a cutaway picture of the Wellington pipe that clearly shows the details of the drilling both of the airway and the sump or well in the heel and shank of the pipe.
wellington1

wellingtonsystem
With the above diagram and information I was better equipped to work on the internals of the pipe and give it a thorough cleaning. I really like digging out the information and some of the diagrams of the pipes that I work on so that I can get a feel for the design and an appreciation for the work.

I fit the stem on the bowl and the overall look and feel was the same as the Wellington. The shoulder or ridge that formed the saddle was not as sharply defined as in the original stem but the look was close. The P-lip was the same and the tenon insert end was a match to the diagram above. Once the stem was re-bent the look would be even closer to the original.
IMG_7312

IMG_7313

IMG_7314

IMG_7315
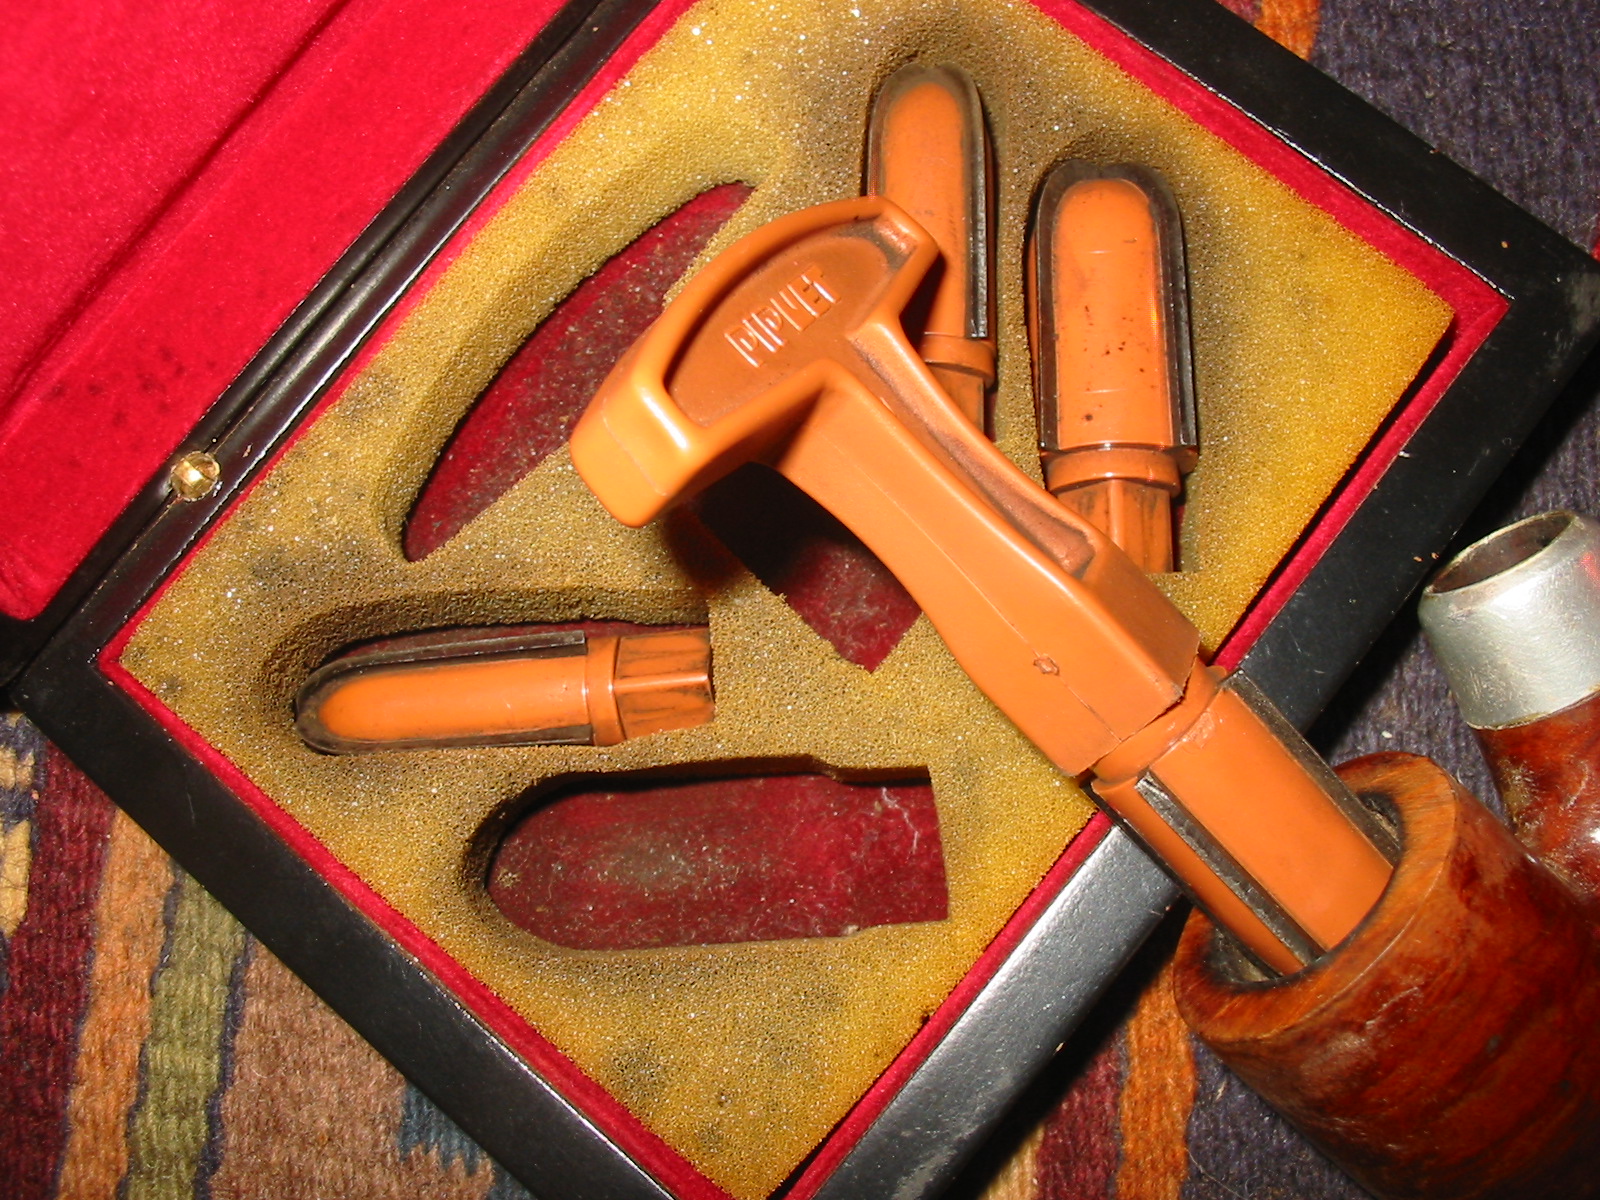
I cleaned the top of the rim with a cotton pad and alcohol to remove the tars and oils. I then reamed the bowl with a PipNet Reamer – a tool that I use on virtually every pipe I work on. The interchangeable heads allow me to use various heads to careful trim back the cake. In this case I took it back to bare wood to clean it up and remove the uneven buildup.
IMG_7351

IMG_7352
I scrubbed down the finish with acetone on cotton pads. The varnish came off with scrubbing. Underneath the peeling varnish the stain was in good shape. The briar was very clean with no fills. The grain was quite nice with a mix of cross grain and birdseye.
IMG_7358

IMG_7359

IMG_7360
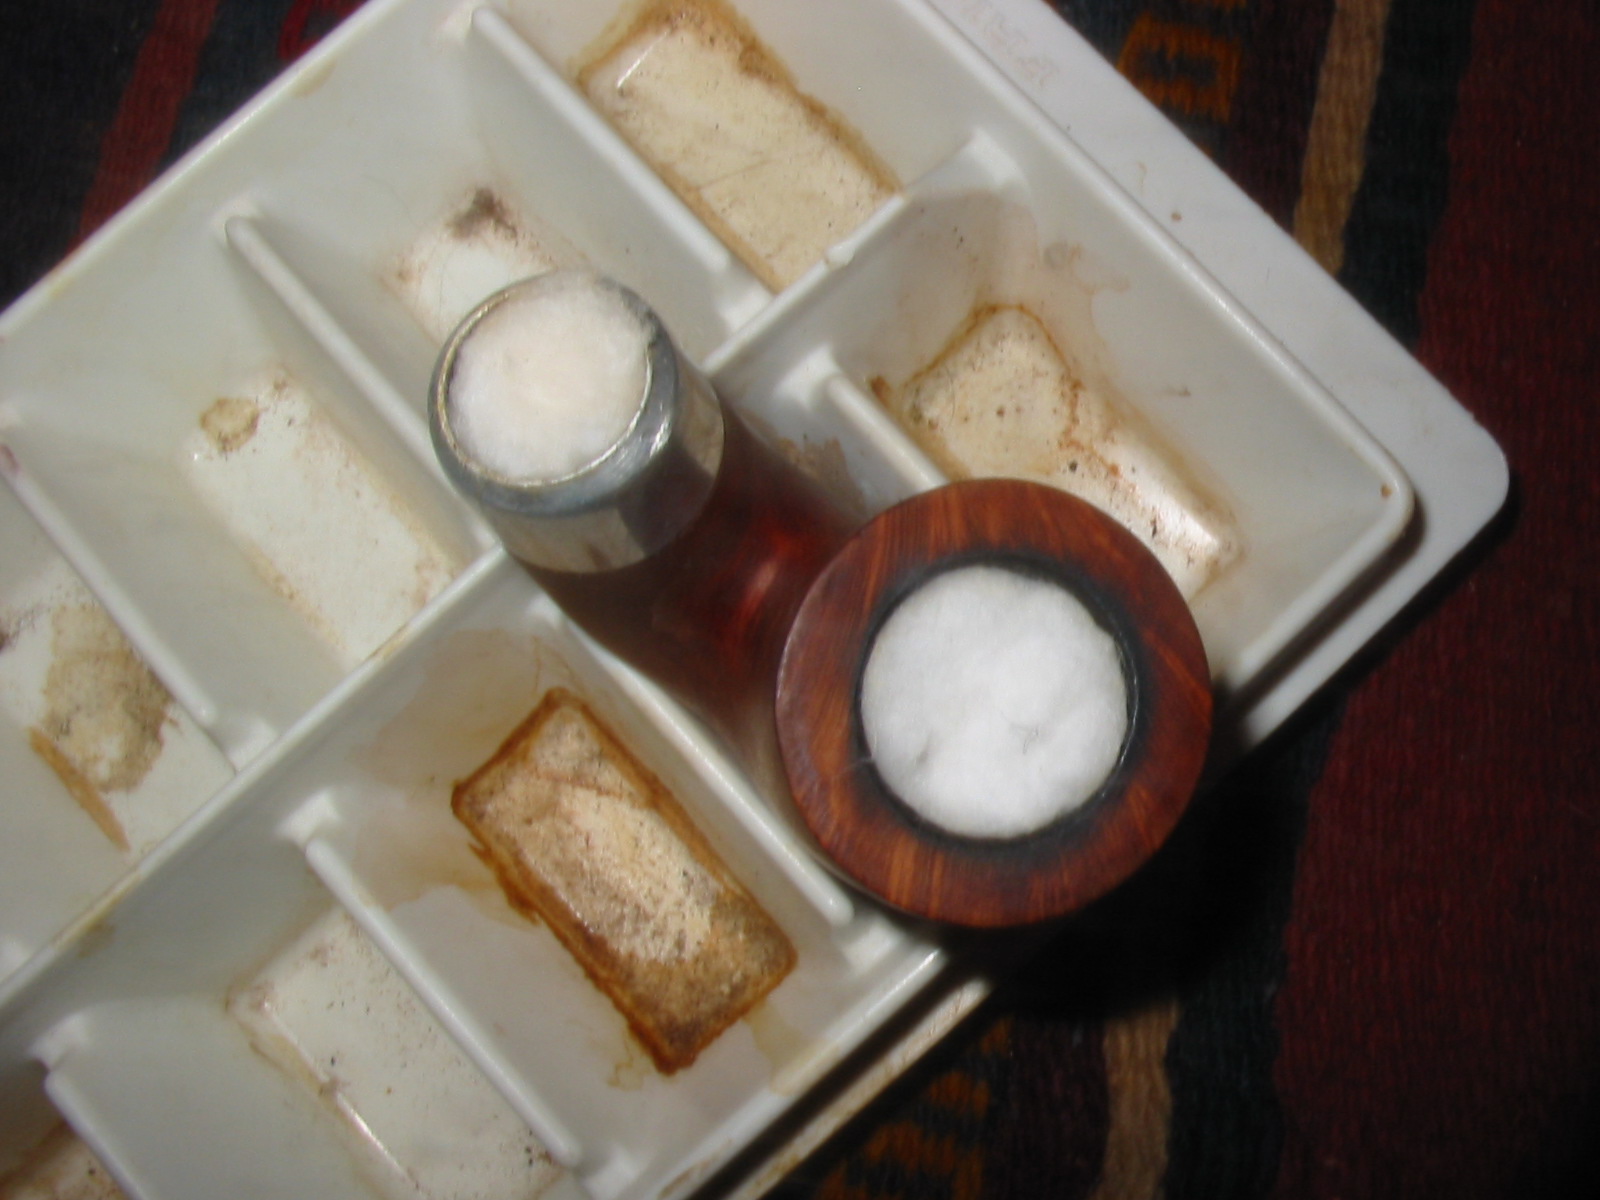
I scrubbed out the sump and the internals of the pipe with cotton swabs, pipe cleaners and isopropyl alcohol. Once the cleaners came out unstained I stuffed cotton balls in the shank and the bowl and then used an ear syringe to fill both with isopropyl alcohol (99%).
IMG_7362

IMG_7361
I put the bowl upright in an ice cube tray that I use for a stand when sweetening the pipes I clean. It works very well in wicking out tars and oils. I let it sit overnight. The first photo below shows the bowl after filling. The second photo below shows the bowl after 12 hours of soaking. Once I remove the cotton and re-clean the bowl and shank the smell of the pipe is fresh and clean.
IMG_7363

IMG_7367
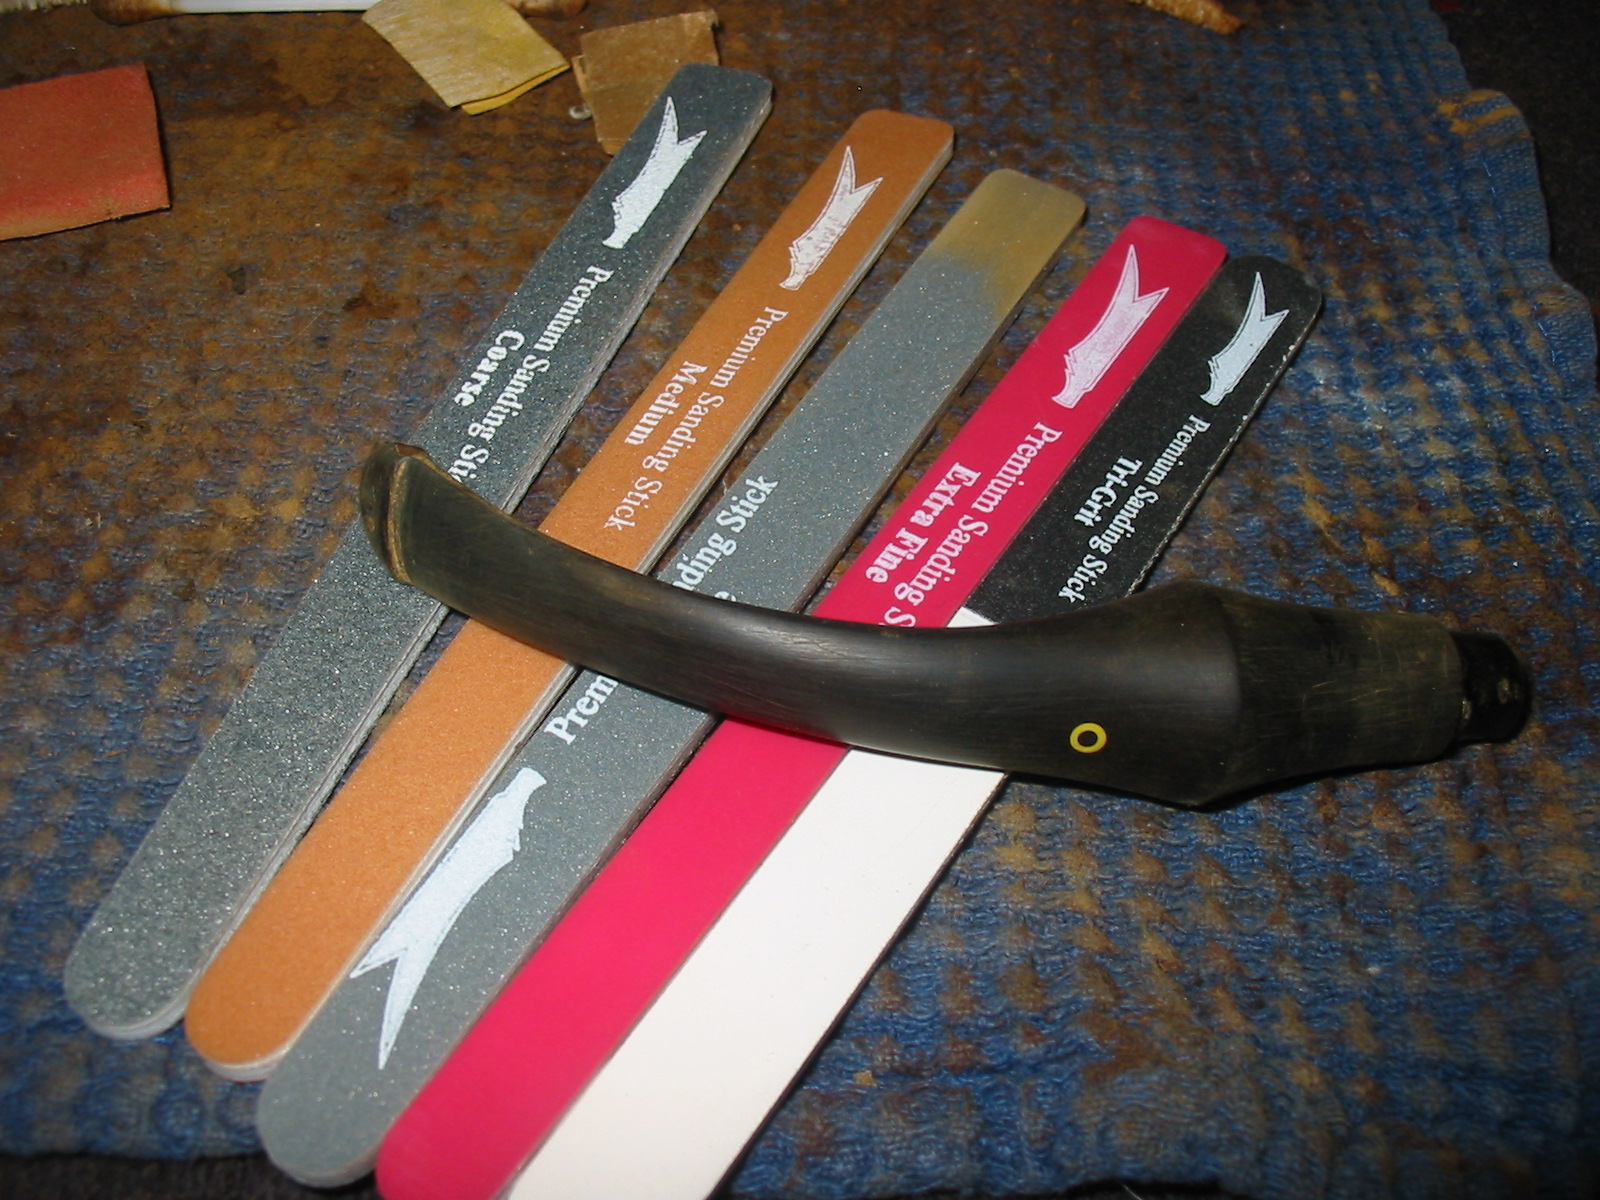
Over the weekend I picked up a few new tools to make the clean up simpler. One set of tools was the sanding sticks shown in the photo below. The various grits are clearly on the sticks. These work exceptionally well in the crease next to the button and on the shelf on the underside of the P-lip stem. I sanded the stem with 220 grit sandpaper and with medium and fine grit sanding sponges.
IMG_7366
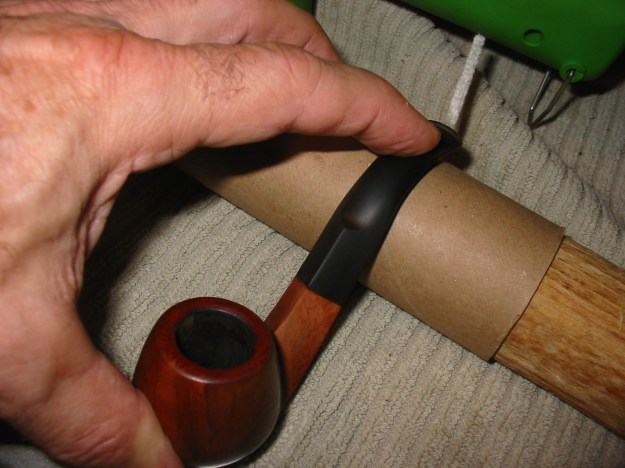
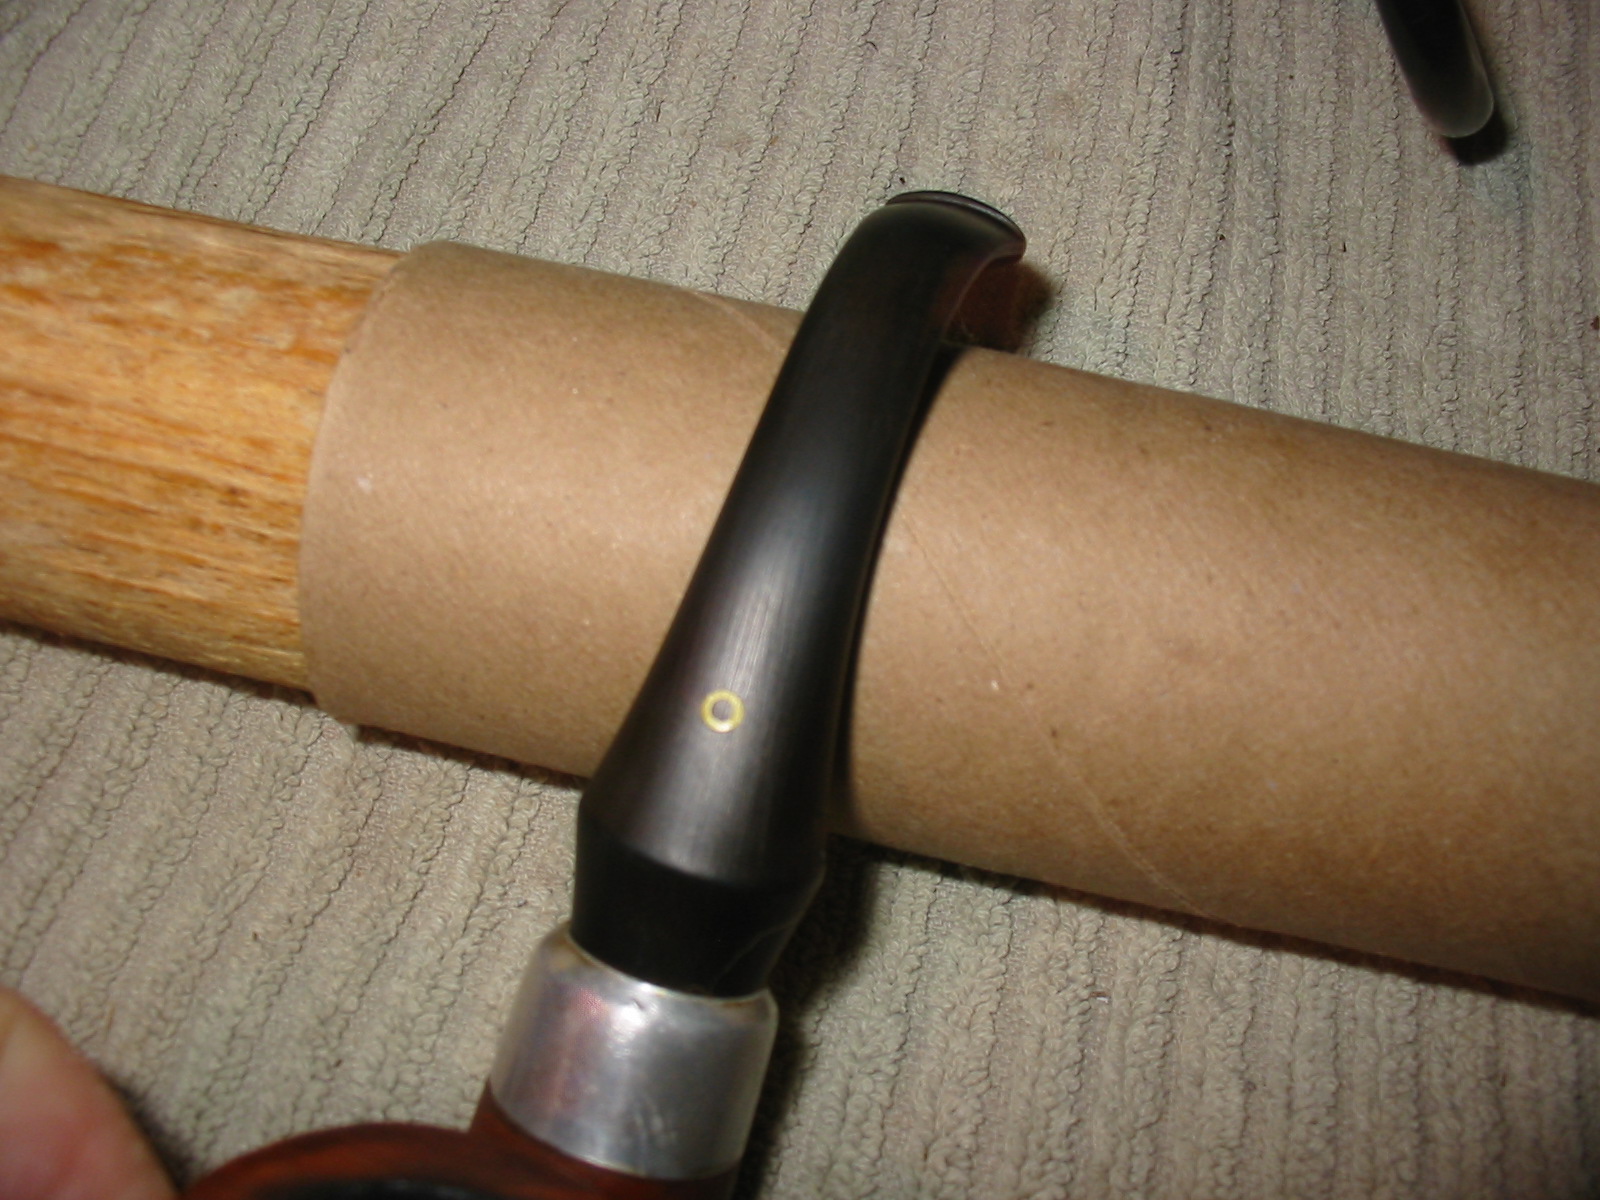
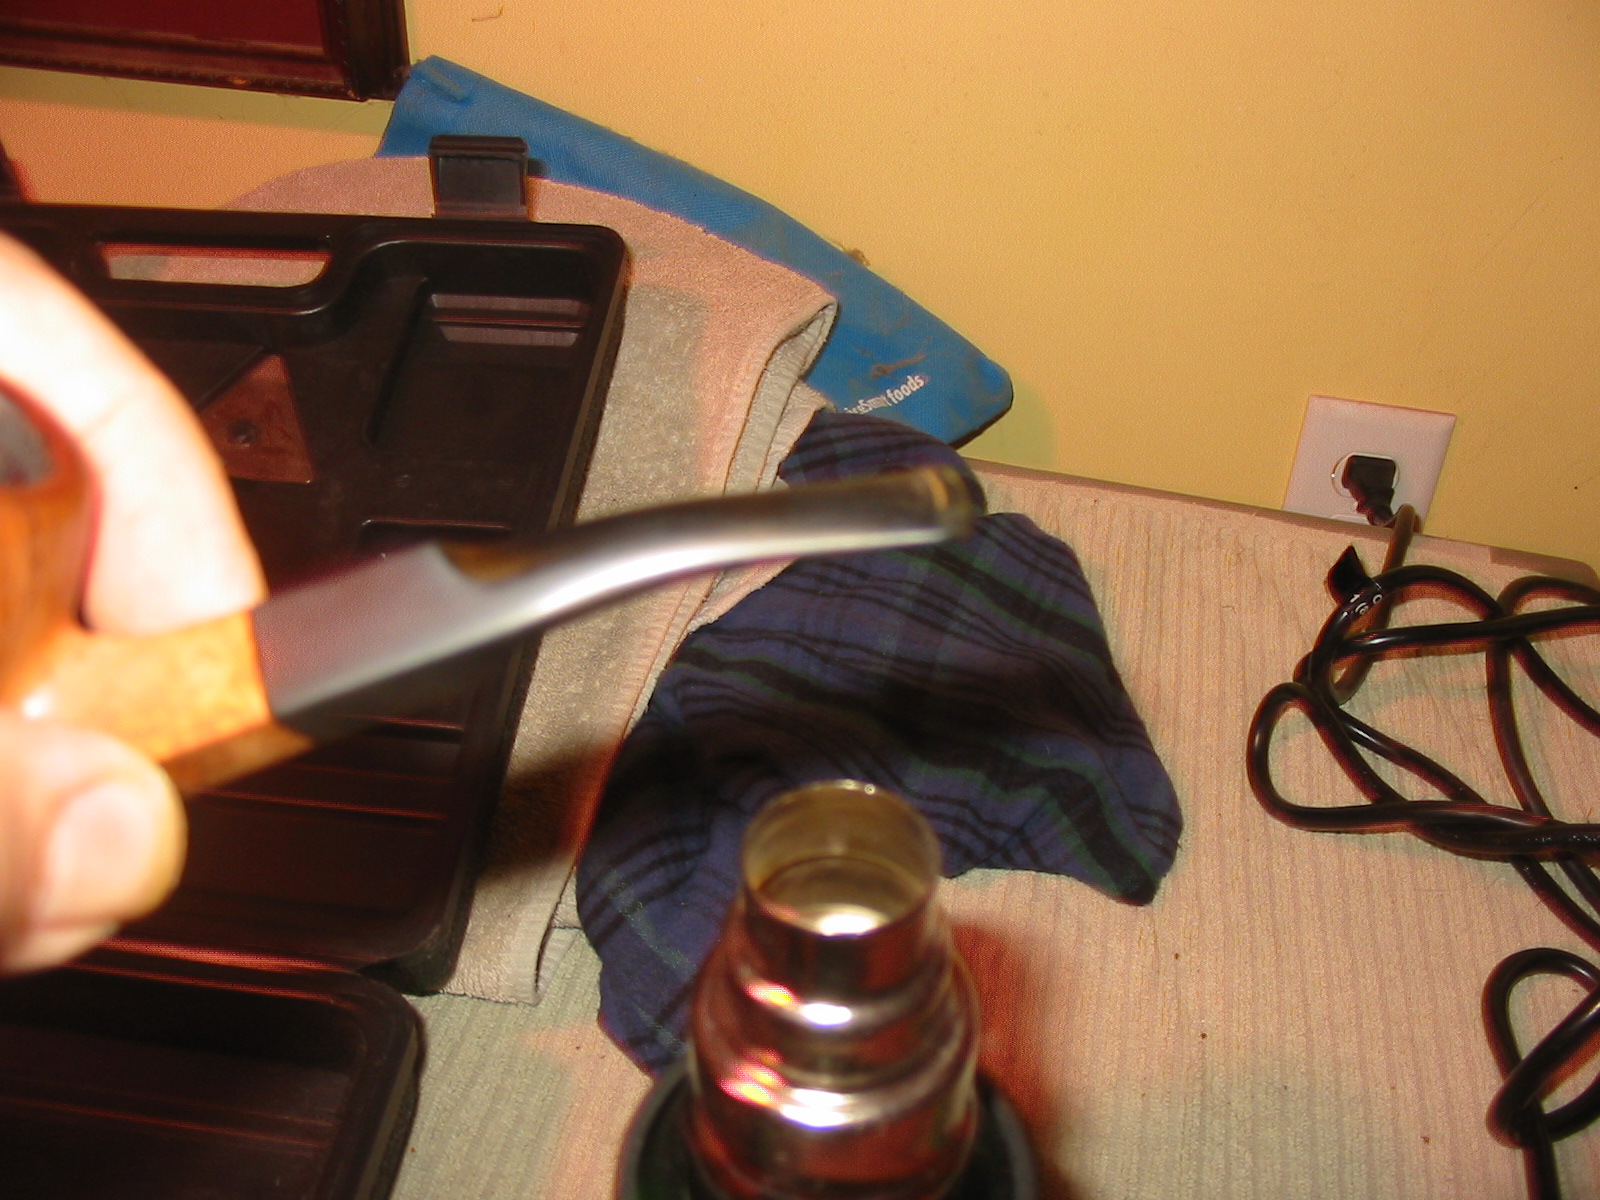
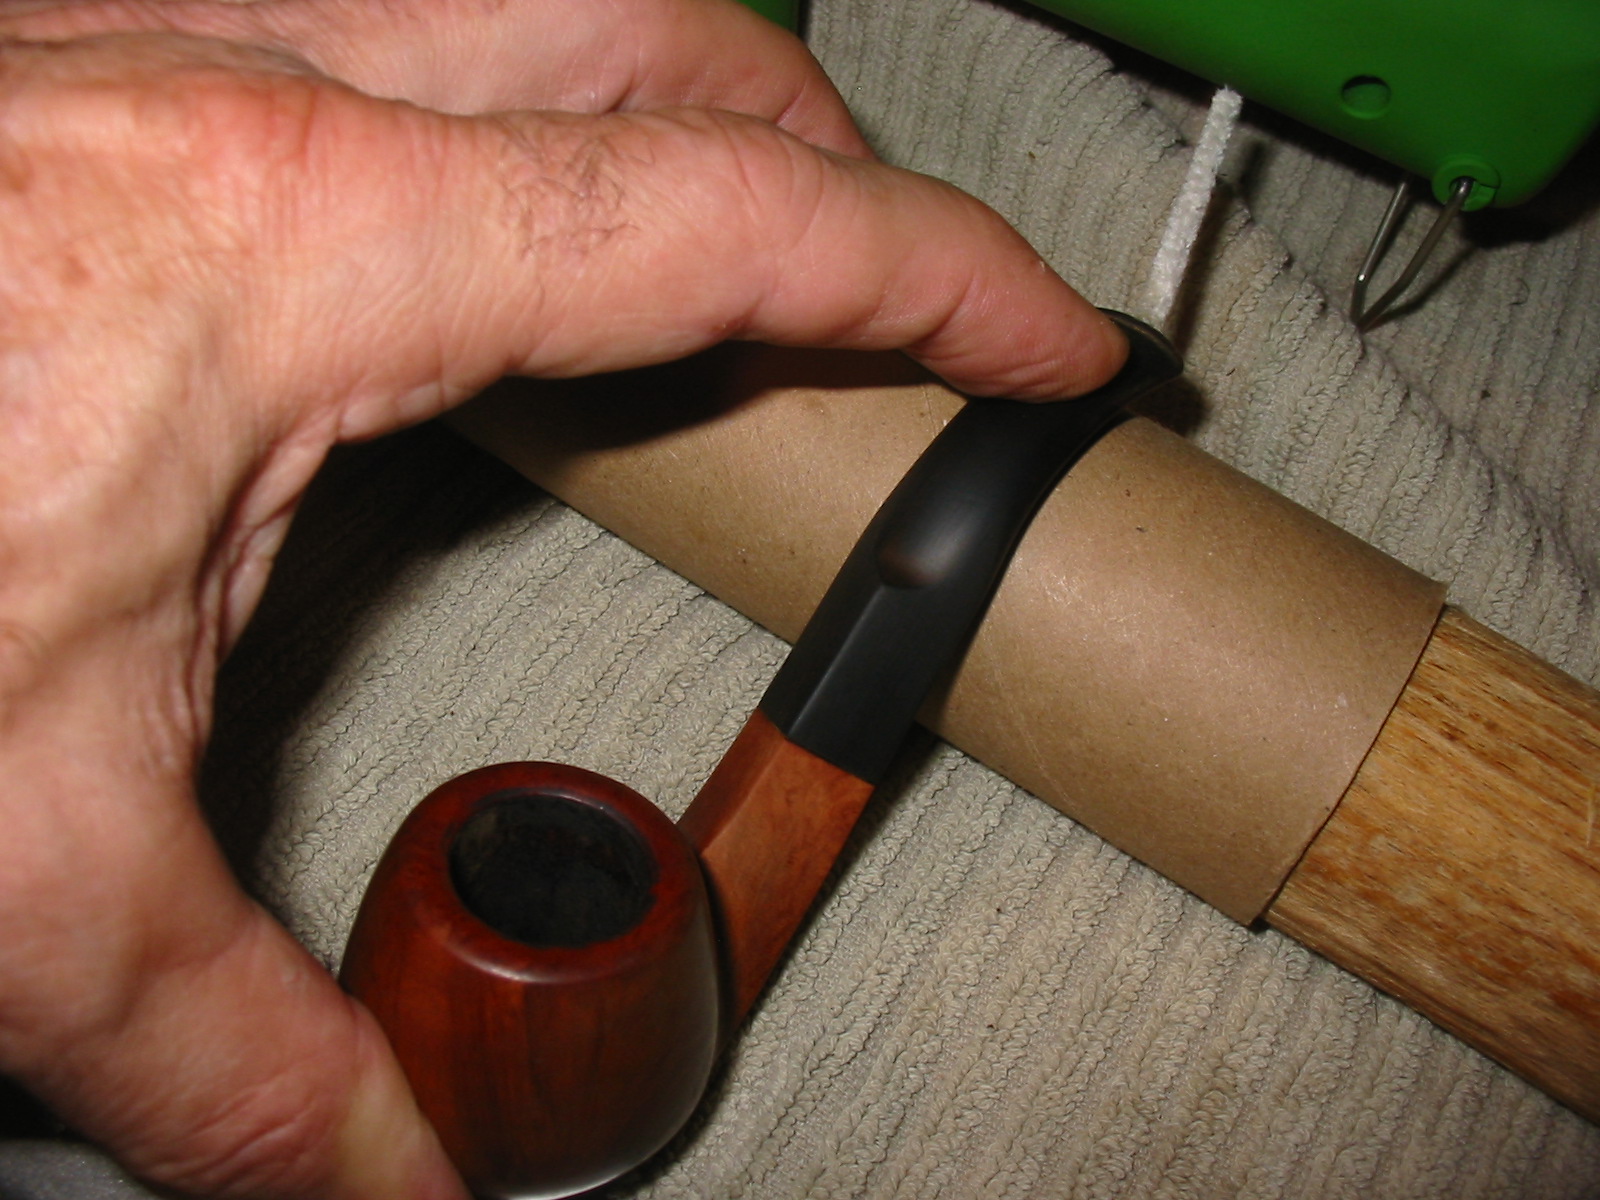
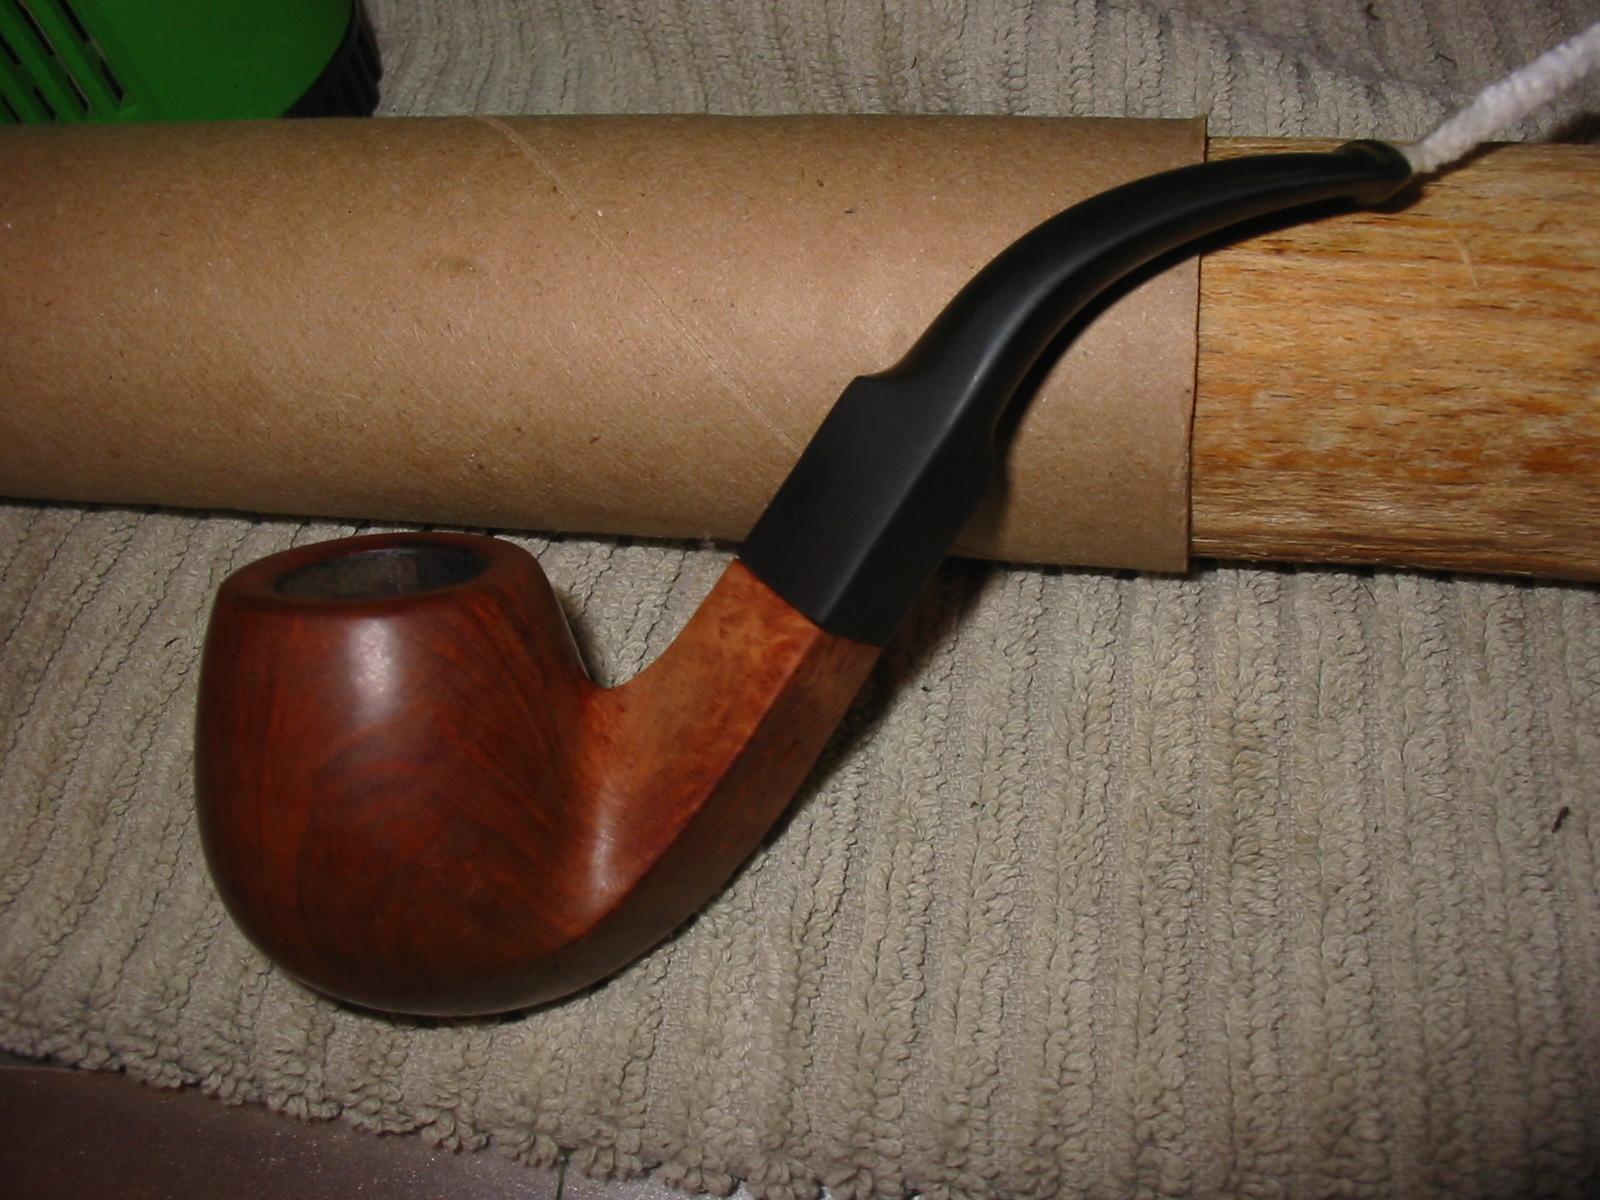
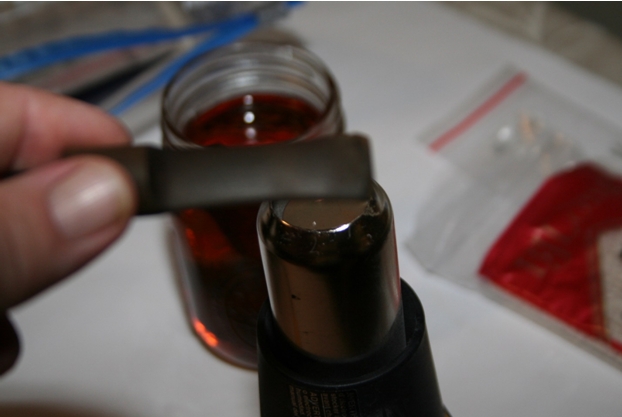
After the initial sanding was finished I used a heat gun to heat the stem and bent it over a rolling pin covered with a thick cardboard tube to give the stem a clean bend and avoid kinking the airway. I have been using this for quite a few years now and have not experienced trouble with damaging the airways in the bending process.
IMG_7371

IMG_7372

IMG_7373
I sanded the stem once again with a fine grit sanding sponge. I generally do this before moving on to the micromesh sanding pads.
IMG_7374

IMG_7375

IMG_7376

IMG_7377
I wiped down the bowl with a damp cloth to remove any dust and to get an idea of whether I would give it a coat of stain. Once it was clean it looked good to me. No stain would be necessary on this old timer. The colouring once it was buffed would be perfect.
IMG_7378

IMG_7379
The rim needed a bit more sanding with the micromesh to clean up the top and then a folded piece of sandpaper on the inner edge to smooth things out.
IMG_7380
I worked on the stem with the micromesh sanding pads. I wet sanded with 1500-2400 grit pads. Afterwards I noticed the oxidation that still remain at the saddle so I sanded it again with the medium and fine grit sanding sponges and repeated the micromesh wet sanding.
IMG_7382
I sanded it with the 3200-4000 grit pads and still saw some oxidation in that area. I repeated the process above with the sanding sponges and the six grits of micromesh to clean it more deeply. I then buffed it with Tripoli and then finished the final three grits of micromesh from 6000-12,000 grit. I buffed it with White Diamond.
IMG_7383

IMG_7384
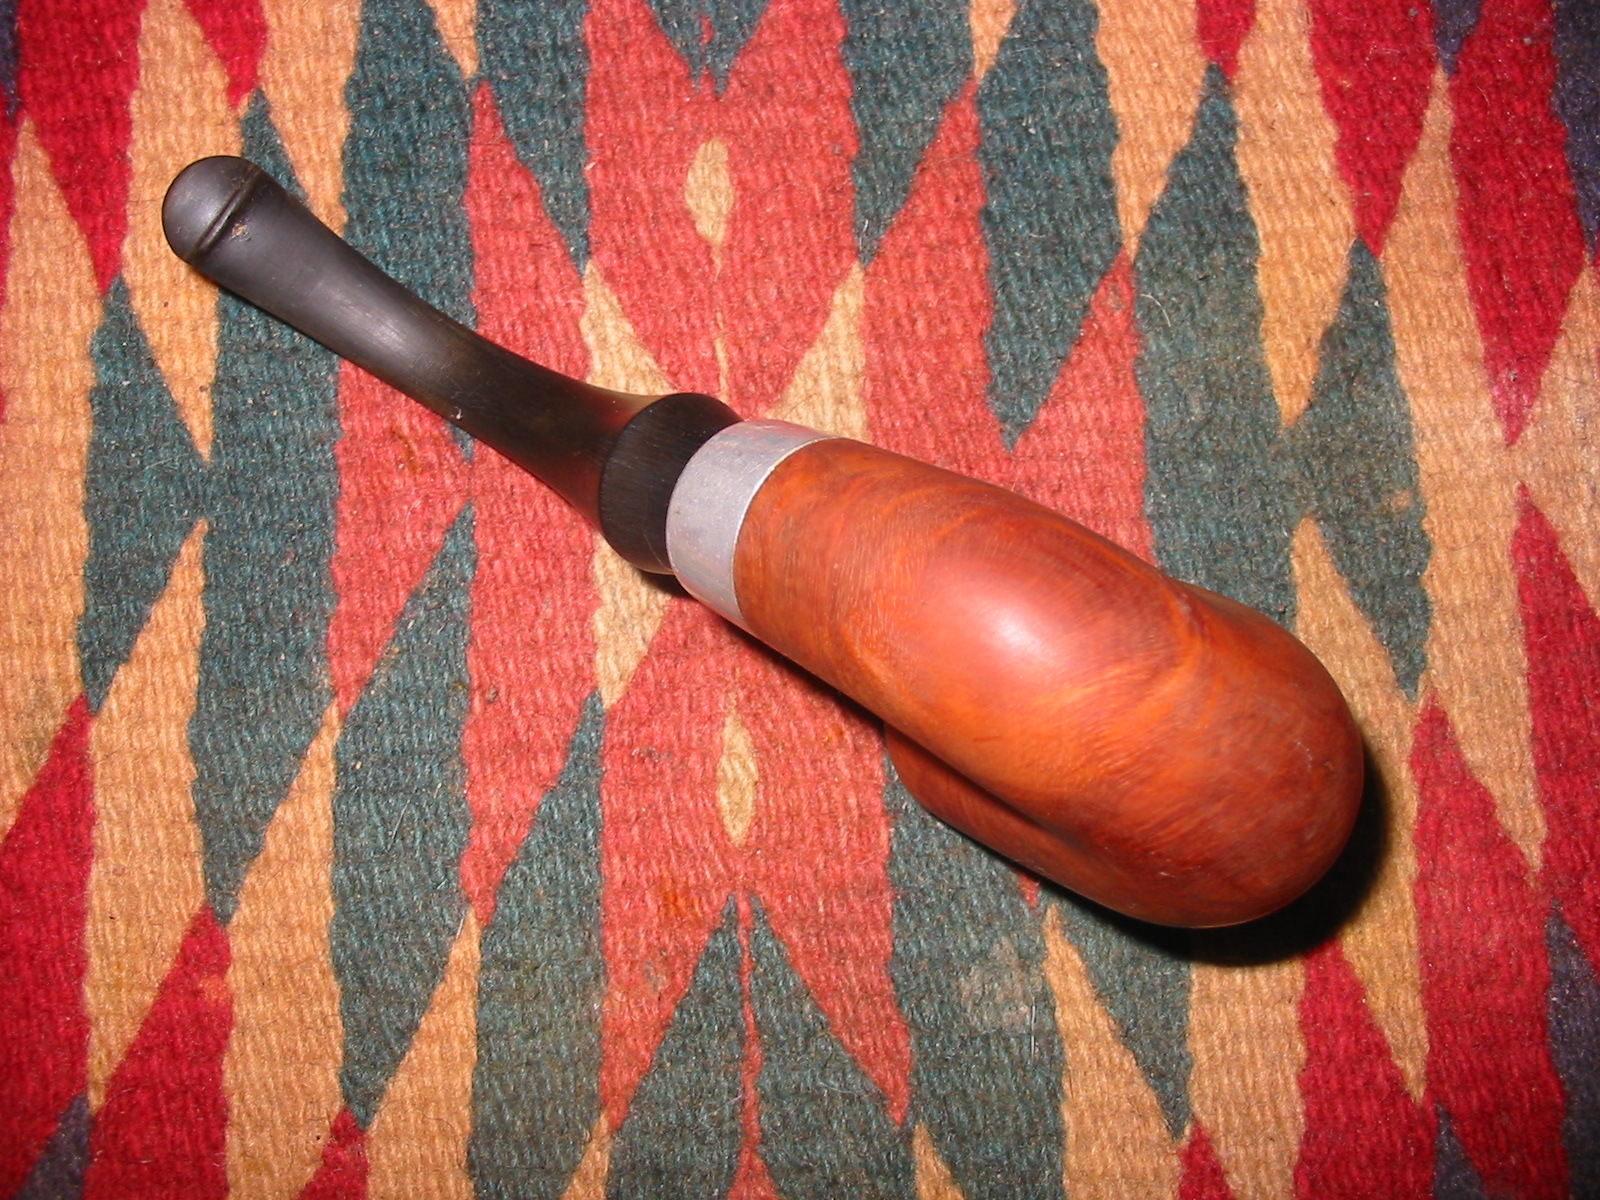
I polished the nickel ferrule with silver polish and a polishing cloth and then buffed the bowl and stem a final time with Whtie Diamond. I gave the entire pipe multiple coats of carnauba wax, buffing in between coats with a soft flannel buff. The finished pipe is shown below. I am quite pleased with the new look. The old Yello Bole stem works well with the pipe.
IMG_7389

IMG_7392

IMG_7390

IMG_7391

Restemming and Restoring a John Bessai Special Diamond Shank Bent Brandy


Blog by Steve Laug

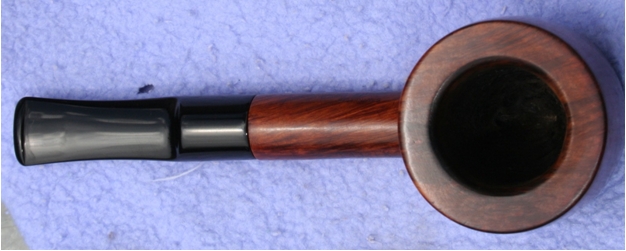
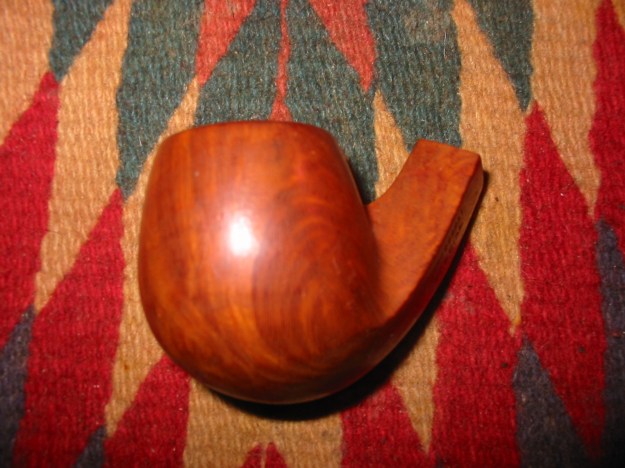
I was gifted a box of pipe bowls that needed varying degrees of work and a few odds and ends of pipe parts that now reside in my cans of parts. The bowls have refilled my refurbishing box. The first of these that I chose to work on is a beautifully grained, flawless piece of briar made into a diamond shank brandy. It is stamped on the left underside of the shank – John Bessai over Special. There is no other stamping on the pipe at all. The rim of the bowl is rounded. The pipe bowl is in excellent condition with no problems with the finish. The bowl needed reaming as it had an uneven cake on one side and on the upper portion. The shank is dirty with tars and oils but otherwise in good shape. The drilling and finish on this pipe is perfect. It is a beauty. From a previous Bessai pipe that I had found nearly three years ago I knew a little bit of history. I had hunted to gather information at that time.
IMG_7318

IMG_7319

IMG_7320

IMG_7321
HISTORY & BACKGROUND
I started out with what I had found previously and written about on the blog. I quote the following paragraph from Pipedia http://pipedia.org/index.php?title=Bessai

1. “John Bessai was a long time pipemaker, repairman and tobacco shop owner who operated his pipe shop at the “Old Arcade” in Cleveland, Ohio. The shop was opened in approximately 1898. It was a small 2-room shop where he hand-crafted his own pipes in the back room and could work when customers were not there. Like so many other shop made brand, John Bessai’s limited production was quickly acquired by regular customers and thus his craftsmanship remained little known outside of Ohio and the Midwest. While his name is known by pipe collectors in the Midwest, his work is seldom seen elsewhere! He died before 1969. Nevertheless, John Bessai left behind a small number of classic shaped pipes; all were made on-site. They are praised worthy of collecting and reflecting skills well beyond most American pipe makers. John Bessai’s logo “JB” appeared as one letter as the “back” of the “J” and the “back” of the “B” share a single line. The logo was stamped on the stem and on the left side of the shank. His son Herb Bessai took over the business and also continued making pipes. He closed the shop in about 1978.”

I suspected that there would be more information three years later. I did some further research and came across the information found in the paragraph below on one of the pipe forums.

2. “John Bessai was located in the Colonial Arcade at least into the late 1980s. After his death, his son Herb ran the shop. It was taken over after Herb’s retirement by a male and then name was changed to “Old Erie Pipes”. This was then located in the Erieview Plaza and when that mall closed, taken over by Cousin’s Cigars which has a store on Euclid Avenue near CSU, and a store on Chagrin Boulevard in Woodmere Village.”

That small quotation gave me a bit more information of the state of the store after John’s death and Herb’s retirement. But I still wanted more information. I wanted to know about the history of the brand and if there was any information on the various grades in the brand and the stamping on the pipes. I wanted to know a bit of a timeline for the brands. Finally my digging paid off. ON one of the pipe forums I came across a link that led me to a gold mine of information gathered by a man after my own heart, Andrew Hross. He has a blog call Classic Pipe Shop on Blogspot. I have included the link below for those who want more information. Andrew has done an amazing job of gathering information on the Bessai Brand so rather than rewrite the history I am quoting portions of Andrew’s work on The John Bessai Pipe Clinic.

http://classicpipeshop.blogspot.ca/2014/04/the-john-bessai-pipe-clinic-information.html

3. The John Bessai Pipe Clinic, 35 Colonial Arcade, Cleveland, OH 44115 – by Andrew Hross
a. Owner(s):
**John Bessai 1920s until his passing in 1969
**Herb Bessai ~1962-1983
**Daniel Gottschall 1984-~1993
**Purchased by Dad’s Smoke Shop / Cousin’s Smoke Shop and rolled into the Old Erie Smoke Shop about 1993.

Cousin’s Cigars purchased the remaining stock of Bessai pipes near after Herb Bessai passed away in 2002.

b. Years of Operation:

1920s (unkown specific date at this time) – 1983. After 1983 the business was sold to Daniel Gottschall who later sold it to Cousin’s Cigar (Euclid Ave) around 1993. The name was changed to “Old Erie Tobacco Company”. They were forced to move to the Galleria when all the tenants of the Old Arcade were cleared out to make room for renovations. Their new address was The Galleria at Erieview, 1301 East 9th Street in Cleveland.

After this move the location wasn’t as busy as they had hoped and Cousin’s moved all the Old Erie Tobacco assets to their Euclid Avenue Store. The store has since moved to a St. Clair location after Cleveland State forced them out due to anti-smoking regulations on campus. Their St. Clair location offers many of John Bessai Pipe Clinic’s old tobacco blends.

Their new store opened in the Merriman Valley area in Akron, Ohio where the store manager John Coleman oversees the day to day operations. John was instrumental in helping me piece together a lot of loose ends during Bessai Pipe Clinic’s transition years.

My father visited their shop several times in the early 60s as he attended Fenn College (now Cleveland State University) as an undergrad before moving on to Ohio State University for his Masters. He’s way smarter than I am so I just go with the flow…

He mentioned meeting John at that time who quickly gave my father some pointers on smoking a pipe and how to take samples from the shop’s expansive sample jar collection. His pipes were on display in the shop although I don’t believe he had a lot of pipes on display at any given time due to production in-shop.

John’s son Herb took over the shop in the early 60s after he graduated from Cleveland State University / Fenn College (unclear) as he is listed as having played Basketball for CSU. Herb was also a helpful, informative and friendly individual. Articles exist from the Herald in 1962 where they interviewed Herb (with photograph) about the state of smoking in the new age of the early 60s. I visited the shop in the late 70s / early 80s with my father during a trip to Cleveland and couldn’t tell you much about the shop other than the guy working was very friendly. Back then it wasn’t unusual to be a kid and walk into a smoke shop with your father. Clearly I didn’t purchase anything but my father probably picked up some tobacco but I remember him looking at pipes displayed on a back wall. The shop was small but impressive.

If anyone has any pictures of the shop or old catalogs, I would love any additional information as it’s tough to come by 30+ years later!

c. Pipes offered by John Bessai Pipe Clinic:
Most of the pipes that were offered by the John Bessai Pipe Clinic were fairly standard in shape… I would say most of the pipes Bessai offered were smooth pipes. My assessment would be 90% smooth and 10% rusticated / sandblasted…

…The story is that John crafted pipes in the back room or off site and finished them in house while the store wasn’t busy. Very little information is available on the accuracy of this statement. Some of his pipes from the late 1960s through the 1970s (John passed away in 1969) I feel were left over stock from previous turnings and sometimes showed fills or sand pits. Some of these pipes even carry Herb’s markings (see below). These pipes still smoke very well but are not as eye-appealing as other earlier pipes from the store’s career.

d. Stampings and rough dating of John Bessai Pipe Clinic Pipes:
Which pipes did John make and which ones did Herb make/finish? All Bessai pipes carry his standard large JB stamp either on the stem or shank or both. Typically the JB on the stem is within a circle.

All pipes created by John Bessai’s hands reportedly contain the miniscule ‘jb’ stamp on the shank or body of the pipe. I have older pipes in my possession that do not contain this stamp (condenser, old stamps, etc) that were clearly shop made pipes. I feel he started using the tiny ‘jb’ stamp in the 50s to early 60s.

An interesting note about John Bessai’s stems – they always clean very nicely and aren’t prone to as much oxidation (that brownish / green color) as most dunhill and Charatan pipes tend to oxidize. His cuts to his stems were very impressive and often transitioned from diamond-shaped shanks almost architecturally. Very comfortable to smoke.

John Bessai Special Pipes:
… I have a couple Bessai Special pipes. These stand out either by large size, graining or possibly shape. Most Specials are unique pipes and are rare to find in comparison to his regular issue pipes.

John Bessai Special X pipes:

I only have one of these and it’s a beauty. This one is a larger bowl (around a group 4 dunhill) with deep colored grain and a hefty substantial shank. Special X pipes are probably the rarest of John Bessai pipes and should be sought out if possible. I’ve smoke mine roughly 4 or 5 times and it performs with the best of my pipes…

Herb Bessai Pipes:
Unfortunately none of these pipes that I’ve seen have astounded me with grain or general appearance. Having said this, these pipes smoke nicely and are a great value if you can find them. I have one that my father found at an Antique Show in the South. There’s another author shape on reborn pipe’s blog that someone refinished because of the amount of fills in the pipe. He also states it’s a wonderful smoker (Editor’s note: This is my pipe and the write up I did on the blog). These pipes are likely from the late 60s through the early 70s. I believe many pipes after this period were created en masse at a factory in the US. It is unclear what stamp was used on these later pipes…

e. Dating / Circa era Bessai Pipes:
If the pipe carries a stamp stating Cleveland, O U.S.A. it’s considered an older production pipe (pre1960s). I’ve not seen any newer pipes with that stamp.

Bullseye stamping usually indicates an earlier pipe as that stamp seems to have been abandoned pre1960 as well.

Most of the earlier Bessai pipes have an unusual ‘stinger’ or condenser at the end of the tenon which is unique to Bessai pipes. They are either a hard plastic or created out of wood. They are typically easy to remove and could have been easily lost if misplaced. These pipes I would consider pre-1960 and possibly 1940s-early 1950s production based on their stamps and patina of the pipes.

1970s 1980s and beyond: My feeling on these pipes after John’s passing is that they purchased finished pipes from a large manufacturer and stamped them with the John Bessai or Bessai stamp (on shank and/or stem). Most of these shapes are standard among many stores from that period and offer less than spectacular grain (and sometimes fills). Stamps on these pipes are probably fairly plain and don’t have the tiny ‘jb’ stamp on the shank indicating it was produced by John Bessai.

RESTORATION
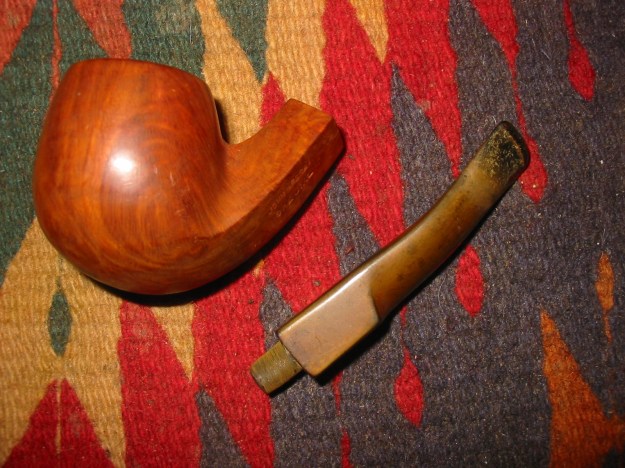
I went through my can of stems and found an older diamond-shaped saddle stem that fit quite well in the shank of the Bessai. The tenon was a little big so I sanded it with the Dremel and sanding drum until it fit snugly in the shank. The stem was an estate stem so it was dirty and had tooth chatter and some small indentations from teeth on the top and bottom of the stem near the button. It was slightly larger than the shank so that it would need to be sanded until it fit the line and shape of the shank.
IMG_7306

IMG_7307

IMG_7317
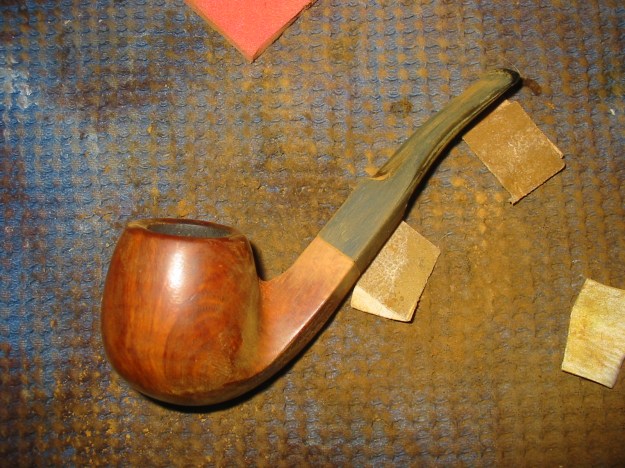
I sanded the stem and shank with 150 and 220 grit sandpaper to bring all sides and angles to match the shank angles and sides. I sanded the stem to remove the tooth marks and the tooth chatter in the process.
IMG_7322

IMG_7323

IMG_7324

IMG_7325
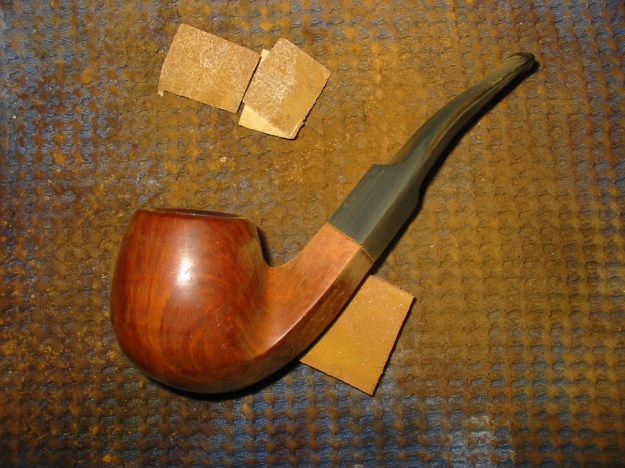
I sanded the stem and shank with a medium and fine grit sanding sponge to remove the scratch marks left behind by the sandpapers.
IMG_7326

IMG_7327
I reamed the bowl with a PipNet reamer to remove the uneven build up of cake in the bowl.
IMG_7328
I wiped down the surface of the briar with acetone on cotton pads to remove the finish on the bowl and make restaining it simpler.
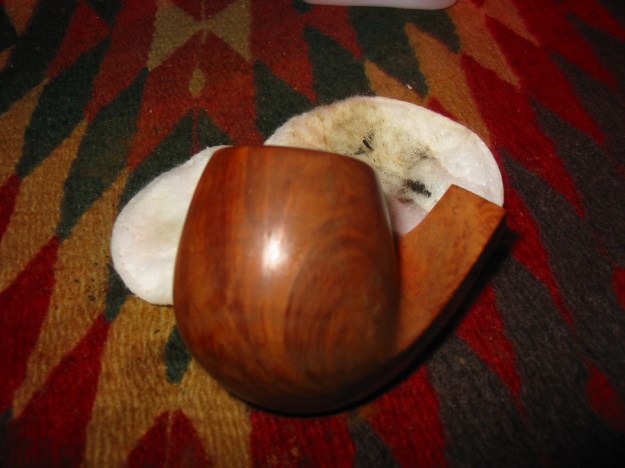
IMG_7329
I cleaned out the bowl and the shank with isopropyl alcohol (99%) on cotton swabs and pipe cleaners until the bowl and shank were clean. I cleaned out the stem with pipe cleaners and alcohol as well. I also beveled the airway on the end of the tenon to make the flow more open.
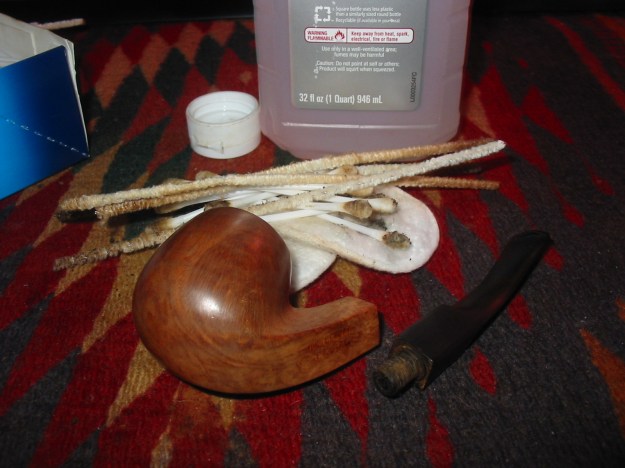
IMG_7330
I set up a heat gun and heated the stem to bend it to fit the shape of the pipe. I inserted a pipe cleaner in the stem and then bent it over a rolling pin and set the bend with cool tap water.
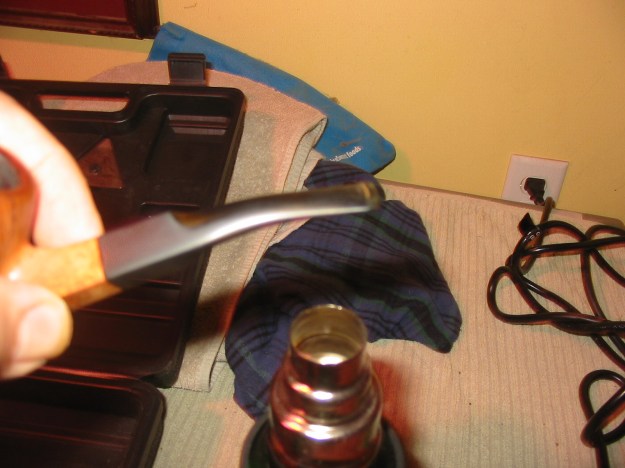
IMG_7331

IMG_7332

IMG_7333
I wiped down the bowl and stem with isopropyl alcohol. The grain on this pipe is quite stunning so once it is restained and the stem finished it will be a beautiful pipe.
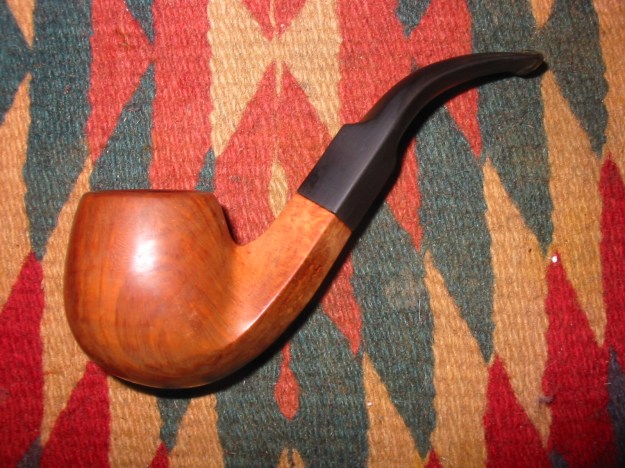
IMG_7335

IMG_7339

IMG_7342

IMG_7343
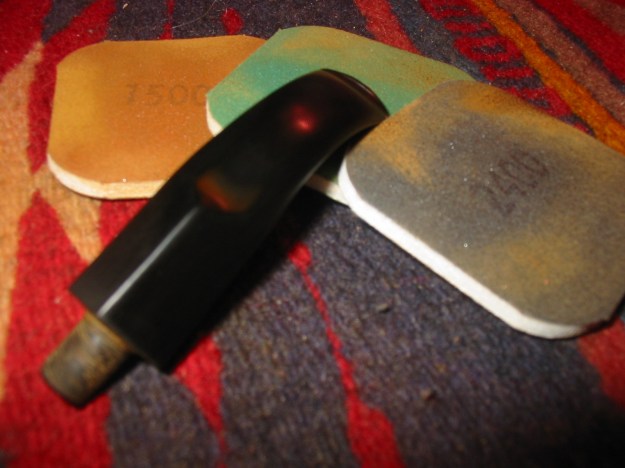
I stained the bowl with a medium brown aniline stain and flamed it, I gave it more stain and flamed it again. I then sanded the stem with medium and fine grit sanding sponges and then with my usual array of micromesh sanding pads. I wet sanded the stem with 1500-2400 grit pads and dry sanded with 3200-12,000 grit pads. Between each set of three pads I rubbed the stem down with Obsidian Oil.
IMG_7344

IMG_7345

IMG_7346
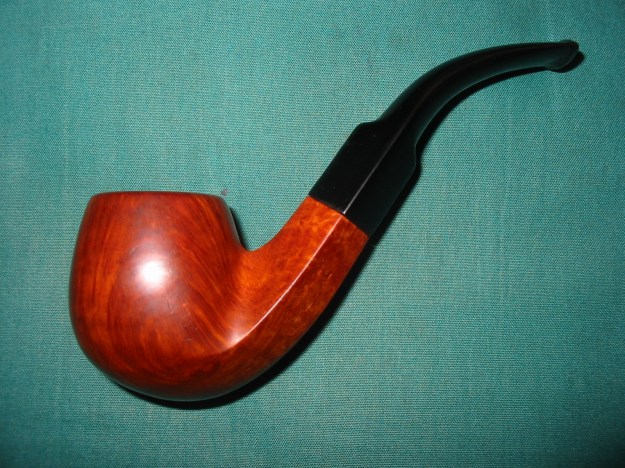
When I finished sanding with the final grits of micromesh I gave it another coat of Obsidian Oil and then buffed the stem and bowl with White Diamond. I gave the bowl and the stem multiple coats of carnauba wax and used a soft flannel buffing pad between coats to polish it. The finished pipe is shown below. The new coat of stain and the shine on the stem give the pipe a new and clean look. It is ready for its inaugural smoke. The background history sets the stage for a deeper appreciation of the pipe once I fire it up. It should smoke very well.
IMG_7347

IMG_7348

IMG_7349

IMG_7350

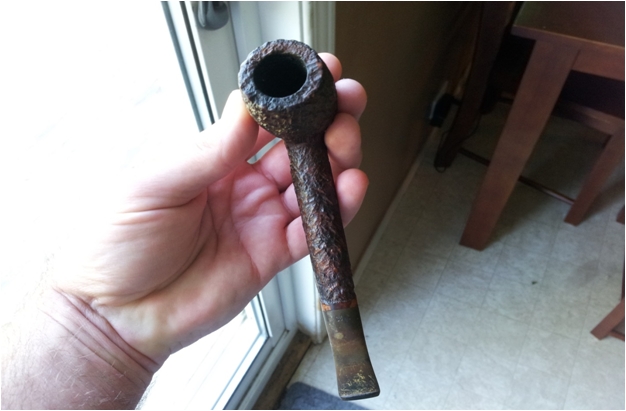
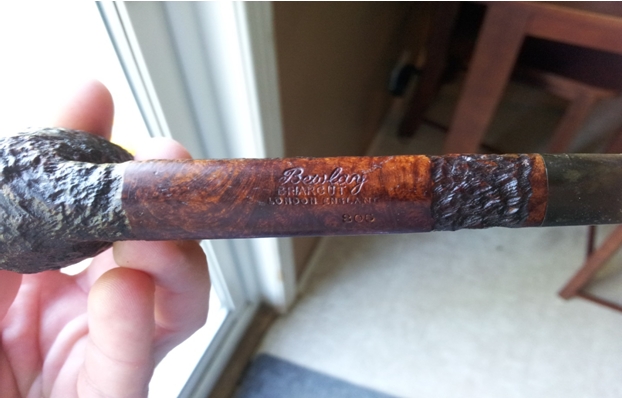
Refurbishing a Bewlay Briarcut Canadian – Bill Tonge


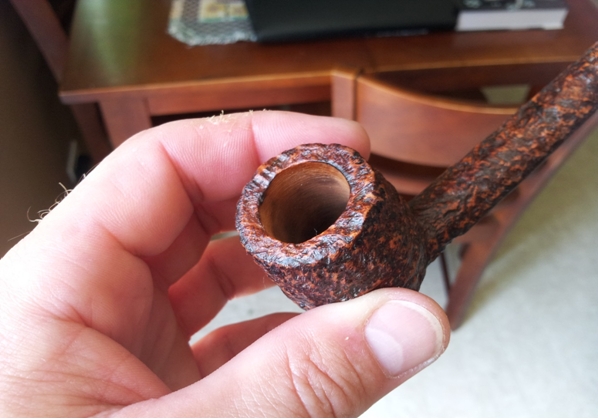
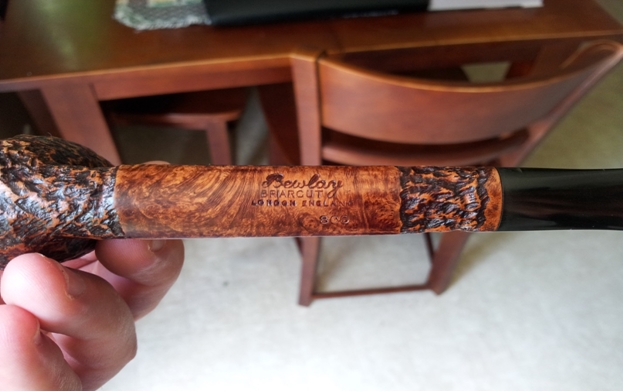
It is a pleasure to post this blog piece by Bill Tonge. He is the friend who sent me the Hardcastle’s Dental Briar I posted about earlier. I met Bill on Pipe Smokers Unlimited and have appreciated the photos and write ups of pipes he has refurbished or rusticated. I also follow him on Twitter so I saw this pipe in a Tweet he did earlier today. I really like Bewlay pipes and love the fact that they are made by such pipe companies as Orlik and Barling as well as others. This particular pipe caught my eye when I saw it in its raw state and in Bill’s finished photos. Bill does excellent work on the pipes he refurbishes and I always learn something from his efforts. I think you will appreciate the minimal tools he uses to get the results he does. I asked Bill about why he enjoys refurbishing and he responded with the following. I think it summarizes why many of us begin the process of refurbishing. Here are Bill’s own words: “As a person that is economically challenged, I enjoy fixing up the ugly ducklings. I take pride in taking that $5.00 pipe that no one else wants and converting it to something that fits beautifully in a pipe collection.” Without further introduction here is Bill’s first article on the blog. Thanks so much Bill, for sharing your work with us.

I recently received a care package from some very good friends. Inside was a ton of tobacco and three pipes: a Bewlay and 2 Trypis. As you will see from the first set of pics the Bewlay was a project pipe.
Bill1

Bill2

Bill3

Bill4
I only use a Dremel, wire brush attachment, fibre brush attachment, sanding attachment, some wool balls, micro mesh, magic eraser and carnauba wax. I do enjoy the time I spend bringing pipes back to life. I have only been doing this since January but I want to show you don’t need oodles of tools to clean up a pipe.
Bill5
I used the wire brush attachment in the Dremel to highlight the high spots on the pipe and the sanding attachment to clean the inside of the bowl. I then sand the smooth spots on the pipe with the micromesh. Then I take the wool ball, load it up with carnauba wax not worrying about leaving a caked on looking wax build-up, and apply it to the whole pipe. I then take the fibre brush attachment in the Dremel and use it to remove the excess wax, as it leaves an extremely nice buff and shine. I use a rag to finish off the smooth spots and give it a final wipe.

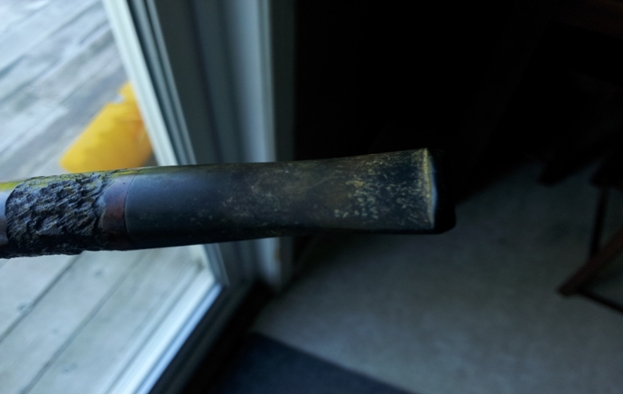
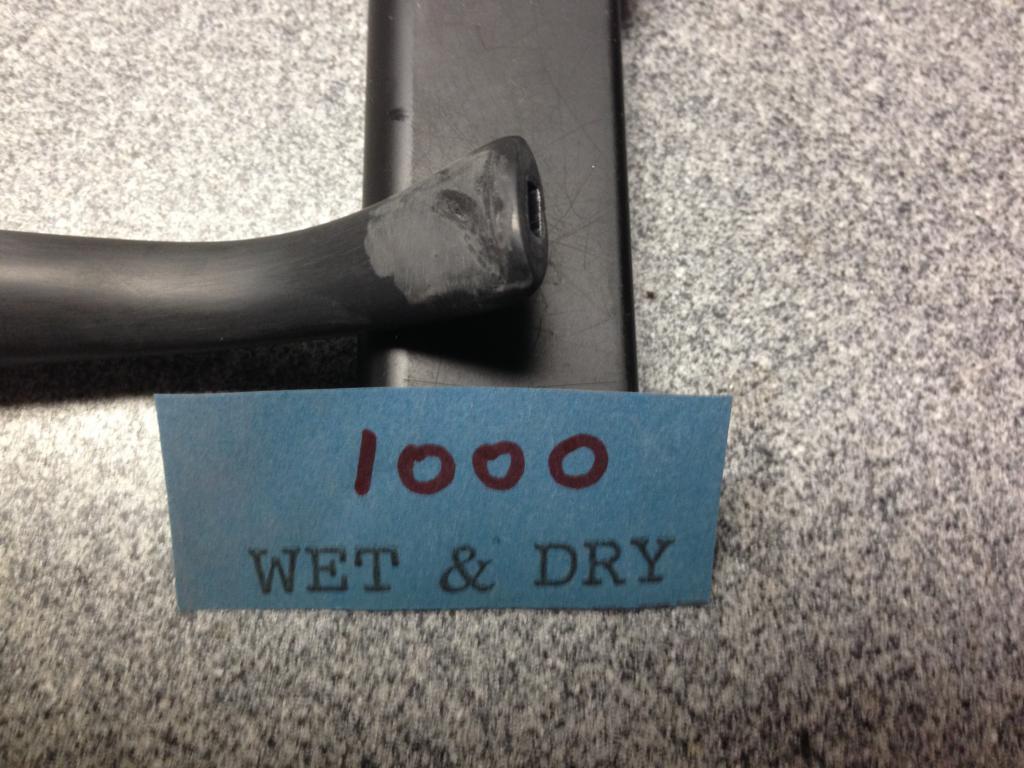
I use the Oxi Clean and Magic Eraser to clean the stem and then go at it with the micro mesh pads. If stems are worse I will use 400-1000 grit wet paper before the pads. Then I apply a coat of wax to the stem with the wool ball and buff with a rag.

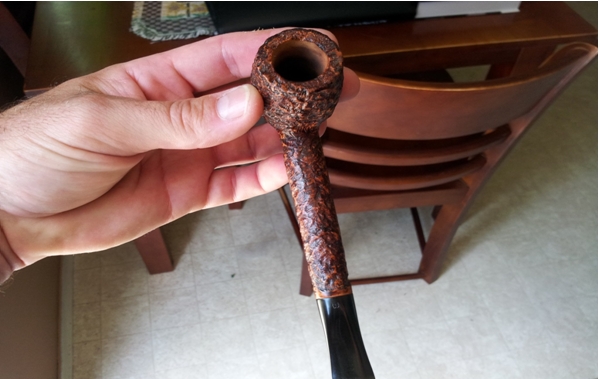
This is the finished pipe. I like my pipes on the lighter coloured side so I am very happy with the way it turned out.
Bill6

Bill7

Bill8

Bill9
Thank you to Steve for allowing me to post on his blog. I enjoy reading it and seeing the history of all the pipes you work on. My next project is a pipe that was gifted to me by Steve.

A Unique Piece of Pipe History Almost Lost – A Hardcastle’s Dental Briar Reg. Design No. 857327


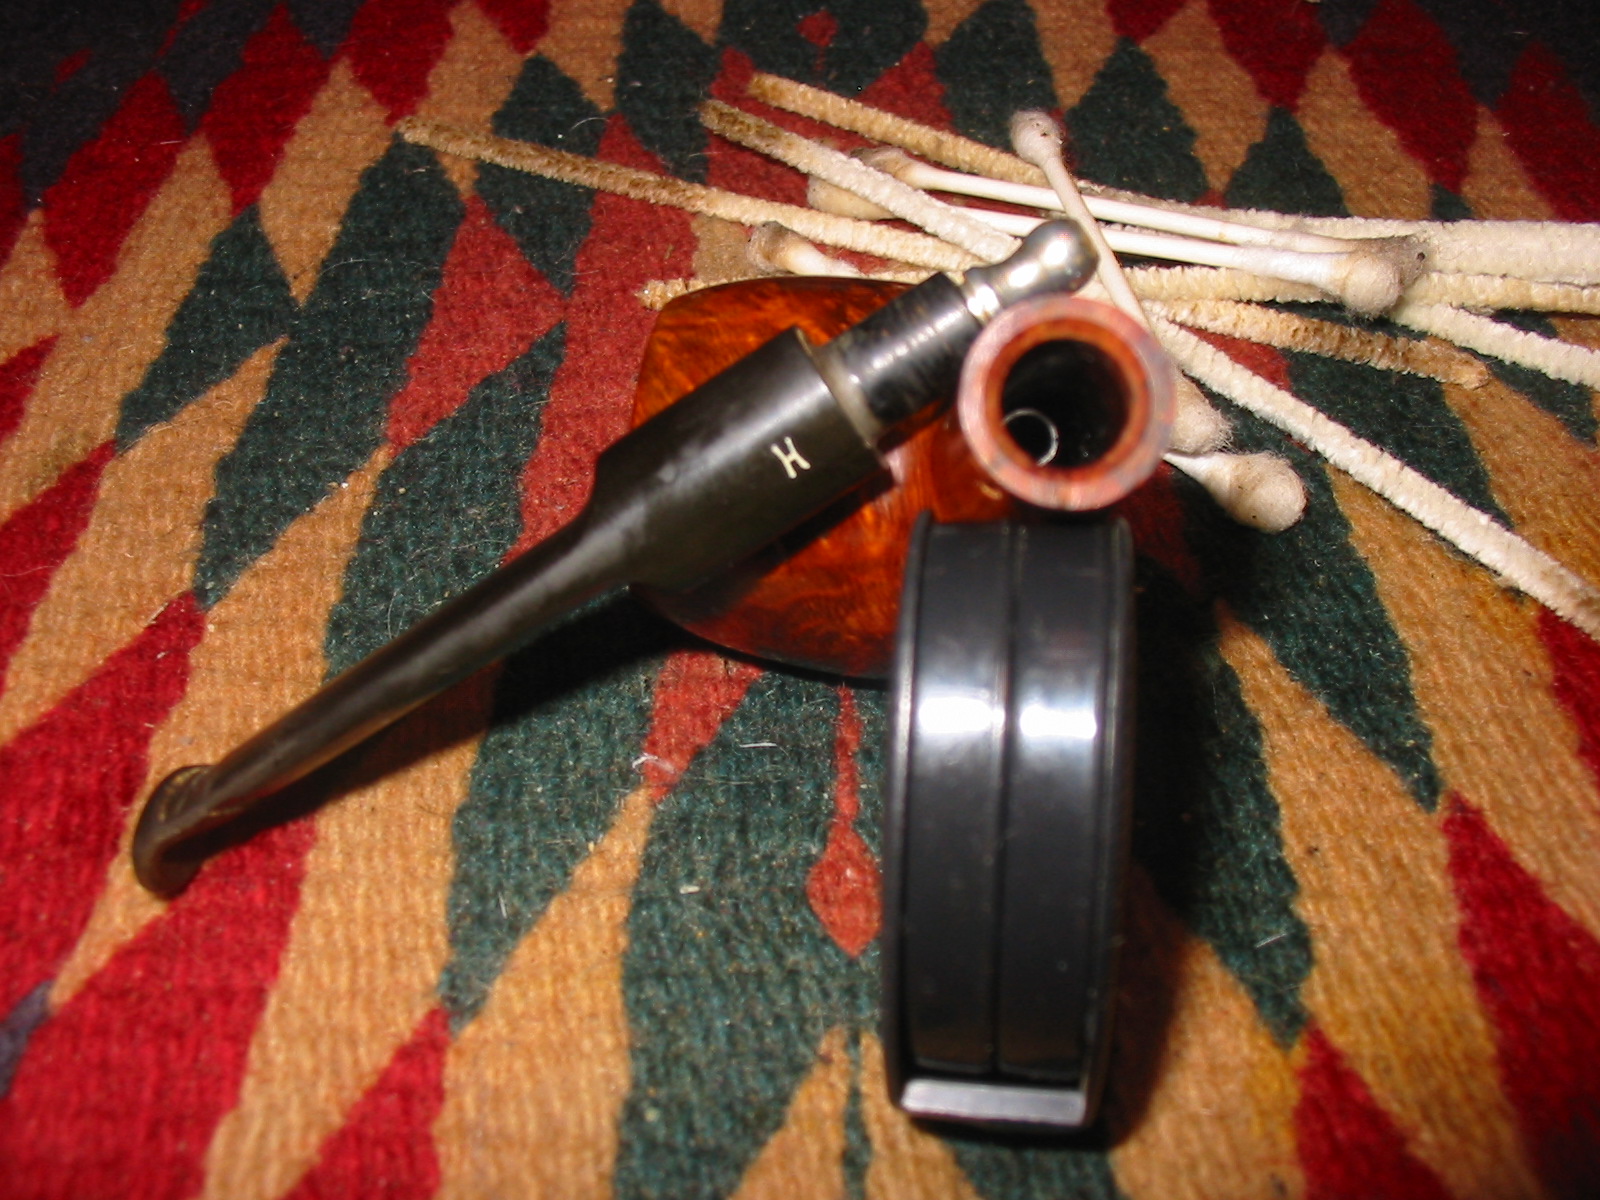
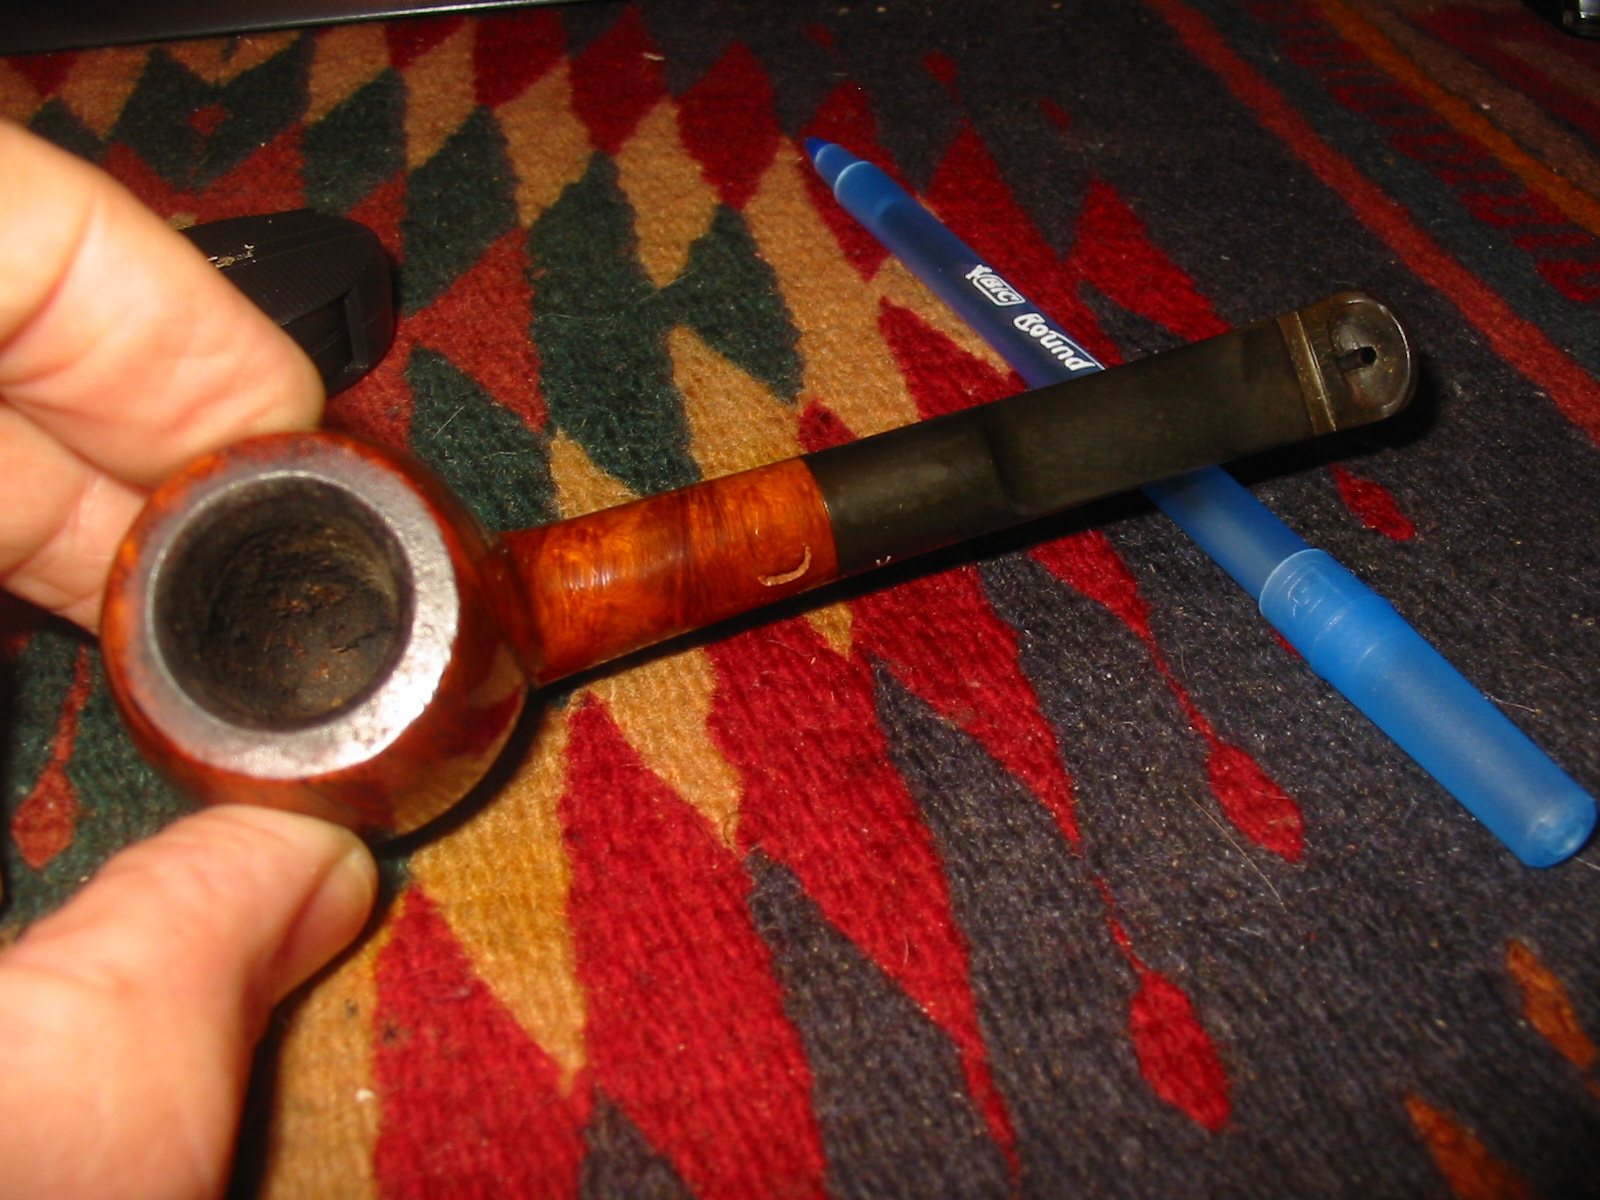
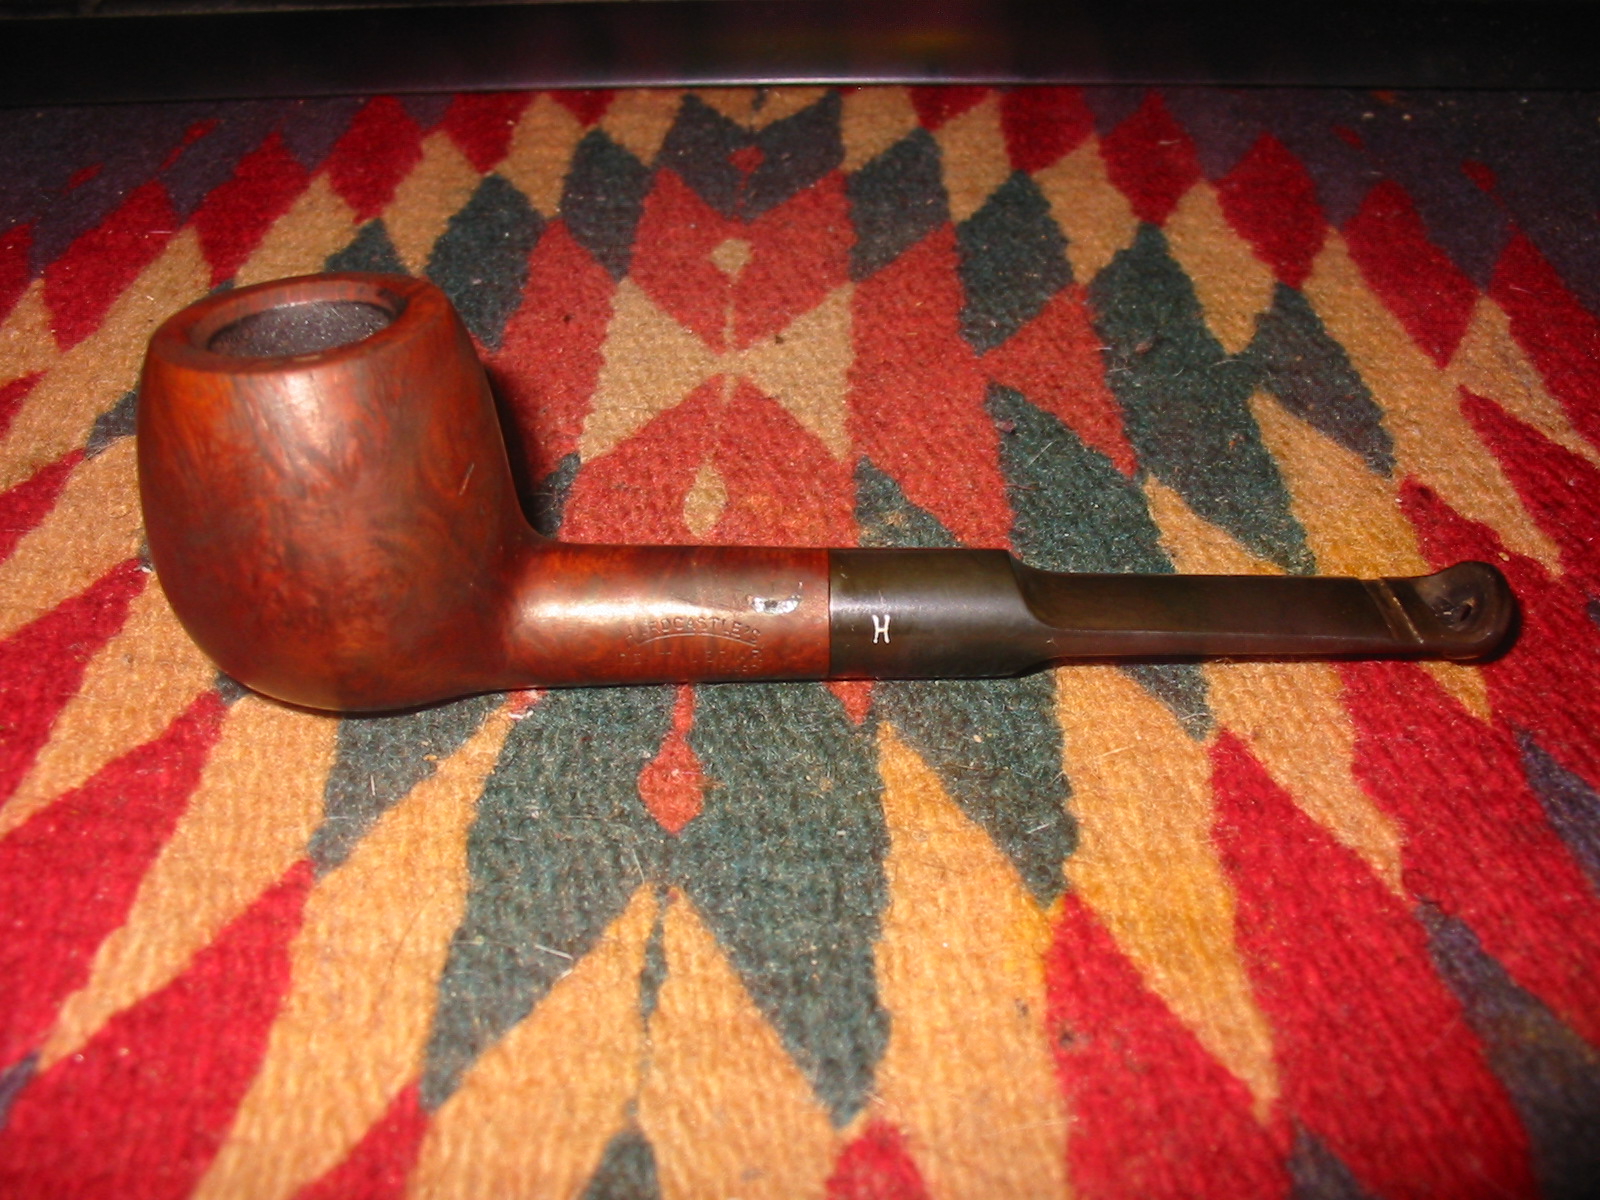
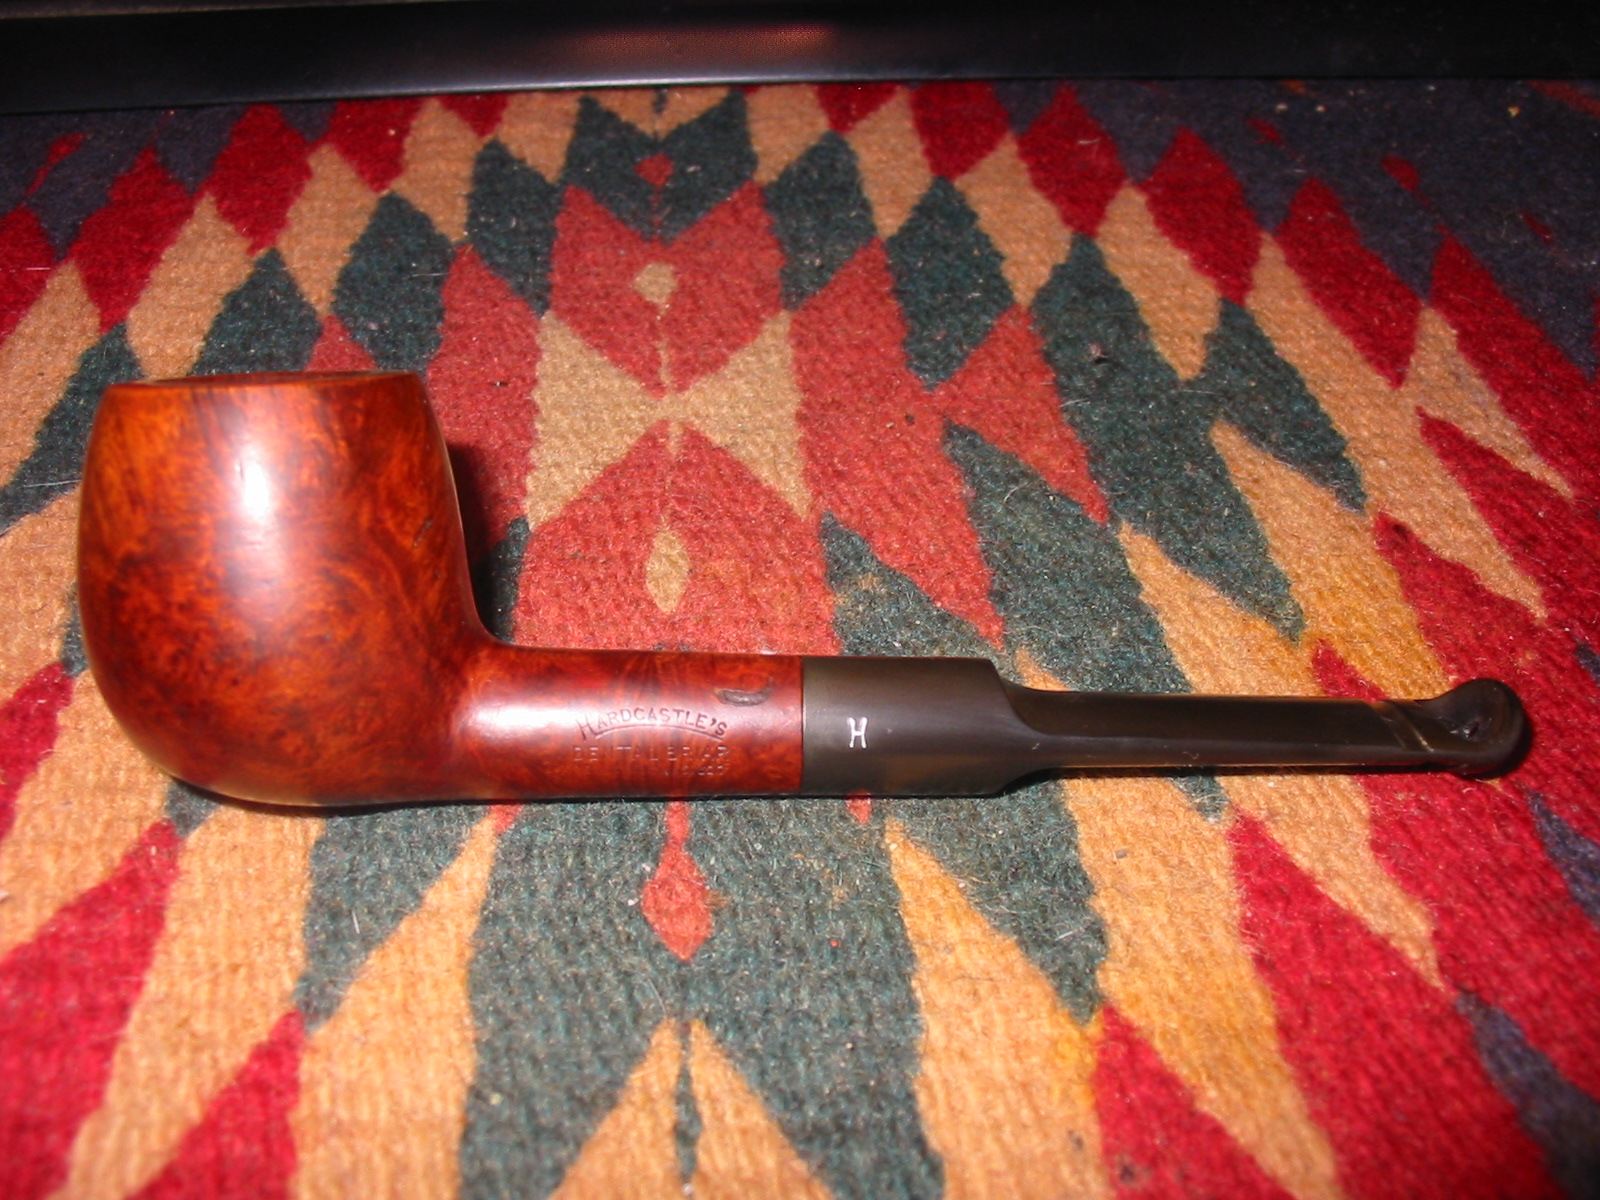
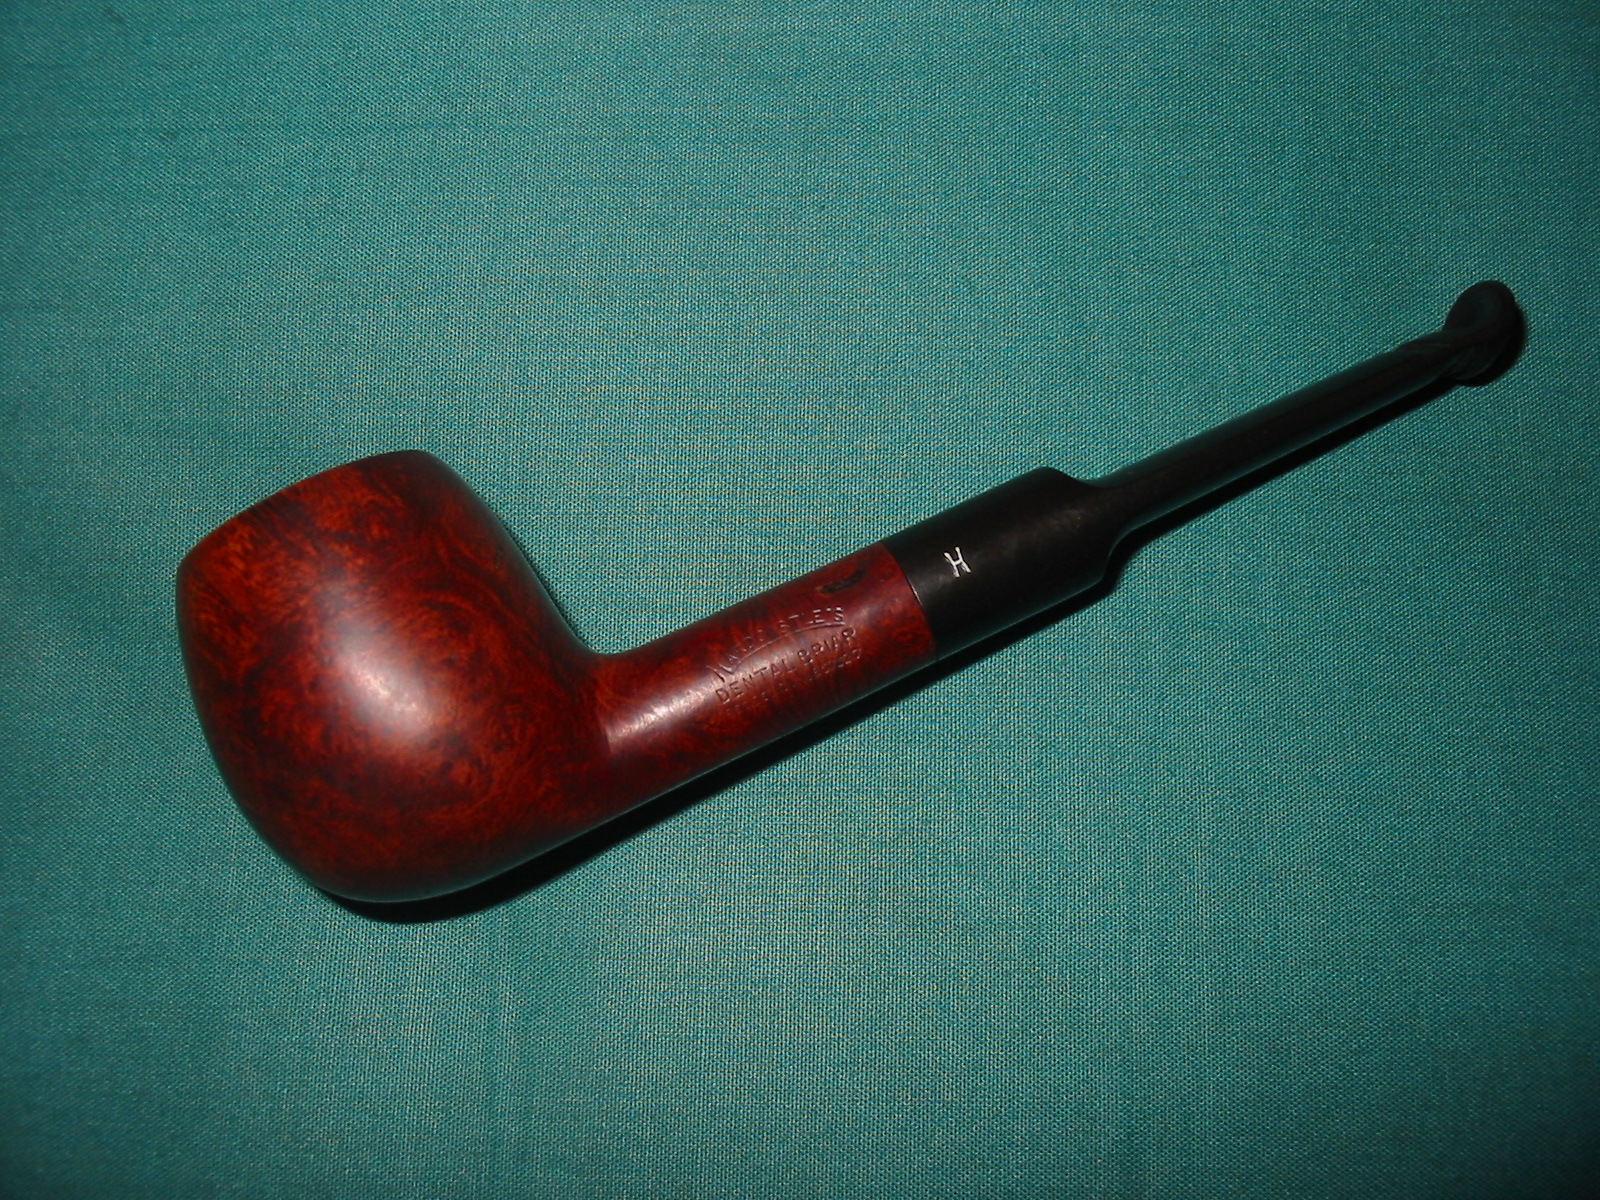
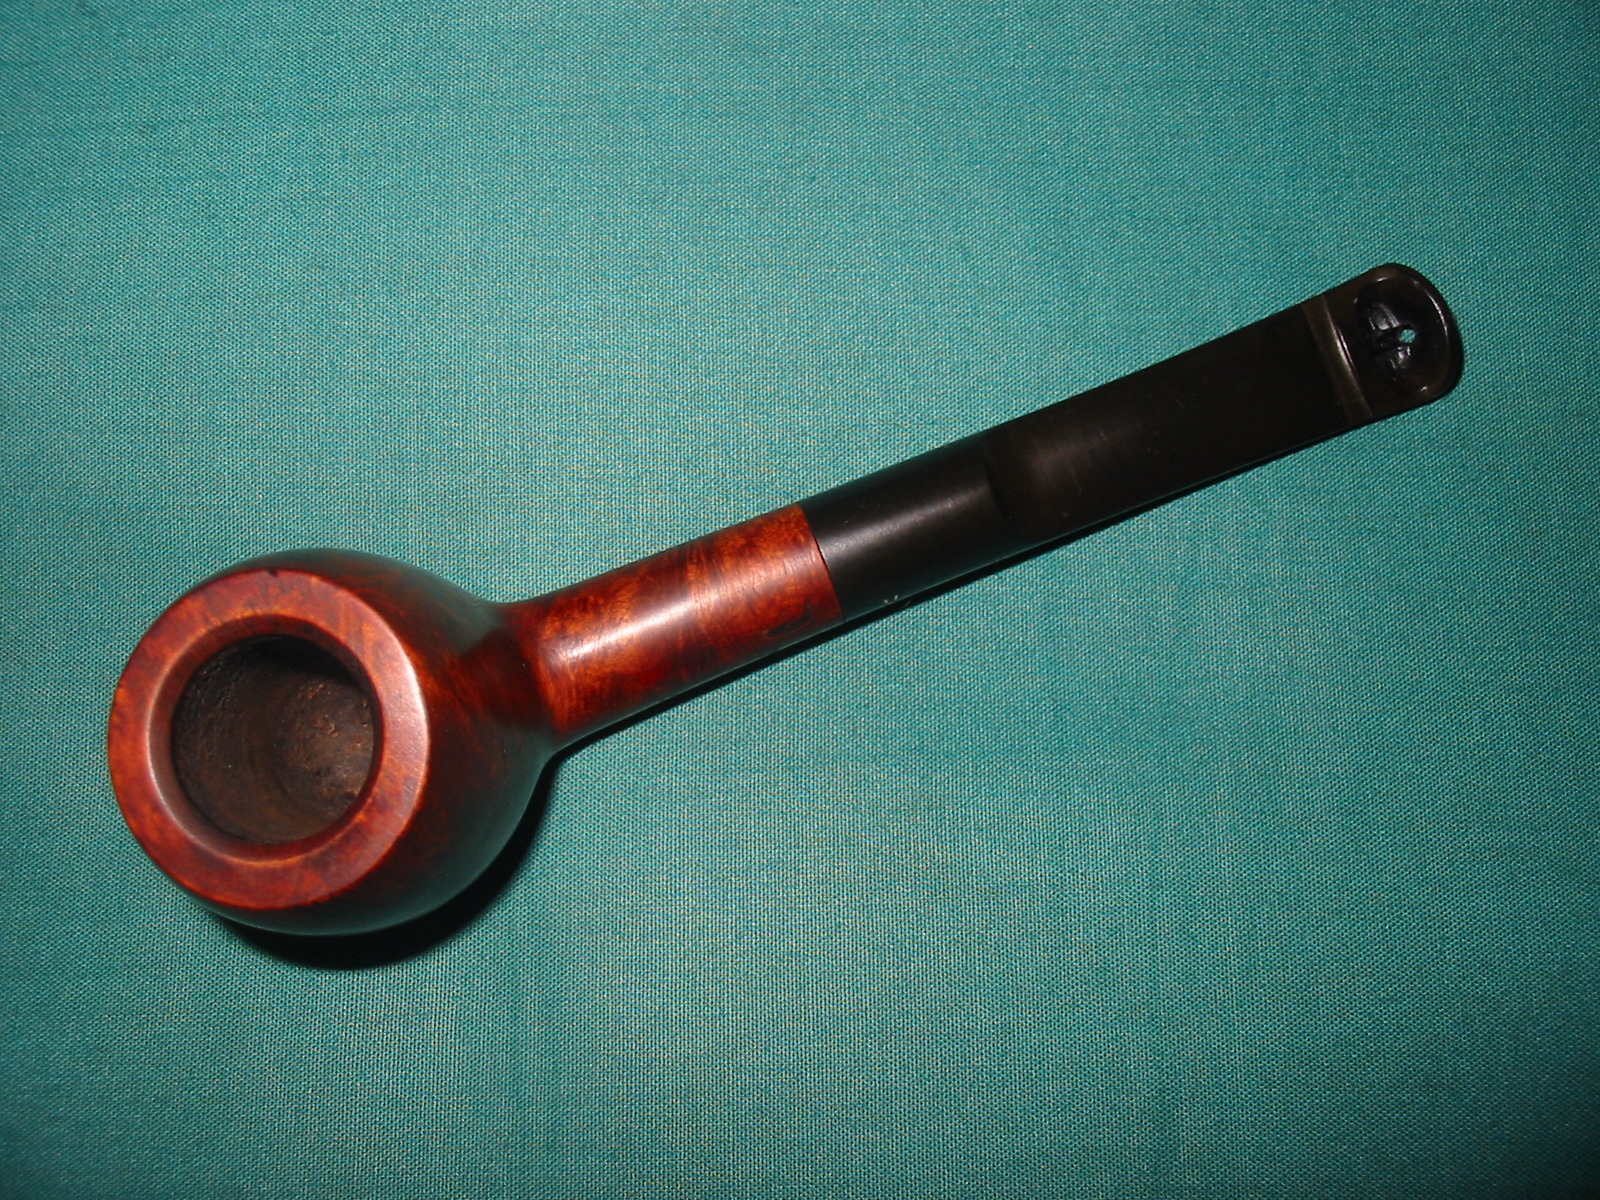
I was gifted a little Hardcastle Apple by a friend on Pipe Smokers Unlimited and a reader of the blog, Bill Tonge. It had the most unusual stem that I think I have ever seen on a pipe. In some ways it looked like a classic dental bit like those seen on other pipes. It had the higher curved upper edge of the button that worked to hang behind an upper plate and the grooves on the under and upper side of the stem for the plate to hook into. But that was all it had in common. The end of the stem, viewed from the button end had a single orific opening rather than a slot. It was a flat upright wall of vulcanite with a single hole in the middle. On the flat surface of the stem just ahead of the button was a large open area where it looked as if a piece of the vulcanite had broken or been removed. The airway was exposed. The gap between the dental end and the open end of the airway was a good ¼ inch. Both Bill and I were convinced it was a candidate for a stem replacement, cutback and reshaped button or as a guinea pig for me to practice on using Jacek’s stem splicing procedure.
IMG_6943
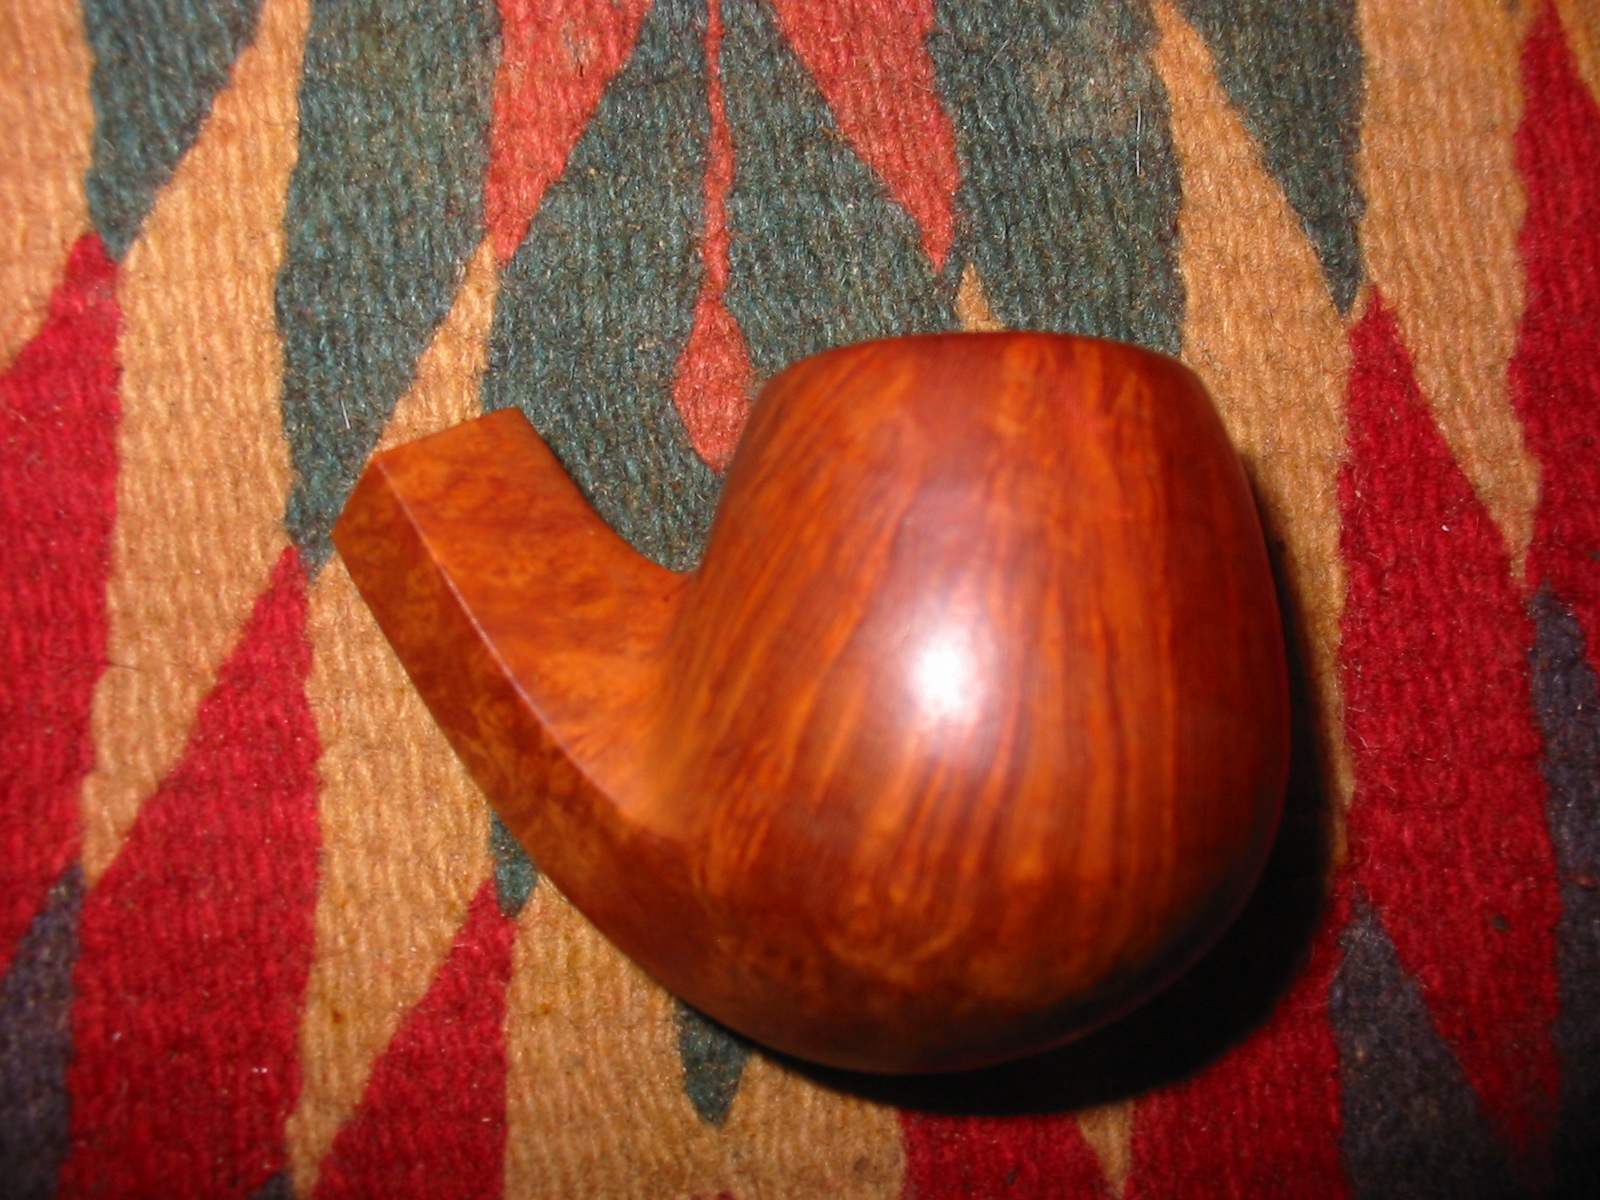
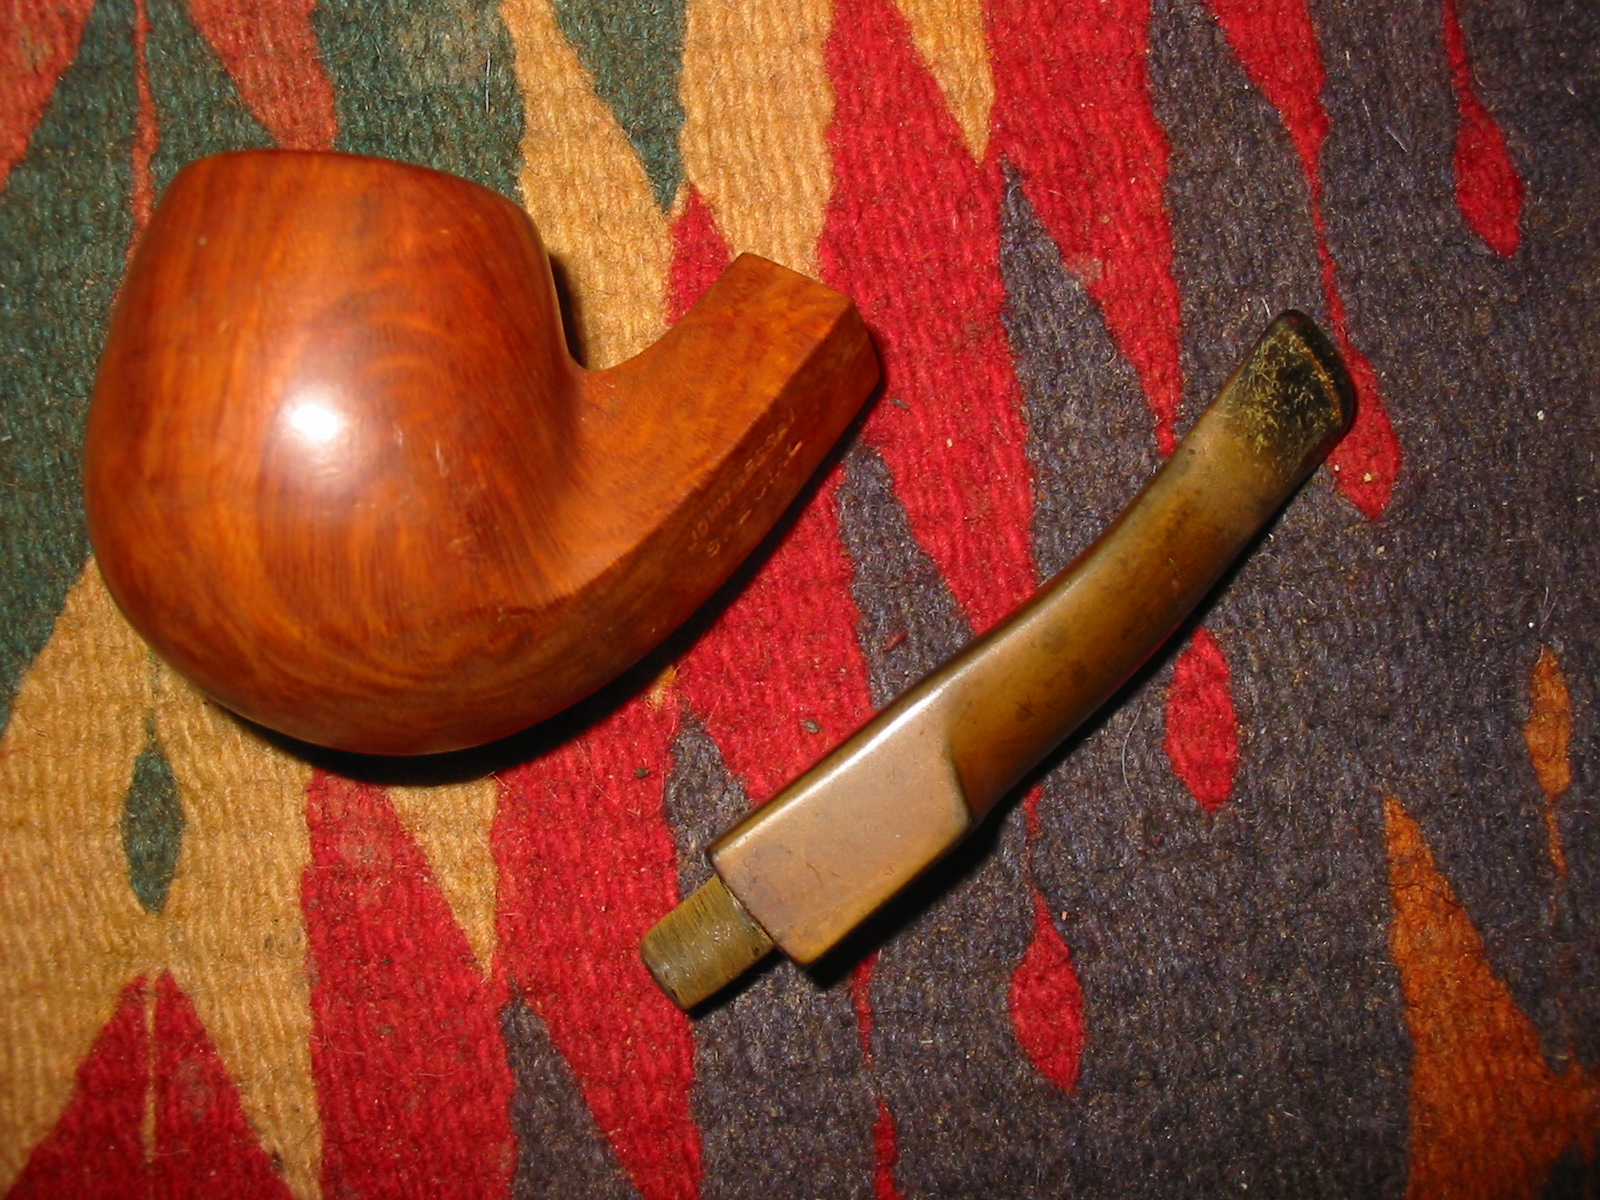
I can’t tell you how many times I took it out of the repair box to have a look. I would turn it over in my hands and think about the three ways to repair what appeared to be damage. I even sketched out a splice on paper at work on my lunch hour. Then last evening I was looking it over thinking the time had come for the work. As I looked it over I noticed that everything was just too evenly cut. The grooves on the top and bottom did not line up. The top one made allowances for the open area. The open area was also very clean and regular. There were no jagged edges on the area. It was clearly cut that way on purpose. So before I started doing anything with the stem I decided to do a bit of digging.I have included some photos of the stem taken from two different Ebay sales of a Dental Briar Pipe. The first two are a top view of the stem and the last two are of the underside. These show the design of the stem and what I commented on above. The pipe on my table has exactly the same stem and stamping at the ones pictured below.
Hardcastles Dental 1

Hardcastles Dental 3

Hardcastles Dental 2

Hardcastles Dental 4
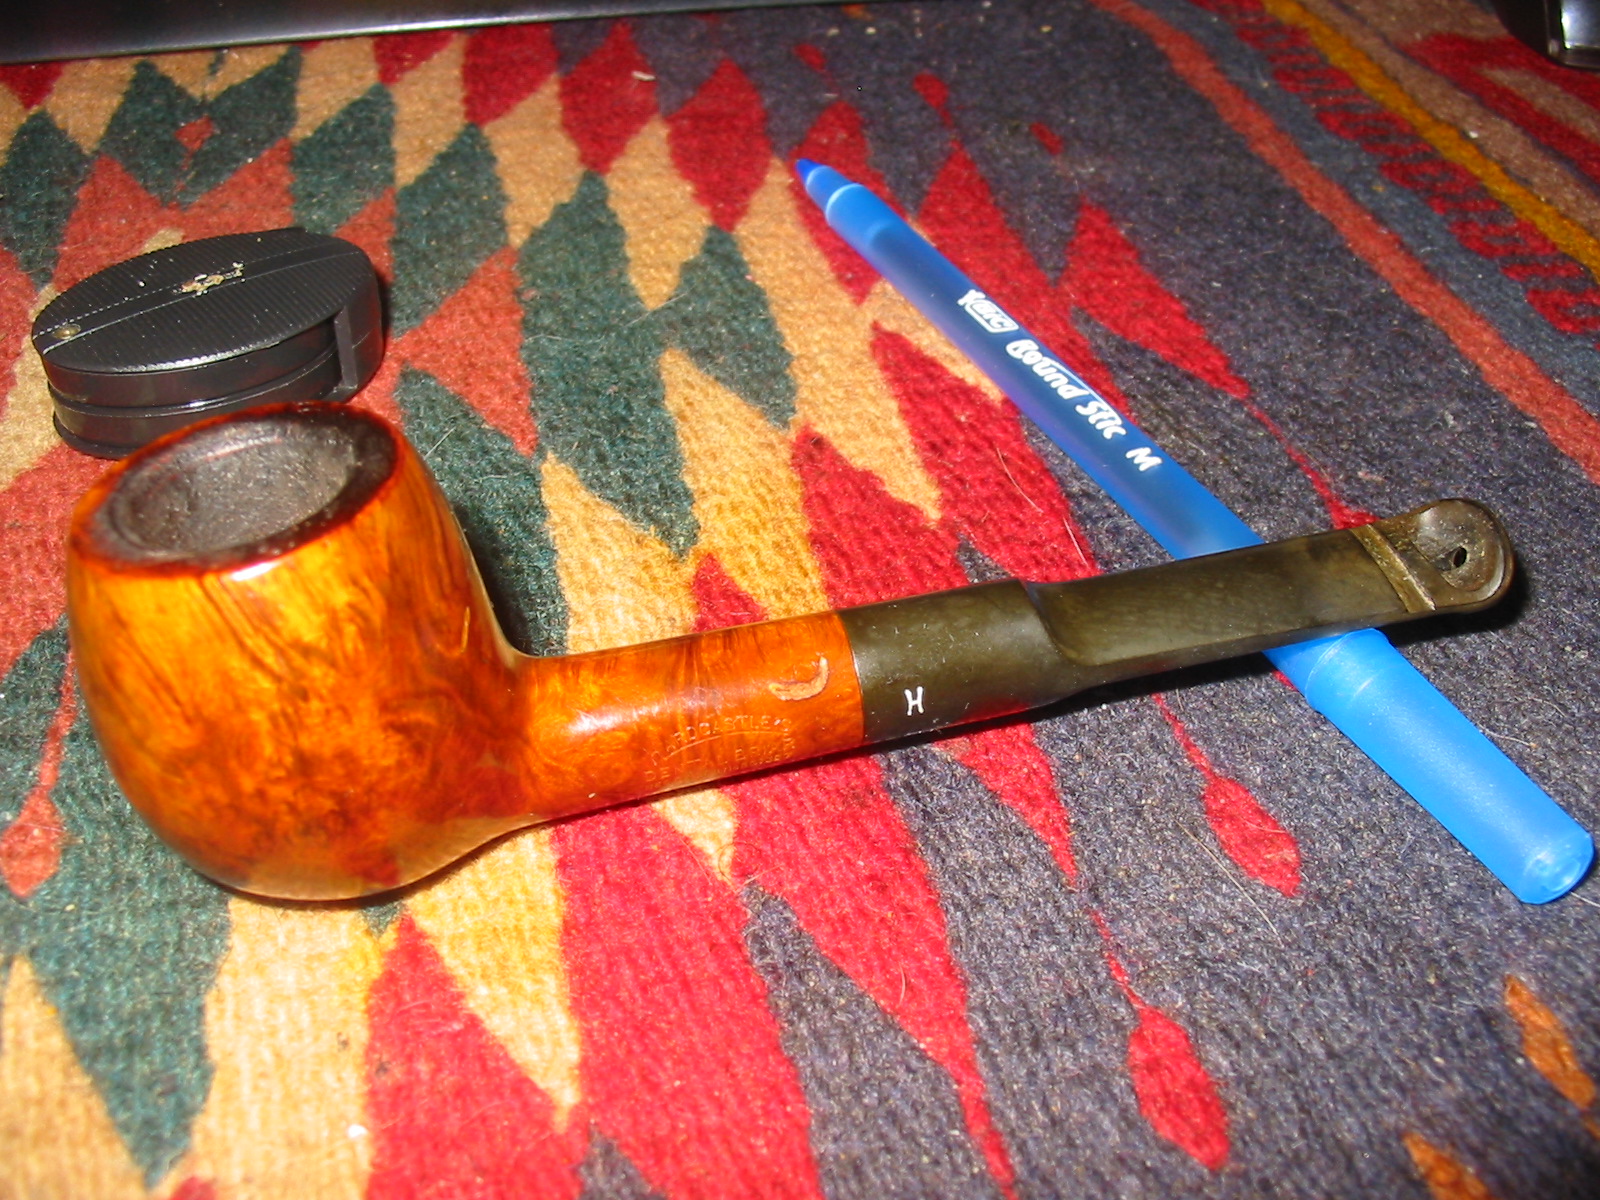
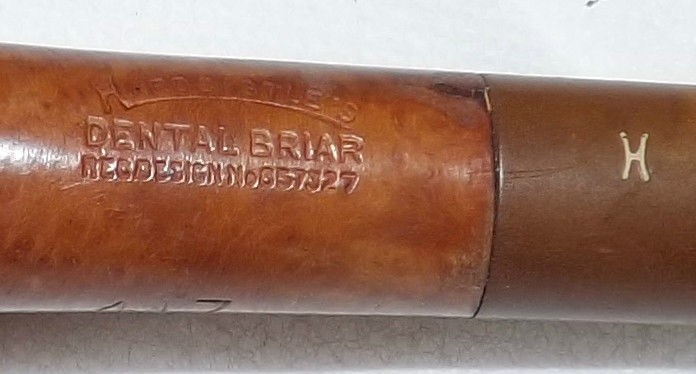
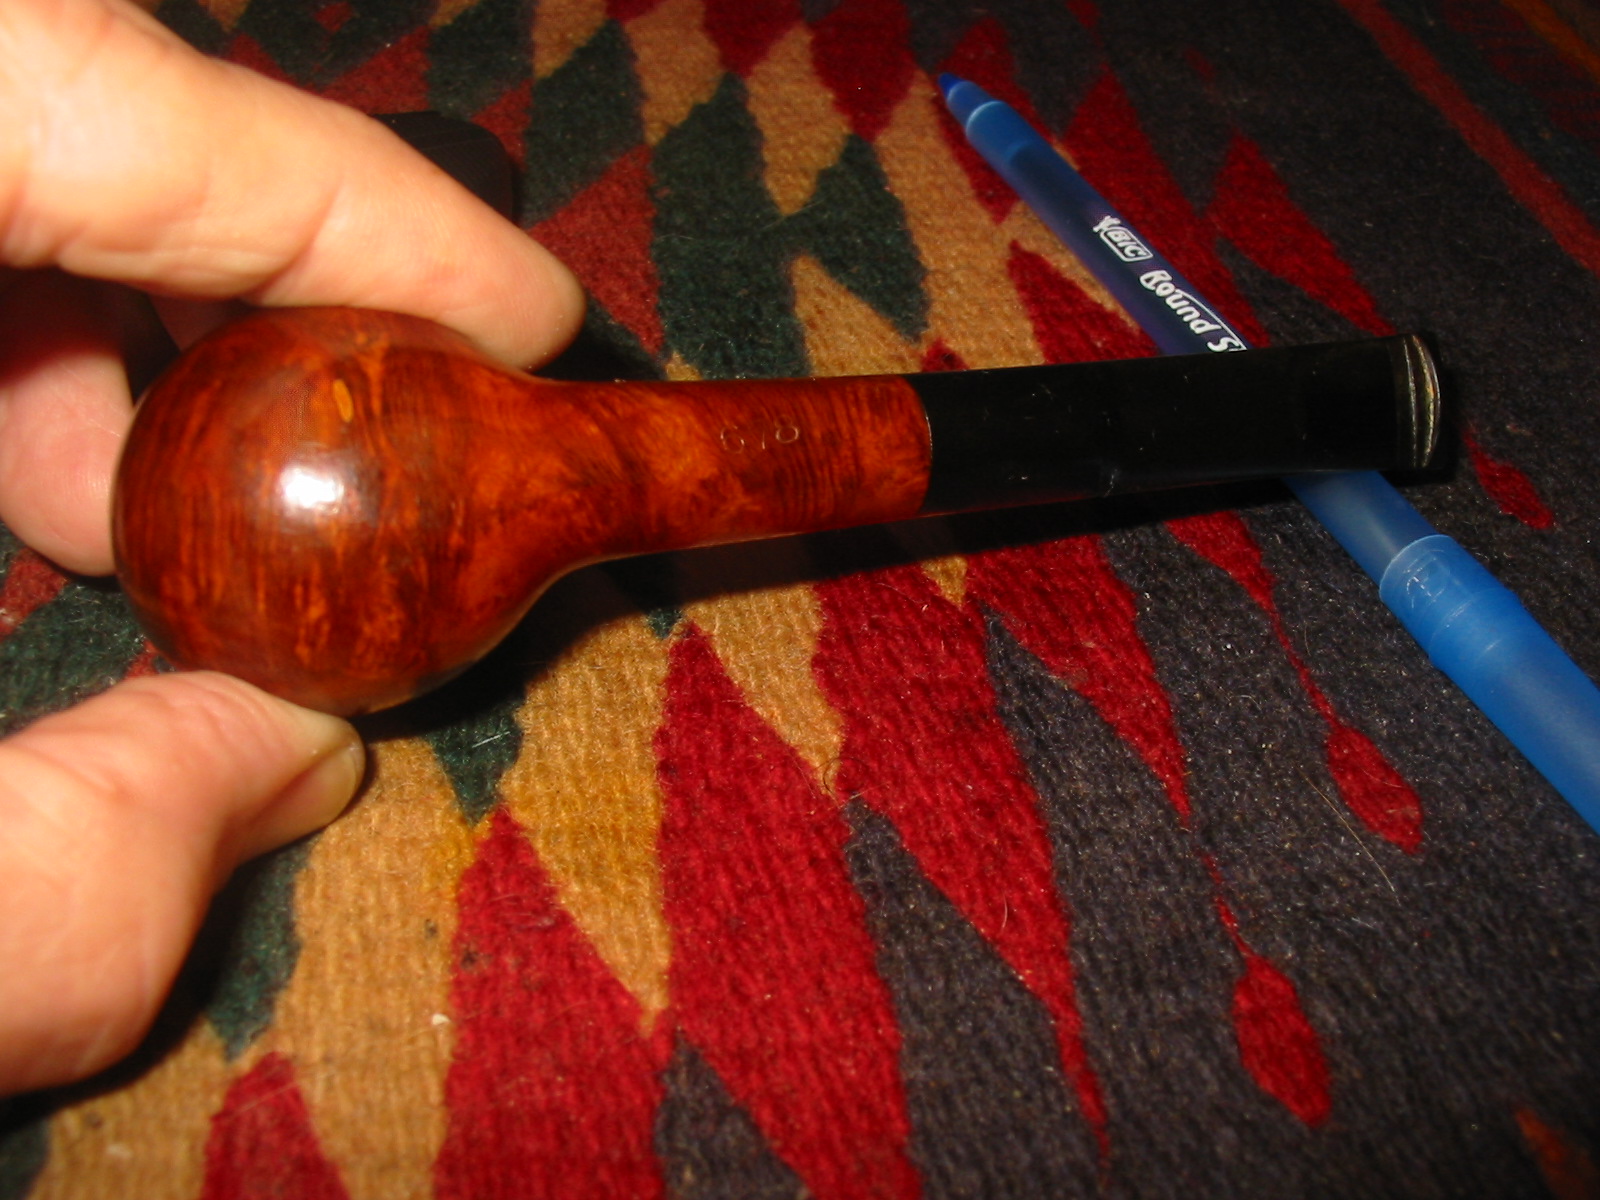
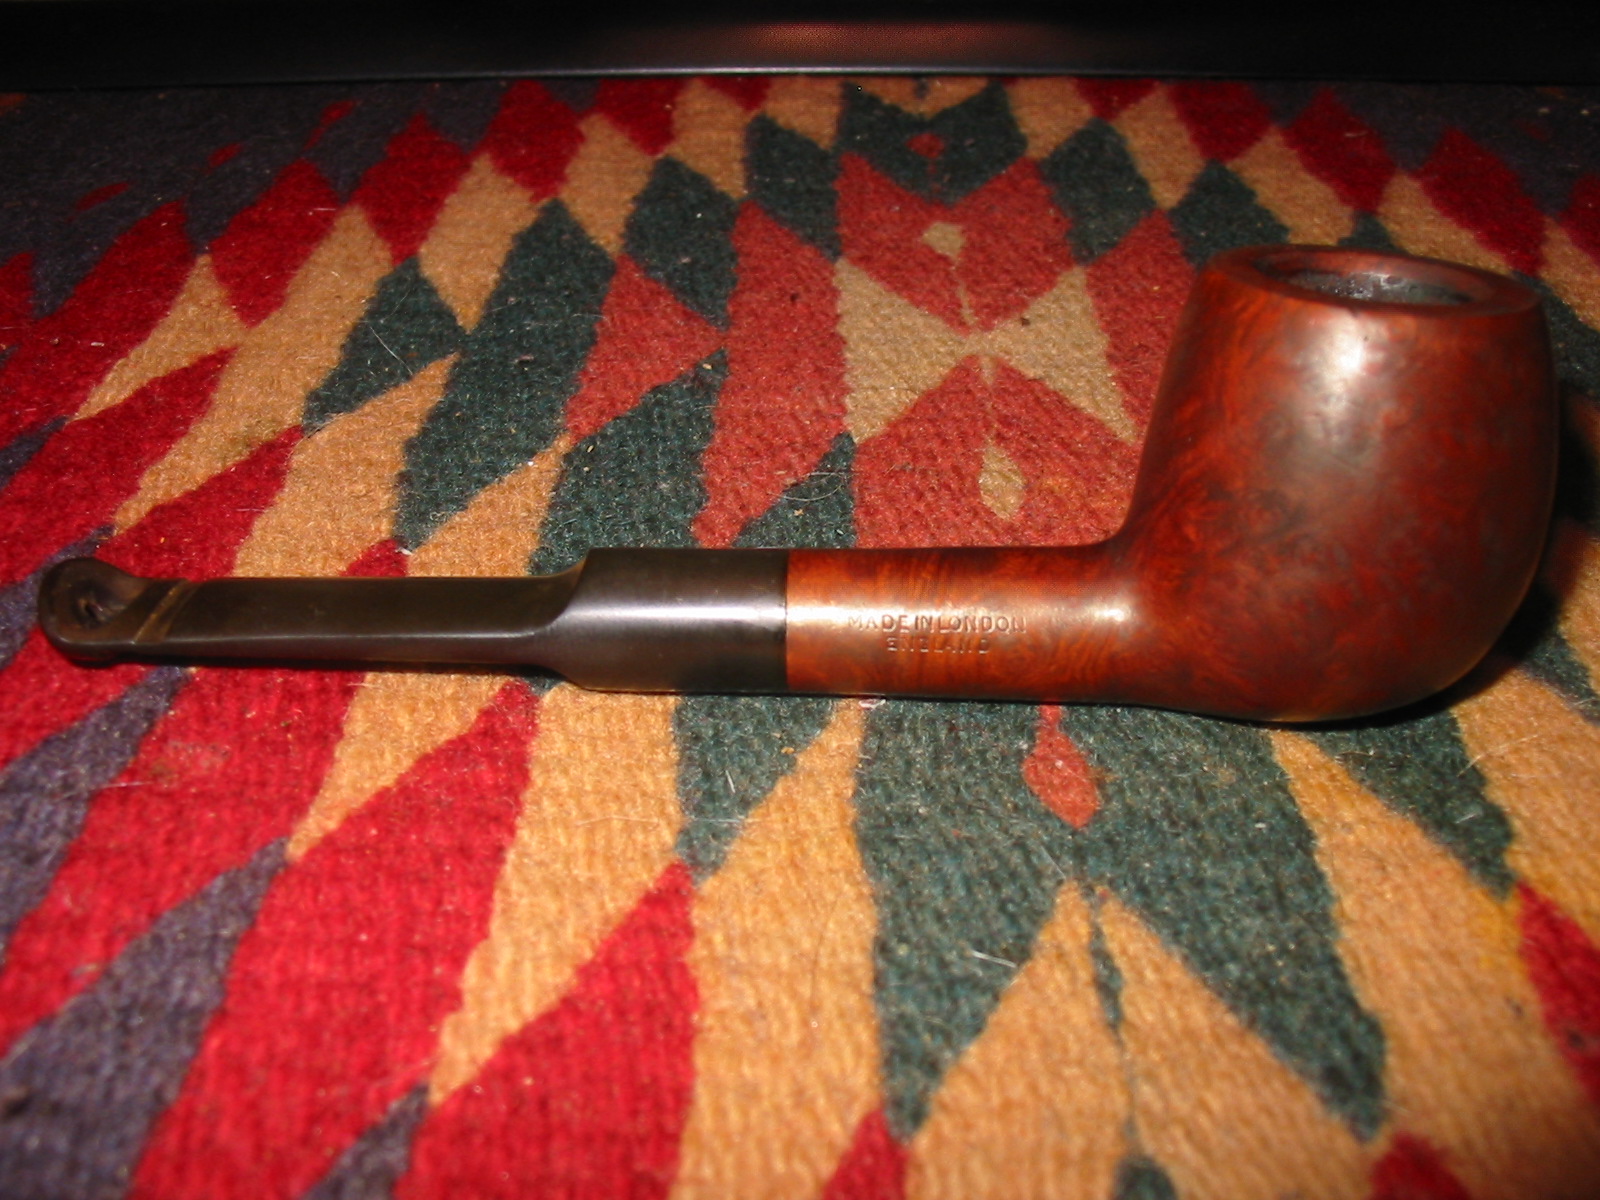
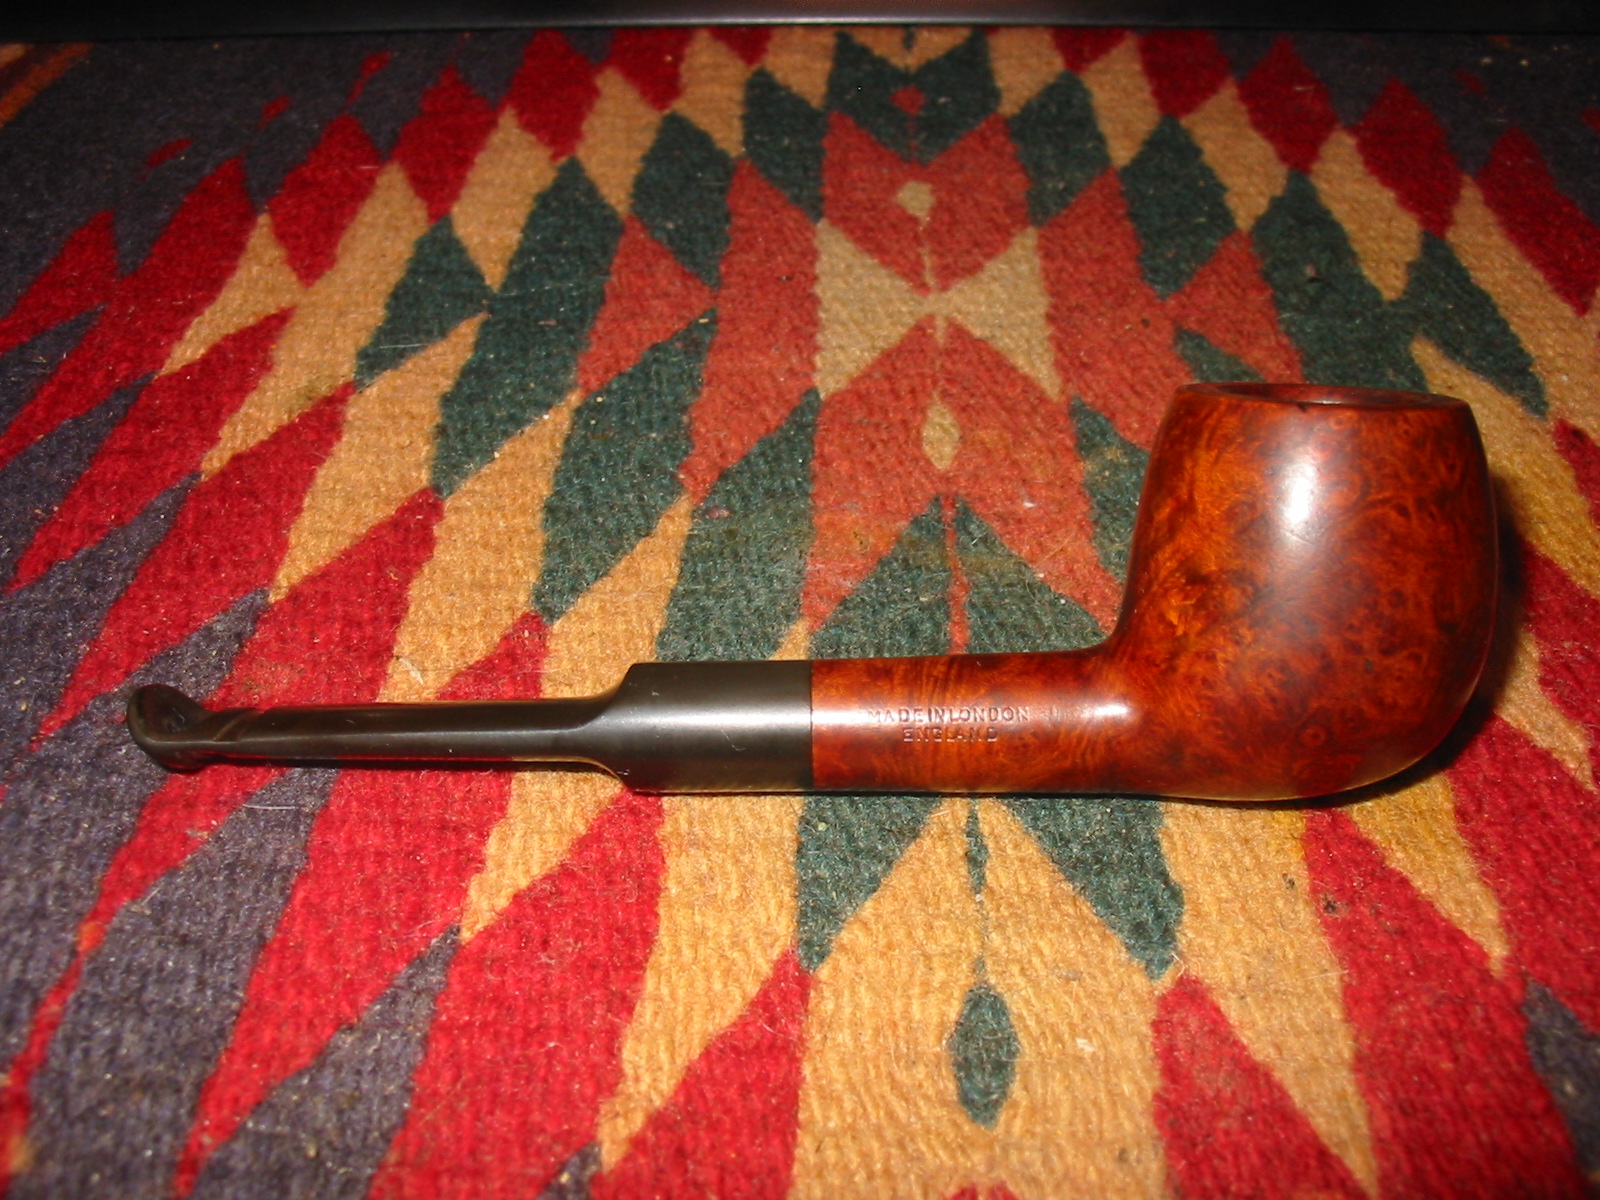
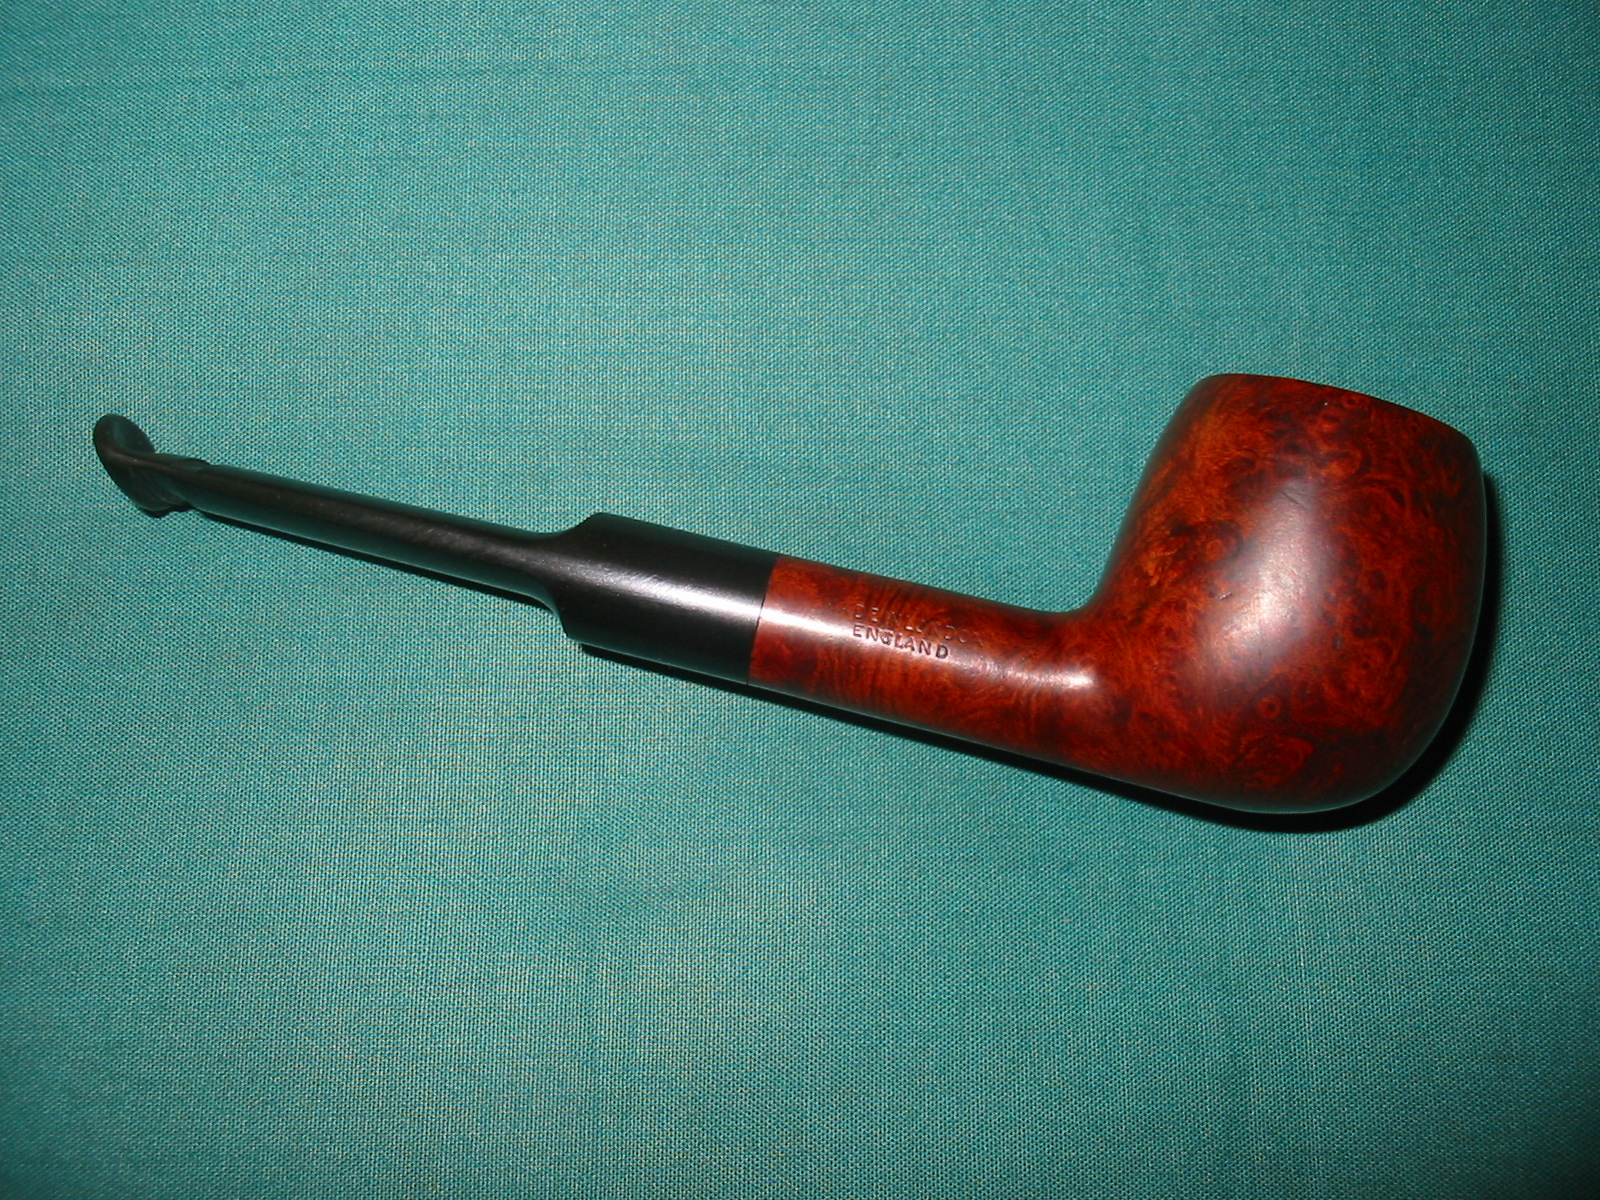
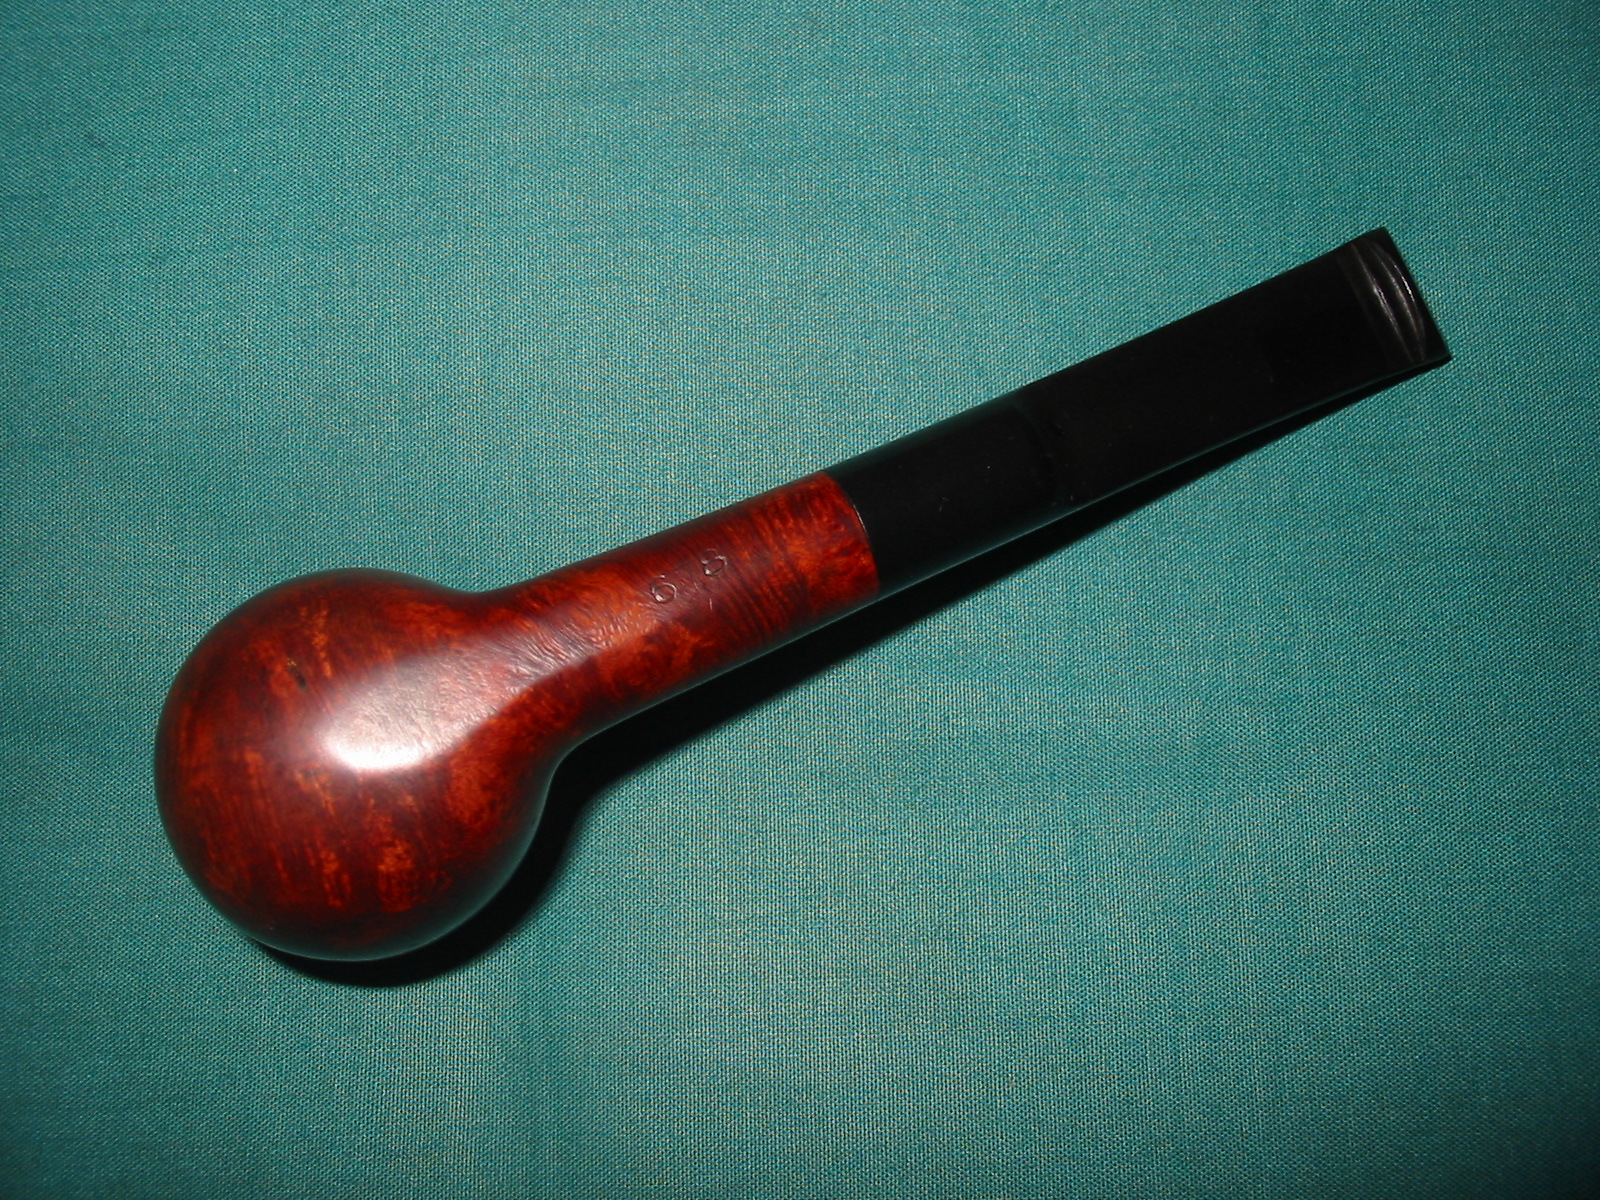
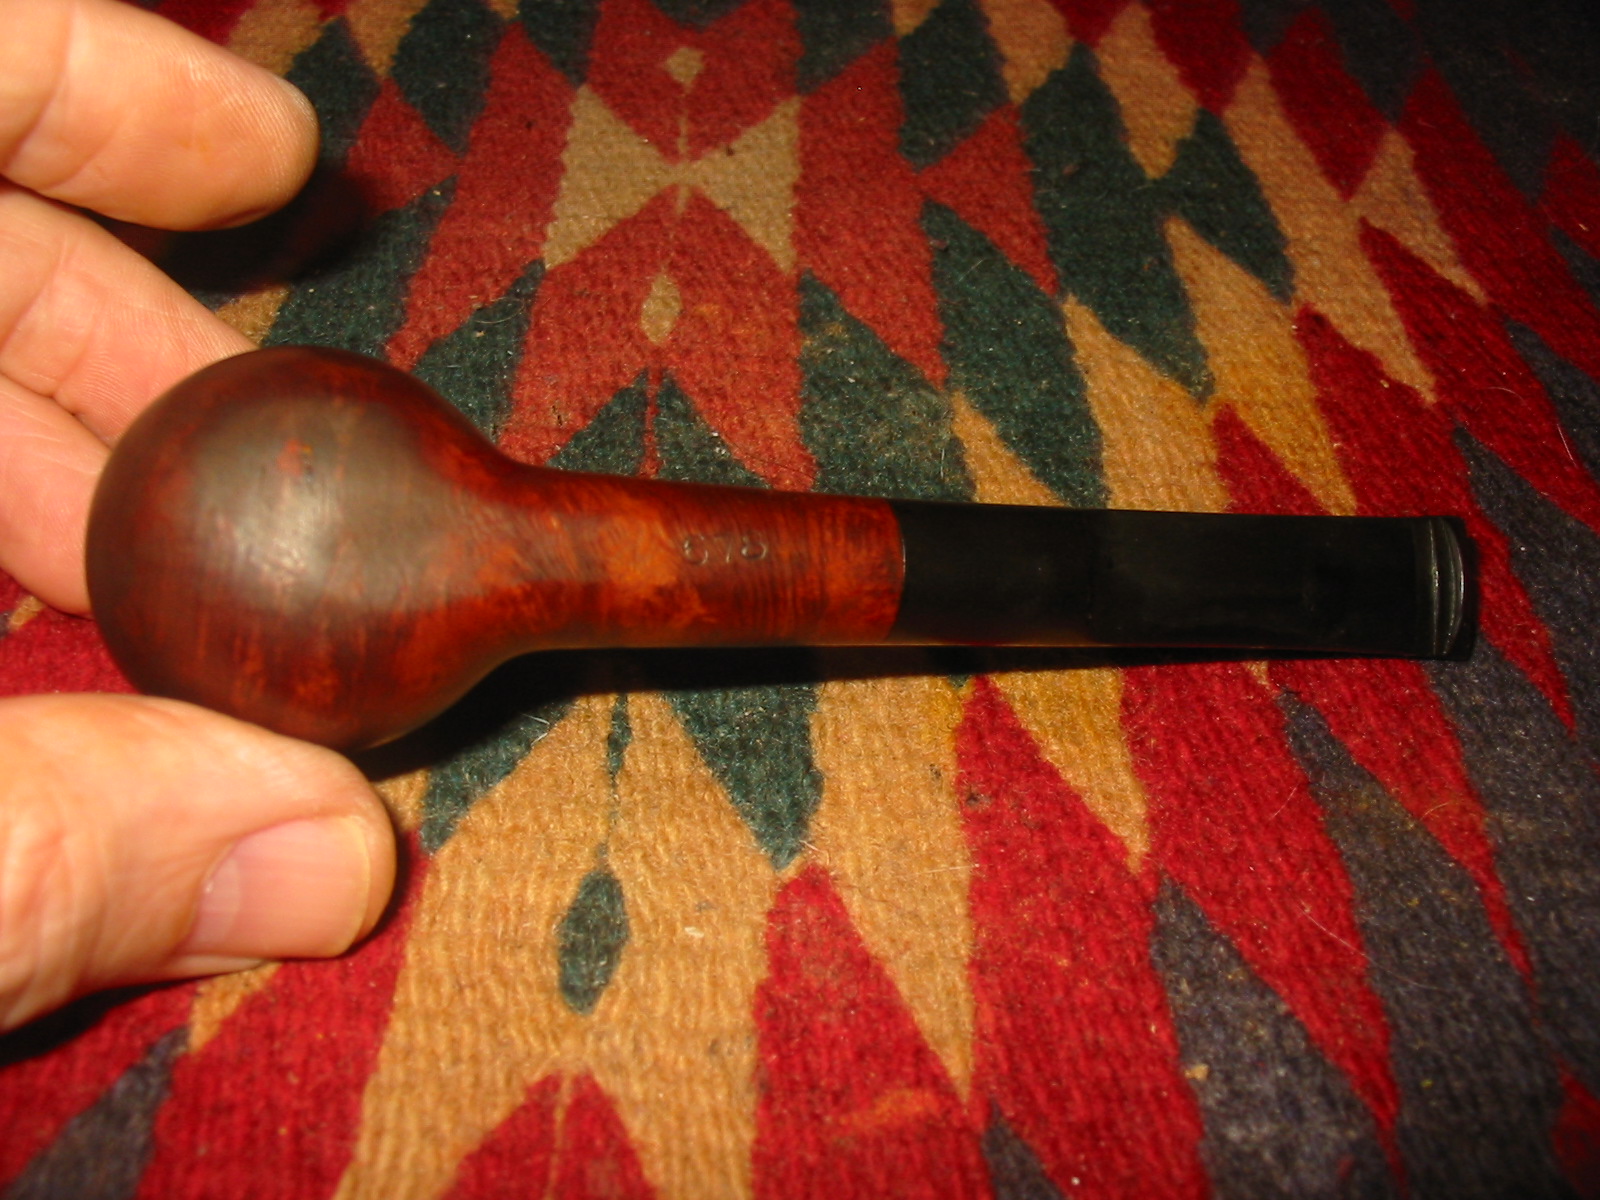
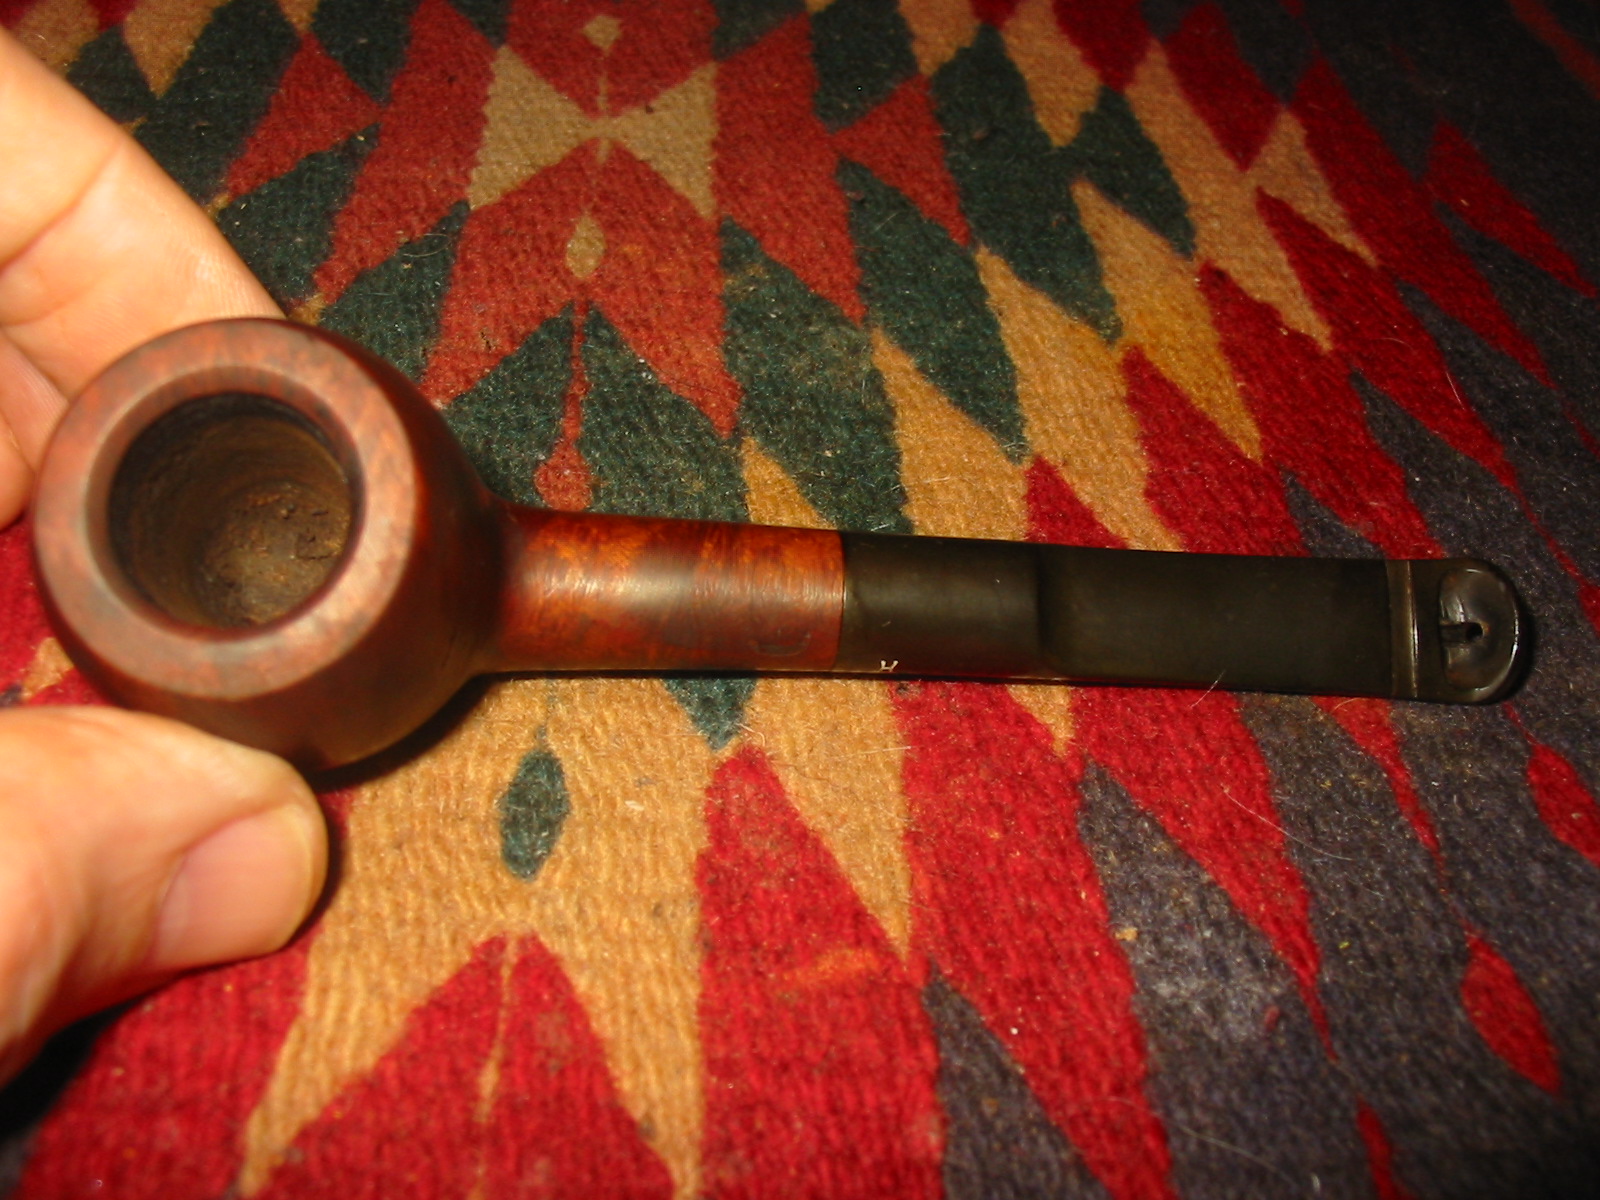
I looked it over and here is what I found. The pipe was stamped on the left side of the stem HARDCASTLE’S over DENTAL BRIAR over Reg. Design No.857327. On the right side it was stamped MADE IN LONDON ENGLAND. On the underside of the shank it is marked with the number 678, a shape number. Stamped on the vulcanite saddle stem is the Hardcastle’s H. The Reg. Design No. was a clue for me to start my hunt. (See the photo below of a pipe that is stamped identically to the one I have.)
Hardcastles Dental 5
I Googled for information on how to find out about a Registered Design Number. I figured that it would be like finding out patent information. One of the first links came up was to the National Archives. http://www.nationalarchives.gov.uk/records/research-guides/reg-design-trademark.htm I read through the various pages and put in the design number. I found that the designs having number beginning with 857,000 numbers come from 1949. This number was 857,327 so it was pretty clear to me that the design was registered in 1949. At least I had found that the pipe was a made during the time the Hardcastle family owned the brand. At first I thought the design was solely for the stem but when I removed the stem I found that it was far more than that. It included an inserted metal tube deep in the shank that rested against the airway in the bowl. It extended into the shank where it was met by a metal stinger like apparatus in the tenon. This apparatus was set in the tenon. It was a ball on the end of a short tube – the difference being that it was hollow. The end of the ball that rested against the tube in the shank was open thus connecting the airway in the bowl to the airway in the stem through a metal tube that gave a cool material to wick out the moisture in the smoke before it was delivered to the wide open end of the dental bit.
IMG_6947

IMG_6948
From there I went to the link for the British Intellectual Property Office. Now the problems arose for me. I could not find the Registered Design Number on that site. Nothing came back listed with that number on any British patent or registration sites. I was hoping to find at least a diagram of the pipe stem and internals as well as a patent/registration application. But there were none to be found on the sites. I wrote an email to the BIPO in hopes that they respond with some information. They wrote back saying that the design was too old and not in their records. They suggested the National Archives. I searched there again and could not access the files on this number. A dead end? Potentially but I would see if I could go at it from a different route.

I searched and read some of the history of the brand. One of the sites I turned to was Pipedia because I have found that they generally have good concise summaries of a particular brand or the lines in a brand. I found some helpful information on the different time periods of Hardcastle’s production. http://pipedia.org/index.php?title=hardcastle. I quote in part below:

“Hardcastle was founded in 1908 by Edmund Hardcastle and built itself a good reputation among the numerous British mid-graders. In 1935 Dunhill started to build a factory next door to Hardcastle in Forest Road, Walthamstow, London E17. The family owned Hardcastle Pipes Limited sold 49% of its equity to Dunhill in 1936.

Along with closing down its pipe factory in Notting Hill in 1946 Dunhill bought the remaining shares turning Hardcastle into a 100% Dunhill subsidiary. As members of the Hardcastle family continued as executives in the company’s management Hardcastle retained a certain independence.

This ended in 1967. Dunhill merged Hardcastle with Parker (100% Dunhill as well). The new Parker Hardcastle Limited also absorbed the former Masta Patent Pipe Company. Hardcastle’s Forest Road plant was immediately given up and the production of Hardcastle pipes was shifted to Parker’s nearby St. Andrews Road factory – now consequently called Parker-Hardcastle factory.

In fact this put a definite end to Hardcastle as an independent pipe brand and no one other than Edwin Hardcastle, the last of the family executives, spoke frankly and loudly of Hardcastle pipes being degenerated to an inferior Dunhill second. Today Hardcastle pipes use funneled down bowls that are not deemed suitable to bear the Dunhill or even the Parker name as well as obtaining briar from other sources.”

Now that I had a bit of a timeline for the brand it was time to see if I could find information on the various models & grades of Hardcastle pipes before the takeover by Dunhill – a time known as the Family Period. On the Pipedia site they listed that during that time the following models/lines were produced. Straight Grain, Supergrain, Leweard, Nut Bruyere, De Luxe, Royal Windsor Sandhewn, Royal Crown, The Crown, Phito Dental, Old Bruyere, Jack O’London, Dental Briar, Phito, Dental, Dryconomy, Drawel, Phithu, Telebirar, Camden, Lightweight, The Table, Dovetail, Dental, Crescent Extra, Lonsdale, Welard De Luxe . I have marked the Dental Briar in bold in the list above to make it stand out in the list. It was produced during this time. It appears that the Hardcastle was taken over by Dunhill in 1946. At that time, family still retained some control but the brand changed. In 1967 the brand was merged with Parker and became Parker/Hardcastle. With this merger Hardcastle as a distinct brand disappeared and the pipe became a line of seconds for Dunhill.

That information at least gives something of a timeline for my pipe. I know that it was made between the year that Registered Design Number gave of 1949 and the merger date of 1967. That is as close a date as I can ascertain at this time.

It seemed that I had found all I would find out about this pipe for the moment. It was time to work on the pipe itself and do the cleanup and restoration. I took the pipe to my worktable and quickly looked it over to see what I needed to address in this refurb. The bowl had an uneven cake in it – heavy in the middle and light at the top and the bottom of the bowl. The briar had several fills that had fallen out or somehow been dislodged along the way – one on the shank visible in the photo below next to the stem, one on the back side of the bowl and one on the bottom of the bowl. The rim was undamaged and quite clean other than a slight build up of tars and oils. The next series of three photos give a good picture of the state of the pipe when I began the work on it.
IMG_6944

IMG_6945

IMG_6946
I removed the stem and cleaned out the shank and stem with pipe cleaners, cotton swabs and isopropyl alcohol. I scrubbed until they came out clean and unblemished. Then I reamed the bowl and wiped down the inside of the bowl with cotton swabs and alcohol and ran several more pipe cleaners through the shank to remove any carbon dust.
IMG_6949
I cleaned out the damaged fills in the briar on the shank, back of the bowl and the bottom of the bowl with a dental pick. I wiped the bowl down with alcohol to clean off the dust and give the glue a clean surface to stick. I then packed briar dust into the crevices and dripped super glue onto the briar dust. I quickly put more briar dust on top of the glue before it dried. I have found that sandwiching the glue between briar dust enables the stain to have a better chance of taking on the patch.
IMG_6950

IMG_6951
I sanded the patches with 220 grit sandpaper, medium and fine grit sanding sponges and then with 1500-2400 grit micromesh sanding pads to smooth out the patches and blend them into the surface of the bowl.
IMG_6952

IMG_6953

IMG_6955
When I had finished sanding the bowl I wiped it down with acetone to break down the finish and remove the waxes on the bowl to prepare it for restaining. When I do this kind of patches on a bowl I restain the entirety of the bowl rather than trying to match the stain in the spots to the whole.
IMG_6956

IMG_6957

IMG_6958
I stained the bowl with a dark brown aniline stain. I heated the briar, applied the stain, flamed it and repeated the process to get a good solid, even coverage on the briar.
IMG_6959
When it dried I wiped it down with a cotton pad and alcohol to lighten the stain and make the grain more visible.
IMG_6960
At this point in the process I buffed the bowl and stem with red Tripoli and then White Diamond to even out the stain and make it flow better on the bowl. The briar dust and superglue patches blended in quite well on the bottom and back side of the bowl. The one on the shank was visible but at least it was smooth and dark. With some work on the finish I would be able to get it blend better.
IMG_6961

IMG_6962

IMG_6964

IMG_6965
I sanded the bowl with 1500-2400 grit micromesh pads to smooth out the finish and to lighten the stain on the bowl. I was aiming to bring it back as close as possible to the original finish which had red highlights. When I had finished sanding the bowl I gave it a second buff with White Diamond to see where I stood. At this point the work on the bowl was finished and I was pleased with the results. The grain showed clearly and the stain gave a pleasant contrast of dark and light. The patches looked much better and though visible blended in far better with the stain and the grain patterns. The rim and the inner bevel looked excellent.

Now it was time to address the stem. I scrubbed it down with Brebbia Pipe and Mouthpiece Polish. It has a fine grit in the paste and when it is rubbed into the stem works quite well to remove the surface oxidation and buildup. I worked it into the grooves and the dip on the end of the stem with a soft bristle tooth brush. I let it dry for a short time and then rubbed it down with cotton pads. The photos below show the stem after this initial polishing with the Brebbia Polish.
IMG_6966

IMG_6967

IMG_6968

IMG_6969
I scrubbed the stem with Meguiar’s Scratch X2.0 and when it dry buffed it off with a cotton pad. I repeated this process several times, scrubbing the grooves and dip on the end of the stem with the same tooth brush. I rubbed the stem down with Obsidian Oil and when dry took it the buffer for another buff with White Diamond. I gave it several coats of carnauba wax, buffing it with a soft flannel buff between coats. I found it very hard to remove some of the oxidation from the channels/grooves on the top and bottom of the stem. Under the flash it is clear that there is still some oxidation at that point. I rubbed it down with another coat of Obsidian Oil being careful to get deep into the edges of the grooves and the dip on the top of the stem.
IMG_6978

IMG_6979
The finished pipe is shown in the last series of photos below. I am happy with how this old timer turned out. I am so glad I did my research before cutting off the stem and recutting a new button or splicing in a new button. I would have ruined a unique piece of pipe history and lost the opportunity to learn yet another piece of the history of our fascinating hobby. Now instead it is a restored piece that shows the creativity of those seeking to create a more comfortable pipe. Now I have to load a bowl and give it a try.
IMG_6974

IMG_6975

IMG_6976

IMG_6977

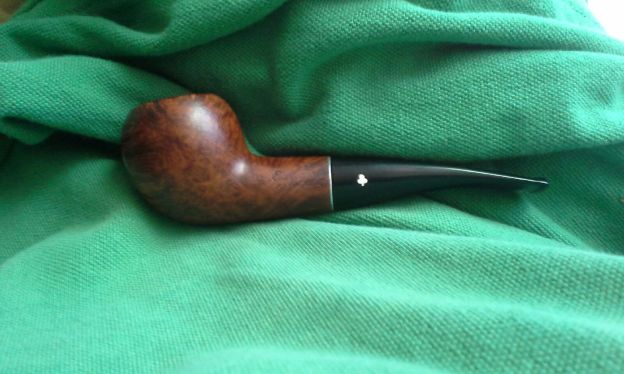
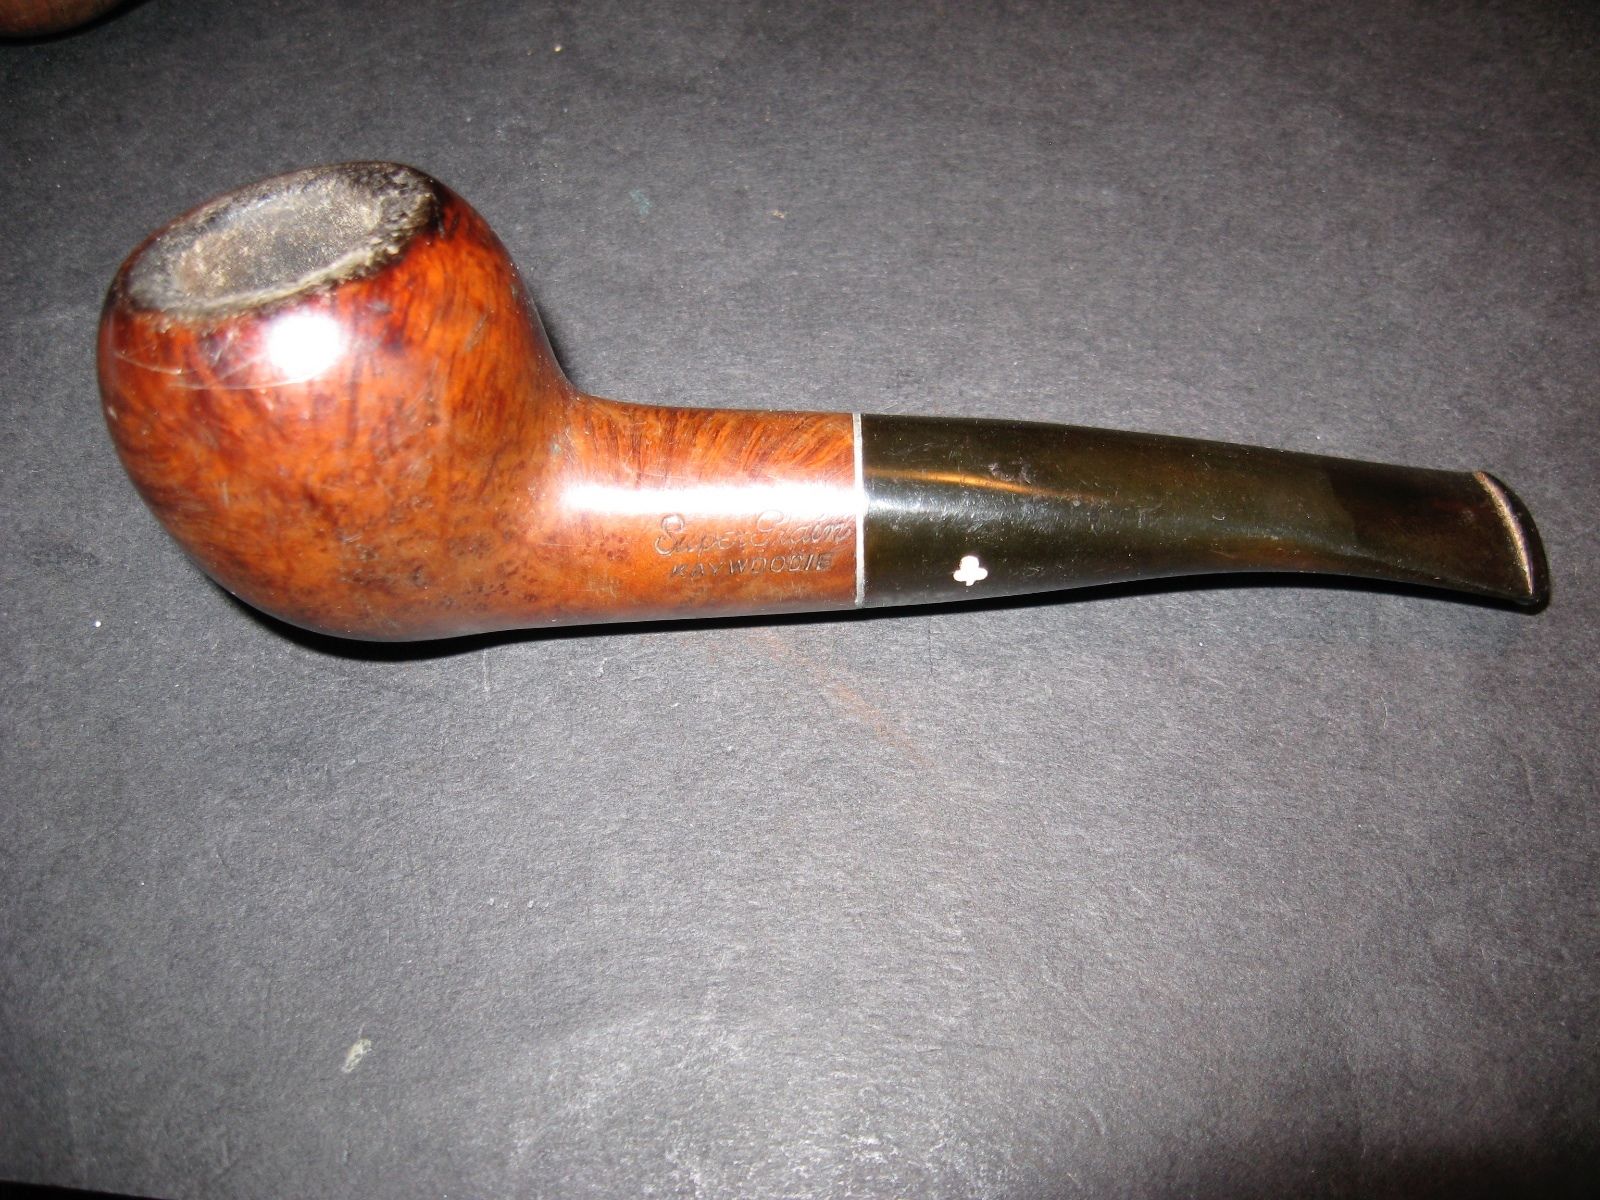
A Kaywoodie Super Grain 33C New Holland Pipe Restored – by Astrid Campbell


Blog by Astrid Campbell

I first talked with Morty from Ontario on Pipe Smokers Unlimited online forums (PSU). We spoke via email and private messages on the forum. She introduced herself as Astrid. For this her second post on rebornpipes she uses her real name. Astrid has the refurbishing bug for sure and continues to post pictures of her work on the PSU Pipe Restoration Forum. The amazing thing to me is that she does all of her work by hand. She does not have buffers and buffing equipment. She continues to find amazing old pipes and shares of a love of some of the same pipe shapes as I do. Many times I am afflicted with serious pipe envy when she shows the pipes she is working on. She seems indefatigable in her effort to clean and restore the old estate pipes she finds. I have enjoyed seeing her work and have asked her once more to write-up some of her work and post it on rebornpipes for others to enjoy. Thanks Astrid for being willing to do this for us. I have to tell you this is one of those pipes that cause me pipe envy! I love the lines of this old pipe and the grain. Astrid did a great job on restoring it. Without further introduction I give you Astrid’s own words regarding this refurb.

I just got my Kaywoodie Super Grain 33C pipe today, and this one needs major TLC. I have not seen a Kaywoodie like this one before. I will start cleaning this pipe up on the weekend and will follow up with the after pictures.
astrid4

Astrid5

astrid6
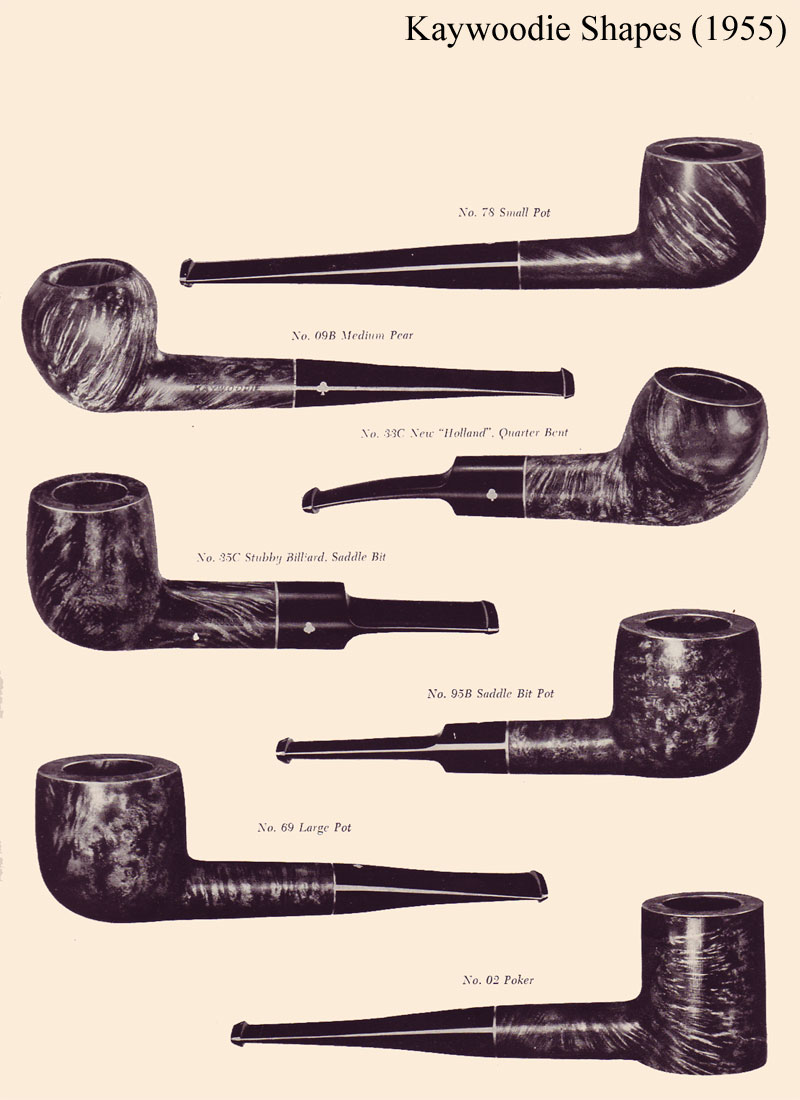
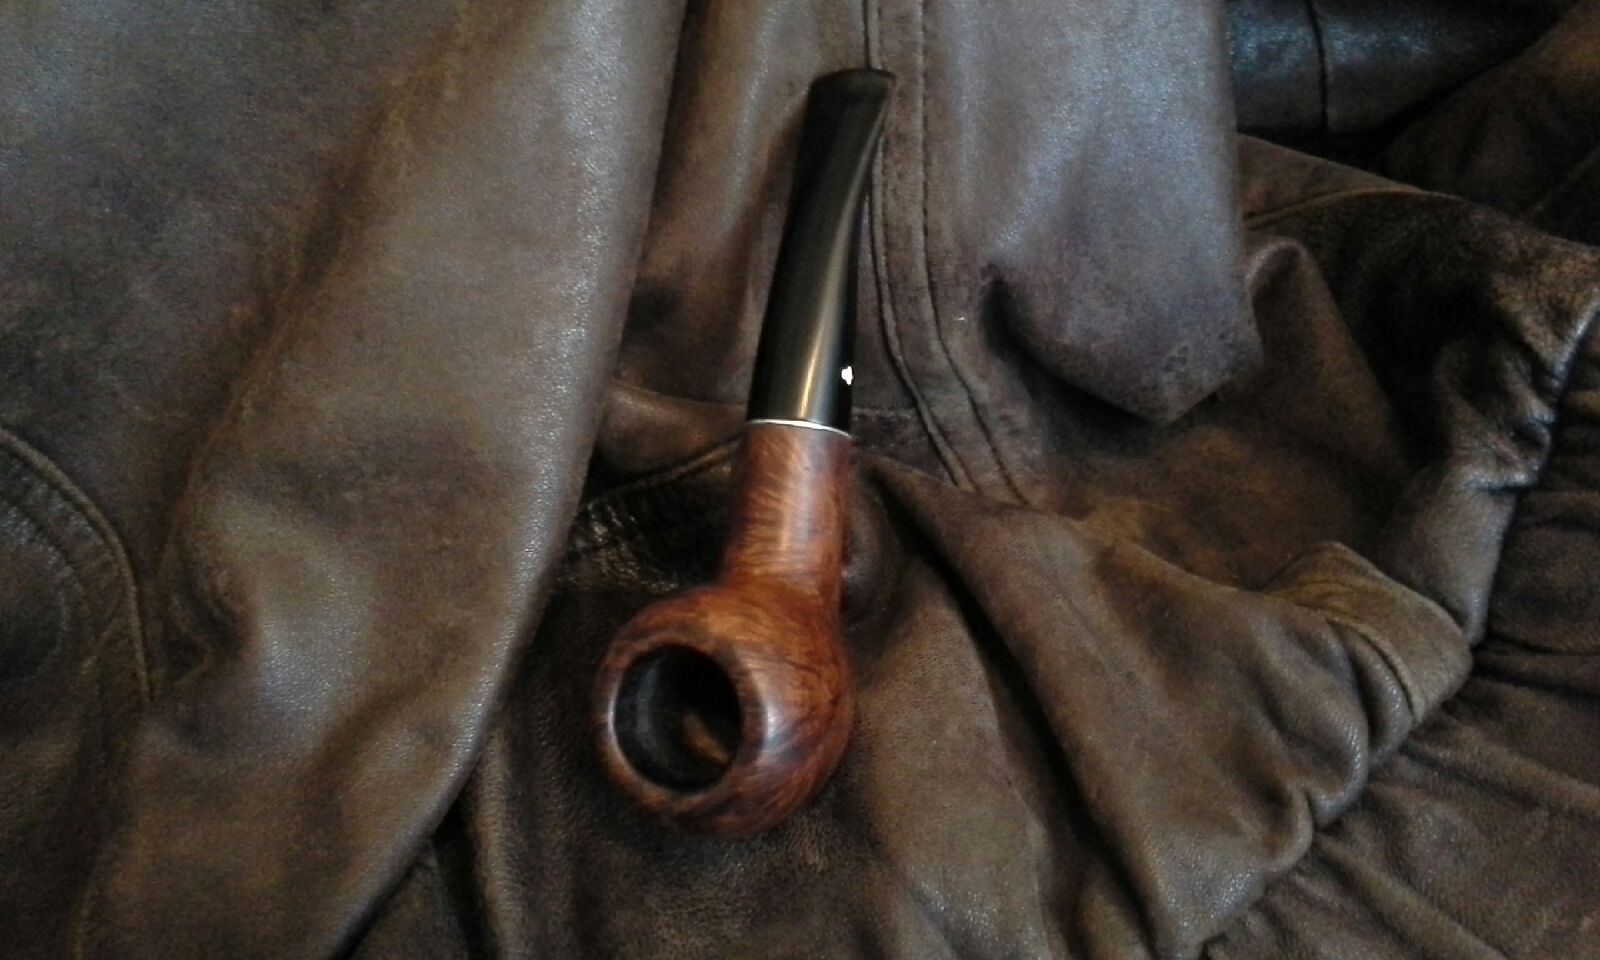
This is an interesting pipe shape by Kaywoodie that I have not seen before, and I am pleased with the results. I found this pipe on a 1955 Kaywoodie shape chart, thanks to pipepages.com. The only difference being this has a chunky stem and the one on the shape chart page had a saddle stem.
Astrid1
This pipe was extremely dirty inside the bowl and the stem, with thick rim char and took quite a bit of work to get clean. I started by reaming the bowl, I did not take it back to the walls; I wanted to leave a bit of cake inside. Next I used a pocket knife blade to remove the thick char from the rim, which removed most of it.

This was followed by using 100 grit and 220 grit sandpaper very lightly, so I could keep the shape intact, I did not want to top this bowl. Then I used a Magic Eraser to remove more of the remnants of the dark char stain on the briar. I finished with 1500 micro mesh to polish the top of the rim and smooth it out.

The shank was clogged with black gunk and needed to be opened up to be able to clean it. This required many pipe cleaners first so I could get the bottle brush in to scrub it clean (thanks (Mark Domingues) Dog Talker for this idea). I then did an alcohol and kosher salt treatment that I left overnight. After I had the bowl to this point, I turned my attention to the stem that was in equally filthy condition.

The stem was extremely dirty and clogged with black gunk. This required many pipe cleaners and a bottle brush to remove most of the gunk before I let it soak overnight in Oxy Clean. Next morning I removed the stem from its overnight soak and proceeded to scrub the inside with a bottle brush and finally pipe cleaners soaked in alcohol.

The outside of the stem had a thick grey layer of oxidation on it. I used a Magic Eraser to start removing the oxidation. This was followed by wet sanding with 1200, 2400, 3600 micro mesh. Meguiar’s Scratch X2.0 was applied, let to dry and then wiped off. I then dry sanded with 6000, 8000, 12000 micro mesh. This polished the stem to a nice high gloss shine.

Now I could get back to the bowl. I removed the dark brown salt and wiped out the bowl with damp shop towels. The shank was cleaned out again. The outside of the bowl was wiped down with damp shop towels removing years of dirt and grime. Then I used 1500 micro mesh to smooth and polish the bowl. I applied a bit of Olive Oil that I rubbed in thoroughly, let it dry and wiped the excess off. I polished the pipe with Paragon Wax and buffed it by hand using a cotton cloth.
astrid2

astrid3

Kaywoodie Super Grain 33C Pipe Cleaned Side View

Refurbishing a Brentwood Supreme 335 Apple – (GBD 2nd)


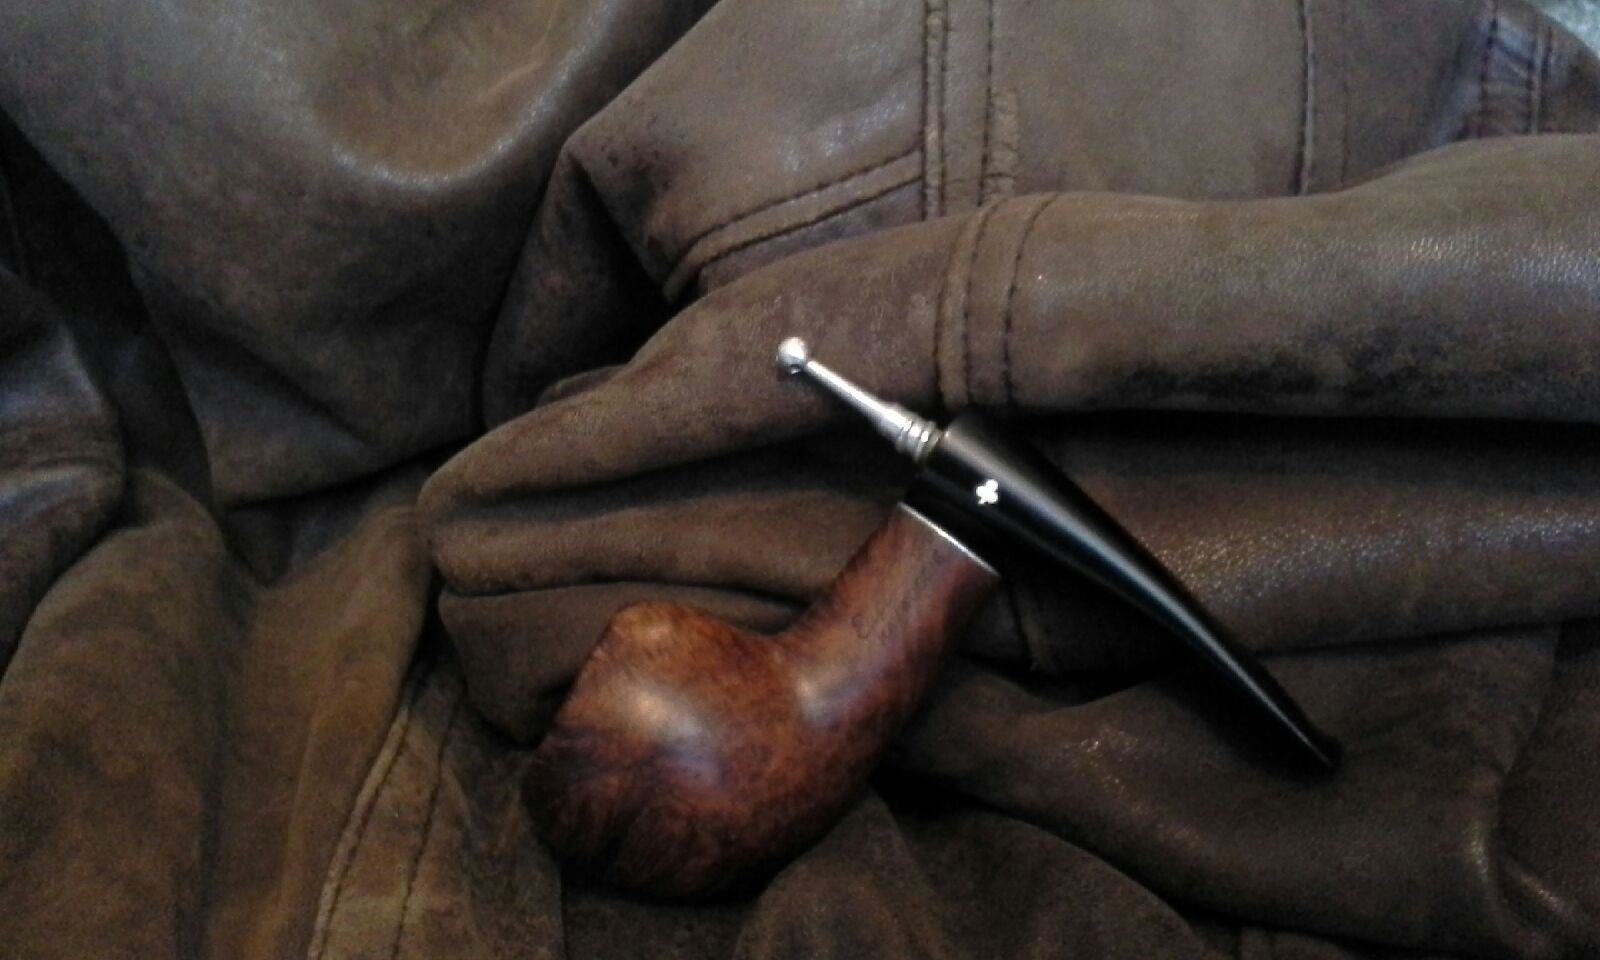
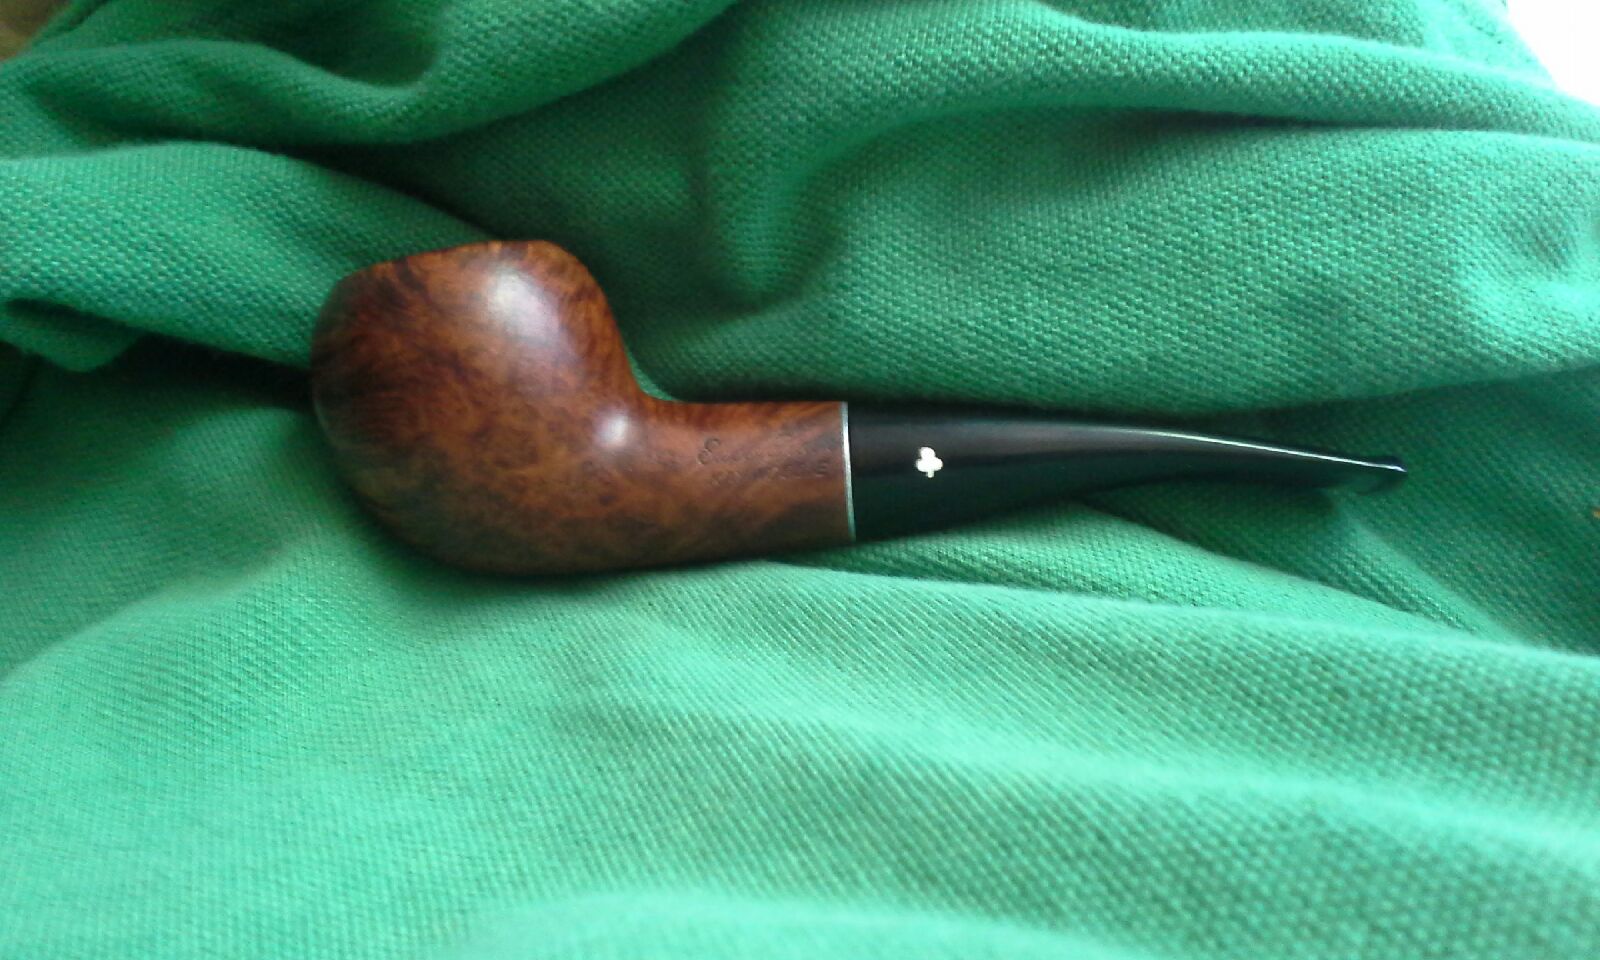
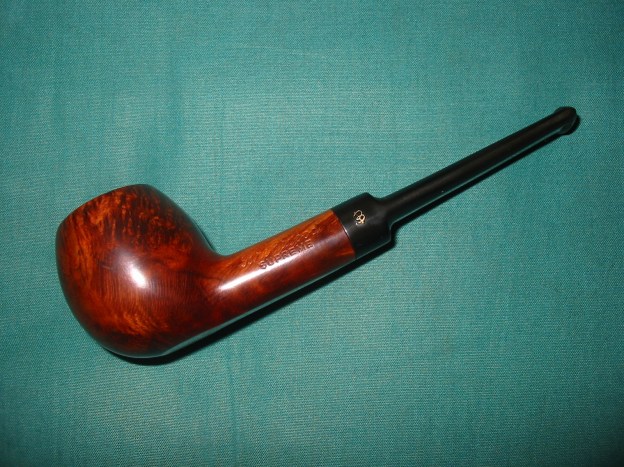
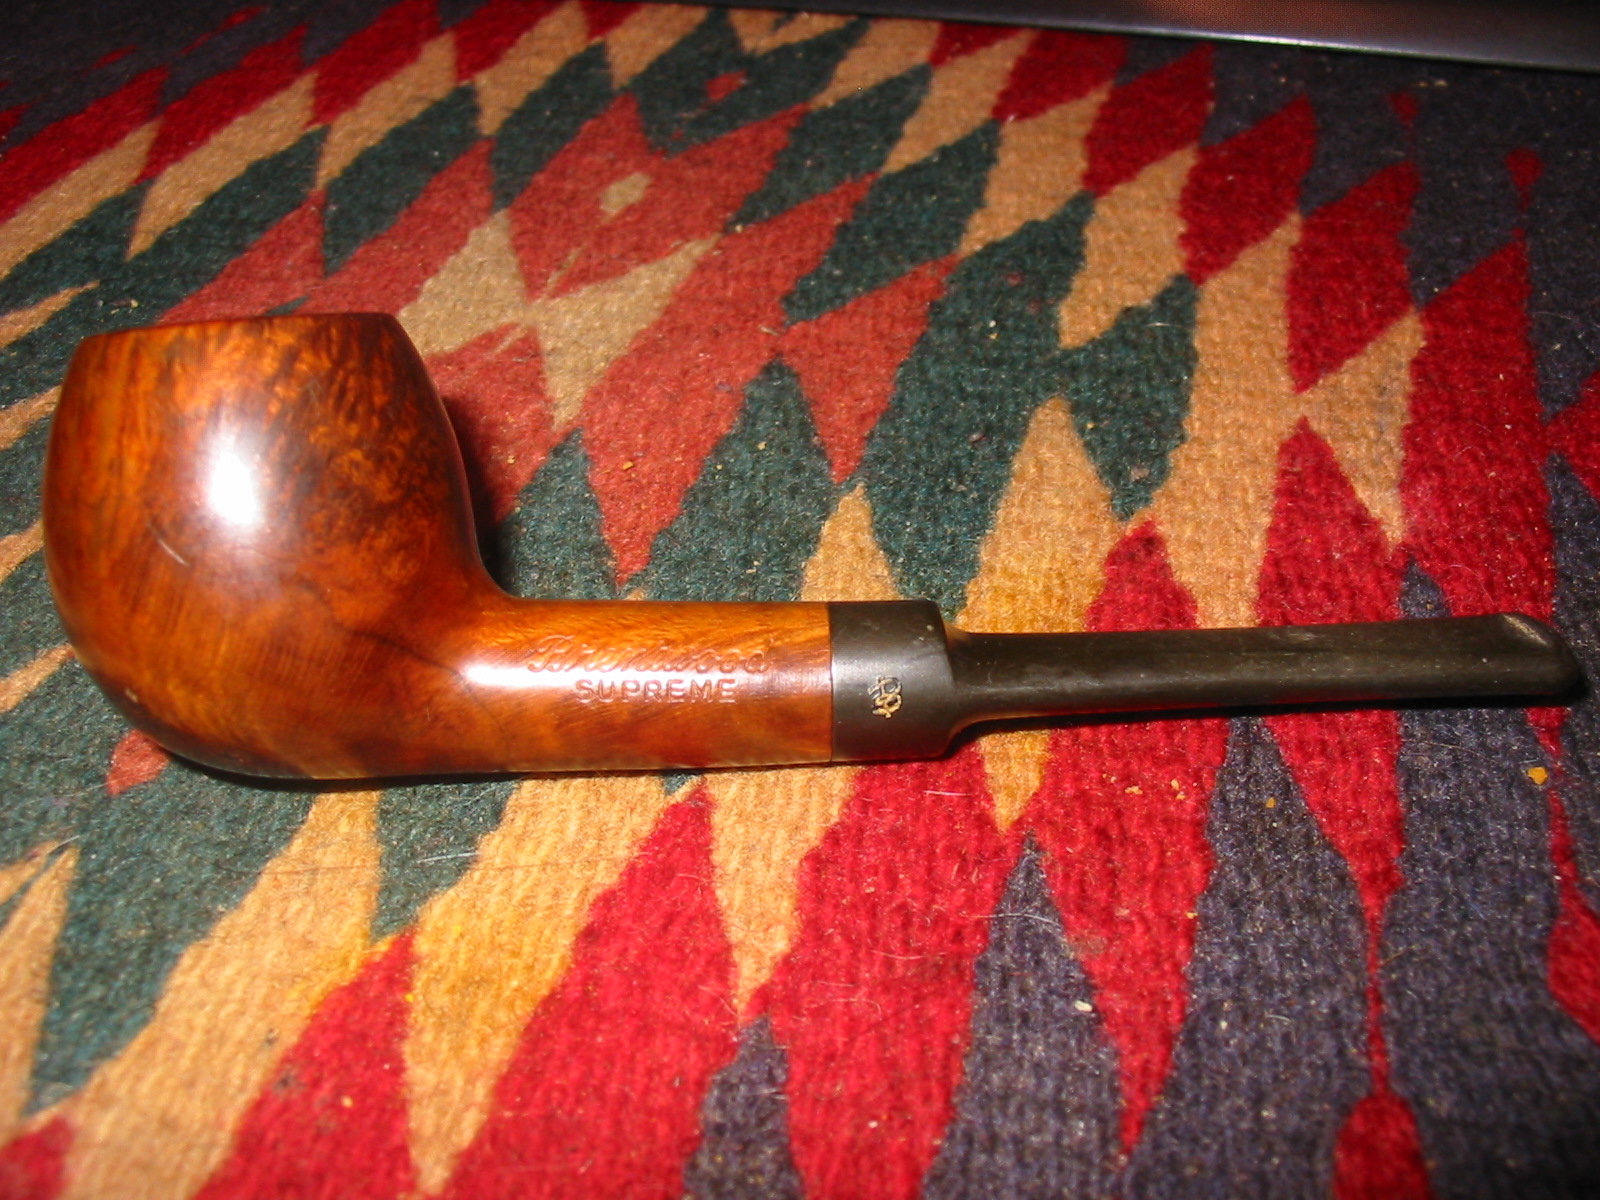
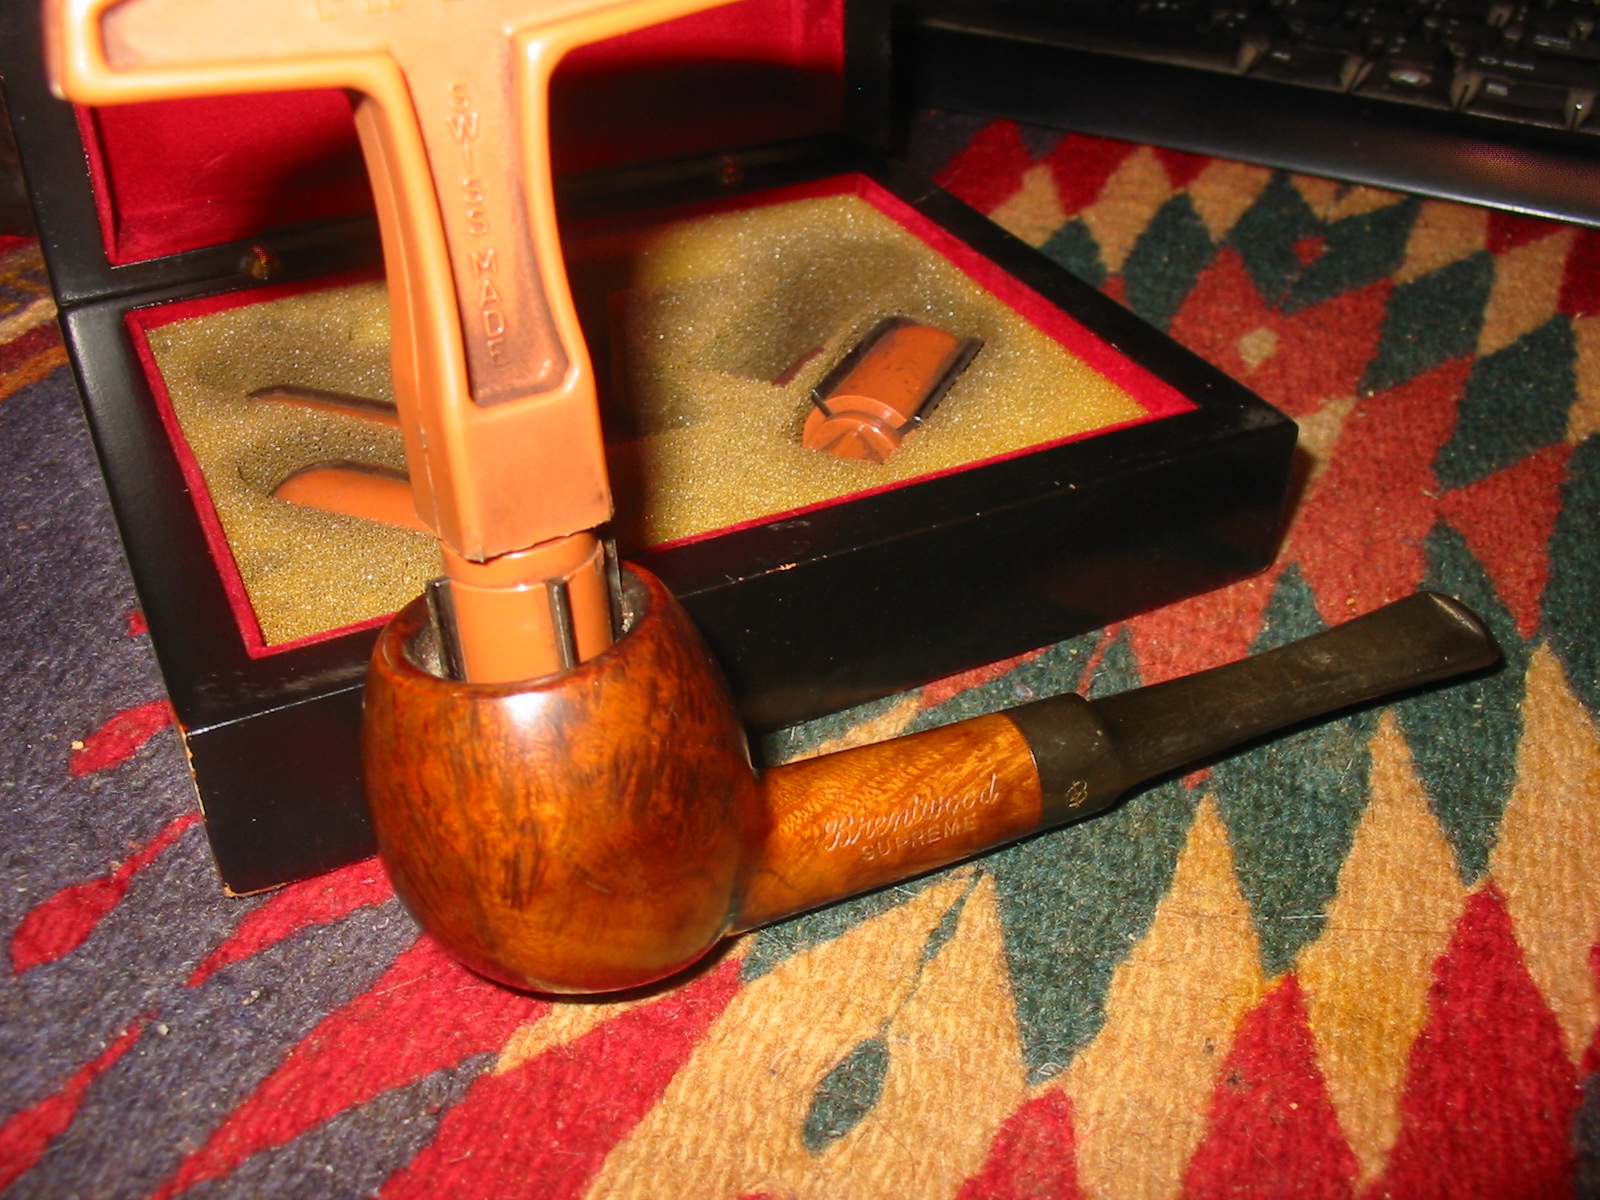
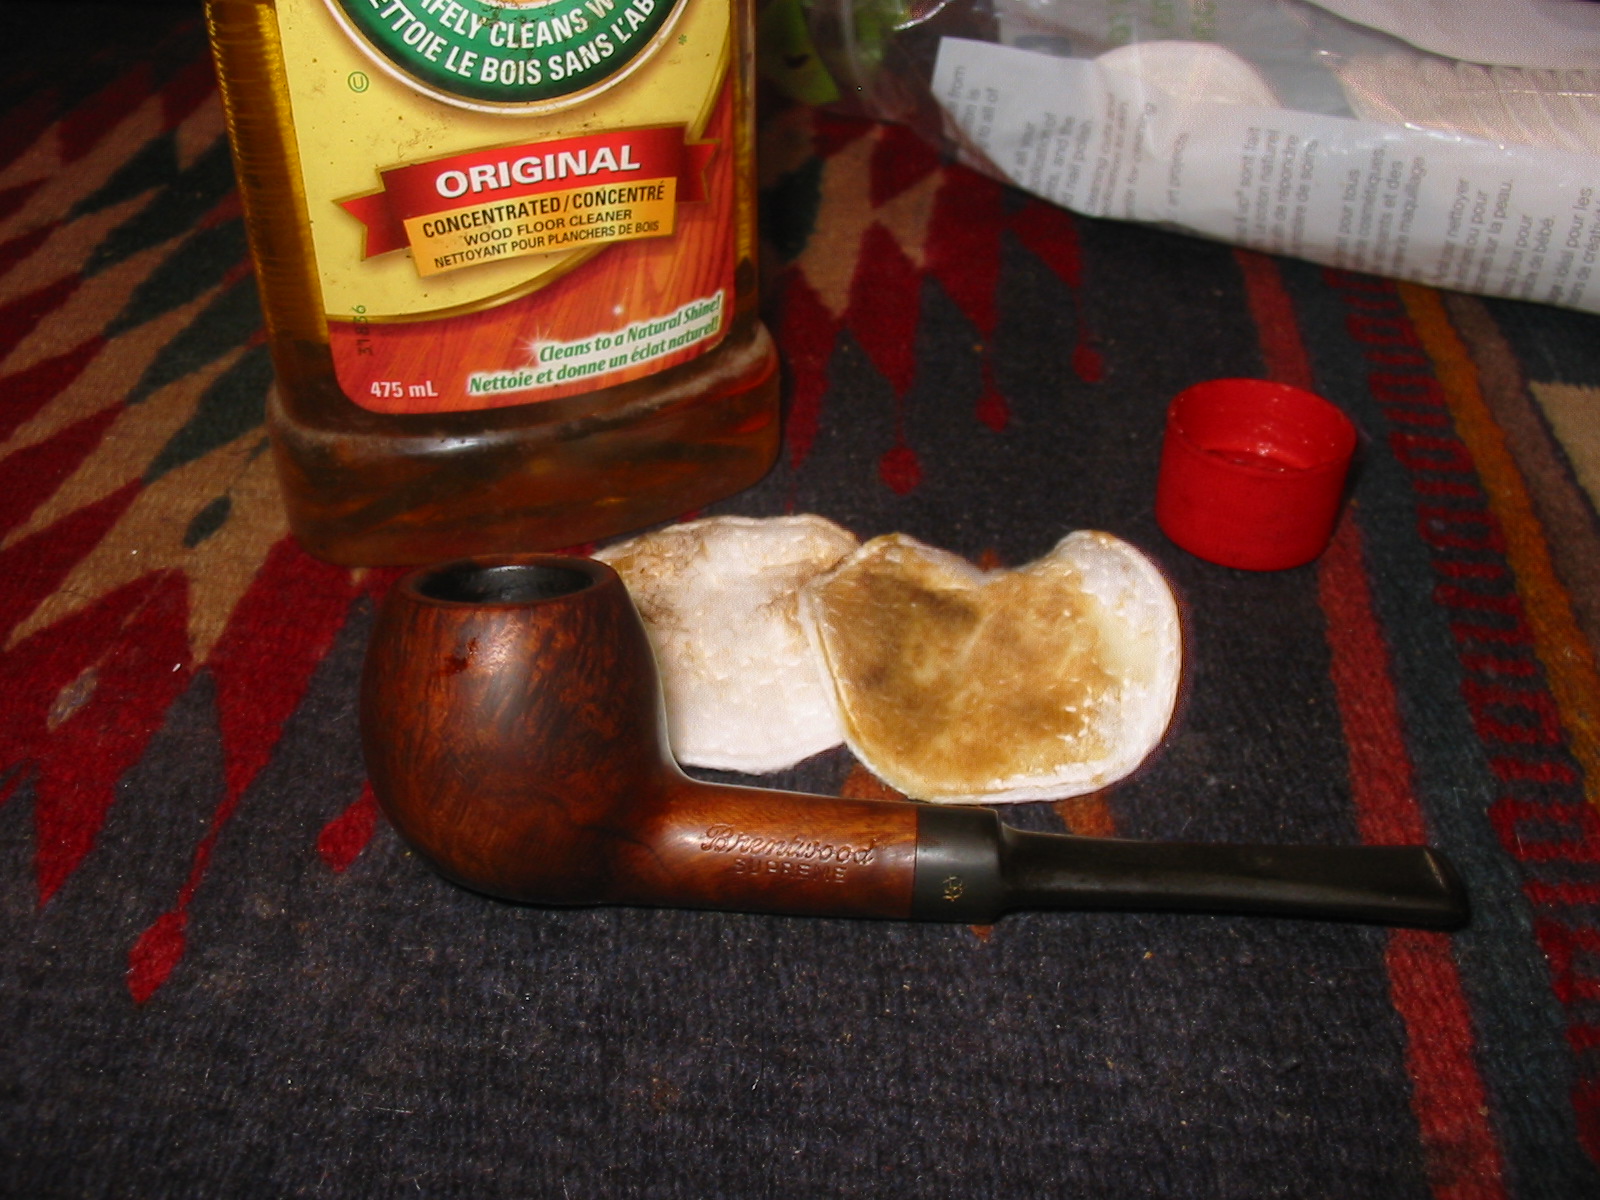
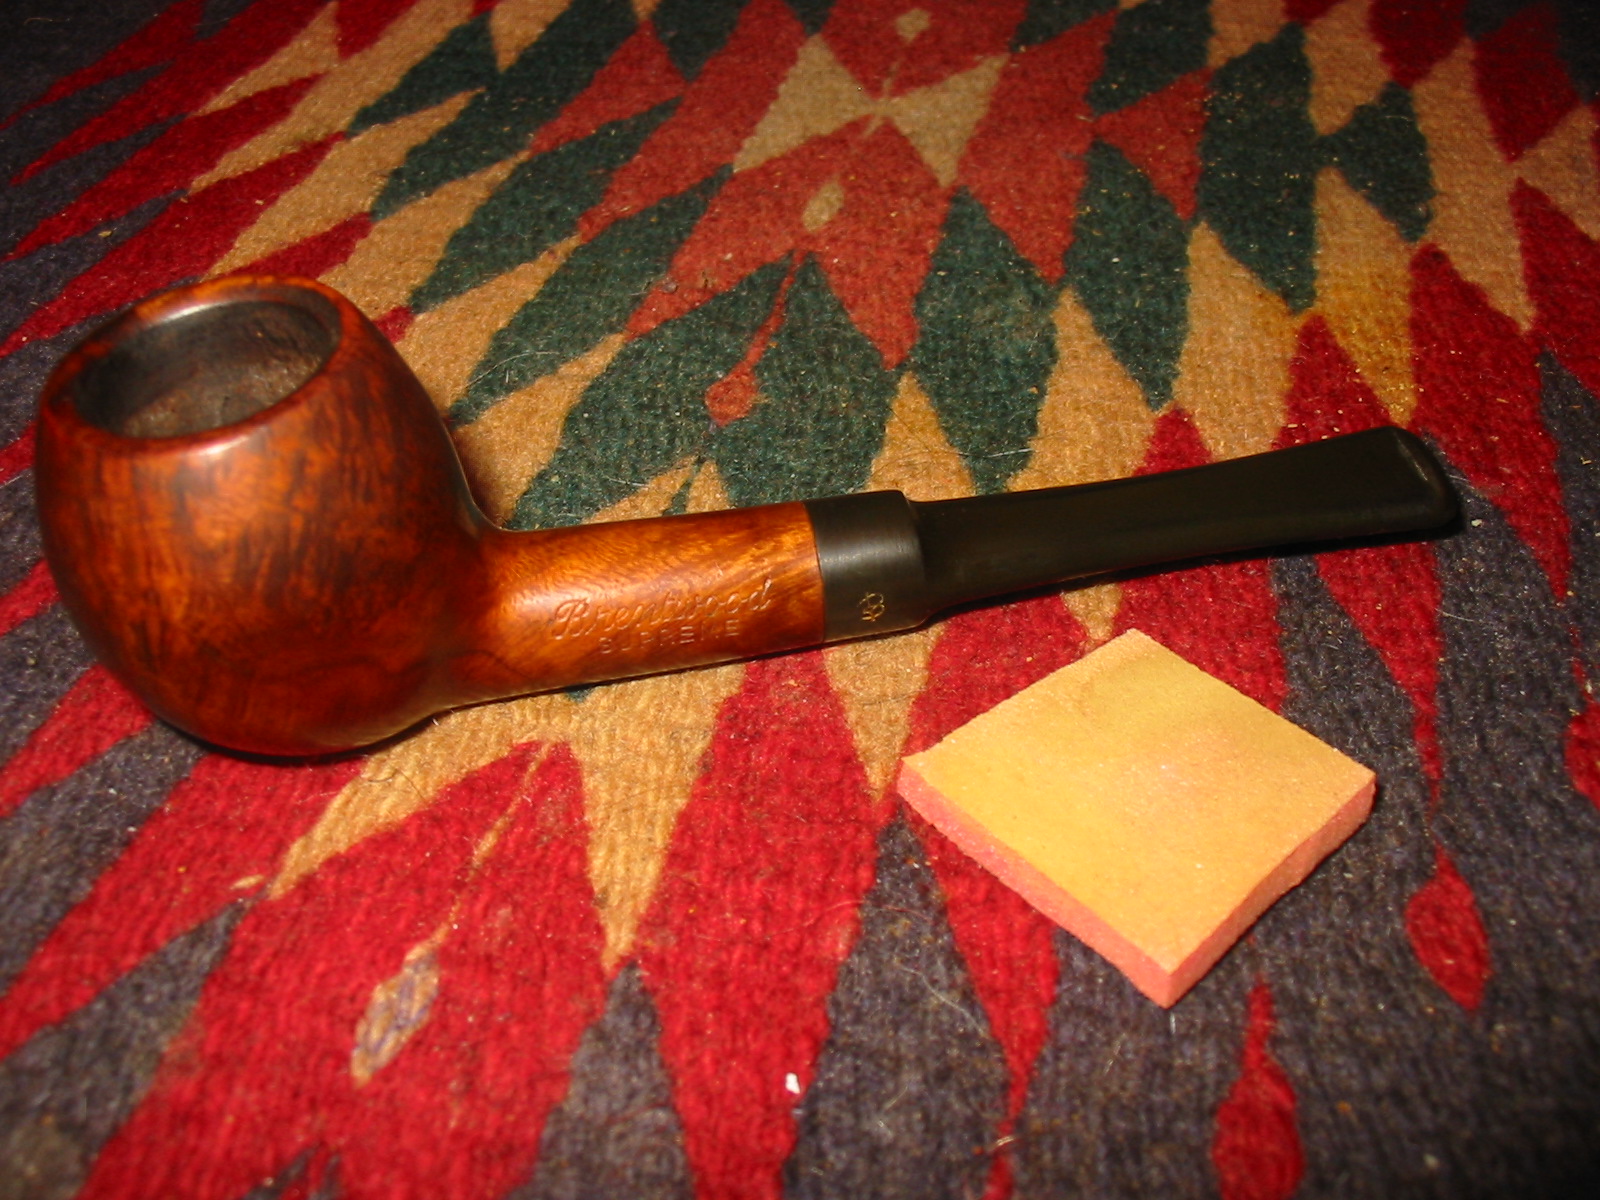
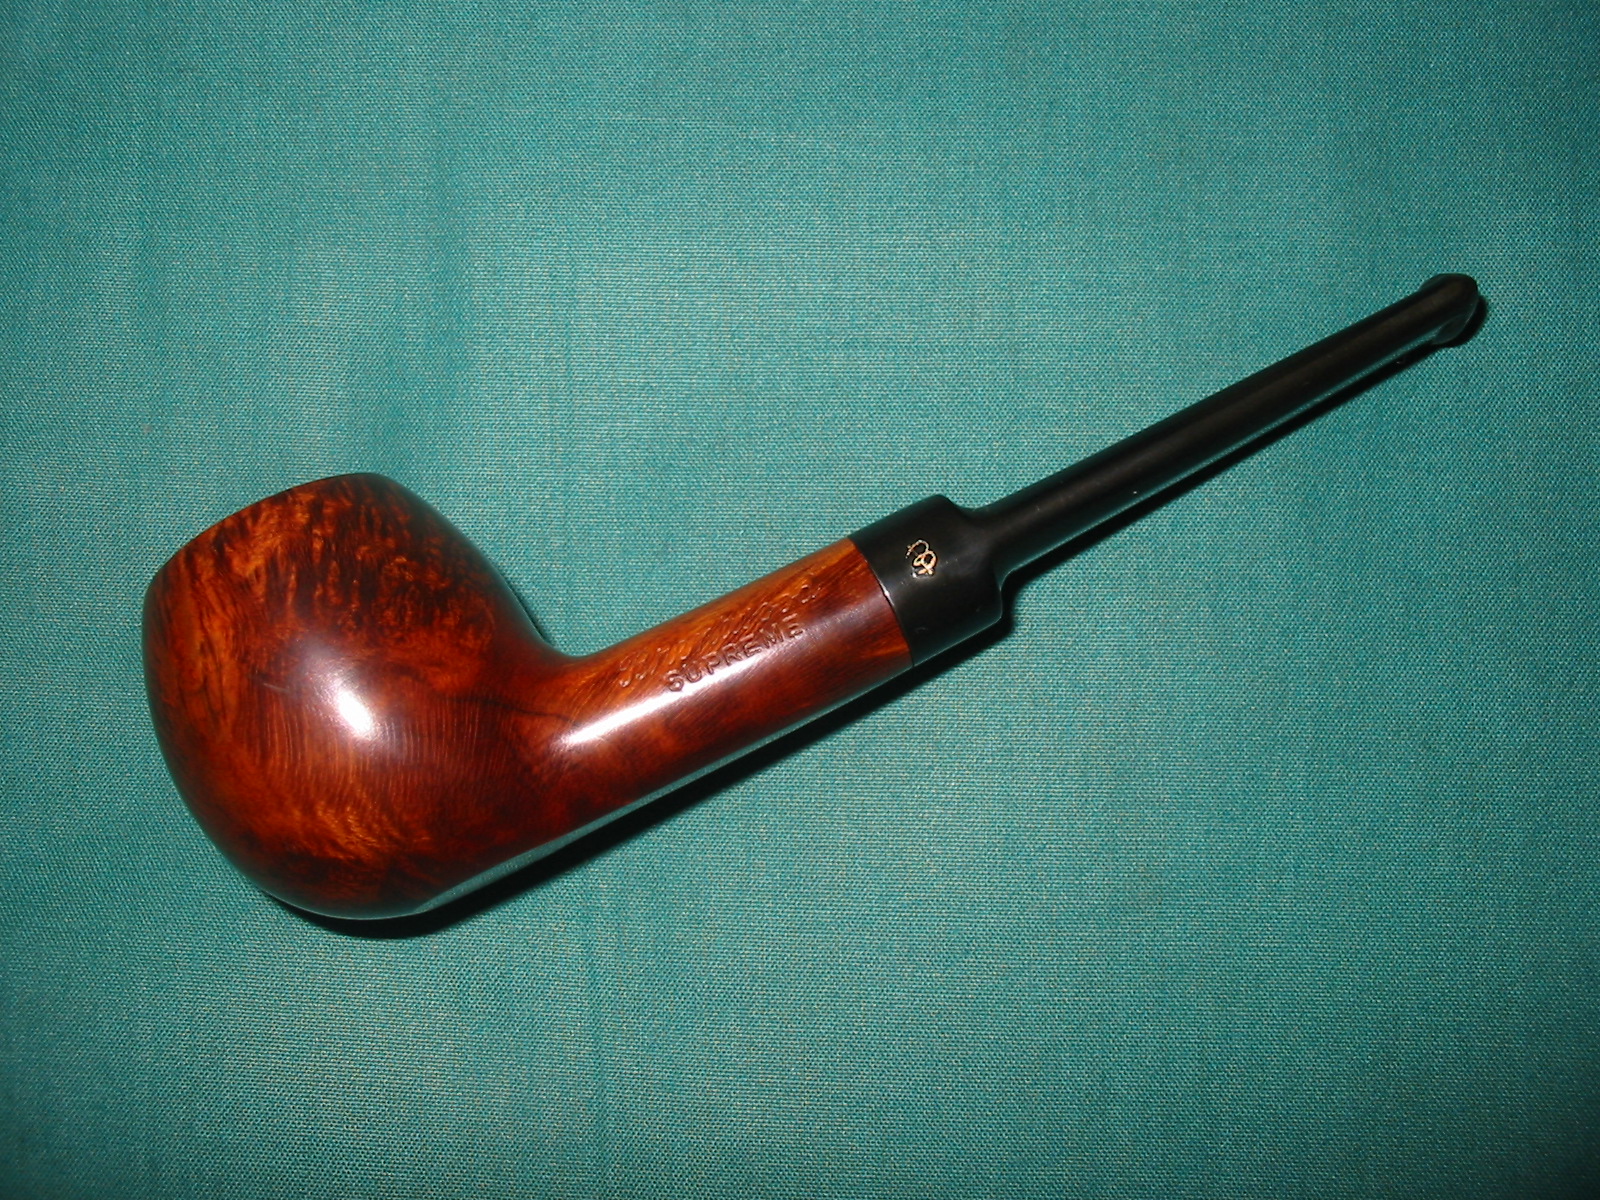
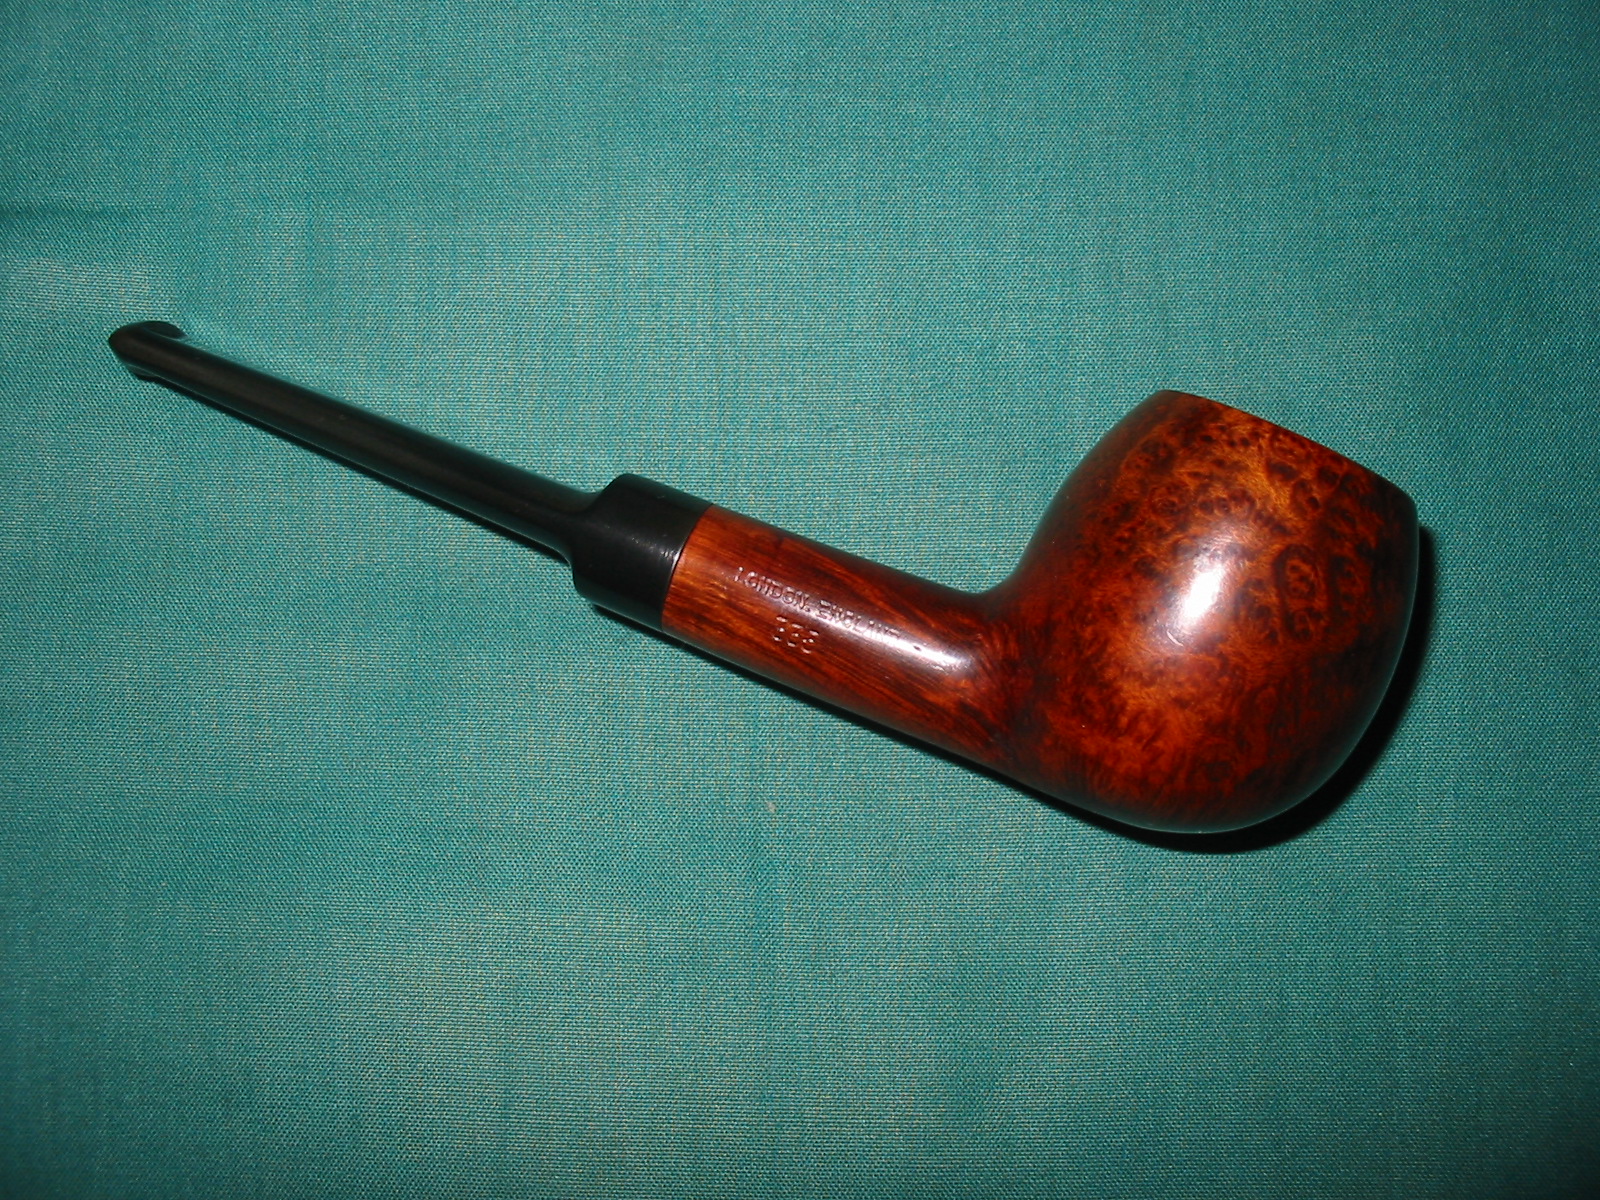
The last of the lot of six pipes I picked up in Washington was an apple shaped pipe. It was stamped Brentwood in script over SUPREME on the left side of the shank and London over England over 335 on the right side of the shank. The stem had a cursive letter ‘B’ on the left side. The finish was in good condition with a few small dings and dents in the briar. It had a thick coat of grime and grease on the briar. The rim was clean with no dents. It had a build up tars but was quite clean underneath. The stem was oxidized but there were no bite marks or dents. The stamping of the ‘B’ on the stem was in great condition and appears to have a gold colour stamped into the vulcanite. The overall look of the pipe looked familiar to me. I was not sure of the maker of the pipe but there was something about it that I remembered. Because of the sense that I had seen it before I decided to take it home, clean it up and see if I could dig up any information on the brand. I paid the $10 that the antique dealer had put on the pipe.
IMG_6925

IMG_6926
I examined the pipe and catalogued in my head what needed to be done to clean it up. I always do that to get some idea of what lies ahead for me. The bowl inside had an uneven cake on it. There were remnants of tobacco in the bowl. When I removed the stem the inside of the shank/mortise was clean and had some of the reddish brown stain inside from the bowl. There was no tar or build up in the shank. The inside of the stem had some tars and buildup that came out with the pipe cleaners and alcohol. I am not sure how that is possible that the shank was clean with the buildup and tobacco remnants in the bowl and the tars in the stem but that is the way it was. I may never know what the pipe went through.
IMG_6923

IMG_6927
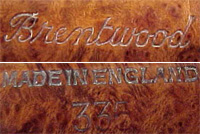
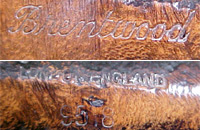
I compared the pipe to an older GBD apple that I have here at home. It had the same shape number stamp on it. Both were stamped 335. Both were apple shaped pipes. Both were stamped on the right side of the shank – LONDON, ENGLAND. The parallels made me go to the internet to see if I could find any information on the brand. I looked at Pipephil’s stamping and logo website (http://www.pipephil.eu/logos/en/logo-b7.html) and found the Brentwood stamping. The second pipe shown in the photo on the site had the same shape number as the one I had found. I have included the photo below as well as three other photos of the stamping on the briar and on the stem. The stamping shown in the second photo is the same on the left side of the pipe – the cursive Brentwood stamping. It is missing the Supreme stamping. The stamping on the other side of the shank – ‘MADE IN ENGLAND’ is different from mine but both the shape number and the position of that stamping is the same. The stamping on the pipe in the third photo shows the same stamping as the pipe I have – ‘LONDON, ENGLAND. The fourth photo shows the cursive ‘B’ on the side of the stem as the pipe I found.
brentwood2ybrentwood2bbrentwood1bbrentwood1a

Underneath the photo of the stamping on the Pipephil site read as follows: “Brentwood seems to be a GBD second for following reasons:
– 335 is a GBD shape number for an apple shape like the pipe above.
– 9518 (first pipe (not shown)) is a four digit shape number as used by GBD (ie: 9534, 9553, 9557, 9567…)”

The pipe I have that is a GBD with the same shape number and overall look, the same style saddle bit, the LONDON, ENGLAND stamping confirm the fact that the Brentwood pipe that I found is indeed a GDB second.

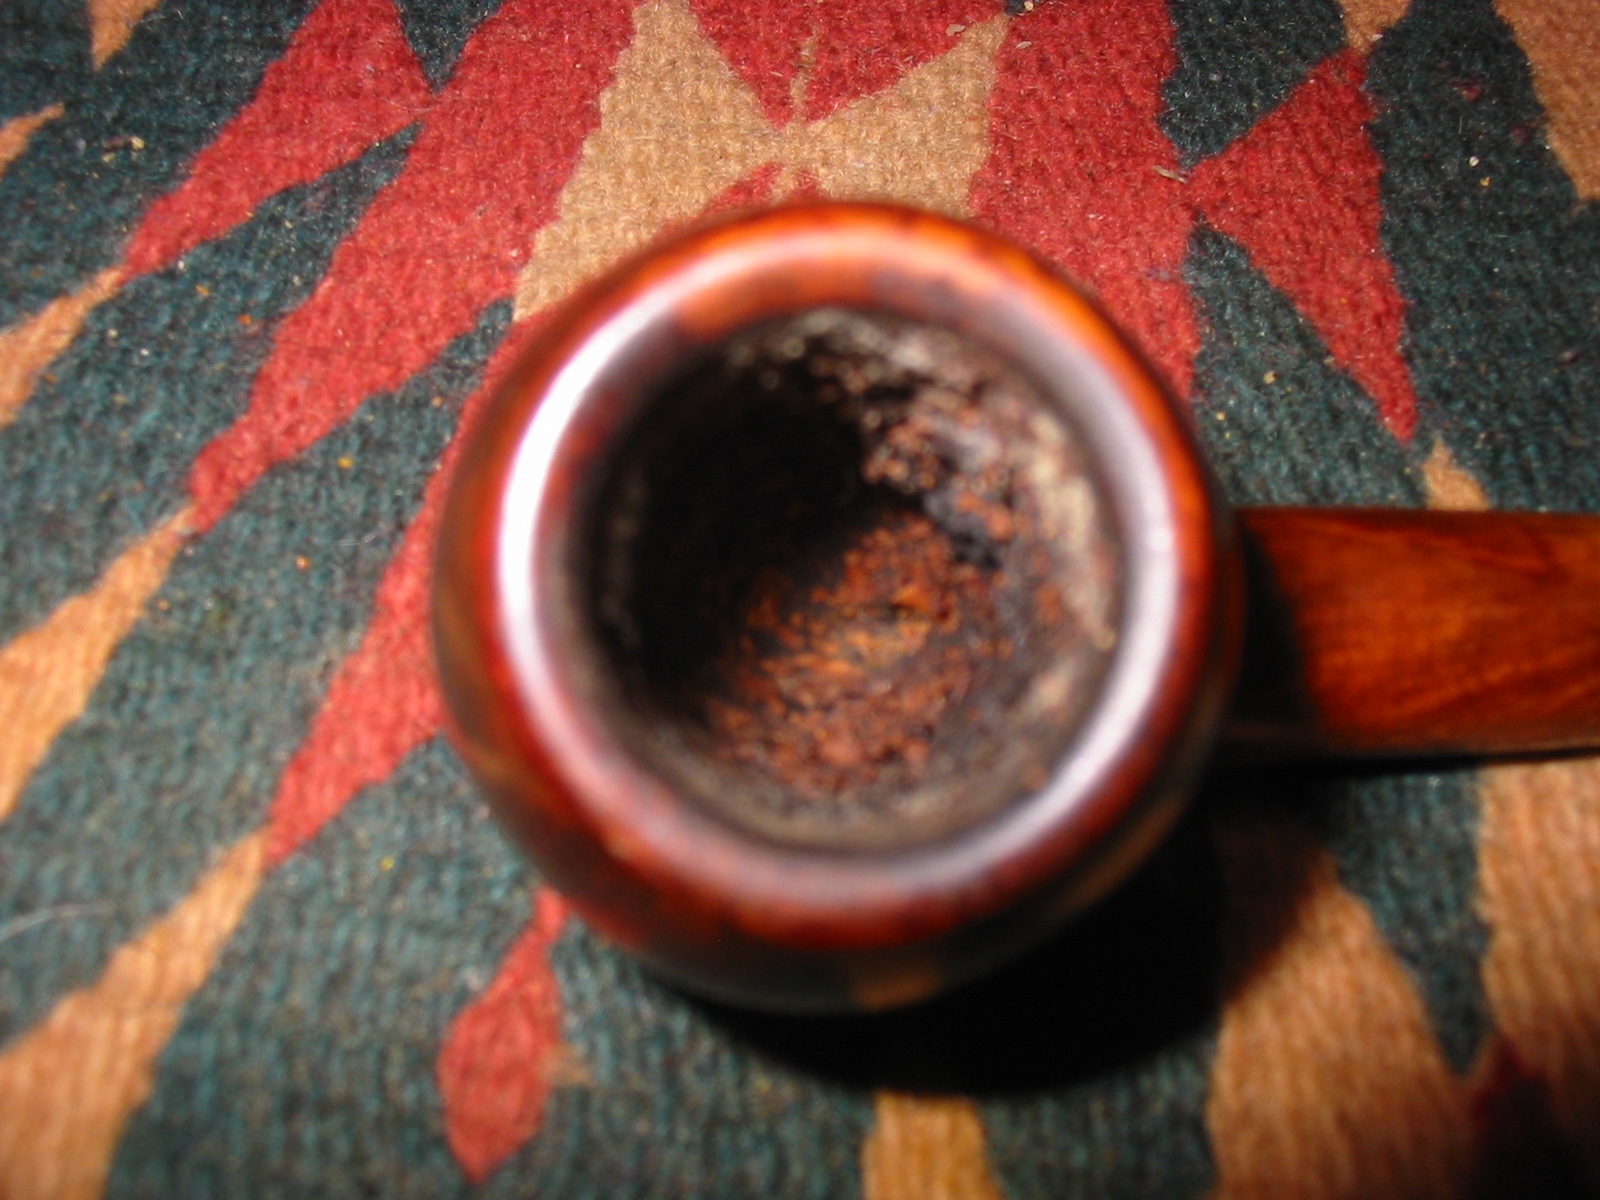
Armed with that information I went to work on the pipe to clean it up and refurbish it. The apple shape is one of my favourites so this was going to be a pipe that I would enjoy. I worked on the inside of the bowl and shank. The first photo below shows the condition of the bowl interior before reaming. The second photo shows the reaming process with a PipNet reamer. Once I reamed the bowl I scrubbed out the stain in the shank and the leftovers in the bowl with pipe cleaners, cotton swabs and isopropyl alcohol.
IMG_6924

IMG_6928
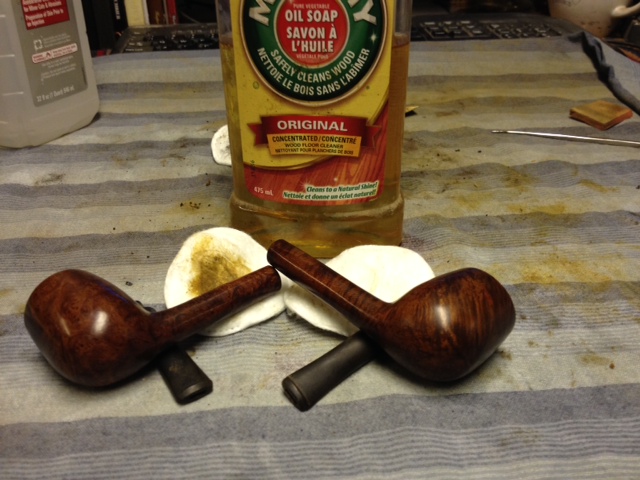
I scrubbed the exterior of the bowl and shank with Murphy’s Oil Soap on cotton pads. I wiped off the soap and residue and hand dried the bowl. The soap removed the grime and grease that was thick on the bowl. I always scrub with undiluted soap as I have found that it leaves the finish more intact than using the soap mixed with water.
IMG_6929

IMG_6930
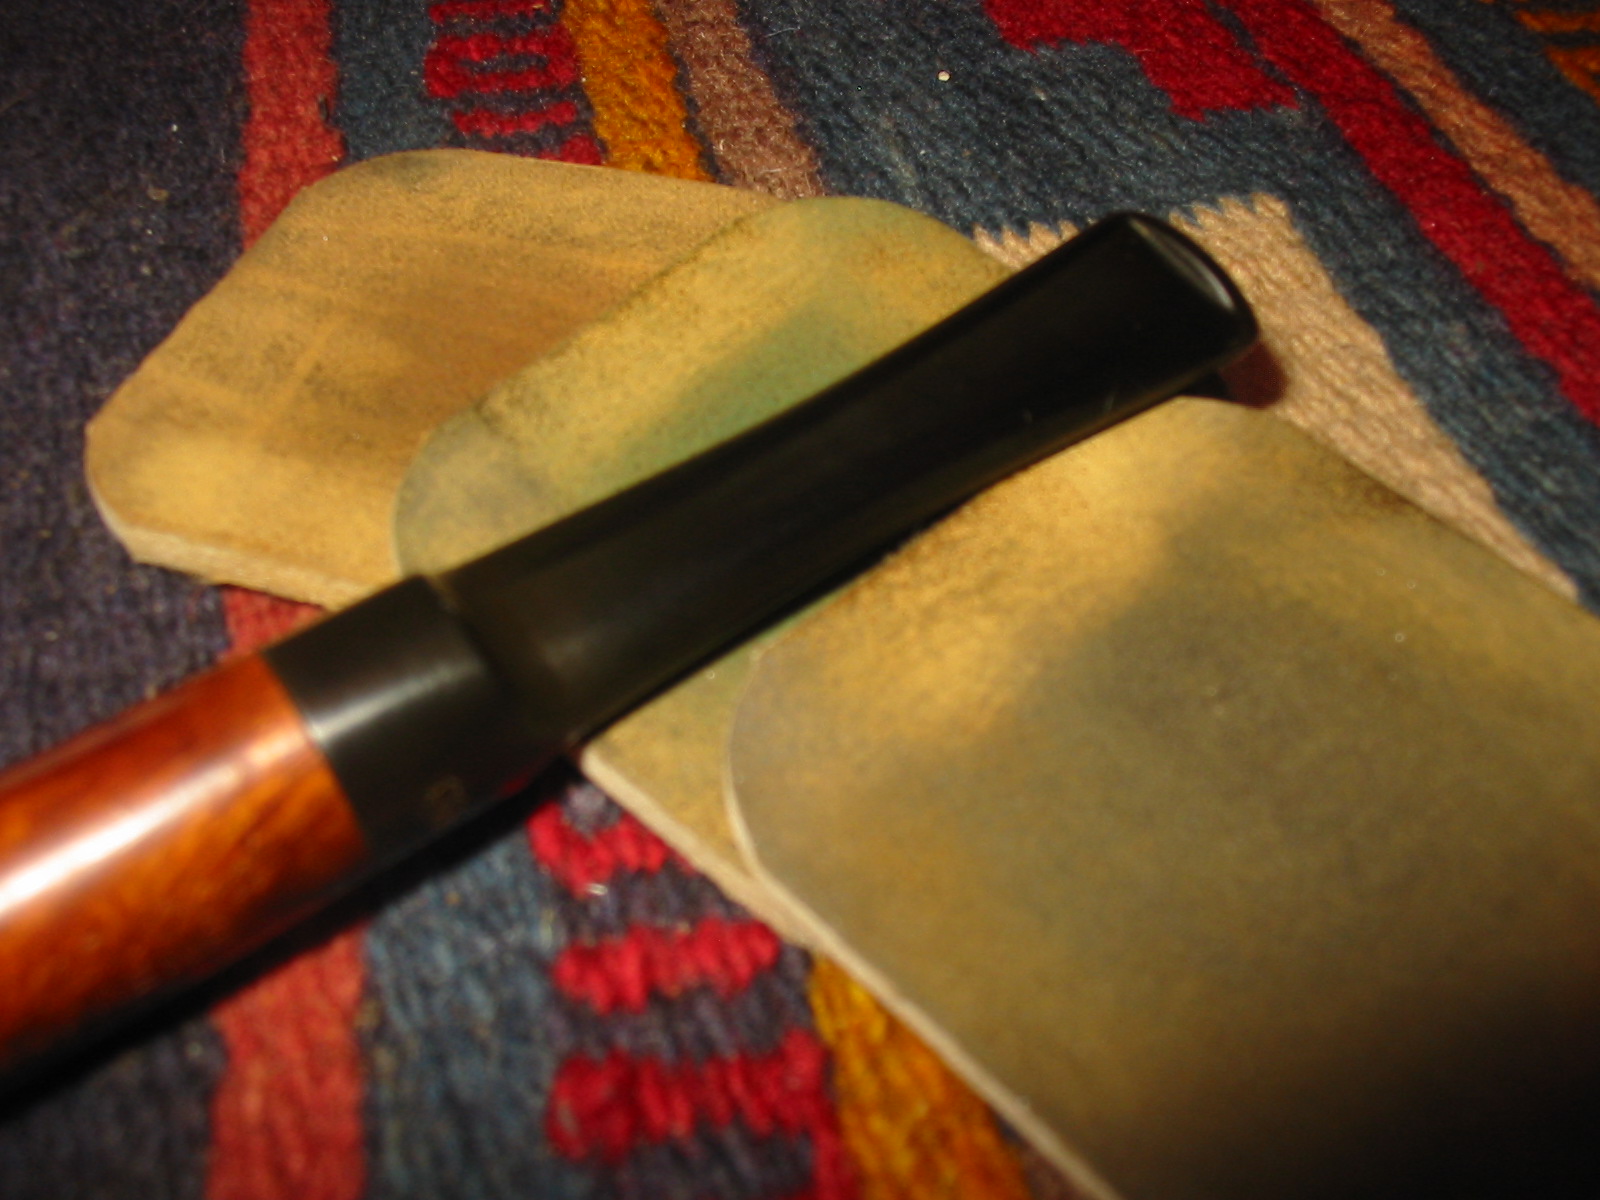
I sanded the stem with 220 grit sandpaper and medium and fine grit sanding sponges to remove some the buildup and slight oxidation on the stem. I then sanded the stem with micromesh sanding pads. I wet sanded with 1500-2400 grit pads and dry sanded with 3200-12000 grit pads. I rubbed the stem down with Obsidian Oil and when it had dried I buffed the stem with White Diamond.
IMG_6931

IMG_6933

IMG_6934

IMG_6935
I buffed the stem and bowl with White Diamond and then gave it multiple coats of carnauba wax and buffed it with a soft flannel buffing pad. The finished pipe is shown below. The interesting grain is highlighted by the stain and the finish of the pipe. All that is left to do is to choose a tobacco to smoke in it for its inaugural smoke.
IMG_6936

IMG_6937

IMG_6938

IMG_6939

Black Superglue Patches (ring around the collar) – by Joyal Taylor aka holymolar


Blog by Joyal Taylor

This is the third article by Joyal (known online as holymolar). Again it is with pleasure that I put this on the blog. Joyal had emailed me that he was working on this piece for the blog. I was looking forward to reading his thoughts on this. Others have mentioned the problem to me when they used the black super glue. Joyal has done some good experimenting and I am pretty certain he has gotten to the root of the problem. Thanks Joyal for taking time to write-up your experience and tips on this patching process. This is a what rebornpipes is all about – taking ideas and experimenting and improving them. Without further introduction have a read on what Joyal has learned.

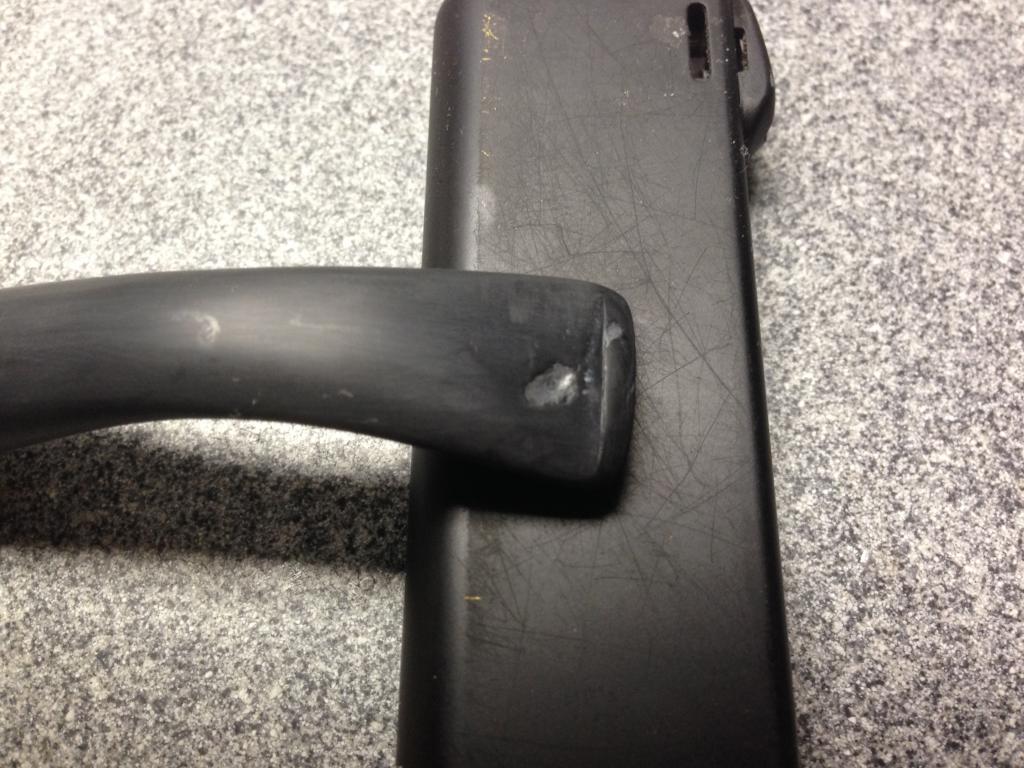
The first few times that I patched stem holes and deep tooth marks with black superglue, I ended up with white margins like these: (very evident when a flashlight is shined on the patch at an angle).
Photo #1

Photo #2
At first, I thought that I must have contaminated it by sanding before the glue had totally set. But now, I’m convinced it was because I didn’t remove all of the oxidation beforehand. I’ve learned a few tricks with black superglue patching.

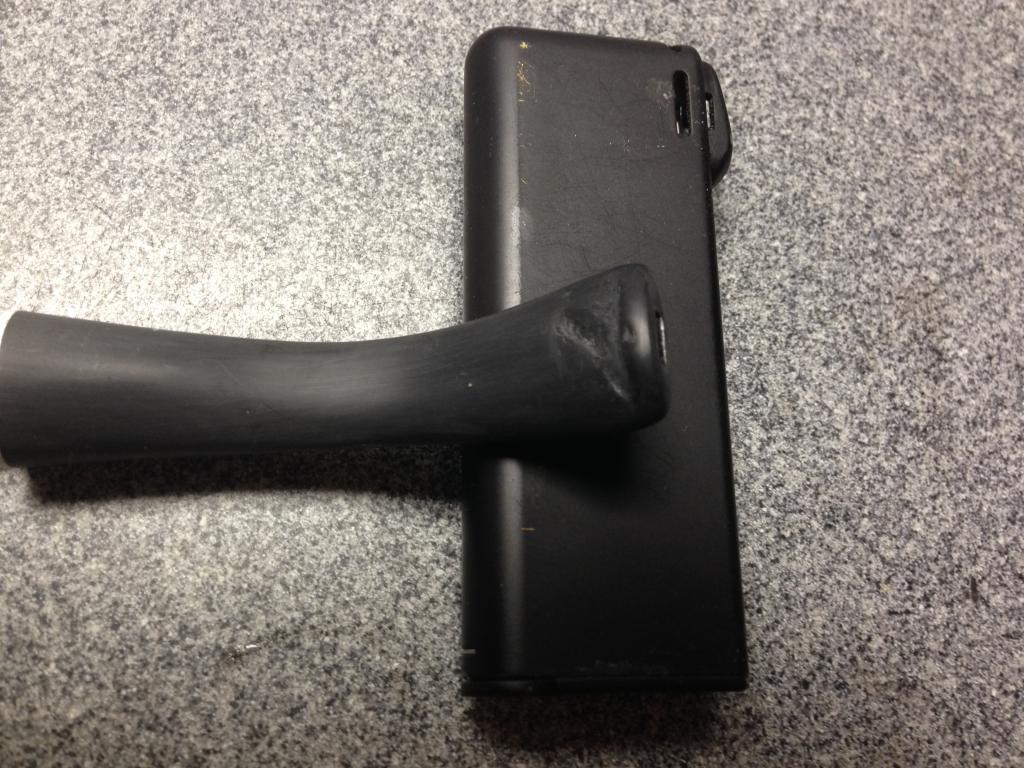
Here’s the before photos of a Dr Grabow stem that I recently patched. It’s not a high quality vulcanite but a relatively soft rubber.
Photo #3

Photo #4
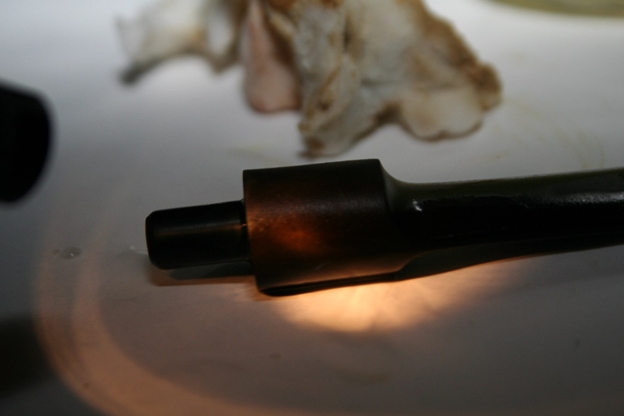
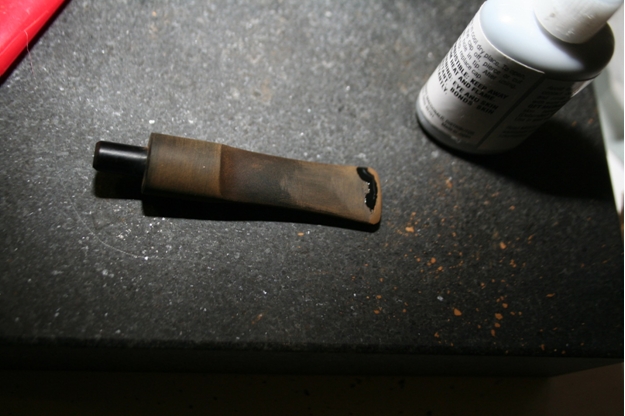
Tip #1 – Absolutely ALL oxidation and oils must be removed before patching. There are many ways to remove oxidation but, for this, I prefer the most aggressive method that I know – A bleach bath for an hour or more. Then a 1 hour alcohol bath to remove the bleach smell and taste. The bleach causes surface pitting but, in my mind, that means it has removed the deepest oxidation. (Sometimes I’ll follow with a Oxyclean bath as well). After the bleach and alcohol, lots and lots of sanding is necessary to smooth down the pitting. I use 220-800 grit with water.
Photo #5

Photo #6
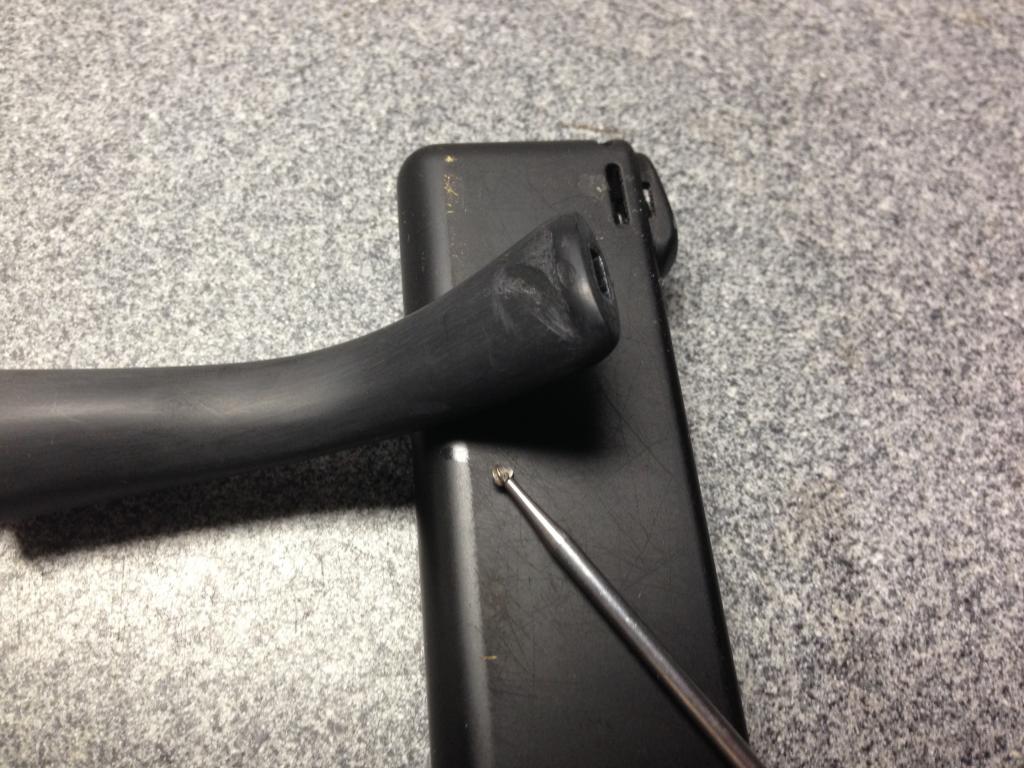
Tip #2 – Clean out the hole with a small round burr in a Dremel. Remove all oxidation and discolorations from inside the hole. “Feather” the edge which makes for better blending of the glue/stem junction and it also removes any microscopic particles of oxidation that may be hiding in the ragged edges.
Photo #7

Photo #8
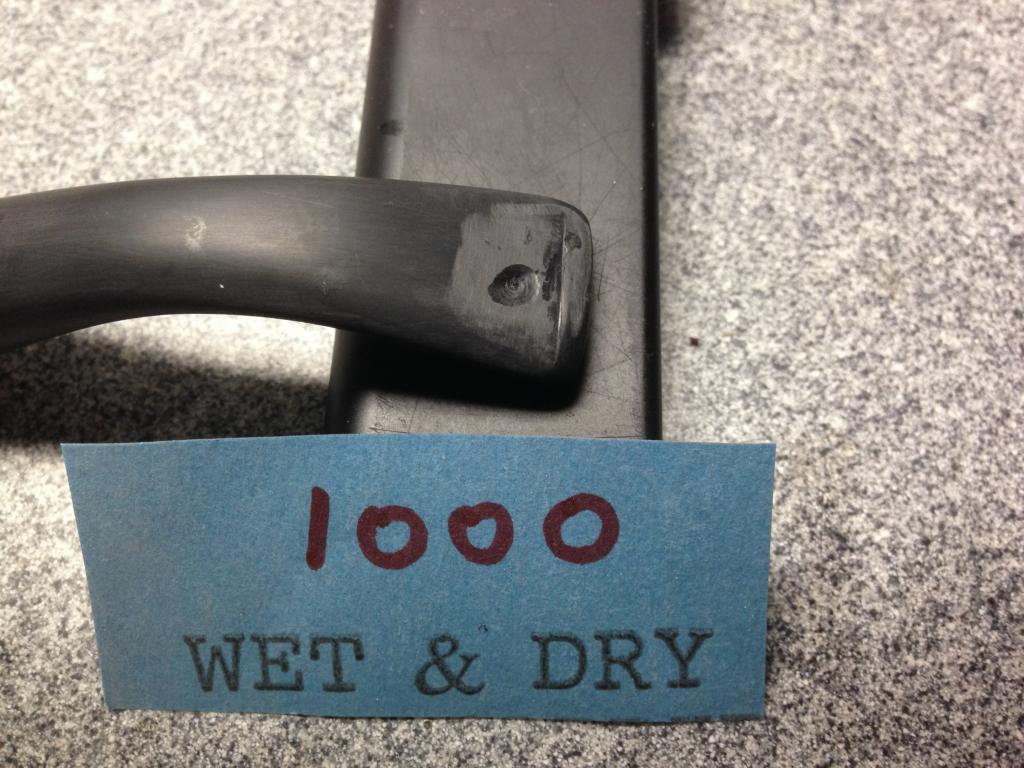
Tip #3 – Now use 1000 grit sandpaper on the edges to smooth it out some more. Remove any dust or oils with an alcohol wipe.
Photo #9

Photo #10
I sand down the overfill (220-2500 grit) until it’s even with the surface. (If necessary, I’ll freshen up the bit with needle files). Then micro mesh (4000 -12000), carnauba, and buff.

Here’s the after photos on that Dr Grabow stem before final polishing/waxing – .so it can be seen better without the glare of the camera flash on fully polished stems. No more “ring around the collar”.
Photo #11

Photo #12
Sometimes, on good quality vulcanite, I have difficulty seeing where the patches were.
Photo #13

Photo #14

Restoring a Second set of Twins – English Made Tinder Box Liverpools


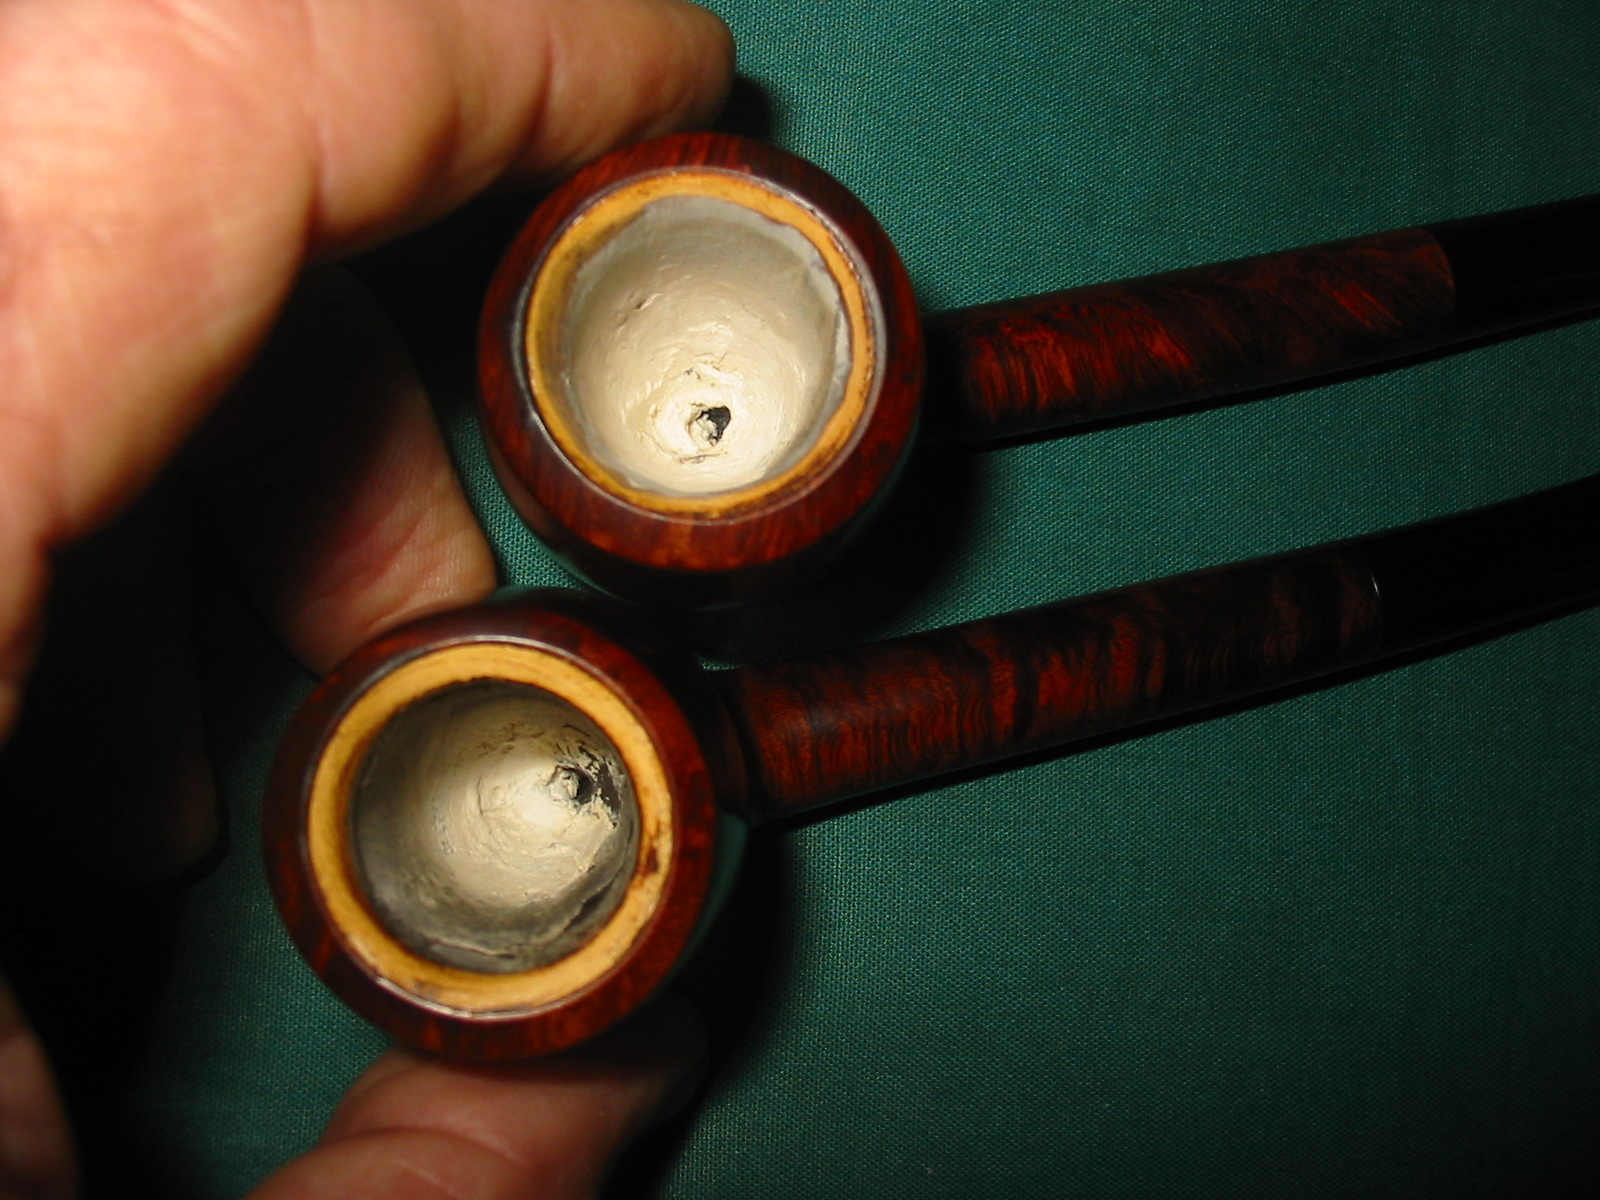
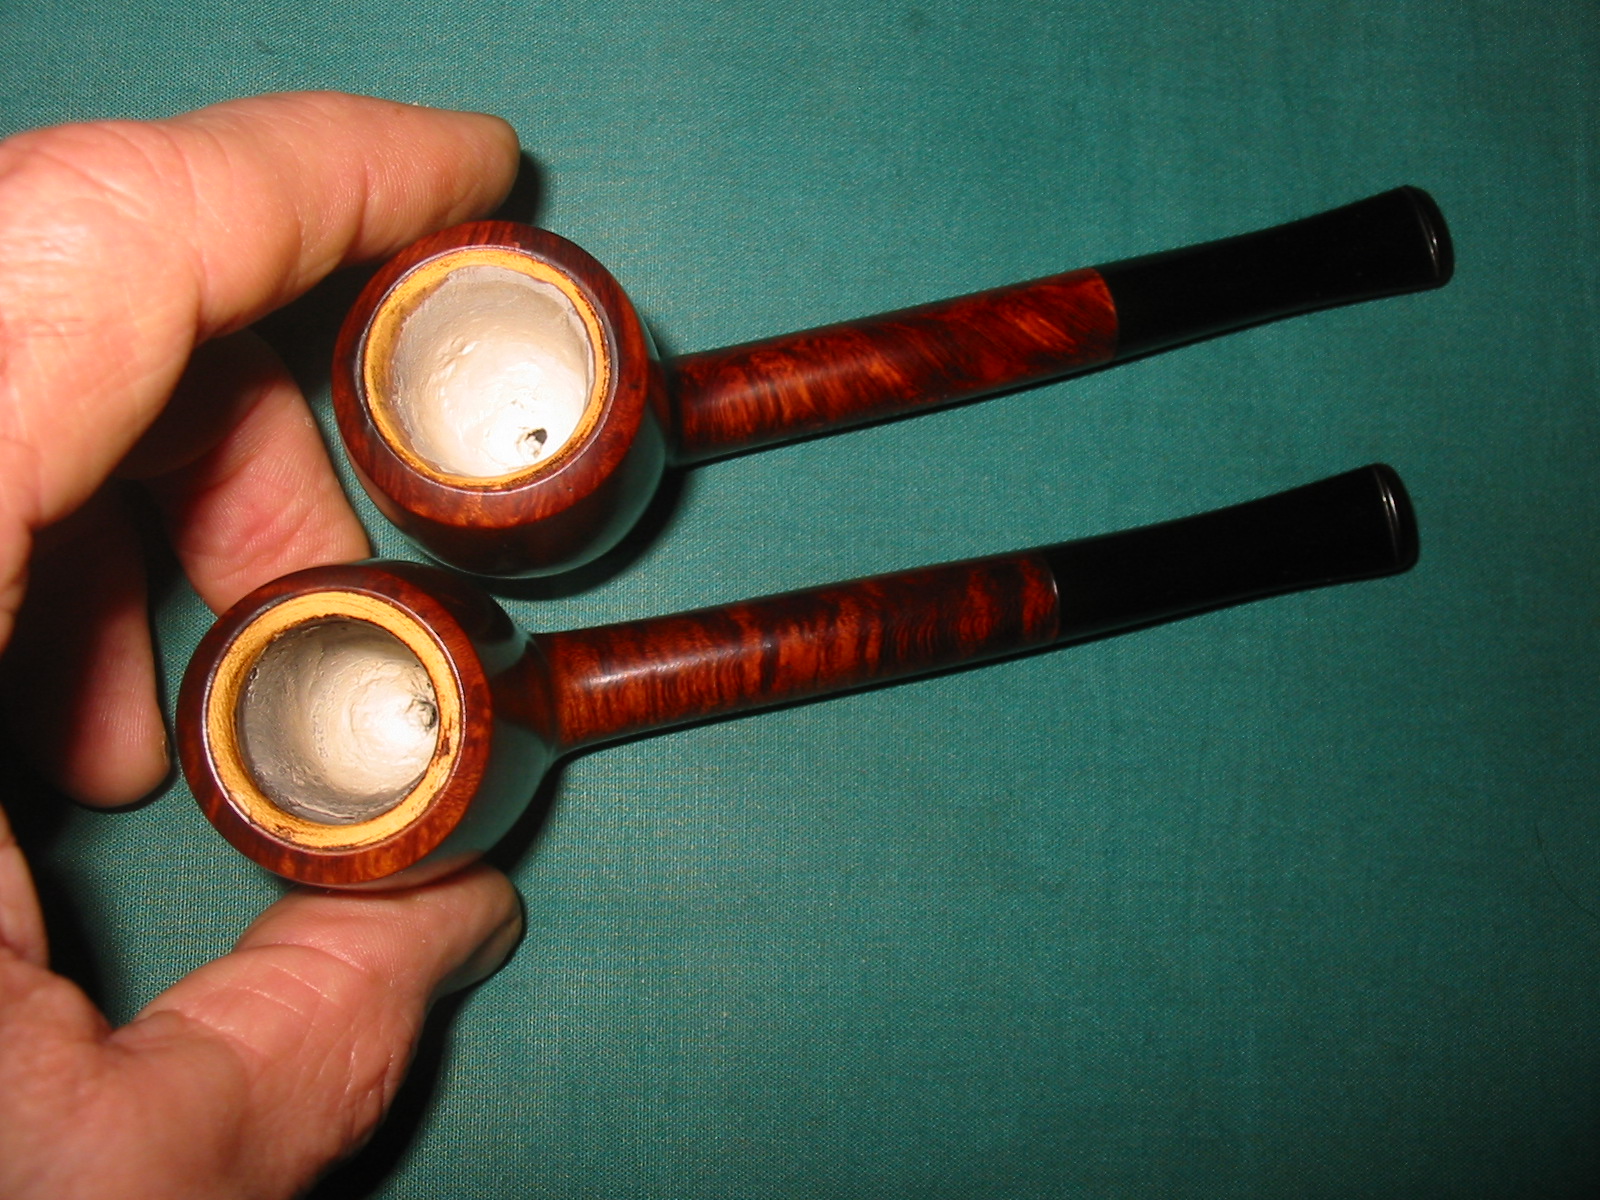
In a recent pipe hunt I picked up this second set of twin pipes. They came from the same collection as the pair of Royal Coachman bent billiards. These are stamped The Tinder Box over Meerschaum Lined on the left side of the shank and Imported Briar on the right side of the shank. I stated in the title that they are English-made and I came to that conclusion by the shape, size, staining and overall look of the pipe. Though I cannot definitively prove that, they are very similar to an older Orlik pipe of the same shape that I repaired and restored. The staining and finish were in very good shape. There were relatively few dents and dings in the bowl and shank though both were very grimy and greasy. The rims were clean other than the slight tar build up on the meer portion. The briar outer rim was in great shape with no nicks of dents. The stems were oxidized and had calcium build up all over the surface. There were also sticky places on the stem that looked like the residue from a sales label. Since they did not have a label when I bought them I am thinking this maybe the original labels on the pipe stems. Inside the bowl was slightly caked and had tobacco residue stuck to the walls. The inside of the shank and stem were very dirty with tarry buildup. The slot on both mouthpieces had narrowed with the tars.
meer1meer2meer3meer5The meerschaum lining on the two was in great shape except for the bottom of the bowl. The lining on the bowl of the top pipe above and below shows the break through on the lining. It was worn all the way through to the briar. The size of the hole was about the size and shape of a pencil. The lining on the bottom pipe was not as worn but was significantly below the airway and showed damage. It was very thin if my measurements were correct. Both of these bowls would need to be addressed in a restoration.
meer4I cleaned out the inside of the bowl and the shank to prepare for patching the bottom of each bowl. I used cotton swabs, isopropyl alcohol and pipe cleaners to remove the tars and grime from the inside of both. I also used a fine sanding sponge to remove the tars from the top of the rim and the meer lining. All of this was done to prepare for the repairs I was planning for the inside of the bowl.
meer6I scrubbed the outside of the bowl and shank with Murphy’s Oil Soap on cotton pads to remove the grime and sticky substances on them both. I also rubbed down the stem with the oil soap.
meer7I mixed a small batch of Plaster of Paris in a plastic bowl that I use for mixing and cleaning pipes. I generally pour in the dry powder and then use an ear syringe to add water slowly to the mix to get the right consistency for a patch. I learned the hard way to do this. I used to pour in the powder and then pour in water. I had to keep adding back and forth to get the mix right and always ended up with excess material. This way I can actually mix it in very minute batches, and add water as needed to keep it workable.
meer9I inserted a pipe cleaner into the airway and into the bottom of the bowl to keep the airway from clogging with the mixture. I then pressed the mixture into the bottom of each bowl with the spoon end of a pipe nail and a dental pick. The trick is to push into the bottom and use the dental pick to push it into the holes. Once it is tightly packed by the pick I use the spoon to smooth it out on the walls of the bowl and the flat head to press the bottom of the bowl. In this case the bowl was somewhat conical so I used the spoon the entire time.
meer10I cleaned up the bowl and smoothed out the surface of the repair with my finger. I wet the end of it with water and then rubbed it against the walls and bottom. I do this to knock down the ridges left behind by the spoon. I cannot get it absolutely smooth but it is smooth enough that after a few smokes it matches the surface of the meer lining. In the photo below the top pipe shows that it took the largest amount of patching. It was the bowl that was worn through at the bottom. The crack at the airway is actually not a crack but a pipe cleaner end pushed into the bowl. The bottom bowl took far less of the mixture to patch. I set them aside to cure overnight. The last photo of the bowls shown below shows the bowls after the plaster had cured. They were hard and slightly rough to the touch. I wet my finger again and rubbed down the ridges on the sides and bottom of the bowl until the surface was smoother. I sanded the patch with 220 grit sandpaper and with a medium and fine grit sanding sponge. I wiped down the inside of the bowl with a wet cotton swab to remove the dust from the sanding.
meer12IMG_6899I sanded the stems with 220 grit sandpaper and then a medium and a fine grit sanding sponge. I buffed the stems with red Tripoli and then took them back to the work table. I sanded them both with my usual micromesh sanding pads. I wet sanded with 1500-2400 grit pads and then dry sanded with 3200-12,000 grit pads. I had to stop several times and go back to the sandpaper and sponges to get the deep oxidation. I repeated the sanding with the micromesh pads. I wiped the stems down with Obsidian Oil. When it had dried I buffed the stems and bowls with White Diamond and then gave the pipes a buff with carnauba wax. I finished by buffing with a soft flannel buffing pad to polish. The photos below show the finished pipe. I will let them cure for a few days longer before loading them and giving them a first smoke. I have found that as the plaster heats when smoking it becomes harder and even more cured. It makes a durable and lasting repair.
IMG_6895IMG_6896IMG_6897IMG_6898

Restoring a Savinelli De Luxe 132EX Pot


Blog by Flatticus

It is with pleasure that I introduce you to Flatticus. Flatticus is the designer and fabricator of the rustication tool that I wrote about a few posts back. We met via Smokers Forums and also through the blog. We exchanged quite a few messages and emails back and forth over the past months on refurbishing pipes and in building the rusticator. Flatticus has been reading the blog for quite a while now and I have asked him to feel free to write-up some of his work for us to read. Flatticus is a great communicator and does some excellent work in his refurbishing. Without further ado I will let Flatticus introduce himself and this pipe that he has restored.

Hi all, Flatticus here, an amateur to this wonderful hobby. This blog has taught me everything I know about restoration (but far from everything Steve knows, yet) and I’m excited to have a chance to share some of my recent efforts, all with methods learned right here at Reborn Pipes. I recently came across a large lot of pipes with some hidden gems, including this enormous Savinelli De Luxe 132 EX Pot. Even through the grime, it was clear at the outset that this was a beautiful piece of briar. I was a bit hesitant from the outset, though, because I’ve never meddled with a pipe this nice. Still, there’s only one way to learn!
Chris1As you can see, the oxidation was extremely heavy, enough to hide the significant tooth damage to the button and bite zone. The pipe itself was grimy in the extreme, and while a touch of murphy’s oil soap took enough grime off to assure me this wasn’t heat damage, it wouldn’t touch the majority of the blackening on the pipe. First step, then, was to put the pipe in my alcohol bath, a technique I first read about in Steve’s post here. So I reamed the excess cake, and dropped it in the bath. The stem got a quick scrub with some pipe cleaners, and was already pretty clean, so into the Oxyclean it went for 2.5 hours.
Chris2Chris3After the soak and a little scrubbing on with the Magic Eraser pads, actually bought as melamine foam on the cheap off eBay, but it’s the identical product, the stem looked great! At least unless you’ve read the recent post by Joyal Taylor here. Luckily, I had, so I knew to grab my trusty flashlight.
Chris4Oxidation was everywhere, and under an angled flashlight I could see it through the length of the stem. Ok, then I knew I had to sand. But first to address the bite marks. Step one was to try the heat gun, as I learned first here.
Chris5Unfortunately the marks were too deep to come out completely from the heat, so I filled them with black superglue, a technique I found an in-depth explanation of, among other places on the site, here. In the meantime I turned to the stummel itself while the glue was drying.
Chris6The bowl top was scratched pretty badly, and had some definite darkening to contend with. I knew I’d have to top it like Steve showed me in many posts like this one. I grabbed my topping board, actually a granite surface plate I bought from woodcraft years ago for lapping wood plane soles, and now use almost exclusively for pipes.
Chris7At 320 grit, my preferred poison for this procedure, the rim cleaned up quickly, but I soon enough decided that to eliminate all of the darkening I’d have to top the bowl lower than I liked. I came close, but left some of the color rather than lose the original shape. As you can see, the bowl was also a bit out of round (and still is, to a degree), which I went after with folder sandpaper to smooth out the curve without reshaping the bowl. The pipe had 2-3 fills, but I was confident they’d blend into the stain.
Chris8After this was done I gave the bowl one coat, applied twice with flame, of a medium brown Fiebing’s Dye, diluted to about 75/25 with isopropyl alcohol and set it to dry while I turned back to the stem.

Unfortunately after a quick bit of sanding it was clear the stem needed more glue to be built back up, so I added some and tried to be patient while it dried.
Chris9Once it had, I began sanding at 320 again, at this level with an eye towards shaping more than polishing. This is definitely a weak spot for me, so I’m glad for the practice, but I need more!
Chris10After a lot of trial and error (mostly error) I finally had the stem shaped properly and sanded through 320, 600, 800, 1000 grit in sandpaper and the full range of micromesh pads from 1500 to 12000. It was looking nice and shiny, so I gave it a thick rubbing with obsidian oil and set it out to dry for about a half hour.
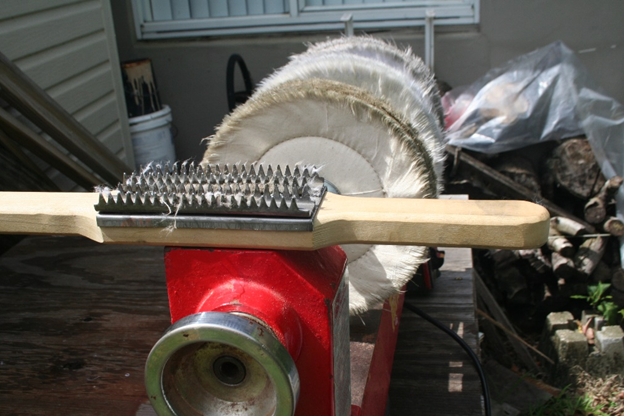
Chris11At this point it was time to hit the buffing wheels. As you can see, I buff on the lathe, with a three wheel mandrel not made by Beall but suspiciously similar, and with tripoli, white diamond, and carnauba wax. One thing I’ll point out is that odd tool in the foreground, which is a wheel rake. You can get the job done with a hacksaw blade, but if you want clean buffing wheels, these are hard to beat.
Chris12After the three-part buffing, I chucked a 4” flannel wheel into my cordless drill for a final polish by hand. For a rank amateur, I must say myself, this turned out to be a very beautiful pipe.

Some pictures of the finished product:
Chris13Chris14Chris15
Looking back, I still have an awful lot to learn, that much is clear. For one thing, that rim fill didn’t blend quite as well as I was confident it would. All in all, though, I’m pleased as punch at having learned how to do any of this, and I have Steve and the great contributors to this site to thank for it.