Blog by Steve Laug
I decided to change things up a bit and work on another of Jennifer’s Dad’s pipes. For the next pipe from the estate of George Rex Leghorn I have chosen a nicely shaped Knute of Denmark Freehand. You may not have read about this estate before, so I will retell the story. I received an email from Jennifer who is a little older than my 64+ (65 now – sheesh, I forget how old I am) years about whether I would be interested in her Dad’s pipes. My brother Jeff and I have been picking up a few estates here and there, so I was interested. Here is the catch – she did not want to sell them to me but to give them to me to clean up, restore and resell. The only requirement she had was that we give a portion of the sales of the pipes to a charity serving women and children. We talked about the organization I work for that deals with trafficking and sexual exploitation of women and their children and she decided that would be a great way to carry on the charitable aspect of her Dad’s character. With some great conversation back and forth she sent the pipes to Jeff and he started the cleanup process on them. Once he had finished cleaning them all he sent them to me to do my work on them.
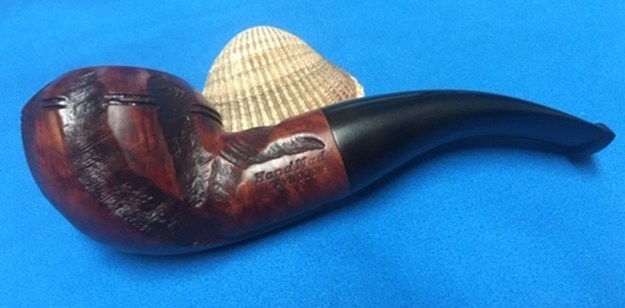
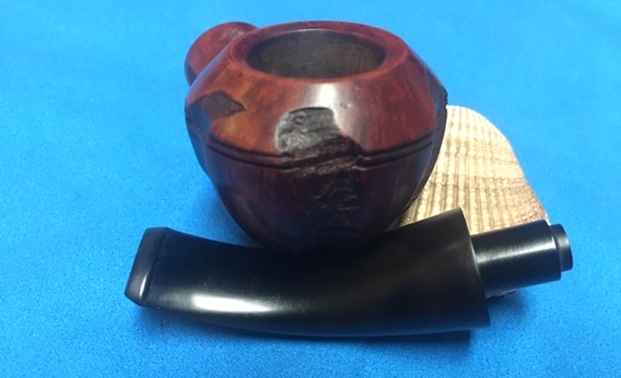
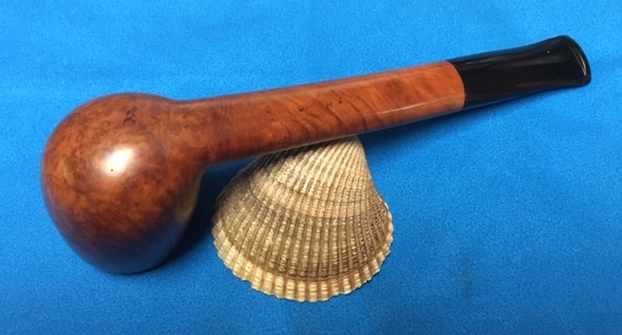
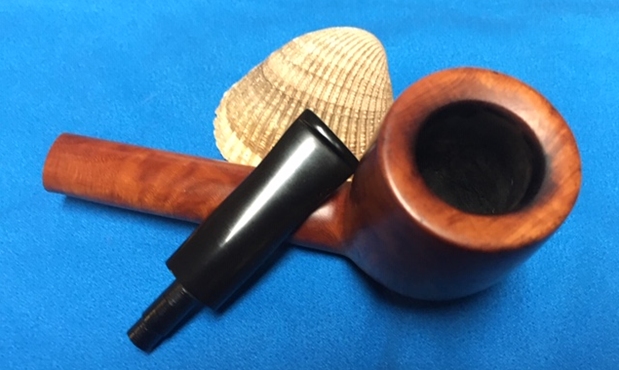
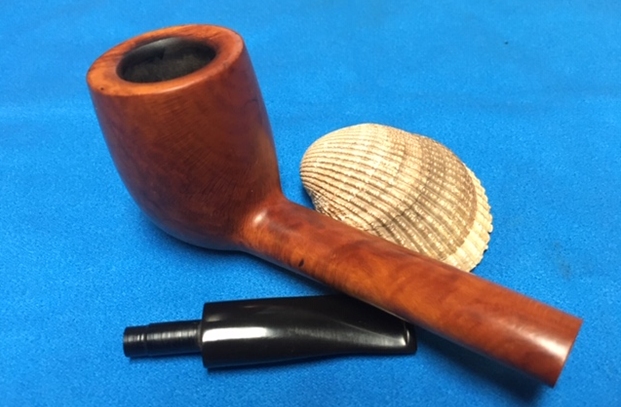
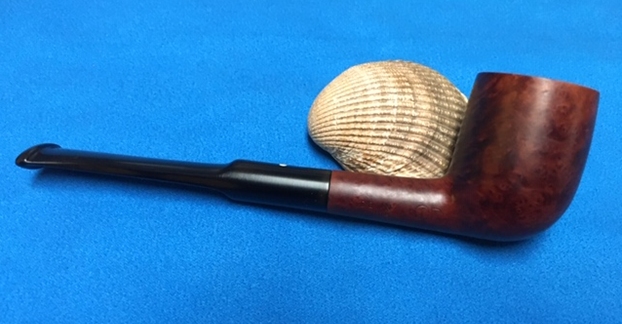
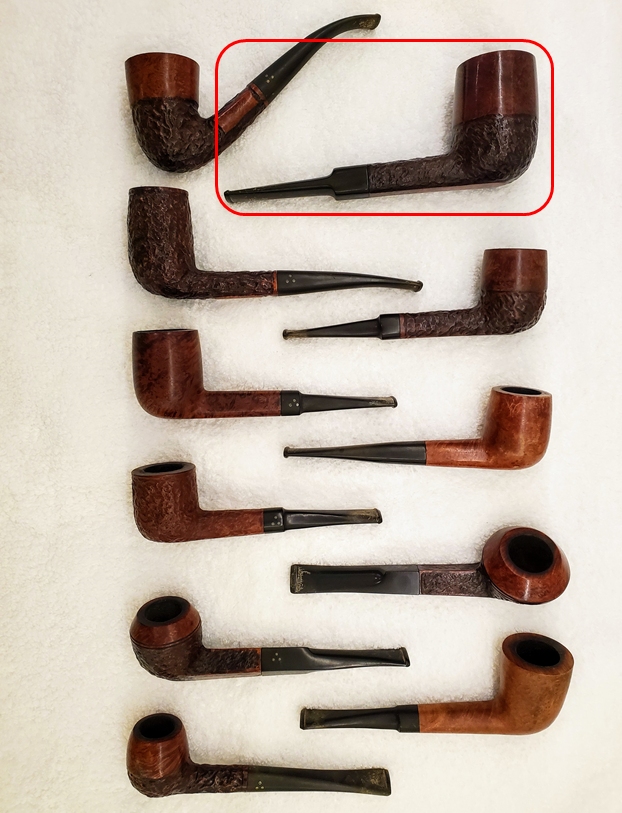
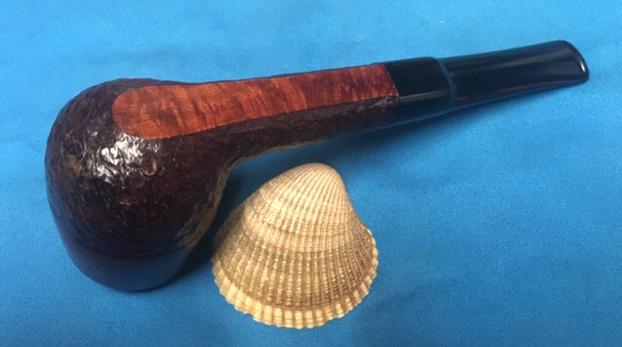
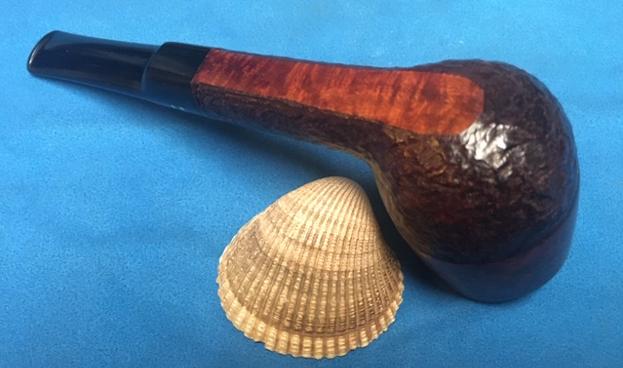
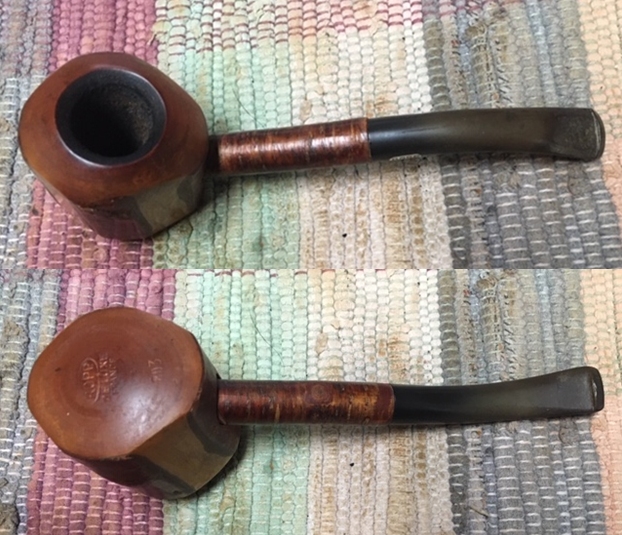
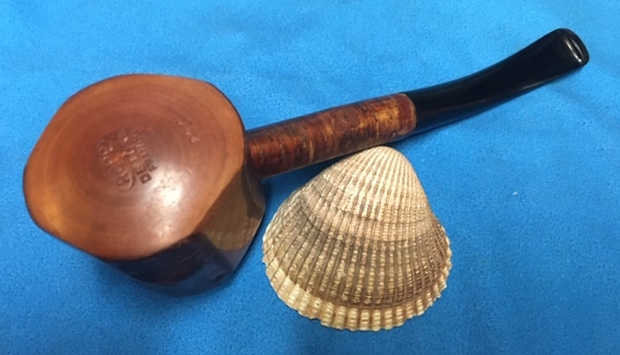
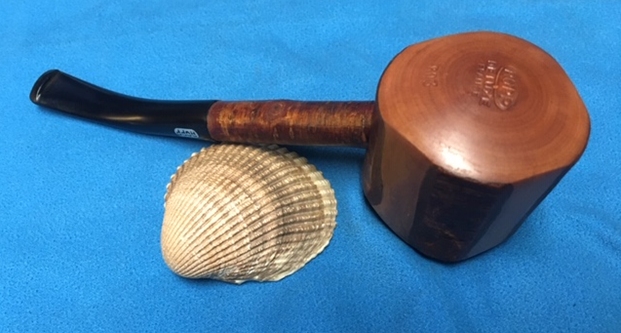
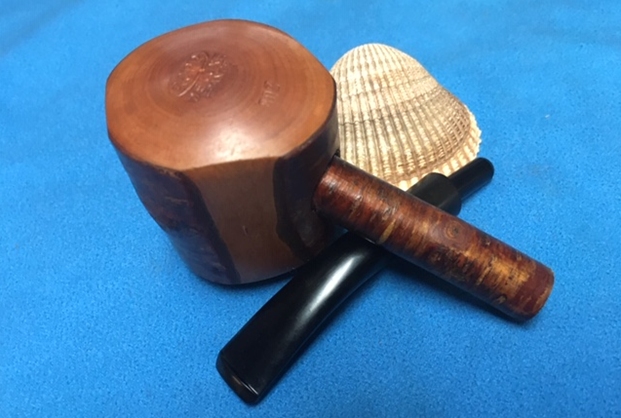
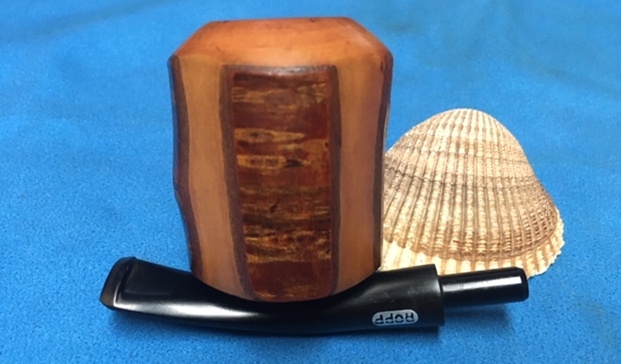
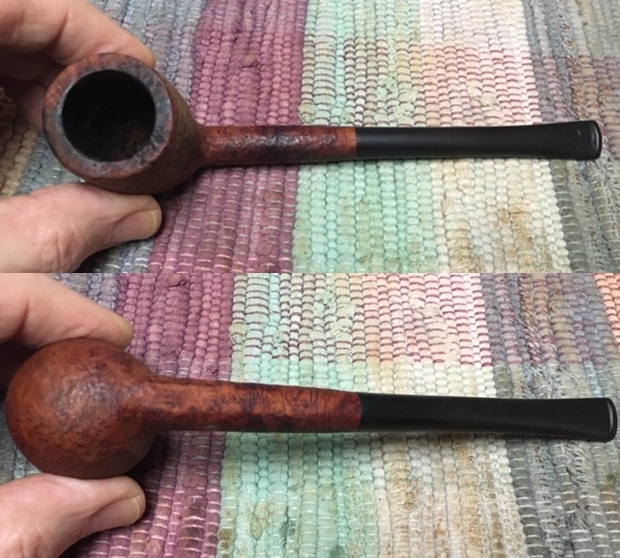
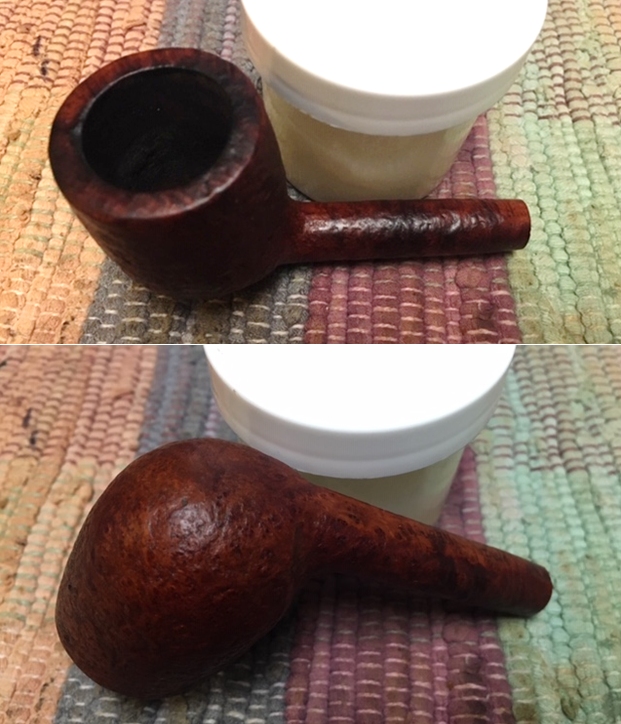
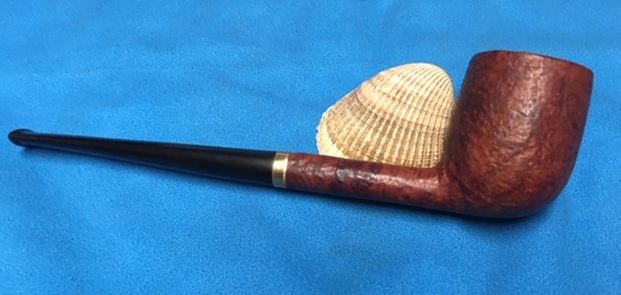
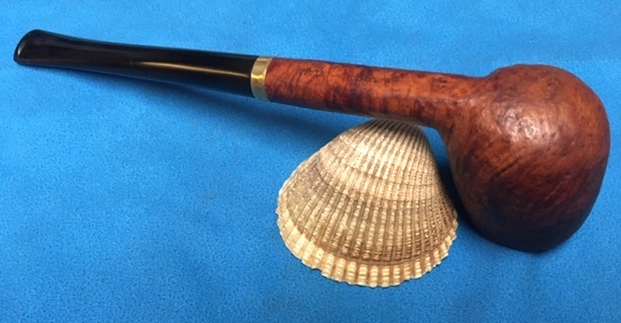
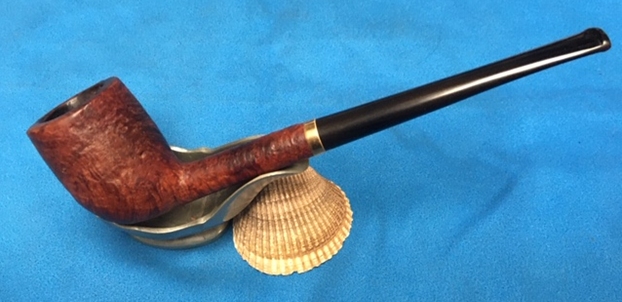
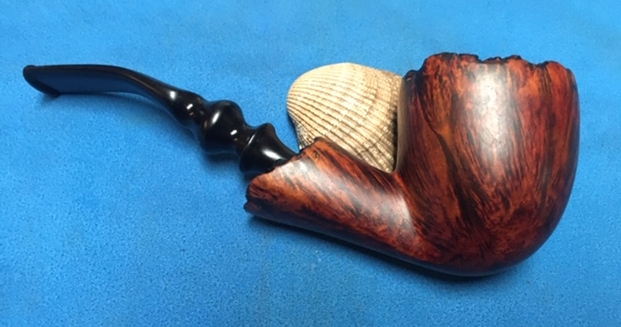
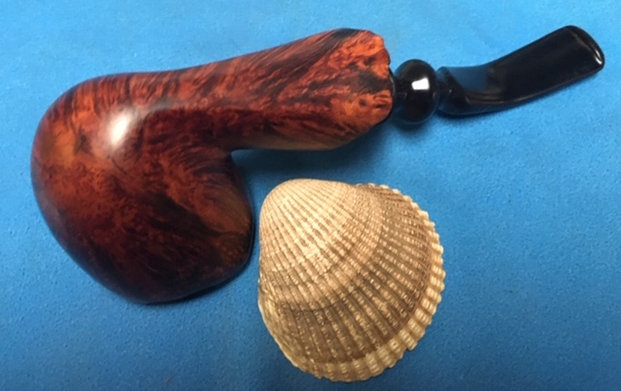
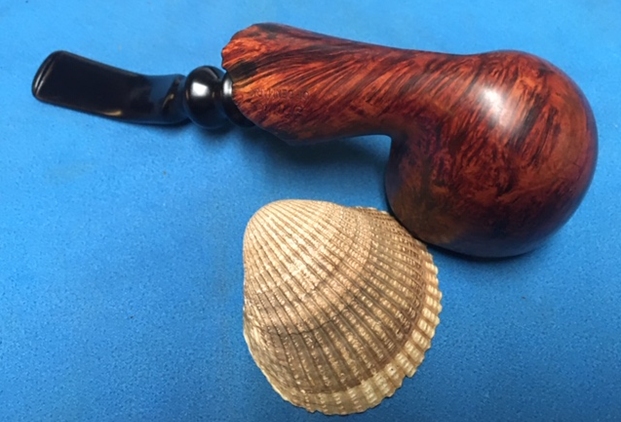
The Knute Freehand pipe with plateau on the rim top and shank end is stamped on the left side of the shank Knute of Denmark. The bowl had nice grain on the sides and cross grain on the front and back and rugged plateau on the rim top and shank end. The finish is very dirty making it hard to see beyond that to the nice grain underneath that. There was a thick cake in the bowl and it had overflowed with lava onto the inward beveled rim top. It was a dirty and tired looking old pipe. The stem was badly oxidized and there were George’s usual tooth marks and chatter on both sides just ahead of the button. The button was also damaged. The other issue with the stem is that it did not really fit the pipe. The tenon was a bit large and I just had a feeling it was the wrong stem. The pipe had been sitting in boxes for a lot of years and it was time to move ahead with the restoration. Jennifer took photos of the pipes she was sending. I have included the two photos of this pipe below.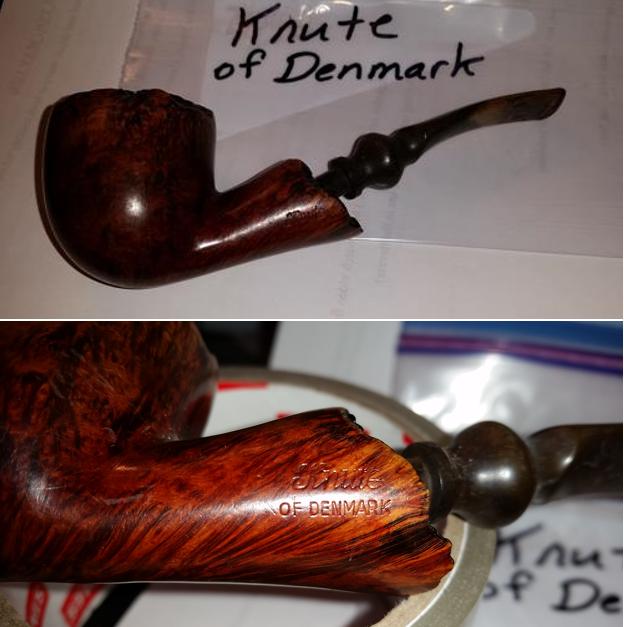 When the box arrived from Jennifer, Jeff opened it and took photos of each pipe before he started his cleanup work on them. This Knute Freehand was a nicely shaped pipe and we have both worked on quite a few Knute pipe. This was going to be an interesting restoration. Knute pipe are well made and I have found that they not mentioned much in the online pipe communities that I frequent. I enjoy working on them. The shape on the Knute seems to really capture the flow of the grain on the briar. The briar appeared to be in good condition underneath the grime. The finish looked intact under the grime and oils on the bowl sides from George’s hands. The bowl had a thick cake that had hardened with time. The lava overflow on the rim top filled in much of the plateau. It was very thick but it could very well have protected the rim from damage. We won’t know what is under it until Jeff had cleaned it off. The stem was oxidized and also had some calcification on the surface. There were deep tooth marks on both sides just ahead of the button. Jeff took photos of the pipe before he started working on it. I include those below.
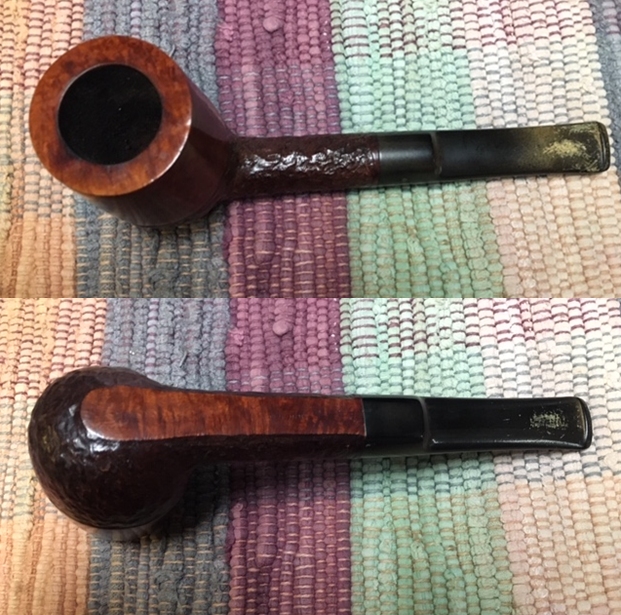
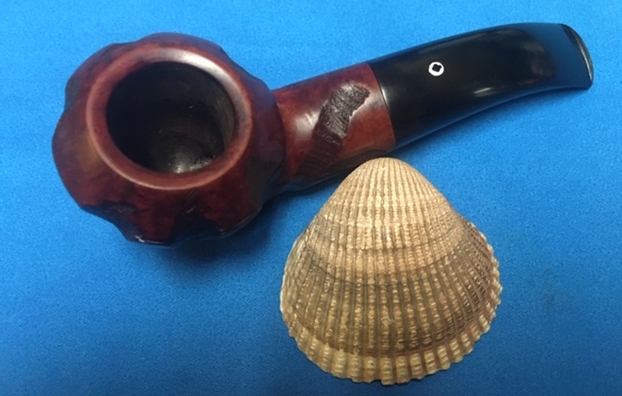
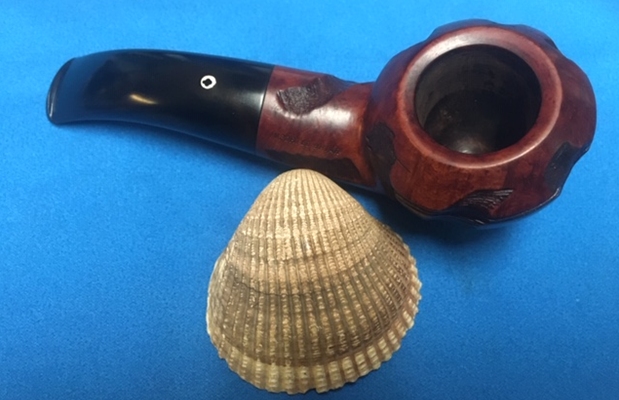
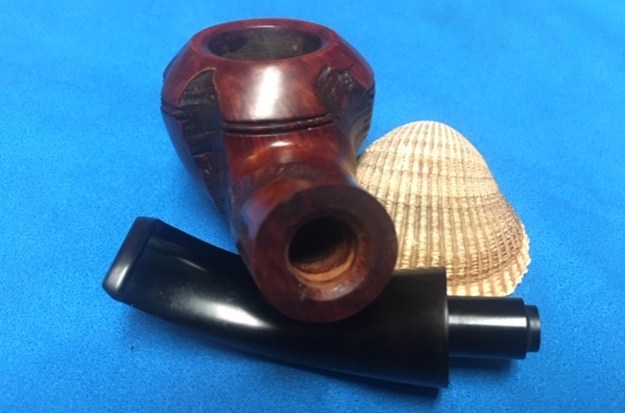
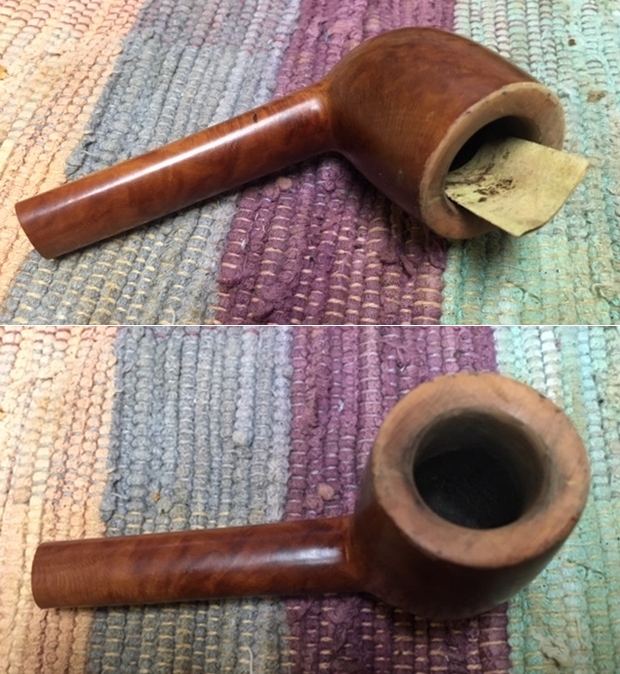
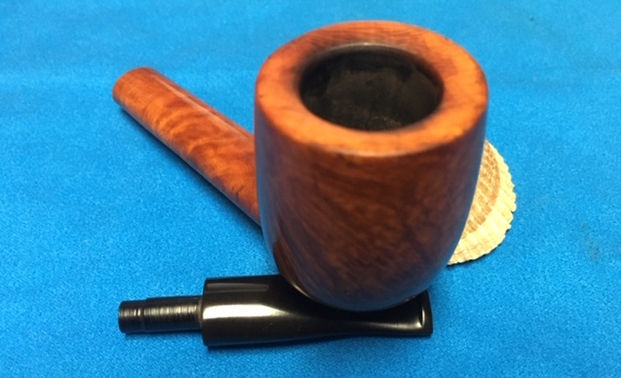
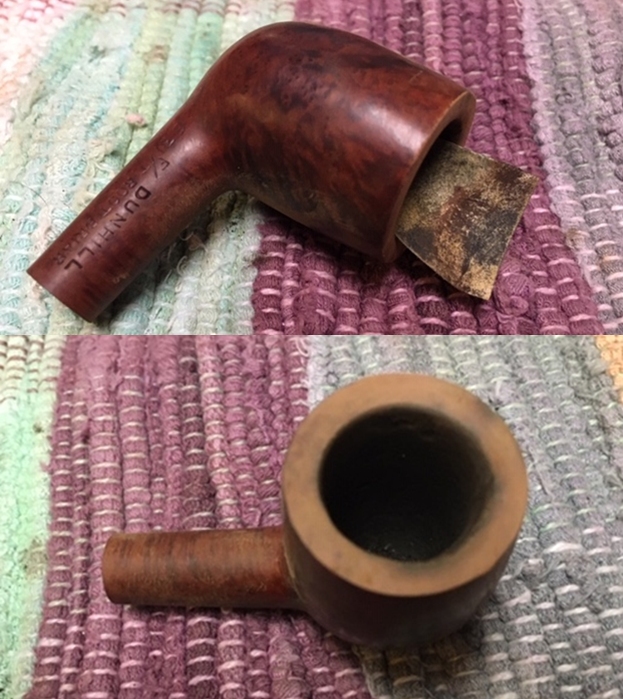
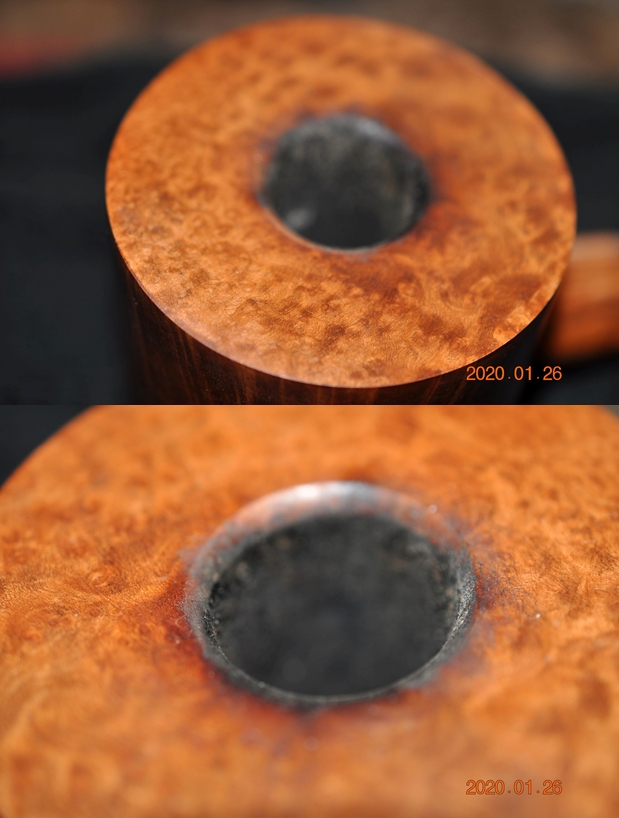
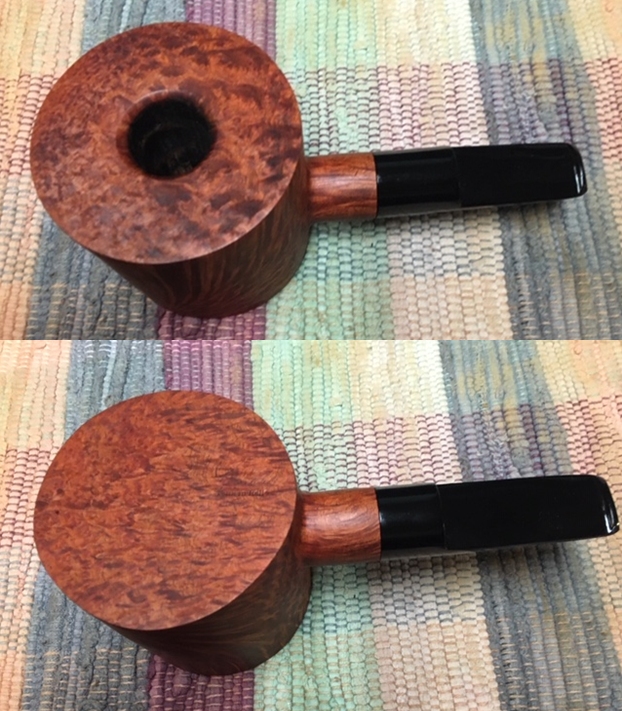
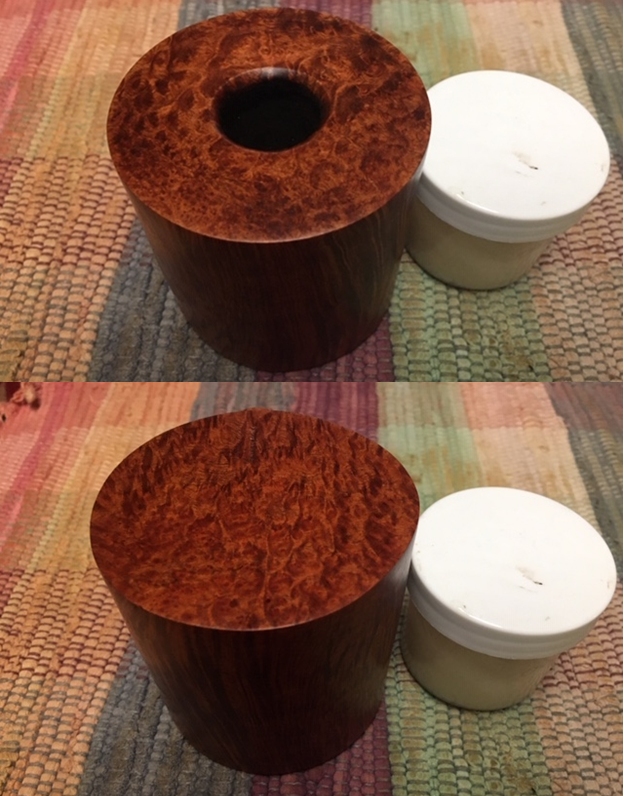
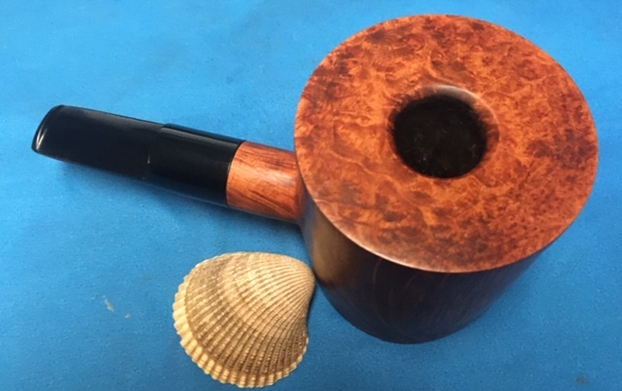
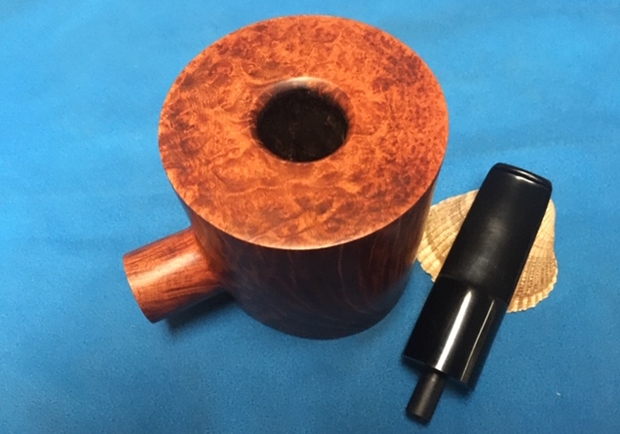
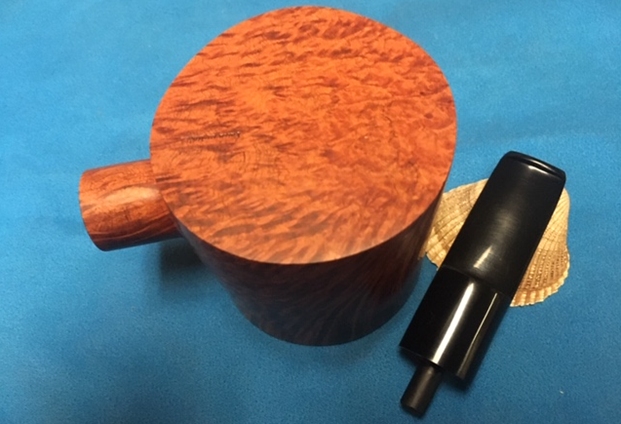
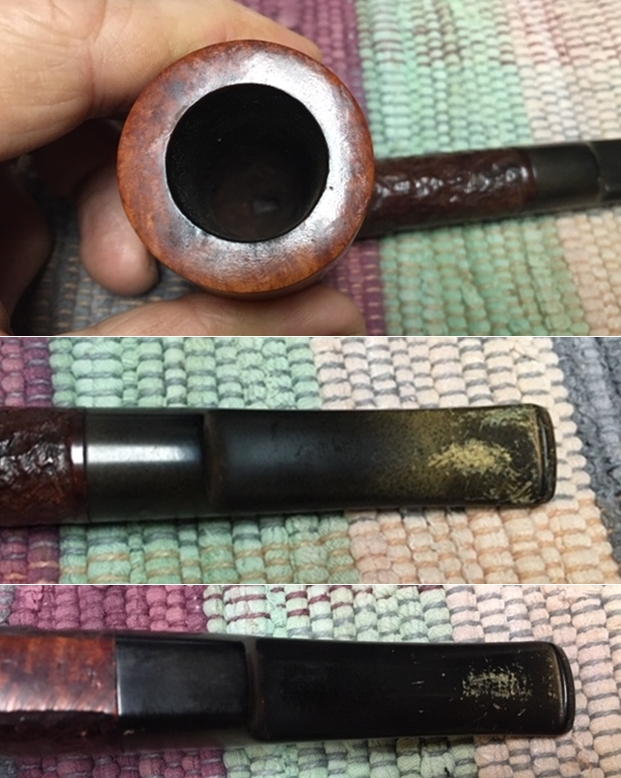
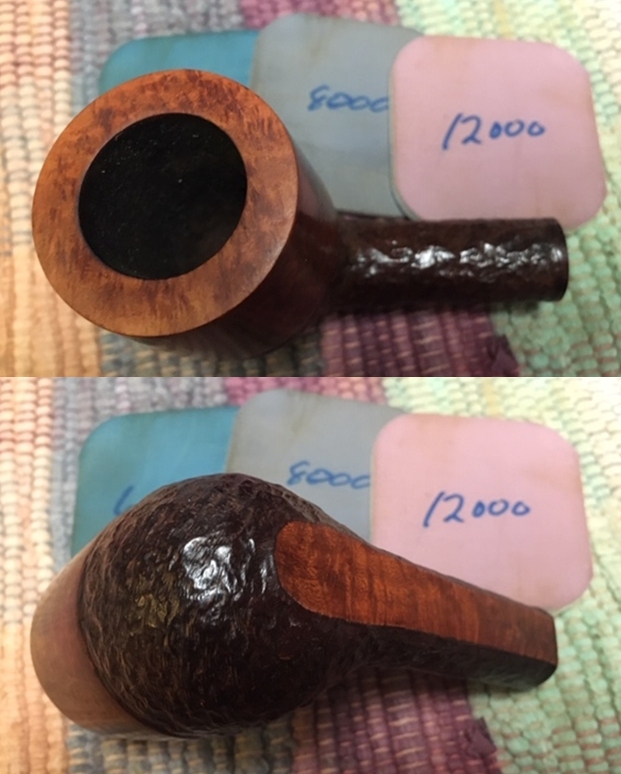
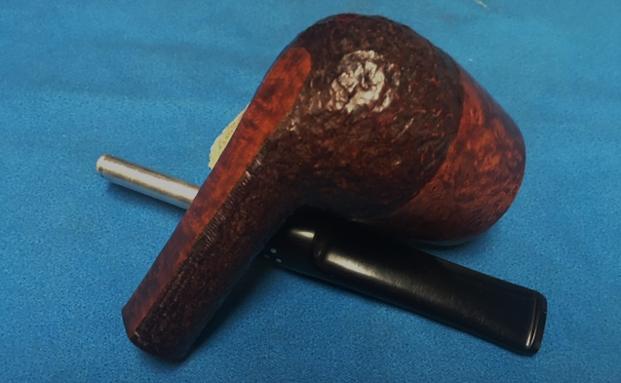
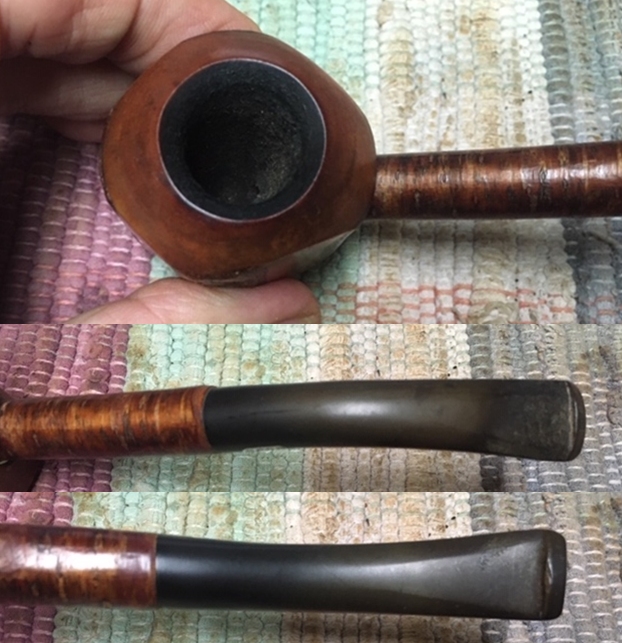
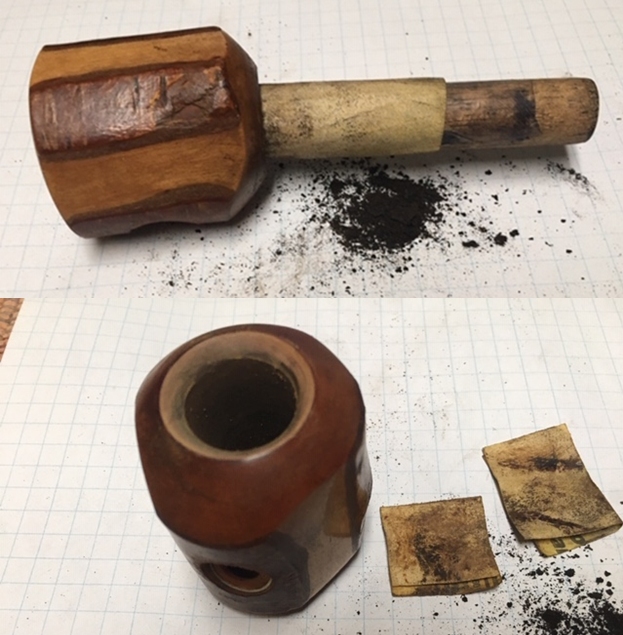
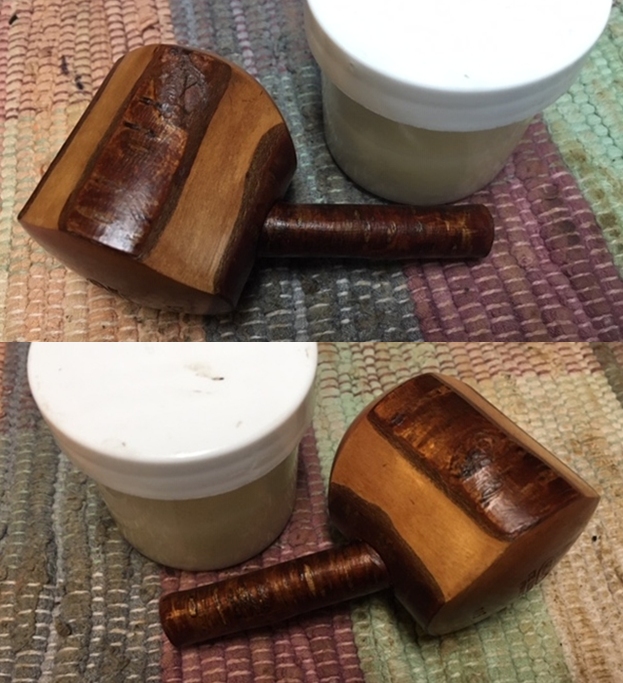
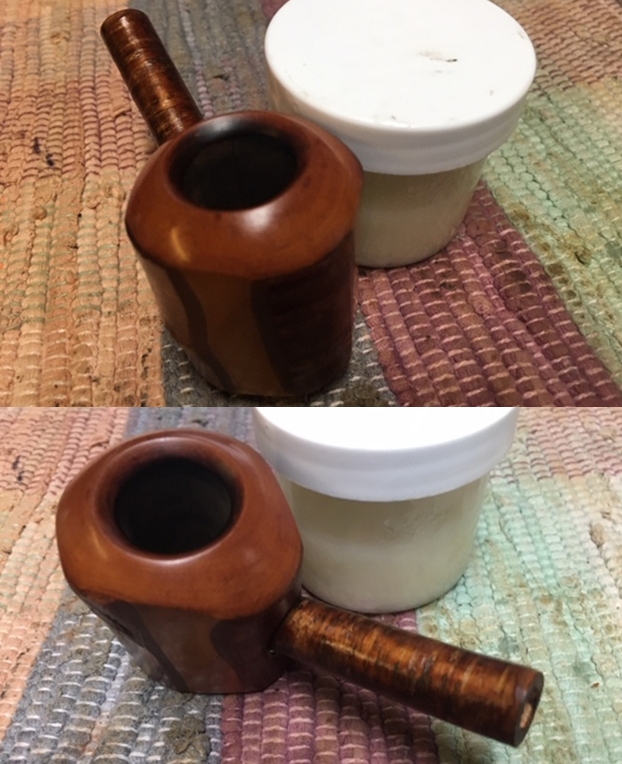
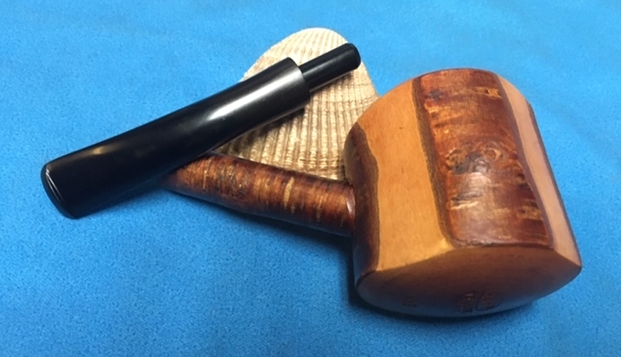
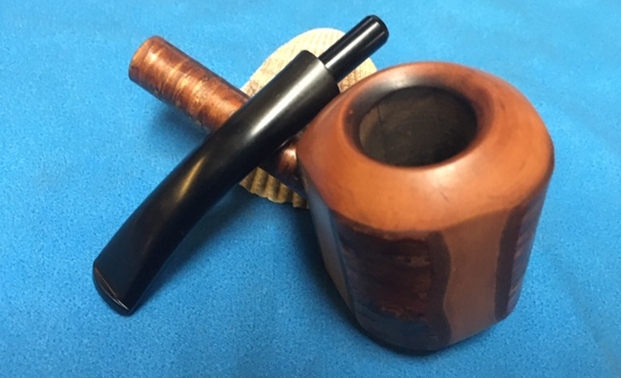
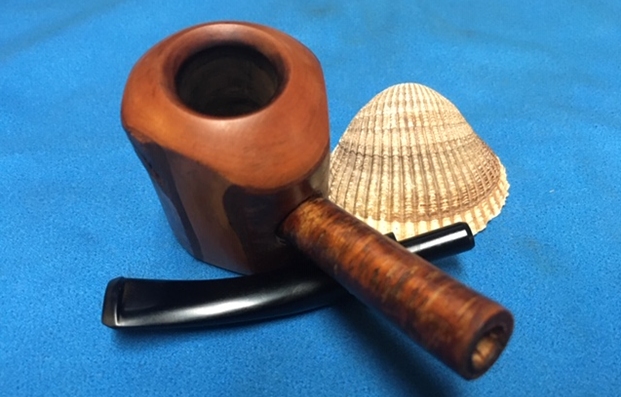
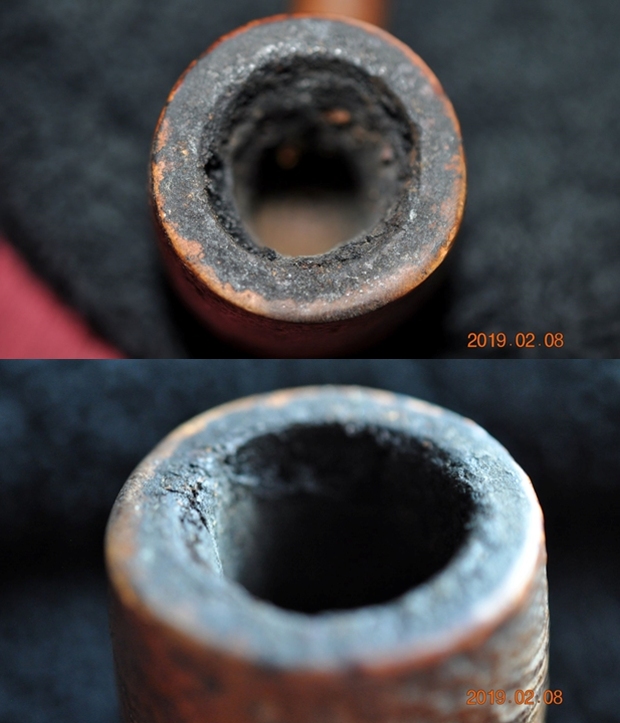
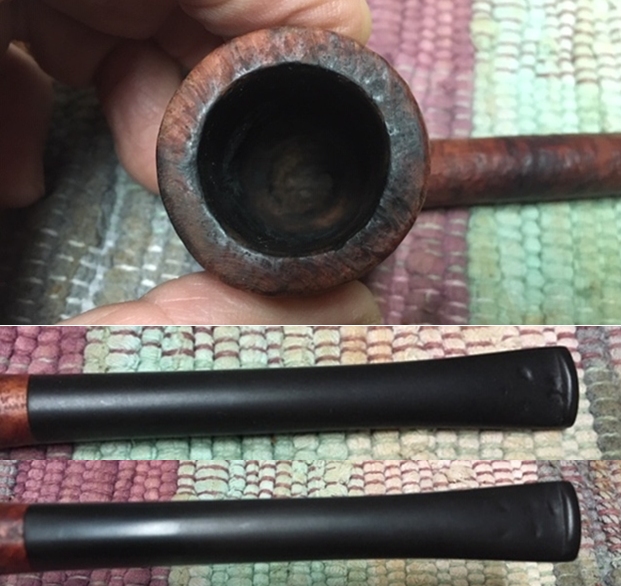
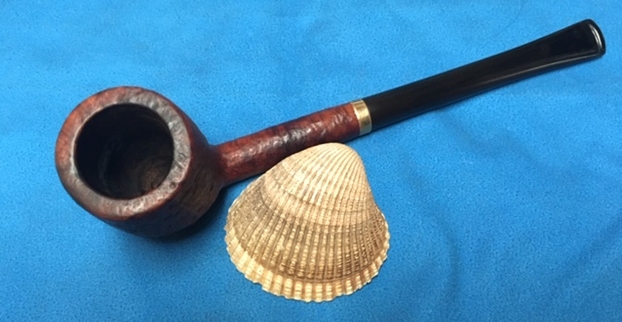
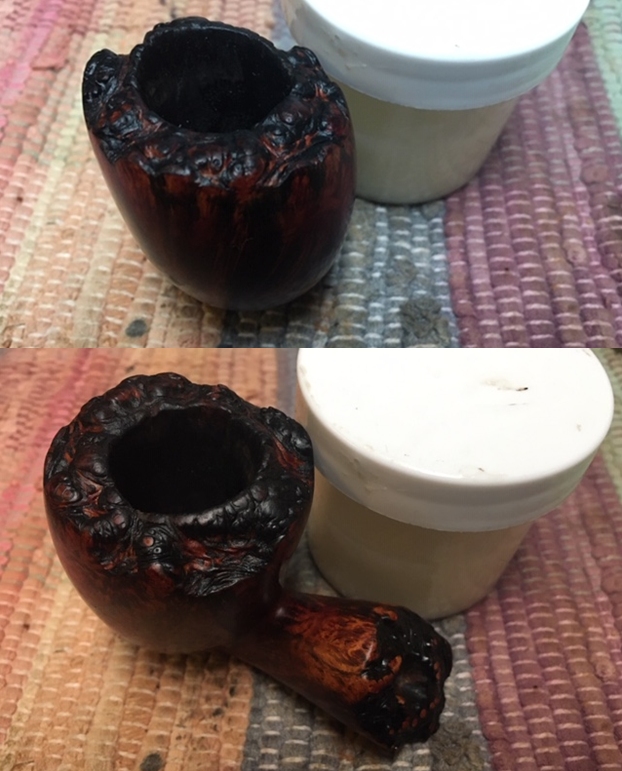
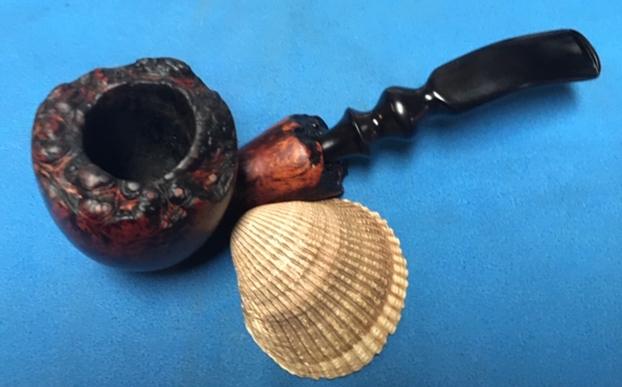
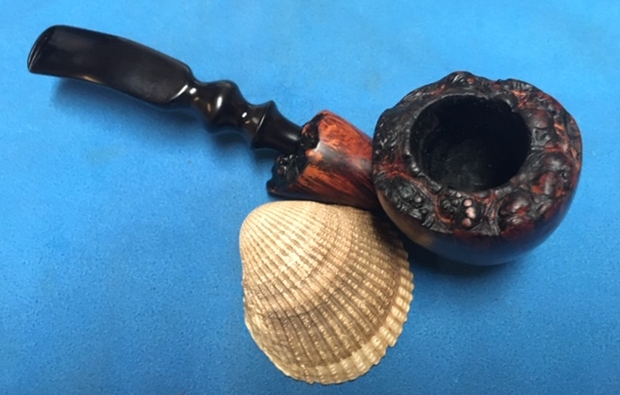
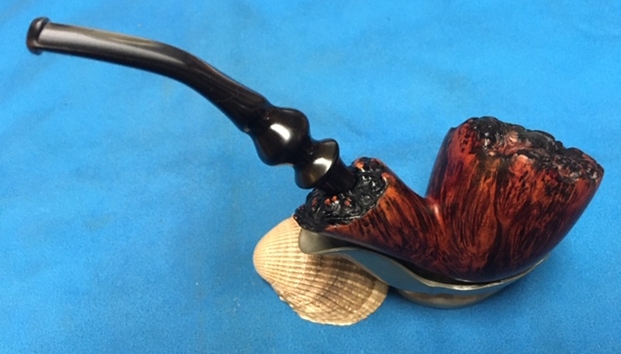
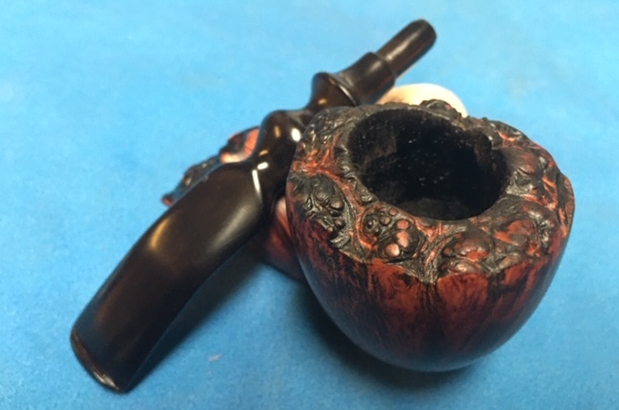
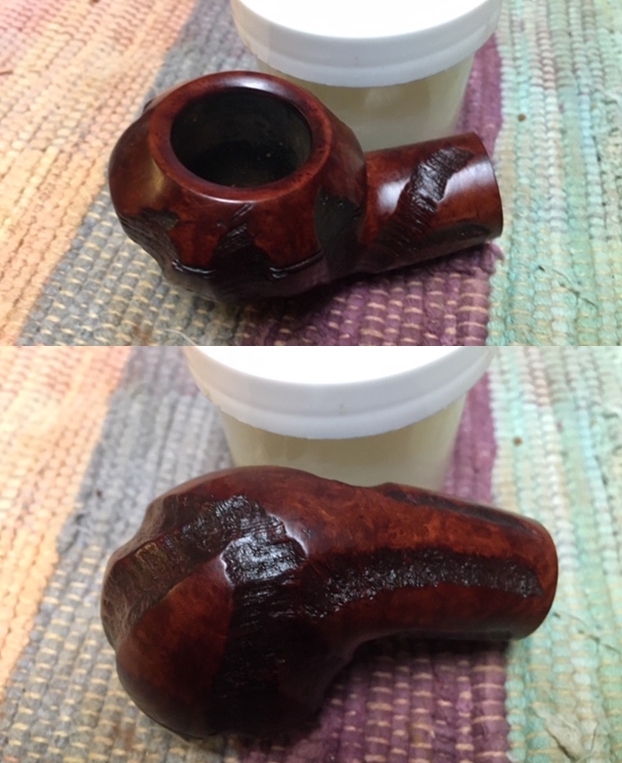
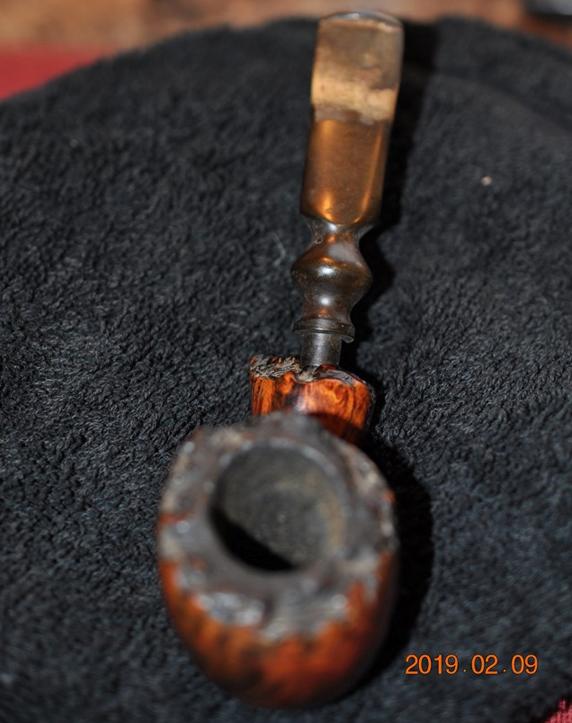 Jeff took photos of the bowl and rim top to show the cake in the bowl and the lava build up on the plateau rim top and dust and grime in the shank end as well. It was thick and hard but hopefully it had protected the rim and edges from damage. The lava coat looks horrible but it points to a well-used, favourite smoking pipe. George must have enjoyed this old timer a lot judging from the condition of the pipe.
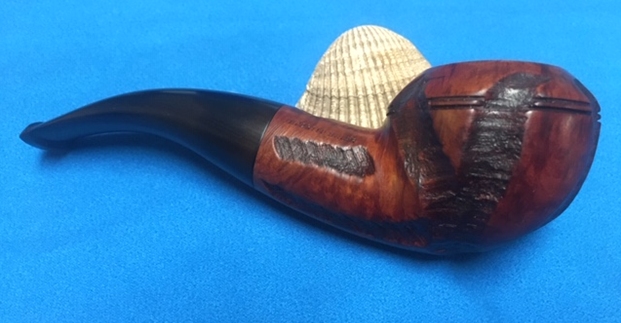
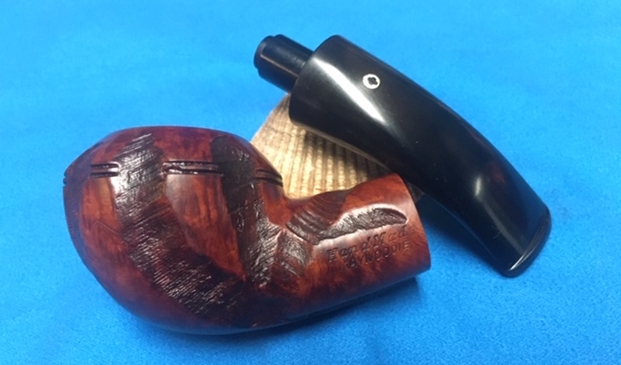
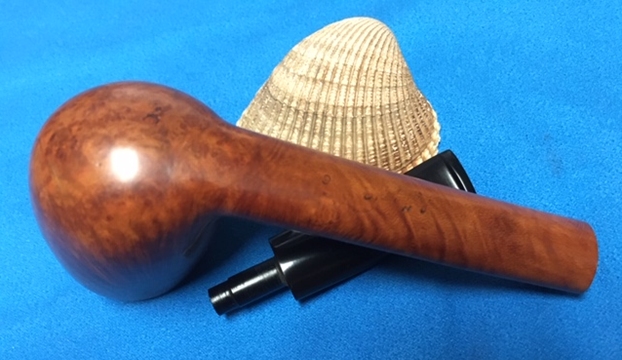
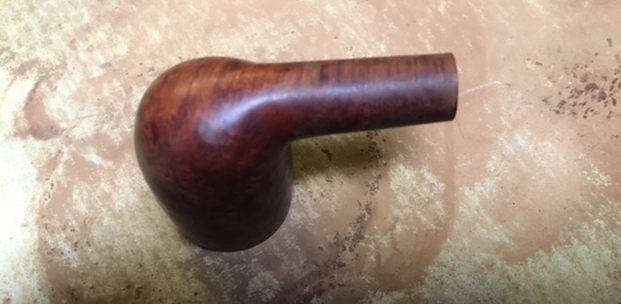
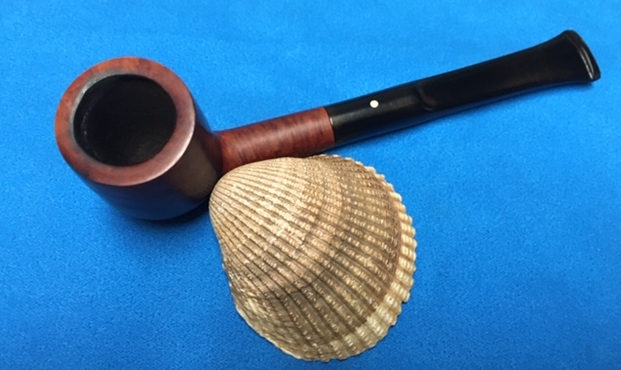
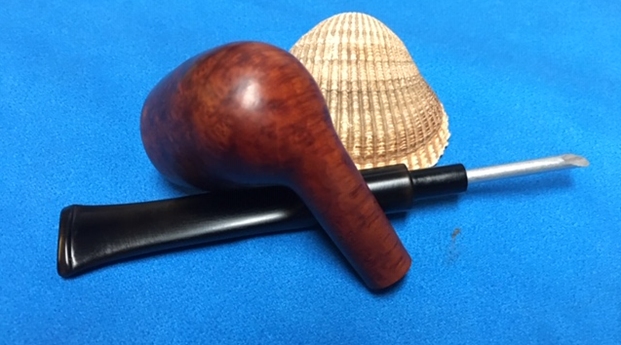
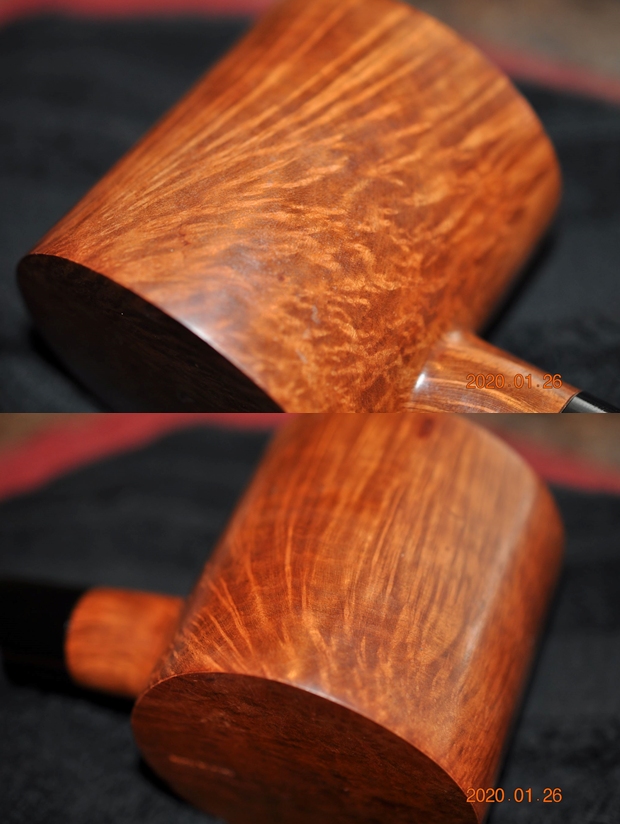
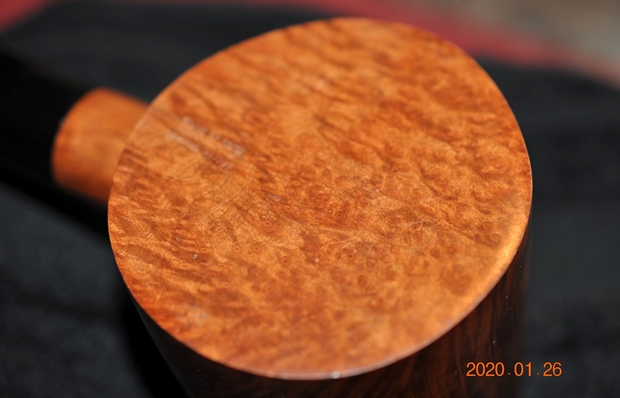
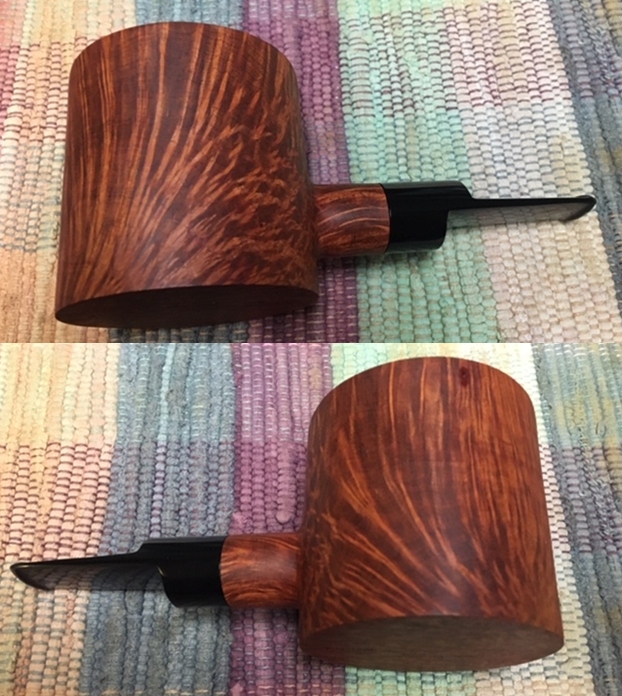
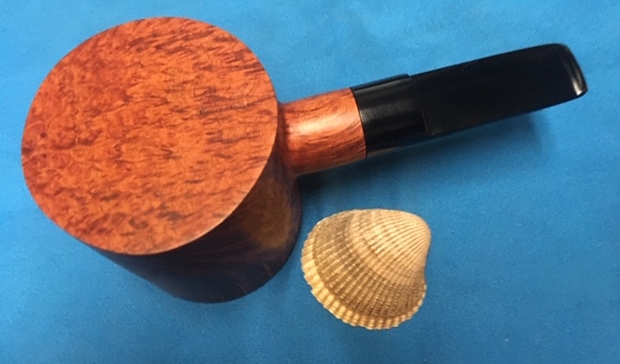
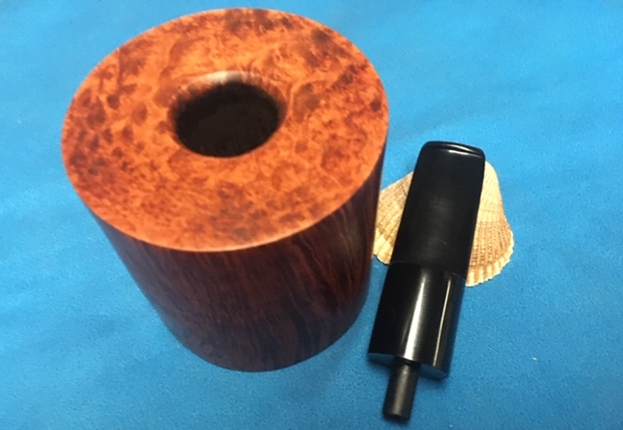
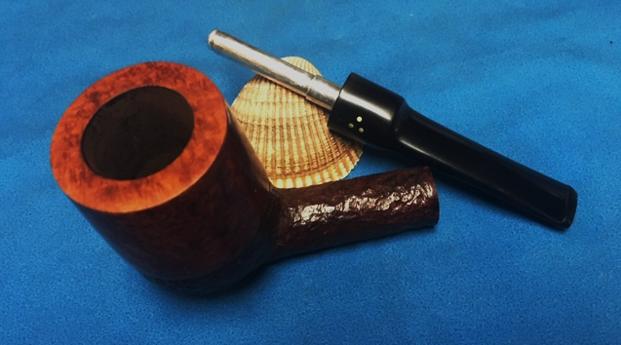
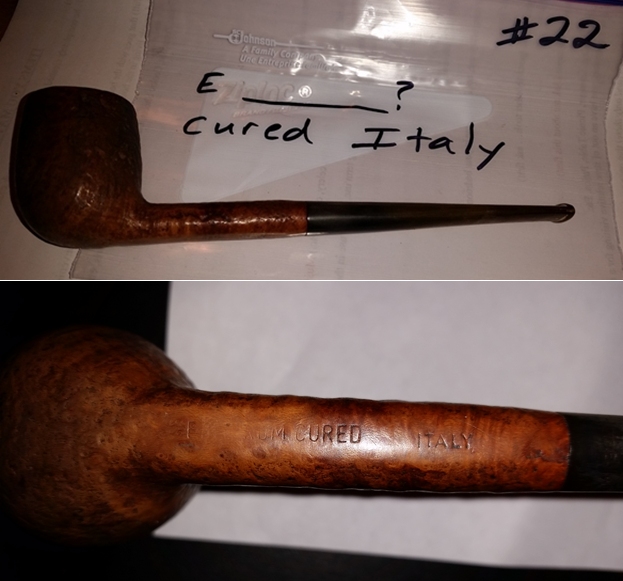
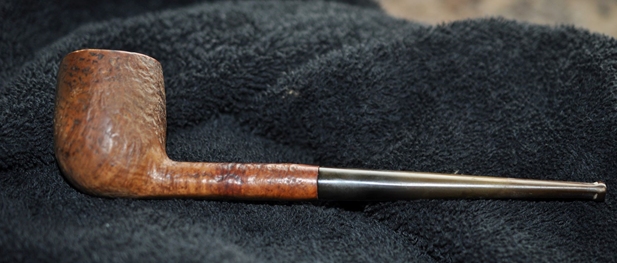
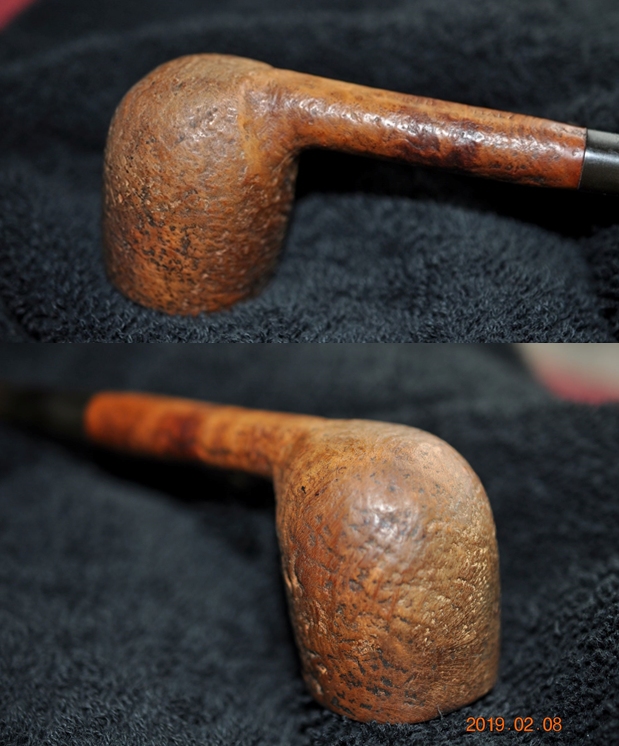
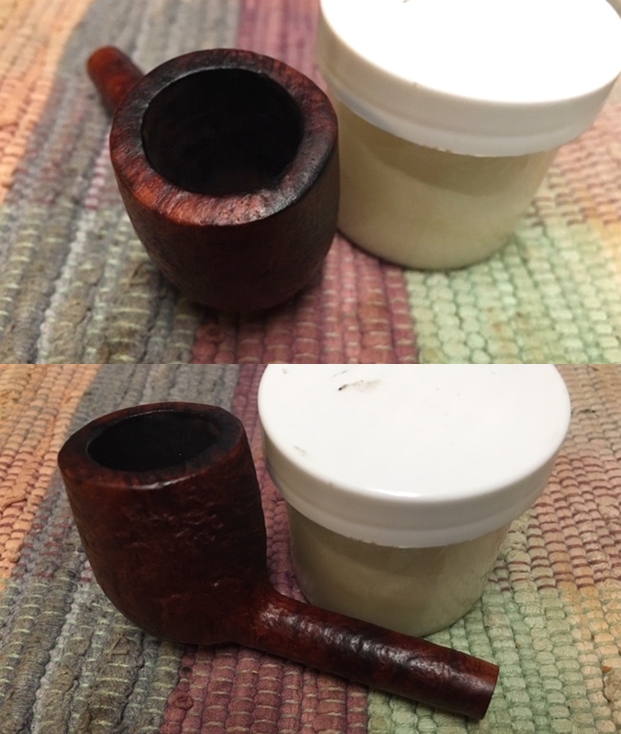
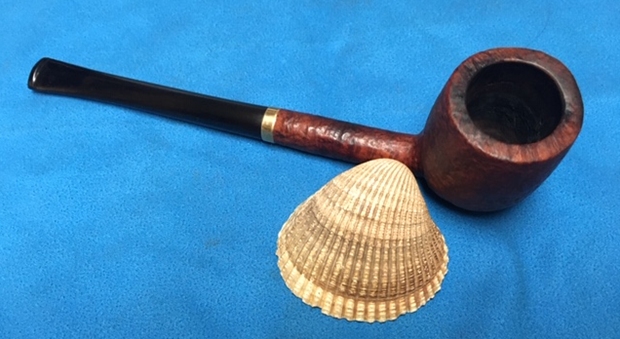
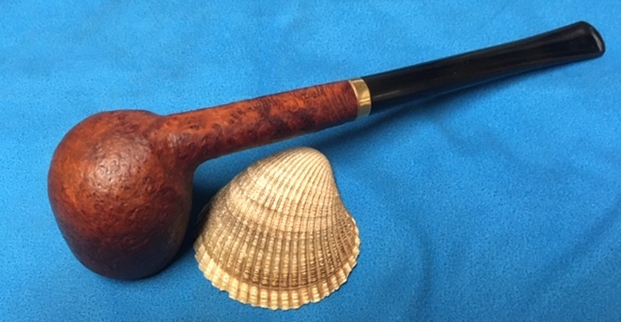
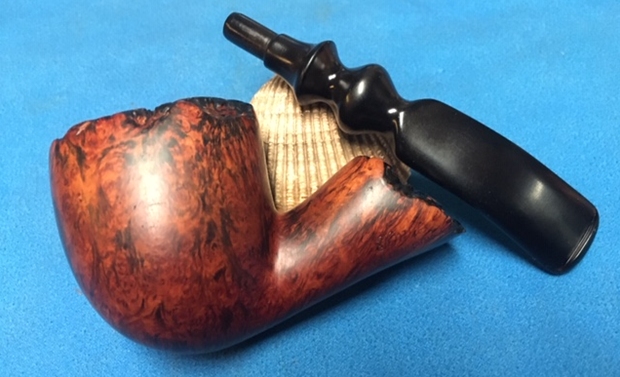
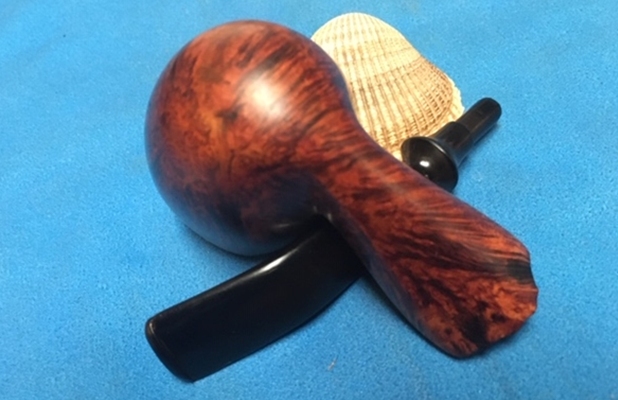
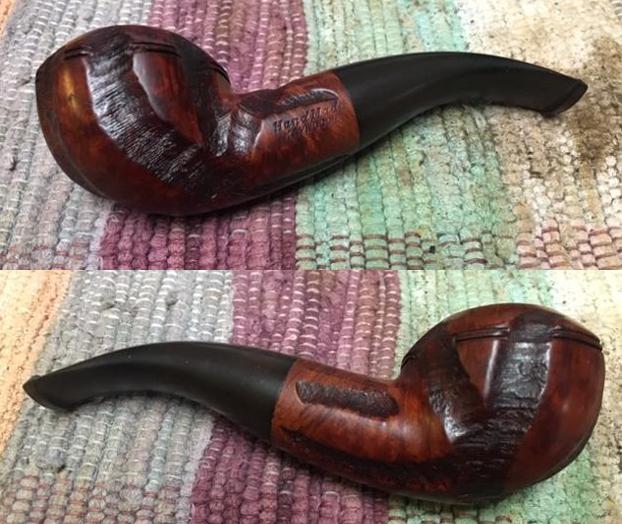
 Jeff took a photo of the side and heel of the bowl to show the condition of the finish – the grime and grit all over the sides and bottom of the bowl. The was also a deep gouge in the heel on the right side. It is a dirty pipe but it has a stunning grain around the bowl sides and cross grain on the front and back.
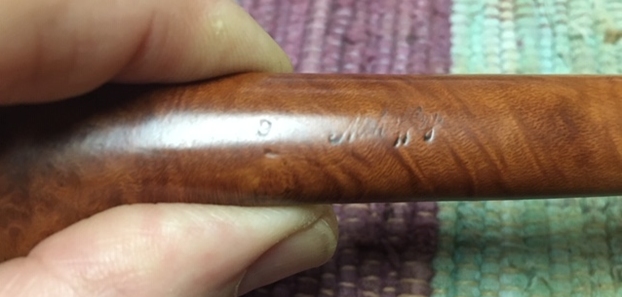
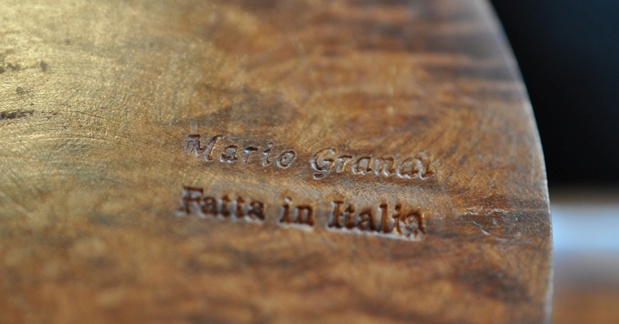
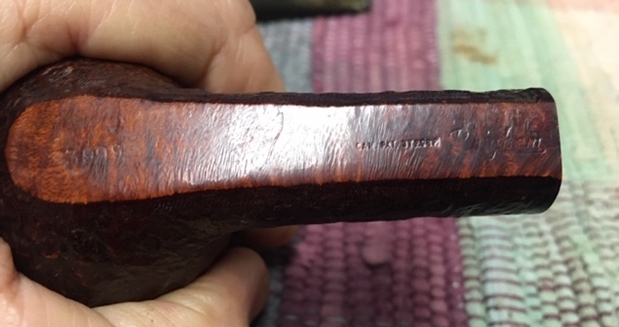
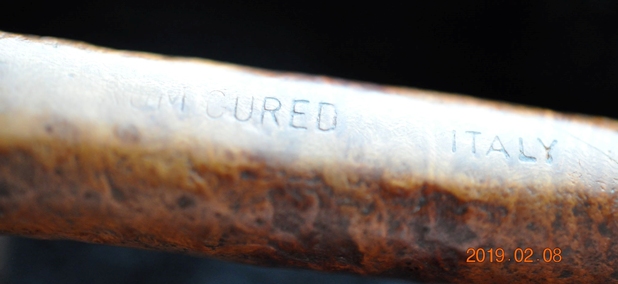
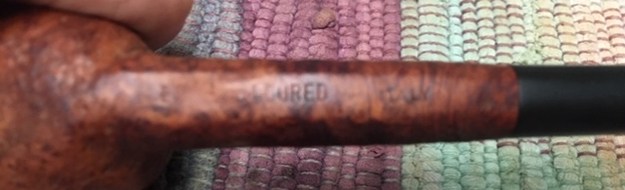
 Jeff took a photo of the stamping on the left side of the shank. It is very clear and readable. It reads Knute of Denmark.
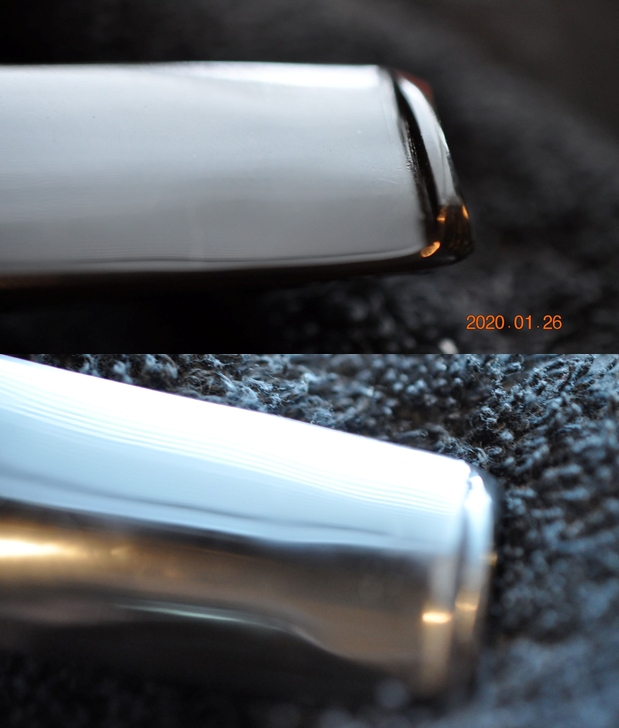
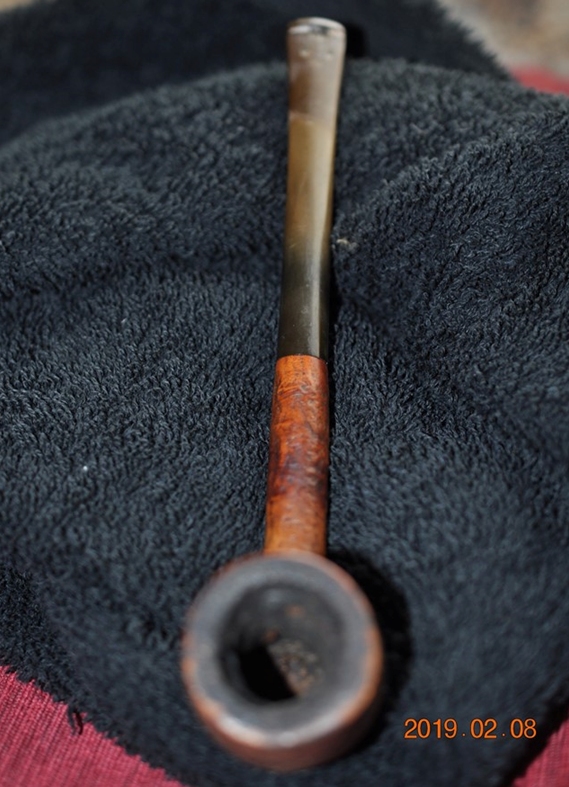
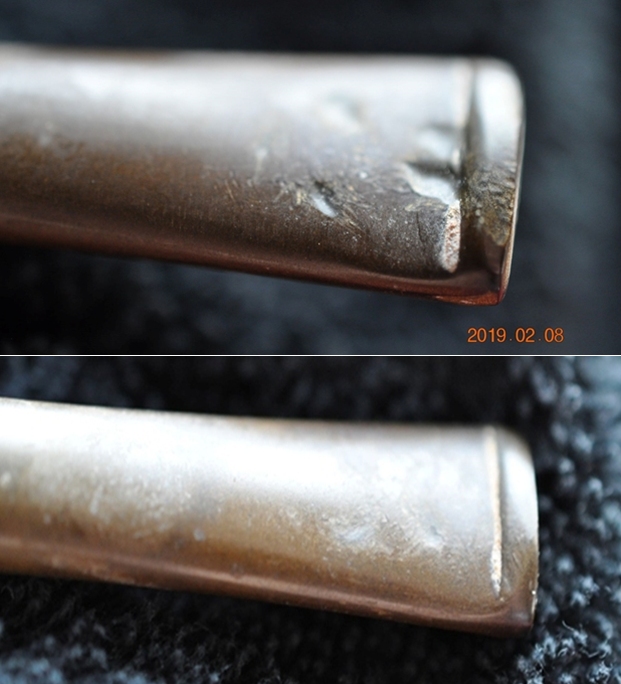
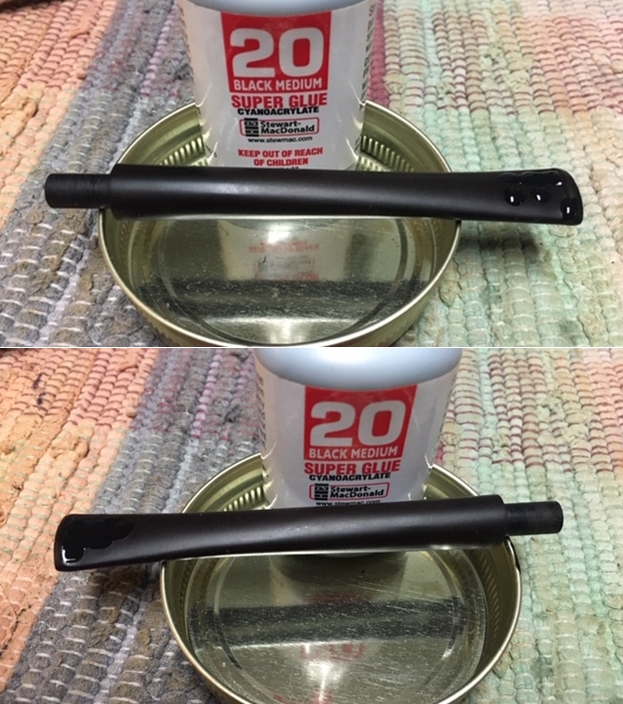
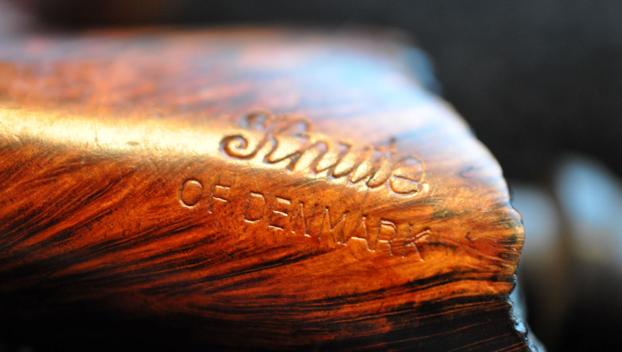 Jeff took photos of the top and underside of the stem showing the scratching, oxidation and tooth marks on the stem surface. The tooth marks are quite deep on both sides of the stem.
  I turned to Pipedia to refresh my memory regarding the brand (https://pipedia.org/wiki/Knute). I had recollections that the pipe was made by Karl Erik Ottendahl as one of his sub brands so I wanted to confirm that. I quote from that article below:
Knute of Denmark pipes are said to be made by Karl Erik, see his listing herein.
Karl Erik Ottendahl was born in Aalborg in 1942, just a few miles from the very northernmost tip of Denmark. He began his career as a Lithographer as an apprentice in the craft at the age of 16. While working as an apprentice he began hand carving pipes as a hobby and to give as gifts to his more senior colleagues. He began his career making pipes for various labels in Denmark and the United States. Often he would make the higher grade pipes for a well known brand that was known for their midrange or low end pieces such as Wally Frank. While doing this he administered a factory of fifteen craftsmen. During this period he did make of some of his own handmade pipes, but he felt that the responsibility of managing the factory did not give him the freedom he wished he had.
Other brands confirmed to be from Karl Erik are: Champ of Denmark, HTL, Jobey Dansk, Knute, Golden Danish, Lars of Denmark, Larsen & Stigart (Copenhagen pipe shop), Shelburne, Sven Eghold and Wenhall (for Wenhall Pipes, New York), some Ben Wade and pipes marked IS and IIS.
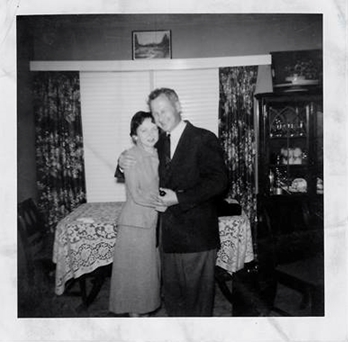
I could start my restoration of this beautiful freehand with the knowledge that I was dealing with a Karl Erik Ottendahl made freehand. But before I get on to restoring the pipe I thought I would once again include the tribute that Jennifer wrote to her Dad for the blog. She also sent some photos and an article that her Dad wrote for Jeff and me to be able to get a feel for him. I have included those below. Note in each of them that he is holding a pipe in his left hand. I asked her to also send me an email with a brief tribute to her Dad. Here is her tribute from an email to me.
 Steve, I want to thank you again for accepting my dad’s pipes. They were so much a part of my dad’s life that I could not simply discard them. But as his daughter, I was not about to take up smoking them either. *laughing* I think my dad would like knowing that they will bring pleasure to others. I know that I do.
I’m not sure what to say about his pipes. I always remember Daddy smoking pipes and cigars.
First a bit about my dad. Though my father, George Rex Leghorn, was American (growing up in Alaska), he managed to join the Canadian Army at the beginning of WWII, but in doing so lost his American citizenship. He was fortunate to meet a Canadian recruiting officer who told him the alphabet began with “A” and ended with “Zed” not “Zee”, and also told him to say that he was born in a specific town that had all its records destroyed in a fire. When the US joined the war my dad, and thousands of other Americans who had made the same choice*(see the link below for the article), were given the opportunity to transfer to the US military, and regain their citizenship.
After WWII, my dad, earned his degree at the University of California Berkeley and became a metallurgist. There is even a bit about him on the internet.
He loved taking the family out for a drive, and he smoked his cigars on those trips. (As a child, those were troubling times for my stomach.)
I most remember my father relaxing in his favorite chair with a science fiction book in one hand and a pipe in the other… Sir Walter Raleigh being his favorite tobacco… and the pipes themselves remind me of him in that contented way. If I interrupted his repose, he’d look up, with a smile on his face, to answer me.
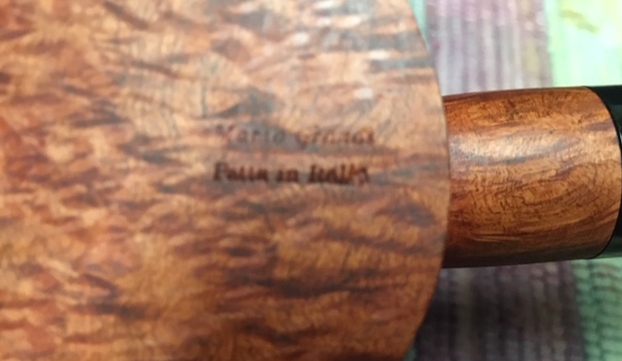
It seemed he smoked his Briarwood pipes the most, though he had others. At the time, it was only the Briarwood I knew by name because of its distinctive rough shaped bowl. And it was the Anderson Free Hand Burl Briar, made in Israel, which I chose for his birthday one year, because I thought he might like that particular texture in his hand.
At least two of his pipes, he inherited from his son-in-law, Joe Marino, a retired medical laboratory researcher (my sister Lesley’s late husband)… the long stemmed Jarl (made in Denmark), and the large, white-bowled, Sherlock Holmes style pipe. 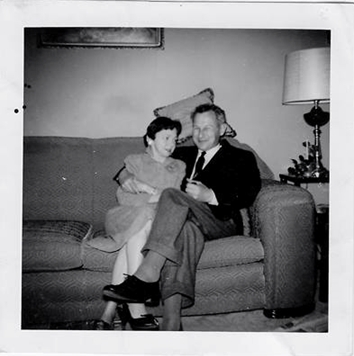 I believe Joe had others that went to my dad, but Lesley was only sure about those two.
The Buescher, corncob pipe my older sister Lesley bought for Daddy while on one of her travels around the States.
A note on the spelling of my sister’s name…
My dad met my mother, Regina, during WWII and they married in Omagh, Ireland. My mother was English and in the military herself. The English spelling of Lesley is feminine, and Leslie masculine, in the UK… just the opposite of here in the United States. I guess my mom won out when it came to the spelling of the name…
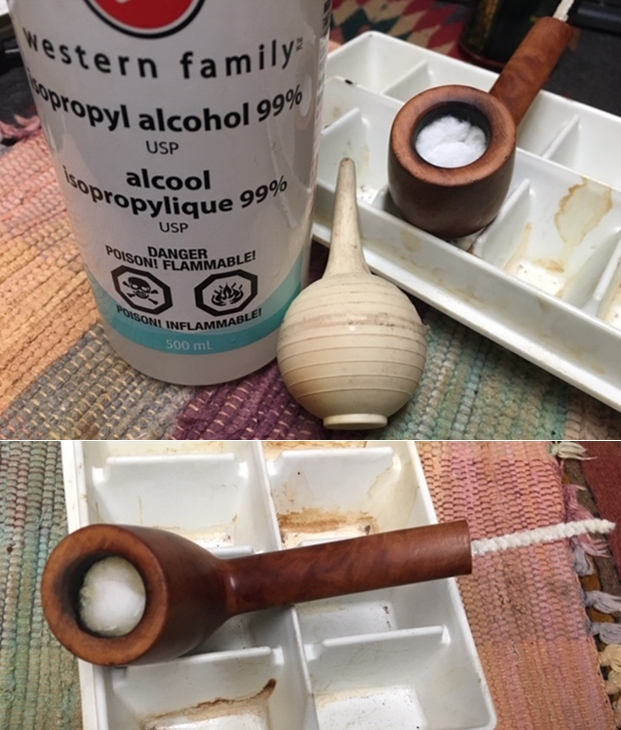
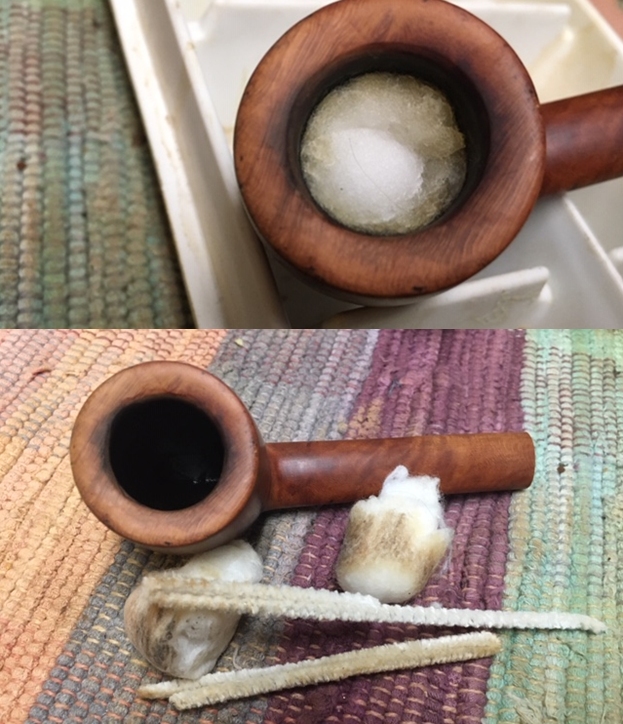
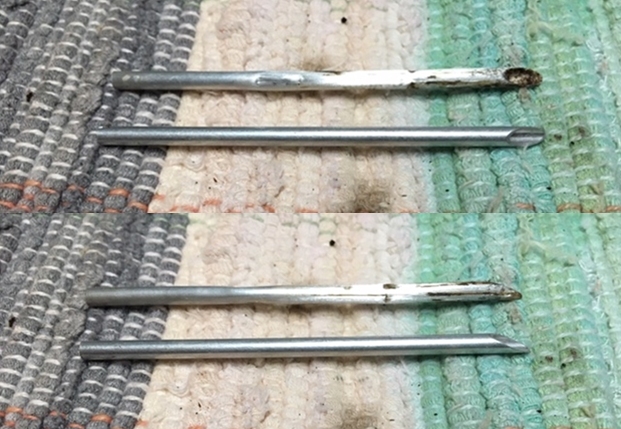
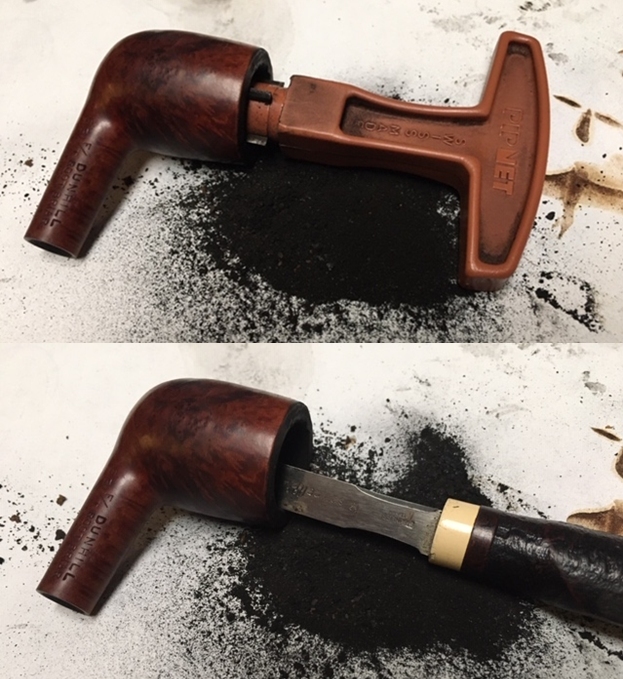
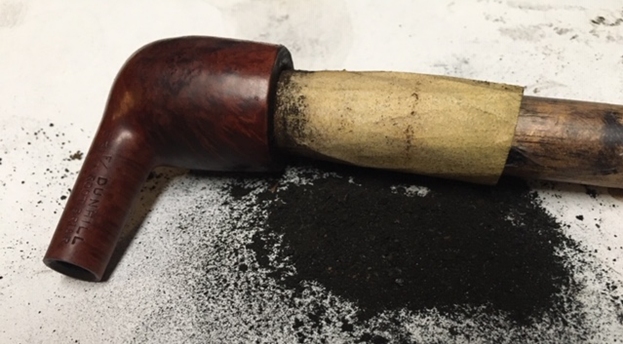
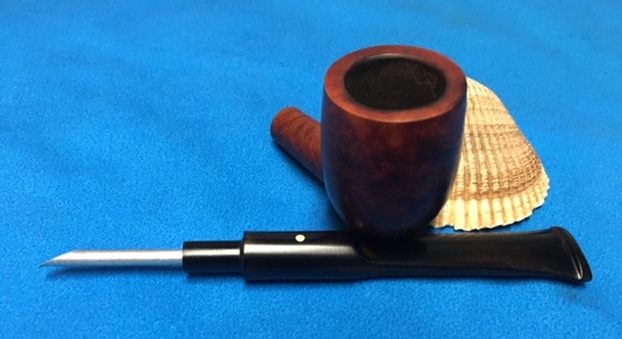
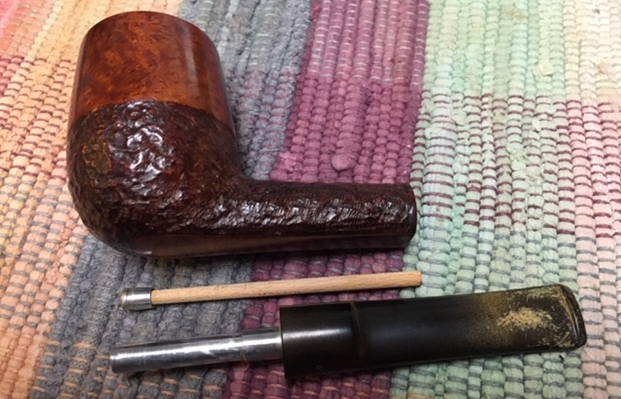
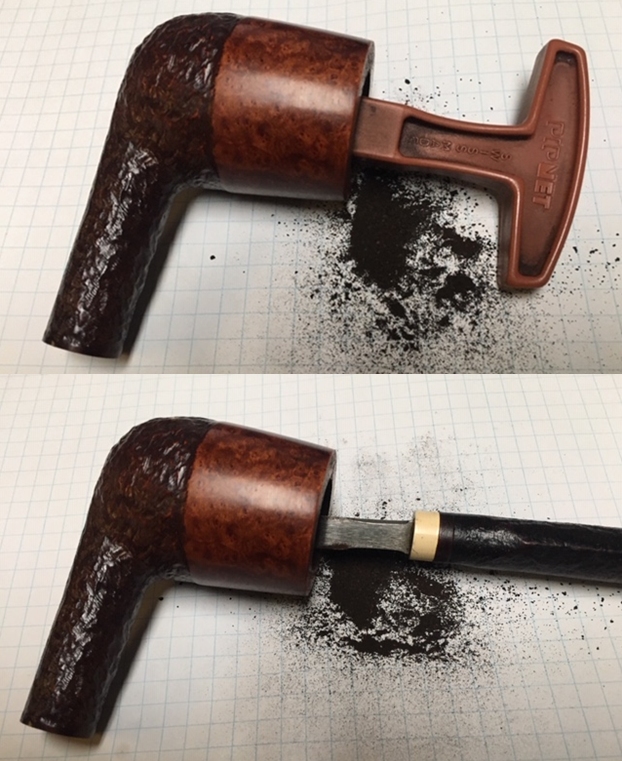
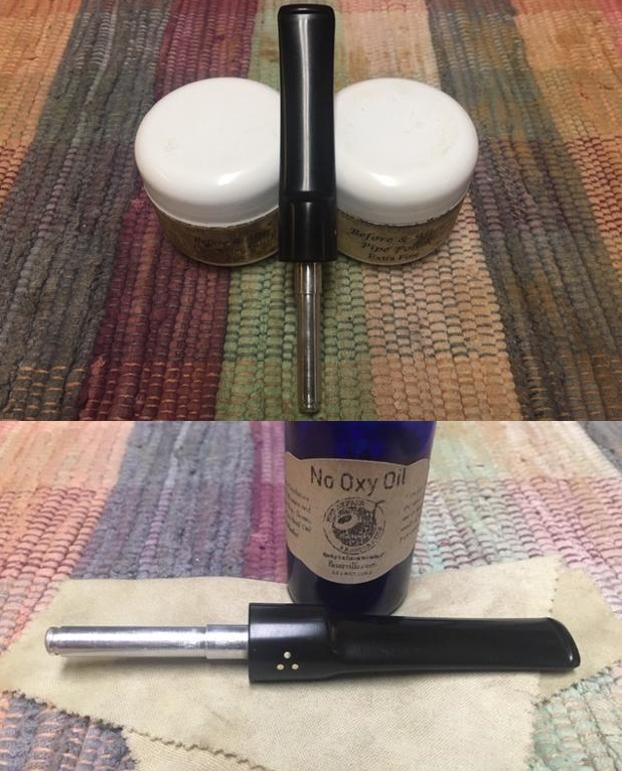
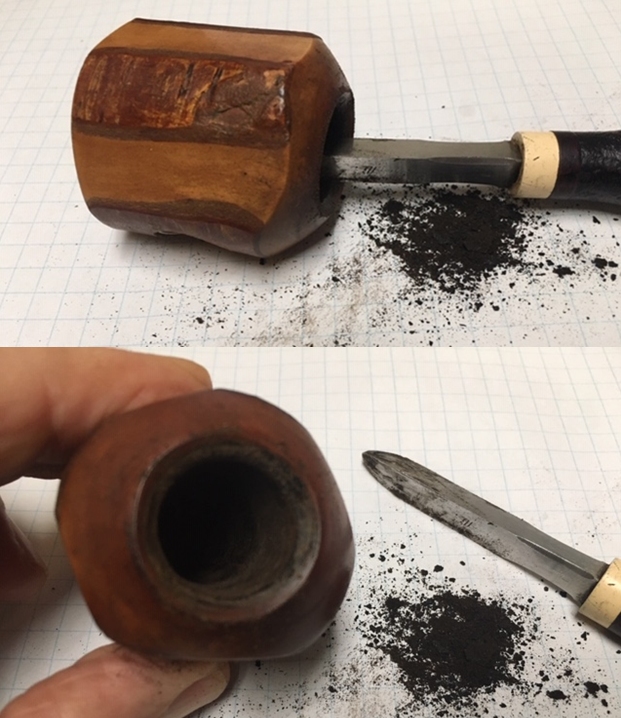
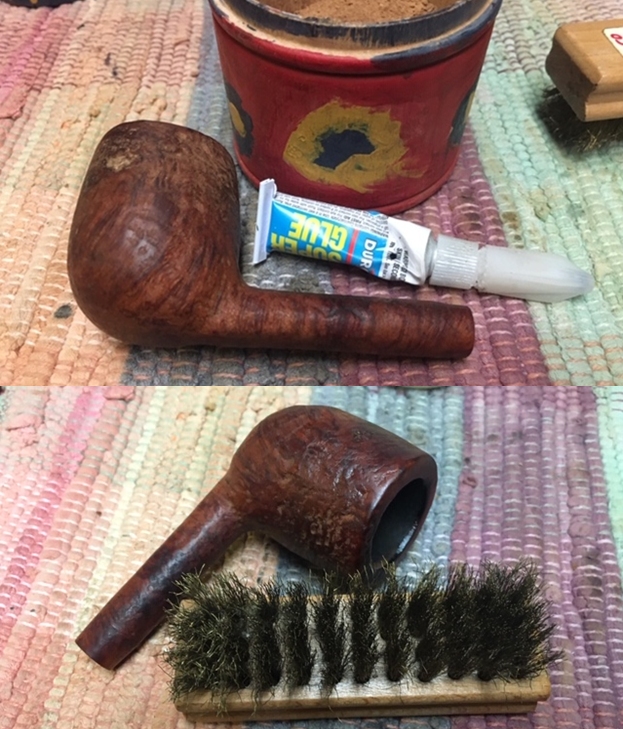
This pipe was a real mess just like the other ones in the collection. I did not know what to expect when I unwrapped it from his box. He reamed it with a PipNet pipe reamer and cleaned up the reaming with a Savinelli Fitsall Pipe Knife. He scrubbed out the internals with alcohol, pipe cleaners and cotton swabs until the pipe was clean. He scrubbed the exterior of the bowl with Murphy’s Oil Soap and a tooth brush to remove the grime and grit on the briar and the lava on the rim top. The finish looked really good when I got it. The rim top looked much better but had scratches and nicks in the surface and some darkening on the inner and outer edges. The silver band was oxidized and tarnished. Jeff had cleaned the internals and scrubbed the exterior of the stem and soaked them in Before & After Deoxidizer bath to remove the oxidation. The stem looked very good other than the deep tooth marks in the surface. When the pipe arrived here in Vancouver for the second stop of its restoration tour it looked very good. I took photos of the pipe before I started my part of the restoration. I was so pumped to get started on this Karl Erik made Knute that I totally forgot to take photos of what it looked like when it arrived.
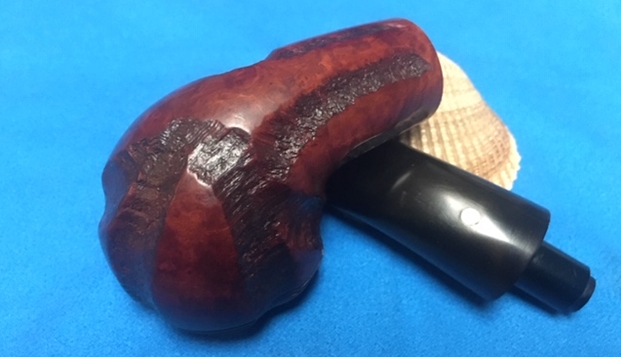
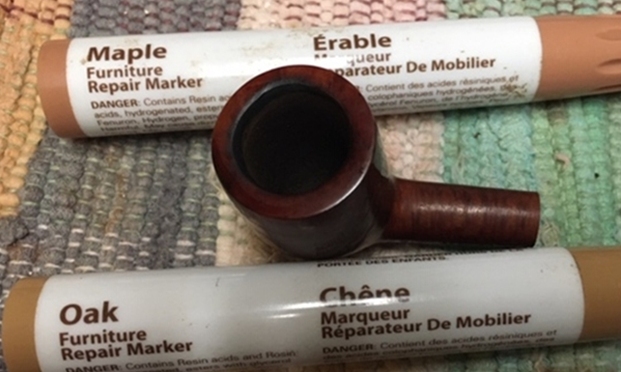
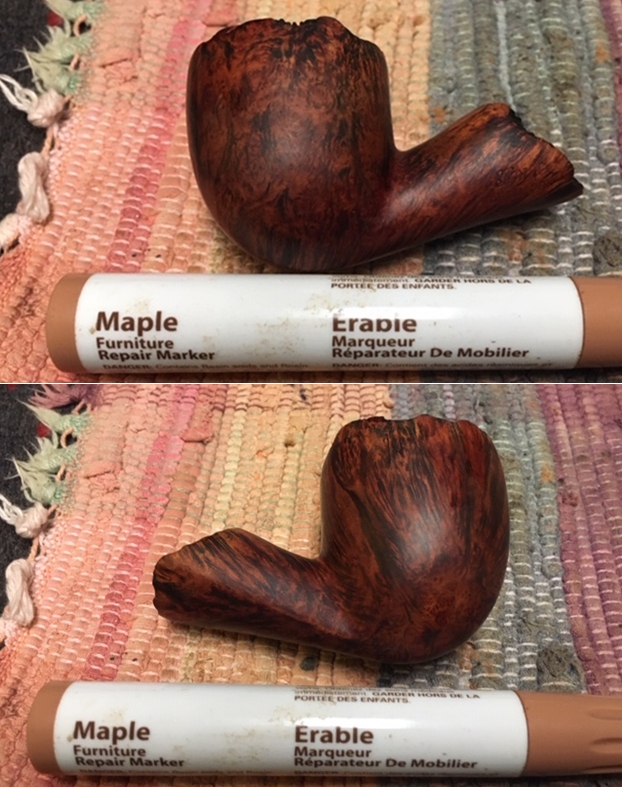
I jumped in and addressed the gouge in the briar on the heel of the pipe. I filled it with briar dust and super glue. Once it cured I sanded it smooth with 220 and 400 grit sandpaper. I restained the sanded spot and the light spots around the rim and shank end of the bowl with a Maple stain pen to match the colour of the bowl and shank.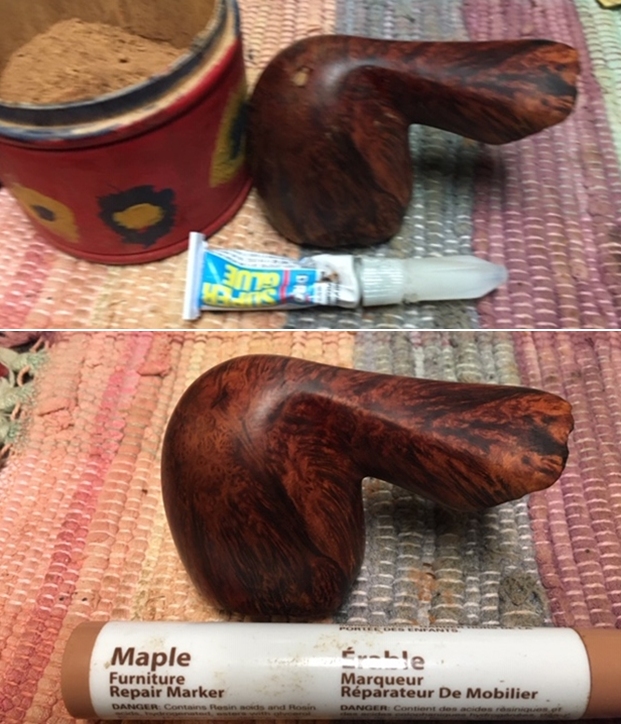
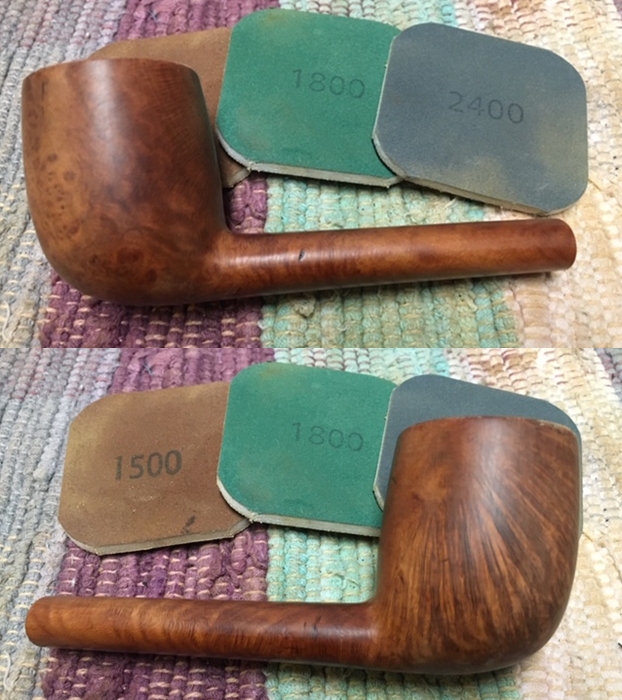
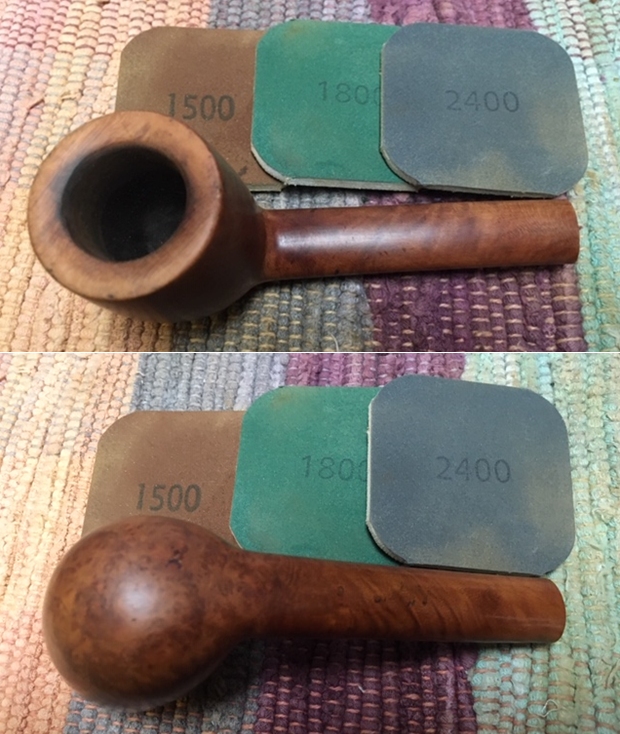
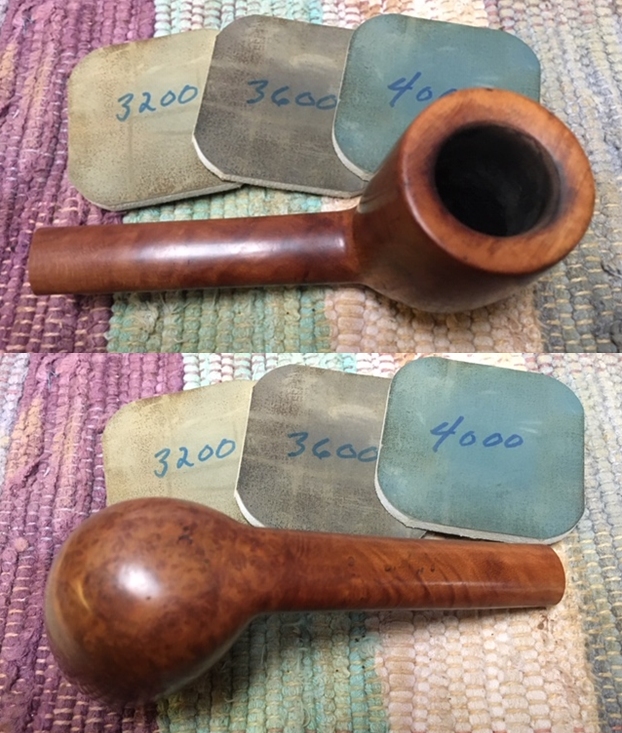
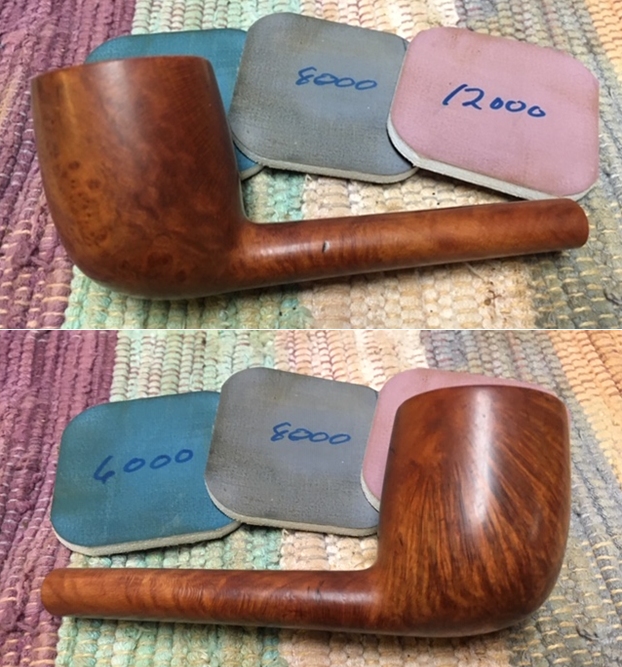
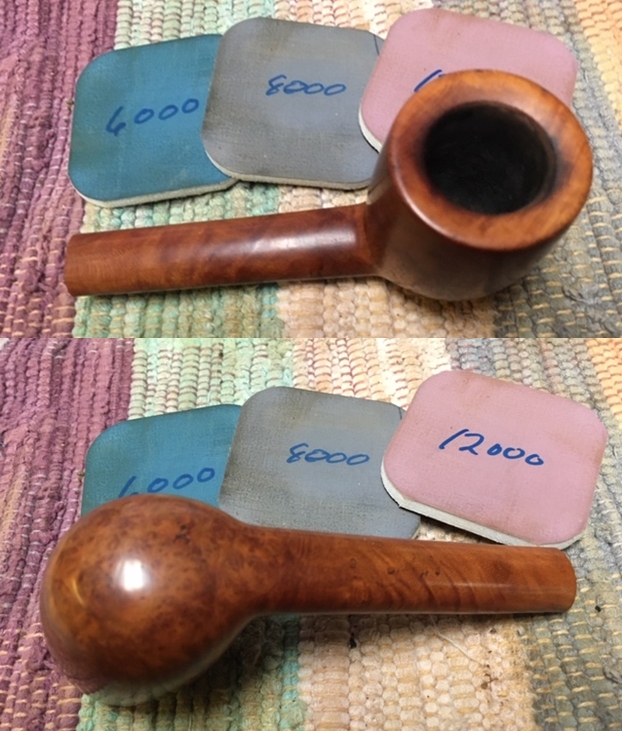
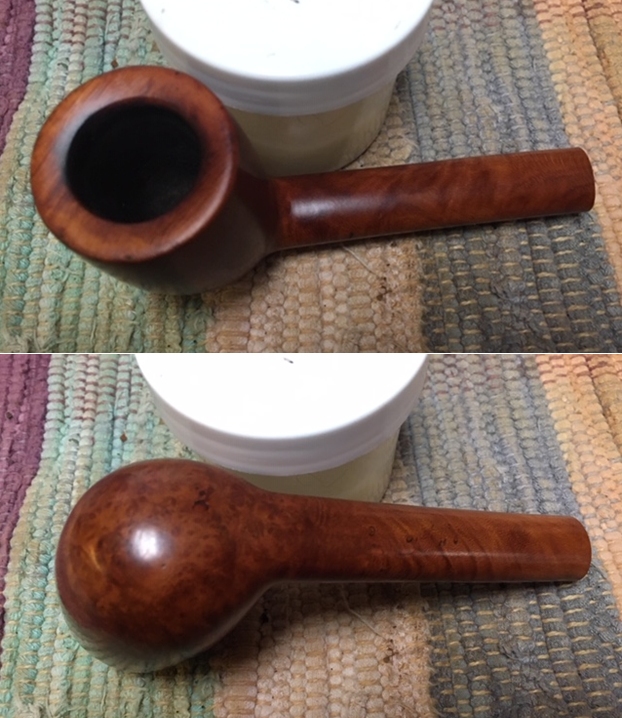
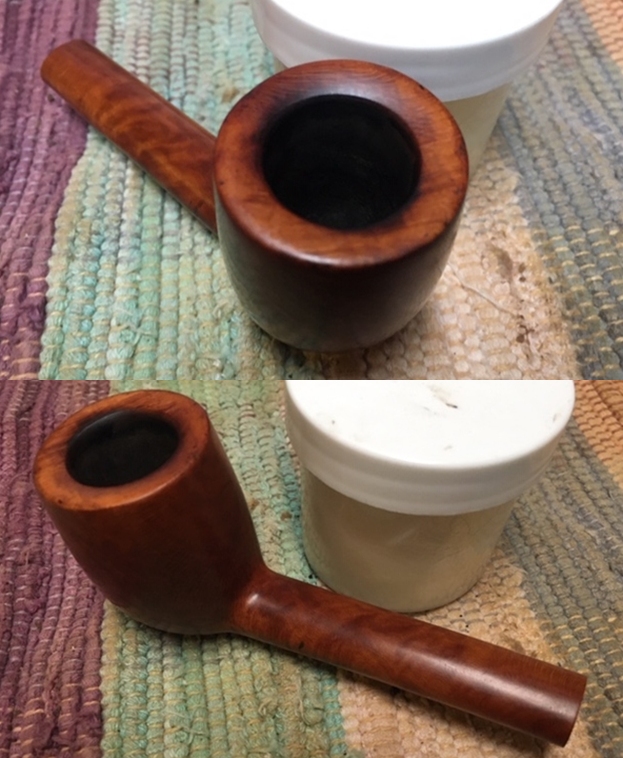
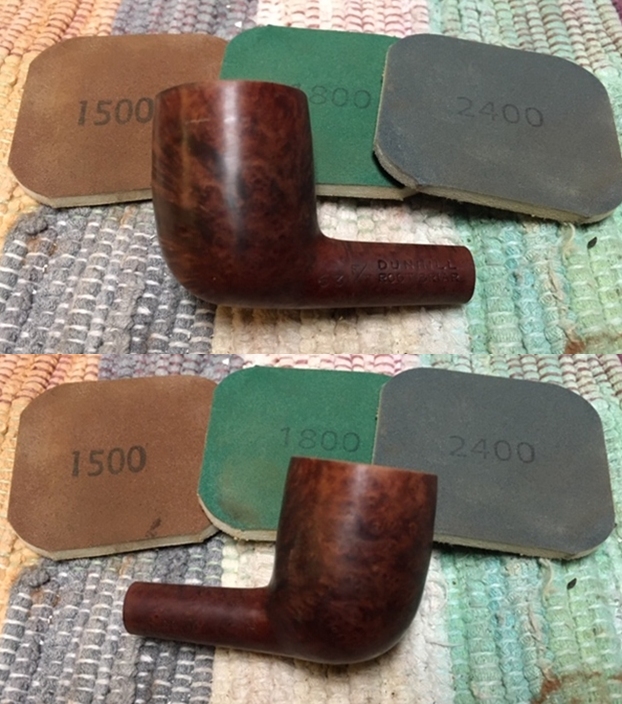
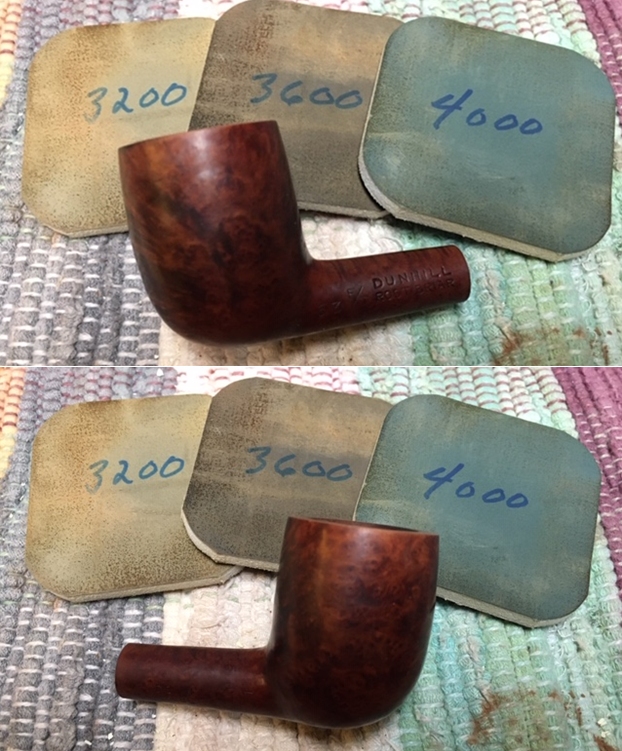
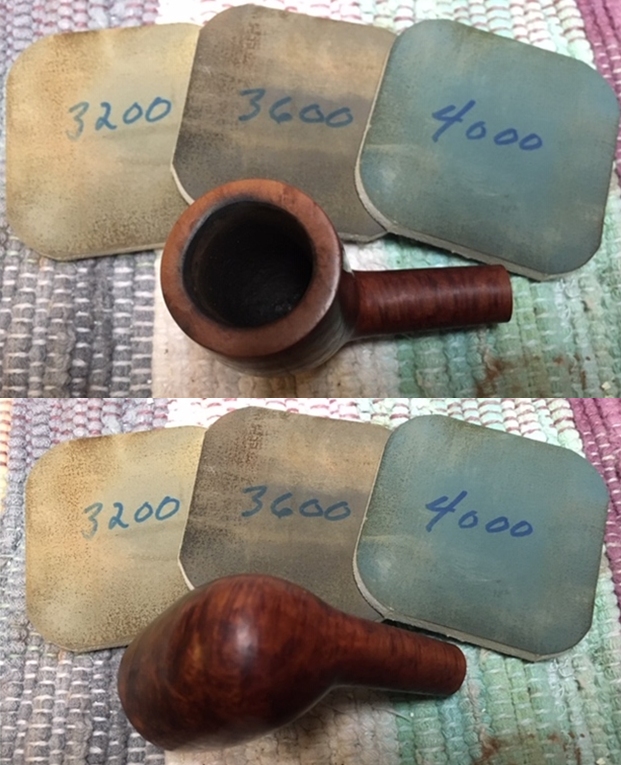
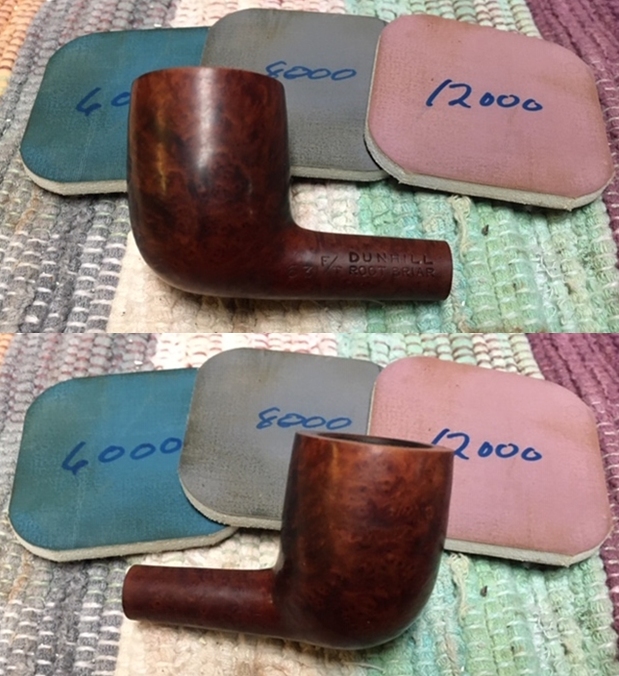
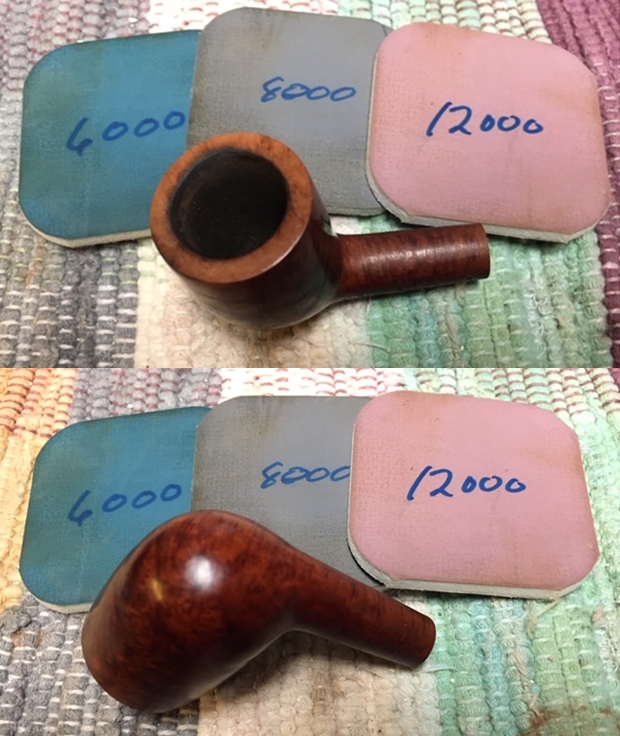
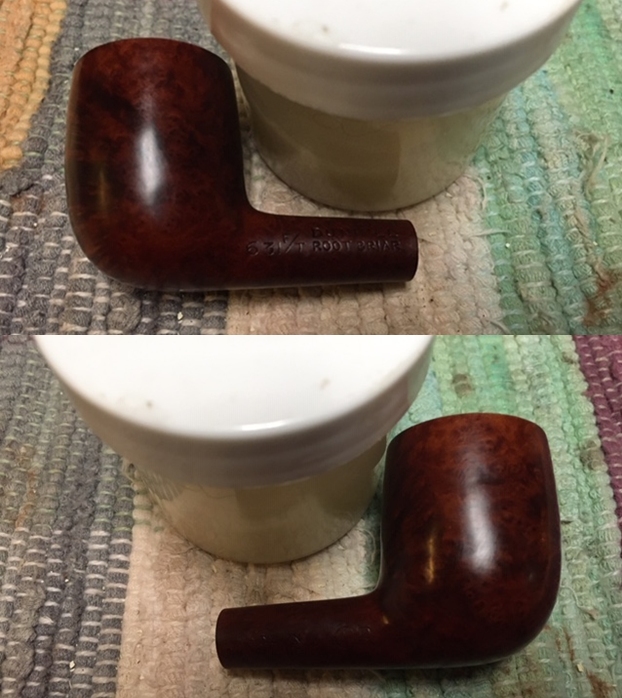
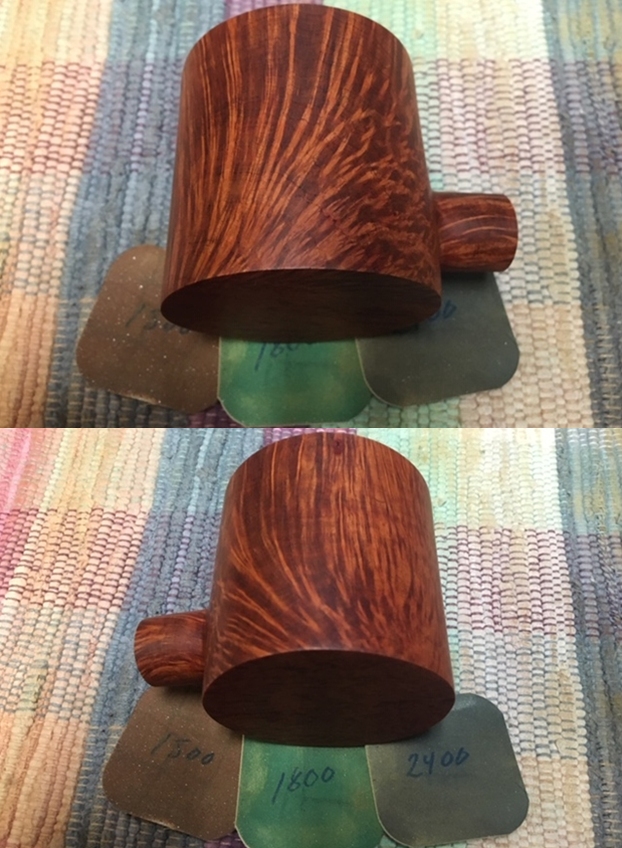
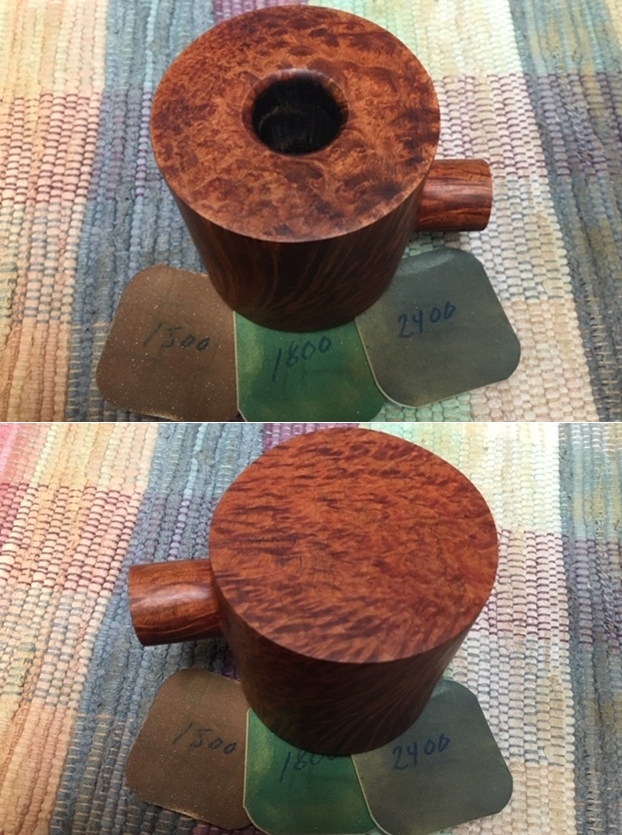
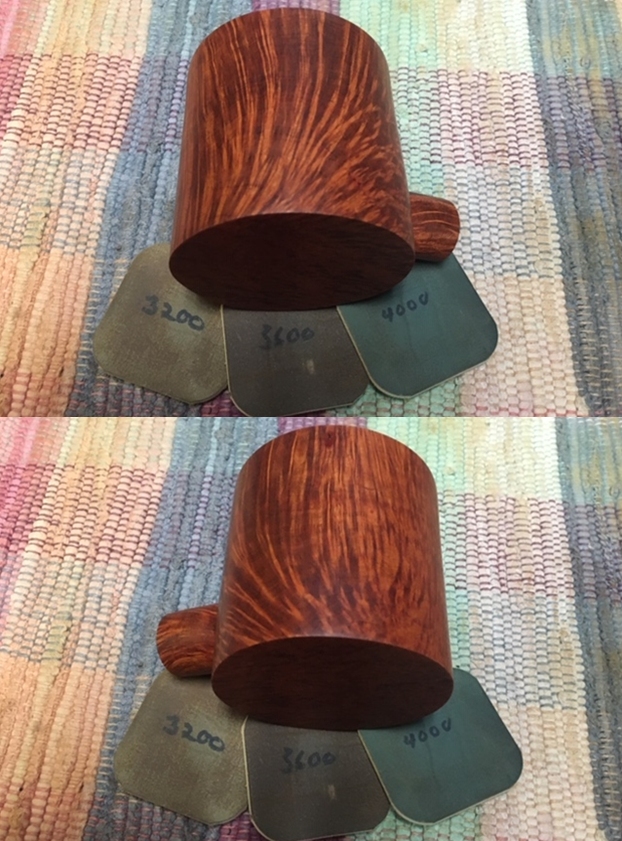
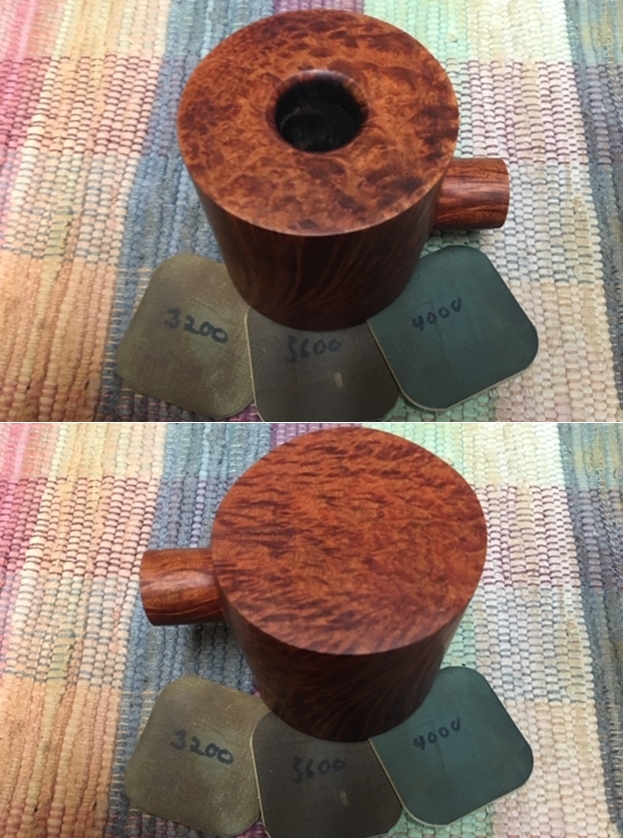
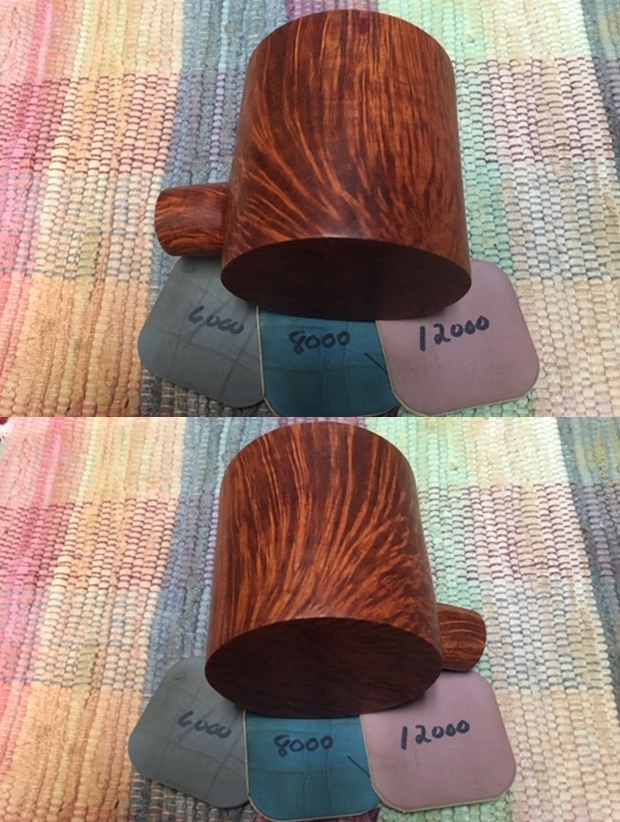
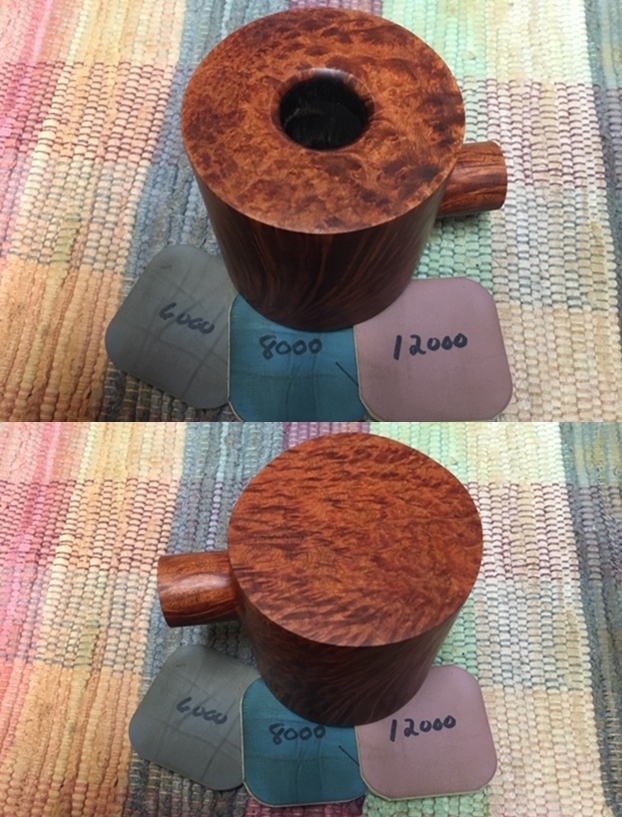
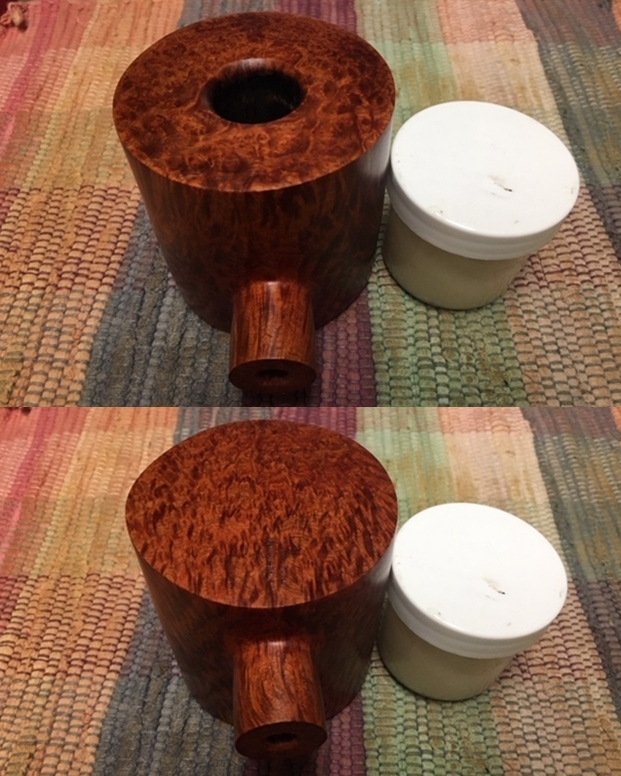
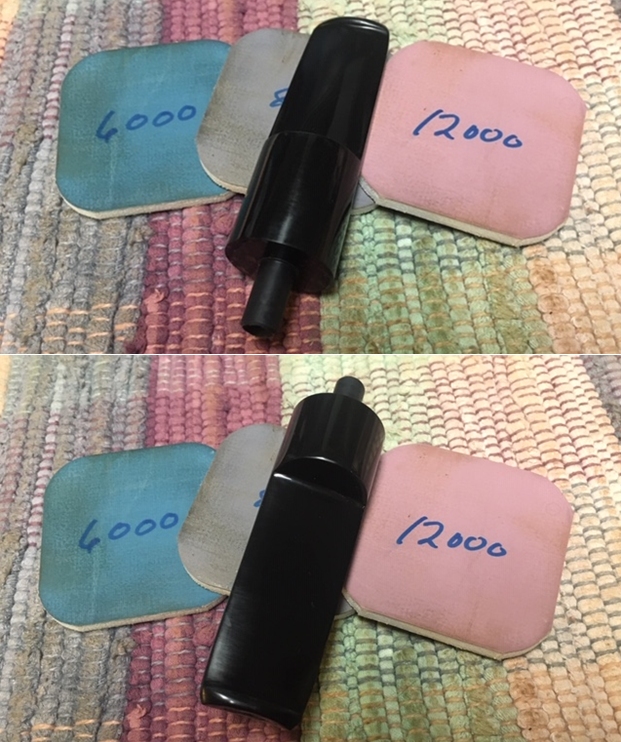
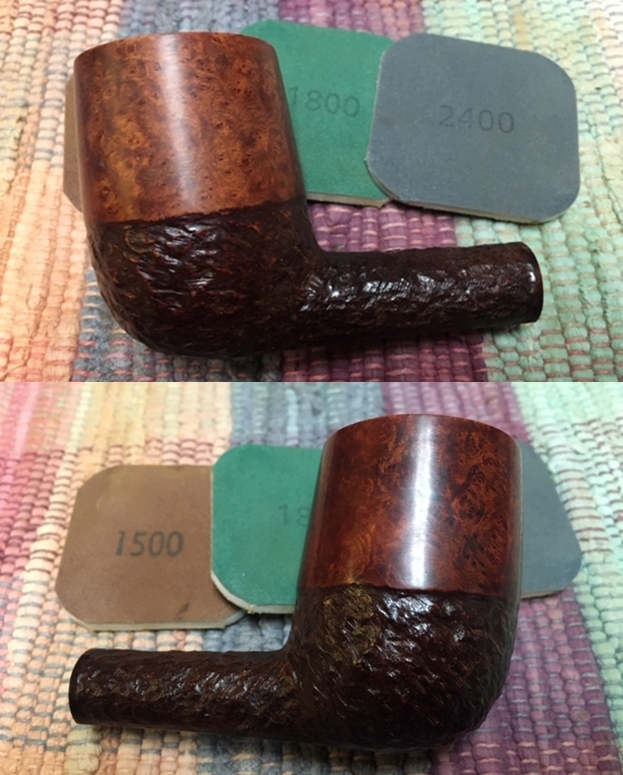
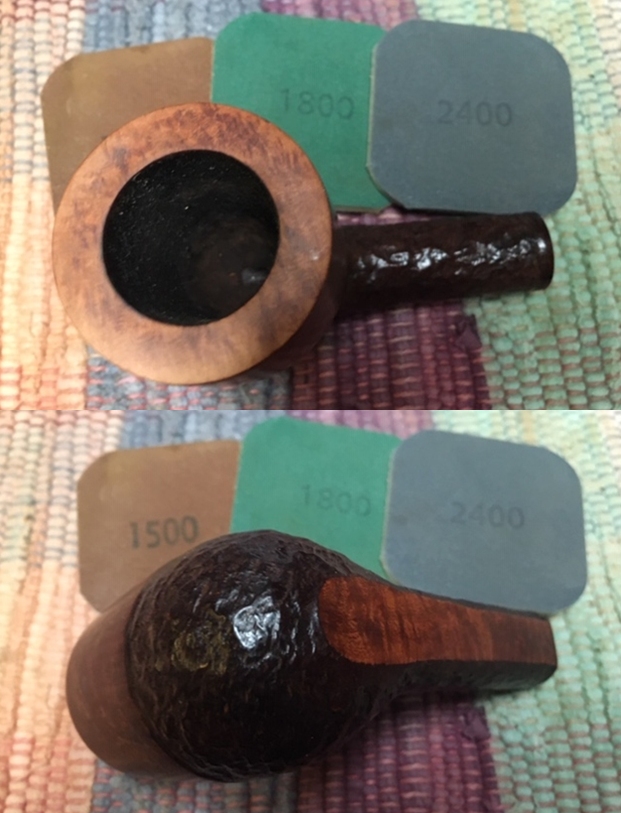
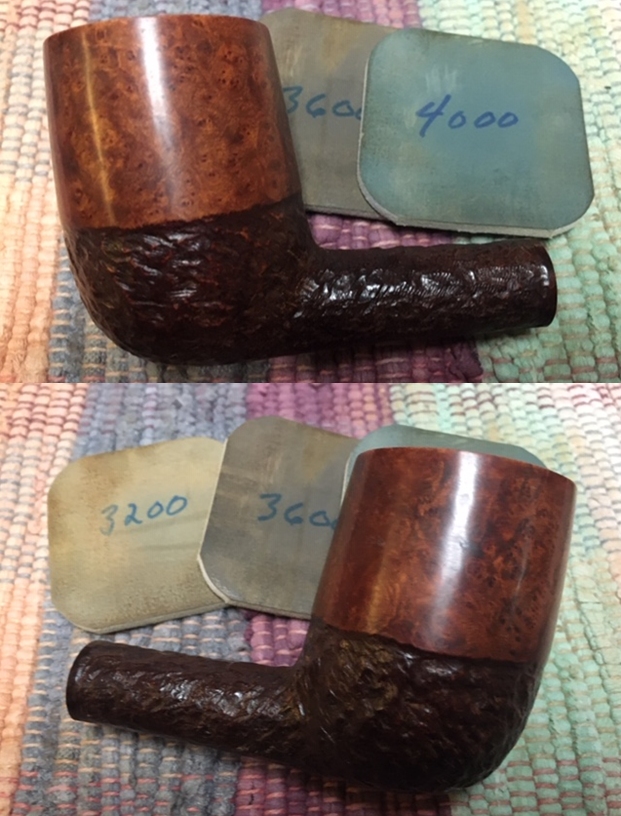
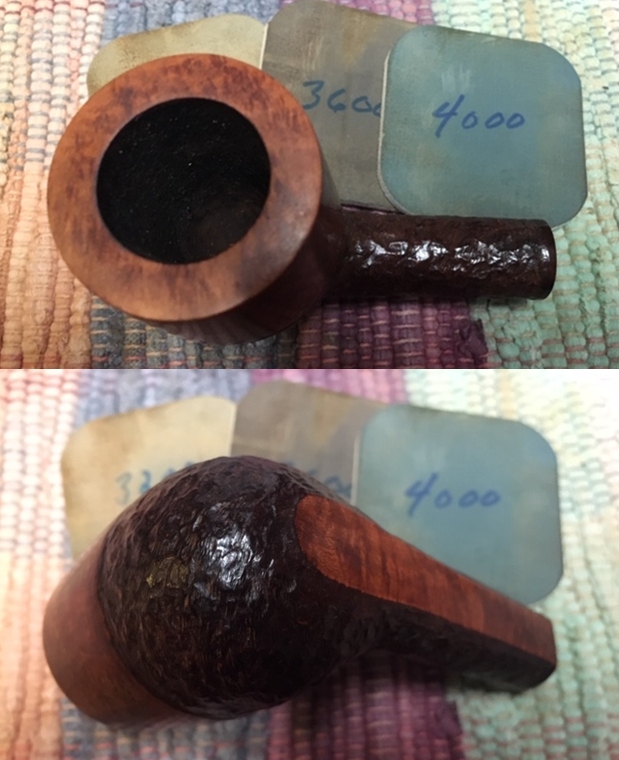
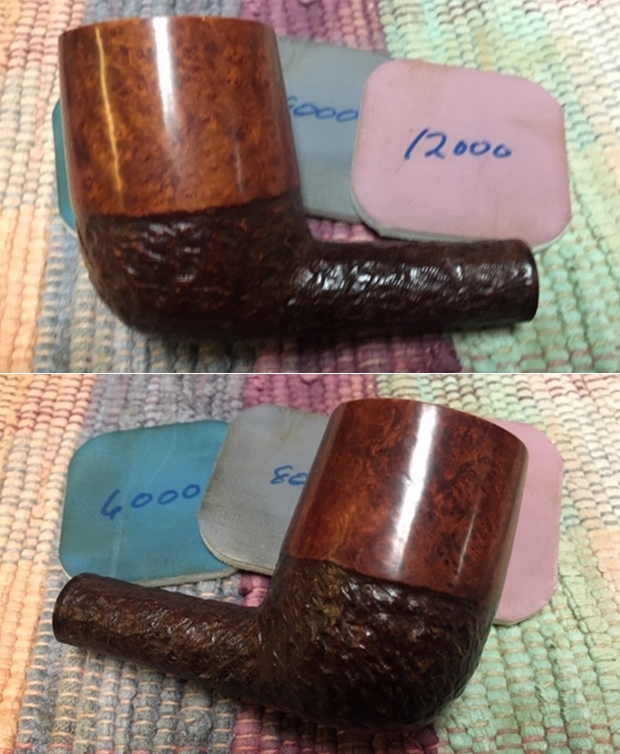
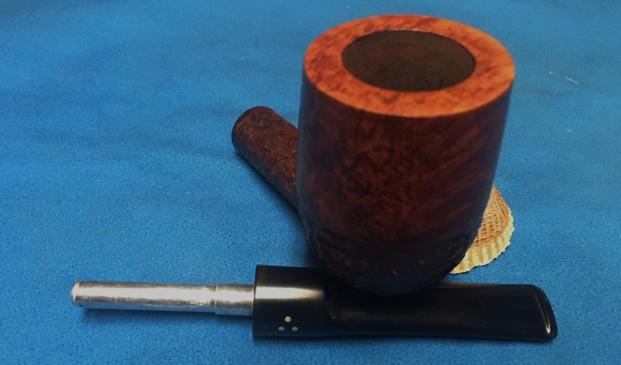
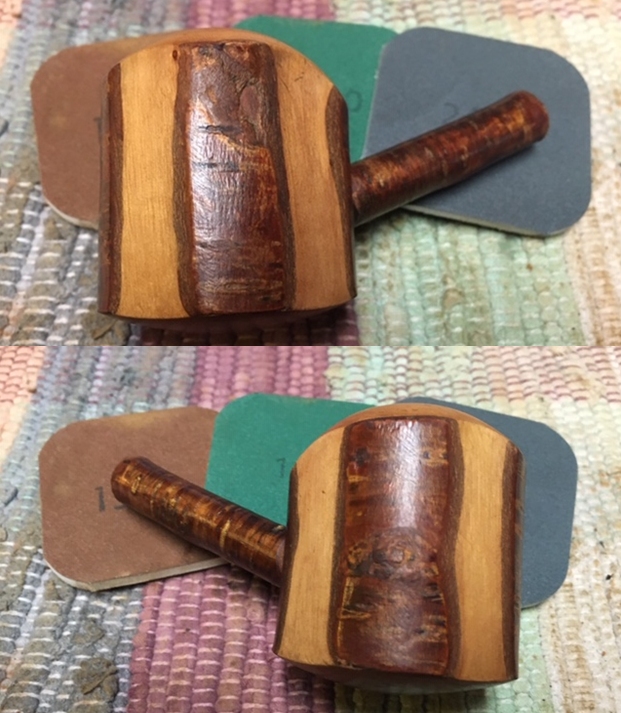
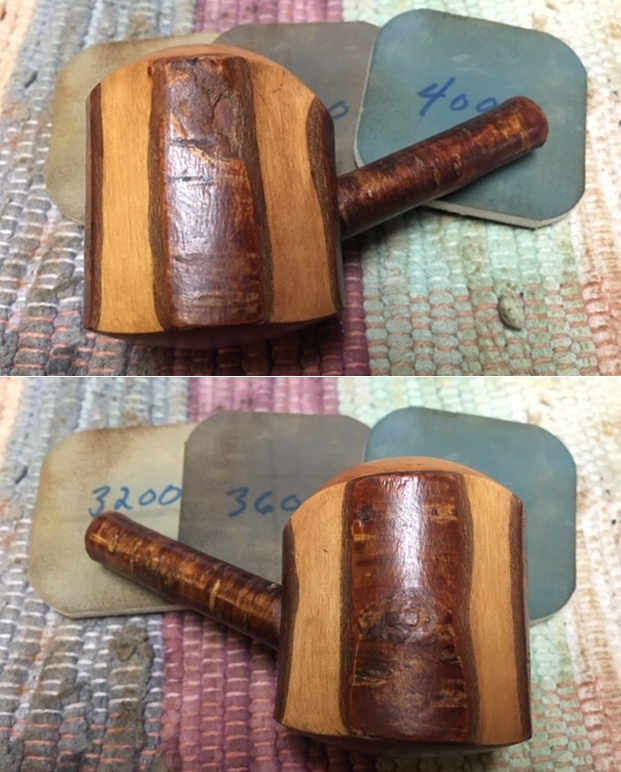
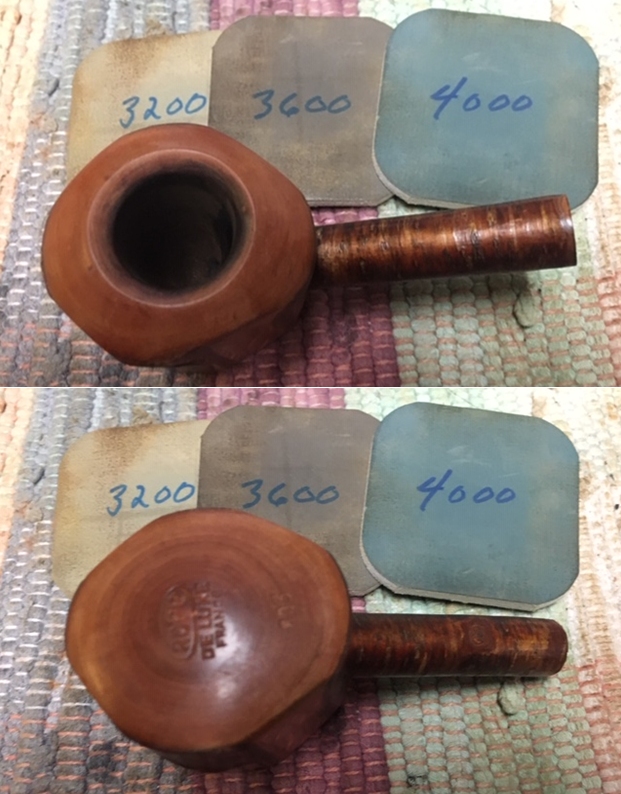
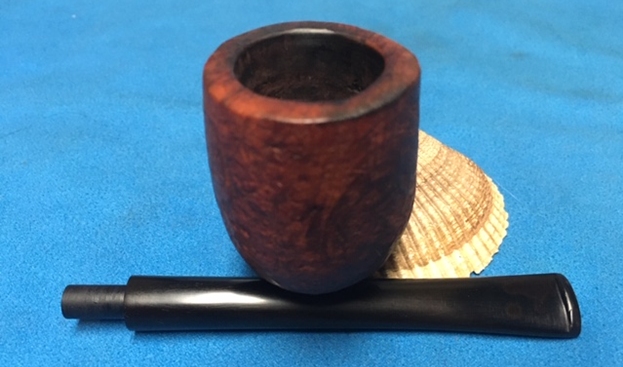
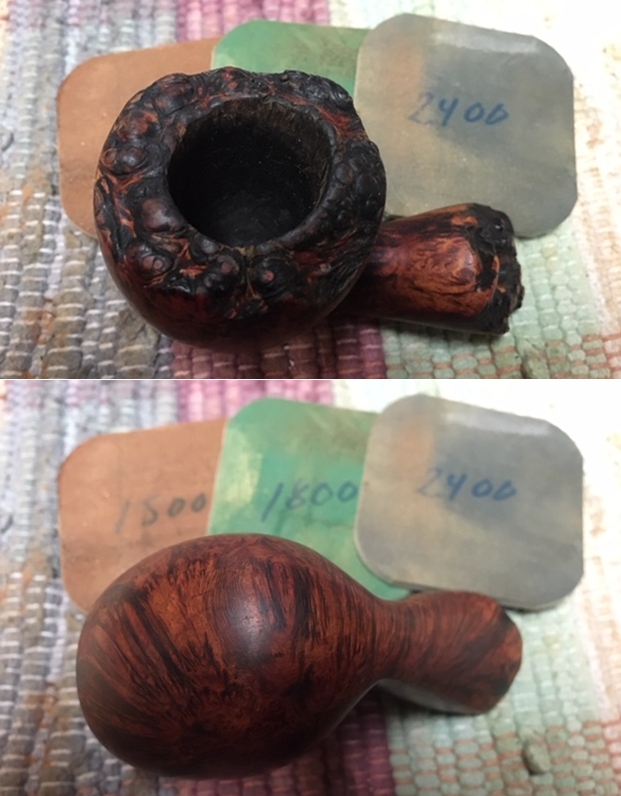
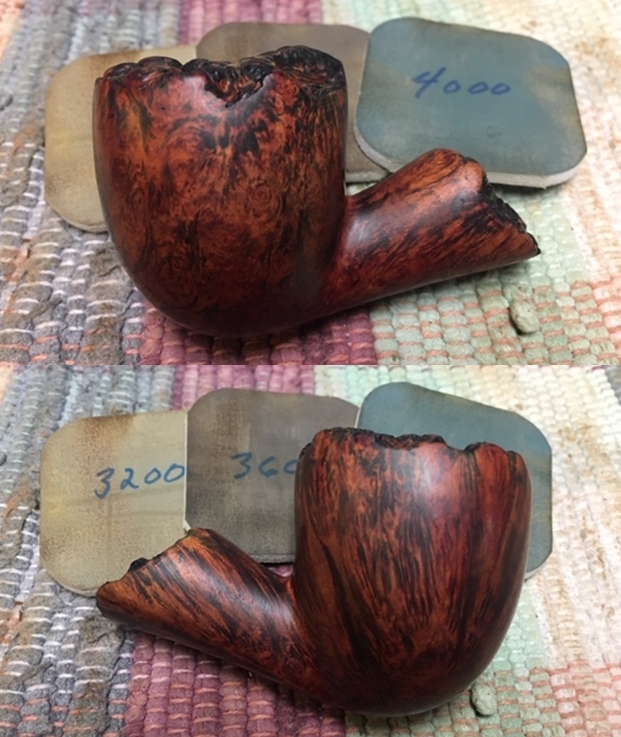
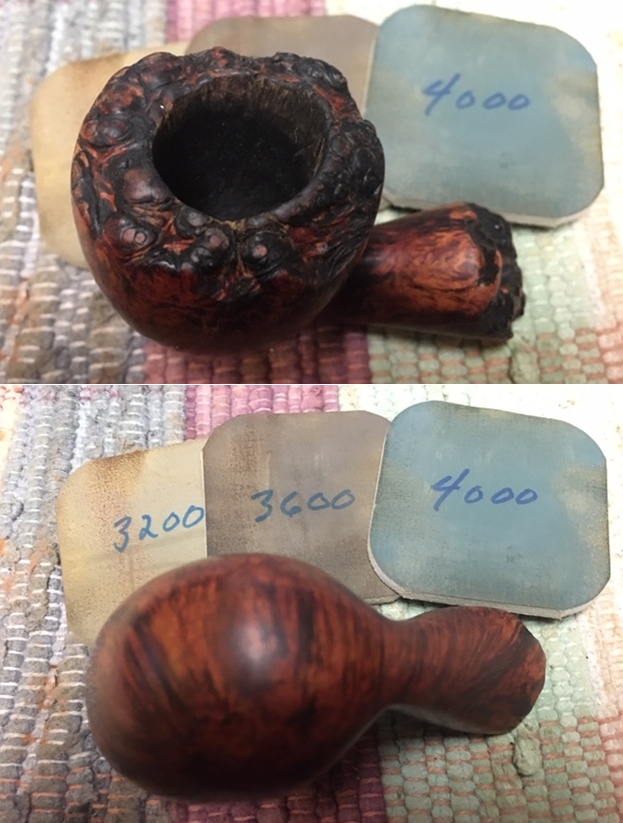
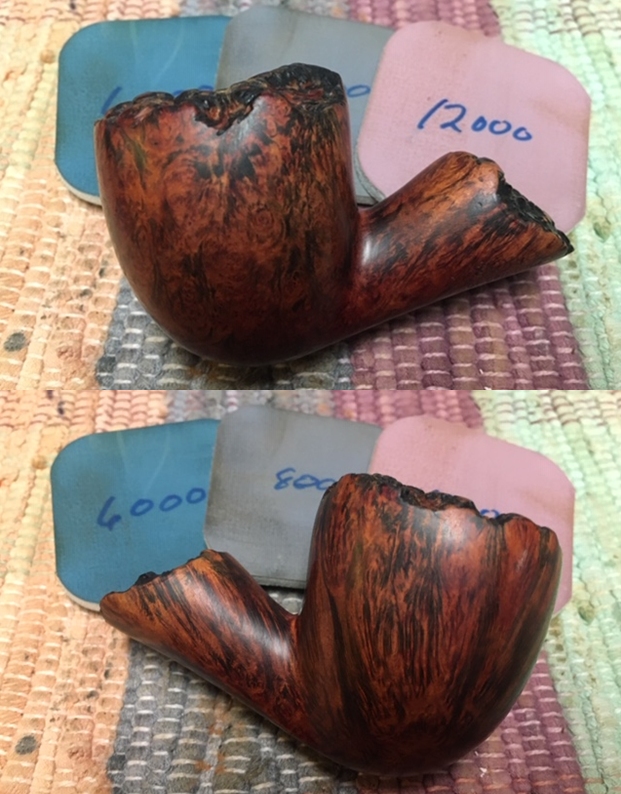
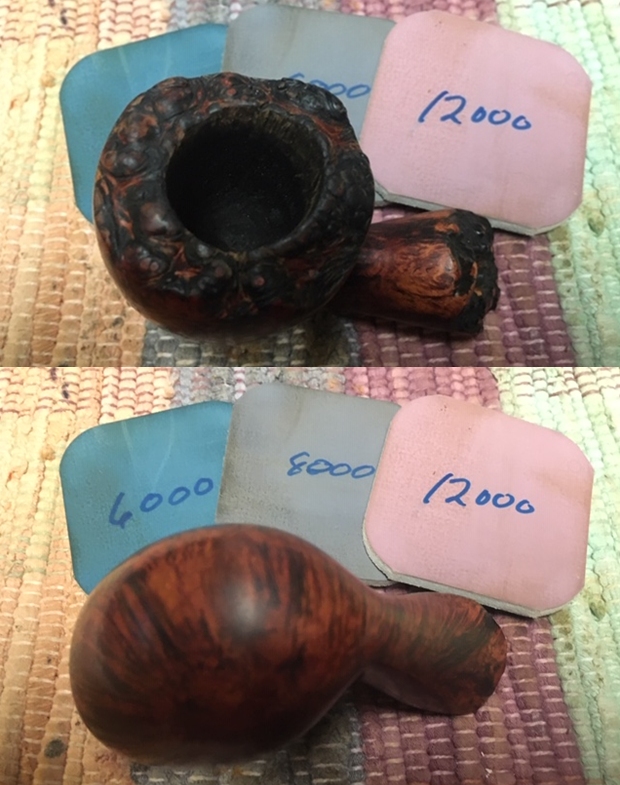
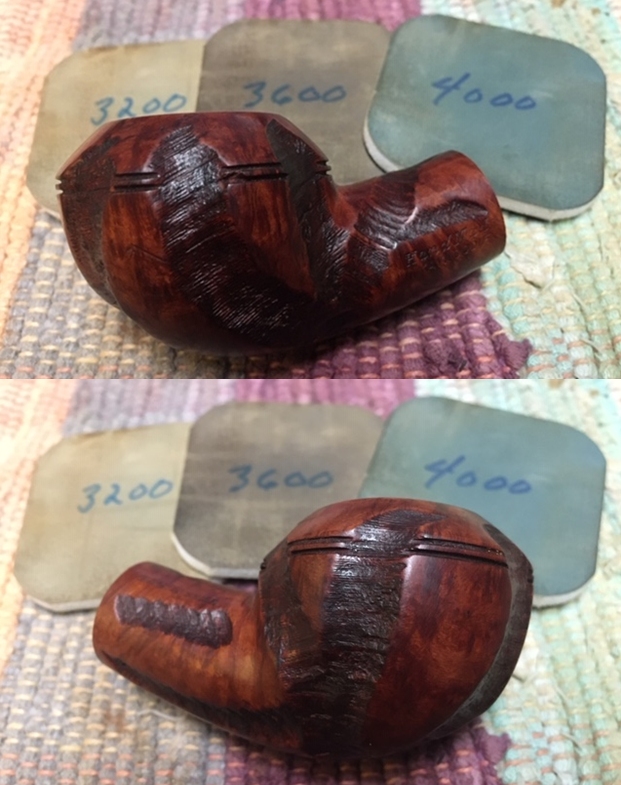
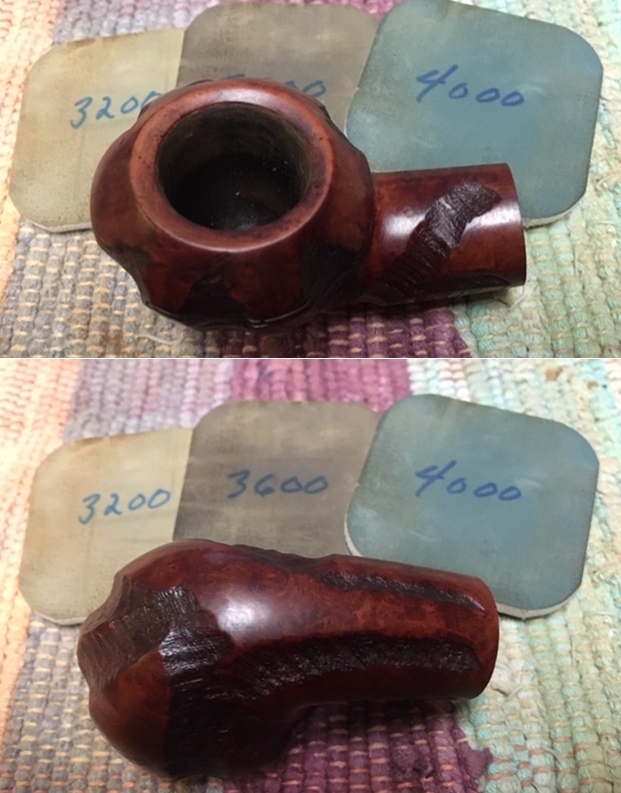
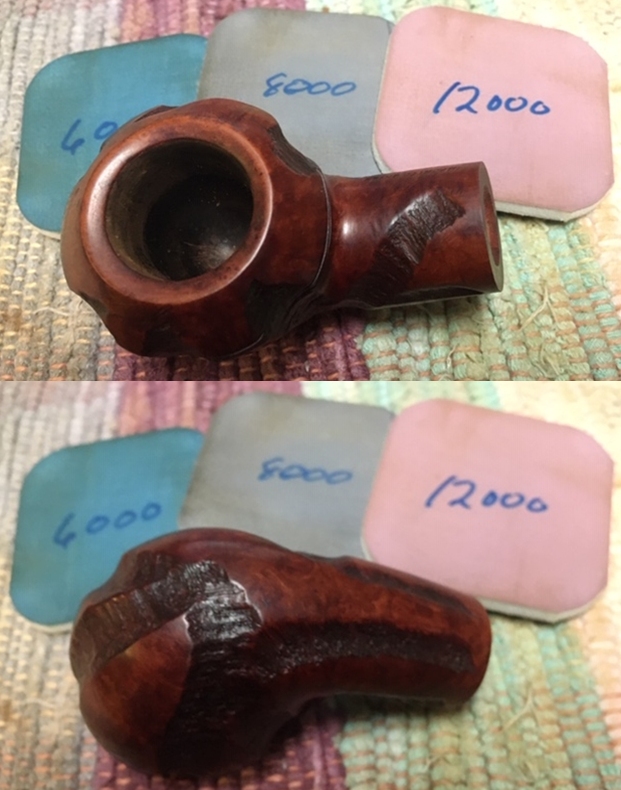
 I polished the bowl and the high spots on the plateau rim with micromesh sanding pads. I wet sanded it with 1500-12000 grit pads and wiped it down between pads with a soft cotton cloth. You can see the progress in the shine as you go through the photos.
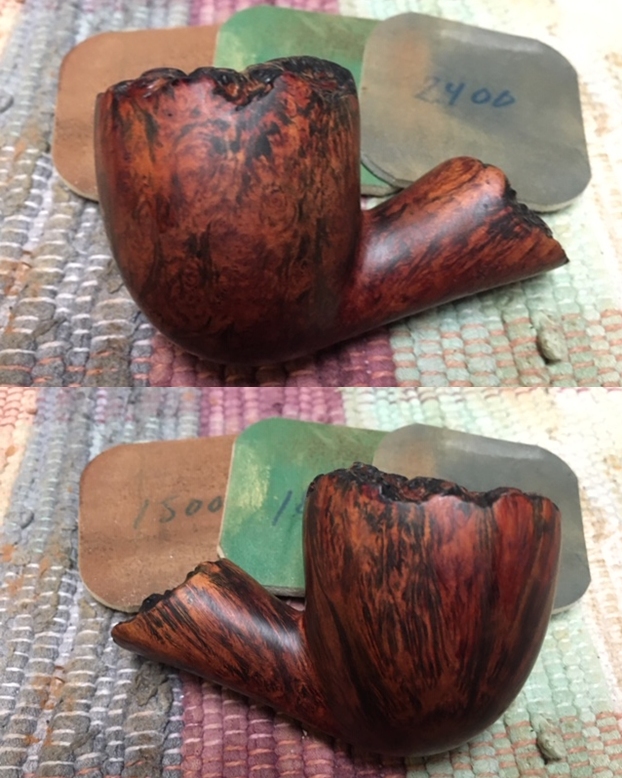
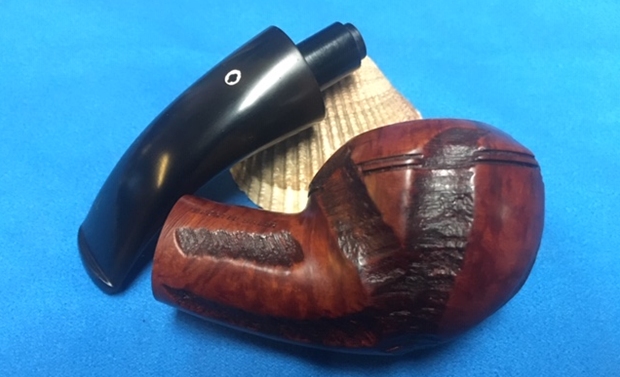
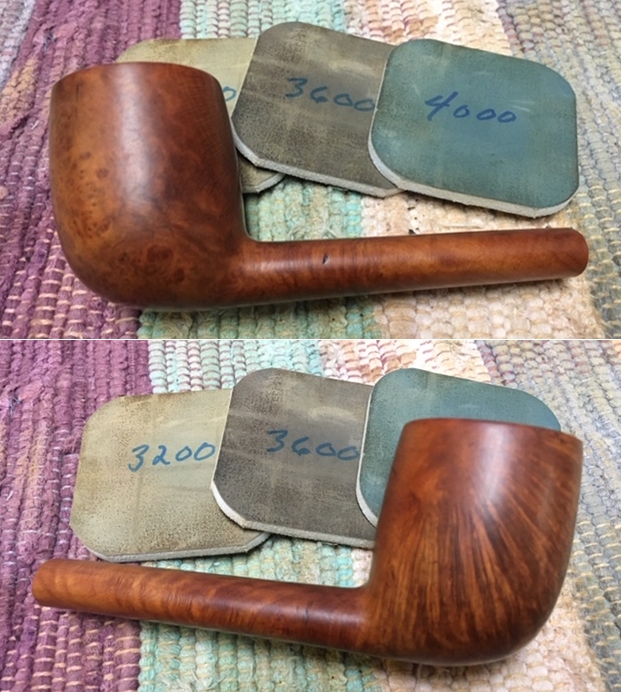
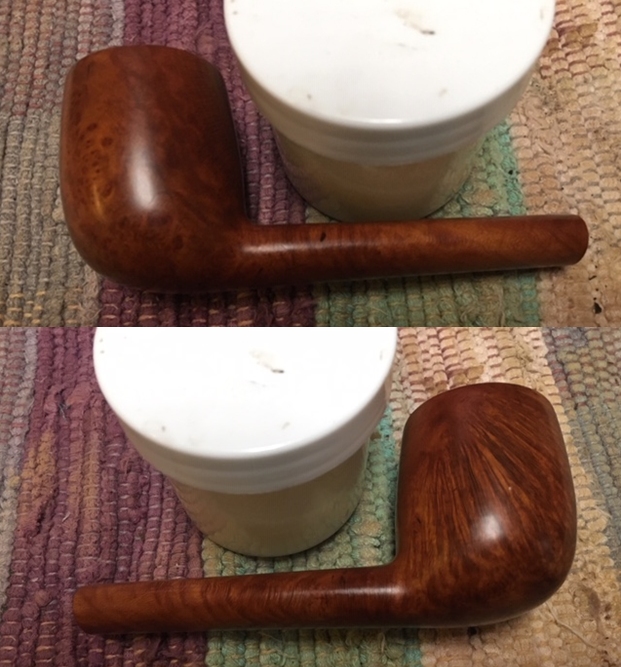
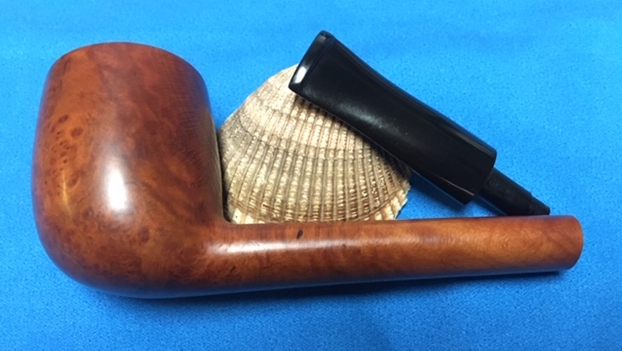
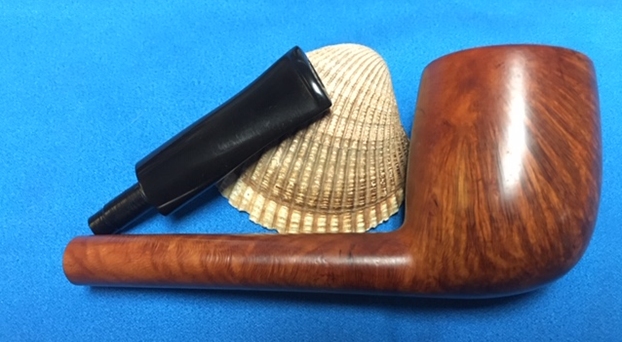
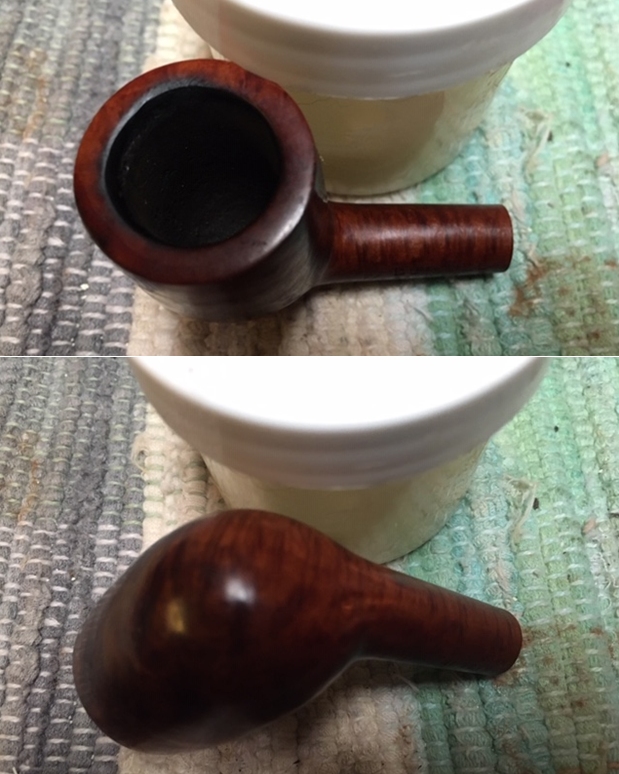
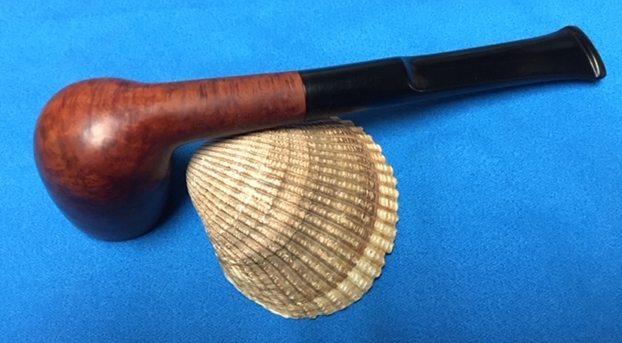
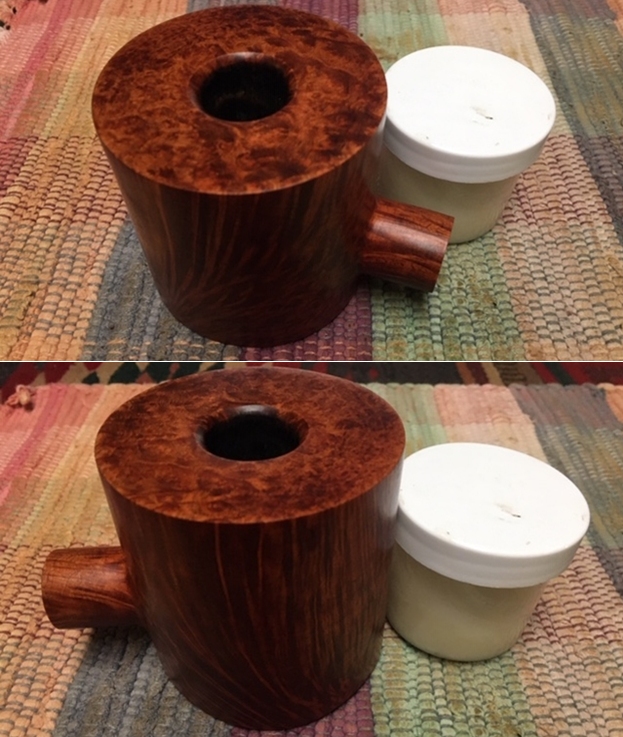
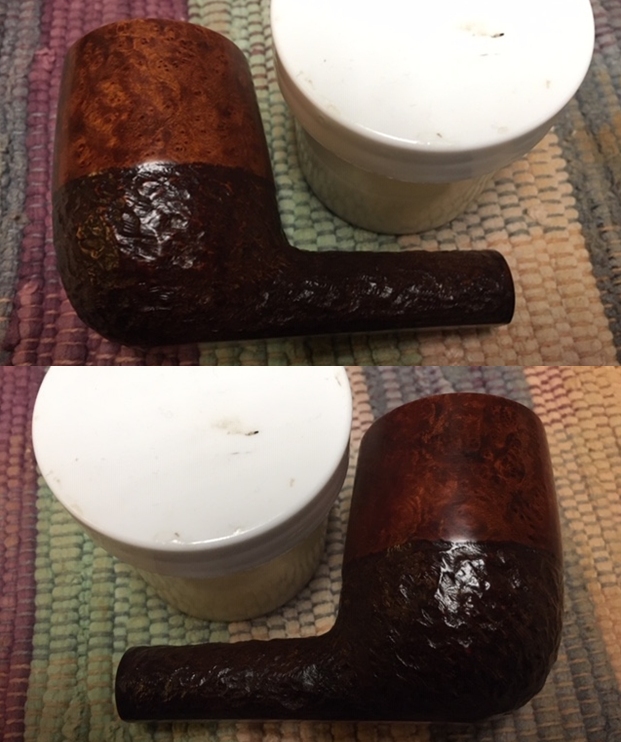
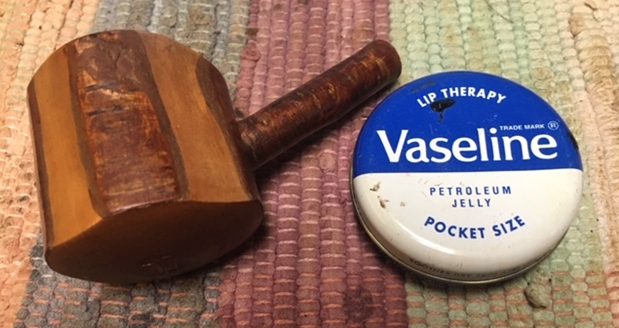
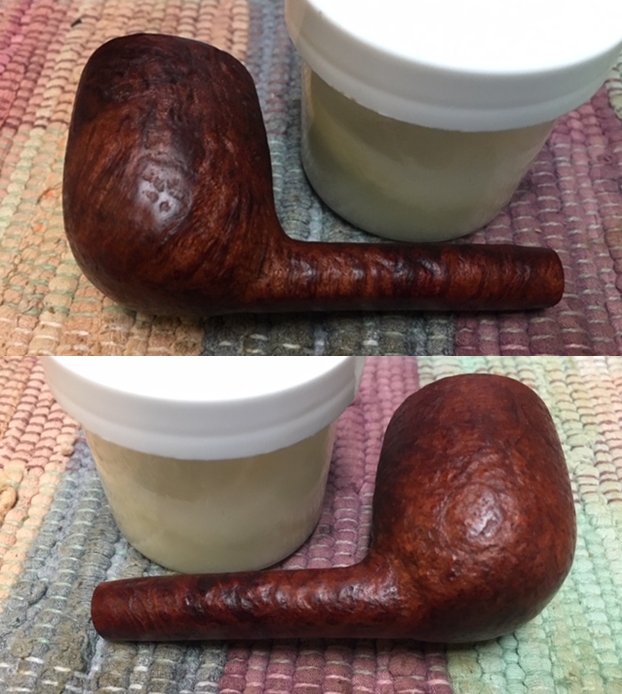
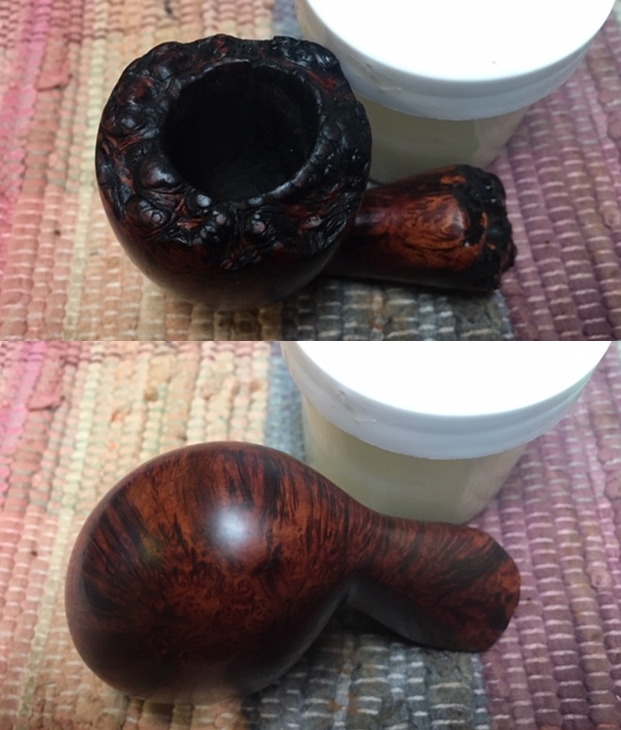
 I worked some Before & After Restoration Balm into the finish of the bowl and the plateau rim top and shank with my fingertips and a horsehair shoe brush to clean, enliven and protect it. I find that the balm really makes the briar come alive again. The contrasts in the layers of stain really made the grain stand out. I let the balm sit for a little while and then buffed with a cotton cloth to raise the shine. The pipe really looks good at this point. I am very happy with the way the pipe is looking at this point in the process.
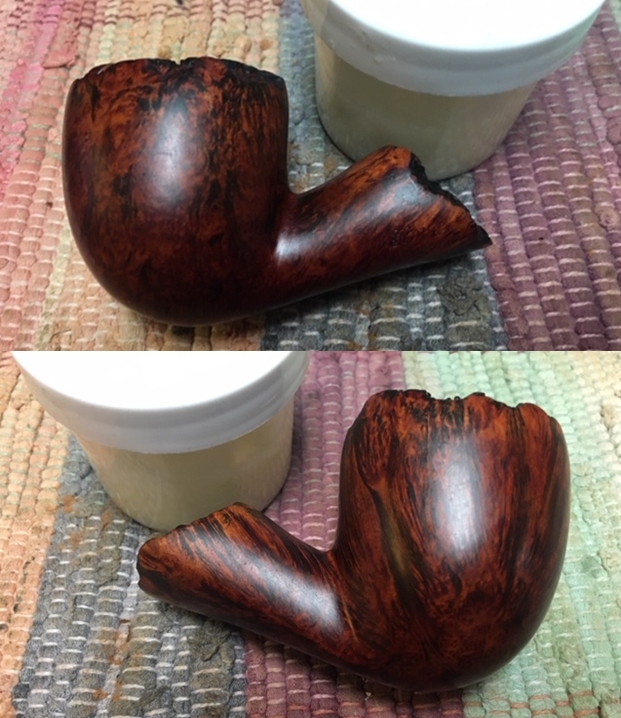
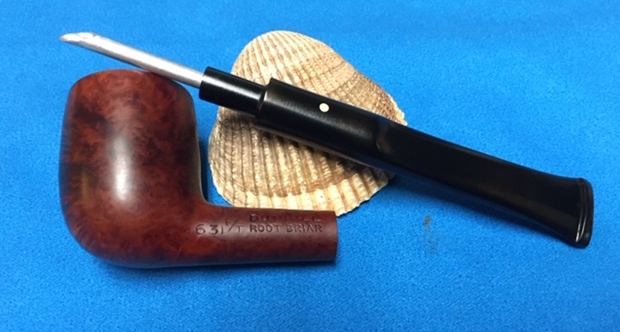
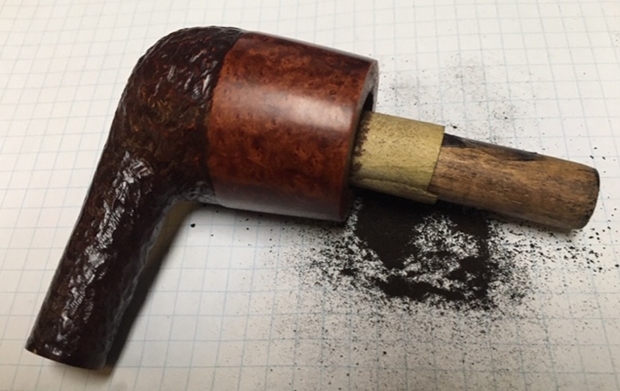
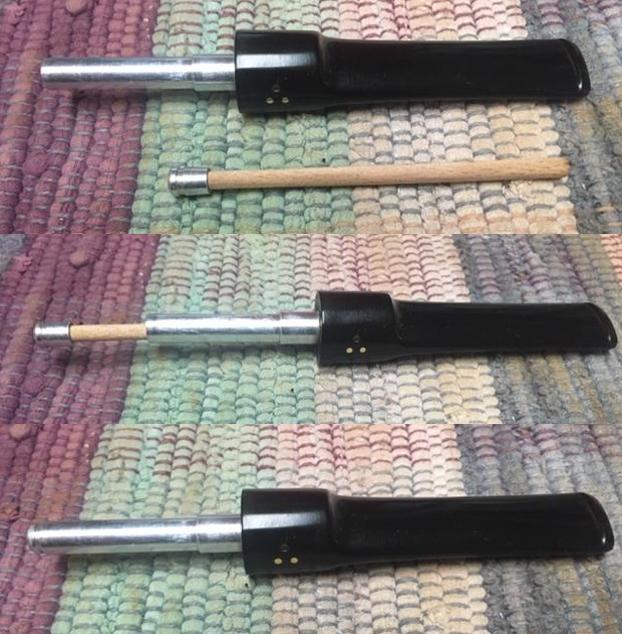
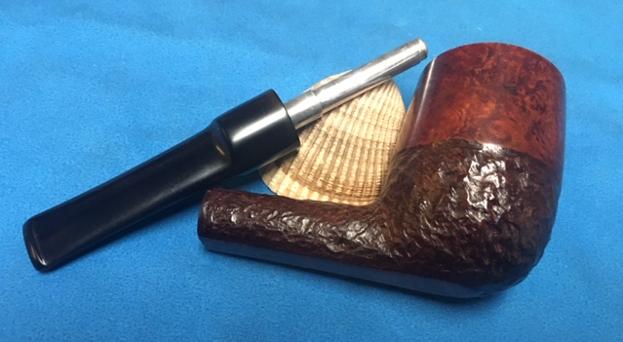
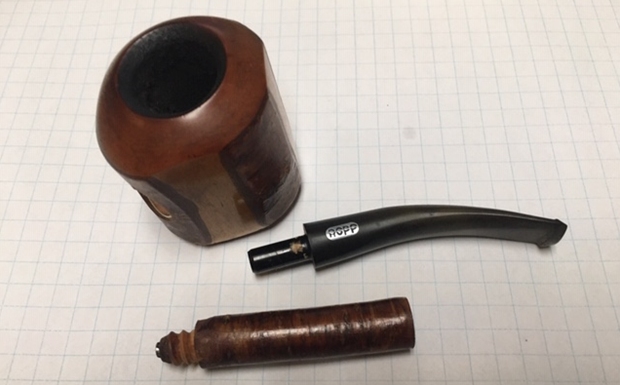
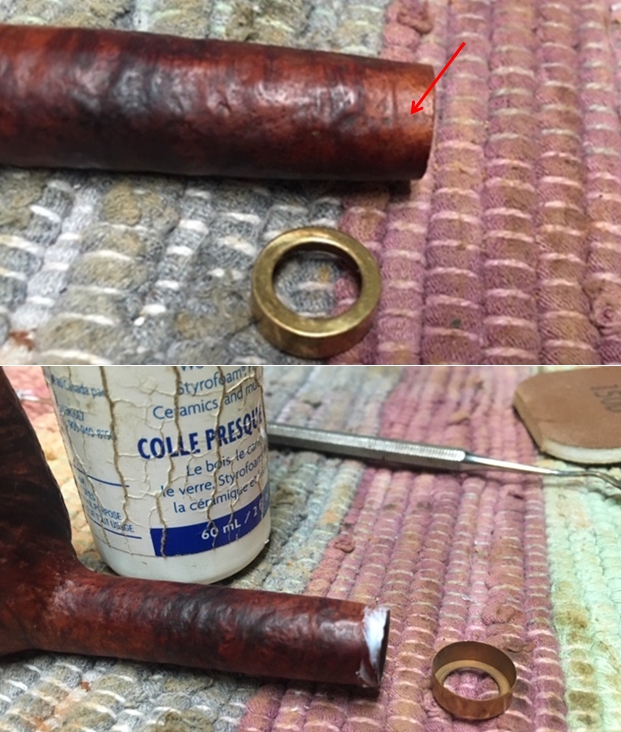
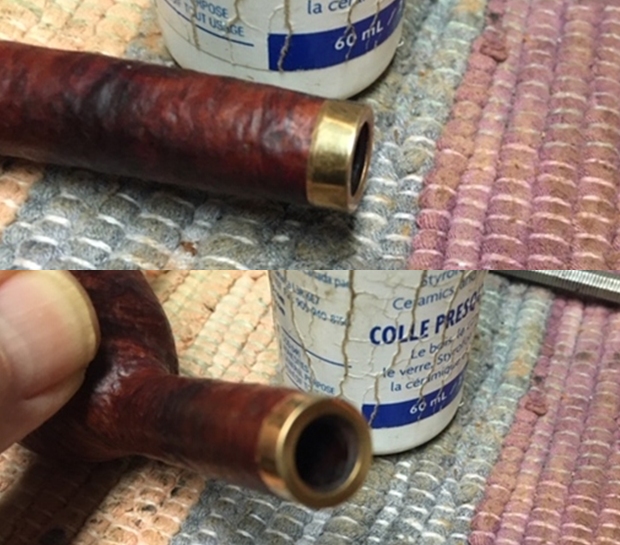
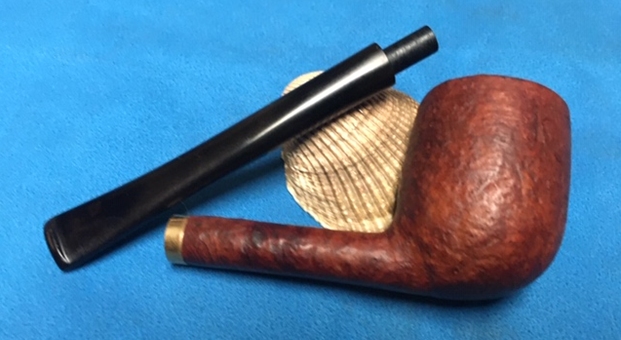
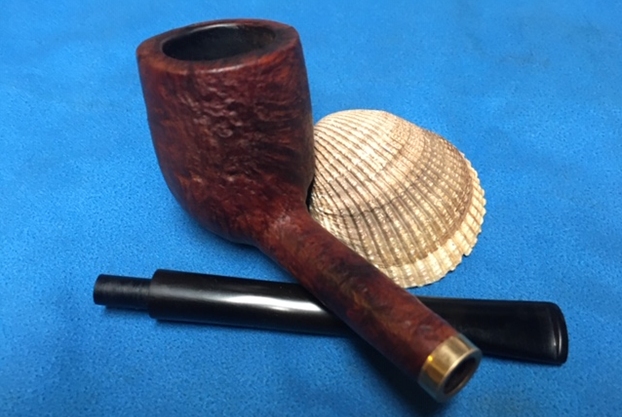
 I set the bowl aside and turned my attention to the stem. I examined the diameter of the tenon and the mortise. The tenon was not the right length for the mortise. It was too short and stubby. The way that the tenon was turned also did not allow the stem to seat correctly against the plateau shank end. I went through my can of stems and found one that was the perfect fit. The length and diameter of the tenon was correct and the way the stem sat against the shank end was perfect. The length of the stem also worked better with the look of the pipe. The stem was bent a bit too much but that is easily corrected.
 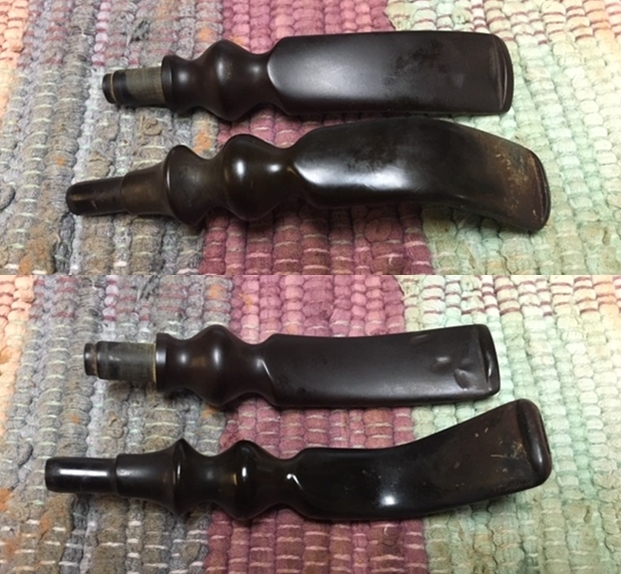 I put a pipe cleaner in the stem to keep the airway from collapsing or kinking. I heated the stem slowly and carefully with a candle until the vulcanite was pliable and then straightened out the bend to match the flow of the rim top of the pipe.
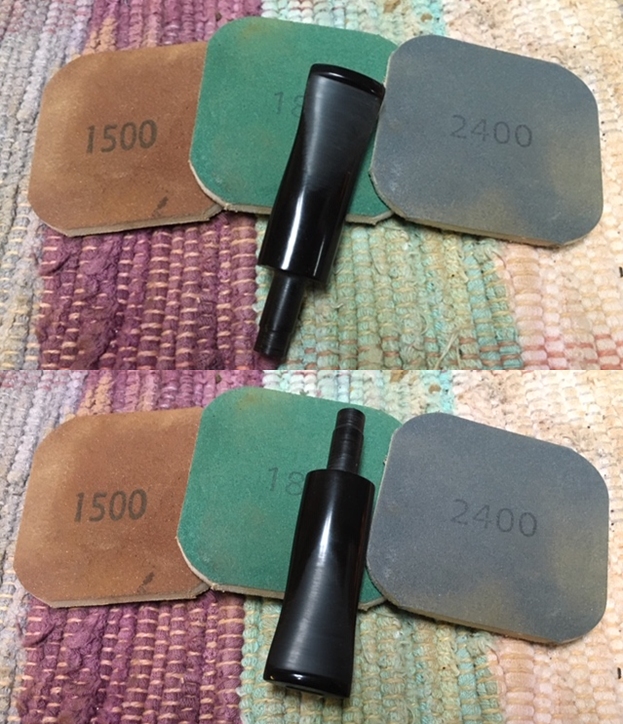
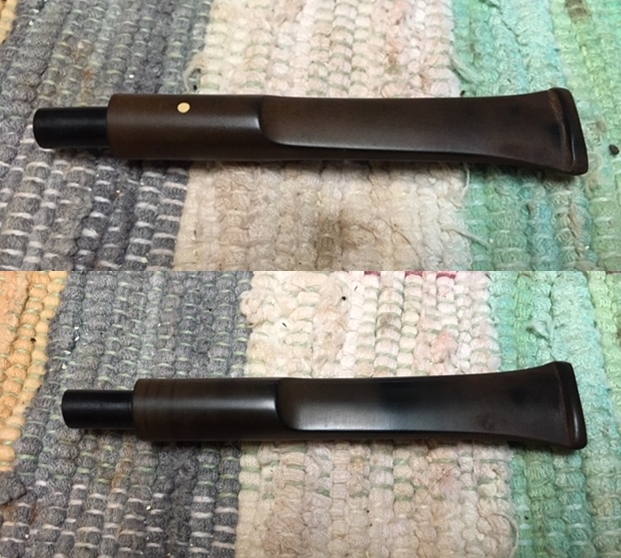
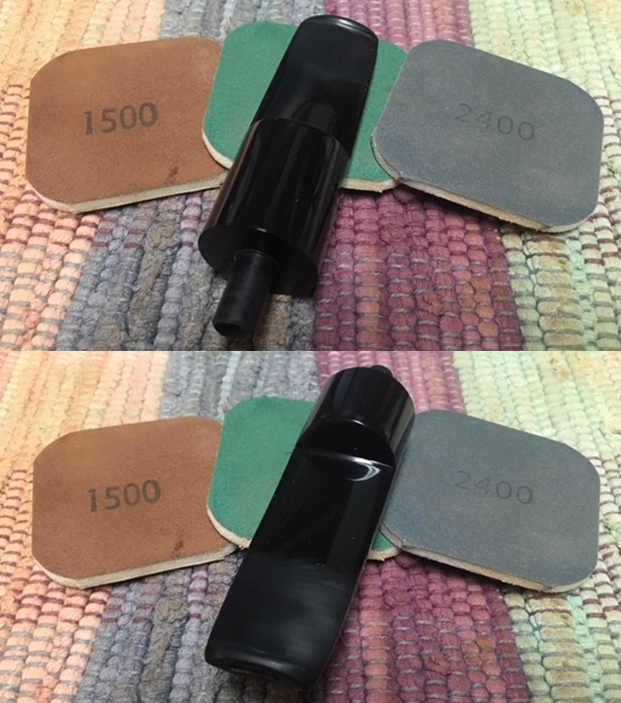
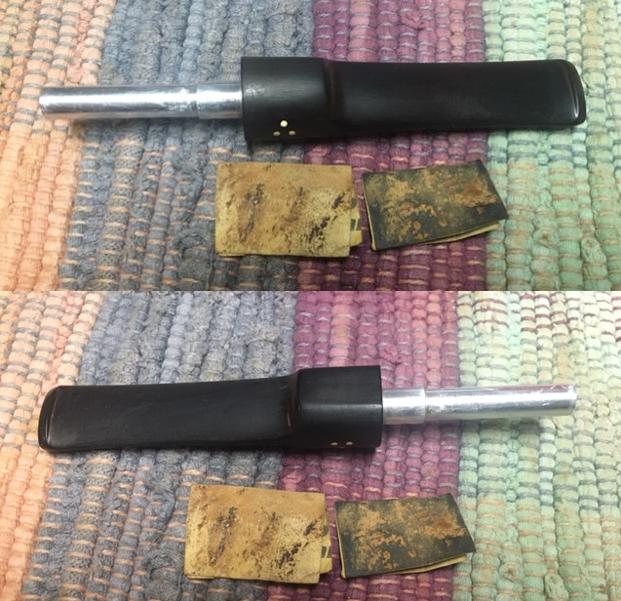
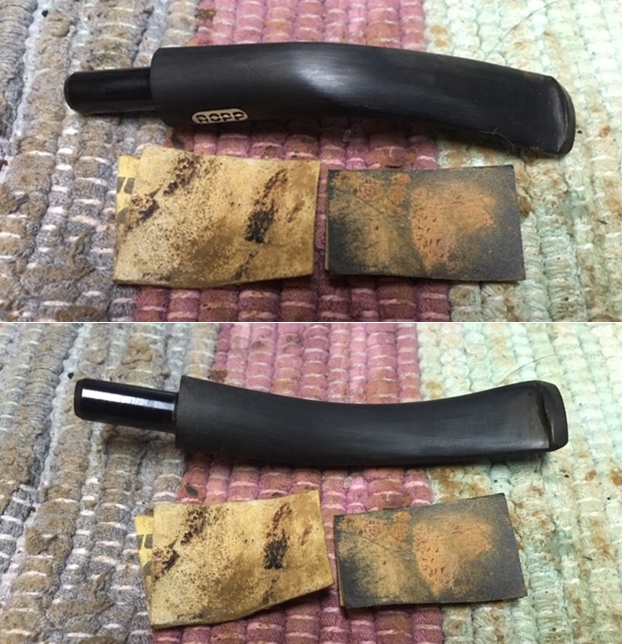
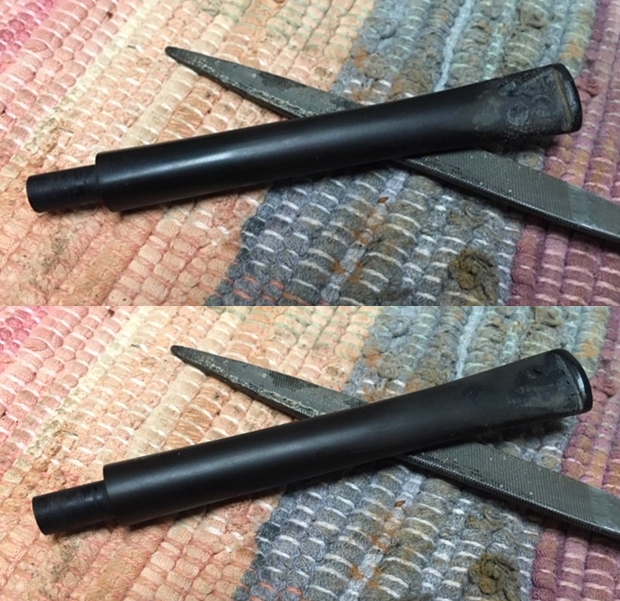
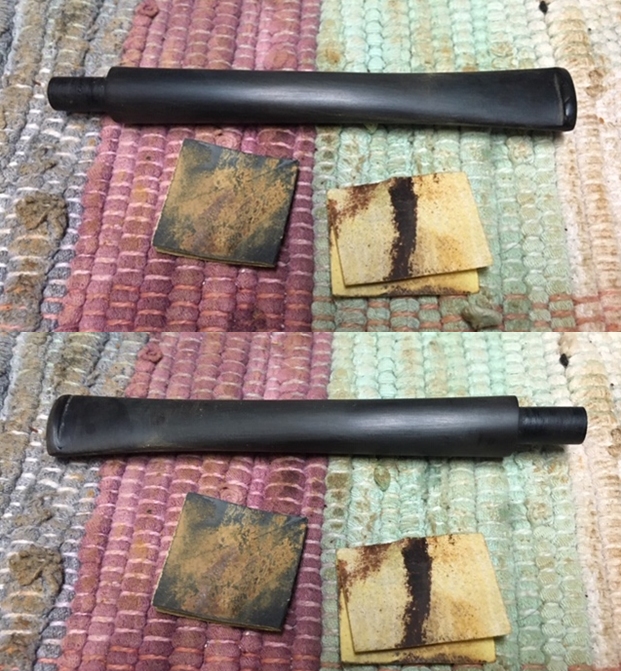
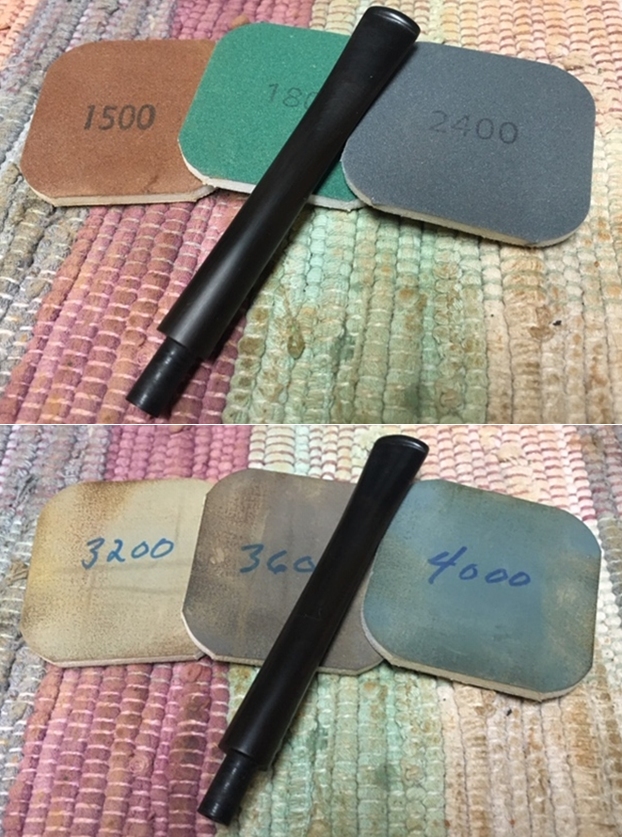
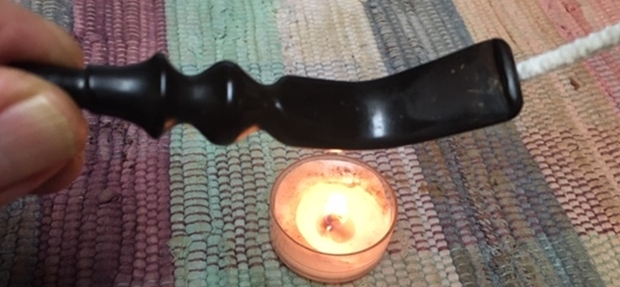 I used running water to cool the stem and set the new bend. I sanded the stem to remove the oxidation that was on the surface with a folded piece of 220 grit sandpaper and a piece of 400 grit wet dry sandpaper. At this point the stem is looking better and I don’t have to deal with George’s tooth marks.
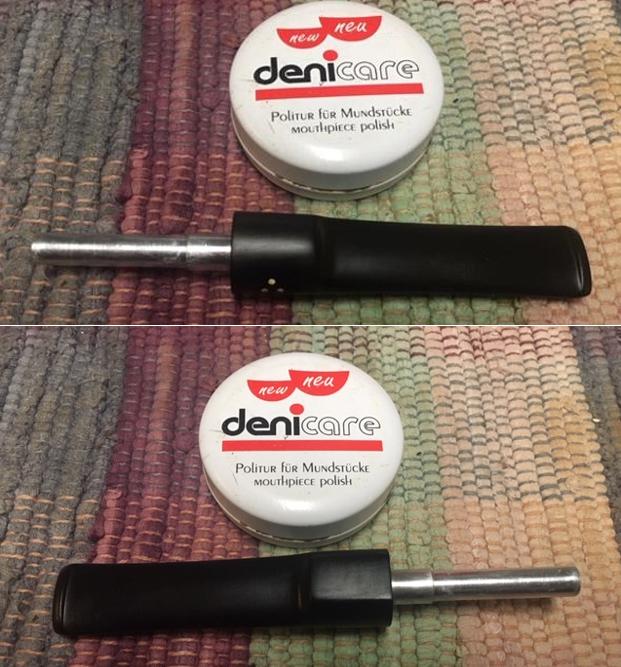
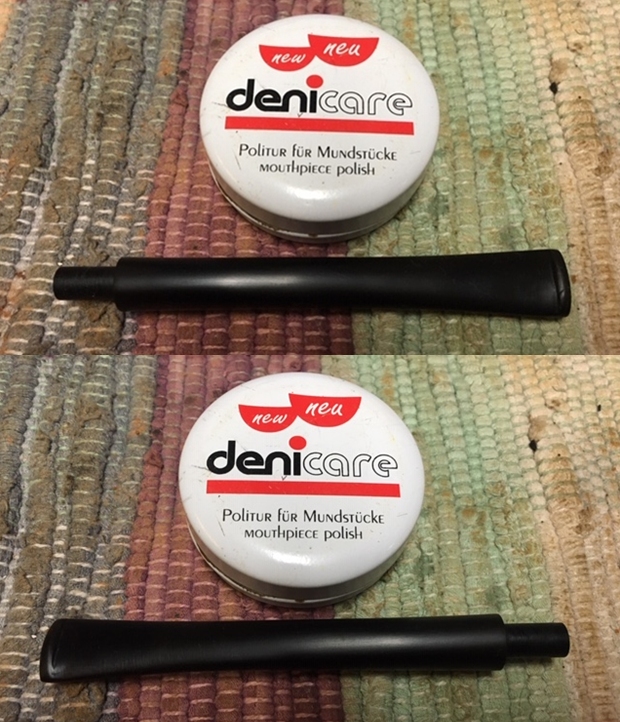
 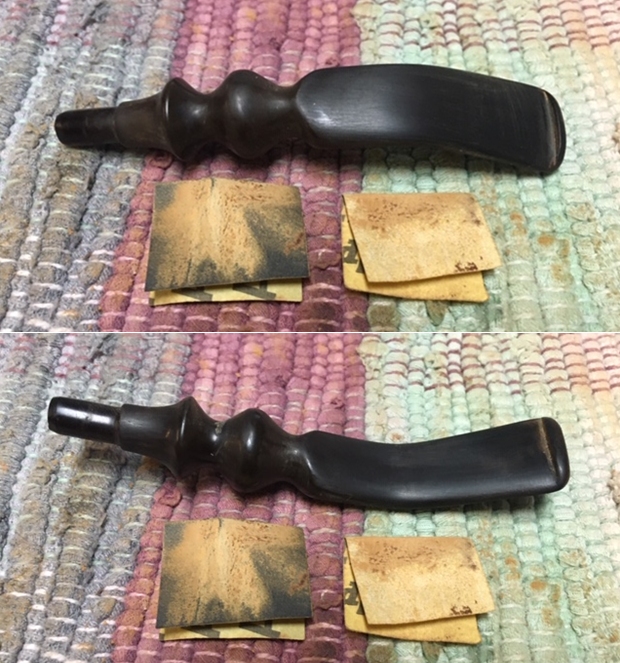 I rubbed the stem down with Denicare Mouthpiece Polish and a cotton pad to remove remnants of oxidation and to further blend in the sanding. The stem was showing some promise at this point in the process.
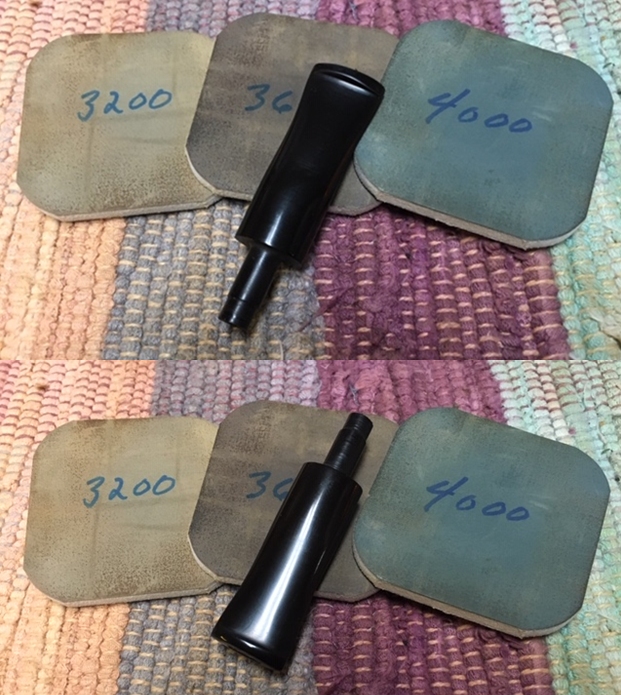
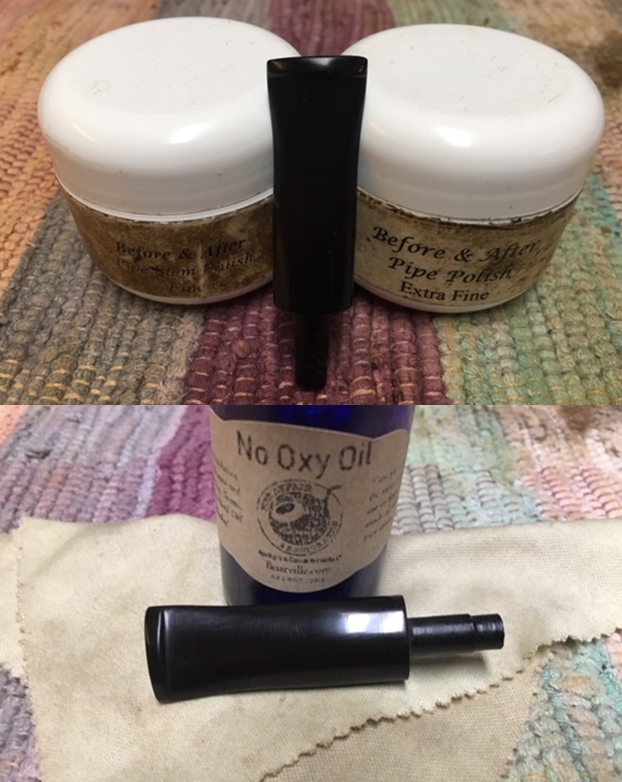
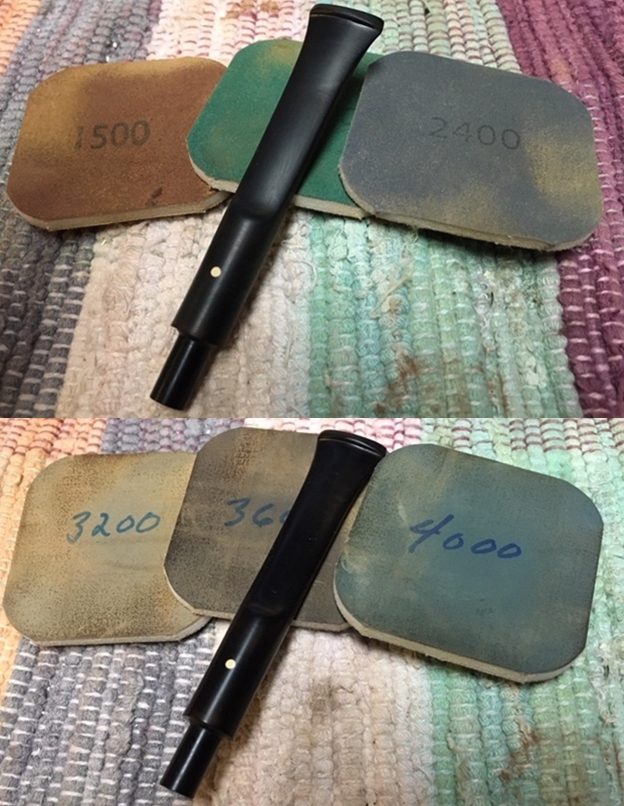
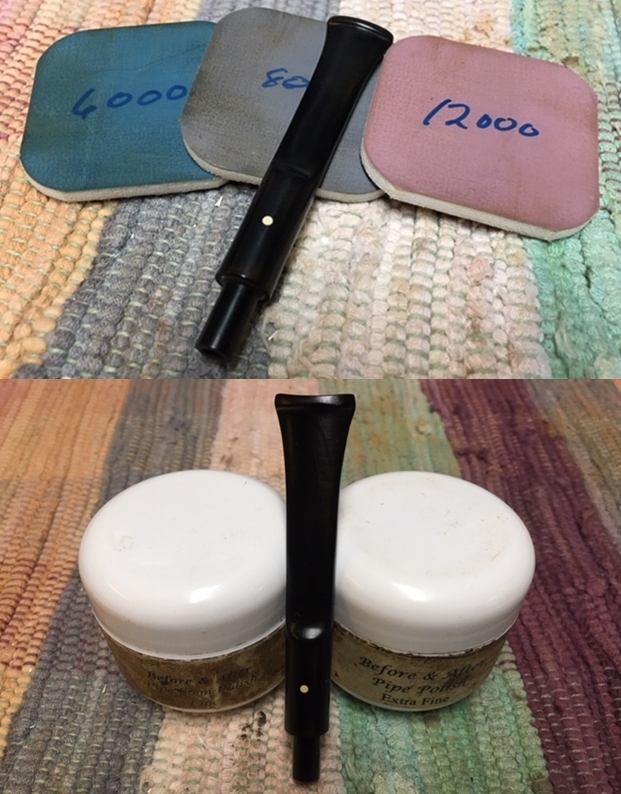
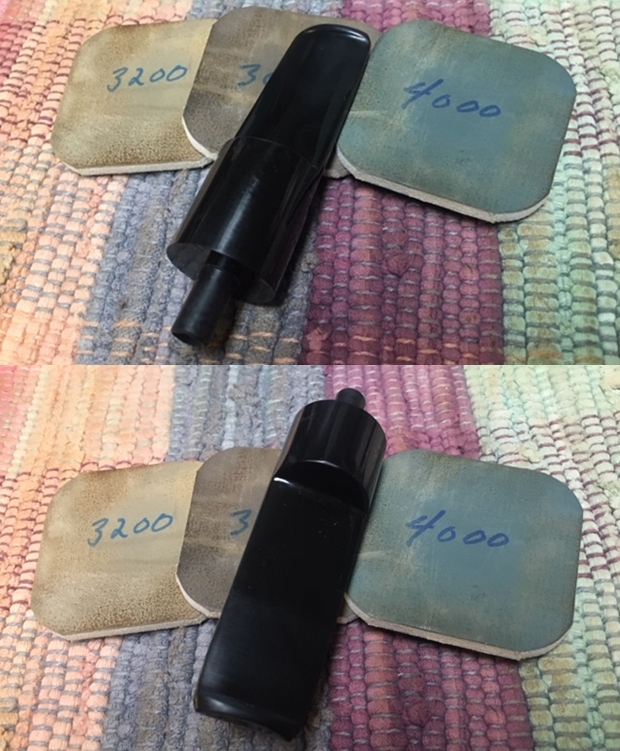
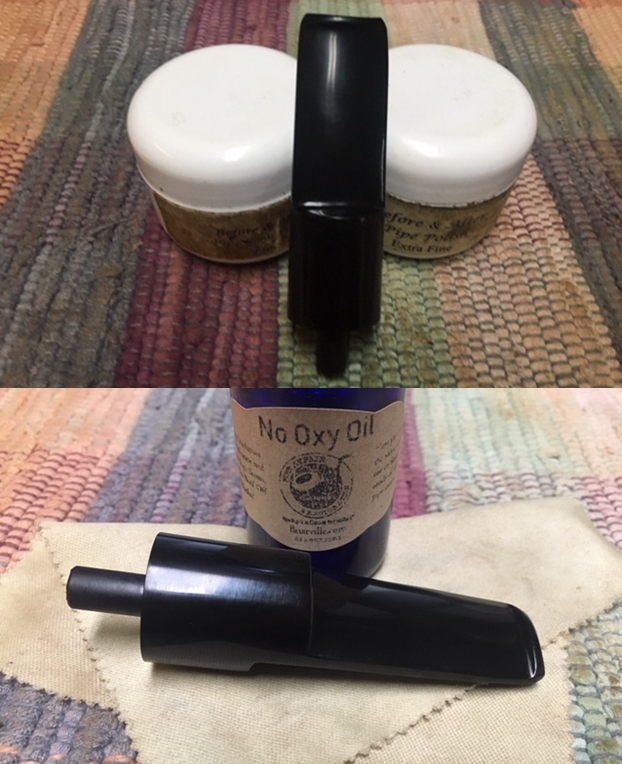
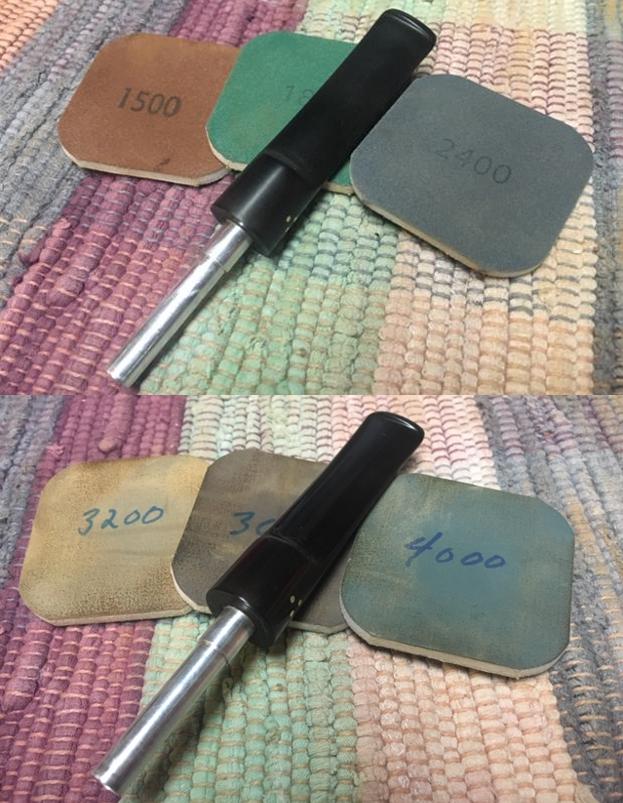
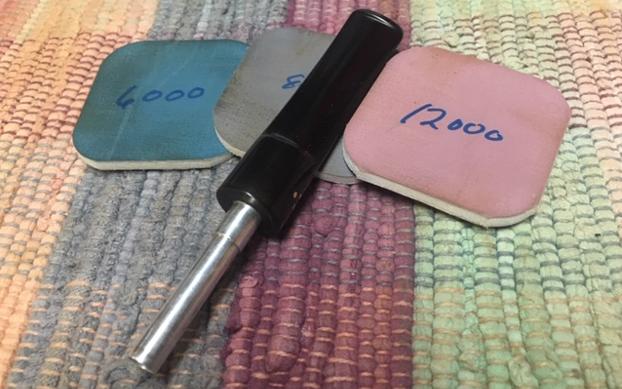
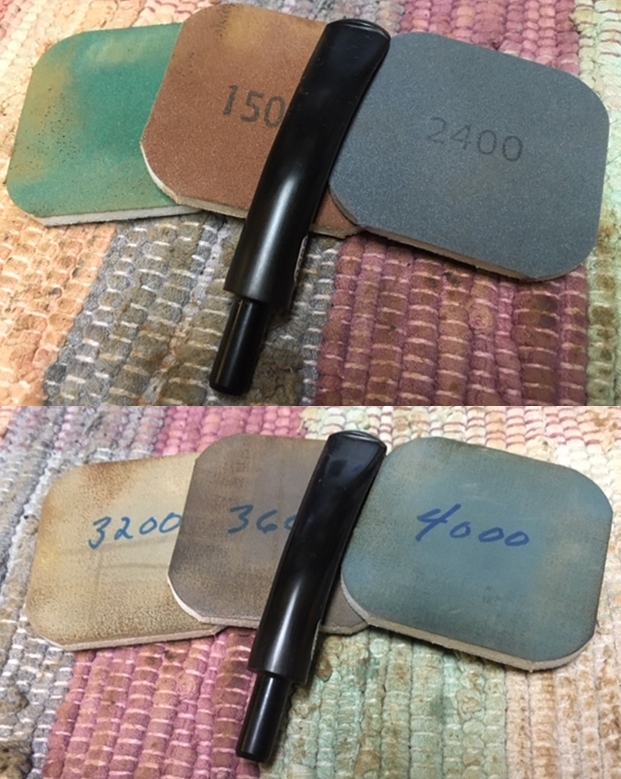
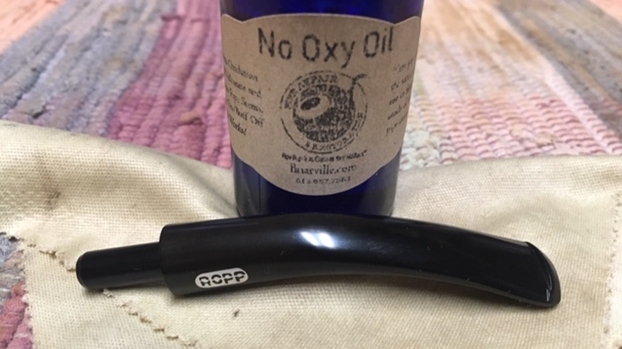
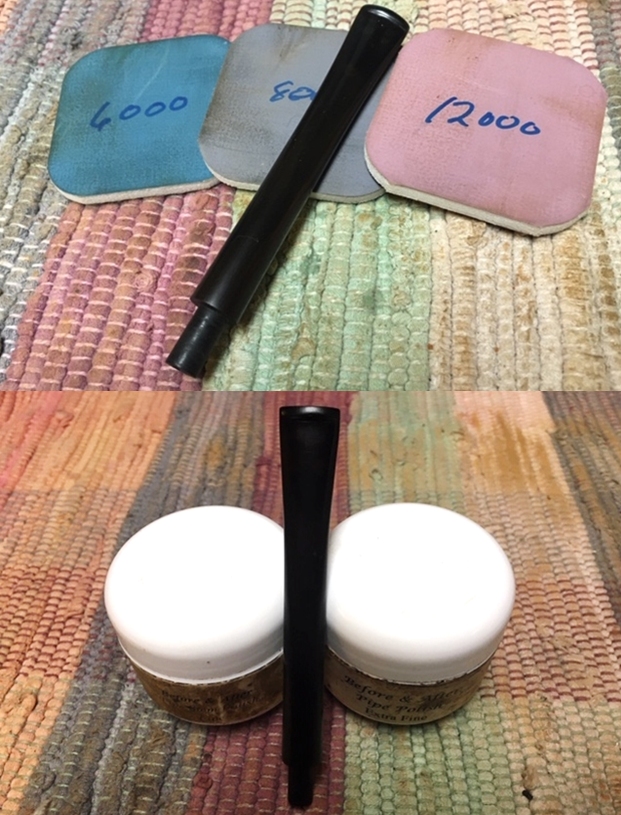
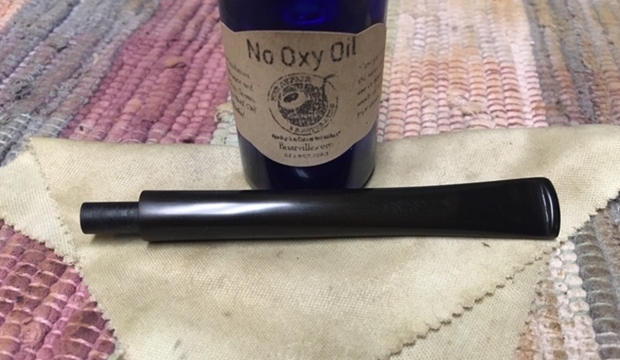
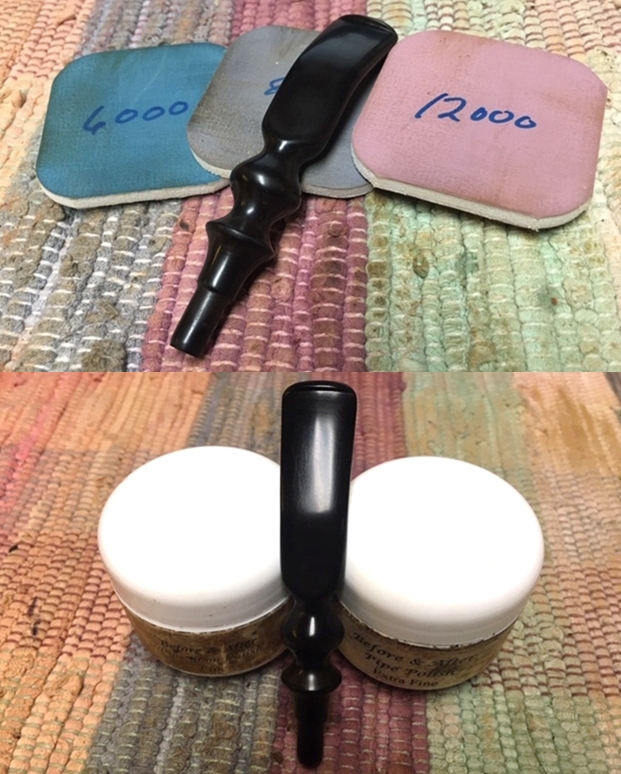
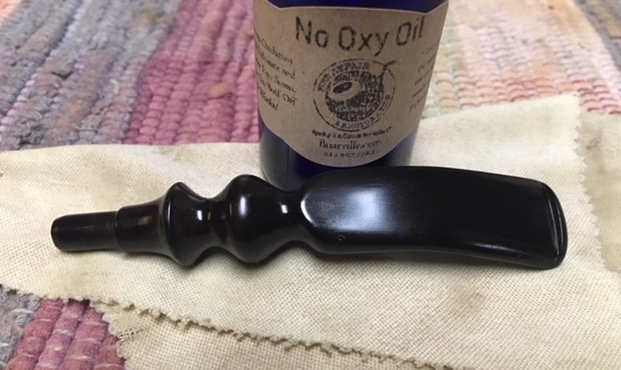
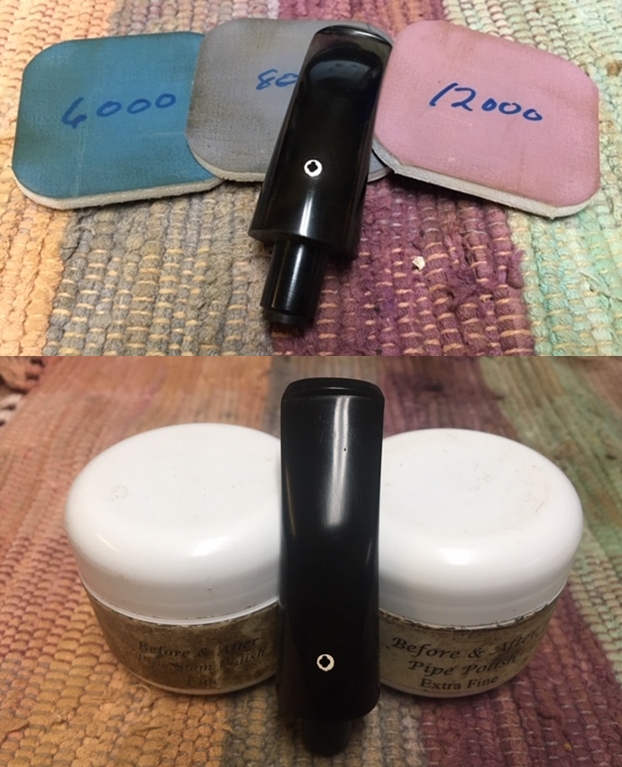
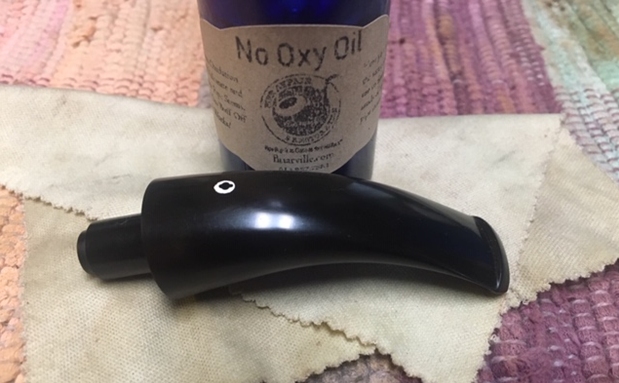
 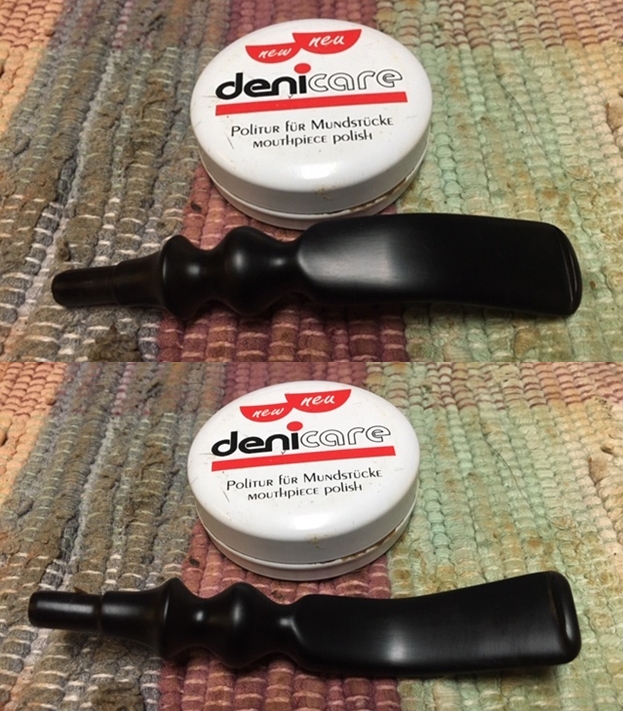 I polished the stem with micromesh sanding pads – wet sanding it with 1500-12000 grit pads. I polished it further with Before & After Pipe Stem Polish – both fine and extra fine. I finished by wiping it down with Briarville’s No Oxy Oil and buffing it to a shine.
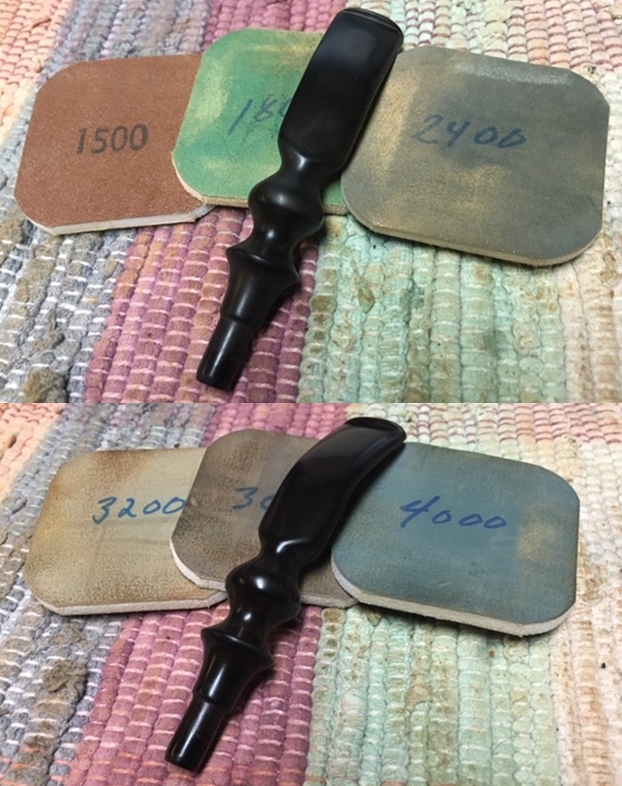
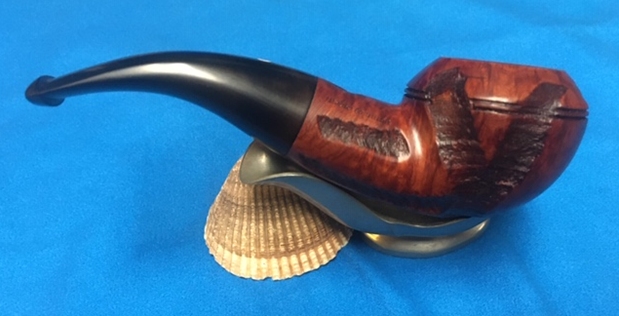
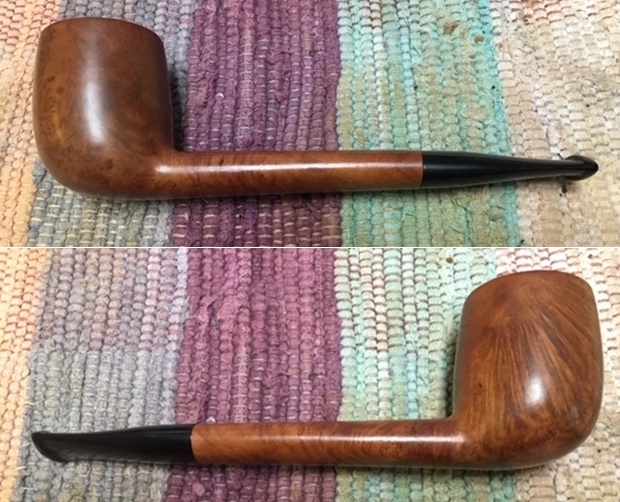
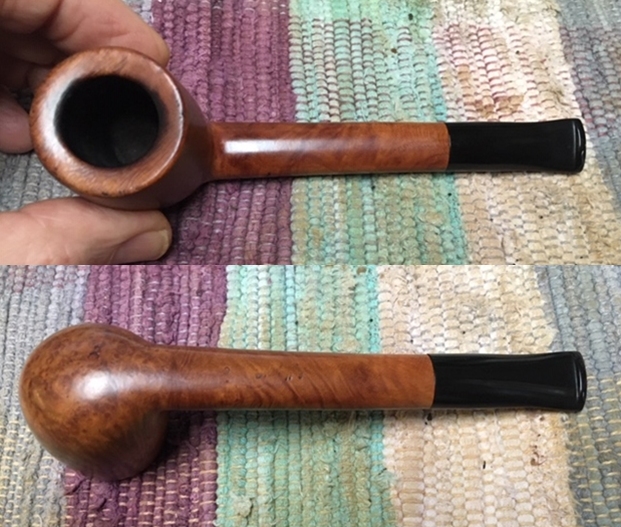
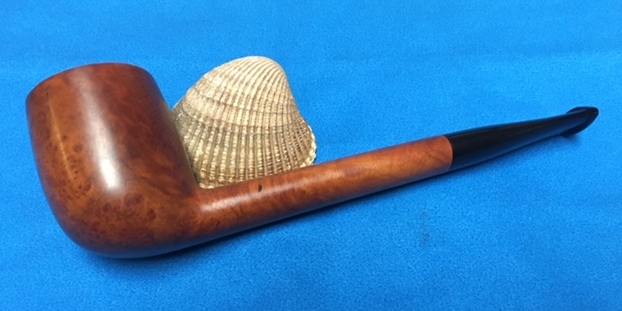
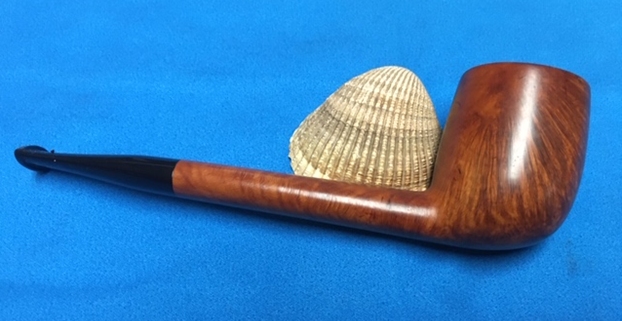
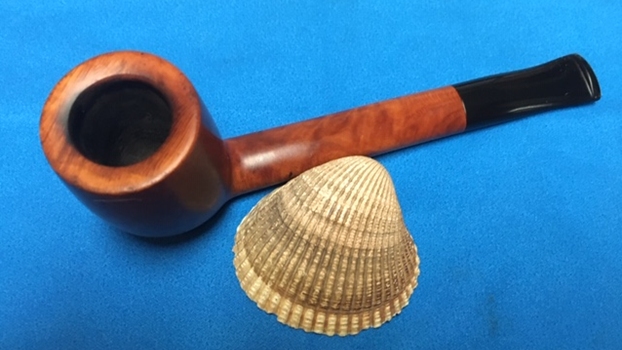
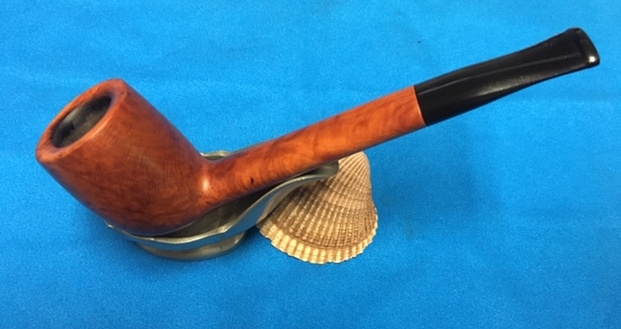
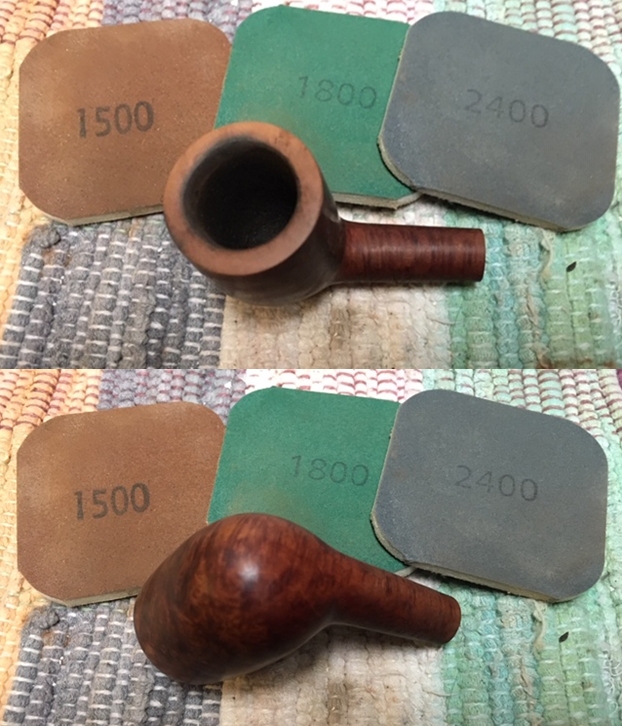
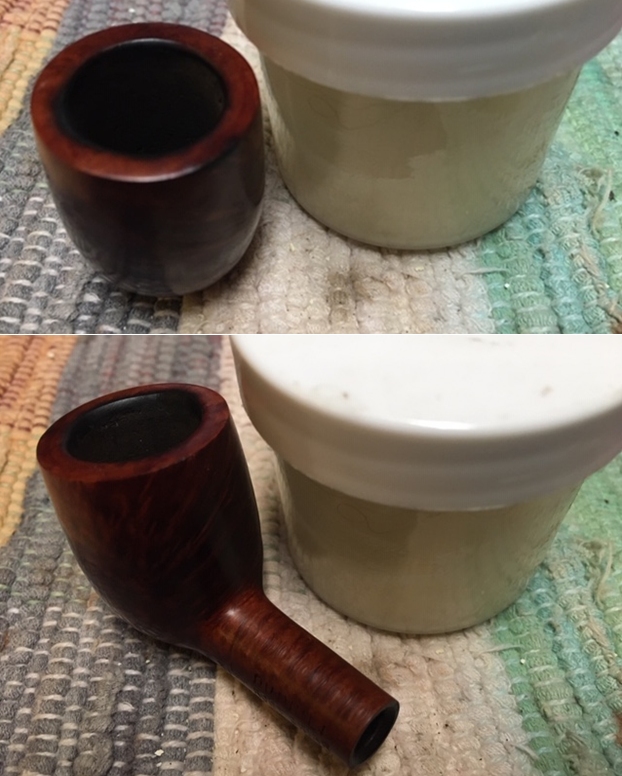
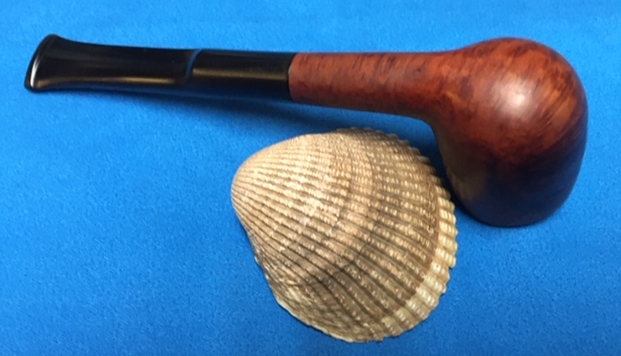
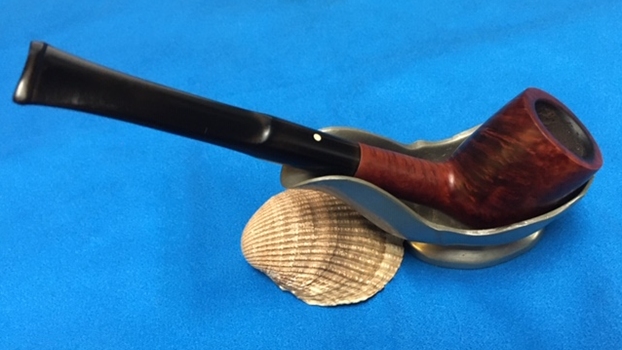
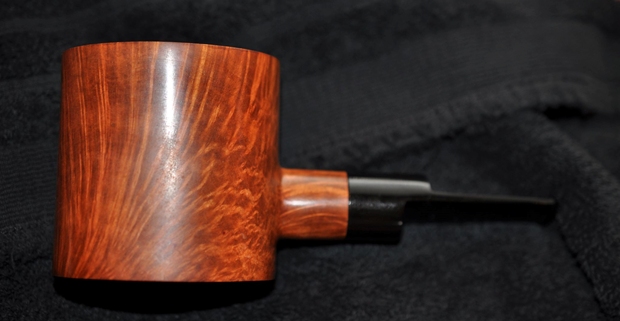
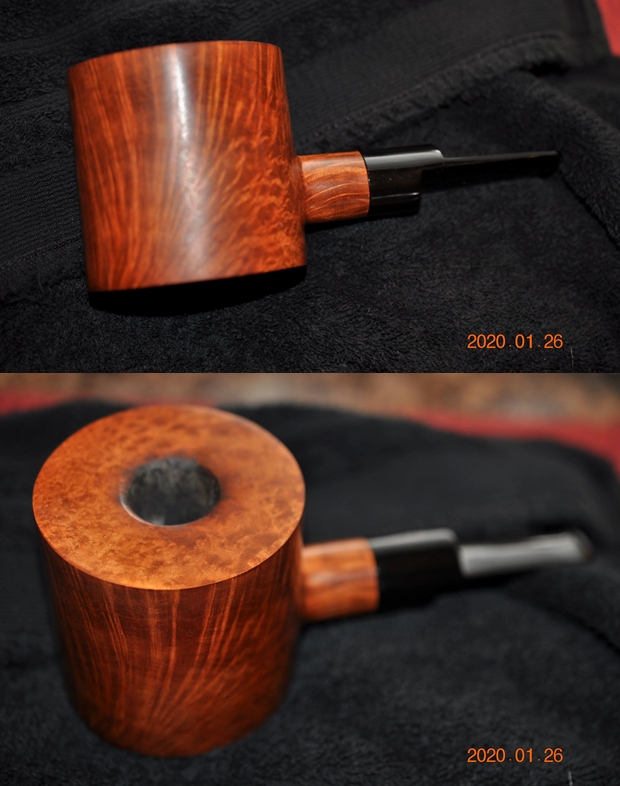
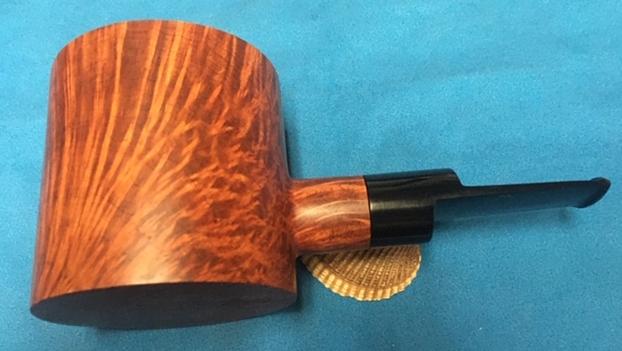
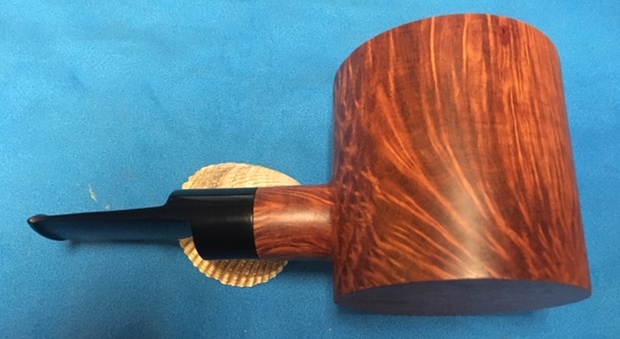
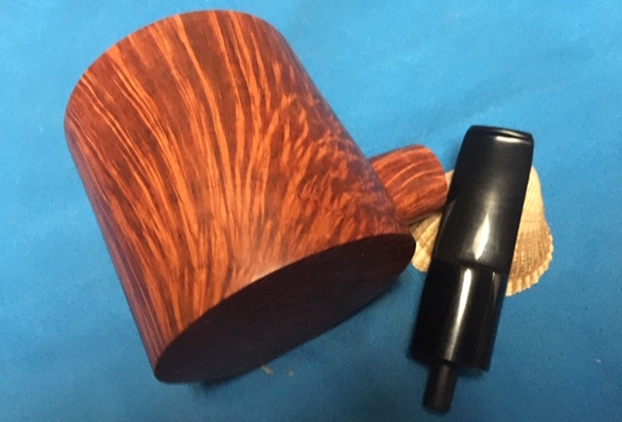
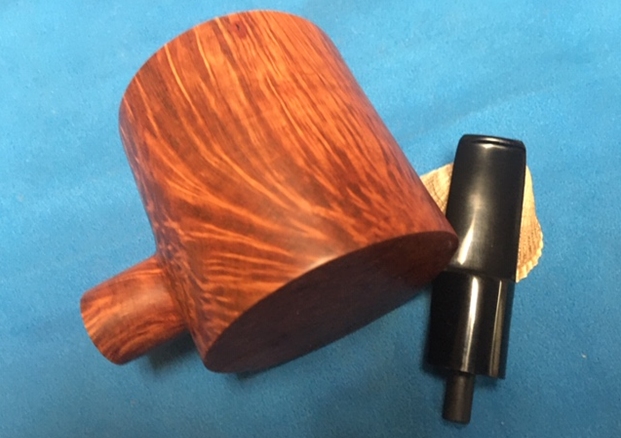
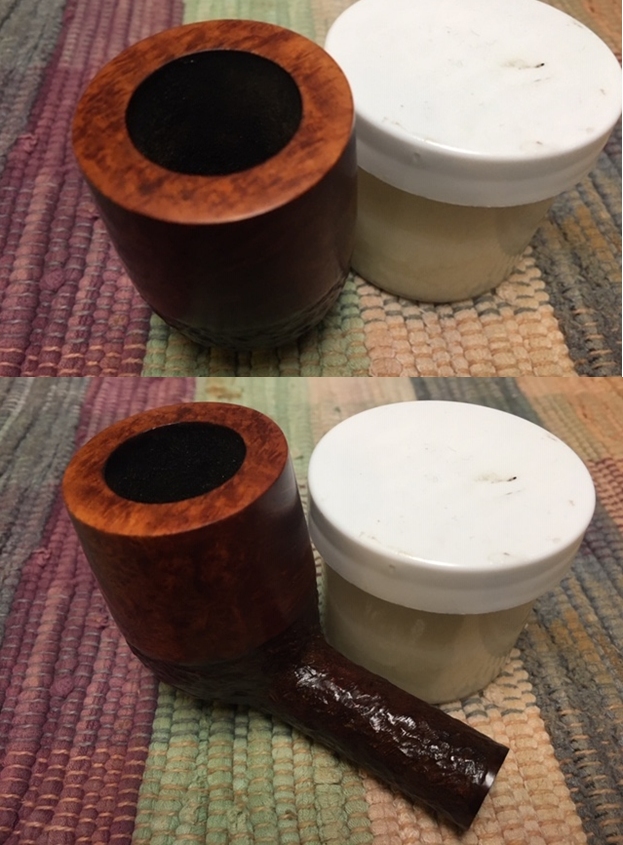
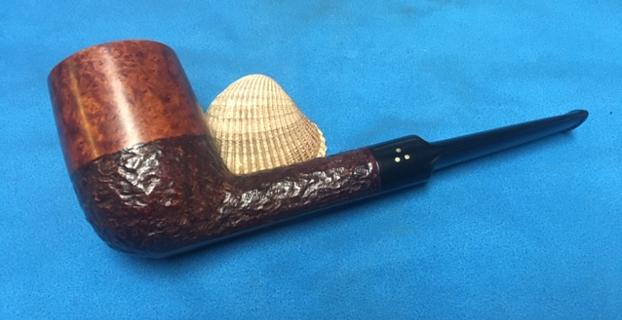
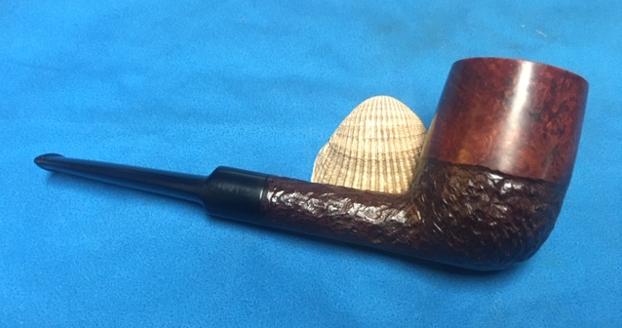
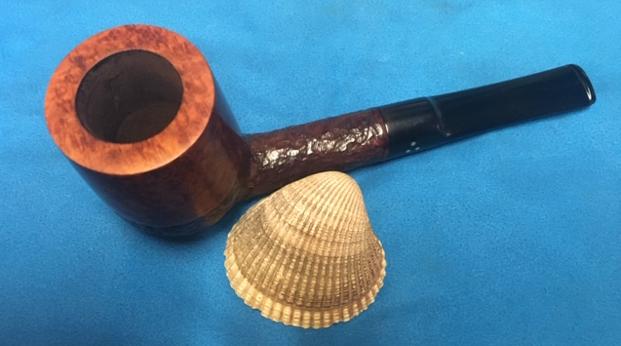
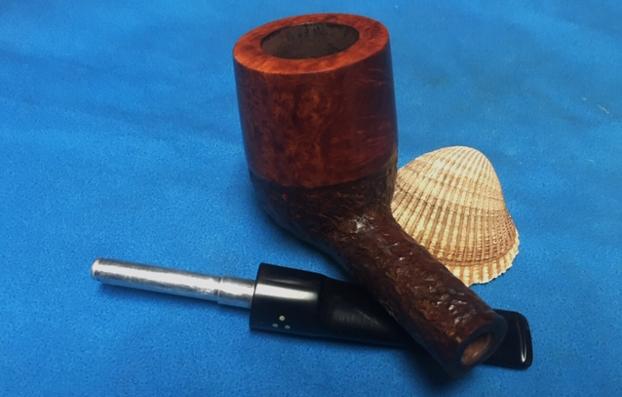
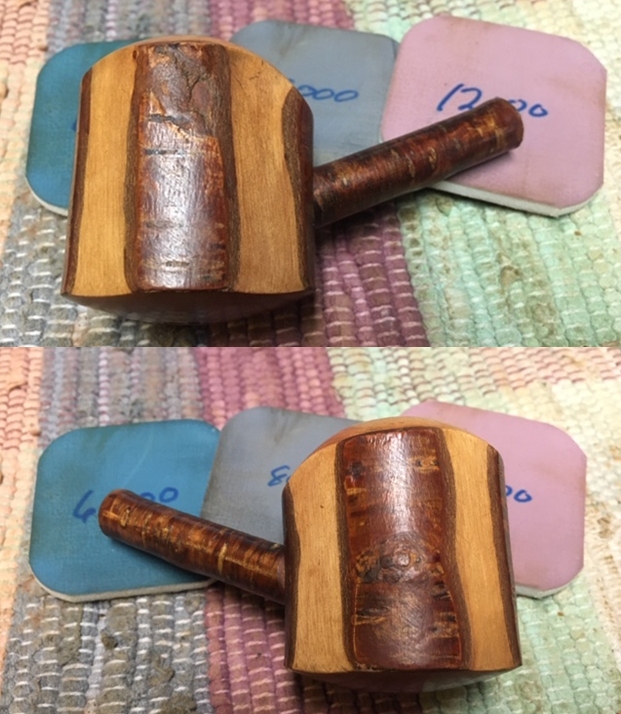
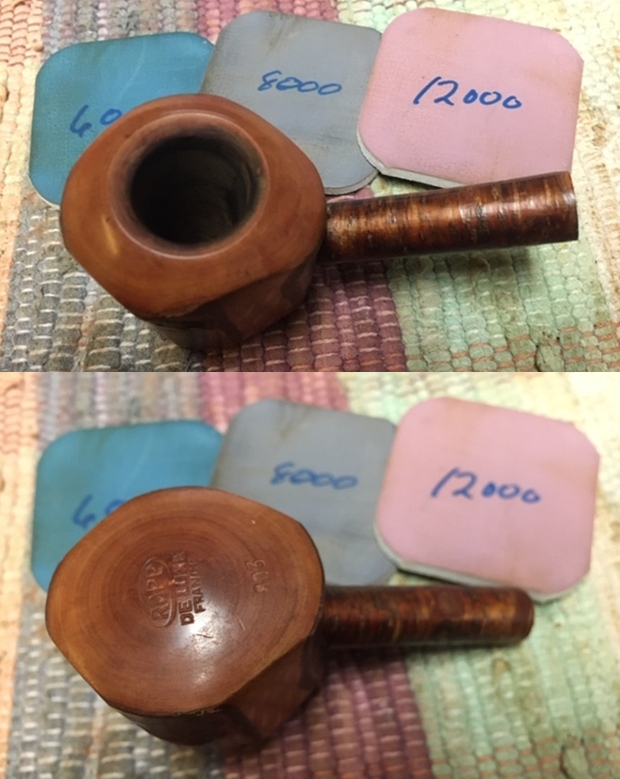
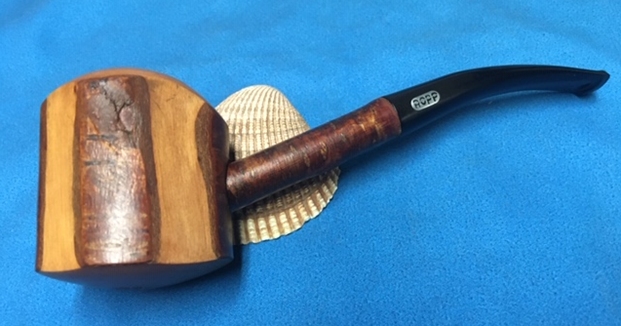
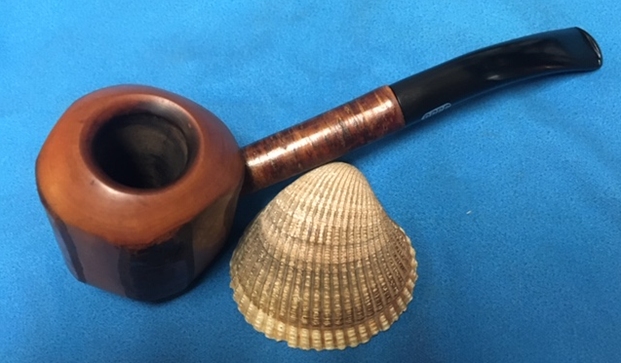
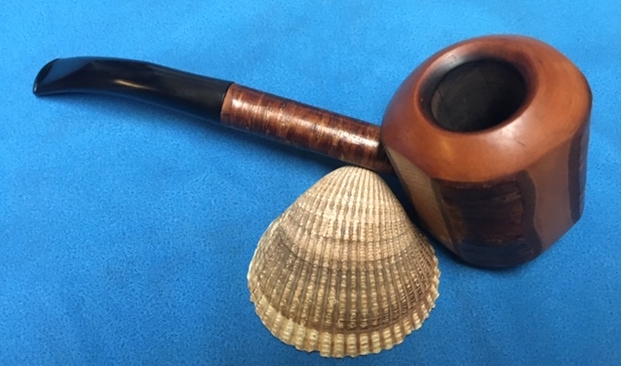
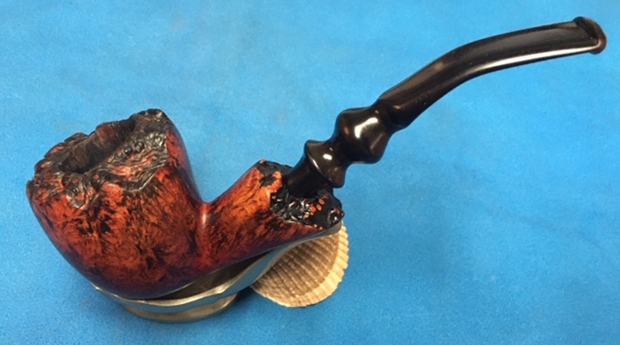
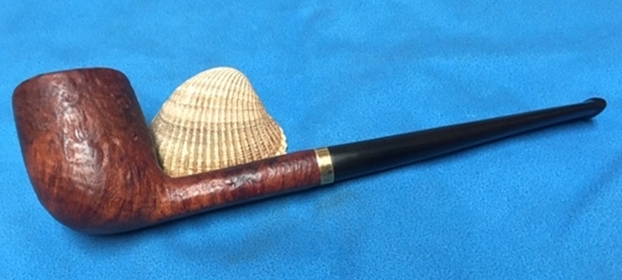
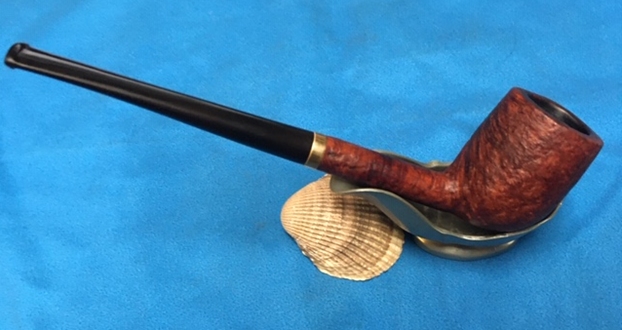
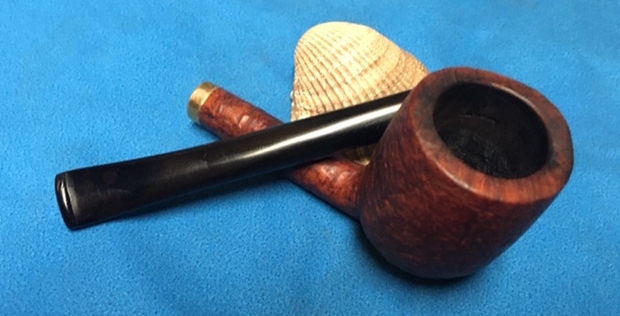
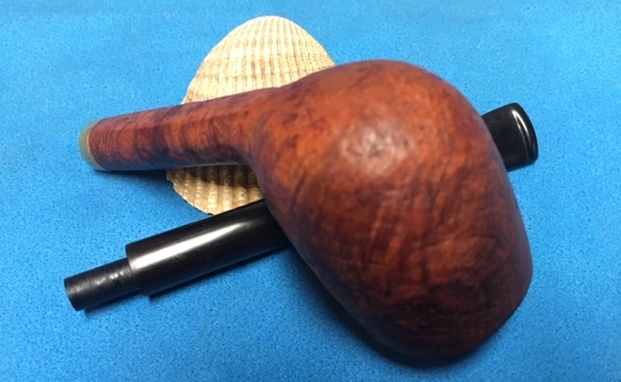
 I always look forward to this part of the restoration when all the pieces are put back together. I put the pipe back together and buffed the bowl and stem with Blue Diamond on the buffing
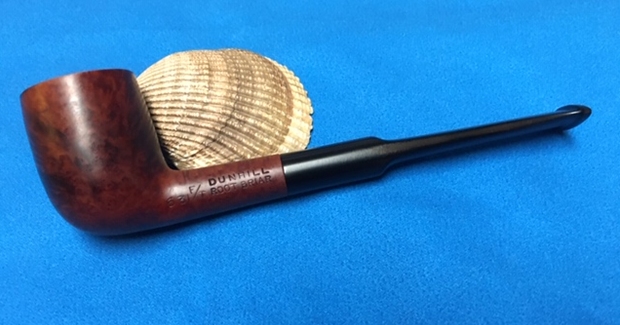
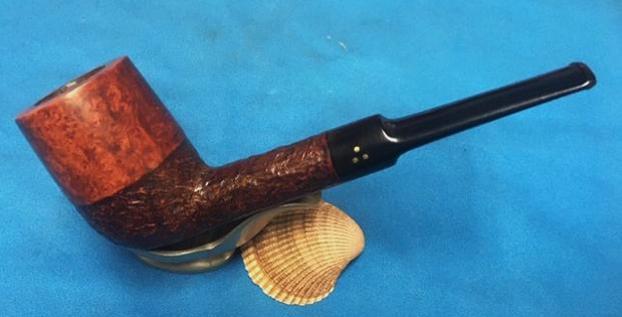
 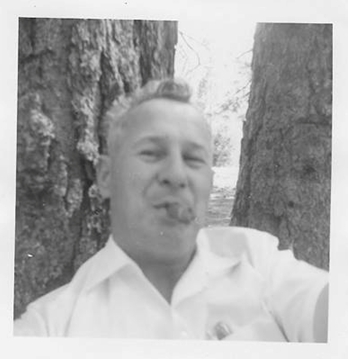 wheel. I gave the bowl and the stem multiple coats of carnauba wax. I buffed the pipe with a clean buffing pad to raise the shine. I hand buffed it with a microfiber cloth to deepen the shine. It is fun to see what the polished bowl looks like with the grain popping, the plateau on the rim and shank end contrasting well and finally the newly fitted black vulcanite stem almost glowing. This Karl Erik made Knute Freehand is beautiful and feels great in my hand. It is one that could be clenched and smoked while doing other things as it is very light weight and well balanced. It must have been a fine smoking pipe judging from the condition it was when we received it from Jennifer. There should be a lot of life left in this Knute Freehand. Have a look at it with the photos below. The dimensions are Length: 6 inches, Height: 2 inches, Outside diameter of the bowl: 1 ½ inches, Chamber diameter: 7/8 of an inch. This is one that will go on the rebornpipes online store shortly. If you want to carry on the pipe trust of George Rex Leghorn let me know. Thank you Jennifer for trusting us with his pipes. Thanks to each of you who are reading this blog. Remember we are not pipe owners; we are pipemen and women who hold our pipes in trust until they pass on into the trust of the next pipeman or woman.
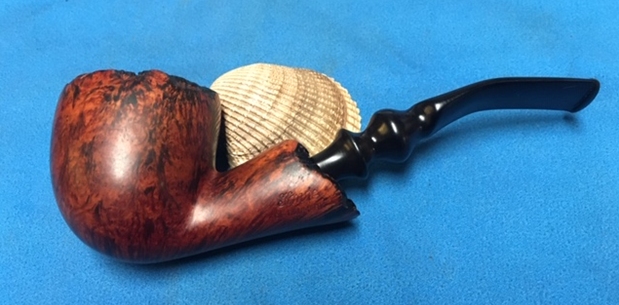


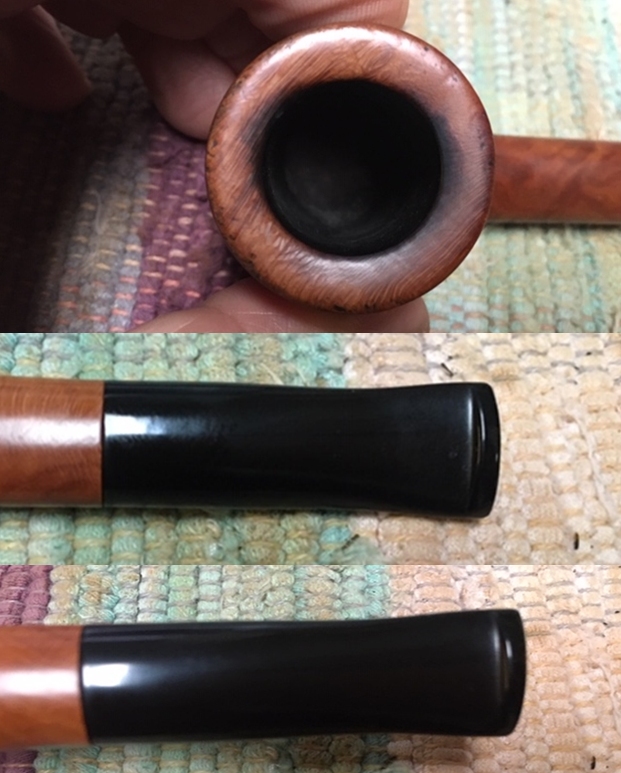
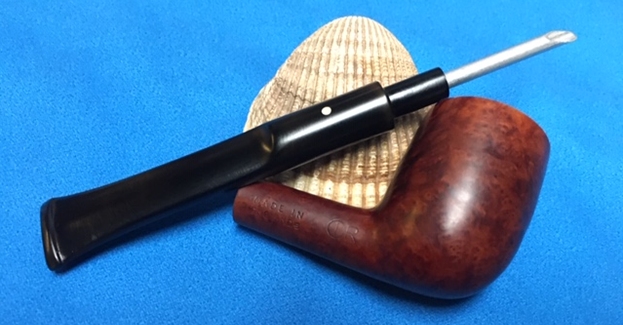
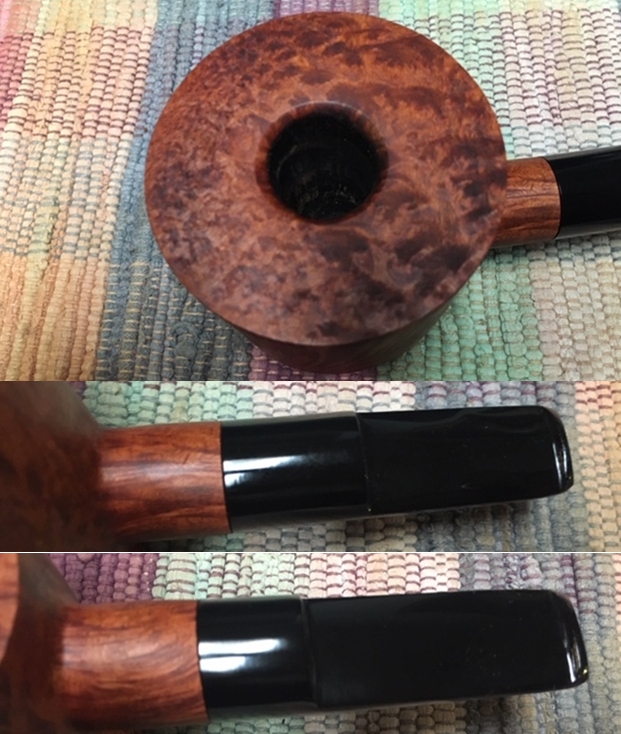
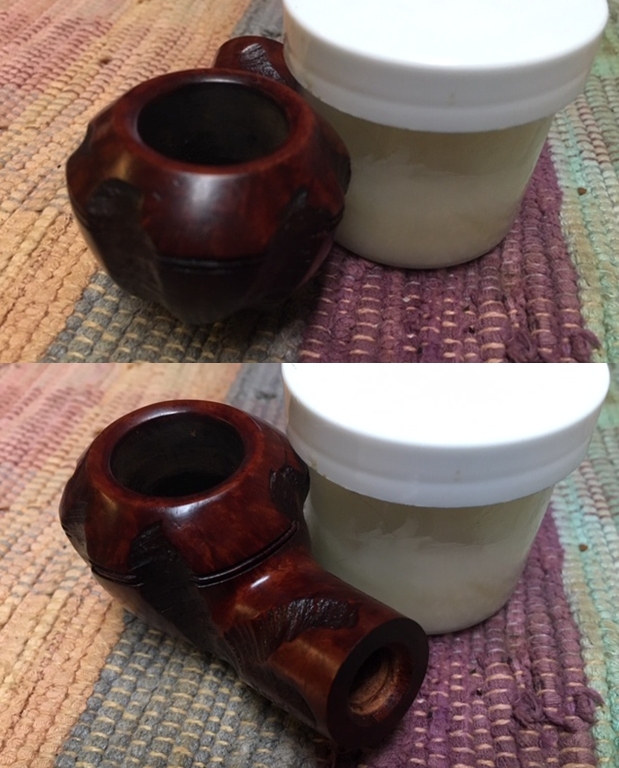
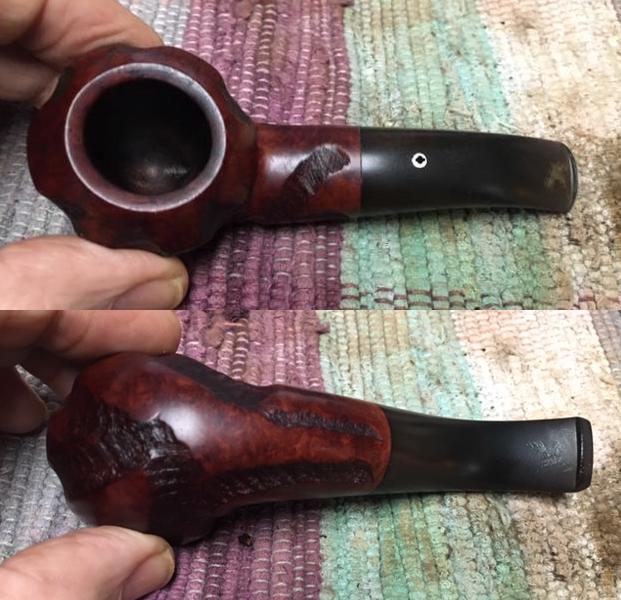 I took a close up photo of the rim top. It shows some darkening on the right side of the inward beveled top. The outer edges look good. The photos of the stem show hash marks and tooth marks on both sides ahead of the button. They are deep scratches/gouges in the vulcanite that have filled in with calcification. The stem is also quite oxidized.
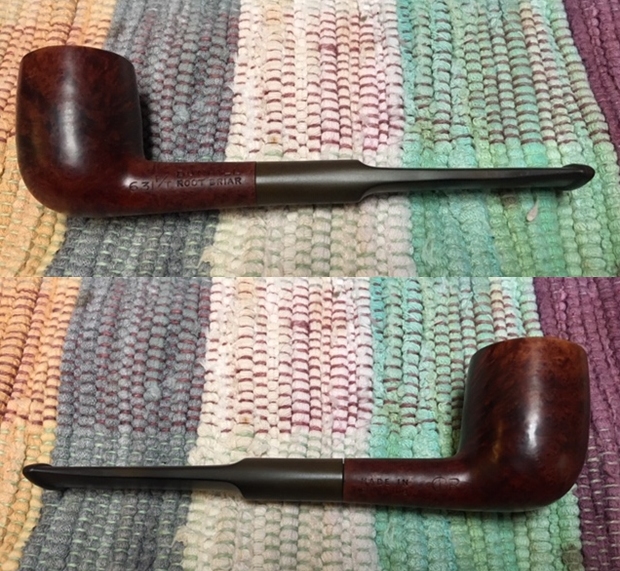
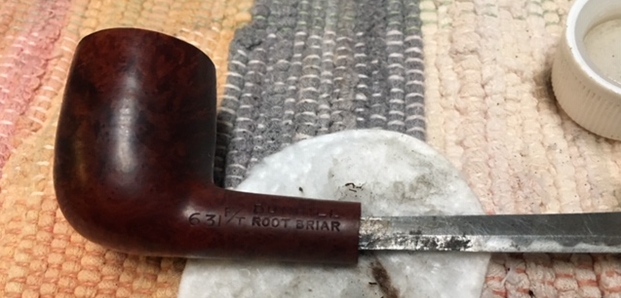
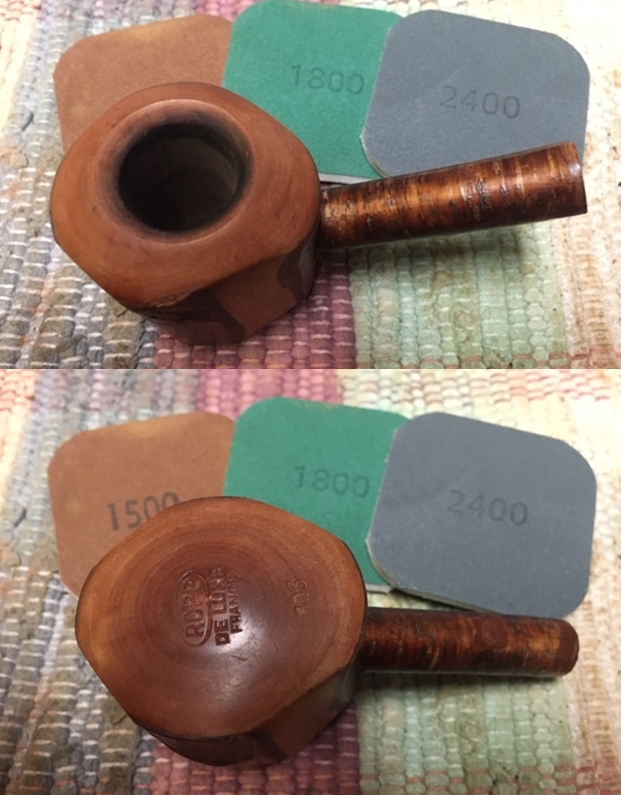
 I took photos of the stamping on both sides of the shank. You can see that it reads as noted above.
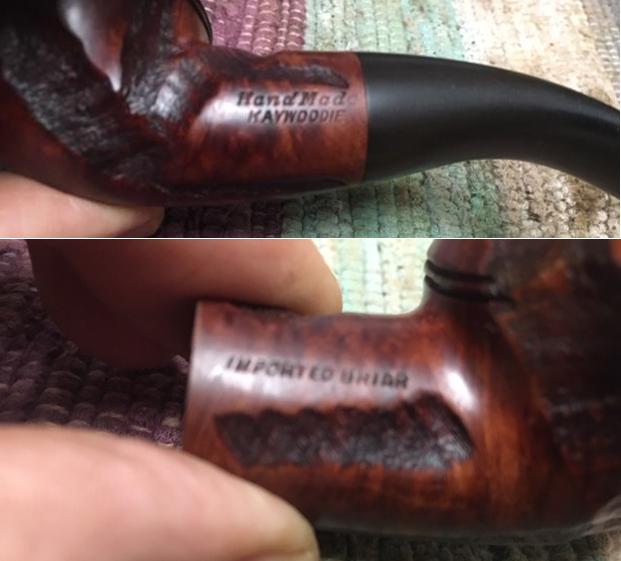 I have worked on a few of the Kaywoodie Hand Made over the years and have found in the past that they were listed as Oversize Kaywoodie pipes. I turned to Pipephil’s site to see what information I could gather there on the oversize pipes (http://www.pipephil.eu/logos/en/logo-kaywoodie-2.html#oversizekaywoodie). I have included a screen capture of the information on that site for quick reference. The basic information I gather there was that the pipe had in all probability been noted in the 1947 Kaywoodie Catalogue. It also made it clear that all the Oversize models are stamped Hand Made.
 I then turned to Pipedia and under the general information did not find much helpful that I did not already know. It is a great read regarding the history of the brand and its development from the older KBB and KB&B brand pipes. However it did have follow up information in the end notes on the page and that took me to a series of Catalogues (1937, 1947 and 1955). The Hand Made line shows up first in the 1947 Catalogue that was included. I read through it and that is where I found some additional information to help me in my quest. Here is a link to the 1947 Catalogue for your reading pleasure (https://pipedia.org/images/6/61/Kaywoodie_1947.pdf). I have included a screen capture of the section in the catalogue about the Oversize Kaywoodies. I have included that below.
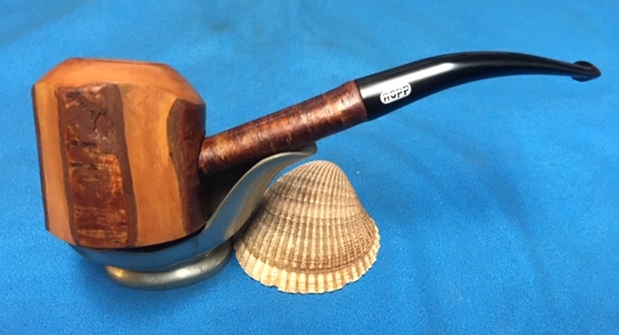
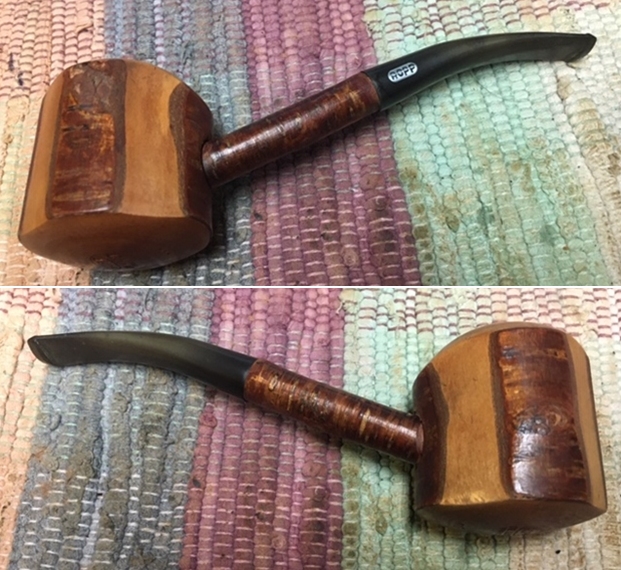
 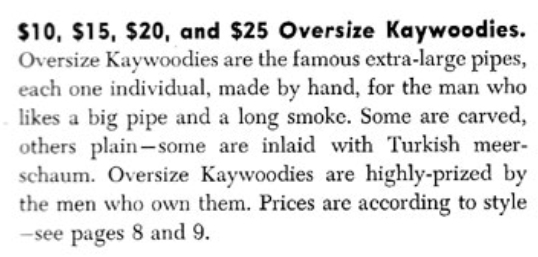 I have also included two of the Catalogue pages that show the oversize Hand Made pipes. The one I am working on while similar to the Hand Carved Colossus and the Hand Carved John Henry is significantly different. This one is carved with the patterns but has a tapered push stem rather than the typical screw mounted Kaywoodie.
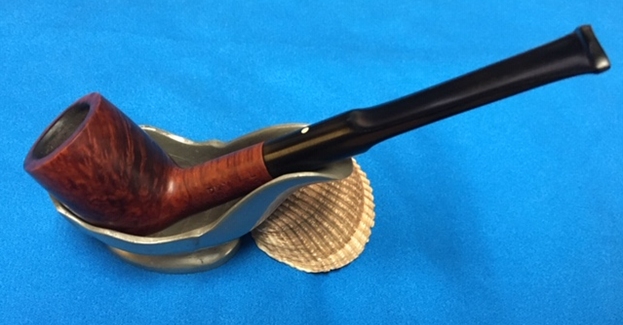
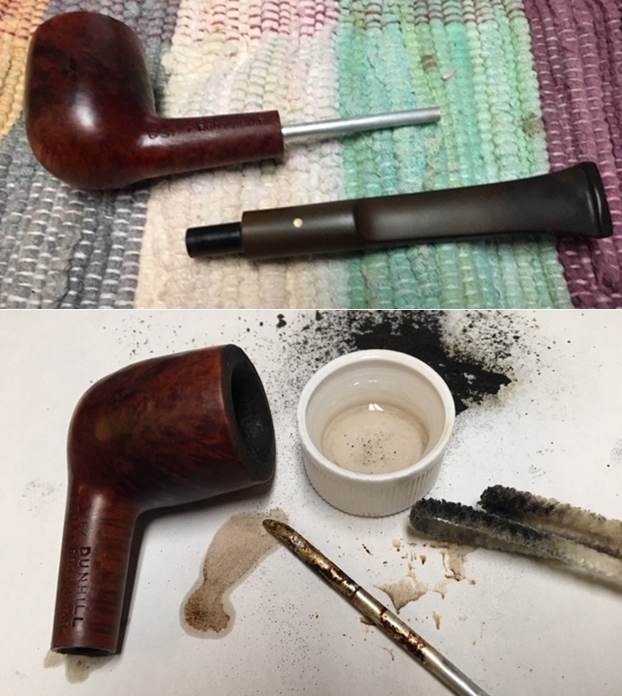
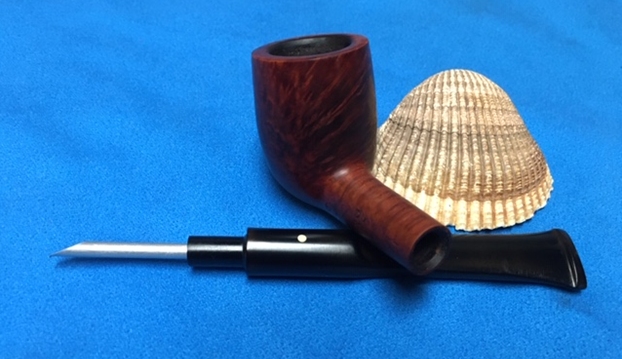
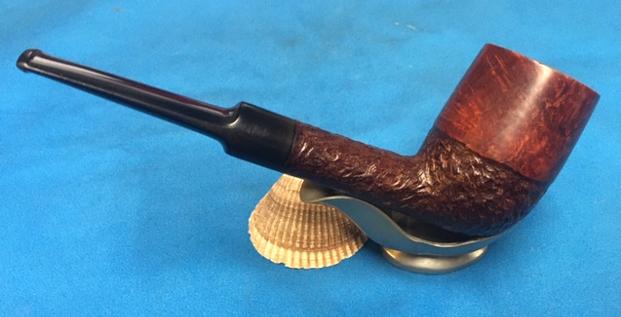
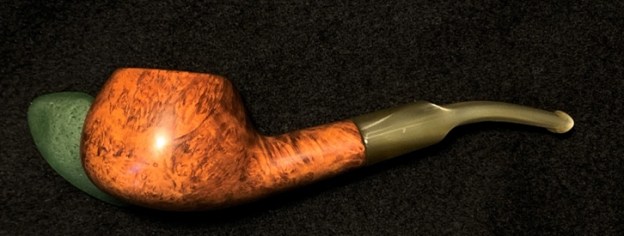
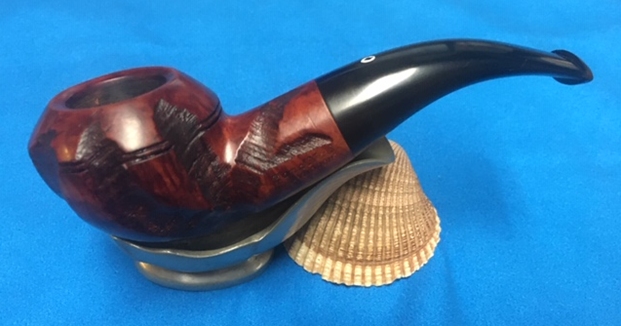
 This is a beautifully styled and positioned Rhodesian shape has a tapered vulcanite push stem that fits proportionally well. The carved areas or “worm trails” around the bowl are separated by smooth well grained portions of briar that highlight the grain. The combination of brown stains on the finish makes it quite stunning. Now it was time to work on Alex’s pipe. I started the work by addressing the issues with the rim top first. I ran some pipe cleaners through the bowl and stem and it was spotless so I decided to deal with rim top damage. I used a folded piece of 220 grit sandpaper to clean up the beveled rim top to remove the darkening. I sanded the rim top and edges of the bowl with the sandpaper to get rid of the damage. Once I was finished the rim and edges were smooth.
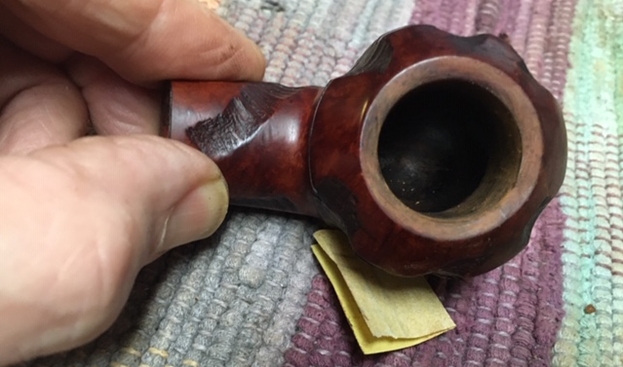 I polished the bowl and rim top with micromesh sanding pads – wet sanding with 1500-12000 grit pads and wiped the bowl down after each pad with a damp cloth. The polishing gave the bowl a rich shine.
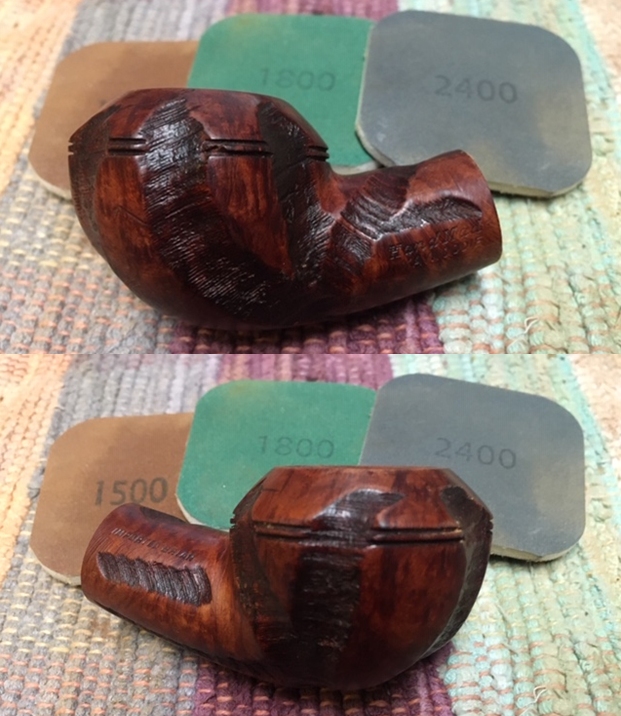
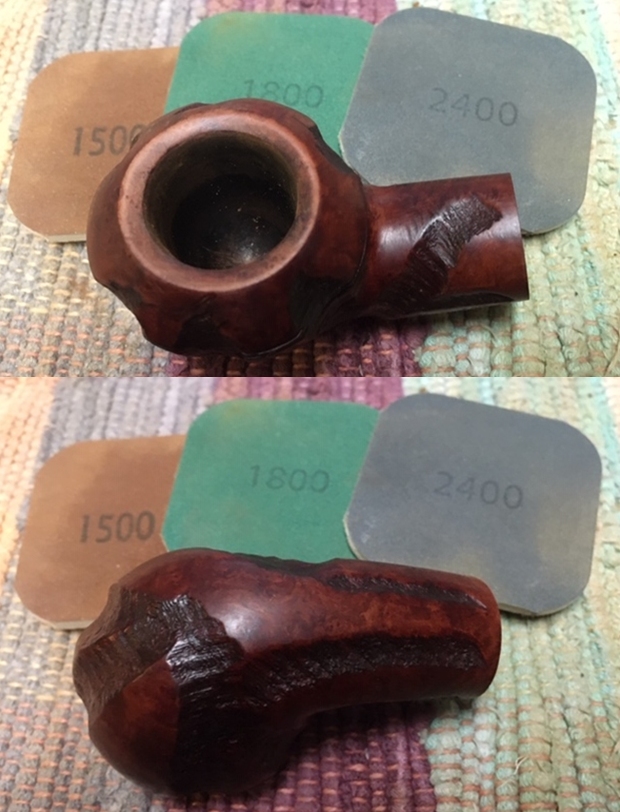

 After polishing the rim it was slightly lighter than the other smooth portions of the bowl. I used a Maple Stain Pen to match the colour of the rest of the bowl and blend the new finished rim into the surrounding pipe.
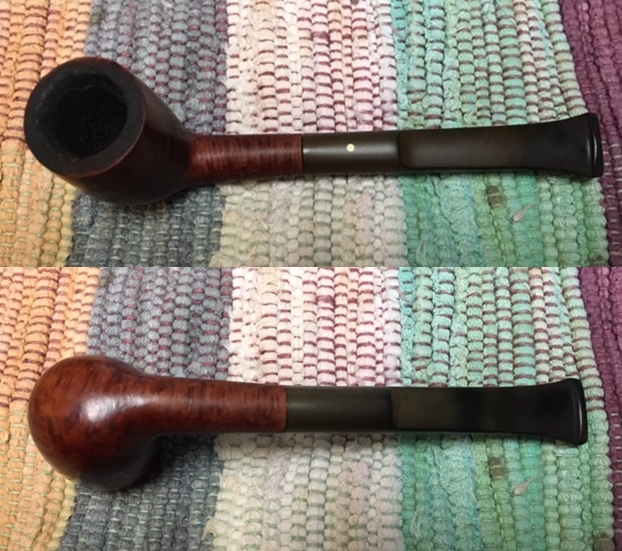
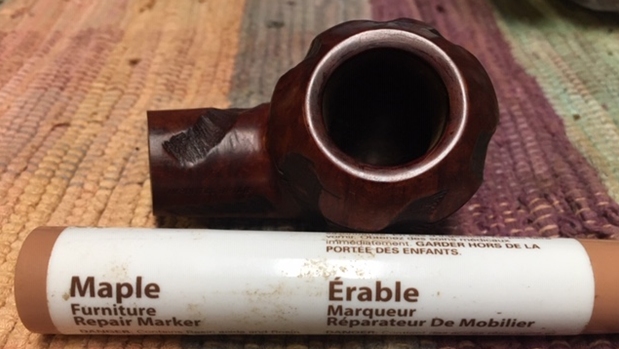 I rubbed it down with Before and After Restoration Balm. It is a product developed by Mark Hoover to clean, enliven and protect briar. I worked it into the briar with my fingertips and a horsehair shoe brush. I let it sit for about 10 minutes and buffed it off with a cotton cloth. You can see the results in the photos below.
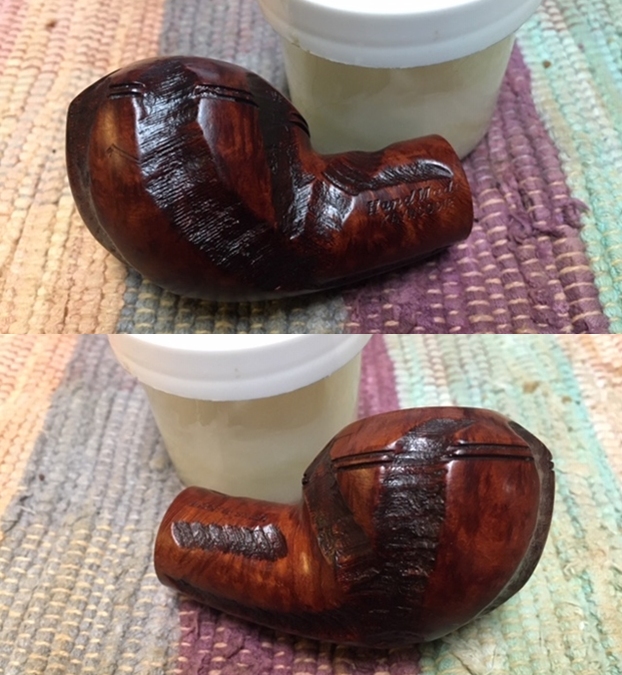
 I set the bowl aside and turned to address the light tooth marks, chatter and gouges on the stem surface. I sanded both the top and underside of the stem with 220 grit sandpaper to remove the damages to the vulcanite. Fortunately they were not too deep so they came out fairly quickly. I also did a quick sanding to remove the oxidation on the stem.
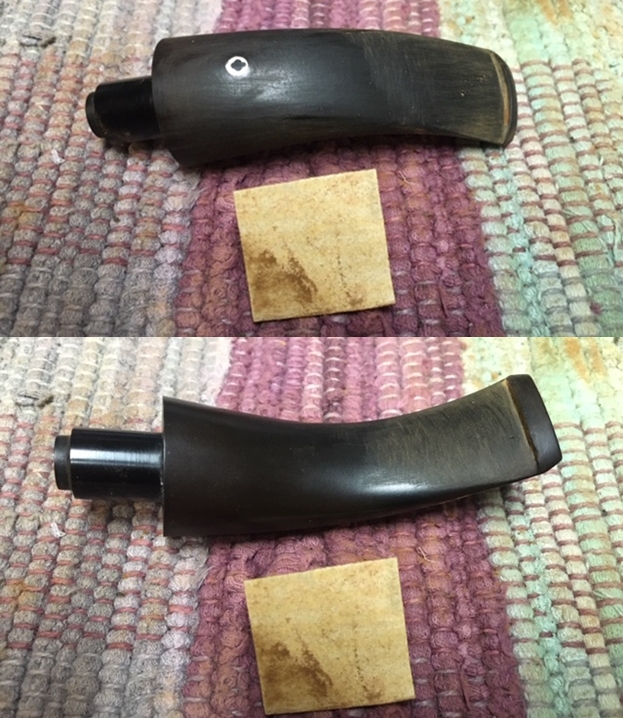 I polished the stem with micromesh sanding pads – wet sanding it with 1500-12000 grit pads and wiping it down after each pad with a damp cotton pad to remove the dust. I polished it with Before and After Pipe Polish – both fine and extra fine. I finished by wiping the stem down with some No Oxy Oil that received from Briarville Pipe Repair to try out and get a sense of its value to me and others.
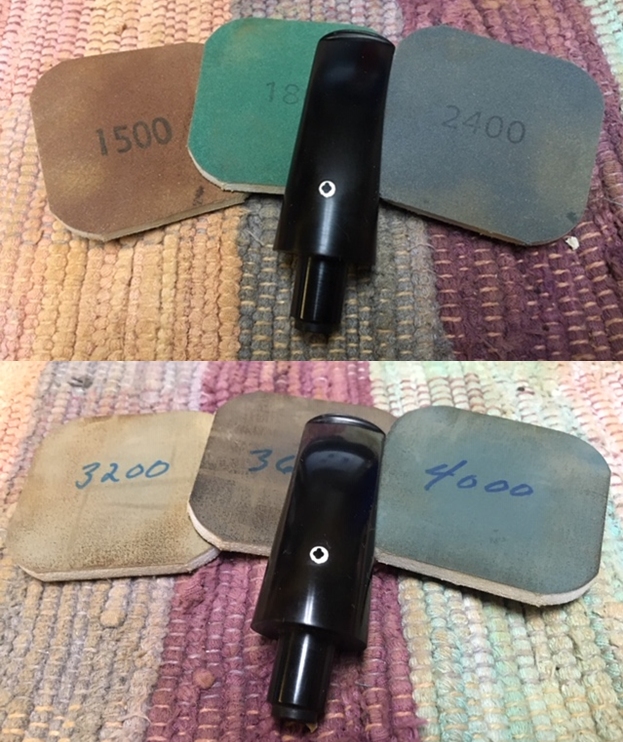
 Once I finished I put the stem back on the shank and buffed the pipe with Blue Diamond polish briar and vulcanite. I gave the stem a vigorous polish being careful around the white spot. I gave the bowl multiple coats of Conservator’s Wax and the stem several coats of carnauba. I buffed the pipe with a clean buffing pad and hand buffed it with a microfiber cloth. The finished pipe is shown in the photos below. This Kaywoodie Hand Made is a great piece of pipe history and looks better than when I began the process. The dimensions of the pipe are Length: 5 ¼ inches, Height: 1 ¾ inches, Outer Bowl Diameter: 1 ¾ inches, Chamber Diameter: ¾ of an inch. The pipe will soon be heading back to Alex so he can continue to enjoy it. I have told him that if he ever wants to part with it I get the right of first refusal. Thanks for walking with me through the restoration.