Blog by Anthony Cook
I was recently engaged in a conversation with another member of an online pipe tobacco forum and I learned that he had been smoking a pipe for six months and had only one pipe. I’ve been there, man. From what I’ve seen, six months seems to be the sweet spot for new pipe smokers. They’re likely to stick with it if they’ve made it that far, but everything is still new enough that even simple things can be a challenge. I’m sure that most of you will agree that smoking a pipe isn’t rocket science, but the initial learning curve can be fairly steep all the same. So, I offered to send him a pipe to give his faithful companion a break, reward his perseverance, and encourage him to hang in there.
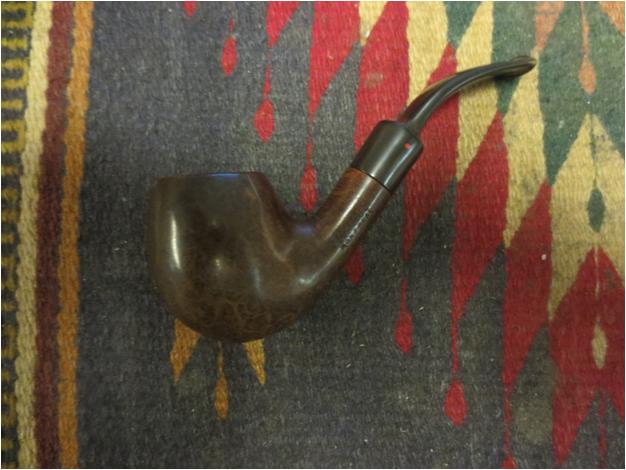
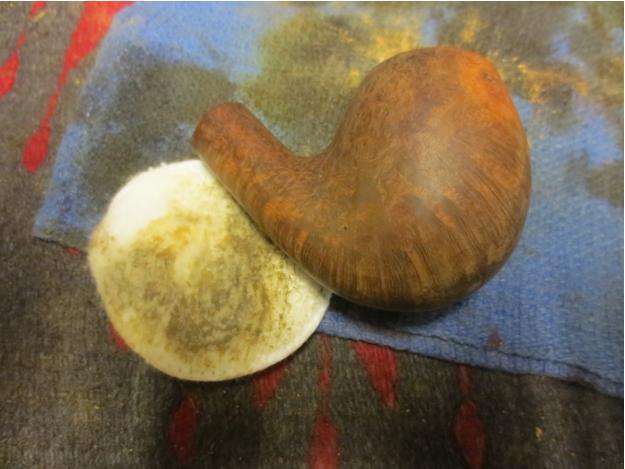
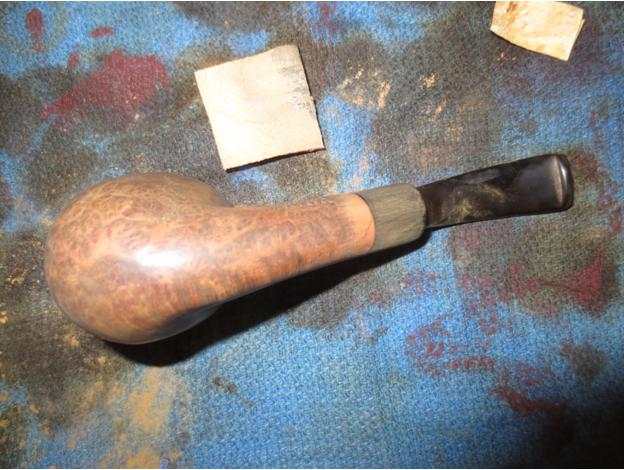
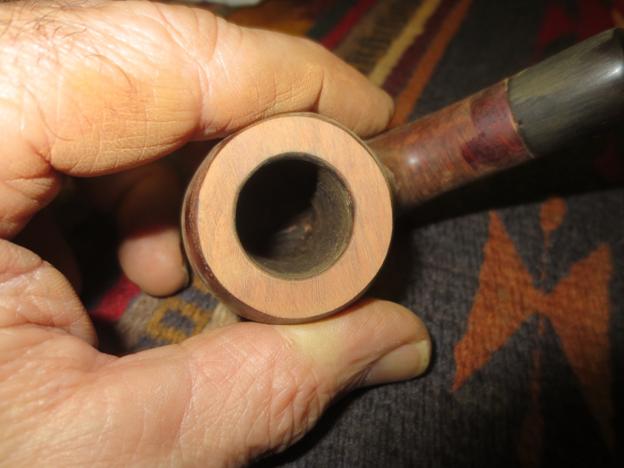
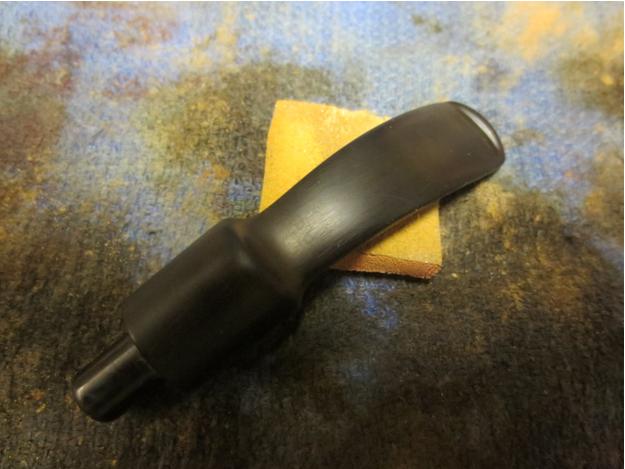
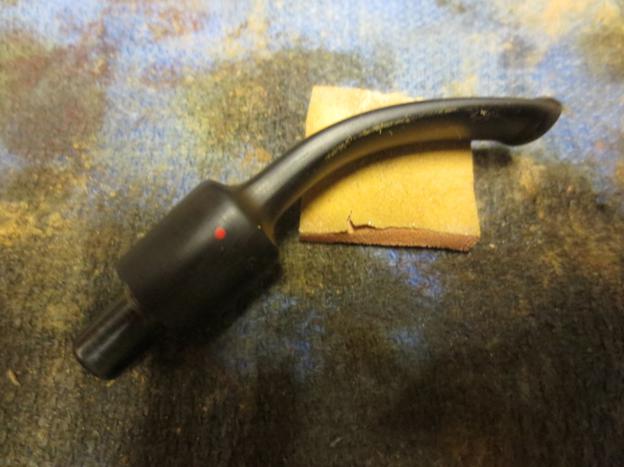
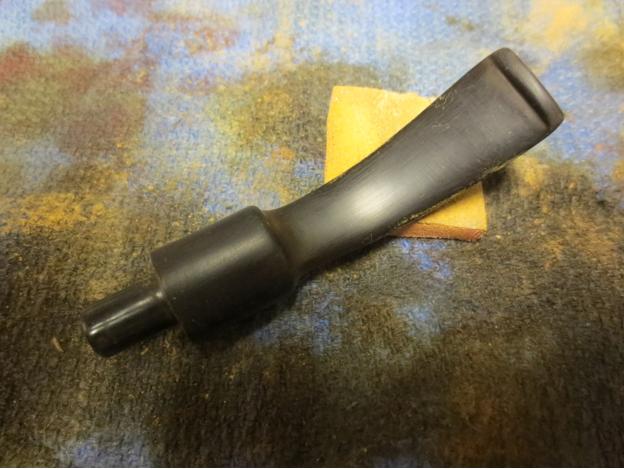
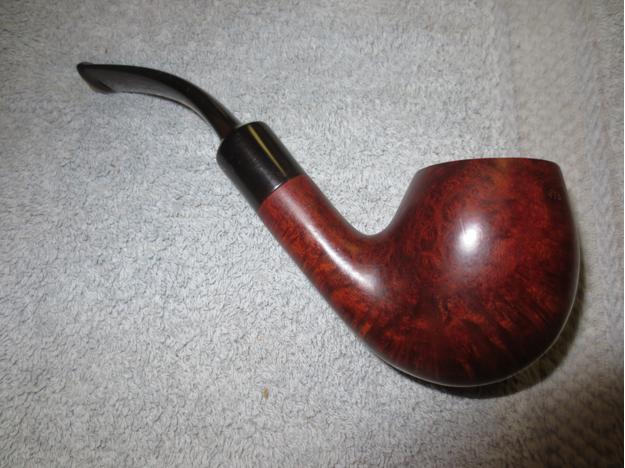
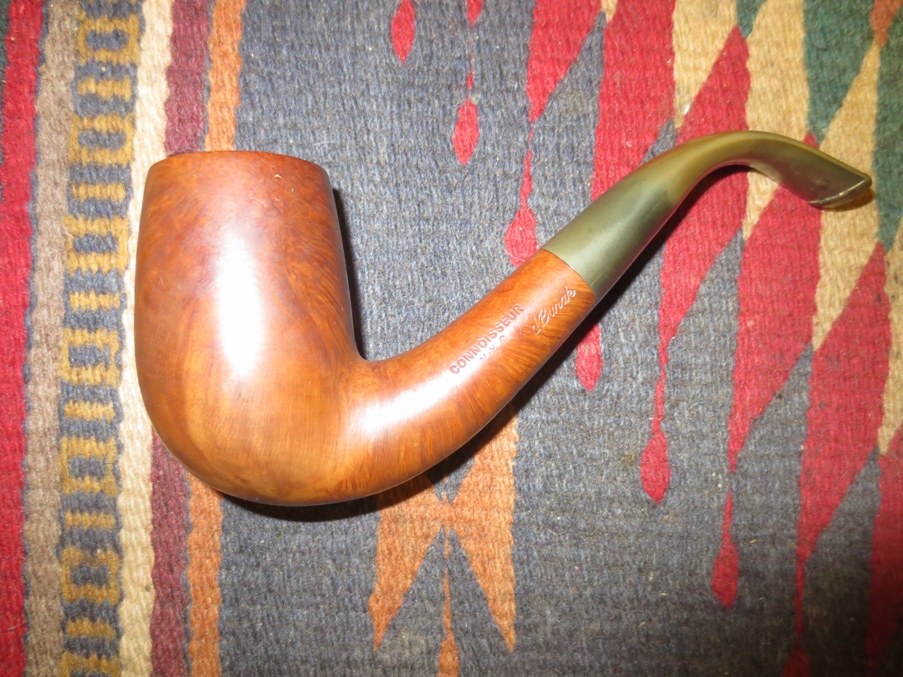
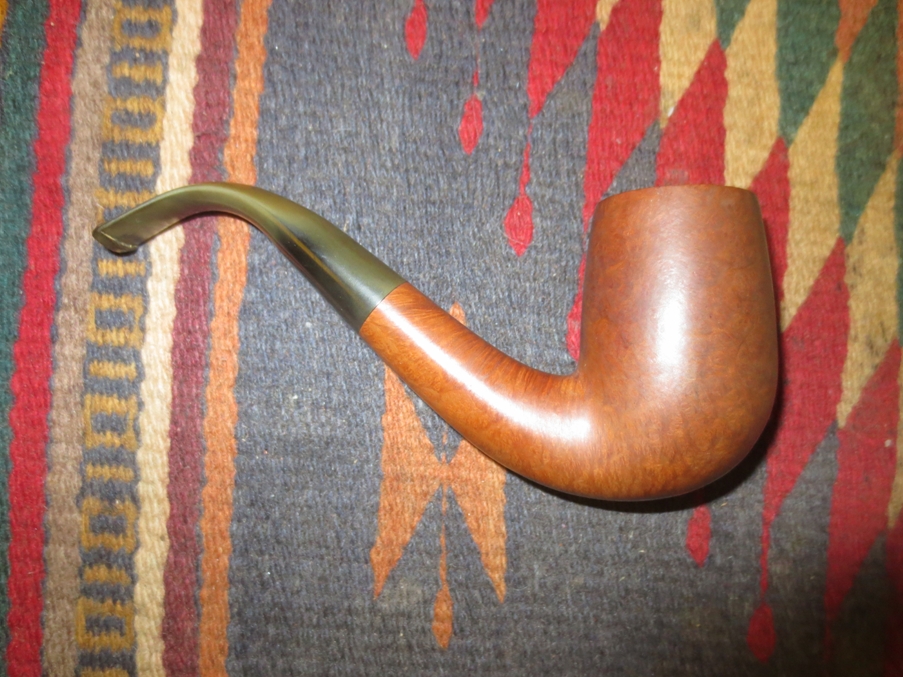
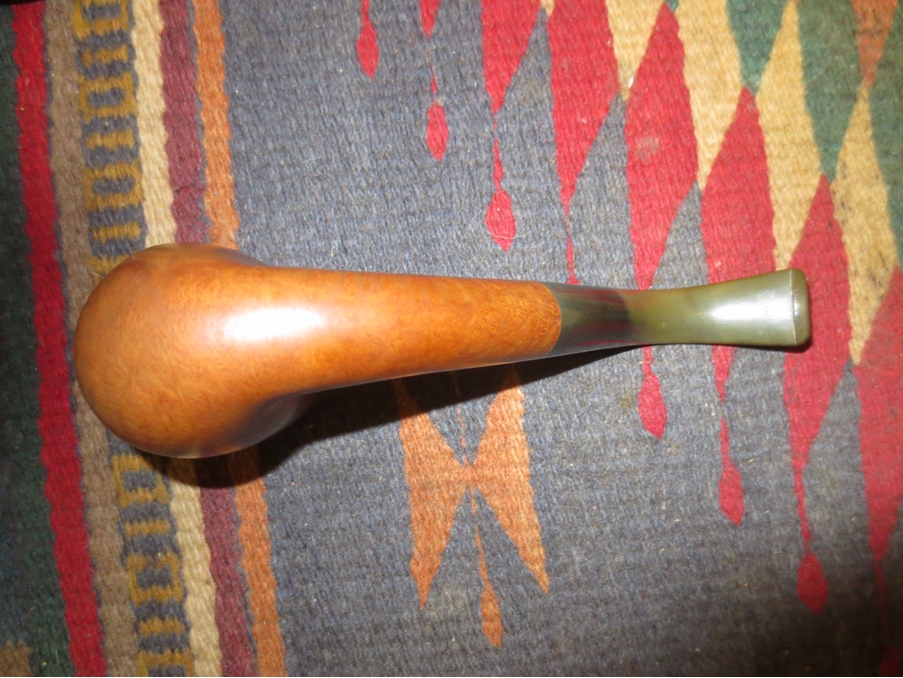
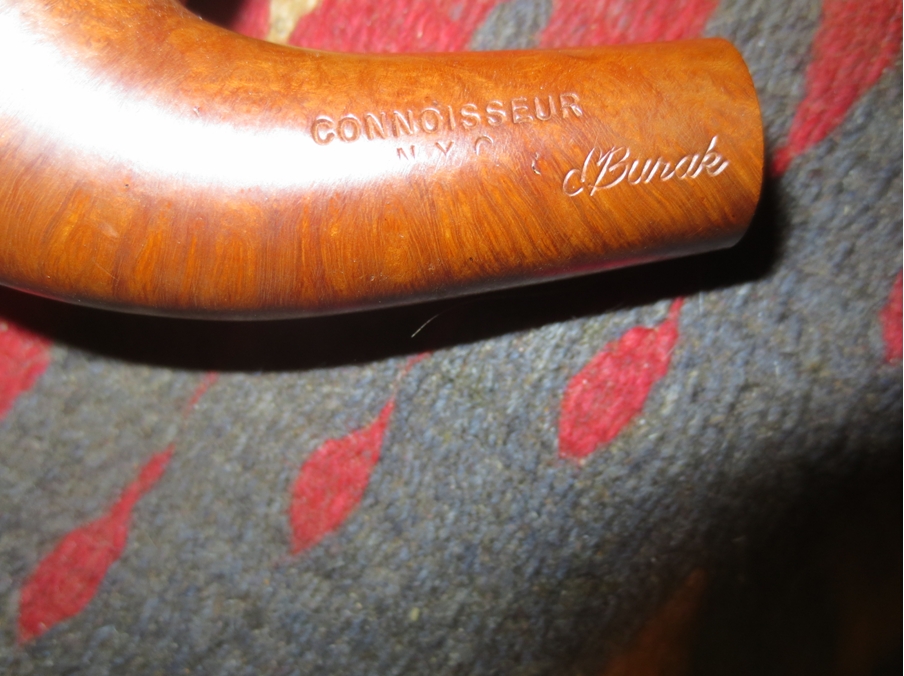
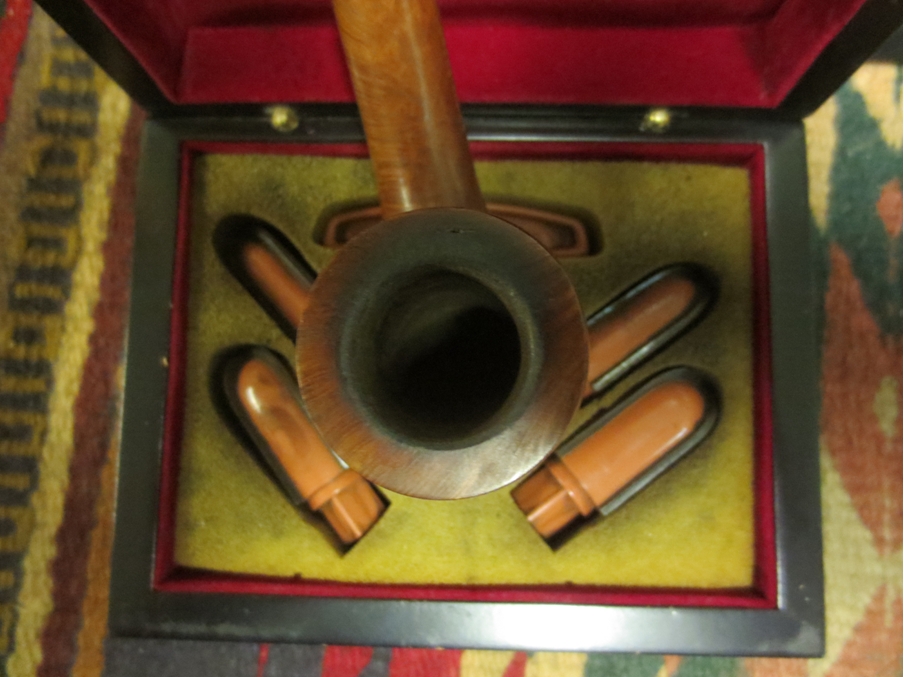
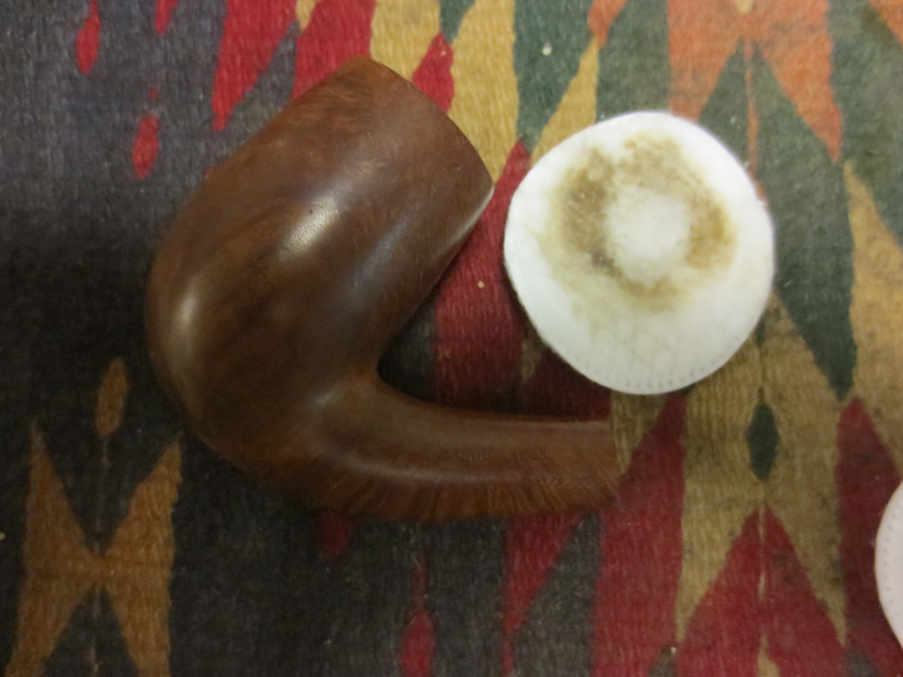
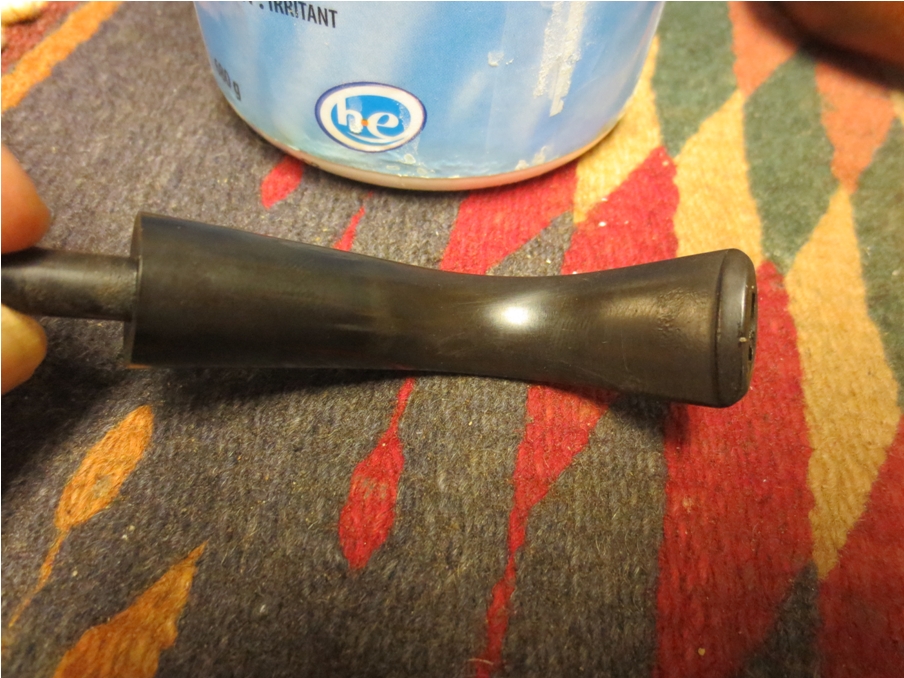
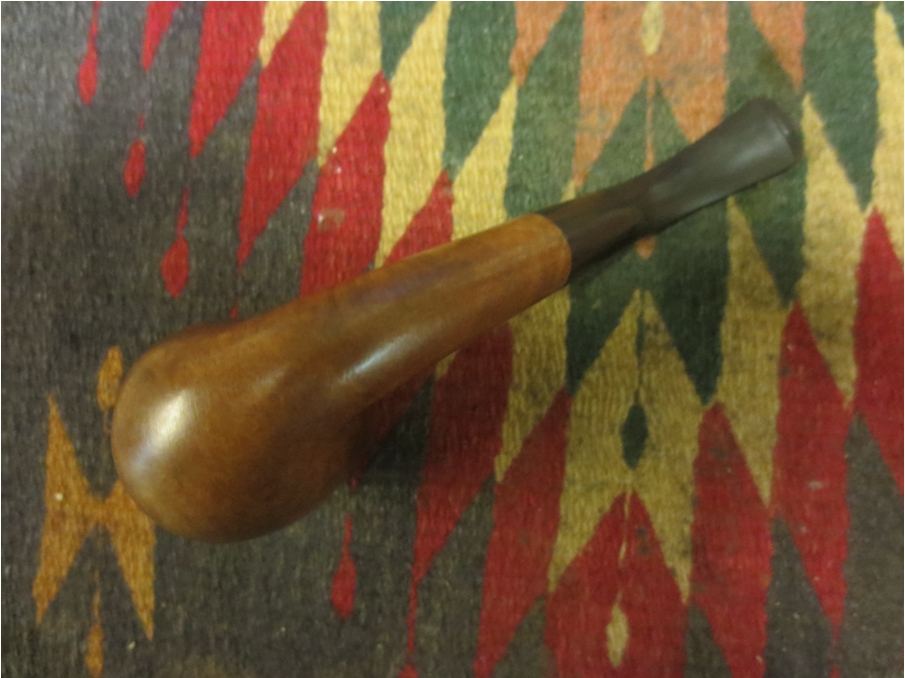
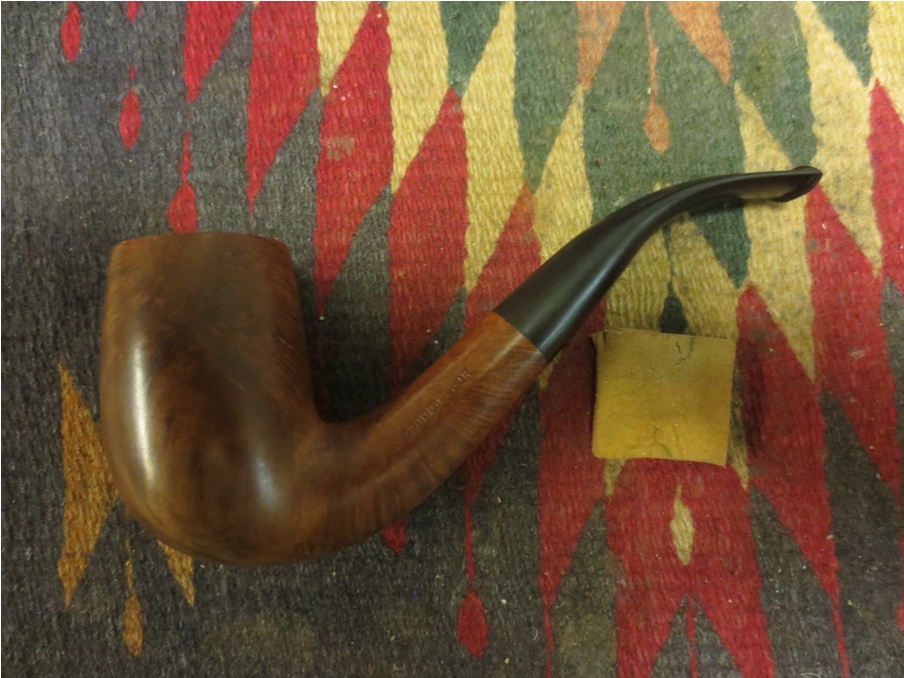
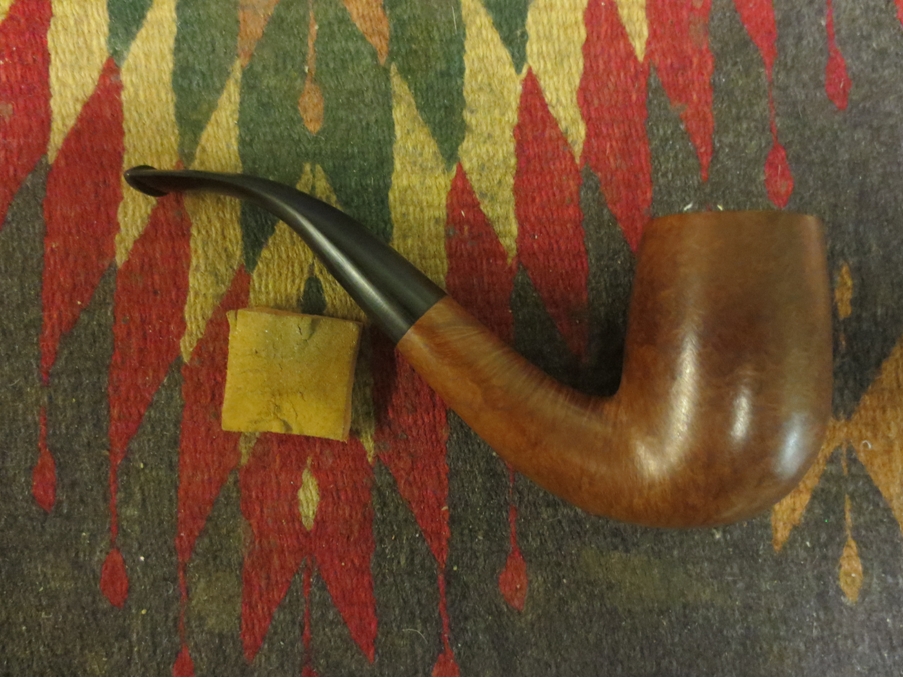
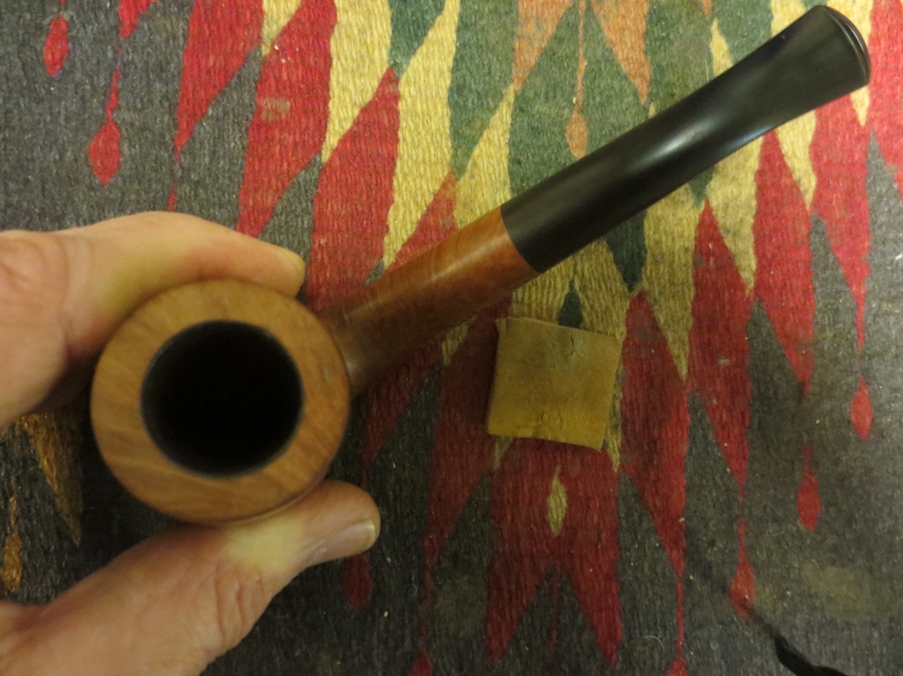
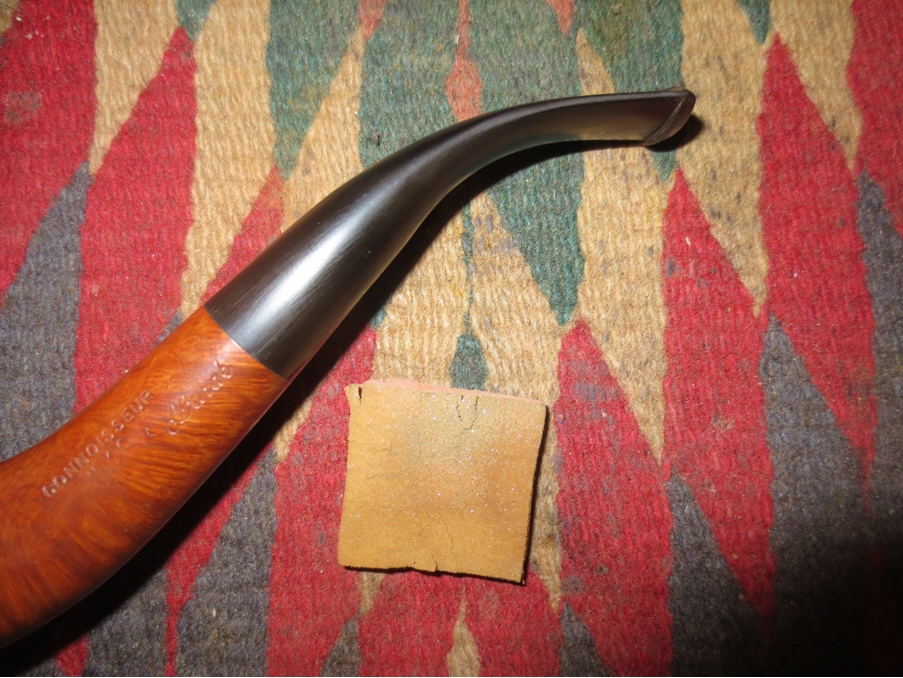
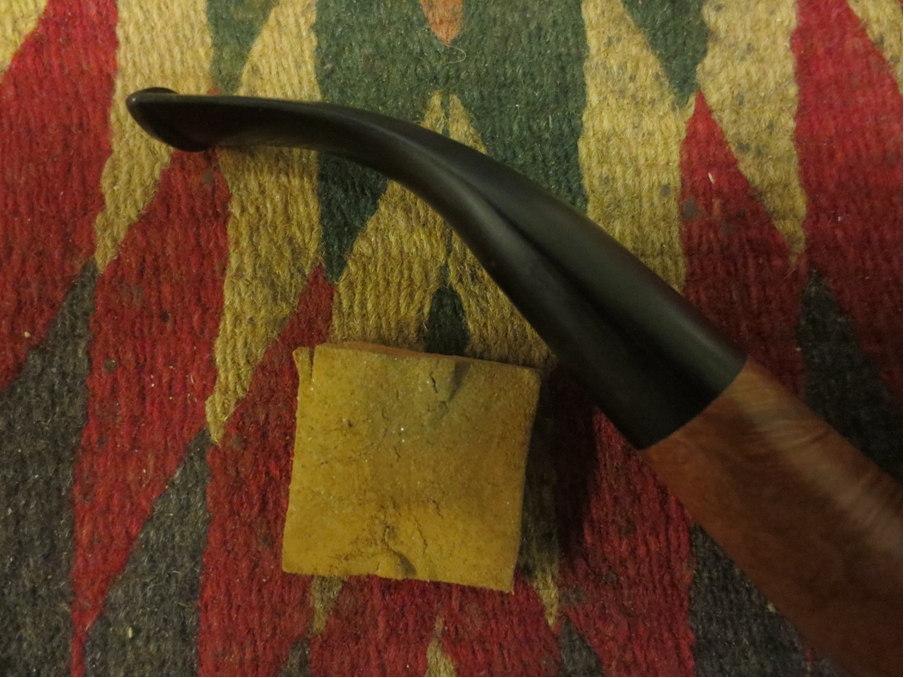
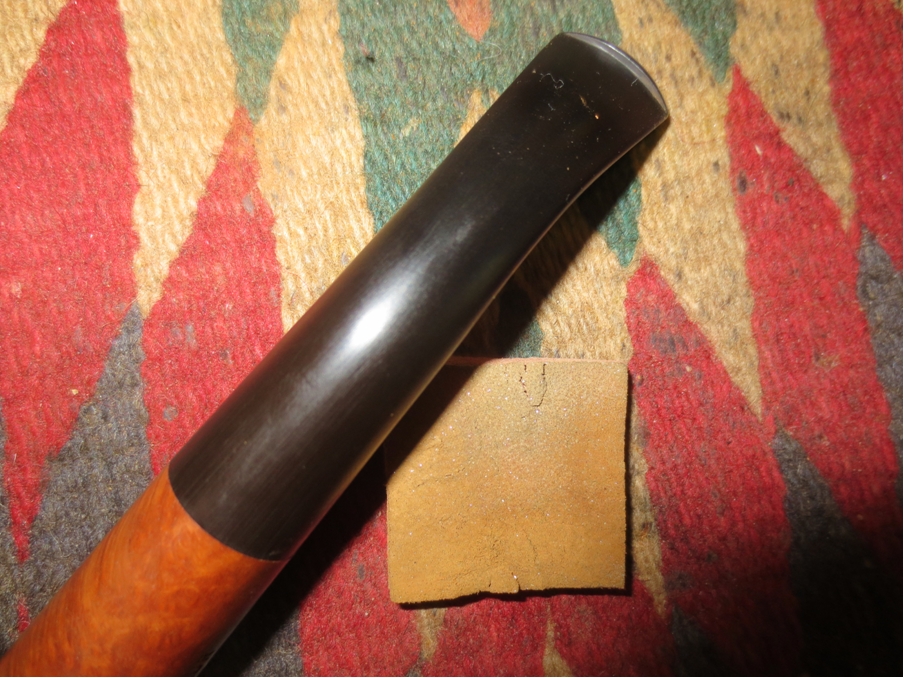
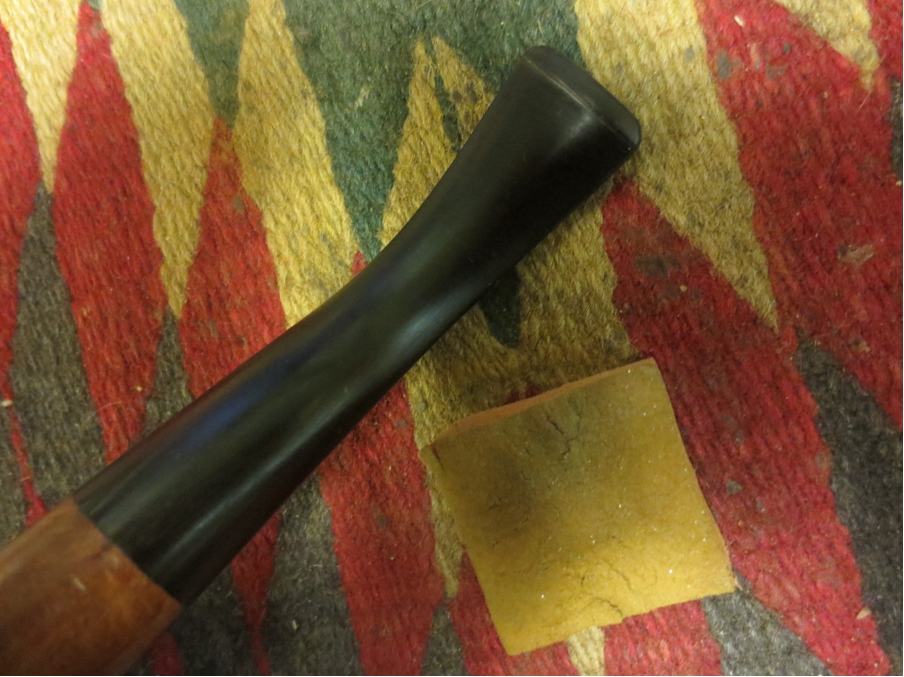
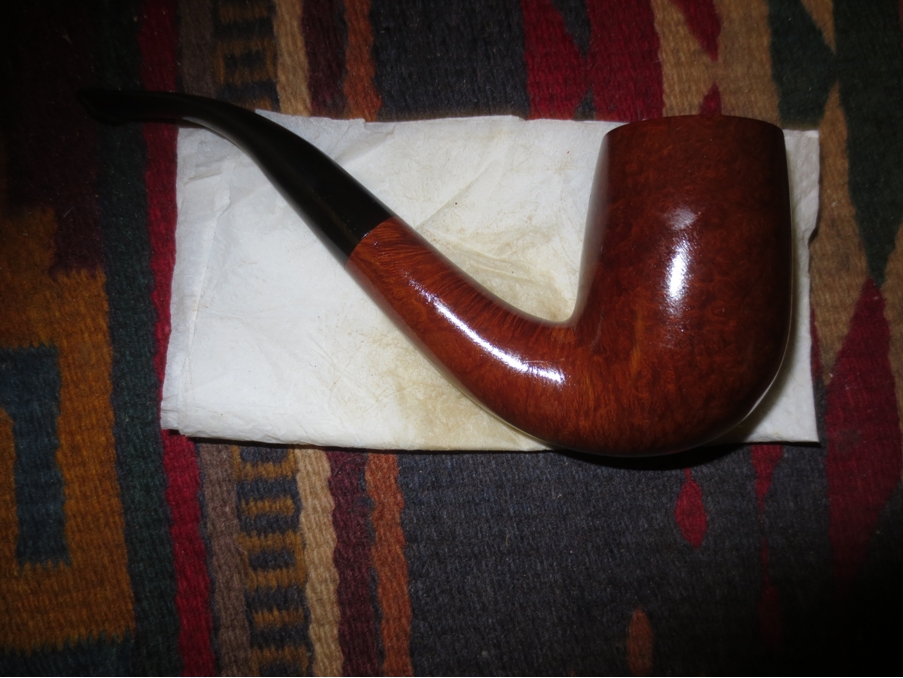
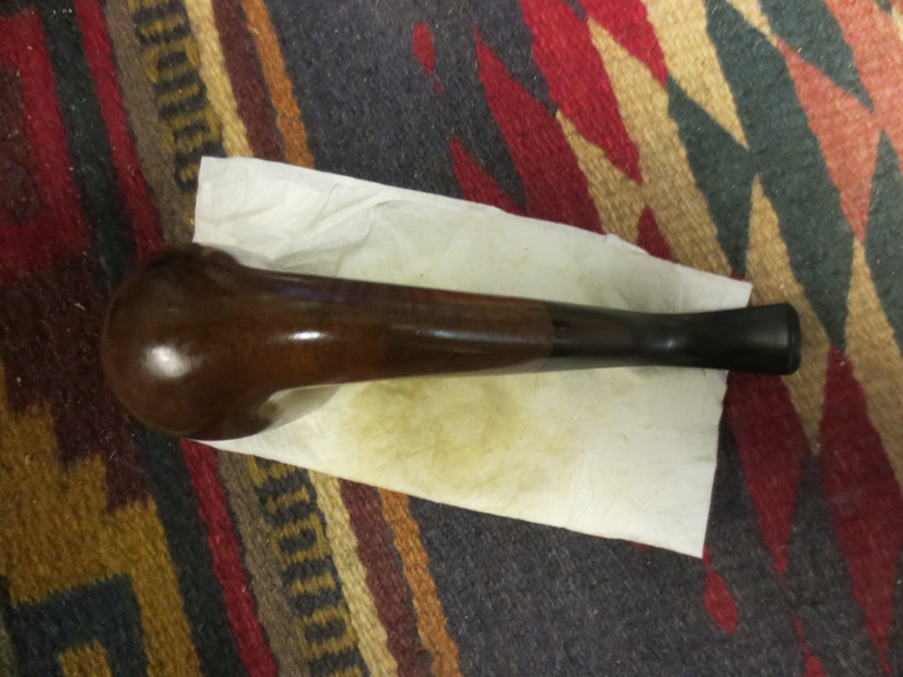
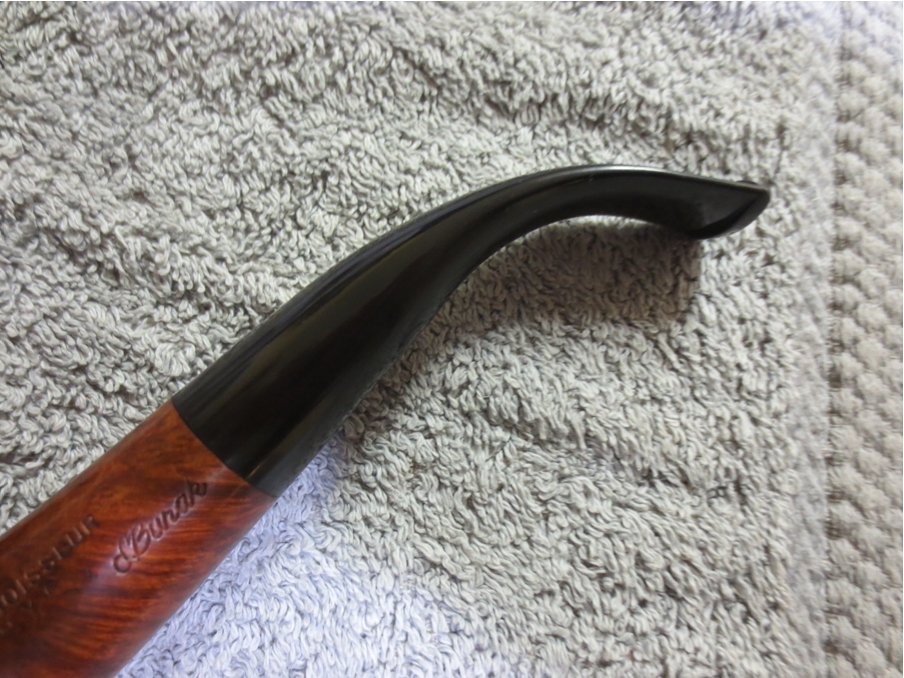
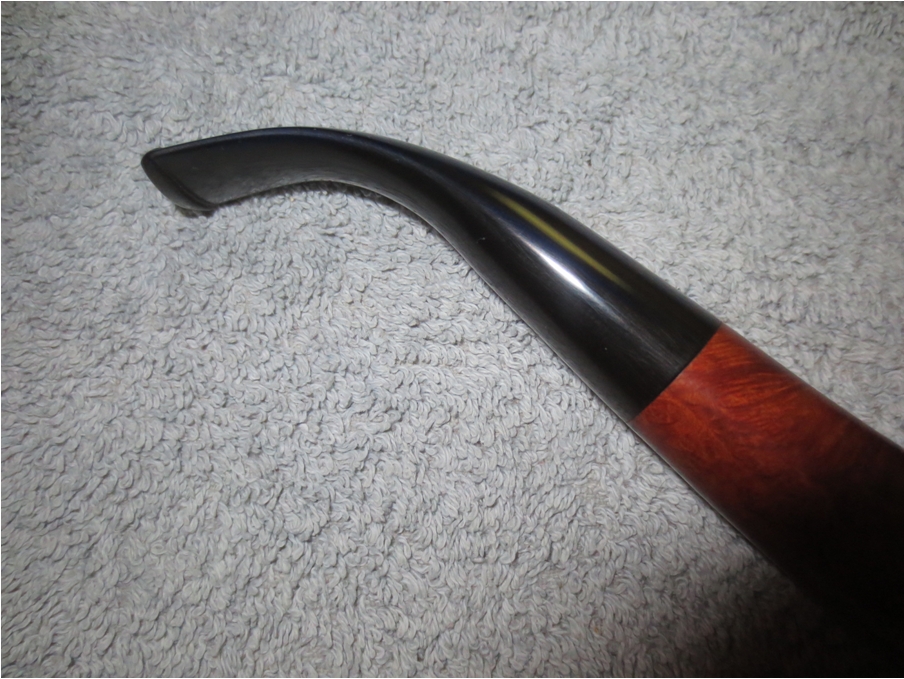
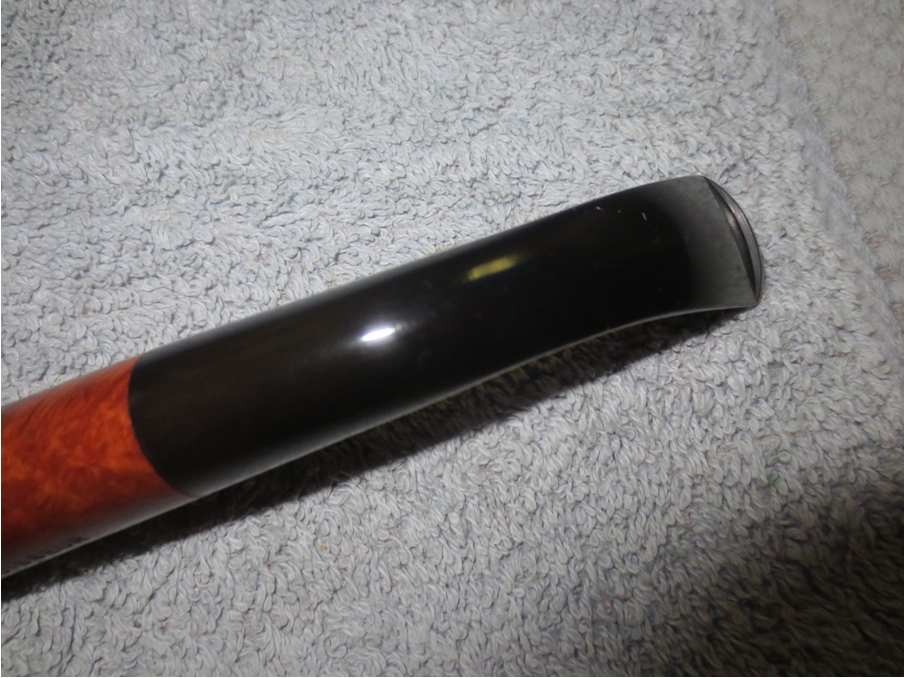
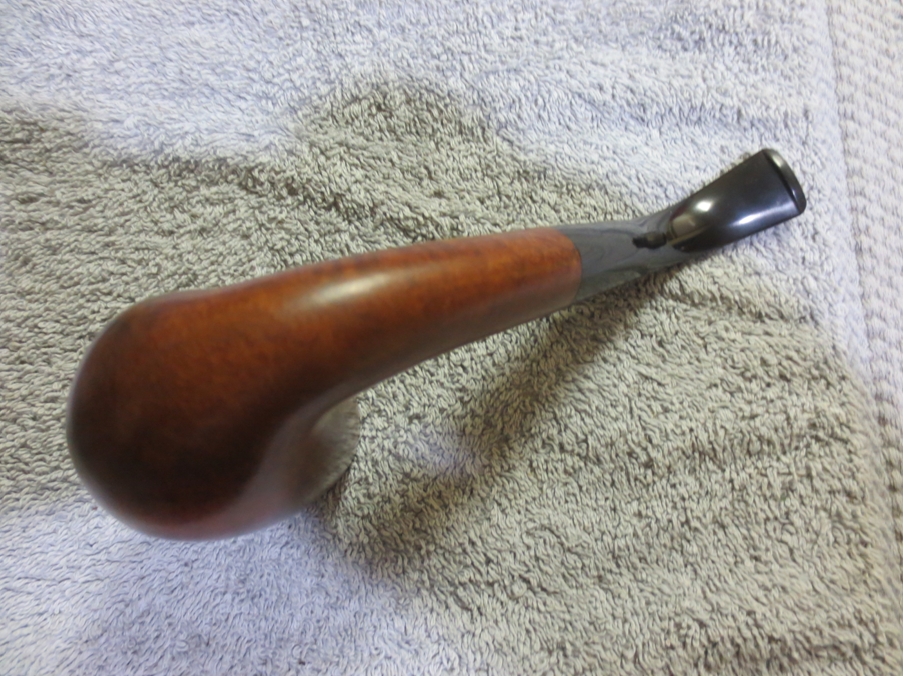
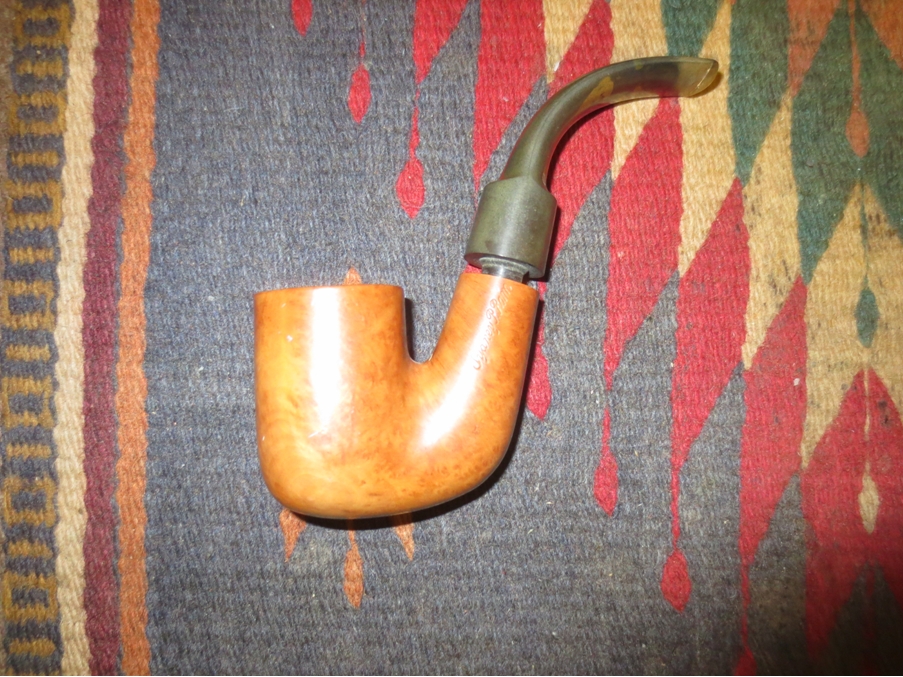
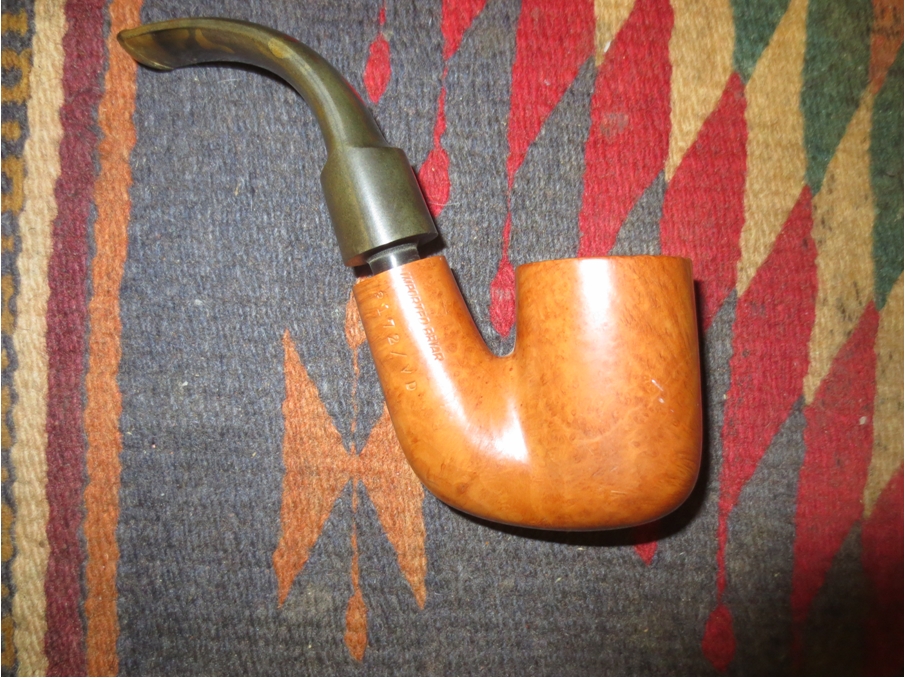
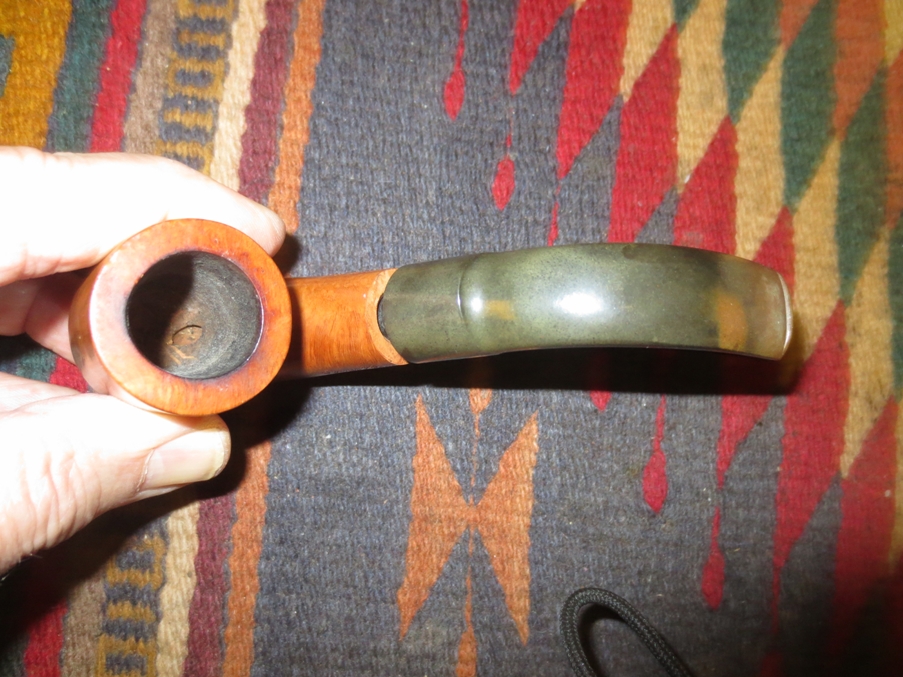
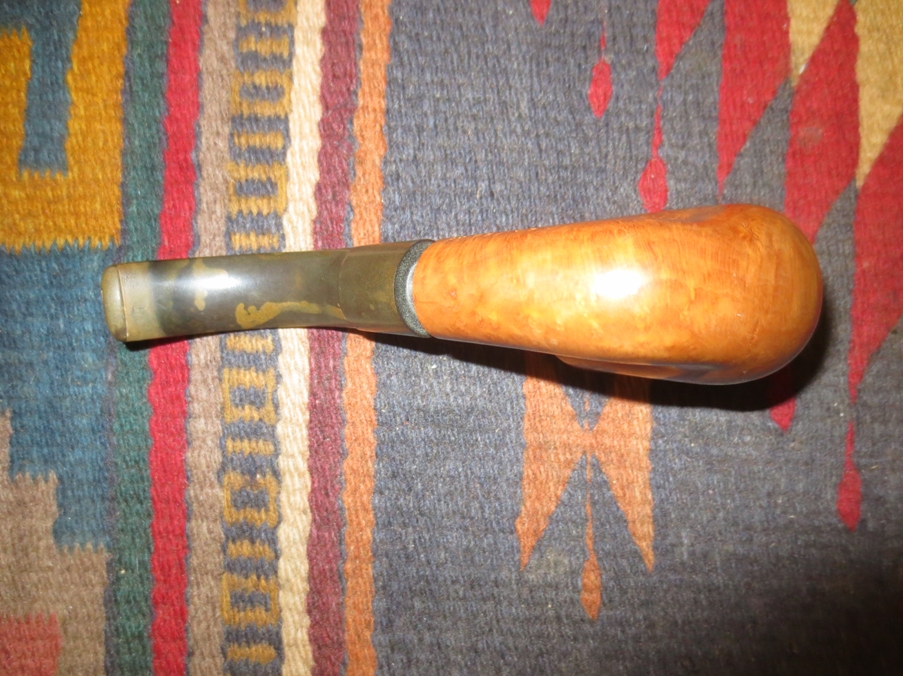
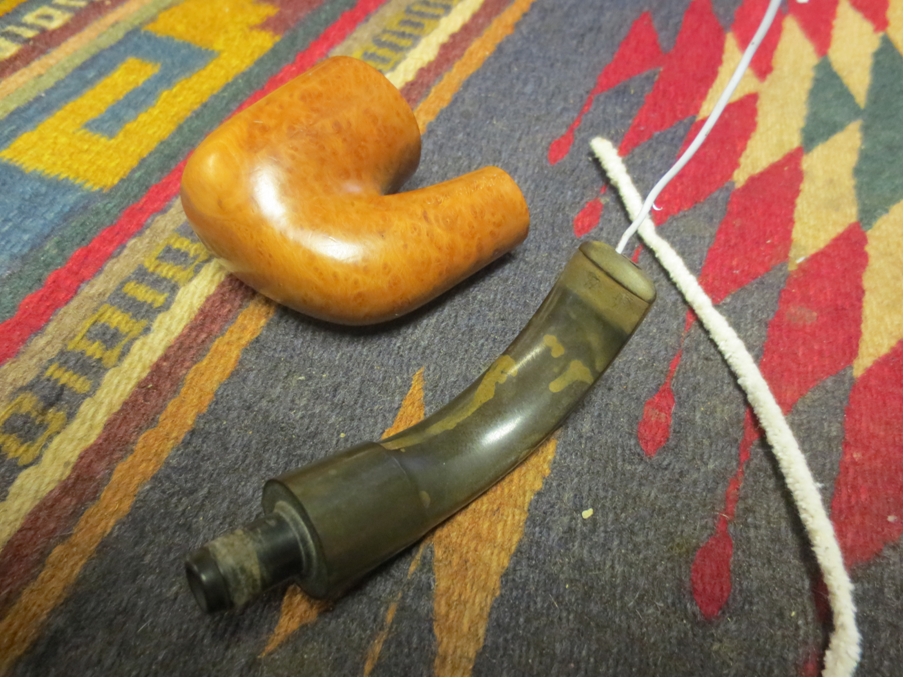
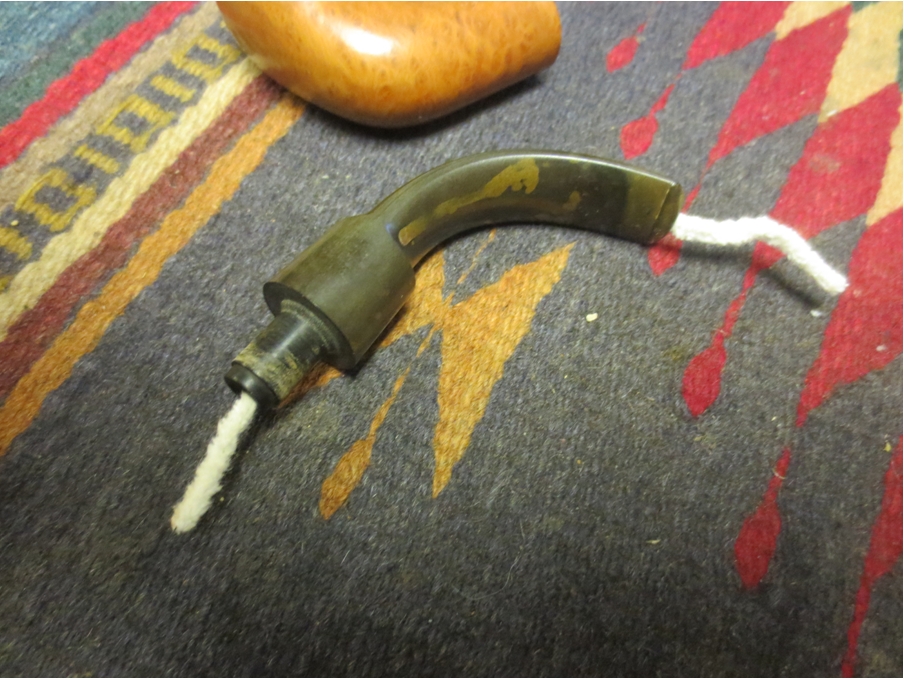
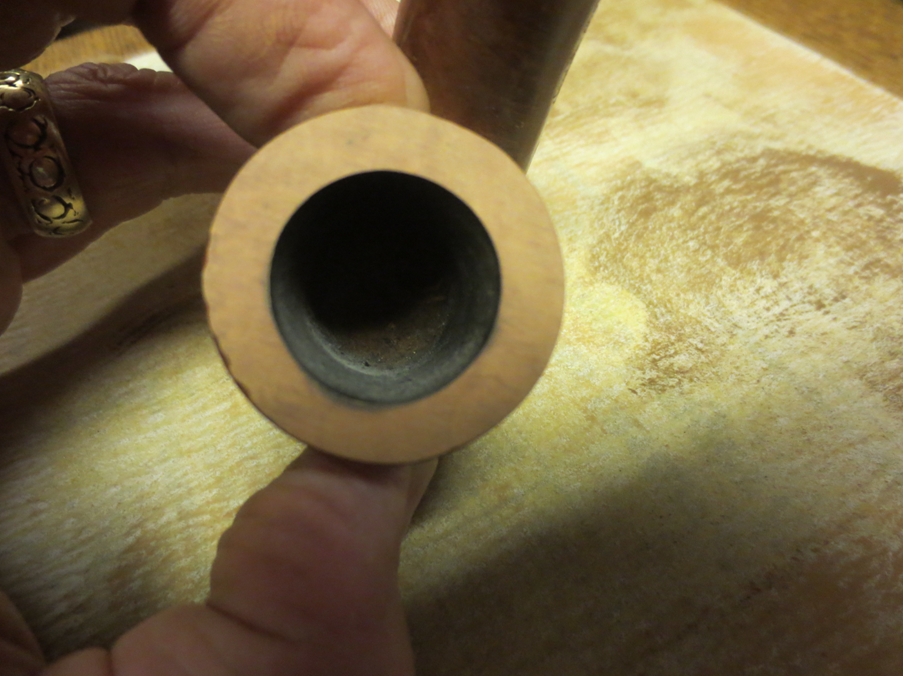
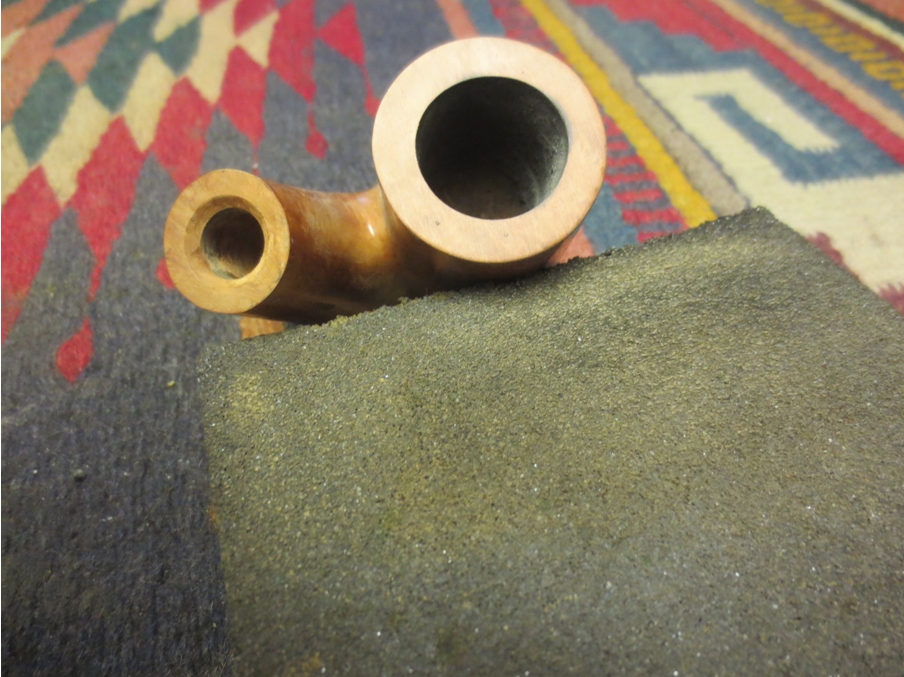
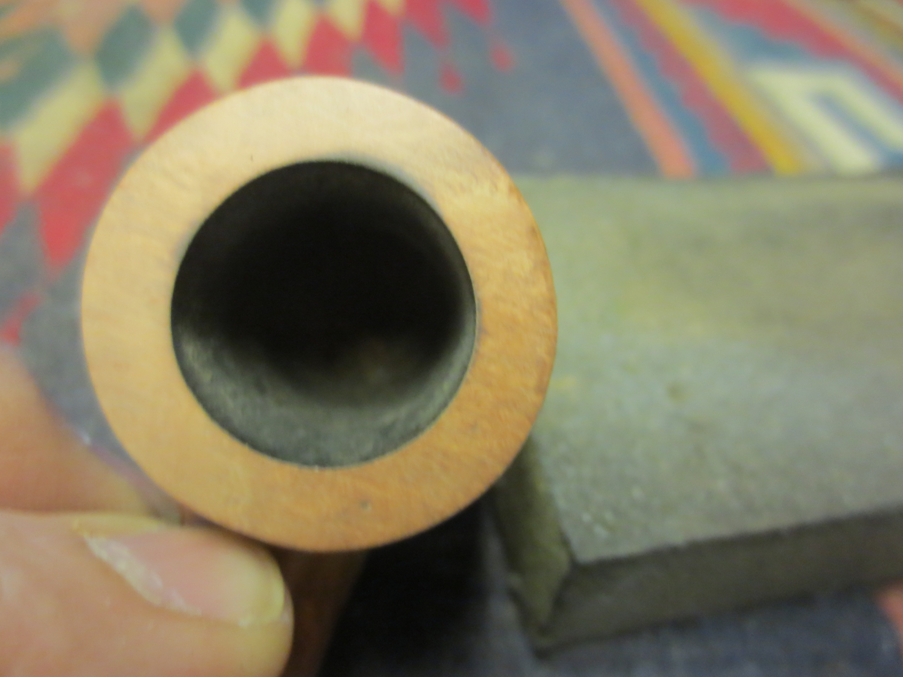
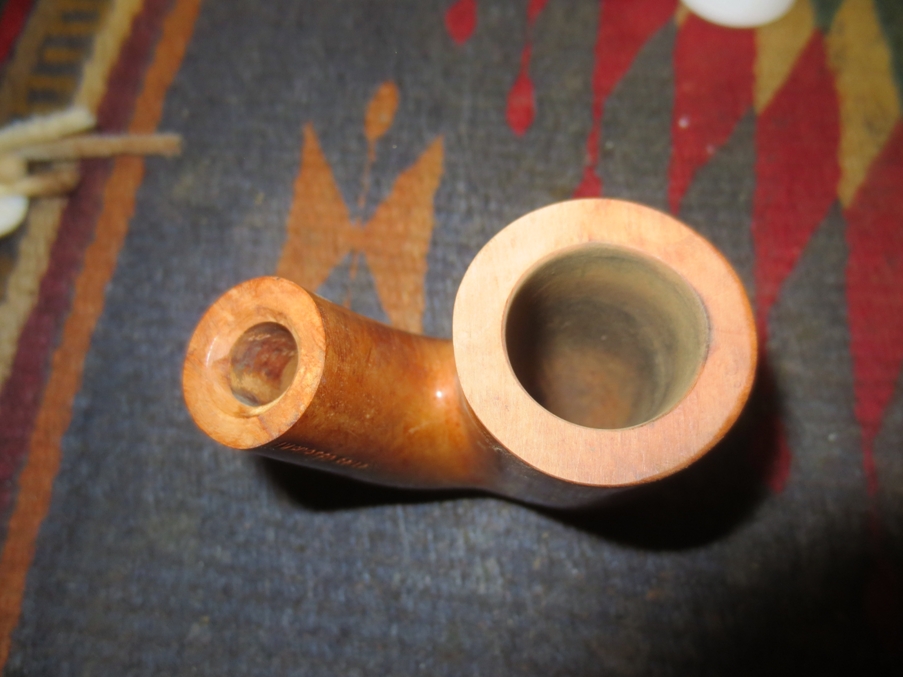
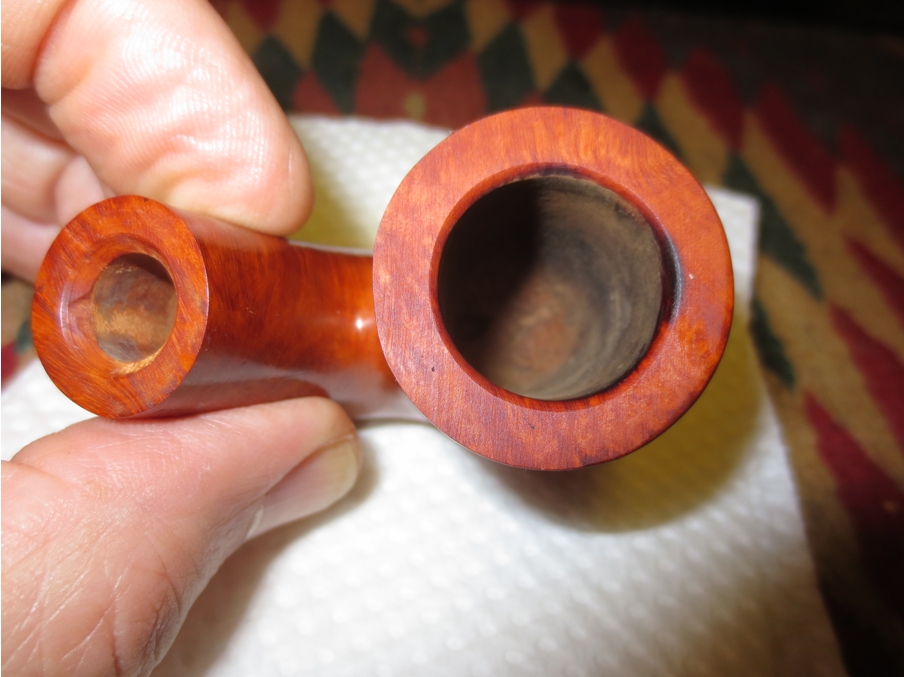
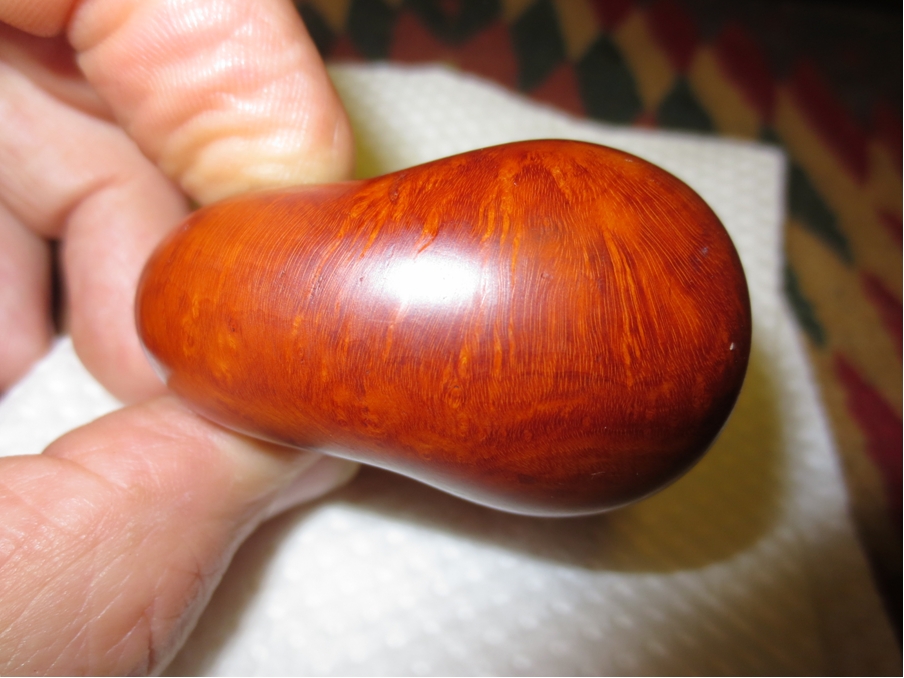
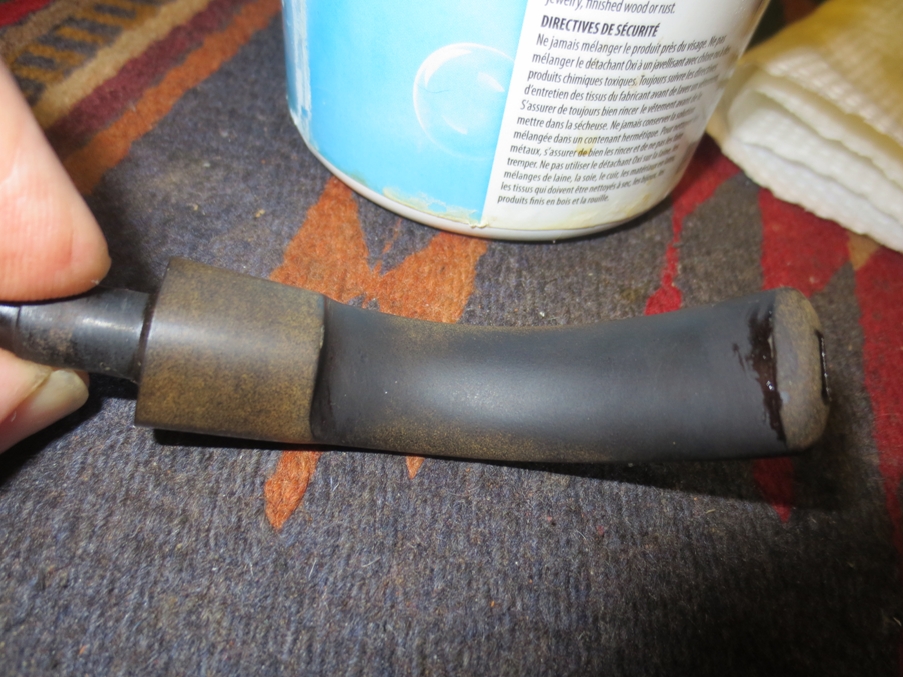
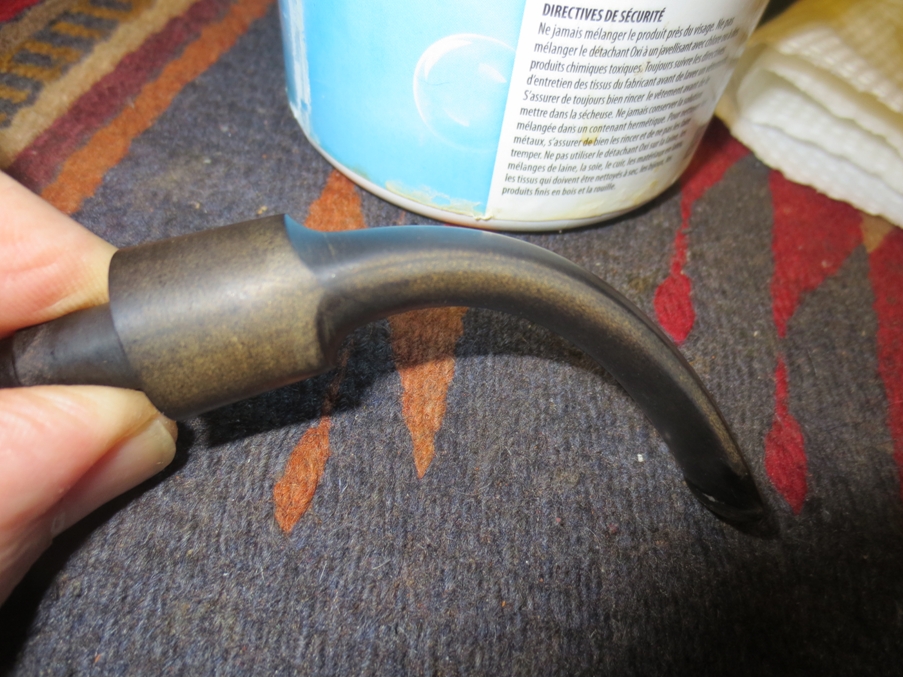
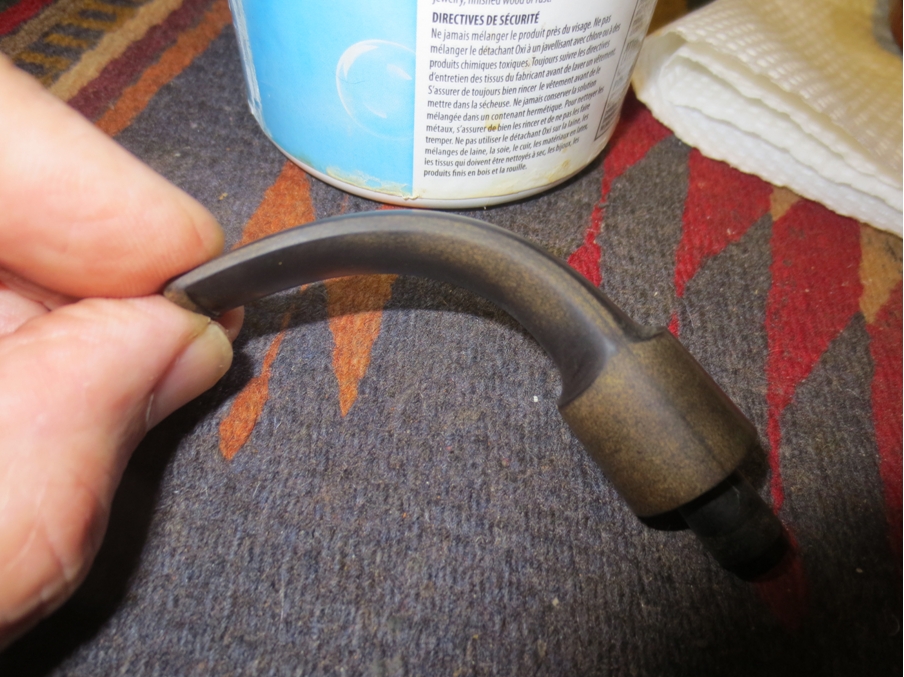
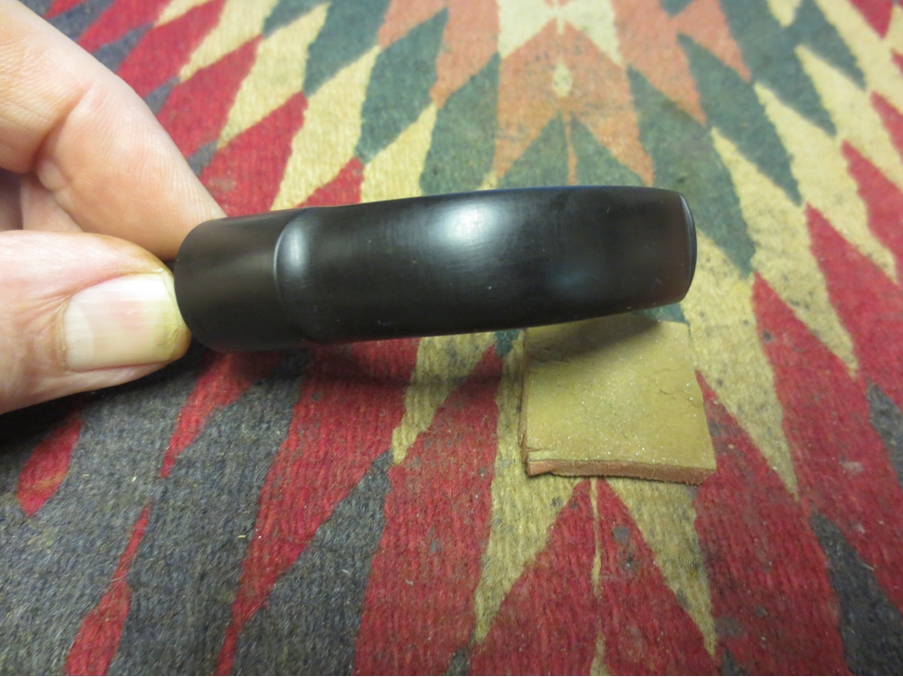
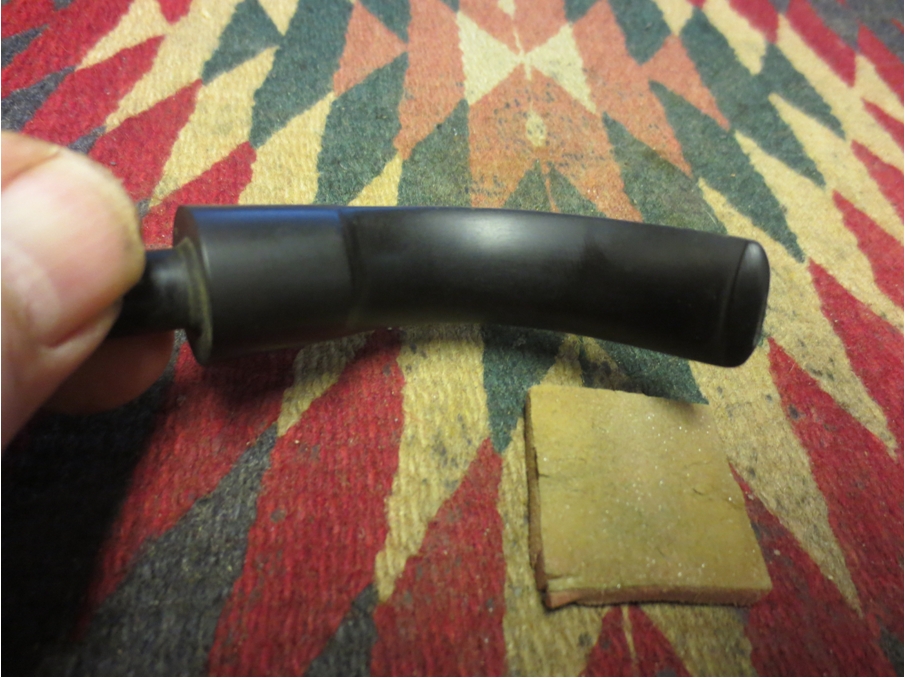
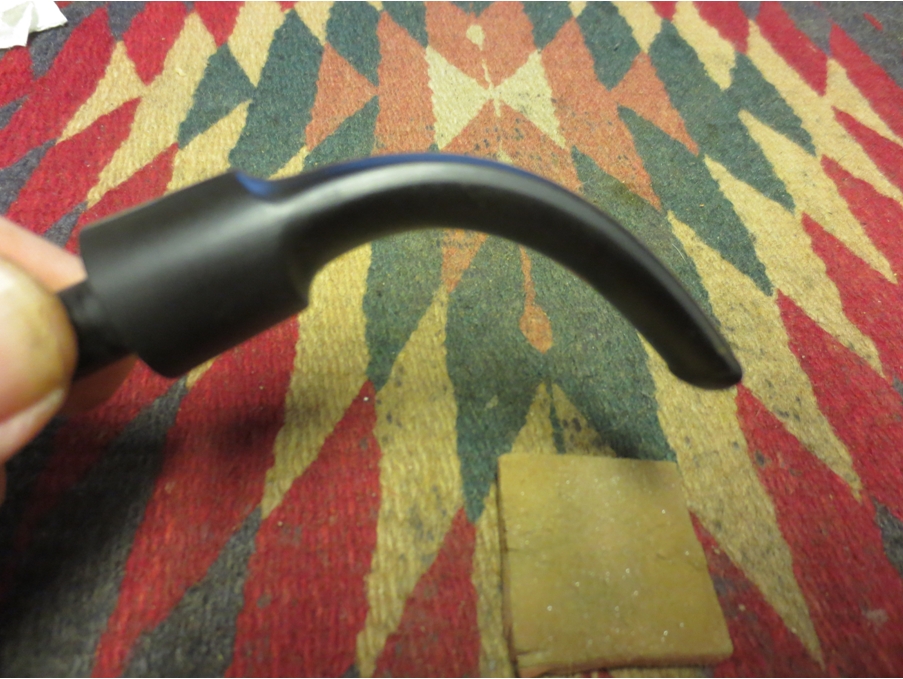
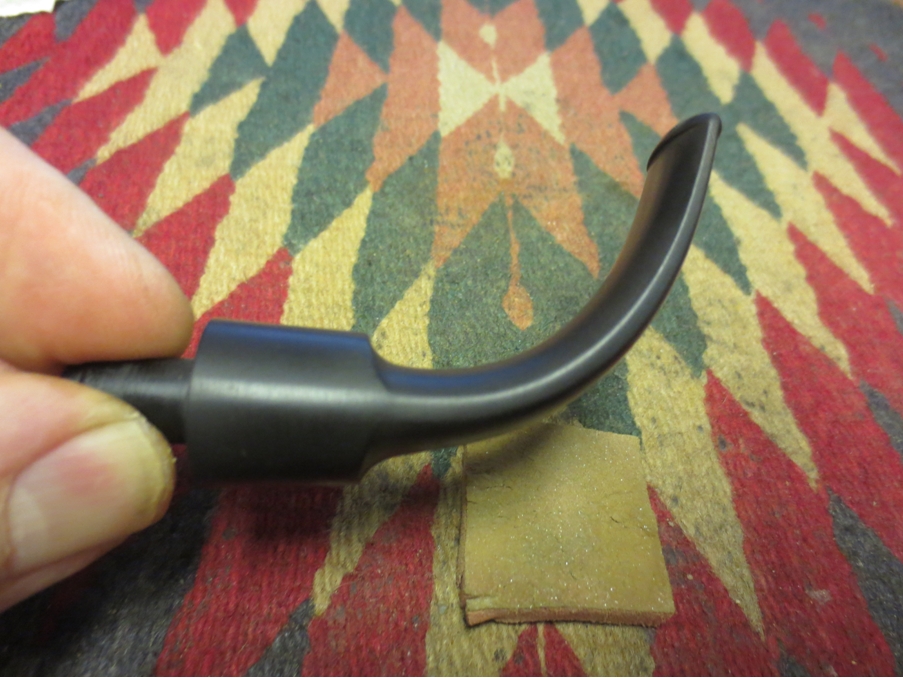
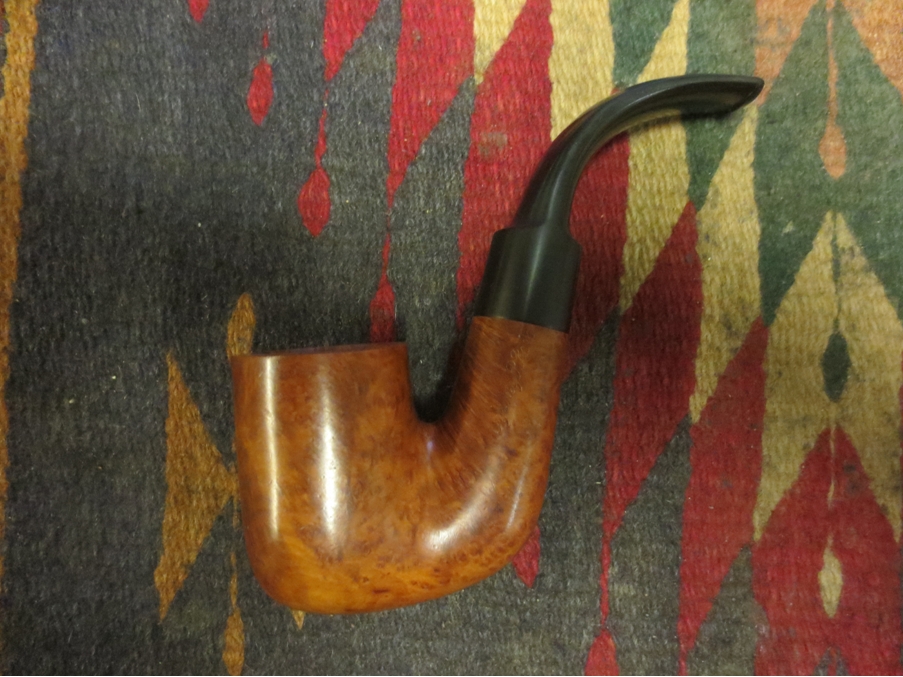
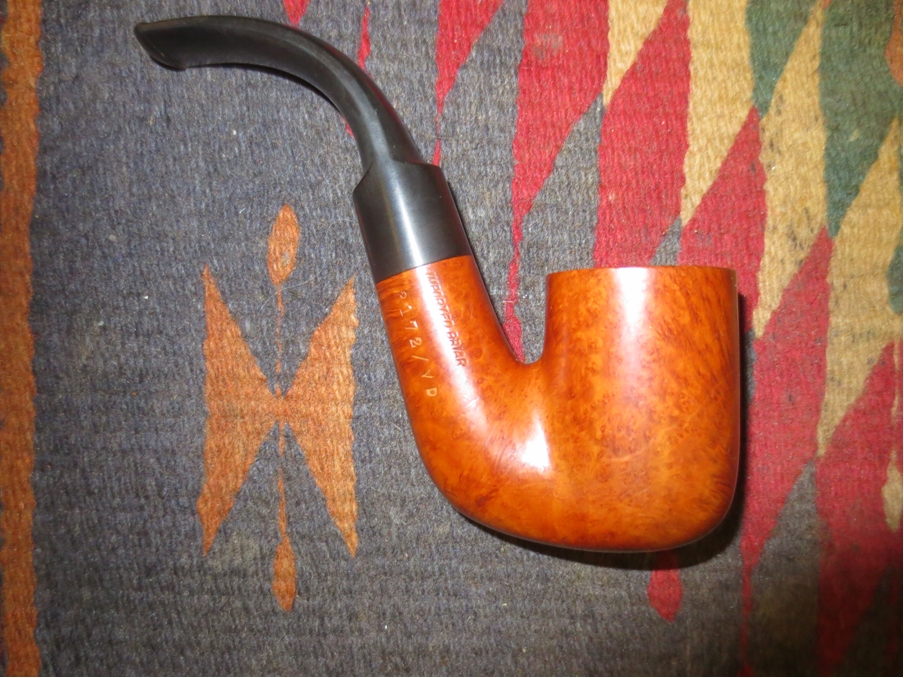
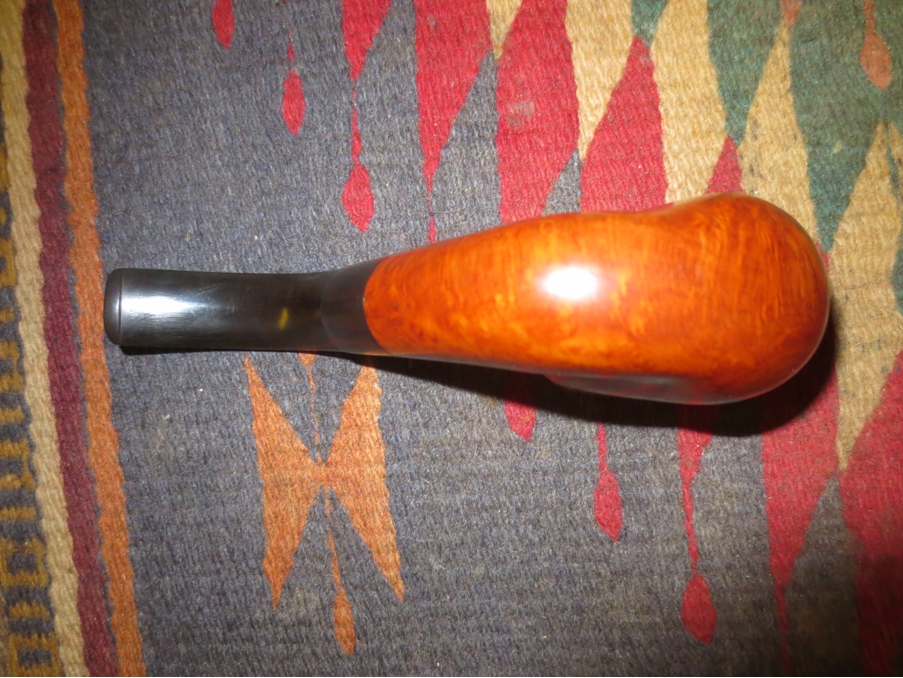
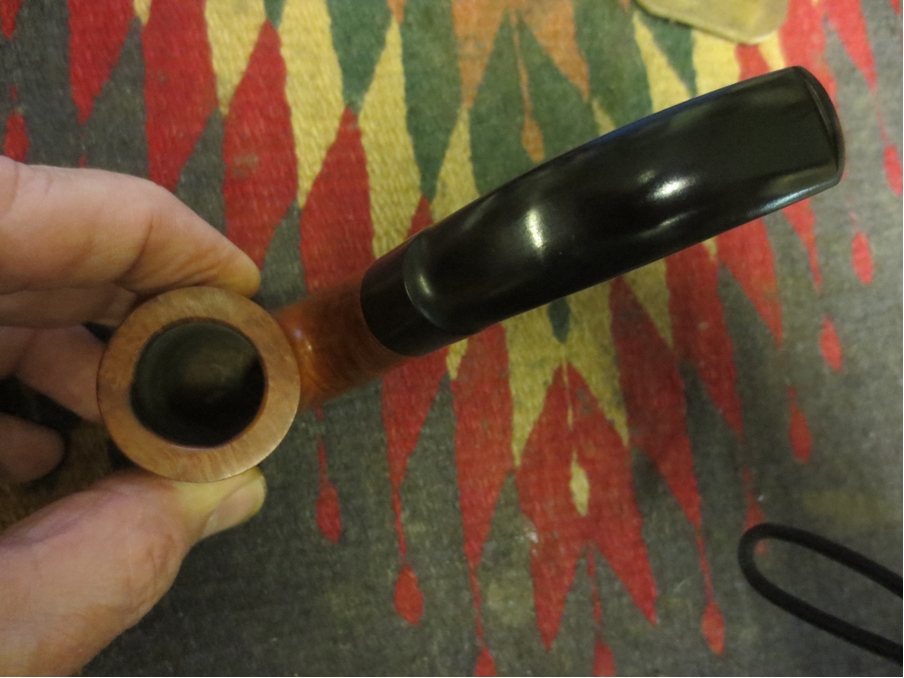
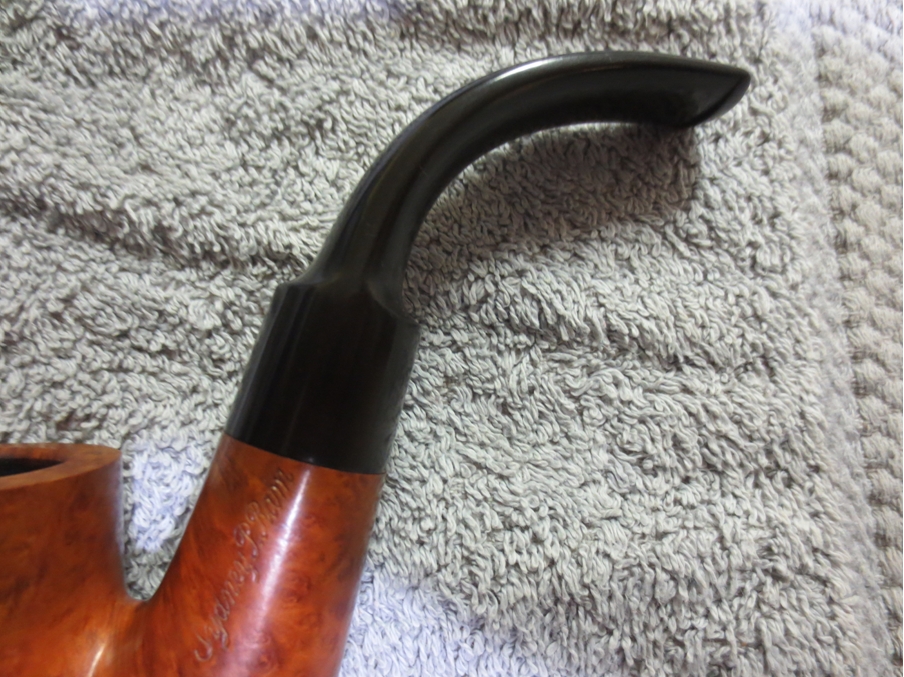
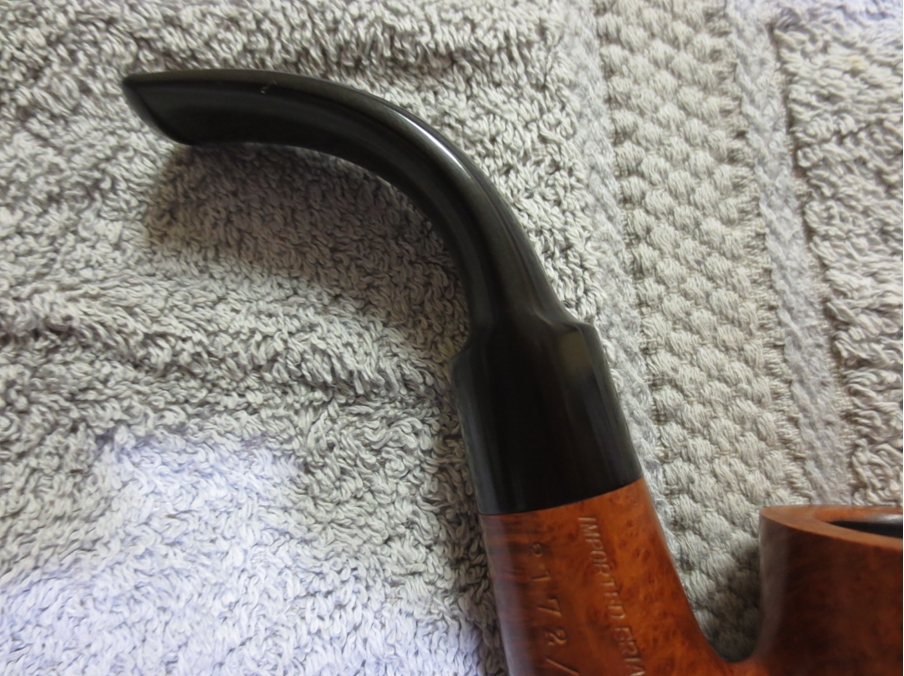
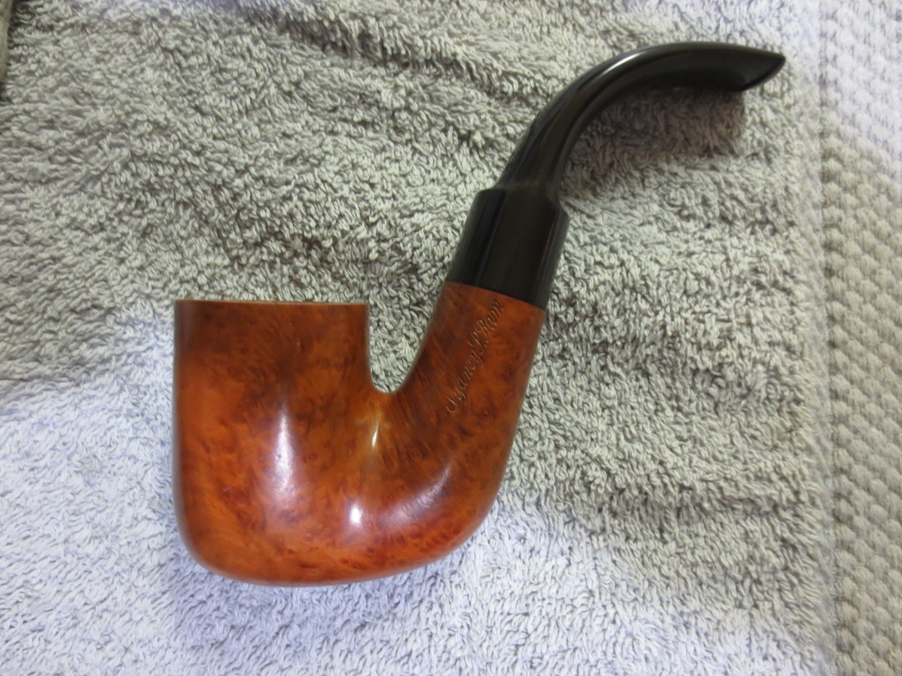
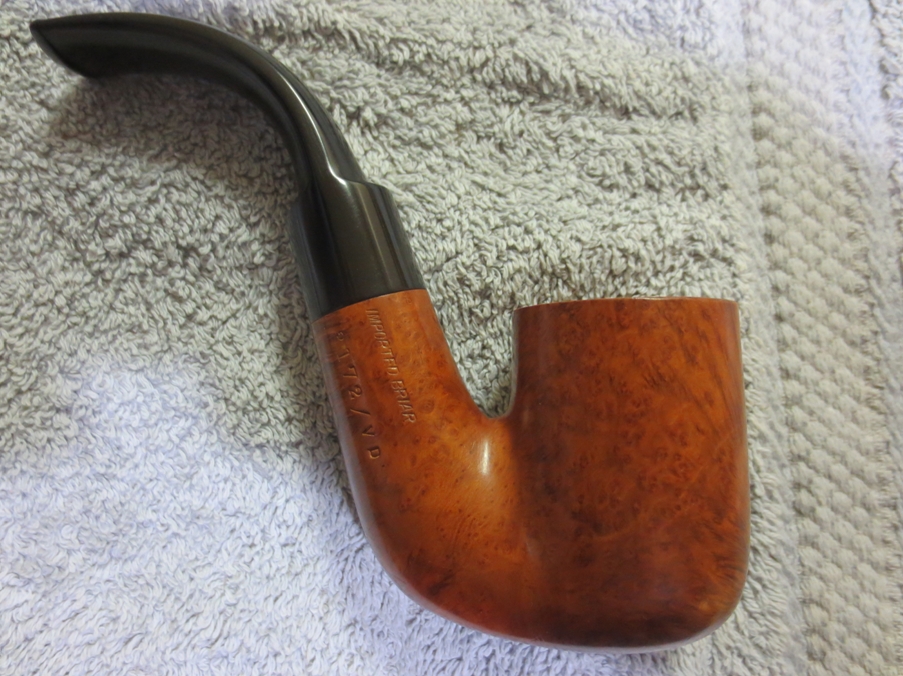
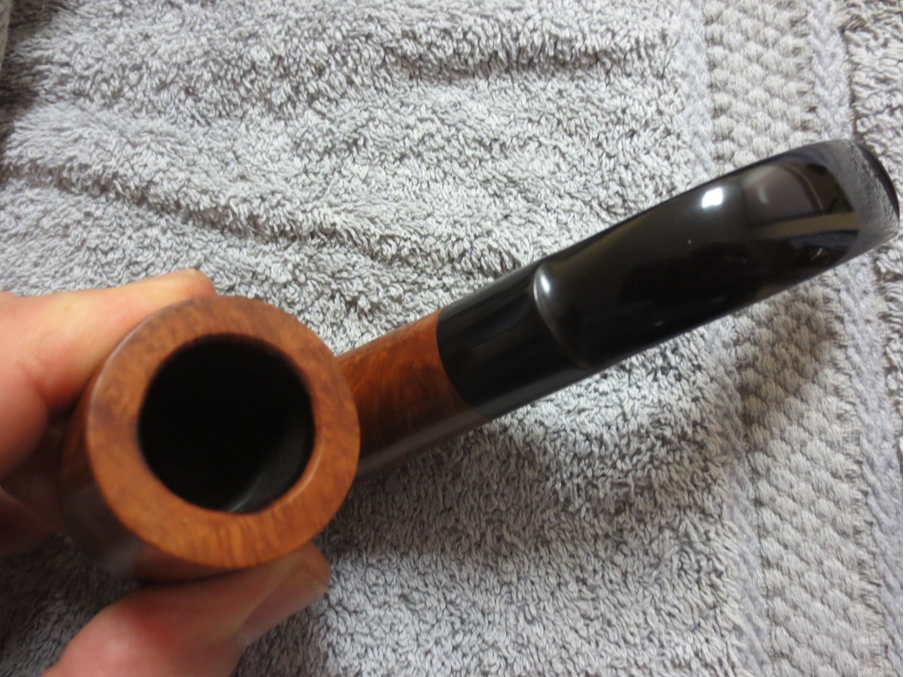
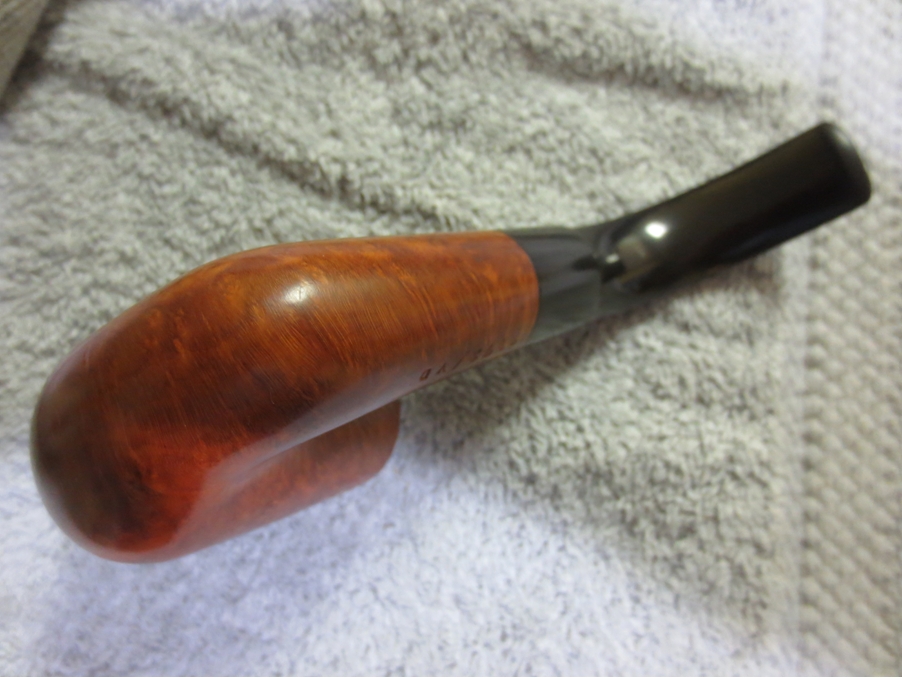
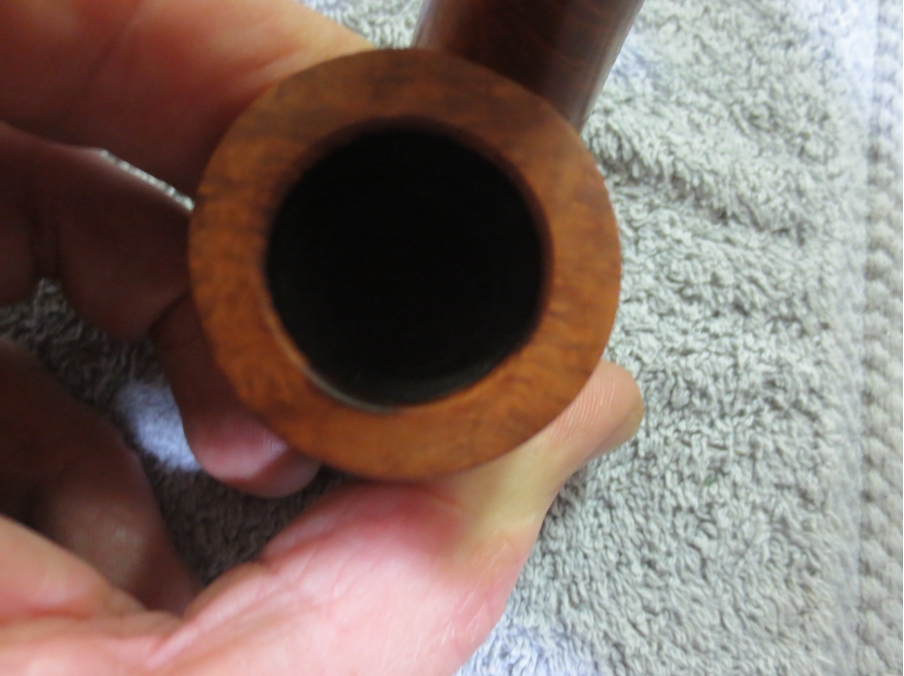
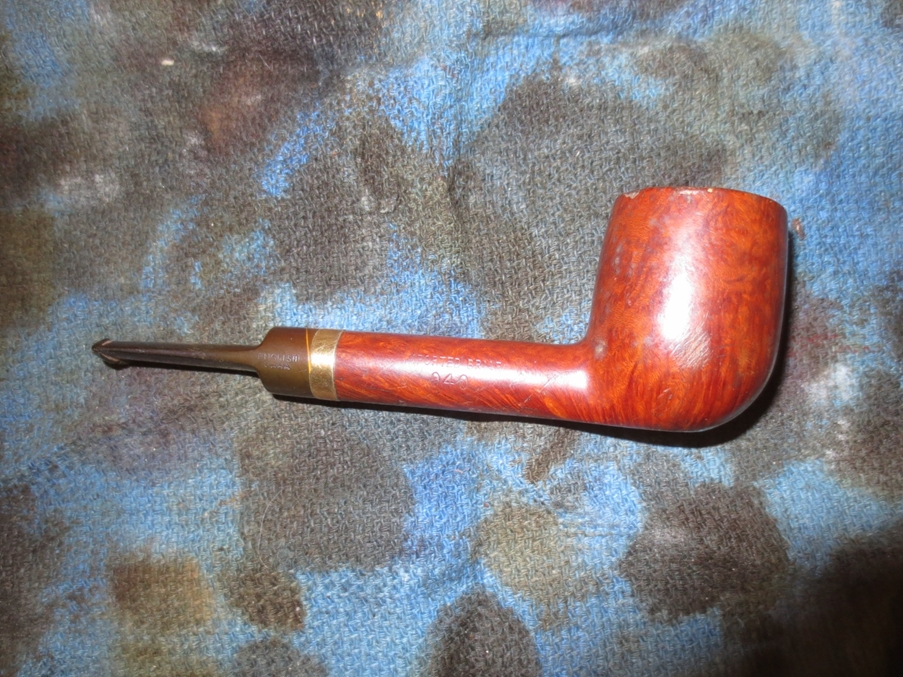
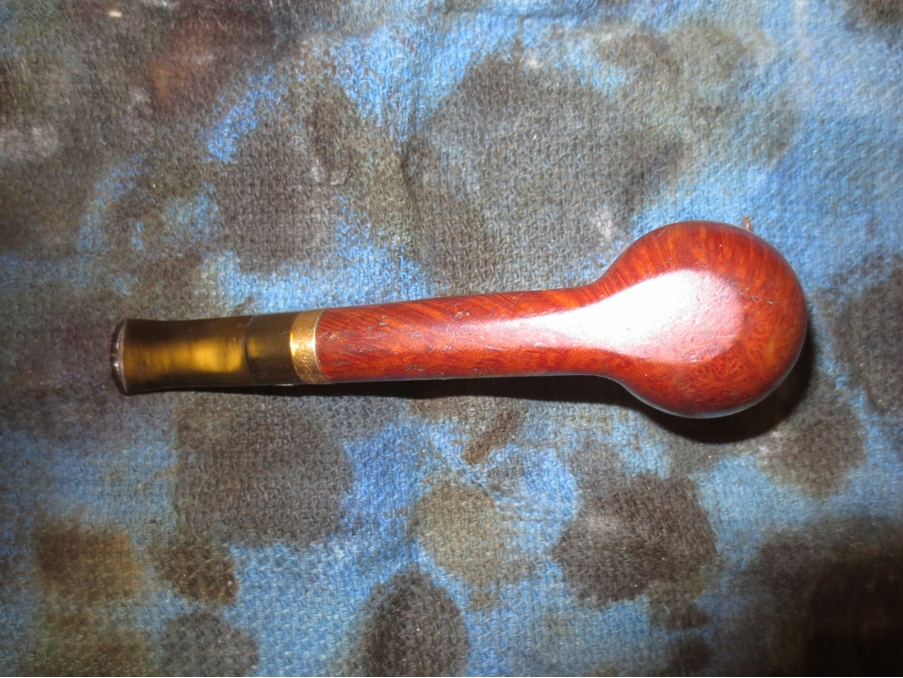
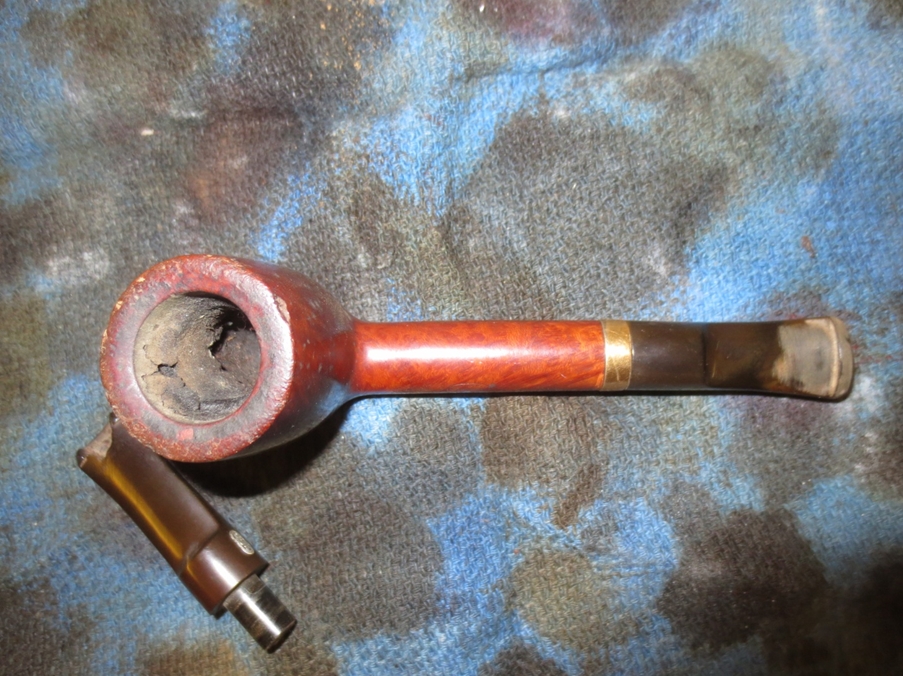
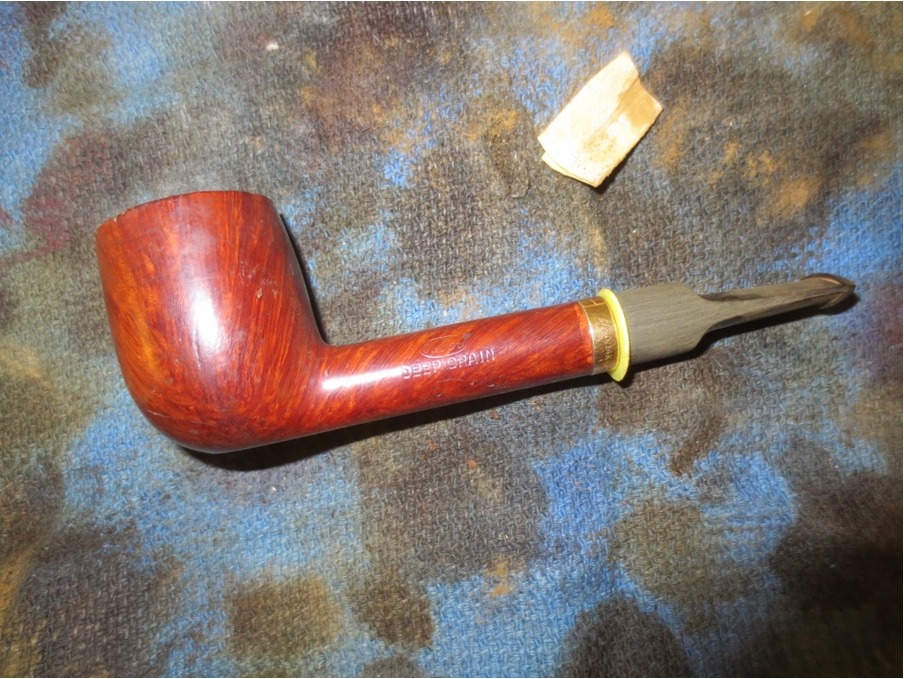
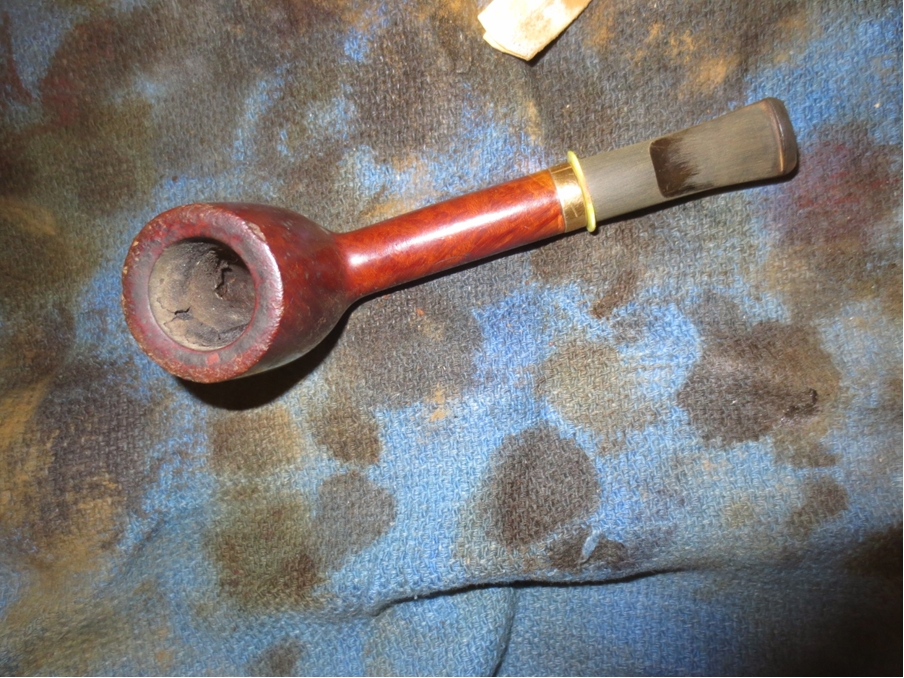
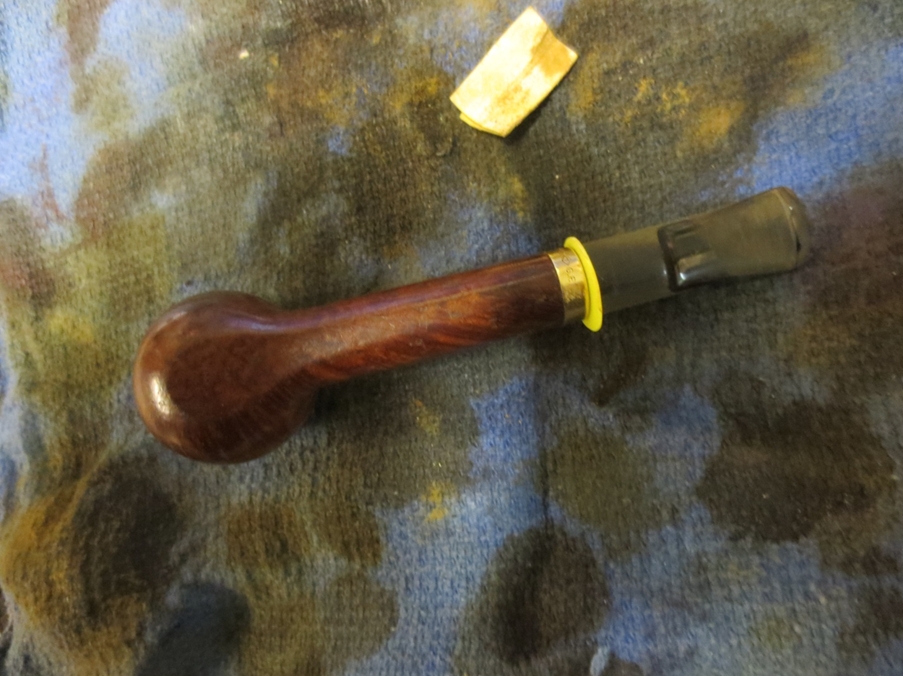
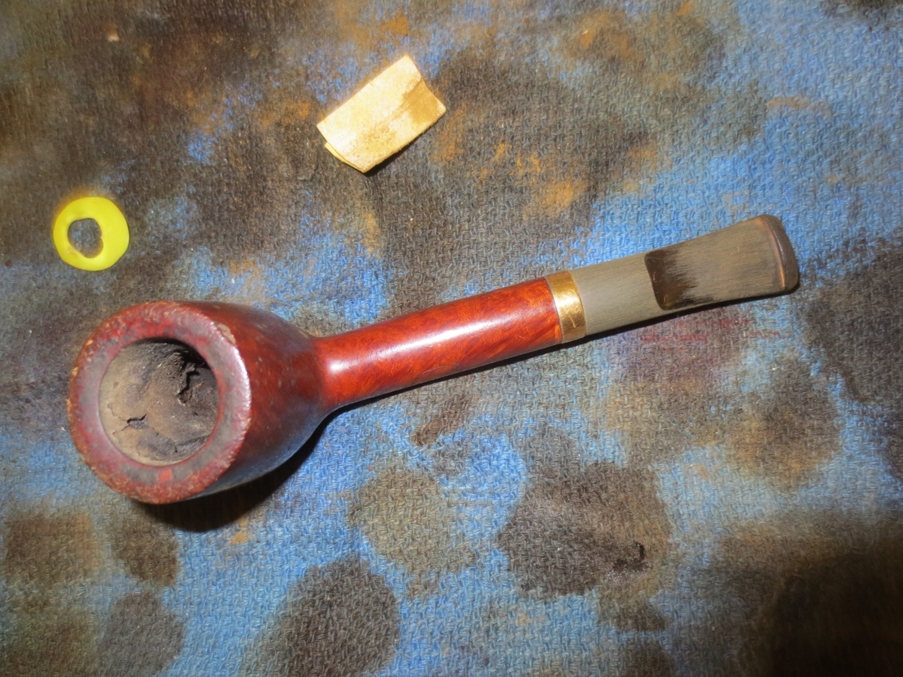
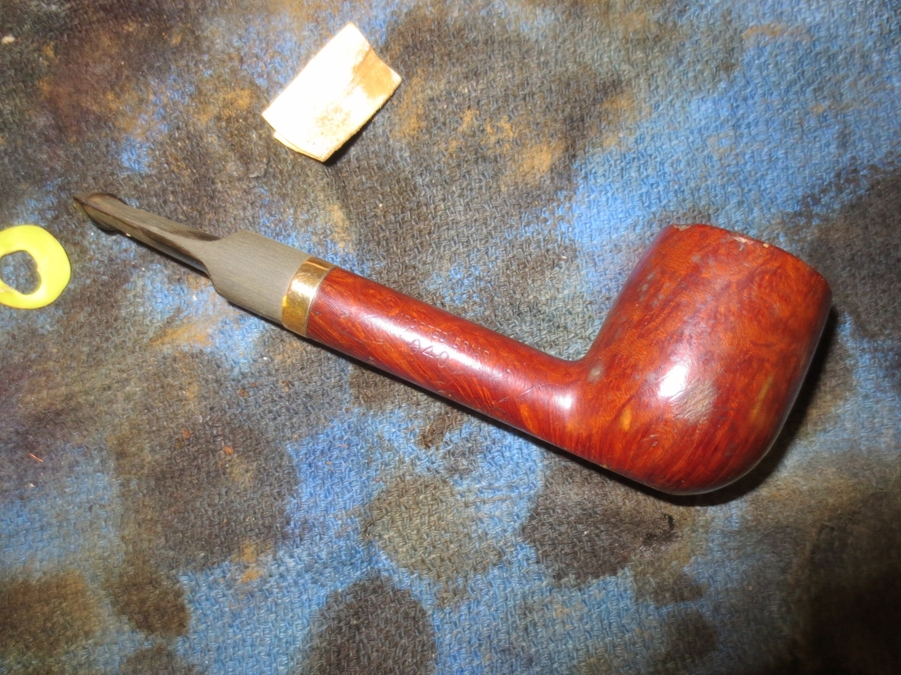
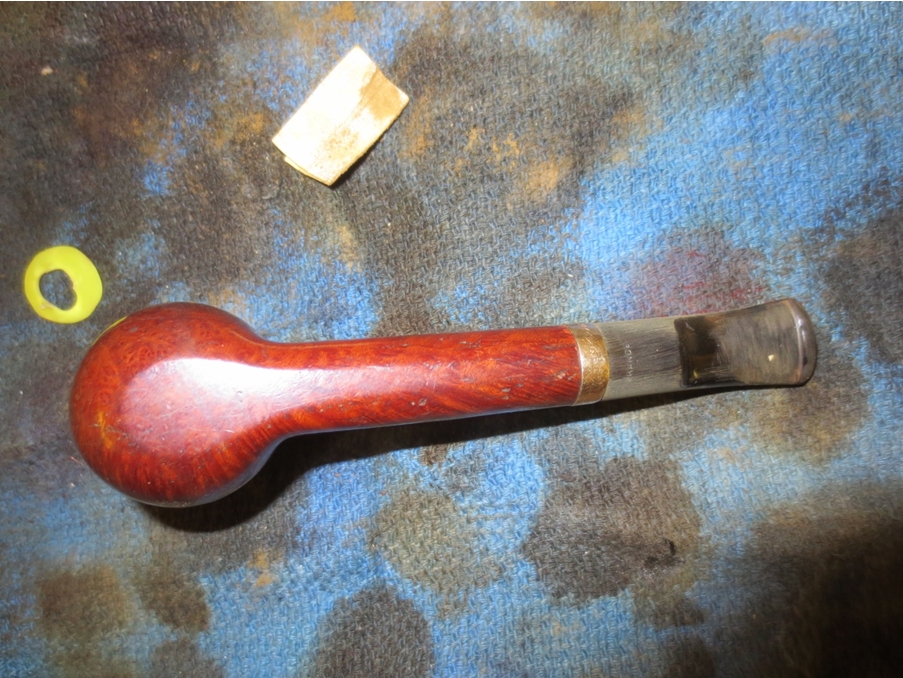
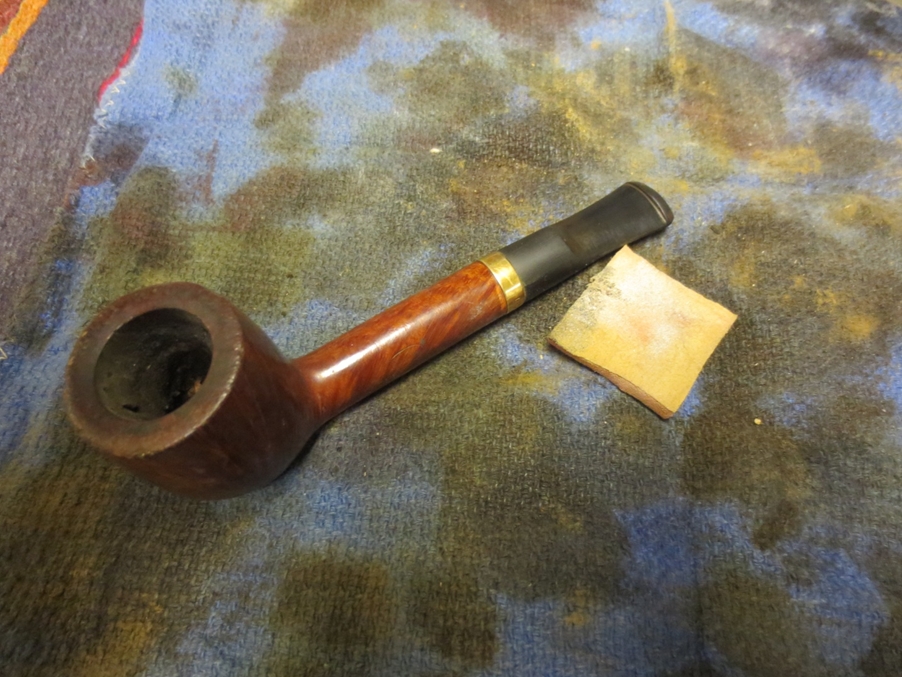
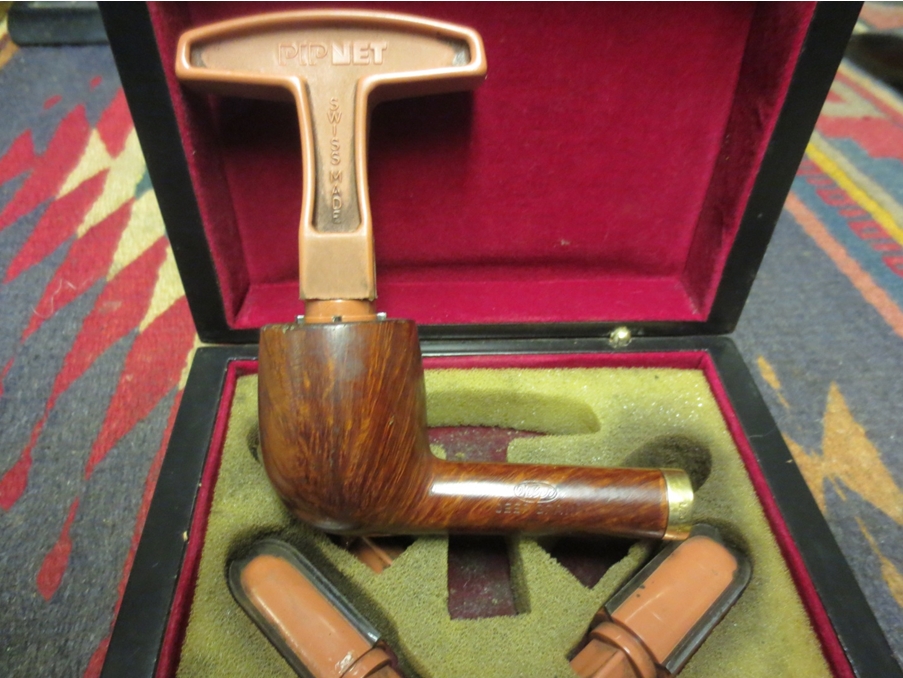
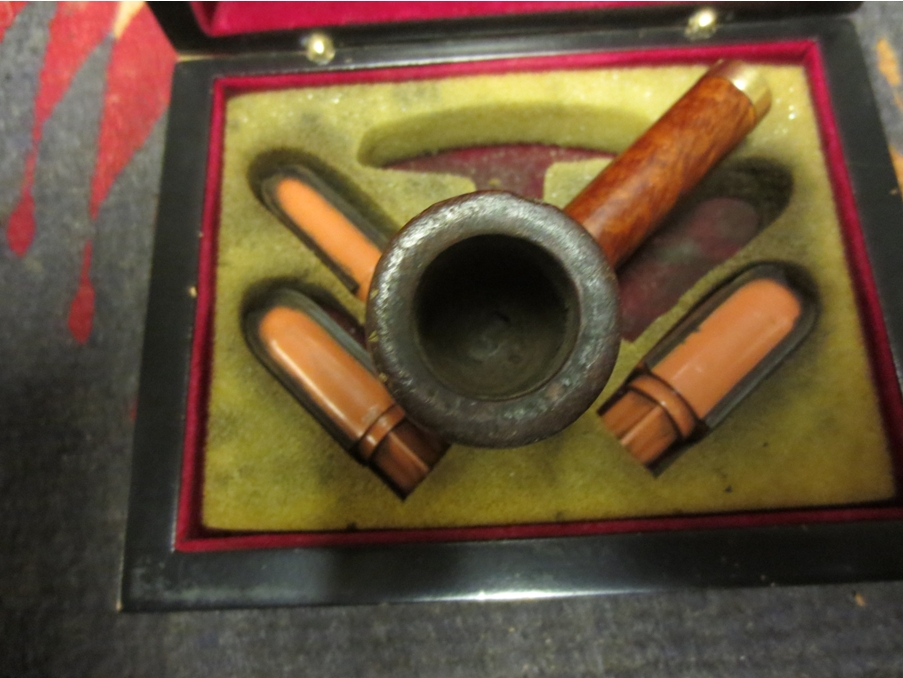
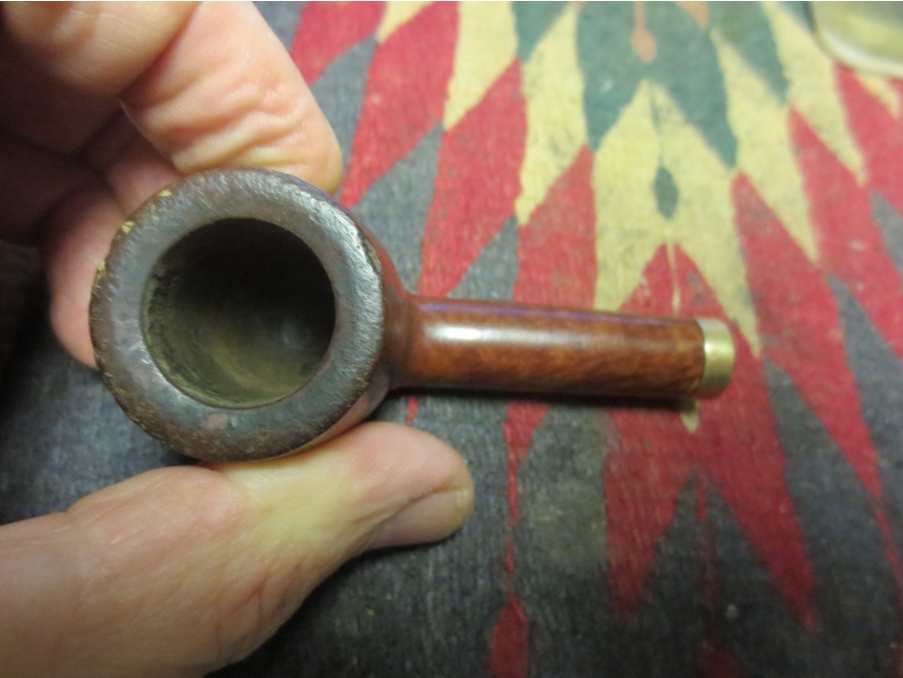
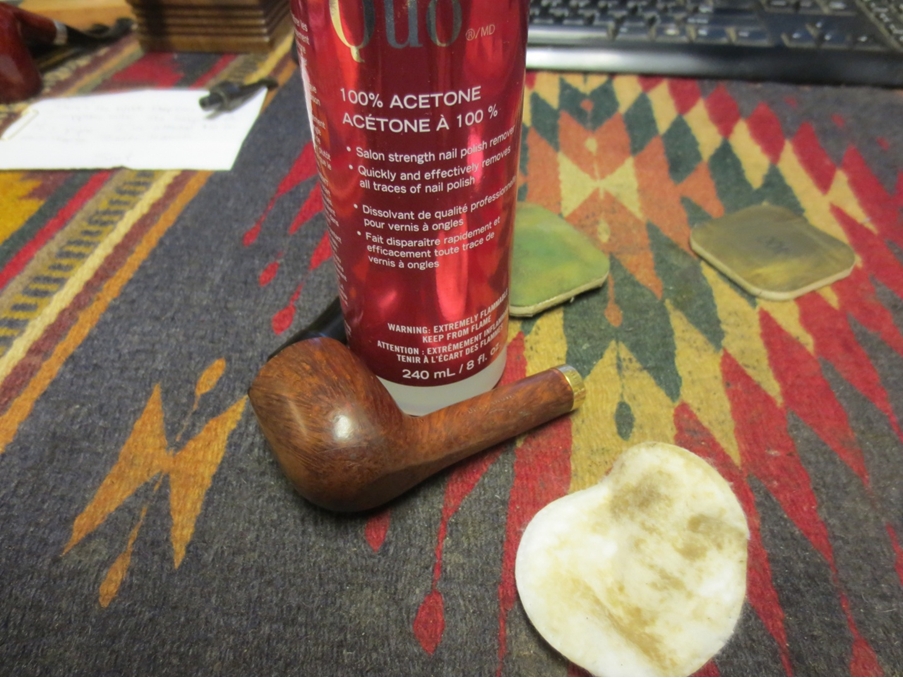
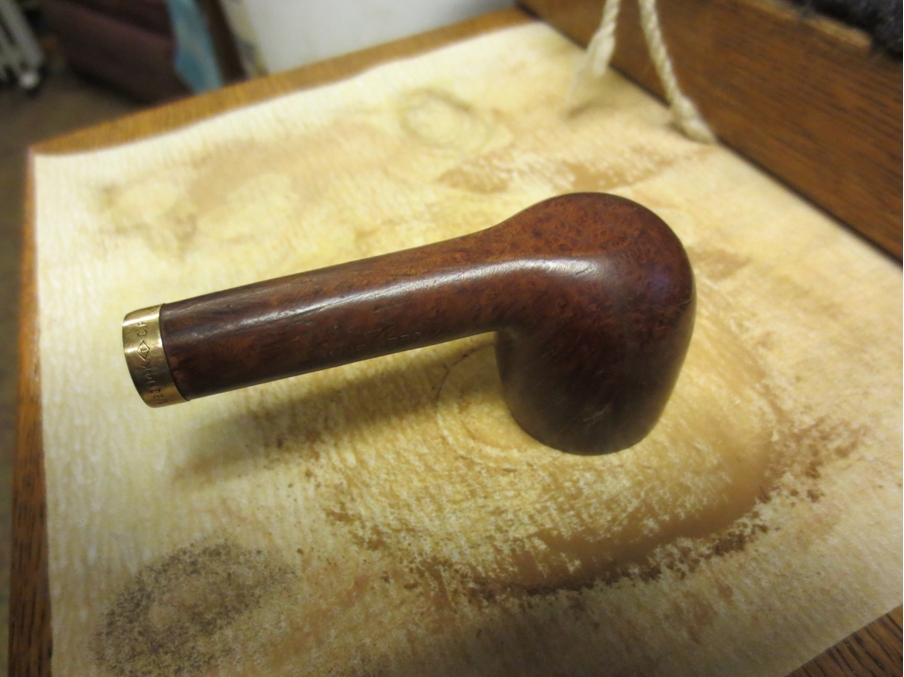
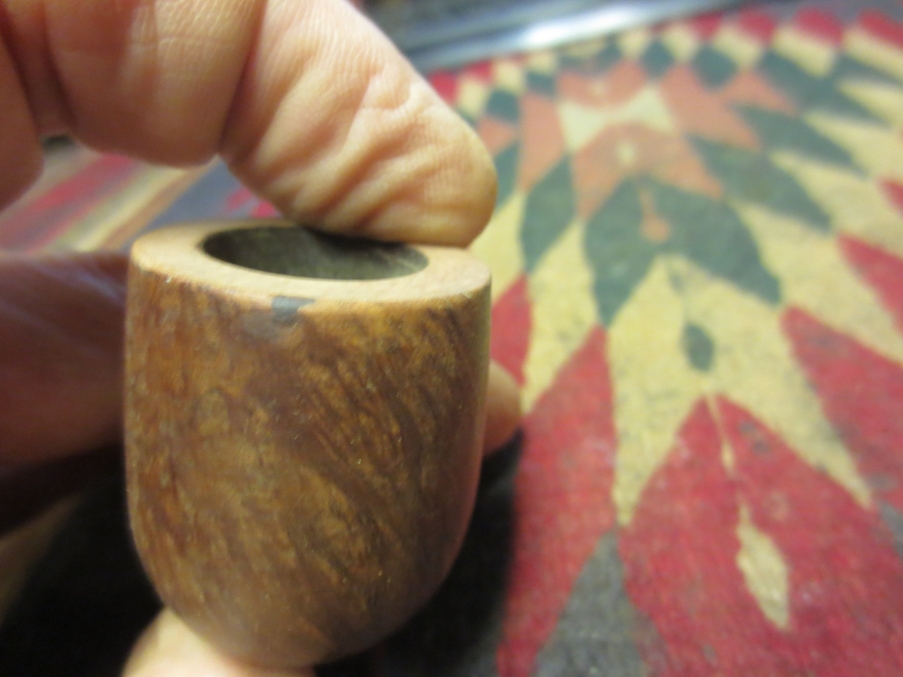
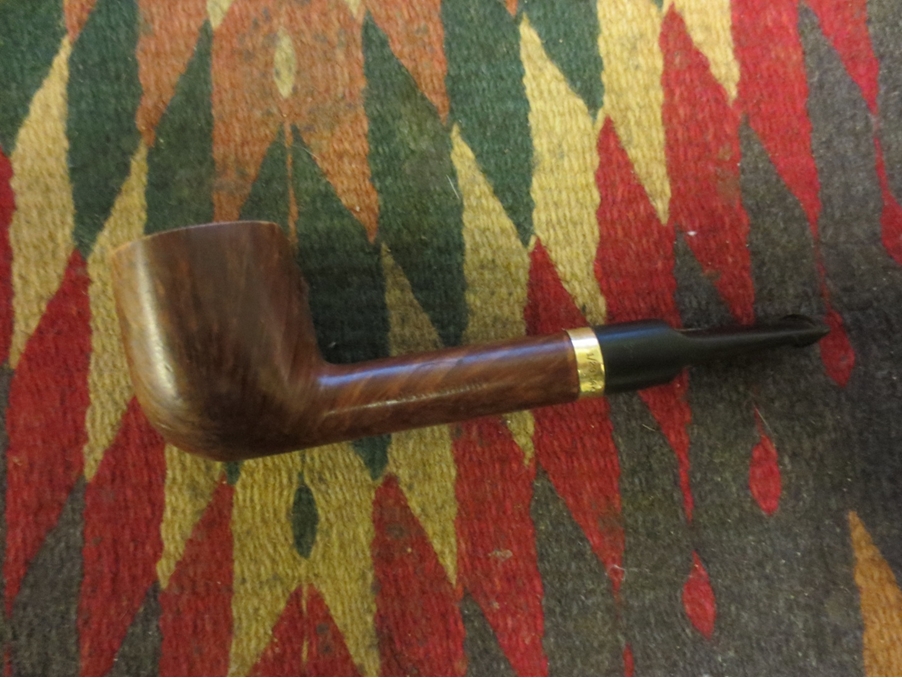
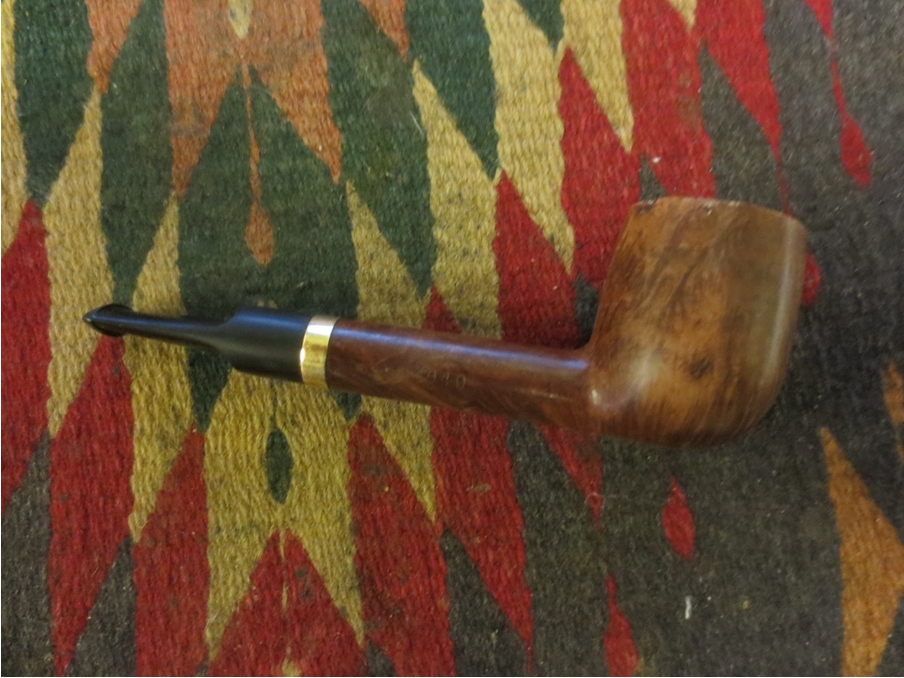
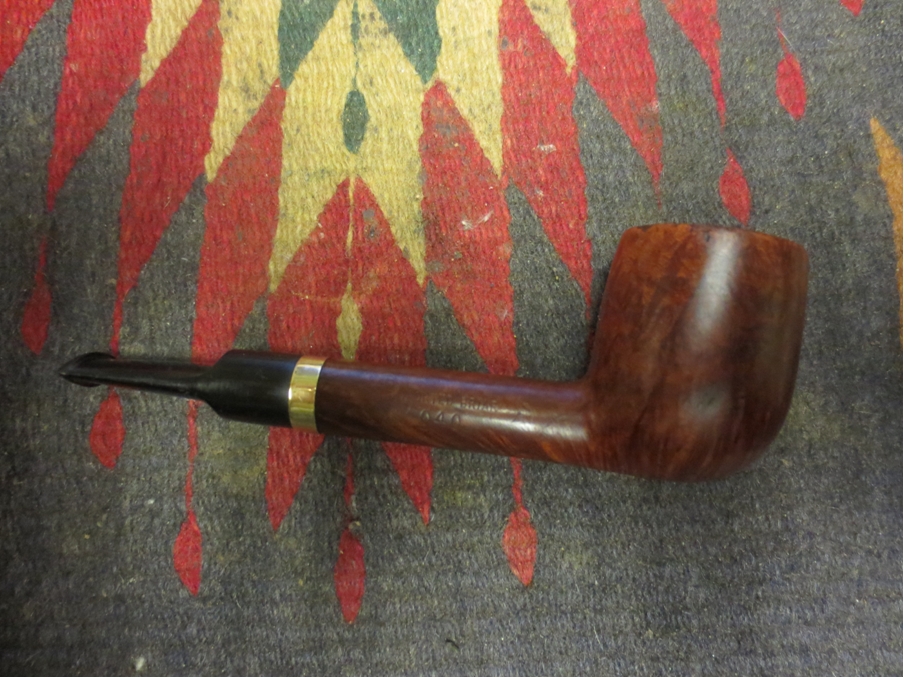
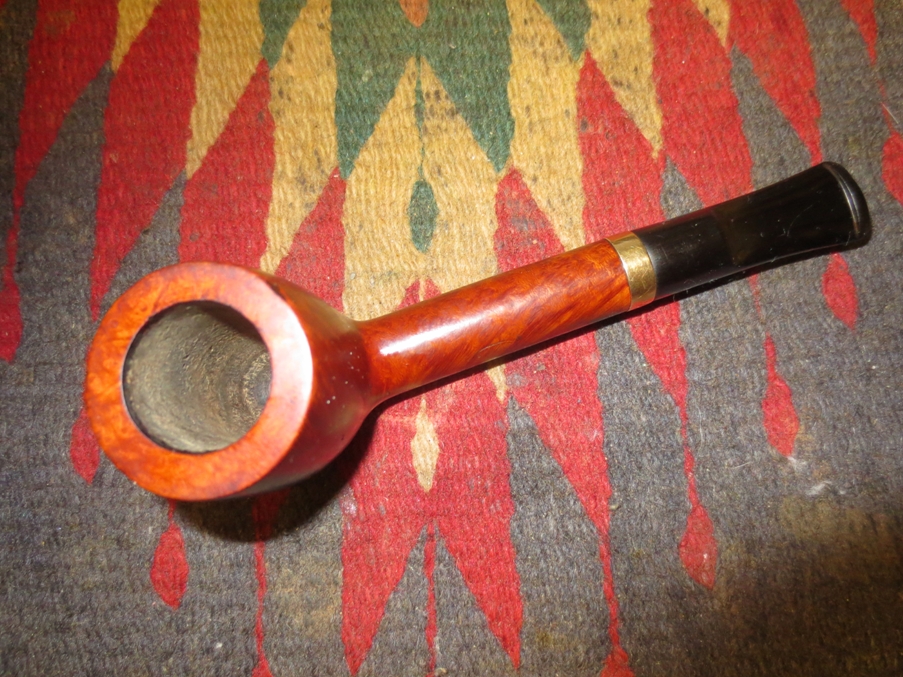
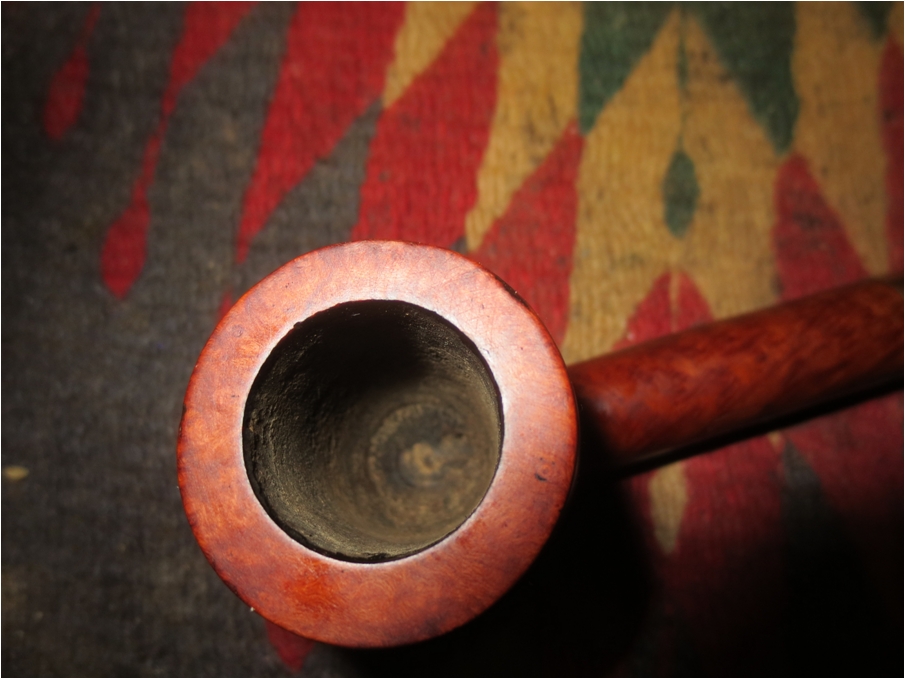
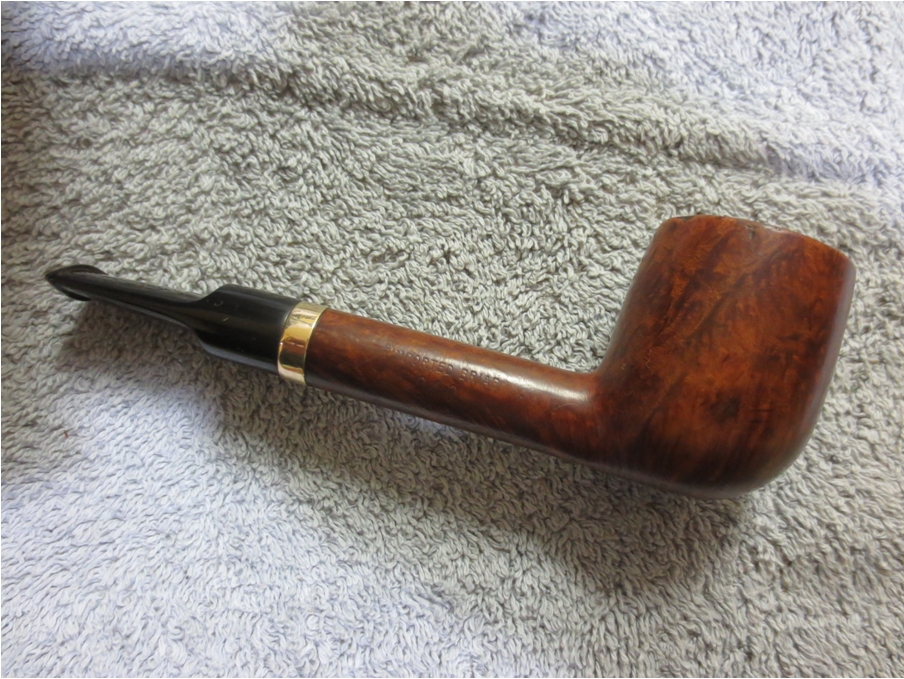
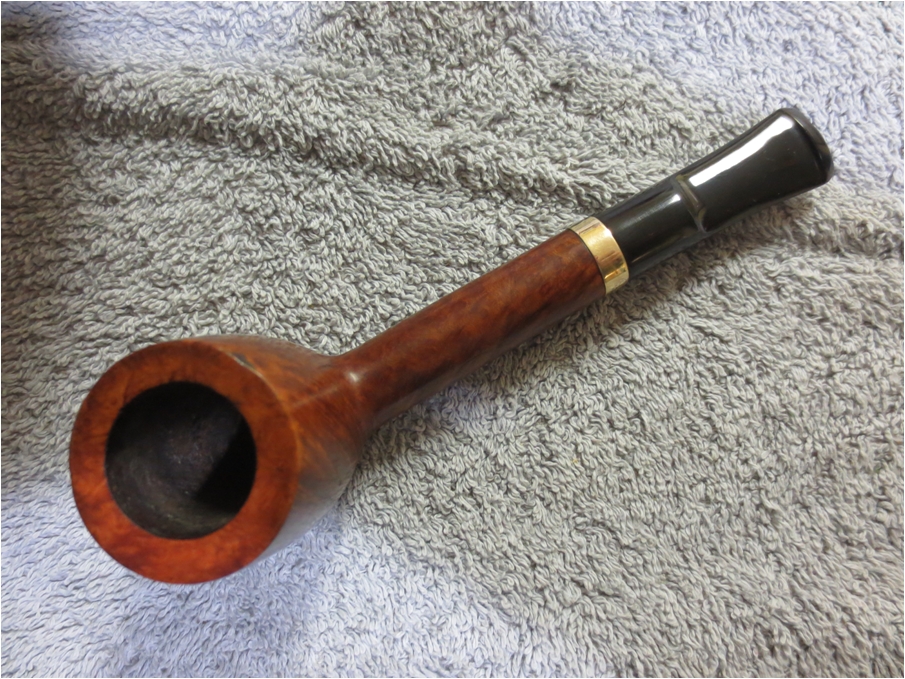
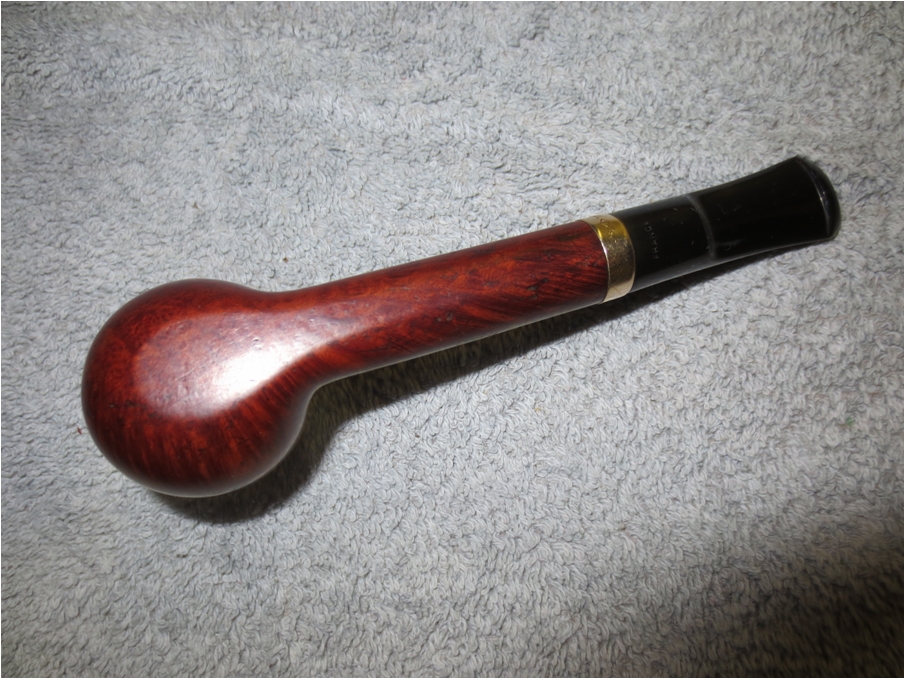
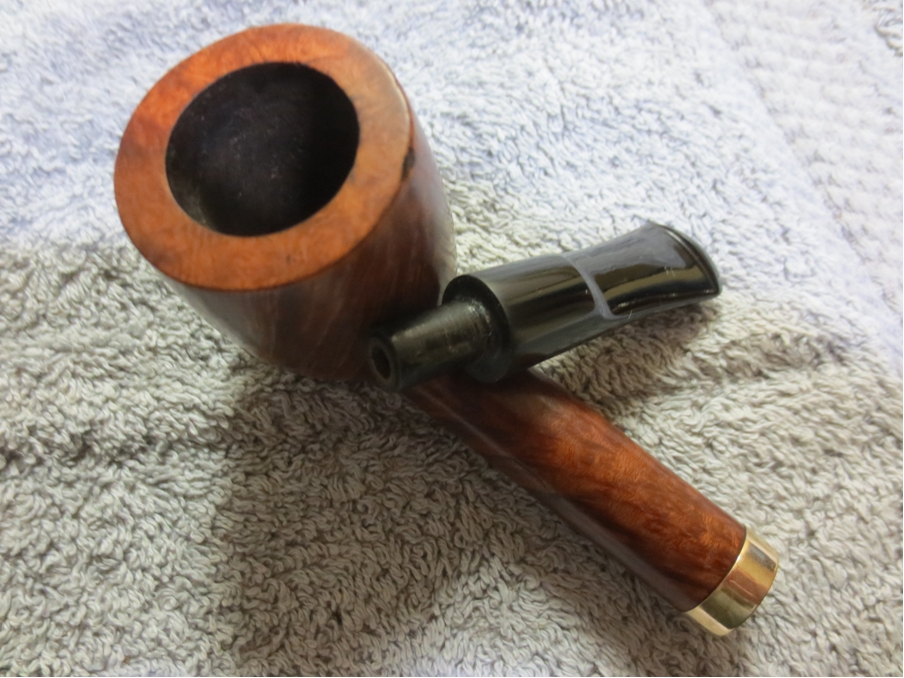
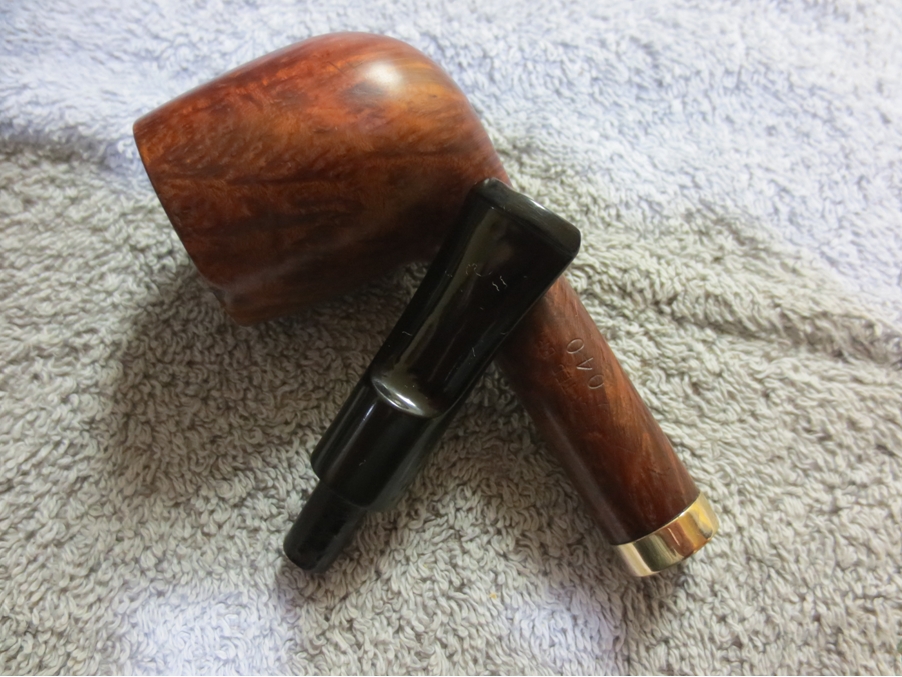
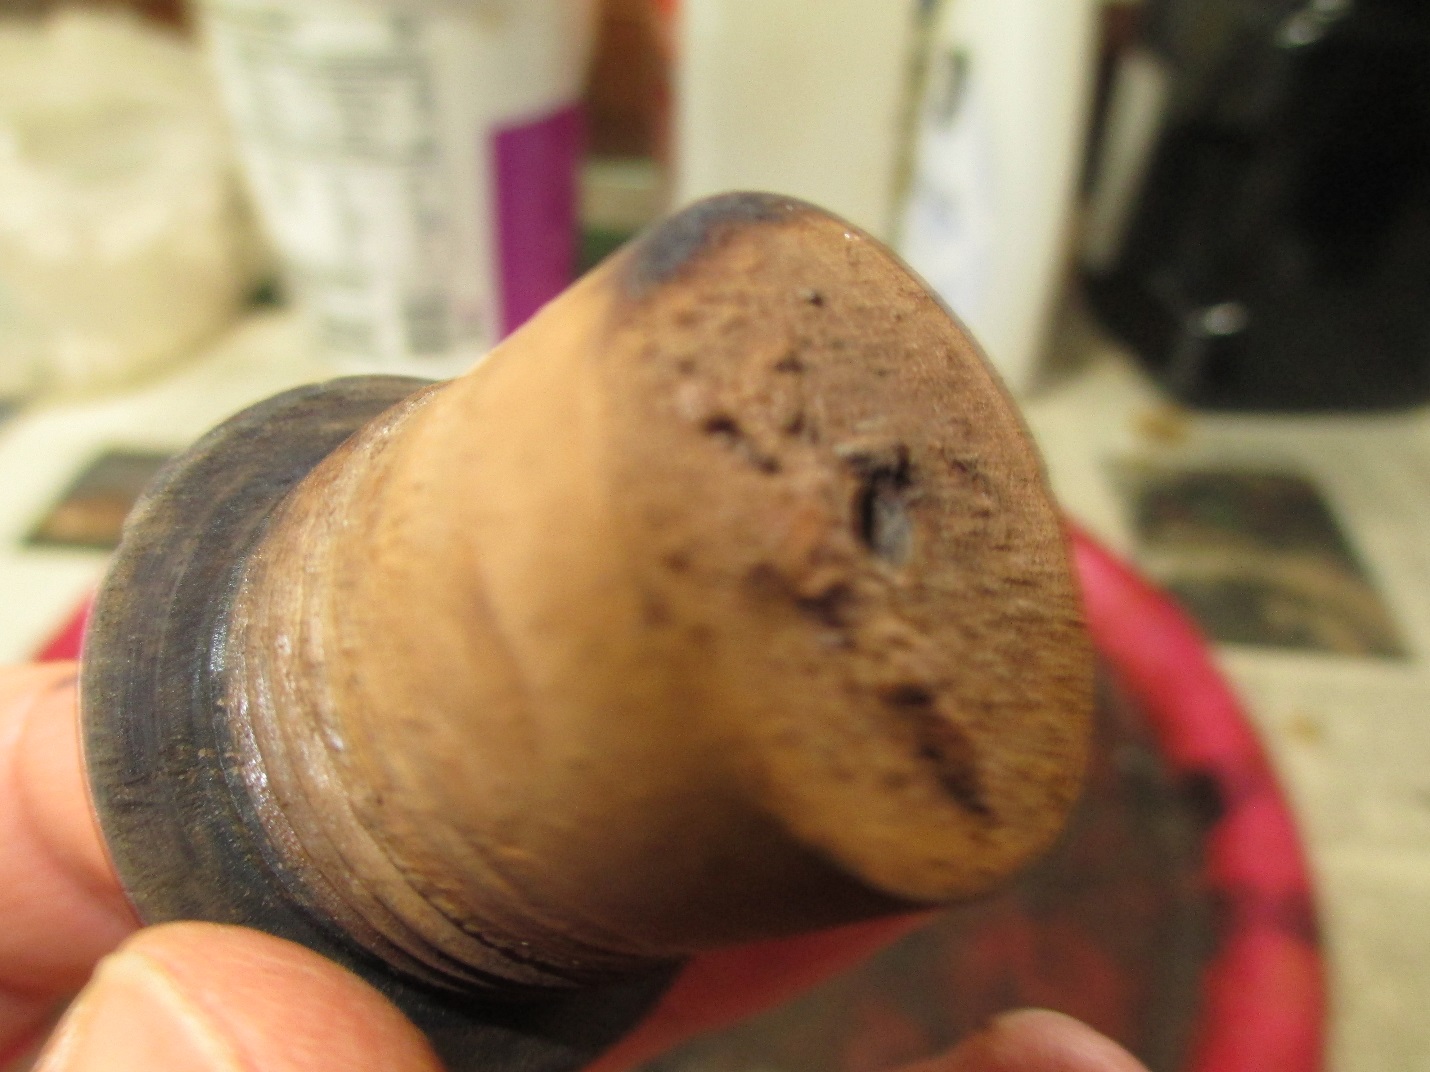
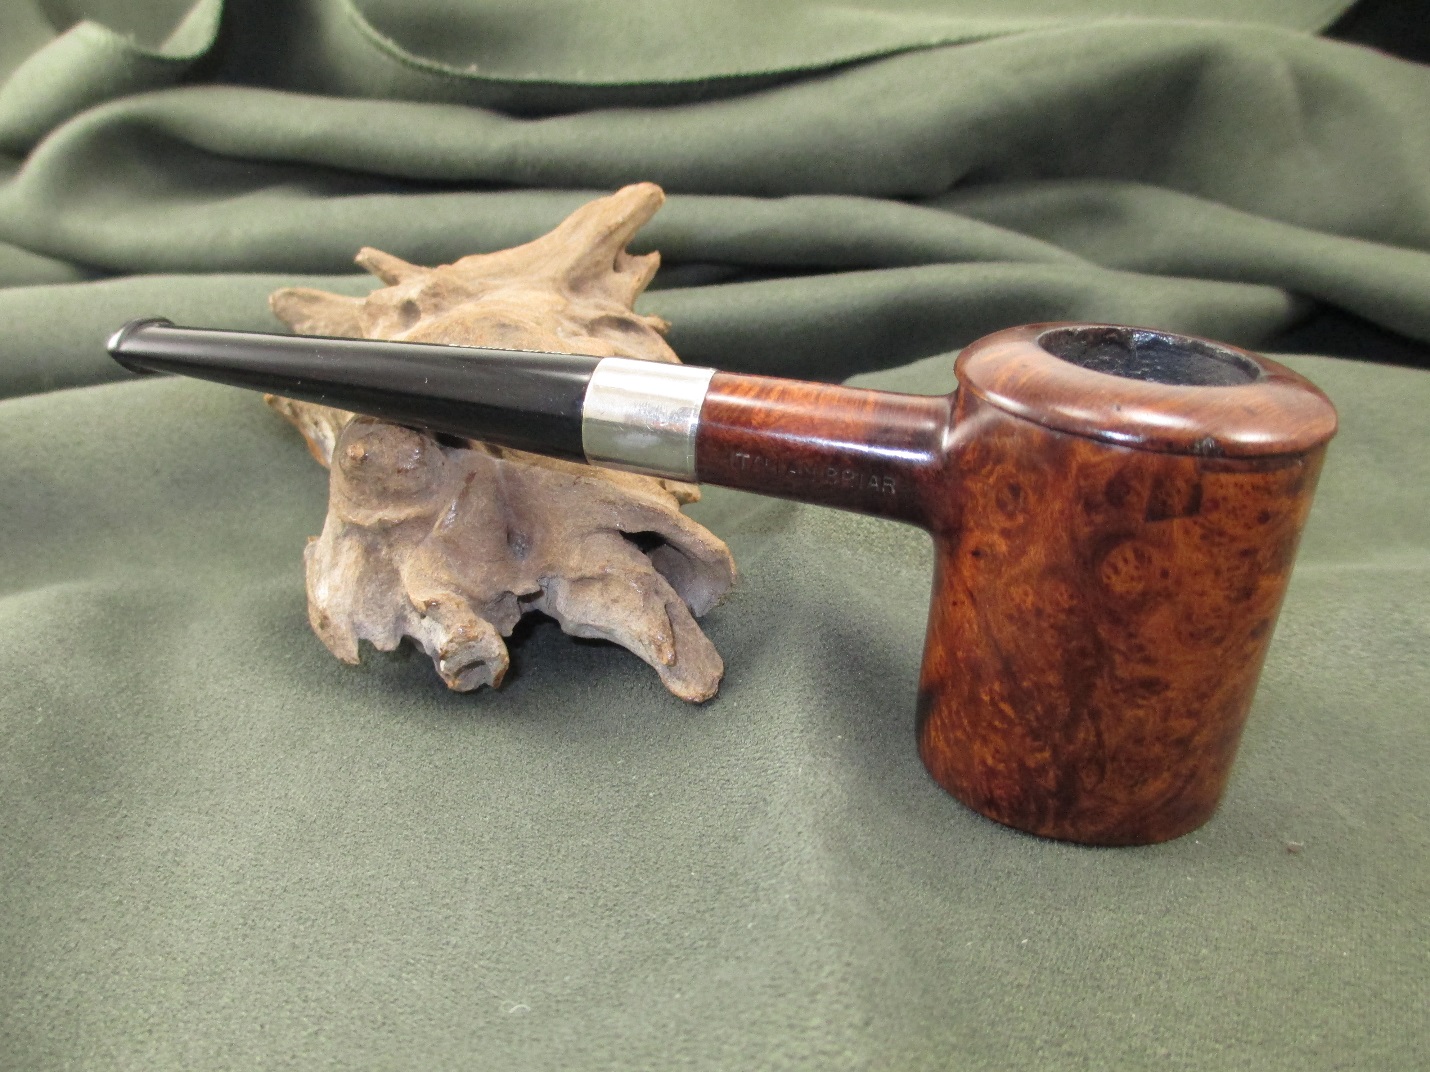
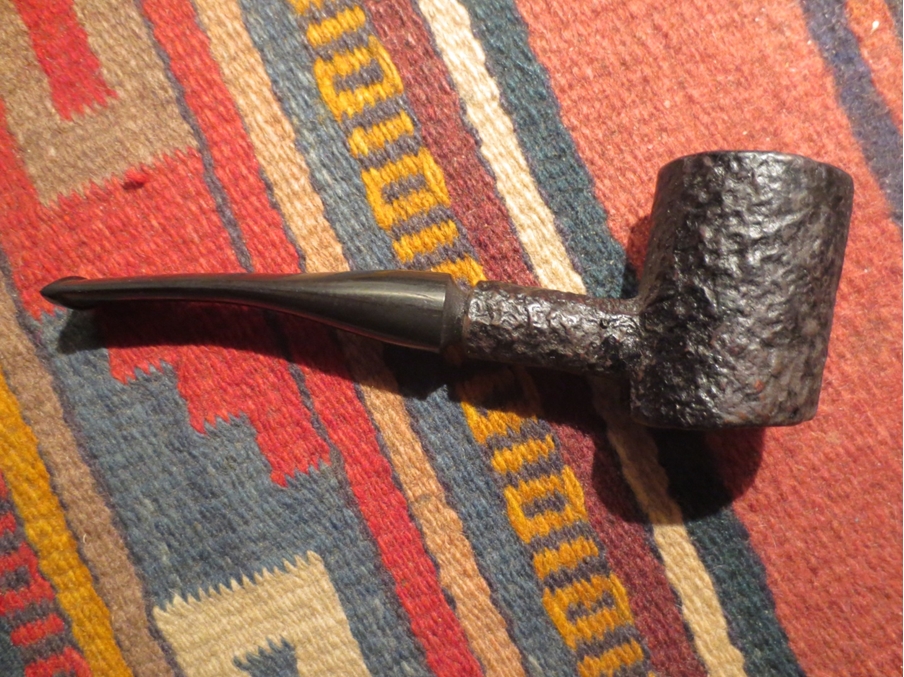
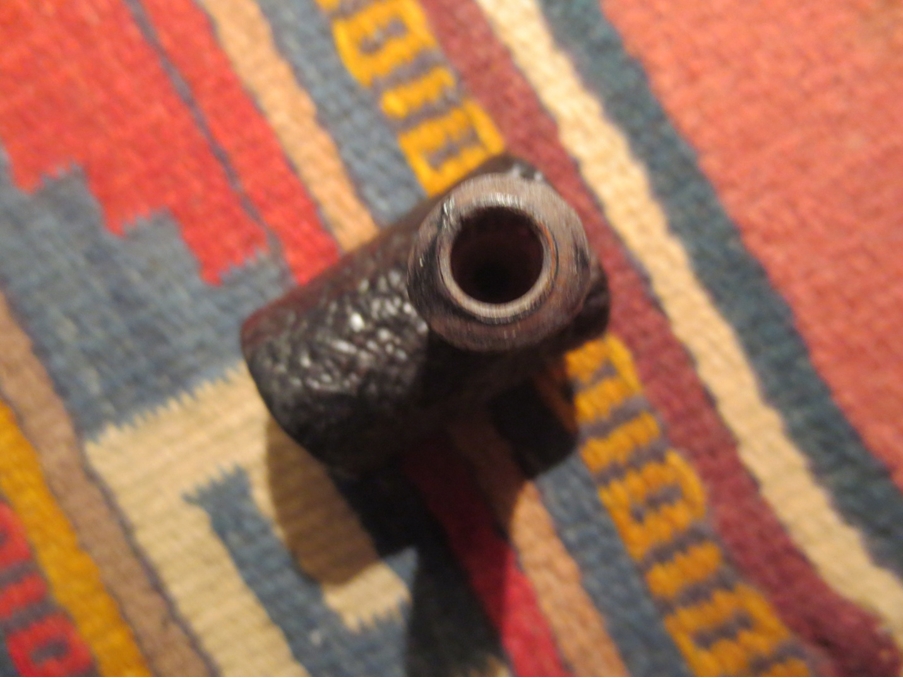
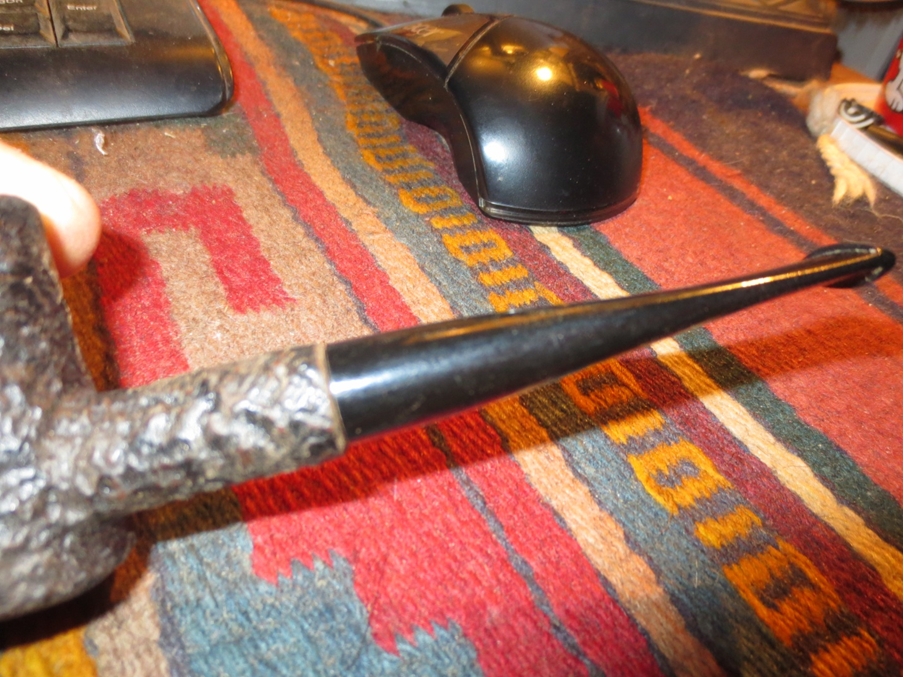
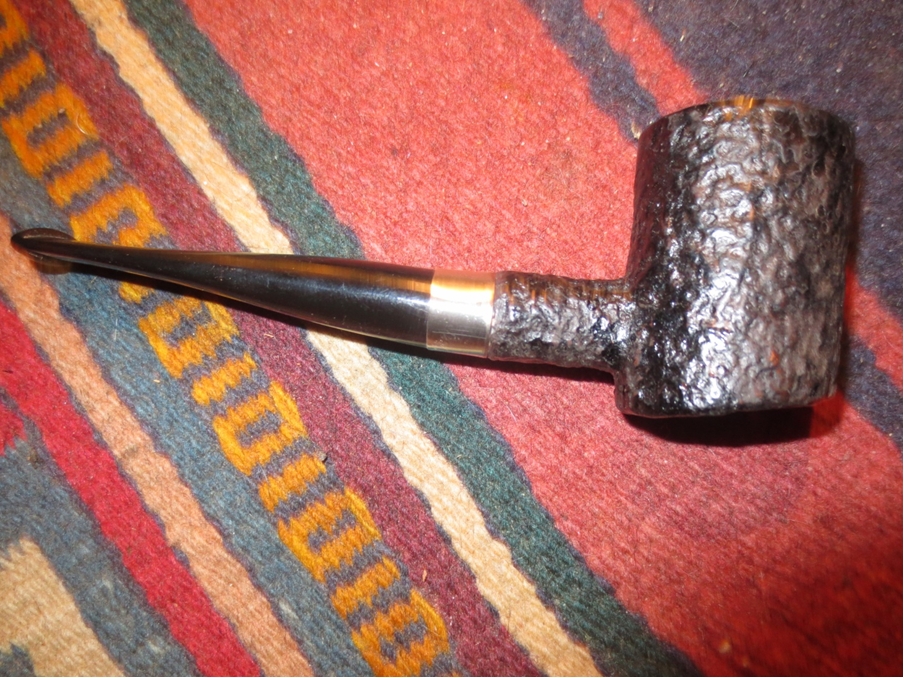
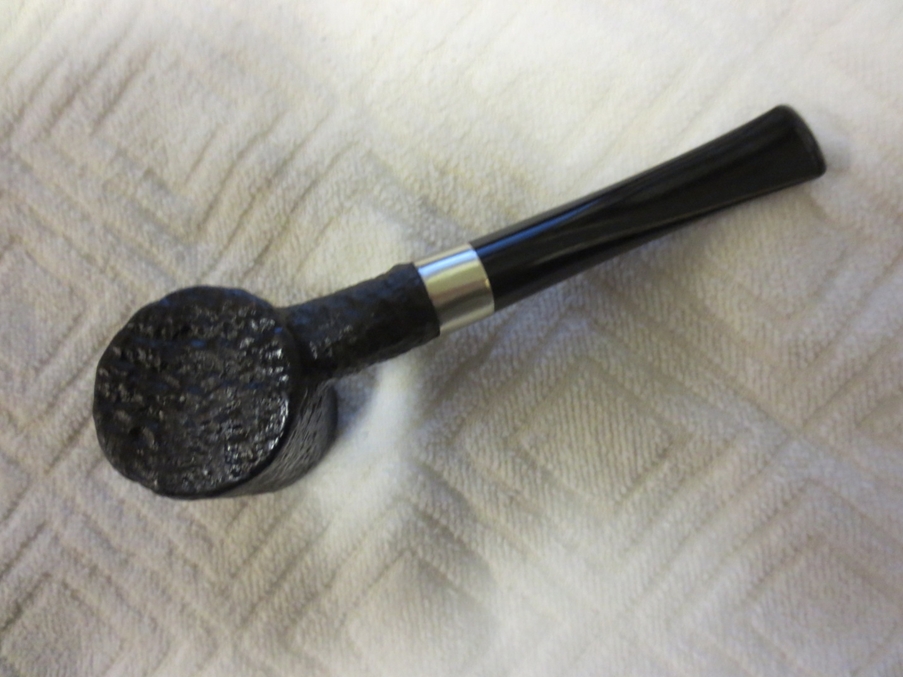
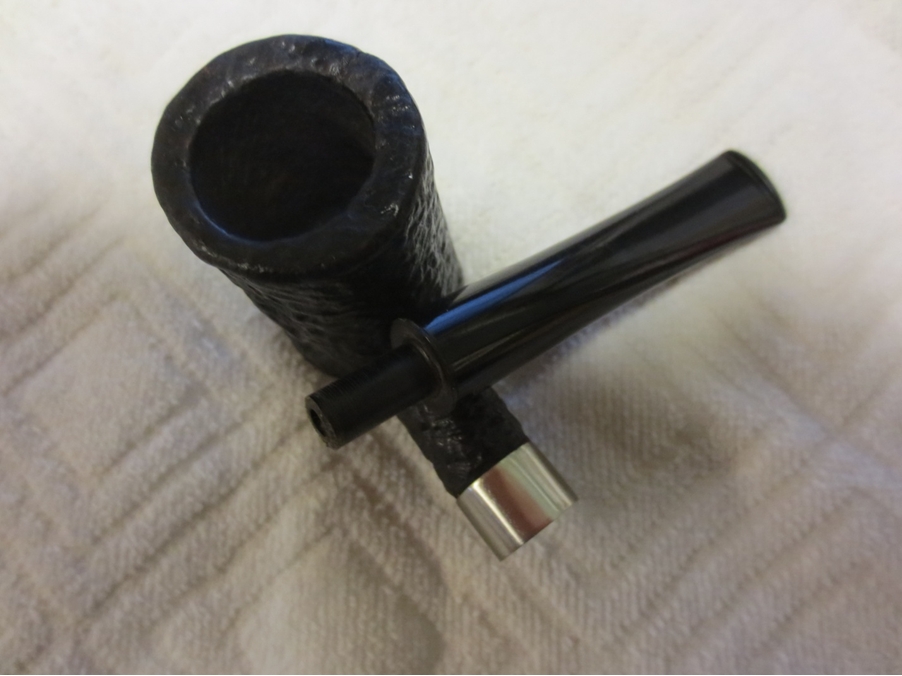
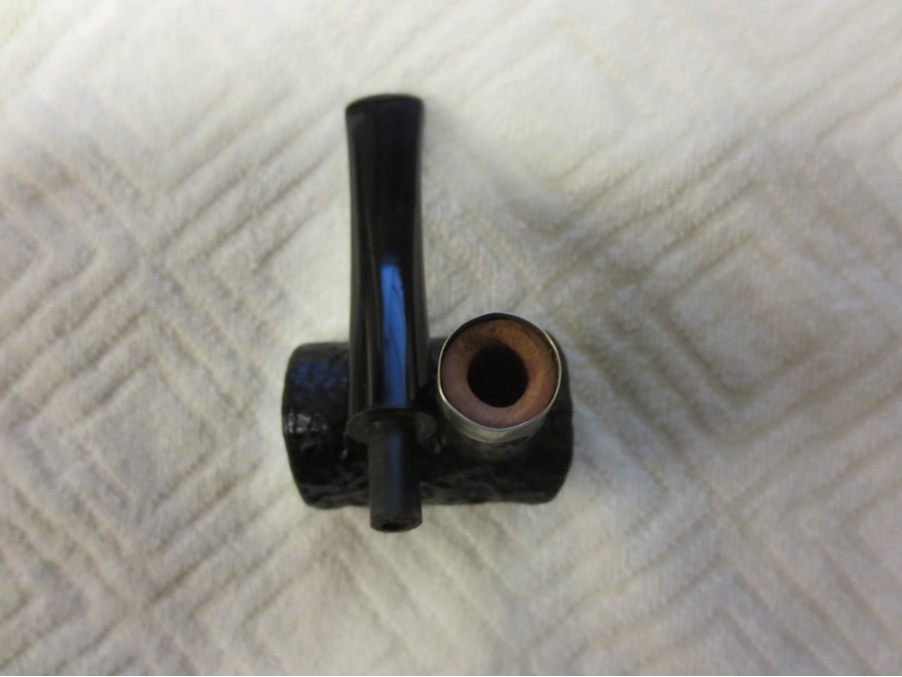
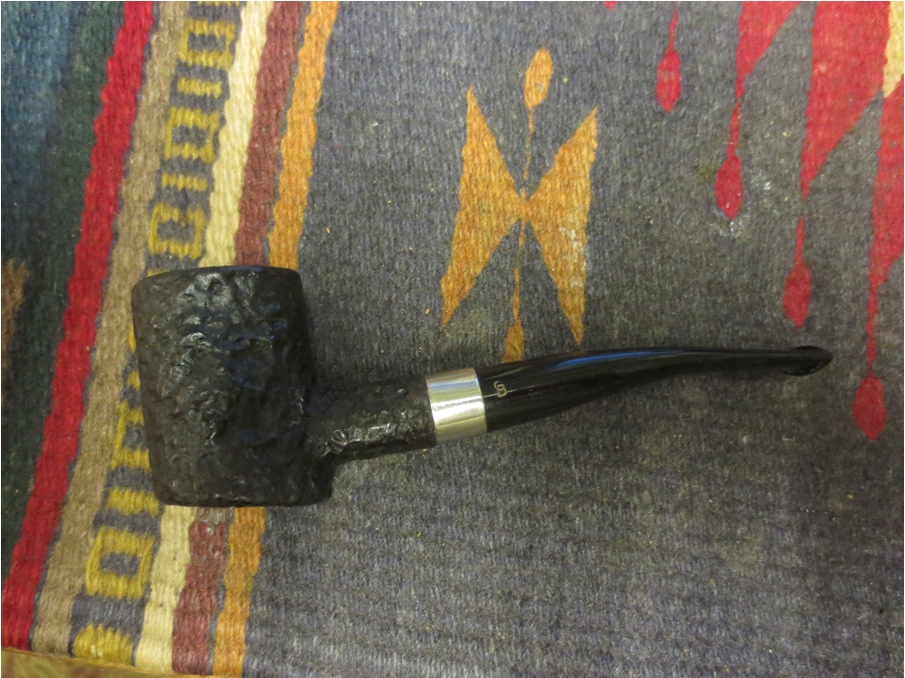
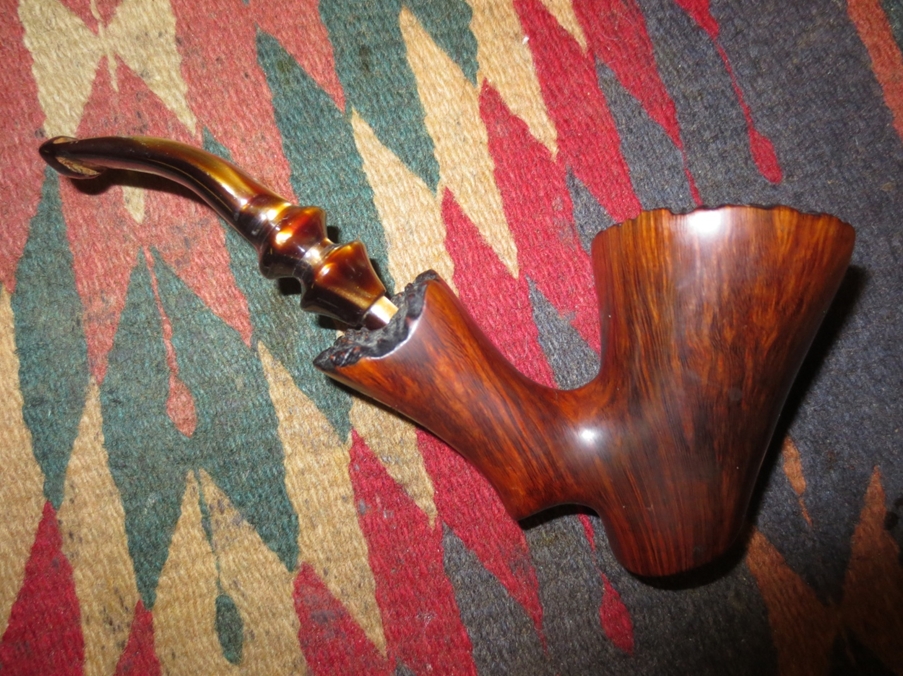
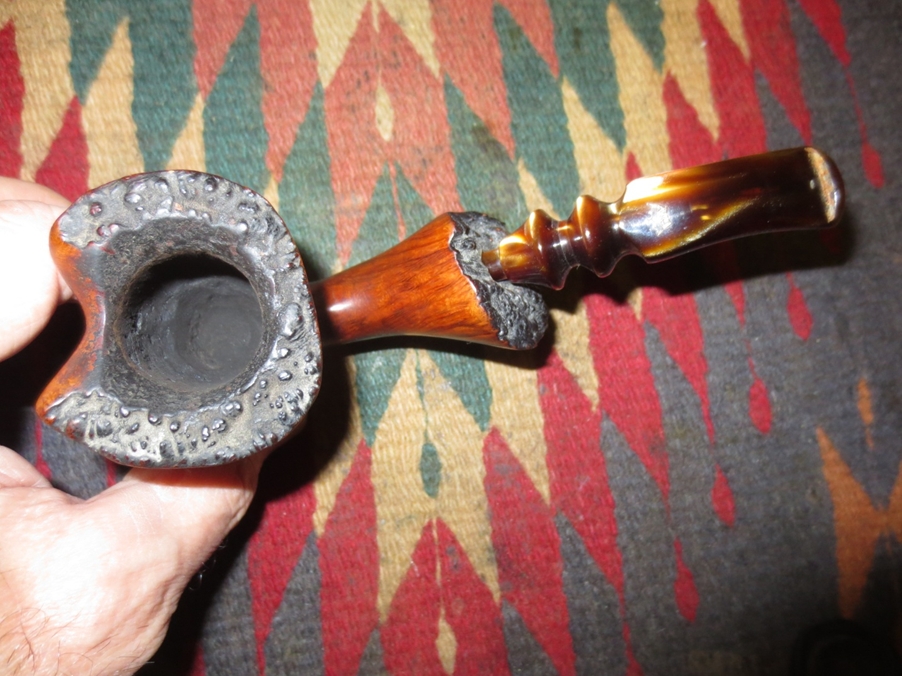
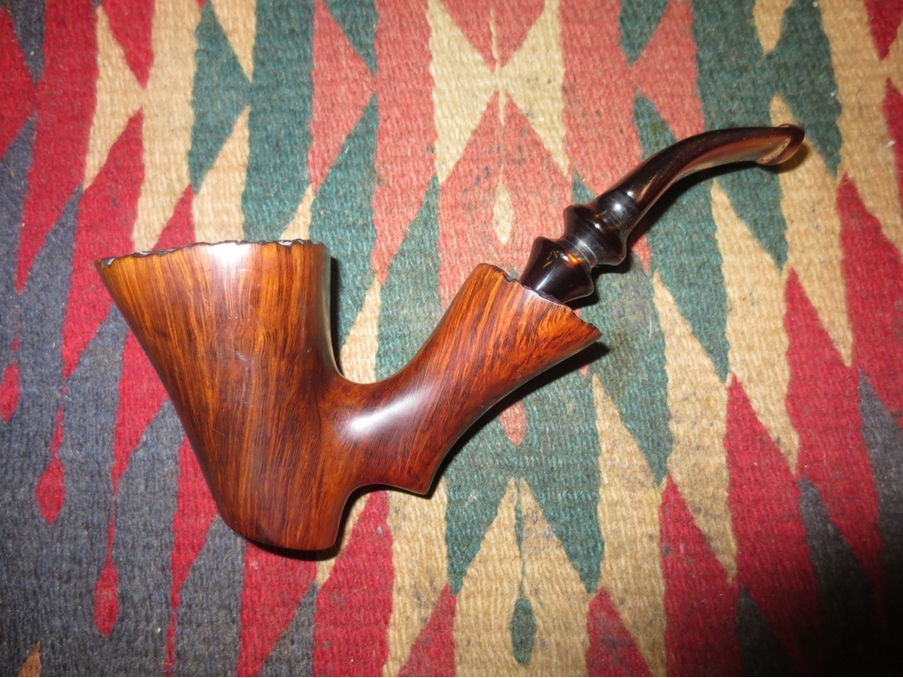
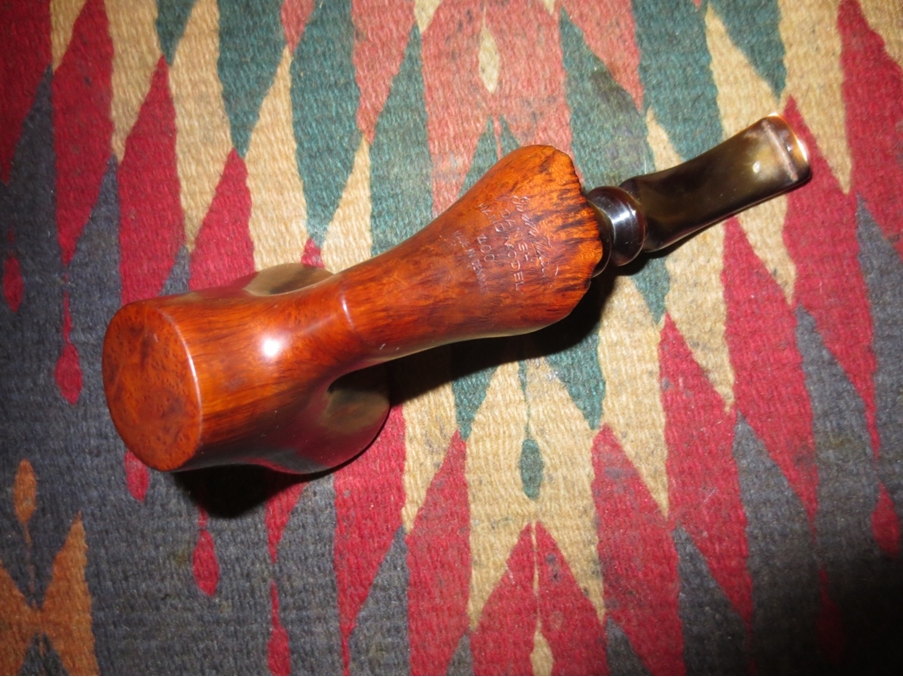
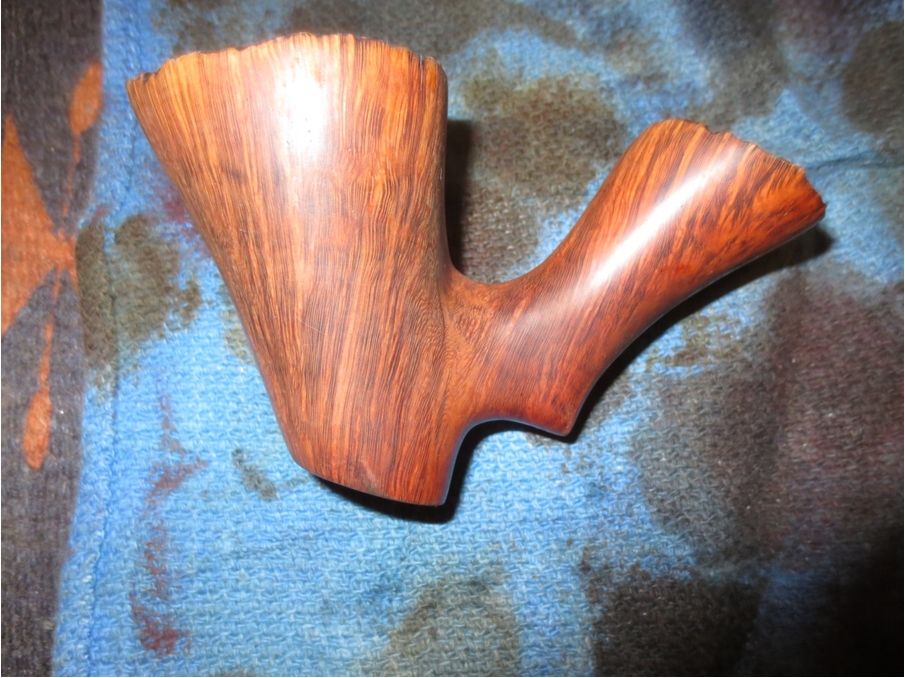
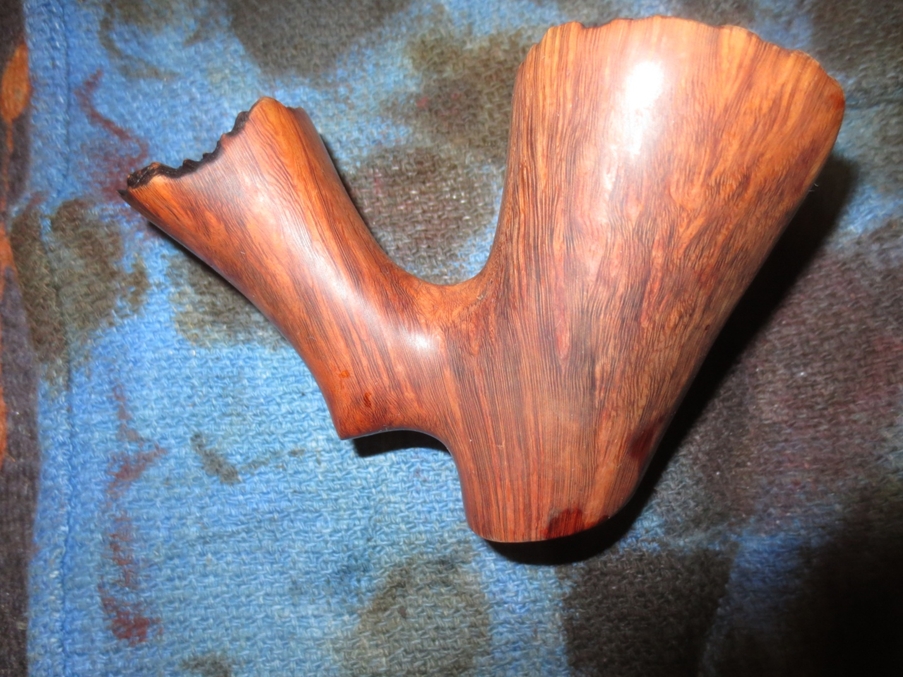
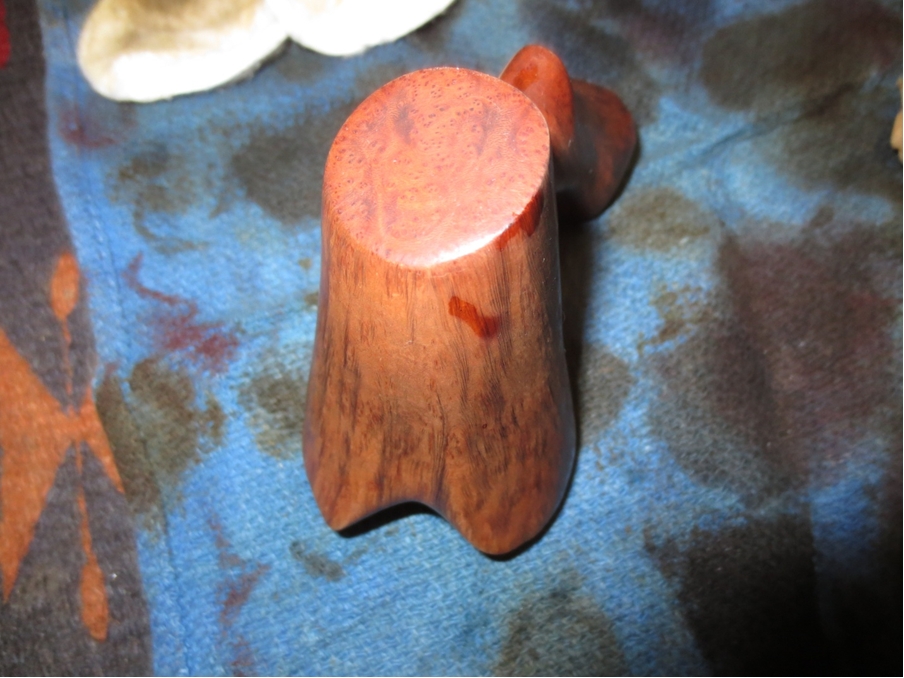
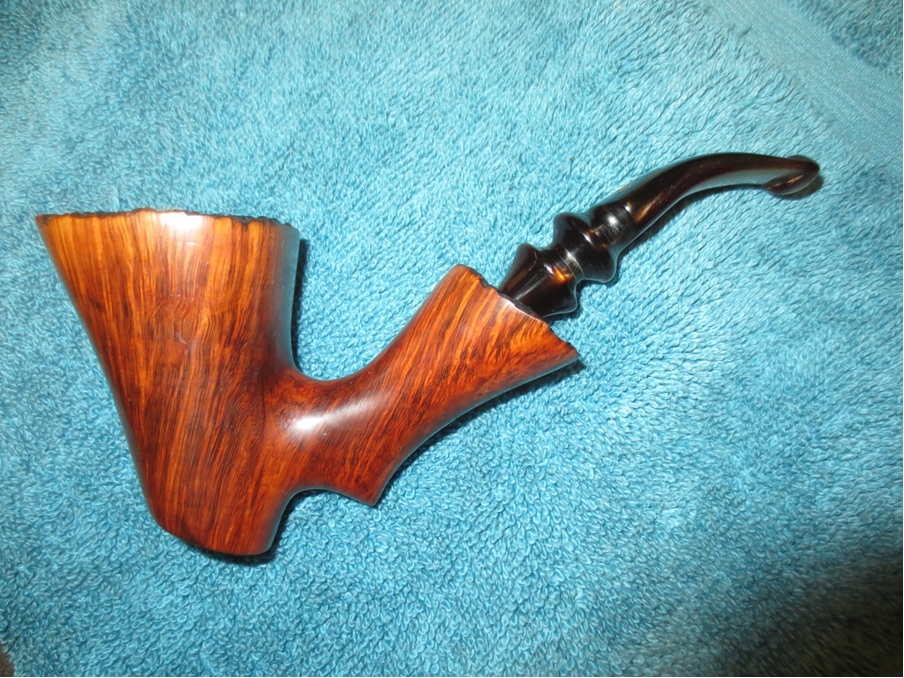
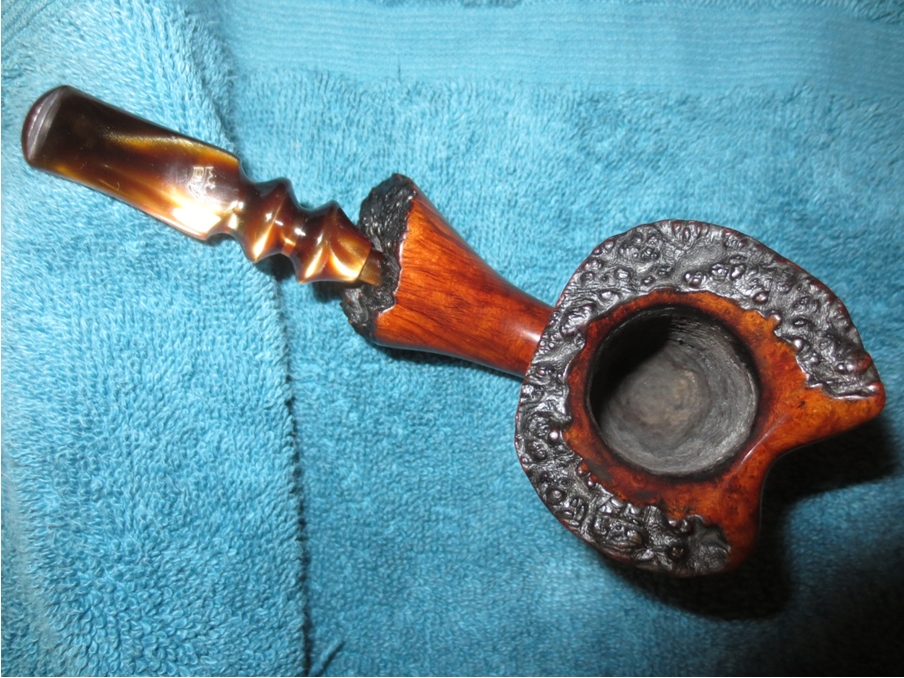
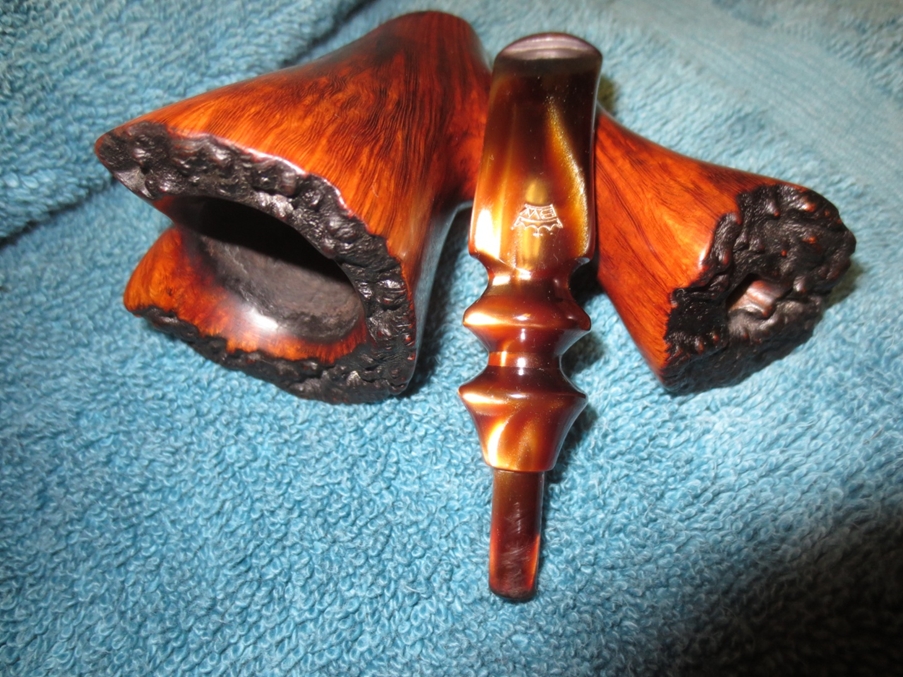
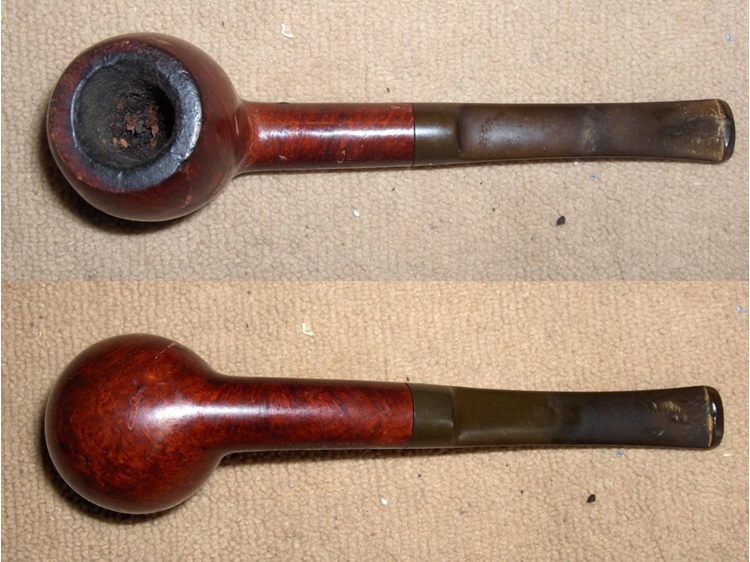
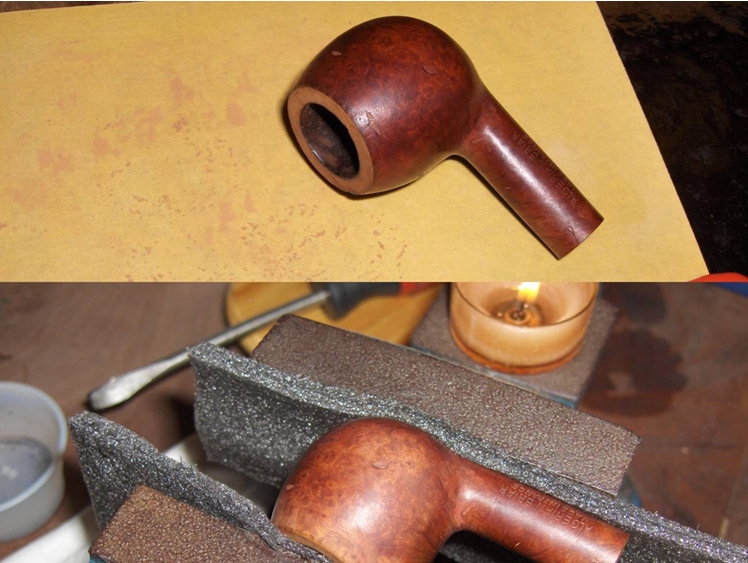
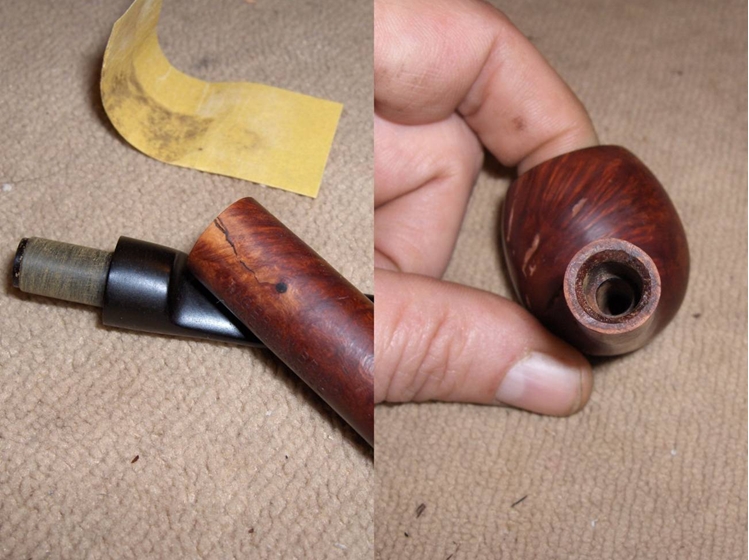
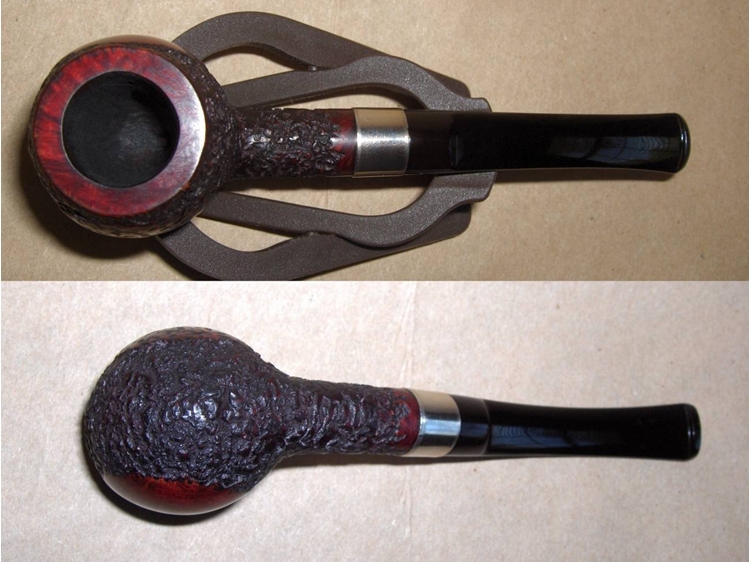
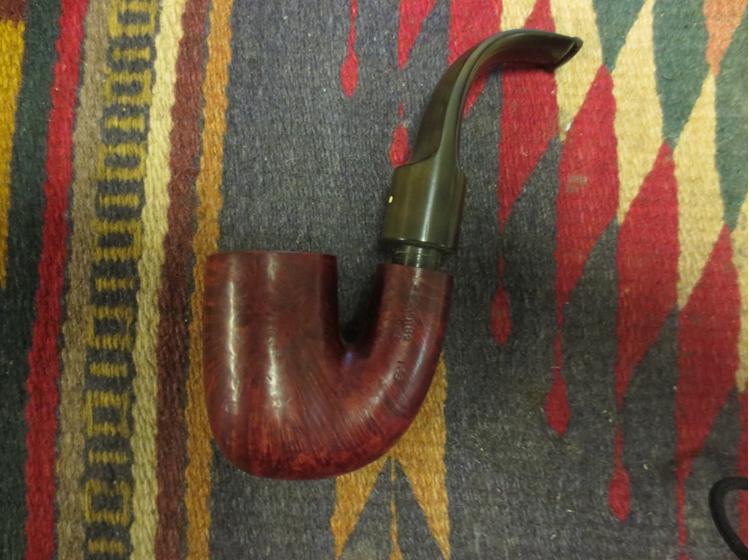
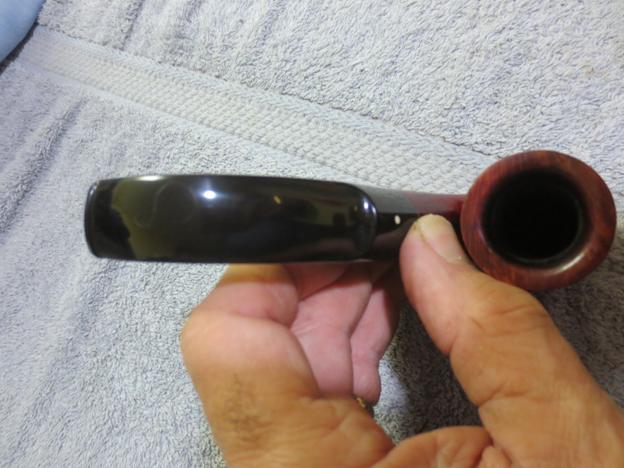
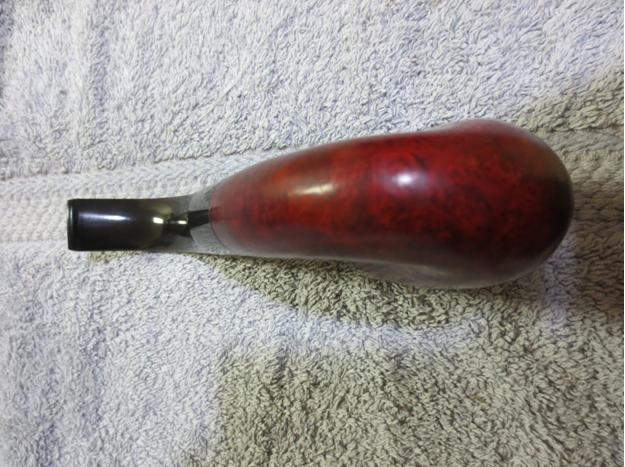
I sent him a photo of a few pipes that I had on hand. I told him to pick one and I’d send it along. I half expected him to balk after seeing the photos. None of the pipes had been restored at all. If you’re not used to dealing with estate pipes, it can be difficult to see one as anything other than what it is; grime, tar, fills, and all. So, to ease any concerns that he may have I sent him a few before/after photos of some of my work and promised that I would make sure that his pipe was clean and pretty. He responded quickly with his choice, and to my surprise, it was probably the grungiest in appearance of the lot. Here it is… The pipe is a Rogers Standard. I think the unique shaping is what attracted him and I can understand why. The slightly longer shank paired with the short saddle on the stem give it a quirky look that’s still classy. Here are a few more photos to give you an idea of what I was working with.
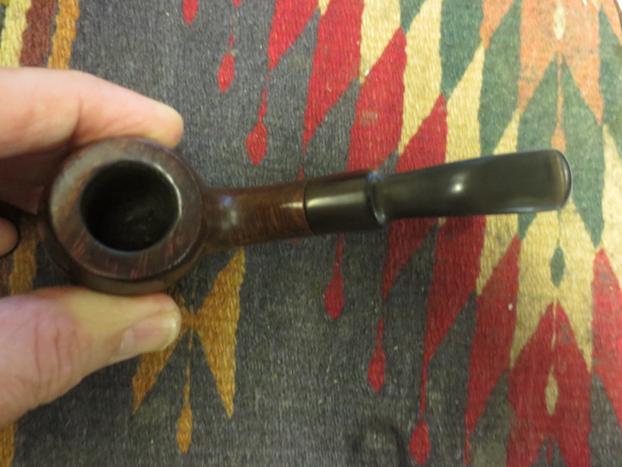
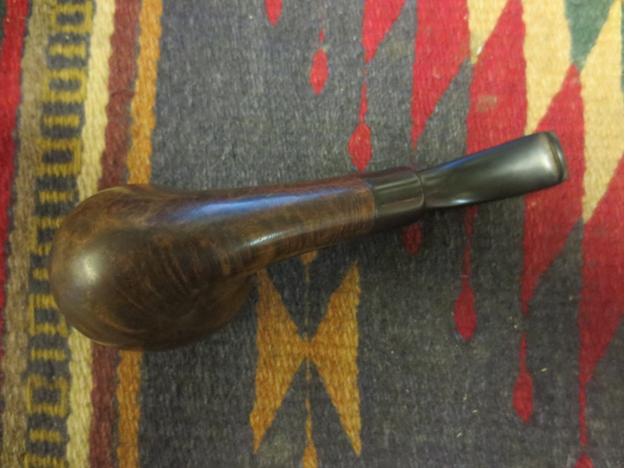
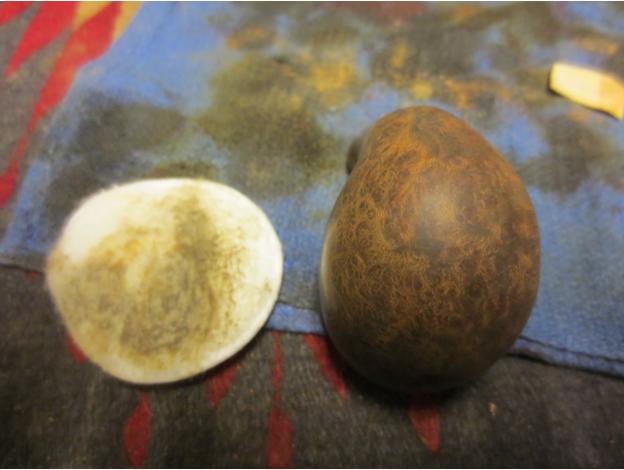
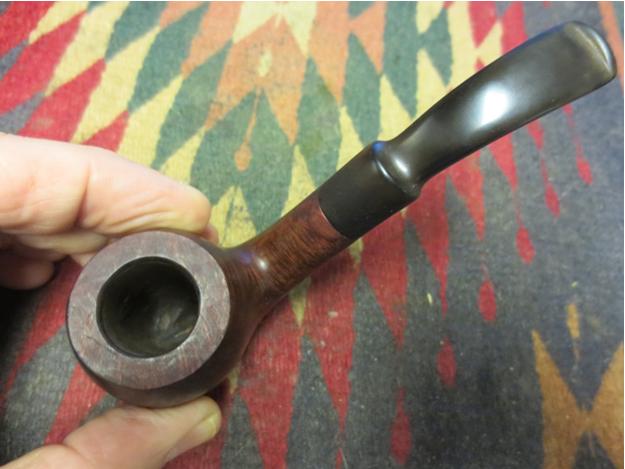
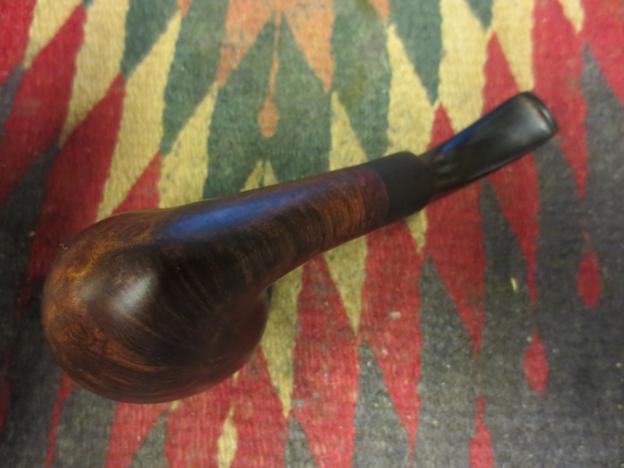
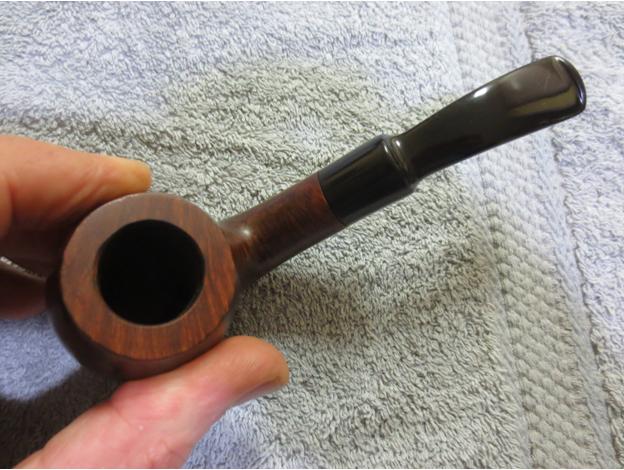
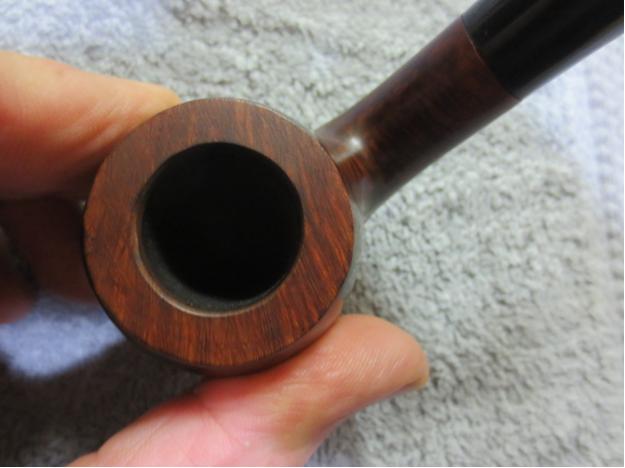
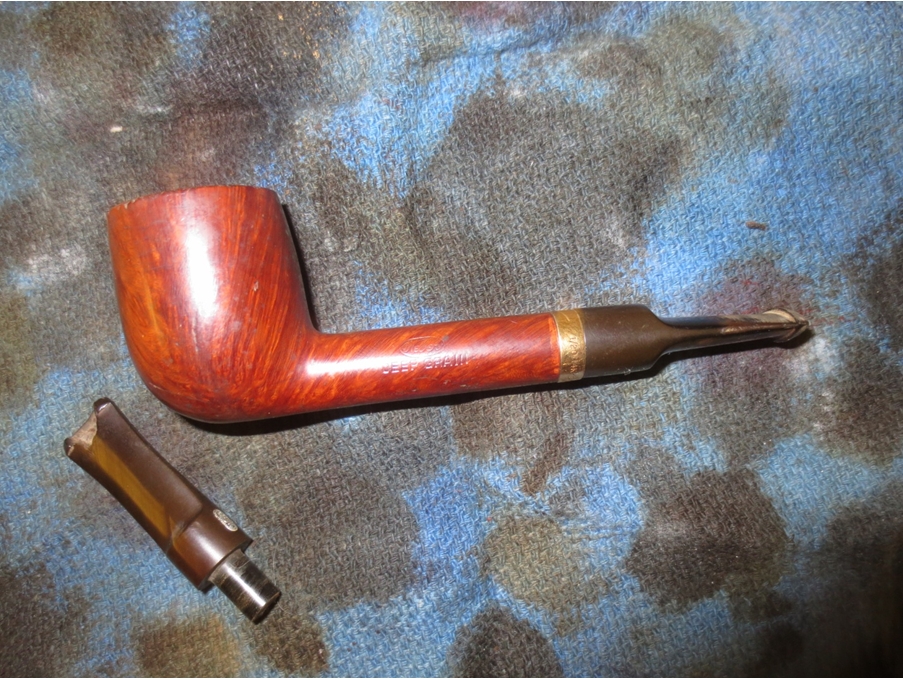
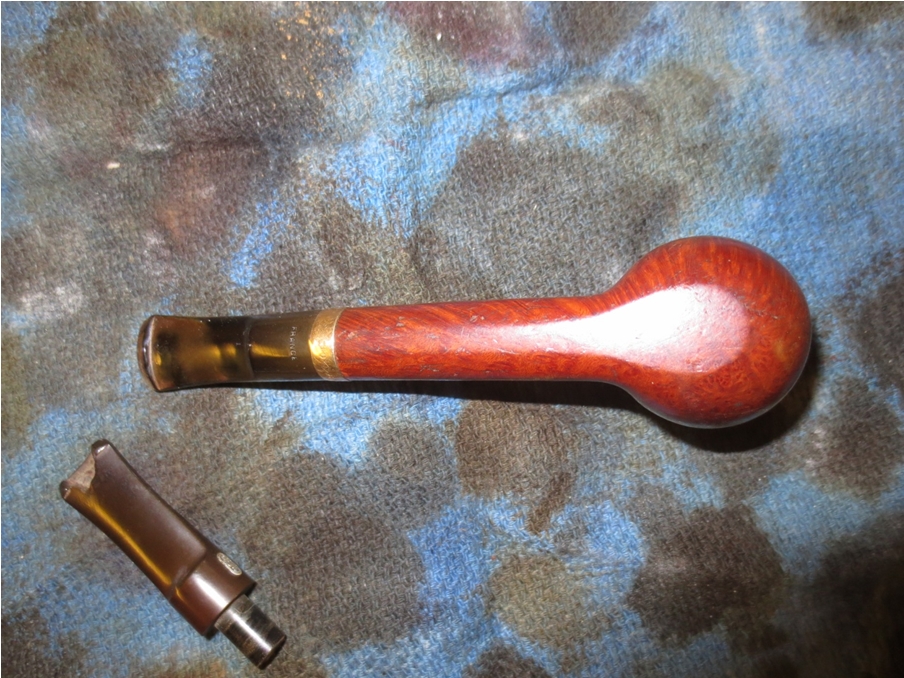
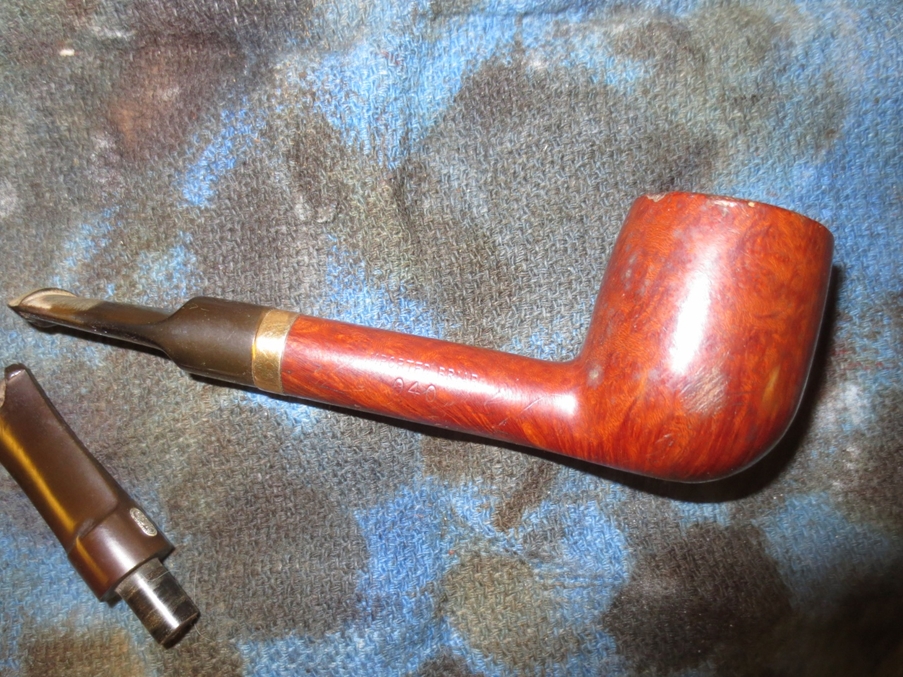
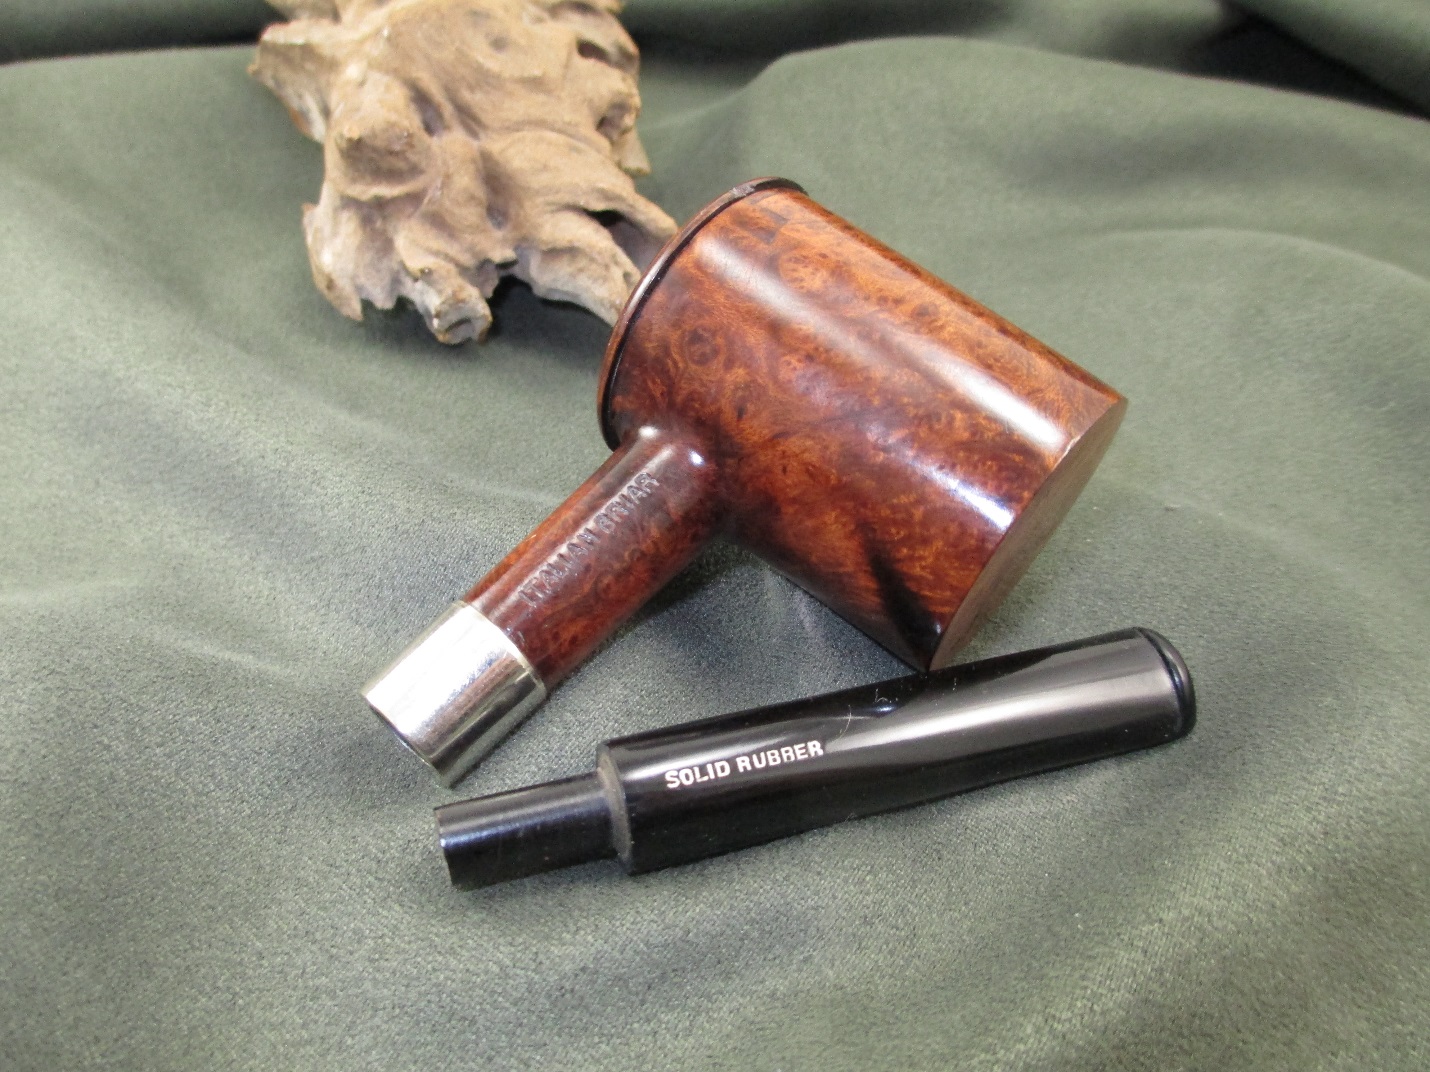
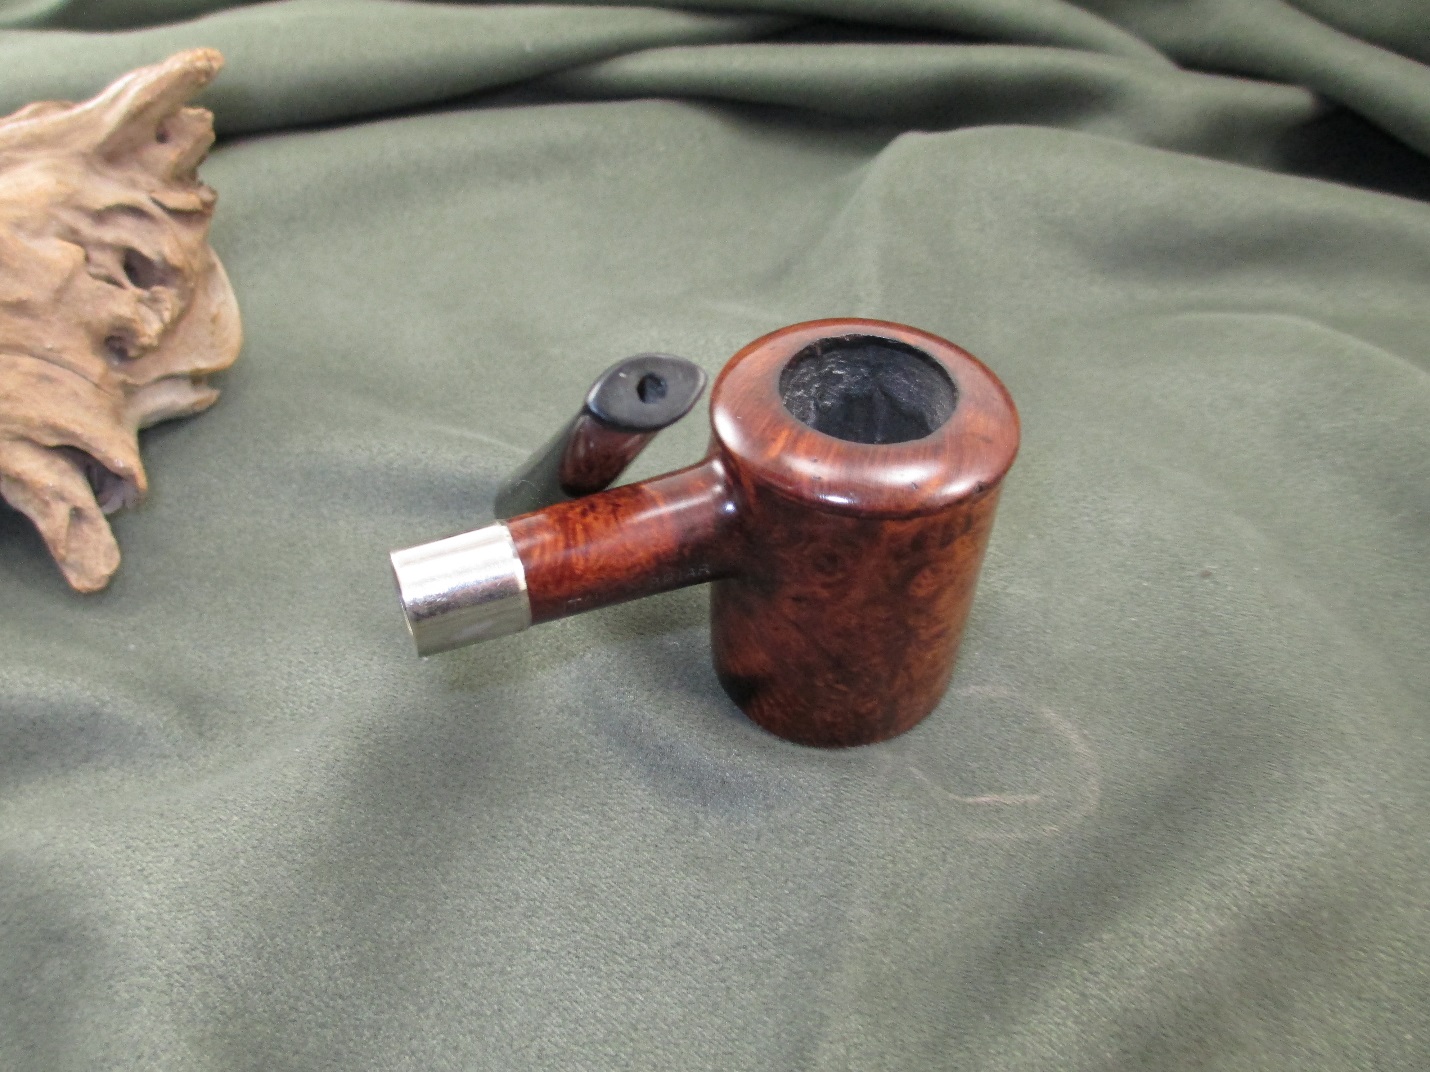
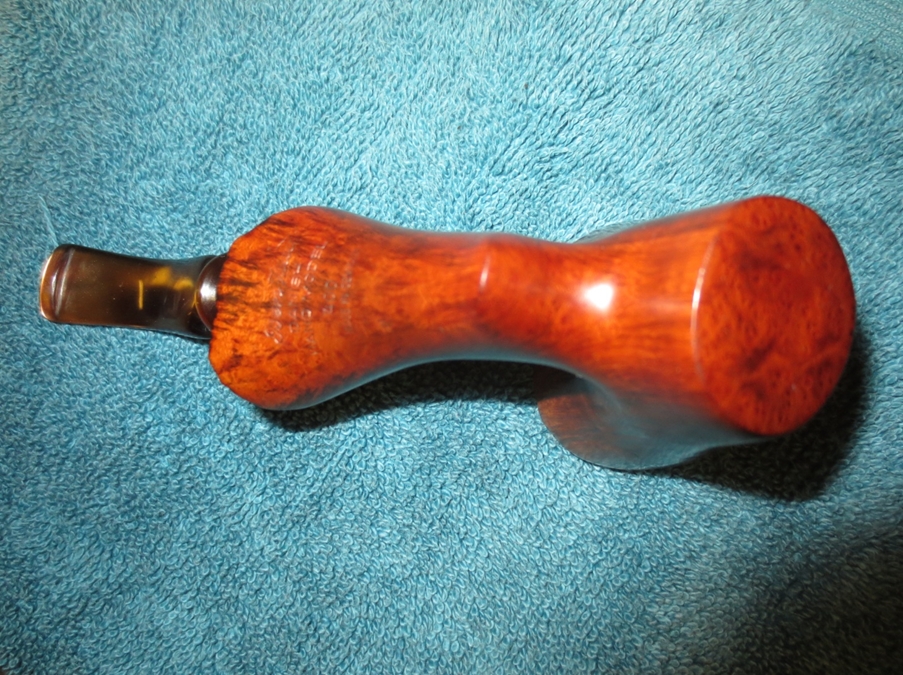
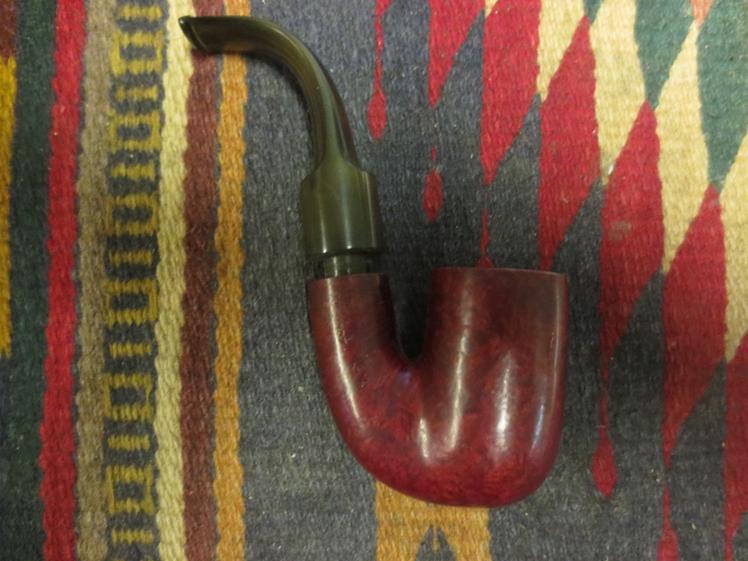
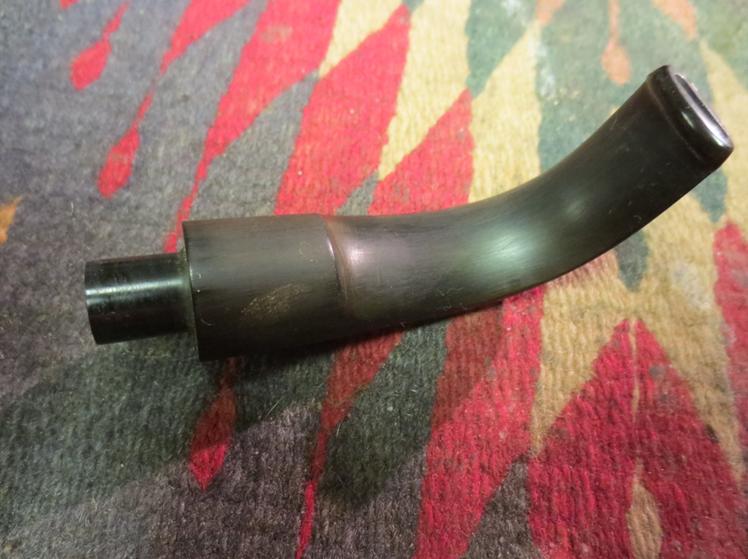

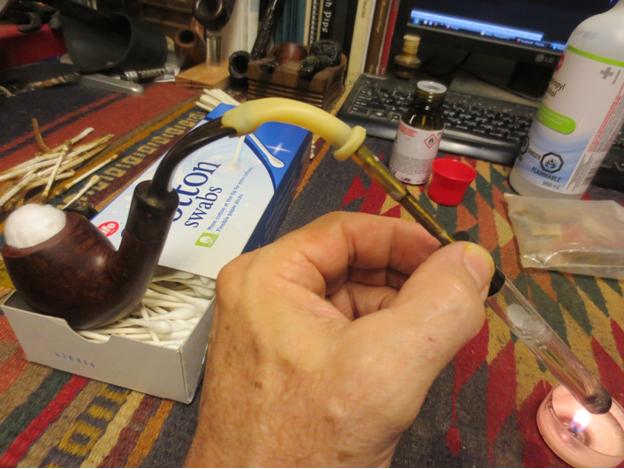
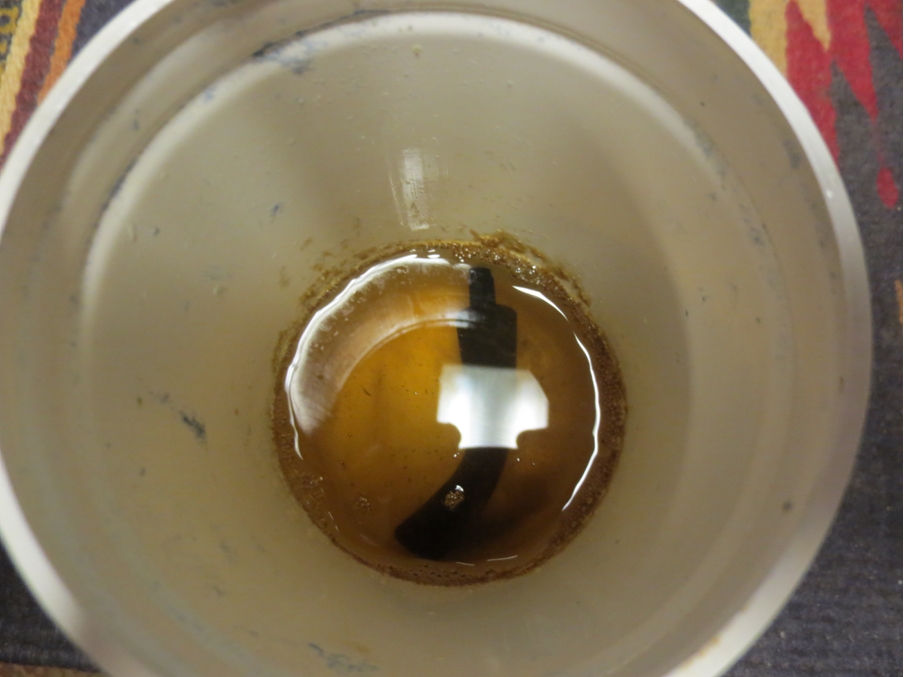
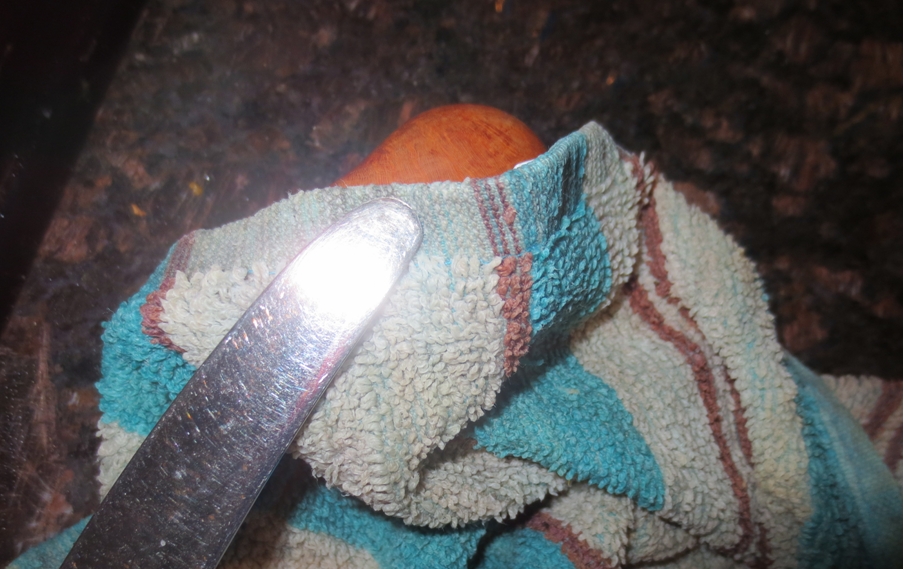
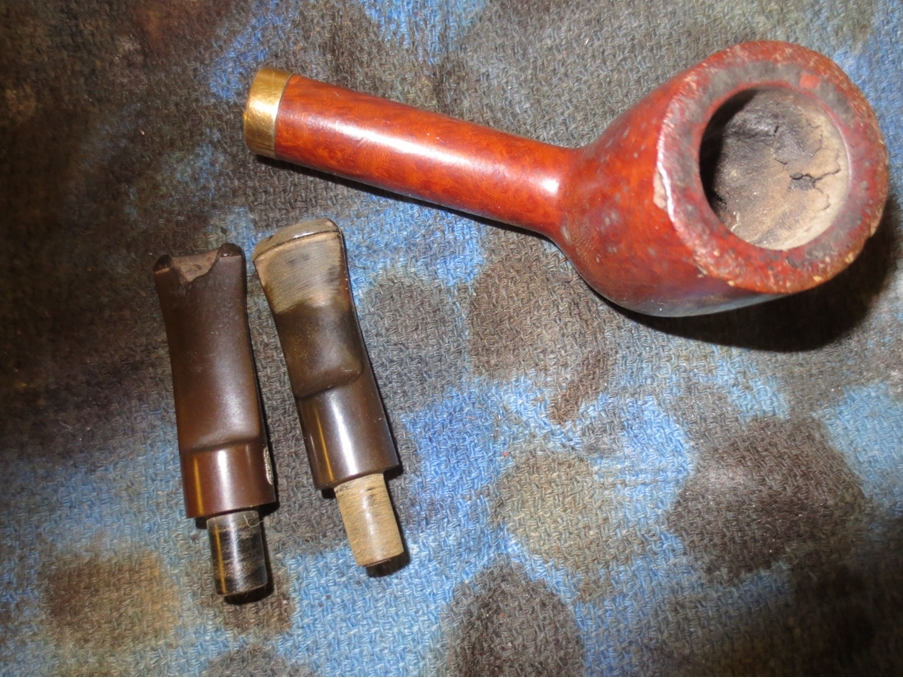
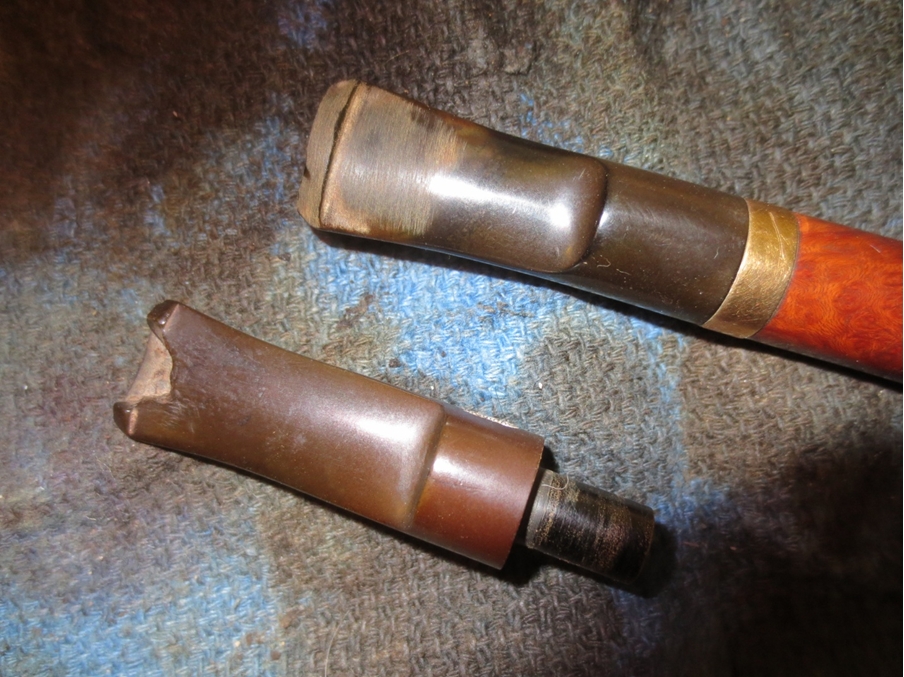
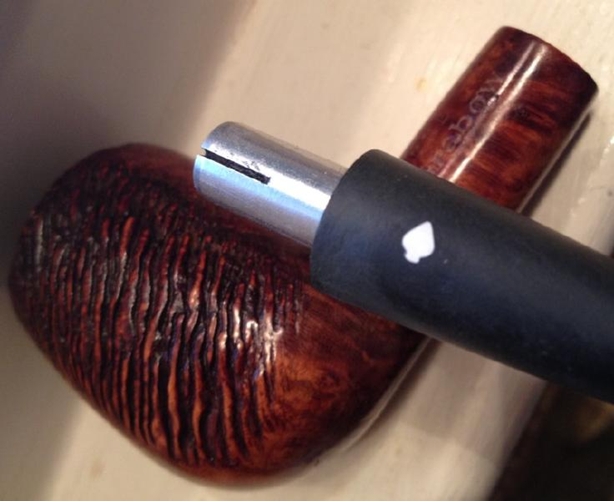
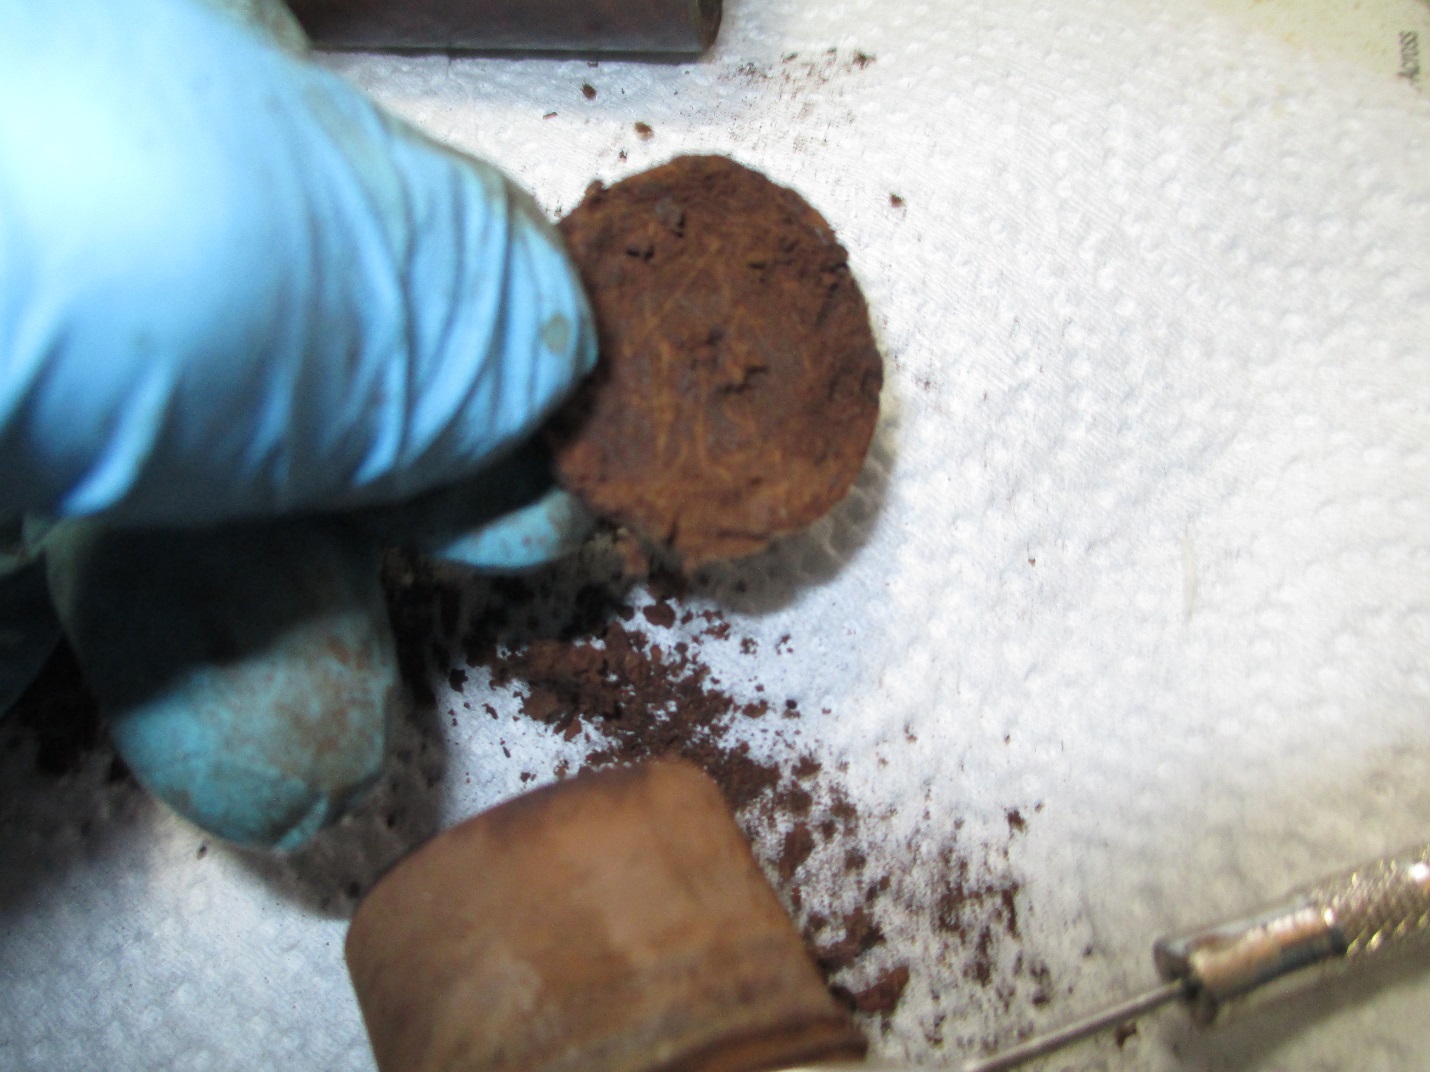
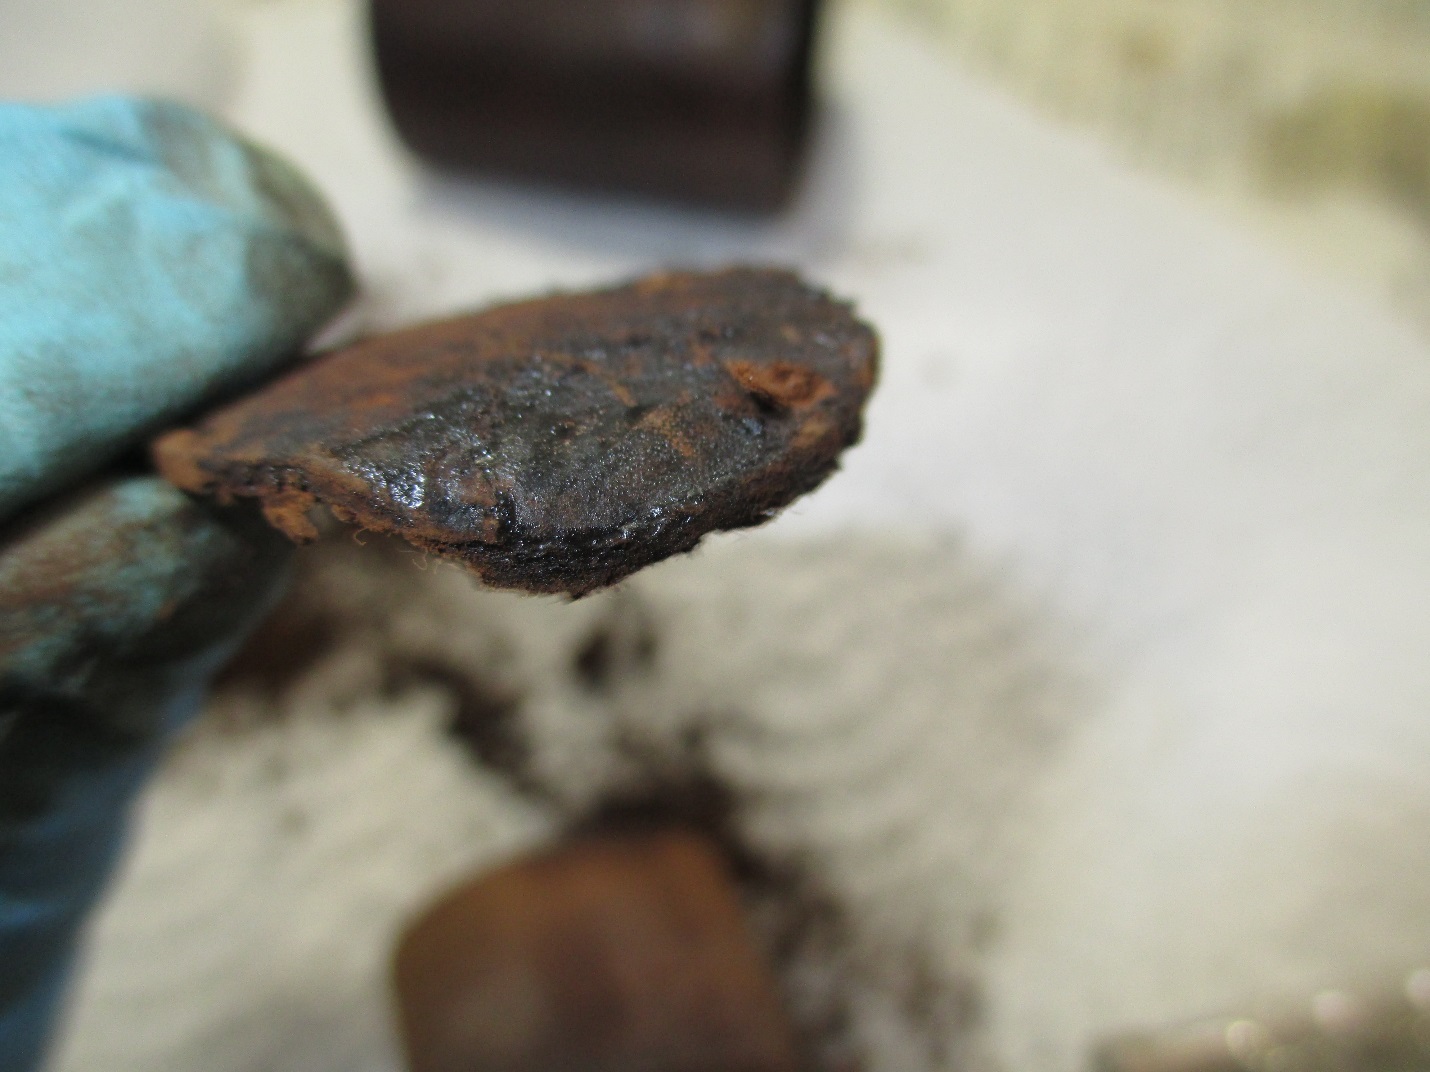
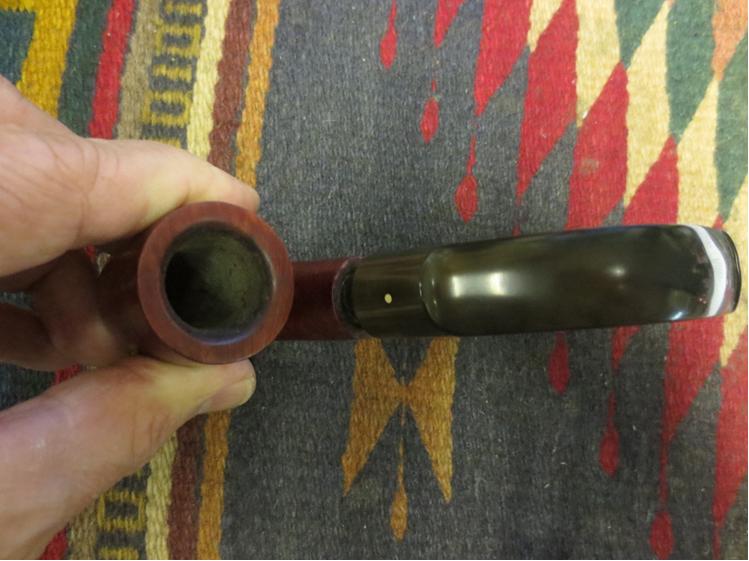
 The stem was stuck tight on this one, but a couple of hours in the freezer took care of that. Once the stem was removed, I found a grimy, spiral stinger in the tenon. It too was stuck. So, I dripped alcohol into and around the tenon to soften the tar that was gluing it in. After a few minutes, I wrapped it in several layers of soft cloth to protect it and pulled it out with a pair of pliers. I dropped it into a container of alcohol for about an hour, and then scrubbed it with a pipe cleaner until it was as good as new.
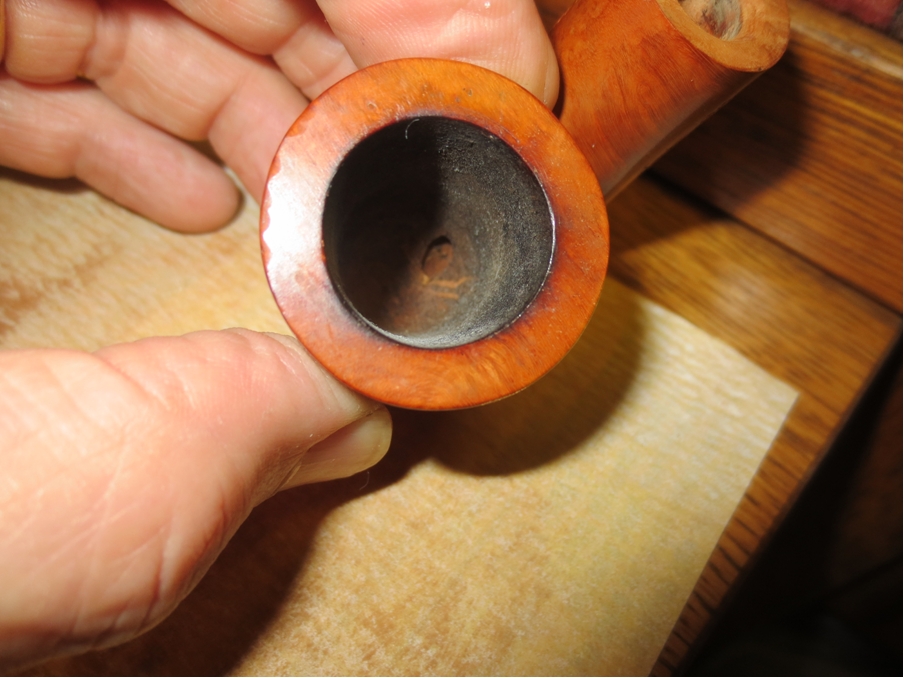
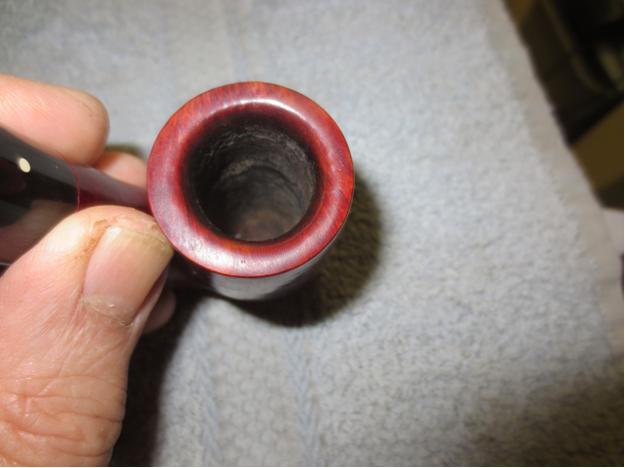
 I gave the stummel an alcohol bath to remove the old, lacquer finish. Several hours later, I removed it and wiped it down. Only about the top two-thirds of the bowl was caked to any degree, but what was there was thick, uneven, and harder than chicken lips. In the end, it took a group effort to ream the bowl back to bare wood the way I like it, but a T-handle reamer, a pipe knife, 400-grit paper wrapped around a Sharpie pen, and a little elbow grease got the job done.
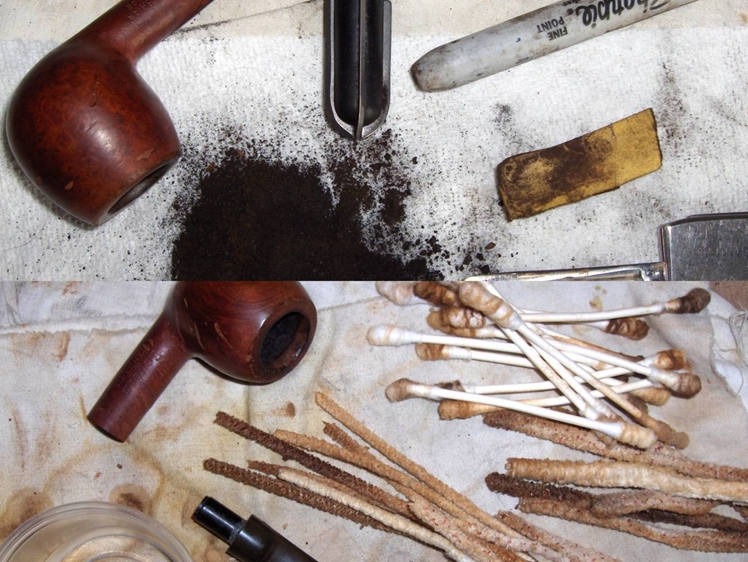
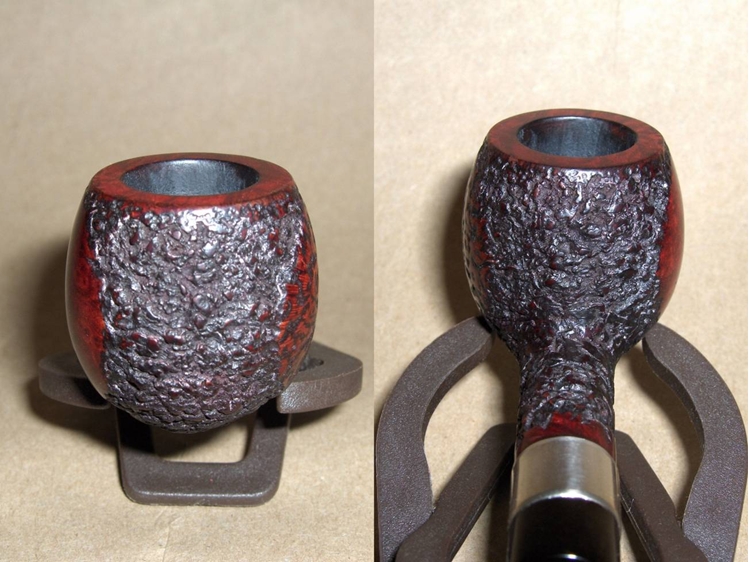
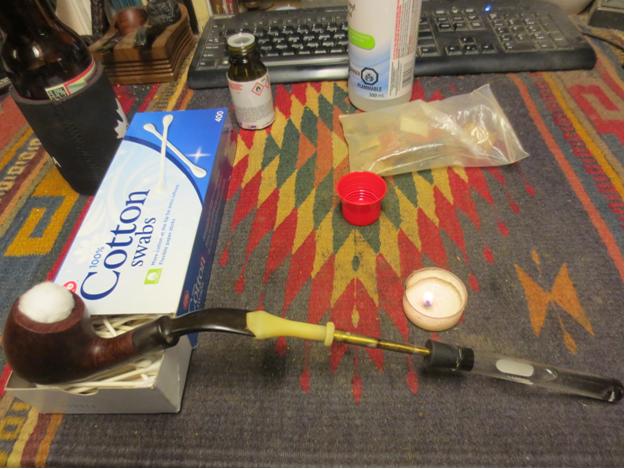
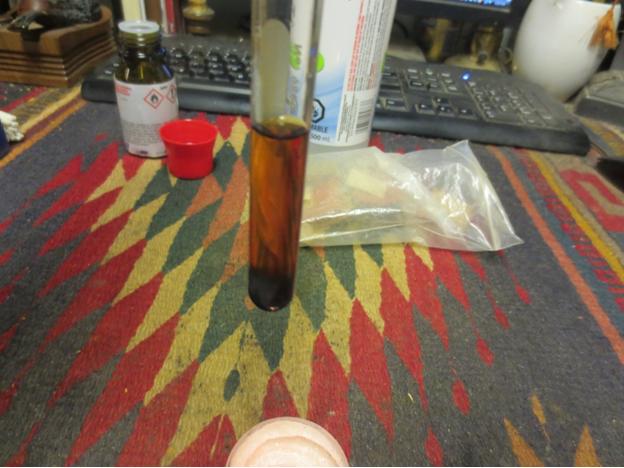
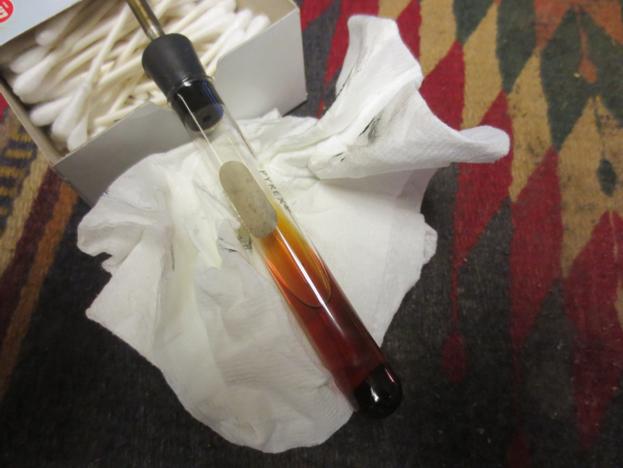
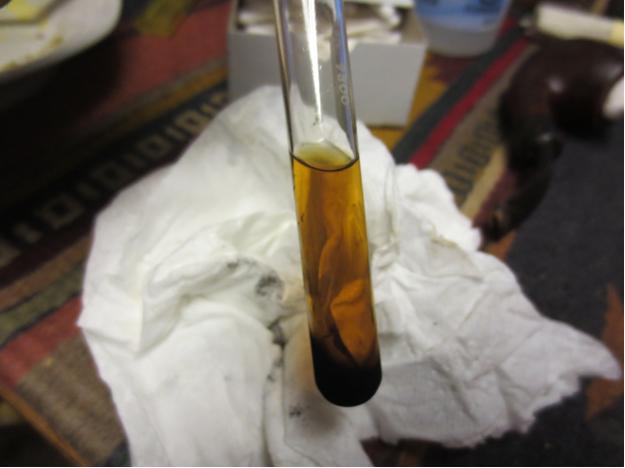
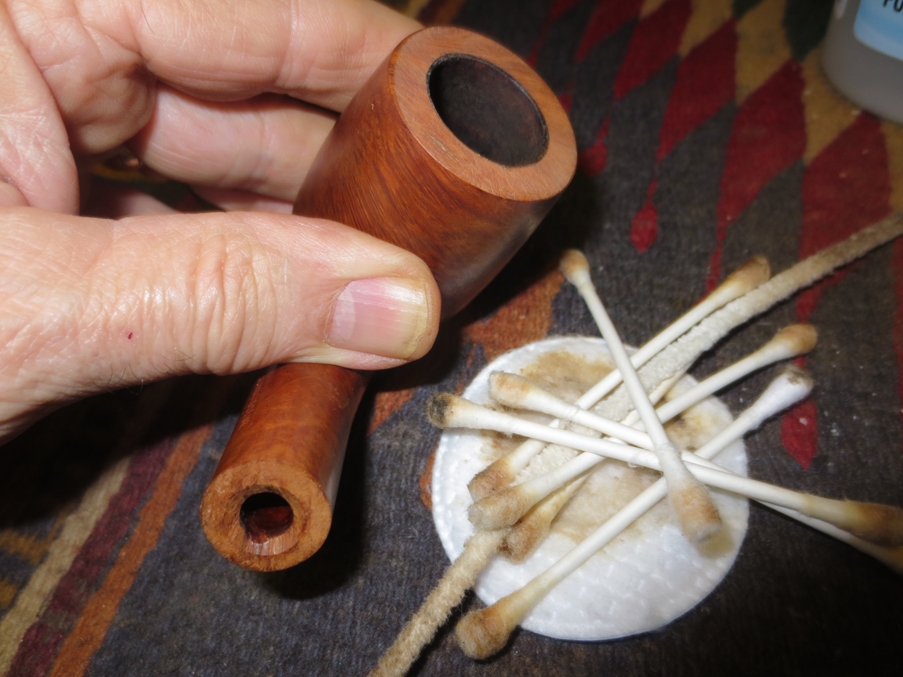
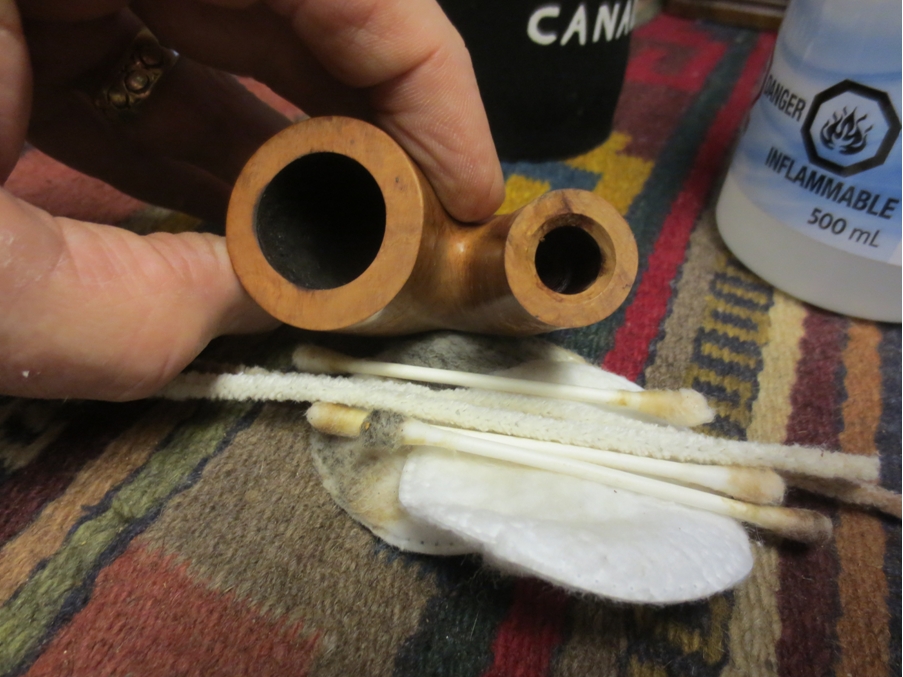
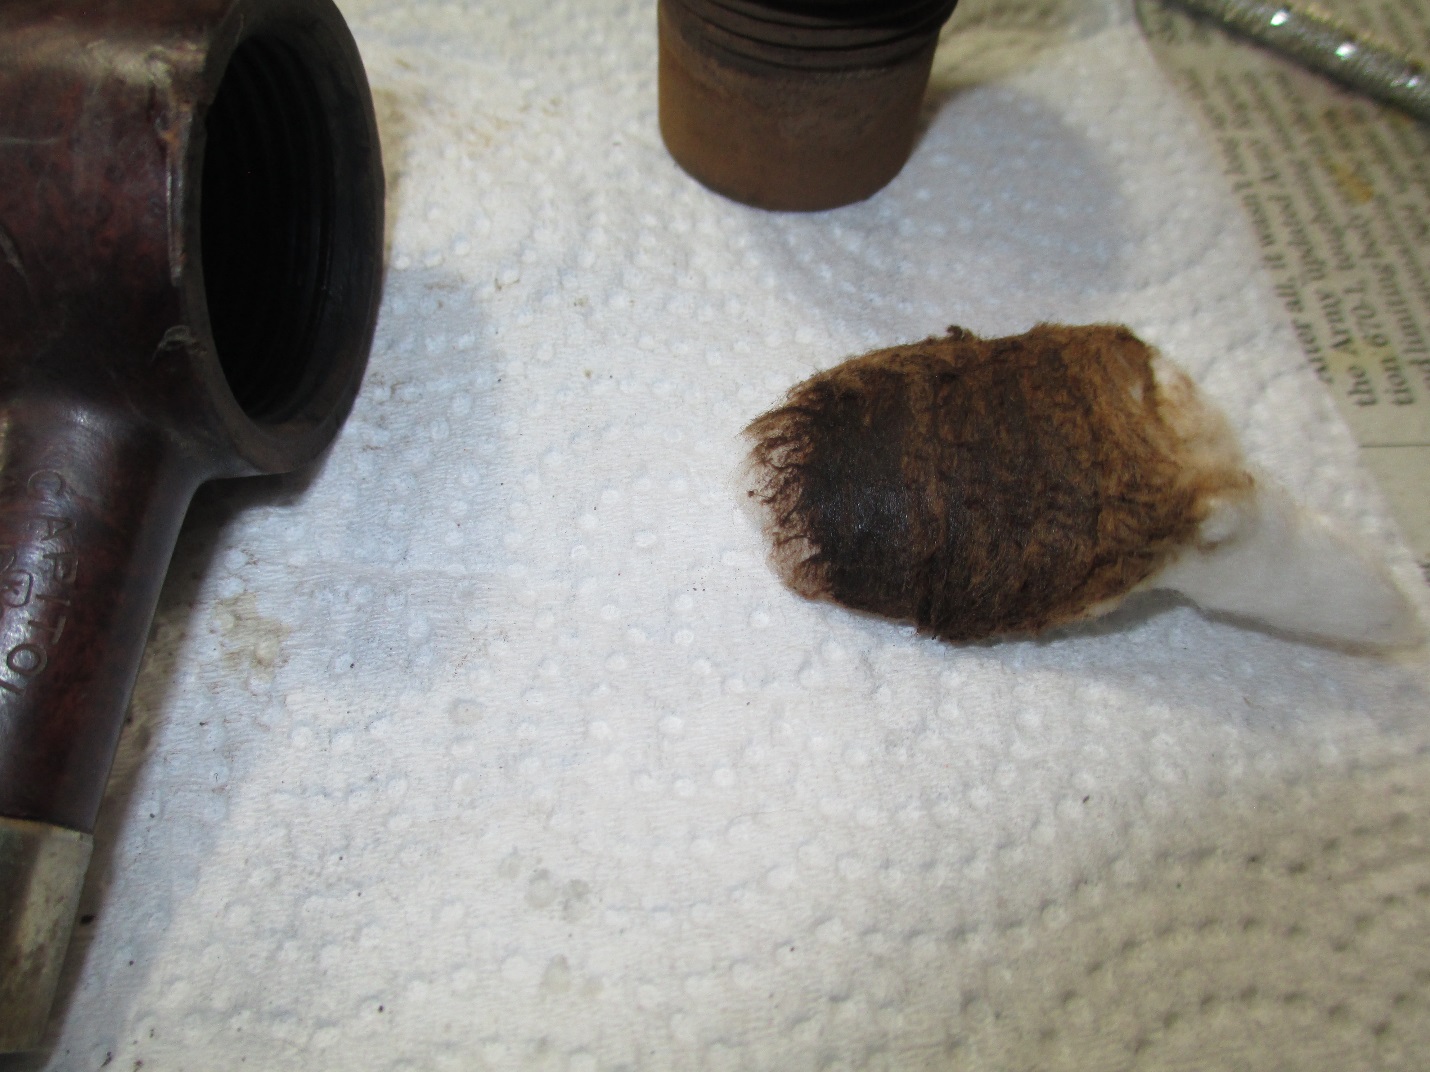
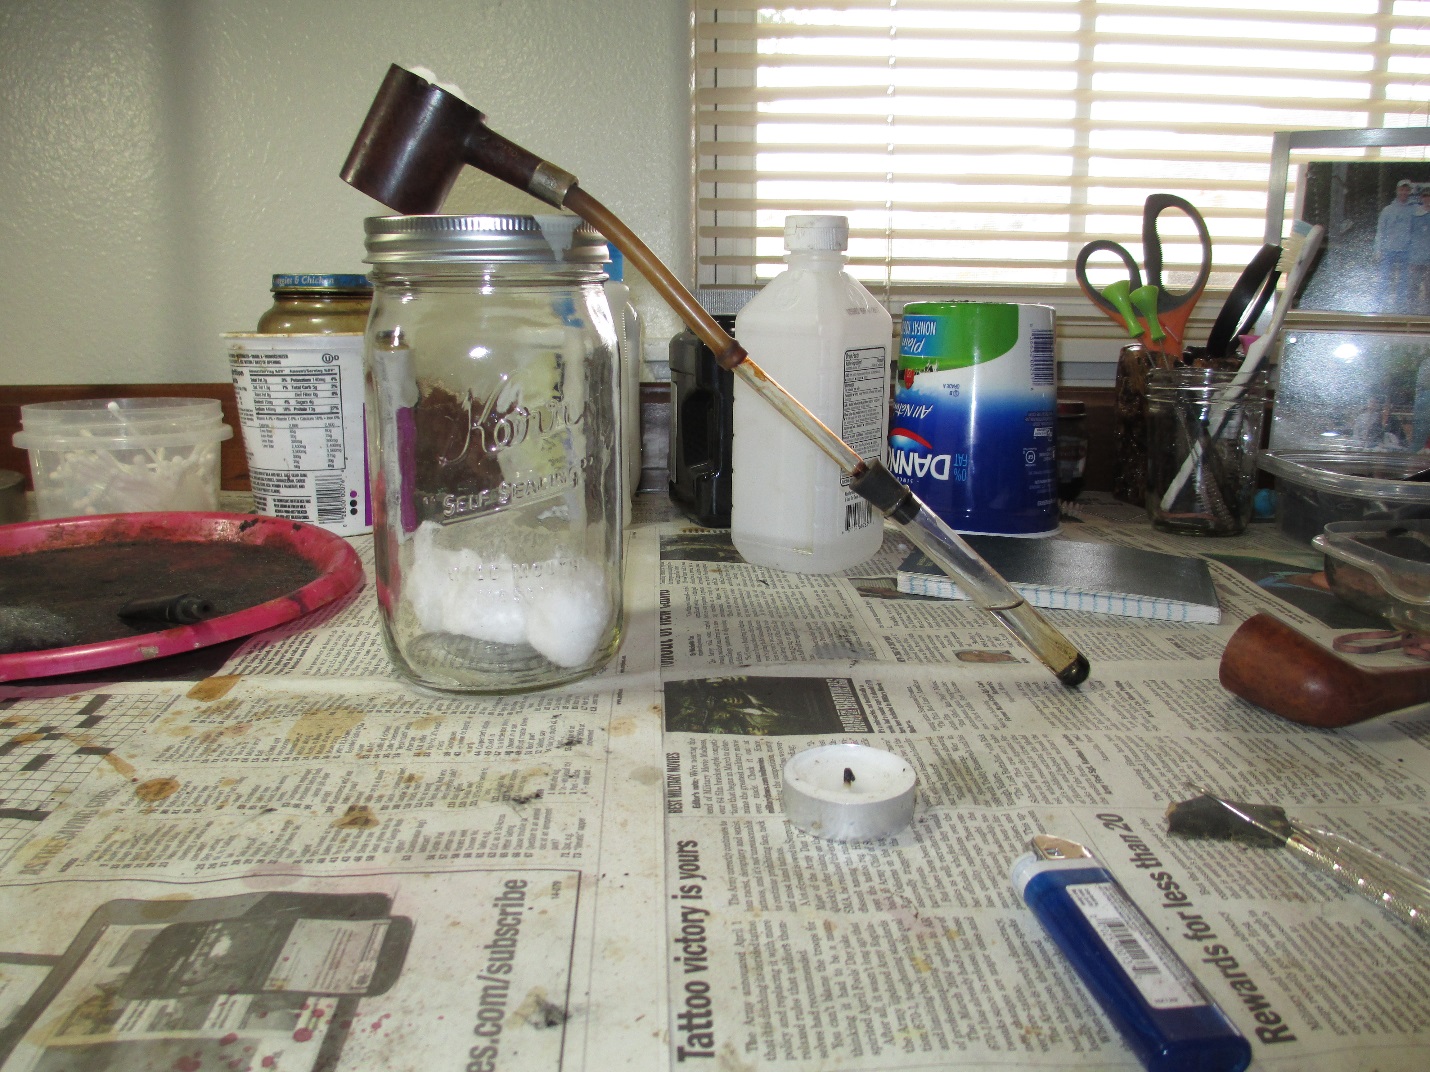
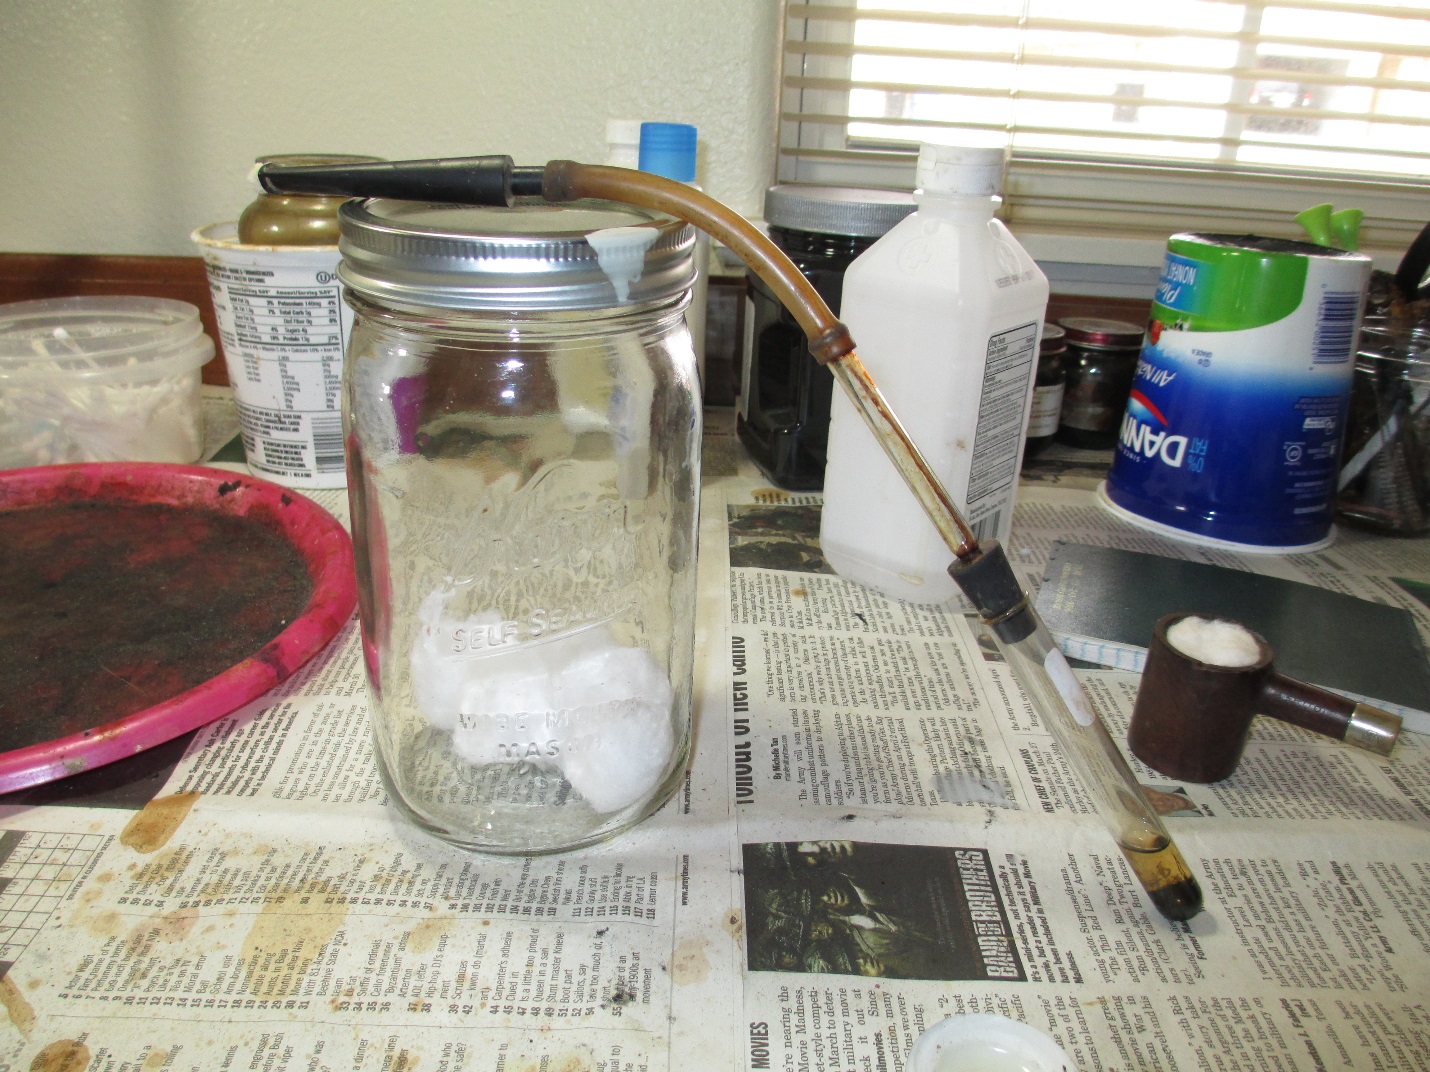
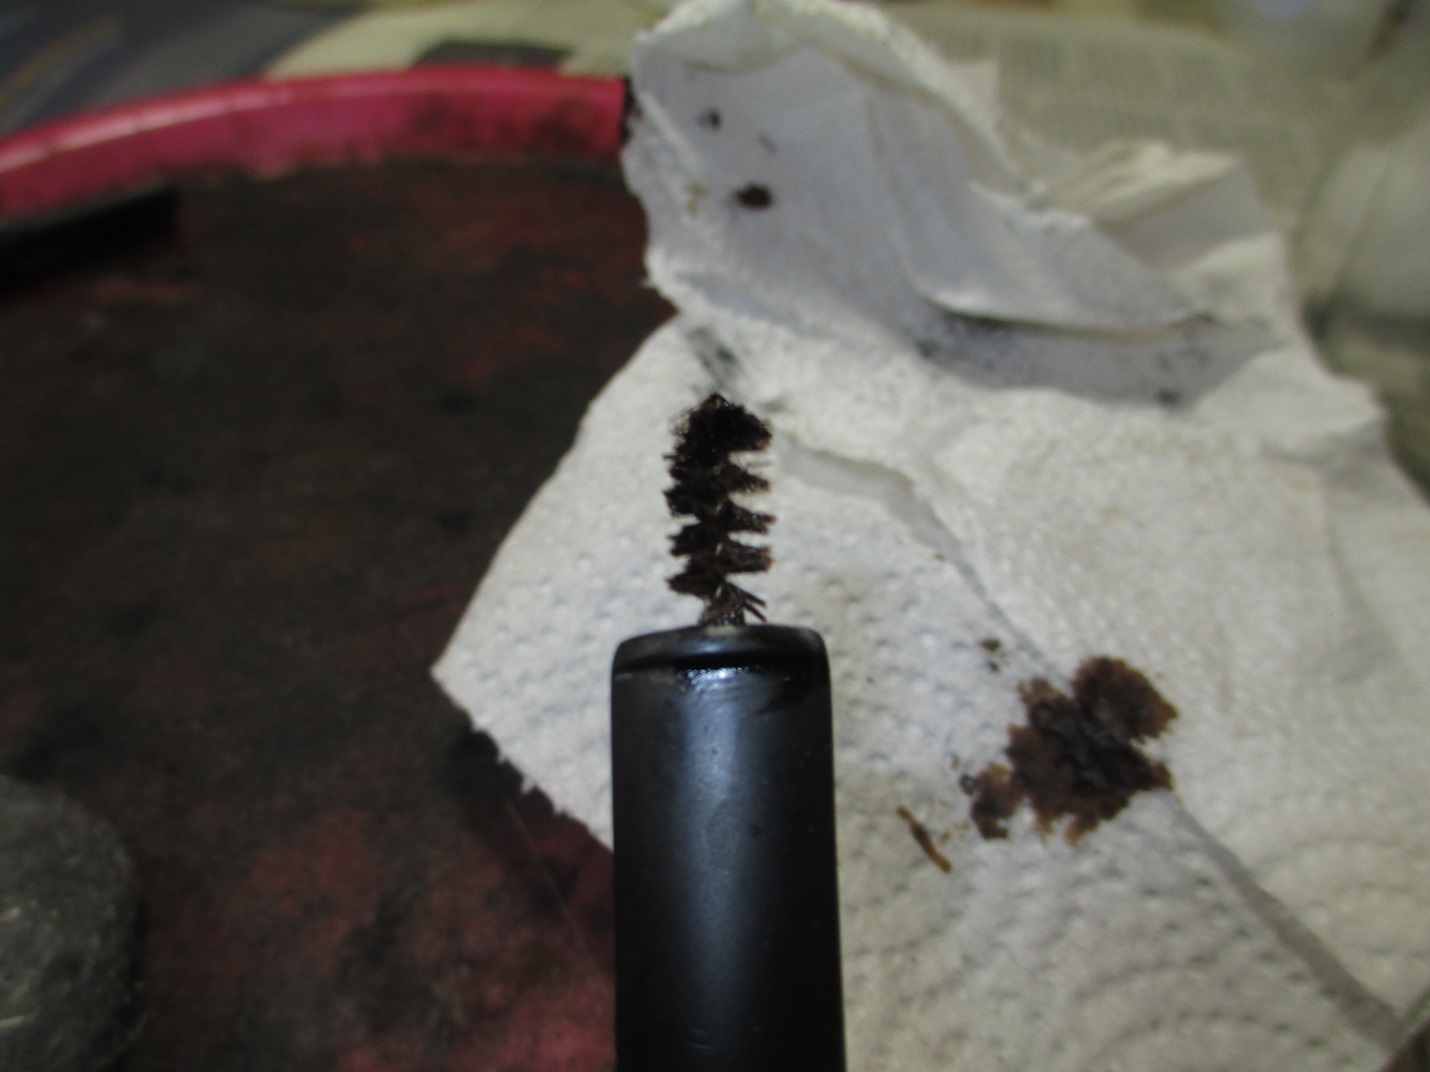
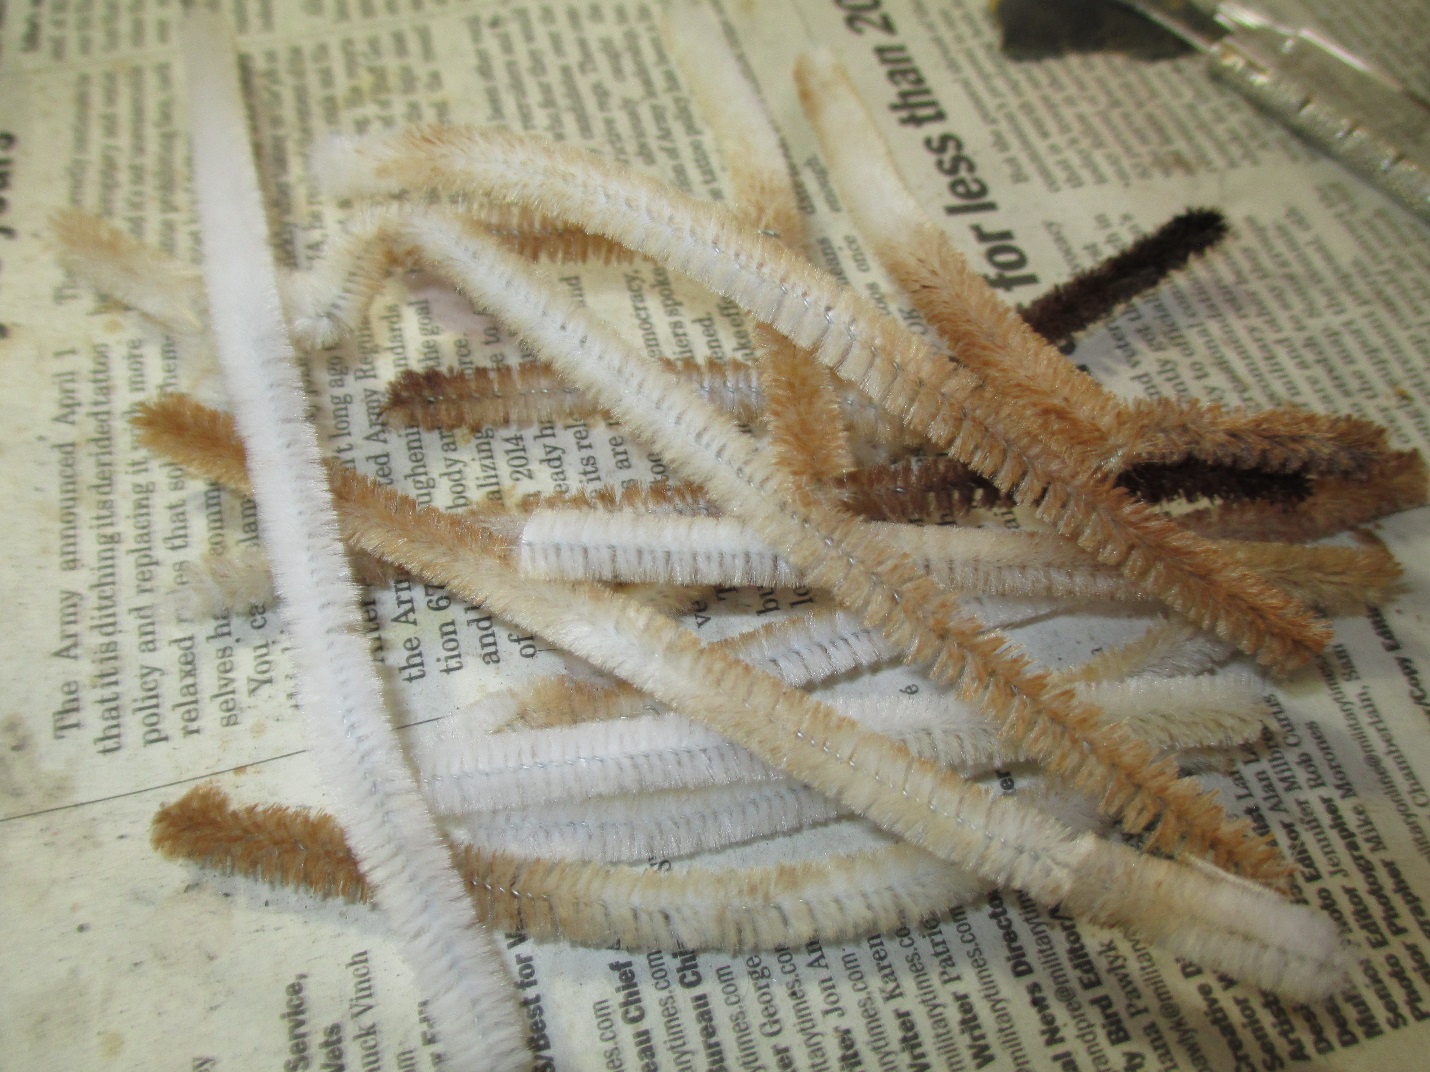
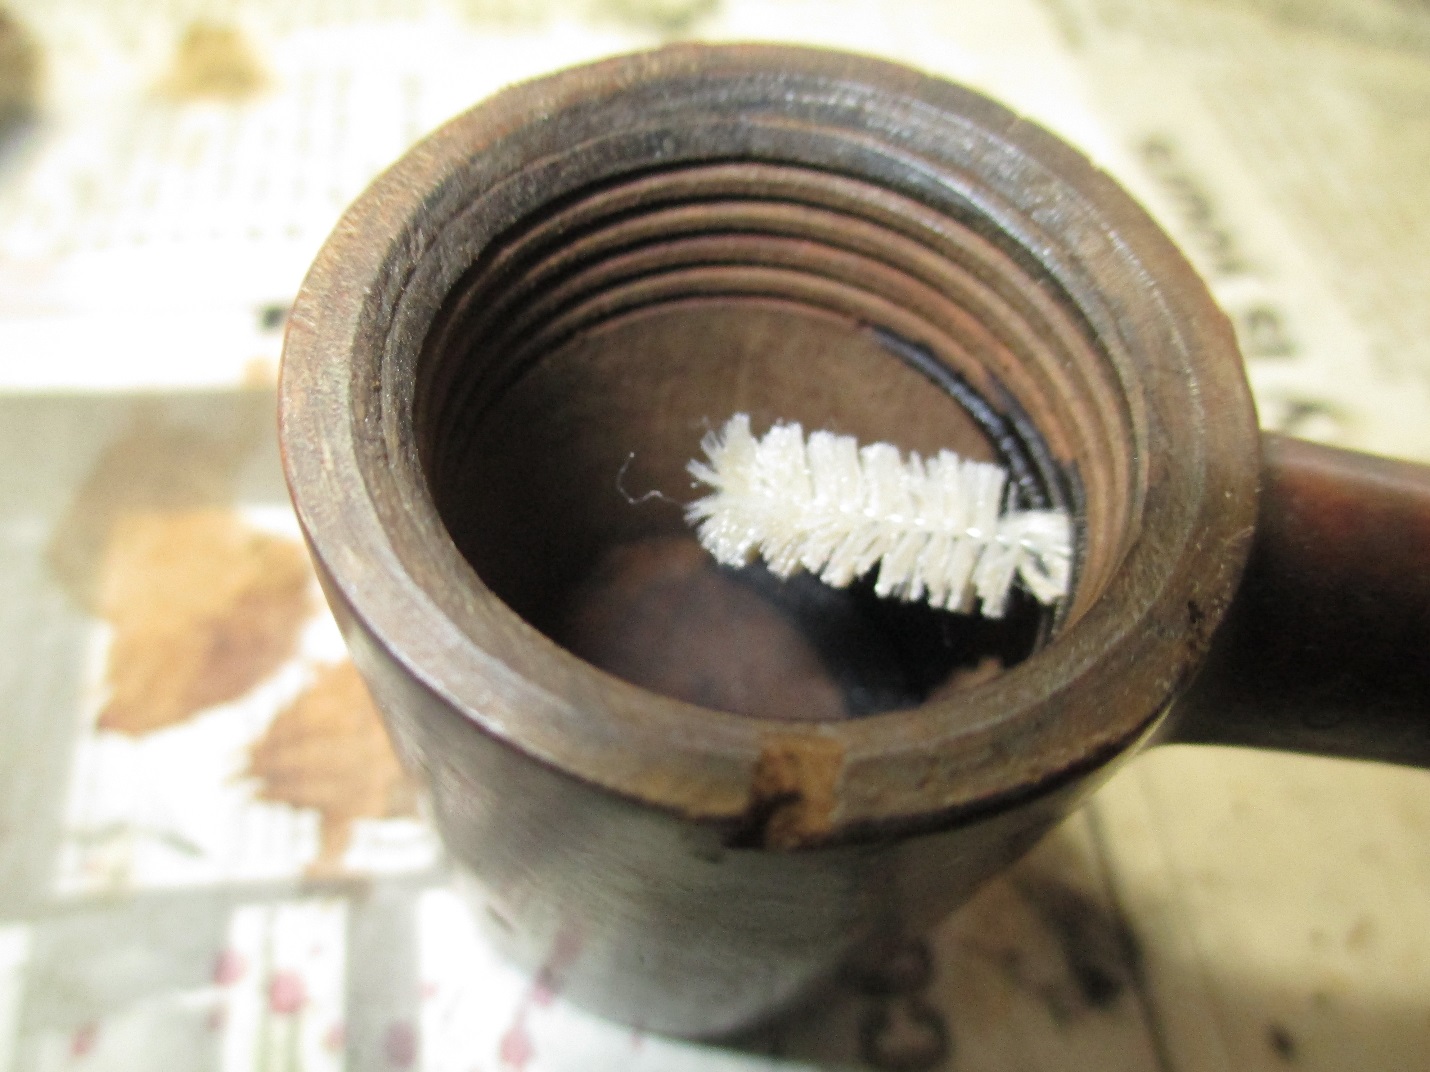
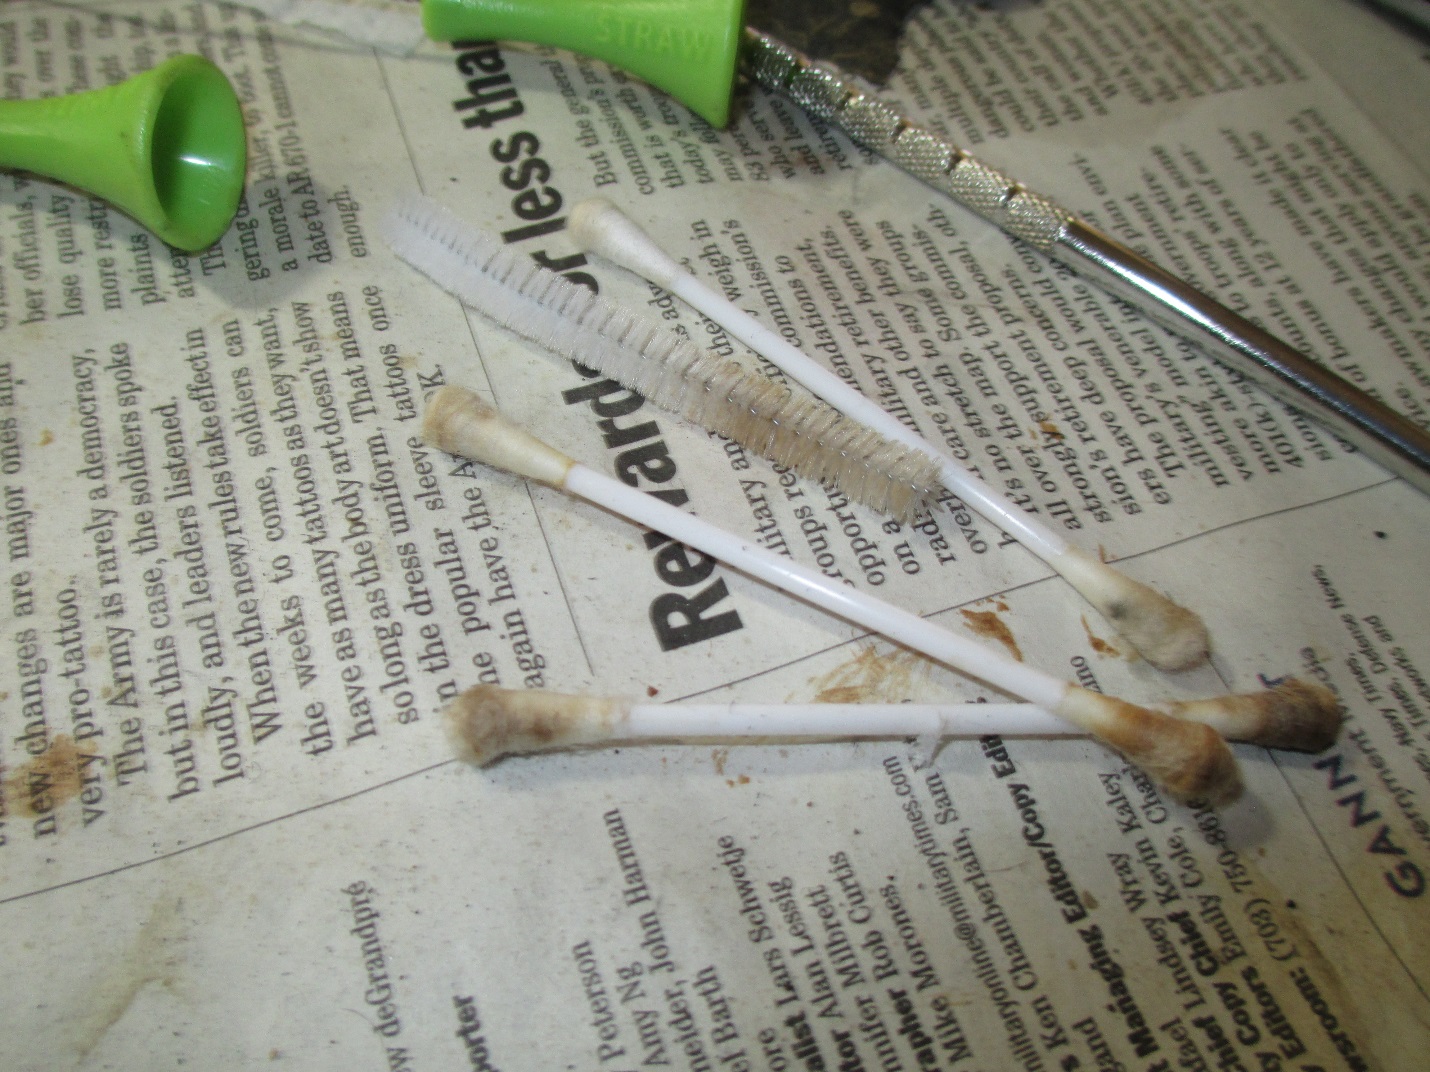
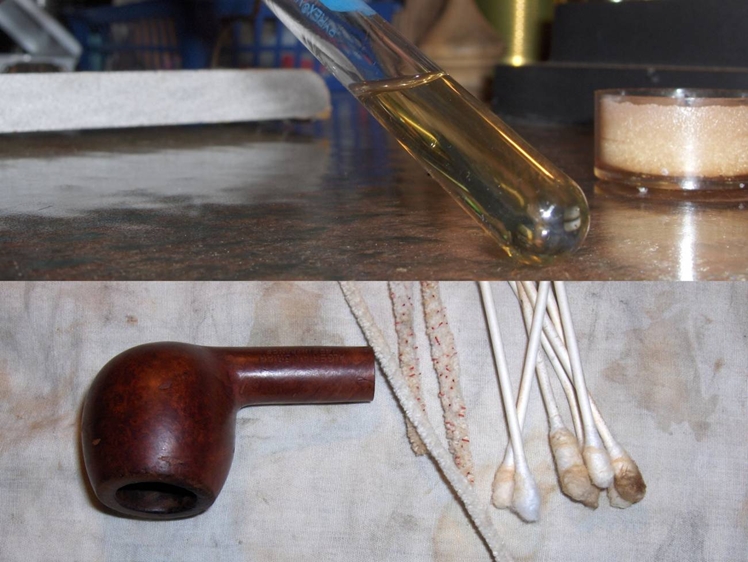
I’ve added a retort to my tool chest since I last posted here, but I still like to scrub out the solid debris and lumpy build-ups by hand before using it. The Rogers took a whole handful of pipe cleaners, cotton swabs, and a couple of shank brushes before I was satisfied enough to move on. I set up the retort and flushed the stem and shank several times before setting it aside to cool for about 15 minutes. Then, I refilled with clean alcohol and flushed several more times. After the second retort, the alcohol was nearly clear. So, I considered the retort to have done its job and gave the stummel and stem one last quick scrub to remove any remaining tar.
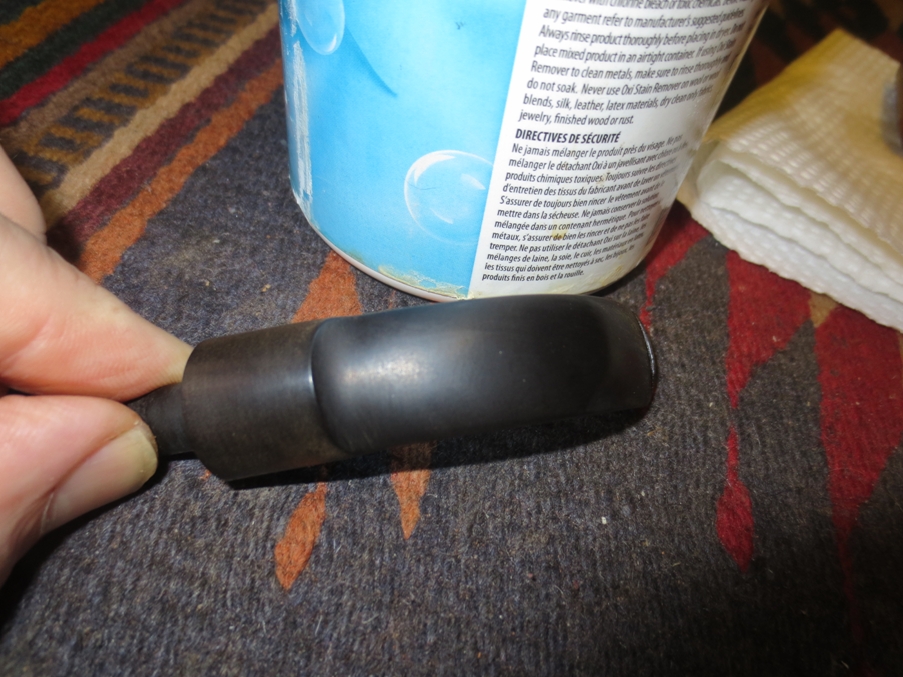
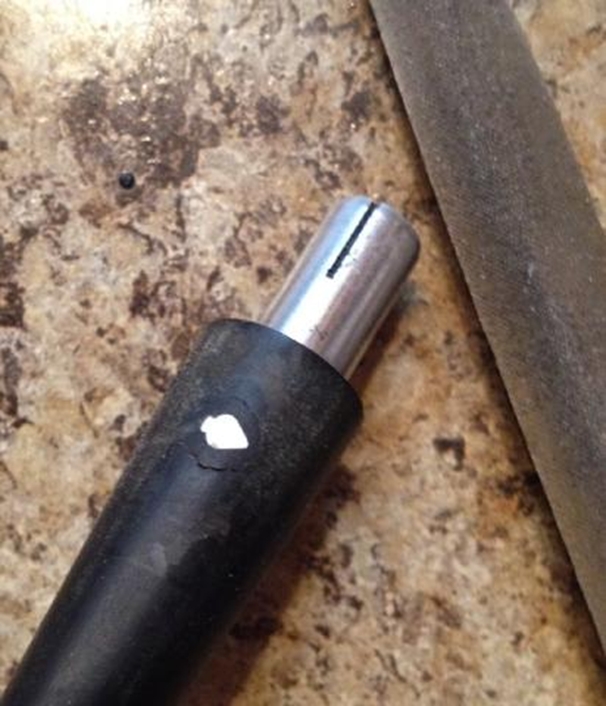
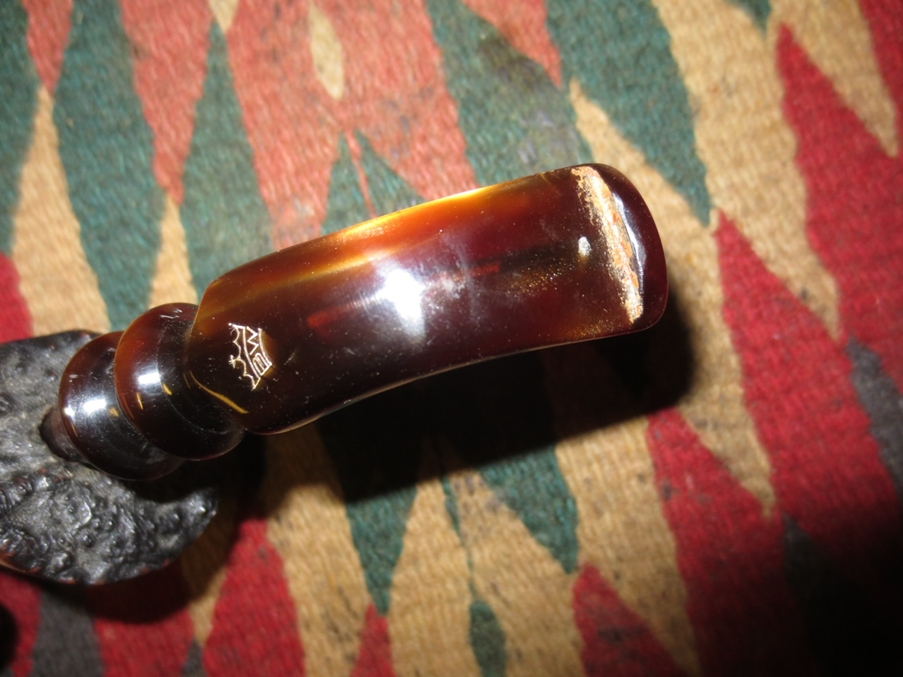
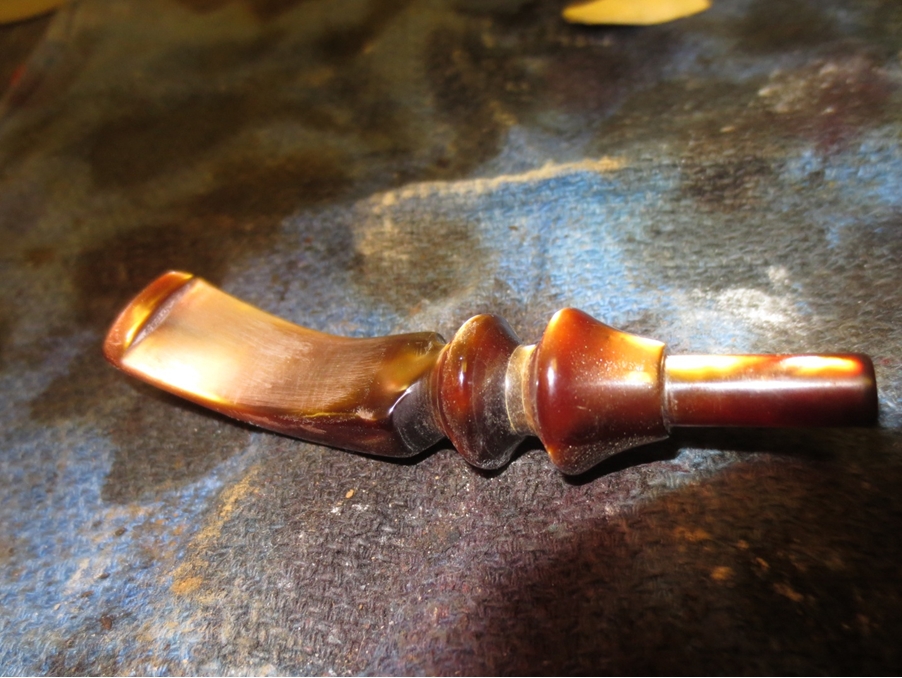
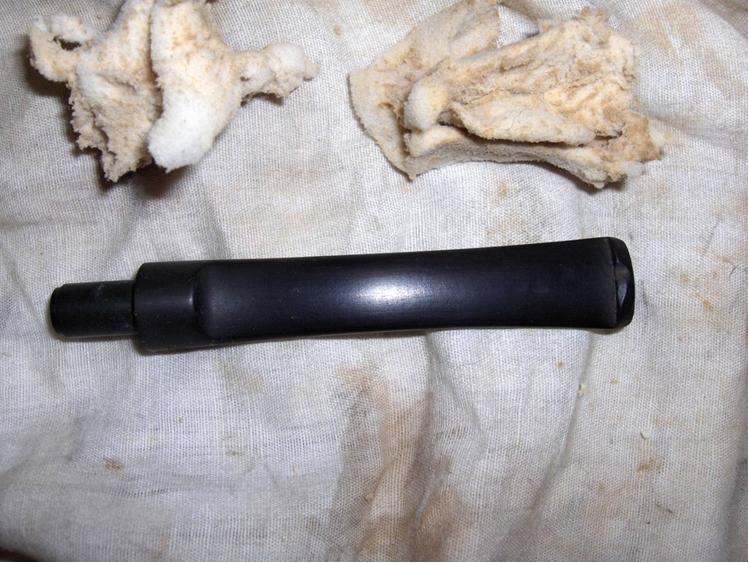
 While I had been retorting the stummel, the stem had been soaking in an Oxyclean bath. I removed it and scrubbed it down with a couple of 1” cubes cut from a Magic Eraser pad to remove the oxidation. There is one thing to note though. I noticed that the paint had come out of the stem stamping during the bath despite my attempt to protect it with a dab of petroleum jelly. I’ve never really trusted this method of protection and I think I’m going to explore some others ideas in the future.
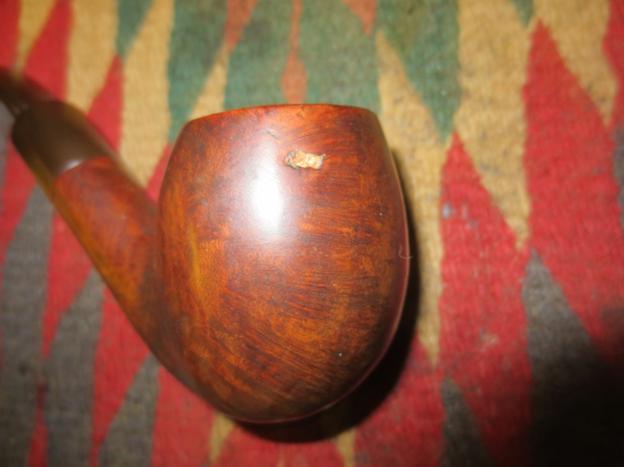
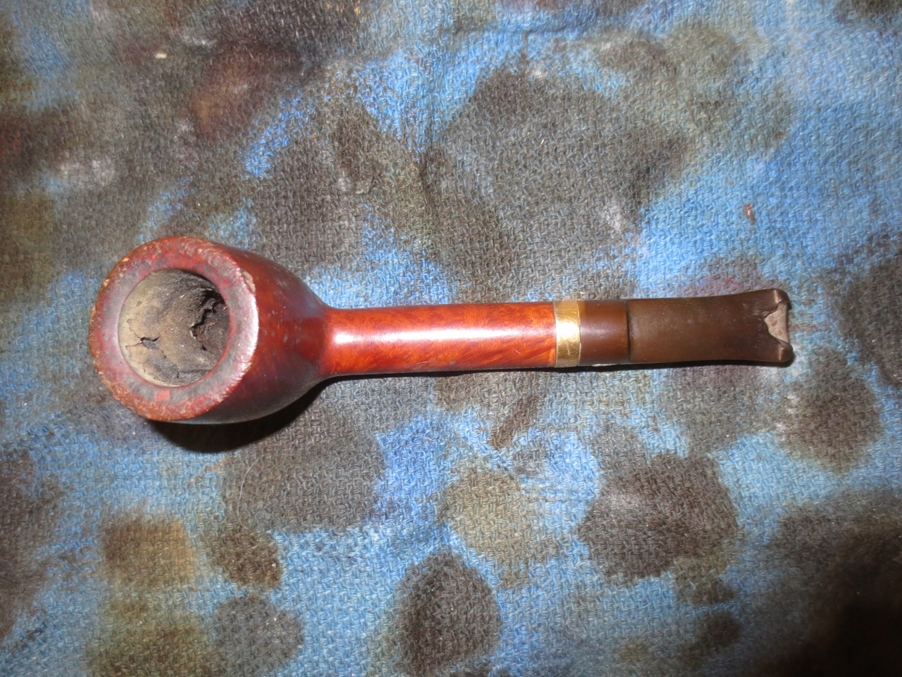
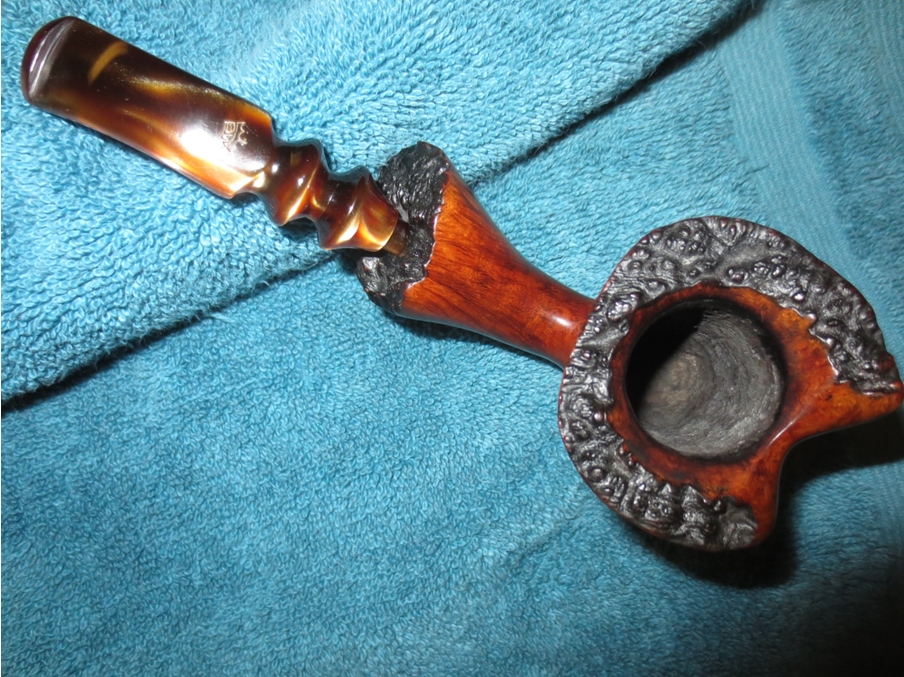
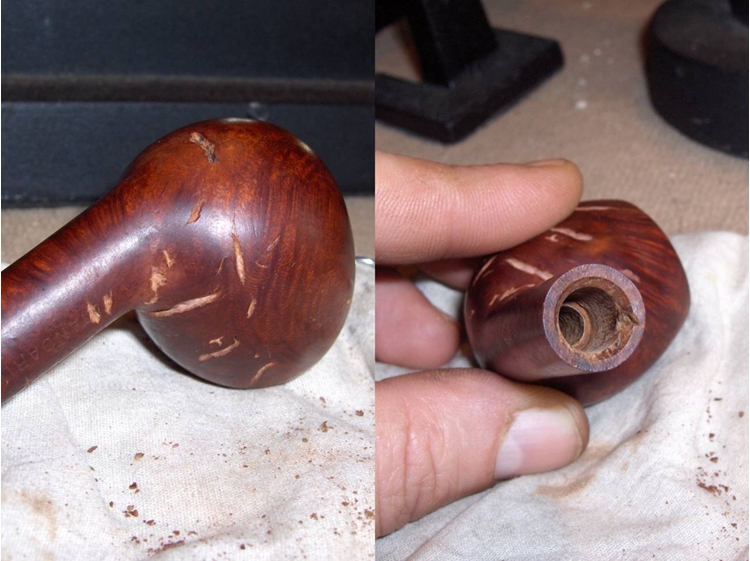
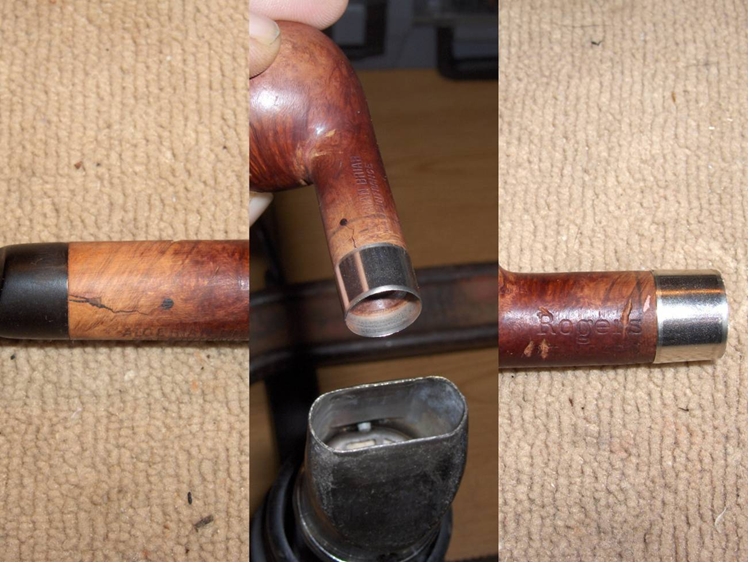
 You may have noticed from the photos that this pipe had a few fills. Okay… It had a lot of fills and the ones that concerned me the most were a few that were right inside the stamping on the shank. I was considering what to do about them when the thought occurred to me that it might be best to leave it up to the guy that was going to smoke the pipe. I contacted the future owner and presented him with a few option: (1) I could patch the fills with briar dust and CA that would blend well into the final finish, but some of the stamping would be sacrificed, (2) I could leave the stamping intact, but there would be some obvious fills on the shank of the finished pipe, or (3) I could rusticate the pipe, which would completely obliterate the stamping but the pipe would be unique. He chose to go with rustication.
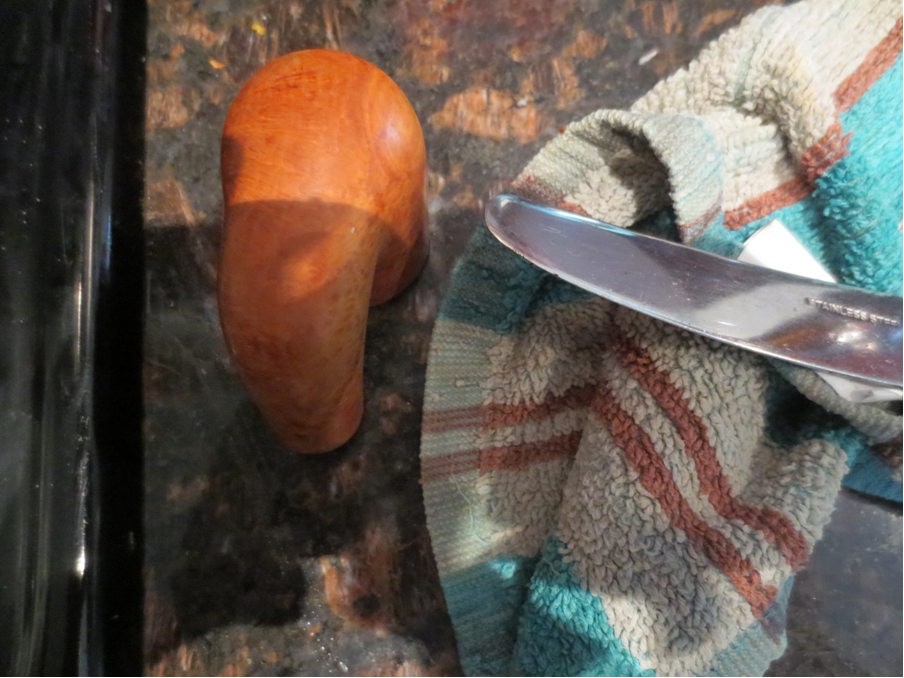
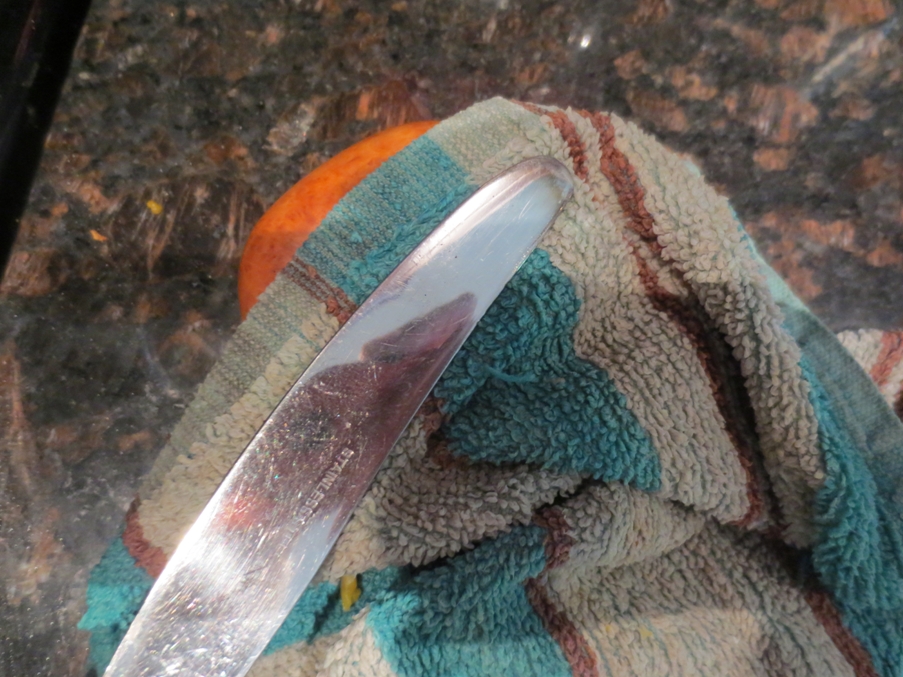
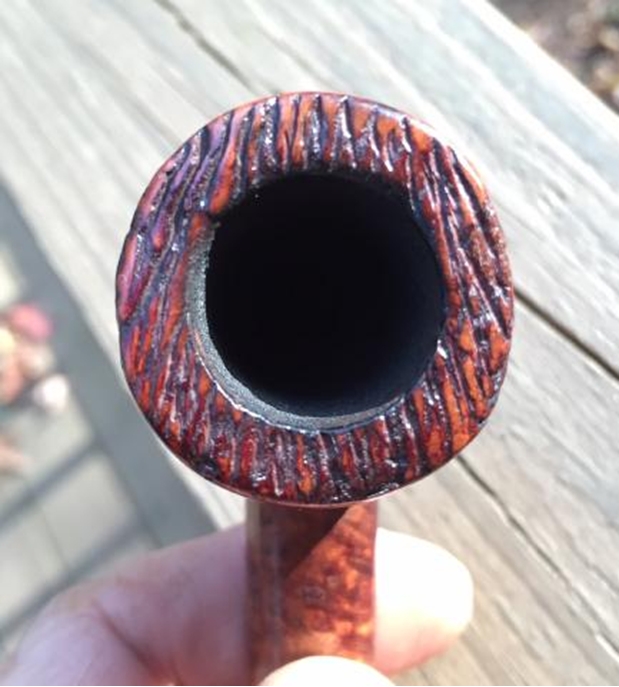
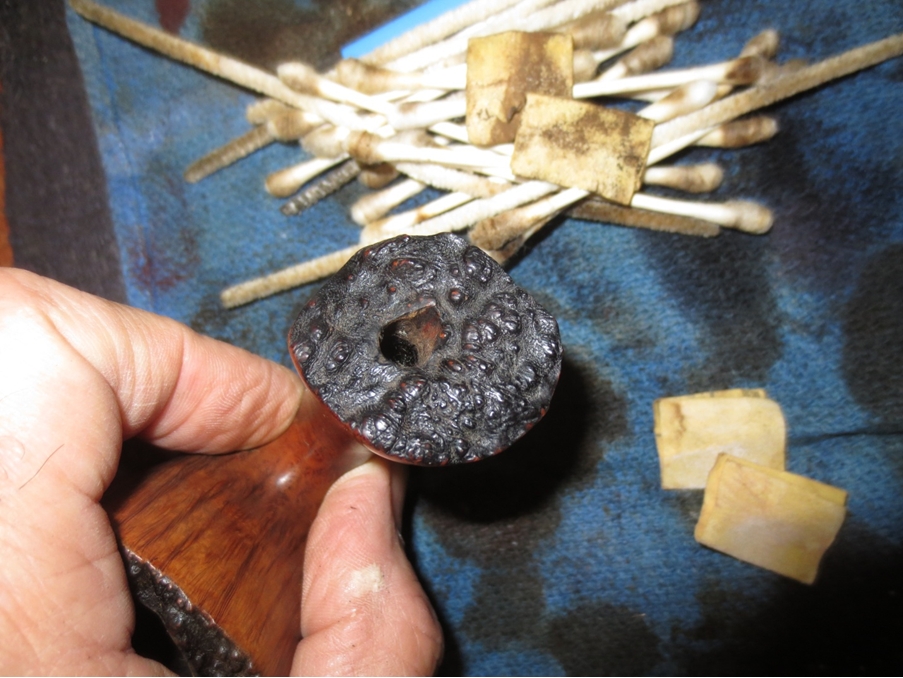
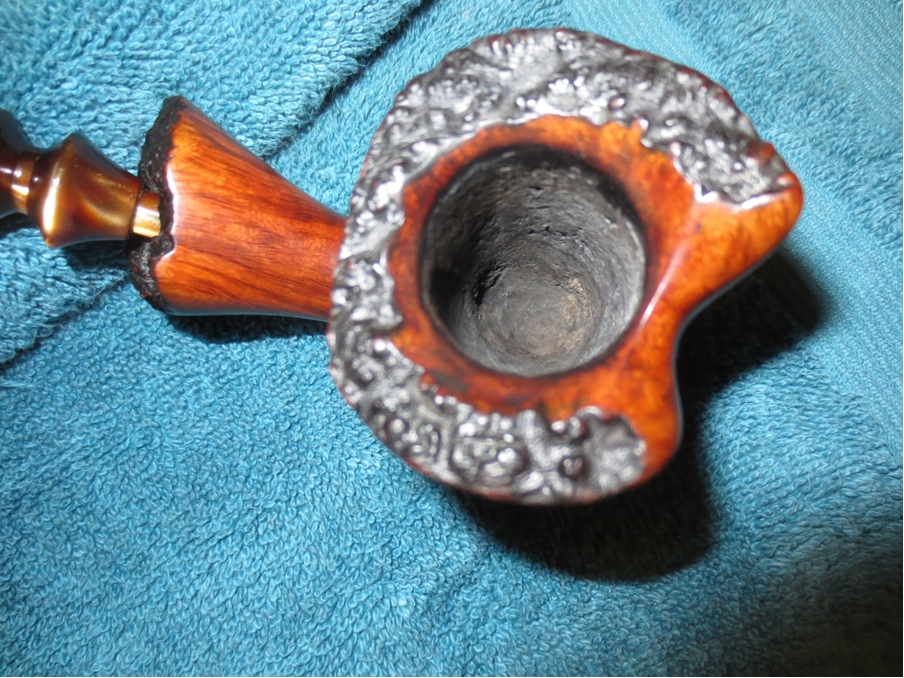
So, once I knew the direction in which I was heading, I set up my topping surface to remove the scratches and charring on the rim. I sanded with a progression of 220-grit, then 320-grit, then 400-grit paper until I was satisfied that all of the scratches were gone. I also softened the inside and outside edge of the rim by light sanding with 400 grit paper (not pictured).
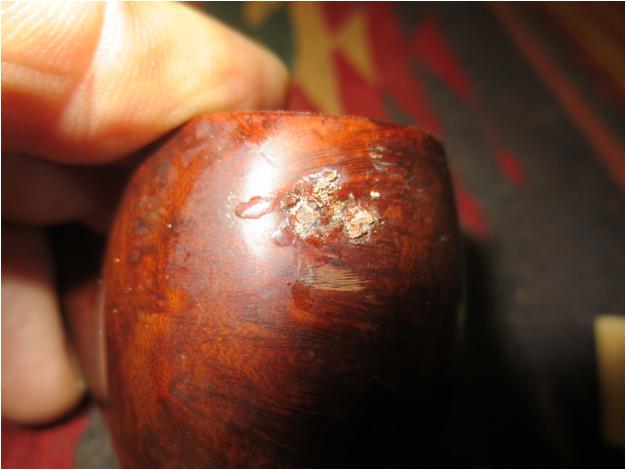
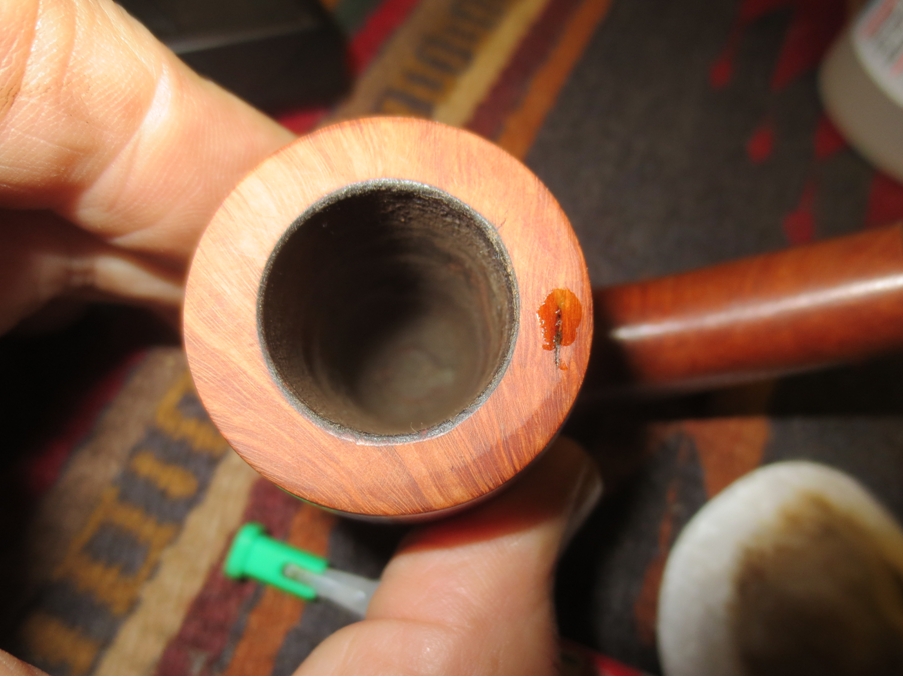
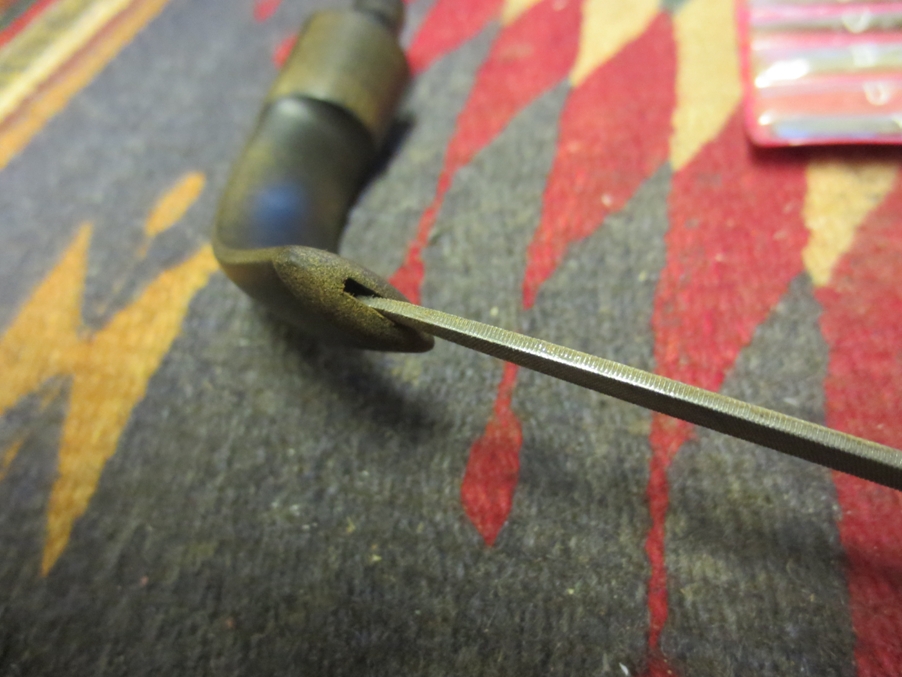
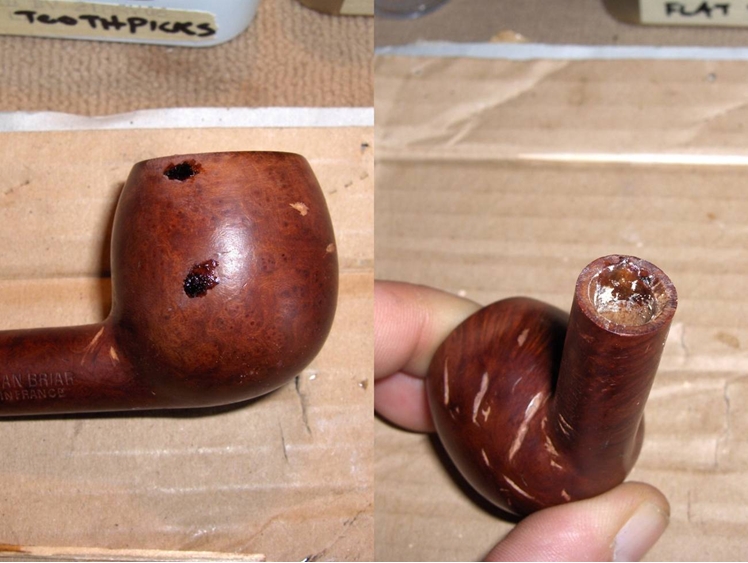
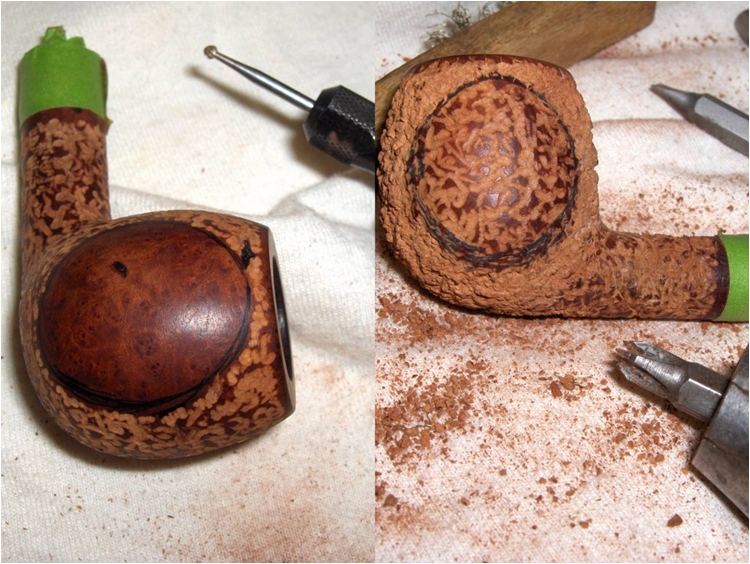
My rustication plan called for a round, smooth button on the right side of the bowl where there were few fills and some fairly decent bird’s eye. There were also a few dents in the area. So, I clamped the stummel in a vice and tried to steam them out by pressing a heated screwdriver into a wet cloth placed over the dents. Most of them were removed successfully, but one large dent with sharp edges still remained. You win some. You lose some. Nobody wants a pipe that looks like it has the measles and those pink putty fills will show through and ruin even a rusticated finish. So, I picked them all out. I also discovered that the wood inside the mortise directly beneath the shank crack was weak and spongy. I scraped it out easily with a pick, but left behind a disconcertingly large gouge in the mortise.
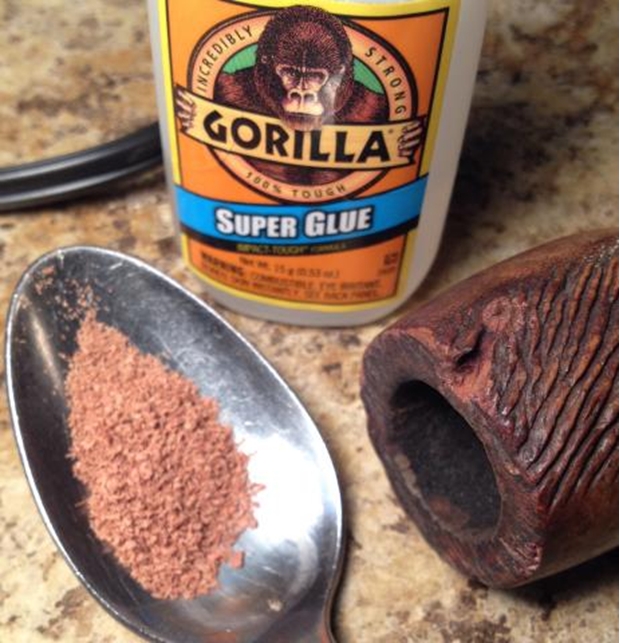
 I had been experimenting with pre-staining briar dust for patches and fills, but I hadn’t had the opportunity to put it into practice until this pipe. I dripped a couple of drops each of Fiebing’s black and oxblood into a bit of briar dust, and then added a few drops of isopropyl alcohol to spread it evenly. After mixing it up and sitting it under a warm lamp for about 30 minutes, I had a batch of stained briar dust.
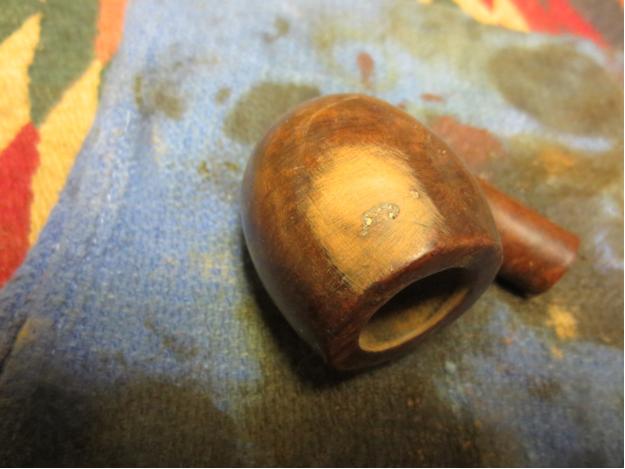
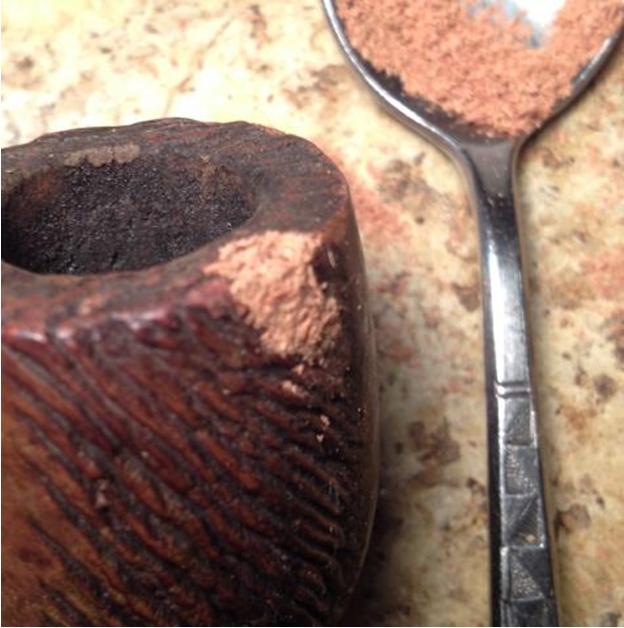
 The stained dust and a bit of CA glue were used to patch the dent and a large fill on the right side of the bowl. I also used unstained dust and CA to fill in the area of missing wood in the mortise.
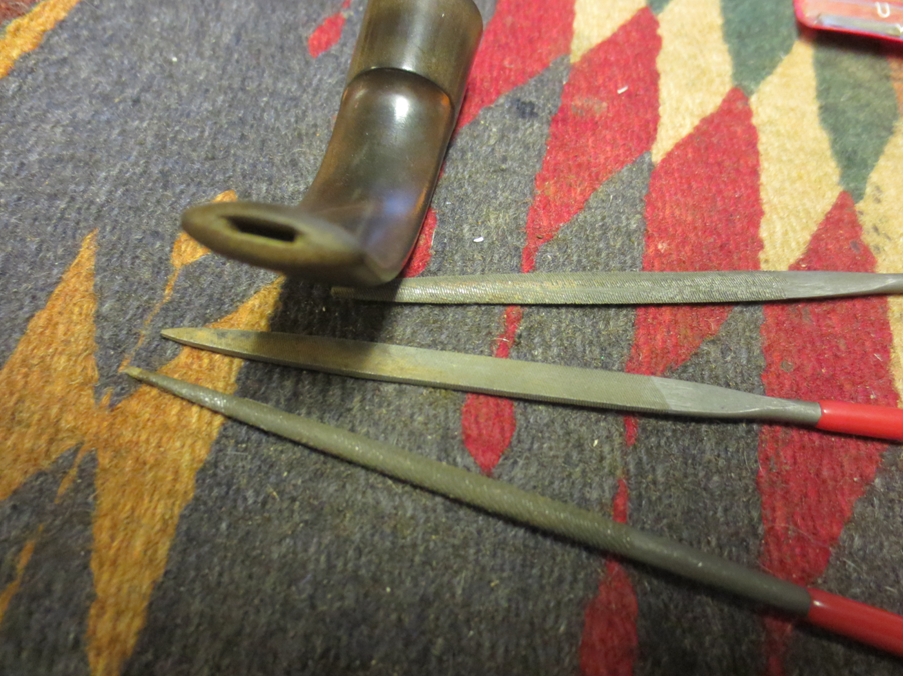
 The bowl patches were sanded out with 220-grit, then 320-grit, sandpaper. In the mortise, I used 240 and 320-grit sanding needles. When I inserted the stem to test the fit, I heard a sharp “snap”. Uh-oh.
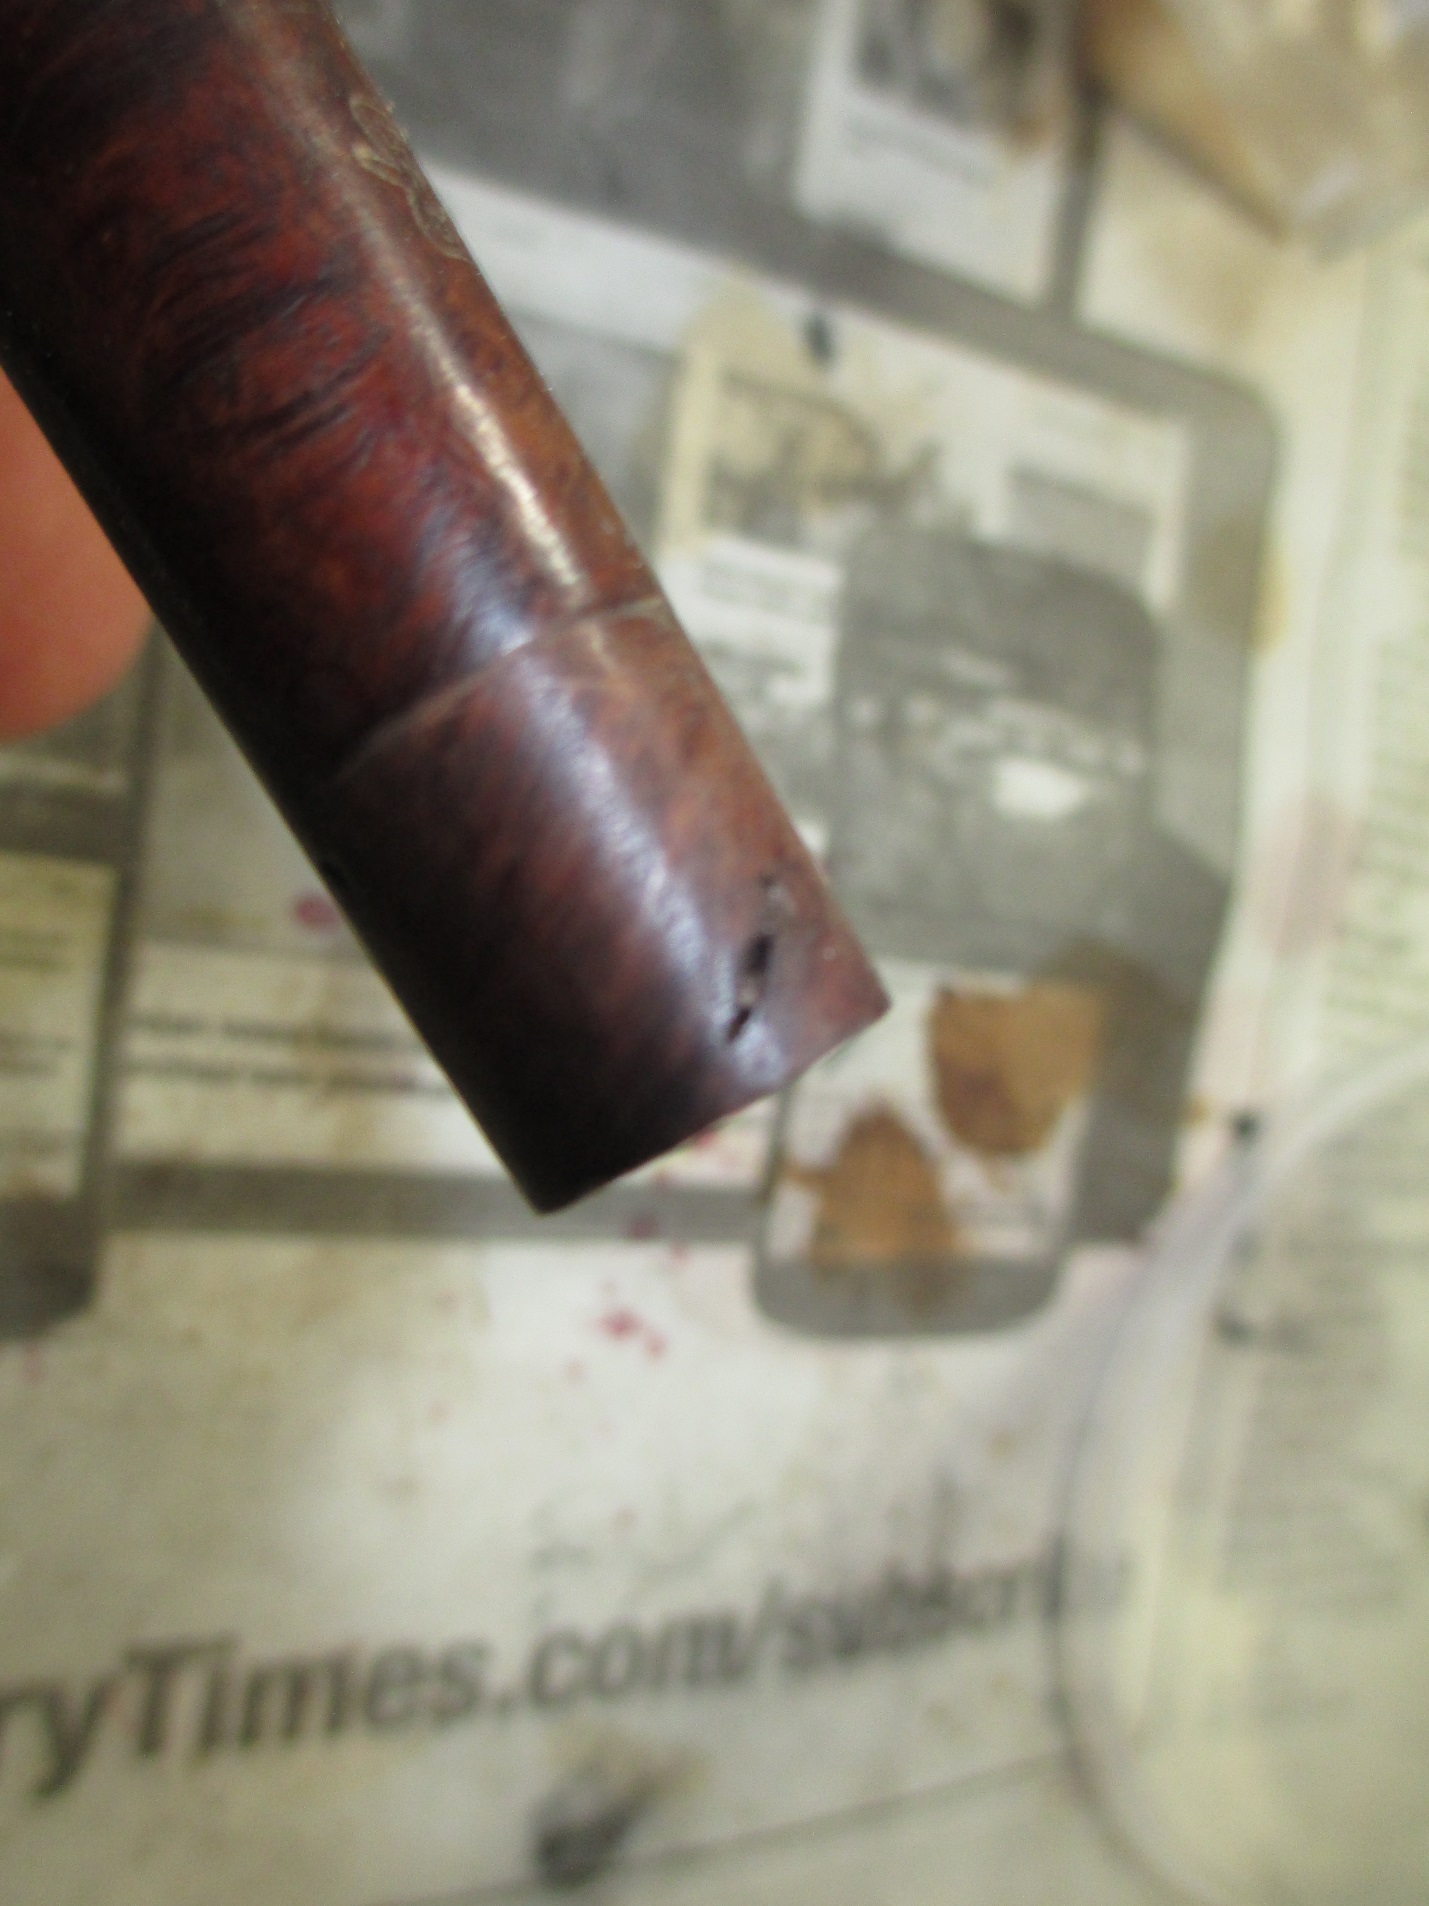
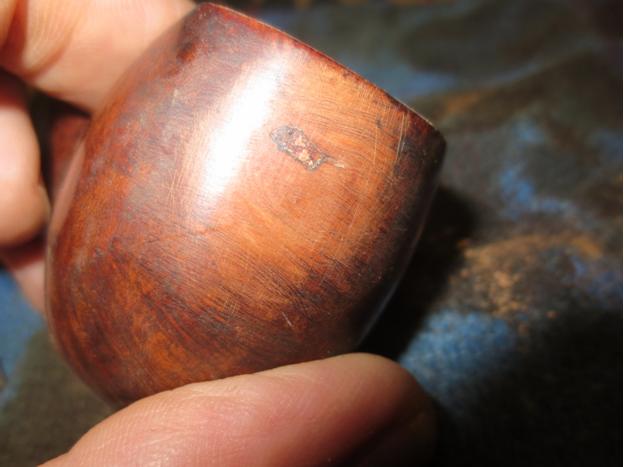
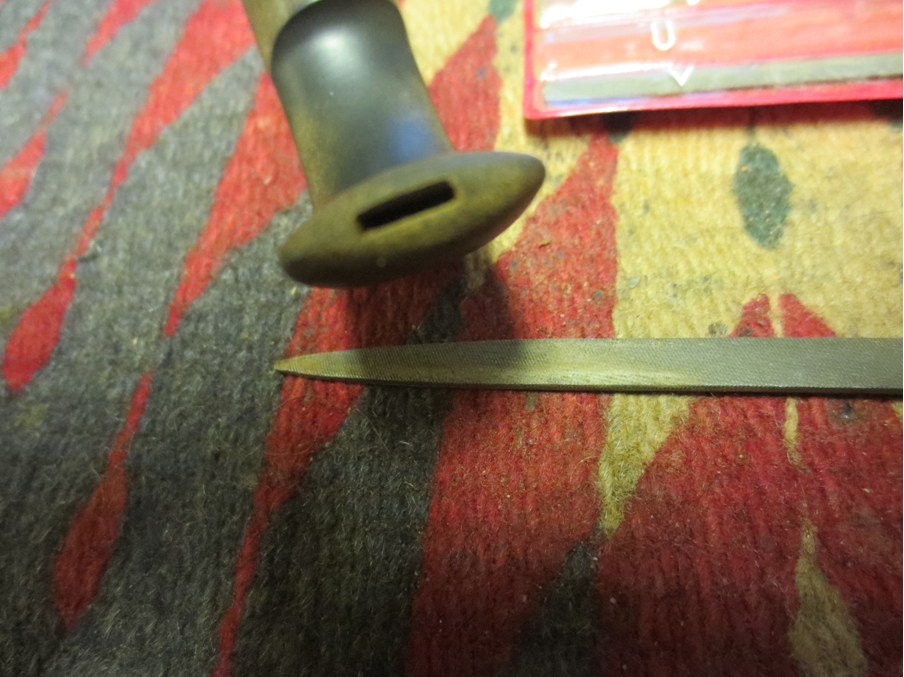
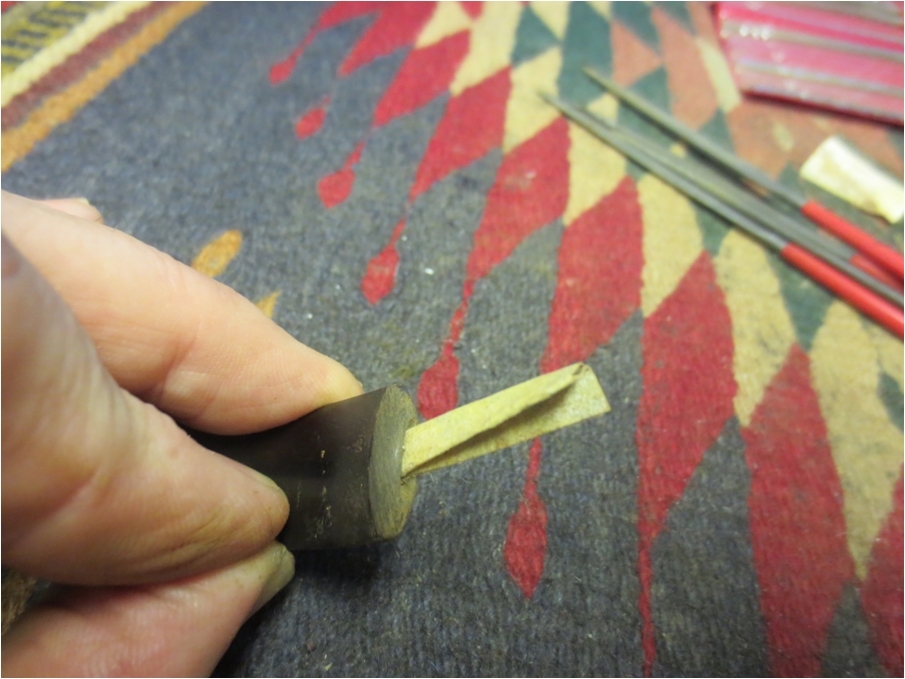
When I flipped the pipe over I saw that the shank had cracked again. This one began about 1mm below the patched crack and was also longer than that one. I used a 1/32” drill bit to make a small hole at the end of the crack to stop the run. I didn’t drill all the way through, only a hair’s width below the crack. Then, I inserted the stem (after smearing petroleum jelly on the tenon) to widen the crack and filled the crack and drill hole with stained dust and CA. Once the patch had set up, I removed the stem, wiped the petroleum jelly from the mortise, and added more briar dust and CA there to add the strength that it obviously needed. The new patches were sanded out once dry and I used a strip of 400-grit paper to reduce the diameter of the tenon before trying to insert is again. The fit was snug but not overly tight, and best of all, there were no new cracks.
 Since the shank crack had been opened up and then filled, the overall diameter of the shank had increased slightly. So, I used 220-grit, then 320-grit, sandpaper to bring it back into register with the stem.
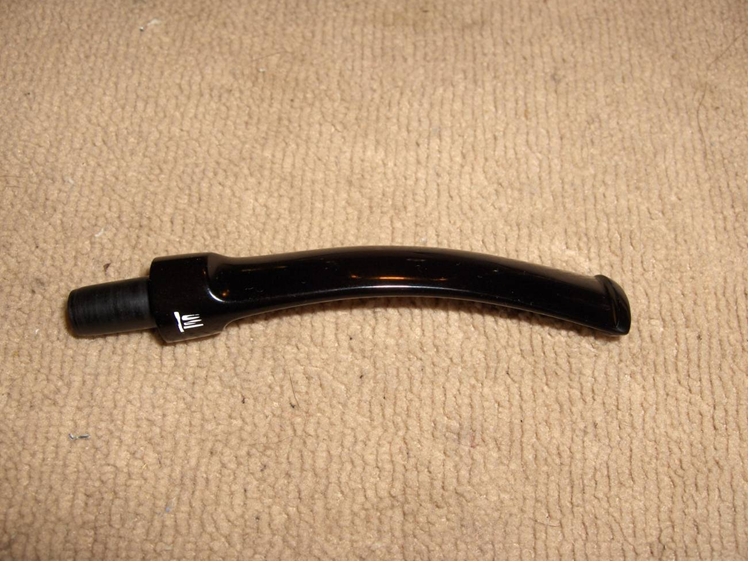
Then it was time to strike up the band. I selected a band from my box that was large enough to fit over the end of the shank, but not so large that I could slide it all of the way up by hand. With the band partially in place over the shank, I heated it with a heat gun to expand the metal, and then pressed it into place on a hard, cushioned surface. The mortise had been constricted by the placement of the band. So, again, I had to do a bit of sanding with 220-grit, 320-grit, and 400-grit paper to turn the tenon down enough to make a good, snug fit.
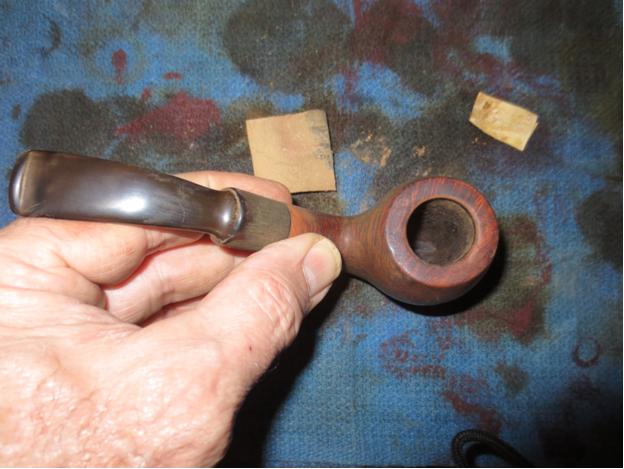
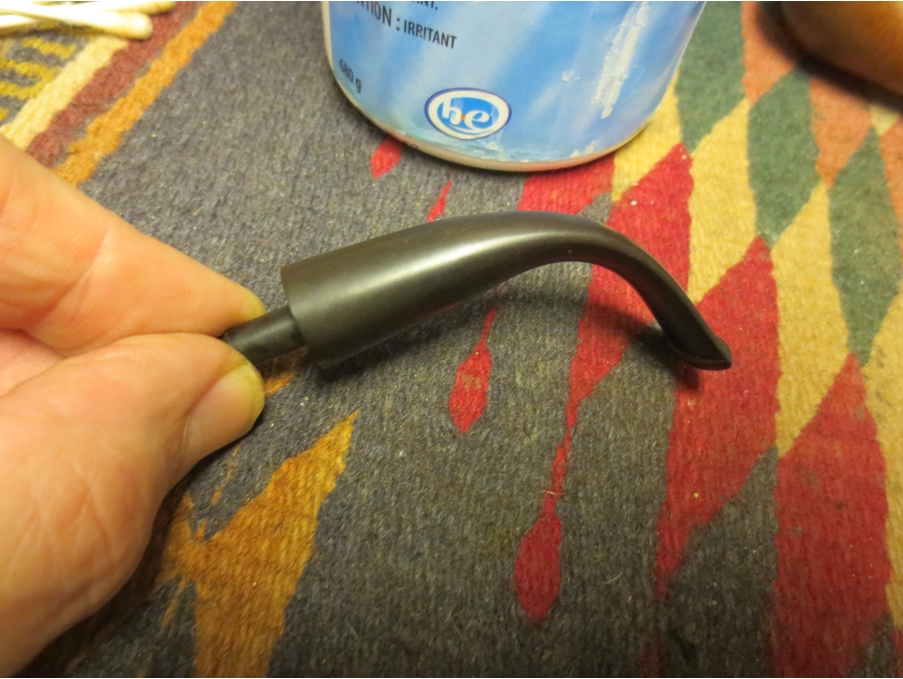
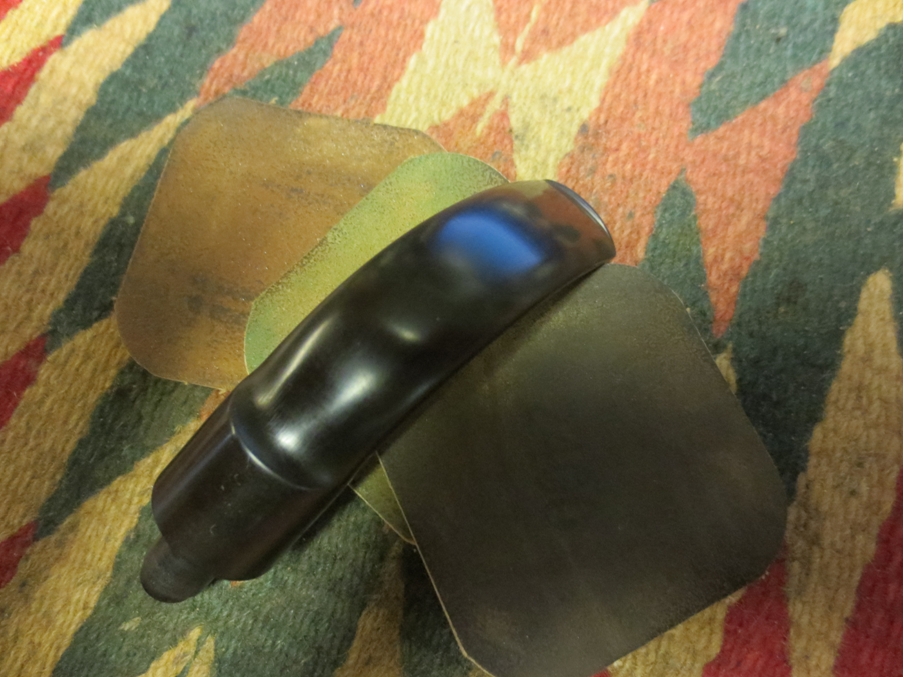
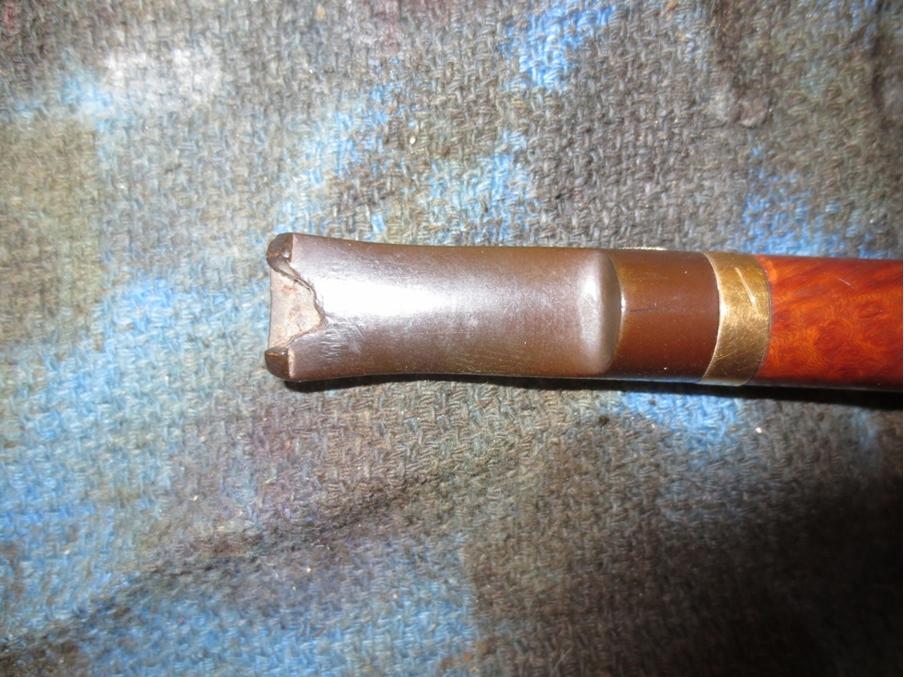
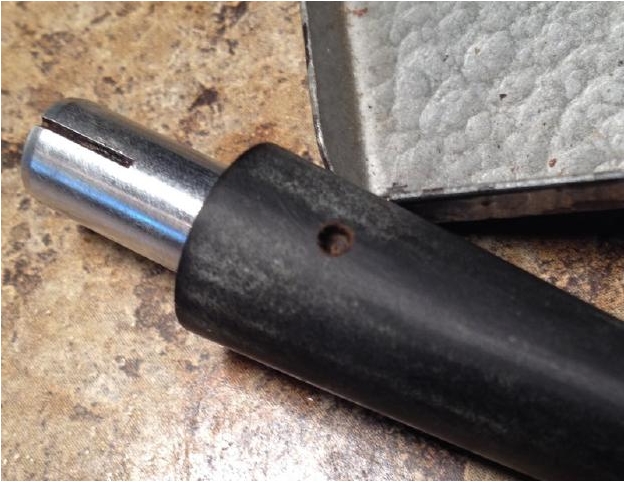
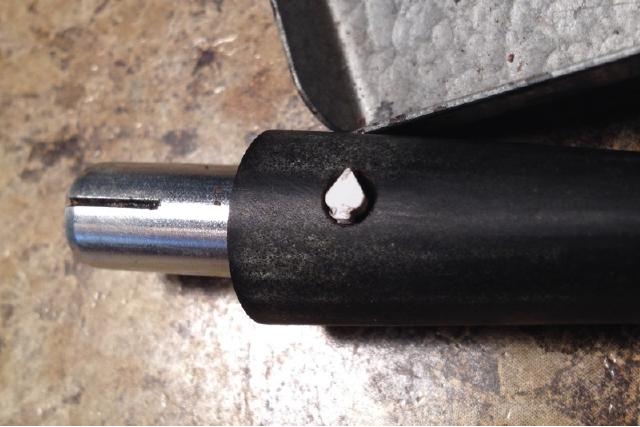
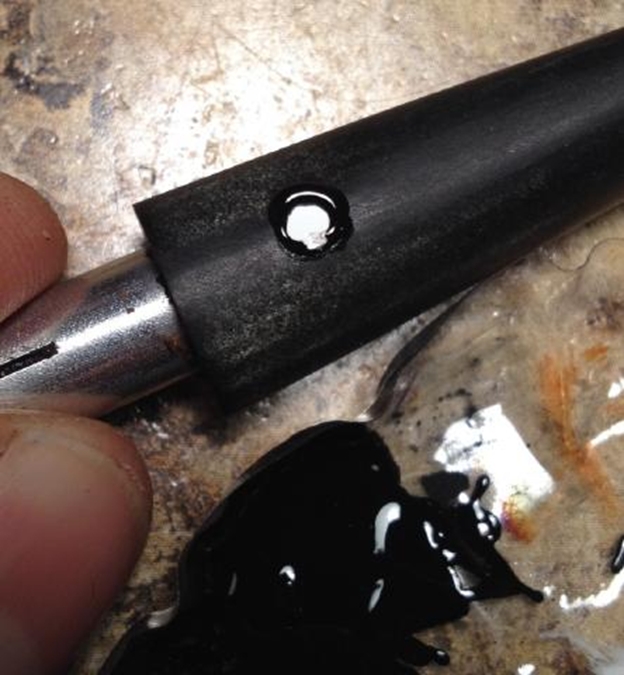
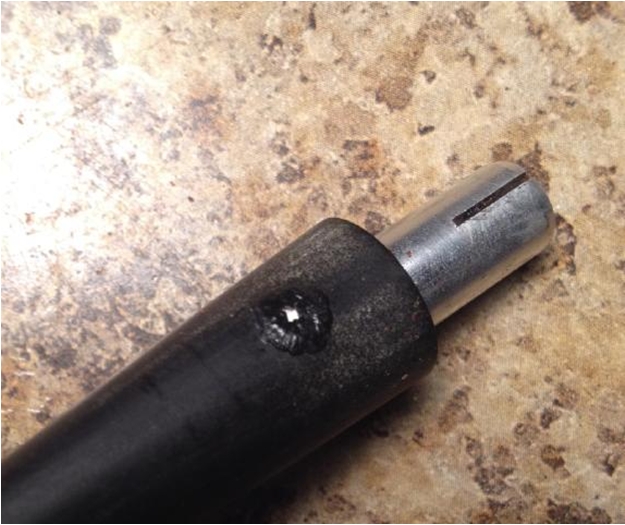
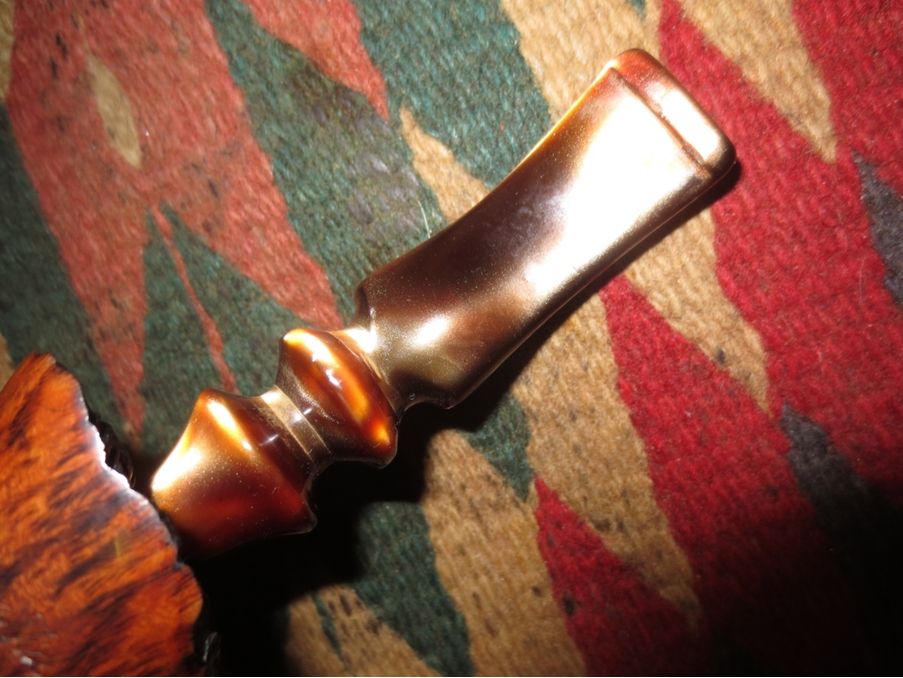
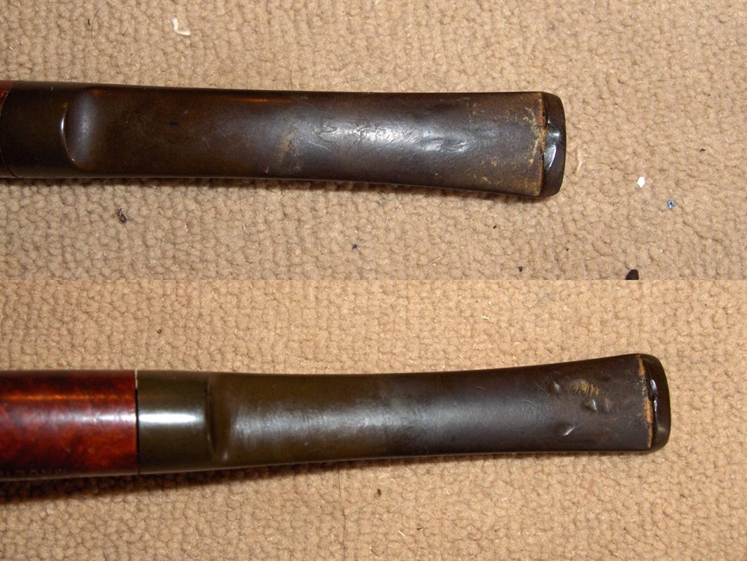
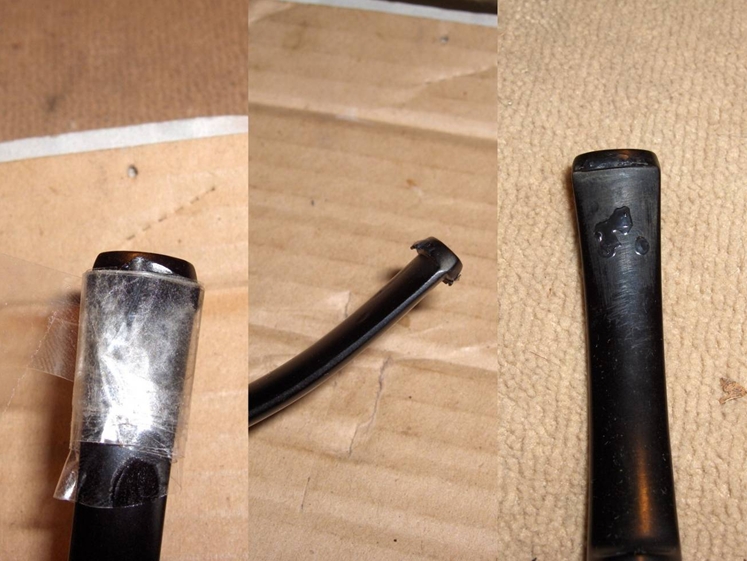
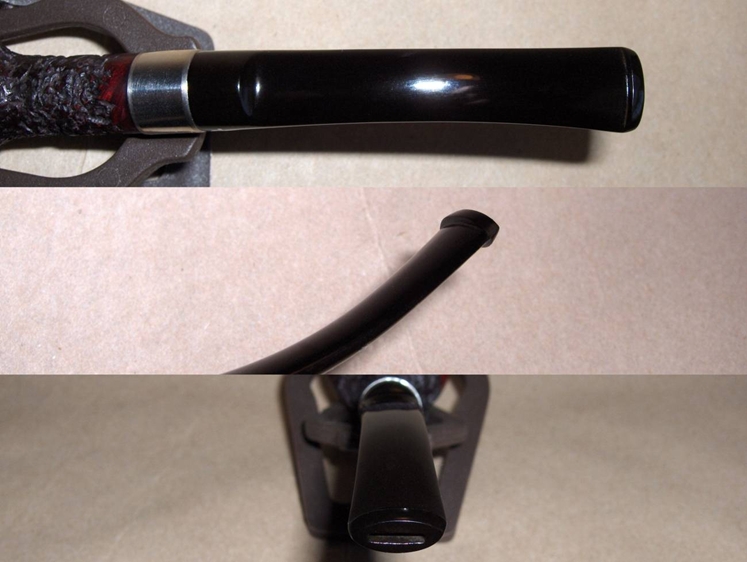
The heat gun was already set up. So, I used it to heat the stem to see if I could raise some of the tooth dents. It did a fair job, but a few still remained after the heat treatment. I also took the opportunity to add a few more degrees of bend in the stem to give it a more elegant flow (at least to my eyes). The stem button had a couple of chunks bitten out of it that needed to be repaired. I borrowed Andrew Selking’s idea of wrapping the area below the button with tape to keep a crisp edge before applying black CA glue to the gouges. The middle picture in the image below shows the button just after removing the tape. There was a bit of overhang at the lip that would have to be taken off, but the area where the button meets the stem is crisp and clean. That would save a lot of work. Thanks, Andrew!
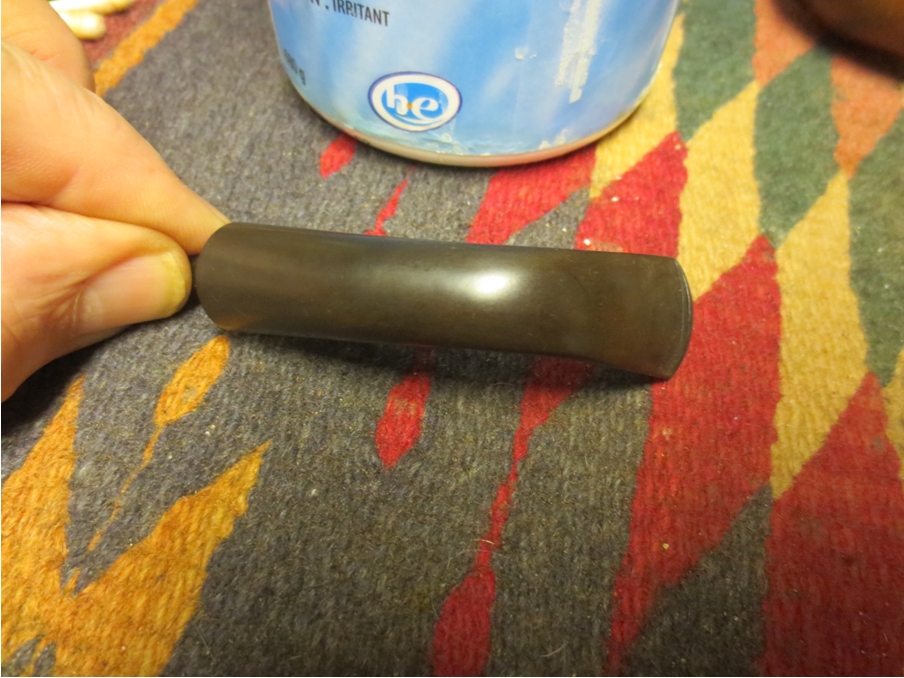
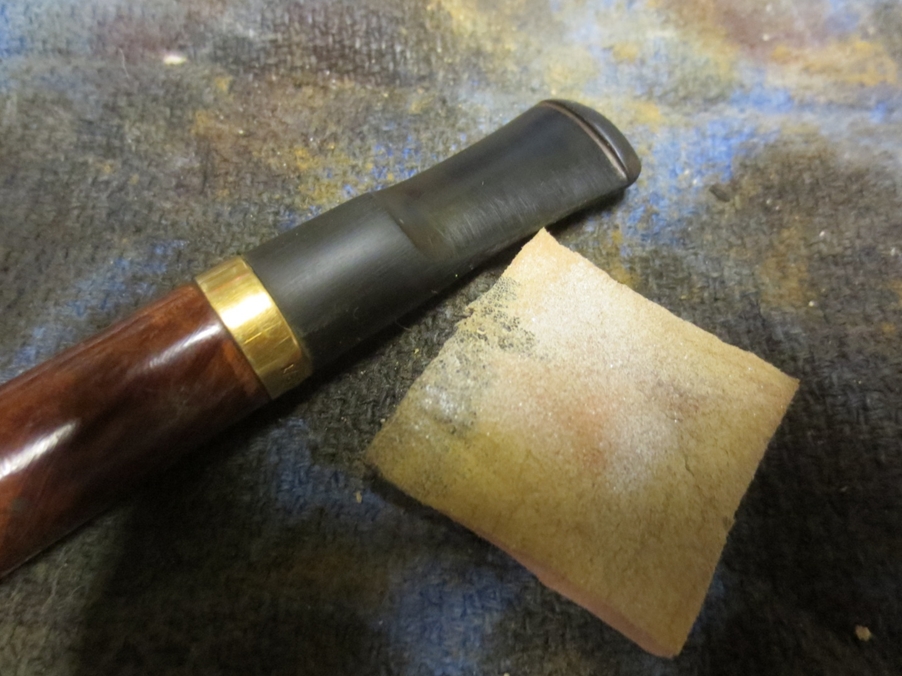
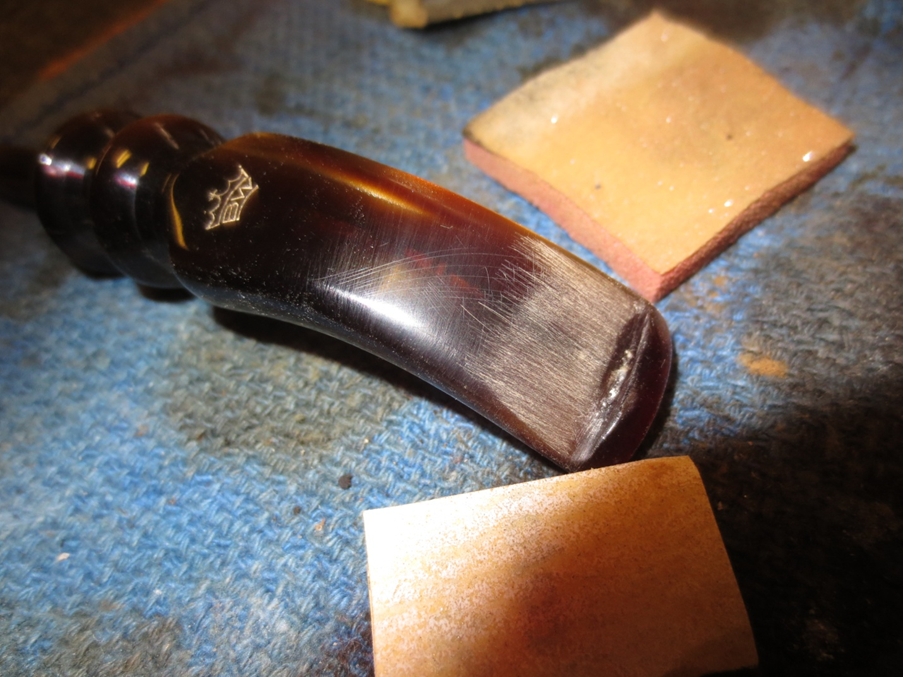
I sanded out the lighter dents on the stem with 220-grit paper. For the deeper dents, I patched them with a bit of black CA glue applied with a toothpick. When the stem patches where dry I sanded them down with 220-grit paper, and used 320-grit and 400-grit to blend them into the rest of the surface and to shape the button. Then, I lightly sanded the entire stem with 600-grit paper to remove any scratches and pits in the vulcanite. I also used a grout pen to paint in the stamped logo. Some of the logo area had been worn smooth over time. So, the resulting logo didn’t look as good as the example over at PipePhil.eu, but I think it looks better than it did originally.
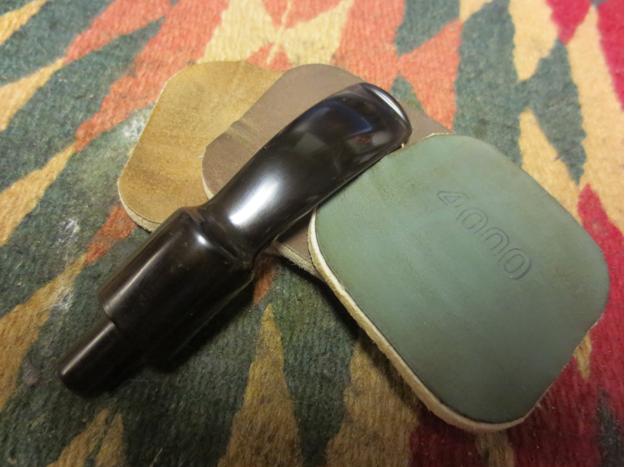
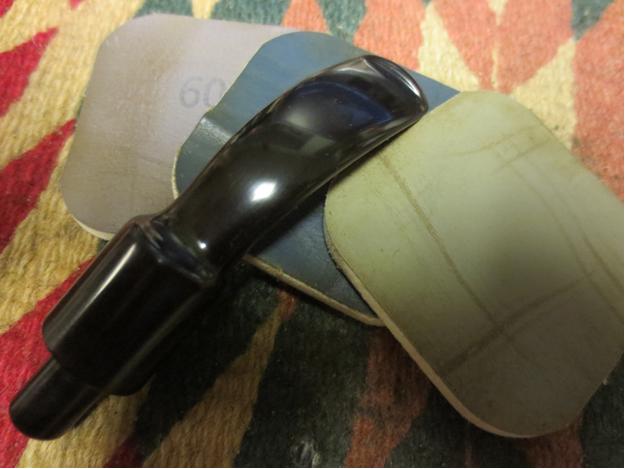
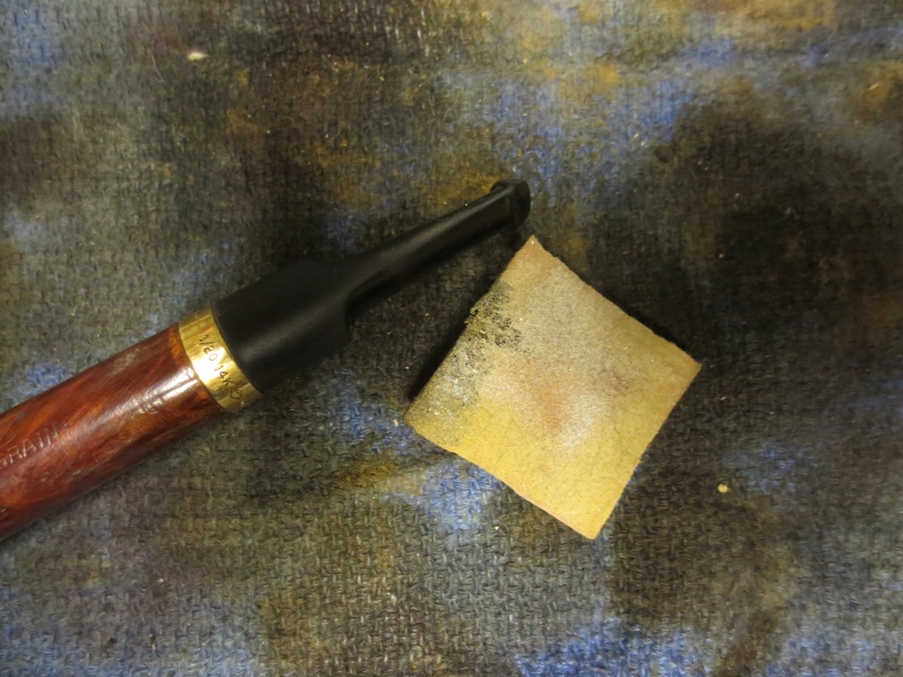
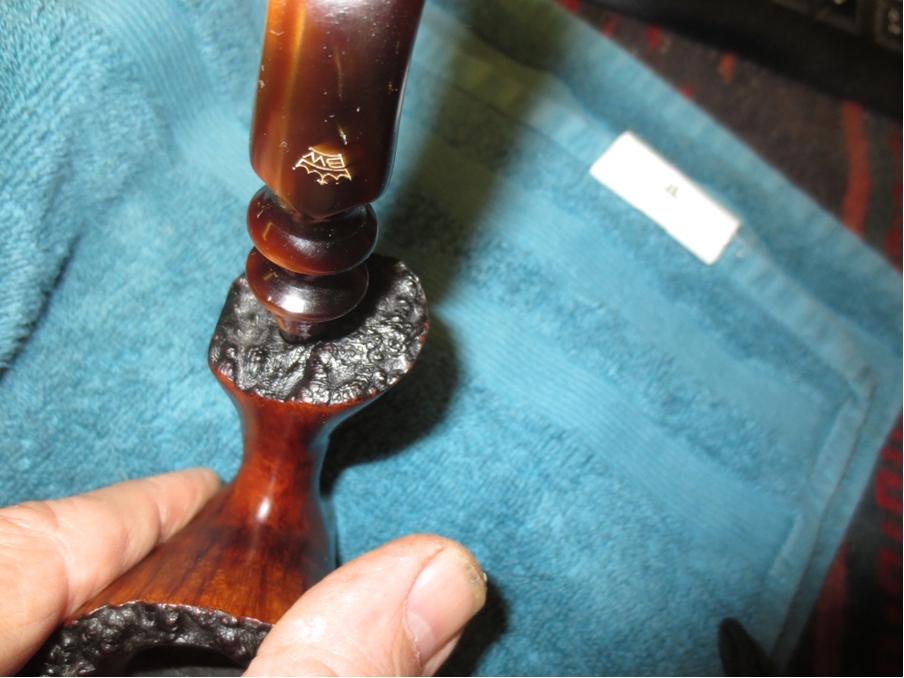
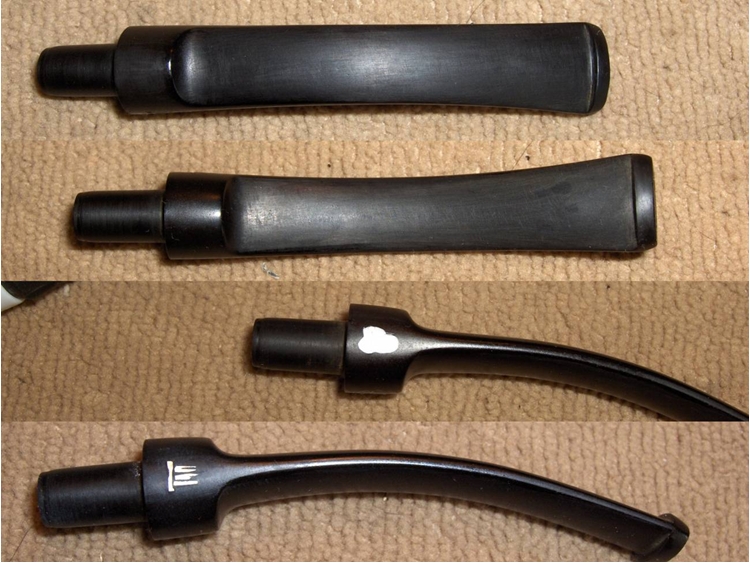
 For comparison, here’s the logo example from PipePhil.eu (first image), the original logo (second image), and the repainted logo (third image):
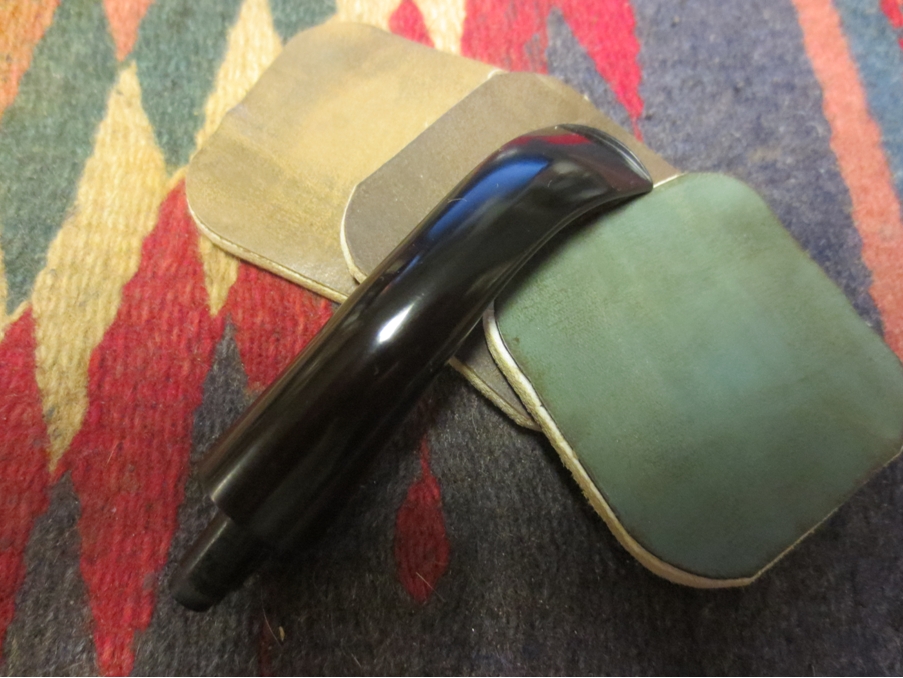
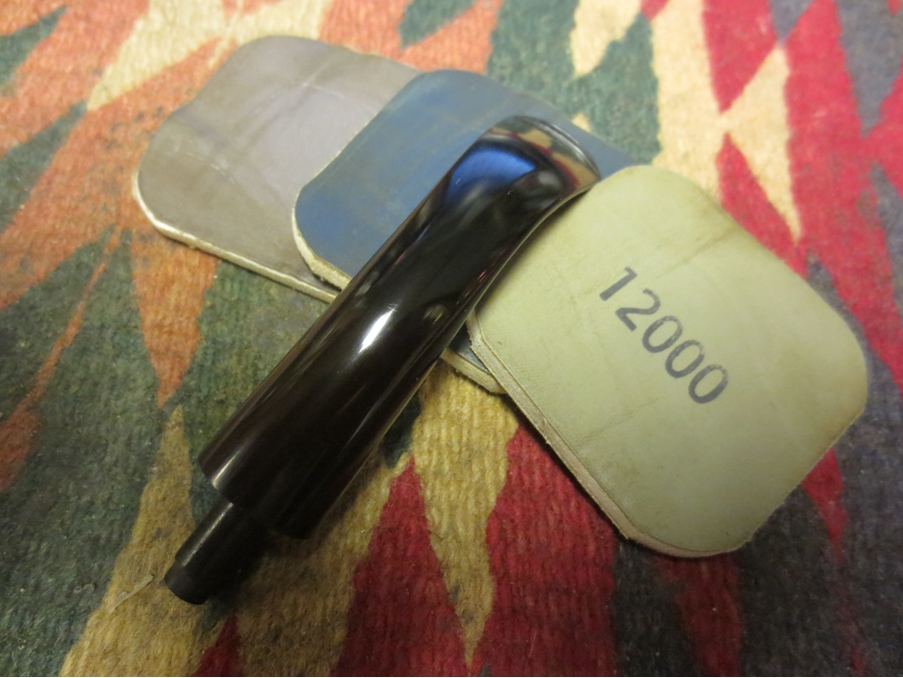
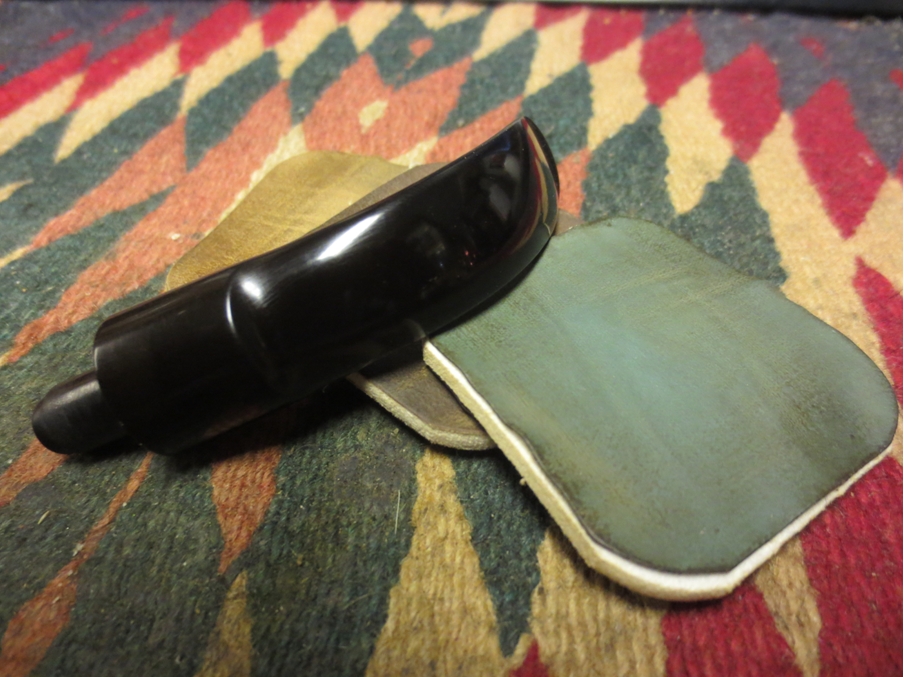
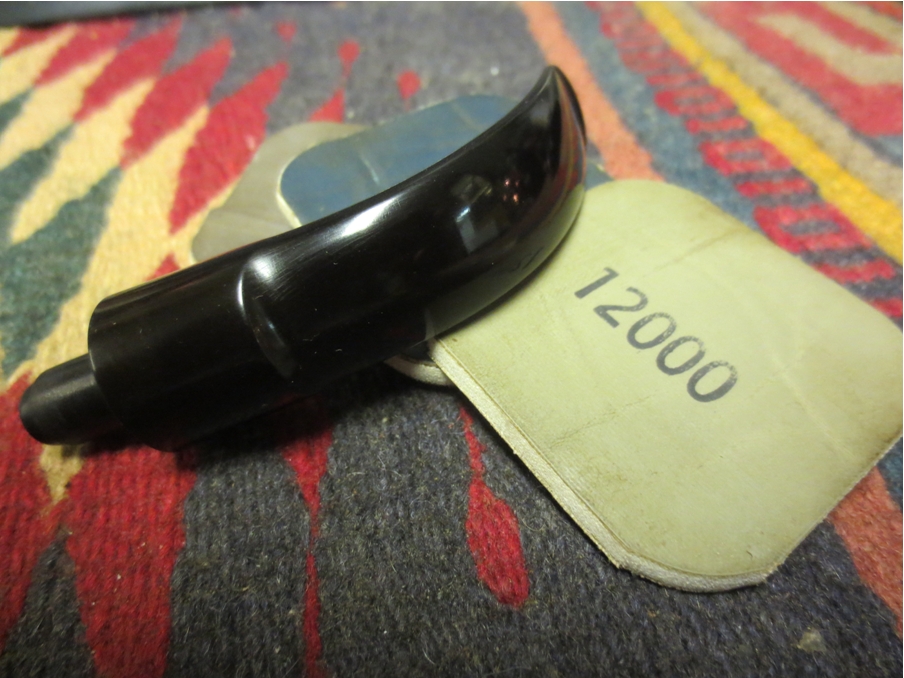
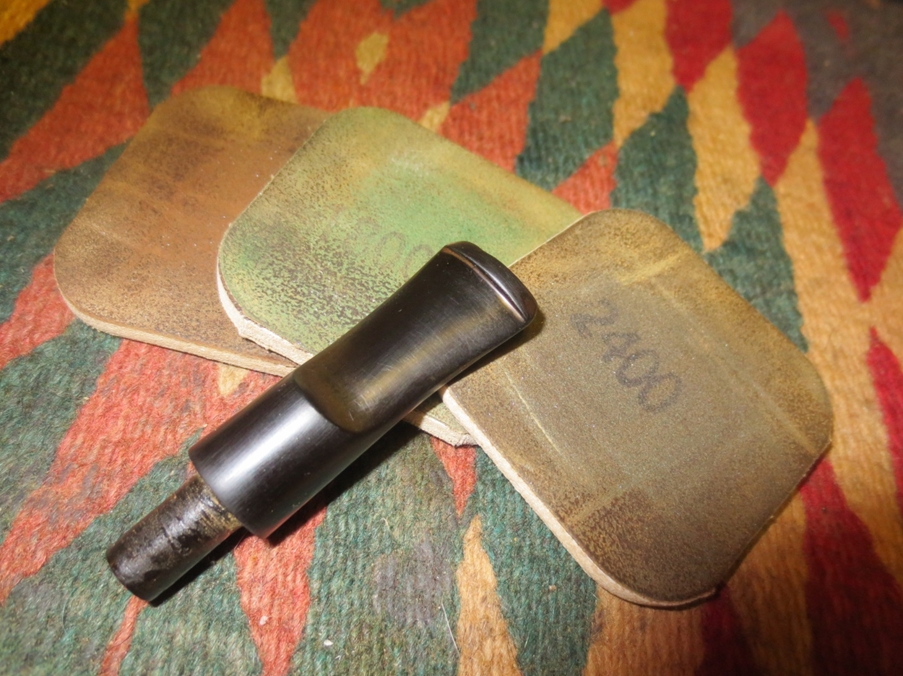
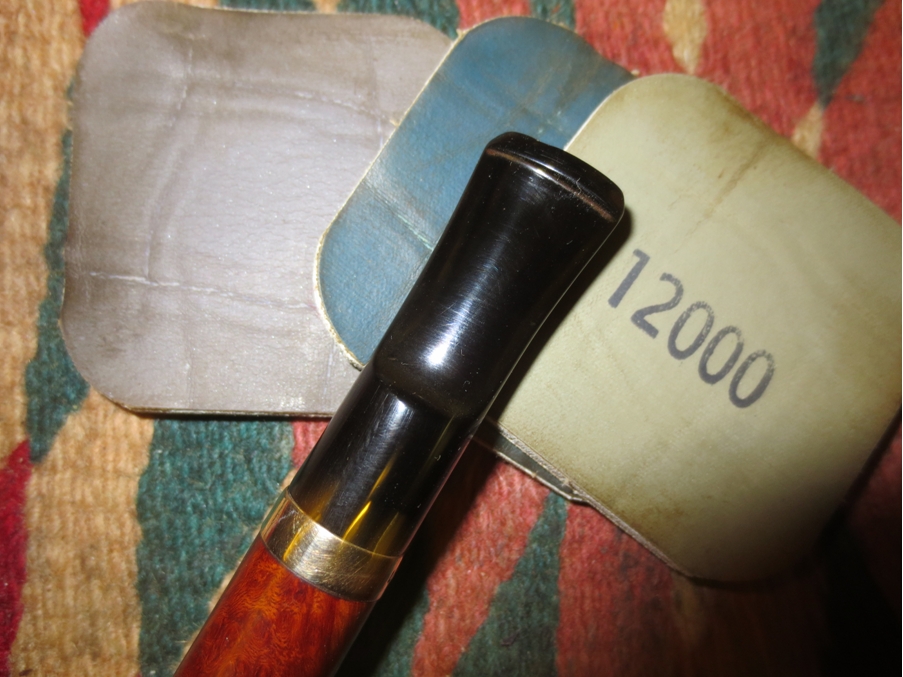
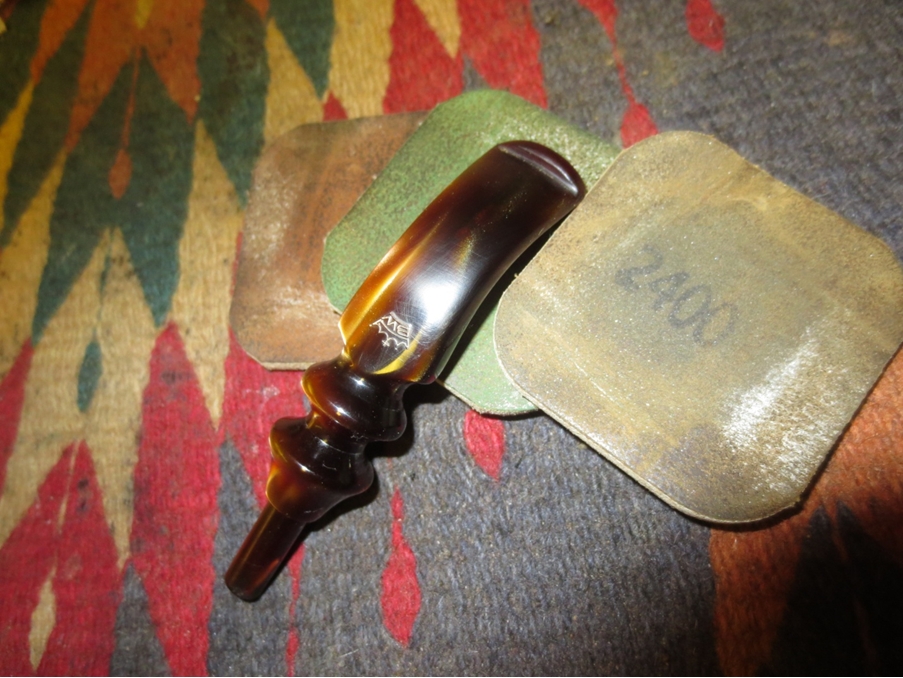
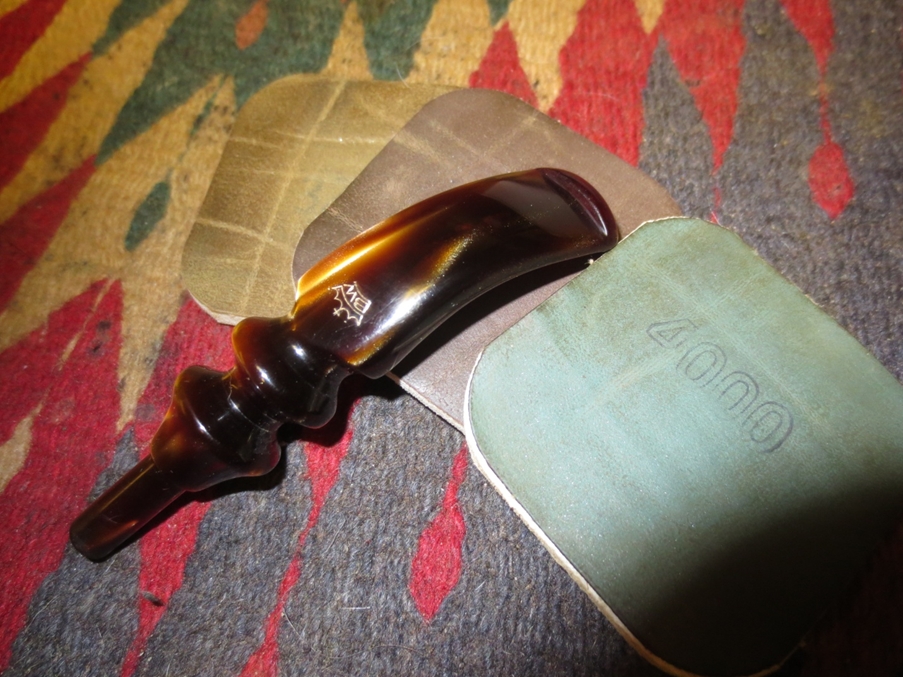
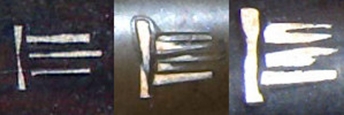 The stem was polished with micro-mesh pads 1500-grit to 12000-grit. I applied a drop of Obsidian Oil to the stem, let it sit for a couple of minutes, and then wiped off the excess to finish up the work on the stem.
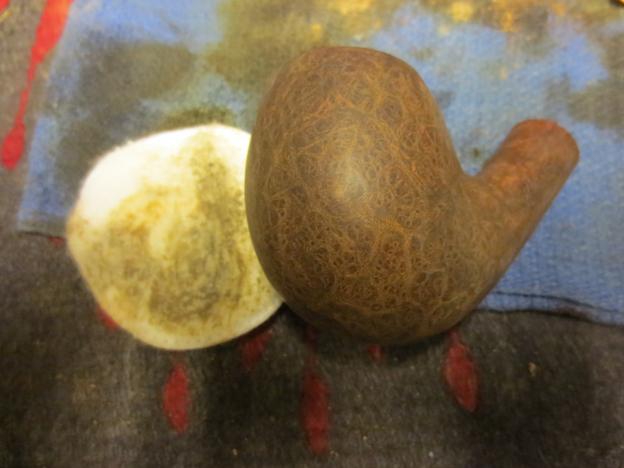
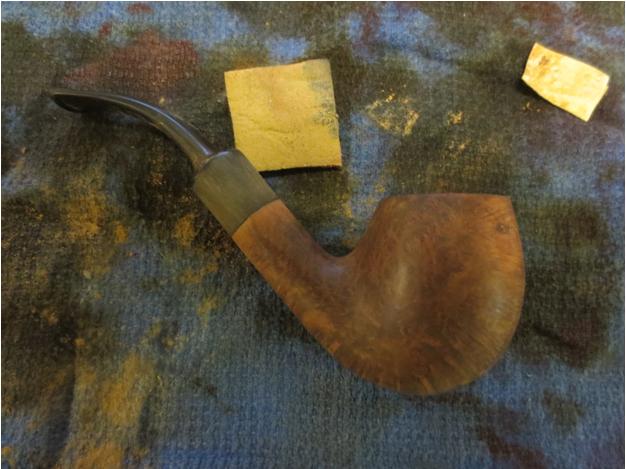
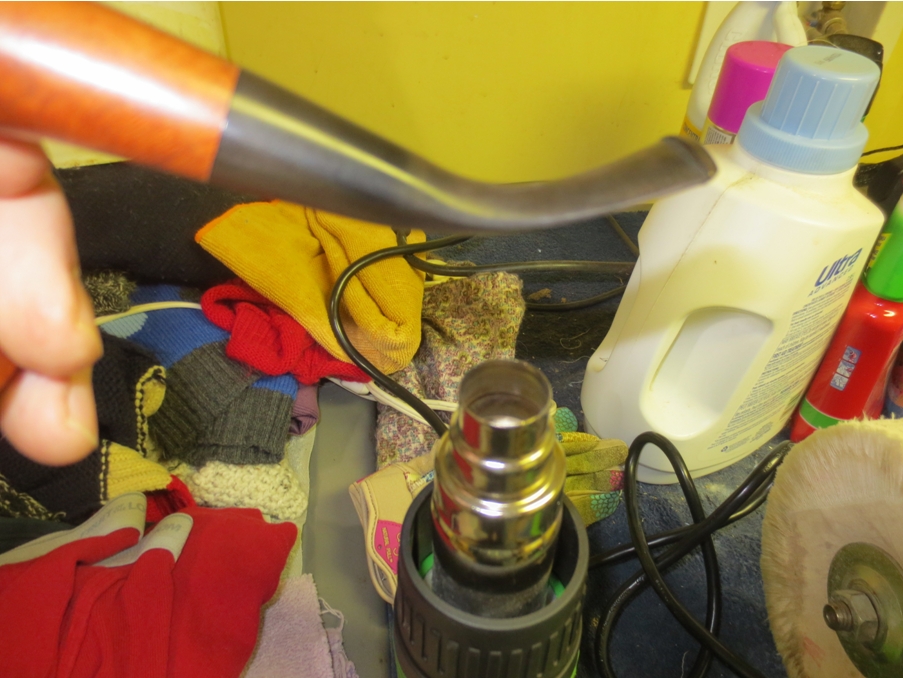
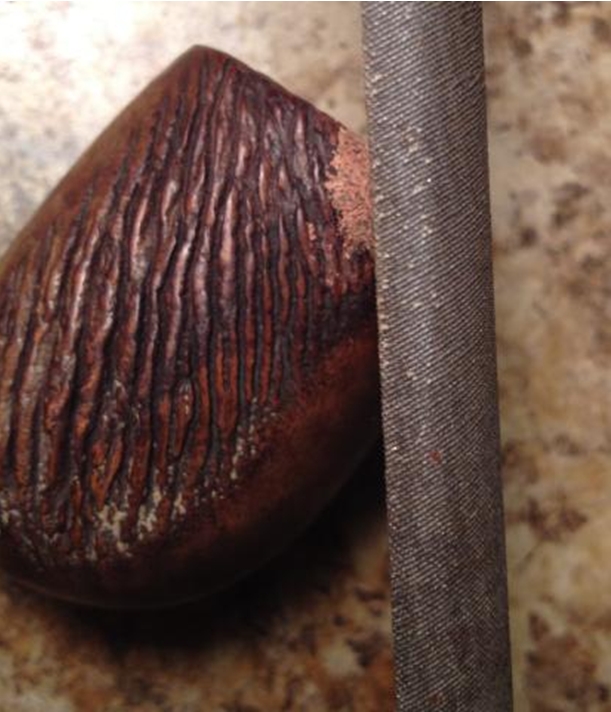
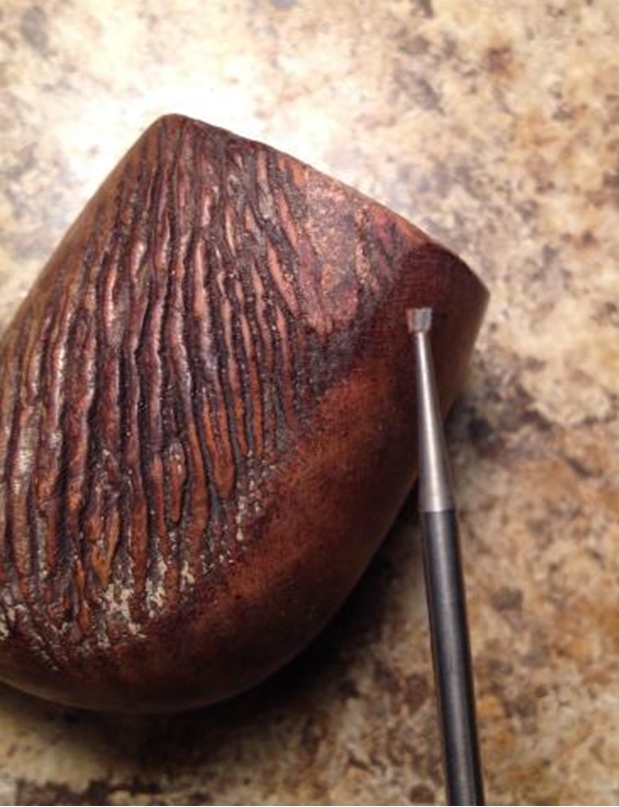
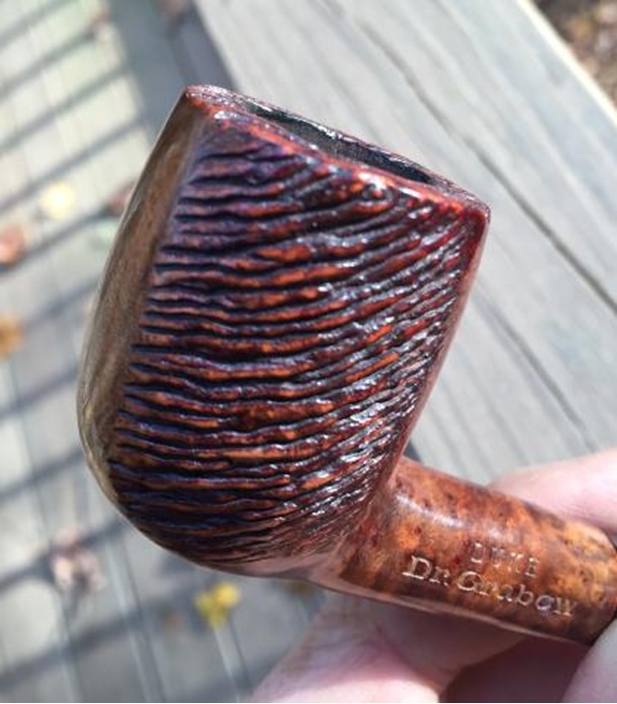
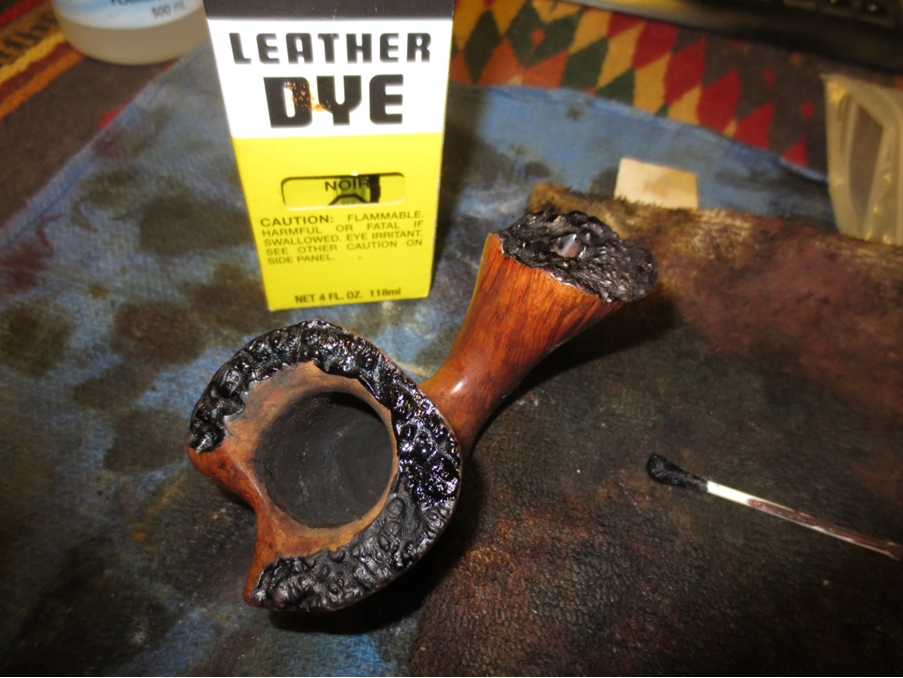
 I decided to go for three levels of texture in the partial rustication and hoped that would give the pipe a unique appearance. I used a felt pen to mark an oval-shaped guideline on each side of the bowl. I started carving with a Dremel and a 3/32” engraving burr. Basically, I just scribbled around the stummel avoided the areas that I wanted to leave smooth to create the base for the medium texture. Then, I used a variety of hand-cut bits and tools to really get in there and remove some wood to create the craggy texture around the ovals that I had marked. To finish up the rustication, I used a 1/32” engraving burr to touch up a few of the places where the rustication met the smooth areas.
 It turned out to be a rather lengthy process to get the final color and finish the way that I wanted it. So, I won’t go into a lot of detail, but here’s the gist of it:
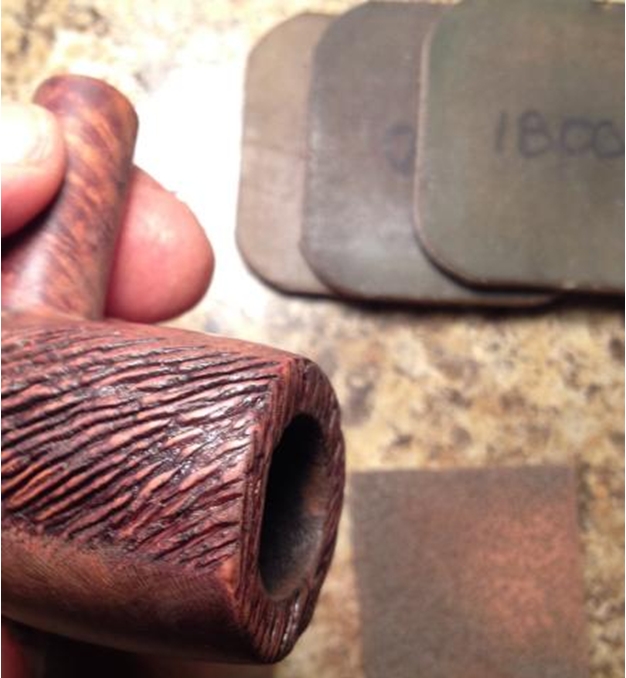
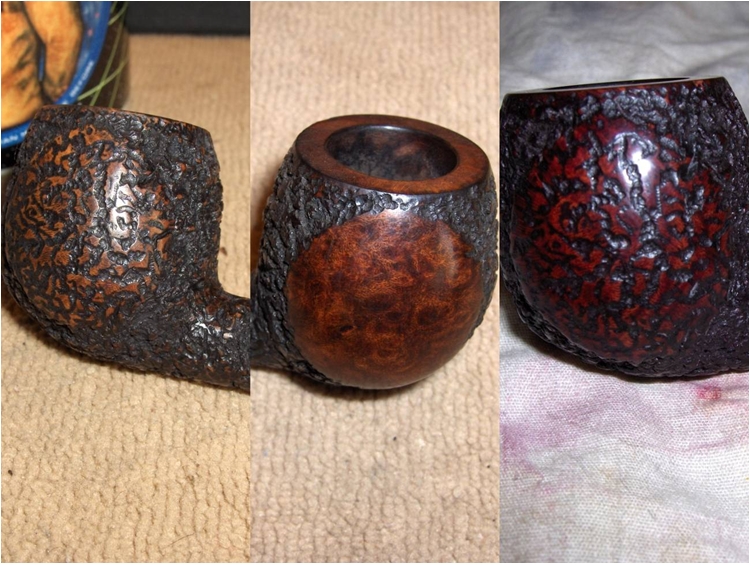
1) Applied black stain, sanded smooth areas and rustication high spots with 400-grit, and buffed with Tripoli
2) Applied mahogany stain, lightly sanded smooth areas and brushed the rustication high spots with 600-grit, and buffed with a clean wheel.
3) Applied ox blood stain to the rusticated areas only, hand buffed, sanded smooth areas with 1200-grit (Not pictured below. Oops).
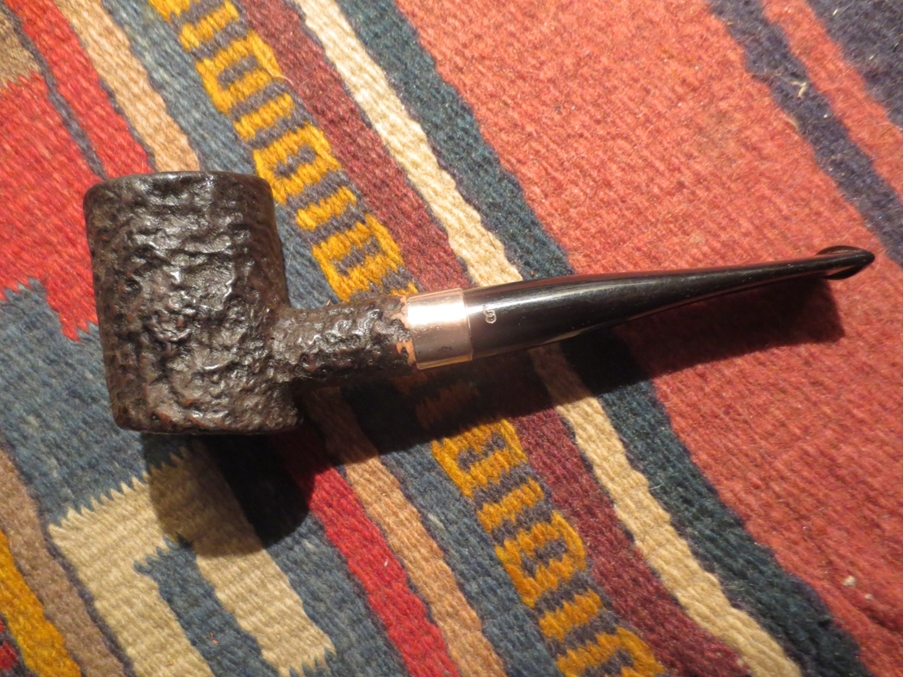
4) Polished with micro-mesh 1500-grit to 2400-grit, applied red stain to smooth areas only, buffed with a clean wheel, continued polishing smooth areas with micro-mesh 3200-12000. After the final micro-mesh polish, I reattached the stem and buffed the entire pipe with White Diamond. I then applied Halcyon II wax to the stummel and carnauba wax to the stem and buffed the pipe with a clean wheel. Lastly, I painted the walls of the chamber with a sour cream and activated charcoal bowl coating to add some temporary insulation until a good cake could form.
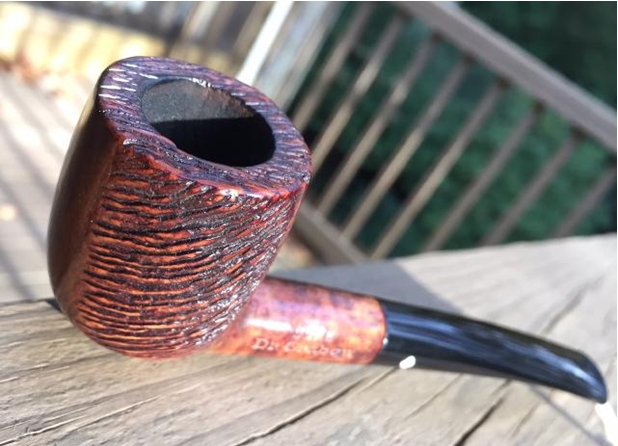
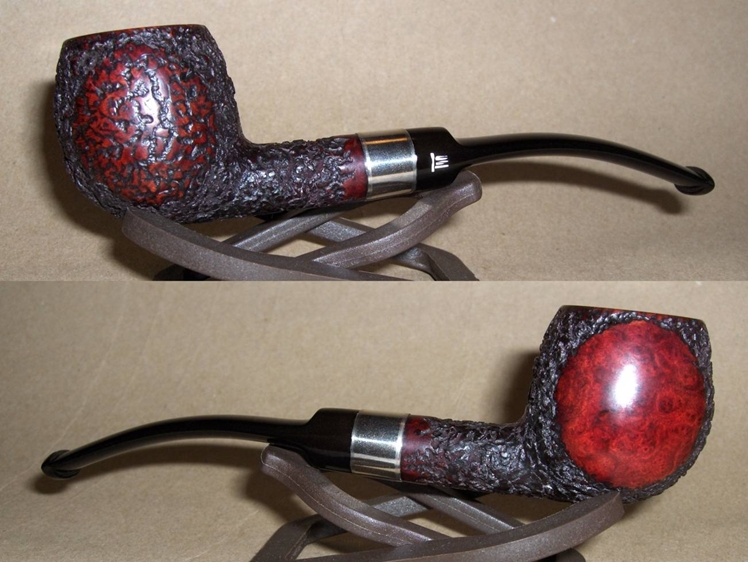
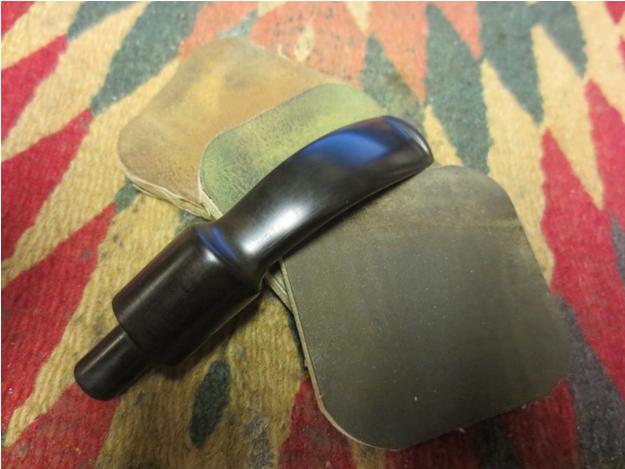
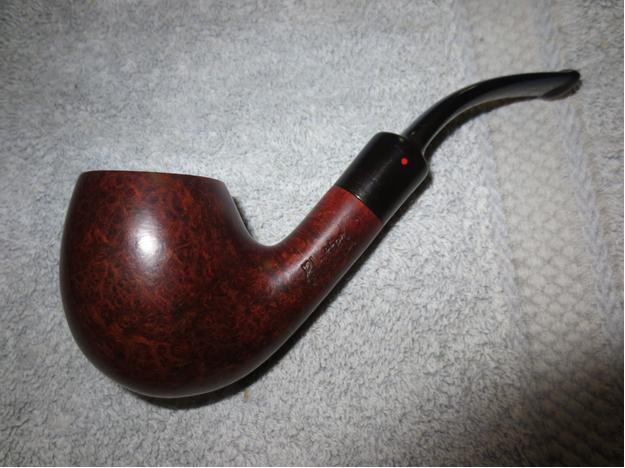
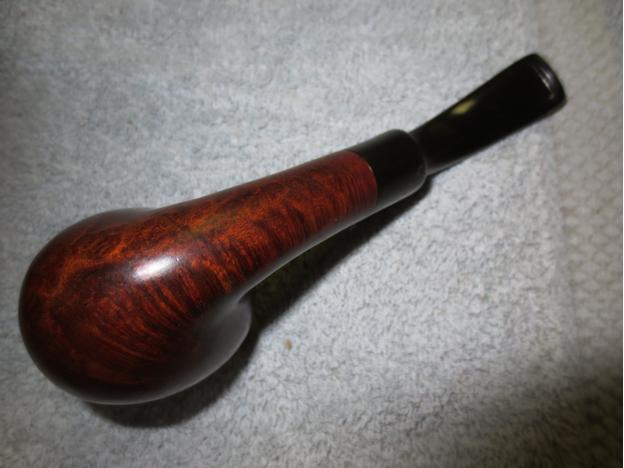
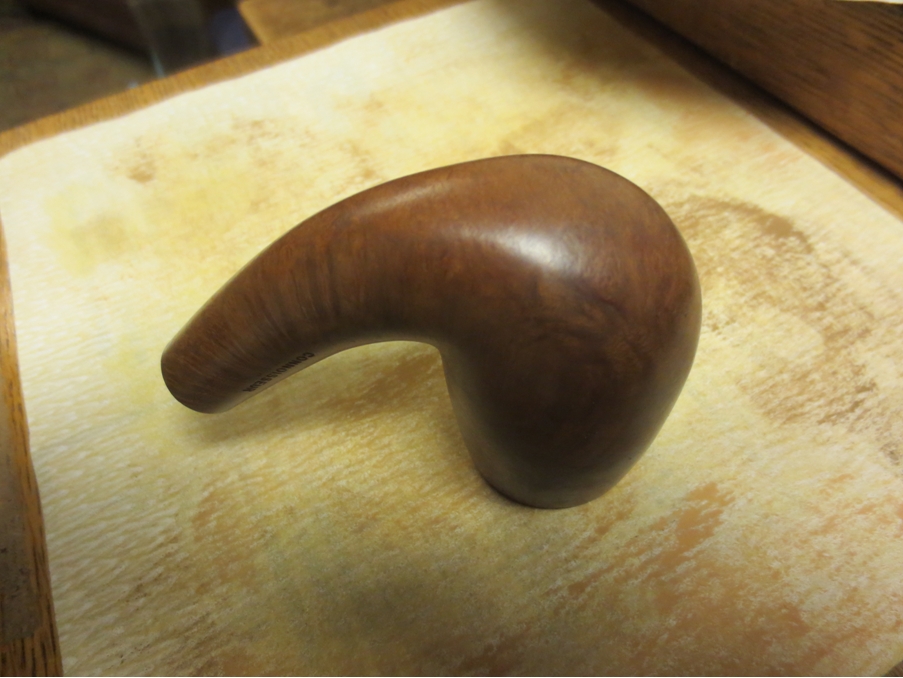
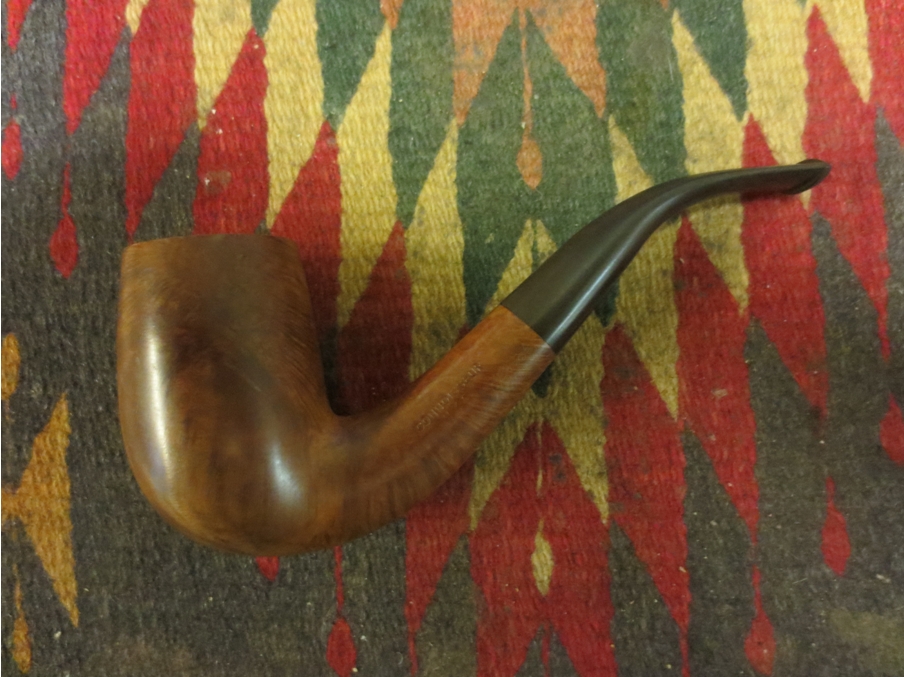
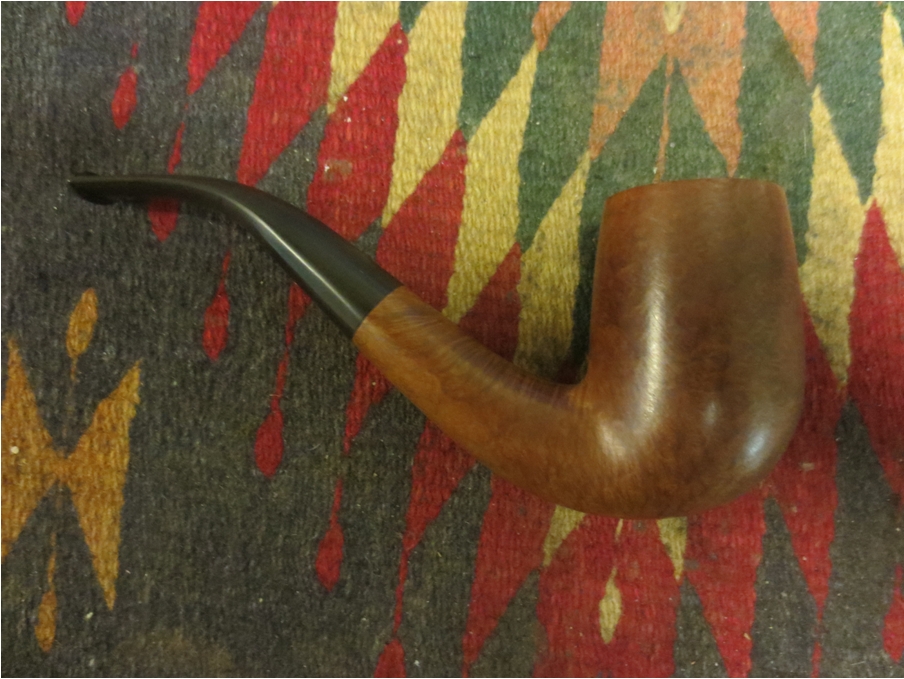
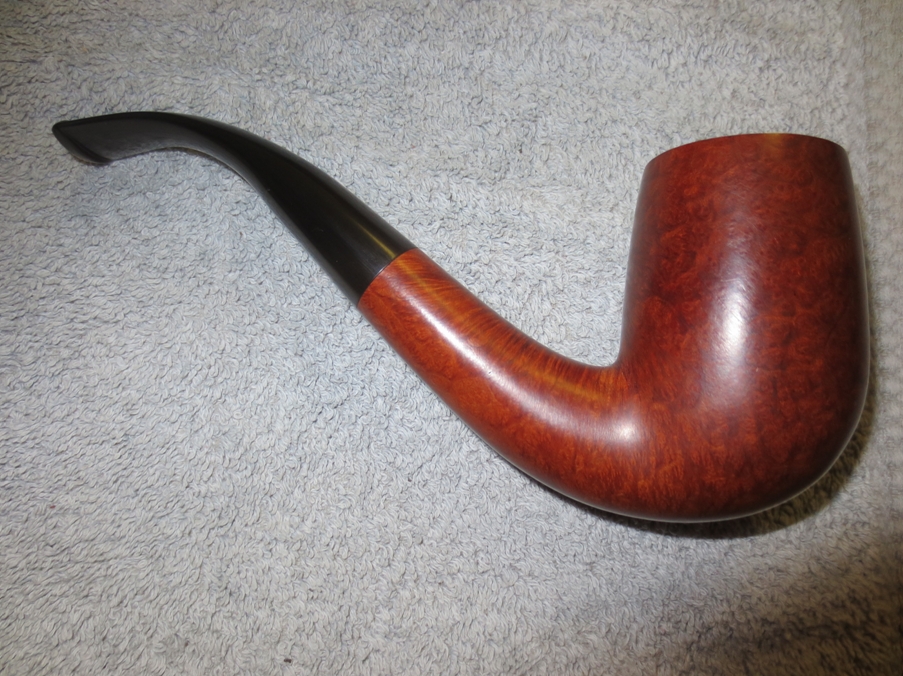
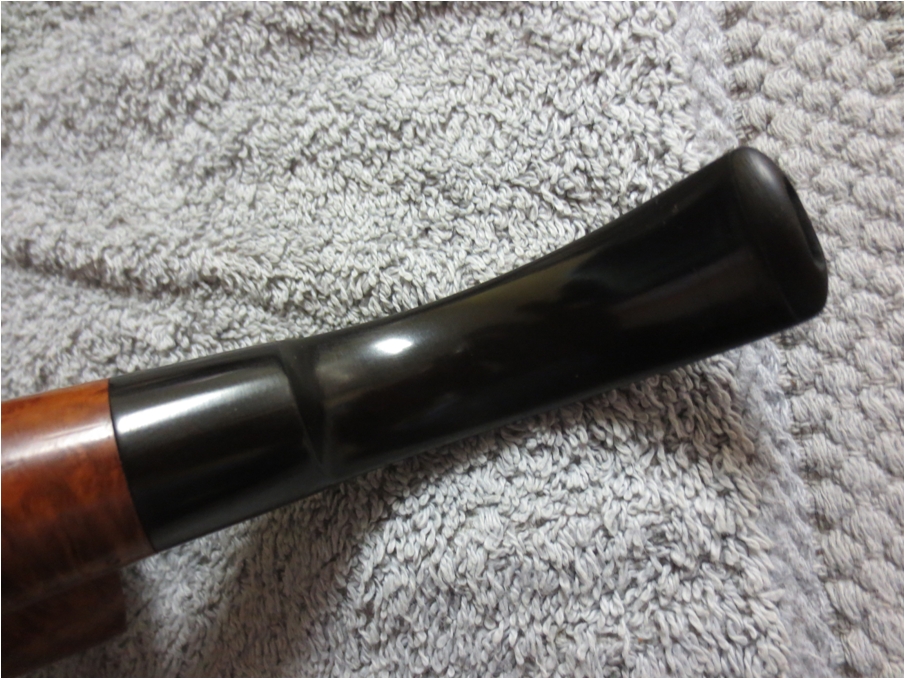
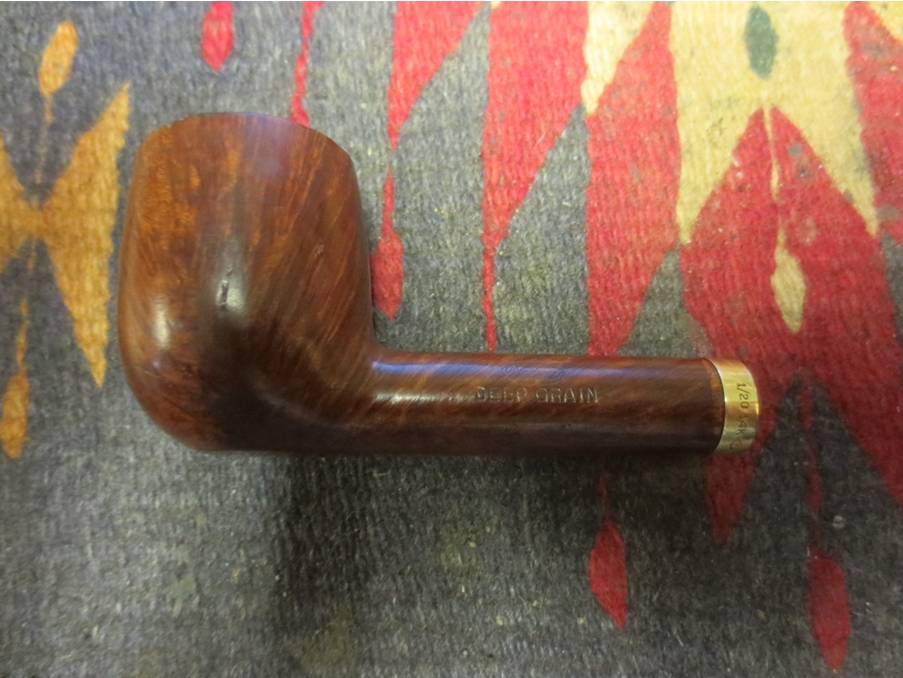
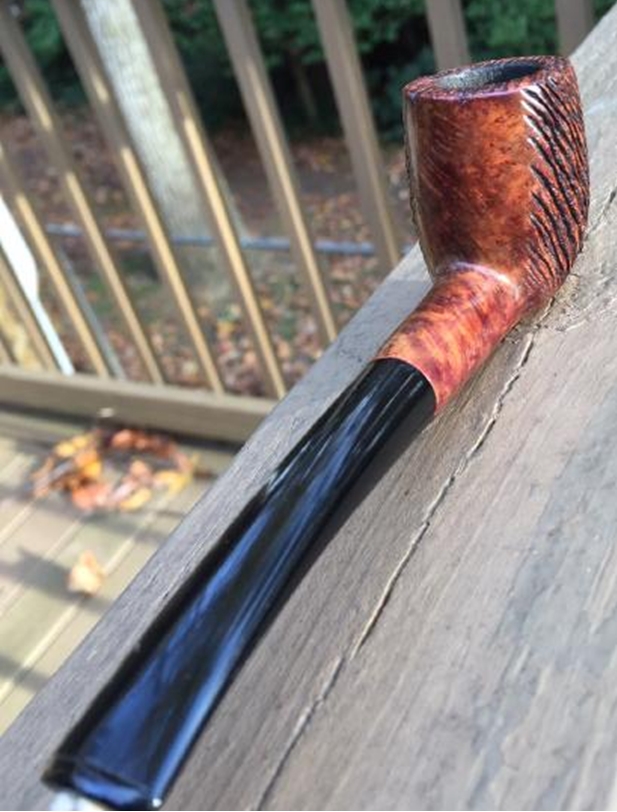
The finished pipe is very different from what it was when I started. It has lost its pedigree, but it has gained a unique, one-of-a-kind appearance. I’m quite pleased with the way that it turned out and I’m hoping that the new owner will be too. It’s in the mail, Dustin. Smoke it well, brother!


 I cleaned out the shank with pipe cleaners, cotton swabs and isopropyl alcohol until the swabs came out clean. I cleaned the airway to the bowl and gave the bowl a light reaming to remove the uneven build up. I scrubbed down the rim and removed the light build up that was there and polished the bowl with carnauba on the buffer.
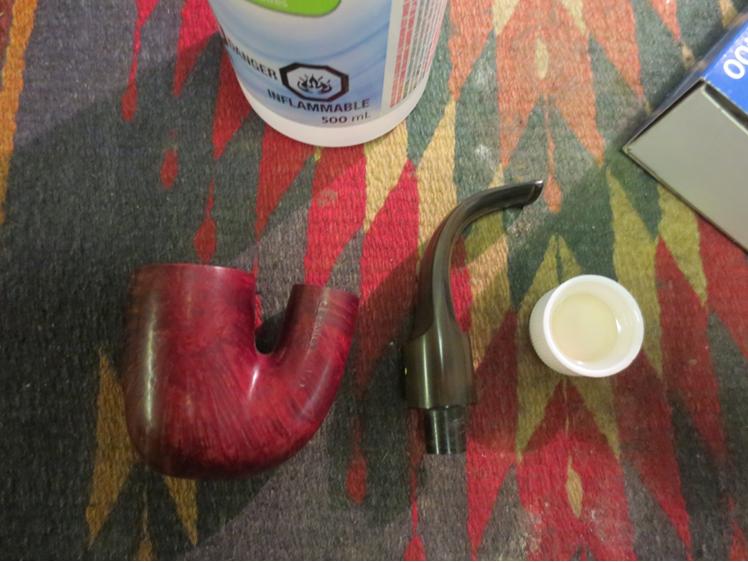 I lightly sanded the stem with a medium grit sanding sponge to loosen the oxidation and with 220 grit sandpaper to remove the tooth chatter and small dent.
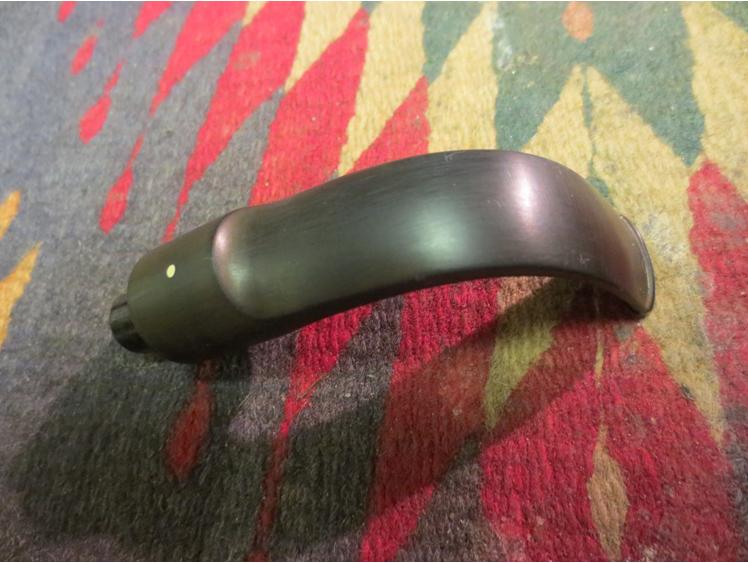

 I mixed up a batch of oxyclean and put the stem in the bath to soak overnight.
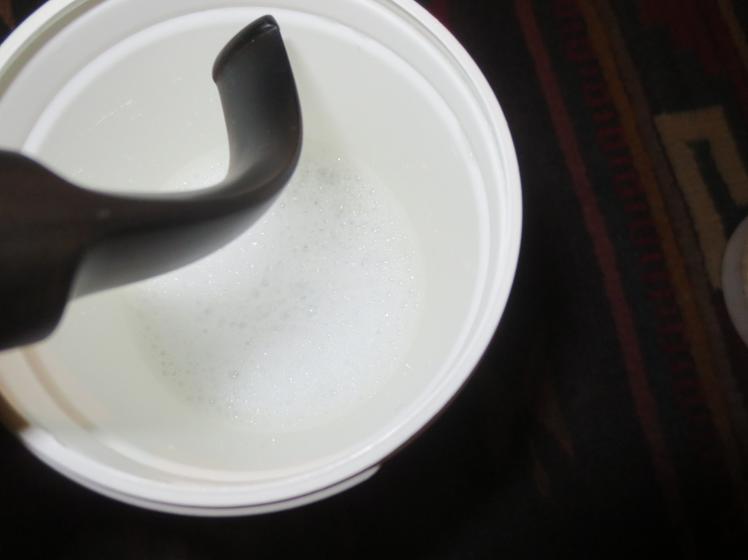 In the morning I took the lid off the container and removed the stem. The water had turned amber coloured. The oxidation had risen to the surface of the stem and I rubbed most of it off with a coarse cloth. I cleaned out the stem with alcohol and pipe cleaners and used the dental pick to clean out the slot on the stem.
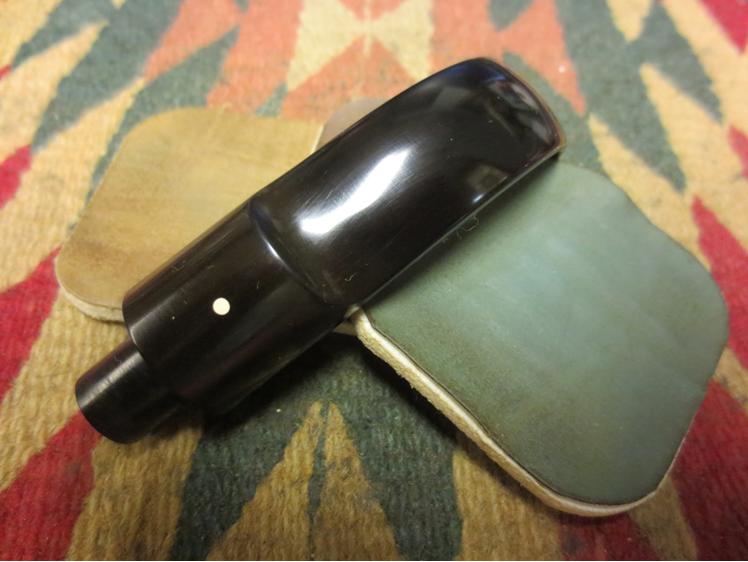
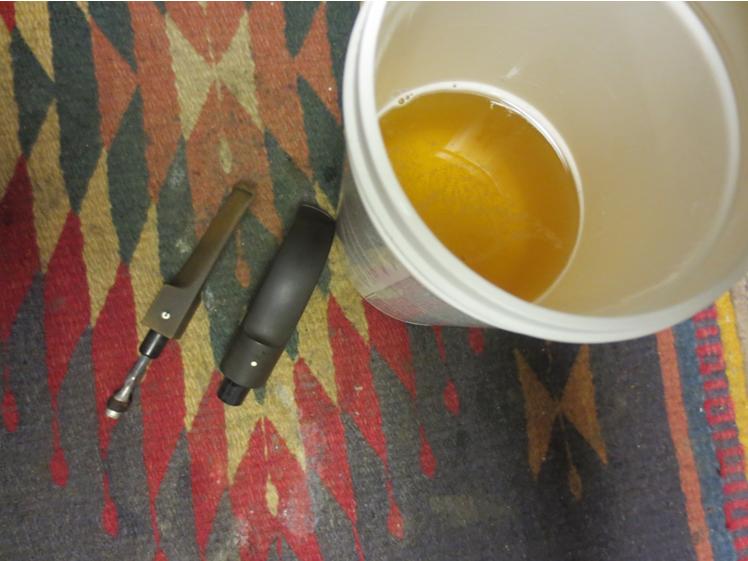 I sanded it with a medium and a fine grit sanding sponge to remove the softened oxidation.
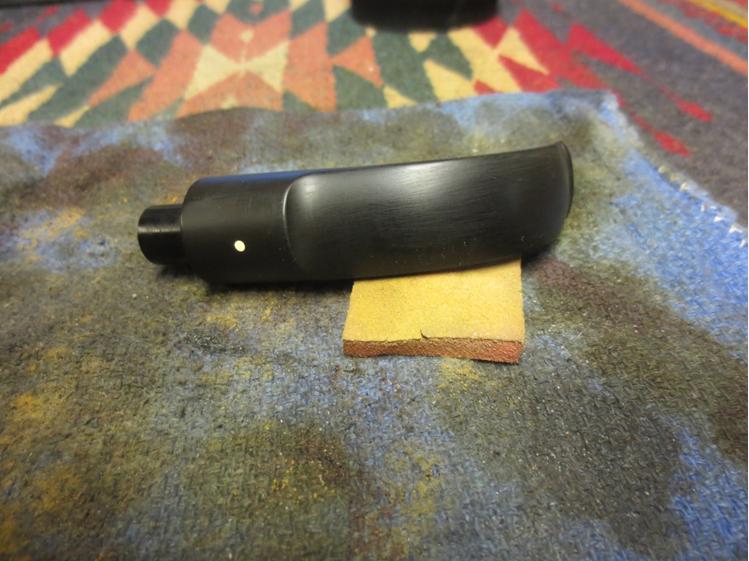 Then it was time to polish it with the micromesh sanding pads. I wet sanded with 1500-2400 grit pads and dry sanded with 3200-12,000 grit pads. I rubbed the stem down with Obsidian Oil between each set of three pads. I buffed the stem with red Tripoli after I finished with the 2400 grit pad and with White Diamond after the 12,000 grit pad.
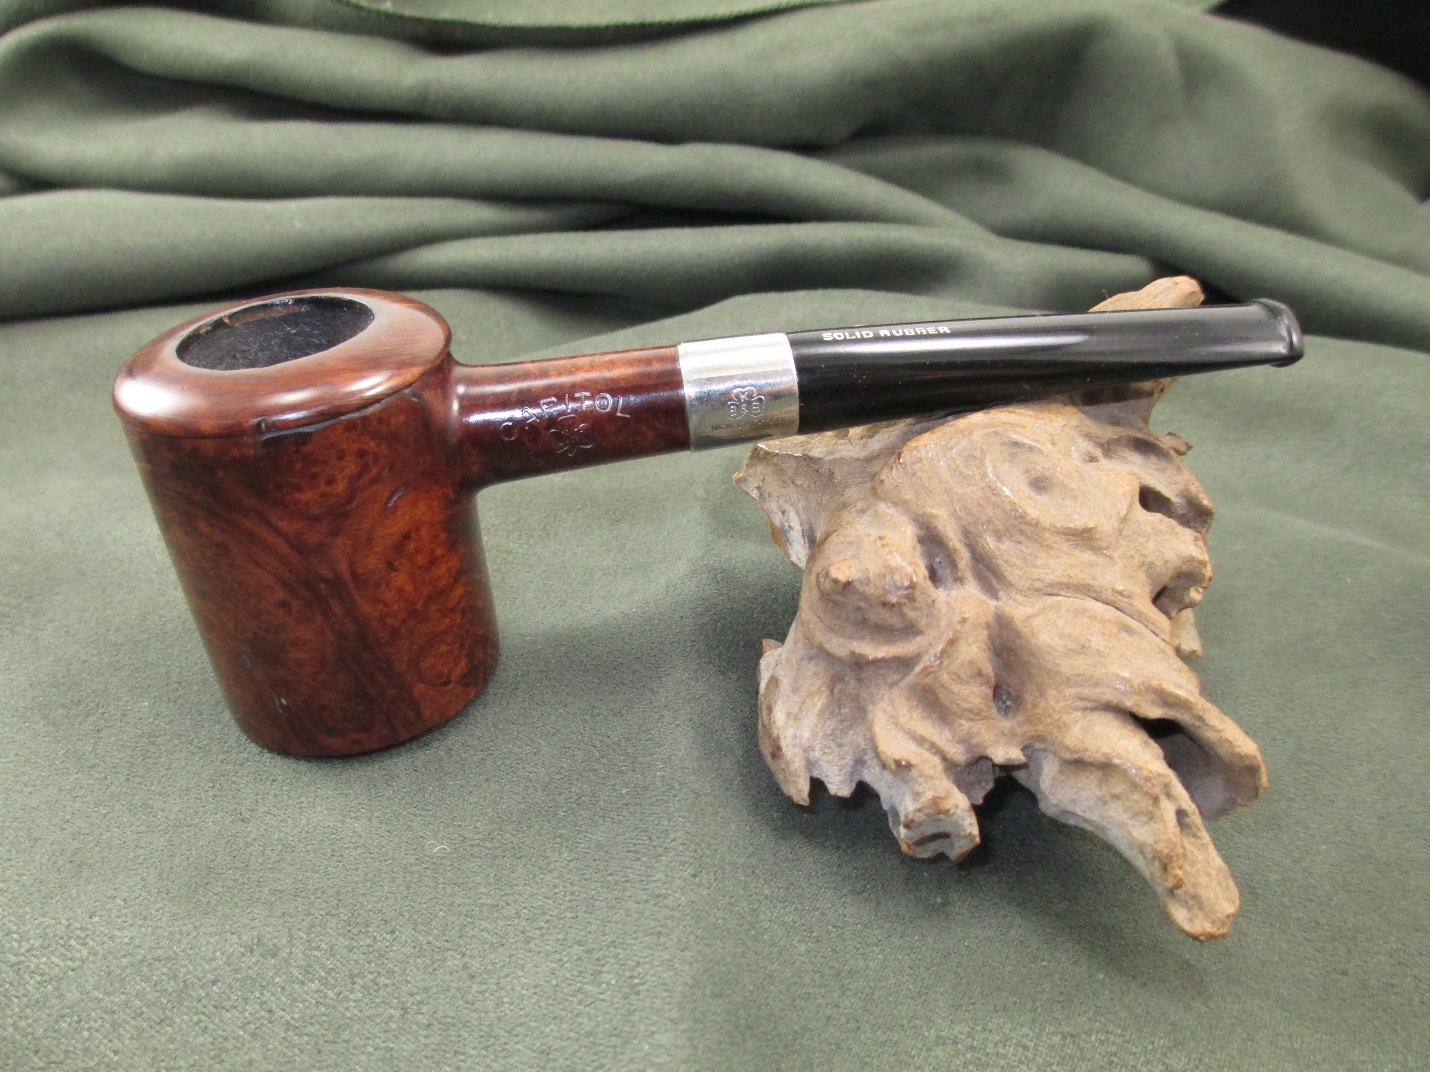
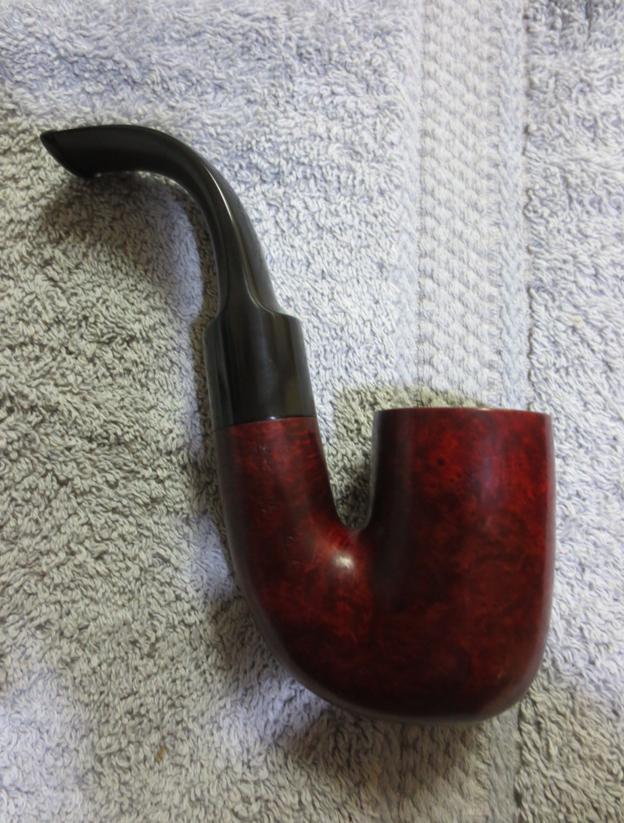
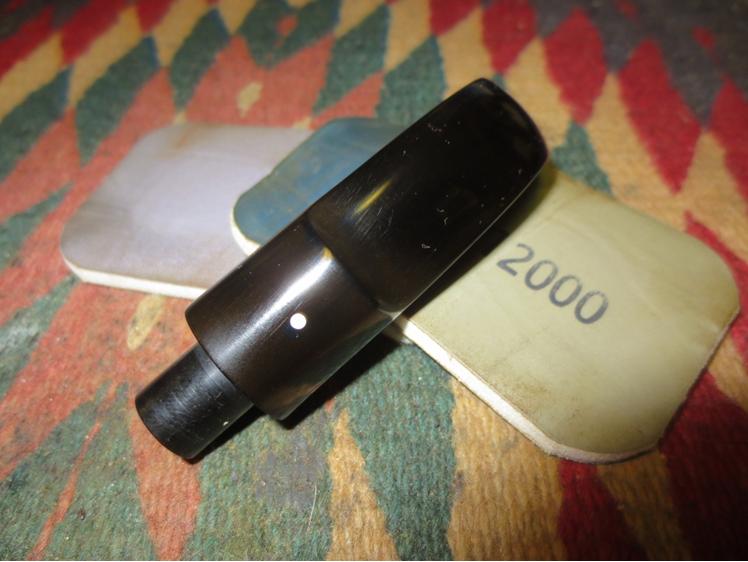 There were still some scratches that showed up in the bright light of the flash so I worked it over again with the last set of pads and then buffed it with Blue Diamond Plastic Polish on the wheel. I finished by giving the bowl and stem multiple coats of carnauba wax and then buffing it with a clean, soft flannel buffing pad to raise the shine. The finished pipe is shown below. Somehow in the photos the fluorescent lights lend the photo a yellow tint that I normally do not get. The stem is absolutely shiny and black and the bowl is a rich oxblood red. It is ready to be smoked and enjoyed.
 Thanks for looking.