Tag Archives: refinishing

Restoring an Old Amphora X-tra 509 Pot


Blog by Steve Laug

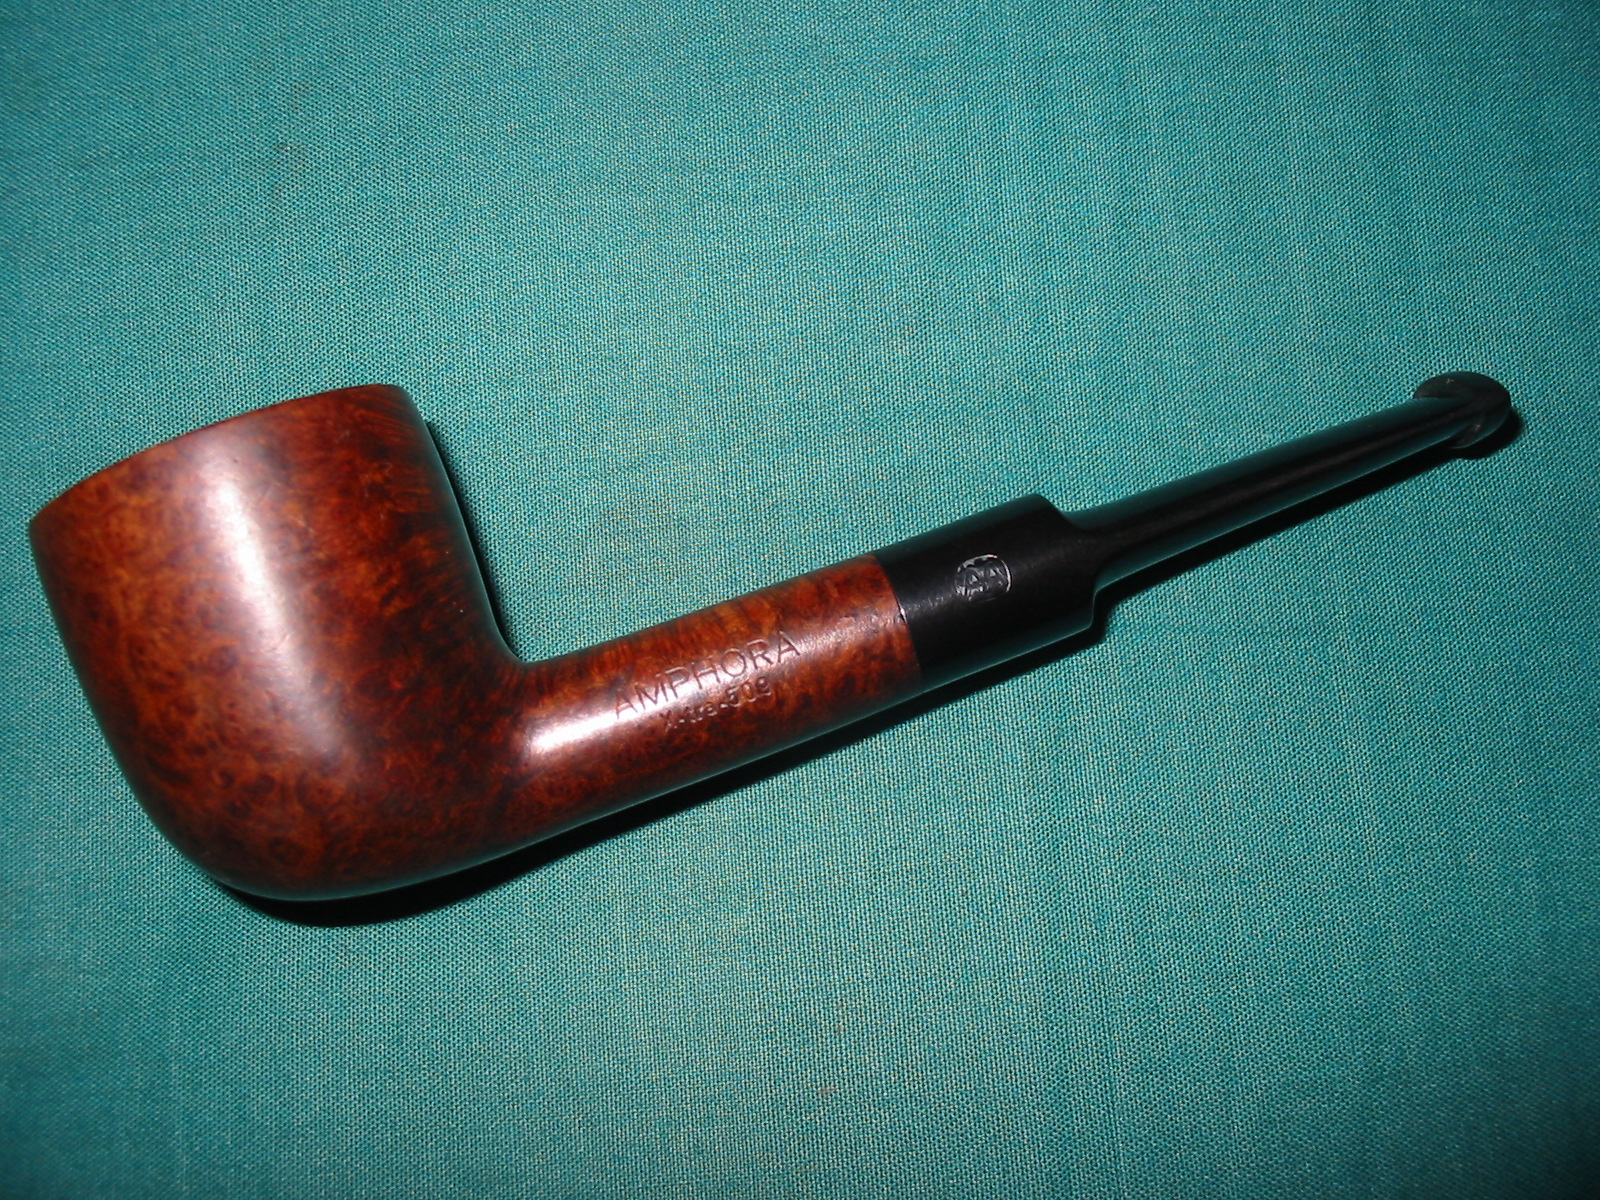
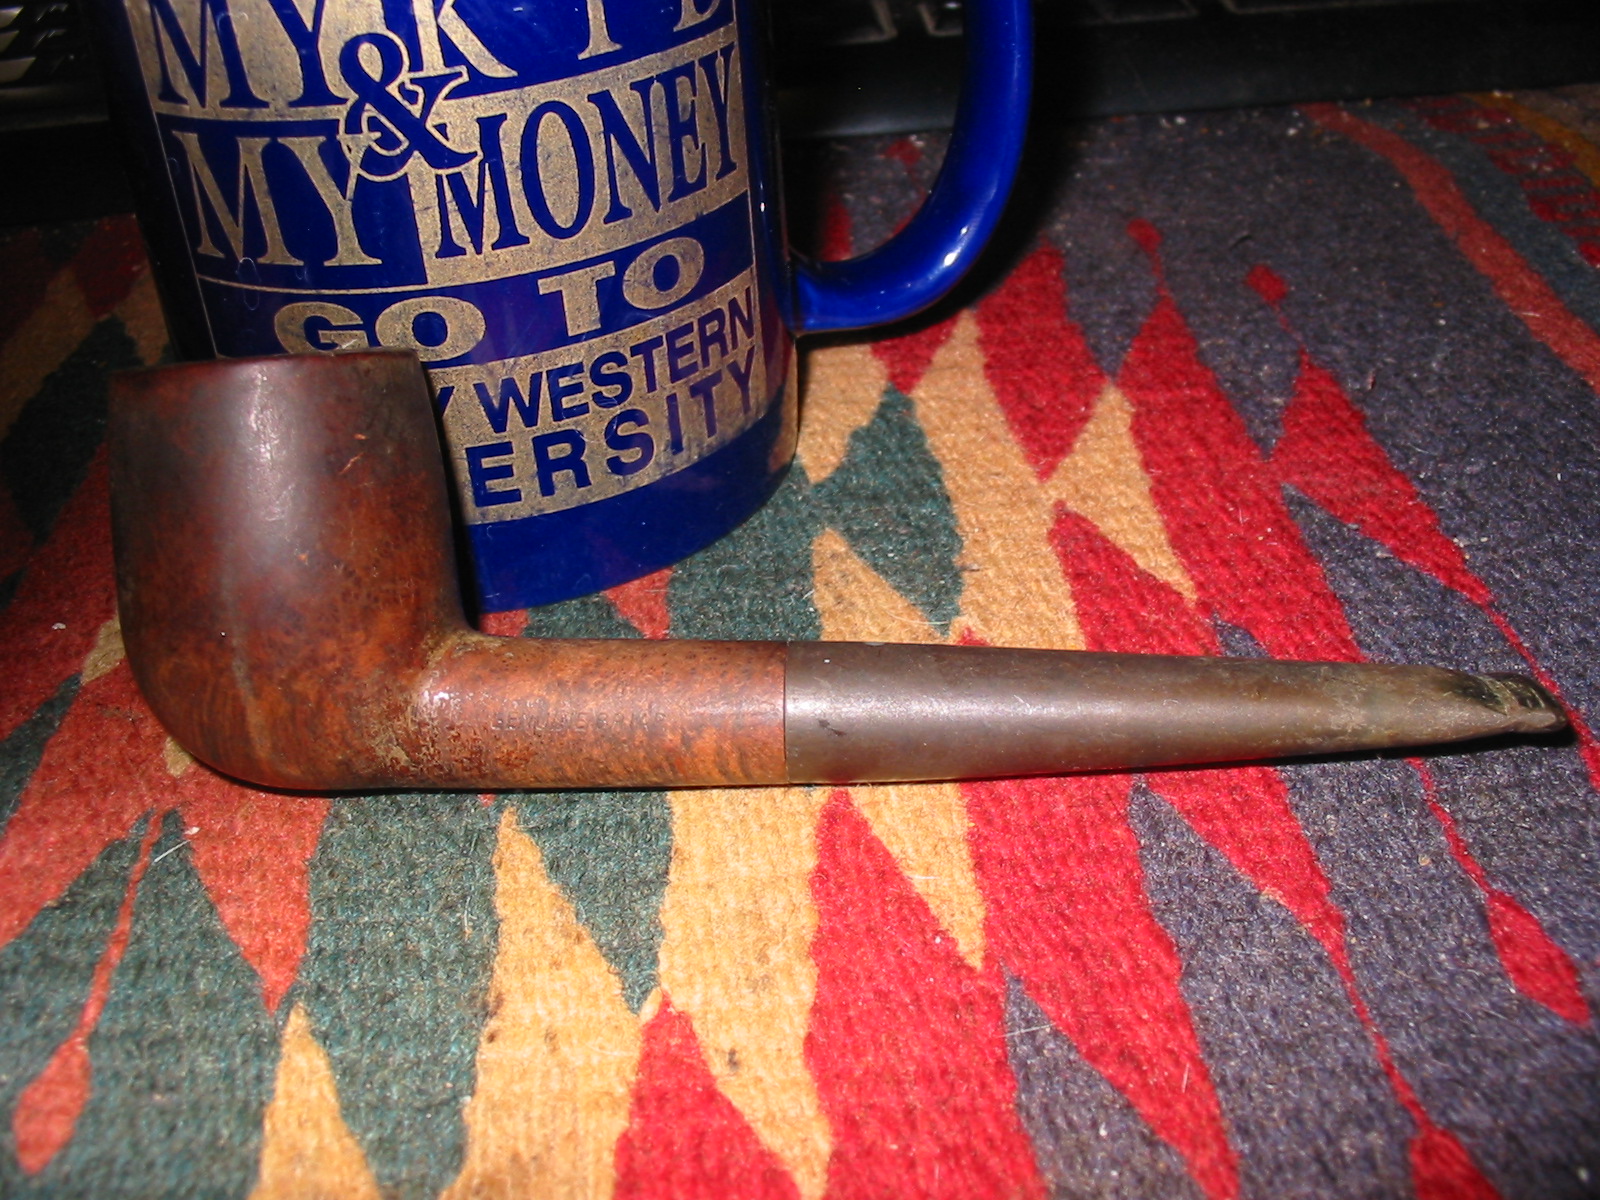
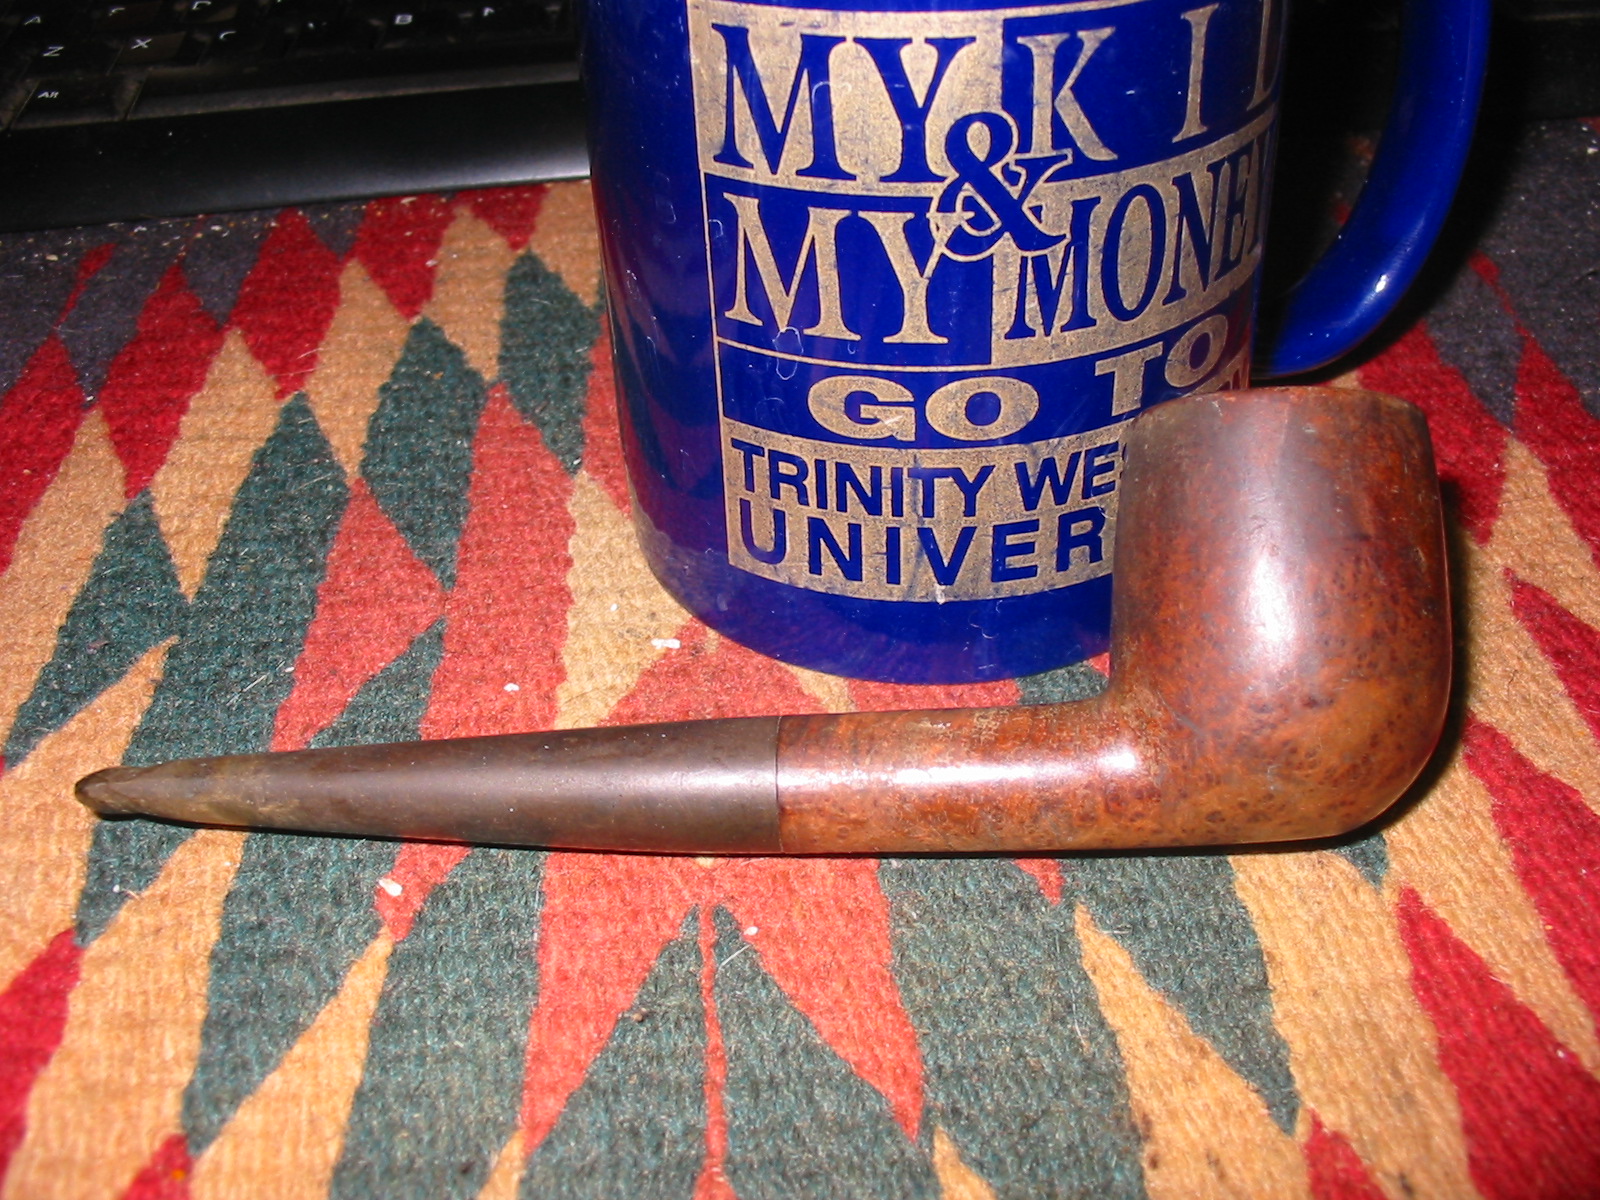
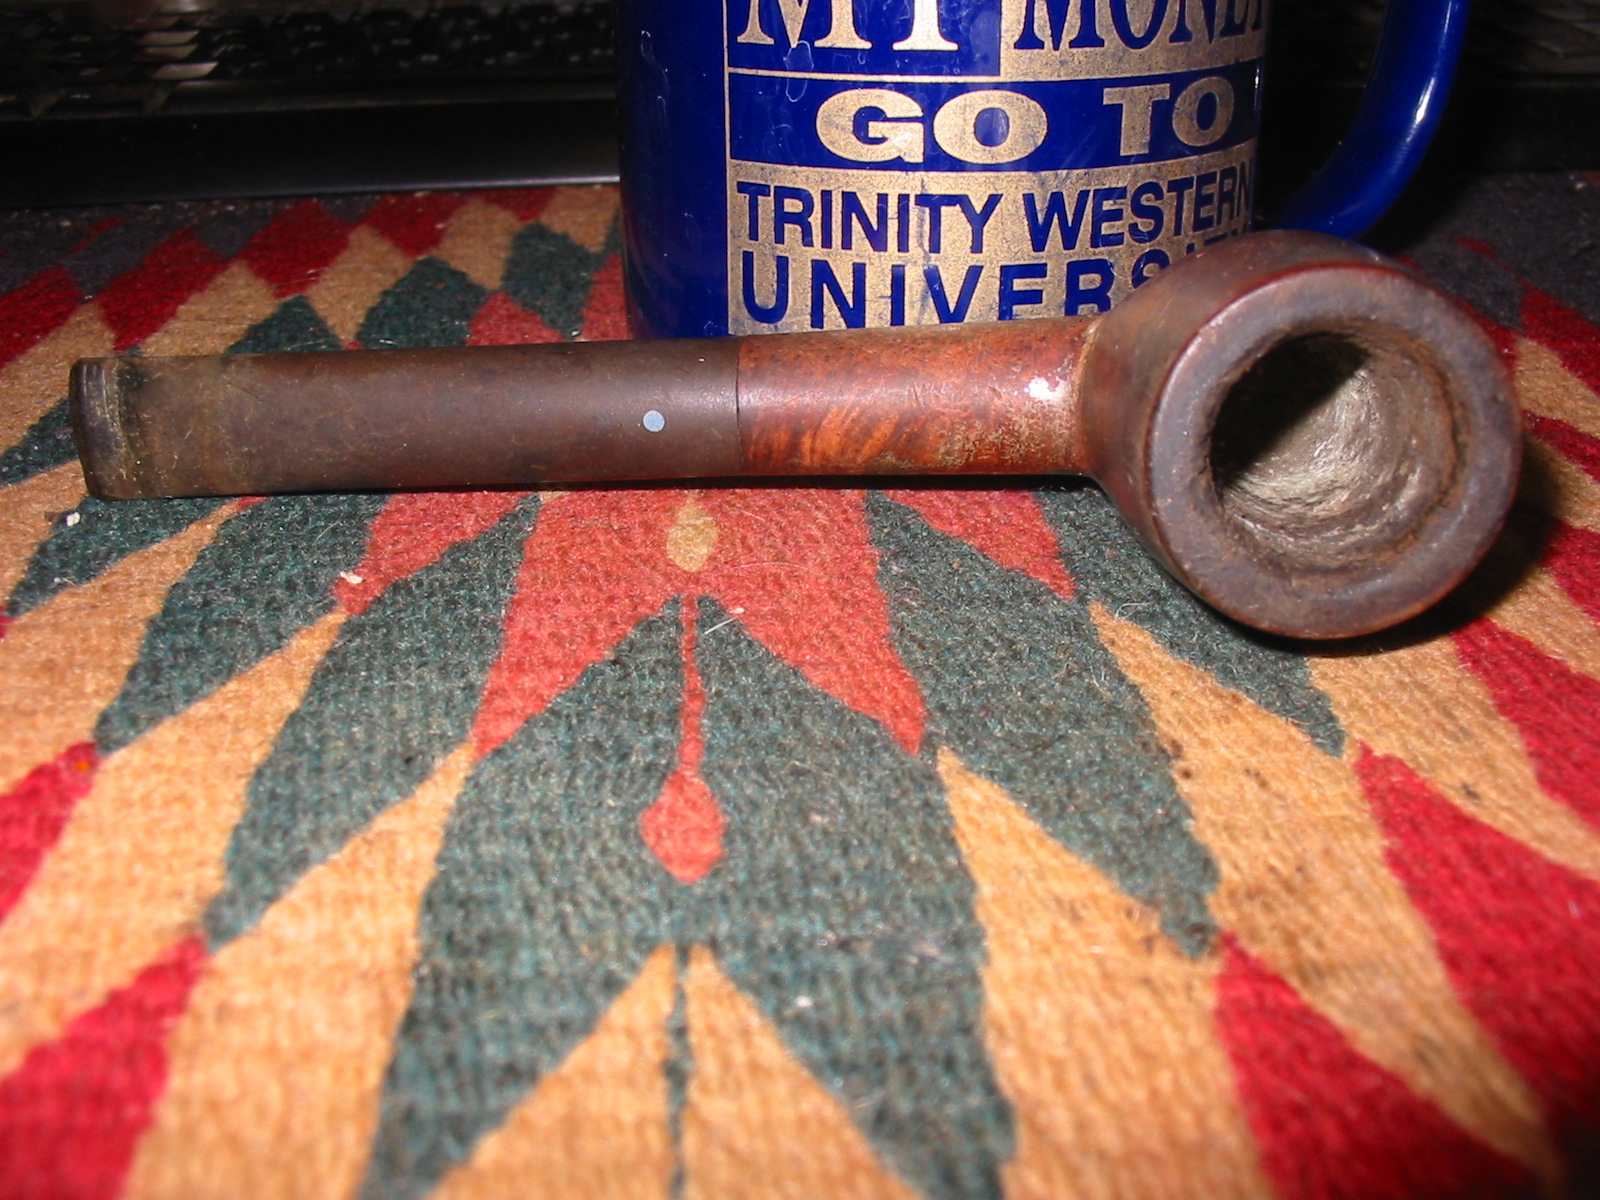
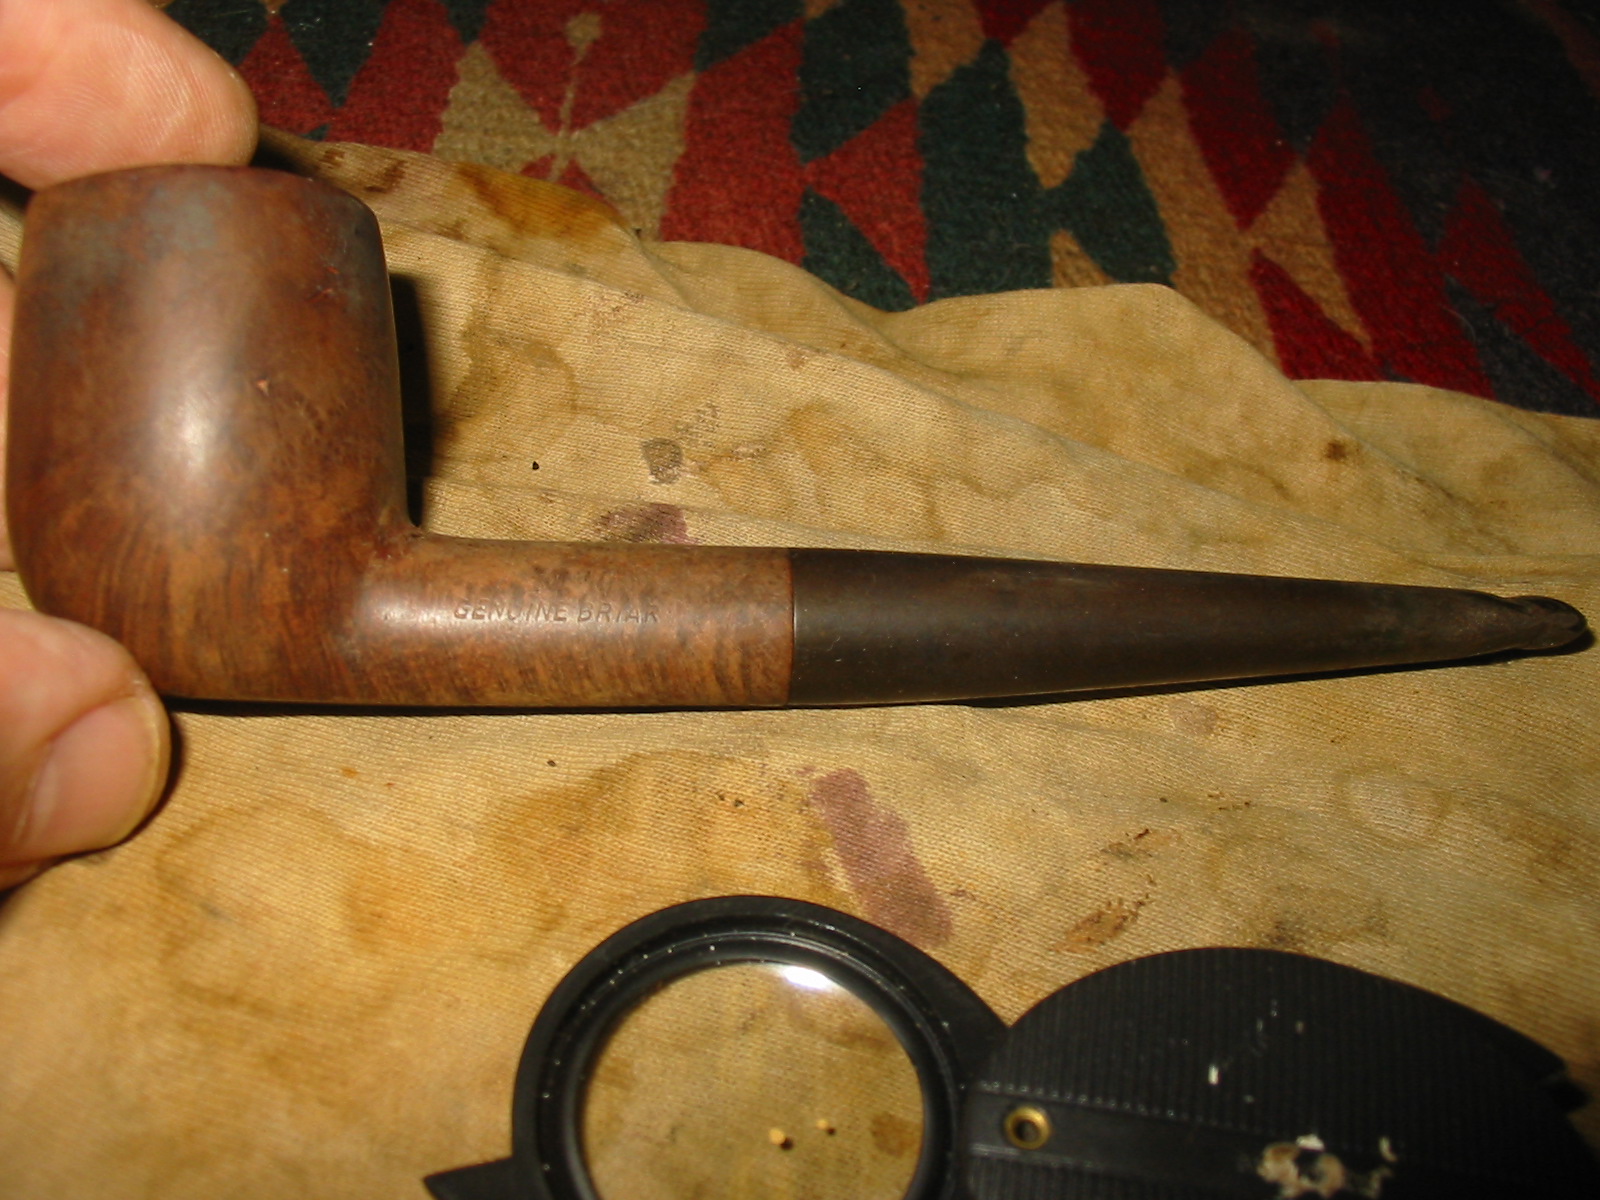
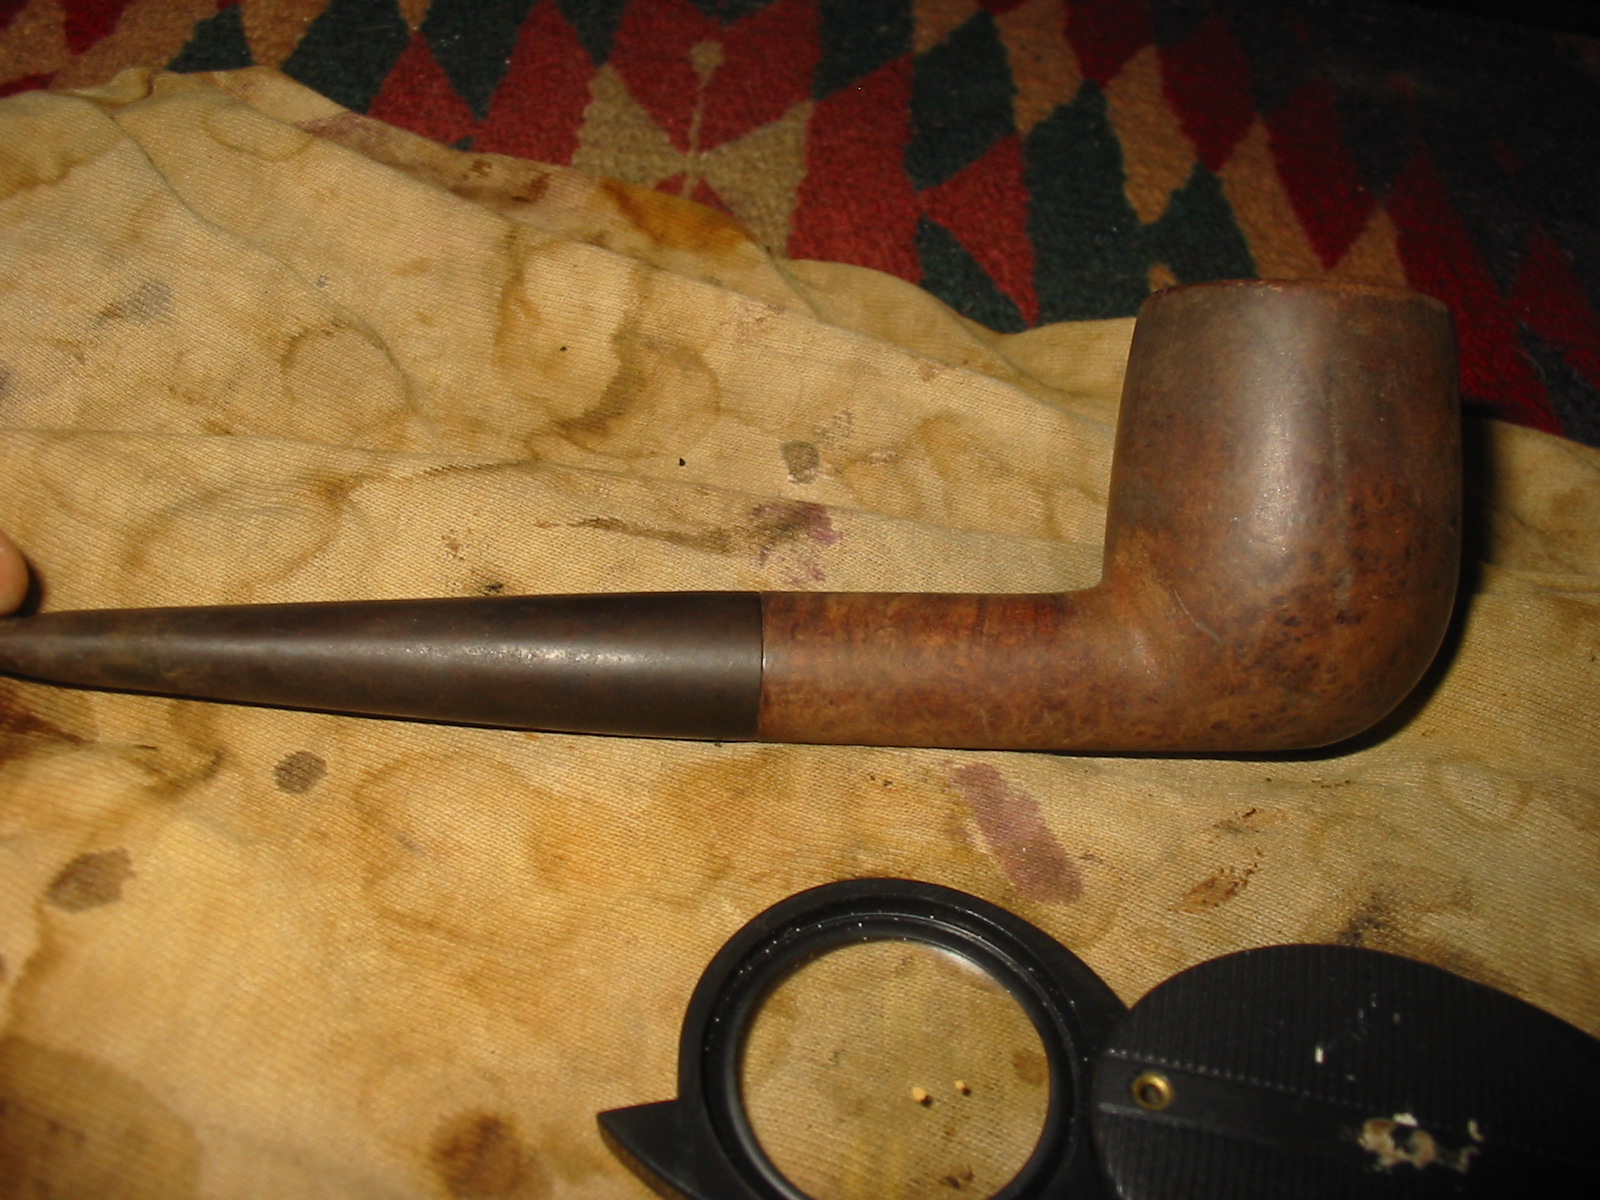
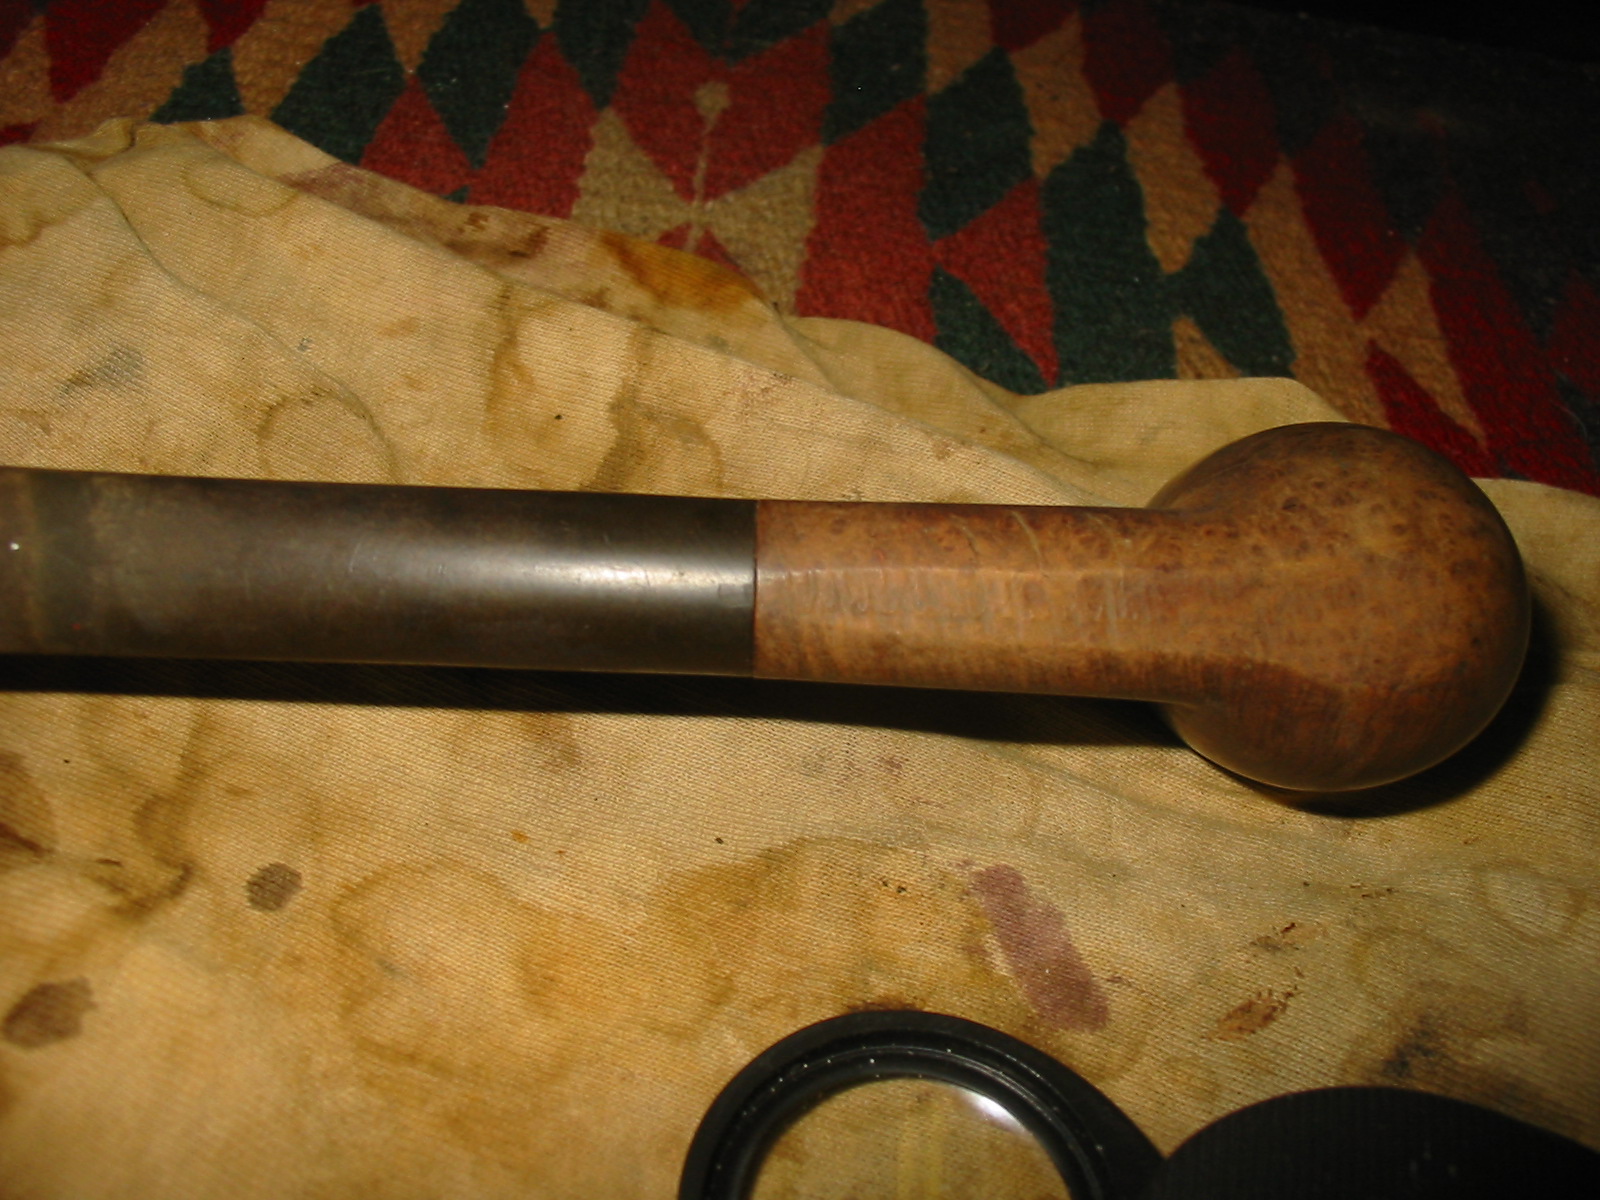
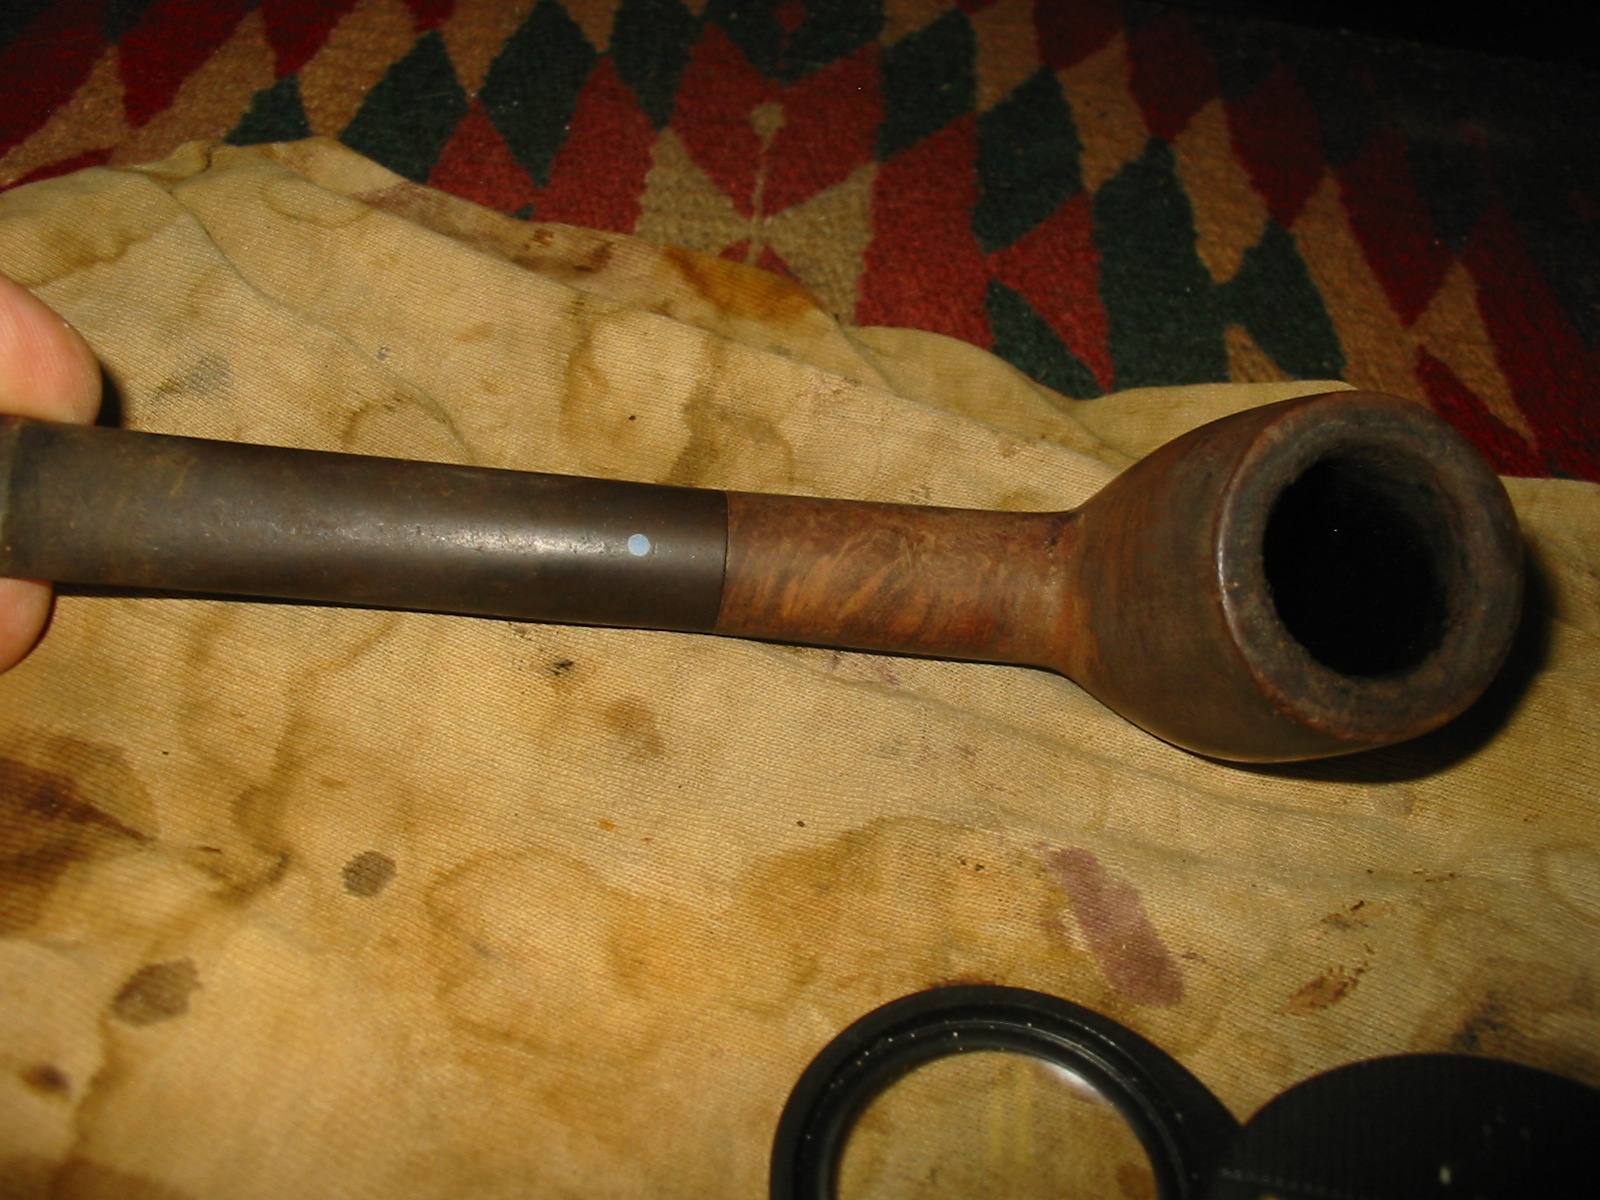
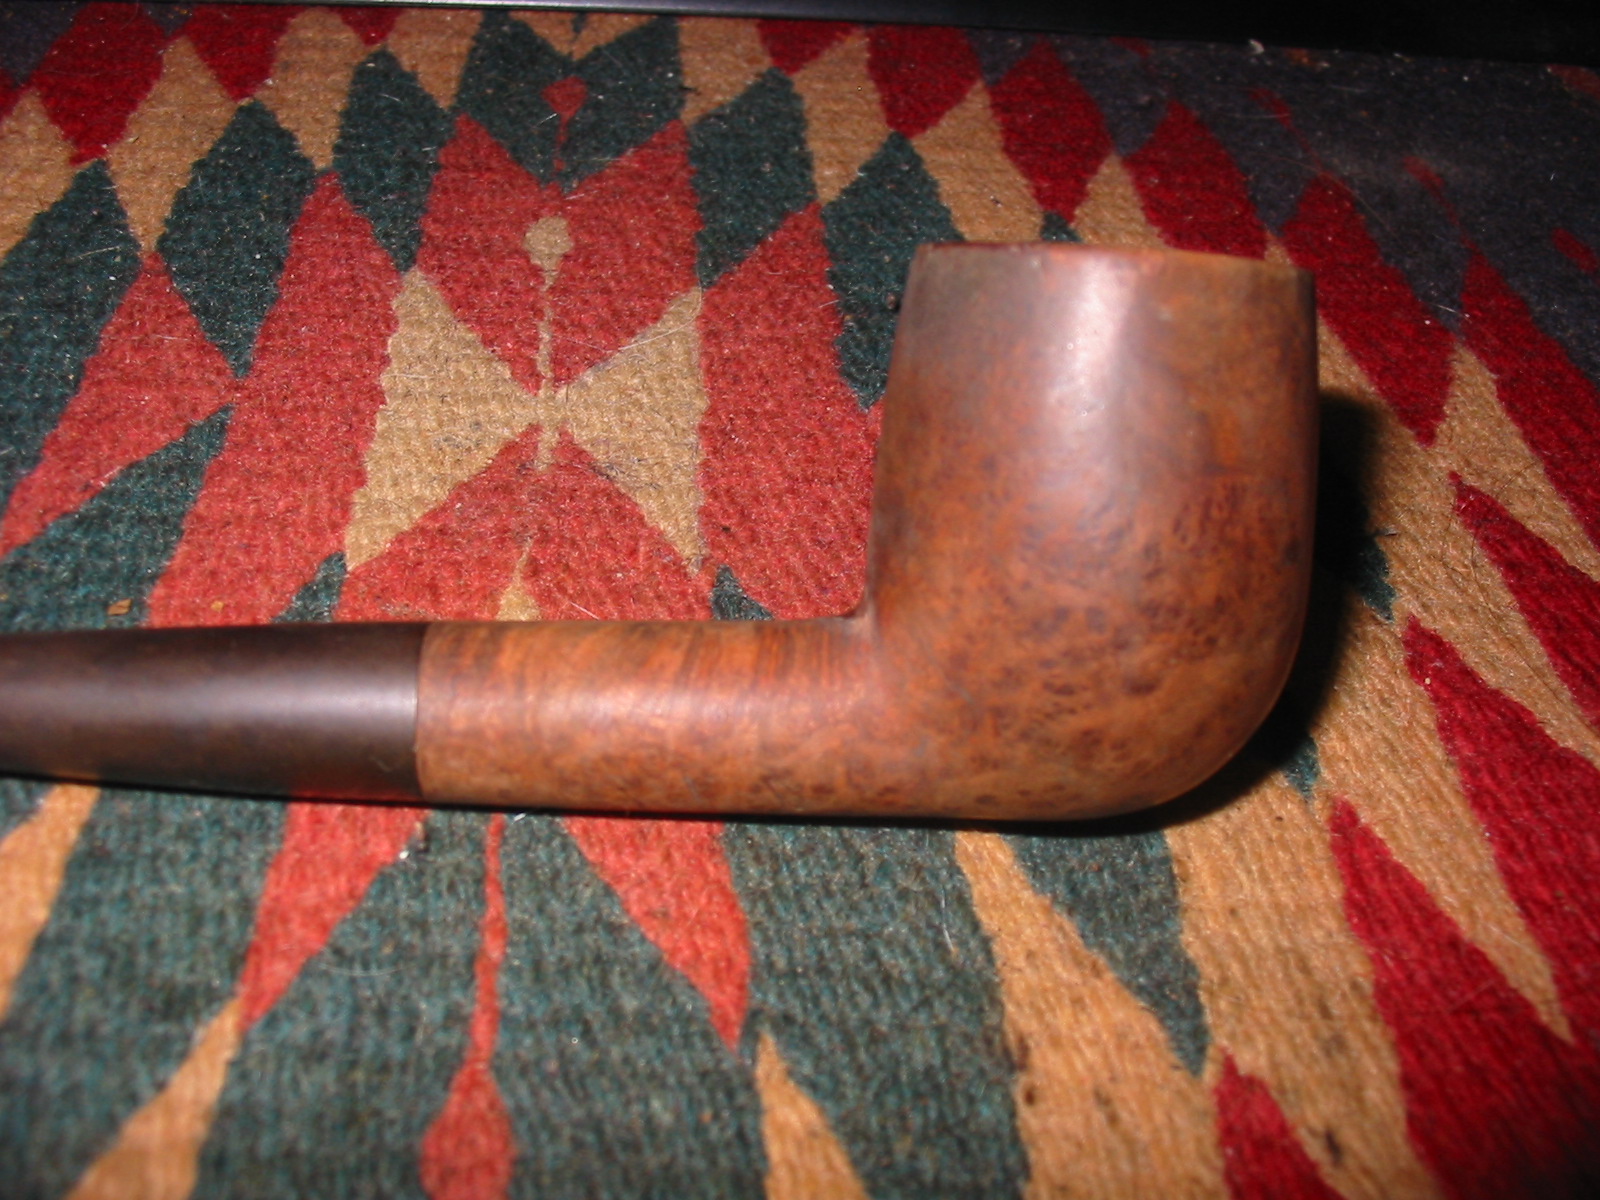
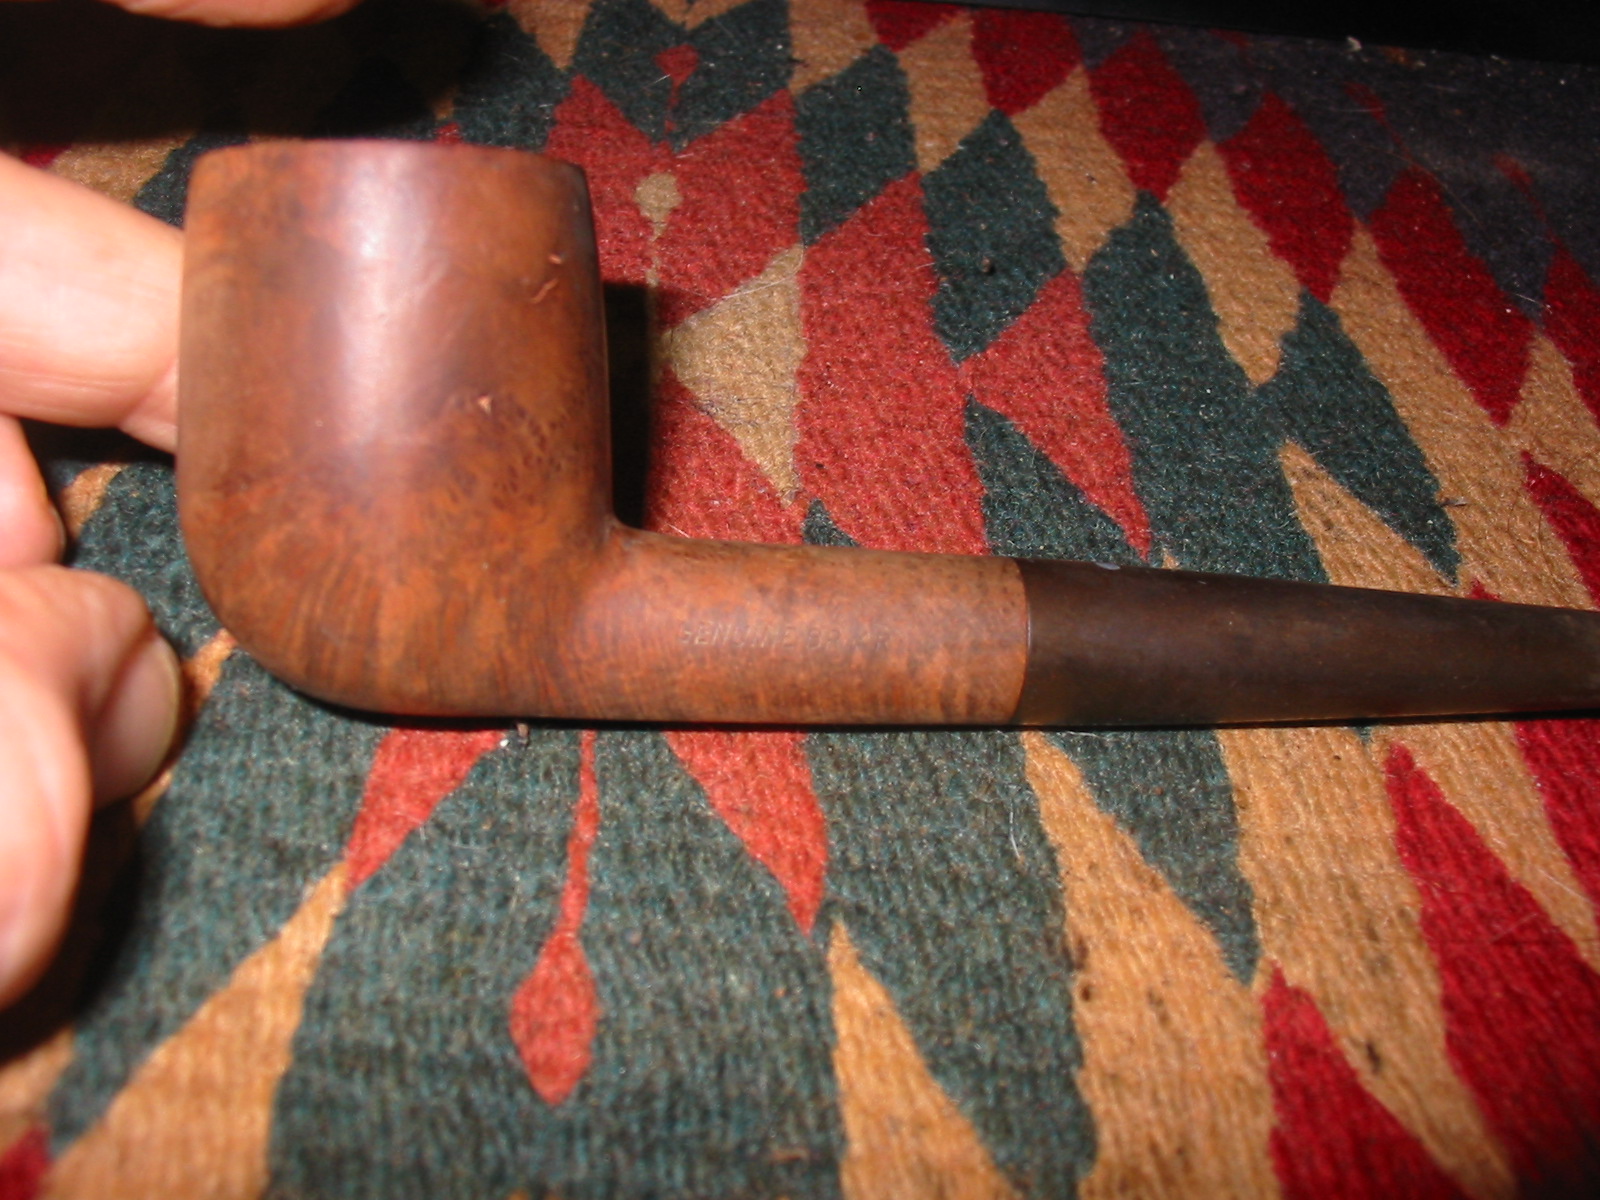
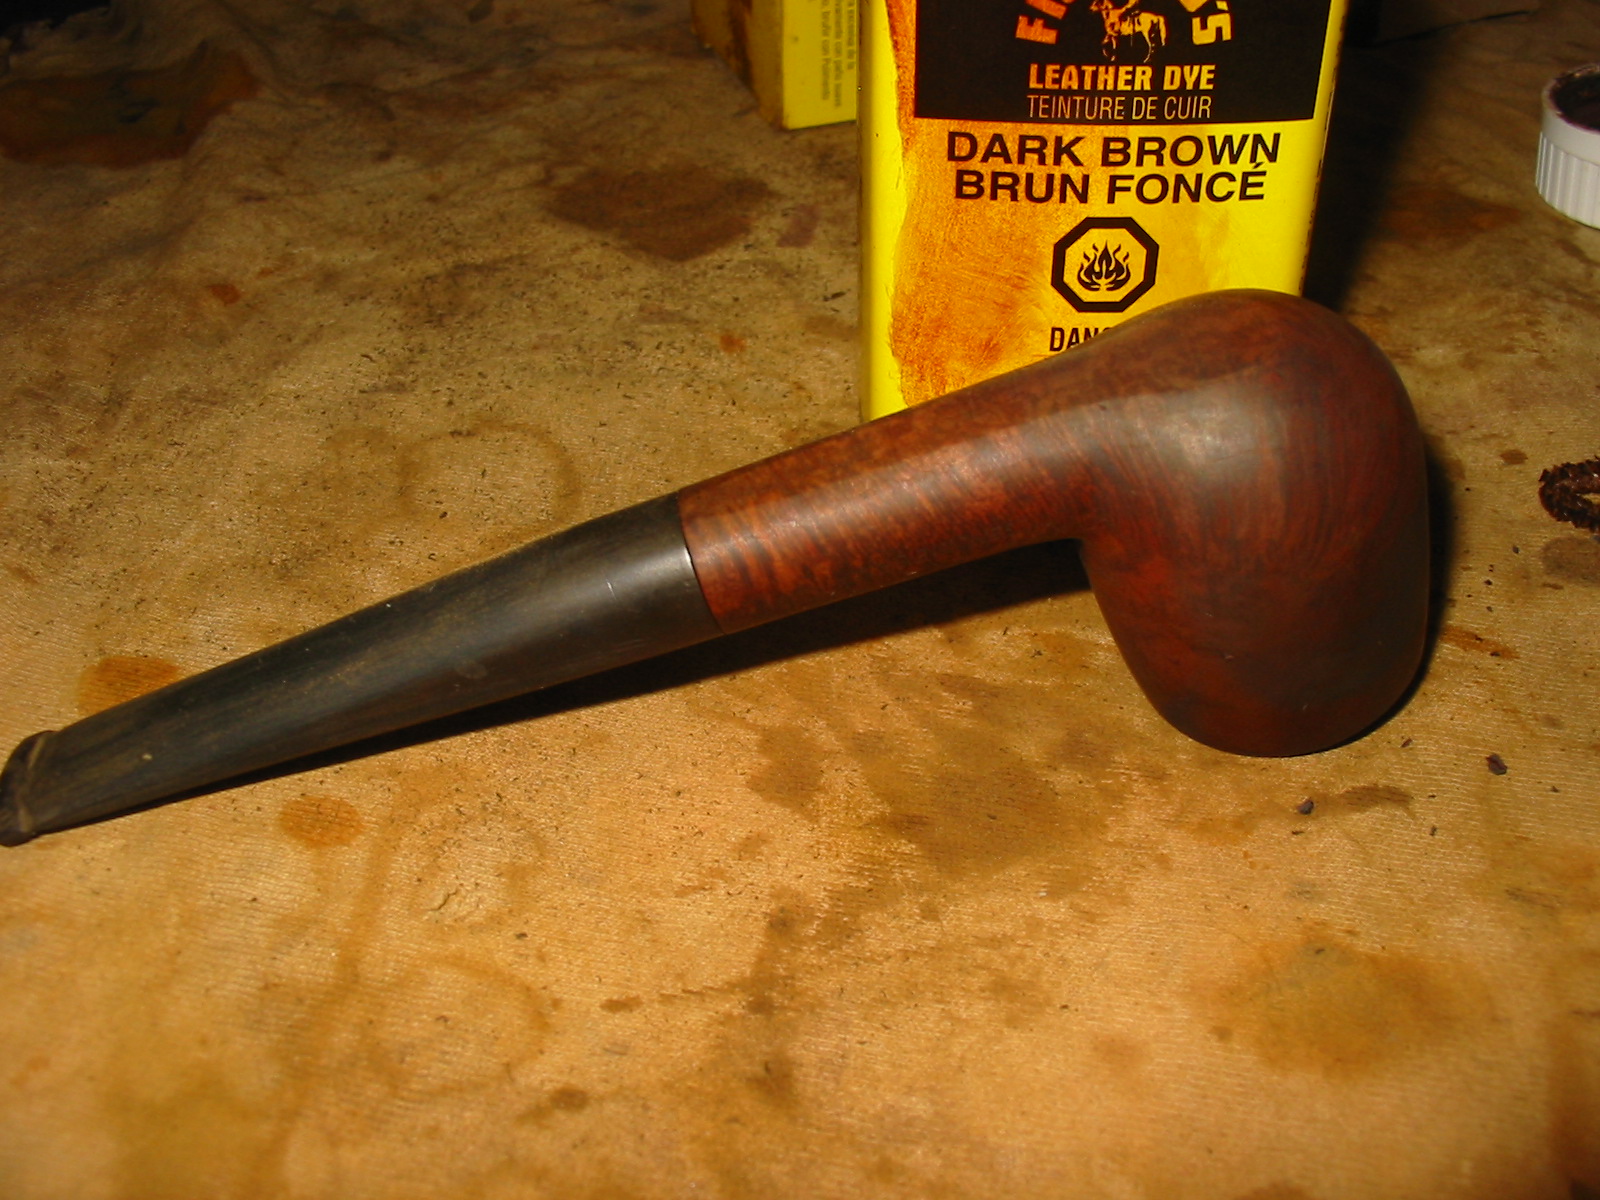
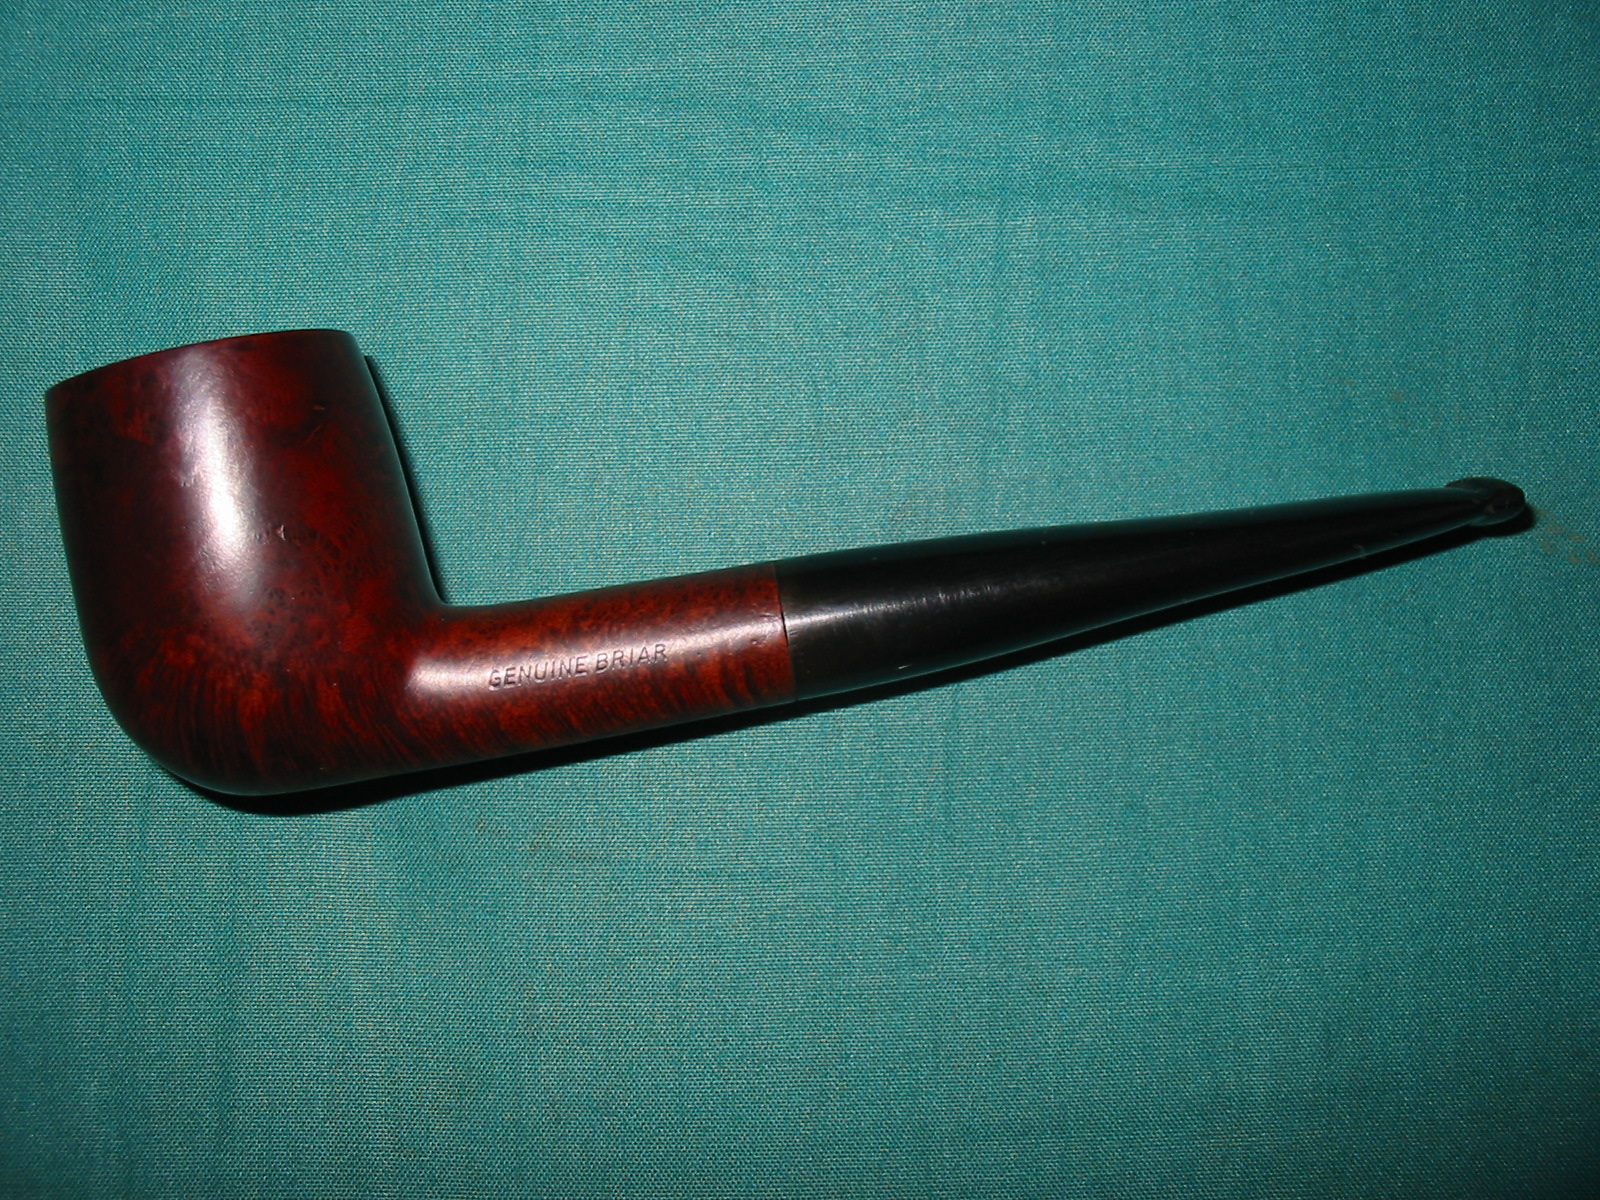
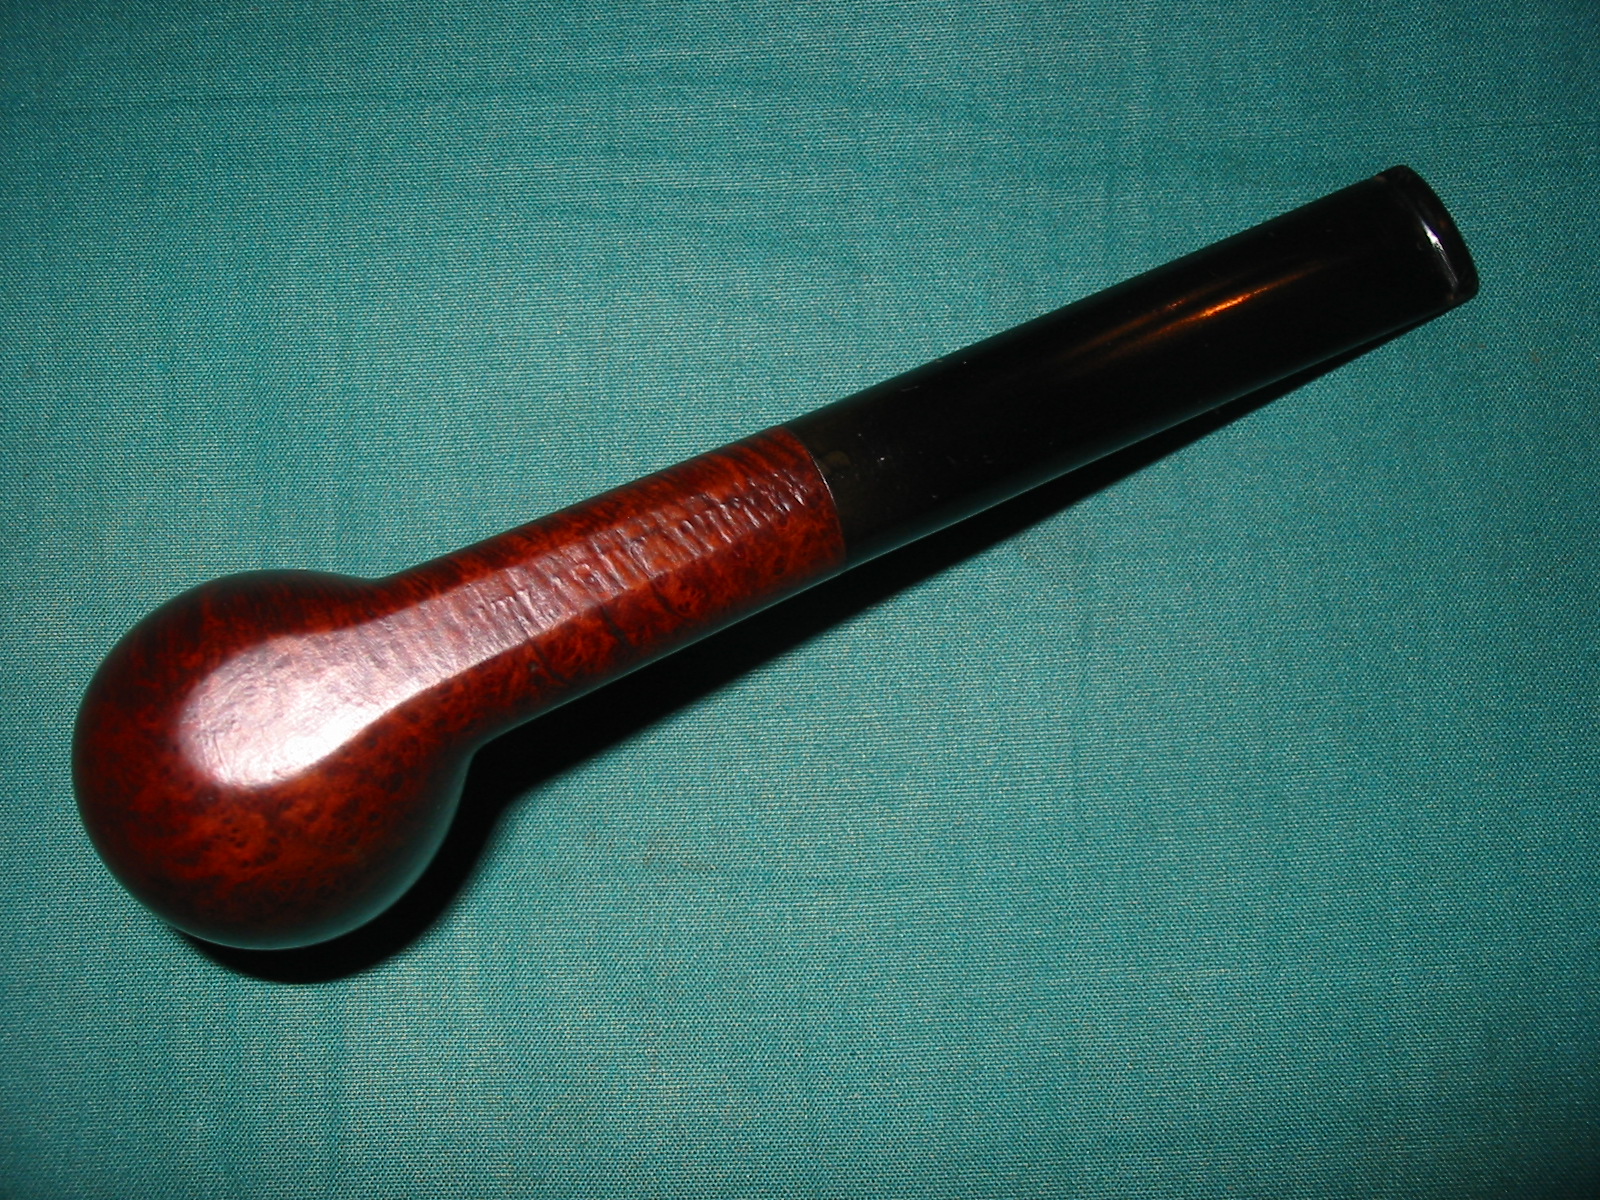
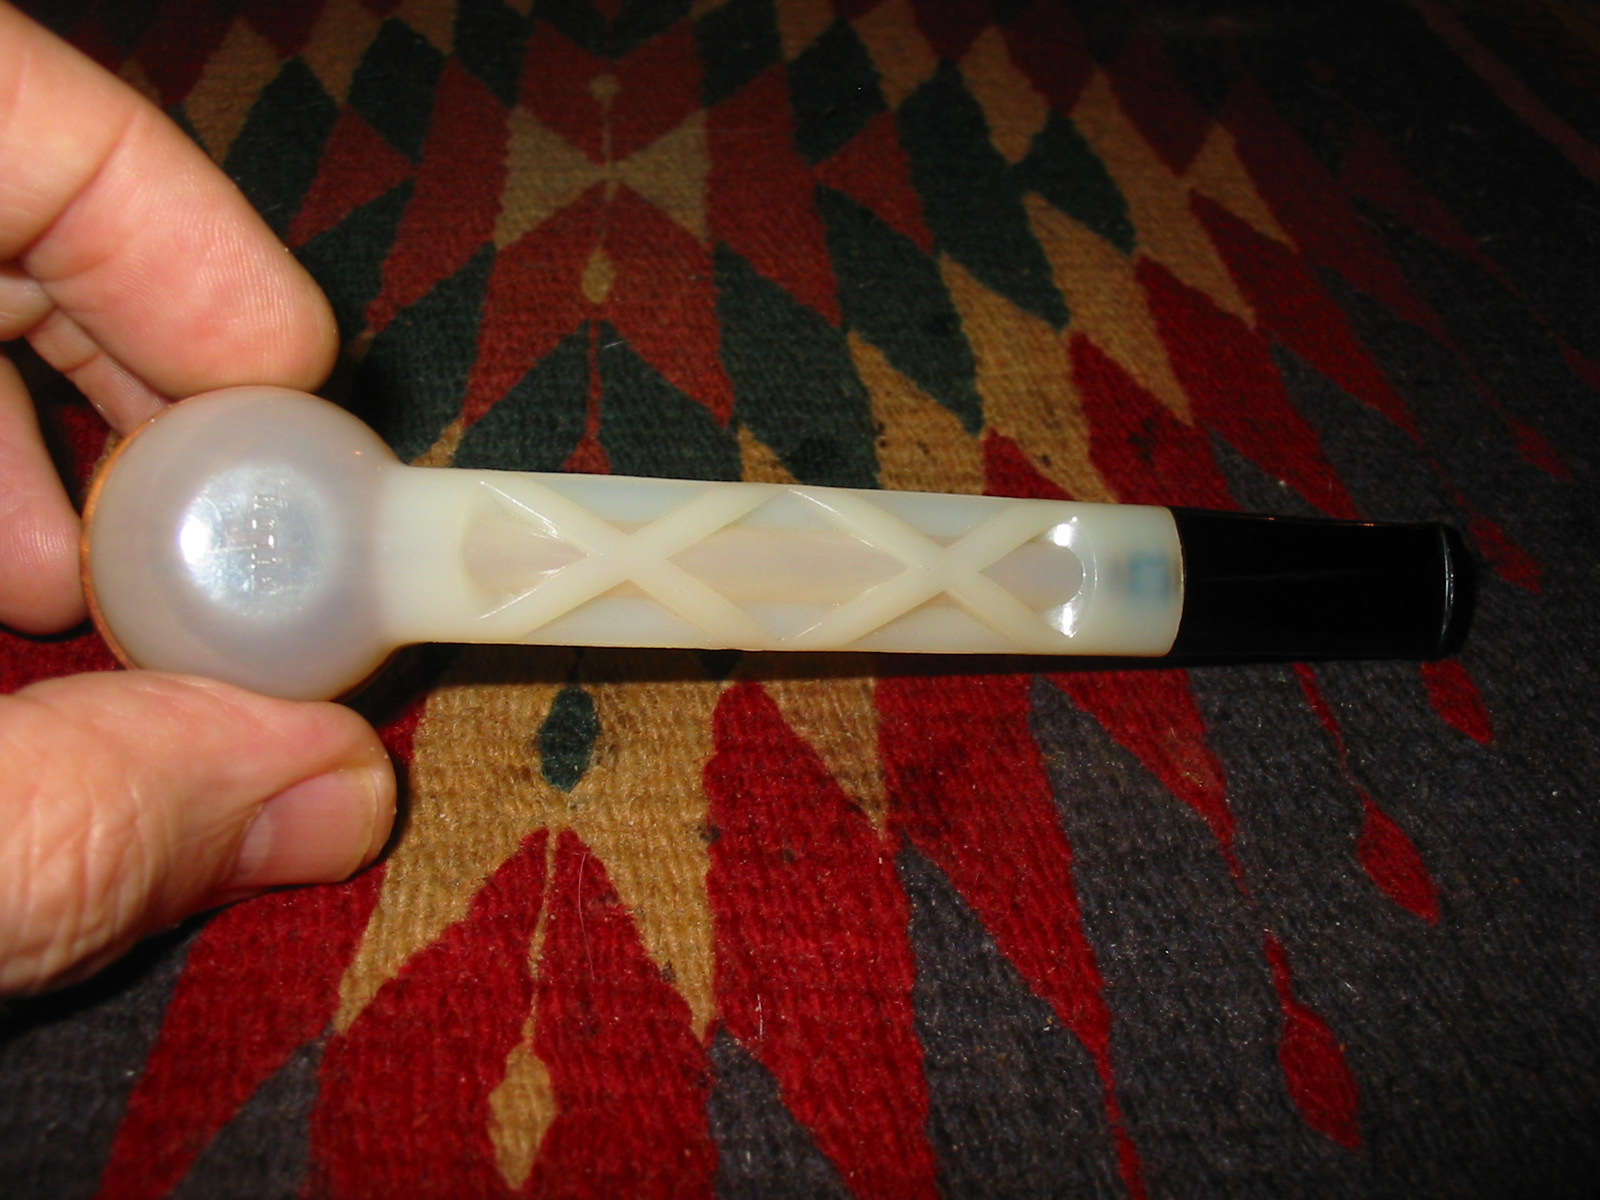
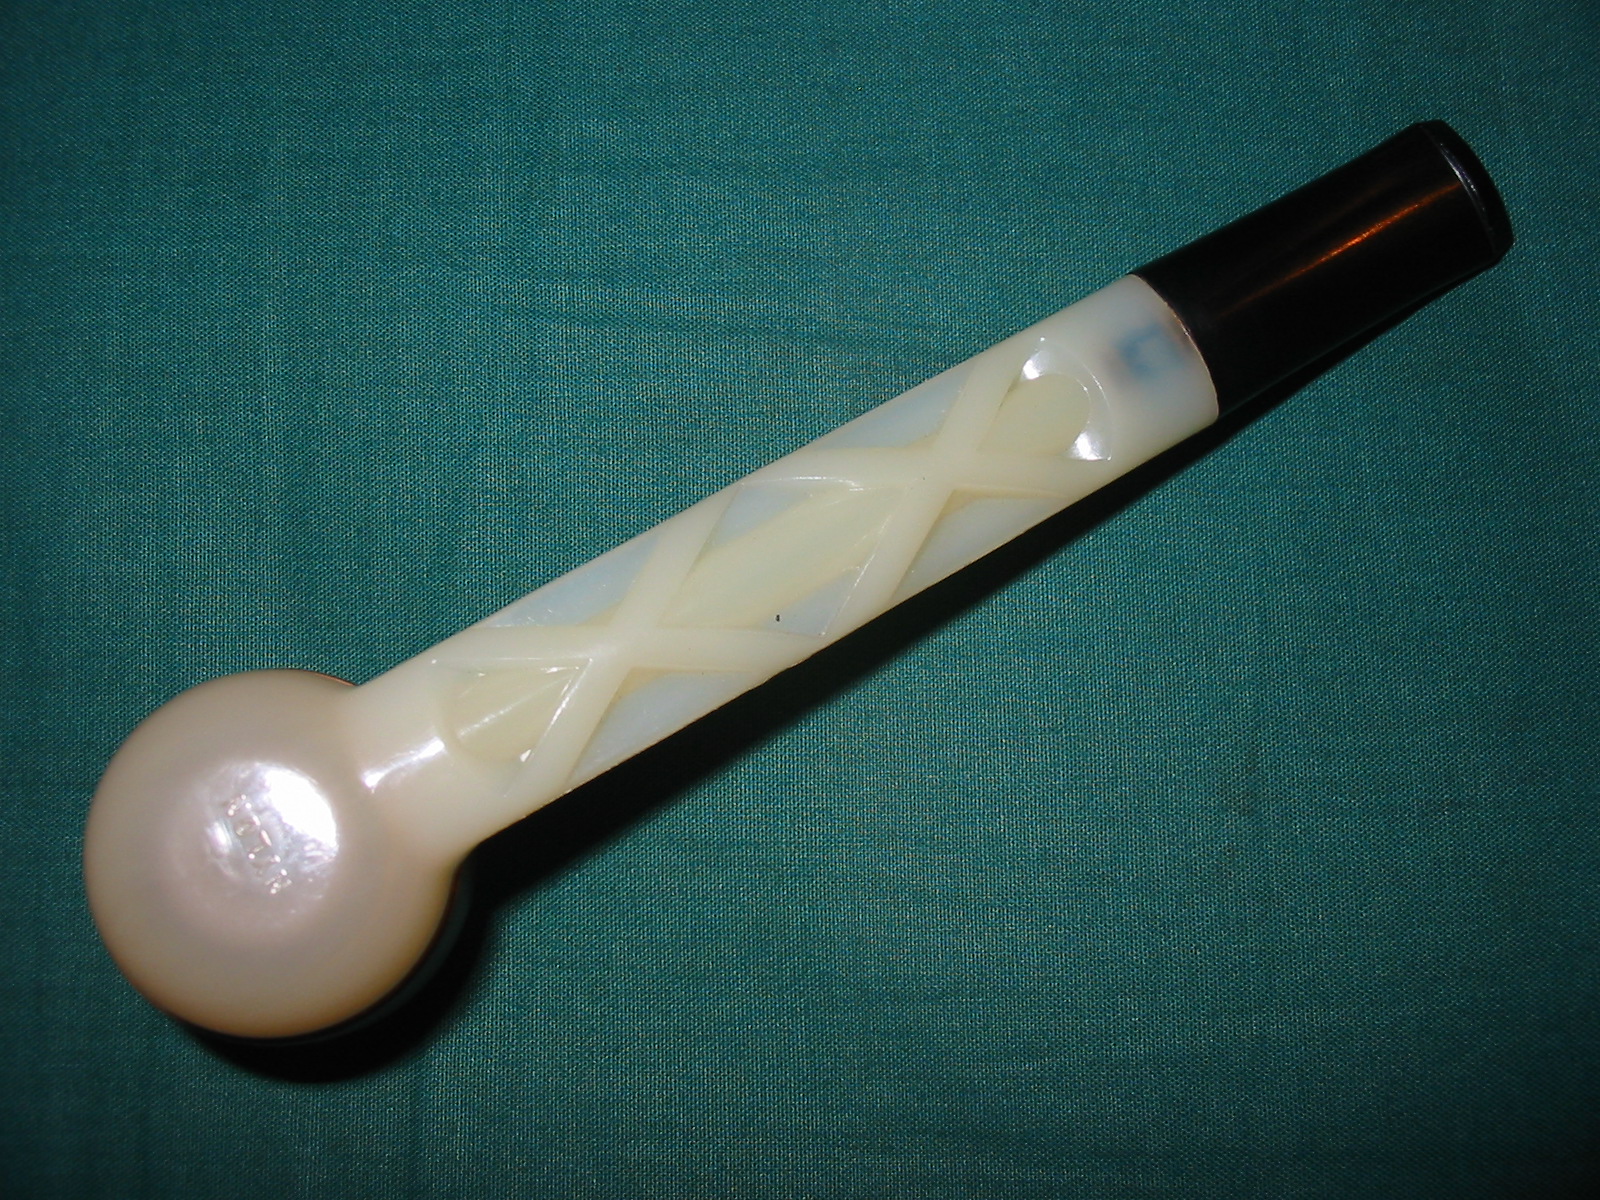
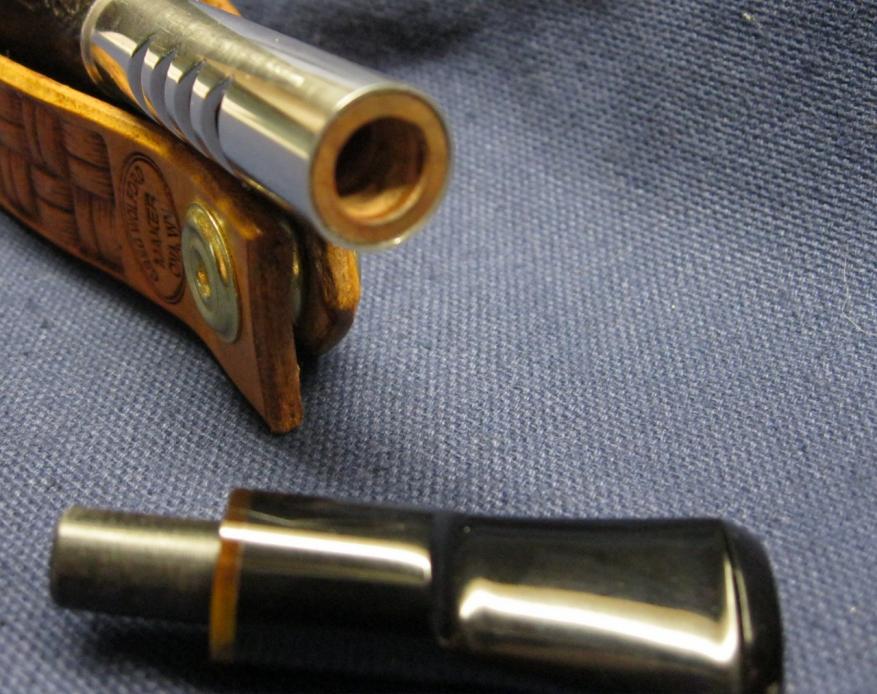
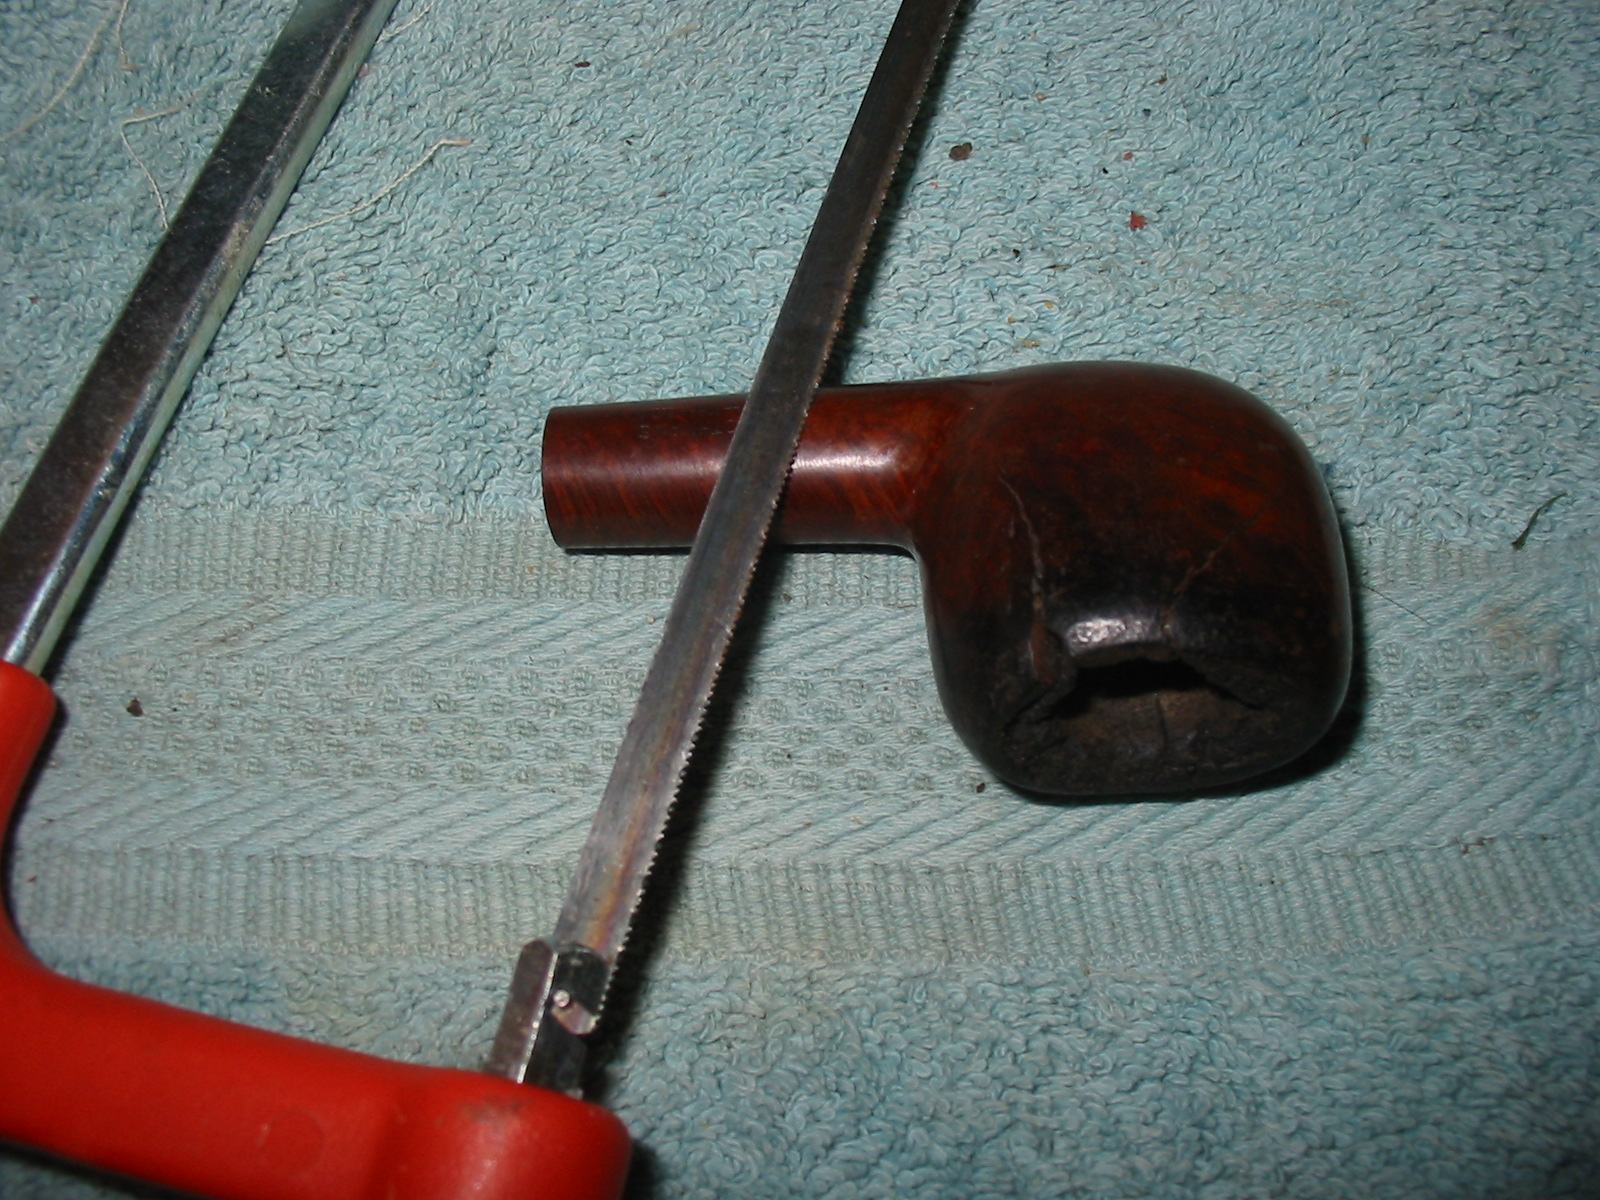
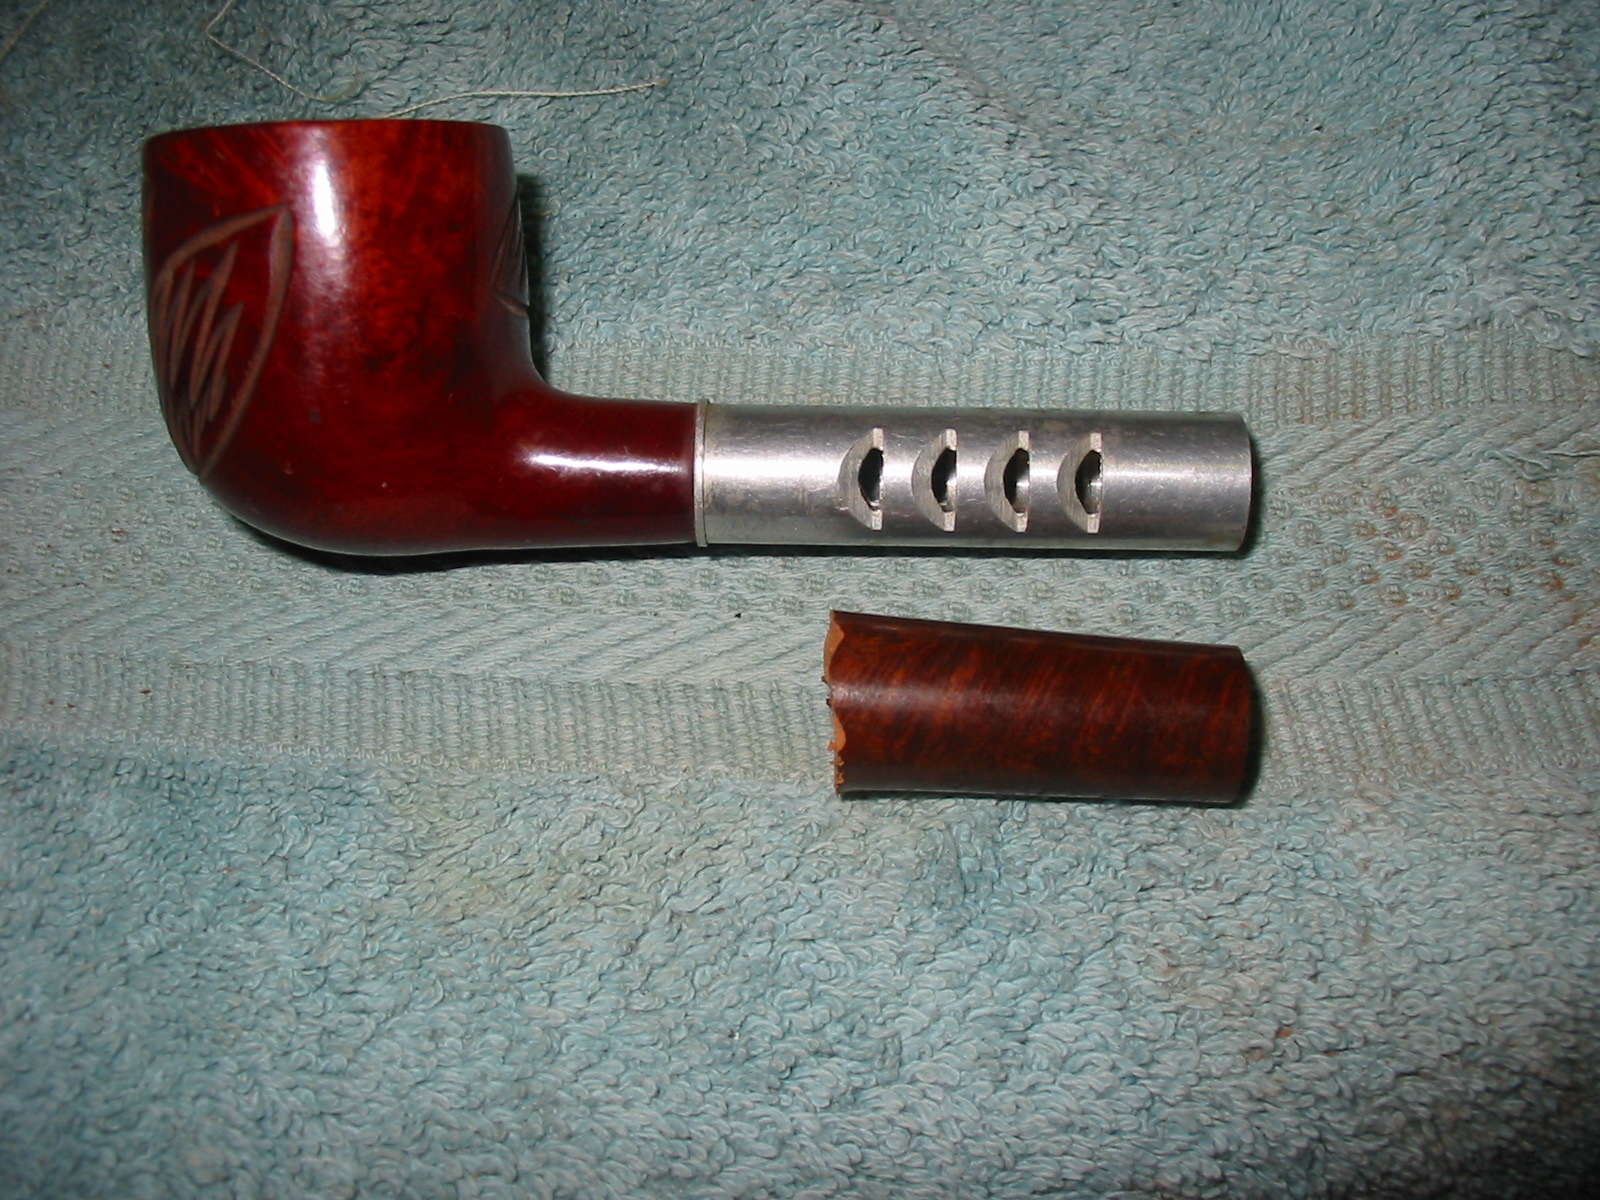
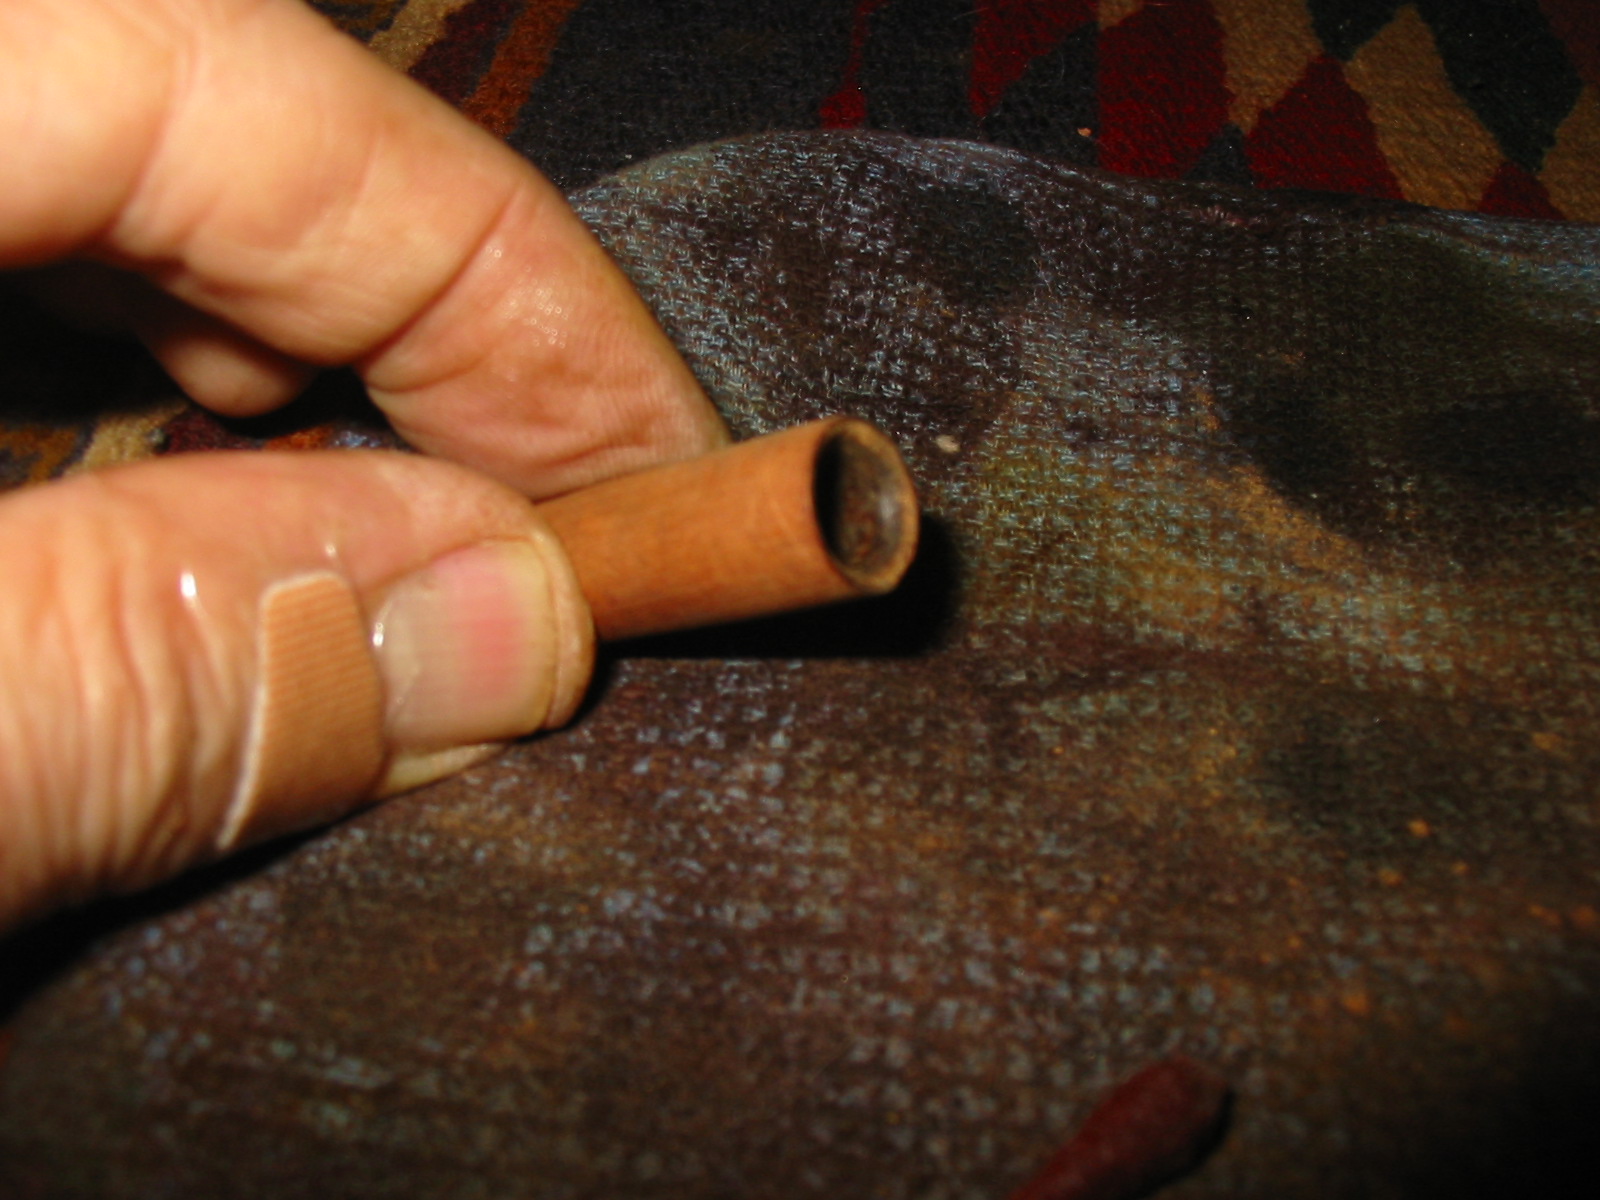
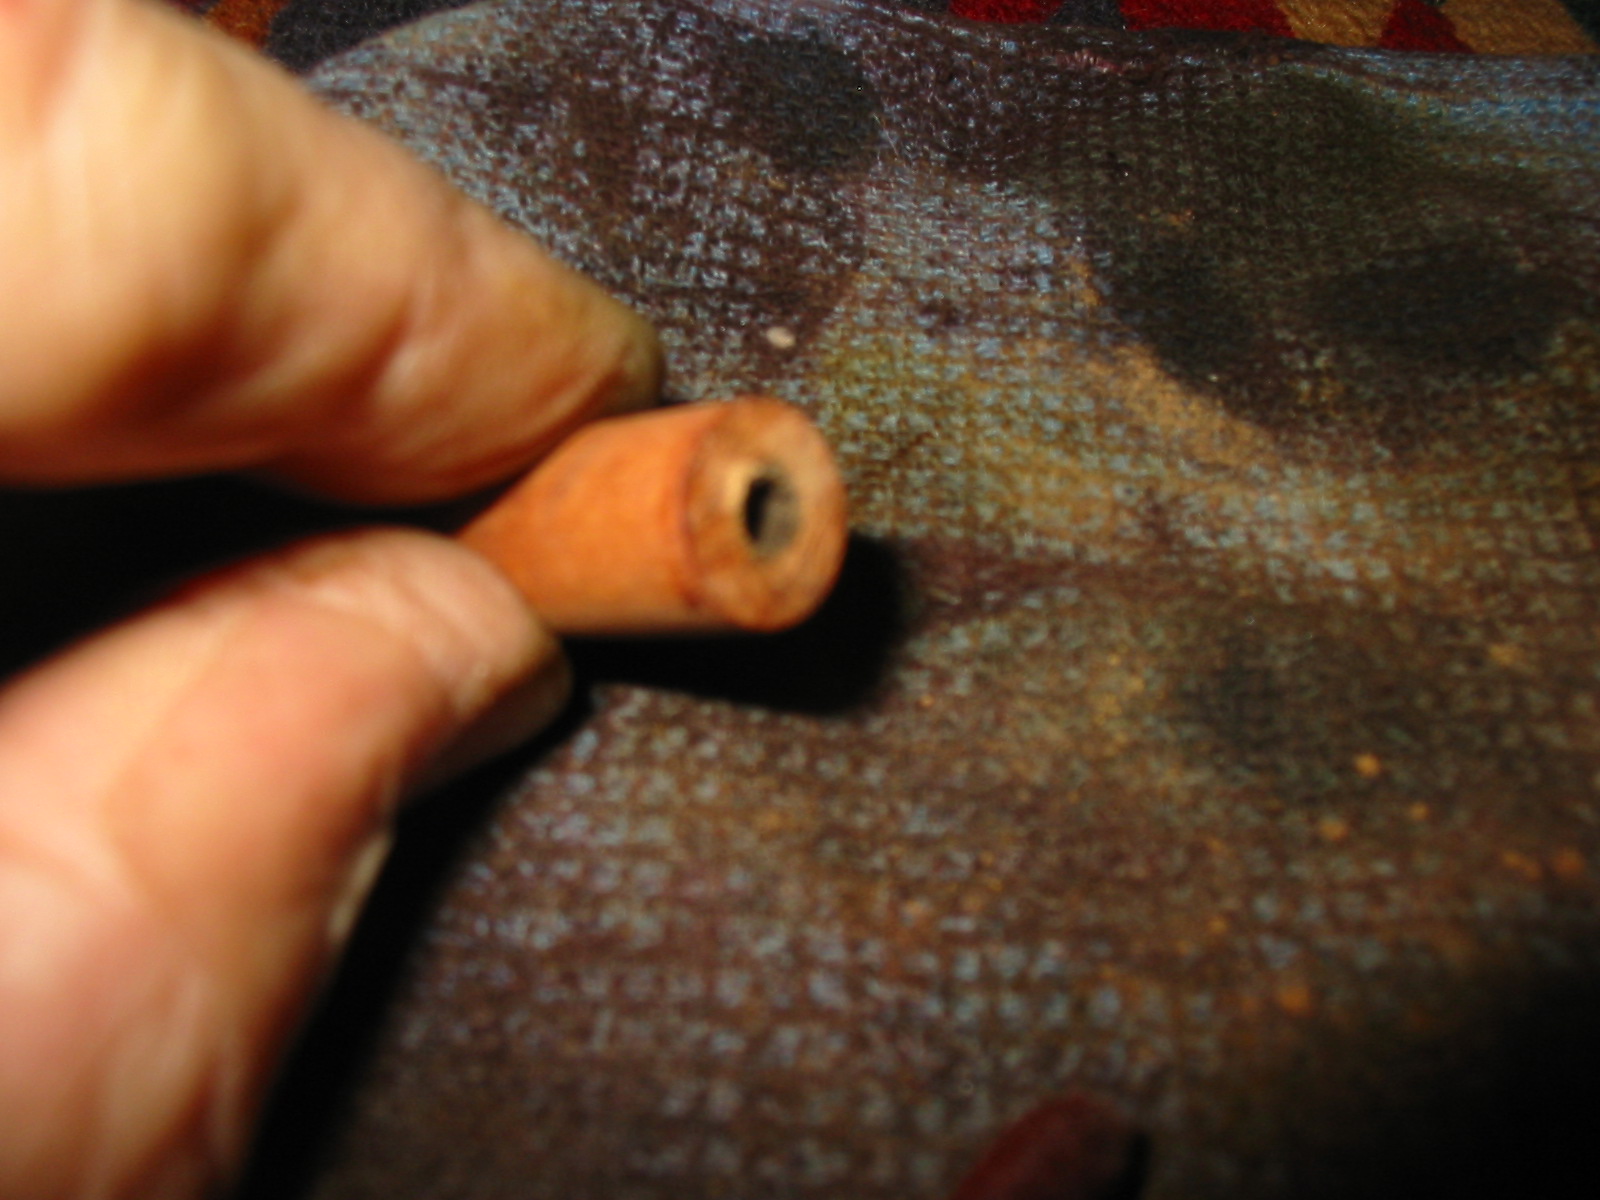
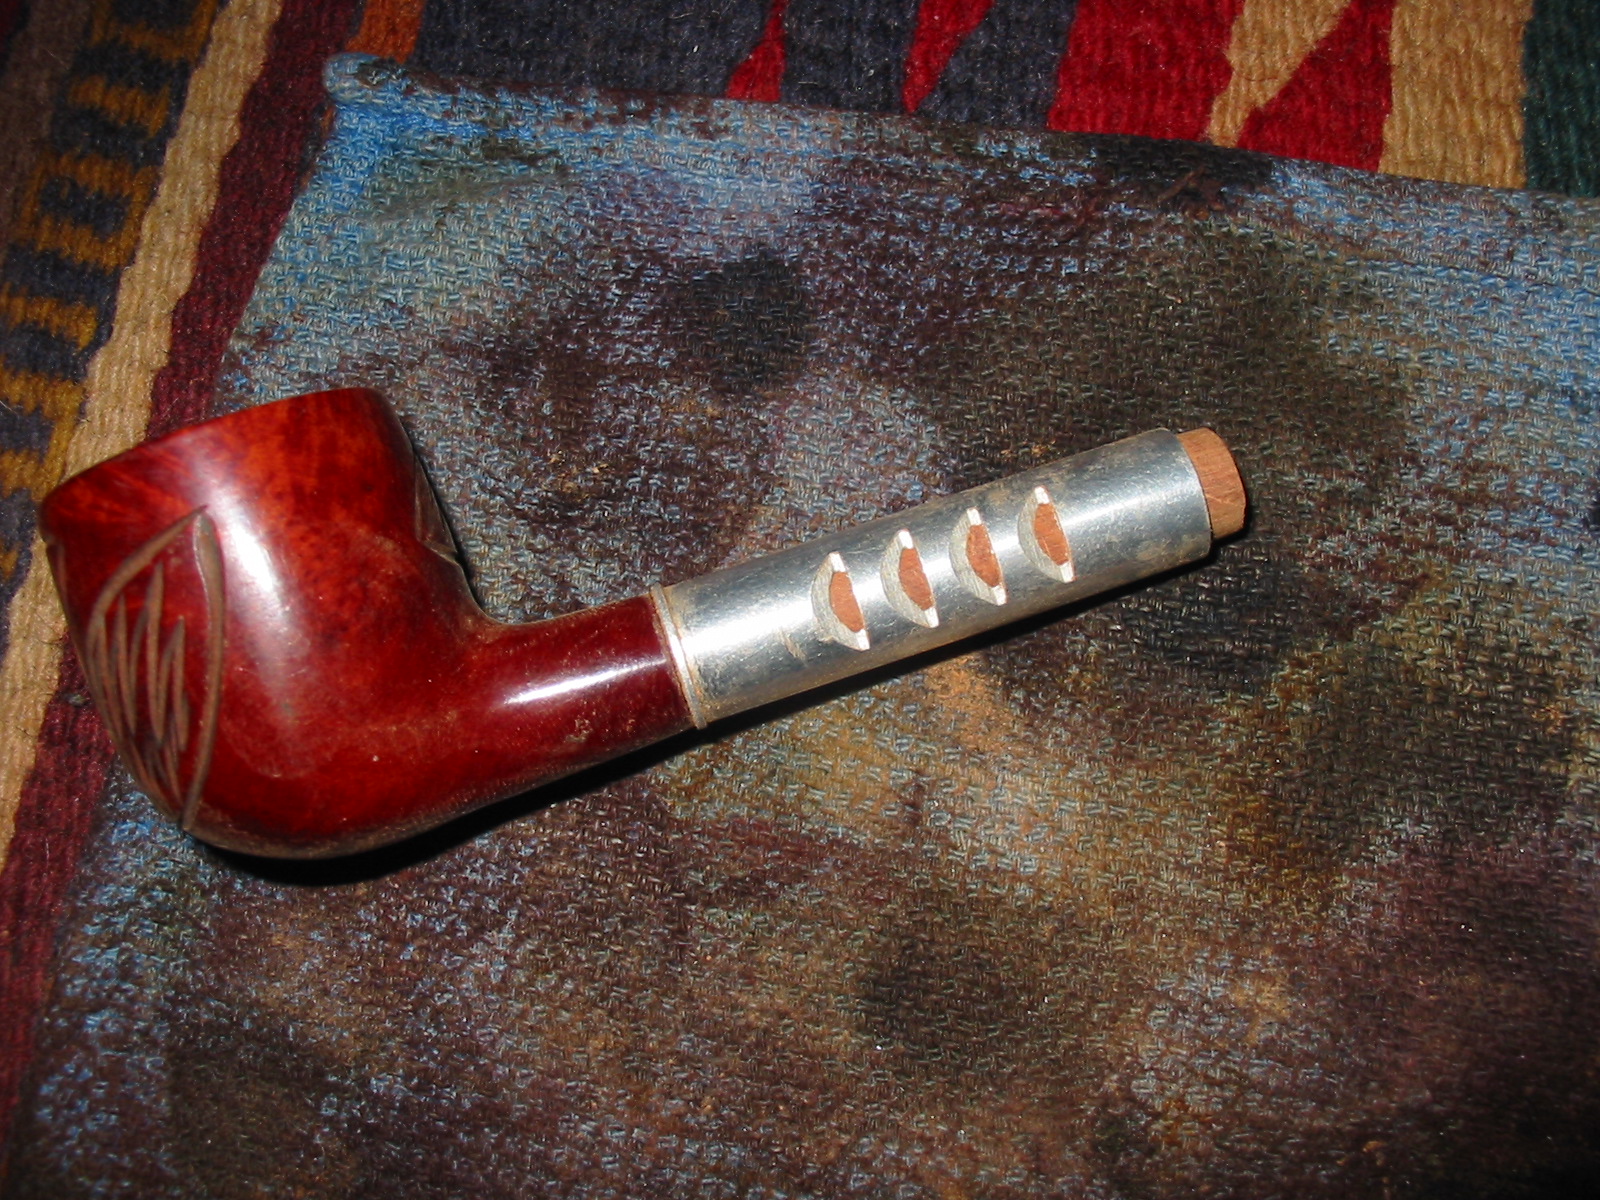
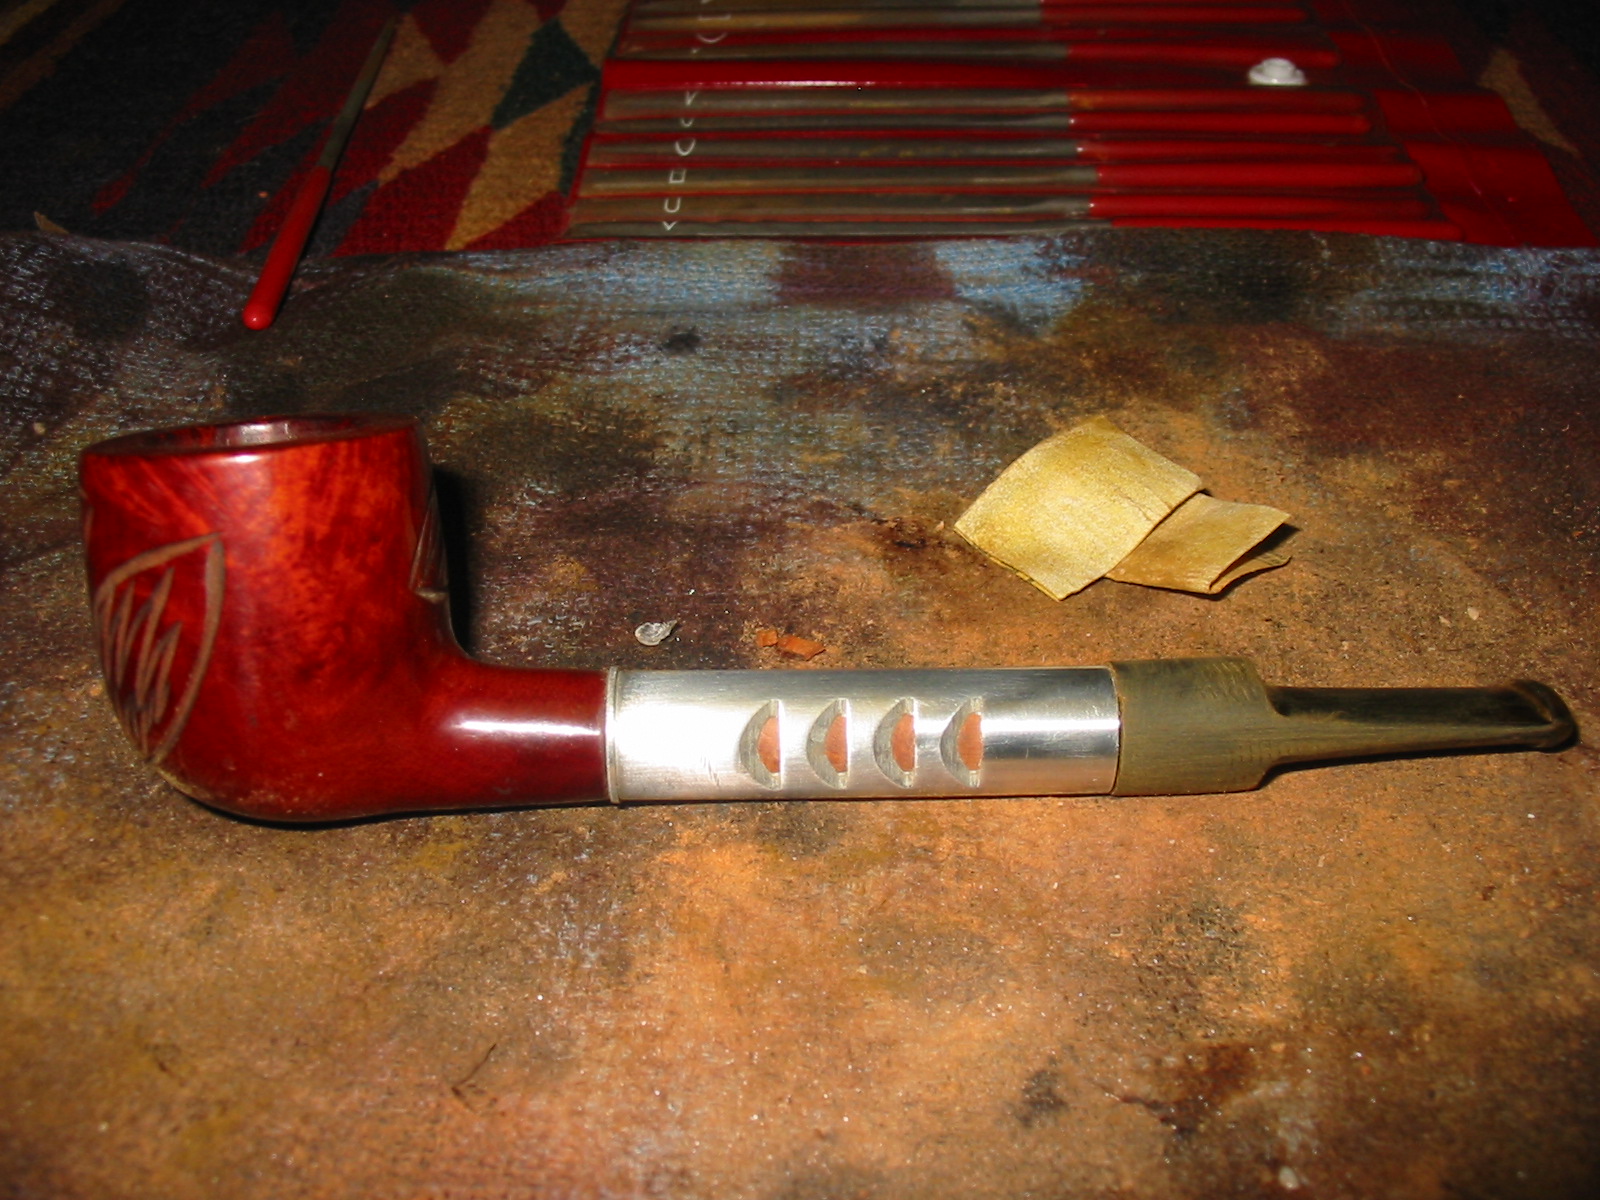
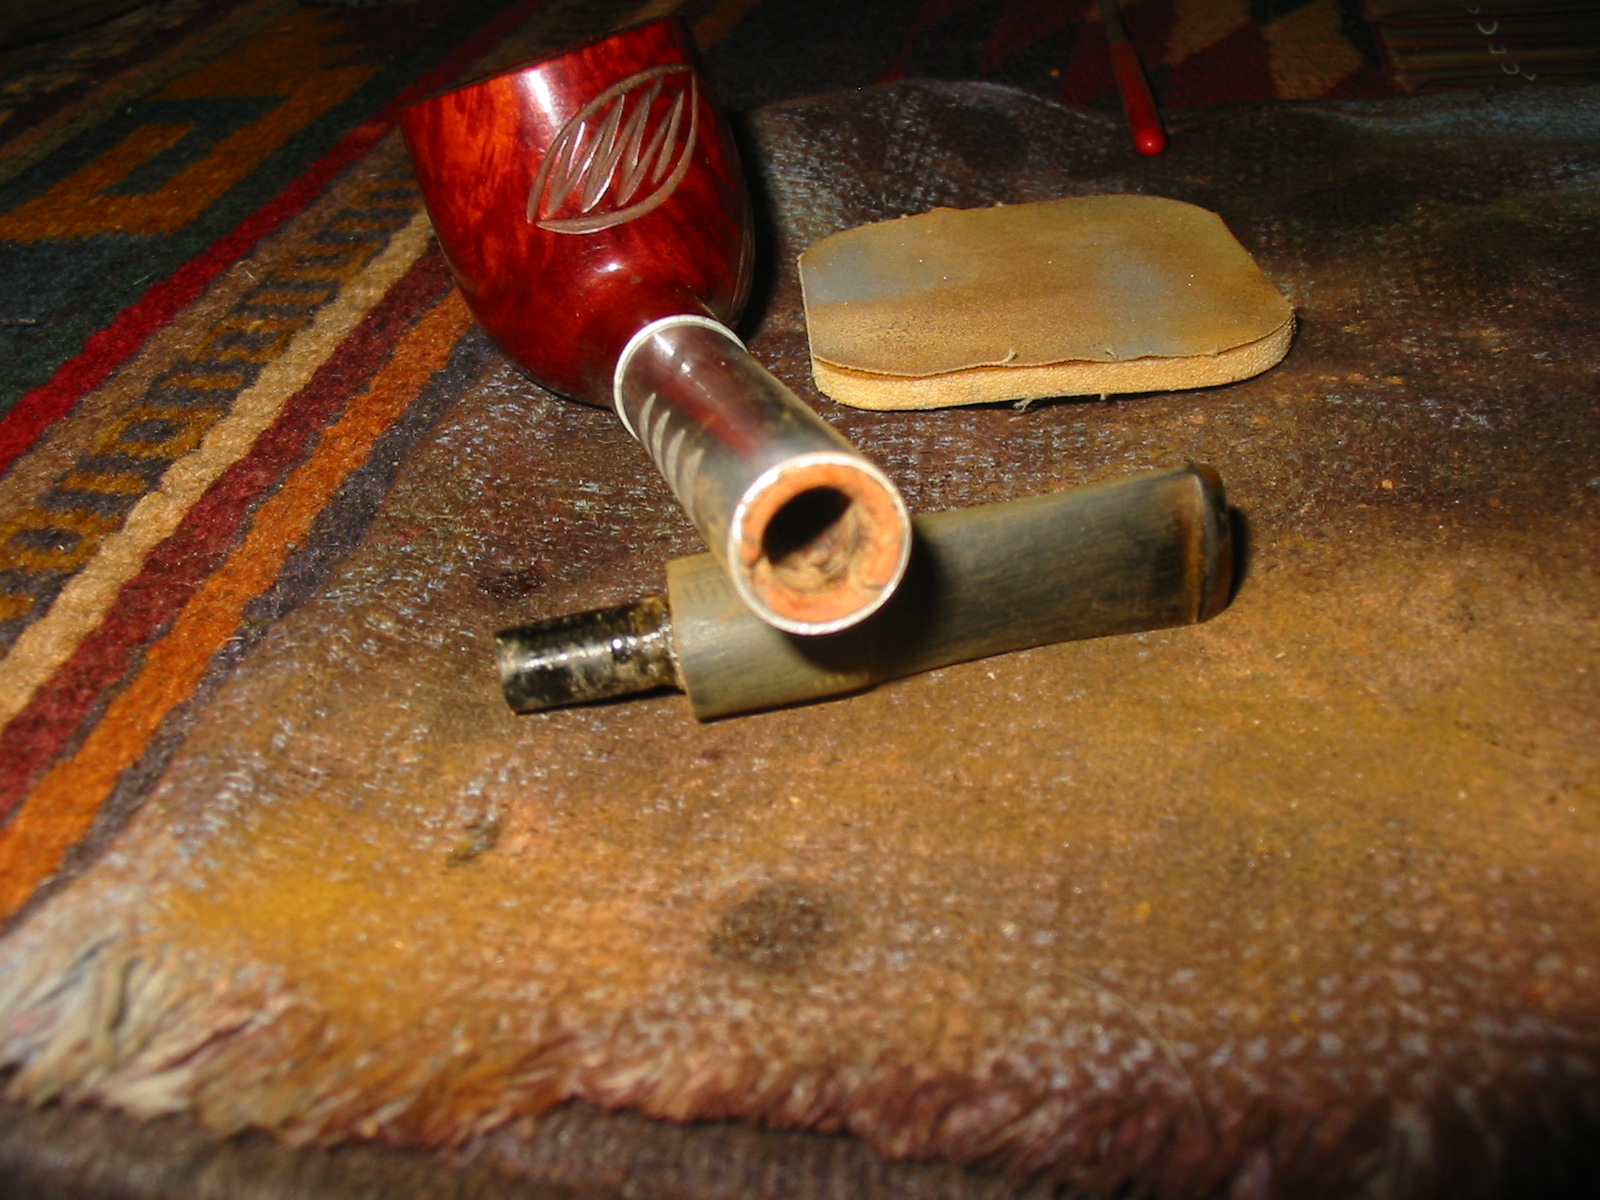
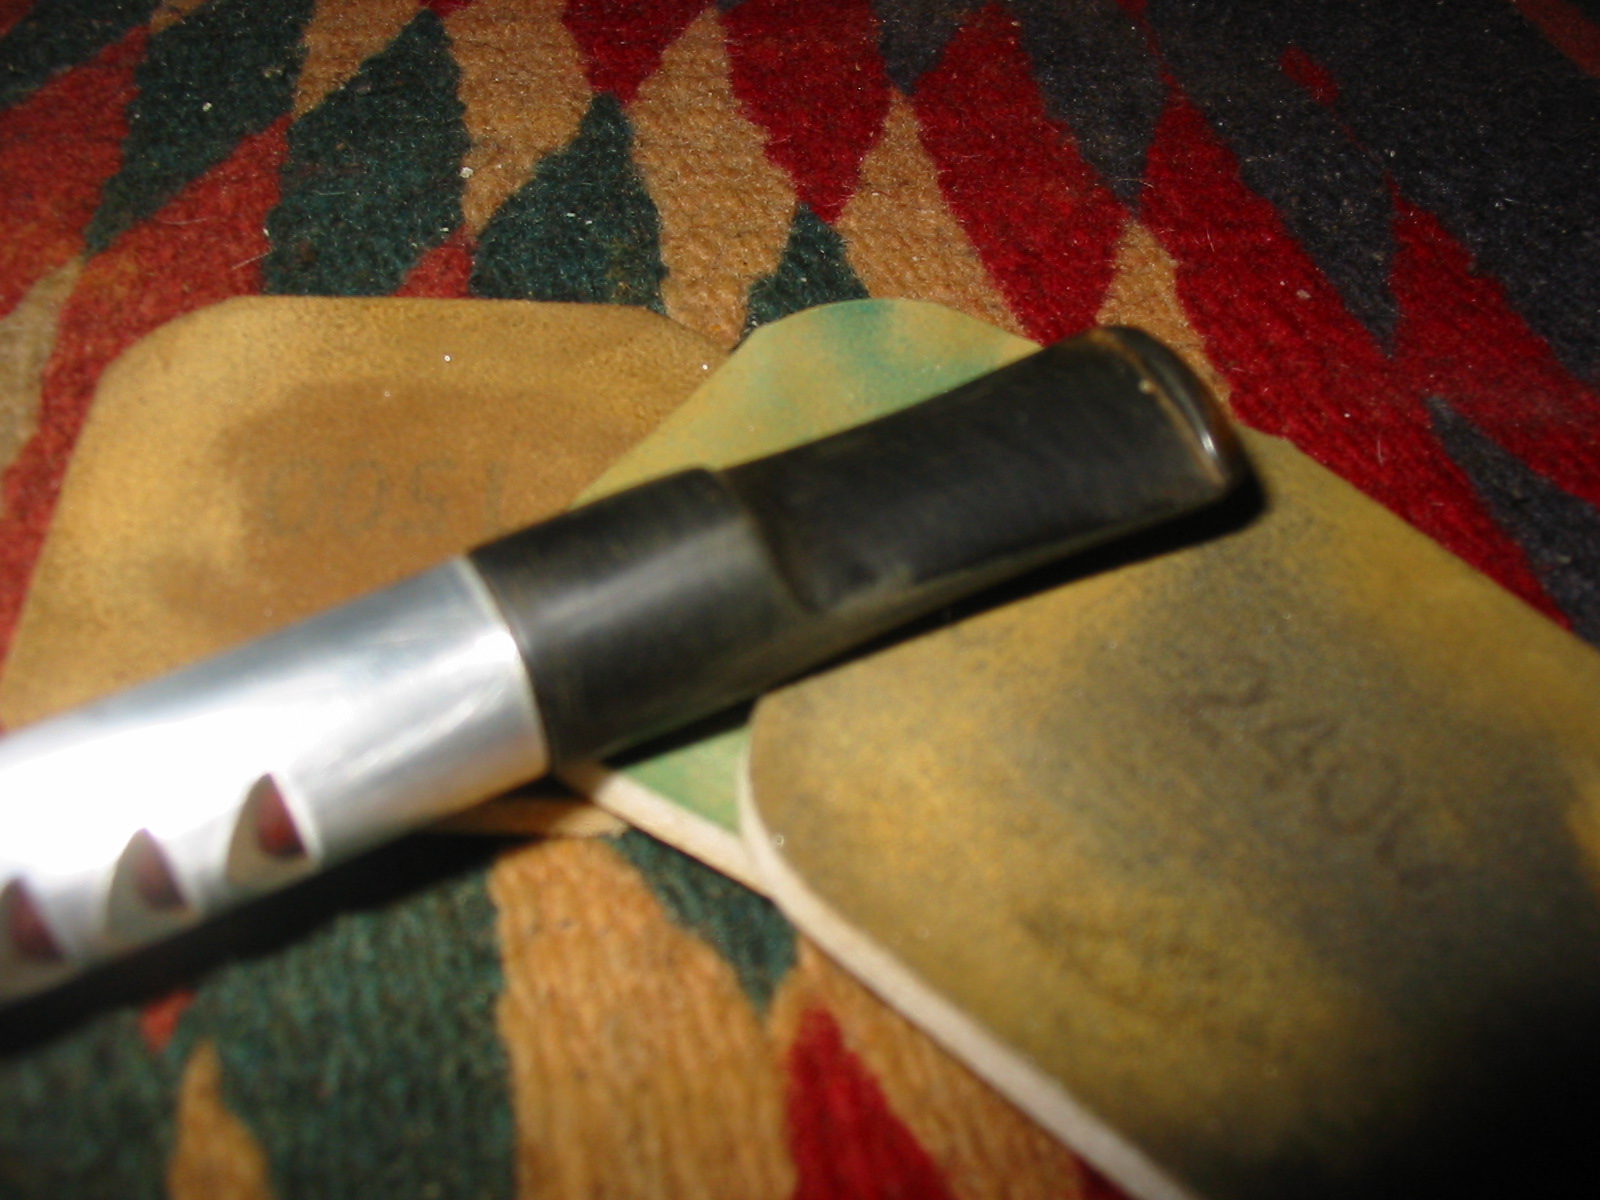
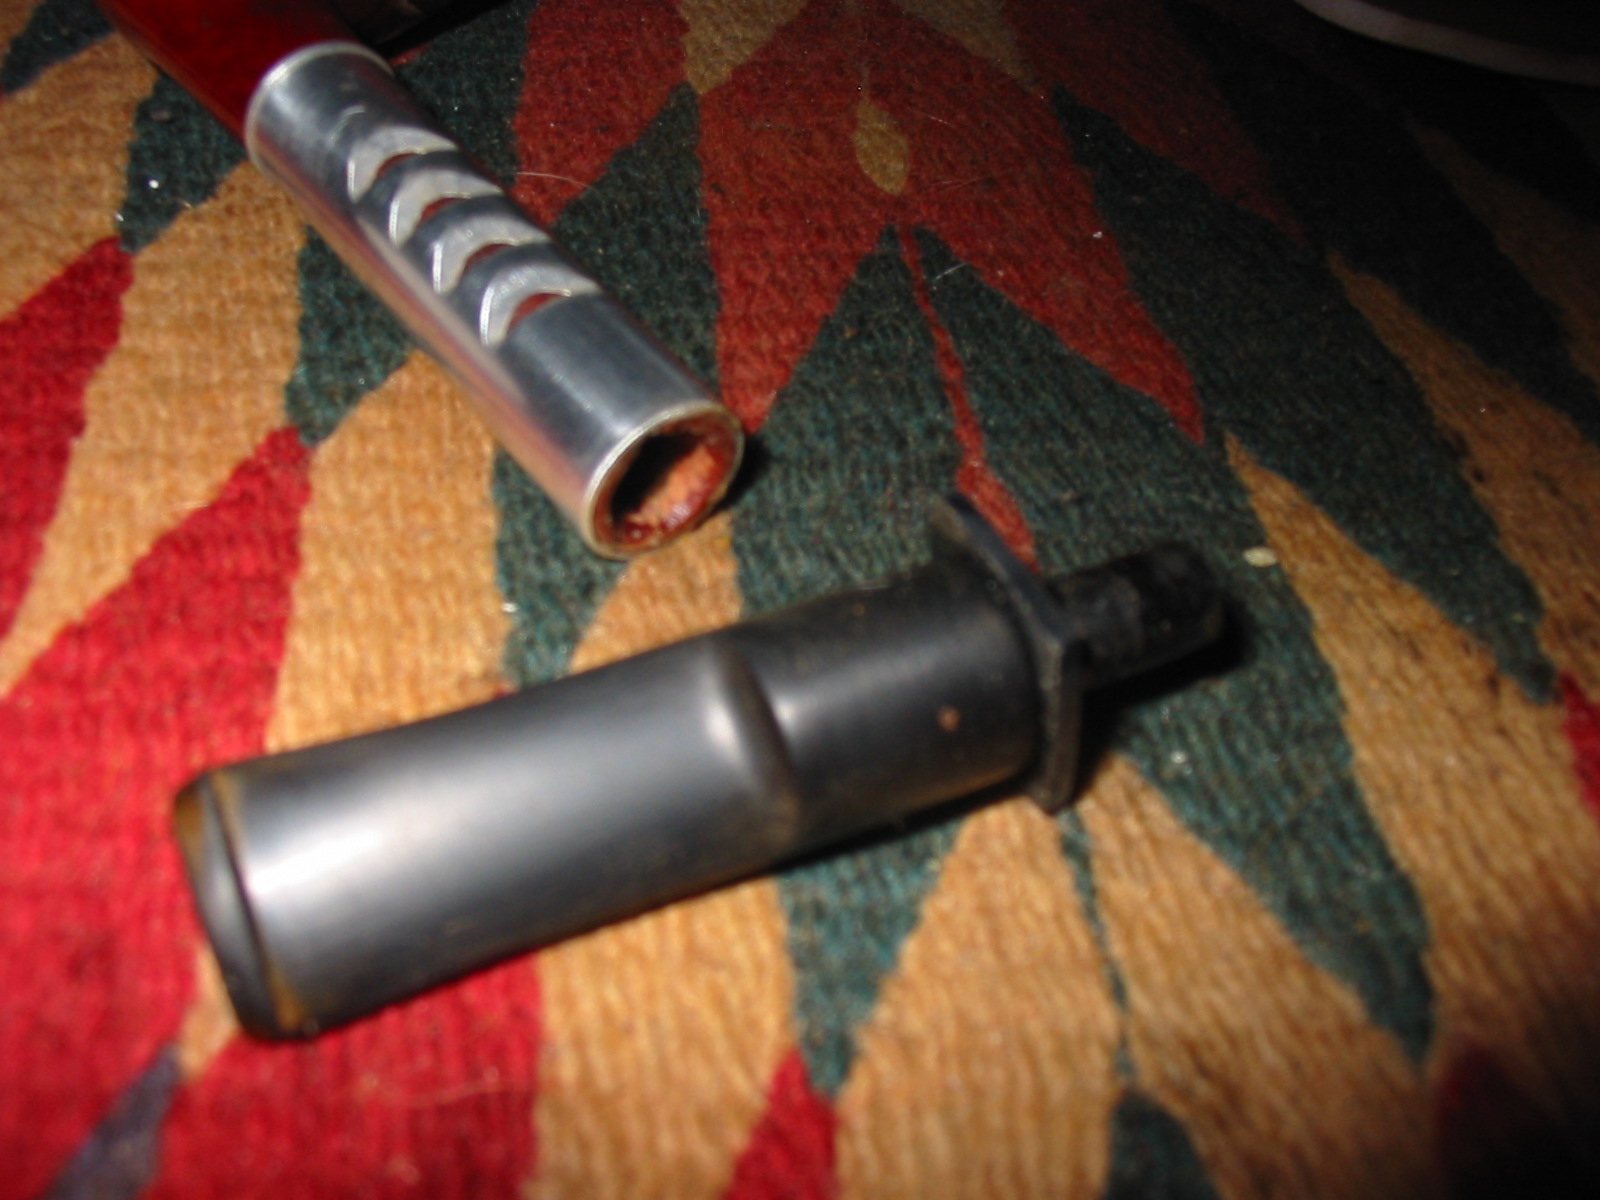
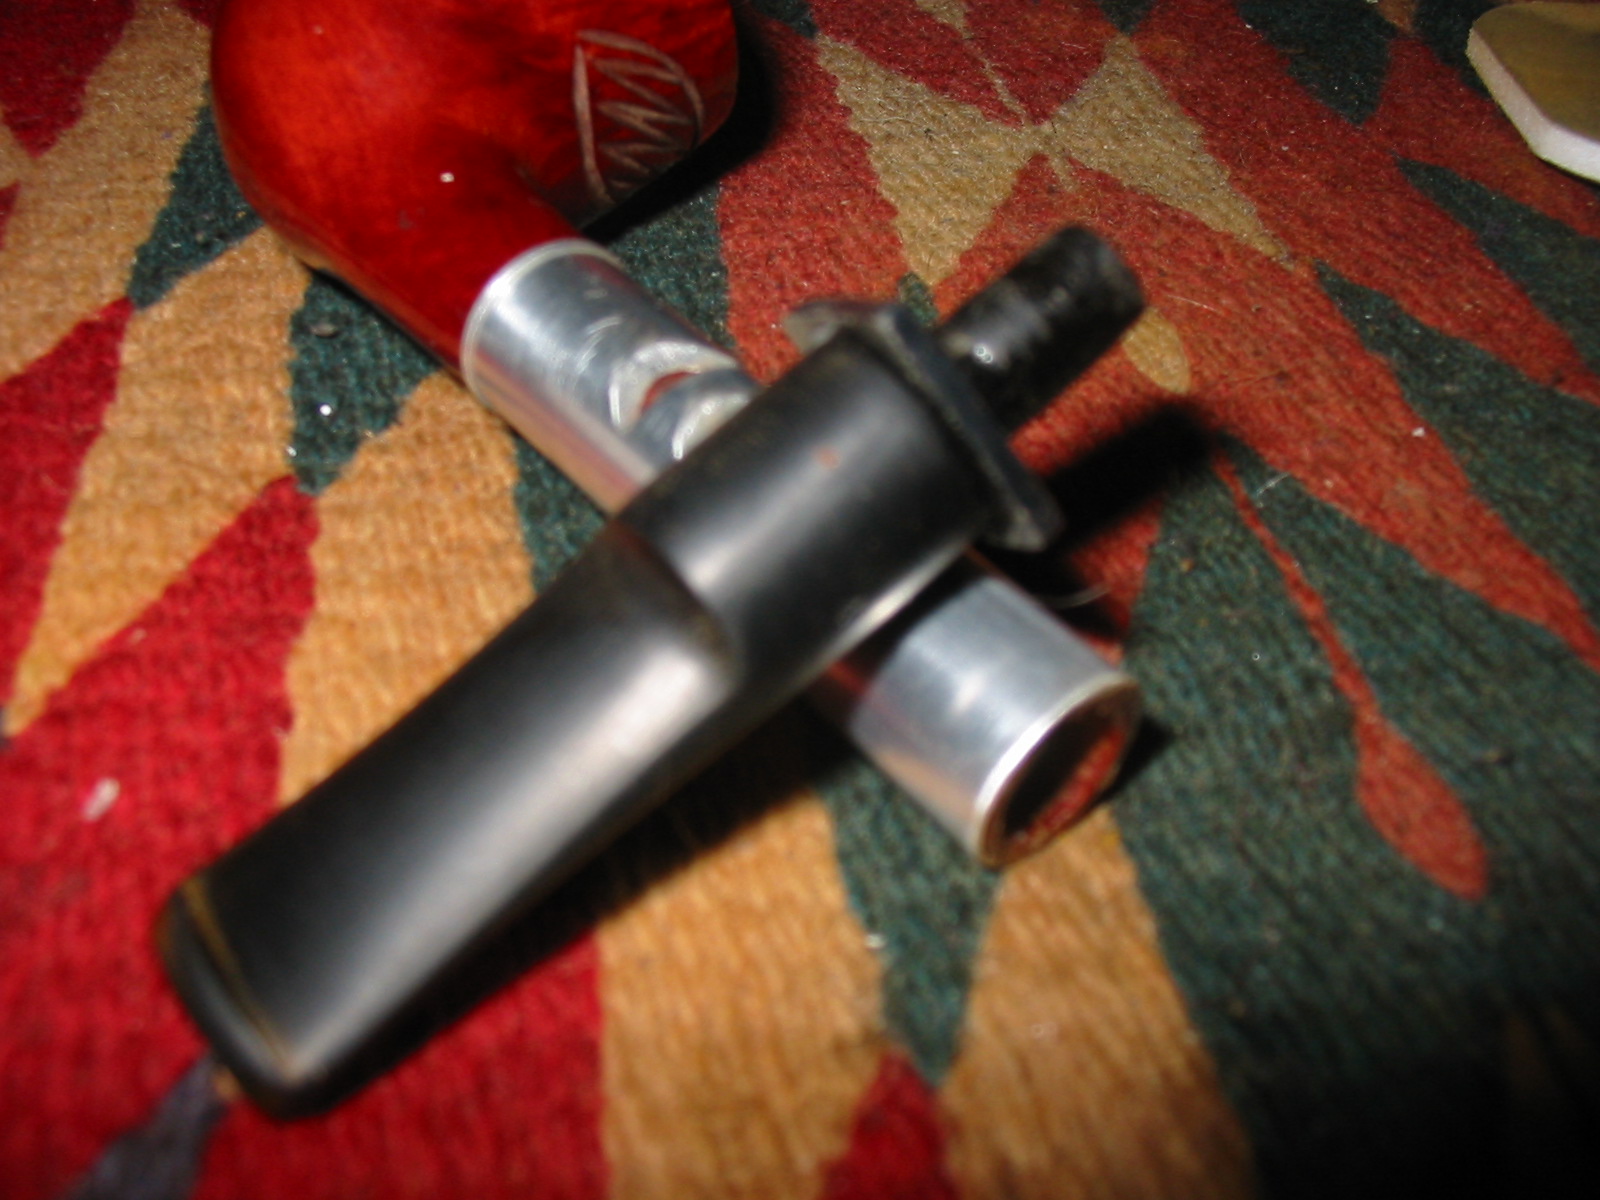
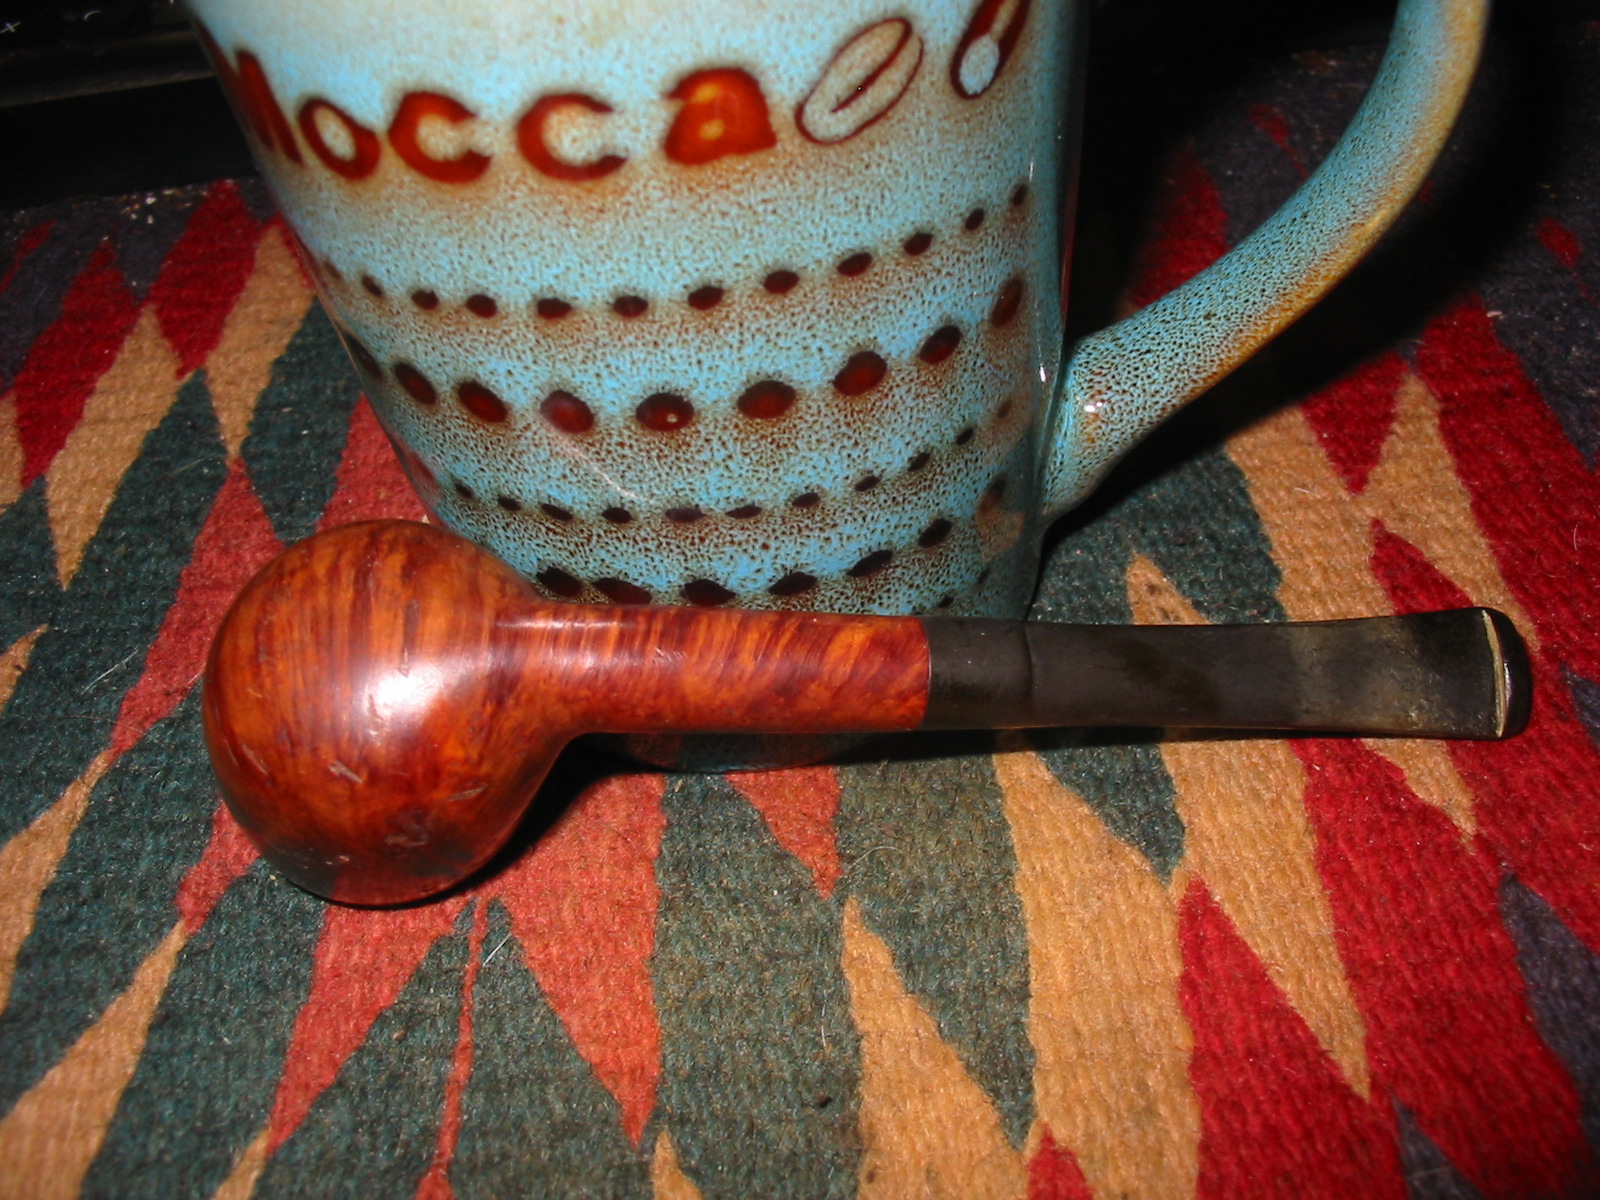
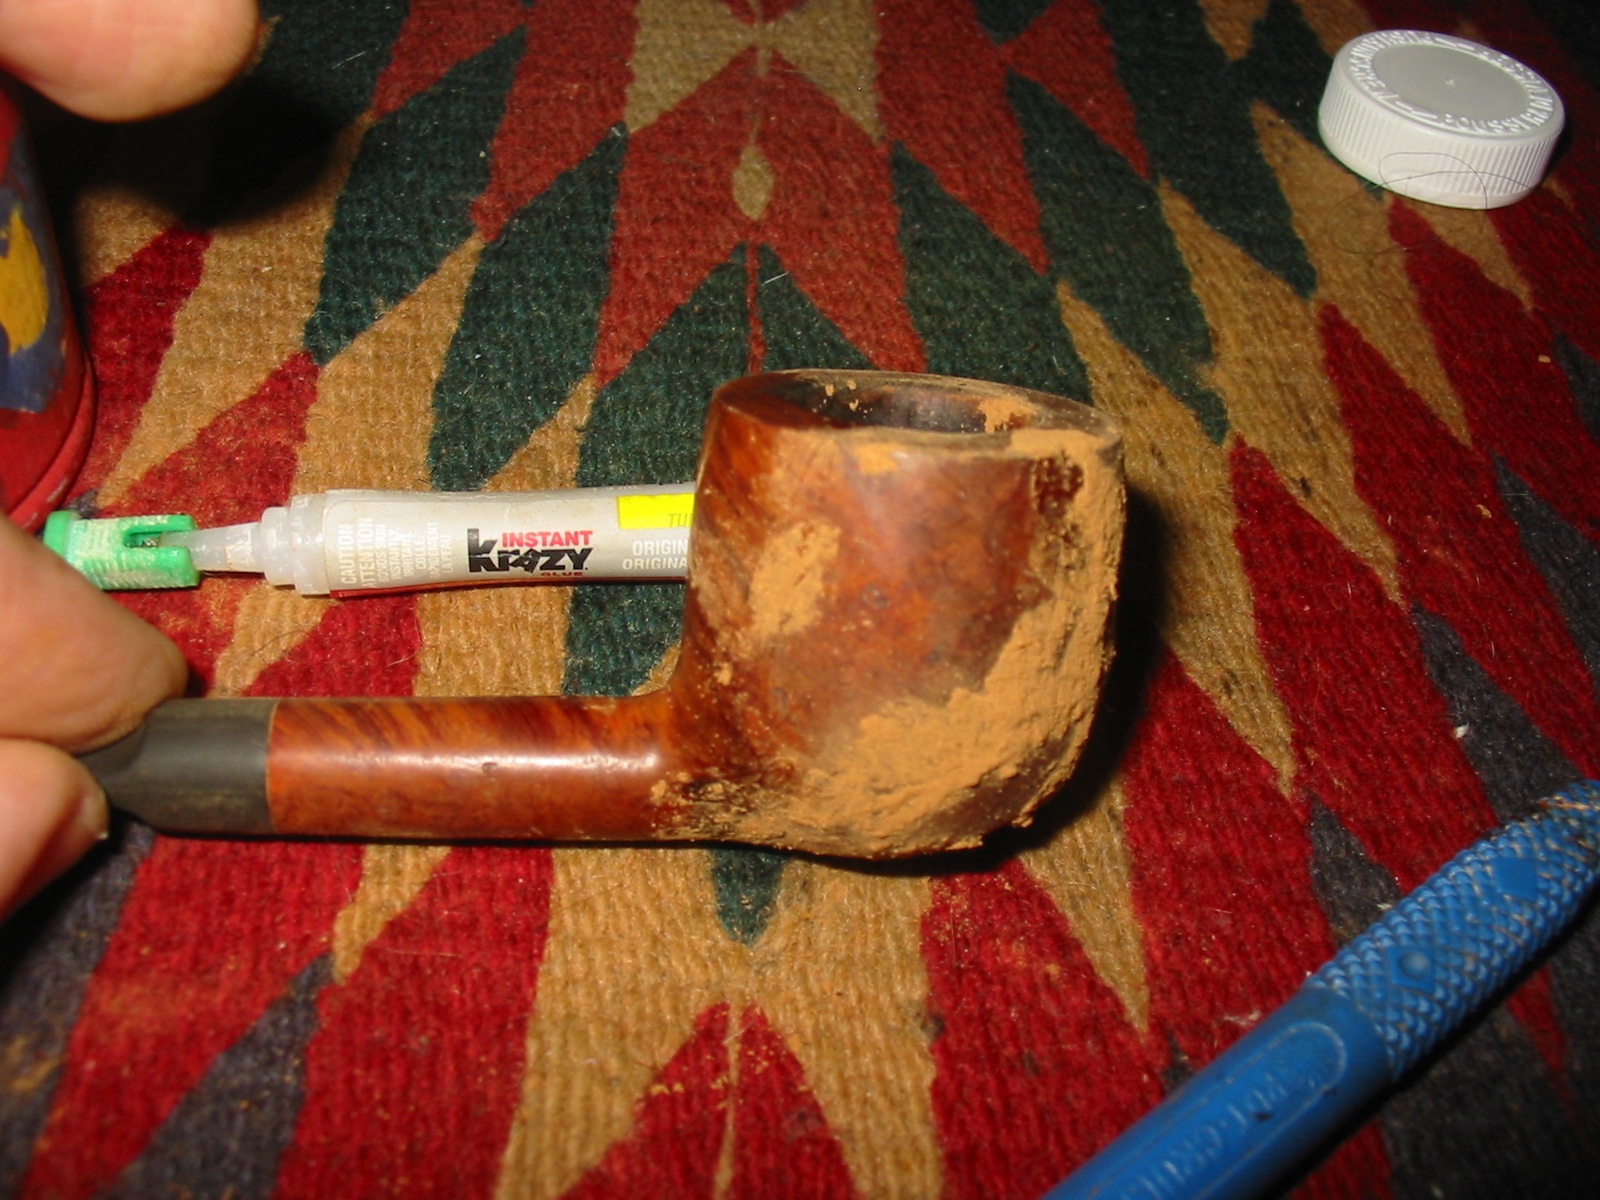
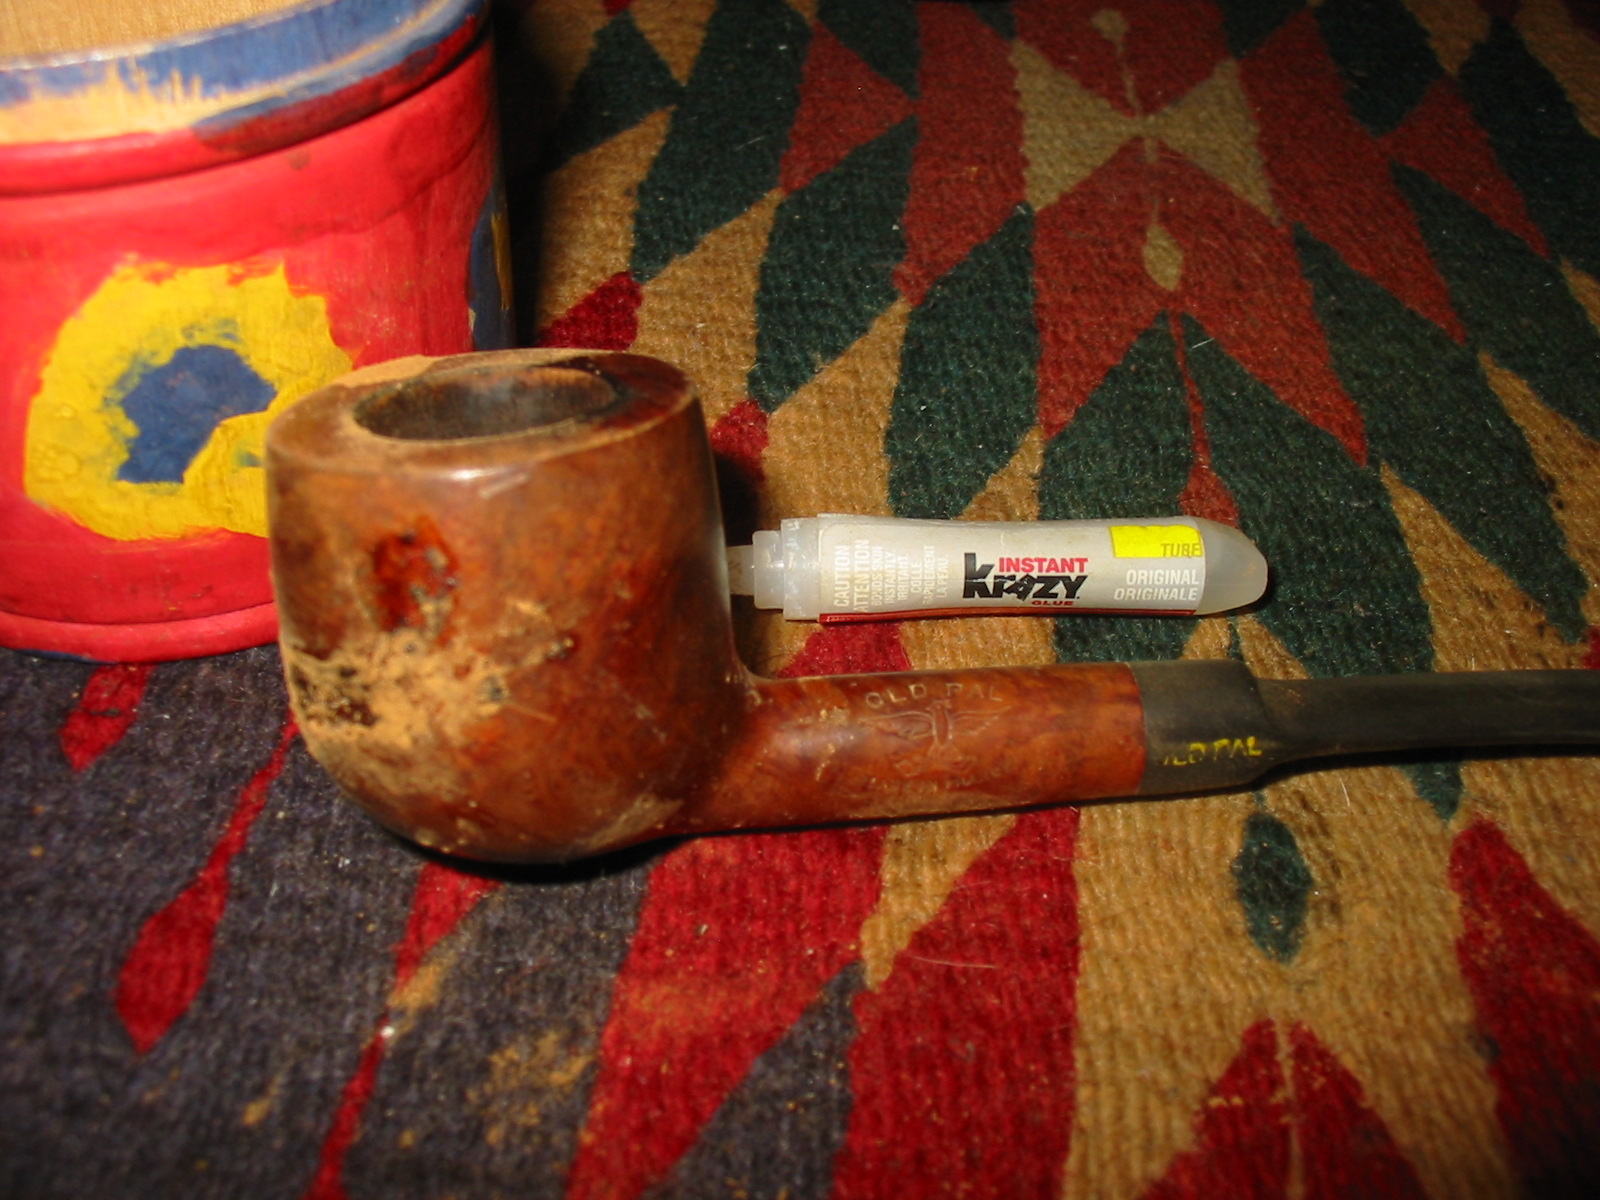
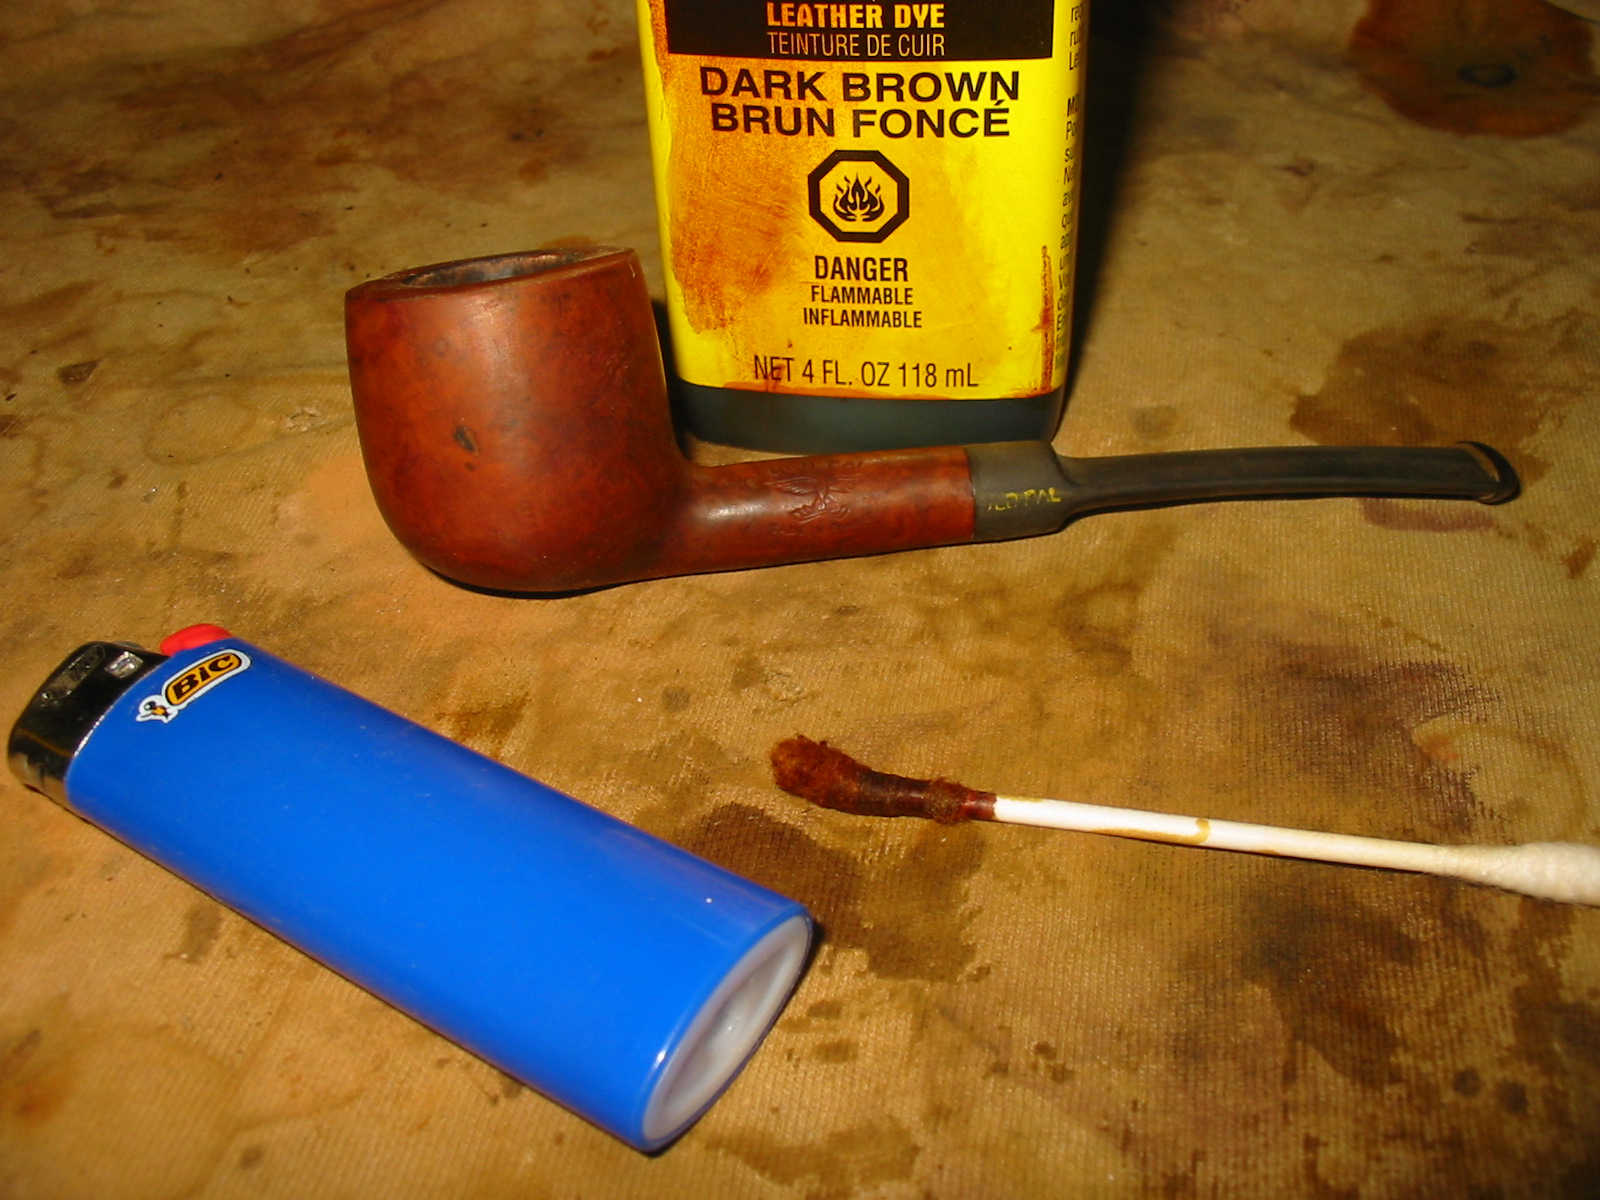
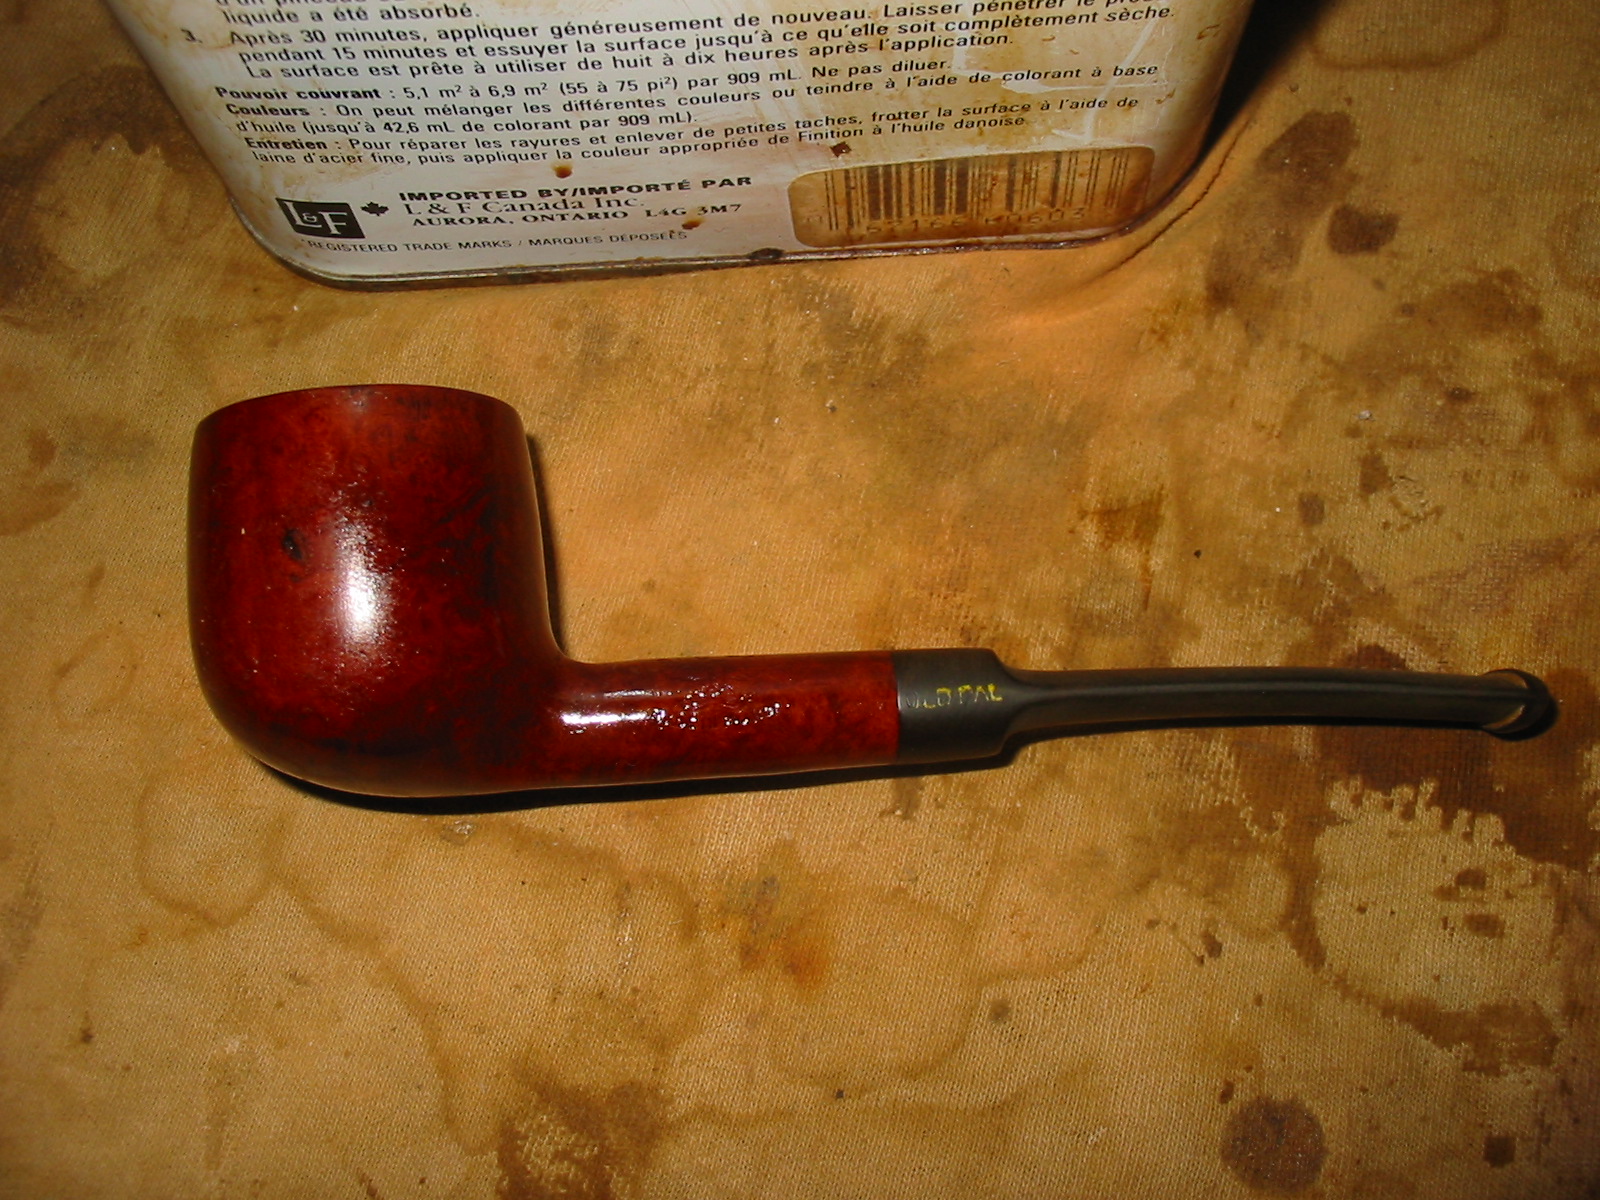
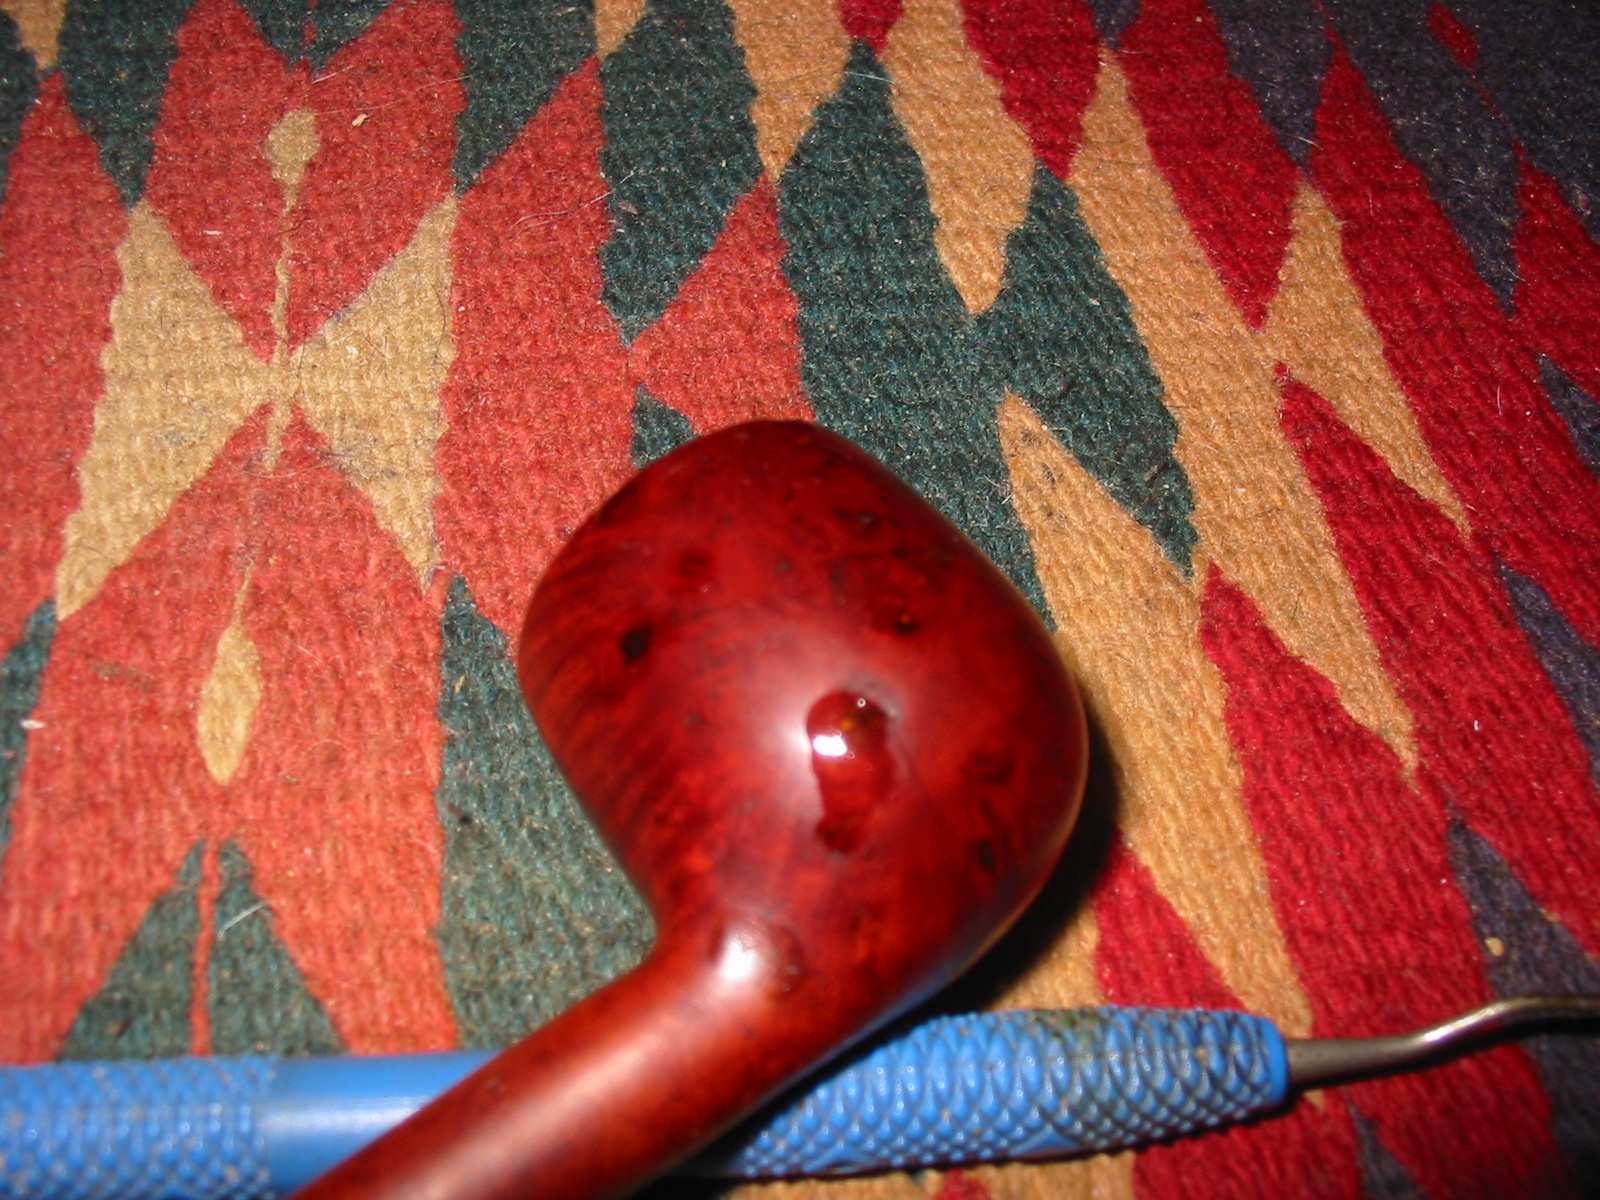
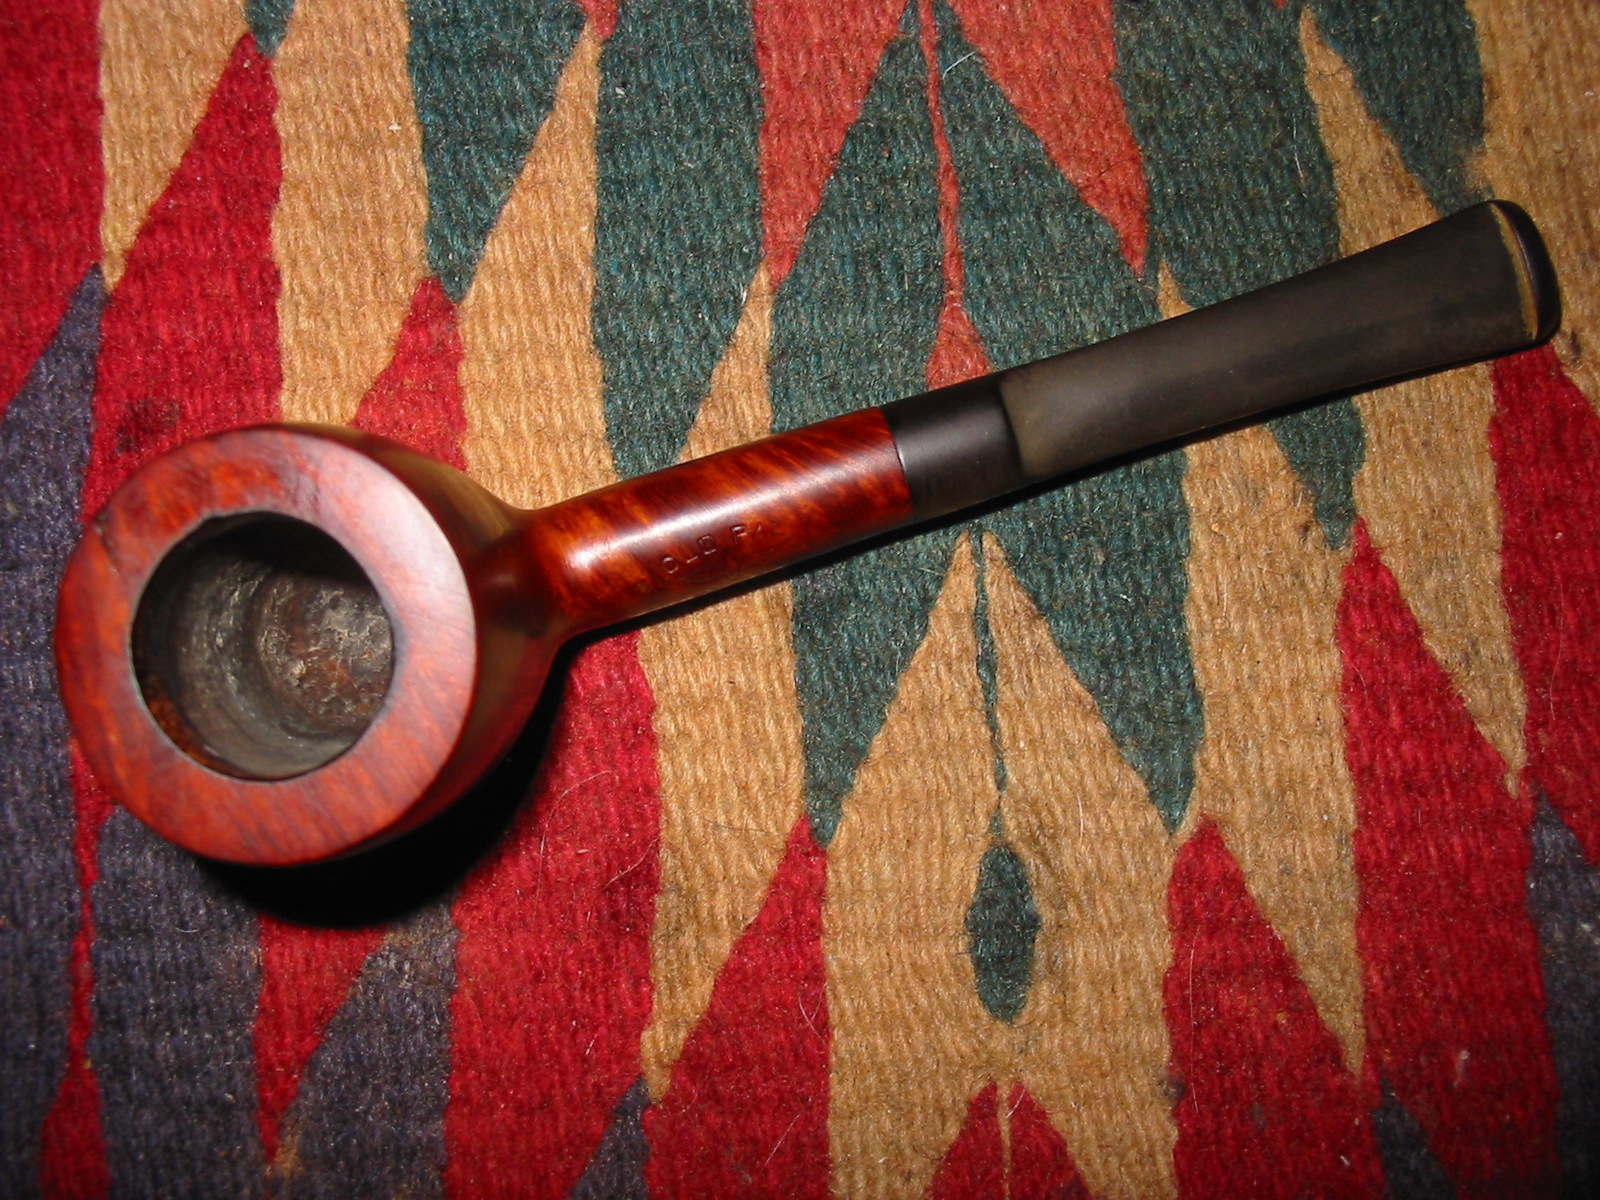
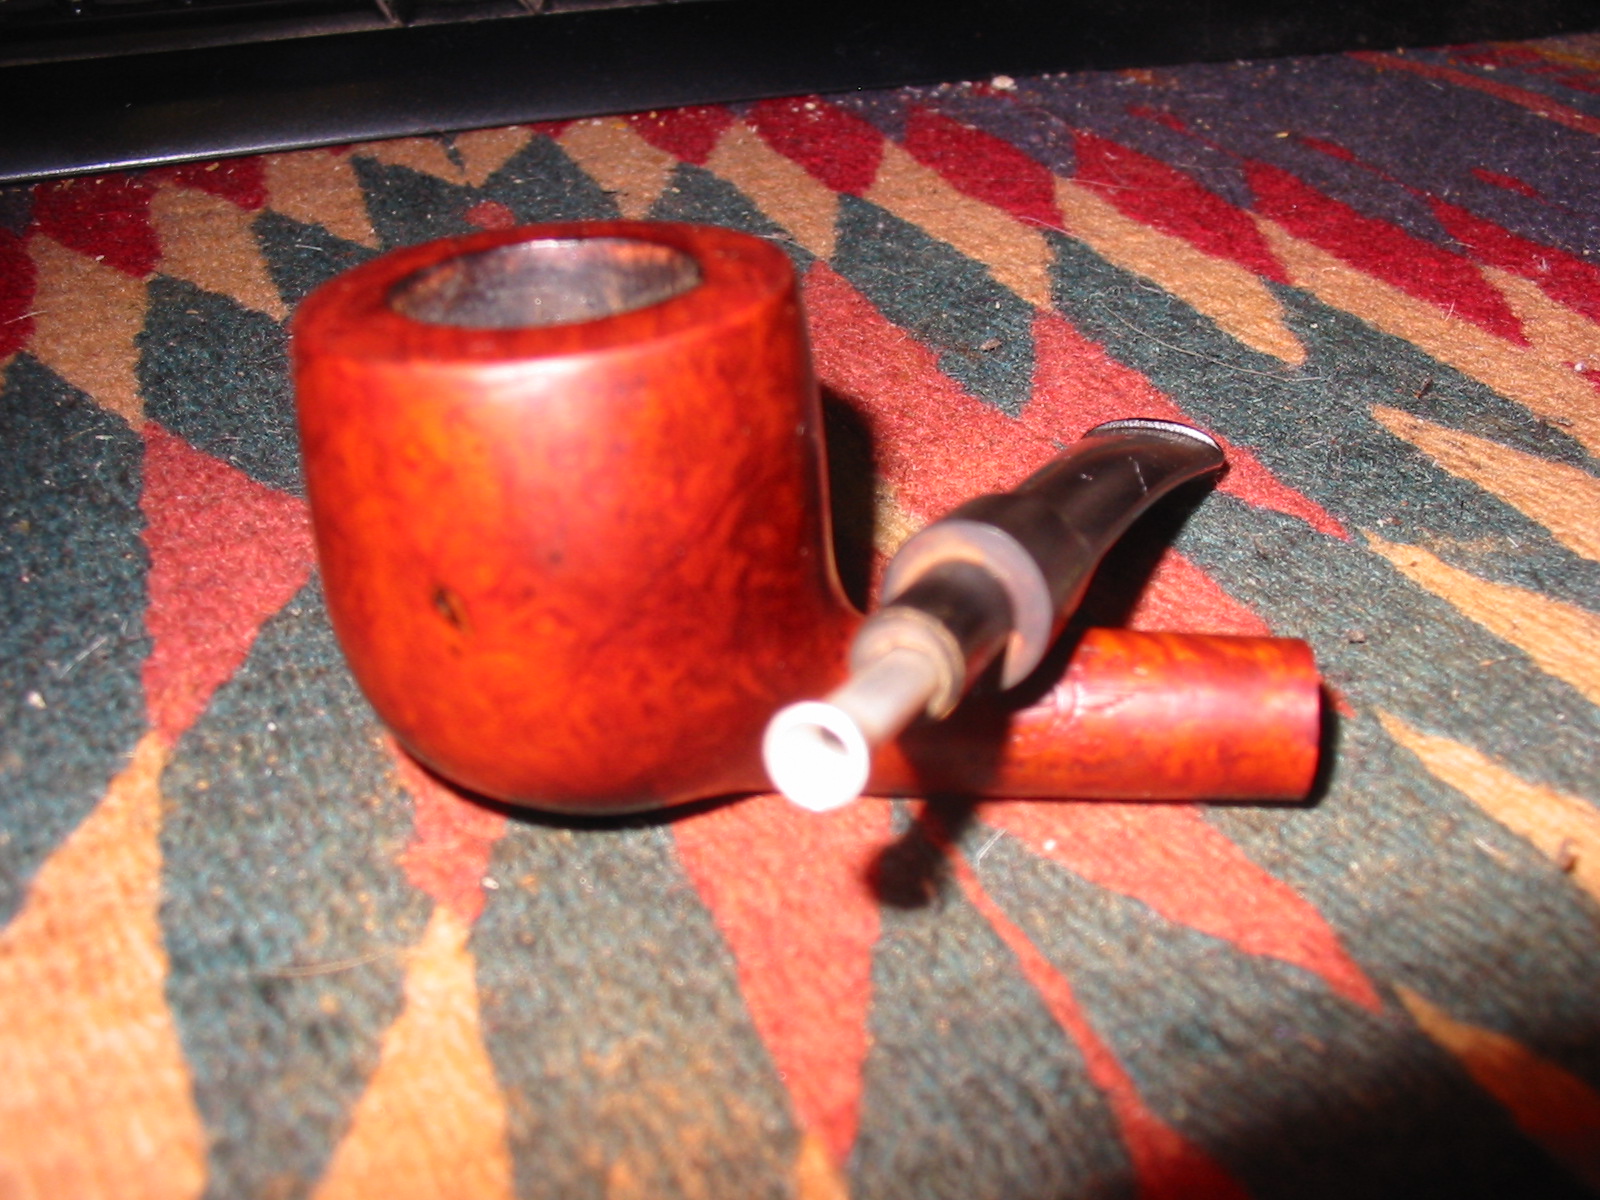
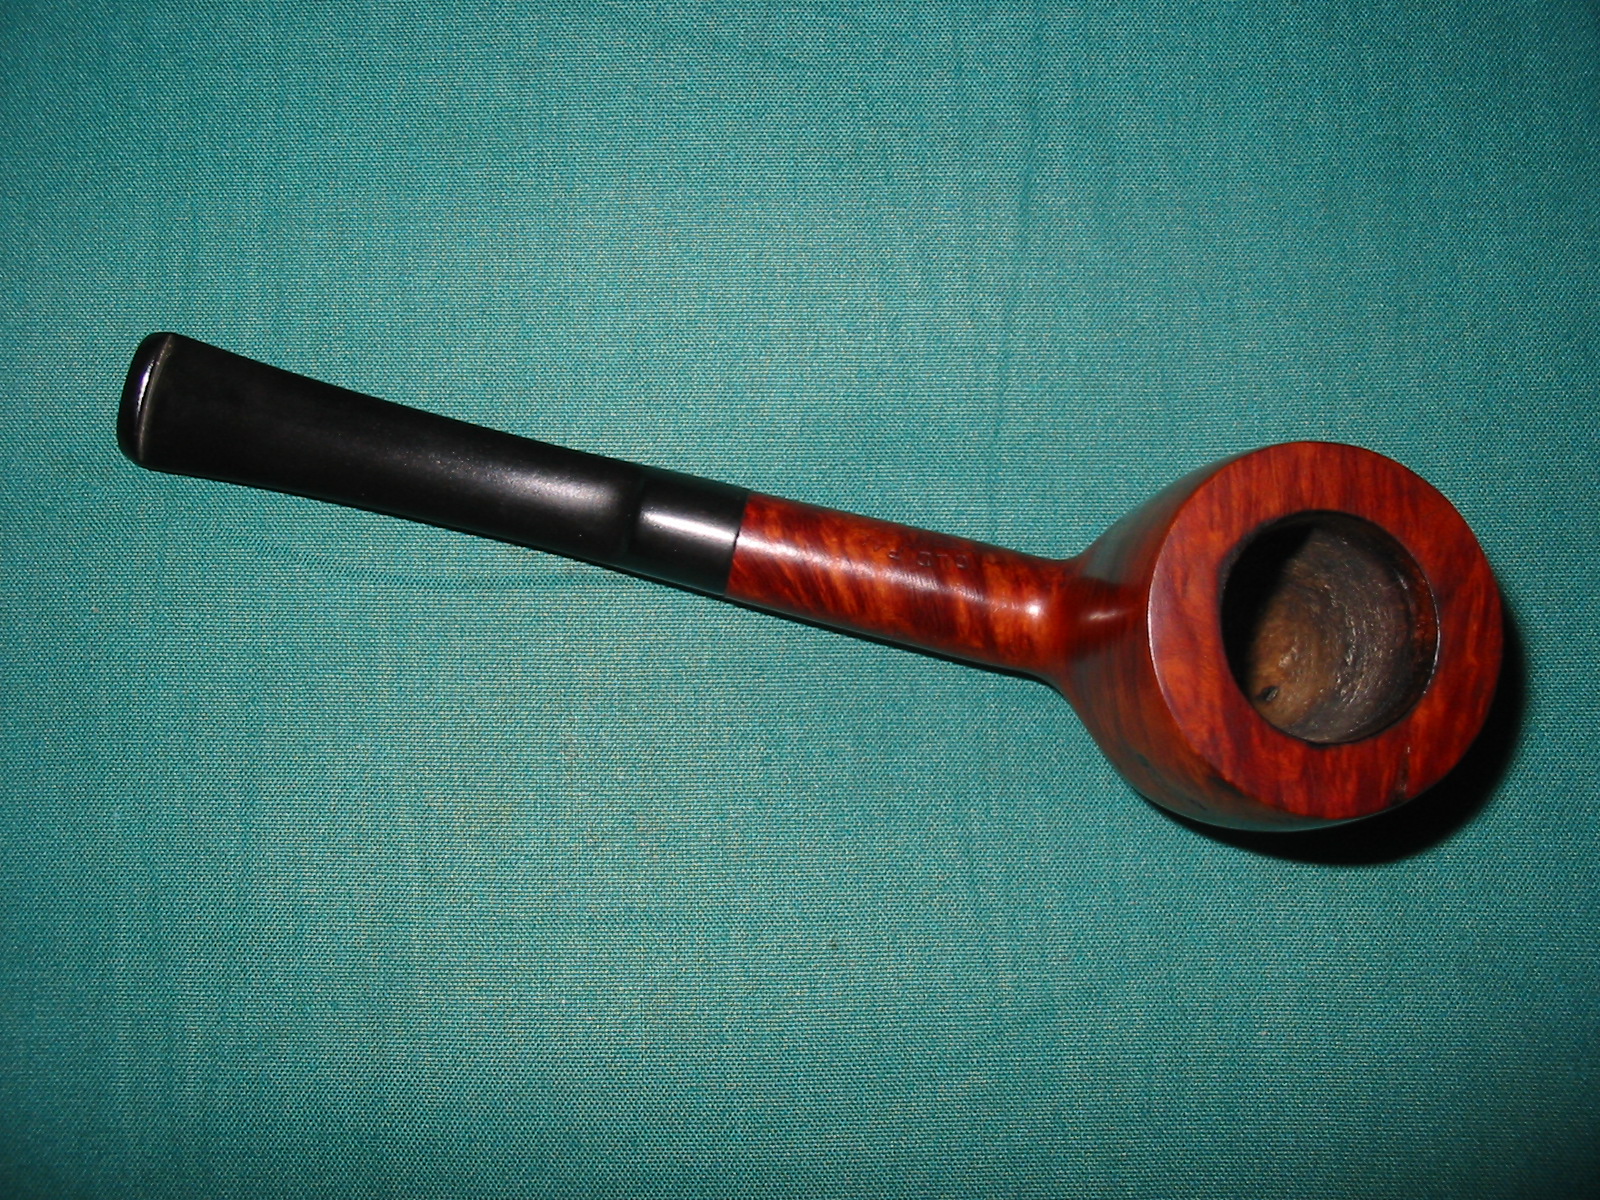
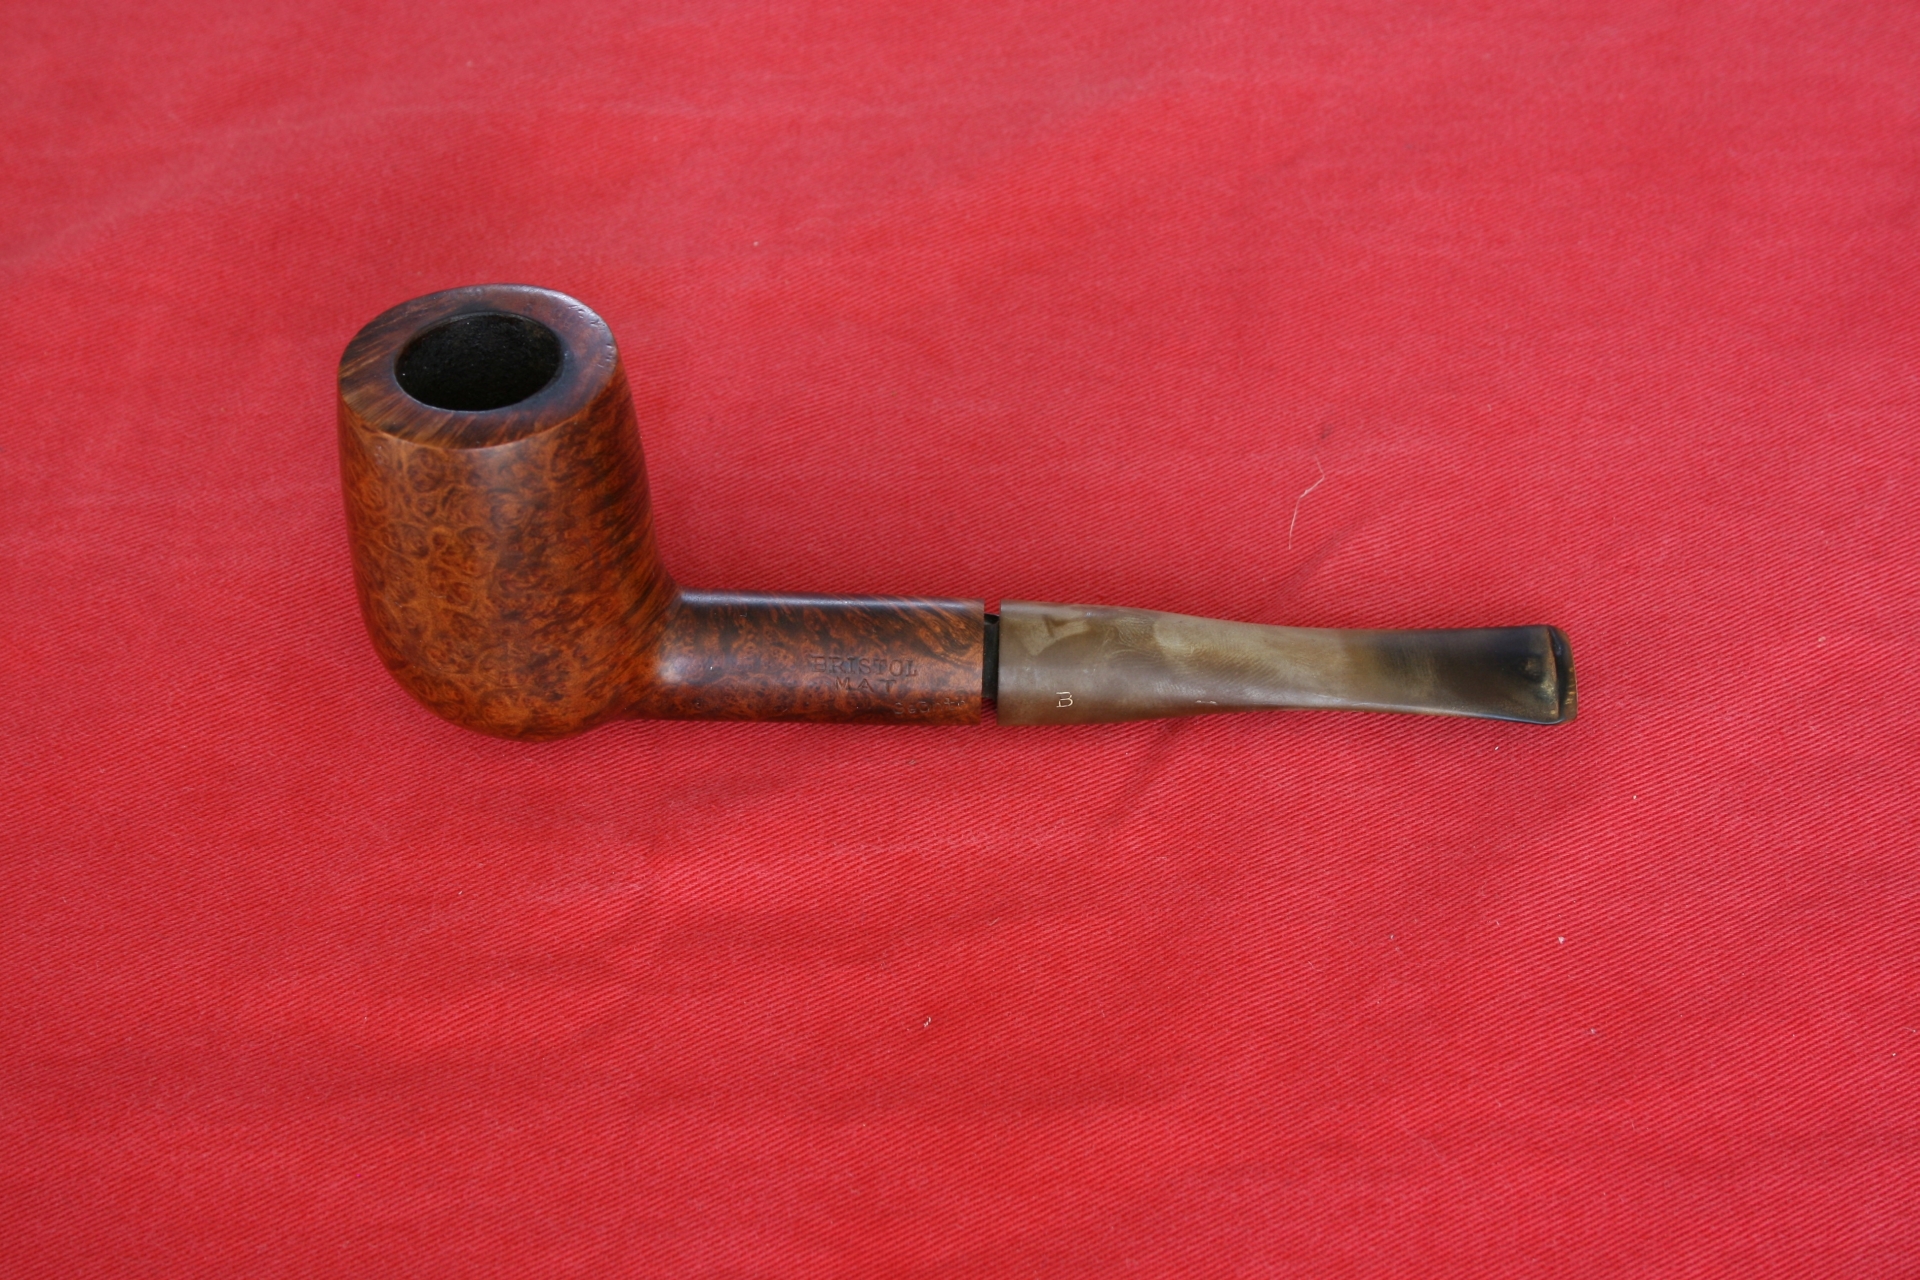
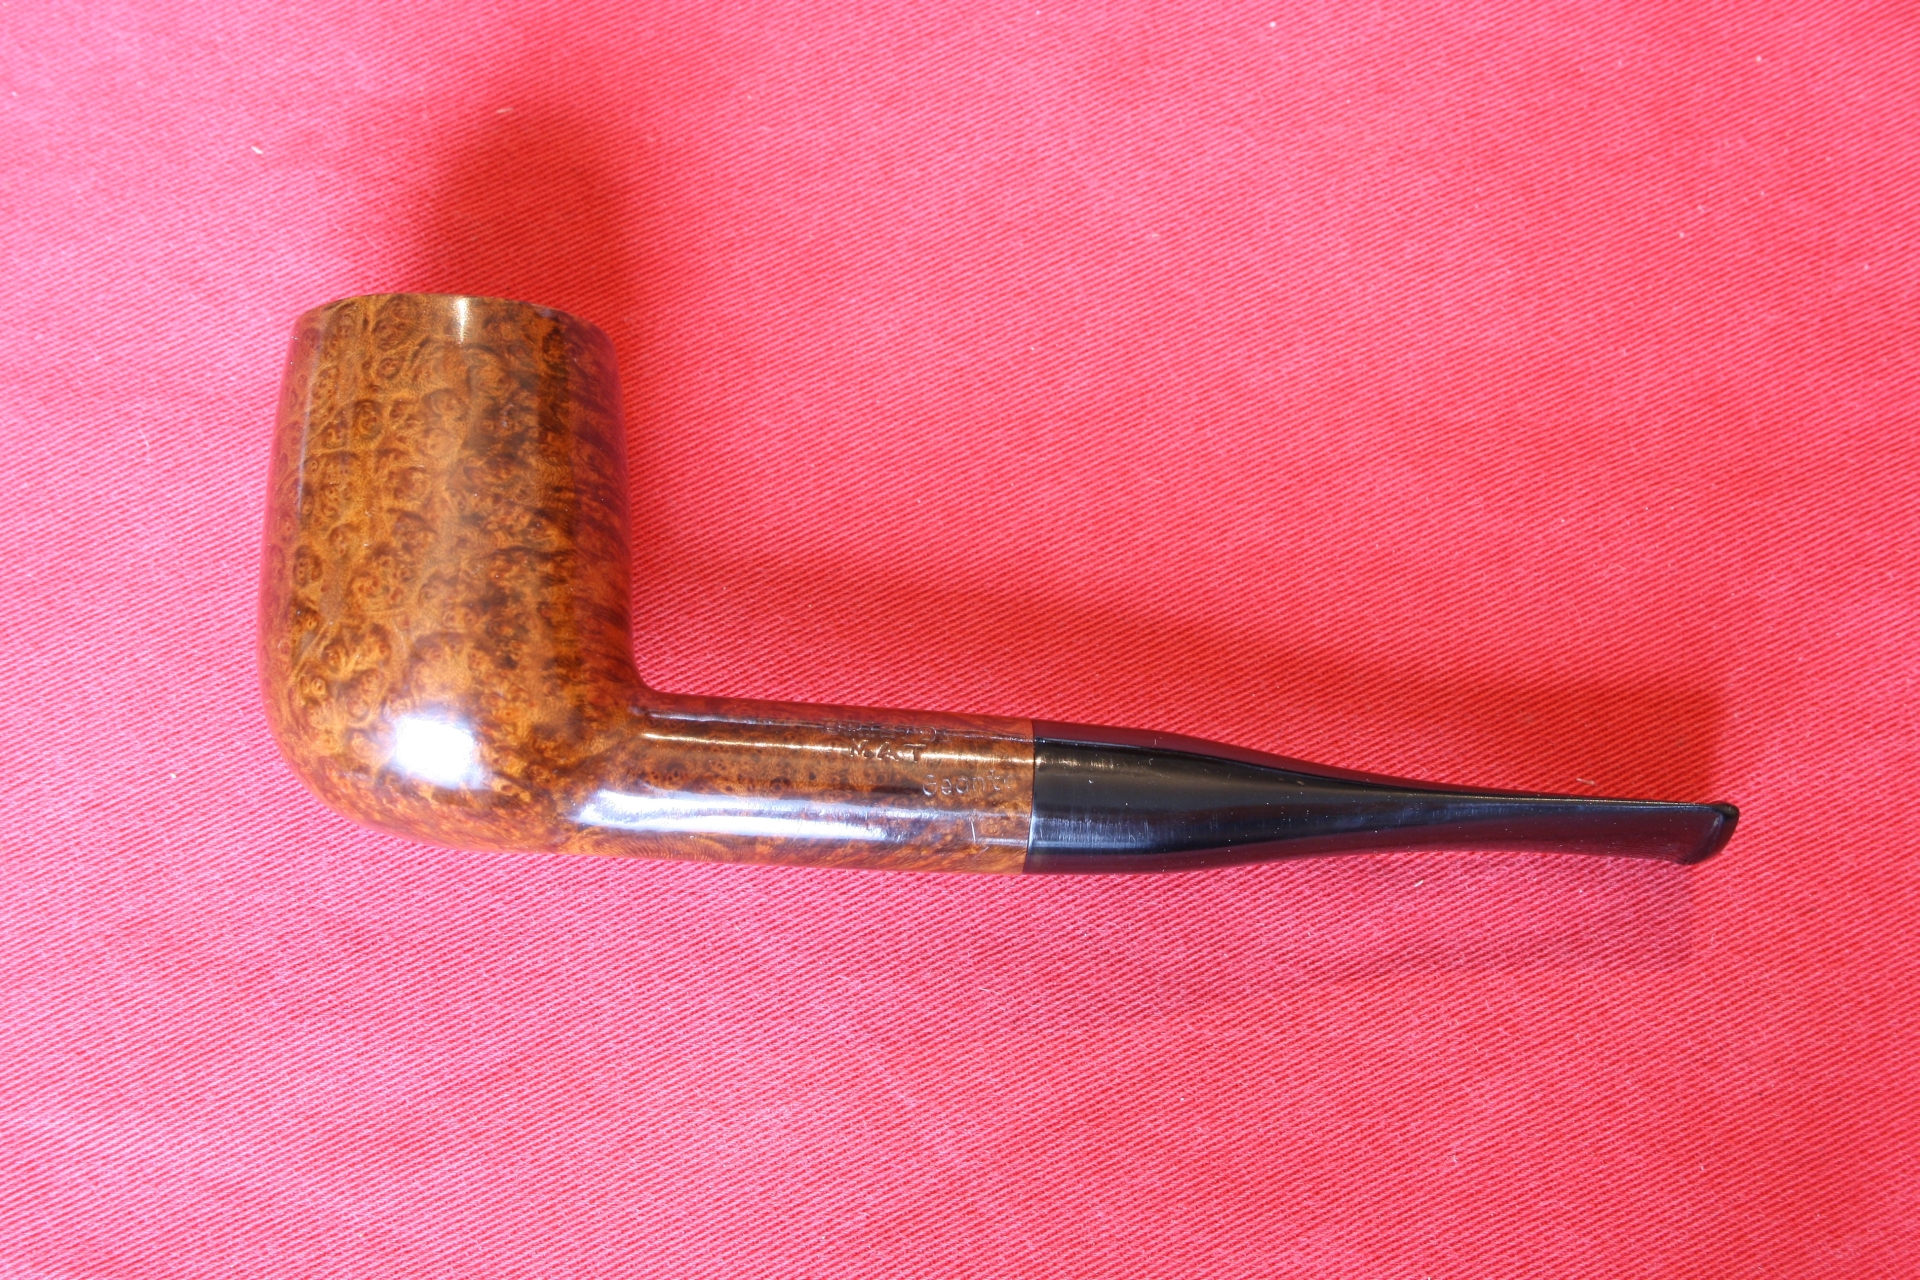
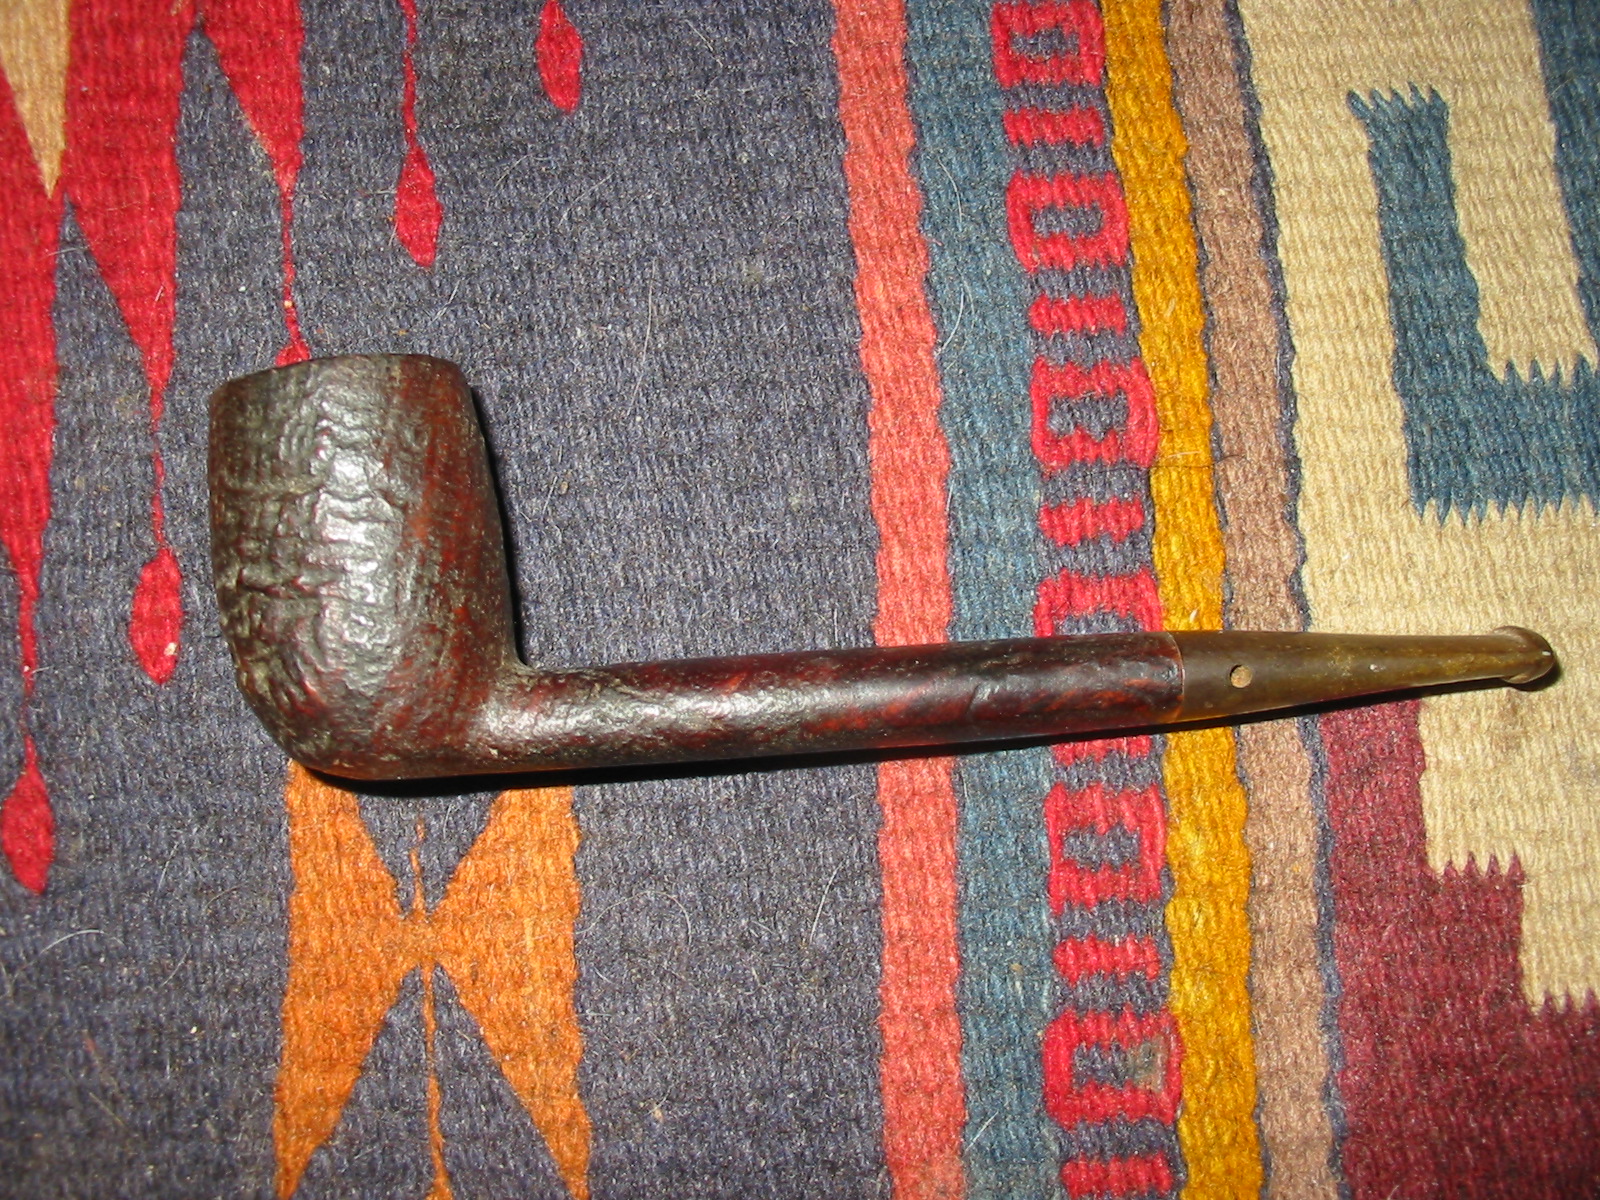
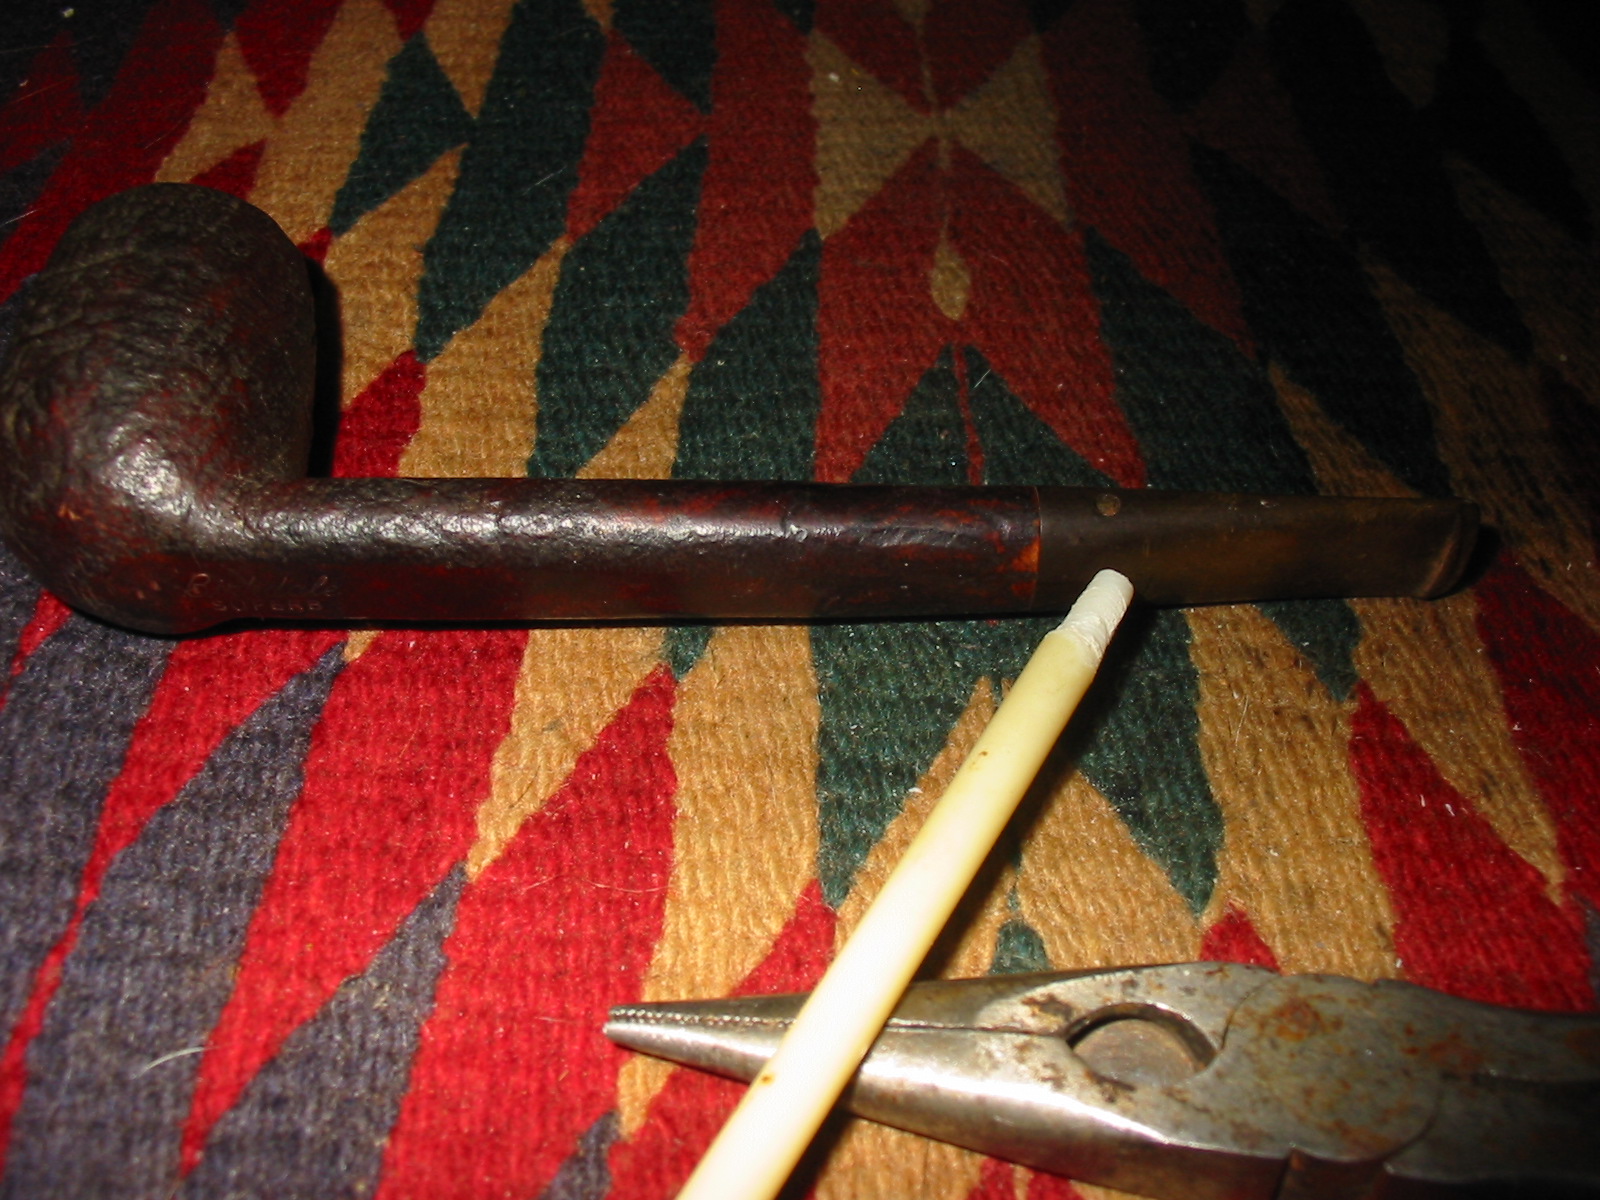
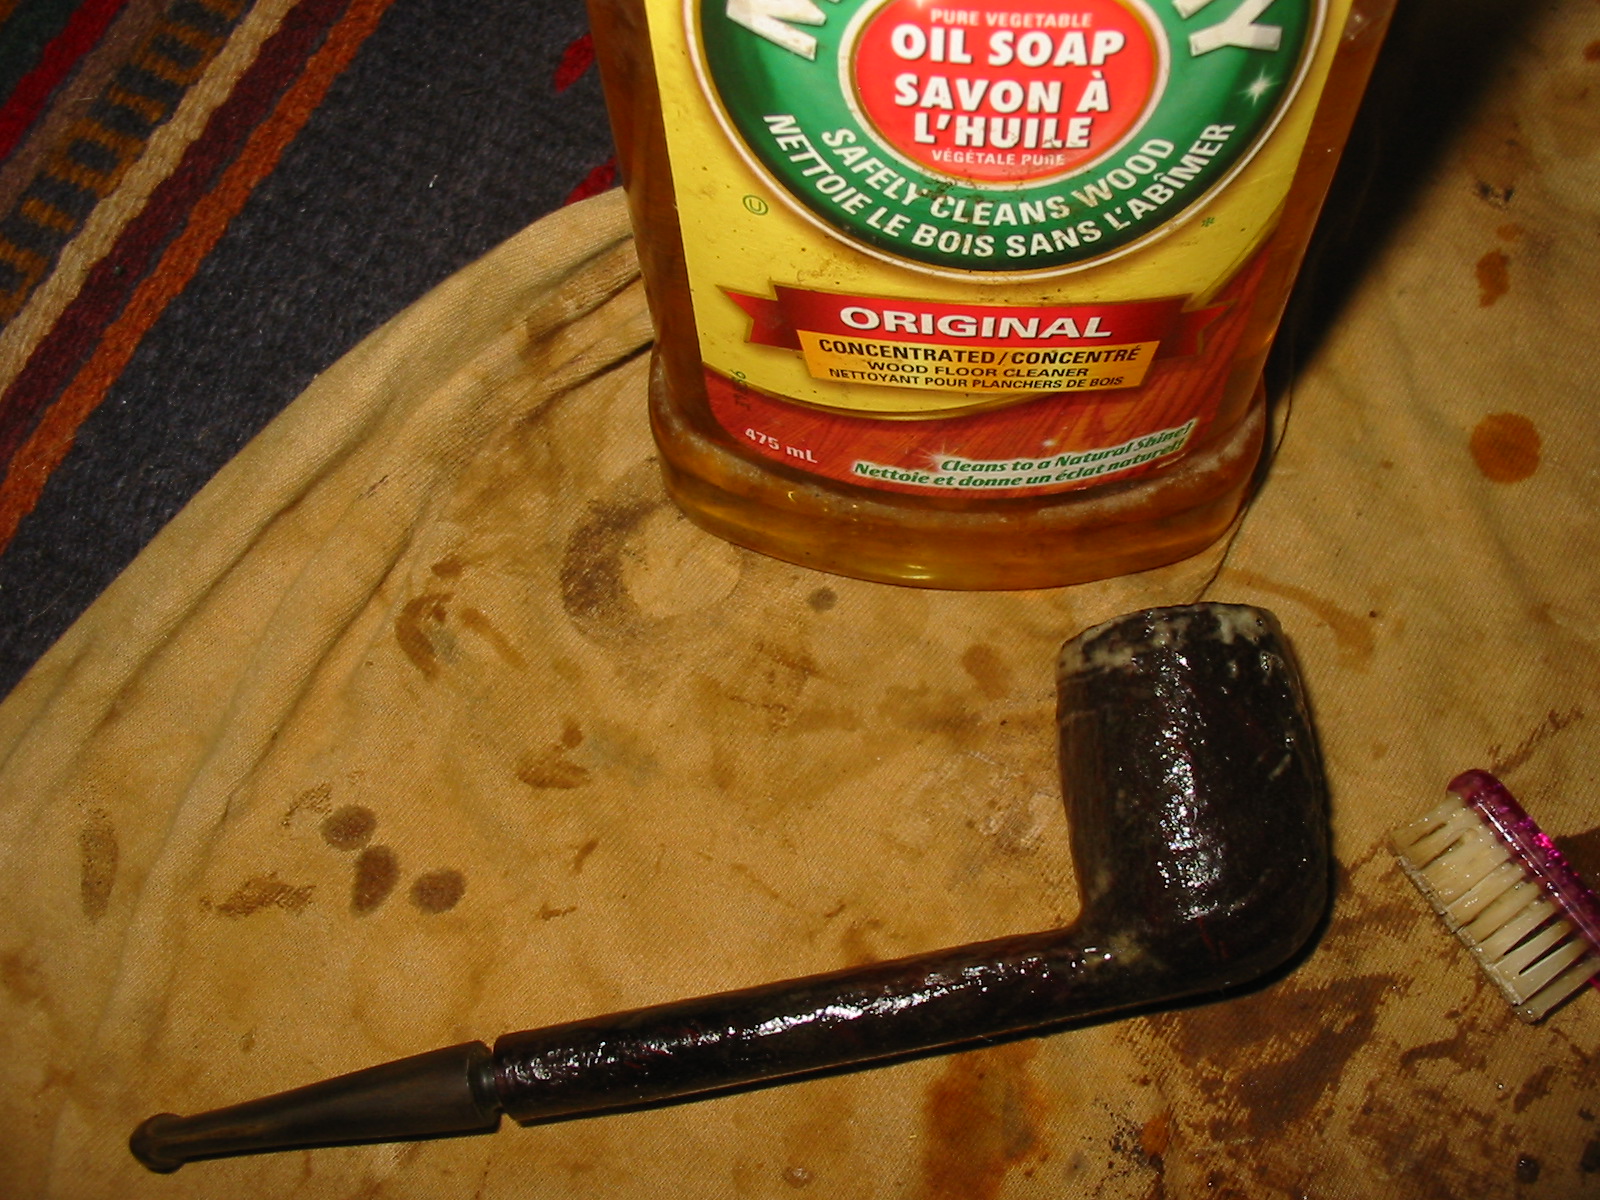
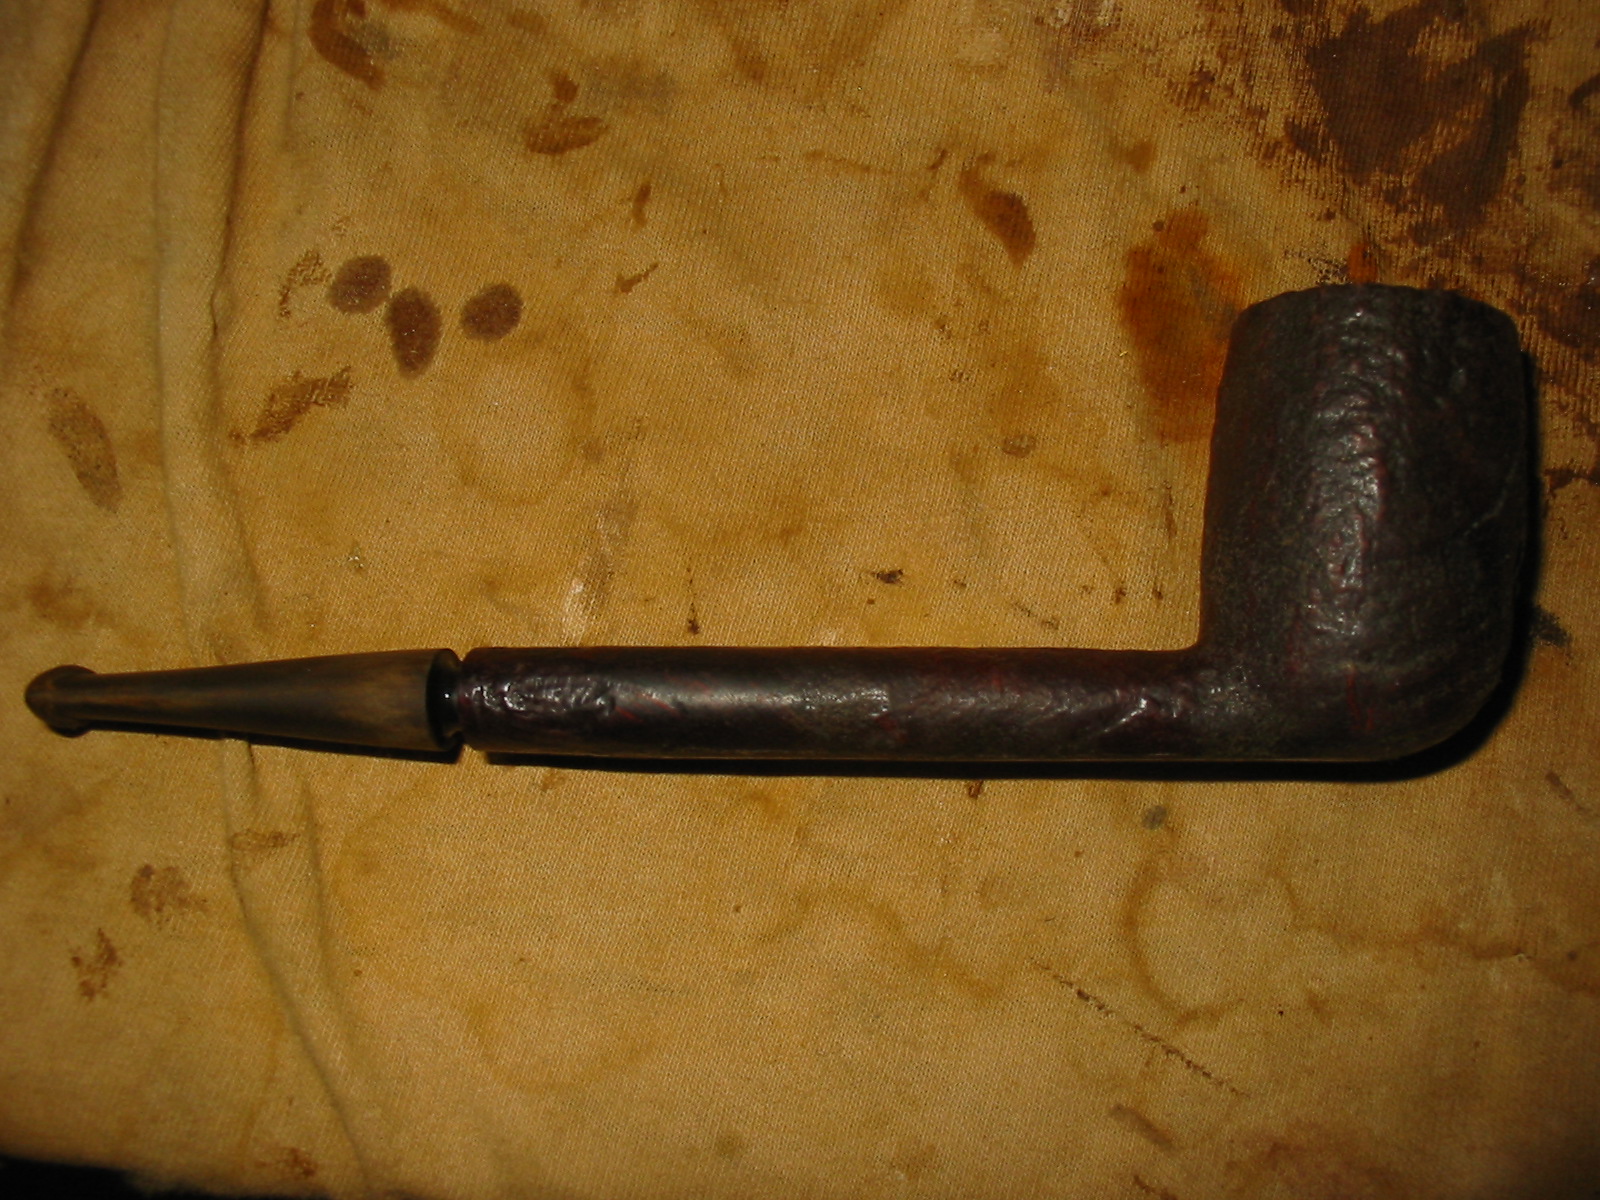
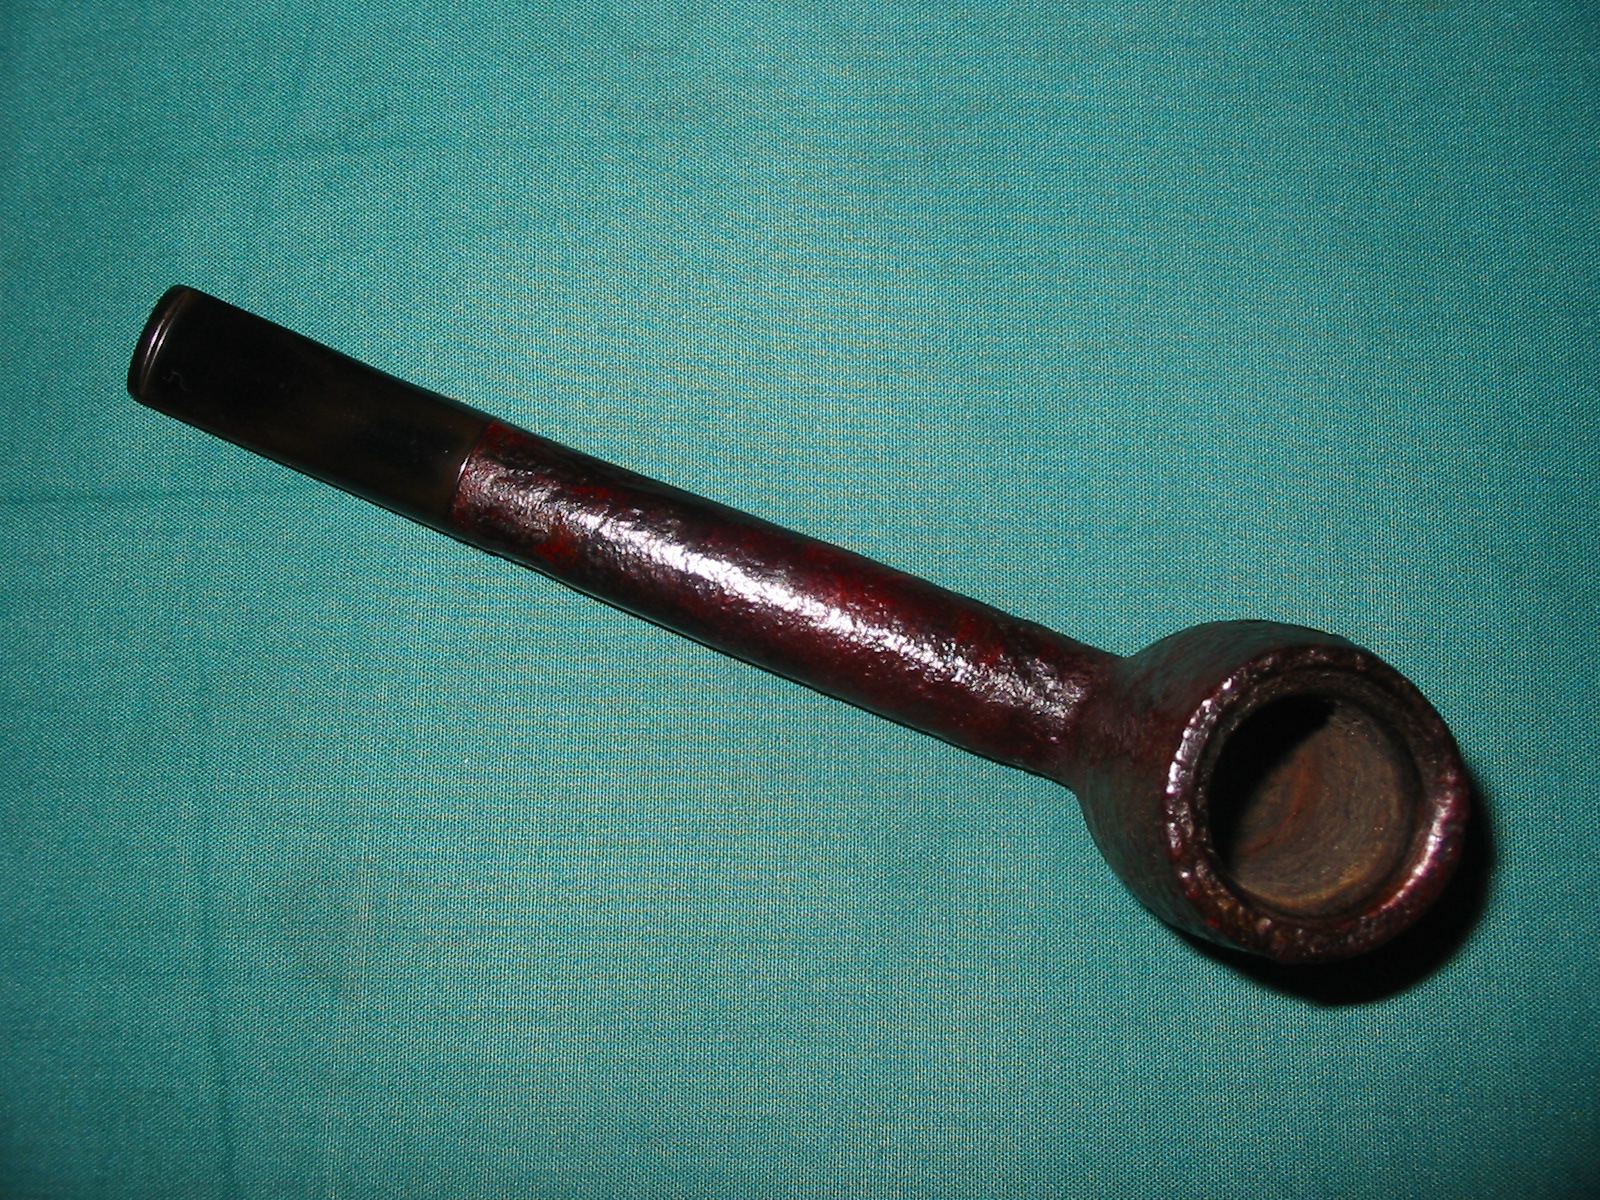
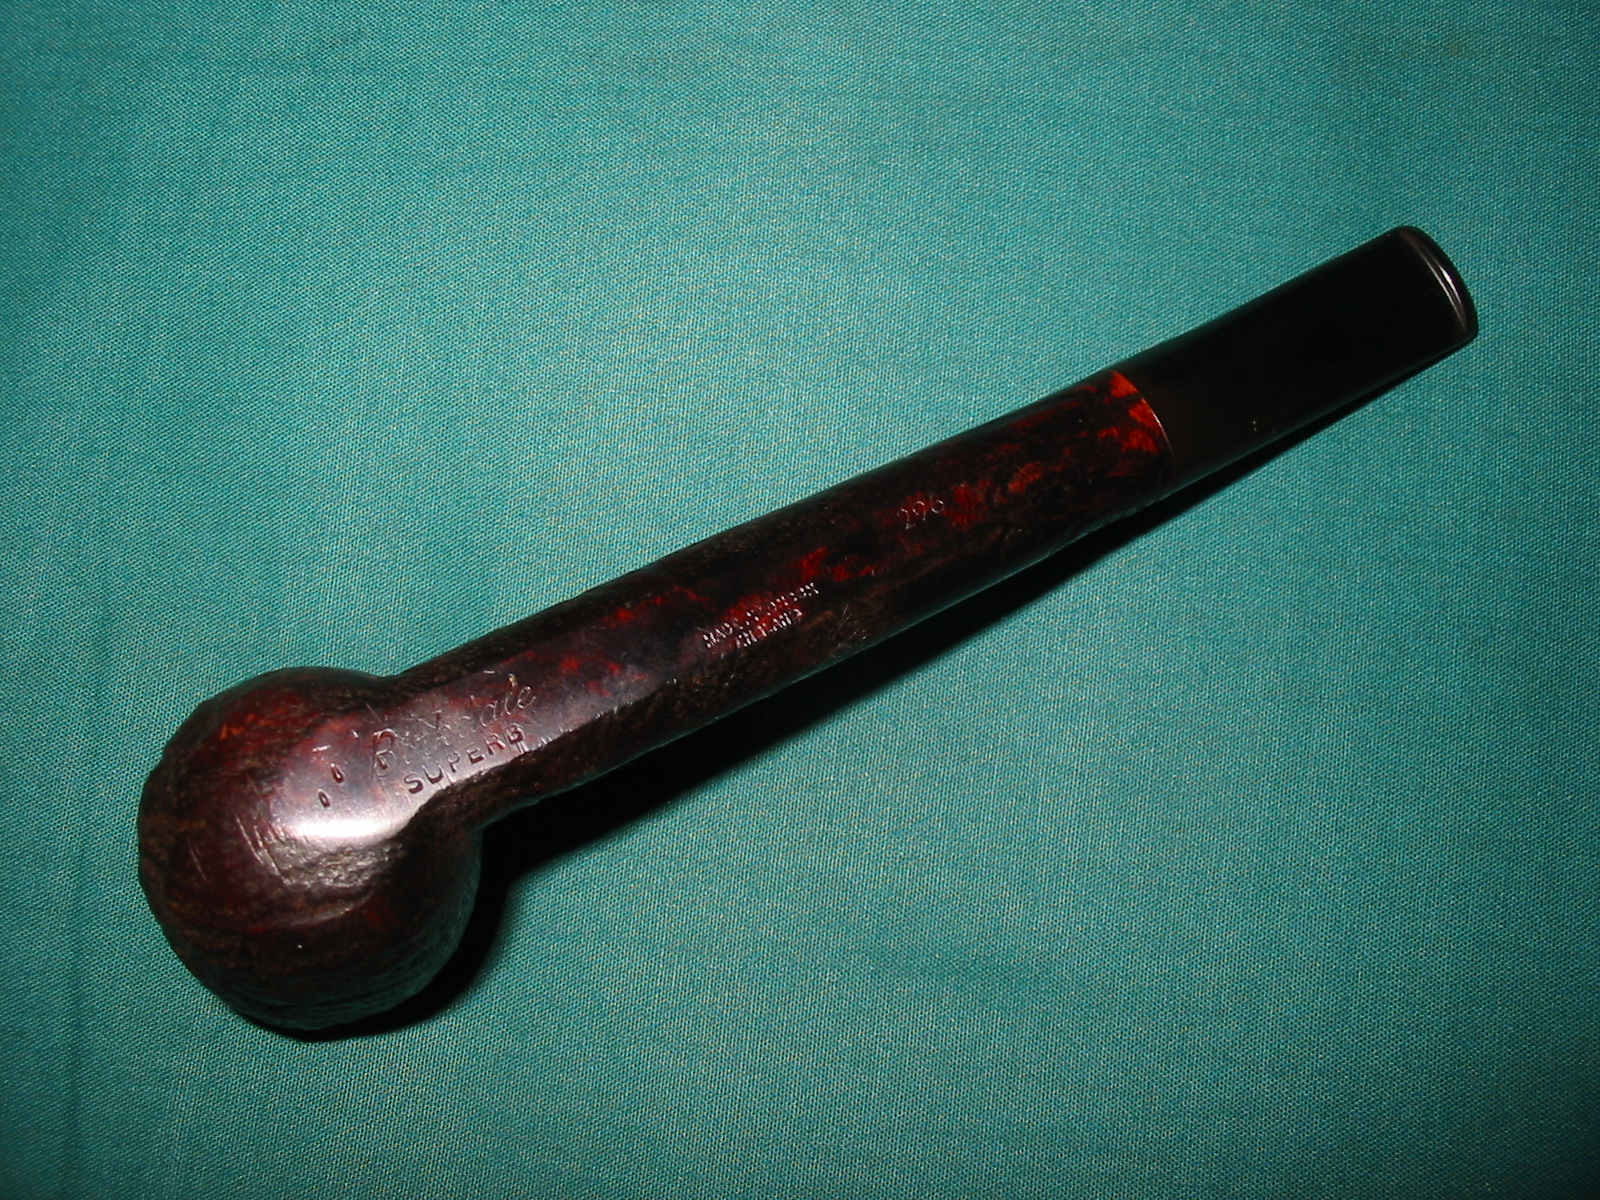
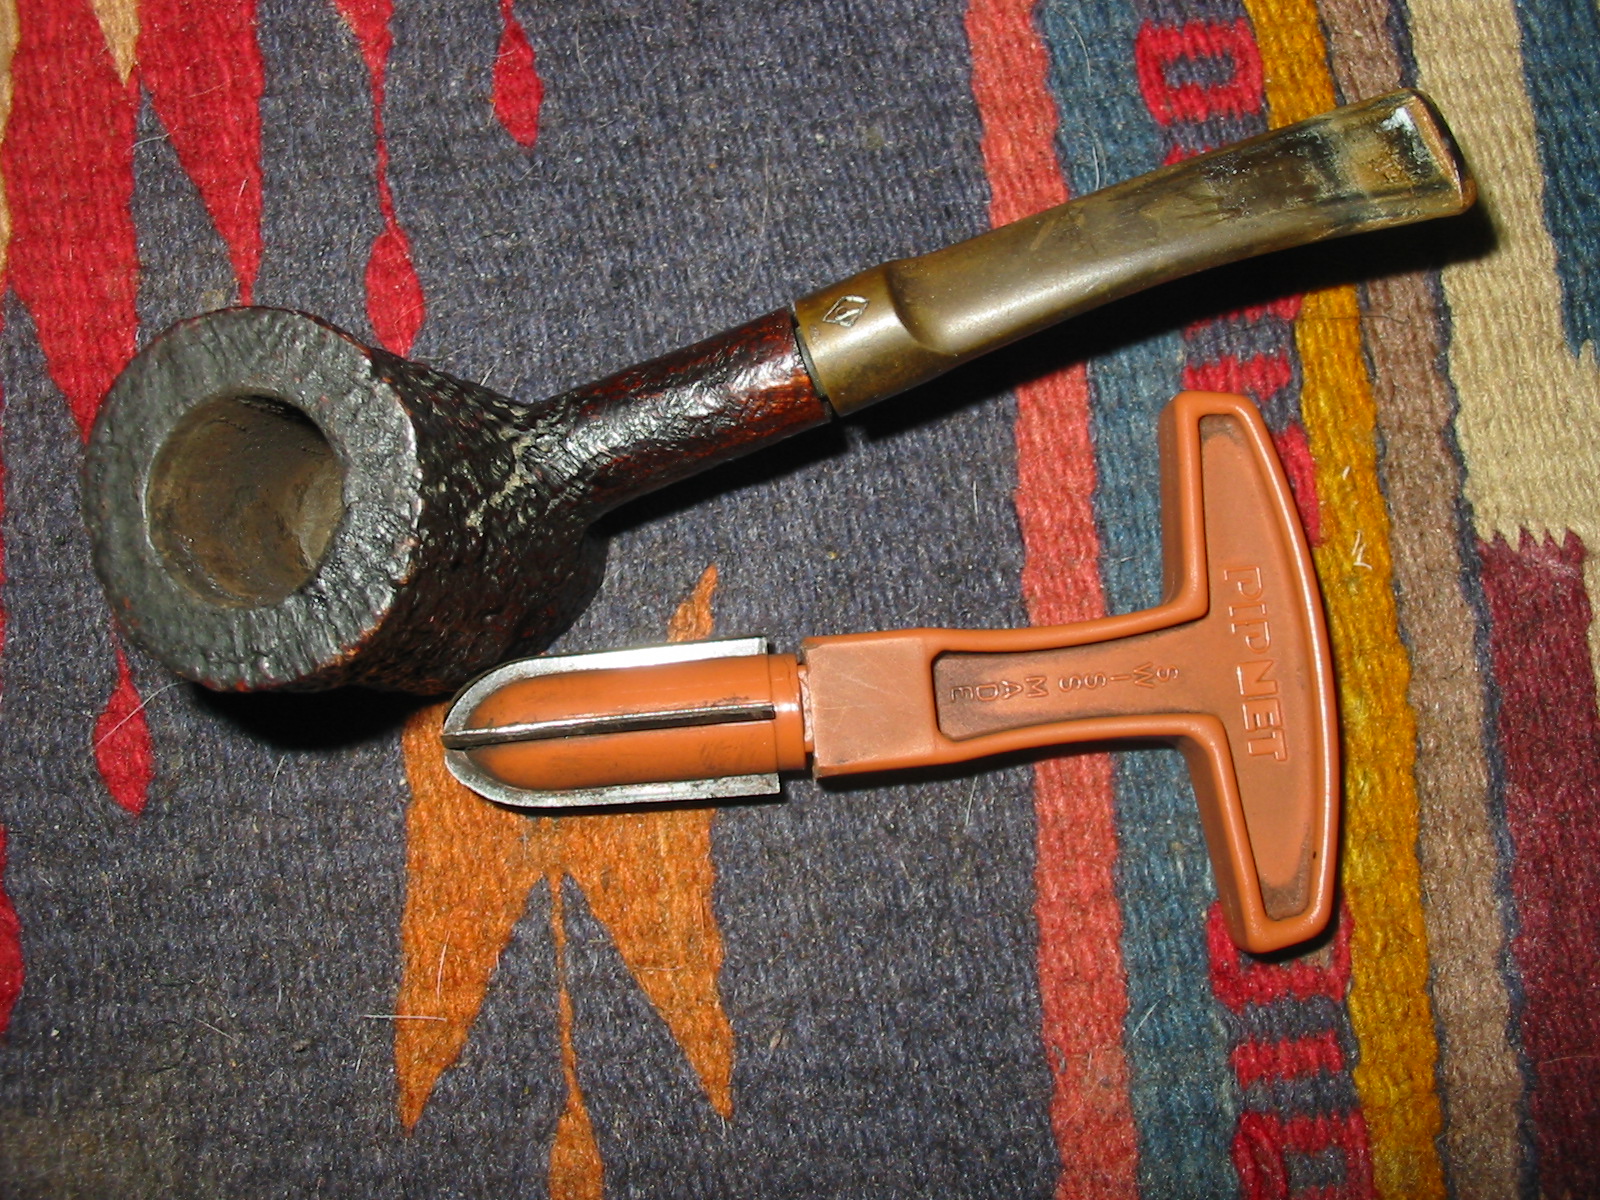
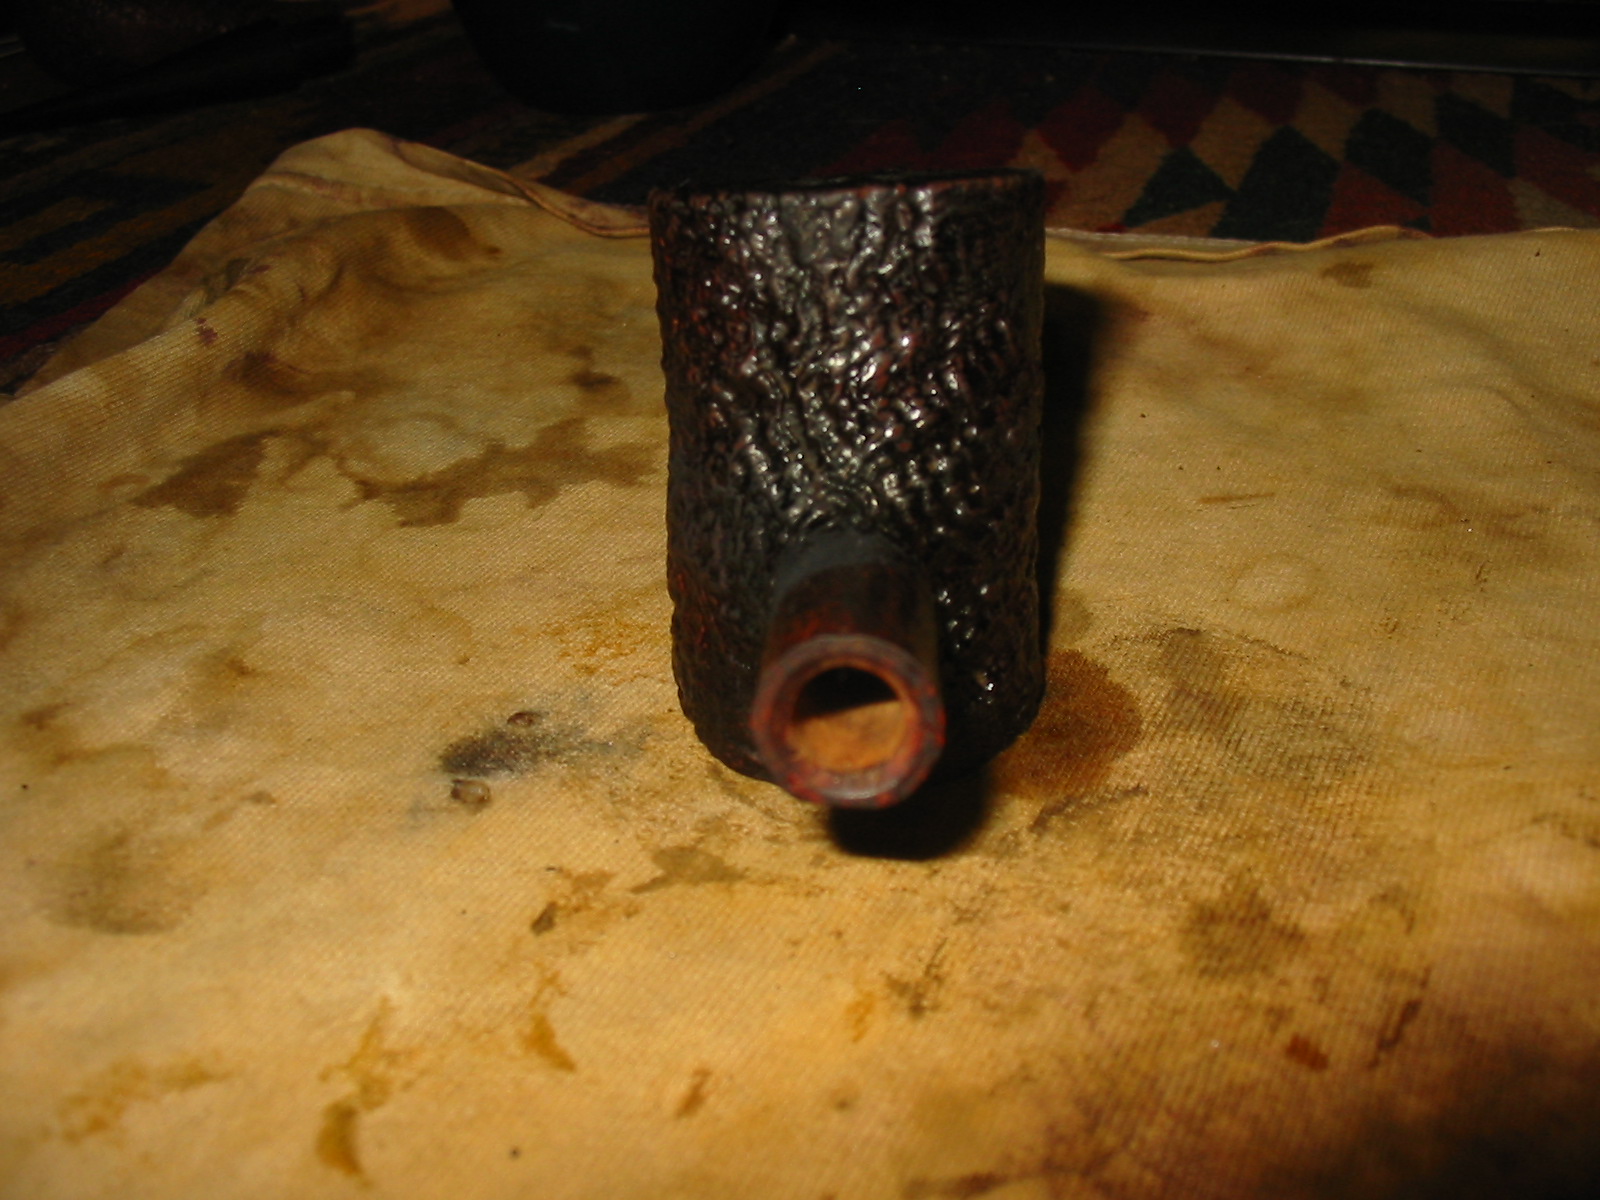
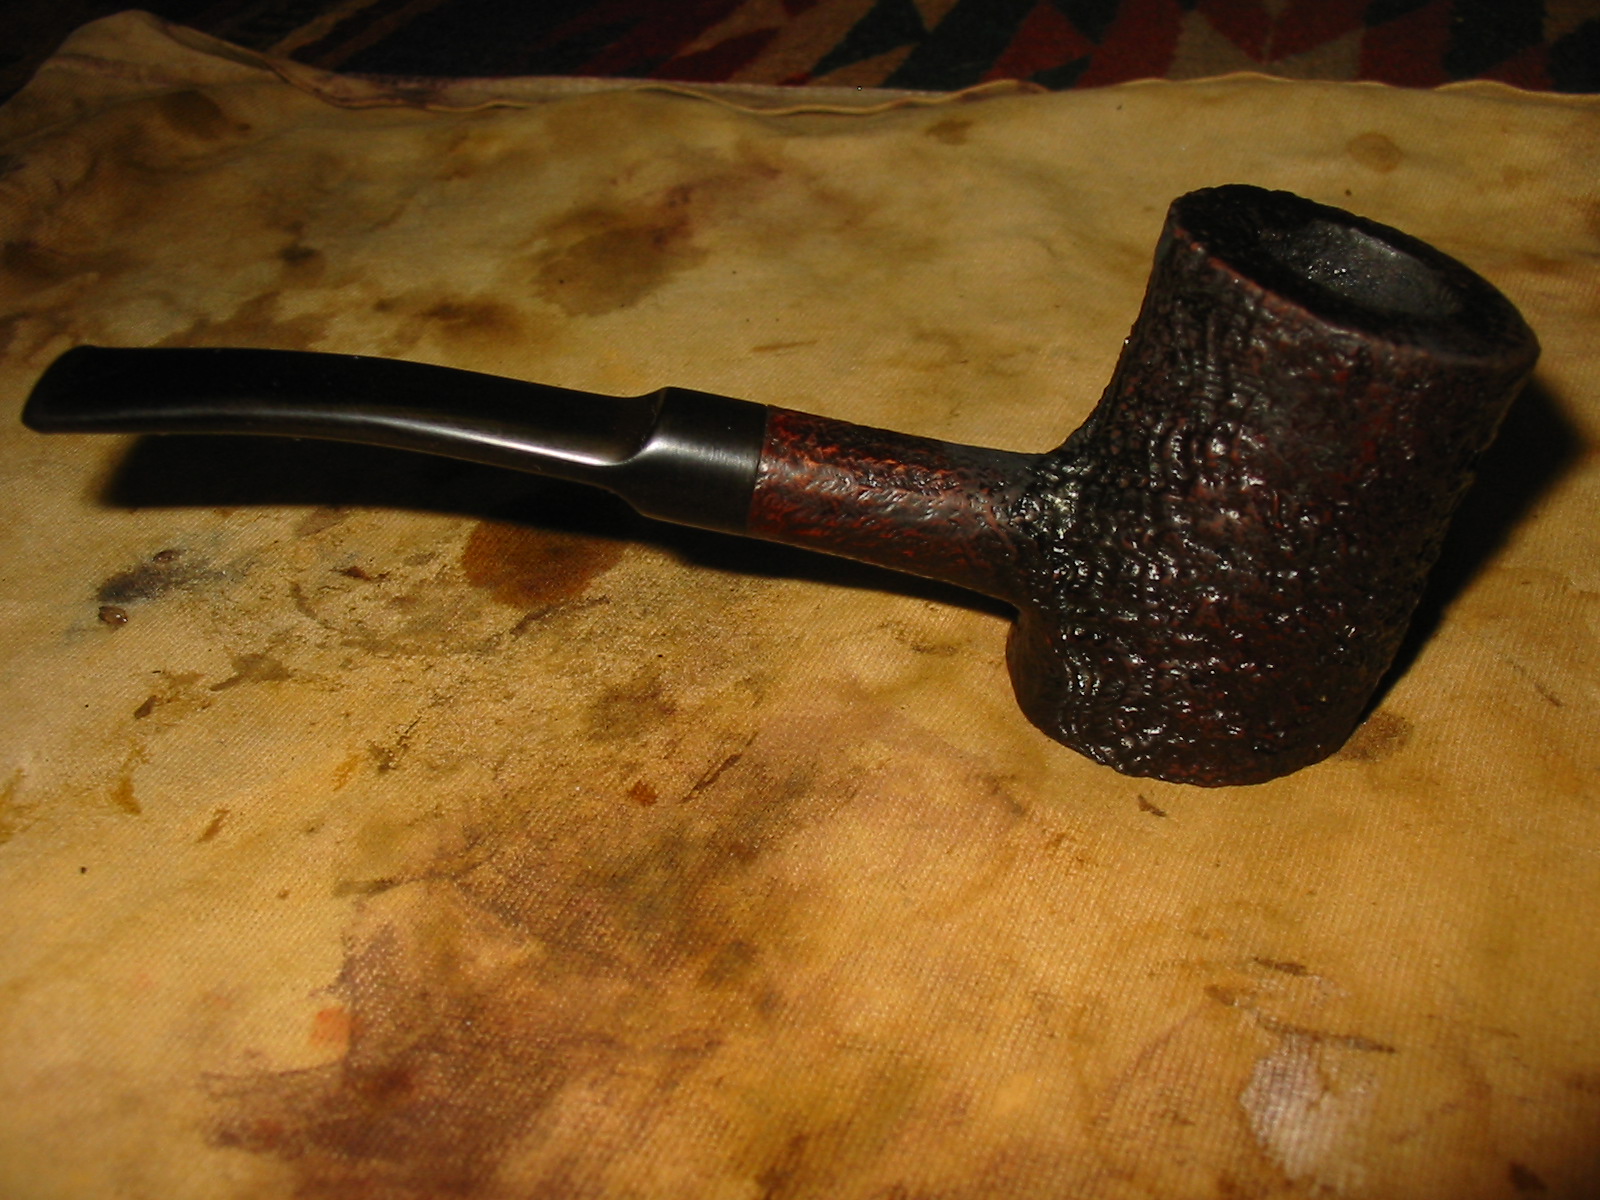
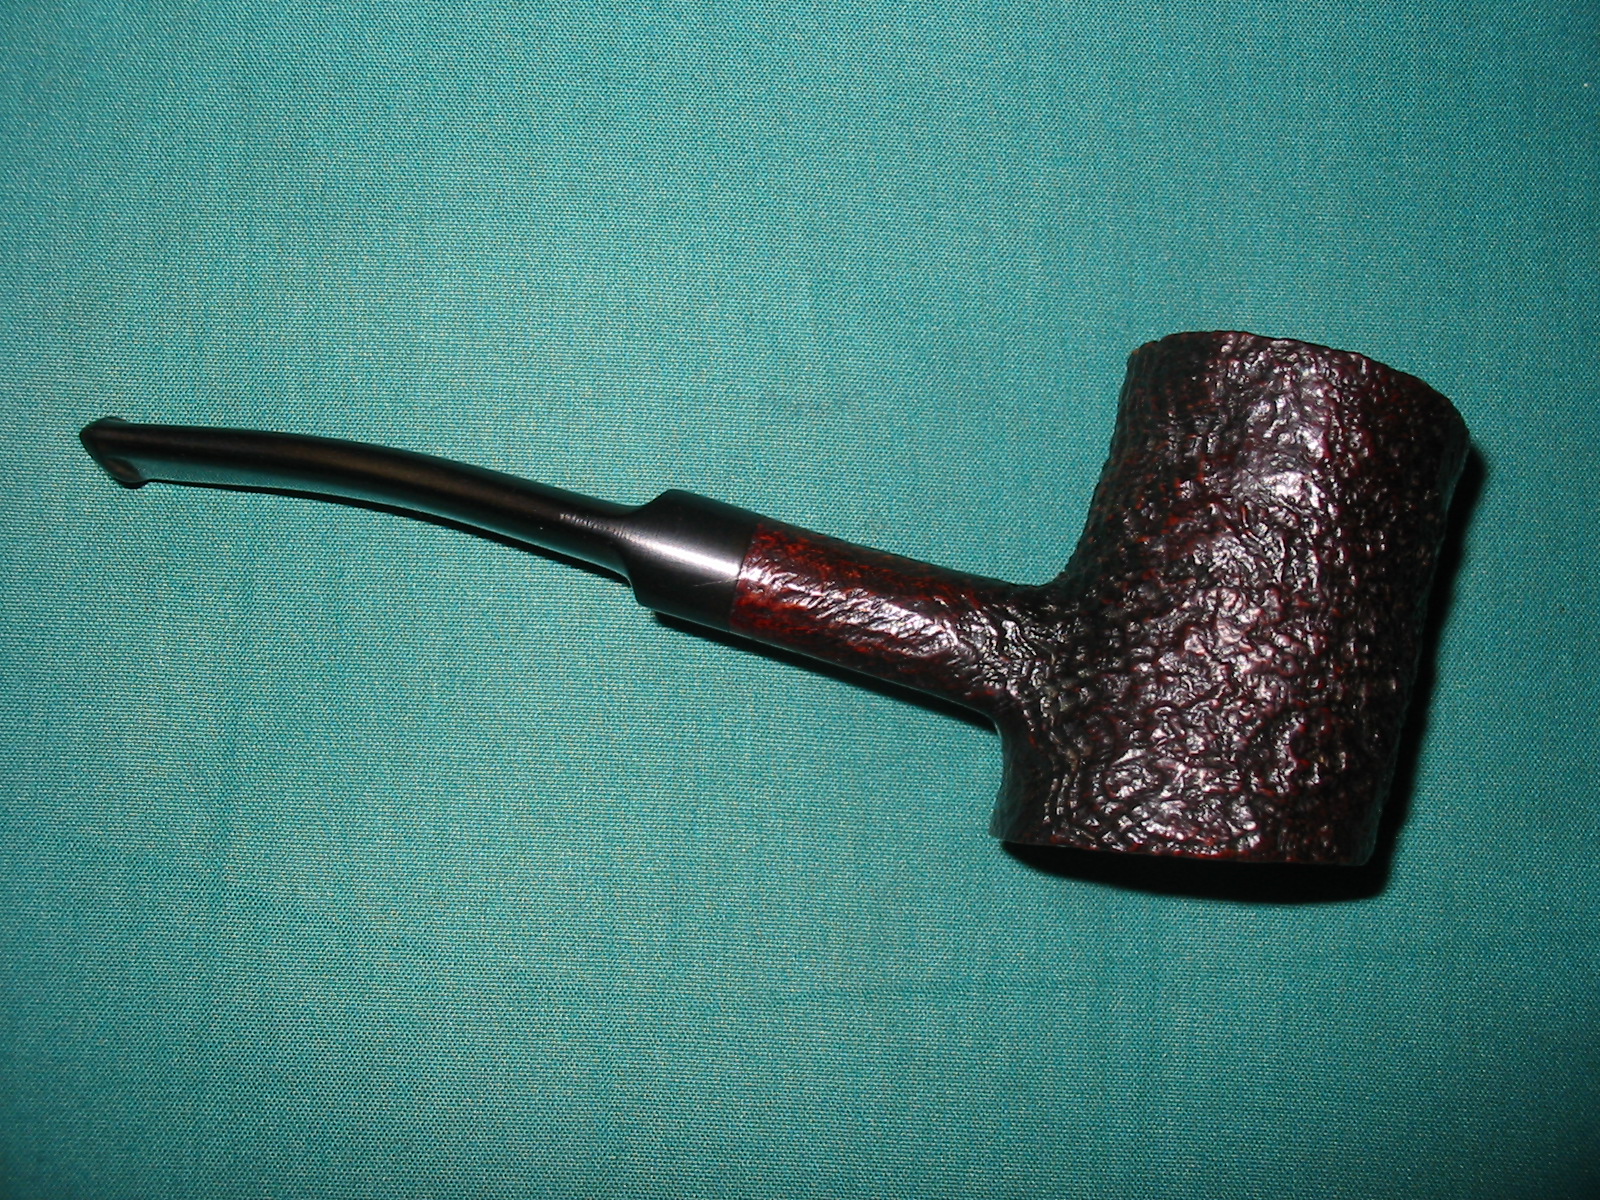
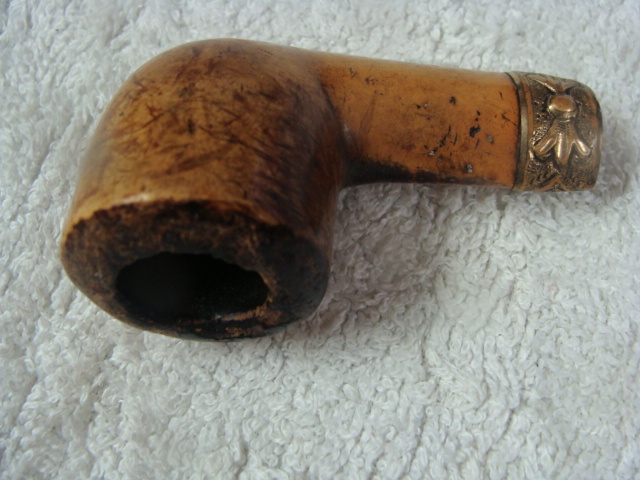
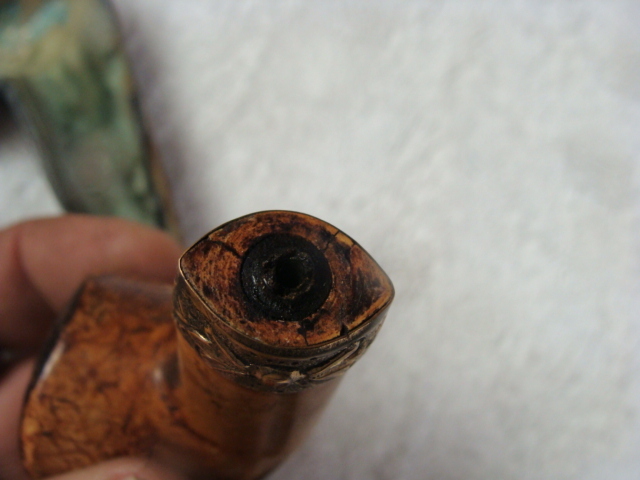
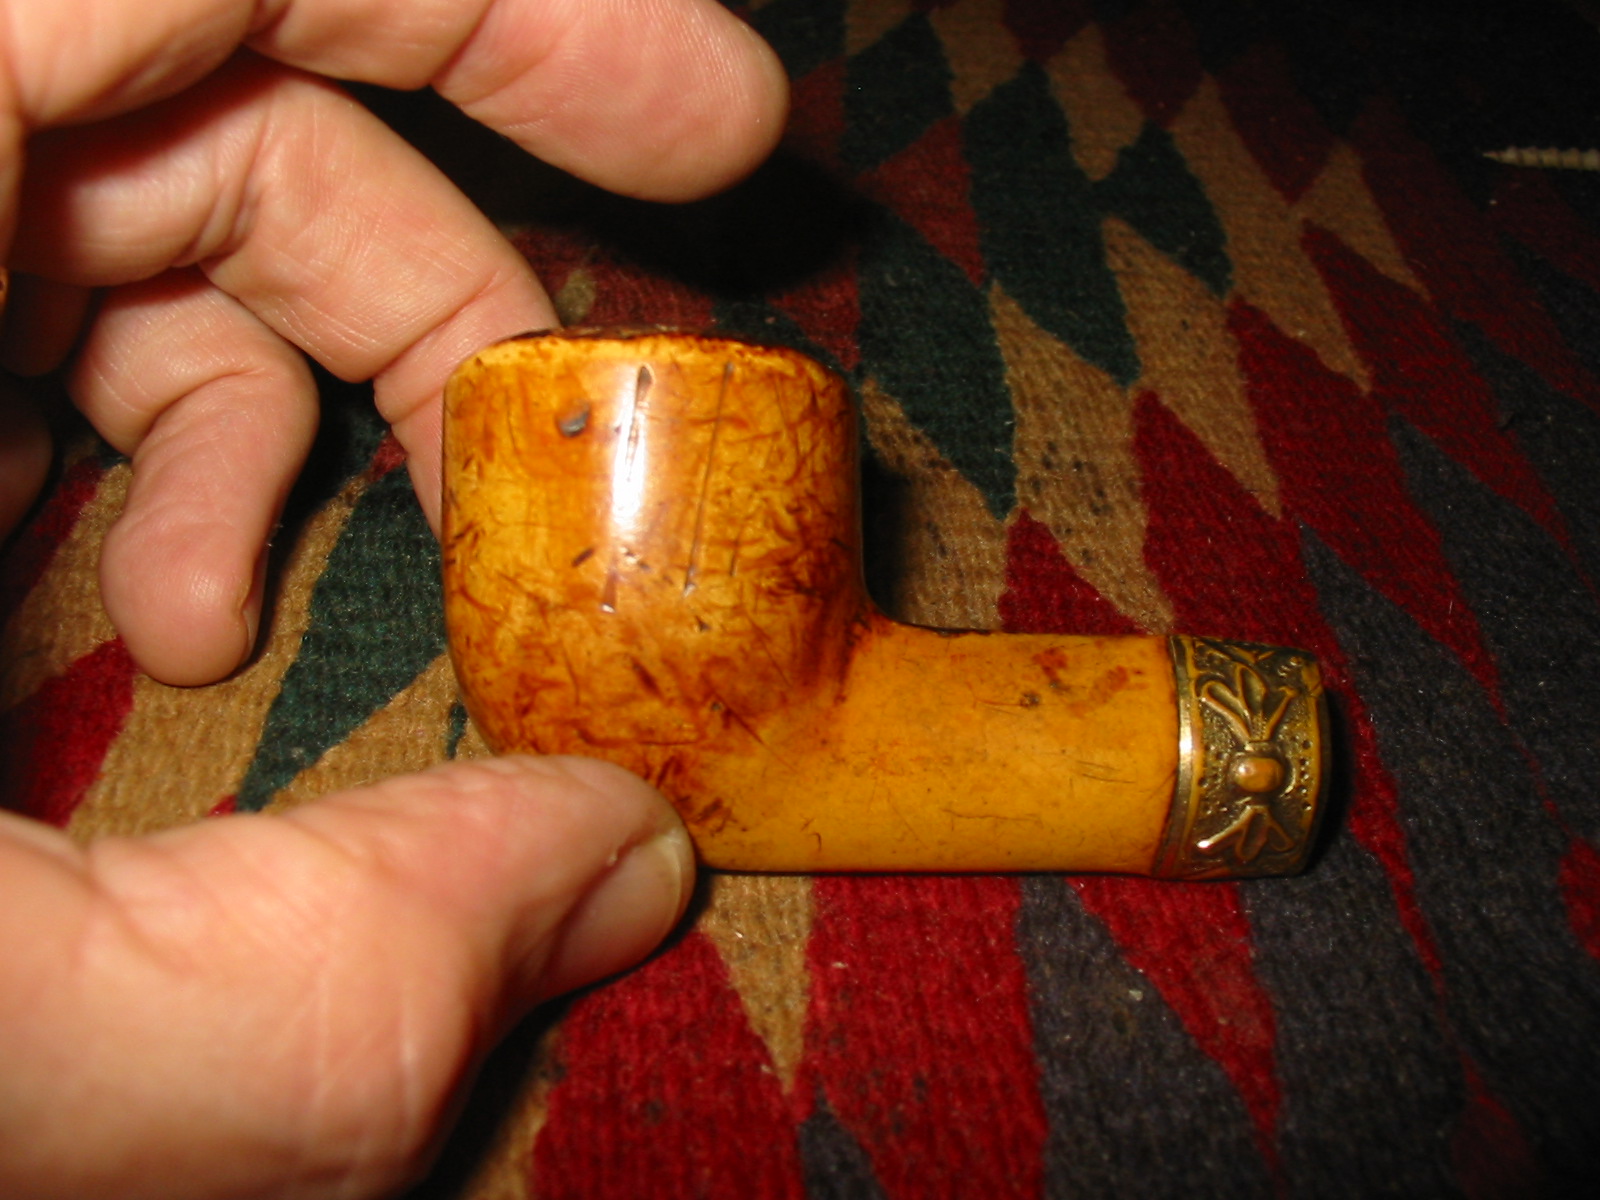
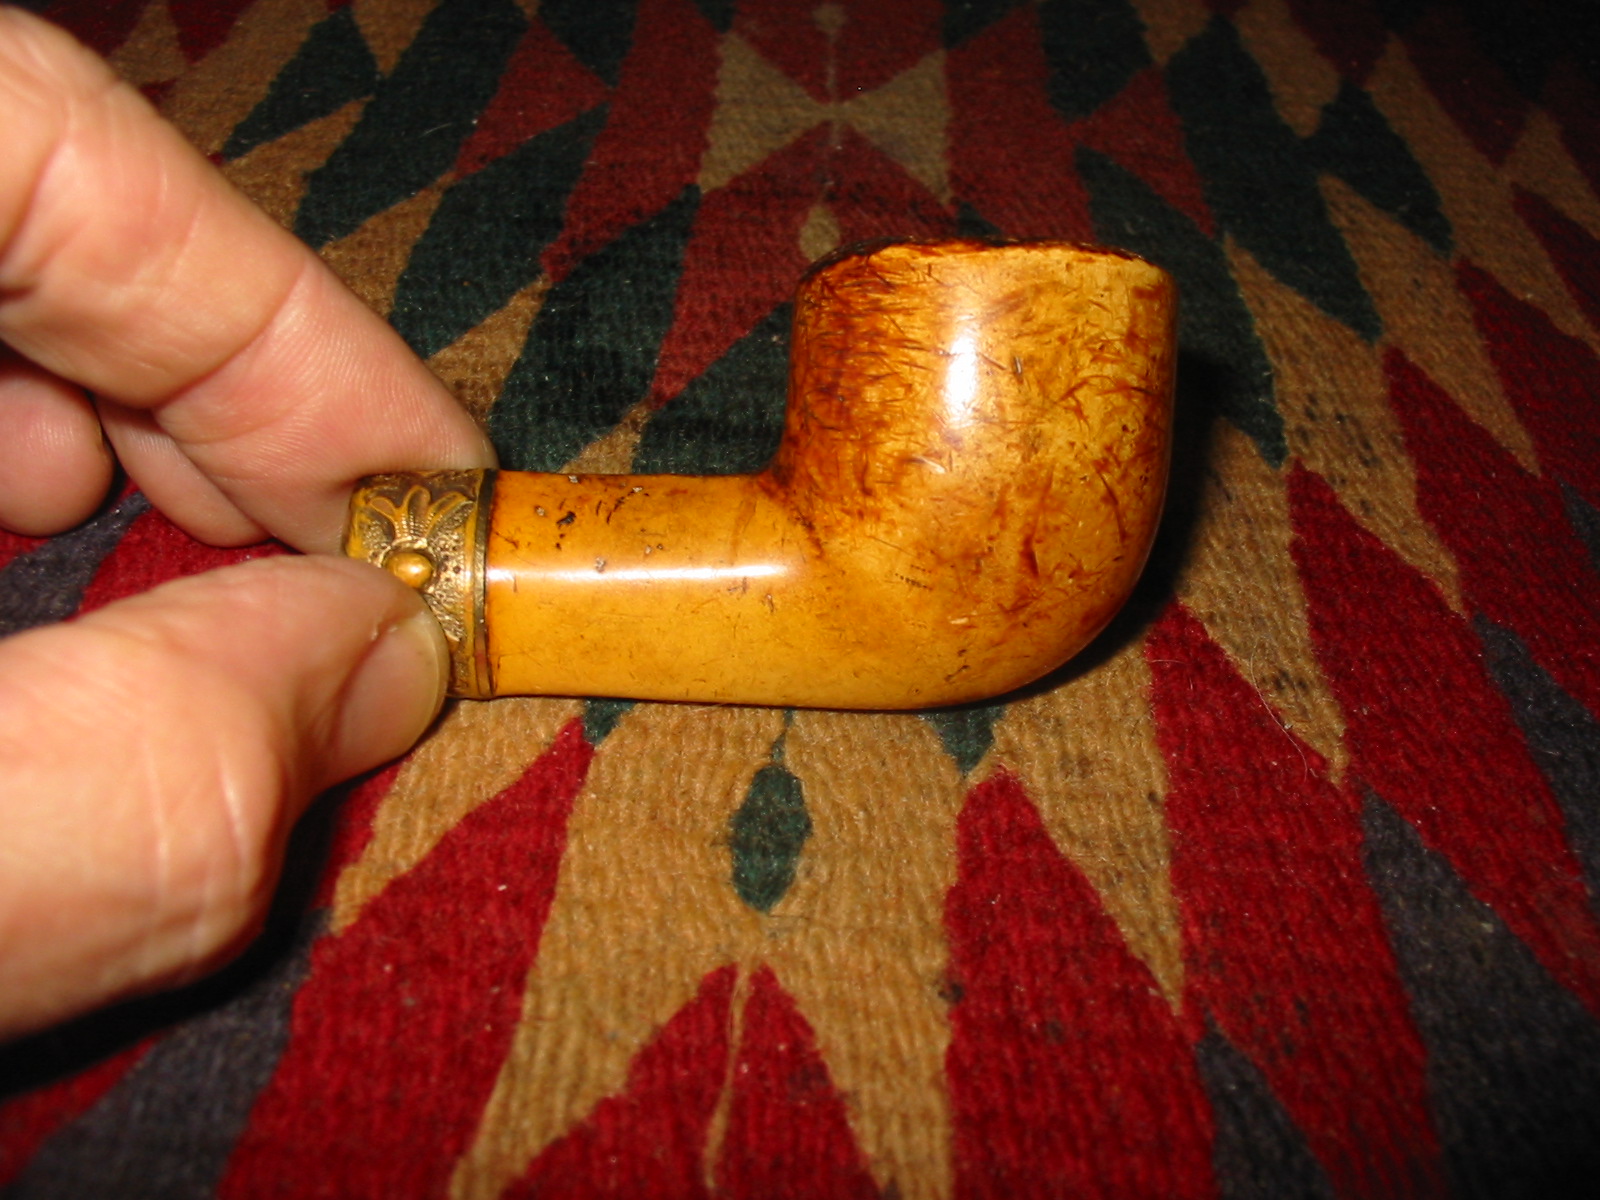
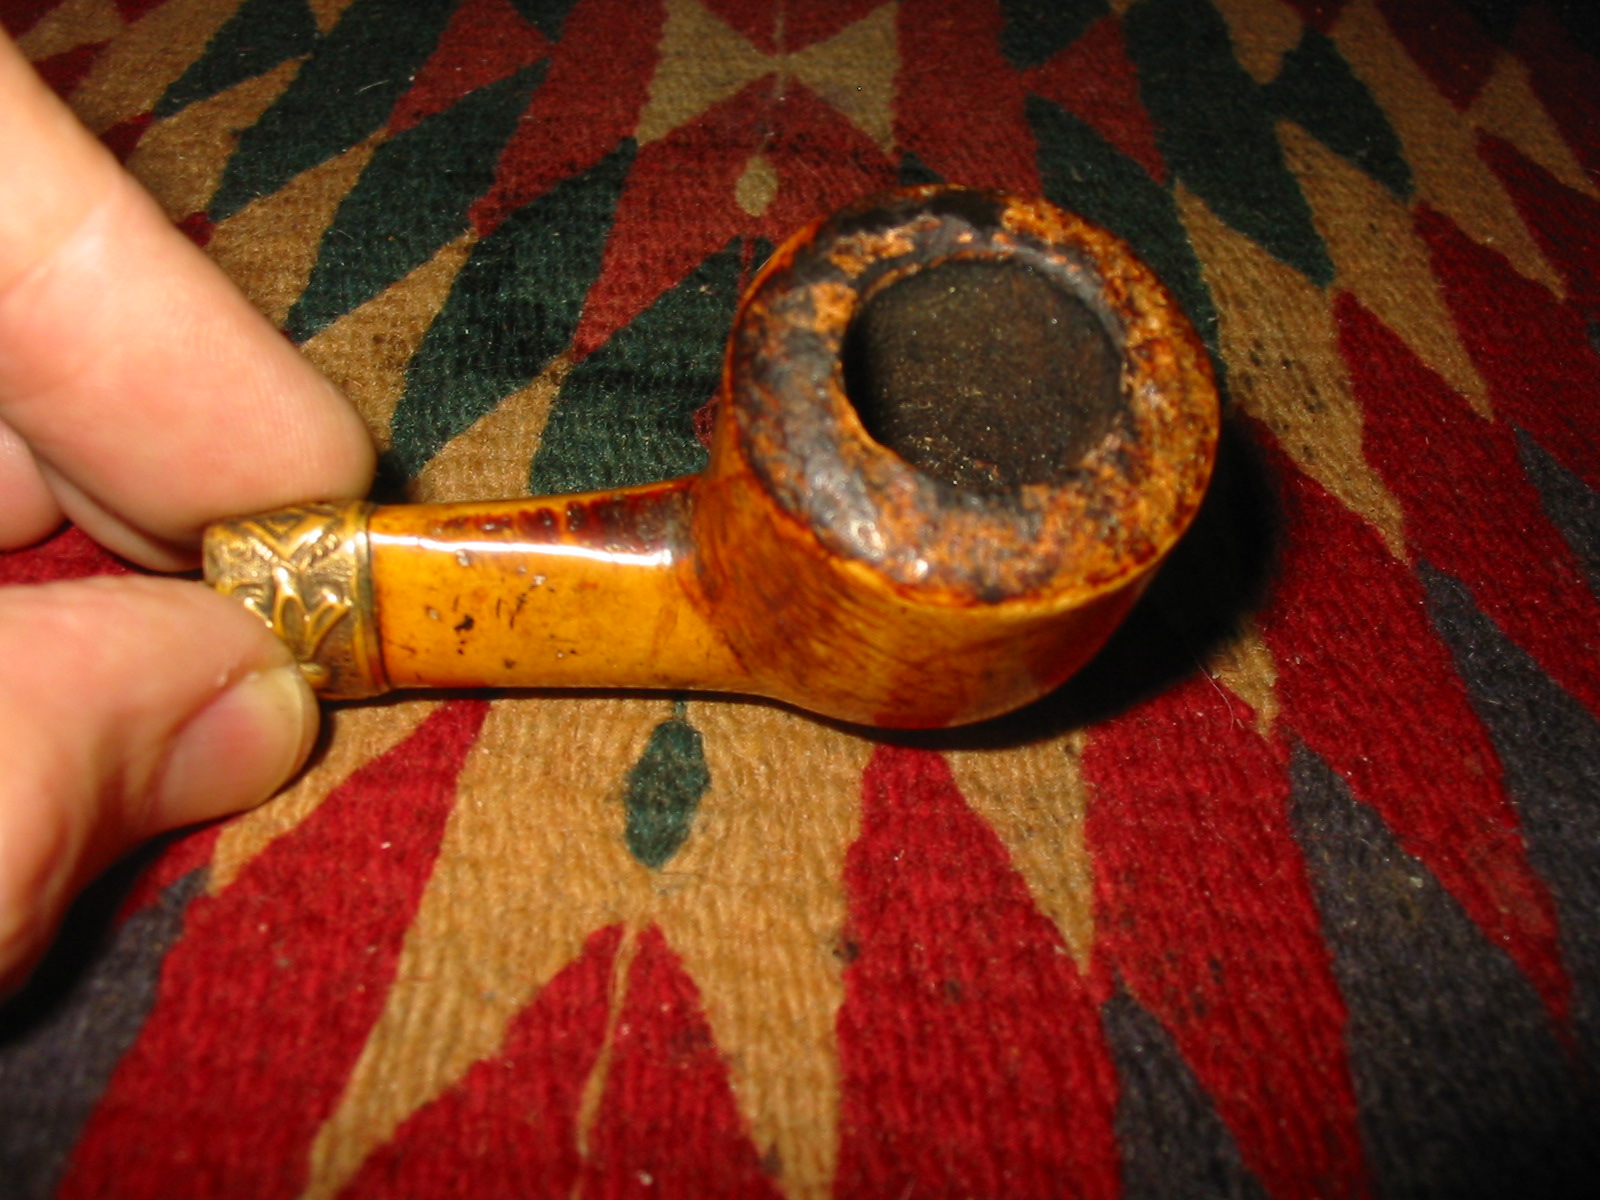
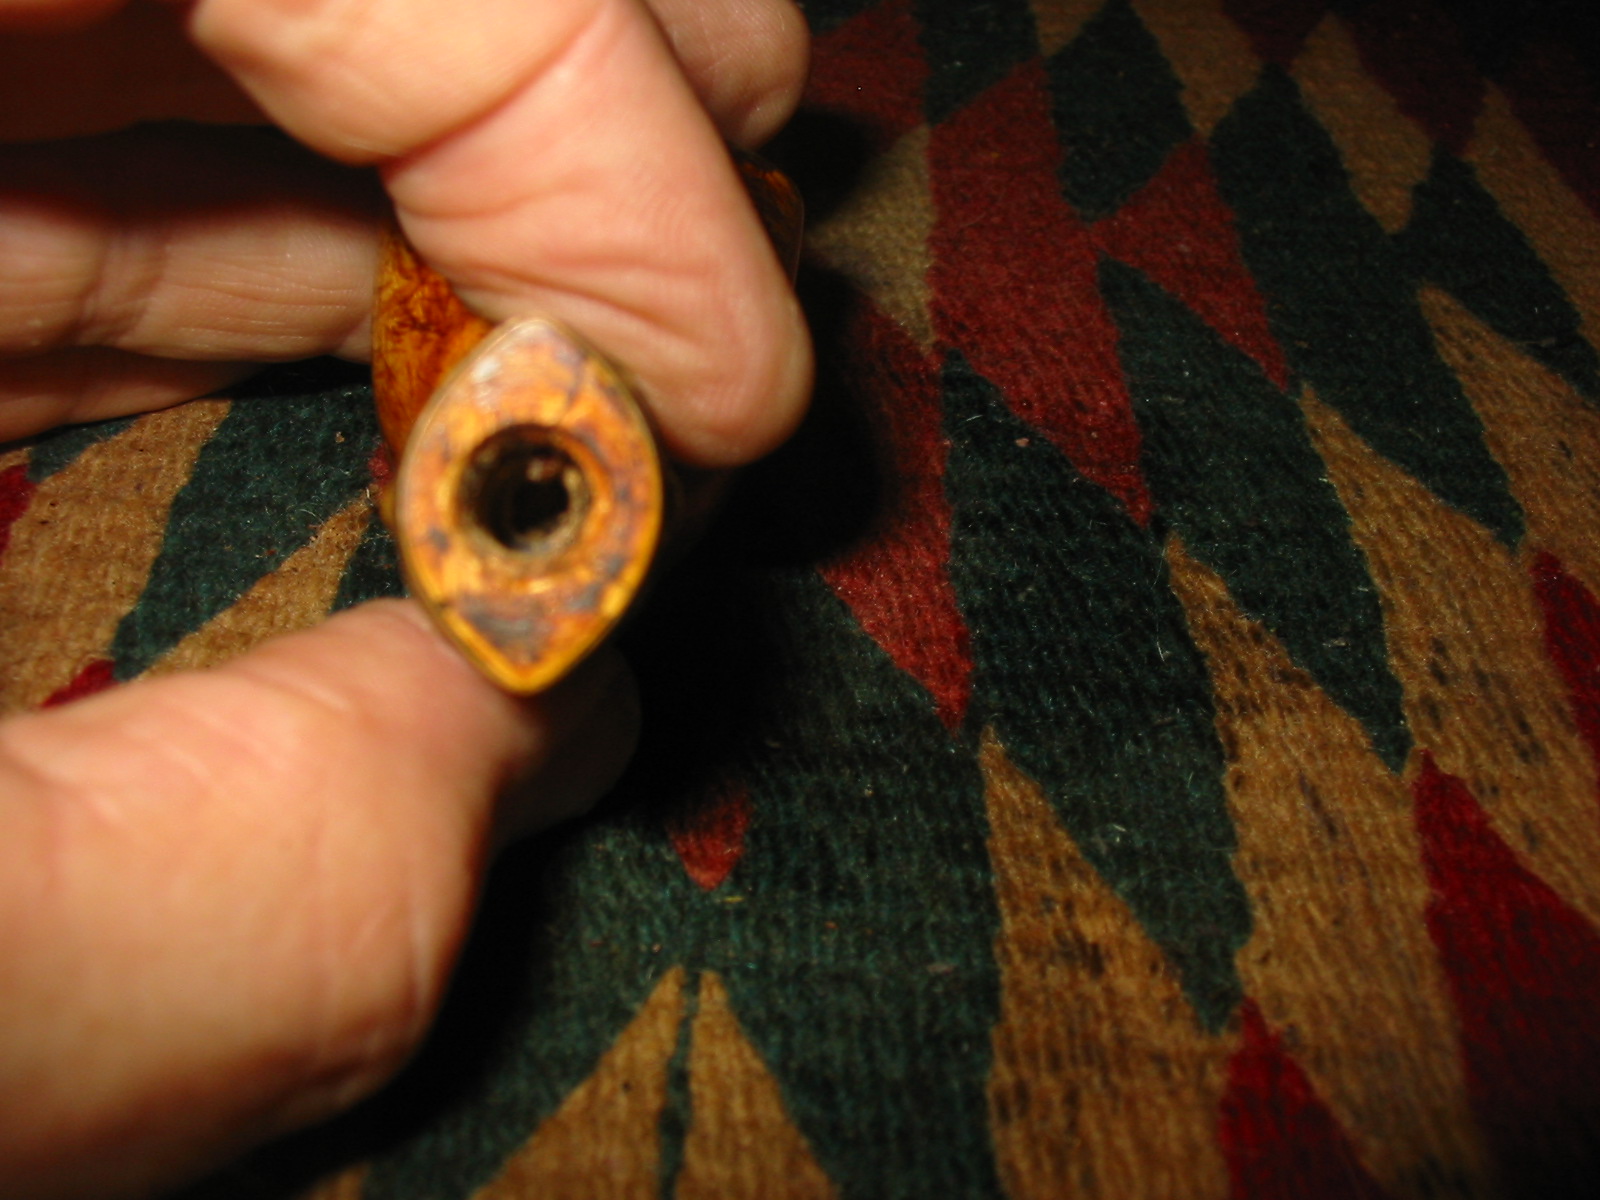
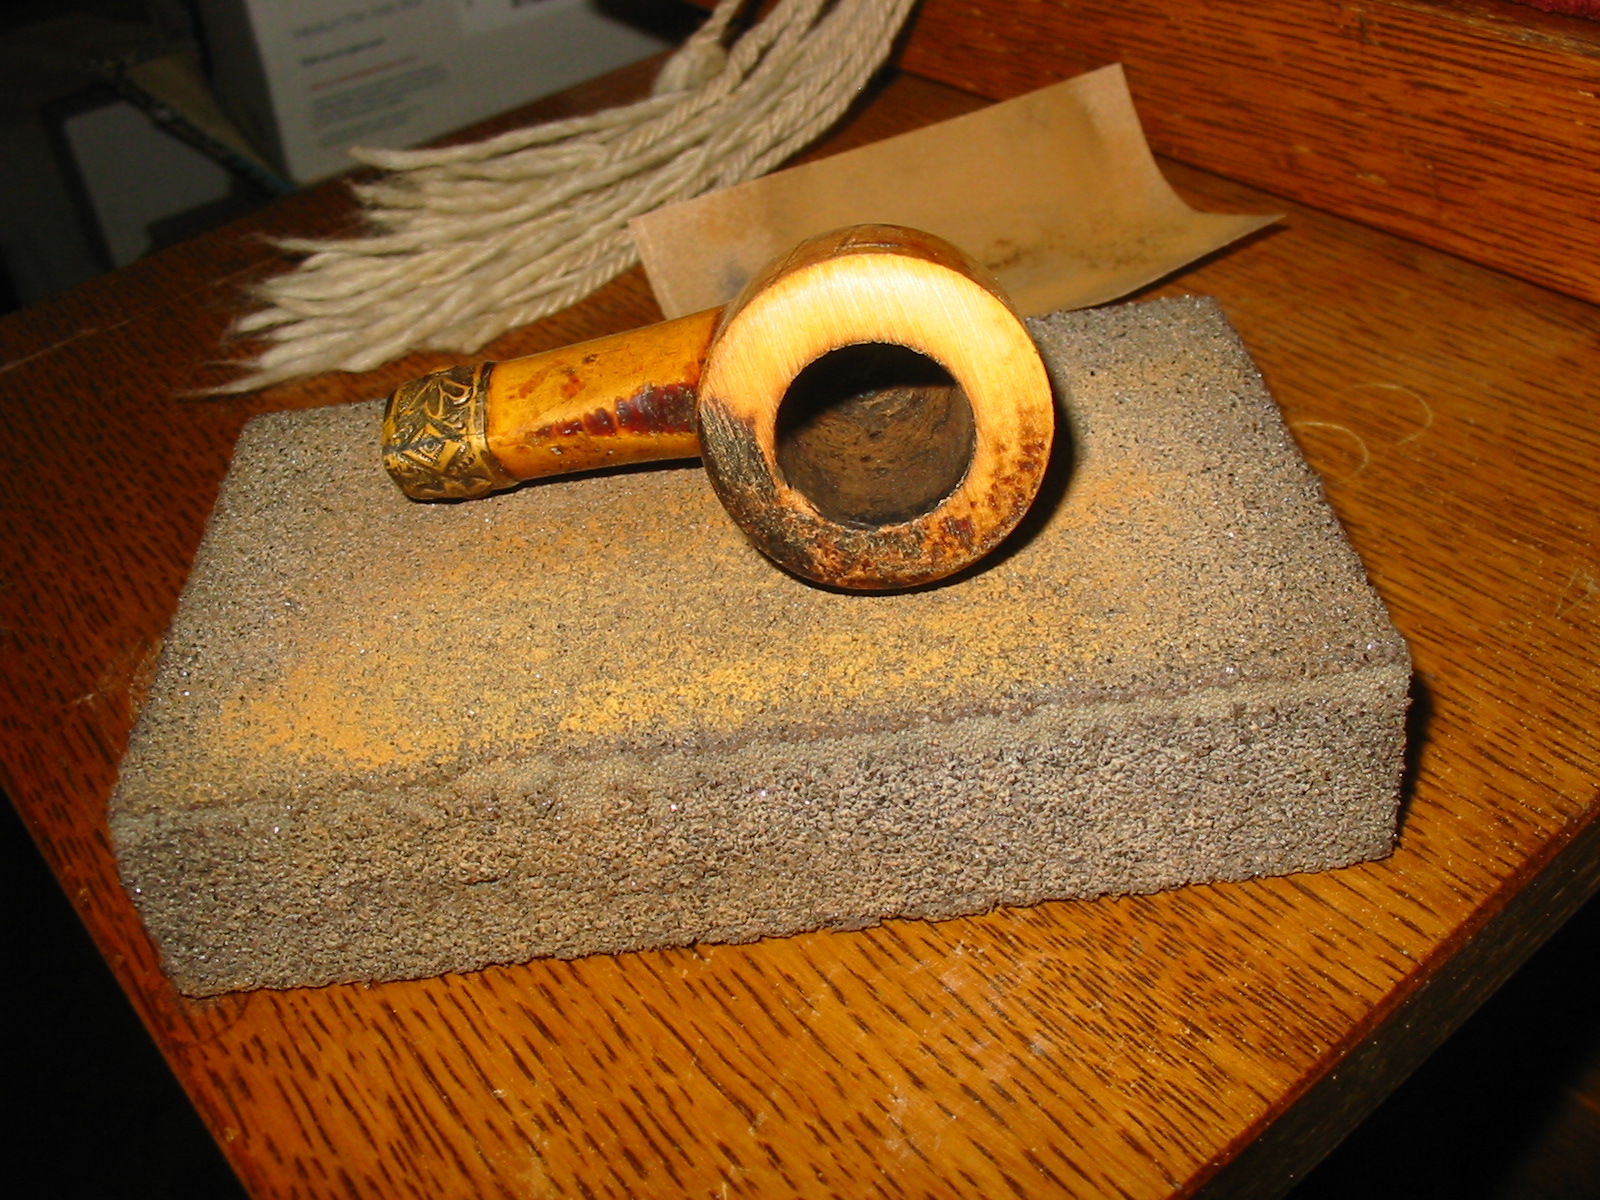
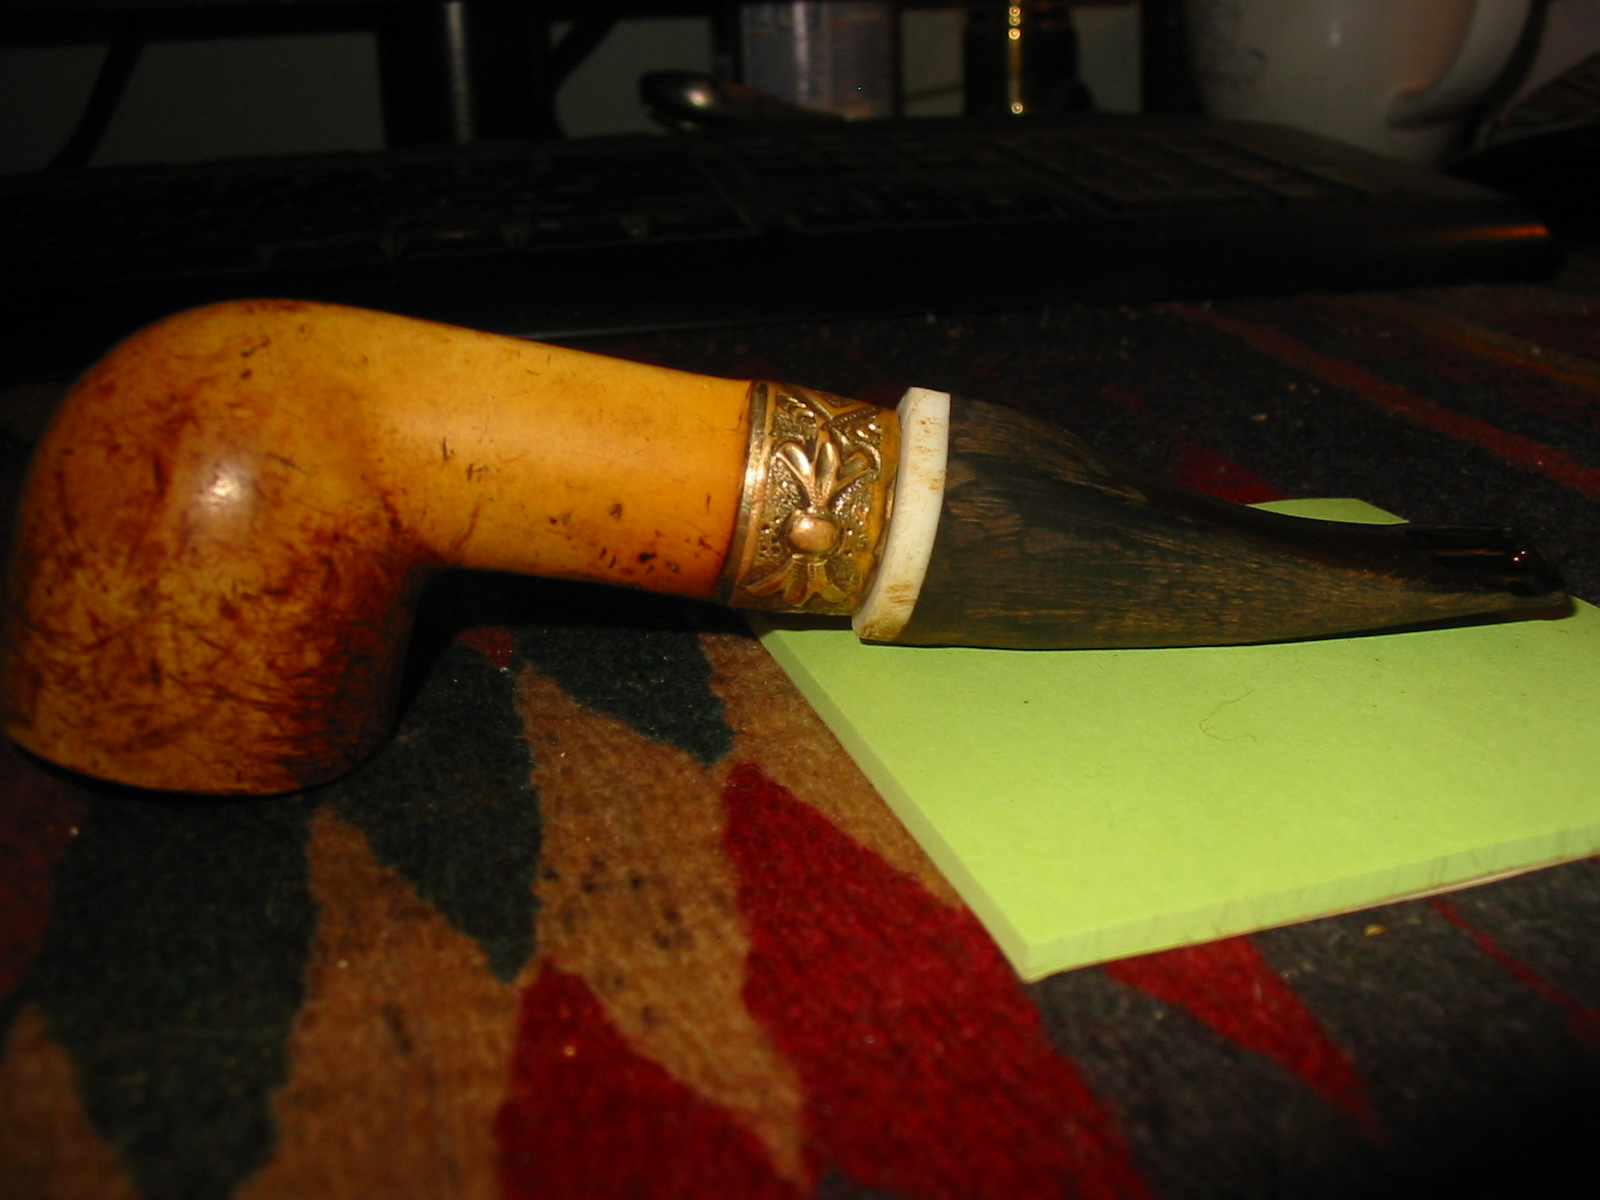
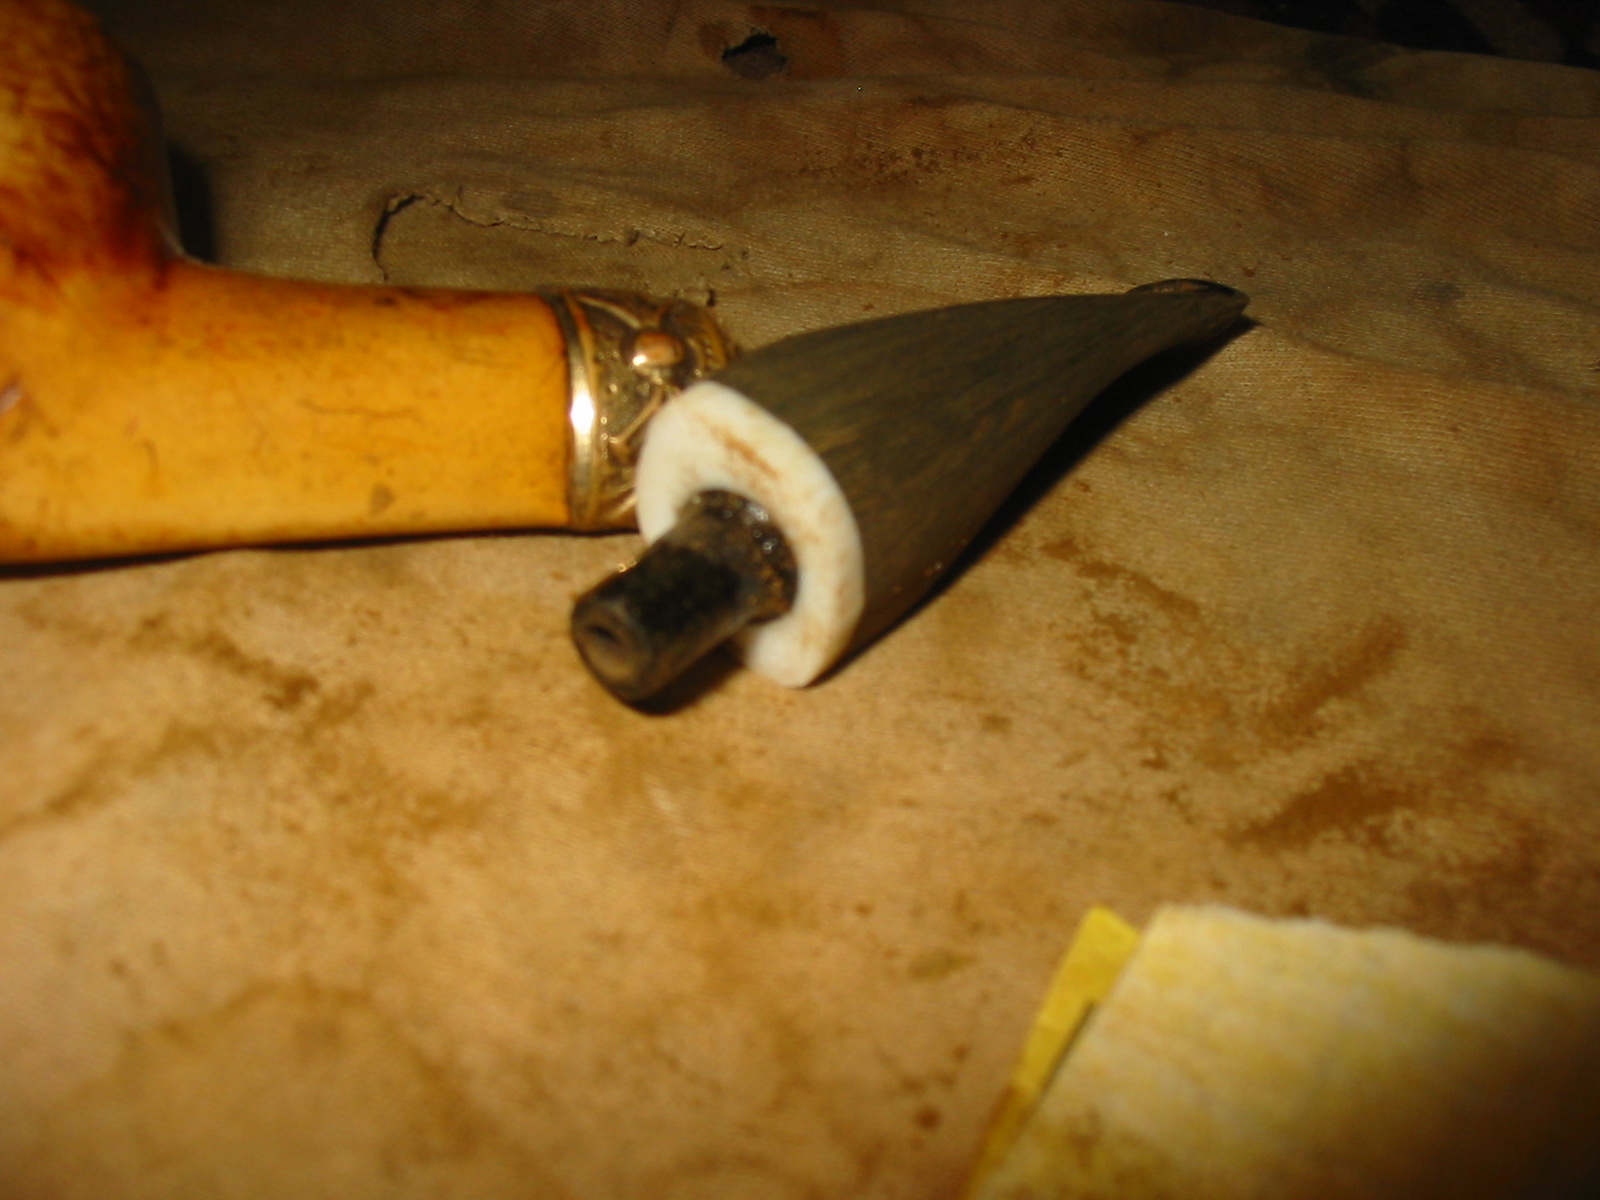
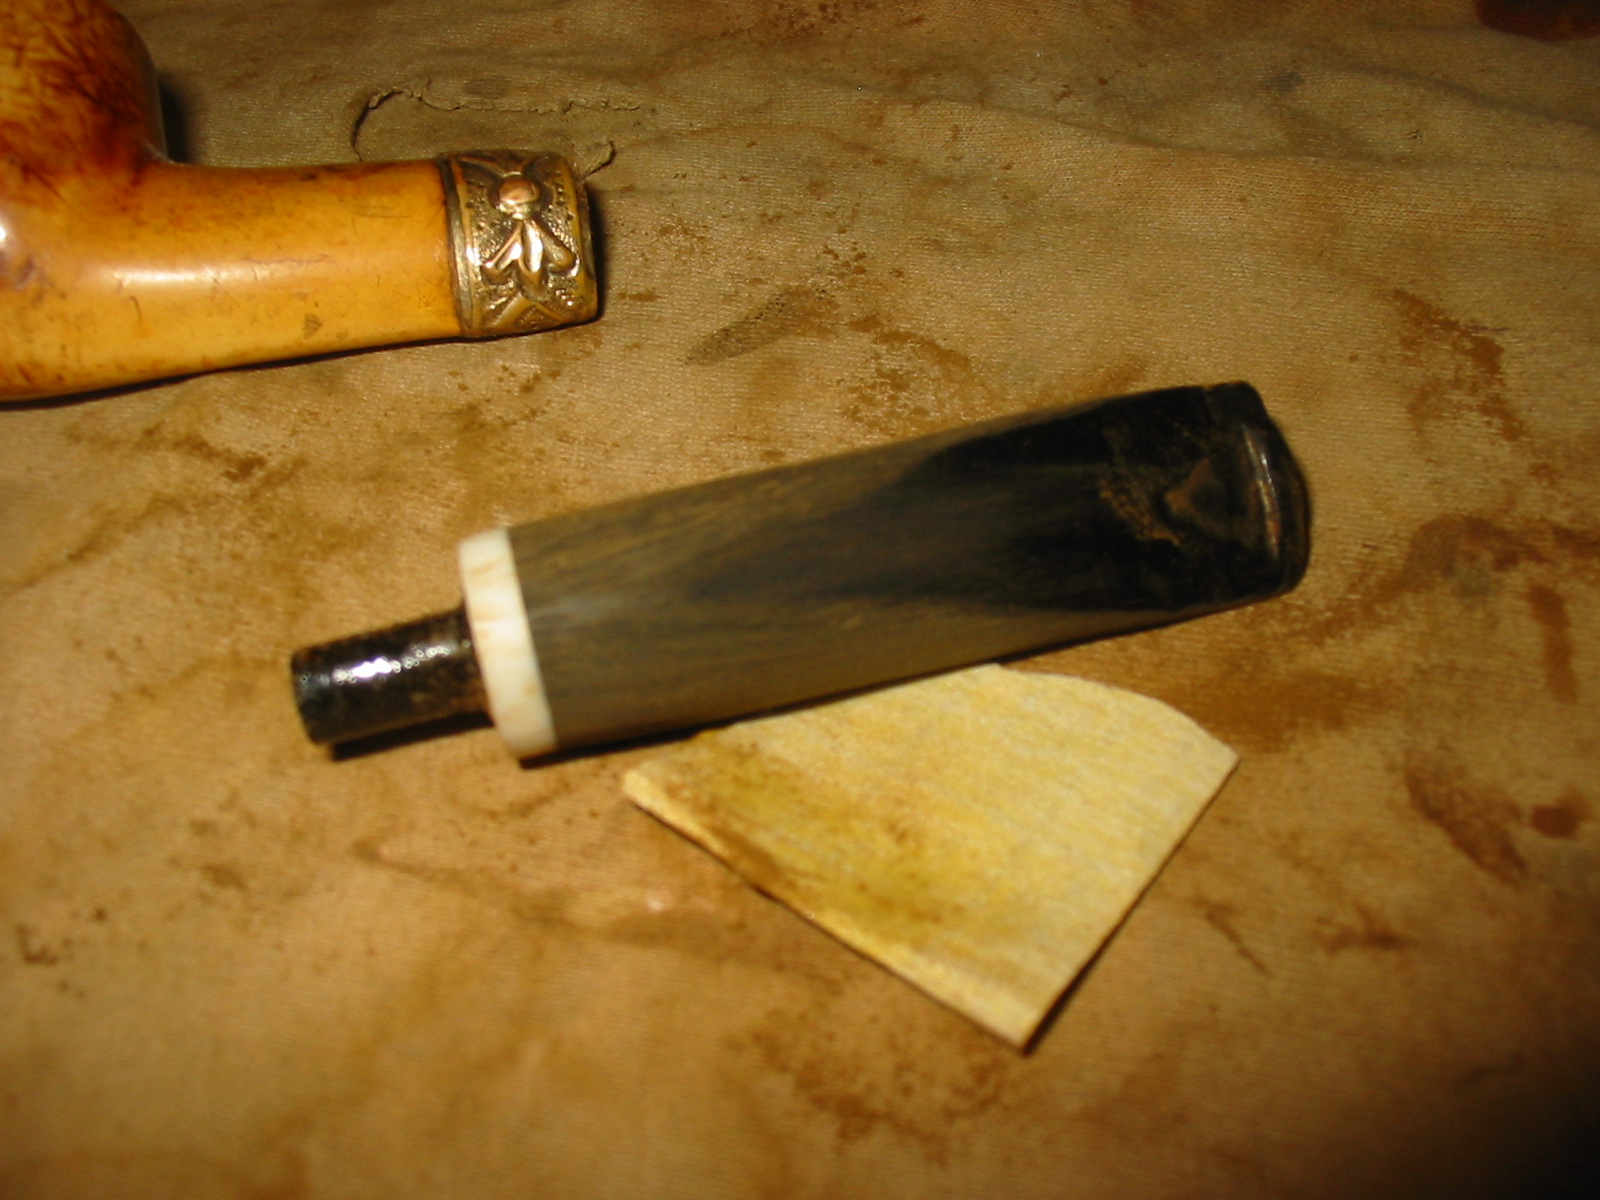
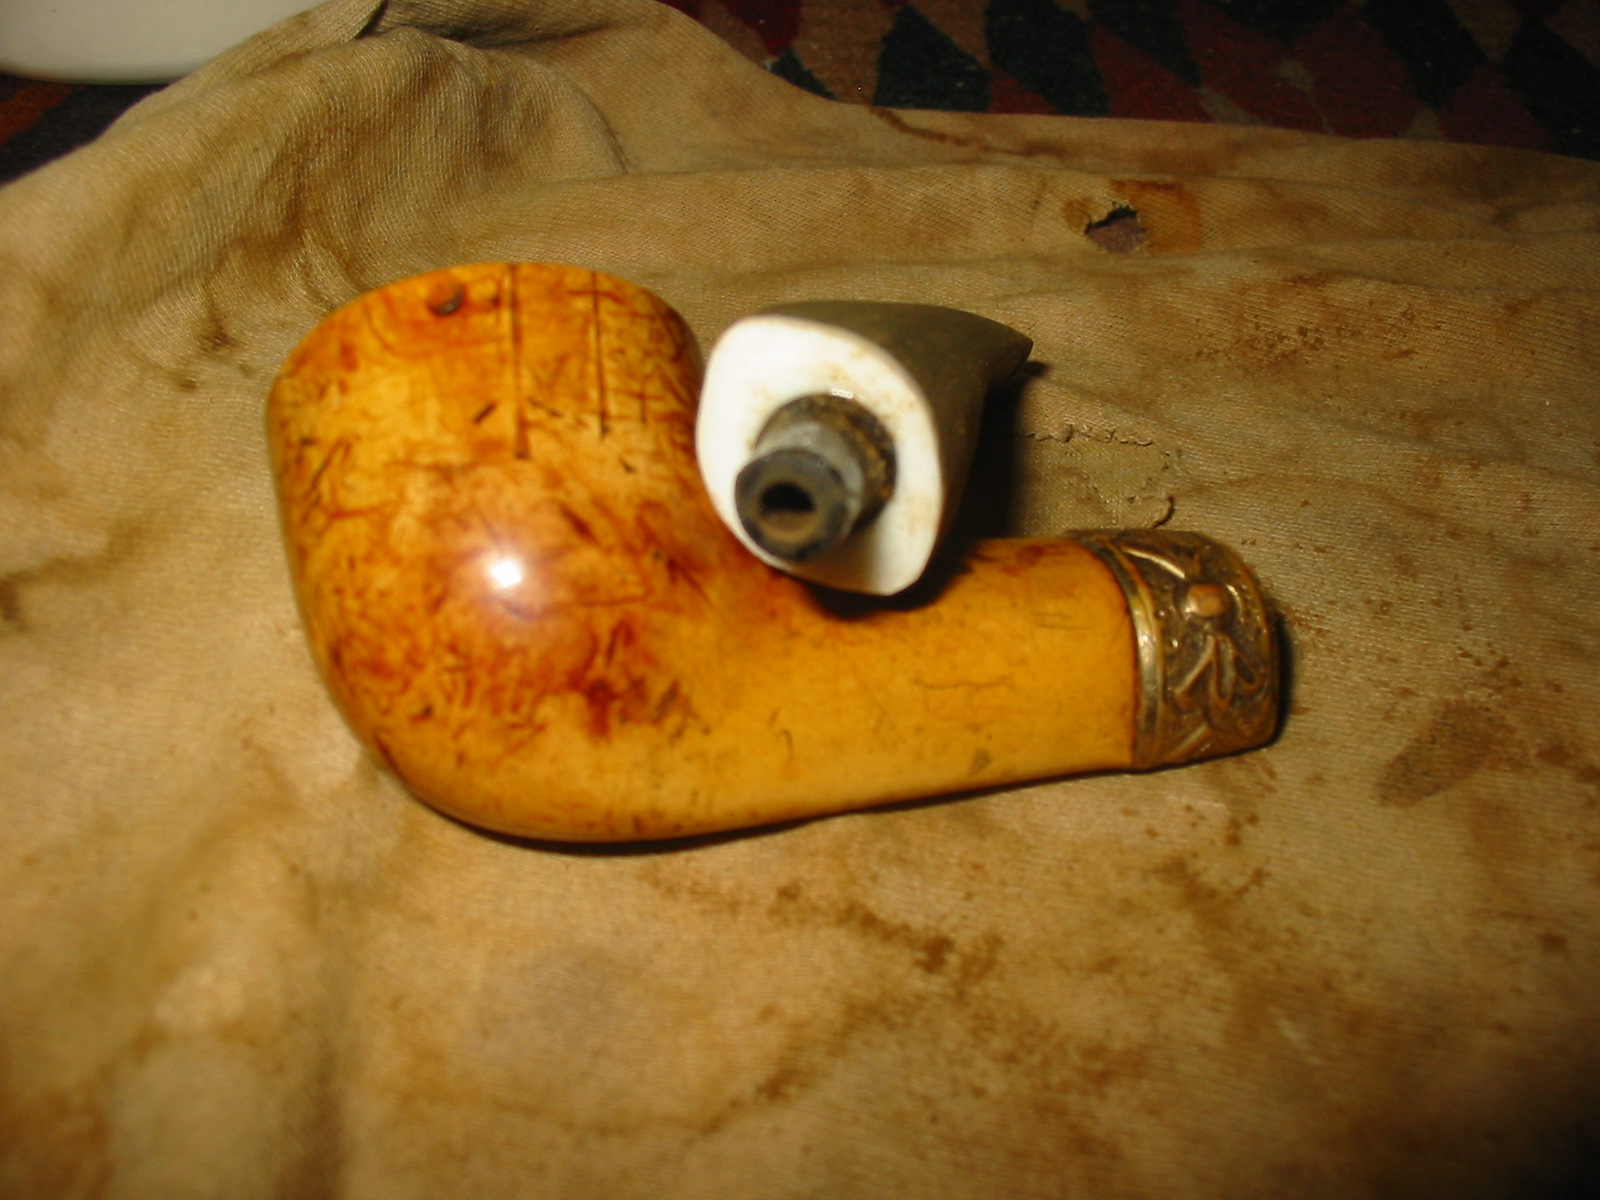
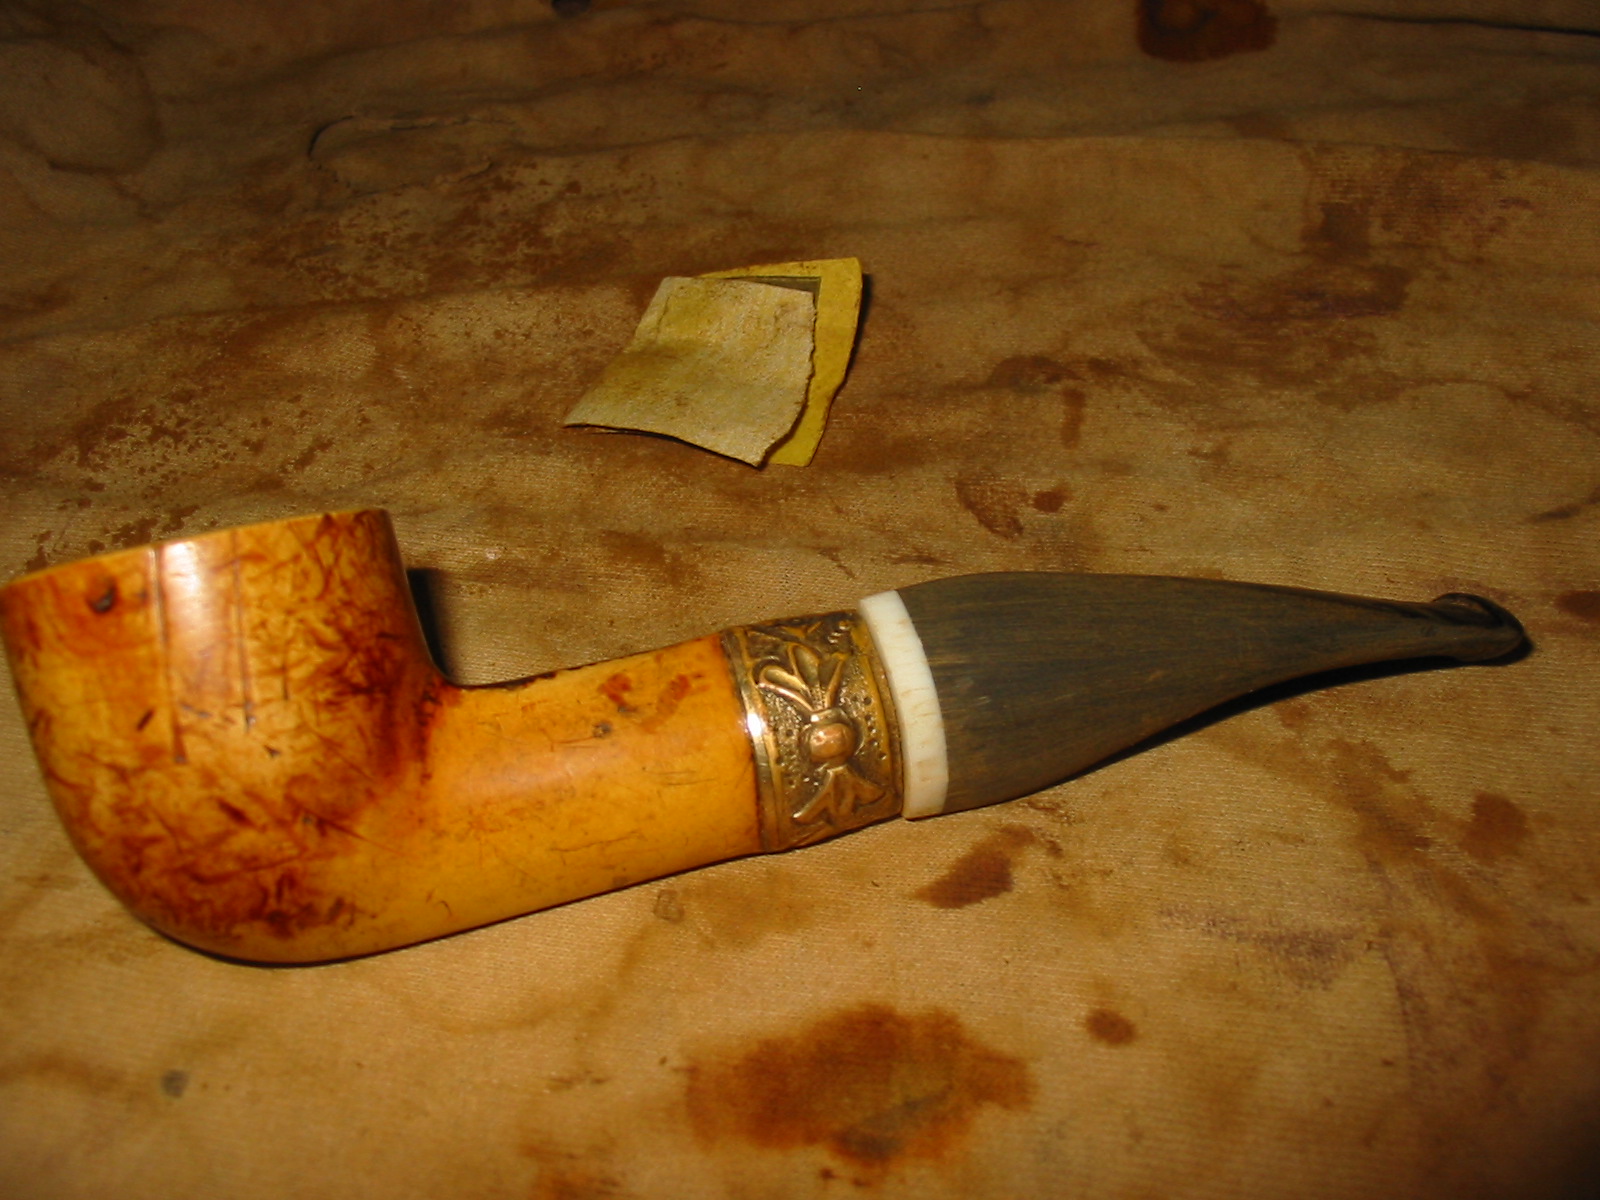
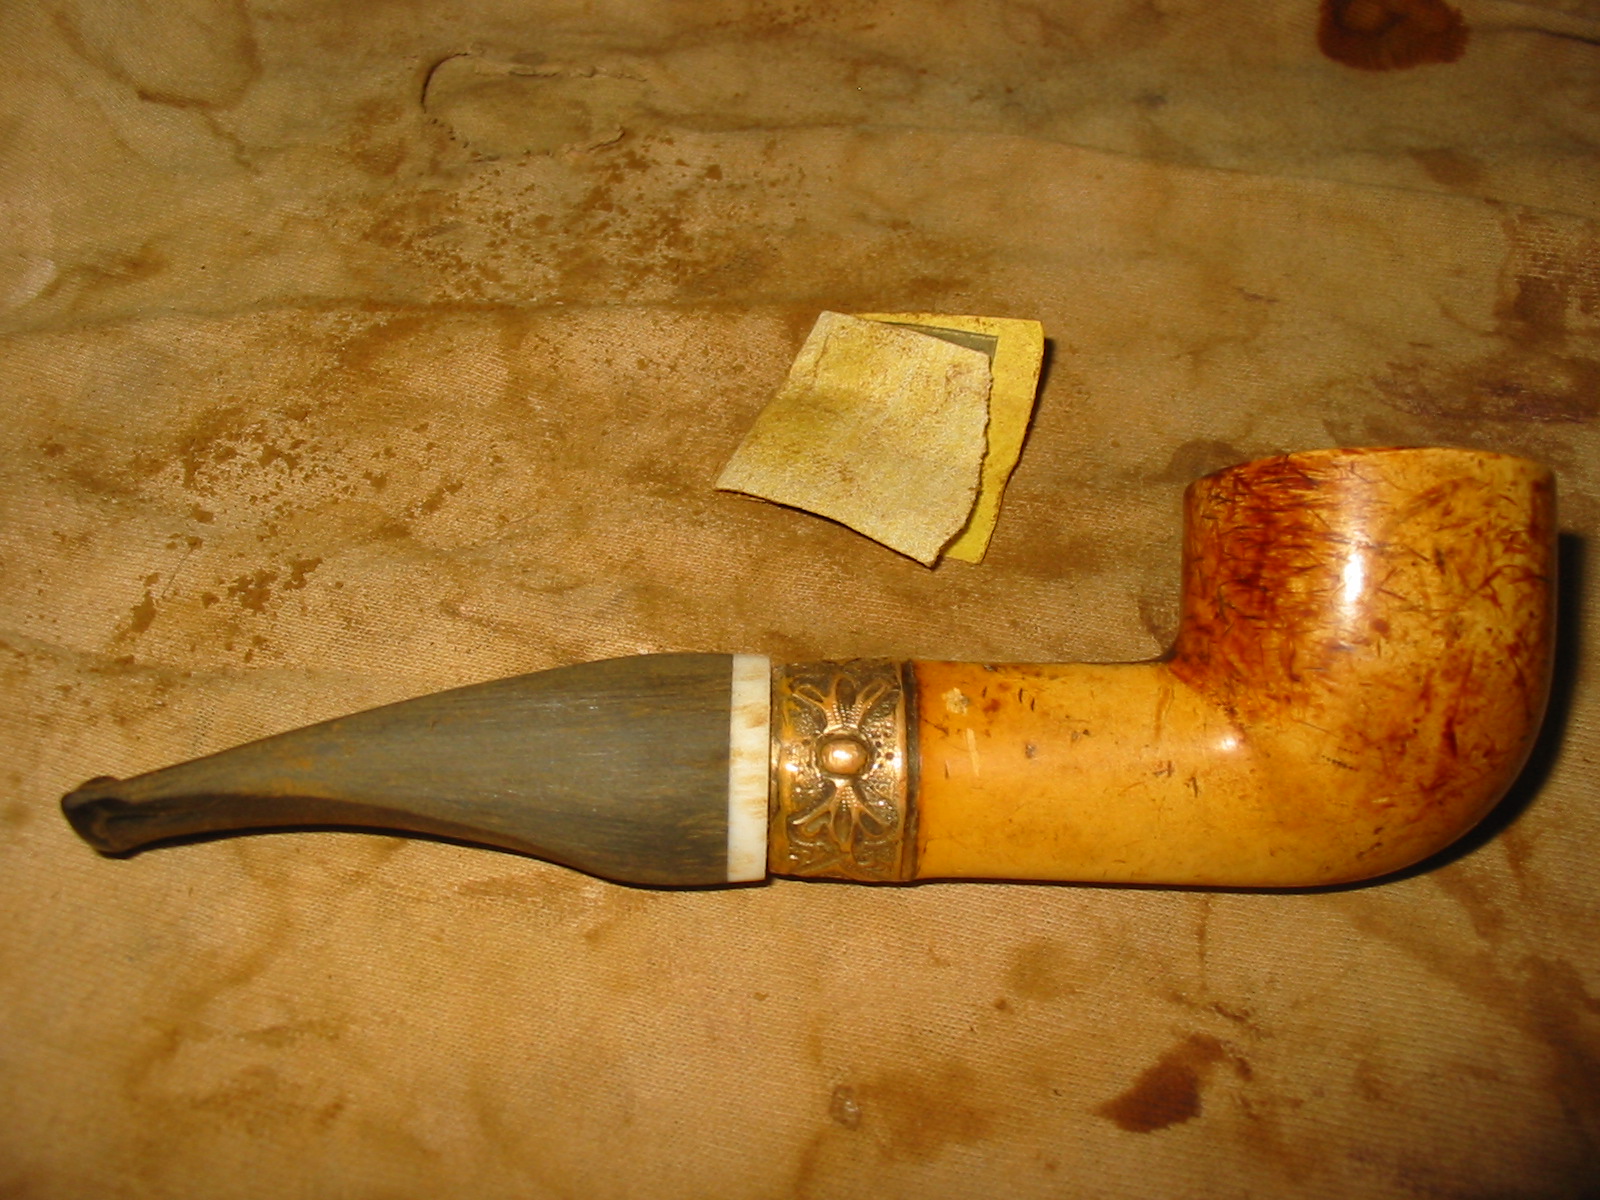
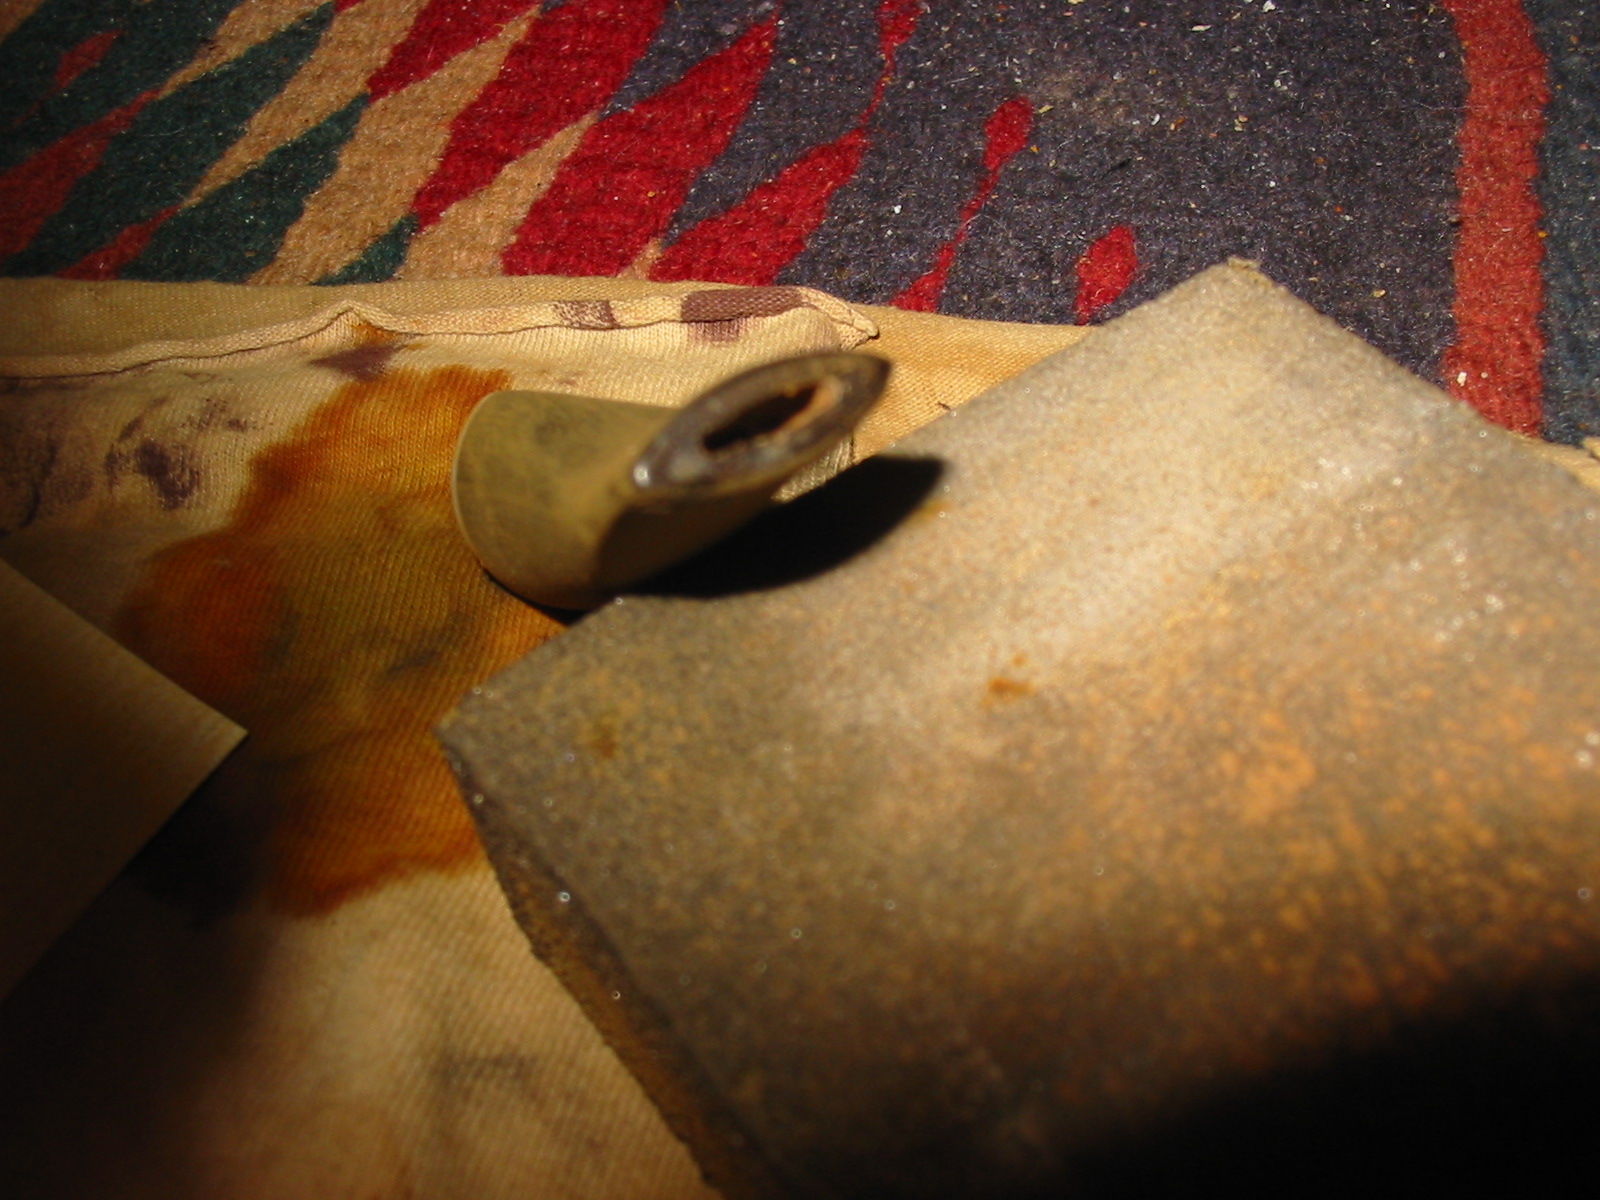
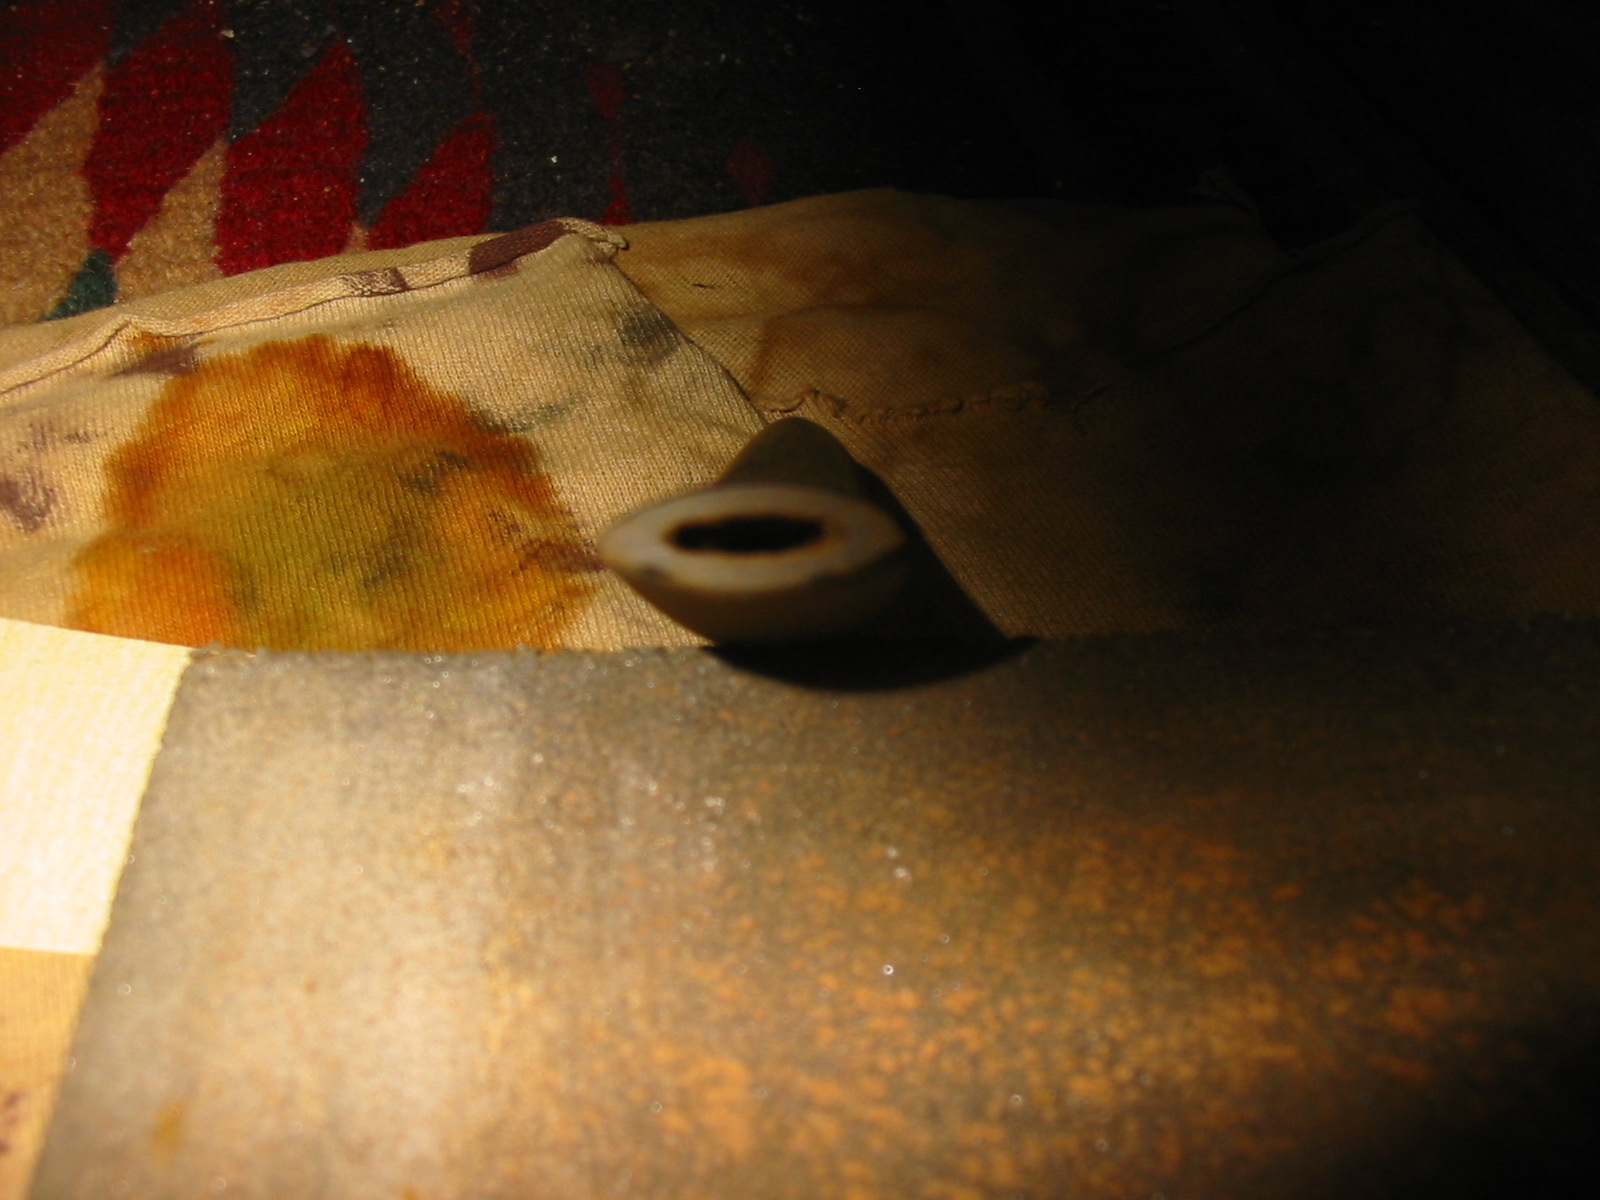
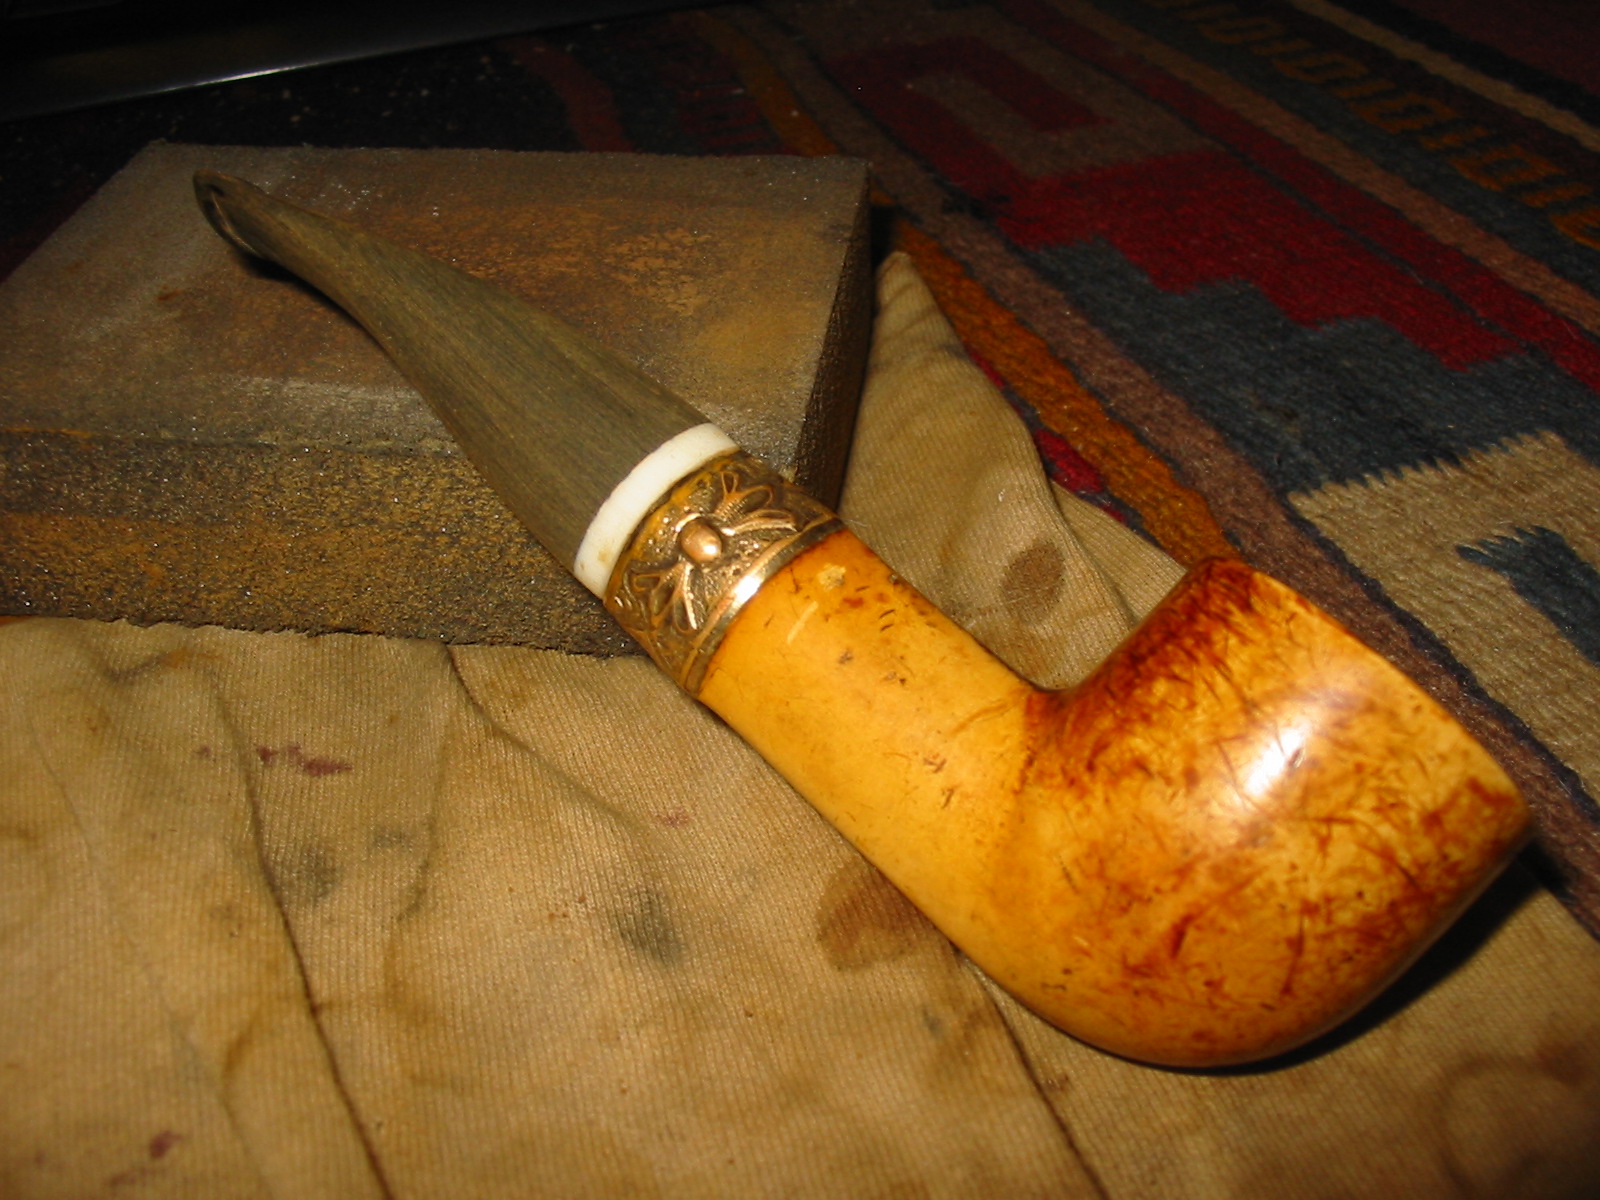
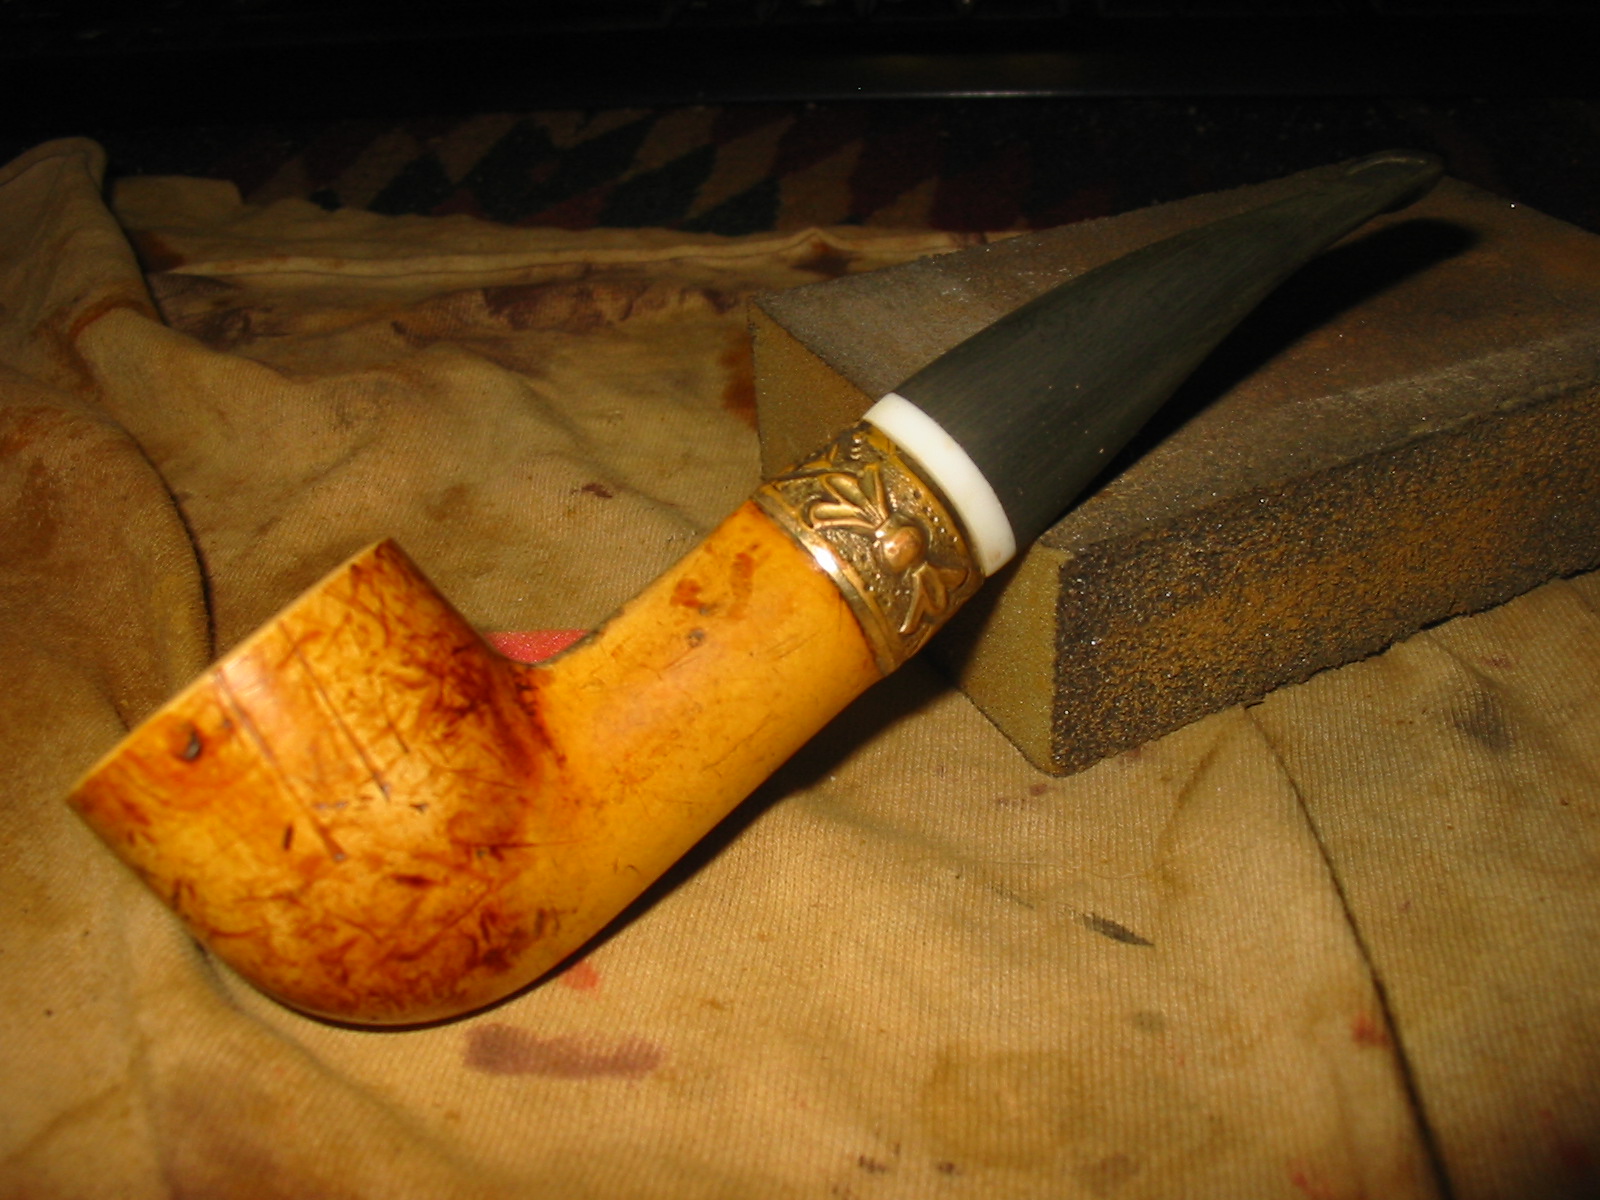
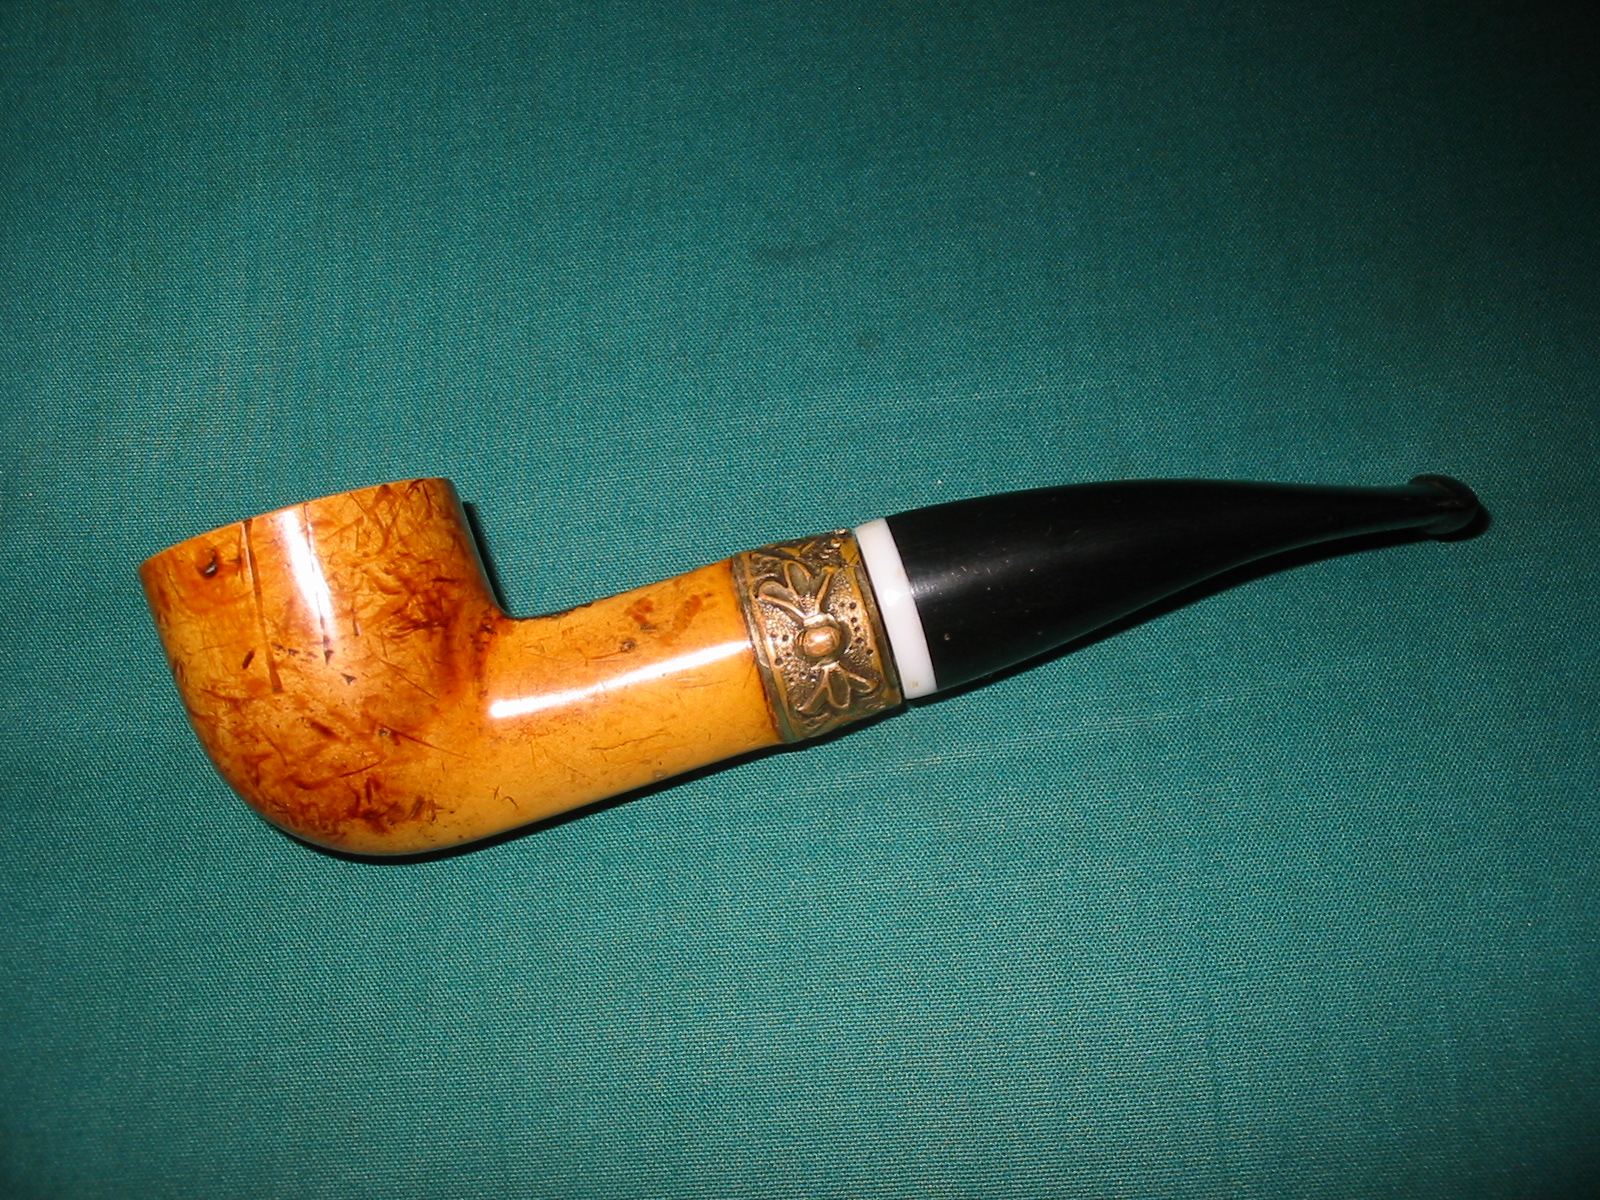
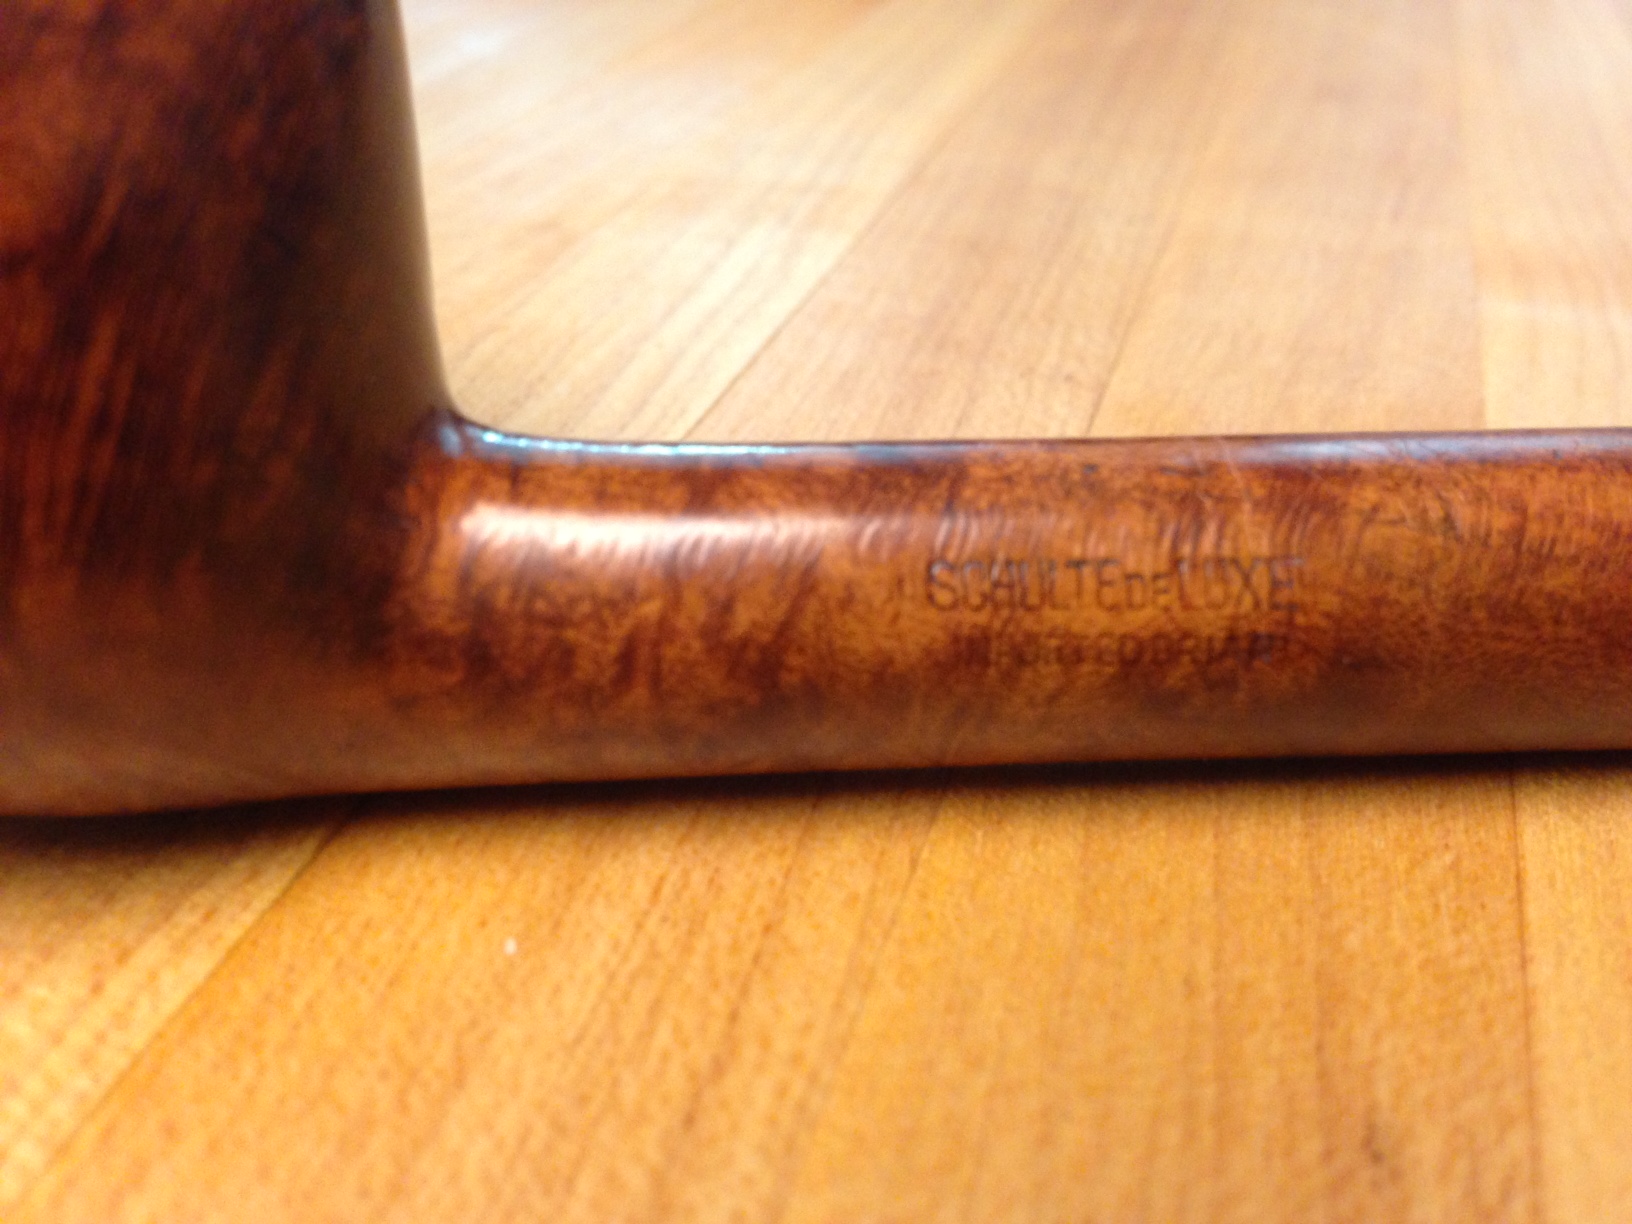
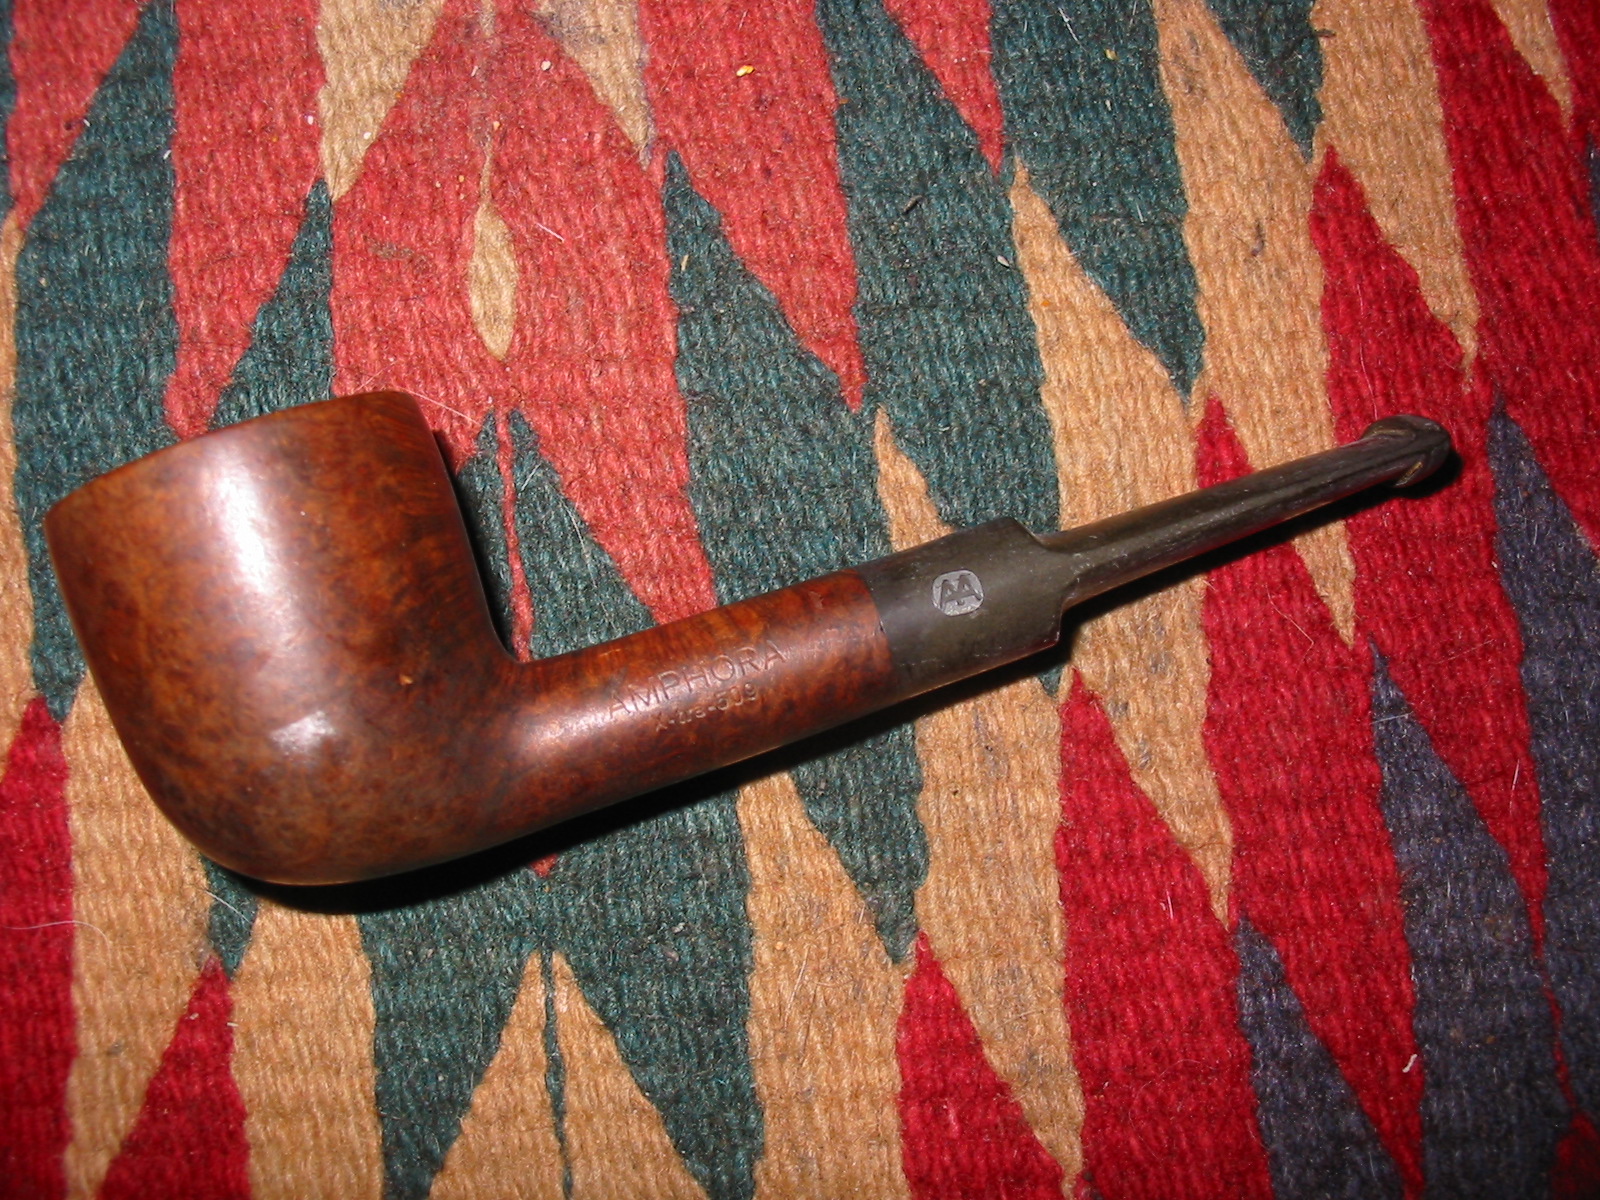
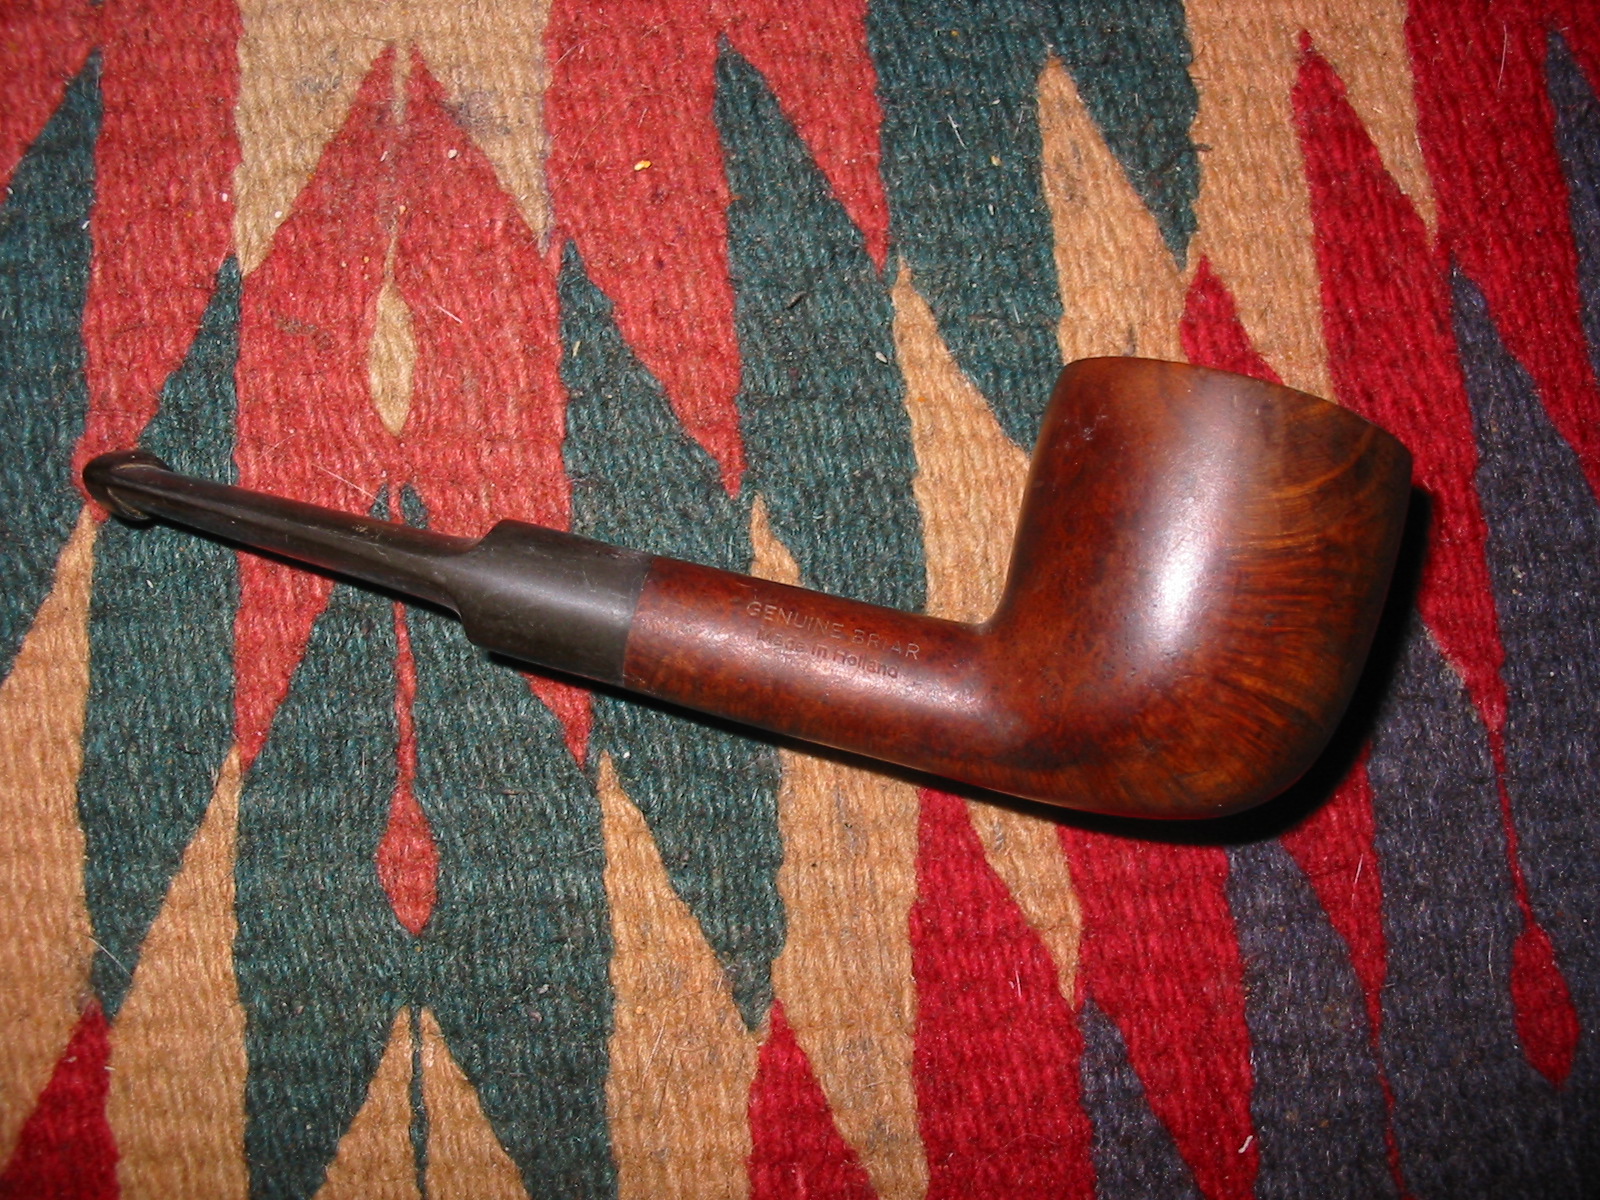
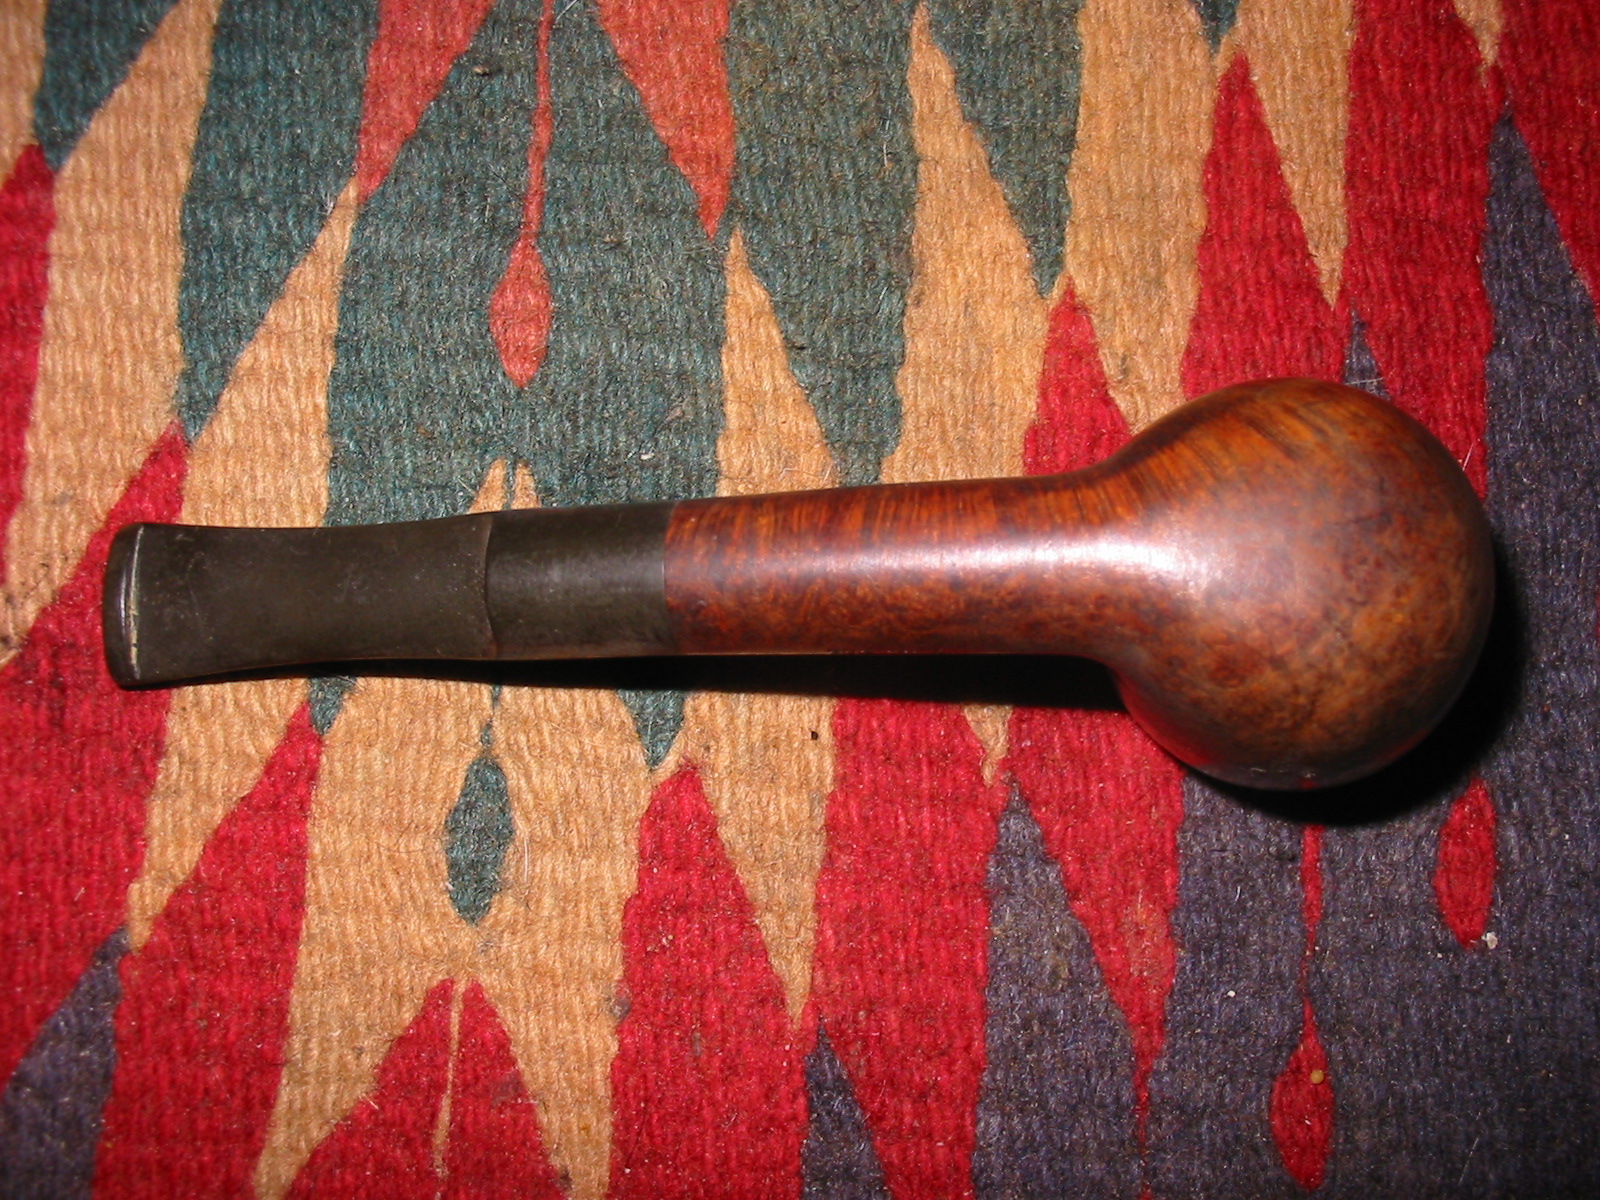
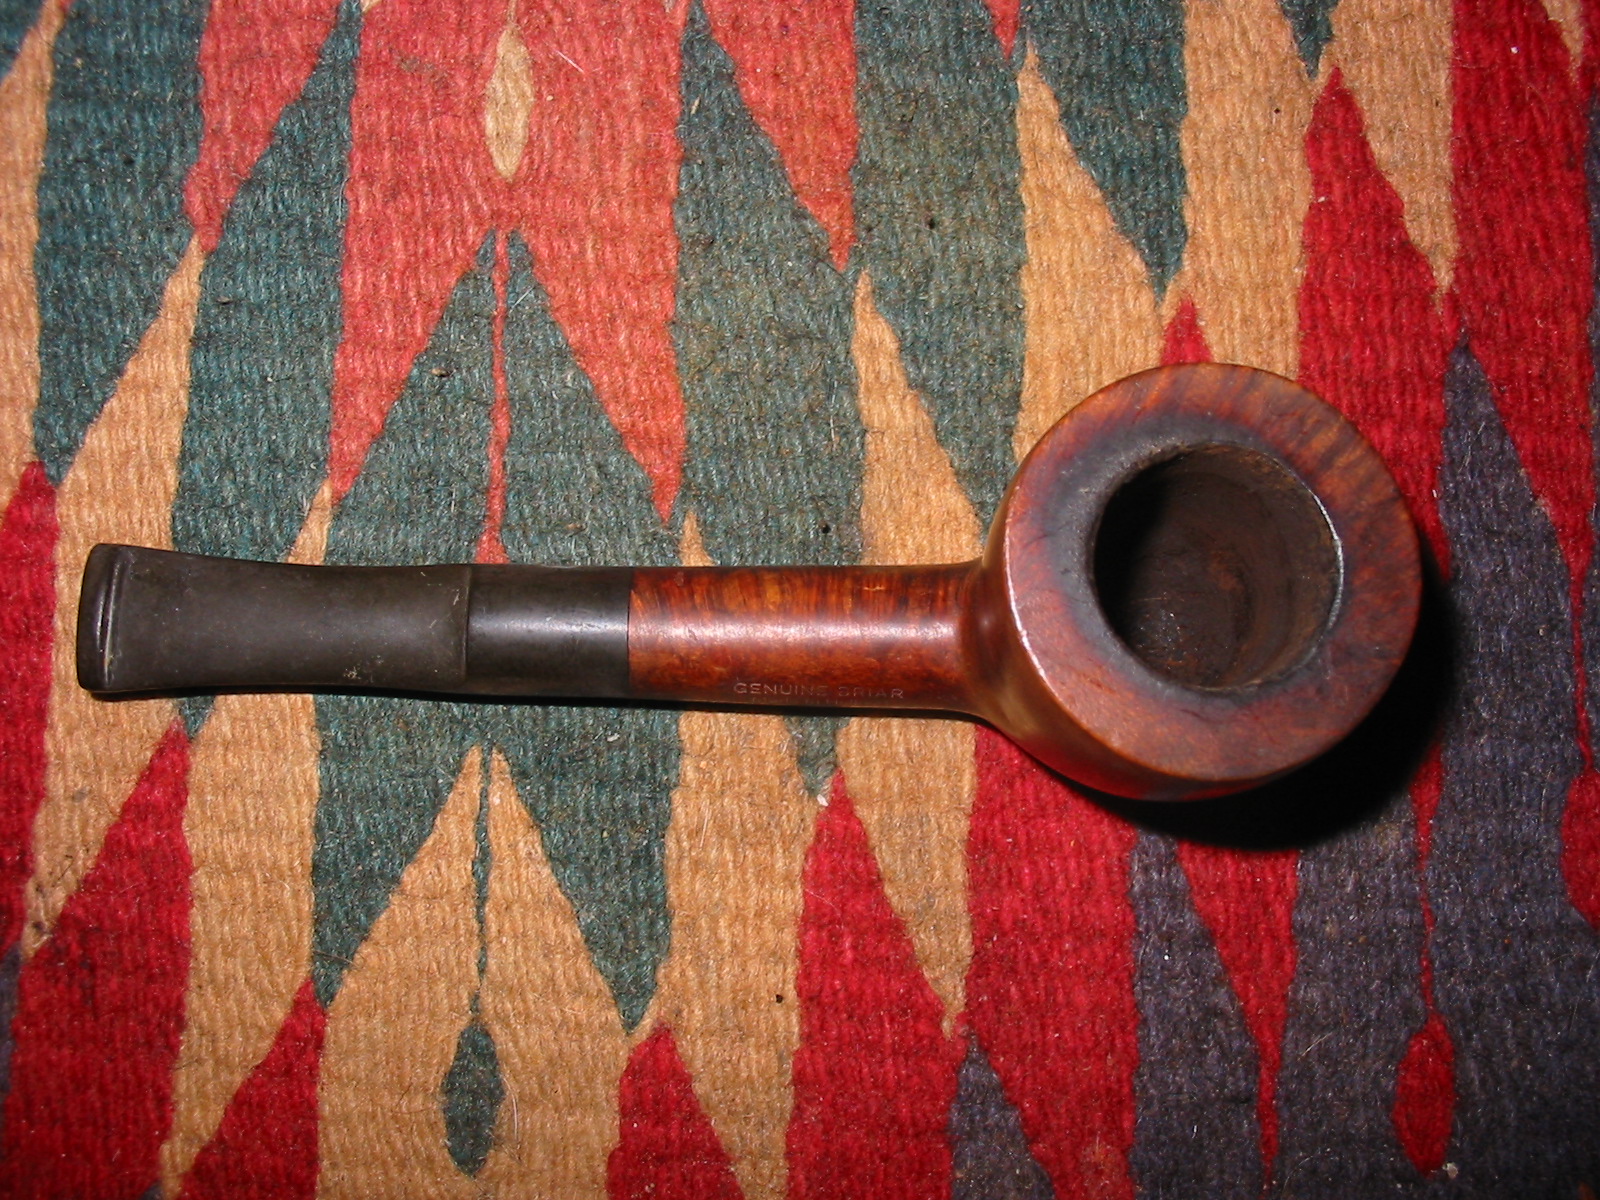
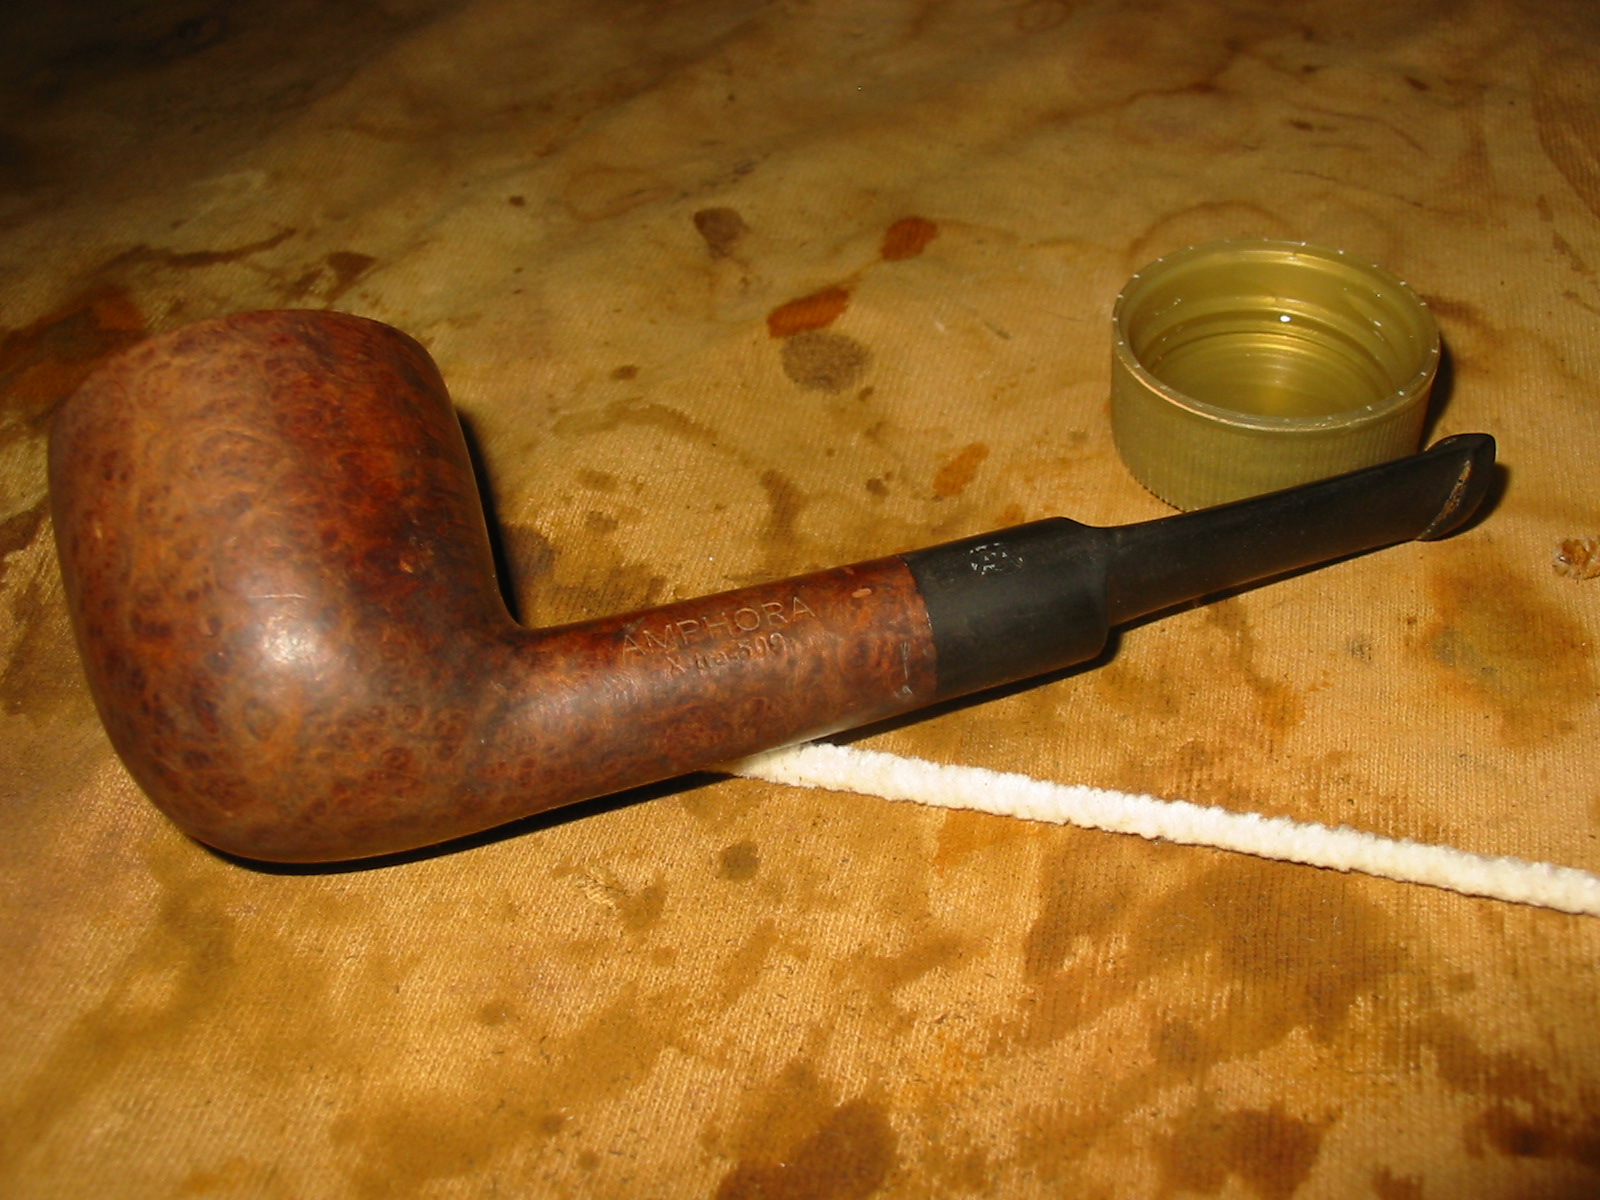
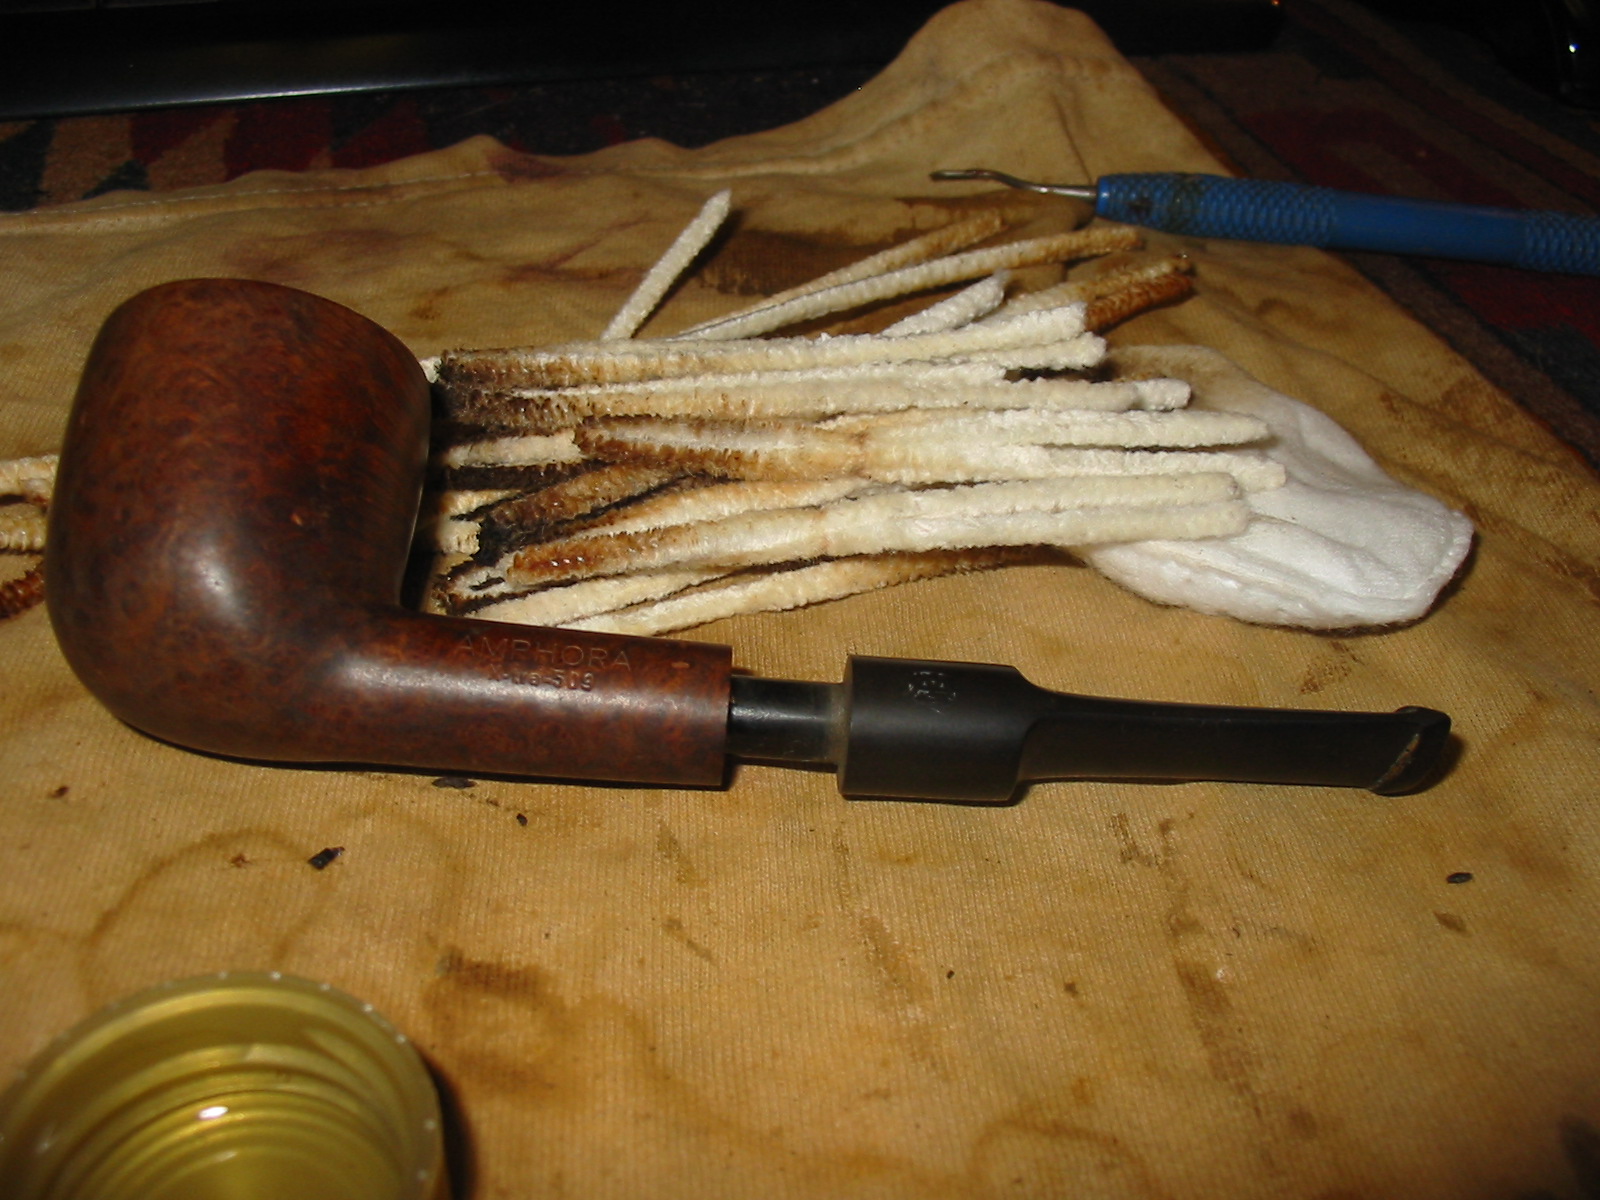
This is the last of the lot I found while on a recent trip in Northern Alberta, Canada. It is stamped Amphora X-tra 509 on the left side of the shank and on the right side it is stamped Genuine Briar over Made in Holland. The stem has an AA in a circle stamped on it (not a stamping for Amphora pipes I was familiar with). The pipe was in good shape. The rim was dirty and had a slight bit of build up on the surface. The bowl had a thin cake that was crumbly. The outside of the bowl was soiled and had some white paint on the surface. The stem was dirty and very slightly oxidized. There were no teeth marks on it so it was just dirty. The insides were also dirty. The inside of the shank and the stem were caked with a tarry buildup. There was an inner tube inserted in the tenon that extended into the shank almost as far as the airway at the bottom of the bowl.
IMG_1889

IMG_1890

IMG_1891

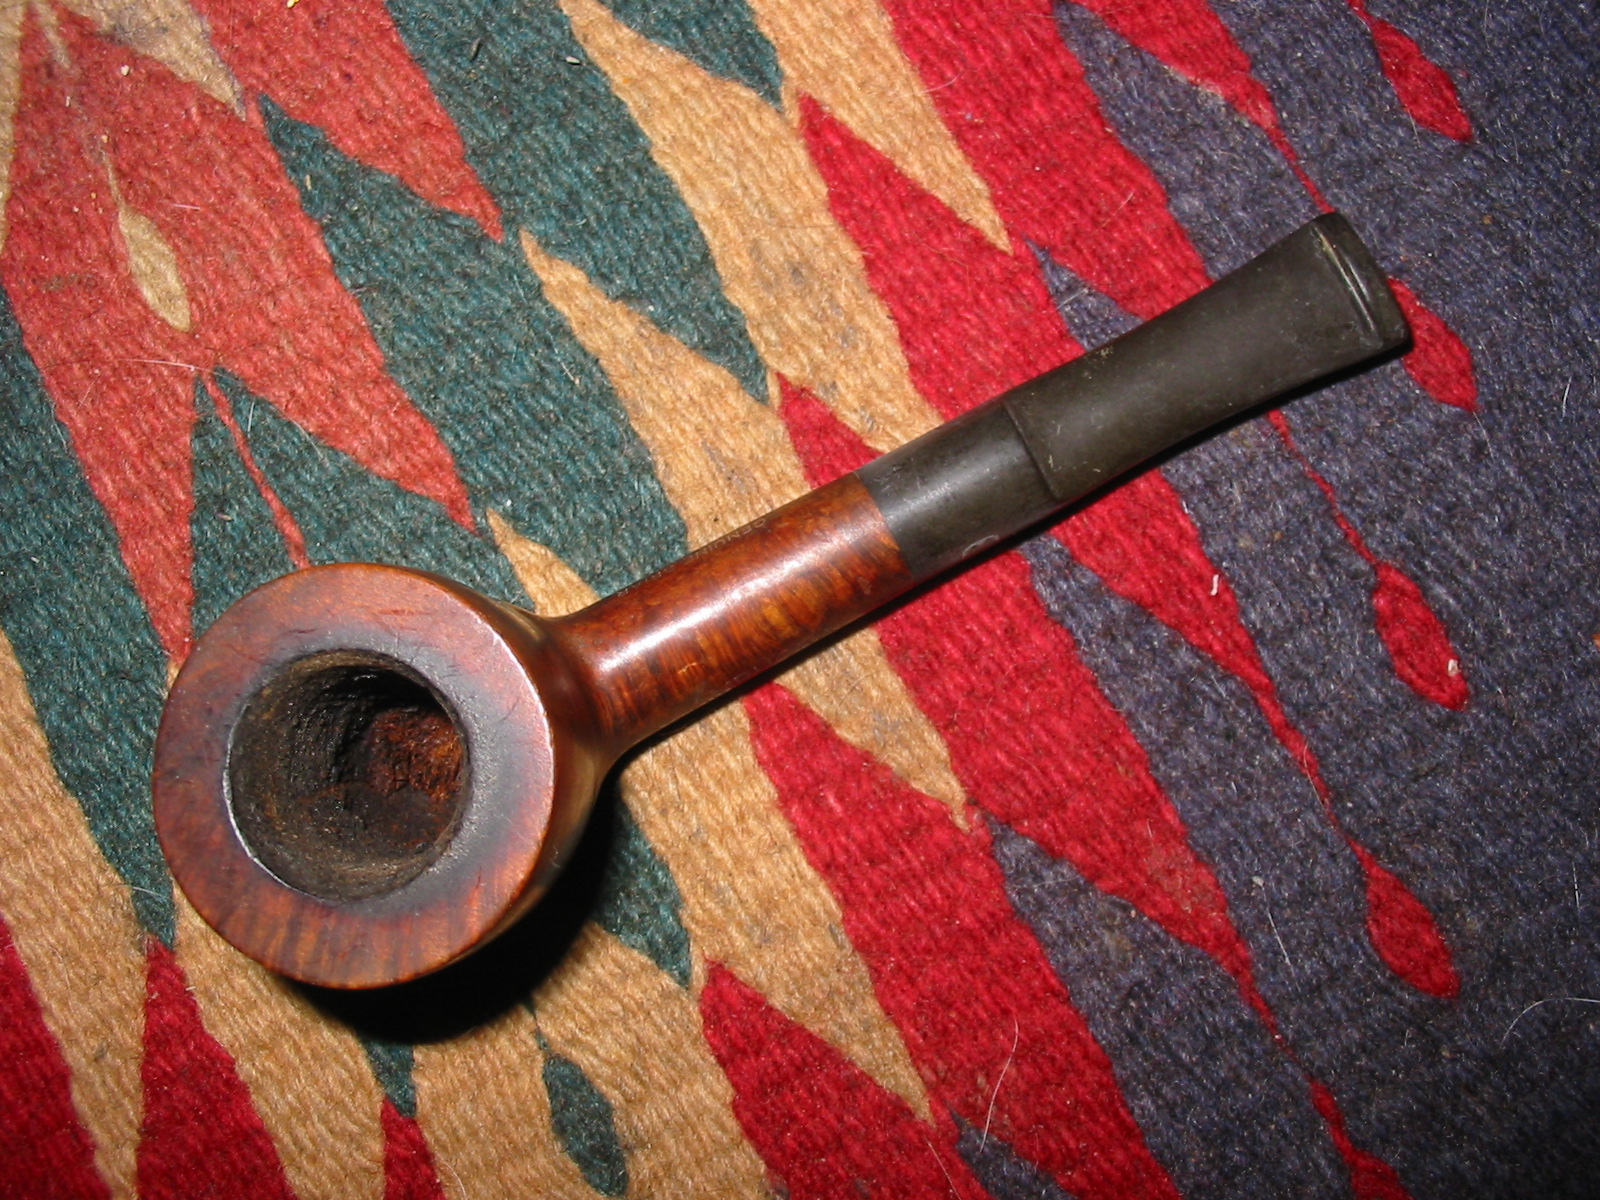
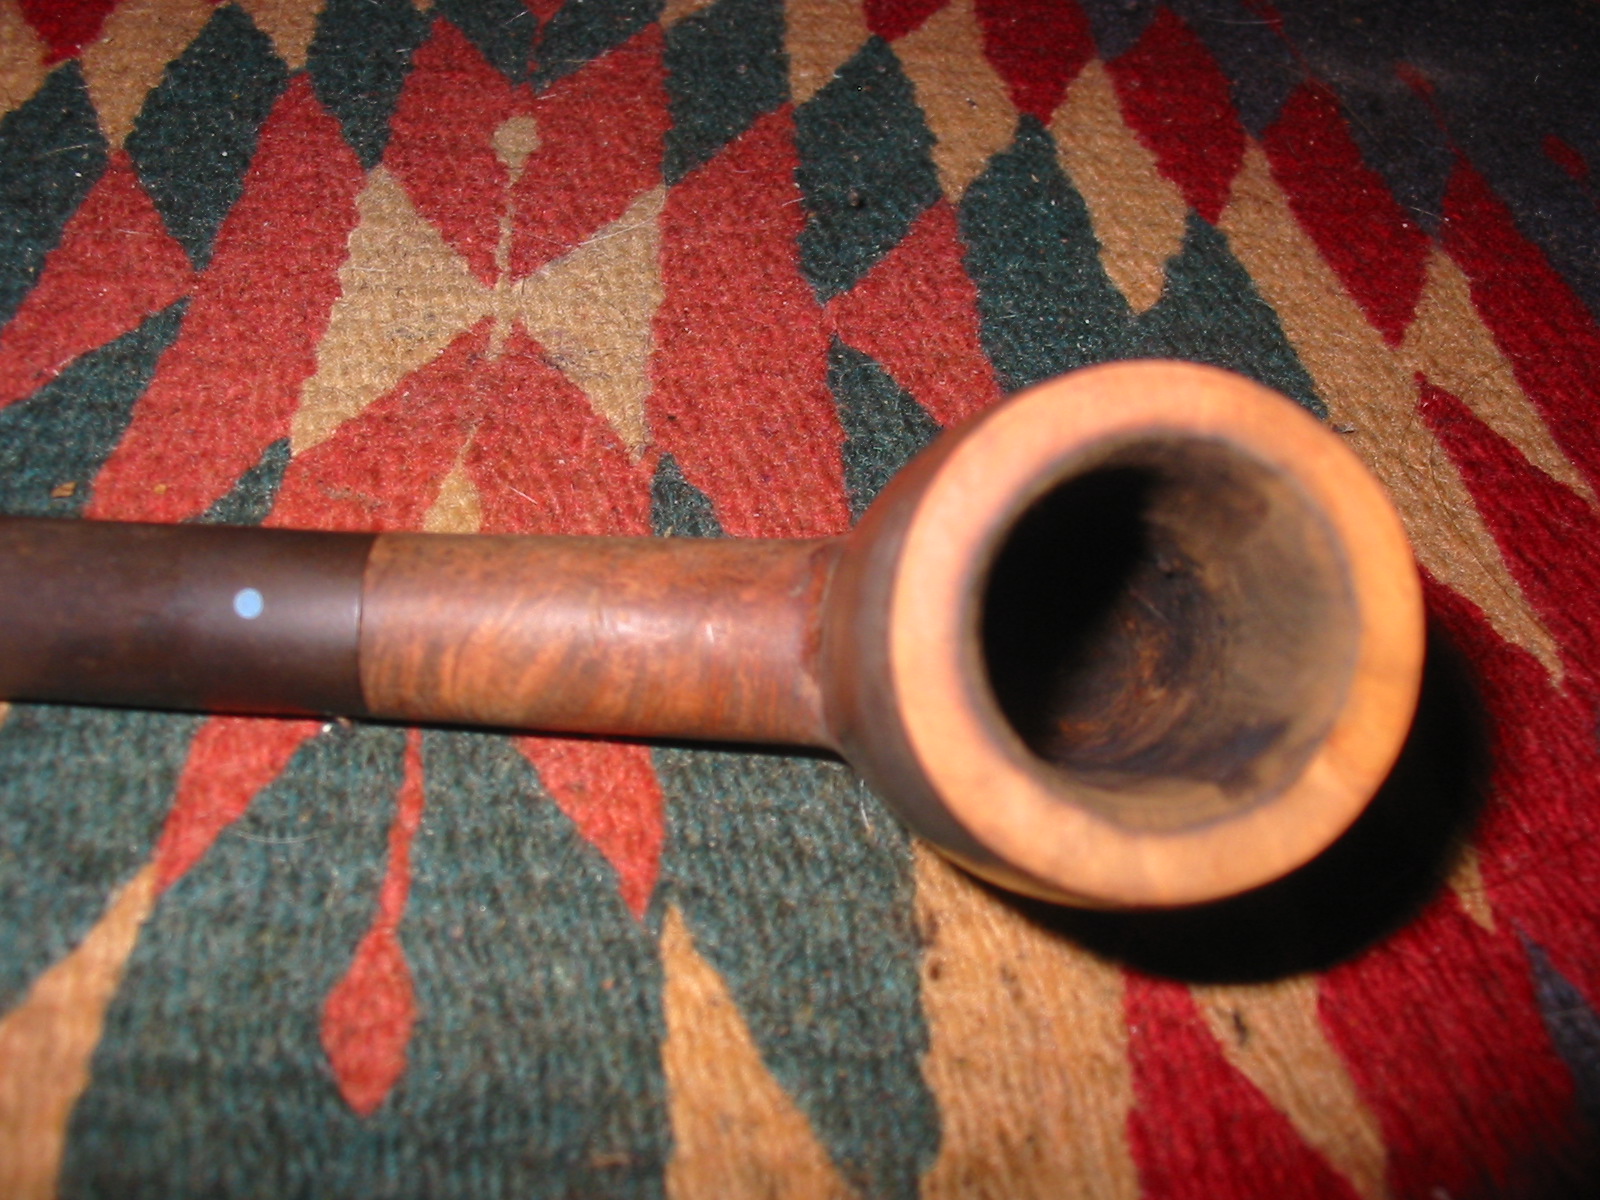
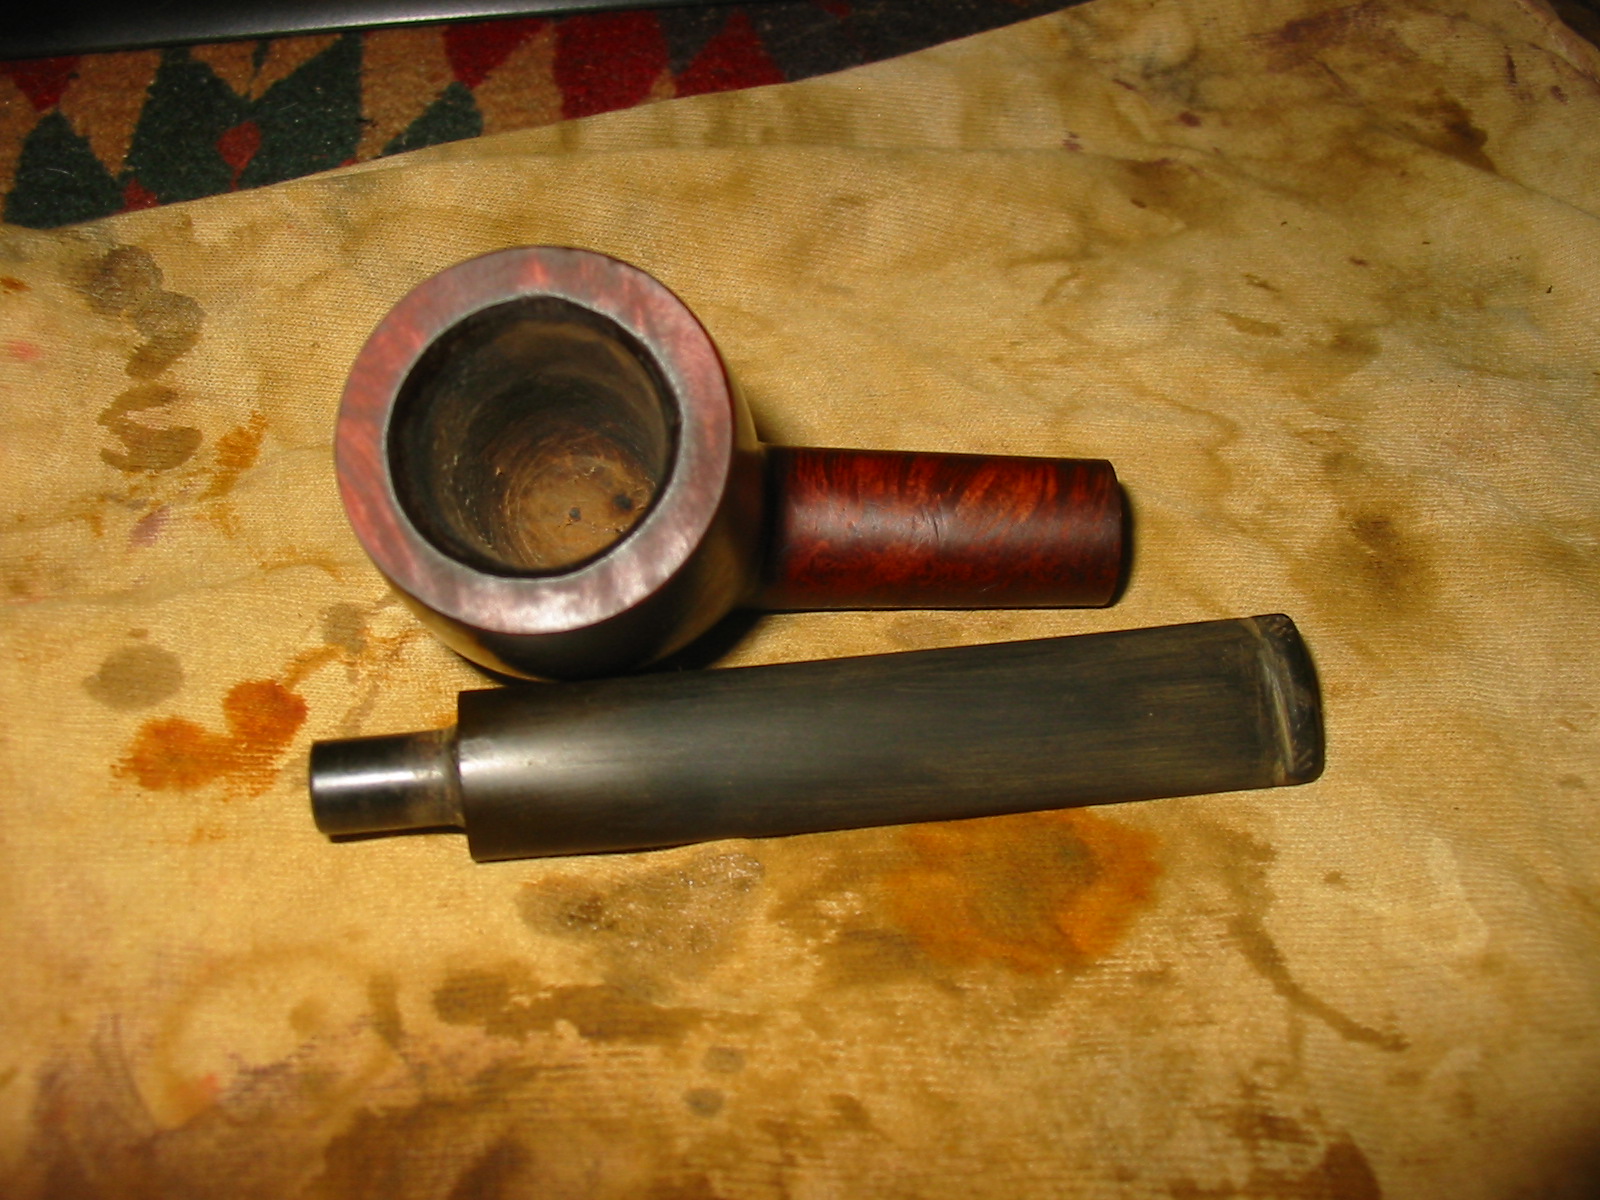
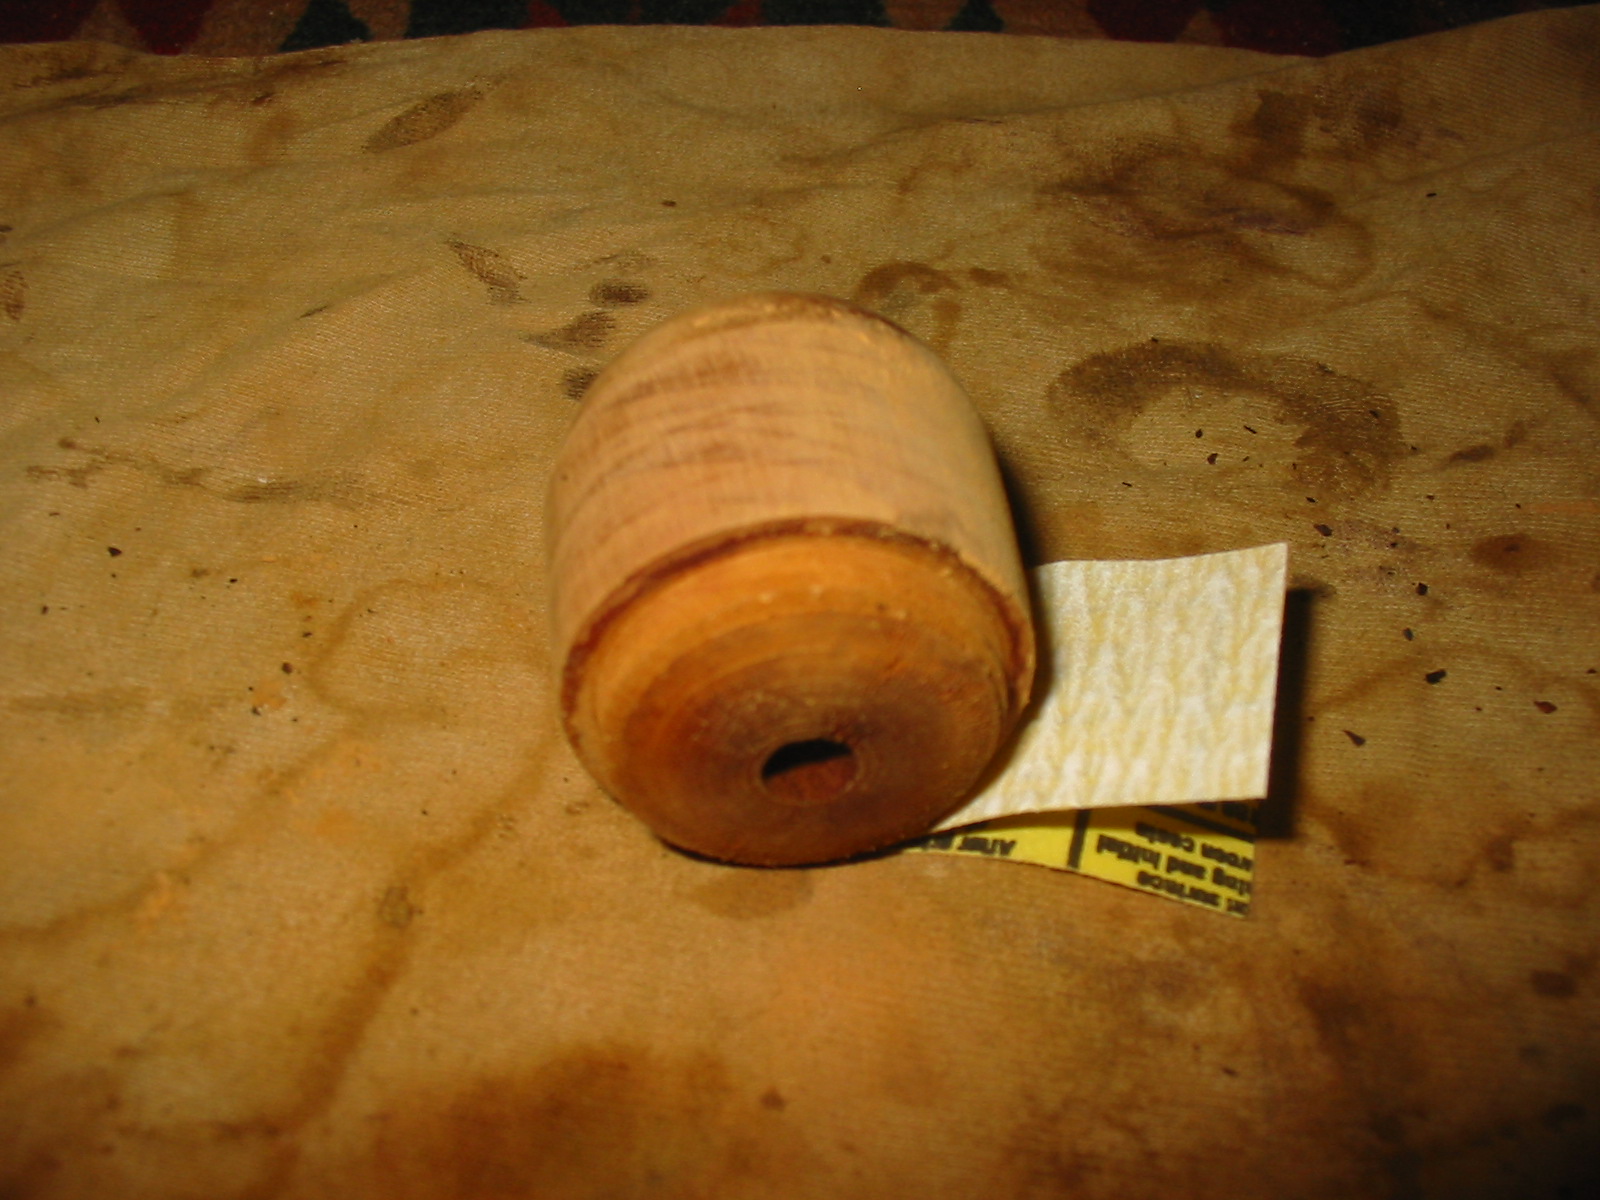
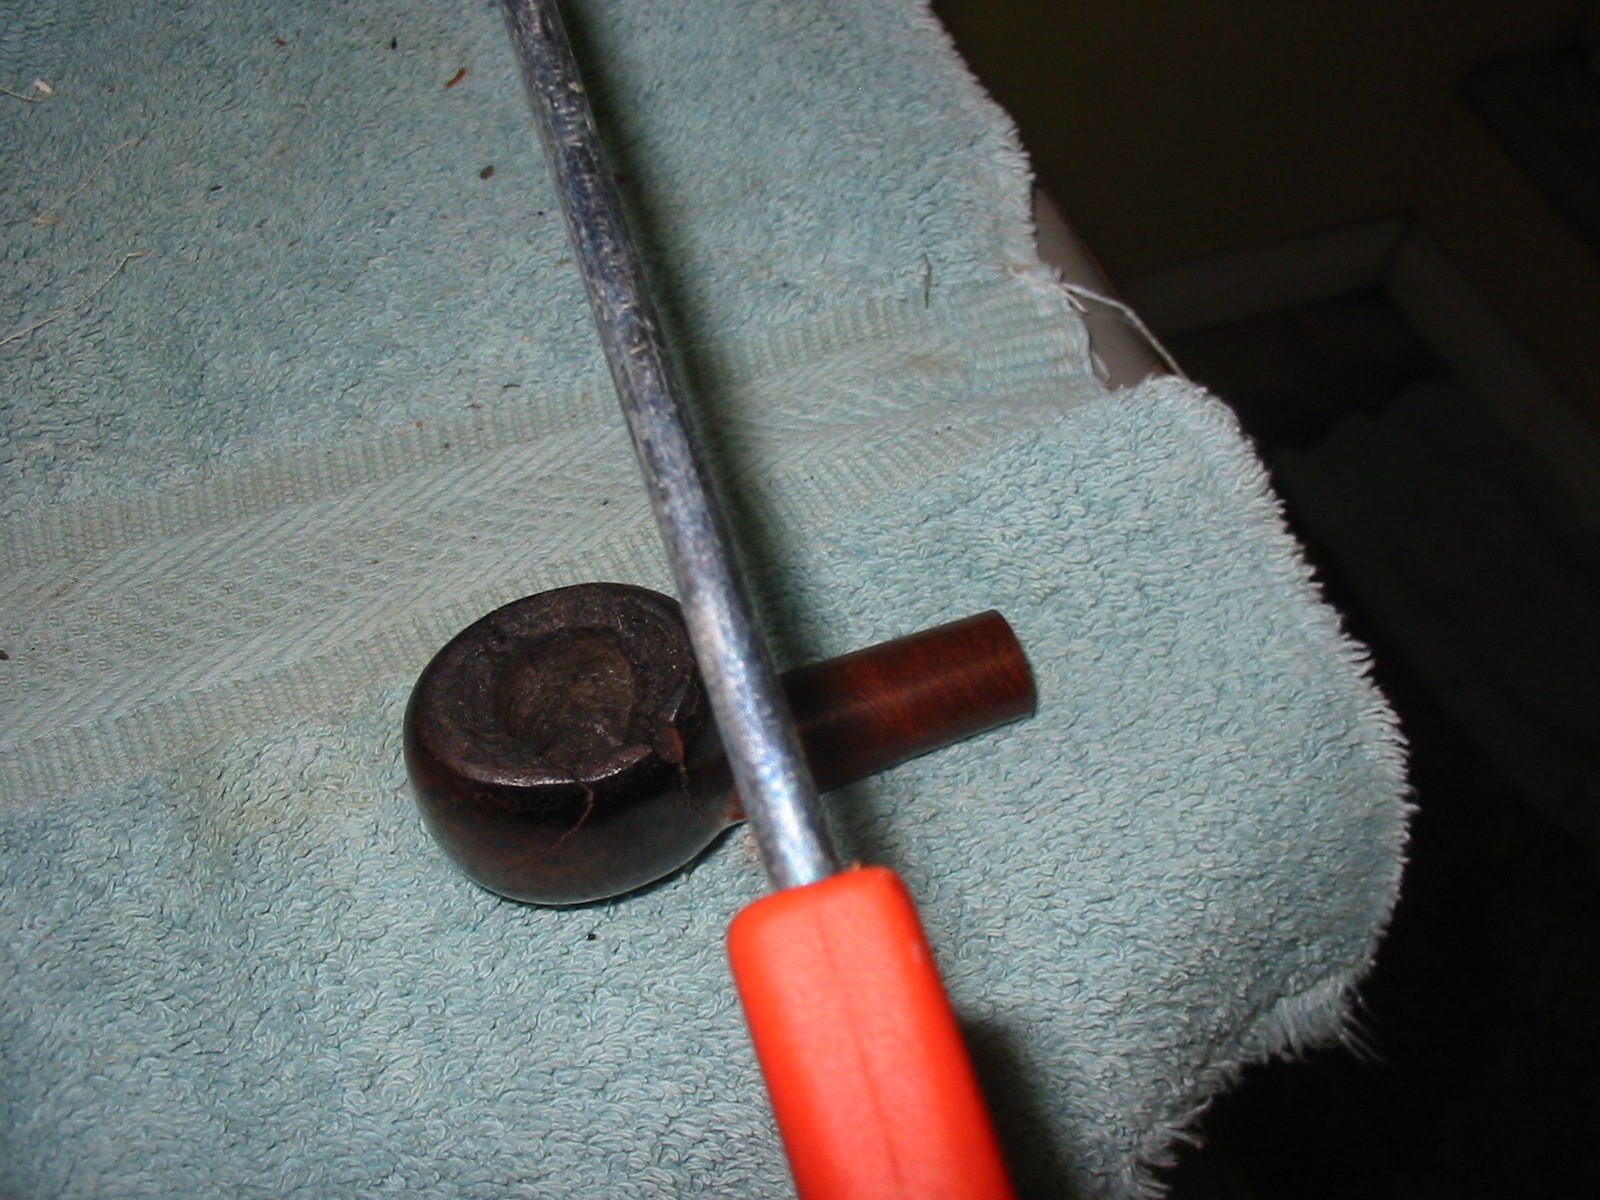
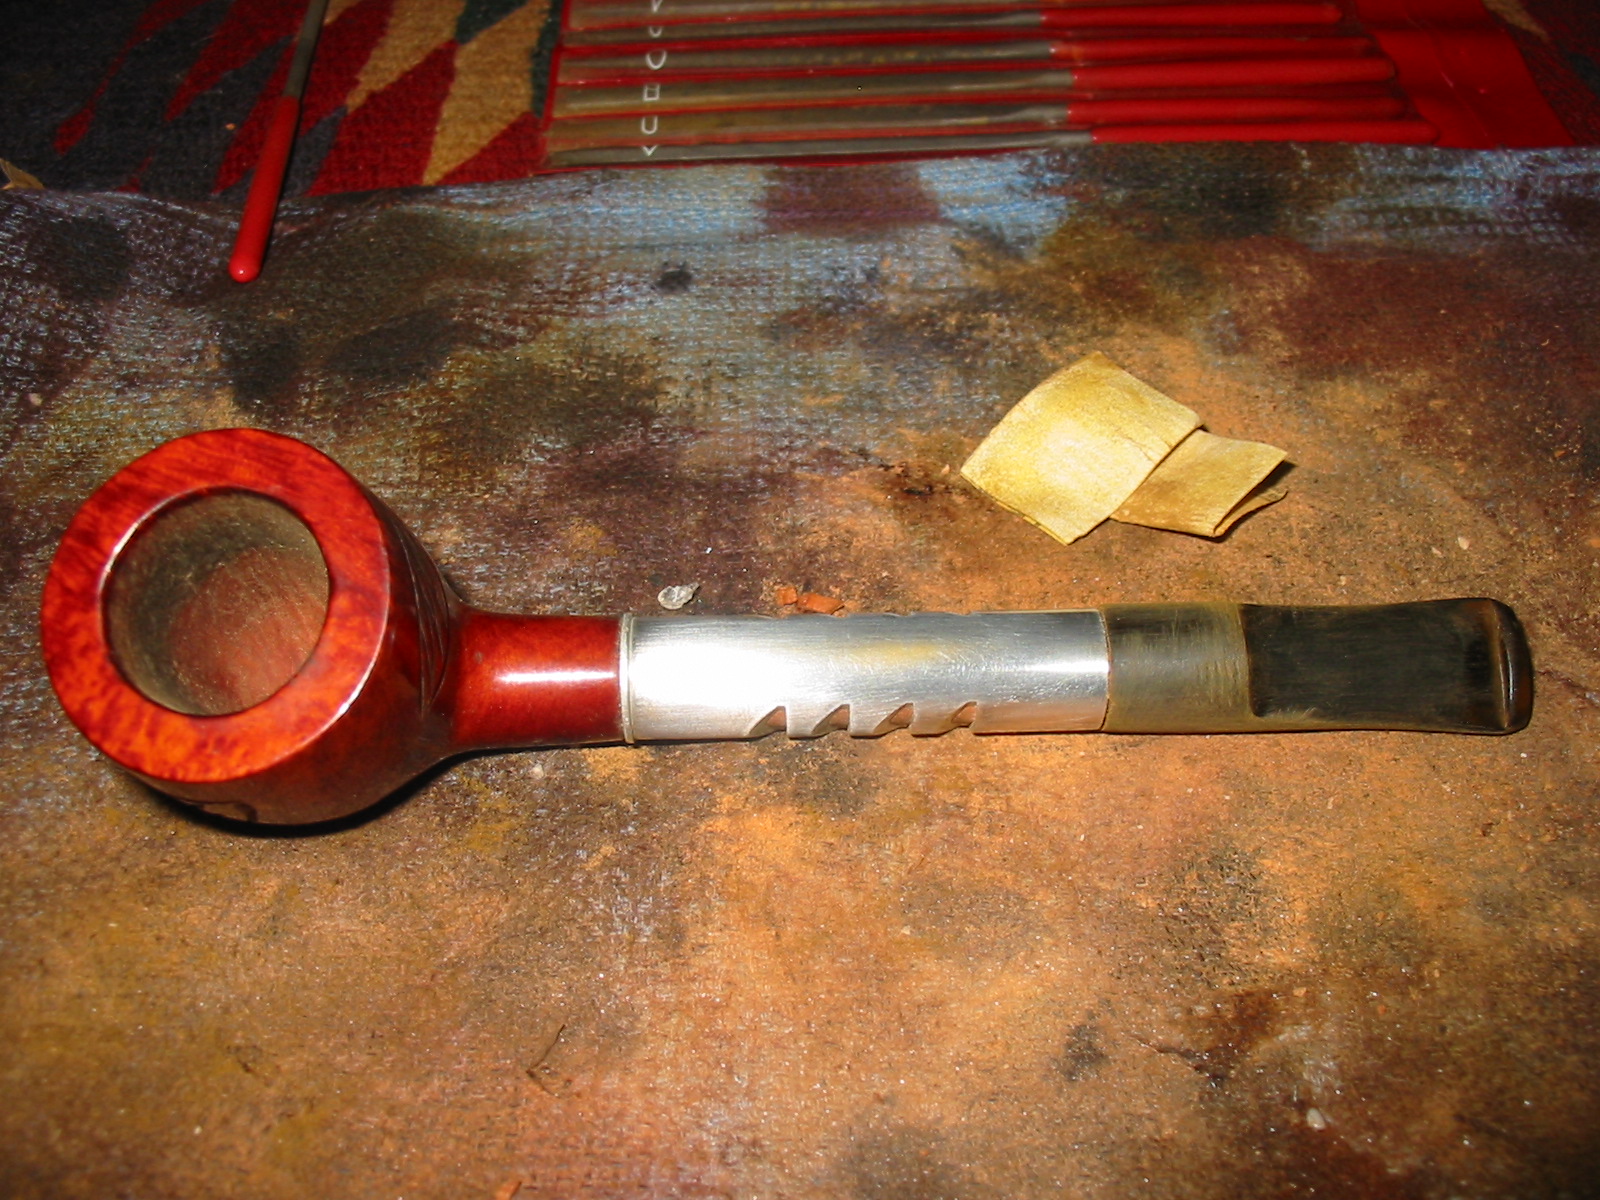
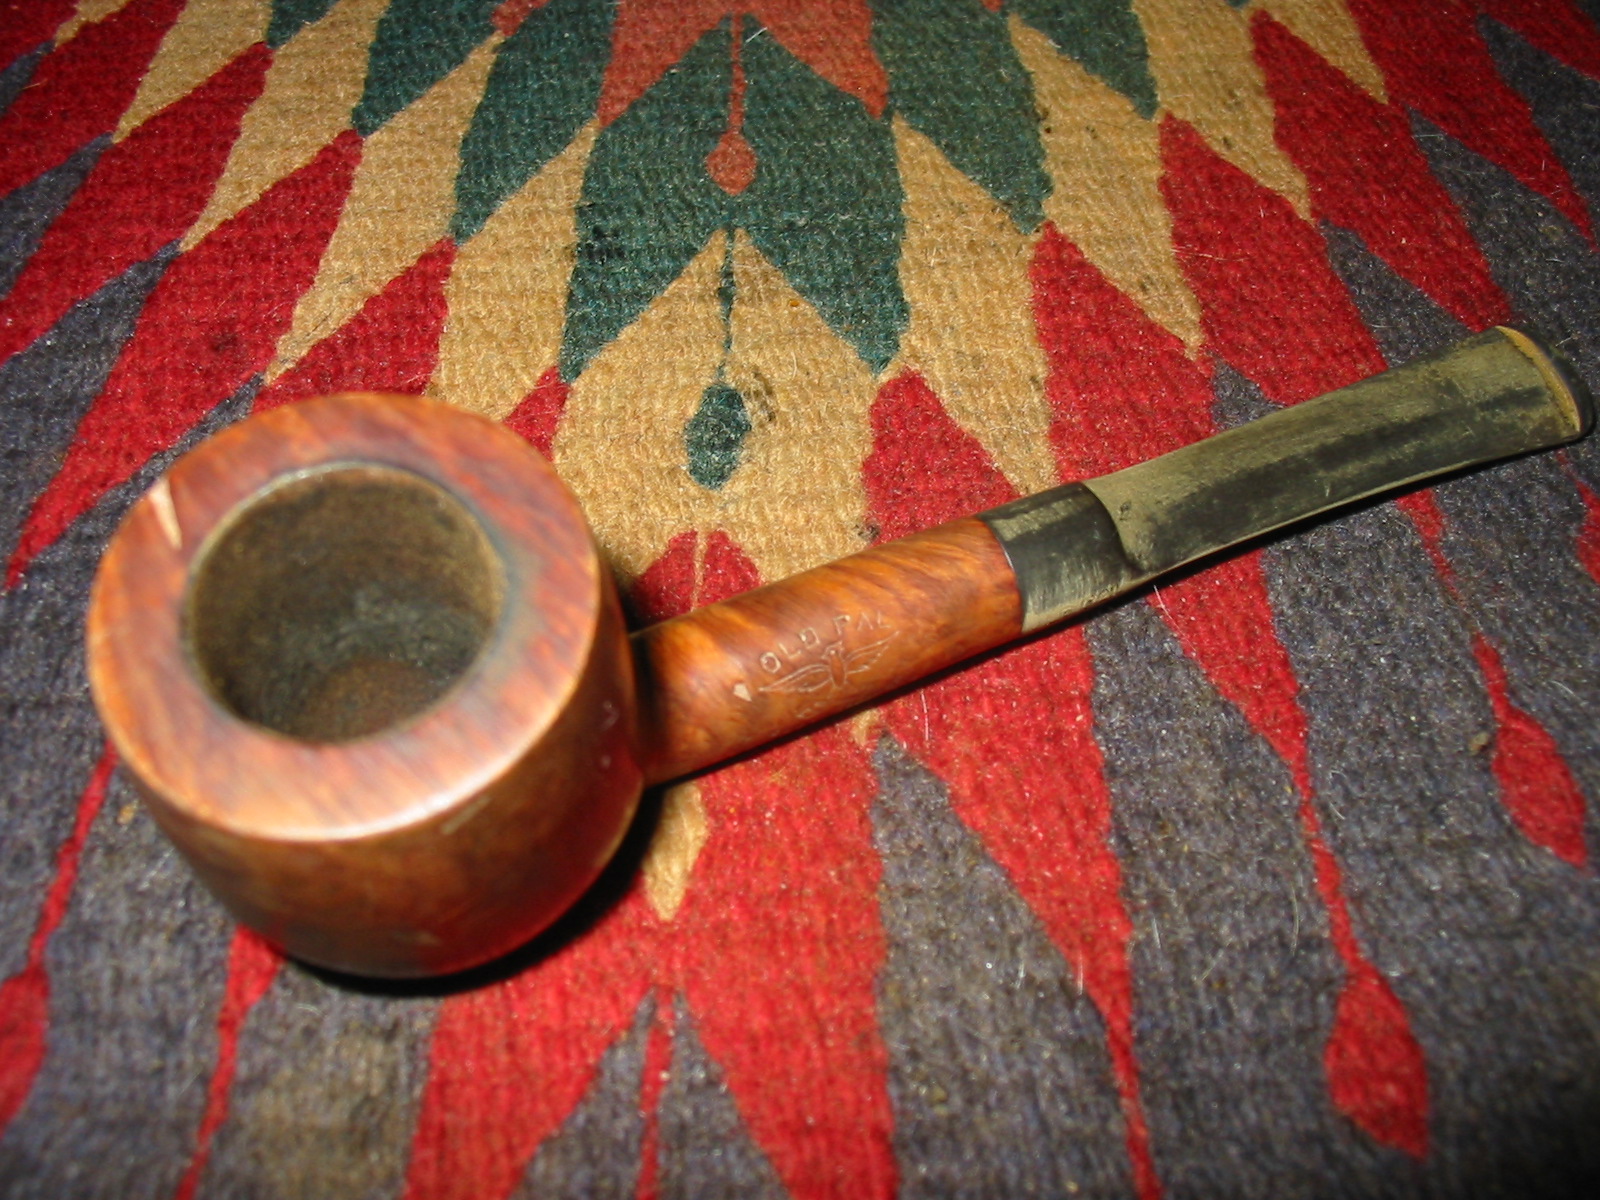
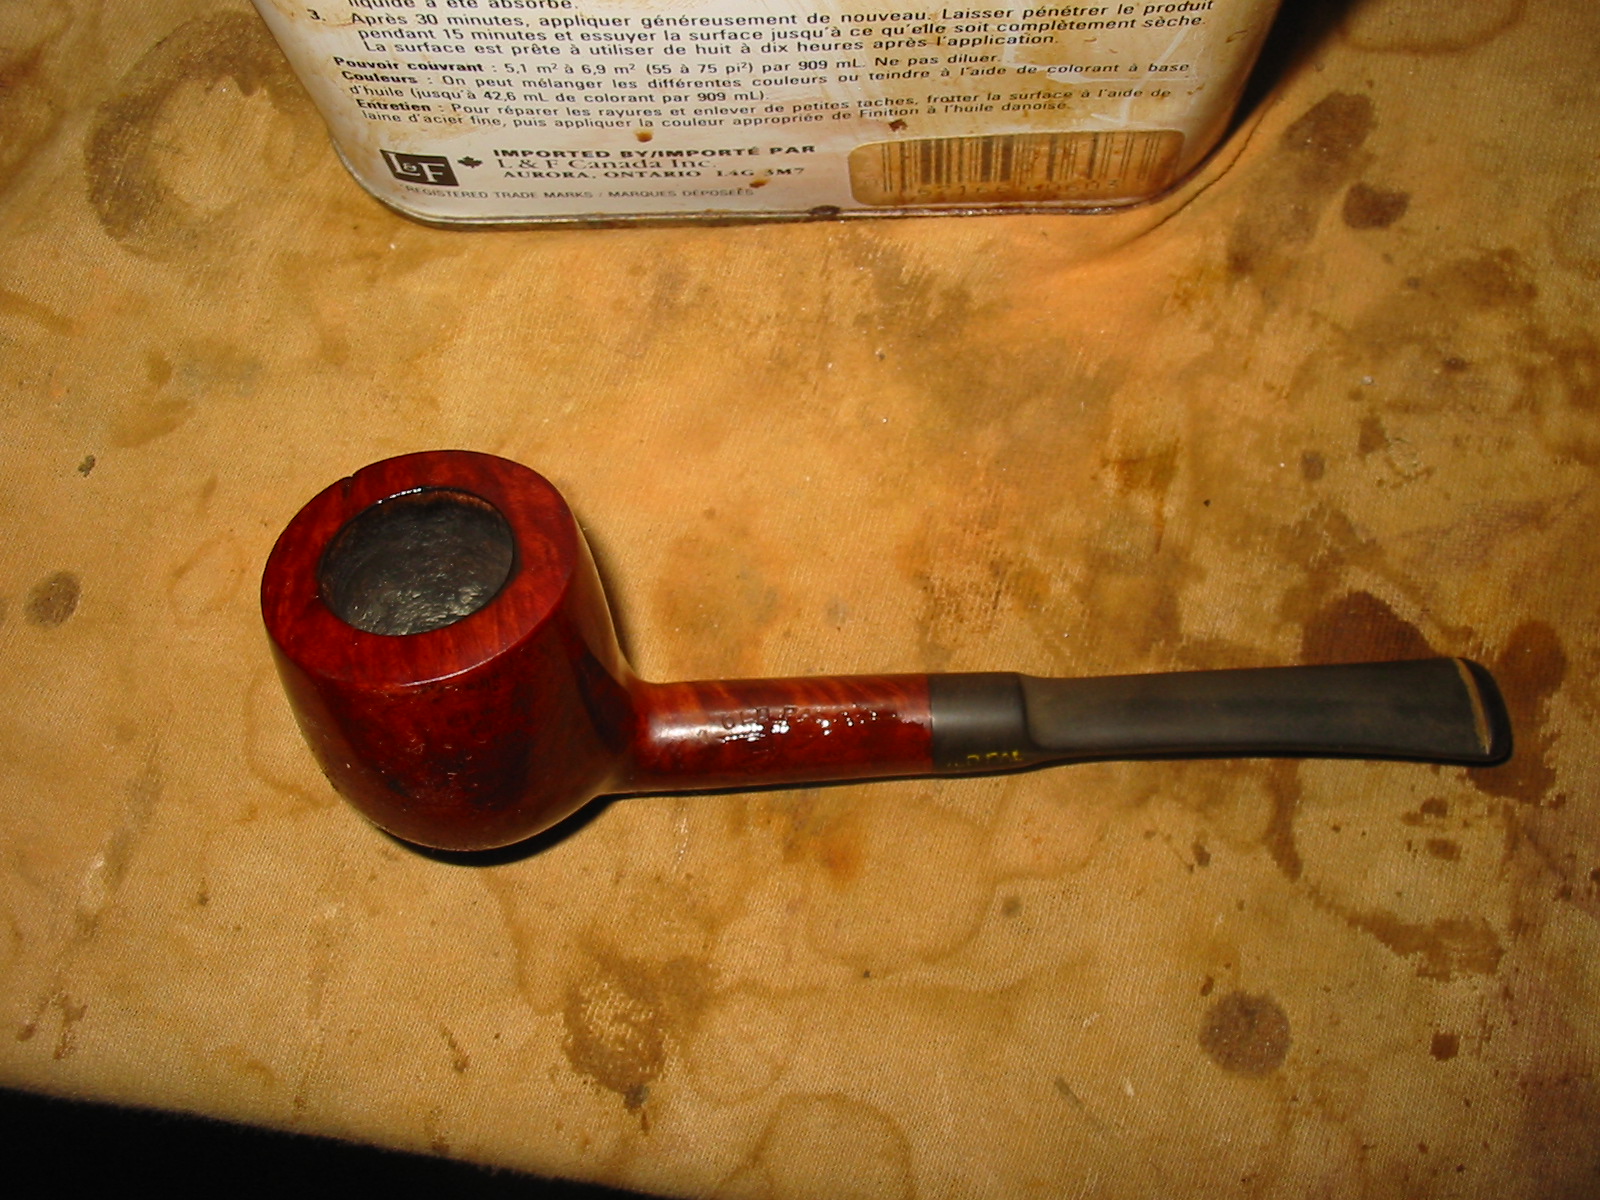
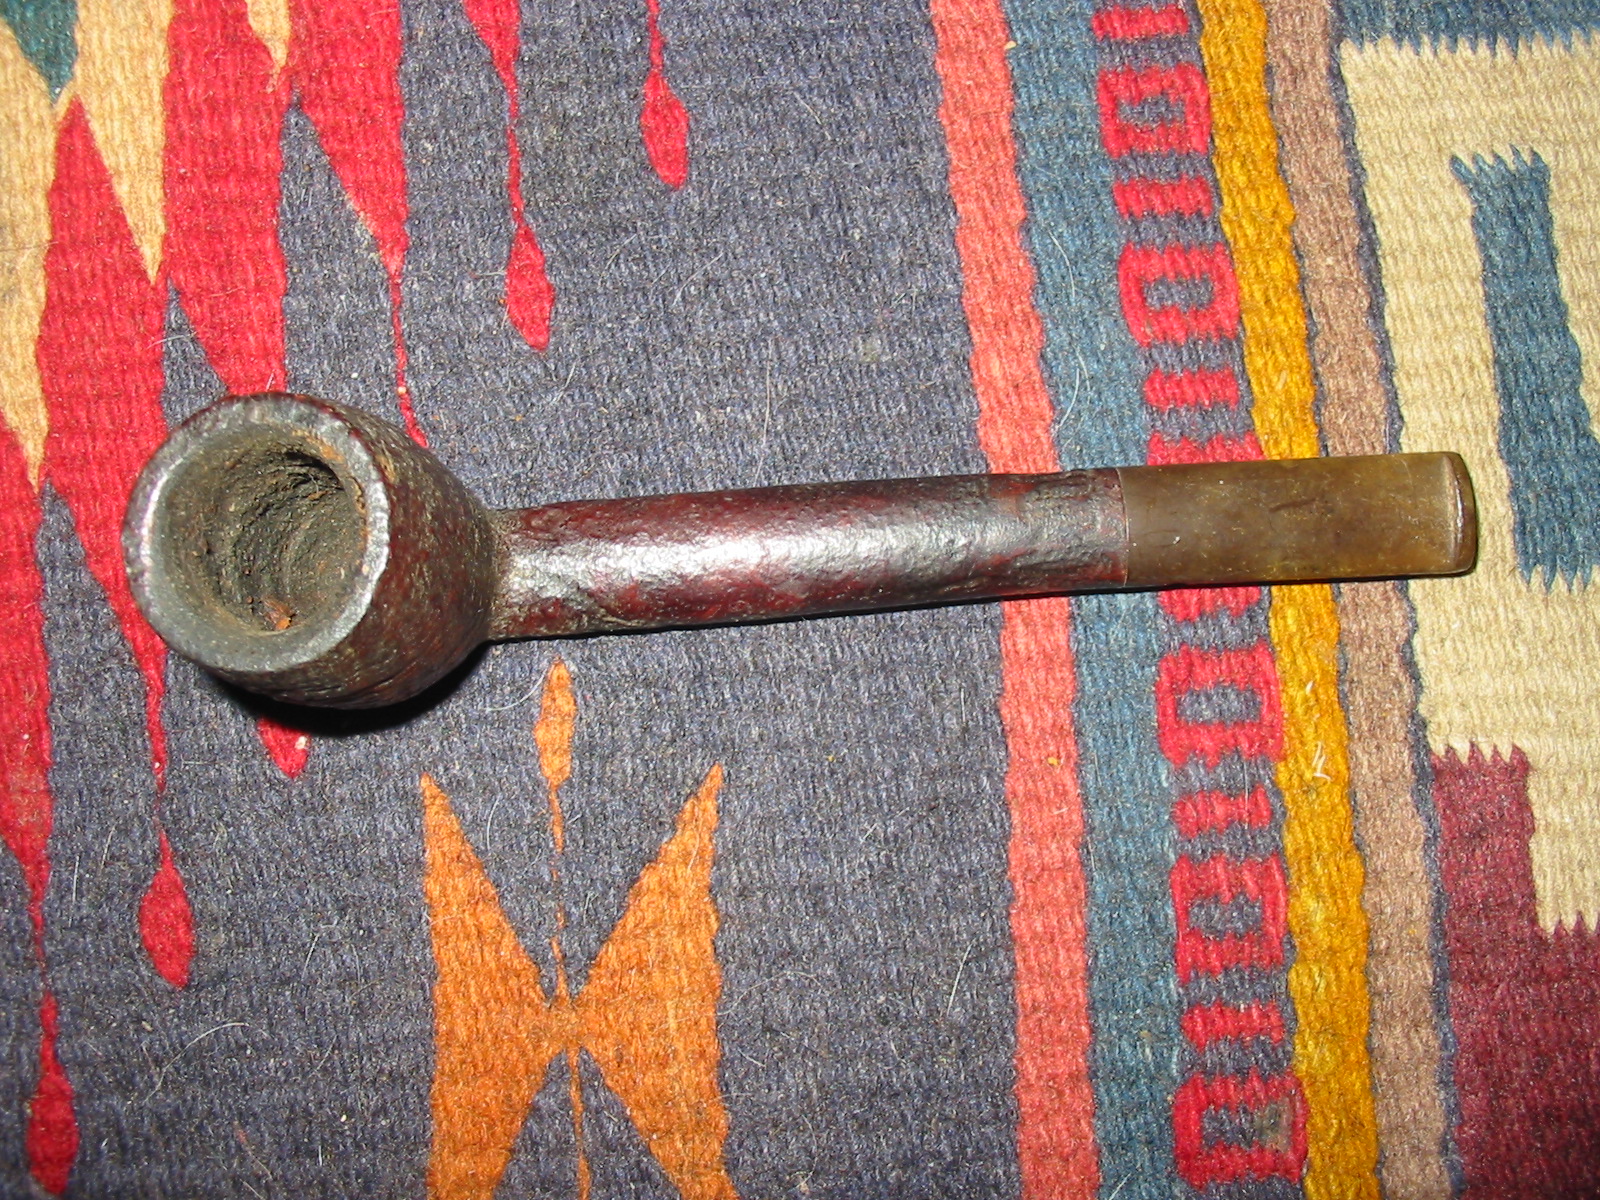
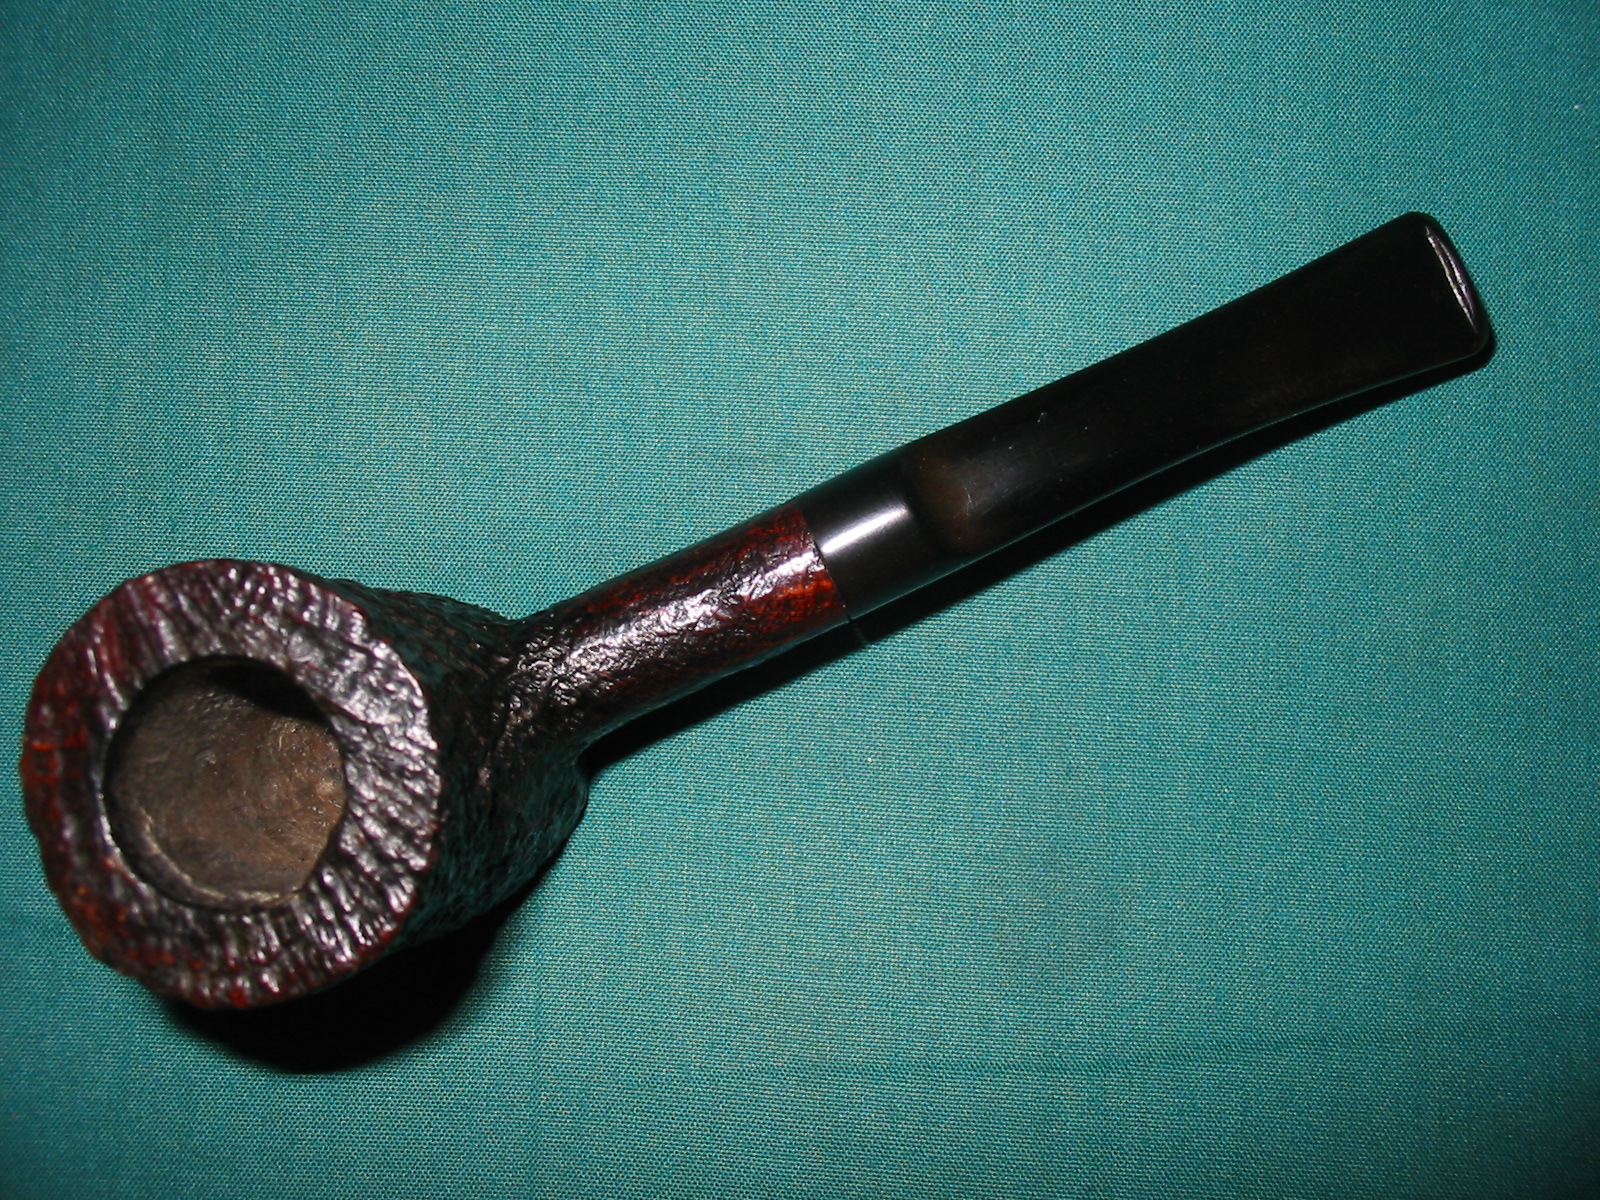
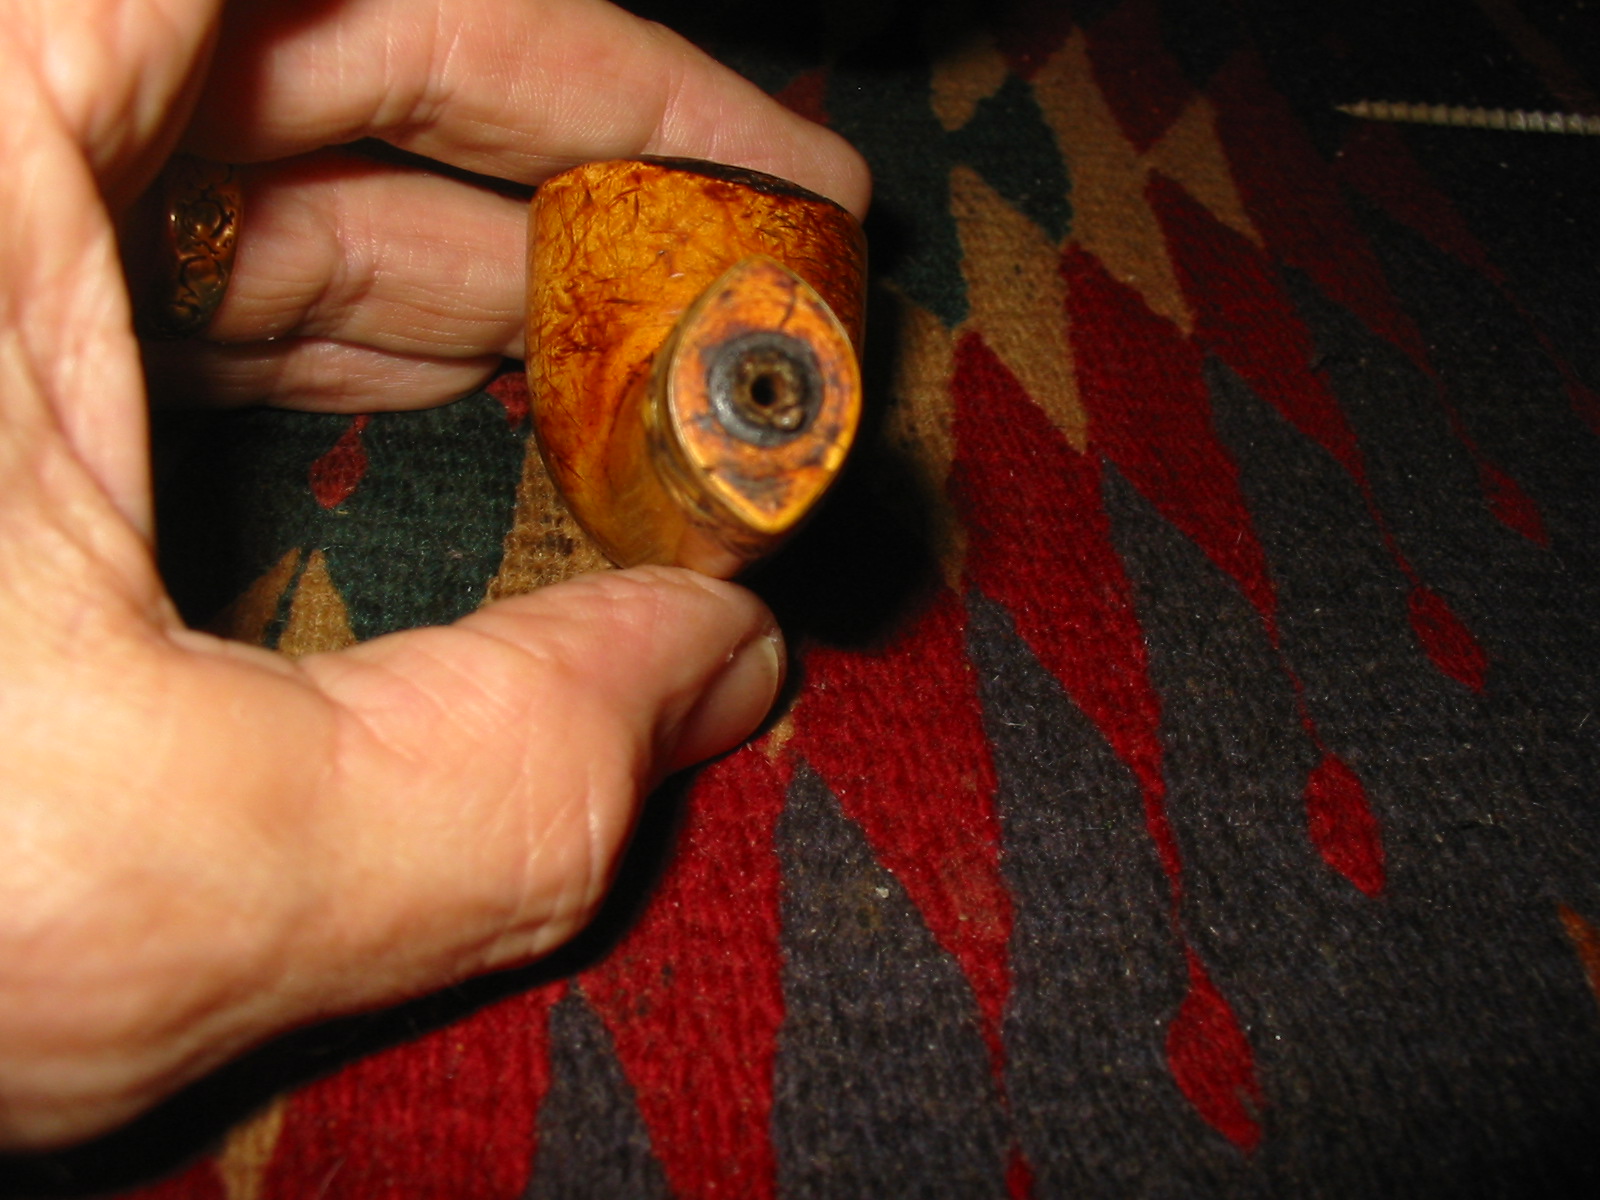
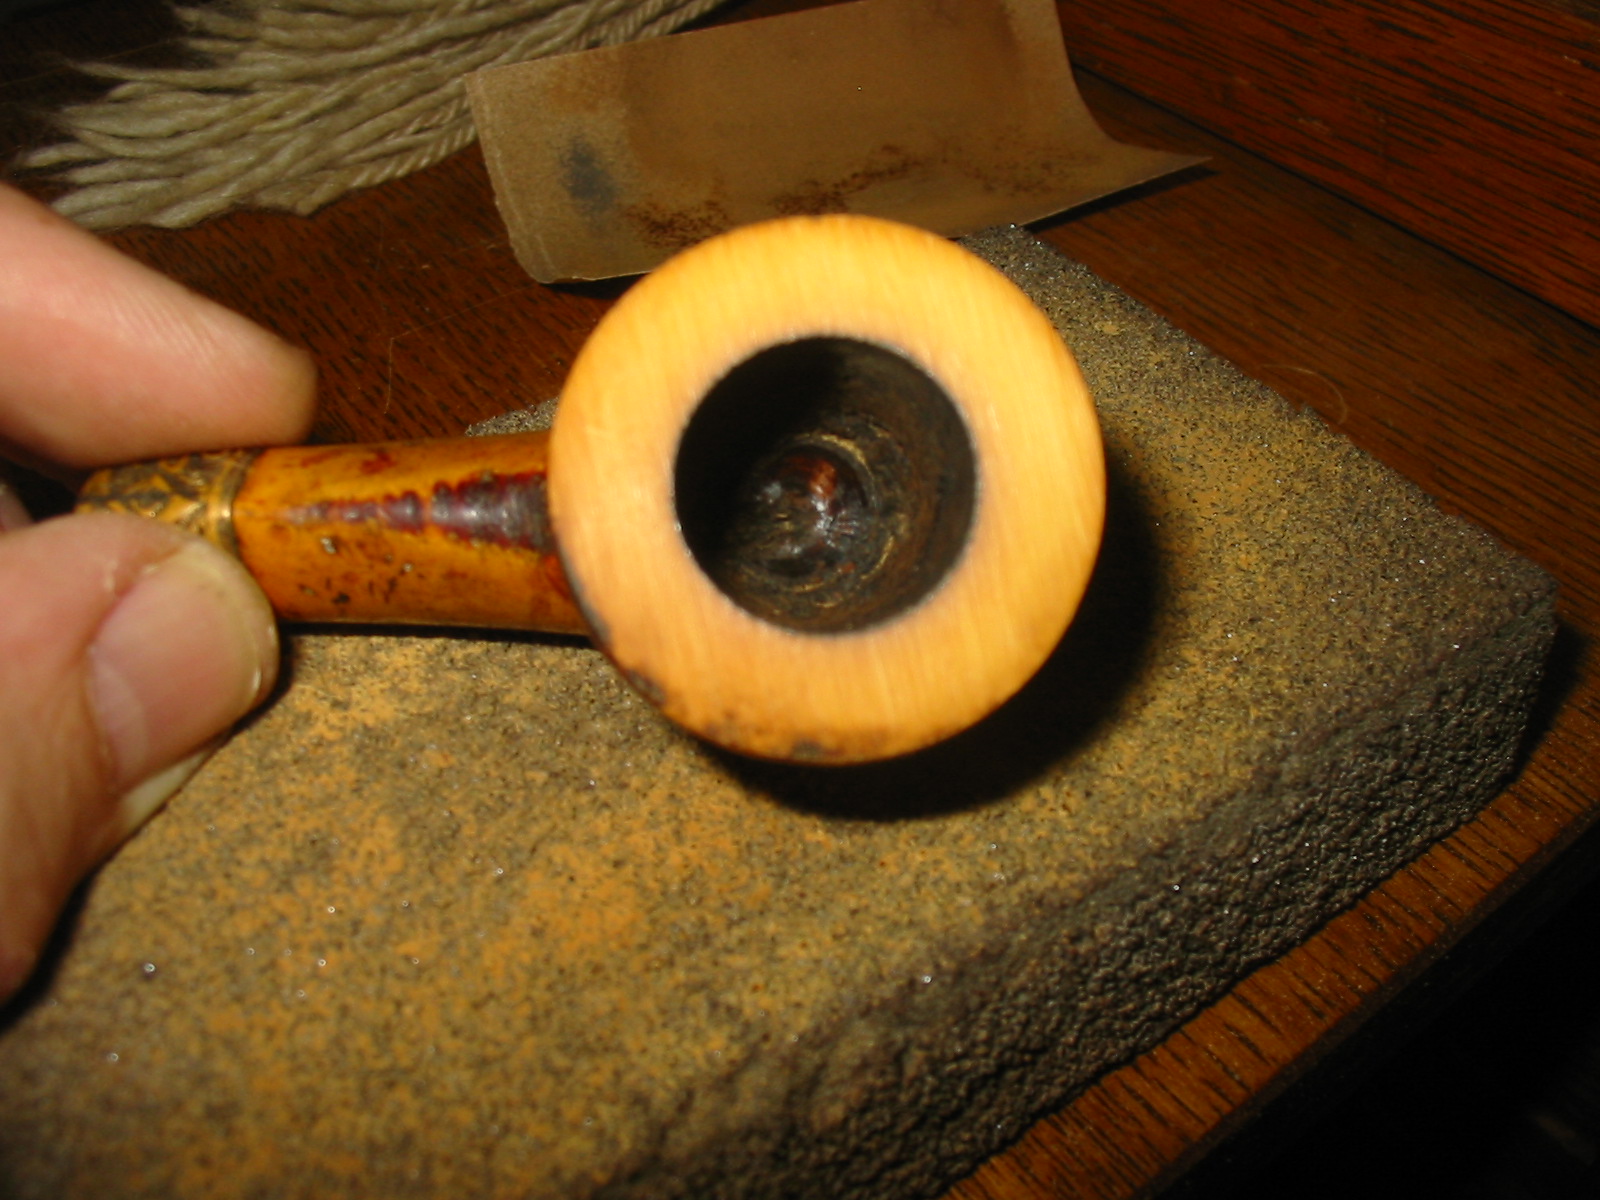
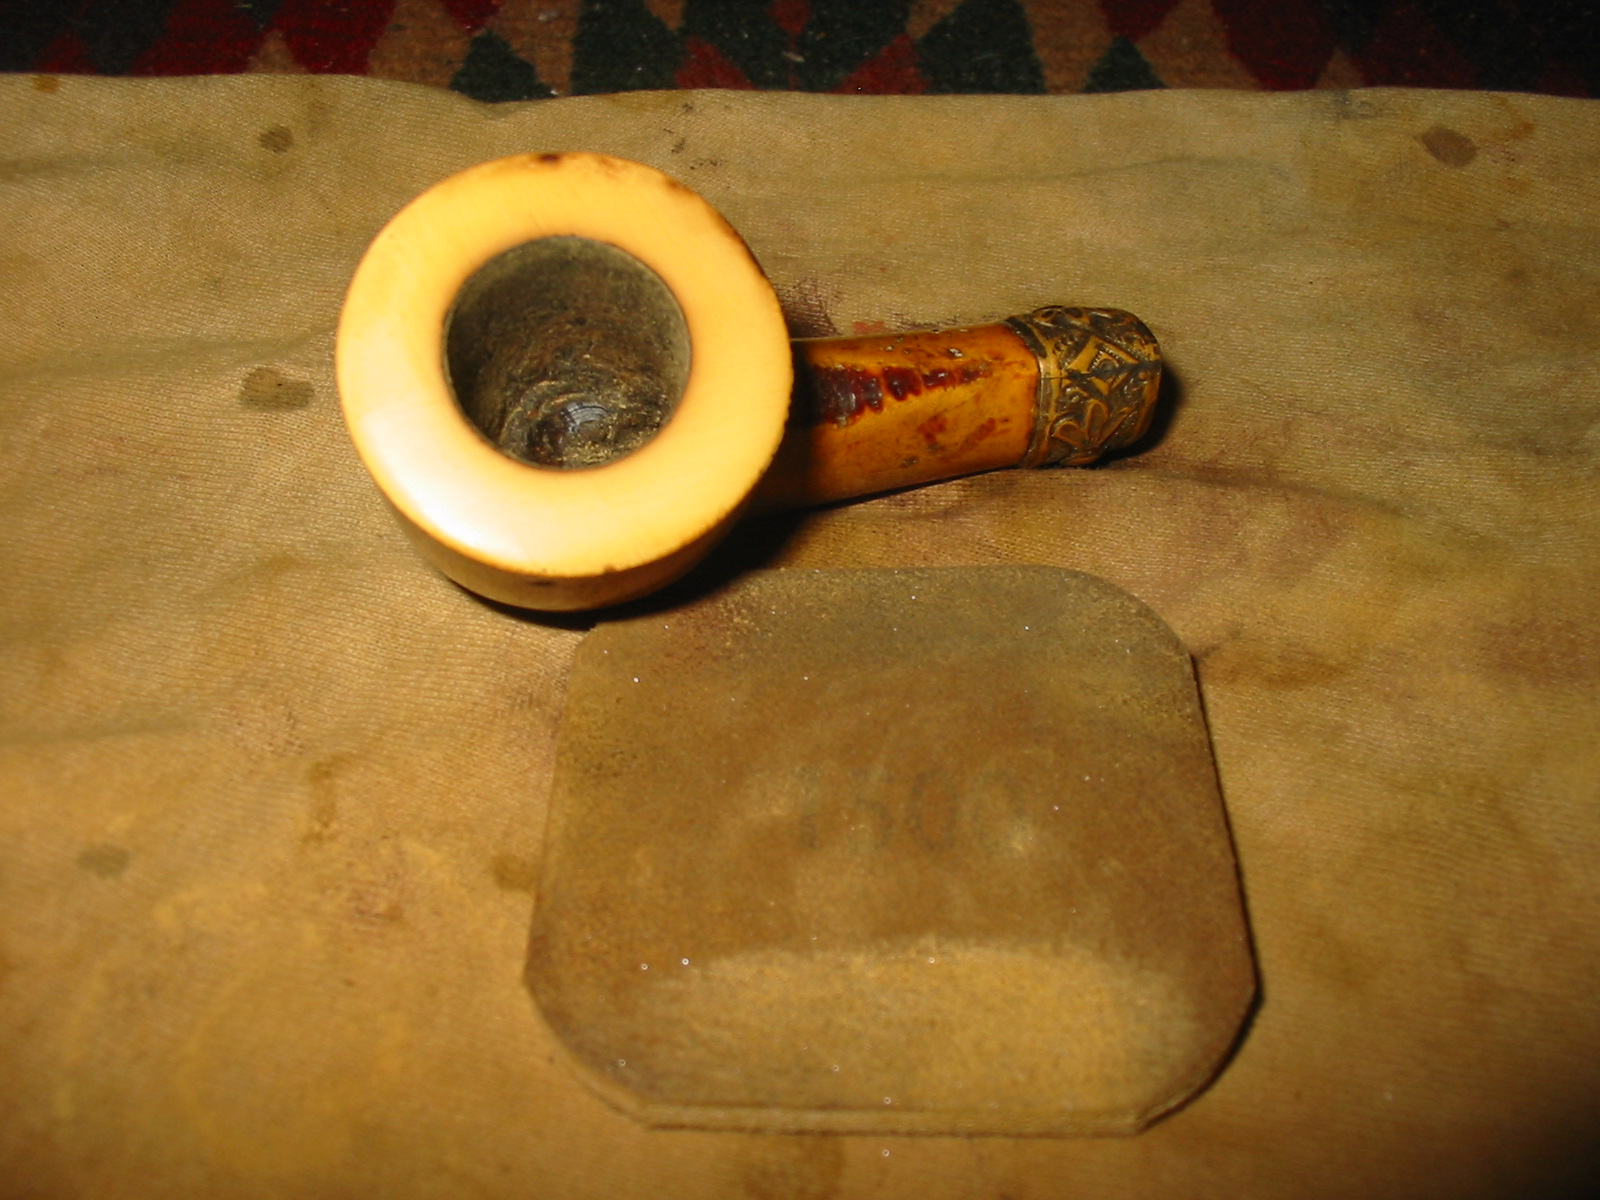
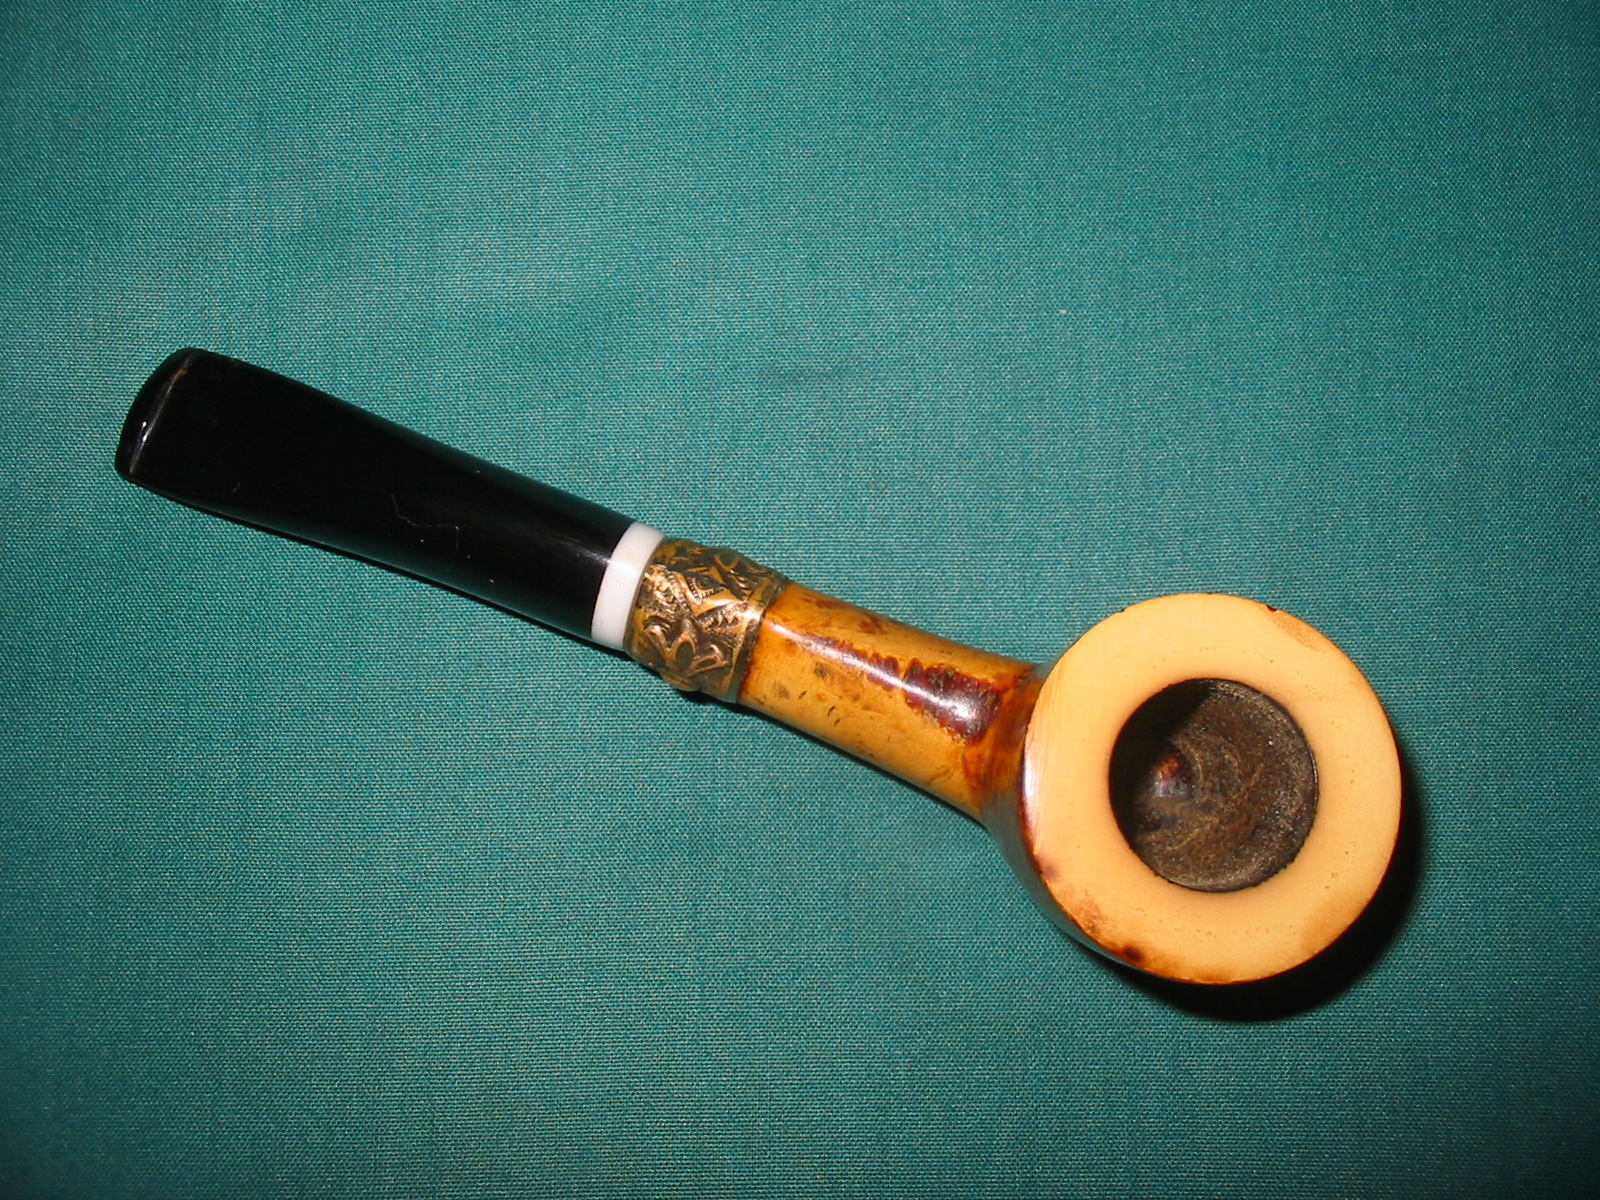
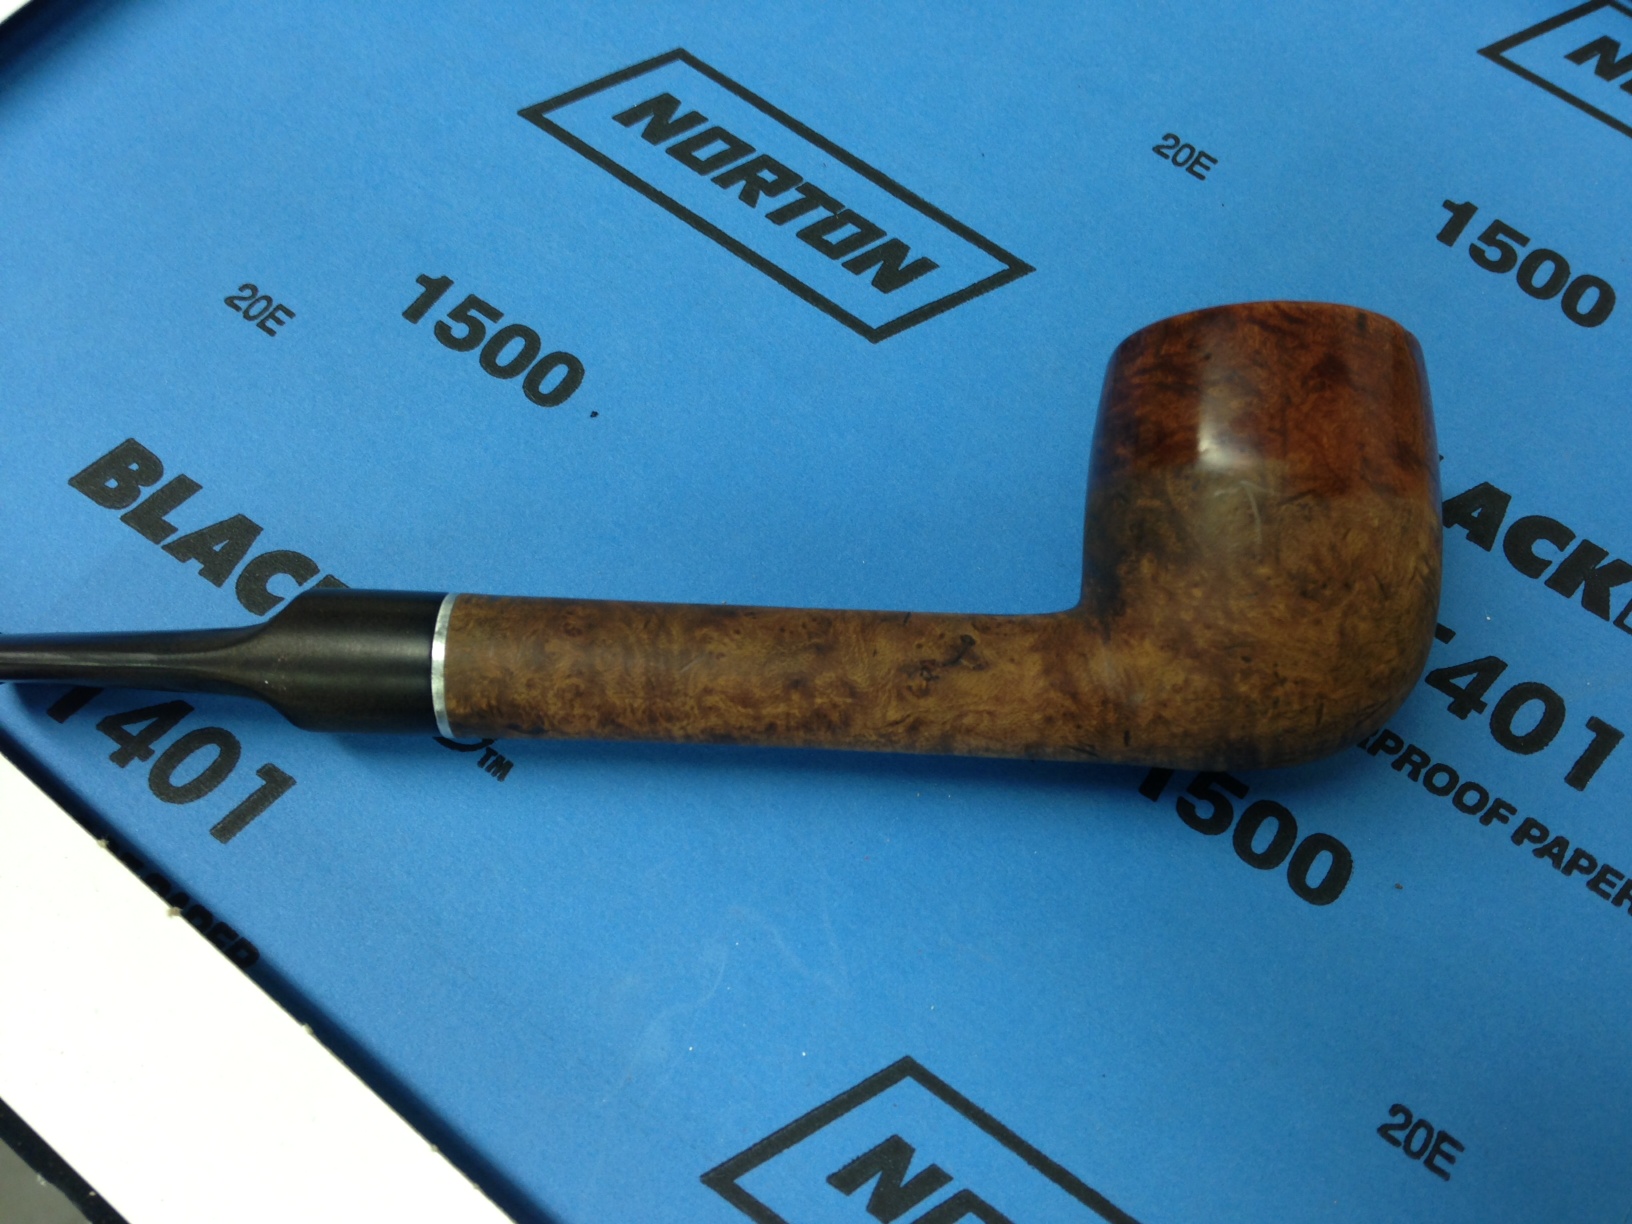
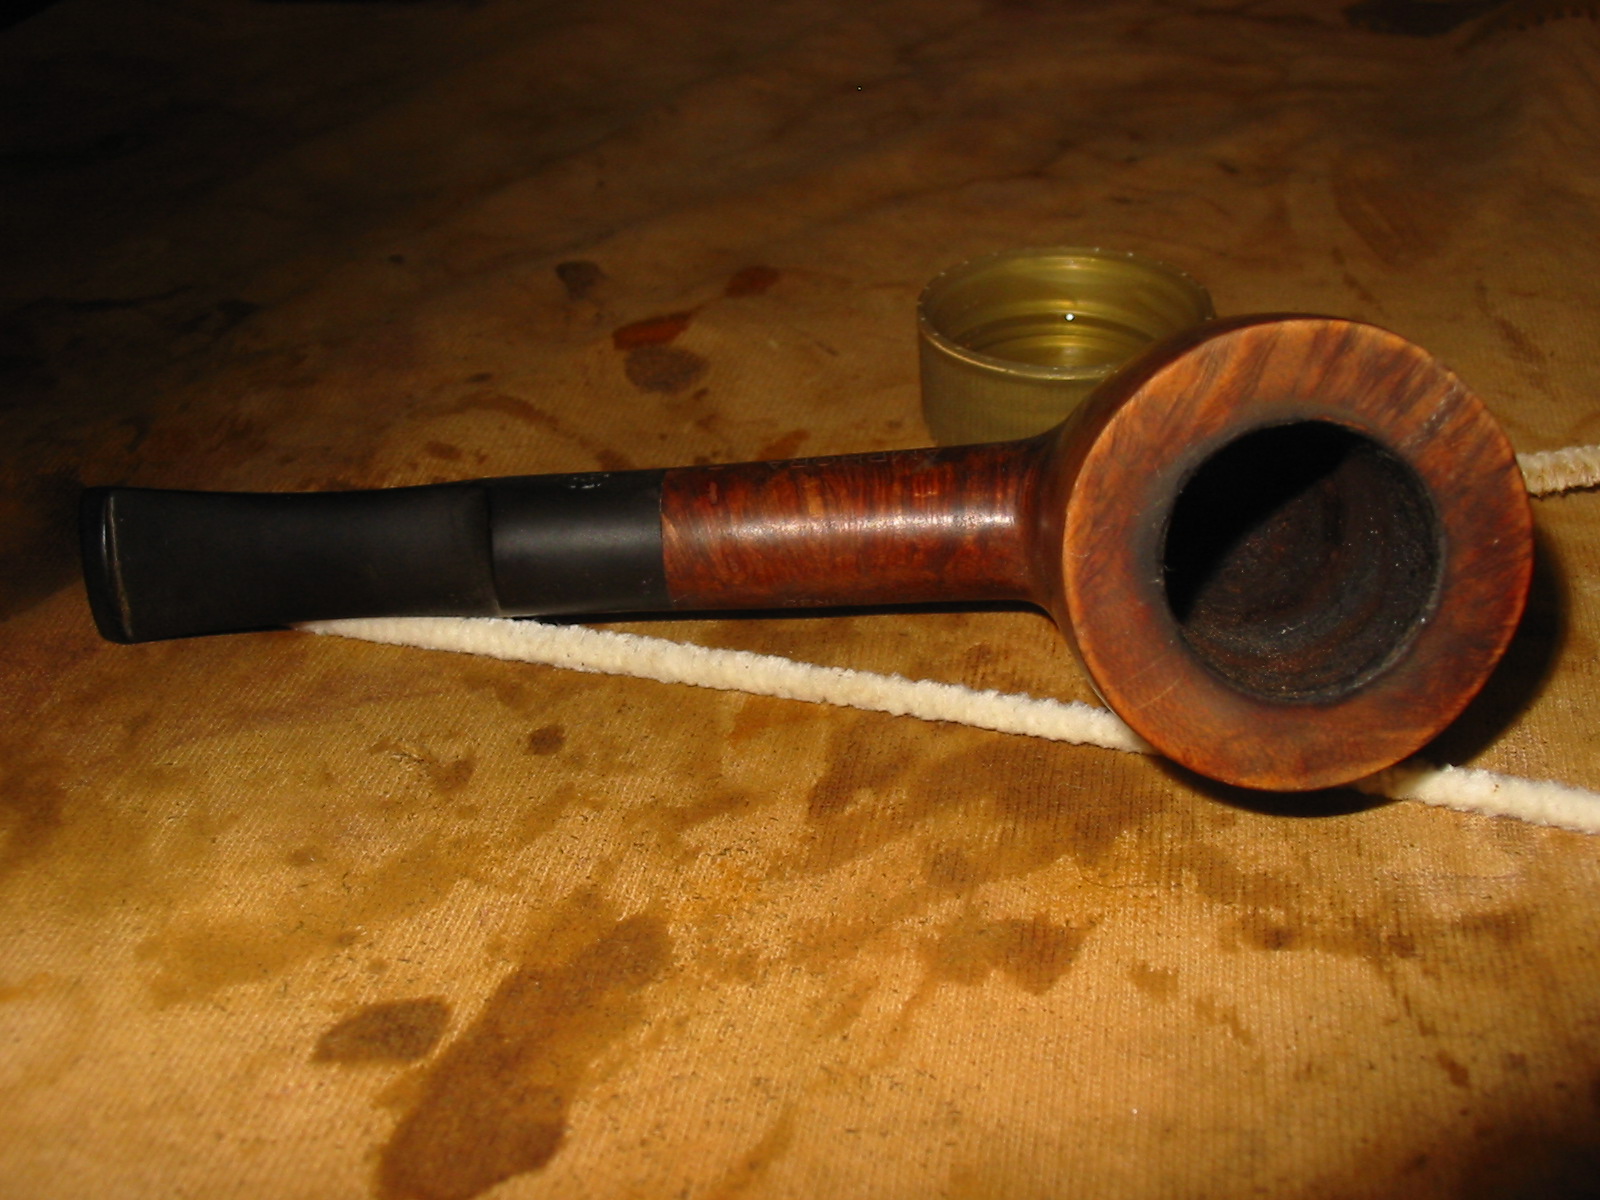
I used a PipNet reamer and started with the smallest cutting head and took back the cake. I followed that with the next size of cutting head and took the cake back to the bare wood in the bowl. The bottom of the bowl had some gouges in it and looked like someone had done a reaming with a knife.
IMG_2067

IMG_2054

IMG_2057

IMG_2056

IMG_2055

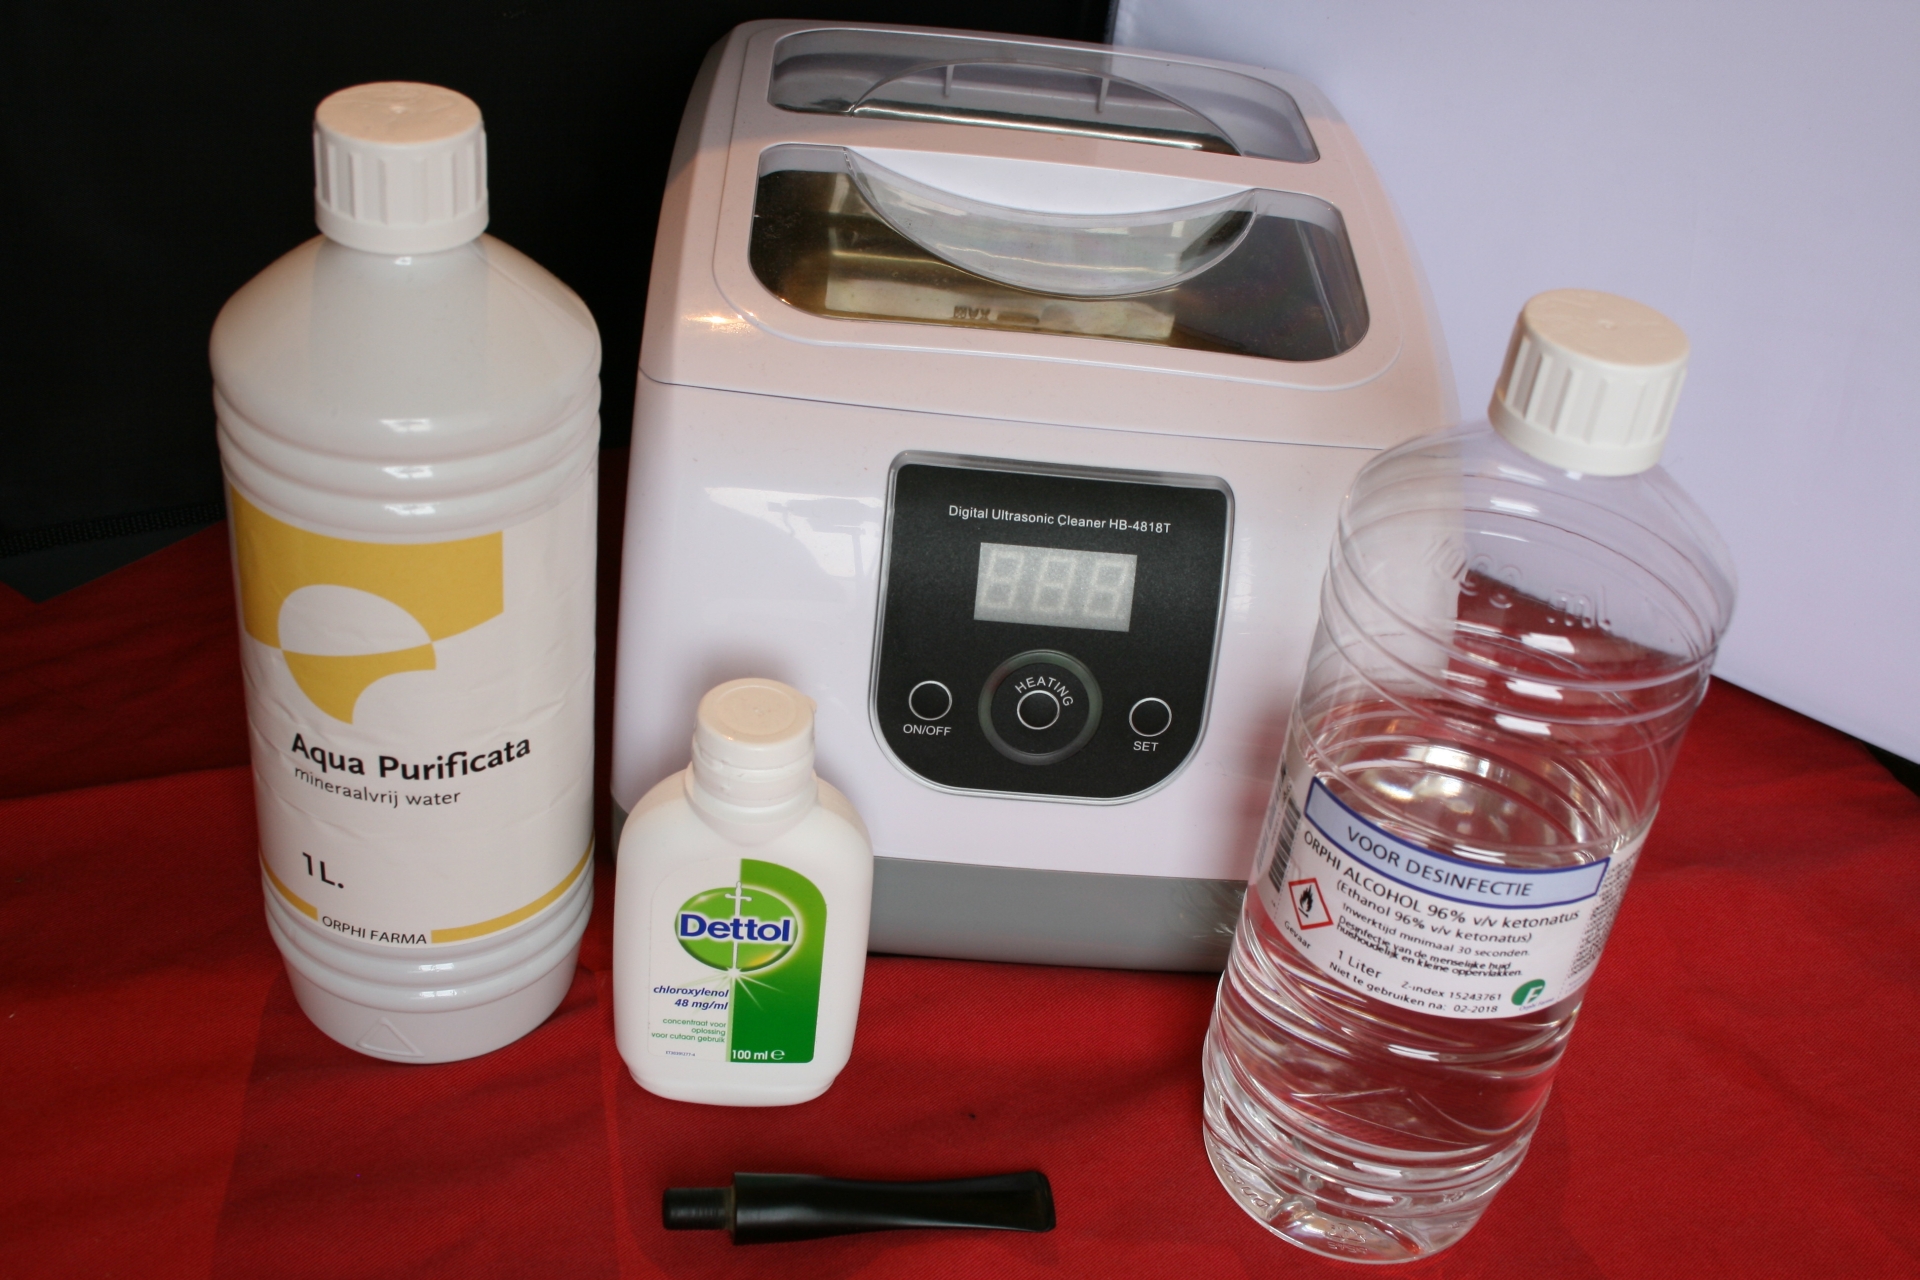
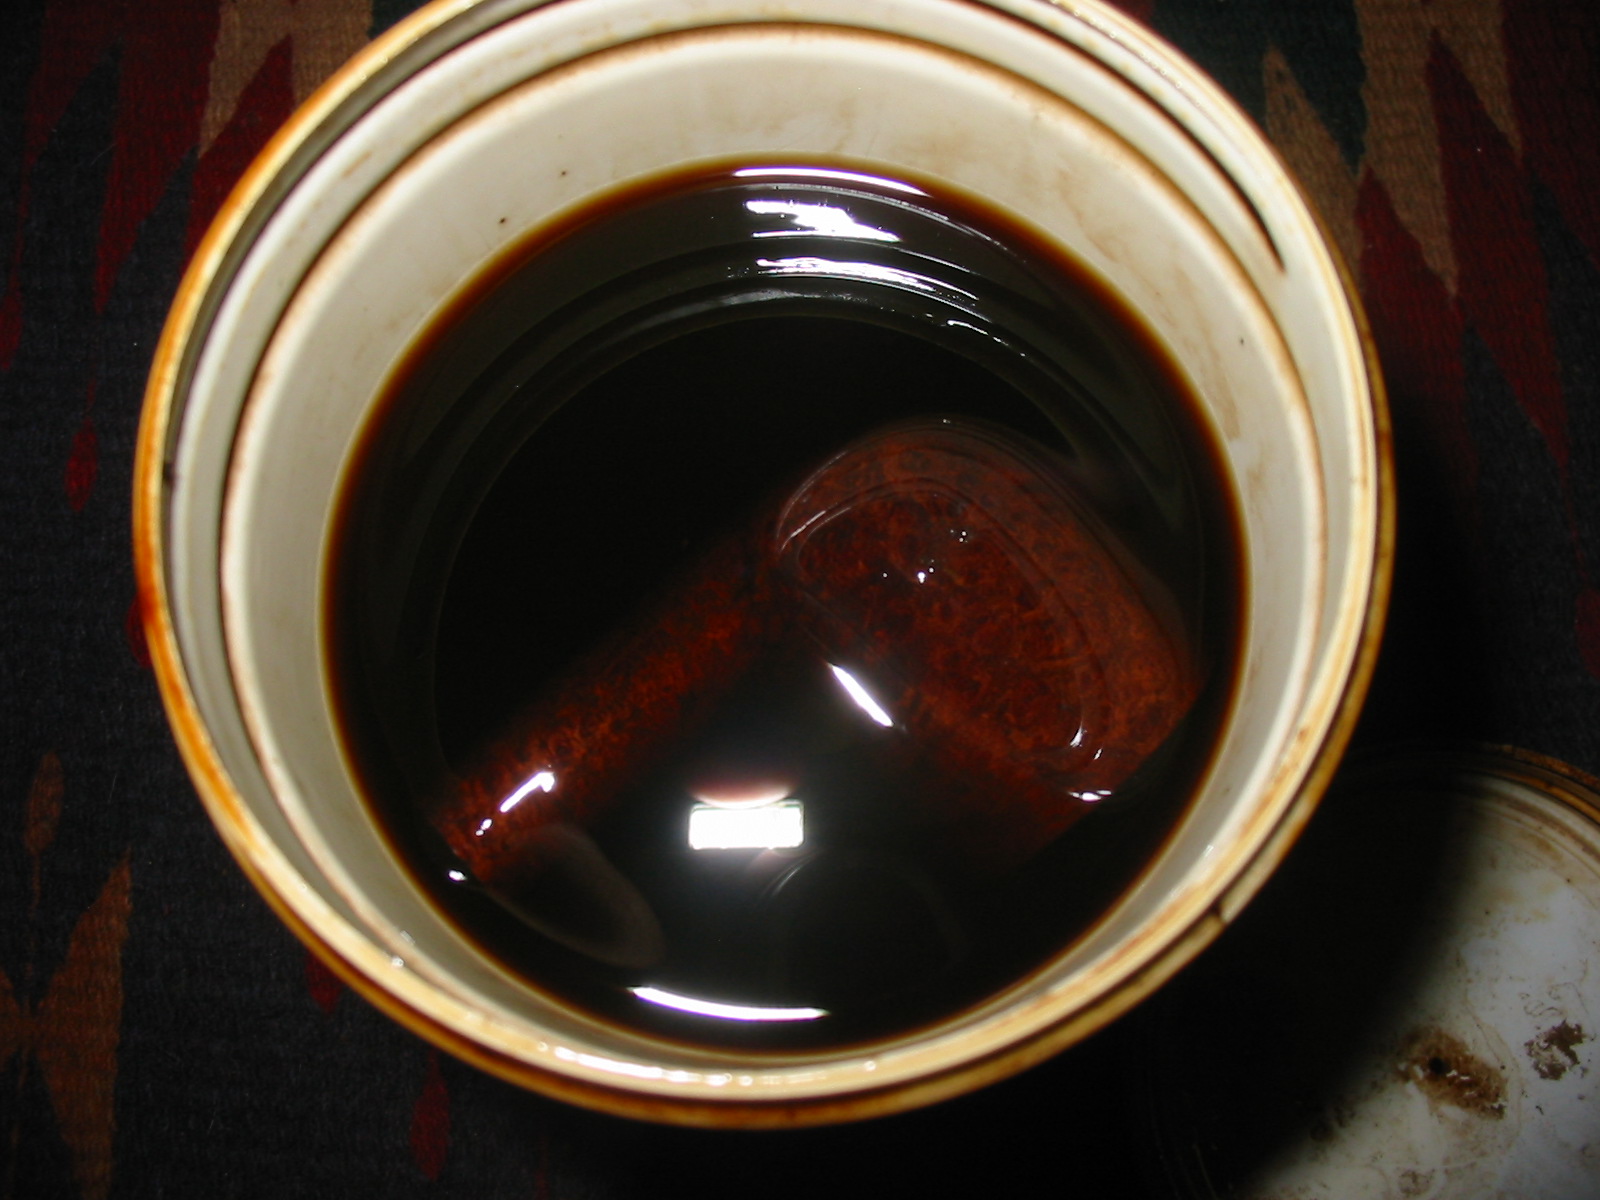
I removed the stem and dropped the bowl into an alcohol bath to soak overnight.
IMG_2066

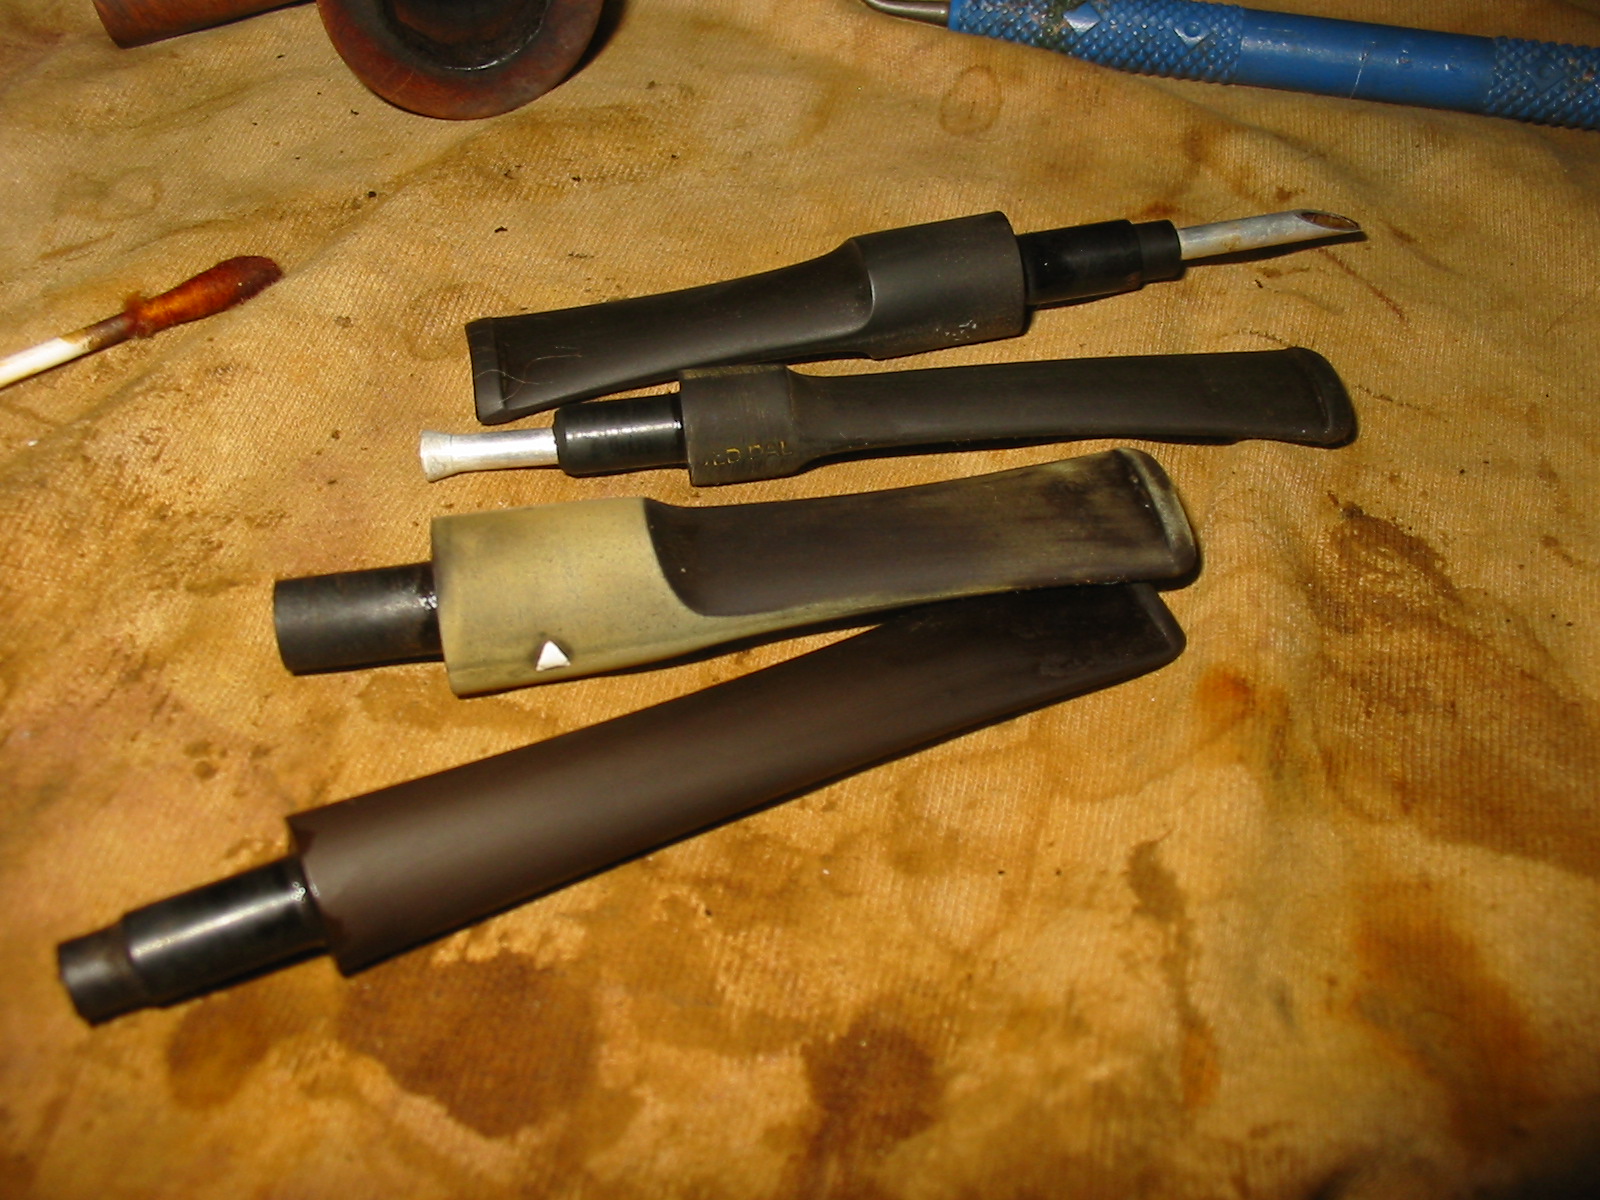
I mixed a batch of Oxyclean and put the stem together with others I was working on into the bath of Oxy clean to soak at the same time.
IMG_2068

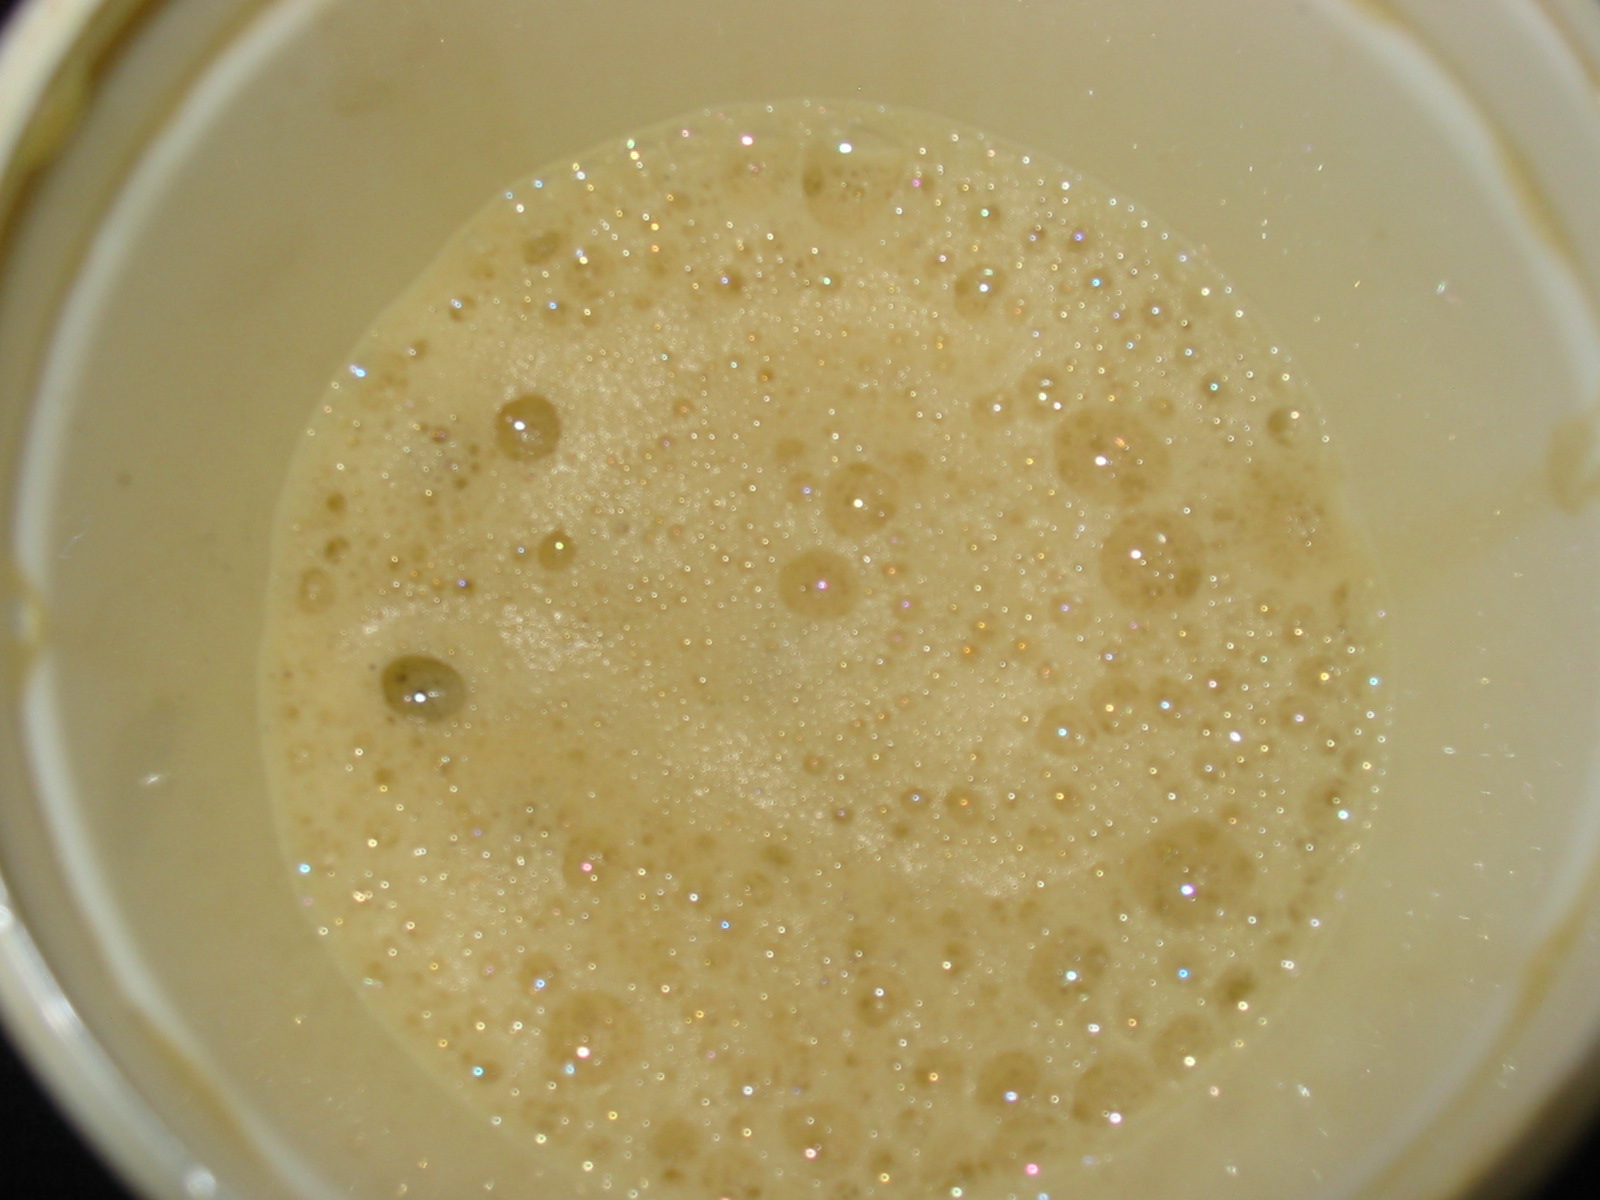
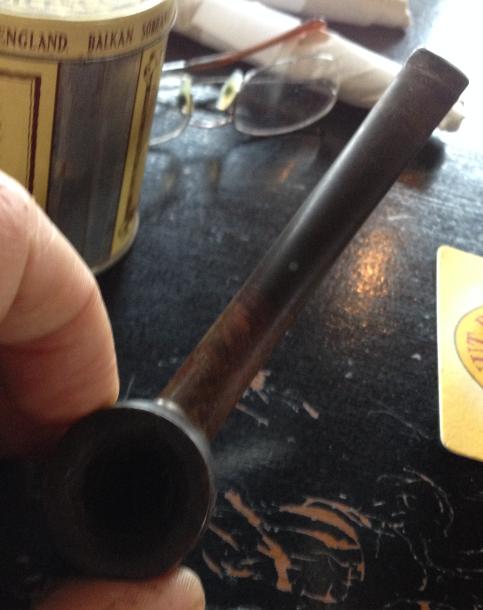
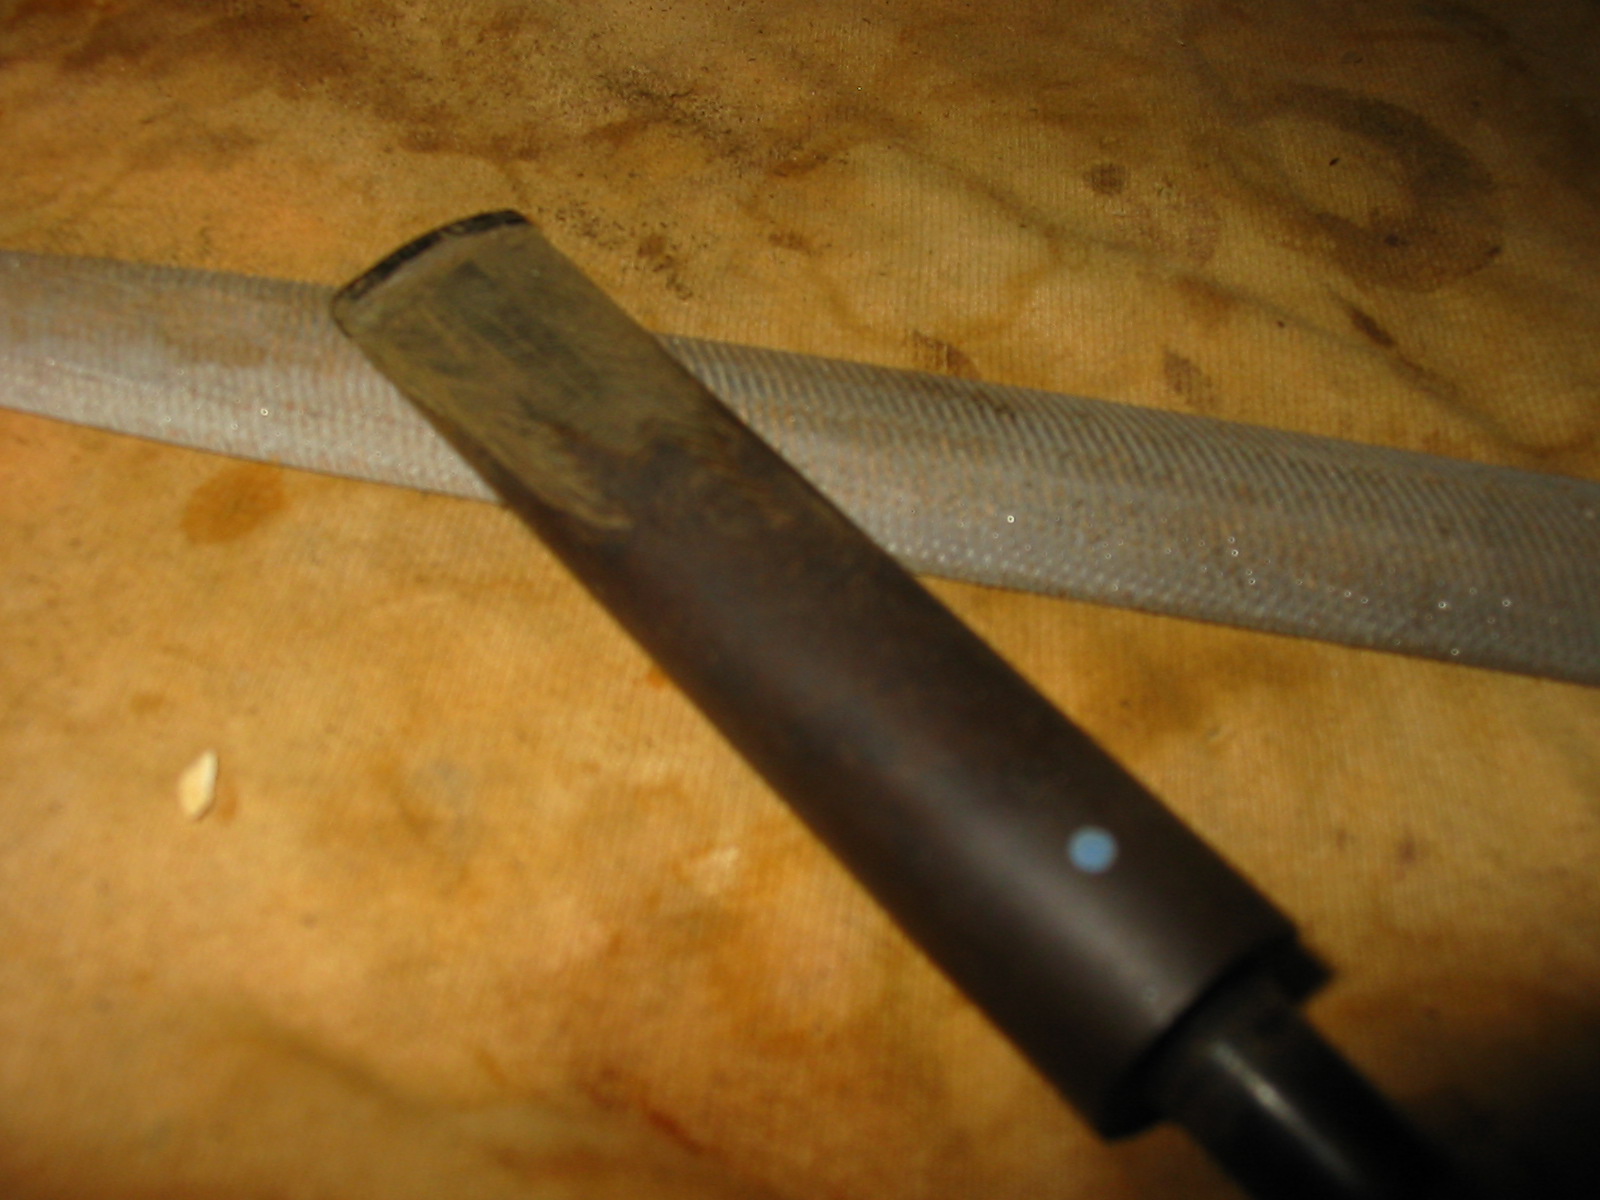
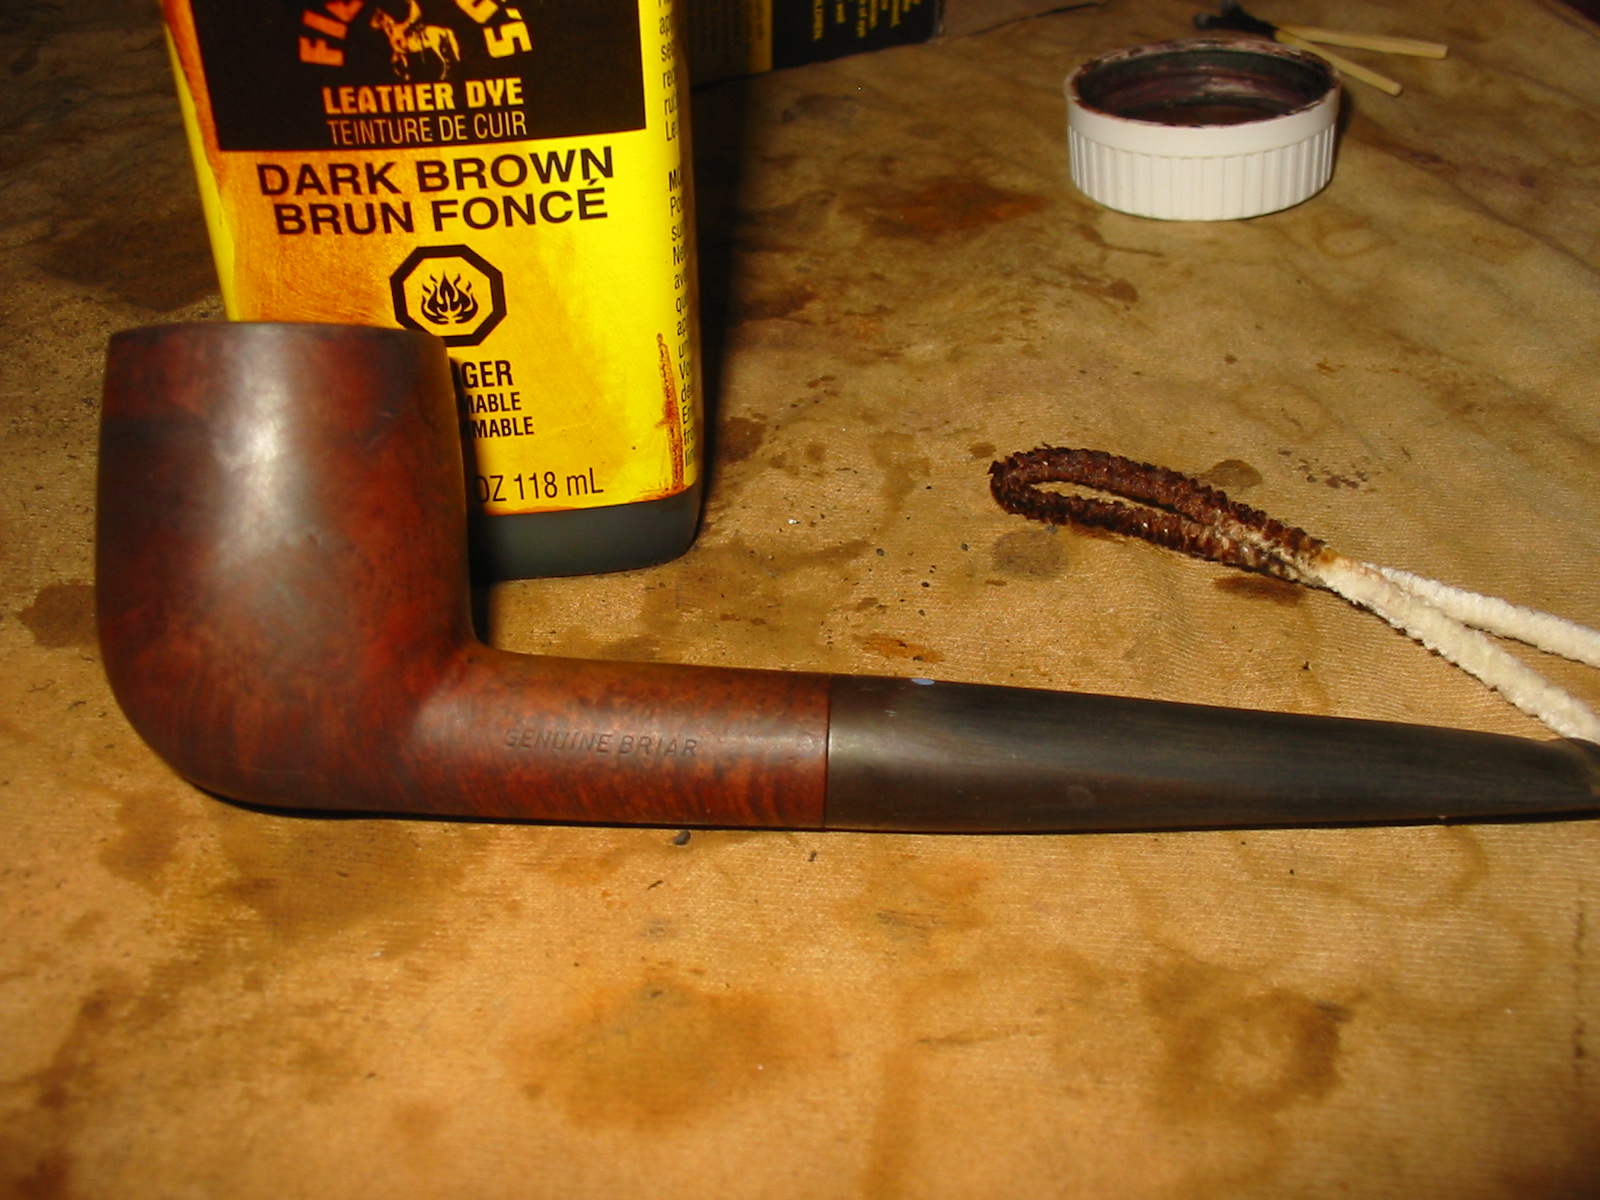
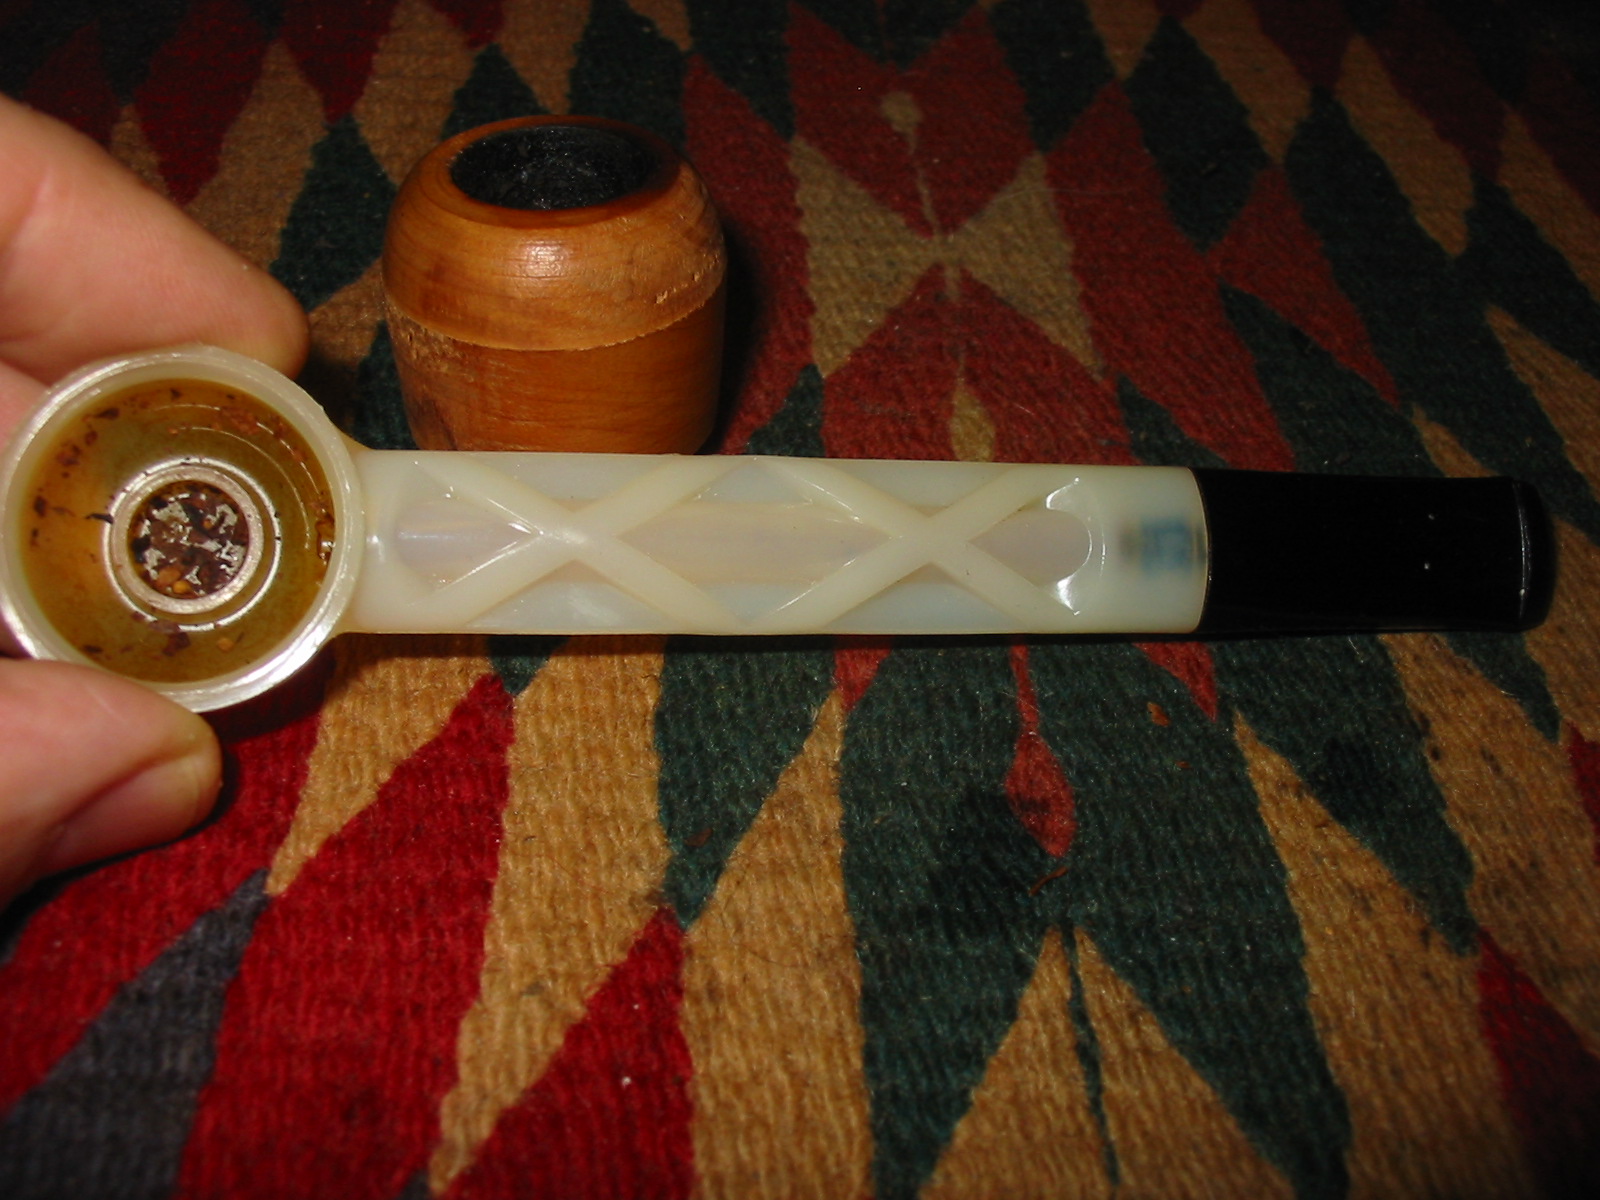
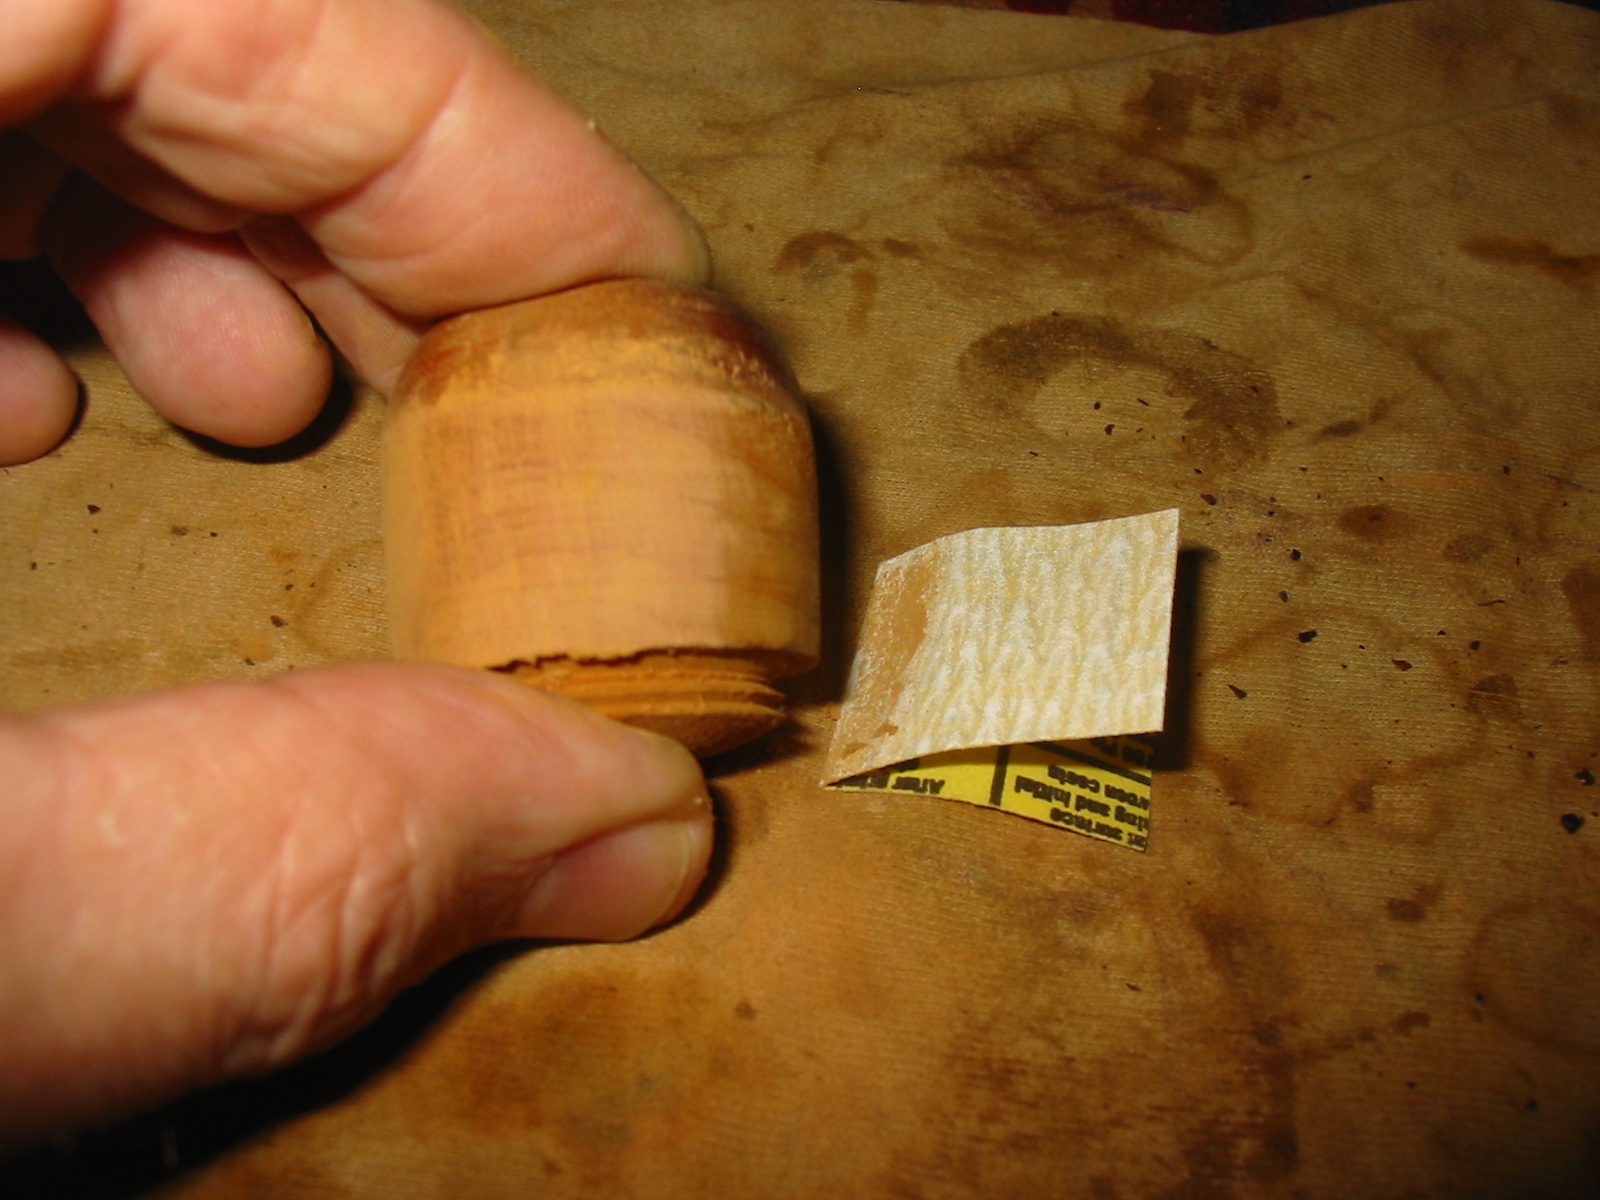
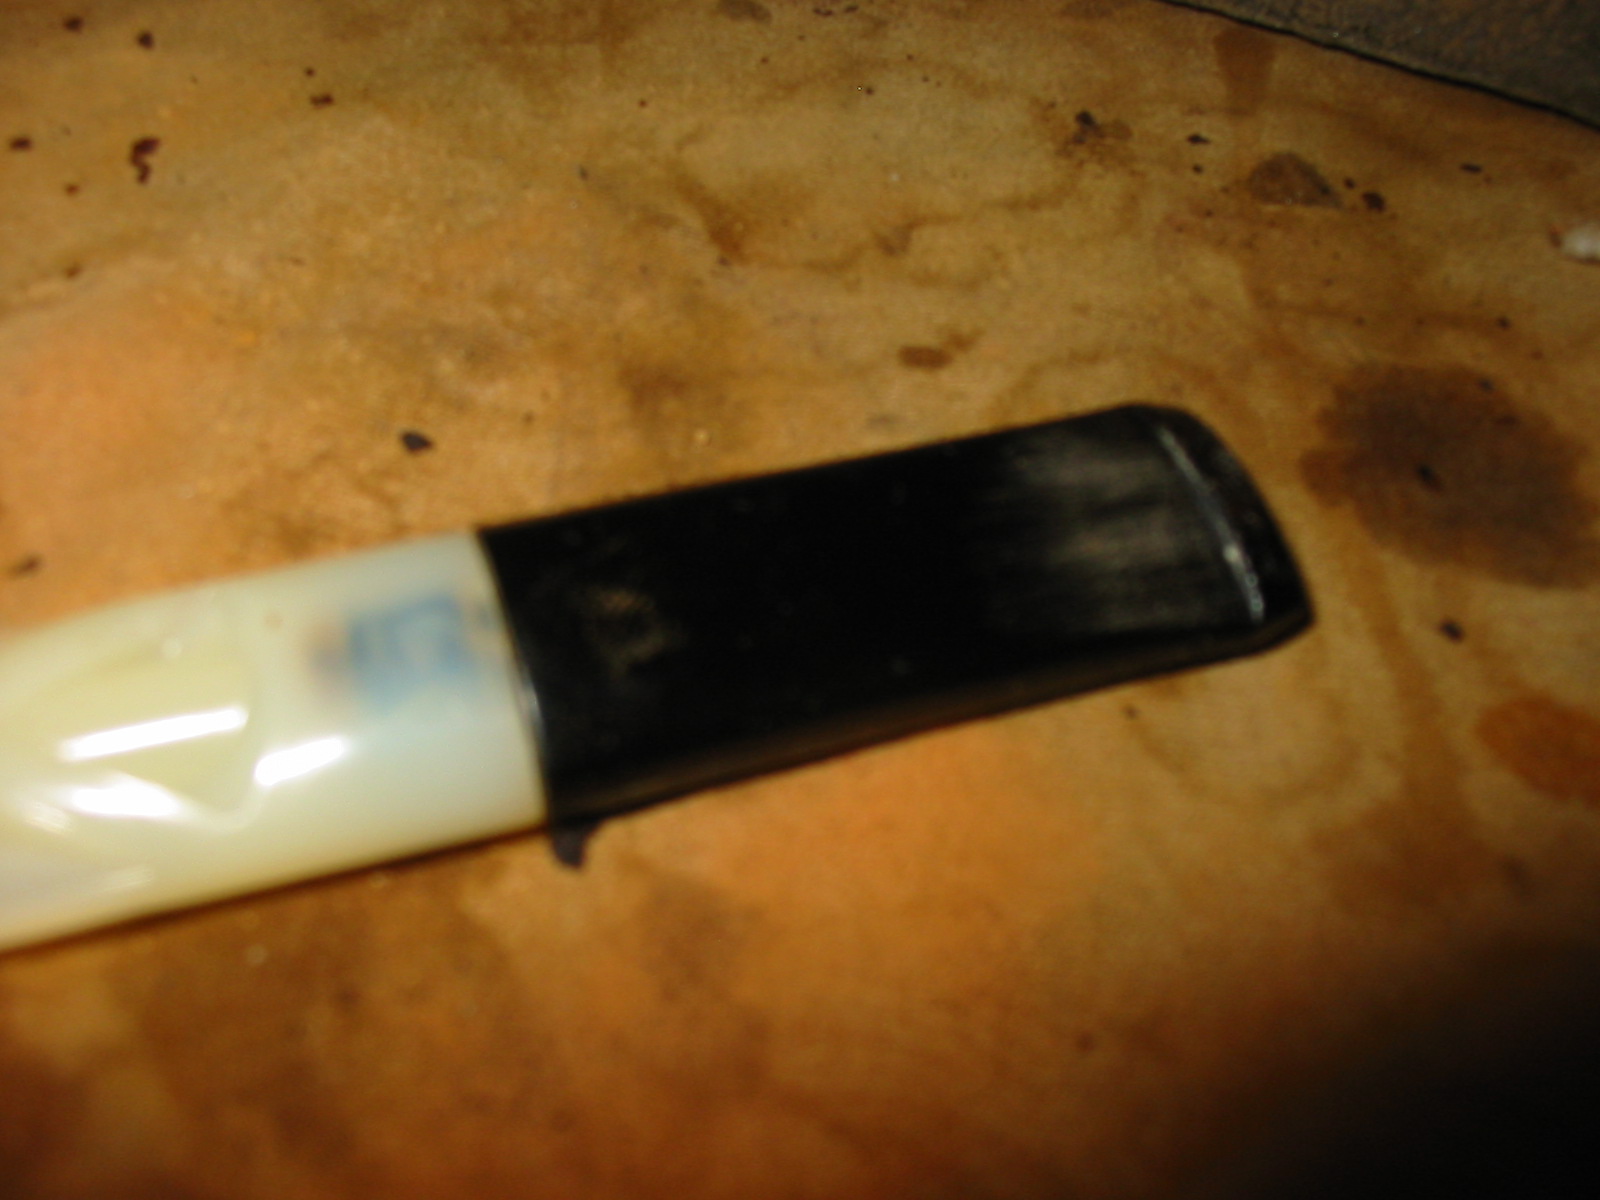
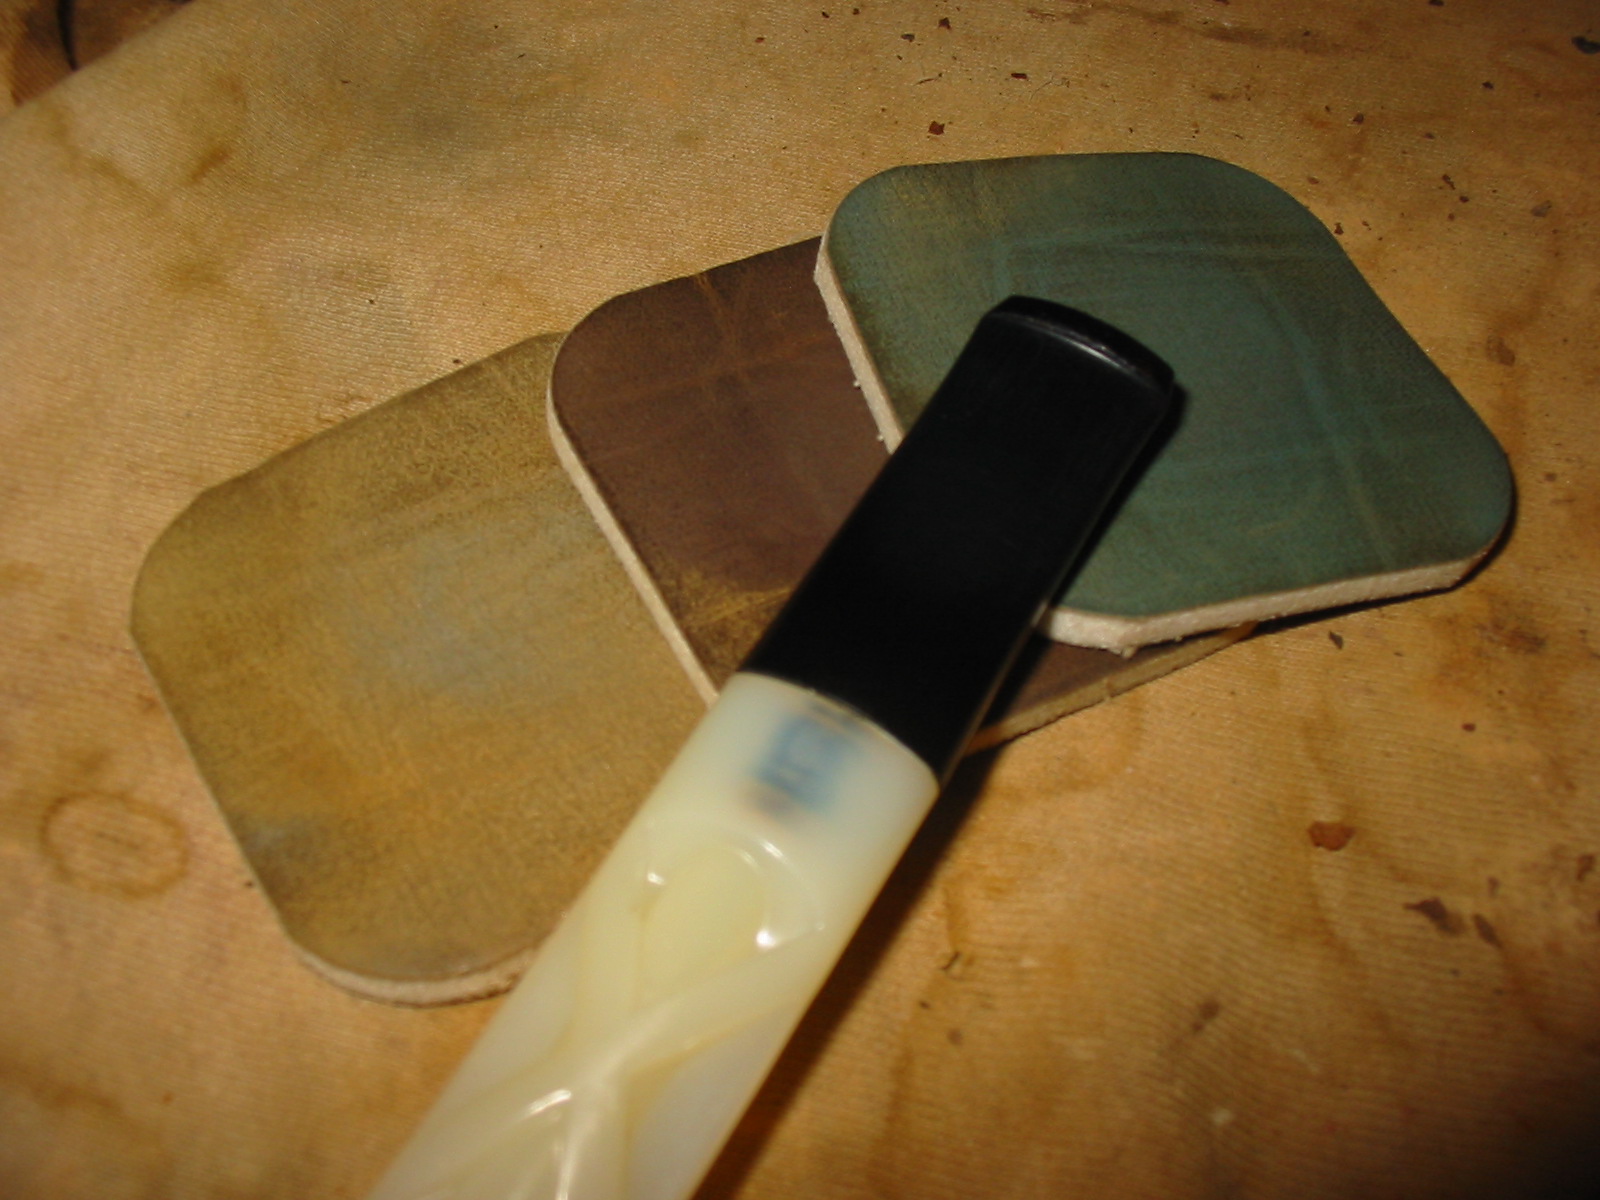
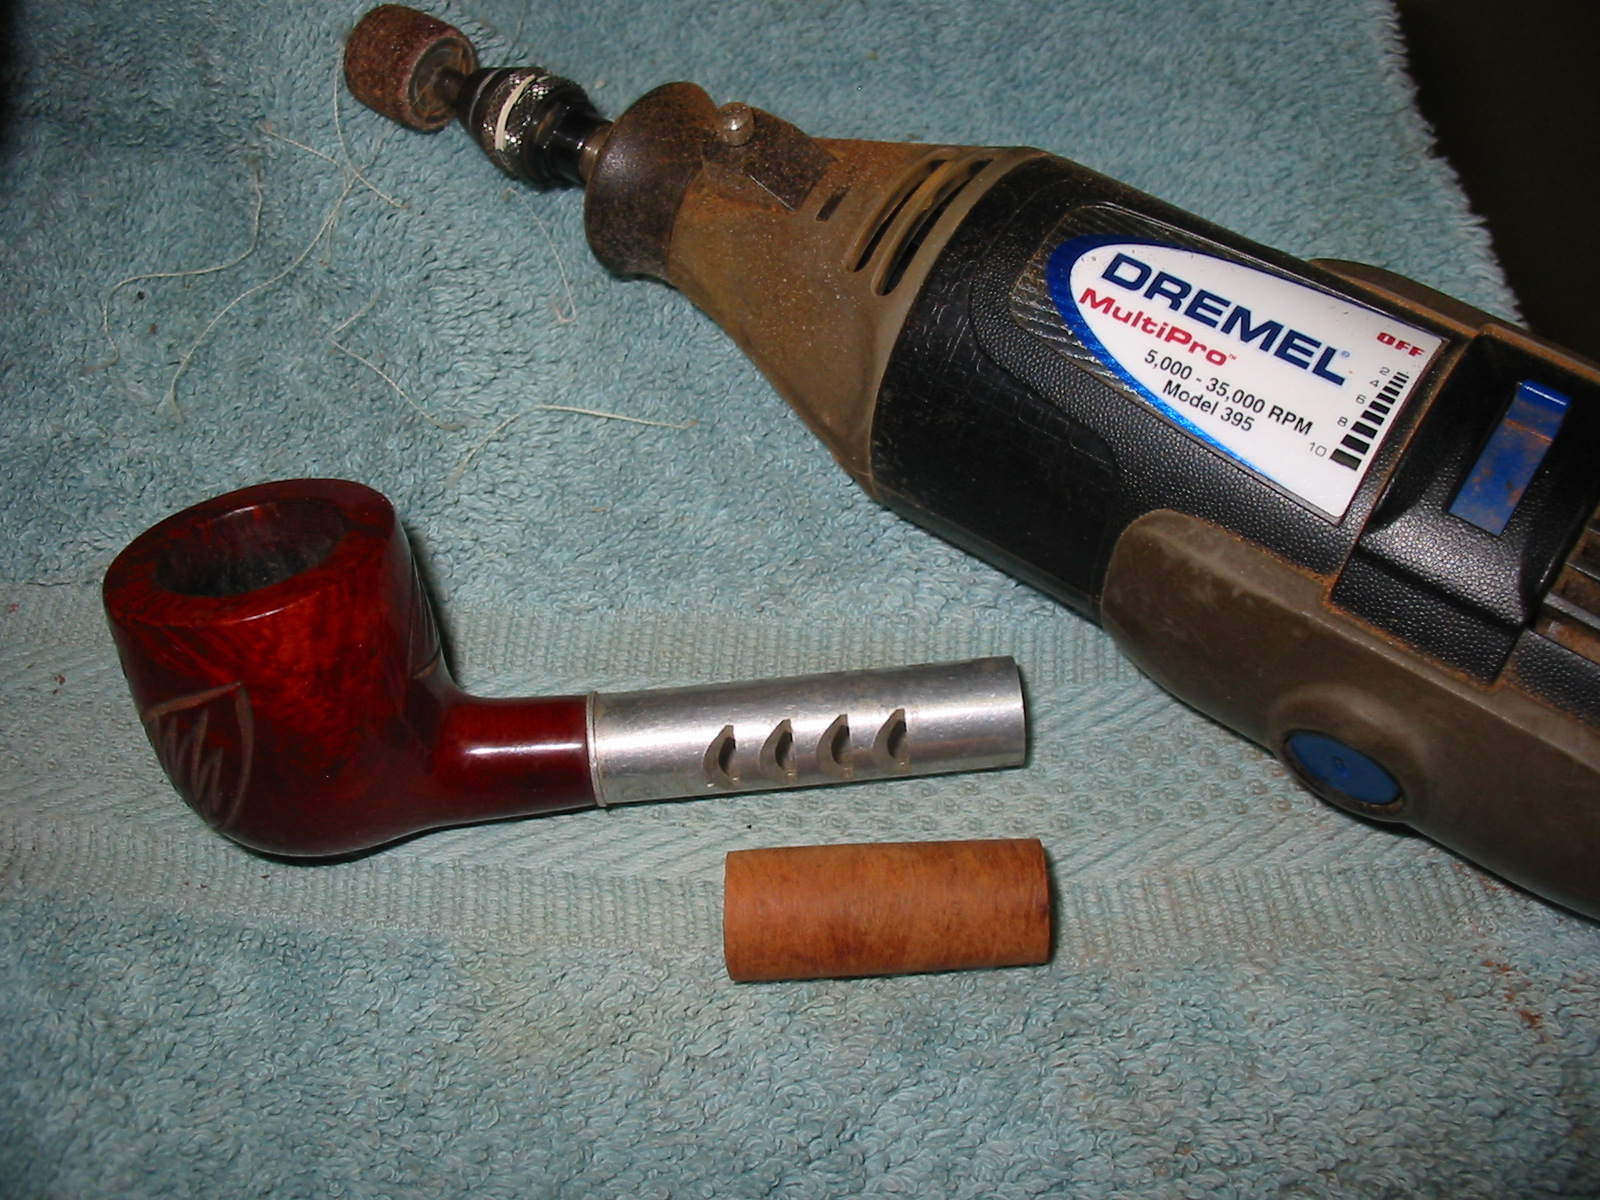
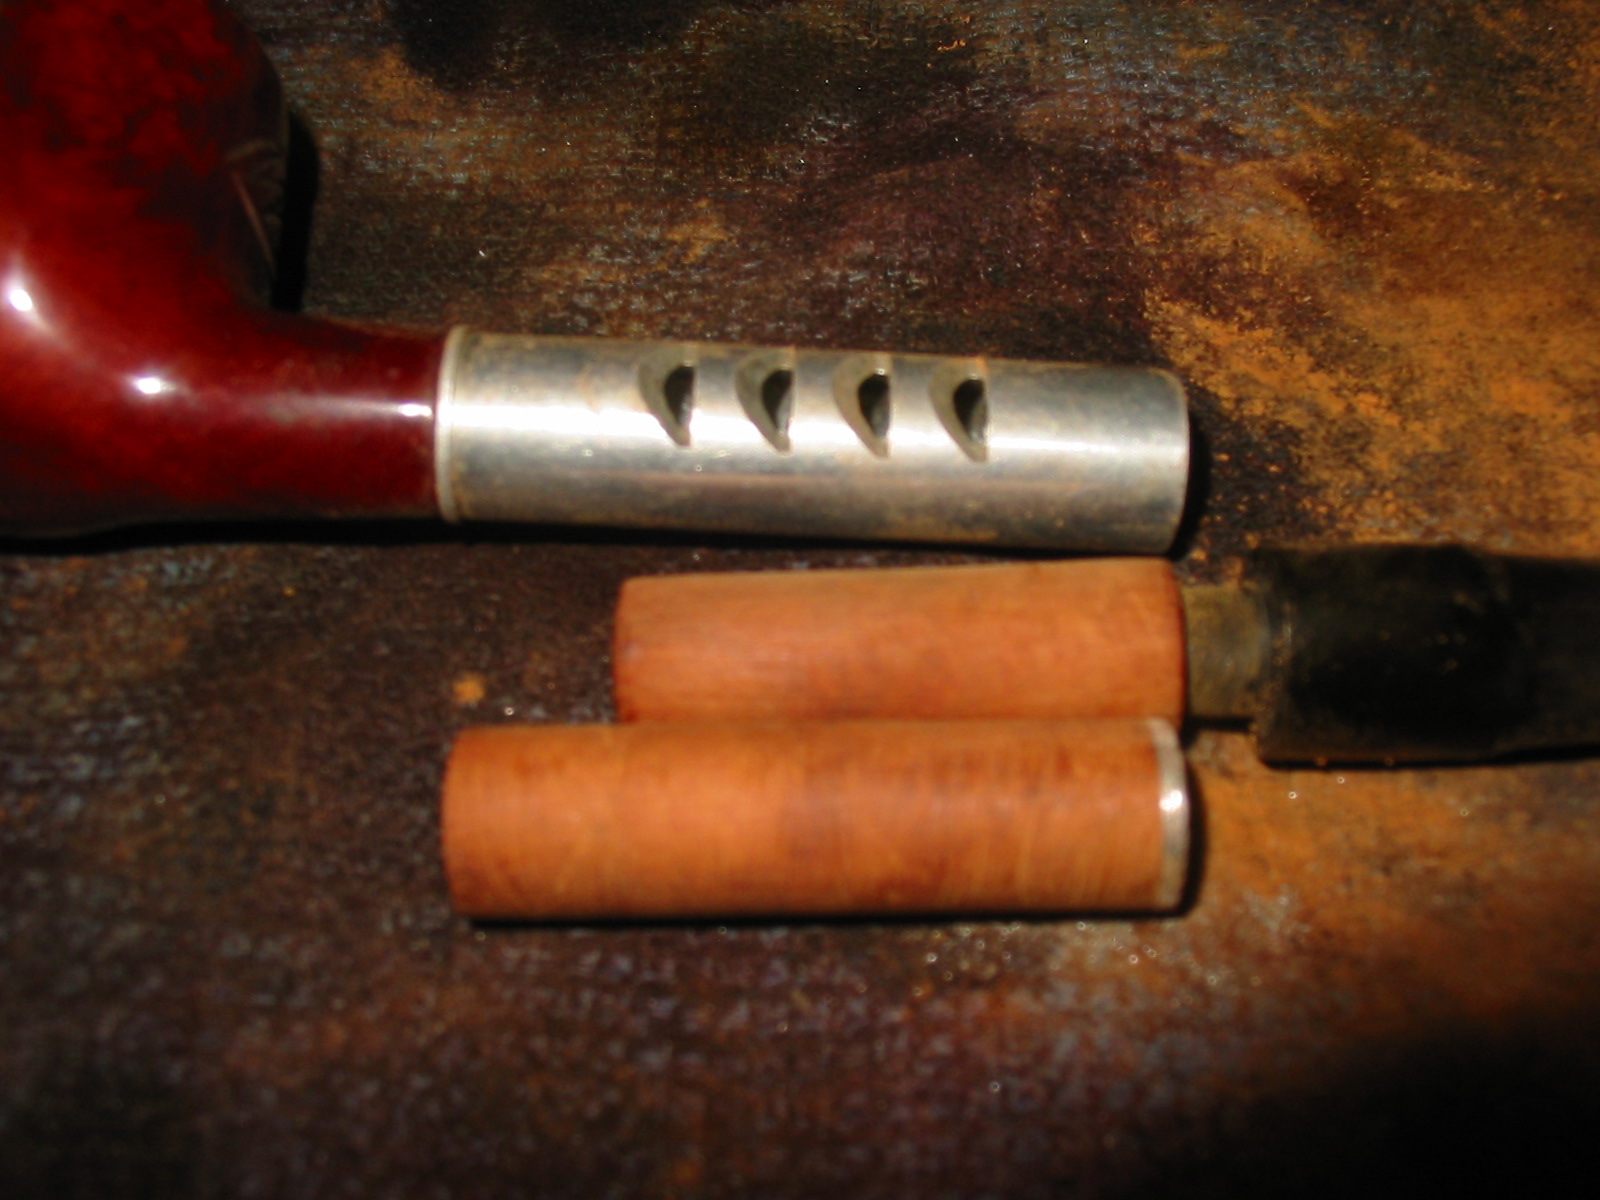
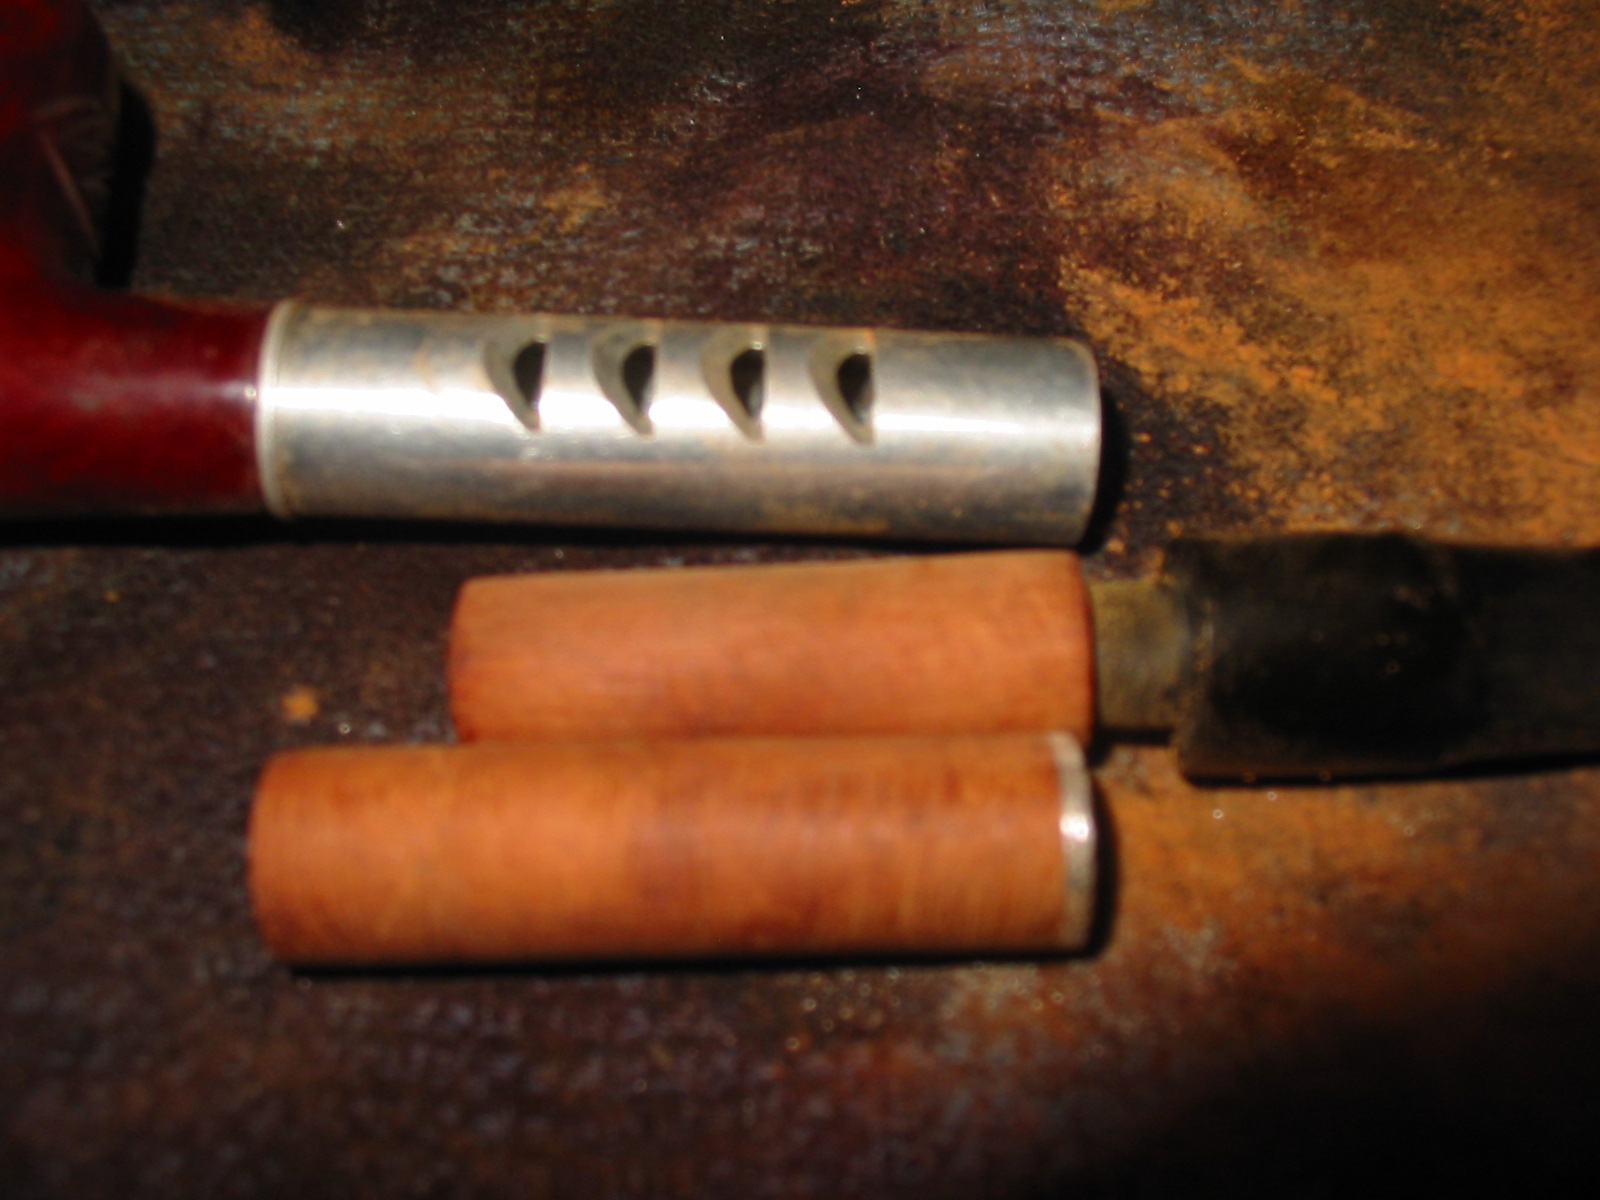
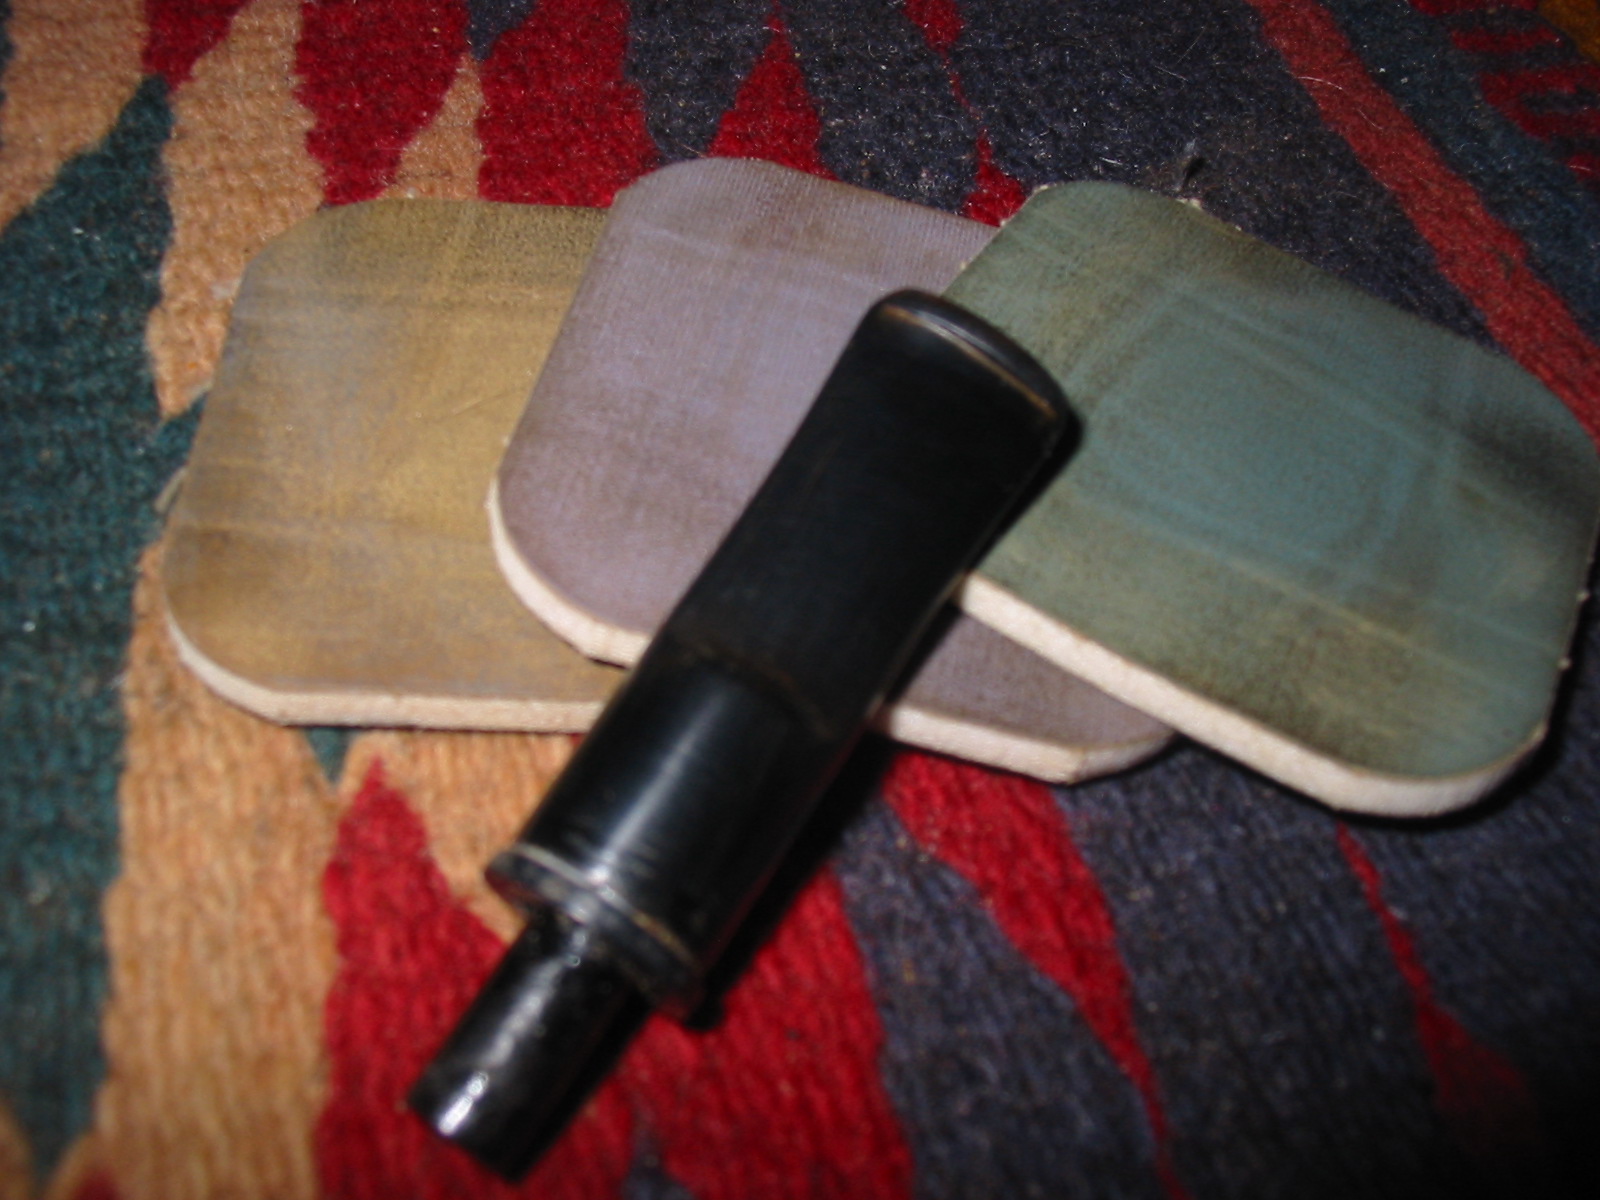
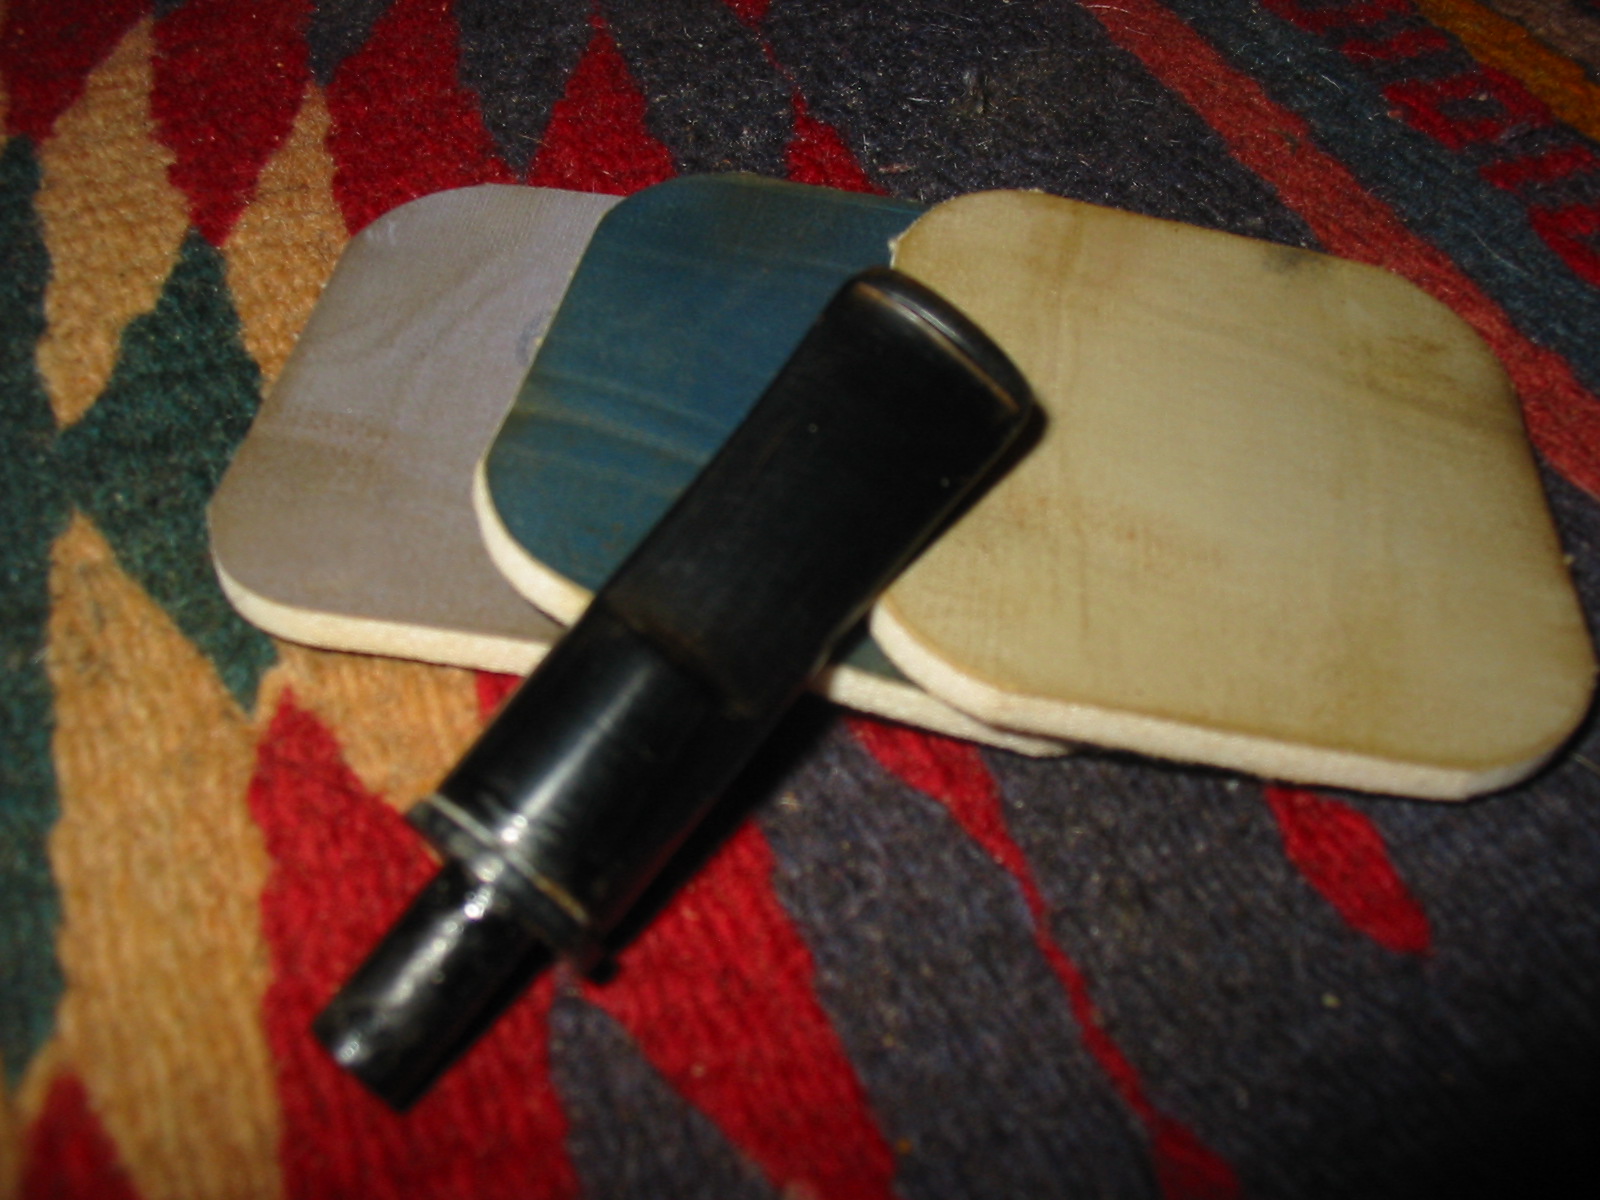
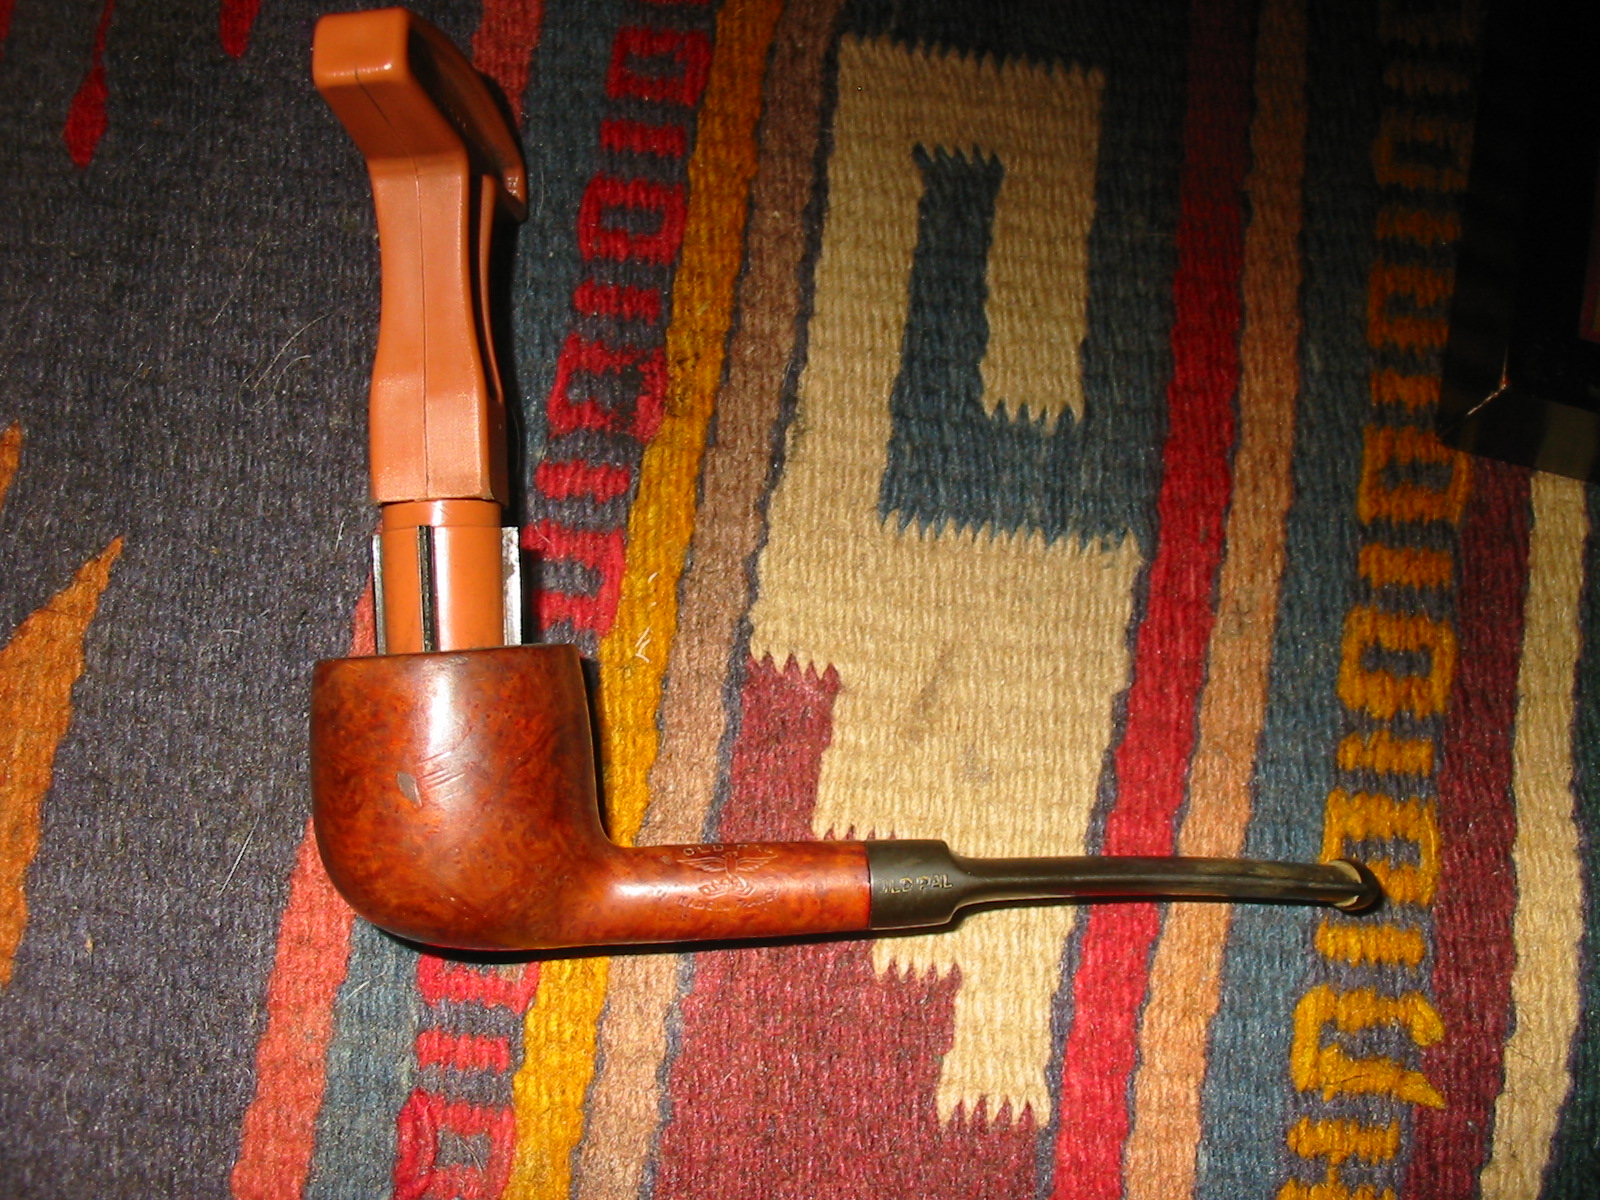
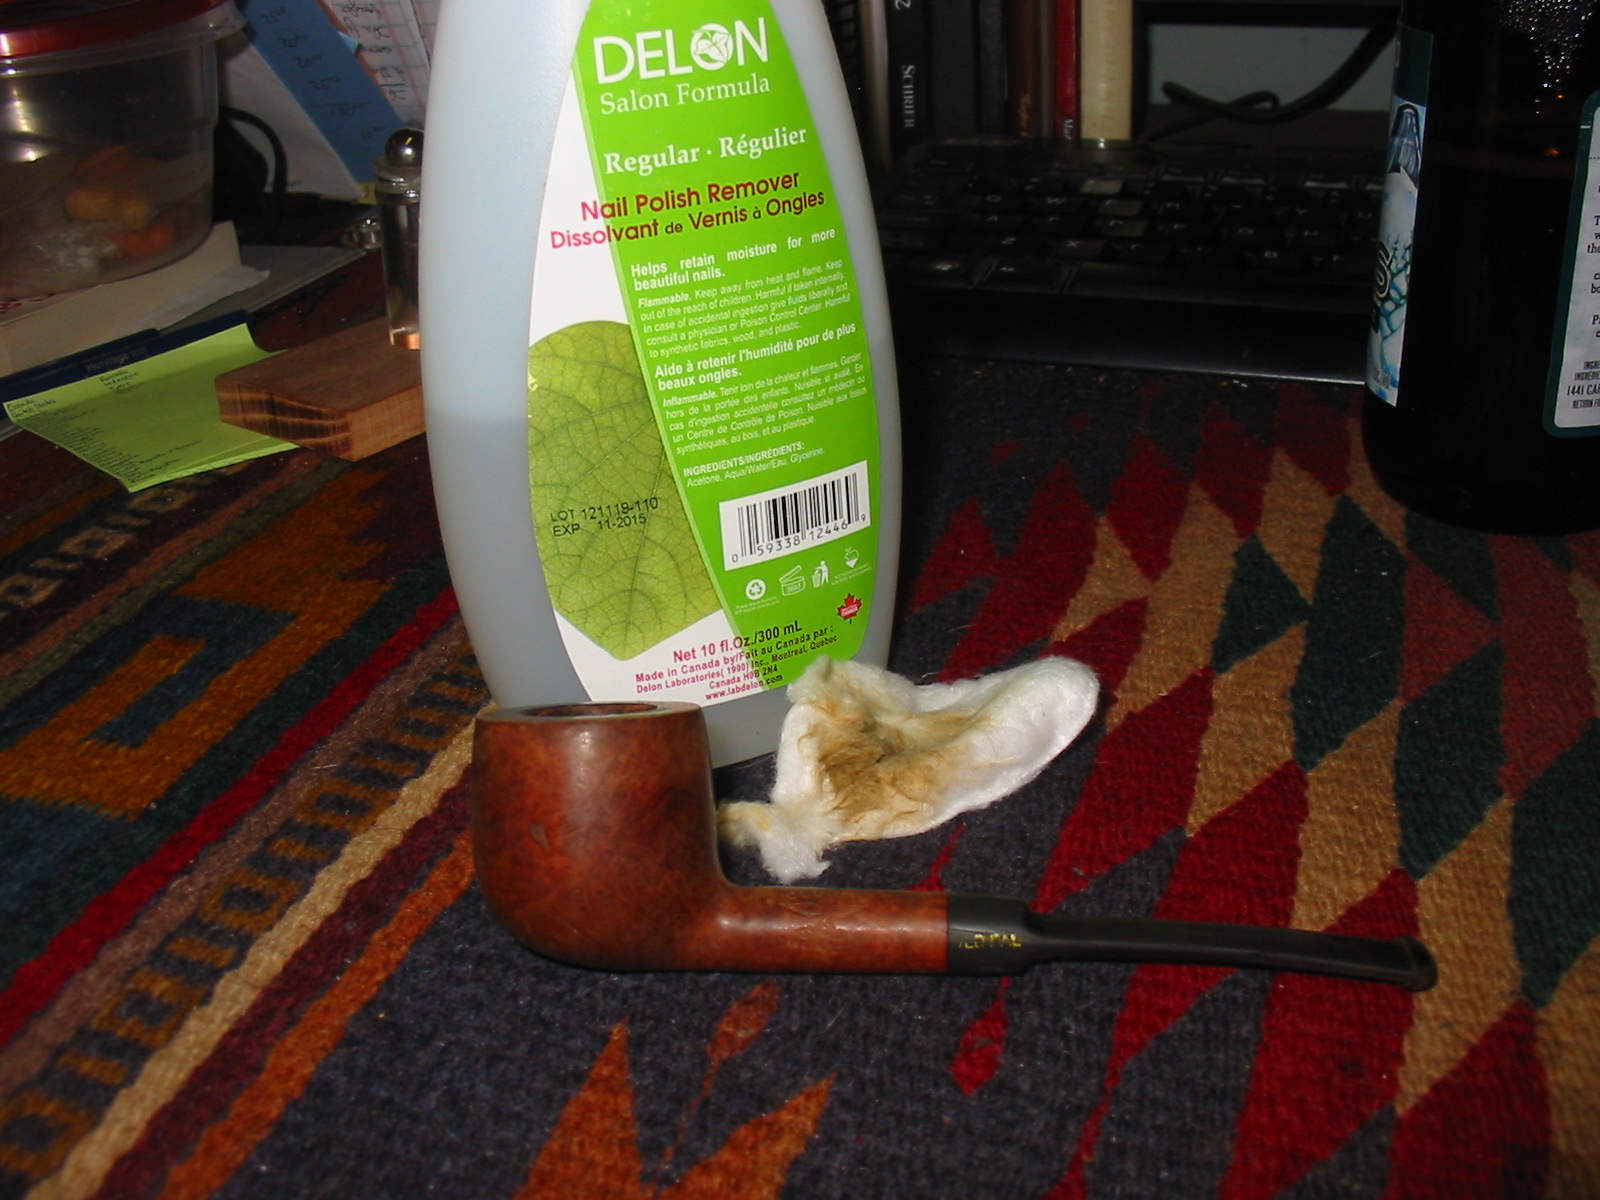
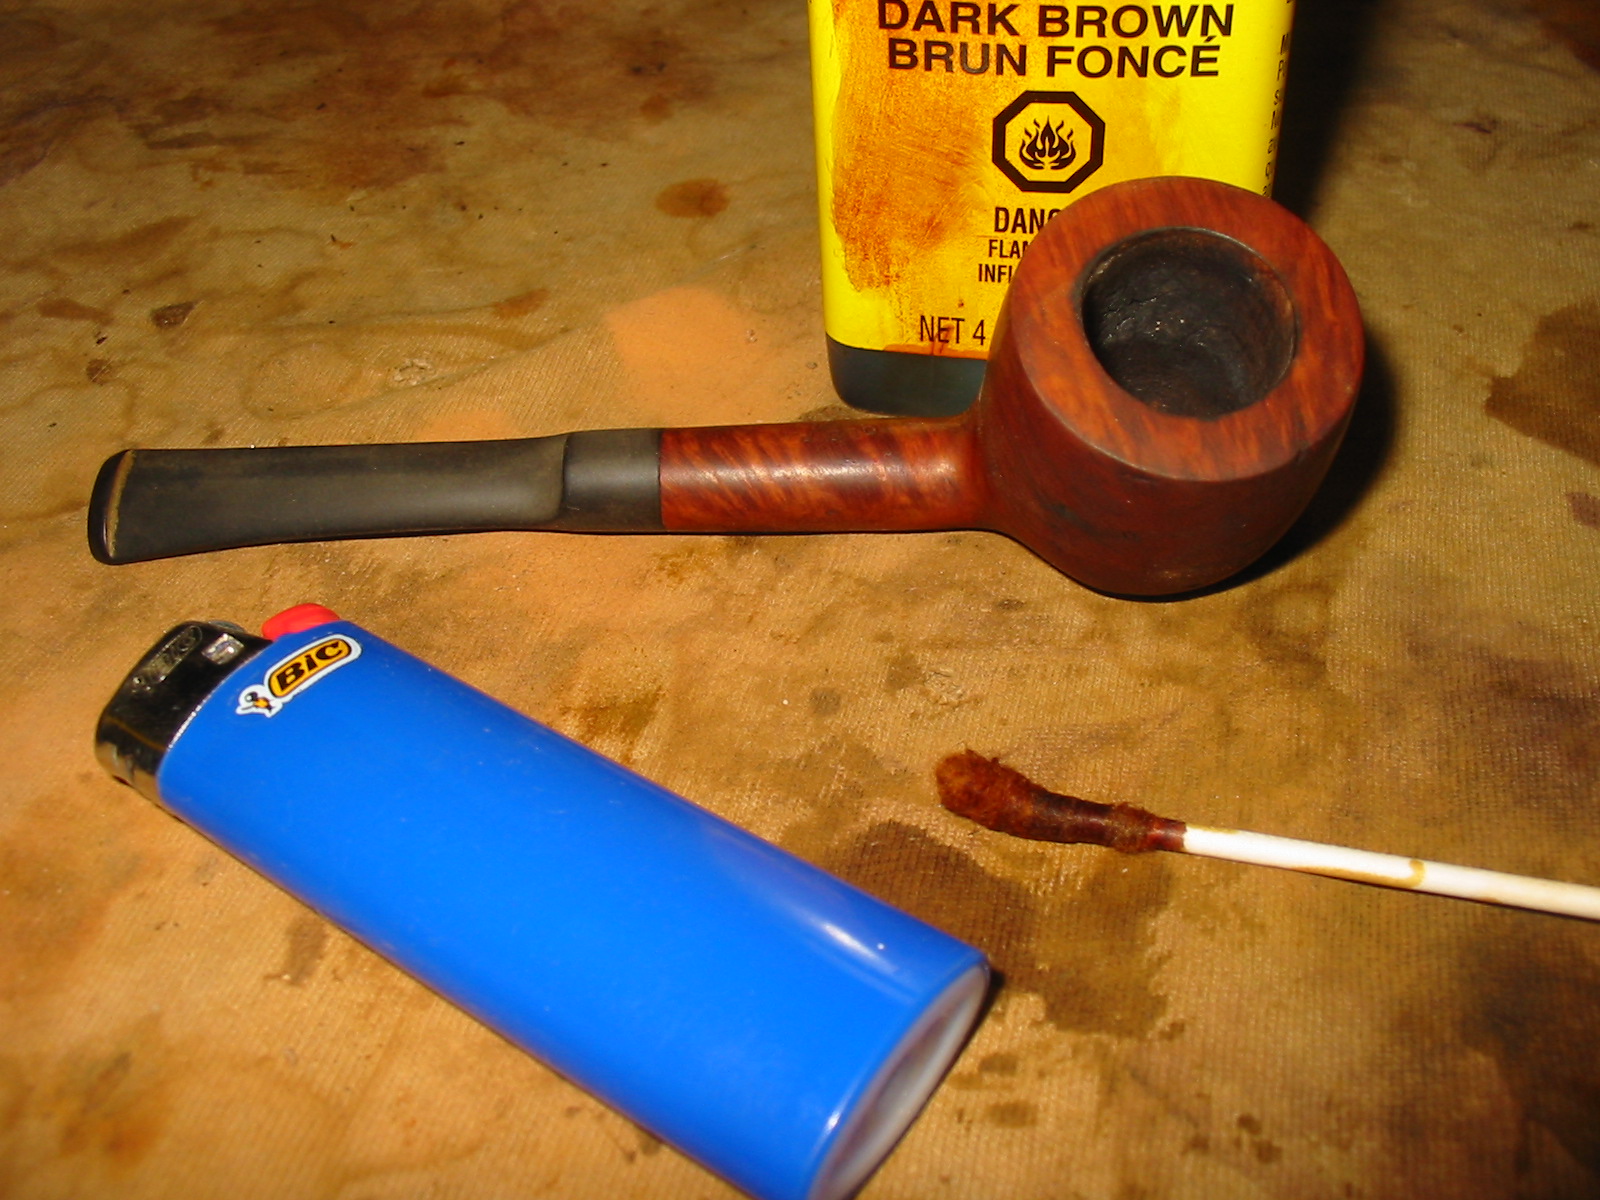
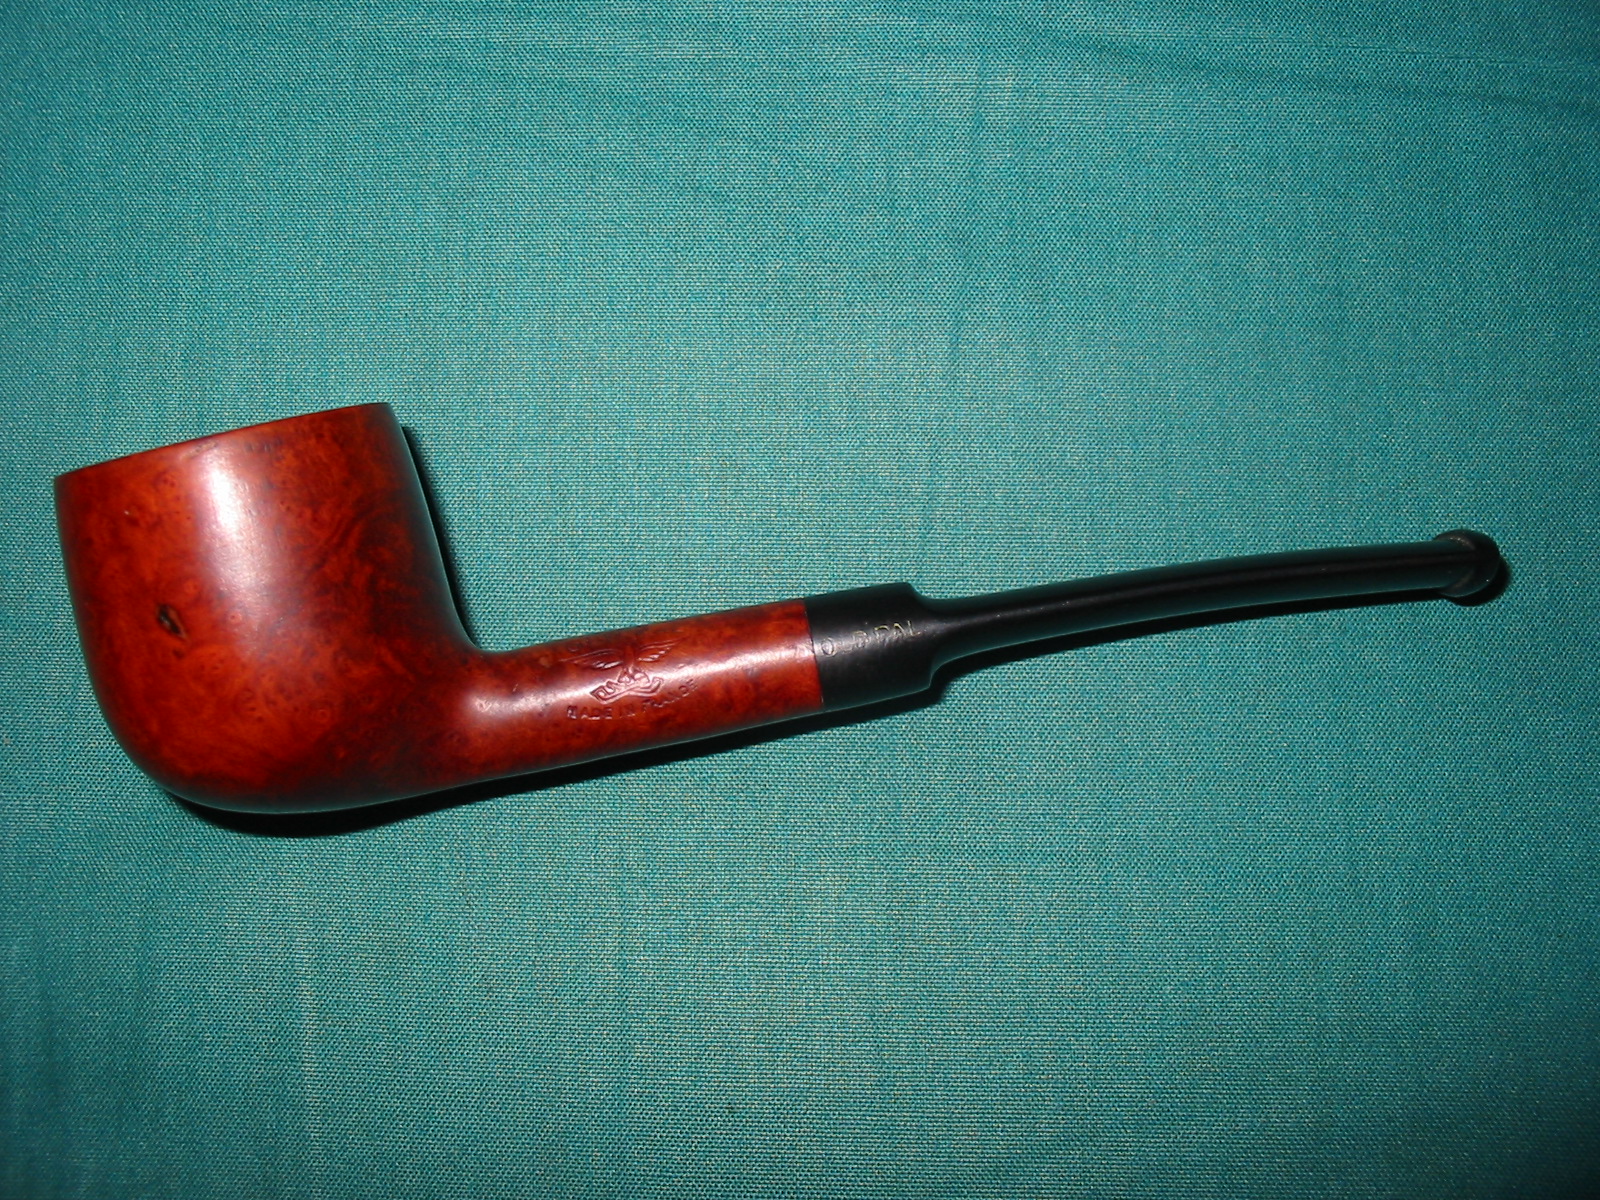
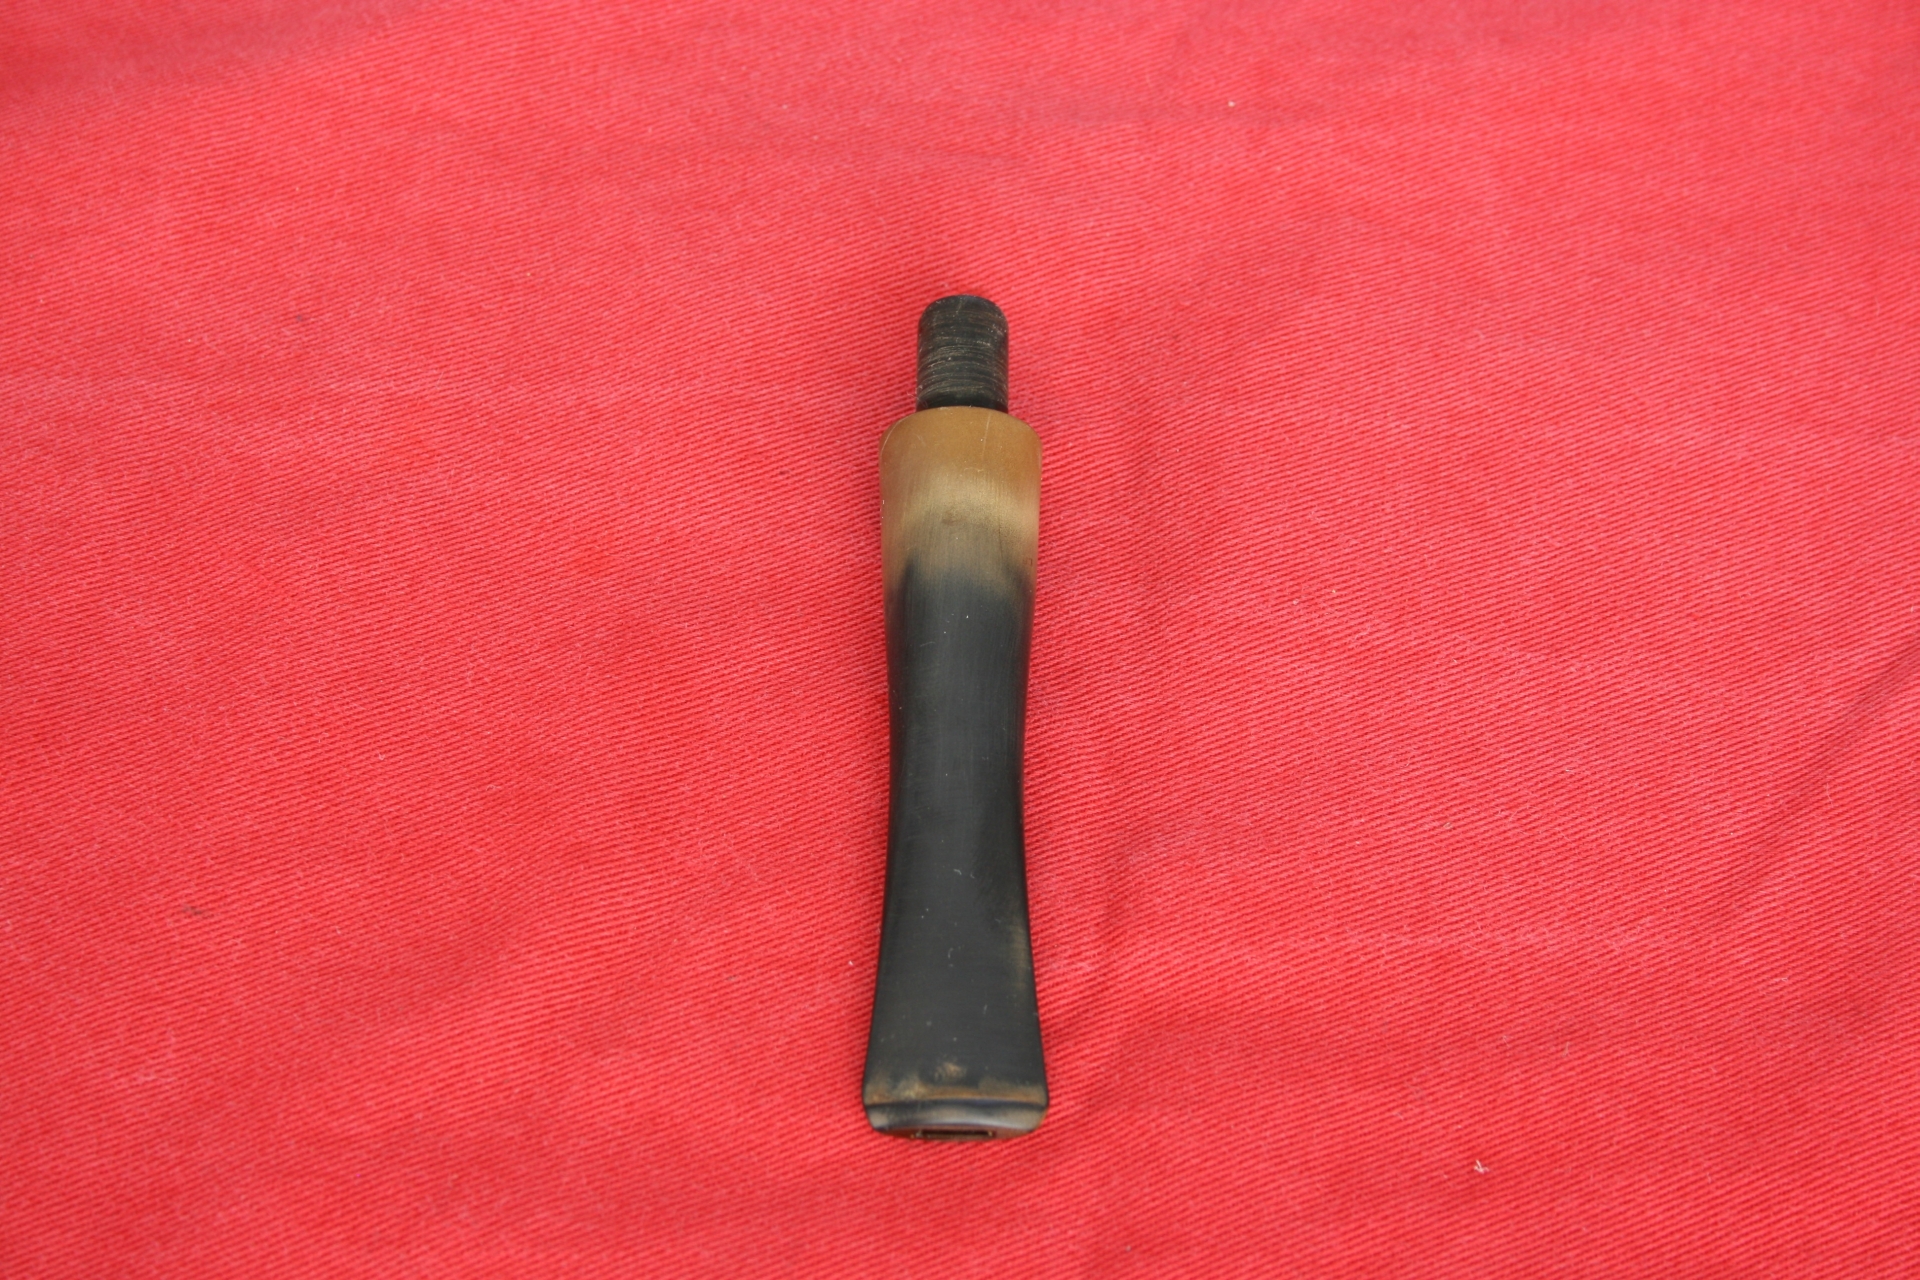
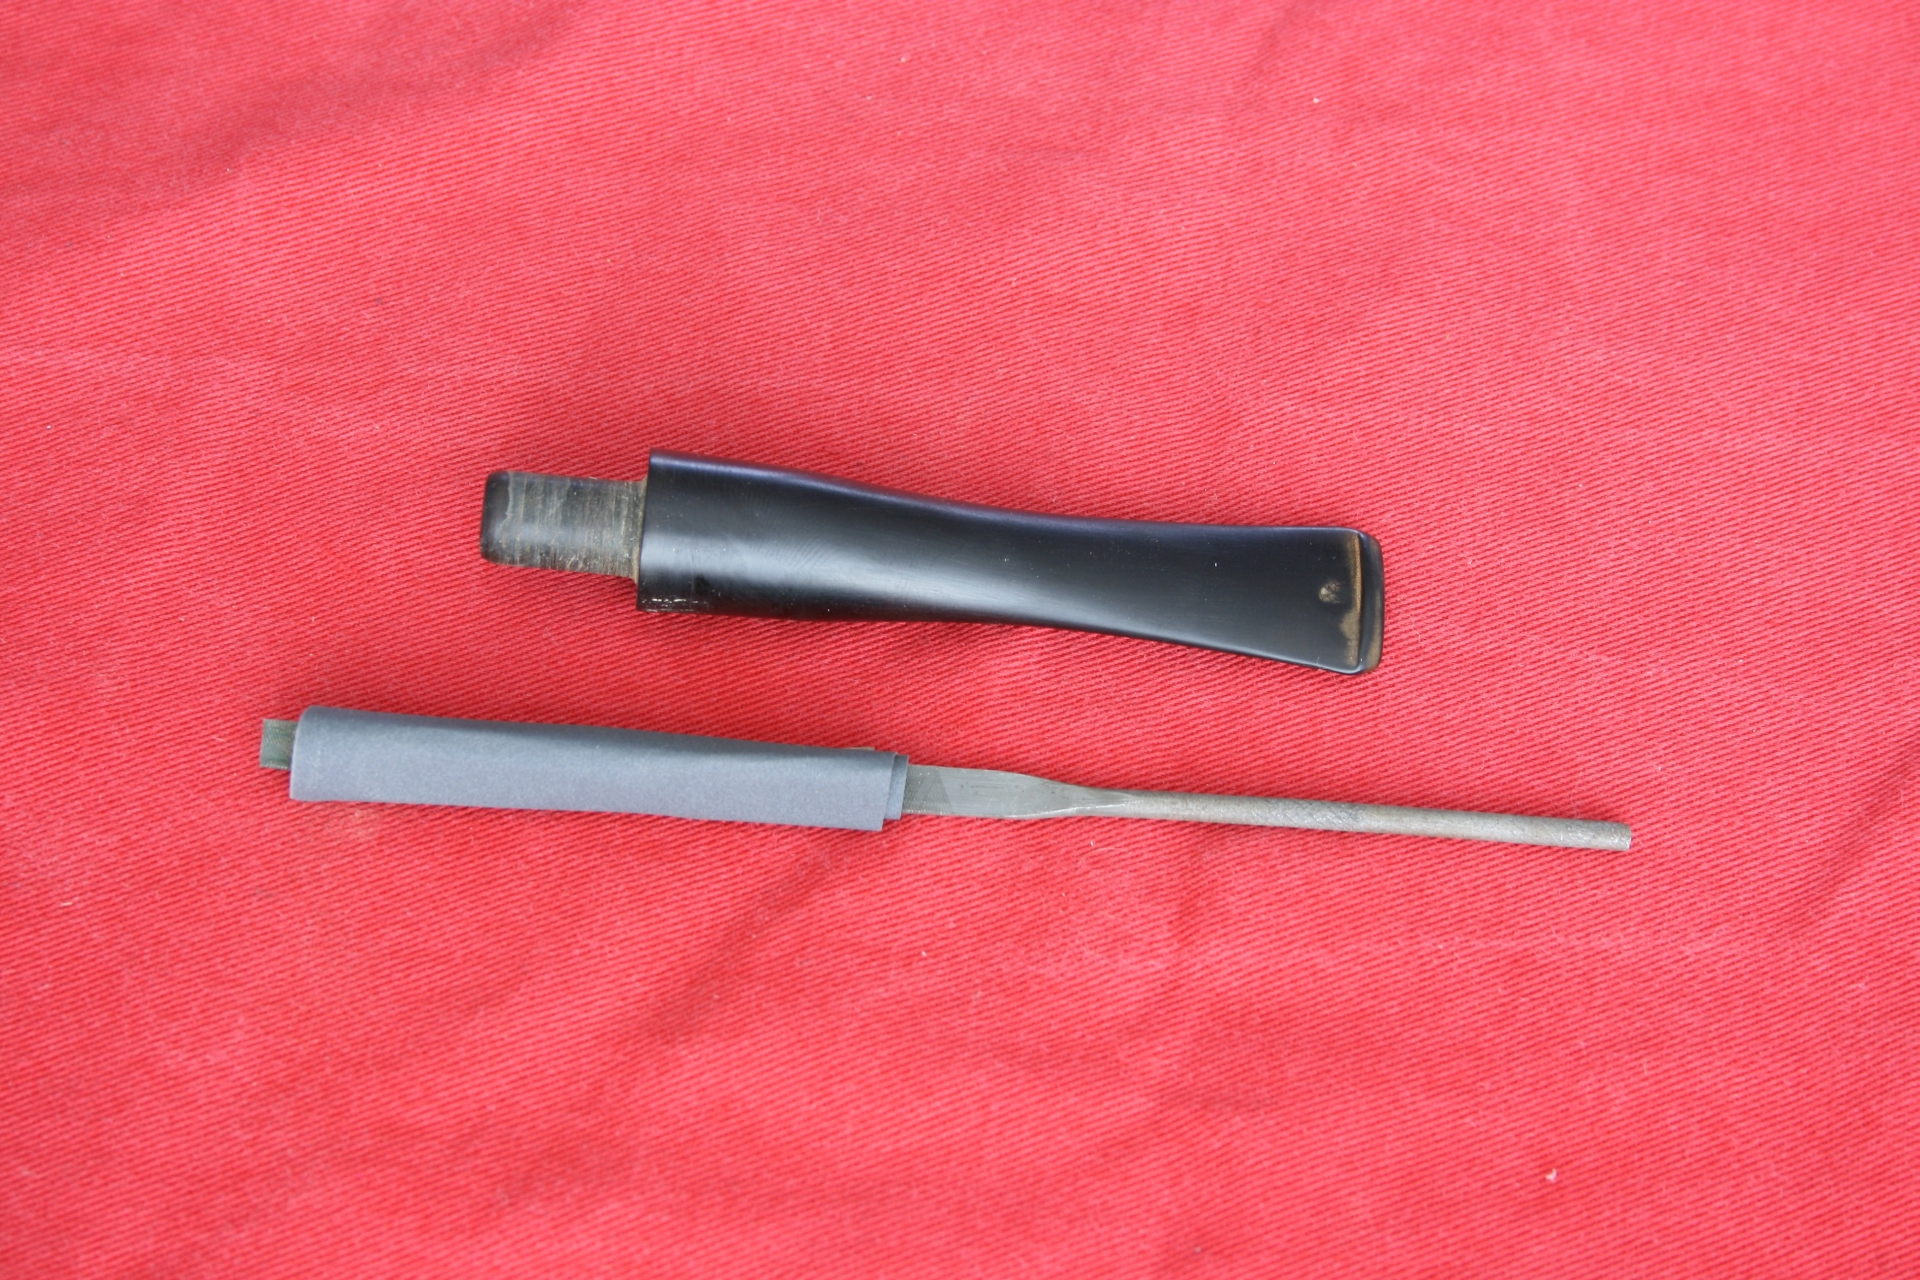
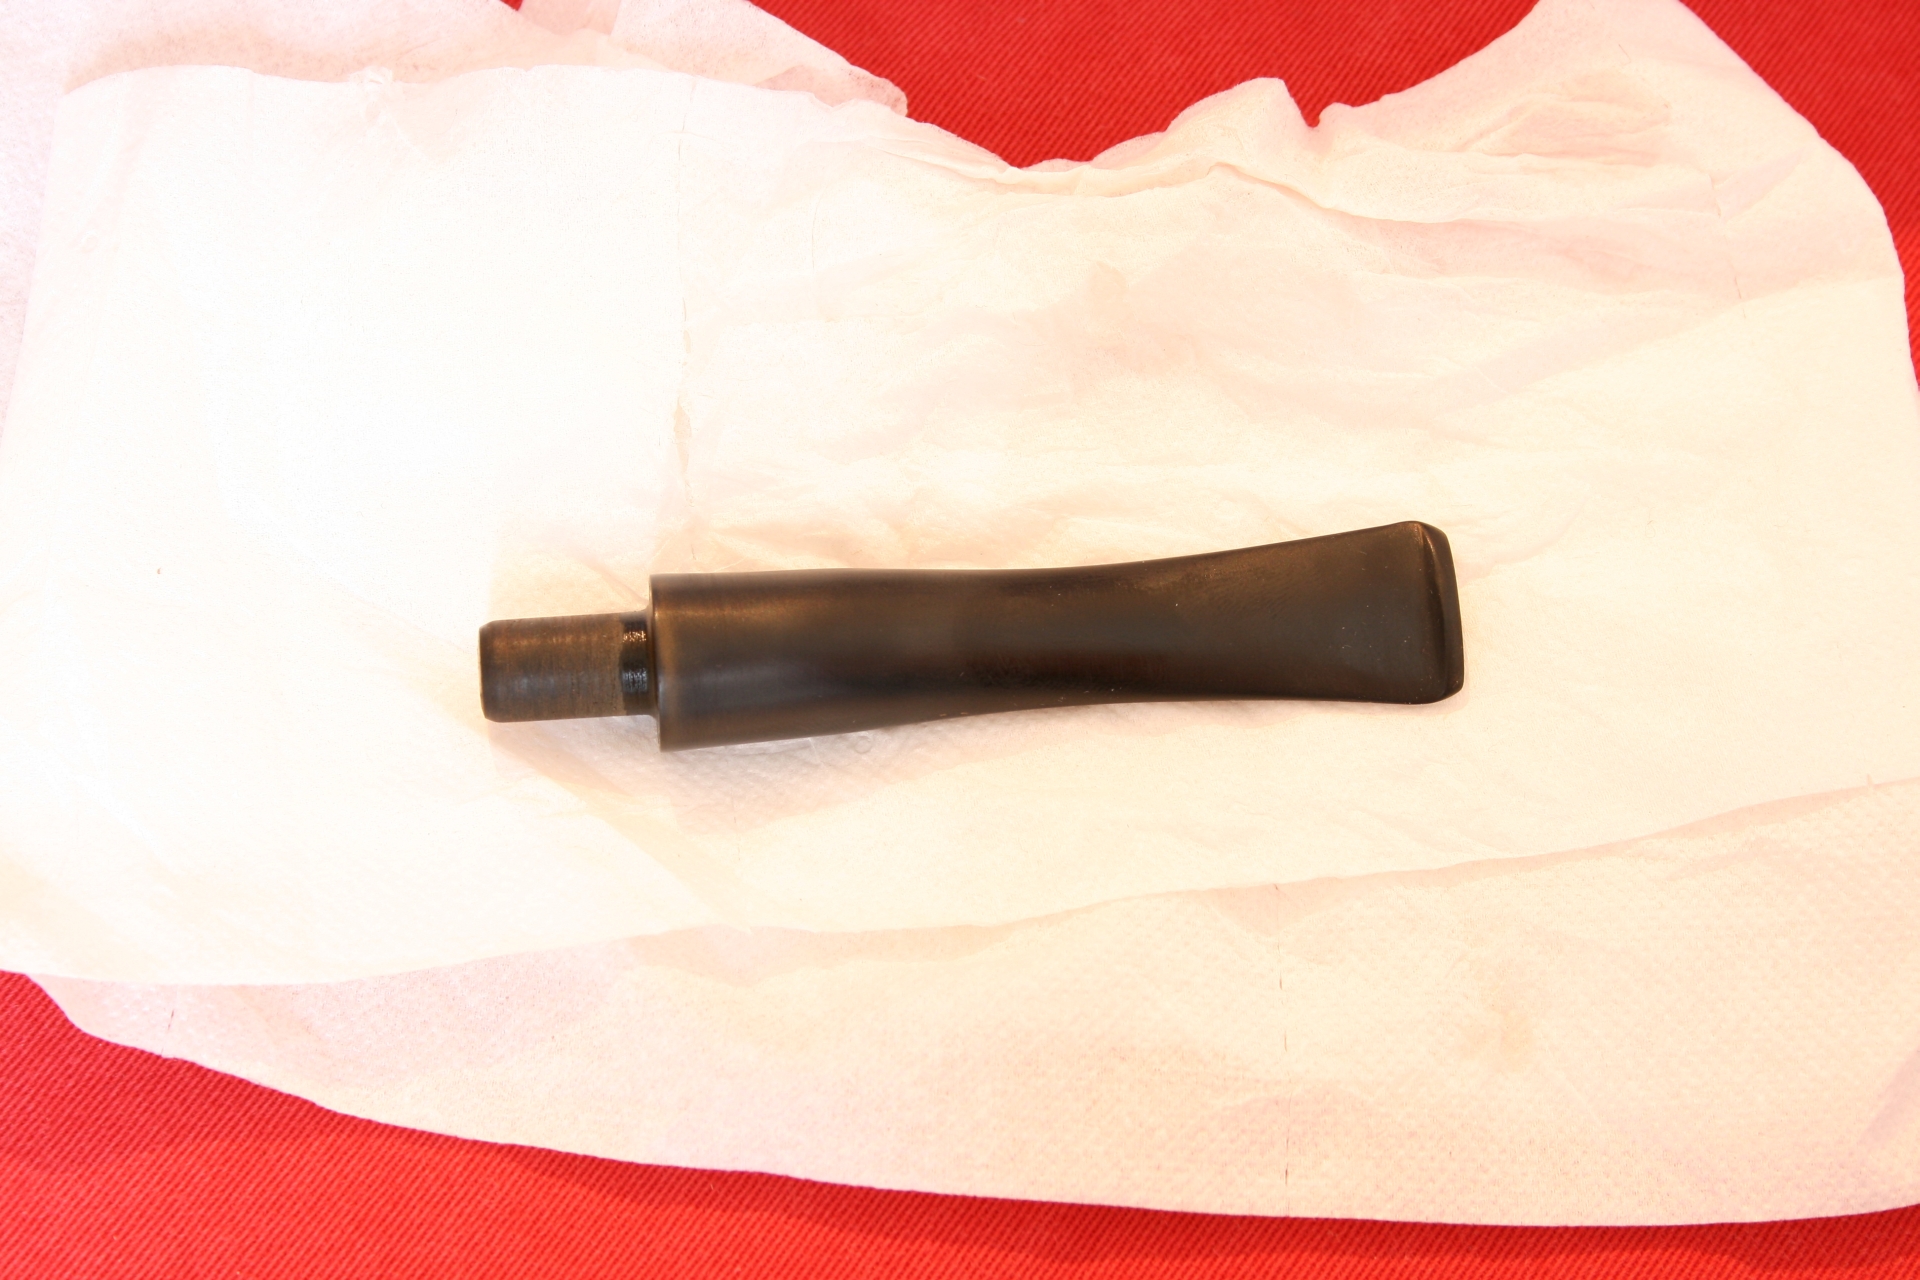
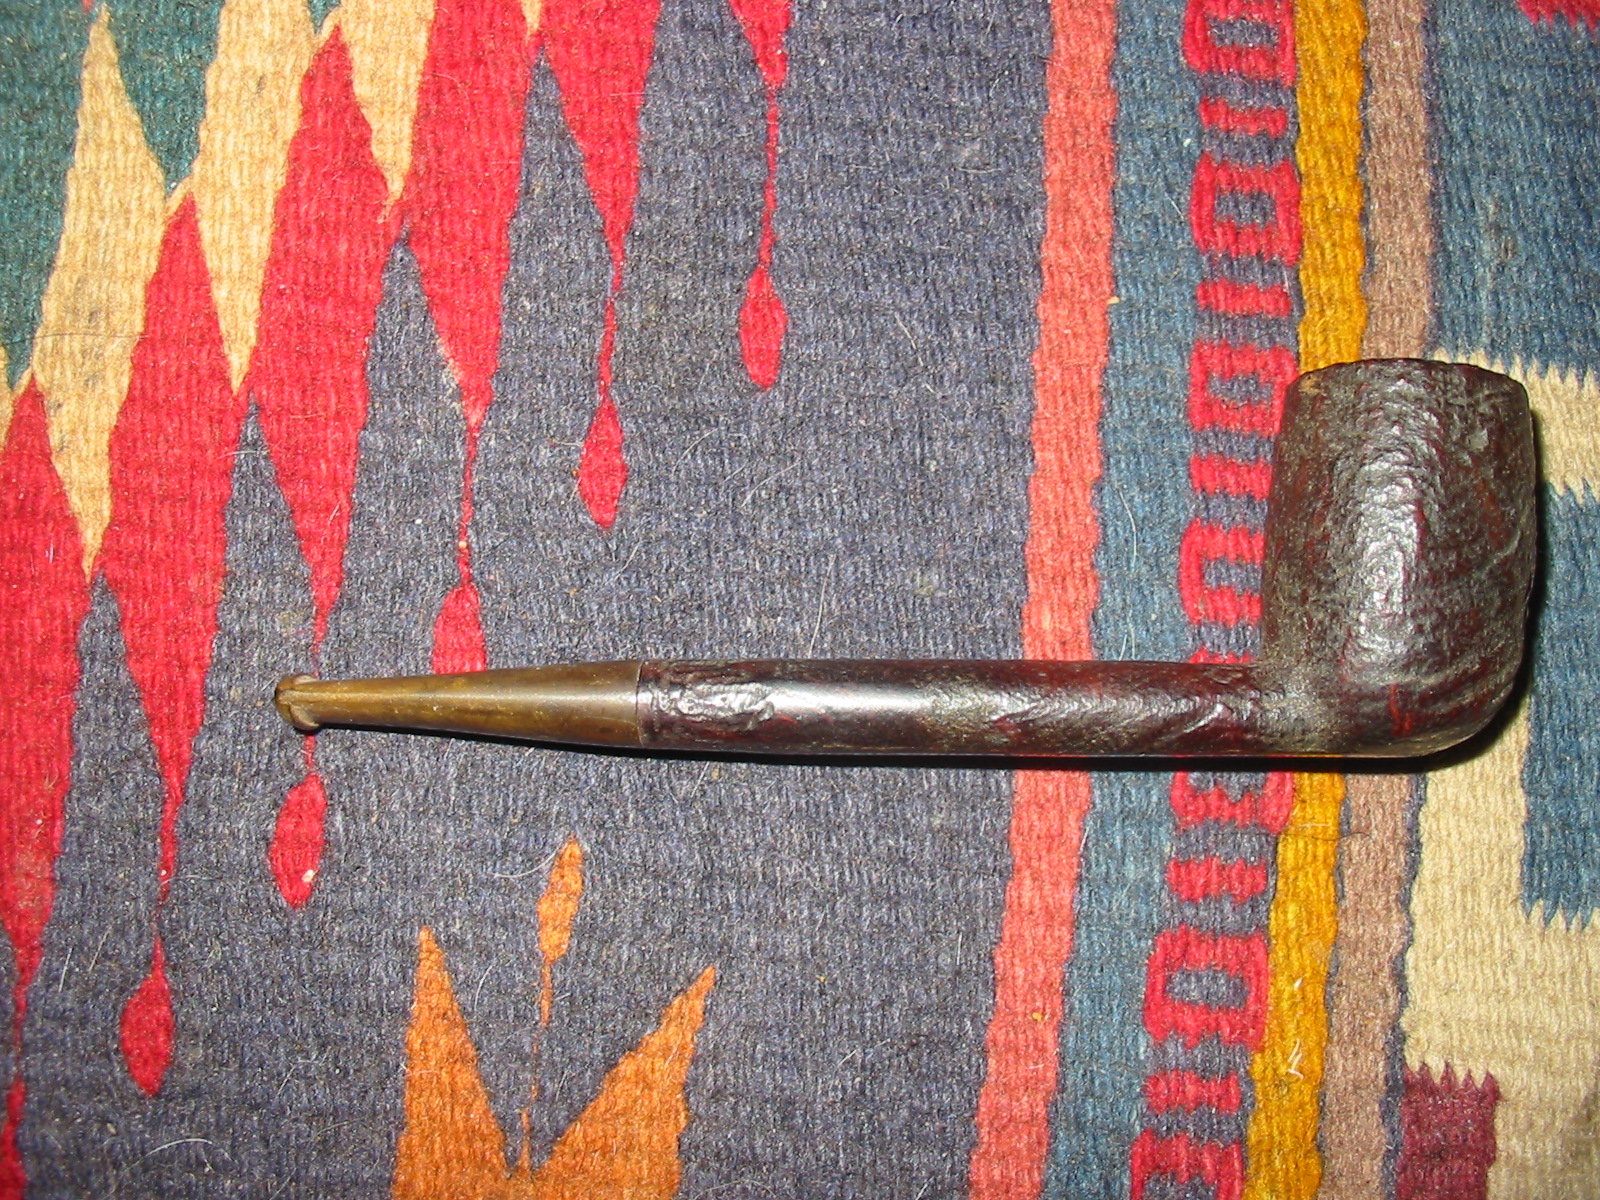
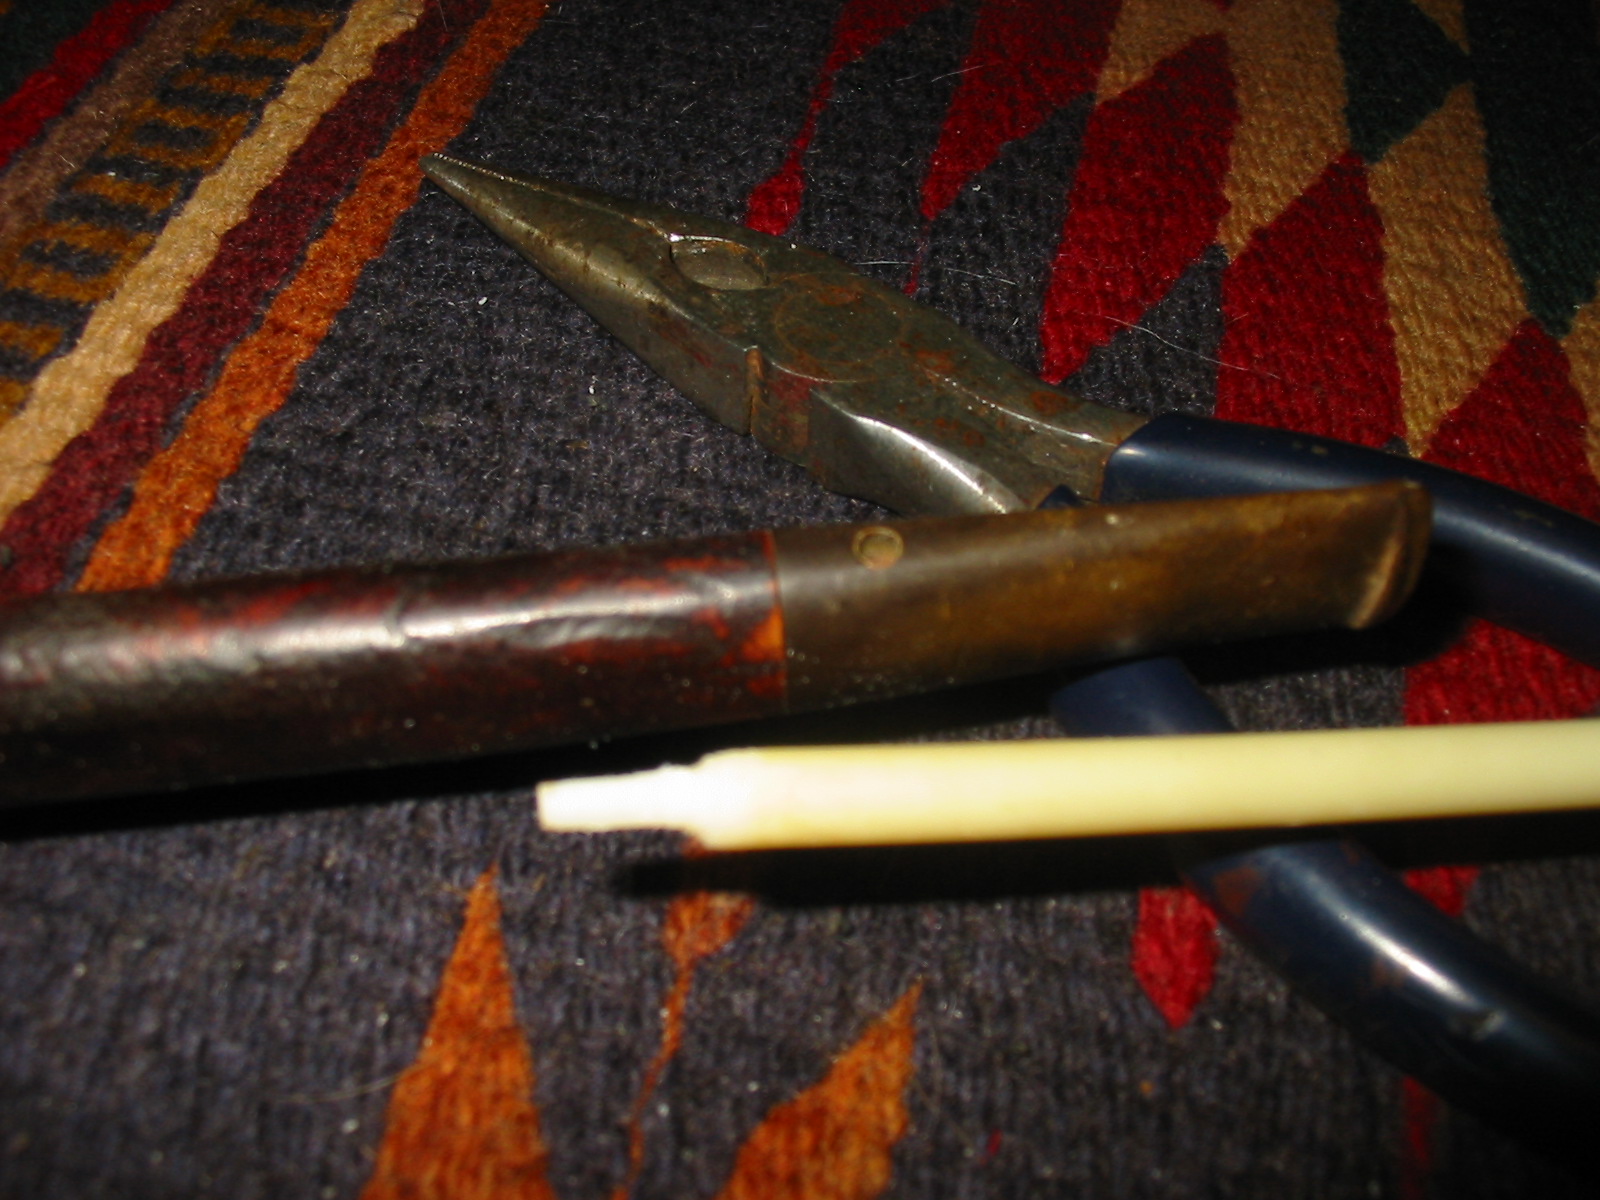
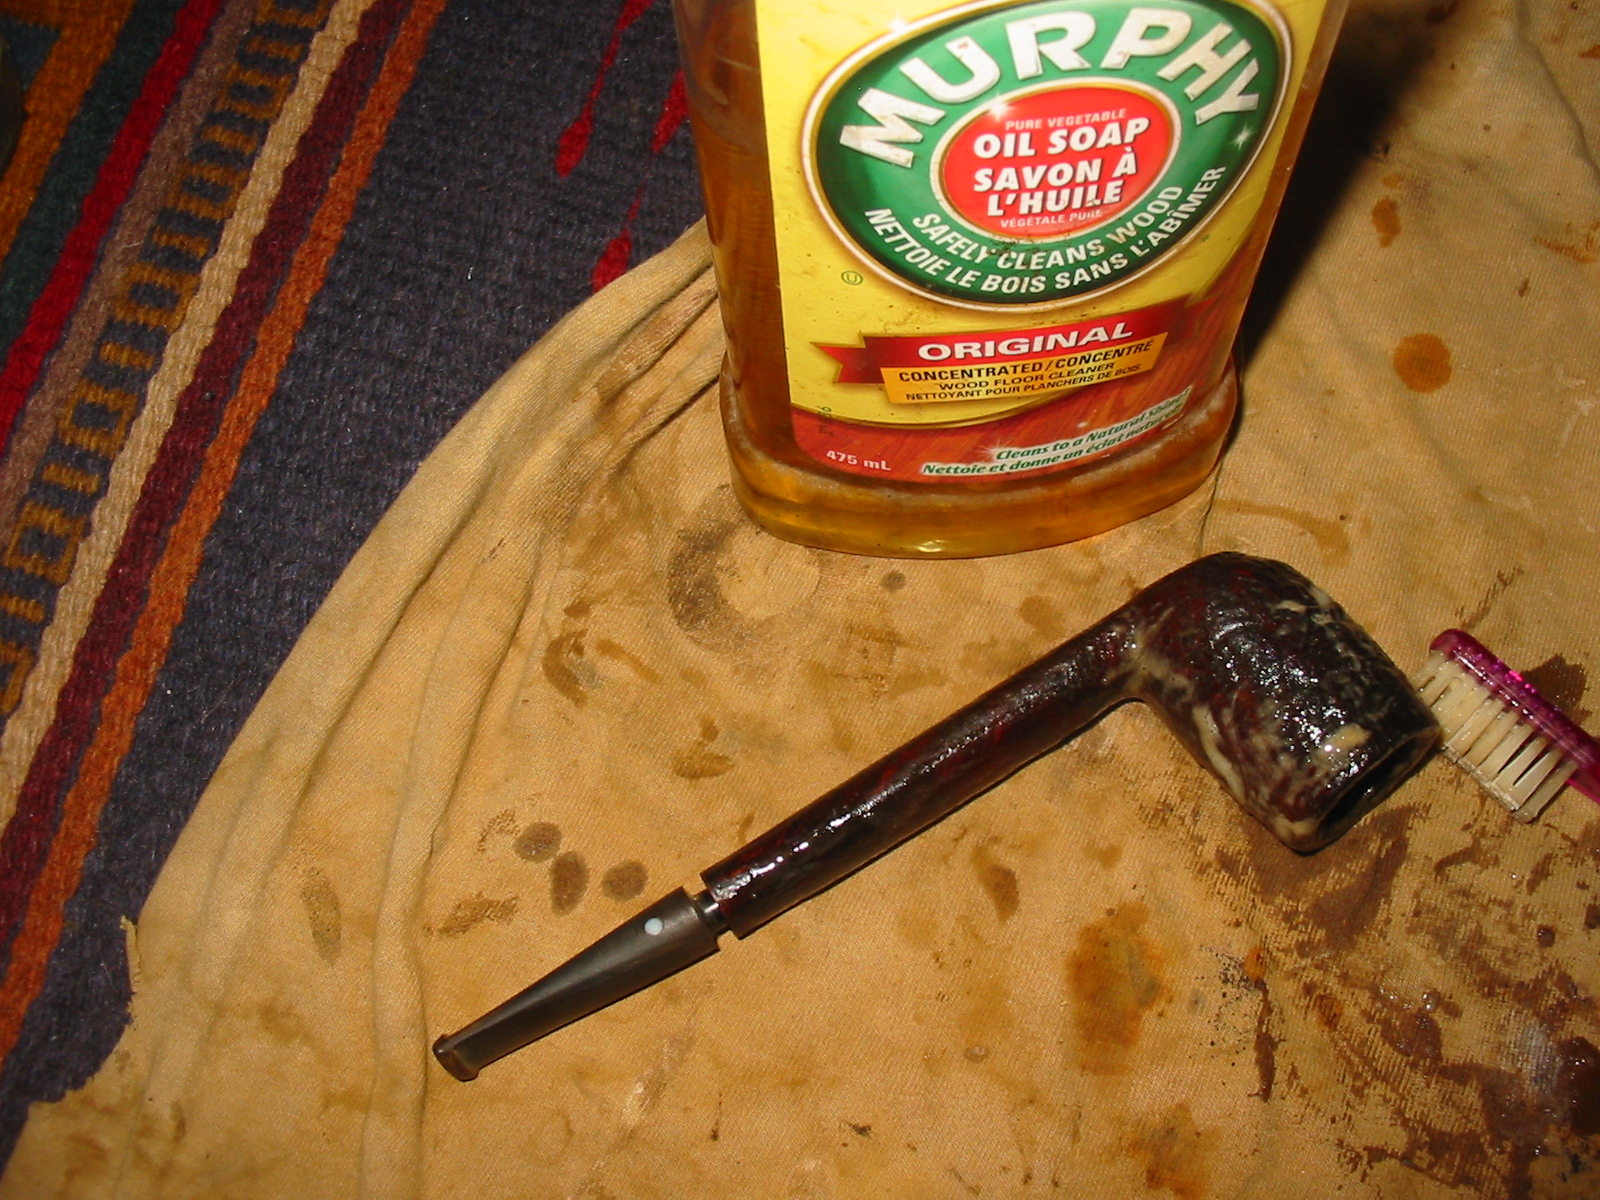
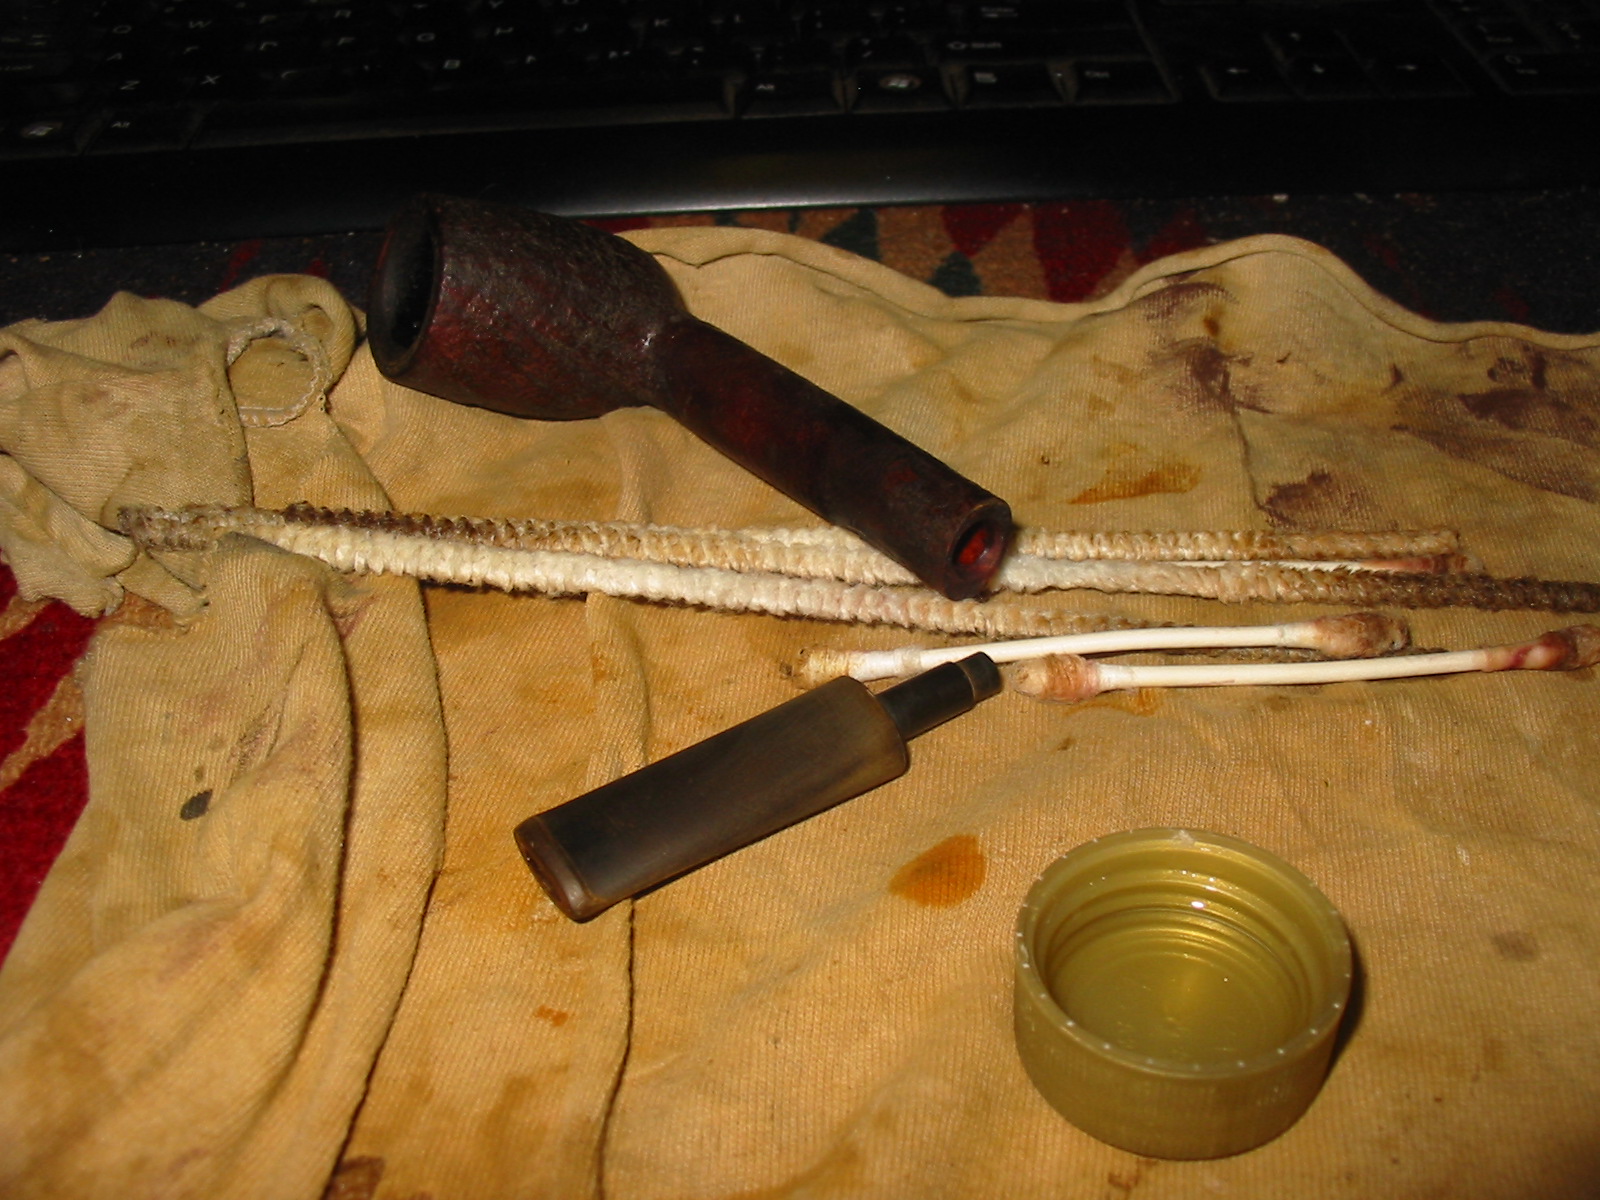
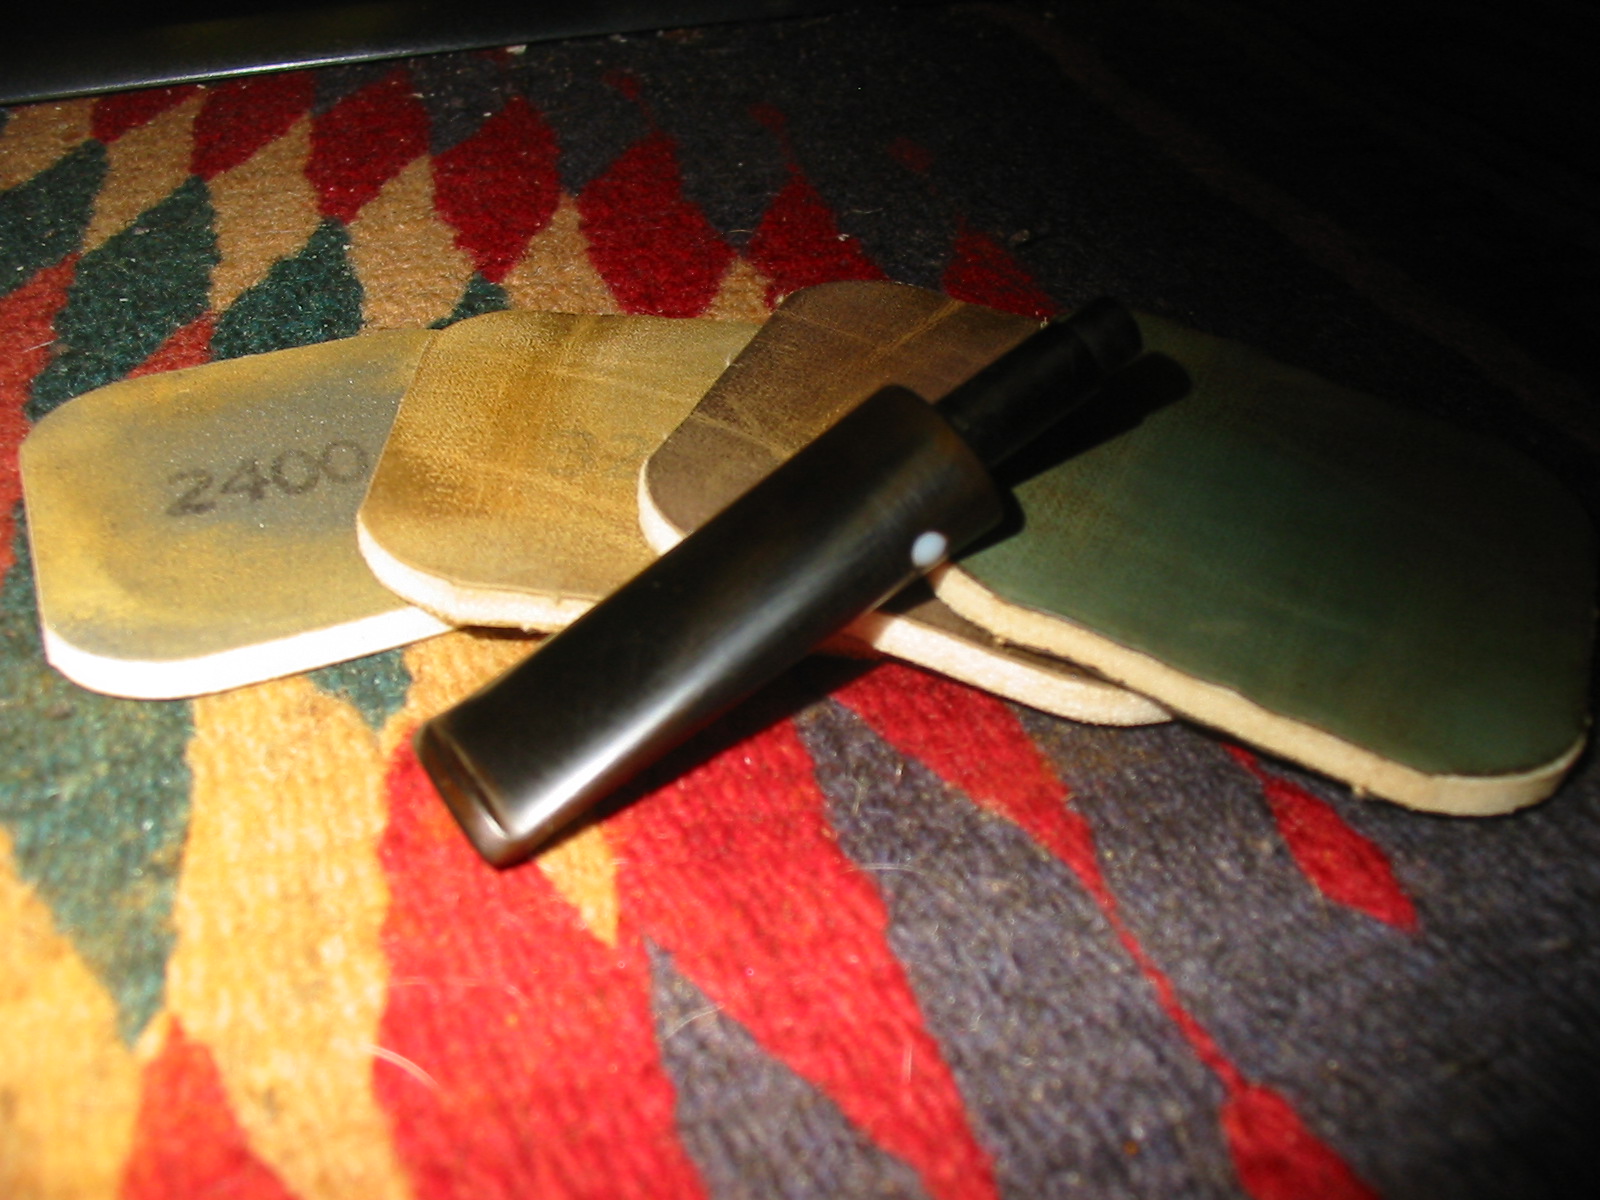
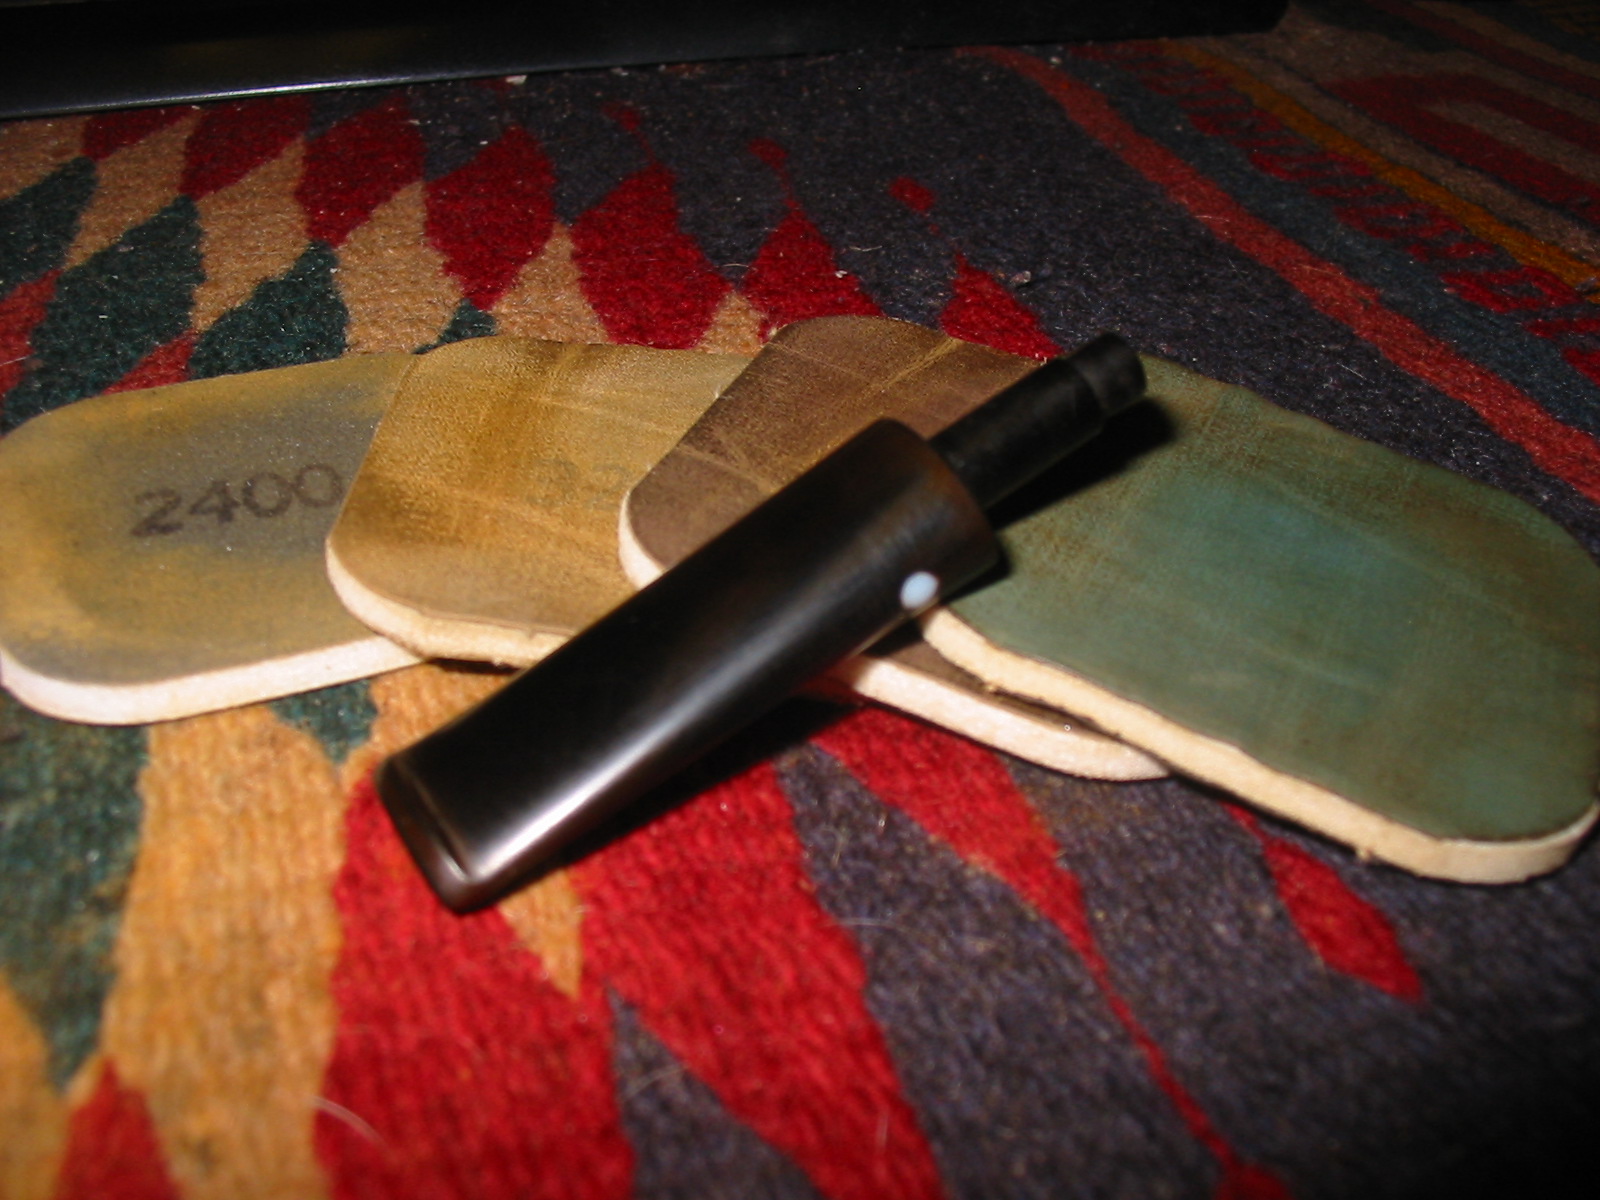
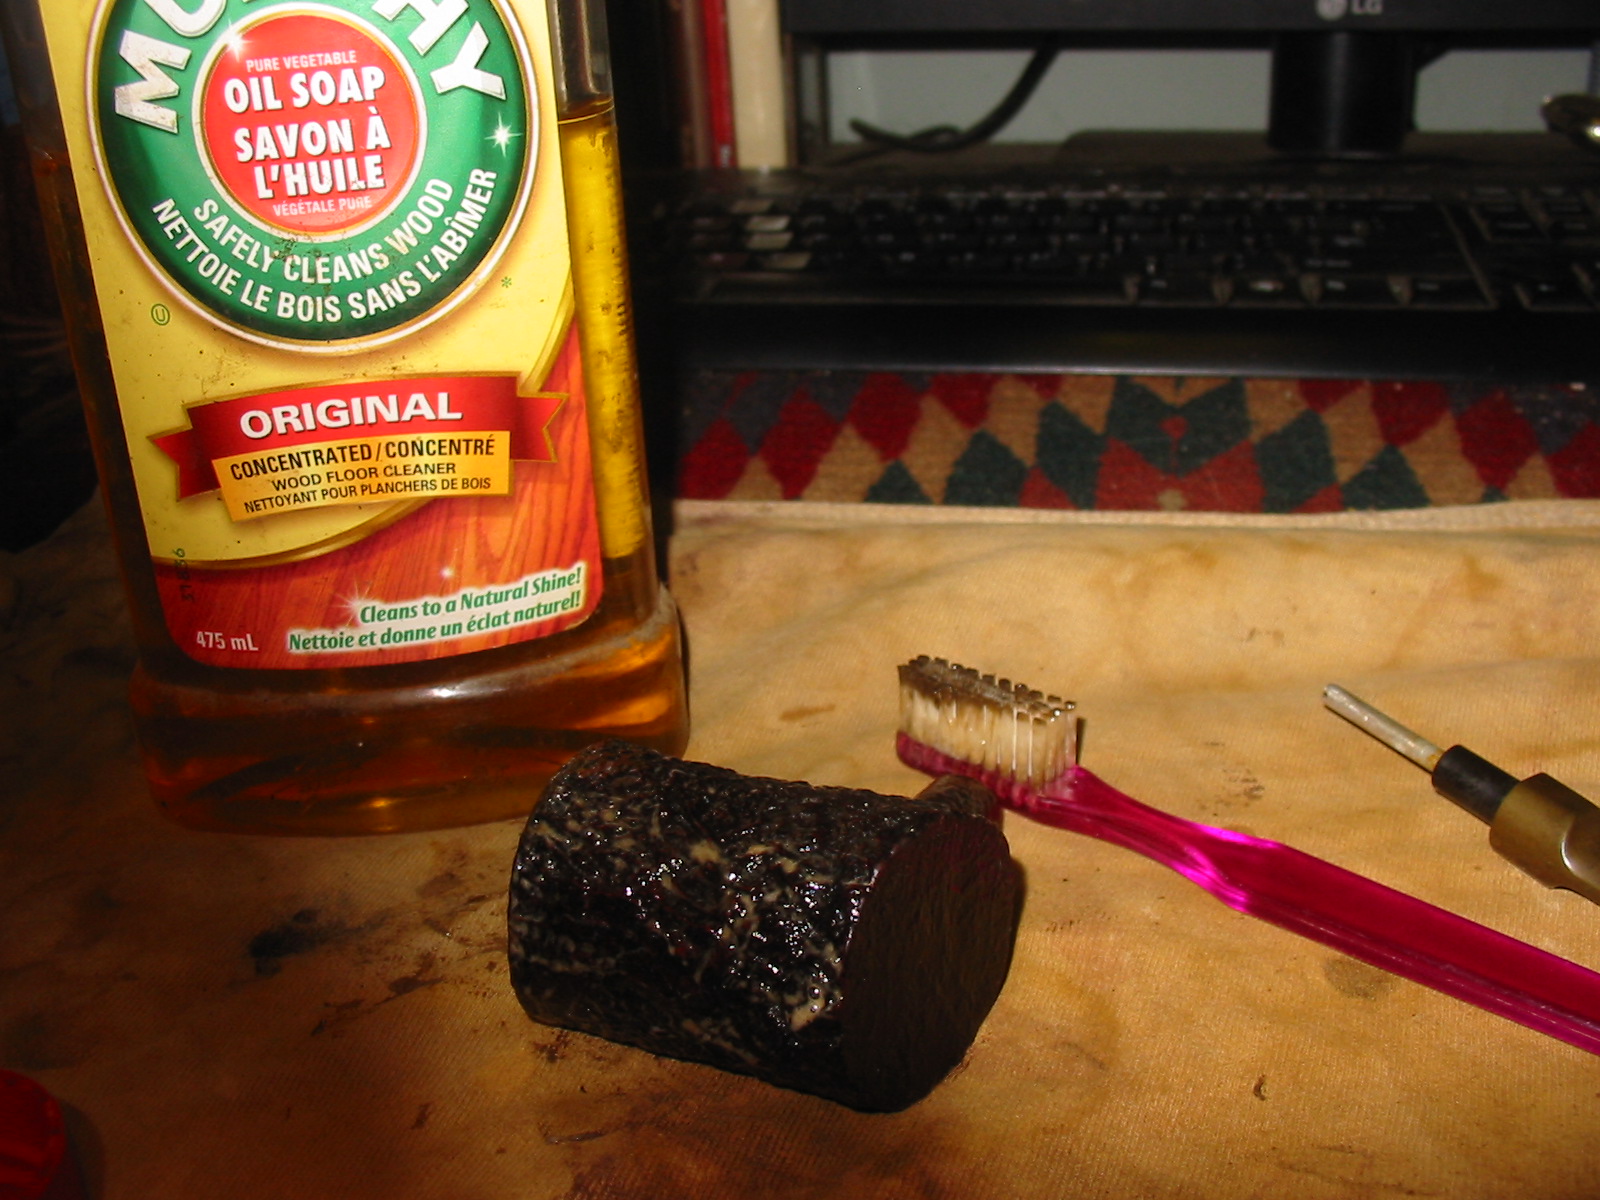
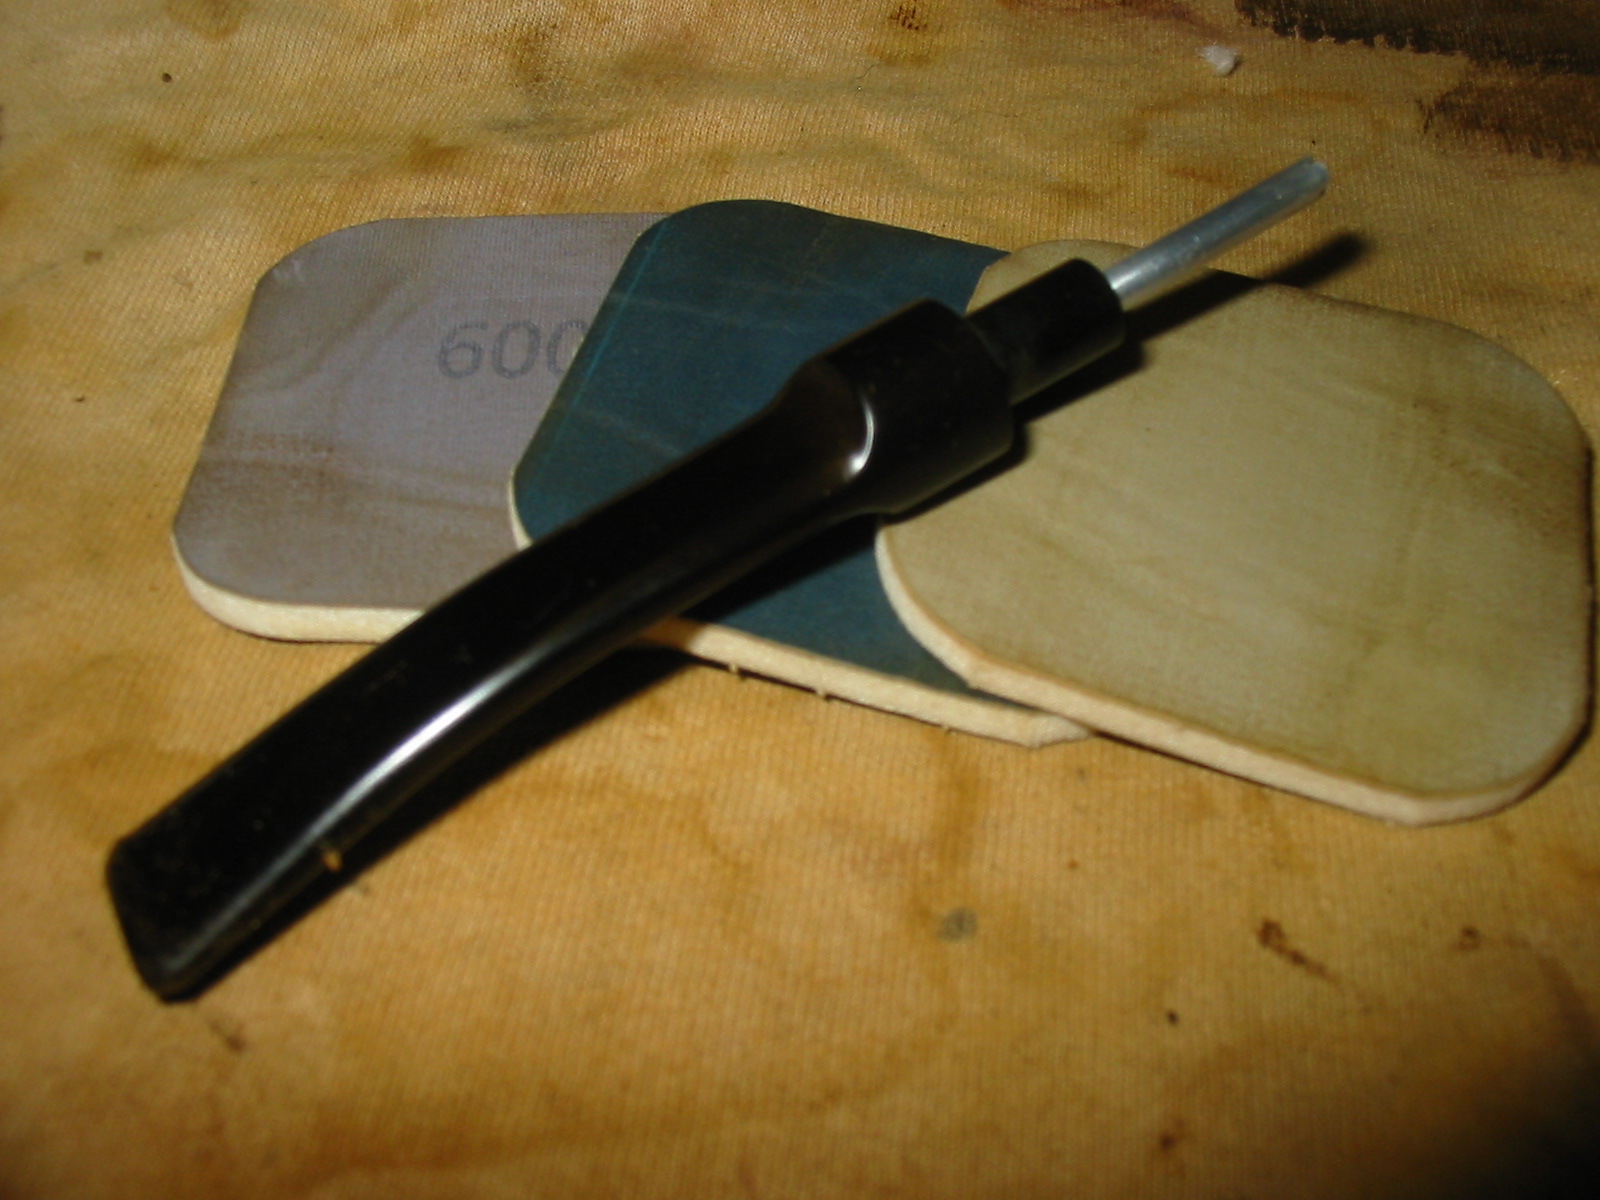
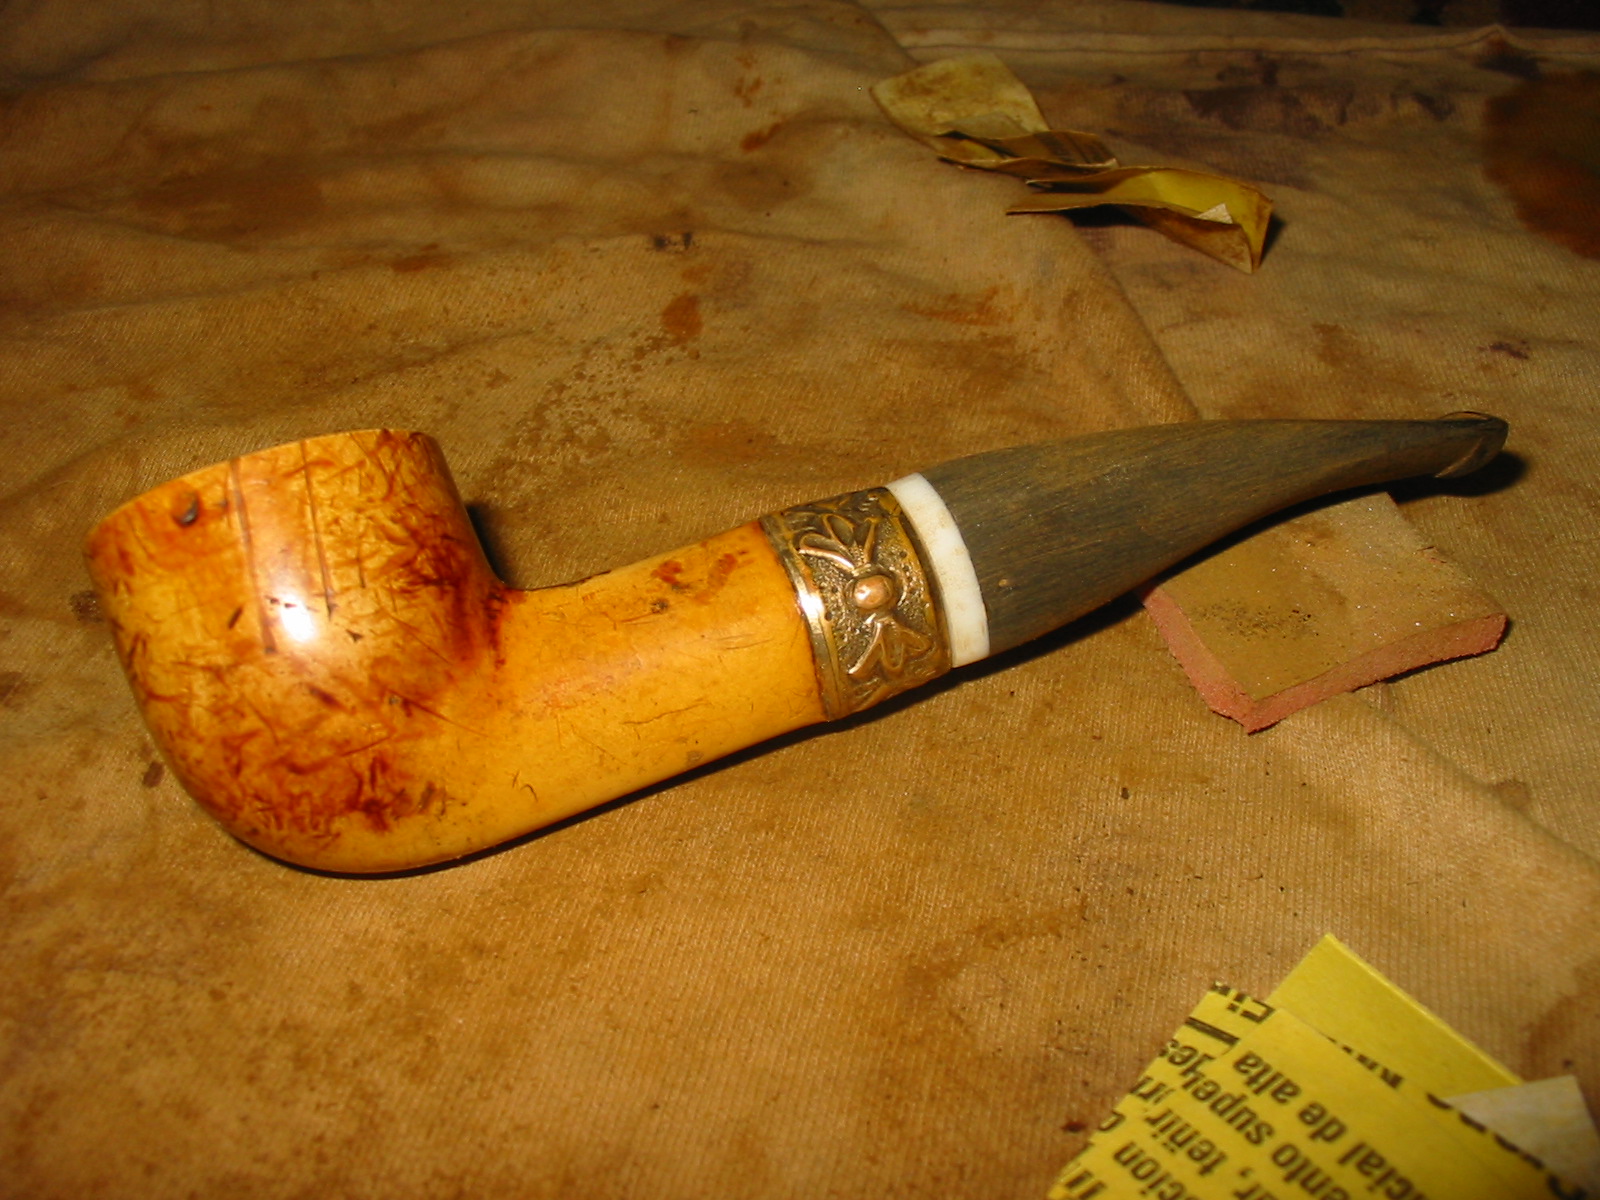
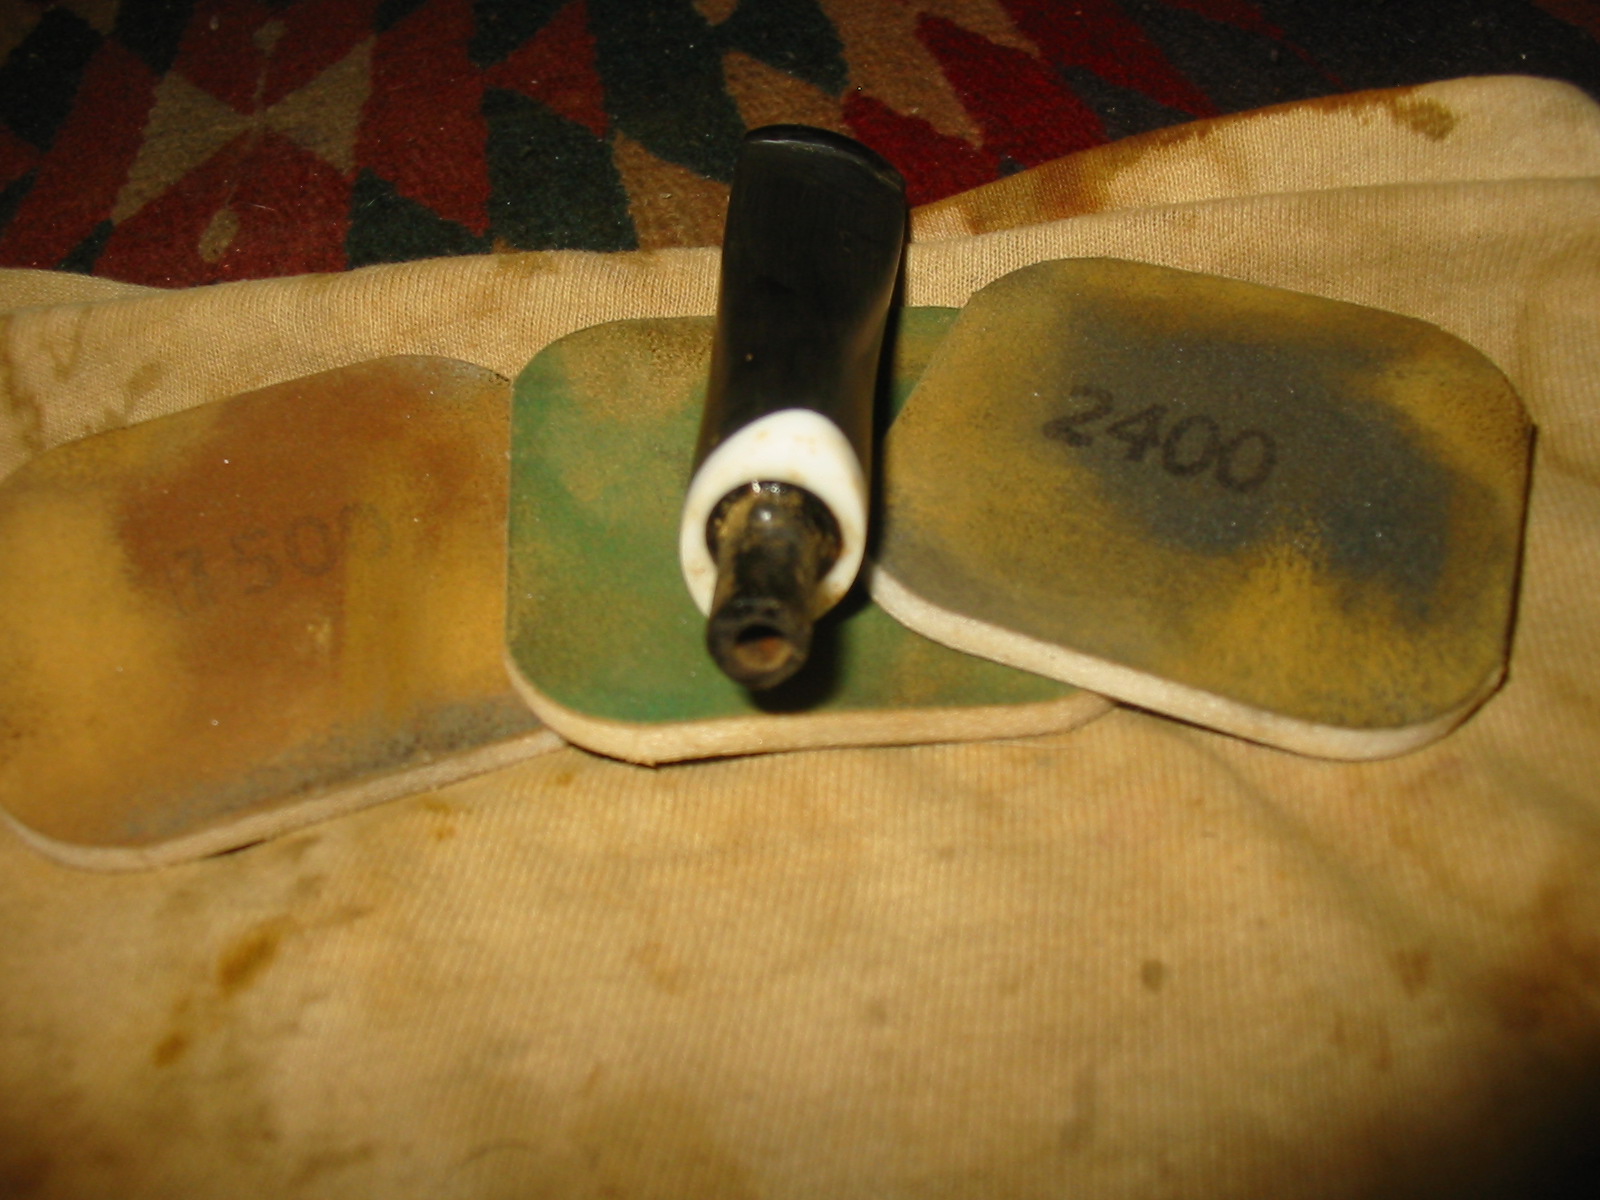
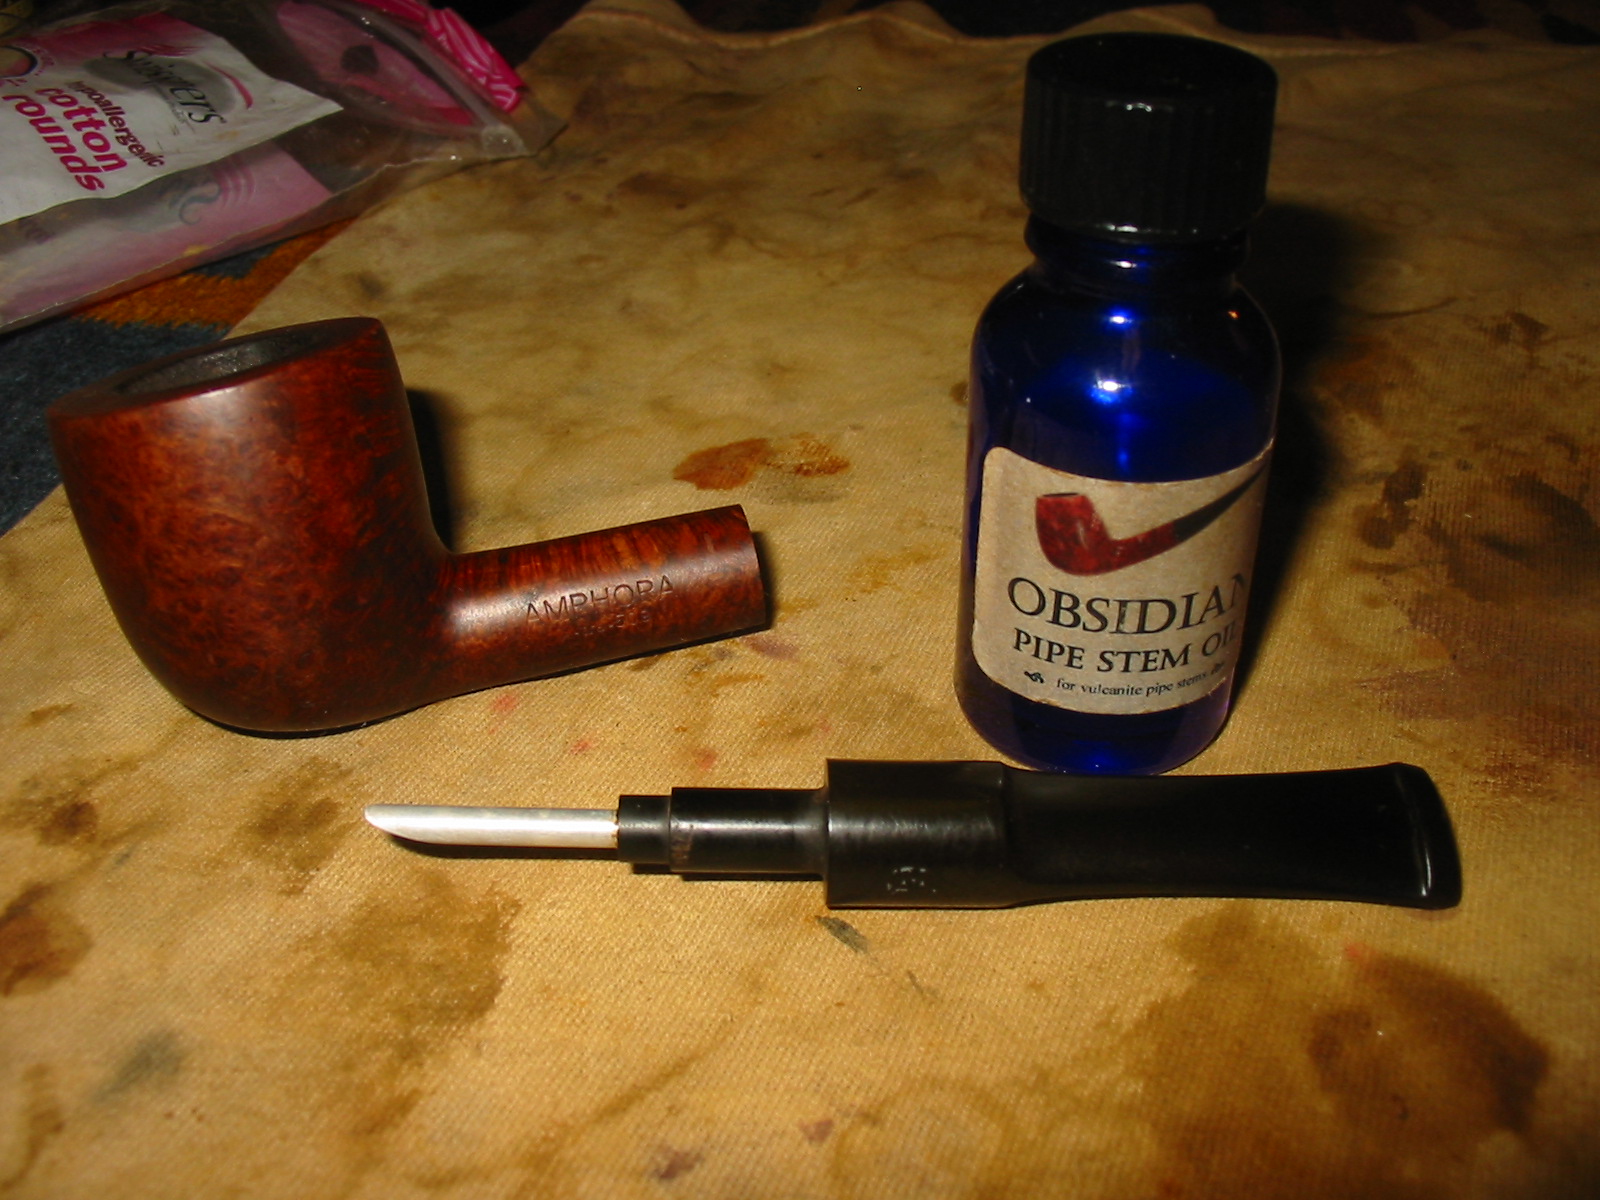
In the morning I took out the bowl and dried it off with a soft cloth. The finish was clean and the surface of the bowl free of the paint and grime that was present when I placed them in the bath. I took the stems out of the bath of Oxyclean and dried them off as well. The oxidation on the stem was softened and the stem was dark (it is the top stem in the second photo below).
IMG_2071

IMG_2080

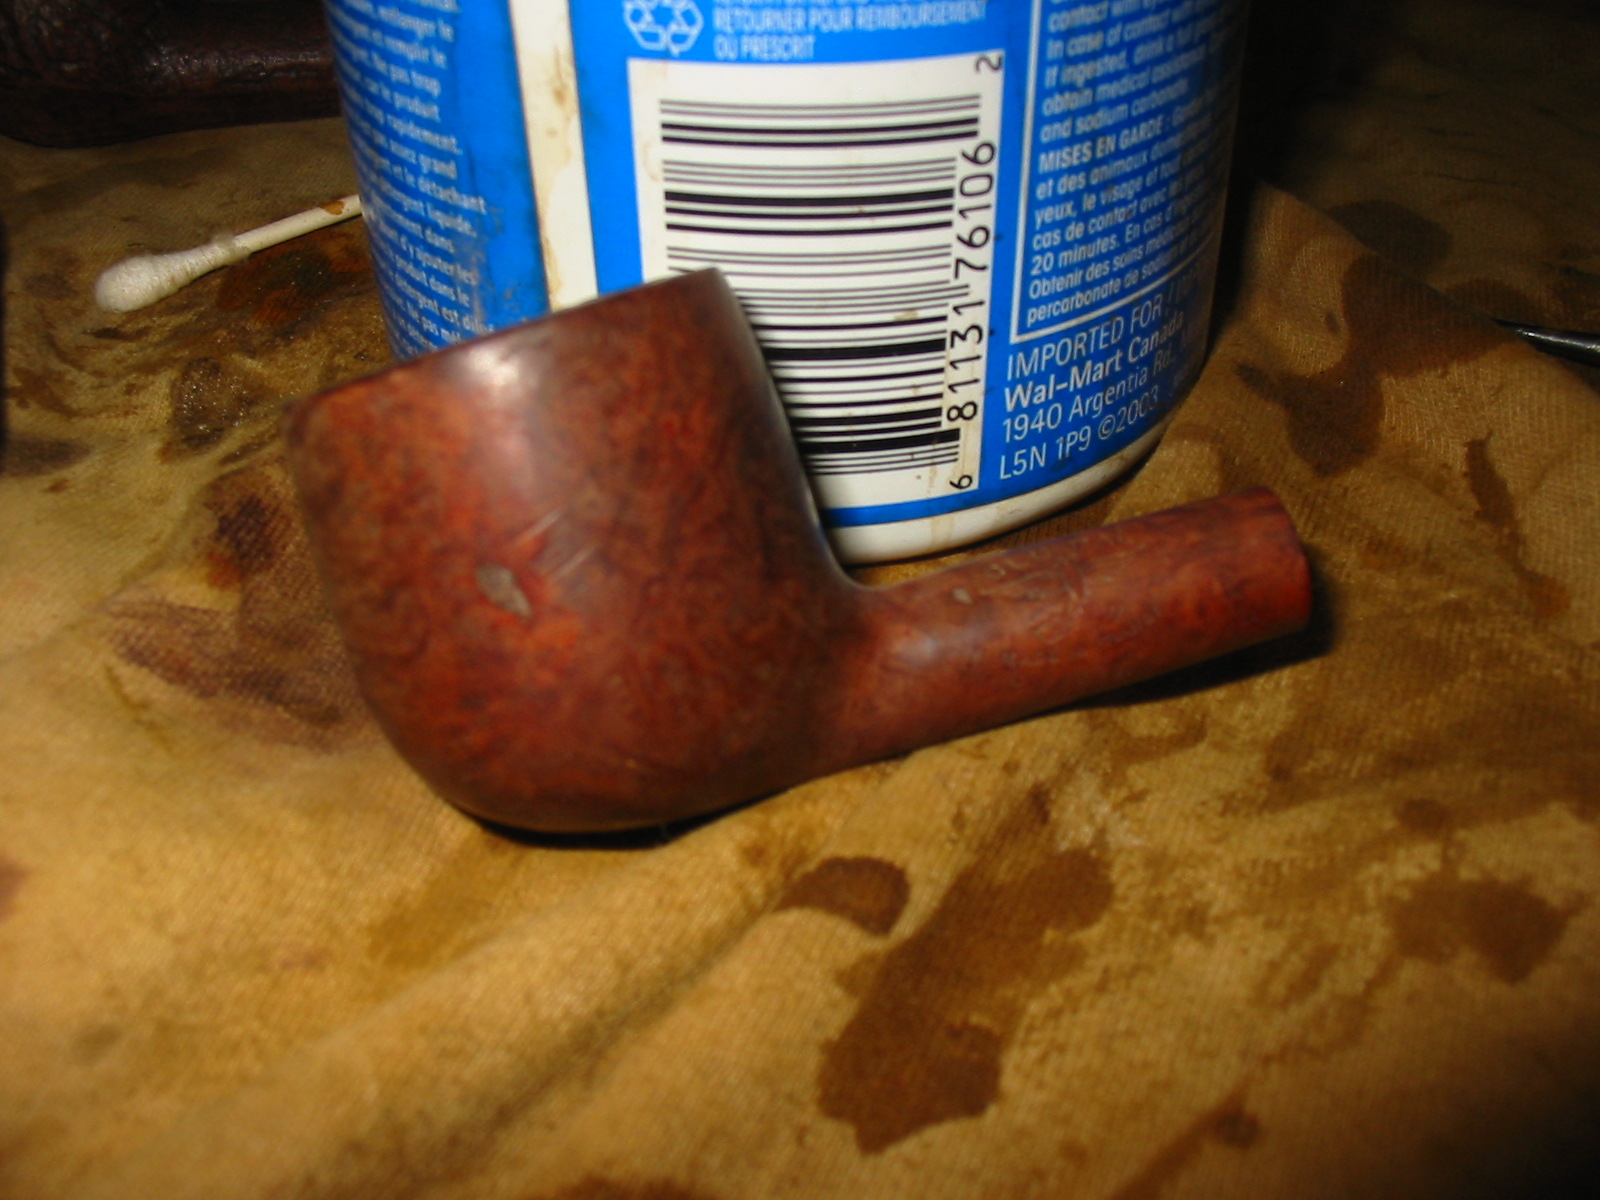
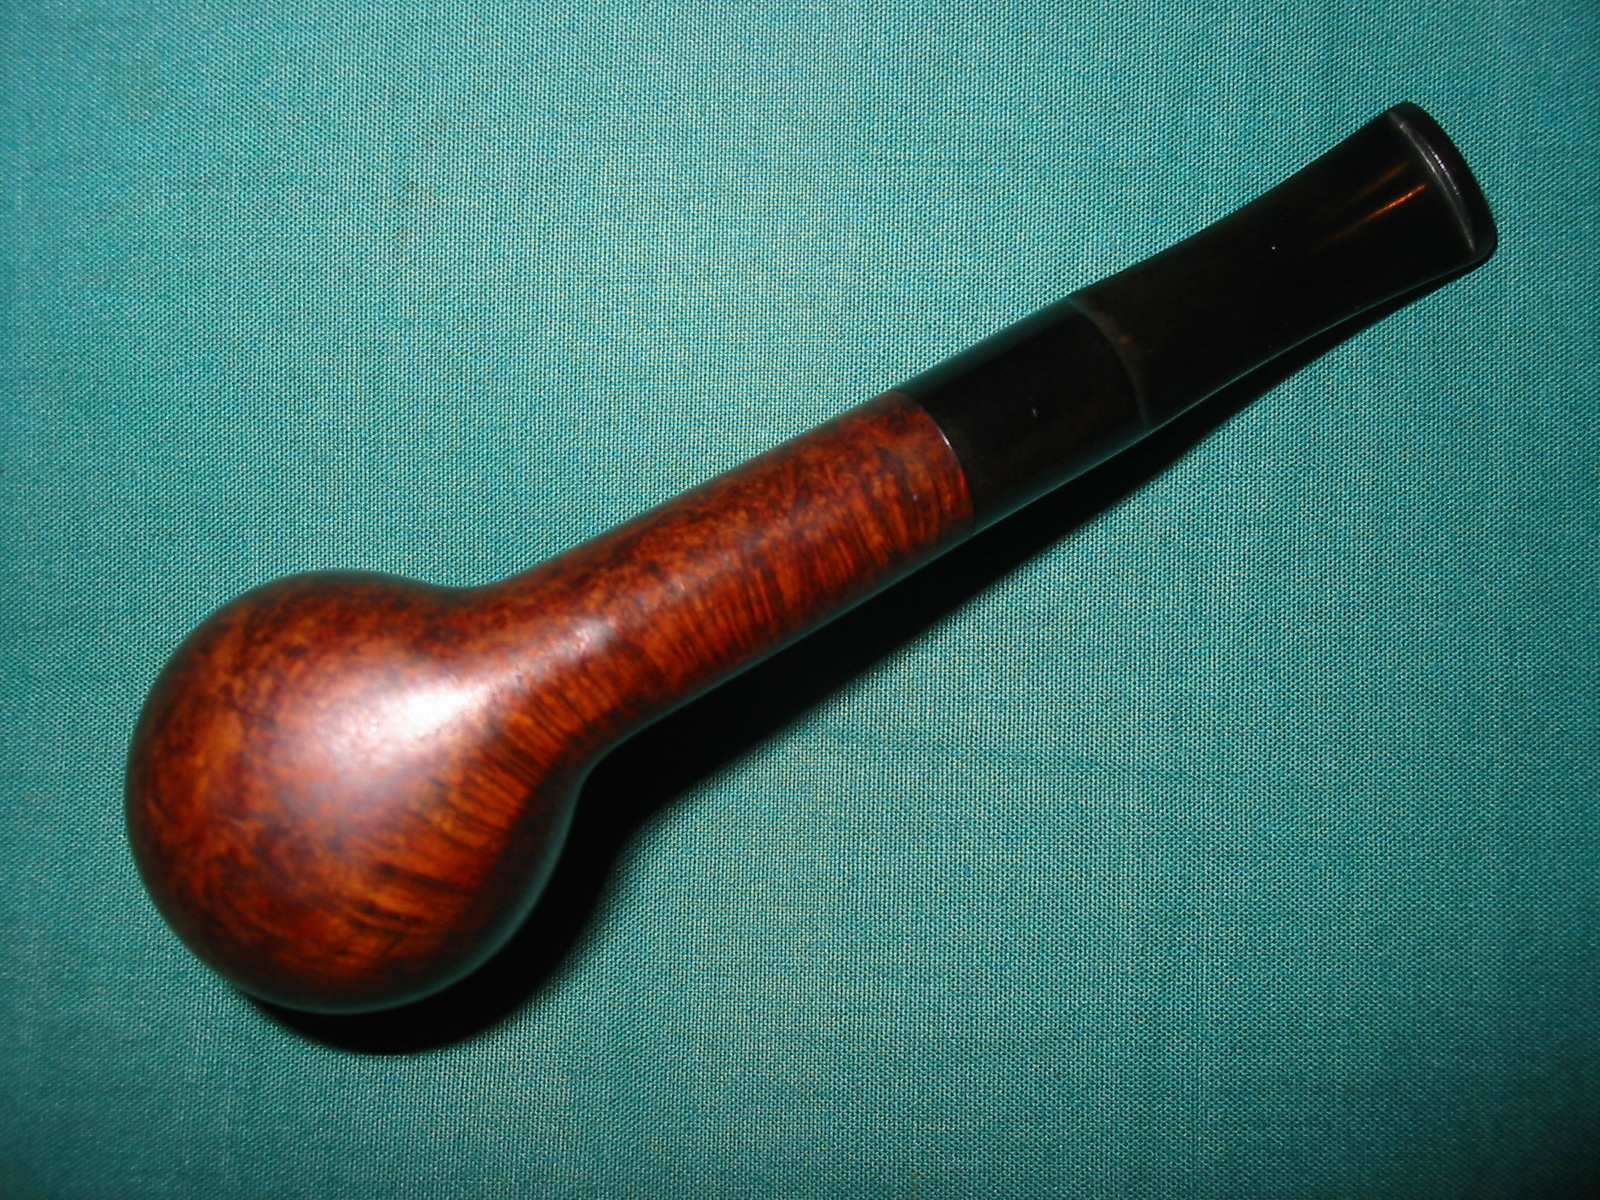
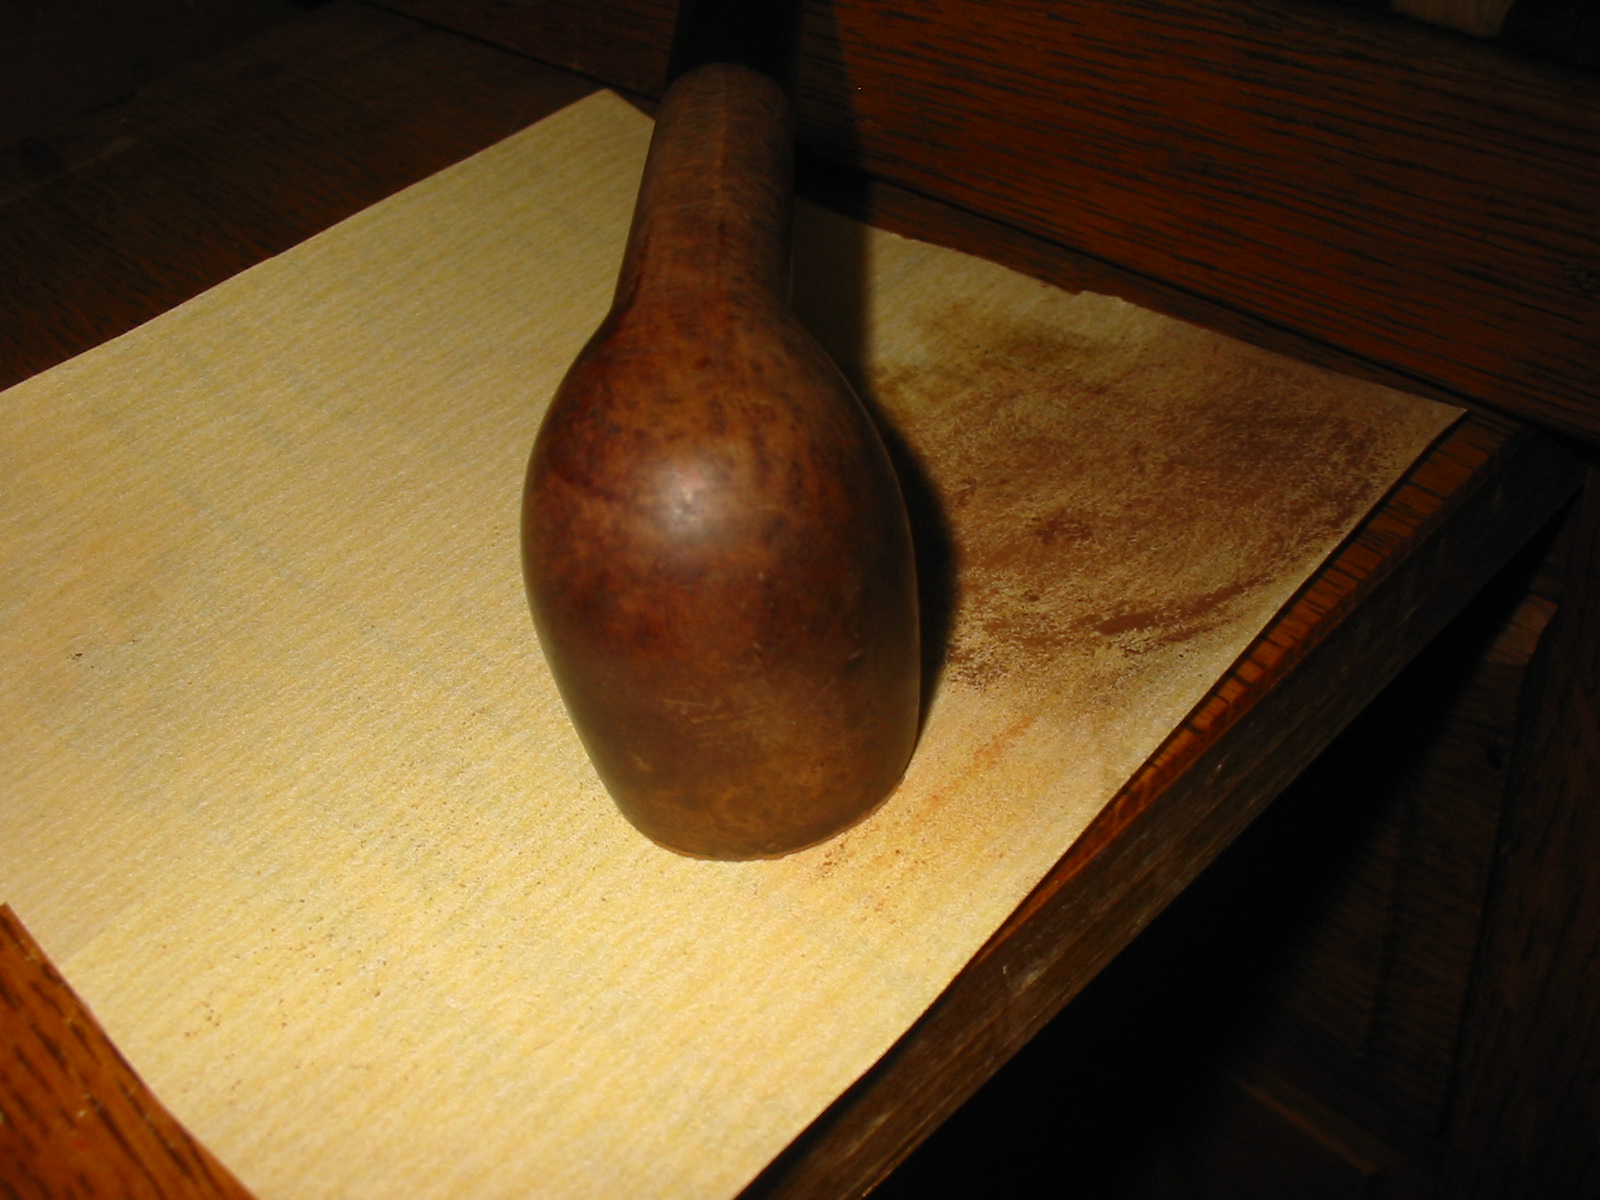
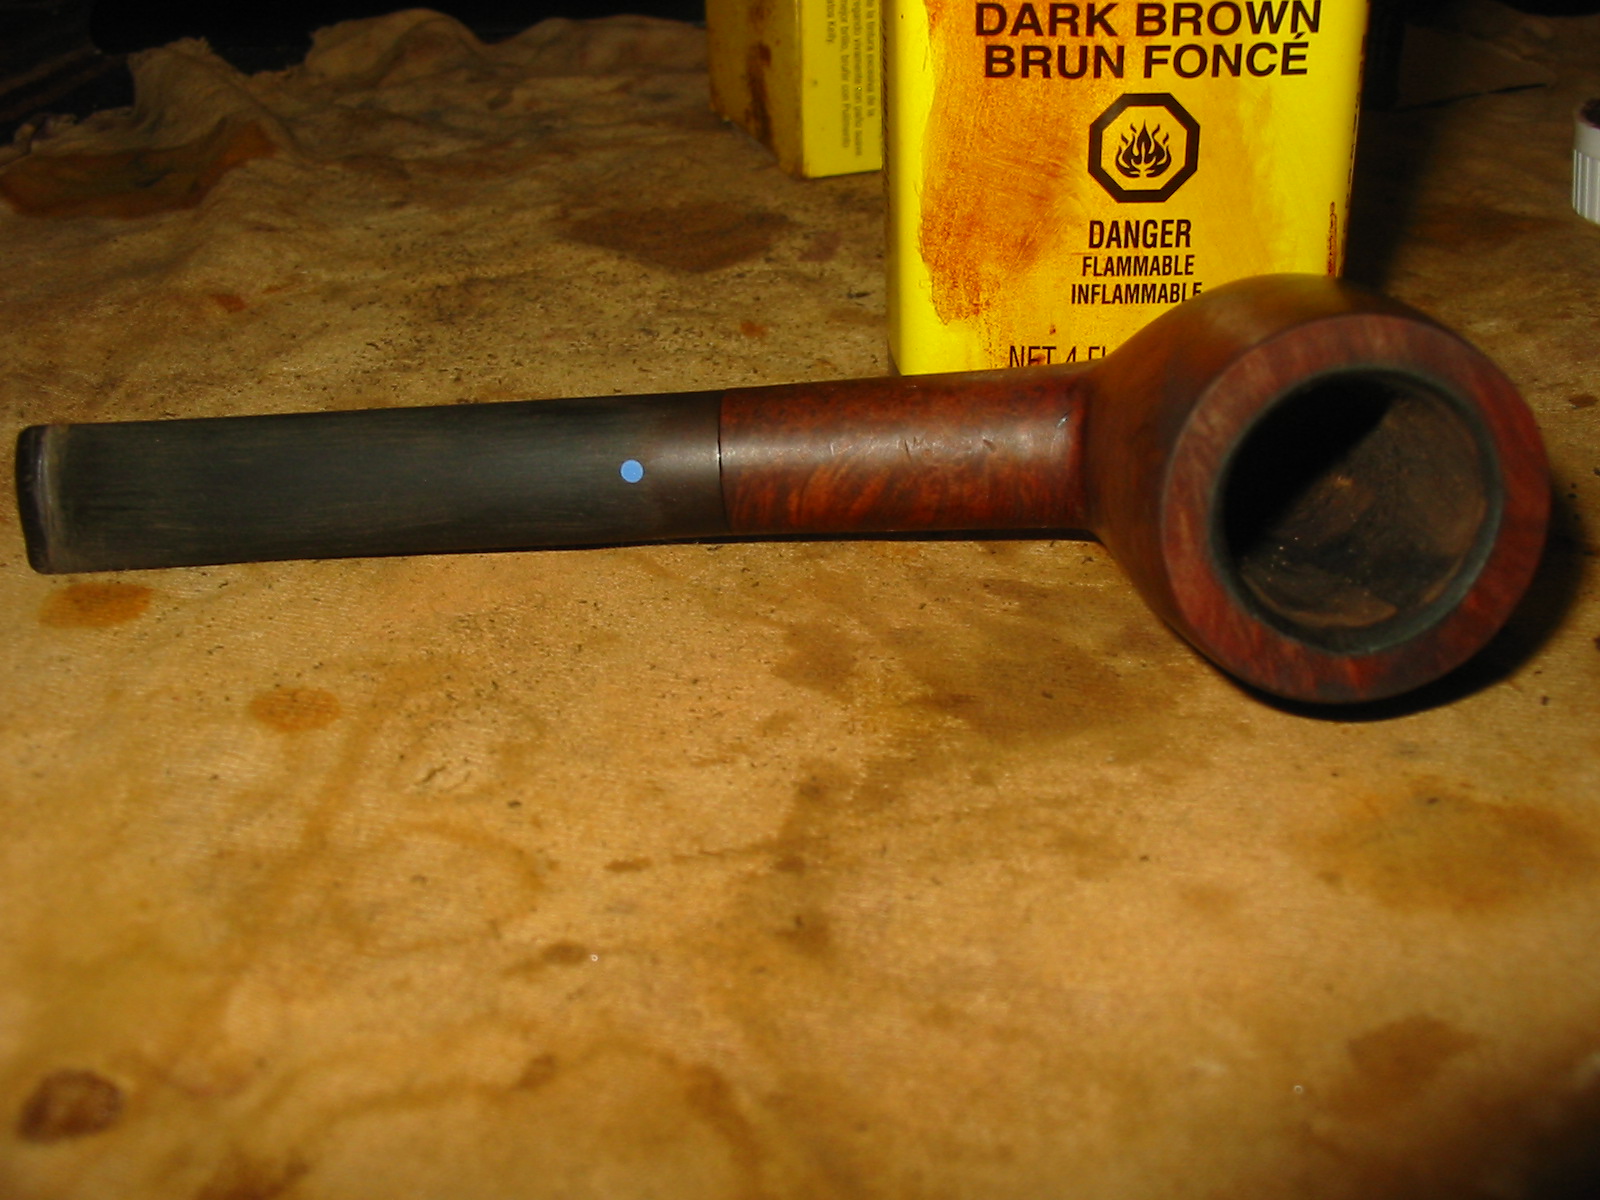
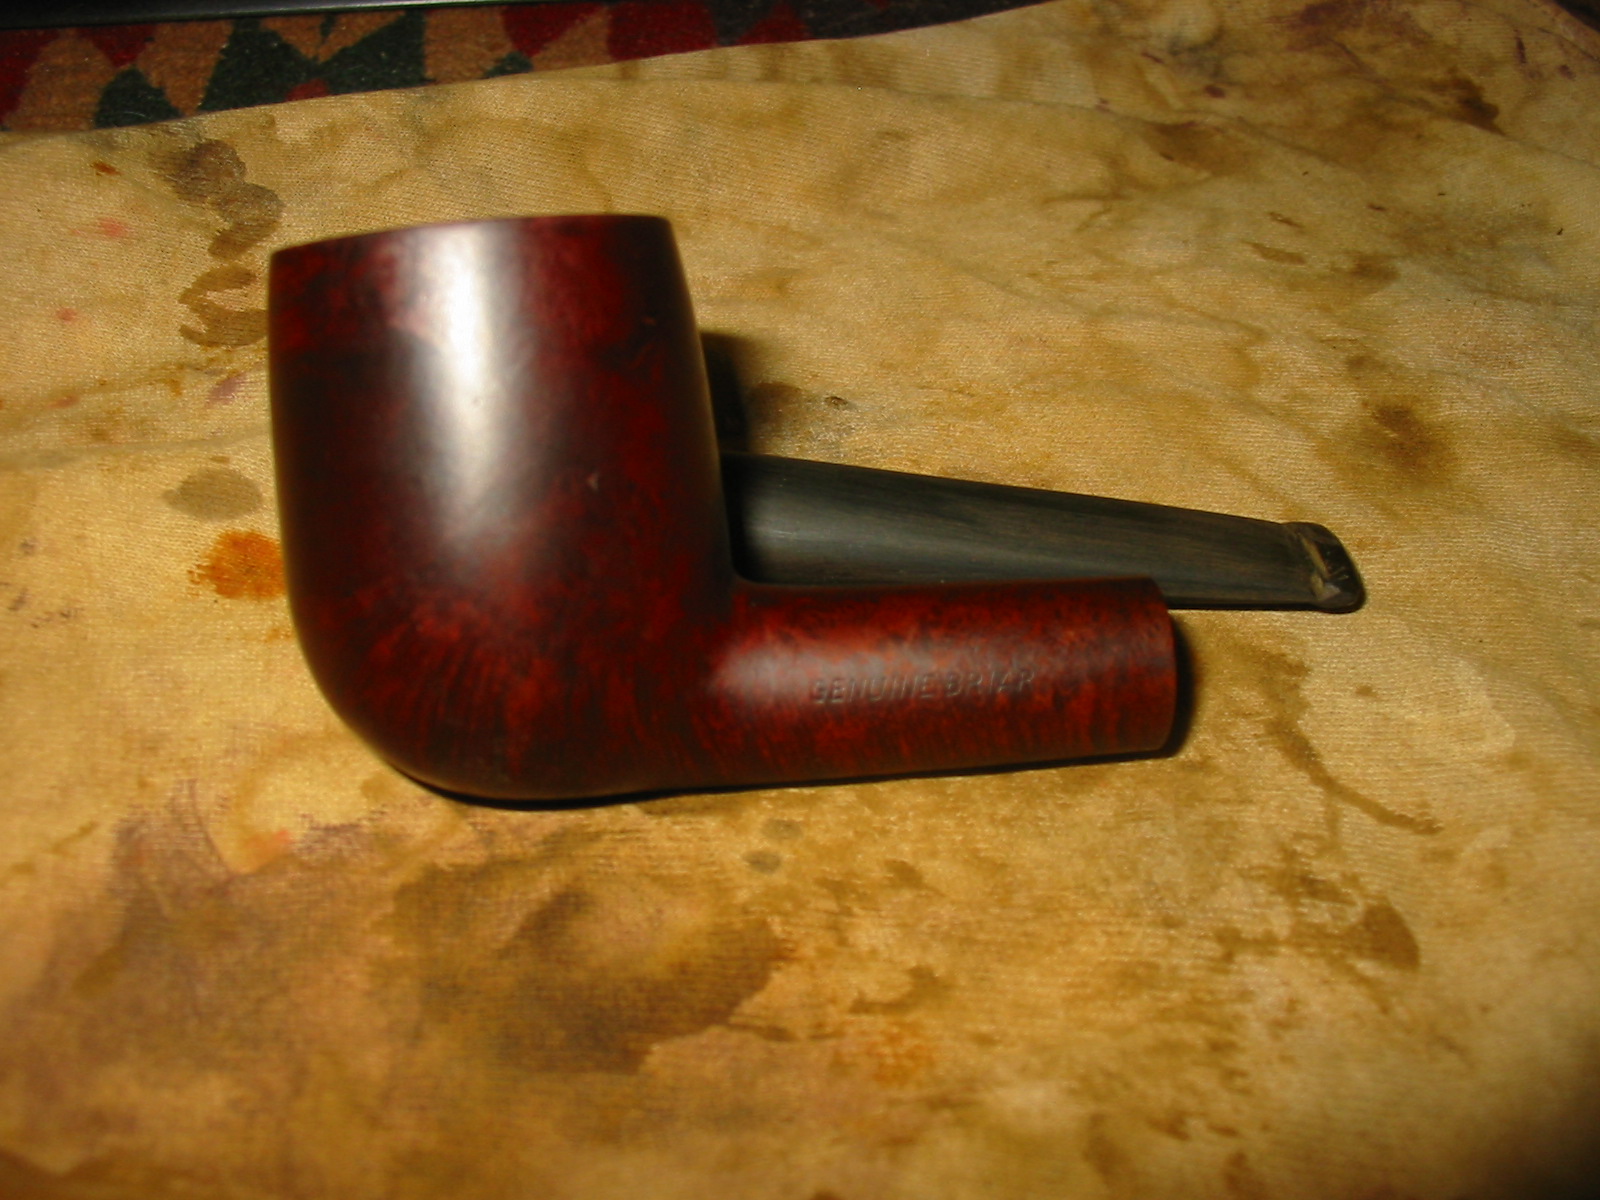
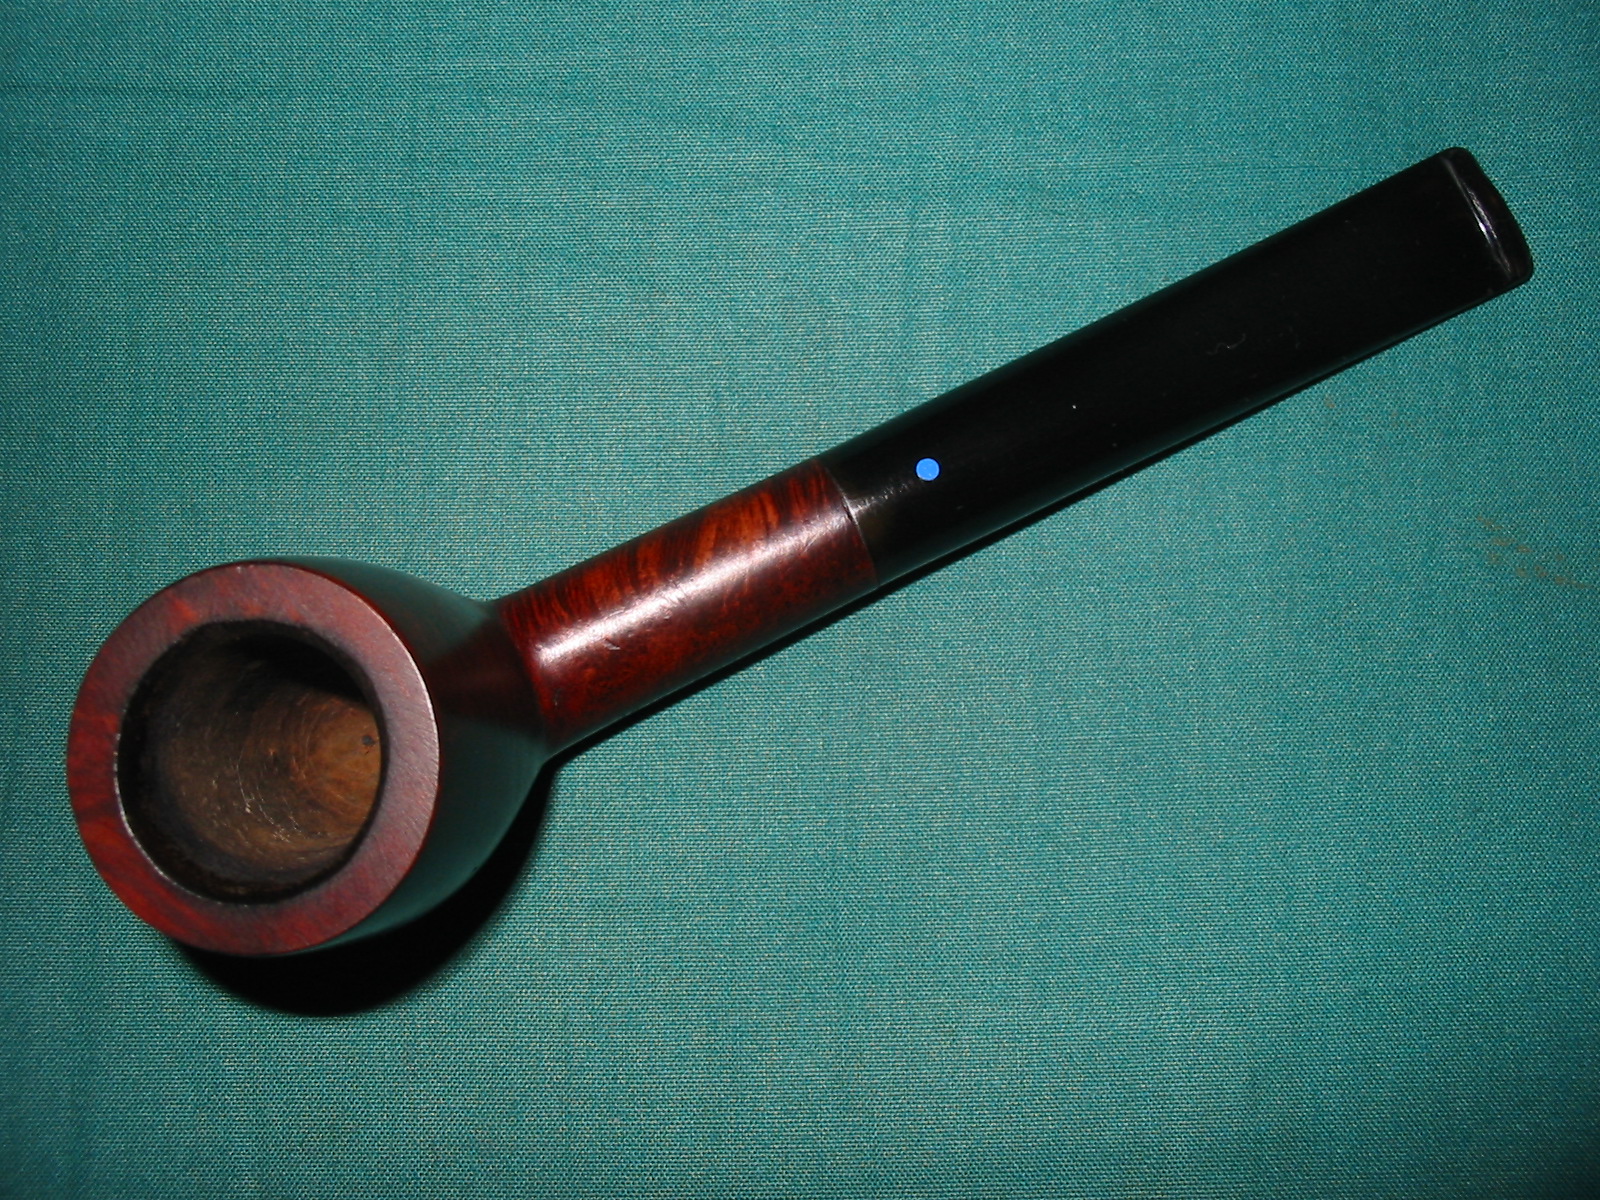
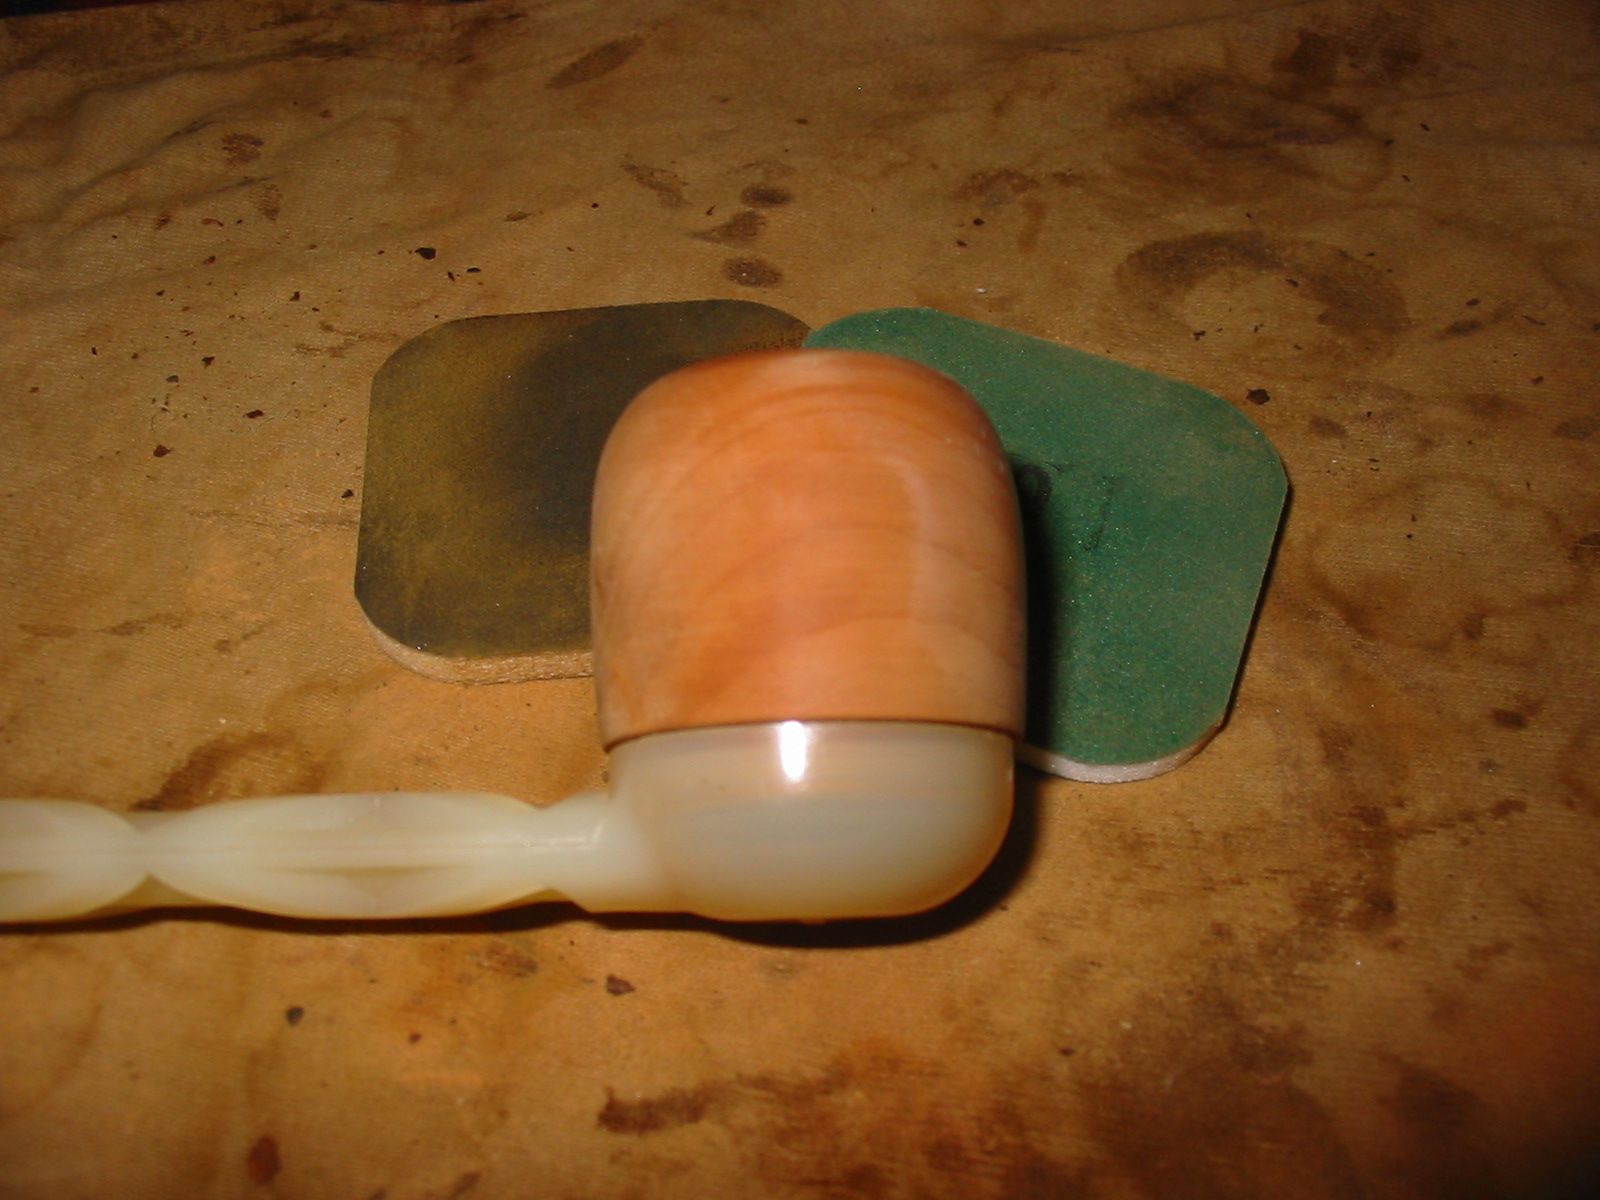
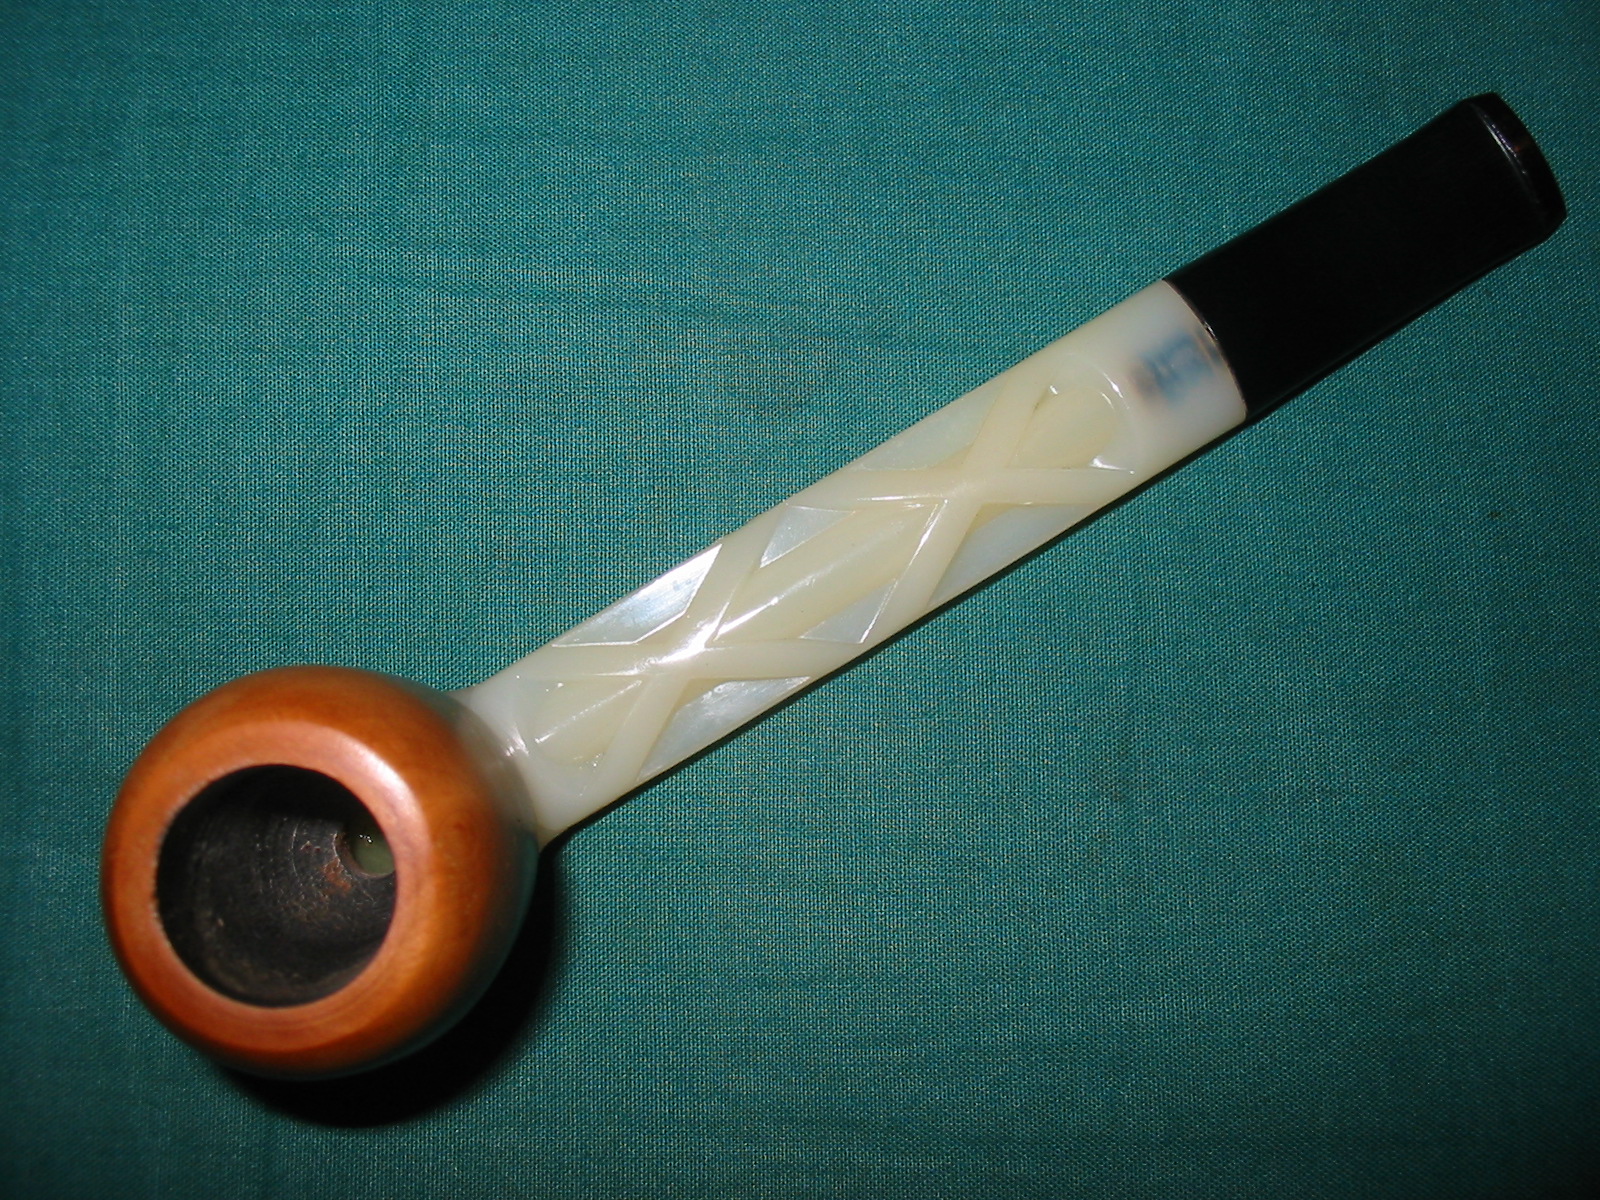
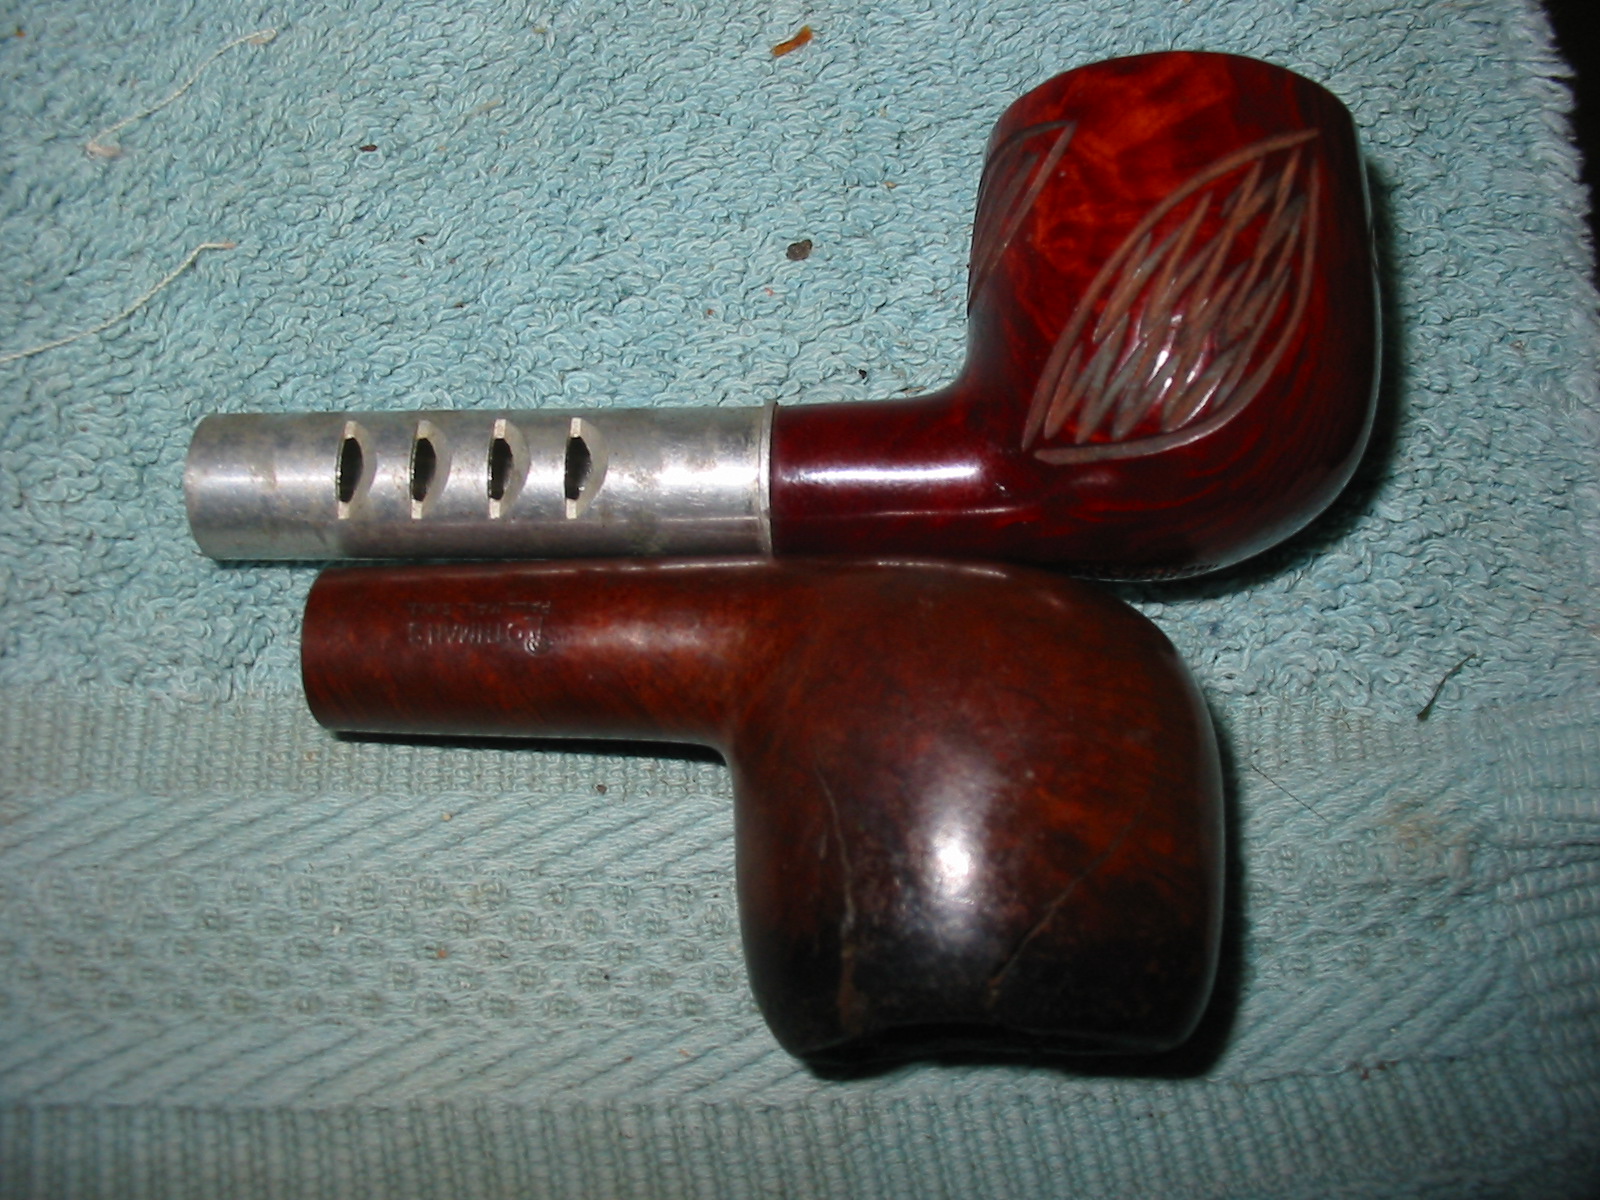
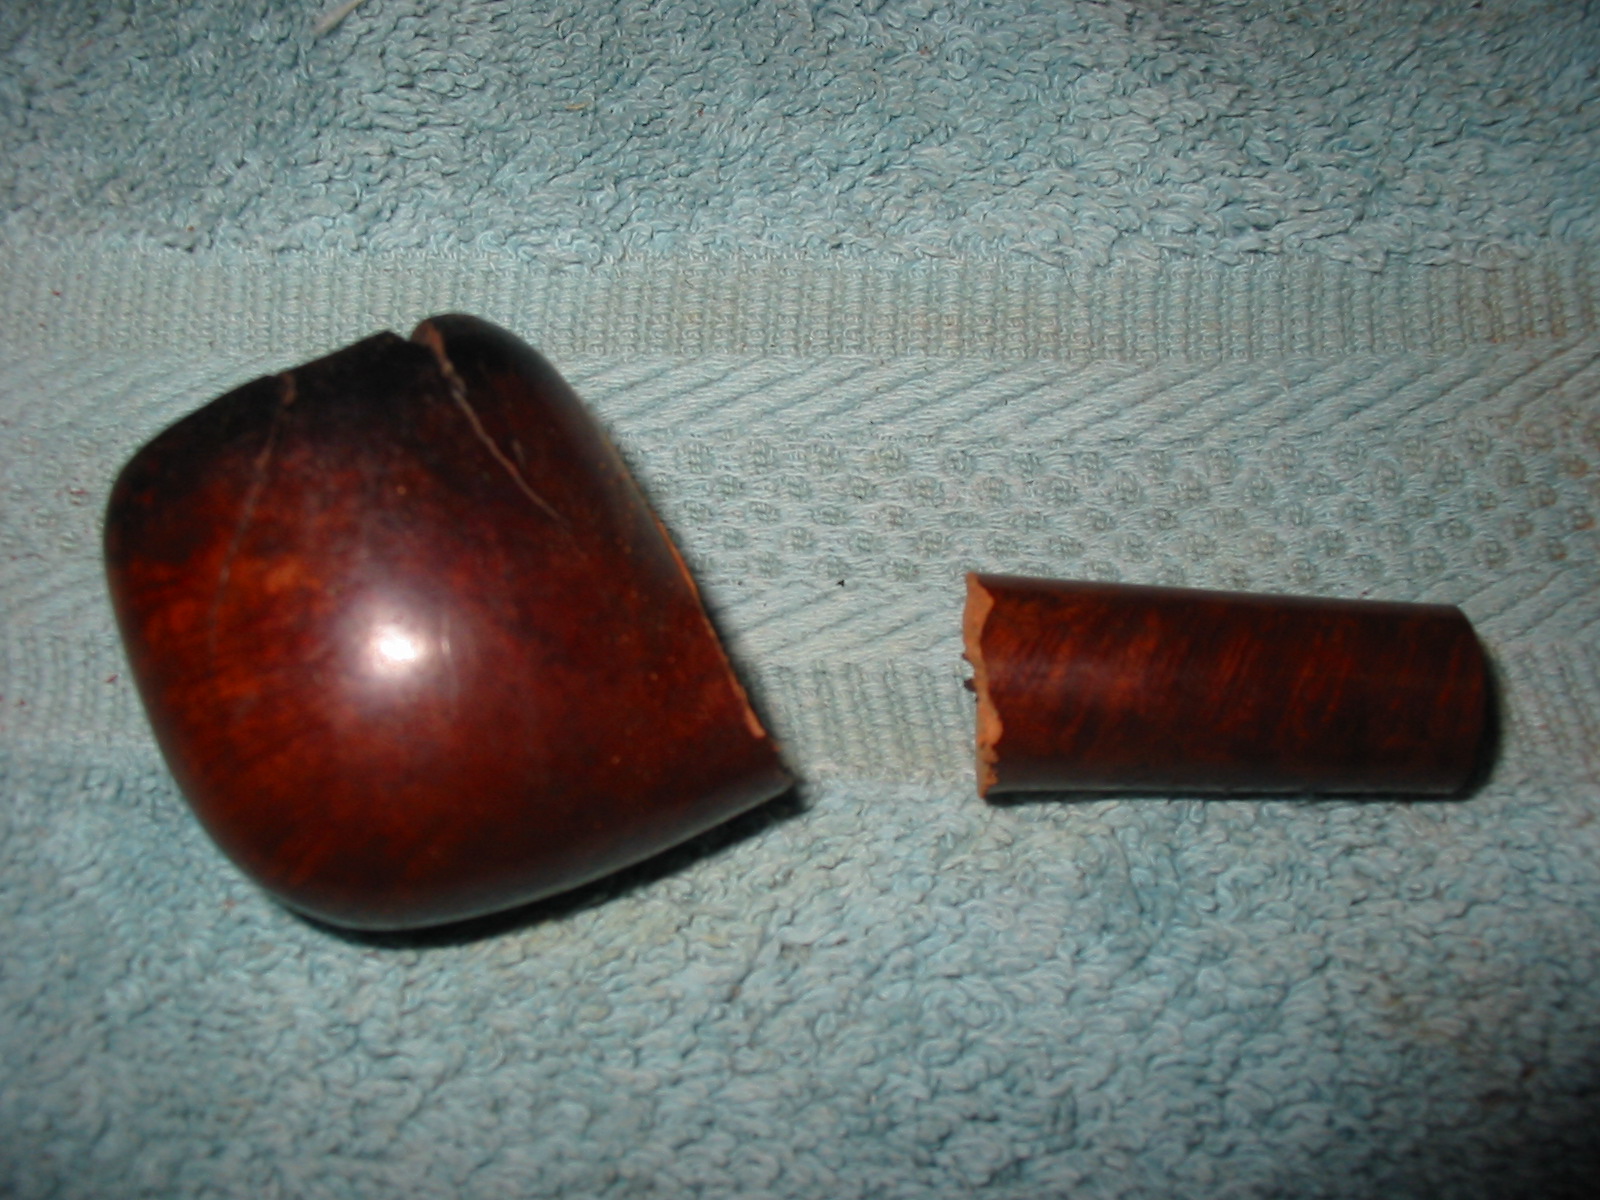
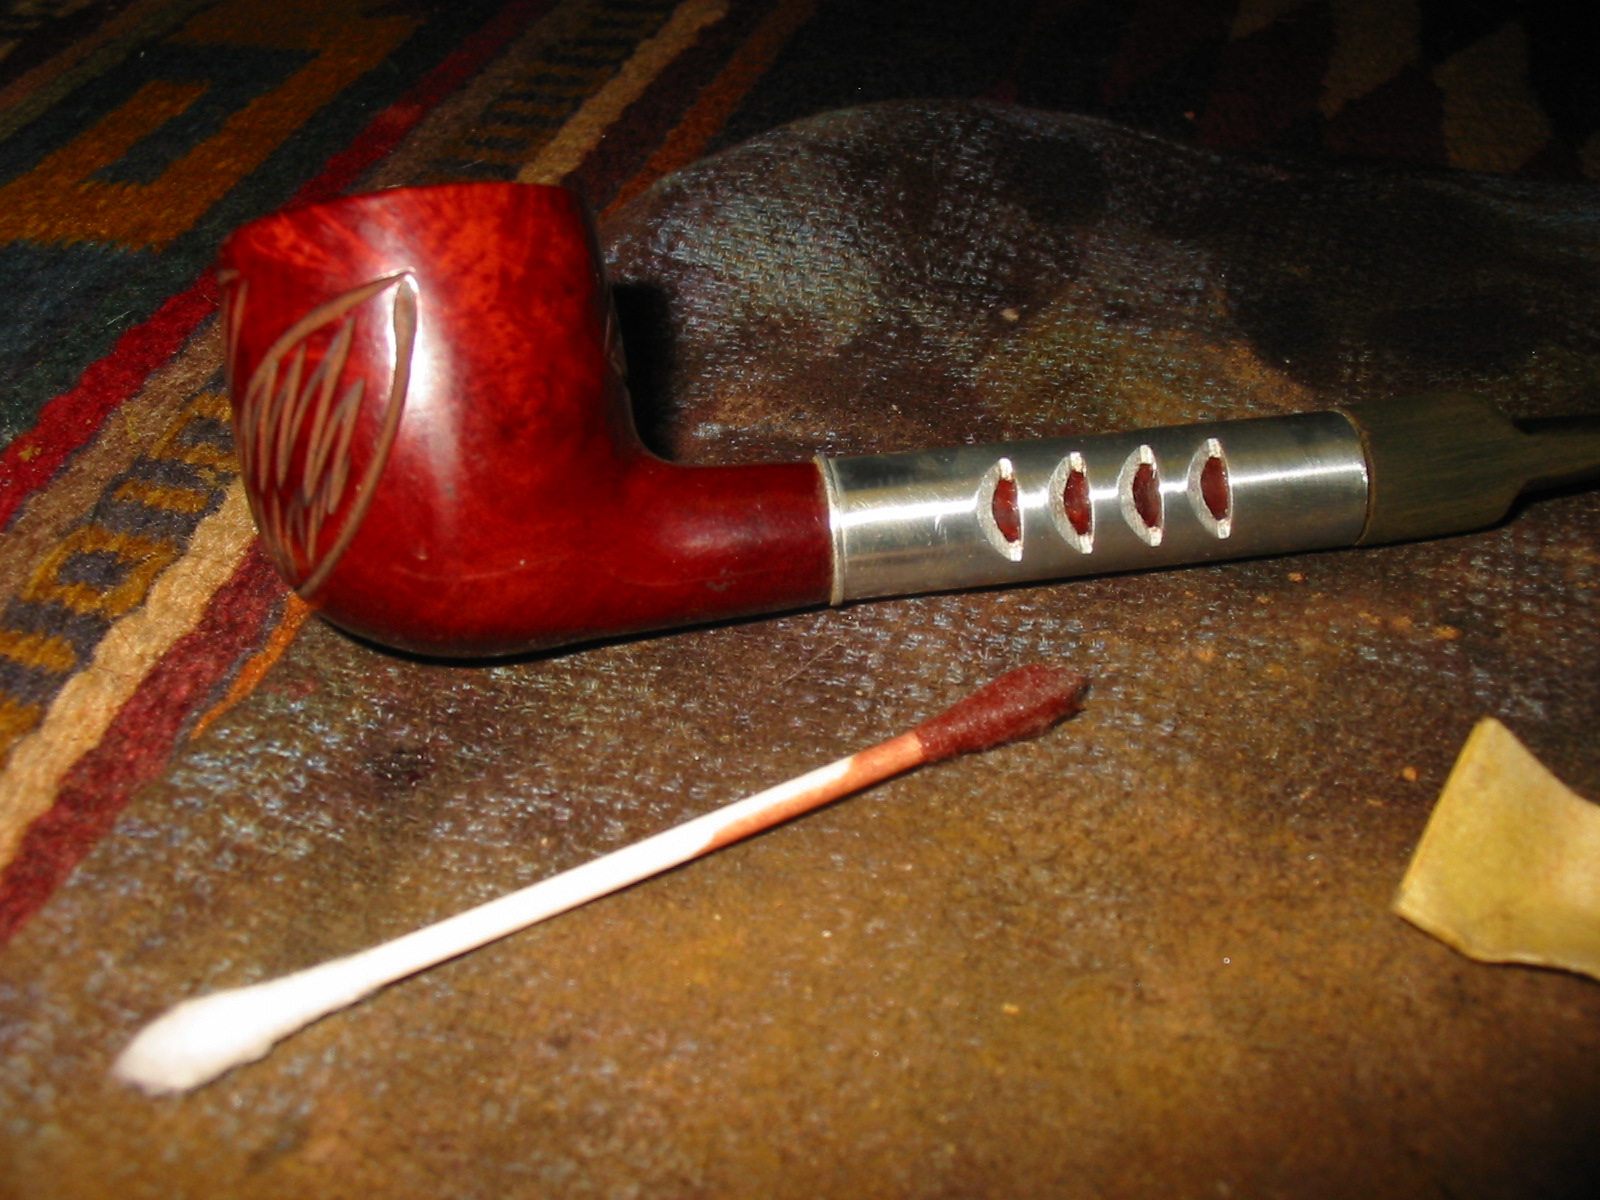
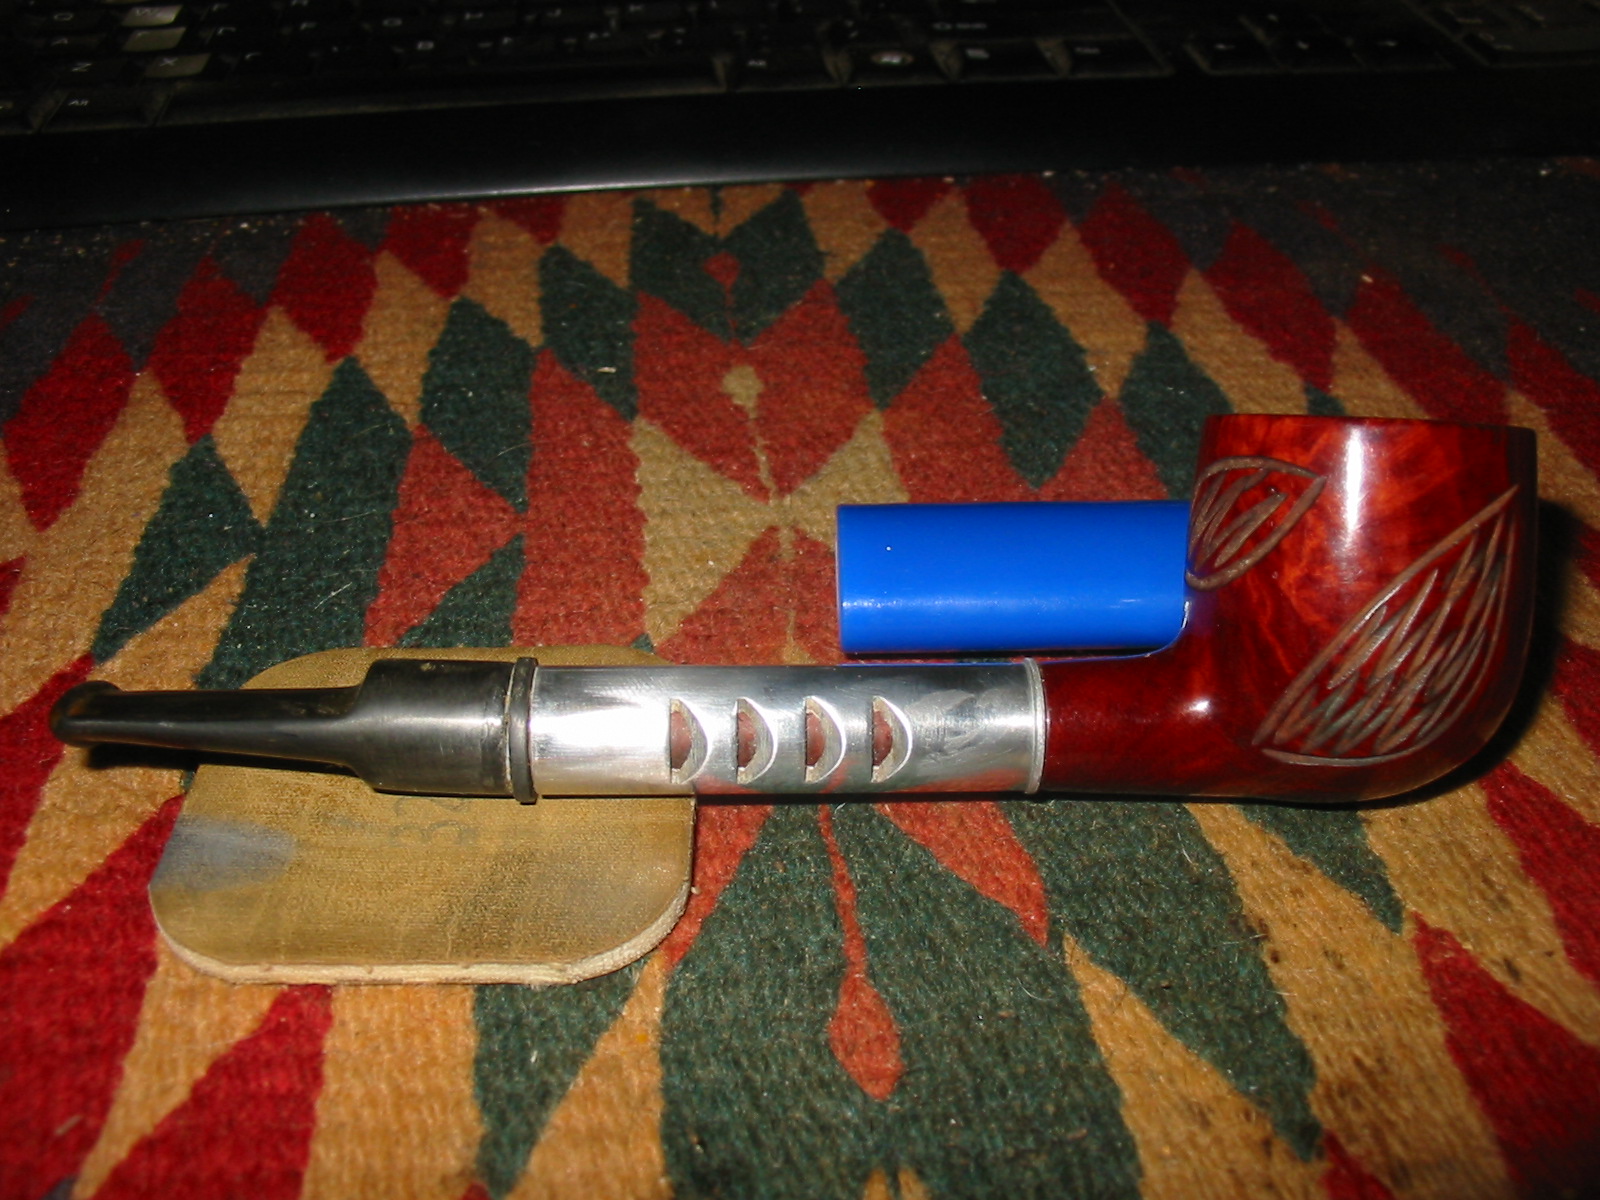
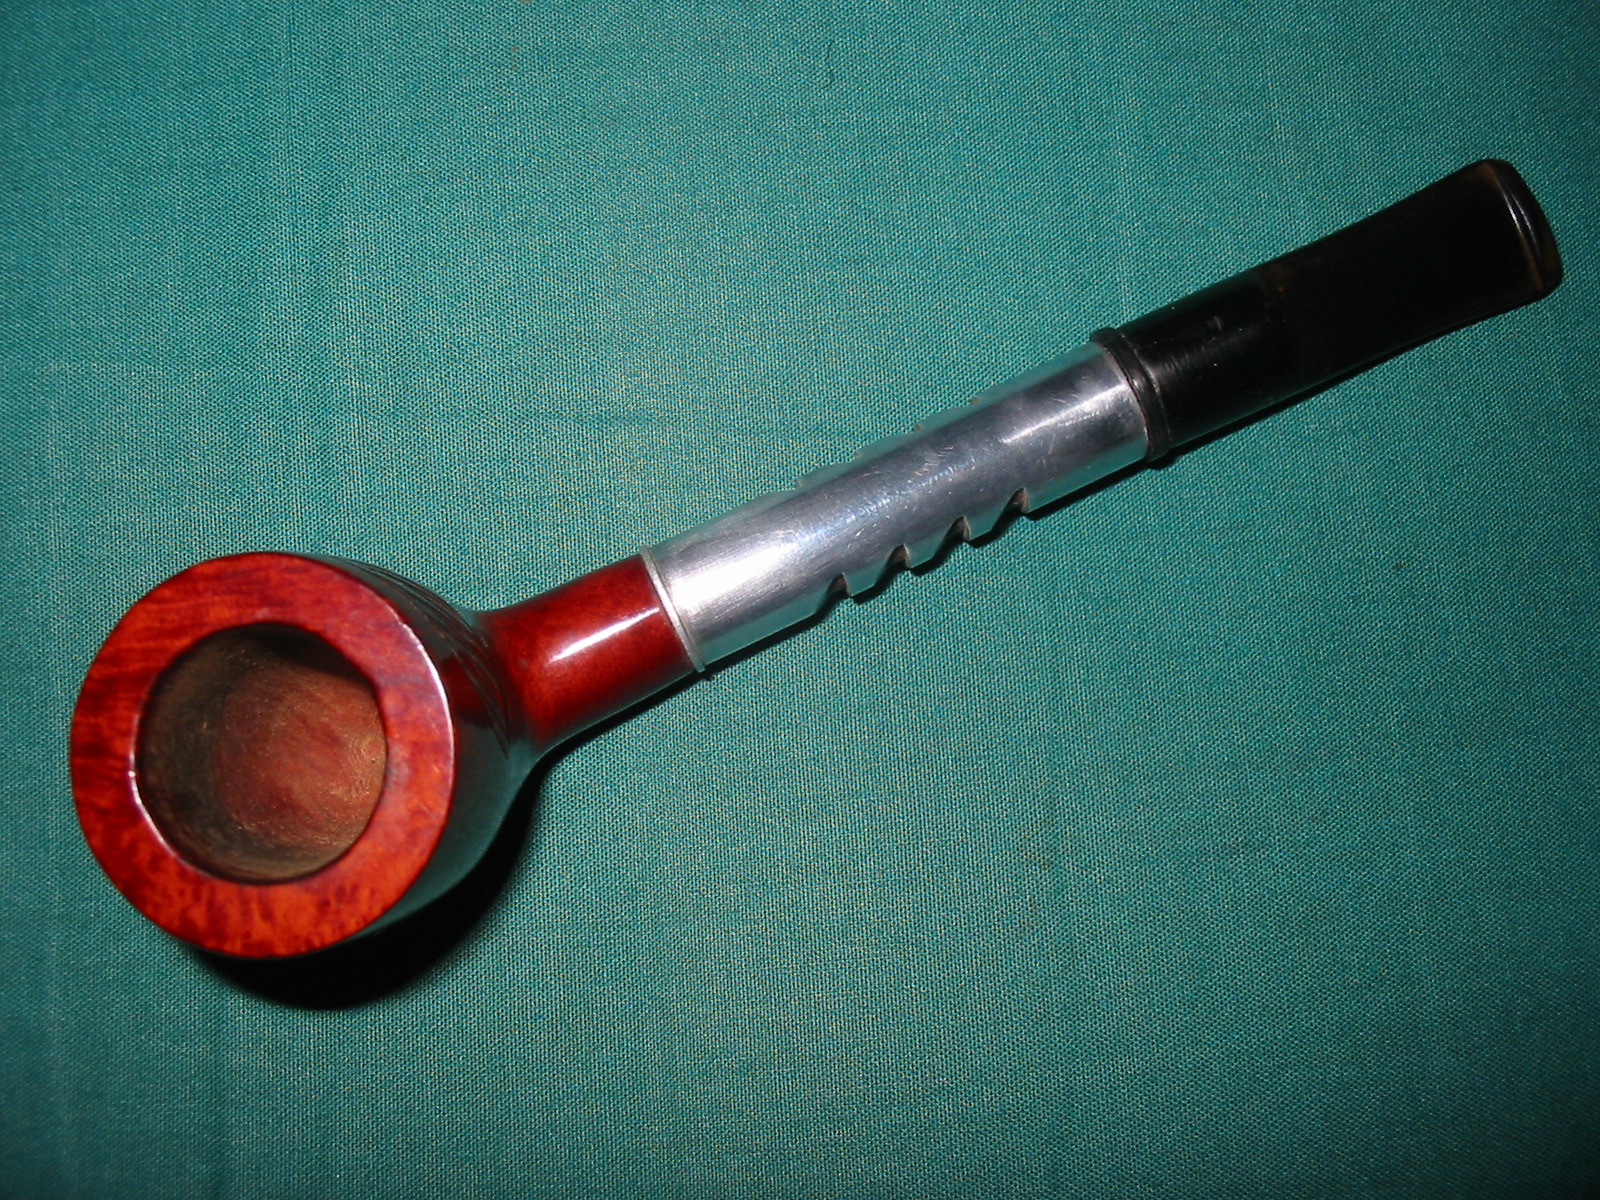
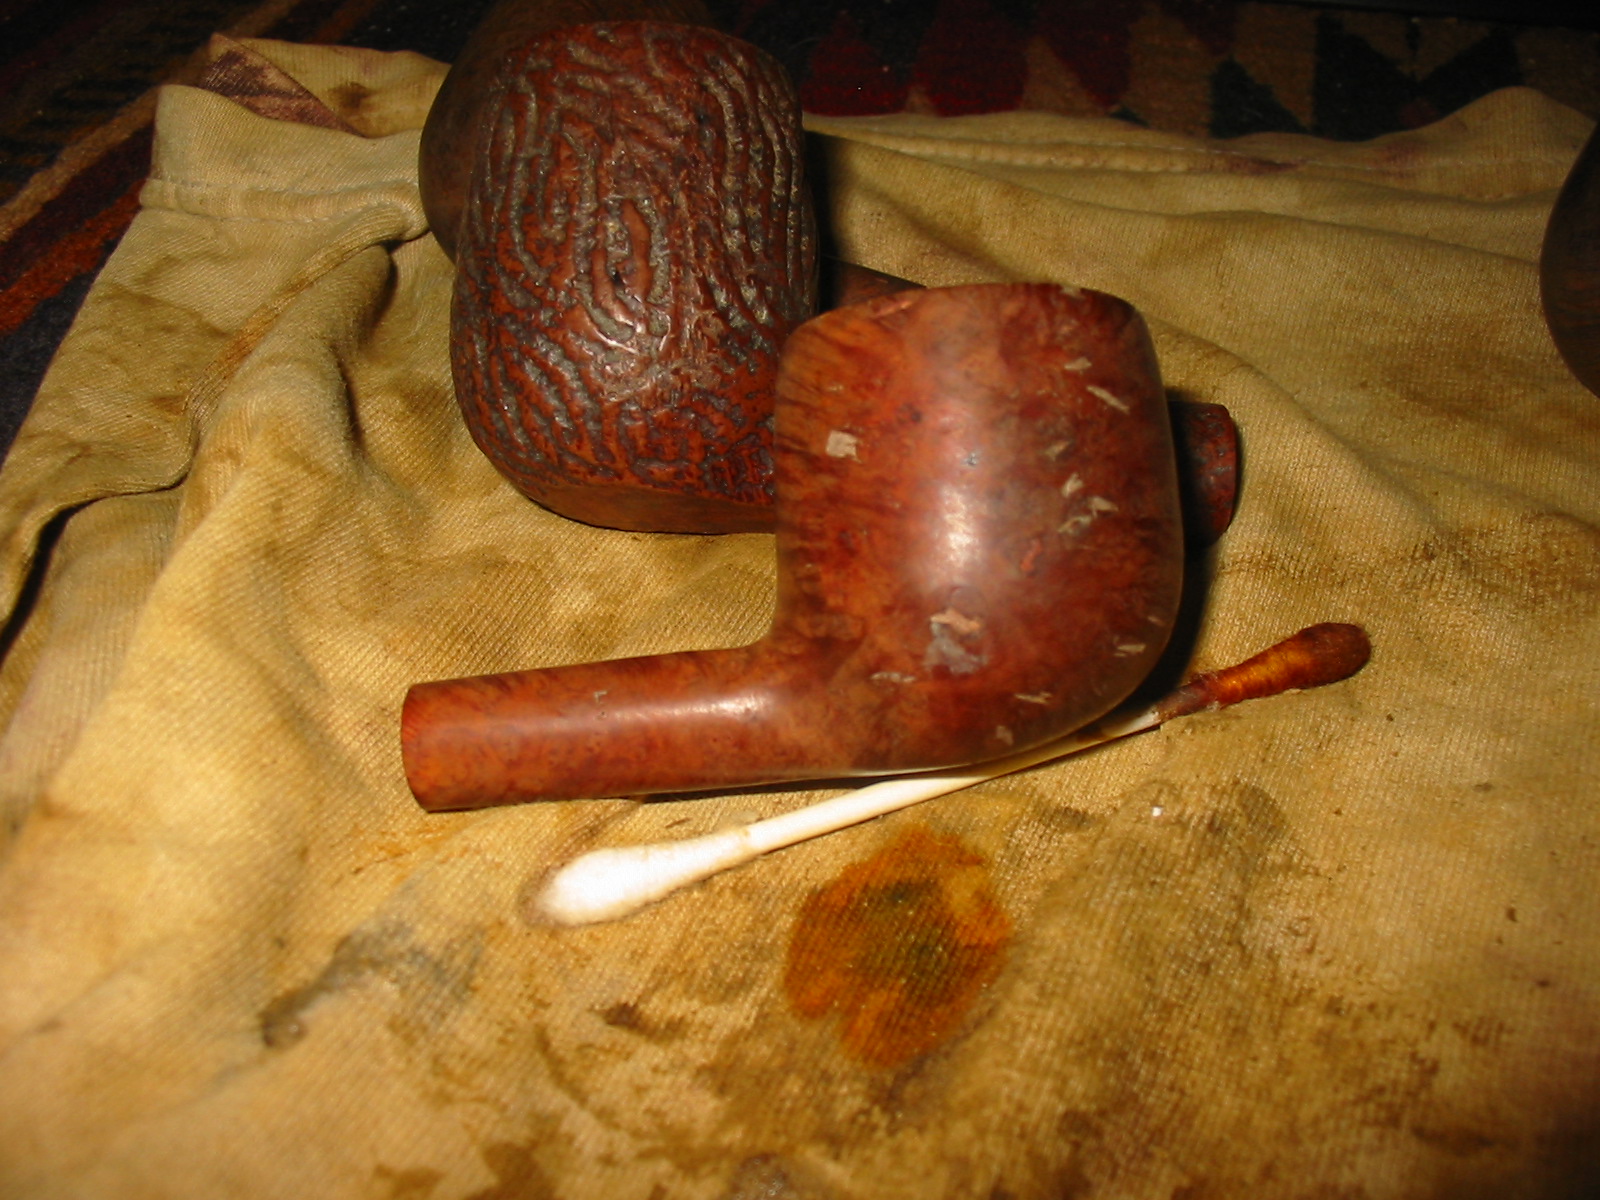
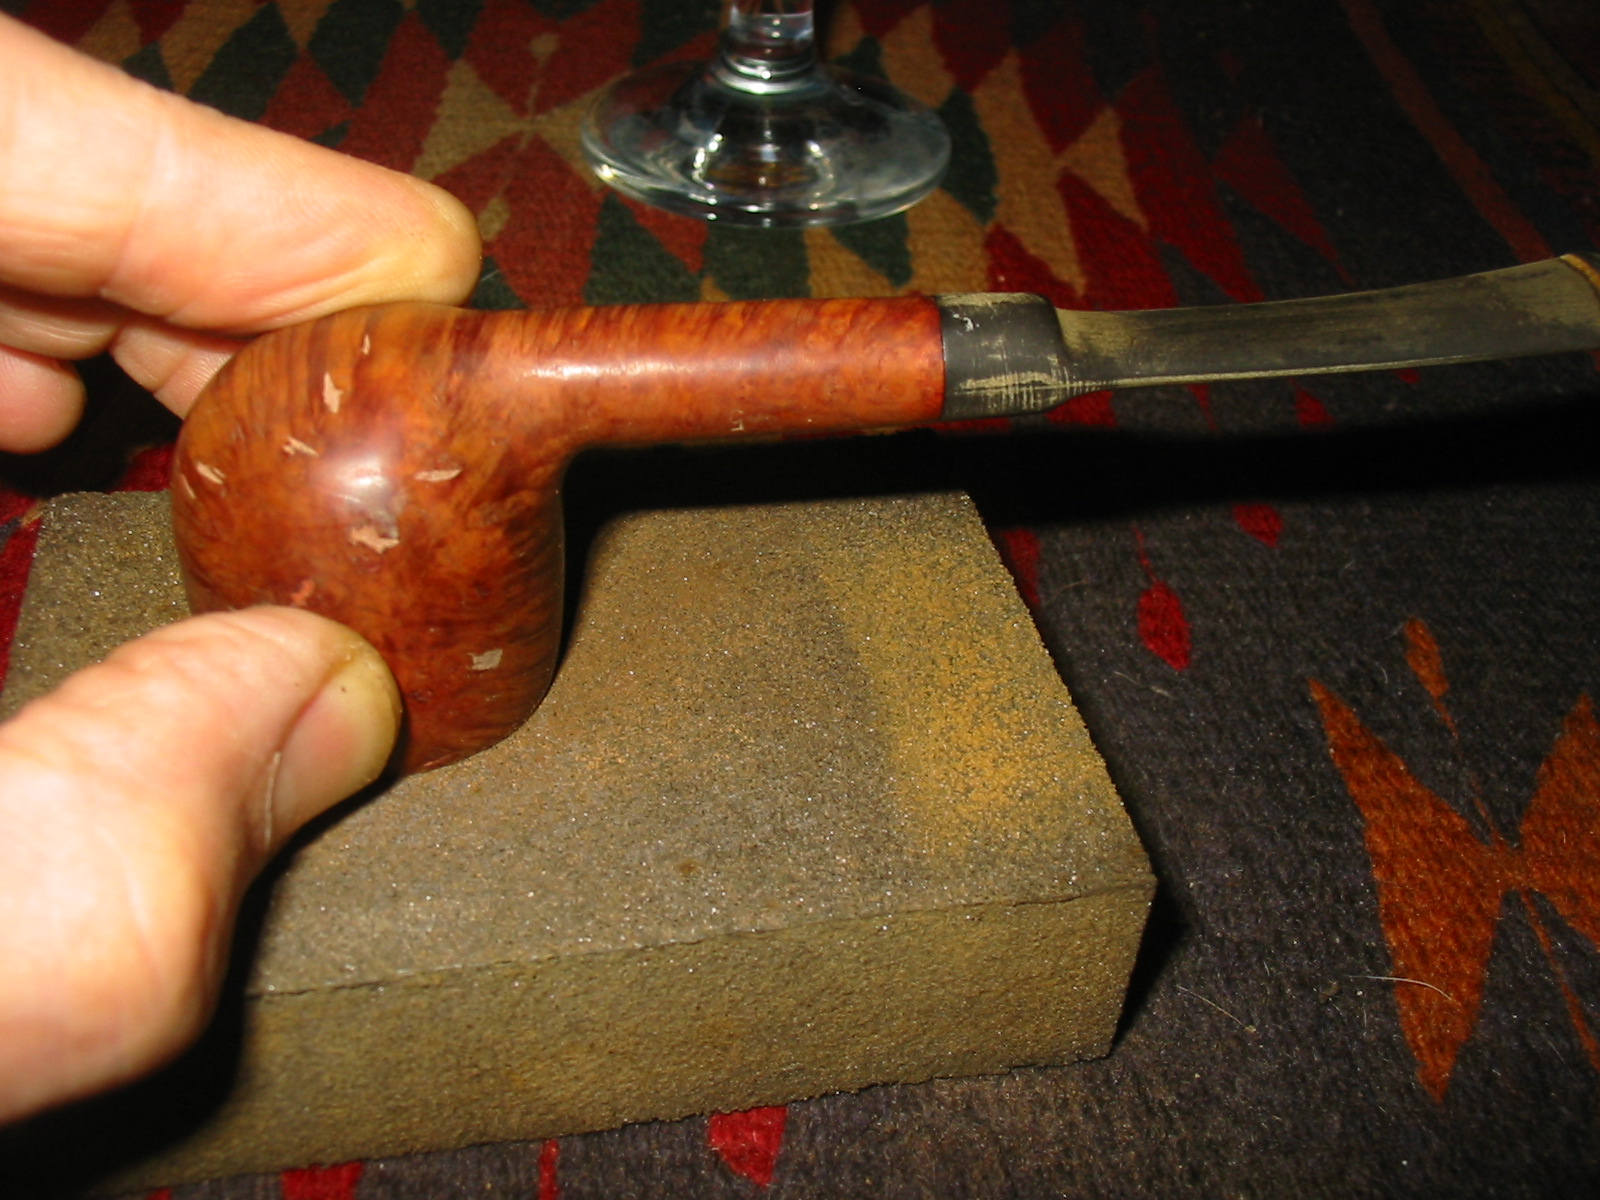
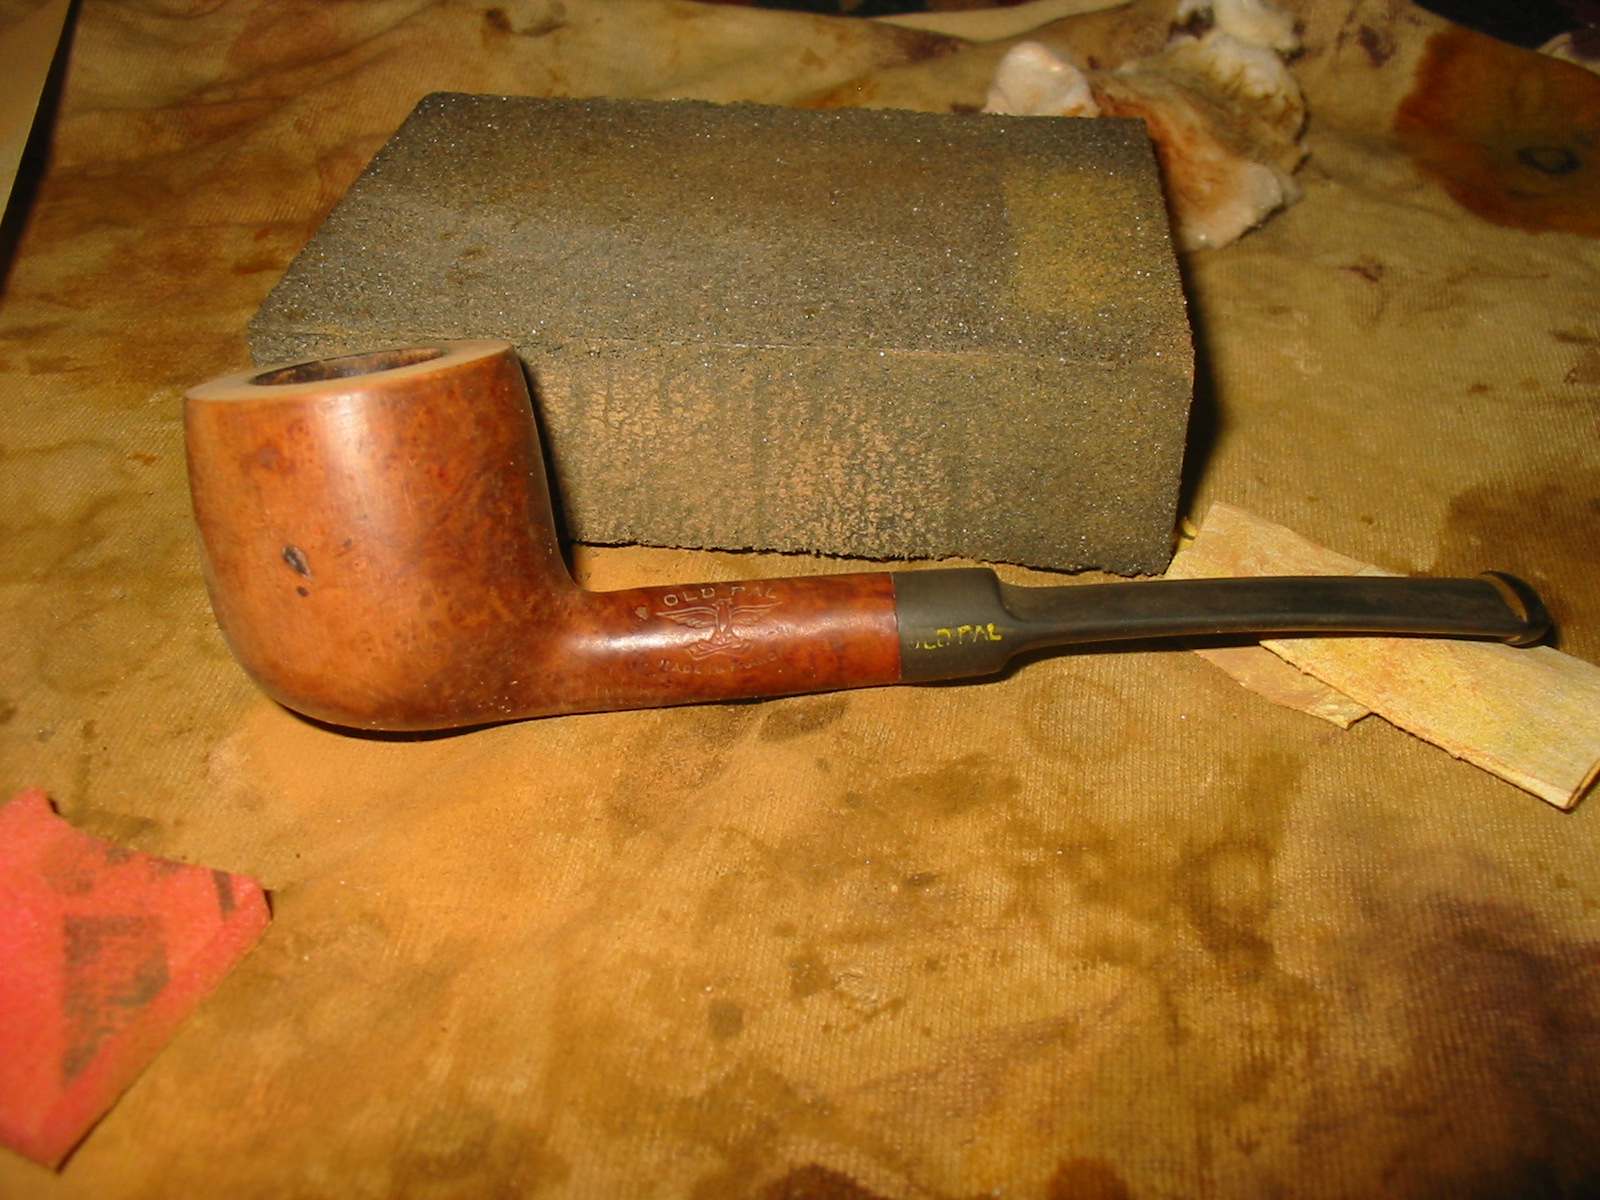
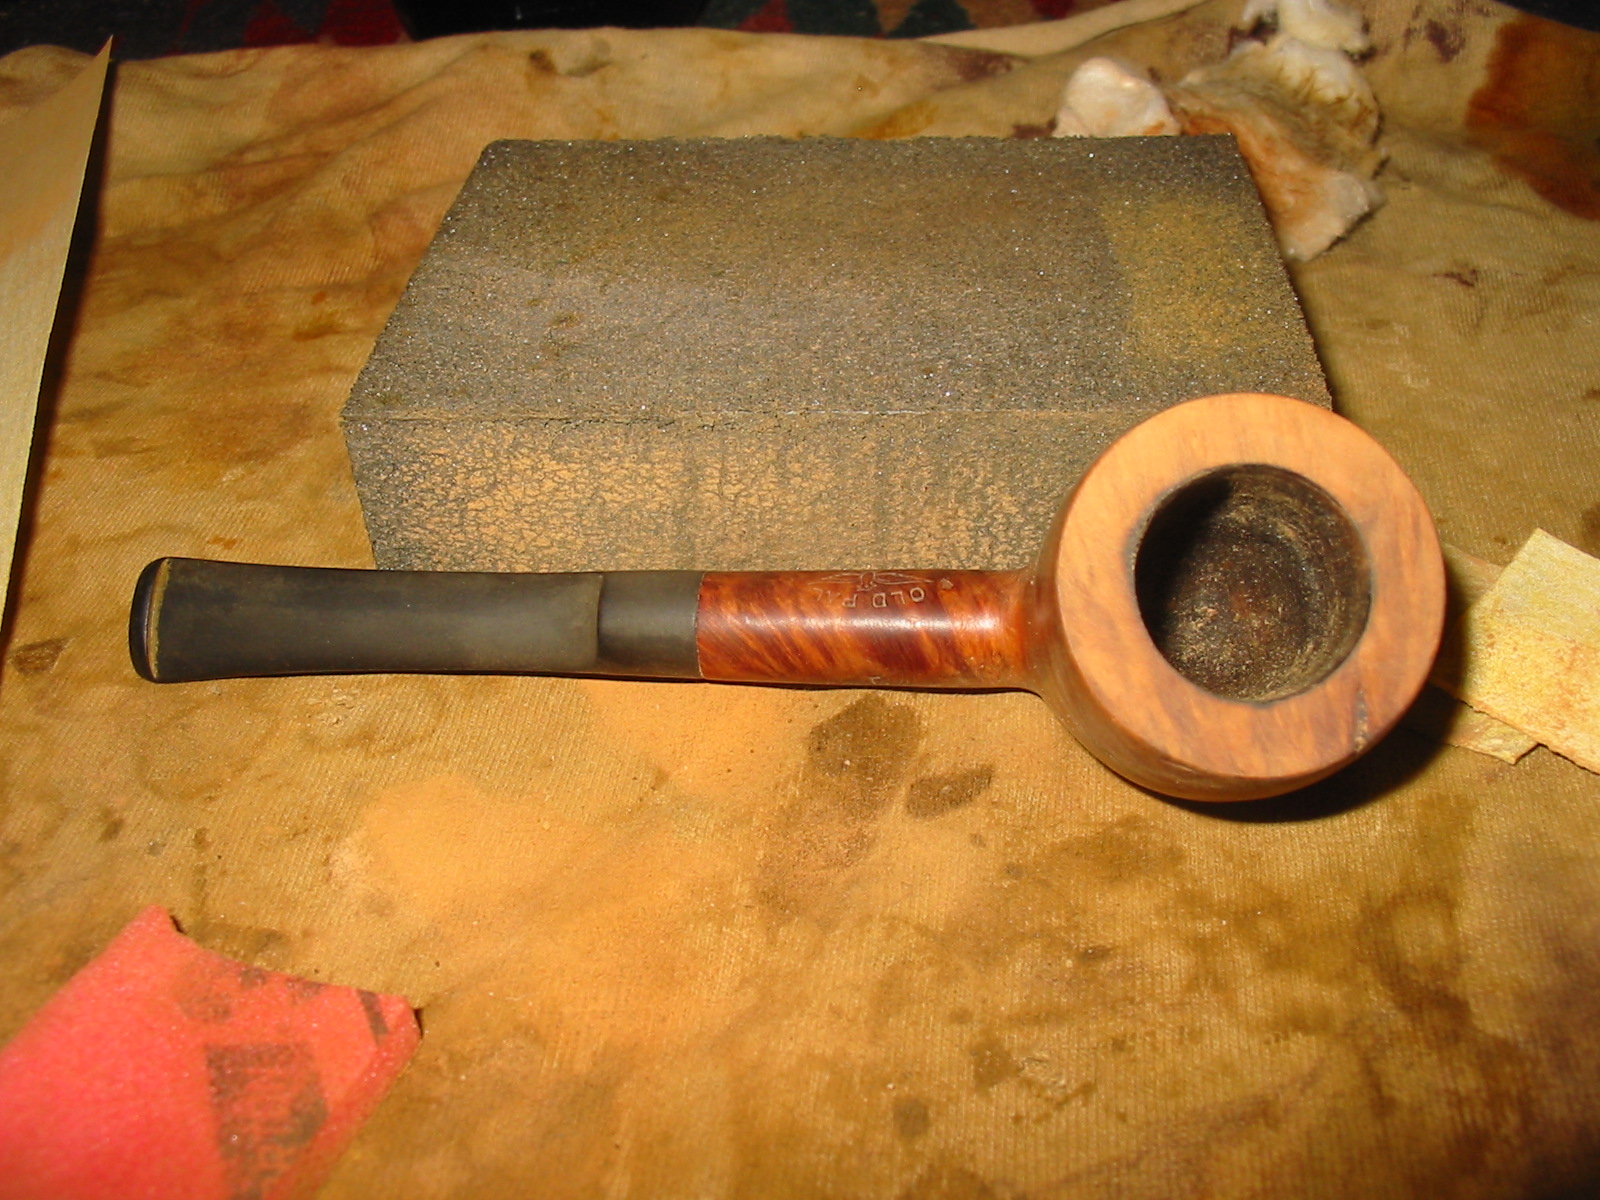
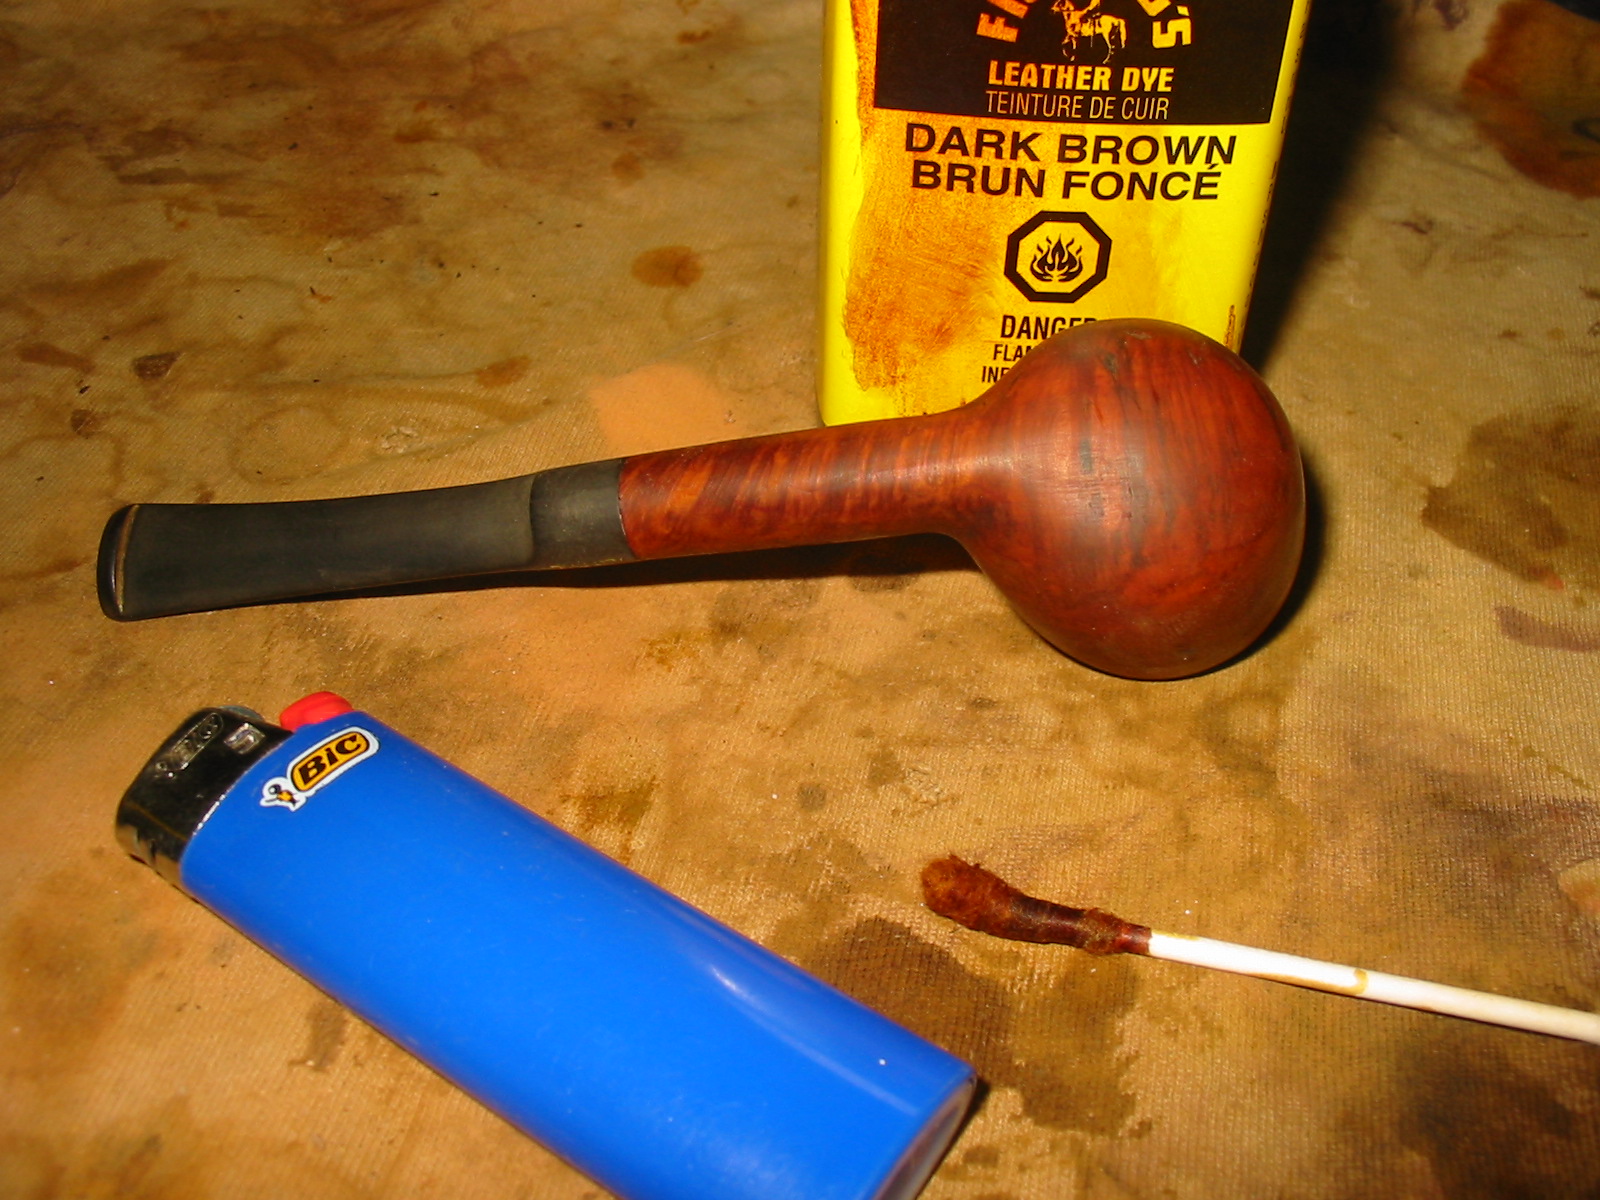
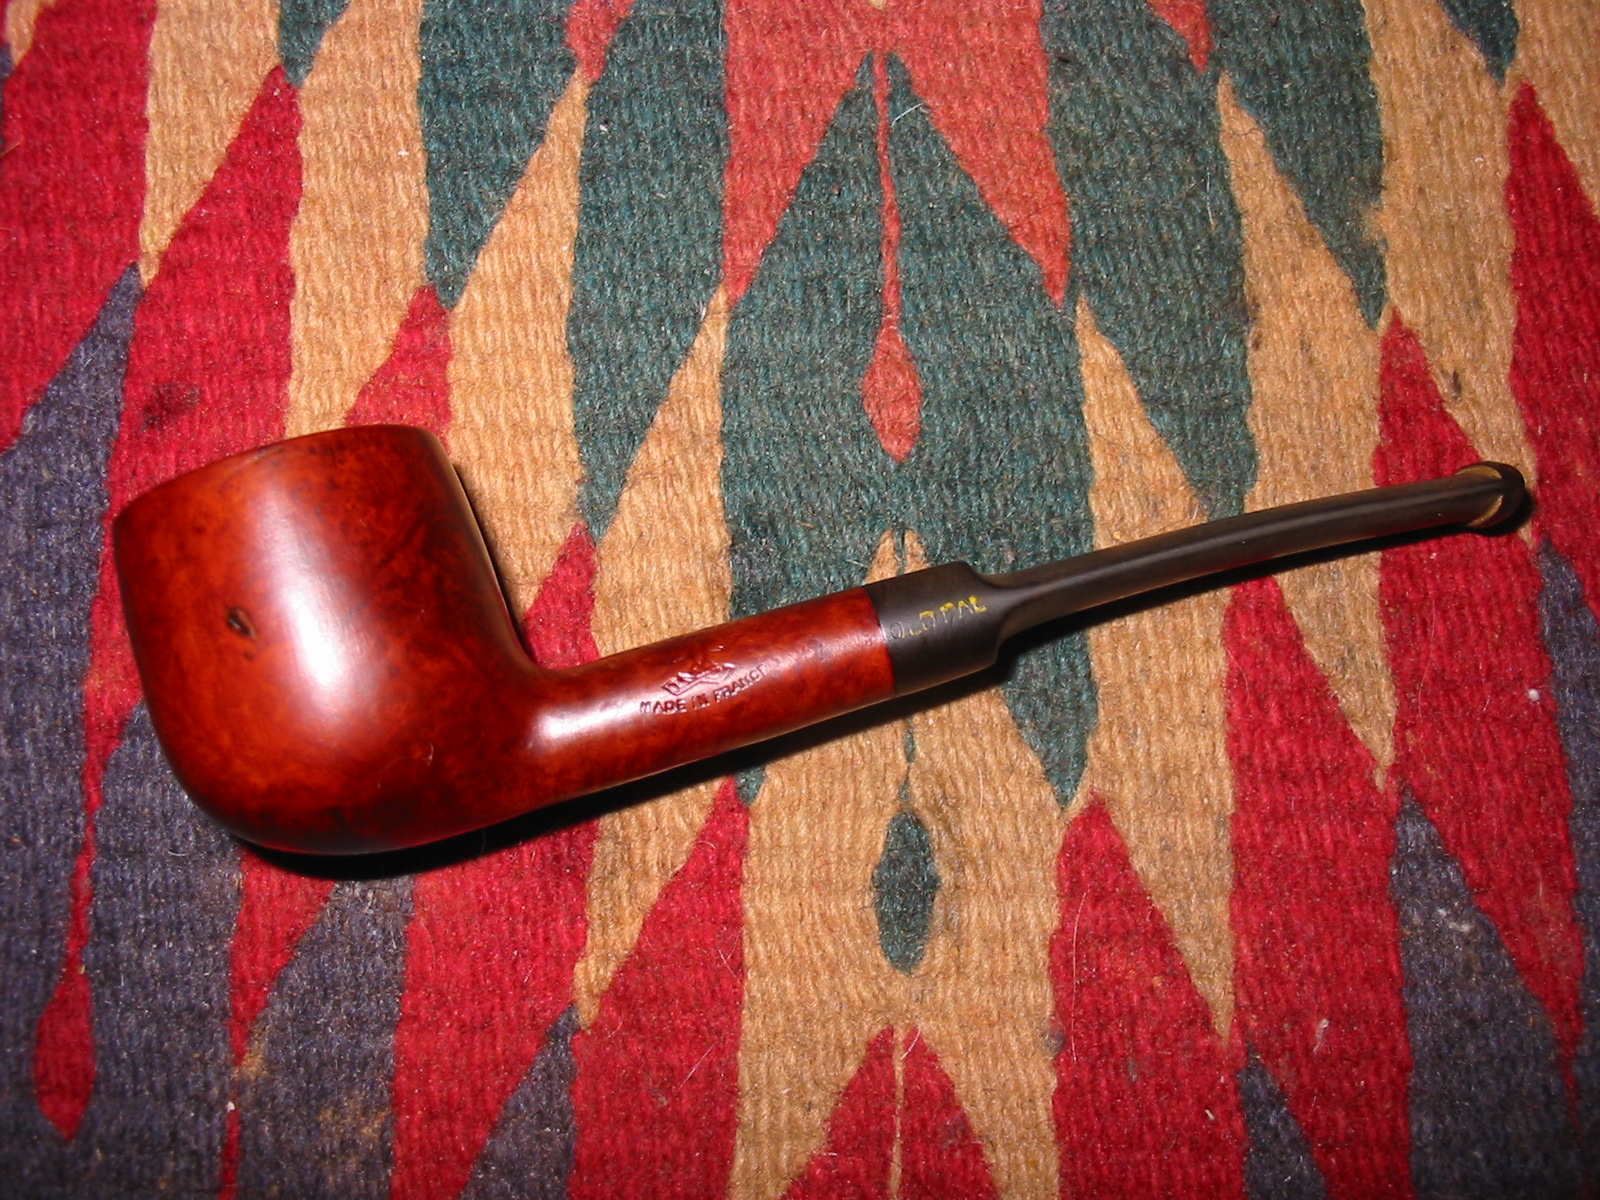
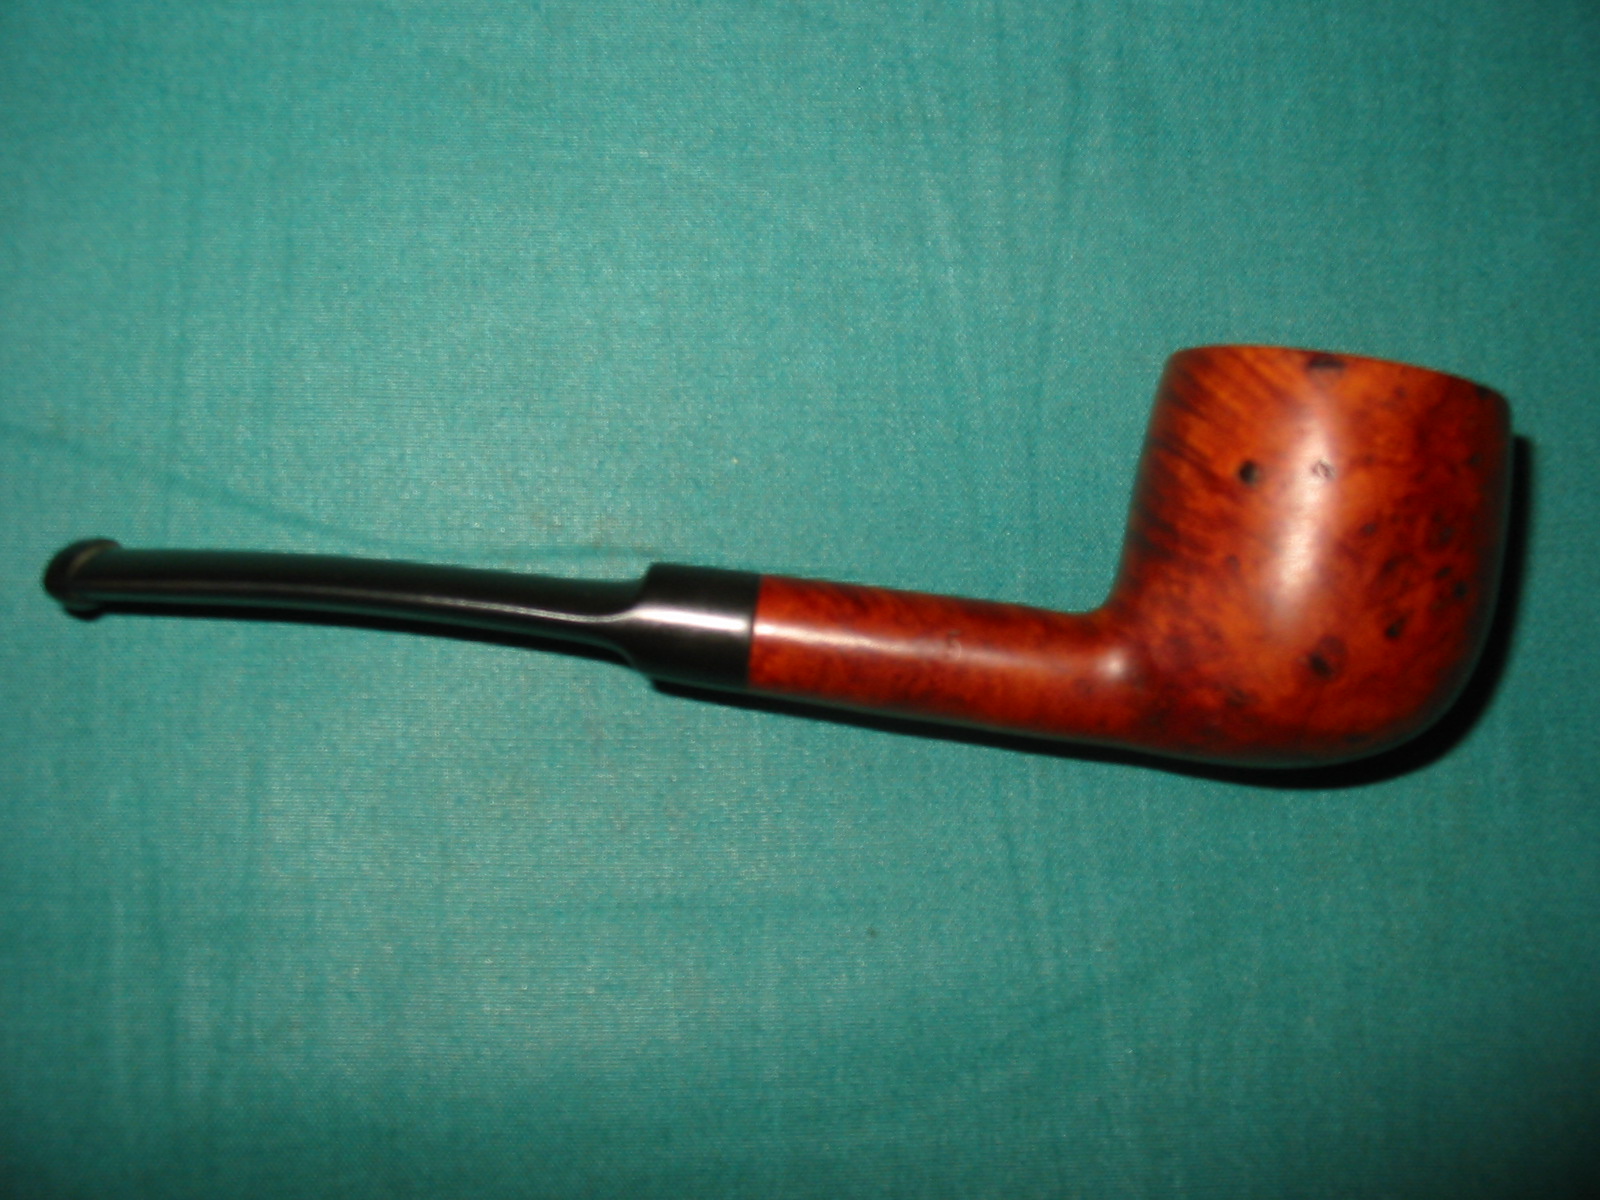
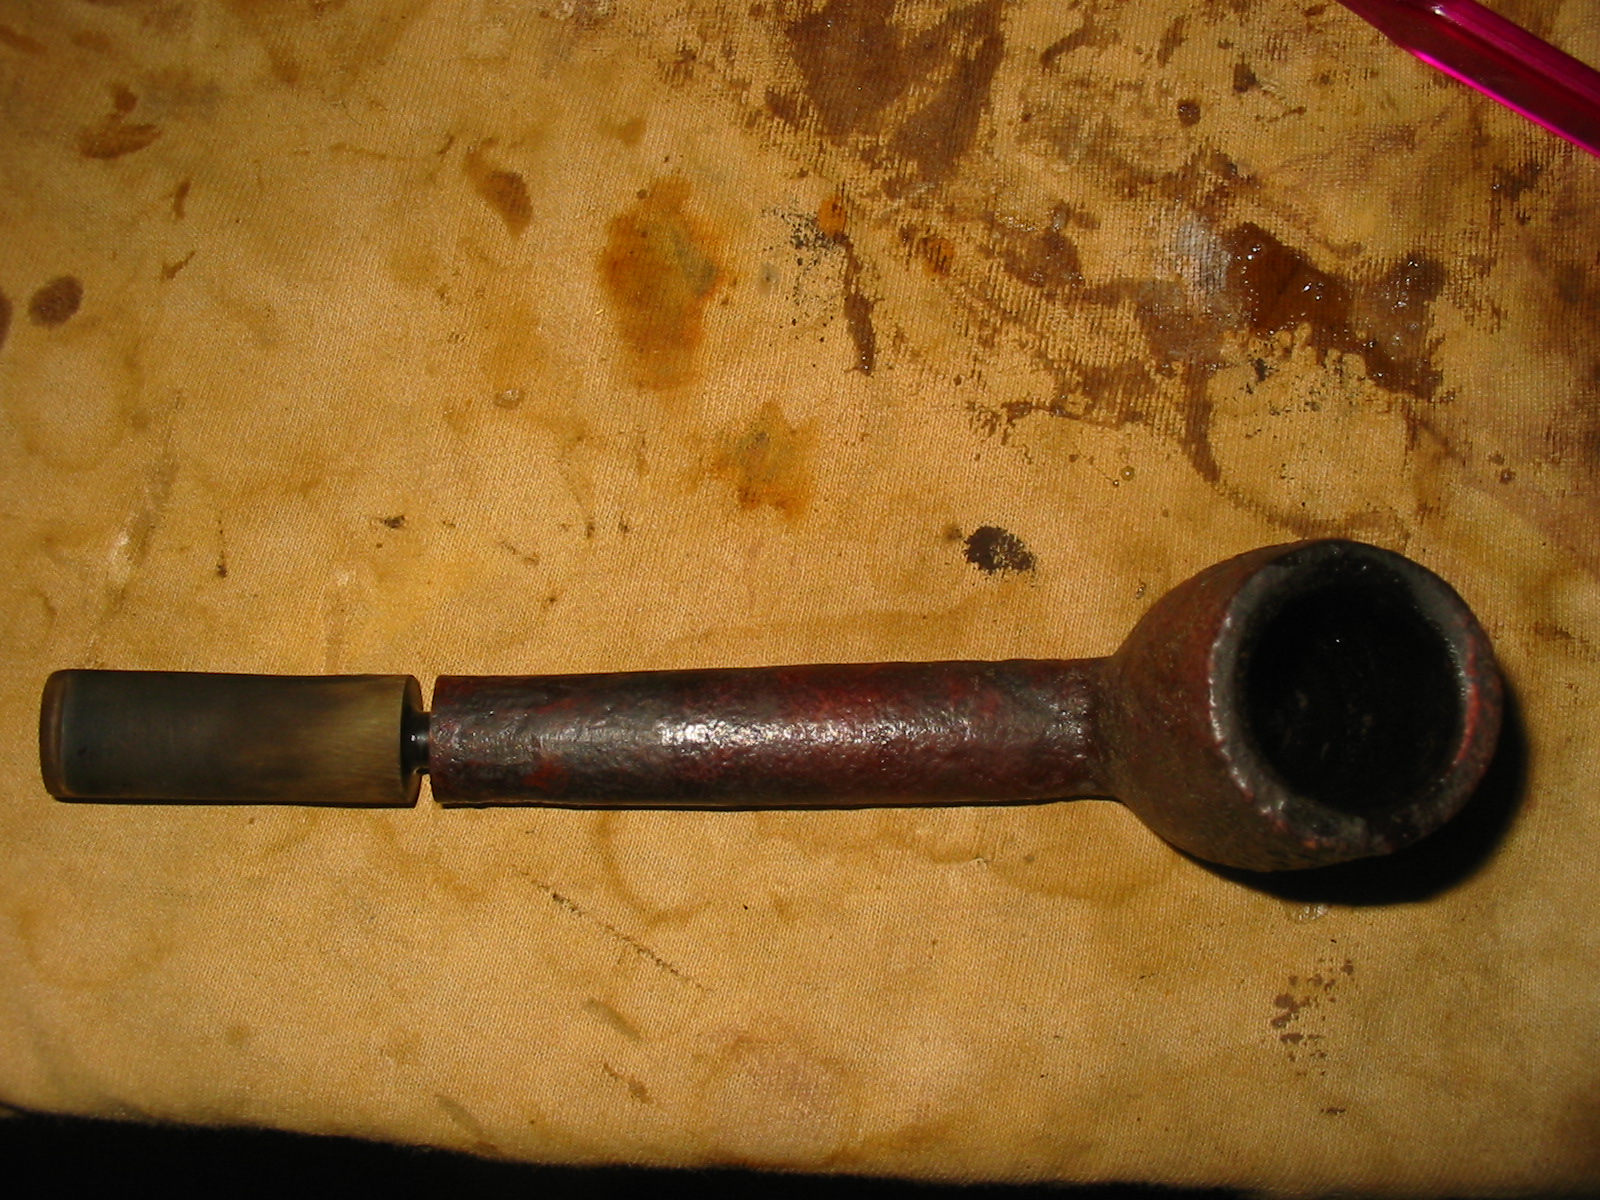
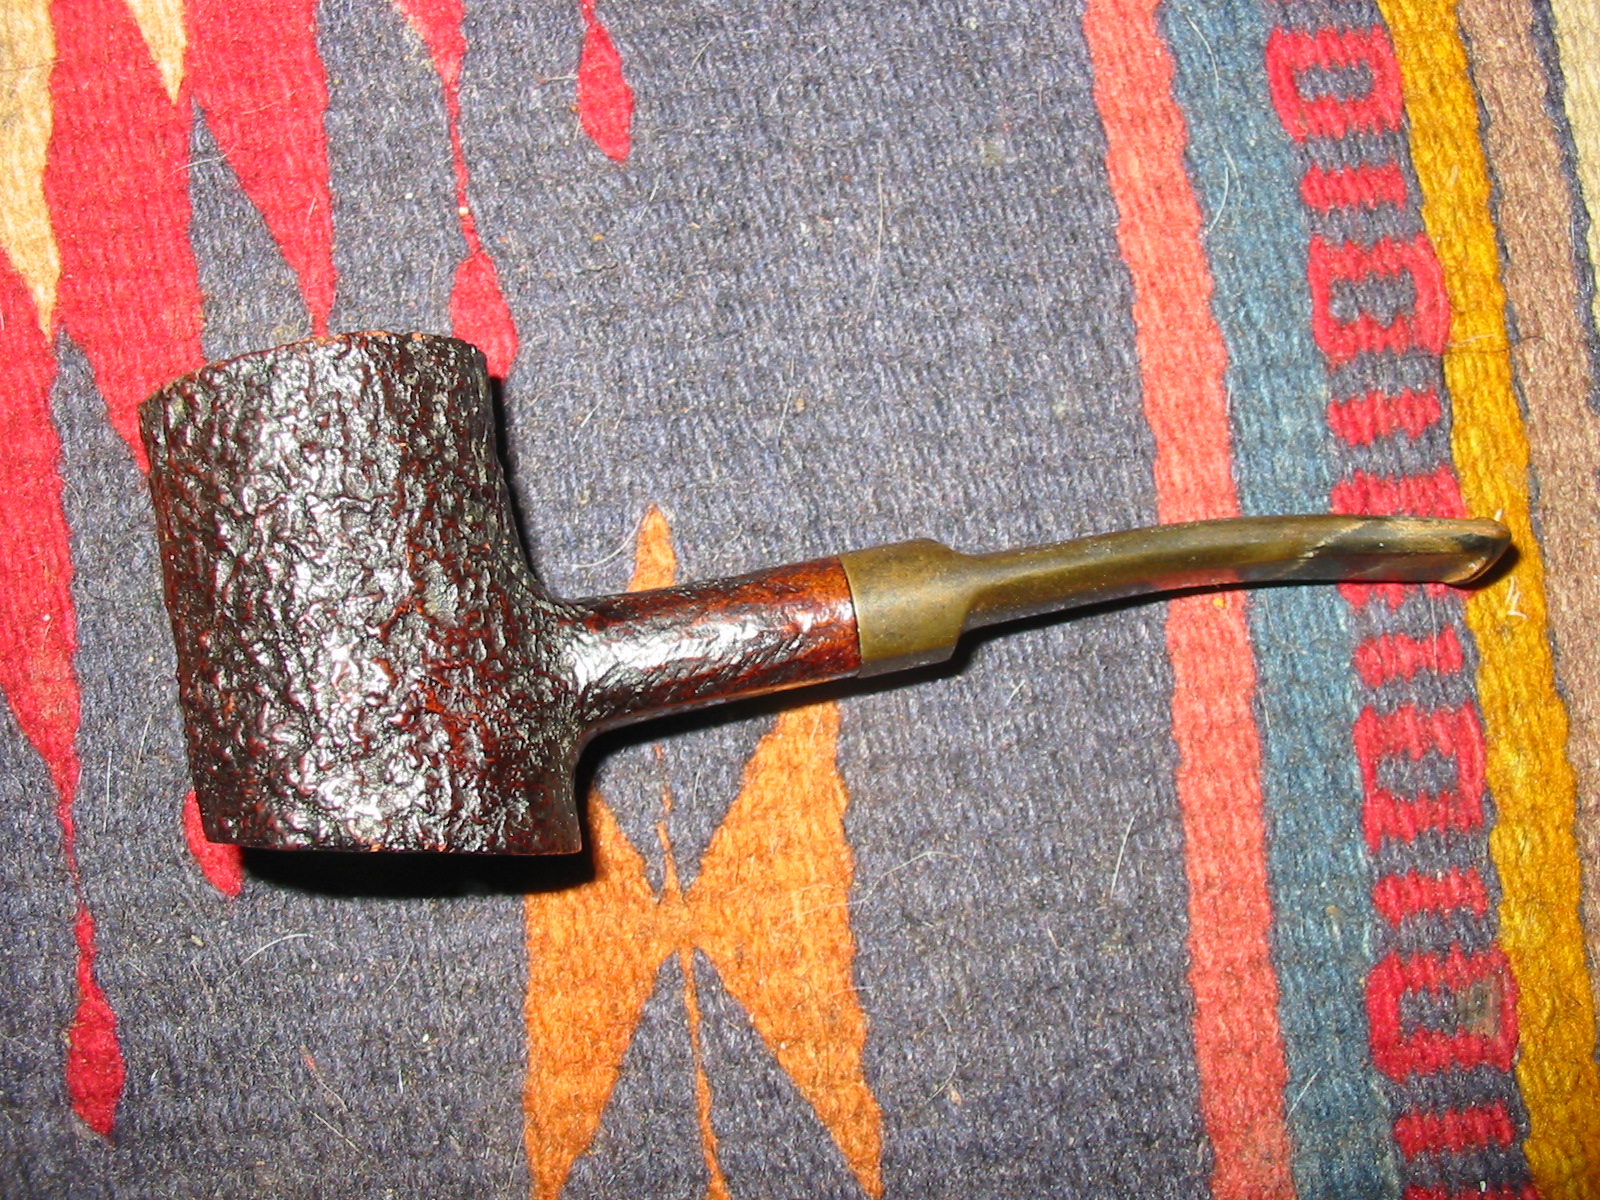
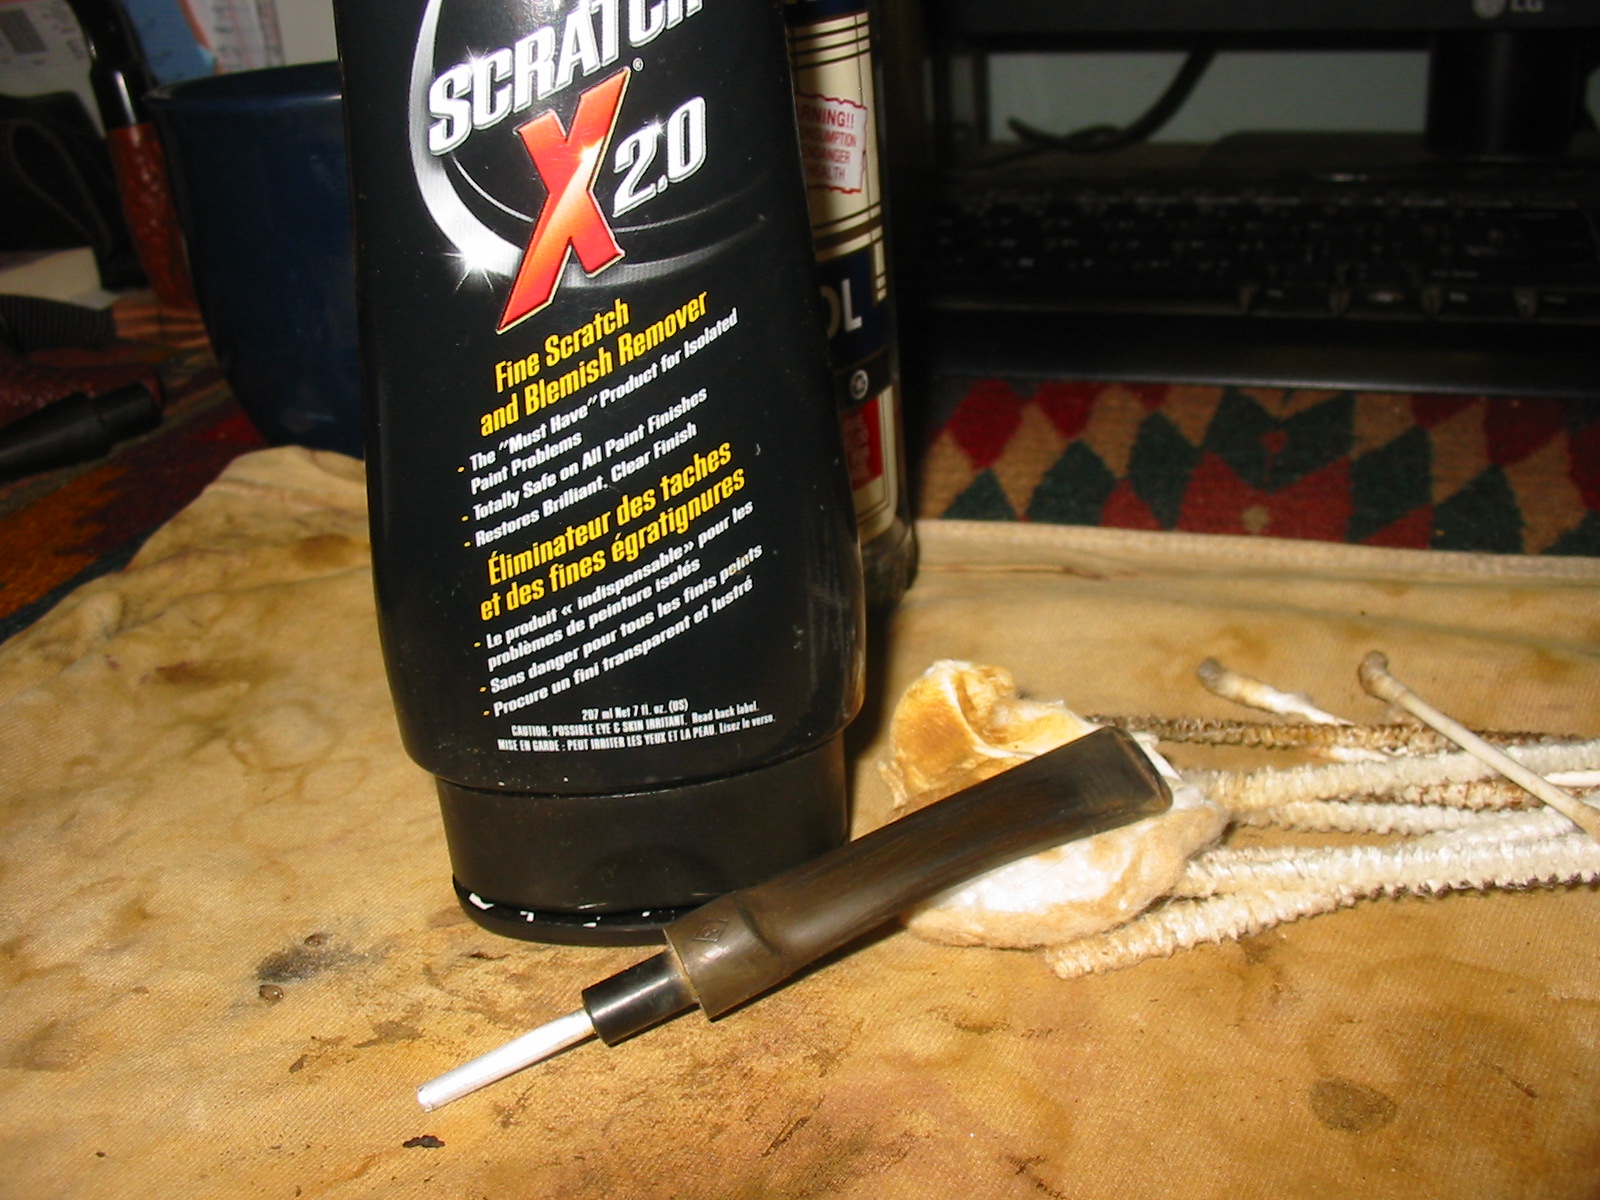
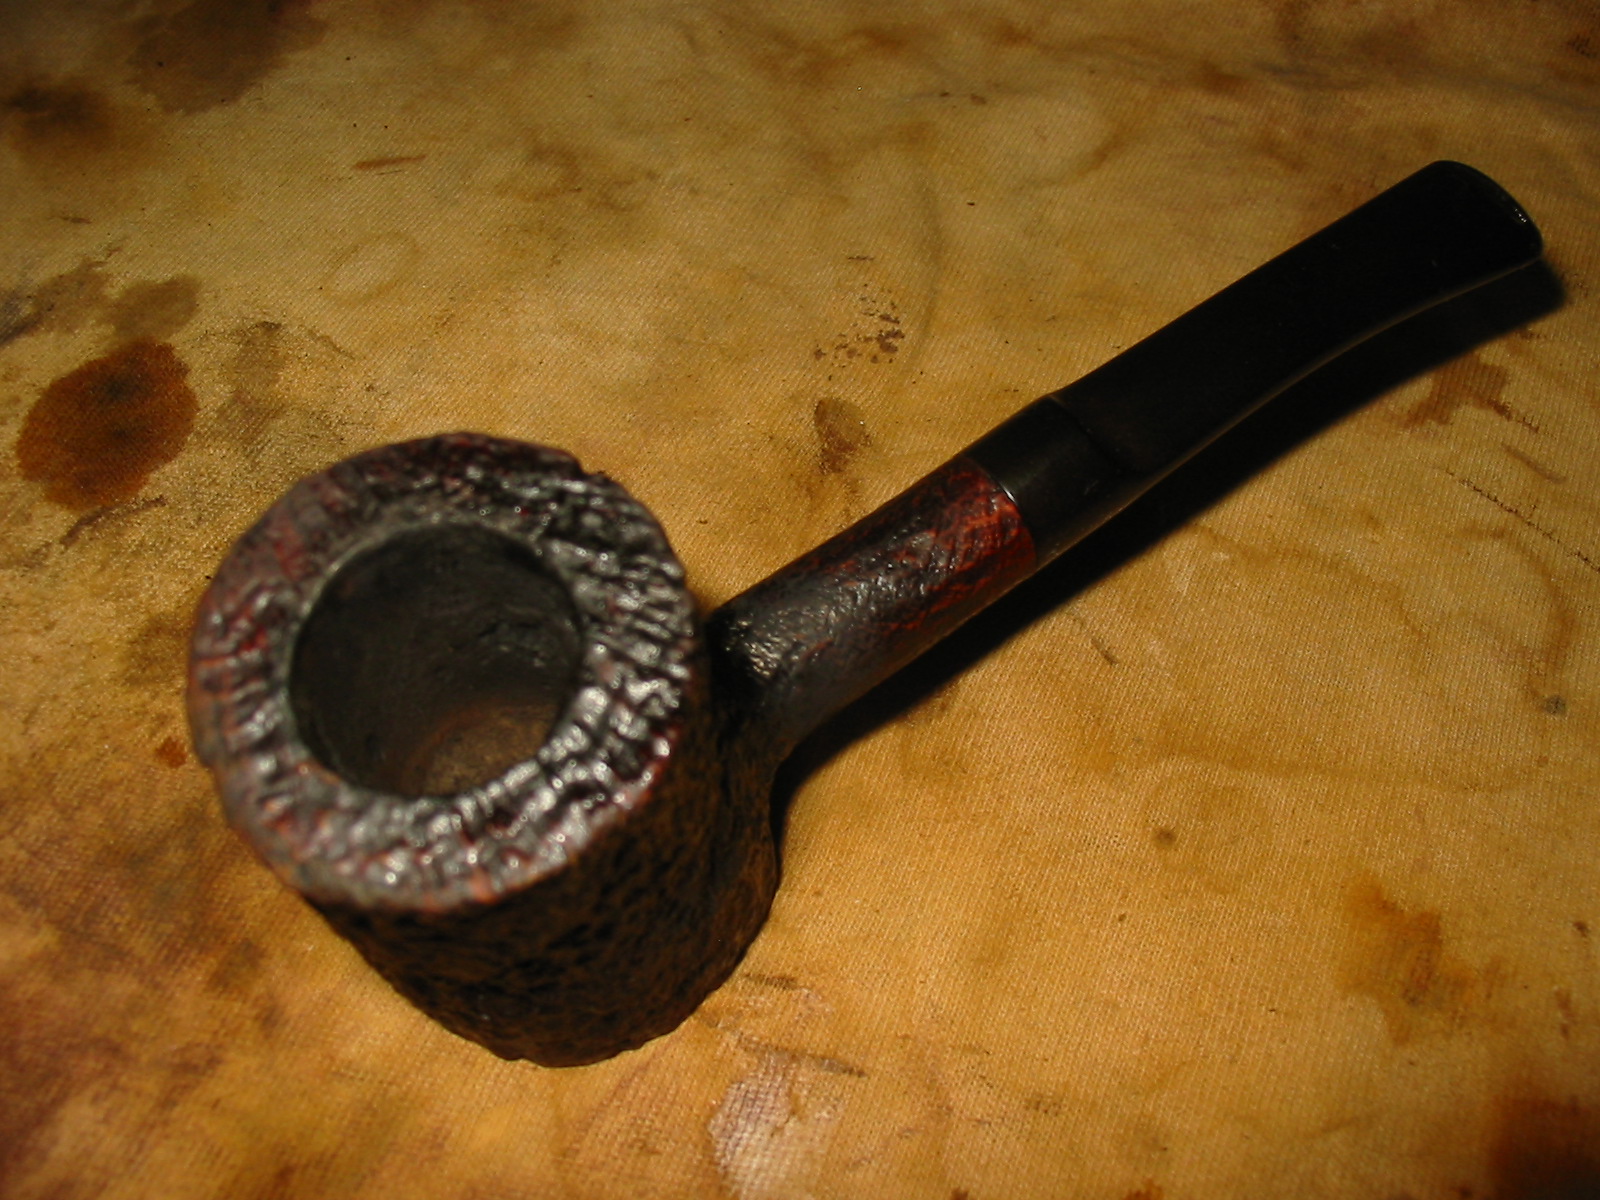
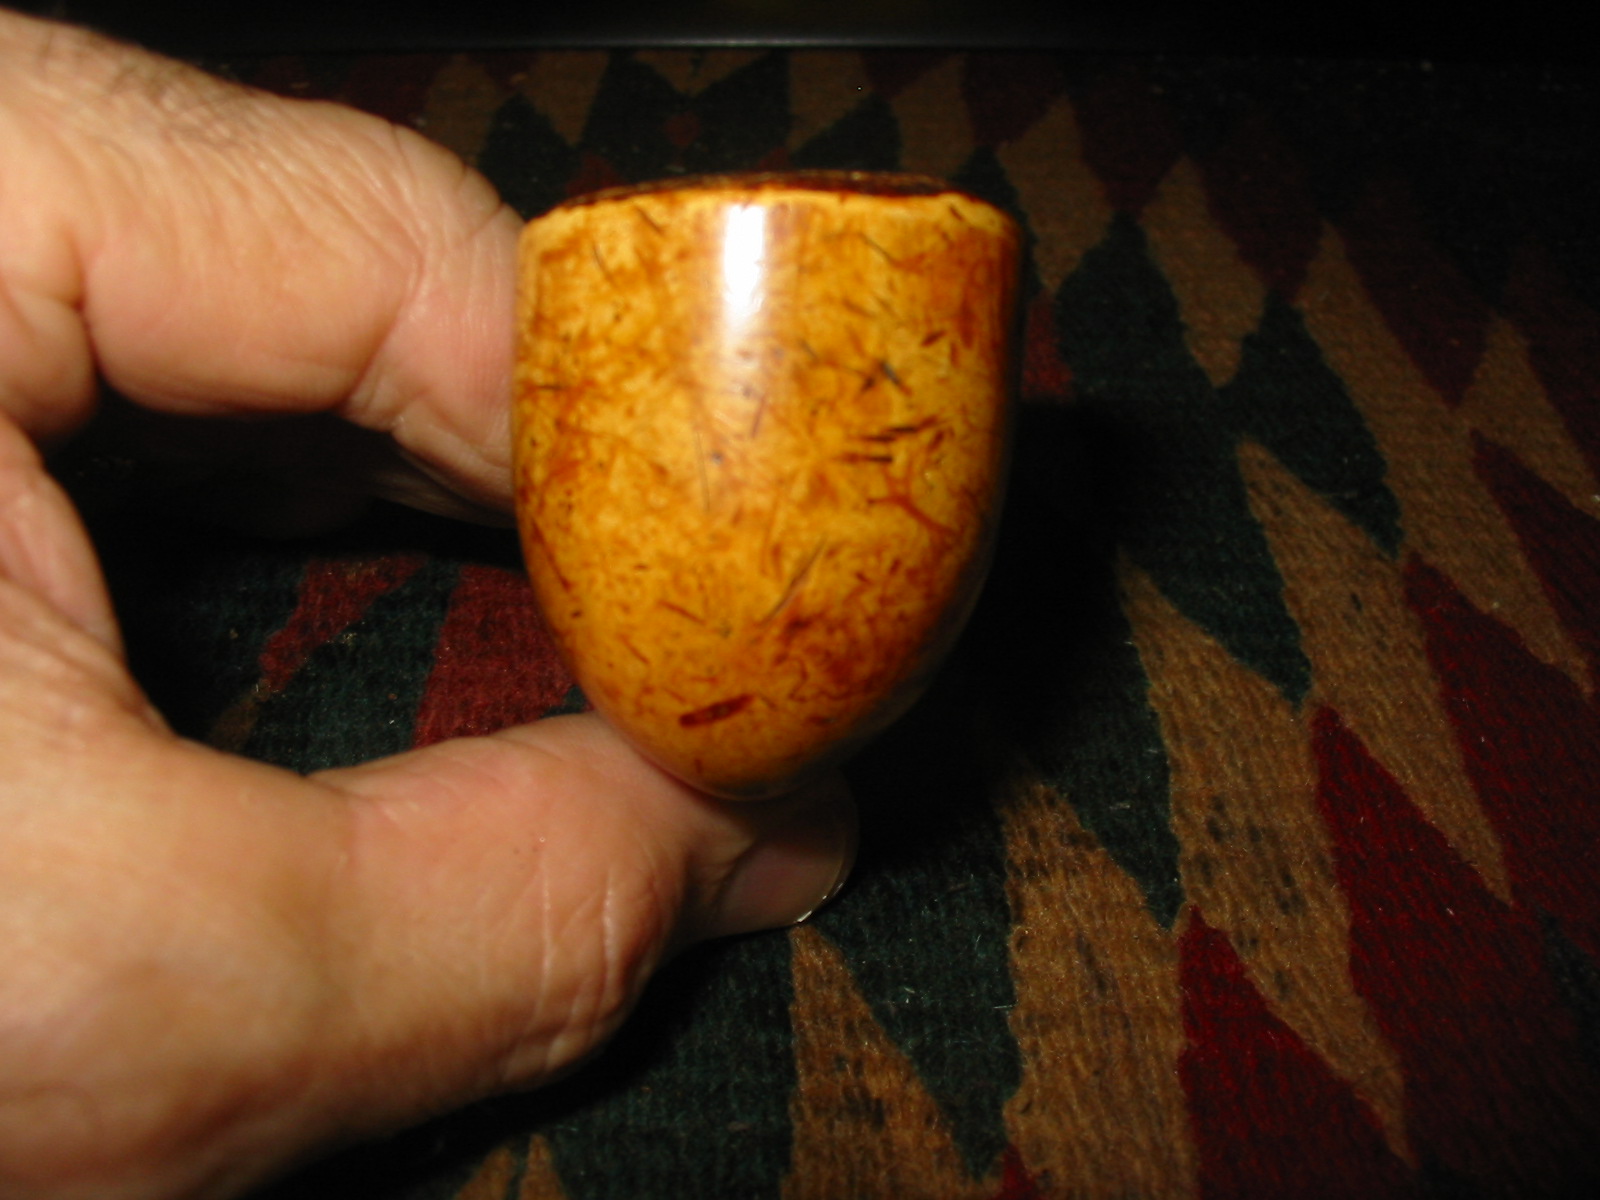
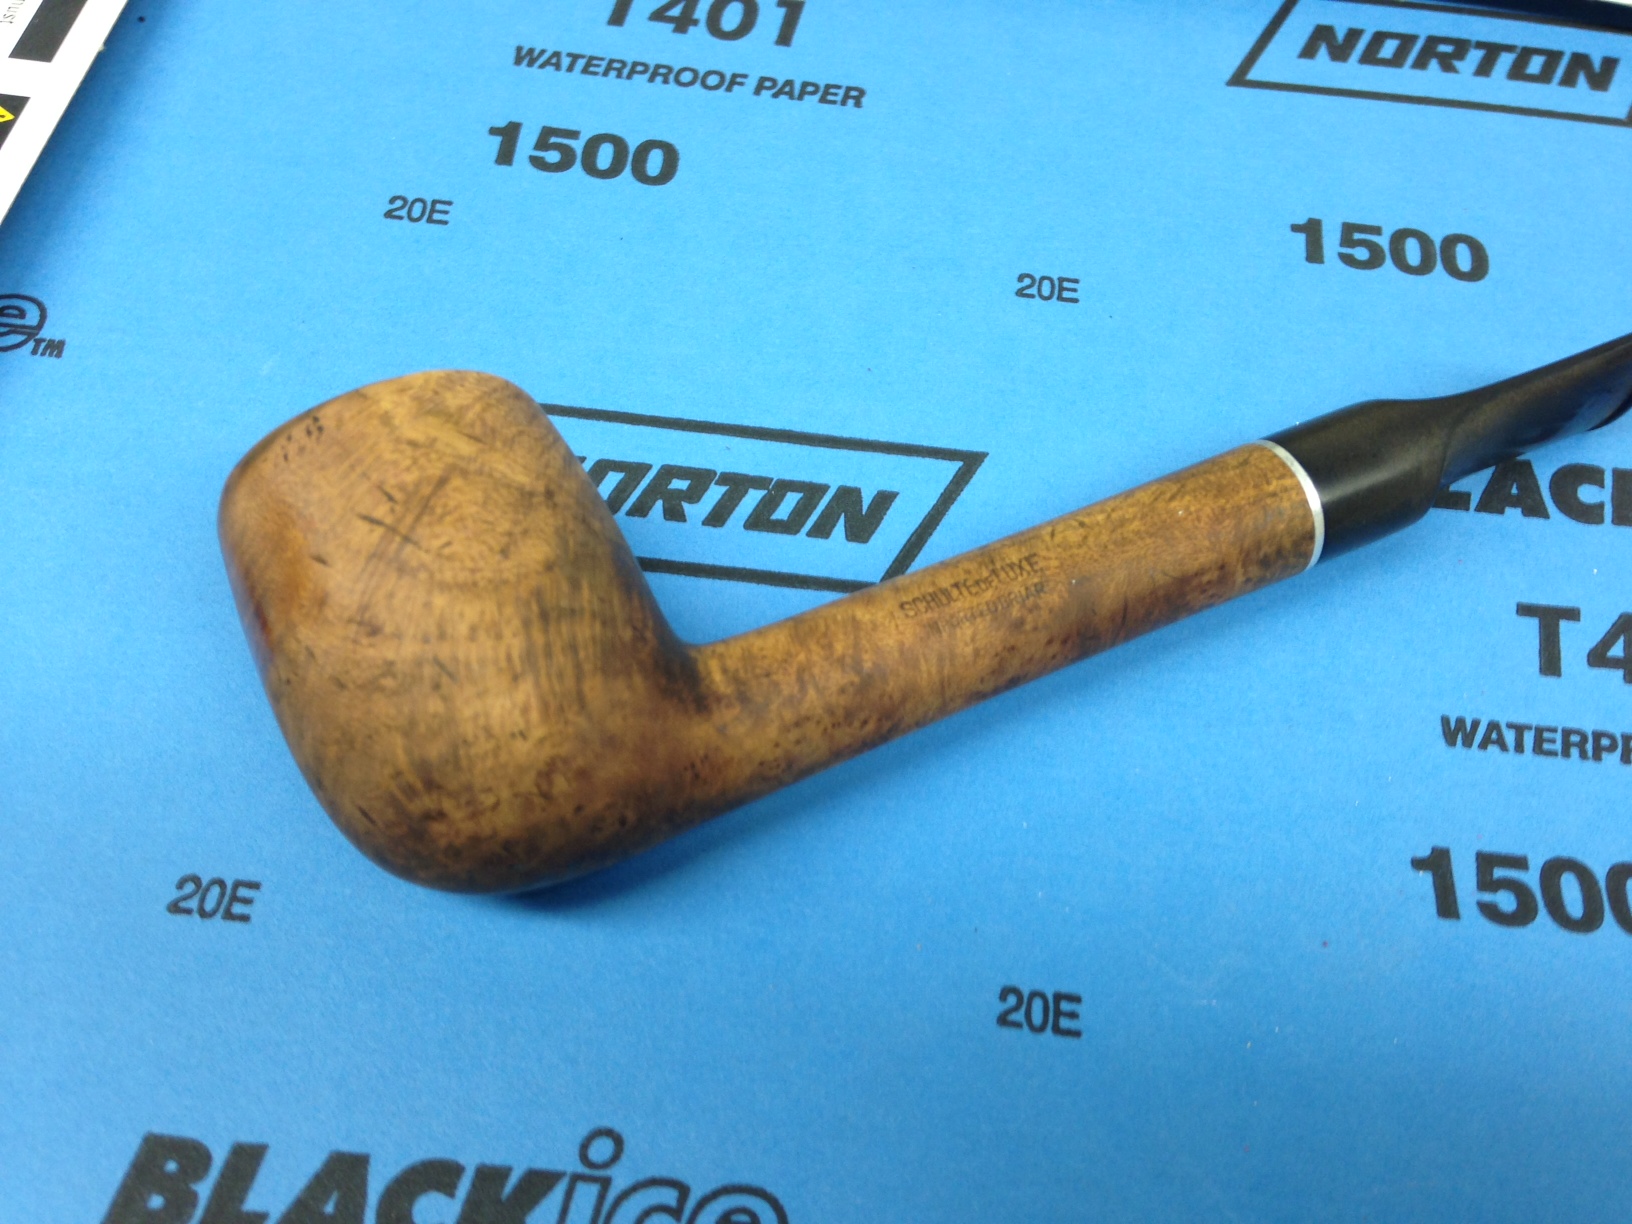
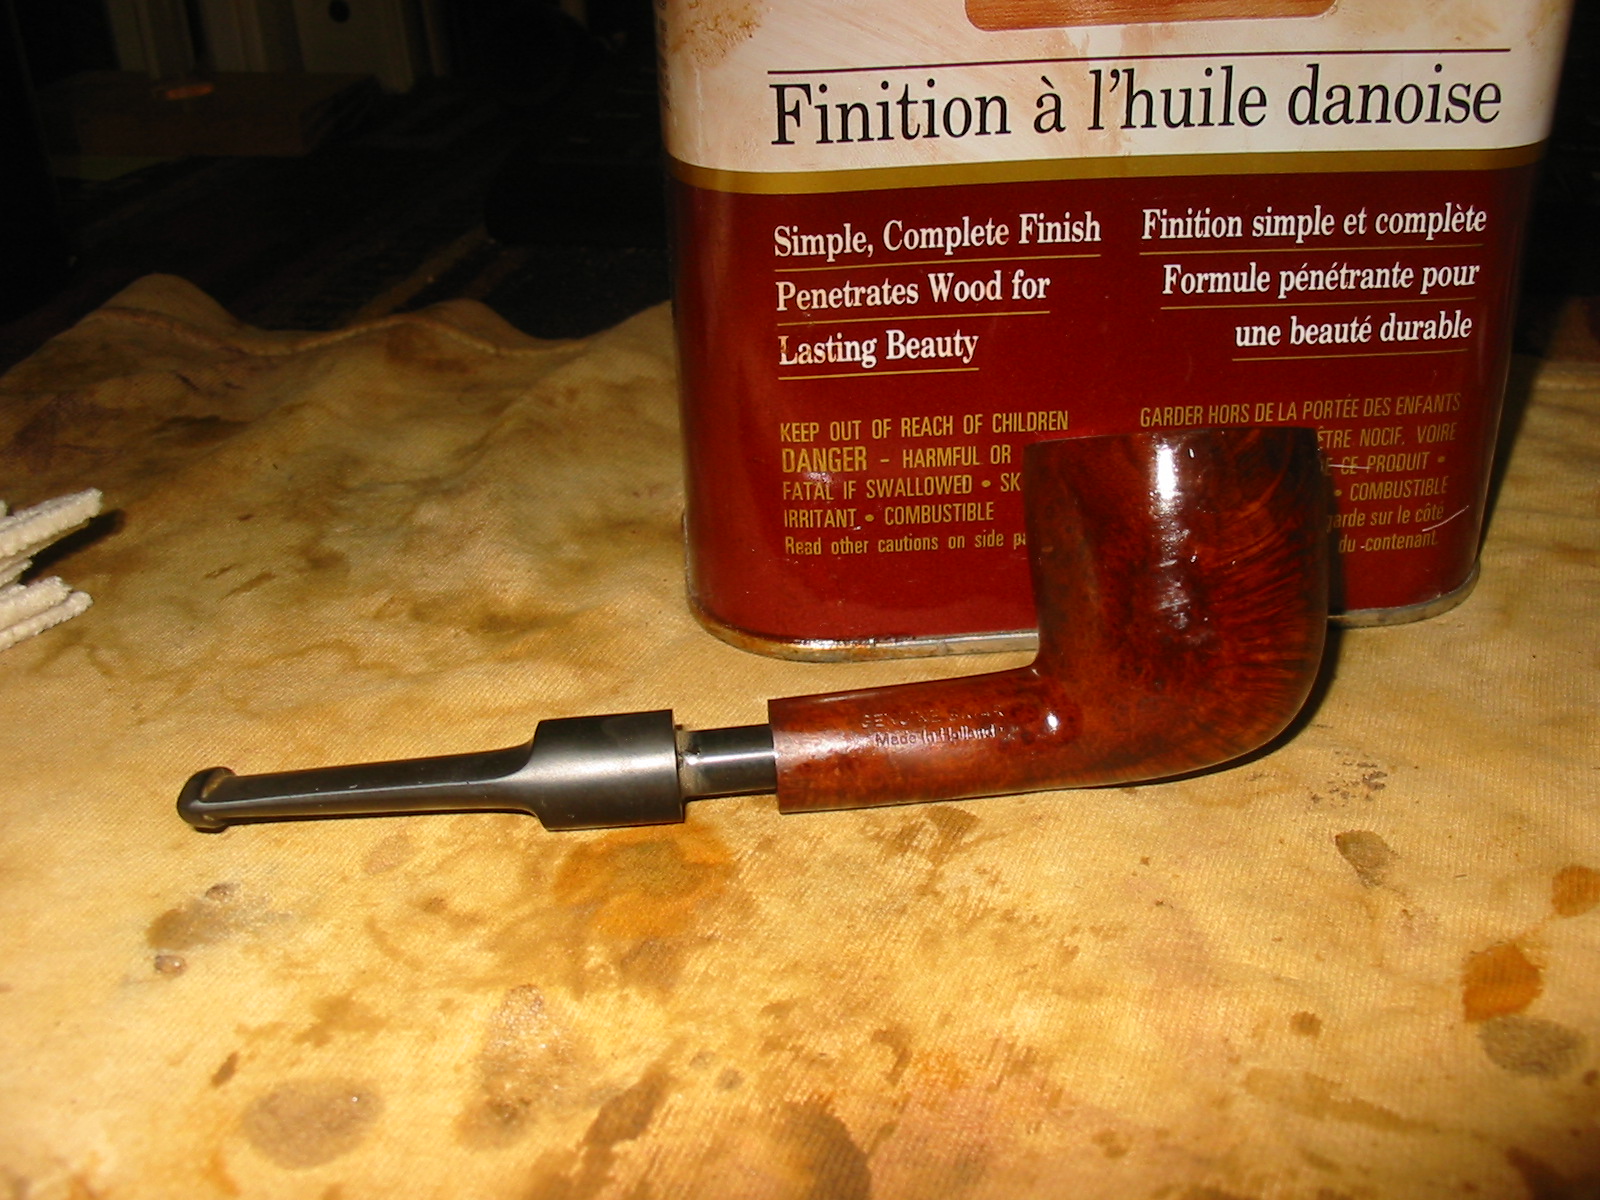
I wiped down the bowl with acetone on a cotton pad to clean off the remaining finish. In the photo above of the bowl it appeared to have a fill on the bowl side. As I scrubbed it the surface cleaned up and the area was not a fill. The piece of briar has some great birdseye grain and a some cross grain on the front right side and the top of the bowl and shank. I also cleaned out the shank and the stem with pipe cleaners and Everclear. I scrubbed the rim to remove the tars and buildup.
IMG_2260

IMG_2261

IMG_2262

IMG_2264

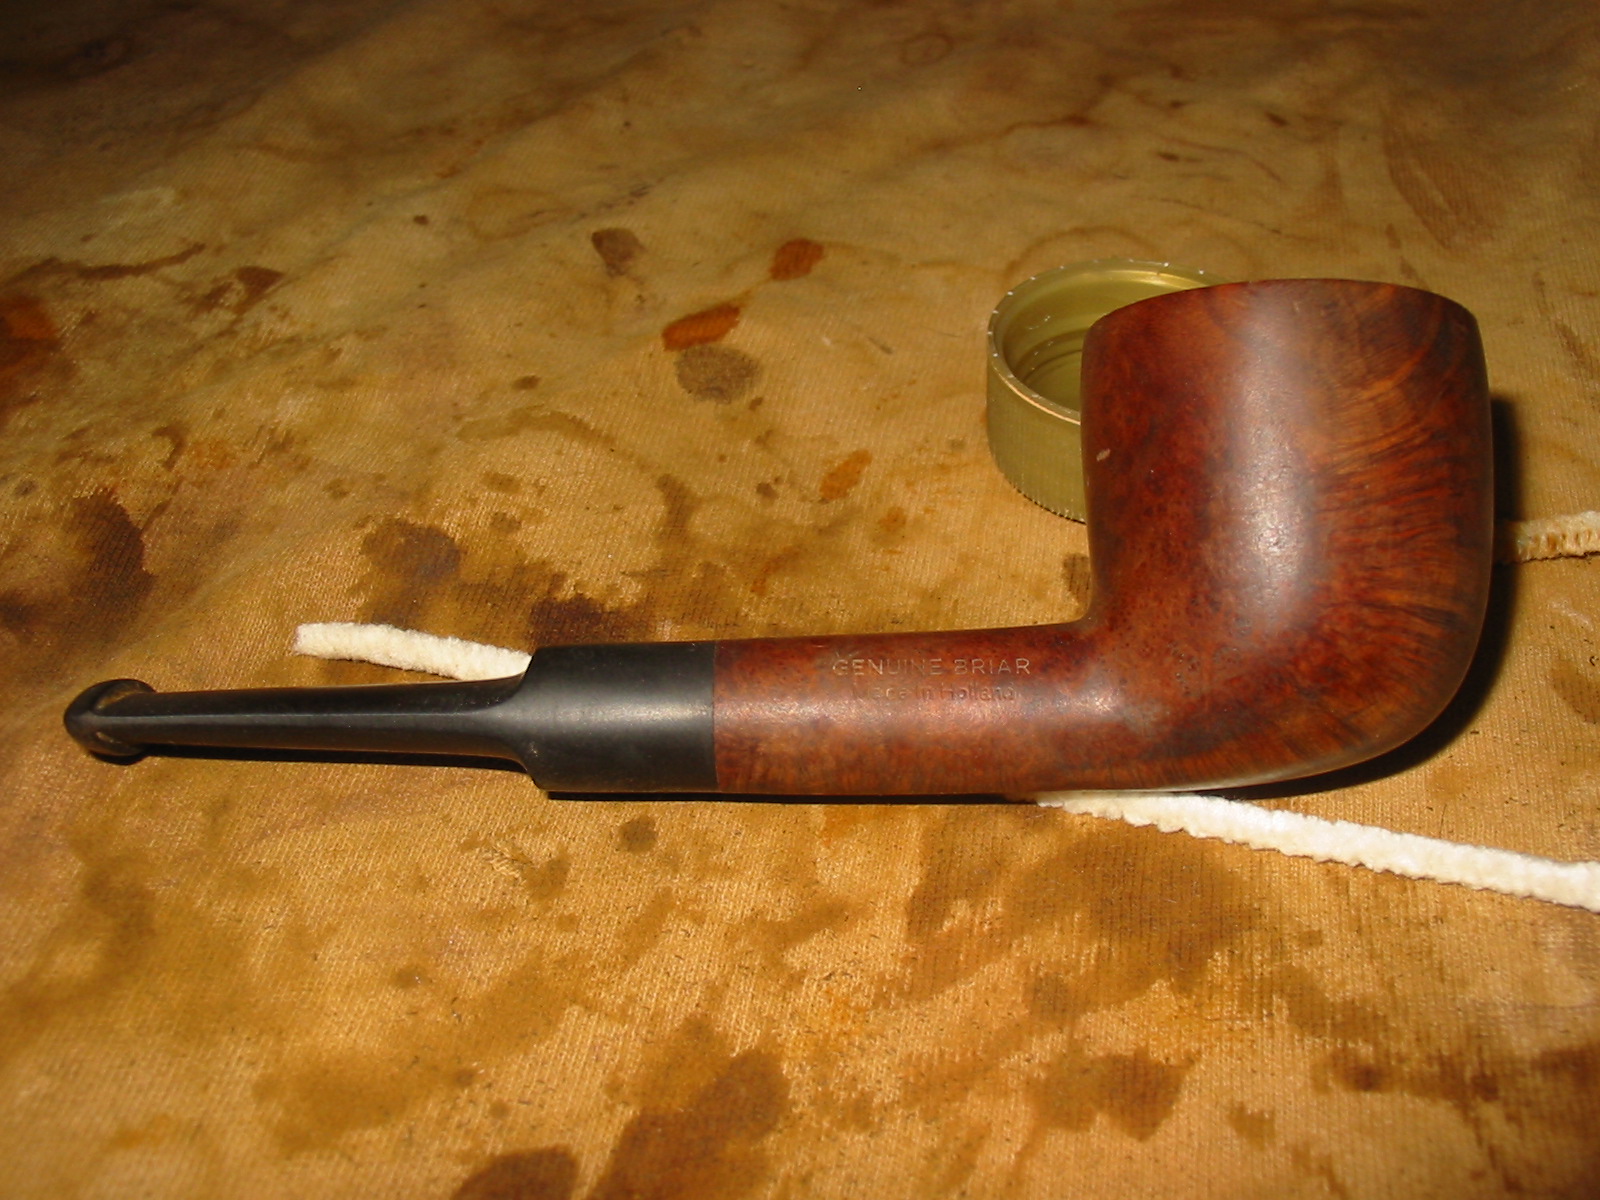
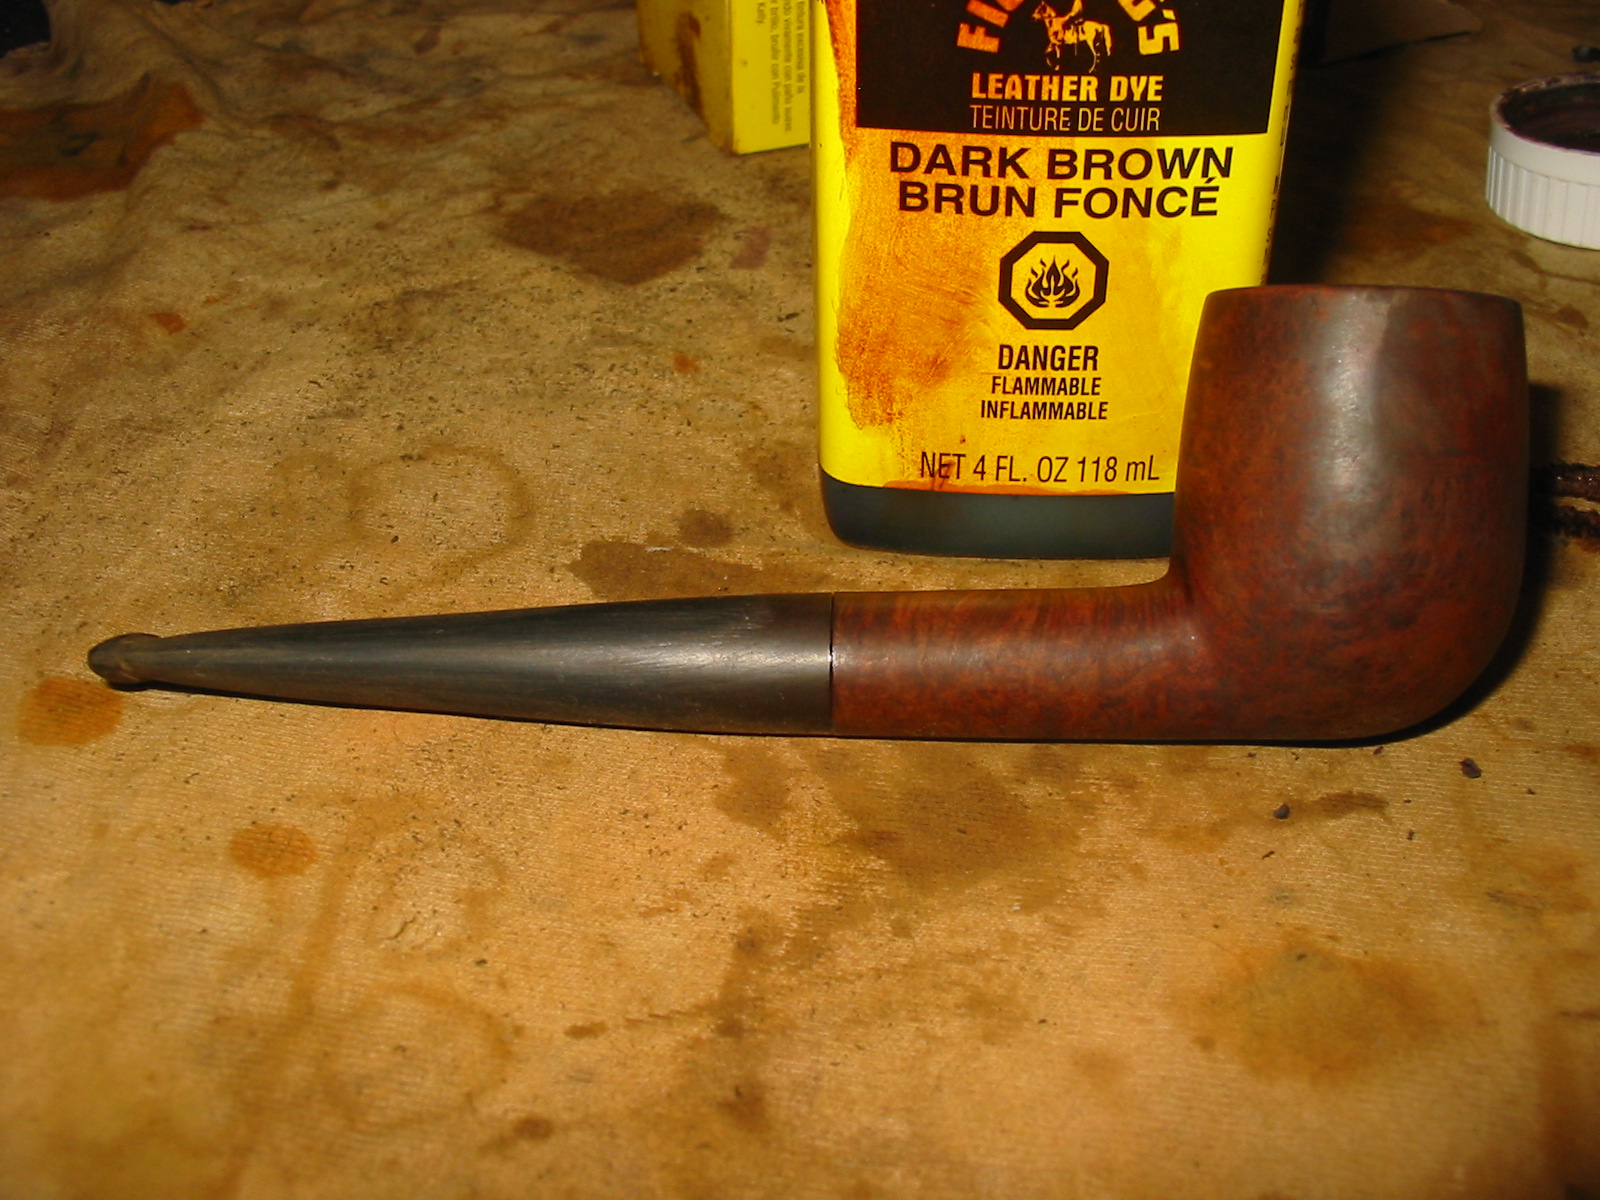
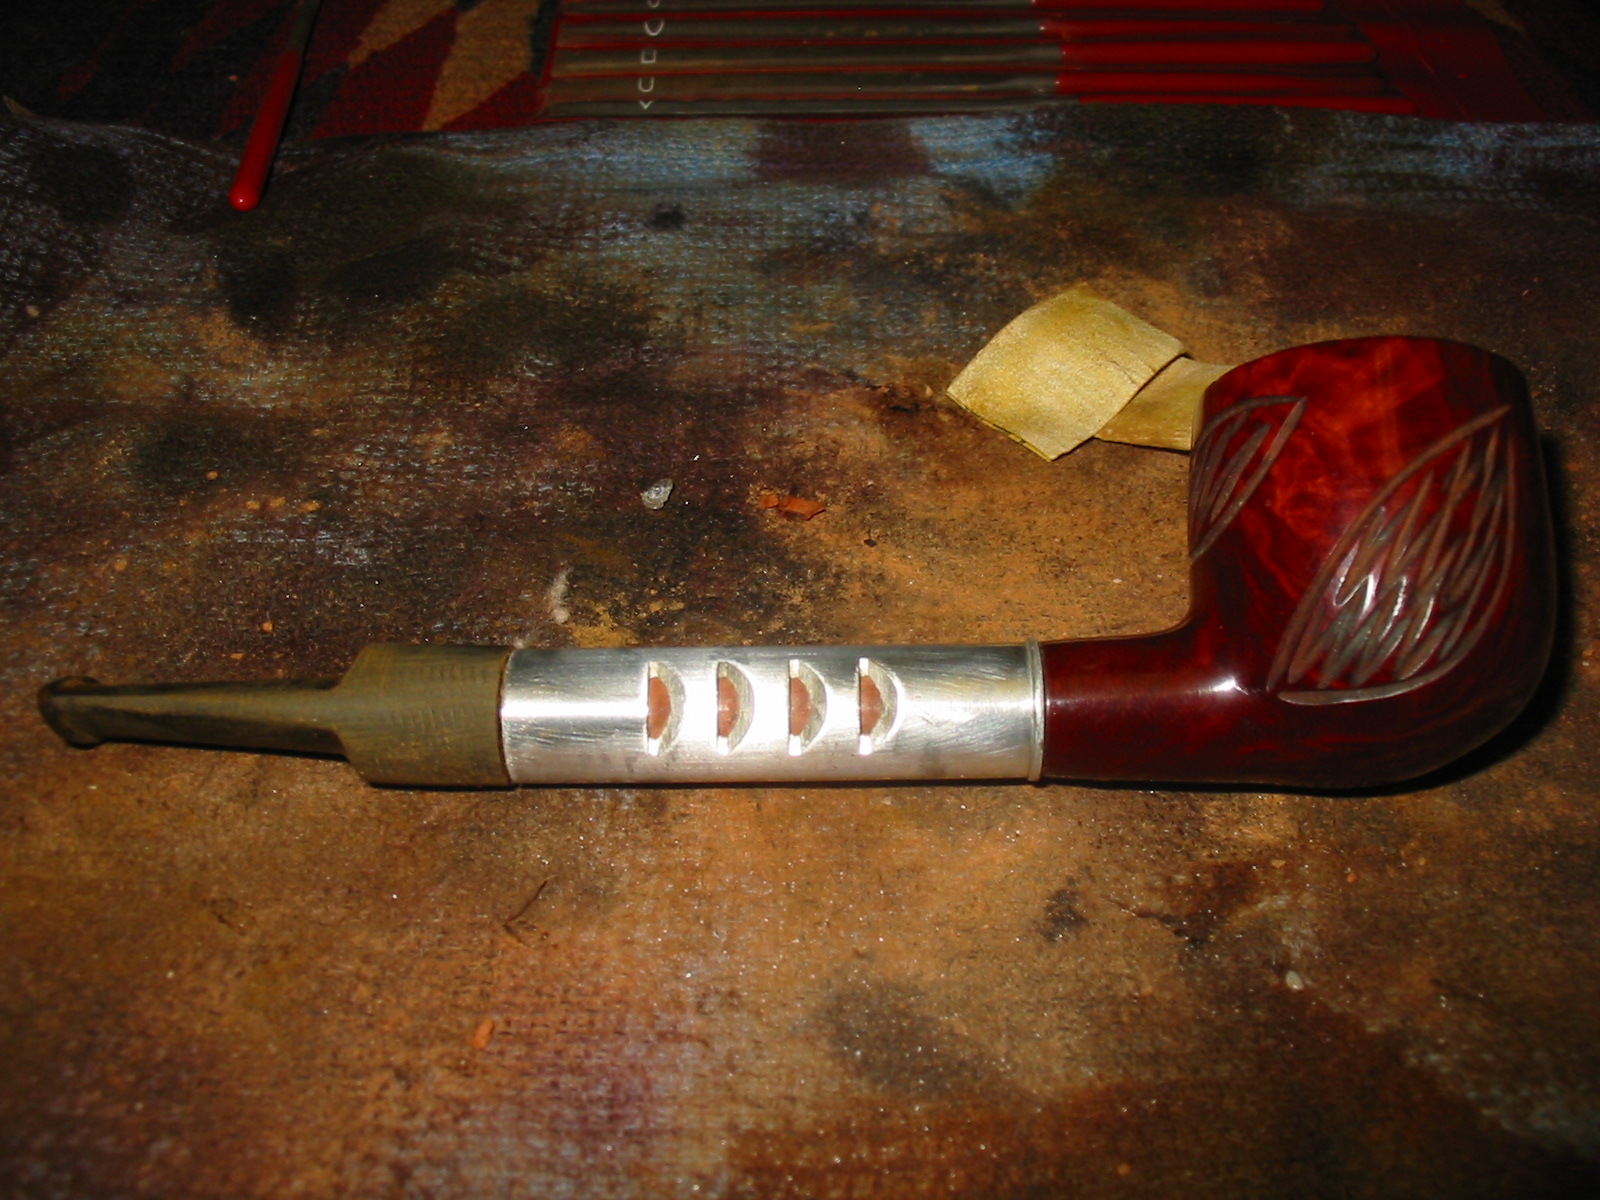
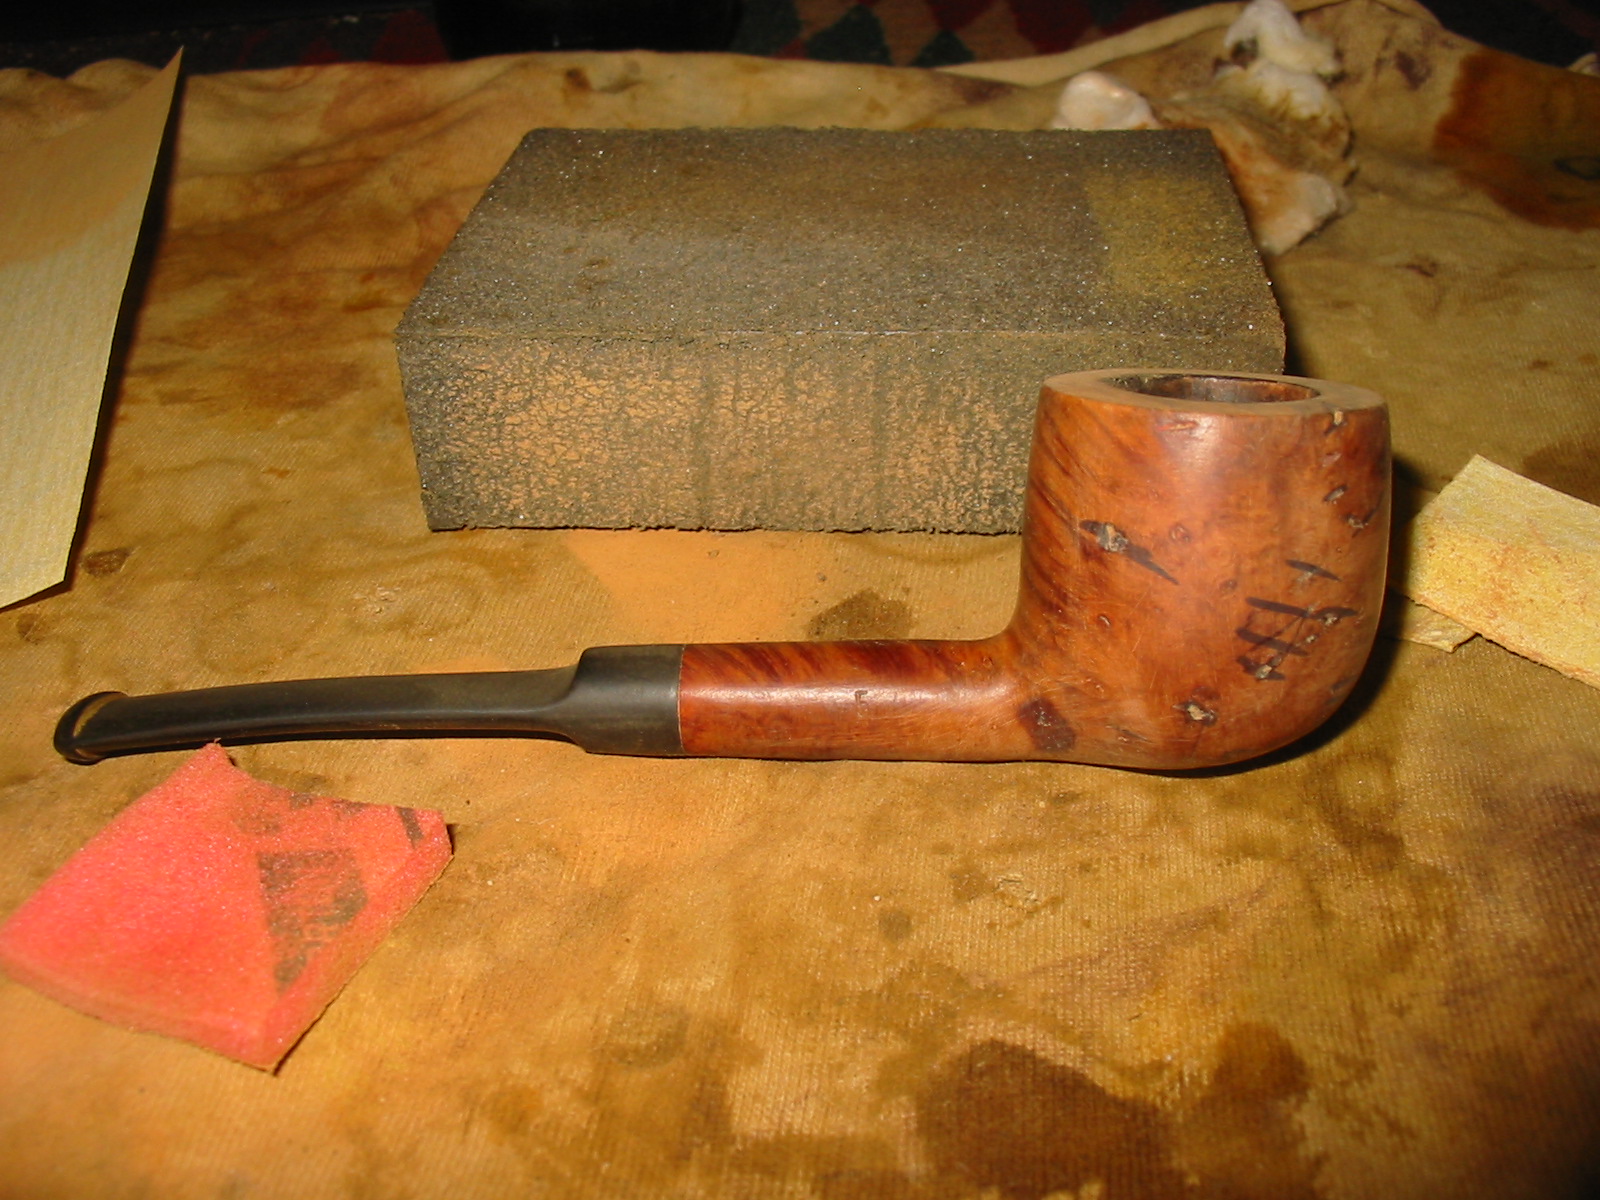
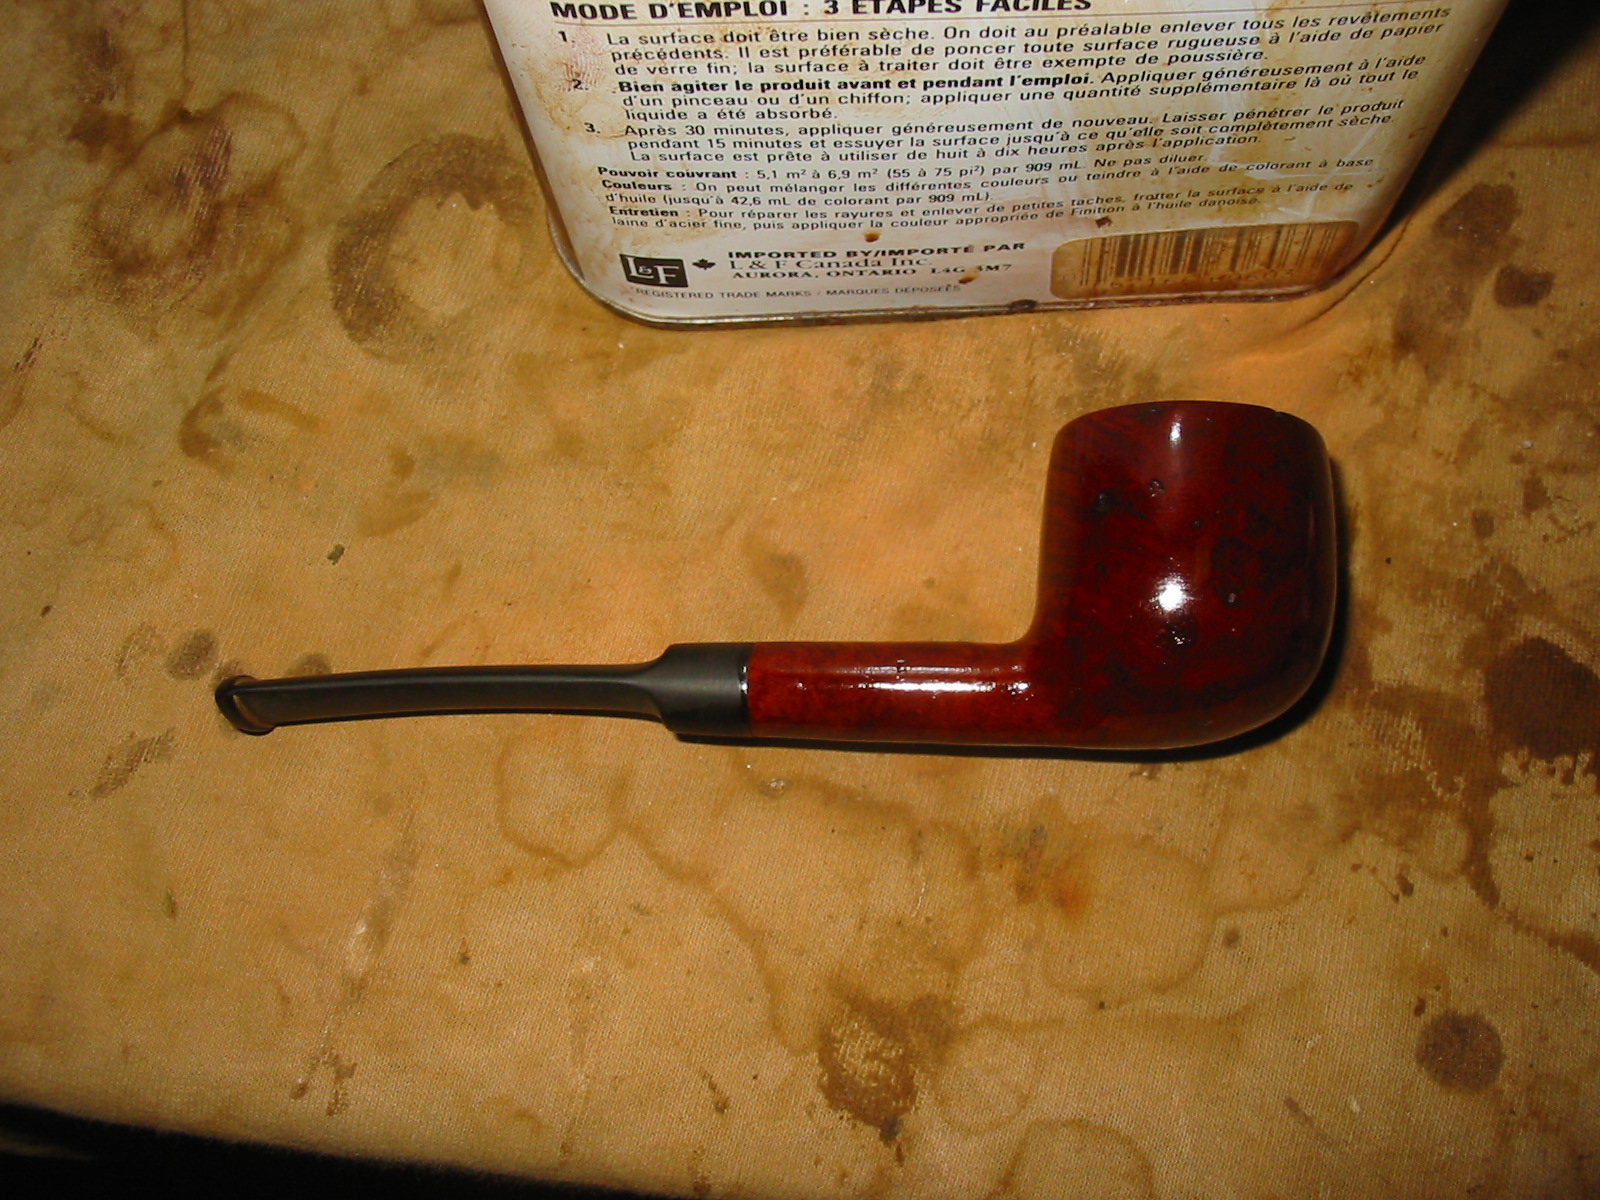
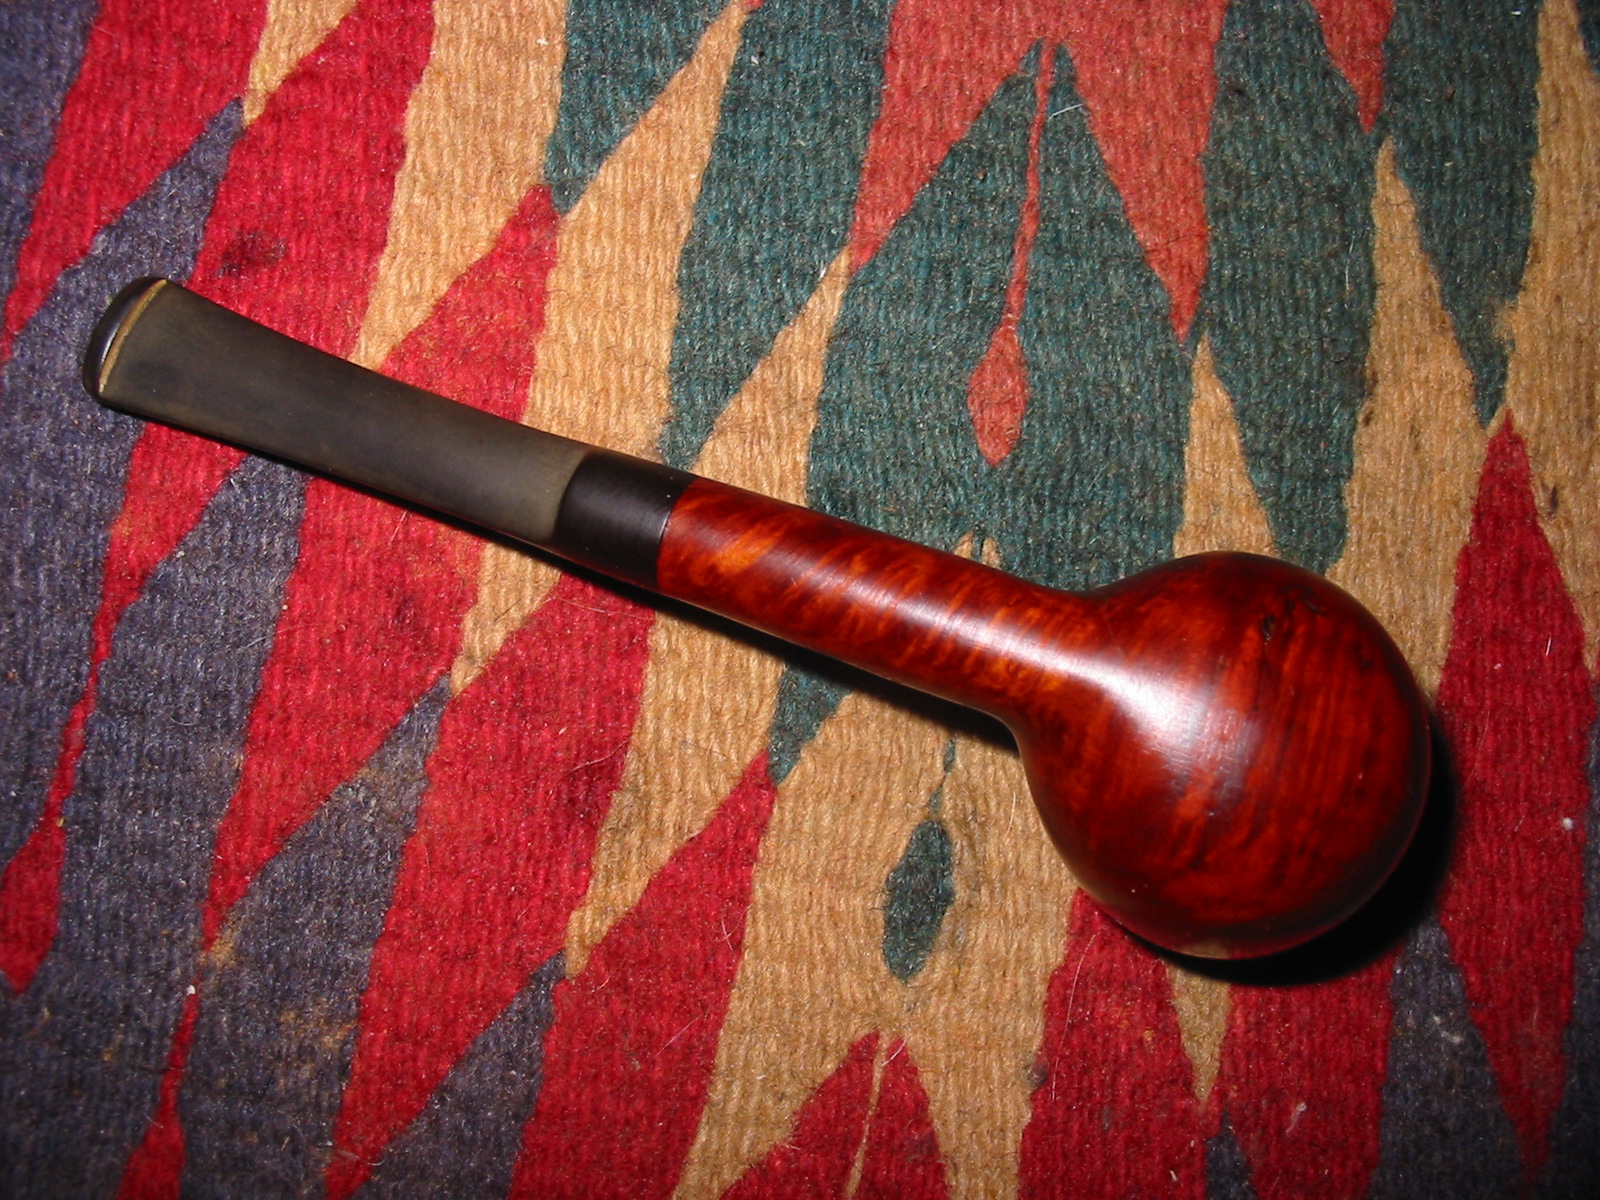
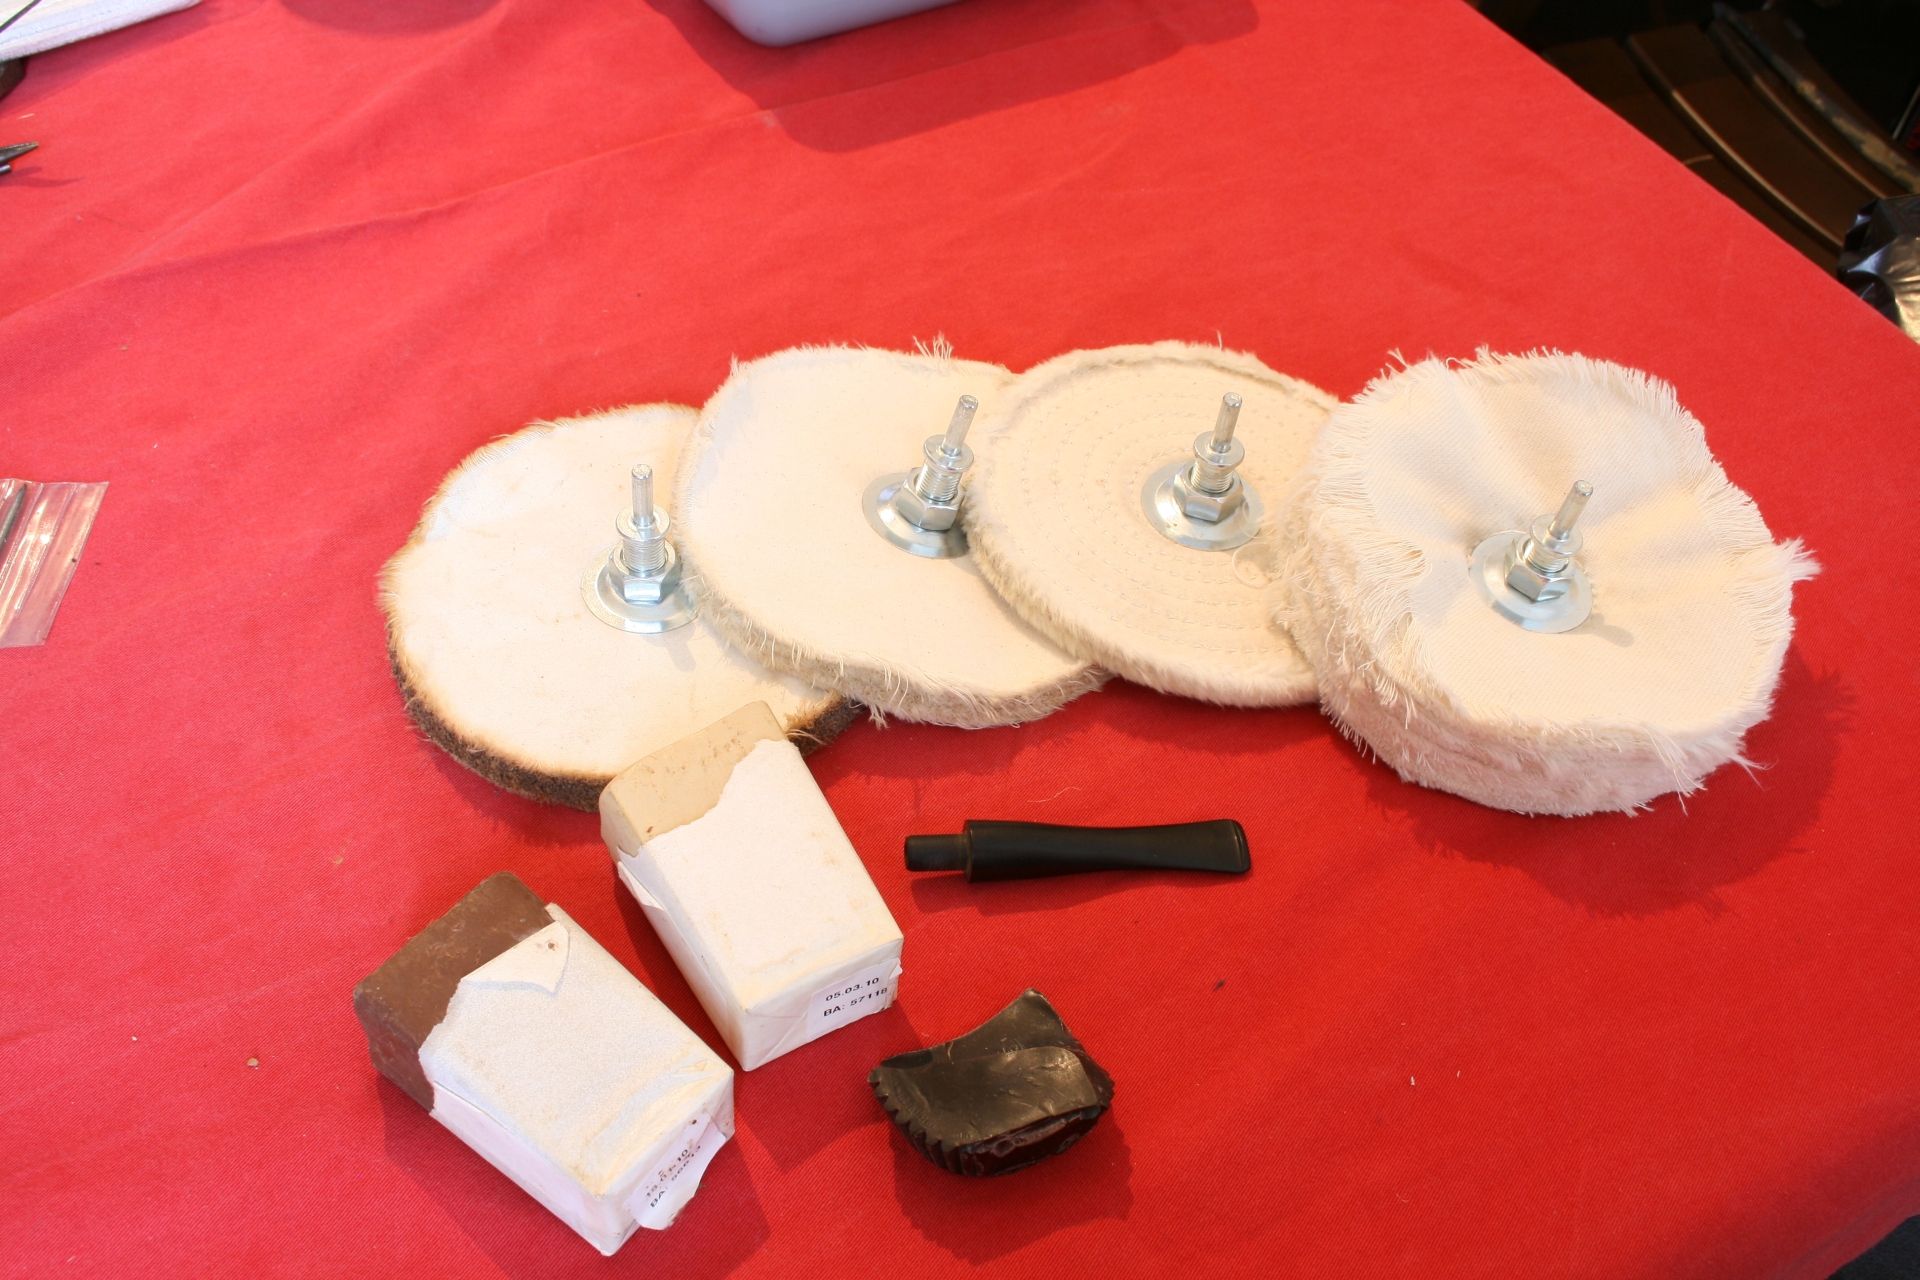
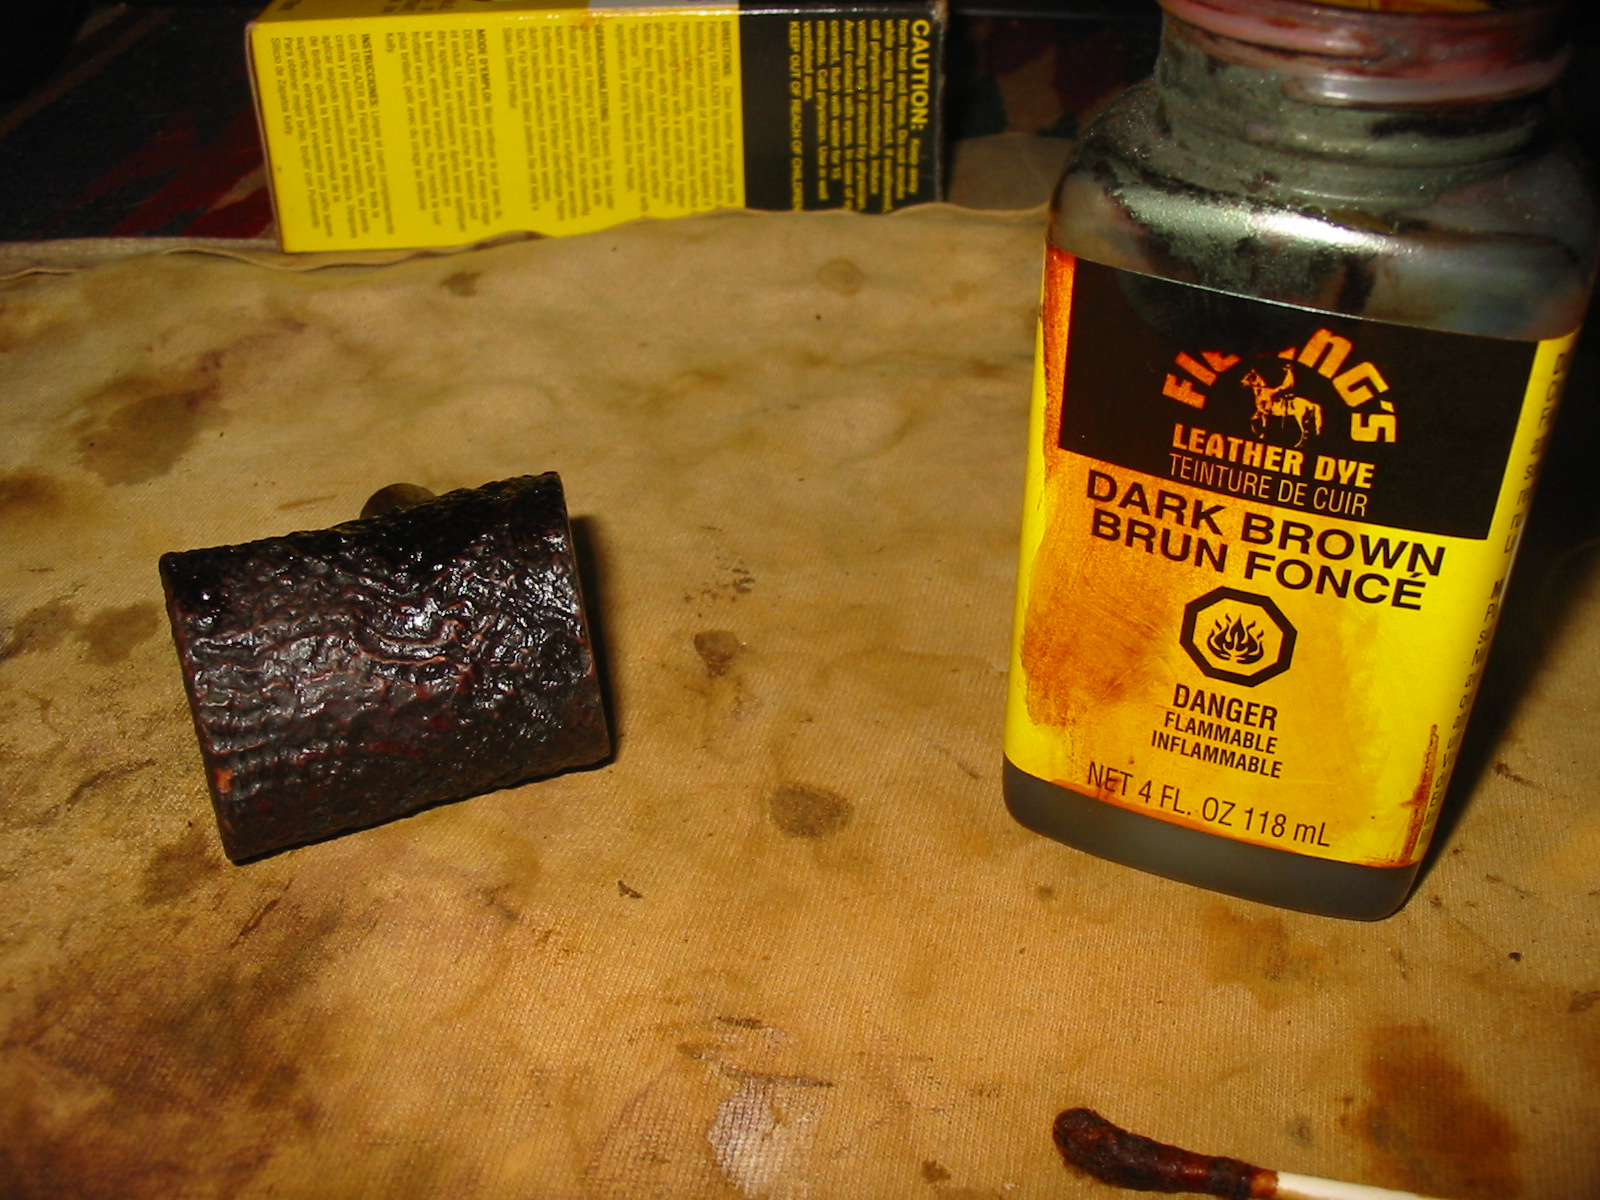
I wanted to highlight the grain on this one so I decided to stain it using some Cherry Danish Oil which is Linseed oil and stain. I rubbed on the stain, rubbed it off and rubbed it on a second time. I set it aside to dry. Once it was dry I buffed it with White Diamond.
IMG_2265

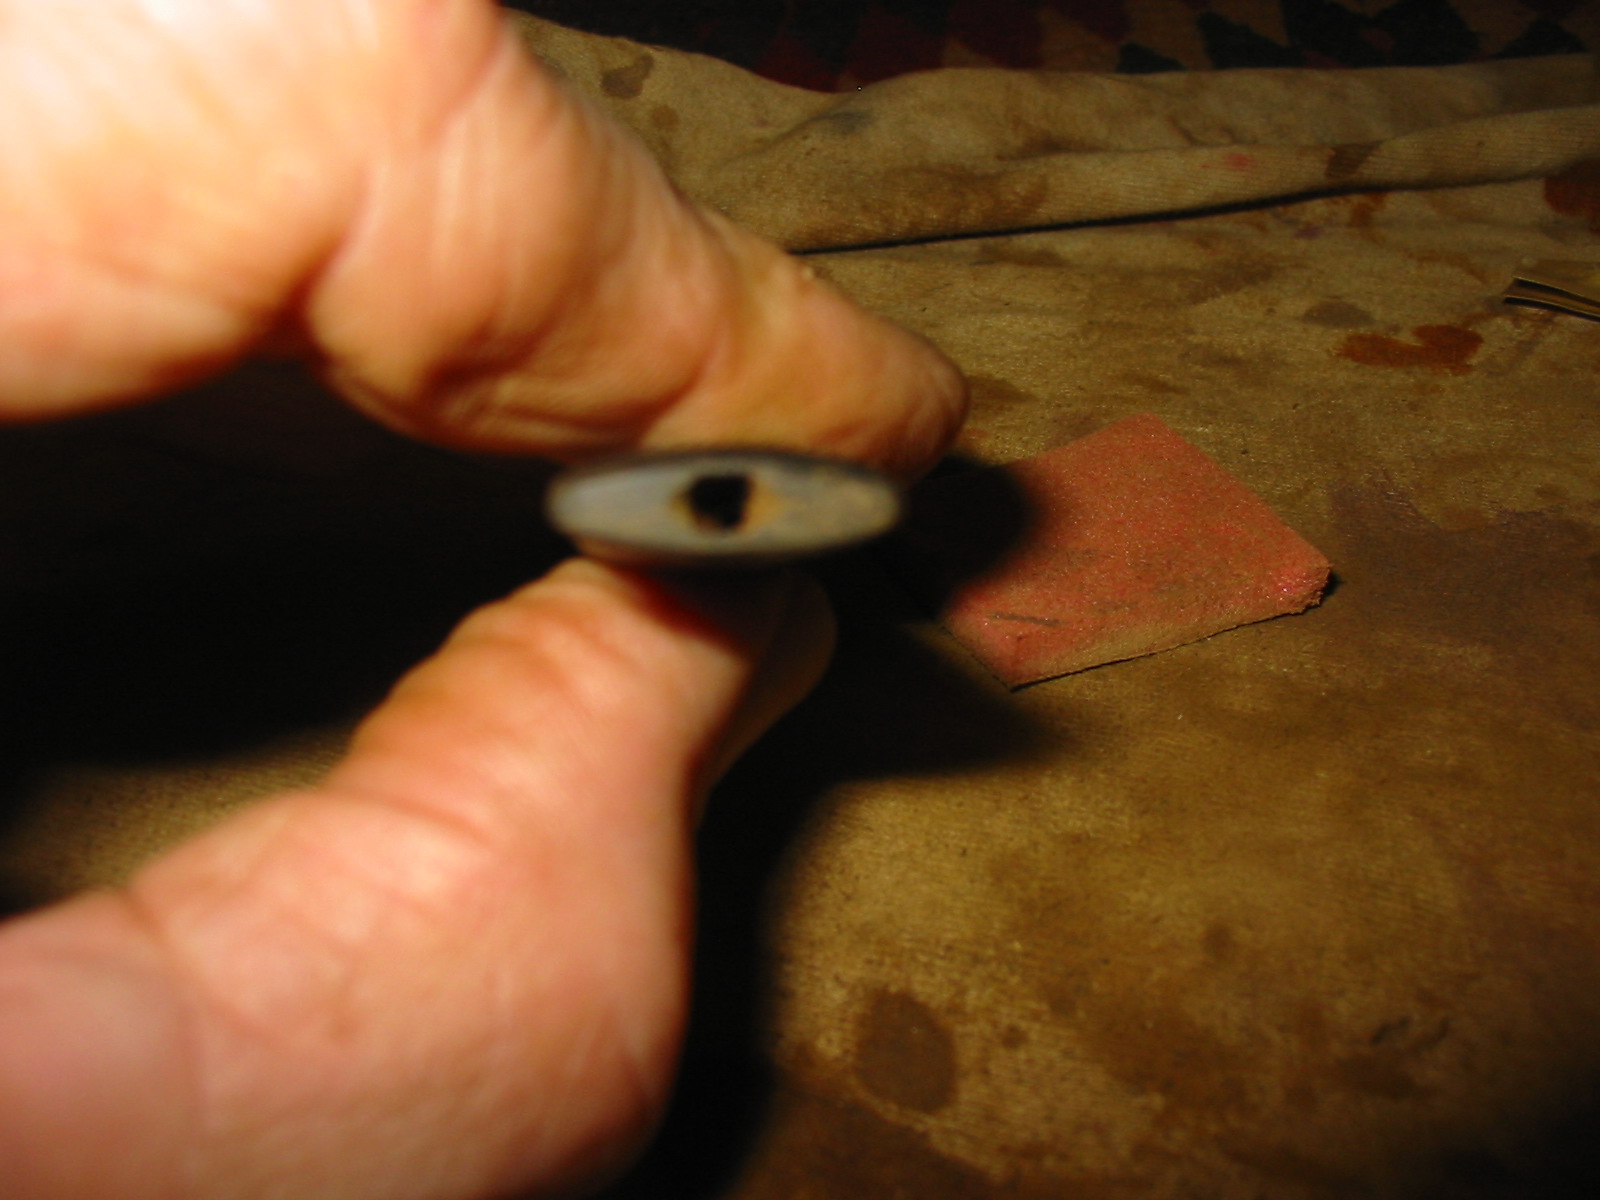
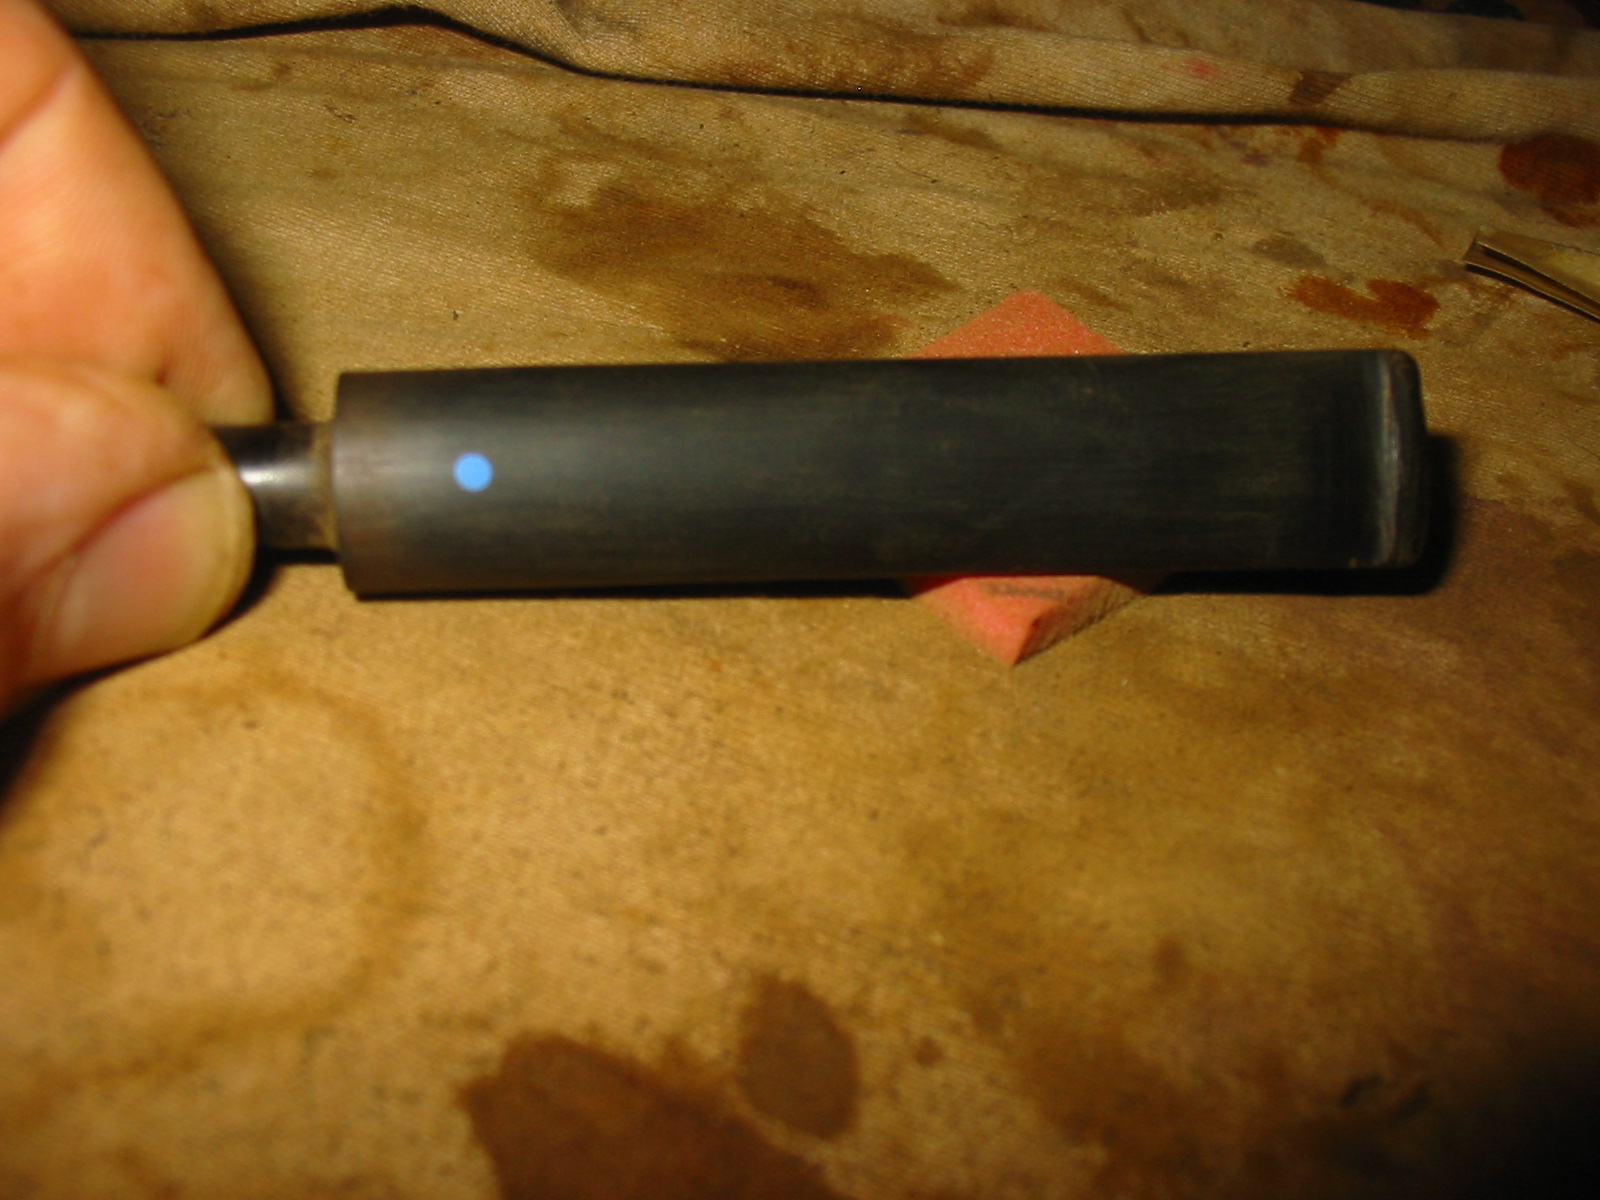
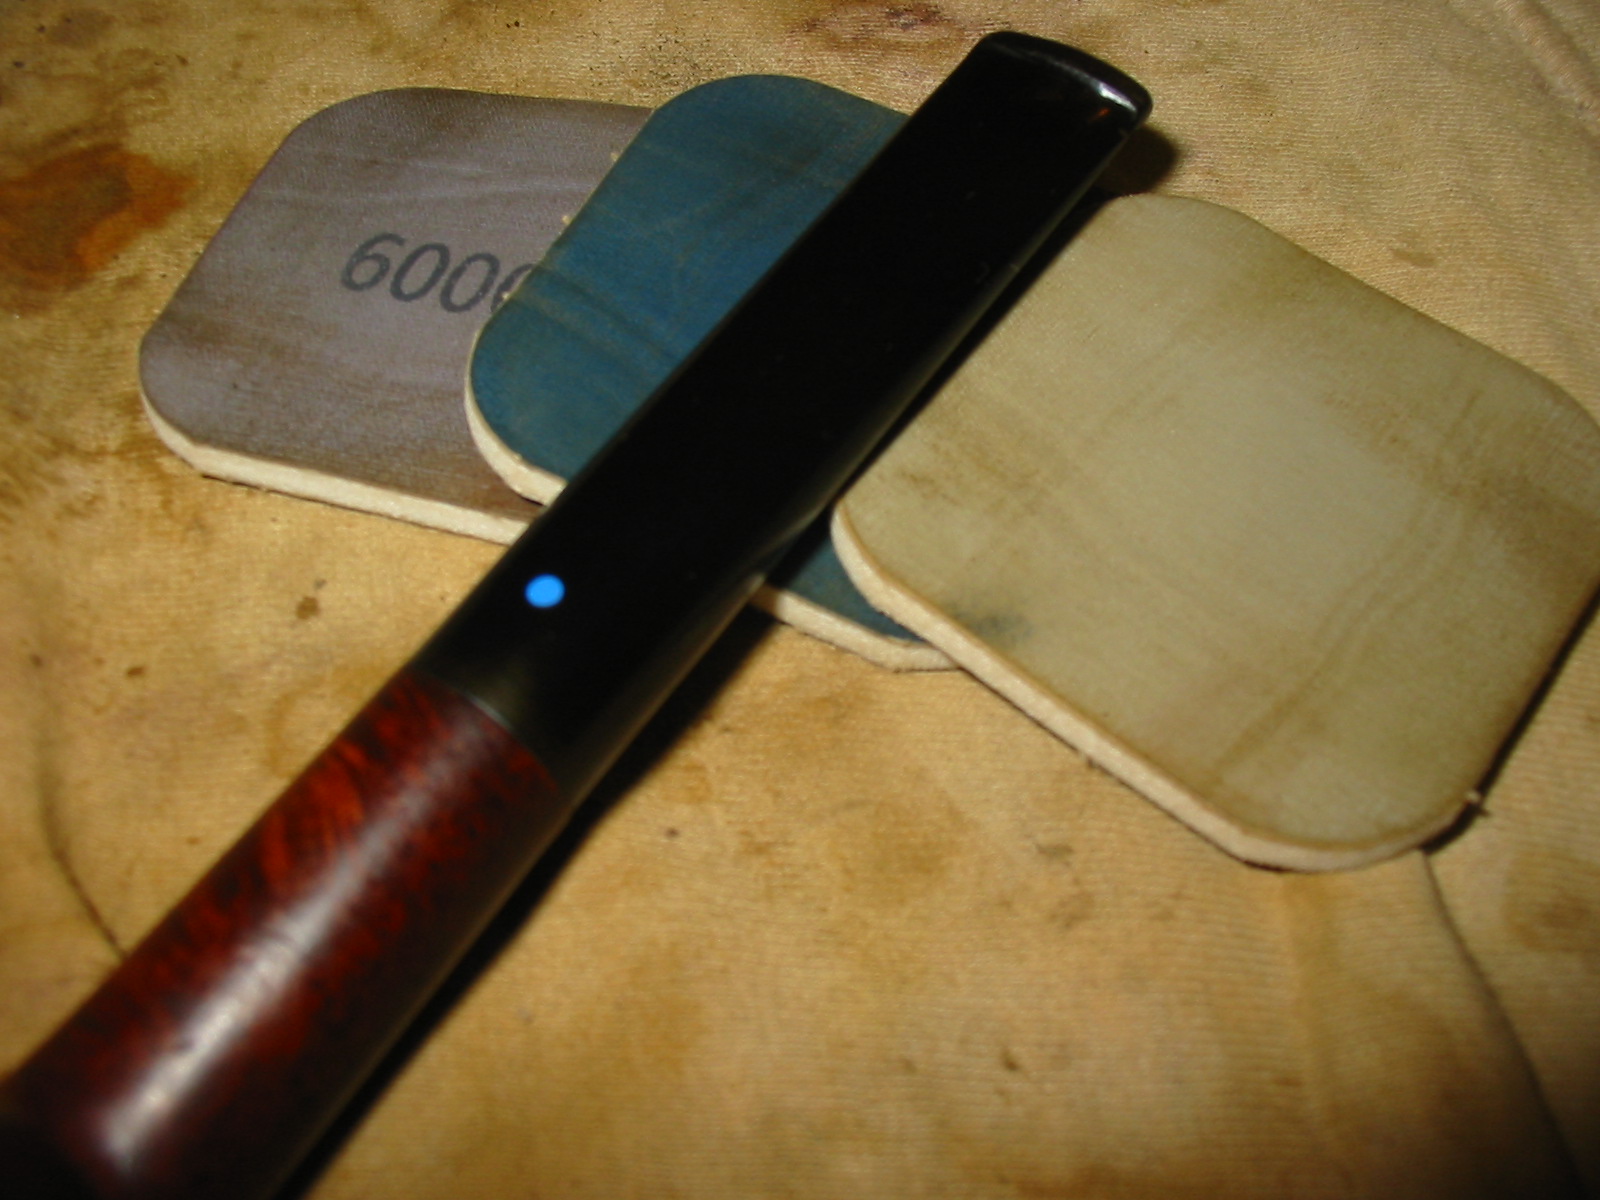
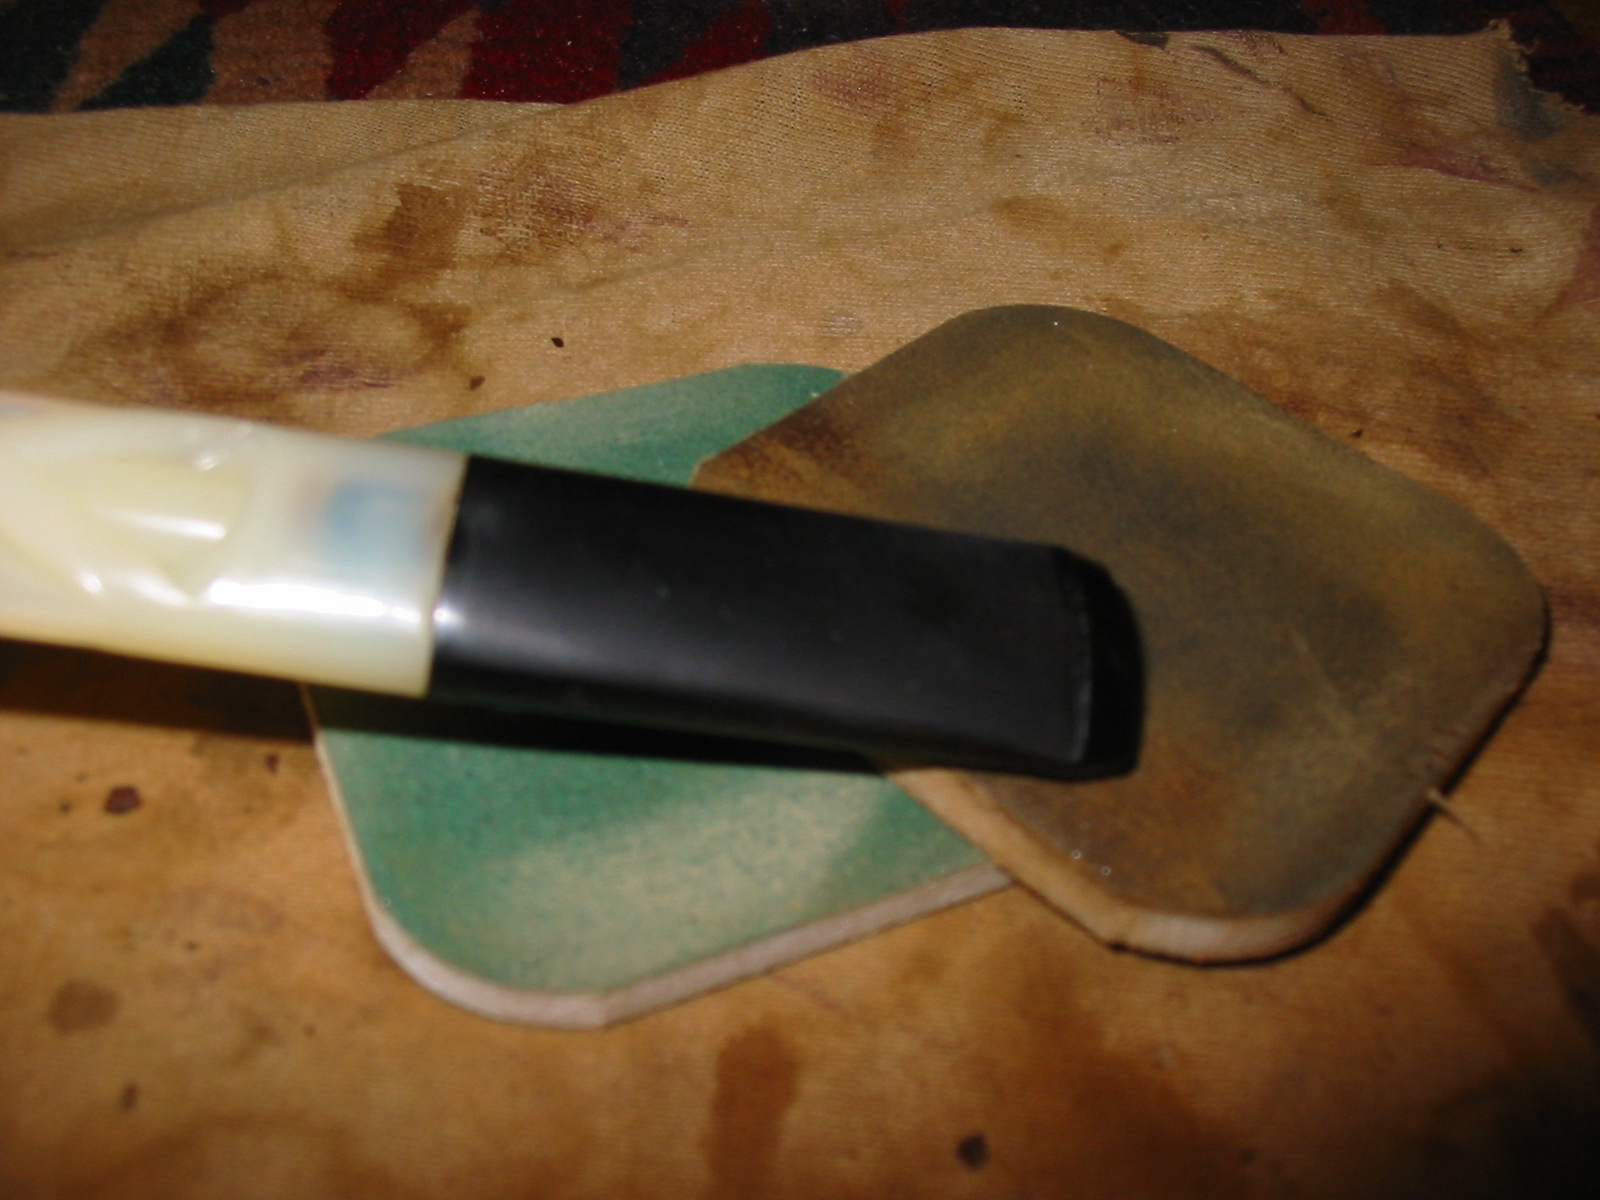
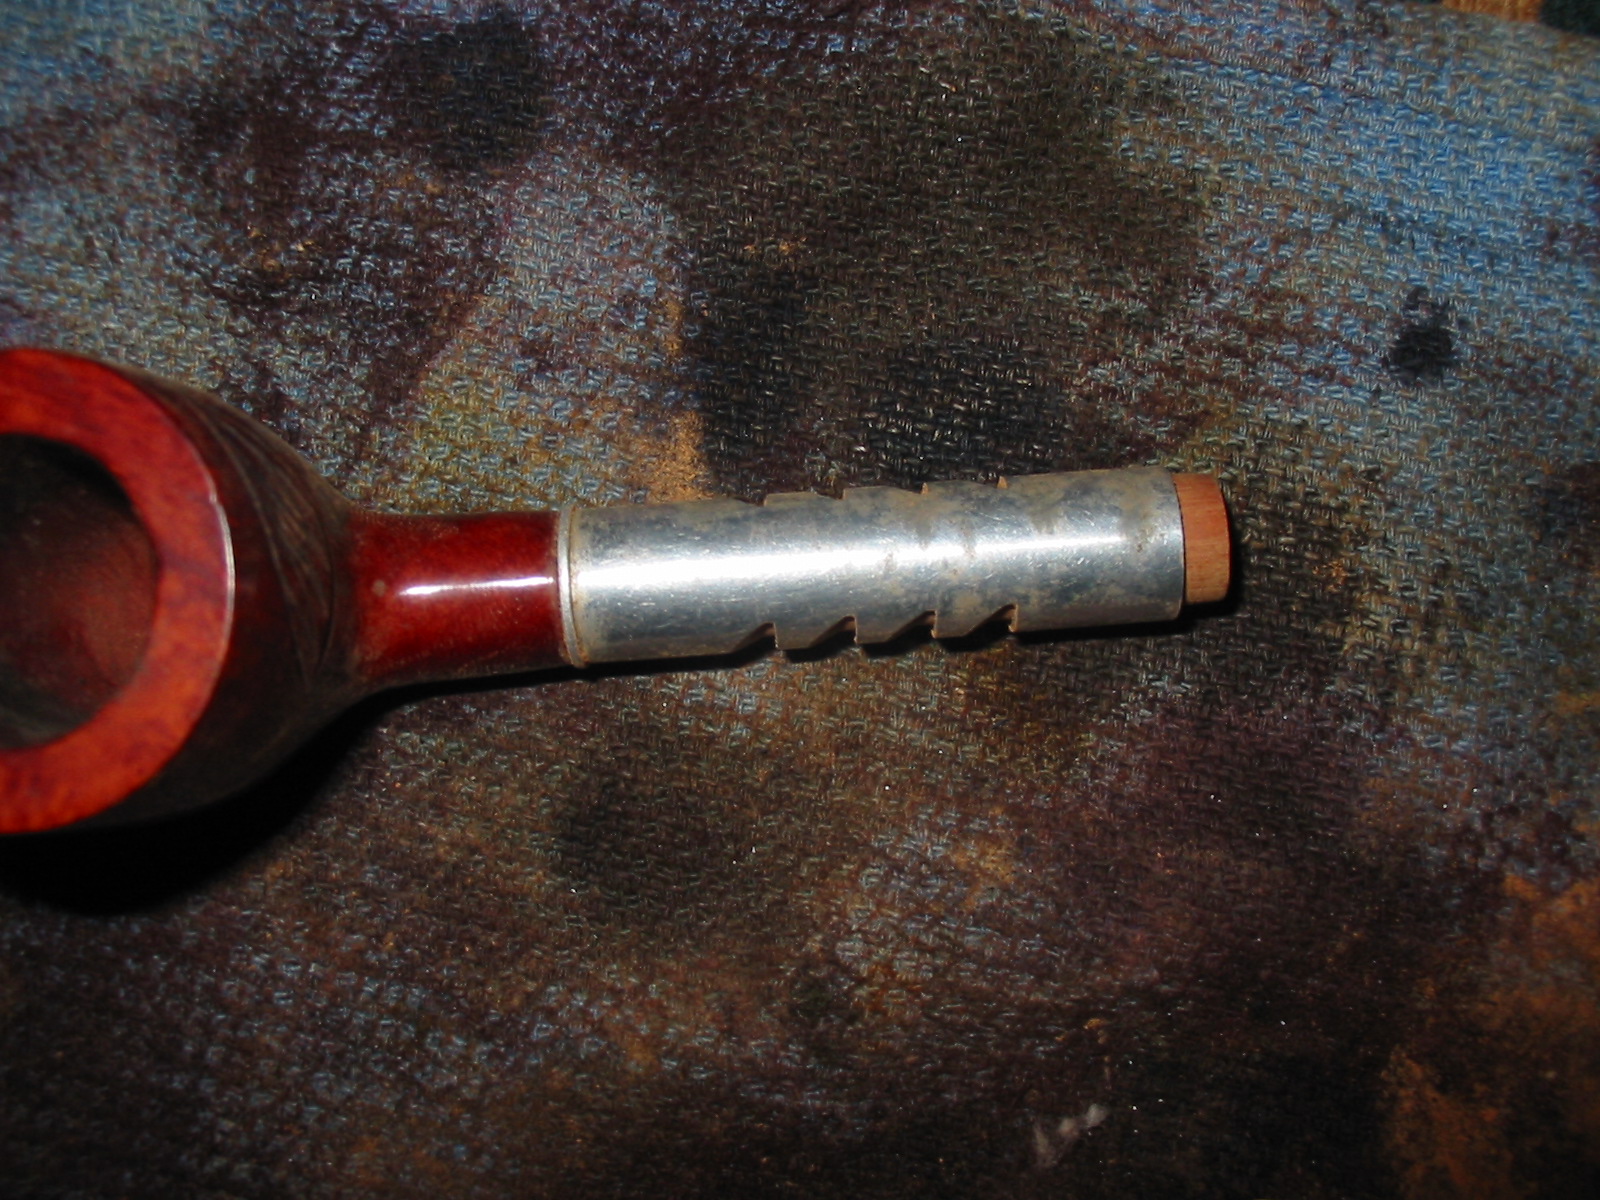
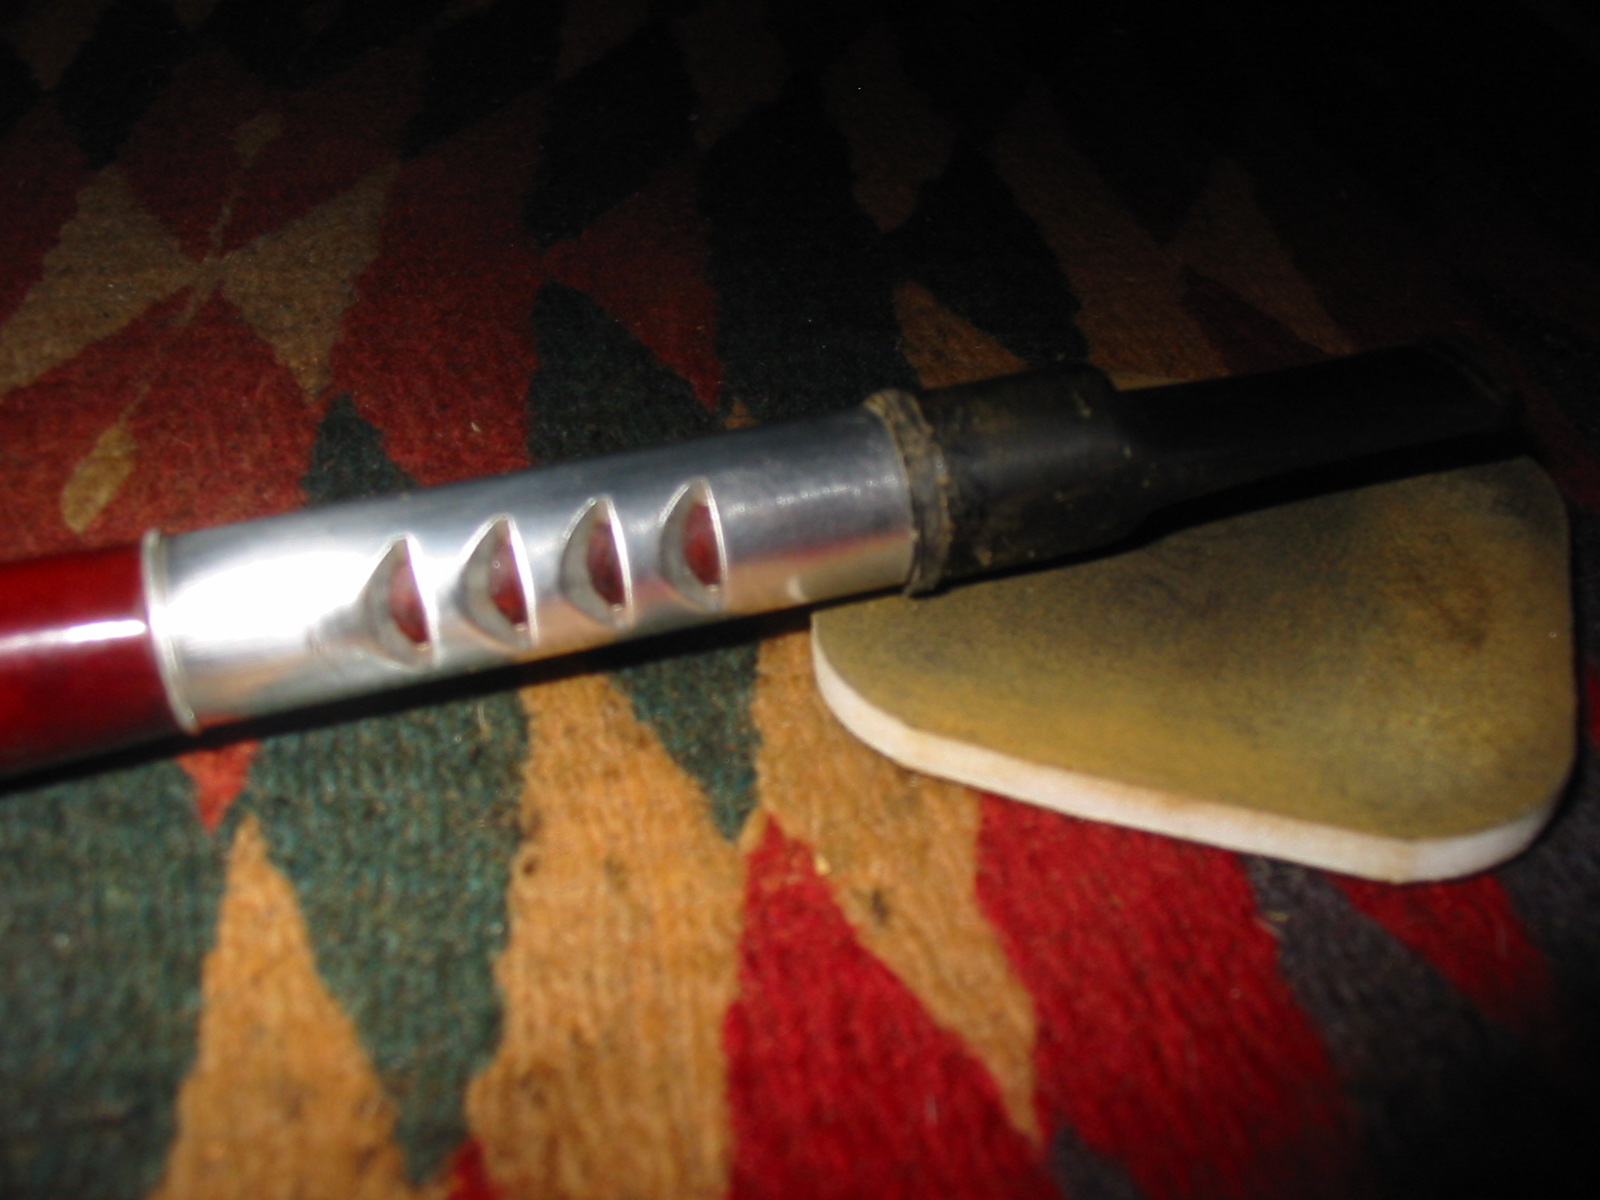
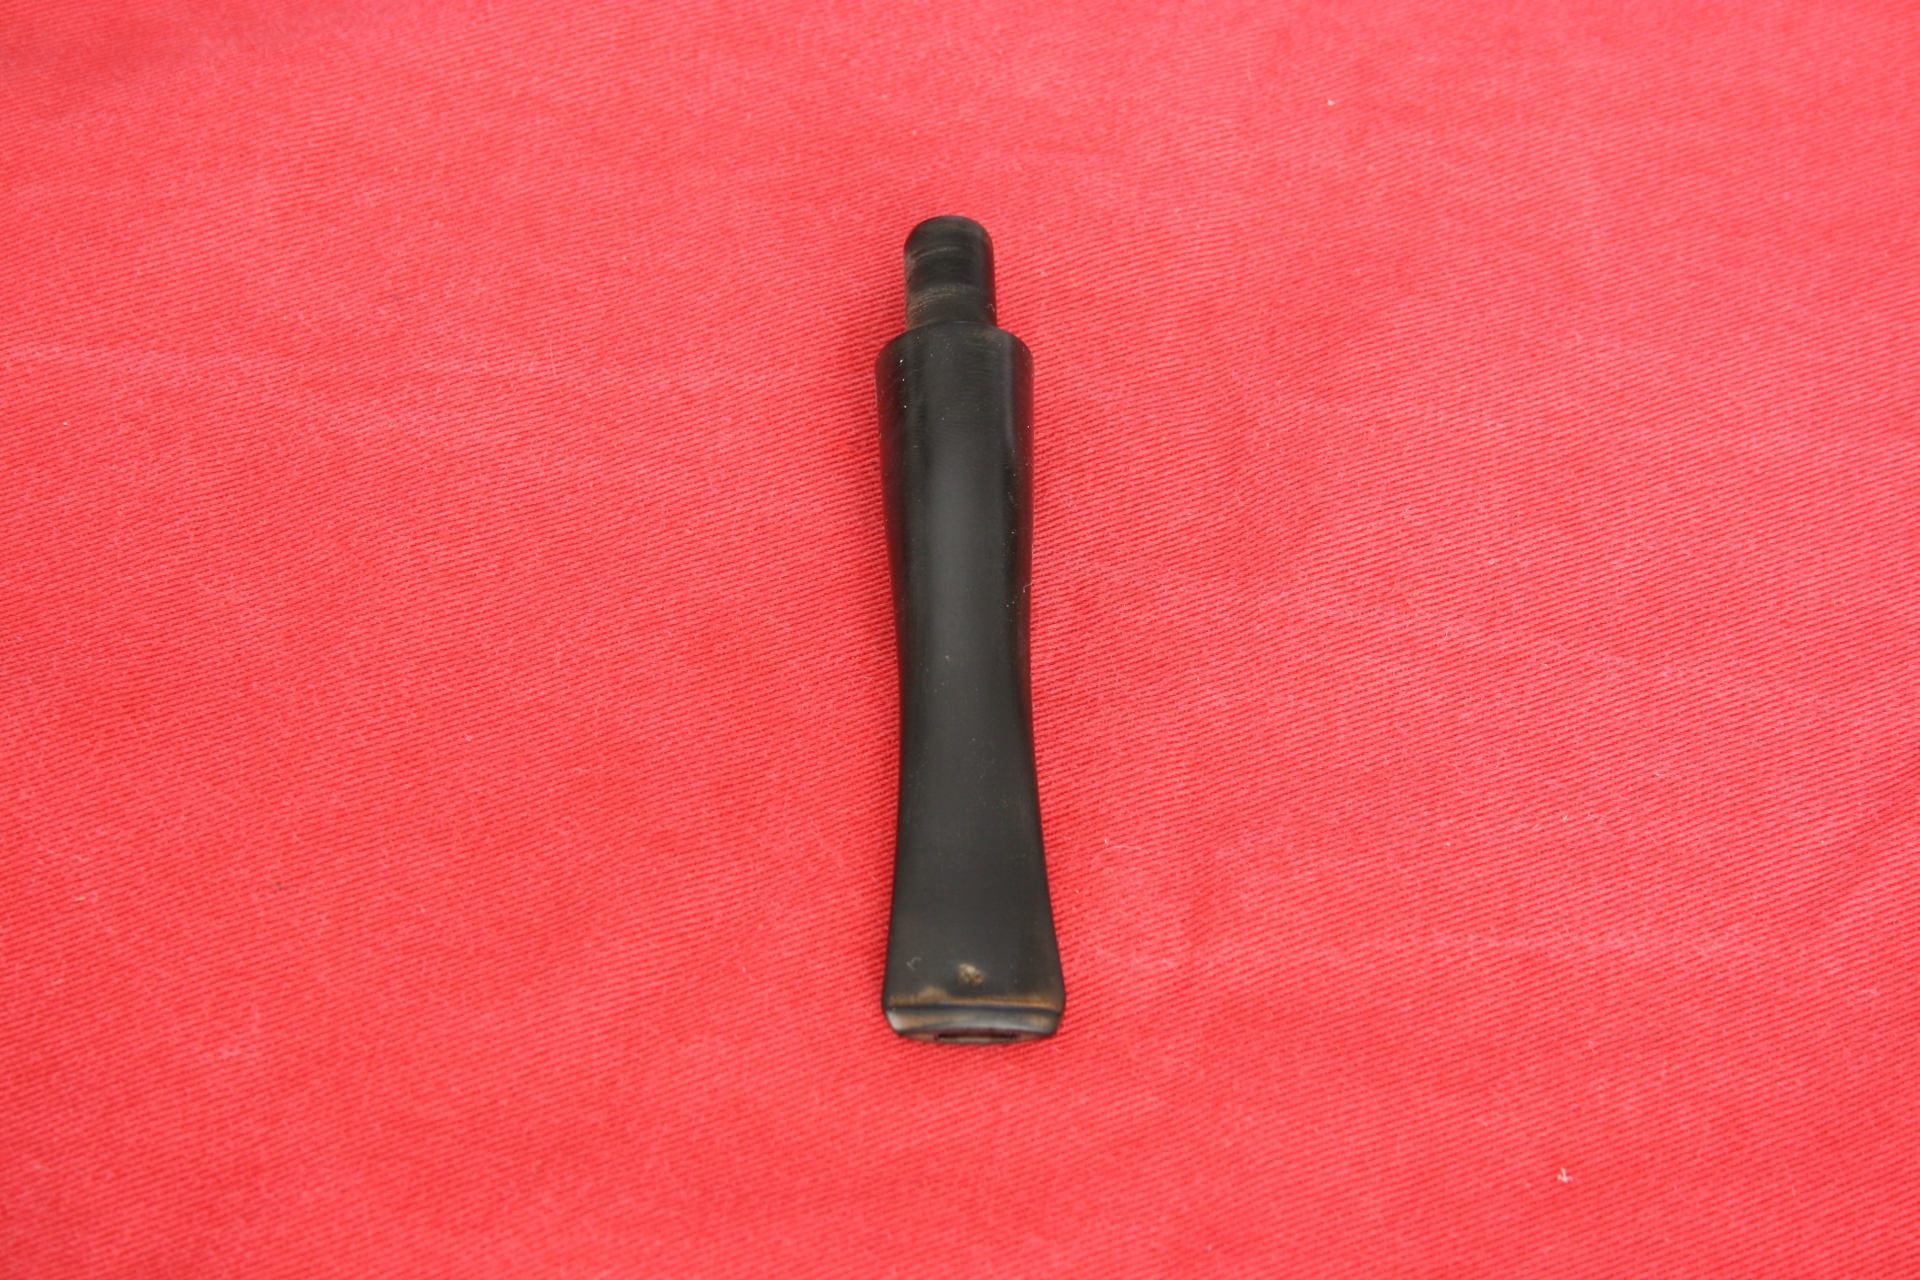
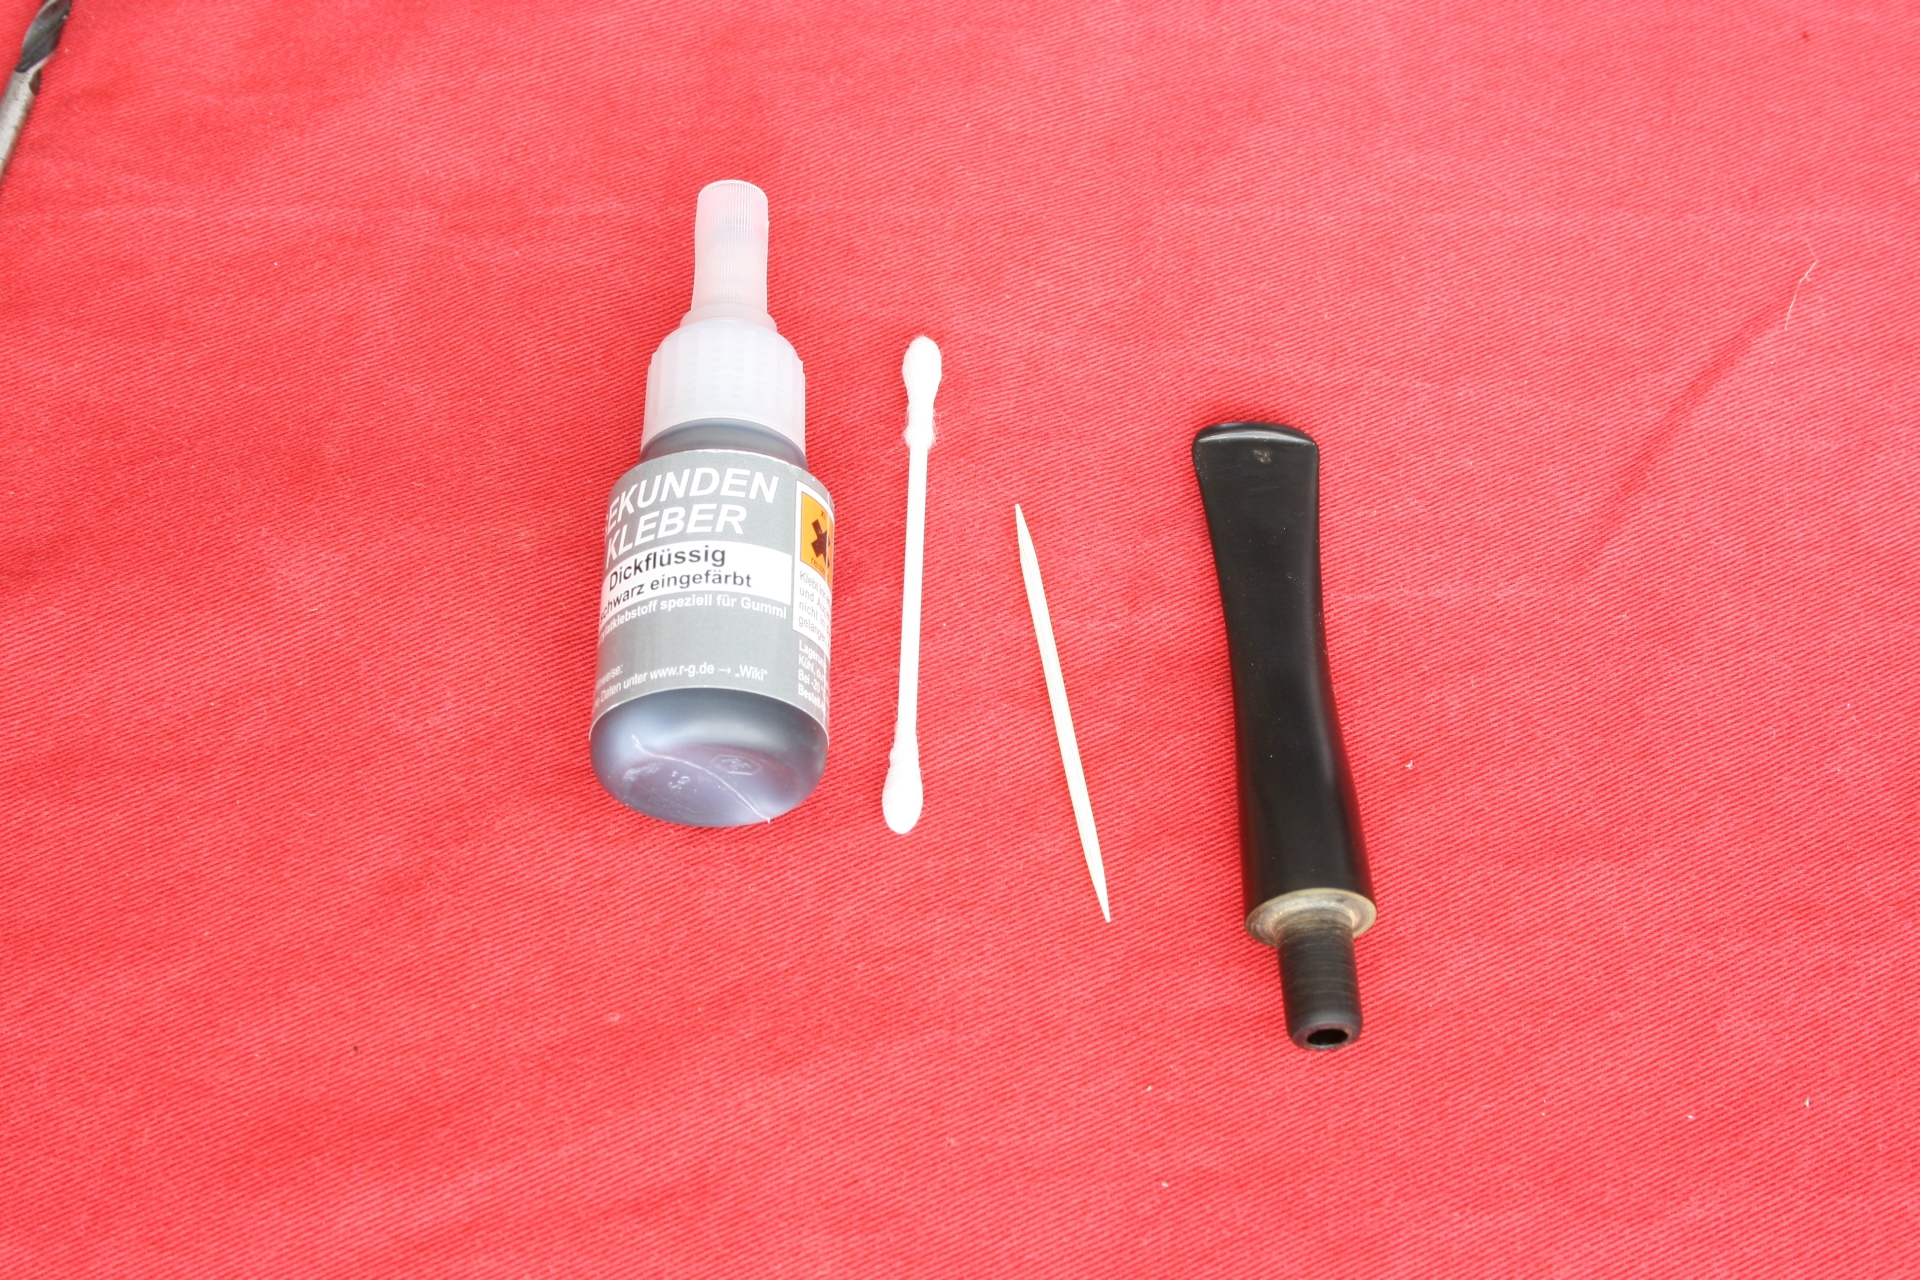
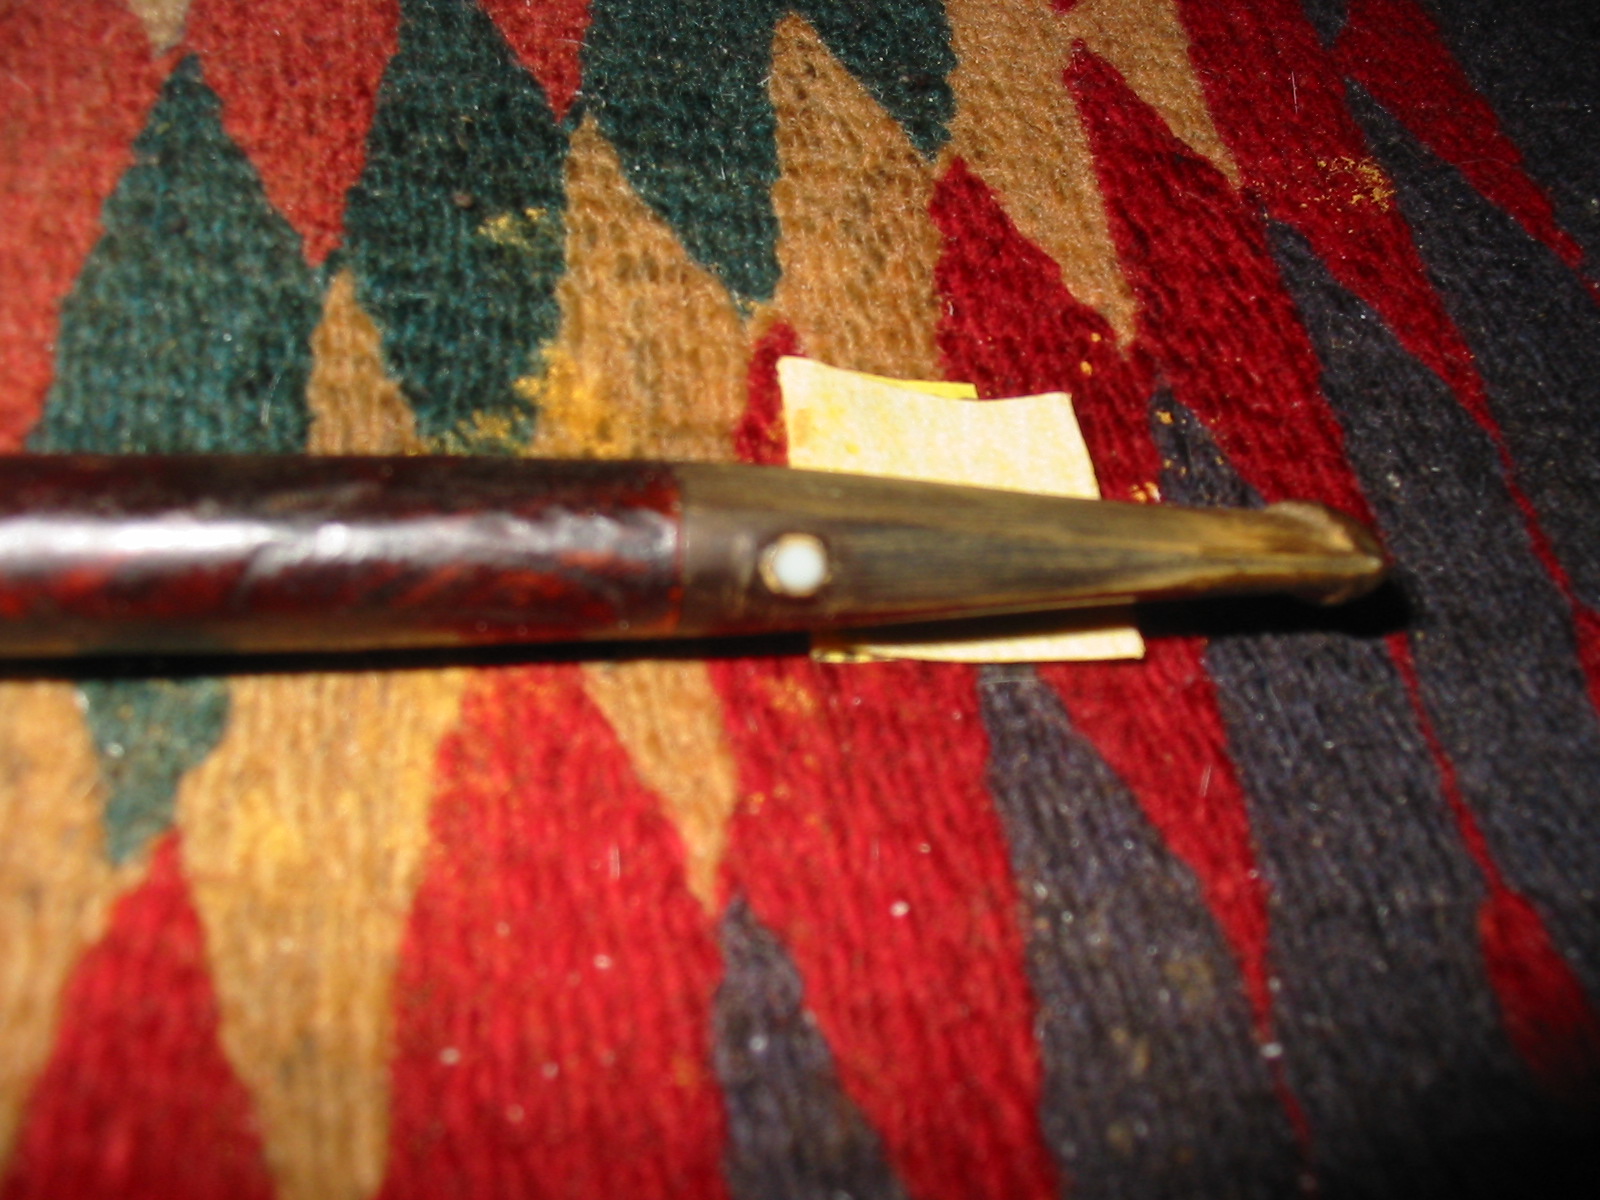
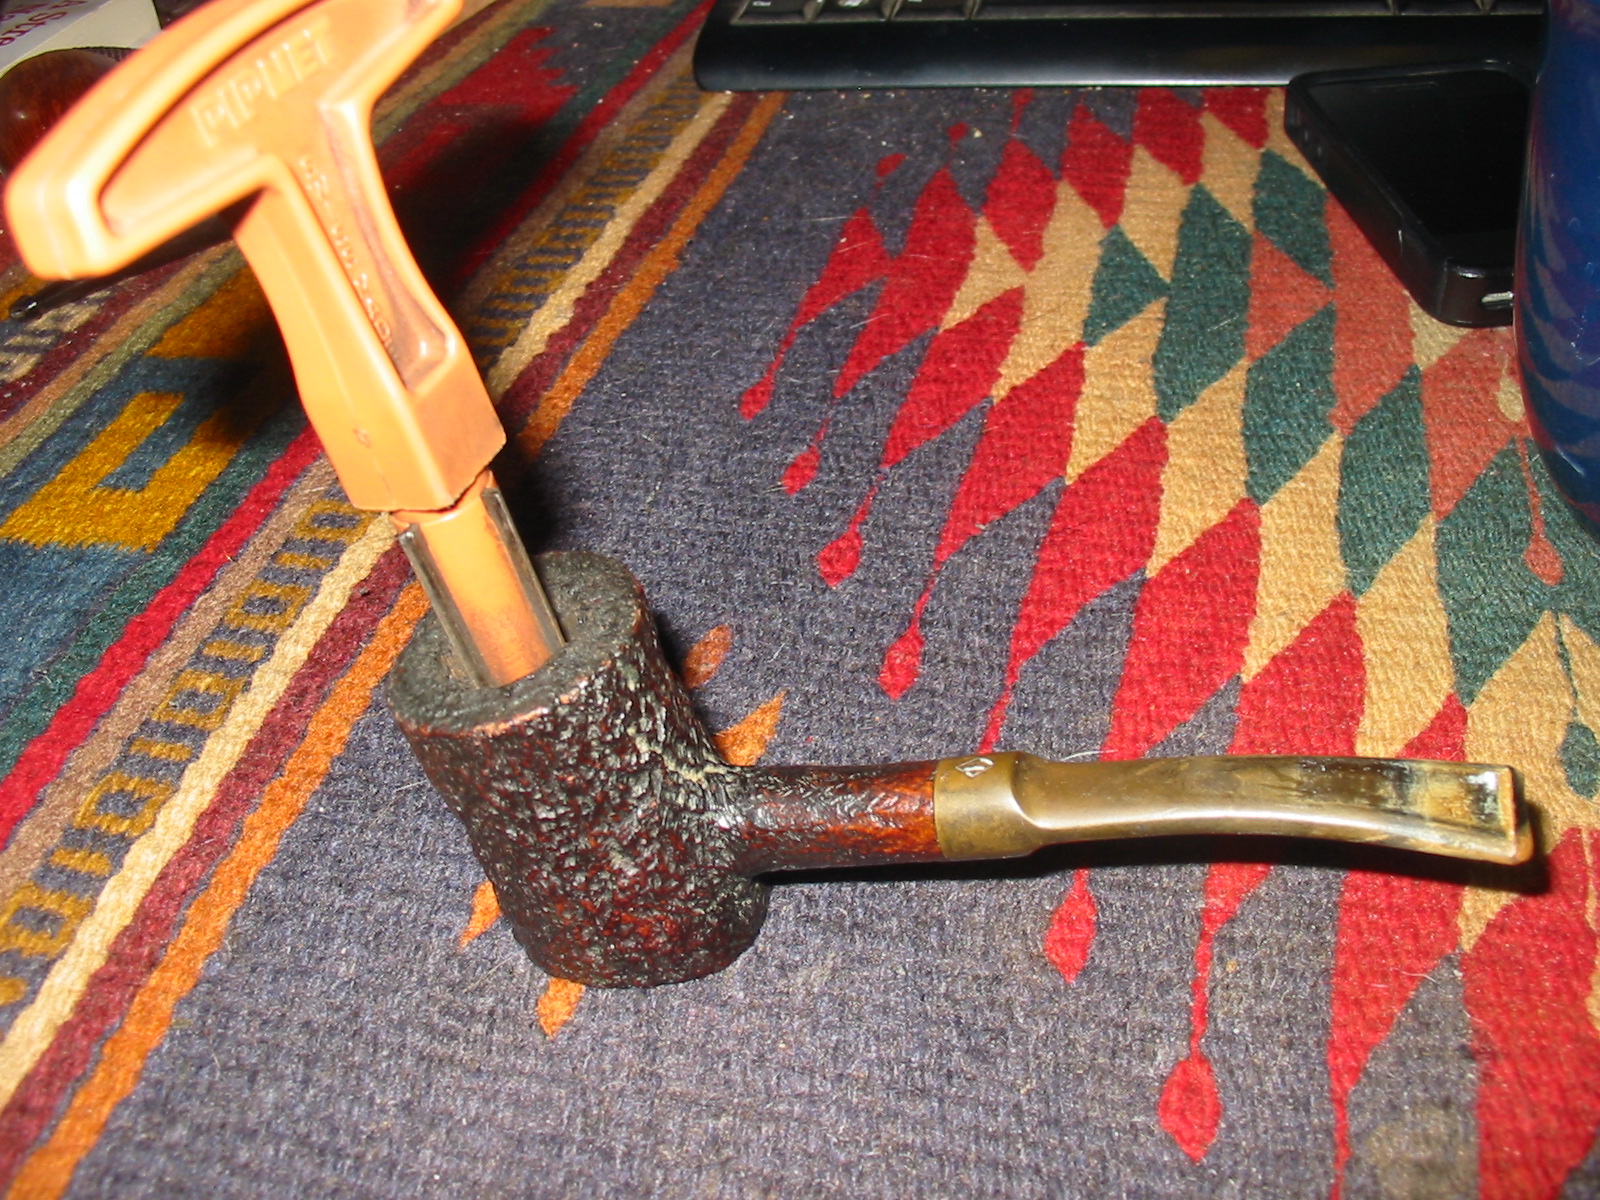
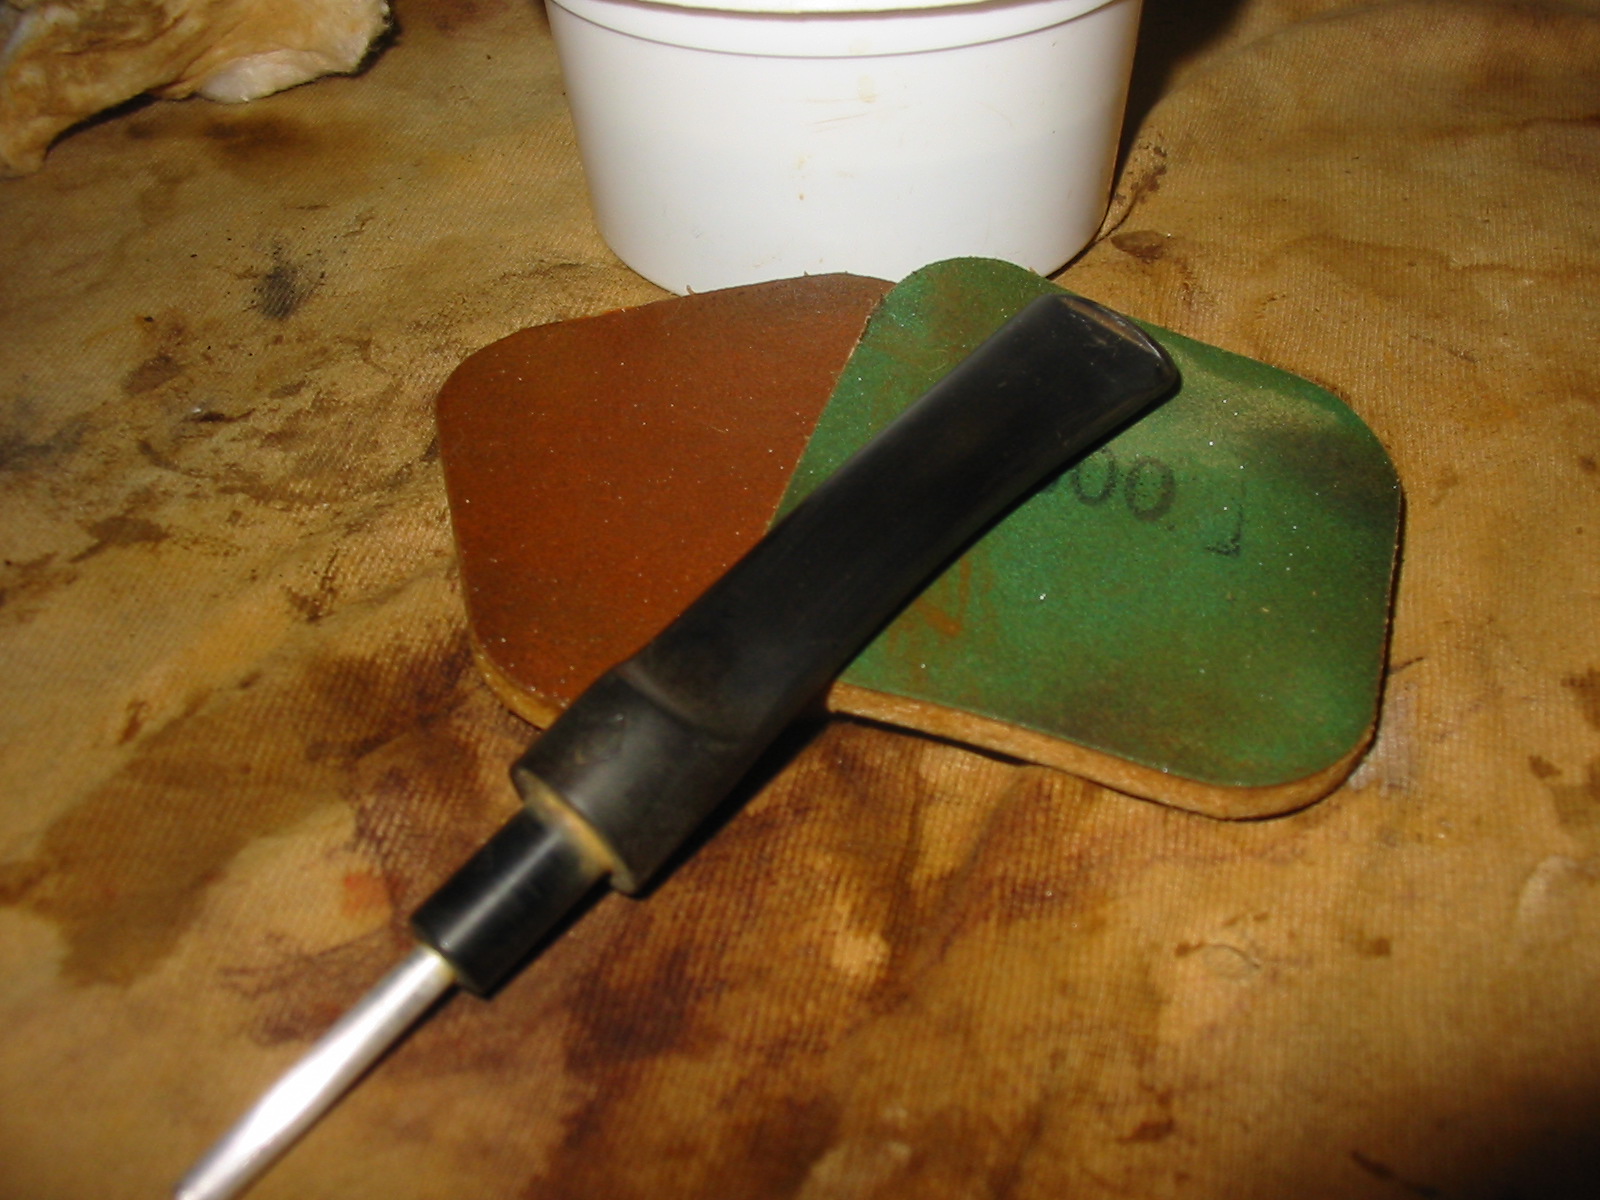
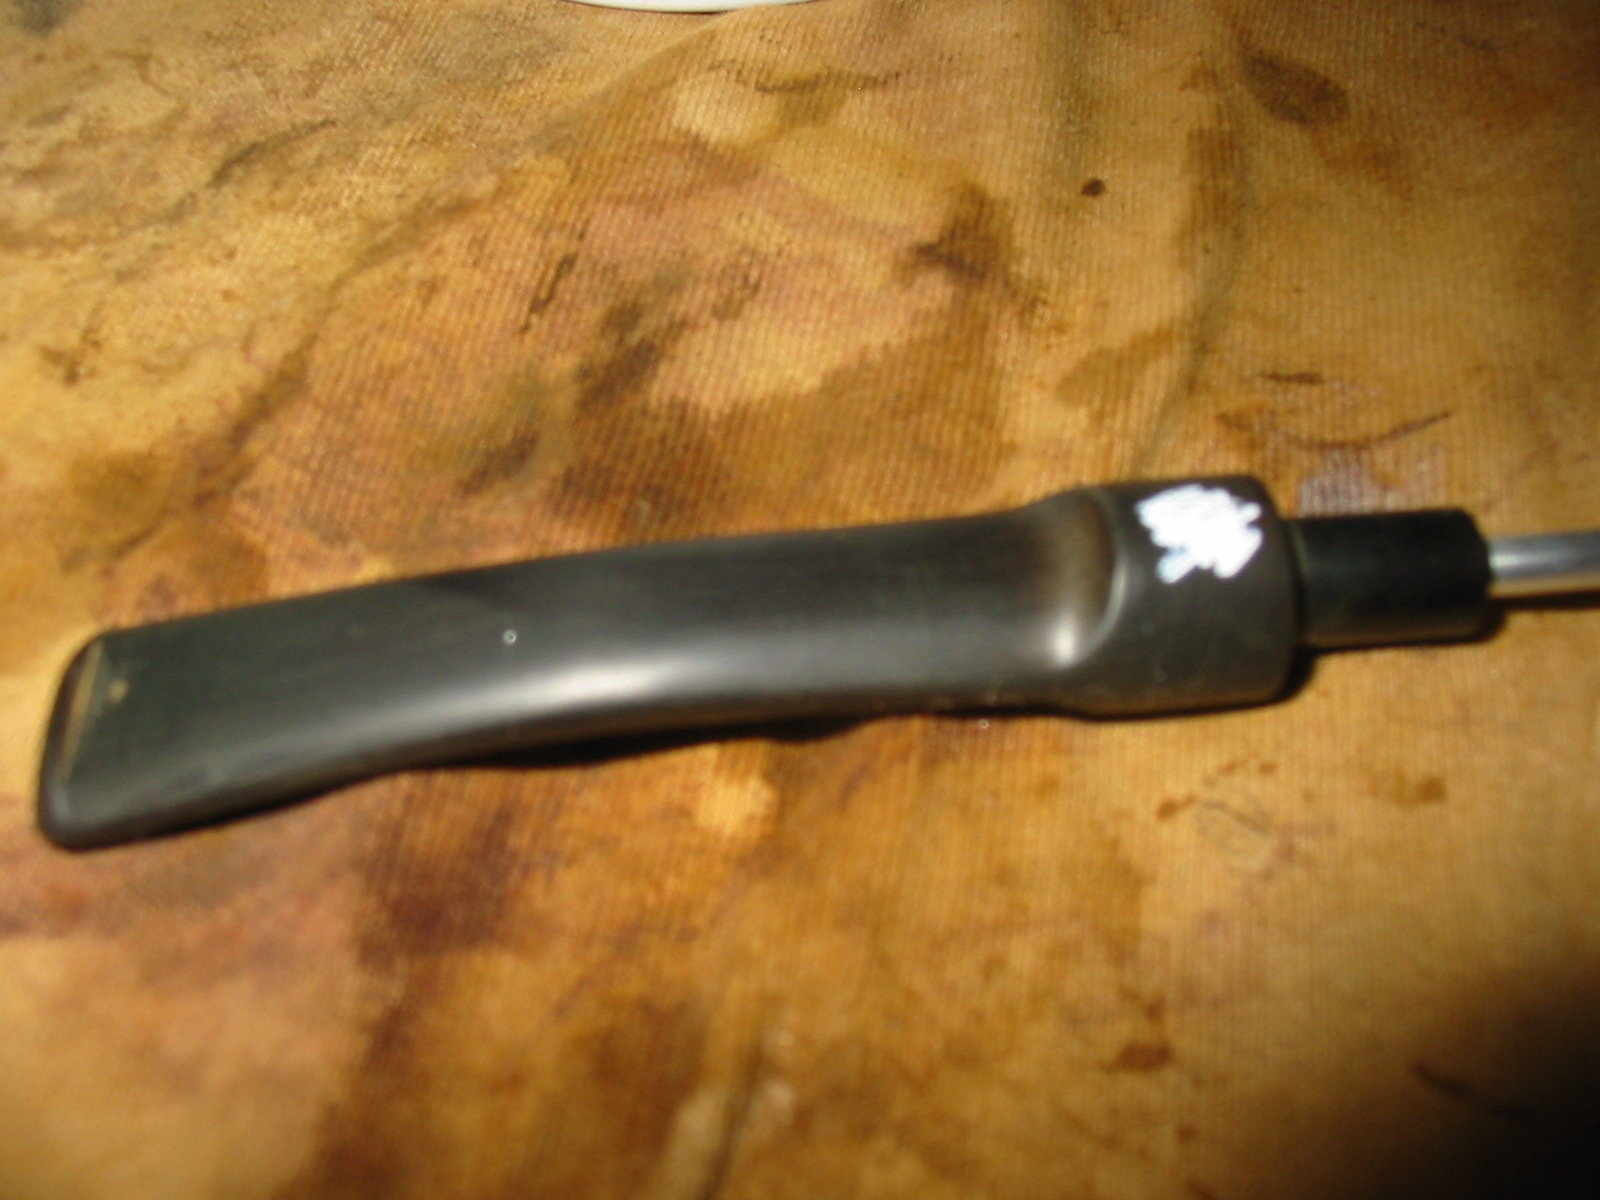
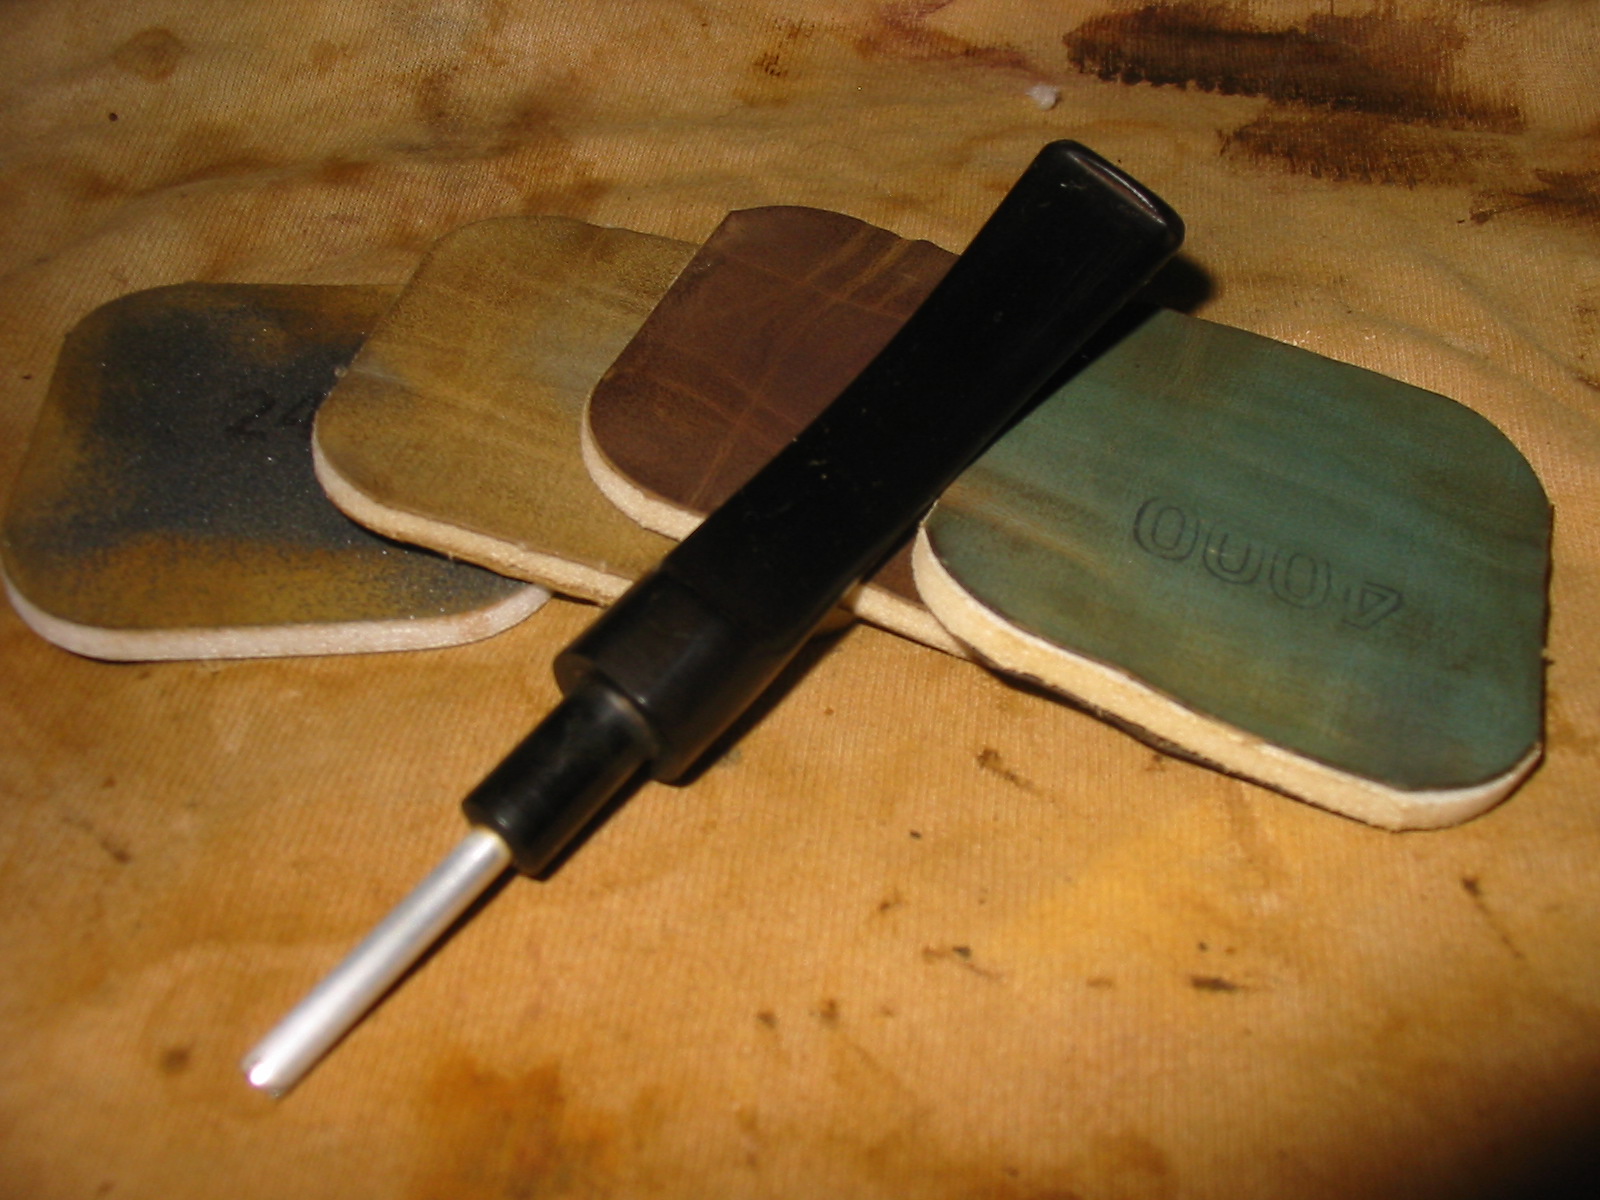
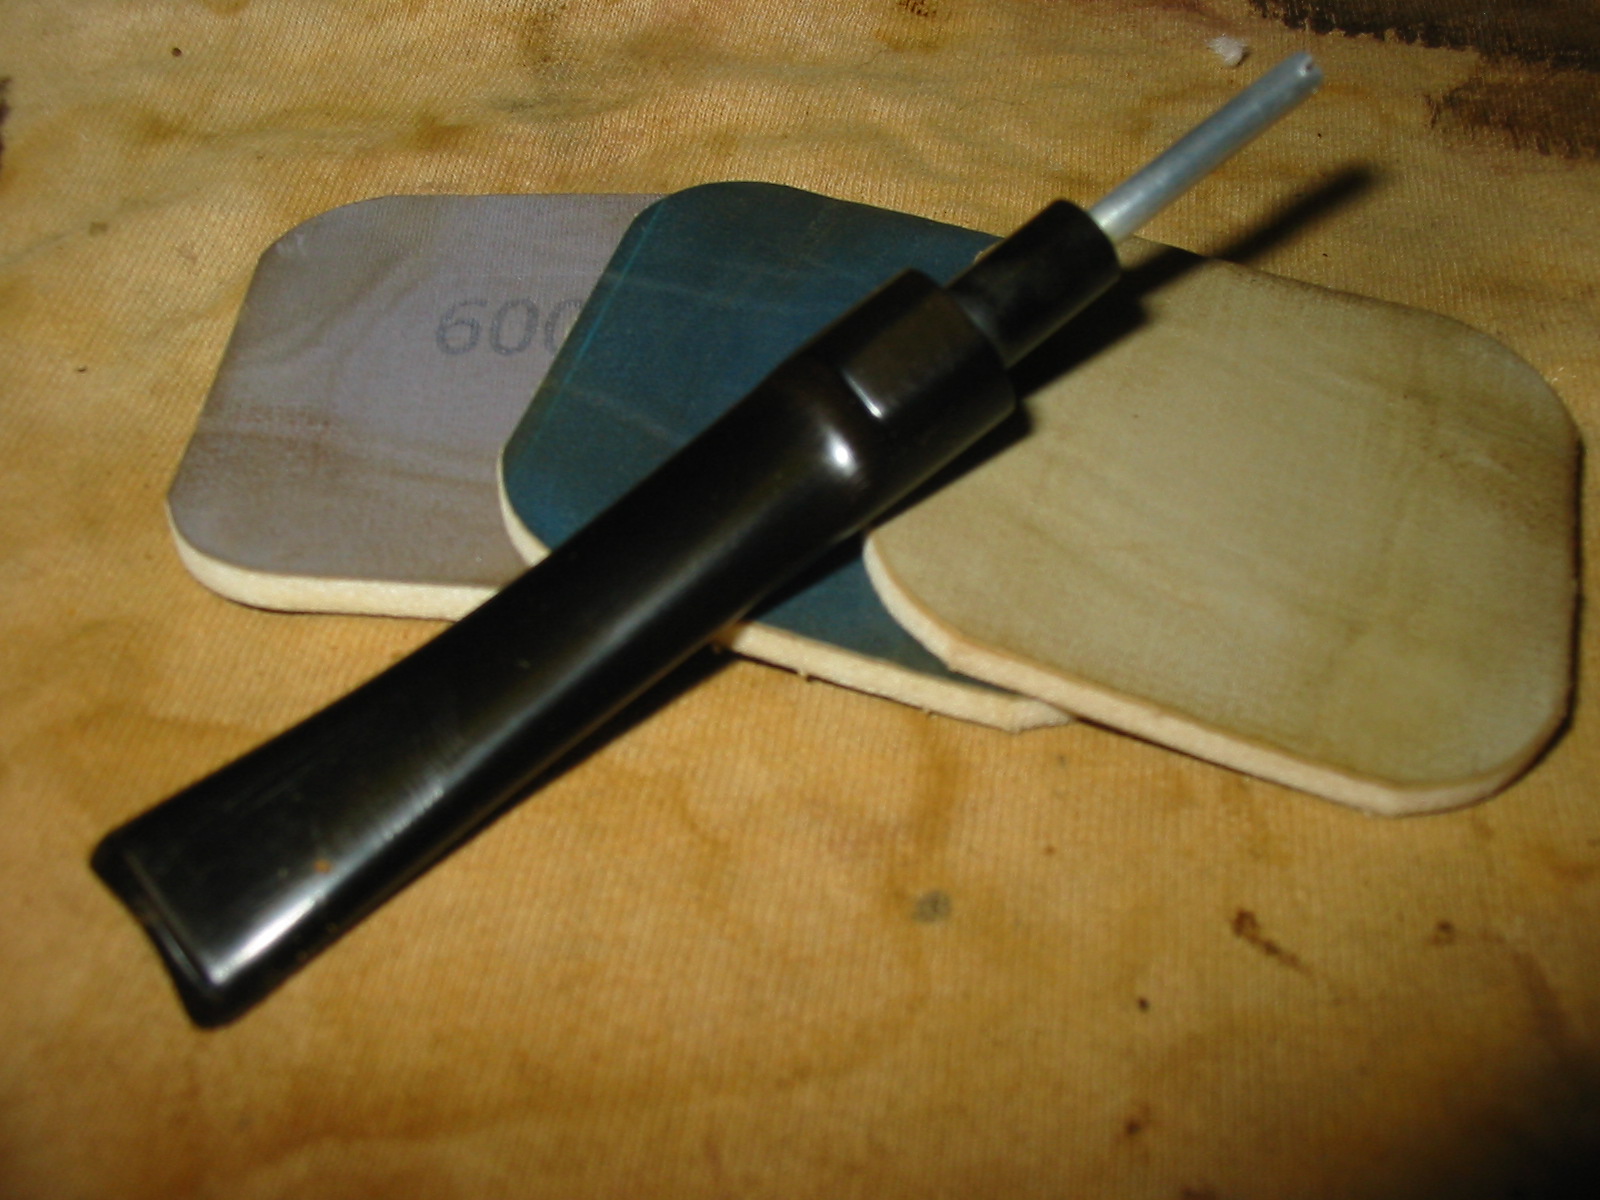
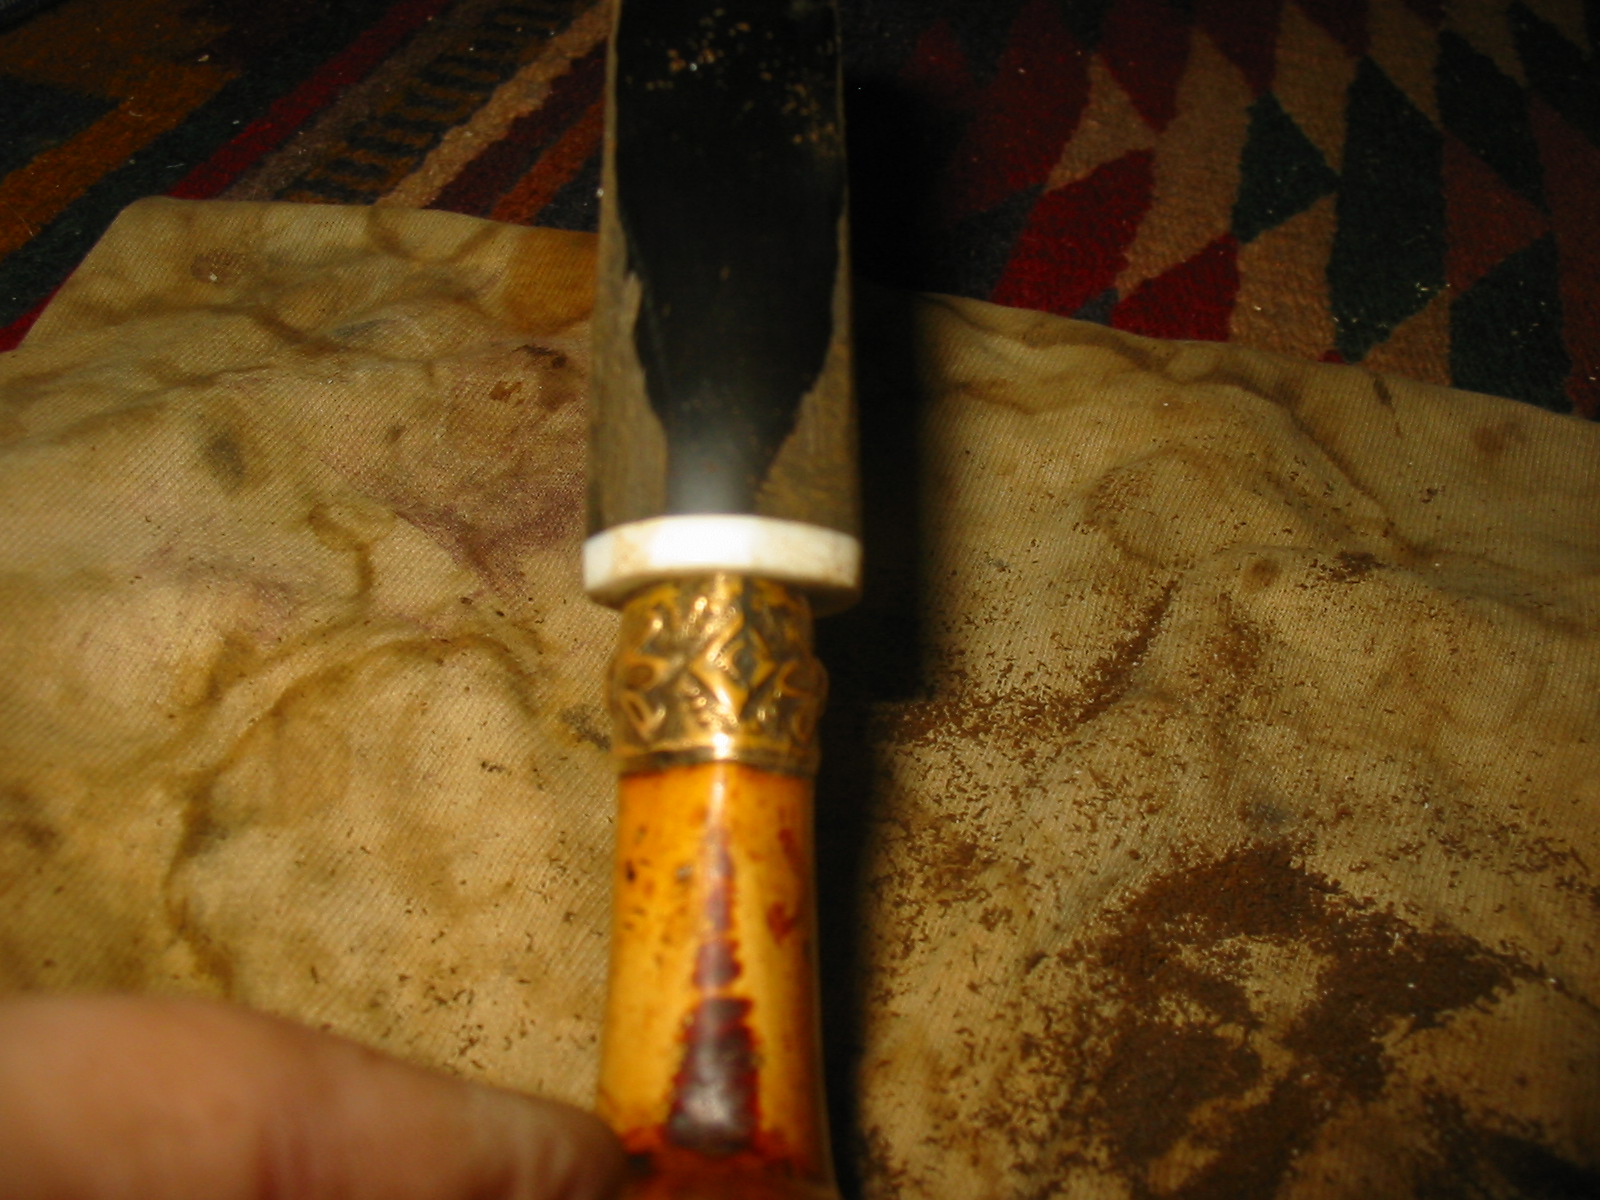
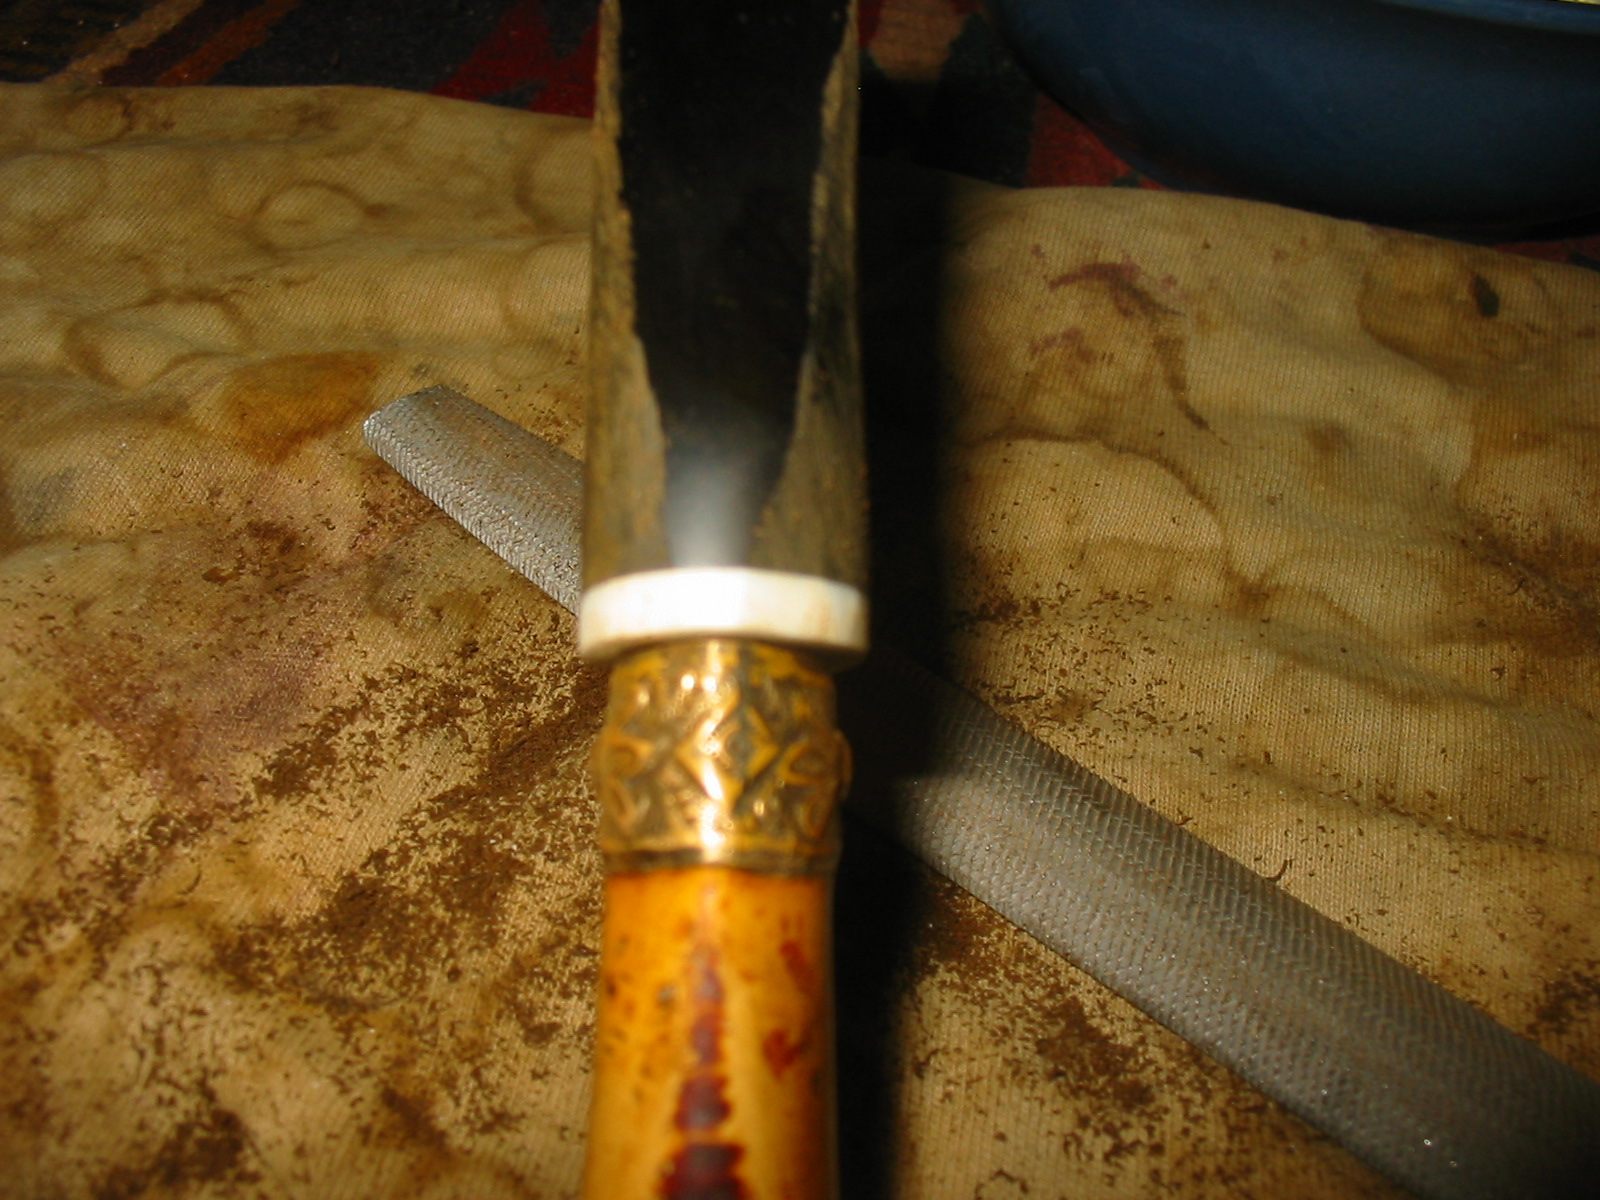
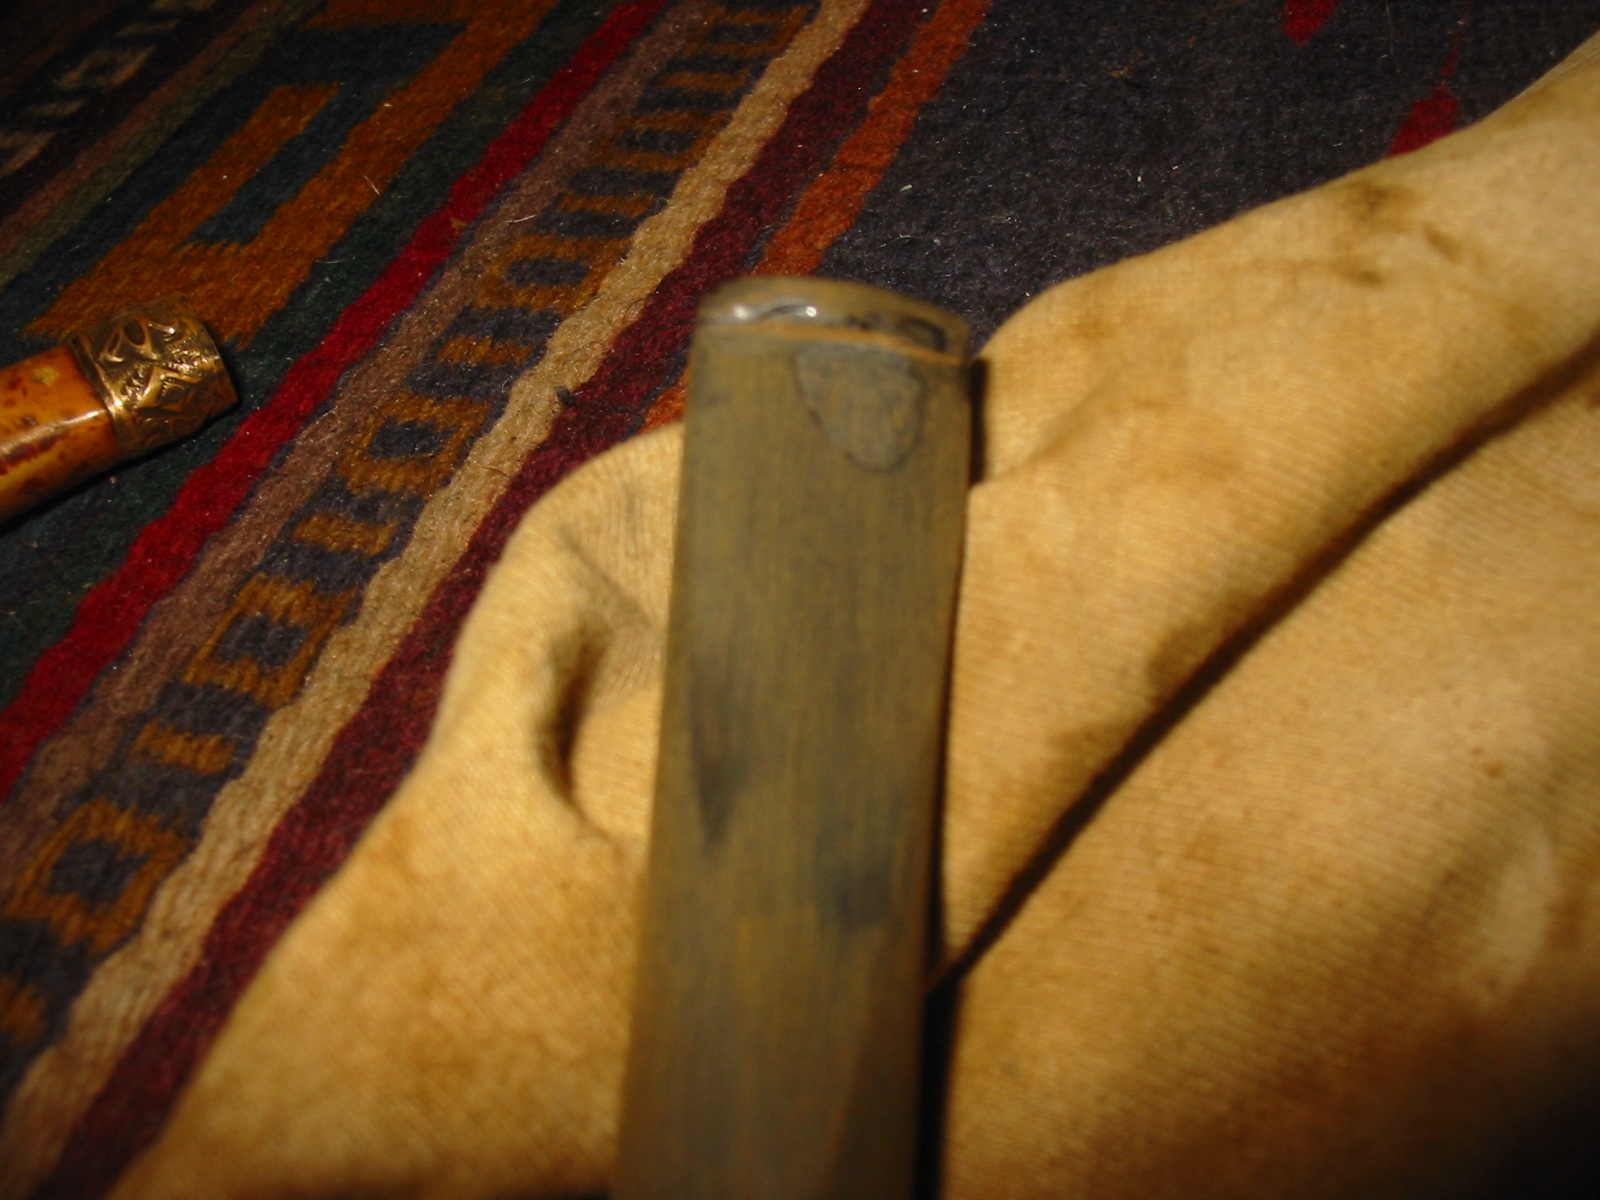
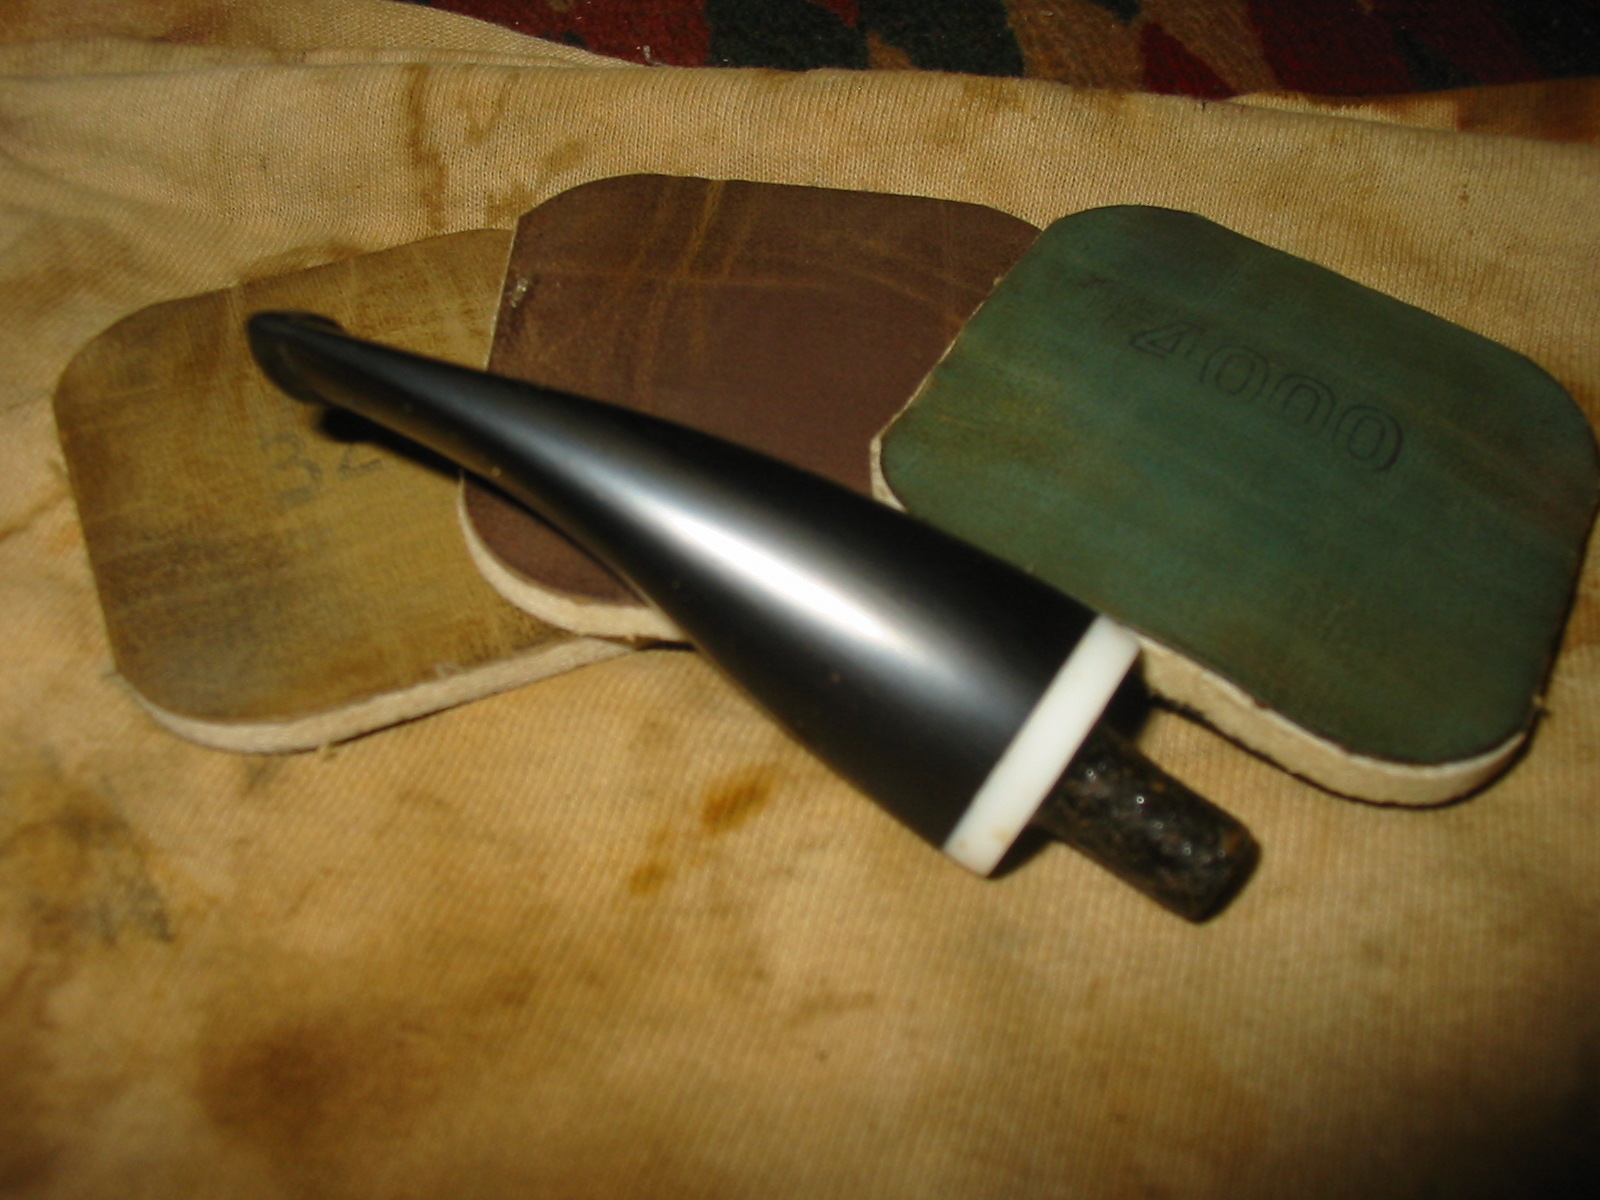
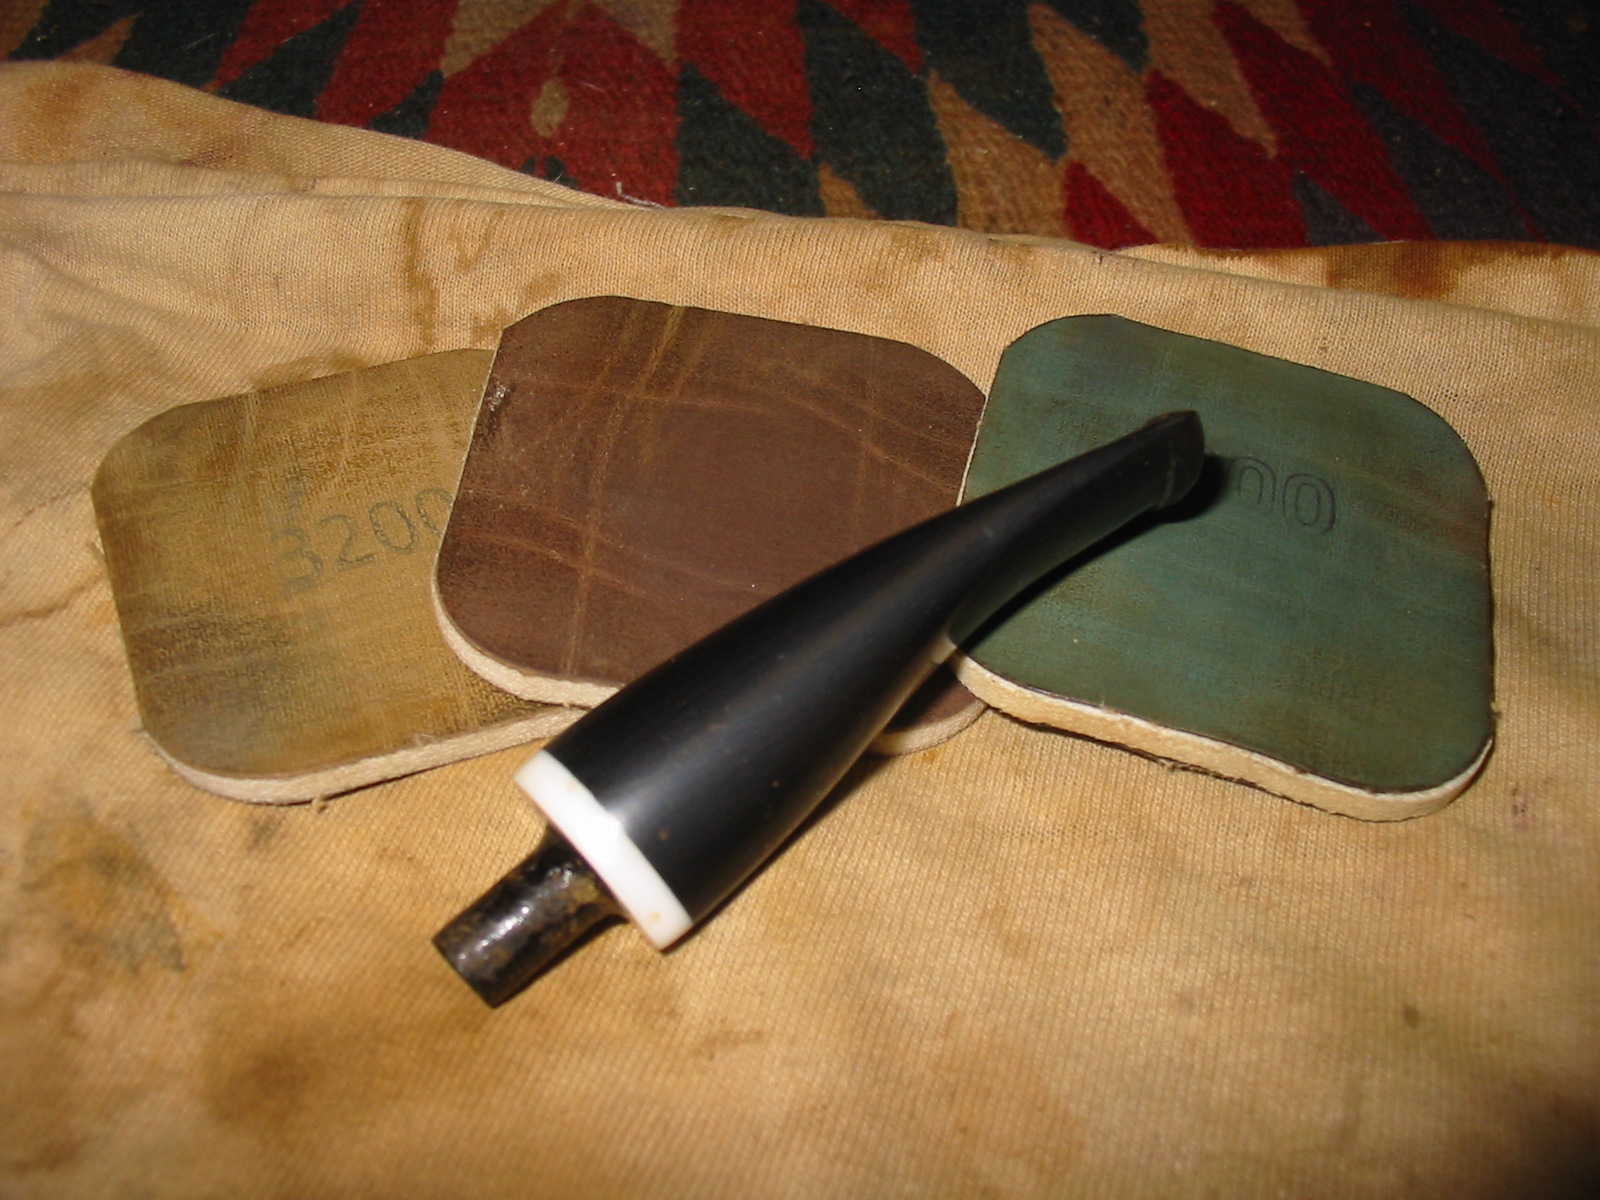
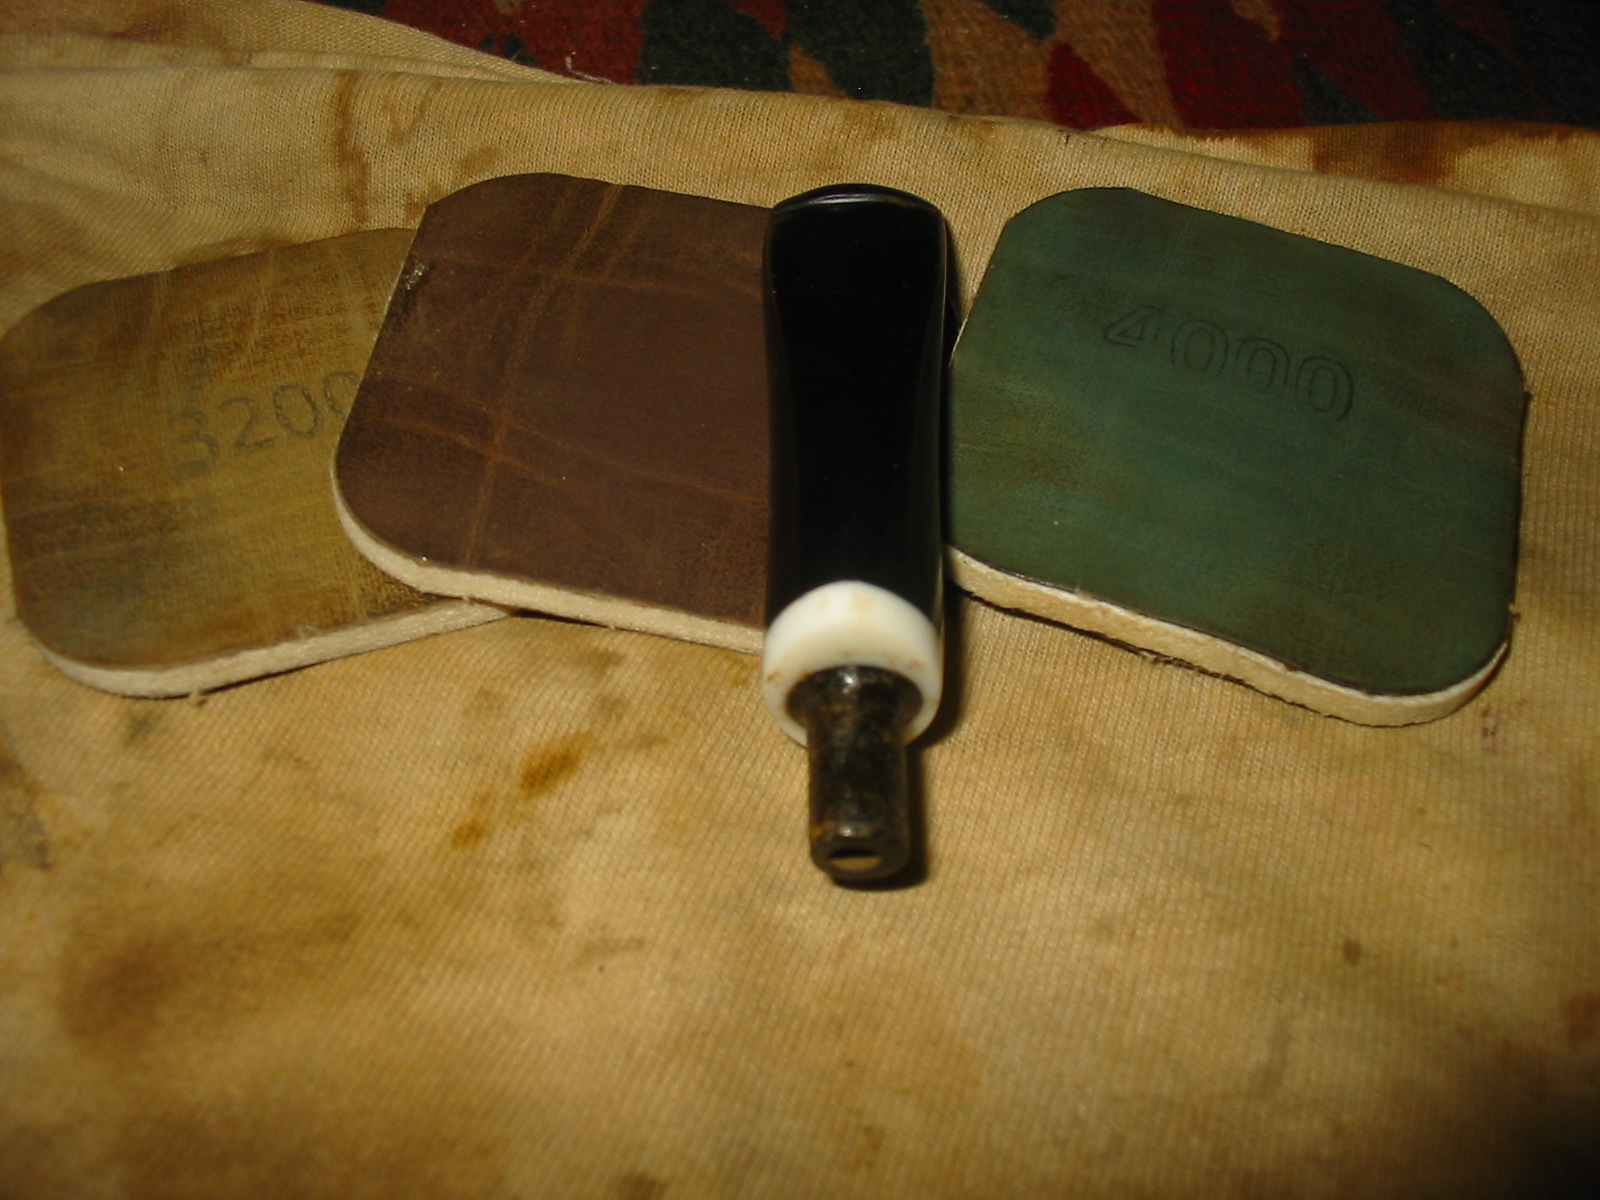
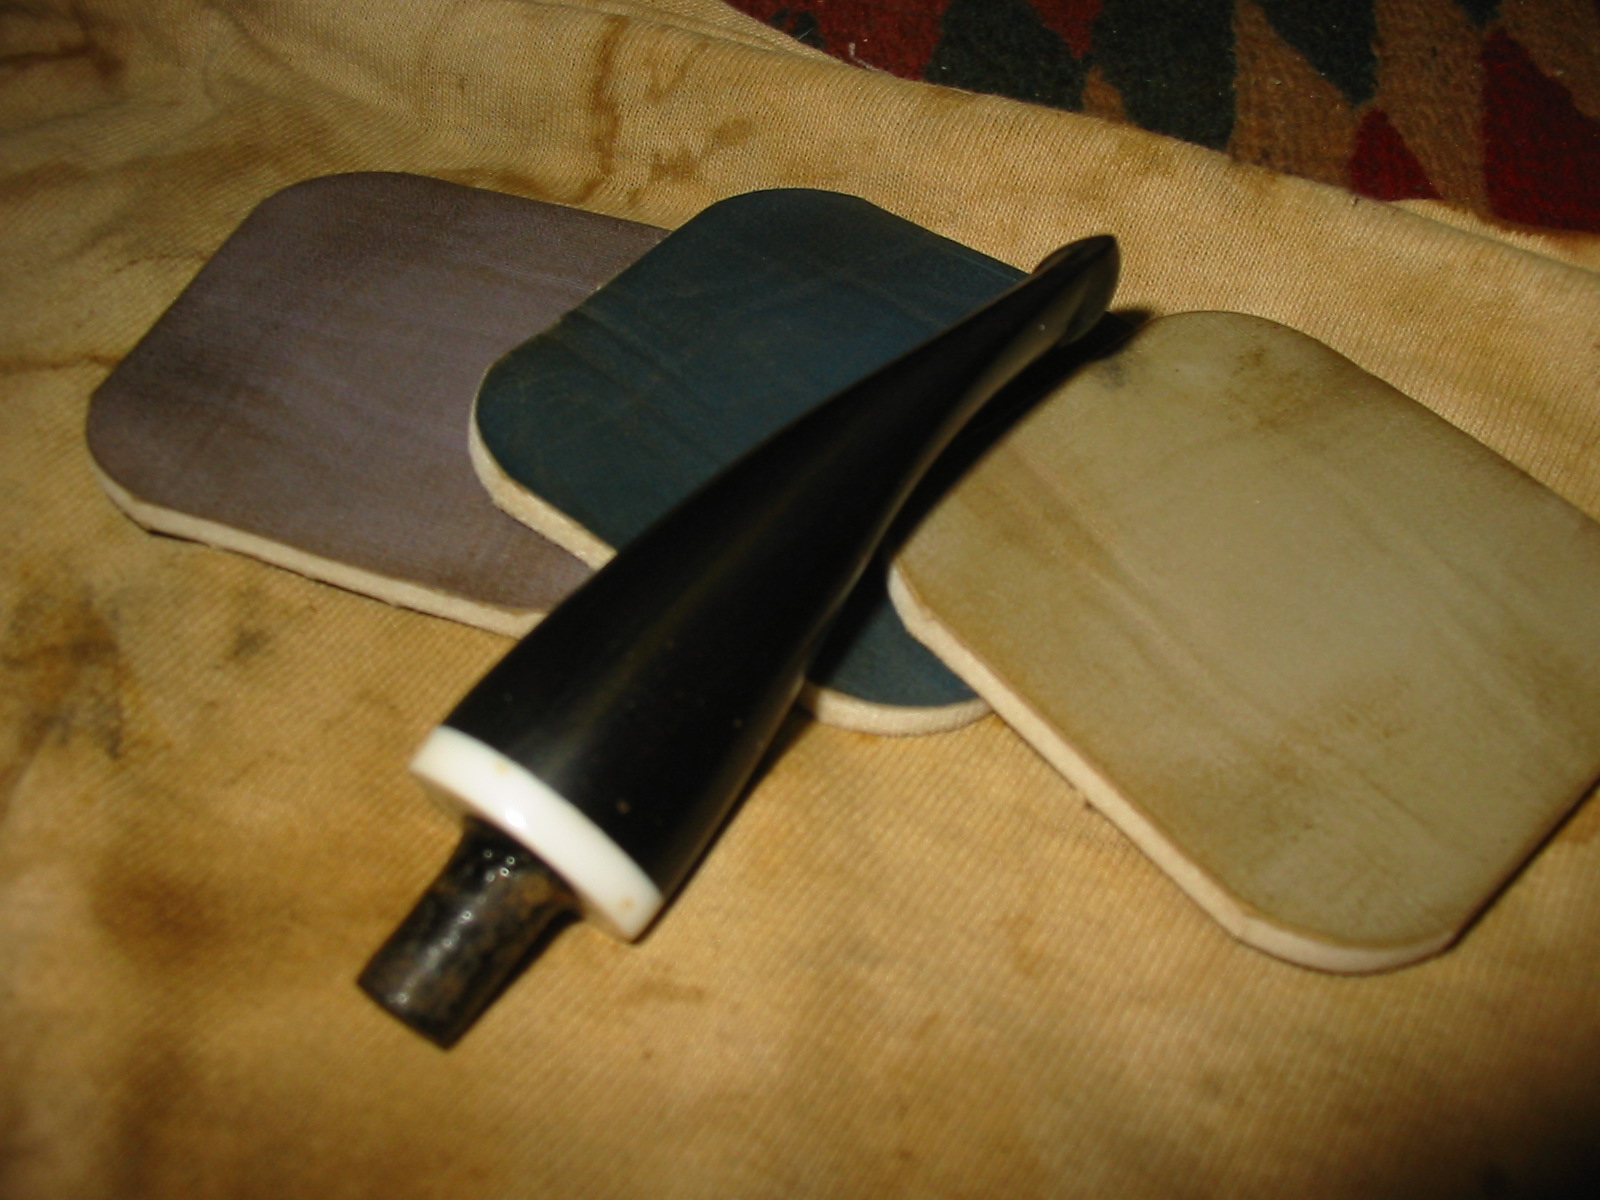
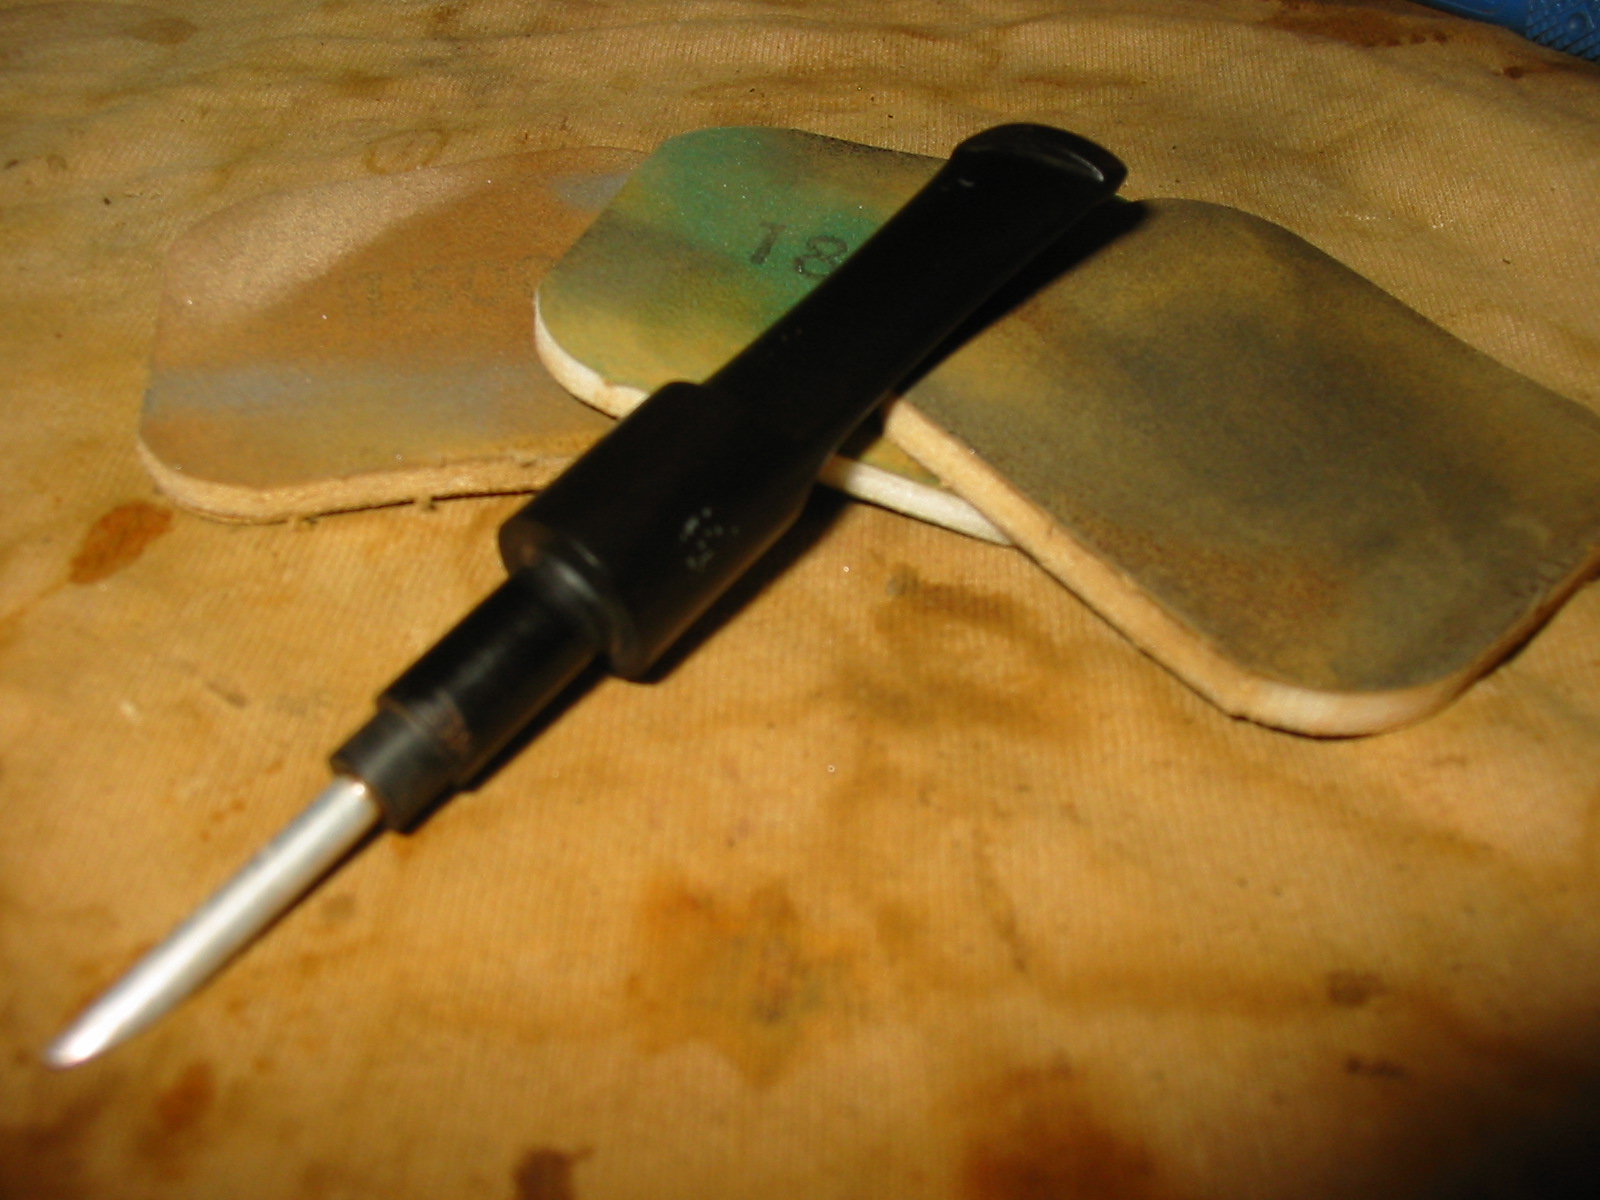
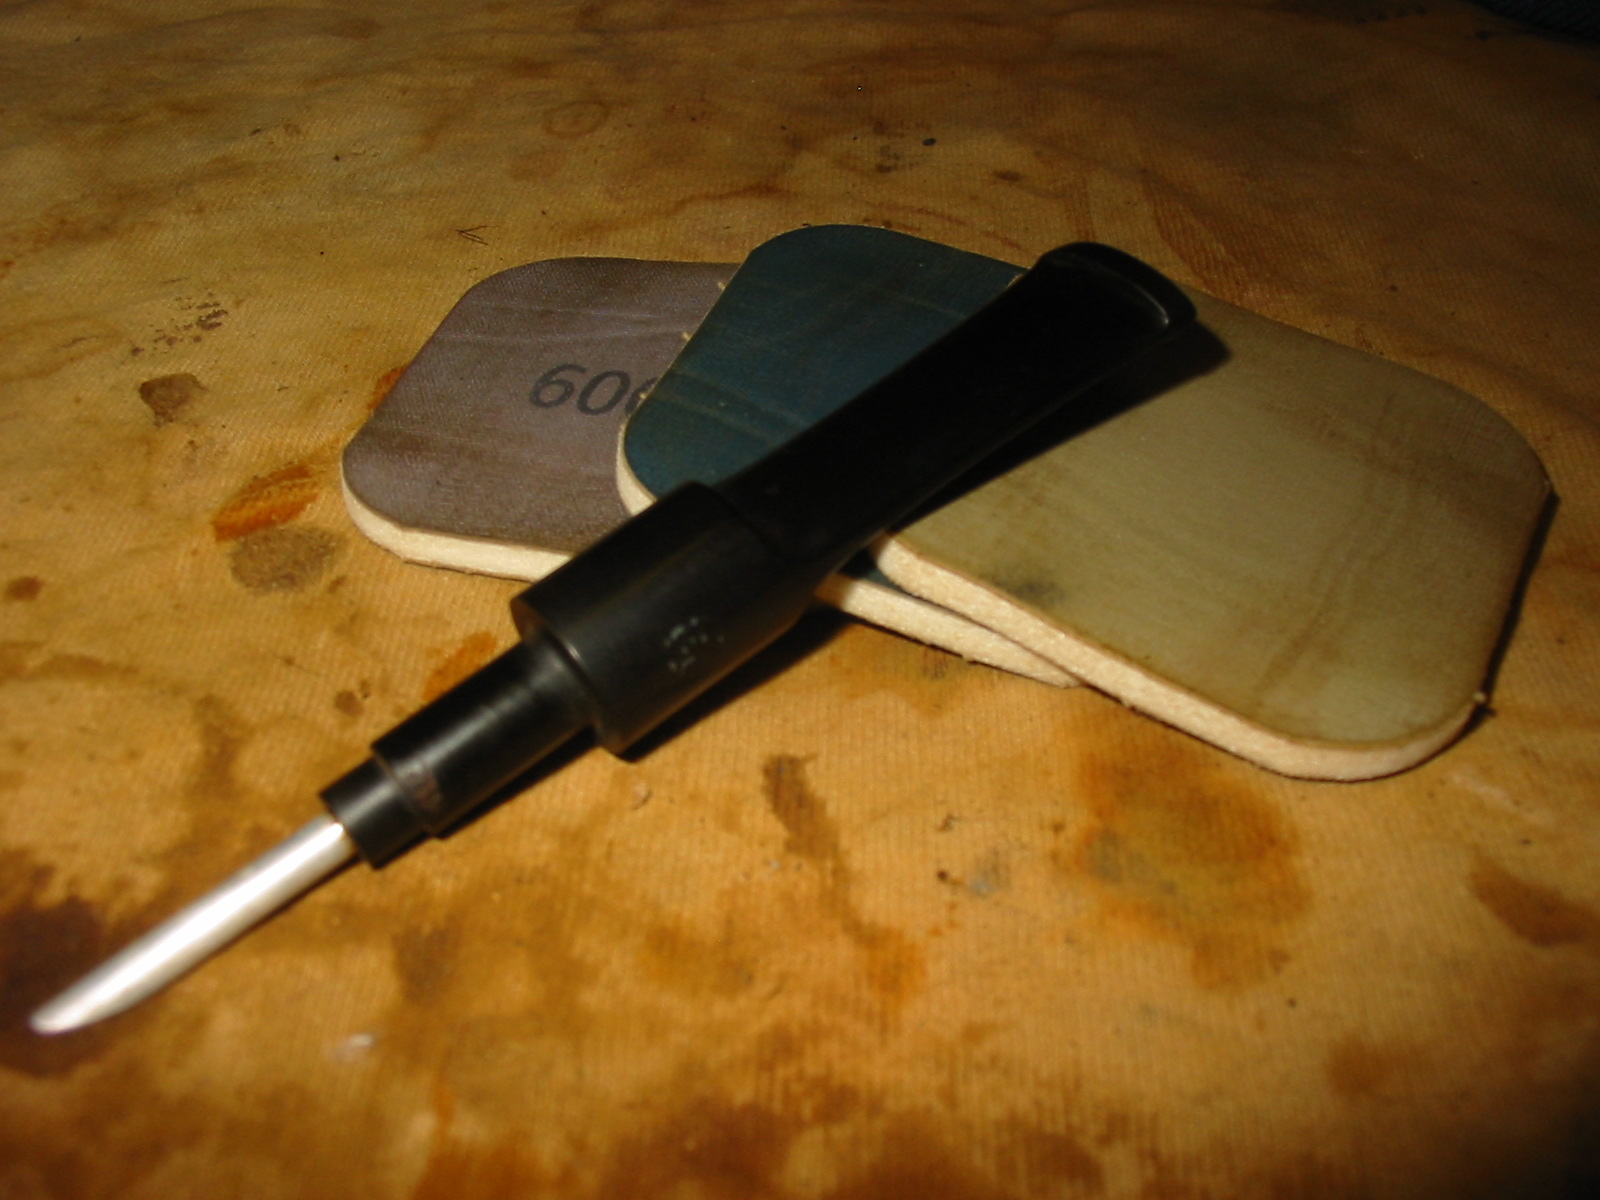
While it was drying I used micromesh sanding pads from 1500-12,000 grit to work on the stem. I worked around the double AA on the stem logo. It is faint but still visible. Once I had finished sanding I rubbed it down with Obsidian Oil and let it dry. When it was dry I rubbed it with a soft cloth to buff it by hand.
IMG_2266

IMG_2267

IMG_2268

IMG_2269

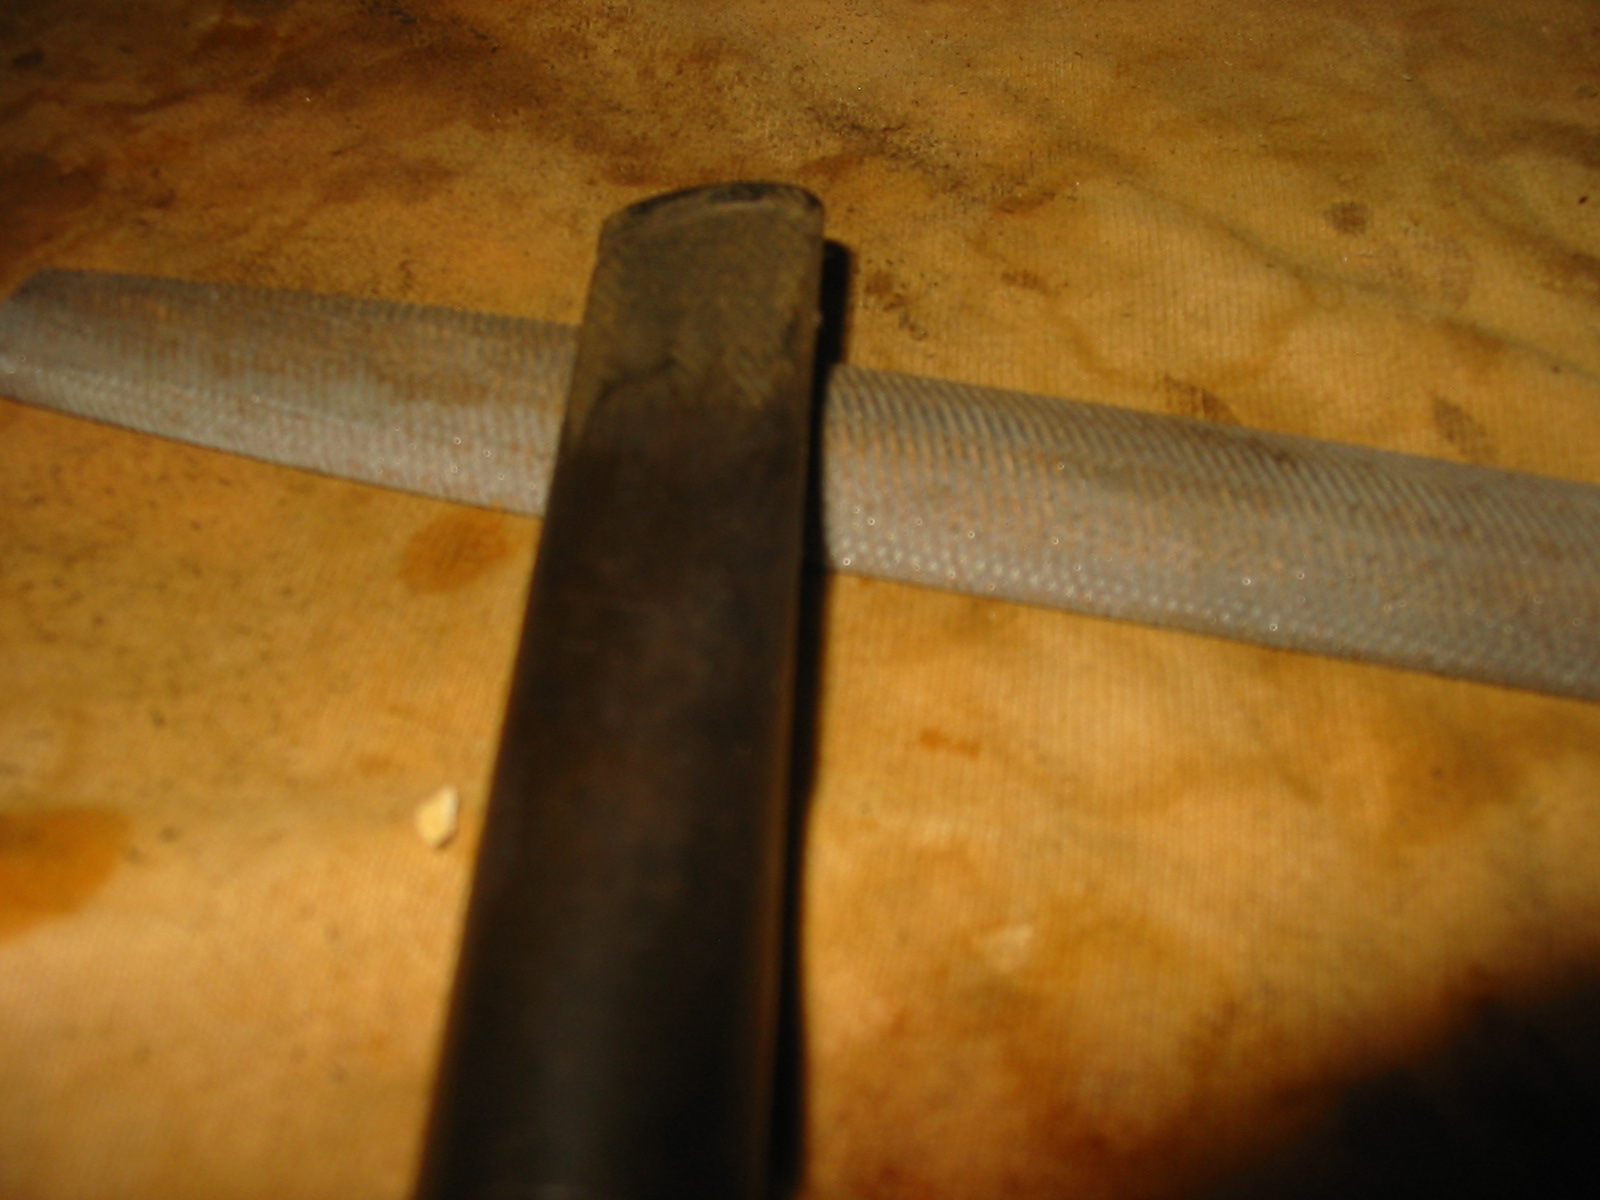
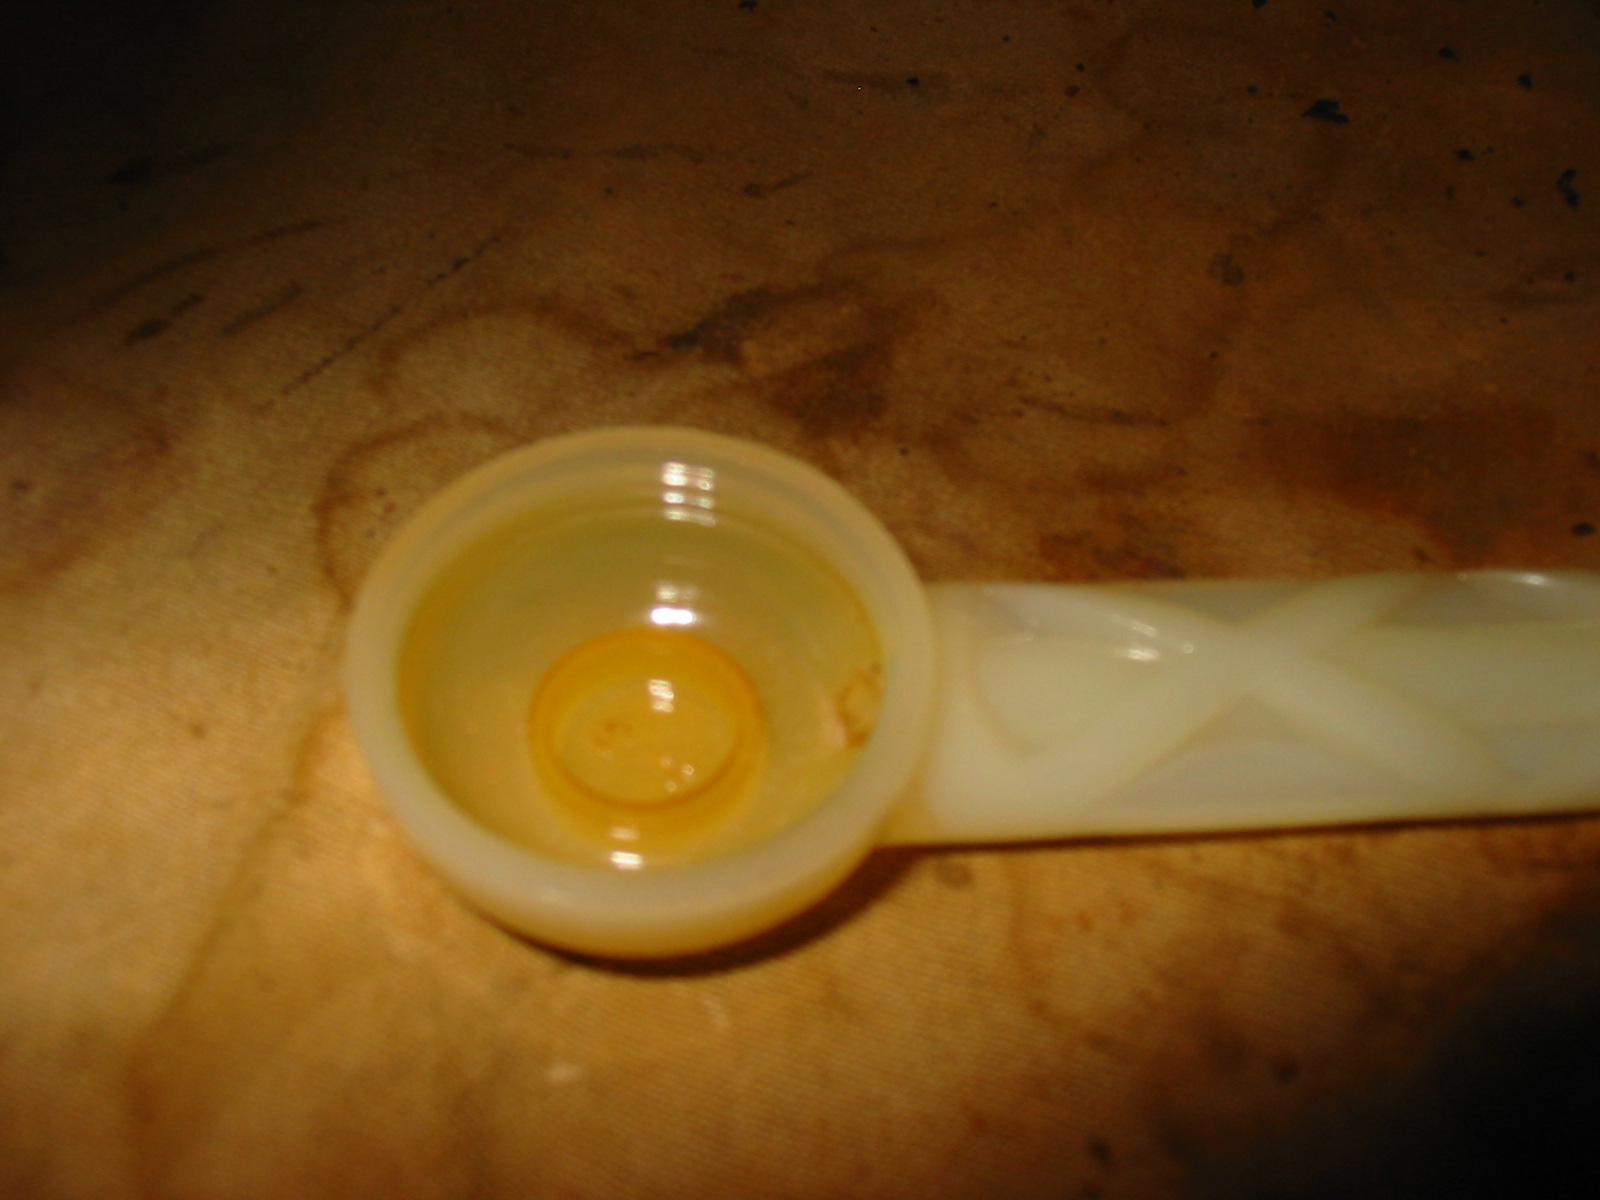
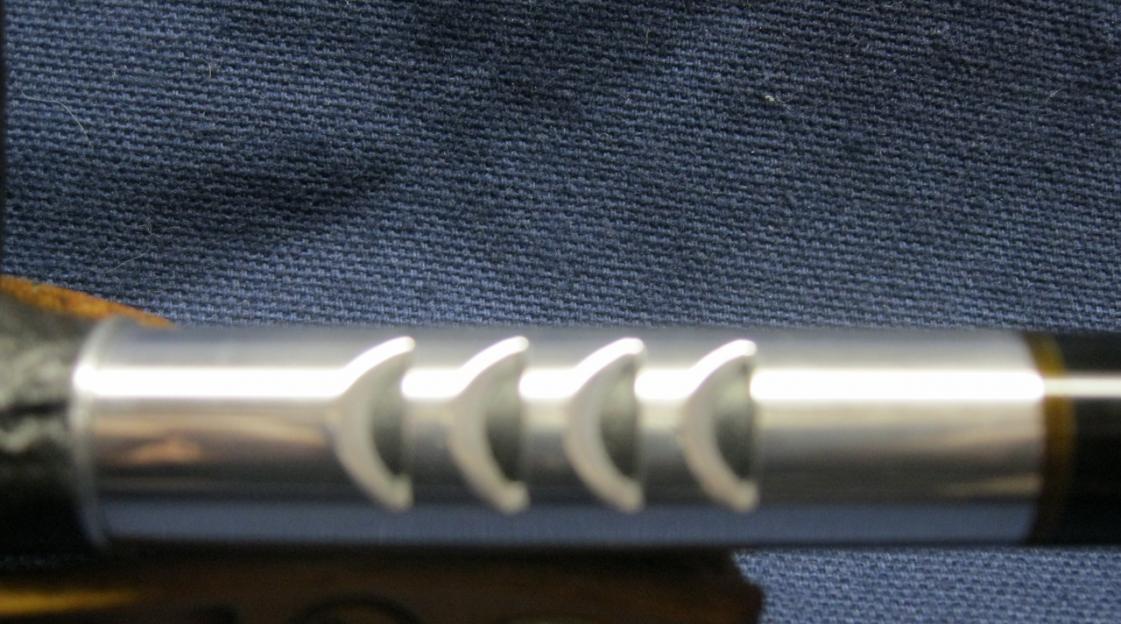
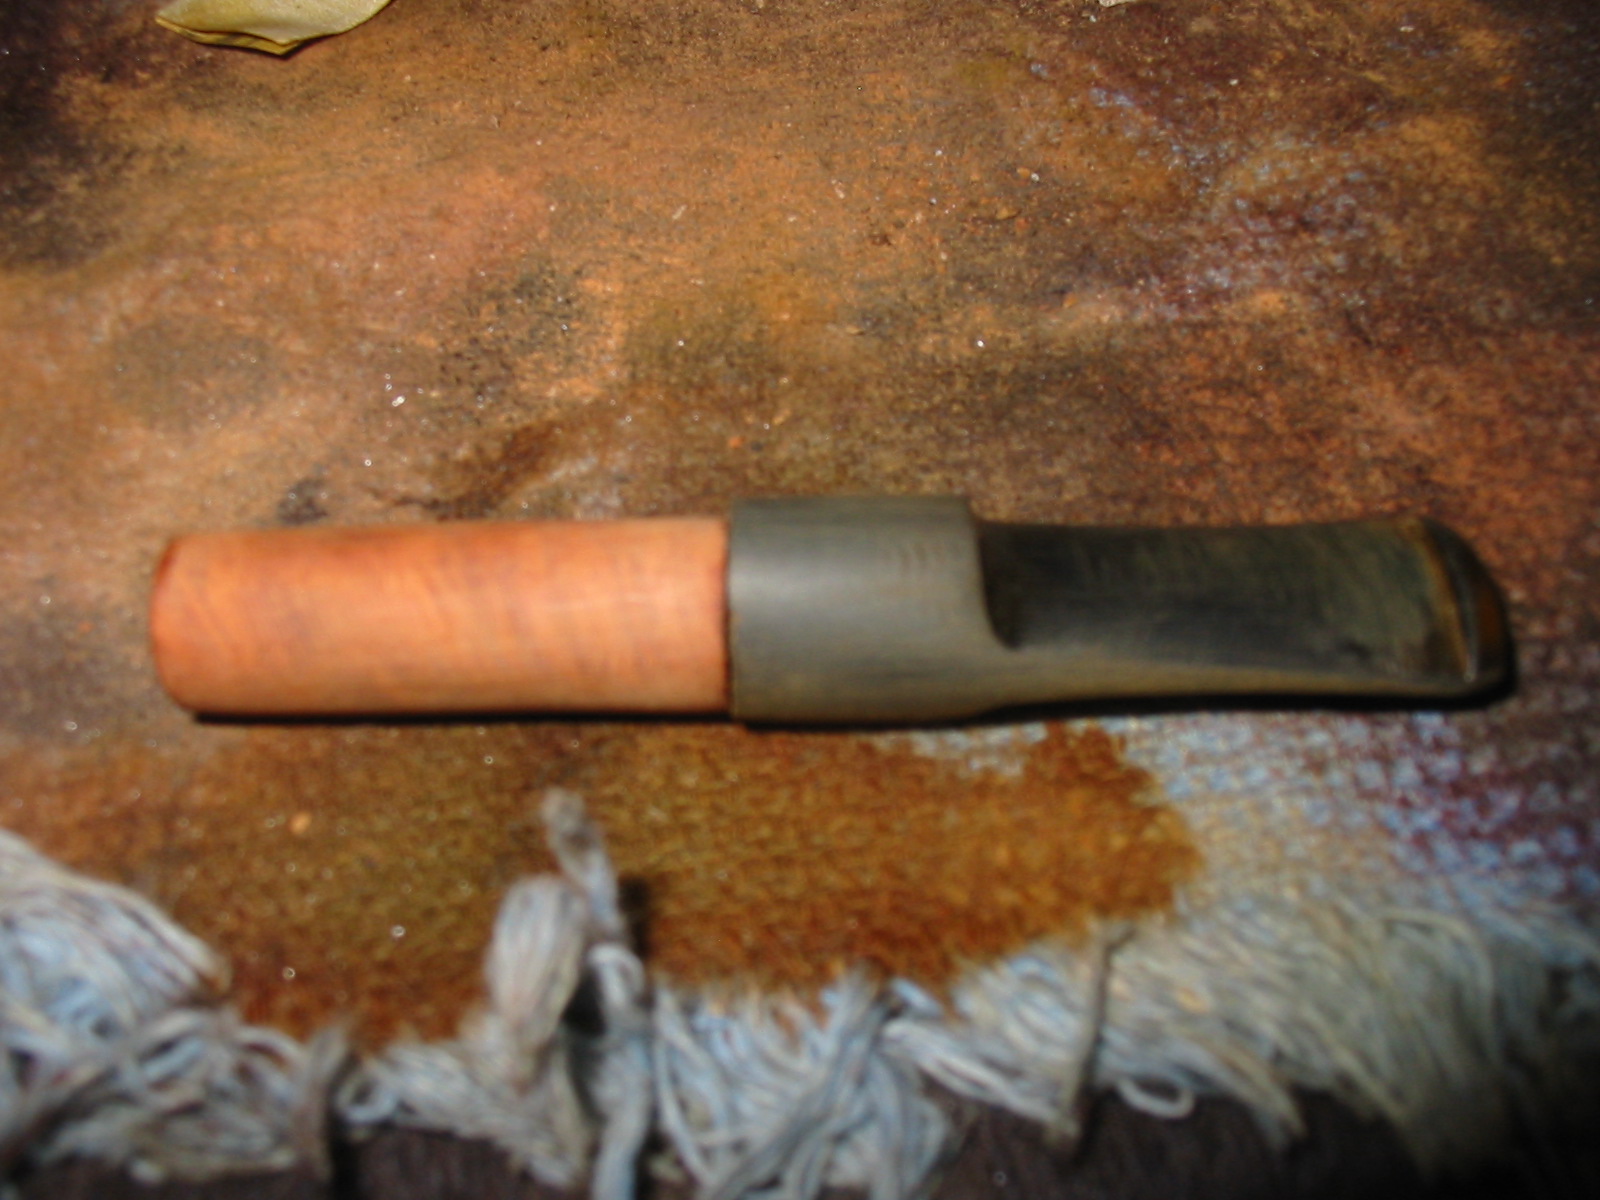
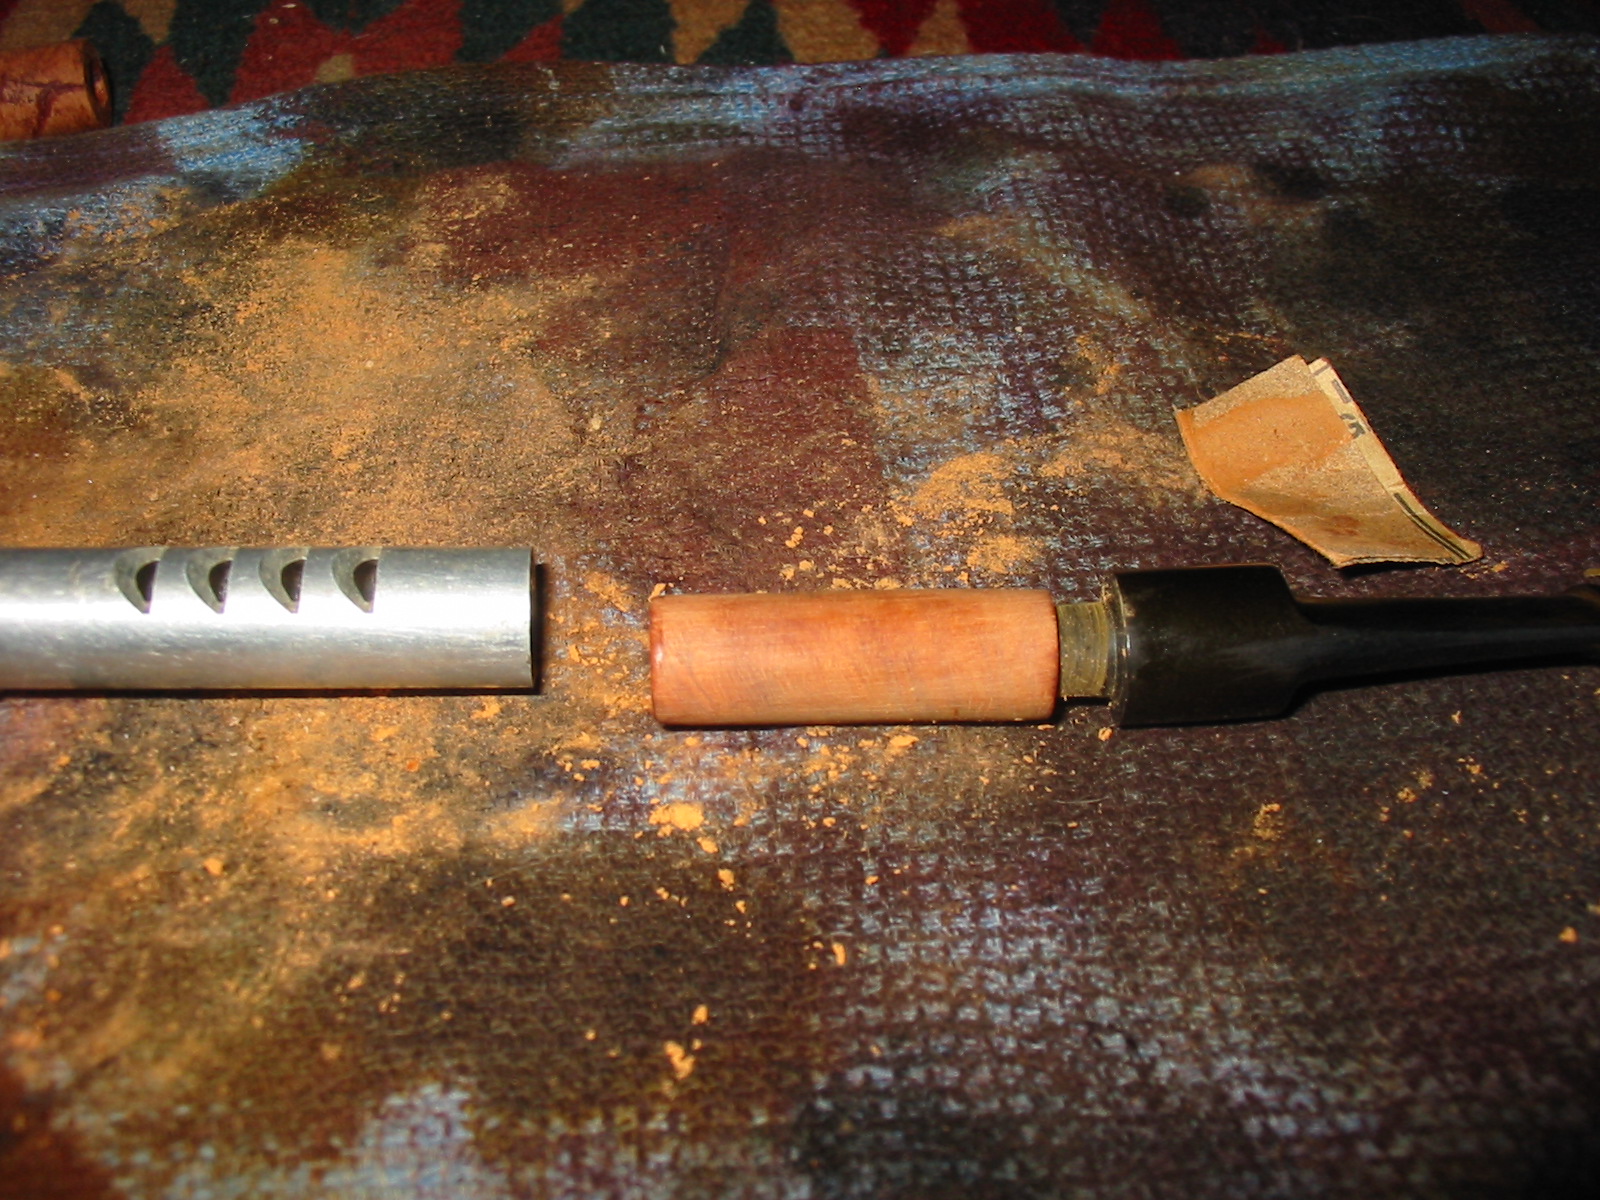
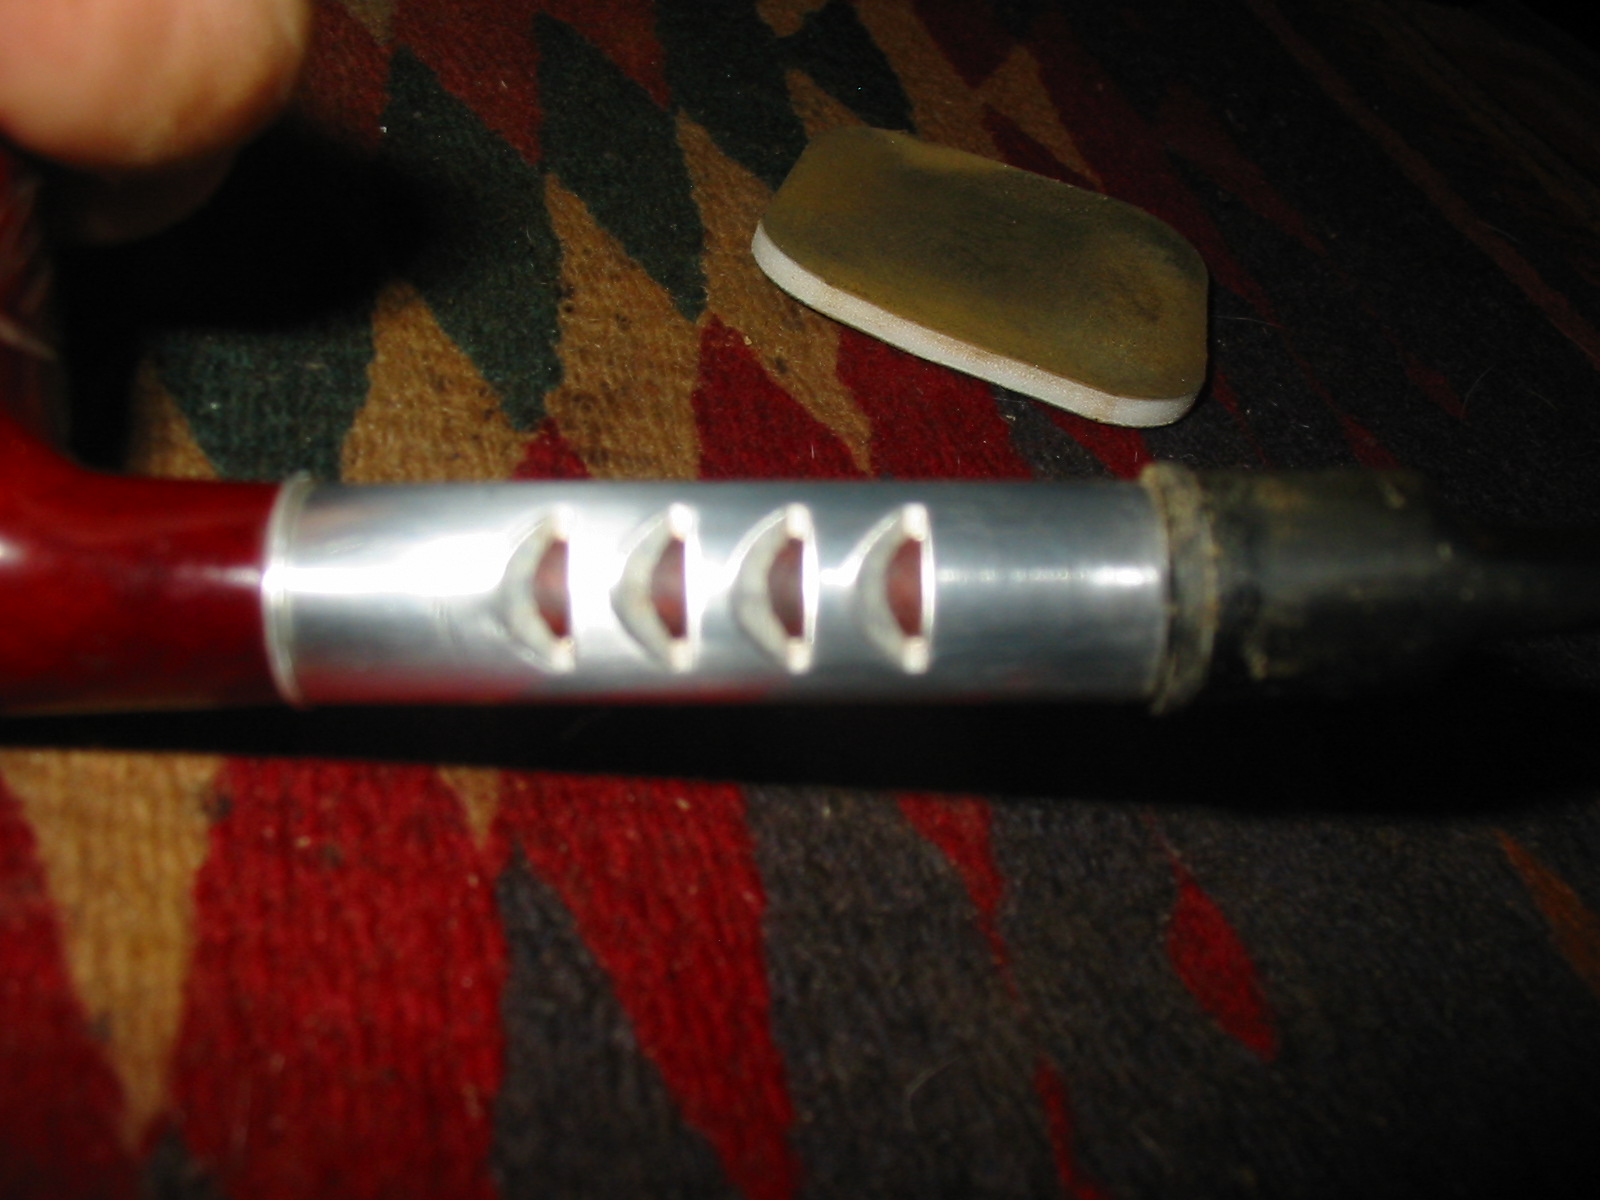
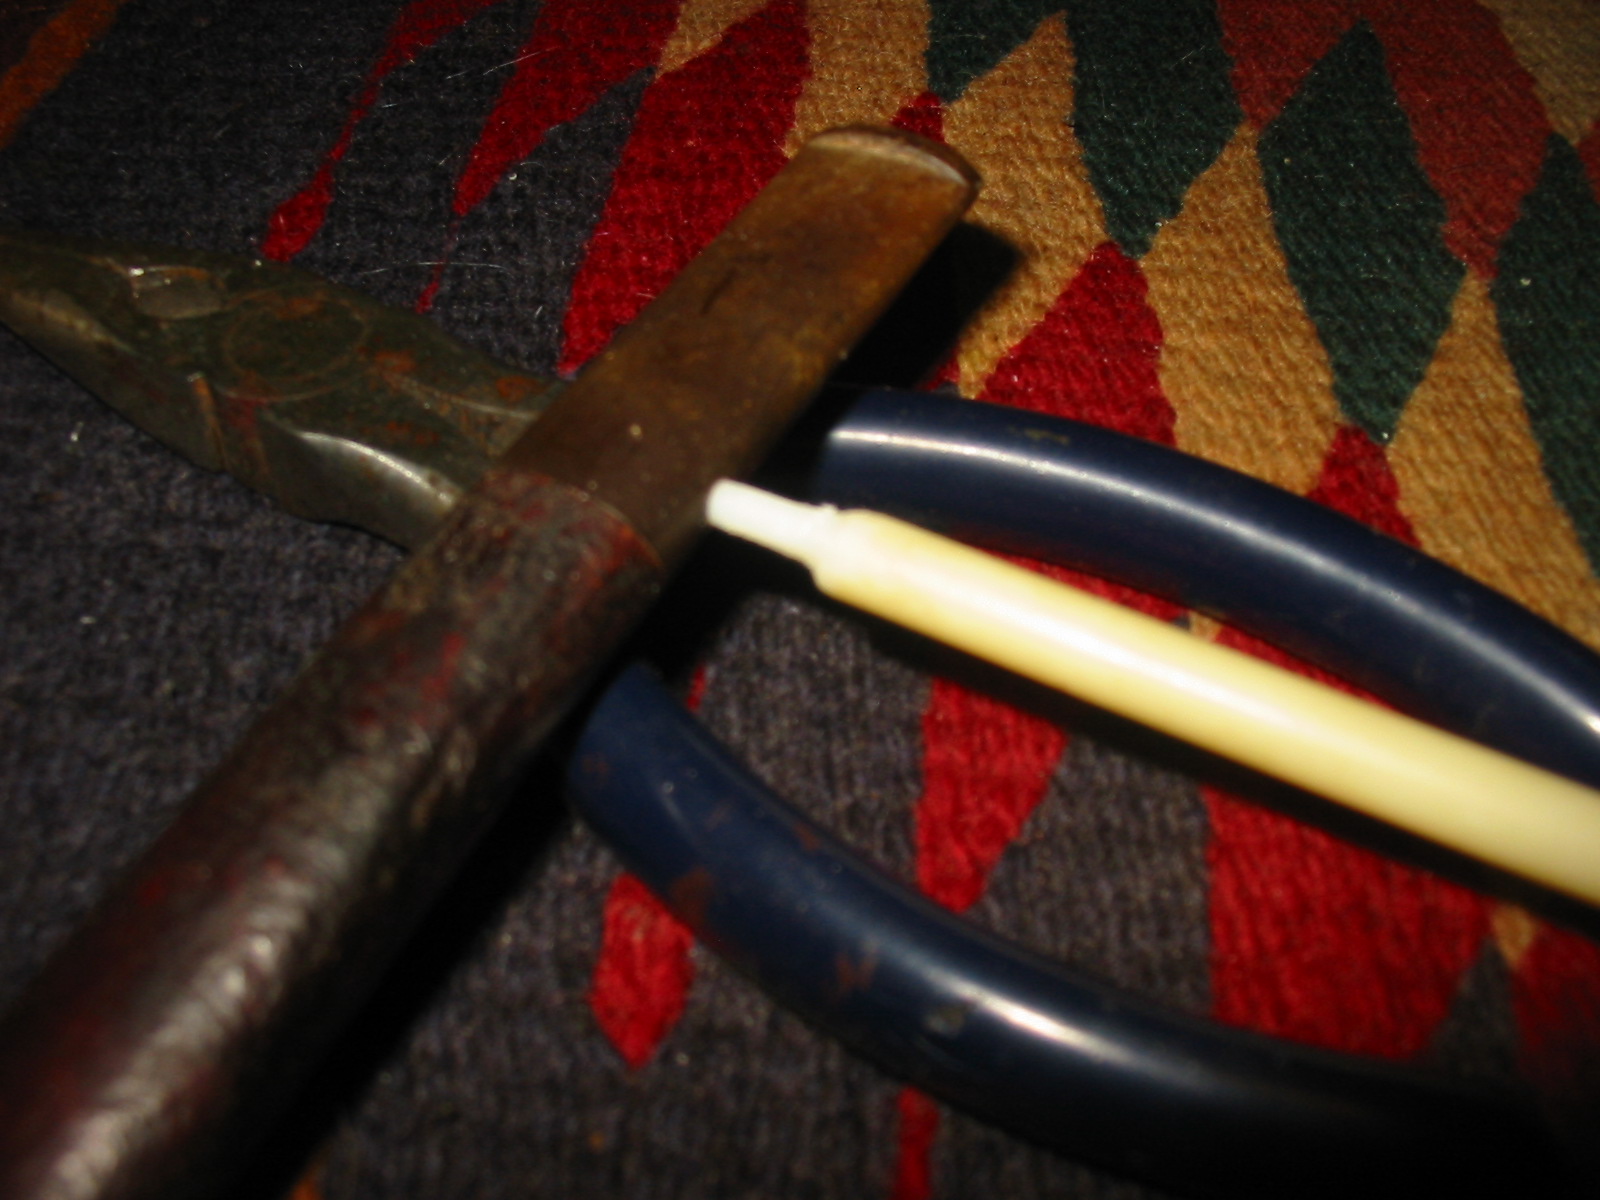
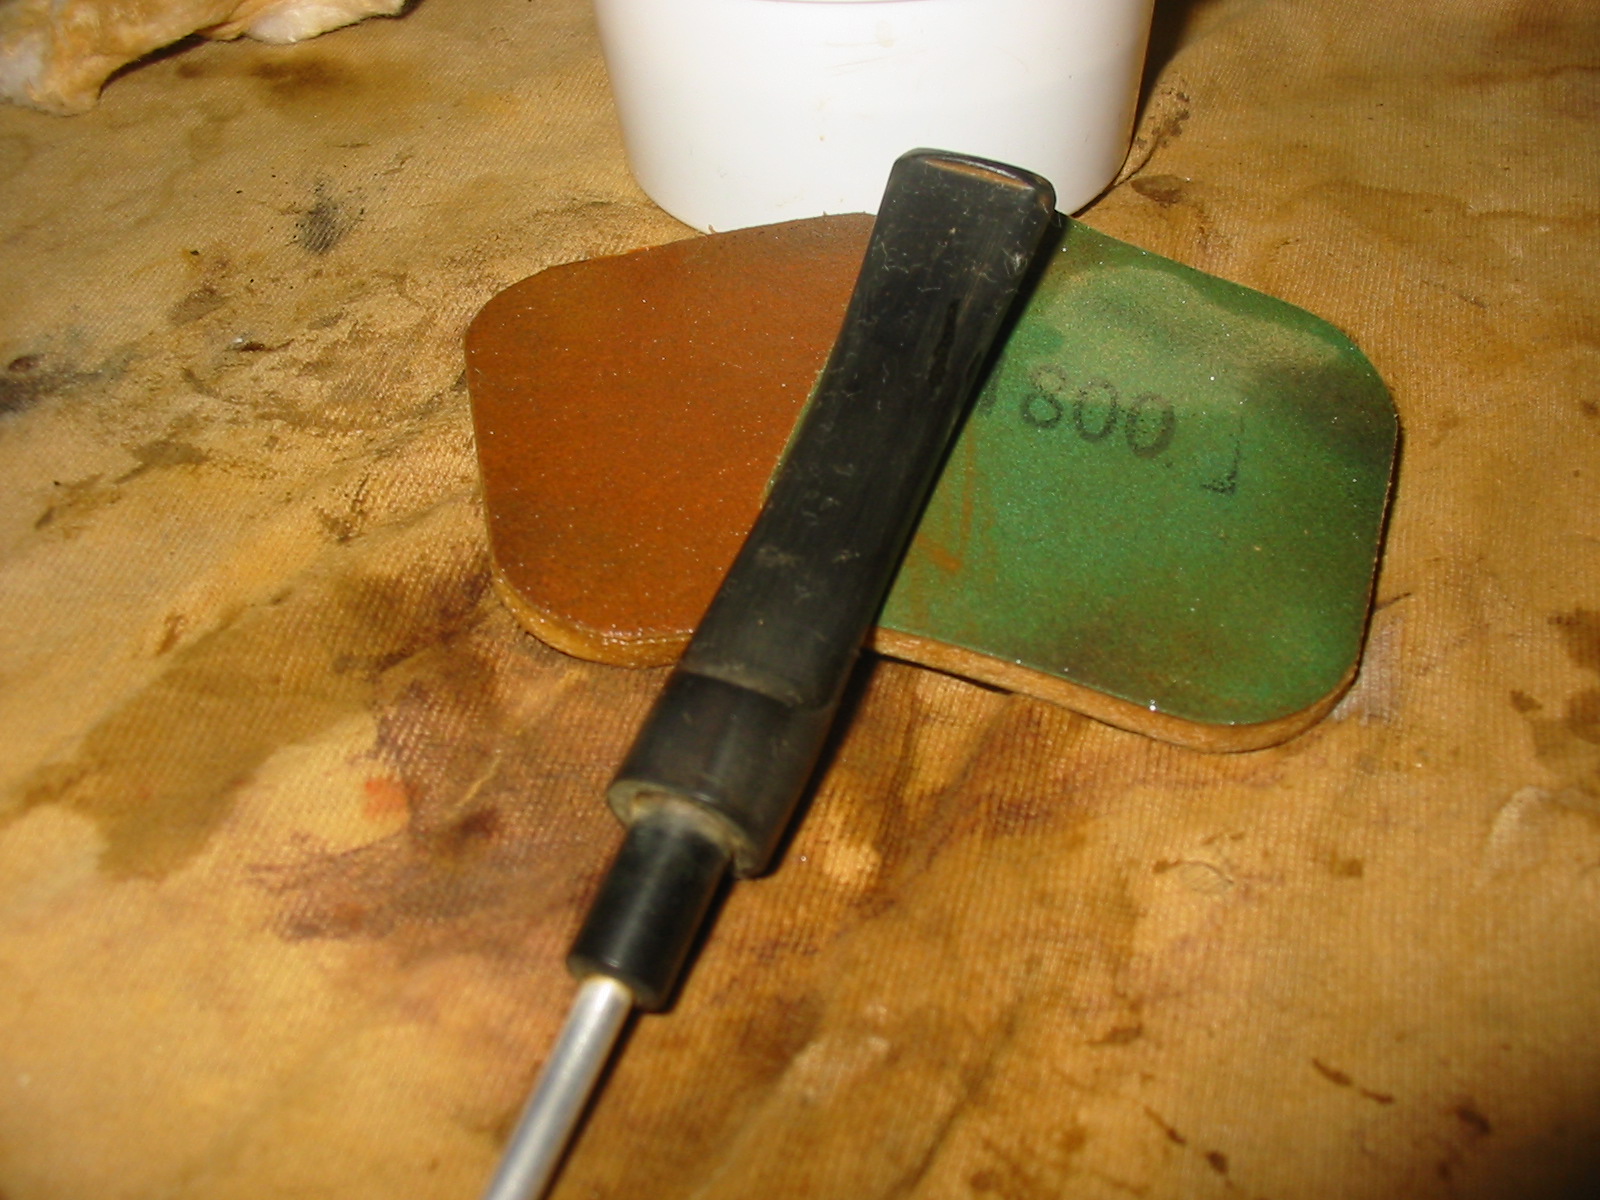
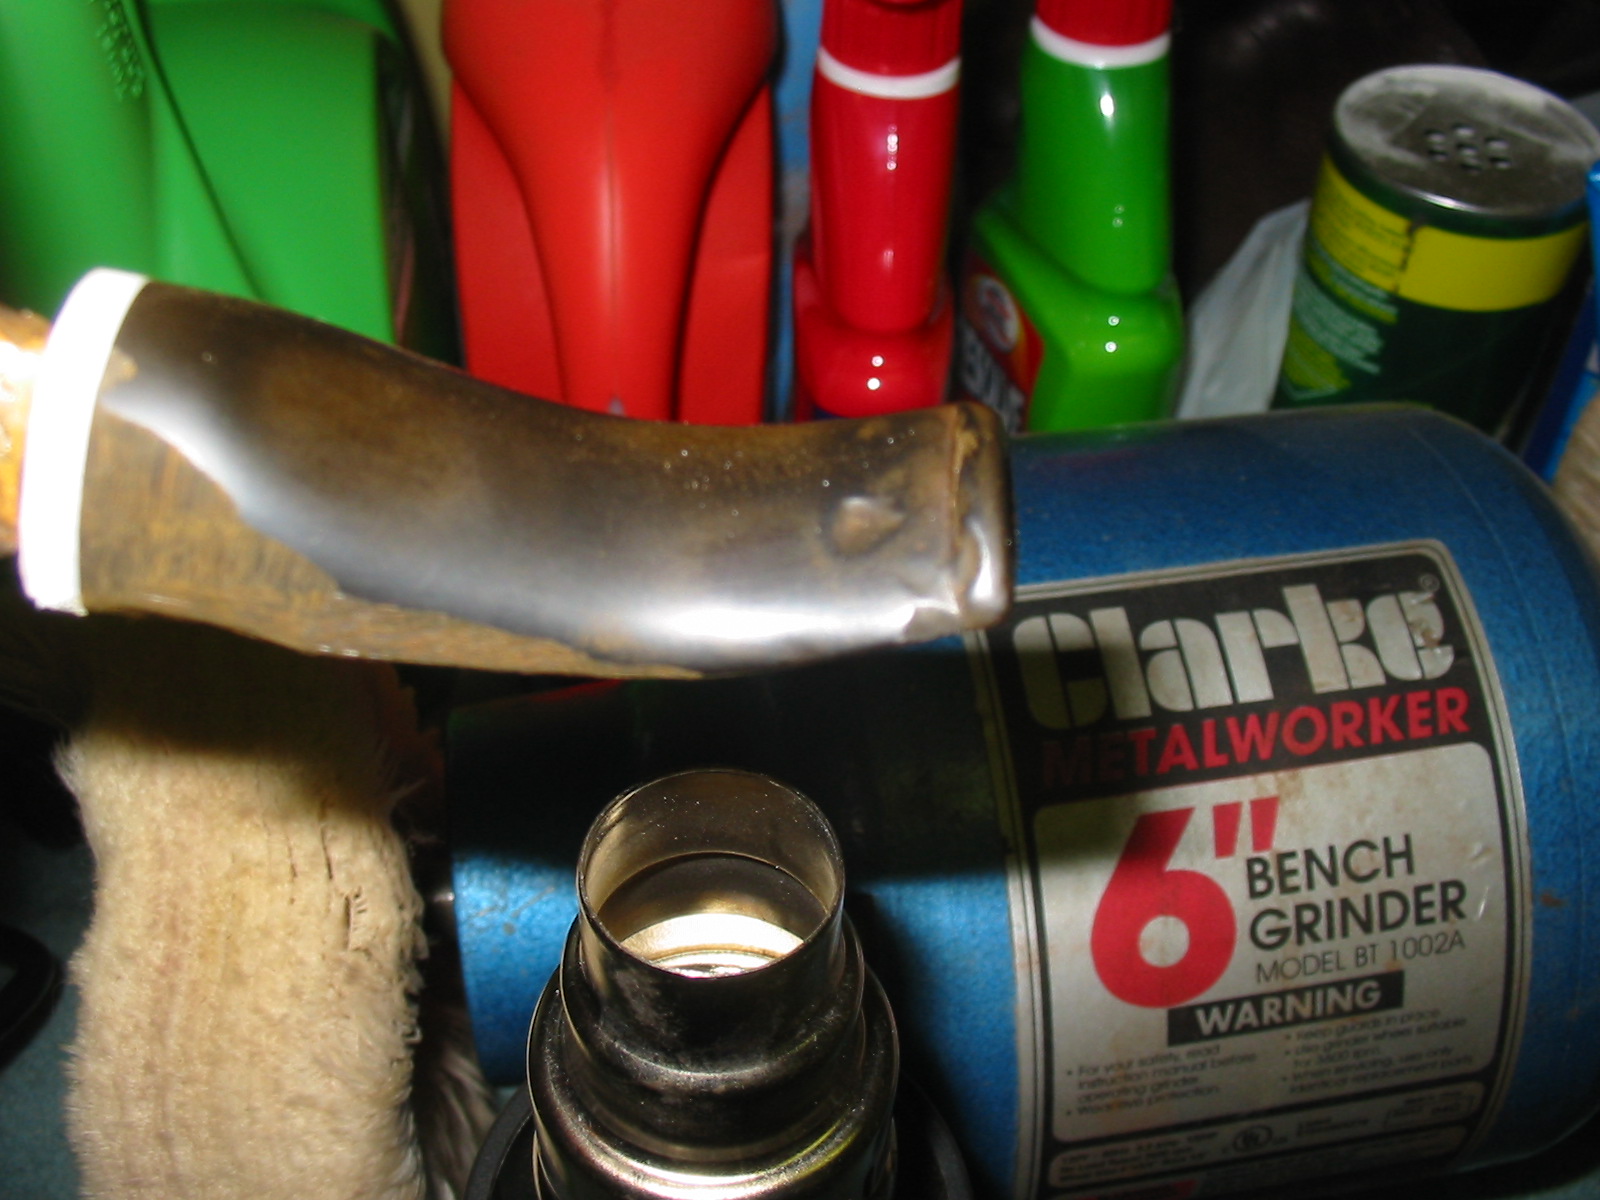
I polished the aluminum inner tube with 0000 steel wool to remove all grime that was remaining on the aluminum. I gave it a coat of wax and polished it off with a clean soft cloth.
IMG_2270

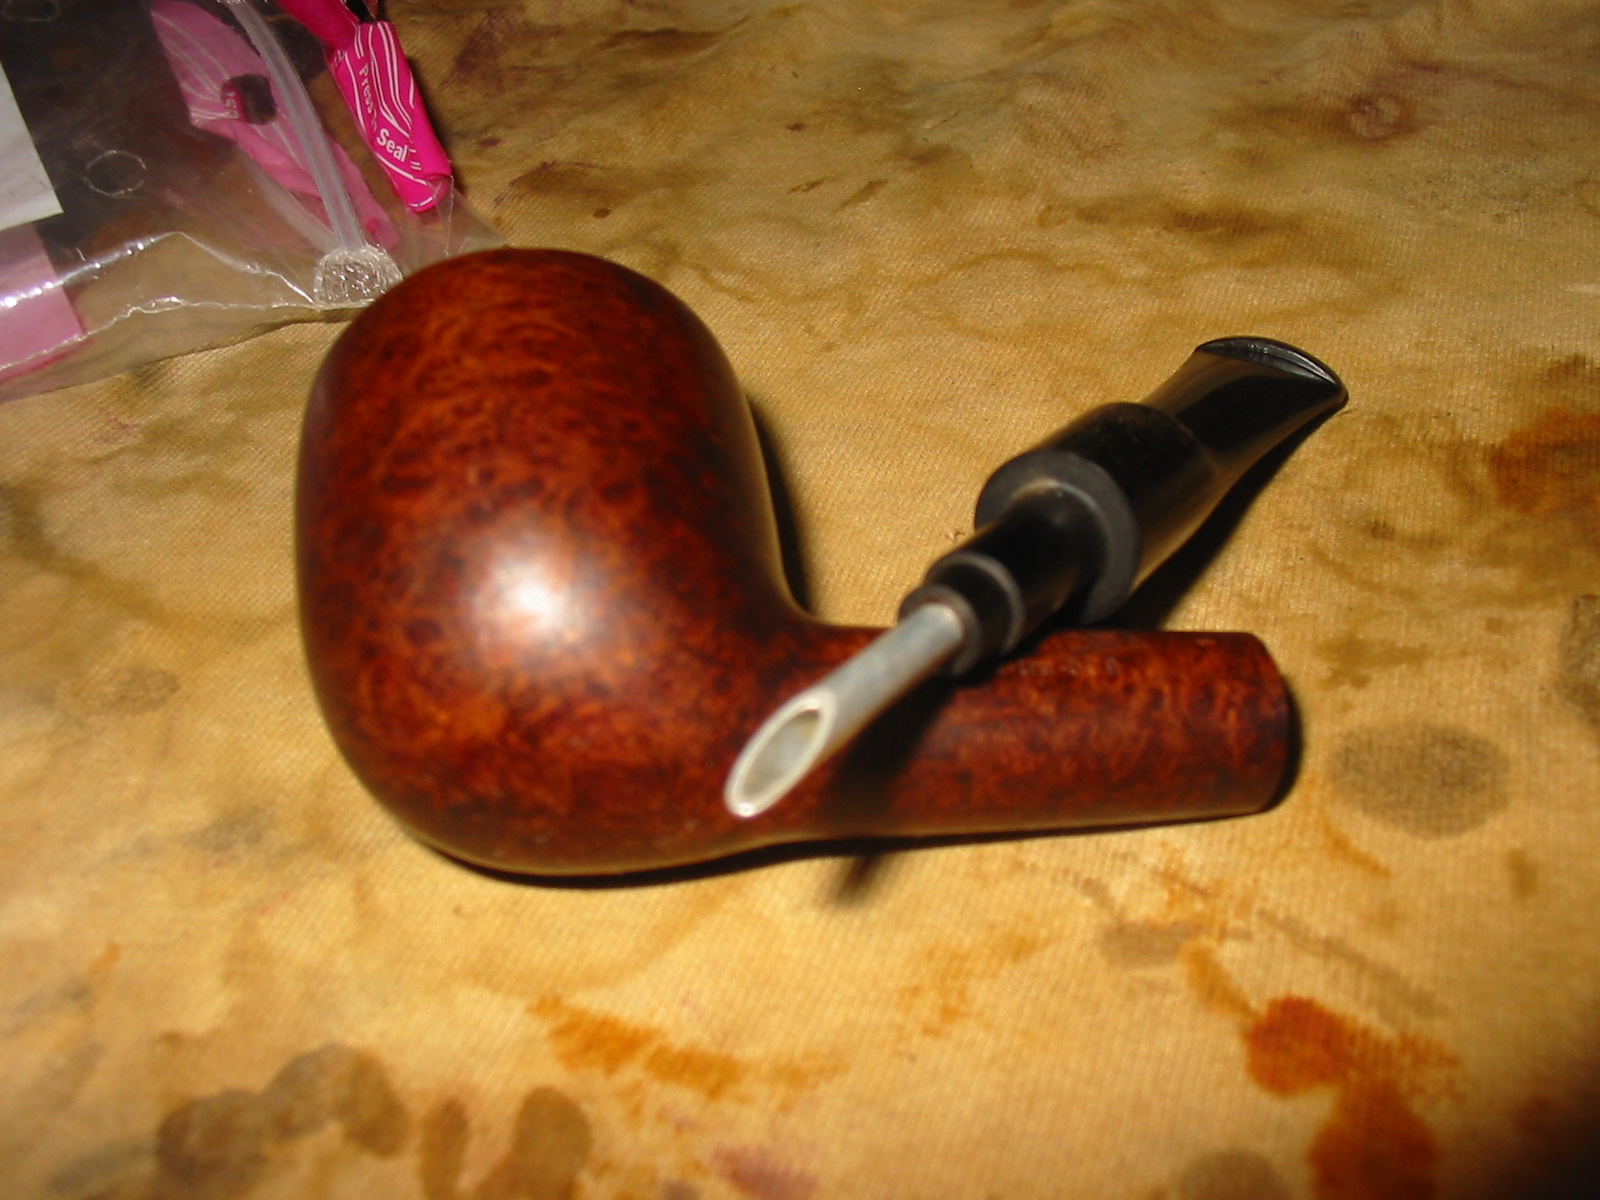
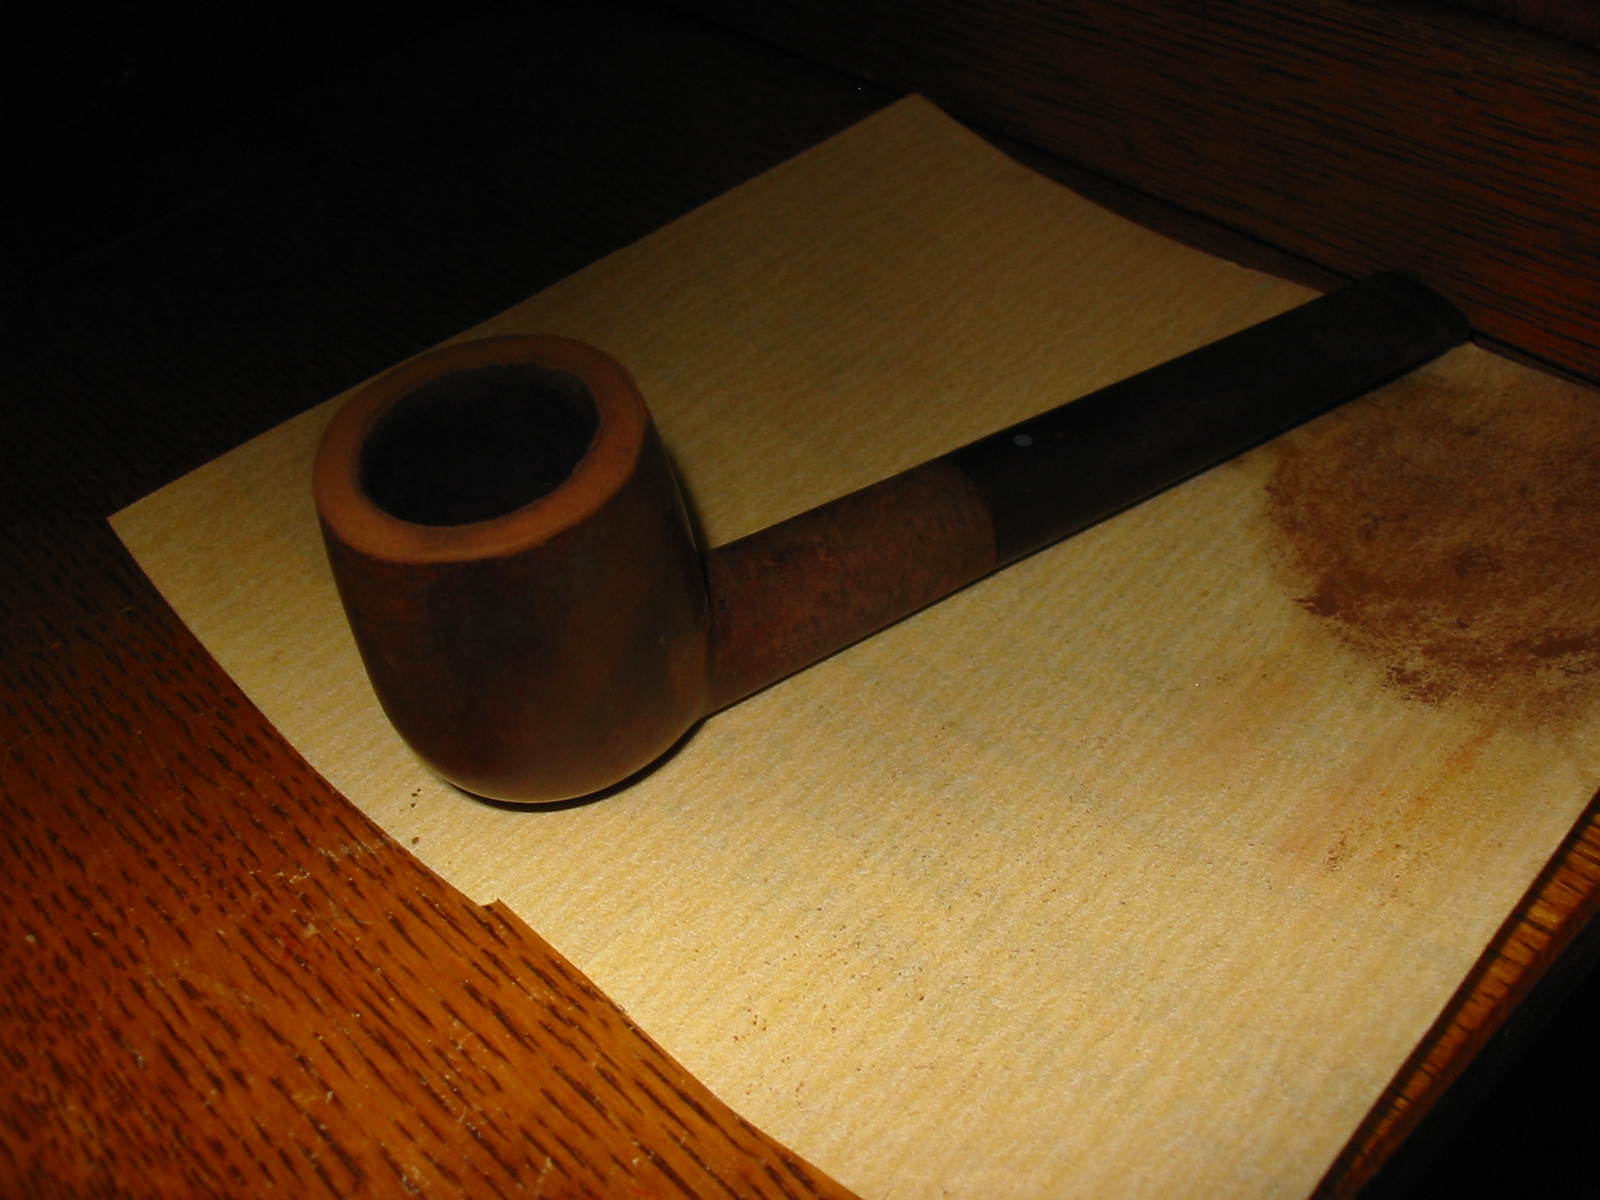
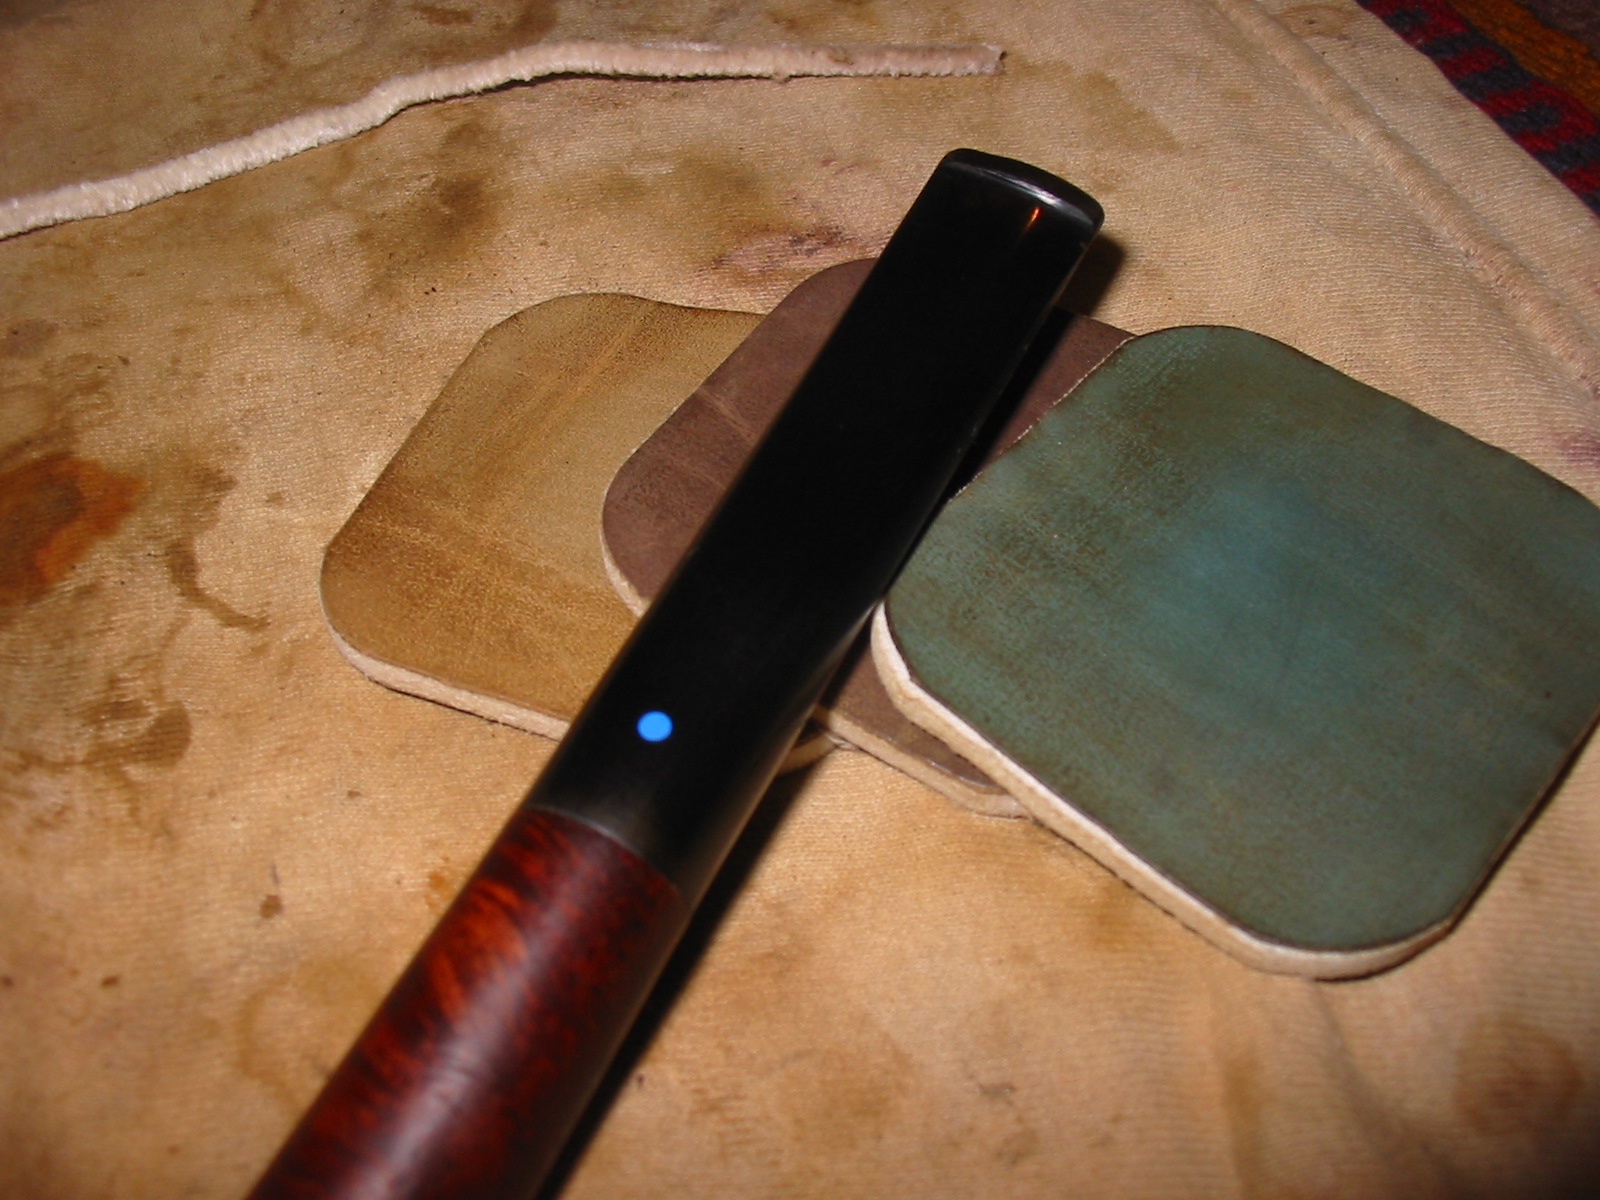
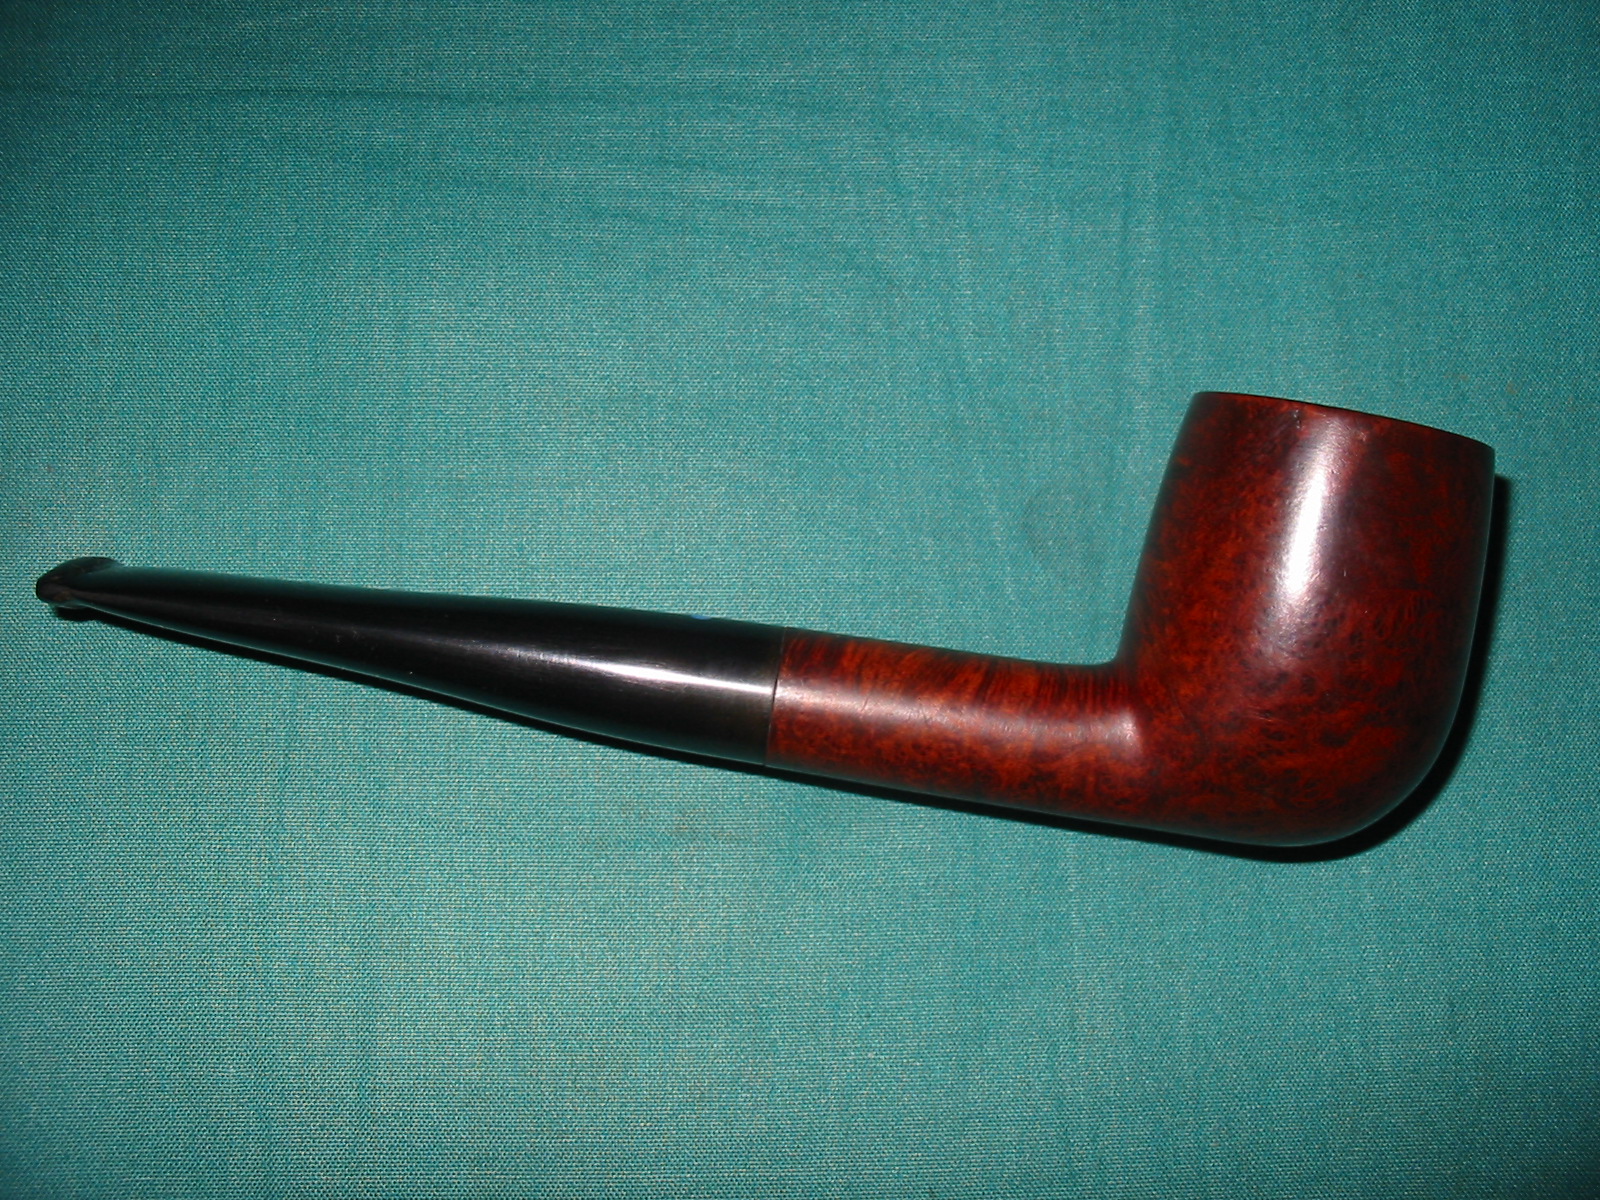
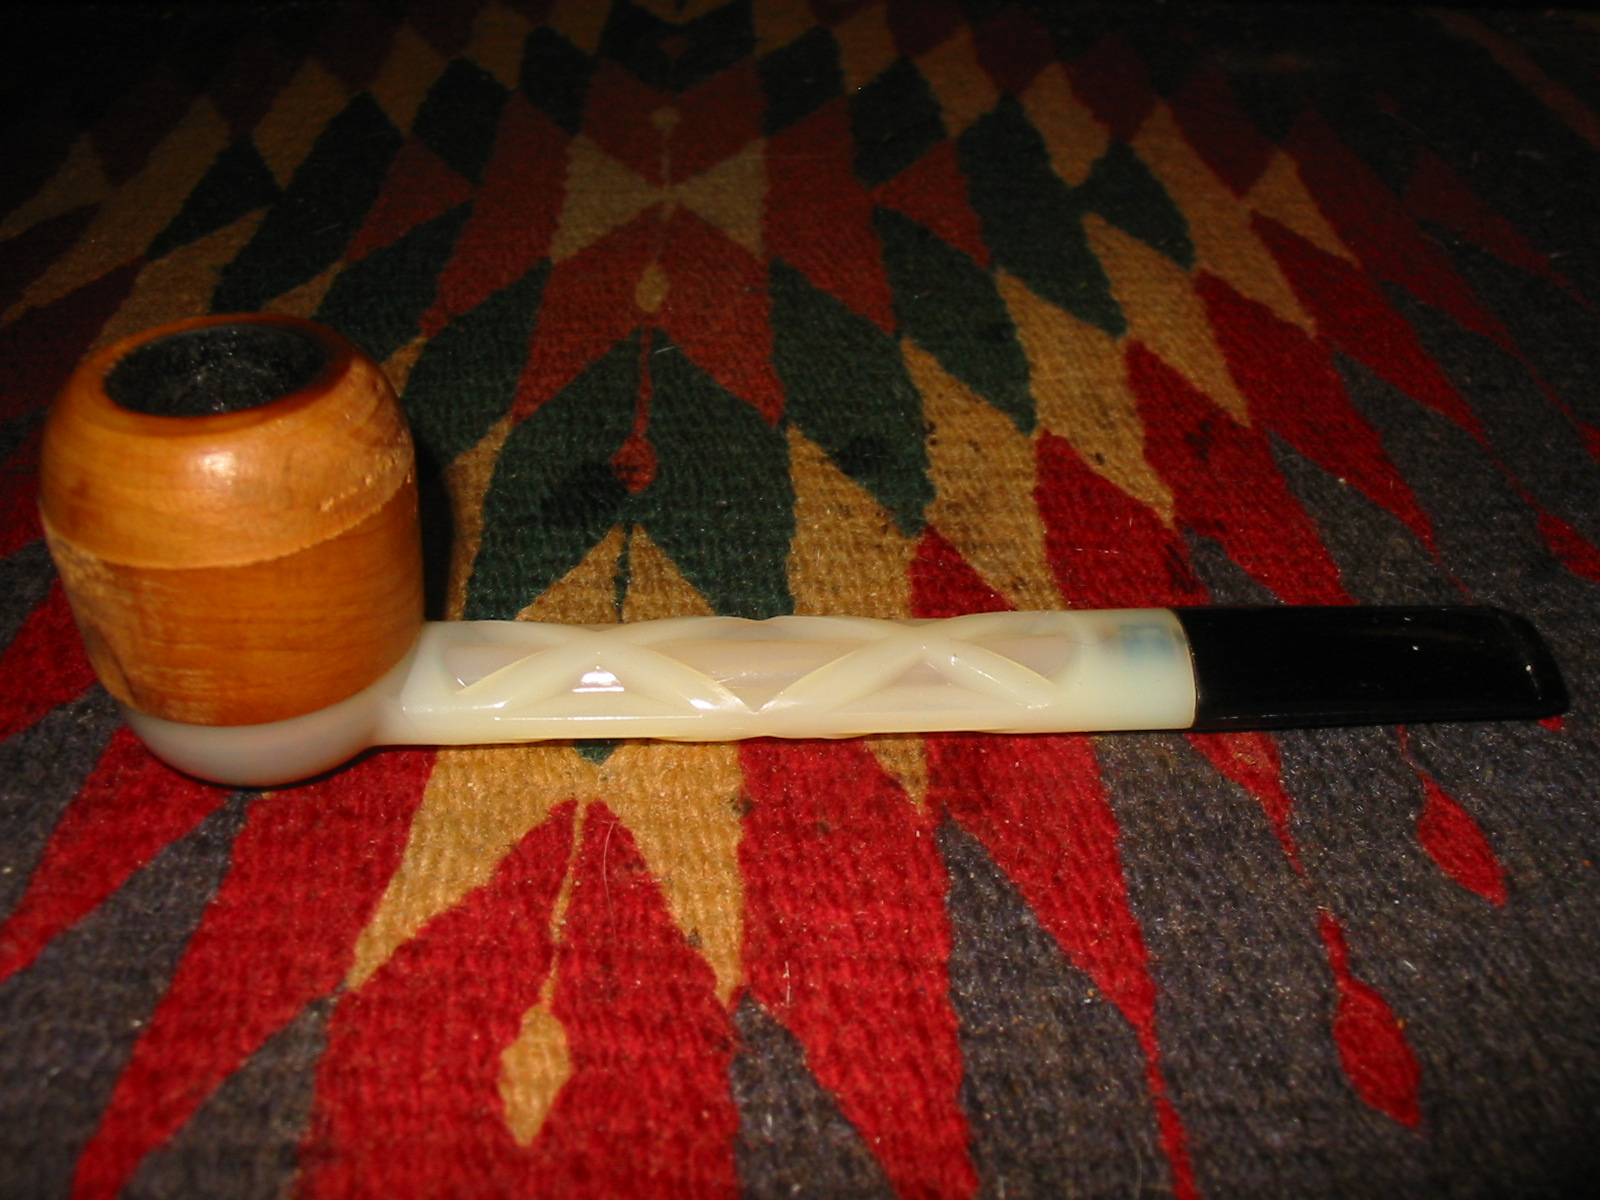
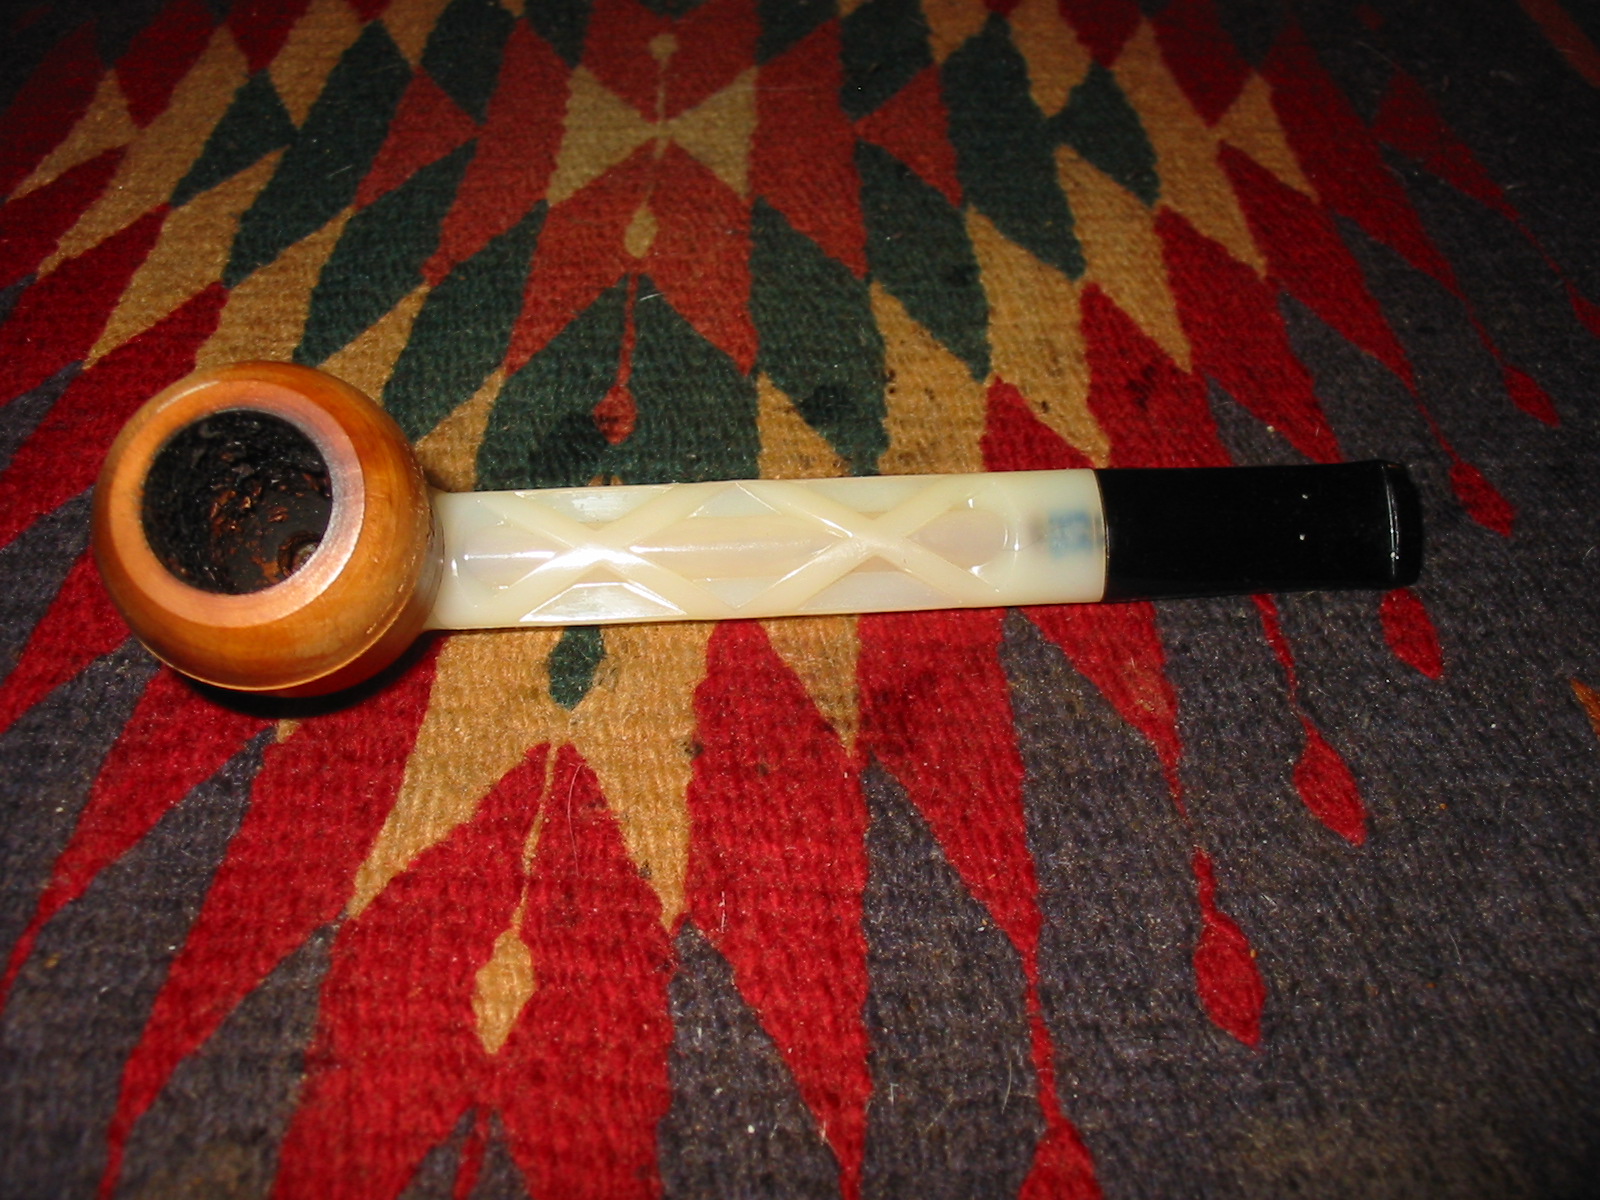
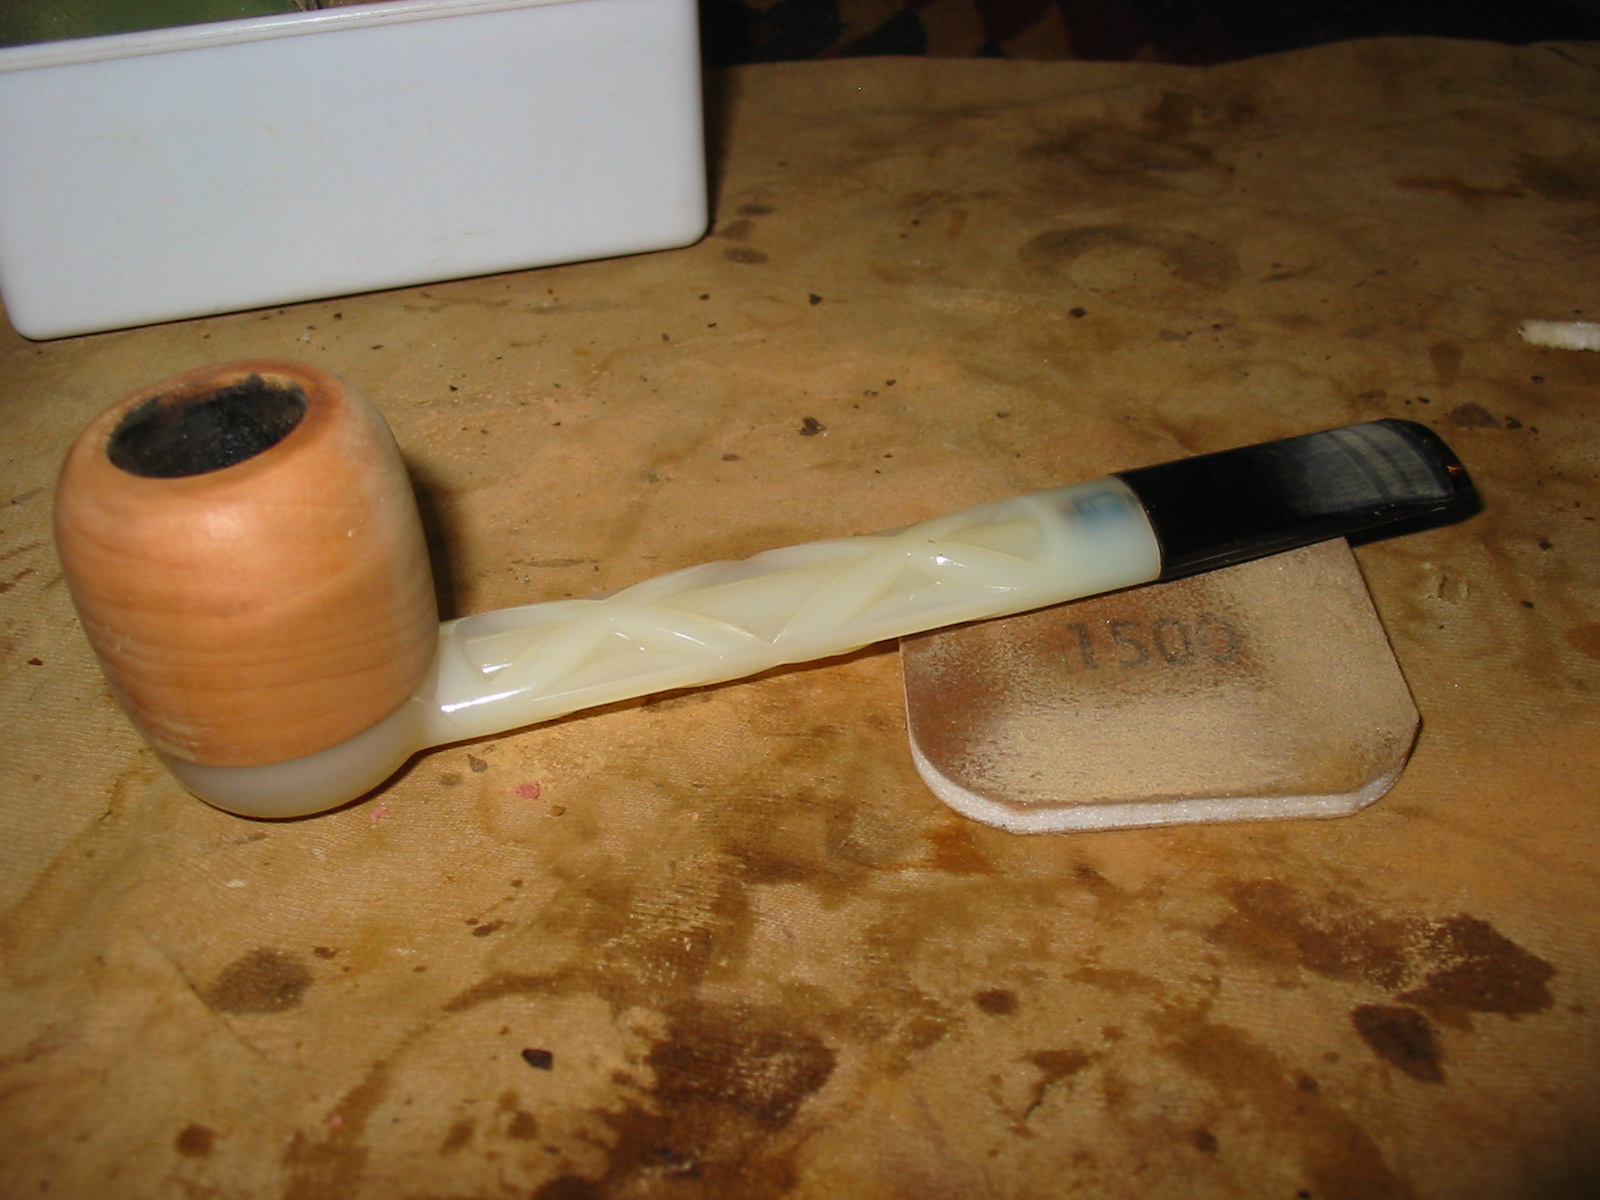
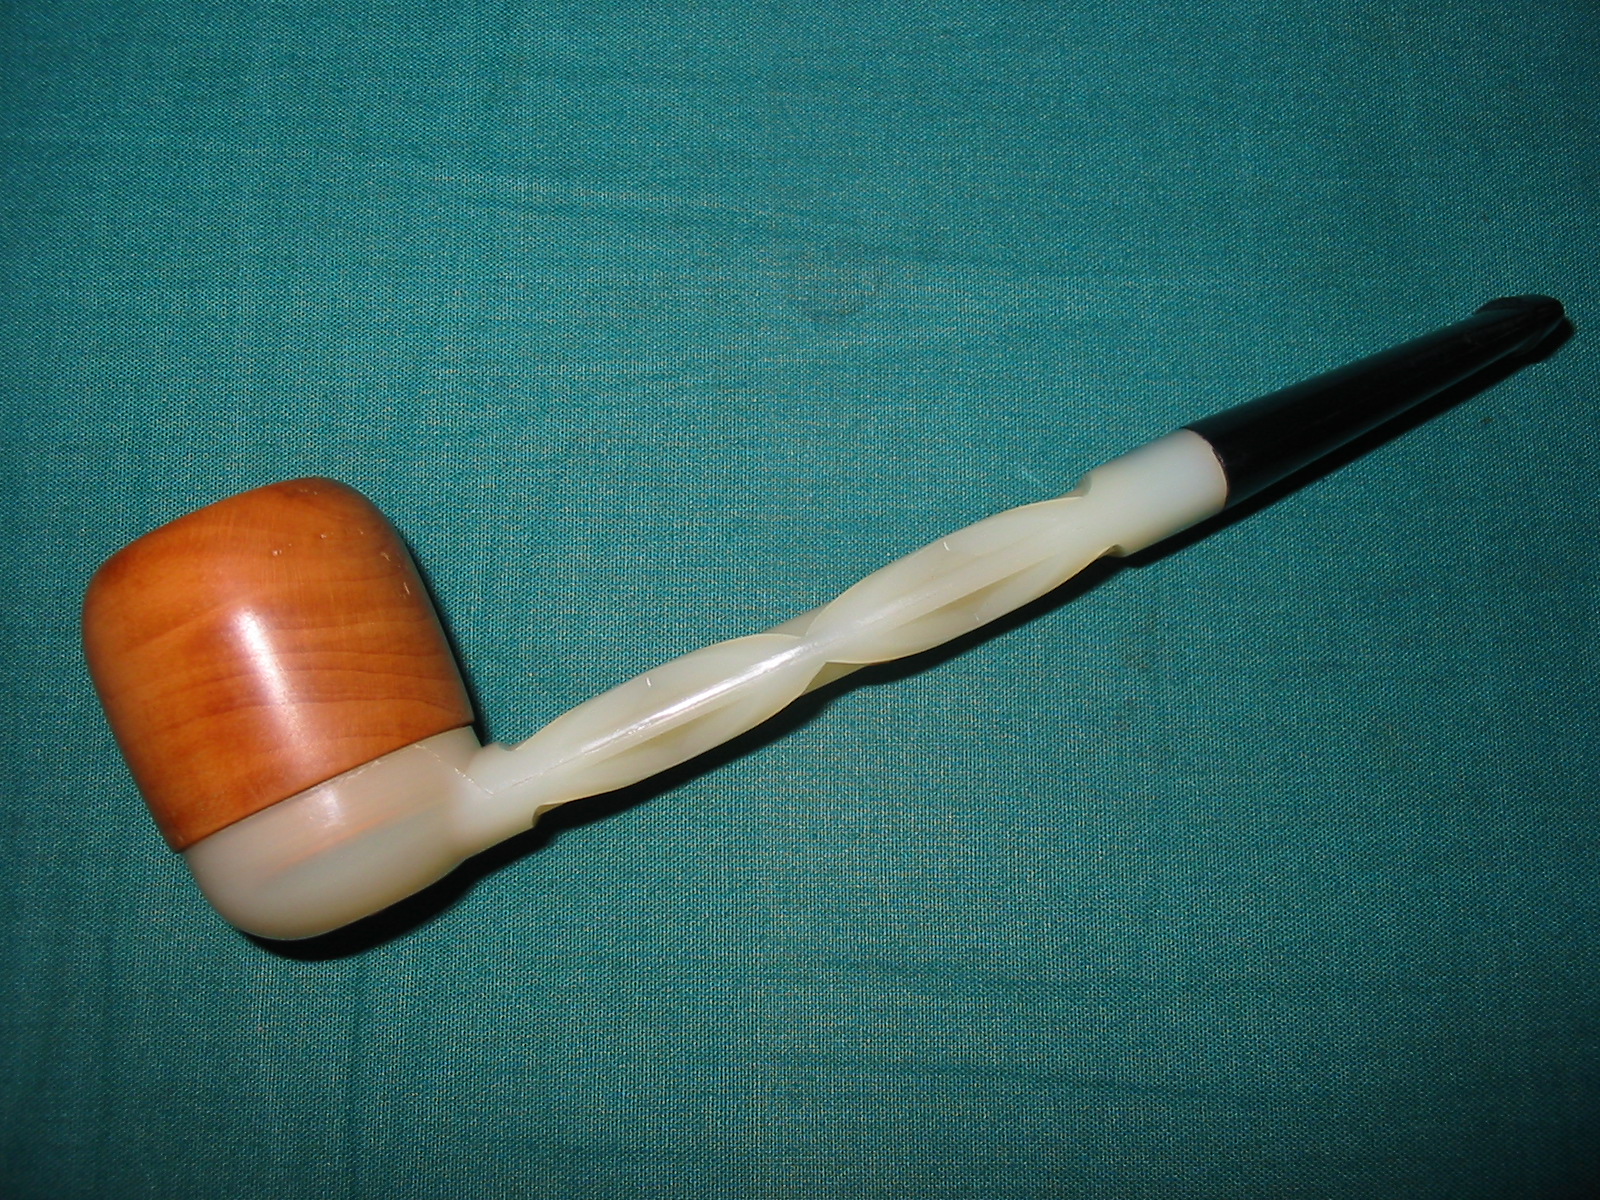
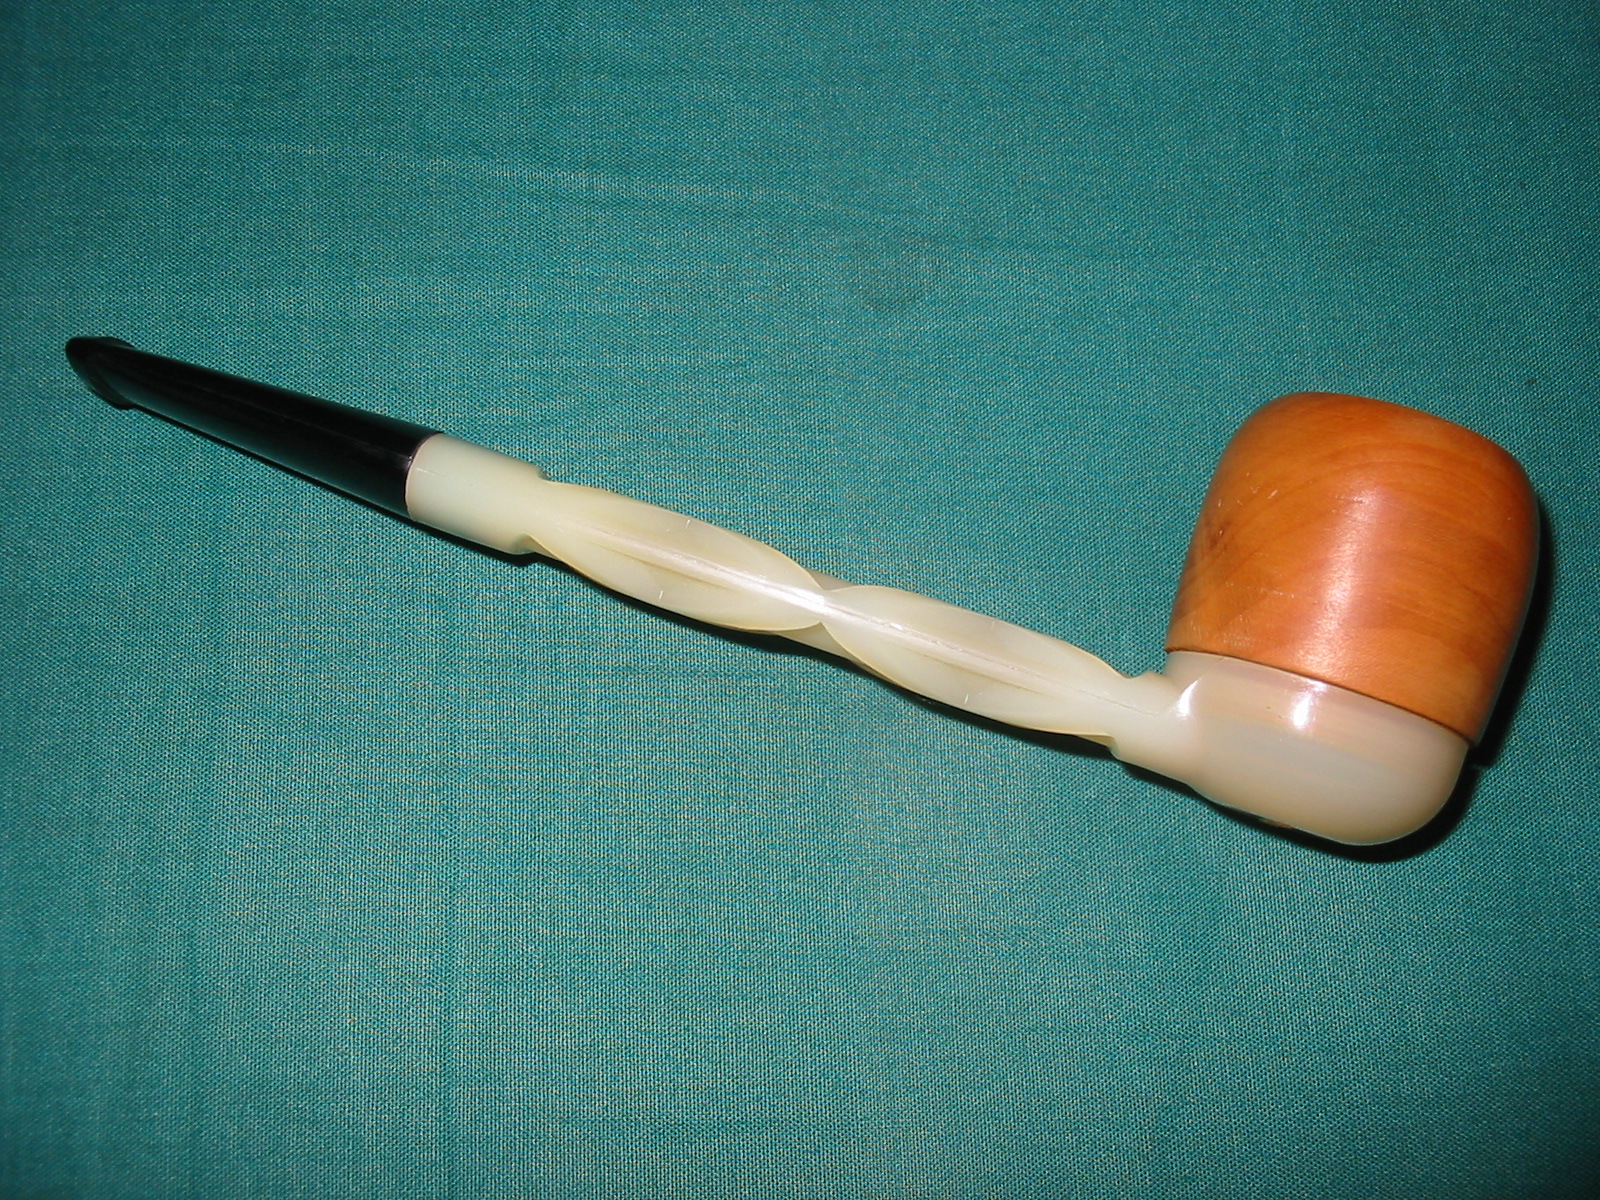
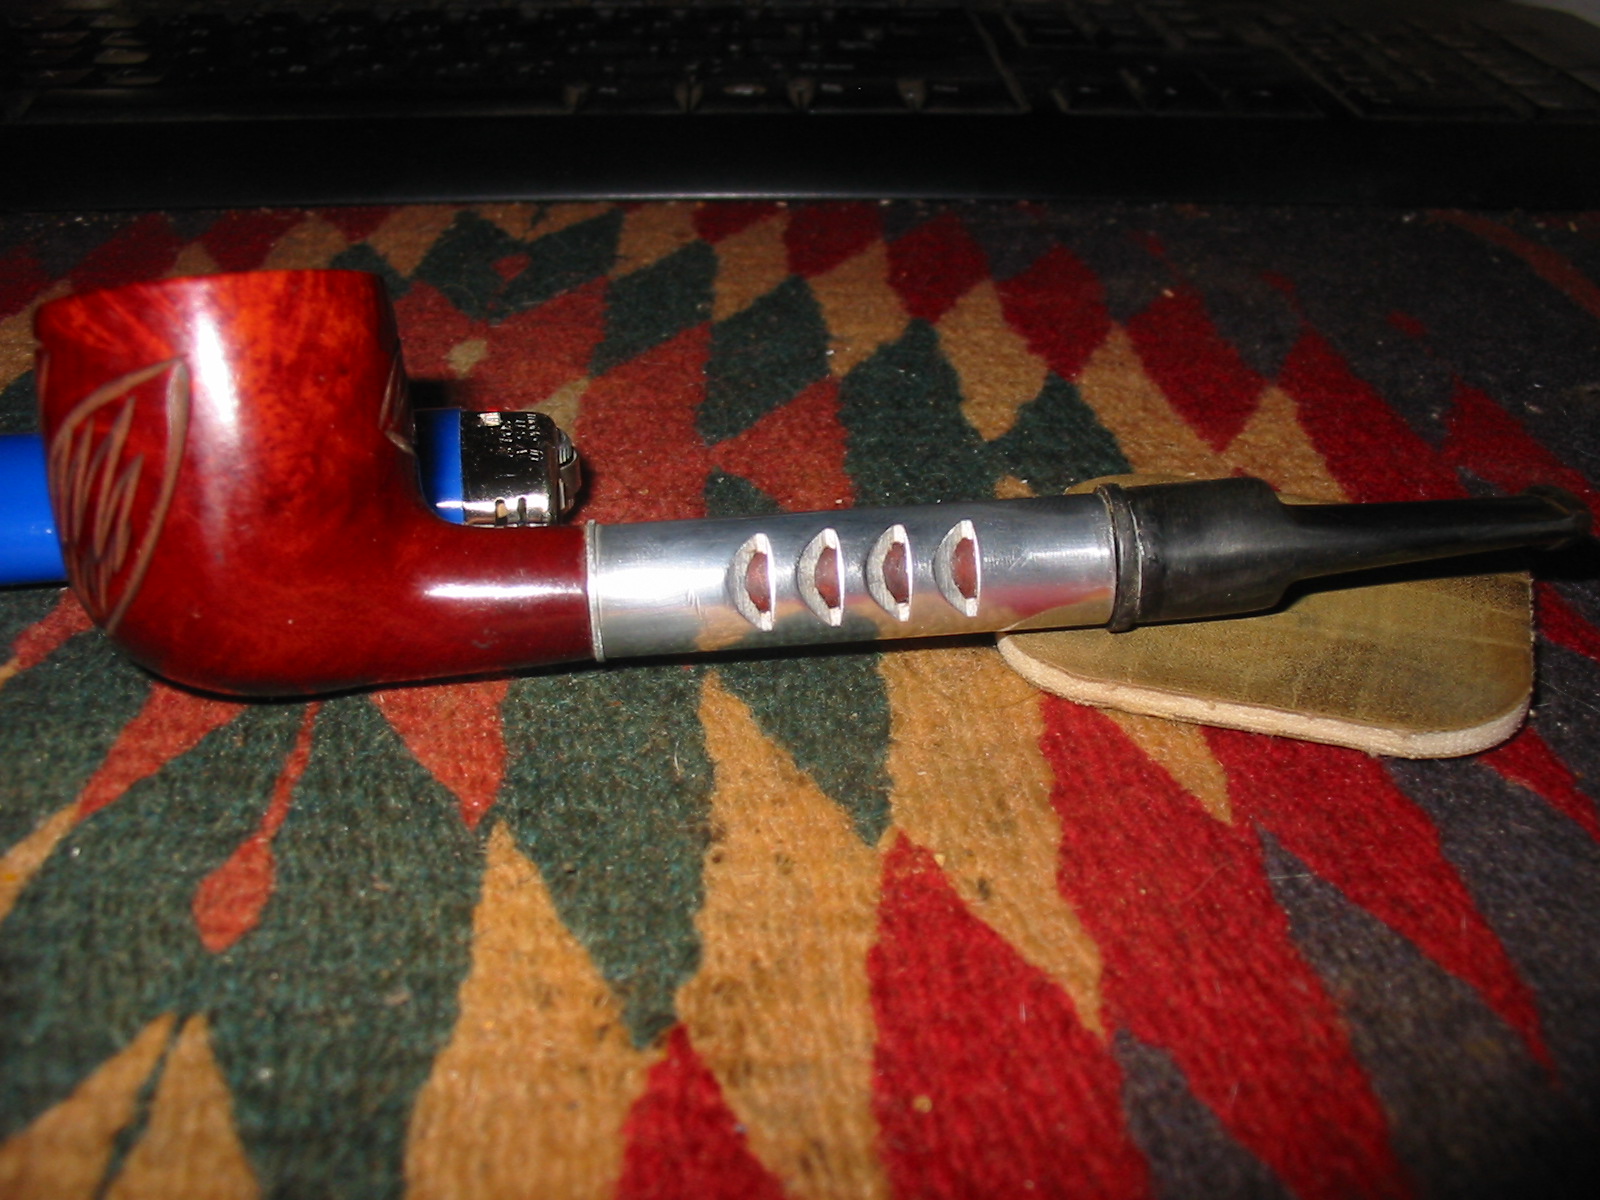
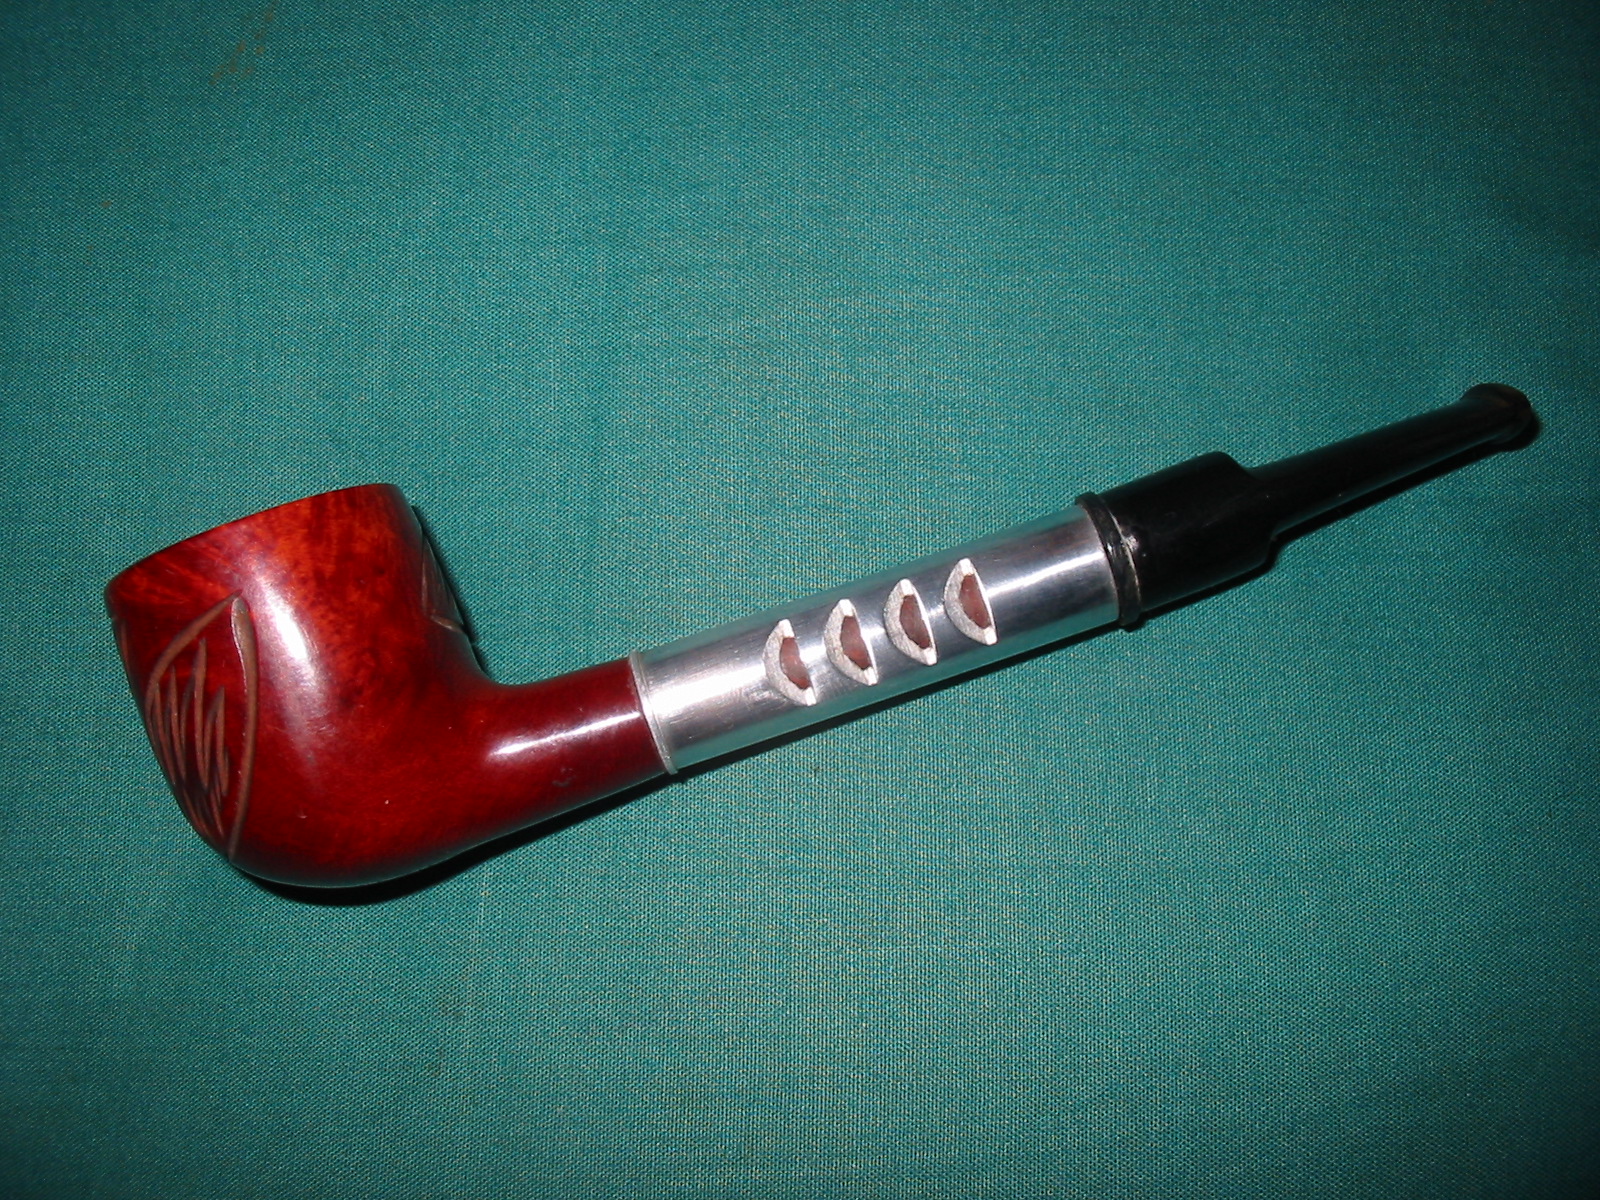
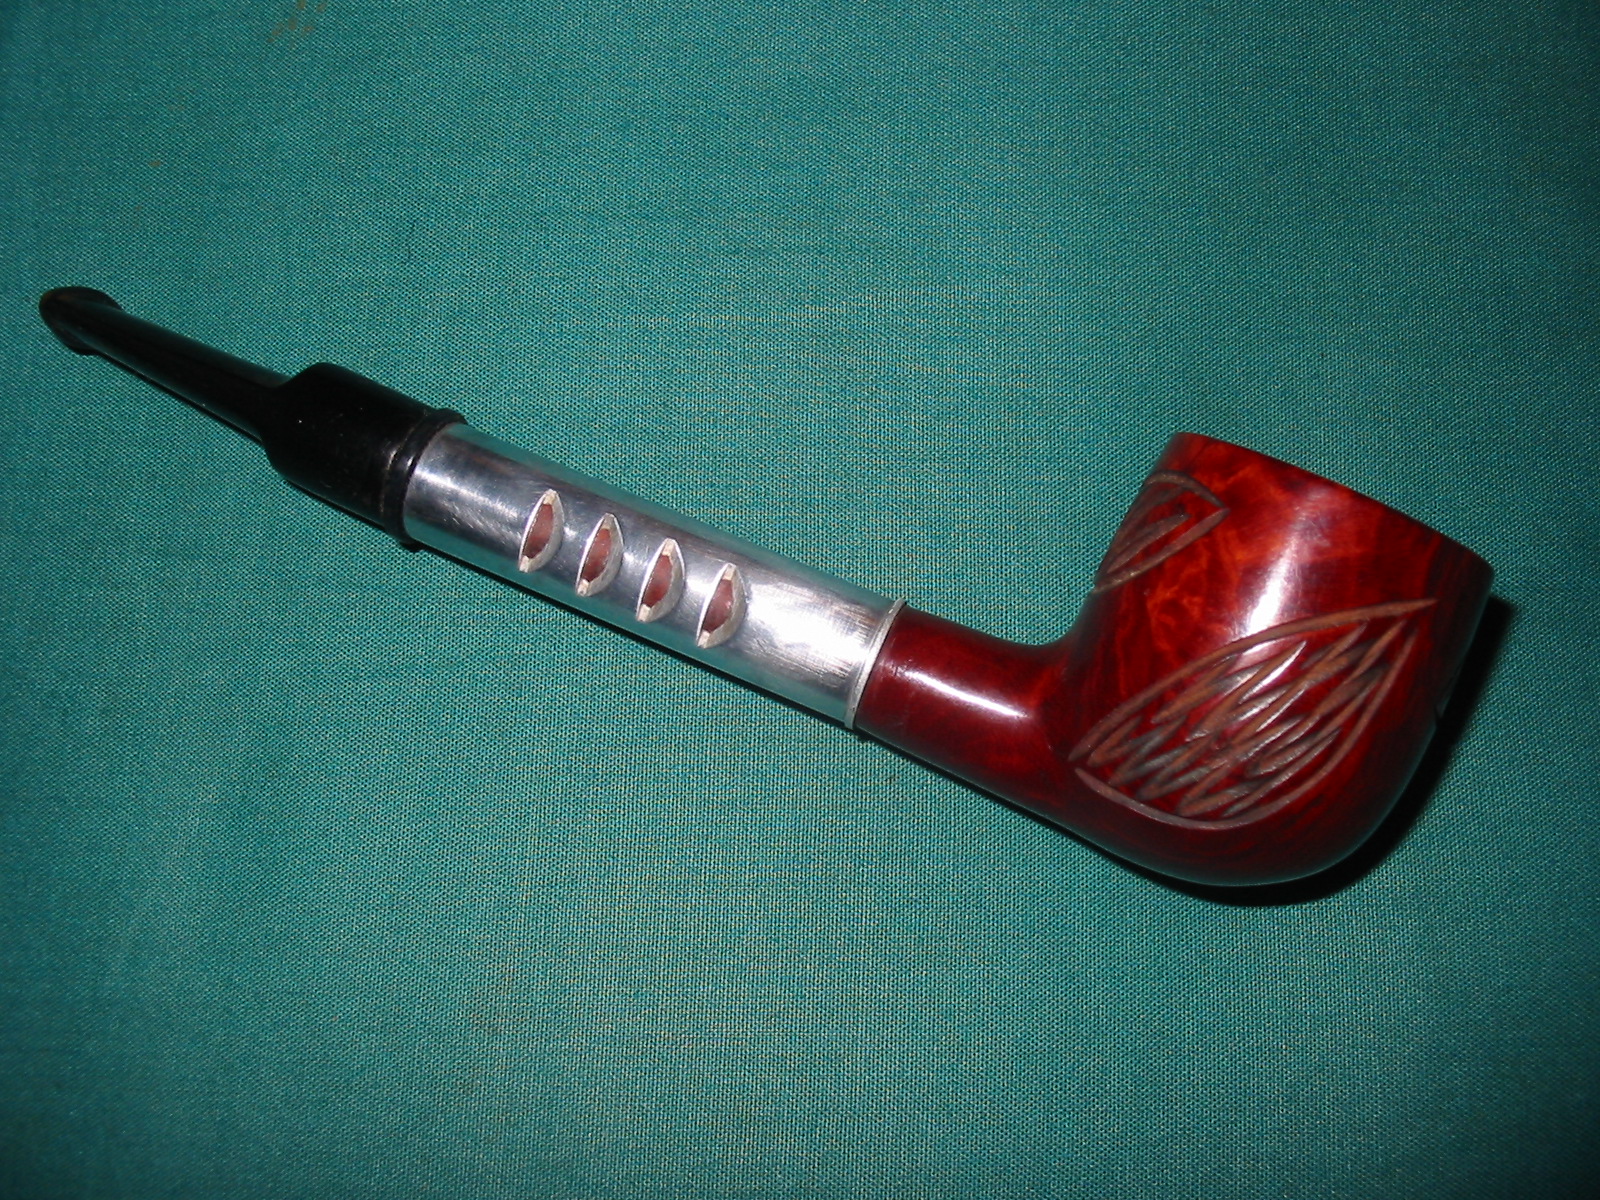
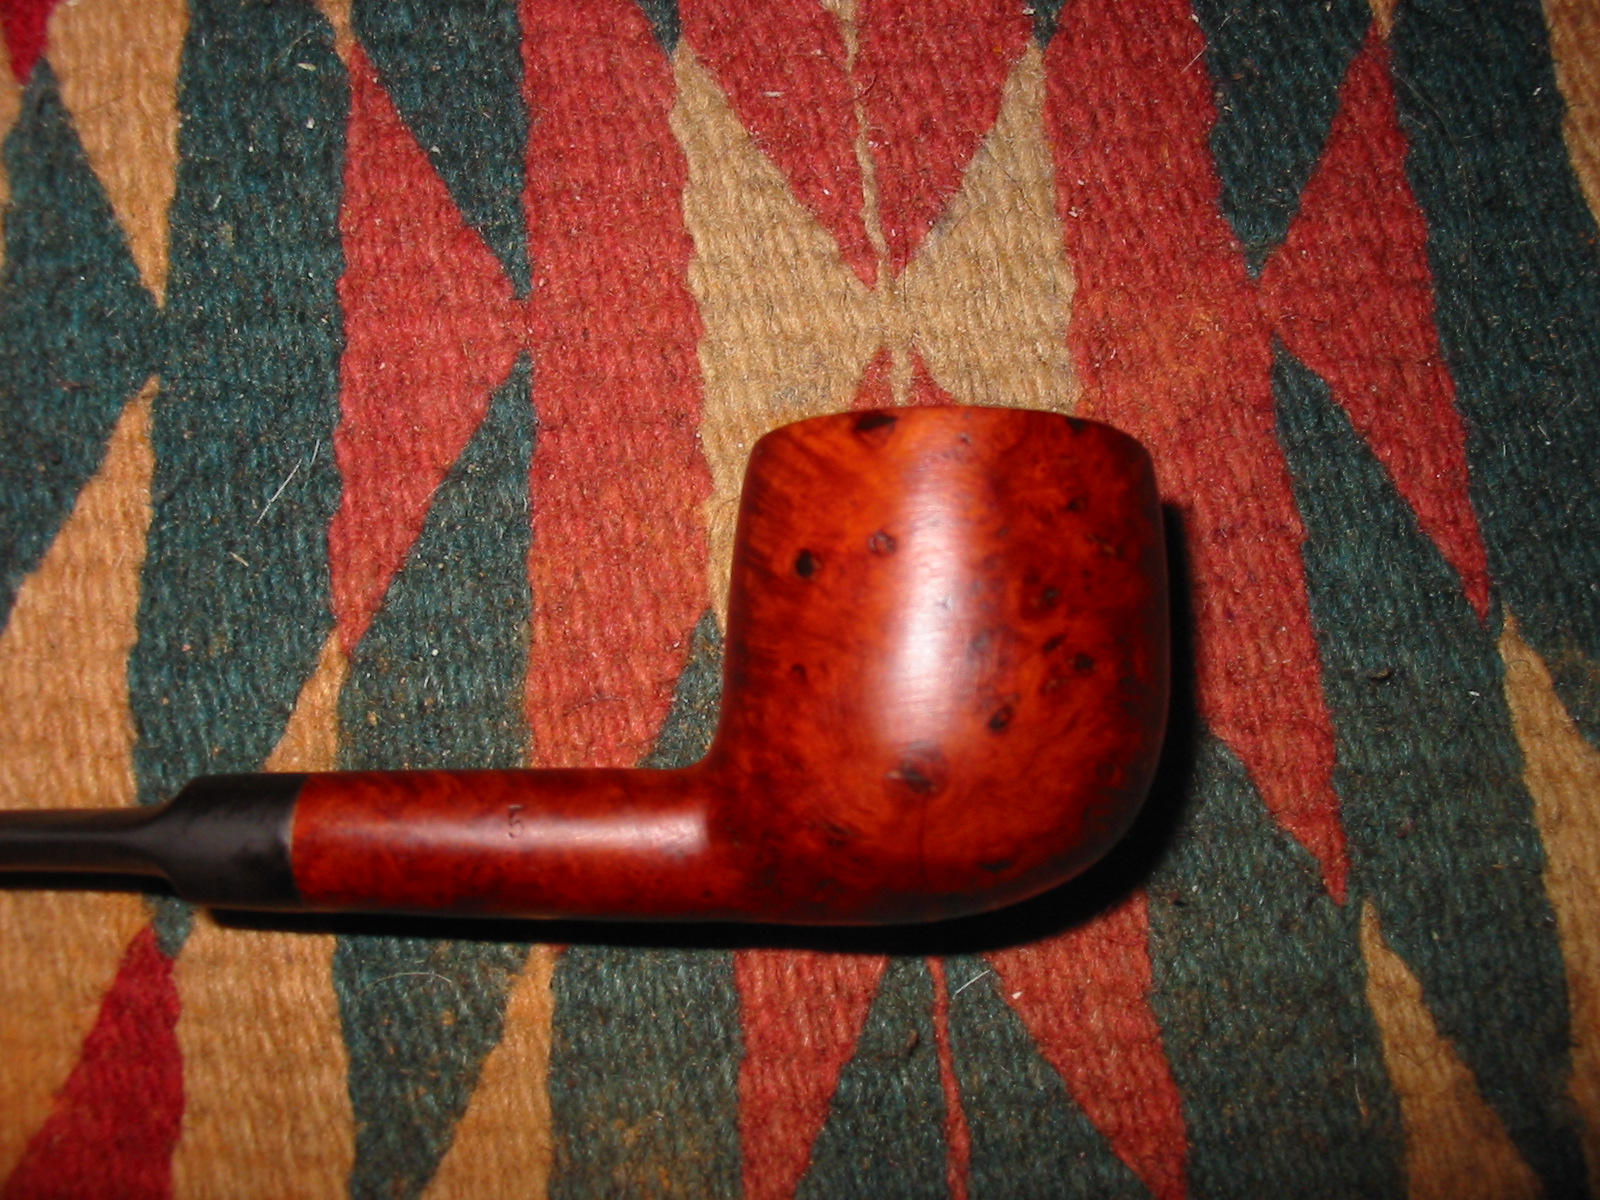
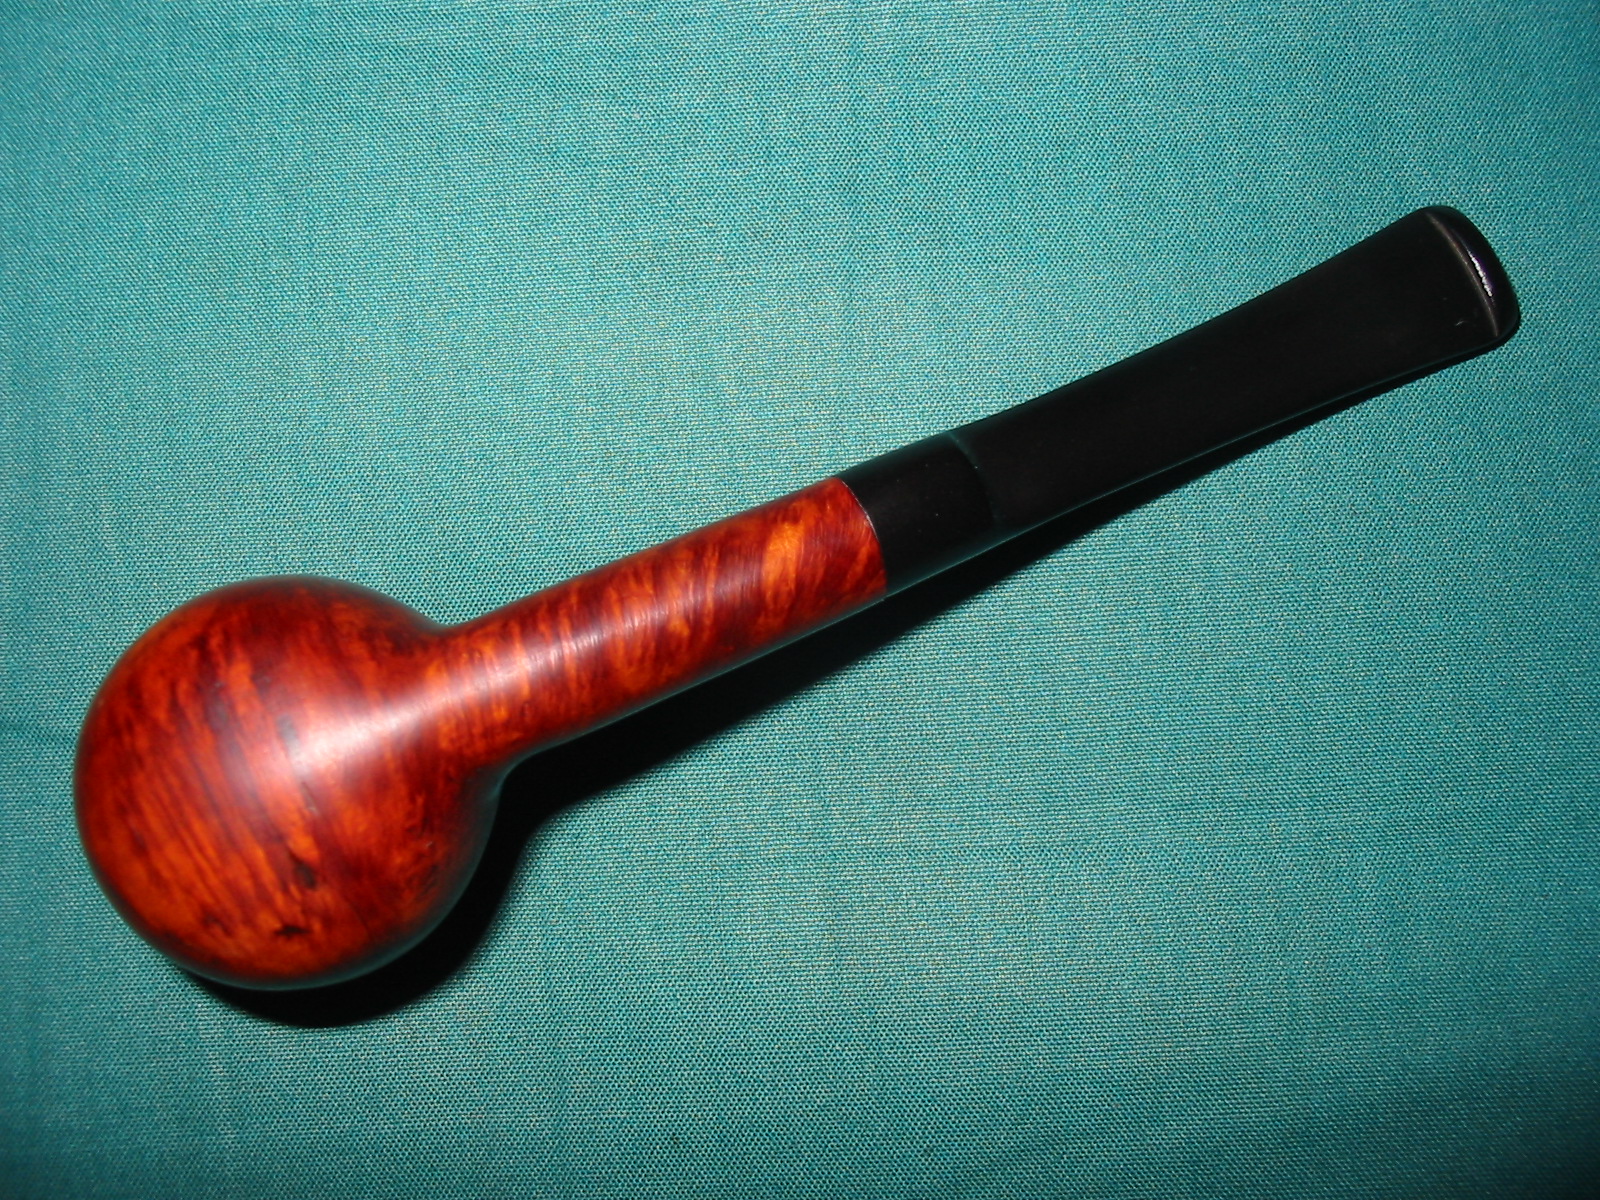
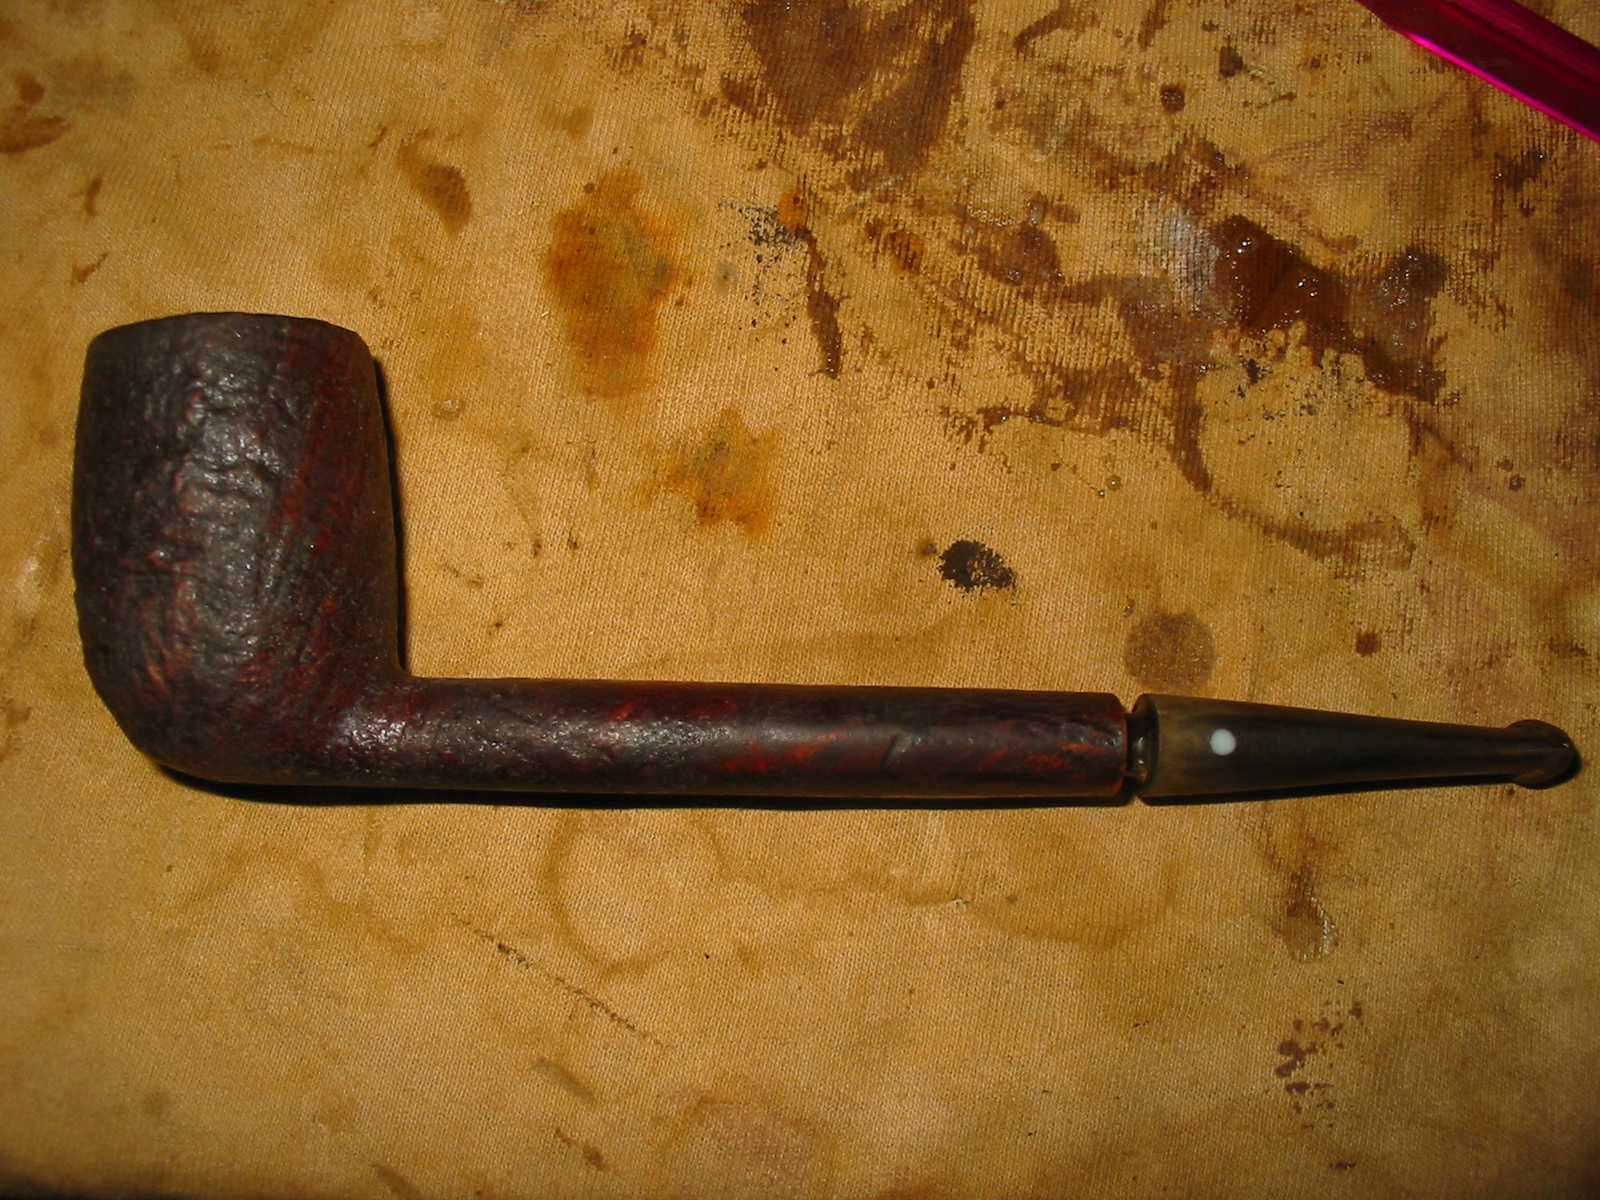
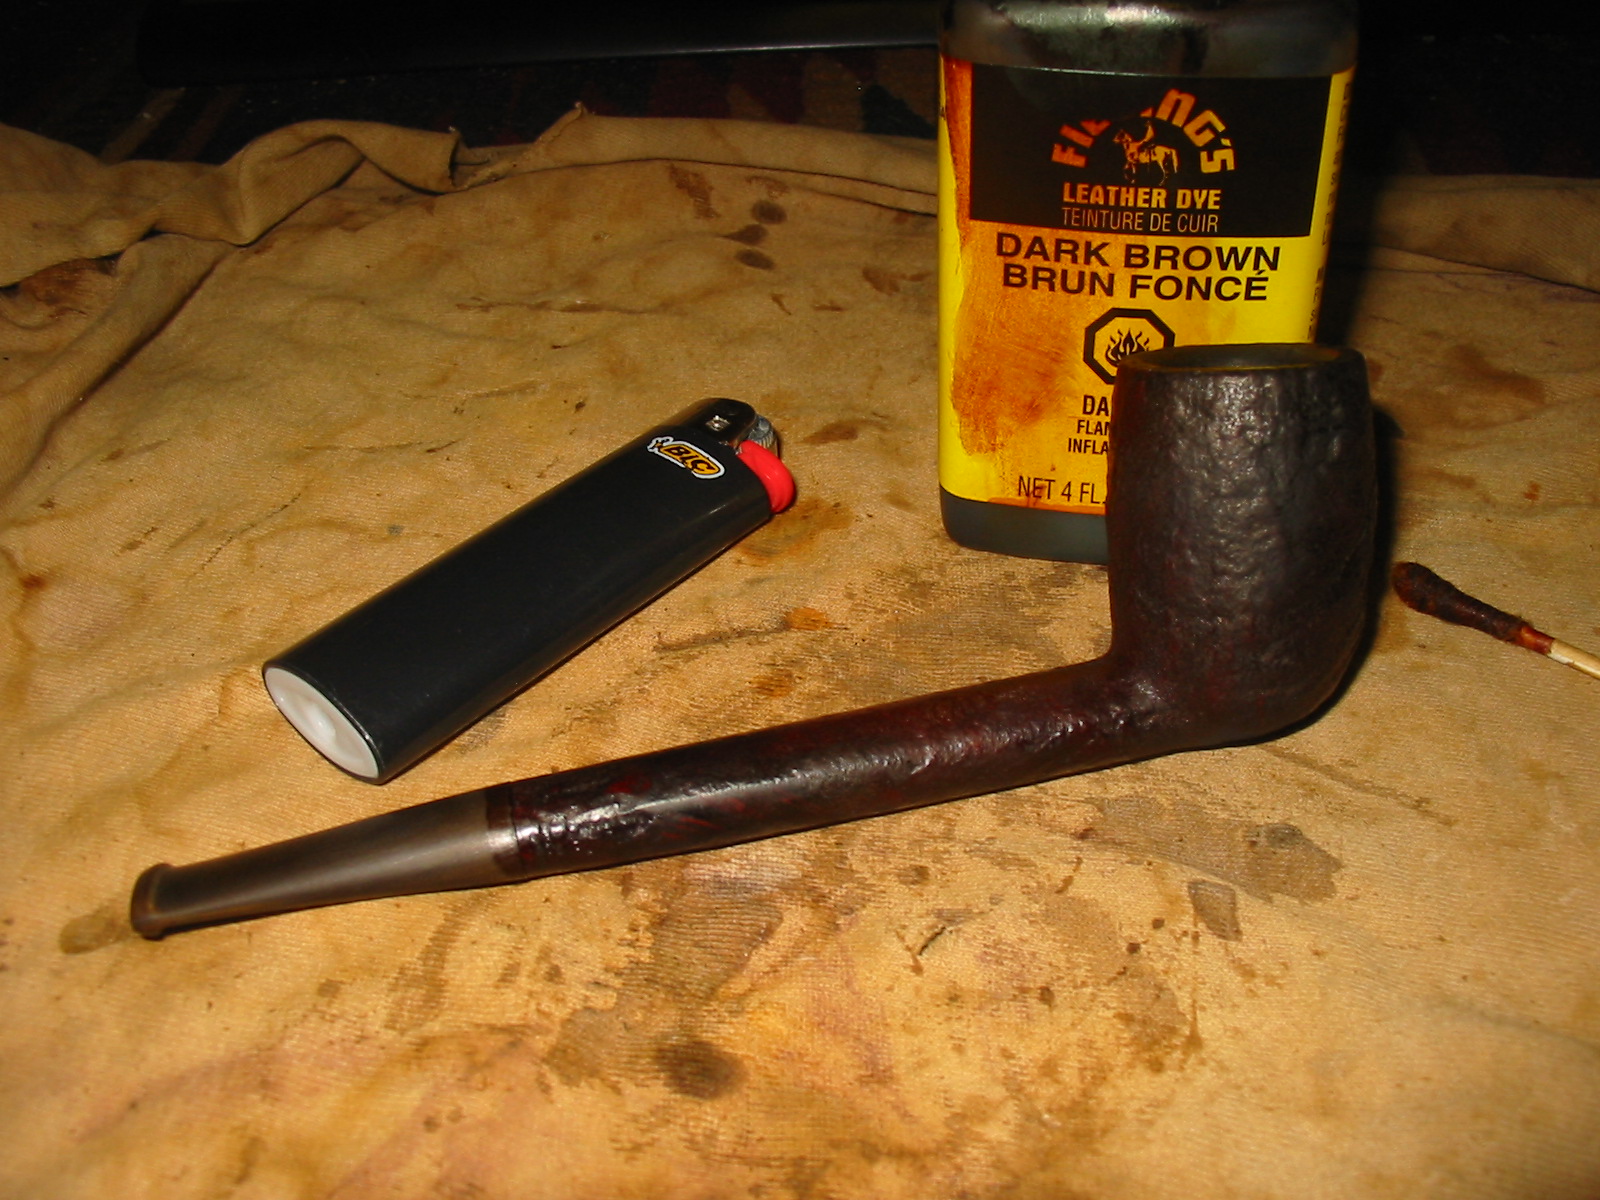
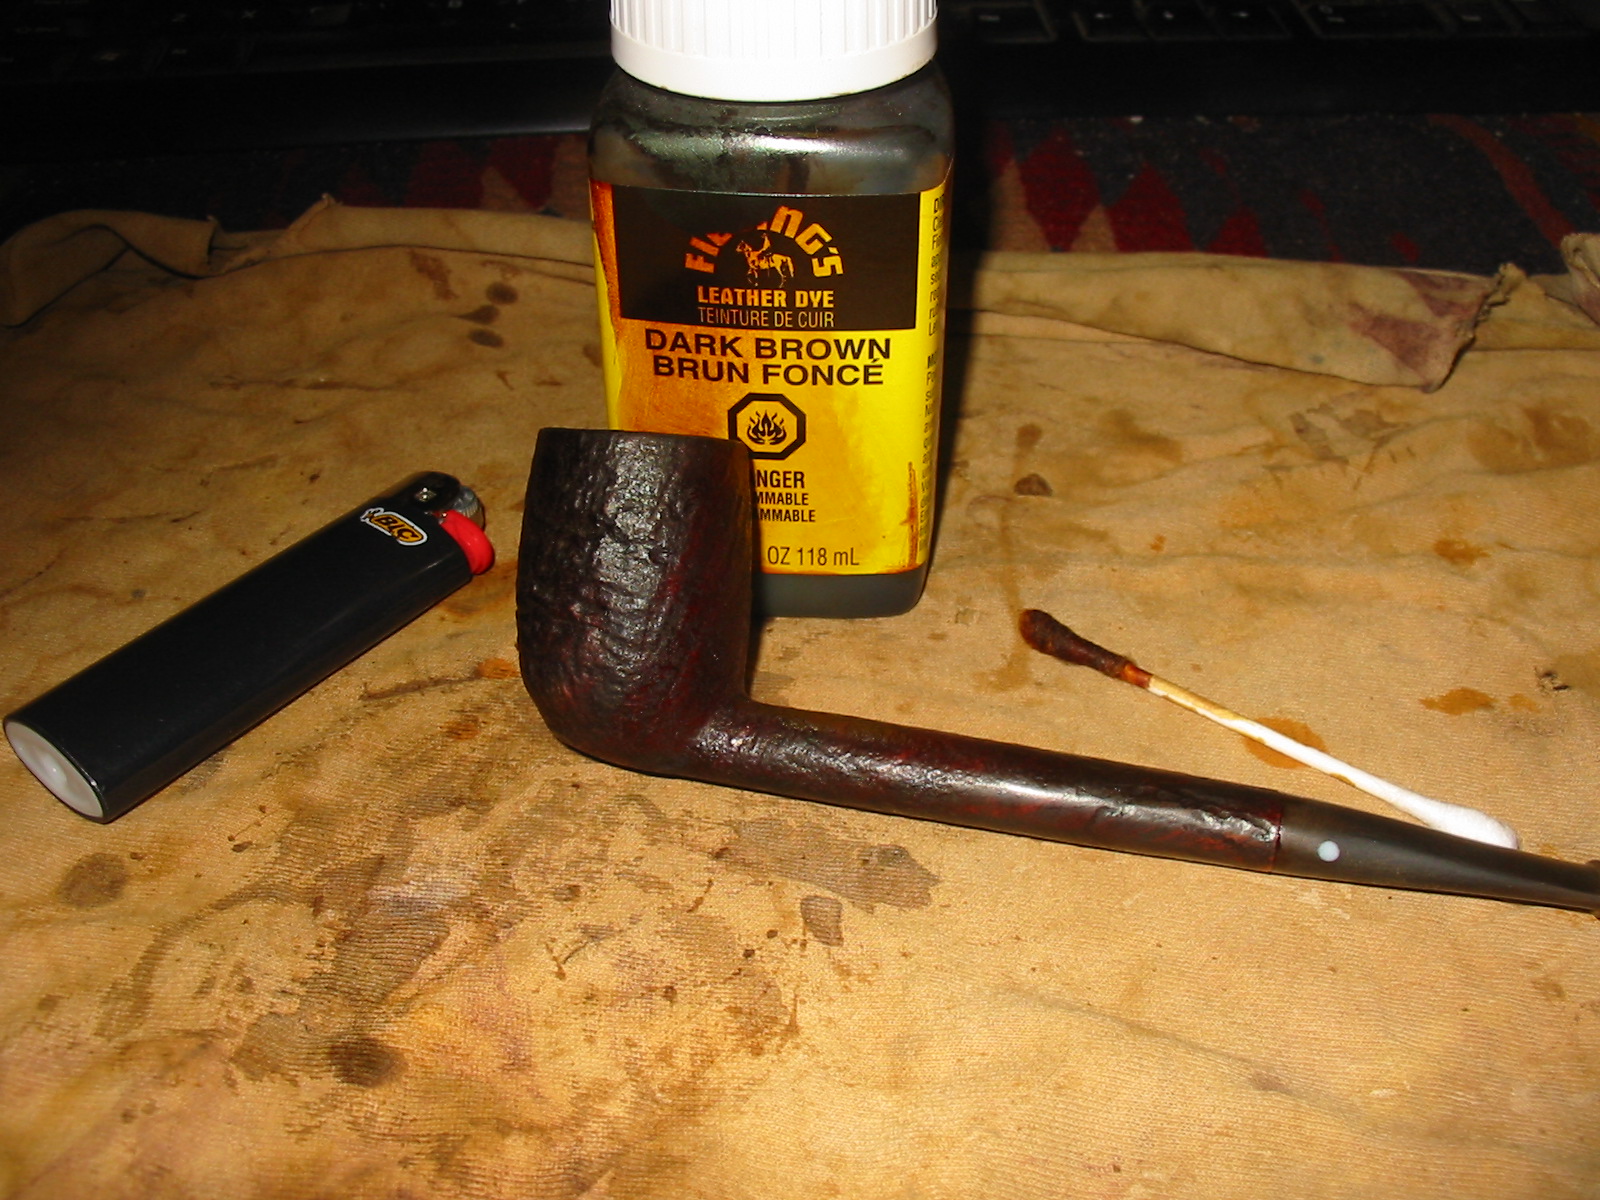
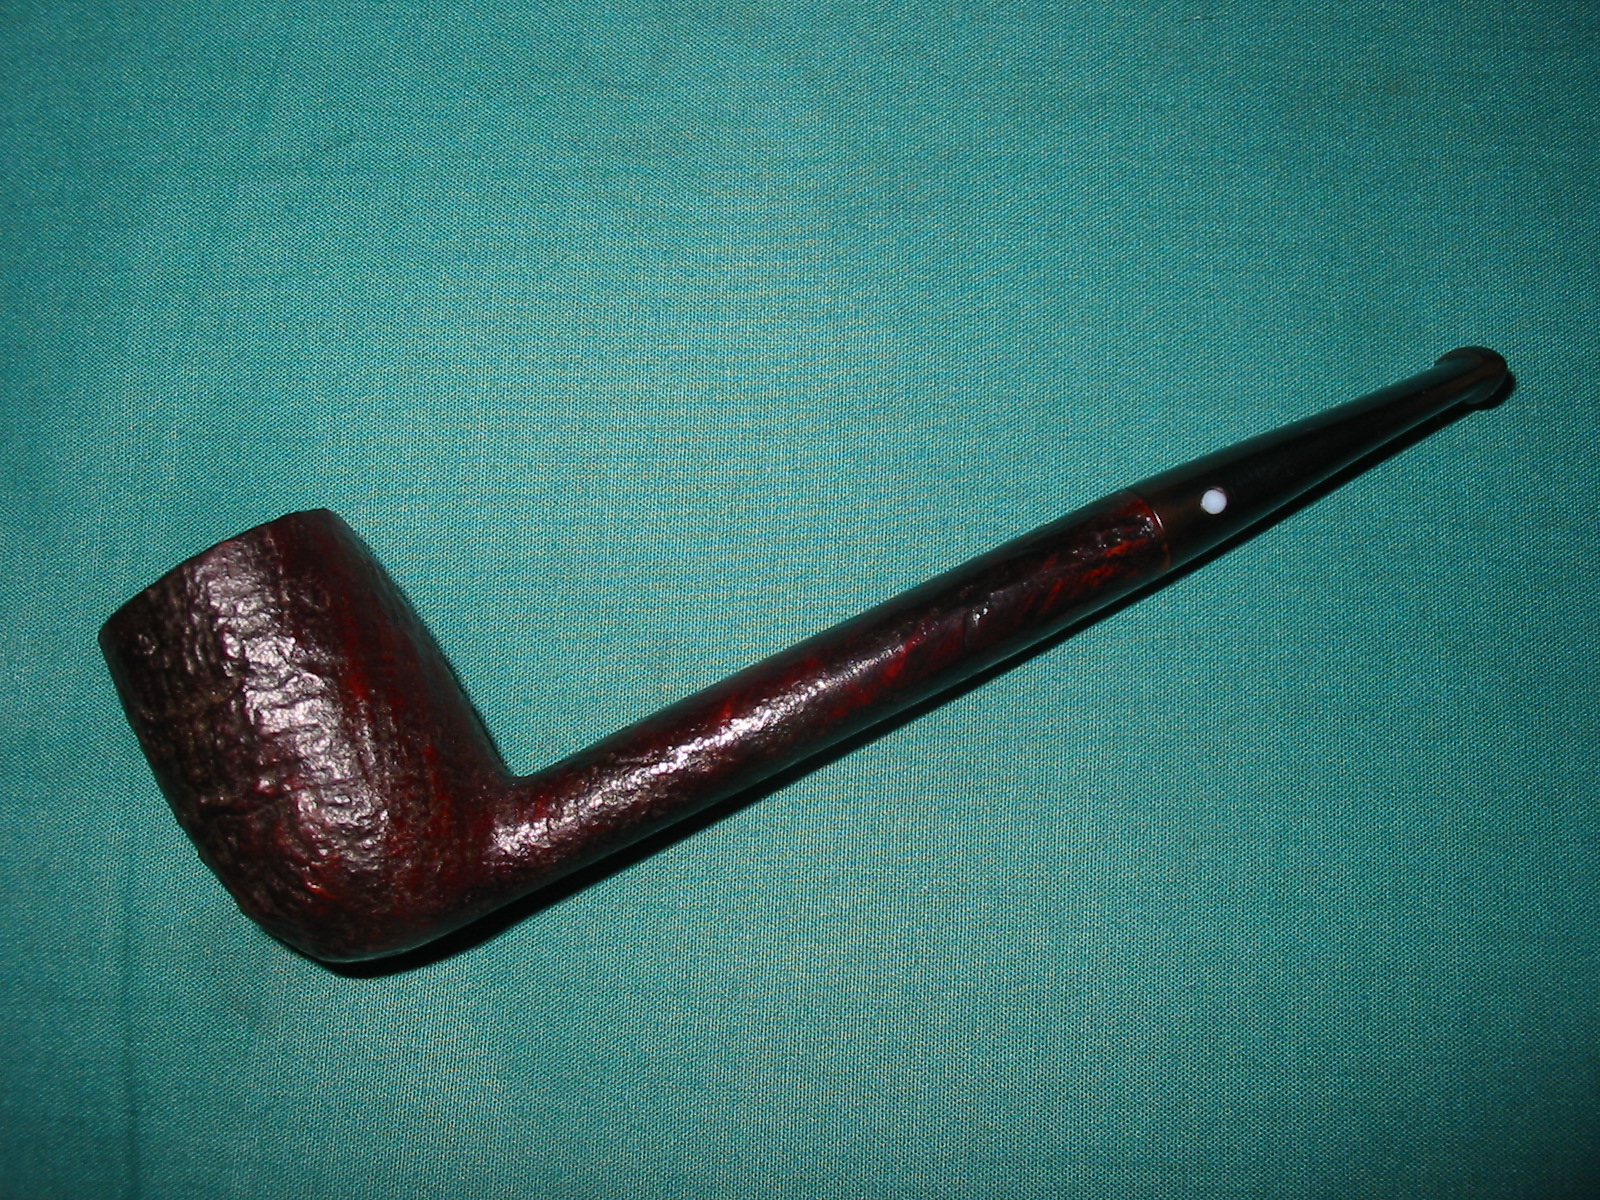
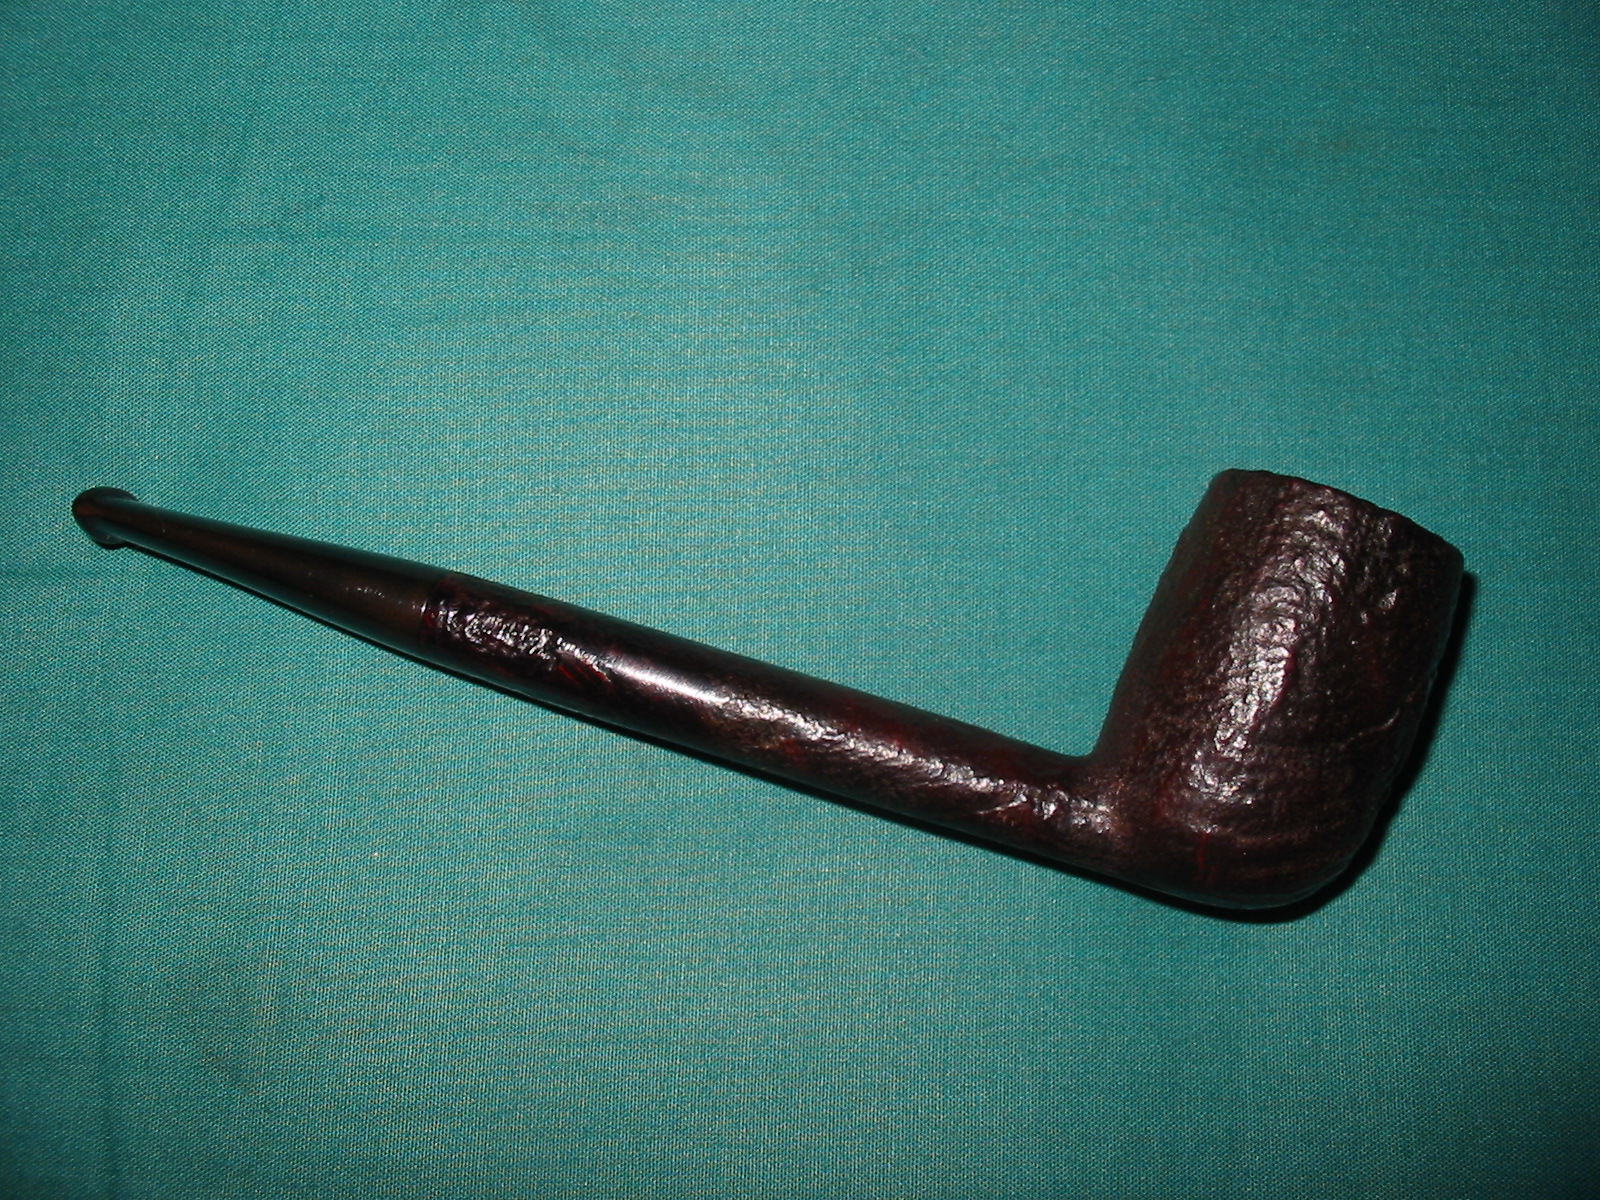
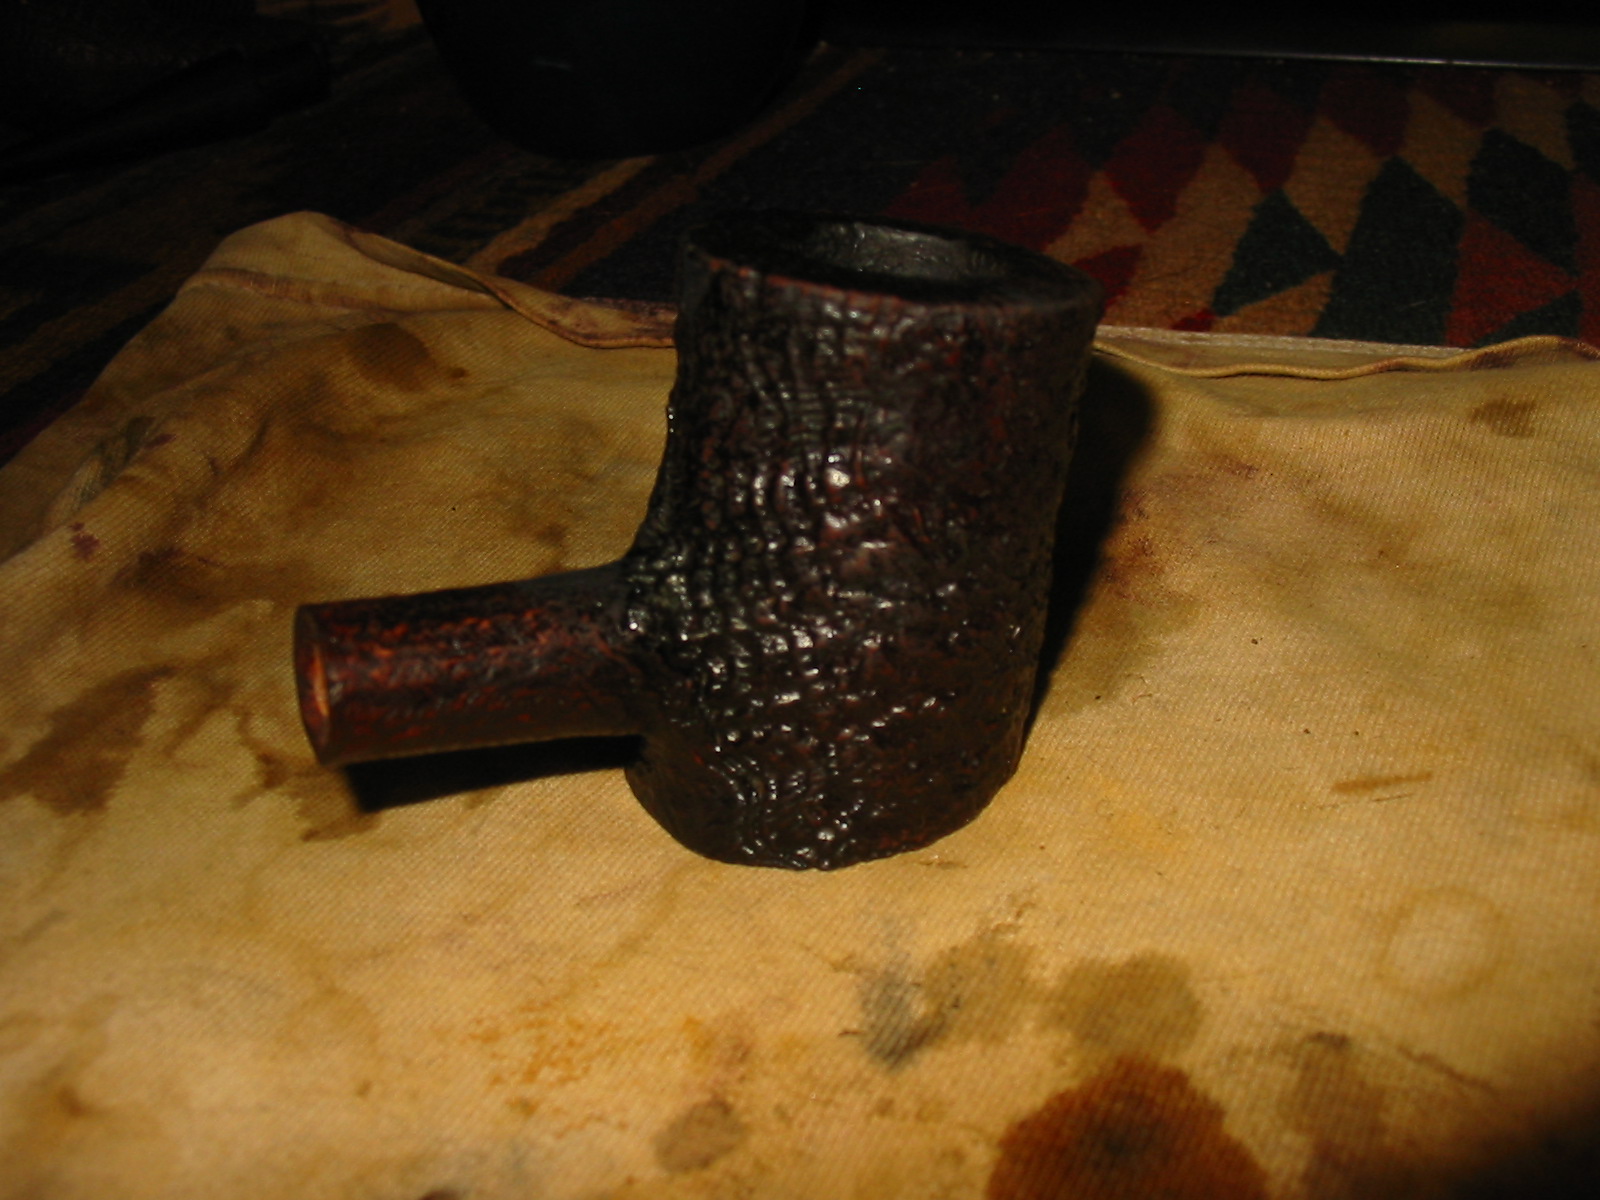
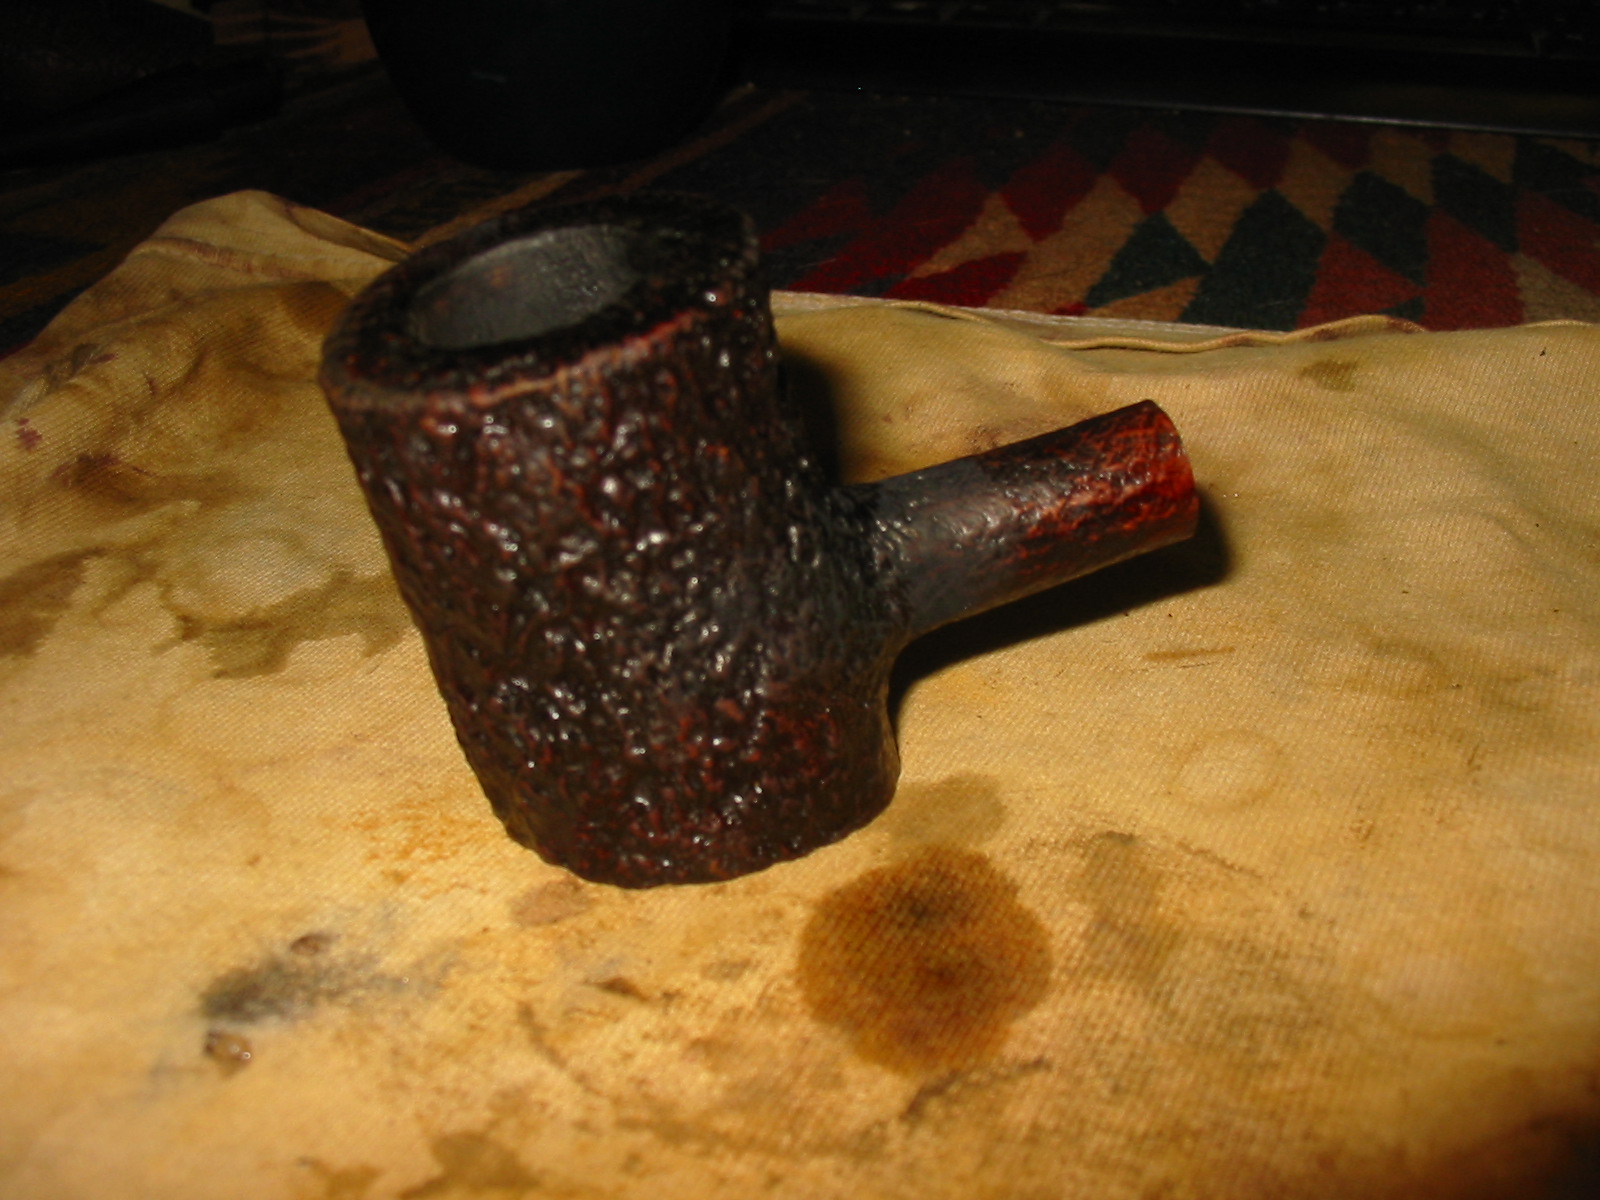
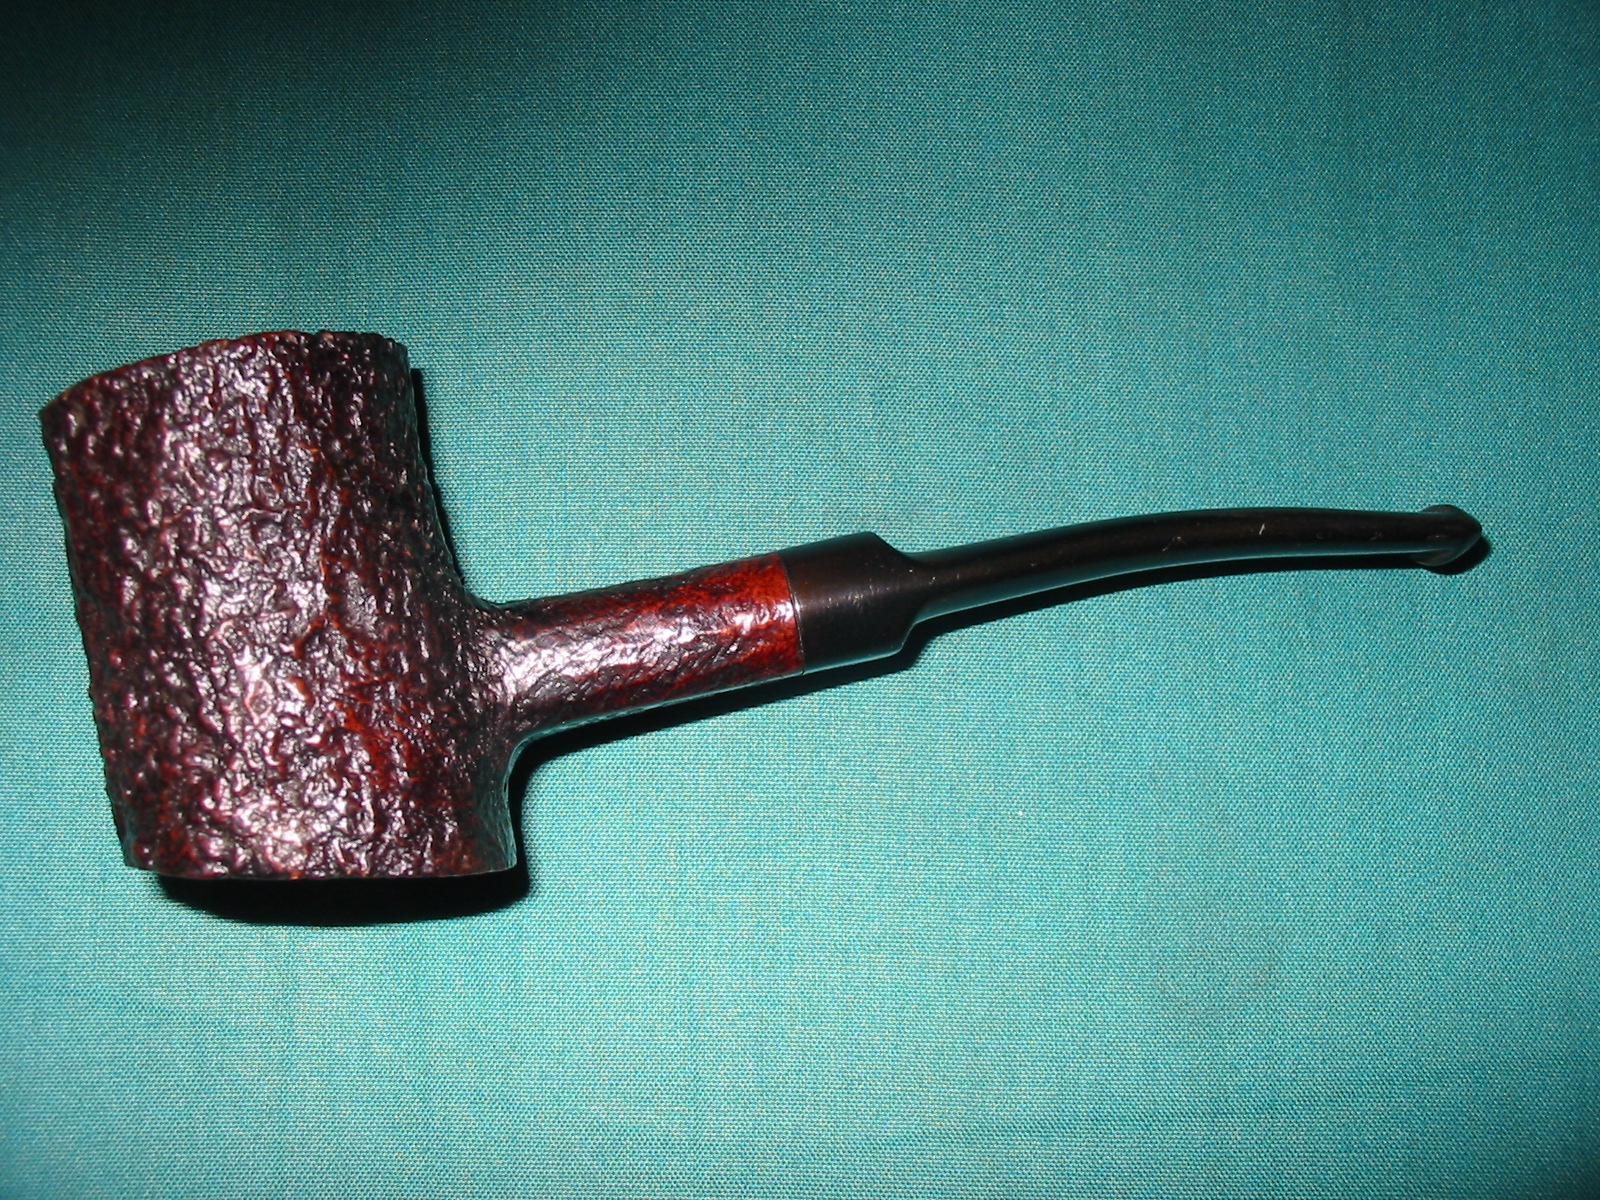
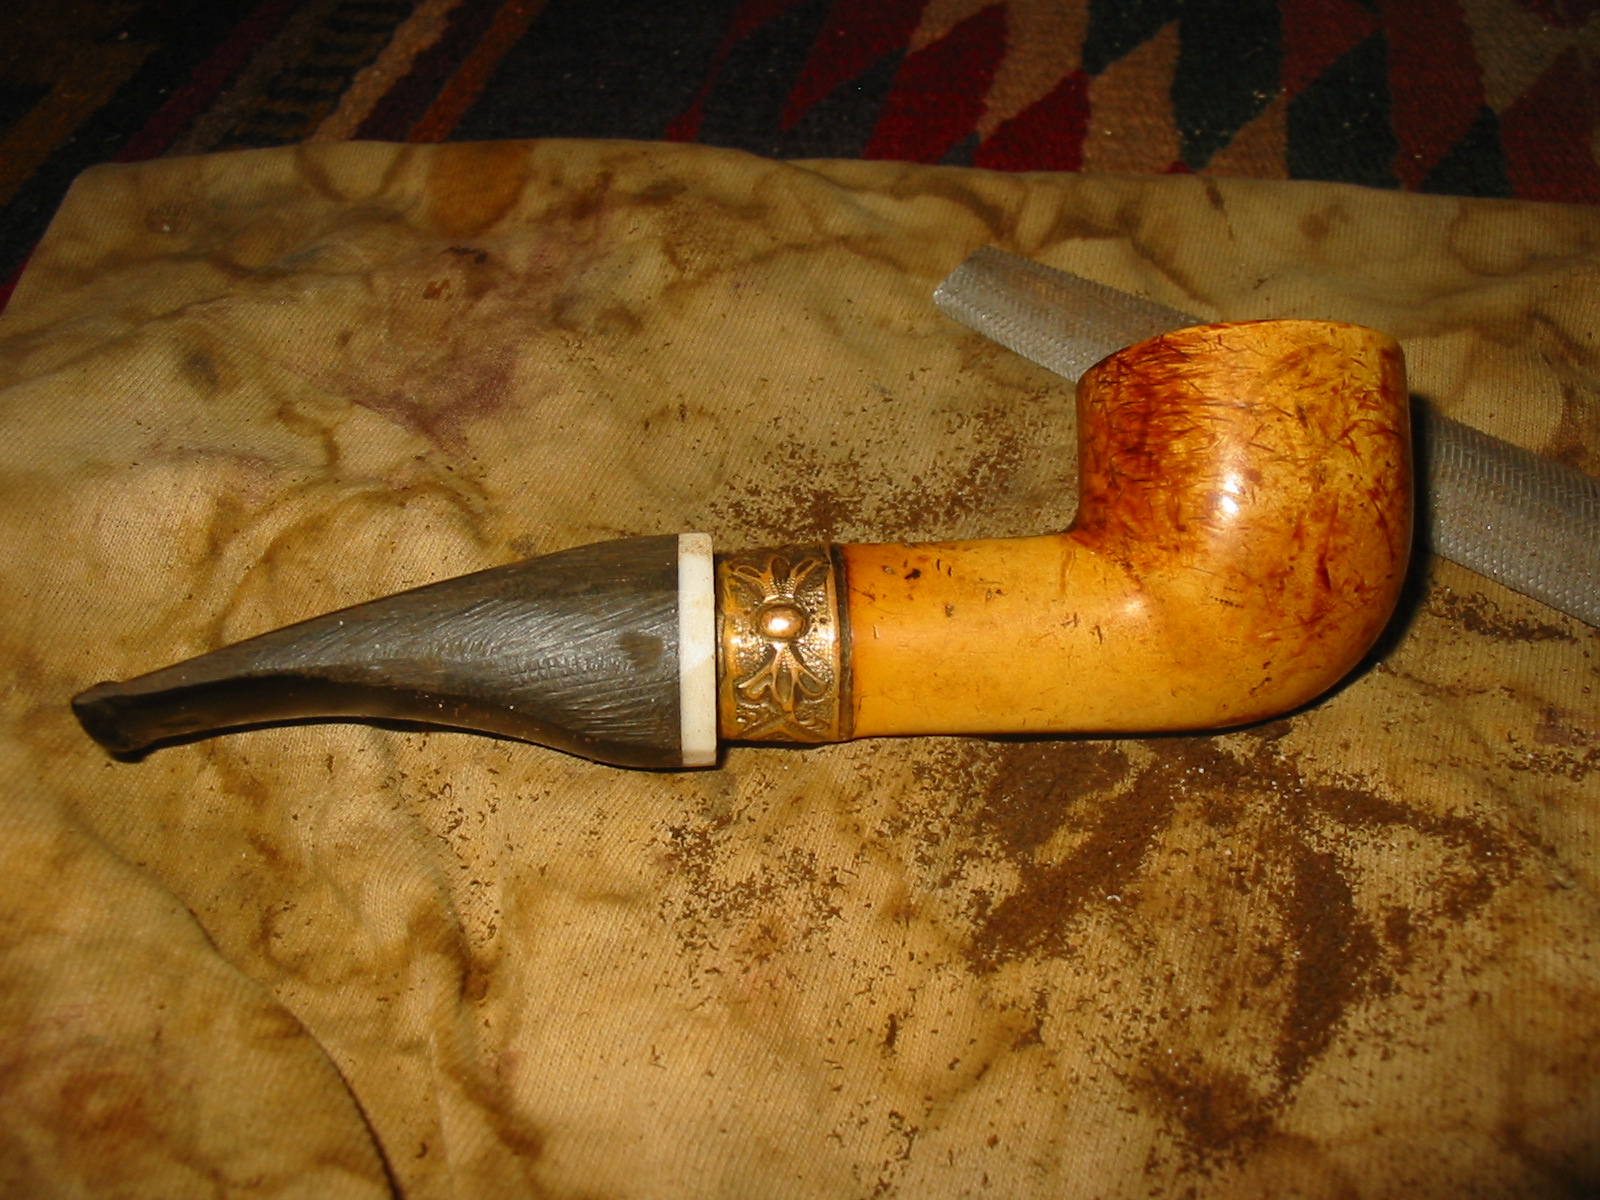
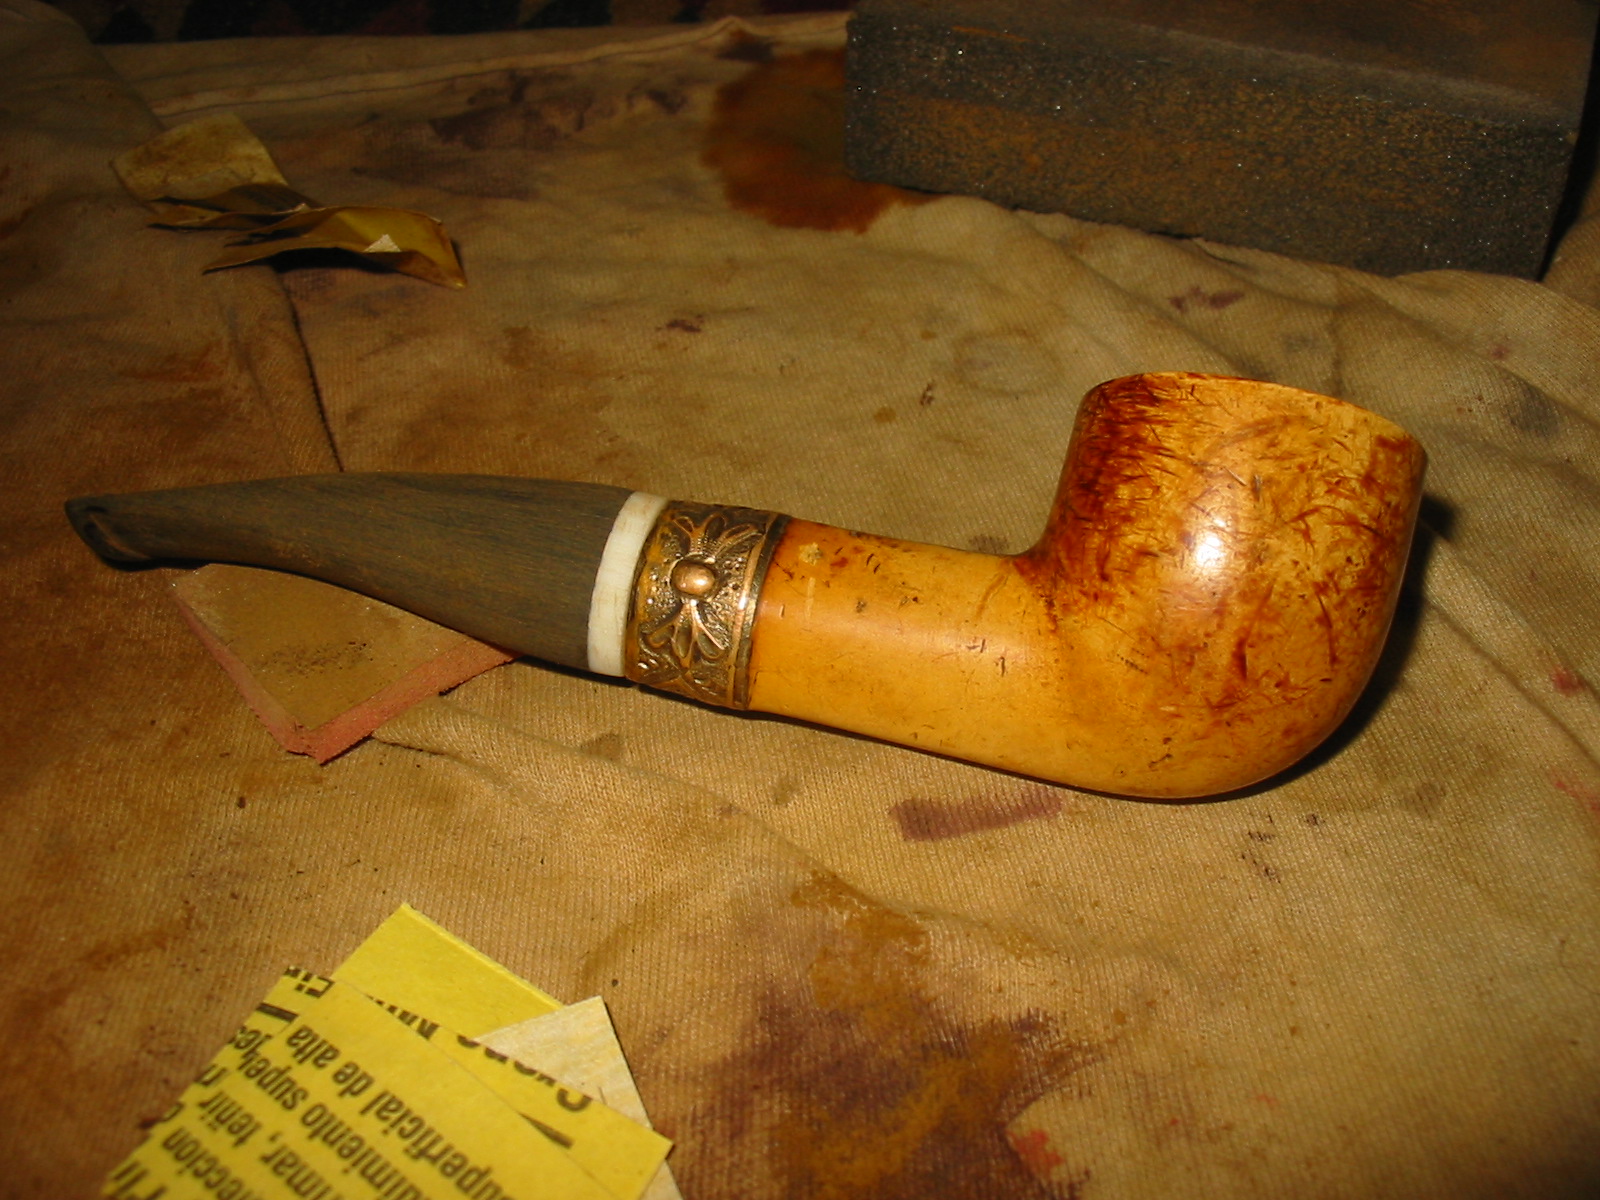
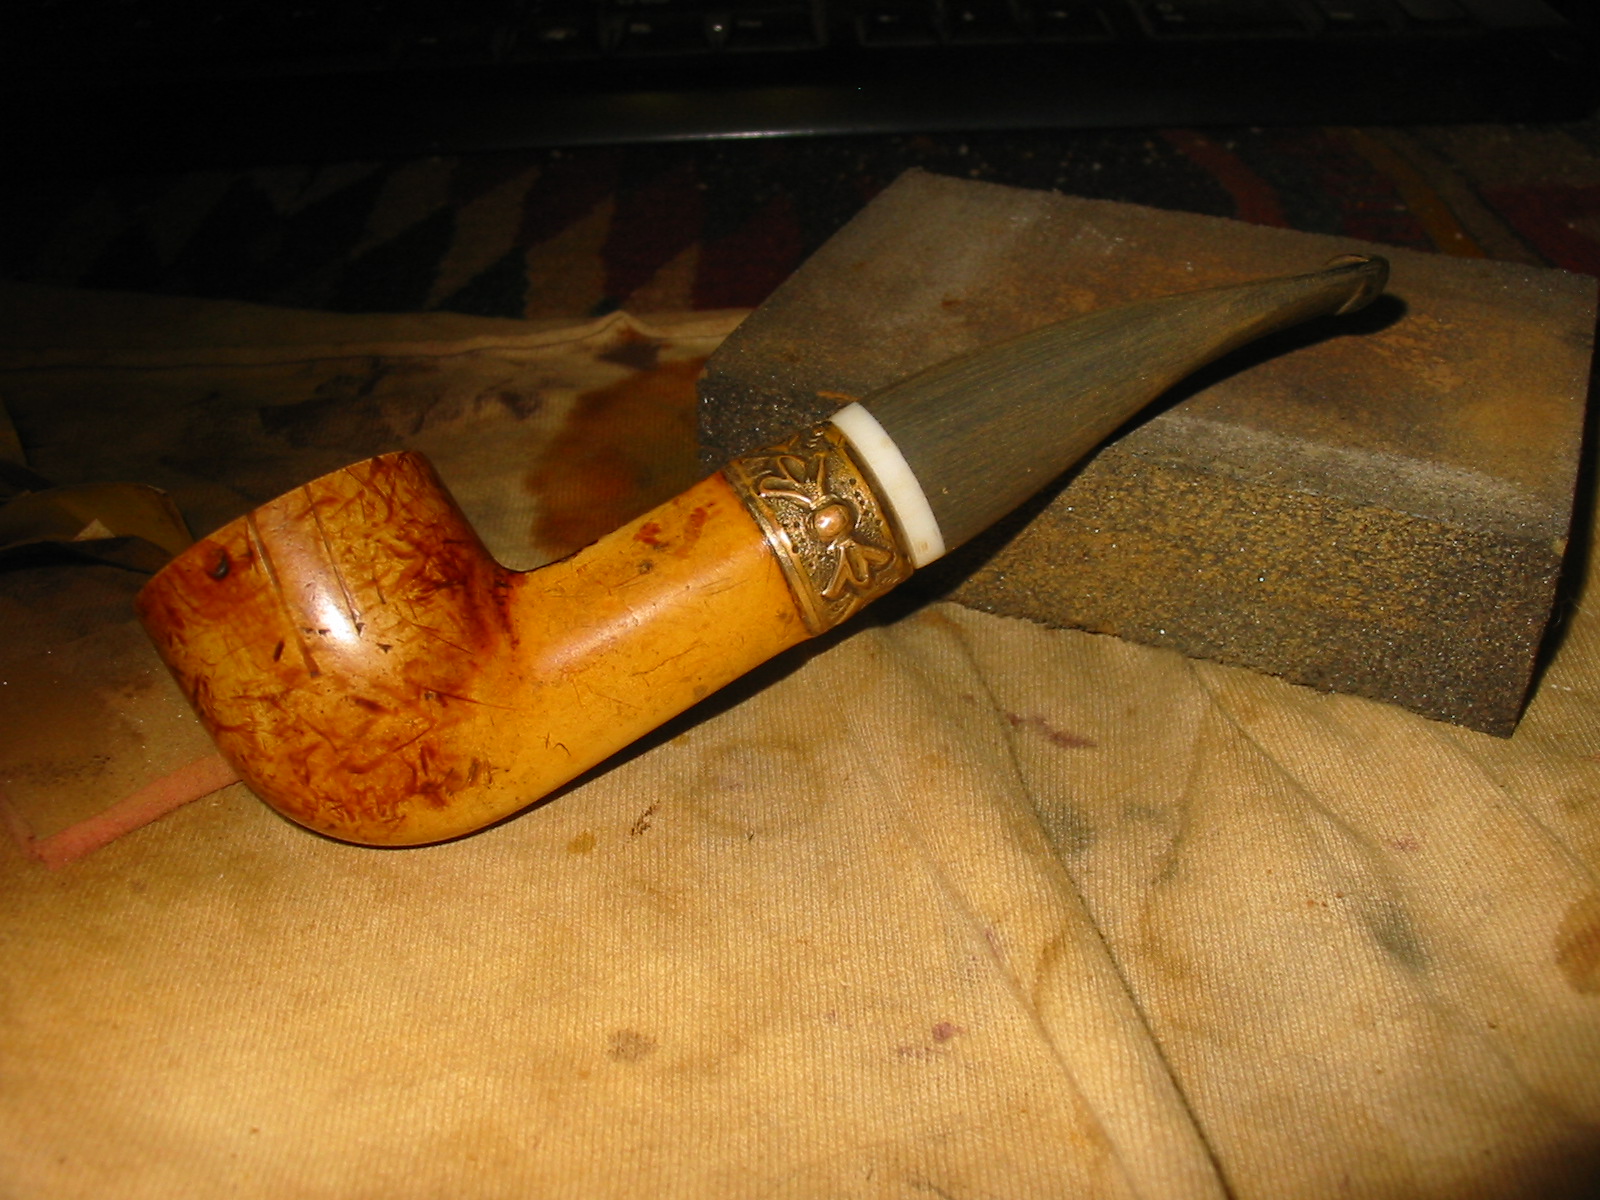
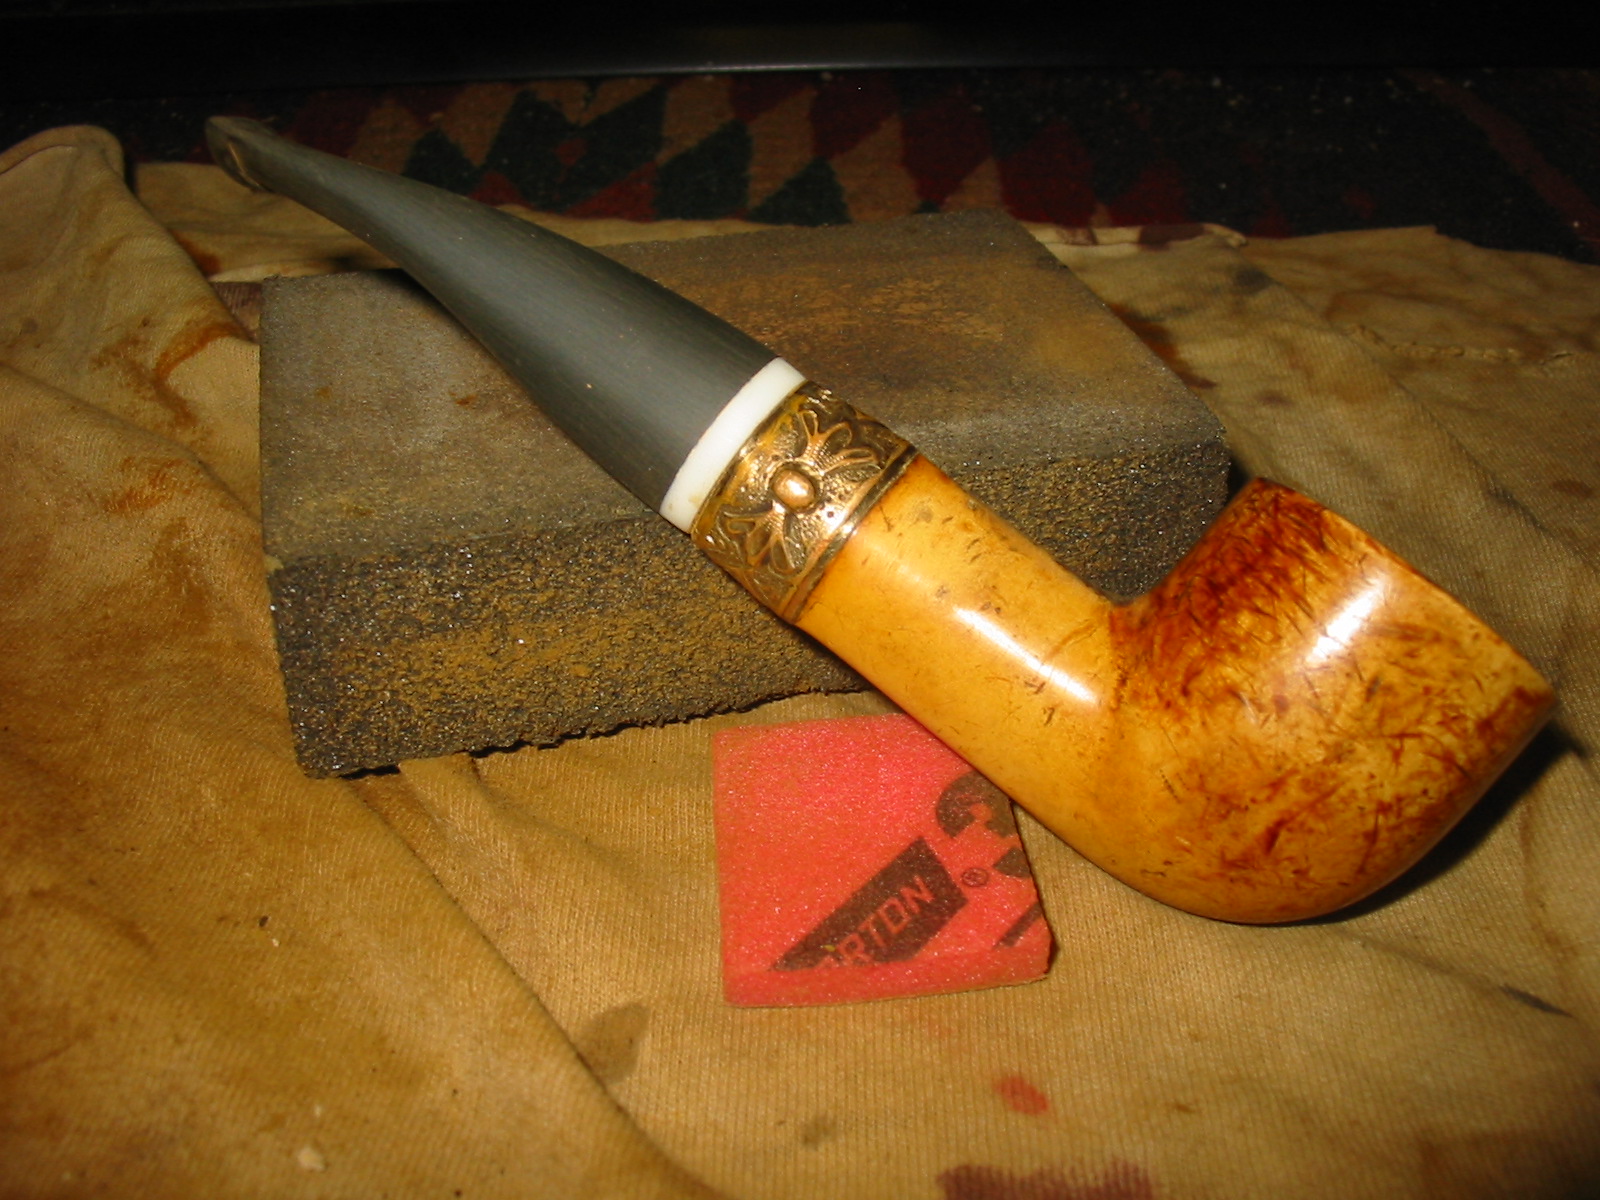
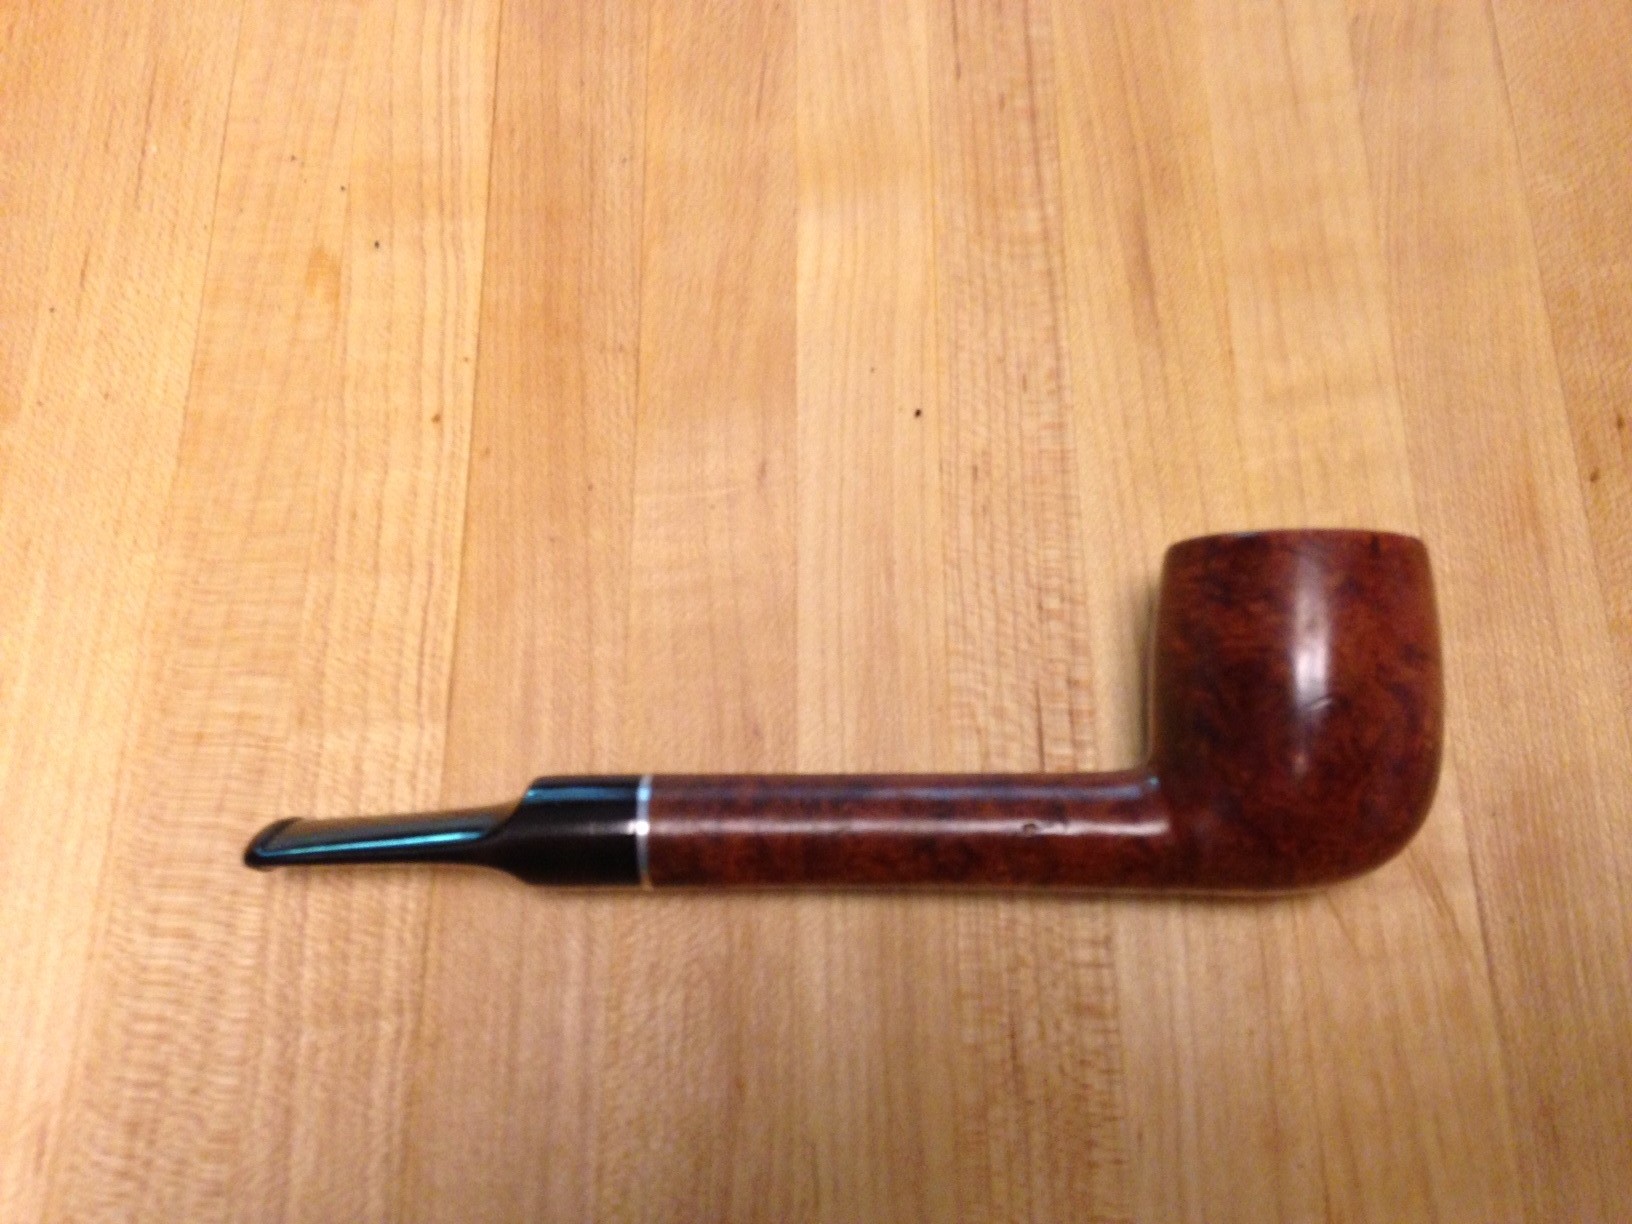
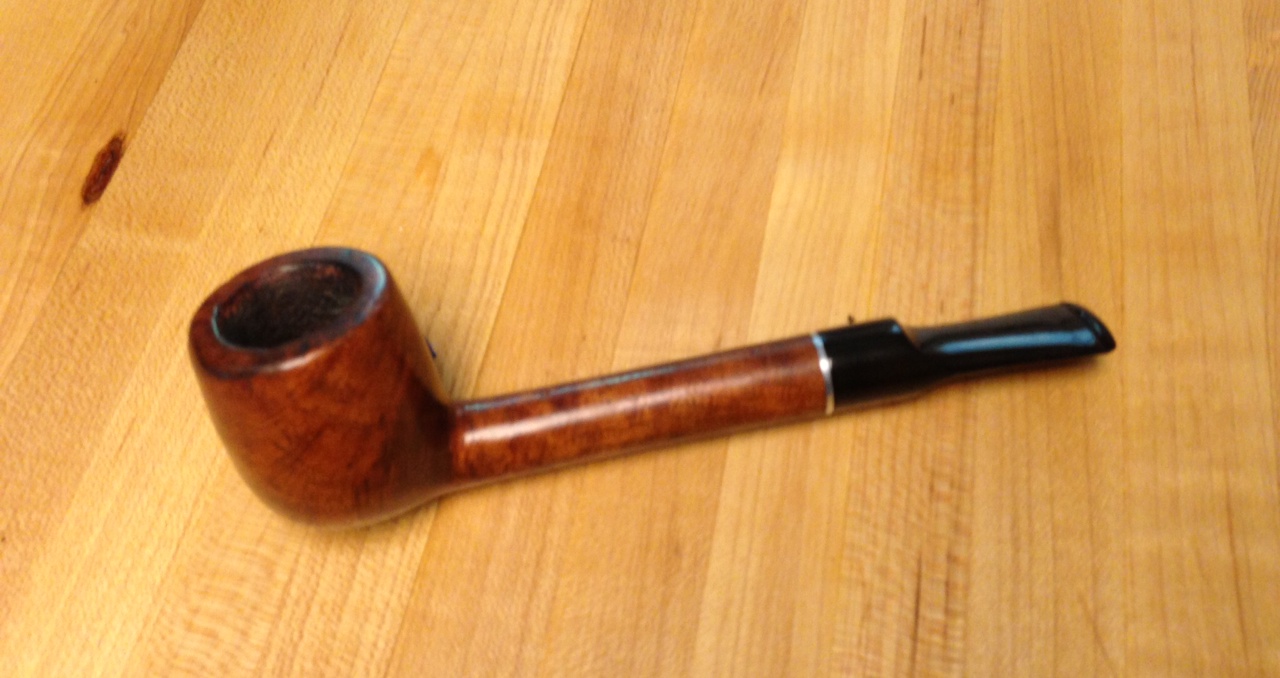
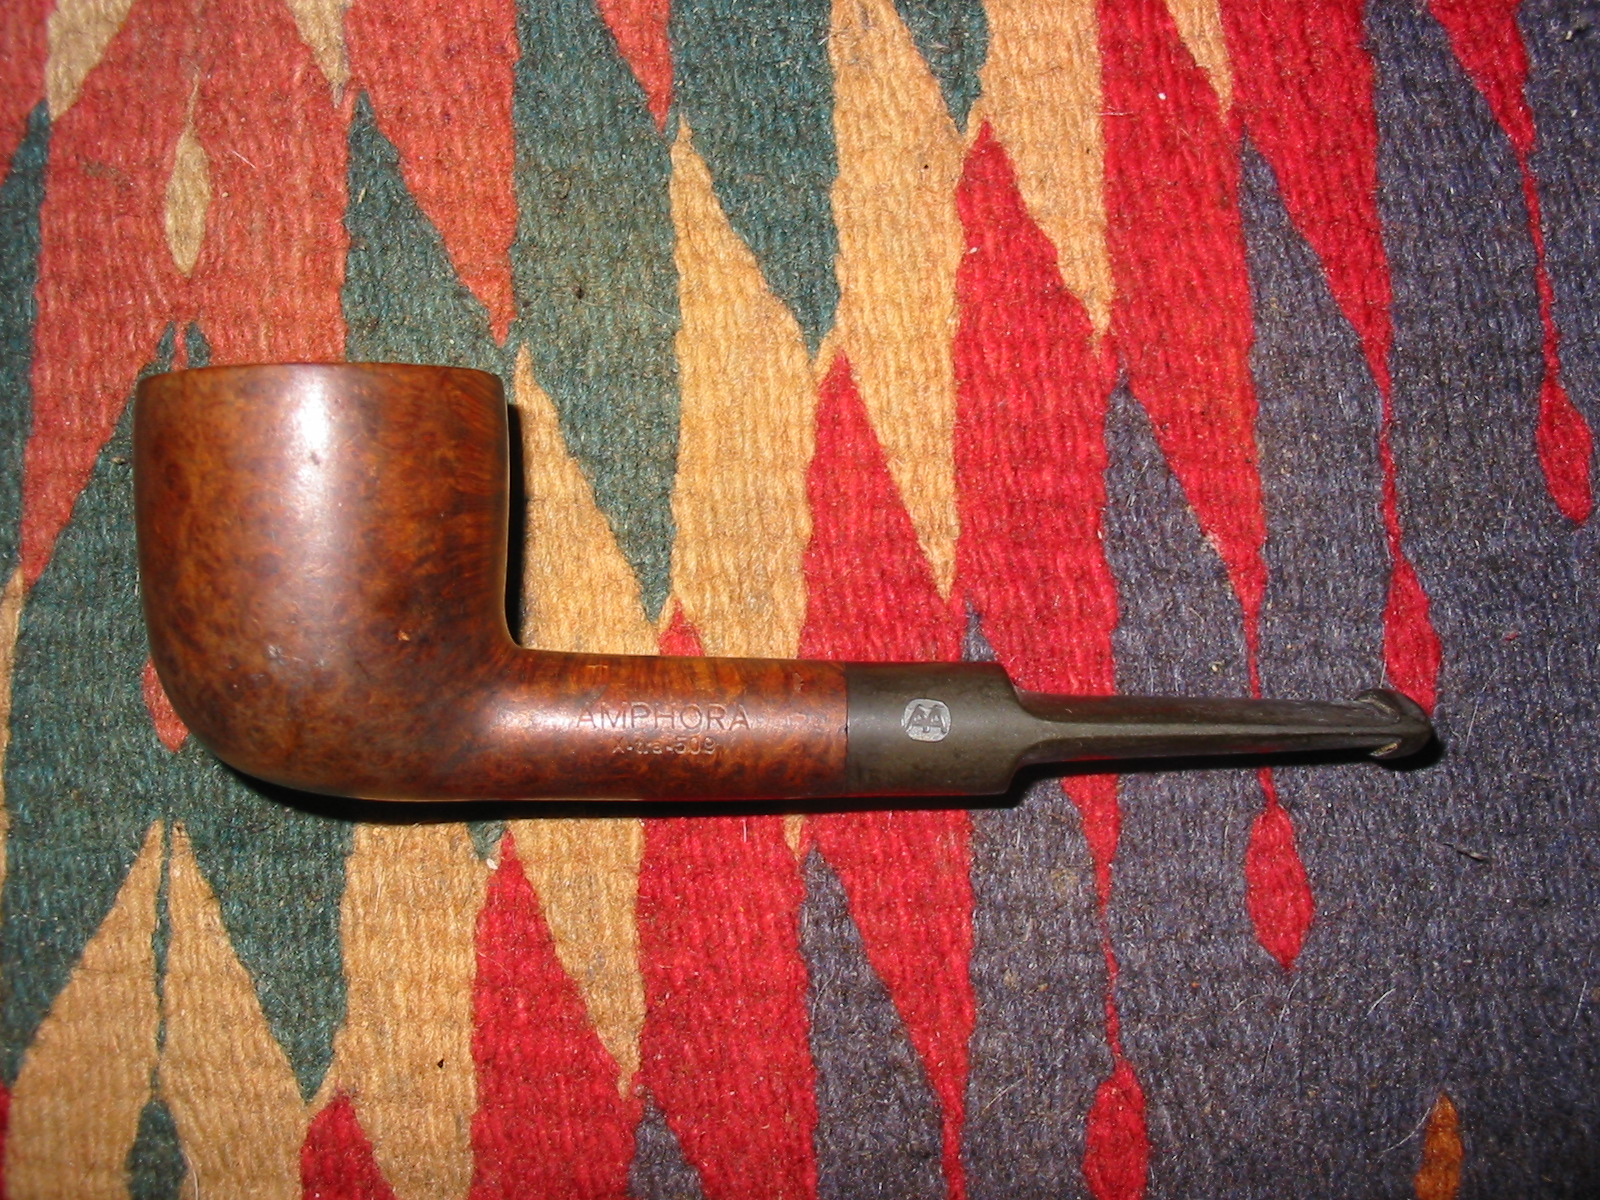
I buffed the pipe and stem with White Diamond and then gave it multiple coats of carnauba wax and then with a soft flannel buff to give it a shine. The final photos below show the finished pipe.
IMG_2272

IMG_2273

IMG_2274

IMG_2275

When I saw it I thought it was a Sasieni one dot billiard


I came across this little billiard in an antique shop last weekend and when I saw the blue dot on the stem and saw the classic English shape of the bowl I truly thought I had found an elusive Sasieni one dot pipe. Lots of things about it seemed to signal that is what I had. The stamping was hard to see under the grime but there were i’s and an e. I was hopeful and I guess also wishful in my thinking. The pipe was dirty as can be seen below. The stem had obviously been damaged and cut off by the previous owner and a new button filed into the stem. The bowl was badly caked and the rim was damaged with dents and chips. I took the picture below while I was relaxing in a pub near the shop and looking over the finds of the afternoon.
IMG_0489

When I got home I took it to the basement and wiped down the bowl with acetone on a cotton pad to remove some of the grime. Once the outside was wiped down I tried to read the stamping with a magnifying lens. I could not make out the stamping – it was too faint. There was no stamping on the right side of the shank. On the underside it appeared that there had been stamping but it was no longer visible. The next three photos give a good idea of what the pipe looked like before I did a cleanup on the bowl and stem.
IMG_2192

IMG_2193

IMG_2194

I reamed the bowl with a PipNet reamer and took it back to bare wood. I picked at the inside of the bowl to check out the solidity of the walls and to check for potential burns. Everything looked and felt like it was solid so I dropped the bowl in an alcohol bath to soak over night.
IMG_2066

The next day I took it out of the bath and dried it off. The bath had removed the old finish for the most part. I finished by once again wiping it down with acetone on a cotton pad. After soaking part of the stamping had become visible. I was disappointed that it appeared that the pipe was not a Sasieni. The stamping that showed up after it was dry read Genuine Briar, which seemed to point to an American made pipe post WW2. I believe it is post war as that is when it became necessary to identify genuine imported briar in contrast to the Manzanita and other alternatives used by American manufacturers during the war years due to a shortage in briar. The briar was a nice piece – birdseye on one side, nice grain on other parts of the pipe and a clean shape to the bowl. I knew it would clean up nicely.
IMG_2217

IMG_2218

IMG_2219

IMG_2220

I topped the bowl using my normal method of anchoring a piece of sandpaper on a flat board and twisting the top of the bowl into the sandpaper until the top is smooth. I started with 220 grit sandpaper and then used a medium and fine grit sanding block to smooth out the rim.
IMG_2221

IMG_2222

When I had finished topping the bowl I wiped it down with acetone and a soft cotton pad to remove the sanding dust and the grime from the topping process.
IMG_2223

IMG_2224

IMG_2225

The stem had a poorly cut button on the end and the button as well as the taper on the stem needed to be reworked. I used a rasp and file to shape the taper on the stem and to take out the pinched look of the angle to the 90 degree cut on the button. The button was also not straight and not squarely cut so I also straightened out the flat edge of the button while I worked with the rasp and files. The next three photos show only the initial work on the stem and not the finished work. I removed quite a bit of the material and smooth out the slope of the taper so that it flowed evenly into the button on both the top and the bottom of the stem.
IMG_2226

IMG_2227

IMG_2228

I sanded the newly shaped stem with 220 grit sandpaper and a medium grit sanding sponge to remove the scratches left by the rasp and files. Once I had the basic shape in place I decided to restain the bowl. I warmed the briar and then gave it several coats of a dark brown aniline stain thinned 1:1 with isopropyl alcohol. I flamed it between each coats to set the stain. The rim took extra coats to match the colour of the rest of the bowl.
IMG_2240

IMG_2241

IMG_2242

IMG_2244

I buffed the newly stained bowl lightly with White Diamond and then gave it a coat of a light cherry coloured Danish Oil. Once dry I buffed it by hand and then also gave it a light buff with White Diamond to polish it.
IMG_2245

IMG_2246

IMG_2247

I then removed the stem and worked on the slot in the button. When the end of the stem had been cut off some of the flair of the original airway remained leaving the end of the button with a small rectangular opening. I used needle files to open the flair and widen the slot into more of an oval that extended the width and height of the button end.
IMG_2248

IMG_2251

IMG_2252

Once I had the slot opened the way I like it I sanded the inner edges with a folded piece of sandpaper to smooth it out. I also did some more shaping with files to the taper of the stems. I sanded it with 220 grit sandpaper until I had the slope well-defined from the tenon back to the button. I also shaped the externals of the button to clean up the angle at the point the button and stem taper met. I also sanded it with a medium grit sanding sponge to remove the scratches left behind and to also remove the oxidation at the stem shank junction.
IMG_2249

IMG_2250

When I had the scratches removed as far as possible with the sanding sponge I went on to sand the stem with micromesh sanding pads. I wet sanded the stem with 1500, 1800 and 2400 grit sanding pads and the dry sanded with the remaining grits.
IMG_2253

IMG_2254

IMG_2255

I rubbed the stem down with Obsidian Oil and rubbed it into the surface of the vulcanite. I took it to the buffer and buffed the stem with White Diamond. I gave the bowl and the stem multiple coats of carnauba wax and polished the pipe with a clean flannel buff to bring up the shine. The finished pipe is pictured below. I still wish I knew what the stamping says in full. That blue dot certainly is a symbol of some unknown to me brand of pipe. The mystery remains but in the mean time I have a great little billiard to enjoy.
IMG_2256

IMG_2257

IMG_2258

IMG_2259

Reworking a Unique Nylon “Vikingish” Pipe


Blog by Steve Laug

When I saw this old pipe in the rack at the antique mall I wanted it because of its uniqueness. The price was also good – $9.95. I figured at that price it was like buying a corn cob pipe and certainly would function in the same capacity for me. This one had a nylon base and stem with a briar bowl that screwed into the base. Dr. Grabow bowls fit this pipe base perfectly but Falcon bowls do not fit. The only stamping on the pipe is on the bottom of the base where it reads Nylon. In researching this pipe on the net I was unable to find any pertinent information. When I posted it on Pipe Smoker Unlimited Forums I got a suggestion and a link to the Smoking Metals site. Low and behold the link took me to the exact pipe base as the one I had found. Here is the link: http://www.smokingmetal.co.uk/pipe.php?page=60 The pipe pictured has a far better bowl than the one that I found. What I found interesting was the information that was on the site regarding this pipe. I am copying it verbatim:

“No makers name, simply the word ‘NYLON’ on the base of the stem under the bowl. The briar bowl is Viking style, accepting all Dr Grabow Viking and Koolsmoke bowls. The bit can be varying colours and not always vulcanite so often severely damaged. The stems can be silvered or in gilt, or even painted, but it is not known if this is how they left the manufacturer. Among names sold under is Forecaster Superline. US Patent# 179,373 Inventor Berenson would seem to apply.”

This pipe was in good shape. The stem is attached and not removable. It had some tooth chatter but no tooth marks or bites. It was made of nylon and not vulcanite even though it is black. The base itself is an opalescent white colour and showed tobacco stains in the base and the shank. The bowl was unfinished and showed tooling marks from the turning on the lathe. There was a slight uneven ridge on one side where the top of the bowl curved upward. There were rough spots all around the bowl and the finish was unsanded. The wood is not briar and seems more like the maple or hickory bowls that come from Missouri Meerschaum. The inside of the bowl has a slight uneven carbon build up in the top of the bowl and dried and hardened pieces of dottle stuck to the sides in the bottom half of the bowl. The reservoir in the base also had a buildup of tars and shreds of tobacco stuck to the base. The first photo below was taken the day I found the pipe. Photos two through five show the bowl when I began working on it at my work table.
IMG_0490

IMG_2195

IMG_2196

IMG_2197

IMG_2198

I unscrewed the bowl from the base and set it aside while I worked on the base to begin with. I cleaned out the stained reservoir with cotton swabs dipped in Everclear and used bristle and fluffy pipe cleaners on the inside of the stem and the shank. The dried tobacco shreds were stuck to the base so it took some scrubbing to remove the dried materials. The next three photos give an idea of the state of the reservoir and the slight tooth chatter on the stem. The fourth photo shows the cleaned but stained base of nylon.

IMG_2199

IMG_2200

IMG_2201

IMG_2204

Once the base was clean and the tars and buildup removed I worked on the finish of the bowl. I sanded it with 220 grit sandpaper to remove the marks from the lathe and the rough spots. I wanted to remove as much of the marking on the bowl as possible without changing the shape. As I sanded it I was impressed by the grain on the particular piece. I sanded the stem at the same time with the 220 grit sandpaper to remove the tooth chatter. Interestingly the nylon stem sanded out greyish white. The sanding dust was light grey in colour.
IMG_2202

IMG_2203

IMG_2205

IMG_2206

The next step in the sanding process was to use a medium grit sanding sponge and also with a fine grit sanding block to remove the marks and scratches left behind by the 220 grit sandpaper on both the bowl and the stem. I followed that by wet sanding the bowl and the stem with 1500, 1800 and 2400 grit micromesh sanding pads.
IMG_2207

IMG_2208

IMG_2209

I then dry sanded with the remaining grits of micromesh sanding pads from 3200-12,000 grit. I used the micromesh pads on both the bowl and the stem. I did not include pictures of all of the sanding process but chose the one below as representative.
IMG_2211

When I had finished sanding the stem and the bowl I buffed them lightly with White Diamond and then gave both a coat of carnauba wax. I chose for this bowl to not stain it but leave it natural as I like the look of the grain in the wood. The photos below show the finished pipe. Any ideas on what the wood might be?
IMG_2213

IMG_2214

IMG_2215

IMG_2216

Medico Ventilator — Unventilated (Thanks Ed for the idea)


When I read this post by Ed James (Ozark southpaw) on Pipe Smoker Unlimited. This is the link to his post: http://pipesmokerunlimited.com/showthread.php?3186-Medico-Ventilator-unventilated I thought I would love to try that as well. Here is Ed’s first post in that thread that got me started thinking about the project. Ed also is a refurbisher of long standing and does excellent work. Here is his website: http://www.ozarksouthpawpipes.com/index.html

On PSU Ed wrote; “I’ve had a few of these and they smoke fine, although sometimes it was hard to get the filter seated so the pipe will draw as it should. If you’re not familiar with the Ventilators, they cannot be smoked without a filter. I smoke mostly filtered pipes, but thought I would see if I could make a Ventilator filterless. Accomplished it by turning a piece of briar the length of the shank and epoxying it in place. For the stem I used a vulcanite blank after replacing the tenon with delrin and adding a ring of tortoise shell acrylic. On my third bowl in it and it is smoking fine.”

Here is the pipe – pictured below. It is a nice looking sandblast that Ed “unventilated”.
Un-Ventilated Ventilator 2013-08-27 001 (1280x960)

Un-Ventilated Ventilator 2013-08-27 003 (1280x712)

Un-Ventilated Ventilator 2013-08-27 005 (1280x1013)

So today was the day that I got to finally work on “unventilating” one of my own. Mark Domingues (dogtalker) recently sent me a few old bowls and pipe parts that needed some work. In that package was a Medico Ventilator. It was not as nice as the one Ed worked on, pictured above, but it was a Ventilator sans stem nonetheless and it was the opportunity I was looking for to try my hand at unventilating the Ventilator. This bowl was absolutely clean. I don’t think that it had been smoked other than maybe the first light or so. The bottom 2/3s of the bowl was still virgin briar. The bowl had the typical Medico lacquer coat and there were carved leaves all around the outside of the bowl. I decided to leave the finish alone and rework it as it stood. One day I may remove the finish but for now it will remain as it is.
IMG_2148

I have kept a few unredeemable bowls around in my box of stuff and they came in handy this time. I took two different bowls out of the box and used a hack saw to cut off the shank as close as I could to the back side of the bowl. My plan was to follow Ed’s instructions noted above about turning a piece of briar to fit inside the Ventilator tube. I do not have a lathe so I decided to repurpose some briar shanks to do the same job.
IMG_2151

IMG_2152

IMG_2153

IMG_2154

After cutting them off the bowl they were ready for me to begin shaping them. I used a Dremel and sanding drum to take the diameter of the cut off shanks down to the diameter of the tube on the Medico. The next seven photos show the process of removing the excess briar. I used two different pieces of slightly different lengths that could be used depending on the stem I chose to use. The one pictured in the first seven photos below was about ½ inch shorter than the length of the tube. I thought about using a plug in the bottom of the tube but later decided to use the longer of the two briar tubes.
IMG_2155

IMG_2156

IMG_2157

IMG_2174

IMG_2171

IMG_2172

IMG_2173

I used both the Dremel and 220 grit sandpaper to shape the briar tube to fit in the Ventilator. The first one was just briar. The second one was off of a screw mount shank. I decided to leave the aluminum in the shank and use that to but up against the aluminum seat in the Ventilator tube.
IMG_2158

IMG_2159

IMG_2160

I sanded both tubes so that I could try both and see which one I wanted to use. I chose the long of the two with the aluminum base. I inserted it in the shank of the Ventilator with the aluminum end in first. I pressed it into place in the tube. It is a pressure fit so I did not need to glue it to fasten it in place. I chose not to use epoxy or glue to hold it in place and opted instead for a tight fit. Once in place it was slightly longer than the tube. The aluminum was tight against the interior and could go no further. I used the Dremel with the sanding drum on it to remove the excess briar. Once was flush against the aluminum it was time to fit a new stem to the shank.
IMG_2161

IMG_2162

I had several saddle stems in my can of stems that would work on the new shank insert. I turned the tenon down with a PIMO tenon turner until it was close to the right size and then finished with sandpaper and files. I used a file to shape the seat in the insert so that the stem would sit well against the tube. The next three photos show the newly seated stem in place.
IMG_2164

IMG_2165

IMG_2168

I took the photo below to show the fit of the briar tube in the aluminum shank. There was a small divot out of the edge that is visible at about the ten o’clock position on the shank. This would be smoothed out as I beveled the inner edge of the shank inward.
IMG_2169

I beveled the shank inward with small round needle files to give the stem a proper seat in the shank. I used some cherry aniline stain to stain the briar shank inset in the fins on the aluminum. I applied the stain with a cotton swab and wiped it off. I sanded the aluminum with micromesh sanding pads. I used the 1500 and 1800 grit to polish the aluminum and remove the scratches that were present on the shank.
IMG_2170

I sanded the stem with a Dremel and sanding drum and then with 220 grit sandpaper to bring the diameter down to match the shank. I continued to sand until the scratches were minimized. Then I progressed to sanding with the micromesh sanding pads. I wet sanded with 1500 and 1800 grit and then dry sanded with the remaining grits of pads from 2400-12,000 grit. I decided to fit an acrylic ring on the stem with a slight ridge to match the slight ridge at the junction of the aluminum and the briar near the bowl. I liked the look of the black blue ring so I epoxied it in place. It began as a square piece of acrylic that had been a spacer on another stem. I shaped it with a Dremel to build a slight ridge that would parallel the one on the front of the aluminum shank.
IMG_2177

IMG_2178

IMG_2179

IMG_2180

IMG_2183

IMG_2184

IMG_2185

With the spacer glued in place the new look of the stem was more complete to my eye. The stem still needed a lot of sanding and shaping. I used the 1500 and 1800 grit micromesh sanding pads once again to sand the newly added ring and the stem. I worked through 2400 and 3200 grit sanding pads to give yet more polish to the stem. I wet sanded right through 3200 grit this time, something I rarely do to polish the ring and the stem. I continued to dry sand the stem to a shine with the remaining grits of micromesh sanding pads (3600-12,000).
IMG_2186

IMG_2187

Once the sanding was finished I buffed the stem with White Diamond on the buffing wheel and then gave the pipe and stem several coats of carnauba wax and buffed with a clean flannel buff to give it a shine. The finished pipe is pictured below. It is now a working pipe – an “unventilated” Ventilator. Thanks Ed, for the great idea on doing this Ed. It was fun to figure out how to make it work. Your “groundbreaking” made it much easier however!! Again I say thank you.
IMG_2188

IMG_2189

IMG_2190

IMG_2191

Reworking an Old Pal Pencil Shank Pot


I just finished cleaning up another of the old pipes I found on my trip. It is a petite pot shaped pipe with a pencil shank. The overall length is barely over 5 inches and the weight is negligible. It is stamped on the left side of the shank in arc – Old Pal, over an Eagle with spread wings and then underneath Made in France.
oldpal2b
On the right side of the shank it is stamped 5 which I assume is the shape number. The stem is also stamped with the words OLD PAL on the left side of the saddle portion. On this particular pipe it is faint. In checking on the background information on “Who Made That Pipe” I found that it had two French makers for Old Pal listed. The first of those is Marechal Ruchon and Cie. (Incidentally it is the company that owned the GBD brand). The second maker listed is Rubinovich & Haskell Ltd. The bird emblem is probably the key, but I can find no reference to it. My own thinking is that the brand was made by Marechal Ruchon & Cie. I was able to dig up this brief summary of the MR&C brand. Ganeval, Bondier and Donninger began making pipes in 1850 and rapidly gained prominence in briar pipe making. Of the three, Bondier survived the others by 30 years, but new partners took their places. The name of the company changed to Bondier Ulrich & Cie, then Bine Marechal & Cie and finally to A Marechal, Ruchon & Cie. August Marechal and Ferdinand Ruchon saw the firm into the 20th century, their names being used for the company for well over 50 years.

Prior to 1899, Marechal, Ruchon & Co. became A. Oppenhiemer’s sole agent for cigarette papers but still remained in the pipe making business. Then in 1902, Marechal, Ruchon & Co.. owners of GBD and referred to as French pipe makers, merged with A. Oppenhiemer. In the 1915 London Directory of briar pipe makers one will find: “”Marechal, Ruchon & Co. – 38 Finsbury Sq. E.C.; London works, 15 & 16 Featherstone St. E.C. and Oppenhiemer, A. & Co. – 38 Finsbury Sq. E.C. listed separately.

With that background information I worked on this old pipe to clean it up and restore it. When I picked it up the bowl was badly caked and packed full. The rim was dirty and tarred with what appeared to be a fill on the top of the rim right side. The entire right side of the pipe was full of fills of various sizes and shaped. There was one fill on the left side as well. The grain on the bowl was mixed and the finish was pretty beat up. The fills were shrunken and they left small pits in the surface of the pipe. The stem was oxidized and had tooth chatter on both sides near the button. The shank and airway were dirty and tarry. When the stem was removed there was an interesting flared tube that extended into the shank from the end of the tenon. The end looked like the bell of a horn. This was badly tarred and the inside of the tube was packed with debris.
IMG_2048

IMG_2049

IMG_2051

IMG_2052

I separated the stem and the bowl. The bowl was reamed with a PipNet pipe reamer back to a thin cake. Then I dropped the bowl in an alcohol bath to soak away the grime and to soften the fills. I drop the stem in an Oxyclean bath to raise the oxidation and soften it. I scrubbed both while in their respective baths to loosen the grime and buildup on the surfaces. I removed the bowl from the alcohol bath after two hours of soaking. I cleaned out the inside of the shank and the bowl as well as the inside of the stem. The trumpet like tube came out of the tenon and I cleaned it inside and out and reset it in the tenon. It is an interesting contraption as it is flared and the flared end rests against the end of the mortise directing the smoke directly into the mouthpiece. I have not seen that design before (see the photo below after the stem cleanup paragraph).
IMG_2067

IMG_2053

IMG_2066

IMG_2068

IMG_2071

I used a dental pick to dig out the fills that had softened in the bowl. My objective was to remove them altogether and replace them with a briar dust and superglue fill that turns black and gives a different look than the red putty fills.
IMG_2079

After removing the fills I wiped down the bowl with acetone on a cotton pad to remove the finish from the bowl and to remove extraneous dust from the holes where the fills used to be. I repeated this process until the bowl was clean. Once finished I used a drop of superglue in each pit and then pressed briar dust into the holes using a dental pick. I repeated the process until the fills were repaired. I then sanded the bowl to remove the excess briar and superglue fill material with 220 grit sandpaper, medium grit sanding sponges and a fine grit sanding block.
IMG_2081

IMG_2082

IMG_2089

IMG_2090

IMG_2091

IMG_2092

IMG_2093

The black marks on the right side of the bowl highlight the fills in the bowl. I have often used a permanent black marker to blend in the fills to the grain. I decided to try that with this pipe as well.
IMG_2094

IMG_2095

I gave the bowl several coats of dark brown aniline stain mixed 1:1 with alcohol. I applied the stain, flamed the bowl, reapplied and reflamed until the colour was even over the entire surface. I then took it to the buffer and buffed the bowl with red Tripoli and White Diamond to polish the stain. I also wanted to see how well the fill material was working. I have found that as it dries it can still shrink.
IMG_2098

IMG_2099

IMG_2100

IMG_2101

I brought it back to the work table and gave it a coat of linseed oil.
IMG_2102

IMG_2103

IMG_2104

The fills had shrunk and left divots in several spots so I reapplied the superglue and briar dust (less this time around). I sanded the bowl with a sanding sponge and a fine grit sanding block to smooth out the surface. I reapplied the stain and the linseed oil and then buffed the bowl.
IMG_2105

IMG_2110

IMG_2109

IMG_2108

IMG_2107

IMG_2106

I took the stem out of the bath and wiped it down. The majority of the oxidation wiped off with a damp cloth and then I polished it with Meguiar’s Scratch X2.0 and wiped it off the stem. I wiped the stem down with a polishing cloth and buffed it with White Diamond.
IMG_2080

IMG_2111

I applied a coat of Obsidian Oil and when dry rubbed it off. I reinserted the stem and buffed the stem with multiple coats of carnauba wax. I took the pipe to the buffer and buffed the entirety with carnauba wax and a soft flannel buff to a shine. The following pictures show the finished pipe.
IMG_2112

In the bright flash of the camera the fills on the right side of the bowl appear to stand out more than they do in the natural light. They tend to look dark spots in the birdseye of the grain. They do not stick out as badly as they appear in the photo below.
IMG_2113

IMG_2115

IMG_2114

The final picture I have included is one of the Old Pal pipe with a package of Old Pal Pipe Cleaners that I picked up at an antique shop in Edmonton. The two form a nice complement to one another.
IMG_2117

Cleaning a Bristol Mat Geante – by AJ Verstraten (AKA Bananabox-Ninja)


This post has been written by a Dutch reader of the blog, AJ Verstraten who contacted me a few weeks ago. Several emails later and we had exchanged a lot of ideas and tips. I thought it would be of interest for others here to read about AJ’s ultrasonic cleaner addition to the process. It was one I had not heard of before so I asked him to write up a piece on it with pictures of a pipe that he put through his process. AJ was graciously willing to write it up and submit it for posting here. Thanks AJ for your willingness to do this. It is great to hear from others about the methods they are using and how they work. The photos are well done and the words well written. Without further ado here is AJ’s article.

Greetings, my name is AJ and I hail from the Dutch city of Dordrecht. I go by the internet name of ‘Bananabox-Ninja’ and I am more easily found under that name then under AJ.

A few weeks ago I broke my knee in a motorcycle accident and it was put in a plaster cast with the instruction to let it rest and heal up. In this time I stumbled upon Steve’s website through ‘Het Pijprokersforum’ a forum of Dutch and Belgium pipe smokers.

As I like to refurbish pipes myself and I had time to kill I went through his whole website and learned many, many new things. In the weeks that followed I tried to get a hold of the things Steve used and tried them myself, like the black superglue and the grinding pads for example. Blown away by how well some things worked out I sent an email thanking Steve for all the tips and asking if he had ever used an ultrasonic cleaner. He replied that he had not but that he was interested to know in the workings and would I like to write about it?

So this weekend I cleaned a pipe from my ‘project-box’ and snapped pictures from beginning to end including the ultrasonic cleaning method I currently use. (The numerical key below the photo identifies the tools in the photo.)

These are the tools I tend to use in the cleaning/refurbishing of a pipe, currently I have some tools on order and they have not come in yet.
001 Tools LR

1 – Polishing wheels and waxes
2 – Sanding paper (600 & 1000), sanding pads (1500 to 12000) and modeling files.
3 – Ultrasonic cleaner
4 – Old socks (but clean)
5 – Vaseline and 96% alcohol
6 – Hard and soft bristled pipe cleaners
7 – Q-tips (cotton swabs)
8 – Pliers
9 – Assortment of drills
10 – Senior pipe reamer
11 – Games Workshop paint
12 – Electric motor (0-2000 RPM) with grinding wheel (1500)
13 – Toothpicks

The pipe I chose to work on and record is a nice straight, big chambered Bristol Mat Geante, I presume the Geante is for its size as the chamber is rather big or as we say in Dutch a ‘Speciekuip’ (mortar trough). As far as I can tell Bristol a B-brand from France but I am unable to pinpoint exactly. I personally like the bird’s-eyes all over the left and right side of the bowl.
002 The Pipe LR

As you can see the stem has oxidation all over and the bowl itself is rather dull. Not visible on this photo are the 2 bite marks on the stem.

First I cleaned the pipe on the inside with alcohol and pipe cleaners until they came out almost white. If there is a thick layer of tar in the air canal I use the drills to scrape the inside out lightly using drills of various diameters. Tar will give way far more easily than the ebonite or acrylic it is in.

In this case it was not needed as the pipe’s previous owner was very tidy or had not smoked it much.

Then with just water and the grinding wheel I removed the heavy oxidation from the stem, careful not to create a round shoulder or to grind off too much for it to create a ridge.

003 Set up LR

004 Half way LR

005 Full LR

Using the sanding paper wrapped around a file I removed the hard to reach oxidation on the mouth bit.
006 Filing and sanding LR

007 Sanding wrap LR

008 Sanding result LR

And afterwards to fill the bite marks using the superglue, q-tips and toothpick.
009 Superglue LR

010 Filled SG LR

011 Sanded SG LR

Now the stem was ready for the ultrasonic bath. This is a new method I have only recently started using and so far I am positive on the results. Using a mixture of 50-50 water and alcohol with a teaspoon of disinfection agent, place the stem in the liquid and let the bath go at it for 8 minutes.

This bath can also heat up to 40 degrees but seeing as ebonite tends to bend back to it’s original shape if heated too much I leave that feature off.

You’ll notice in the last picture that the stem looks almost the same as it went in, however when you pull a pipe cleaner through it, there will be some mild discoloration coming out of the stem.

This method of cleaning is a good way to get the last remaining specks of dirt out of those hard to reach places, I myself was skeptical at first but I was swayed when I pulled the pipe cleaner through it after the bath I found that it did do its job.

It does not however remove oxidation completely, I tried with an unprepared stem and it came out browner than going in.

So as an extra step I find it a great addition to my cleaning process.
012 Sonic cleaning fluids LR

013 Turn on LR

014 Waiting LR

015 Sonic done LR

In the mean time I cleaned some of the soot from the top of the bowl with some spit and the old sock. Especially the part of the sock that fits over your ankle is rather coarse and excellent for this process. The chamber had a nice smooth coal layer in it so I left it in there.

After the bath I gave the inside of the stem few more scrubs with the pipe cleaner and the outside another run with the grinding wheel.

Then I started polishing with the wheels and the waxes.
016 Polishing LR

First a pre-polish with brown, followed by white, a coat of carnauba wax and a final buff.

The end result as you can see below:
017 Pipe done LR

Refurbed Birkdale Canadian – Made in London England Shape # 296


On my trip in Northern Alberta, Canada I picked up this older Canadian with a sandblast finish. The blast is not deep and craggy but is fine nonetheless. It is stamped on the smooth bottom of the shank Birkdale in script over SUPERB. Next to that it is stamped Made in London over England and then a shape number – 296. I have not heard of the Birkdale brand so I Googled it on the net to see what I could find out about it. There was not much there in terms of solid information. There were numerous posts on various forums requesting information. The information on the brand showed some confusion. From Pipedia Birkdale is a brand of the German pipe company named Wolsdorff. In turn Pipephil pegs Wolsdorff as a chain of tobacconists that had their pipes made by different German companies like Design Berlin and Oldenkott. However, the one I found has the made in London England stamping that removes the German connection. Something about the shape and shape number made me do a search in the Comoy’s shape and number charts available online. I found that the 296 shape for Comoy’s is an oval shanked Canadian, exactly like this one. Thus it appears that the pipe was made by Comoy’s. I am wondering if the Birkdale (which is a region in England) is not one of a line of English regionally named pipes made by Comoy’s. Does anyone have any information on this possibility?

As for the pipe’s condition – the finish was dirty and somewhat worn. The rim was worn and showed some wear on the inner edge. It was partially beveled inward. The cake was broken and thin on the inside of the bowl. The stain was worn and spotty on the shank near the stem. The stem itself was oxidized and had tooth chatter on the top and underside near the button. The insert logo was missing. From what I can find online the insert design was in the air. The hole was round and like the space for a dot. I suppose it may have had the Comoy’s C with the circle at one time but I am not sure. The tenon on the pipe was an older step down version like the Comoy’s. The pipe was worn and dirty but very salvageable. The three photos below show the state of the pipe when I brought it to the work table.
IMG_1866

IMG_1867

IMG_1868

I decided to make an off white insert for the hole in the stem (the hole did not go into the airway). To make the replacement I have a knitting needle that I use for replacement dots. I used a Dremel to turn the end of the needle down to the size of the hole in the stem. The next six photos show the process of shaping the new dot for the stem. The first four photos show the shaping of the dot stock. The last two photos show the inserted dot.
IMG_1972

IMG_1973

IMG_1974

IMG_1975

Once the newly turned end fit into the hole in the side of the stem I cut it off with a pair of needle nosed pliers and began the finishing work on the dot. I glued it in place in the hole with superglue and when it was set sanded it down with a Dremel. When the surface of the dot matched the surface of the stem I sanded it with 220 grit sandpaper until it was smooth. The remainder of the finishing on the dot would be done when I cleaned up the oxidation on the stem.

IMG_1976

IMG_1977

I reamed the pipe with a PipNet reamer to clean out the bowl and remove the broken cake. I scrubbed the exterior of the bowl and shank with a soft bristle tooth brush and undiluted Murphy’s Oil Soap. I scrubbed it until all the crevices were clean and then rinsed it under warm tap water being careful to not get water in the bowl or shank. I patted the surface dry. The first two photos below show the scrubbing process. The third, fourth and fifth photos show the bowl after being dried off. The surface is clean and ready to work with.
IMG_1979

IMG_1980

IMG_1981

IMG_1982

IMG_1983

I cleaned out the internals of the stem and shank with pipe cleaners and Everclear as well as cleaning out the mortise area with cotton swabs. Interestingly the inside of the shank not only had minimal tars but also there was some of the red undercoat stain in the shank. I was able to remove all of the stain and the tars.
IMG_1984

I restained the pipe with a dark brown aniline stain, flamed it and restained and flamed it again until the spots without stain on the edge of the rim and near the stem were well covered. I mixed the stain one part stain to one part alcohol as I wanted it to cover the briar but allow the undercoat of the red to come through once it was buffed and waxed.
IMG_1985

IMG_1986

I used 1500 and 1800 grit micromesh sanding pads and wet sanded the stem to remove the surface oxidation. I also “painted” the stem with a Bic lighter to burn off the oxidation. The picture I took of this failed to come out so I do not have photos of this step. I then dry sanded the stem with the remaining grits of micromesh from 2400-12,000 grit.
IMG_1988

IMG_1989

IMG_1990

I gave the stem a coat of Obsidian Oil and rubbed it into the vulcanite. Once it was dry I hand buffed the stem and then gave it a coating of carnauba wax by hand using some Paragon wax. I reinserted the stem in the pipe and then took it to the buffer. I buffed it with White Diamond and then gave the bowl and stem a light buff with carnauba wax. I repeated the waxing until the pipe was well covered. I gave it a final buff with a soft flannel buff. The photos below show the finished pipe. The topcoat of brown stain lets the red undercoat show through and adds dimension to the finished look of the pipe.
IMG_1991

IMG_1992

IMG_1993

IMG_1994

Parker Super Briar Bark Cherrywood Restored


Blog by Steve Laug

The first of the latest lot I picked up on my trip to Northern Alberta was brought to the work bench this afternoon. I decided to work on little Parker Super Briar Bark Cherrywood. It is stamped on the underside of the shank Parker over Super in a diamond over Briar Bark. Next to that is Made in London England with both a size number – 4 – and a shape number – 283.
IMG_1862

The bowl had a lot of cake build up in the bowl and had some nicks in the briar around the outer edge of the rim. The finish was dirty with grime in the deep crevices of the sandblast on the outside of the bowl and a buildup of tars on the top of the rim. The stem was oxidized and had some tooth damage on both the top and bottom sides near the button. The Parker logo “P” in a diamond was partly visible on top of the stem. It was merely a painted on logo and not stamped in the vulcanite so it would be hard to clean and leave in place.
IMG_1863

IMG_1864

IMG_1865

I reamed the bowl with a PipNet pipe reamer – a T handle and different cutting heads. The smallest diameter cutting head trimmed back the cake to a thin coat. I dumped the carbon buildup in the rubbish and then cleaned out the bowl with a cotton swab dipped in Everclear to remove any leftover loose carbon.
IMG_1946

IMG_1947

I removed the stem and found that the pipe had an inner tube like the Dunhill Inner Tube that was used as a method of keeping the shank clean from tar buildup.
IMG_1948

I scrubbed the surface of the bowl and shank with a soft bristle tooth brush and undiluted Murphy’s Oil Soap. I scrubbed it until the soap was dirty and then rinsed it off under warm running water and patted it dry. I kept the water out of the bowl and the shank as I did not want those areas wet.
IMG_1949

I cleaned out the shank and the bowl with pipe cleaners and cotton swabs and pipe cleaners dipped in Everclear. Once the inside was clean I worked on the oxidized stem. I sanded it with 220 grit sandpaper to break up the calcium buildup around the button area and to also minimize the tooth marks on the top and the bottom side of the stem. After the initial sanding I scrubbed the surface of the stem with Meguiar’s Scratch X2.0 to remove the surface oxidation and to soften the oxidation deep in the stem.
IMG_1950

IMG_1951

I scrubbed the inside of the stem with pipe cleaners and Everclear and used 0000 steel wool on the aluminum inner tube. I sanded the stem with micromesh sanding pads from 1500-12,000 grit. I wet sanded with the 1500 and the 1800 grit and afterward applied some white out to the area of the logo. I decided to try and build it up a bit. The logo appeared to be stamped in the stem but as I looked at it I could see that it was a painted on logo. In the polishing of the stem I sacrificed the logo. I dry sanded with the remaining grits of micromesh from 2400-12,000.
IMG_1952

IMG_1953

IMG_1954

IMG_1956

IMG_1957

IMG_1959

IMG_1960

When the sanding was completed I gave the stem a rub down with Obsidian Oil and let it soak into the vulcanite. I buffed it with a soft cloth and gave the stem a coating of carnauba wax by hand. I restained the bowl with a dark brown stain that had been diluted with one part alcohol to one part stain. I wanted to cover some of the nicks in the outer rim and some of the light spots on the shank that showed wear and tear. I applied it with a cotton swab and then flamed it with a lighter. I reapplied the stain and reflamed it until I had the colour match I was looking for.
IMG_1961

IMG_1962

IMG_1963

IMG_1964

I reinserted the stem and gave the bowl and the stem a coat of Halcyon II wax and hand buffed it with a soft cotton cloth and a shoe brush.
IMG_1965

IMG_1966

IMG_1967

To finish the pipe I buffed the stem with White Diamond and lightly buffed the bowl with the same. After the buffing I gave it a light coat of carnauba wax and buffed it with a clean flannel buff. The finished pipe is pictured below and awaits its inaugural smoke.
IMG_1968

IMG_1969

IMG_1970

IMG_1971

A Unique Vertical Oval Shank Meerschaum Reborn


I saw this old Meerschaum pipe bowl on Ebay and decided to put a low bid on it. I was not surprised to have won it and paid for it quickly. The seller packed it very well and shipped it off to Vancouver, Canada. Below are the Ebay photos that caught my attention. I think the thing that intrigued me the most was the vertical oval shank on the pipe. To restem that pipe would be a great challenge – find a stem large enough to work with and shape it until it fit. I thought I had just the stem in my box – a gift from a friend on Pipesmokers Unleashed Forum, Robert.

From the photos it looked to be in rough shape. The pipe case said it was a WDC but I have no way of knowing if that is true. The gold filigree on the band looks like the old WDC pipes of the late 1890s but I am still uncertain as to the maker. It was in rough shape as can be seen from the photos. There were many scratches and gouges around the outside of the bowl. The shank had marks on the top that looked like someone had taken a file to it. The rim was probably the worst. With the rough edges on the back right side of the bowl the rim/top appeared to be angled to the right side and worn down. The tar build up was heavy in the bowl and on the rim. The tenon was broken off in the shank. It appeared to be an old bone tenon and a bone insert in the mortise that was threaded to take the screw in tenon. I am assuming the pipe probably had an amber stem in its first appearance in the shop but that was long since broken and lost. The WDC case was also very rough – the edges were worn away, the wood broken and a hinge dangling unused. The inside was badly stained.

meer1

meer3

meer4

meer5

Yesterday afternoon I came home from work early and found a package awaiting me – I knew that the meer had arrived. I had to laugh when I cut open the box – it had a previous label a Funeral Home in Ohio. I don’t know if that was a commentary on the pipe bowl that resided inside the box or if a funny coincidence. I cut the tape and opened the box. The pipe inside was both in worse shape than I had imagined from the seller’s excellent pictures and in better shape. The meer under the band was cracked as can be seen in the photo above and that was as it was when it arrived. The scratches in the surface of the bowl were not as deep as they appeared in the photos and the pipe when place on the rim on a flat board was actually not slanted to the right – the damage to the outer edges of the right back side made it appear worse than it actually was in reality. The next photos show the pipe on the work table just out of the box.

IMG_1799

IMG_1800

IMG_1801

IMG_1802

IMG_1803

After examining it carefully with my lens and a dental pick I decided to begin the clean up by trying to remove the tenon. I used the screw that I generally use to remove a tenon to no avail. The threads in the mortise were locked tight around the tenon. I picked at it with the dental pick and was unable to remove it that way either. I decided to drill out the old tenon. So I set up a cordless drill with a drill bit slightly larger than the airway in the broken tenon. I slowly drilled the airway with the bit and exchanged it for increasingly larger bits until I had the airway cleared of the debris. I then used a ¼ inch bit to open the mortise and clear out the remaining debris of the mortise and tenon. The second photo below shows the mortise after I opened it up. I used a dental pick to clean out the remaining pieces and hand turned the quarter-inch drill bit into the mortise to smooth out the walls of the airway and open it to receive a new tenon.

IMG_1804

IMG_1806

I took the pipe bowl back to the work table and set up a coarse sanding block on my worktable to top the bowl of the meer. I have used this block in the past with good success on the softer meerschaum material. I placed the bowl, rim down on the surface of the block and sanded it in a clockwise direction (no reason for that other than I am right-handed). I sanded it, checking often to see how the rim was cleaning up until the surface was clear and the top of the bowl once again level. Surprisingly I did not have to remove too much material from the rim to clean up the surface.

IMG_1805

IMG_1808

IMG_1809

IMG_1810

When I had finished the sanding, I used micromesh sanding pads to sand the top smooth once again and remove the scratches from the coarse sanding block. The micromesh sanding pads from 1500 – 12,000 grit bring a shine back to the surface of the meer and prepare it for rewaxing once the pipe is finished.

IMG_1811

At this point in the process I decided to see if I could fit a new stem on the pipe. The diameter of the oval shank was quite large and would require a large diameter round stem. To make it an oval stem would require that much of the existing vulcanite of the stem would have to be removed in the shaping process. I had an old Brebbia stem that a friend on Pipe Smoker Unleashed Forum sent me for an old Peterson that I was restemming. The tenon was too small for the Pete but too large for the old meer. I used a Dremel with a sanding drum to remove the excess material from the tenon until the fit was very close. The remainder of the fitting was done with a wood rasp and sandpaper. Once the tenon was finished I pushed the stem into the old meer to check on the fit of the tenon in the newly opened mortise. As can be seen in the photo below, the fit was perfect. You can also see from that photo how much work would need to be done to fit the stem to match the shank of the pipe.

IMG_1812

The stem had deep bite marks on the top and the bottom near the button. They did not break the surface of the vulcanite. I decided to heat the surface of the stem with a heat gun and try to lift the dents from both sides as much as possible. I also wanted to straighten the stem significantly to give a better profile to the pipe. The heat gun worked to achieve both aims. The tooth marks lifted quite a bit and would have to be filled with black superglue to finish the work and the bend straightened to the angle I wanted for the new stem.

IMG_1813

I sanded the initial excess vulcanite off the diameter of the shank with the sanding drum on the Dremel. Once I had removed a large portion I took it back to the work table and used a rasp to continue to shape and reduce the stem to the right proportions. The next series of eight photos shows the effectiveness of the rasp in shaping the stem. (In the midst of the shaping my daughters brought down a bowl of popcorn for a snack while I worked – that appears in several of the photos.)

IMG_1814

IMG_1815

IMG_1816

IMG_1817

IMG_1818

IMG_1819

IMG_1820

IMG_1821

I removed the stem from the shank and cleaned up the tooth dents so that I could fill them with black superglue. The glue takes quite a bit of time to cure so I waited until I was finished for the evening and then filled the dents and set the stem aside to cure over night.

IMG_1822

IMG_1823

This morning I sanded the stem with 220 grit sandpaper and also sanded the superglue patch on the underside of the stem. The next four photos show the stem as it begins to take shape and the repaired spot on the underside of the stem. The oval is coming along nicely but there was still a lot of excess material that still needed to be removed.

IMG_1824

IMG_1825

IMG_1826

IMG_1827

I continued to sand the stem to further tune the shape of the oval to match the shank. I used 220 grit sandpaper to remove the excess and shape the stem. I worked on the superglue patch on the underside of the stem with the 220 grit sandpaper as well. In the next series of three photos you can see the shape I am aiming for with this stem. You can also see the size of the patch on the stem. The patch is still larger than the marks it covers so more sanding will need to be done on it to blend it into the vulcanite.

IMG_1828

IMG_1829

IMG_1830

I cleaned up the bite marks on the top of the stem and applied the black superglue patch to that surface as well. I set it aside while I worked on the bowl. I wiped the bowl down with Murphy’s Oil Soap on a cotton pad to clean off the grime on the surface while leaving as much of the old patina as possible. The first photo below shows the superglue patch. I applied it and used a dental pick to push it around the surface and also build up a few tooth marks on the edge of the button. The second photo below shows the patch after it had dried and I had sanded the patch with 220 grit sandpaper.

IMG_1831

IMG_1833

While working on the stem I decided to open the button to make it simpler to insert a pipe cleaner. I used needle files to make the slot larger. The second photo shows the opened slot in the button. I sanded the inside of the slot with a folded piece of sandpaper to smooth the surface and polish the slot.

IMG_1834

IMG_1835

I took the pipe back to the Dremel and sanding drum to remove more of the excess vulcanite. I had the basic shape in hand and just wanted to get it closer to the size of the shank before doing the finish sanding. I brought it back to the work table and sanded with 220 grit sandpaper until the fit was right. The next four photos show the progress in the fitting of the stem.

IMG_1837

IMG_1838

IMG_1839

IMG_1840

I sanded the stem with a medium grit sponge backed sanding pad. It helped to remove the scratches left behind by the 200 grit sandpaper. Then I sanded the stem with micromesh sanding pads from 1500-12,000 grit to polish and shine the vulcanite and the patched areas. The white Lucite band that was a part of the stem began to take on a shine as well in the process. The next nine photos capture what took about an hour to achieve in the sanding process. I wet sanded with the 1500, 1800 and 2400 grit sanding pads and dry sanded with the remaining grits of micromesh.

IMG_1841

IMG_1842

IMG_1844

IMG_1845

IMG_1846

IMG_1847

IMG_1848

IMG_1849

IMG_1850

I buffed the stem with White Diamond and a blue plastic polishing compound to bring out the final shine on the stem. I hand waxed the meerschaum with beeswax and hand buffed it with a shoe brush. The next four photos show the finished pipe with the new stem. I like the marks and scratches in the meer as they seem to speak of the long journey the pipe took to get to me. The white Lucite band on the stem fits nicely in my thinking against the gold of the filigree band. The slight bend it the stem works nicely for me. From the last two photos you can see the oval shape of the stem now that it is completed. It has come a long way from the round stem I received as a gift from Ron.

IMG_1851

IMG_1852

IMG_1853

IMG_1854

A Schulte deLuxe Reborn – by Joey Bruce


Blog by Joey Bruce

Joey has been a reader of the blog for a while now. Then about a month ago now I received and email from him with some questions on an old pipe he had picked up. It turned out to be a WDC bulldog that was in rough shape. We exchanged a few emails and over the course of reworking that old-timer I could see that Joey was hooked on this hobby! I invited him to do a write-up on some of his work and post it here for others to be encouraged and challenged. Last evening he sent me this article on an old Schulte deLuxe that through his efforts had been reborn. What follows is his article and photos. Thank you Joey for taking the time to write this up and send a copy to me. It is great to have you posting on the blog as a writer. Enjoy his work readers.

Hello all. Just dipping my toes into the pipe refurbishing world. I’ve been reading the posts here obsessively for a while now and couldn’t resist trying it for myself. I’ve always loved restoring things whether it’s, old bikes, cars or motorcycles. All the way to obscure things like pens and sewing machines. So it was a natural move into this. Hopefully I won’t bore you. At the very least you’ll be able to see the difference between and amateur like me and the real deal like Steve and Greg.

I recently bought a few estate pipes off eBay. Most were in such great shape they didn’t need anything more than a spit shine. A few I used as practice. Trying out different techniques I’ve read here and see what I like the best. This weekend I went to a flea market and grabbed a bunch of old cheapos that were laying in a box for a few bucks. Figured I’d get more practice and this time actually take pictures.

Schulte1

Schulte3

I grabbed the Schulte deLuxe first as that one seemed like it would be the easiest. First I soaked the stem in an Oxy Clean and water solution (no real ratio. Just about half a tbs to 3/4 water. But really just guessed) to bring out the oxidation. Then I wet sanded it with 1500 grit sandpaper (all I had. Would have been easier to work my way up to that but I just went with what was here) until all the oxidation was removed. After a little elbow grease I took it over to the polishing wheel (Ryobi bench grinder with two 6″ polishing wheels) and hit it up with some red rouge. Working it back and forth until it had a nice smooth shine. Then moved to the other wheel with Eastwood Supply’s version of White Diamond. Working it with a much gentler touch. Wiped off the residue and voila. Better than new.

Schulte2

Schulte4

Schulte5

I moved onto the bowl. This time I decided to try wet sanding the bowl just to see what would happen. I hypothesized that a quick wet sand might just remove the grit and grime. Turns out it quickly moved right past that and into the stain. I probably won’t do that again unless the bowl needs serious work but it was worth a shot. Wet sanding did work well on the top of the bowl to remove the tar. Much quicker than the spit shine method.

Schulte6

Schulte7

You can see how one turn on the bowl with the red rouge turns the wet sand into a nice shine. Probably my favorite part of this whole thing is when you break it all down to its base and start to rebuild it.

Schulte8

Schulte11

Schulte10

Schulte9

I did the same to the bowl as I did to the stem. Took about an hour on the wheel for both. And I’m pretty happy with how it turned out. I have yet to polish them with any wax to keep the shine up. I just haven’t picked any carnauba wax up and I’ve noticed the super bright shine dulls after a few days so I’ll be sure to grab some wax ASAP.

If you’re reading still thanks and I hope this helps anyone who is just getting started.

Cheers.