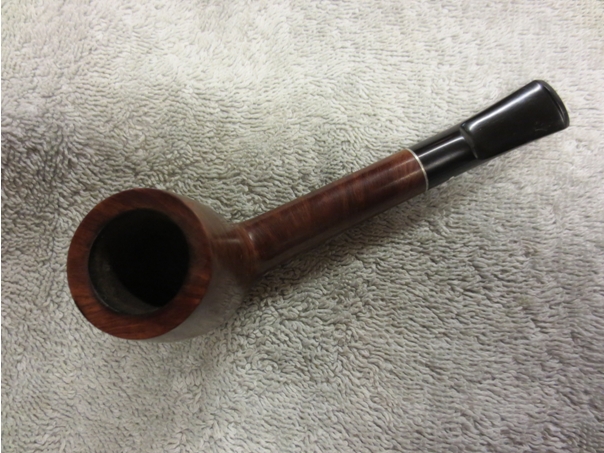
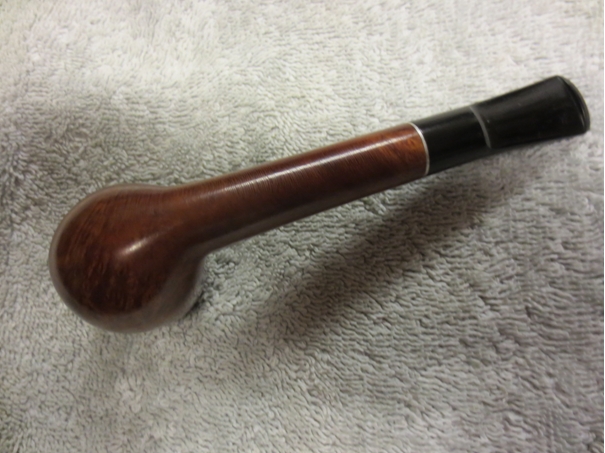
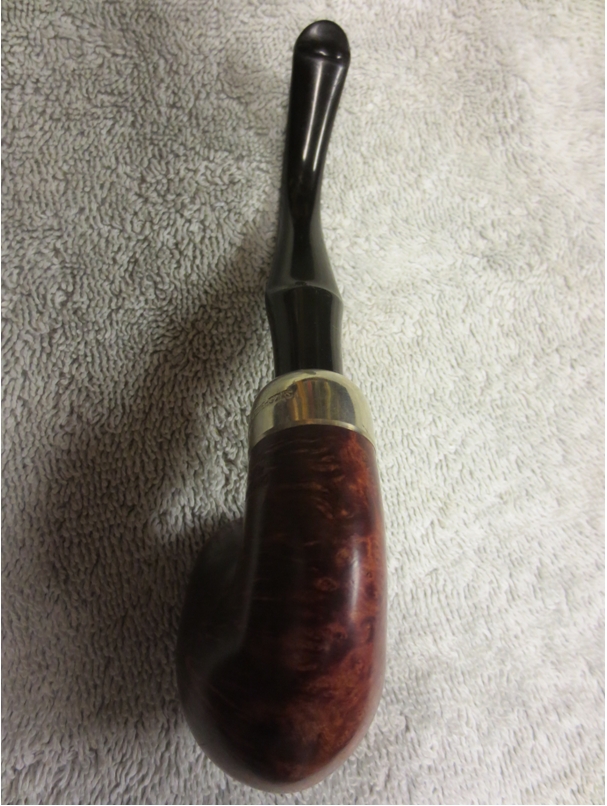
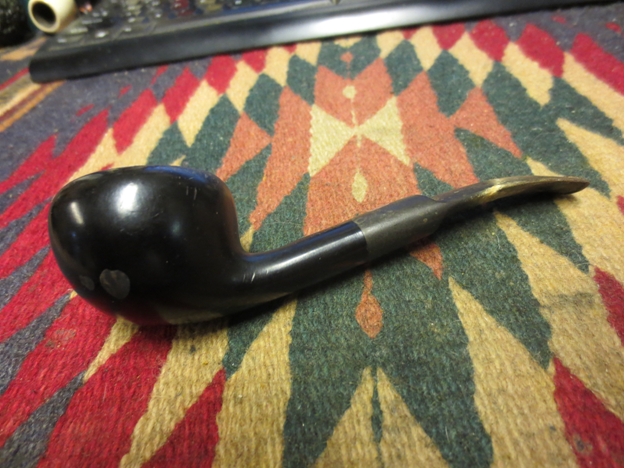
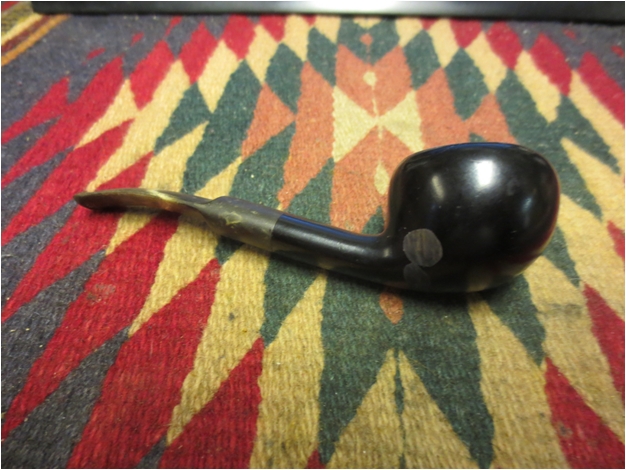
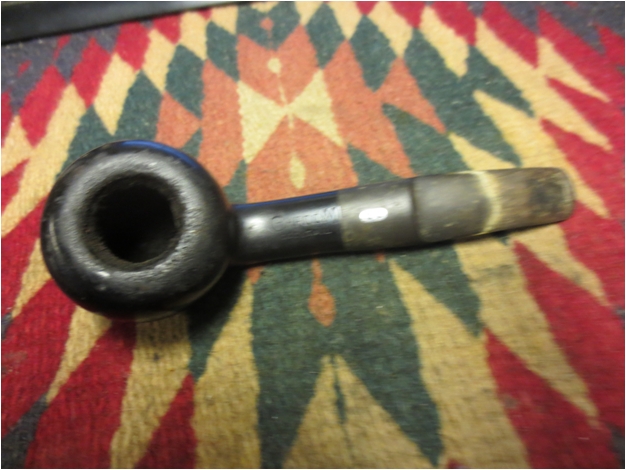
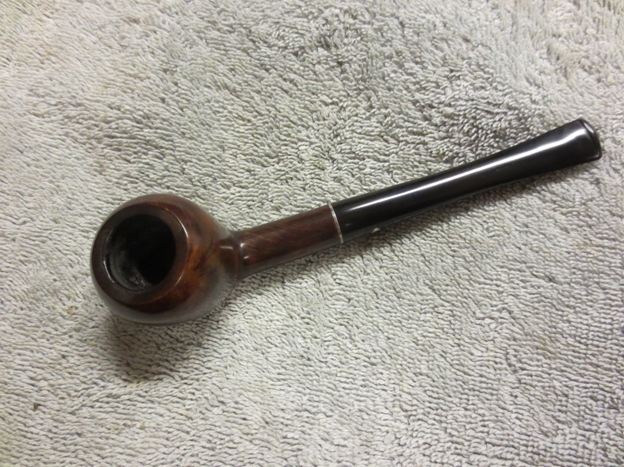
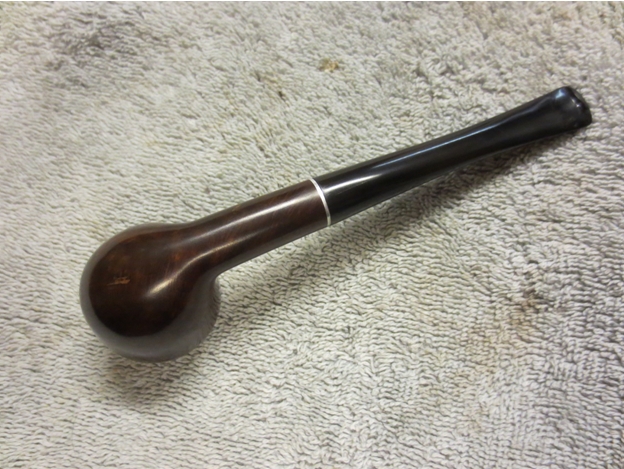
Tag Archives: refinishing

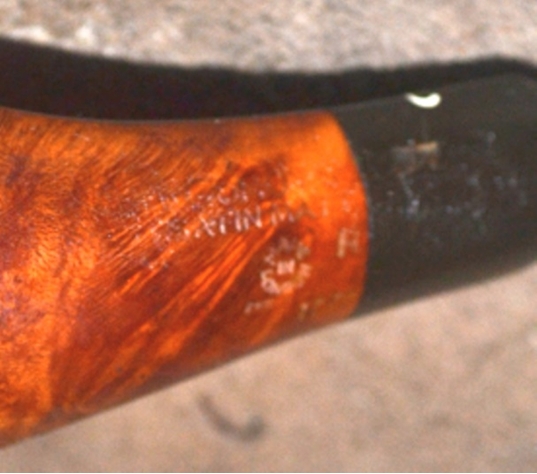
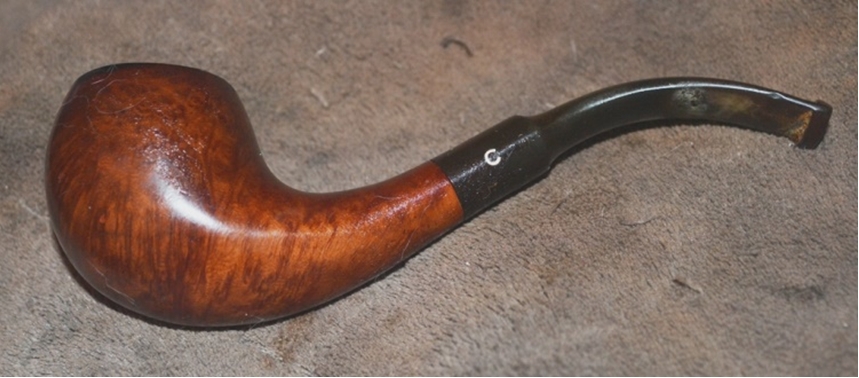
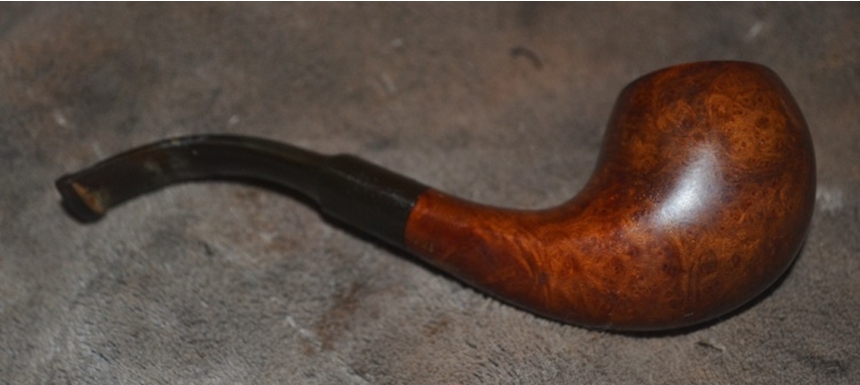
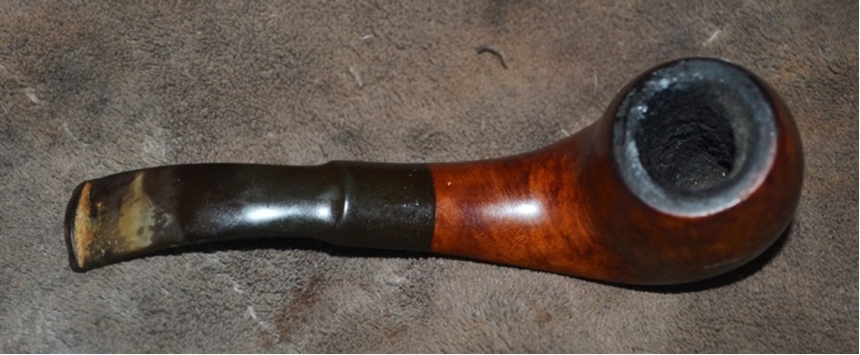
The Wily Nature of a WDC 14K Full Bent Billiard Restore – Robert M. Boughton


Guest Blog by Robert M. Boughton
Member, North American Society of Pipe Collectors
http://www.roadrunnerpipes.com
http://about.me/boughtonrobert
Photos © the Author

O, what a tangled web we weave,
When first we practise to deceive!

— Sir Walter Scott, Scottish historical novelist, playwright and poet, in “Marmion” (1808), Canto VI, stanza xvii.

INTRODUCTION
I mention poet last among the great Scot’s endeavors because, if any of them were much good, the poetry was most lacking. However, there are forever those two lines that people remember, even if they often misattribute it to Shakespeare, who would have made a much better and shorter sonnet of the one theme had he thought of it. Scott’s epic in length tragic poem (in more senses than intended) – with its jumbled use of rhymed couplets in iambic tetrameter, alternating rhyme in iambic pentameter and alternating or nested rhyme in hymn meter – just tends to bore. I admit that my writing skills do not include poetry, which I consider the highest form of the literary art form, but I also do not pretend to have the mind for it.

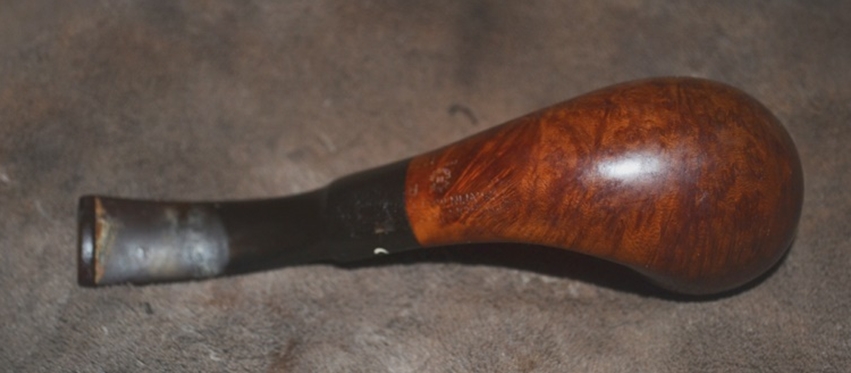
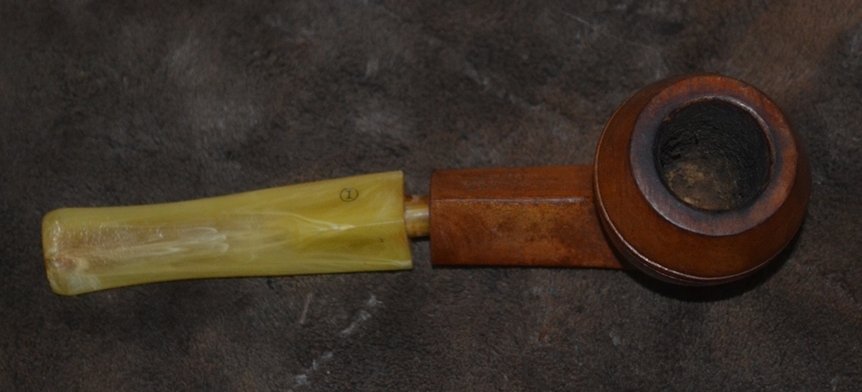
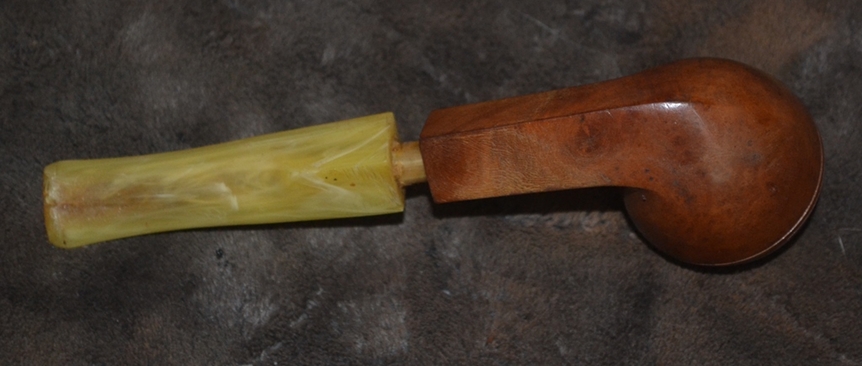
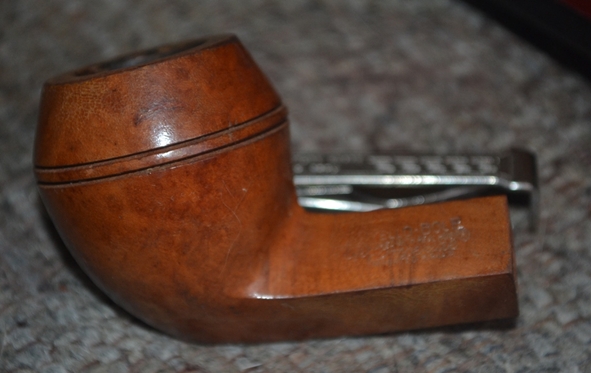
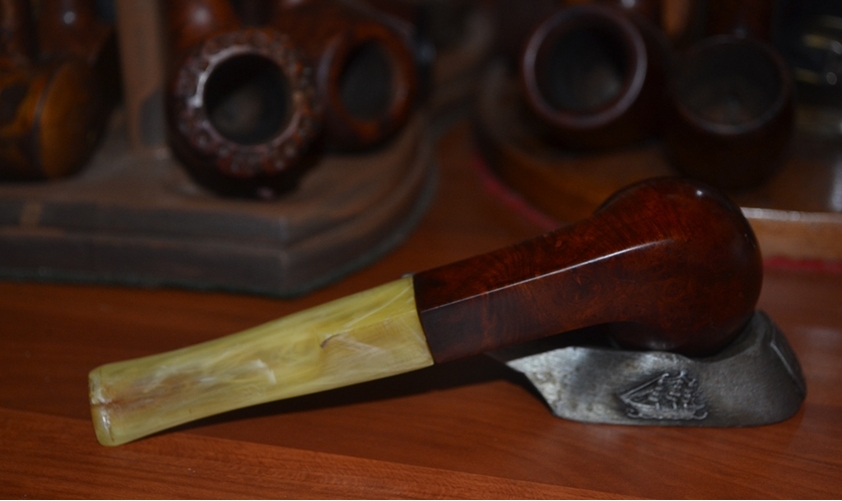
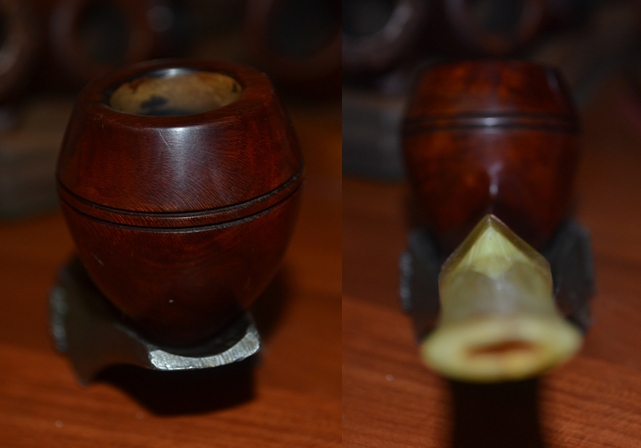
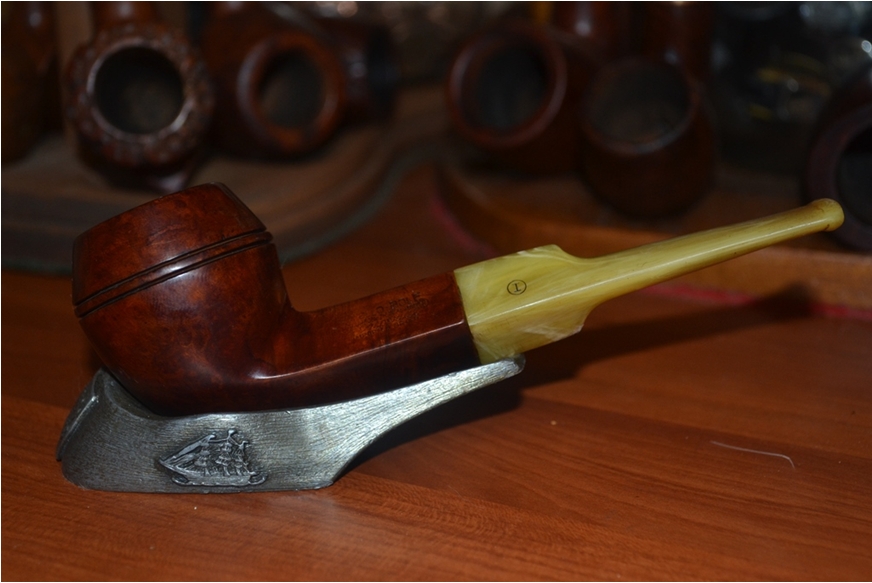
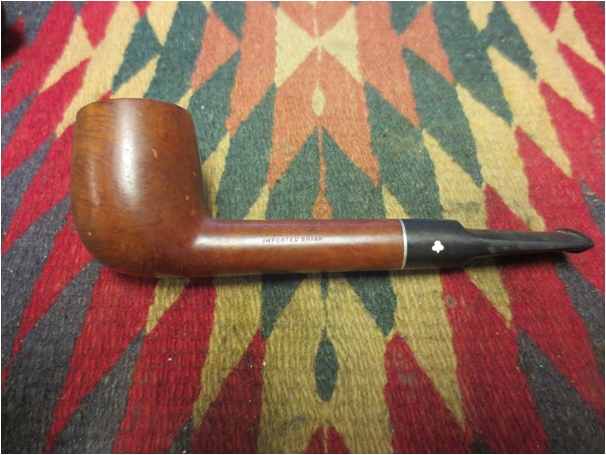
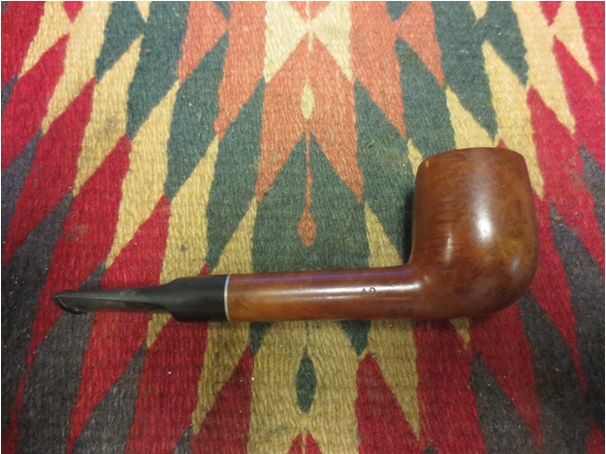
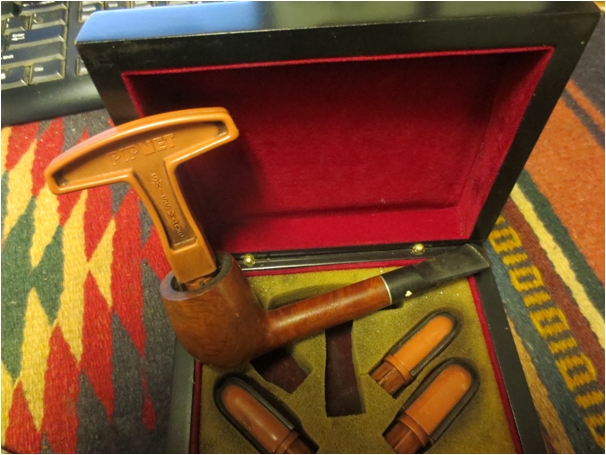
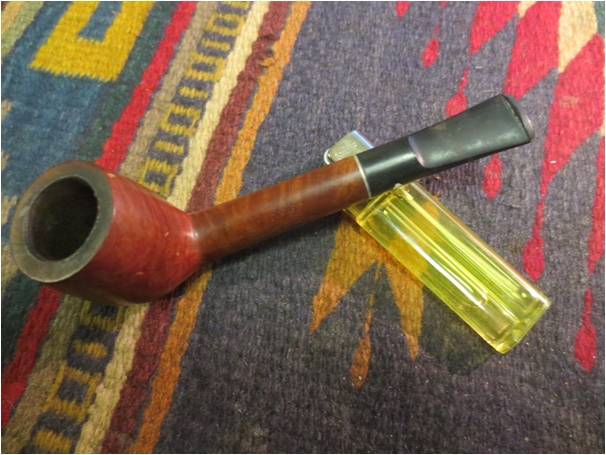
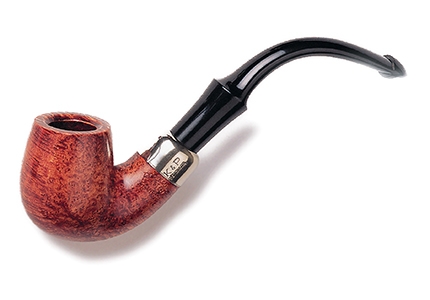
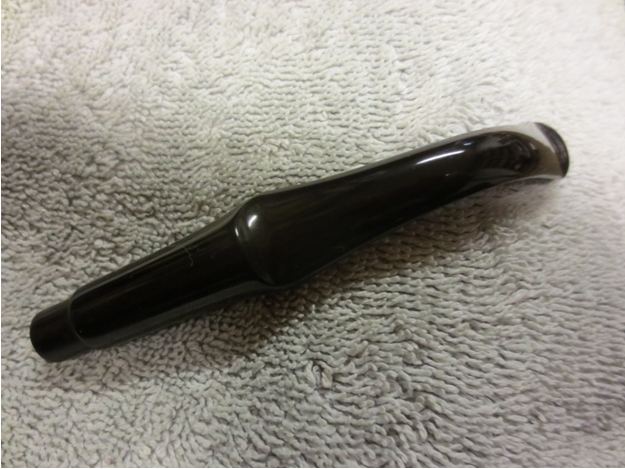
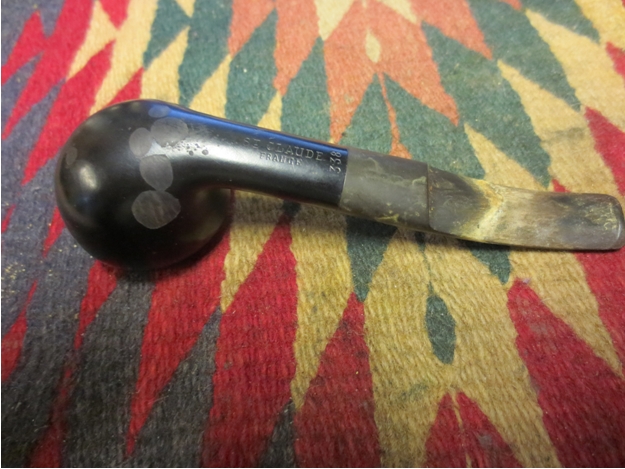
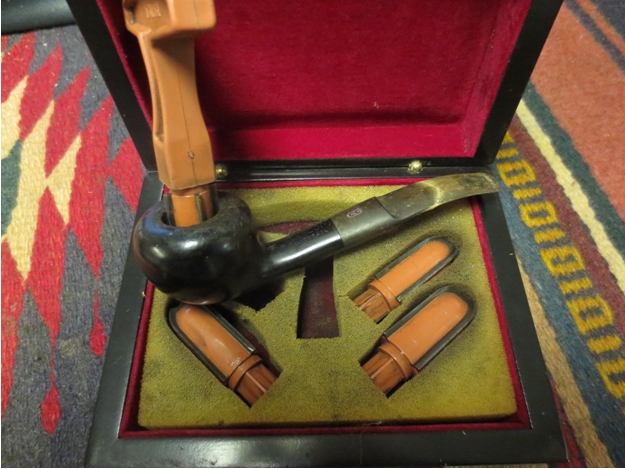
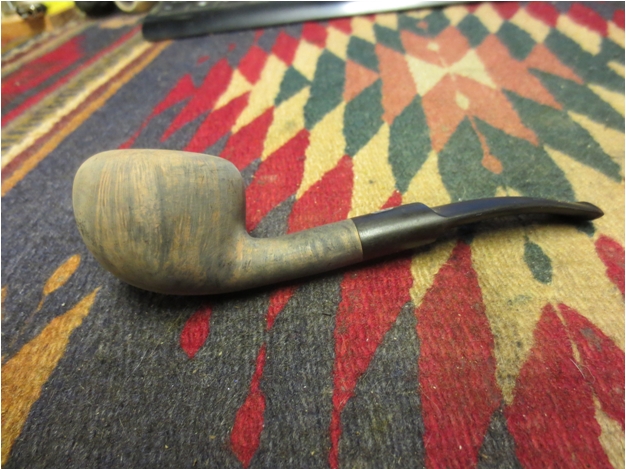
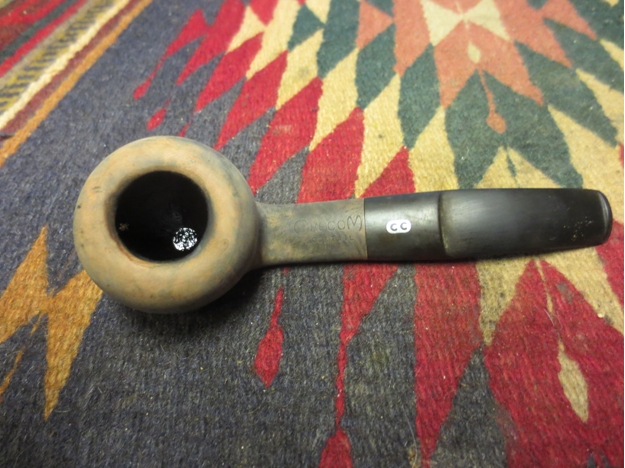
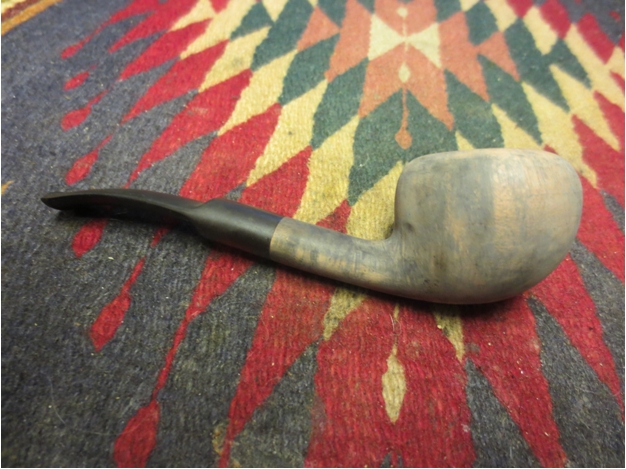
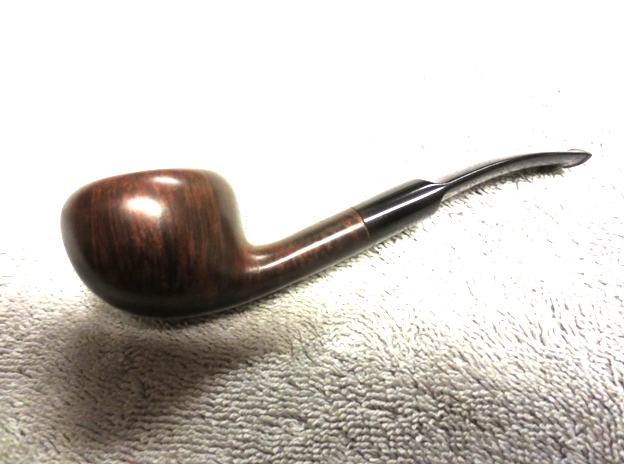
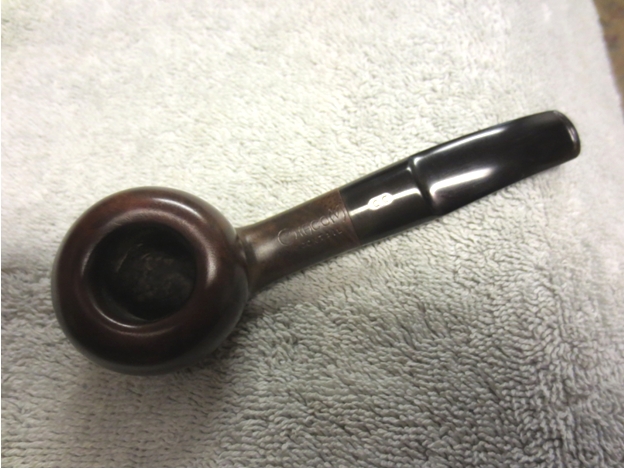
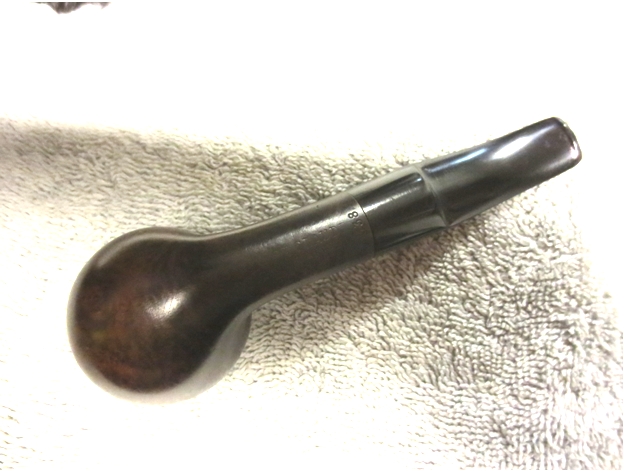
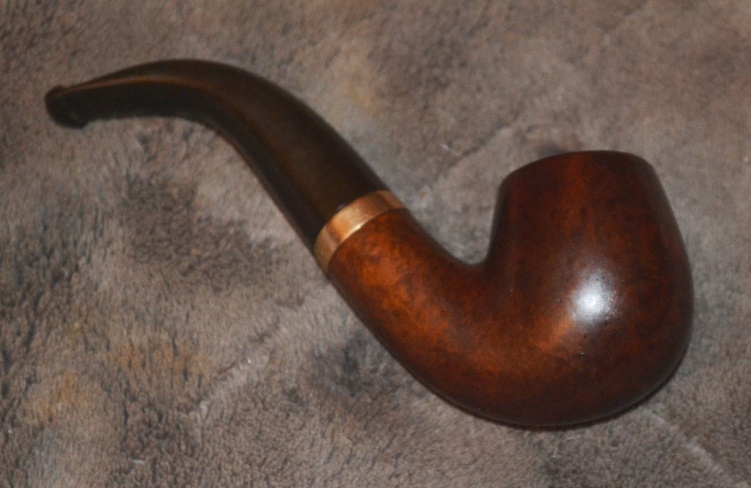
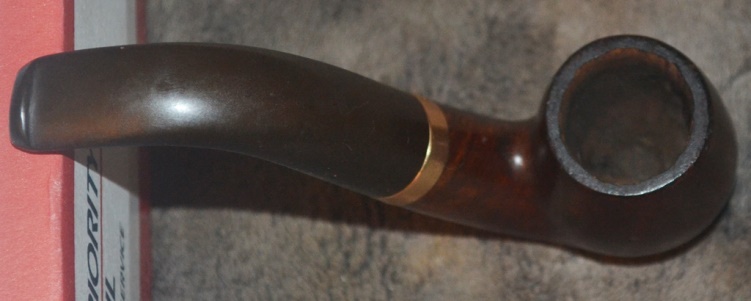
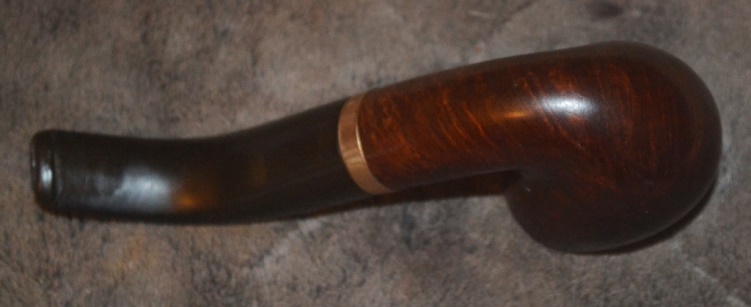
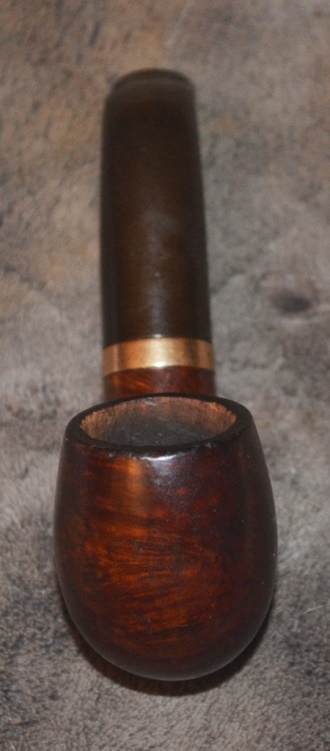
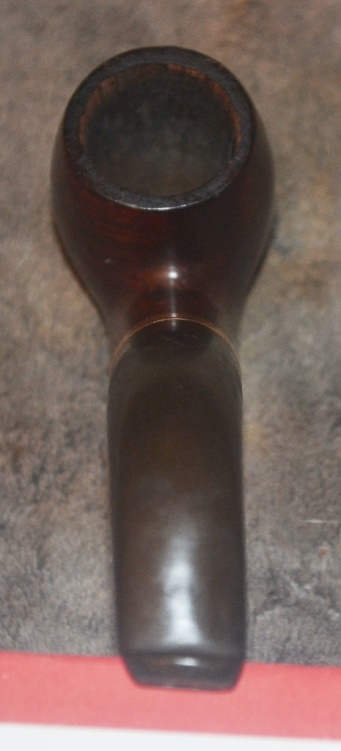
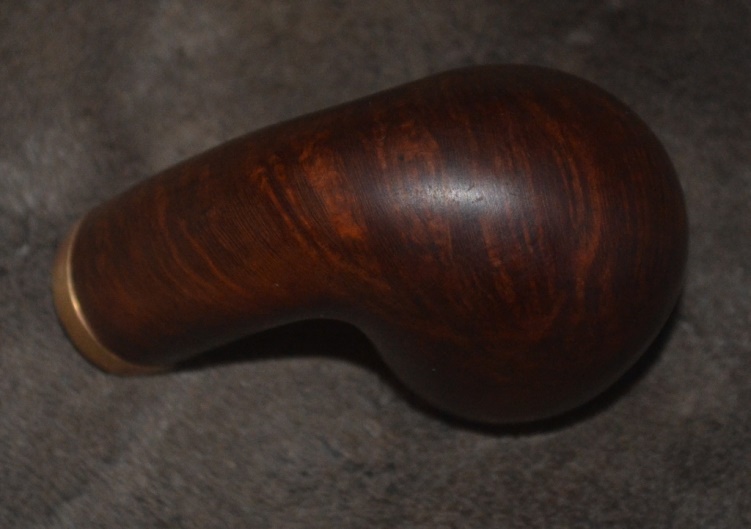
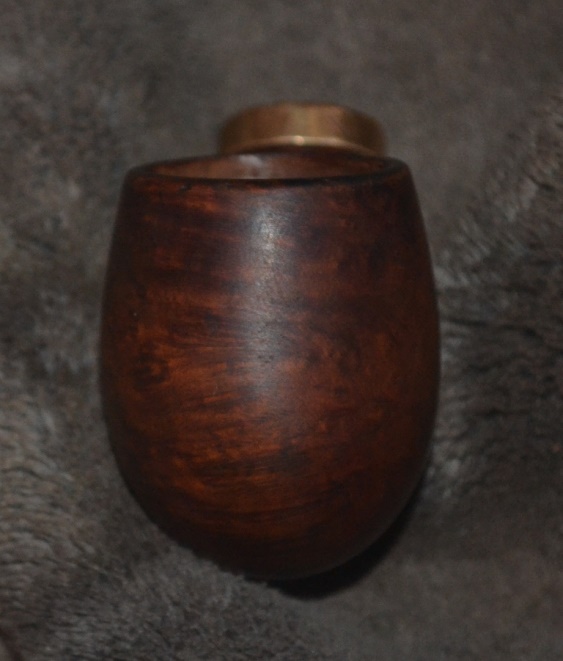
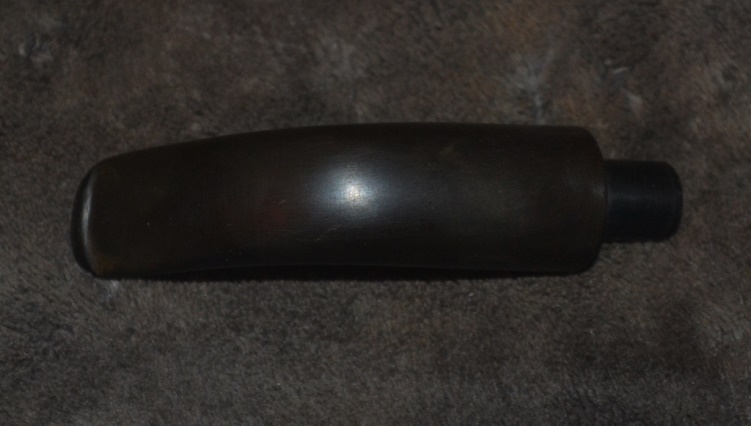
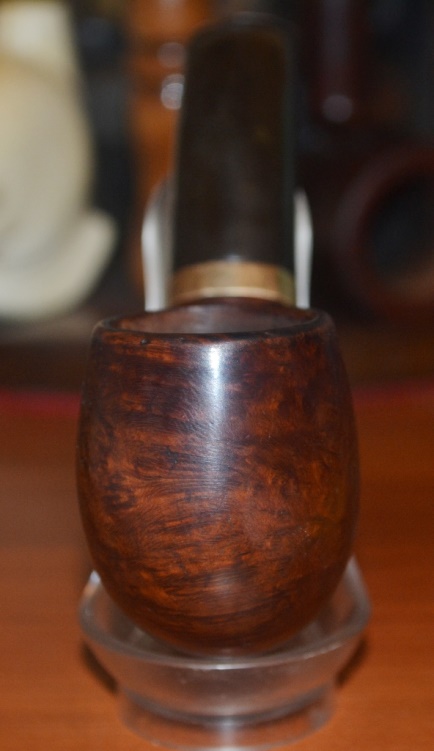
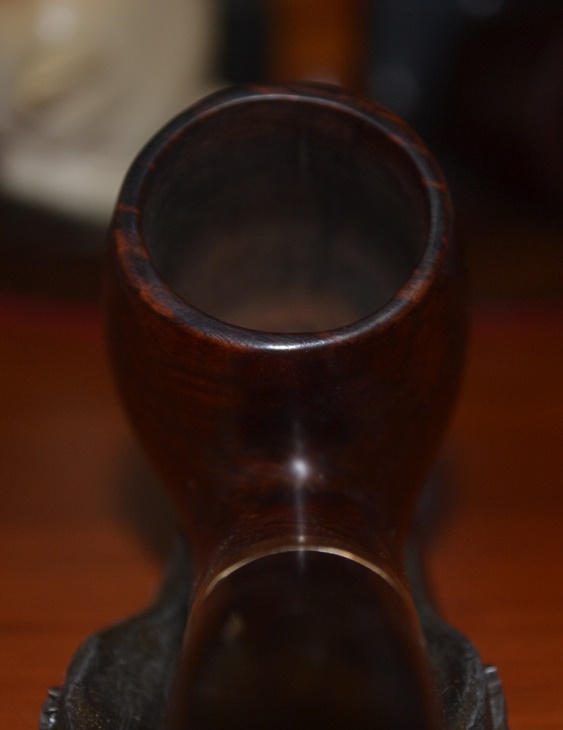
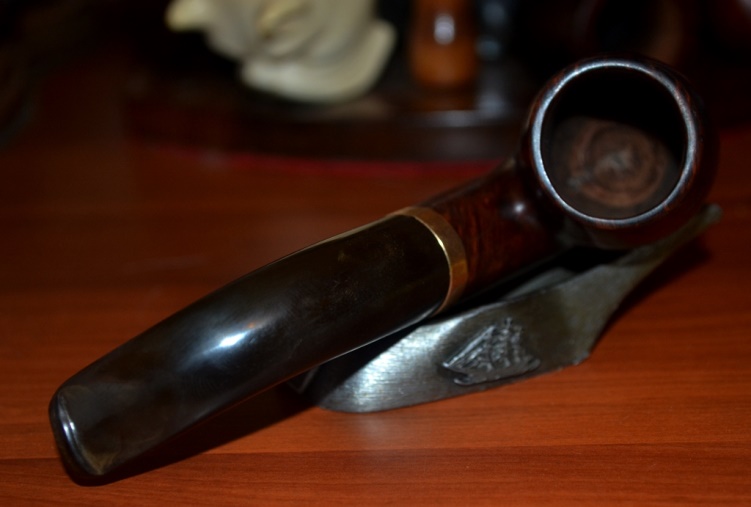
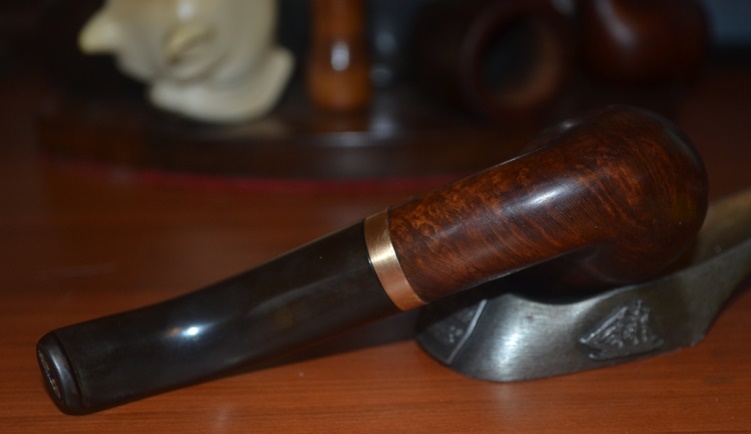
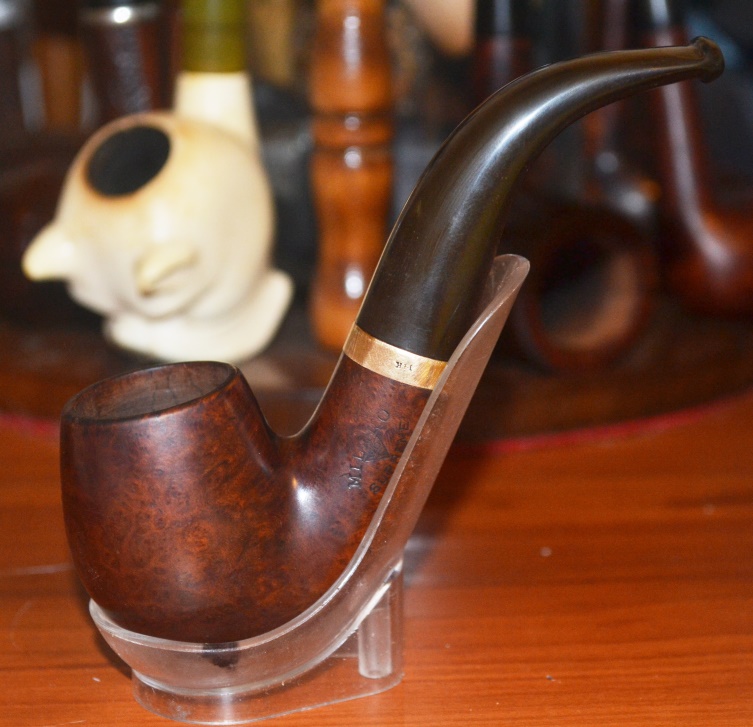
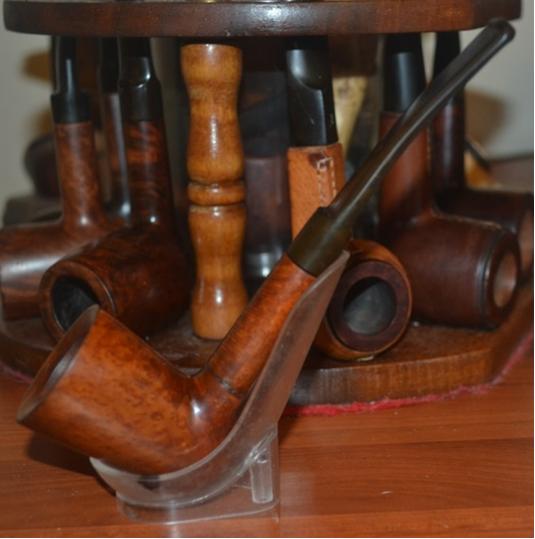
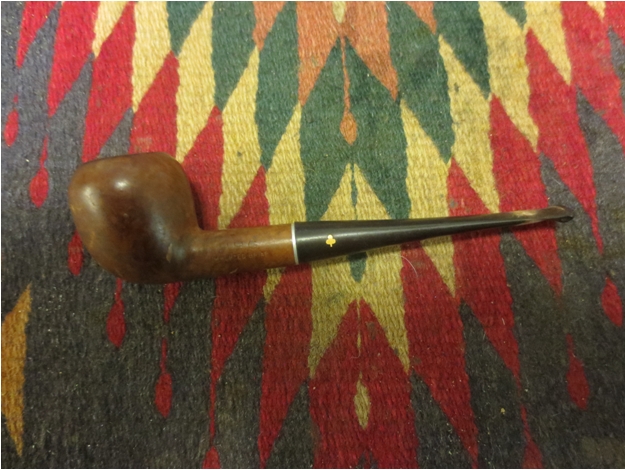
Many of the quotes I include before my blogs are no doubt somewhat enigmatic, but this one hits the mark much closer. A quick look at the WDC Full Bent Billiard with 14K gold band reveals much ado about nothing as far as the need for serious restoration is concerned.Robert1In fact, when it came in the mail with six others I bought in a pipe lot, I was happy to see they were nowhere near as thrashed as many others I received before. Most, in particular the WDC, seemed at a glance to need only a simple refurbishing. Only upon close examination did I see the problems that appeared little but might indeed create bigger problems when the actual work began. Still I chose this one both because of its seeming almost pristine condition but because I might have a buyer lined up already.

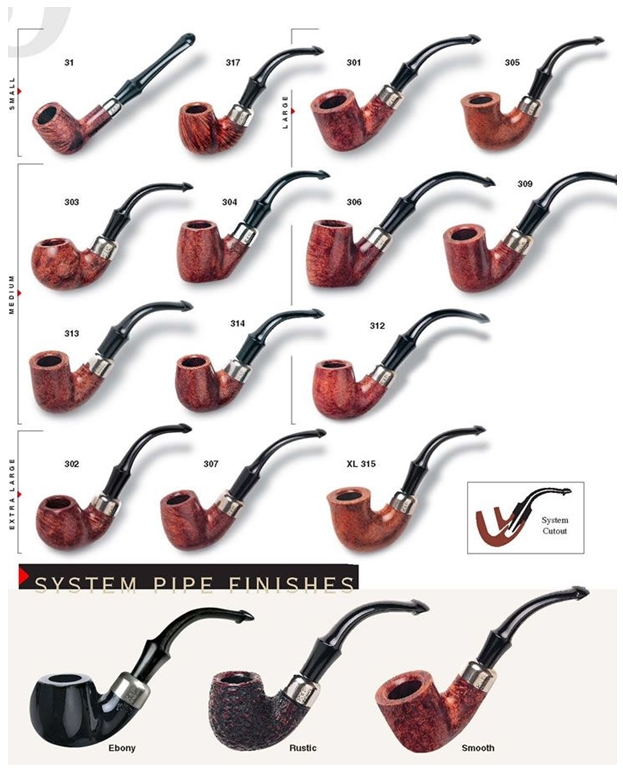
As a note, WDC is short for the William Demuth Co., a U.S. crafter of fine pipes from 1862-c. 1973, after the venture had changed hands several times and was at last liquidated. The Full Bent Billiard described in this blog appears to be quite old, perhaps dating to the 1930s or ’40s, based on a WDC Master List by Kaywoodie [http://kaywoodie.myfreeforum.org/viewtopic.php?t=191&start=0].

Photo © WDC Master List

Photo © WDC Master List

RESTORATION
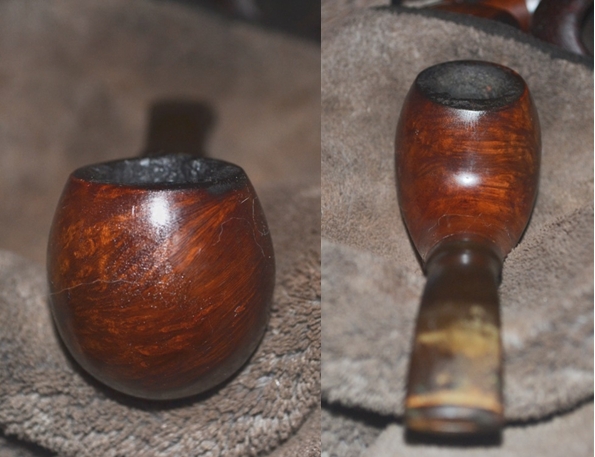
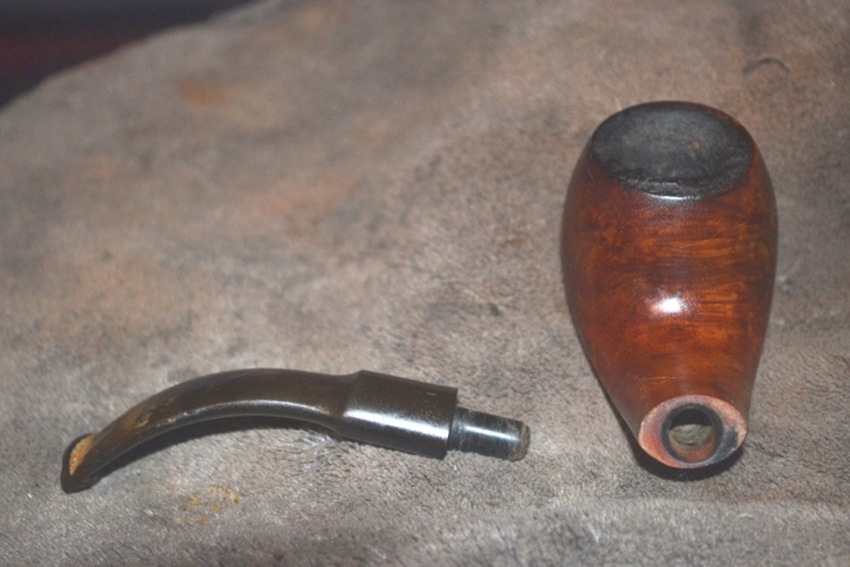
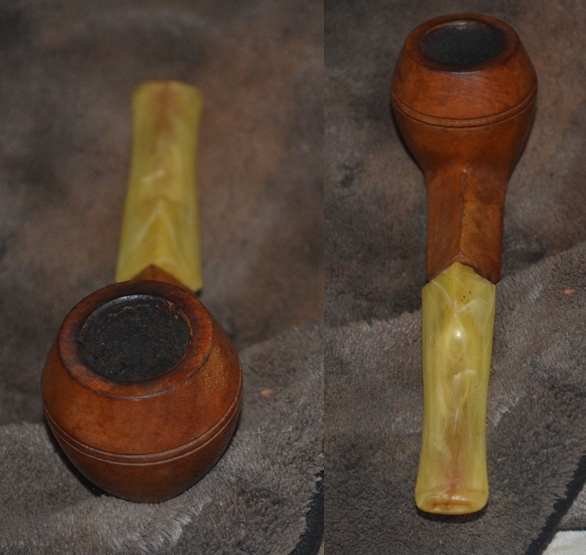
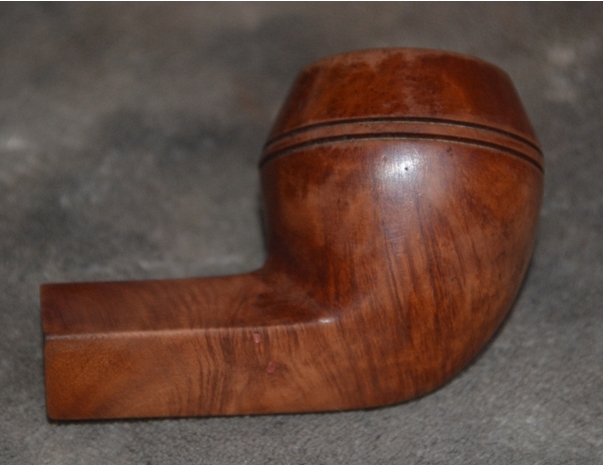
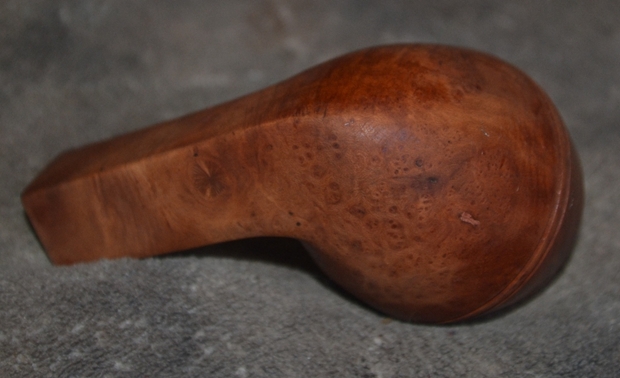
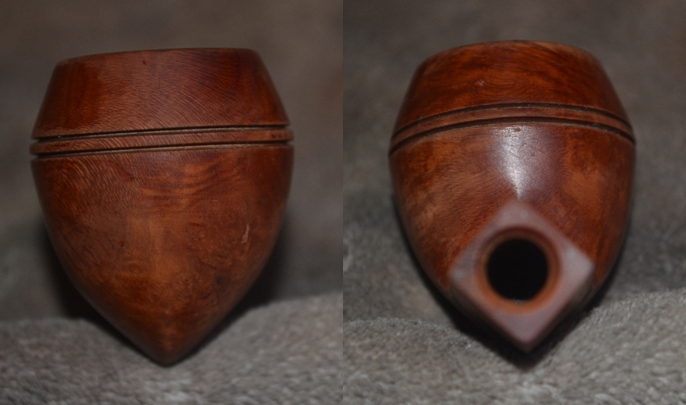
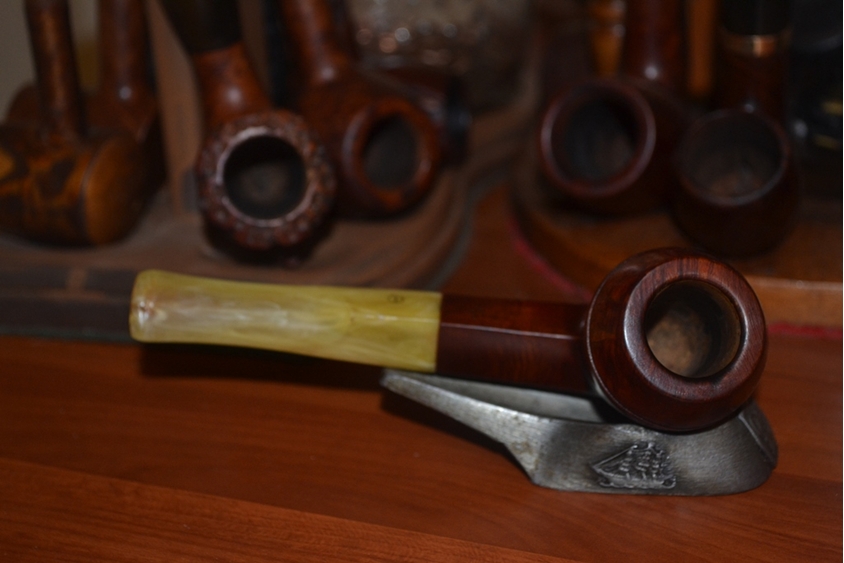
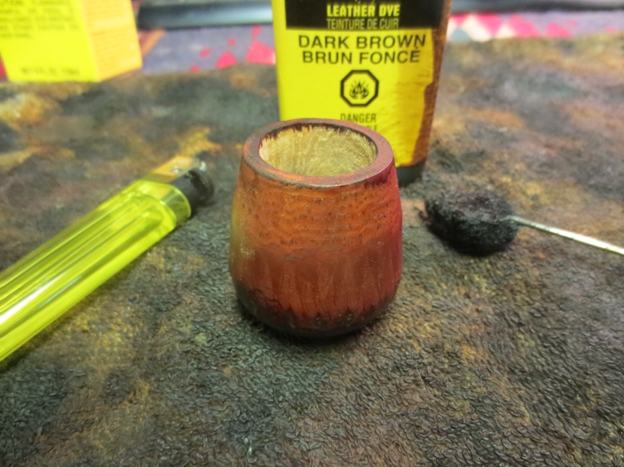
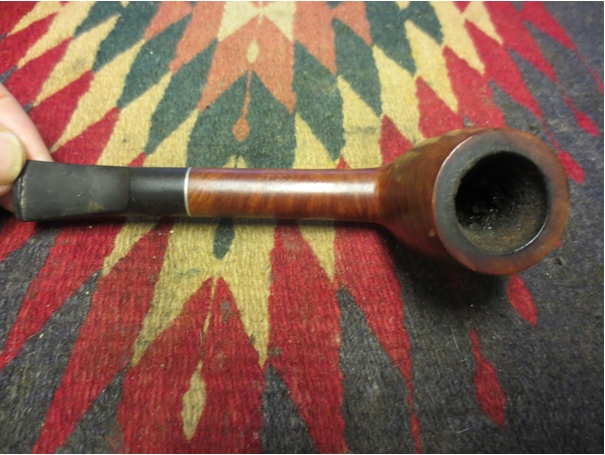
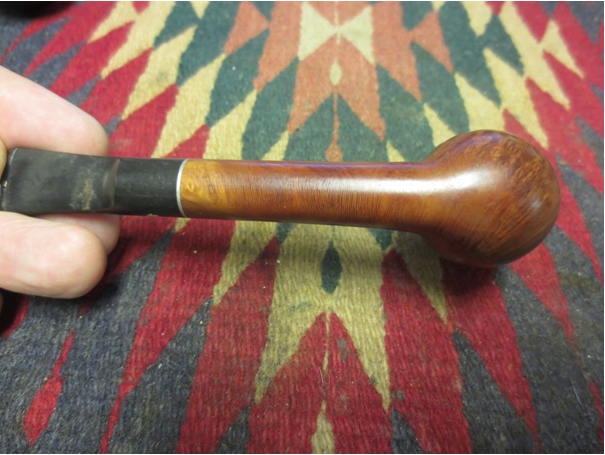
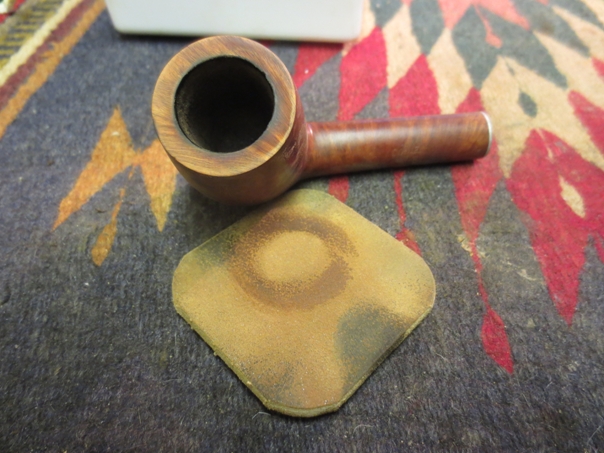
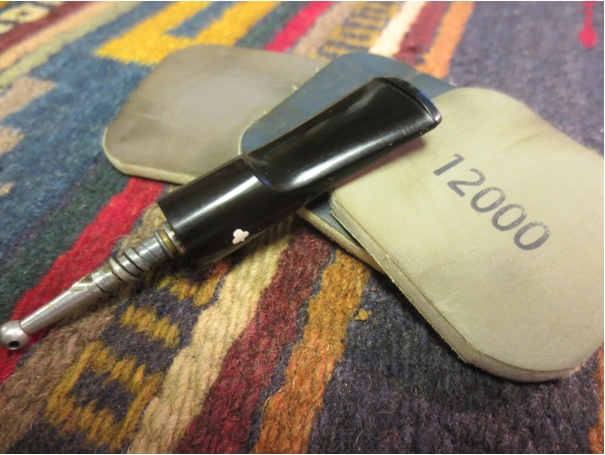
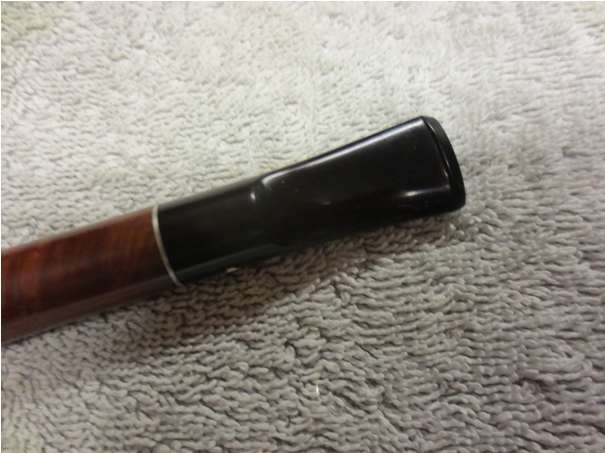
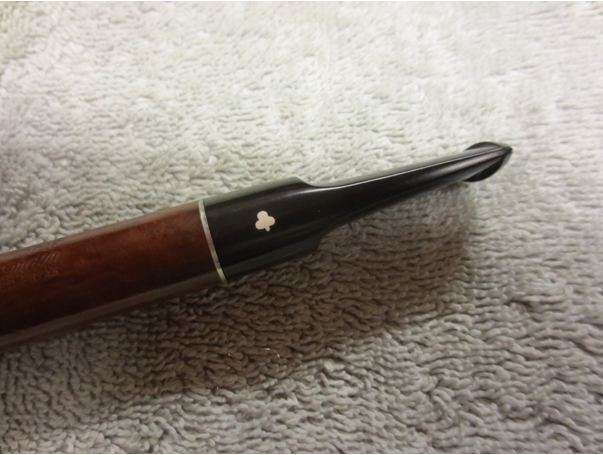
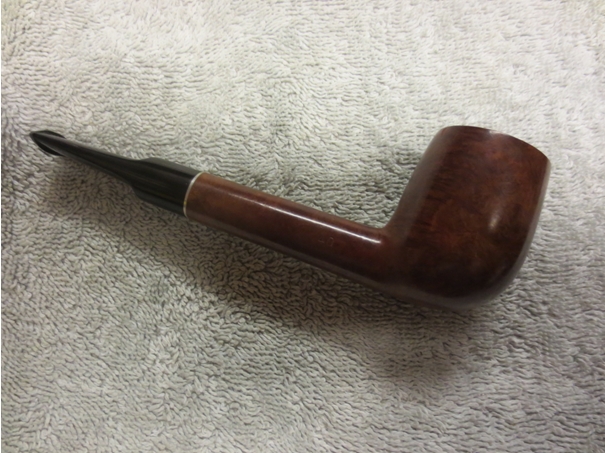
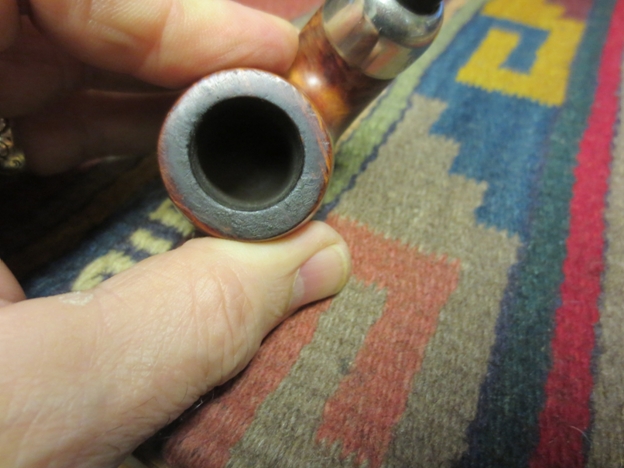
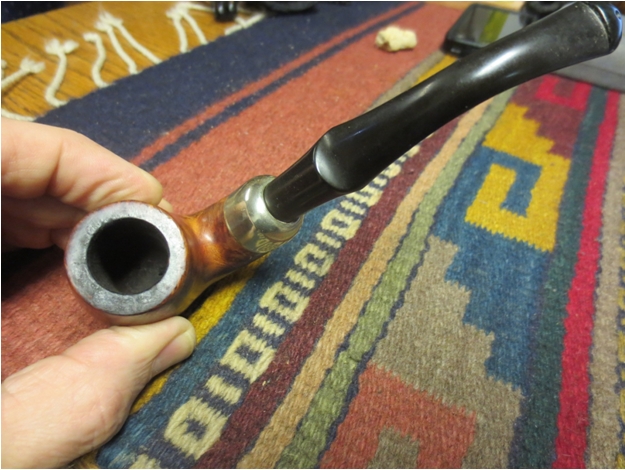
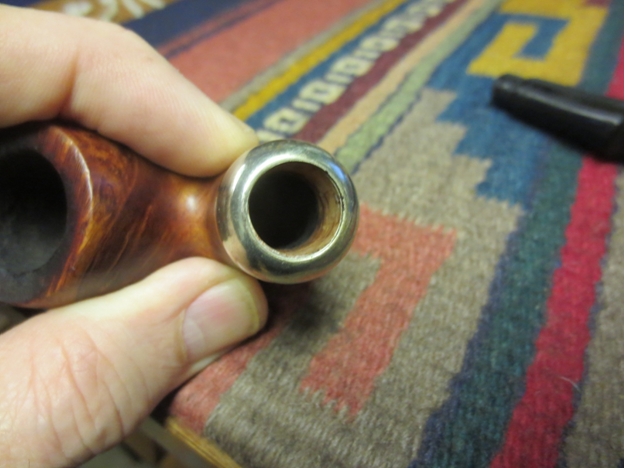
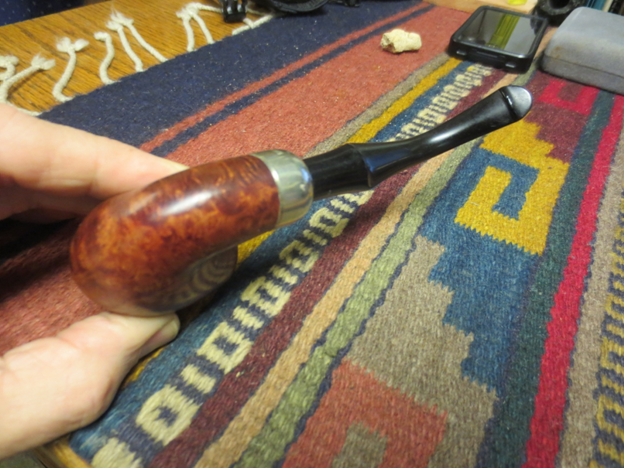
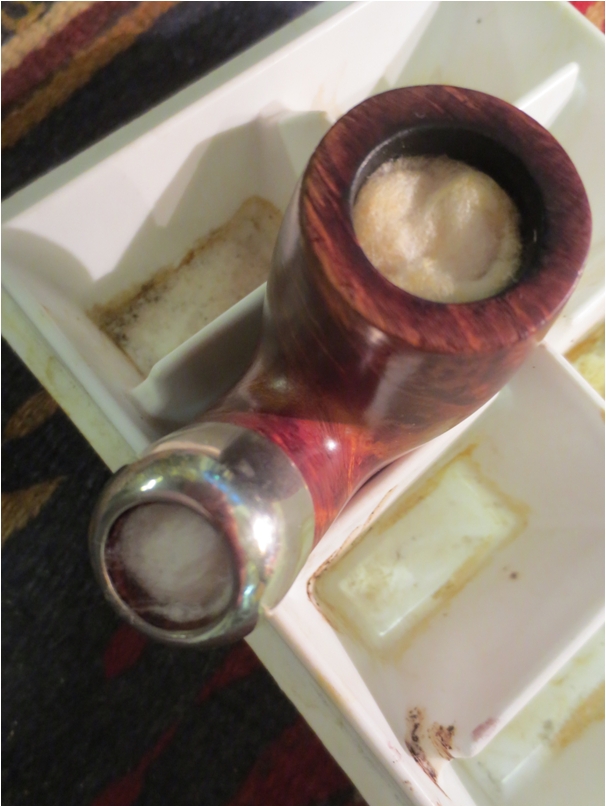
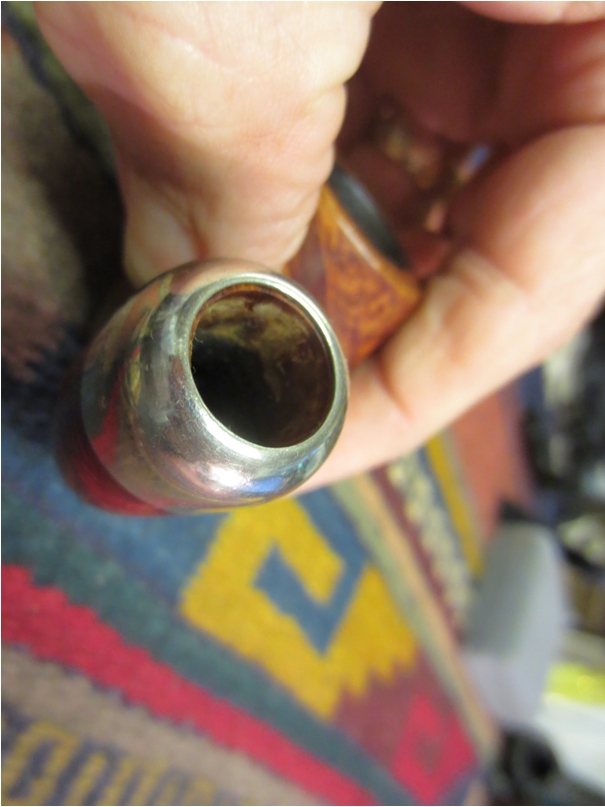
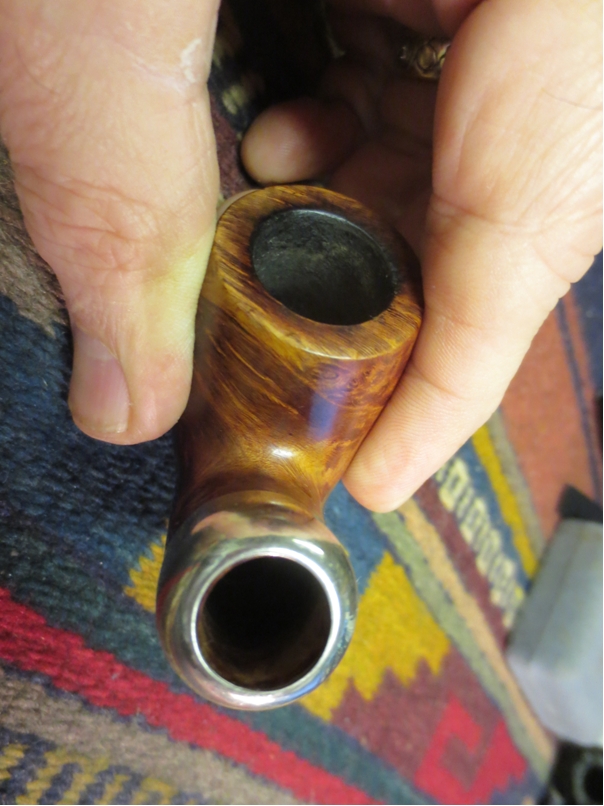
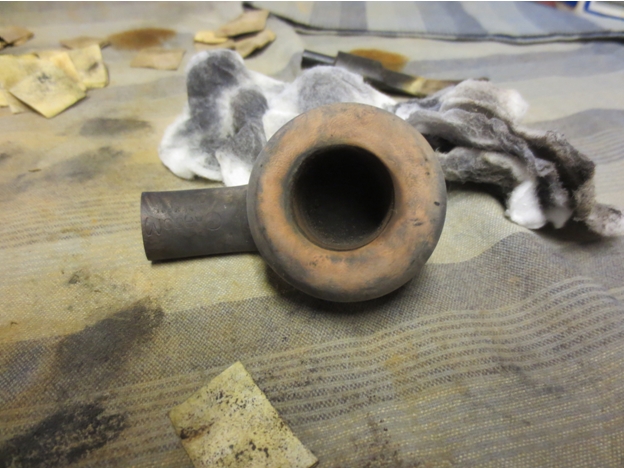
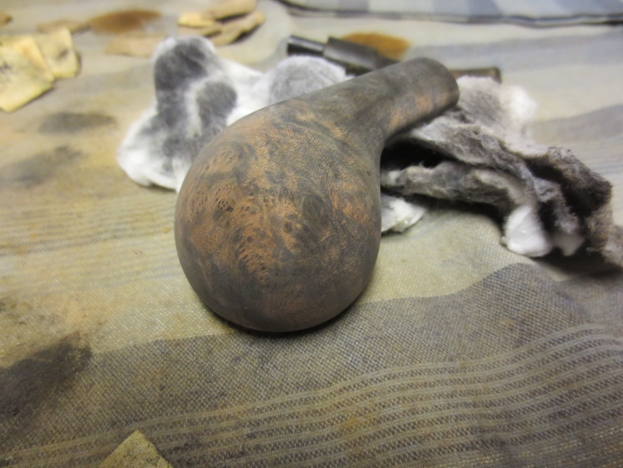
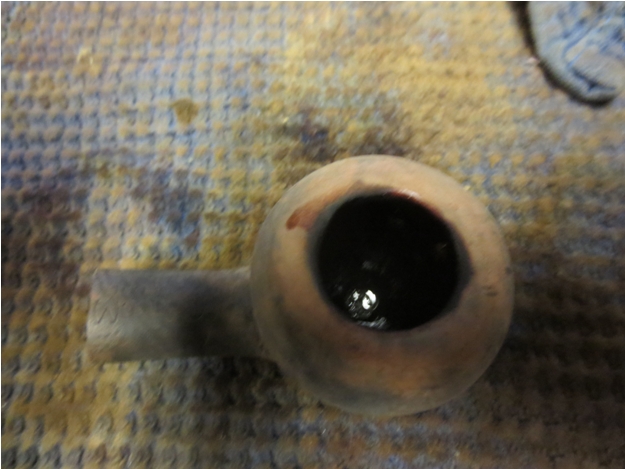
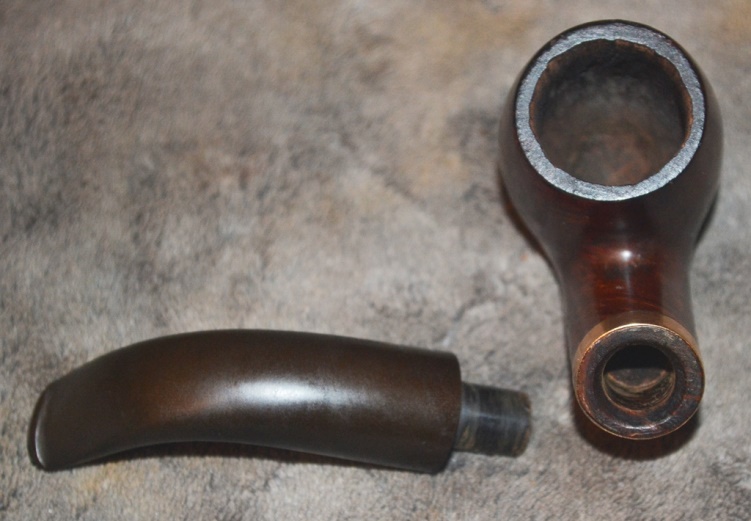
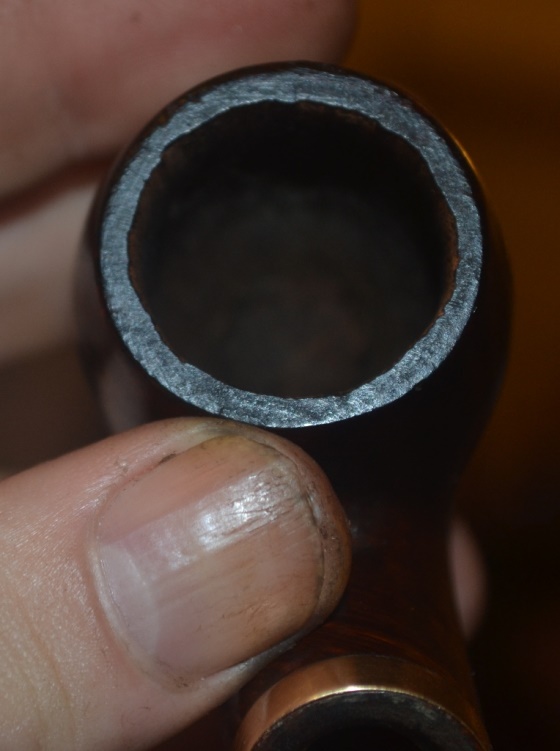
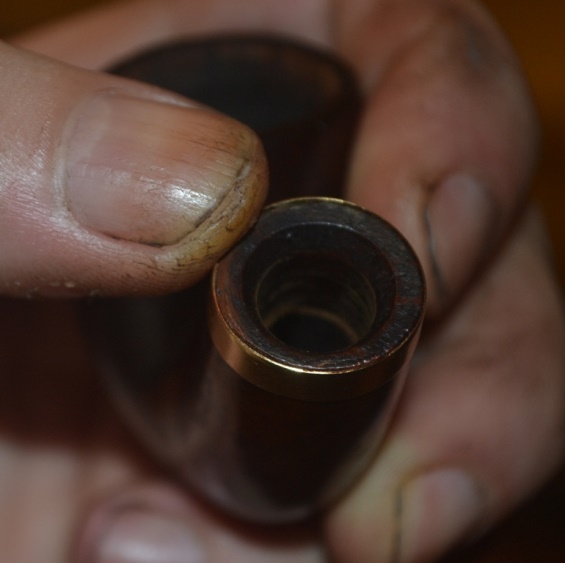
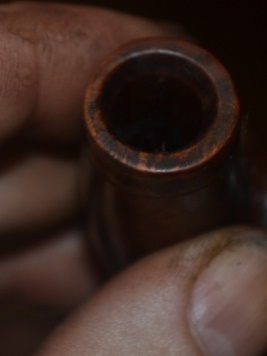
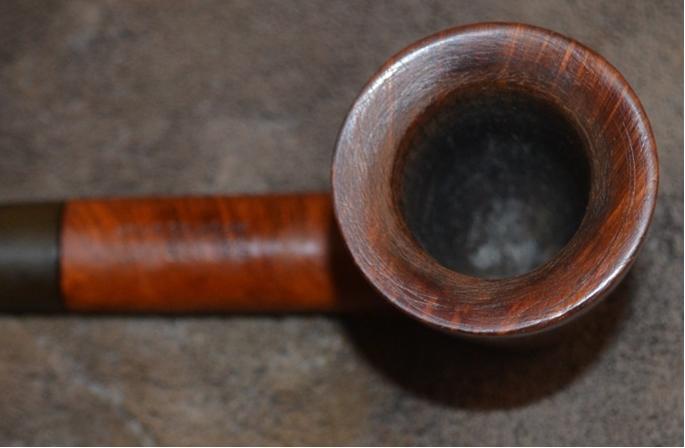
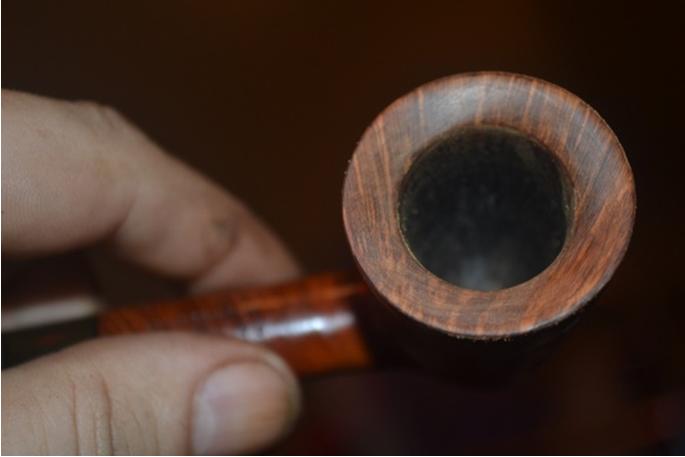
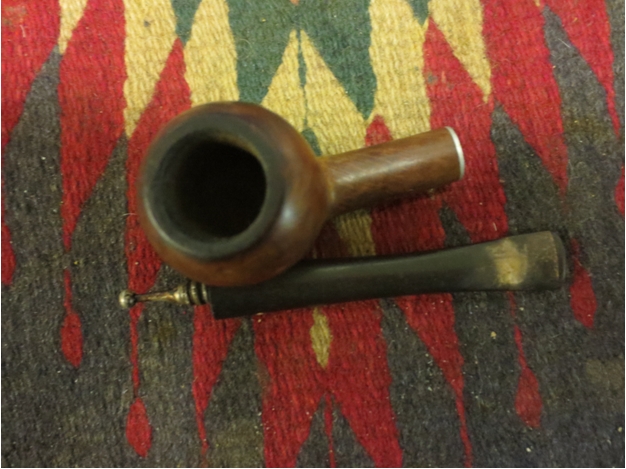
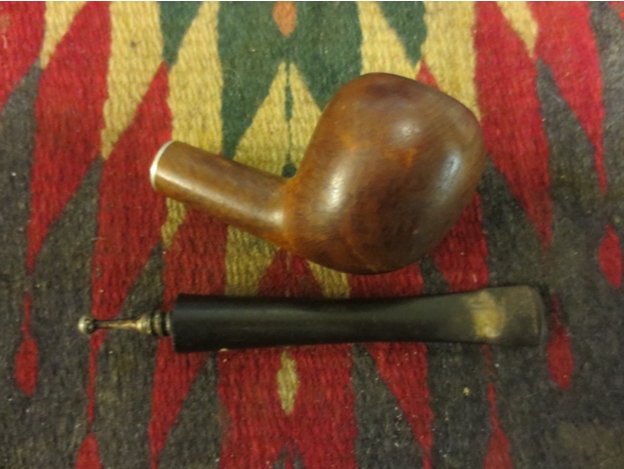
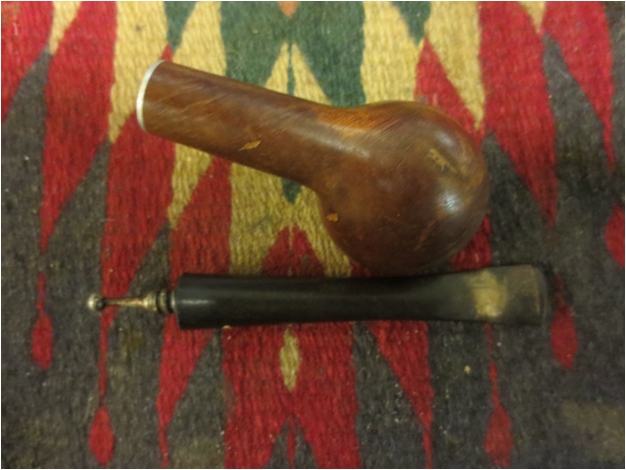
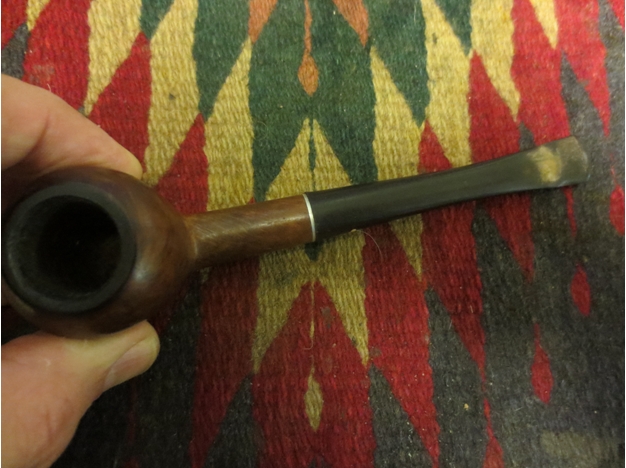
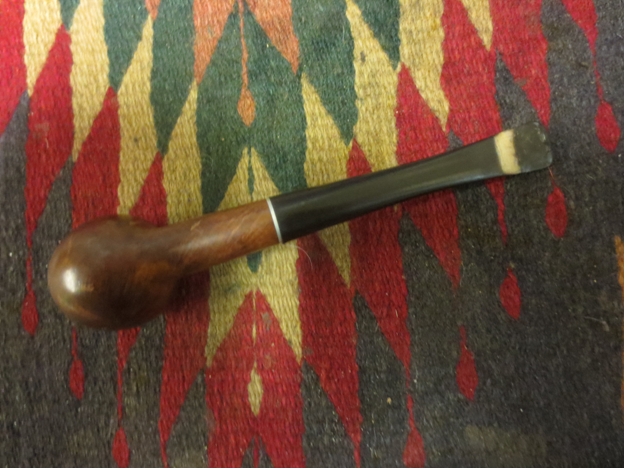
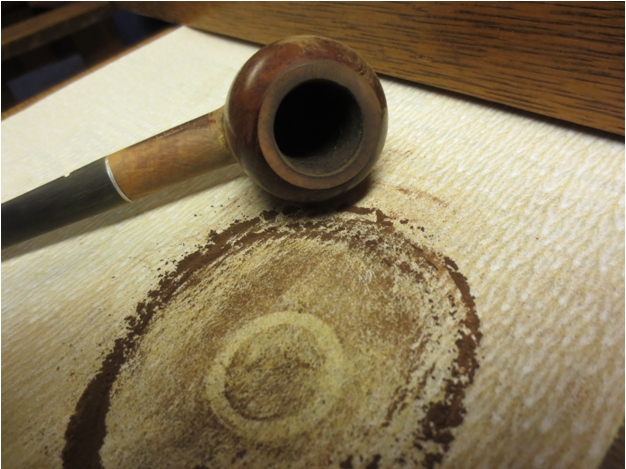
The problems I encountered, despite being almost invisible in the following photos, by the hidden nature of their presence convinced me to take on this supposed easy project. As a result, I was led, step by step, into a web of blemishes, some of which were simple to fix and others proving more difficult.Robert3 Robert4 Robert5 Robert6 Robert7In general, I start with the chamber, which in my recent blogs has involved the removal of massive cake buildup. Here it is apparent that is not a problem, but that fact ends up concealing a more significant flaw, which I will get to in short order. This time, I chose to begin with the rim and shank opening Even in the photo above, the blackening, scratches and jagged inner rim show. Closer photos display the rim and shank hole better.Robert8 Robert9Steel wool was perfect for the shank opening. But 1500 and even 800 micromesh proved ineffective on the rim. I jumped to 400 micromesh, which removed the blackening. As I intended only to sand the bowl this time instead of using my reamer that has been mandatory with so many other recent restores, I switched to 150-grit paper for the chamber, starting with the rim to eliminate the craggy inside.

After continuing with multiple turns of the paper until I reached the bottom, I tapped and blew out most of the accumulated carbon dust and used a small piece of cotton cloth to wipe off enough of the residue to insert a finger and feel the sides. They were smooth, but what I found at the bottom was troubling: a big hole with another ridge of cake around it.

And so I decided to go with the reamer after all. Besides, I thought, I like to leave the chamber wall as close as possible to the wood, and the reamer would accomplish that and even out the hole in the bottom – I thought.

However, while I indeed removed more carbon from the sides and bottom, the latter proved much more stubborn. Returning to the 150-grit paper, I took the walls down to where the wood almost showed all the way. With awkward, slow turns of the paper, during which I heard an awful scraping wail rising from the base of the chamber, I succeeded in sanding the hole as far as it would go. In the end, a small hole remained. For the first time, I understood that I needed some sort of tool I do not yet possess, but the result was satisfactory.

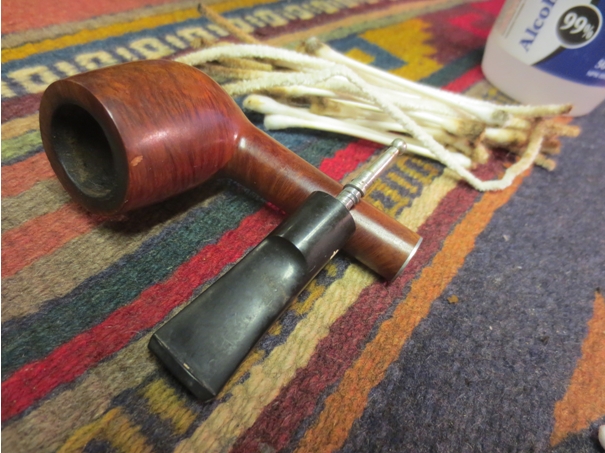
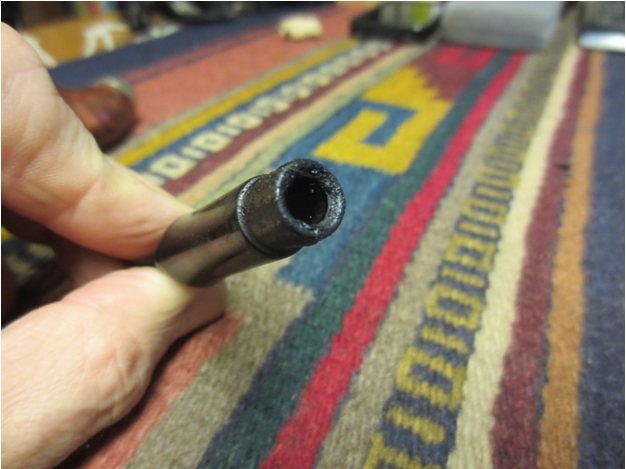
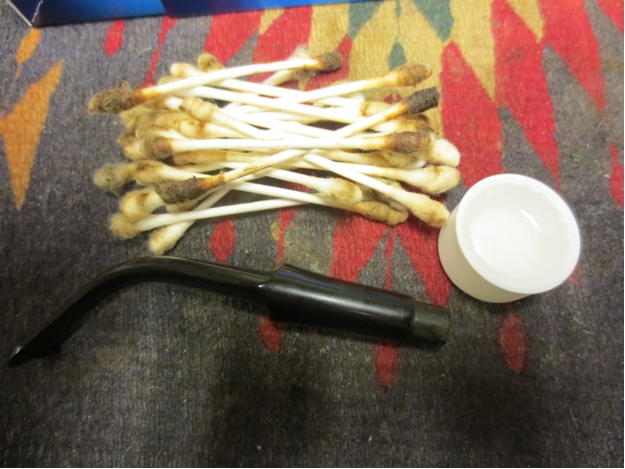
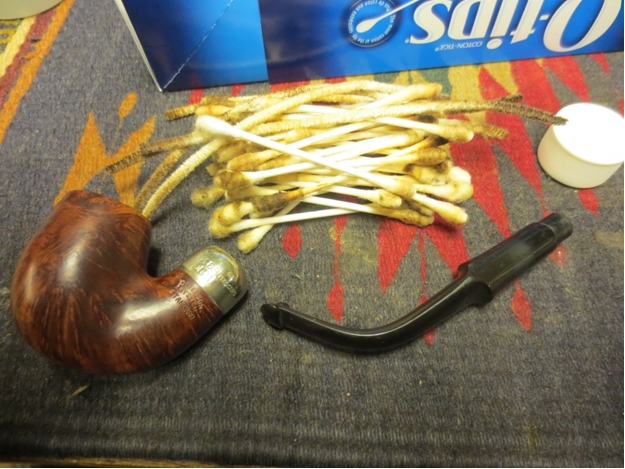
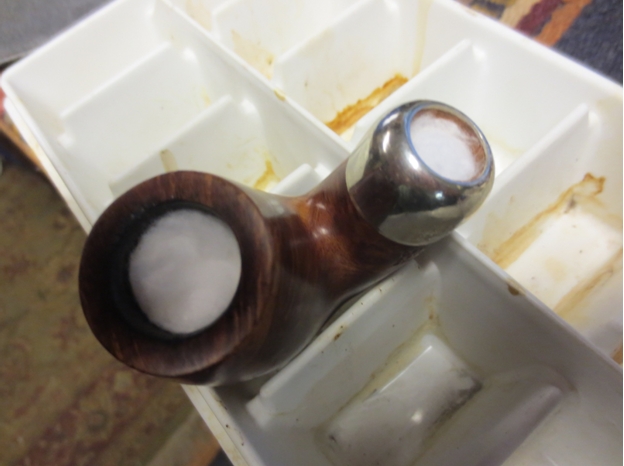
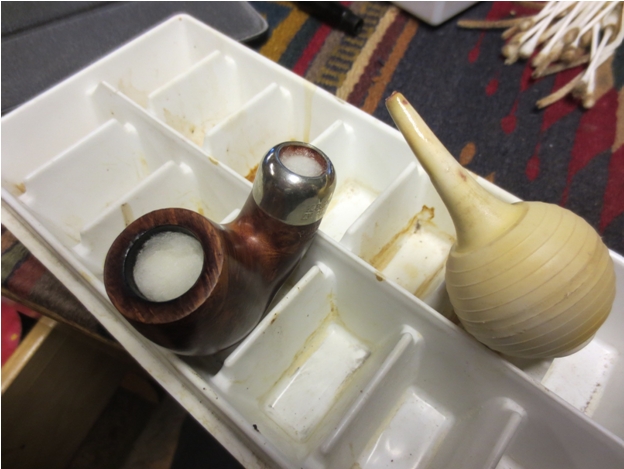
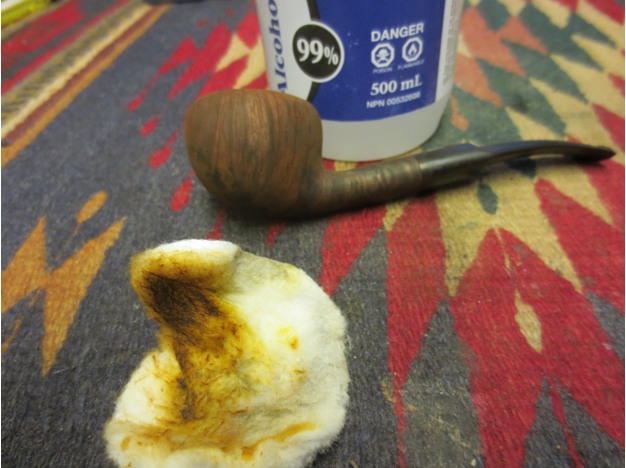
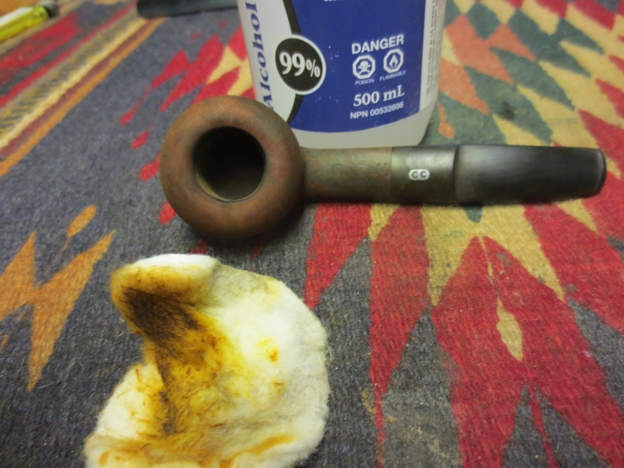
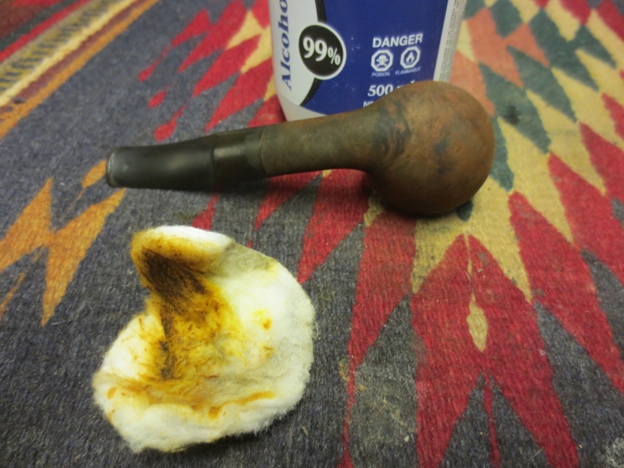
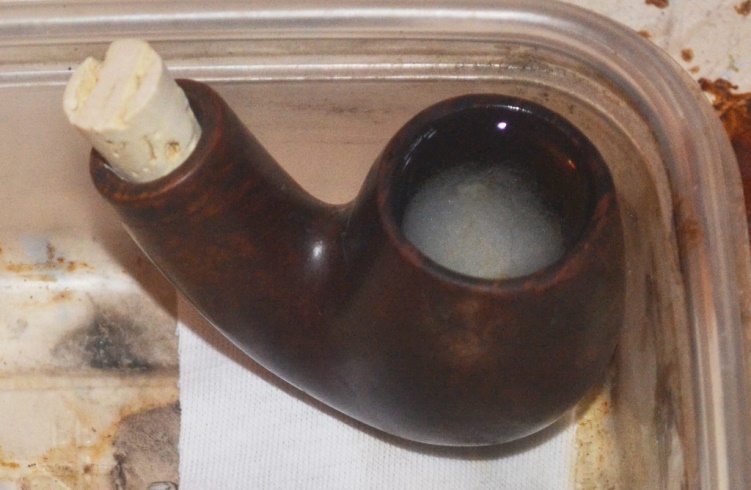
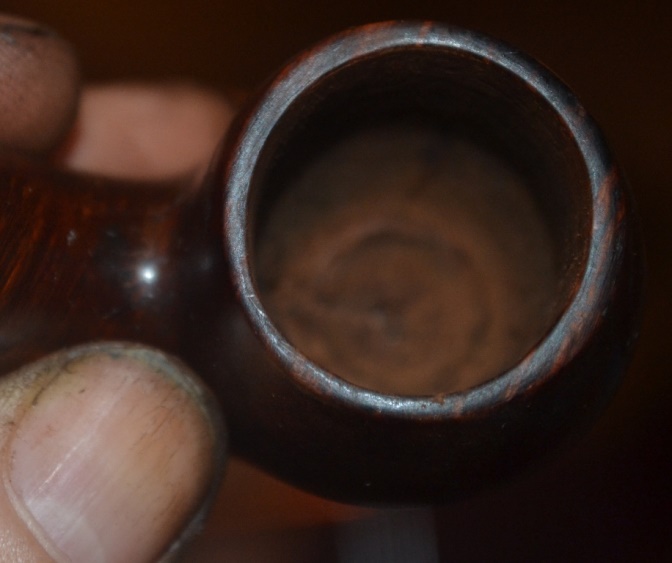
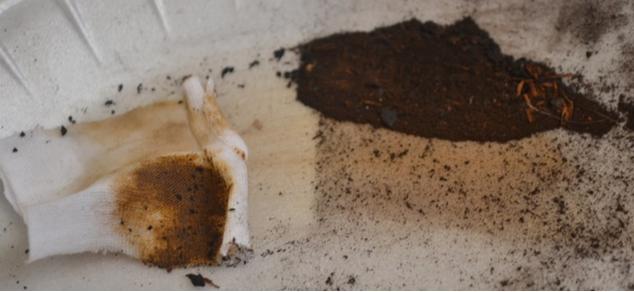
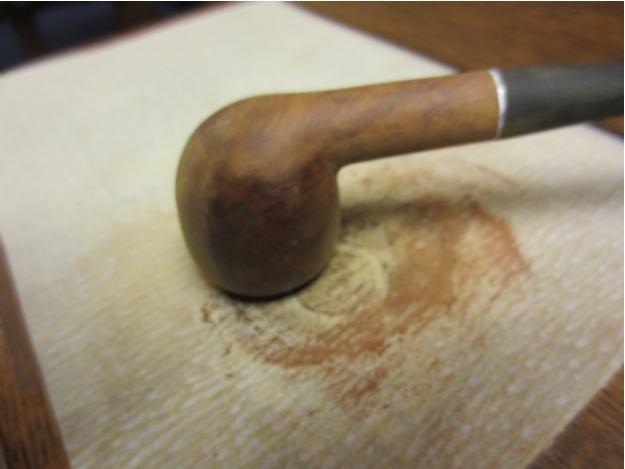
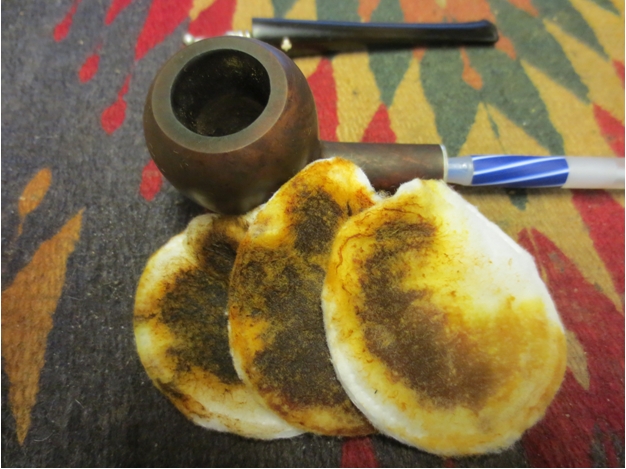
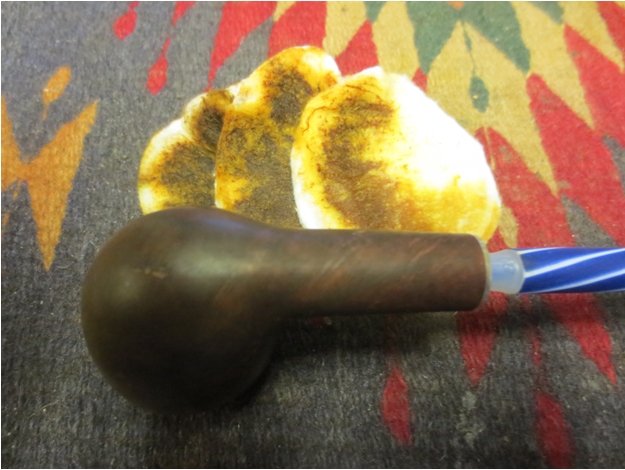
Meanwhile, I used a record 15 bristly pipe cleaners to remove the long-accreted mess of tar and other fantastic buildup of nastiness from the shank. I concluded a serious alcohol flush was in order. I stuck a piece of cotton in the bottom and for the first time plugged the shank with some cork I had on hand.robert10About a half-hour later, seeing the cotton was dark, I removed it with a cheap tobacco pick and pulled the cork, letting the brown alcohol drain through the shank. I had given the outer wood a good bath with purified water, which removed considerable filth, but being quick to wipe up the overflow of alcohol, I used it to wipe away more tenacious hangers-on, so to speak.Robert11 robert12The next strands of the web were the many tiny scratches and pits on the bowl and shank, all of which were so small I was (I have to admit) tempted to let them slide. That being a sin of restoration I have yet to commit with malice aforethought, my senses returned. I considered how to accomplish their elimination.

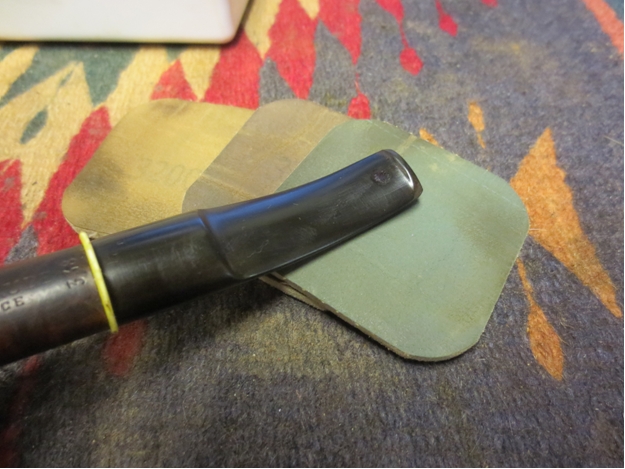
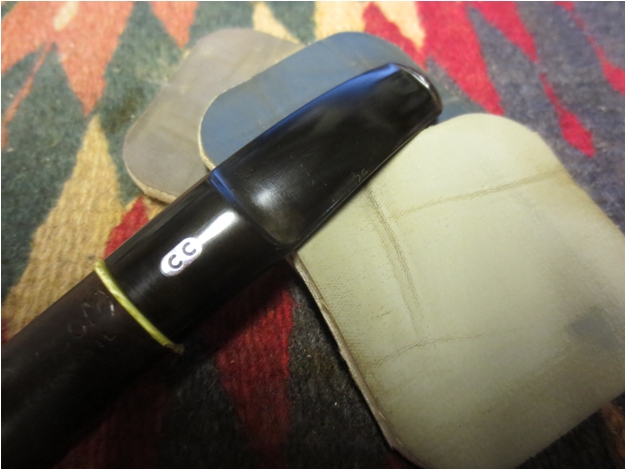
The 1500 micromesh worked on a few superficial scratches. Given that I could see them myself, I used the 320 micromesh for the deeper flaws that were small but still clear to serious scrutiny. That was the magic number but left the treated areas lightened. One of my goals with this restore was to avoid re-staining anywhere, and I had succeeded so far so I was determined not to resort to the last measure at the point. I tried the 1500 again on these spots and found it shined up the wood almost as it had been.

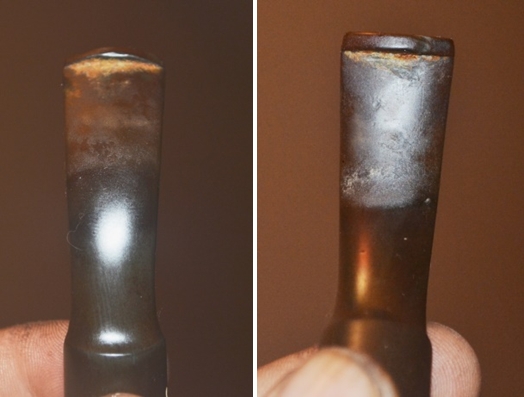
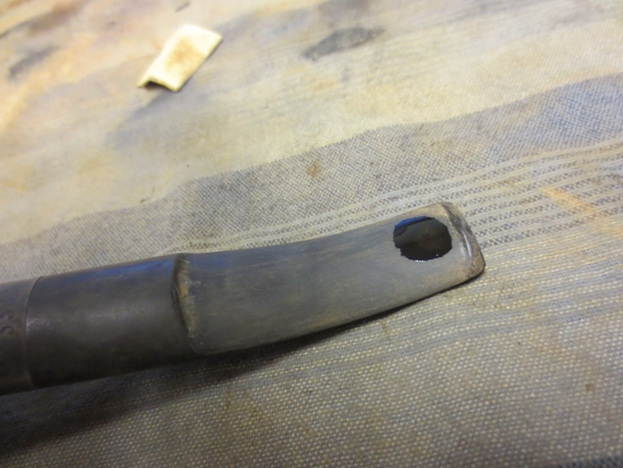
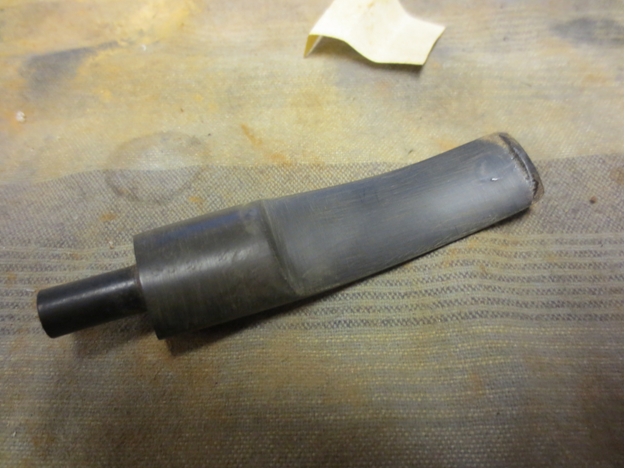
Then I had a thought. I know, the phenomenon doesn’t occur every day, but this was like one of James Joyce’s little epiphanies. Taking a risk, I used the 1500 micromesh on the entire bowl and shank, smoothing the entire surface to a nice glow.Robert13 Robert14 Robert15 Robert16 Robert17The only part of the web before I was clear of it was the stem. Now, I have had stems discolored and bitten almost to the point of being irreparable and made them shine like new. This stem, on the other hand, which showed nothing but the slightest use by a long-time, caring pipe tobacco enjoyer, eluded several efforts to remove the minor scratches. To my surprise, the chatter came off with ease, but the scratches would disappear with micro-meshing and then new scratches and even white blotches popped up when I wiped the stem down with my cotton cloth.

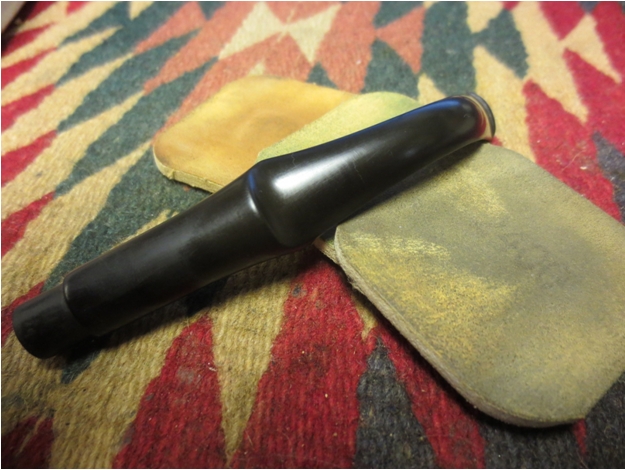
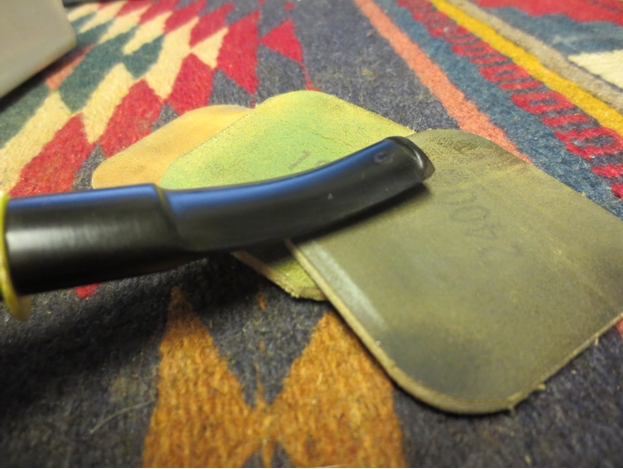
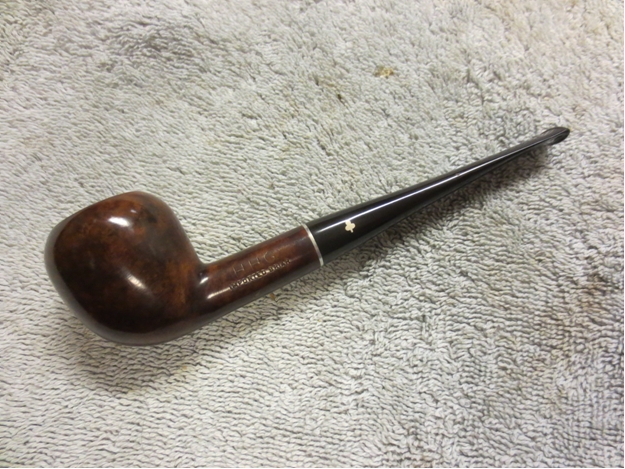
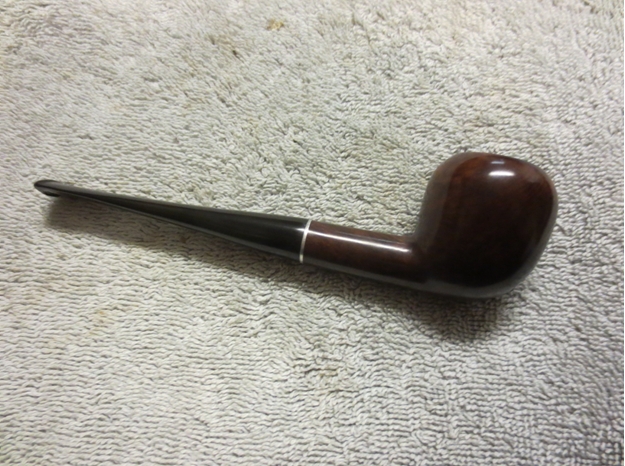
Nothing was going to stop me. And so, with a barrage of micromesh grades starting with 1500 and then 800 followed by 3200 and 320 and at last 1500 again, I could find no scratches, chatter or blotches.Robert18 Robert19All that remained was the buffing. I finished the stem with red Tripoli and White Diamond. The briar I used everything at my disposal, starting with white and red Tripoli, then White Diamond and at last carnauba.Robert20 Robert21 Robert22 Robert23 robert24 robert25CONCLUSION
I had a good time restoring this excellent old pipe, despite the unexpected difficulties I seemed to encounter at every turn. In fact, I suspect the new problems added to the pleasure. I’ve always enjoyed a challenge, and while mine in this process may seem tame compared to those some of my more experienced readers have dealt with – and believe me, I’ve read enough of Steve’s and heard about plenty of my friend’s and mentor’s to know there is far worse – they nevertheless represent new obstacles I overcame. That, I understand, is what the job is all about.

I suppose I was born with the type of personality that finds it impossible to overlook even the slightest flaws I notice in any project I undertake. People – for the most part those who are satisfied with mediocre conclusions – have always called me a perfectionist, but I never use the word to describe myself because I know I am far from it. Only on rare occasions have I completed a project (whether it be a short story, screenplay, novel, blog, pipe restoration or anything else) to which I did not return later and see how I could write, edit or do it better.

By way of example, when I was writing my last blog, on The Guildhall London Pipe, I started to insert photos and noticed the stem was not up to my present snuff, so to speak. And so, although it was somewhat of a hassle to stop my blog, get the pipe, remove the stem and not just rebuff it using the White Diamond wax I recently added to my wheels but re-sand it to remove the horrible discoloration I had missed before, I could not bring myself to publish photos knowing they would show my incompetence. I think the final result was worth the extra effort.

I am beginning to realize an important part of the restoration learning process is simple rising self-expectations. By good fortune, I have several dozen estate pipes in many shapes and degrees of duress on which to practice in the near future…and I am chomping on the bit!

The One That Got Away – Robert M. Boughton


Guest Blog by Robert M. Boughton
Member, North American Society of Pipe Collectors
http://www.roadrunnerpipes.com
http://about.me/boughtonrobert
Photos © the Author

“Love bravely, live bravely, be courageous, there’s really nothing to lose.”
— Jewel (Jewel Kilcher), singer-songwriter, guitarist, actress, author and poet

INTRODUCTION
Indeed, I endeavor to live life to the fullest and take calculated risks. But be advised, the good lady, Jewel, is not altogether correct. This, therefore, is a cautionary account of a wonderful Gilpin, being the product of a maker called Salisbury.

Because of its humble background that defies my concerted attempts to trace the brand even to a country of origin, the 5-1/2″ long pipe (from the front of the small, flat, rounded base to the lip of the stem) with a 1-7/8″ bowl height, though an uneven mix of birds-eye and erratic lines, is nevertheless a fine example of engineering, briar quality and the ultimate smoking pleasure that results. I believe Salisbury is or was a small, independent pipe shop, or perhaps just the name of the town where a modest craftsman who created the Gilpin lived.

RESTORATION
For anyone who has read my other recent blogs, the beginning of this part will come as a given. More for the benefit of others, I have to say this unfortunate pipe, which came as part of a lot I purchased online because I could see through the beast to the beauty inside, was not treated well by its former owner. Exercising the utmost restraint, I will forego any judgment calls as to the personality of that ignorant individual and just get to proof of where I started. The only redeeming factor is that there was nothing wrong with the interior structural character of the Gilpin.Robert1 Robert2 Robert3 Robert4Needless to say, the pipe was as thrashed as the others in its lot, to my benefit since, taken as a whole, the collection did not appear to be worth my overbid that succeeded in scaring off the other contenders, and I won for next to nothing.

When I finished with my reamer and 150-grit paper on the chamber, I had removed enough cake both to fill three bowls and to rest my softened case against the previous individual who had possession of this pipe.
Robert5For the rim I started with 220-grit paper and then, as the wood began to peek through, finished the removal of the serious burning with 1500 micromesh.Robert6The uniform scratches all around the rim indicated a need for slow work with 400-grit paper and 2400 micromesh to achieve smoothness.Robert7I re-stained the rim a light brown and hand-buffed it with 2400 micromesh.

The stem on the Gilpin was so roughed-up and discolored that it proved to be the most difficult part of the restoration. Beginning with vigorous sanding using more 220-grit paper, I spent close to a half-hour removing the blemishes that must have contributed to the collectors who also bid on this lot giving up after my one max offer of $40. I paid $22.50 for the four pipes. I finished my labor on the stem with 1500 micromesh, then 3200.

THE FATAL CRISIS
After cleaning and sanitizing the near-finished Gilpin, I had only to polish the stem and wood on my twin fixed-speed buffers. I know, I know! I can’t count the times my friend and mentor, Chuck Richards, and other restorers more experienced than I have admonished me to have a firm grip on the material being buffed when using this type of inexpensive tool. And I swear to all that is holy to me that I did just that. Read on, and I shall tell you the tale.

Starting with the stem, using red Tripoli and White Diamond, the result was perfect. I moved on to the bowl and shank, buffing them to a beautiful sheen with white Tripoli, White Diamond and the last touch of carnauba. I was, in fact, in the act of removing the beautiful briar from the carnauba wheel.

And that was when…

Well, that was when the unthinkable happened. You know by now where this is going. The precious piece of wood got away from me and, thanks to my not having set up a soft net for such contingencies, flew at warp speed straight into the wall a mere few inches behind the buffer.

I actually heard the sound of the snap, although I could not see where the consequence of my mistake came to rest. As a nauseating, heartbroken sickness spread from my stomach to the rest of my body and mind in one breathless heartbeat, I switched off the second buffer and leaned over the edge of the stand and spotted the bowl on the carpet – with a jagged break in the shank near the draught hole.

Of all the accursed luck! Right before the frigging draught hole! (That, for your information, was not the adjective I in fact shouted out loud in a maelstrom of horror and self-flagellation.) Even through the mental fog that swirled inside my addled head and made my sight blur, I had a good idea of the significance of that location, more or less the hottest place on a pipe, as opposed to the stem end, where I might have had a fighting chance to Super Glue it back together and band the sorry, mortally wounded Gilpin.

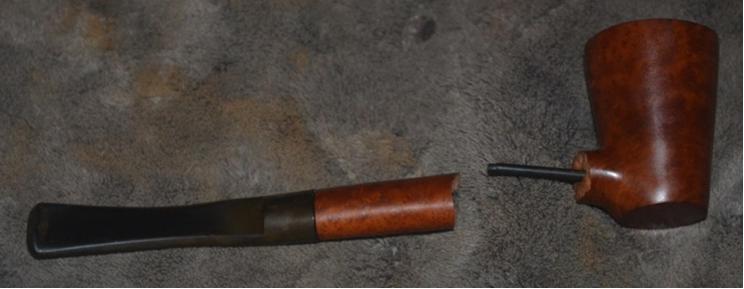
But where was the other piece? I grew frantic in a way I had not experienced in years. Standing there where I had frozen, without moving my feet, I searched everywhere around the stand until at last, turning only my head, I found the missing piece of the shank. It was behind me by a box near the middle of the room.Robert8And so it came to pass, the next day at my tobacconist, that I took the all but ruined pipe, in its three clean and sparkling pieces that seemed to mock me, and at least having calmed down enough to smile for Chuck as I handed him the violated parts said:

“The one that got away.”

“What’s this?” Chuck said with his grin of curious amusement.

“The one that got away,” I said again. “You know how often you’ve told me to be extra careful holding pipes on the buffers I have. Well, one finally got away.”

Recounting my story to him, I saw his big, warm smile emerge and felt so much better, even though I knew in my heart that he would confirm that the hapless Gilpin was beyond repair for purposes of selling.

Chuck and Chad

Chuck and Chad

As luck would have it, though, if such a phrase could even be conceived to apply to this calamity, the fractured pipe was not beyond repair for what Chuck called a shop pipe, or one to be enjoyed by myself while restoring others. All I needed to do was find some sort of short rod to anchor the two parts of the shank in place and Super Glue them together without letting any of the glue seep inside.

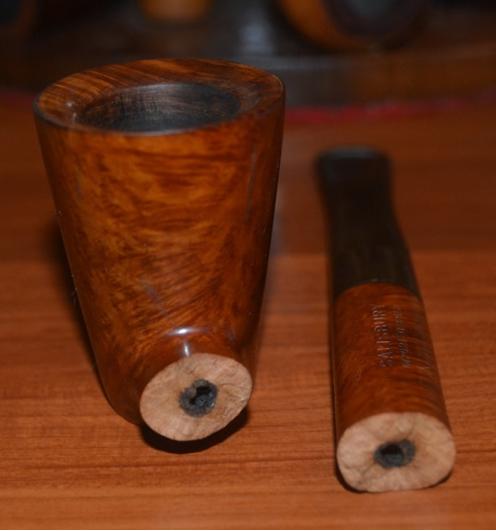
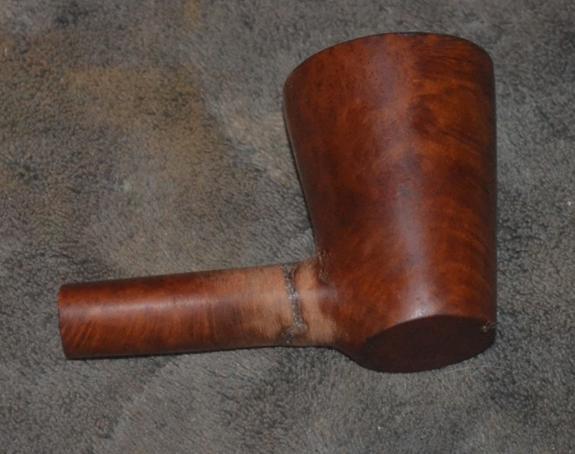
I can do that, I thought, and a local hardware store where I could find such a thing came to mind. The next day I visited the store and searched through the limited possibilities. I spotted a 315-piece box of assorted sizes of spring steel, black oxidized roll pins, and after much thought decided what the heck. One of the two smallest pins, I concluded, would fit the bill.Robert10Choosing the smallest, which was 1/16×3/16″ in size, I inserted one end of the roll pin into the bowl end of the shank, as is obvious in the photo above. With great care, I applied Super Glue around the exposed wood of the same end and fitted the other piece of the shank, without the stem, over the pin and into place, lined up in a perfect match.Robert11The next step I chose, after letting the glue set, was to use 400-grit paper to smooth the dried scab of glue as well as I could. In the process, of course, some of the finish came with it, but that was easy to fix with a small amount of brown boot stain around the lighter area.

I flamed it and used 2400 micromesh to remove the char. At that point, the dreaded time to return to the buffers had arrived, and so there I went. Taking a deep breath and telling myself whatever happened was okay, I felt a calmness come over me. I turned on the two buffers and re-did the entire bowl and shank with red and white Tripoli, White Diamond and carnaubaRobert12 Robert13 Robert14Only the knowledge that I would be smoking the finished pipe alone in my little shop and thinking of this black experience every time consoled me.

CONCLUSION
I have been smoking a bowl of Cornell & Diehl Sunday Picnic in my new shop pipe as I finish up this most excellent example of how not to restore a pipe. The Gilpin is every bit as good as I expected, but of course I remain unhappy with the end. I would much rather have concluded on a happy note with the Salisbury whole and rejuvenated and ready to sell, but life sometimes takes cruel turns.

Then again, maybe the beautiful, aptly named Jewel had it right.

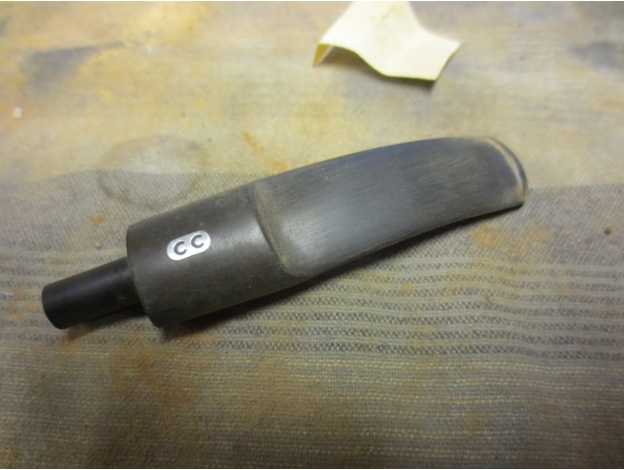
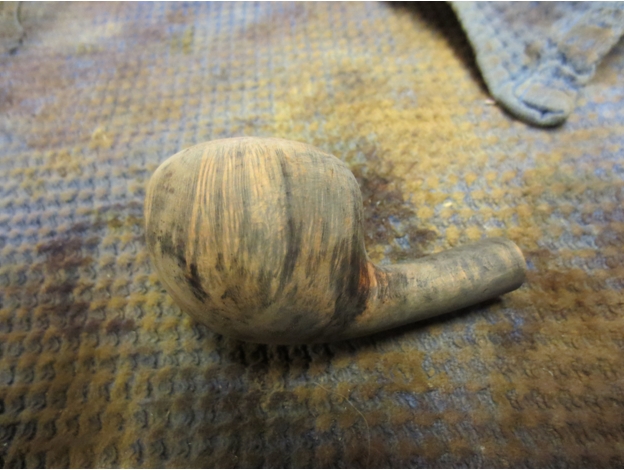
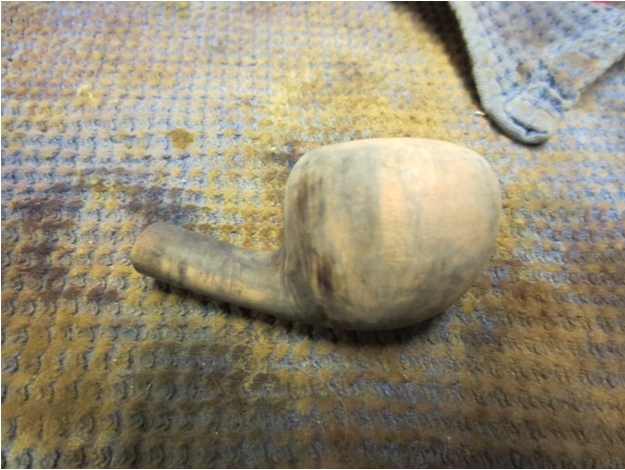
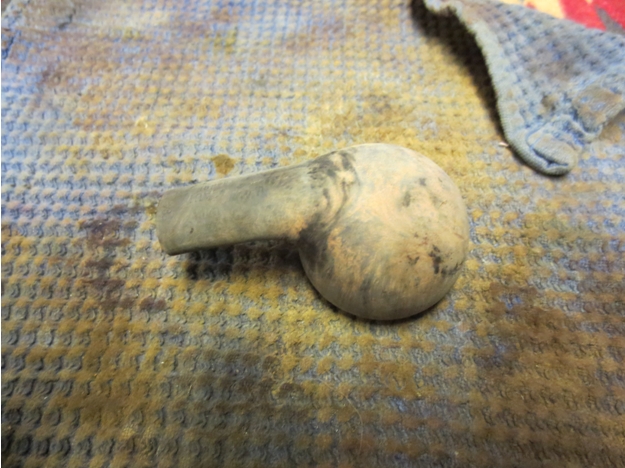
Bringing an acorn shaped bowl back to life – wondering if there was a point to this exercise.


Blog by Steve Laug

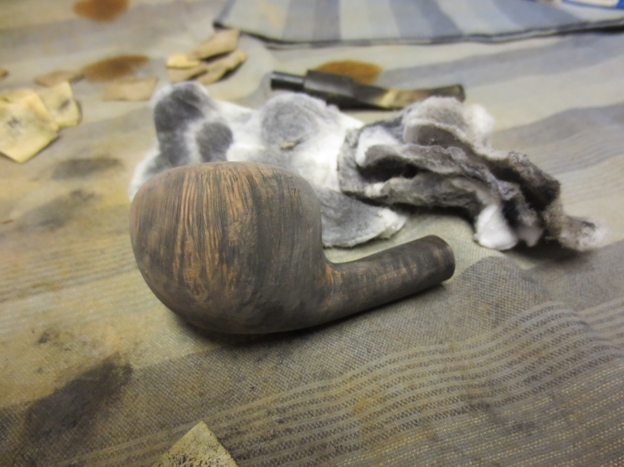
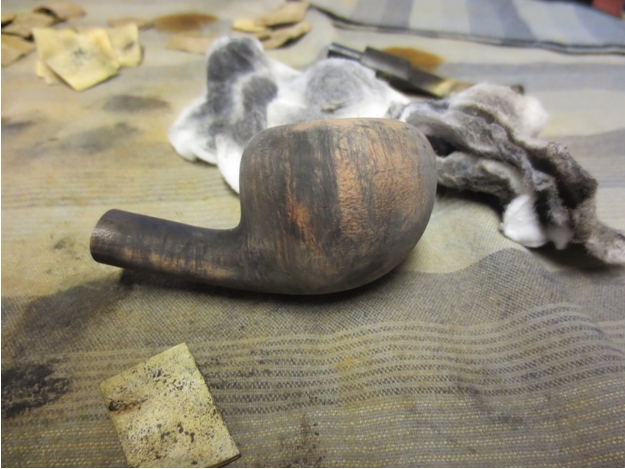
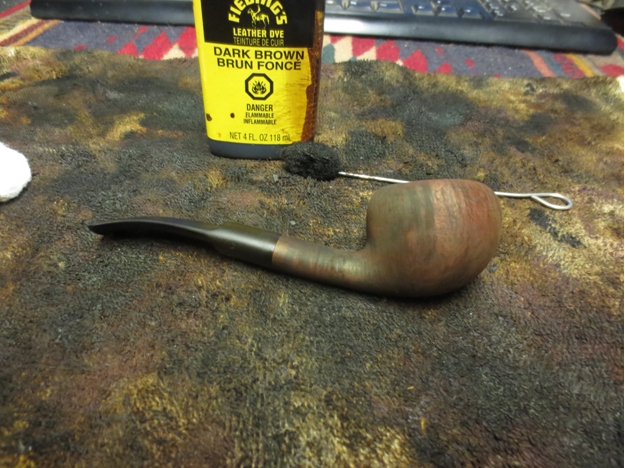
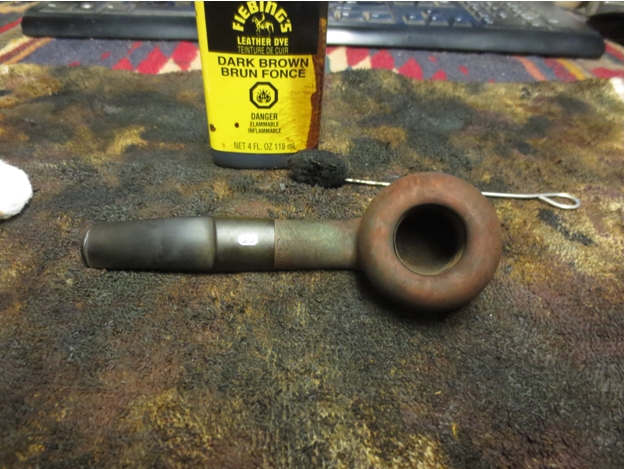
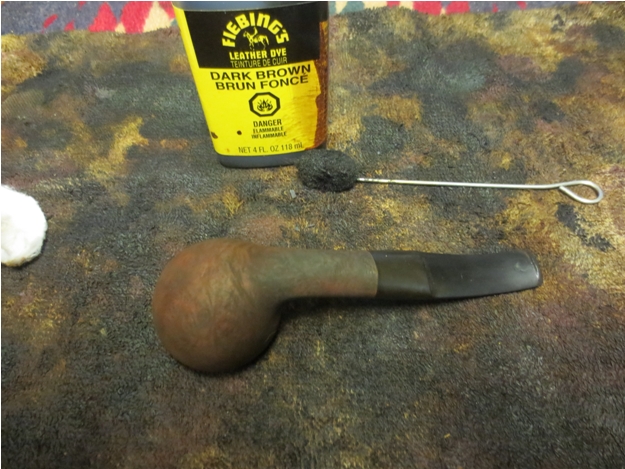
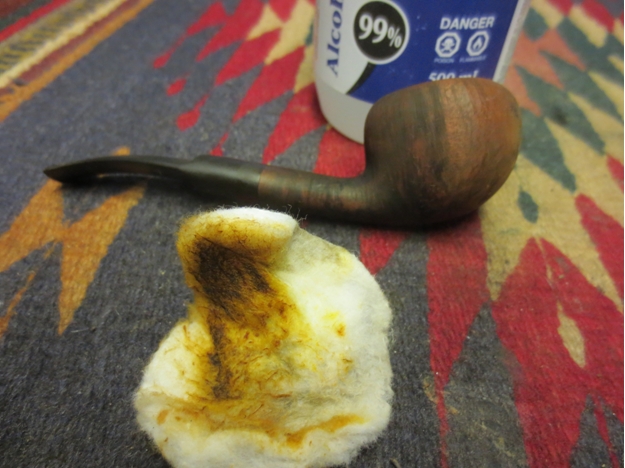
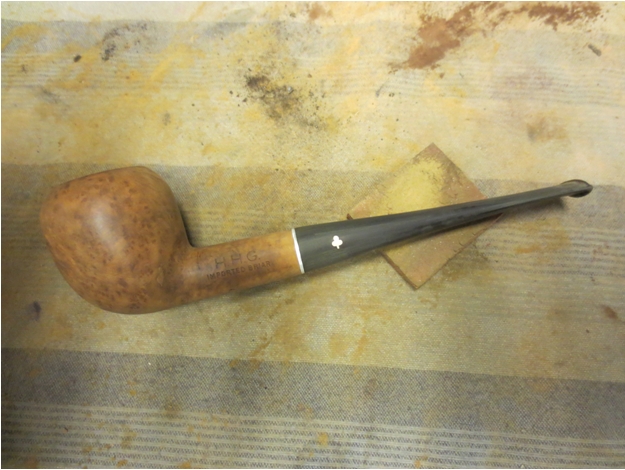
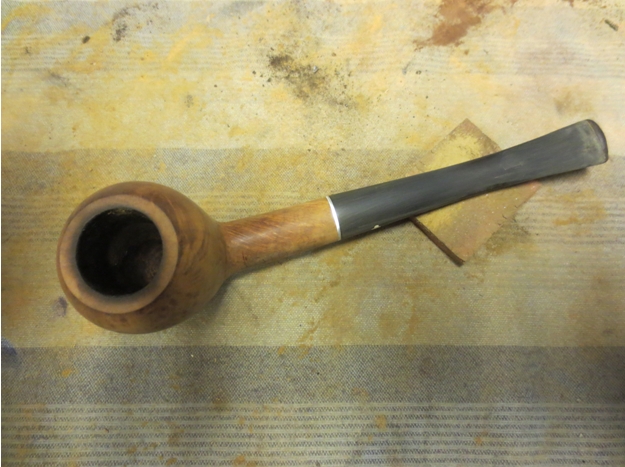
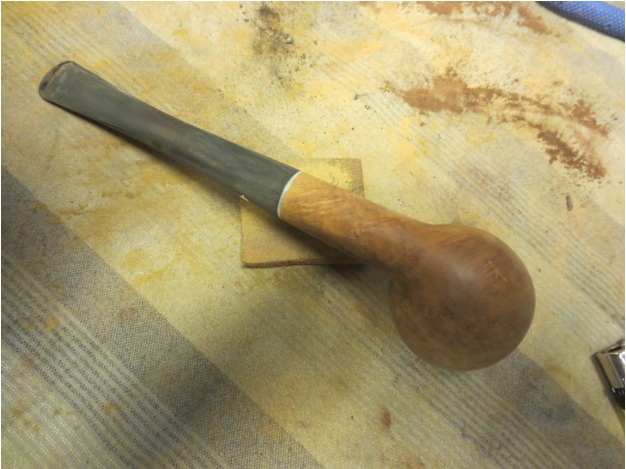
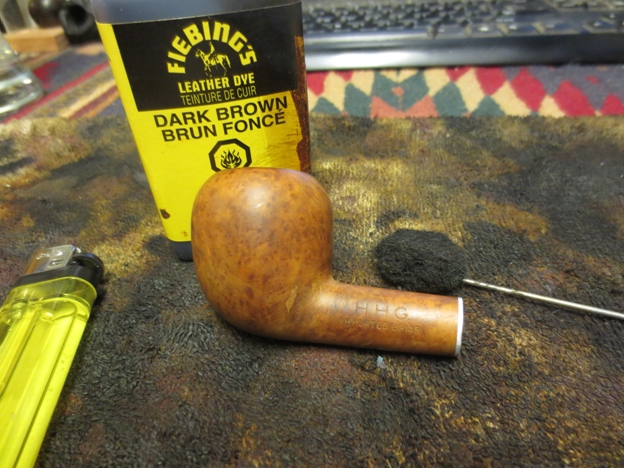
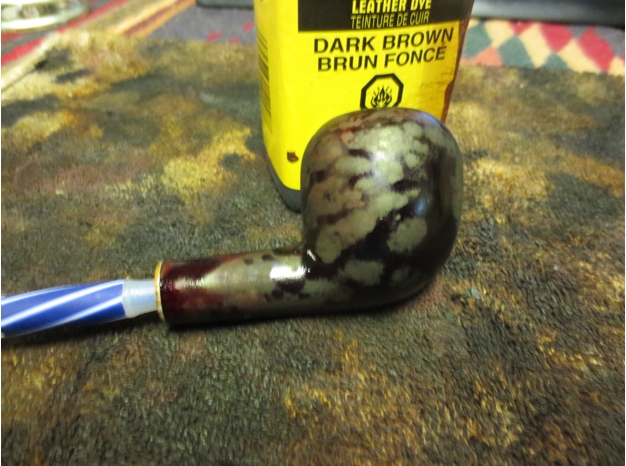
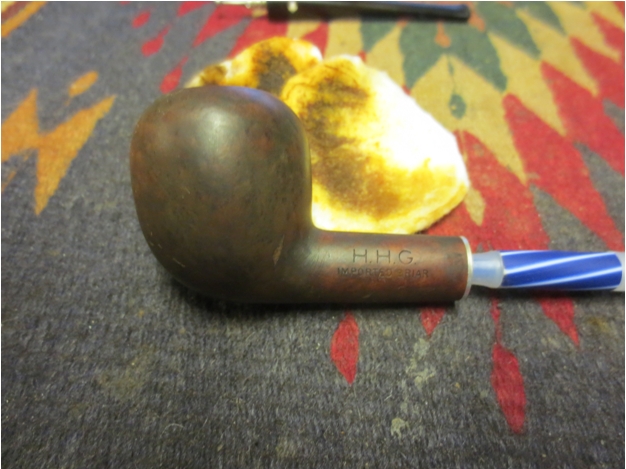
When I took this old bowl out of the box – last of two pipes to refurbish in my box – I looked at it and wondered what the point would be to clean it up. It had three large and visible fills on the bowl back left side and bottom of the shank and bowl. The finish was shot and it did not have a stem. I sorted through my can of stem and found a threaded Kaywoodie stem that had a short stinger and some scored threads. I tried it in the metal mortis on this pipe and it actually fit perfectly with no overage. The stamping on the old bowl remains a mystery to me – it is stamped on the left side of the shank as follows: HHG over Imported Briar. There is no other stamping at all on the pipe. So far I am unable to find any information on it at all. Who Made That Pipe has the listing but says maker unknown. I do know that the Imported Briar stamping makes it likely that the pipe is an American made pipe post WWII. Other than that I am at a loss. The two fills were solid and undamaged and the putty was a light brown. The finish was shot and opaque. It was hard to see what the grain looked like underneath. The rim was darkened but undamaged.IMG_2484 IMG_2485 IMG_2486The photo below shows the three fills that were very present on the bowl. The potential grain shows through on the bottom of the shank and led me to have a little hope that underneath the opaque ruined finish would be some nice grain.IMG_2487I screwed the stem in place on the shank to have a look at the shape and fit with the pipe. It actually looked quite good with the long, slender stem. The stem had oxidation and calcium build ups on the top and bottom but would clean up nicely.IMG_2488 IMG_2489 IMG_2490I wiped down the bowl with alcohol (ran out of acetone) and scrubbed the surface to remove the finish. Without the acetone I would need to sand the bowl. I set up a topping board and used 220 grit sandpaper to remove the thick darkening on the rim. I lightly topped it so as not to change the profile or look of the pipe.IMG_2492 IMG_2493 IMG_2494I sanded the bowl and stem with 220 grit sandpaper and then with a medium and fine grit sanding sponge to remove the remnants of the old finish on the bowl and the buildup of calcium on the stem. Some nice birdseye grain was underneath the finish on the right and left sides of the bowl.IMG_2495 IMG_2496 IMG_2497 IMG_2498I cleaned the metal tenon with alcohol and then sanded the rough areas on the threads to clean up the aluminum damage. I sanded the stem with 220 grit sandpaper and medium and fine grit sanding sponges to remove the tooth indentations that were underneath the calcified buildup. I used a Bic lighter to paint the surface of the stem and lift the tooth dents. Once they had lifted I redefined the crease of the button with needle files. I sanded it with micromesh sanding pads – wet sanding with 1500-2400 grit pads and dry sanding with 3200-12,000 grit pads. I rubbed it down with Obsidian Oil between each set of three sanding pads. When I finished sanding with the 12,000 grit pad I buffed it lightly with White Diamond and gave it another coat of Obsidian Oil. I set it aside while I worked on the bowl.IMG_2499 IMG_2500 IMG_2501I wiped down the bowl one final time with alcohol before staining it with a dark brown aniline stain. I applied the stain and flamed it and repeated the process until the coverage was even.IMG_2502 IMG_2503I wiped down the bowl with alcohol on cotton pads to remove some of the dark heavy colour of the brown stain and to make it more transparent. Once I had it to the point where I could see through the stain to the grain I quit wiping it down. The trick was to make the stain transparent enough to highlight the grain but at the same time minimize the three fills.IMG_2504 IMG_2505 IMG_2506 IMG_2507Once I had the stain at the place I wanted I put the stem back on the pipe and took it to the buffer. I buffed the bowl with red Tripoli to polish and buff through the dark areas that remained on the stain coat. I buffed the bowl until it met the look I was aiming for. I then buffed the bowl and stem with White Diamond and gave them multiple coats of carnauba wax. I buffed it finally with a soft flannel buff to raise the shine. The finished pipe is shown below. It actually came out quite well and should provide a great yard pipe for someone down the line. I expect this will be another pipe that I gift to a pipeman I meet along the way.IMG_2508 IMG_2509 IMG_2510 IMG_2511If anyone has some clues as to the maker of this pipe let me know. It turned out to be worth working on after all. I am pleased with what came out of an otherwise ignoble old pipe bowl without a stem that had been sitting in my box for quite awhile as I ignored it and worked on other bowls and stems.
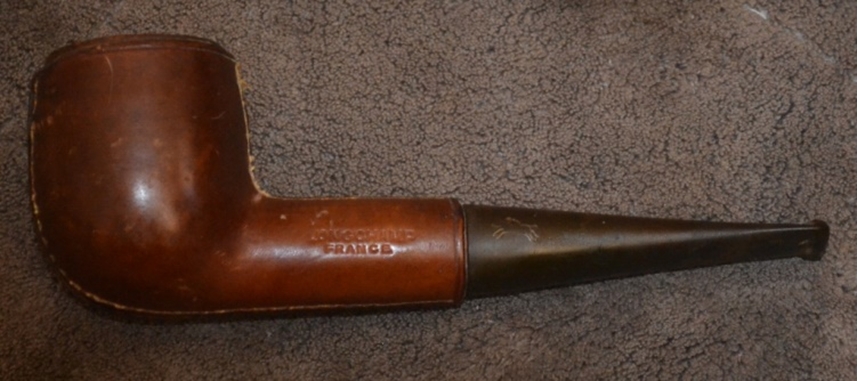
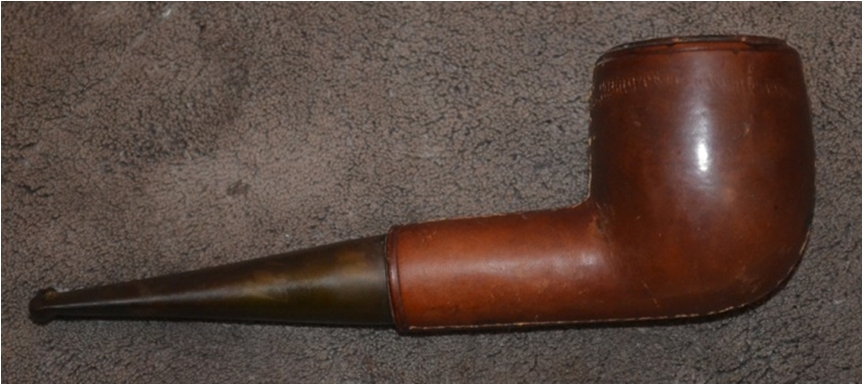
The Original Lonchamps Pigskin Pipe and the Restoration of One – Robert M. Boughton


Guest Blog by Robert M. Boughton
Member, North American Society of Pipe Collectors
http://www.roadrunnerpipes.com
http://about.me/boughtonrobert
Photos © the Author

“Nothing is so perfectly amusing as a total change of ideas.”
— Laurence Sterne, 18th century Irish born English novelist and humorist

INTRODUCTION
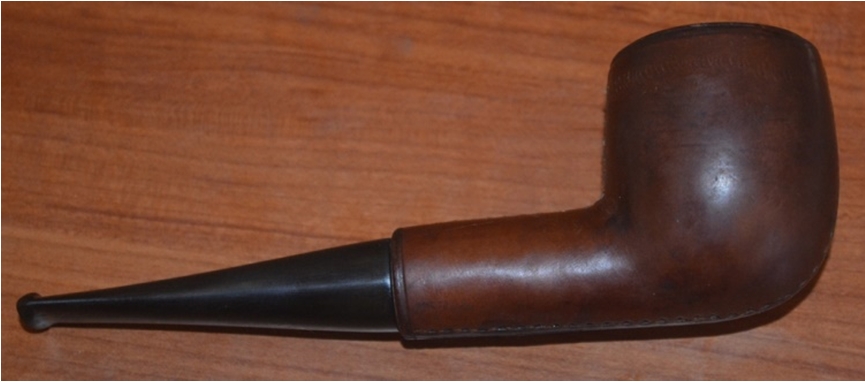
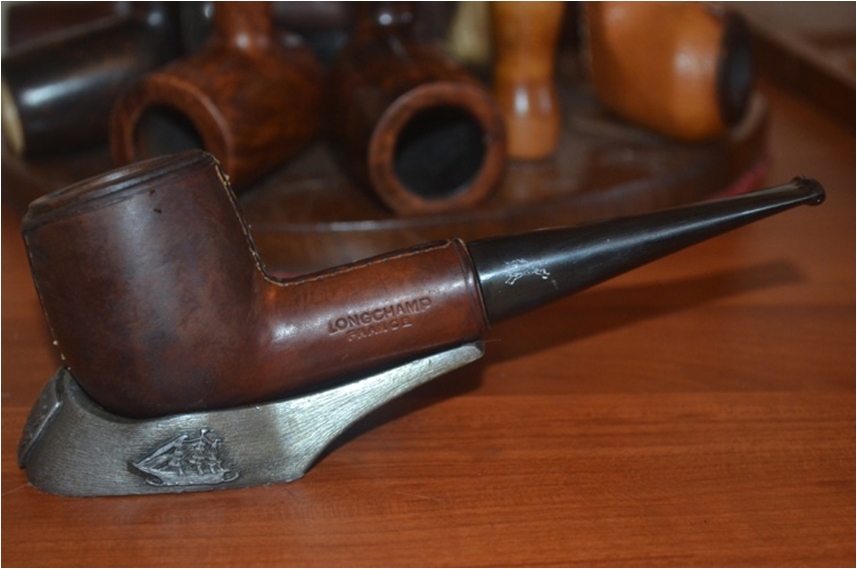
Imagine it, the idea of covering a nice, good briar pipe in pigskin, or, as is more realistic, decent briar but pocked with so many problematic blemishes that conventional pipe-making wisdom would have it rusticated or coated with high quality varnish of some color and buffed to a high sheen. Yet some clever Frenchman, tired of the norm, cogitated on the puzzling problem until, in 1945, he came up with the idea of wrapping the bowl and shank in pigskin. And thus Longchamp, a brand of Forestier & Cie, was born to be the first maker and sole distributor of the new innovation, at least until other brands got with the program.

This particular leather-clad pipe came to me from the Internet, as so many subjects of my recent and future blogs did, because I spotted it in a lot and looked up Longchamp online. That is how I learned that the French company’s shop in St. Claude, renowned for so many other fine examples of the craft, fashioned the wooden shapes and sent them off to Paris where the actual pigskin coats were made and sewn on by local artisans.

I already bought two pigskins, both bulldogs, by other makers. The green Versailles, an export brand of Ropp, sold a few weeks ago. The tan Derby, an Italian make, remains available. The dark brown Longchamp, a billiard, makes a nice alternative as a different shape and color.

RESTORATION
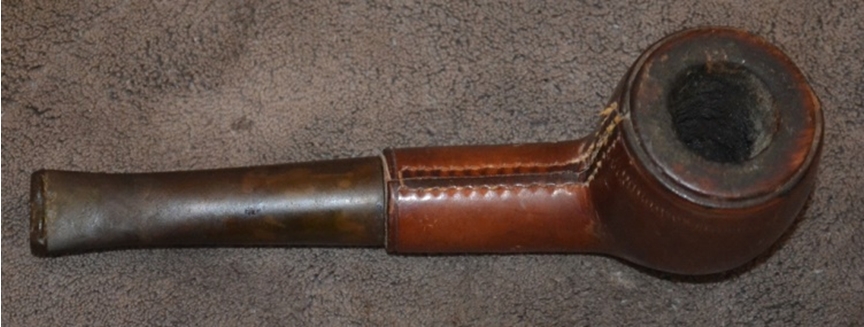
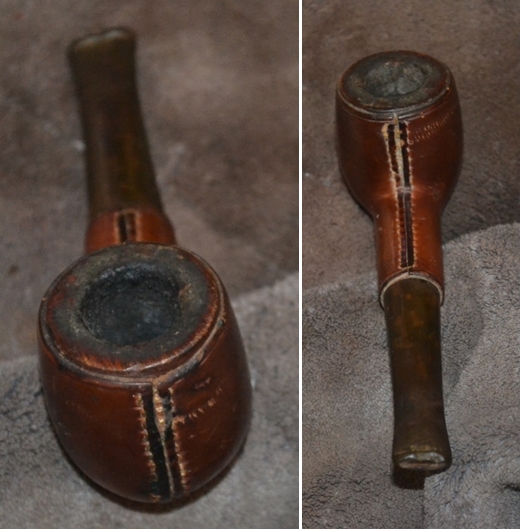
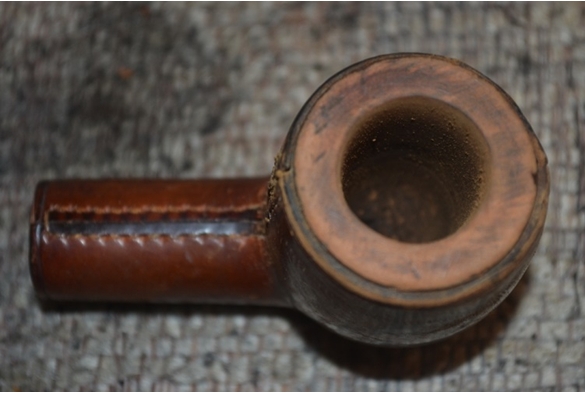
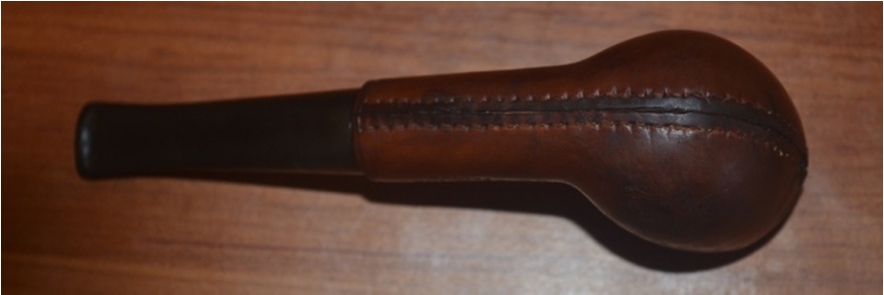
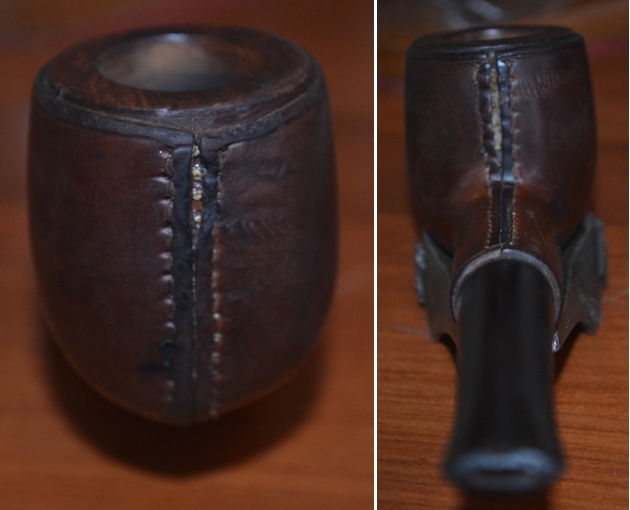
In a façade of good upkeep, the pigskin itself was impeccable, needing only polishing. The real victims of the previous owner were the rim, chamber and stem.Robert1 Robert2 Robert3 Robert4 Robert5I’m getting plenty of experience with rim and chamber restoration, and as the photos above show, this is no exception. Don’t ask me how it’s possible, but when I finished reaming this one and sanding it with 150-grit paper, there was more carbon than bowl space. If it were tobacco, there would be enough to fill at least three bowls.Robert6But the finished wood, including the rim from which I was able to remove with super fine steel wool all of the burns that appeared to be so serious I suspected someone had used a cigar torch on it, makes the labor of love worth it.Robert7Just a little patient work with 1500 micromesh brought back the nice grain and took away the small nick. I re-did the rim with brown boot stain, flamed it and removed the resulting light layer of black flakes with gentle use of 2400 micromesh, going with the grain.

Reading the instructions on the label helped me avoid following my impulse to squeeze out a huge gob of the Cadillac Boot and Shoe Care polish I bought for the purpose of restoring the shine to the pigskin. I would have smeared it all over the leather and was amazed that so little of the stuff went so far. Like Dippity-do, just a dab will do you.

Now, the scrapes and discoloring of the stem took some time to undo with 220-grit paper followed by 1500 micromesh. I polished it with the usual red Tripoli (several turns on the buffer) and White Diamond.

The one thing about this restore that seemed wrong as far as the briar was concerned was not being able to remove the pigskin to get to the wood and at least clean it up. I suppose my innate curiosity would have compelled me to take this step if I possessed the skill to sew the leather back together! But as it was, the rim being the sole part of the wood that showed, it was all I needed to buff. I gave it the works, of course, with white Tripoli, White Diamond and carnauba waxes.

The final touch was returning the Longchamp galloping horse and rider logo on the stem with a white crayon marker. And of course, somewhere in there I cleaned and sanitized the pipe.Robert8 Robert9 Robert10 Robert11 Robert12CONCLUSION
Although I am not a big football fan, I was pretty good at running with the ball whenever I got it back in the day during my childhood. Something in me hated to be taken down, and so I became quite good at twisting and squirming my way out of the grips of opposing players when they got their hands on me, or dodging them altogether.

Until my recent experiences with leather-covered pipes, that was my only run-in with pigskin.

There was nothing redeeming about this ugly old pipe…


Blog by Steve Laug

I am getting down to the bottom of my refurbishing box yet again. This is one of three pipes that are left to work on. It is one ugly old pipe to my tastes. Certainly it is one that I have left until there are few to choose from to work on. There truly was nothing redeeming about the look of it. The rough cut billiard with a bark like rustication pattern did nothing for me. The left side of the shank is stamped Forecaster over Imported Briar. The bottom of the bowl had been flattened to make the pipe a sitter. But even that was done poorly as it was to one side and the pipe sat with a list. The finish was worn out but appeared to have been a dark thick stain that was opaque enough to hide all the briar. The outer rim of the bowl had been badly beaten up from hitting against some hard surface and left to be a ragged rough edge around the bowl. One thing that gave this tired old pipe a unique, eye-catching touch was that the top of the shank had been stamped with an eight point star and then inlaid with gold paint. The bowl had a thick soft cake all the way down reducing the diameter of the bowl by almost half. The stem had a metal spacer that gave the appearance of a stem with a metal tenon as well. But when I removed the stem I found that it had a vulcanite tenon. The stem was badly oxidized and had some deep scratches in the surface.IMG_2440 IMG_2441 IMG_2442 IMG_2443I reamed the bowl with a PipNet reamer using the smallest cutting head and worked my way up to the head that would take the cake back to the bare wall of the pipe.IMG_2444The top was so damaged that it needed to be topped. In looking it over I was not sure how much of the rim I could remove without dramatically changing the look of this pipe so I would proceed slowly. I set up a topping board with 220 grit sandpaper and slowly topped the bowl. I sanded it until I had removed as much of the damaged portion of the rim as I could without changing the shape. The rustication made the bowl look out of round but is actually still round. The right side is more rusticated at the top edge than the left so it looks unusual from the top down photo below.IMG_2445IMG_2446I wiped down the finish with acetone on cotton pads until I had removed the heavy dark finish. It took a lot of scrubbing to get through the grime and then the varnish coat. Underneath the dark top coat it appeared that there was a walnut stain that highlighted the grain on the high spots of the bowl. The grooves and valleys were dark with a black stain. The contrast had some potential.IMG_2447 IMG_2448 IMG_2449 IMG_2450I sanded the smooth parts of the bowl and rim with medium and a fine grit sanding sponges to smooth out the scratches in the bowl and on the topped rim. I wiped it down with isopropyl alcohol and then stained it with a dark brown aniline stain. I applied it and flamed it and repeated the process until the coverage was even.IMG_2451 IMG_2453 IMG_2454The bowl was very dark brown but it was at least evenly stained. I would have to do some more work on it to get the contrast that I wanted between the rustication and the smooth parts of the briar. I cleaned out the shank and bowl with isopropyl alcohol, cotton swabs and pipe cleaners until they came out clean. I cleaned the stem at the same time until it also was clean.IMG_2455 IMG_2457I wiped the bowl down with isopropyl alcohol to remove some of the heavy dark brown stain and make it more transparent. I then sanded the bowl with a fine grit sanding sponge to remove some more of the stain on the high spots and to match the colour of the stain on the rim. I sanded the stem with the sanding sponges at the same time to minimize the scratches on the vulcanite.IMG_2458 IMG_2459 IMG_2460I buffed it with White Diamond and took it back to the worktable to work on the stem and bowl some more. I wanted the stain to be a bit more transparent and the contrast between the high spots and the crevices to show clearly.IMG_2461 IMG_2462 IMG_2463I still needed to deal with the list to one side when I set the pipe down on a flat surface. I probably should have done this before I stained the bowl but forgot to do so in cleaning up the mess. I decided it was better late than never so I dealt with it next. In examining it I found that it was not centered on the bottom of the bowl and shank but was off to one side. I sanded flat portion to take down the higher side and even out the flat bottom. I used 220 grit sandpaper and then a medium and fine grit sanding sponge to flatten it out and remove the list. When I was satisfied with the way the bowl sat I refinished it with a stain pen to darken it and blend it into the stain of the rest of the bowl.IMG_2464I sanded the stem with micromesh sanding sponges – wet sanding with 1500-2400 grit pads and dry sanding with 3200-12,000 grit pads. Between each set of three pads I rubbed the stem down with Obsidian Oil and let it soak into the vulcanite before proceeding with the next set of pads. When I finished I gave it a final coat of oil and then buffed it with White Diamond to a shine.IMG_2474 IMG_2475 IMG_2476I buffed the entire pipe with White Diamond and then gave it several coats of carnauba wax and buffed it with a soft flannel buff. The finished pipe is shown below. It is still an ugly pipe in my opinion but there is something redeeming about the ugliness. I suspect it will make a great yard pipe for someone and will deliver a good smoke. It must have been a good smoking pipe in its day – otherwise why would its previous owner have smoked it to the point of near death!IMG_2477 IMG_2478 IMG_2479 IMG_2480

A Sentimental Journey – the Restemming and Restoration of a Medico Rhodesian


Blog by Steve Laug

For years now I have had a special spot in my heart for Medico pipes. I don’t like the paper filter system, or the cheap stems with the split aluminum tenon, or the heavy varnish on the briar, or the fills that are hidden below the thick varnish, or any endless number of complaints that come to the surface with these old US made briar pipes. But I can’t get past the fact that the first pipe I ever owned was a Medico – paper filter and all, and that the first pipe I picked up when my first daughter was born years later was a Medico as well. Because of that whenever I am given an old Medico bowl I restem it and restore it. I strip away the varnish and rework the fills, make a new stem and bring it back to life in even better condition that it was when it was first sent out.

The Medico that I worked on in this restoration was a straight shank Rhodesian that came to me in a gift box of bowls. It was stemless and I had two potential stems that would work for it. There truly was nothing particularly redeemable that I saw in the bowl so the reason was as stated above solely sentimental. The bowl was dirty and worn with a thick cake. The rim had been battered and had deep nicks on the outer edge. There was a thick dark red varnish on the briar. It was stamped MEDICO on the left side of the shank and Imported Briar Italy on the right side. On the left side of the bowl was a large brown putty fill that stood out like a sore thumb. The first stem I tried was a split metal tenon Medico style stem. It was worn but usable.Med1 Med2 Med3 Med4 It fit the shank perfectly and looked good on the pipe. I thought for sure this would be a simple and quick restoration. I should have learned by now that whenever I think that problems would pop up on the way to the finish. I cleaned the shank with cotton swabs, pipe cleaners and isopropyl alcohol.Med5The top of the bowl was badly damaged with large dents and missing chunks on the outer edge of the rim so I decided to top the bowl. I used the topping board with 220 grit sandpaper and worked on the rim until it was smooth and clean. There were still several places on the outer front edge that would need to be worked on but the finished look of the topped bowl was far better than when I had started.Med6 Med7I wiped down the bowl with acetone on cotton pads to remove the thick varnish coat and clean up the finish on the bowl. I wanted to remove it back to the briar. In the process the dark red stain coat also was removed from the bowl.Med8Once the stain coat and varnish were removed I could see several problems that I would need to address. The front edge of the bowl needed to be sanded and the slope on the cap would need to be modified by hand sanding to remove the damage on the front edge and face of the cap. There was also a fine crack that had seeped tobacco oils on the top right edge of the shank. It had been hidden by the dark stain. When I move the stem it was not visible and did not open or spread but it was definitely present. I would need to clean up the shank, band it and with the band a different stem would need to be fit to the shank. The stem I had previously chosen had a metal face that would not work against the band. I scrubbed the bowl and shank until all the red stain that I could remove was gone.Med9 Med10 Med11I used a Dremel with a sanding drum to sand back the shank so that I could fit a band on the shank. I also wanted to smooth out the surface of the rustication pattern and clean up the crack so that I could glue and clamp it before banding.Med12I put the band around the end of the shank and then heated the metal band with a Bic lighter until I could press it into place on the shank. It took several reheats with the lighter before I had a flush fit on the band. At that point I took the second stem I had chosen and lightly sanded the tenon to get a good tight fit in the shank and pushed it in place.Med13 Med14 Med15 Med16I reamed the bowl with my PipNet reamer and the smallest cutting head until I had taken the cake back to bare wood. I wanted the bowl to be clean so that I could see if there was any damage to the interior of the bowl.Med17Once I had reamed the bowl I reshaped the angle on the cap with 220 grit sandpaper and medium and fine grit sanding sponges. Once I had the angle correct around the entire rim and had removed the damage on the front of the cap I sanded the entire bowl with the sanding sponges. I also sanded the stem with the same sandpaper and sanding sponge combination to remove the oxidation and tooth chatter near the button. The newly shaped bowl and freshly sanded stem is shown in the next series of four photos below.Med18 Med19 Med20 Med21I stained the bowl with some oxblood aniline stain and flamed it. I wanted the red colour of the stain but I did not want it to be as opaque as the original stain had been. The aniline stain seems to be more transparent. It did however, do a great job in hiding the big fill on the left side of the bowl.Med22 Med23 Med24I sanded the stem with 220 grit sandpaper, then a medium and fine grit 3M sanding sponge. I followed that with my usual array of micromesh sanding pads – wet sanding with 1500-2400 grit pads and dry sanding with 3200-12,000 grit pads. I rubbed the stem down between each set of three pads with Obsidian Oil before moving on to the next three pads. I finished by giving it a final rubdown with the oil before taking it to the buffer.Med25 Med26 Med27I buffed the entire pipe with White Diamond and then gave it multiple coats of carnauba wax to protect and polish both bowl and stem. With that completed my sentimental journey with this old Medico was complete and it was ready to go back into service. I am sure I will gift this pipe to some new pipeman somewhere along the way as it should smoke very well and give many years of service. It is not a thing of beauty and never will be but it is a good serviceable pipe that will deliver a good smoke. The finished pipe is pictured in the photos below.Med28 Med29 Med30 Med31

A Reborn Peterson Tankard


Blog by Steve Laug

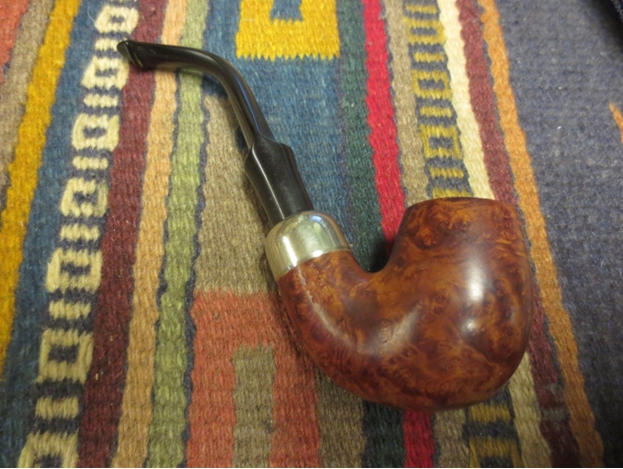
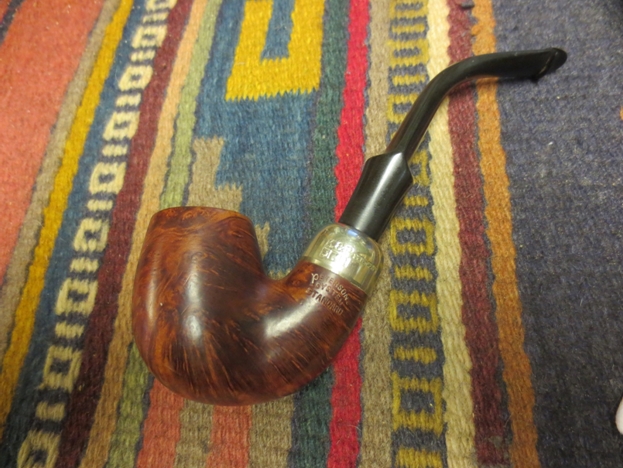
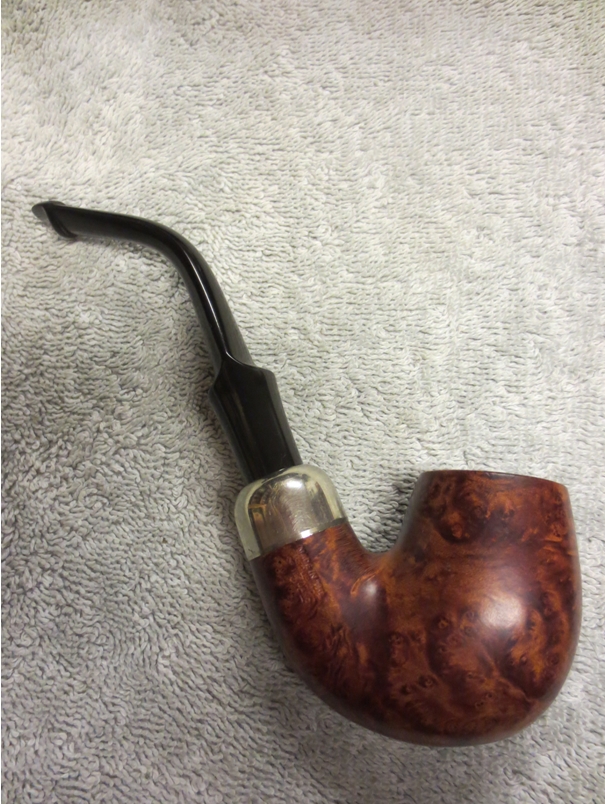
I have looked for one of these little Peterson Tankards for a long time. I have always liked the delicate simplicity of the pipe. The bowl is a round tankard and the pencil shank with the silver Peterson collar looks elegant. The rim is rounded and crowned. The stem has a gentle bend that allows the pipe to sit plat on the base. It is stamped on its base Peterson Tankard, Made in the Republic of Ireland. The pipe is pictured in the photo below, the third pipe down. It was one of the five I found on my recent pipe hunt.IMG_2049The Tankard was in worn but decent shape. The finish was dirty and there was darkening around the bowl middle from the hands of the previous owner. The rim had a thick buildup of tars and oils that had hardened. There were burn marks around the inner edge of the rim at the back of the pipe and the right front. The burn on the front of the bowl was more extensive that then one on the back inner rim. The bowl had a thick cake in it and the shank was dirty. The stamping was readable but faint. The stem had tooth marks on the top and bottom sides of the stem near the crease on the P-lip. It was badly oxidized and there was a heavy calcification around the stem about an inch in from the button. The silver ferrule was clean and would shine up easily.IMG_2123 IMG_2124 IMG_2125 IMG_2126I reamed the bowl with a PipNet reamer to remove the cake back to bare wood. I scrubbed down the exterior with Murphy’s Oil Soap on a cotton cloth and wiped it off to clean the briar.IMG_2128 IMG_2260 IMG_2261 IMG_2262 IMG_2263The next photo shows the reamed bowl and the caked rim top. It was very thick so it would take some work with sandpapers and oil soap to remove the tars. I scrubbed it with the soap and then with alcohol to remove as much of the tars as possible. I then sanded it with 220 grit sandpaper and a medium grit sanding sponge. I wiped it down with acetone once I had finished sanding it. The extent of the rim damage can be seen in the second photo.IMG_2264 IMG_2265I wiped down the finish with acetone on cotton pads to completely remove the wax and the finish from the outside of the bowl.IMG_2266 IMG_2267 IMG_2268I set the bowl aside to work on the stem. I used a Bic style lighter to “paint” the surface of the stem and lift the tooth marks. Doing this I was able to remove many of the tooth dents and lessen the depth of the remaining ones.IMG_2269 IMG_2270 IMG_2271I sanded the stem with 220 grit sandpaper to remove the rest of the dents and the oxidation and calcification. I reshaped the button and the crease to sharpen them. There was one tooth mark that I could not minimize further without damaging the thickness of the stem at the crease. I used a clear super glue to fill that spot. Once the glue had dried I sanded it and then used a needle file to reshape the crease and smooth things out. I sanded the repair with 220 grit sandpaper and then with medium and fine grit sanding sponges until I had blended it into the surface of the vulcanite.IMG_2272 IMG_2273 IMG_2274 IMG_2275 IMG_2276I sanded the stem with my usual array of micromesh sanding pads to polish and finish it. I wet sanded with 1500-2400 grit sanding pads and dry sanded with 3200-12,000 grit pads. I wiped it down with Obsidian Oil between each set of three grits. Once I finished with the micromesh pads I buffed the stem with White Diamond and then gave it several coats of carnauba wax to protect it and give it a deep shine.IMG_2281 IMG_2282 IMG_2283I decided to leave the finish natural and not stain it. I rubbed it down with a light coat of olive oil to enhance the redness of the briar.IMG_2277 IMG_2278 IMG_2279 IMG_2280I took a close up photo of the rim to see if the scratches were still visible. At the back side of the rim there were still some scratches that I needed to work on more to remove. I also wanted to see if I could also remove some more of the rim damage from the burn marks.IMG_2288I sanded the rim with a medium and a fine grit sanding sponge to work on the scratches and the burn marks. Working on the surface with the sanding sponge I was able to remove the scratches and some more of the burn marks from the surface.IMG_2289 IMG_2294I sanded the bowl with the same fine grit sanding sponge and then buffed it with White Diamond. I took special care around the stamping to make sure that I did not damage the light stamping. I gave it multiple coats of carnauba wax and lightly buffed it to a shine with a soft flannel buffing pad. The finished pipe is shown below. The birdseye grain on the sides and the cross grain on the ends both work really well. It is a beautiful pipe and I think it will be a great smoking pipe as well. It should provide many more years of service and certainly live beyond my lifetime to be passed on to a new generation of pipemen.IMG_2290 IMG_2291 IMG_2292 IMG_2293

Breathing New Life into an Astleys 48 Cherrywood


Blog by Steve Laug

The third pipe from my recent pipe hunt that I chose to restore was the last one pictured below. It is a rusticated Astleys Cherrywood style pipe with a tight rustication pattern resembling a sandblast. I think the process may have been to rusticate and then to sand down the high spots until they were smooth. The texture is really well done and comfortable to hold. The pipe is a light weight with a classic look.IMG_2049The finish was in pretty good shape with a few worn spots where the stain was rubbed off on both the bowl and shank. The rim had a buildup of tars and oils that had hardened and formed a scale on the rim. The bowl had a thick cake that choked out the diameter of the bowl. The stem had been over bent to the point it hung oddly in the mouth rather than the way the original bend had made it hang. It was also oxidized and had a buildup of calcium around the button end of the stem that covered several deep tooth marks on both the top and bottom sides of the stem.IMG_2115 IMG_2116 IMG_2117 IMG_2118As shown in the photo above the bowl had been stamped on the smooth bottom of the bowl. It read Astleys over 109 Jermyn St.Under that was stamped London over 48. I looked up the shape in an old Astleys catalogue (page pictured below) and found the 48 was round Cherrywood Briar. The description stated that it was a copy of an old English cherrywood with a flat base. The correct bend can also be seen in the photo below from the catalogue.astleys-booklet_page_07I reamed the bowl with a PipNet reamer and took the cake back to bare wood. The oily, sweet, aromatic smell was more than I wanted to deal with in terms of ghosting.IMG_2231IMG_2232IMG_2233IMG_2234I cleaned out the internals with isopropyl alcohol and cotton swabs and pipe cleaners until they came out clean. I scrubbed the pipe with undiluted Murphy’s Oil Soap and a soft tooth brush for the sides and shank. I used a brass bristle tire brush to clean off the buildup on the rim. I then scrubbed the rim again with soap. When the scrubbing was finished I rinsed it with running water and dried it off with a cotton towel.IMG_2238IMG_2239IMG_2240IMG_2241IMG_2242I used the stain pens from Greg to touch up the worn spots on the finish of the bowl and shank. I buffed the bowl with a shoe brush once the stain was dry.IMG_2243IMG_2244IMG_2245IMG_2246Once the bowl was cleaned and buffed I turned to work on the stem. I used a needle file to give better definition to the crease on the button and clean up the bit marks on top of the button on both sides. I heated the tooth marks with a Bic lighter to raise them and then sanded the stem with 220 grit sandpaper to remove the small marks left behind. I also sanded to remove the calcium and oxidation on the stem.IMG_2247IMG_2248Up to this point I worked on the stem off the pipe. I avoided the area on the saddle where it sat against the shank so as not to round the shoulders. I cut a plastic washer and put it between the stem and the shank to allow me to work on the shoulders without damaging them when I sanded. I lightly reworked that area with the 220 grit sandpaper and then sanded the entire stem with medium and fine grit sanding sponges.IMG_2249IMG_2250There were still some small divots in the top of the stem so I removed it from the pipe and sanded them once more with the 220 grit sandpaper and the sanding sponges.IMG_2251I sanded the stem with the usual battery of micromesh sanding pads – wet sanding with 1500-2400 grit pads and dry sanding with 3200-12,000 grit pads. I rubbed the stem down with Obsidian Oil between each set of three pads. As the stem absorbs the oil the oxidation comes to the surface and the oil makes sanding much simpler. When I finished with the 12,000 grit pad I gave it a light buff with White Diamond.IMG_2252IMG_2253IMG_2255I gave the light spot on the shank shown in the above photo a touch up of stain and then put the stem back on the pipe and buffed the whole pipe lightly. I gave the bowl several coats of Halcyon II wax and then buffed the stem with more carnauba. I gave the entire pipe a light buff with a soft flannel wheel. The finished pipe is shown below.IMG_2256IMG_2257IMG_2258IMG_2259

A Face Lift for a Battered Old Meerschaum Bulldog – Robert M. Boughton


Guest Blog by Robert M. Boughton
Member, North American Society of Pipe Collectors
http://www.roadrunnerpipes.com
http://about.me/boughtonrobert
Photos © the Author

“Age should not have its face lifted, but it should rather teach the world to admire wrinkles as the etchings of experience and the firm line of character.”
— U.S. author Clarence Day, 1874-1937

INTRODUCTION
I agree that facelifts in most cases are attempts, nothing more than vain at best and narcissistic at worst, by those with money to burn to avoid the inevitable, and often enough have undesired effects the recipients deserve. However, in the case of a very battered and generally abused meerschaum pipe, as with some people who have suffered at the hands of others, at least a bit of a makeover is in order. This holds true with a bulldog, the animal breed of which many coarse or misguided folks think lacks beauty in the first place.

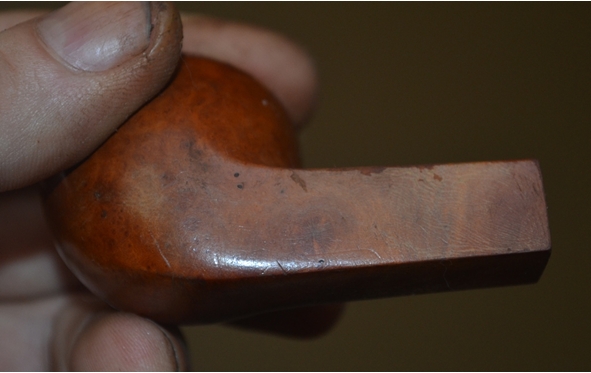
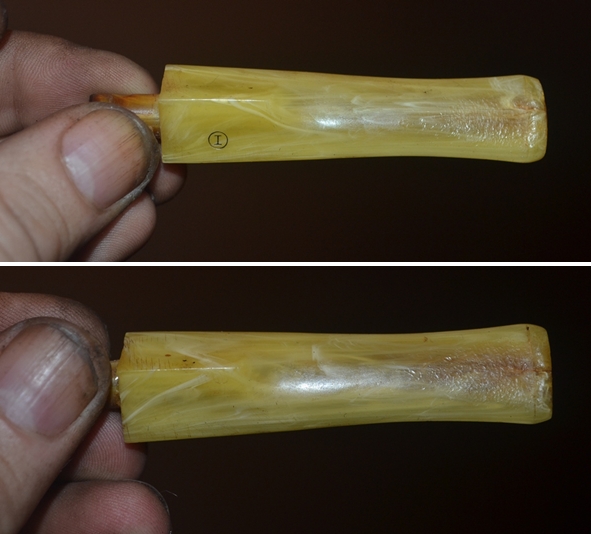
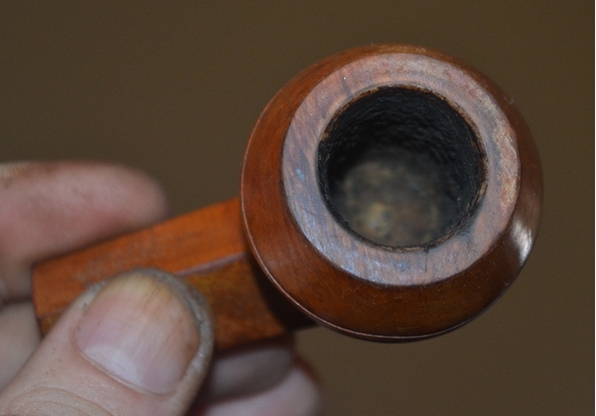
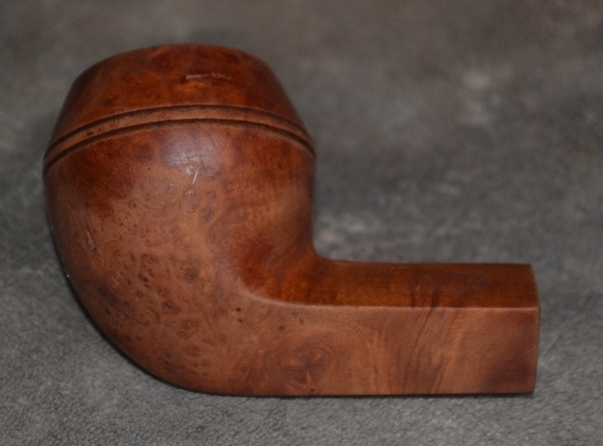
The unknown brand I will discuss, clearly a fine Turkish block example, is one of those exceptions. For reasons which will be obvious it resembled a dog that had been in a fight. I received it as part of a lot of eight from eBay that I purchased in large part because I saw the poor bulldog alone among all of the briars, and upon closer scrutiny with the magnifier observed it was filthy and somewhat oddly colored and had horrible scratches all over its once smooth, white, pristine body. Some unknown carver trying to eke out a living as his father and generations before him had done likely made it without even a signature of any sort, as is unfortunately all too common among Turkish crafters due to the central nature of humility in Islamic beliefs.

THE RESTORATION
This unfortunate meerschaum was in about as bad shape as I had ever seen any pipe I still wanted to buy. I thought, if not I, then who? There were others of more merit in the lot, but that one cried out to me. Then again, I do have a sizable collection of meerschaums and knew I would be more than happy to keep that one if things didn’t work out restoration-wise. A former roommate told me many years ago that I am attracted to strays, and although he said it with sarcasm I told him he was right. I see nothing wrong with that trait. By the way, I also tend to root for the underdog – although not as often in organized sports– such as the bull versus the matador. Nothing pleases me more than seeing a jerk in a pompous outfit, with all kinds of helpers, gang up on a bull and find himself gored and bleeding out. But that’s just a dark part of me.

THE PIPE RESTORATION

I have had fair success restoring meerschaums, including the following befores and afters: Robert1 Robert2 Robert3 Robert4And so I figured I would give this poor ol’ dog a shot:Robert5 Robert6 Robert7 Robert8 Robert9 Robert10 Robert11Despite the deplorable condition of the bowl and rim, I knew from the past that they would be the easy part of this job, so I tackled them first. I reamed the bowl and then used #800 micromesh to smooth it out. Surprisingly, with a light touch and a piece of 400-grit paper, I took the blackness right off of the rim and didn’t hurt the coloring at all. There were a few dings that rubbed out easily with #1000 micromesh.

The hard part, I knew and remember already indicating, but it bears repeating, was to remove as many of the scratches and other blemishes as I could with a minimum of damage to the nice if oddly distributed color on the outside of the bowl and shank. The spread of yellow and orange, not to mention the lack of any shine to the meerschaum, suggested over-hot smoking of this delicate if strongly shaped and named pipe. That conclusion would seem to be a no-brainer given horrendous caking within the bowl and cooking of the rim. And somehow I doubt the maker never treated it with beeswax or something else, yet it was as flat as could be.

My experience with washing the outside of a pipe with distilled water in general is that it seems to give a brighter light on the job at hand by removing all of the filth that has built up over time smoking any pipe. I could see this one was going to be worse than most, but nothing prepared me for the indefensible groping with dirty hands by whatever anti-aficionado of pipe smoking who had abused the bulldog with apparent joyful perversity. Why, I even had to scrub the muck out of the trademark groove beneath the rim! The result was not one or two, but three small pieces of cotton cloth spent and blackened with the physical dirtiness of some variety of pipe lecher.

Therefore, with the highest care, I applied stronger use of the #1000 micromesh to the seemingly endless scratches and other stray marks, like signs of skin cancer, that were everywhere. When I had stopped and resumed again time after time, finding more and more marks upon this wonderful pipe, I was at last as satisfied with the results as I knew I would ever be.

Then I used more stem cleaners and pipe freshener than I had ever expended on a single pipe, let me just say that, to sanitize the stem, shank and bowl, and by the end of it I have to admit only the stem came out perfectly clean. But I knew it was sanitized and ready to smoke one good bowl of tobacco, so I chose my own blend of burleys, Oriental, perique, a touch of Cavendishes and a bit of Virginias including red cake that I call Sneaky Rabbit (and which will soon be a house blend at my favorite tobacconist) to smoke the pipe once.
True enough, I wanted to know how this unusual bulldog smoked, but my main reason for lighting up a pipe I intend to sell and therefore knew I would have to give another quick clean was to heat the meerschaum enough to melt beeswax from a bar evenly over the outer area. I swear to it! I had researched online different processes for accomplishing this necessary completion for previous restorations, and the method I described had worked before so I knew it would again.

And so, once the smoking enjoyment had reached a high enough degree, I began applying the beeswax as described, and it worked just as well as I was certain it would. I took my last puffs of the pipe and cleared out the ash with care quickly before rubbing the beeswax vigorously into the meerschaum with a big soft cotton cloth.

The stem, despite the awful damage inflicted on the meerschaum, to my great surprise was in okay shape and only need some sanding and micro-meshing to prep it for a spin on the wax wheels.

Here are the final results:Robert12 Robert13 Robert14 Robert15 Robert16 Robert17 Robert18CONCLUSION
This was a work of love, and I know the results are a little rough around the edges. But I was determined throughout the process to assure that no more damage than had already been perpetrated against this pipe be made. It is already up for sale, but if nobody ever buys it, I know it is safe in my possession.

Restoring a Dunhill Shell Billiard 42121


Blog by Steve Laug

Of all my finds on my recent pipe hunt this little Group 4 Dunhill Shell is one of the favourites. It has a great sandblast that really had some nice craggy grain. The finish was in good shape. The rim was dirty and had a slight build up of oils and tars. The bowl was caked with a thick cake. The stem was oxidized and also had a calcium buildup for the first inch of the stem. The stem had an inner tube inside that was slightly bent that kept the stem from seating correctly in the shank. There were several shallow bite marks on the top and bottom sides of the stem near the button. Internally the stem and shank were surprisingly clean.IMG_2201 IMG_2202 IMG_2203It is stamped on the underside of the shank with 42121 Dunhill Shell over Made In England and next to the D of England was an underlined and superscript 20 next to that was an underlined 23. Using John Loring’s Dunhill Briar Pipe book the dating is 1980 as seen by the underlined 20 slightly elevated and following the D. The underlined 23 indicate that it was sold in 1983, due to the one year guarantee.IMG_2204The next photo shows the buildup on the rim that needed to be dealt with in a cleanup and restoration of the pipe.IMG_2205I cleaned out the shank and the stem with pipe cleaners, cotton swabs and 99% isopropyl alcohol until the cotton swabs and pipe cleaners came out clean.IMG_2206 IMG_2207I scrubbed down the bowl with undiluted Murphy’s Oil Soap on cotton pads and then rinsed it off with running water. I dried it with a cotton towel.IMG_2208IMG_2209IMG_2210IMG_2211IMG_2212I scrubbed the rim with a soft bristle brass tire brush to clean off the tars and oils and open up the sandblast on the rim. I scrubbed it with a soft cotton pad and alcohol to remove the pieces left behind by the wire brush.IMG_2213I touched up the finish around the edges of the bowl rim and the end of the shank. I also touched up spots on the sides of the bowl and the bottom of the shank. I used the Guardsman Stain pens that Greg sent me to do the touch up work. I chose to use the lightest stain pen as it matched the colour of the bowl precisely. When I use these pens I always start with the lightest stain and work toward the darkest until I get a match.IMG_2214 IMG_2215 IMG_2216 IMG_2217I sanded the stem with 220 grit sandpaper and then with medium and fine grit sanding sponges to remove the oxidation and the calcium deposits. I “painted” the tooth marks with the flame of a Bic lighter to lift them closer to the surface and then sanded what remained with 220 grit sandpaper and the sanding sponges.IMG_2218Taking a cue from Al Jones I made a plastic washer to put between the shank and the stem to make the sanding of the saddle simpler. I could sand right up to the edge without damaging the end of the stem and rounding the edges.IMG_2219 IMG_2220 IMG_2221I sanded the stem with my usual array of micromesh sanding pads – wet sanding with 1500-2400 grit pads and dry sanding with 3200-12,000 grit pads. Between each set of three pads I rubbed down the stem with Obsidian Oil before moving on to the next set of three. When I had finished with the 12,000 grit pad I took the pipe to the buffer and buffed the stem with White Diamond.IMG_2222 IMG_2223 IMG_2224I lightly buffed the bowl and the stem once again with the White Diamond and then used Halcyon II wax on the bowl and carnauba on the stem. I hand buffed the pipe with a shoe brush and raised the shine. The finished pipe is shown below. I am looking forward to loading an aged bowl of McClellands 5100 and having the inaugural smoke in this beauty.IMG_2225IMG_2226IMG_2227IMG_2228