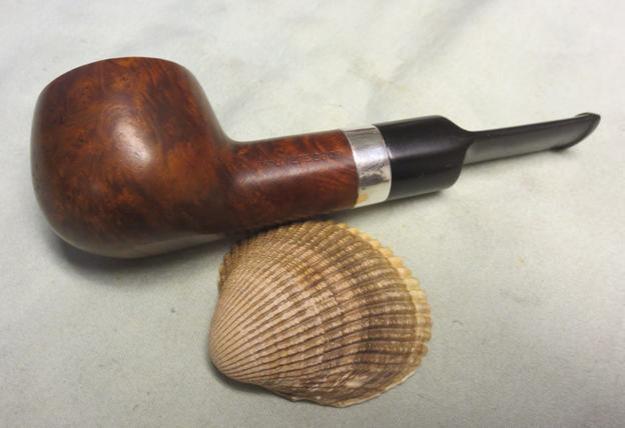
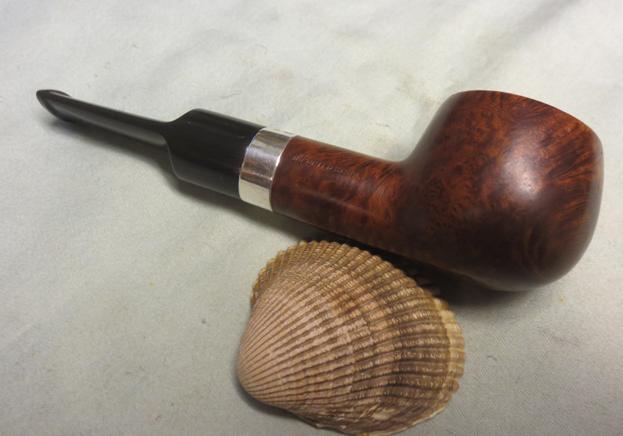
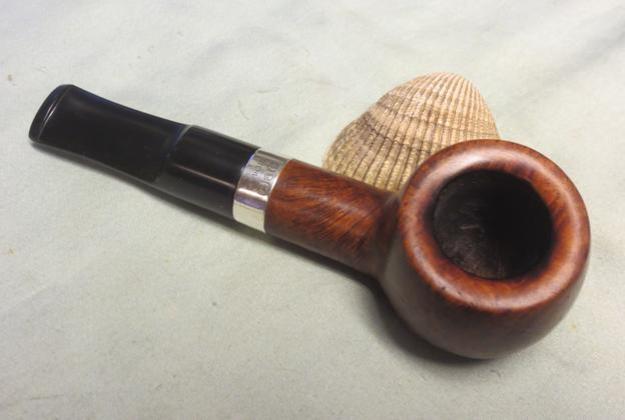
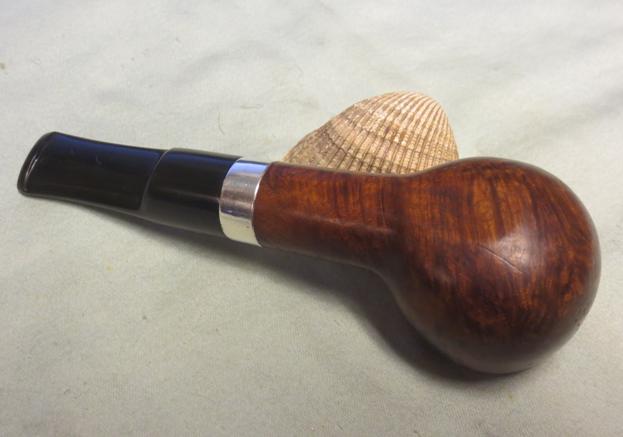
Blog by Dal Stanton
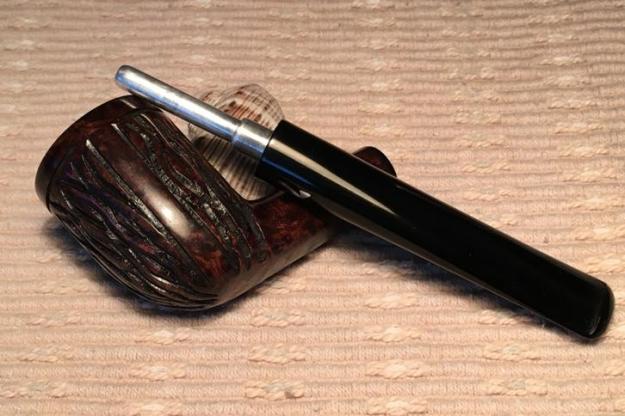
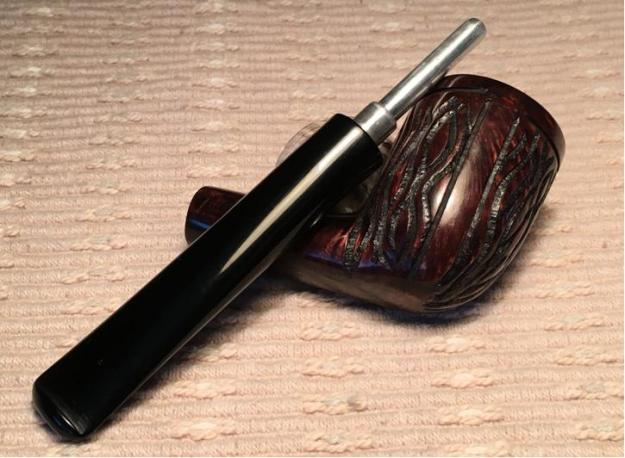
This pipe was gifted to me in 1980 while a seminary student. I was Professor Freundt’s student assistant and I spent much time with him in his office which was a virtual jungle of books, papers and journals – heaped in piles here and there yet the professor knew where to find the most obscure minutia. Added to the smells of old books and leather covers were the tobacco and smoke that regularly provided an upper layer haze in his work space. The Professor introduced me to the art and enjoyment of smoking pipes – now some 36 years ago. I was young and eager, soaking in the ambiance of academia at a post-graduate level and pipes I discovered, were very comfortable partners in this environment. Professor Freundt gave me the Hesson Guard, showed me how to pack its first bowl in my hands, and I smoked it, adding my offerings to the perpetual haze. After these days, pipe smoking was put aside until last fall when Steve reintroduced me to it. At this point, 3 pipes made up my collection: a corncob I also bought during those seminary days to use while fishing and duck hunting, a Willard I received after my grandfather’s passing (a future restoration), and the WDC Milano Hesson Guard that I had tucked away in drawers over the past three and a half decades. Anxious to put a pipe back into service last fall, I grabbed the Hesson Guard, to clean it and do what I thought then were needed repairs…. I made a mess of the pipe – cracked the shank, reamed out the mortise so that the metal tenon was too loose – sloppy repair with super glue…. I’m anxious now to return to ‘The Professor’ (its given name) and try to make amends for the rough treatment he received last fall!
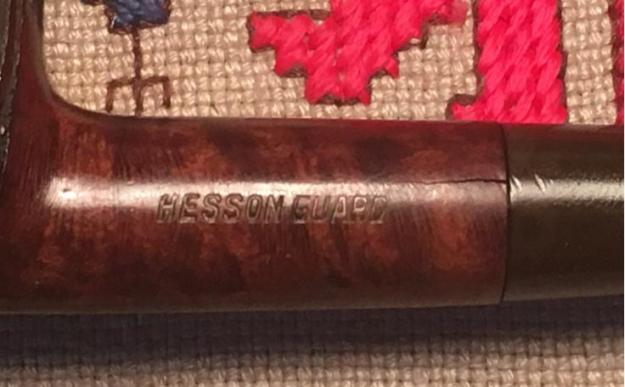
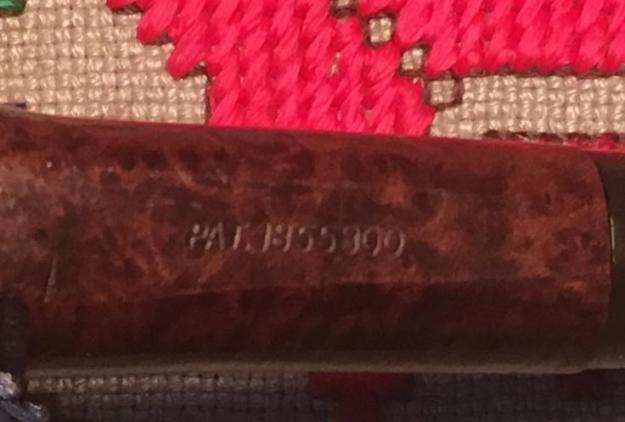
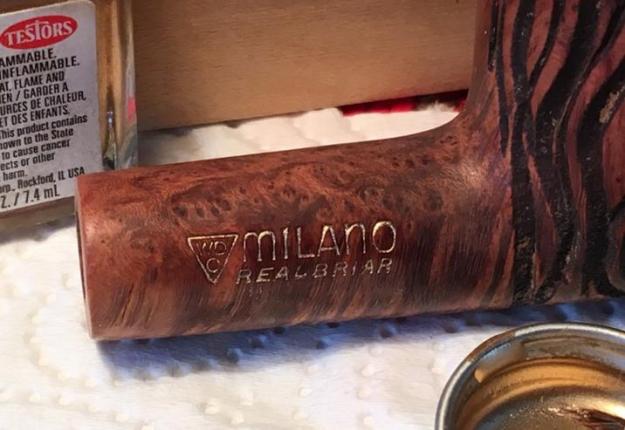
The right side of the shank is stamped with the well-known WDC inverted triangle next to Milano over Real Briar. The left side holds Hesson Guard. The bottom of shank had PAT. 1855800 which enabled me quickly zero in on the dating of the pipe. The patent application was submitted by the inventor of the special internals, William W. Hesson, in 1930 and granted two years later. An excerpt from the patent documentation describes the essence of the design:
The principal object of the invention is to provide a pipe which will eliminate contamination of the natural aroma of the tobacco through noxious secretions and which will remain sweet and clean. A further object is to devise a construction of pipe which will be simple and inexpensive to manufacture and which. will be devoid of pockets to harbor noxious elements. The principal feature of the invention consists in the novel arrangement of a tubular resilient member surrounding and embracing a metal stem which extends from the pipe bowl to the mouth piece and forming a seal to prevent the seepage of moisture around the metal stem.
(https://www.google.bg/patents/US1855800?dq=1855800&hl=en&sa=X&ved=0ahUKEwibqa2KsOjNAhUFVBQKHZ1DAvMQ6AEIGjAA)
I was curious to compare my Hesson Guard with the patent diagram which essentially is a long metal tenon meeting up with a metal sleeve at the base of the bowl and shank junction. This design, along with many other designs, was to eliminate the moisture build up, gurgle and gunk. Figure 1 (below) is followed by my overlay comparison picture – the tube inserts quite a way according to the 1930 design. Following are pictures telling the current story of The Professor: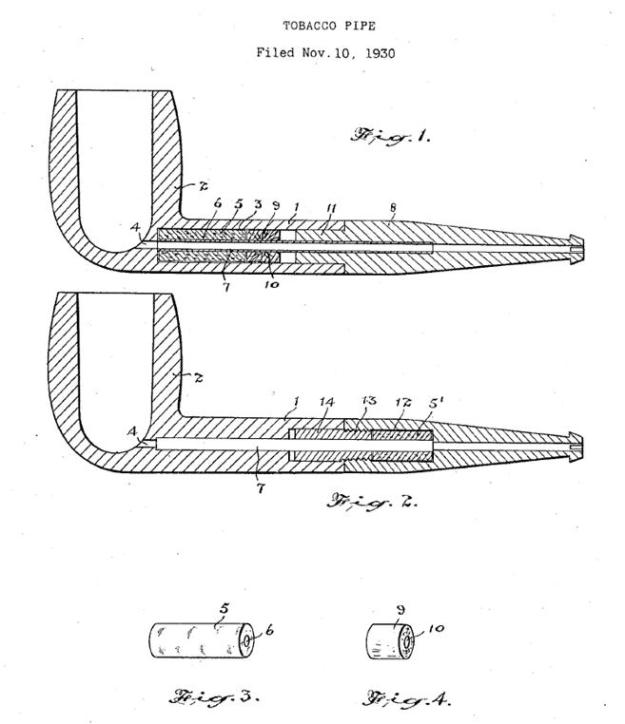
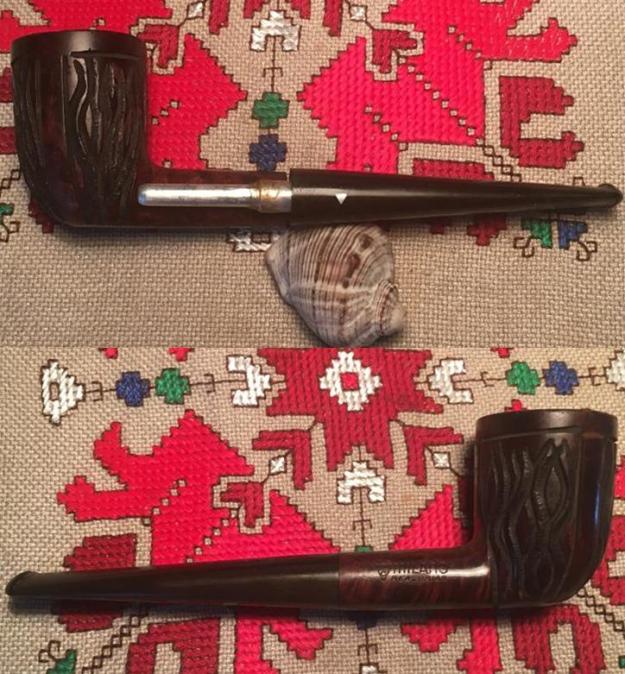
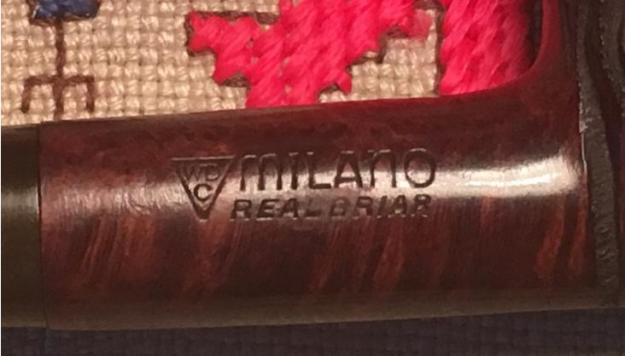
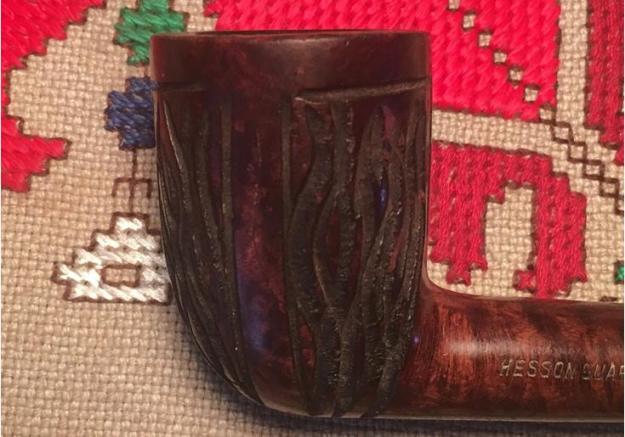
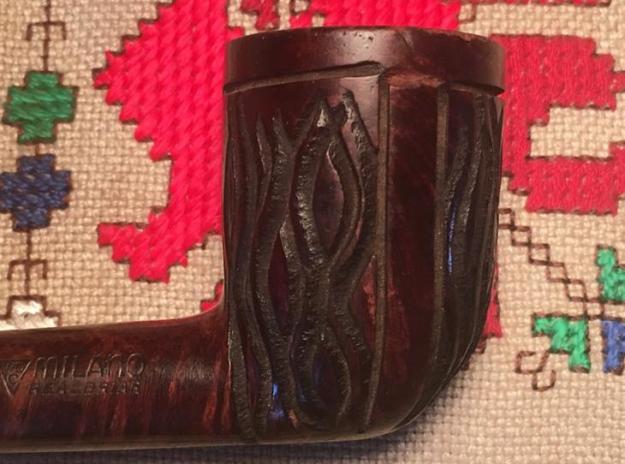
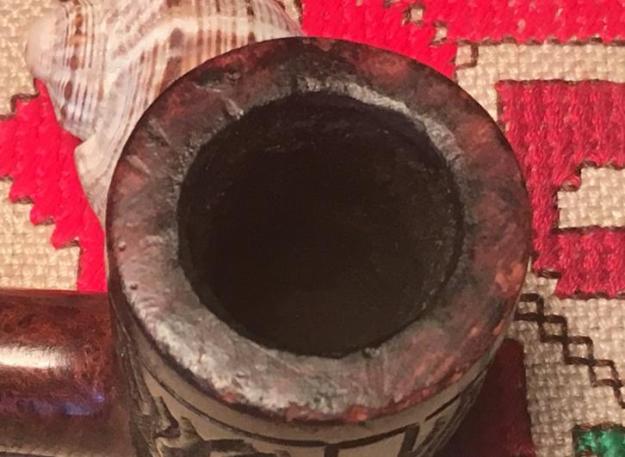

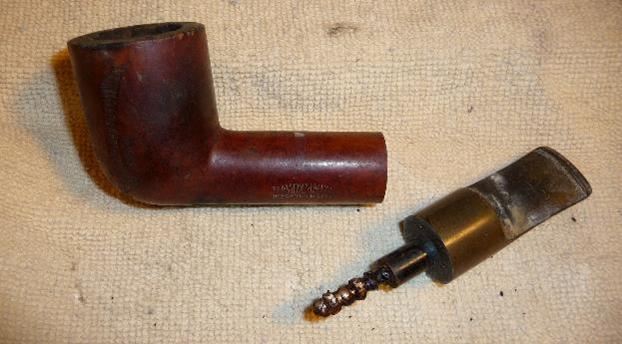
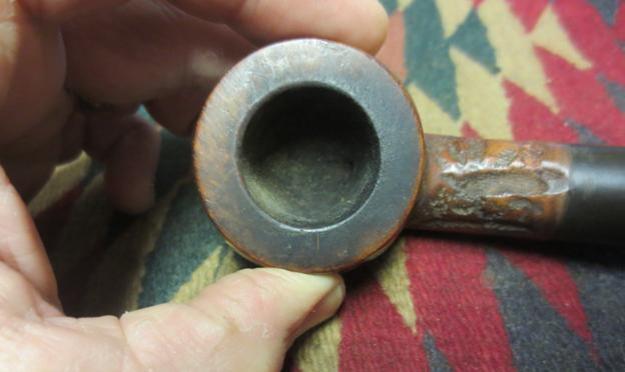
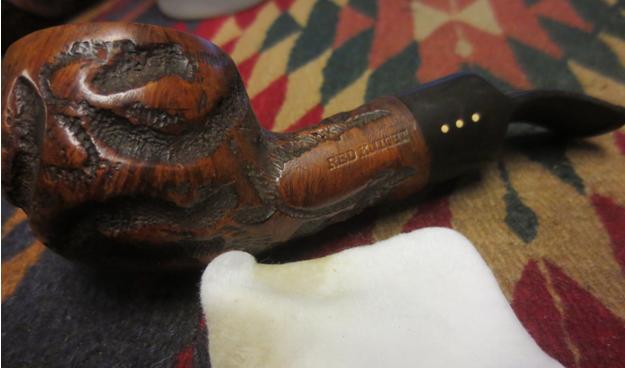
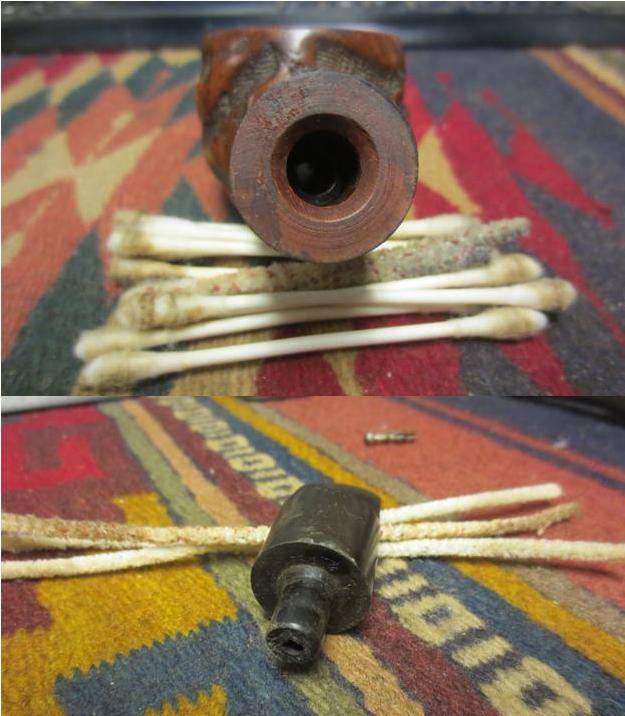
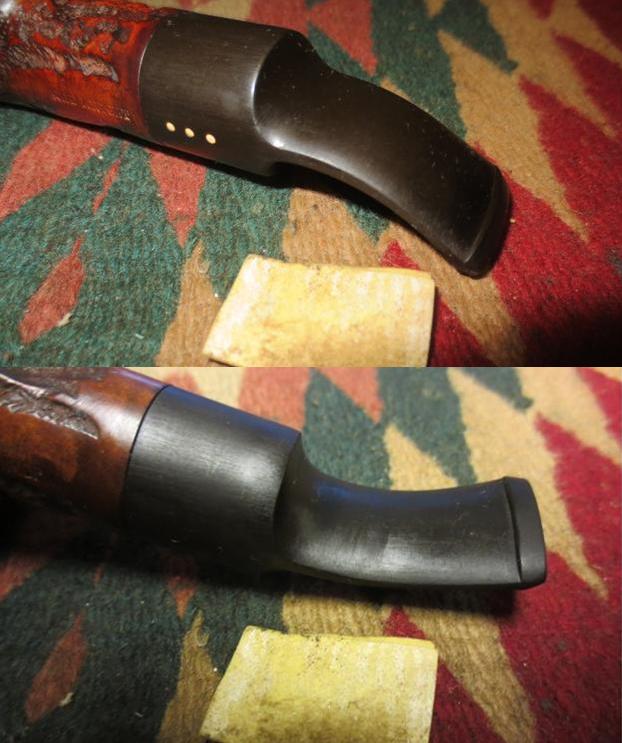
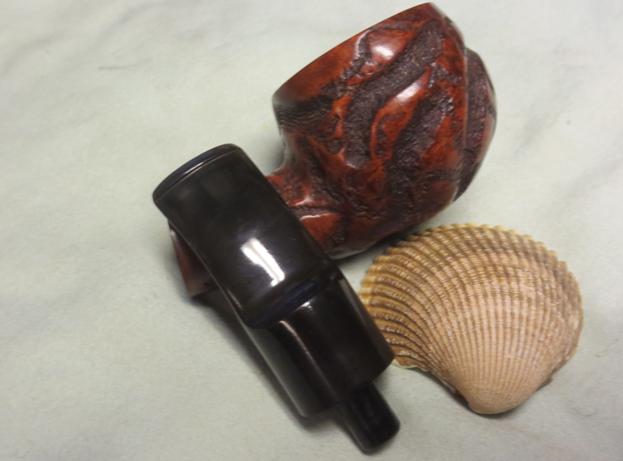
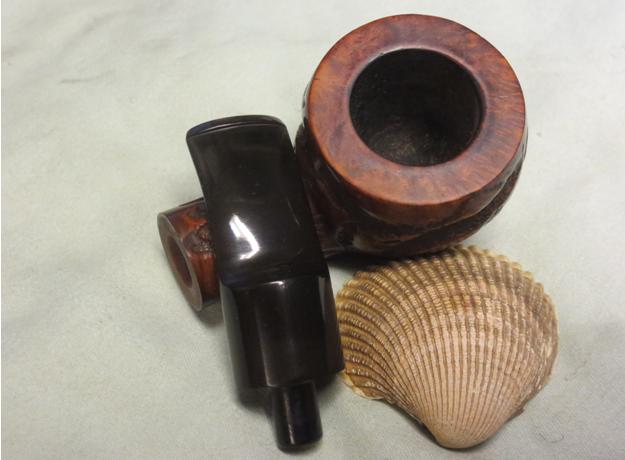
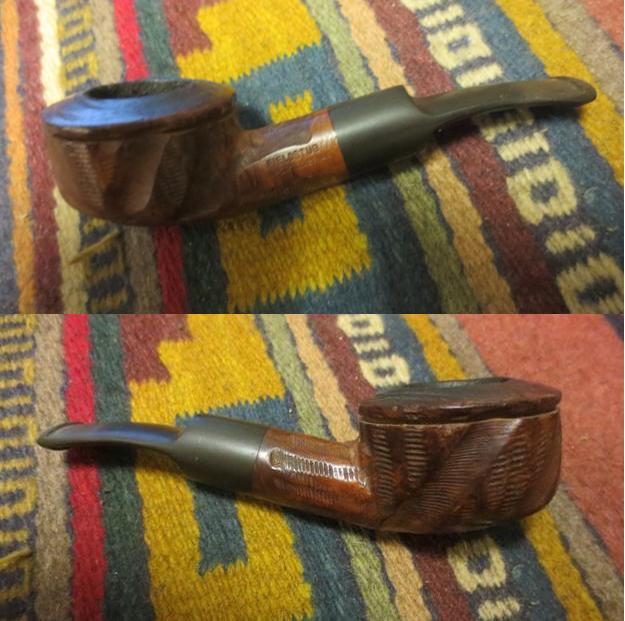
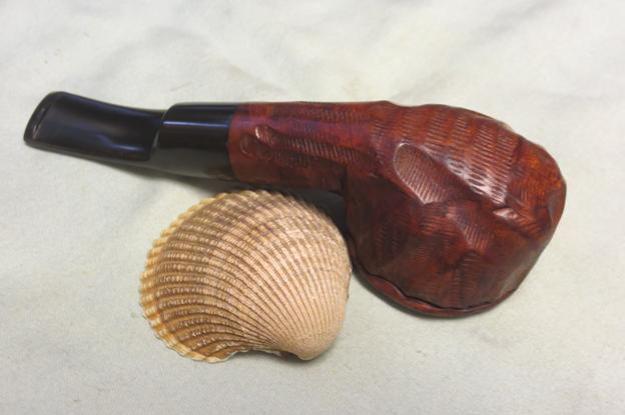
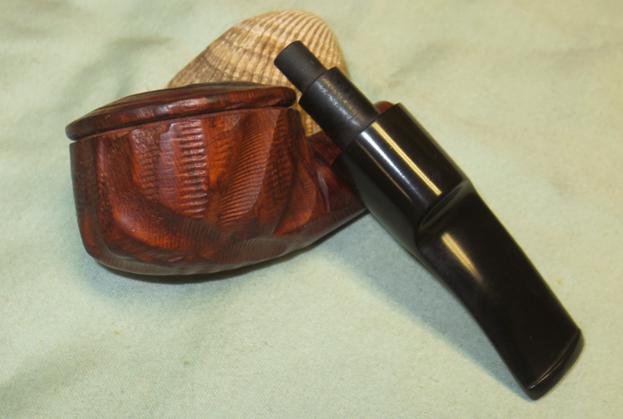
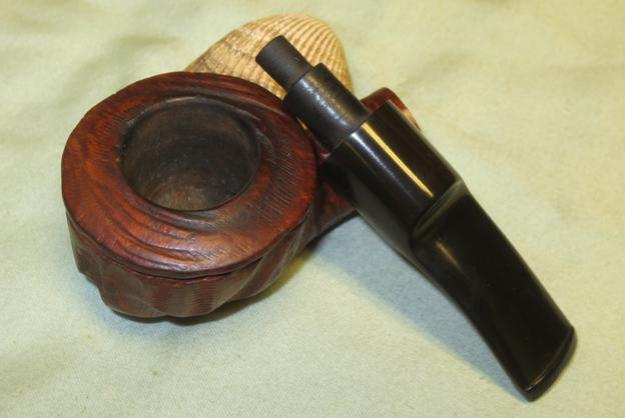
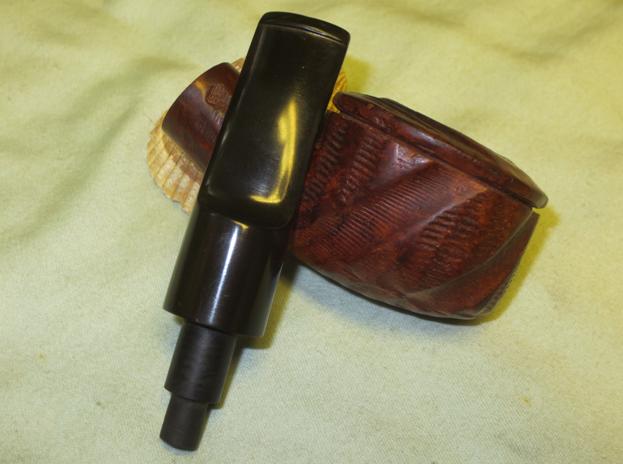
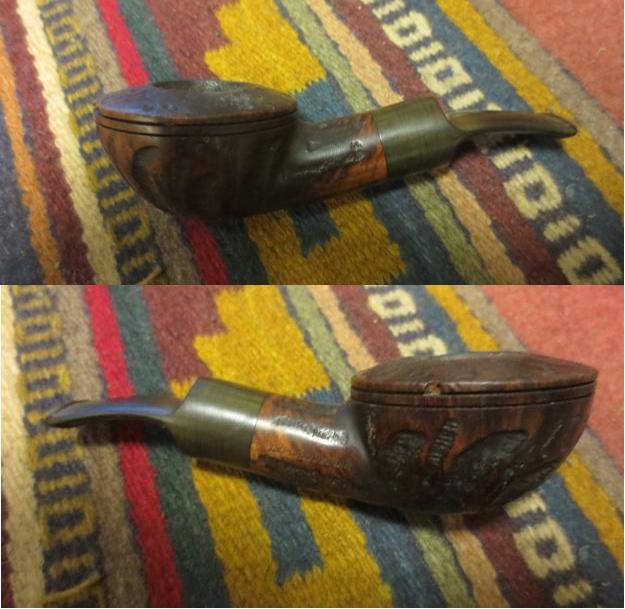
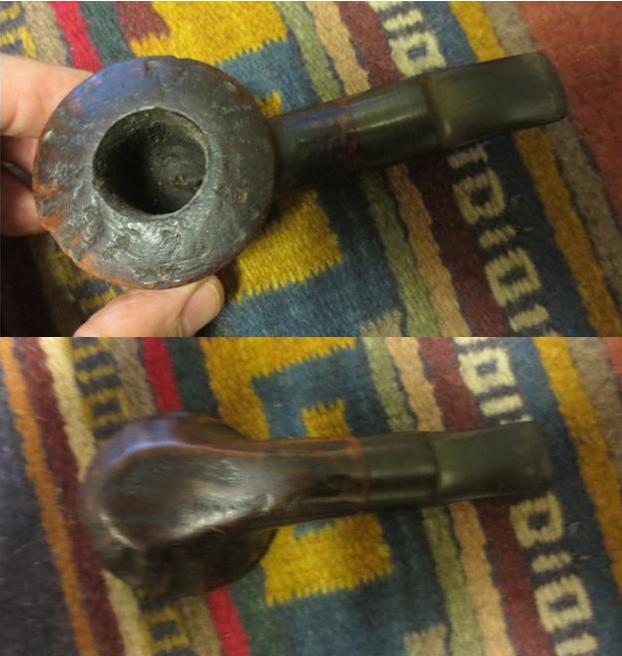
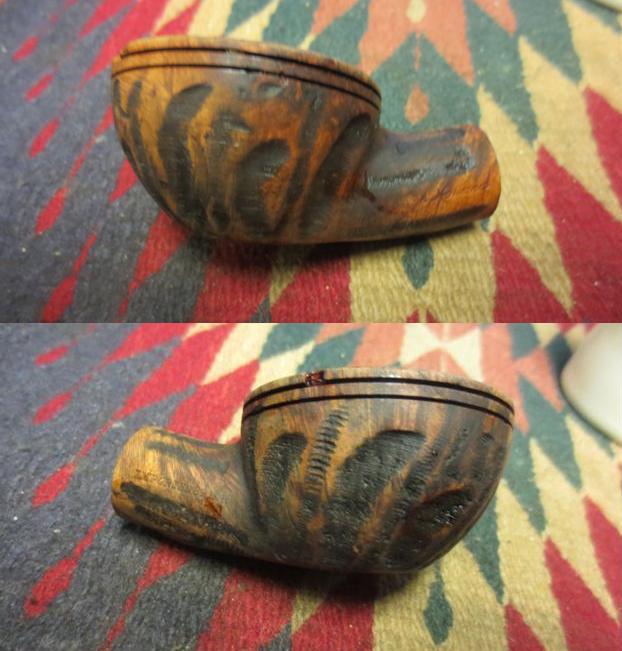
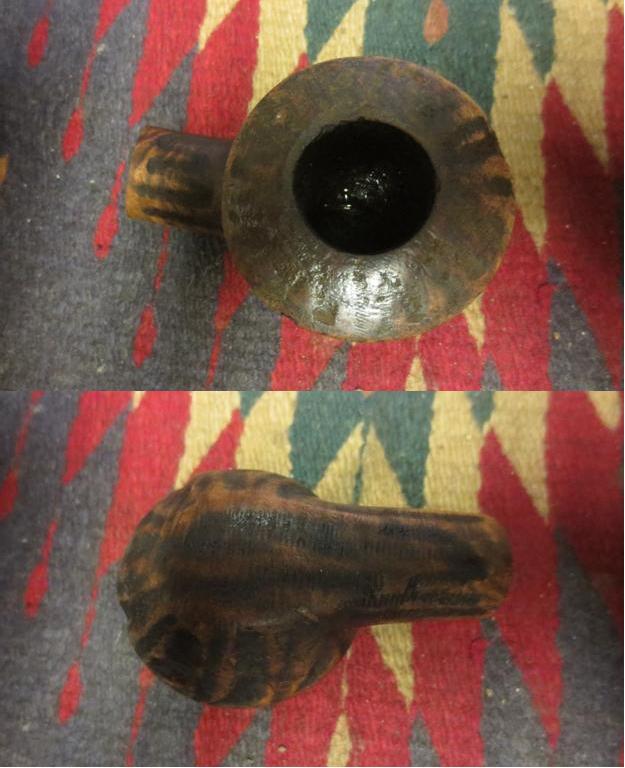
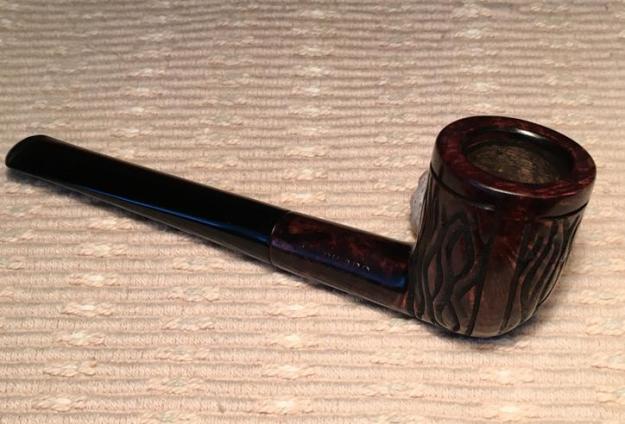
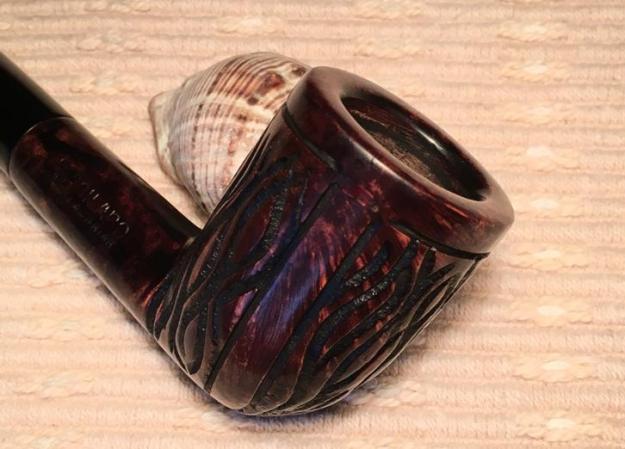
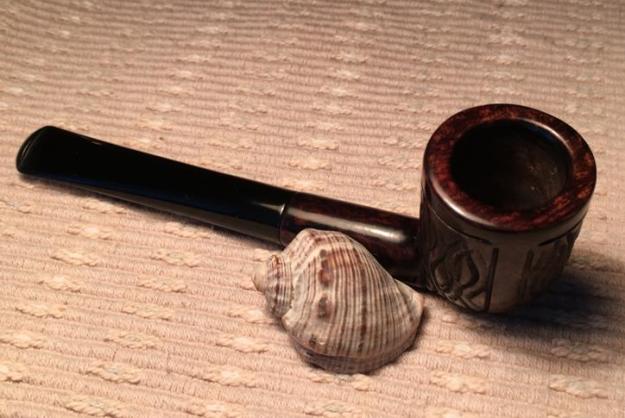
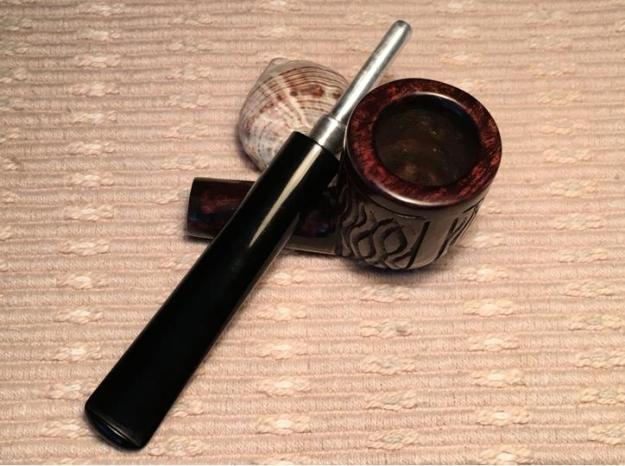
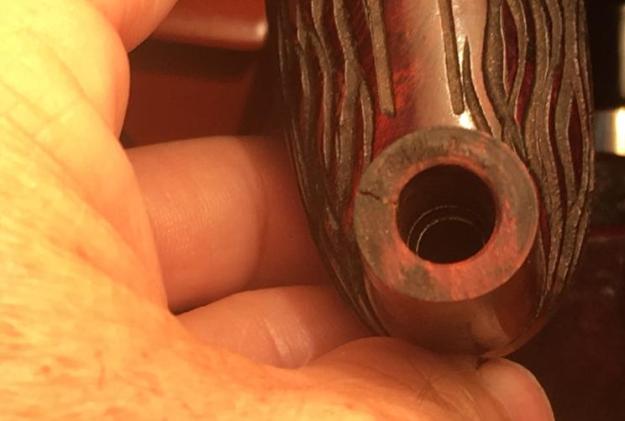 The pipe is attractive and has a good feel in my hand. The free-hand sculpting on the bowl gives the appearance of flames rising and is showcased in 3 paneled murals around the bowl. I notice that one of the panel dividers has been damaged at the top by cutting the briar. It looks like they were seeking to connect the panels – not sure. That will need to be filled in. The rim will also need some gentle repair to what appears to be nicks created by wear and tear. The cracked shank will need repair to keep it from growing and cleaning up the metal tenon and creating a good fit with the mortise might be a challenge. The bit has very mild tooth chatter. The last picture above captures not only the crack in the shank but the metal sleeve deep in the mortise that the chamfered tube/tenon docks with to create a dryer smoke – according to the patent information. Before any cosmetic restoration takes place I first must deal with the major issues of the shank crack repair and the tenon/mortise fit. I start the crack repair by drilling a small hole at the end of the crack to keep the crack from creeping up the shank. I use my Dremel tool and a 1.5mm drill bit to make the hole. I utilize a magnifying glass to trace the crack which had become a ‘hairline’. I’m careful not to drill too far and breach the mortise wall. Next time, I want to use a 1mm drill bit to leave less of a footprint. Next, after inserting the tenon into the mortise to expand the crack area for glue penetration, I create a mixture of briar dust and CA Instant Glue filling the hole and running a line of glue along the crack. I then sprinkle briar dust over the entire area and wait to dry. The timing worked out well as my wife just called me for lunch! After lunch, I work on cleaning up the tenon removing the old superglue with fingernails, Winchester knife, brass brush and 240 grit sanding paper – back in pristine shape.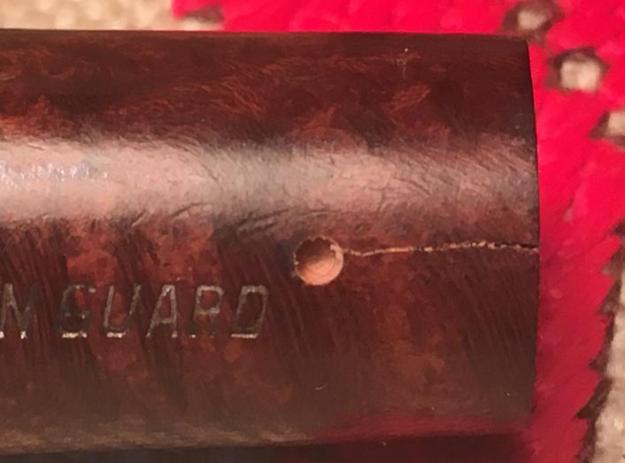
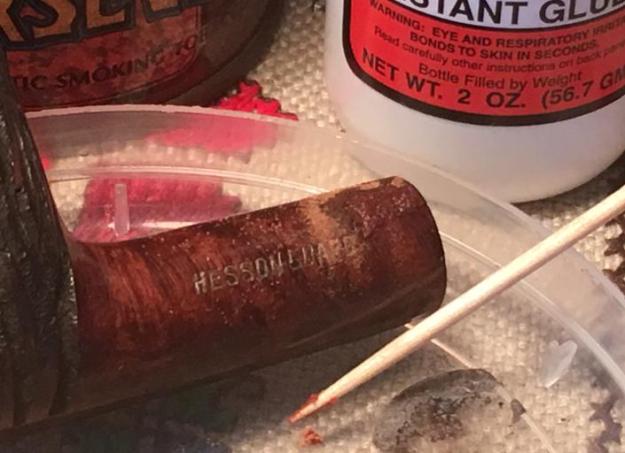
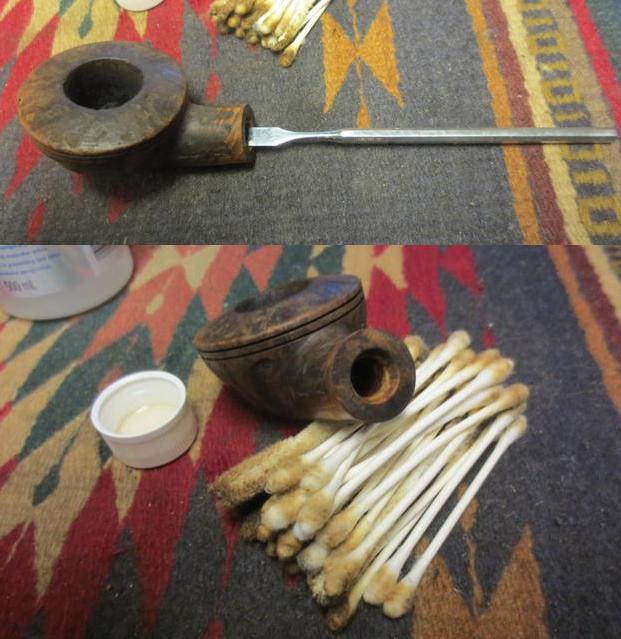
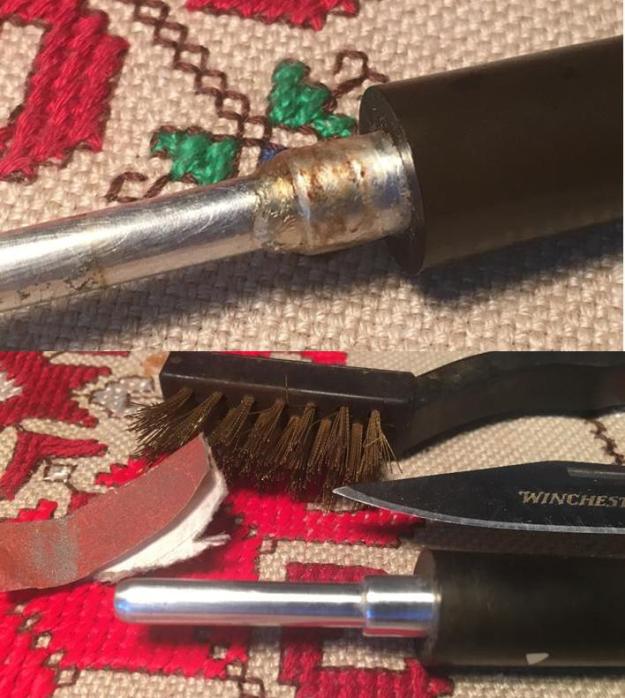 Well, after about a week, I return to the Milano Hesson Guard after my wife and I take advantage of the summer opportunities at the Black Sea coast. We enjoy some days at the beach near our favorite coastal fishing town, Sozopol. While at the beach, I thought about the Milano and how best to approach the overly loose tenon/mortise fit. Instead of applying clear nail polish around the metal tenon, which is what I did before, I attempt to rebuild the mortise wall by applying a very gentle coat of superglue on the inner wall of the mortise, rotating it as I applied superglue to achieve, what I hope, will be an even texture around the mortise wall. Amazingly, this seems to have worked! After drying, I gently reach into the mortise to remove some superglue ‘bumps’ with a needle file and I use a tightly rolled piece of 240 sanding paper carefully to smooth things down. I don’t want to inadvertently remove too much of the restored mortise wall! I also give the crack repair a light, strategic sanding with 240 grit paper, careful to guard the stampings. I refit the stem and to my relief, a snug fit was restored.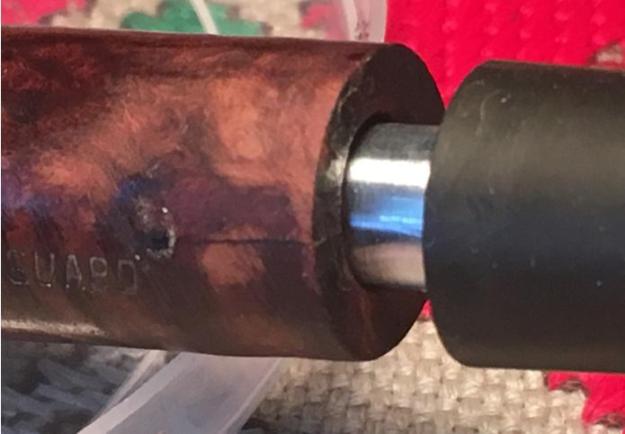
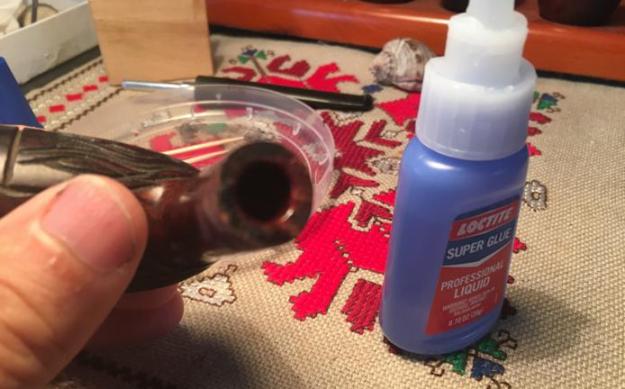
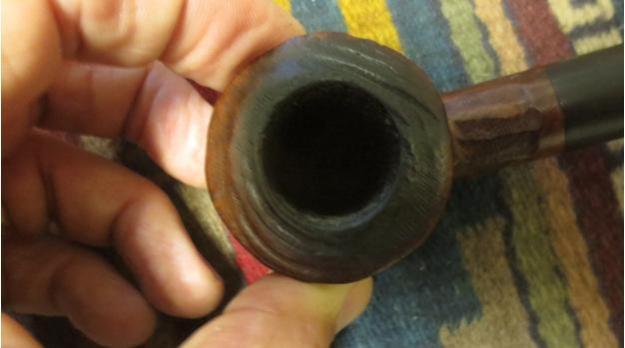
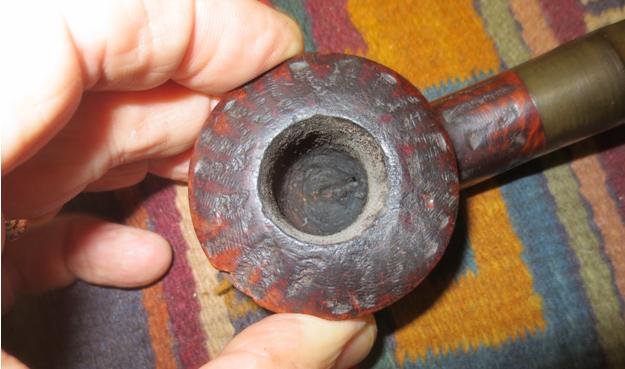
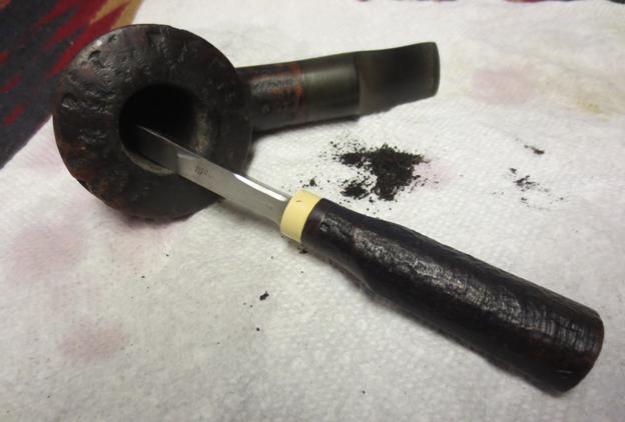
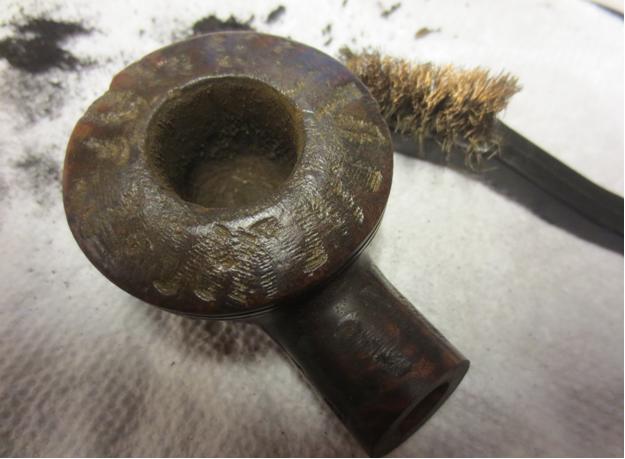
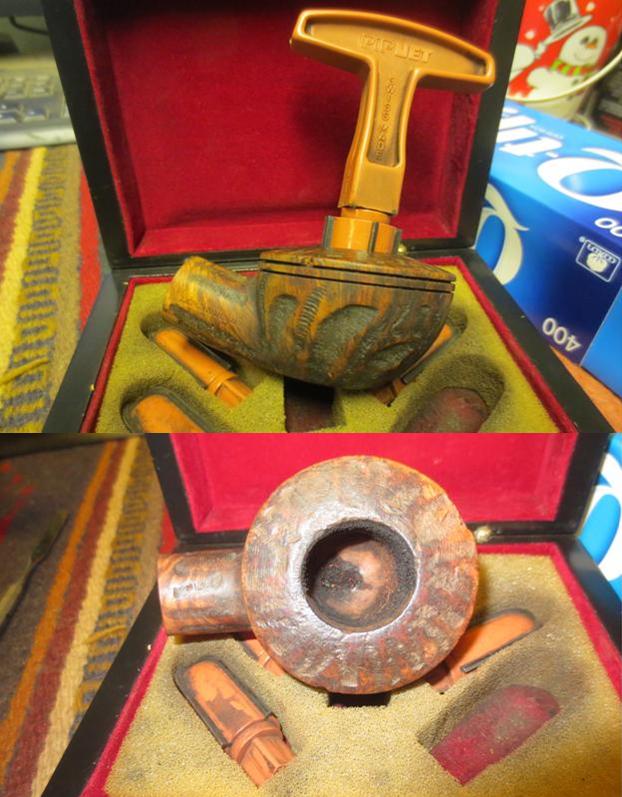
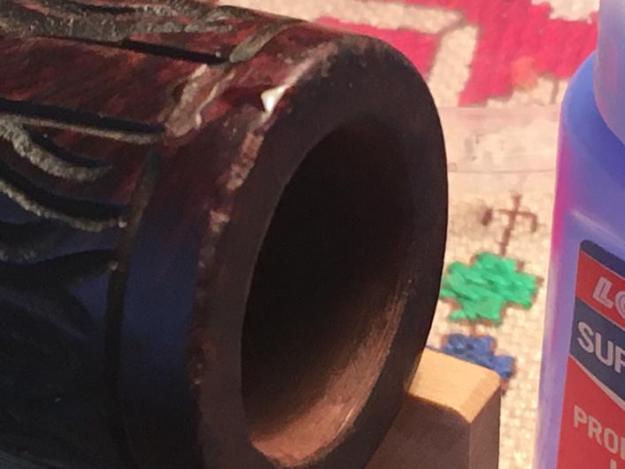
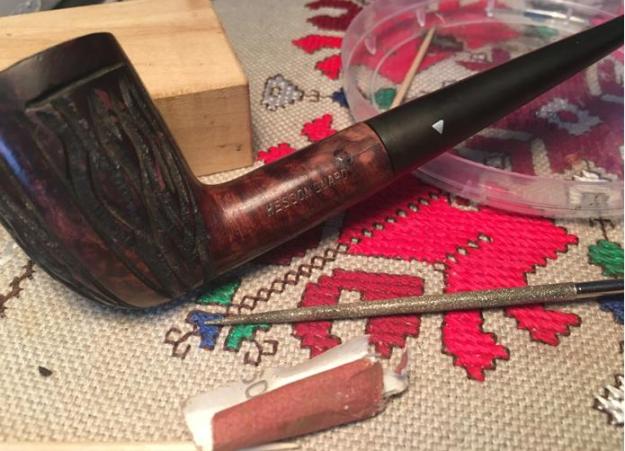 With the stem refitting correctly and inserted, I return to the shank crack to finish sanding it to remove the excess superglue – I do this with stem in so as to not create unevenness between the mortise and stem shoulder. Satisfied with the shank crack repair and rebuilding the mortise wall, I put the stem in an Oxyclean bath for a soak to soften up the moderate oxidation buildup. I move my attention to the bowl to ream the mild cake down to the briar and then move to rim repairs and then to the panel repair. I want to have all these completed before looking at the general stummel cleanup and refinishing. I move out to the 10th floor balcony adjoining my bedroom work station with Pipnet reaming kit to minimize the airborne cake soot – maximizing happy wife status! I started with the smallest reaming blade moving to use 3 of the 4 blades available to remove the moderate cake in the bowl. I finished the reaming by employing 120 grit paper on the chamber wall to remove remaining cake and smoothing the wall. I took a close up of the chamber and rim to show progress and to get a good idea of how to approach the rim repair. Inspecting the rim, I place a drop of superglue on one particular ‘dent’ that reached significantly down the external side of the bowl. I’m hoping that this small fill will enable me not needing to take as much off during the bowl topping to repair the rim.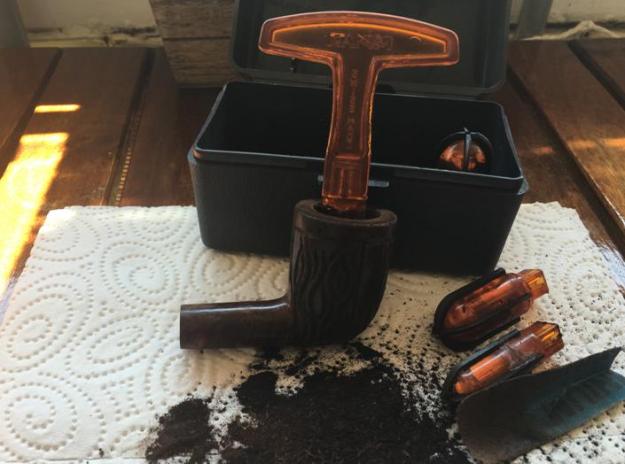
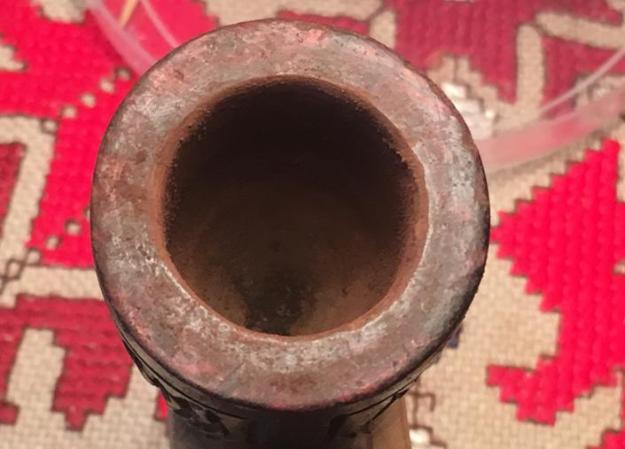
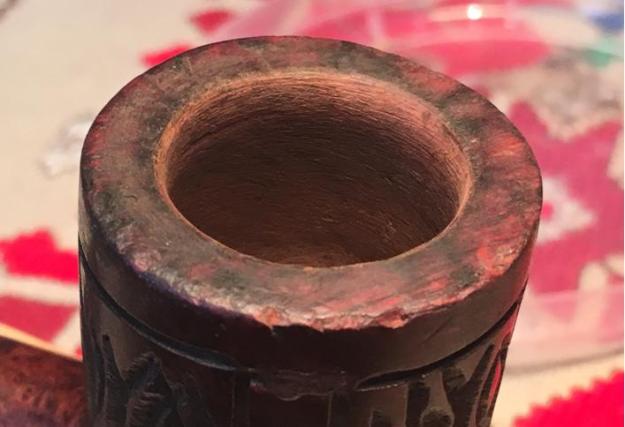
 After the superglue sets up on the rim dent fill, I top the bowl using 240 grit sanding paper on top of a chopping block. Since the day is beautiful, I again move to the 10th floor balcony to do the work. With the rim having no burns, I expect the surface to plane off evenly without pulls toward softer burned areas of the rim. I rotate in a clockwise circular even motion and take off only as much as needed to remove the damaged area of the rim. As I like to do, I create a small bevel on the inner wall of the rim to give a more finished, classier look. I use 120 grit paper to form the initial bevel angle followed by 240. I also decide to give the outer rim edge a slight sanding to round off the lip which seems to be consistent with the original Milano design. Again, I make the initial cut on the lip with 120 grit paper and finish off with 240. I have grown to appreciate more the rim presentation in finished pipes. To me, the rim, it’s nuances, are the first thing the eye is drawn to when looking at a pipe – much like the first thing one sees when looking a person are the eyes, then one follows by taking in the general appearances. The following pictures show the Milano’s rim progress.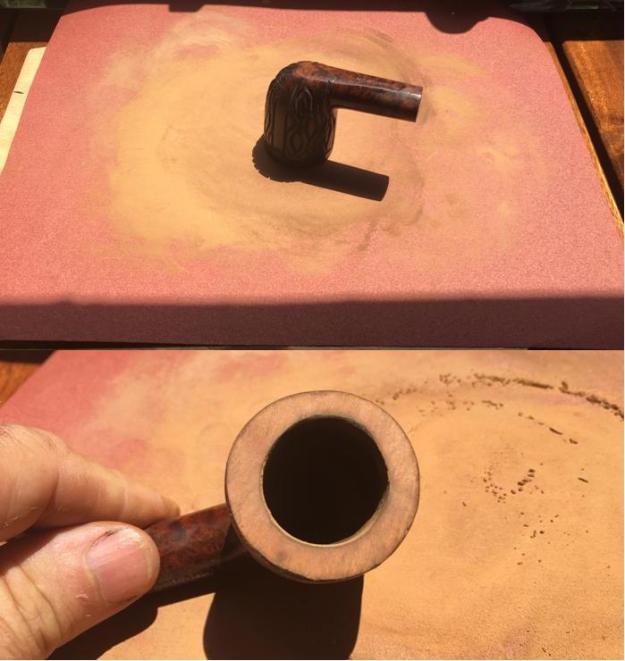
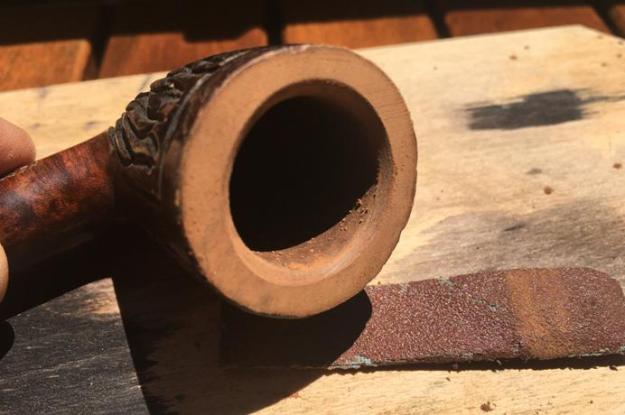
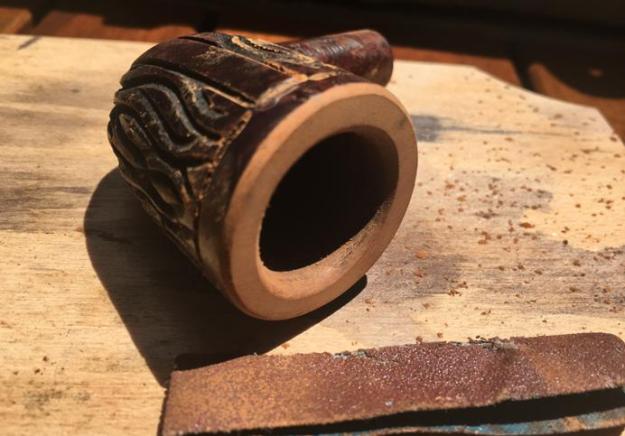
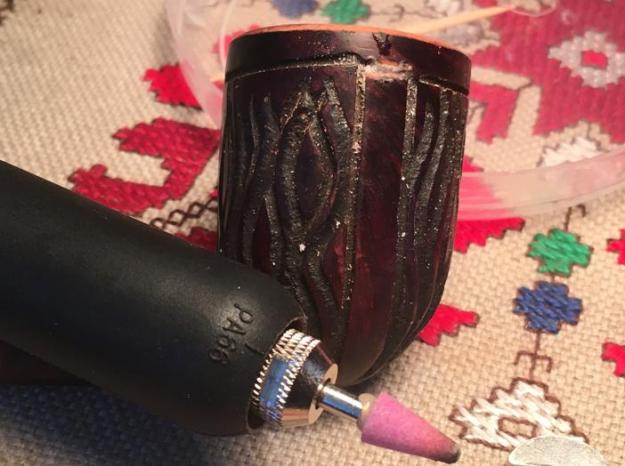
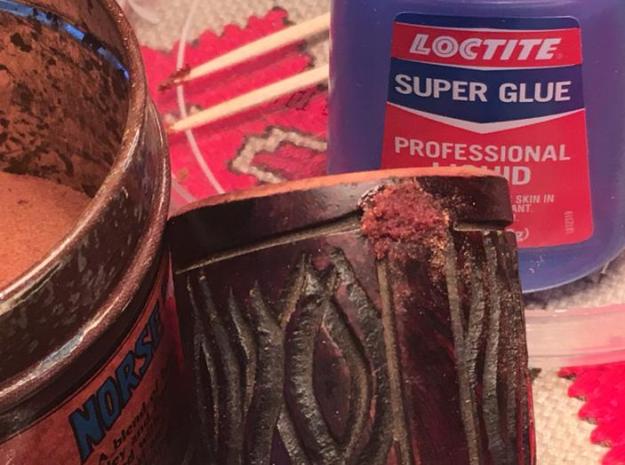
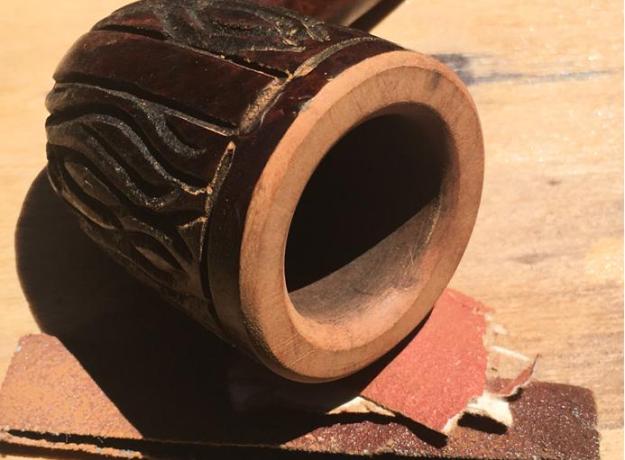 You can see in the immediate preceding picture the rim superglue fill spot at the 11 o’clock position of the rim and the ongoing panel repair just below it (to the left in the picture). Before moving to the stummel finishing, I now need to resolve the panel repair. I realize at this point with all the stummel repairs (cracked shank, topping and panel line), I will be removing the finish and refinishing the surface in order to achieve an even briar tone appearance. Now, continue to ‘heal’ the panel cut – earlier I applied superglue to it to build it up. I take a close up of the panel as it is now in order to know what I have. In order to blend more, I rough up the original superglue with a Dremel stone sander instrument. I apply on top of it a thick mixture of superglue and briar dust to form the restored surface that will join the side briar panel with the solid ring around the top of the bowl. I use toothpicks to mix, spread and tamp the mixture into place. I want this briar dust putty to setup well so I put the stummel aside for the time and turn to the stem which has been soaking in Oxyclean.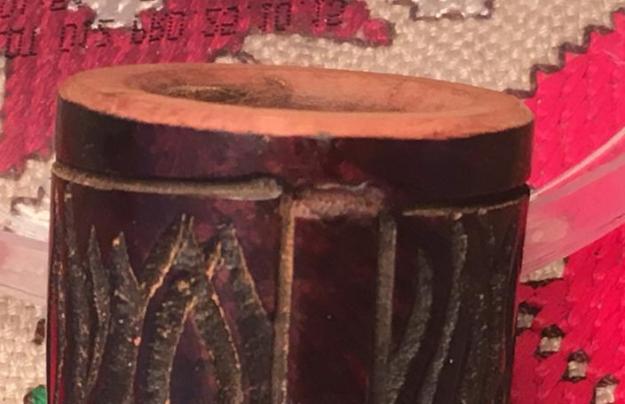
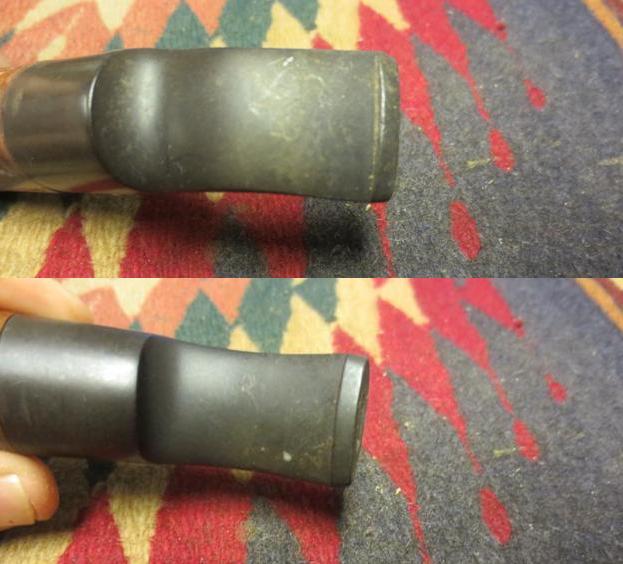
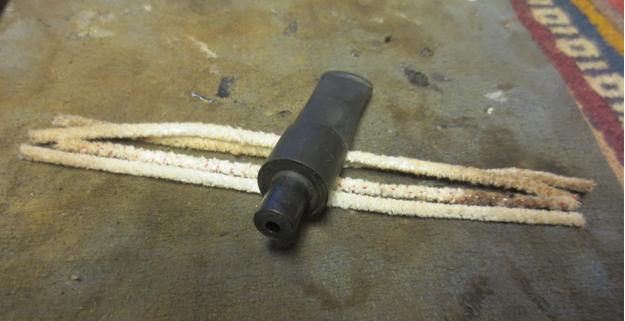
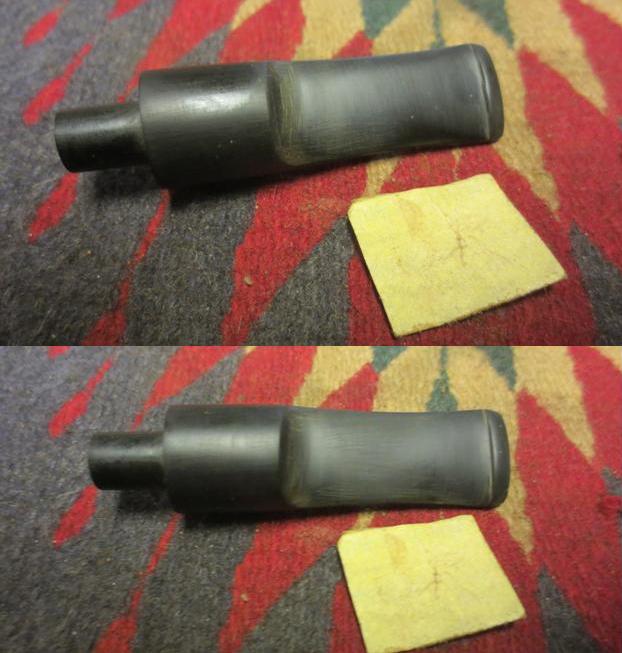
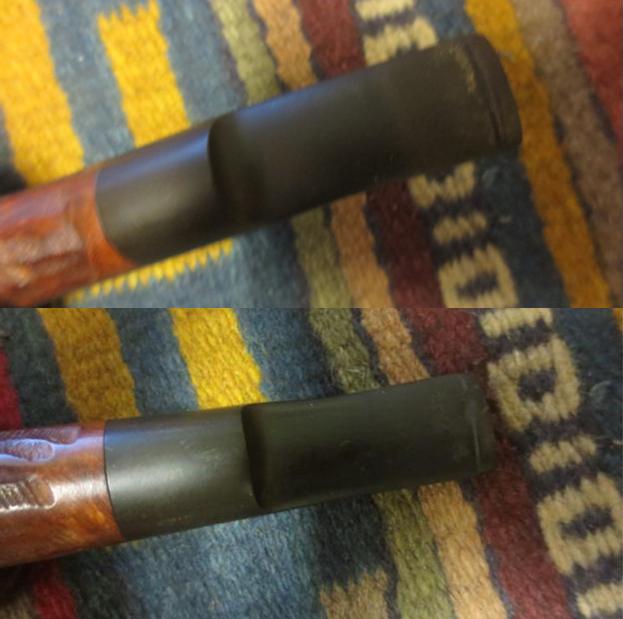
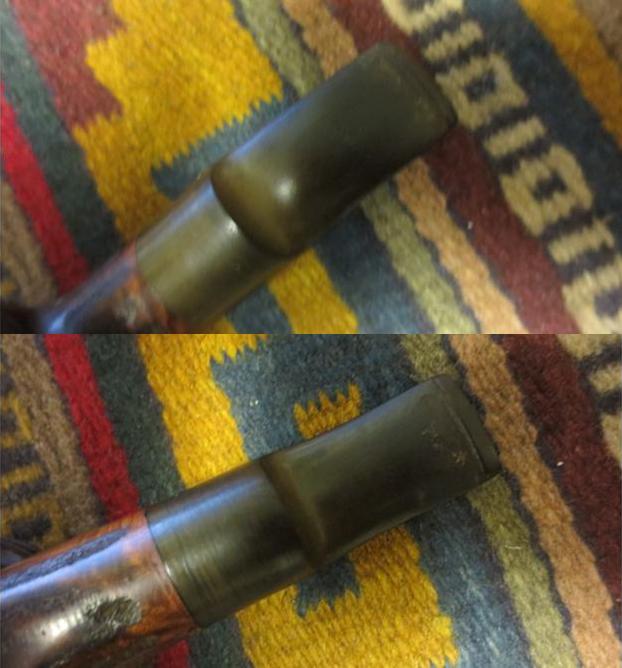
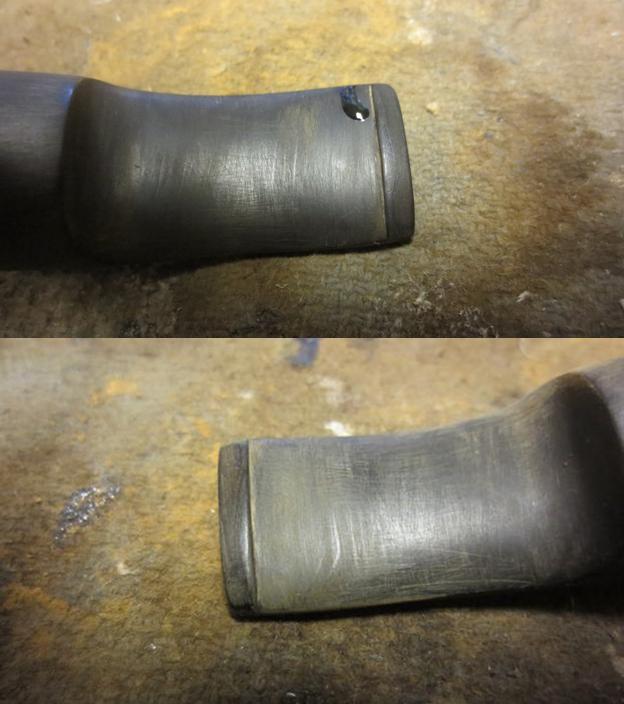
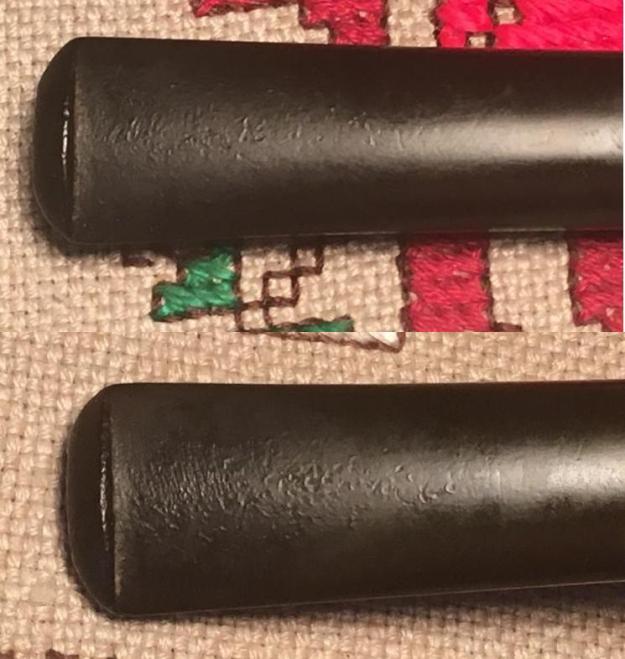
 The Oxyclean bath did the job of bringing the oxidation to the stem surface. I attack this initial layer with 000 steel wool and then use 240 grit paper to address the minor tooth chatter – I take pictures of bit top and bottom before starting to show progress. In order to have a good match between the mortise and the stem, I want to eyeball what the fit looks like before I proceed further. As I suspected, with all the superglue applied to the mortise area, the fit between mortise end and stem was not flush. I took the stummel back to the topping board and gently rotated the shank end on the board to regain a flush docking between stummel and stem. After a few rotation cycles and testings to eyeball things, I am satisfied.
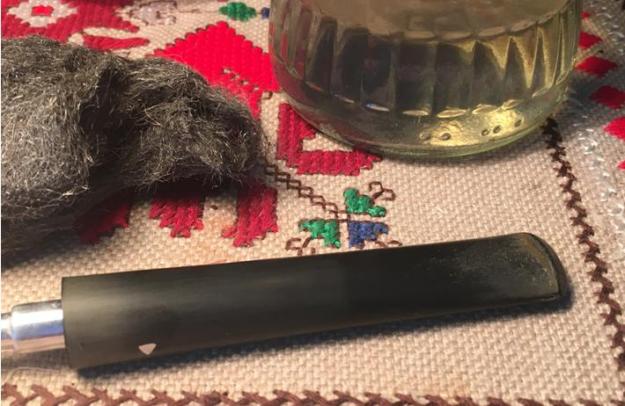
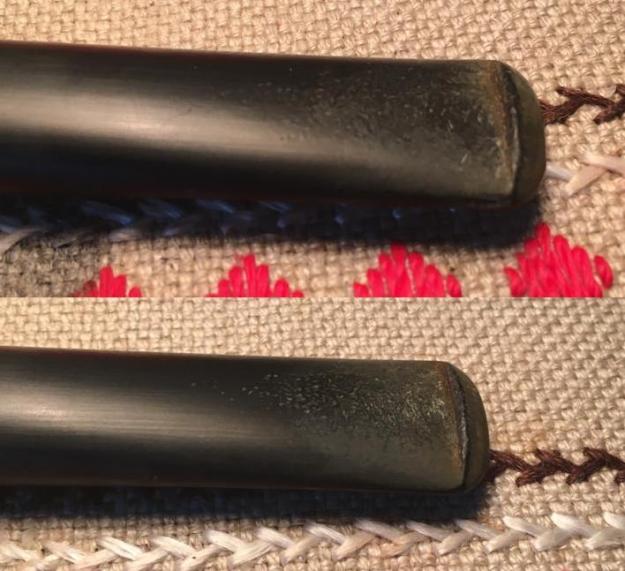
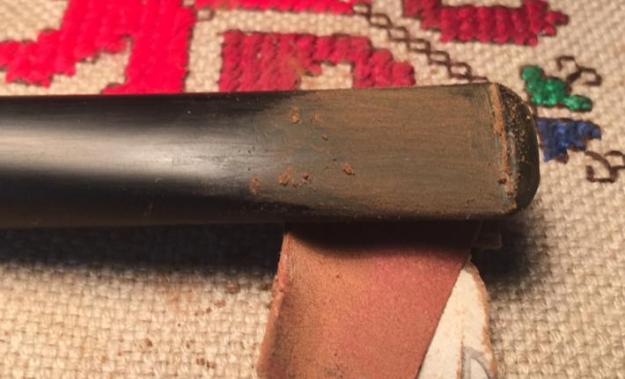
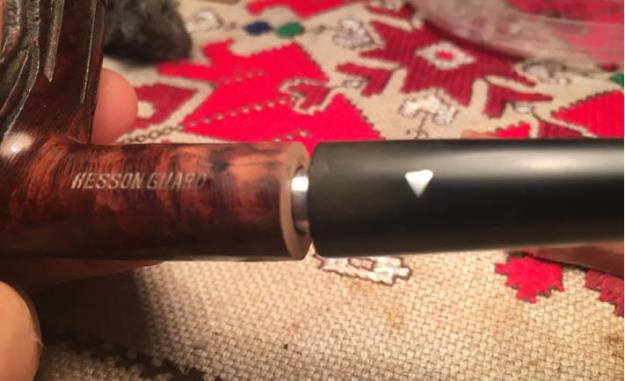
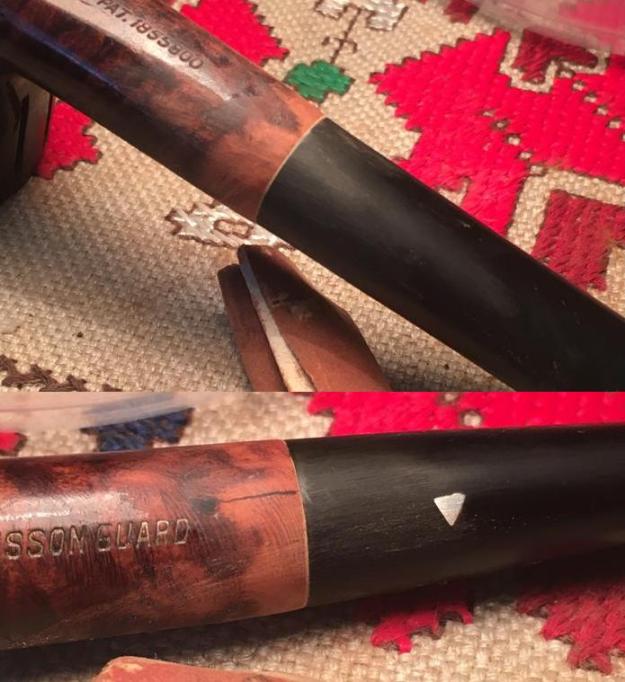
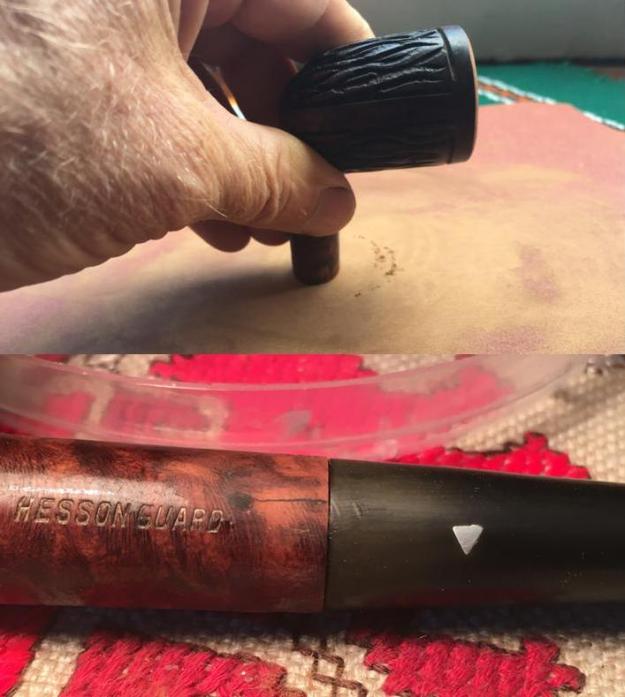 Before starting the micromesh cycles for the stem finishing, I need to remove the lip that I discovered with the shank end over the stem. With the topping of the shank end, I enlarged the circumference of the end just a bit so that it was a bit larger than the circumference of the stem shoulder – primarily on the lower side of the shank. I use 240 grit paper to even out the difference between the shank and stem – leaving the stem in place to assure a good, smooth transition! I am careful to use my thumb to cover and protect the nomenclature as I move around the shank with the sanding paper.
 Now to the panel repair below the rim. Using 240 grit sanding paper I bring the hardened superglue and briar dust mixture down to the bowl surface careful to maintain a rounded surface and not to flatten out the area of sanding focus. The pictures show the progress.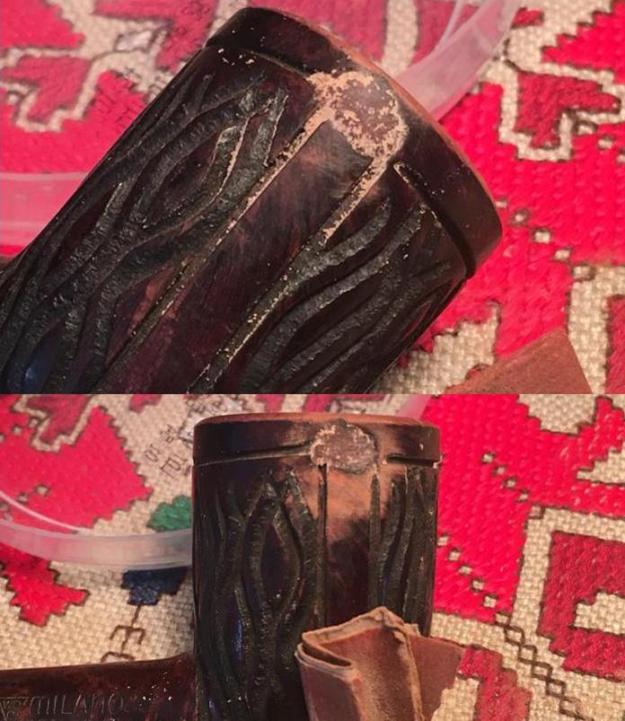
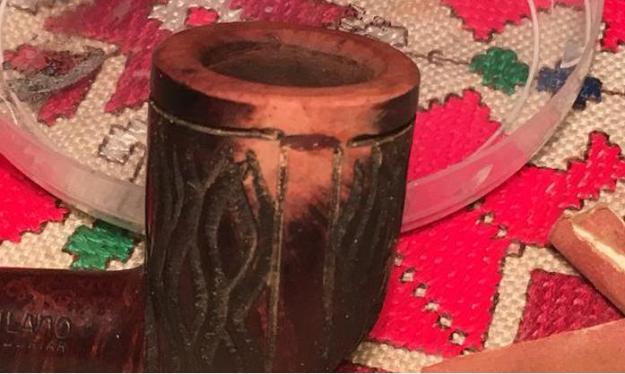
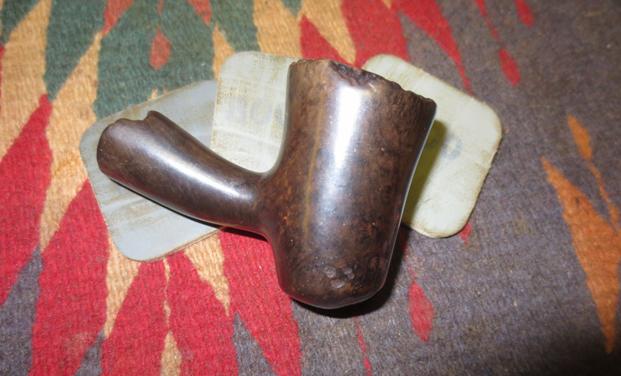
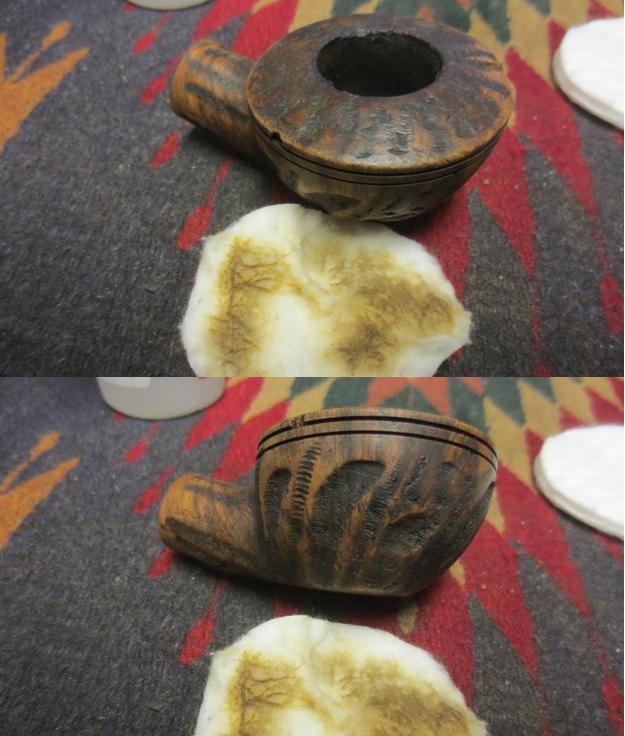
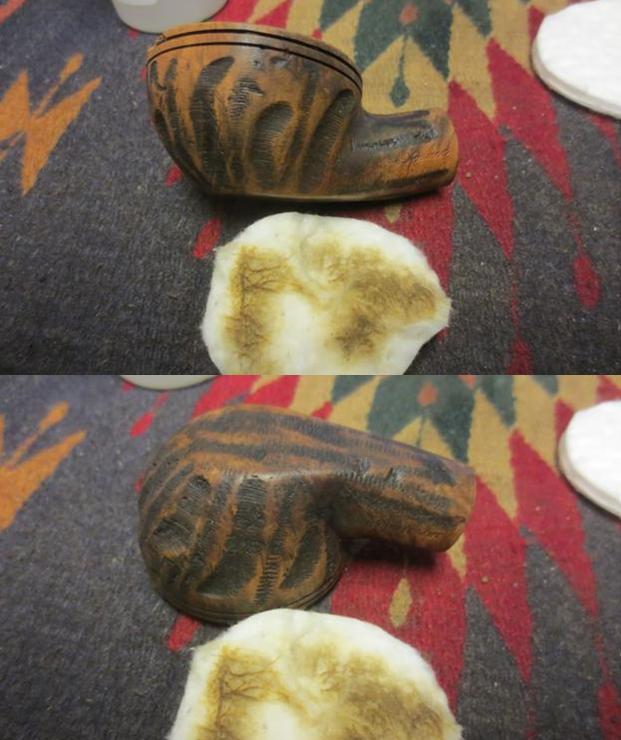
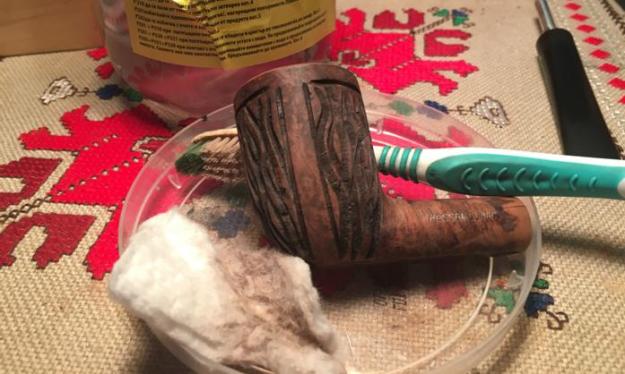
I like the panel patch and it will blend with a darker stain. On a roll, I launch into the clean-up of the stummel and especially the ‘flame murals’ which are filled with grit and dust. I use a tooth brush with Murphy’s Wood Soap undiluted and work over the entire stummel with special focus in the fire sculpting to remove the surface finish. I follow this with rubbing down the stummel using cotton pads and tooth brush with acetone to remove the finish deep in the grain of the briar. I finish my clean-up of the surface by picking the carved crevices with a dental tool. Using micromesh sanding pads, I sand the high points of the stummel. Using 1500-2400 I wet sand. Following, 3200-4000 dry sand and finishing dry-sanding with 6000-12000. The pictures show the progress – I’m liking the briar grain the micromesh process is bringing out.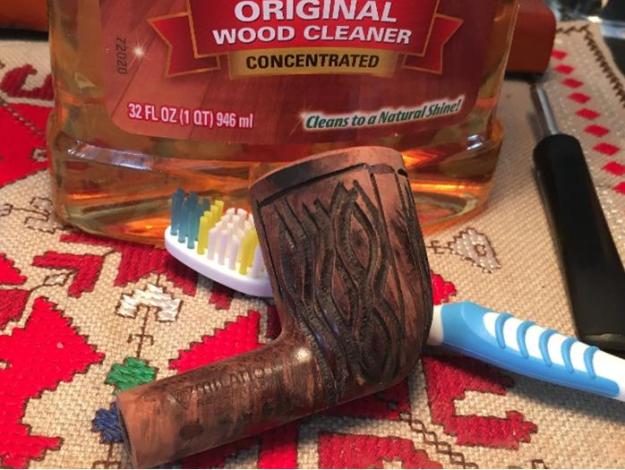

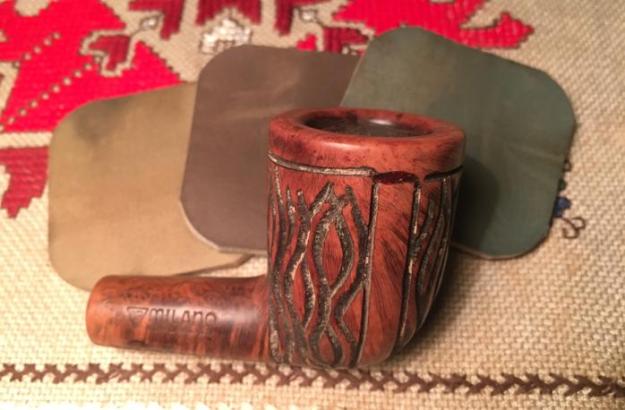
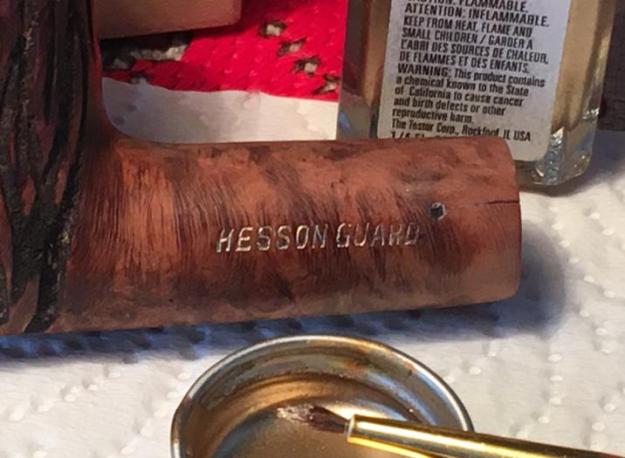
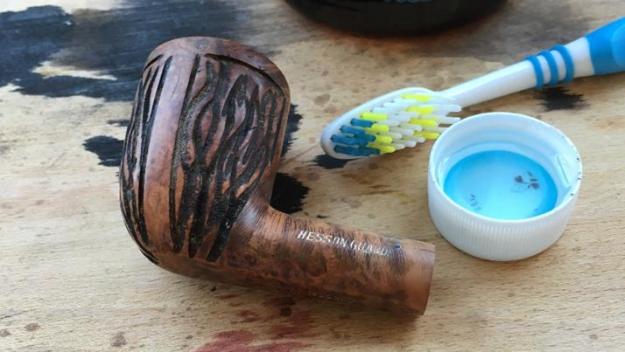
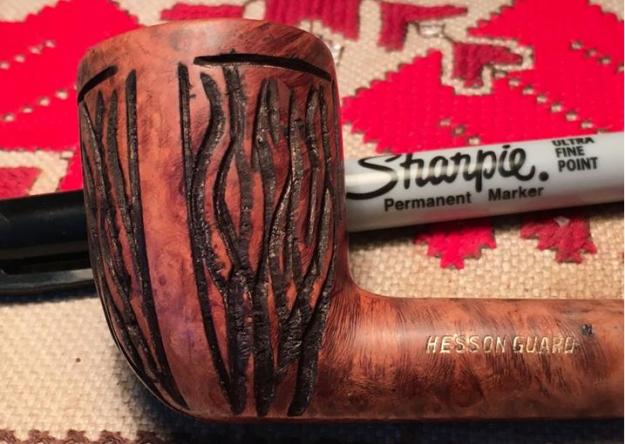
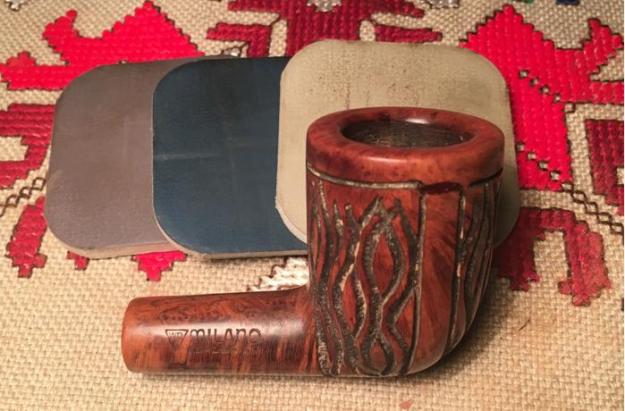 At this point, I have two questions about how to proceed before staining the stummel. First, I need to clean out the ‘flame’ sculpting and use a black fine tipped permanent marker to darken the flames to give more contrast after the stain is applied. The other question was how do I treat the stampings of the WDC Milano – Hesson Guard? Do I protect it from the stain? Do I cover them with Vaseline? What? Upon closer inspection, I notice that the left side stamping, Hesson Guard, appeared to have gold left over in the ‘Hesson’ lettering – the rest having worn off (picture below) after the crack repair. After a quick email to Steve, his input revealed that both sides would have originally born the gold lettering. So, from my model kit (I’ve been involved in a project for several years building the USS Constitution sailing ship) I discover a bottle of Testors Gold Enamel Model Paint and my wife finds a small brush which I trim with my knife to create a more distinct point. With Steve’s counsel stored in my mind, I applied the paint over the lettering and wiped off the excess. To my relief and joy, the gold paint adhered to the crevices of the lettering and the overflow came off with the paper towel. My first stamping restoration with paint worked well! Steve also said that there was no need to worry about the new lettering during staining – that the gold paint would repel the stain. Careful to avoid the new gold lettering, I clean the bowl with isopropyl using a tooth brush to get rid of the residue from the sanding and then I move to highlighting the flame sculpts to bring greater definition to the paneled murals in the finished pipe. The pictures tell the story.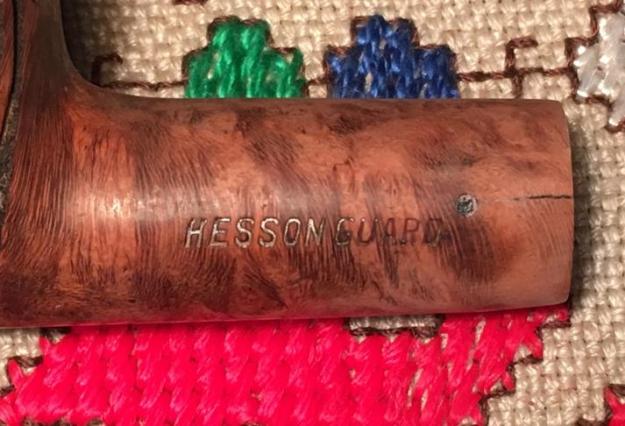
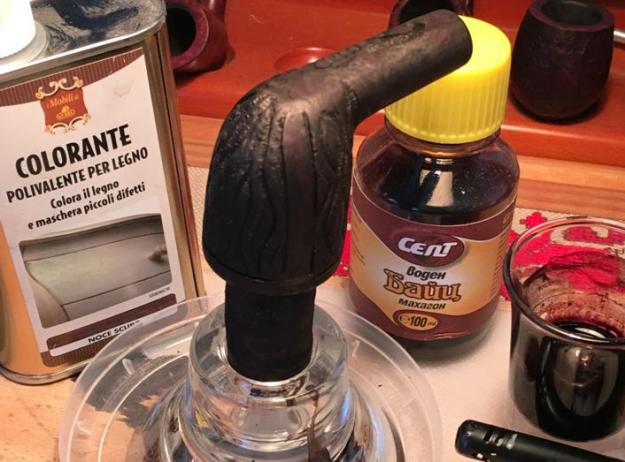
 Time to stain and I decide to use a mixture of an alcohol-based Italian stain I found here in Bulgaria with a color description of dark nut. I want this as the base, but I mix it with a mahogany color water based stain to bring out a slightly more redish tone in the briar. I think the red will work with the flame sculpting motif and I think this will look good – but of course the briar does what it will with the hues! After mixing the stains in the shot glass, I apply the mixture to the stummel mounted on the cork and candle stick with cotton balls making sure to cover everything and getting a good thick coverage. After applying stain, I use the butane lighter to flame the stain. With the mixture that I made, the alcohol content was too low to ‘flame’ so I evenly moved the lighter flame across the surface to evaporate the alcohol setting the dye in the grain of the briar. I repeated the process again and set the stummel aside to dry.
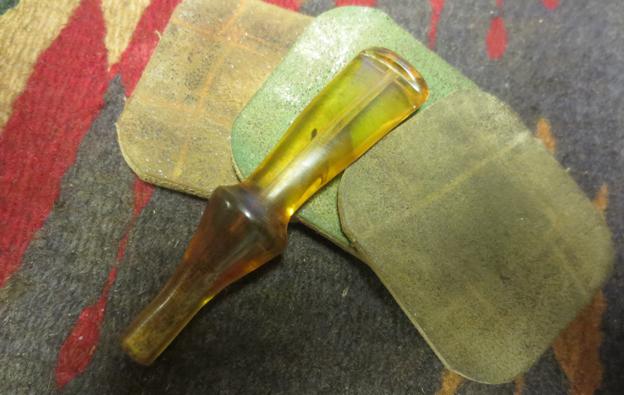
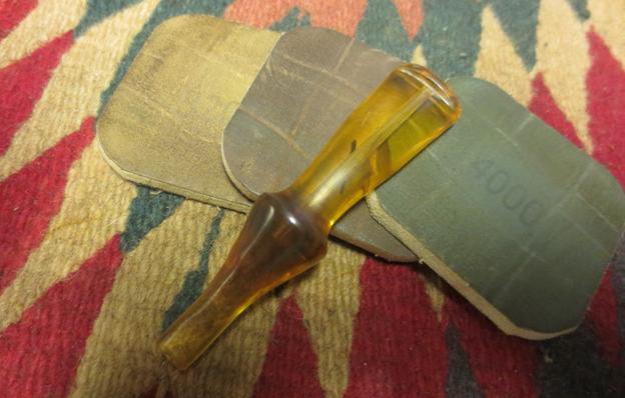
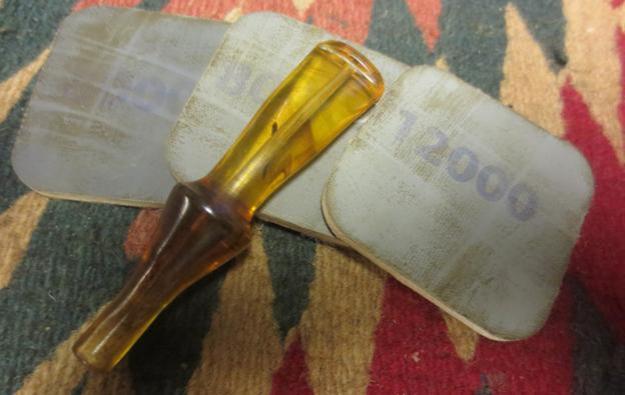
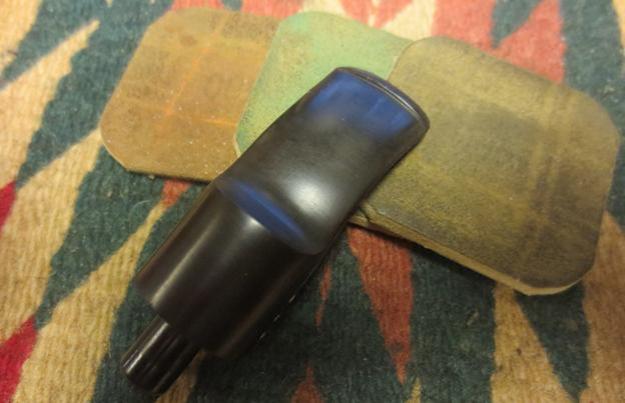
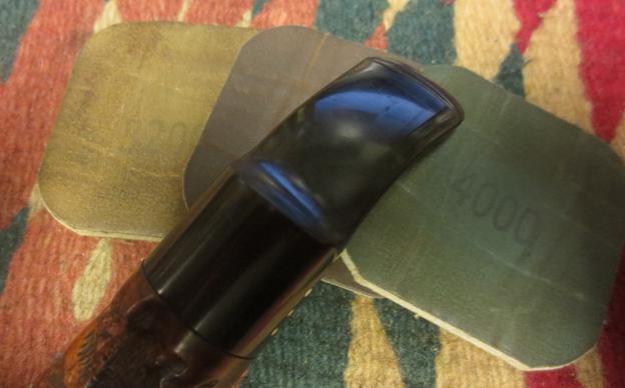
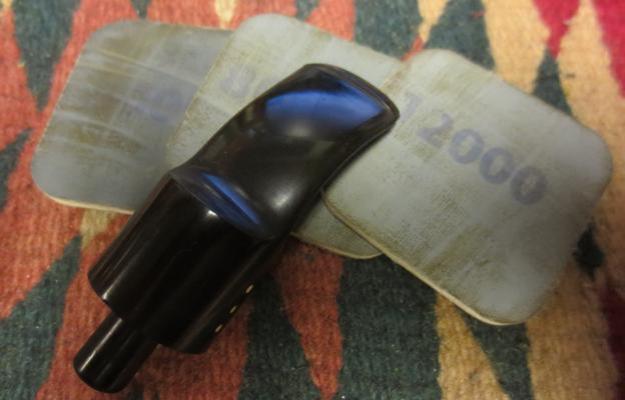
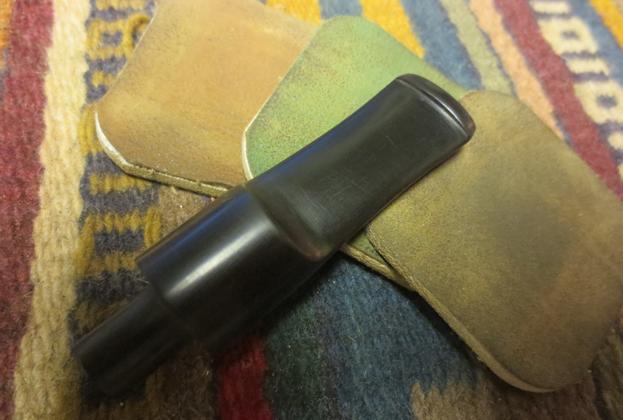
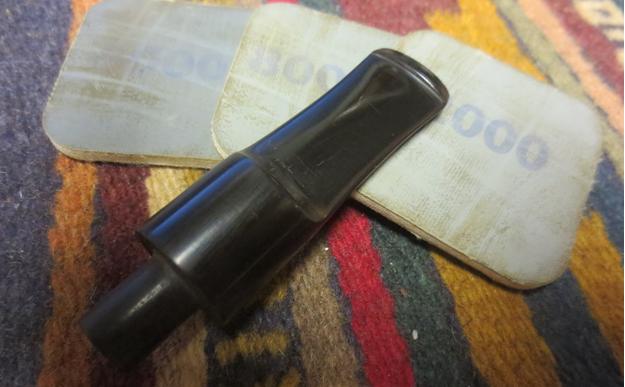
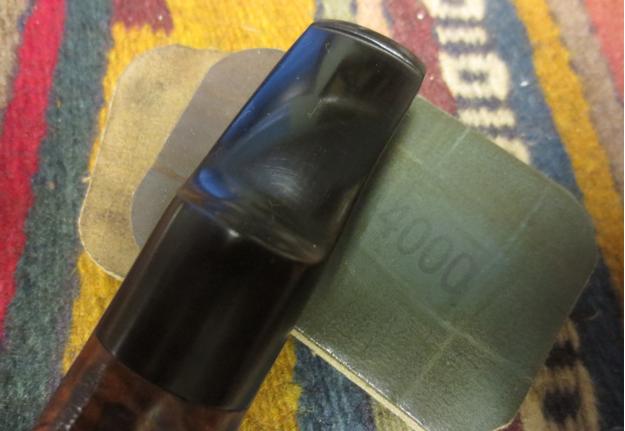
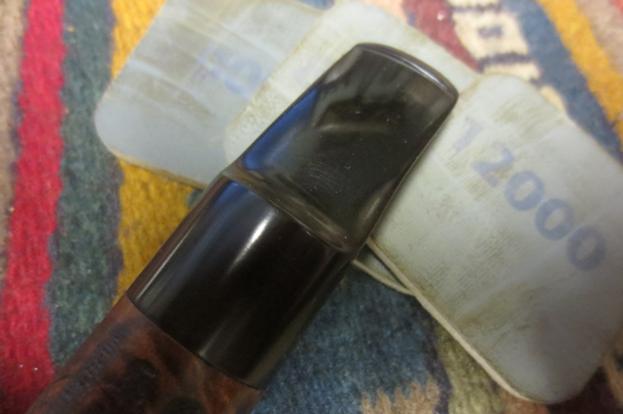
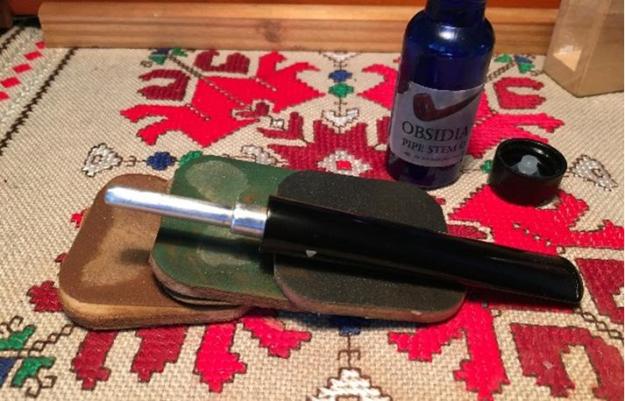
 With the stummel put aside, I turn again to the stem. I re-inspect the button area after the earlier sanding to remove the teeth chatter. I decide that the button needed a little more attention. I use 240 grit sanding paper and a needle file to fine-tune the shape of the button before starting on the micromesh cycles. I wet-sand the stem using 1500-2400 and complete the cycle by applying Obsidian Oil. While still wet from the oil I continue to dry sand with 3200-4000 micromesh pads, again concluding the cycle by applying Obsidian Oil. The final cycle, 6000-12000 is used and a final coat of Obsidian Oil and I put the stem aside to dry. I love watching the shine of the stem progressively make it to the surface getting that final wet, reflective look in the stem. Nice! The stem pops. The pictures capture the progress!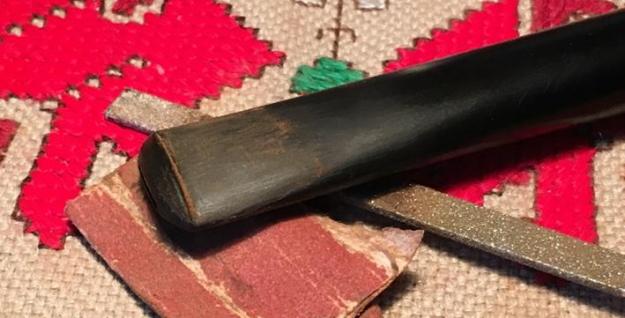
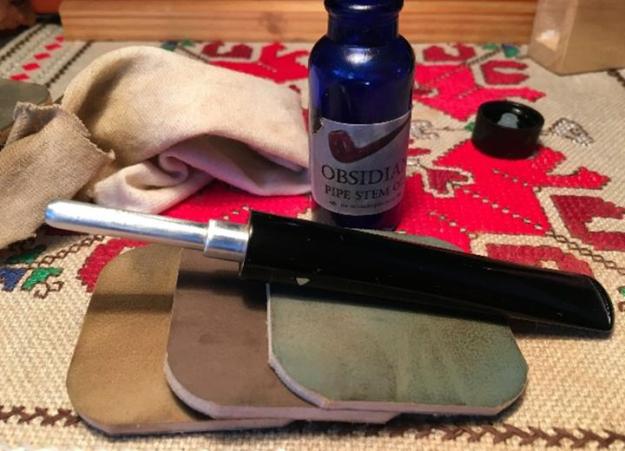
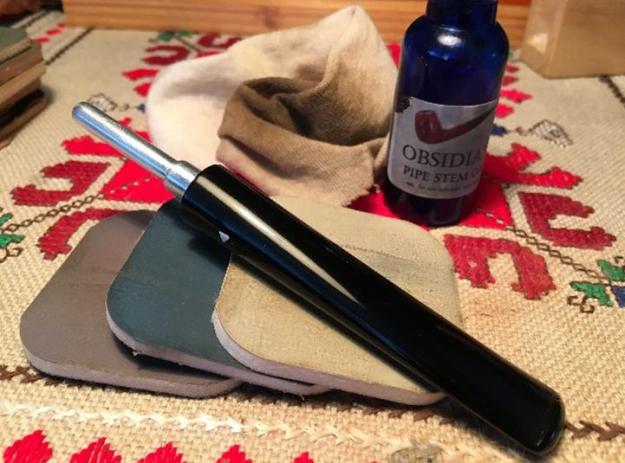 For me, beginning the process of finishing the stummel after the staining dries, is like opening a Christmas present. The anticipation is to see what actually is under the crust of flamed stain and what the briar grain will reveal. With the Dremel tool, I begin to remove the ‘wrapping’ using a felt wheel. Also with a felt wheel I polish beginning with Tripoli and then move to Blue Diamond. I focus on bringing out the contrast of briar ‘flames’ showcased in the three panels. I switch to a cotton cloth wheel and apply carnauba wax to both stummel and stem. After several coats of carnauba, I complete the job by giving the pipe a clean cotton cloth wheel buff followed by a rigorous buffing with a micro-fiber cloth to bring out the deep tones of the briar.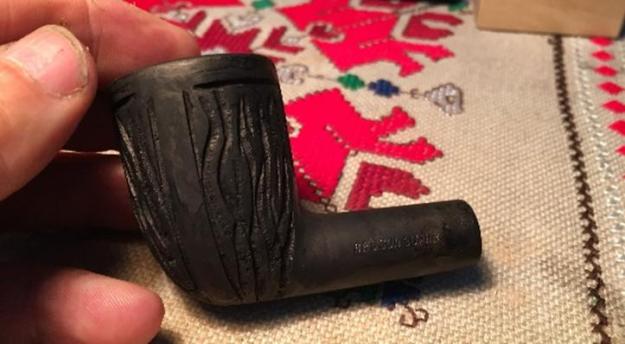
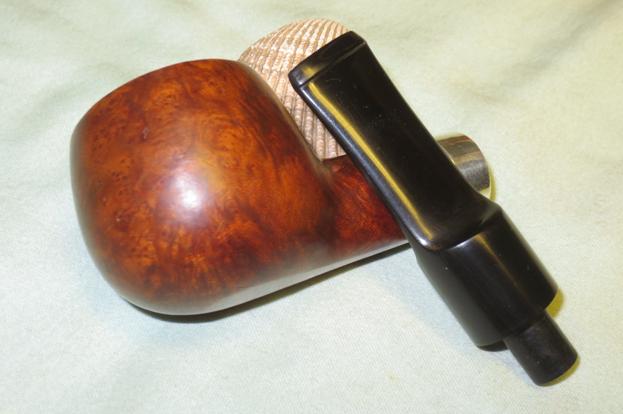
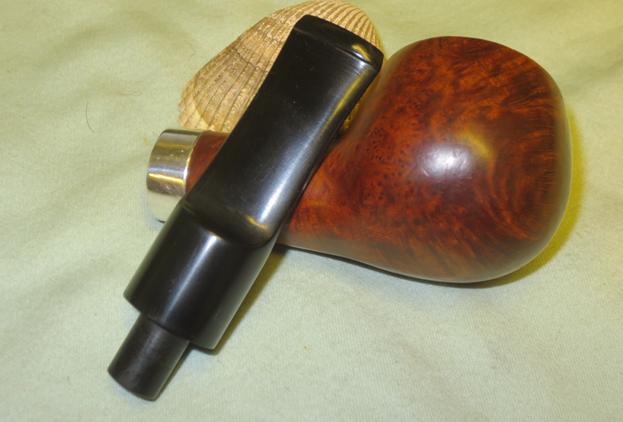
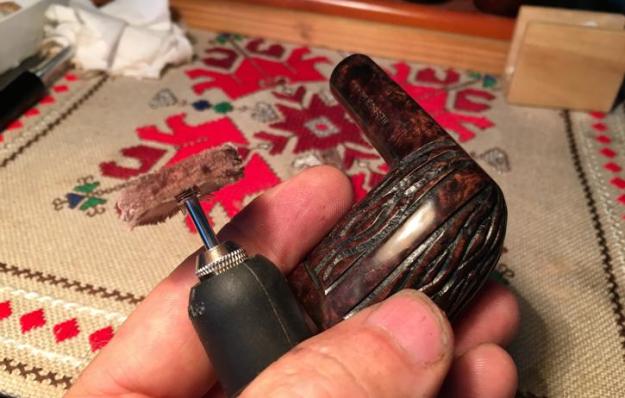 I’m pleased with the revitalization of ‘The Professor’, WDC Milano Hesson Guard. I think Professor Freundt, if he were alive today to comment, would agree. The rich dark tones of the briar, with the hints of deep reds, reminds me of the myriads of leather bindings and books that filled his hazy office. I’m pleased with the results. Thanks for joining me!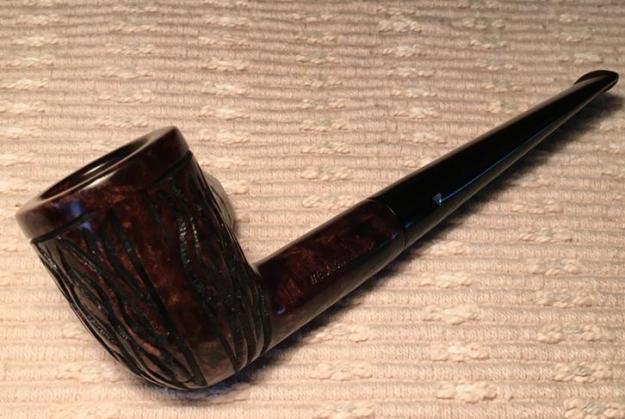


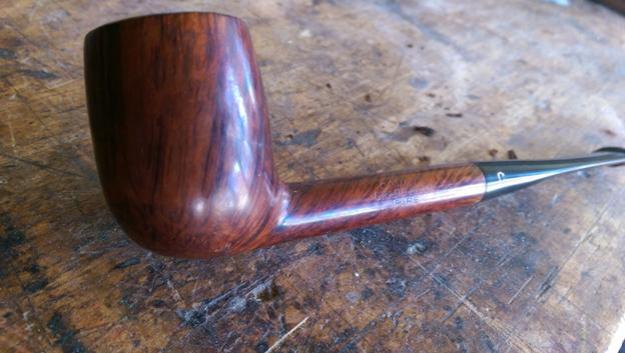
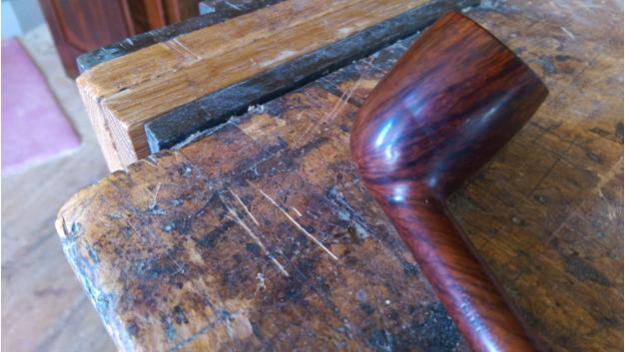
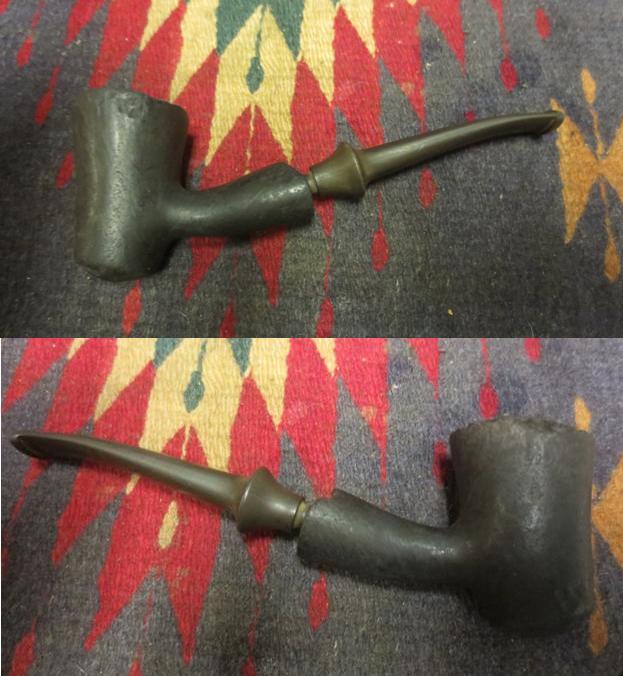
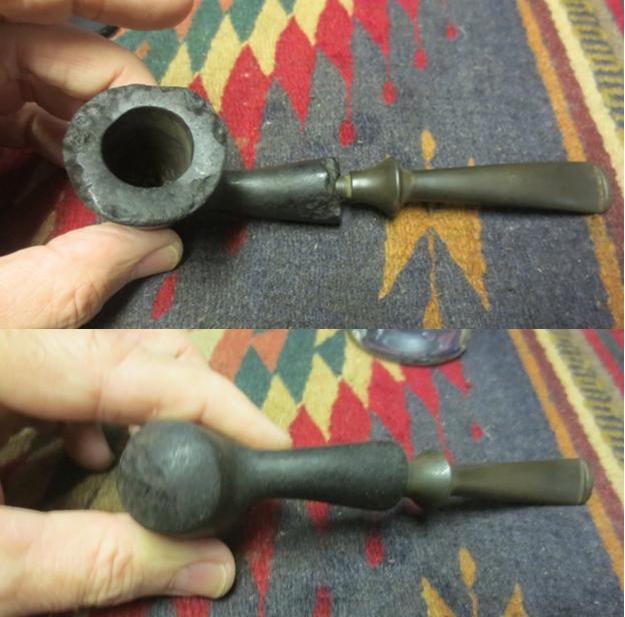
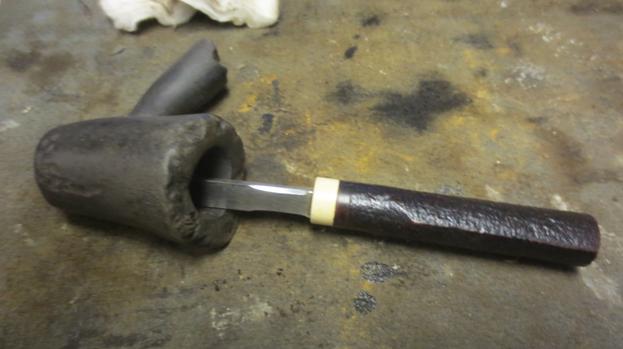
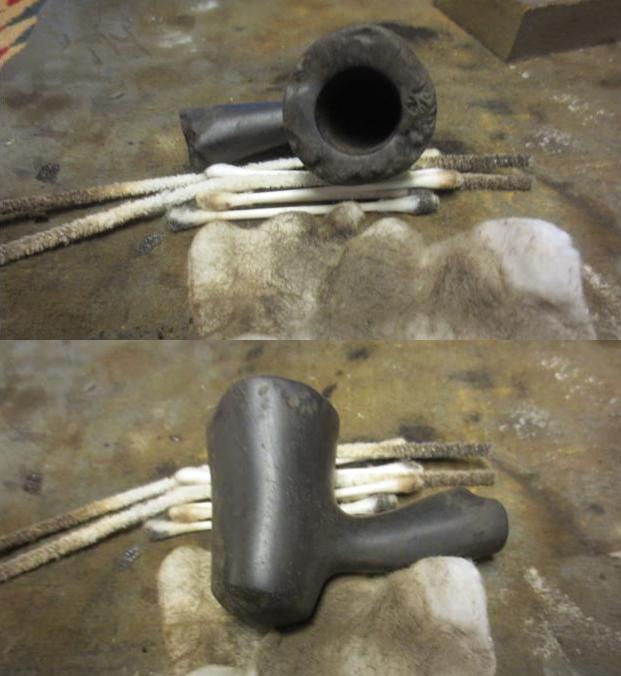
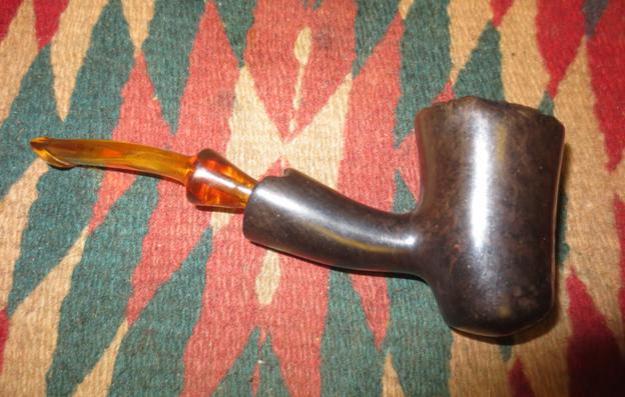
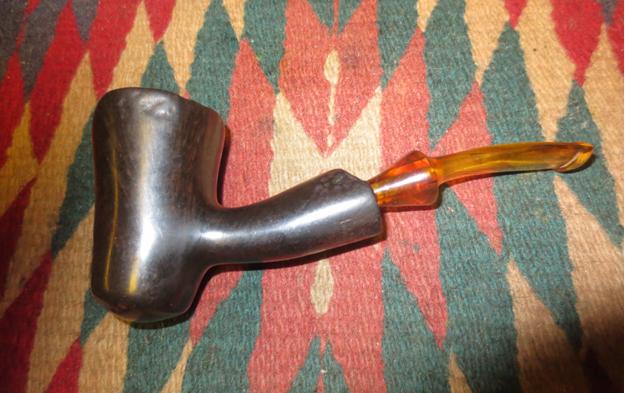
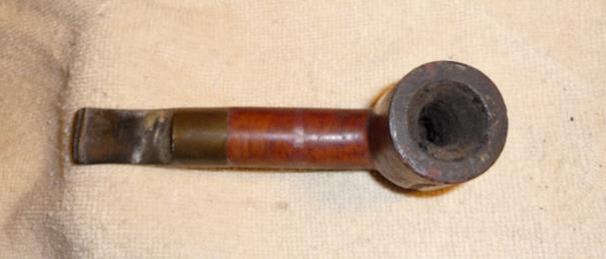
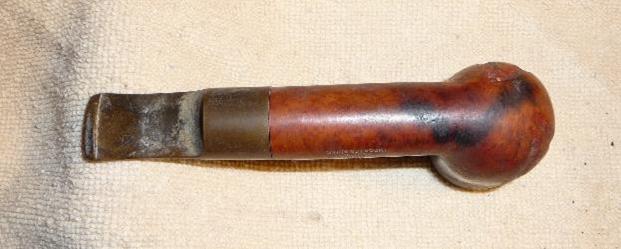
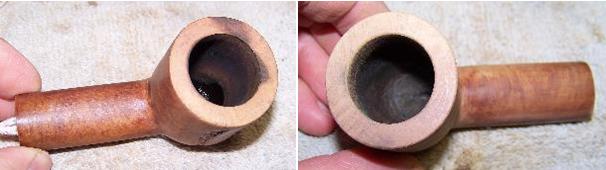
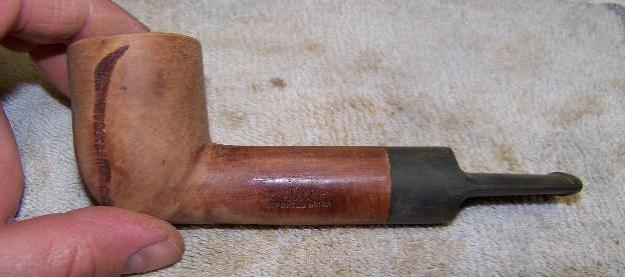
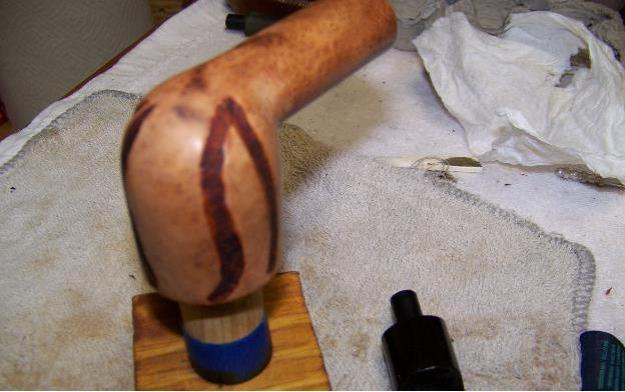
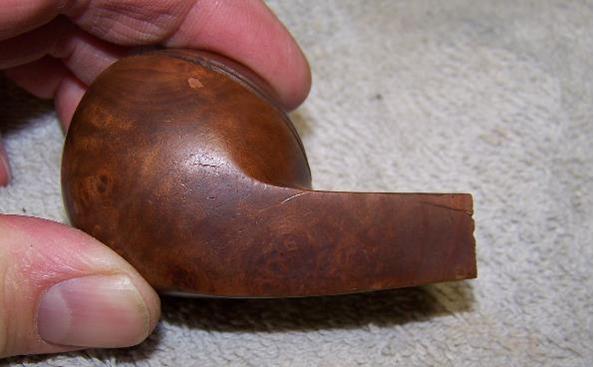
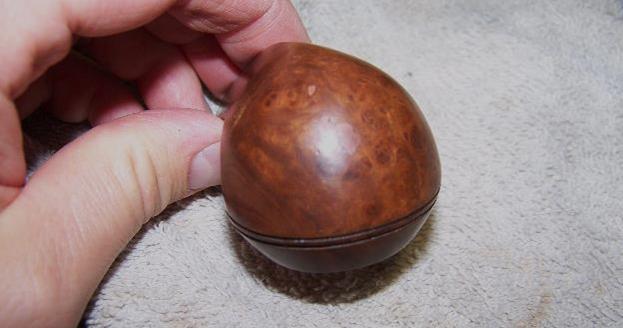
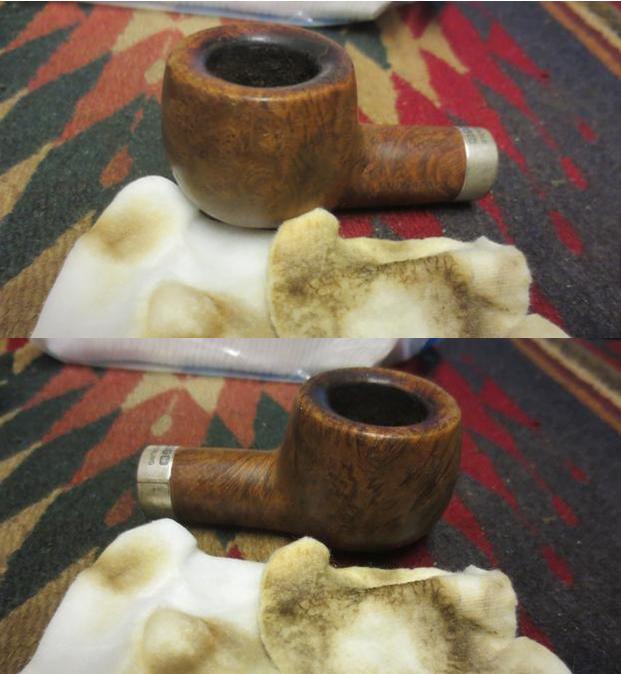
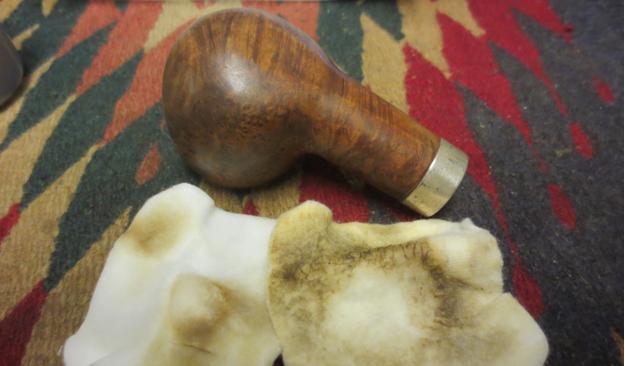
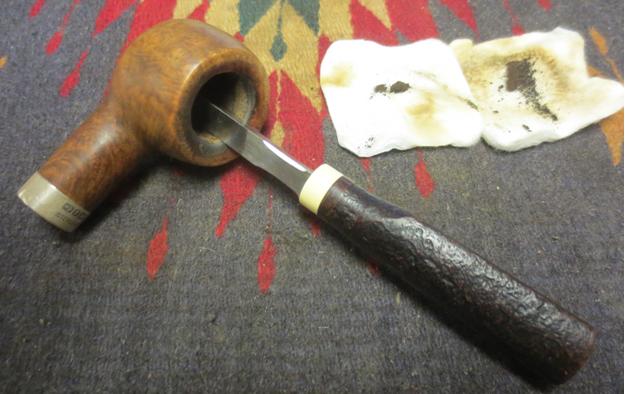
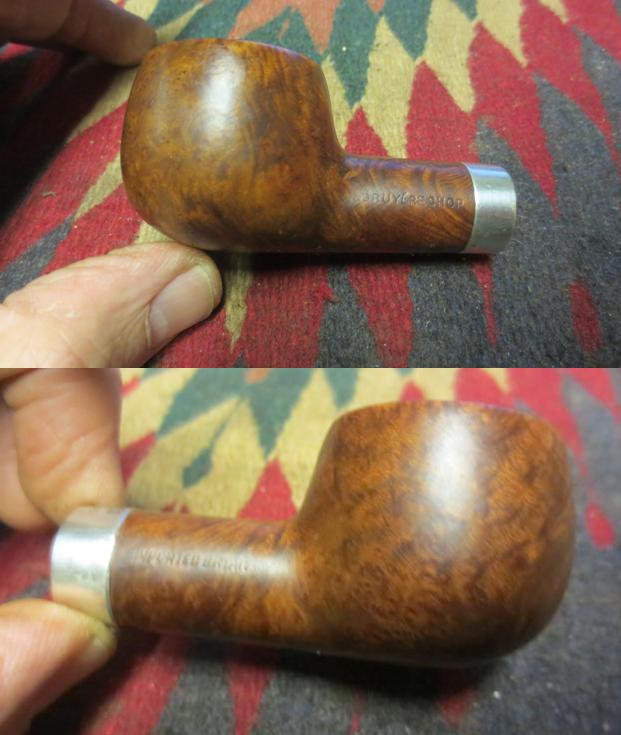
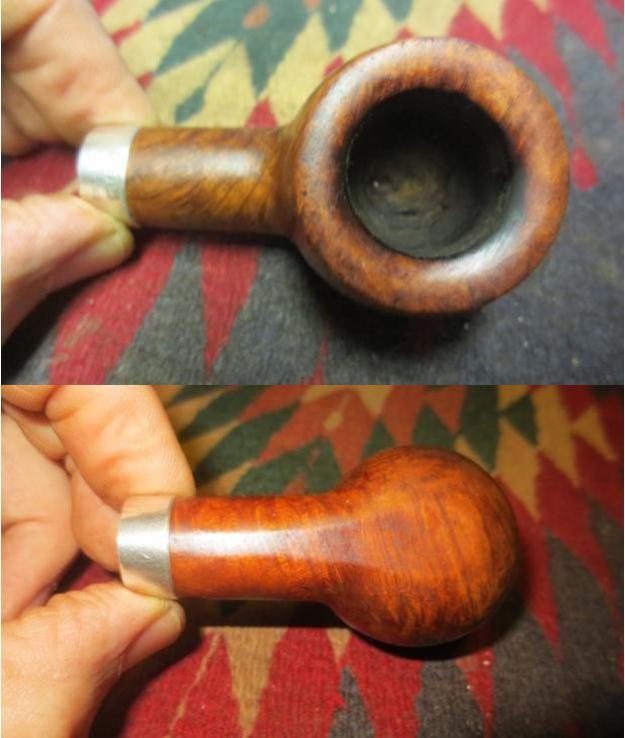
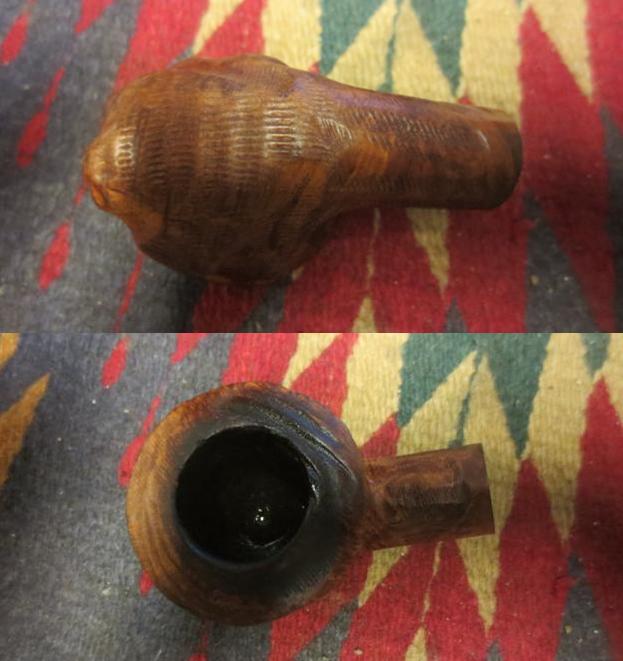
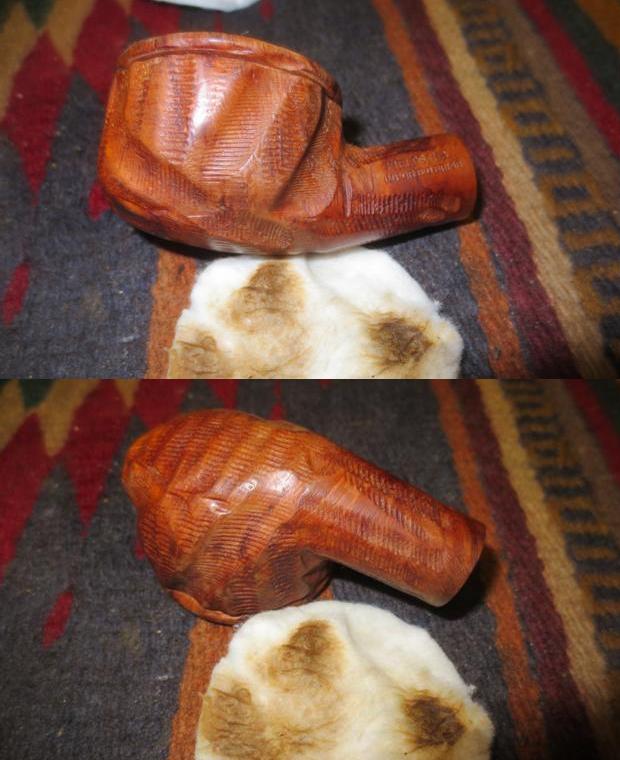
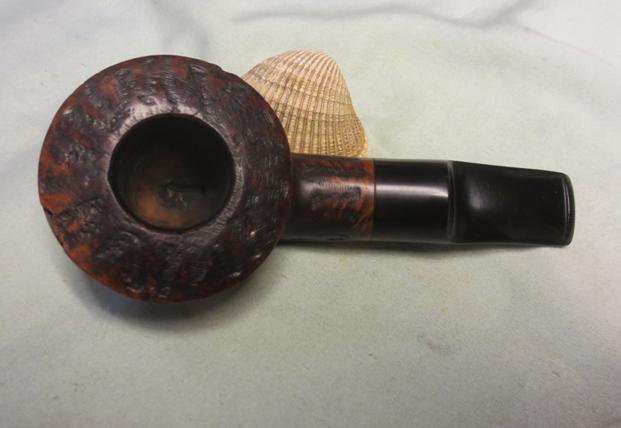
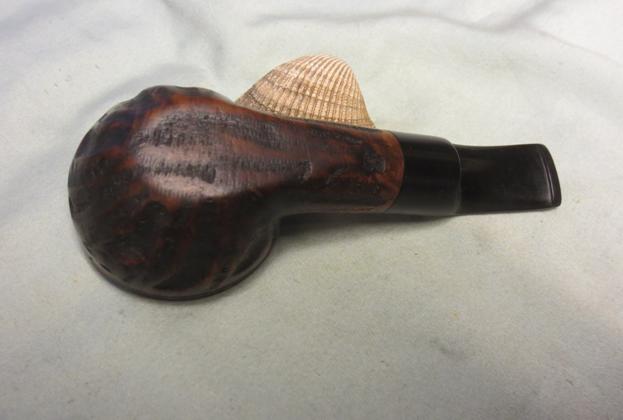
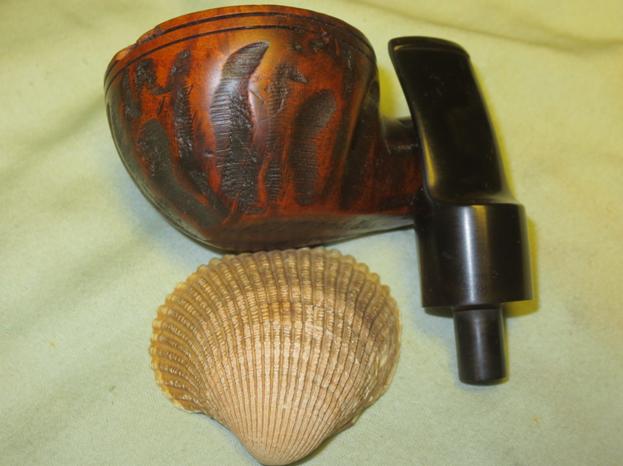
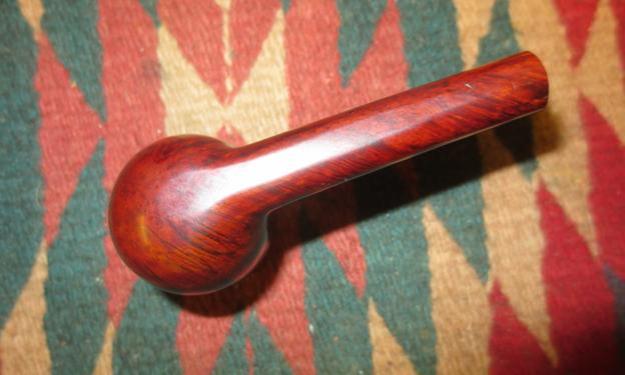
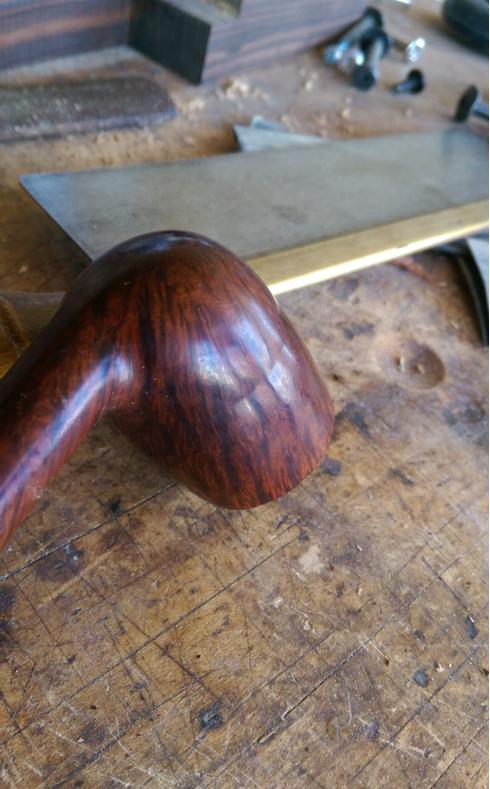 I measured and studied the side of the bowl before I decided what to do with it. I was not sure if the trough was caused by and issue inside of the bowl so my brother and I both cleaned and checked that out and could see nothing. I turned to look at the outside of the bowl and noticed that the bowl actually bulged above and below the line. That line itself actually was the same height as the rest of the bowl apart from the bulge. The bulge was thus briar that needed to be removed rather than the line a dent of missing briar. I breathed a sigh of relief and began to work on restoring it to normalcy.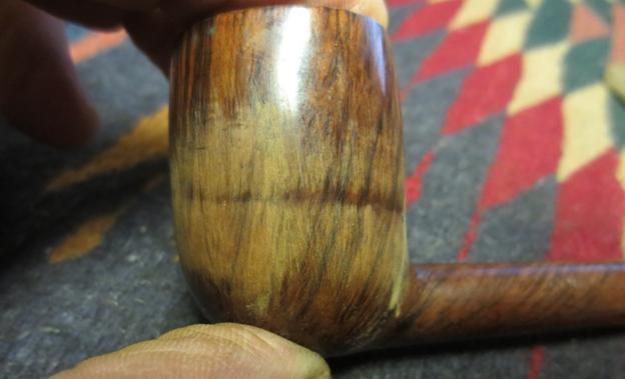
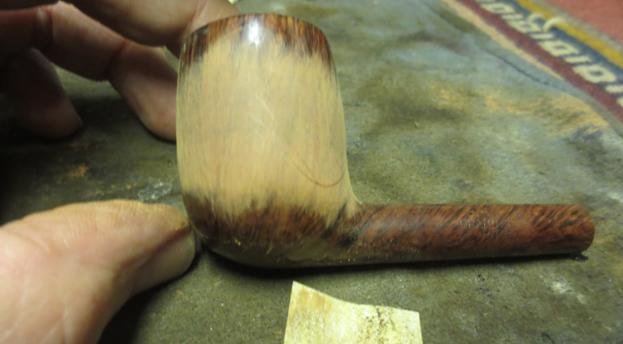
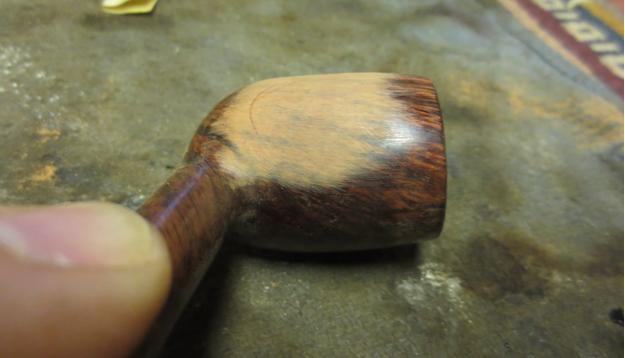
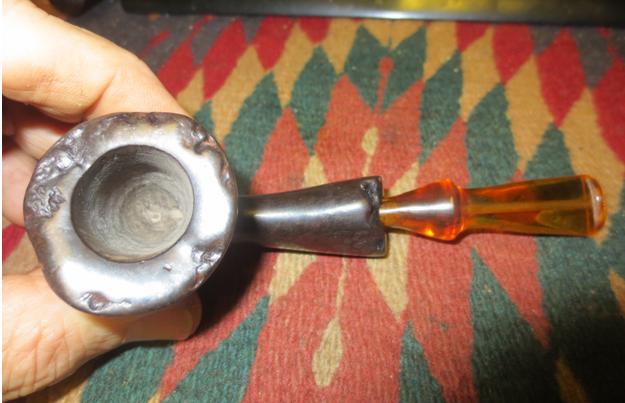
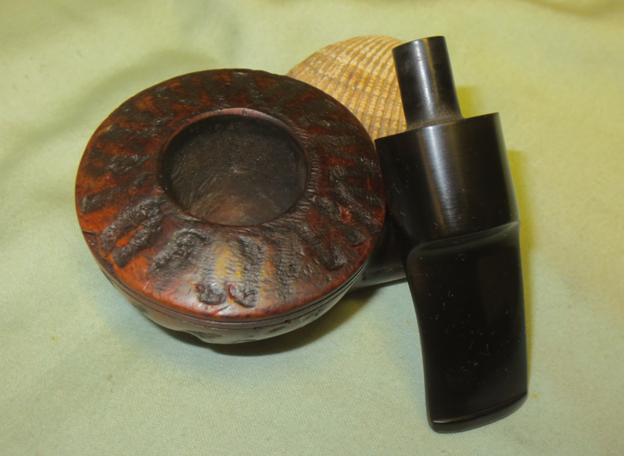
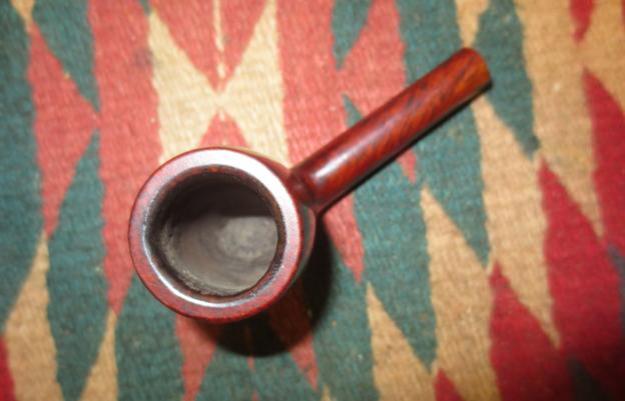
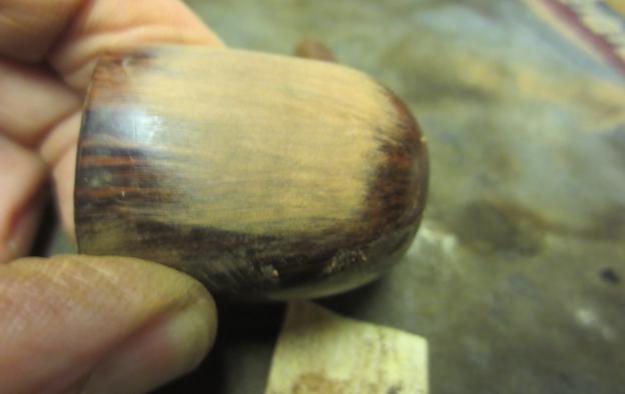 In the next photo you can see the slight divot at the 11 o’clock position at the top of the photo. It was a deep cut in the briar that must have happened when the pipe was dropped somewhere along process. I sanded it smooth and filled in the divot with clear super glue and briar dust. Once the repair cured I sanded it smooth with 220 grit sandpaper to smooth out and blend in the repair. I sanded it with a medium and a fine grit sanding block to remove the scratches in the briar.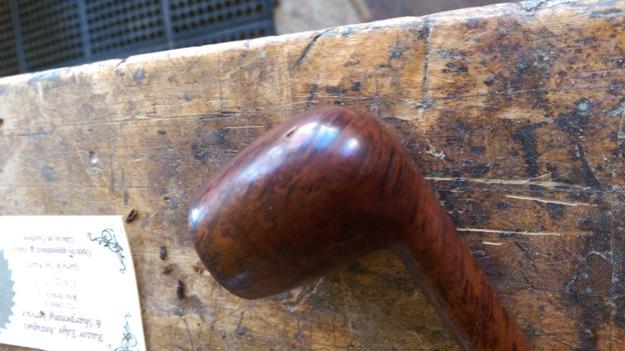
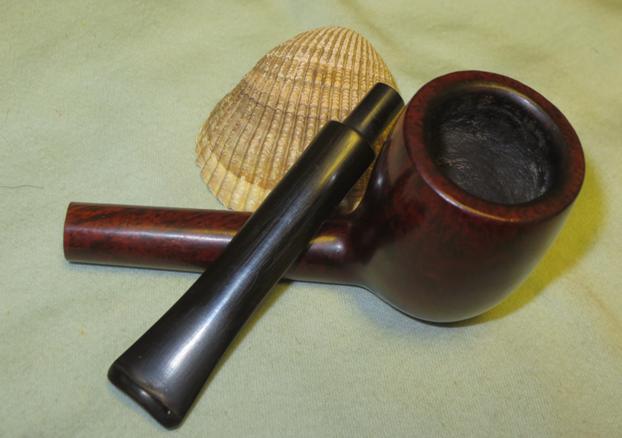
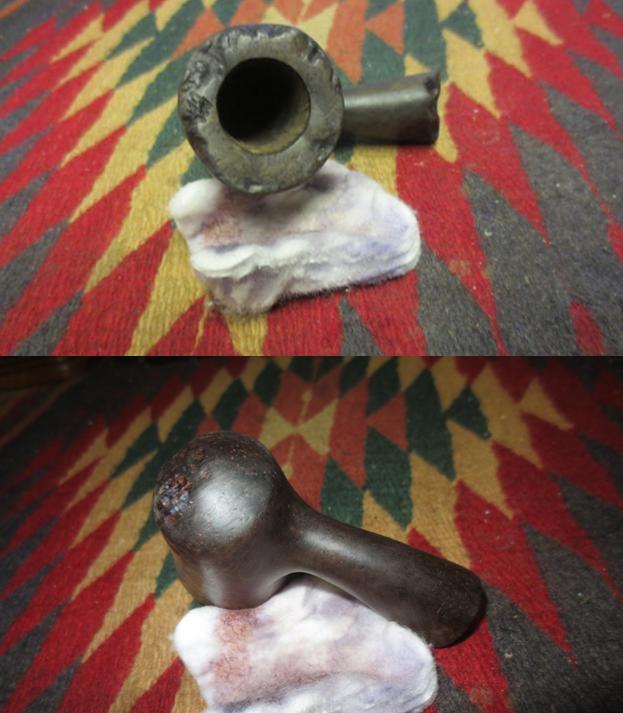
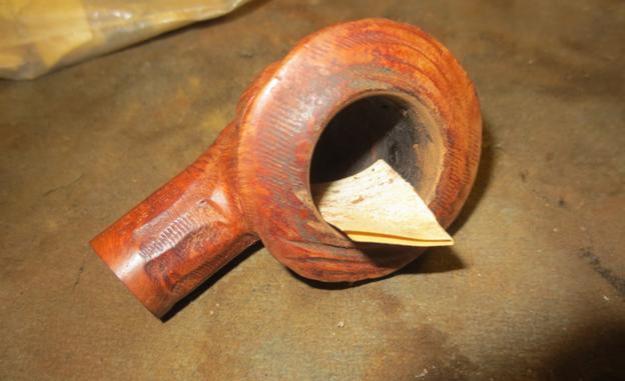
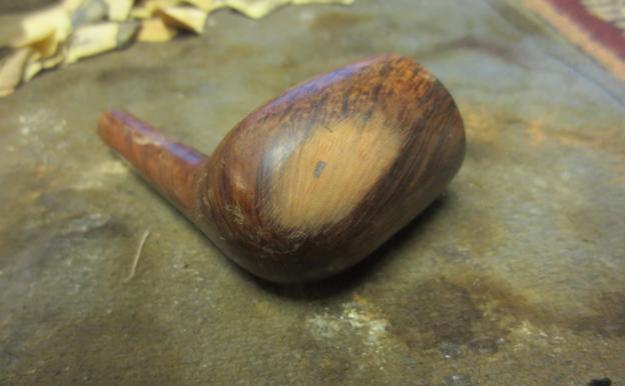 The rim on the bowl had a light buildup of tars so I lightly topped it on the topping board to remove the buildup. I topped it against 220 grit sandpaper then against a medium and a fine grit sanding block.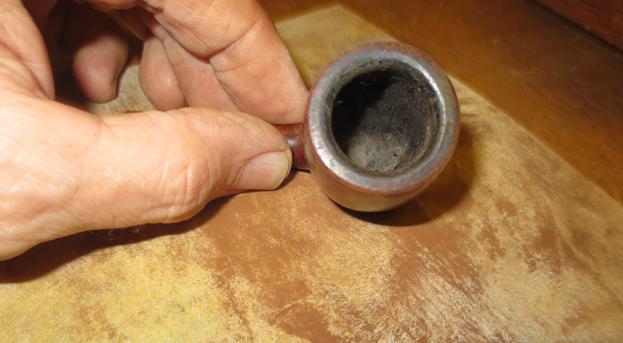
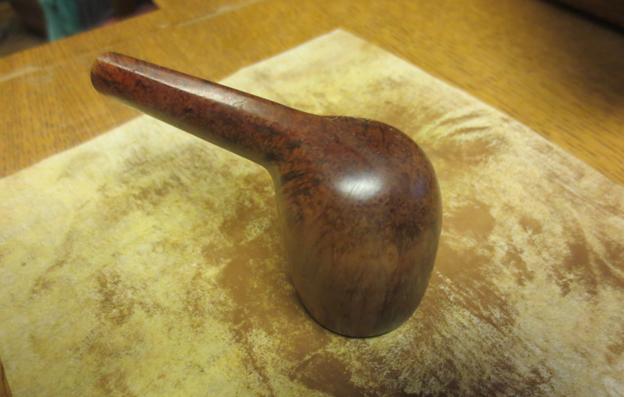
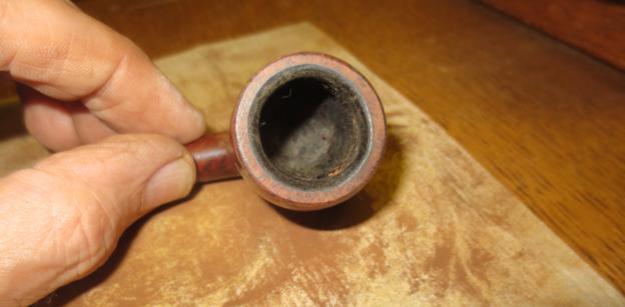
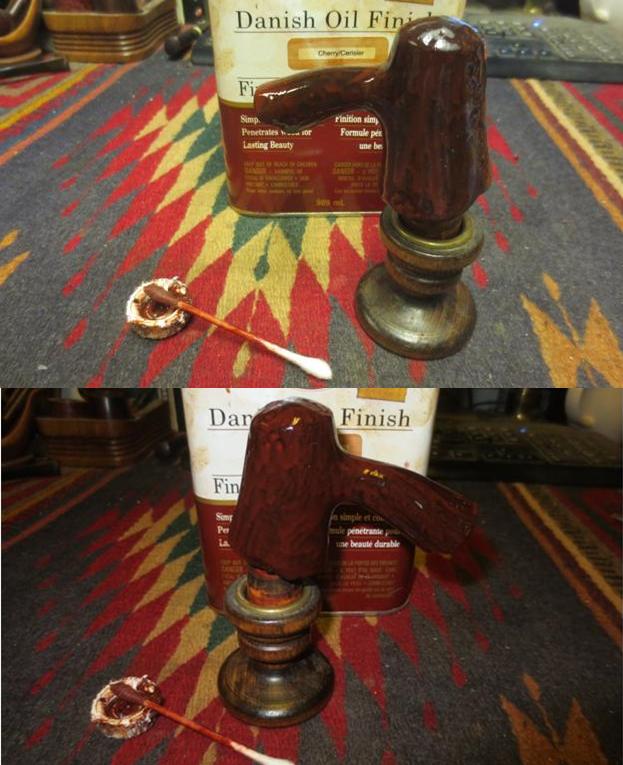
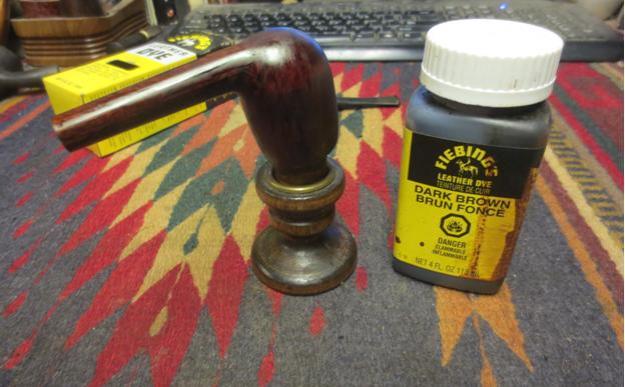
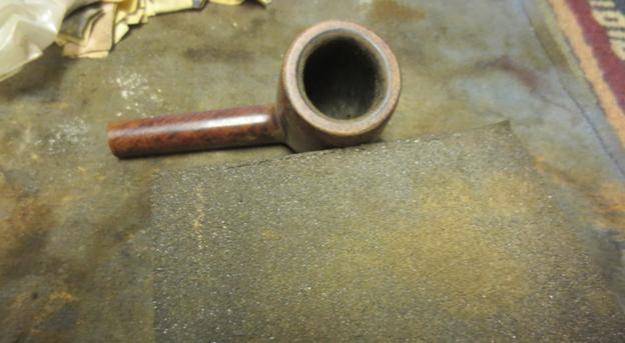 I stained the bowl with a dark brown aniline stain thinned with alcohol to match the colour of the existing finish. I applied it to the surface and flamed the stain. I repeated the process until I had a good even coverage on the bowl sides.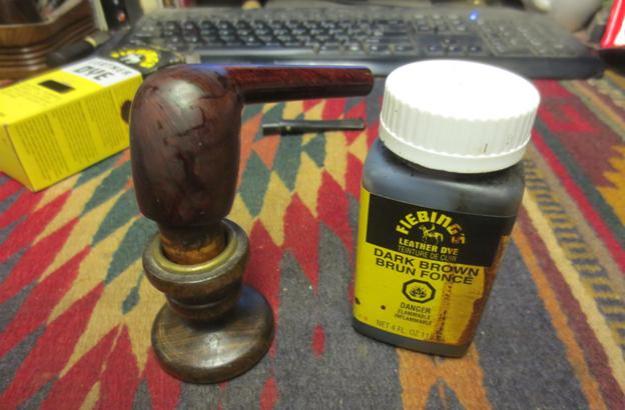
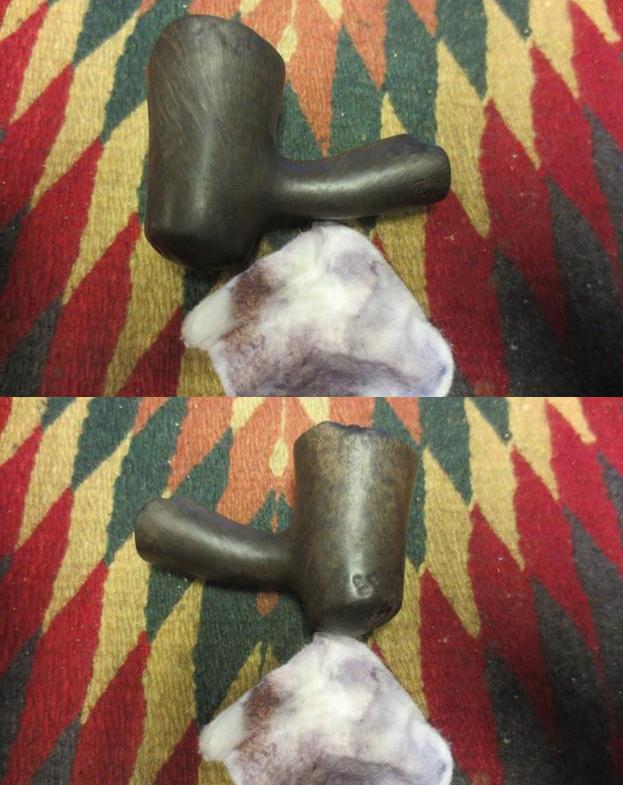
 I wiped the bowl and shank down with alcohol on cotton pads to even out the colour of the stain and make it more transparent. Once that was done, the finish of the bowl looked really good to my eye.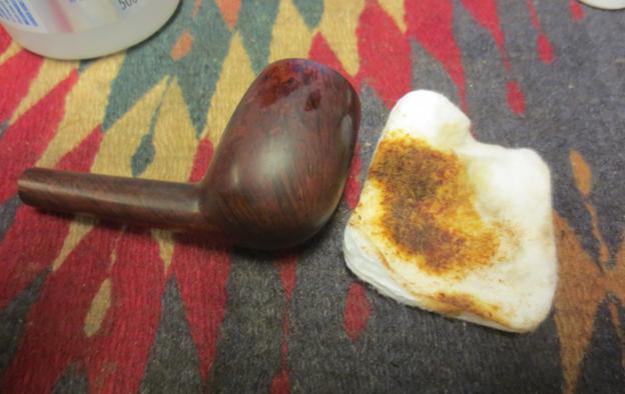
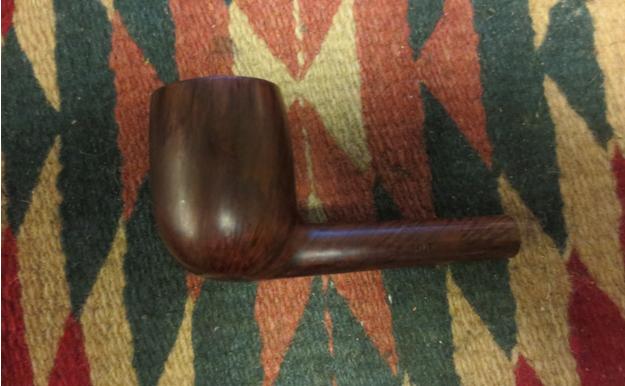
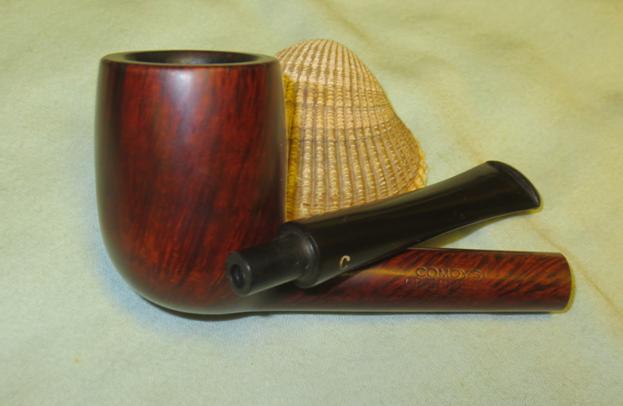
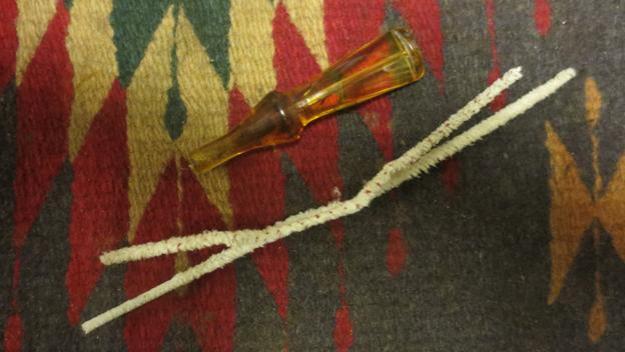
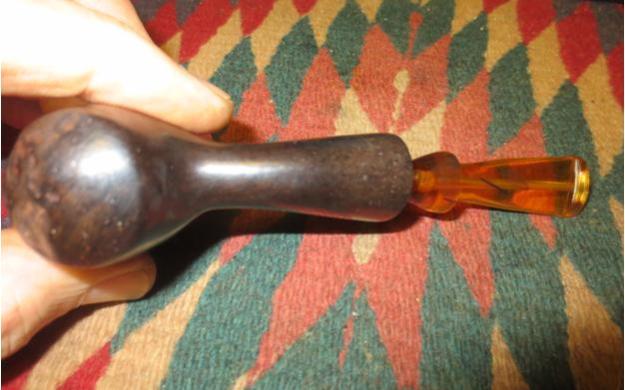
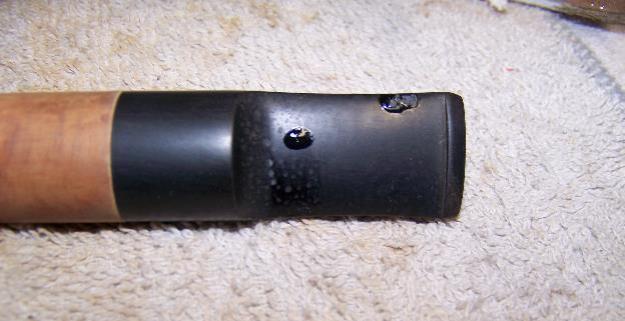
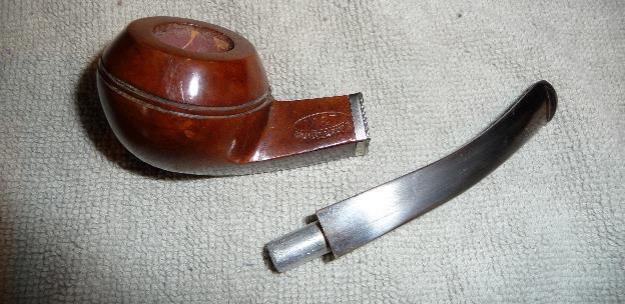
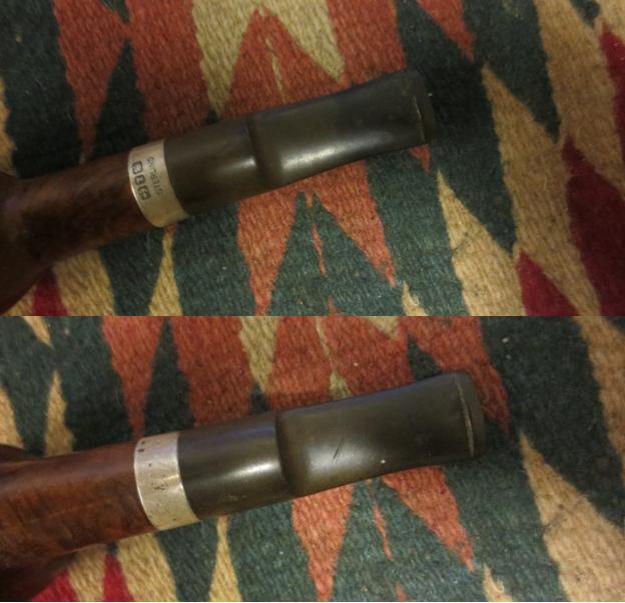
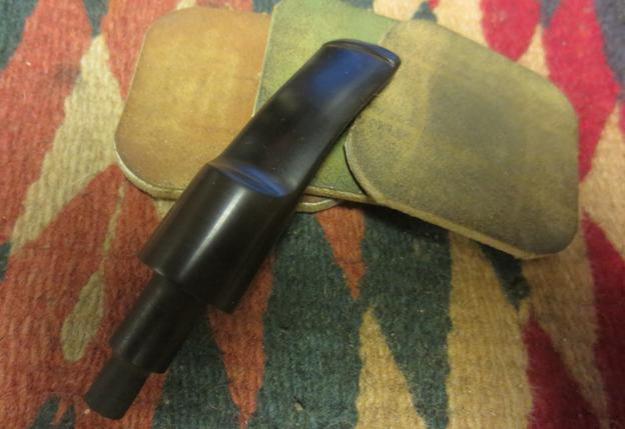
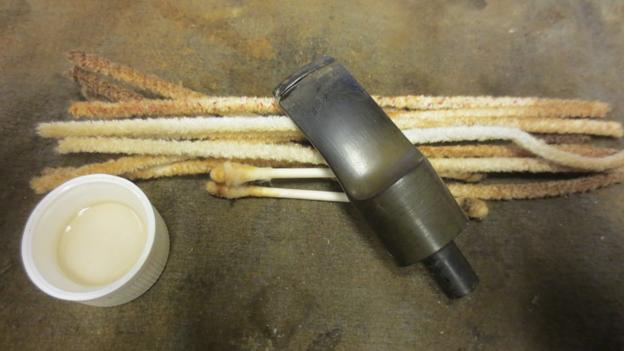
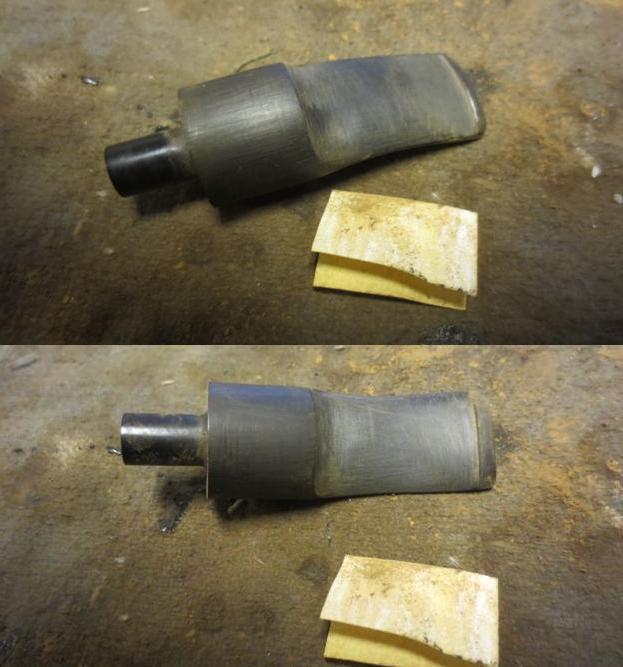
 The stem was a newer style Comoy’s as noted above because of the style of the logo. It was stamped into the vulcanite and then painted. There were some significant bite marks on the stem that needed attention. The lighter tooth marks I was able to sand out with 220 grit sandpaper and remove them. There were others that were quite deep. I cleaned the surface of the stem and used a thick black super glue to fill in the tooth marks.
 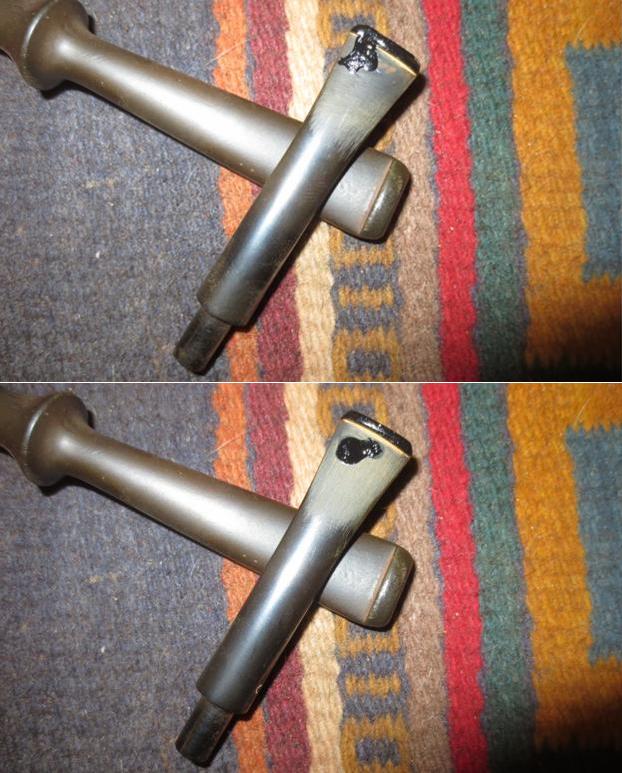 I sanded the repaired spots with 220 grit sandpaper and cleaned up the sharp edge of the button with a needle file. I was pleased with the overall look of the stem once the repairs had been sanded smooth.
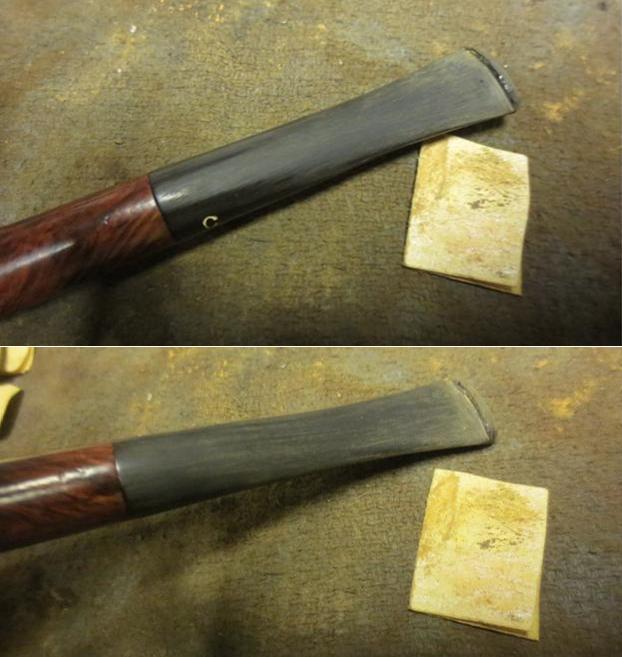 I wet sanded the surface of the stem with 1500-2400 grit micromesh sanding pads to begin the process of polishing the stem. I rubbed it down with Obsidian Oil.
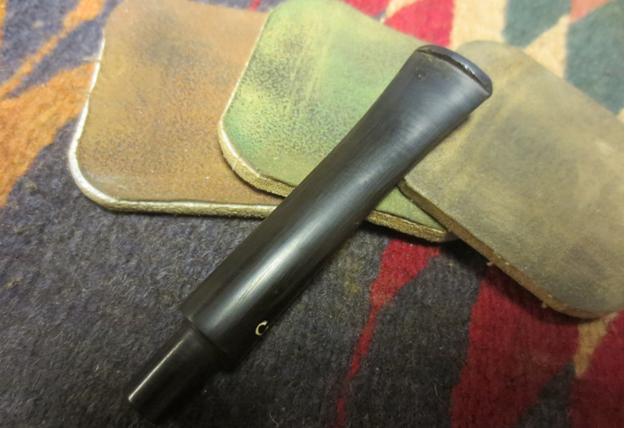 Before proceeding further with the micromesh I decided to touch up the “C” stamp. I used a fine bristle brush and white acrylic paint to fill in the letter. I sanded off the excess with the 1500 grit micromesh pad and went over that section with 1800-2400 grit to match the rest of the stem.
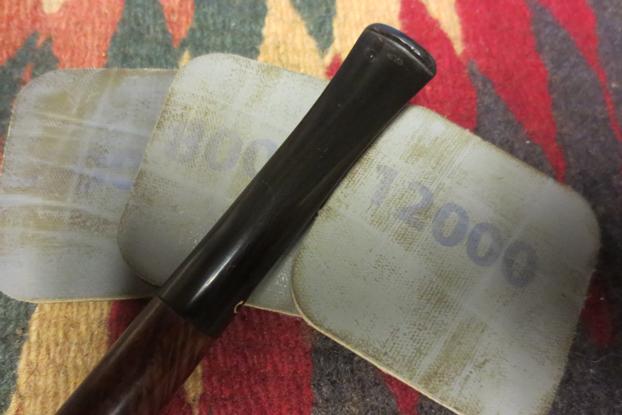
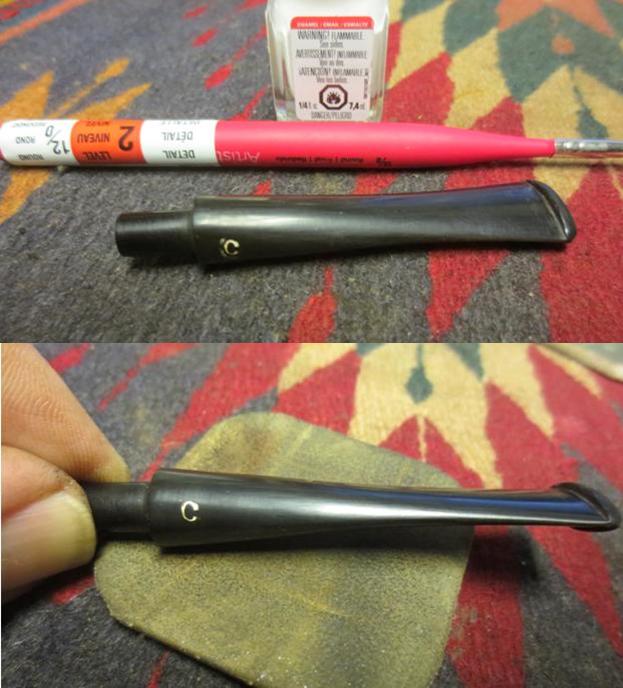 I dry sanded the stem with 3200-4000 grit pads and gave it another coat of Obsidian Oil. I finished sanding it with 6000-12000 grit pads, gave it a final coat of oil and set it aside to dry.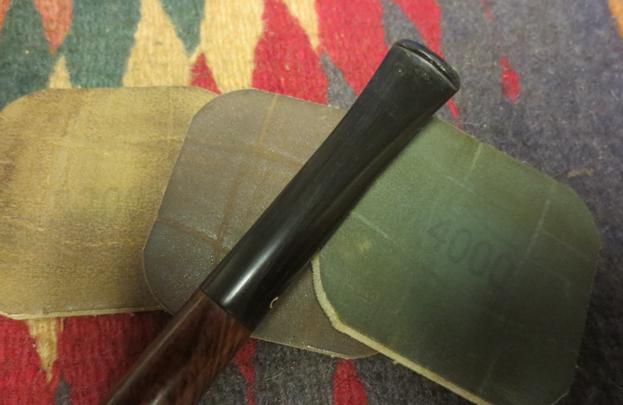
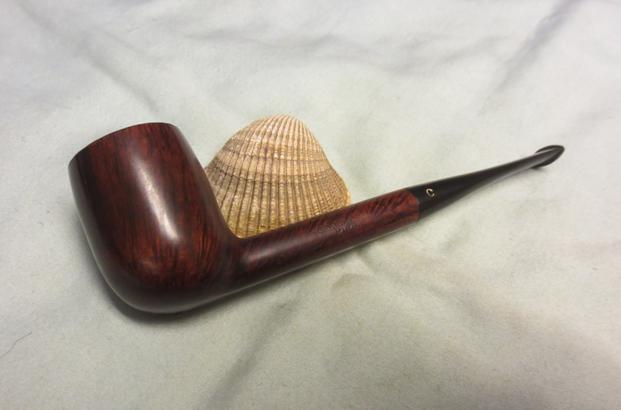
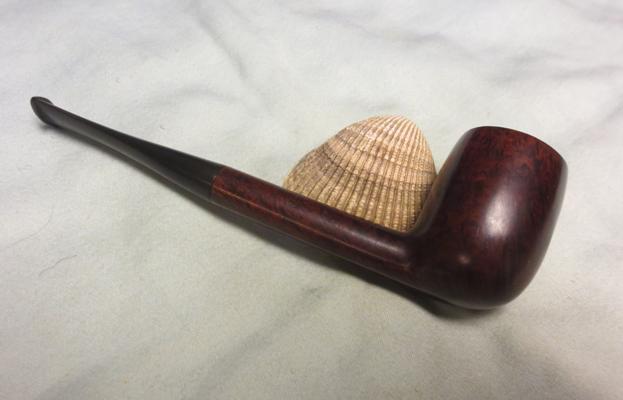
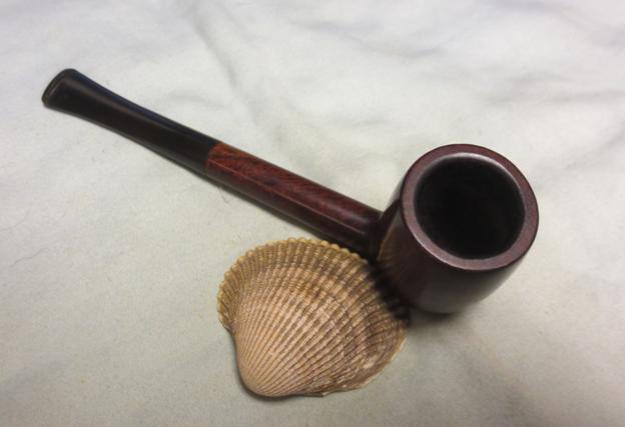
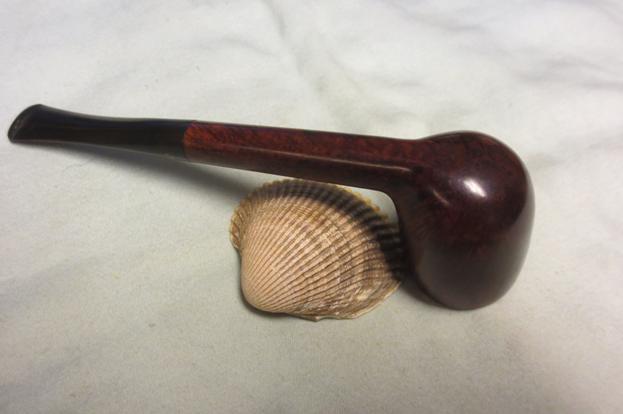
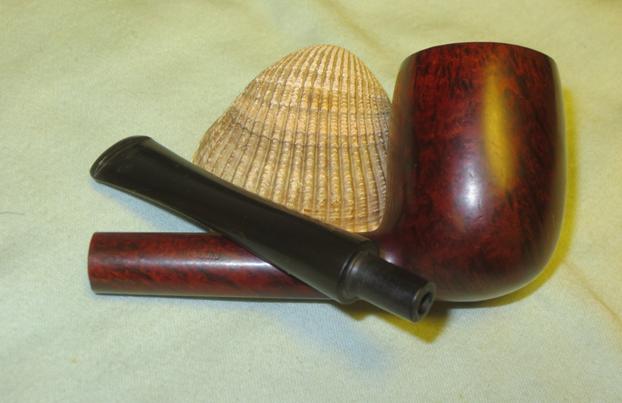
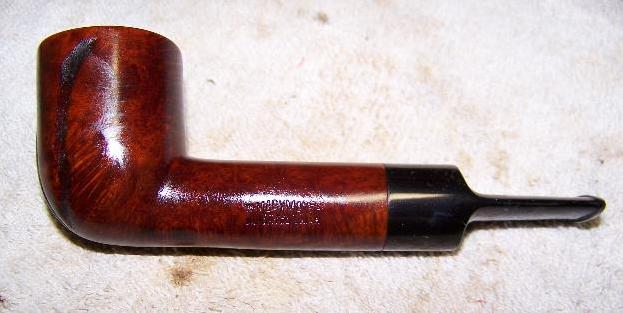
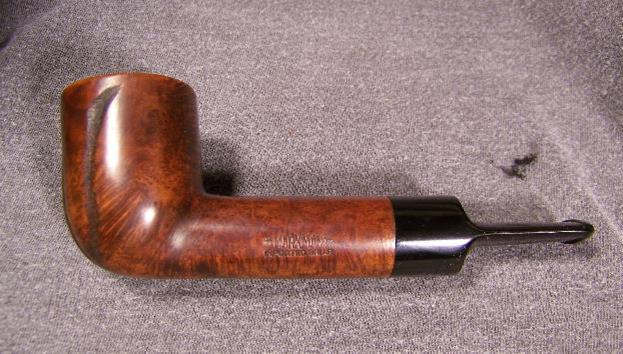
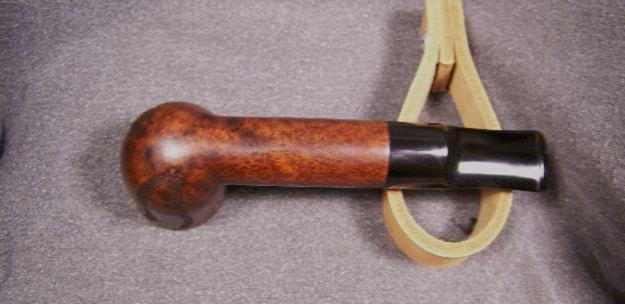
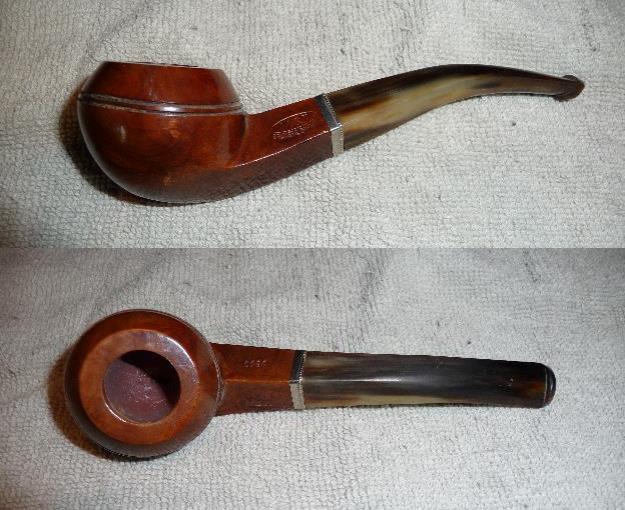
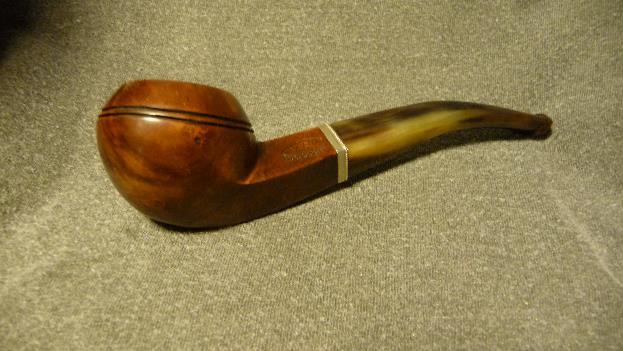
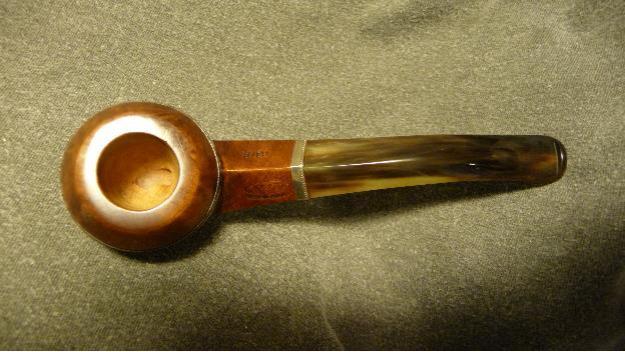
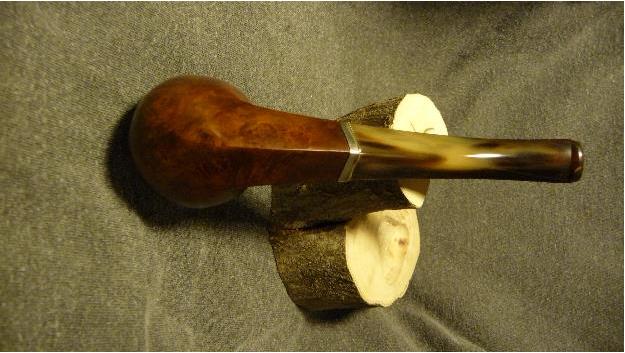
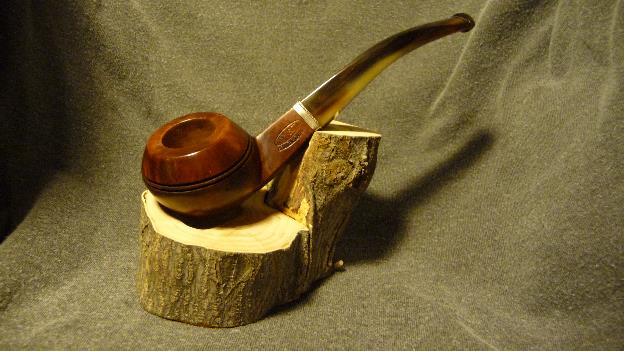
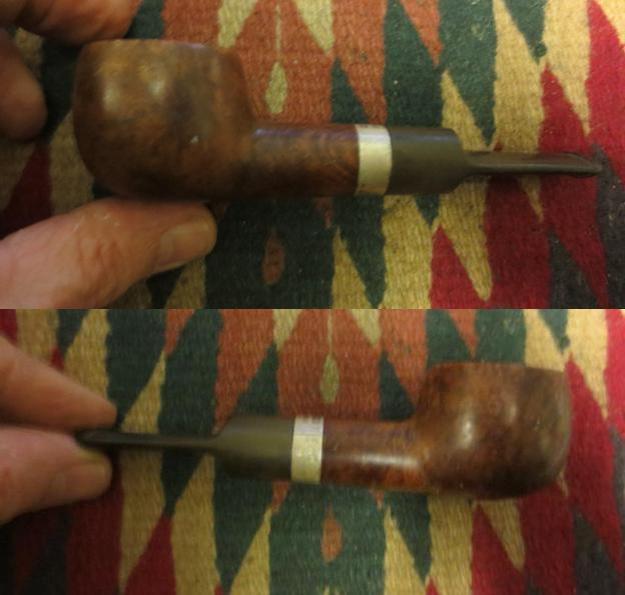
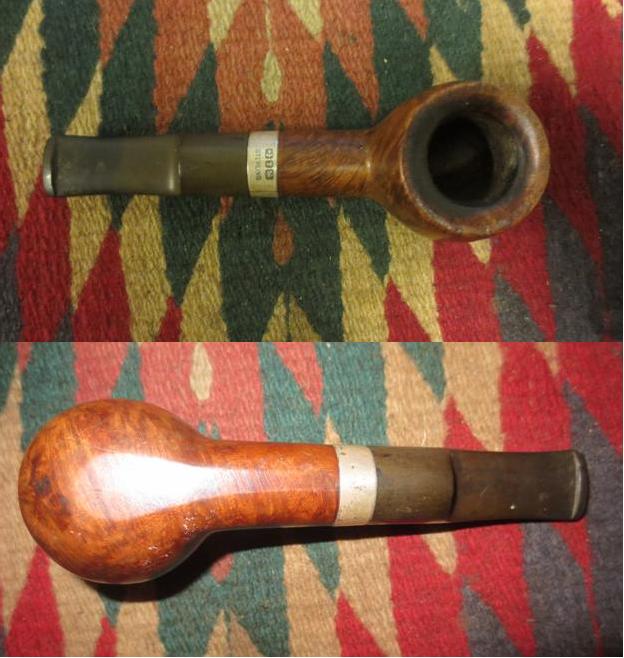
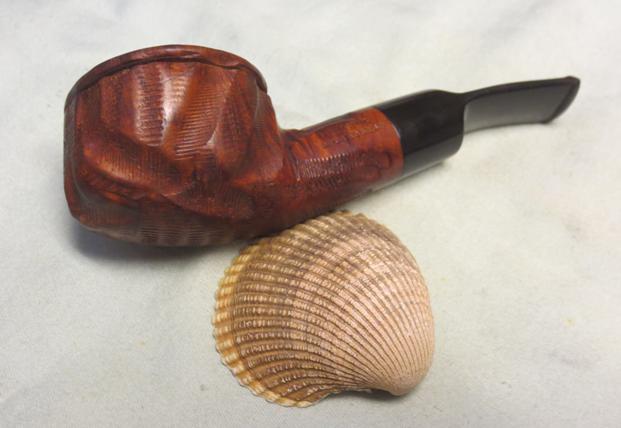
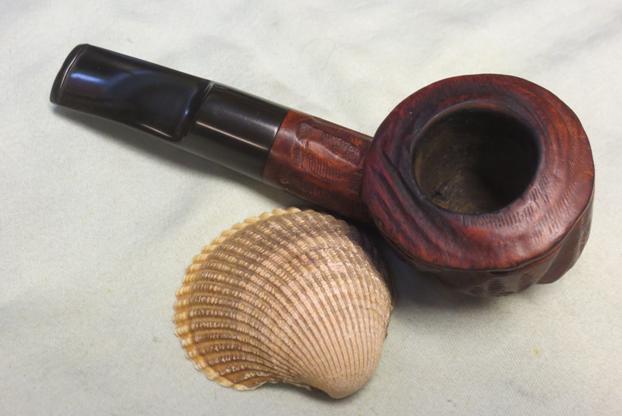
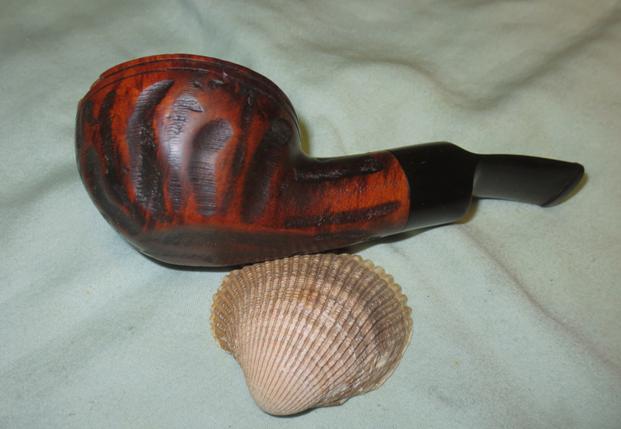
 I polished the pipe and the stem on the buffing wheel with Blue Diamond polishing compound and gave the entire pipe several coats of carnauba wax. I buffed it with a clean buffing pad and then by hand with a microfibre cloth. The finished pipe is shown in the photos below. The adjustment to the left side of the bowl worked well to smooth out the bulges and crease and the pipe looks as it should have when it left Cadogan. Thanks for looking.