Blog by Steve Laug
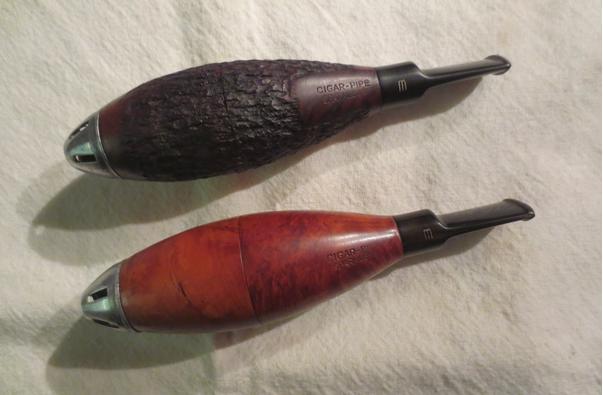
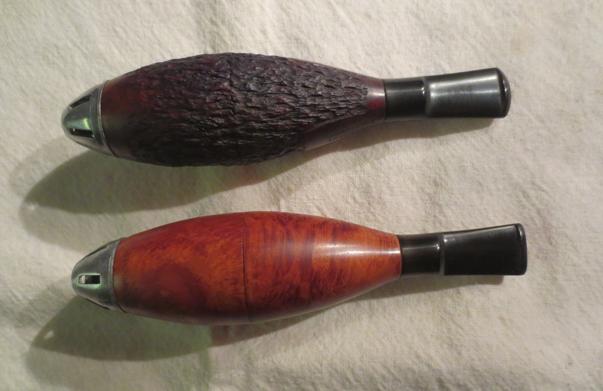
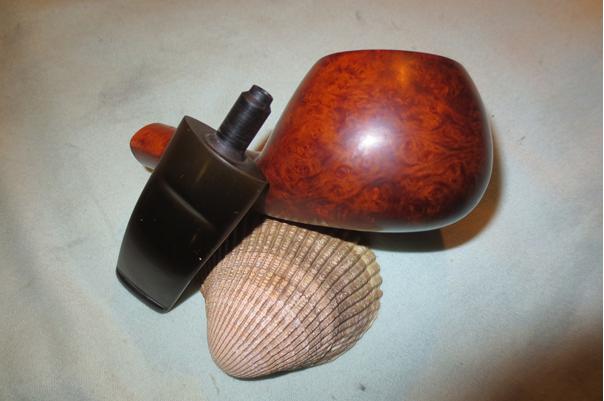
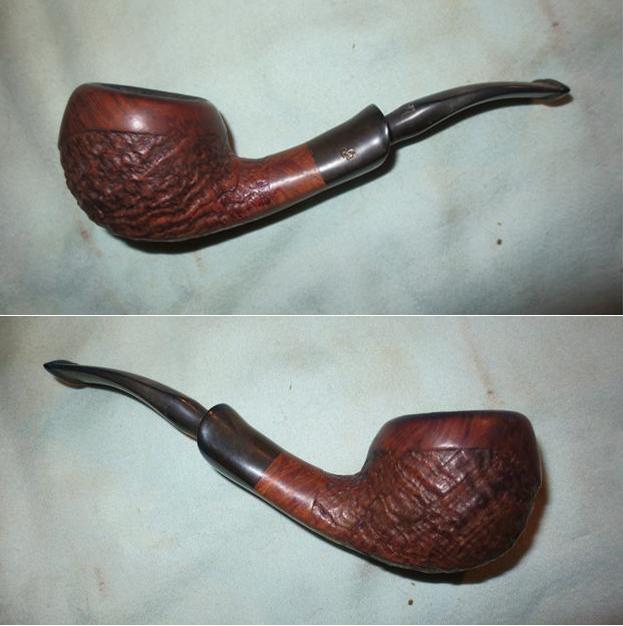
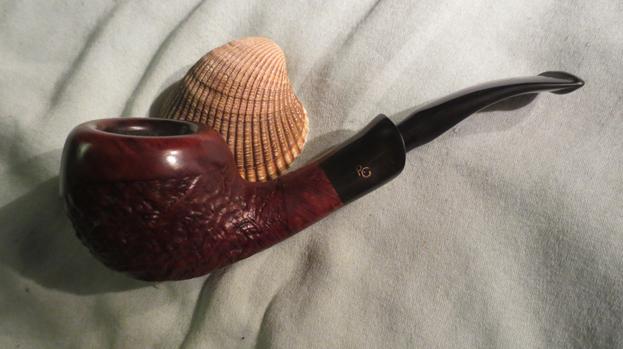
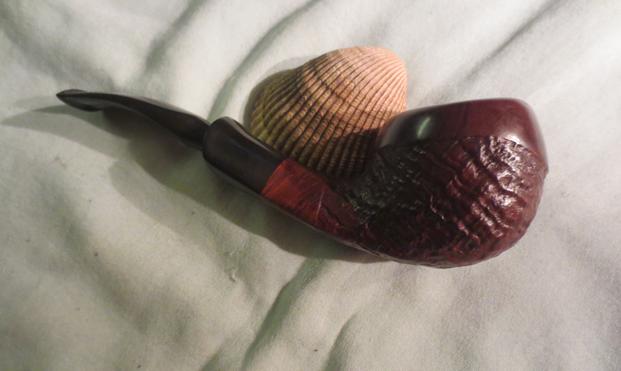
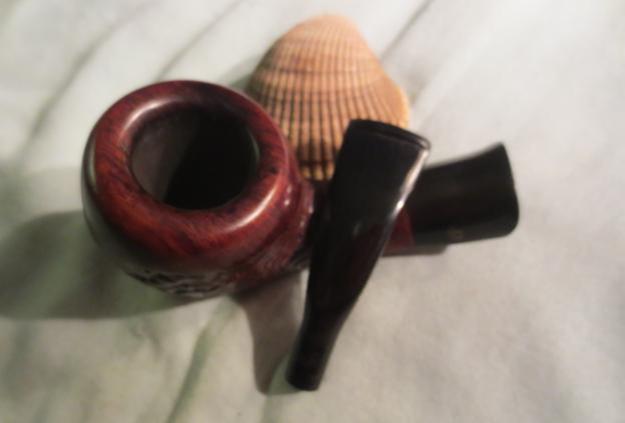
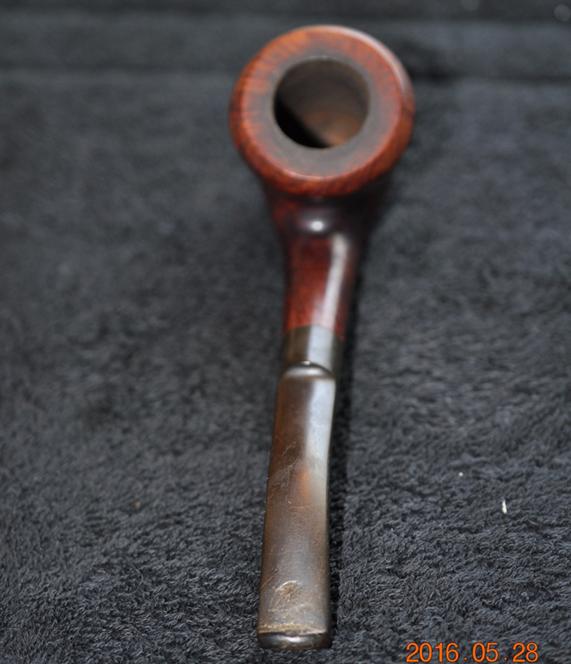
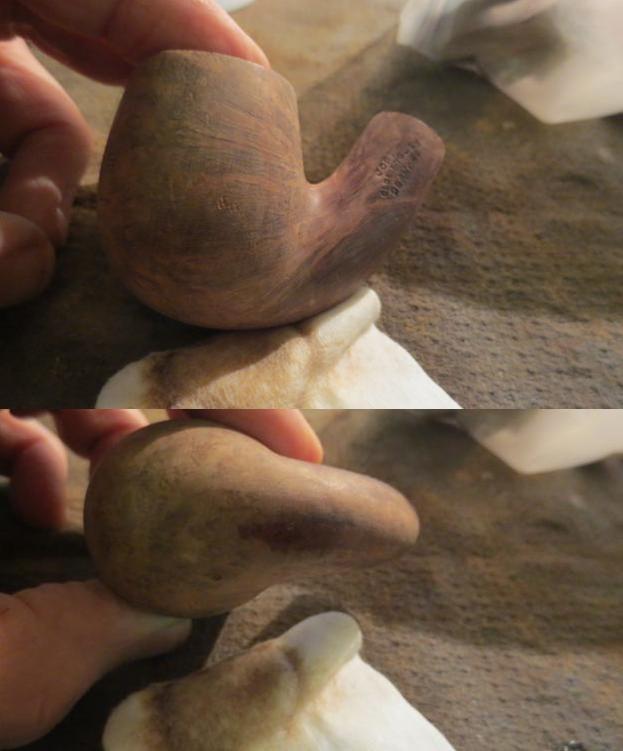
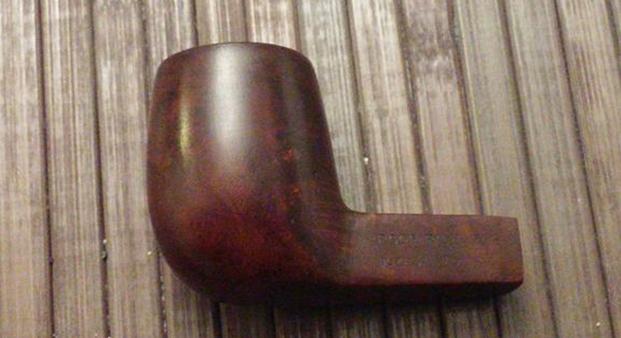
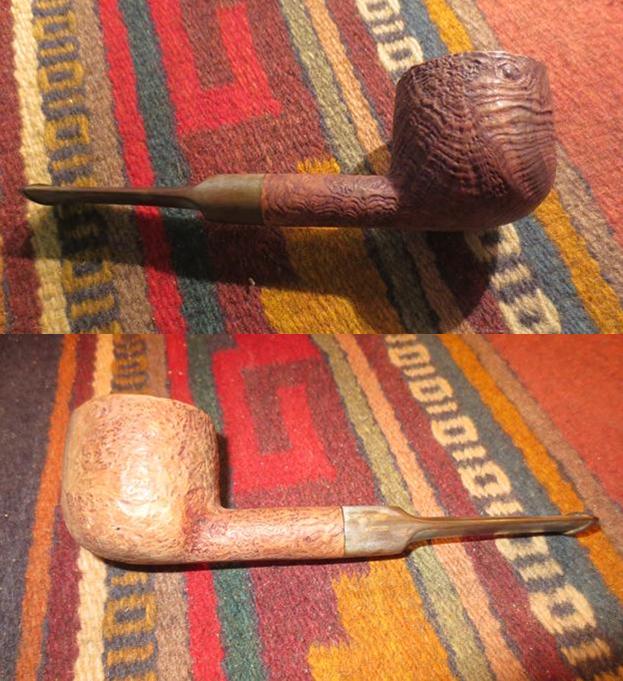
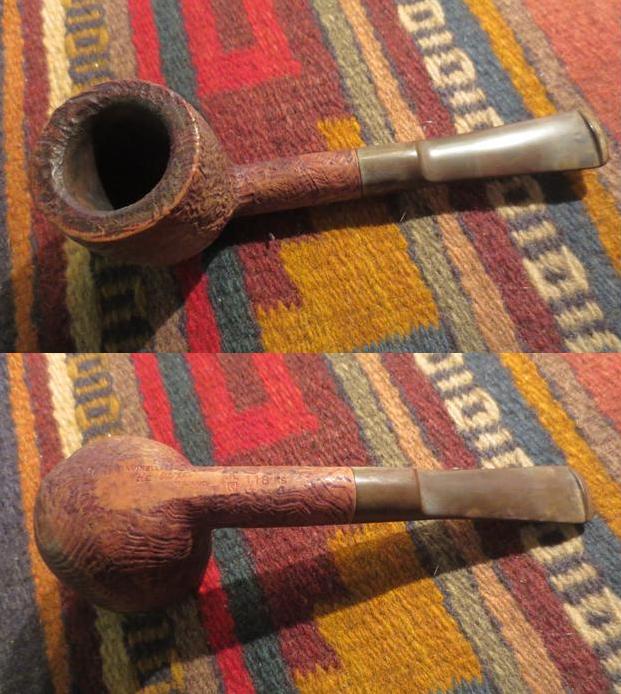
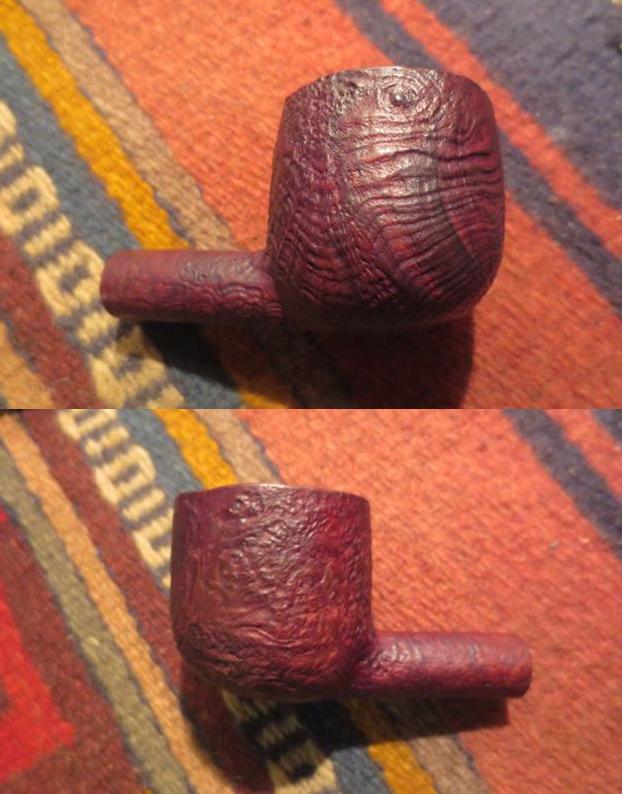
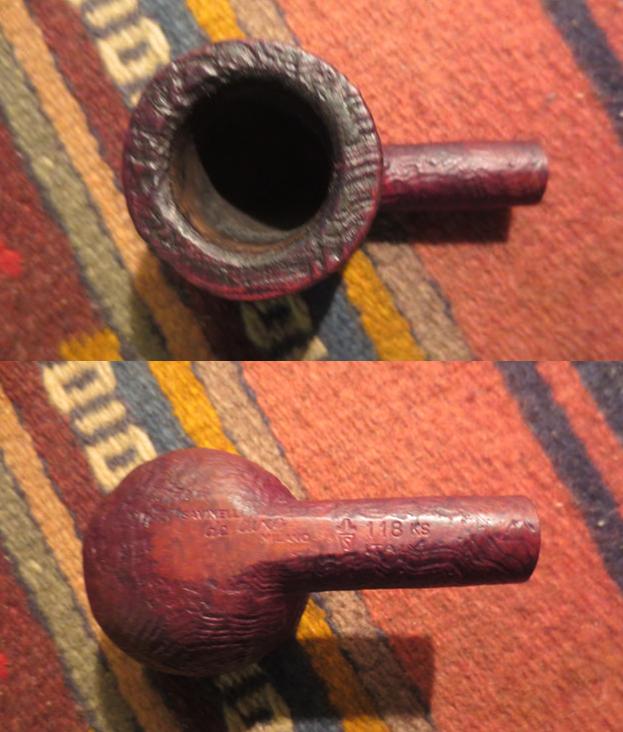
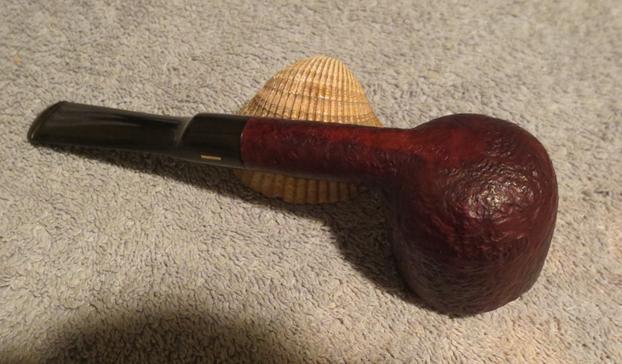
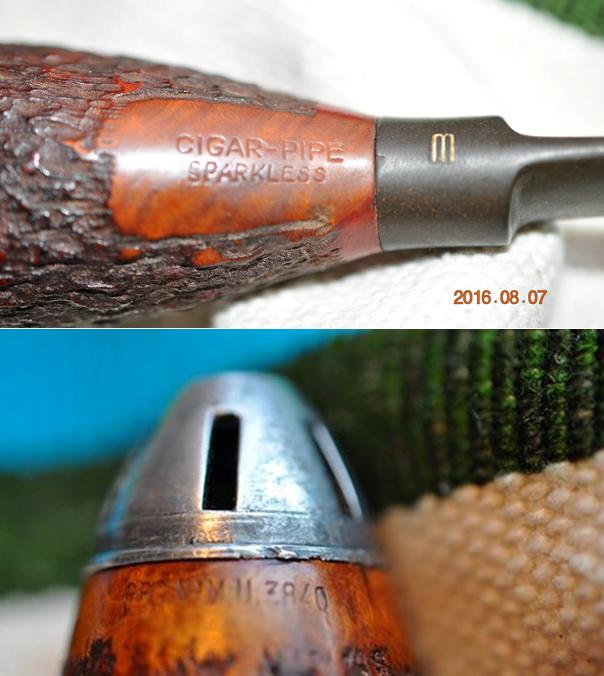
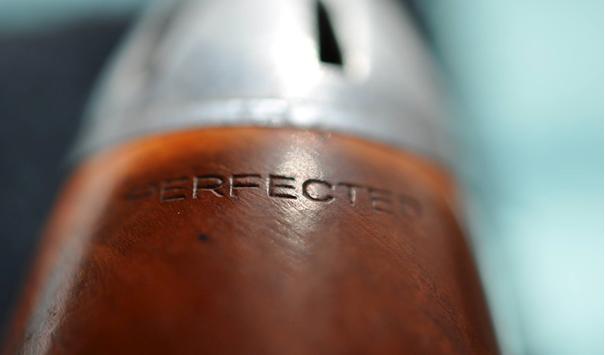
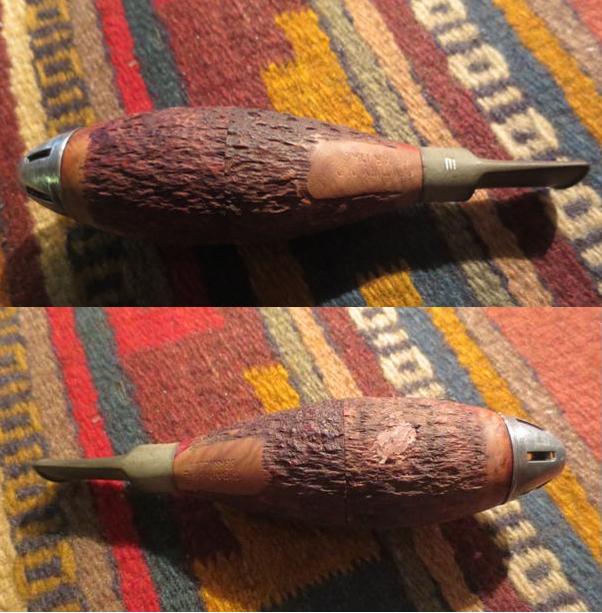
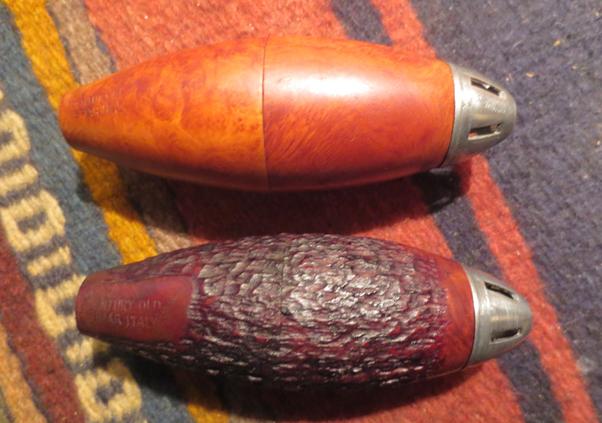
My brother sent me two Zeppelin pipes – a rusticated and a smooth one. He included the following photos of the two pipes that he took when they arrived in Idaho before he cleaned them up. The first one is a rusticated Sparkless Cigar Pipe. It has an interesting rustication pattern on the briar parts. I always want to know how a pipe is stamped as it is part of the restoration process for me. This one has quite a bit of stamping on it. Along the tip of the briar where the polished aluminum nose cone screws into the briar it is stamped PERFECTED on one side and Reg. No. MU3840 on the other. The stamping runs along the briar just below the nose cone. On the other end of the pipe, on what are the sides when the mouthpiece is in place it is stamped CENTURY OLD BRIAR ITALY on what would be the left side and on the right side it reads CIGAR-PIPE over SPARKLESS. The first two photos below show the pipe as it looks when put together.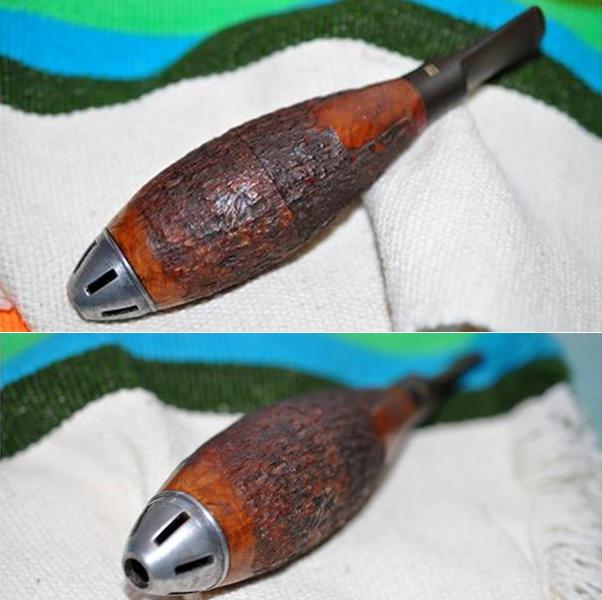 The next four photos show the stamping on the pipe and the M on the stem which told me I was dealing with a Mastercraft pipe.
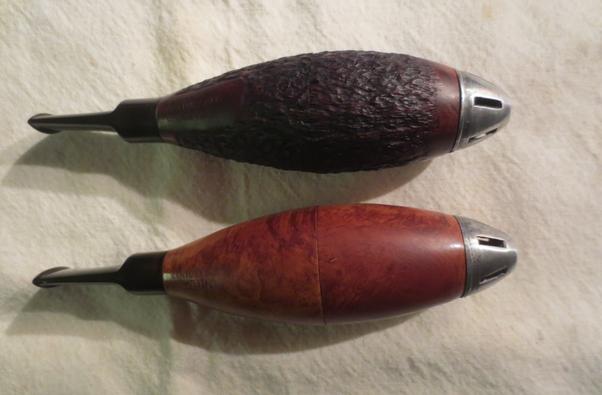
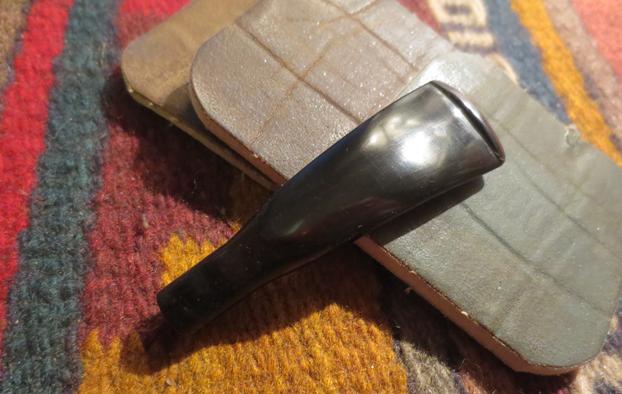
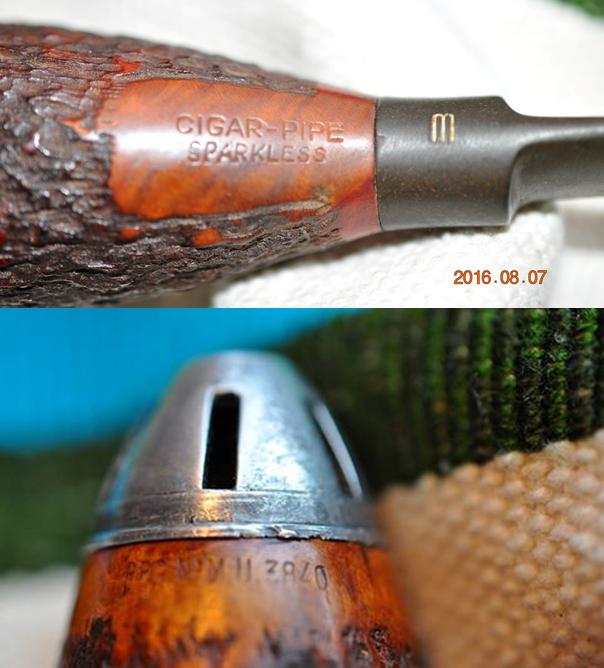
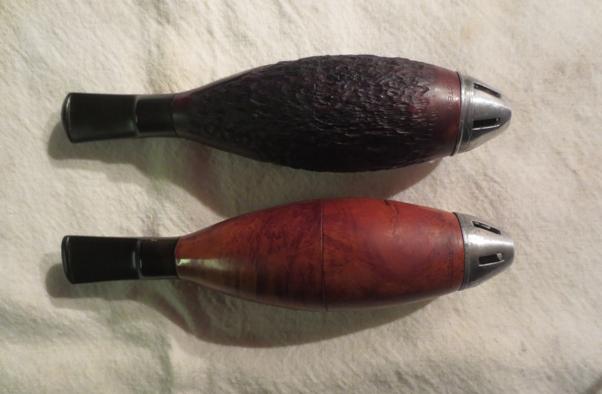
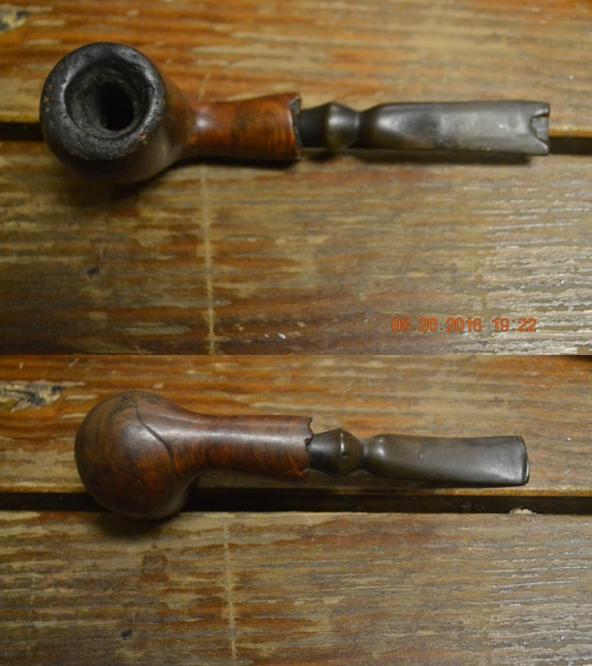
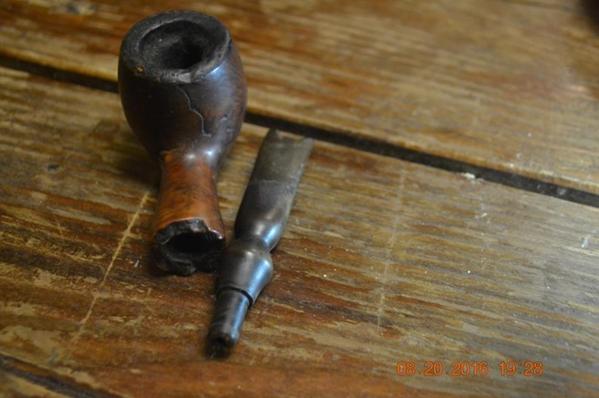
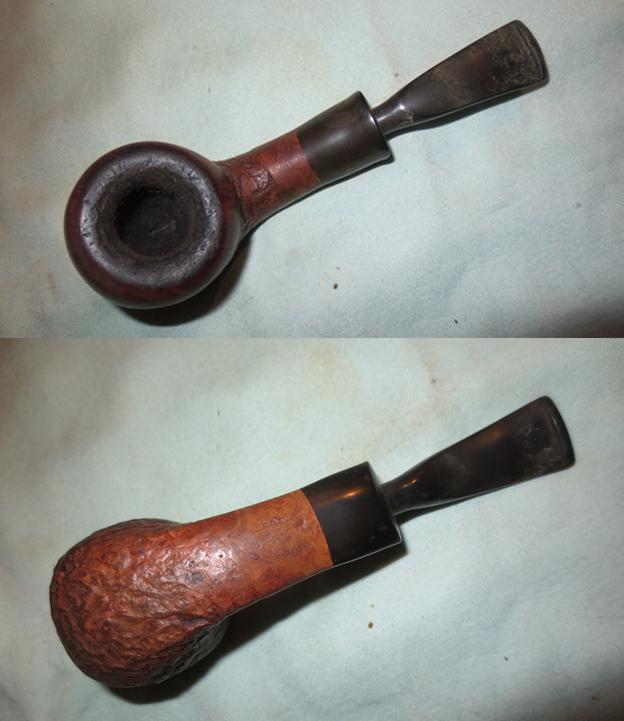
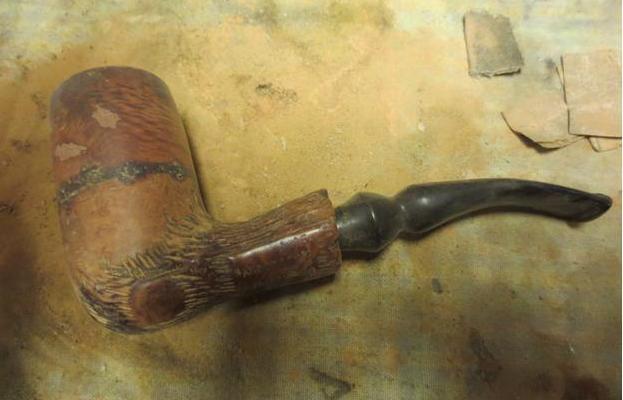
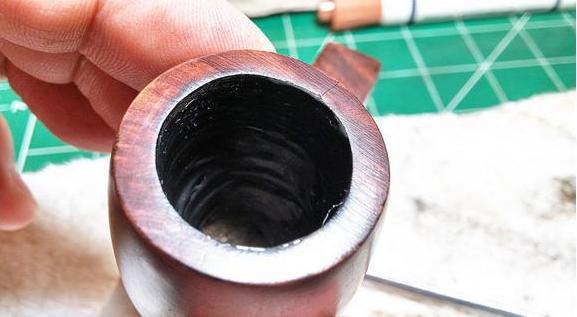
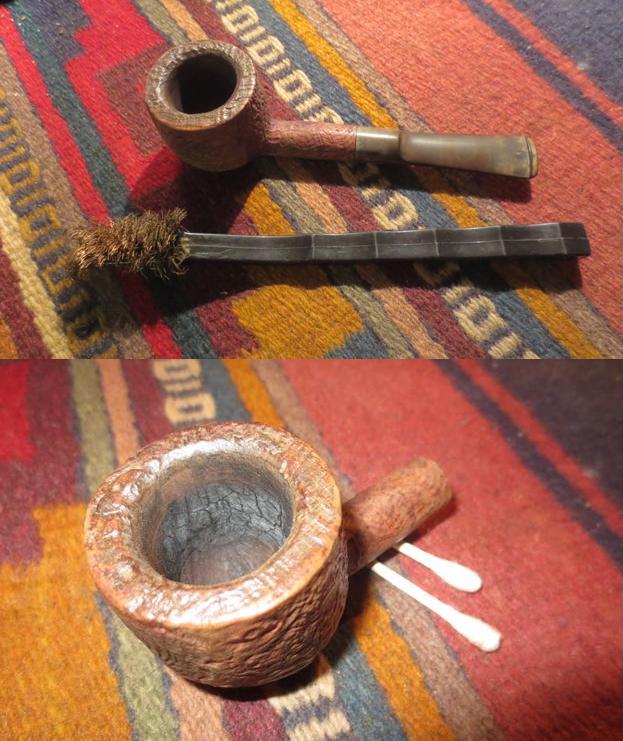
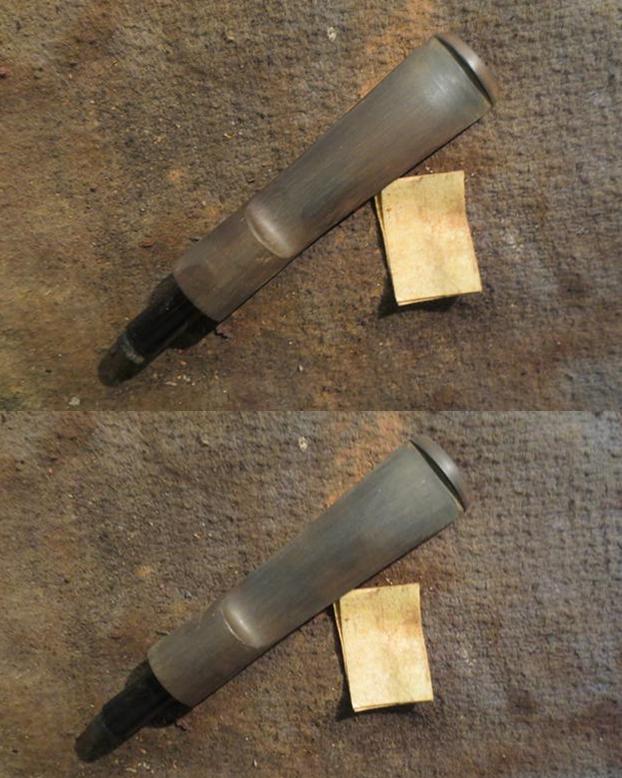
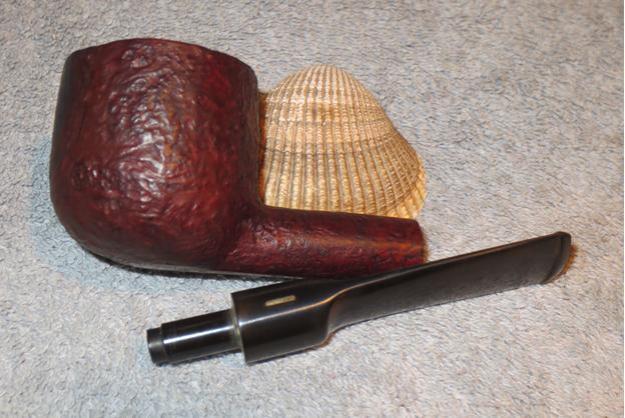
 The last two photos show what the pipe looks like when it is taken apart.
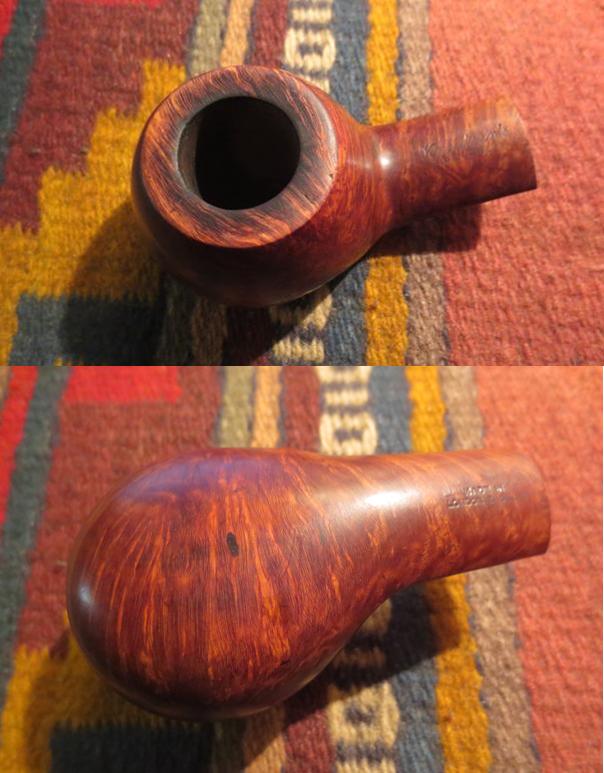
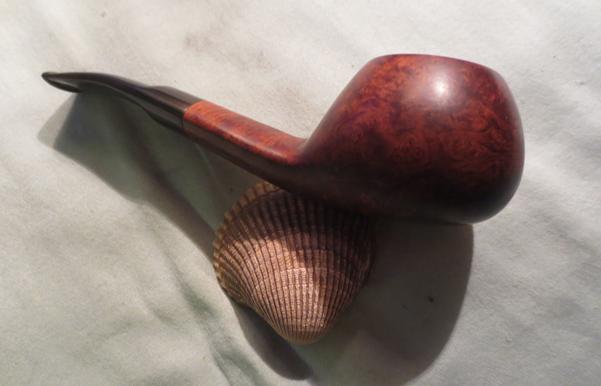
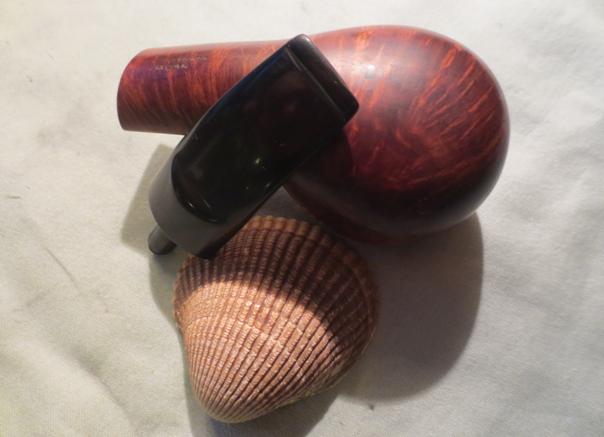
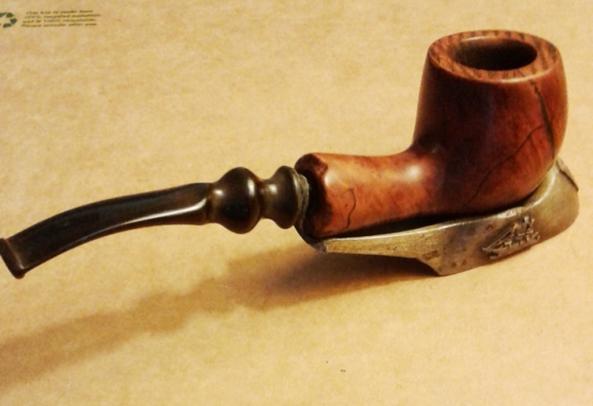
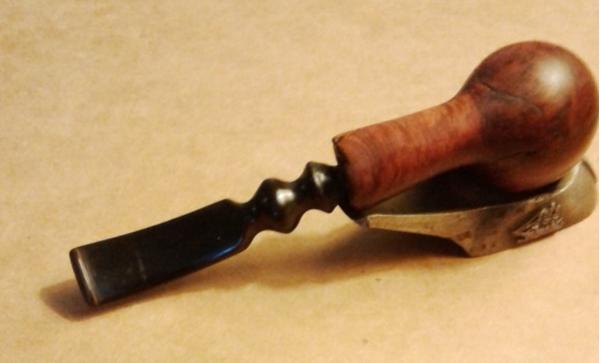
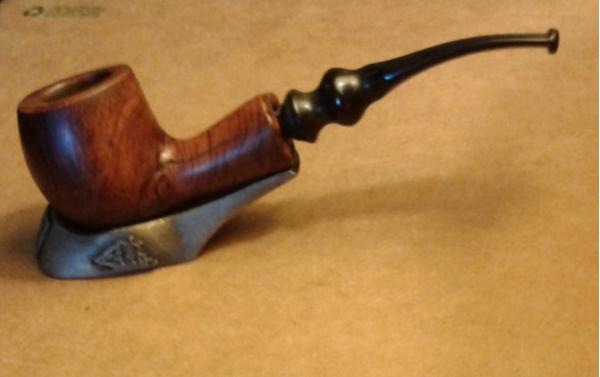
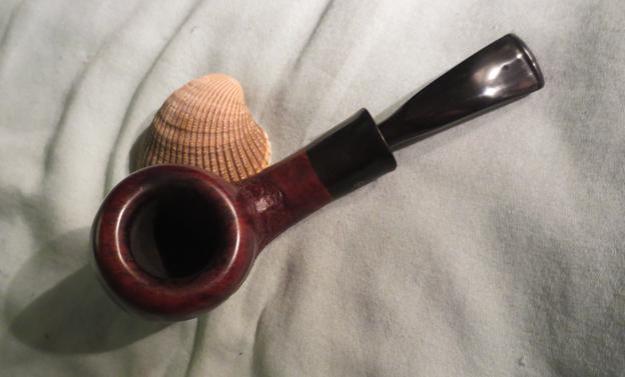
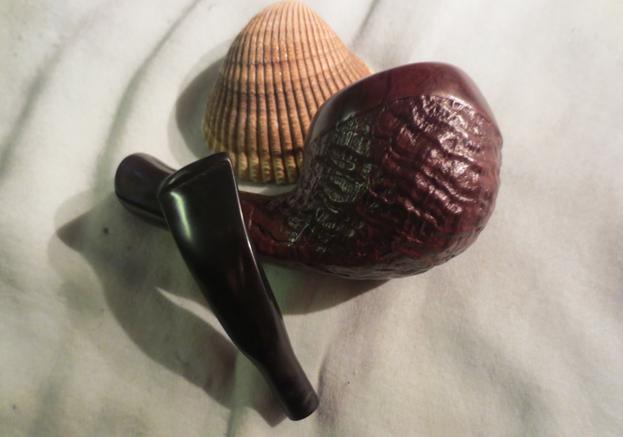
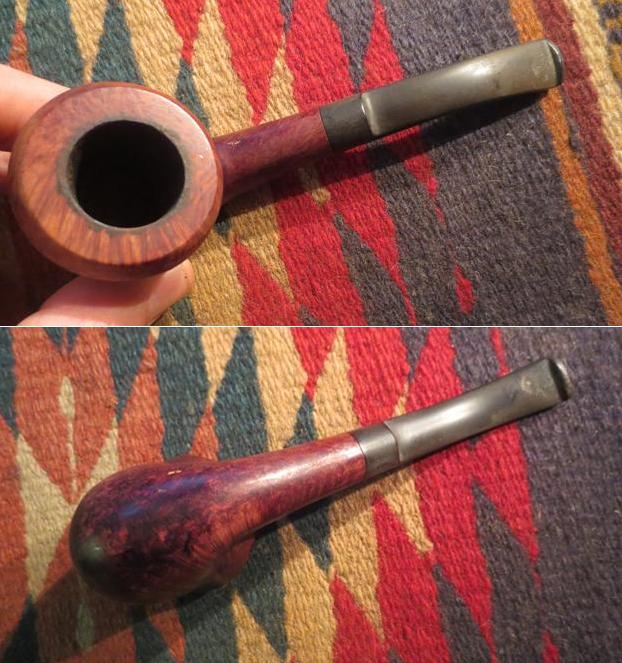
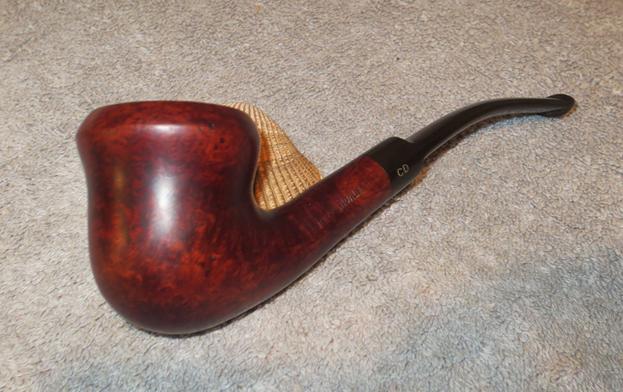
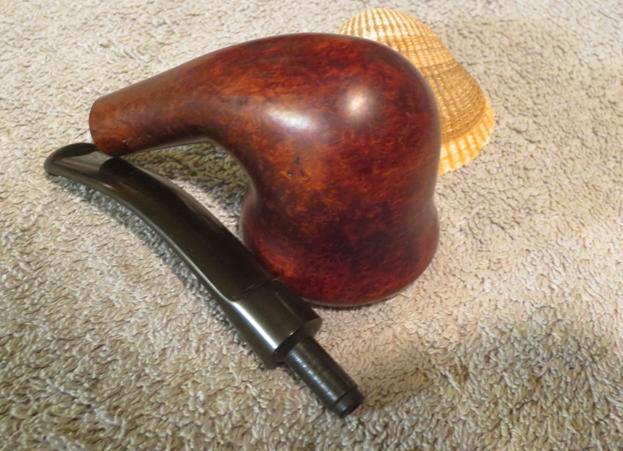
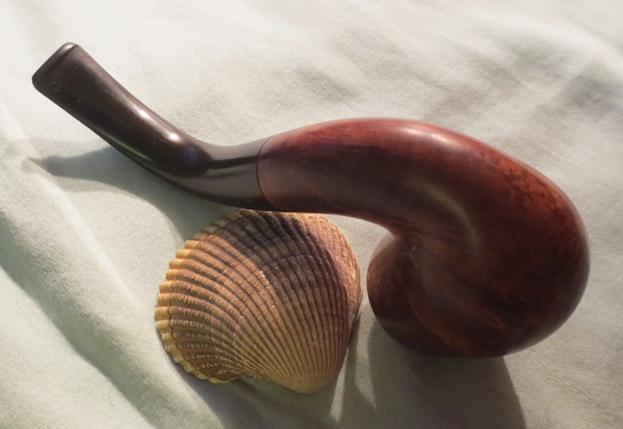
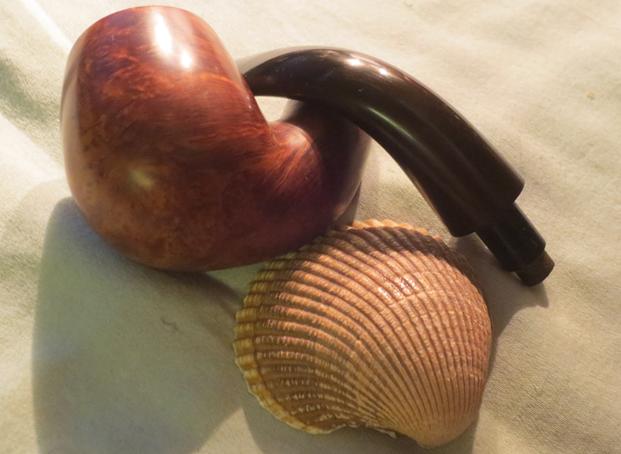
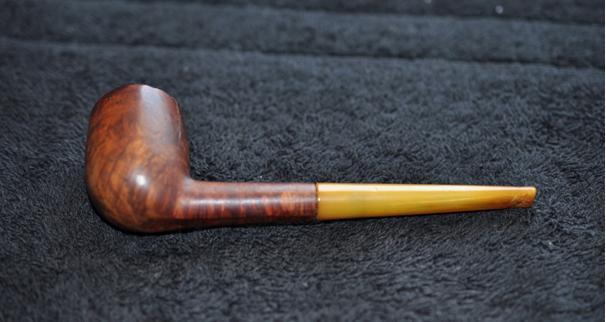
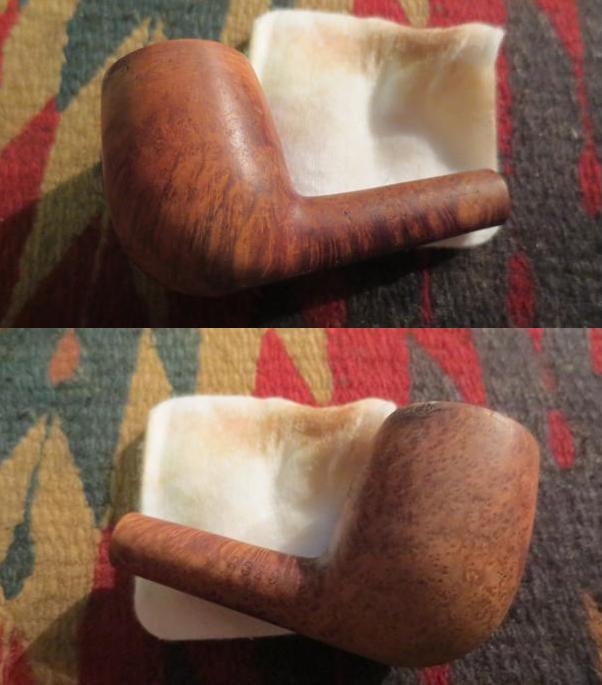
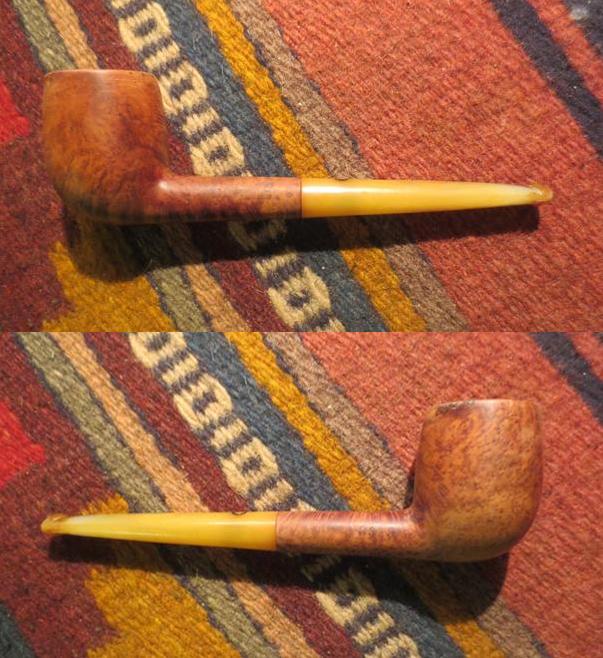
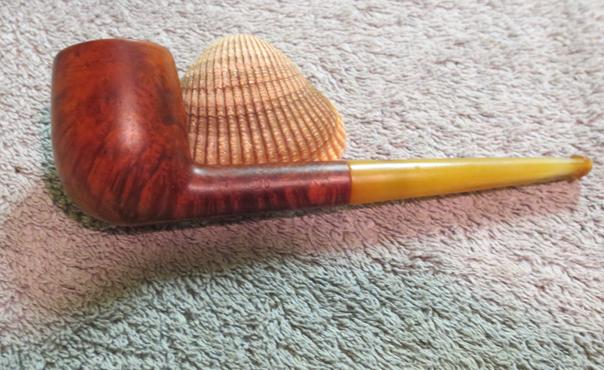
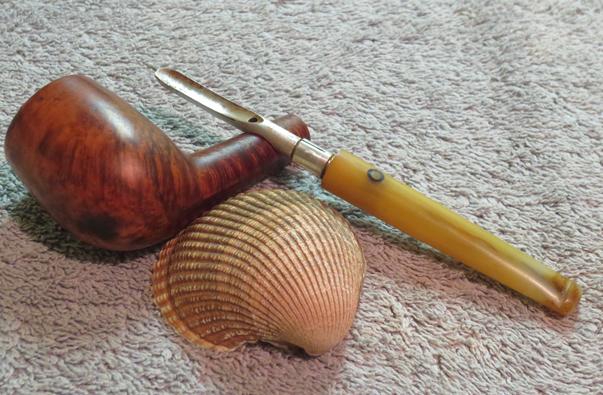
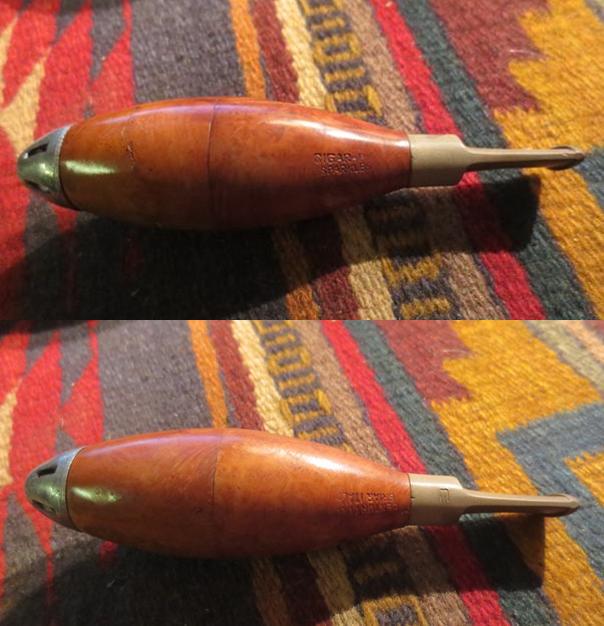
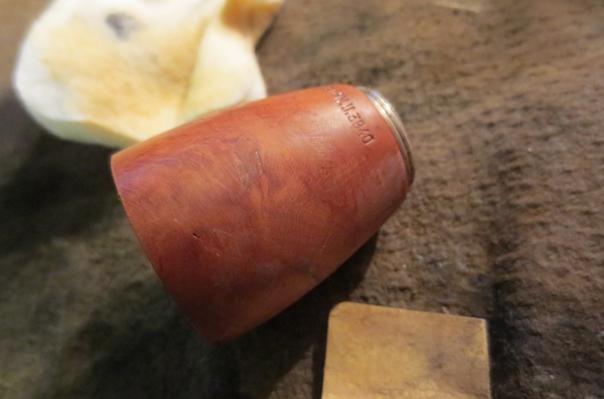
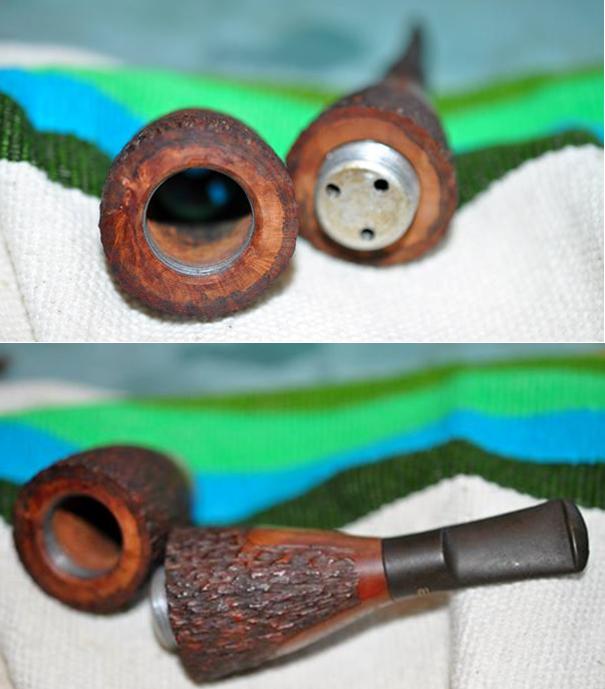 The second Cigar Pipe that my brother sent to me was a smooth one that is identical in size and shape to the rusticated one. It even bears the same stamping on the pipe. It is stamped along the briar just below the polished aluminum nose cone. On one side it reads PERFECTED and on the other side is reads Reg. No. MU3840. Like the rusticated version is stamped on what would be the sides of the shank when the stem is in place. On the left side it reads CIGAR-PIPE over SPARKLESS and on the right side it reads CENTURY OLD BRIAR ITALY. The first photo is of the pipe put together.
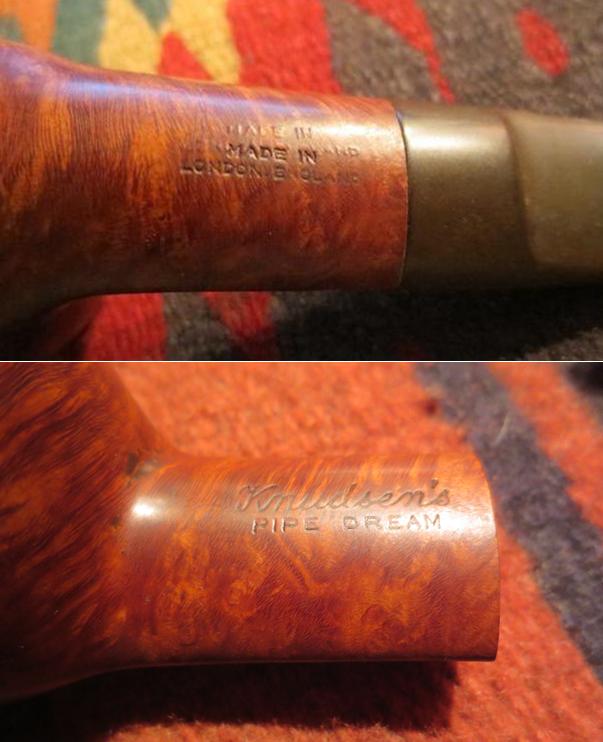
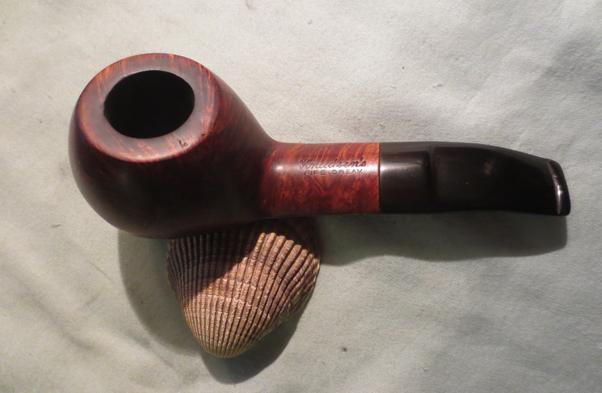
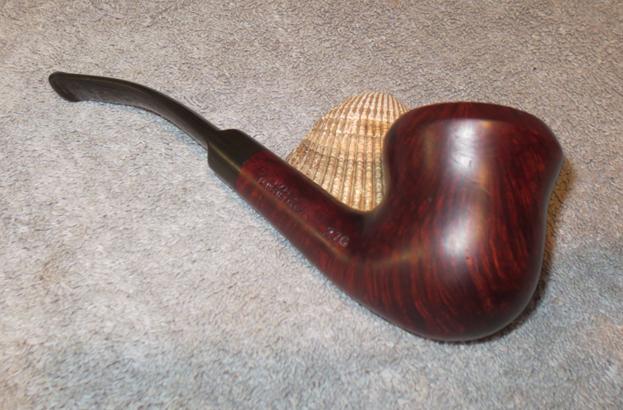
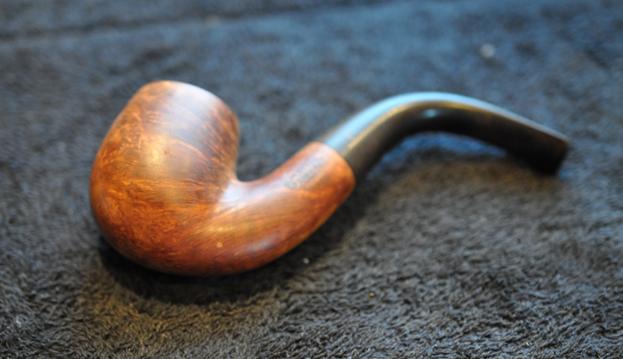
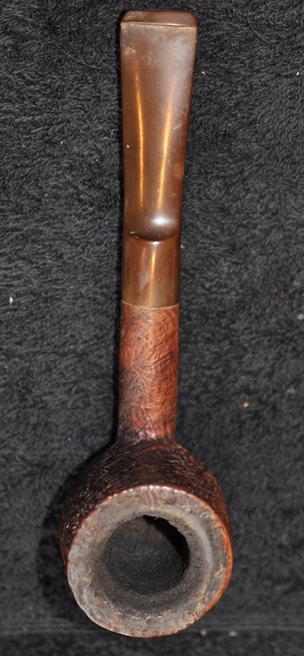
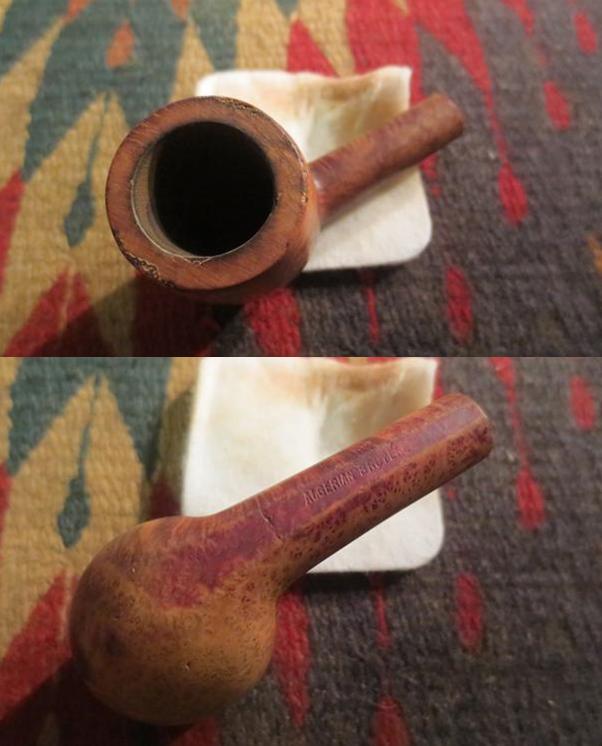
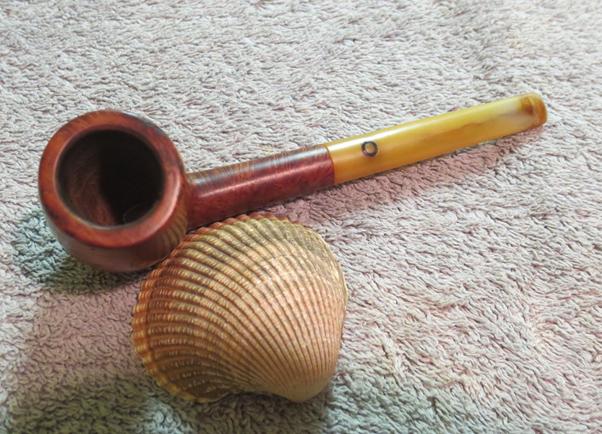
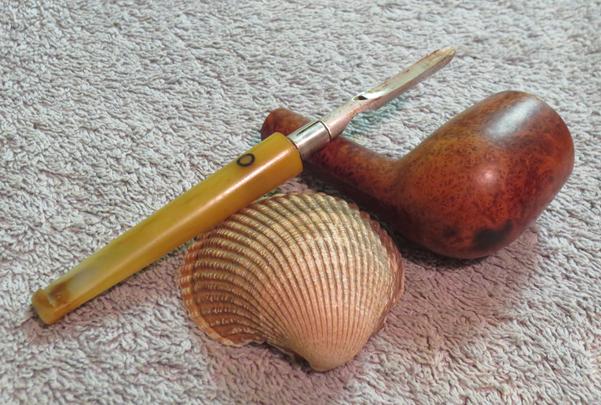
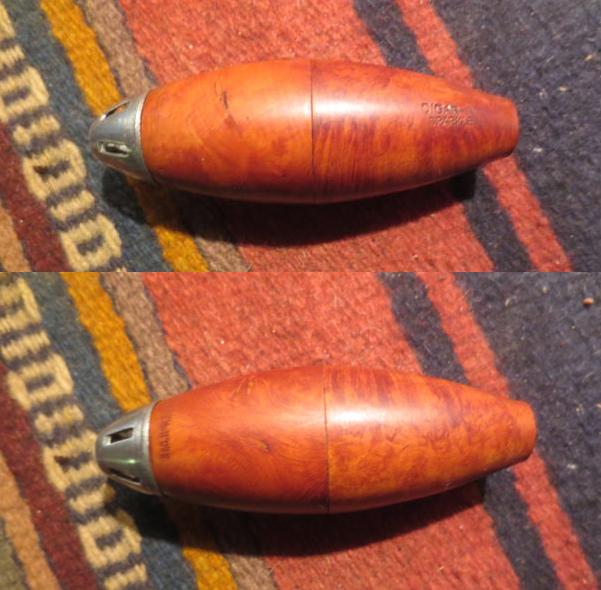
 The next three photos show the stamping on the nose cone and the shank of the pipe.
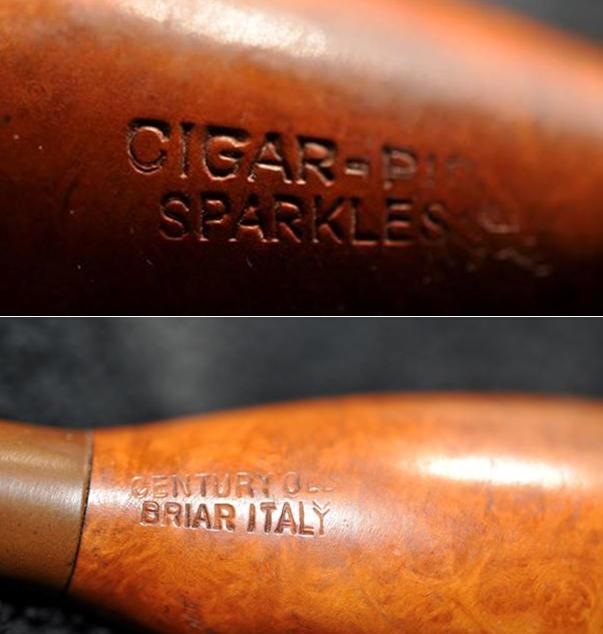
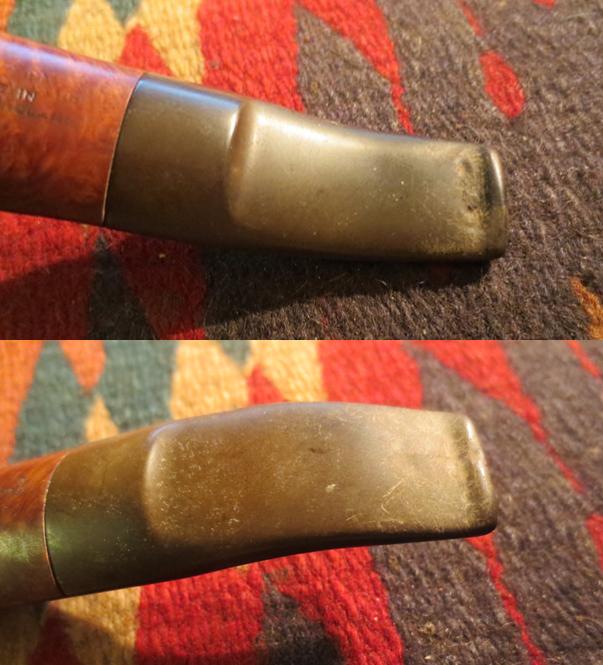
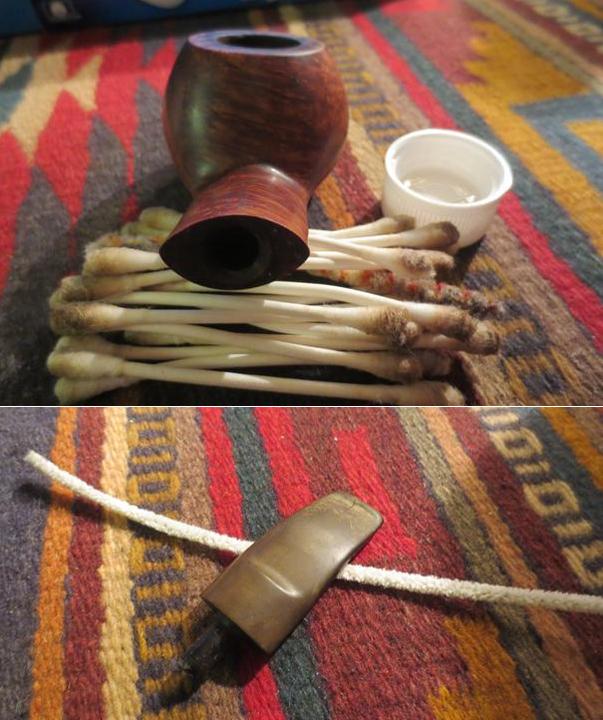
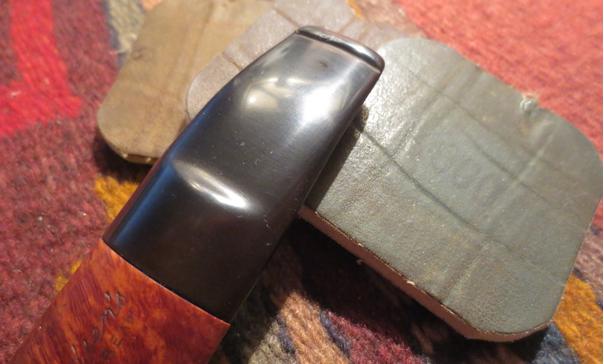
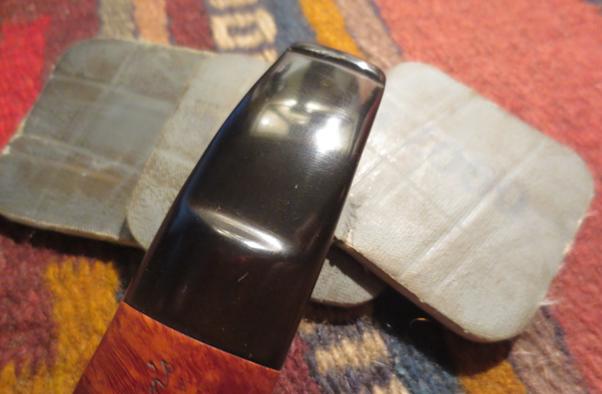
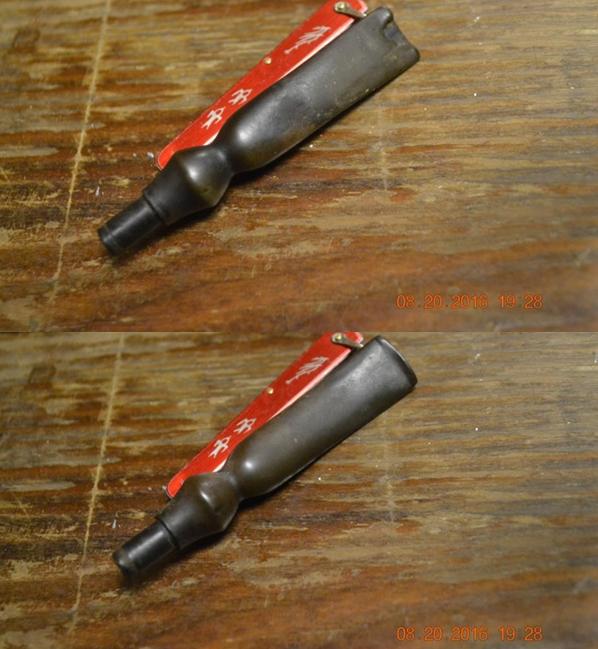
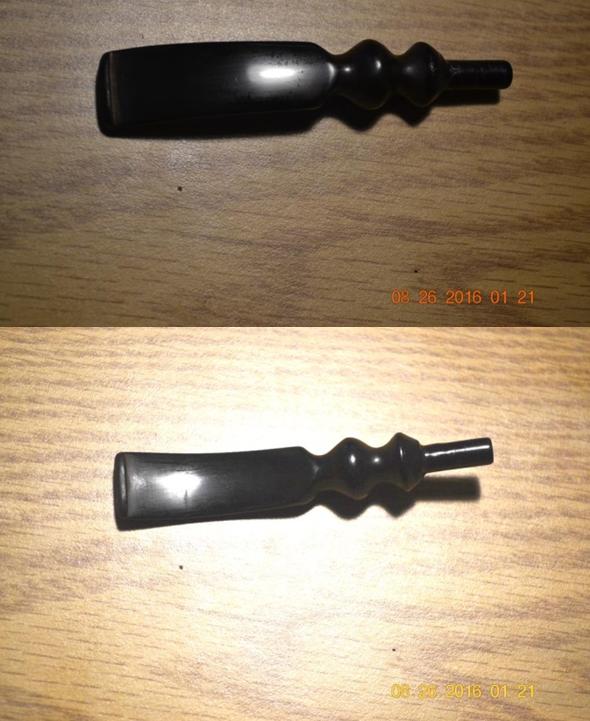
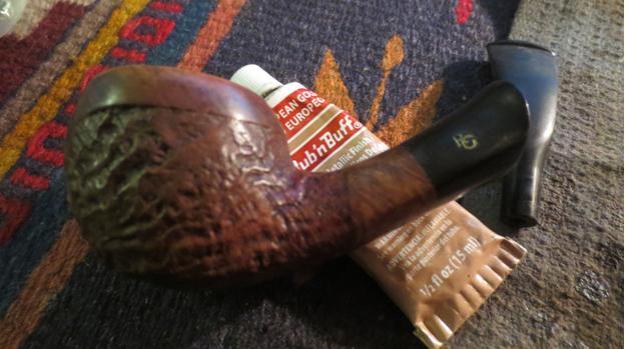
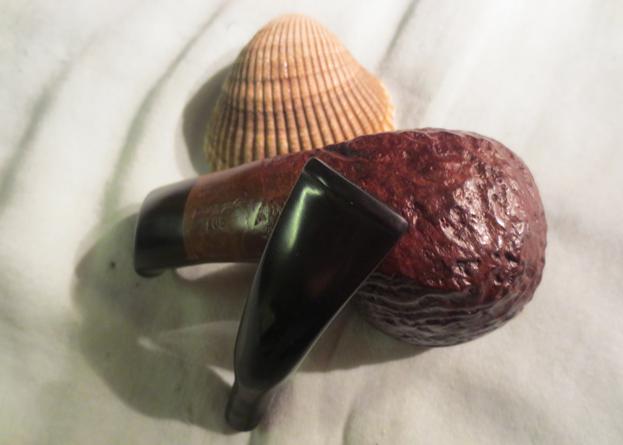
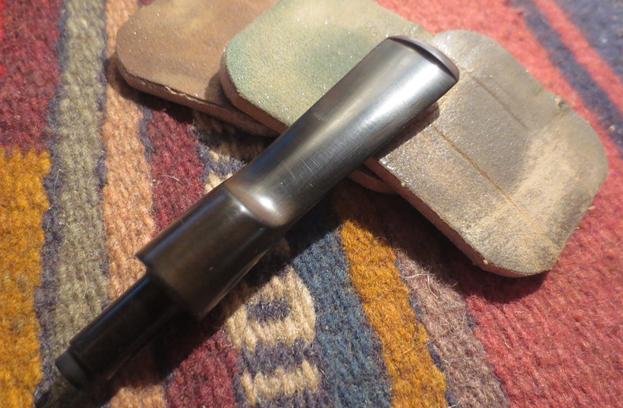
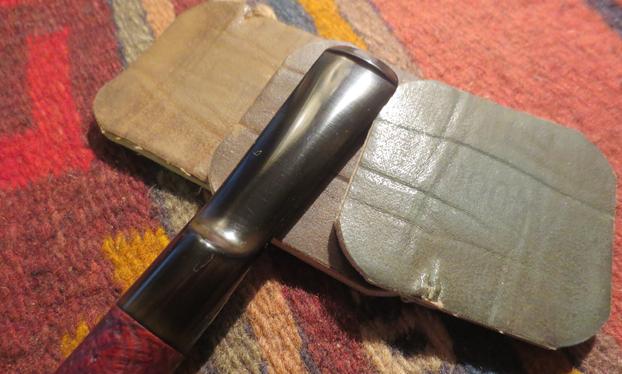
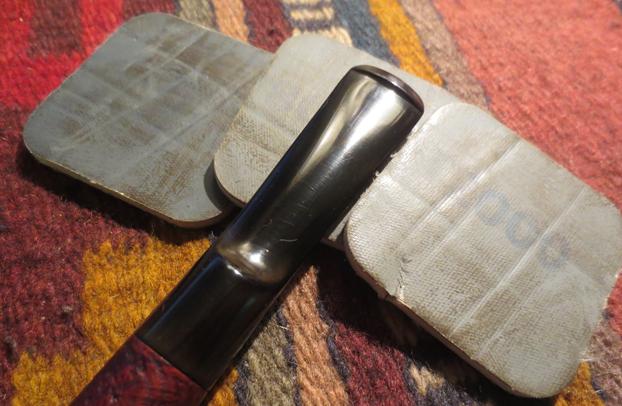
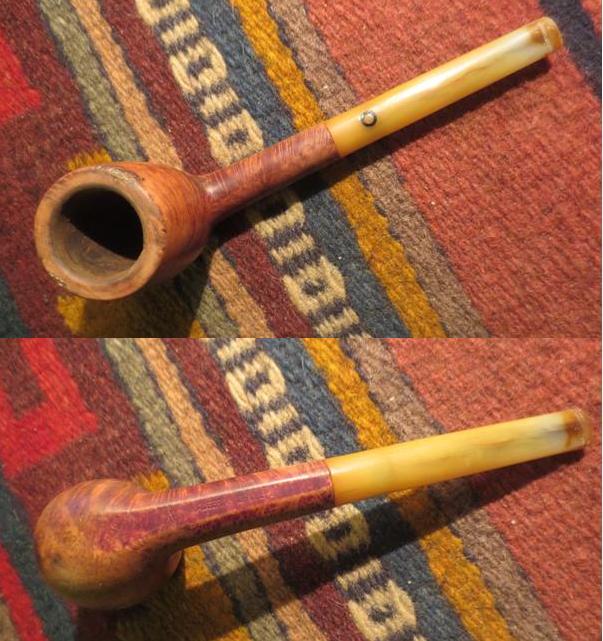
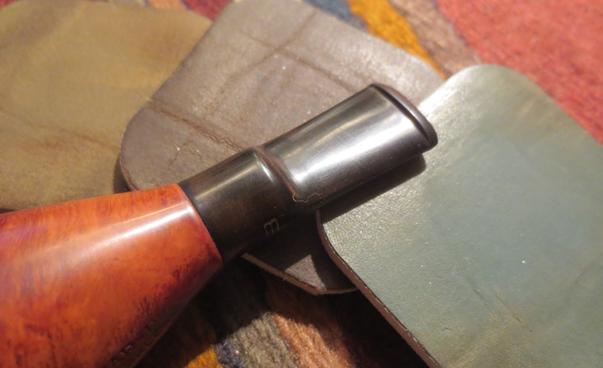
 The next photo shows the M stamp on this stem as well exactly like the one on the rusticated pipe above. It is thus also a Mastercraft pipe.
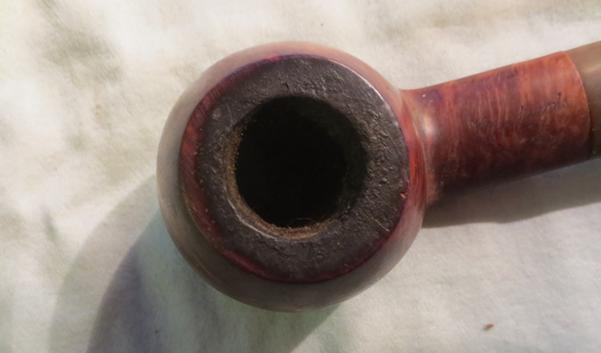
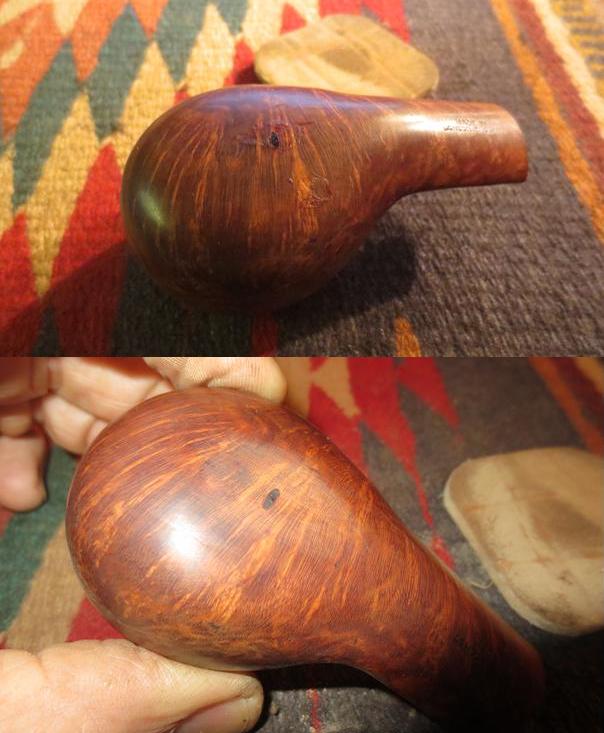
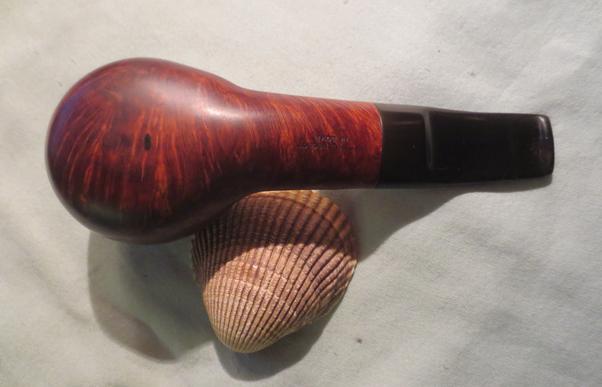
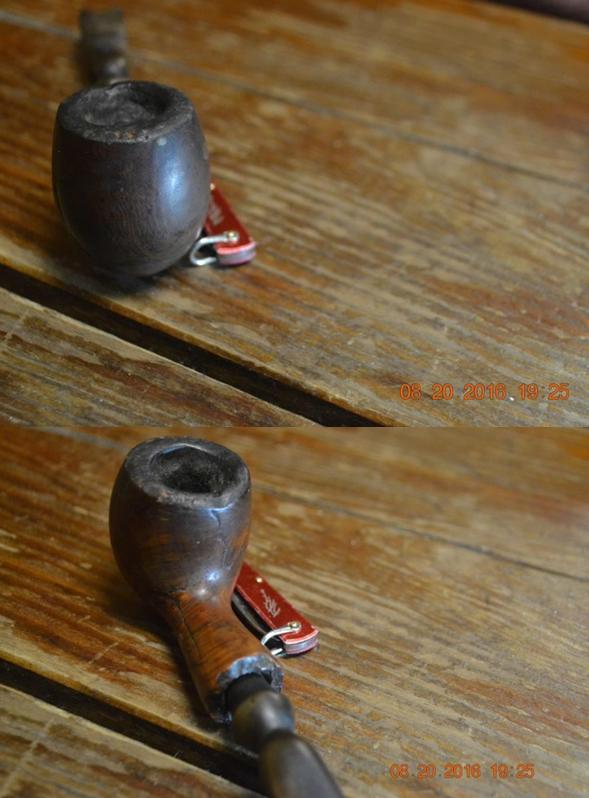
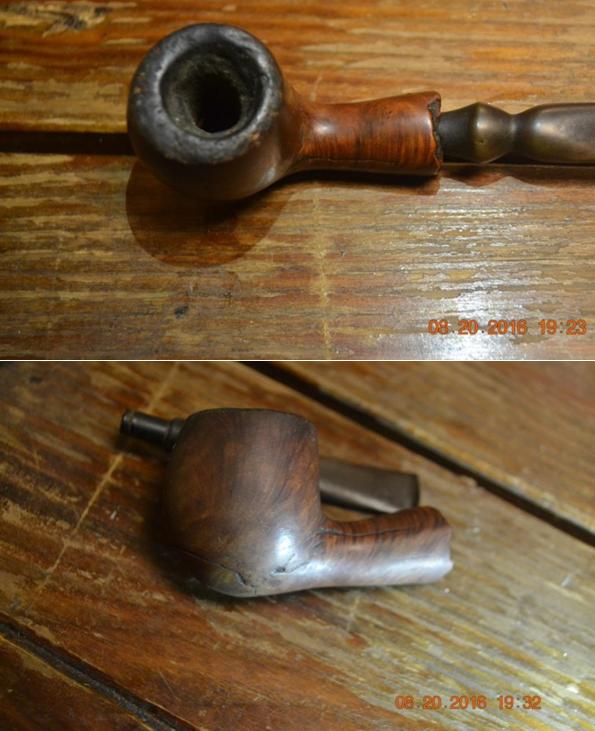
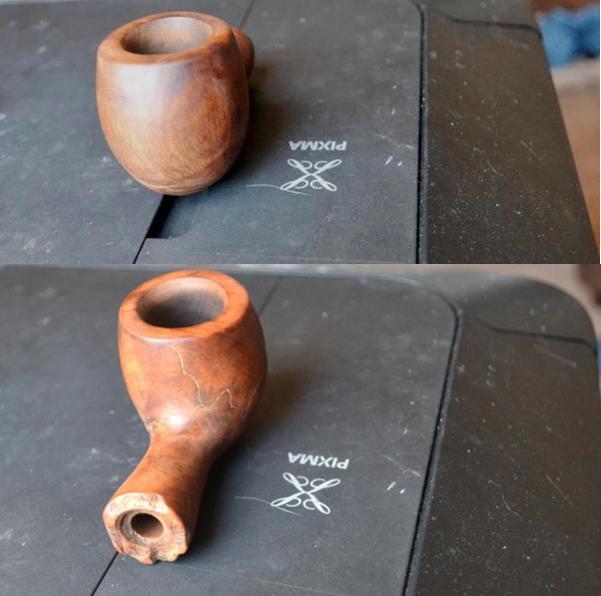
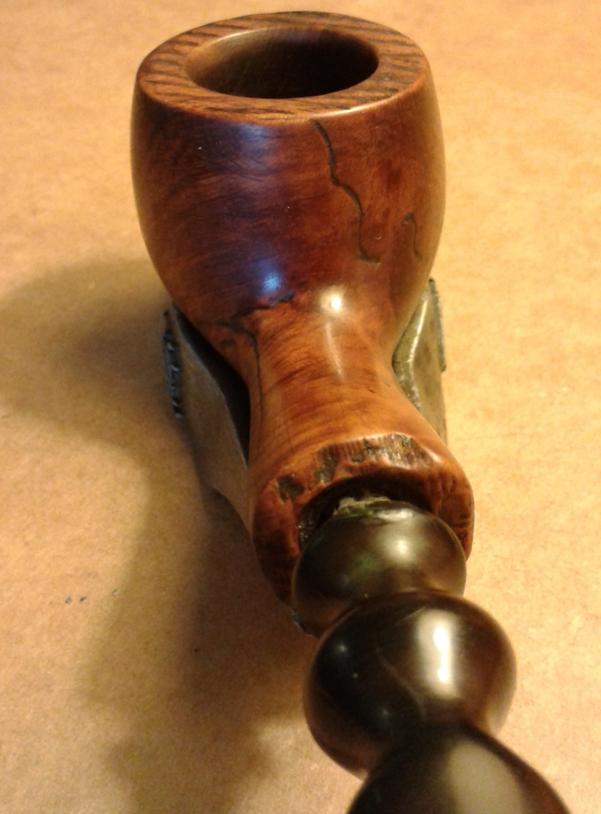
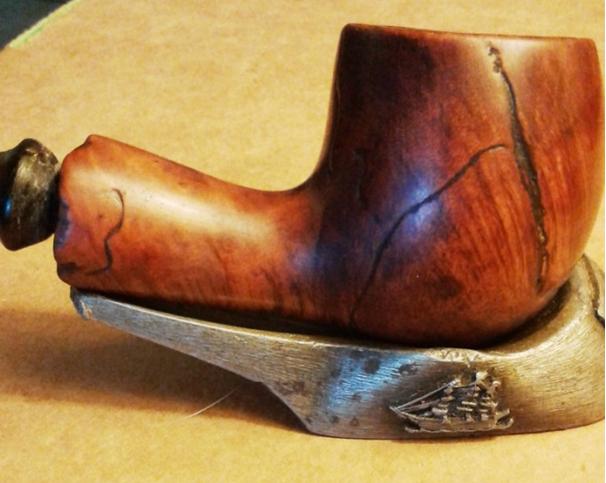
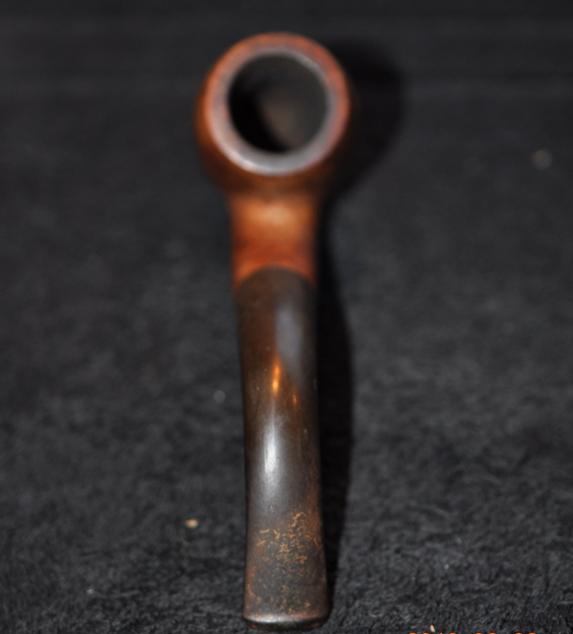
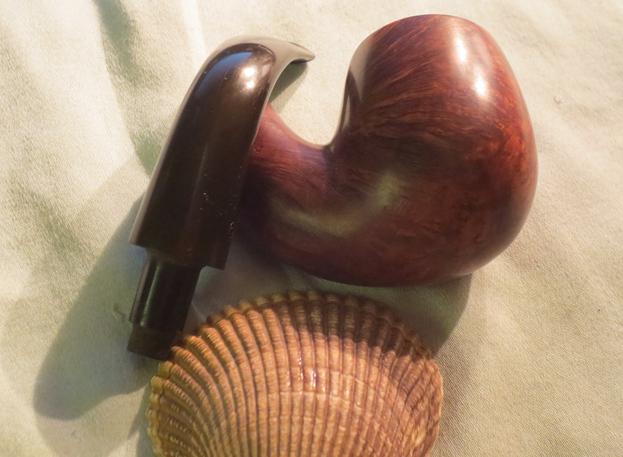
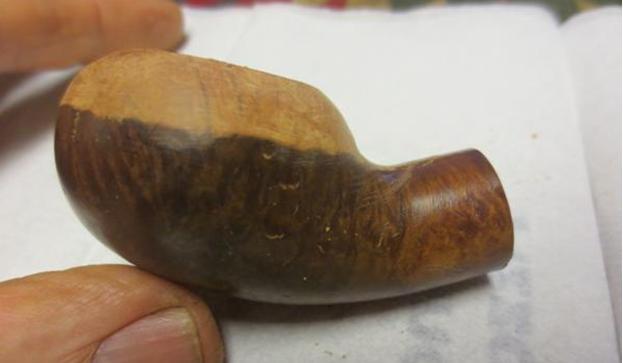
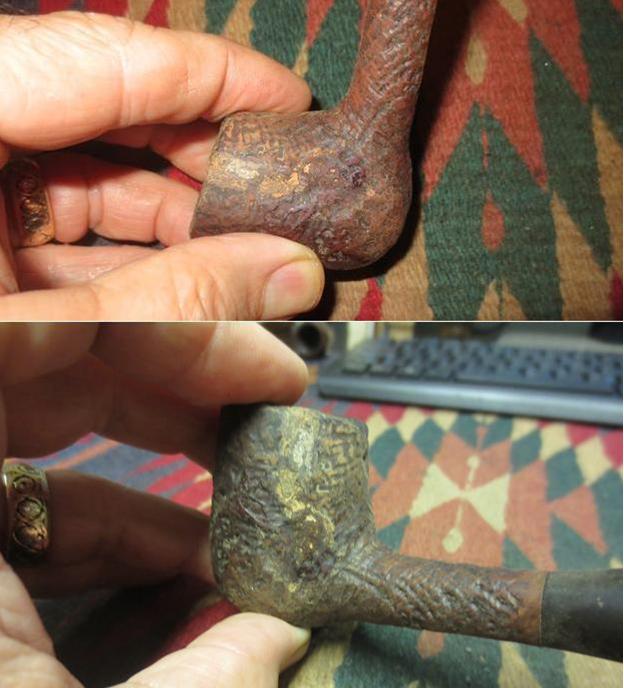
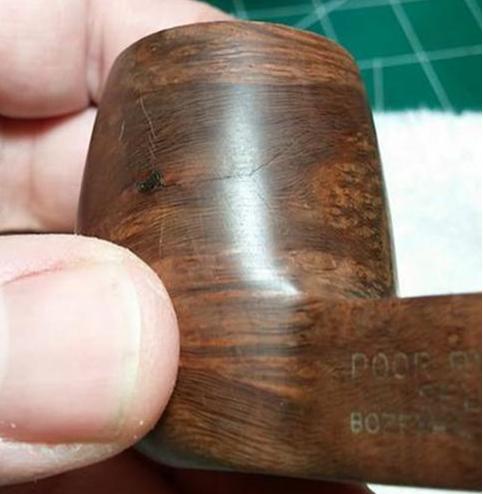
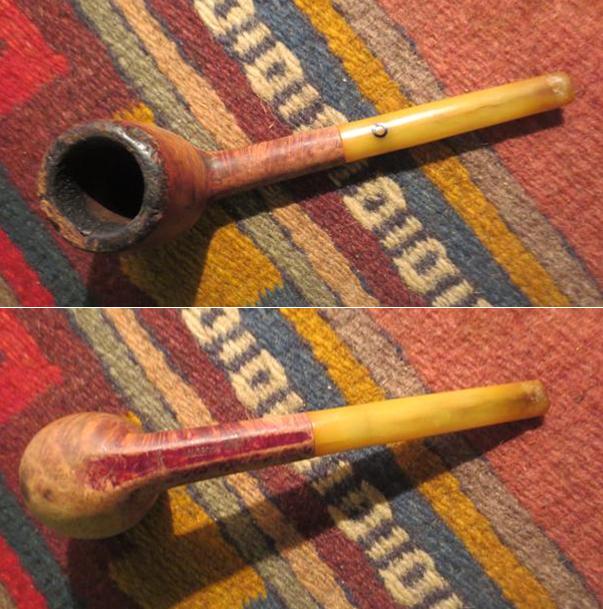
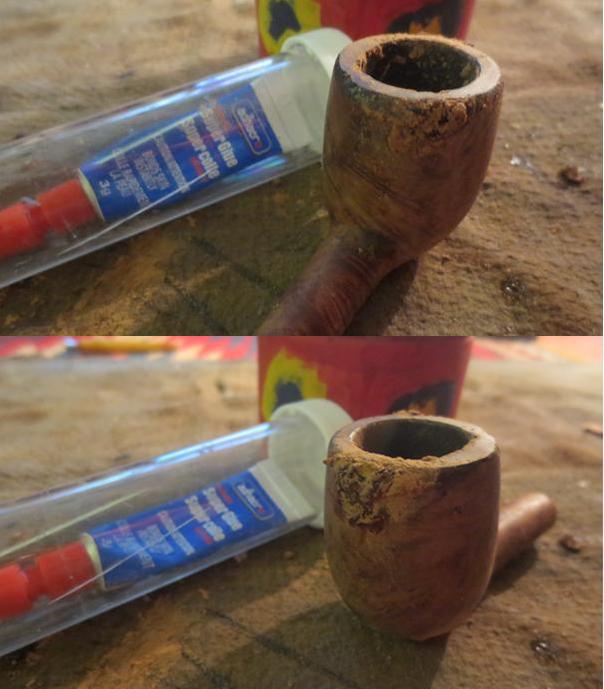
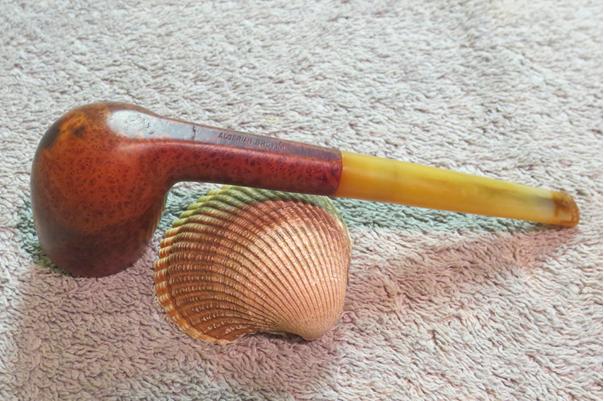
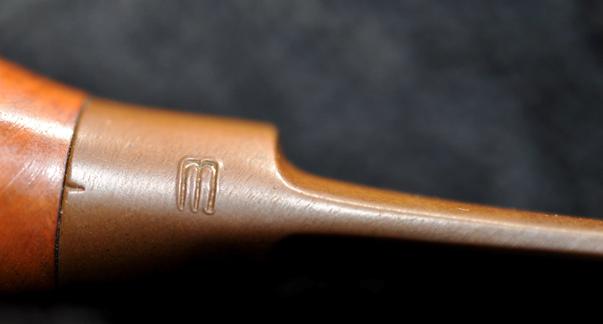 The next photo shows what appears to be a crack on the upper portion of the cigar pipe. It would need to be checked out once I had it in hand. My brother was pretty sure that it was a fill in the briar as it did not go all the way through the piece.
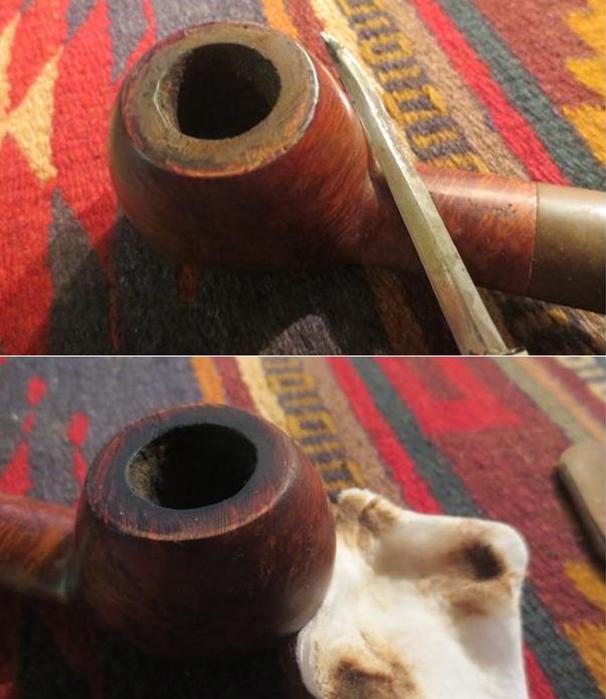
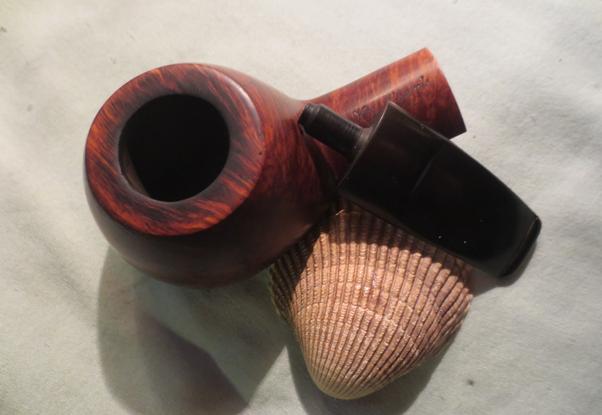
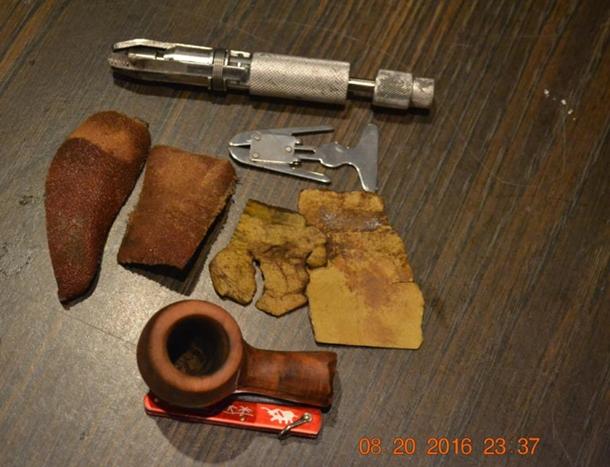
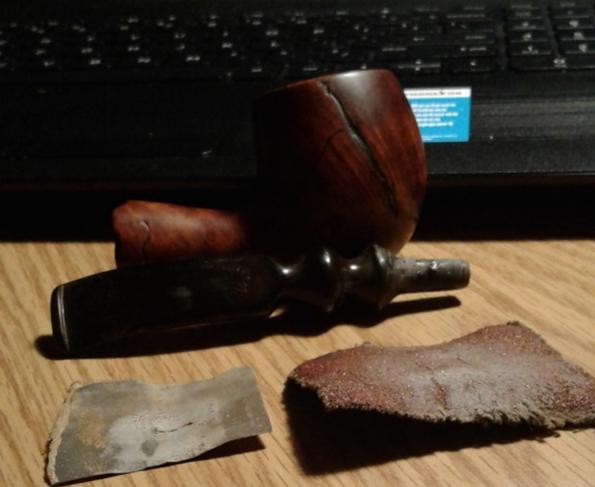
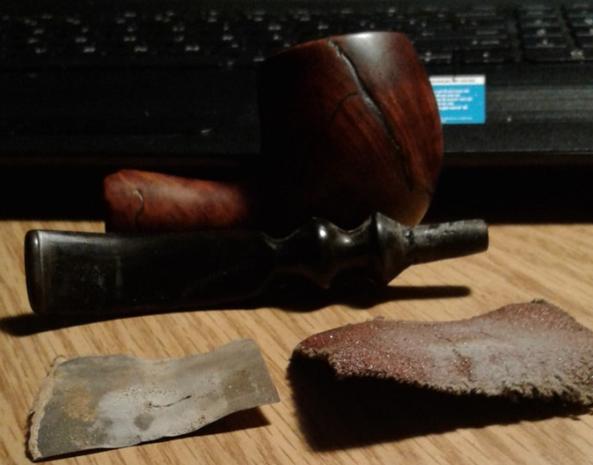
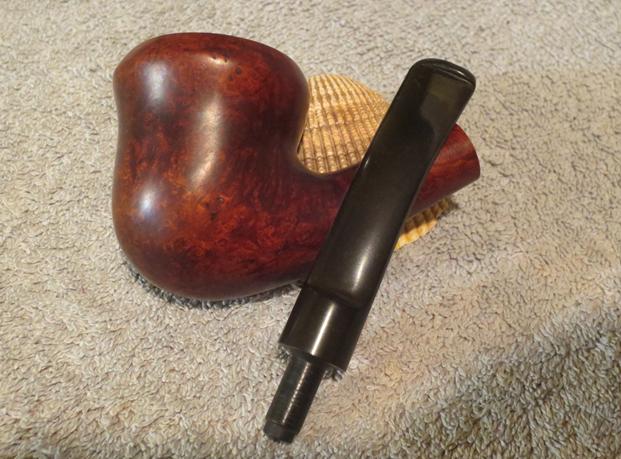
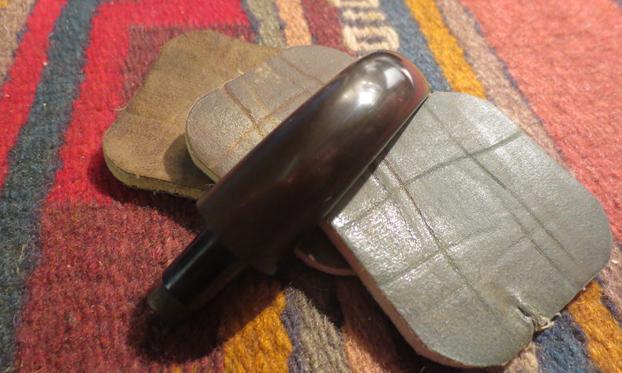
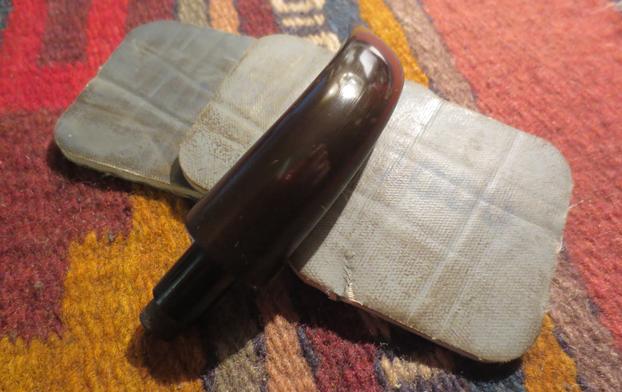
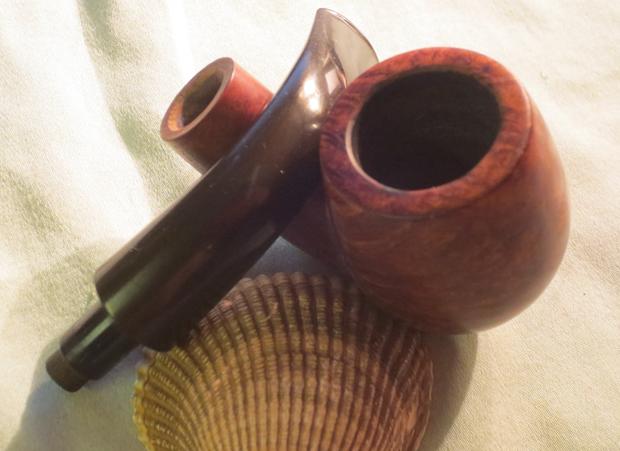
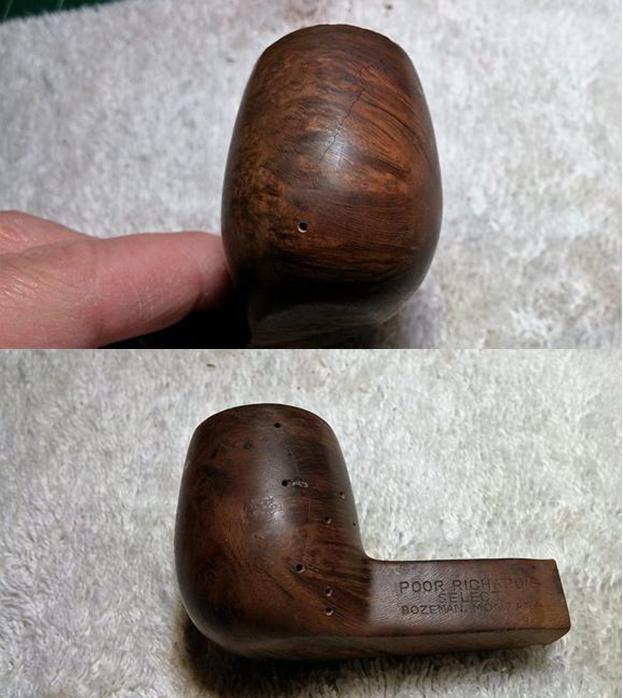
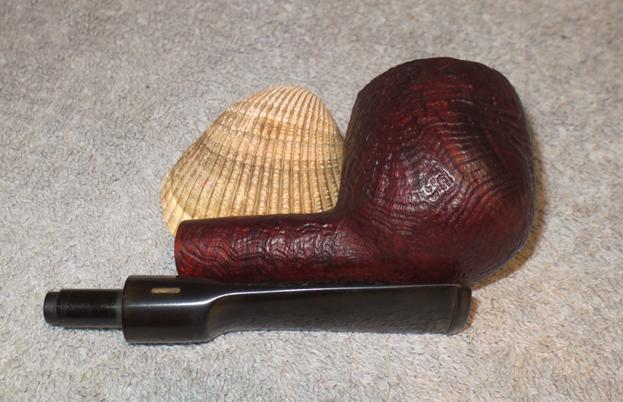
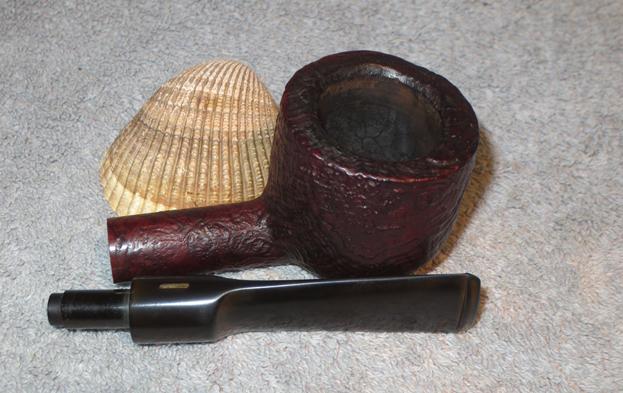
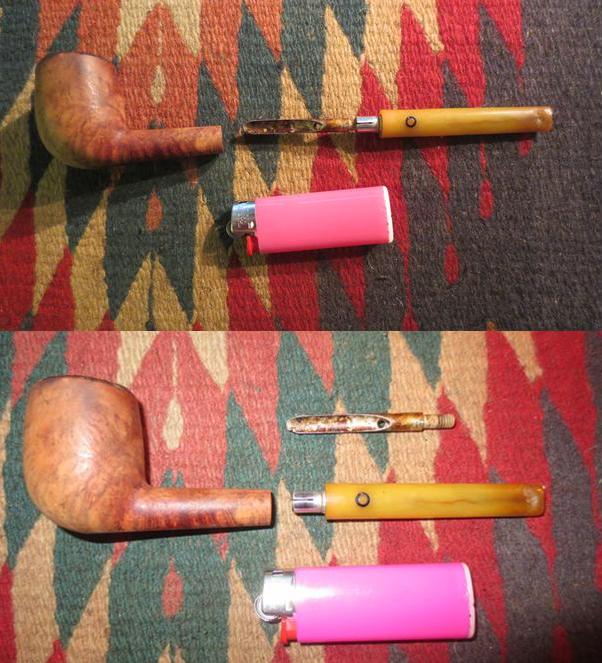
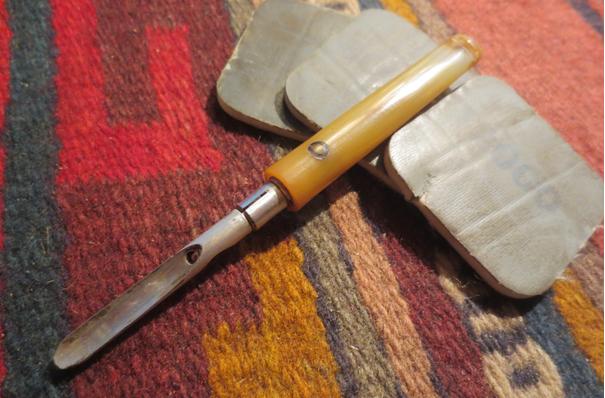
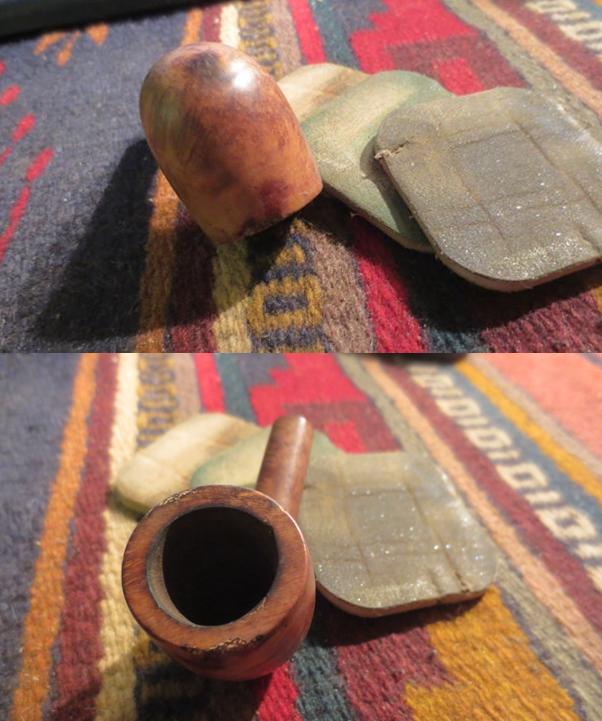
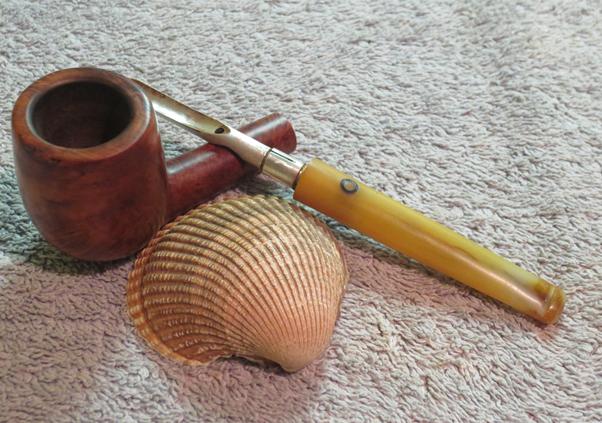
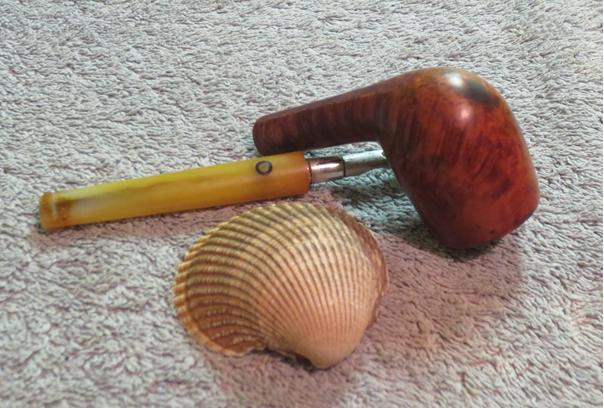
 The next three photos show the pipe after it has been taken apart. Each of the pipes was made of four pieces.
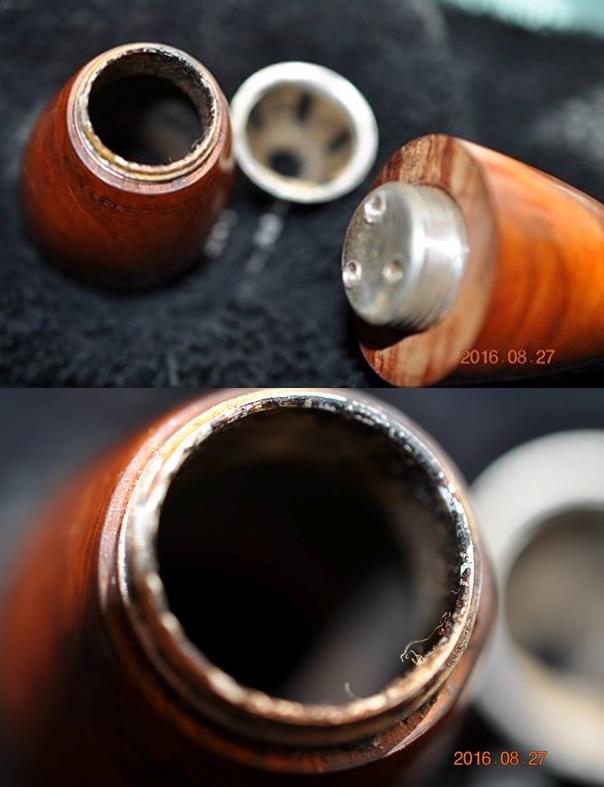
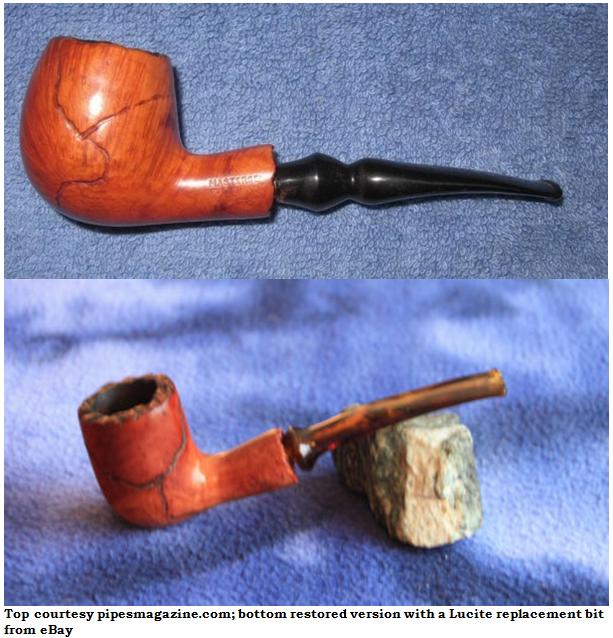
 I have seen a lot of these pipes for sale in shops and on eBay but I had never had one in my hand so I had never done any research into them or what “sparked” their invention. So now that I had two of them I figure it was time to look up some information. I looked on the pipephil website and found that they were made by Mastercraft and that there were some further articles in the odd pipes section of the site. Here is the link to that part of the site. http://www.pipephil.eu/oddpipes/pipcig/sparkless2.html. The trouble is that the articles were in French. I used Google Translator to translate them into English and then did some serious editing to the translations. I am including both articles in full here. The first one is written about the smooth briar versions and the second is about the rusticated versions.
Overseas manufacturers of pipes are not deprived of market of cigar pipes based on the mythical model of the 1920s. The best-known is called Sparkless [1] and comes from the Mastercraft House which was issued in several finishes. Two of them will allow you to judge fully of these strange pipes (The article included two photos of two different smooth finishes on the pipes – a stained and an unstained version).
It should be noted on at the outset that it is stockier than its Germanic Zeppelin cousin. When the pipe is disassembled we note that the two wooden parts screw into another – one side is threaded wood on the interior of the piece and the other side has a metal threaded end that turns into the wooden threads. There may be some doubts about how well this type of connection will hold up under use. There is no place for a filter in the Sparkless pipes unlike the Zeppelin. This pipe is adapted to the tastes of American smokers.
You should know that Mastercraft had a long standing near-monopoly of imports of European briar and particularly Italian briar. This explains the stamping ITALY on the side of the pipe.
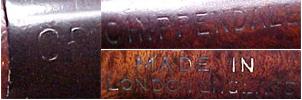
The stamping is as follows:
On one side it is stamped Cigar Pipe, Sparkless and on the other side it is stamped Century Old, Briar Italy. On the nose of the pipe it is stamped Perfected on one side and Reg. No. M.U. 3840 on the other side.
The measurements of the pipe are as follows: The length is 13.9 cm and the height is 3.2 cm.
Where the German maker, Vauen offers one model of the Zeppelin pipe, the American Mastercraft diversifies its range. To the two versions of the Sparkless model mentioned above we add here two other variations in the form of pipe, rusticated in natural finish.
These variations to this atypical pipe probably spoke to a limited audience. Let’s face it the quality of the woodwork on the two models rusticated models isn’t the most refined in the light of the criteria of the XXI century. But don’t lose sight of the variety that was offered when these pipes were made was radically new.
My preference is usually saddle bit pipes. But I confess that by comparing the Zeppelin to the Pipe-Cigar Mastercraft models, the Zeppelin has more elegance due to the continuity of the shape to the tip compared to the general shape of the Cigar-Pipe. The German made Zeppelin pipe appears as a whole very consistent where each part (tip – stove – metallic cap) is the continuation of the other. This consistency and flow is less noticeable for this North American pipe.
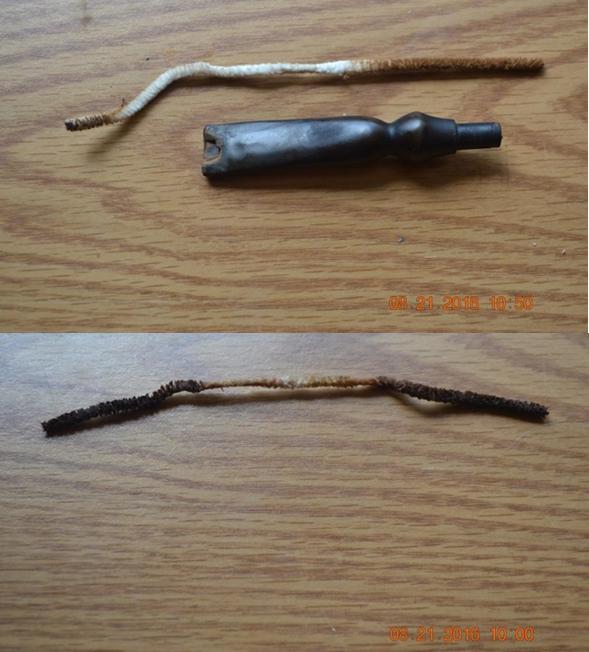
The complete disassembly of the pipe shows that the stem in ebonite has a condensation system reduced to its simplest expression here: a small aluminum tube. It should be noted that these systems don’t bring great benefits for smoking and on the contrary can add moisture and condensation. They are often the origin of disturbances in the draw of the pipe and cause of particularly unpleasant gurgle. But it should not hurt.
The details of the stamping nomenclature reflects that the origin of the pipes is Italian and are potentially made by Lorenzo.
On one side it is stamped Cigar Pipe, Sparkless and on the other side it is stamped Century Old, Briar Italy. On the nose of the pipe it is stamped Perfected on one side and Reg. No. M.U. 3840 on the other side.
The measurements of the pipe are as follows: The length is 13.9 cm and the height is 3.2 cm.
Armed with the interesting information I went to work on the two Cigar-Pipes that I had. One was the darker coloured rusticated pipe and the second was the natural coloured smooth one. I thus had two of the finishes that are mentioned in the above information.
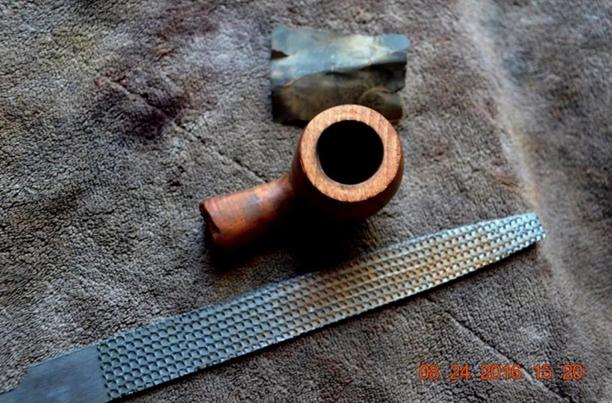
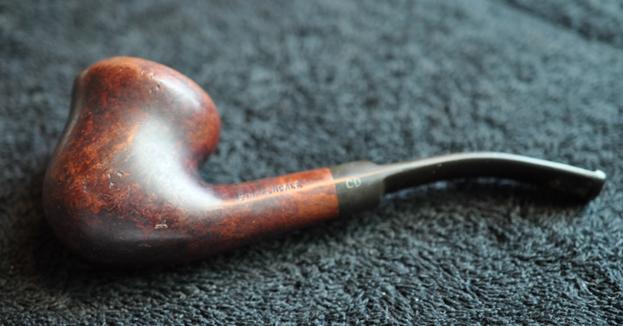
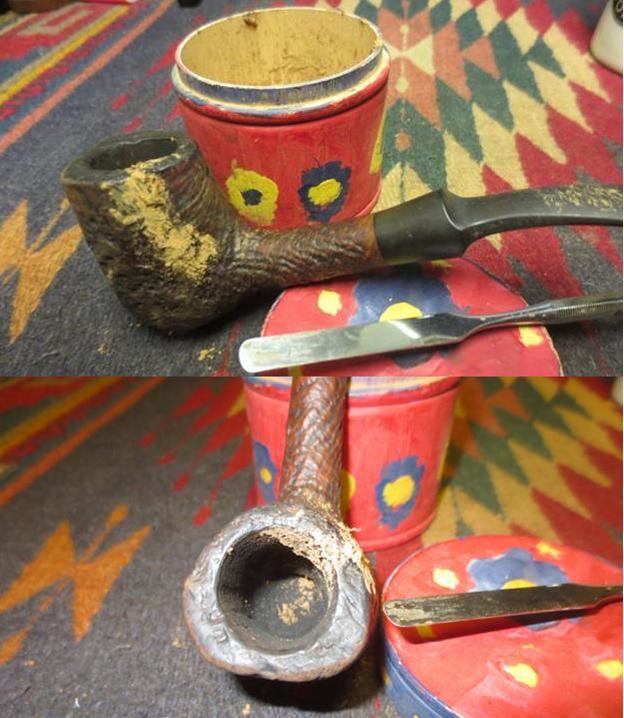
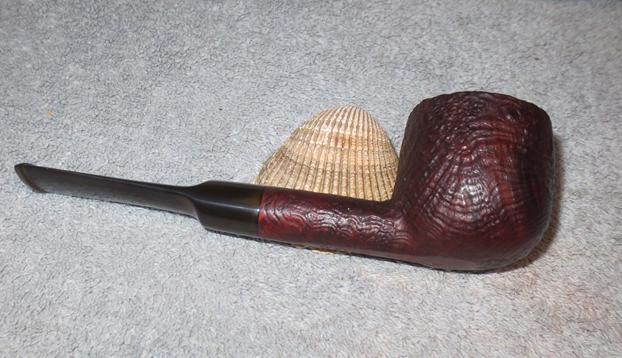
I started with the rusticated pipe. My brother had done the lion’s share of cleanup work on both of these pipes. Judging from the internals and the externals he did a great job cleaning out all of the gunk and grime. The rusticated briar was cleaned with a tooth brush and Murphy’s Oil Soap and in doing so he was able to remove the majority of the finish. The next four photos show the exterior of the pipe. The stem was oxidized and the letter M on the stem was faint. The finish was dull. The aluminum nose cone was dull. There was a fill on one side of the pipe that stood out as it was smooth and the rest of the bowl was rusticated.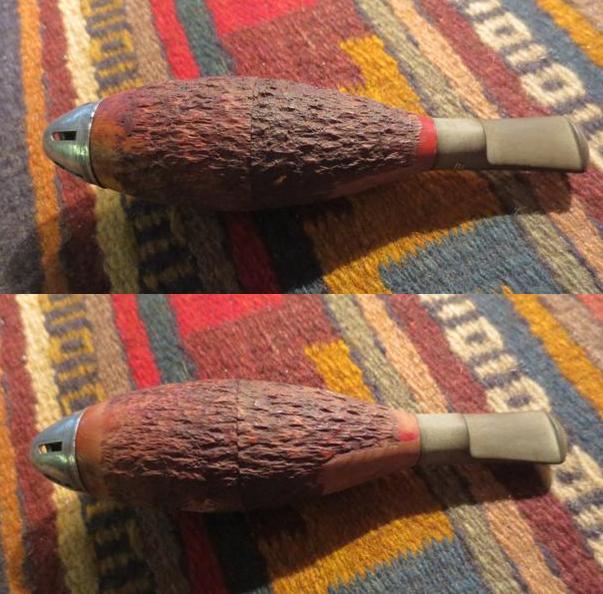
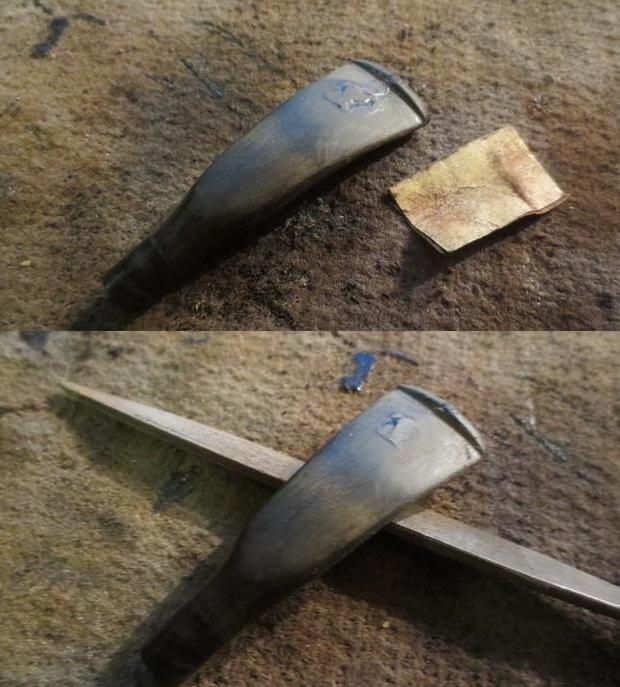
 I took the pipe apart and took pictures of all of the parts. In the second photo below you can see the fill on the briar piece on the right side of the photo. It is silver/grey in colour so it really stands out. I circled it in red. The aluminum internals are clean. The inner tube on the stem is clean as well. I was able to slide it out of the stem and clean behind it. There was no grime there.
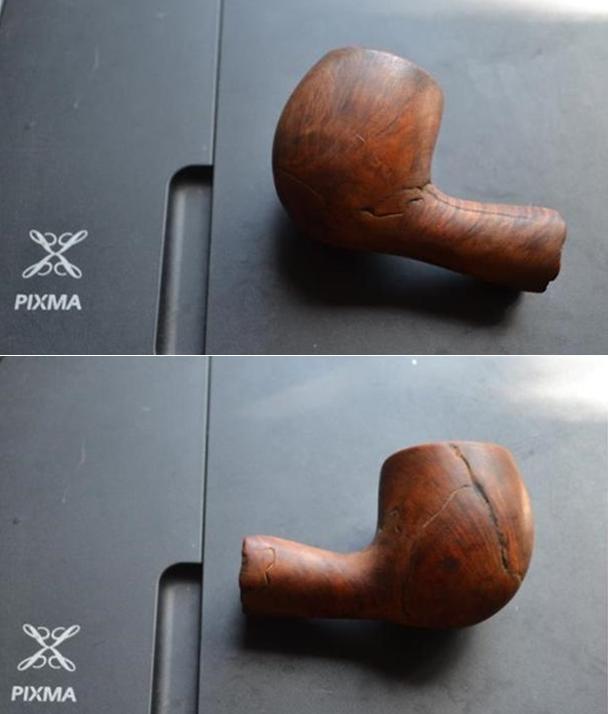
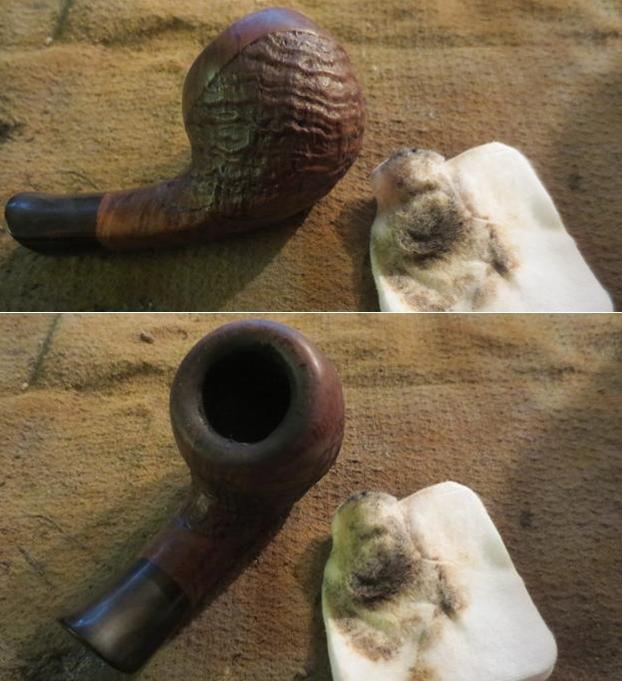
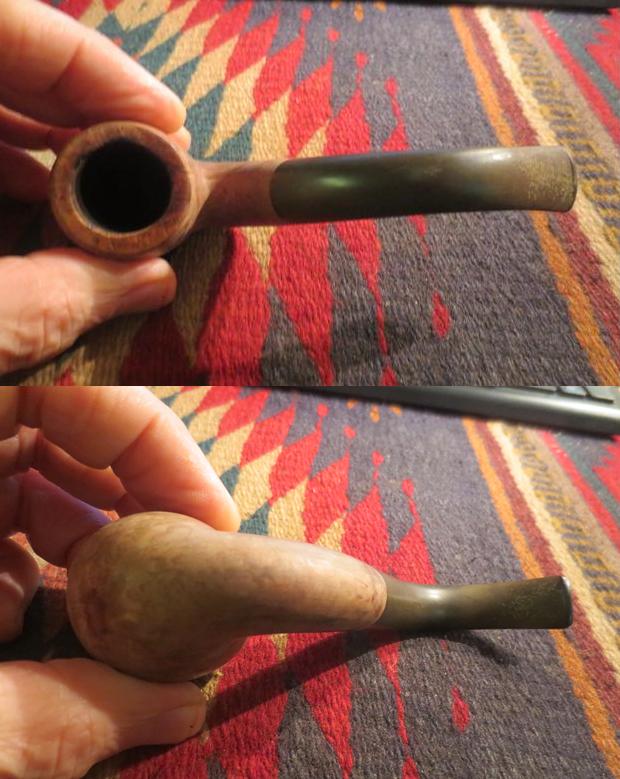
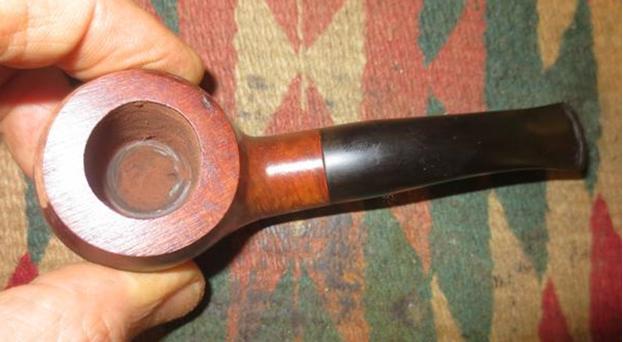
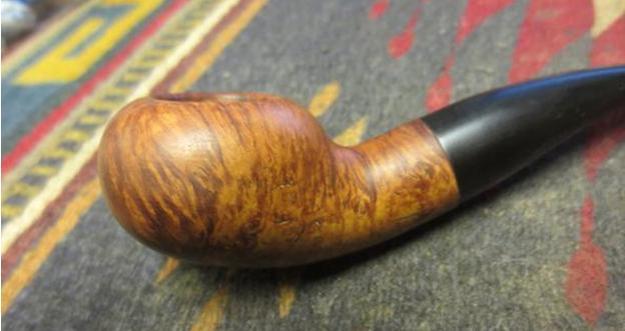
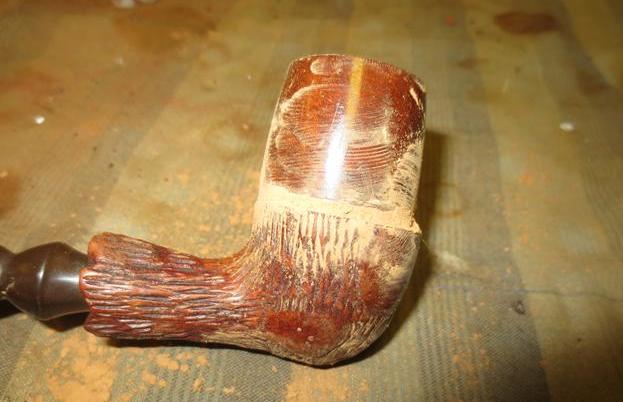
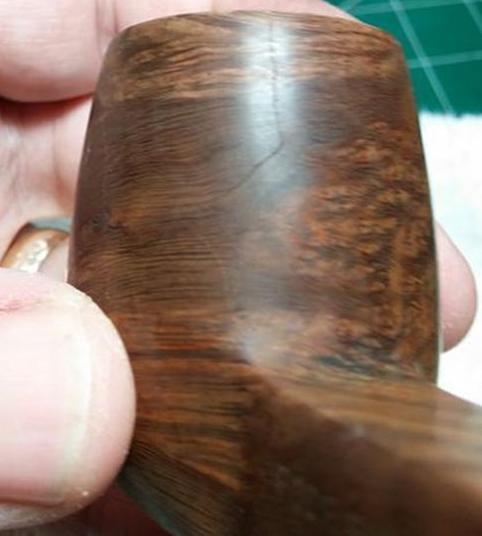
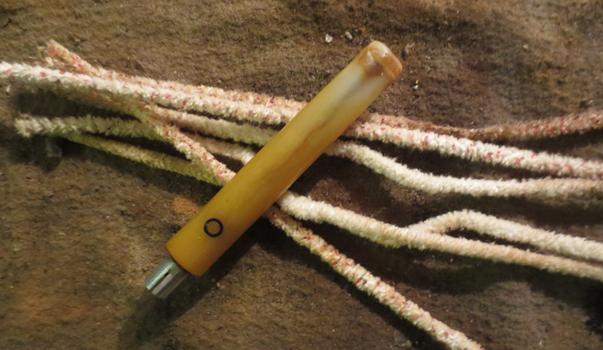
 After I took apart the rusticated one and took the photos I did the same with the smooth pipe. The smooth pipe would be the one I worked on next. Once again my brother had done the lion’s share of cleanup work. Judging from the internals and the externals he did a great job cleaning out all of the gunk and grime. The smooth briar was cleaned with a tooth brush and Murphy’s Oil Soap and in doing so he was able to remove the majority of the finish. There still was a varnish coat on the briar. That would need to be wiped with acetone and sanded. The next four photos show the exterior of the pipe. The stem was oxidized and the letter M on the stem was faint. The finish was dull. The aluminum nose cone was dull. There was a fill on one side of the pipe that stood out as it was smooth and the rest of the bowl was rusticated.
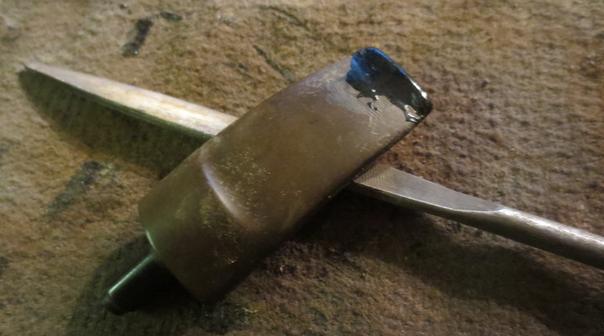
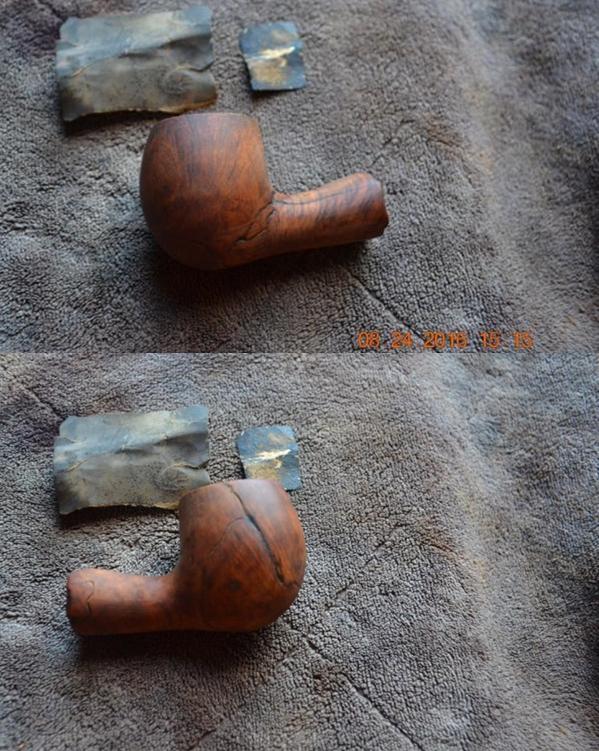
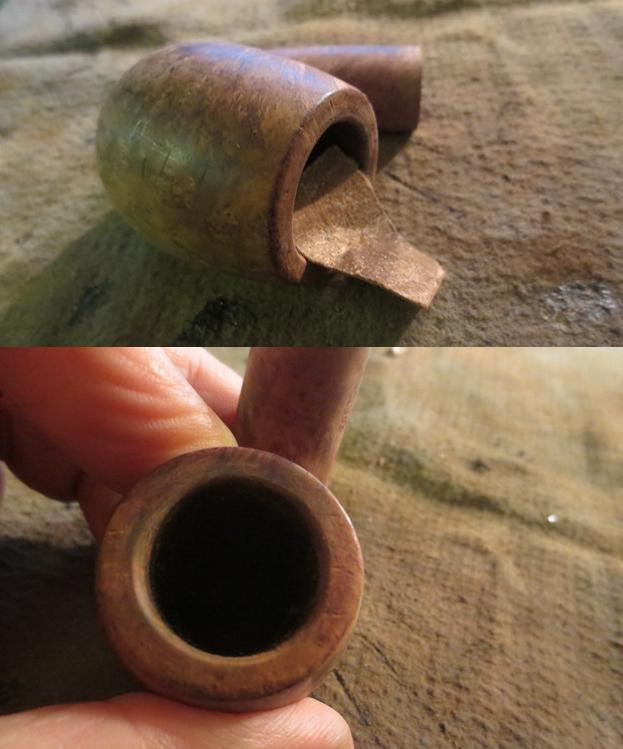
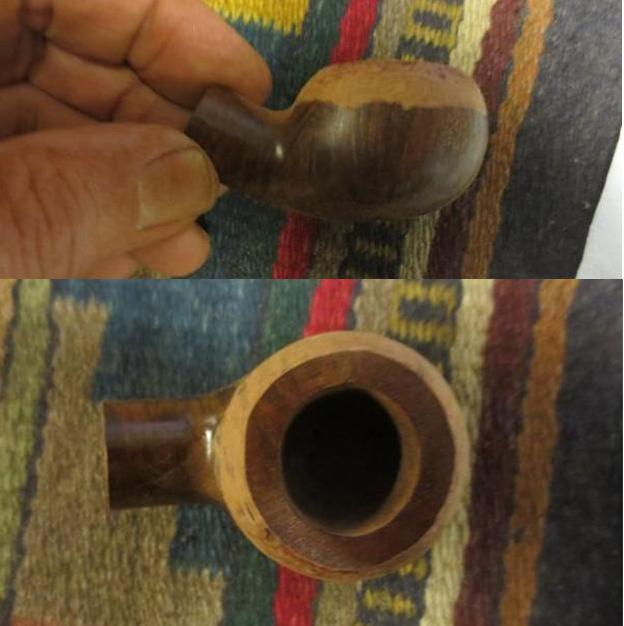
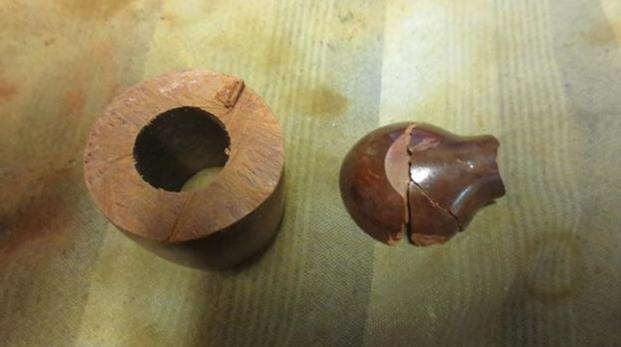
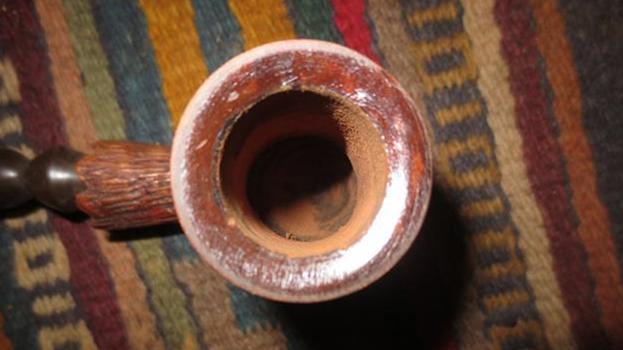
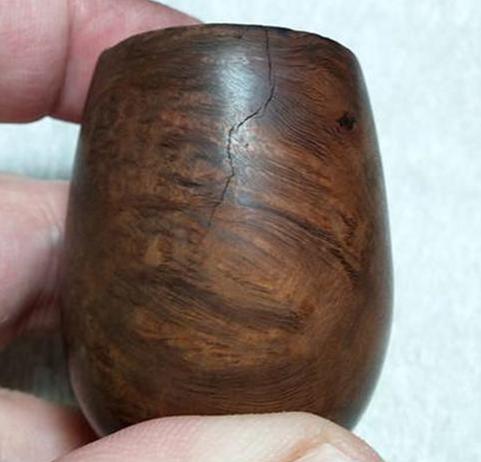
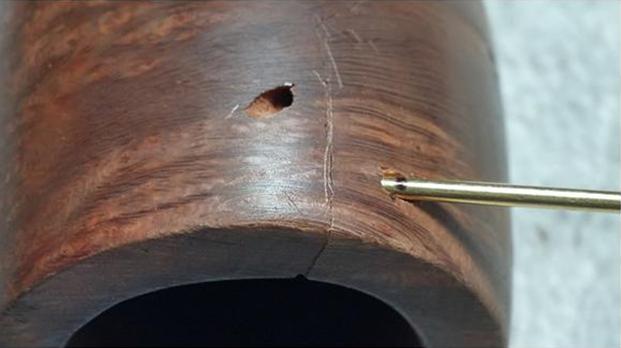
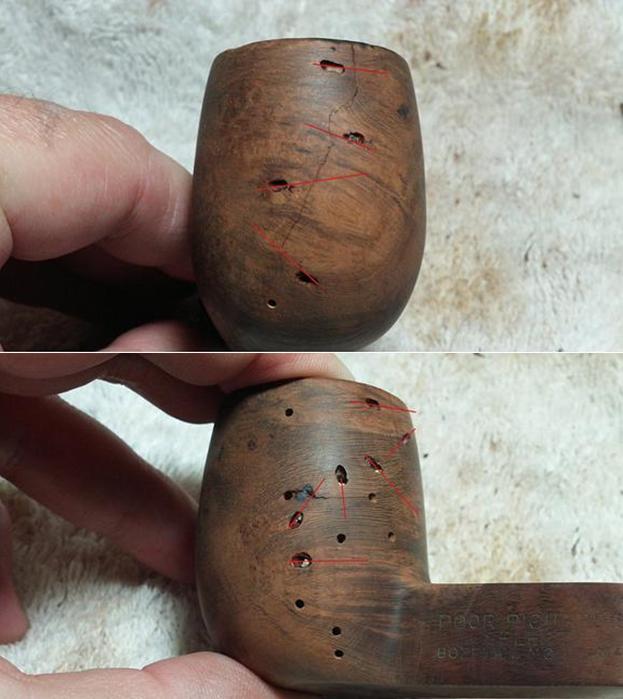
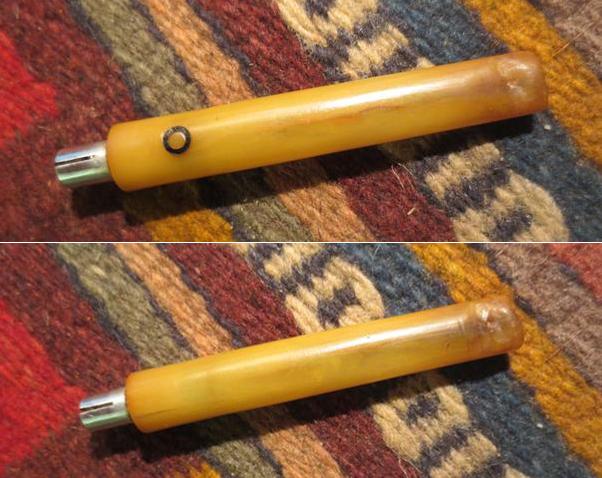
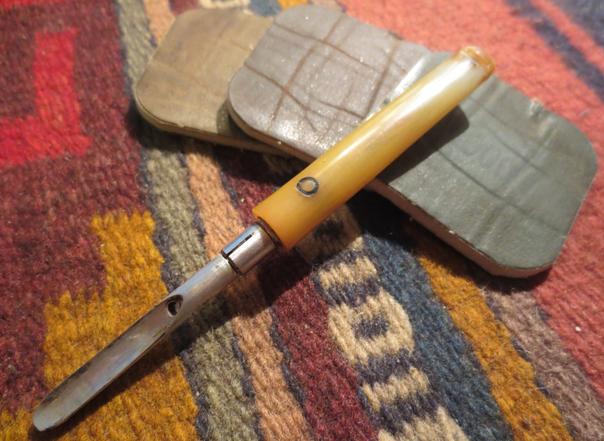
 I took the pipe apart and took pictures of all of the parts. In the second photo below you can see what looks like a crack on the side of the briar piece on the left of the photo. It is a thin line that runs horizontal across the briar and there is a second divot next to it just out of the photo. I circled it in red. The aluminum internals are clean. The inner tube on the stem is clean as well. I was able to slide it out of the stem and clean behind it. There was no grime there.
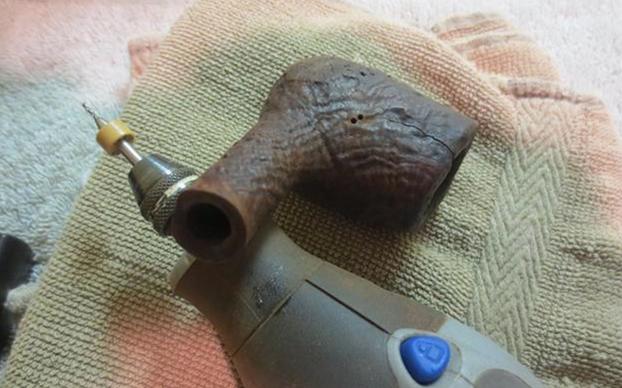
 I started working on the parts on the rusticated cigar-pipe first. I decided to start with the silver grey fill and try to get it blend into the briar. I used the Dremel with a round head burr to carve lines in the fill that matched the pattern on the bowl sides. I figured if I could make the pattern match I could hide it.
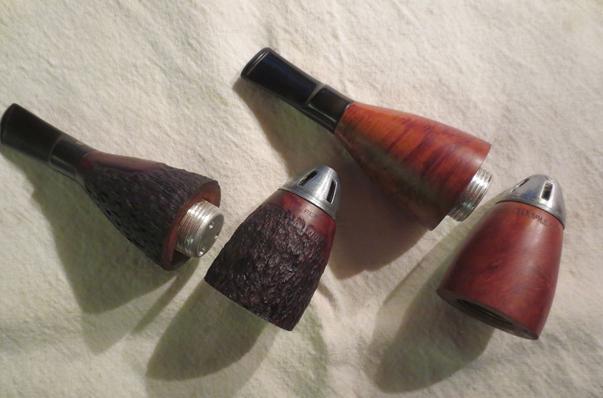
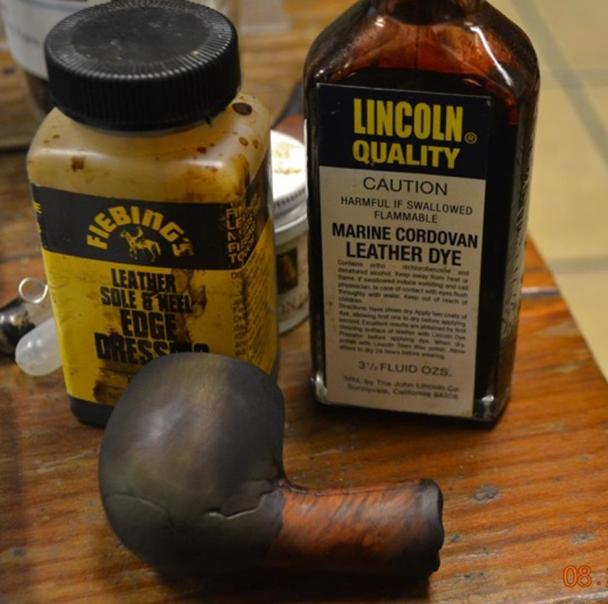
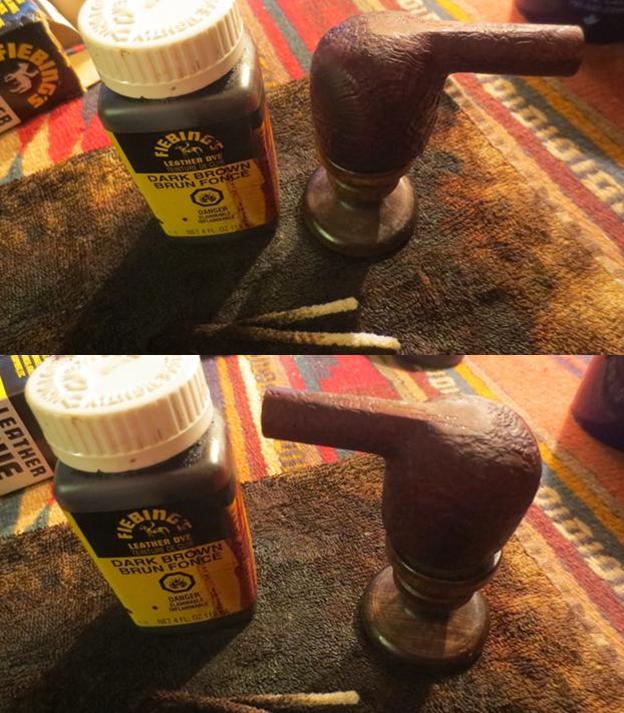
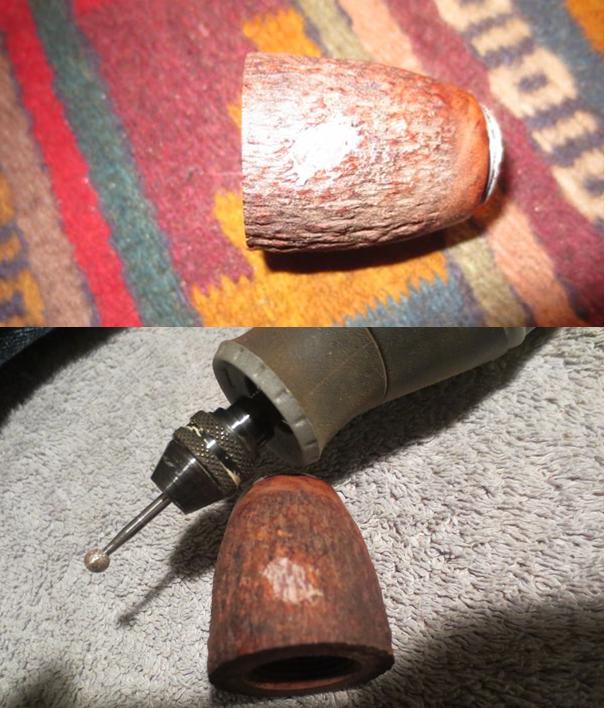 I stained the briar parts with a dark brown aniline stain thinned 50/50 with isopropyl alcohol. I applied the stain with a folded pipe cleaner and then flamed it. I stained both parts of the bowl with the stain and flamed them. I repeated the process until the coverage was even.
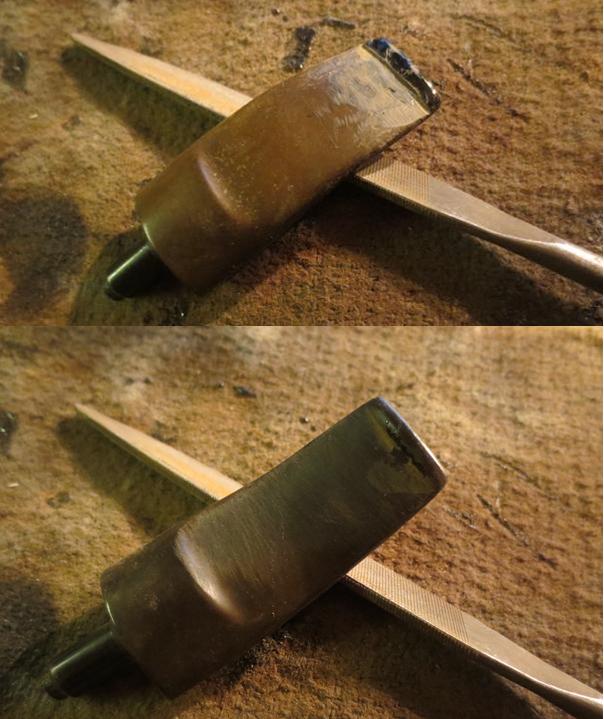
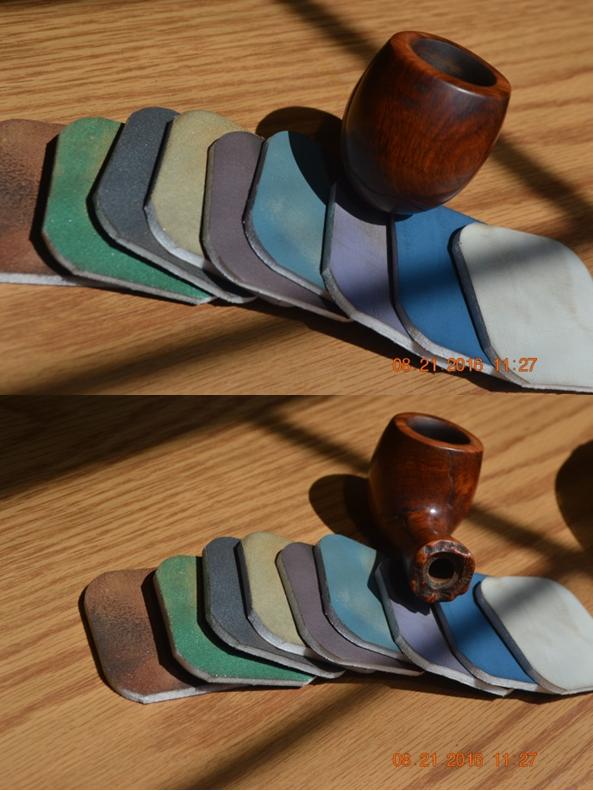
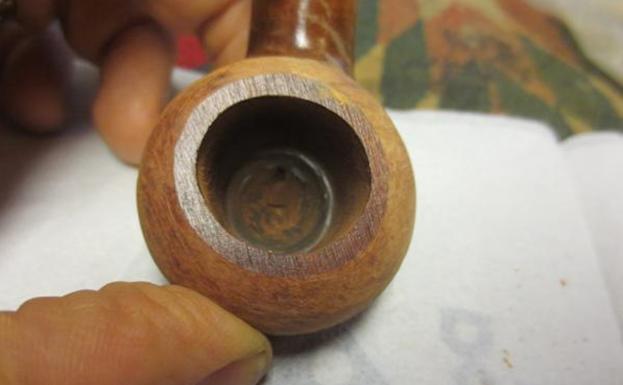
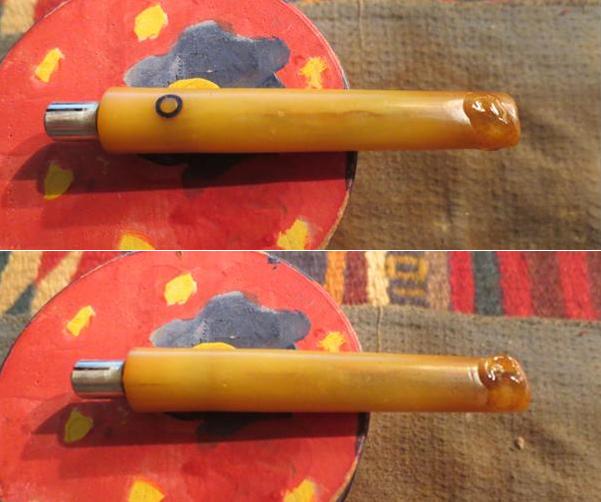
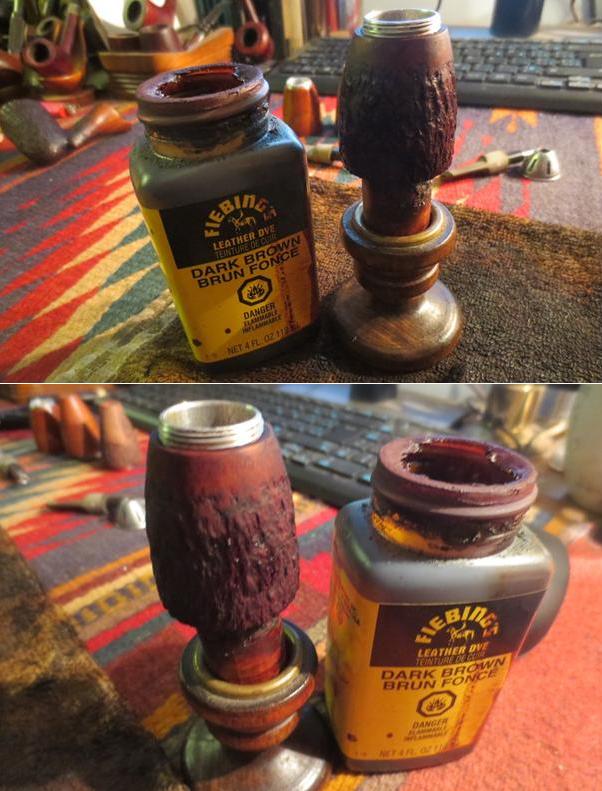 I took some photos of the newly stained parts of the pipe. The first photo shows the coverage of the stain on the fill. I had used a black Sharpie Pen to fill in the newly cut grooves from the Dremel and then put the brown stain over the top.
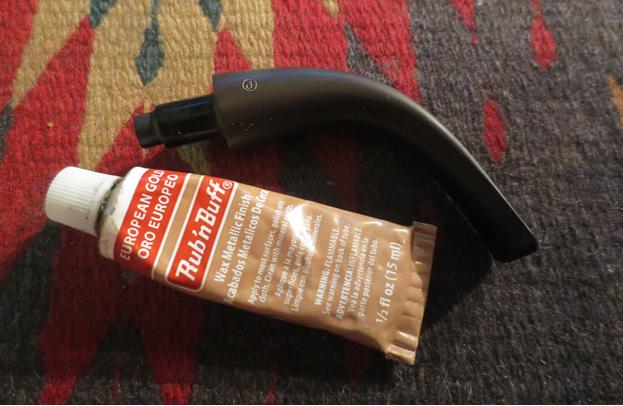
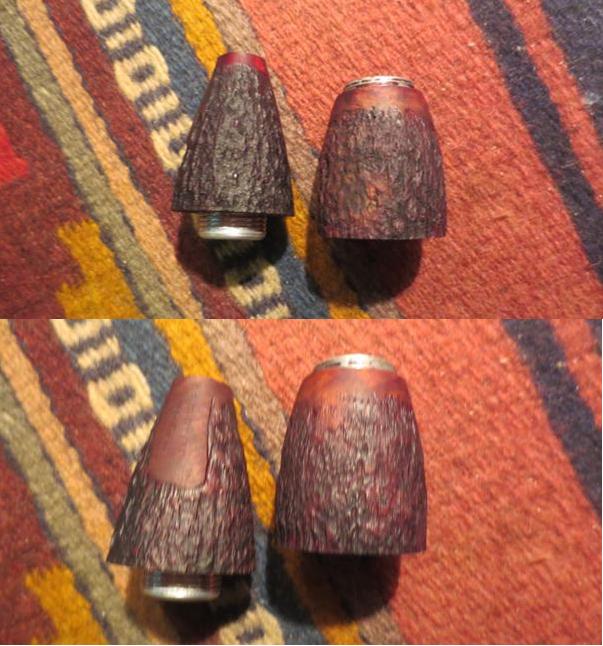 I polished the aluminum nose cone with micromesh sanding pads from 1500-2400 grit. I hand buffed it with a microfibre cloth.
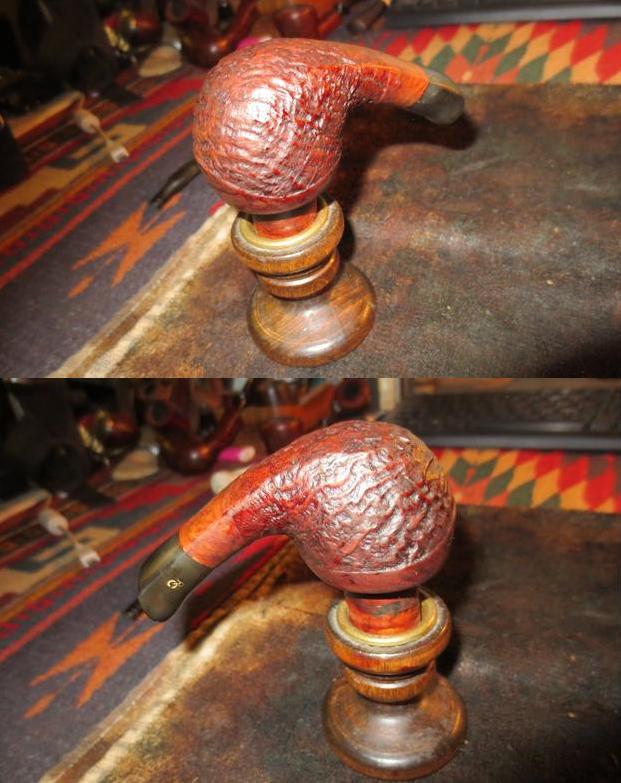
 I put the pipe back together and took photos of the newly finished pipe.
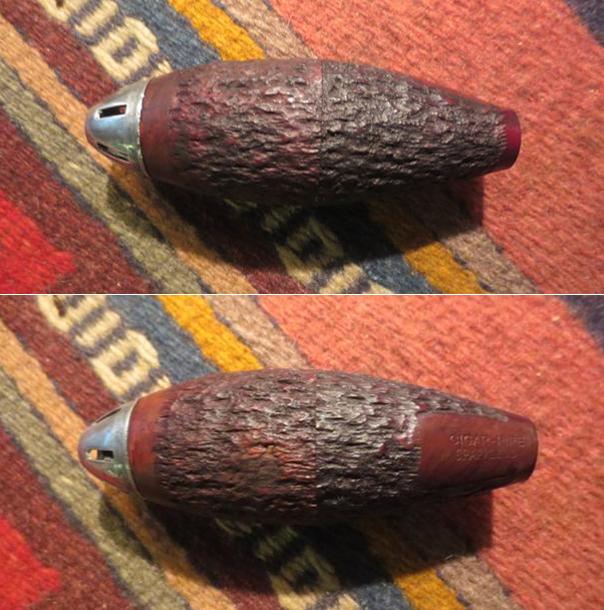
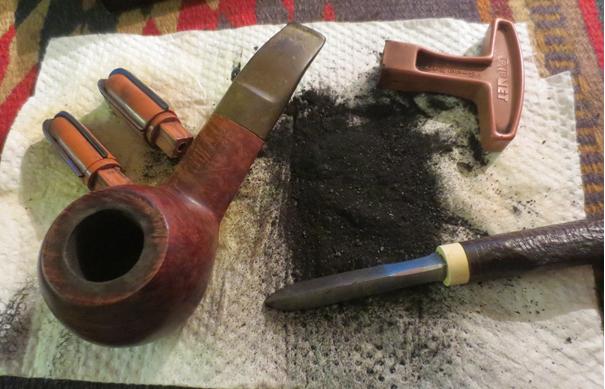
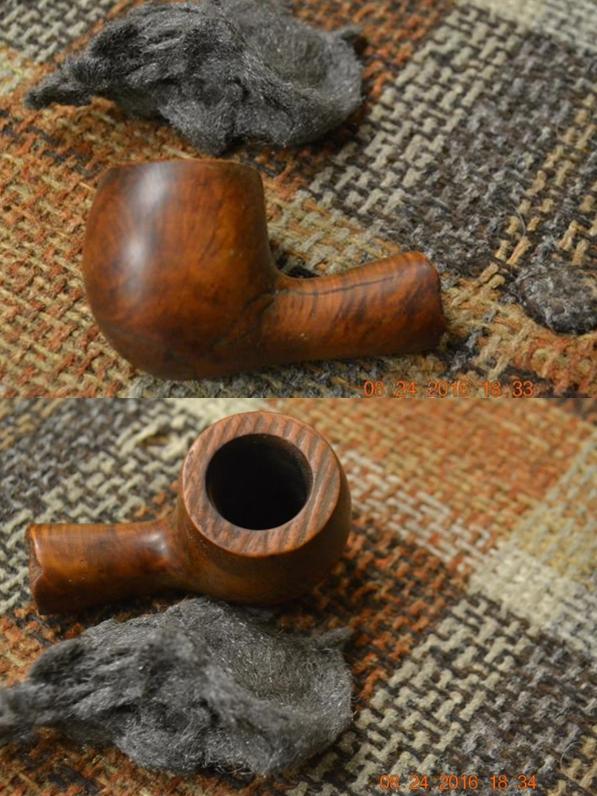
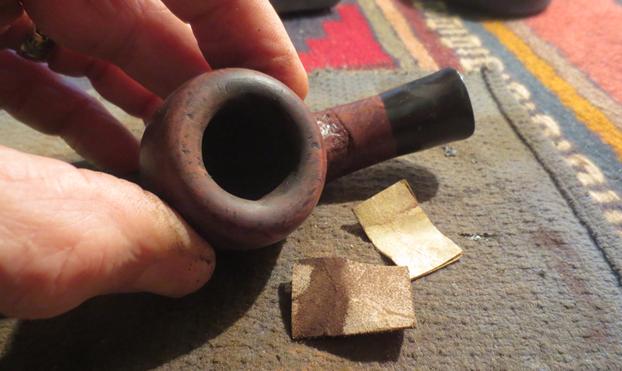
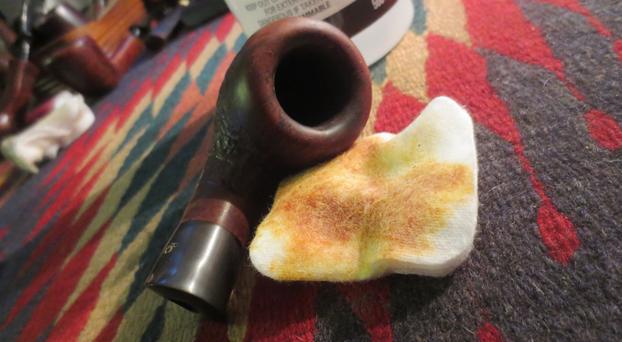
 I set the rusticated one aside and turned to work on the smooth one. I wiped it down with acetone on cotton pads to try to penetrate the varnish coat. Parts of it came off and parts stubbornly refused to move. I sanded the briar with a medium and fine grit sanding sponge and was able to get the entire varnish coat off. I wiped it down with acetone again to remove the dust.
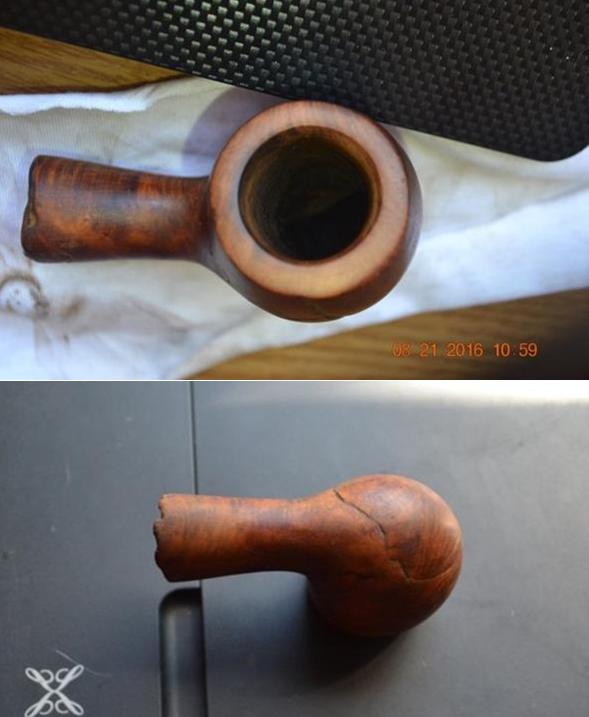
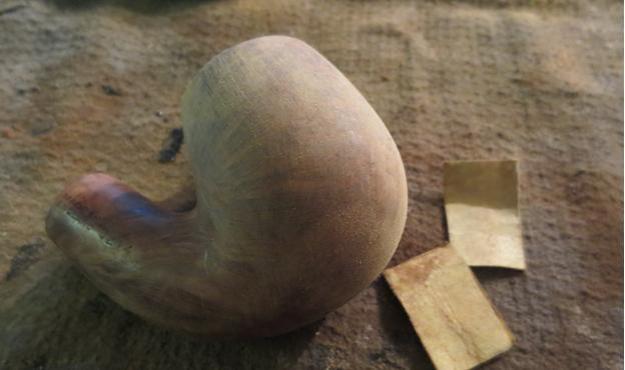
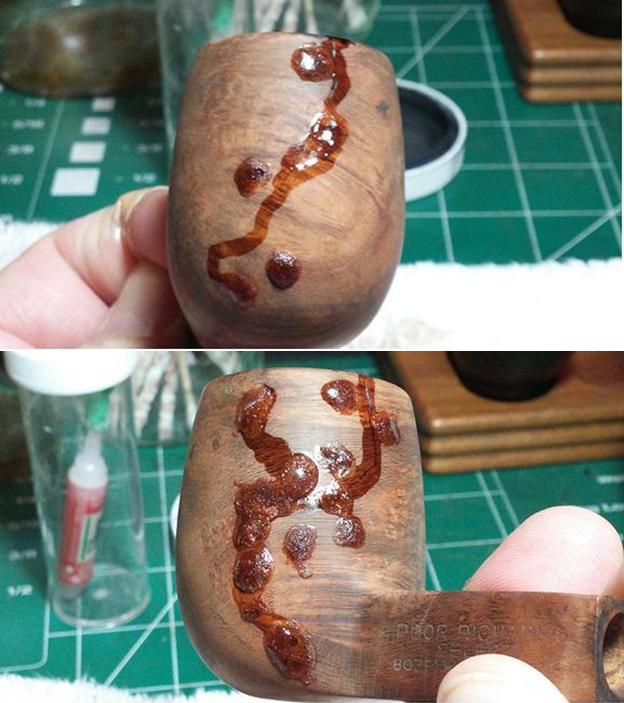
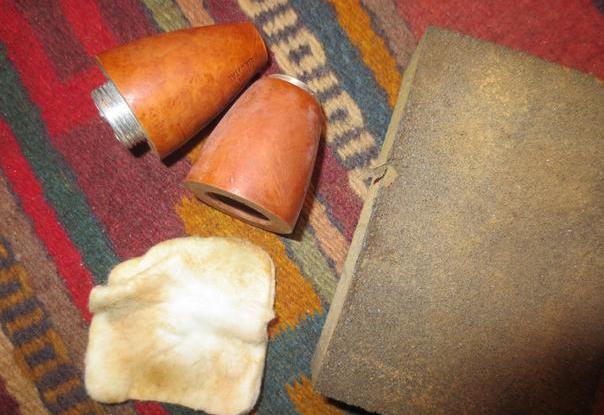 I picked out the fill that looked like a crack and filled it in with briar dust and clear super glue. Once it dried I sanded it smooth with 220 grit sandpaper and the sanding sponge.
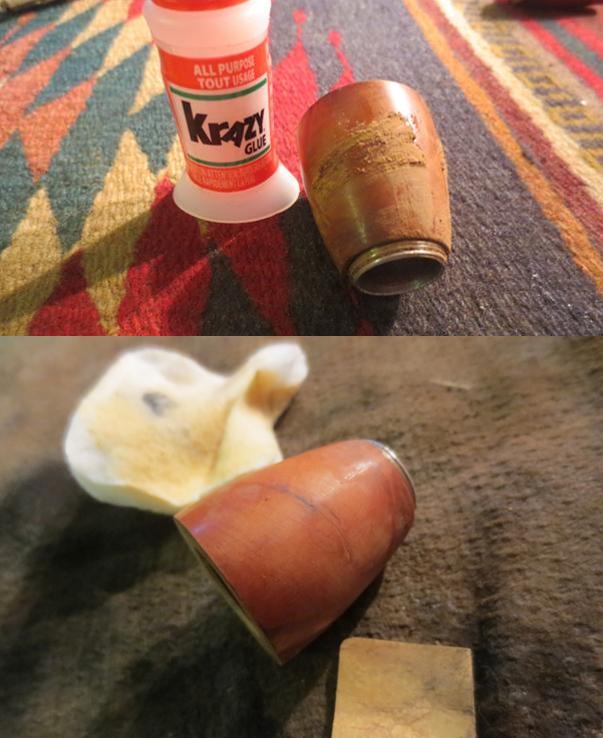
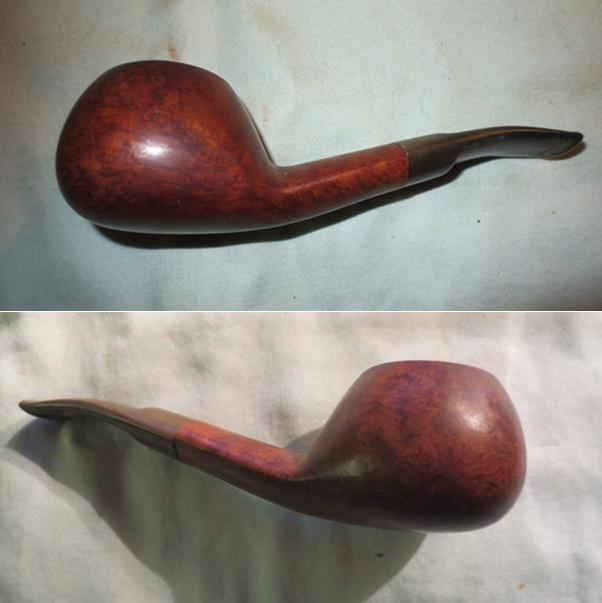
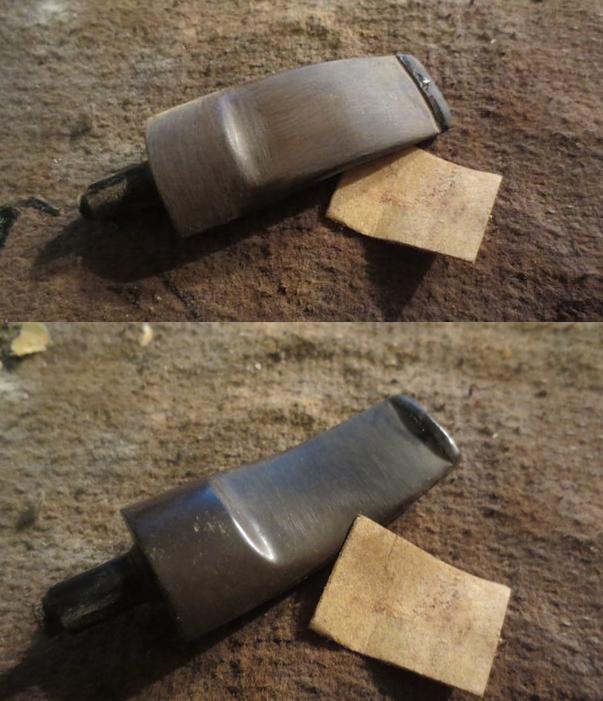
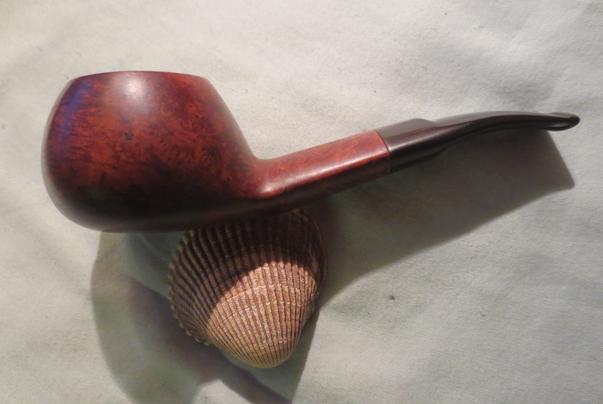
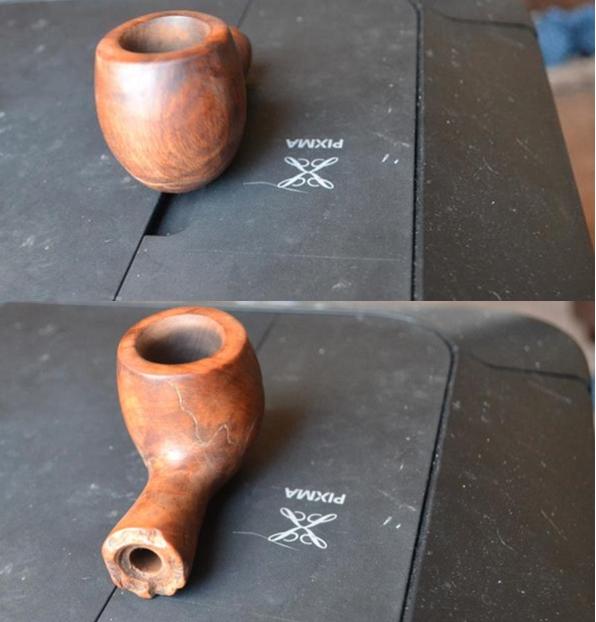
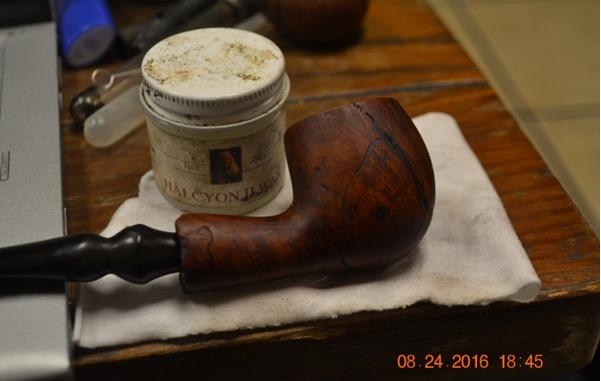
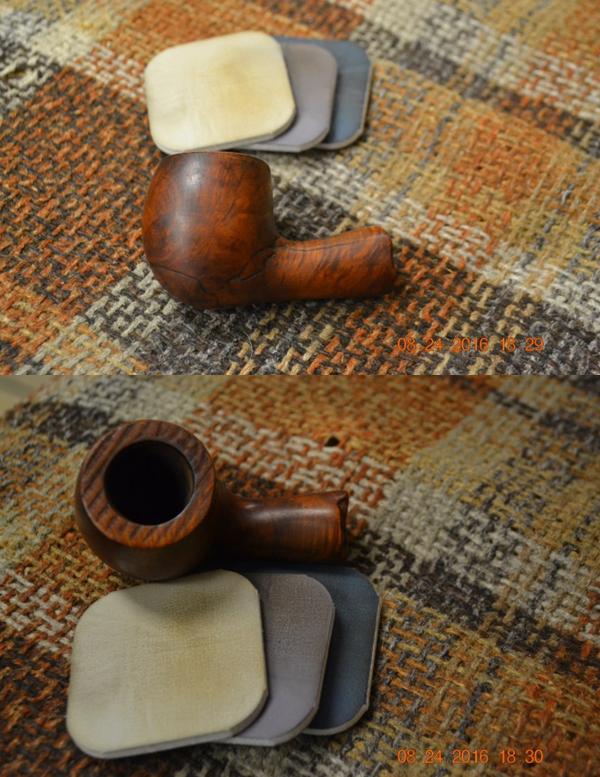
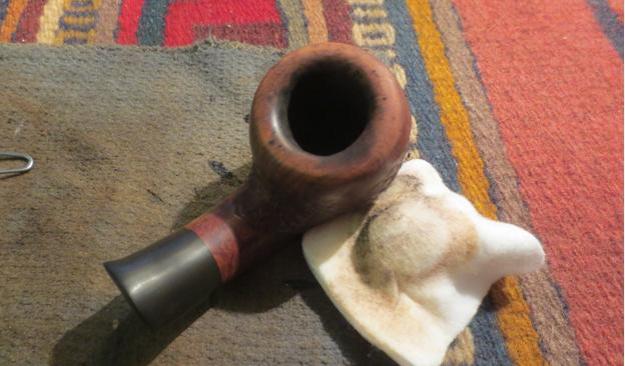
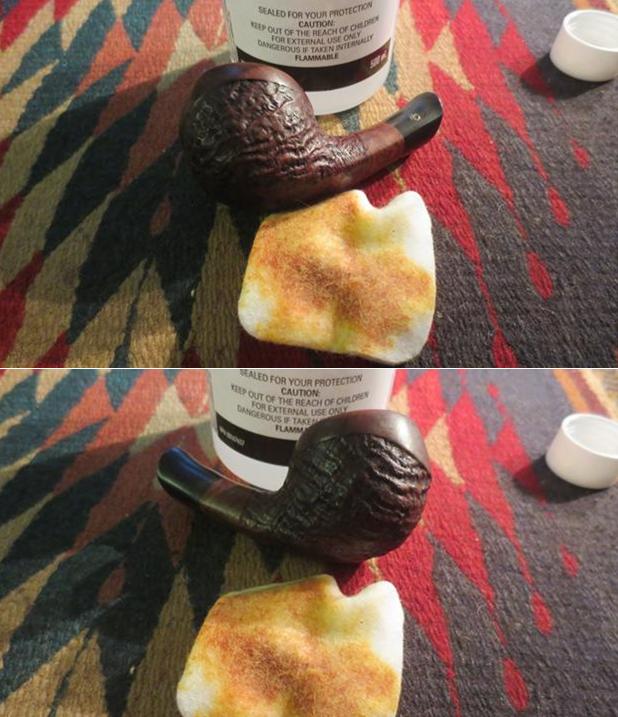
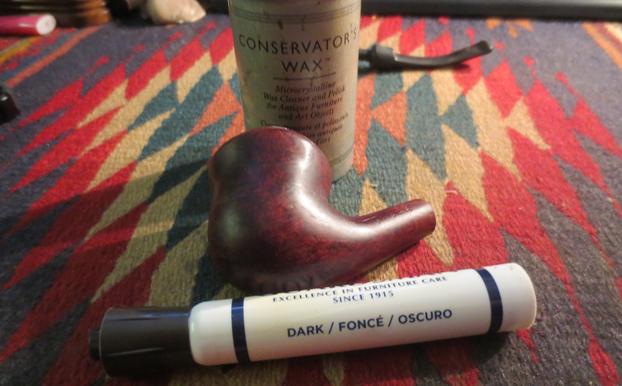
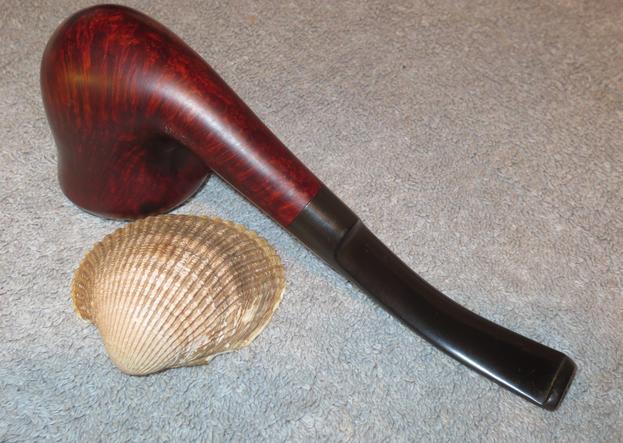
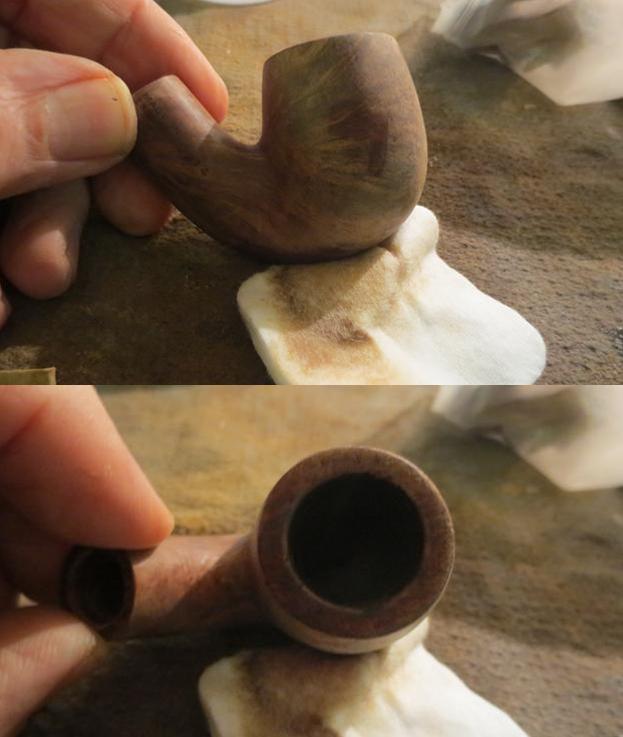
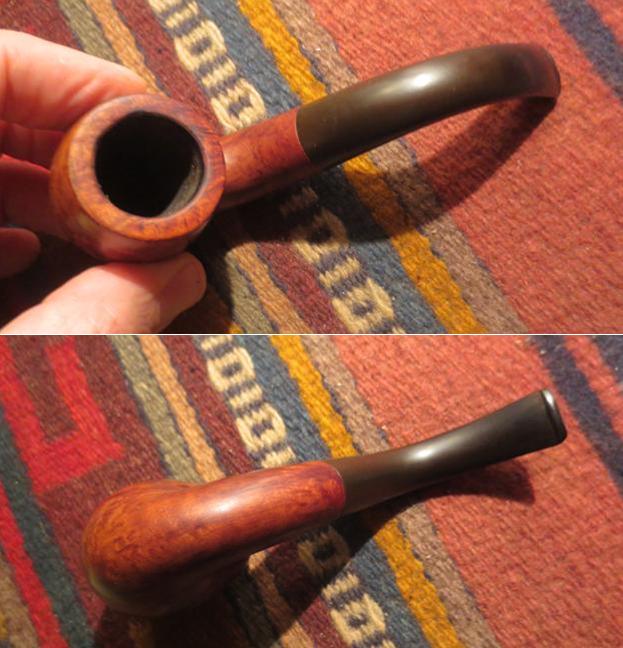
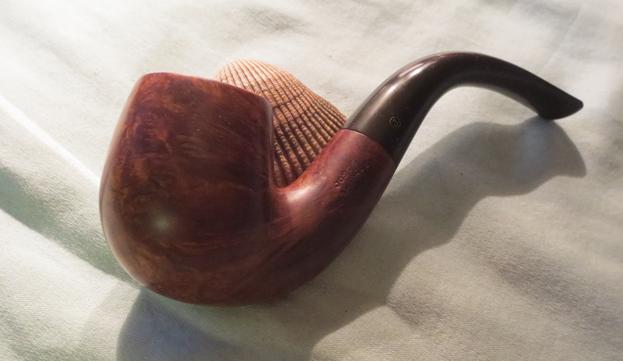
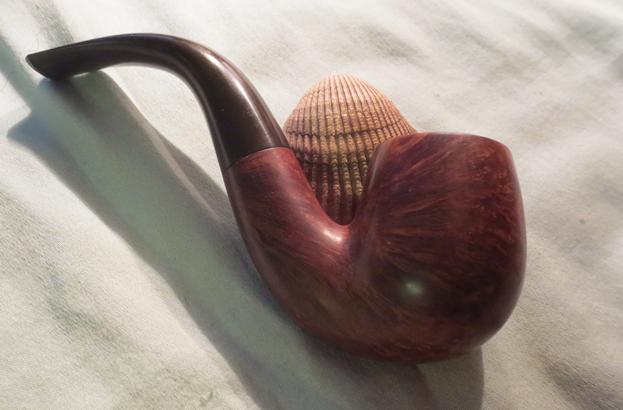
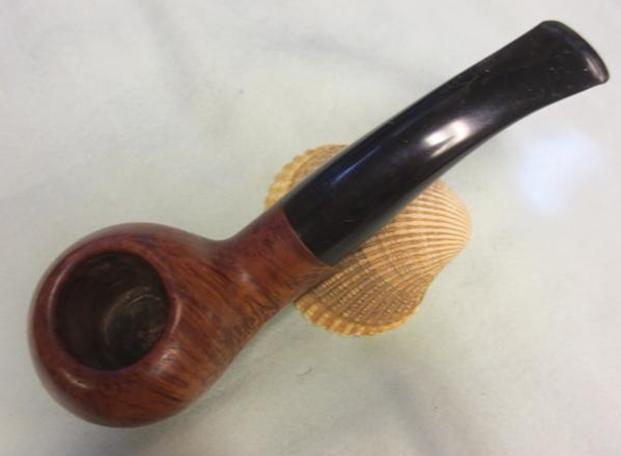
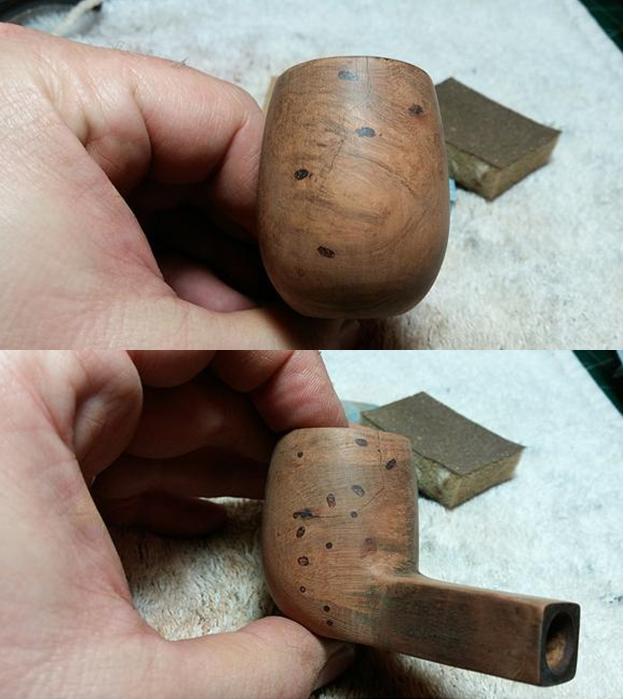
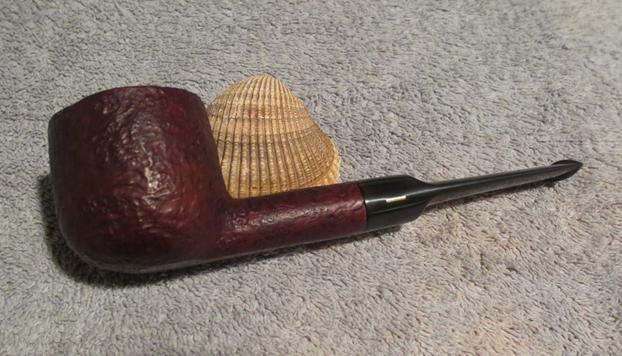
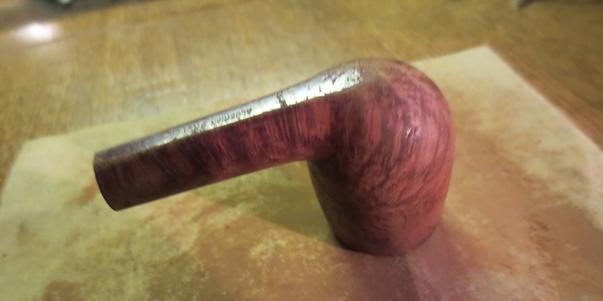
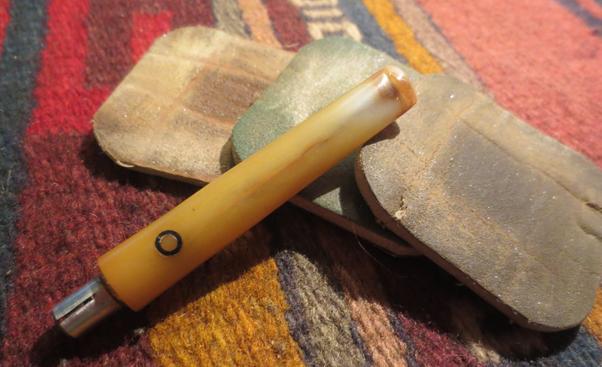
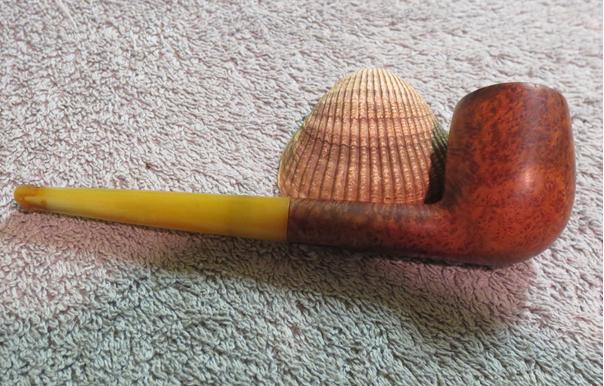
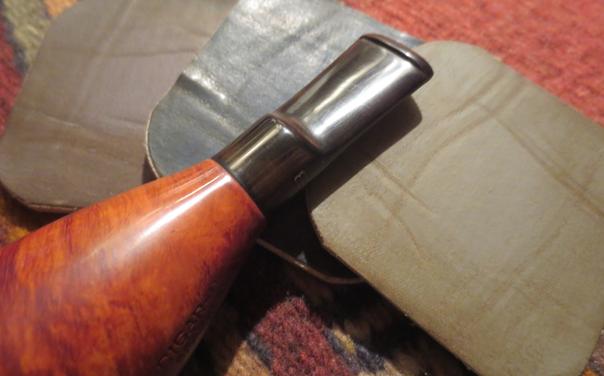
 Since the original Mastercraft smooth Cigar-Pipe came in a natural finish and this one appeared to have that rather than a Bruyere finish I rubbed it down with a light coat of olive oil and then gave it a coat of carnauba wax. I put the pipe back together so that I could see the finished briar portion.
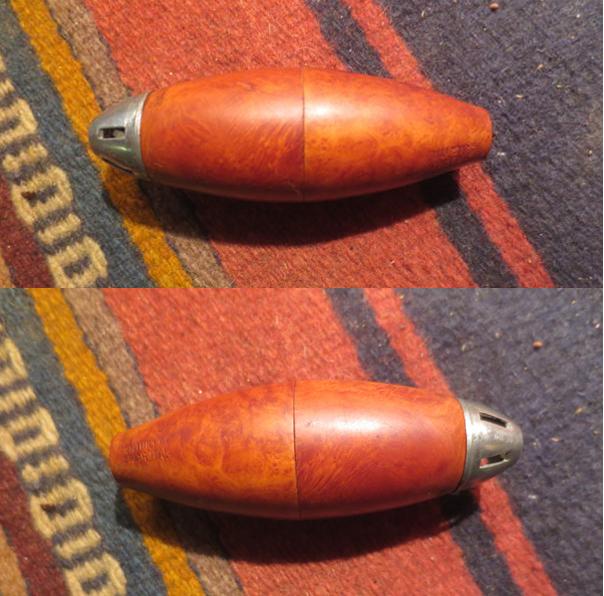
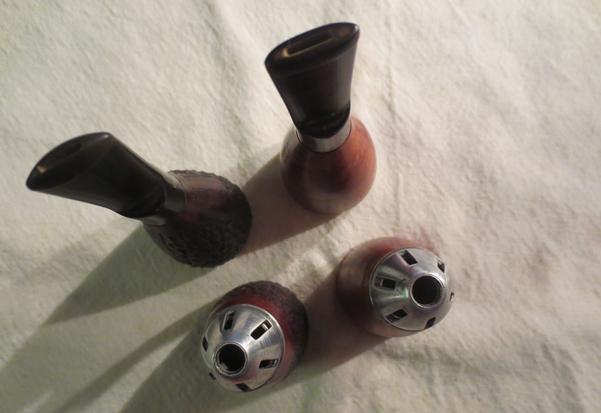
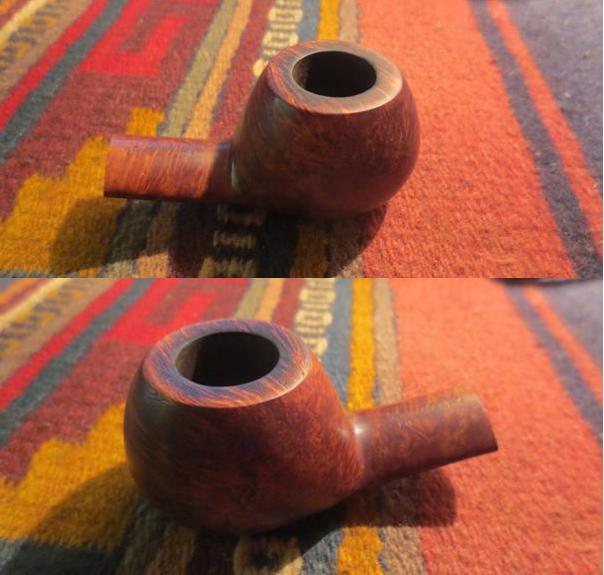
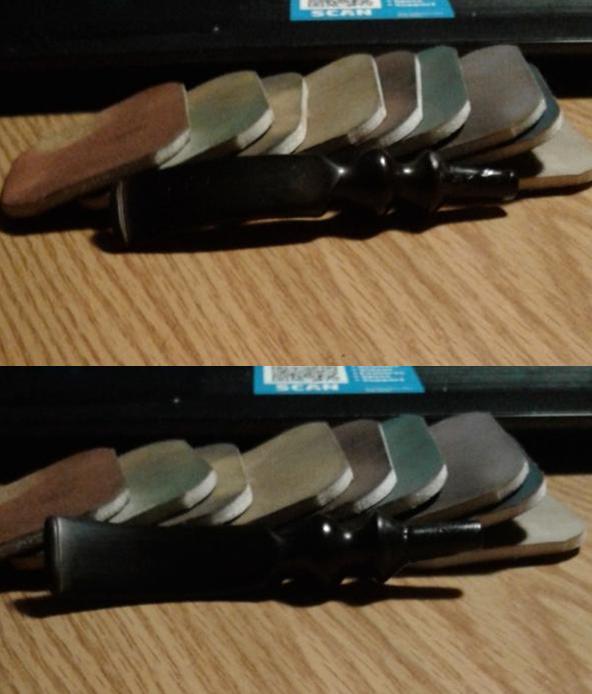
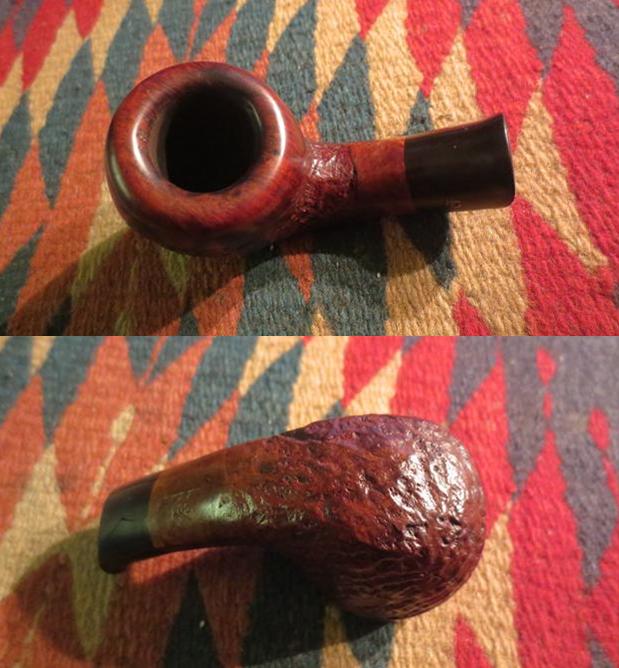
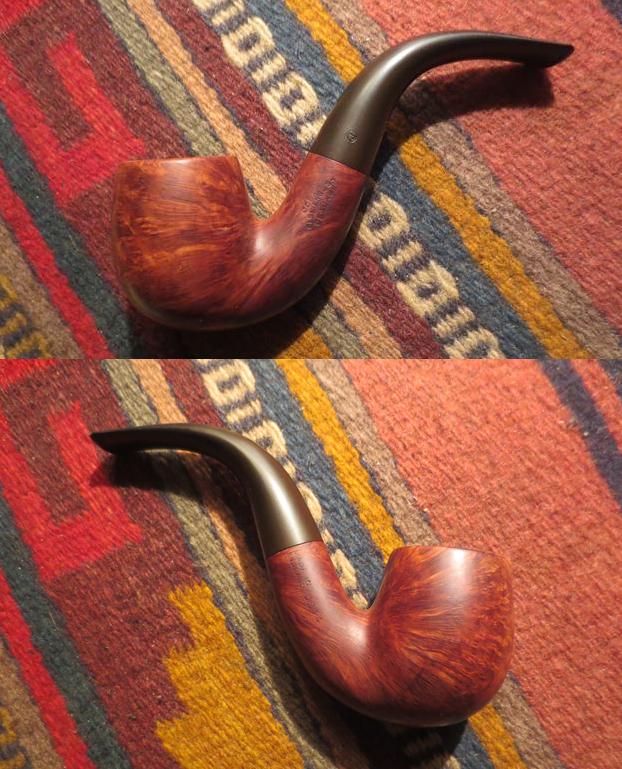
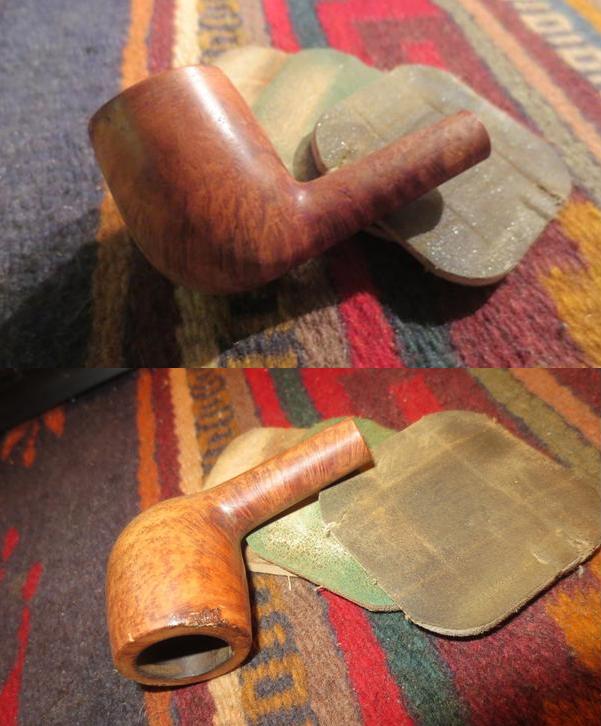
 I put the rusticated and smooth pipes together and took some photos of the stain and finished briar parts with the polished nose cones. The pipes are looking great at this point in the process. I still had to sand both stems at this point but the briar was done and the pipes were clean.
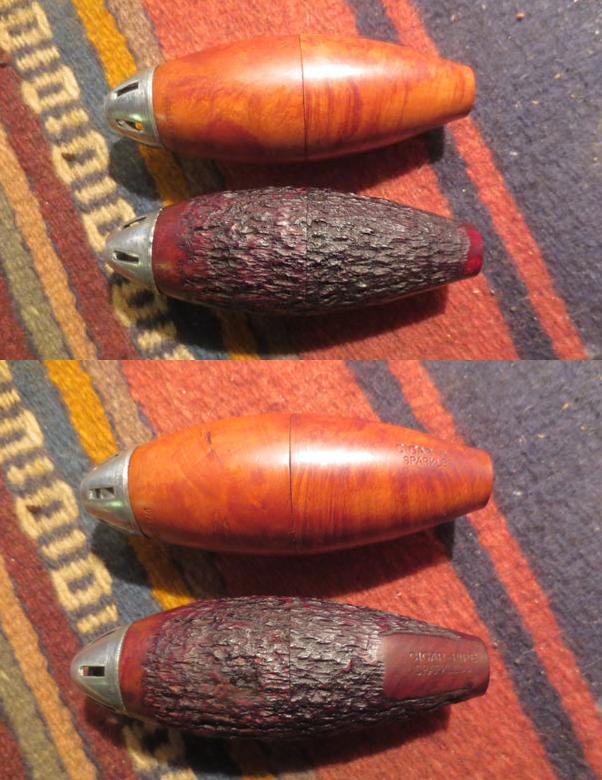
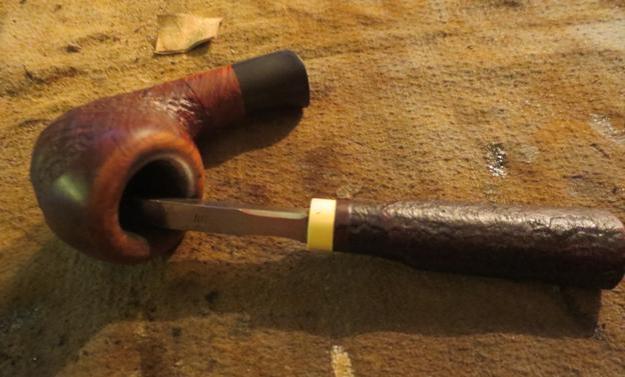
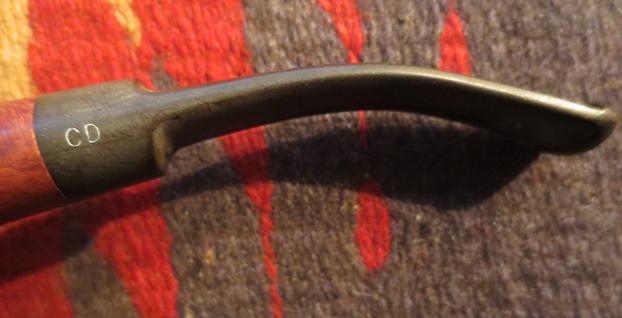
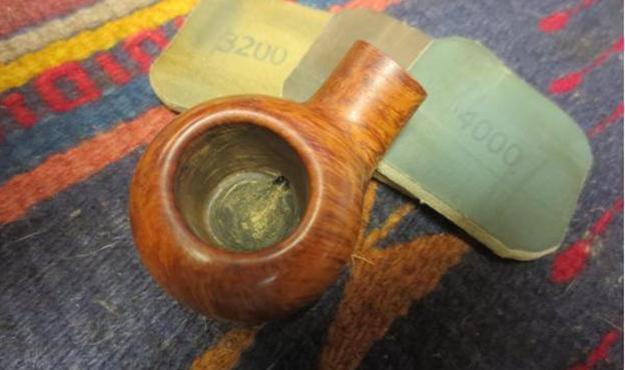
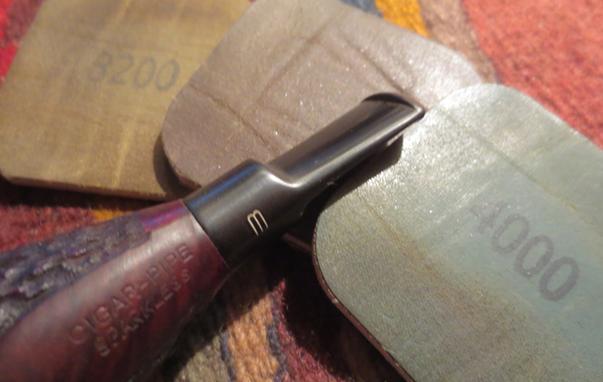
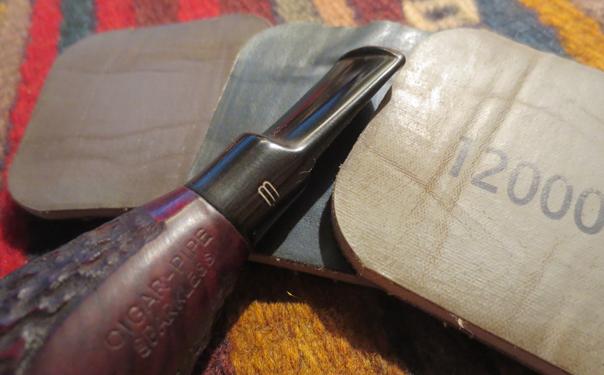
 Now it was time to work on the stems. The stem on the rusticated pipe was cleaner and took less work so I did it first. I sanded it with micromesh sanding pads – wet sanding with 1500-2400 grit pads and rubbing it down with Obsidian Oil. I touched up the M stamp on the left side of the saddle with acrylic paint and a fine bristle brush. I sanded off the excess paint with the 1500-2400 grit pads. (I forgot to take a photo of that part of the process.) I dry sanded the stem with 3200-12000 grit pads and rubbed the stem down with Obsidian Oil after each set of three pads. I set it aside to dry.
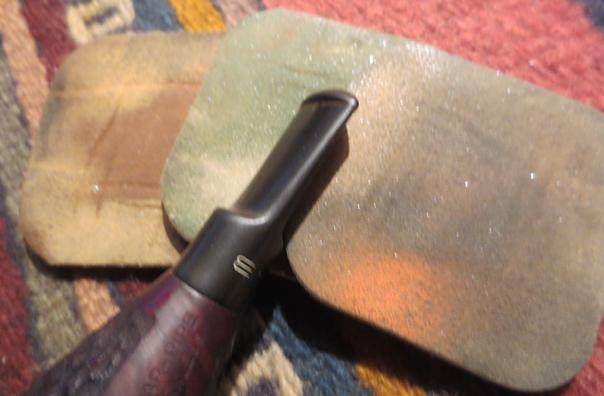
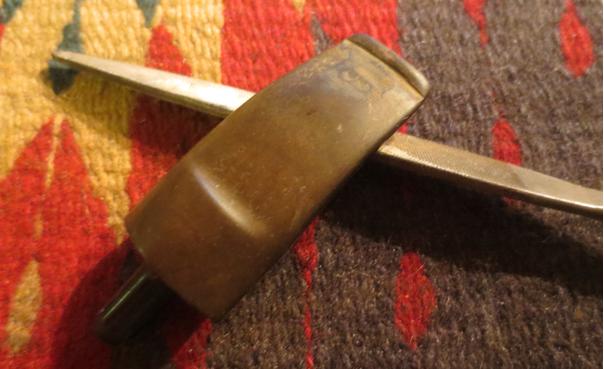
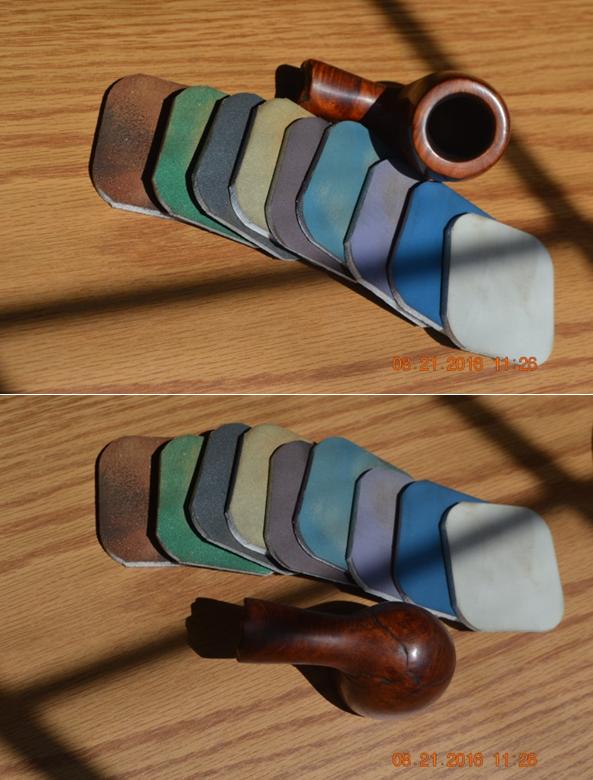
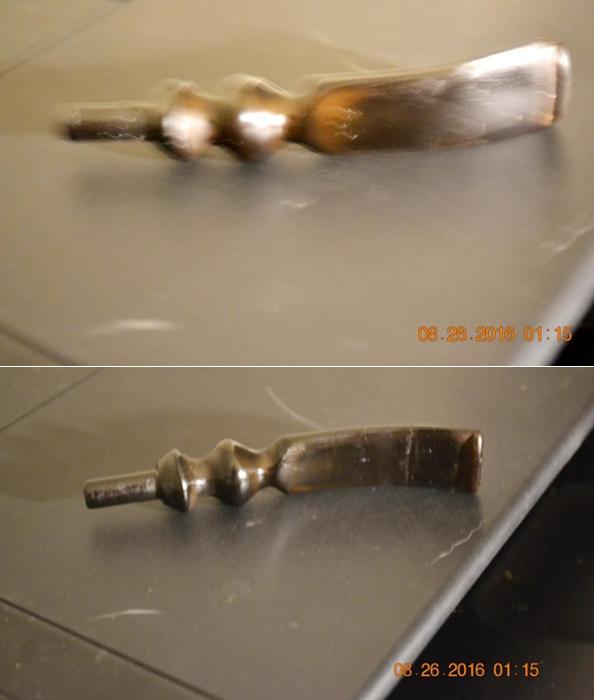
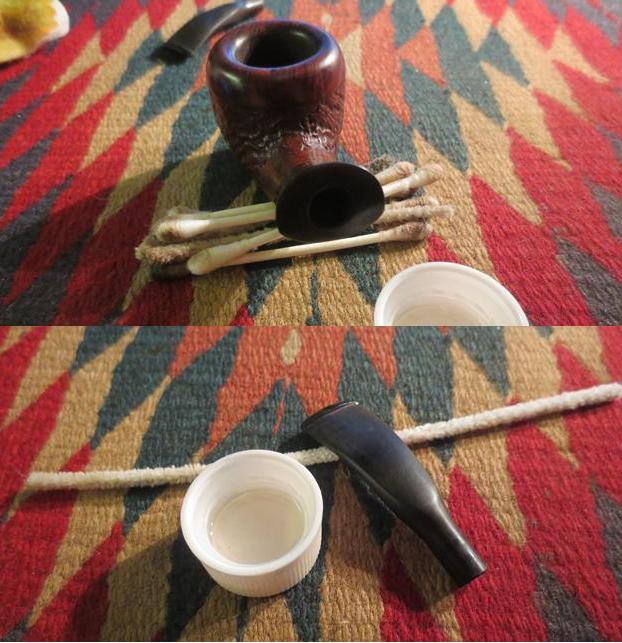
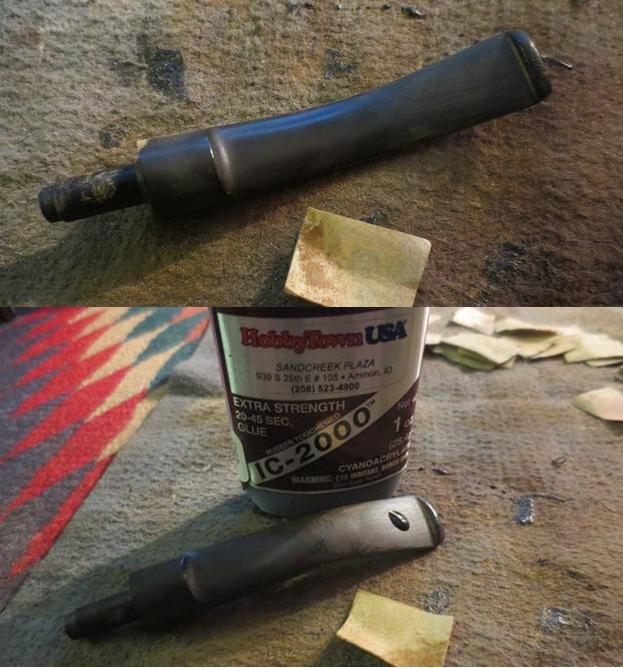
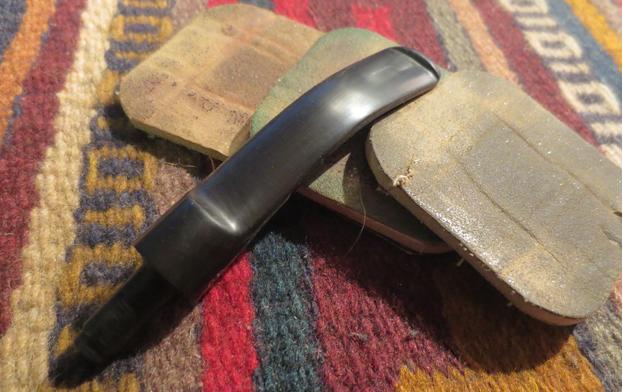
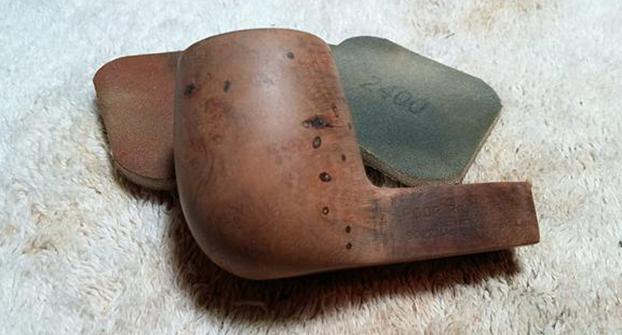
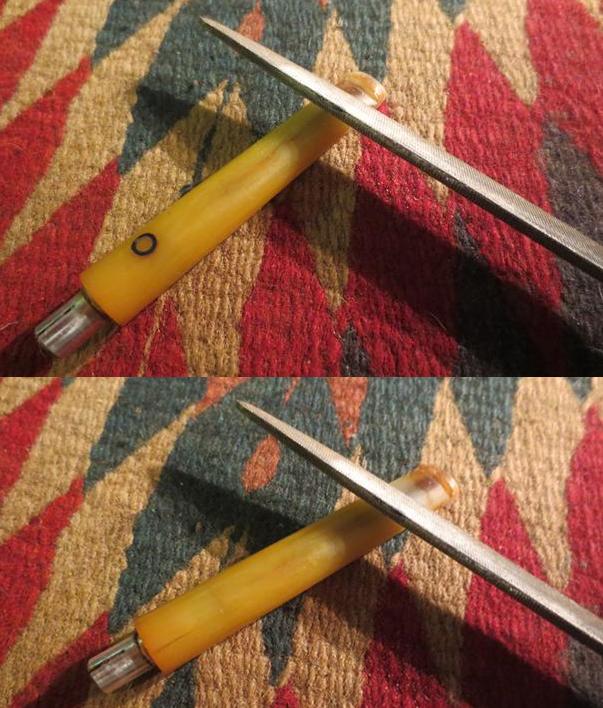
 While I worked on the stem from the rusticated pipe I had the stem from the smooth one soaking in an Oxyclean bath. It soaked for about six hours. I took it out of the soak and took the next two photos.
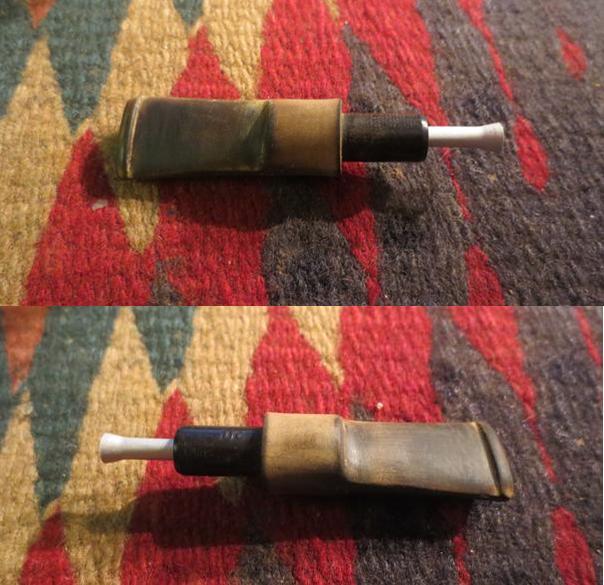 I sanded the stem with 220 grit sandpaper to remove the oxidation that had been softened by the oxy bath.
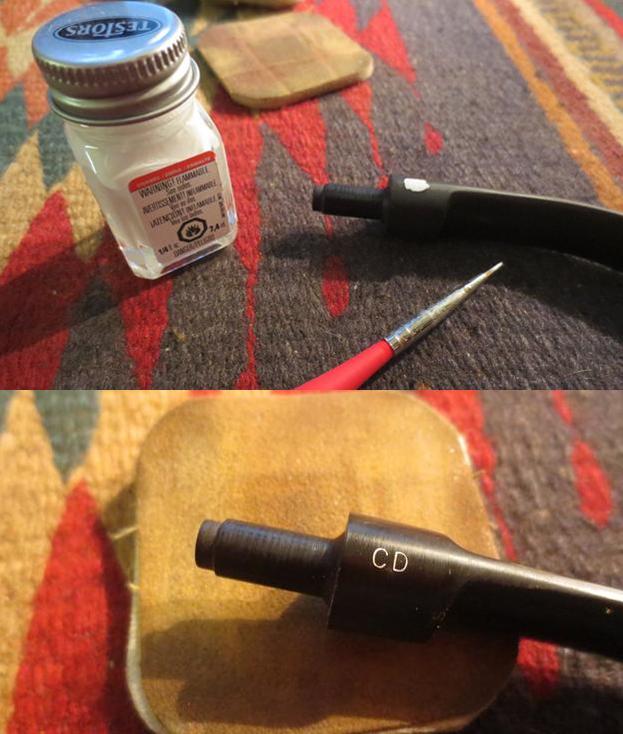
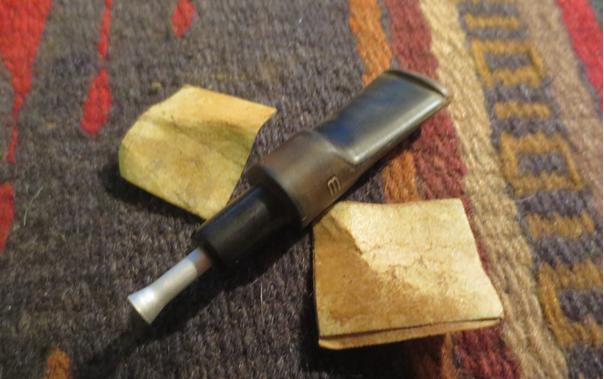 I touched up the stamping on the stem with white acrylic paint and a small fine brush. Once it dried I scraped off the excess and then polished it.
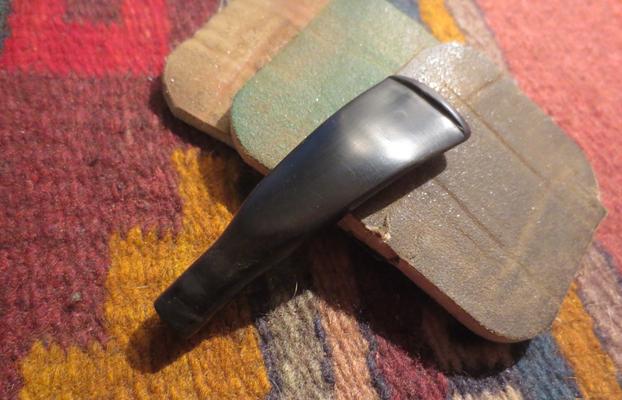
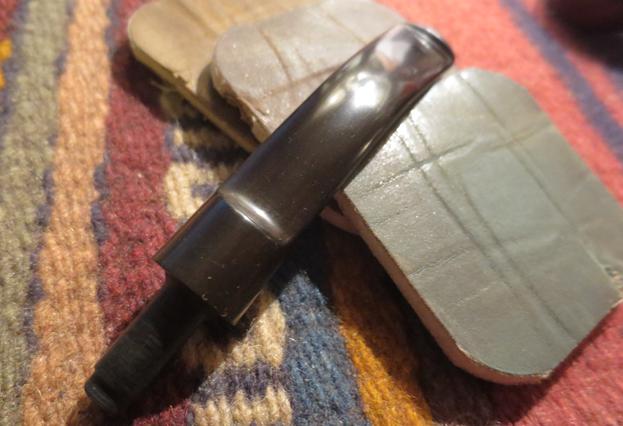
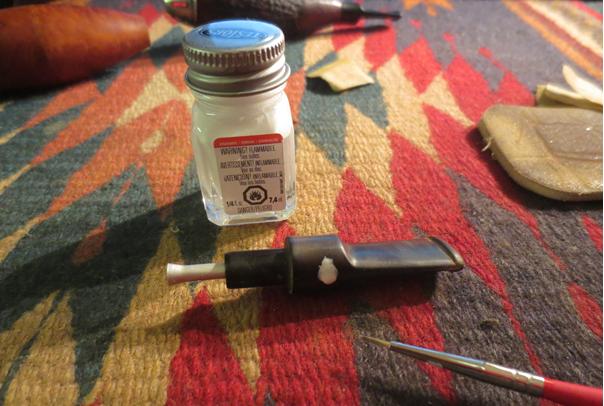 The stem was a bear to clean up and remove the oxidation even after soaking in an Oxyclean soak. I wet sanded it with 1500-2400 grit micromesh sanding pads and dry sanded it with 3200-12000 grit pads. I rubbed it down between each set of three pads with Obsidian Oil. I set it aside to dry.
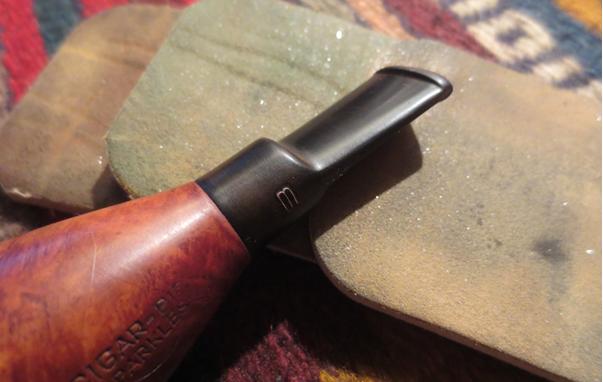
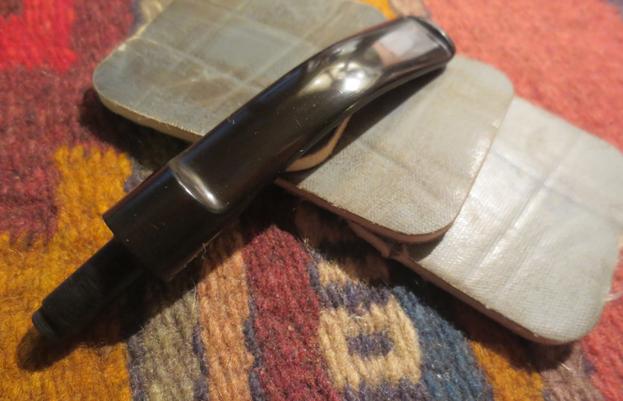
 I buffed the pipe with Blue Diamond on the buffing wheel and worked over the stem quite a bit to remove the oxidation that remained. I gave the pipe multiple coats of carnauba wax and buffed it with a clean buffing pad to protect and give it a shine. I hand buffed it with a microfibre cloth. The finished pair of Zeppelin style Cigar-Pipes by Mastercraft is shown below. There is something about the oddness and shapes of the pipes that attract me to them. I don’t know when they will be used but when they are it should be an interesting experience. Thanks for looking.