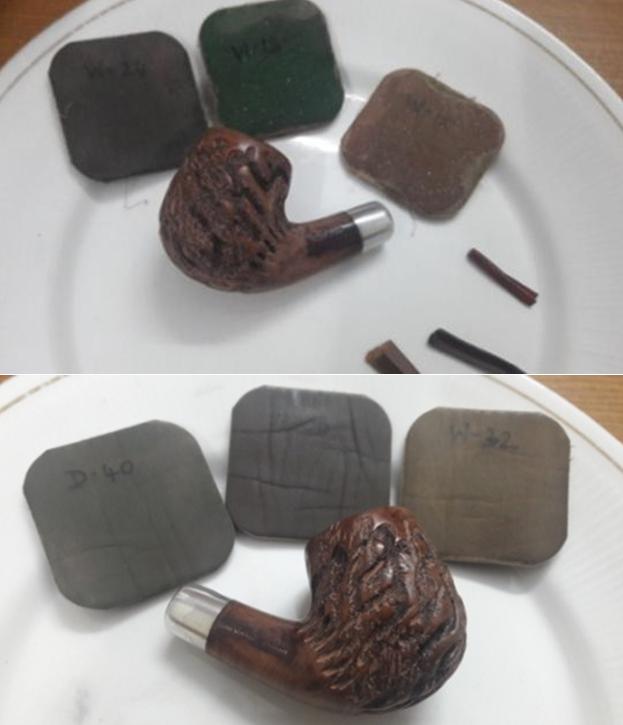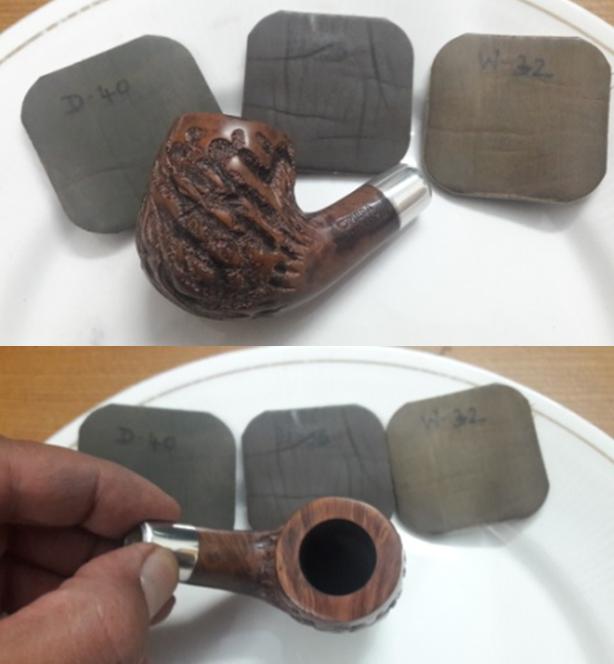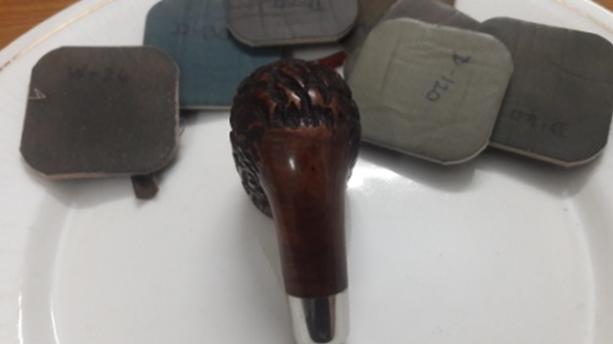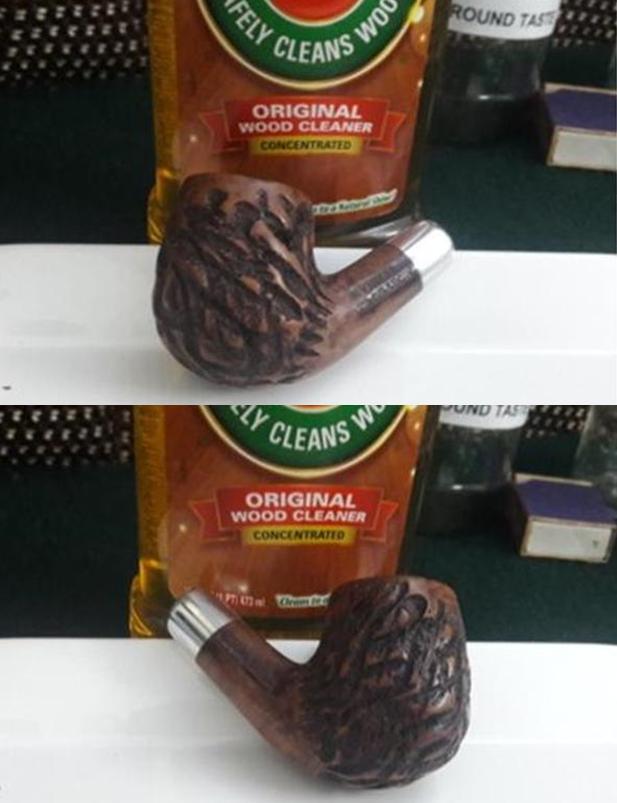
Tag Archives: refinishing

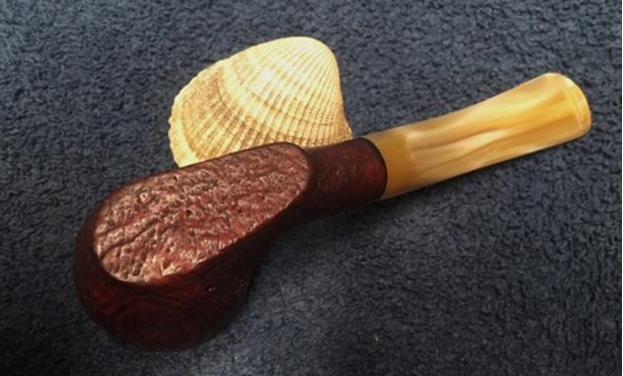
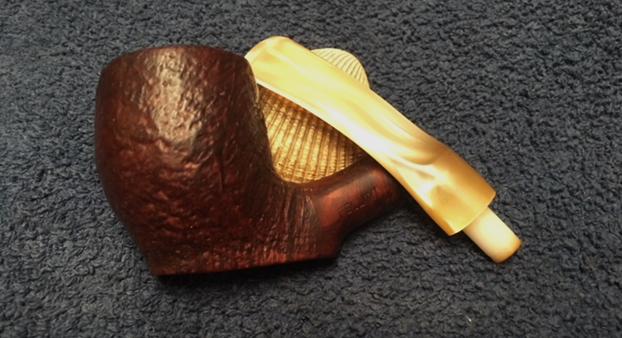
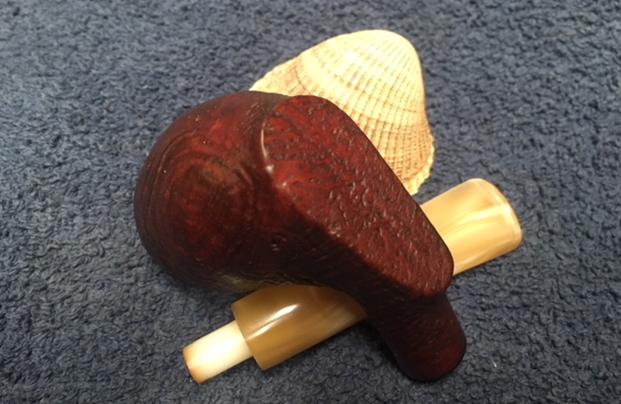
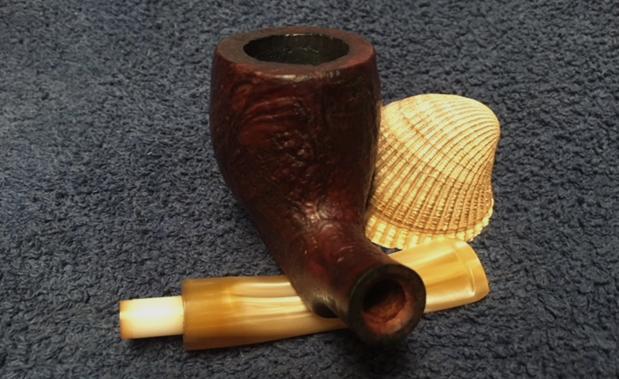
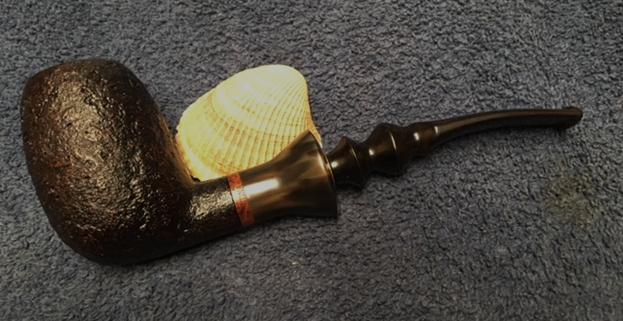
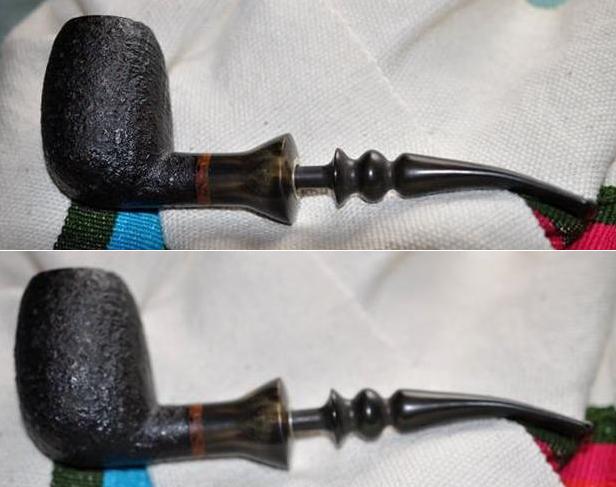
Crafting a New Stem for a Cortina Factory Denmark 22 Freehand Stack


Blog by Steve Laug

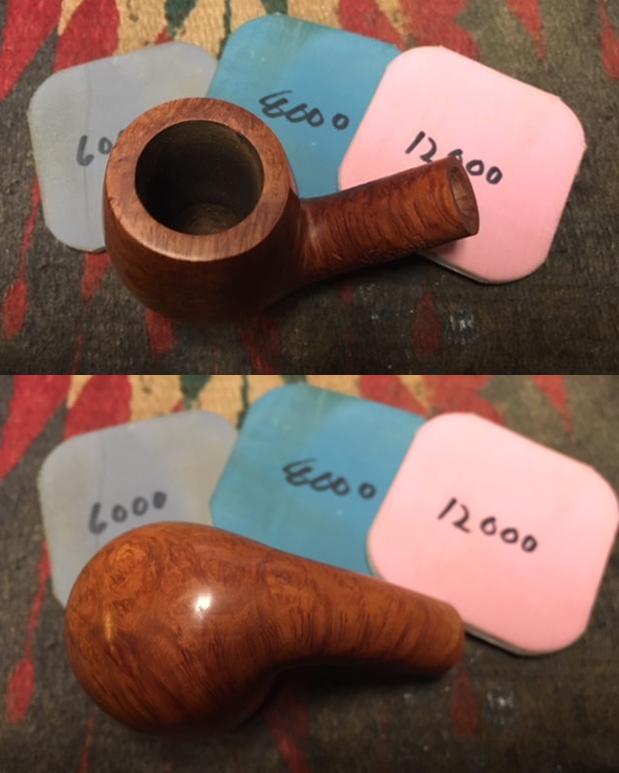
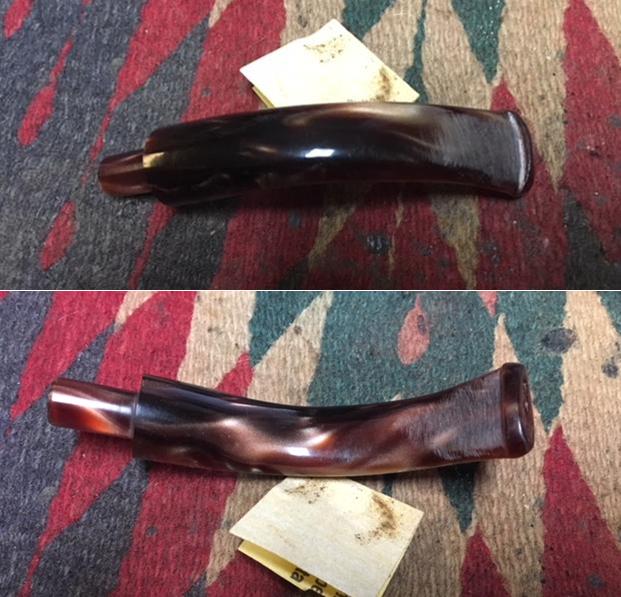
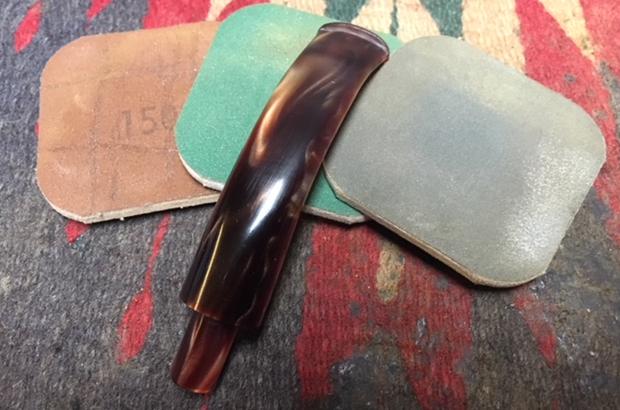
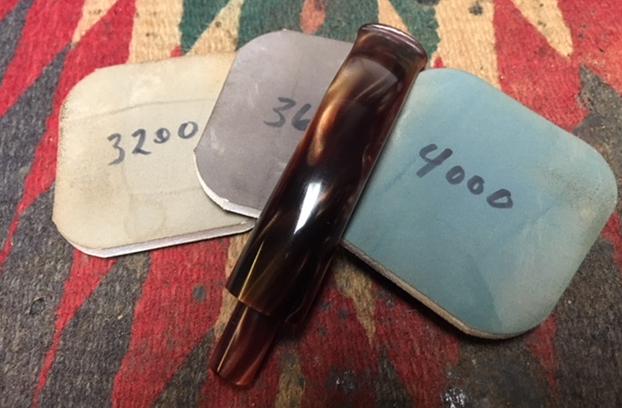
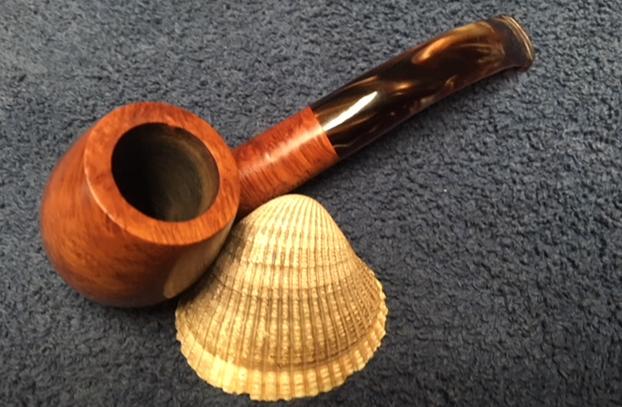
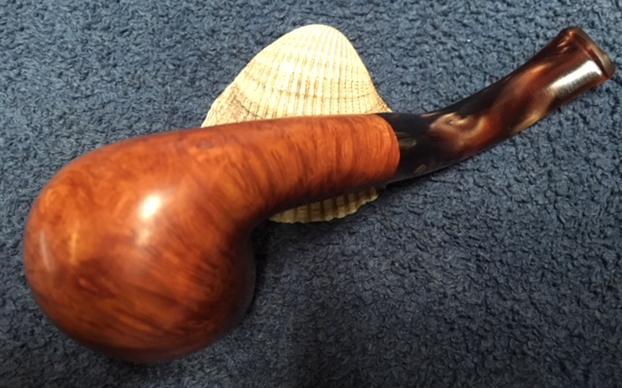
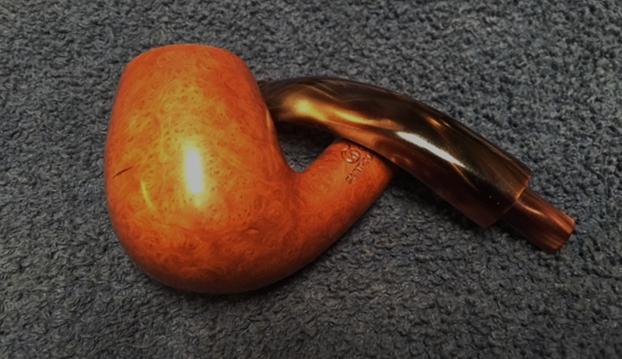
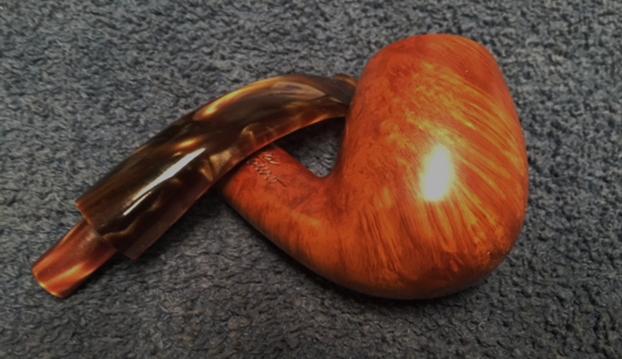
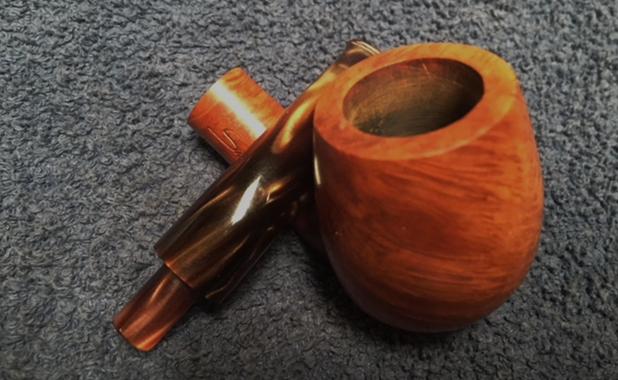
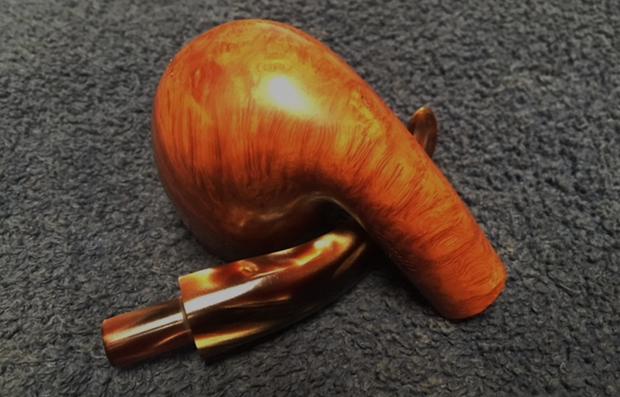
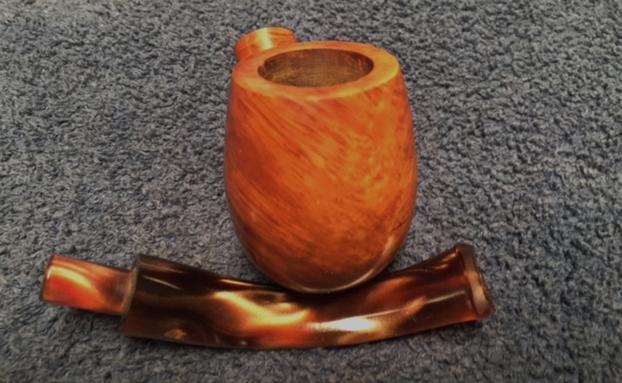
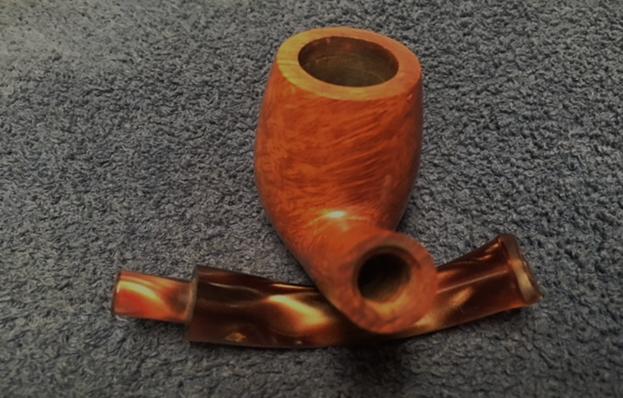
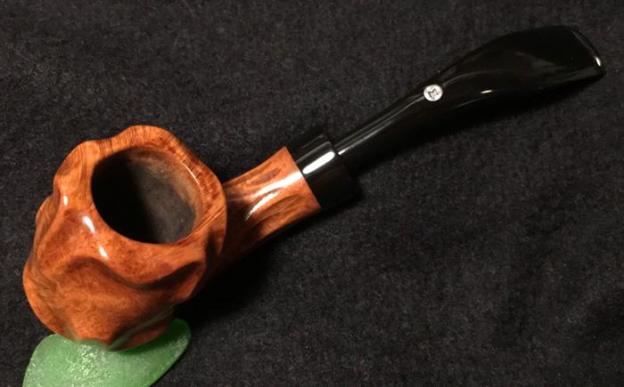
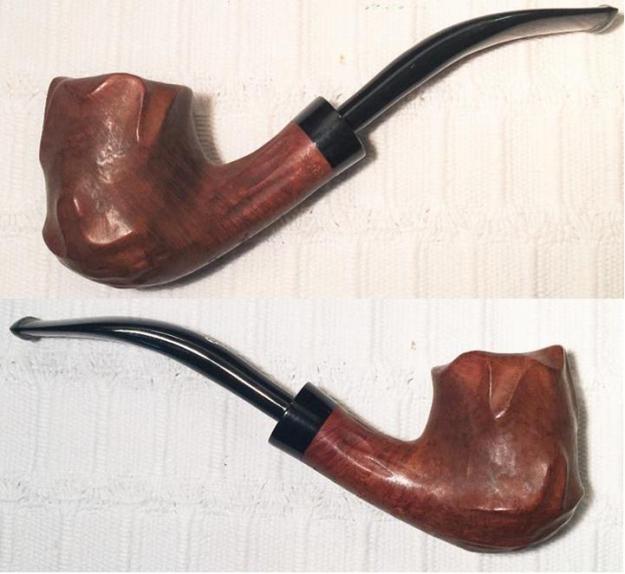
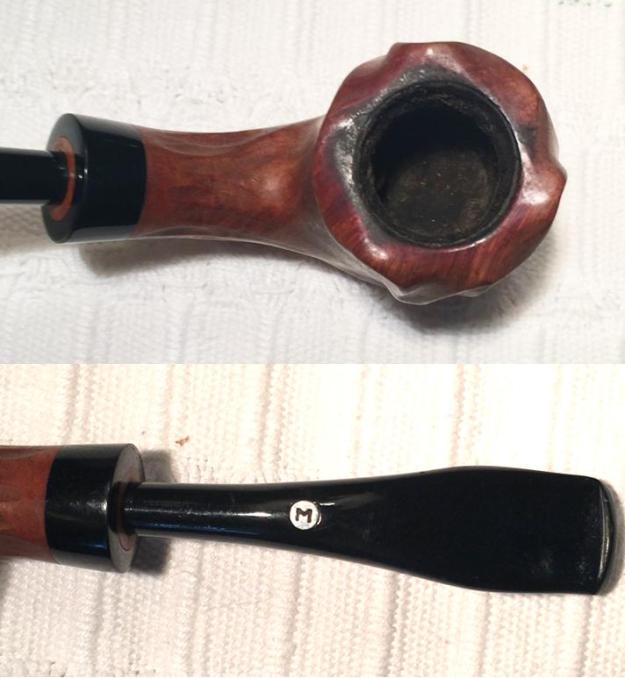
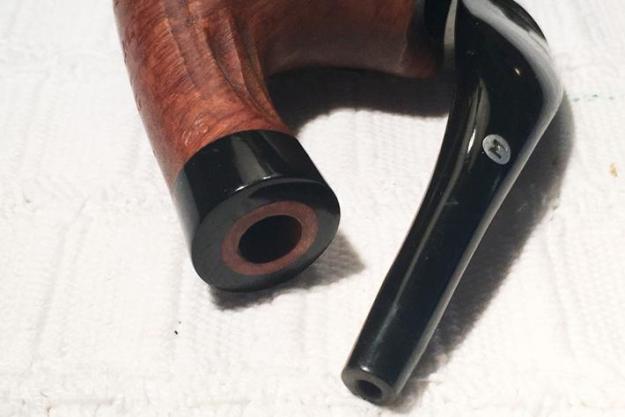
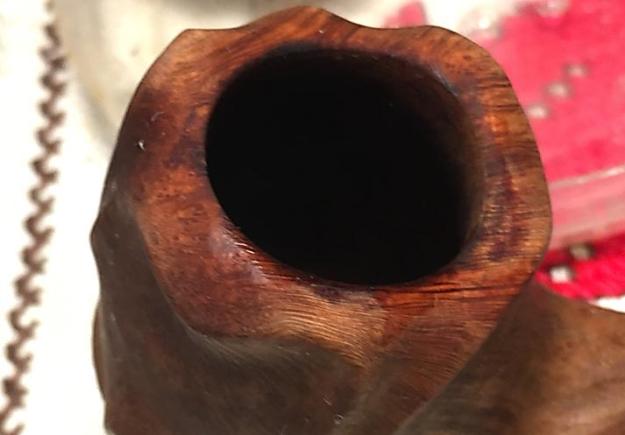
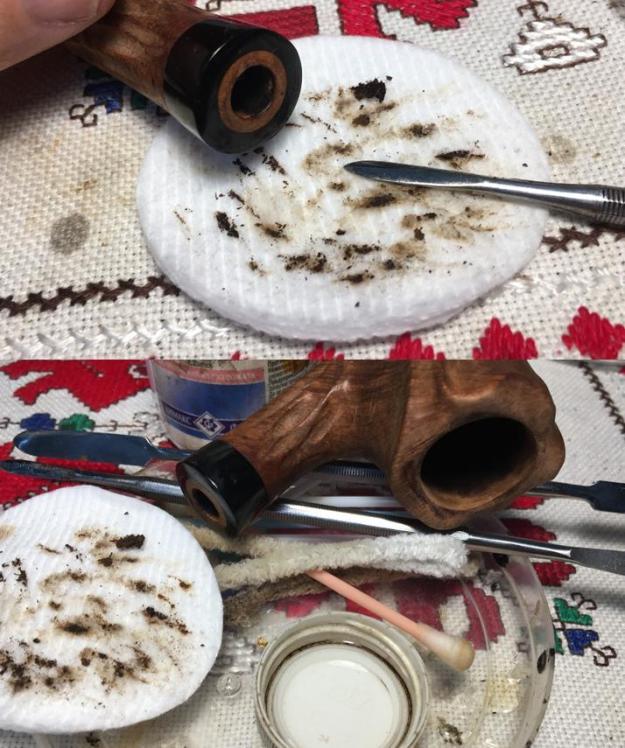
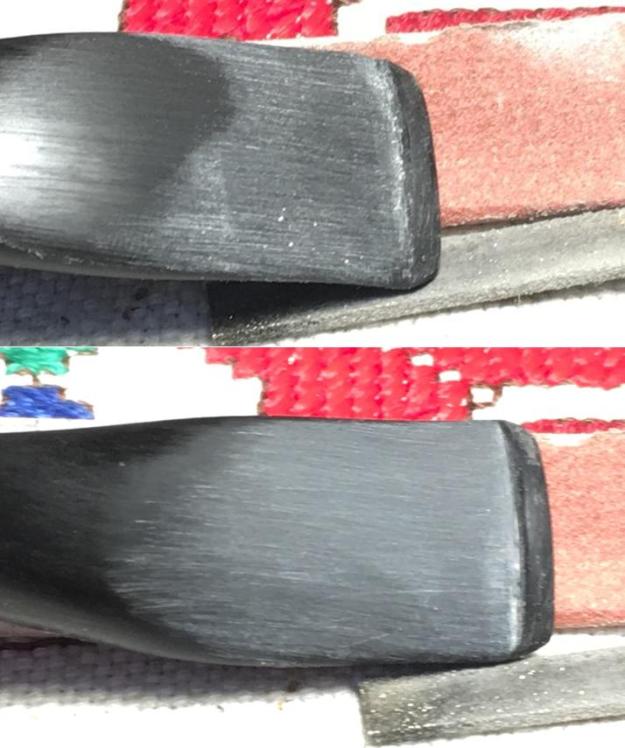
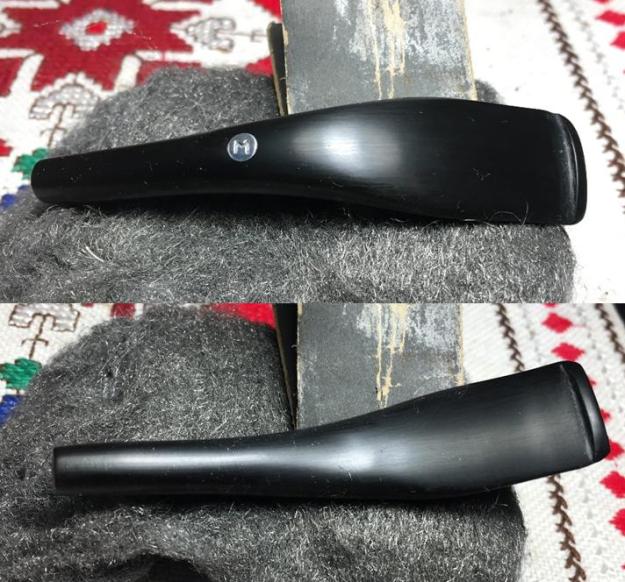
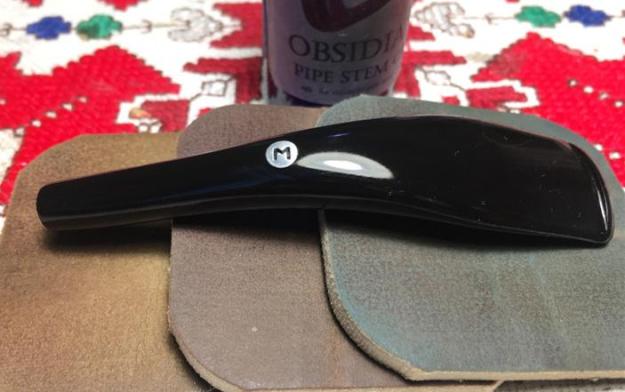
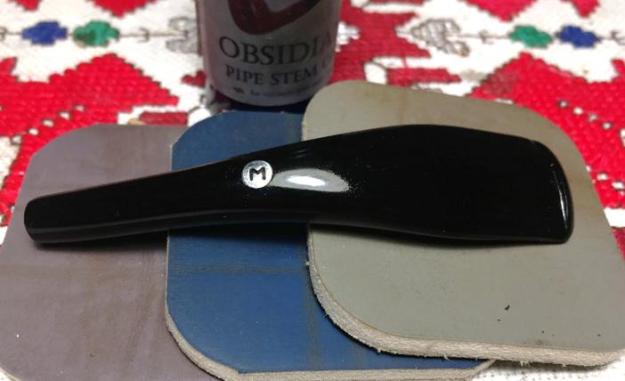
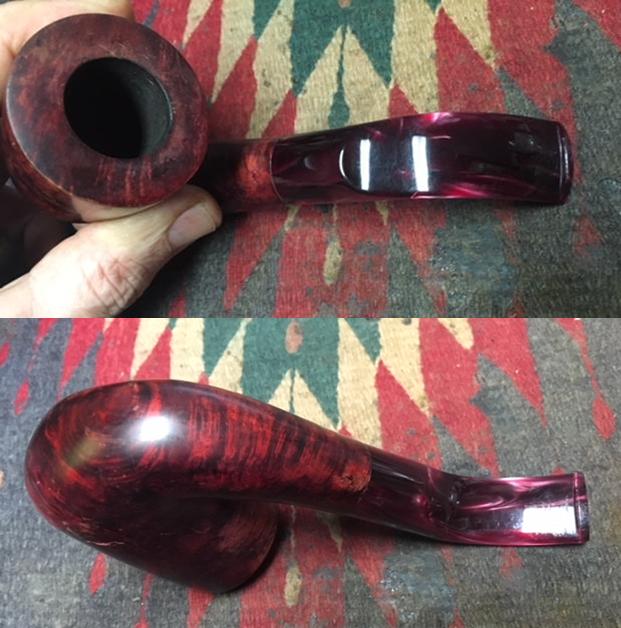
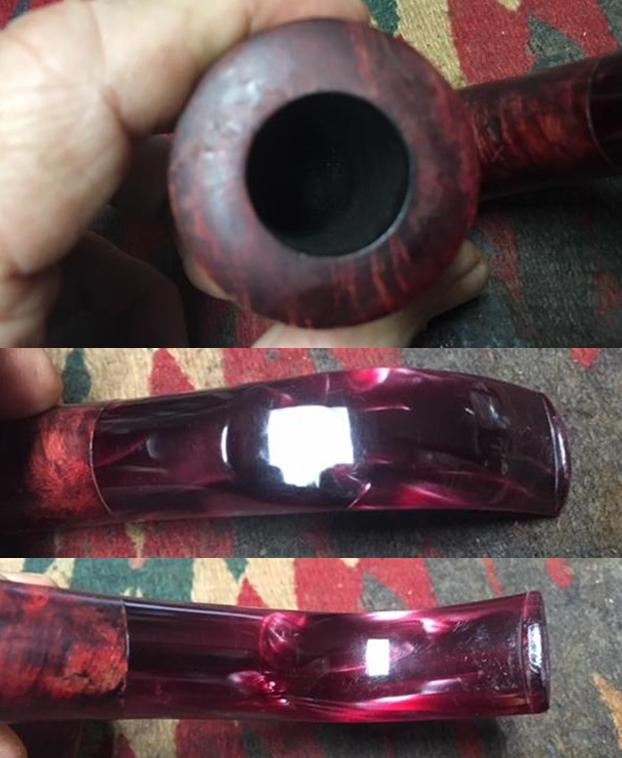
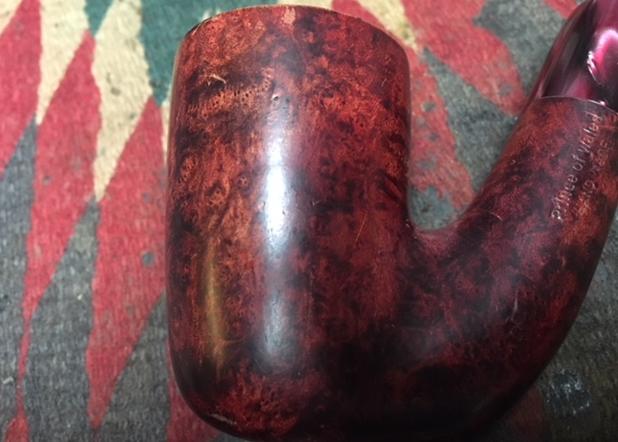
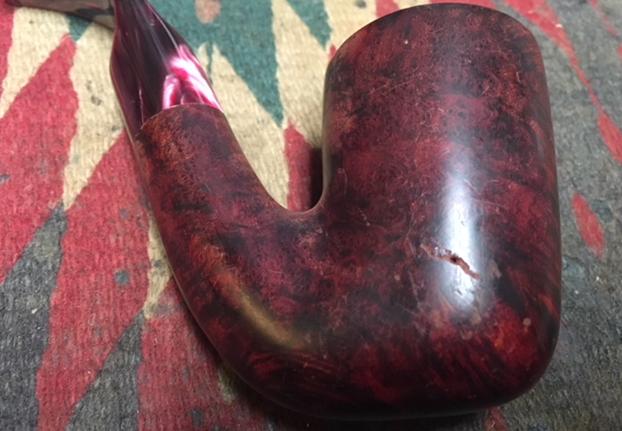
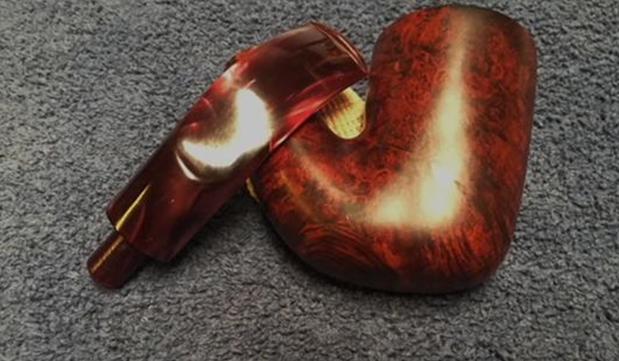
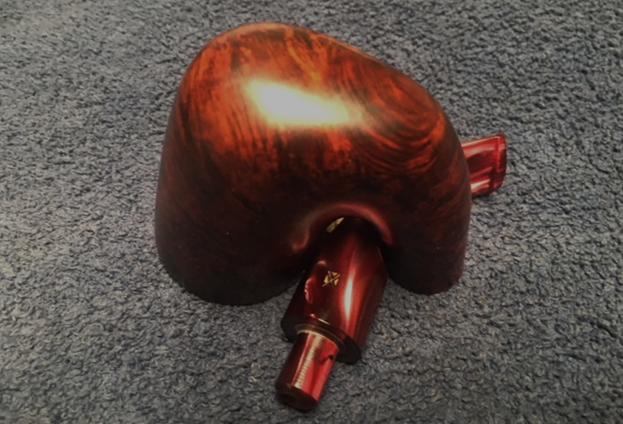
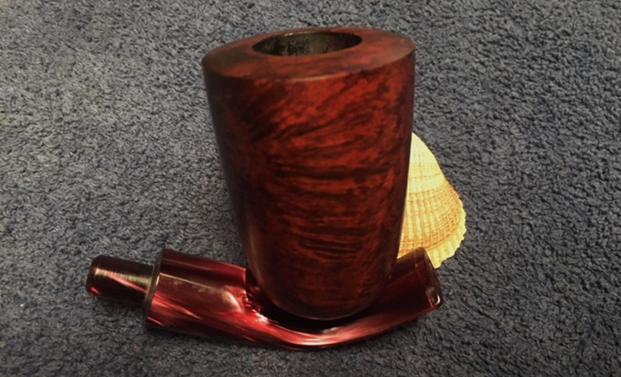
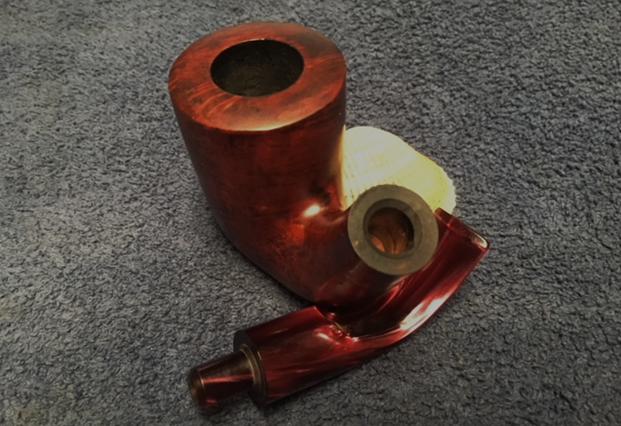
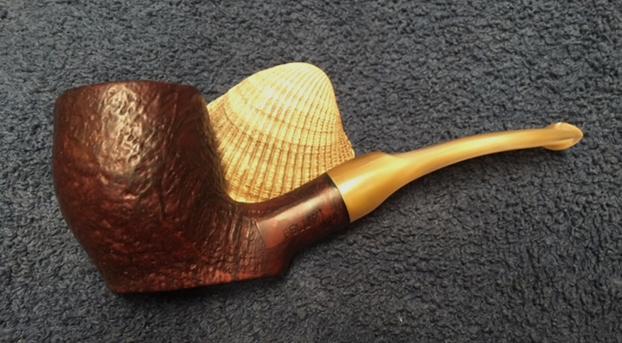
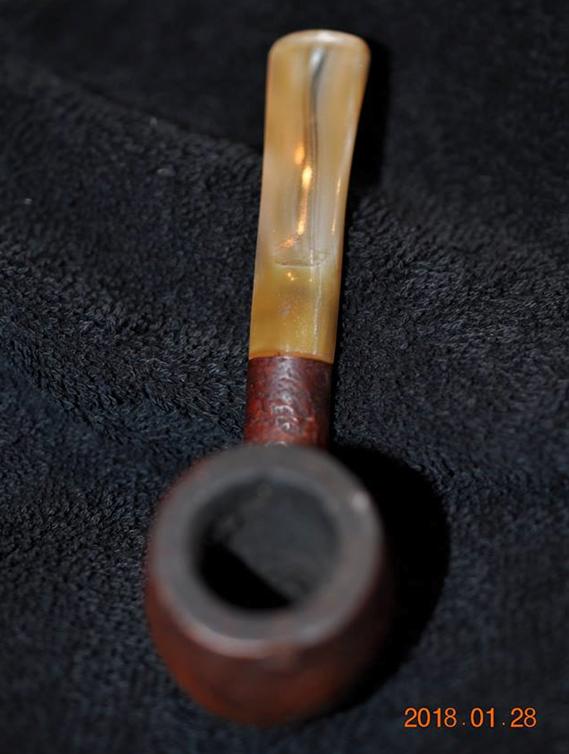
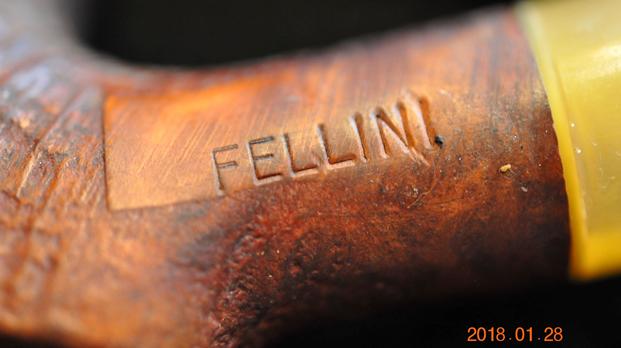
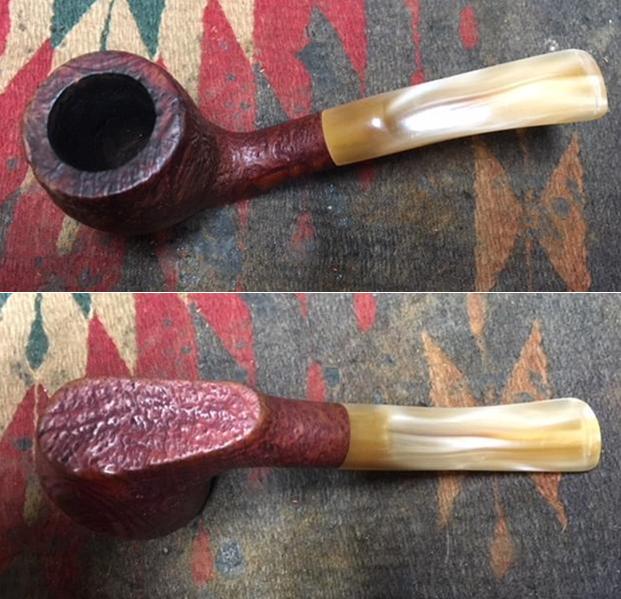
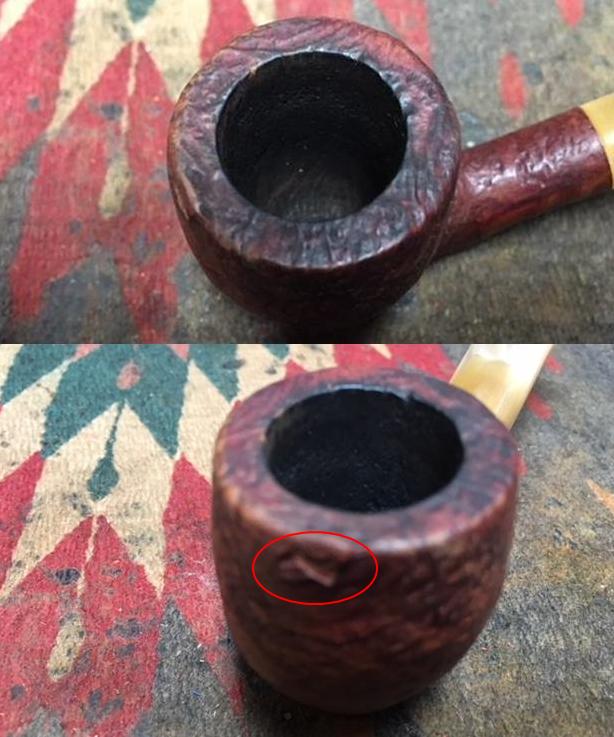
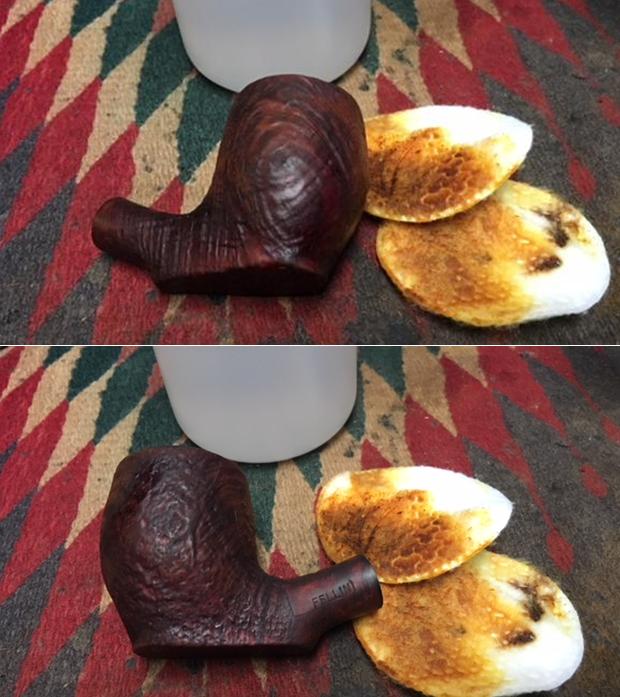
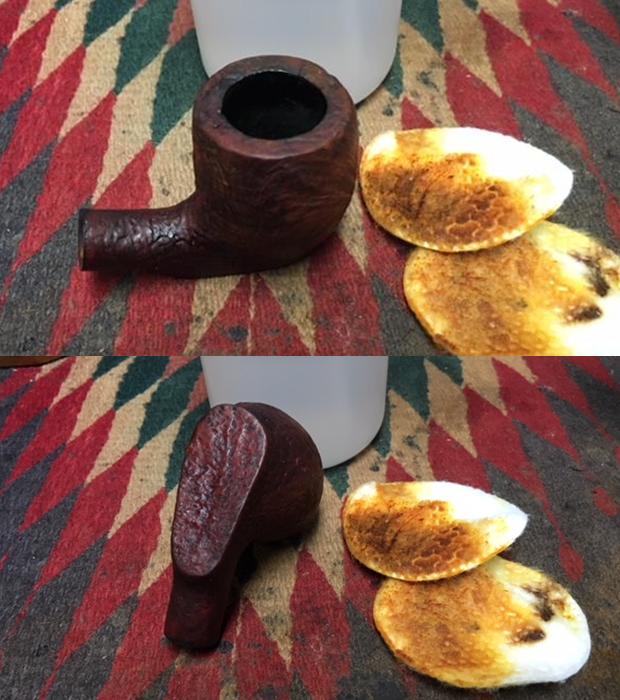
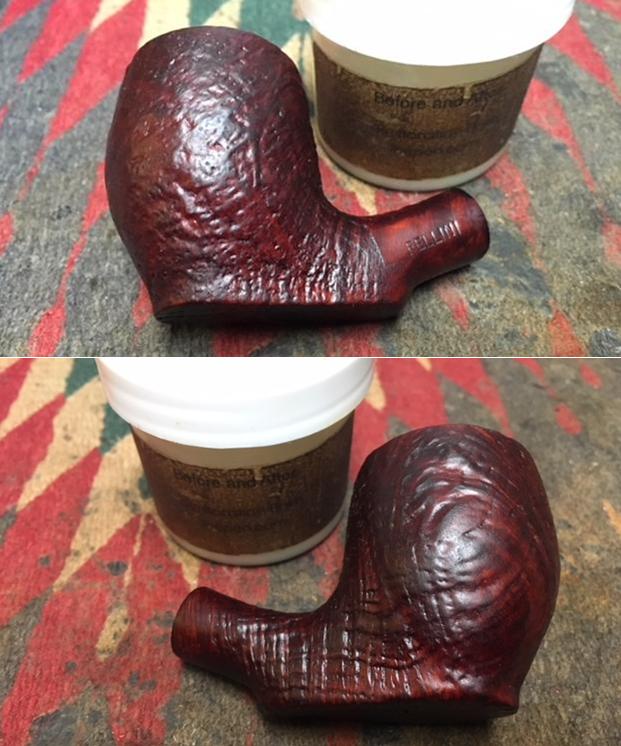
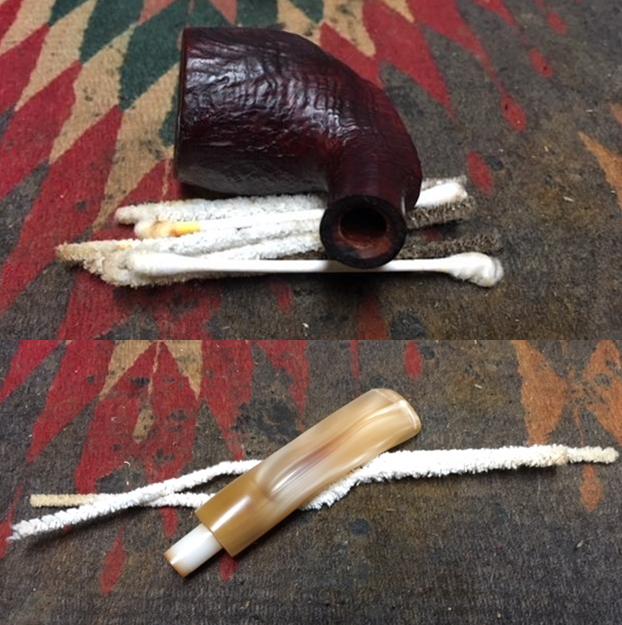
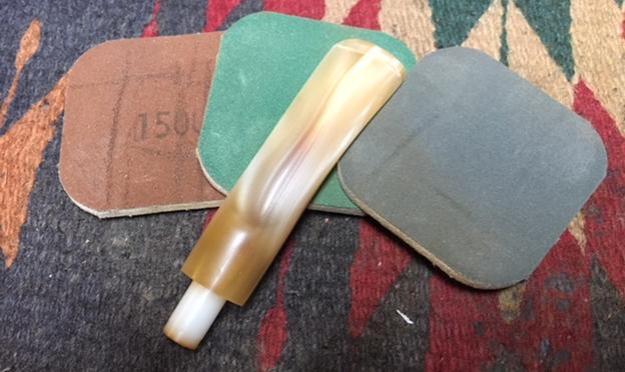
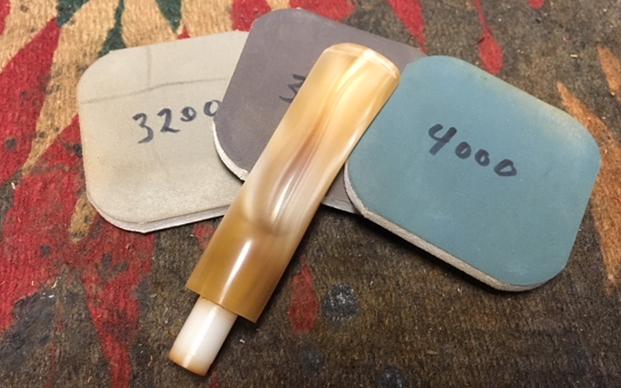
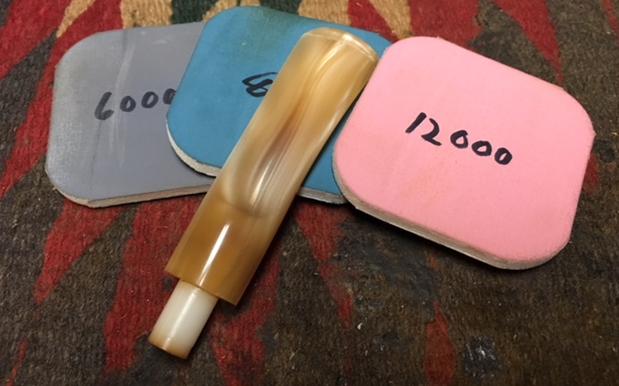
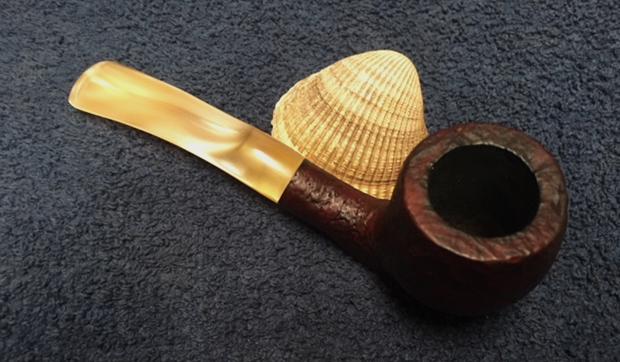
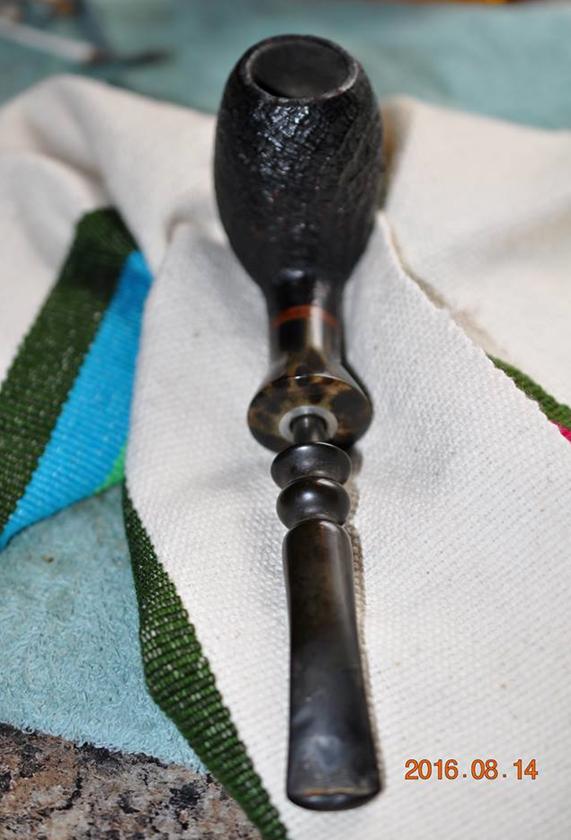
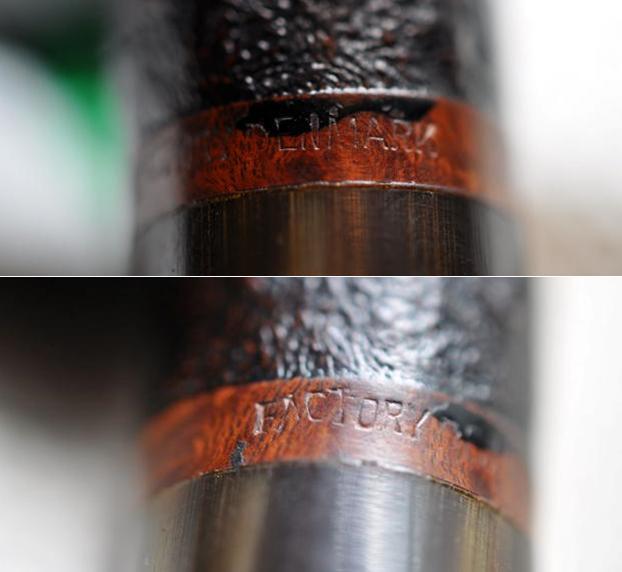
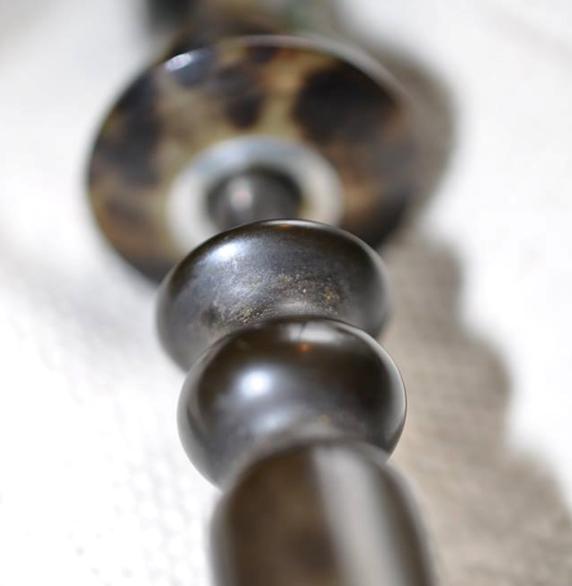
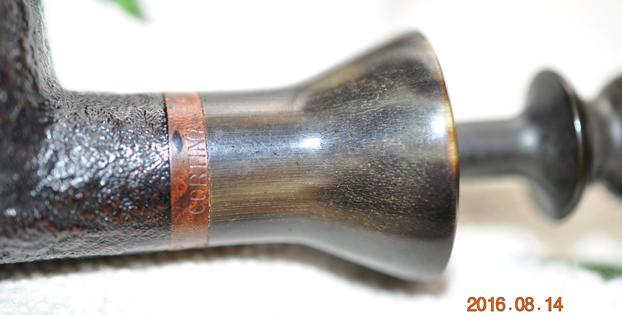
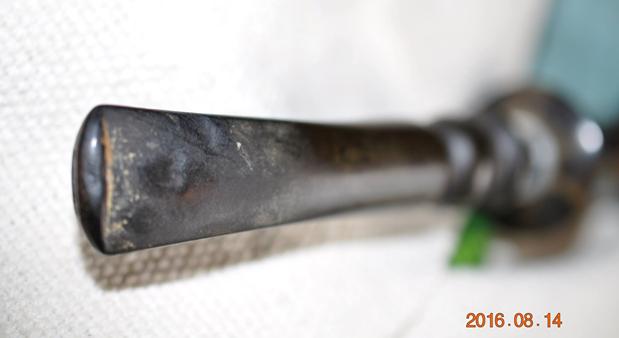
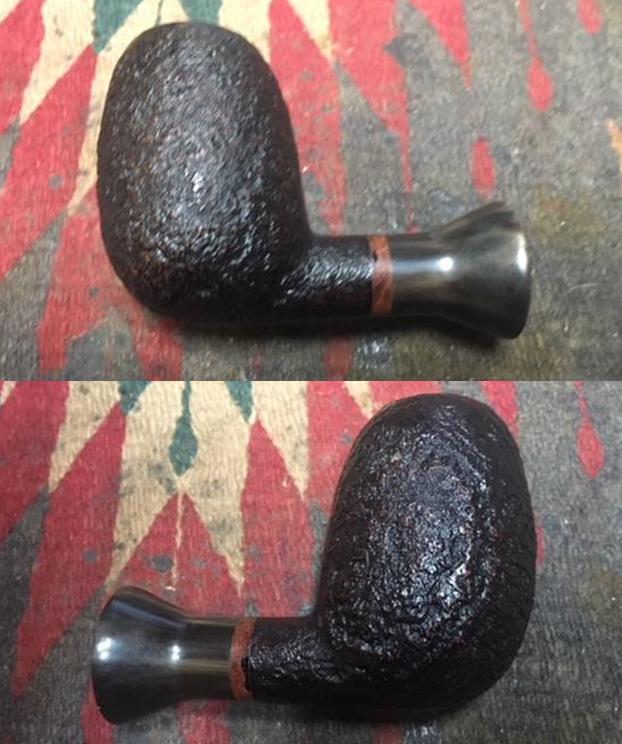
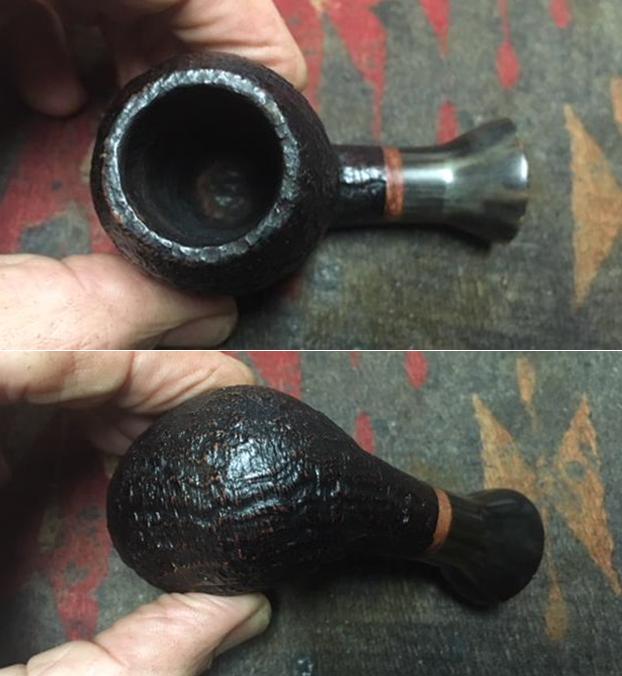
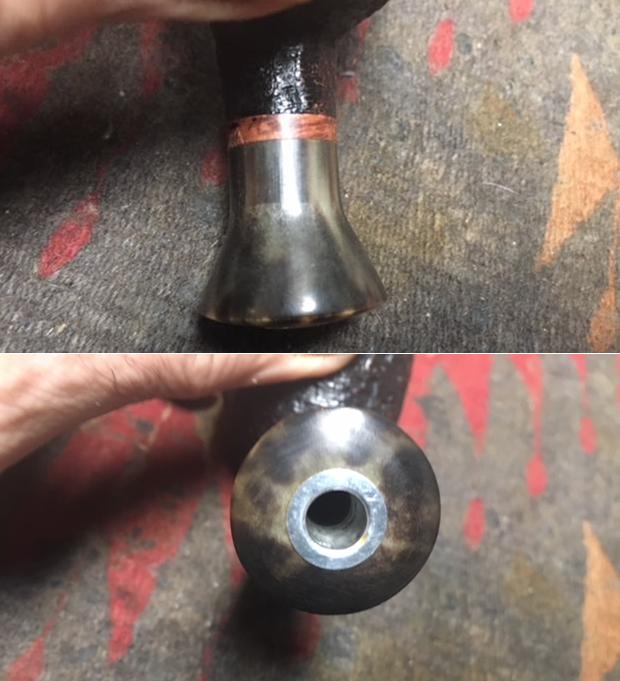
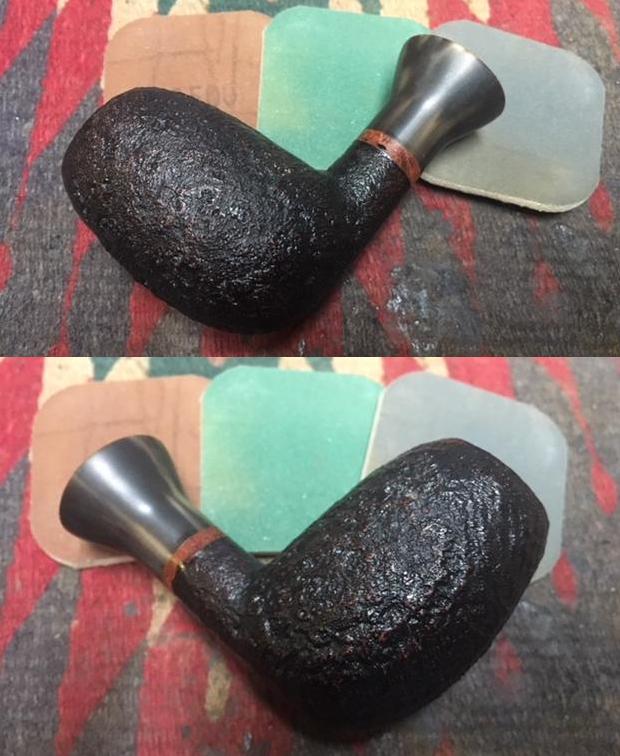
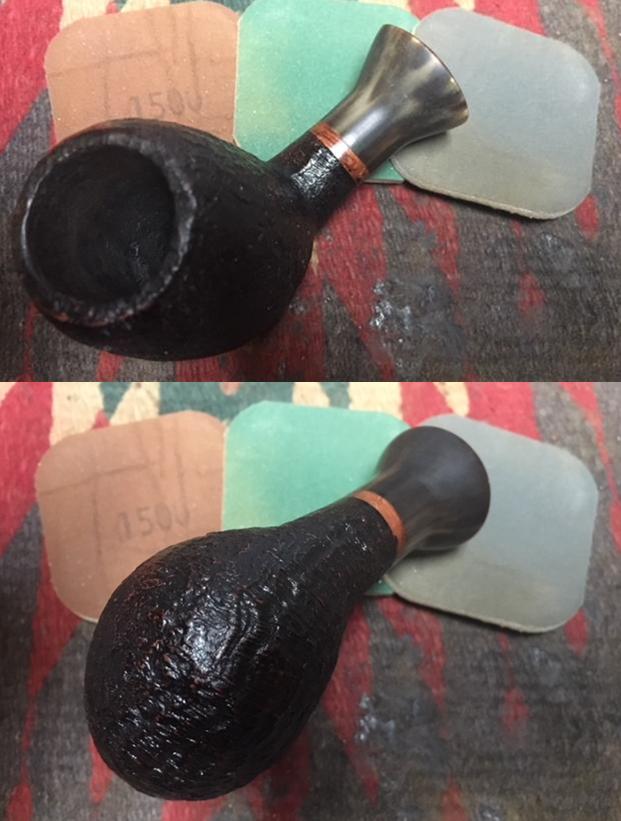
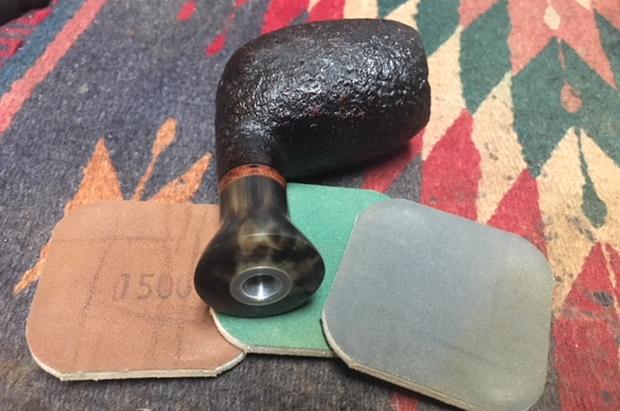
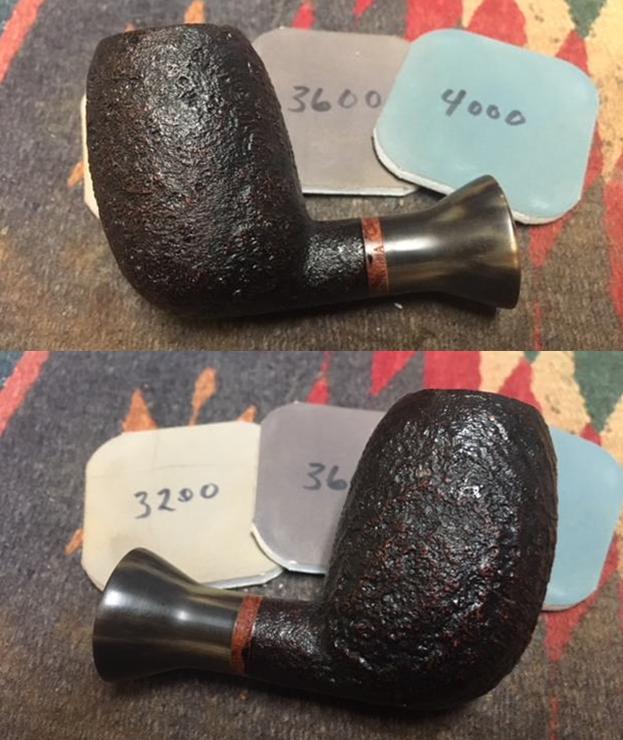
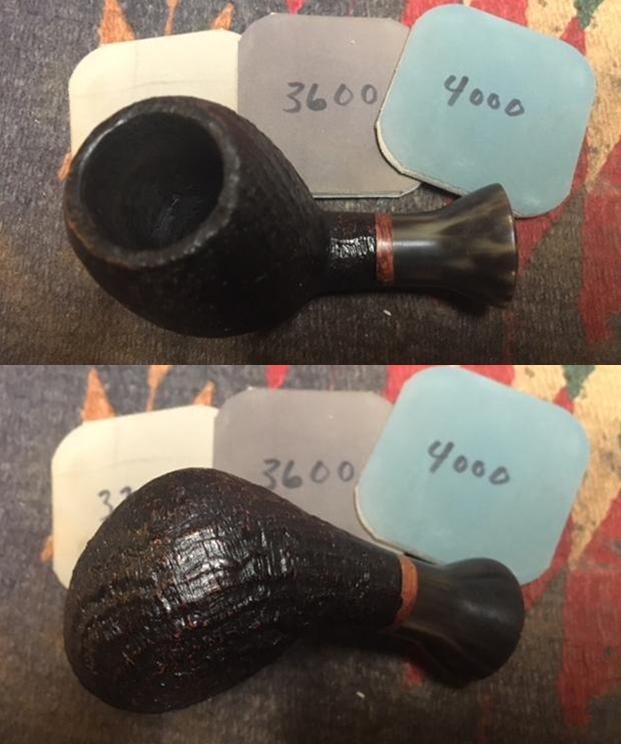
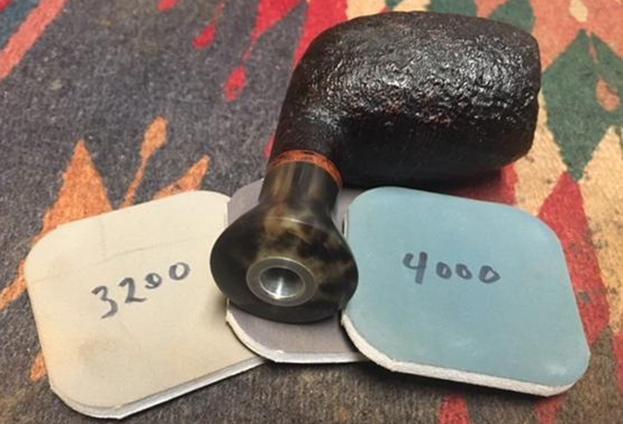
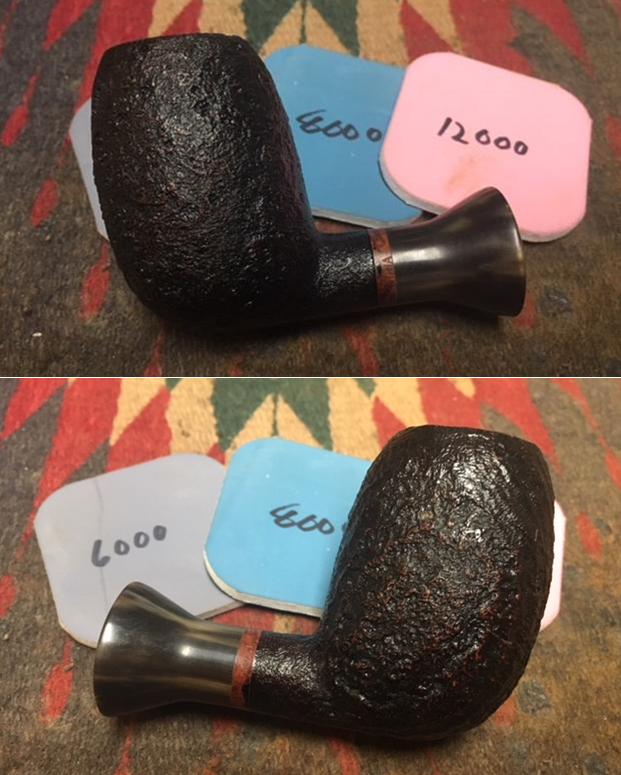
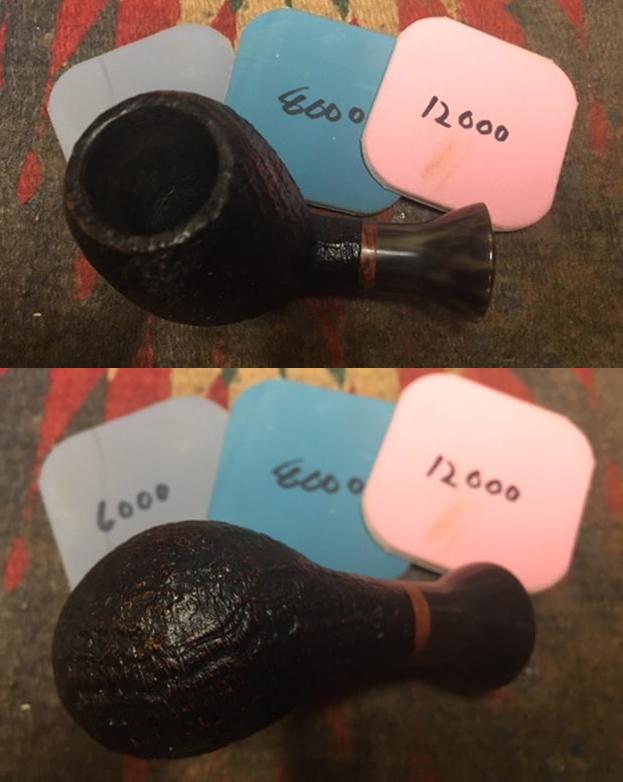
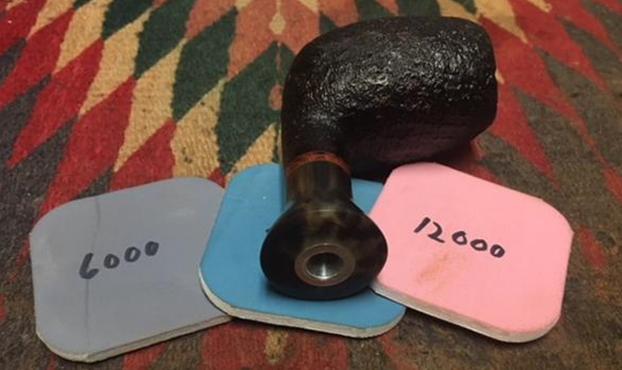
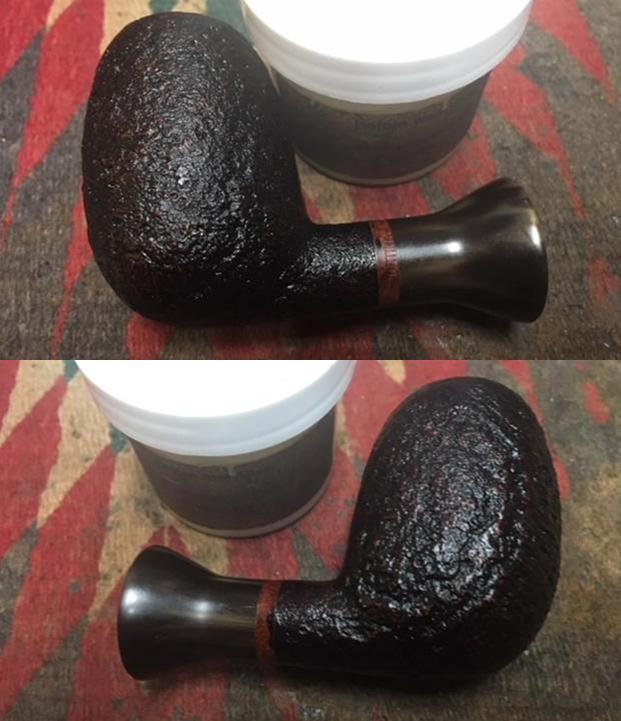
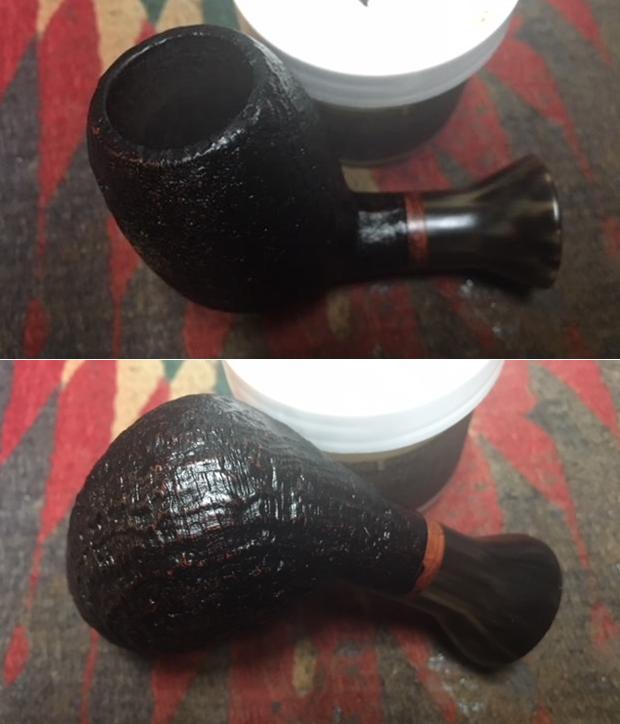
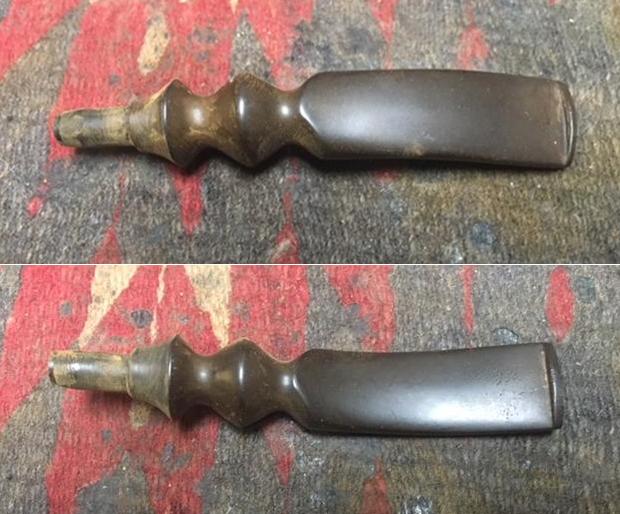
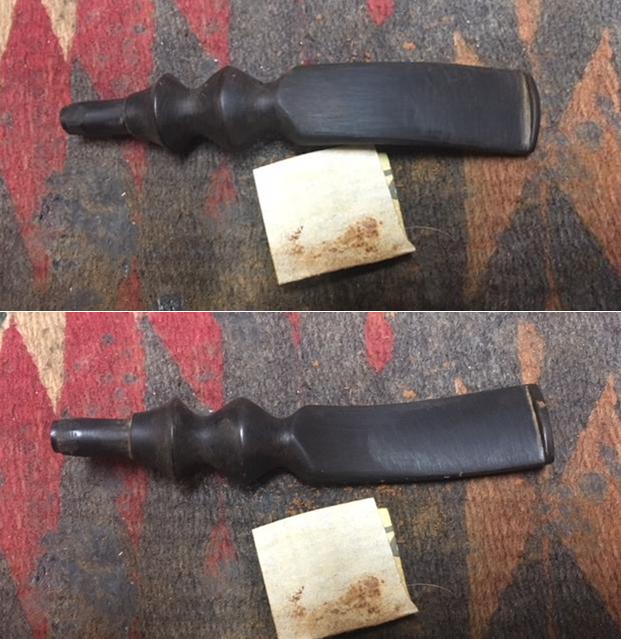
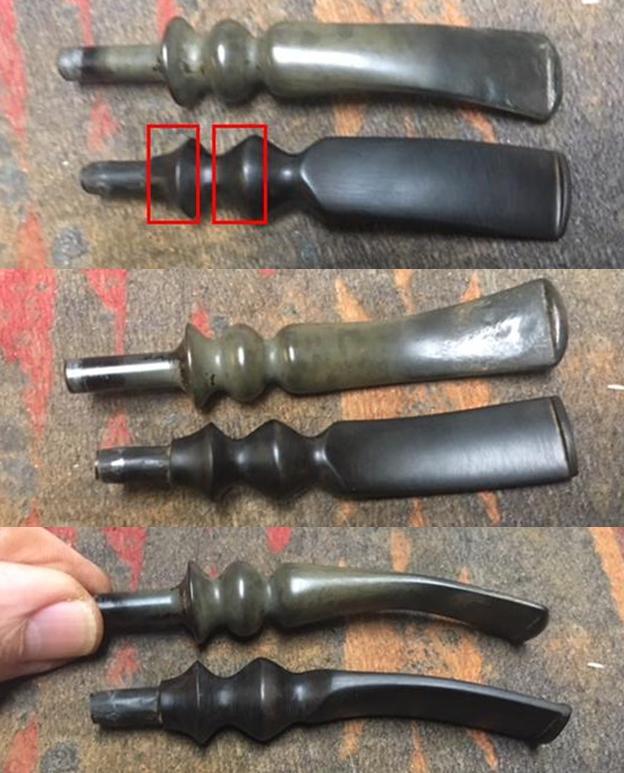
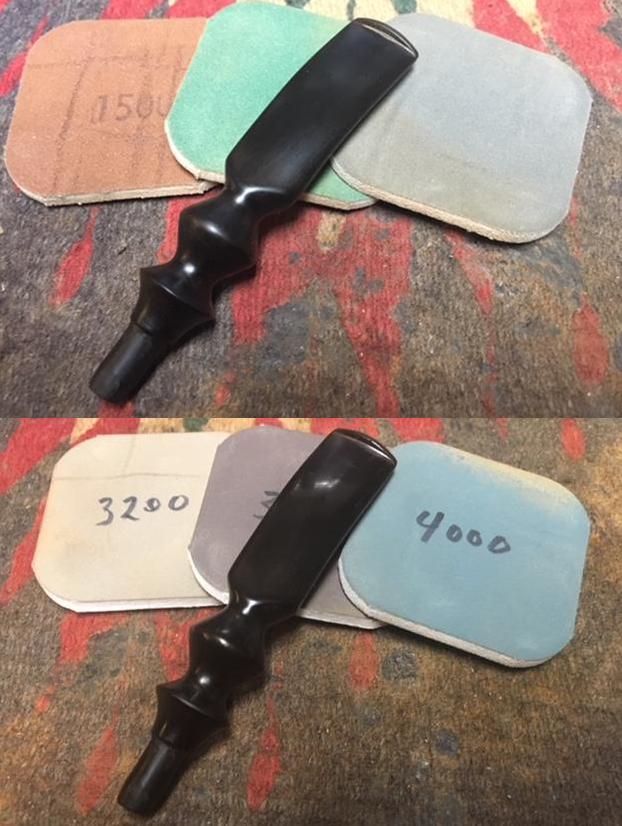
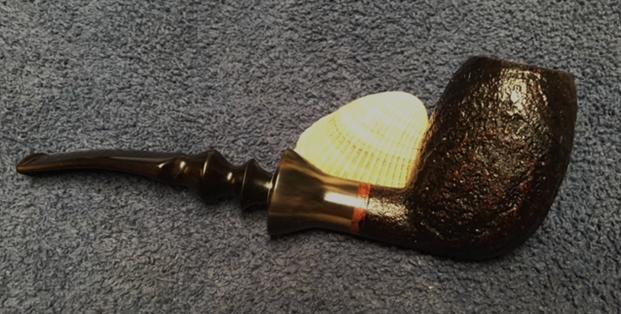
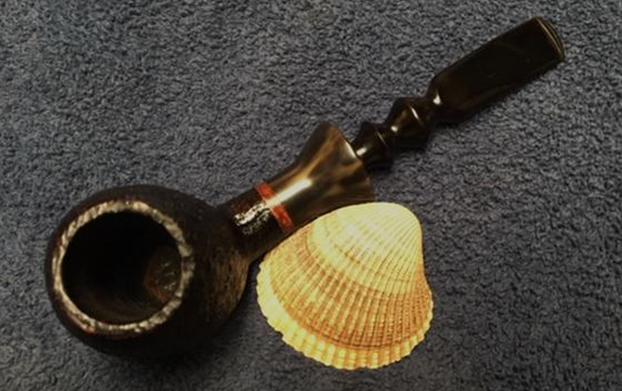
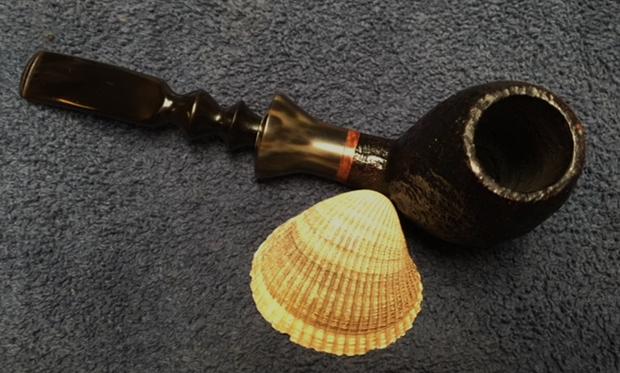
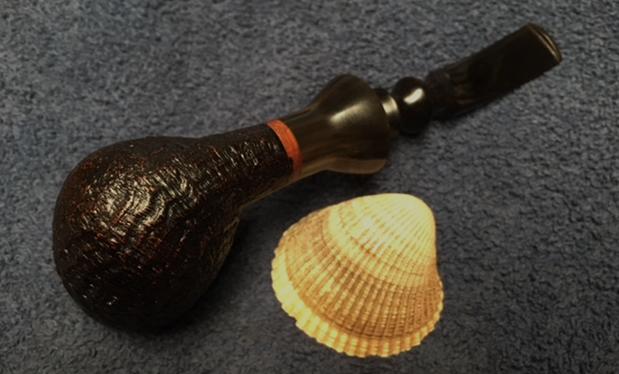
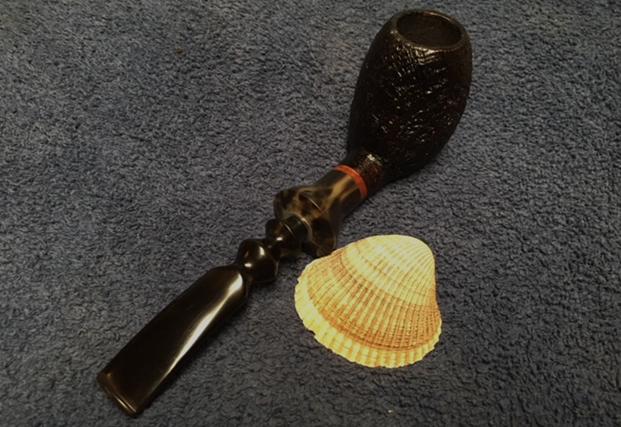
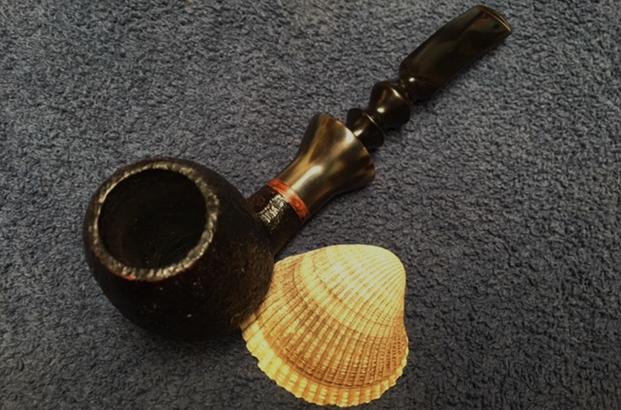
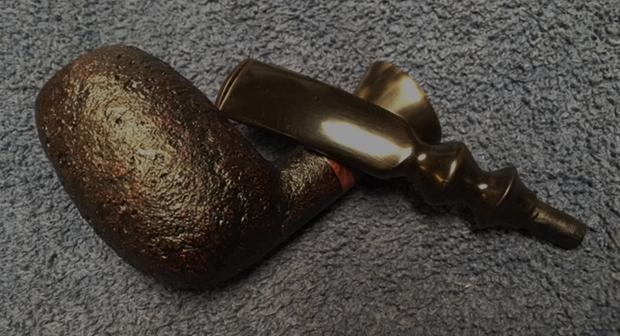
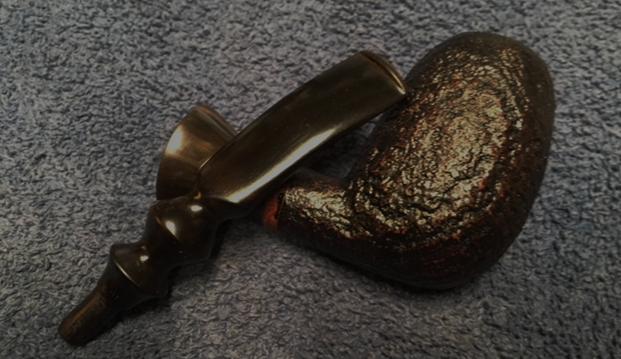
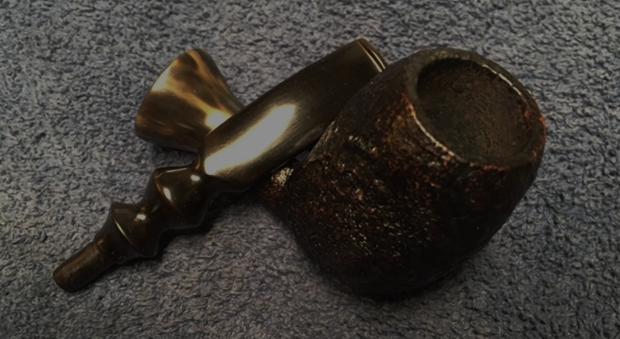
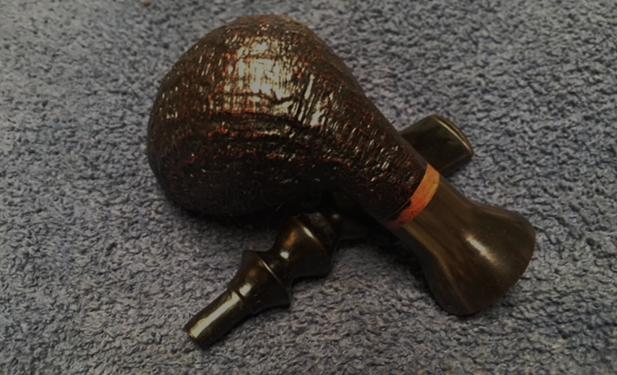
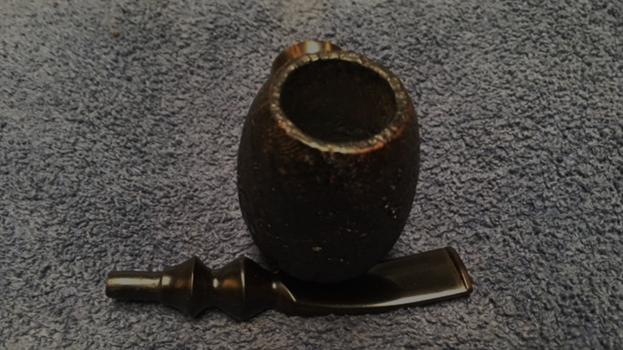
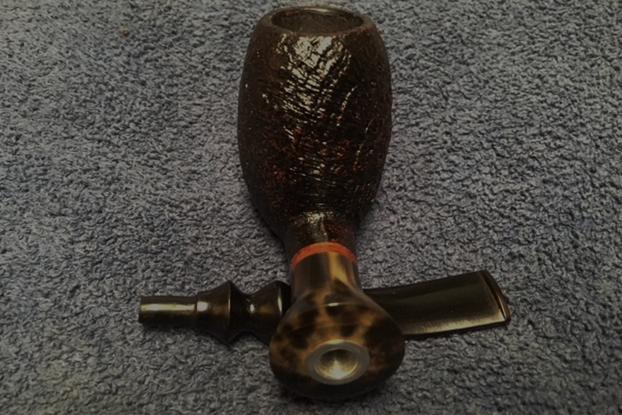
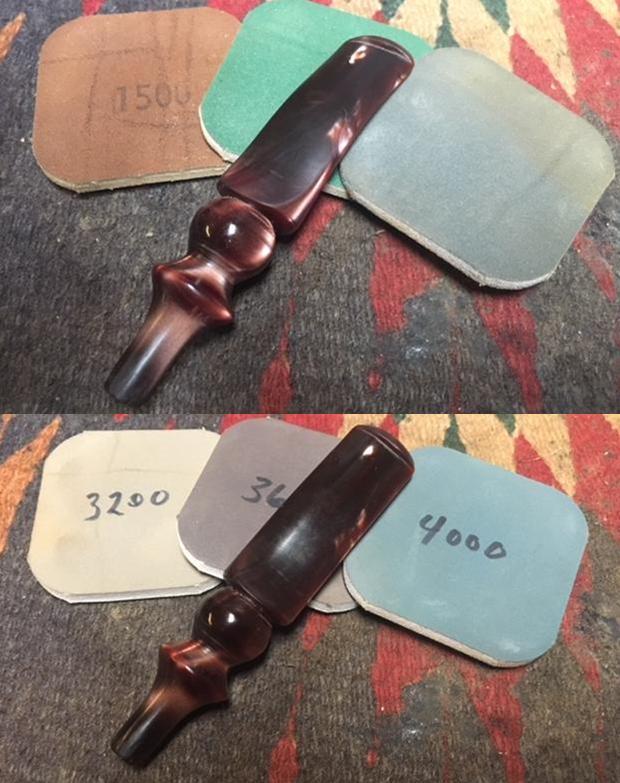
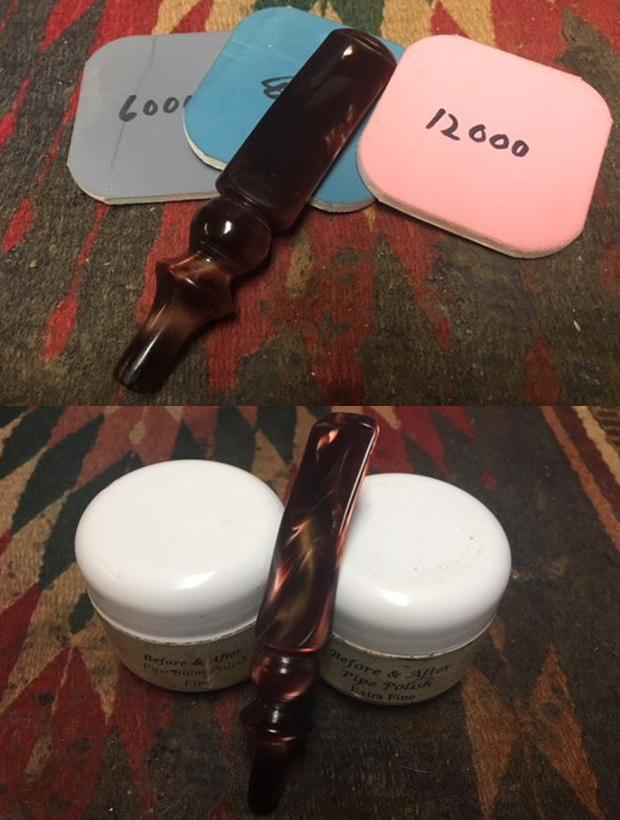
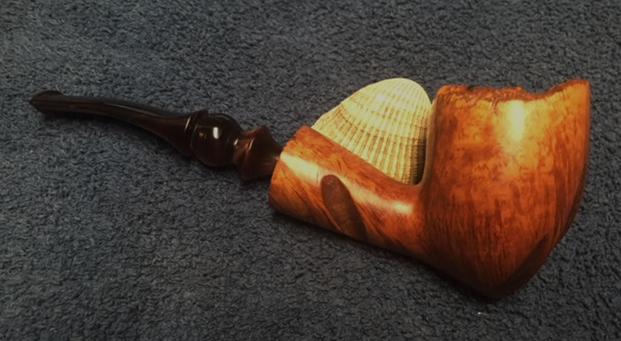
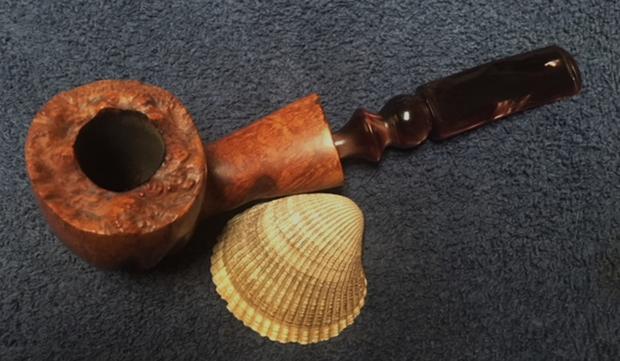
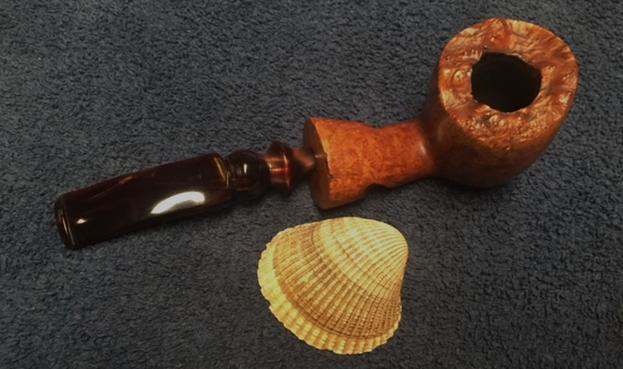
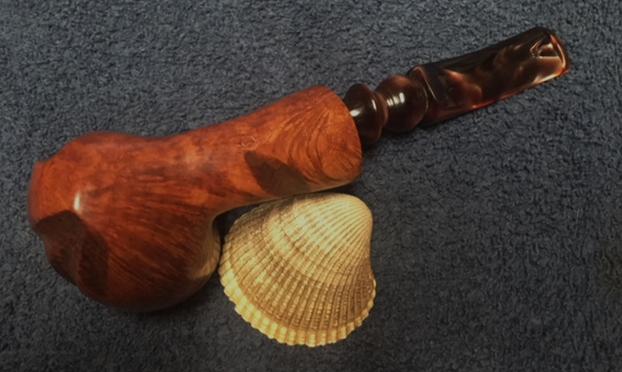
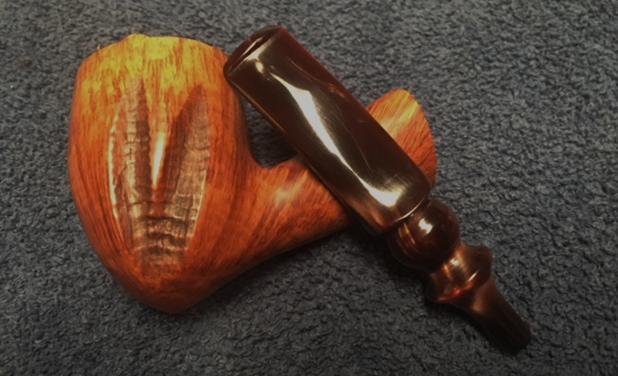
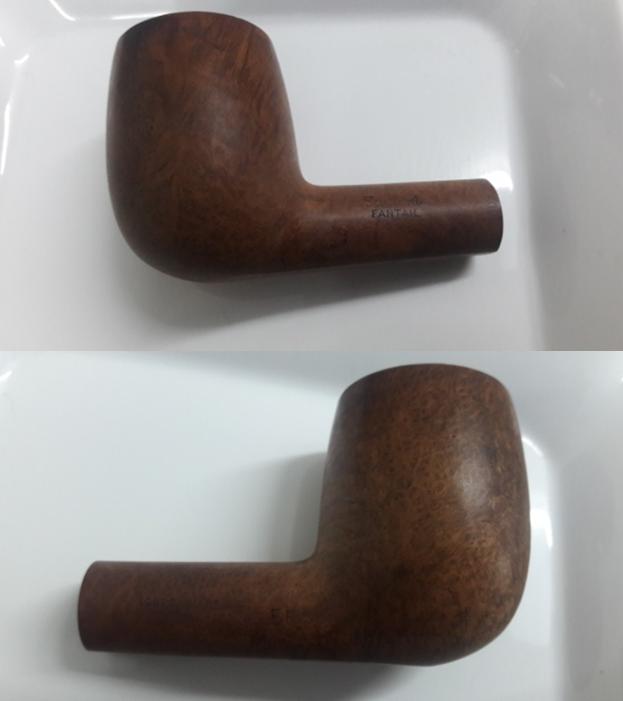
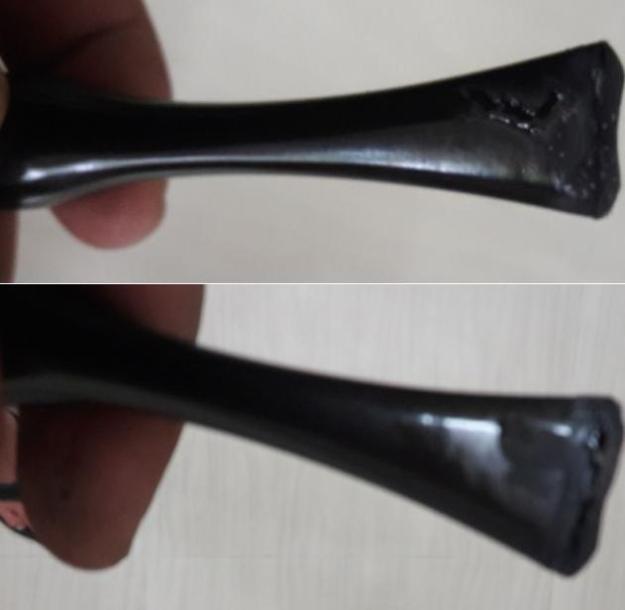
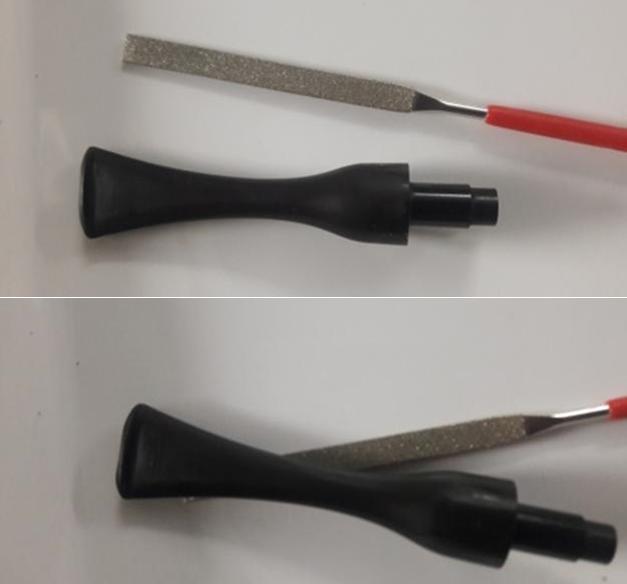
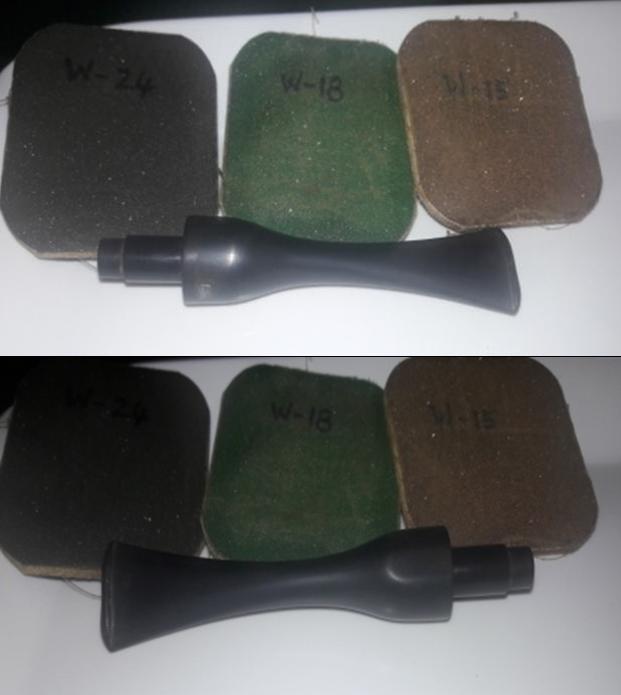
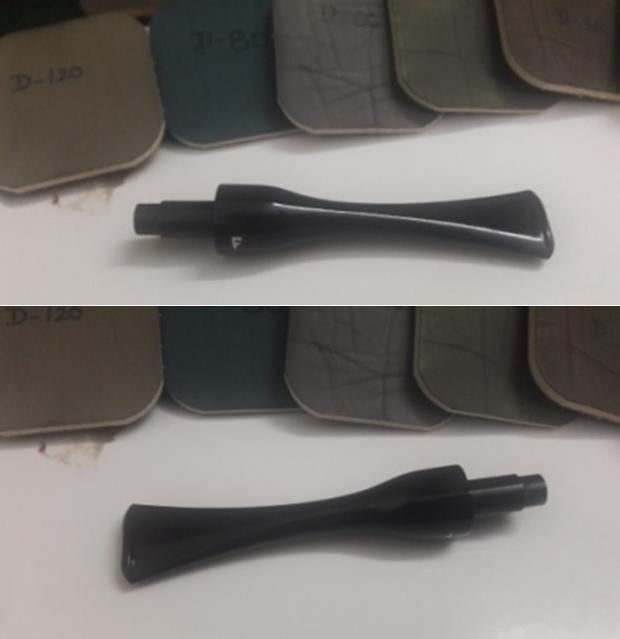
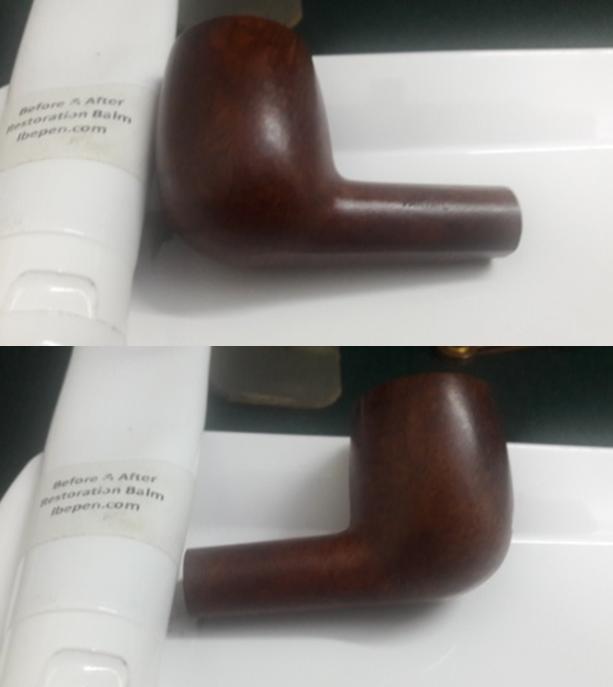
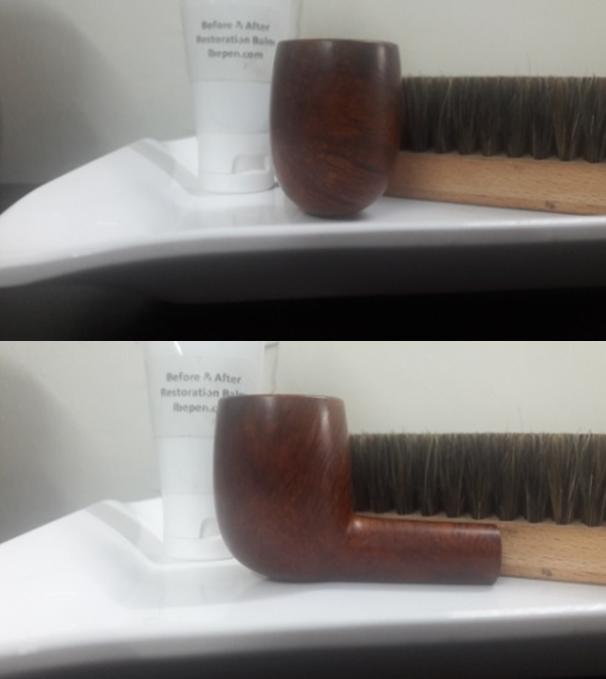
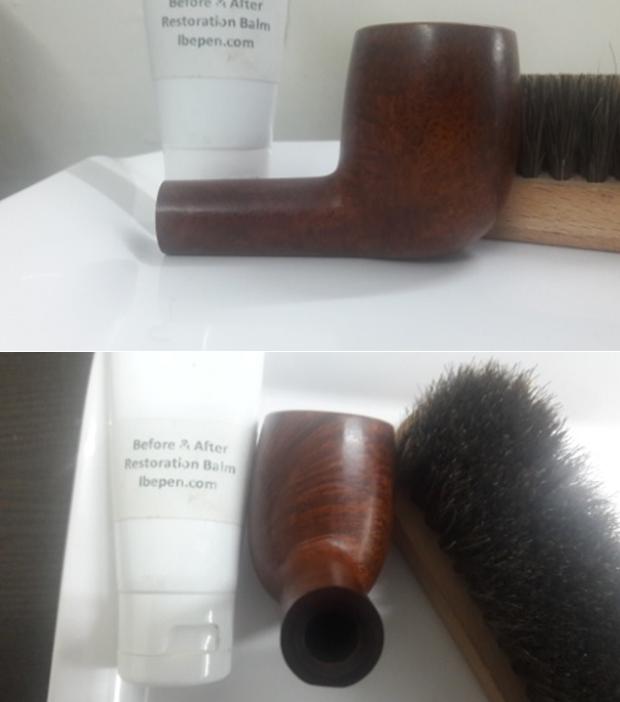
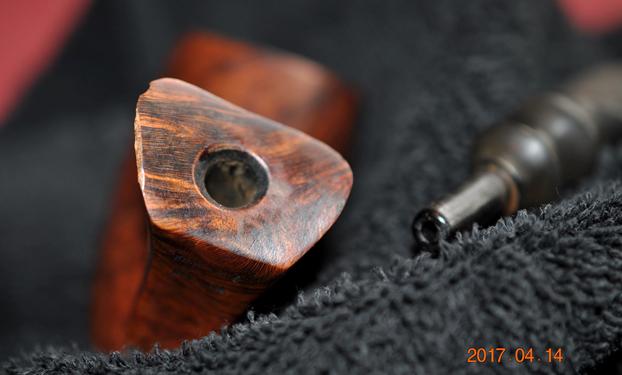
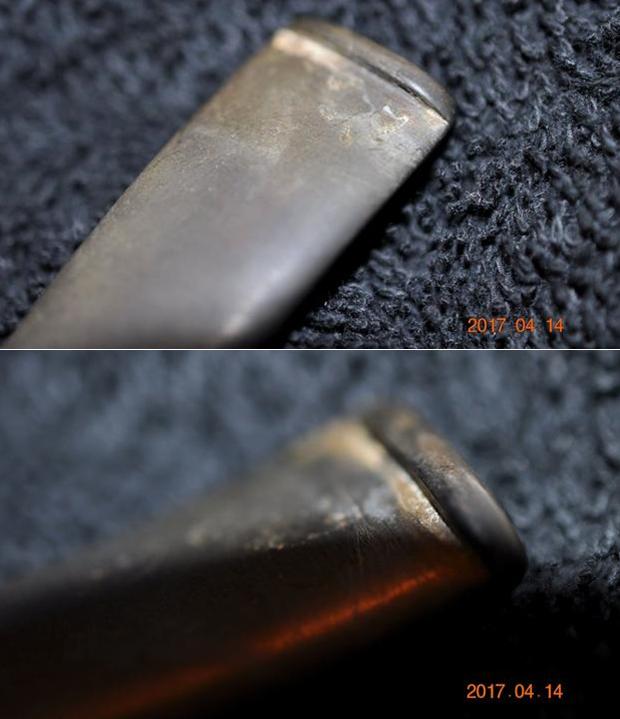
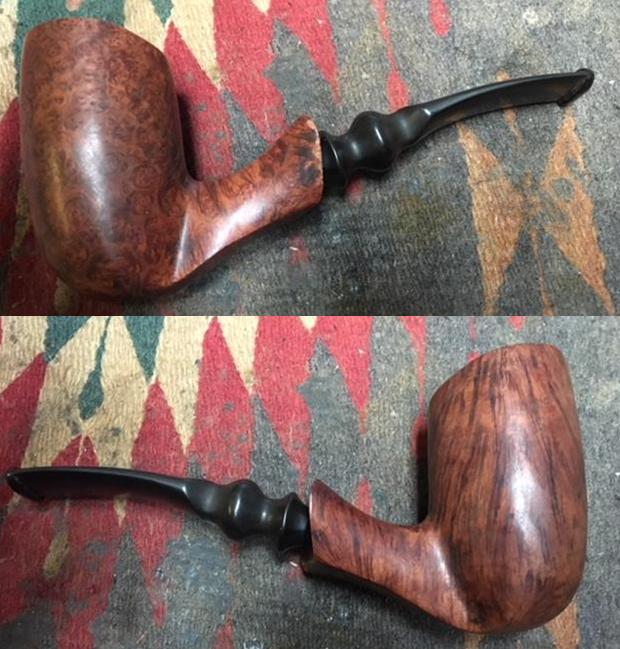
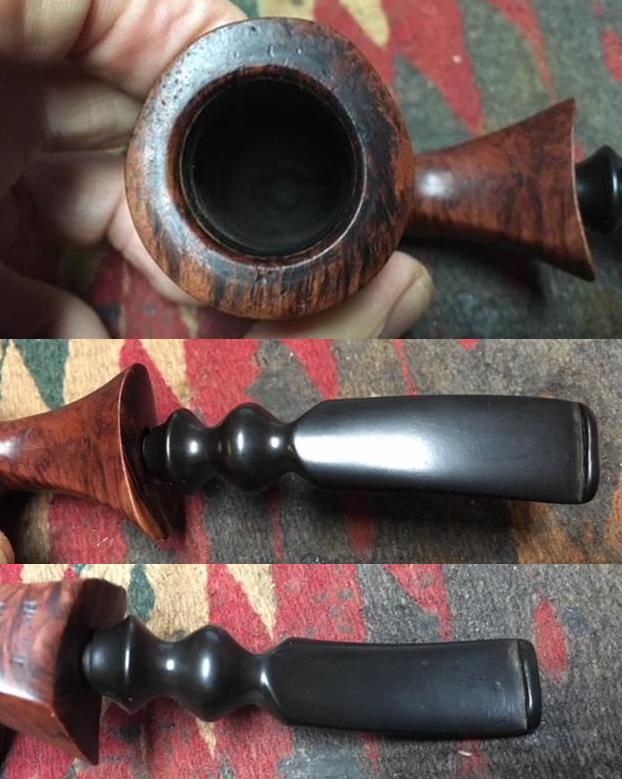
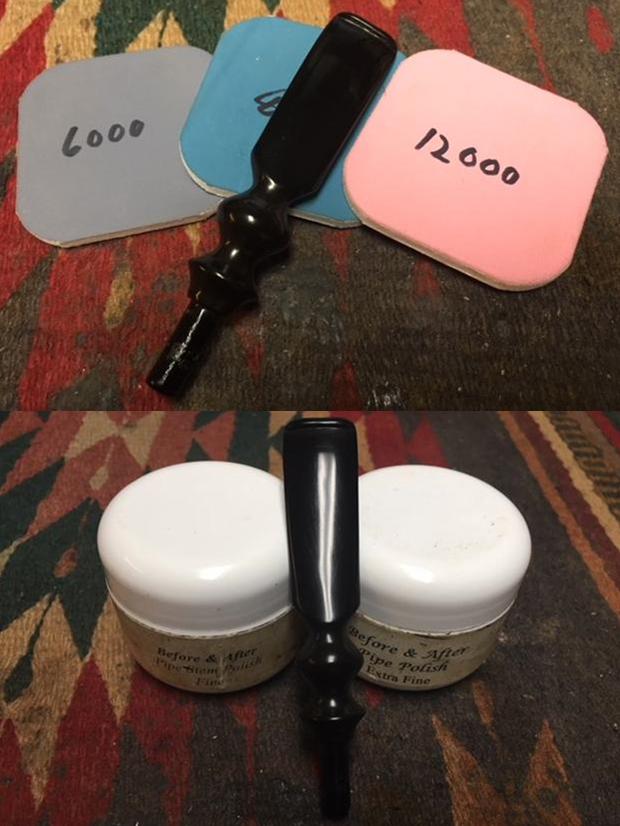
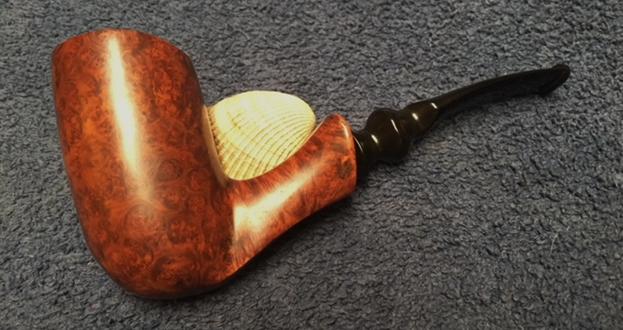
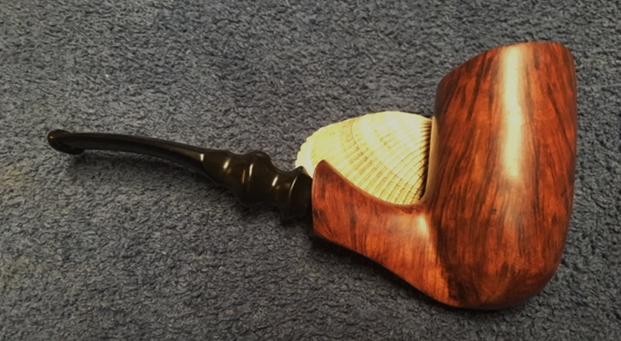
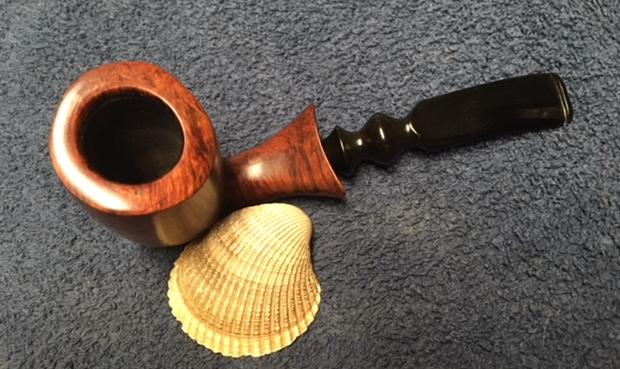
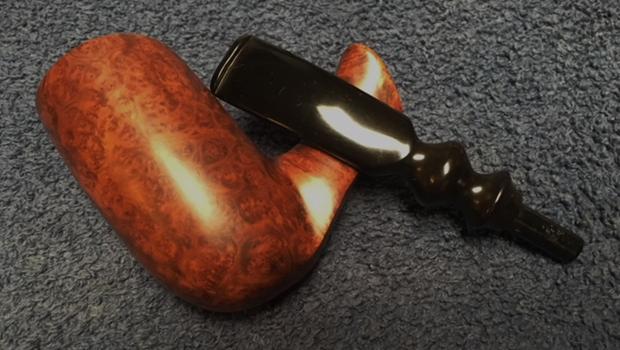
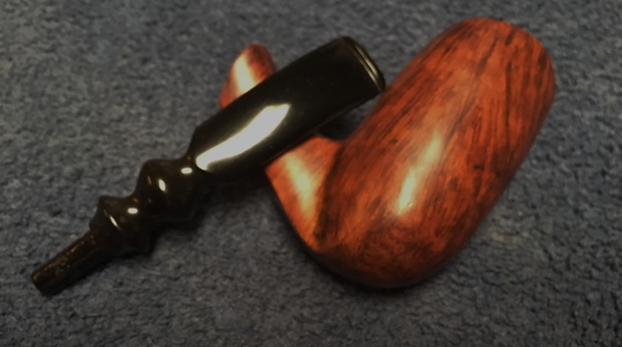
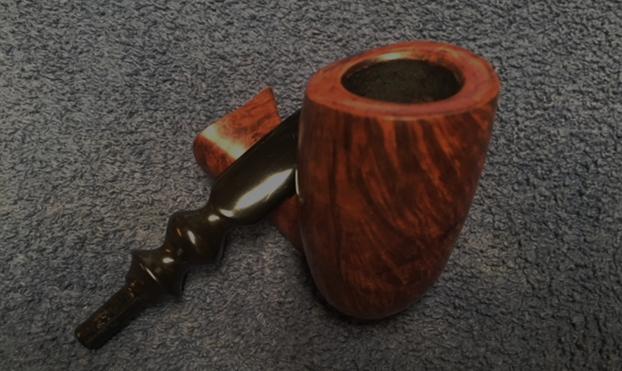
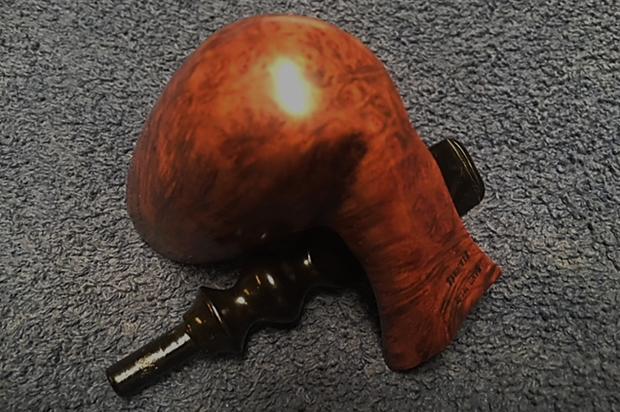
The next pipe on the table was one that my brother Jeff picked up on an eBay auction from a seller in Franklin Tennessee almost two years ago. I know it seems like a long time ago and I suppose it is but I have boxes of pipes to refurbish here and this one came up today! It was in a box with the freehand pipes that I have been working my way through. It is an interestingly shaped sandblast pipe that is a stack. When I first looked at it I did not see any stamping on the shank. As I examined it today I found stamping on the thin band of smooth briar between the horn shank extension and the bowl. It stamped around the band and reads CORTINA FACTORY DENMARK with the shape number 22. The pipe looked pretty good when he got it from the seller. There was dirt and grime in sandblast finish on the bowl. The horn shank extension was oxidized and tired looking. There was a metal mortise inset in the horn to protect it from splitting. There was a light cake in the bowl and the inner and out edges of the bowl were in good shape. The contrast brown finish on the pipe was in excellent condition. I am not sure if the stem on the pipe was the original as the tenon was very long and the fit in the shank was snug but not deep. It was lightly oxidized but in decent condition. I think a stem with a shorter tenon and snug fit to the shank would work well. I would also see if I could shape one to follow the shape of the horn extension. I would have to see what I could find in the can of stems. Jeff took photos of the pipe before he started his cleanup up work. Jeff took photos of the stamping on the pipe. The first photo shows the shape number 22 on the smooth band. The second shows the CORTINA stamp on the smooth band. The third and fourth photos show the stamping Denmark Factory. The next photo shows the shank end – a mottled horn with the metal mortise insert. The stem is in place but you can see that the diameter of the tenon is smaller in diameter than the insert. The second photo below shows the striations in the horn shank extension. The stem was dented and worn. I wanted to replace it with a different stem than the replacement that came in it so I was not too concerned with the stem condition.Jeff had scrubbed the exterior of the bowl with Murphy’s Oil soap and removed the dust and grime that had accumulated there. The finish looked very good once it had been scrubbed. He lightly reamed the bowl with a PipNet reamer and cleaned it up with a Savinelli Fitsall Pipe Knife. He cleaned the interior of the mortise and the airway in the shank and the stem with alcohol, cotton swabs and pipe cleaners. The pipe came to me clean and ready to do the restoration and restemming. I took some photos of the bowl to show the condition at this point in the process. I took some photos of the horn shank extension. At first I thought it was acrylic but as I worked on it I was sure that it was real horn. It was a unique and pretty piece of polished horn. It need to be polished but it was unsplit and in good condition.As has become my practice when working on restoring pipes I did some research on the Cortina Factory Denmark brand name. Pipedia noted the brand but had no information to give in terms of the company or a time frame. I also looked on Pipephil’s site and found a listing for the brand. I have included a screen capture from that site (http://www.pipephil.eu/logos/en/logo-c7.html). The first pipe in the photo shows the Cortina brand and stamp that is the same as on the pipe I am working on. The second one is attached to the Georg Jensen brand and the stamping is actually very similar. It makes me wonder if the Cortina was not a line of pipes made by Georg Jensen. I have no proof of that other than the connection shown in the screen capture below.I started my restoration of the pipe armed with the little bit of information that I could find on the brand. I polished the horn shank extension with micromesh sanding pads – wet sanding with 1500-2400 grit pads and dry sanding with 3200-12000 grit pads. I wiped the bowl down with a damp cloth after each sanding pad to remove the sanding dust. Once I had finished with the last pad I wiped it down with Obsidian Oil to enliven the horn and preserve it. I turned from the horn shank extension to work on the sandblast briar of the bowl. I rubbed the bowl down with Before & After Restoration Balm to deep clean the briar bowl and the rim top as well as the briar shank. The product works to clean, enliven and protect the briar. I hand rubbed it with my fingers, working it into the exterior of the pipe. I worked it into the blast with a horsehair shoe brush. After it had been sitting for a little while I buffed it with a soft cloth to polish it. The pipe really began to have a rich shine. I took some photos of the bowl at this point to mark the progress in the restoration. I had a stem in my can of stems that had turned portions that as the shape of the shank extension on the pipe. Once the stem is cleaned up I will point out the shapes more clearly. I sanded the stem with 220 grit sandpaper to shape the tenon to fit in the mortise. I sanded the oxidation to remove it from the rest of the stem. I took a photo of the new stem next to the one that had come with the bowl. You can see the variation in the shape of the stem. The top one has a very long tenon that fit into the shank up to the spot where the oxidation begins. It is longer than the new stem and the shape is not quite right. On the new stem I have boxed in the shapes in red that parallel the shape of the shank extension.I polished the stem with micromesh sanding pads – wet sanding with 1500-2400 grit pads and dry sanding with 3200-12000 grit pads. I wiped the stem down after each pad with a damp cloth to remove the sanding dust on the acrylic. I polished the stem with Before & After Pipe Stem Polish – both Fine and Extra Fine and I set it aside to dry. I polished stem and bowl with Blue Diamond to polish out the remaining small scratches. I gave the bowl multiple coats of Conservator’s Wax and the stem multiple coats of carnauba wax and buffed the pipe with a clean buffing pad to raise the shine. I hand buffed it with a microfiber cloth to deepen the shine. The pipe polished up pretty nicely. The contrasting brown stain on the sandblast, the variegated swirls in the horn shank extension and the polished vulcanite stem worked together to give the pipe a unique look. The finished pipe is shown in the photos below. This is one of those interesting unknown Danish Pipes that I think could possibly lead back to Georg Jensen but we will probably never know for sure. The shape, finish and flow of the pipe and stem are very well done. The dimensions are Length: 6 1/2 inches, Height: 2 1/4 inches, Outside diameter of the bowl: 1 1/4 inches, Chamber diameter: 3/4 inches. This one will be added to the rebornpipes store soon. If you are interested in adding it to your collection send me an email to slaug@uniserve.com or send me a message on Facebook. Thanks for walking through the restoration with me as I worked over this piece of Danish pipe making history.

New Life for an Unusual Freehand pipe – a Granhill Signature 1 50


Blog by Steve Laug

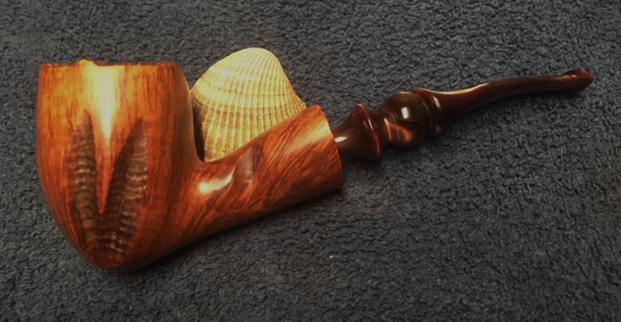
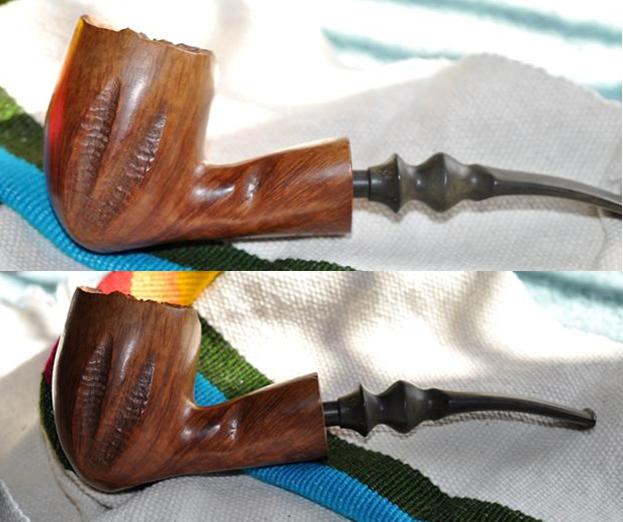
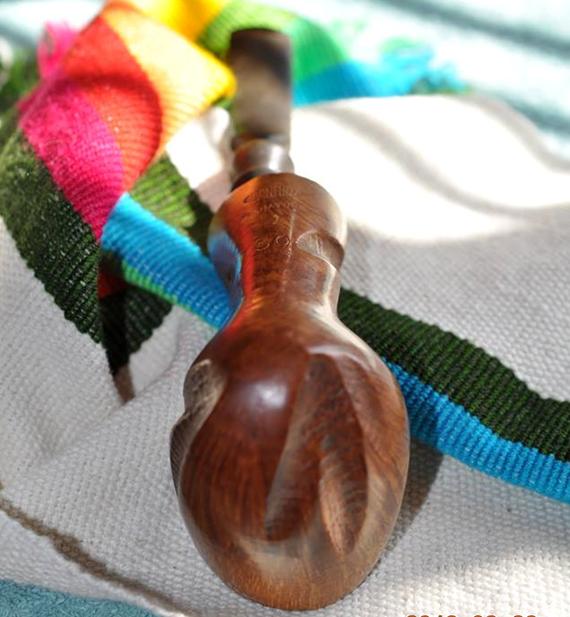
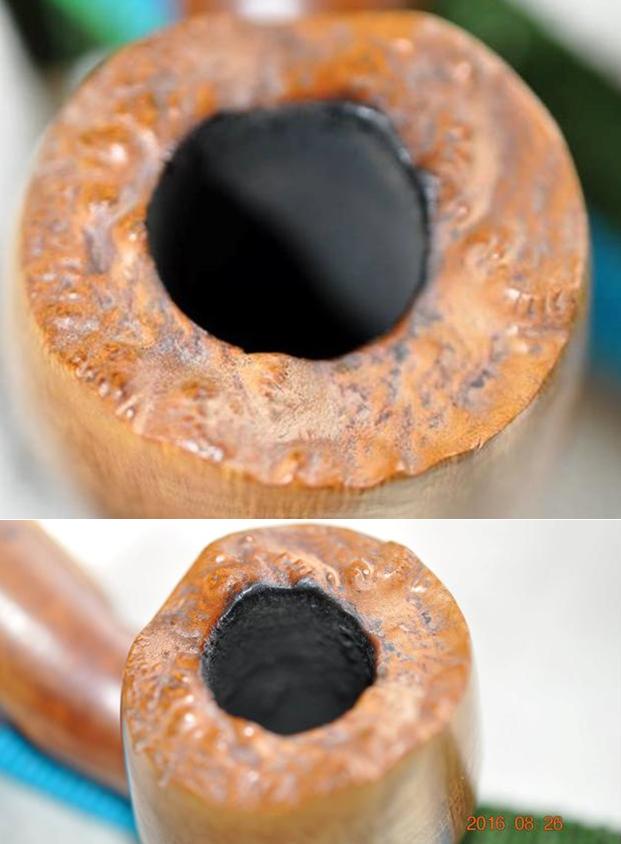
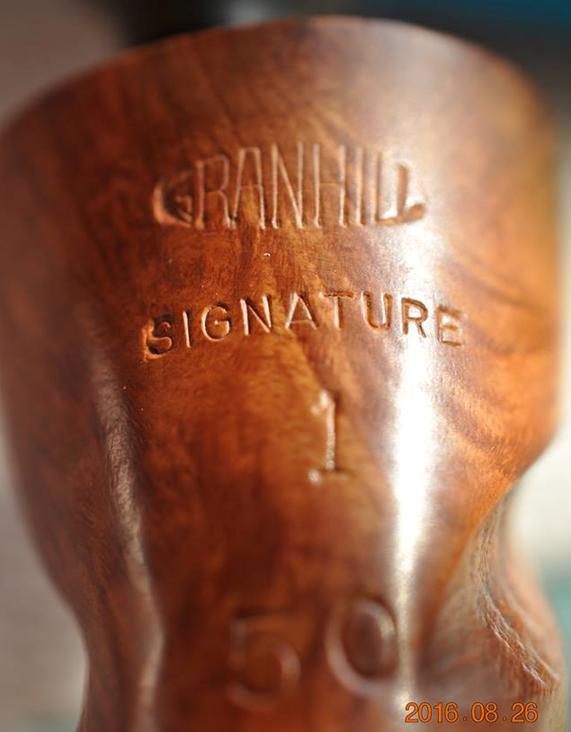
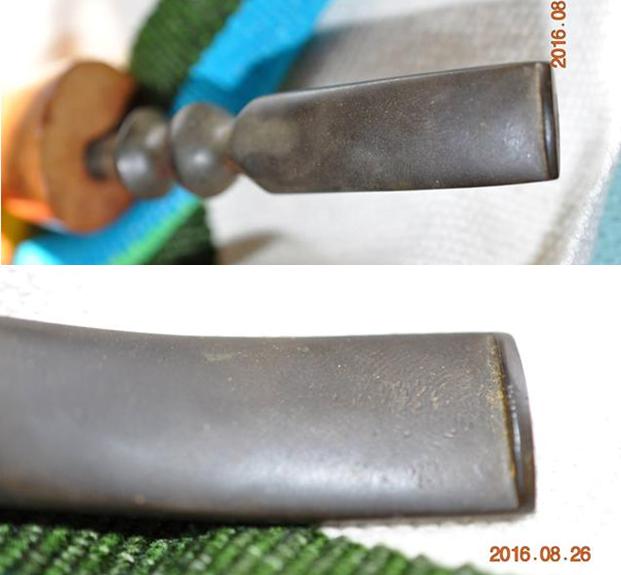
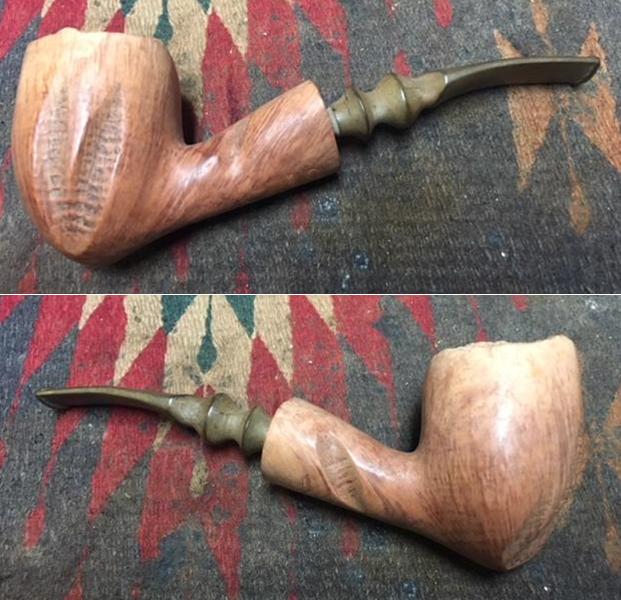
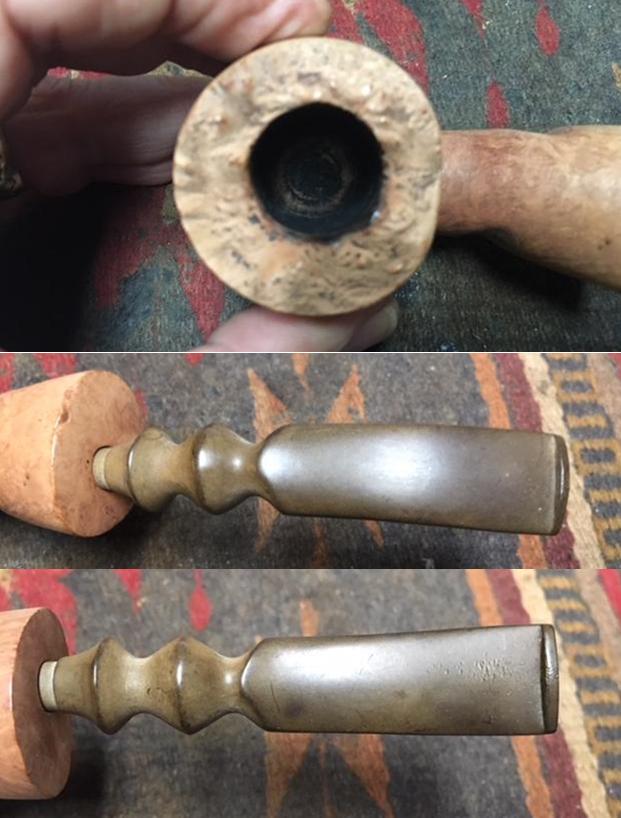
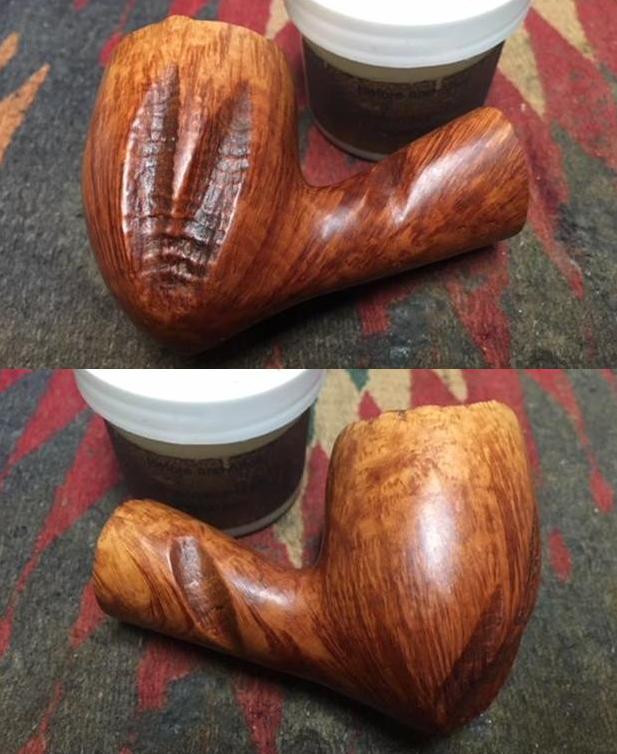
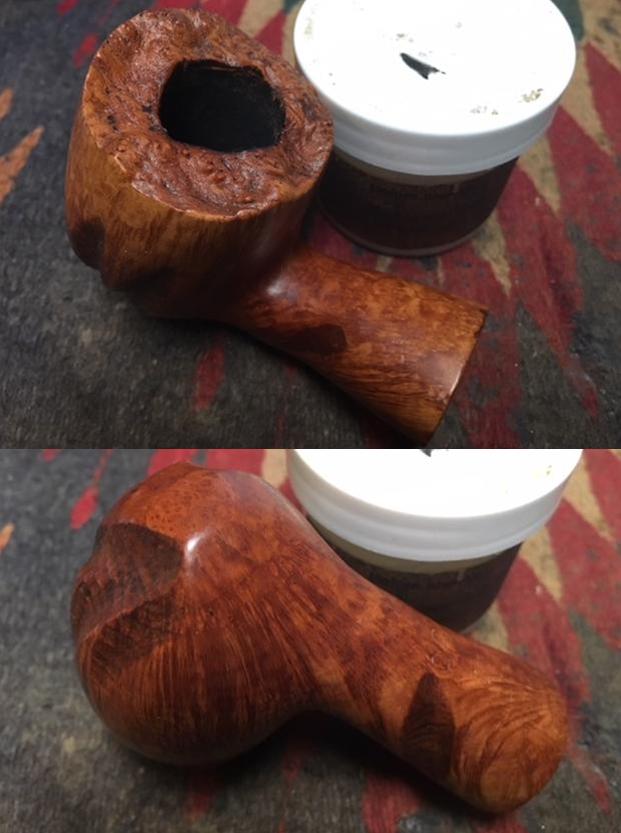
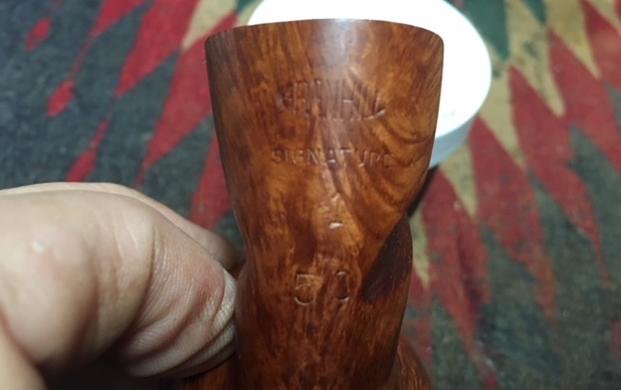
I have been working my way through some freehand pipes that my brother Jeff picked up recently. There are some amazing freehand pipes among them. The one on the work table now is another Granhill Freehand. I have already restored a beautiful large freehand Granhill earlier this summer (https://rebornpipes.com/2018/06/09/another-large-and-unique-freehand-pipe-a-granhill-signature-1-100/). It was a Granhill Signature 1 100 where this new one is a Granhill Signature 1 50. The pipe looked pretty good when he got it. There was dirt and grime in the plateau on the rim top. The edges were clean and undamaged. The bowl had a pretty thick cake inside. The finish on the pipe was an oil finish on natural briar. There were some carved trails up the sides of the bowl and the shank that had been lightly sandblasted and had an interesting texture. The stem was a replacement stem of cast vulcanite. It was oxidized but in decent condition. The acrylic stem on the other Granhill made me want to put the same kind of stem on this one as well. We would have to see. Jeff took photos of the pipe before he started his cleanup up work. Jeff took photos of the rim top to show the grime and dirt in the crevices of the rim top. There was also some darkening around the inner edge of the rim top and some lava build up that was overflowing onto the inner edge.He also took a photo of the stamping on the shank. The stamping is very clear and readable.The stem was in decent condition. The surface of the vulcanite was pitted and oxidized. There was some light tooth chatter on both sides of the stem near the thin button.Jeff had cleaned the rim top and removed the debris in the plateau. He had scrubbed the exterior with Murphy’s Oil soap and removed the dust and grime that had accumulated there. The oil finish disappeared and there was natural unfinished briar and once it was scrubbed it was clean and unstained briar. He lightly reamed the bowl with a PipNet reamer and cleaned it up with a Savinelli Fitsall Pipe Knife. He cleaned the interior of the mortise and the airway in the shank and the stem with alcohol, cotton swabs and pipe cleaners. The pipe came to me clean and ready to do some light touch ups and polishing. The stem was cleaned but had tooth chatter on the top and underside near the button and on the surface of the button itself. I took close up photos of the rim top to show the condition of the plateau. It was very clean and there was no damage to the inner or outer edge of the rim. Jeff had been able to remove all of the tars and oils and lava coat on the edge of the bowl. The photos of the stem to give a clear picture of what it looked like before I cleaned it up. They also show the smooth shank end on this particular pipe. There was a slight bit of plateau on the top of the shank end in the second photo.In my earlier blog on the other Granhill I had done research on Pipedia to find information. I found two potential makers of the brand though they separated the name into two parts Gran Hill. The first possible maker was Michael V. Kabik with some of them stamped Made in Denmark. The spelling of the name was noted to come in other versions: Granhill, Gran-Hill. The second possibility comes from Lopes book where he states that the brand also was used by a Fargo Tobacconist, Lonnie Fay, who made freehands bearing this stamp in the 1970s. To me the similarity of the pipe to other Kabik pipes that I have worked on made me go with him as the maker of this pipe as well.

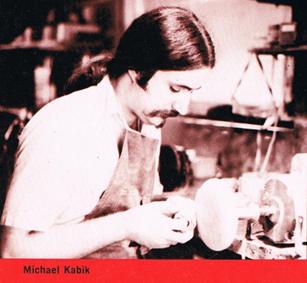
I went back to Pipedia and spent time reading about Michael Kabik (https://pipedia.org/wiki/Kabik). Here is a summary of what I found.

Michael Victor Kabik or Michael J. Kabik, now retired artisan and pipe repairman, was born in Annapolis, Maryland in 1950. As a student he was fascinated by science, but finally turned to the arts. In the early 1970s he started working as an artisan and designer for Hollyday Pipes Ltd., and when the company closed he set up in his own right.

Kabik writes as follows:

…In the 1960s, I had helped Jay build Jay’s Smoke Shop and was his first employee. Since that time, he had set up one of the very first freehand pipe-making operations in the U.S. along with his partner, Chuck Holiday, called CHP-X Pipes. The staff consisted of four full-timers actually making the pipes and perhaps another four in sales and office work. Chuck, who did the actual design and carving, had long since had serious disagreements with Jay and split. Chuck’s replacement from the staff was quitting, and Jay was in a bind. Jay offered me the job, and I gladly accepted. The fellow quitting was supposed to train me for two months but left after two weeks, leaving me with an awesome responsibility. I felt as though the future employment of all these people depended on me as the designer and cutter…and it did.

…Sadly, CHP-X closed its doors two years after my arrival, due primarily to distribution, sales force problems, and other issues to which I was not privy…In love with a medium that satisfied my creative impulses while, pretty much, paying the bills, I bought up the essential equipment and produced pipes on my own. I did this from a farm house my wife and I rented in Phoenix, Maryland. I produced pipes under the name KANE, Gran Hill and others I can’t remember as well as a private label line for a store in, I believe, South Dakota.

…In 1973, I was approached by Mel Baker, the owner of a chain in Virginia Beach called Tobak Ltd. Mel was interested in producing a freehand pipe line and was alerted to my product by Al Saxon, one of his managers and a former CHP-X employee. Mel wanted to relocate me to Virginia Beach, give me carte blanche, and recreate the CHP-X studio with, of course, a new name for the product. I’m sure my answer came very quickly.

…We decided on the name Sven-Lar. Why? Well, when I bought out CHP-X, I also got a small drawer full of metal stamps that were created for private-label work. The Sven-Lar name was conceived but never realized. Aside from having the stamp already made, there were other reasons we chose Sven-Lar. First, we were making a line of pipes in the Danish freehand tradition and also, sadly, we knew the difficulty American pipe makers had breaking the foreign market mystique barrier. The latter certainly played a big part in the demise of CHP-X.

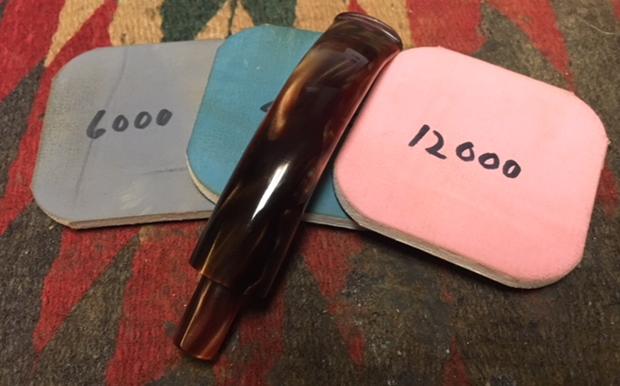
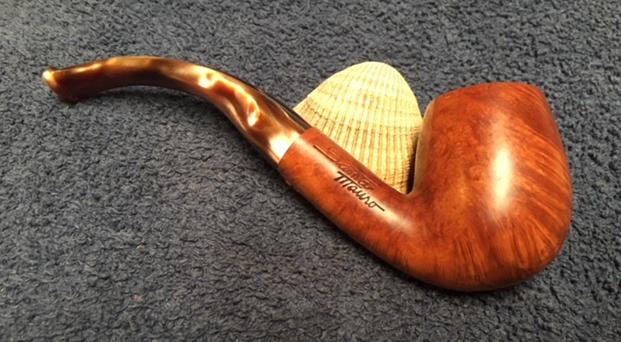
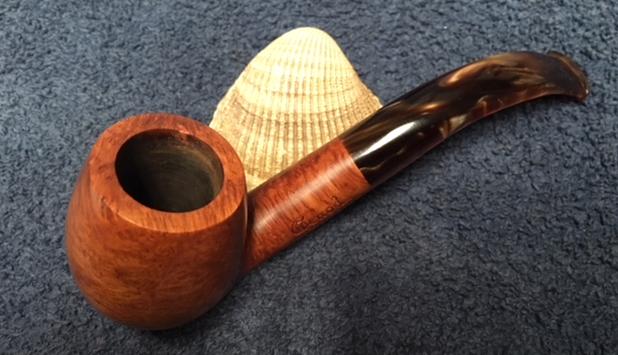
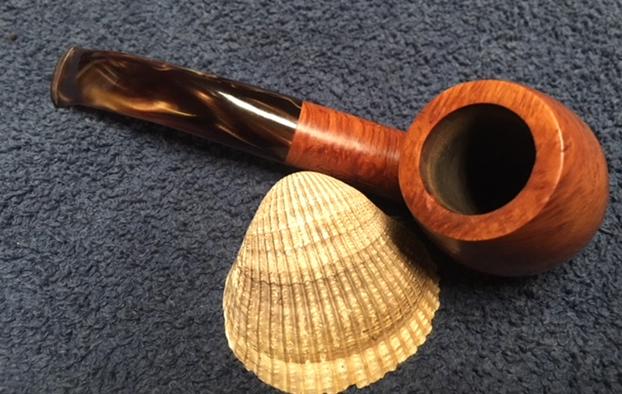
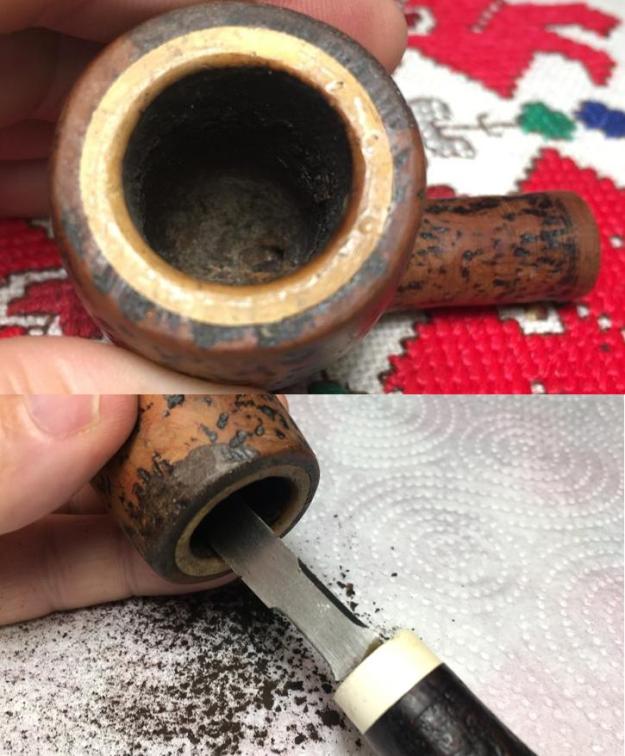
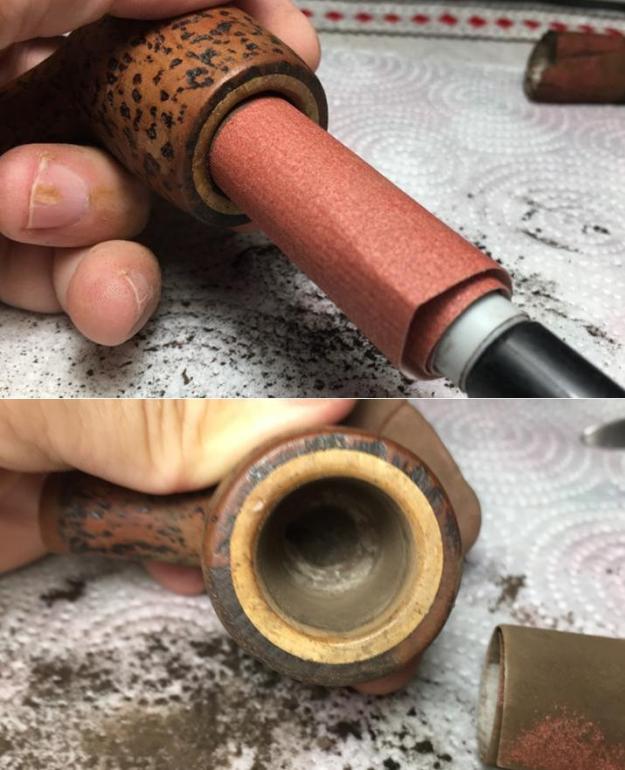
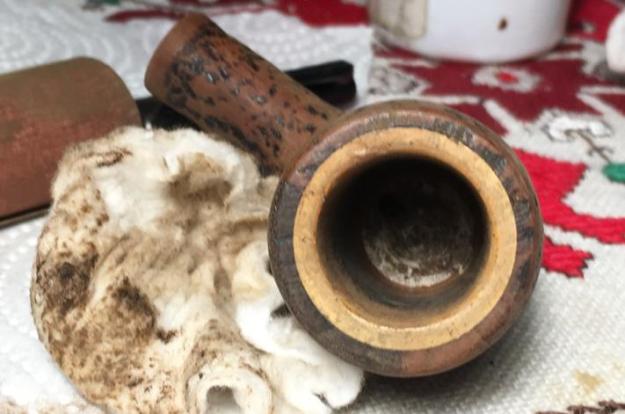
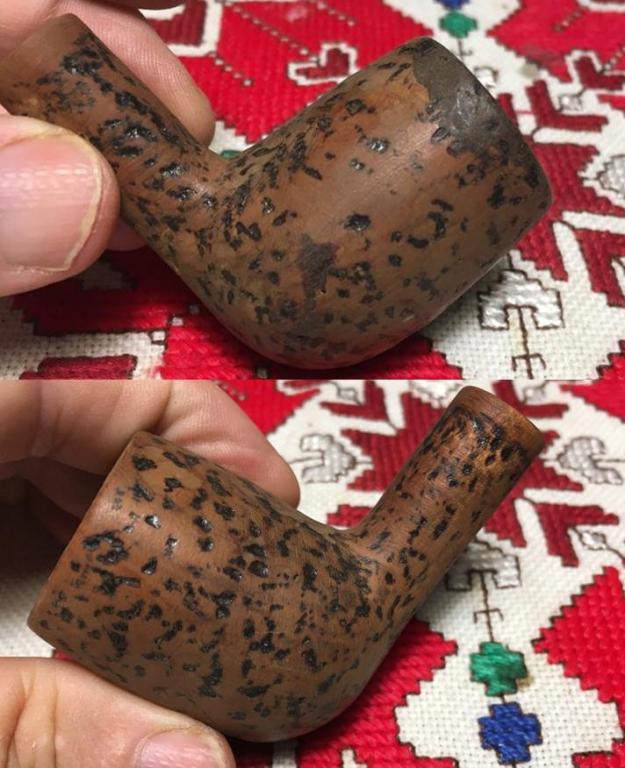
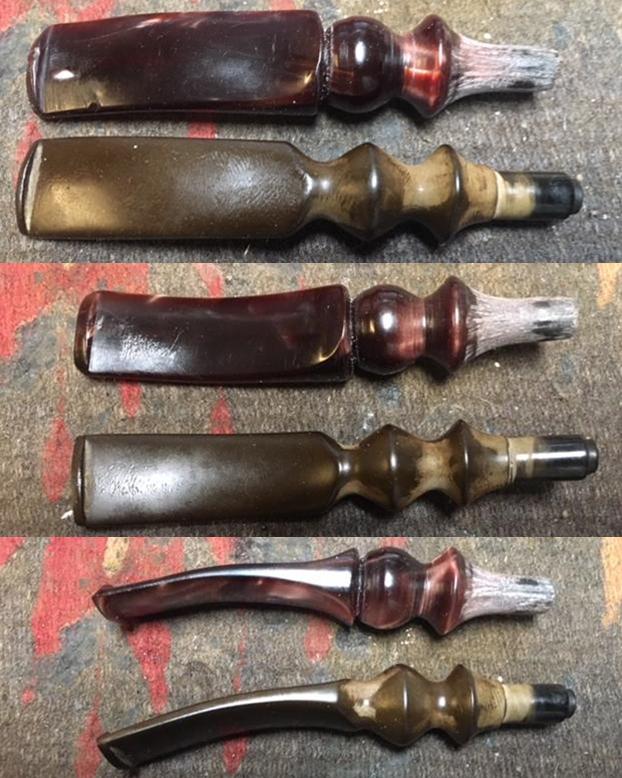
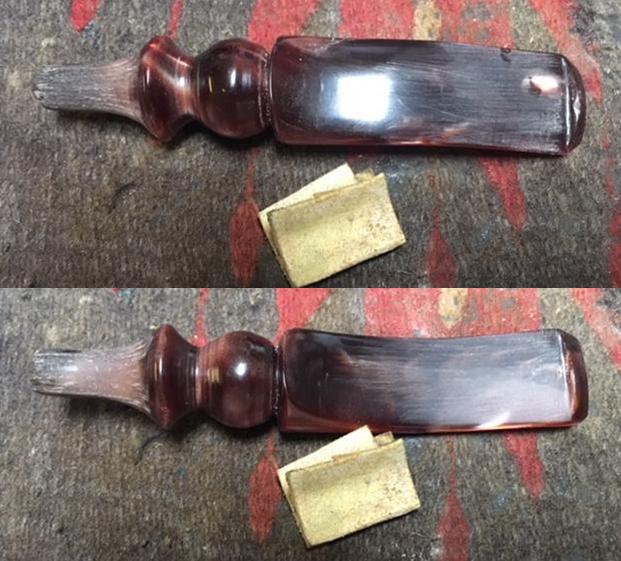
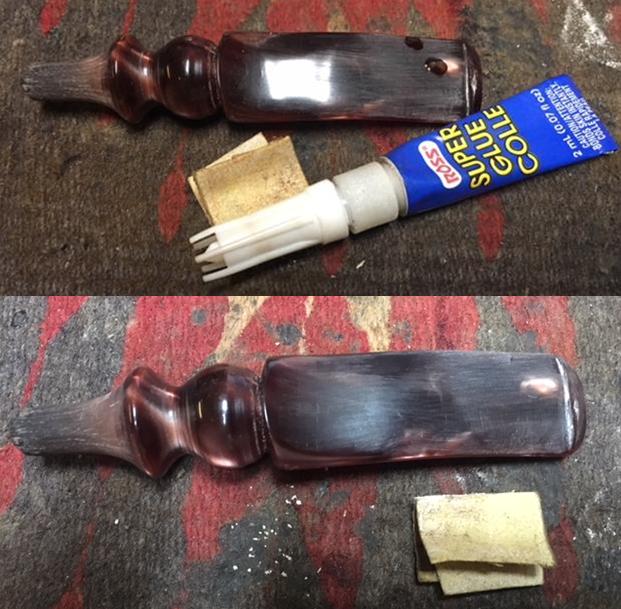
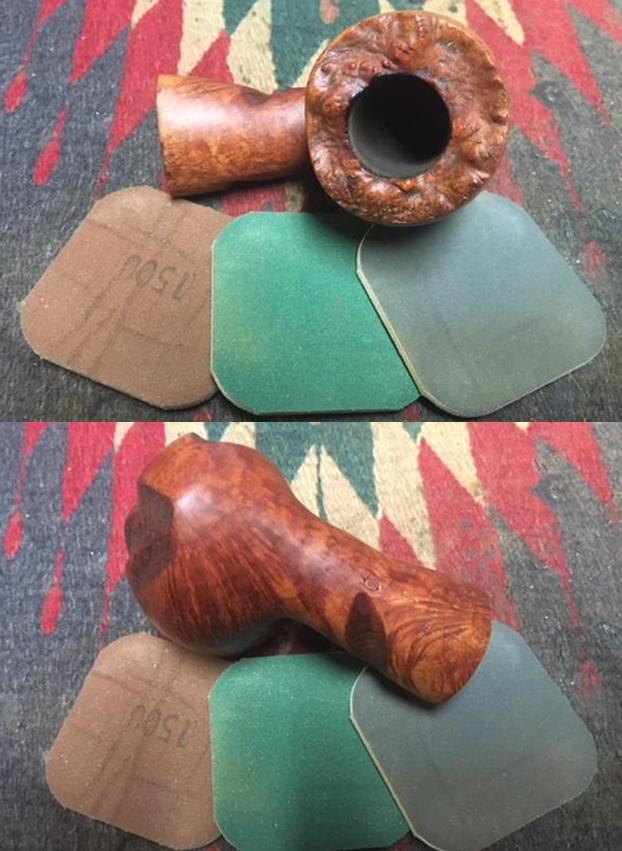
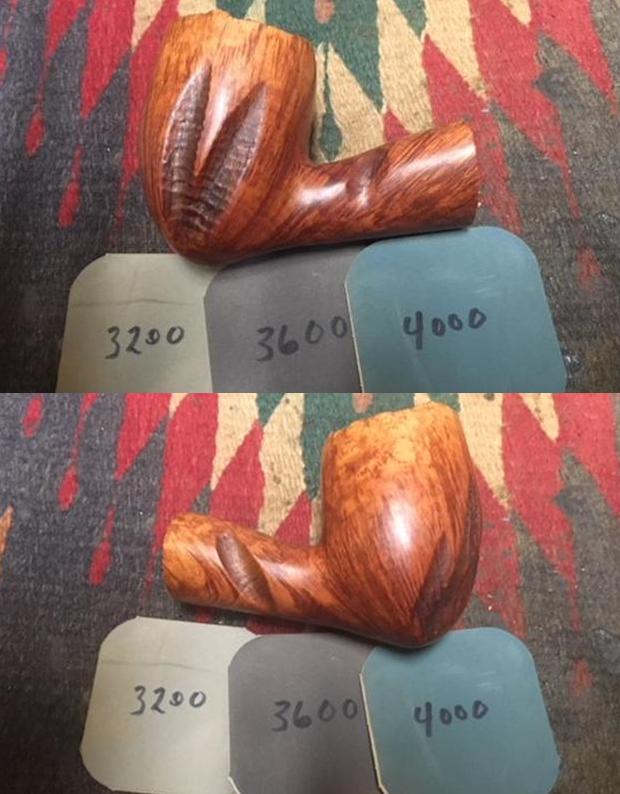
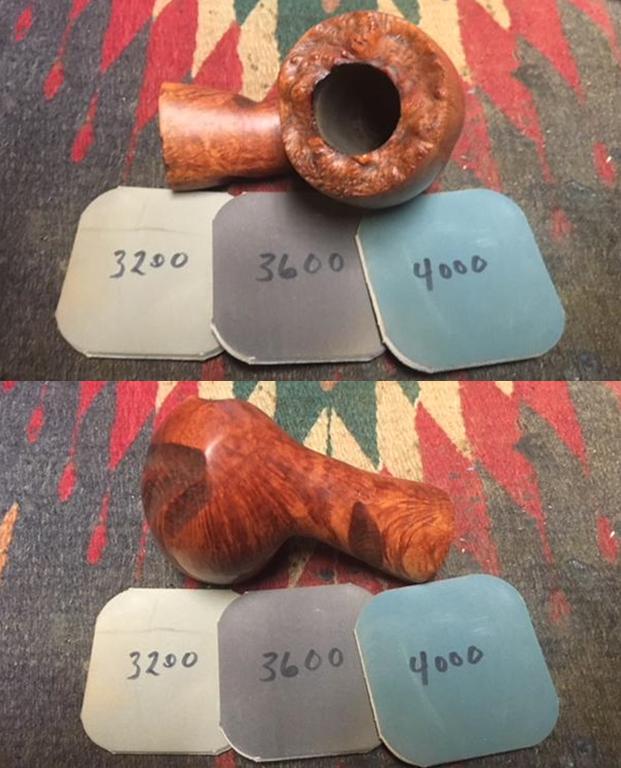
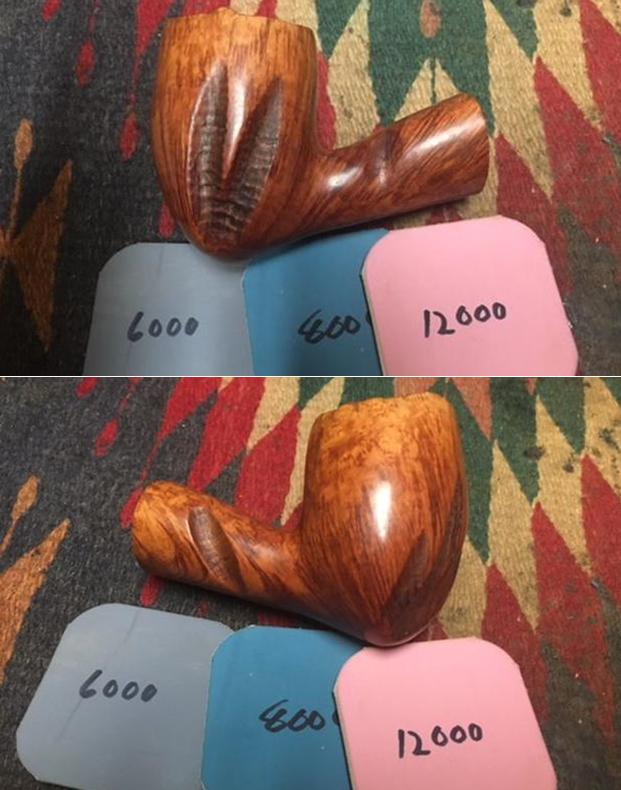
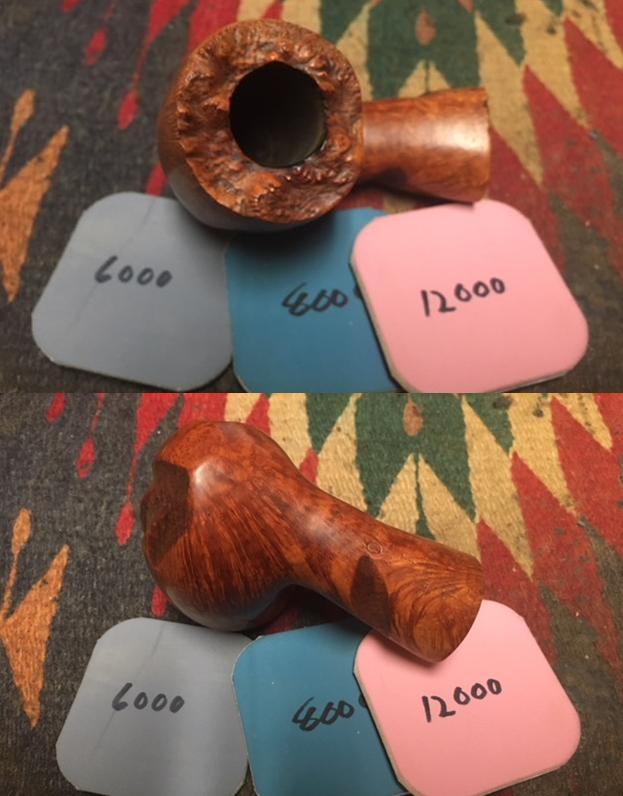
After rereading the previous blog I was pretty certain that the pipe I was working on was another one made by Kabik. I turned my attention to restoring the pipe. I started with the clean bowl, I rubbed the bowl down with Before & After Restoration Balm to deep clean the briar bowl and the rim top as well as the briar shank. The product works to clean, enliven and protect the briar. I hand rubbed it with my fingers, working it into the exterior of the pipe. I worked it into the plateau top with a horsehair shoe brush. I wiped it off and buffed it with a soft cloth to polish it. The pipe really began to have a rich shine. I took some photos of the bowl at this point to mark the progress in the restoration. I wrapped a piece of dowel with 220 grit sandpaper and sanded out the inside of the bowl to smooth the walls. I removed all of the remaining cake on the walls of the bowl.I set the bowl aside and turned my attention to the stem. I looked over the replacement stem and decided to not use it. I went through my stem collection and found a nice brown swirled acrylic stem that I thought would look good with the pipe bowl.  It was very similar to the stem on the other Granhill I worked on so I decided to use it instead. I took photos of the two stems side by side for comparison.I sanded the tenon end with a Dremel and sanding drum and smoothed it out with 220 grit sandpaper to adjust the tenon to the same diameter as the tenon on the replacement stem. It did not take too much work to adjust the fit to the shank.I sanded out the tooth marks out of both sides of the stem with 220 grit sandpaper. I worked over the surface with sandpaper to remove the tooth chatter, marks and to smooth out the surface. There were tooth deeper tooth marks on the top side of the stem that I would need to fill in and work on. I filled in the dents with clear super glue. Once the glue cured I sanded them smooth with 220 grit sandpaper to blend them into the surface of the acrylic. I polished the stem with micromesh sanding pads – wet sanding with 1500-2400 grit pads and dry sanding with 3200-12000 grit pads. I wiped the stem down after each pad with a damp cloth to remove the sanding dust on the acrylic. I polished the stem with Before & After Pipe Stem Polish – both Fine and Extra Fine and I set it aside to dry. I polished the briar with micromesh sanding pads – wet sanding with 1500-2400 grit pads and dry sanding with 3200-12000 grit pads. I wiped the bowl down with a damp cloth after each sanding pad to remove the sanding dust. Once I had finished with the last pad I wiped it down with a light coat of olive oil to collect the dust and to give some depth to the finish. I polished stem and bowl with Blue Diamond to polish out the remaining small scratches. I gave the bowl and the stem multiple coats of carnauba wax and buffed the pipe with a clean buffing pad to raise the shine. I hand buffed it with a microfiber cloth to deepen the shine. The pipe polished up pretty nicely. The plateau on the rim top and the smooth natural oiled finish work very well with the swirled brown acrylic stem. The finished pipe is shown in the photos below. While I have worked on other Michael Kabik pipes (a CHIP-X) this is the second Granhill pipe of his that I have restored. It is well crafted and is very similar to the CHIP-X that I worked on in the past. The shape, finish and flow of the pipe and stem are very well done. The dimensions are Length: 6 1/2 inches, Height: 2 1/4 inches, Outside diameter of the bowl: 1 3/4 inches, Chamber diameter: 3/4 inches. This one will be added to the rebornpipes store soon. If you are interested in adding it to your collection send me an email to slaug@uniserve.com or send me a message on Facebook. Thanks for walking through the restoration with me as I worked over this Granhill freehand.


Restoring a Sasieni Fantail


Blog by Paresh Despande

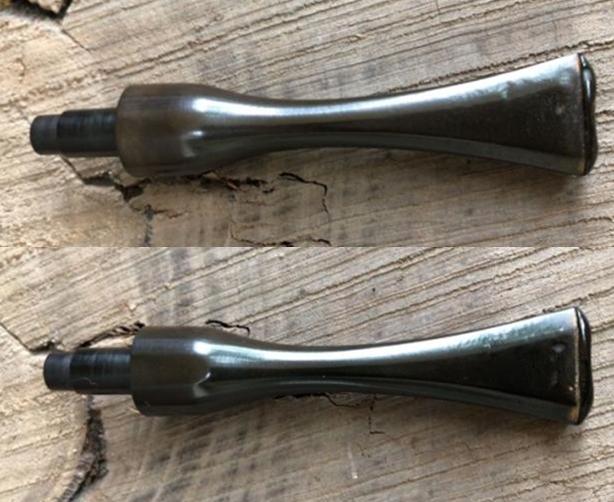
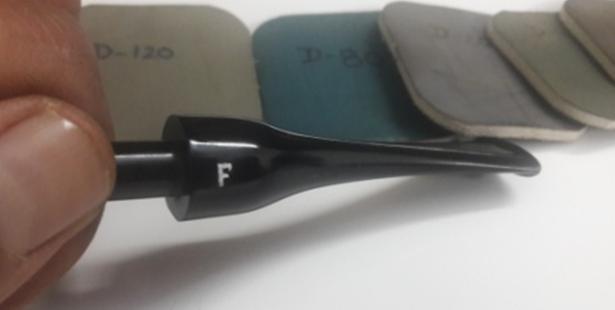
This large sized Sasieni was always on my mind to work on and I wanted to work on it at leisure as I wanted to do justice to this solid large piece of briar. What intrigued me was the shape of the stem towards the bore end where it flared out to a large extent which was made more pronounced due to pinching of the stem between the saddle and button end.

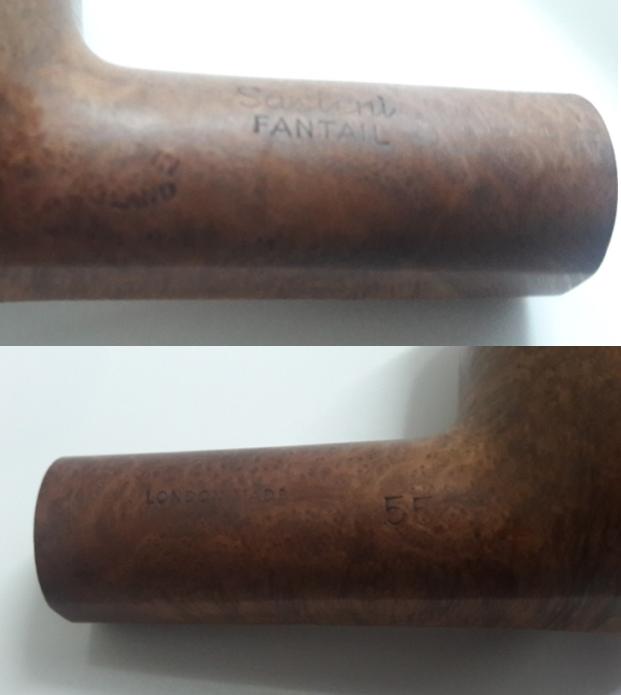
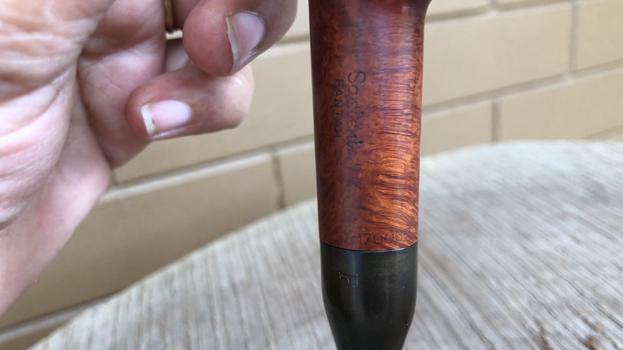
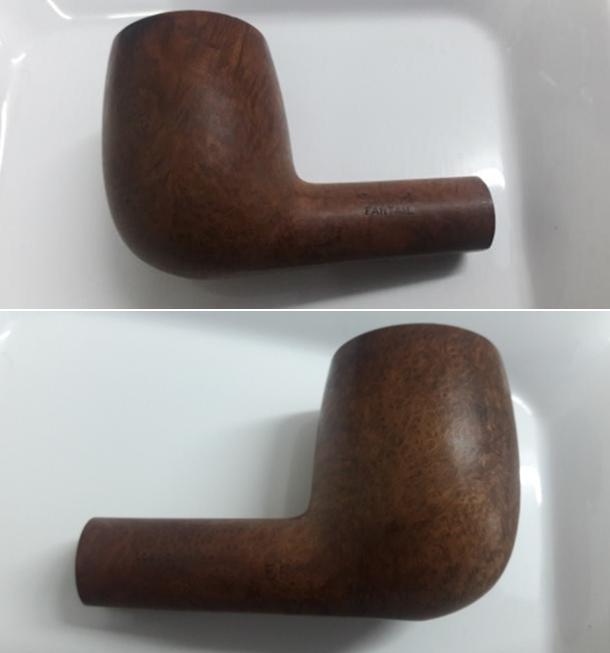
The pipe has beautiful, densely packed small sized birdseye grain on the right side of the stummel while the left side has a mix of straight and birdseye grains. The front and back of the stummel has densely packed cross grains. The shank has a flat bottom in the middle making it a sitter and has cross grains running across the top and bottom surface. Right and left side of the shank shows small, beautiful and densely packed birdseye. The shank, on the left side, bears the stamp of “Sasieni” over “FANTAIL” and football COM stamp of “MADE IN” over “ENGLAND” towards the bowl. At the edge of the shank where it meets the stem, it is stamped “PATD- 170067”, which has been circled in red. On the right side, it is stamped “LONDON MADE” with numeral “55” towards the bowl. The stem bears the stamp “F” on the left side of the saddle. Except for the PATD number, the stampings are crisp and clear. I wanted to gain some background information about this brand and unravel some detailed information and period it was made in, about this particular pipe that I have been working on. There are three sites I frequent for information, first being Pipedia.com, second is pipephil.eu and the third being rebornpipes.com. Over a period of time, I have realized that Mr. Steve Laug has been working on pipes for such a long time that there are hardly any brands and models that he has not worked on and so, instead of reinventing the wheel, I first visit rebornpipes to eke out necessary information I seek. Luckily for me, Mr. Steve had indeed worked on a Sasieni Fantail wire rusticated and has researched this pipe. Here is the link to the blog written by him for necessary information and is a highly recommended read, https://rebornpipes.com/2017/06/07/sasieni-fantail-wire-rusticated-patent-billiard/.

I now know that “FANTAIL” is a Sasieni second line pipe and is from the “Family Era” from the period 1946 to 1979. Mr. Steve, thank you Sir for allowing me to reproduce your work in my write up. Now, that my curiosity has been satiated, I progress to my visual inspection of the pipe.

INITIAL VISUAL INSPECTION

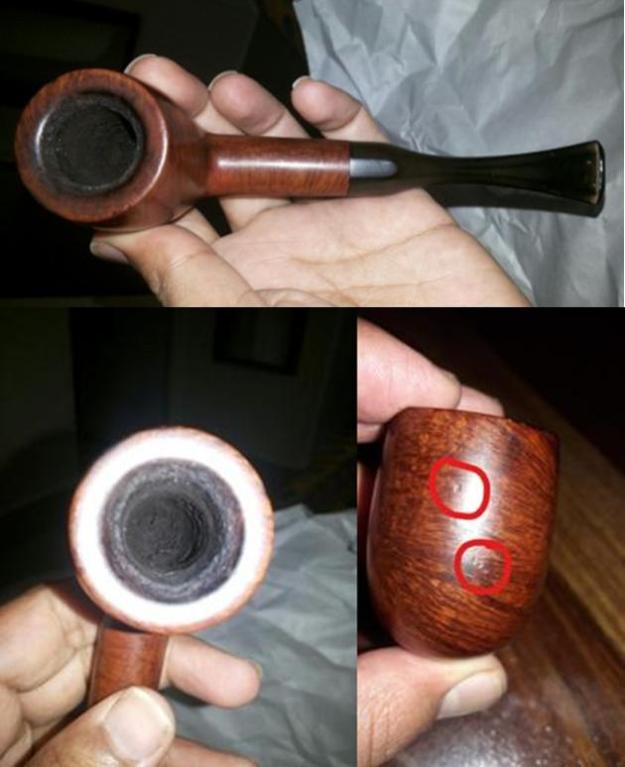
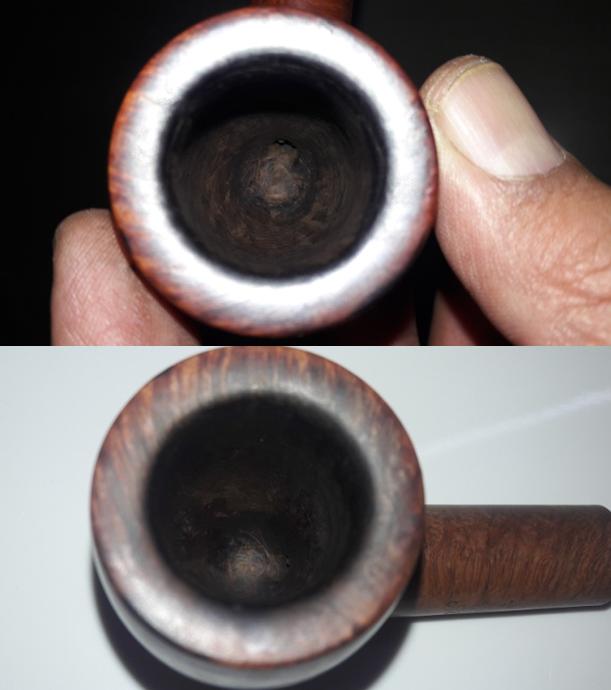
This large sized straight billiard has its stummel covered in dust, oils and grime giving it a dull and sad appearance. The front of the stummel has two chips and will need to be addressed. The chamber has a thick cake which has been evenly reamed to a nice thickness of a dime!!!!! Either my grand old man had learned to care for his pipe during later years or this one belonged to his friend!!!! The rim top is clean but shows some darkening along the entire surface. The inner and outer edges of the rim are intact. It has a faint sweet smelling cake. The mortise and shank is clogged and will require a thorough cleaning.It is the stem which has, comparatively, the most damage on this pipe. Both the surfaces have tooth chatter and a couple of deep bite marks. This needs to be addressed.

THE PROCESS

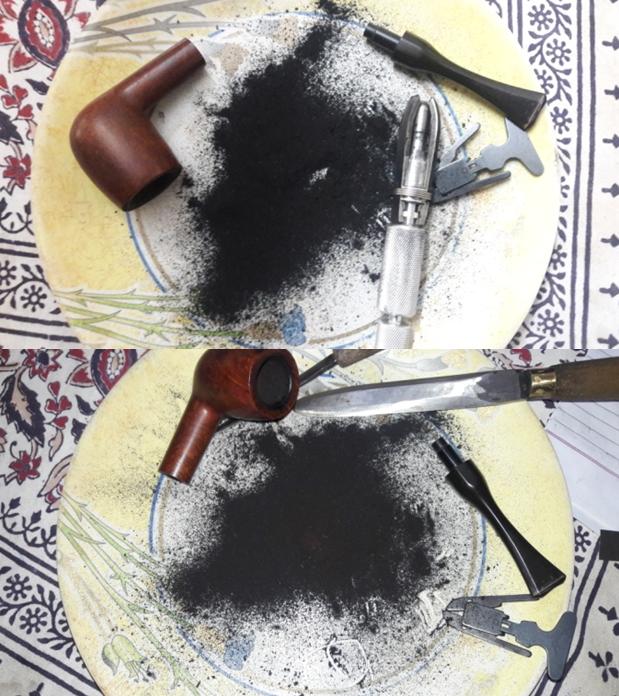
Now that I have moved out of my hometown for work, I sorely miss Abha’s help in cleaning the chamber and the stummel. I cleaned the chamber of all the cake by reaming it with a Kleen Reem pipe cleaner. With my fabricated knife, I scrap the bottom and the walls of the chamber of all the remaining cake taking it down to solid bare briar. To smooth out the surface and get rid of last remnant cake, I sand it down with a 220 grit sand paper. I cleaned the internals of the shank and mortise with pipe cleaners and cue tips dipped in isopropyl alcohol (99.9%). I use this alcohol as it evaporates rapidly and leaves no odor behind. The chamber is now clean, smooth and fresh smelling. The internal walls of the chamber are solid with no signs of burn out or heat fissures, which is definitely a big relief. I resorted to light sanding of the rim edges with 220 grit sand papers to remove the very minor dents and chips on the inner edges. The rim surface does show darkening all along. I address this issue and the issue of a dirty stummel by cleaning it with Murphy’s oil soap and a tooth brush. I rinse it under tap water and dried it with paper towels. Thereafter I sand the rim surface with micromesh pads, wet sanding with 1500 to 2400 grit pads and dry sanding with 3200 to 12000. I wipe down the rim surface with a moist cloth to get rid of the sanding dust.  I address the two chips in the front of the stummel by spot filling each chip with clear CA super glue. I let it cure overnight. Next day, with flat head needle file, I sand down these fills and further match these fills with the stummel surface using 400 and 800 grit sand papers. I am satisfied with the end result. Turning my attention to the stem, I clean the surfaces of the stem with alcohol and cotton pads. I sand the stem with a 220 grit sand paper to even out the minor tooth chatter and fill the deeper tooth bite marks with CA super glue and set it aside to cure for about a day. After the glue had cured, I sanded the fills with a flat head needle file. To further match the fills with the surface of the stem, I sanded it with 220, 400 and 800 grit sand paper. I wiped the stem with cotton pad dipped in alcohol to remove the resultant dust. I rubbed some extra virgin olive oil in to the stem and set it aside to be absorbed in to stem. I polished the stem with micromesh pads, wet sanding with 1500 to 2400 grit pads and dry sanding with 3200 to 12000. I rub a little extra virgin olive oil in to the stem after every three pads. I finish the polishing of the stem by rubbing a small quantity of Paragon wax and giving it a final polish with a soft cotton cloth. The stem is now nice, smooth and shiny. I fill the “F” stamp on the stem with whitener and carefully remove the extra smear, revealing a clear and bold stamp. Once I was satisfied with the stem repair, I started work on the stummel which has dried by now. I rub a small quantity of “Before and After Restoration Balm” in to briar and let it rest for a few minutes. The balm almost immediately works its magic and the briar now has a nice vibrant appearance. I further buff it with a horse hair shoe brush. To finish, using a cotton cloth and brute muscle power, I gave it a final polish. I re-attach the stem with the stummel. The completed pipe looks lovely, fresh and vibrant; the photographs speak for themselves. Thank you for having the patience to reach this far while reading the write up. Your comments are of utmost importance to me for improving my skills in restoration process as well as writing about it. Cheers!!!!!

PS: Apologies for poor quality of pictures. I will definitely try to work on it.

Restoring a Mystery Freehand – a Hand Made in Denmark. Is it a Preben Holm?


Blog by Steve Laug

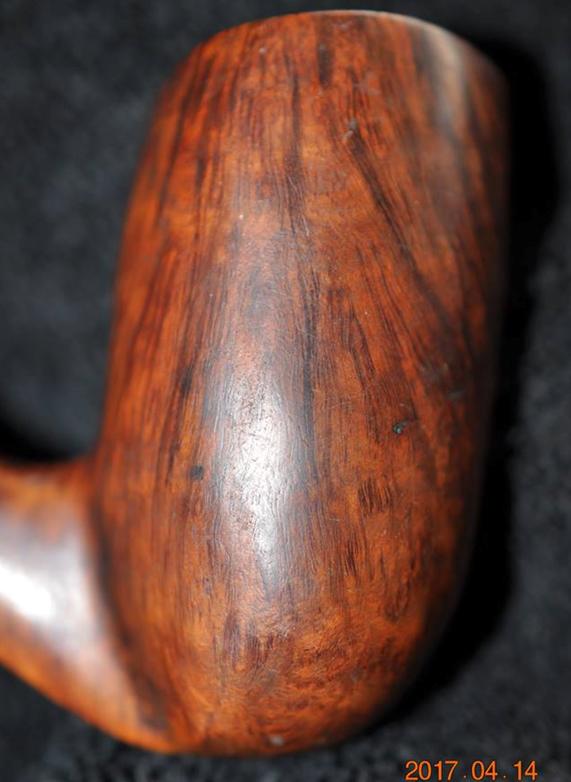
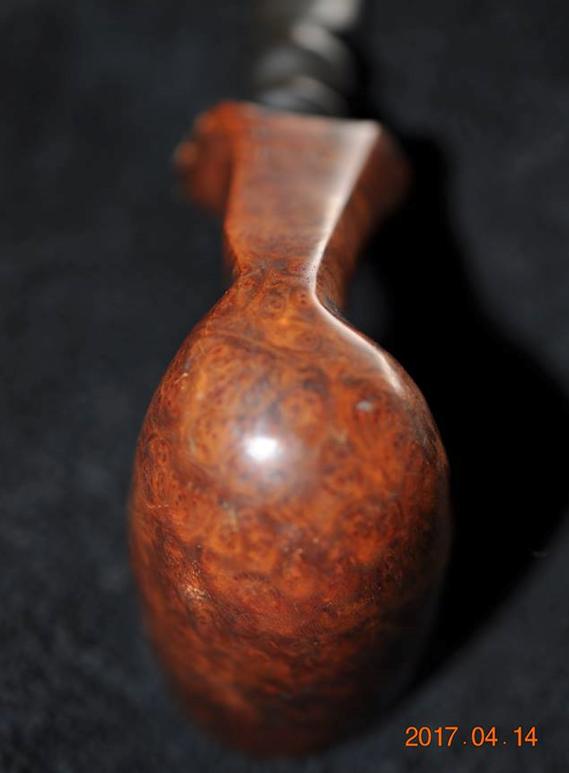
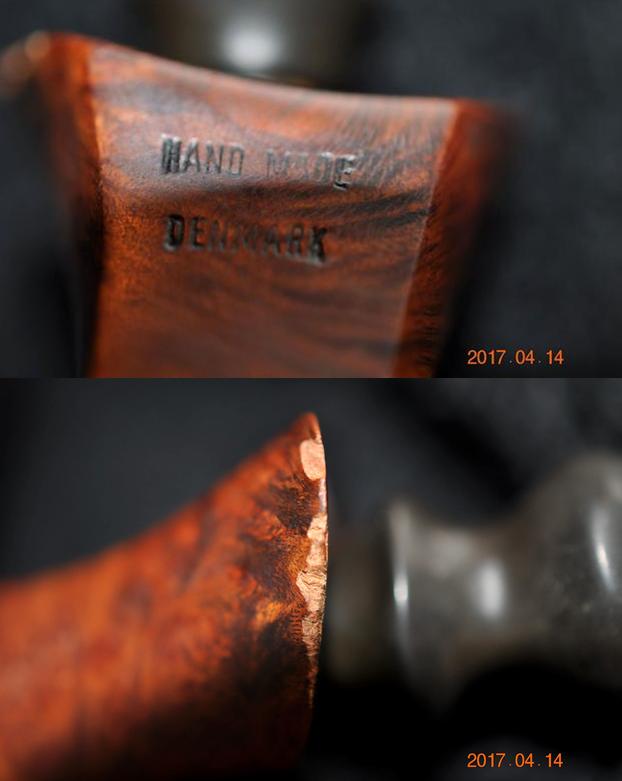
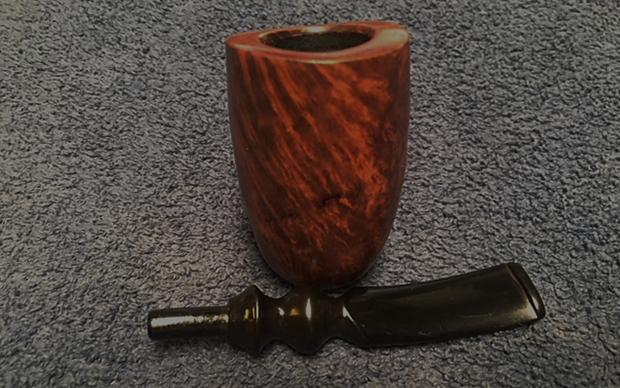
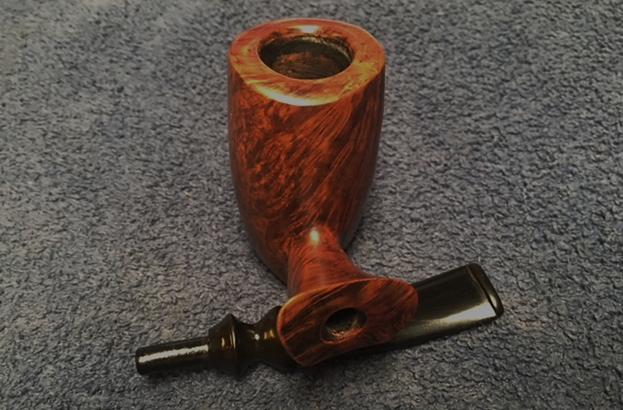
Jeff found this old pipe in an antique shop in Stevensville, Montana. He continues to show that he has an eye for old and unique pipes. This one is a tall, stack Freehand pipe with a large bowl and beautiful grain patterns around the sides of the bowl and shank. There is straight, flame and birdseye grain around the sides, top and bottom of the bowl. The rim cap is smooth and a mix of grain patterns. The finish was dirty but seemed to have a matte finish under the grime and grit. The rim top had an overflow of tars, oils – lava from the thick cake in the bowl. It was truly a mess but the buildup probably protected the inner and outer edges of the rim. It was stamped on the underside of the shank just ahead of where the stem is inserted. It is simply stamped Hand Made over In over Denmark. The stamping is identical to the stamping on Ben Wade Pipes that I have in my collection and something in my memory says I have read that somewhere. The stem has chair leg turnings that are similar to many freehand pipe stems. There is nothing stamped on the side or top of the stem. Jeff took photos of the pipe before he started his cleanup work. Jeff took some close up photos of the rim top to show the condition of the bowl and rim. There was some overflow of lava and dirt on the rim top and there was a pretty thick cake in the bowl. The pipe is quite tall and the cake went to the bottom of the bowl. The inner and outer edges looked to be in good condition.Jeff took photos of the bowl from various angles to show the condition of the finish. The beautiful grain is visible in the photos. The finish is dirty but looks good under the grime.   The stamping on the underside of the shank is clear and readable. It simply reads Hand Made with a faint stamp “In” below that followed by Denmark. The second and third photos below show the damage to the left edge of the shank. There were some chips and nicks in the finish. None were too deep in the briar so would need to rework that area of the shank. The stem was in decent condition. It was oxidized on both sides and there were some nicks and tooth marks and chatter on both sides near the button. There were no deep tooth marks which is really a relief.I reread the articles on Pipedia and Pipephil on both Preben Holm and Ben Wade pipes. I could not find the comment I was looking for on the Hand Made In Denmark stamp. So I would not have the luxury of knowing the history or who the carver was. Many things about the pipe made me still think it was a Ben Wade pipe but I may never know. I am hoping one of you who are reading this might have a clue for me.

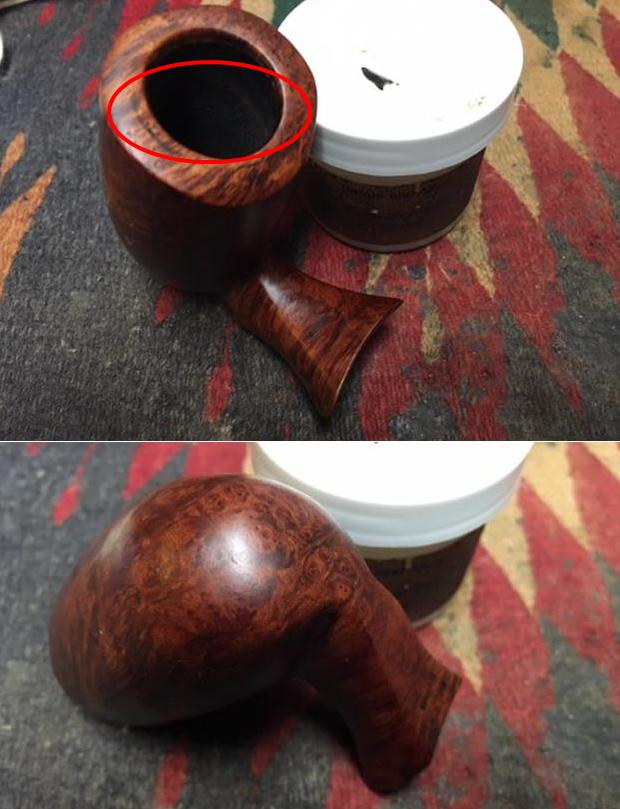
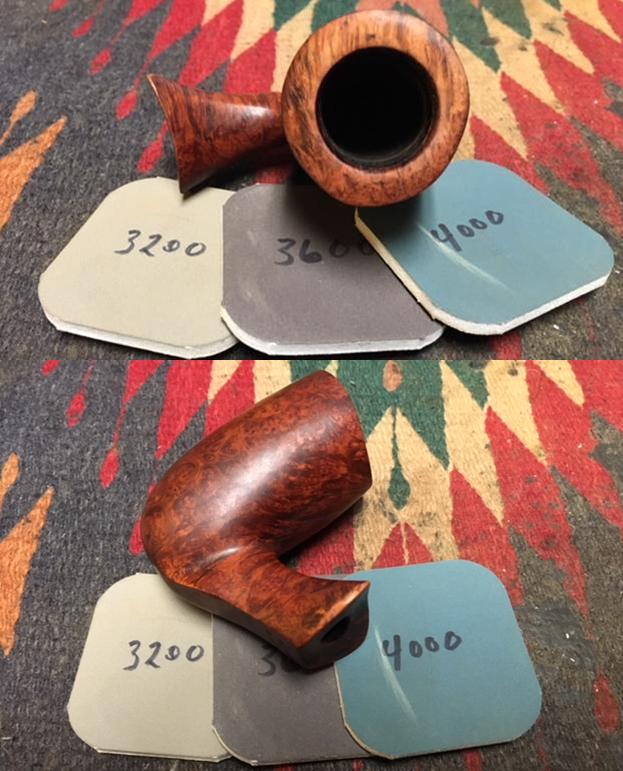
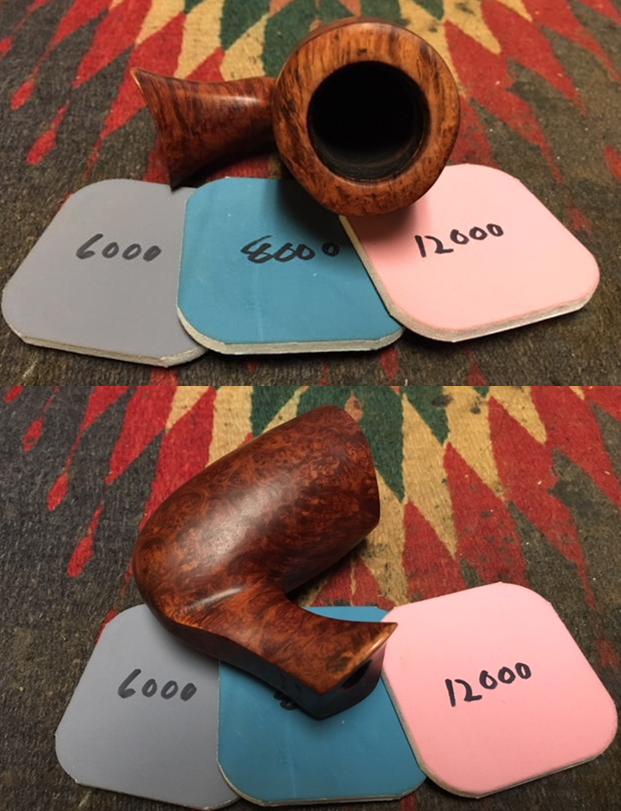
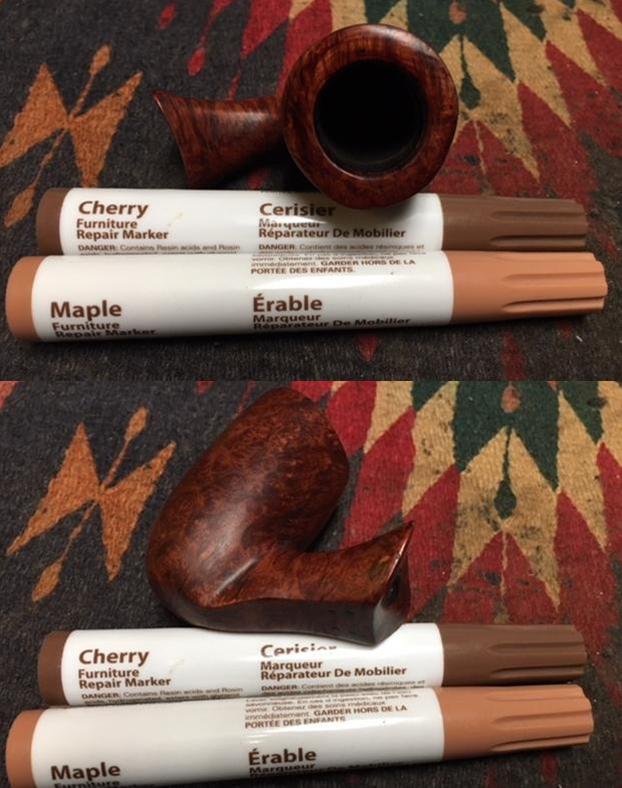
Jeff has become a magician in cleaning up pipes. When I get them they are clean to the point of looking almost new. It is nice to work on pipes that he has cleaned up once again. In this case he reamed it with a PipNet reamer and smoothed the walls of the bowl with a Savinelli Fitsall pipe knife. He scrubbed out the mortise and the airway in the shank and the stem with alcohol, cotton swabs and pipe cleaners. He scrubbed the exterior of the bowl, rim and shank with a tooth brush and Murphy’s Oil Soap to the oils and tars on the bowl, rim and shank. He rinsed it under running water. He dried it off with a soft cloth. He was able to remove all of the buildup on the rim top and the grime from the bowl. He soaked the stem in Before & After Deoxidizer and when it had done its work rinsed and cleaned the airway with pipe cleaners and alcohol. The tooth marks were clean but visible. I took photos of the pipe to show its condition before I started my work on it. I took some photos of the rim top to show what it looked like after Jeff had cleaned off the grime and tars. The briar was in good condition but there were some nicks and scratches in the flat top but none appeared too deep. The inner and outer edges of the bowl looked very good. The stem had cleaned up really well with the deoxidizer and need repair and polishing. It showed tooth marks on the underside and some chatter but it was otherwise in good condition. I decided to address the chips on the left side of the shank and reshape the shank end first. I sanded out the chips and reshaped the edge with a folded piece of 220 grit sandpaper. I shaped it to match the shape of the shank edge on the right side of the pipe. I worked on the end view as well. I wiped down the bowl with alcohol on cotton pads to remove the debris and dust from the clean up. I worked on the rim top as well to work on the darkening that was on different parts of the rim. I rubbed some Before & After Restoration Balm into the surface of the briar to enliven, clean and preserve it. I rubbed it in with my fingertips working it into the briar. I worked it into the edges of the shank and the bowl. I set it aside for a little while to let the balm do its work. I buffed it off with a cotton cloth. The photos below show the pipe at this point in the restoration process.The rim top still had some areas on the left side and back edge that would need to be worked on. You can see it as a line around the bowl. I have circled the area in red so that you can see what I am noting at this point.I worked on the rim top and the edge of the shank that I had reshaped with micromesh sanding pads. I wet sanded the rim top and the left side of the shank with 1500-2400 grit pads and was able to remove the circled damage on the rim and blend the edge of the shank. I polished it by dry sanding it with 3200-12000 grit sanding pads. I wiped the areas down after each pad with a damp cloth to remove the dust. I touched up the stain on the top of the rim and left edge of the shank to blend those areas into the colour on the rest of the pipe. I used a Maple and Cherry stain pen to approximate the colour of the pipe. I still need to buff the bowl and shank but the colour appears to be a perfect match. I buffed the bowl and shank with Blue Diamond on the buffing wheel and gave the bowl a coat of carnauba wax. I buffed it with a clean buffing pad to raise a shine and blend the stain into the rest of the finish. I took the following photos to show the bowl at this point in the process. I set aside the bowl and turned my attention to the stem. I wiped down the stem with alcohol and filled in the tooth marks on the top and underside with clear super glue. I set the stem aside to let the repairs cure.When the repairs cured I sanded them with 220 grit sandpaper to blend them into the surface of the vulcanite. I wiped it down with Obsidian Oil and took some photos of the stem at this point.I polished the stem using micromesh sanding pads – wet sanding with 1500-2400 grit pads and then buffing on the wheel with red Tripoli. I dry sanded the stem with 3200-12000 grit pads to further polish it. After each pad I wiped it down with Obsidian Oil to protect and enliven the stem. I polished it further with Before & After Pipe Polish – both Fine and Extra Fine. When I finished with the polish I gave it a final coat of oil and set it aside to dry. This smooth finished stack Freehand is an interesting and unusual piece. The Hand Made In Denmark stamp on the shank I think is one of Preben Holm’s marks but I cannot prove it. The shape of the pipe takes full advantage of the grain on the briar. The mix of grains – straight, flame and birdseye all work together to give this pipe a beautiful look from any direction it is viewed. The reddish brown of the bowl and the black of the vulcanite stem contrast well together. I buffed the bowl and the stem with Blue Diamond polish to raise the shine on the briar and the vulcanite. I was careful to not buff the stamping and damage it. I gave the bowl and the stem multiple coats of carnauba wax. I buffed the entire pipe with a clean buffing pad to raise the shine. I hand buffed it with a microfiber cloth to deepen the shine. The finished pipe is shown in the photos below. The dimensions of the pipe are: Length: 6 inches, Height: 2 3/4 inches, Outside Diameter: 1 1/2 inches, Diameter of the chamber: 7/8 of an inch. It is an interesting old pipe and should make a great collectible piece. Thanks for walking through the restoration with me.
Transforming a Dr. Grabow “Omega”


Blog by Paresh Deshpande

“Mirror, mirror on the wall, who is the prettiest of them all?” asked this “Omega”, looking deeply into my eyes!!!!! How I wish I could have promptly replied that it was “YOU”…. but I could not get myself to say so!!!!! It was then that I decided to work on this pipe and make an attempt at its transformation.

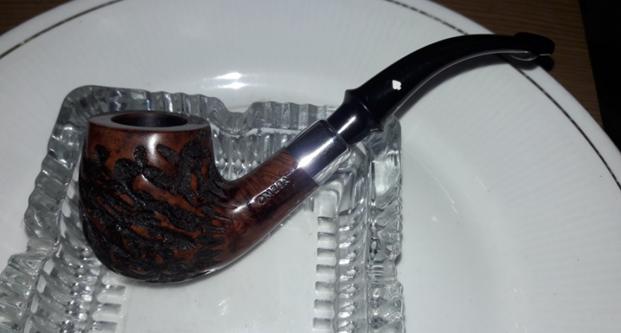
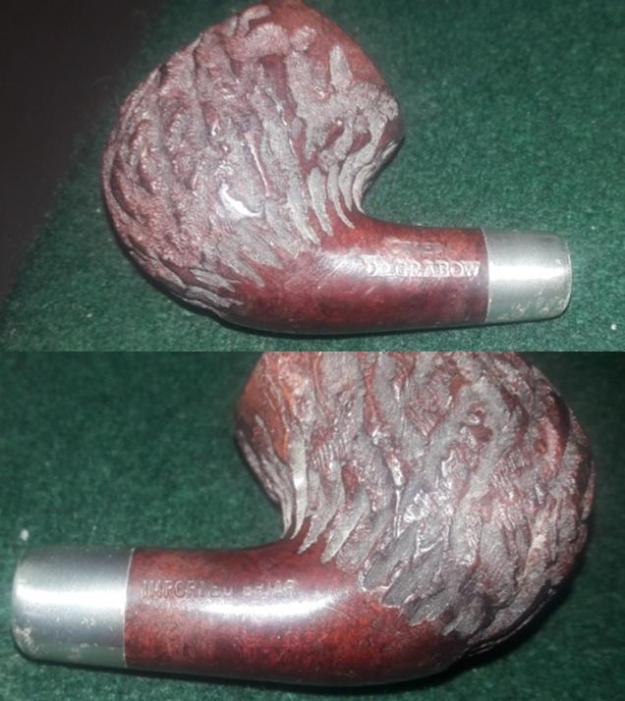
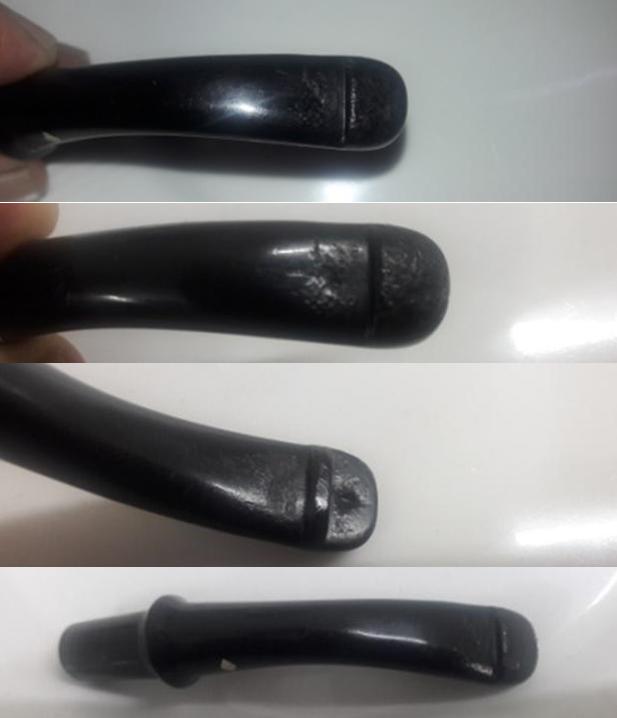
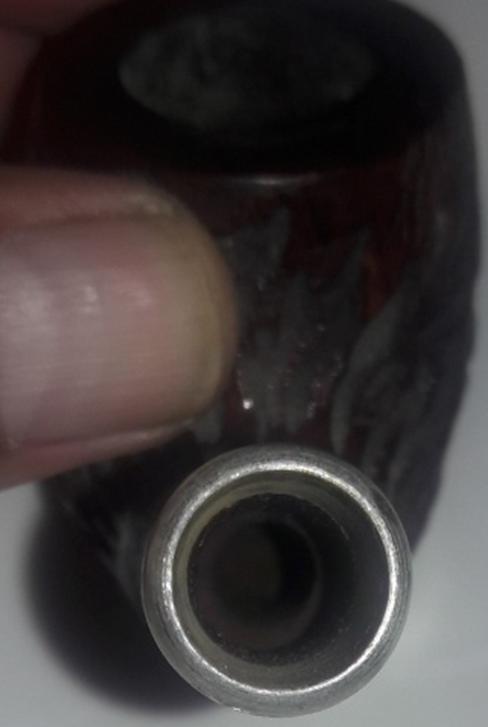
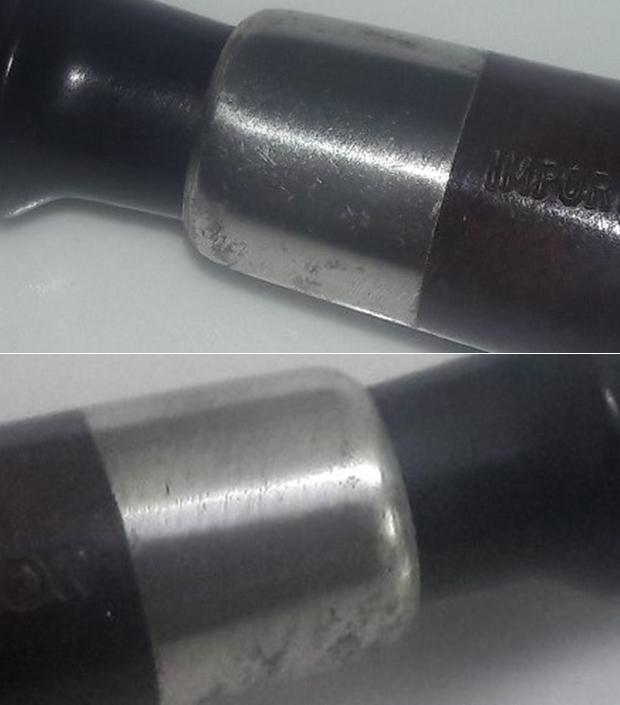
This bent billiards has “OMEGA” stamped on the left side of the shank over “DR. GRABOW” in block capital letters while on the right side it is stamped “IMPORTED BRIAR”. A nickel ferrule adorns the end of the shank and is devoid of any stampings. An “ACE OF SPADES” on the left side breaks the monotonous black of the stem. I searched pipedia.com for information about the brand and try to place the period when this model was introduced by Dr. Grabow. The site has very detailed information about the brand and various models and is a highly recommended read. I have extracted only the relevant portions here:-

Dr. Grabow pipes are the quintessential American brand. Made with care in the Blue Ridge Mountains of North Carolina, this 60-year-old line of inexpensive tobacco pipes is a favorite among new pipe smokers for its consistency and good taste. The famous smoking pipe brand gets its name from the owner Dr Grabow, a general physician who lived in Chicago.

Made in America since the 1930’s, Dr. Grabow tobacco pipes were named after “the good doctor” to help polish the smudged image of smoking a pipe to newly tobacco-leery American public. The line of pipes bearing Dr. Grabow’s name have become one of the best known pipe brands in North America.

The Dr Grabow pipes first began with Louis B Linkman of the M.Linkman and Co of Chicago. The trademark “Dr Grabow” itself actually begun at about 1932 and had the US patent number 1.896,800.

The birth of the Dr Grabow smoking pipe is simple enough. It started off when Dr Grabow himself and his acquaintance Dr Linkman regularly visited the local pharmacist at Brown’s Drug Store in Lincoln Park Chicago.

Dr Linkman was on the lookout for a doctor’s name to Christian an innovative line of pipes in order to mellow out the smoking apparel’s smoggy image. He asked Dr Grabow to allow him to use his name to which he agreed and the name has stuck since then. Linkman continued to manufacture his Dr Grabow pipes until 1953. 

The earliest of these exclusive pipes were stamped both with Linkman’s and Dr Grabow. They included a propeller emblem that was white in color at the top of the mouthpiece.

In 1944 the white propeller emblem was replaced with a white spade, a move that heralded the introduction of Linkman’s new Dr Grabow pipes. All of the newer entries included most of the earlier favorites as well as “TRU-GRAIN” and “SELECT”. Later models of Dr Grabow pipes were described as Imported Briar.

I further searched pipedia.com and found detailed and comprehensive information on the various lines and models of Dr. Grabow through the years and was able to date this Omega to 1975. Here is the link; https://pipedia.org/wiki/Dr._Grabow_Models_(Series,Line)_Names_Through_the_Years

INITIAL VISUAL INSPECTION

The first thing that struck me like a jolt was the reddish brown/ very dark reddish purple, OMG!!!! I cannot even describe the color of the stain on this pipe; it was that unappealing to the eye to say the least. It just surprises me as to why my grand old man even bought it, if he had indeed bought it. You just feel like turning away from it. To add to its color woes, the stummel is covered in dust and grime of storage from all these years. The stummel has Custombilt like rustication emanating from the joint where the shank and stummel meet and move away from the bottom towards the rim top. Within this rustication we have very fine thin lines. The raised portion of these rustication have the same reddish brown coloration while within these rustication, it has dark color. The shank is plain and devoid of any rustication. There appears to be some kind of coat covering the entire stummel. All said and done, this coloration has to go!!!!! How am I going to do it, I really do not know, but IT HAS TO GO!!!!!! The chamber is lightly caked and has overflow of lava on the rim top. This will have to be cleaned and sanded down if the rim top surface is damaged underneath the overflowing lava. The inner and outer edge has minor dents and dings.The stem appears to be ebonite and has a plastic feel to it. The stem is a copy of the famed Peterson’s P-Lip button with the difference in the bore being dead center on the end of the button as opposed to being on the top surface. It has extensive damage to the upper and lower surface of the lip. It is peppered with tooth chatter and has one deep bite mark each on both the surfaces. This will have to be addressed.The mortise is relatively clean and air flows freely through the airway in the pipe and shank.The nickel ferrule has lost its shine and shows minor spots of corrosion. I think it will polish up nicely.THE PROCESS

I had made a promise to this pipe that I shall make it “the prettiest of them all…” (Well, actually it was like “TRY” really) and thus the first and most logical start point was to address the color of the stummel. To make this pipe attractive, I felt that I should attempt to do the following:-

(a) Highlight the rustications.

(b) Get some shine on the stummel.

(c) Attempt to reveal the grains on the smooth shank.

(d) Highlight the contrast between the raised portions of the rustication with that of within the rustication.

Having identified what needs to be done, I turned my attention to how it could be done. SWOT analysis dictated that I needed to adopt processes which did not require any stains or coatings of lacquer as I did not have any. Also since I do not have any mechanical equipment, I had to adopt simpler and manual techniques. I decided that the best and easiest course of action for me would be to get rid of the original stain.

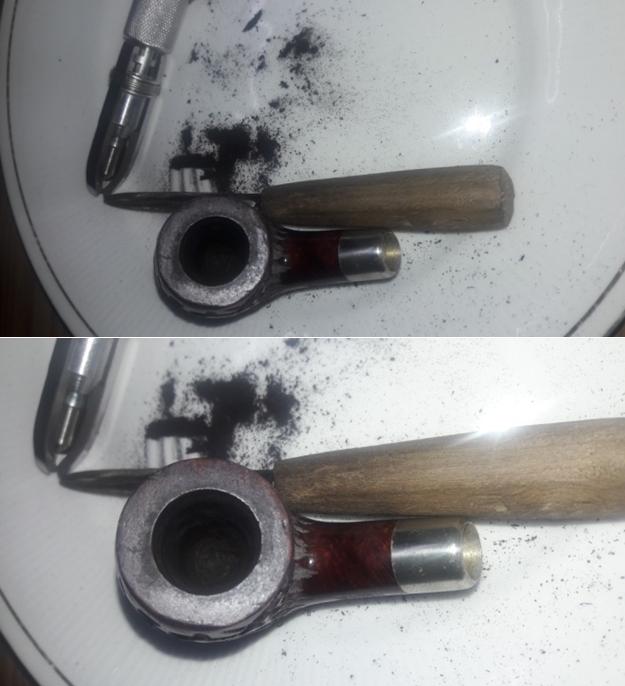
I started by reaming the chamber with a Kleen Reem pipe reamer and fabricated knife. I removed the complete cake from the chamber. I further sanded down the walls of the chamber with a 220 grit sand paper to smooth the walls and took the cake back down to the bare briar. I gently scraped out the little overflow of lava from the rim top. I also cleaned out the mortise and the shank with cue tips and pipe cleaners dipped in alcohol.Once the chamber was cleaned, I turned my attention to the stummel and tried to get rid of the lacquer coating. I started by wet sanding with a 1500 grit micromesh pad and soon realized that it would not work. I tried sanding with 800 grit sand paper without any success. Soon I found myself sanding the stummel with 150 grit sand paper. The lacquer was very difficult to get rid off and after a considerable time, I was finally able to completely remove the lacquer coating. Believe you me, my fingers had started to hurt and sitting at the table for 3-4 hours at a stretch caused cramps in my back. But the end result was pleasing.

Then began the arduous and time consuming process of sanding the stummel with micromesh pads. I proceeded to sand the stummel with micromesh pads, going through wet sanding with 1500-2400 pads and dry sanding with 3200- 12000 grit pads. I was very pleased with the way the stummel had turned out. I decided that I liked this finish and after further cleaning and polishing, the stummel would look just beautiful. Once I was through with micromesh pads, I cleaned the stummel with undiluted Murphy’s oil soap and tooth brush. I paid special attention to the deep areas of the rustication, thoroughly cleaning it with the brush. I dried the bowl with cotton cloth and paper towels.I rubbed “Before and After Restoration balm” in to the stummel with fingers deep into the rustications and let it rest for a few minutes before I buffed it with a horse hair brush. Finally, I polished the stummel with a soft cotton cloth and muscle power!!!! I also polished the nickel ferrule with a jeweler’s cloth. Luckily, the corrosion was superficial and polished up nicely. Turning my attention to the badly damaged stem, I start by cleaning it with cotton pads dipped in isopropyl alcohol. I flamed the stem surface with a Bic lighter to raise the tooth chatter. The deeper tooth chatter and bite marks were filled with clear CA superglue. Thereafter began the time consuming process of curing, sanding with flat head needle file, 220 grit sand paper and finally by micromesh pads. In all, I had to repeat the fill and sand procedure thrice before resorting to final polish using micromesh pads. I also cleaned out the internals of the stem with pipe cleaners dipped in alcohol. To finish the pipe, I rubbed a small quantity of Halcyon wax II on to the stummel and gave it a nice polish. The pipe now does look stunning. I love the way the pipe has turned out and I can proudly reply back to this Omega “IT’S YOU!!!!!!” The finished pipe is shown below.

Stem Repair on a Savinelli Silver


Blog by Paresh Deshpande

I have been simultaneously working on the stem repair of CHACOM PANACHE #44 (https://rebornpipes.com/2018/08/26/chacom-panache-44/) and this SAVINELLI SILVER. Both the pipes had similar damage to their stems; a gaping hole in the stem exposing airway of the stem. As stated in my write up on the former, I had primarily purchased these pipes to gain hands down experience in major stem repairs and stem reconstruction. That both these pipes were beautiful was an added bonus!!!!!

This fancy Dublin Sav has beautiful mixed grain on the right side of the bowl while the left side has lovely birdseye grain. The front and back of the bowl, lower and upper surface of the shank has nicely packed cross grains. A sterling silver band adorns this Sav and is stamped on the upper surface with “925” in an elongated hexagon over “SAVINELLI”. On the lower surface, this band is stamped as “STERLING” over “MOUNTED”. All stampings are in block capital letters. On top of the oval shank, towards the shank end, it bears the stamp “SAVINELLI” over “SILVER” while at the bottom, it is stamped with Savinelli shield, followed by “915”, followed by size “KS” over “ITALY” in block capital letters. The saddle stem bears the Sav Shield logo on top of the saddle. History of Savinelli pipes is very well documented on pipedia.com, however, due to a very large line up, frequent changes to models, shapes and finishes, I came to a halt when I tried to date this Savinelli. I earnestly request all the knowledgeable veterans of pipe world to share any bits and pieces of information on this pipe.

INITIAL VISUAL INSPECTION

The stummel is covered in oils and tars giving a dull and lifeless appearance to the pipe. There is no heavy build up of cake in the chamber and also overflow of lava on the rim top. However, a slight darkening is seen on the right side of the rim. Some scratches are also seen on the rim top which will need to be addressed. It is the stem which has the maximum damage. A large hole can be seen on the upper surface of the stem near the button end, exposing that portion of the airway. There are two deep bite marks on the upper surface of the stem. The button on both surfaces of the stem has been chewed and will need to be reconstructed.The mortise shows some accumulation of previously smoked tobacco oils and tars, but it is nothing as compared to some pipes which I have seen.The airway is not clogged and will only require minor cleaning.

THE PROCESS

Since I had worked on the stem of the CHACOM simultaneously with that of this Sav, the process and difficulties were the same. I would request those interested in knowing the travesties I encountered and overcoming these, to please read the write up on the stem repair of CHACOM PANACHE #44 (https://rebornpipes.com/2018/08/26/chacom-panache-44/). Here are the progressive pictures of the restoration process. Having finished the stem repair (some imperfections are seen, but cannot be discerned in person), I turn my attention to the stummel. I reamed out the chamber using a Kleen Reem pipe reamer and fabricated knife. I removed the complete cake from the chamber. I further sanded down the walls of the chamber with a 220 grit sand paper to smooth the walls and took the cake back down to the bare briar. I gently scraped out the little overflow of lava from the rim top.I cleaned out the internals of the shank with pipe cleaners and cue tips dipped in isopropyl alcohol. I wiped the inside of the chamber with cotton swabs dipped in alcohol. There was very little amount of cake and the shank was pretty clean too. It appears that though the pipe was well smoked as is apparent from the stem condition, it was well cared for.I cleaned the stummel with undiluted Murphy’s oil soap and a tooth brush. I washed the stummel under running water and dried it using paper towels and soft absorbent cotton cloth. Once the stummel had dried, I felt that the bowl was still appearing dull and lackluster. The grains, though visible, needed to be highlighted. To achieve the desired results, I sanded the stummel with micromesh pads, wet sanding with 1500 to 2400 grit pads and dry sanding with 3200 to 12000 grit pads. The rim top was also sanded down with micromesh pads to remove/ reduce the darkened areas. I wiped the bowl with a moist soft cotton cloth to remove the sanding dust after each pad. The stummel now looks beautiful with the grains on full display. I finished the bowl by rubbing “Before and After Restoration Balm” with my hands and polished it with a soft cotton cloth. The bowl now appears to be alive and the grains pop out and are on display to be enjoyed. This pipe, along with the CHACOM, will always find a place of pride in my collection for being first major stem repair project. The finished pipe is shown below.

Peterson’s System #314 Limited Edition


Blog by Paresh Deshpande

Having restored my grandfather’s Pete System # 31, Made in Eire, a few months back (for those who would be interested in reading the write up, here is the link: https://rebornpipes.com/2018/06/01/restoring-my-grandfathers-petersons-system-31-made-in-eire-billiard/), and after I had received my Pete System #307, Made in Eire, duly restored and in pristine condition from Mr. Steve Laug, I have been fascinated by Peterson System pipes. So while surfing eBay, I came across this Peterson System #314. What I found most interesting was the “LIMITED EDITION” stamp under the shank and the sterling silver ferrule!!!!

This Pete is a medium sized pipe with beautiful cross grains extending from the front and back of the bowl along the underside and top of the shank right up to the Sterling Silver ferrule at the shank end. Densely packed, beautiful birdseye adorn the sides of the pipe. The sterling silver ferrule is stamped “Peterson’s” in cursive hand over “DUBLIN” followed by “STERLING” over “SILVER” in block letters. This is followed by three hallmarks. The bowl is stamped on the left side as “PETERSON’S” with a forked “P” over “SYSTEM” in an arch while the right side is stamped with COM stamp of “MADE IN THE” over “REPUBLIC” over “OF IRELAND” in three lines followed by shape number “314”. The bottom of the shank is stamped “LIMITED” over “EDITION”. Yes, there are a large number of stampings on this pipe and all are clear and crisp. However, the stamping on the stem is conspicuous by its absence. It is felt that the more detailed the stampings on a pipe; the easier it is to accurately date it. But believe you me, Gentlemen and Ladies; this set of stampings set me on a wild goose chase!!! The reason for this was that the era of forked “P” in Peterson’s did not correspond with the COM stamp. Also the letter “K” in the silver hallmark date did not match with either the forked P or the COM stamp. Thus, I was unsure about dating this pipe when I spoke to my mentor, Mr. Steve of rebornpipes and he clarified the issue. I was informed that Petersons came out with limited edition pipes to commemorate a particular pipe and this particular specimen was to commemorate the System pipe. He further advised that the Hallmarks would help me date this piece.

With this input, I channeled my energies in that direction. The first thing I did was to check the Hallmarks that were seen on the silver ferrule. The same were as seen in the picture below and I have highlighted the letter “K” which will help in dating.Thereafter, I searched for hallmark charts and the Dublin Assay Office in particular and chanced upon a chart which I found most relevant and have highlighted the letter “K”. Thus, I can safely say that the pipe dates from 1997. It is also pertinent to mention that the now famous “P-LIP” invention by Peterson was in 1898!!!! Thus, could it be possible that this pipe was made by Petersons to commemorate 100 years of this revolutionary invention????? I don’t know!!!!Now that the issue of dating was settled, the forked “P” was still haunting me and led me to search for further inputs on this issue. I came across the under mentioned site and have extracted relevant portion from this site: http://thepetersoncollector.blogspot.com/2010/07/welcome-to-my-new-blog.html

The “Made in Ireland” block format (above) can be another headache in dating Peterson pipes since this stamp was used in the late Patent Era as well as the late 1940s. So for a guide we must take into consideration the style of lettering Peterson used on their pipes. From the start of the Patent Era until somewhere in the early 1930s, Peterson used the “Old Style” lettering that used a forked tail “P” in Peterson.

From then until now, Peterson used the more familiar script “P” (above) intermixed with a plain block letter “P.” Later in the 1970s, Peterson began production of “commemorative” pipes, often referred to as “replica” or “retro” pipes and these will also have the old style lettering but according to the pipes that we own and have seen, most of these will have a small difference in the original forked tail “P”. Again, there appears to be a cross-over with the old style forked tail and the later forked tail P’s (below). However, these commemorative pipes generally have a silver band with hallmarks so one can date these pipes by the hallmark.

Thus, my curiosity regarding the issue of COM stamp, forked P and hallmarks seen on this pipe were all tied up together and I proceeded to the next stage of my restoration process.

INITIAL VISUAL INSPECTION

The bowl is not very dirty but the beautiful grains are all dull and lackluster. However, all the stampings are very distinct, clear and crisp. The bowl has a decent build up of cake inside while the reservoir is completely clogged and filled with tar and gunk. The smell from the bowl was very strong, though sweet and will have to be addressed. Draught hole is clogged and air does not pass freely through it. The rim of the bowl has some overflowed tars, oils and grime but it’s not heavy. This should be easily addressed. However, the inner edge of the bowl has taken some serious beating and needs to be addressed.The stem is heavily oxidized with light bite marks near the lip on both surfaces. Air does not flow easily through the airway and will have to be cleaned. THE PROCESS

Abha started her work of cleaning the chamber by reaming it with a Kleen Reem pipe cleaner and followed it up with my own fabricated pipe knife, scrapping all the cake from the bottom and walls of the chamber. Once she reached the bare briar, she further scrapped the cake from the walls by sanding the chamber with a 220 grit sand paper. This also helps to even out the wall surfaces.Once the bowl was reamed down to its bare briar, it was evidenced that the inner edge of the rim was damaged and also there was a burn mark on the left side of the bowl in the 7 o’clock direction.The best way to tackle this issue was to lightly top the rim on a 220 grit sand paper and create a slight bevel on the inner edge of the rim. I was very deliberate and cautious while working the burn mark and scrapped the burnt briar to expose the solid wood. Once the topping was done and bevel created, I polished the rim top with the micromesh pads, wet sanding with 1500 to 2400 pads and dry sanding it with 3200 to 12000 grit pads. I was very satisfied with the result of this process. I turned my attention to cleaning the internals of the bowl. With regular and hard bristled pipe cleaners dipped in alcohol, I attempted to clean the draught hole and the reservoir. I soon realized that there is a lot more gunk and tars accumulated in the reservoir and hence used a spatula to dig out the oils and tars from it. I gave a thorough wipe down to the insides of the bowl and shank with cotton swabs dipped in isopropyl alcohol.The smell in the bowl was addressed by a salt and alcohol bath. I filled the bowl and shank with kosher salt keeping it slightly below the rim level. I filled it with isopropyl alcohol and left it overnight to do its magic. I usually seal the shank end with a plastic sheet tightly wrapped around a cue tip to avoid the alcohol from oozing out, but in this case since the shank is upturned, there was no need to do so. By next morning the salt is dark colored, more so the shank. I removed all the salt and with a pipe cleaner cleaned the bowl and shank of any residual salts. I blew through the draught hole to dislodge the trapped salts. I wiped the bowl clean and dried the shank and bowl with paper napkins and set it aside to dry for an entire day. By evening, the pipe was nice and dry and all the smells were history.While the bowl was drying, I worked on the stem. I started by flaming the surface of the stem with a Bic lighter. This helps to raise the minor tooth chatter and deeper bite marks to the surface to a great extent. I followed it up with sanding it down with a 220 grit sand paper. I took special care and efforts to enhance the lip and lip edges on both surfaces. To finish the stem restoration, I it with micromesh pads, wet sanding with 1500 to 2400 pads and dry sanding it with 3200 to 12000 grit pads. I wiped it down with Extra Virgin Olive oil in between the pads. The stem is now nice, shining and glossy black.I cleaned the bowl with undiluted Murphy’s oil soap and toothbrush and thereafter rinsed it under warm running water. I took care that water does not enter into the chamber and the mortise. Thereafter I dried the stummel with a paper napkin and a soft cotton cloth. Once the bowl had dried, I rubbed some “Before and After Restoration” balm in to the surface. The transformation is almost immediate. The bowl now has a nice lively sheen to it. I left it to rest for a few moments and then polished it with a soft cotton cloth. To finish, I rubbed a small quantity of PARAGON WAX in to the stummel and polished it by hand using a soft cotton cloth and reattached the stem. This wax was also rubbed on to the stem and polished again. The finished pipe is shown below. I sincerely hope that you have enjoyed reading this write up as much as I enjoyed working on it and writing and researching this pipe.

Rejuvenating a Svendborg Danish Hand Made Dublin 06 Barkentine


Blog by Steve Laug

I was emailing back and forth with John, a pipeman in Edmonton who wanted to sell of his pipes. He was cleaning up things and thought he would see if I was interested in them. He said that he had several Baris and a couple of Svendborgs that were in the lot and he wanted to move those out. He sent me photos of the pipes he had and we soon struck a deal. Since we were both in Canada it did not take long for the package to make its way to me. I opened it and went through his pipes to see what I had to work on. There were some pipe racks and accessories in the box as well. I went through the pipes and set them aside. Today I decided it was time to do some more work on the lot. I chose to work on the second of the Svendborg Hand Made Pipes – this one a squat Dublin. I have included the photos of the pipe that he sent to me before I purchased the lot. You can see that this was also a well-loved pipe and one that he smoked often. The finish on the sides and shank was in good condition but dirty. The rim top had an over flow of lava on the top but otherwise looked undamaged on the inner and outer edge. Under the tar and lava it looked like the rim top was in good condition. The contrast stain highlighted the beautiful grain on the briar. The bowl was caked and would need to be reamed but otherwise good condition. The stem was loose in the shank and I was able to move it side to side and up and down. The diameter of the shank and the diameter of the saddle on the stem were slightly different and there is not much that can be done due to the stamping on the underside and around the edge. I will need to tighten it up as much as possible and work on the alignment. The stem was oxidized and lightly pitted from the oxidation. There was tooth chatter on the underside of the stem near the button. I took the following photos of the pipe before I began the cleanup. (The two pipes came in an original Svendborg box that is marked Svendborg Bark. I learned from my work on the first pipe that it was the correct box for the pipe.) I took some close up photos of the rim top and the stem to show the condition of the pipe when I started. The rim top shows a thick buildup of tars and oils – lava from the inner edge of the bowl outward over most of the rim top. Other than the tar around the inner edge of the bowl the rim shows some nice grain. The stem surface is in good condition other than some oxidation and pitting on the surface of the blade. There was some tooth chatter on the underside of the stem near the button.I took photos of the stamping on the underside of the shank and around the stem/shank junction. On the underside it was stamped Svendborg over Danish over Hand Made. Like the previous Svendborg this one was stamped around the shank from the left side across the top edge it reads Barkentine. (Perhaps this is what the Bark name on the box that came with the pipe refers to.) On the right side it was stamped 06. The stamping was faint on the curves of the shank but was still readable. The left side of the saddle stem has a stylized squashed S stamp. You can see the stem alignment issue I mentioned above in the photos below.I am requoting the information I found when researching the previous Svendborg pipe.

When I am working on interesting old pipes (even sometimes those not so interesting) I like to know a bit about the background of the brand. I like to “meet” the carver to get a feel for their work and style. I don’t think I have worked on Svendborg pipes before so I felt compelled to do a bit of reading before I started the cleanup of the pipe.

I looked first on the Pipephil website (http://www.pipephil.eu/logos/en/logo-s14.html) to see what I could find. I have found through the years that it gives me a good summary of the information available and some pictures of some of the pipes from the brand. I have included a screen capture of the first pipe in the listing as it shows the logo on the stem and a bit of the stamping that is on the underside of the shank. From the site I learned that the “Brand founded in 1970s by Henrik Jørgensen, Poul Ilsted and Tao Nielsen. They bought an old factory (Nordisc Pibefabriker) in Svendborg on Funen Island. Poul and Tao gradually bowed out from machine manufactured pipes (1982) and Henrik Jørgensen manages the brand until its takeover by Design Berlin (D) in the late 90ies. Kaj C. Rasmussen jointed the firm for several years. 17 employees worked for this brand under Henrik Jørgensen direction.

That link gave me a bit of information on the brand – a joint venture of Henrik Jorgensen, Poul Ilsted and Tao Nielsen. I could see from the information that usually the carvers stamped their names on the shank of the pipe. In the case of the one I have there is no name stamp. My assumption is that the pipe was made after Ilsted and Nielsen bowed out which would put the date of the carving between 1982 and the late 90’s when Design Berlin took over. The Danish Hand Made stamping also confirms that assumption.

Next I turn to Pipedia for more information and detail (https://pipedia.org/wiki/Svendborg). I find that the articles there fill in some interesting information on the relationships and history of a given brand. In this case I found that also true. I quote pertinent pieces of the article.

Jens Tao Nielsen and Poul Ilsted Bech met each other when working together for Erik Nørding and soon became close friends. Both felt a bit tired to make nothing but bizarre fancy shapes and agreed they wanted to produce pipes of more style and more classicism. They decided to establish their own brand “Tao & Ilsted” – But how to do it?

A good fortune brought them in contact with Henrik Jørgensen, a passionate pipe lover and a wealthy Copenhagen banker who was willing to retire from bank business and change his career to become a pipemaker. The trio joined in 1969 and decided to start a new pipe brand together. Nielsen and Ilsted started to search for a suitable workshop while Jørgensen took care of the finances. In early 1970 the partners found an old, closed down pipe factory in Svendborg on Funen, and bought it shortly after for a mere 16.500 Danish Kroner. It was the earlier Nordic Pipe Factory – Nordisc Pibefabriker – maybe the oldest Danish pipe factory. And now it became the home of Svendborg Piber.

The young team started with the common difficulties but success came quite rapidly after they travelled Germany in search of a distributor and met Detlef Seiffert, senior partner of Seiffert Import Co., a major German wholesaler in Kassel. Seiffert, insisting on high quality standards, started placing considerable orders with the new factory and began to market the brand very successfully in Germany. Of course Seiffert – a relative of Harry Kapp, partner of Charles Peterson of the famous Dublin pipe house – used his international contacts to promote Svendborg furthermore.

The Funen crew designed many new models for him and after a couple of month (!) they employed up to 17 people. Tao Nielsen later gratefully remembered “the big chief’s whip”: “Without him we wouldn’t have made it, he gave us decisive support. He was like an engine – something that our business lacks today.”

But in spite of it’s magnificent success the trio fell apart after less than two years, when wilful Poul Ilsted stepped out declaring he didn’t want to make serial pipes anymore, but wanted to make individual specimens… Strange enough, he approached this aim returning to Nørding!

Ilsted’s argumentation doesn’t seem to be absolutely fair: even though Svendborg turned to produce mainly serial pipes under Seiffert’s influence each of the three partners was free to work on his very own one of a kind pieces as well! Since it was Seiffert’s basic idea to profit from – especially – Tao ‘s and Ilsted’s creativity to design new shapes. There are many knowledgeable collectors who confirm that these early Svendsborg pipes class among the most individual, innovating and exiting designs Danish pipecrafters created at that time…

The firm developed well and prospered throughout the 1970’s but around 1980 dissensions between Tao and Jørgensen occured. Tao: “Most pipes were delivered to the United States and whereby the Americans tried to dictate us the conditions. It was not only so that their taste and their view on aesthetics were simply horrible – no, moreover they wanted that the pipes should be as cheap as possible. That did not suit my plans at all, for I strove for high quality and artistic freedom in the end.”

Tao and Jørgensen, who tended to accommodate the US customers’ wishes, could not find a compromise on their different opinions, and so Tao left the firm in 1981 and opened his own pipe workshop near the harbour of Svendborg.

…Henrik Jørgensen continued Svendborg Piber bravely for more than a decade on his own until he finally sold the brand to Seiffert around the midst of the 1990’s. Seiffert, focusing on their mainstay brand Sillem’s, sold Svendborg – a ghost brand now – again before 2000 and the current owner is Planta’s Design Berlin.

That gives a good picture of the history and development of the Svendborg brand and the connection to some of the great carvers of Danish pipe history. Armed with that information I turned to work on the pipe in hand.

I started my cleanup of this pipe by working on the internals. I reamed out the cake with a Savinelli Fitsall Pipe Knife and took the cake back to the bare briar. I sanded the walls in the bowl with a piece of dowel wrapped with 220 grit sandpaper to smooth the walls.I used the edge of the Savinelli Fitsall knife to scrape away the lava from the top of the rim. It was quite thick so I proceeded cautiously so as not to damage the gentle crown of the rim top. Once I had it scraped away as much as possible I wiped down the surface of the rim with alcohol on a cotton pad and then sanded the rim top with 1500 grit micromesh sanding pads to remove the last vestige of the lava coat. I polished the rim top with micromesh sanding pads – wet sanding with 1500-2400 grit pads and wiping the rim down with a damp cloth after each pad. I continued polishing with micromesh pads – dry sanding with 3200-12000 grit pads, wiping down he rim after each pad. The rim really began to shine. I rubbed some Before & After Restoration Balm into the surface of the briar to enliven, clean and preserve it. I set it aside for a little while to let the balm do its work. I buffed it off with a cotton cloth and then buffed it with a microfiber cloth. The photos below show the pipe at this point in the restoration process. I scraped the mortise walls with a sharp pen knife to remove the lacquer build up from tobacco juices and oils. It was thickly coated. Once I had that finished I cleaned out the mortise and the airway in the shank with cotton swabs, pipe cleaners and alcohol. It was dirty but I was surprised it was as clean as it was all things considered. I cleaned the airway in the stem the same way as the shank. I set the bowl aside and turned my attention to the stem. I sanded the surface of the stem with 220 grit sandpaper to remove the pitting on the top surface of the stem and the light tooth chatter on the underside stem. I wiped the stem down with Obsidian Oil to get a clear picture of how the stem looked at this point. Once again under the watchful eye of my shop supervisor, Spencer (my 14 year old Cocker Spaniel) I polished the stem using micromesh sanding pads – wet sanding with 1500-2400 grit pads dry sanding with 3200-12000 grit pads. After each pad I wiped it down with Obsidian Oil to protect and enliven the stem. Spencer sits next to my desk/work table whenever I am working on pipes. Periodically he will knock me on the leg for a treat I keep on top of the desk just for these occasions. Mostly though he just watches me work and when I get up for a break follows me like a shadow. I will miss his presence once he is gone but for now he continues to go strong. Back to the pipe, I polished it further with Before & After Pipe Polish – both Fine and Extra Fine. When I finished with the polish I gave it a final coat of oil and set it aside to dry. This second Svendborg Danish Hand Made Dublin is another beauty with swirling, straight and flame grain all around the bowl. As with the other pipe there are spots where birdseye peeks through and highlights the complexity of the grain. The smooth rim is quite nice and has some swirls of grain undulating in the briar. The contrast browns of the bowl look really good with the black of the polished square vulcanite saddle stem. I buffed the bowl and the stem with Blue Diamond polish to raise the shine on the briar and the vulcanite. I was careful to not buff the stamping and damage it. I gave the bowl and stem multiple coats of carnauba wax. I buffed the entire pipe with a clean buffing pad to raise the shine. I hand buffed it with a microfiber cloth to deepen the shine. The finished pipe is shown in the photos below. The dimensions of the pipe are: Length: 5 1/2 inches, Height: 1 1/2 inches, Outside Diameter: 1 3/4 inches, Diameter of the chamber: ¾ of an inch. This is the second of the two Svendborg pipes that I am working on. It is a well-made pipe with interesting finishing and a comfortable stem. I will be adding it to the rebornpipes store shortly if you are interested in adding it to your rack. Thanks for walking through the restoration with me.


Restoring a Svendborg Danish Hand Made Dublin 272 Barkentine


Blog by Steve Laug

I was emailing back and forth with John, a pipeman in Edmonton who wanted to sell of his pipes. He was cleaning up things and thought he would see if I was interested in them. He said that he had several Baris and a couple of Svendborgs that were in the lot and he wanted to move those out. He sent me photos of the pipes he had and we soon struck a deal. Since we were both in Canada it did not take long for the package to make its way to me. I opened it and went through his pipes to see what I had to work on. There were some pipe racks and accessories in the box as well. I went through the pipes and set them aside. Today I decided it was time to do some more work on the lot. I chose to work on the first of the Svendborg Hand Made Pipes – this one a Dublin. I have included the photos of the pipe that he sent to me before I purchased the lot. You can see that it was a well-loved pipe and one that he smoked often. The finish on the sides and shank was in good condition but dirty. The rim top had an over flow of lava on the top but otherwise looked undamaged on the inner and outer edge. Under the tar and lava it looked like the rim top was in good condition. The contrast stain highlighted the beautiful grain on the briar. The bowl was caked and would need to be reamed but otherwise good condition. The stem was oxidized and lightly pitted from the oxidation. There was a light tooth mark and some tooth chatter on the underside of the stem near the button. I took the following photos of the pipe before I began the cleanup. (The pipe came in an original Svendborg box that is marked Svendborg Bark. I assumed that it was the incorrect box but I may find out differently once I work on the pipe.) I took some close up photos of the rim top and the stem to show the condition of the pipe when I started. The rim top shows a thick buildup of tars and oils – lava from the inner edge of the bowl outward over most of the rim top. Other than the tar around the inner edge of the bowl the rim shows some nice grain. The stem surface is in good condition other than some oxidation and pitting on the surface of the blade. There are also some tooth marks on the underside of the stem near the button.I took photos of the stamping on the underside of the shank and around the stem/shank junction. On the underside it was stamped Svendborg over Danish over Hand Made. Stamped around the shank from the left side across the top edge it reads Barkentine. (Perhaps this is what the Bark name on the box that came with the pipe refers to.) The stamping was faint on the curves of the shank but was still readable. The left side of the saddle stem has a stylized squashed S stamp.When I am working on interesting old pipes (even sometimes those not so interesting) I like to know a bit about the background of the brand. I like to “meet” the carver to get a feel for their work and style. I don’t think I have worked on Svendborg pipes before so I felt compelled to do a bit of reading before I started the cleanup of the pipe.

I looked first on the Pipephil website (http://www.pipephil.eu/logos/en/logo-s14.html) to see what I could find. I have found through the years that it gives me a good summary of the information available and some pictures of some of the pipes from the brand. I have included a screen capture of the first pipe in the listing as it shows the logo on the stem and a bit of the stamping that is on the underside of the shank. From the site I learned that the “Brand founded in 1970s by Henrik Jørgensen, Poul Ilsted and Tao Nielsen. They bought an old factory (Nordisc Pibefabriker) in Svendborg on Funen Island. Poul and Tao gradually bowed out from machine manufactured pipes (1982) and Henrik Jørgensen manages the brand until its takeover by Design Berlin (D) in the late 90ies. Kaj C. Rasmussen jointed the firm for several years. 17 employees worked for this brand under Henrik Jørgensen direction.

That link gave me a bit of information on the brand – a joint venture of Henrik Jorgensen, Poul Ilsted and Tao Nielsen. I could see from the information that usually the carvers stamped their names on the shank of the pipe. In the case of the one I have there is no name stamp. My assumption is that the pipe was made after Ilsted and Nielsen bowed out which would put the date of the carving between 1982 and the late 90’s when Design Berlin took over. The Danish Hand Made stamping also confirms that assumption.

Next I turn to Pipedia for more information and detail (https://pipedia.org/wiki/Svendborg). I find that the articles there fill in some interesting information on the relationships and history of a given brand. In this case I found that also true. I quote pertinent pieces of the article.

Jens Tao Nielsen and Poul Ilsted Bech met each other when working together for Erik Nørding and soon became close friends. Both felt a bit tired to make nothing but bizarre fancy shapes and agreed they wanted to produce pipes of more style and more classicism. They decided to establish their own brand “Tao & Ilsted” – But how to do it?

A good fortune brought them in contact with Henrik Jørgensen, a passionate pipe lover and a wealthy Copenhagen banker who was willing to retire from bank business and change his career to become a pipemaker. The trio joined in 1969 and decided to start a new pipe brand together. Nielsen and Ilsted started to search for a suitable workshop while Jørgensen took care of the finances. In early 1970 the partners found an old, closed down pipe factory in Svendborg on Funen, and bought it shortly after for a mere 16.500 Danish Kroner. It was the earlier Nordic Pipe Factory – Nordisc Pibefabriker – maybe the oldest Danish pipe factory. And now it became the home of Svendborg Piber.

The young team started with the common difficulties but success came quite rapidly after they travelled Germany in search of a distributor and met Detlef Seiffert, senior partner of Seiffert Import Co., a major German wholesaler in Kassel. Seiffert, insisting on high quality standards, started placing considerable orders with the new factory and began to market the brand very successfully in Germany. Of course Seiffert – a relative of Harry Kapp, partner of Charles Peterson of the famous Dublin pipe house – used his international contacts to promote Svendborg furthermore.

The Funen crew designed many new models for him and after a couple of month (!) they employed up to 17 people. Tao Nielsen later gratefully remembered “the big chief’s whip”: “Without him we wouldn’t have made it, he gave us decisive support. He was like an engine – something that our business lacks today.”

But in spite of it’s magnificent success the trio fell apart after less than two years, when wilful Poul Ilsted stepped out declaring he didn’t want to make serial pipes anymore, but wanted to make individual specimens… Strange enough, he approached this aim returning to Nørding!

Ilsted’s argumentation doesn’t seem to be absolutely fair: even though Svendborg turned to produce mainly serial pipes under Seiffert’s influence each of the three partners was free to work on his very own one of a kind pieces as well! Since it was Seiffert’s basic idea to profit from – especially – Tao ‘s and Ilsted’s creativity to design new shapes. There are many knowledgeable collectors who confirm that these early Svendsborg pipes class among the most individual, innovating and exiting designs Danish pipecrafters created at that time…

The firm developed well and prospered throughout the 1970’s but around 1980 dissensions between Tao and Jørgensen occured. Tao: “Most pipes were delivered to the United States and whereby the Americans tried to dictate us the conditions. It was not only so that their taste and their view on aesthetics were simply horrible – no, moreover they wanted that the pipes should be as cheap as possible. That did not suit my plans at all, for I strove for high quality and artistic freedom in the end.”

Tao and Jørgensen, who tended to accommodate the US customers’ wishes, could not find a compromise on their different opinions, and so Tao left the firm in 1981 and opened his own pipe workshop near the harbour of Svendborg.

…Henrik Jørgensen continued Svendborg Piber bravely for more than a decade on his own until he finally sold the brand to Seiffert around the midst of the 1990’s. Seiffert, focusing on their mainstay brand Sillem’s, sold Svendborg – a ghost brand now – again before 2000 and the current owner is Planta’s Design Berlin.

That gives a good picture of the history and development of the Svendborg brand and the connection to some of the great carvers of Danish pipe history. Armed with that information I turned to work on the pipe in hand.

I started my cleanup of this pipe by working on the internals. I reamed out the cake with a Savinelli Fitsall Pipe Knife and took the cake back to the bare briar. I sanded the walls in the bowl with a piece of dowel wrapped with 220 grit sandpaper to smooth the walls. I used the edge of the Savinelli Fitsall knife to scrape away the lava from the top of the rim. It was quite thick so I proceeded cautiously so as not to damage the gentle crown of the rim top. Once I had it scraped away as much as possible I wiped down the surface of the rim with alcohol on a cotton pad and then sanded the rim top with 1500 grit micromesh sanding pads to remove the last vestige of the lava coat. I polished the rim top with micromesh sanding pads – wet sanding with 1500-2400 grit pads and wiping the rim down with a damp cloth after each pad. I continued polishing with micromesh pads – dry sanding with 3200-12000 grit pads, wiping down the rim after each pad. The rim really began to shine. I rubbed some Before & After Restoration Balm into the surface of the briar to enliven, clean and preserve it. I rubbed it in with my fingertips working it into the briar. I set it aside for a little while to let the balm do its work. I buffed it off with a cotton cloth and then buffed it with a microfiber cloth. The photos below show the pipe at this point in the restoration process. I scraped the mortise walls with a sharp pen knife to remove the lacquer build up from tobacco juices and oils. It was thickly coated. Once I had that finished I cleaned out the mortise and the airway in the shank with cotton swabs, pipe cleaners and alcohol. It was dirty but I was surprised it was as clean as it was all things considered. I cleaned the airway in the stem the same way as the shank.I set the bowl aside and turned my attention to the stem. I sanded the surface of the stem with 220 grit sandpaper to remove the pitting on the top surface of the stem and the light tooth chatter on the underside stem. I wiped the stem down with Obsidian Oil to get a clear picture of how the stem looked at this point.

Under the watchful eye of my shop supervisor, Spencer (my 14 year old Cocker Spaniel) I polished the stem using micromesh sanding pads – wet sanding with 1500-2400 grit pads dry sanding with 3200-12000 grit pads. After each pad I wiped it down with Obsidian Oil to protect and enliven the stem. Spencer sits next to my desk/work table whenever I am working on pipes. Periodically he will knock me on the leg for a treat I keep on top of the desk just for these occasions. Mostly though he just watches me work and when I get up for a break follows me like a shadow. I will miss his presence once he is gone but for now he continues to go strong. Back to the pipe, I polished it further with Before & After Pipe Polish – both Fine and Extra Fine. When I finished with the polish I gave it a final coat of oil and set it aside to dry. This first Svendborg Danish Hand Made Dublin is a beauty with swirling, straight and flame grain all around the bowl. There are spots where birdseye peeks through and highlights the complexity of the grain. The smooth rim is quite nice and has some swirls of grain undulating in the briar. The contrast browns of the bowl look really good with the black of the polished vulcanite stem. I buffed the bowl and the stem with Blue Diamond polish to raise the shine on the briar and the vulcanite. I was careful to not buff the stamping and damage it. I gave the bowl and stem multiple coats of carnauba wax. I buffed the entire pipe with a clean buffing pad to raise the shine. I hand buffed it with a microfiber cloth to deepen the shine. The finished pipe is shown in the photos below. The dimensions of the pipe are: Length: 5 1/4 inches, Height: 2 inches, Outside Diameter: 1 3/4 inches, Diameter of the chamber: ¾ of an inch. This is the first of two Svendborg pipes that I am working on. It is a well-made pipe with interesting finishing and a comfortable stem. I will be adding it to the rebornpipes store shortly if you are interested in adding it to your rack. Thanks for walking through the restoration with me.

Restoration of a deeply loved Chacom Rallye


Blog by Roberto Castiglioni

Over the past month I have corresponded with Rob about a variety of things about restoration processes and procedures. He is a great guy! When he sent me photos of his work on this pipe I wrote and asked him to write it up for rebornpipes. Without further words on my part his is Rob. Welcome to rebornpipes. — Steve

Bizarre hobbies like these prove that nothing is too arcane for humans. Fortunately, the insane have valiantly stepped up to plug that gap.

Seeing a dirty and damaged pipe come back to life makes me extremely happy. That happiness comes from fact that I am handling something that is old and has a long history. The more dirty they are more interested I am. Sometimes I ask to myself how the previous pipe smoker could smoke them. Sometimes I get a stem with double hole, a tobacco chamber with a very limited space. It is then that I remember when my father told me when I was younger that my great-grandparent’s pipe needed maintenance .

This is a very amazing hobby where I can practice applying all my knowledge of Mechanical Engineering. I can use even what I learned  high school about adjusting a piece of steel manually by means of files and other tools without using machine tools.
I am very thankful to those gents of rebornpipes for their willingness to post and teach others. They have shown how experience and manual work still has value in this modern society .
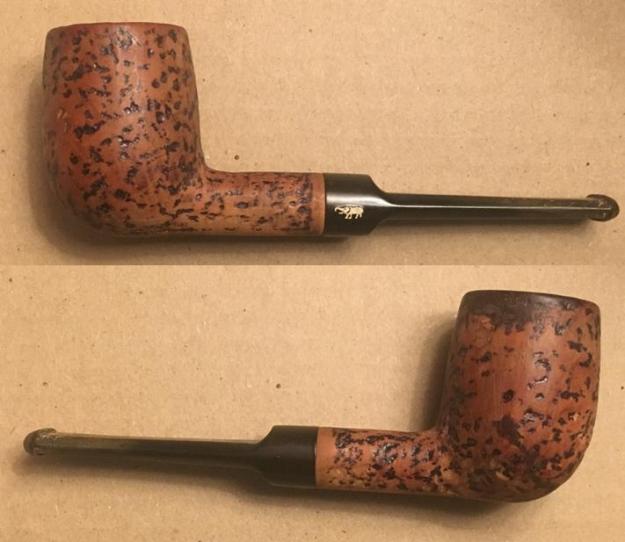
For a beginner, who most of the time is a dummy, reading all the posts in different forums to learn a general procedure how to do the work is extremely important. In rebornpipes I found a lot of information and suggestions on how to proceed.

With many thanks I have enclosed my first important restoration on Chacom Rallye …

Here are the before photos of the pipe. The stem was very damaged with a bite through on the top side and much chewing around the edges of the stem. The fit of the stem in the shank is also not good. The bowl is very dirty with little room in the bowl – thick cake and lots of overflow on to the back side of the rim.I reamed the bowl with reamers. I sanded out the bowl to remove the remants of cake. I cleaned the mortise, and the airway in the shank and stem with pipe cleaners and alcohol. I patched the chewed through stem and cleaned and polished the stem.Once the pipe was clean the metal tenon was loose in the mortise so I painted it with a coat of clear fingernail polish and let it dry in my improvised clothespin vise. You can see what the bowl looks like now in the next two photos. It is quite a change. Here are some photos of the completed pipe. Thanks Rob from Italy.