Blog by Dal Stanton
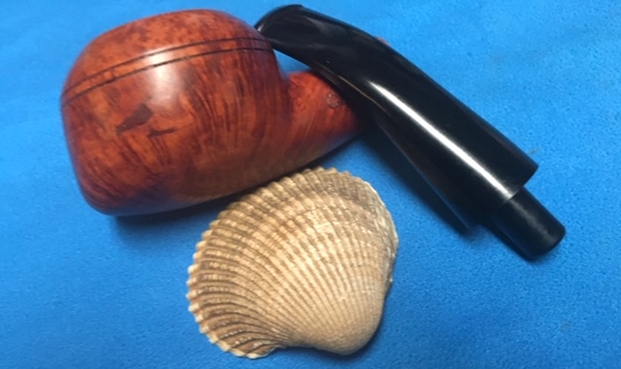
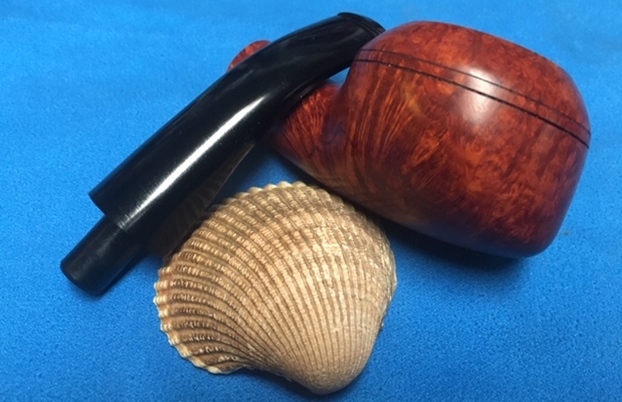
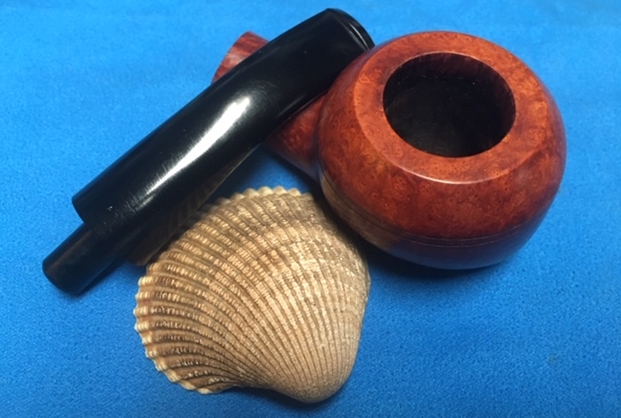
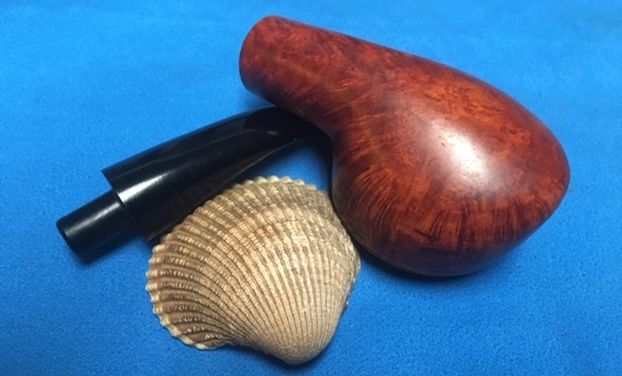
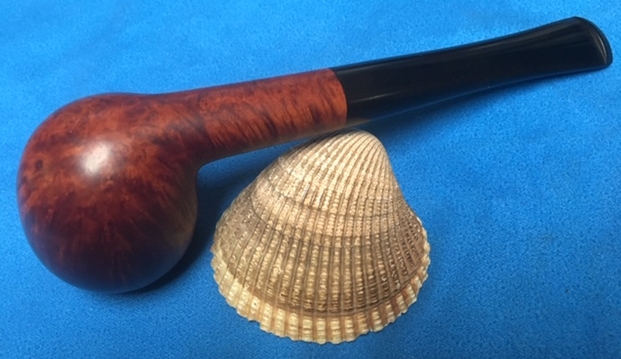
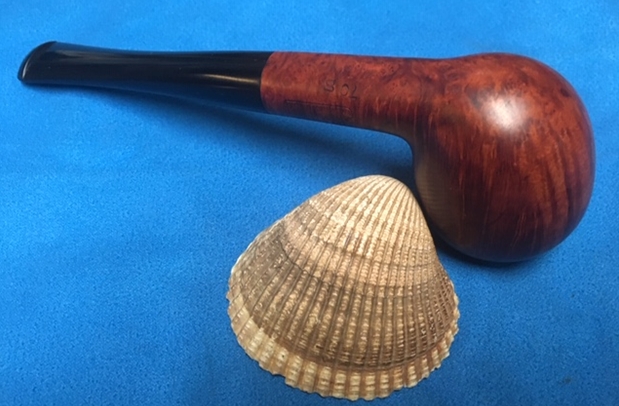
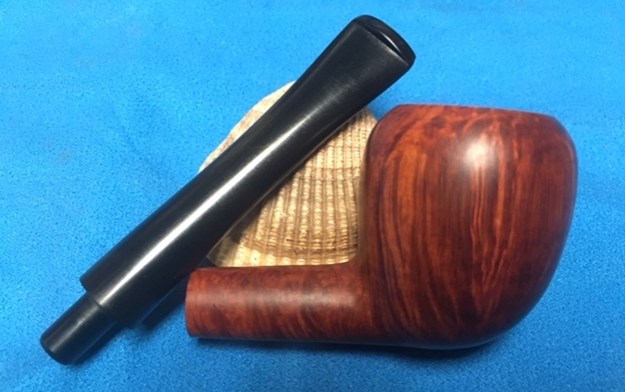
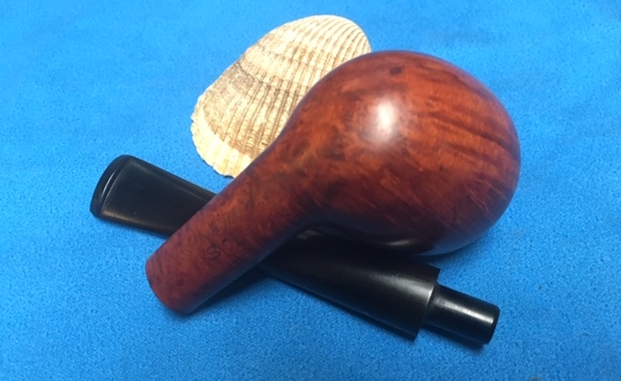
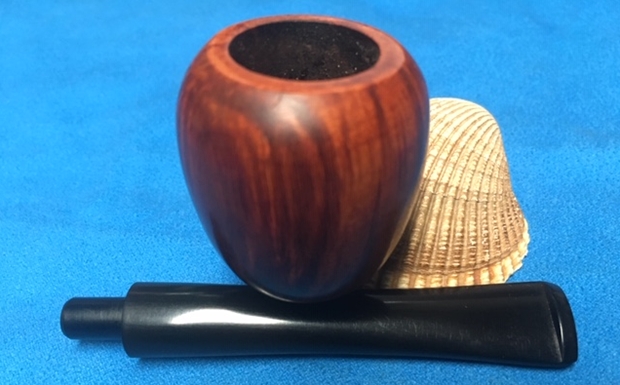
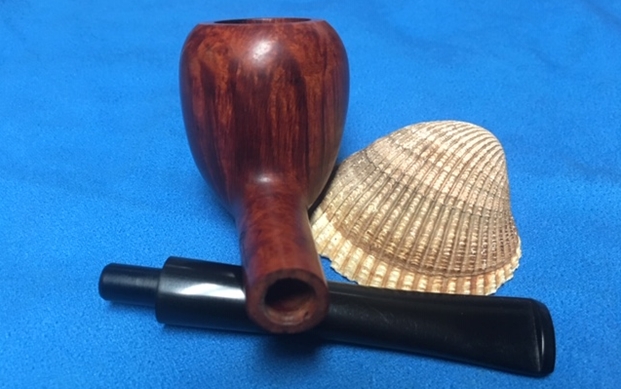
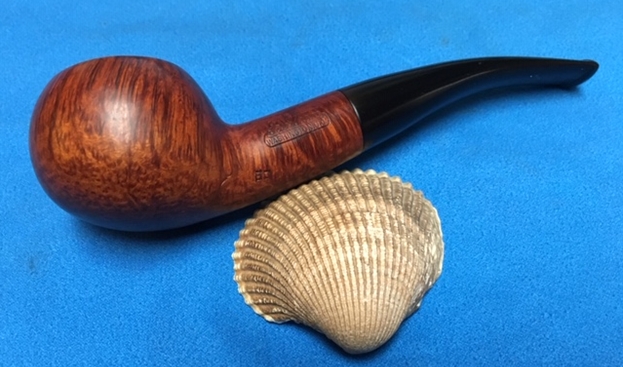
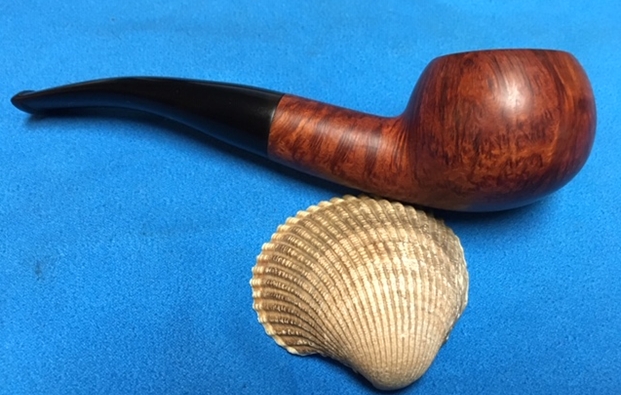
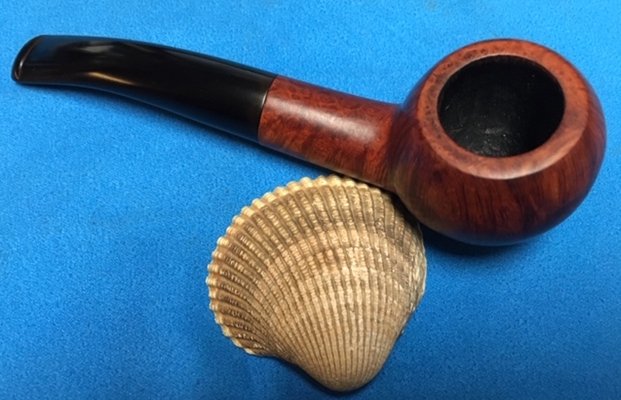
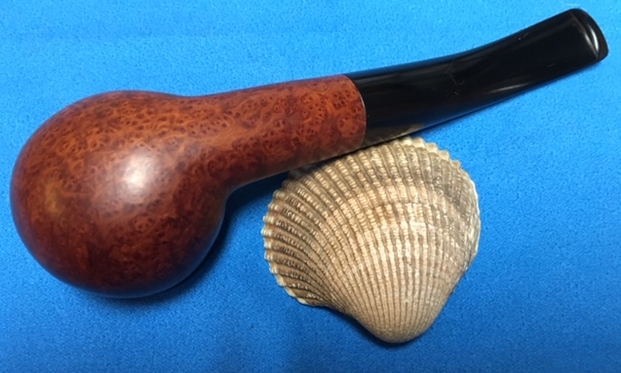
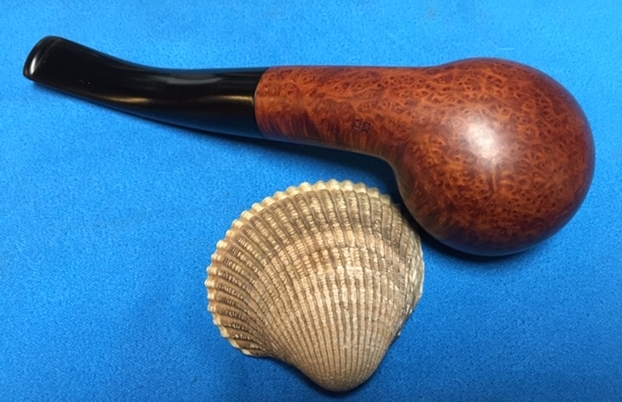
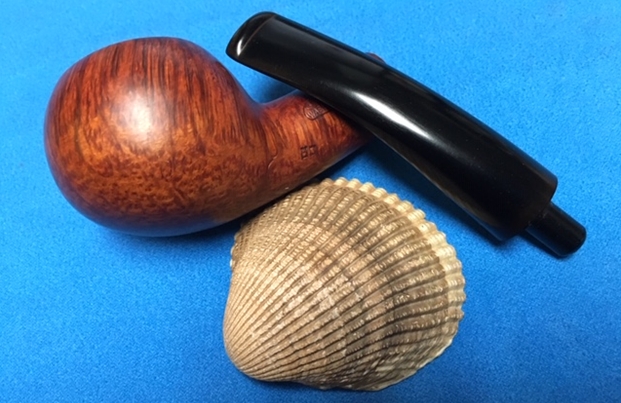
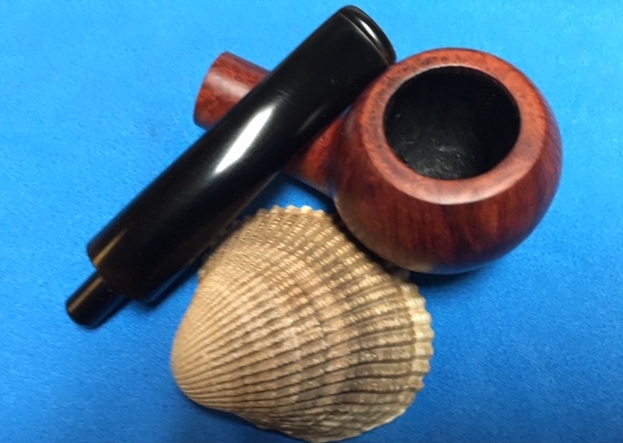
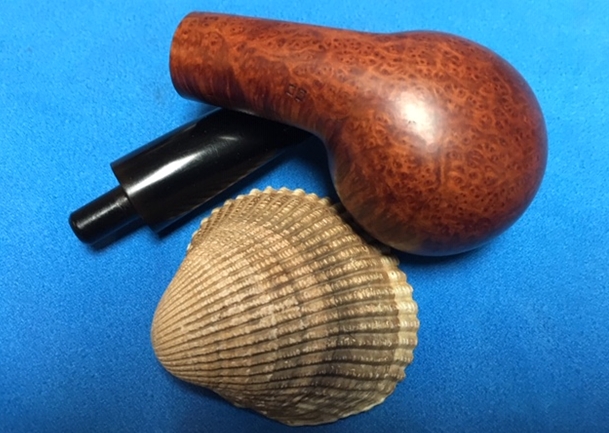
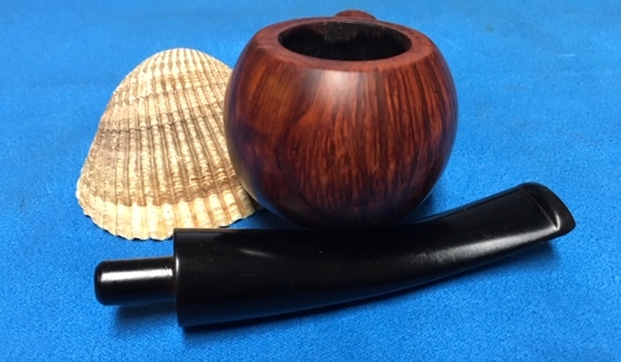
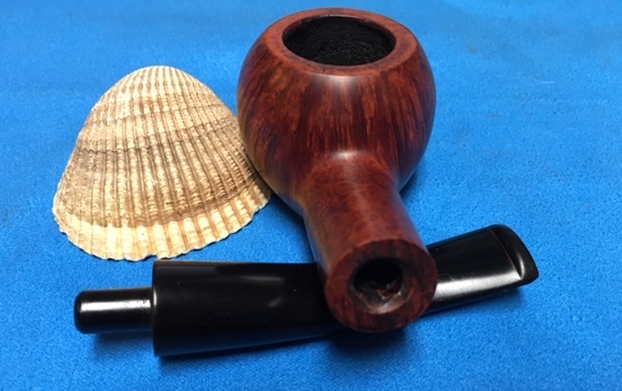
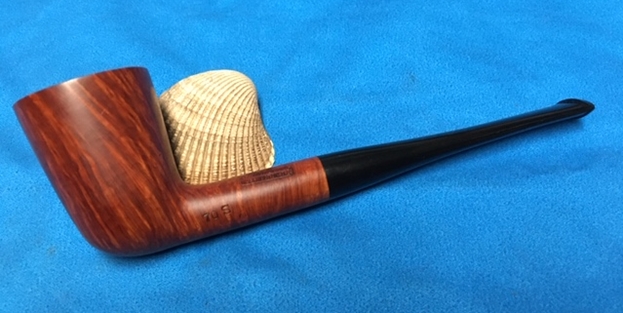
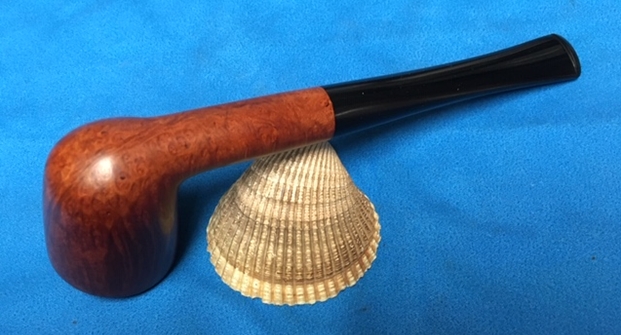
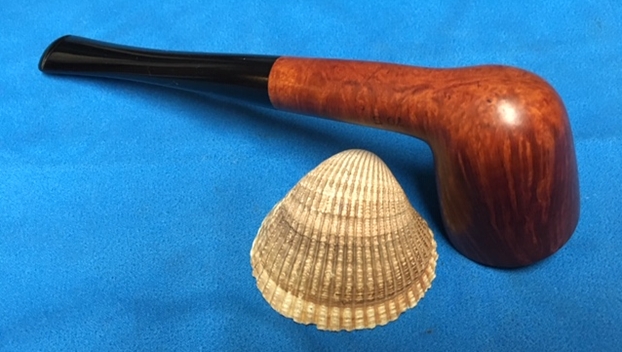
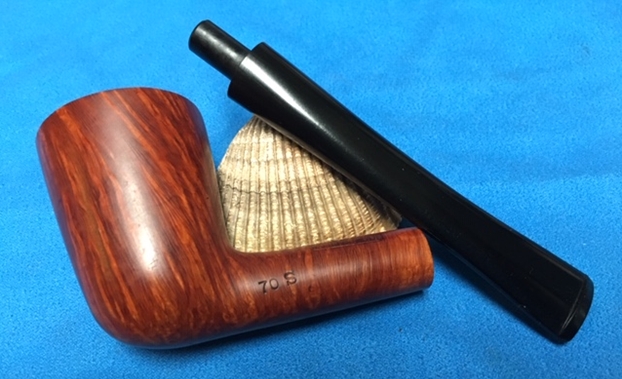
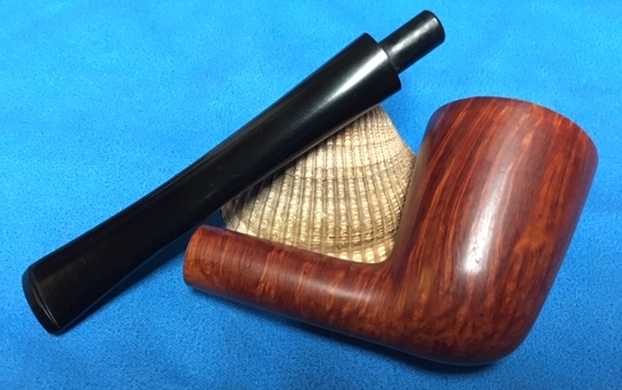
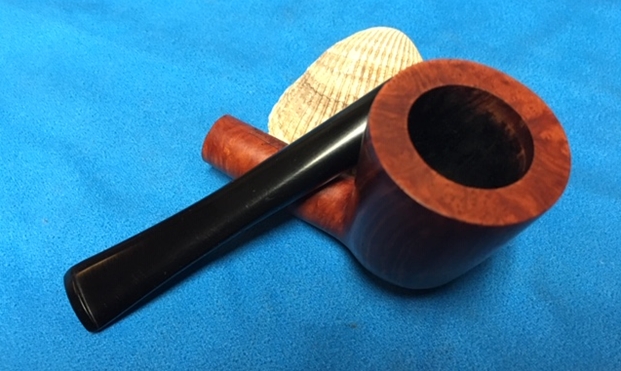
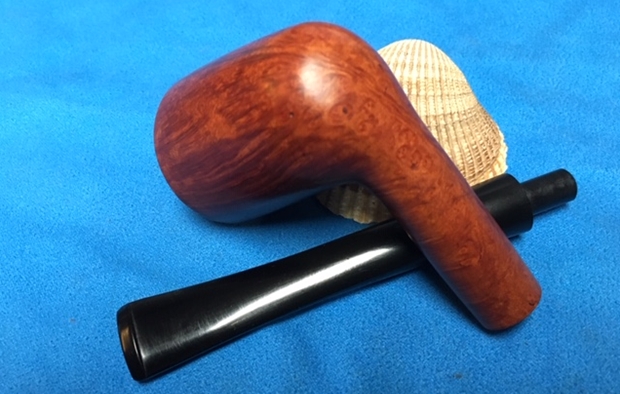
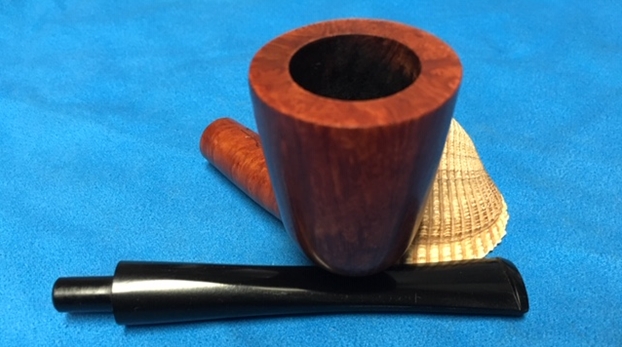
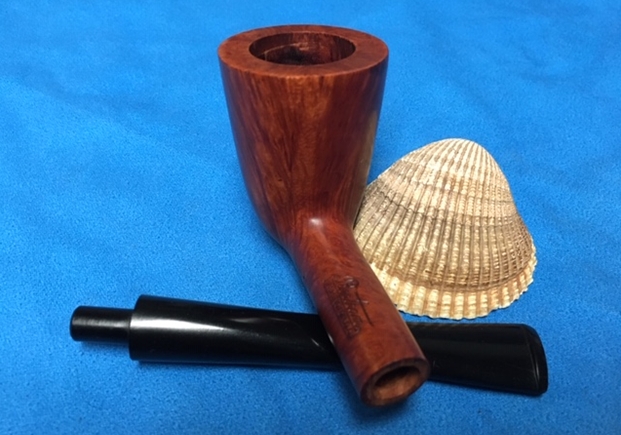
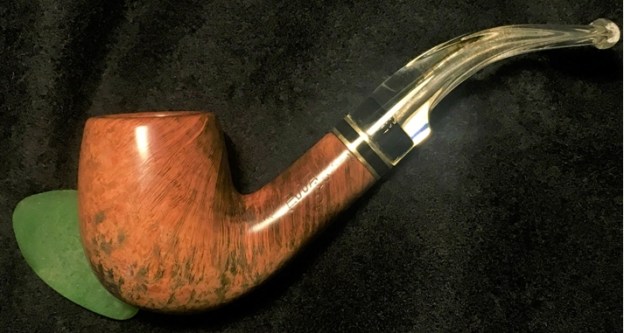
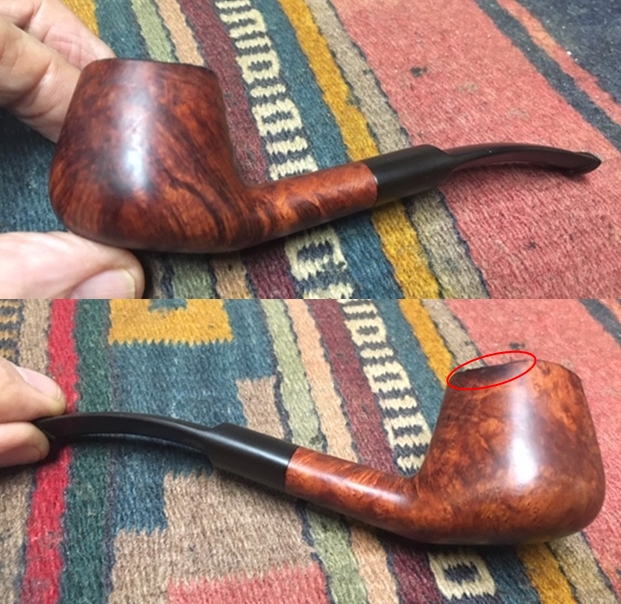
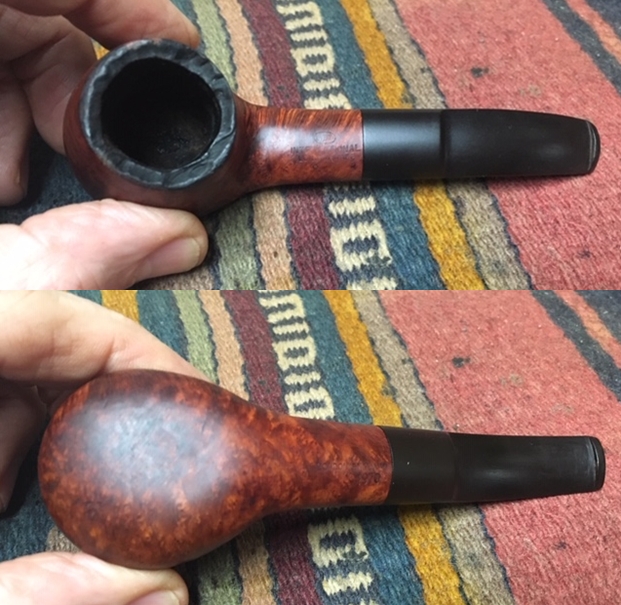
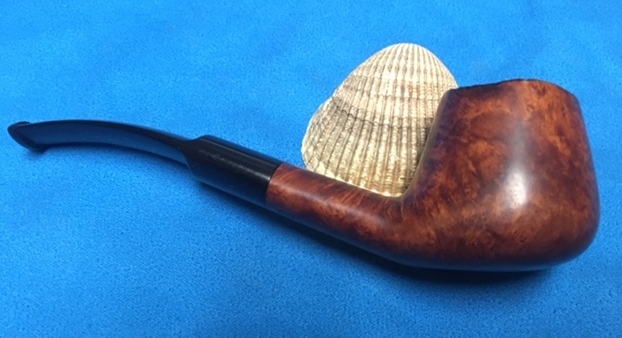
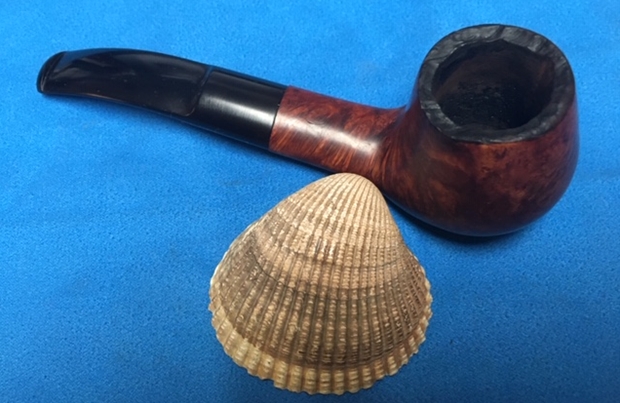
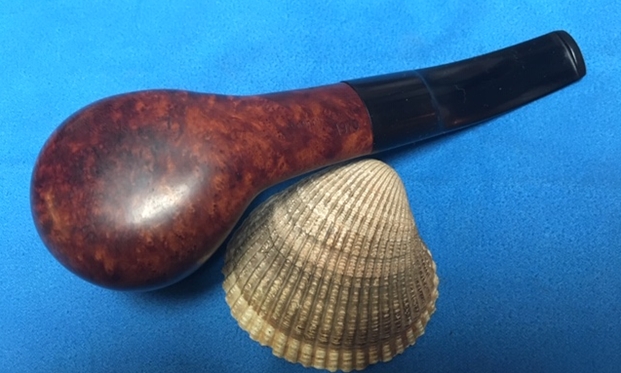
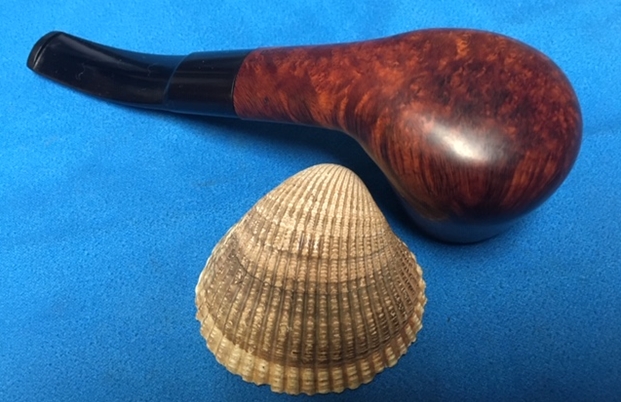
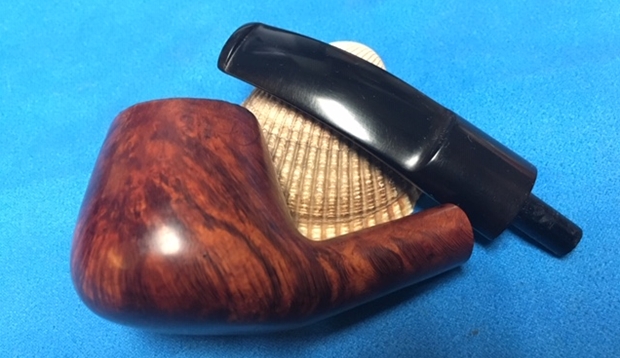
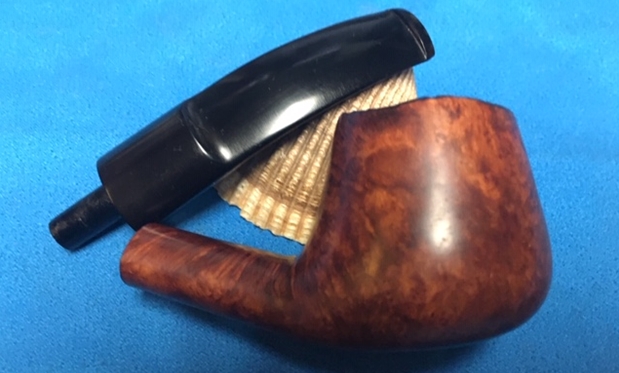
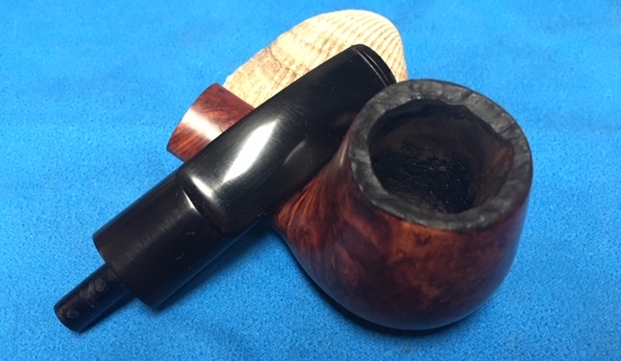
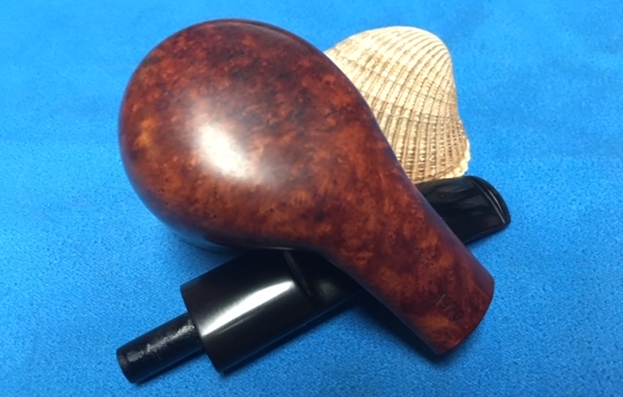
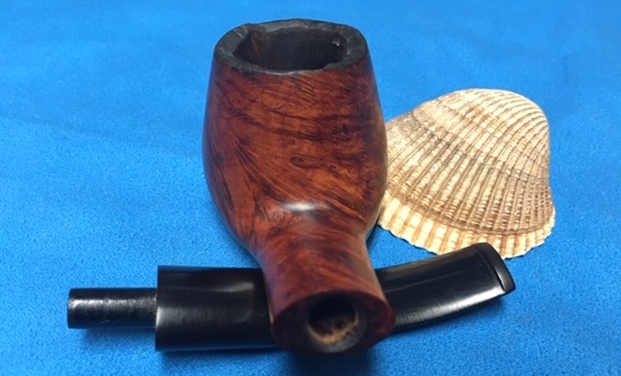
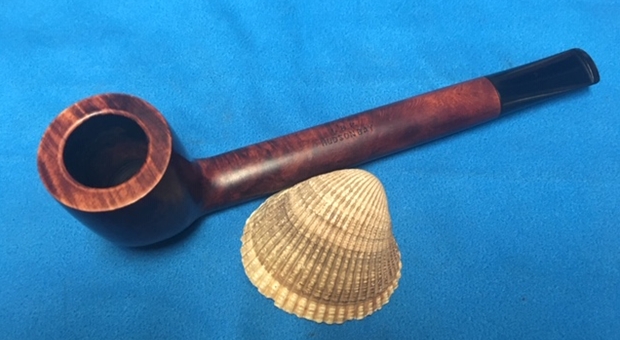
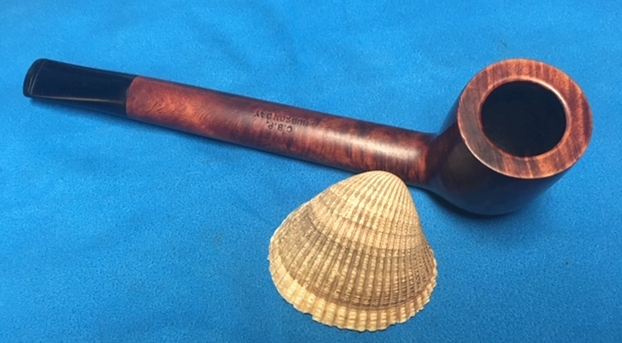
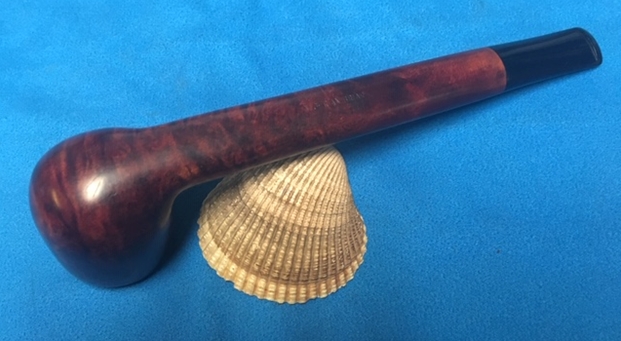
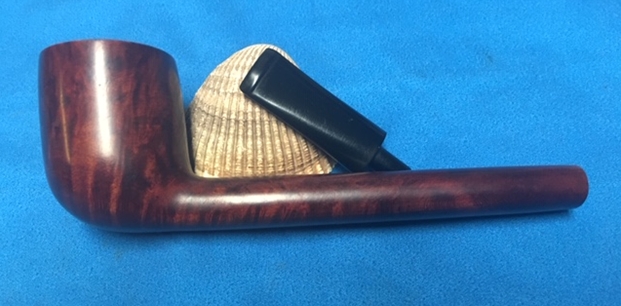
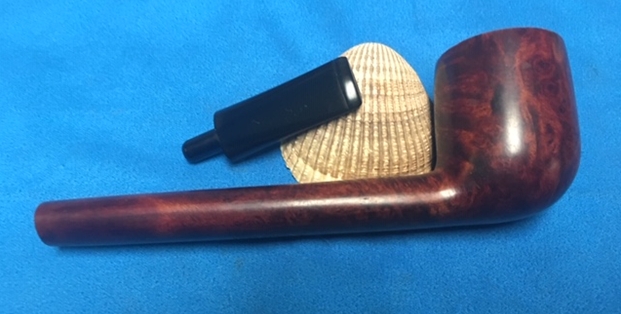
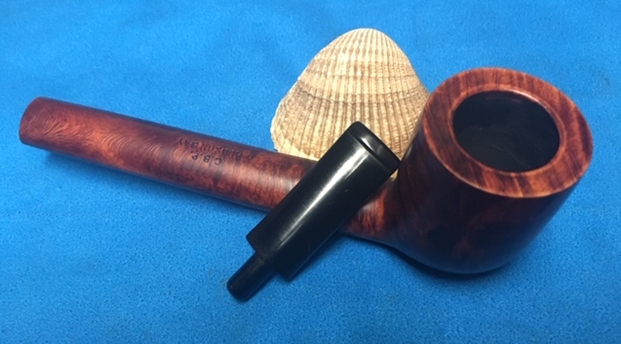
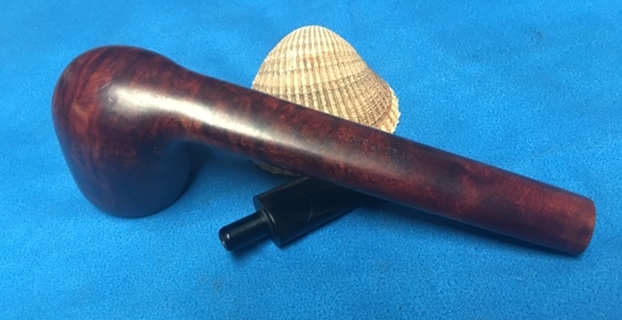
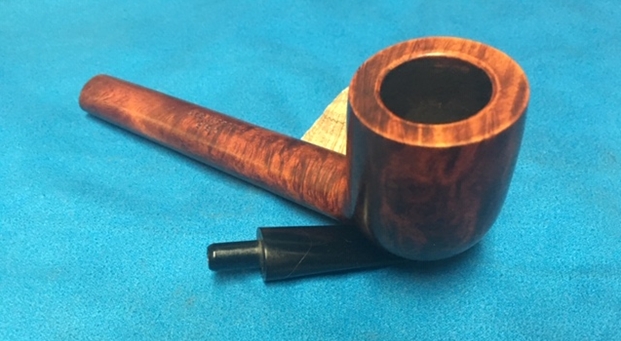
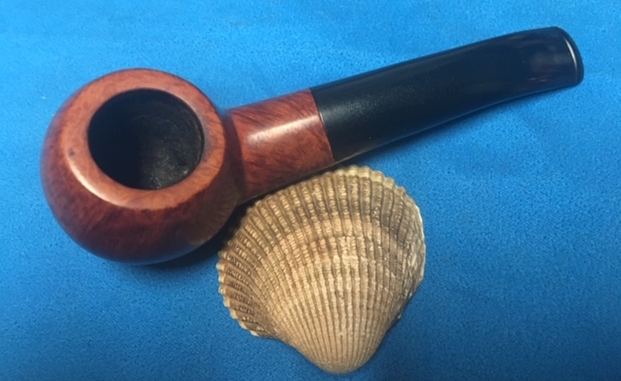
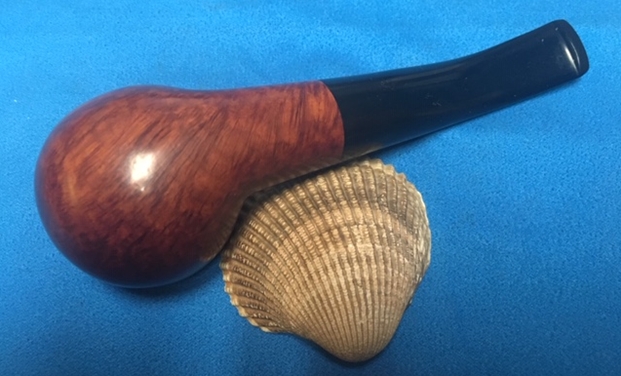
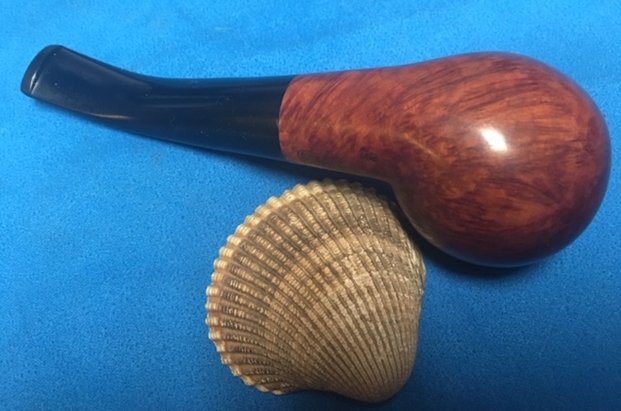
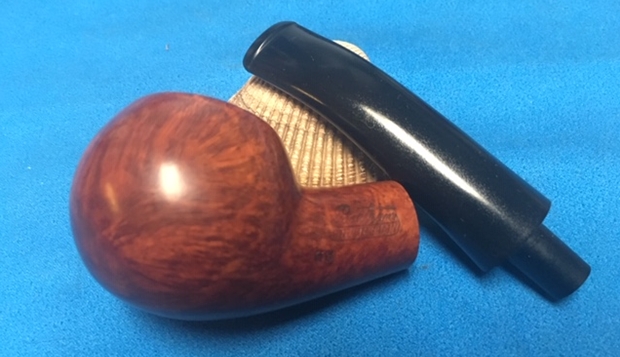
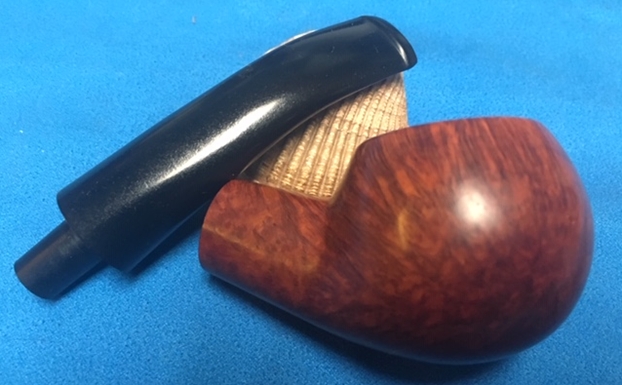
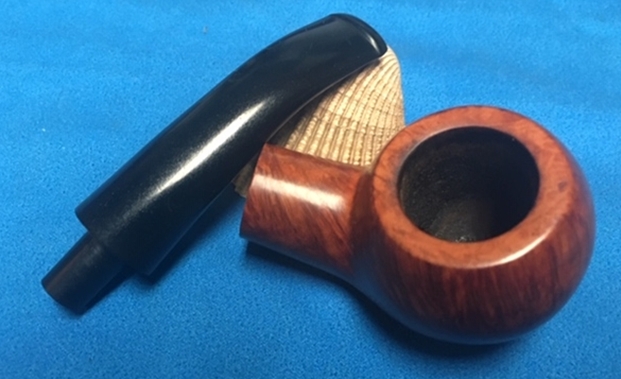
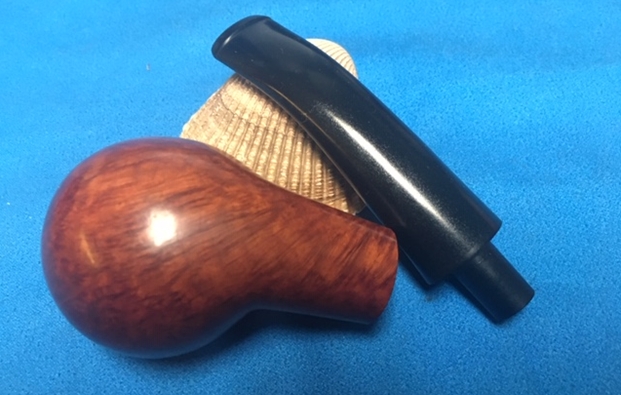
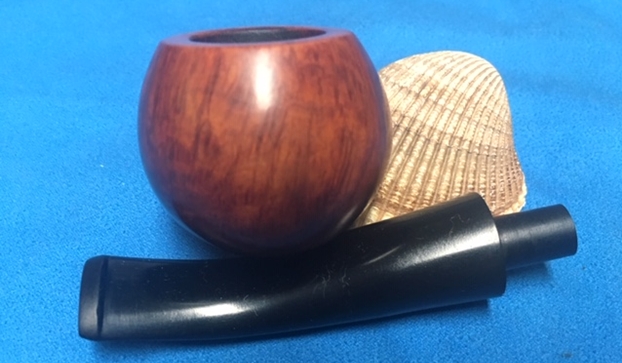
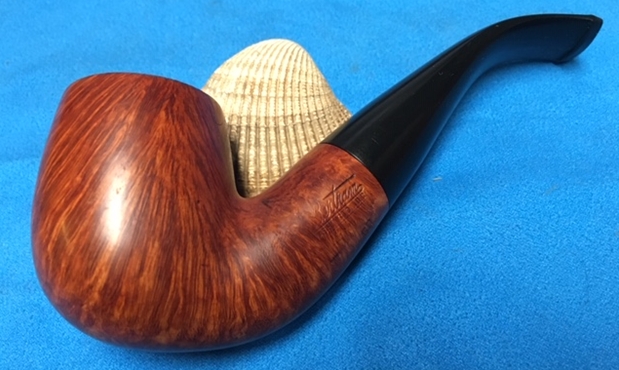
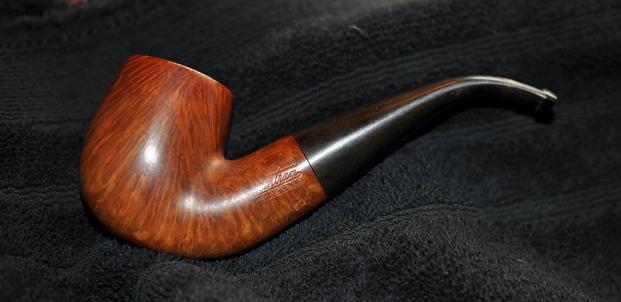
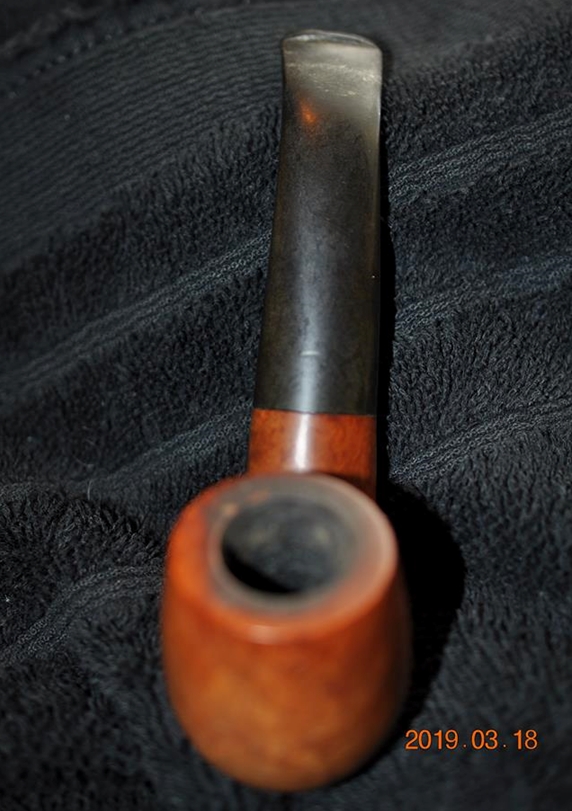
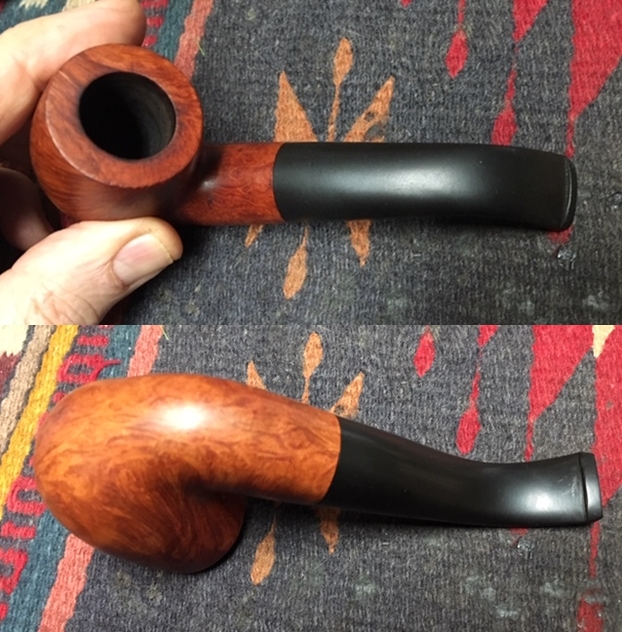
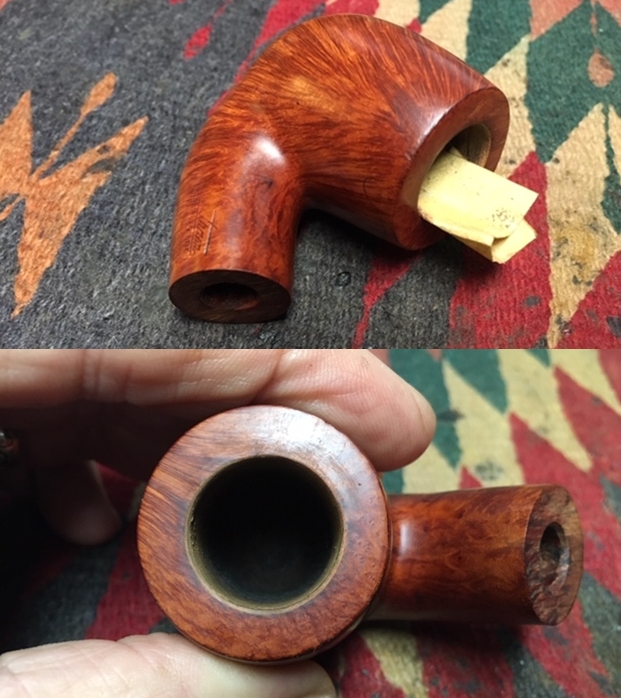
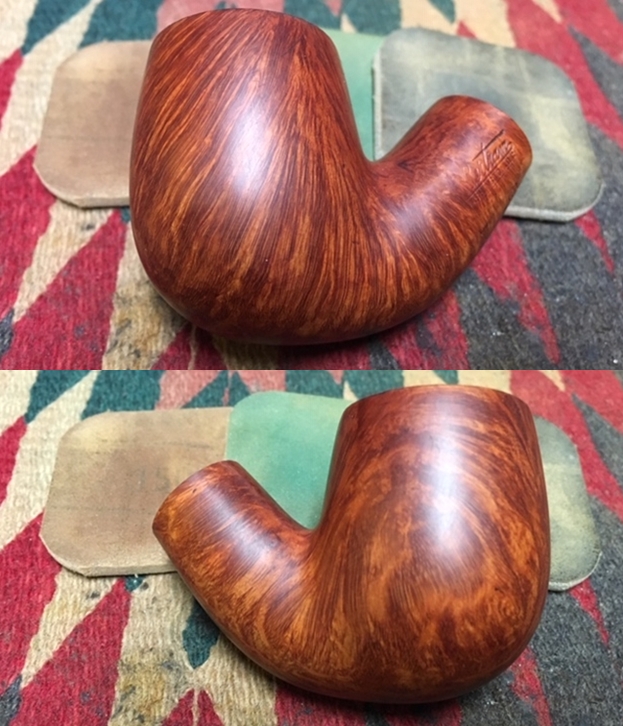
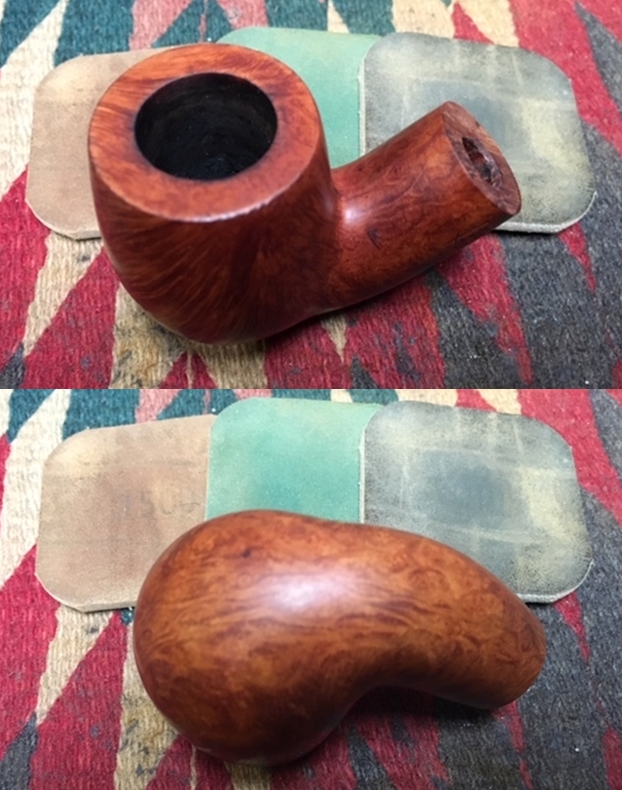
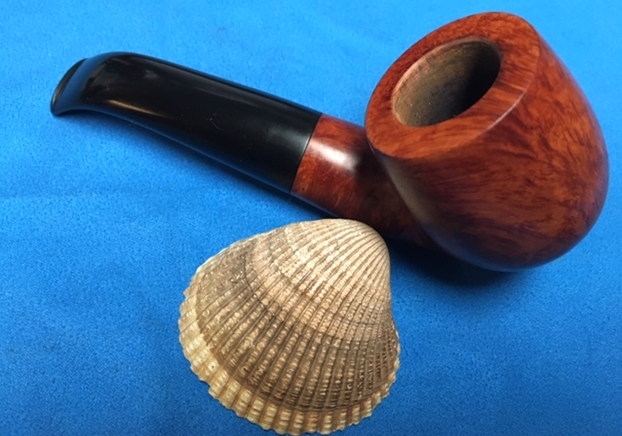
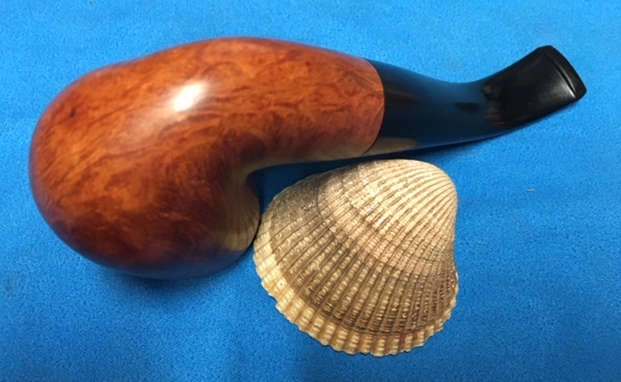
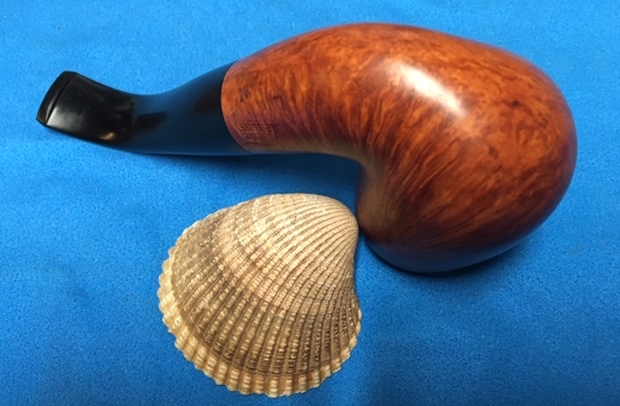
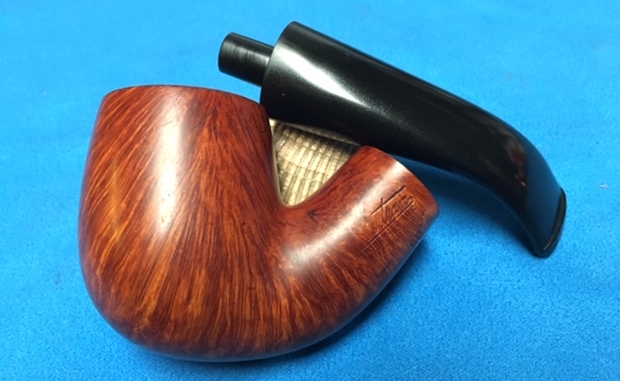
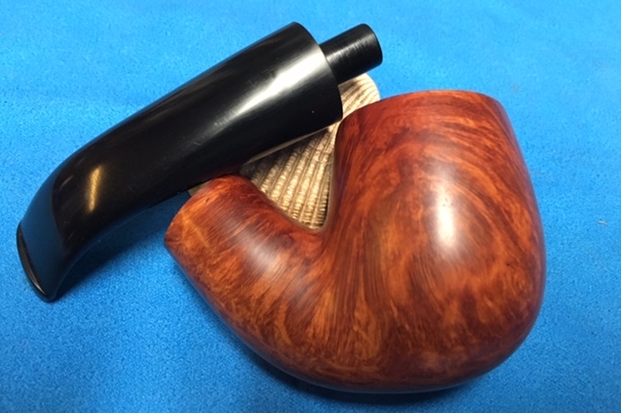
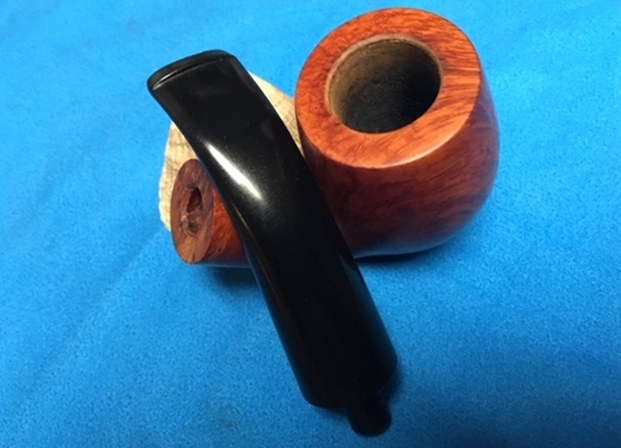
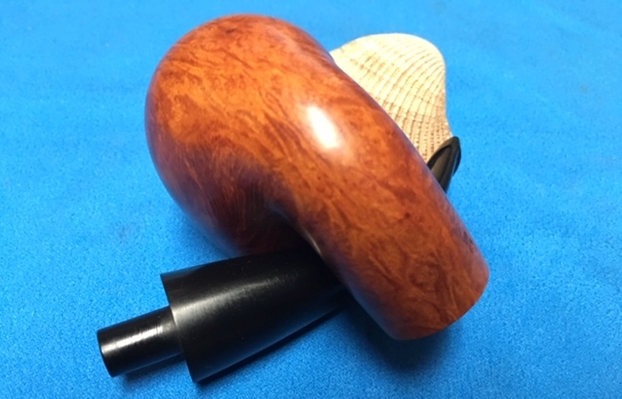
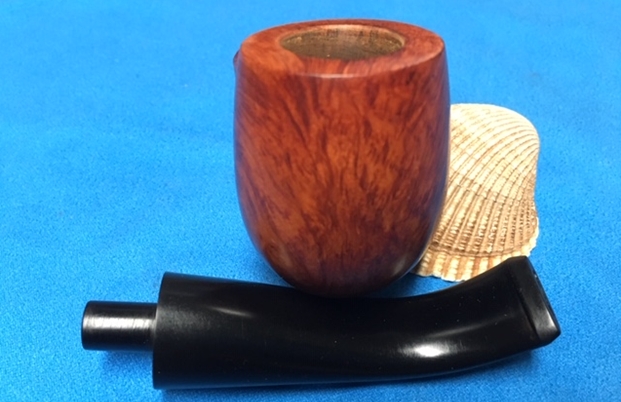
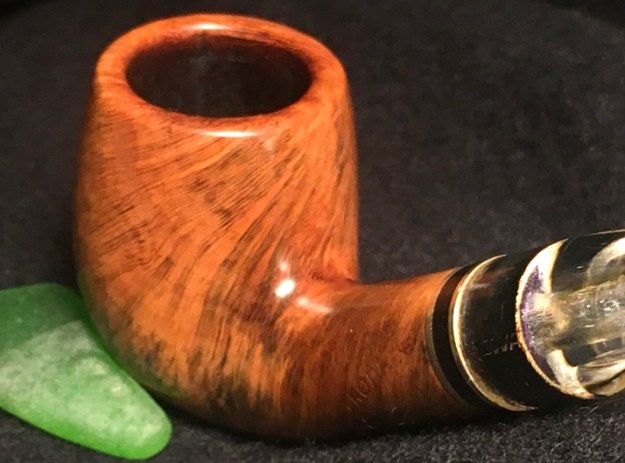
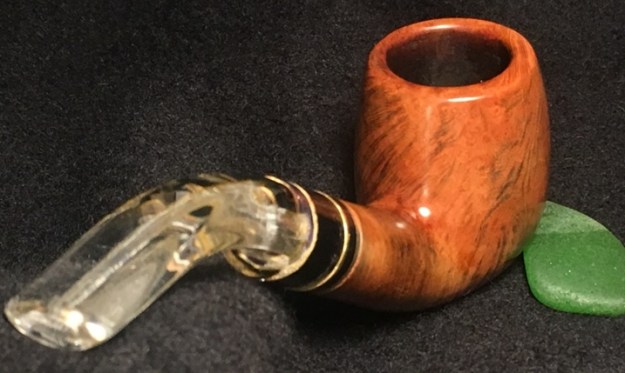
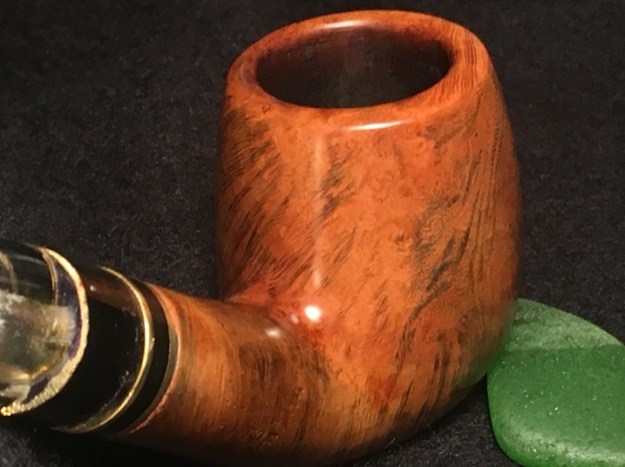
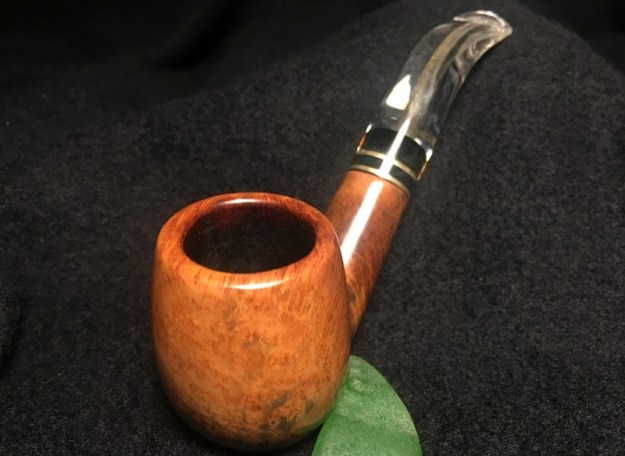
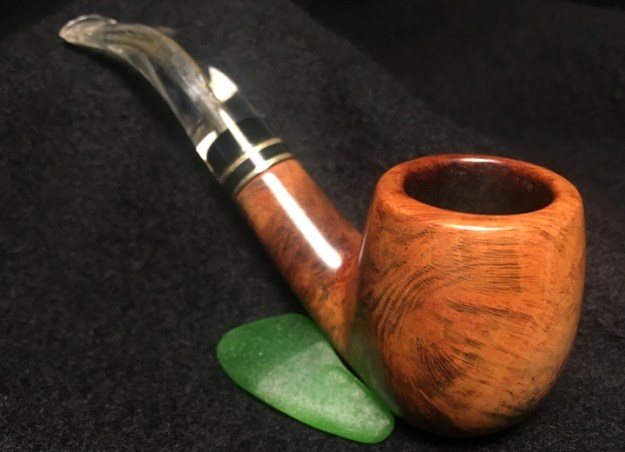
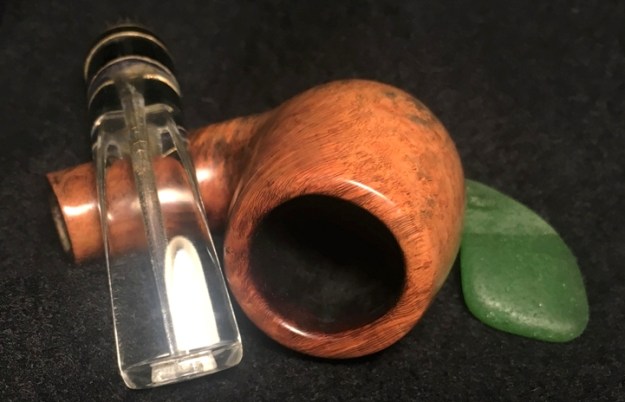
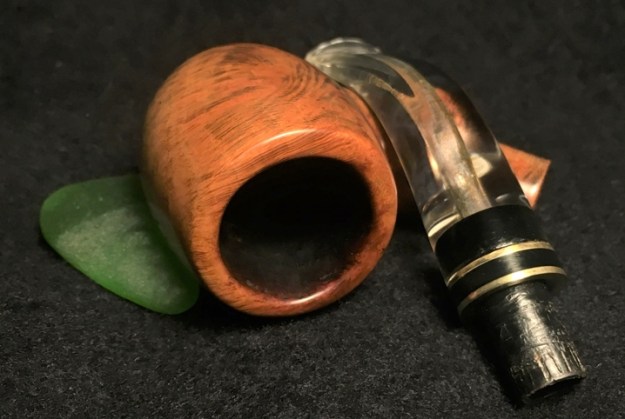
Next on my worktable is another pipe I acquired from a ‘Lot of Treasures’ I found on French eBay. This French Lot of 50 has rendered some real keepers with historic interest and collectability. The EWA Trophee I’m now looking at is a classic Bent Billiard with a flare – the acrylic stem, banding and picturesque briar holds out great potential, but it come with some challenges as well. Pipe man, Scott, commissioned the EWA – a friend on FB and regular contributor on different Face Book Groups, and a former US Navy man who I appreciate very much. Scott reached out to me on FB Messenger and had been looking at the pipes available for commission in my For “Pipe Dreamers” Only! collection and there were 5 pipes he was dreaming about that he had seen, but settled on one, the EWA Trophee. I appreciate Scott’s patience in the speed of my pipe restoration production line! His patience is now paying off, and his commission benefits the Daughters of Bulgaria – our work here in Bulgaria helping women and girls who have been trafficked and sexually exploited. Here are the pictures that drew Scott’s attention.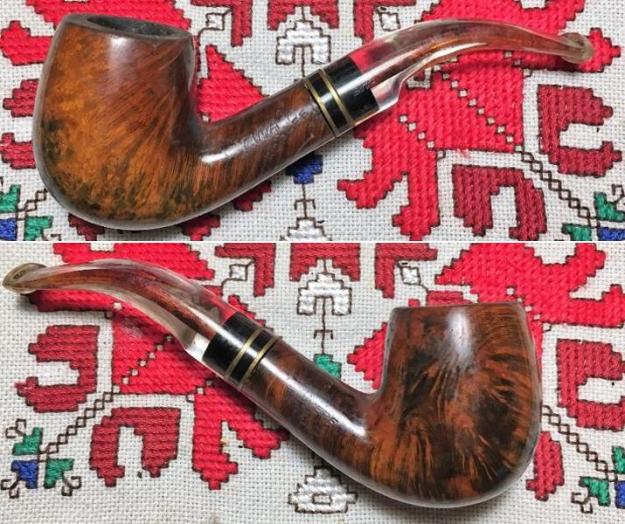
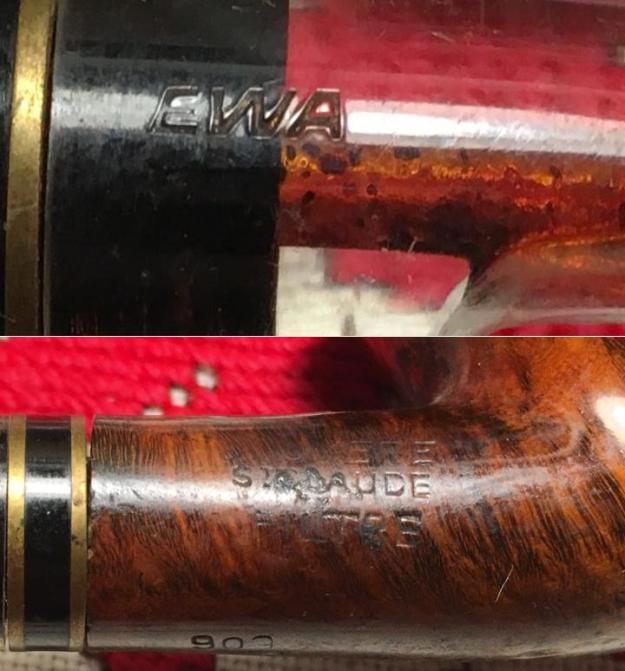
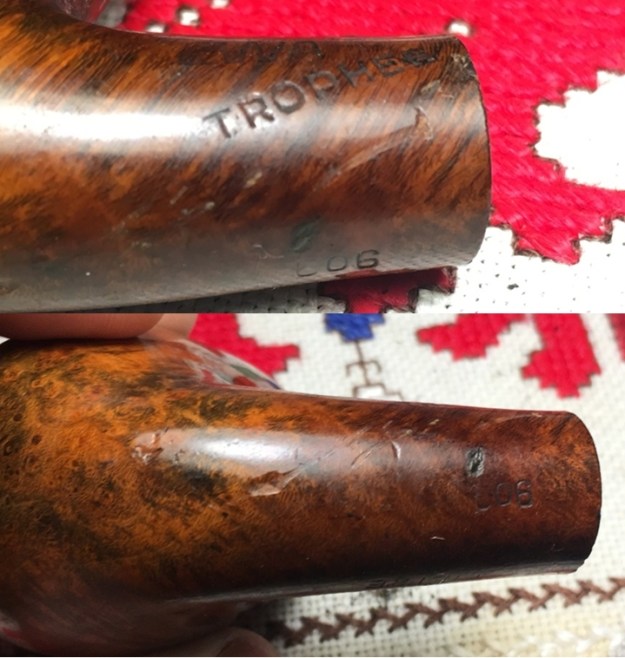
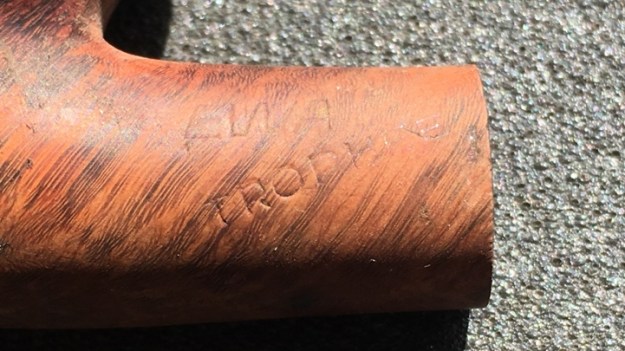
 I can see why this pipe got Scott’s attention. I have worked on several French named pipes, and this was the first with ‘EWA’ stamped on the left shank flank. Underneath and at an angle is stamped ‘TROPHEE’. The acrylic stem also is stamped with a distinct EWA. The right side of the shank is stamped ‘BRUYERE’ [over] ‘ST. CLAUDE’ [over] ‘FILTRE’. Tucked on the lower side of the shank is stamped the shape number, ‘909’.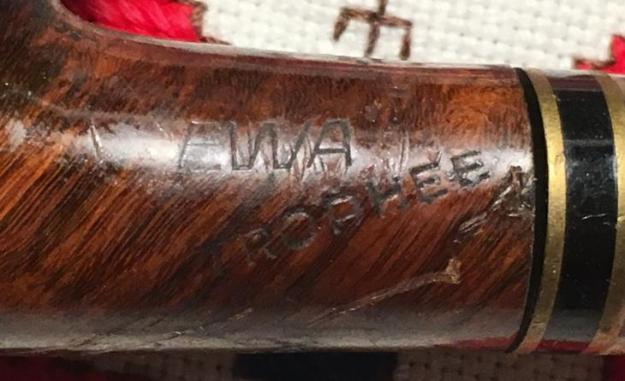
 Information about this nomenclature was readily available in the Pipedia article on EWA pipes and with this being my first look at the EWA name of St. Claude, I include more of this article.
From Pipes, Artisans and Trademarks, by José Manuel Lopes
EWA is a French brand of Pipe EWA-Ets. Waille SARL. Launched in the 1970s by Michel Waille, the brand began in the Waille factory founded in 1860 by Horace Waille., and has been passed down from generation to generation ever since. He was succeeded by his son, René (1902-1932), his grandson Adré — who obtained the rank of ‘CAP de Pipier’ in 1926 and was in the company from 1920 to 1974 — and his great grandson, Michel Waille.
Michel, ‘Meilleur Ourrier de France’ but retired today, is currently President of the Pipe Club de Saint-Claude. He joined his father in 1968 and was at the head of the firm until 2002, when the brand was sold, first to Mr. Gigandet, and later to Denis Blanc, of Ad Hoc Pipe. [link is dead]
The company specialises in the production of horn, acrylic and cumberland stems, and today is the only maker in Saint-Claude producing horn and Lucite stems. It also makes the Terminus system pipes, employs half a dozen people and export 25% of its production. From site Ad Hoc Pipe [link is dead]
Horace Waille, the great-grandfather was a pioneer in the history of Pipe story of Saint Claude and created in 1860 a pipe workshop. Rene Waille, his son, has continued the activity from 1902 to 1932 and was specialized in the initial shaping.
Andre Waille, son of Rene, obtained a “CAP de pipier” (Pipe maker degree) in 1926 and has pursued the activity of the familial company from 1932 to 1974. He is the only pipe maker, who obtained a Pipe maker degree. In 1968 Michel, son of Rene, actual Manager of EWA pipe joint the familial company and transform in 1974 the company in SARL PIPE EWA.
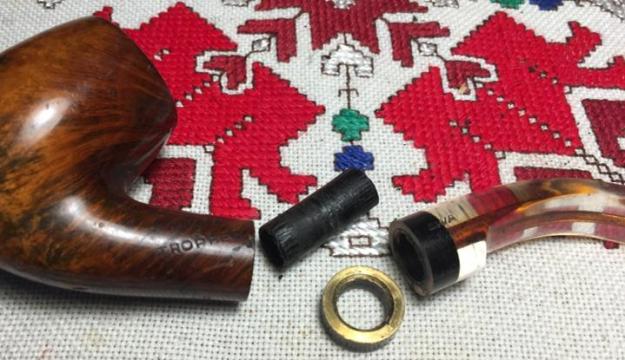
The information I gain from Pipedia that is useful – the Waille name is long-standing in France’s pipe center of Saint Claude. I’m especially interested in the information that the company has historically specialized in the production and use of horn, acrylic and Cumberland stems which is relevant for the pipe on the worktable. Pipephil.eu was my next stop and information there clarified the age of this EWA Trophee and the meaning of EWA. The name was changed in 1979 from simply Waille to EWA from “Etablissement WAille” (English: Establishment). So, the acrylic stemmed Billiard on my table dates at the earliest starting at 1979 with the genesis of the EWA stamp.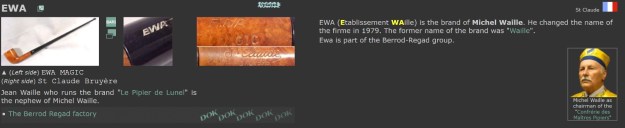 With a better appreciation of the heritage and age of this EWA Trophee of St. Claude, I look more closely at the pipe itself. The grain and classy acrylic stem and banding/shank ring shows promise, but there are also some issues and challenges in bringing this pipe back to a more presentable state. I take several more pictures to catalogue the issues I see. The fittings of the pipe have come apart. As I disengage the stem and stummel, the 8mm filter sleeve is unattached to the stem and needs to be reattached. The shank ring is also loose.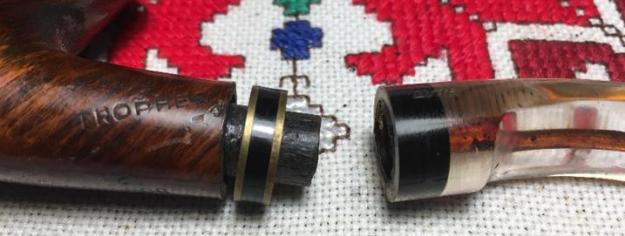
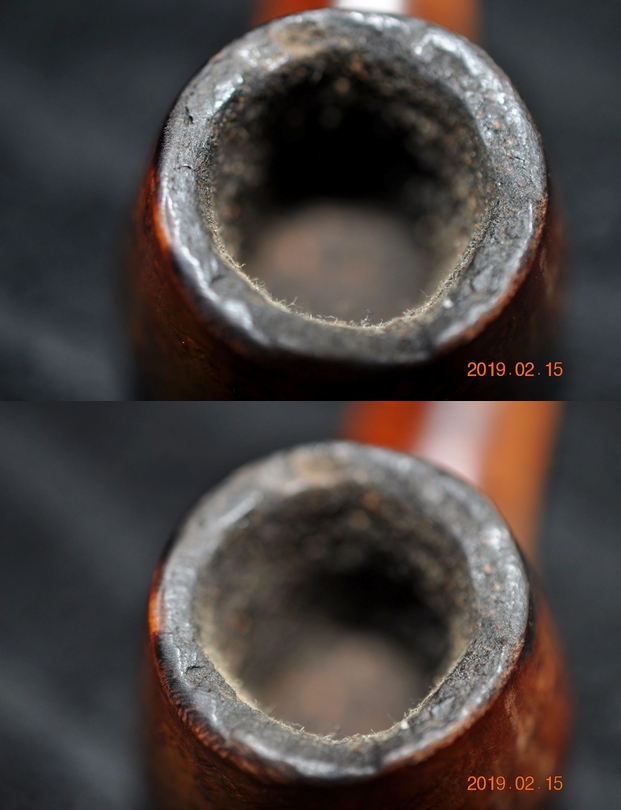
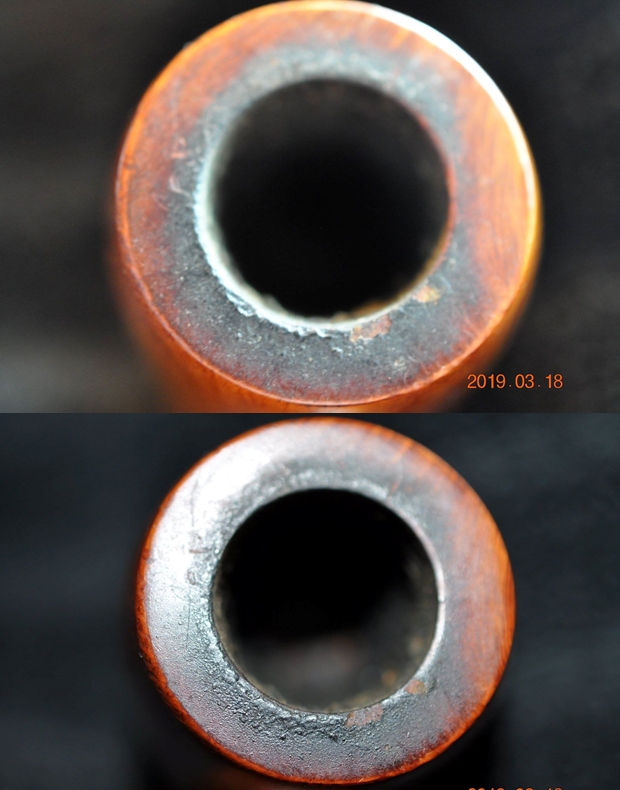
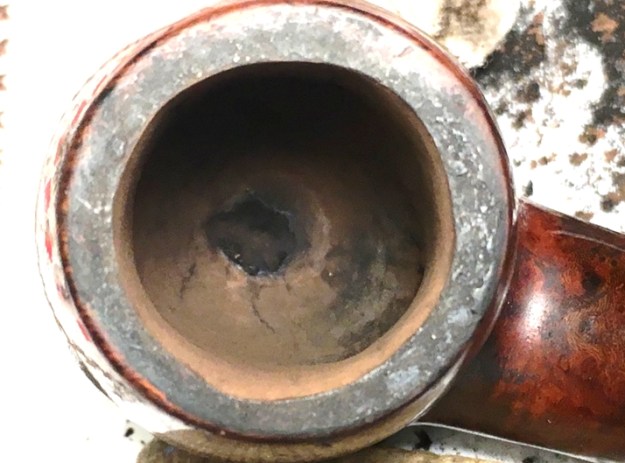
 The pipe has been heavily smoked and loved and the cake in the chamber is substantial. By lightening the picture, you can see how the cake expands as it descends into the chamber. There is no way to assess the health of the chamber wall until this cake is removed to allow the briar a fresh start and to inspect the wall for heat fissures or cracks.
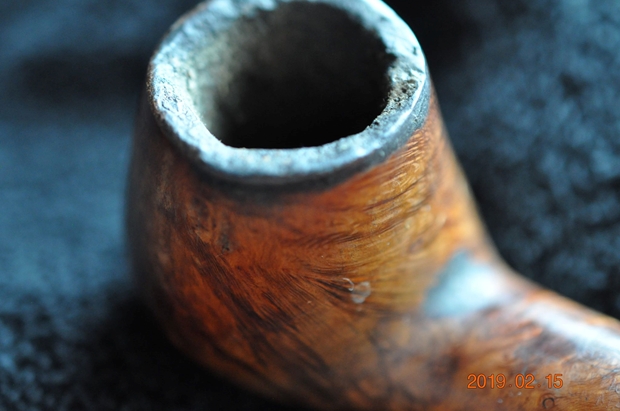
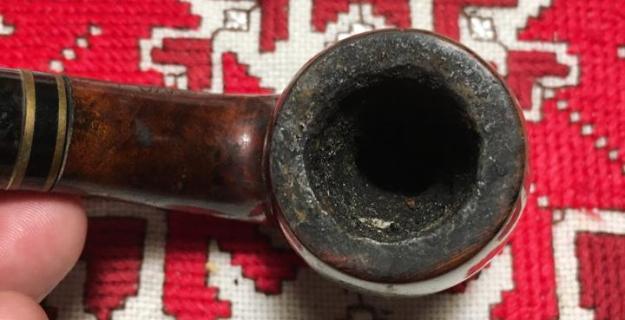
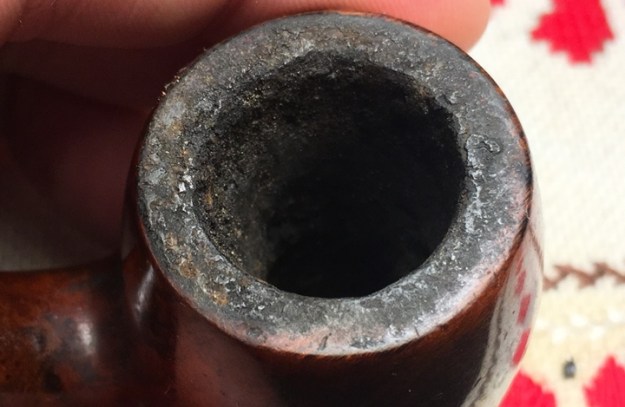
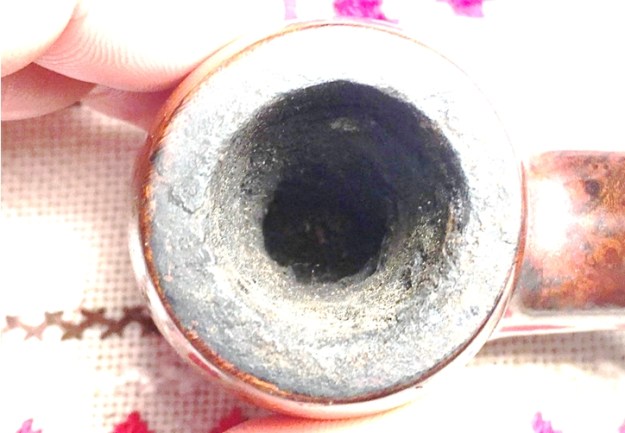 The rim corresponds to the lack of maintenance and cleaning of the chamber. Thick lava has flowed over the rim and must be removed and cleaned to liberate the briar rim presentation.
 I like the grain on the stummel – very expressive. What I don’t care for is the thick shellac finish that was used on this stummel – my classic ‘candy apple’ finish. I love shine, but briar shine not chemical shine! I will need to strip this stummel down to the raw briar to allow the grain I see to breathe again.
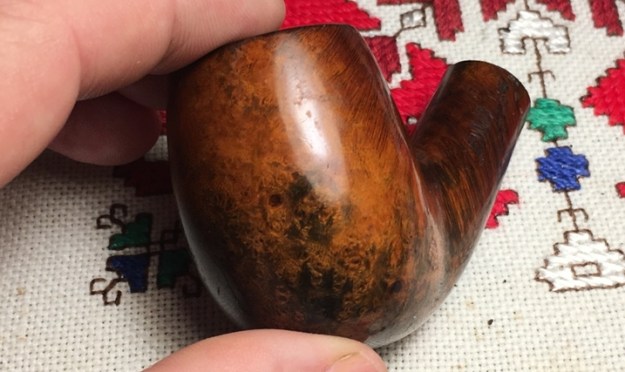 There is a deep gouge on the left side of the shank that creeps toward the shank end where there is another dent next to the edge. The heel of the stummel has seen better days! There are a few good-sized dents and divots that must be addressed.
 Probably the most fun will be cleaning the acrylic stem. The external acrylic surface will not be difficult, but the discolored airway is another thing altogether coupled with the issue of not being able to use the normal cleaning attack with the use of alcohol.
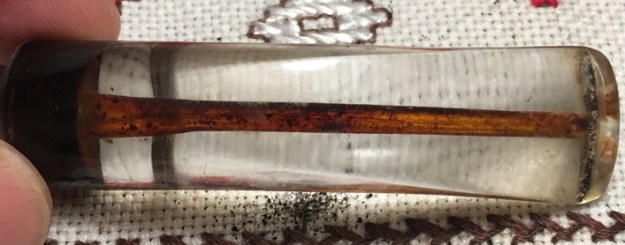 On close examination, my concern grows for the cleaning of the airway as I can see microscopic veins splaying from the airway – mainly at the bend of the stem.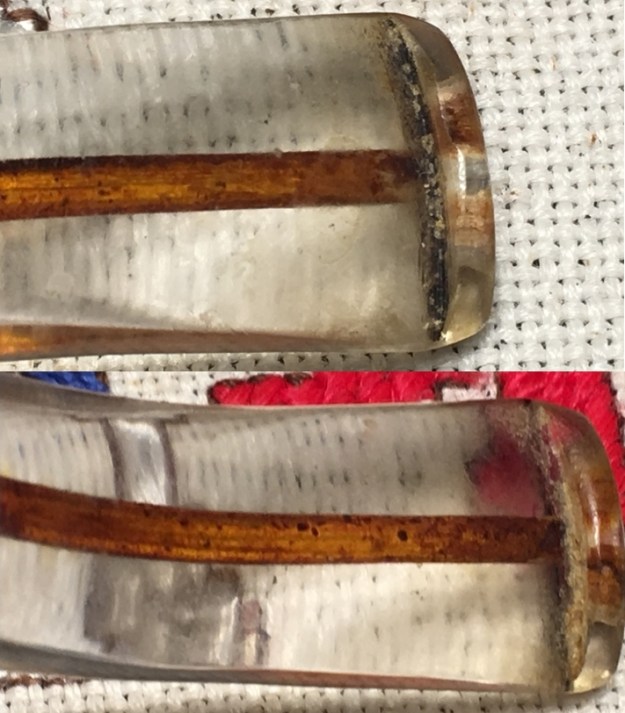
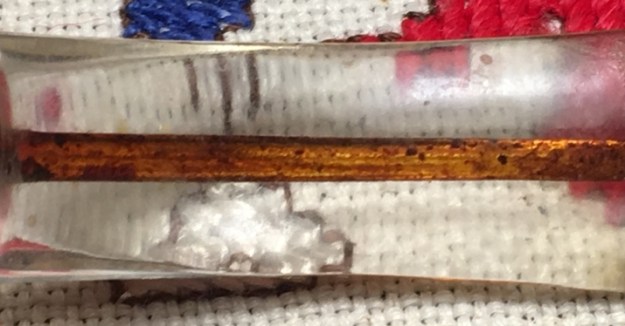 This next picture is looking into the mouth of the stem that the 8mm filter sleeve has vacated. This needs to be cleaned thoroughly making way to reattach the filter and afterwards, the ring.
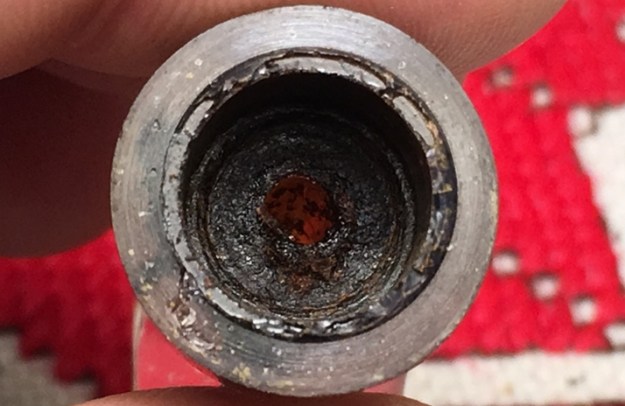 We have work to do! To begin the restoration of Scott’s choice of this EWA Trophee Bent Billiard of St. Claude, I start with the cleaning of the stummel by reaming the chamber which is nearly closed by the growth of the cake. I take another picture to mark the start and then, starting with the smallest of the blade heads of the Pipnet Reaming Kit, I begin the cleaning process. To help in the cleanup I first put down paper towel.
 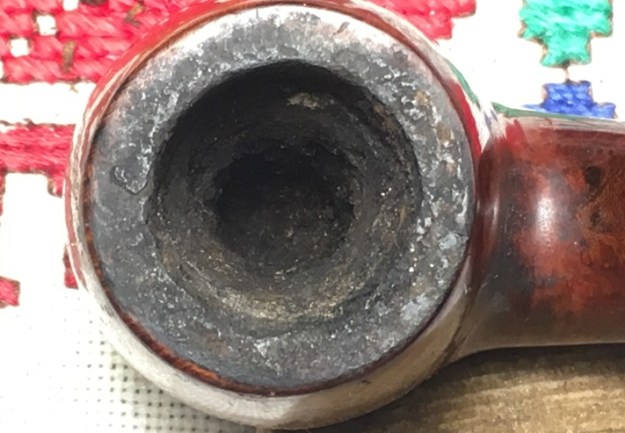 The cake is hard and stubborn and takes some time and effort for the smallest blade to penetrate to the floor of the chamber. I take a picture about three quarters of the way down the chamber.
 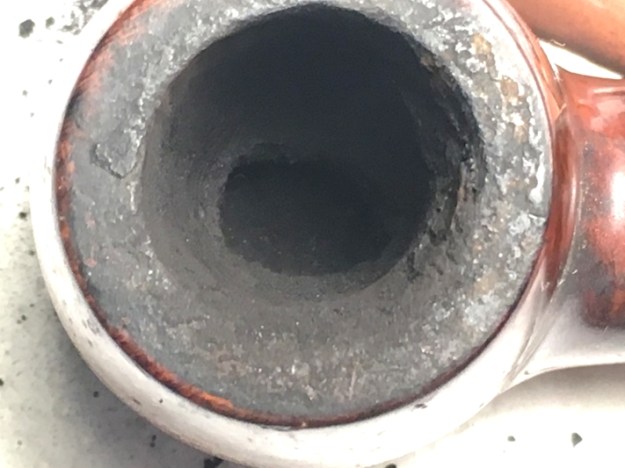 I use 3 of the 4 blades available and then switch to using the Savinelli Fitsall Tool to scrape chamber walls. Finally, I sand the chamber with 240 grit paper wrapped around a Sharpie Pen. To clean the chamber of the carbon dust, I wipe it thoroughly with a cotton pad wetted with isopropyl 95%. The picture below shows the huge pile of carbon that was removed from the chamber.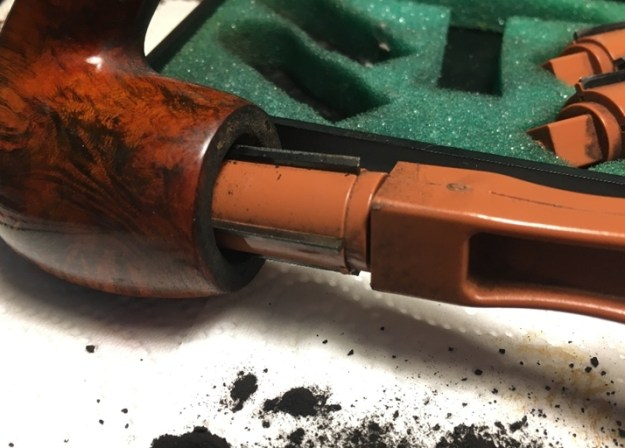
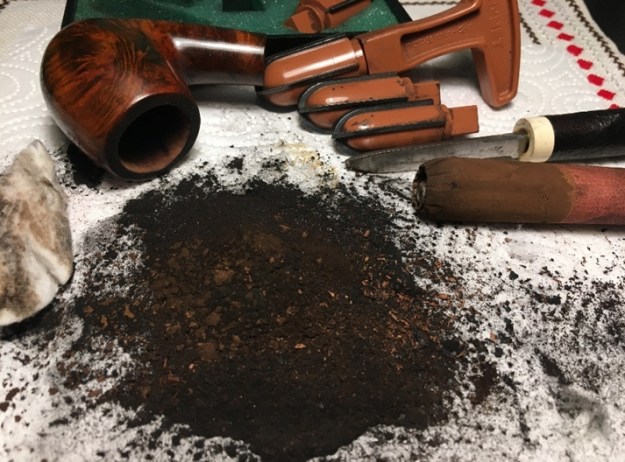 After inspection, the chamber appears to be in good shape. What I notice after the reaming is complete is the rim width imbalance that is now evident after the cake was removed. The left side of the rim (bottom in the picture) is thinning where fire was drawn over the rim during the lighting.
  Next, to clean the exterior surface of the stummel, I use undiluted Murphy’s Oil Soap on a cotton pad to scrub. I also use a brass wire brush to work on the lava crusted on the rim as well as gently scraping it with a knife edge. The cleaning helps, but the rim remains darkened from the lava and the ‘candy apple’ finish is still very much in place.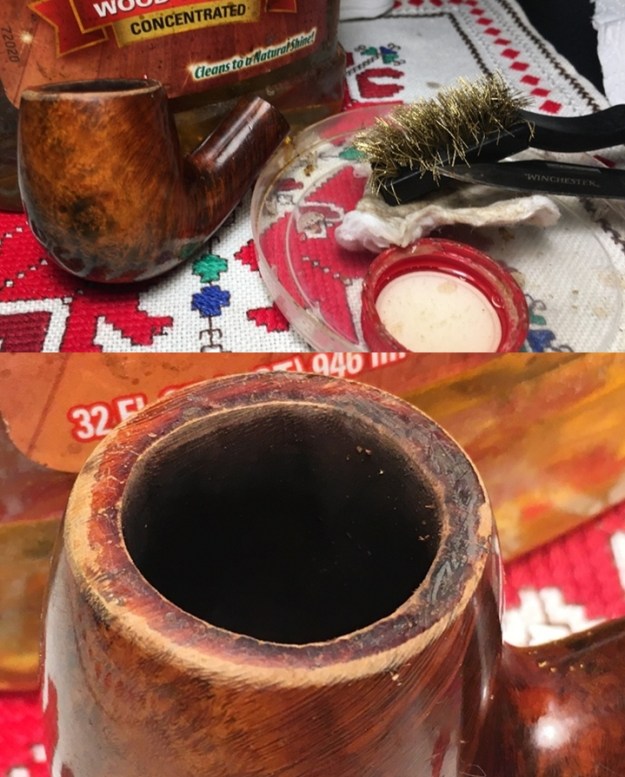
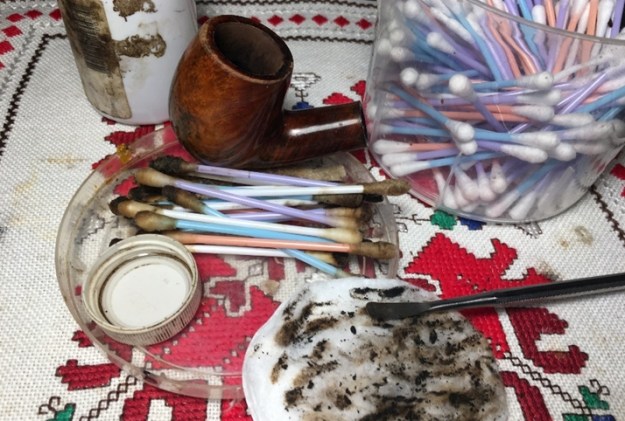
 To complete the stummel cleaning regimen, I use pipe cleaners and cotton buds wetted with isopropyl 95% to clean the internals. After many pipe cleaners and cotton buds, and scraping the mortise walls with a dental spatula, the color of the buds started coming out less soiled. I decide to stop at this point – the internals were clean enough at this point.
 In order to strip the ‘candy apple’ finish I put the stummel in a soak of acetone. This should strip the stummel of all the old finish. I leave it in the soak overnight.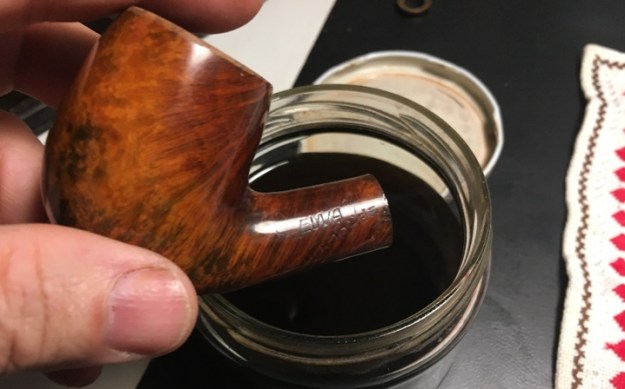
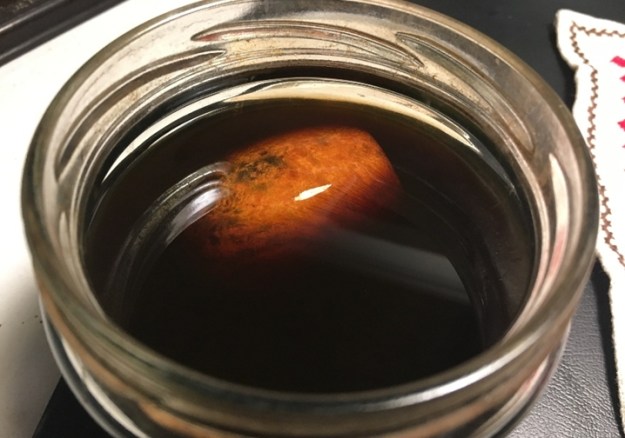 Turning to the acrylic stem, before I started on the restoration and as I was thinking about my approach, something in the recesses of my memory was ringing a warning concerning the approach to cleaning the clear, acrylic stem, but I wasn’t sure what it was. I decided to send Steve an email with the stem’s picture and my questions. With his vast rebornpipes experience, as always, his response was helpful to help chart a course:
Hey Dal
The clear stems like that (if on a GBD are Perspex and early acrylic) are not resistant to alcohol. They can shatter or at least craze. I will often use lemon juice to start with and also liquid cleanser or soft scrub with bristle pipe cleaners or shank brushes. Sometimes you can use a needle file to work the insides. The airways are often rough inside so they need to be smoothed out. It is pretty labour intensive to clean out the stains as originally the airways were clear…
Steve
In a subsequent note he also added this:
Ok… the GBD brand was originally a ST Claude Brand. Perspex is an early acrylic. It was on GBD Prehistoric pipes… Lucite is another brand name for acrylic… both are acrylic.
I have soaked the stems and it does help some, but I have also put the cleanser on a pipe cleaner and let it soak as well. I have even used comet cleanser… big thing is no alcohol if at all possible. Too risky.
I have read of guys chucking a pipe cleaner in their drill like a drill bit and spinning it in the stem but have not tried that myself… Anyway..,
Enjoy
Steve
To begin the ‘enjoyment’ in tackling what proves to be a very stubborn project, I take a picture to mark the starting block.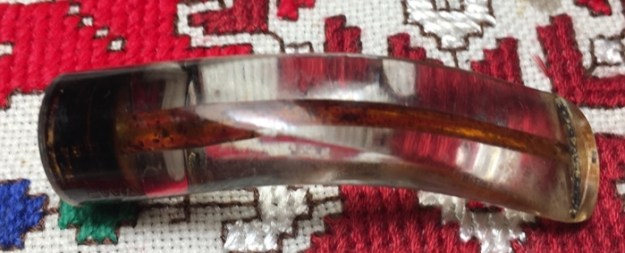 Using a sharp dental spoon, I work on digging gunk out of the slot cavity and scraping the hard stain buildup there.
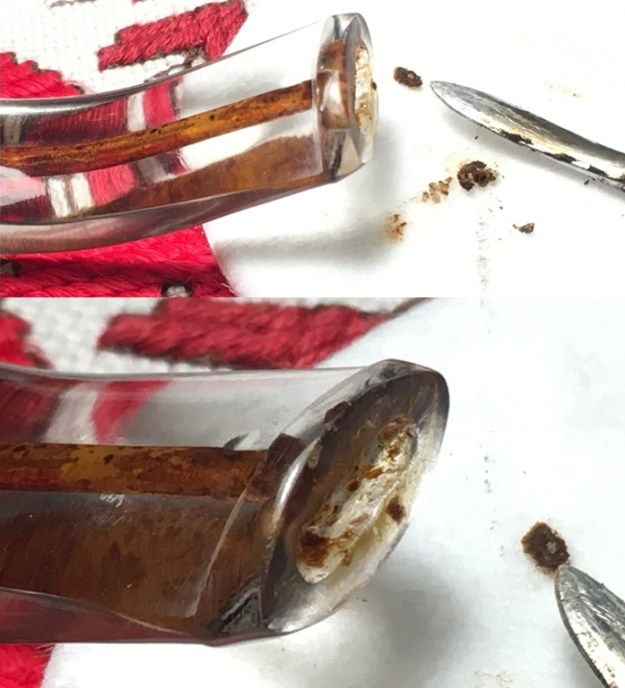 In Bulgaria we do not have ‘Soft Scrub’ but we have a product in the same genre called CIF that I next use to begin addressing the rough stains in the bent stem airway. I use a bristled pipe cleaner and dip it in the cleanser and go to work. With the pipe cleaner serving as a back drop I can see that microscopic veins are already evident in the airway lining. This is the ‘crazing’ effect that Steve mentioned in his note. Removing stain from these will be an effort. The veins are concentrated at the bend of the stem.
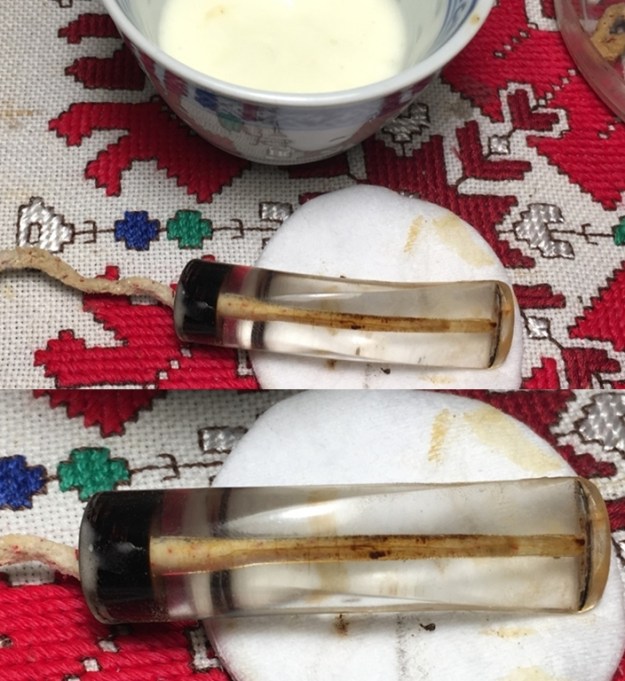 To up the ante a bit, I decide to try the technique that Steve described that others had tried – to chock a pipe cleaner in a hand drill and utilize the high-speed rotation to enhance the cleaning process of the acrylic airway. In order to increase the diameter of the pipe cleaner ‘bit’ I twist and wrap an additional pipe cleaner that I had already used. I then insert this into the chuck and tighten it down. I use another bristled pipe cleaner as the ‘drill’ and dip it in CIF cleanser.
 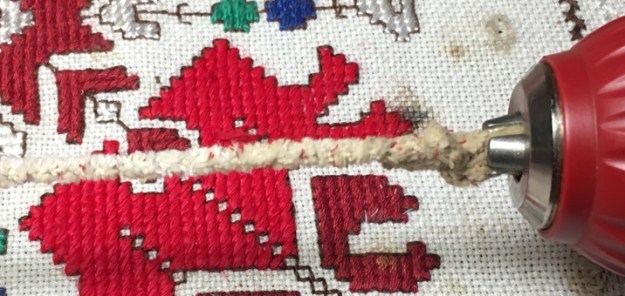 I then insert the end of the pipe cleaner into the shank side of the stem and start the drill rotation gradually as I slowly insert the pipe cleaner into the airway – I haven’t done this before so I’m watching to see what happens! It works like a charm. As I insert the pipe cleaner, I increase the speed of the rotation and there is no wobble at all. With the drill speed rotation engaged, I then push and draw the stem back and forth to create more cleaning movement. I do this also with a soft pipe cleaner and cleanser. The pictures show the pipe cleaner drilling.
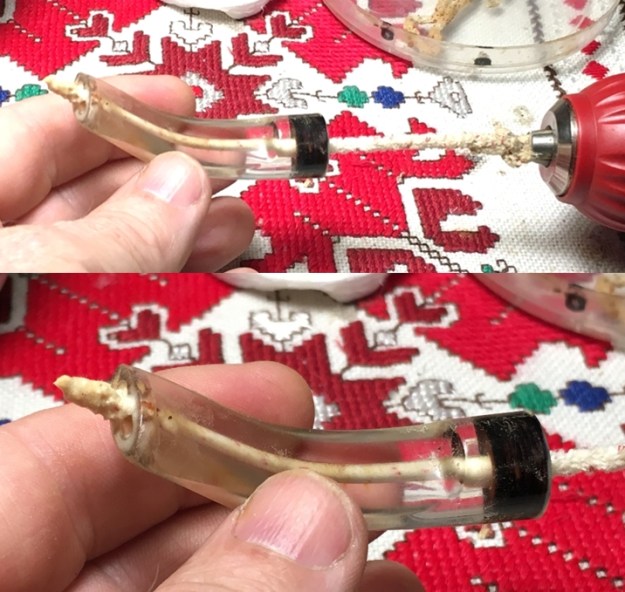 Well, I hoped for perfect results, but as feared, the stains in the veins remain visible and these are concentrated at the outer bend of the stem. Because of this, it is evident that these veins have been here a while. The rest of the airway is looking good.
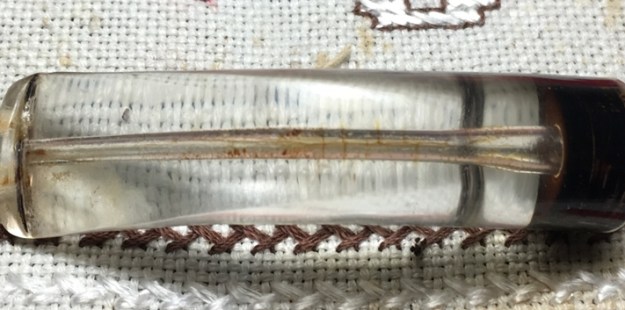 Next, from Steve’s suggested assault options, I squeeze lemon juice into a dish. I will use the natural acids of the lemon to work on the airway. I use the pipe cleaner too, but since the night is late, I settle at this point to put the stem into the lemon juice to soak through the night. With the stummel soaking in the acetone and the stem in the lemon juice, I turn off the lights and end another day.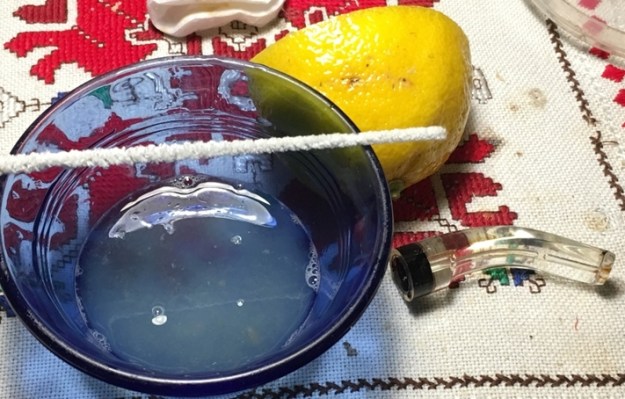
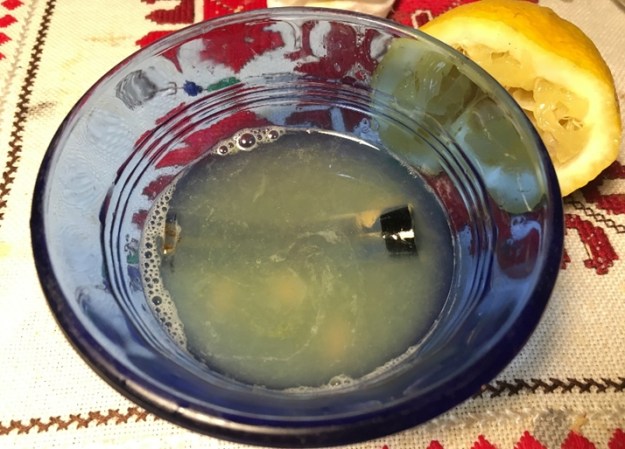 The next morning, I use a pipe cleaner on the stem again. The lemon soak through the night did seem to work, but the veins and the discoloration in the veins remain. A reminder that we live in a fallen world where perfect pipes and restorations do not exist. I accept this and decide to move on, but I decide to leave a pipe cleaner wet with CIF cleanser in the airway to continue to work on the stains while I turn to the stummel.
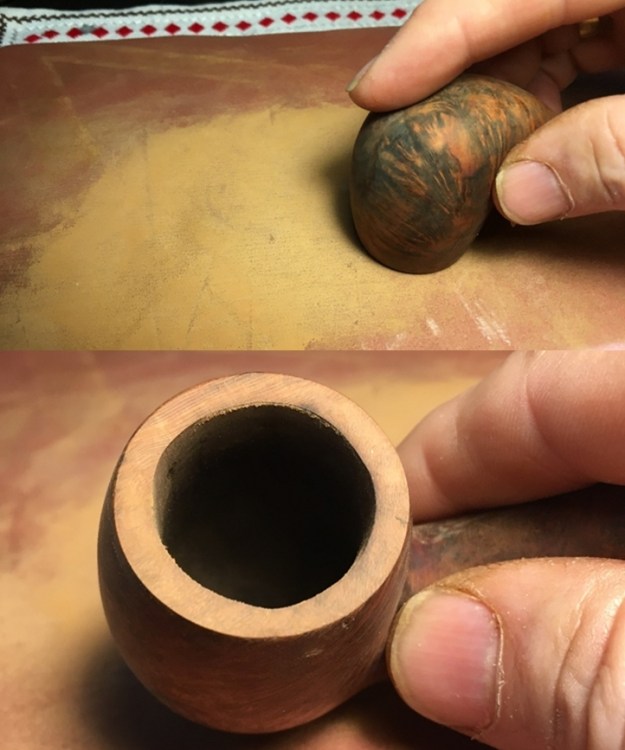
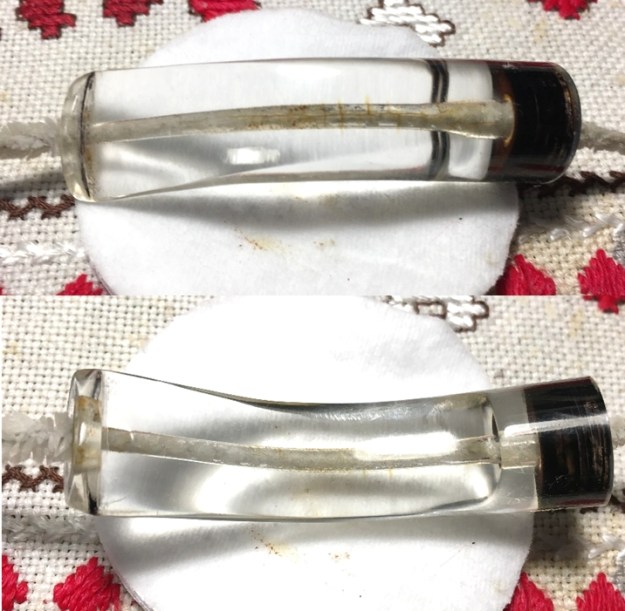 The stummel has been soaking in acetone through the night to remove the ‘candy apple’ finish. I fish it out of the acetone and the first appearance is that it still has the sheen showing that old finish was still present. The finish has been greatly softened through the soak and with the gentle help of 0 grade steel wool I remove the finish without difficulty.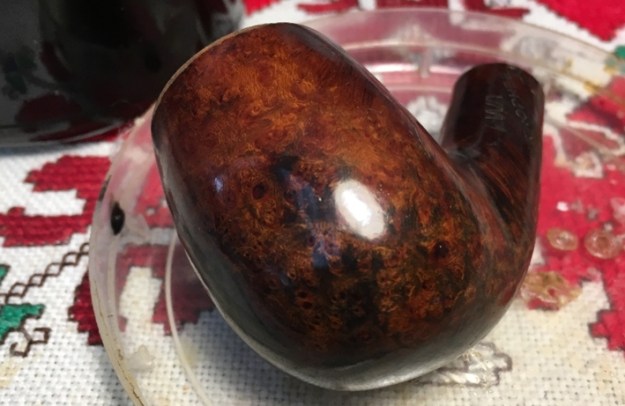
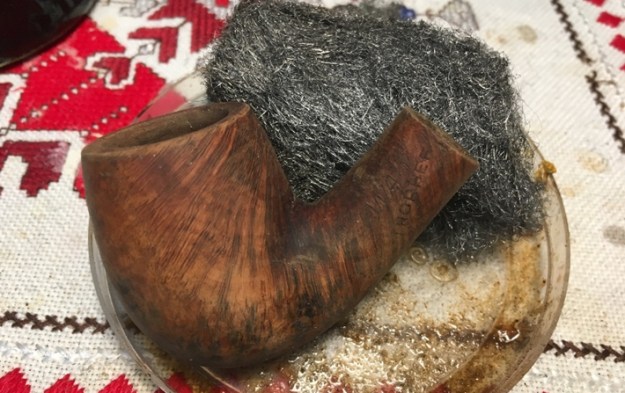
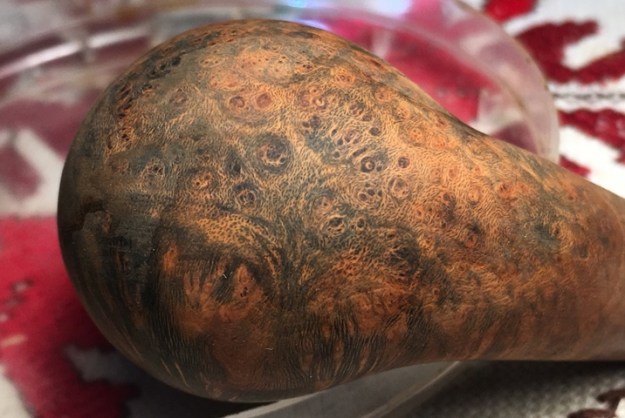
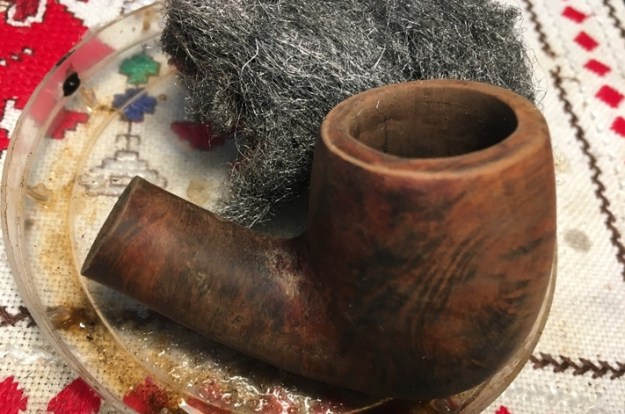 With the old thick finish removed, I examine the shank and the heel areas again where I saw significant dents and pits and discover that these are not as pervasive as they appeared before. Most of the visible damage was to the thick finish and not to the briar. Well, that’s one argument in favor of thick finishes! The second picture below of the close-up of the grain – the bird’s eye grain is fantastic!
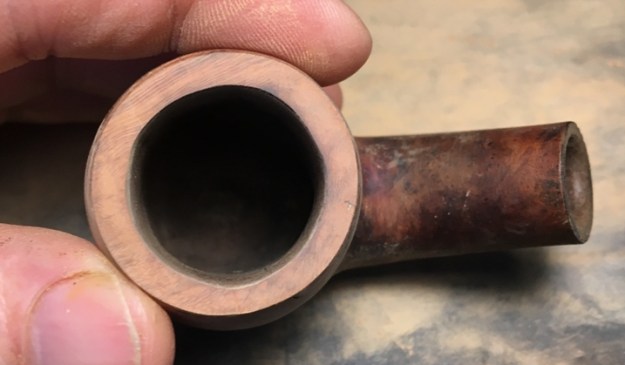
 Looking at the rim, it is thinner on the left side (bottom in the picture) and that edge is deteriorated. The entire rim presentation needs freshening and to try to improve the width balance some.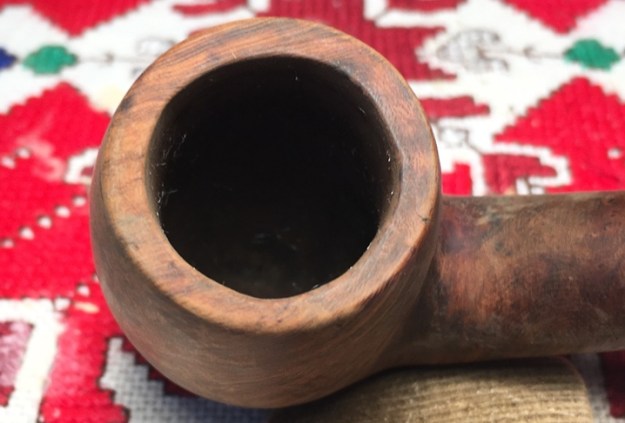
 To address this, I take out the chopping board and put 240 grade sanding paper on it. I give the stummel a minimal topping to give the rim a fresh start.
 After taking as much briar off the rim as will be helpful, I switch the board to 600 grade paper and rotate the stummel a few more times to smooth and blend.
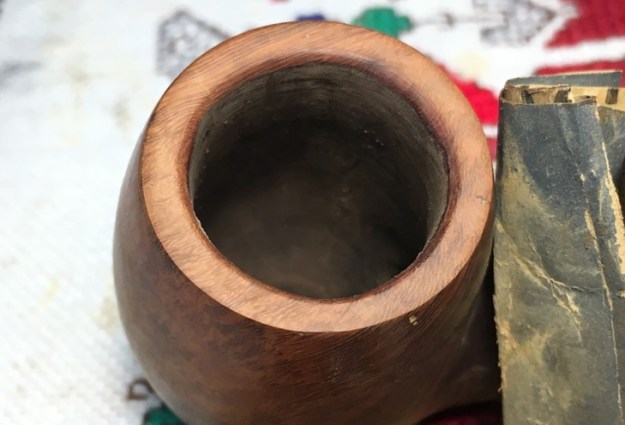
 After the topping, the thinning on the left side of the stummel (bottom in picture above) remains thinner and more topping will not improve this because the stummel width descending in the chamber is thinned because of burning and lighting on that side. To top until the rim width starts evening out would require too much briar real estate. The way to mitigate against this, but not fully remove it, is to create an internal rim lip bevel. On the ‘fatter’ side of the rim I increase the amount of bevel somewhat to help even out the round of the chamber. I use a coarse 120 grade paper to begin, then follow with 240 and 600 grade papers. The results I believe have improved the rounding, but again as with the stem airway, perfection is not achieved but it is looking very good none the less!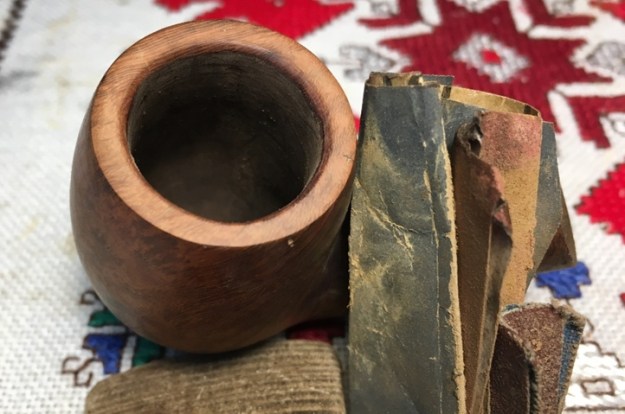
 Again, looking at the dent on the stummel heel and on the shank, just below the Trophee stamping, I examine the dents and how to repair them.
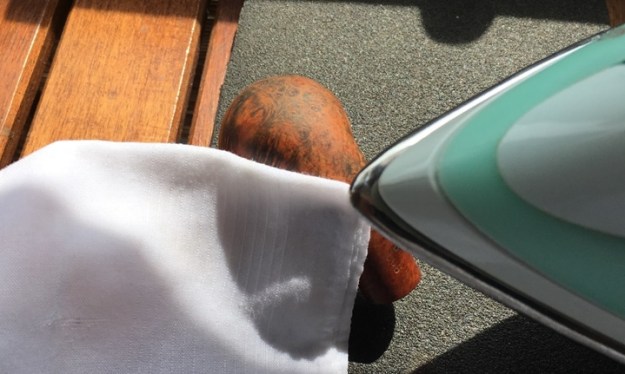
 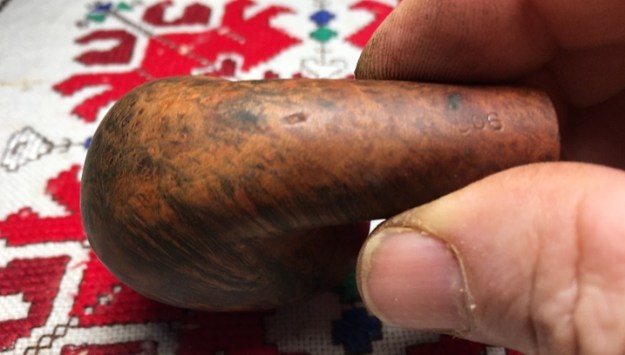 I go out on our 10th floor balcony, which is my ‘Man Cave’, and use the steaming method to raise the dent that’s on the heel of the stummel. I wet a cotton cloth with water, and using my wife’s iron, I apply heat to the wet cloth. When I do this, the moisture in the cloth evaporates and creates steam which is forced into the area of the briar compression. The porous composition of wood expands with the forced heat and moisture and the result is the dent hopefully shrinks as the wood reclaims its original state.
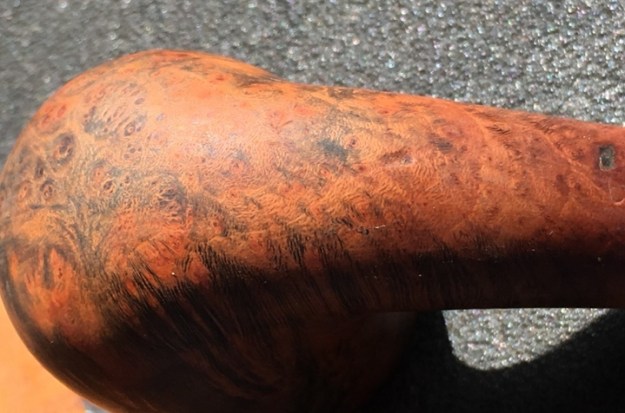 I apply the hot iron to the wet cloth over the dent.
 The results are excellent. If I look hard at the place, I can still see an imprint but there is no longer a compression of the wood.
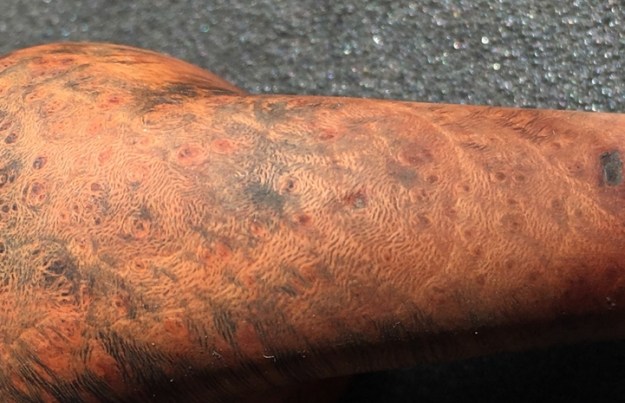 I do the same to the small compression on the edge of the shank and the results are equally as good.
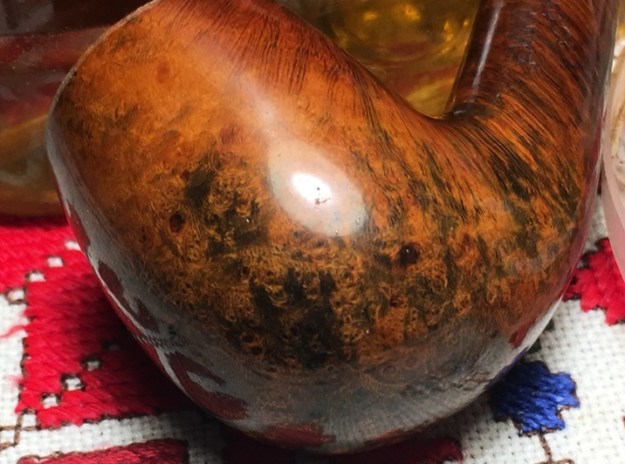
  To clean the entire stummel of the minor nicks and scratches, I utilize the less invasive approach of sanding sponges. I use a coarse grade, then follow with a medium and light grade sponges. I like using sponges because they can find the hard to get places as sponges, but they help remove the small nicks and pits in the briar surface. The grain on this stummel is amazing – the dark grains appear almost cloudy as they cluster.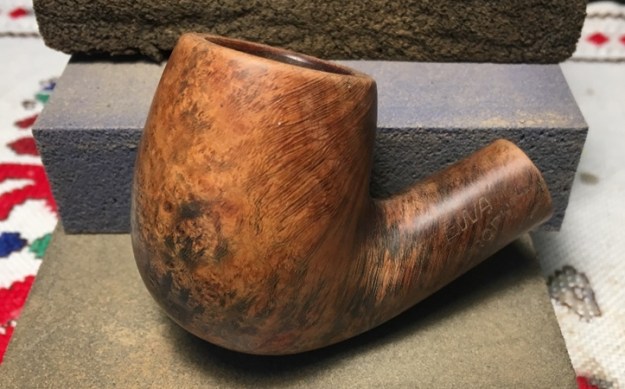
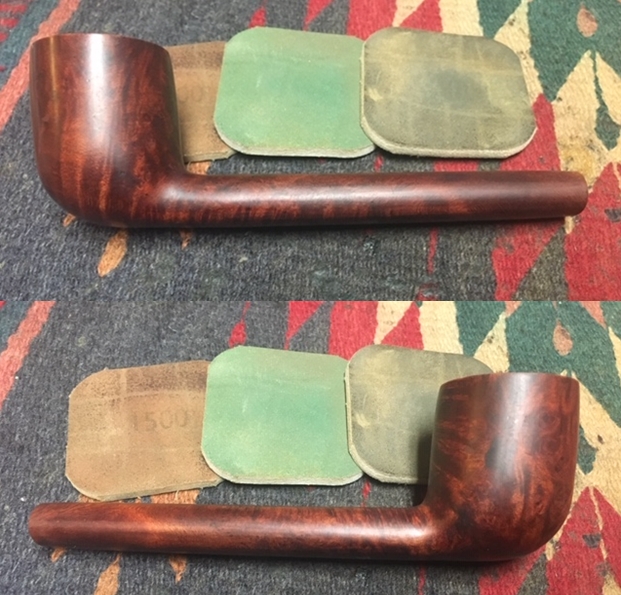
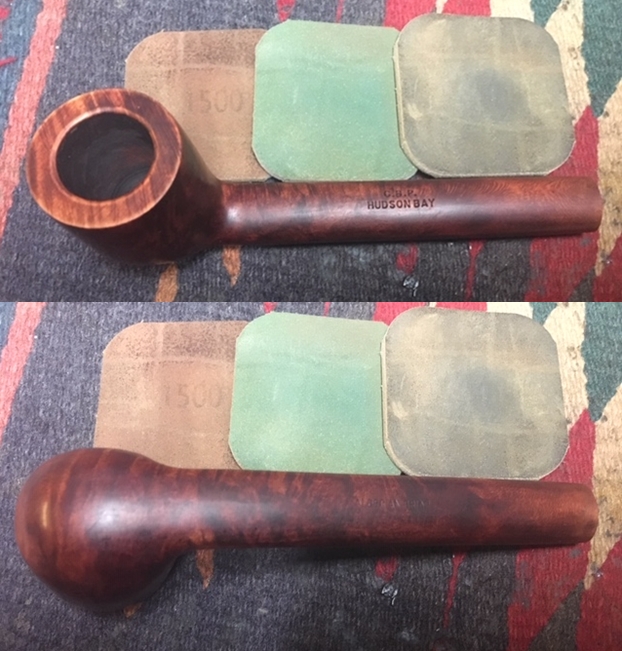
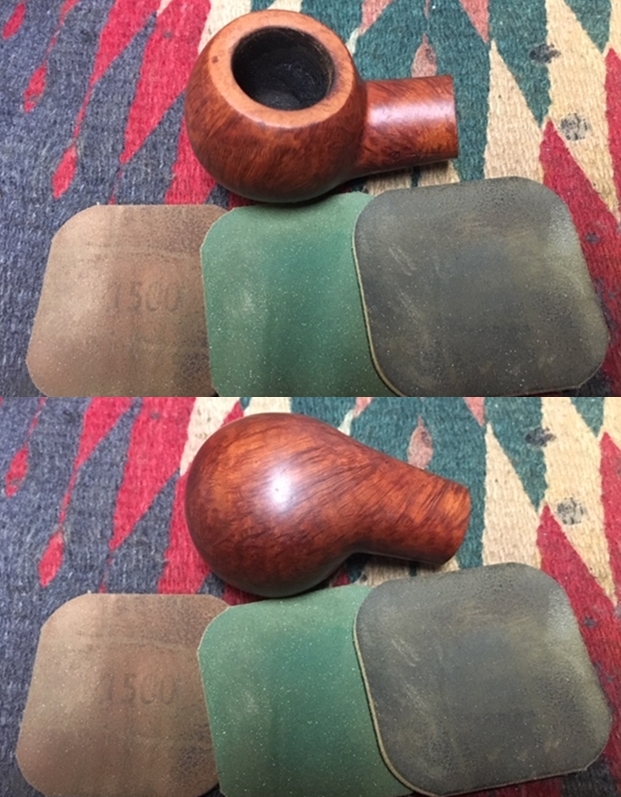
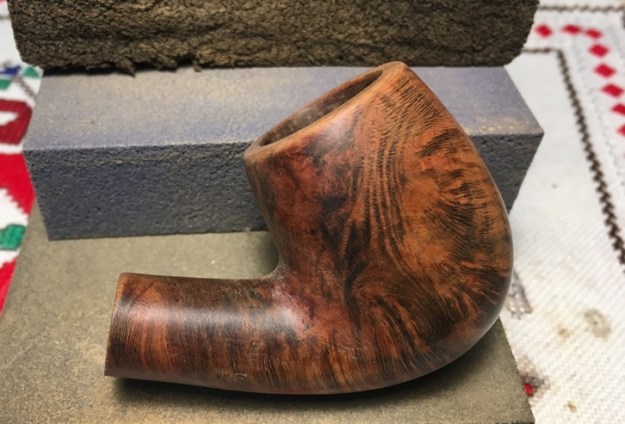 Next, I take out the micromesh pads and wet sand utilizing pads 1500 to 2400.
 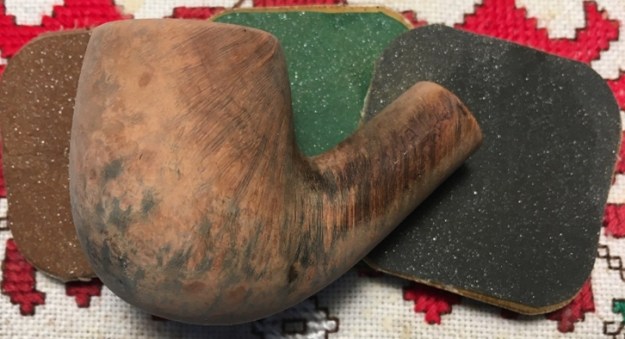 After finishing the wet sanding, I notice a fill on the underside of the shank next to the shape number that doesn’t look solid. Using a sharp dental probe, I test it and it doesn’t take much to remove it. Before continuing with the micromesh process, I need to refill the pit left behind.
 I wipe the area with a cotton pad wetted with alcohol and mix a small amount of thick CA glue and briar dust. I place a small amount of briar dust on an index card then drop some CA glue next to it. Using a toothpick, I gradually pull briar dust into the CA glue until it thickens to the consistency of molasses.
 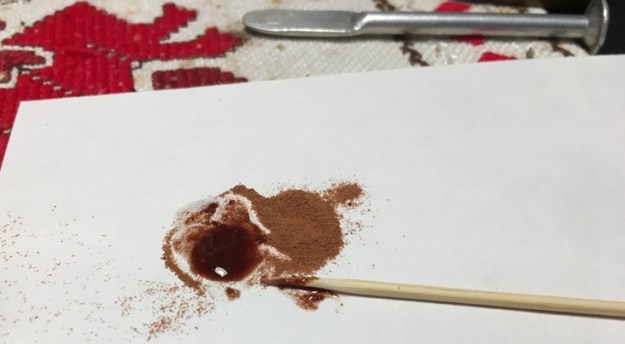 I then apply a small amount of the putty over the patch area, careful not to go over the shape number. I put the stummel aside for the putty to cure.
 Several hours later, the patch has cured, and I begin the process of filing the patch down with a flat needle file.
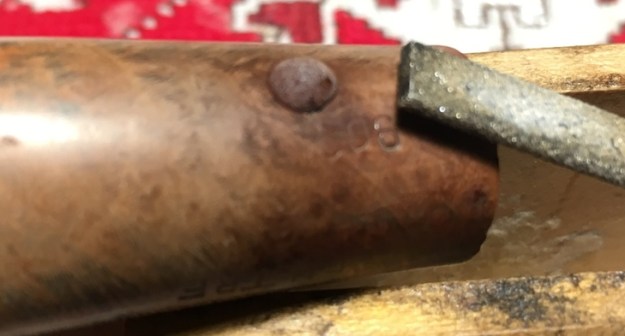 I’m careful to remain on the patch as I file avoiding collateral damage with nearby briar.
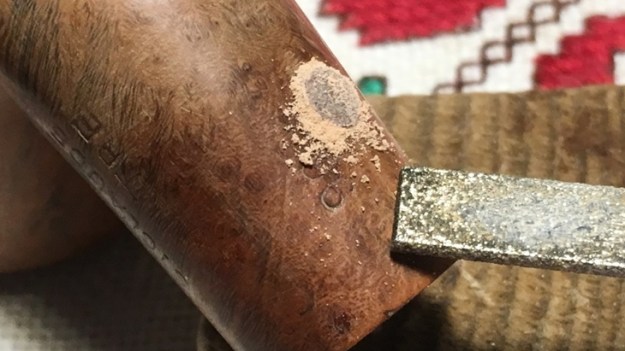 After bringing the patch mound down almost to flush with the briar surface, I switch to using the sharp edge of a piece of 240 grade sanding paper to bring the patch down to the briar surface. Again, keeping the sanding process tightly confined to the patch area.
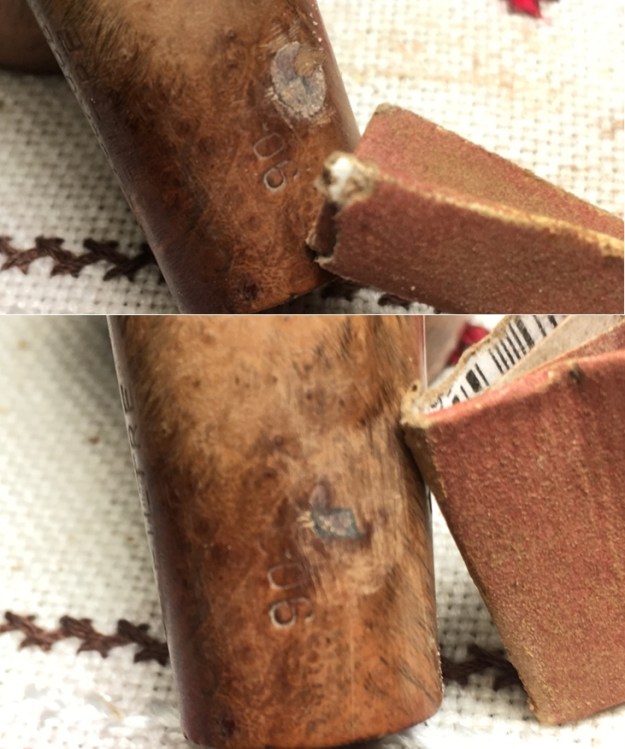 When the patch is smooth to touch, I then switch to 600 grade paper to smooth the patch and blend further.
 When the 600 grade has finished its work, I catch up the patch area in the micromesh process utilizing pads 1500 to 2400.
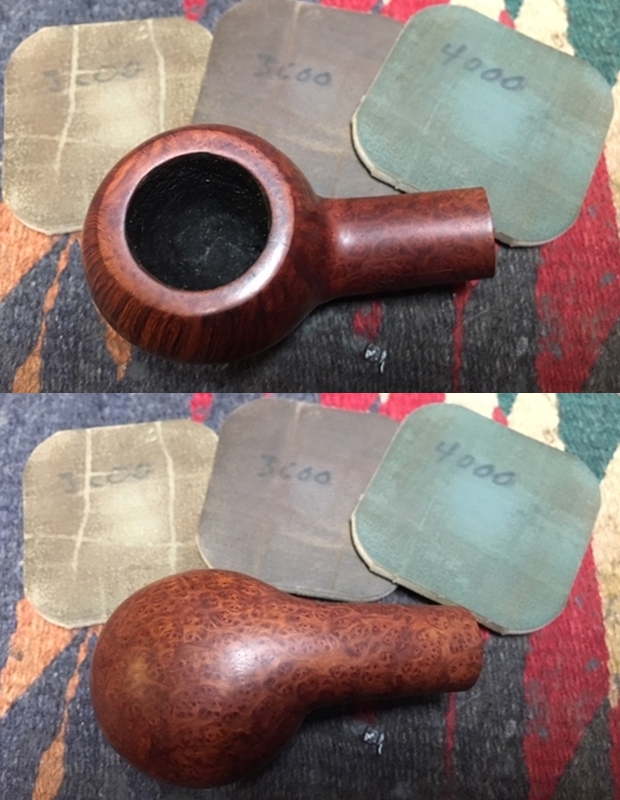
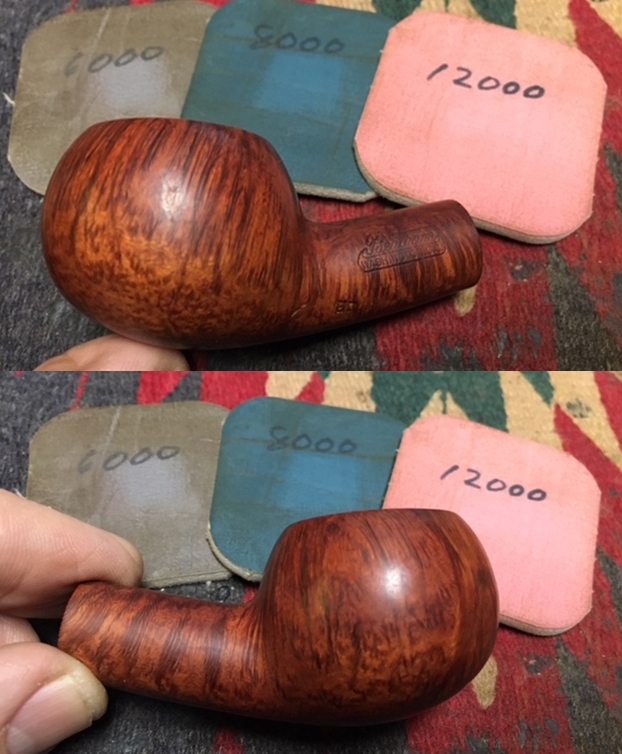
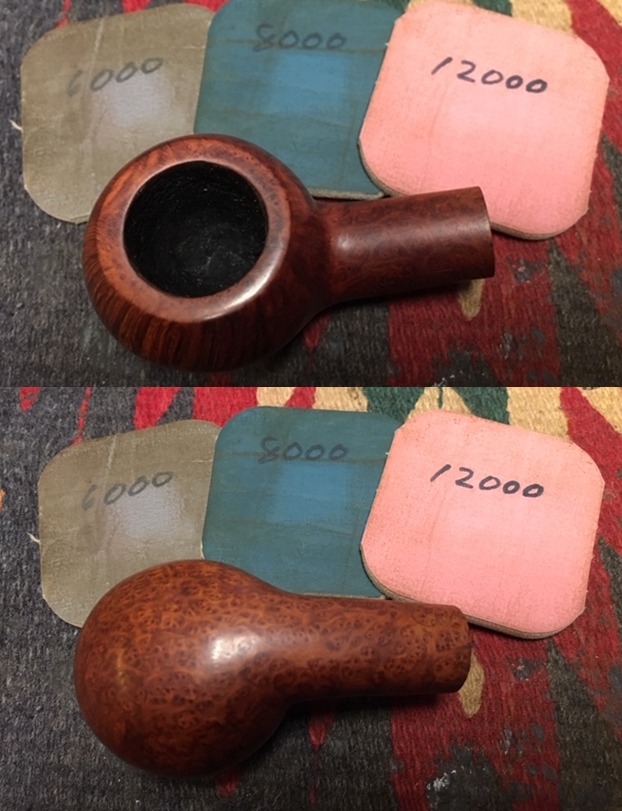
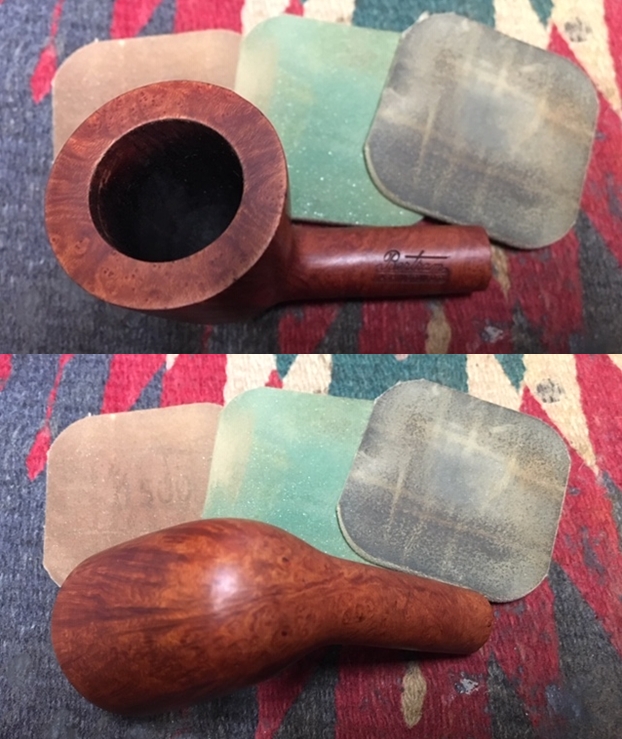
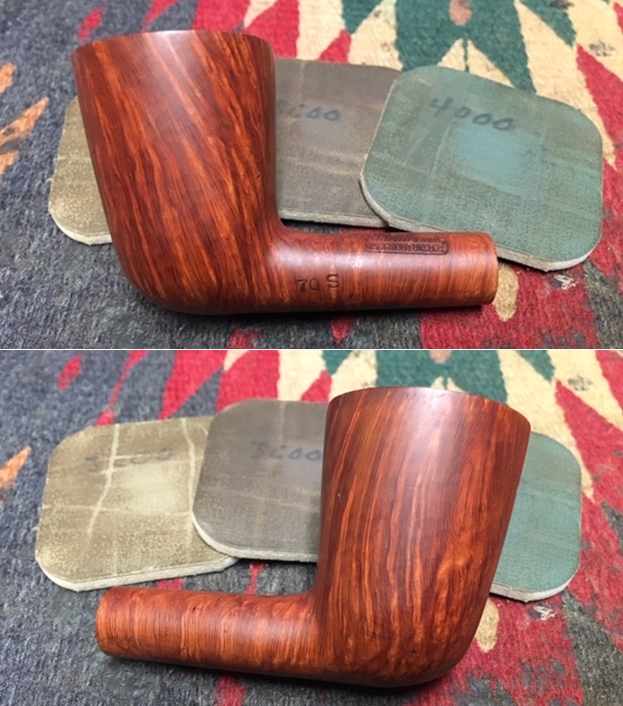
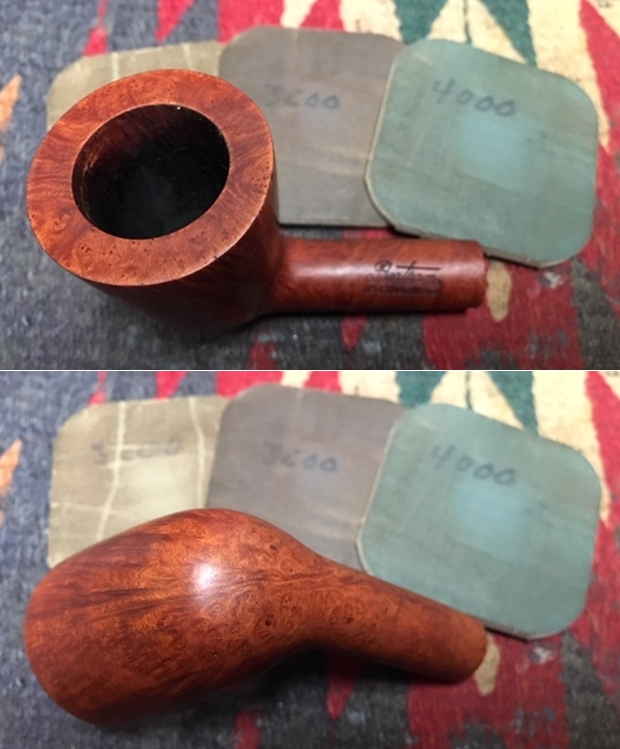
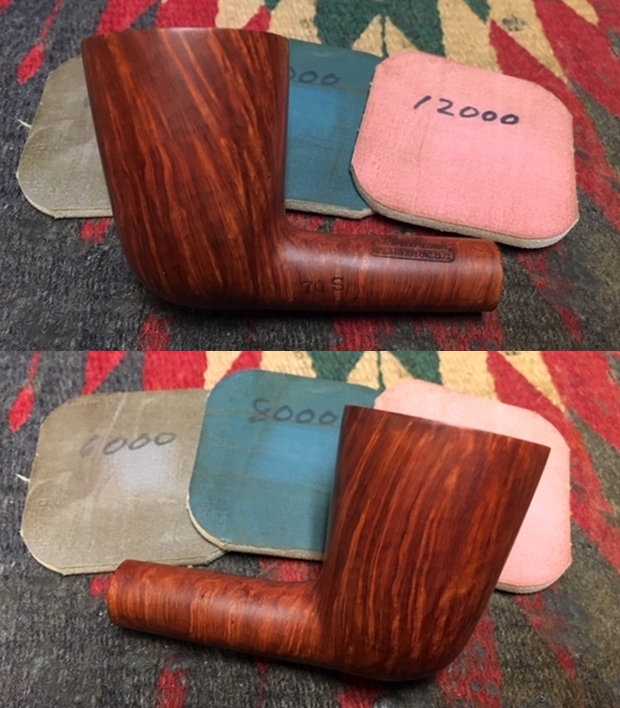
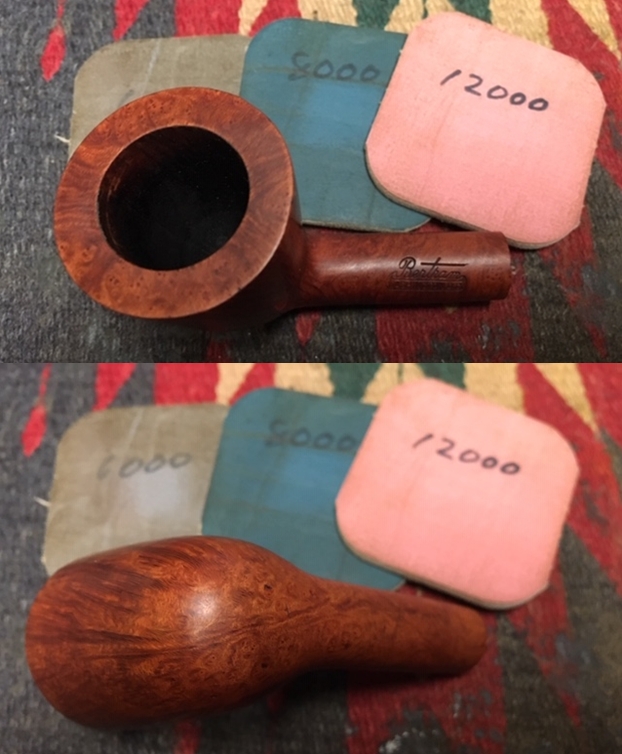
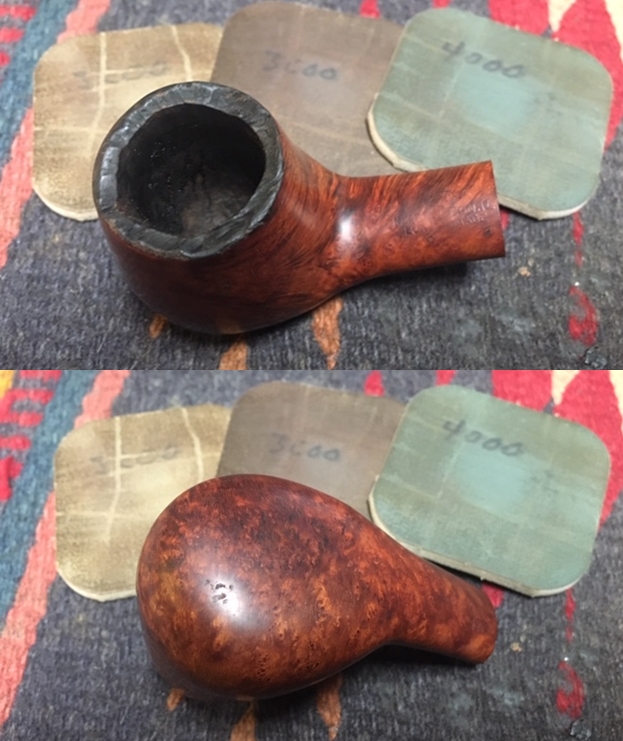
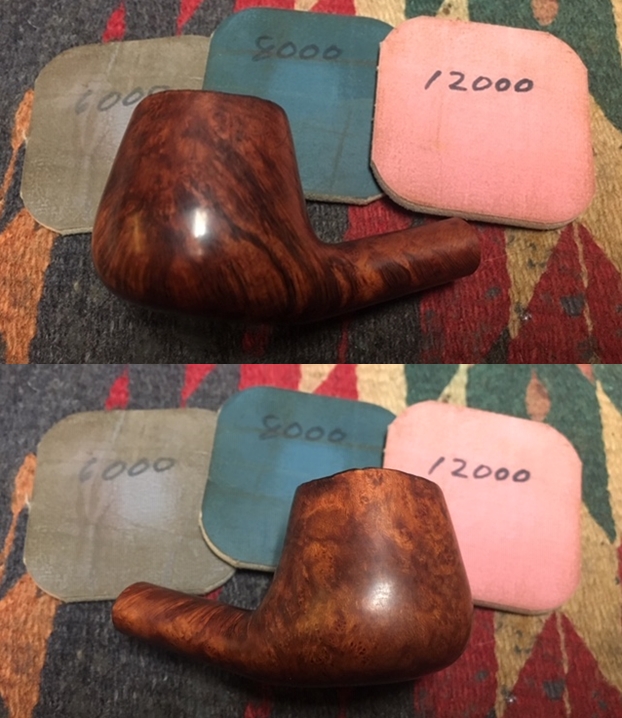
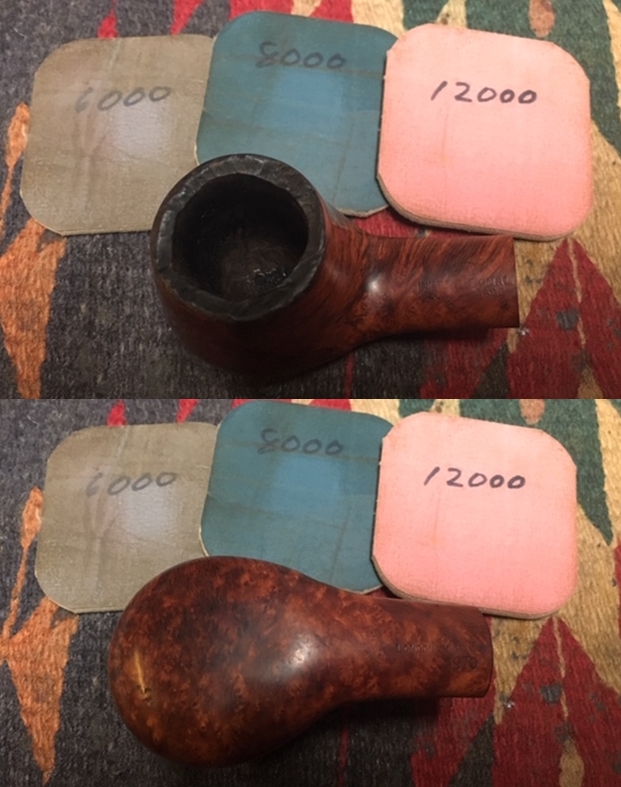
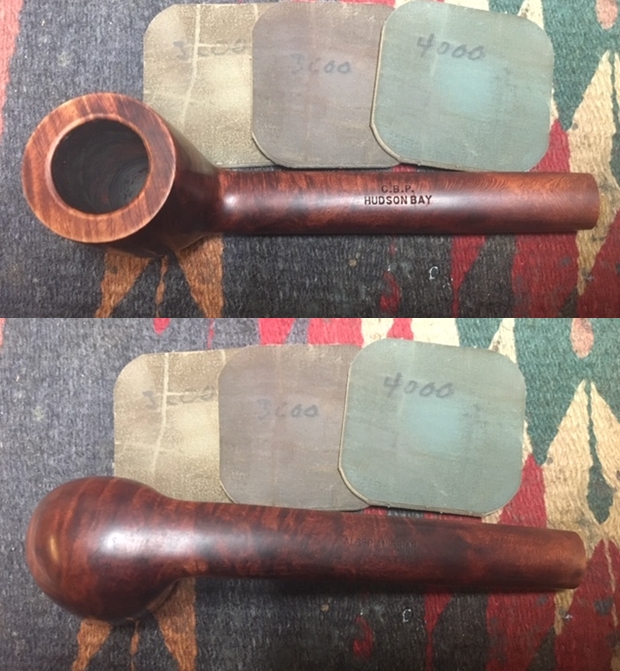
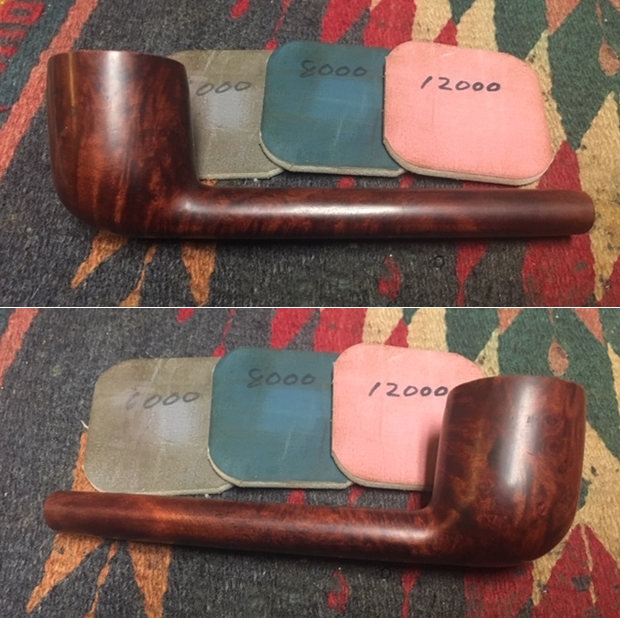
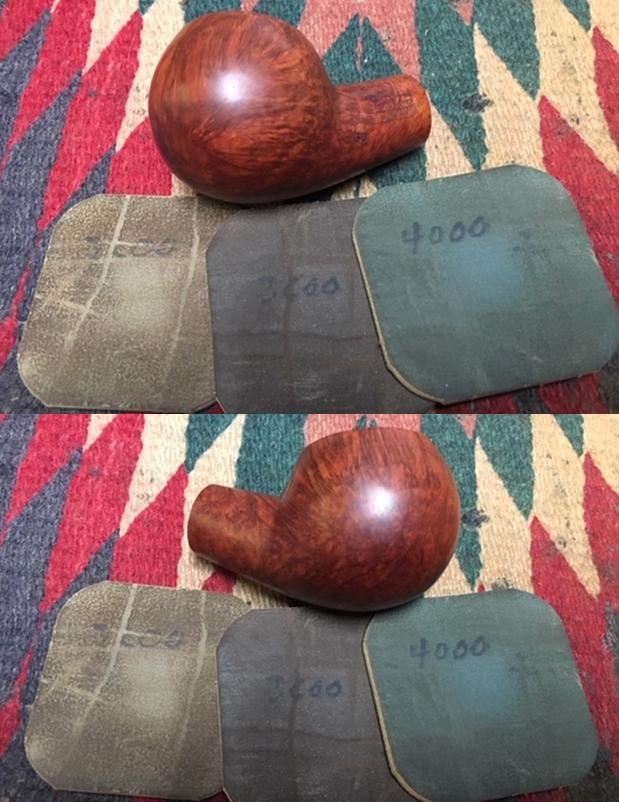
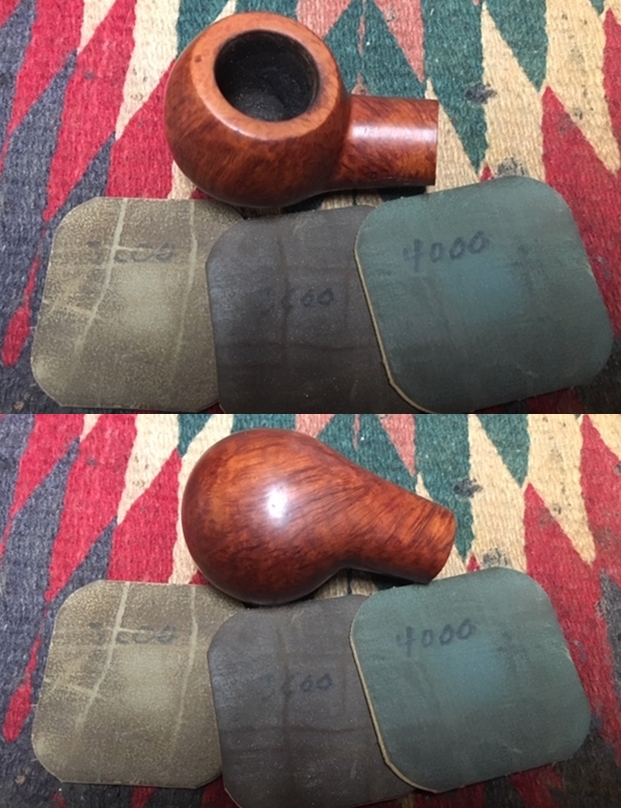
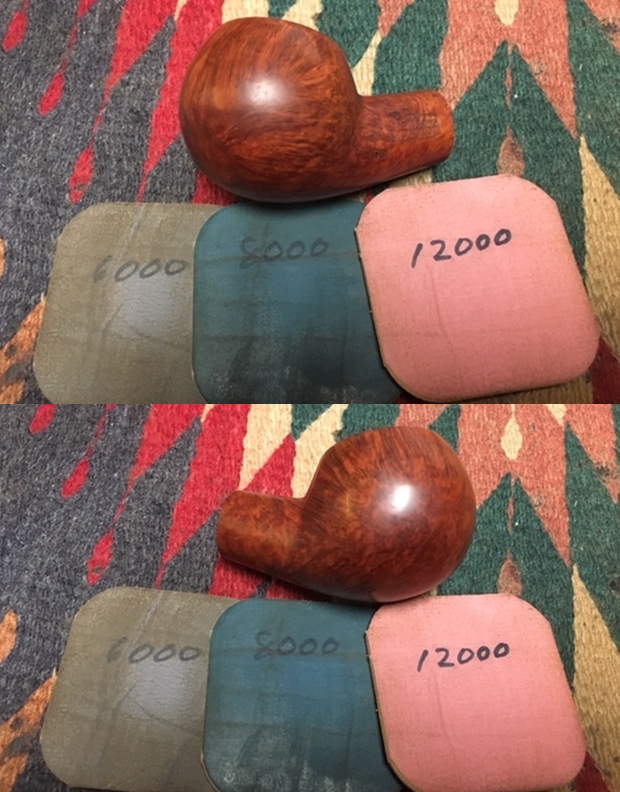
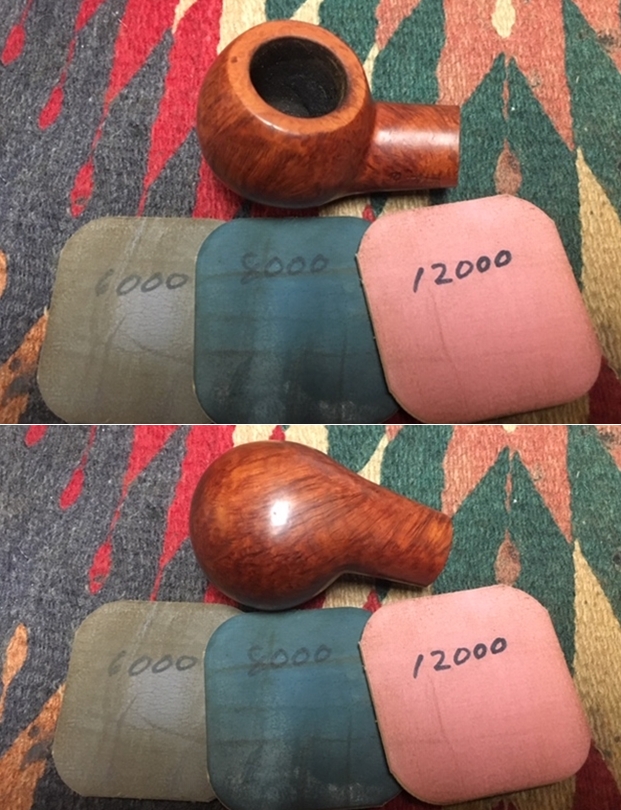
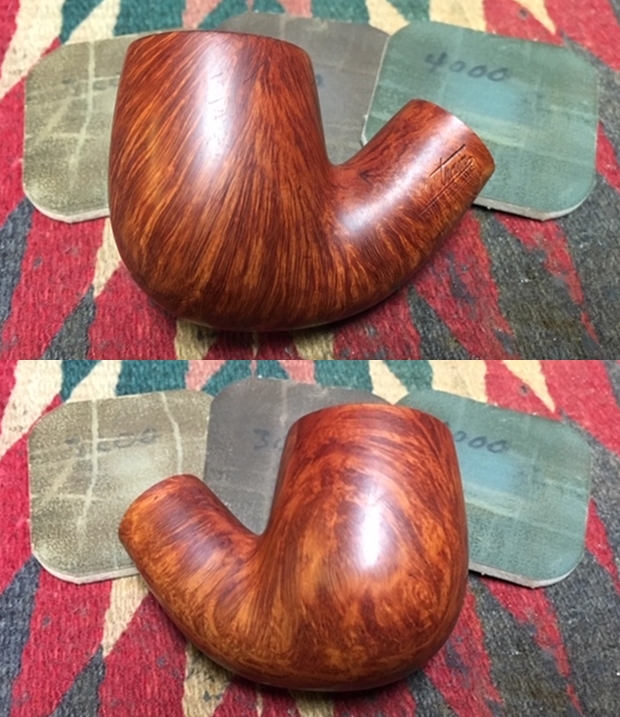
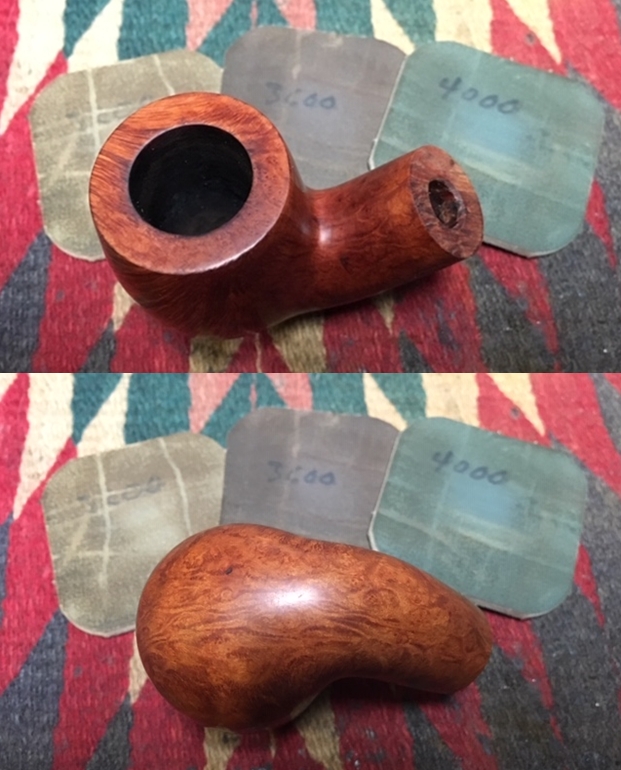
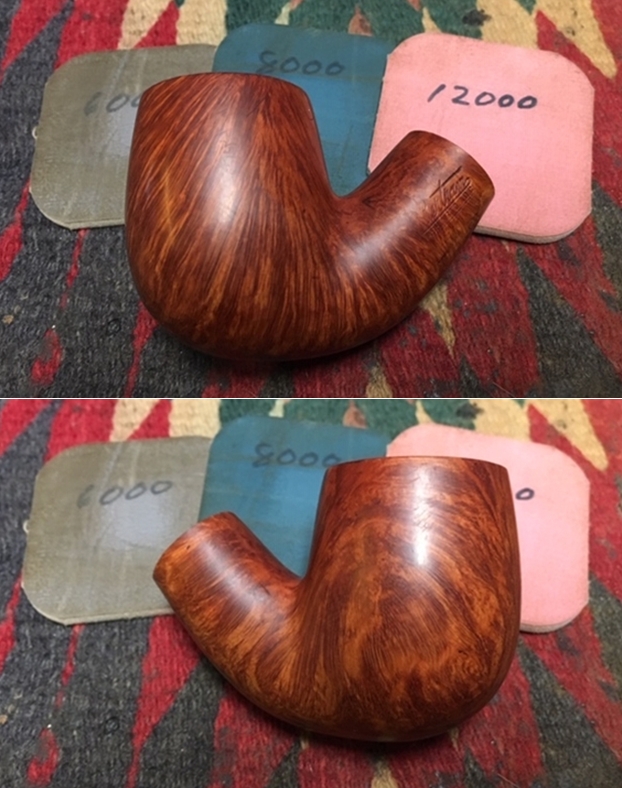
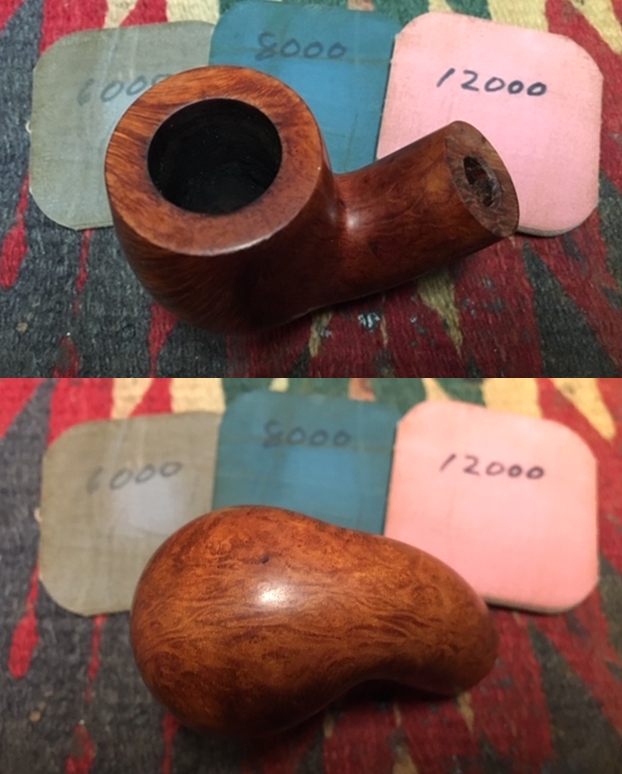
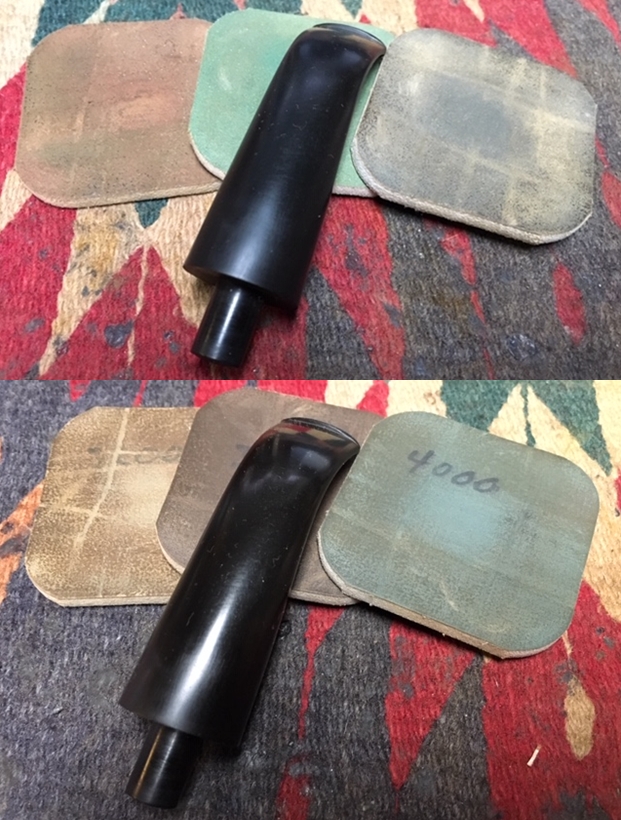
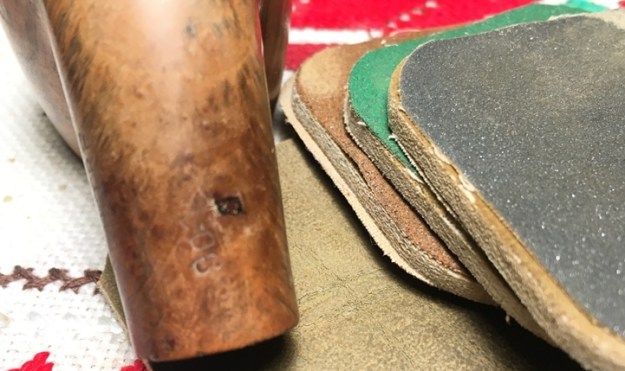 With the patch completed, I continue by dry sanding using pads 3200 to 4000 and 6000 to 12000. I love the thick grain on this stummel!
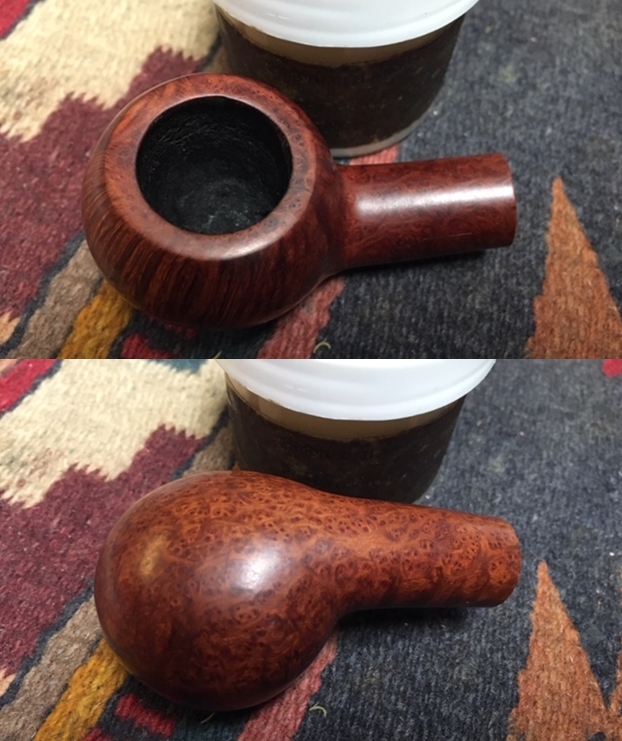
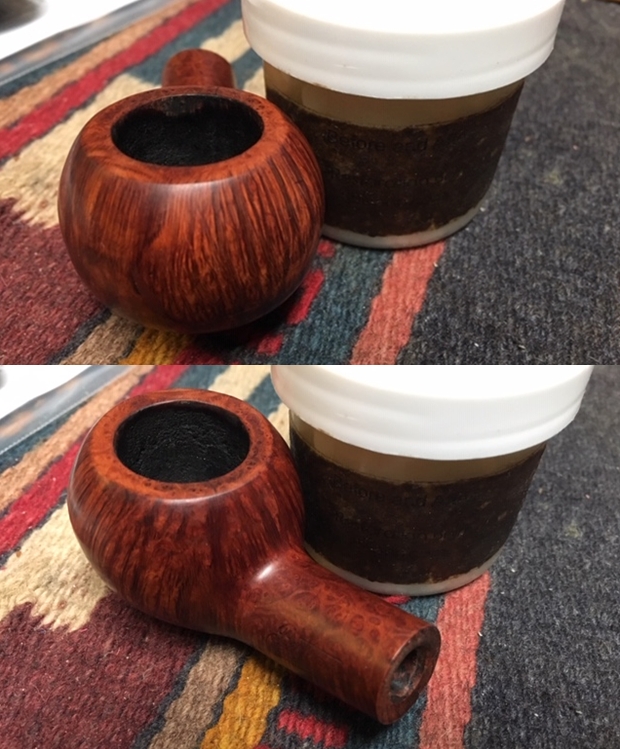
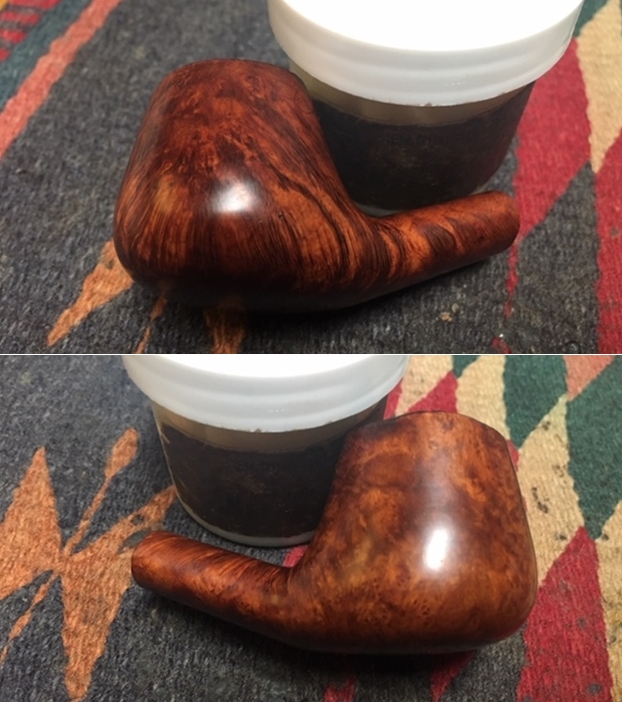
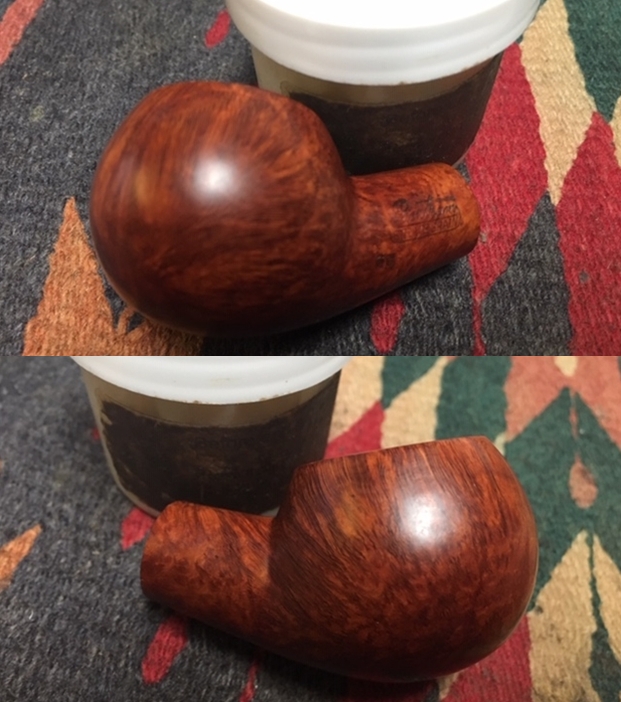
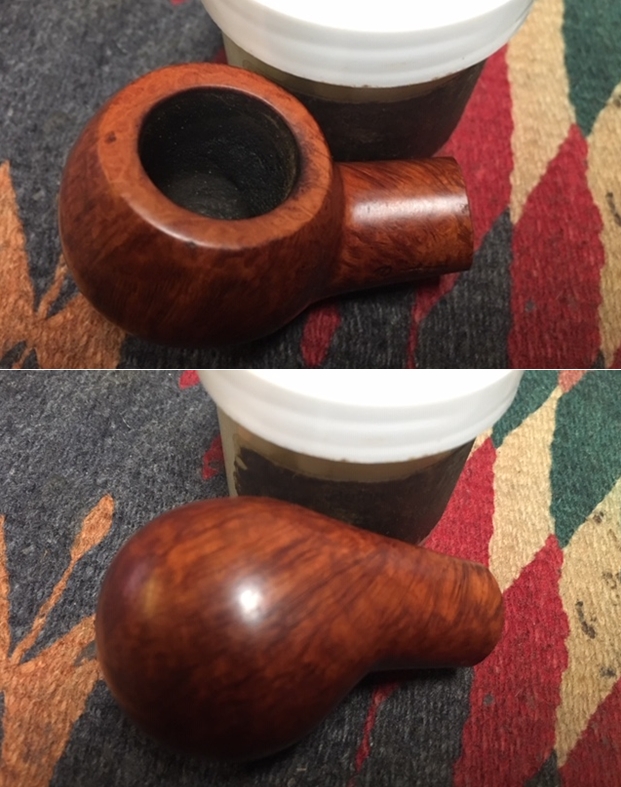
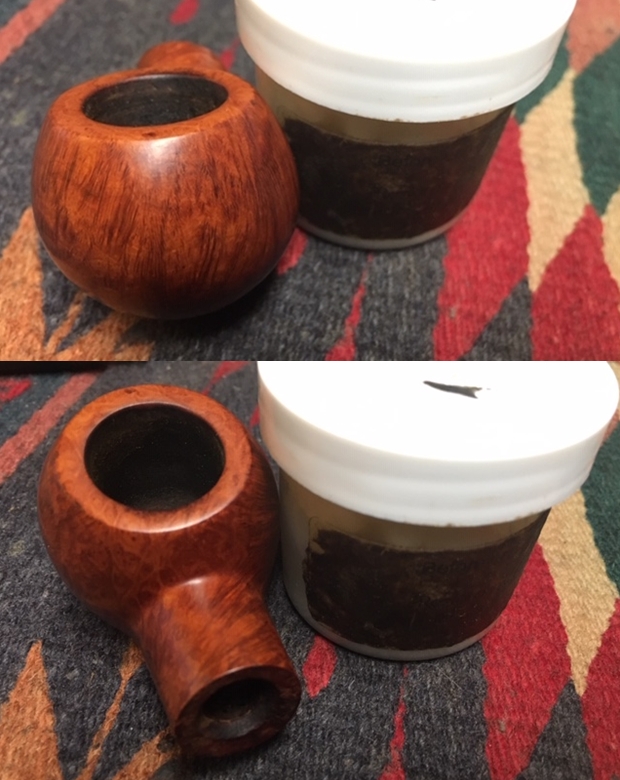
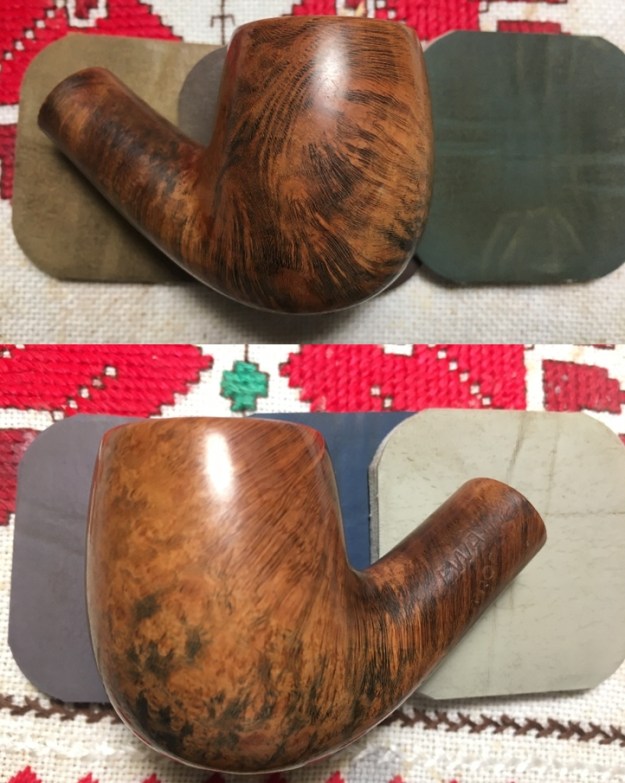 There is no question in my mind about whether this grain can stand on its own! At this point I apply Before & After Restoration Balm to the briar surface. The B&A Restoration Balm does a great job simply deepening the richness of the natural briar. I apply some to my fingers and rub it into the briar surface. As I rub it in, it thickens to a wax-like consistency. After I apply it thoroughly, I let it stand and absorb for about 20 minutes then I wipe off the excess and buff up the surface with a microfiber cloth. I’m loving the grain!
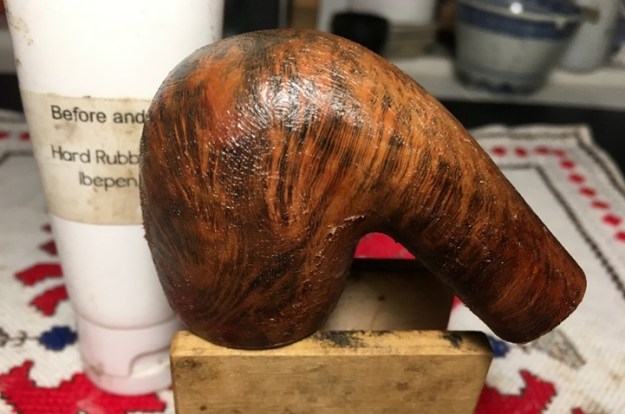 With the stummel on the side, I now turn to the clear Lucite stem. I begin by washing the stem with dish soap and warm water. Looking closely at the bit area, the top lip of the button is compressed. I take a picture of it but it’s not easy to see! There is also roughness from tooth chatter.
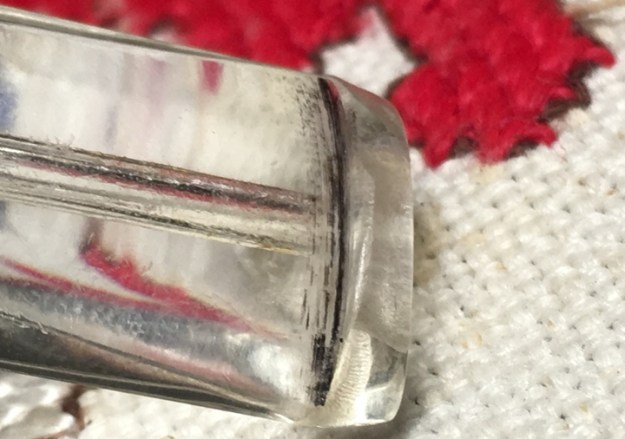 The lower bit has a tooth compression as well as tooth chatter.
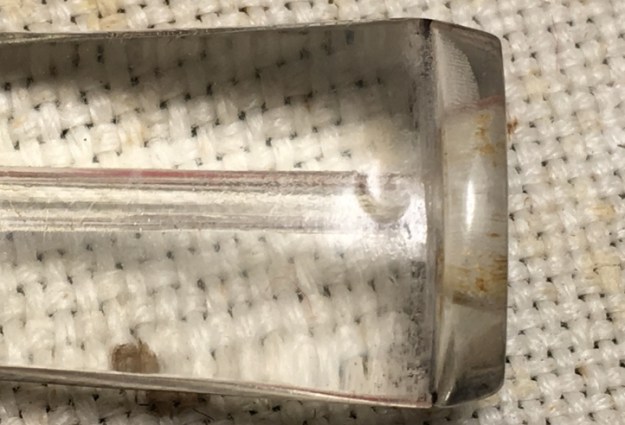 I apply clear CA glue to the lower tooth compression and spray the CA glue with an accelerator to hold the glue in place and to quicken the curing process.
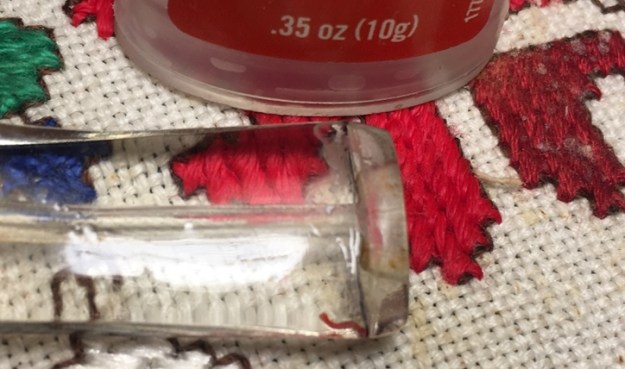 To deal with the compression on the top button lip, I simply sand it out using 240 grad paper. I smooth out the tooth chatter as well.
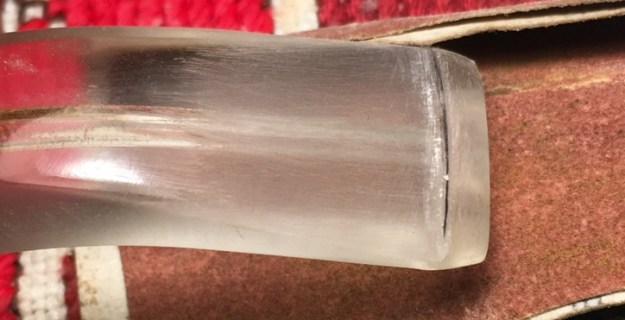 I then use 240 grade paper to sand and smooth the patch on the lower side as well as to remove the tooth chatter and roughness of the bit and button. I follow the 240 sanding by wet sanding the entire stem with 600 grade paper to take out the small nicks and scratches.
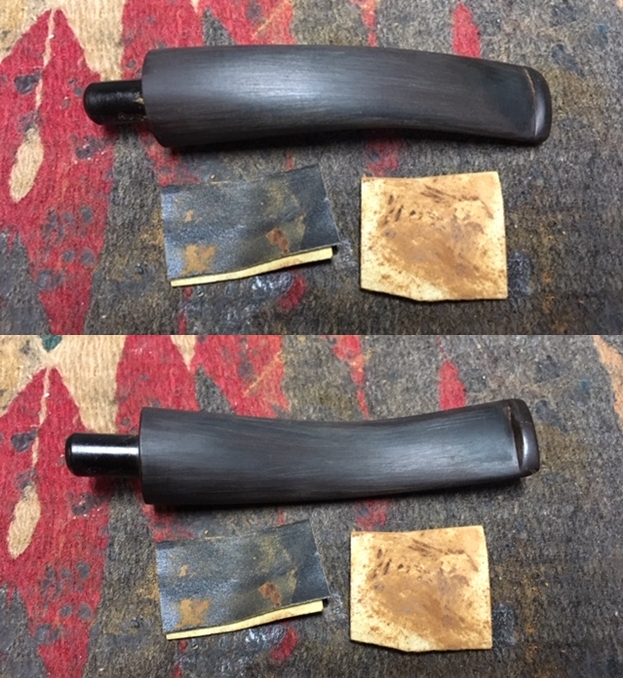
 Following the 600 grade paper, I sand/buff the entire stem with 0000 steel wool.
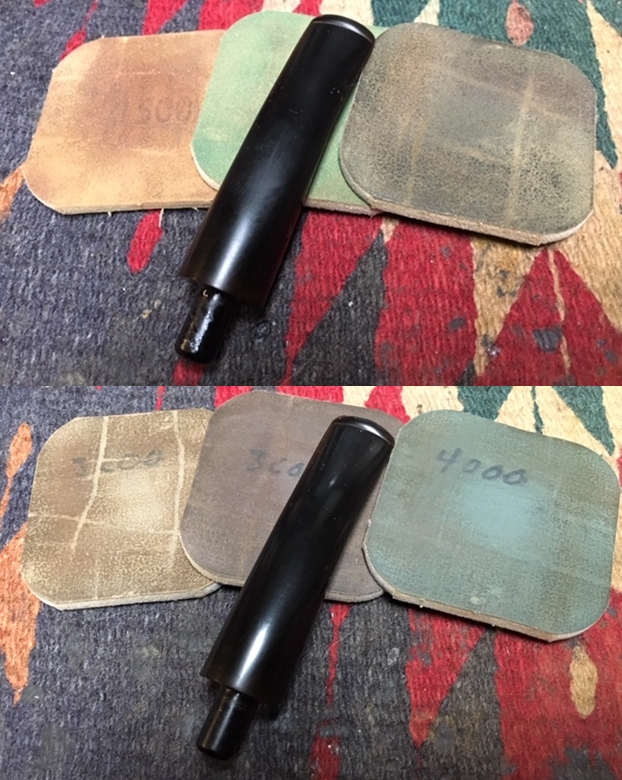
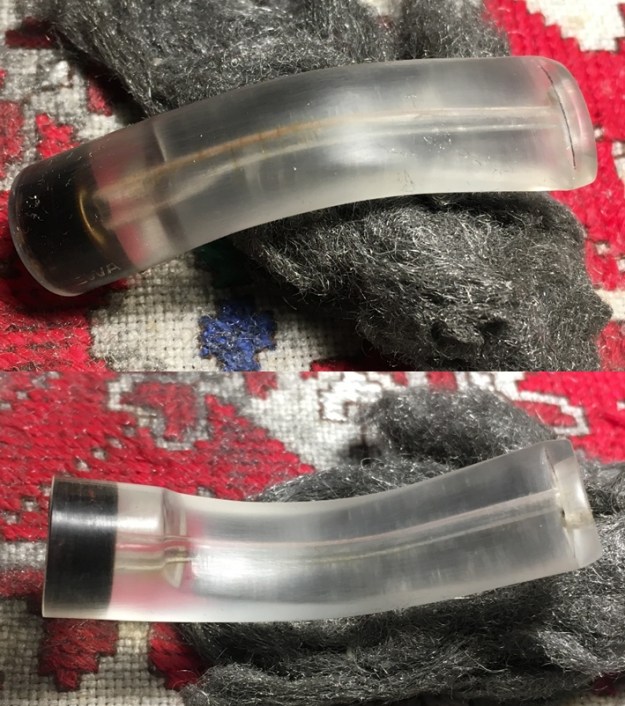 Following the steel would I wet sand the stem using micromesh pads 1500 to 2400 and then dry sand with pads 3200 to 4000 and 6000 to 12000. After each set of three pads I apply a coat of Obsidian Oil to the stem.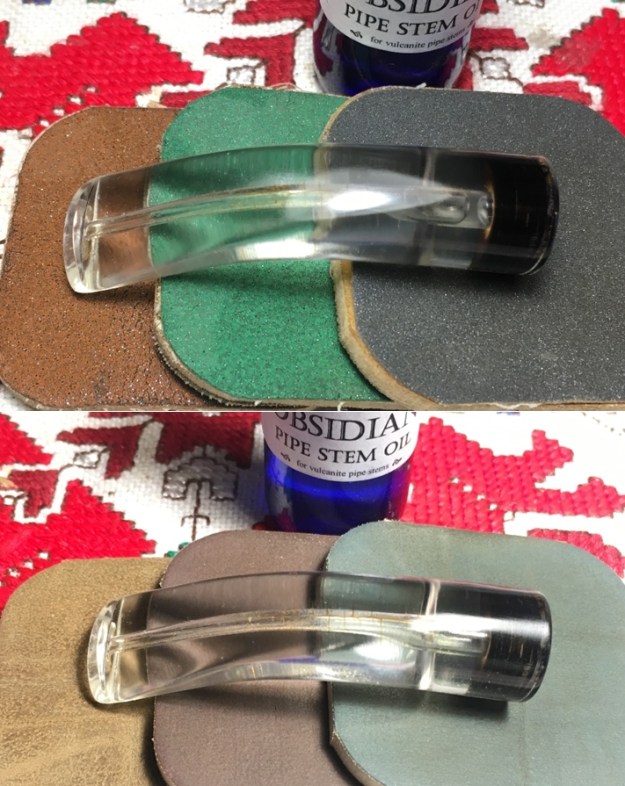
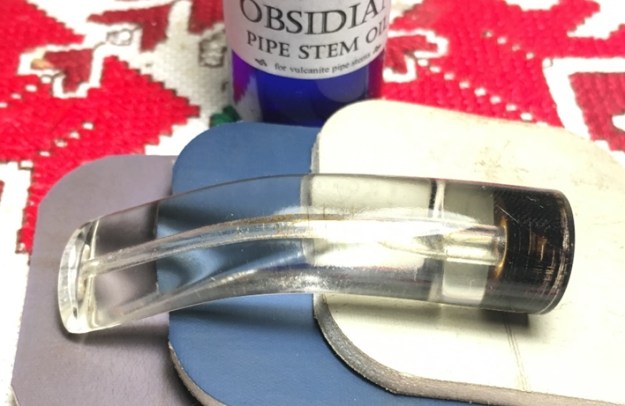 The stem is ready to go. I take the nickel shank ring and clean it with Tarn-X. It does a great job shining up.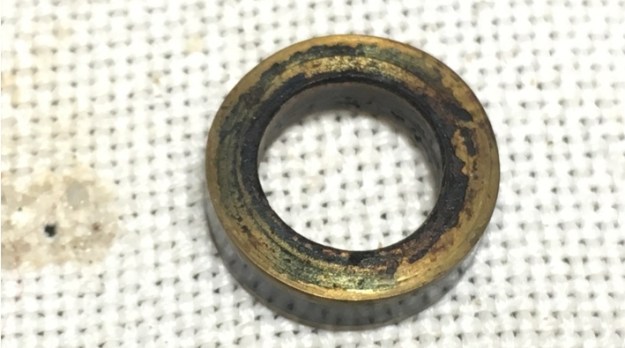
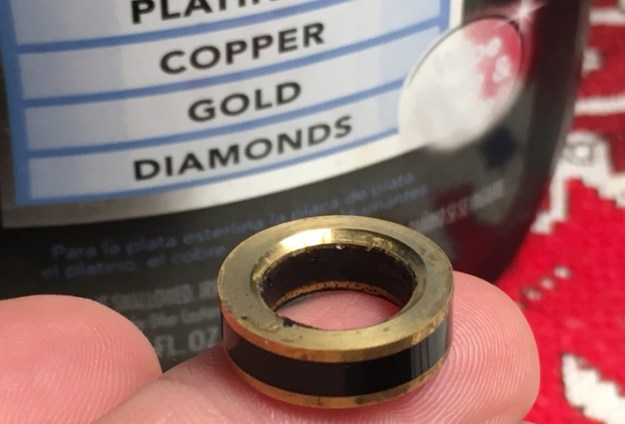 Now it’s time to reattach the 8mm filter sleeve. I want to make sure its straight and seats accurately in the mortise. I first slip the ring over the sleeve without attaching it with CA glue. I want to simply use it as a spacer for the first step of reattaching the sleeve. With the ring over the sleeve, I apply CA glue around the end of the sleeve that is inserted into the stem cavity.
 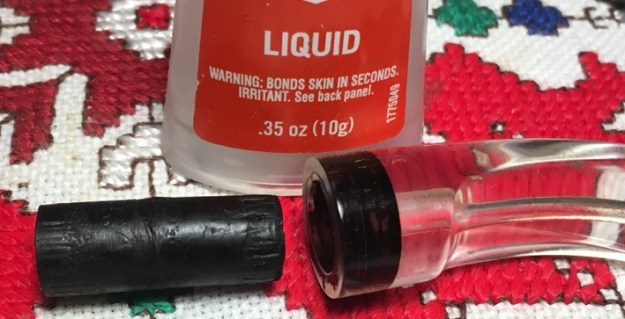 After I insert the sleeve into the cavity, before the CA glue sets up, I quickly seat the filter sleeve into the mortise with the ring compressed between the shank and stem. I hold the stem firmly in place with proper orientation until the CA glue sets.
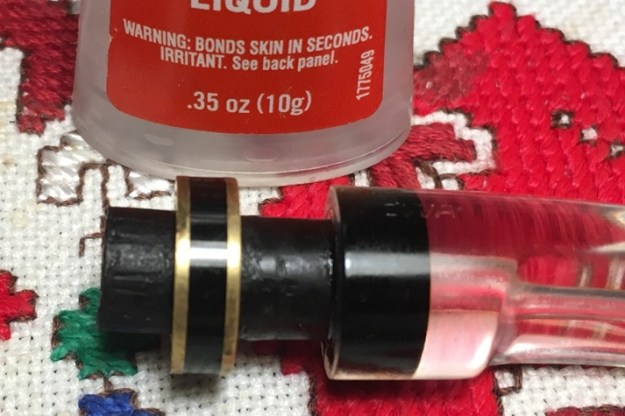 With the sleeve properly seated, I then apply a few drops to the stem side of the ring and then reattach it, again seating the stem into the mortise. It looks good – no gaps and a straight snug fit.
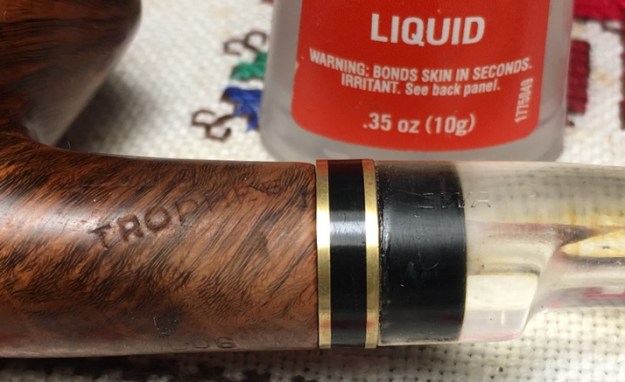 To spruce up the EWA stem stamping, I apply Rub ‘n Buff European Gold. I apply a little over the stamping and simply wipe it lightly off with a cotton pad. The stamp is a little thin, but the Rub ‘n Buff holds well, and it looks good.
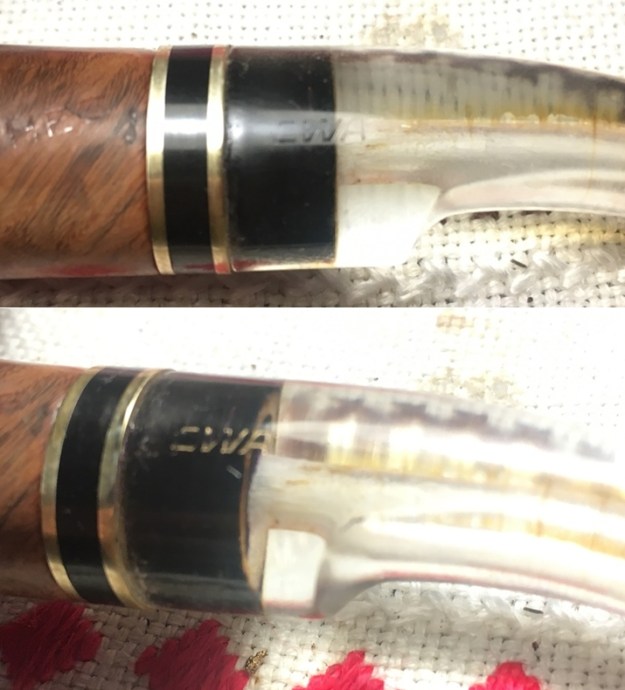 Now the home stretch. I mount a cotton cloth buffing wheel to the Dremel set at about 40% of full speed and apply Blue Diamond compound to the stem and stummel. I then separate the stem and change to another cotton cloth wheel dedicated to applying Blue Diamond to nickel and I buff up more shine on the shank ring. After reuniting the stem and stummel again, I then wipe the pipe with a felt cloth to clean off the compound dust in preparation of the application of the wax. I then change to another cotton cloth wheel with the same speed and apply a few coats of carnauba wax to stem and stummel and then finish with a rigorous hand buffing to raise the shine.
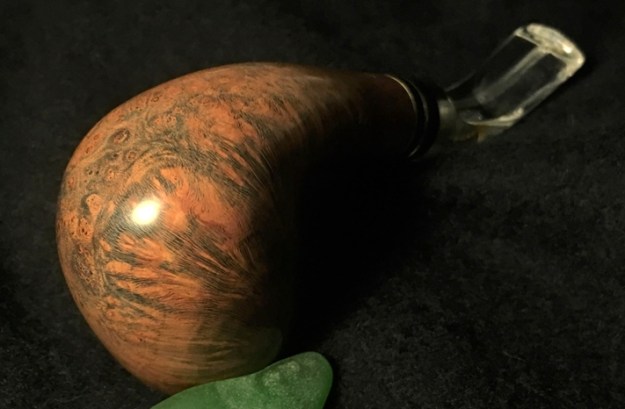
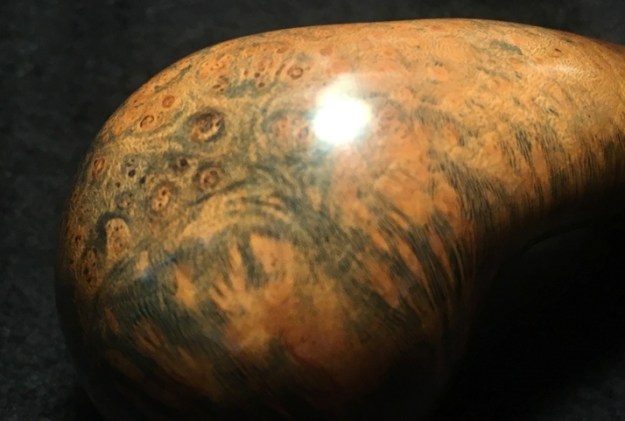
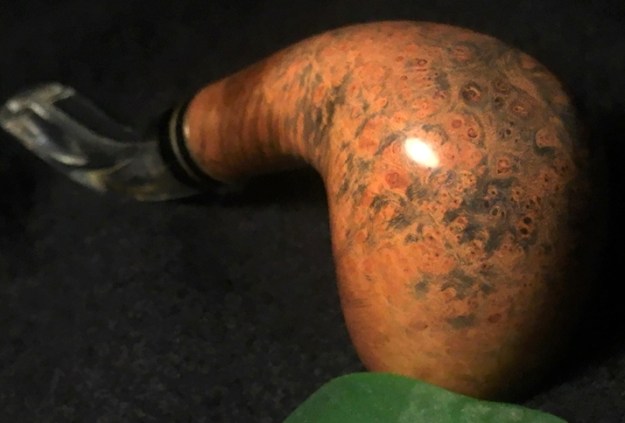
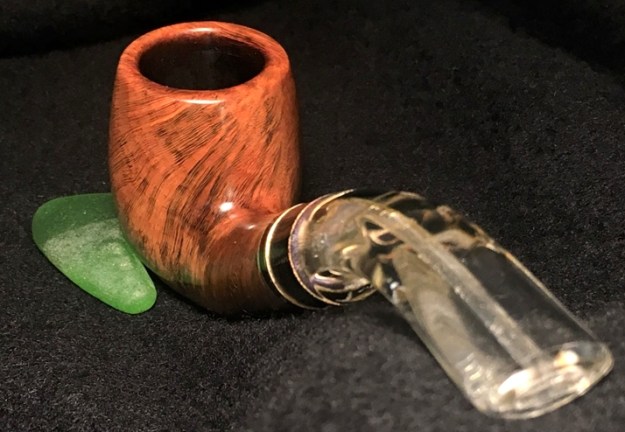
The unique grain cluster constellation that I see in the EWA Trophee is amazing. The heel grain pattern shows color, swirls and vortexes that remind me of pictures of the planet Jupiter. It is truly amazing and mesmerizing to look at. The Lucite stem came out well – it is classy with the complimentary gold and black band ring providing a nice transition. My only wish is that I could have purged the stem airway totally of the discoloration in the crazed veins that will remain as a reminder of this pipes battle scars from its past! Even so, the EWA Trophee of St. Claude, is a beautiful Bent Billiard and Scott did well in seeing the potential of this pipe when he commissioned it. As the commissioner, he has the first opportunity to acquire it in ThePipeSteward Store. This pipe benefits the Daughters of Bulgaria – women and girls who have been trafficked and sexually exploited. Thank you for joining me!


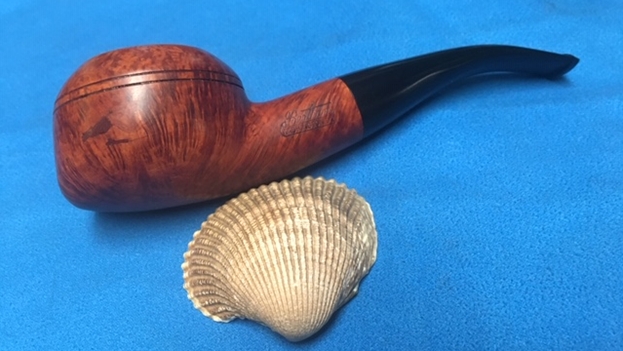
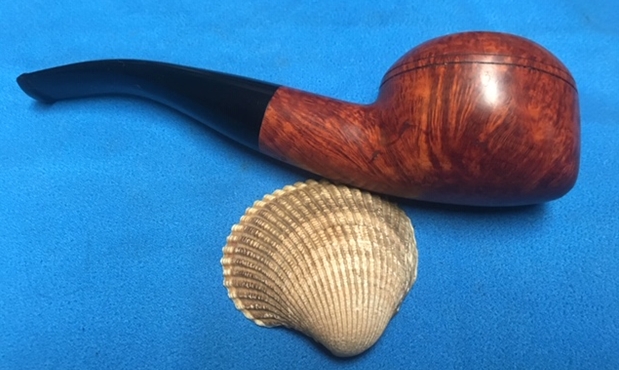
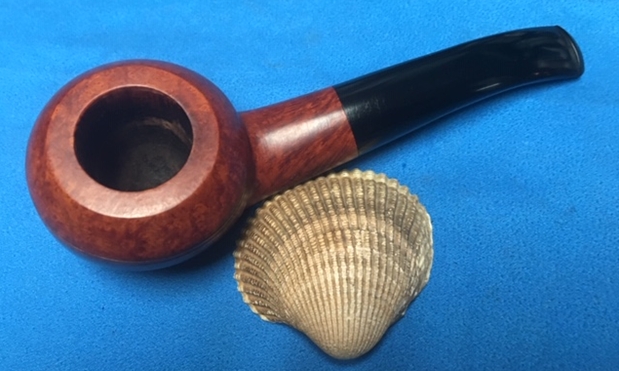
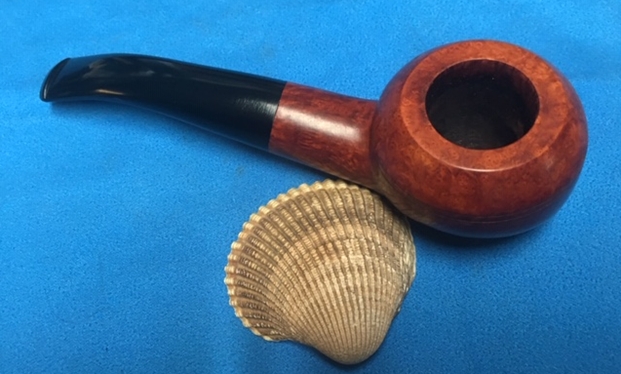
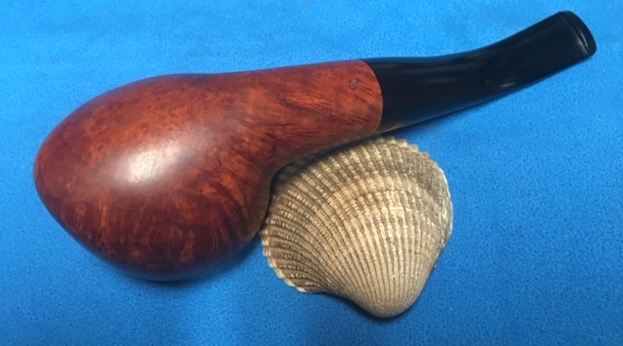
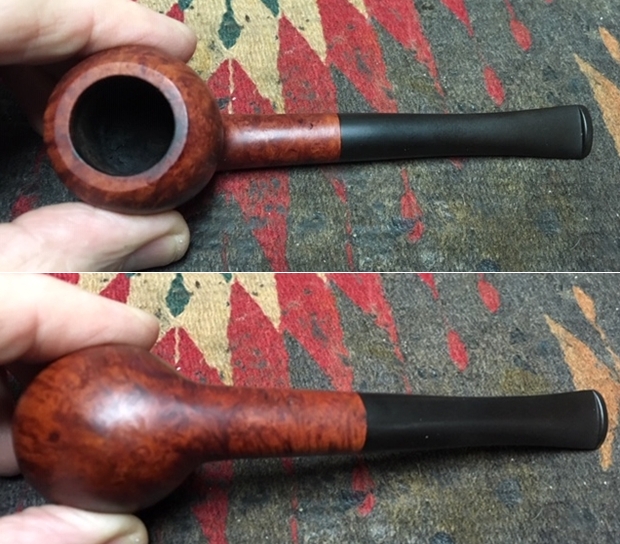
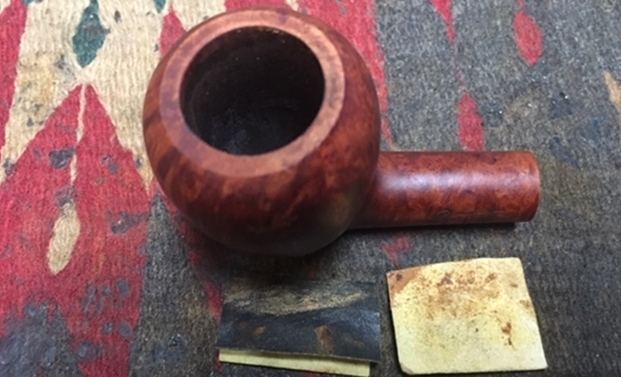
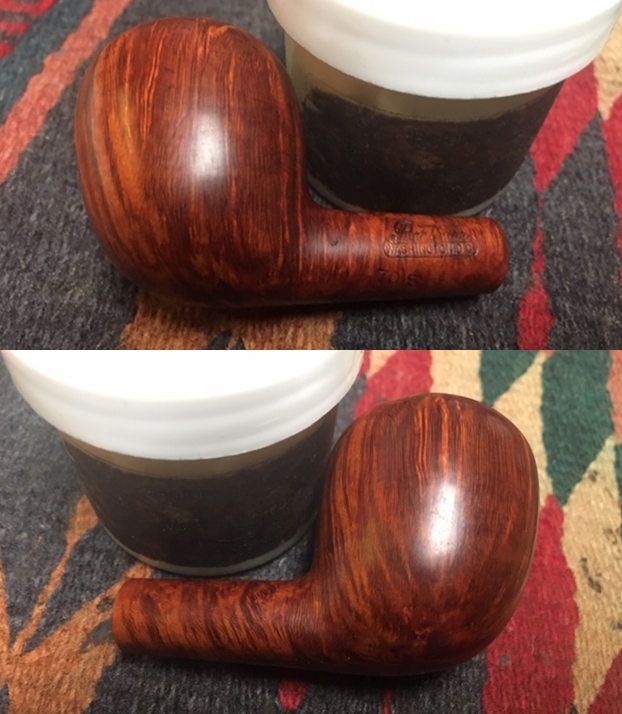
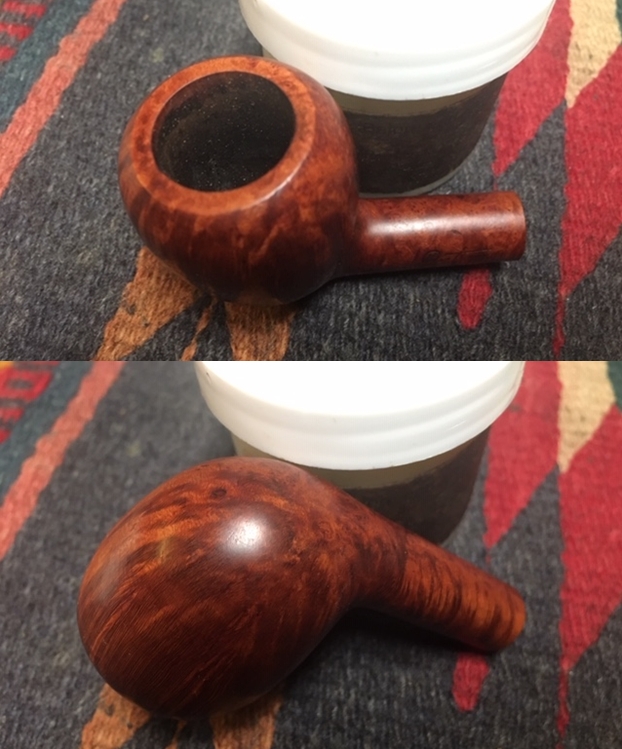
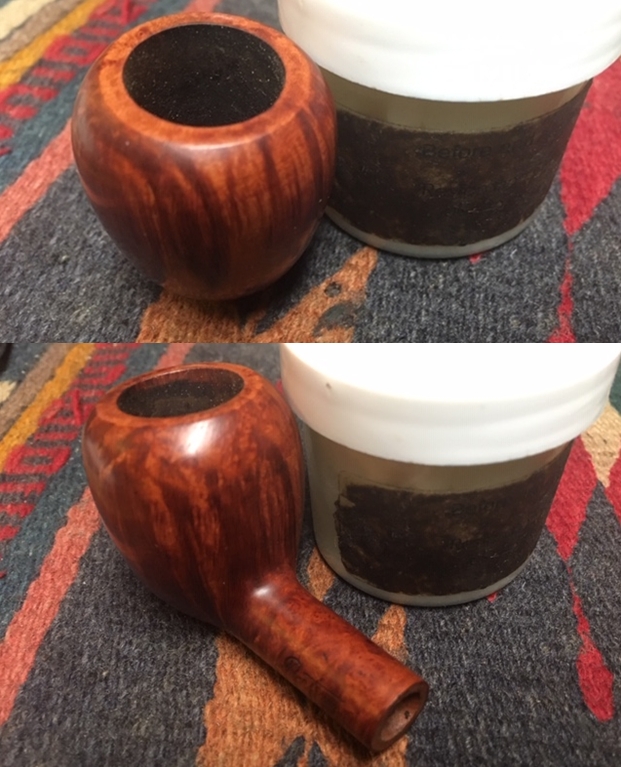
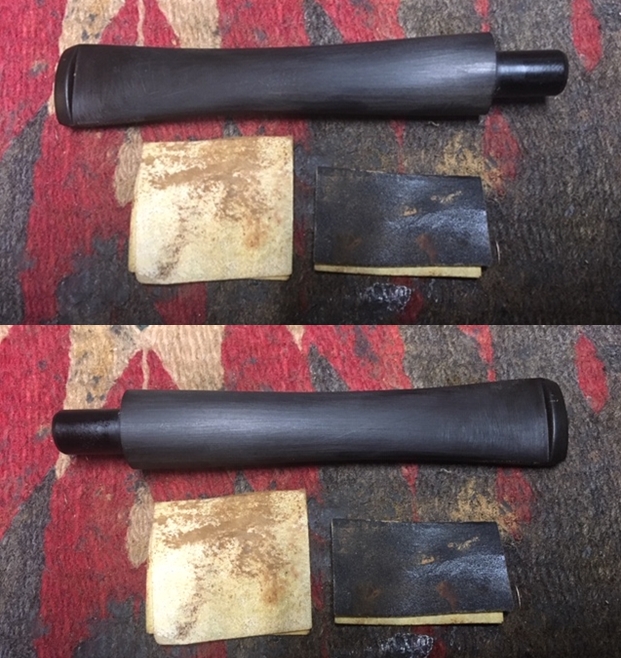
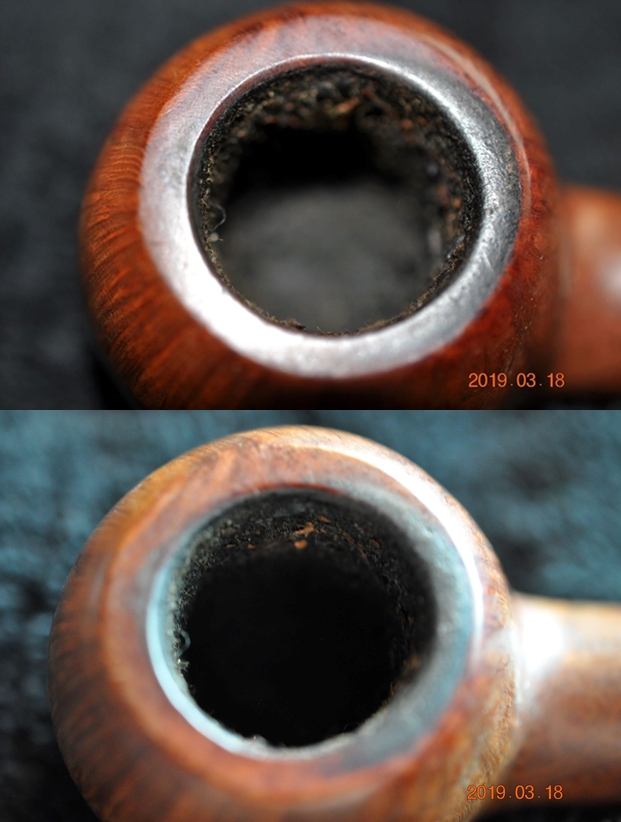
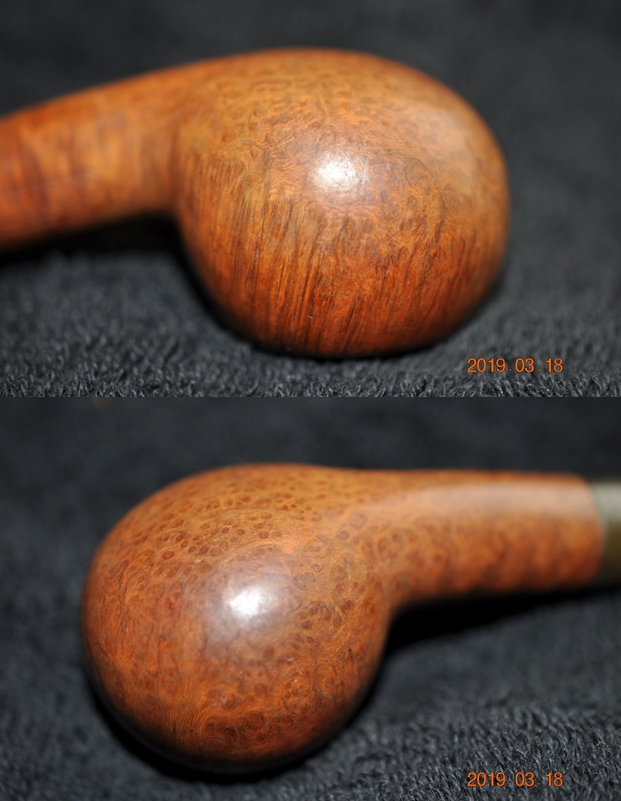
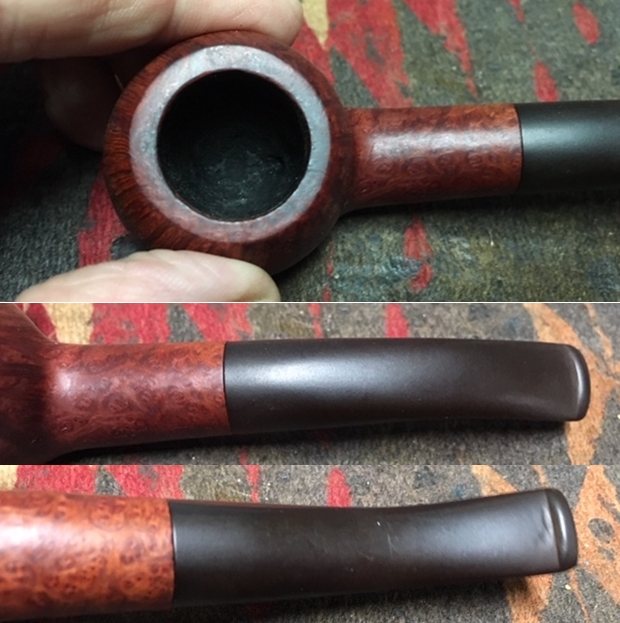
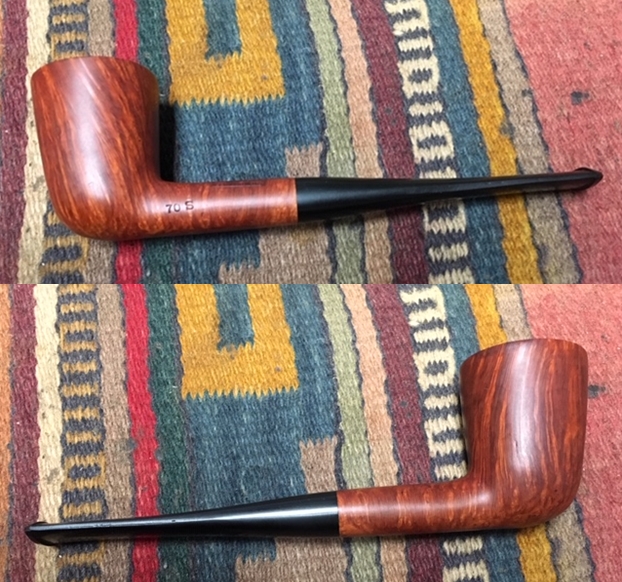
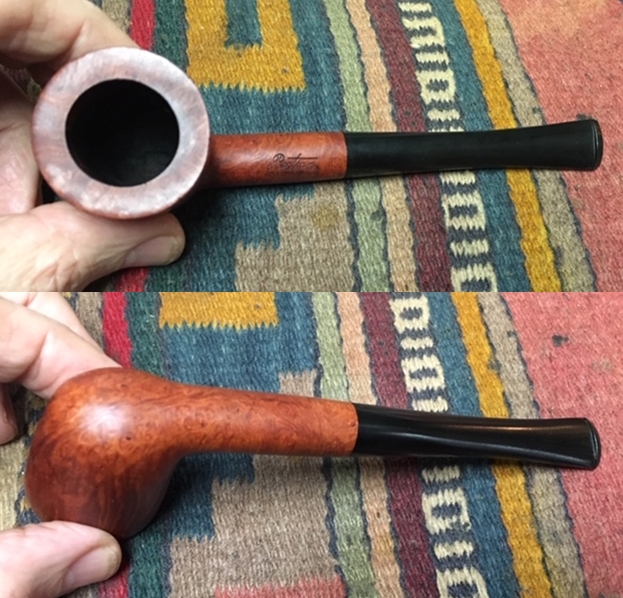
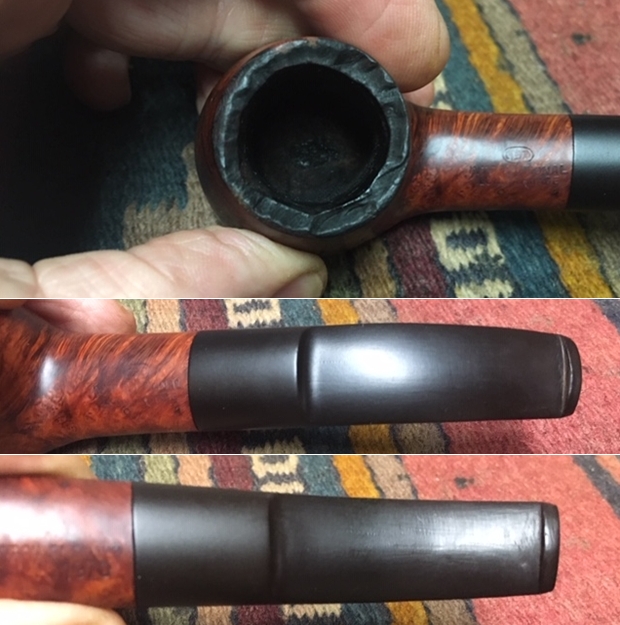
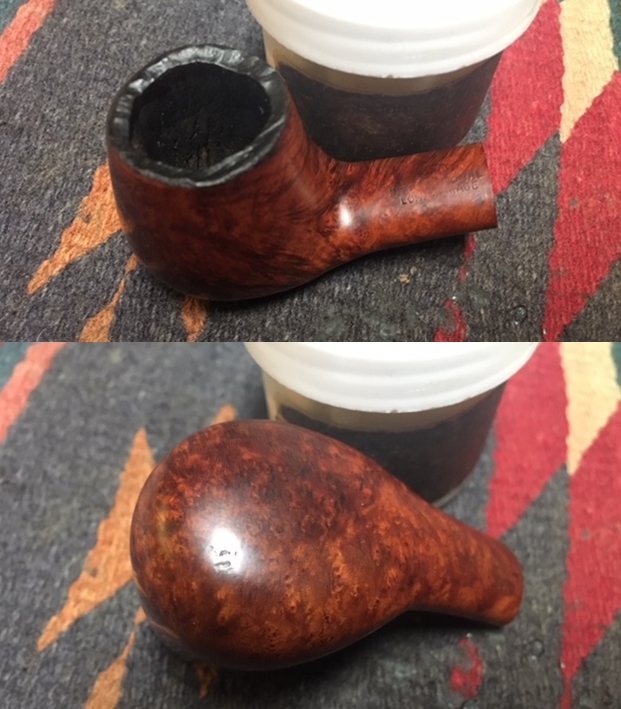
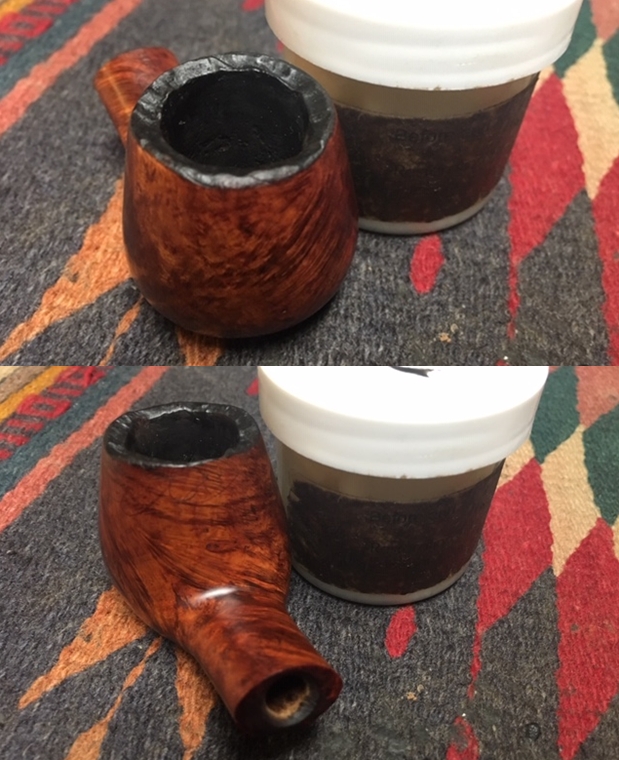
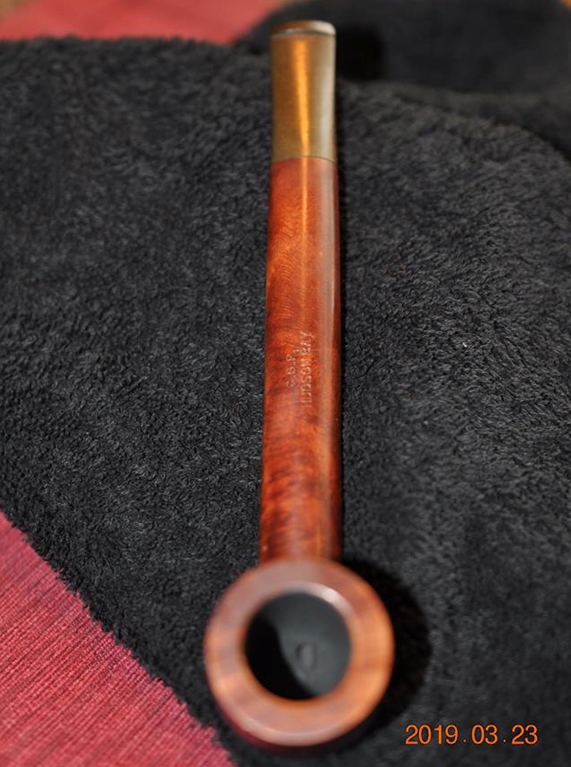
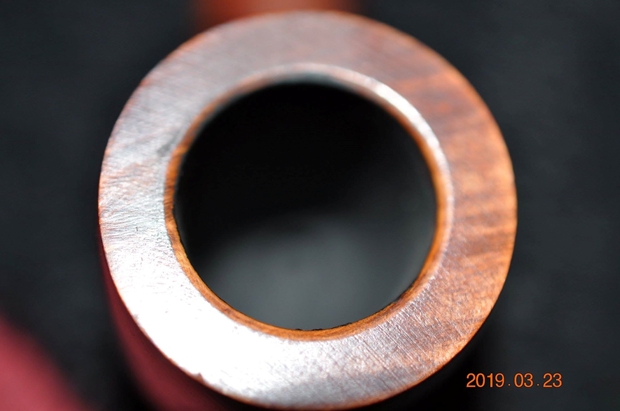
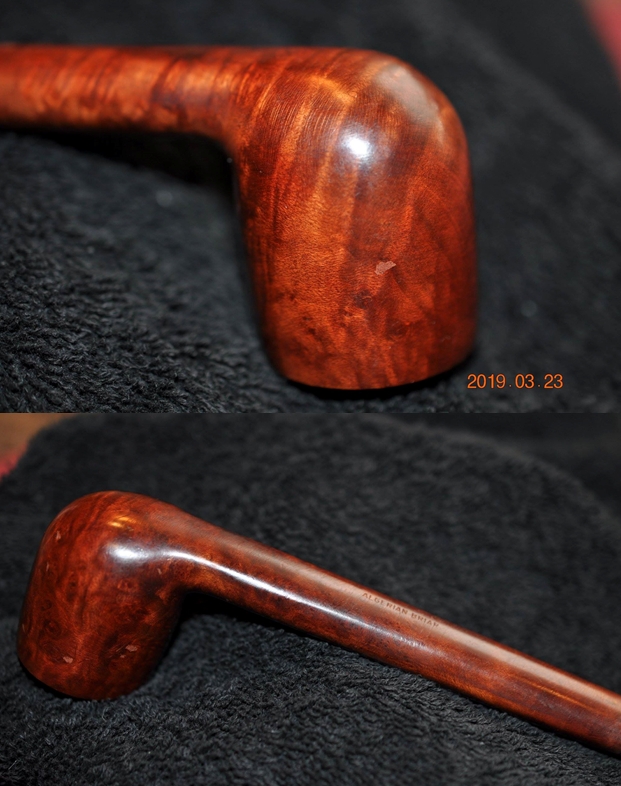
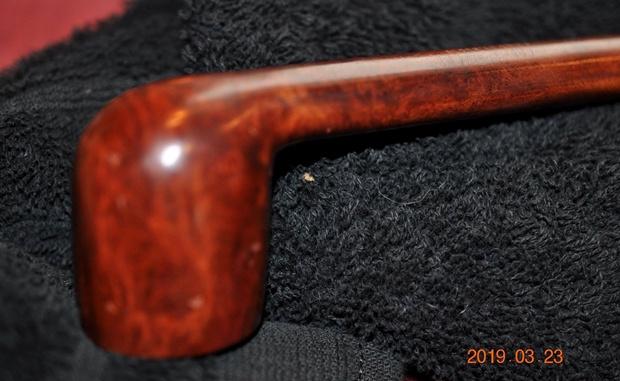
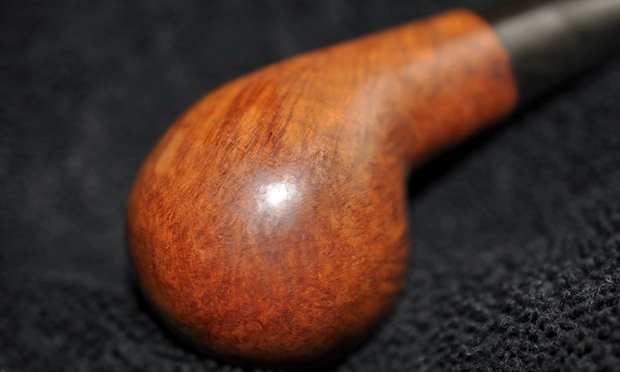
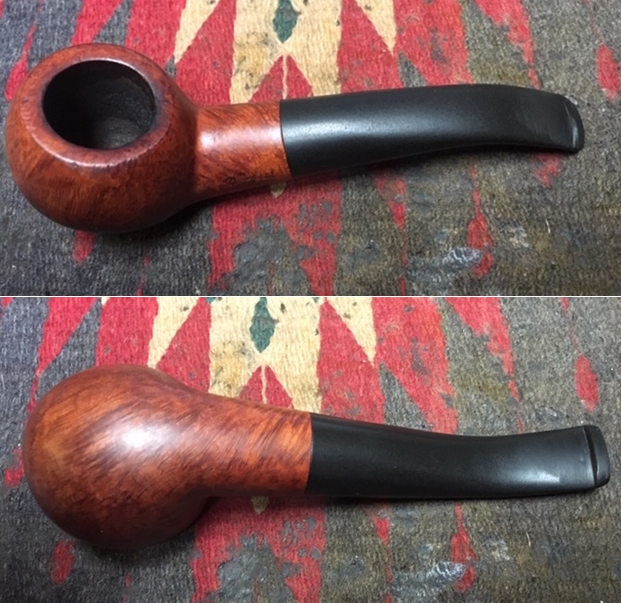
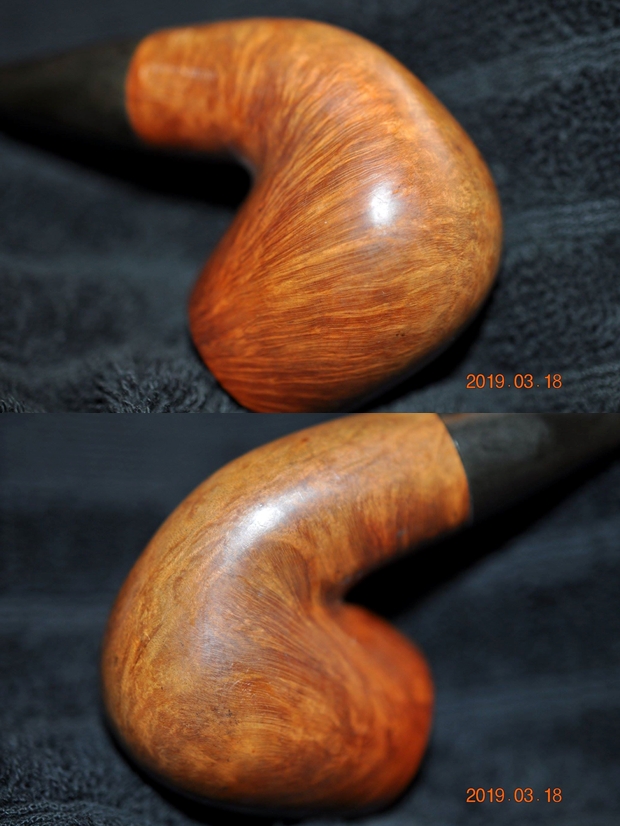
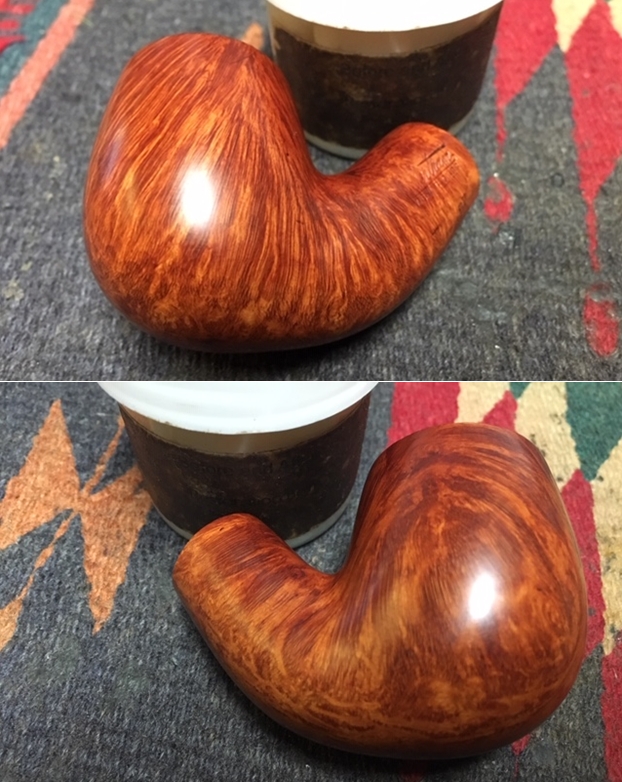
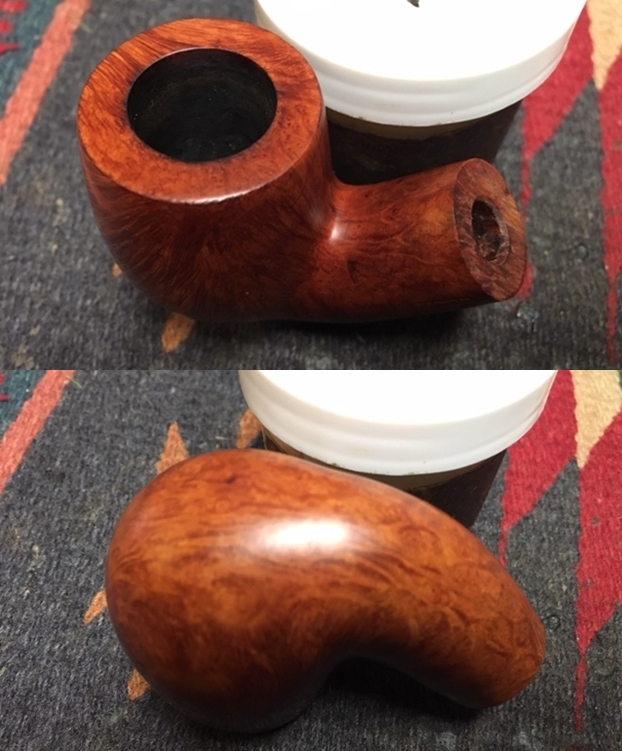
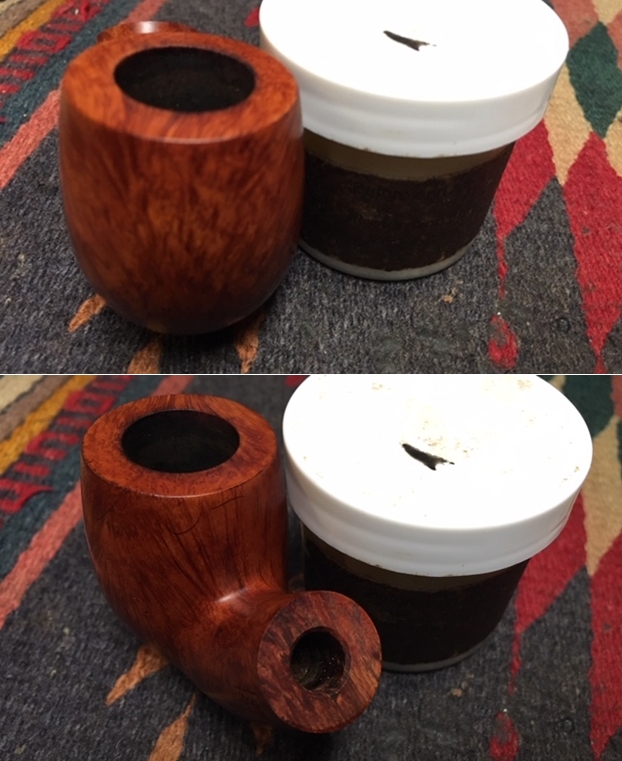
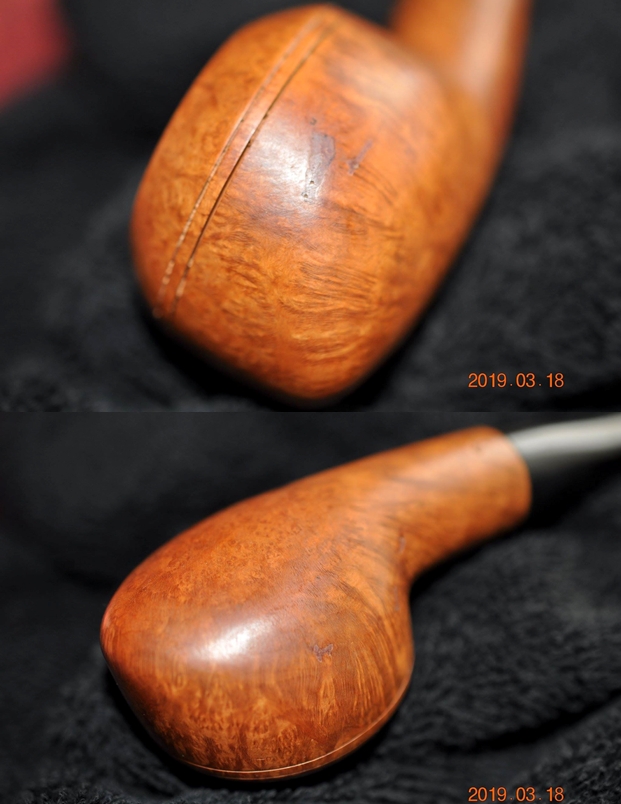
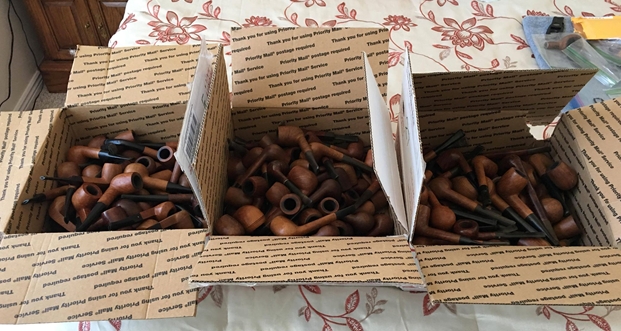 I am glad that Jeff is working through the clean up on this lot as there are many! I am leaving it to choose which pipes to work on. So far he is choosing the higher grade pipes and the more interesting shaped ones. As he finishes a batch of them he boxes them up and sends them to me. From that box, I chose another one of the Bertrams from the lot to be the seventh pipe that I would work on. As with the rest of the collection this one was dirty! The smooth finish was grimy and dusty but the grain shone through showing me that this was a beautiful pipe. It was a Bullmoose shaped pipe with a straight tapered stem. There was a cake in the bowl and light lava overflowing on to the rim top. The rim had slight darkening on the rear inner edge. The stem showed some light oxidation and some chatter on the top and underside. There was a crack in the button and on the underside of the stem surface. The photos below tell the story and give a glimpse of this interesting pipe.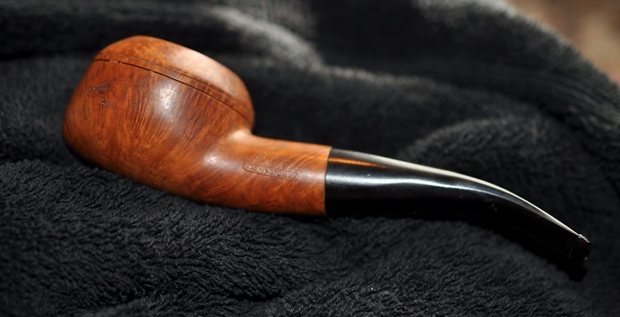
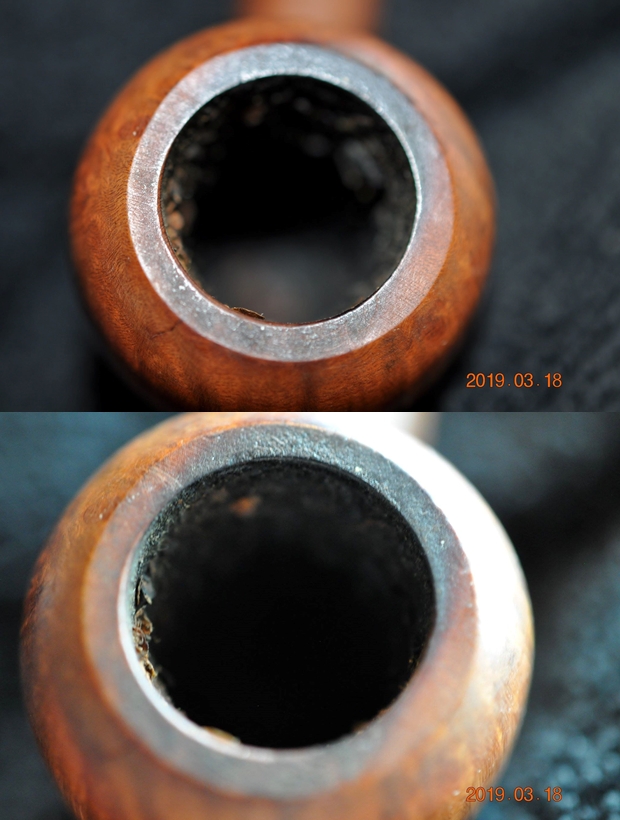
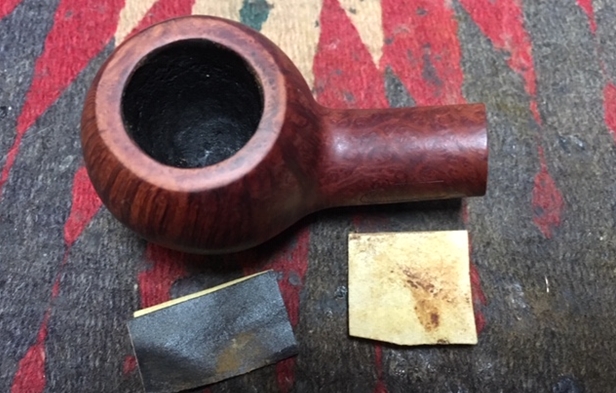
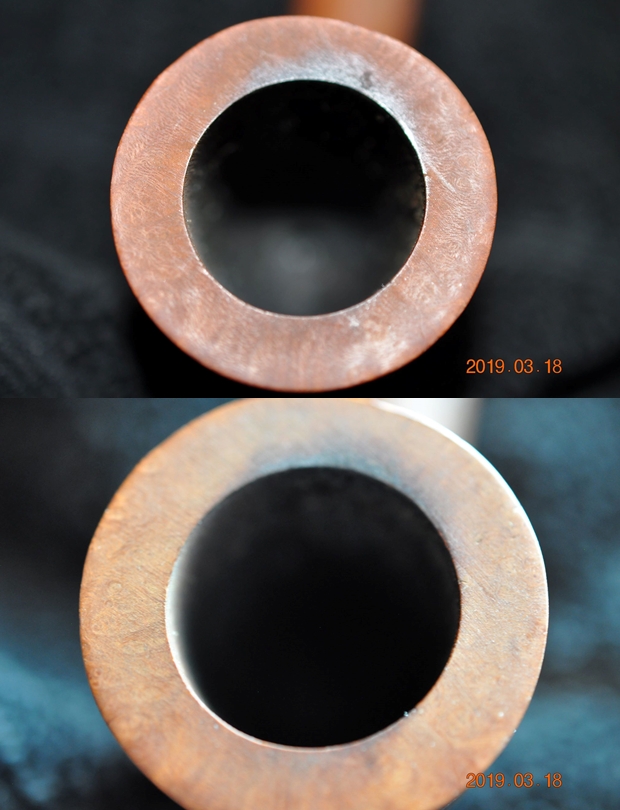
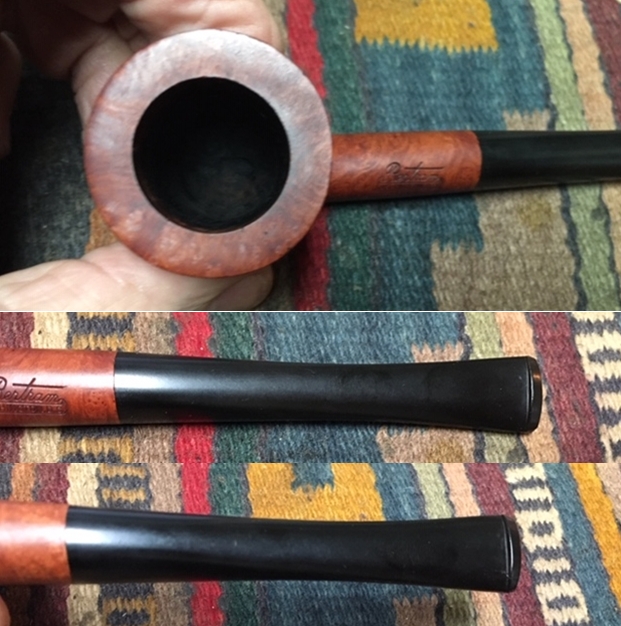
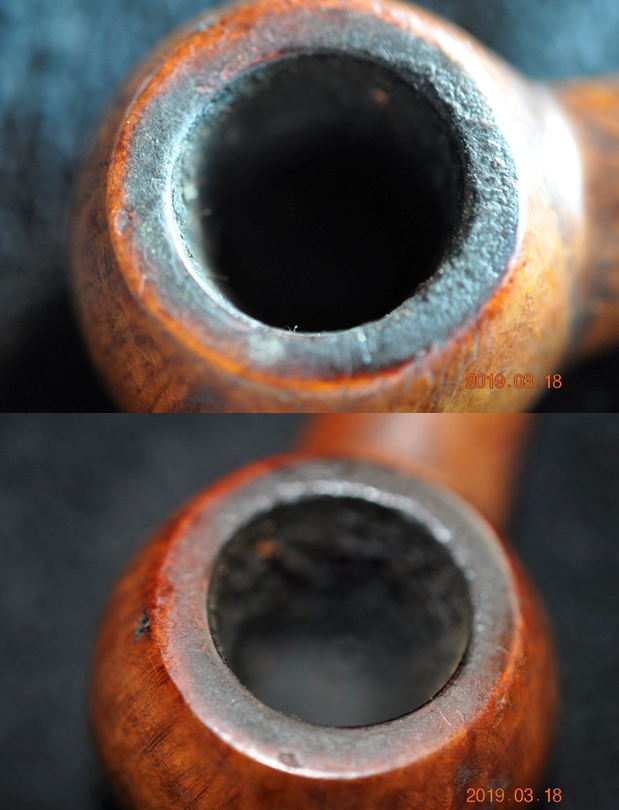
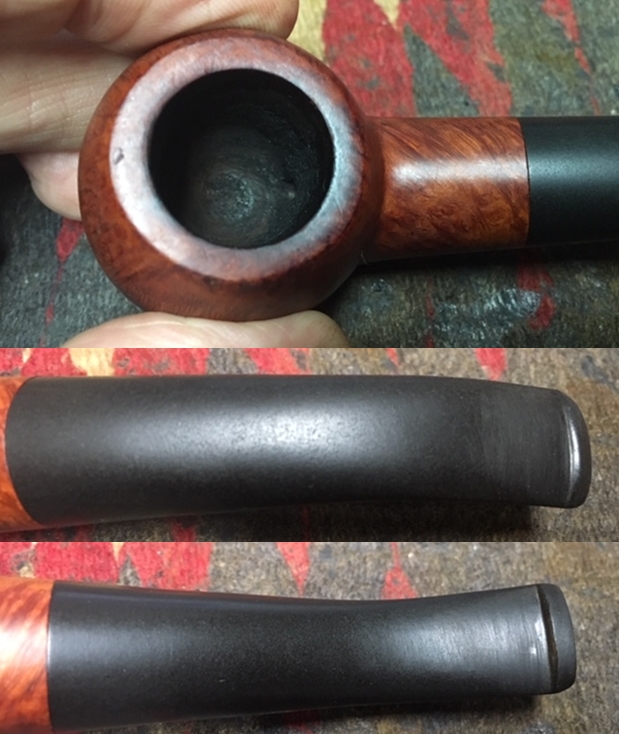
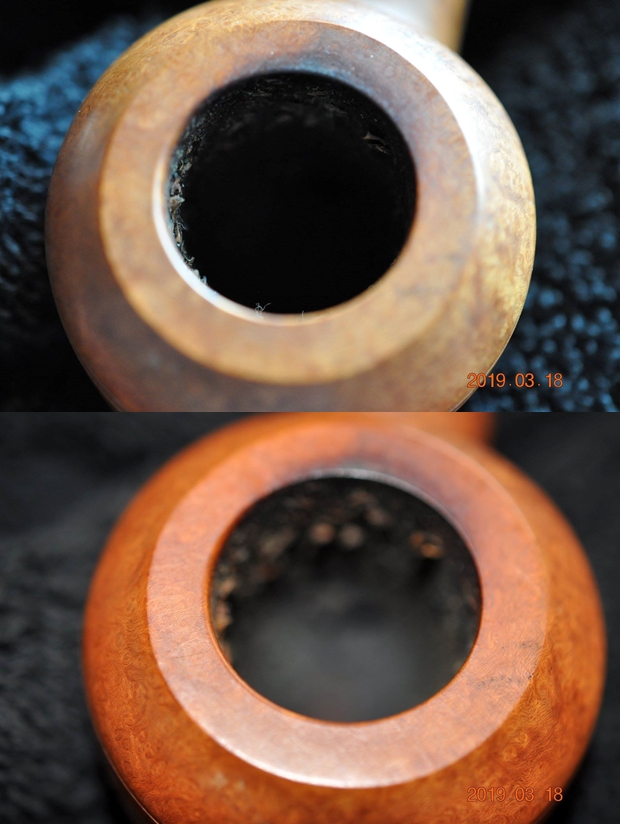
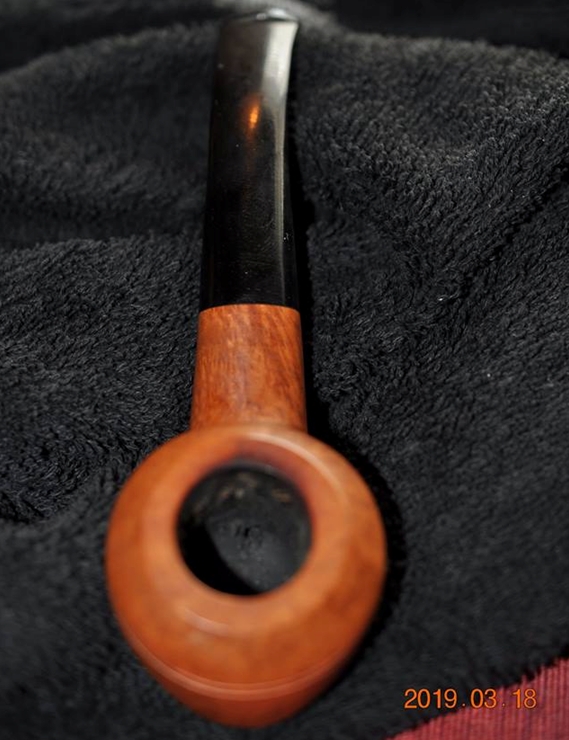 Jeff took 2 close-up photos of the bowl and rim at different exposures to capture the condition of the pipe when it arrived. The rim top had some light lava and some darkening on the back rim top. The bowl had a cake that was quite thick but also a lot of tobacco debris stuck to the walls.
 He also took a photo of the left side of the bowl to show the large fill that was mid bowl. He took a photo of the underside of the shank to show the shape ant the grain on the bowl and heel. The finish is very dirty but this is another interesting pipe.
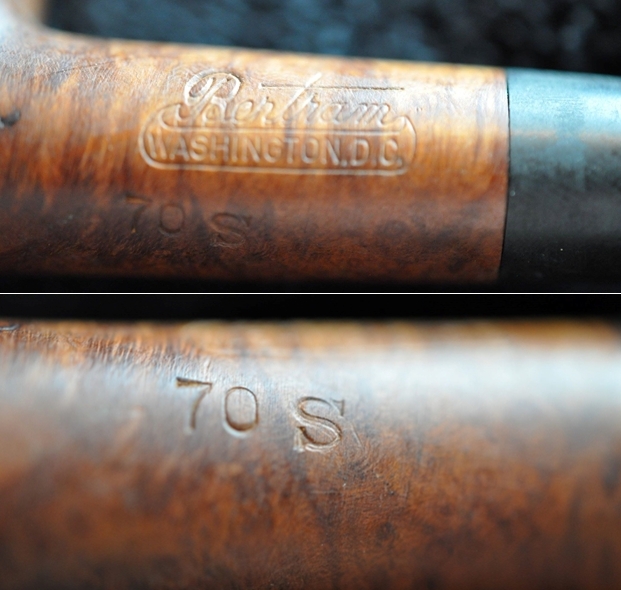
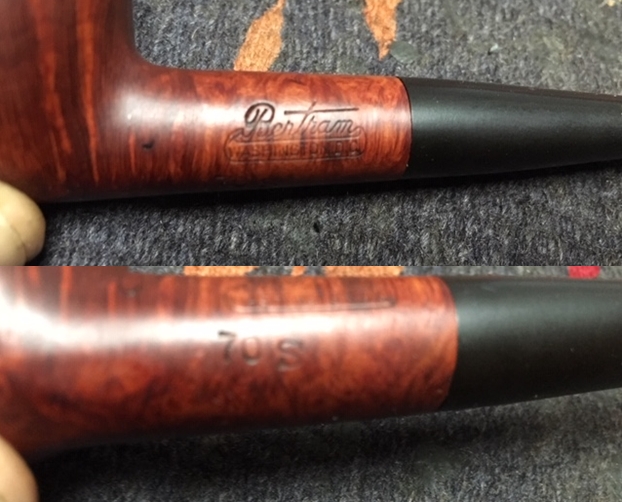
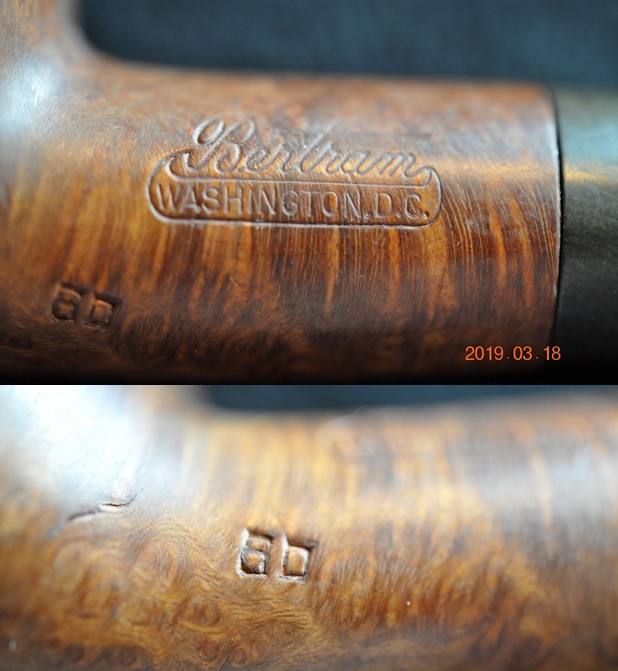
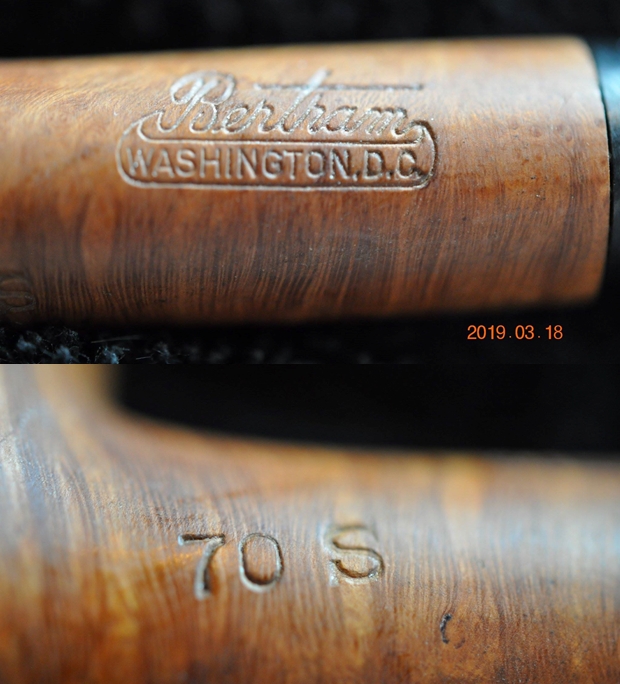
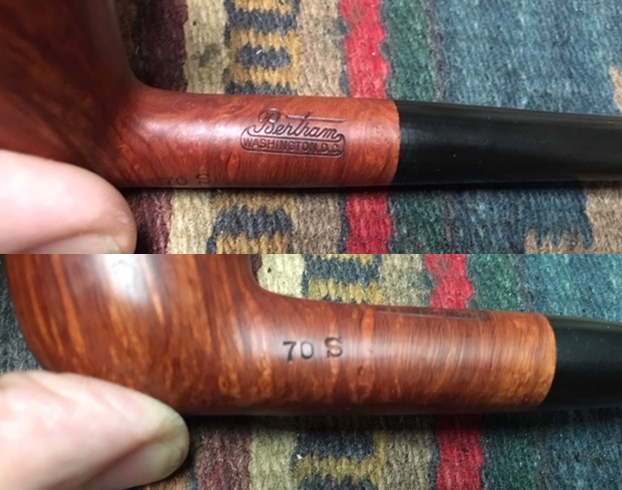
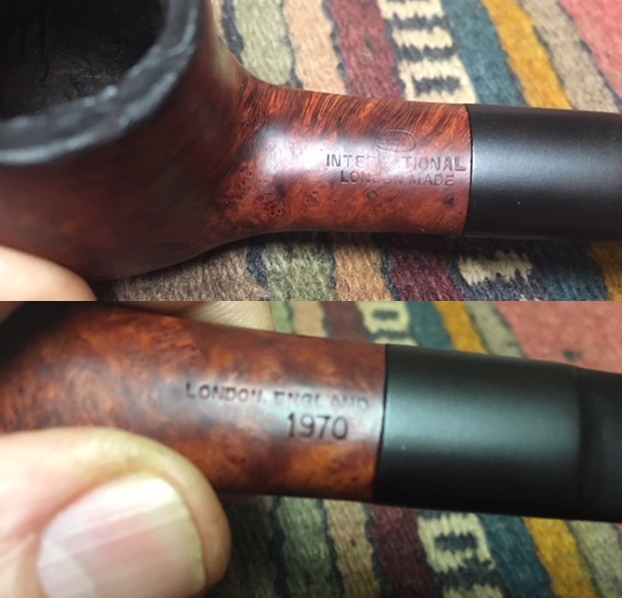
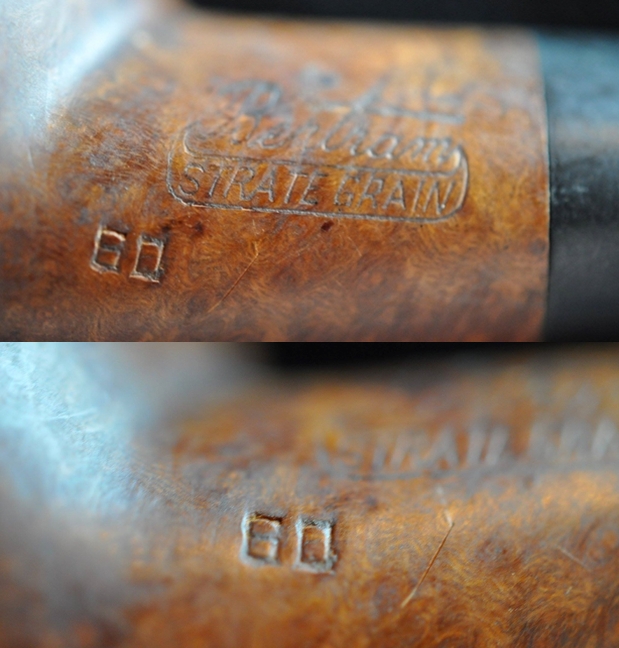
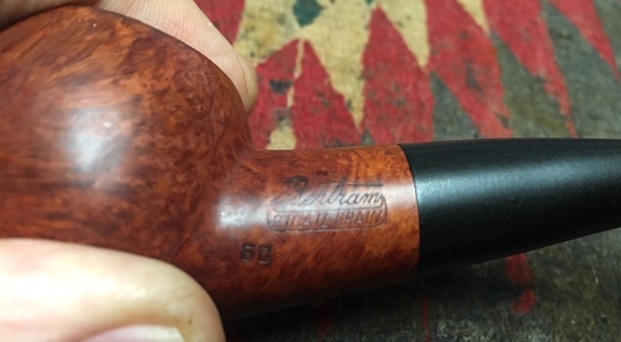
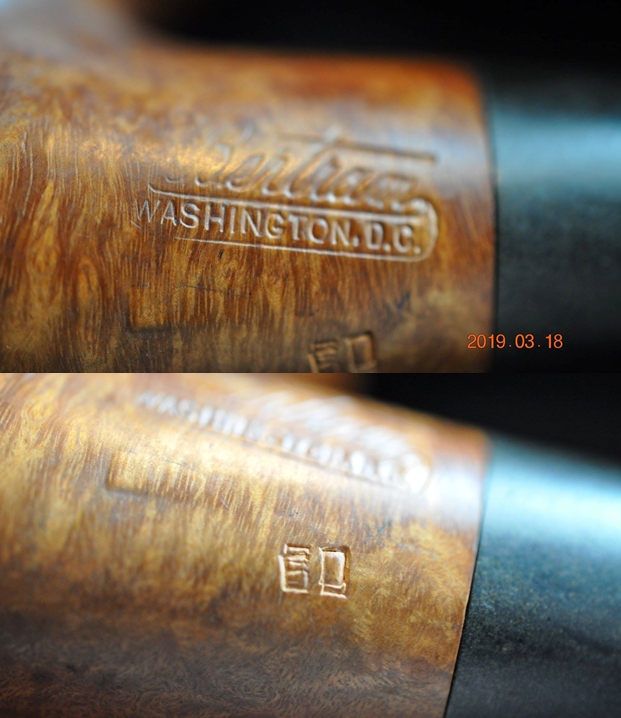
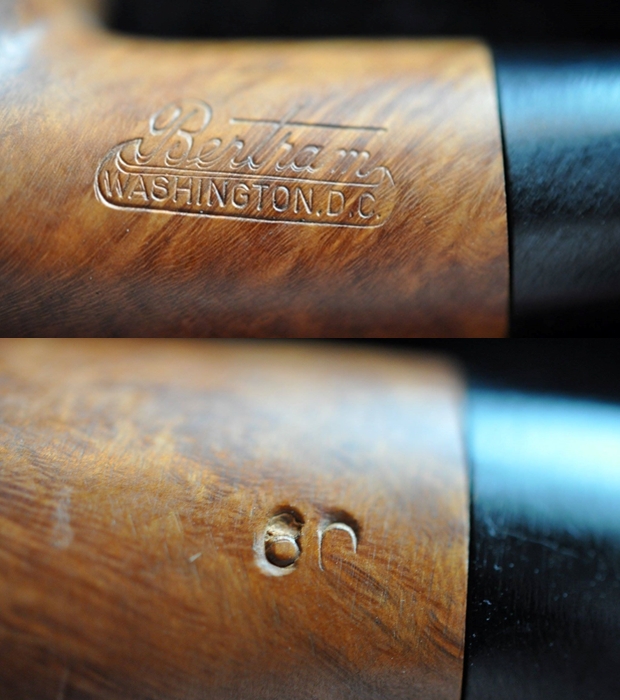
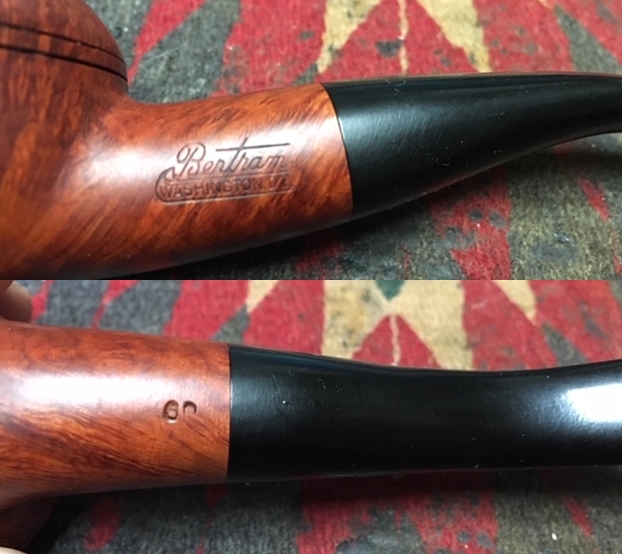
  Jeff took a photo to capture the stamping on the left side of the shank. The first photo shows stamping which read Bertram over Washington, D.C. The stamping on this pipe is clear and readable. The second photo shows the grade number stamping on the underside at the shank stem junction. It read number 60 which shows the quality of the pipe.
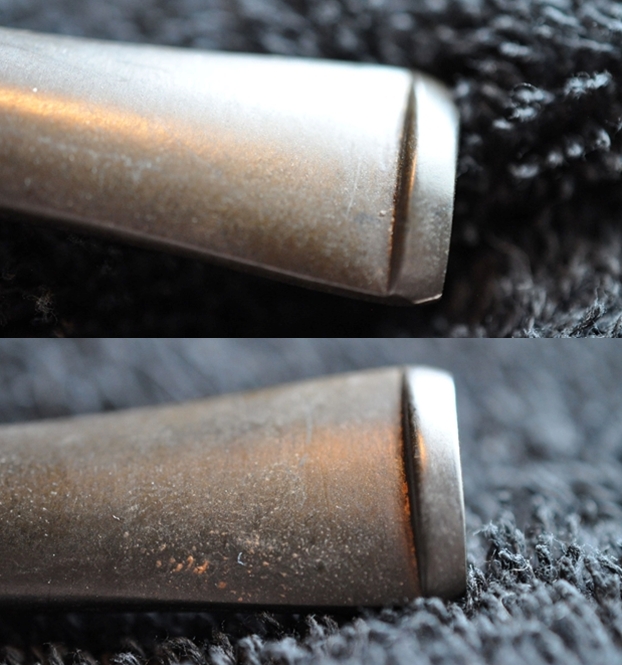
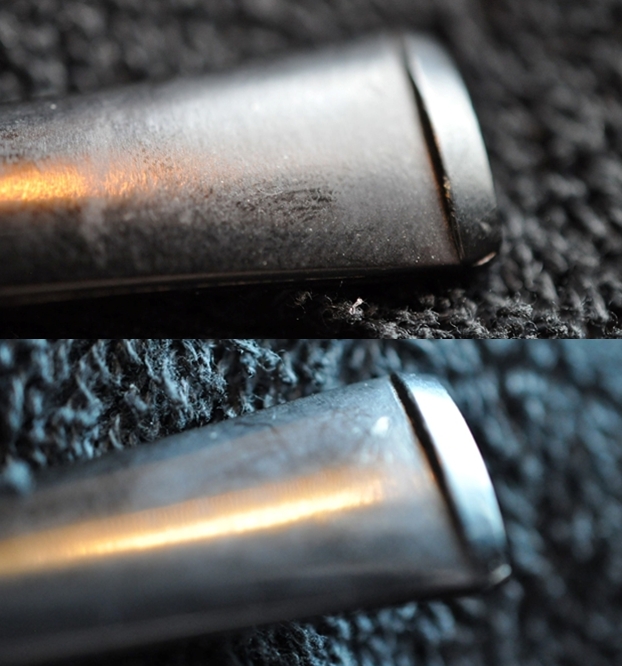
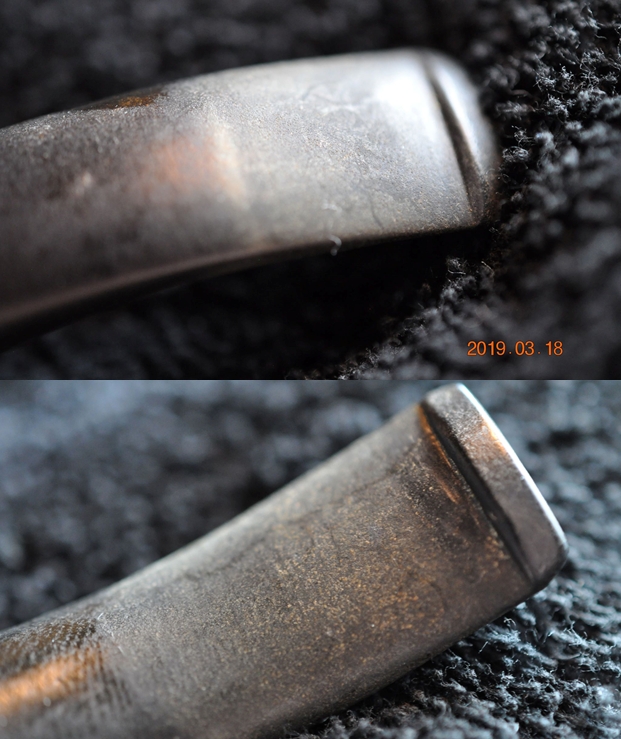
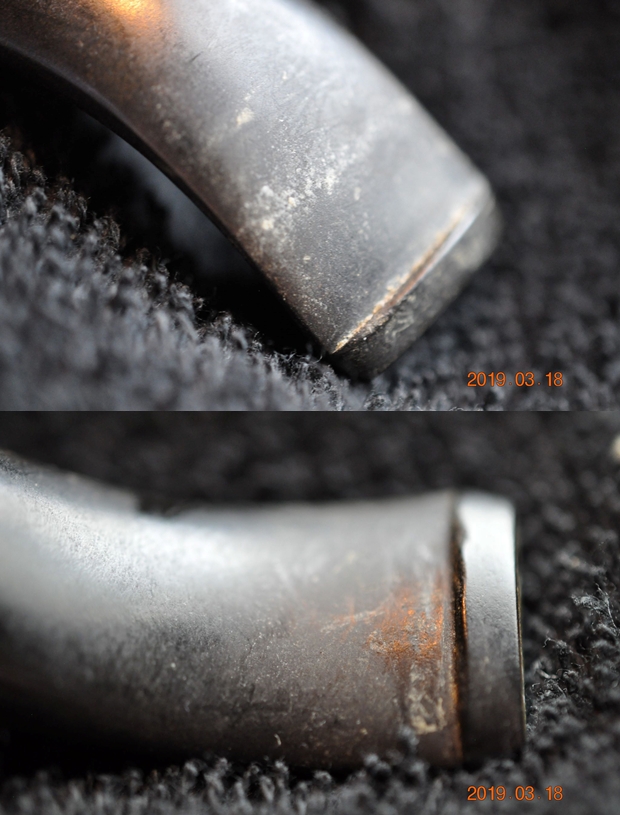
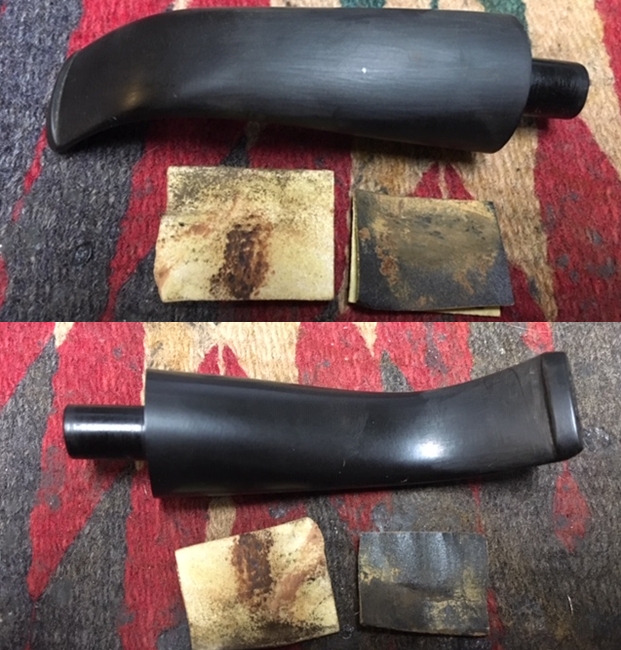
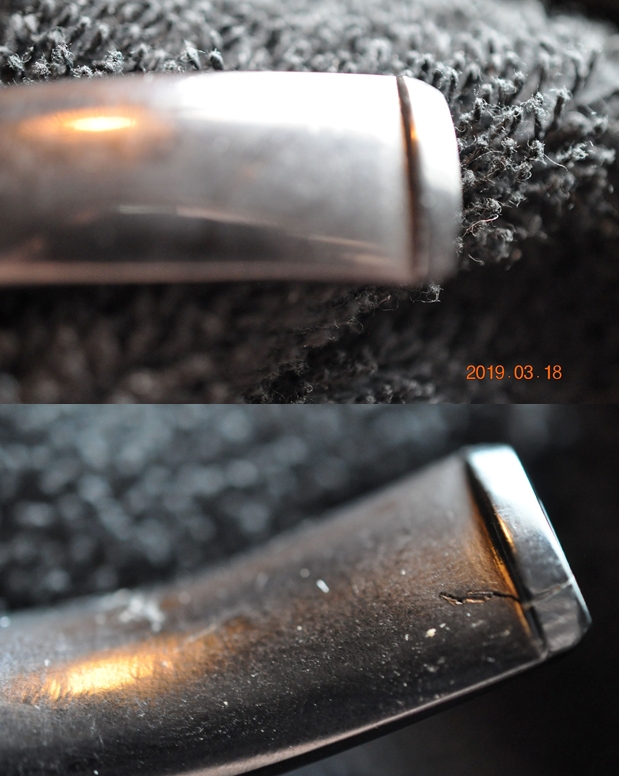
  The next two photos show the stem surface. They show the oxidation and the chatter on both sides near the button. There is also some wear on the button edges. The most significant issue that will need to be dealt with is the crack in the button edge and into the stem on the underside.
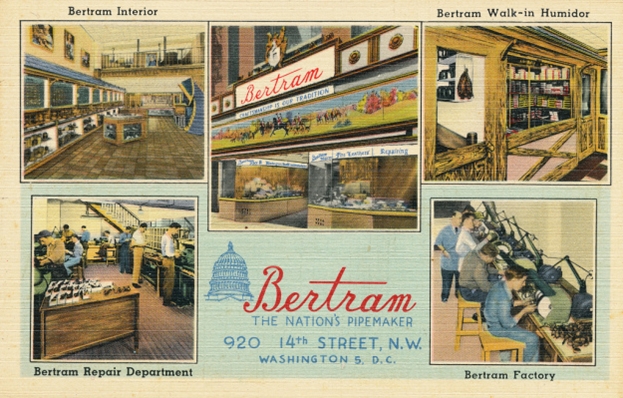
 If you have read the previous five blogs I have posted on the Bertram pipes that I have cleaned up so far you can skip the next bit. But if you have not, then I include the link to Bertram history and information. I would recommend that if you don’t know much about them do some research on them. I include a link to the write up on Pipedia (http://pipedia.org/wiki/Bertram). Bertram pipes were based out of Washington DC. They were popular among famous politicians and celebrities of the time. They made many products for them from FDR’s cigarette holders to Joseph Stalin’s favorite pipe. They were considered some of the best America had to offer till they finally closed their doors in the 70s. They graded their pipes by 10s, the higher the grade the better. Above 60s are uncommon and 80-90s are quite rare. I’ve never heard of or seen a 100 grade. I have several blogs that I have written on rebornpipes that give some history and background to Bertram pipes. (https://rebornpipes.com/2015/06/16/an-easy-restoration-of-a-bertram-grade-60-217-poker/).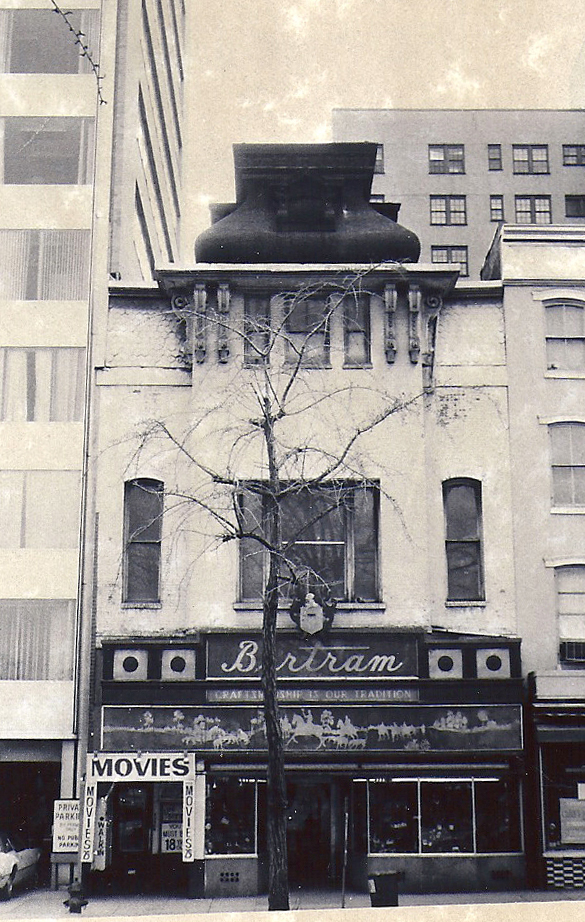
 From this information I have learned that the shape and grade Bertram I have in front of me now was made before the closure of the shop in the 1970s. This Bertram Bullmoose is a rare shape in terms of the Bertram pipes I have worked on. With a grade 60 stamp it is just above the mid-range mark.
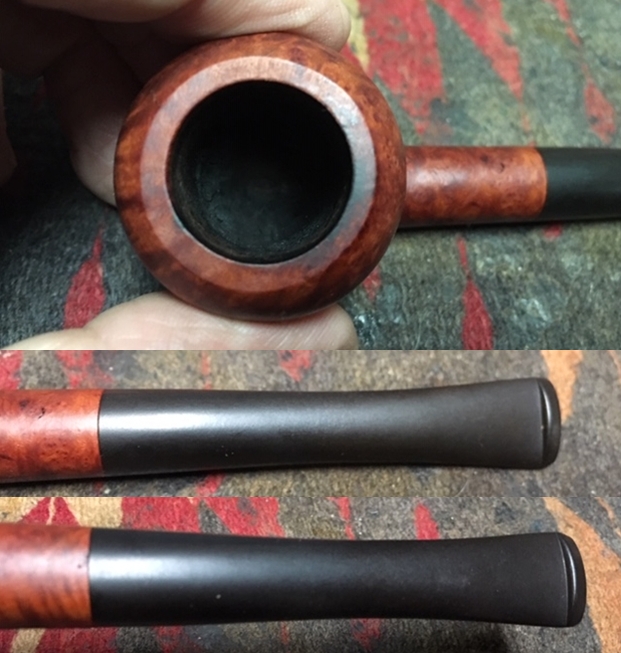
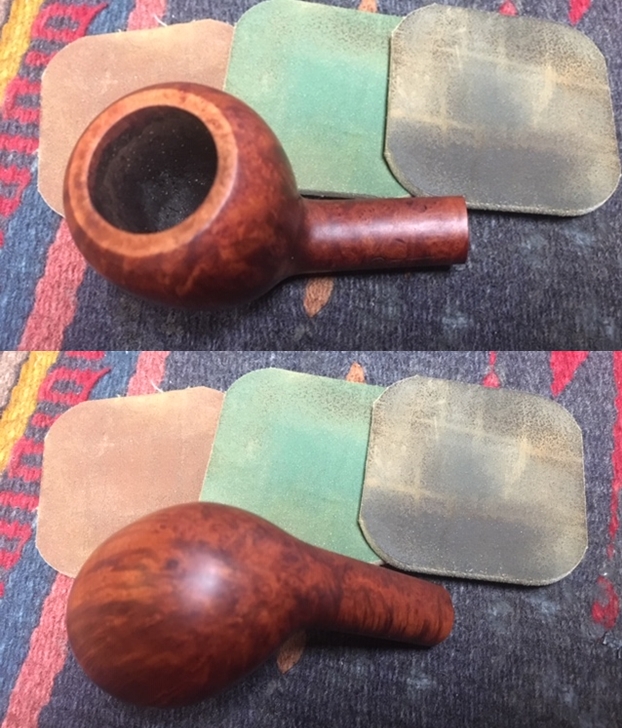
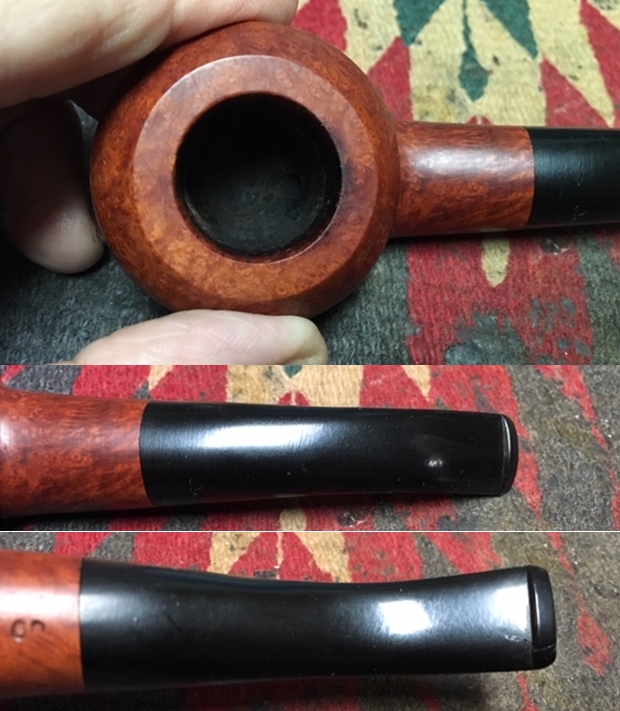
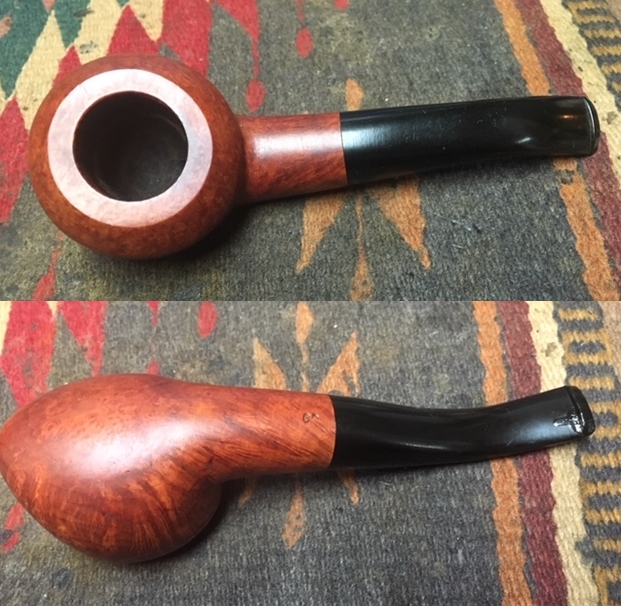 I took a close up photo of the rim top to show the condition of the bowl and rim after Jeff had cleaned up the darkening at the front and rear of the rim. It looked really and both the inner edge and the outer edge of the rim look really good. The stem photos show that the oxidation is gone. The light tooth chatter is hard to see but I should be able to sand it out quite easily. The repair on the button and the stem would actually work well as it was not as large as it appeared.
 I also took a photo of the stamping on the left side and the underside of the shank showing how the stamping was laid out.
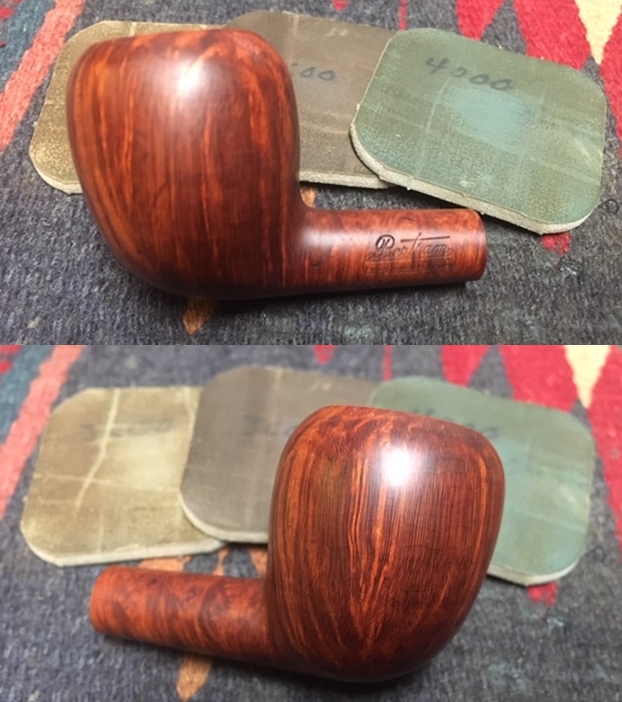
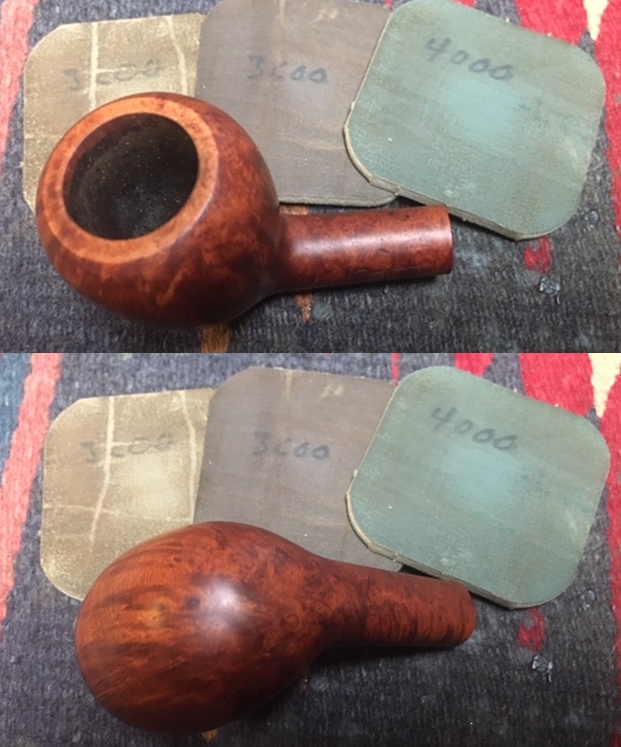
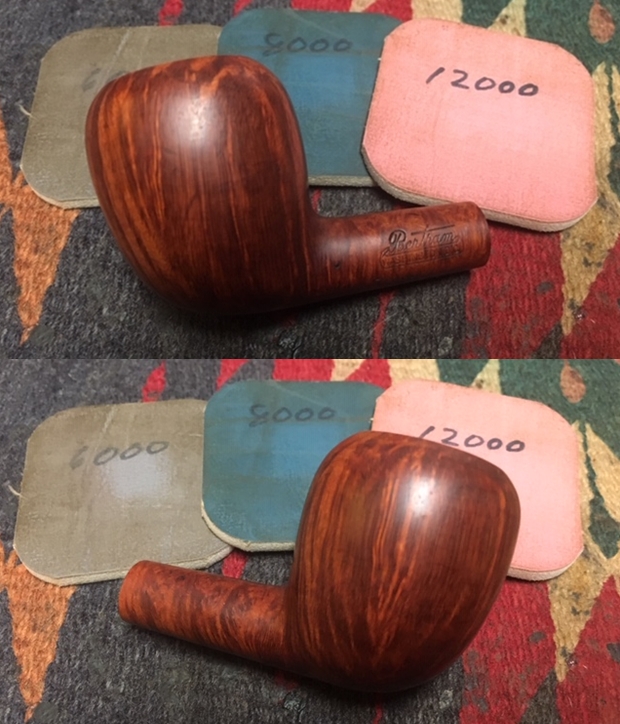
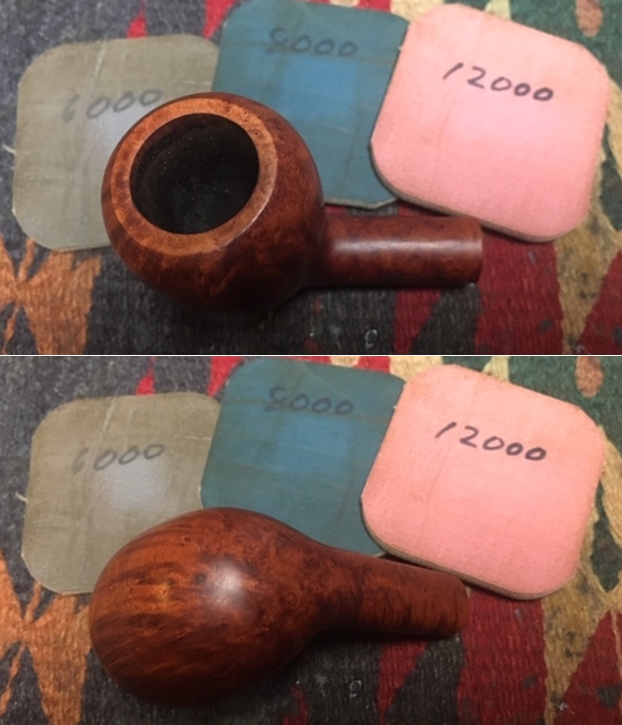
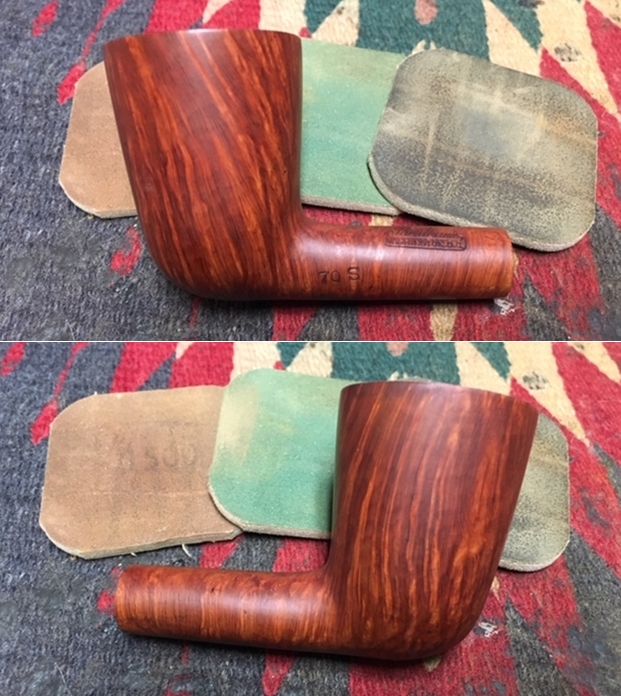
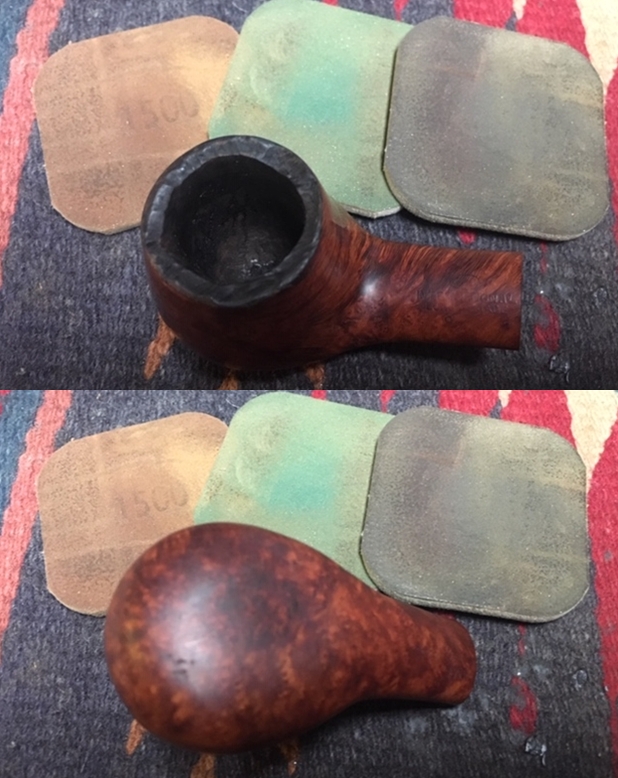
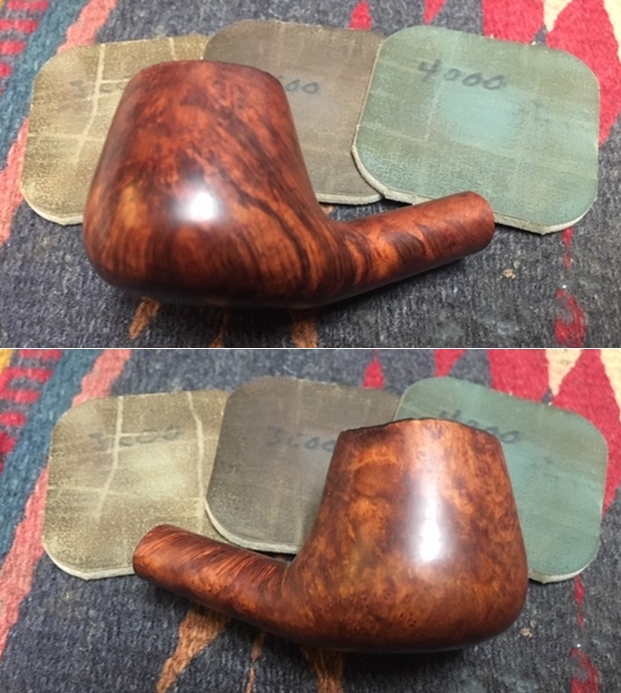
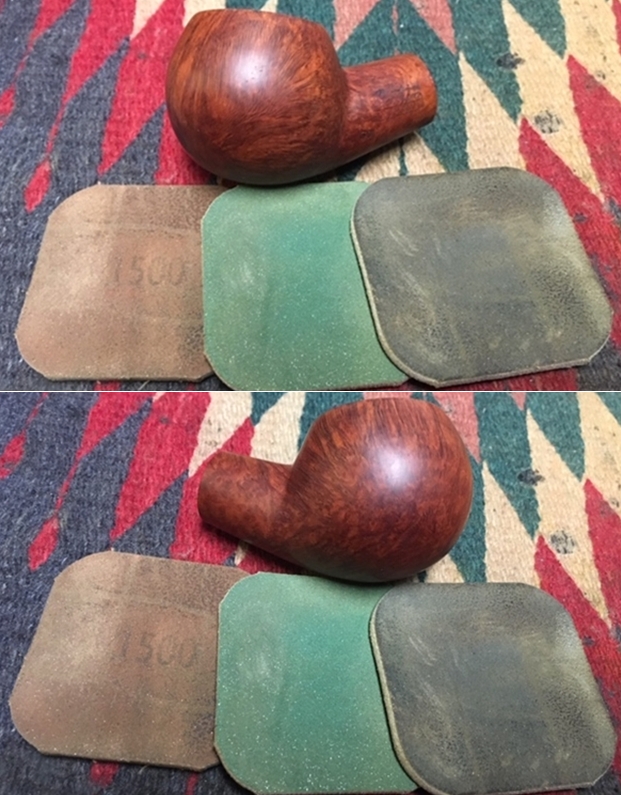
 I polished the bowl and rim top with micromesh sanding pads – wetsanding it with 1500-2400 grit pads and dry sanding it with 3200-12000 grit pads. I wiped the bowl down with a damp cloth after each pad to remove the sanding debris. After the final sanding pad I hand buffed it with a cotton cloth to raise a shine. The large fill on the left side is rock hard so I left is as it was when I received the pipe.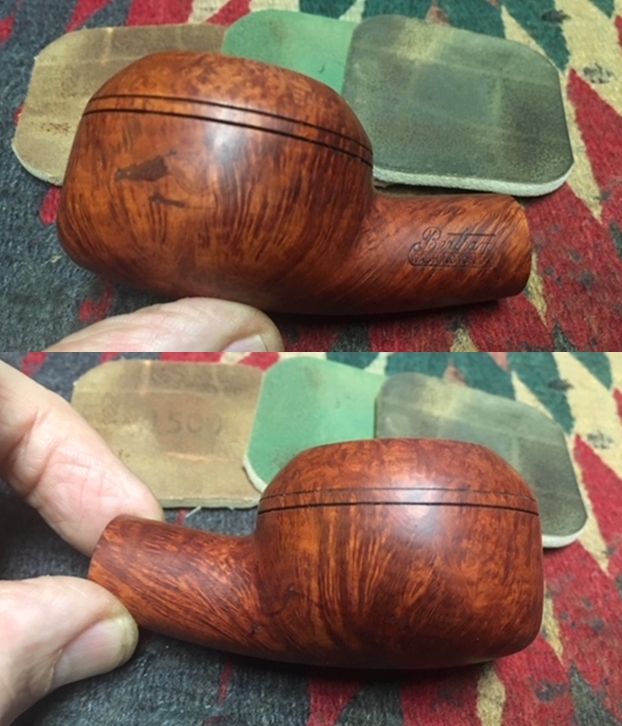
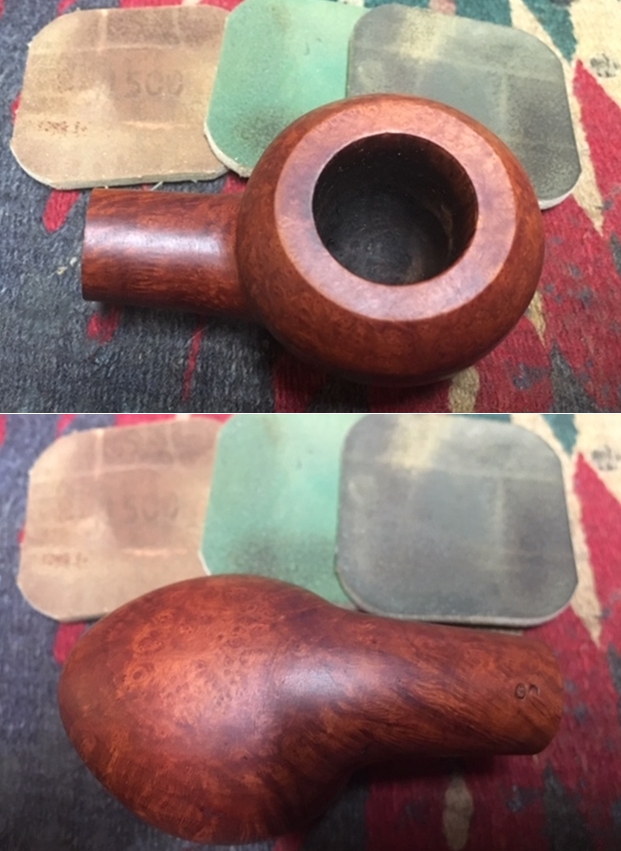
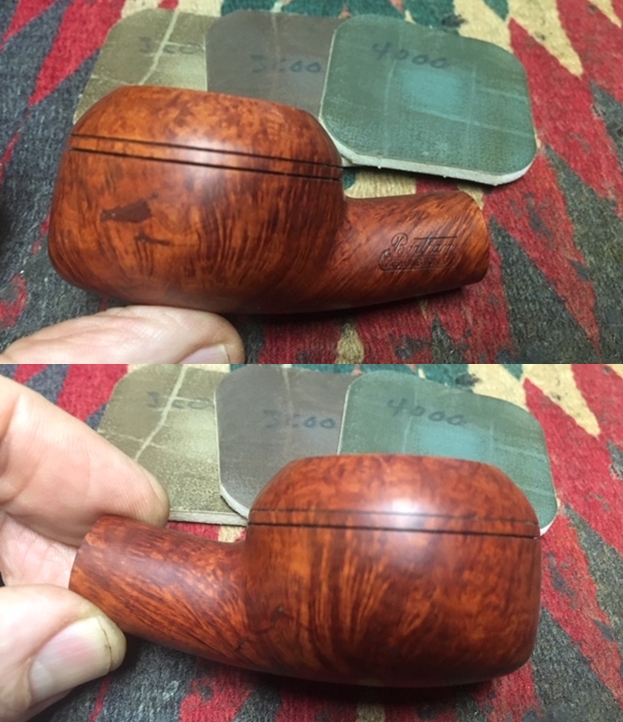
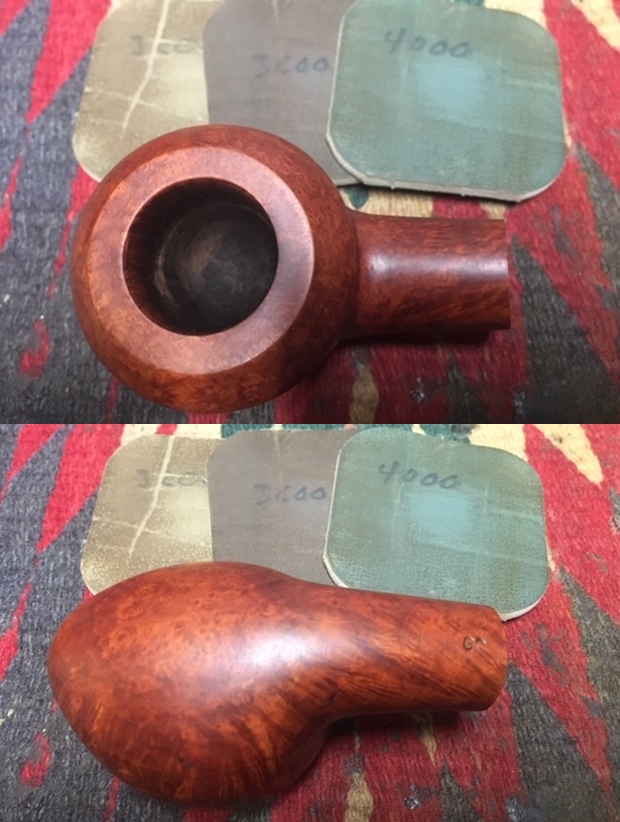
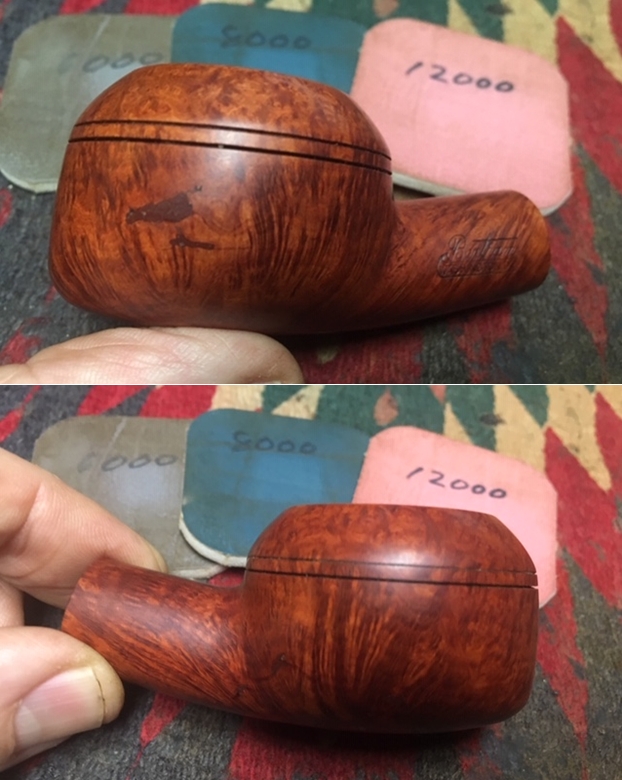
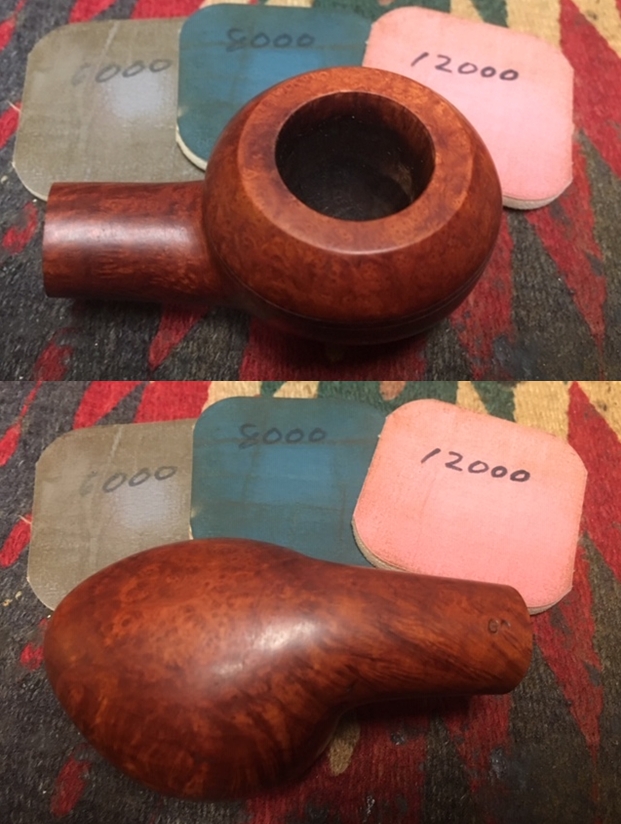 I worked some Before & After Restoration Balm into finish of the briar with my fingertips to clean, enliven and protect it. I let the balm sit for a little while and then buffed with a cotton cloth to raise the shine. The Restoration Balm really makes the grain stands out beautifully.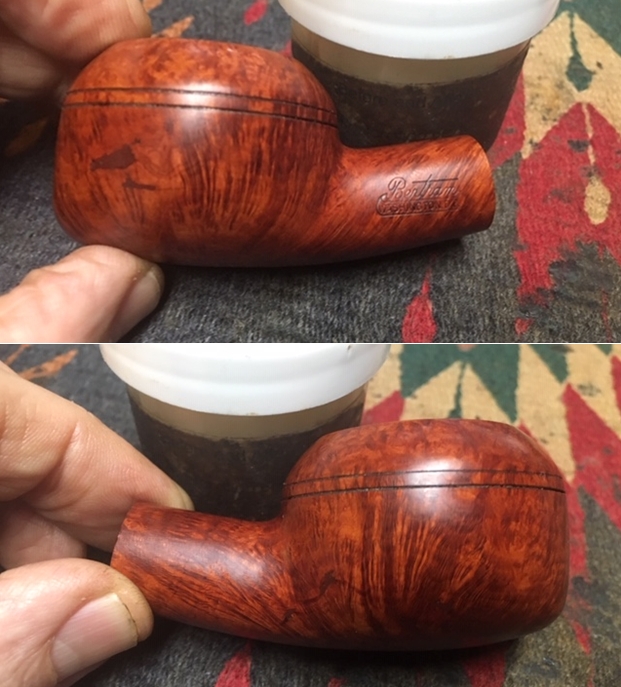
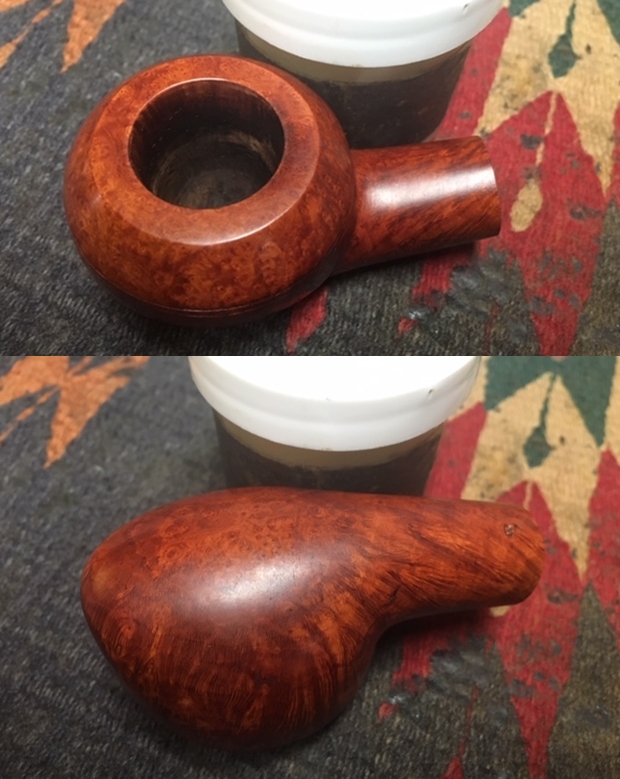
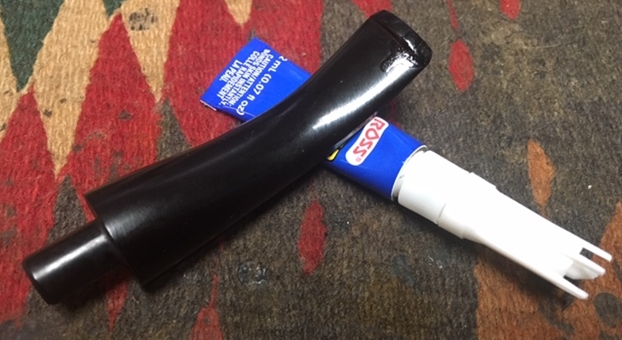
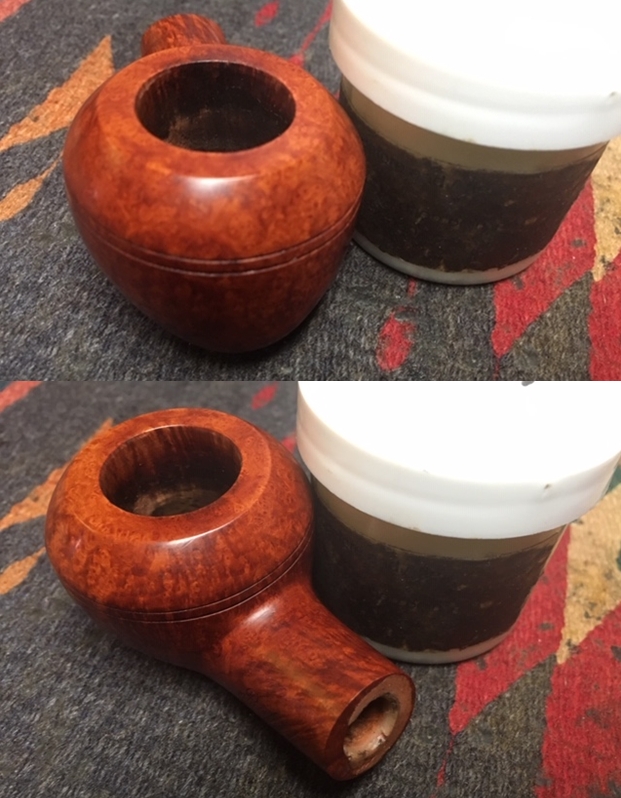 I set the bowl aside and turned my attention to the stem. I cleaned off the crack in the underside of the button with alcohol and a cotton swab. I dried it off and filled in the area with clear super glue and set it aside to cure.
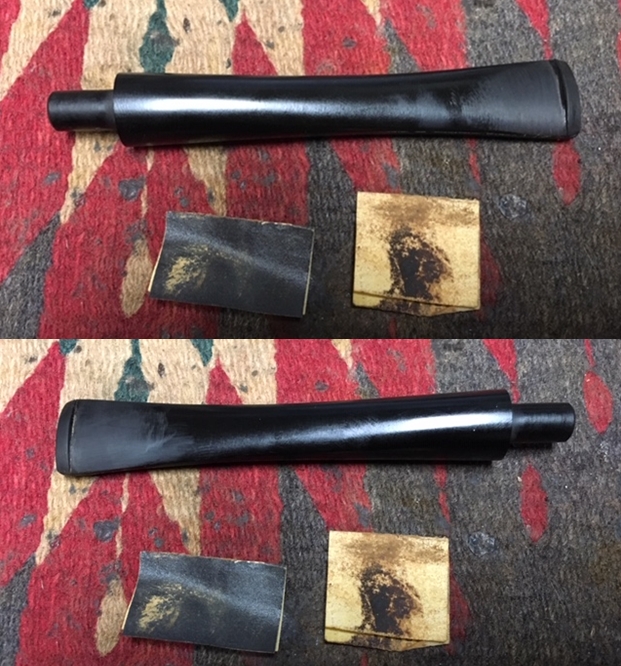
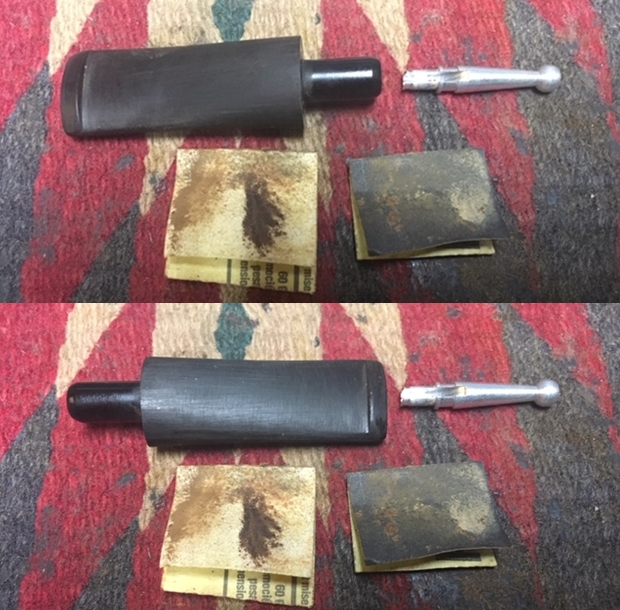
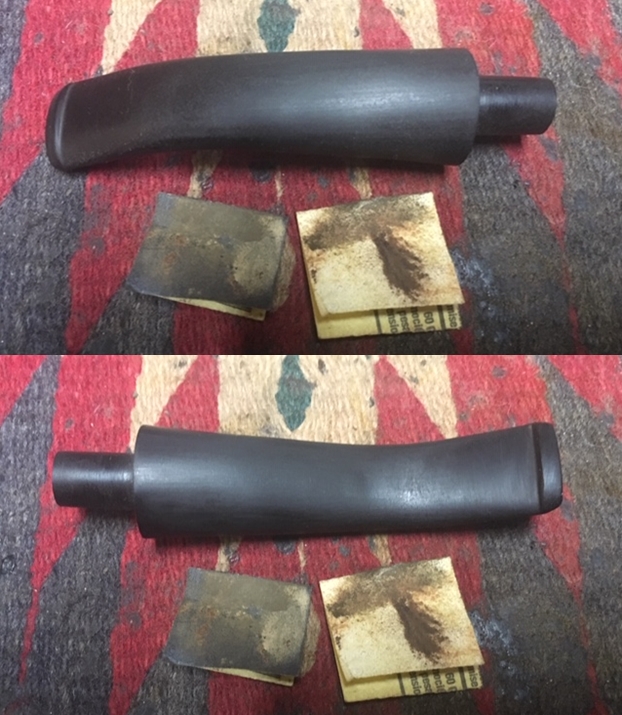
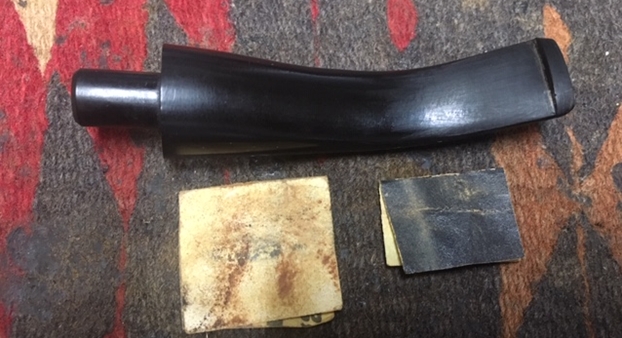
 I used a folded piece of 240 grit sandpaper to address the tooth chatter and blend the repair into the surface of the stem. Once the surface was smooth I sanded out the scratch marks and started the polishing of the stem with a folded piece of 400 grit sandpaper. I wiped the stem down with Obsidian Oil.
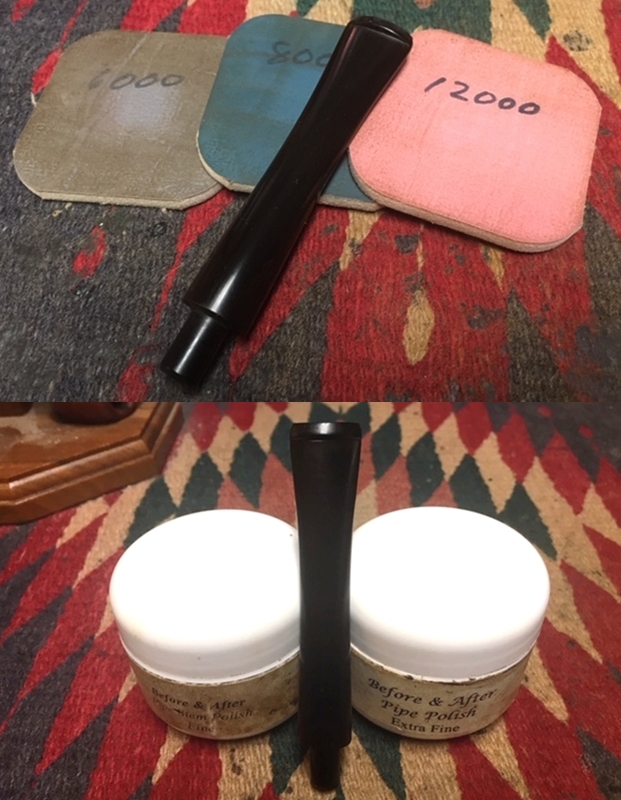
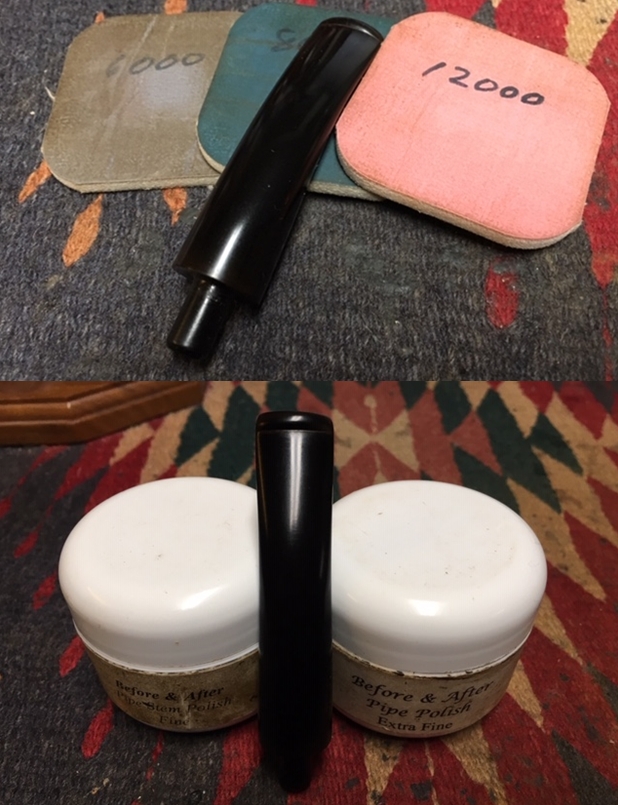
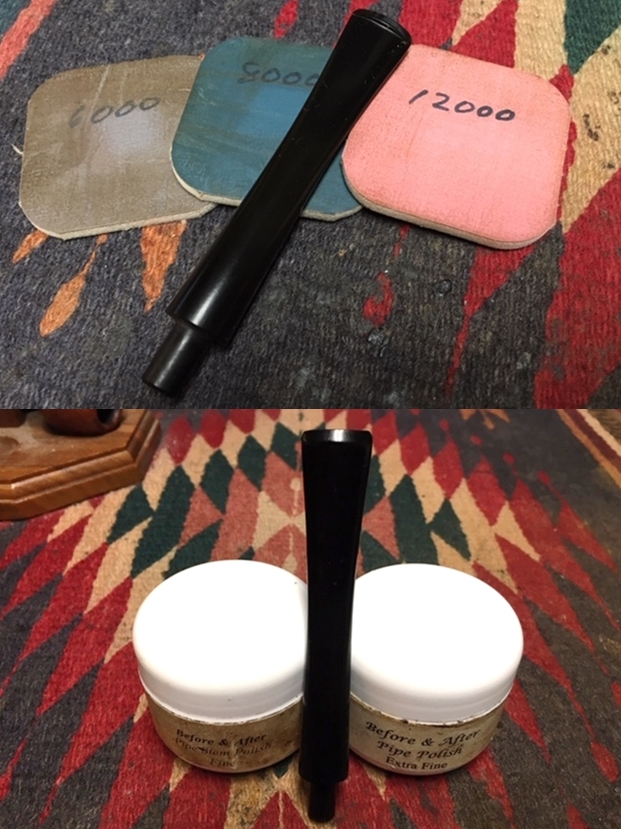
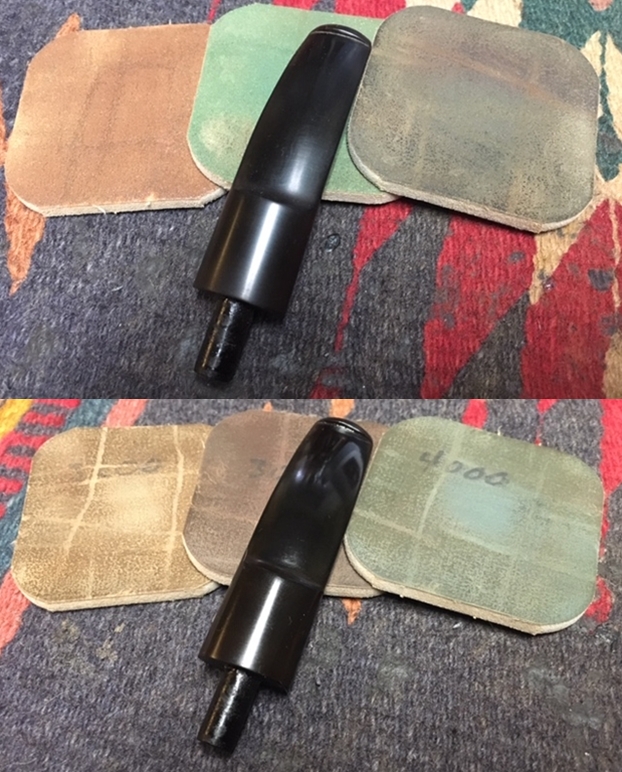
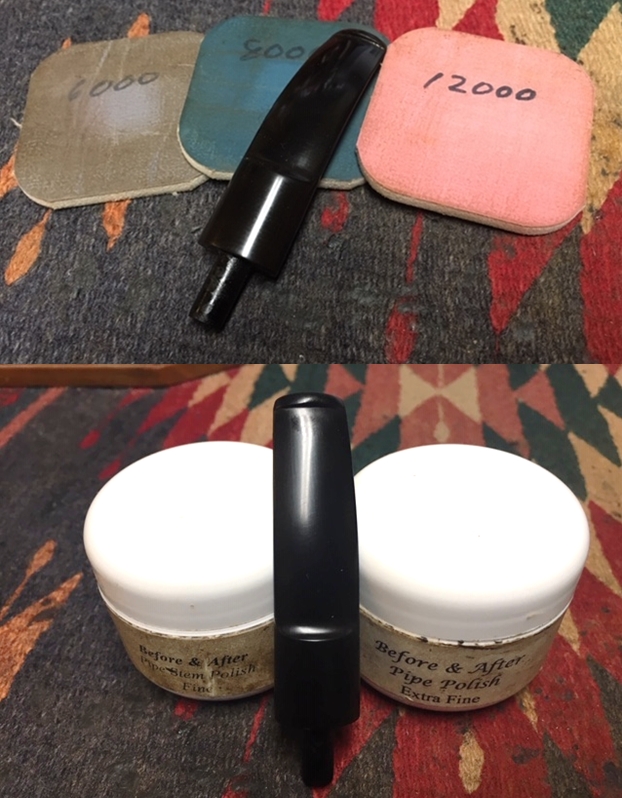
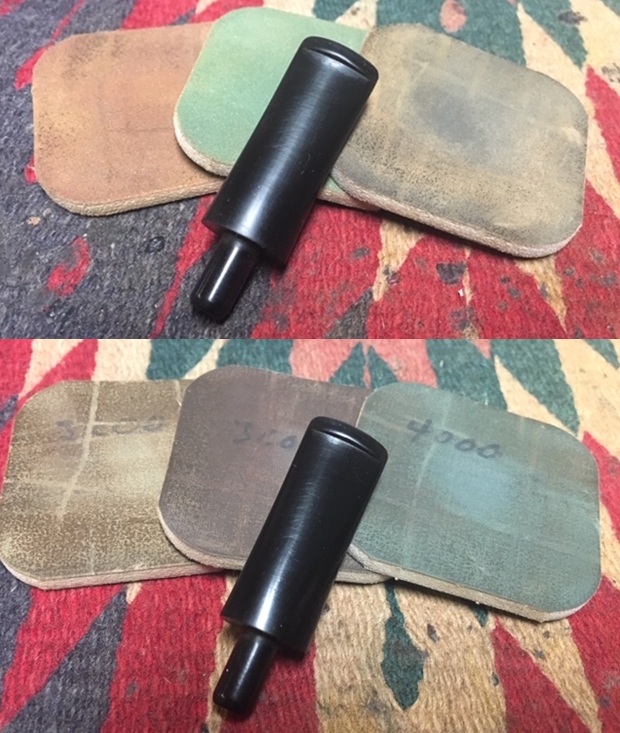
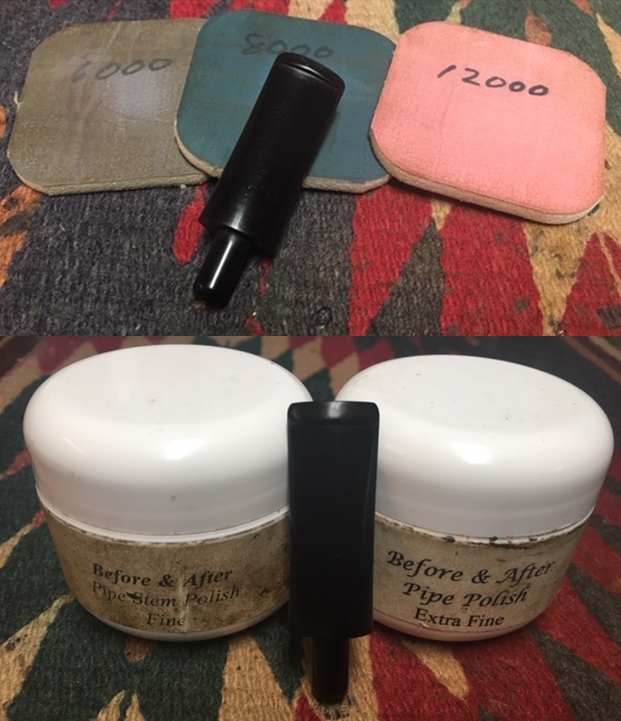
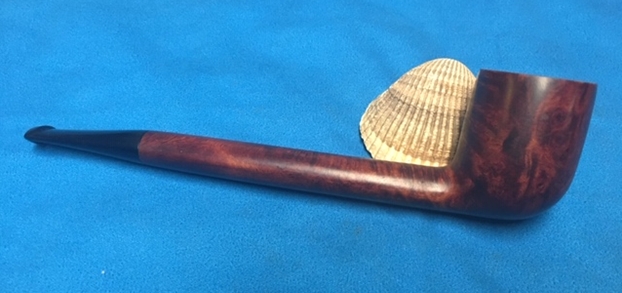
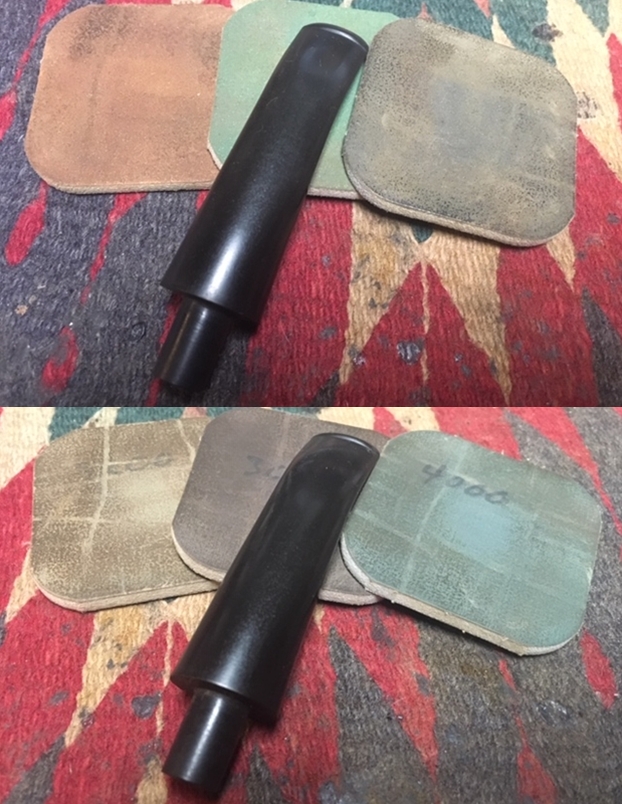
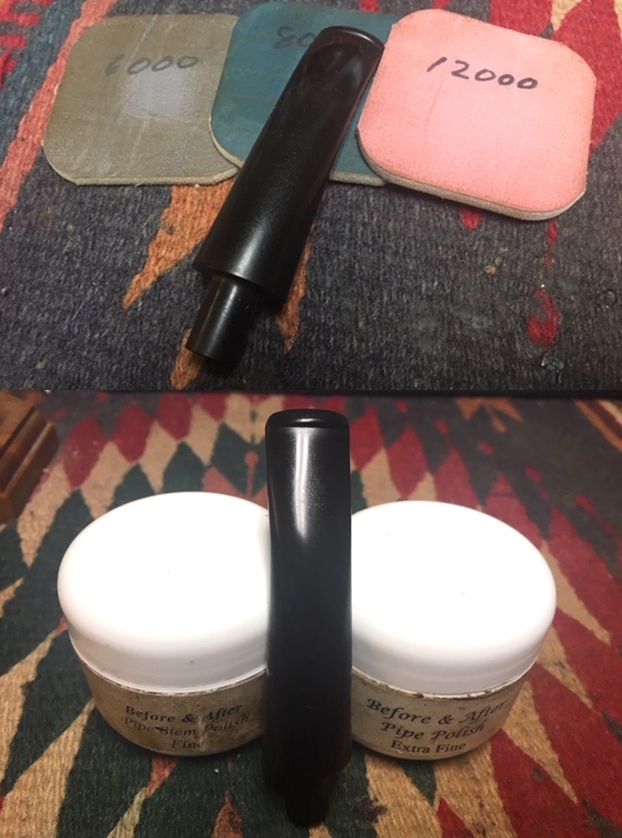
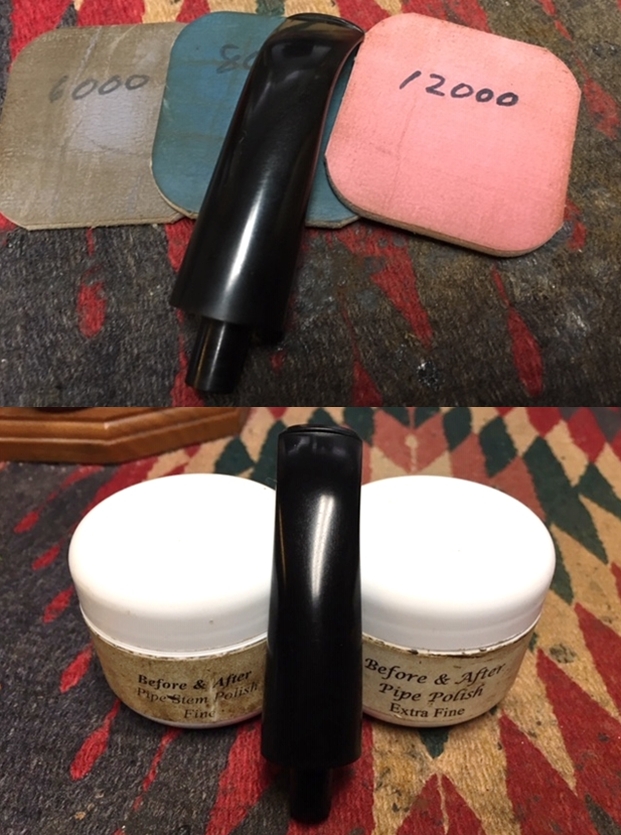
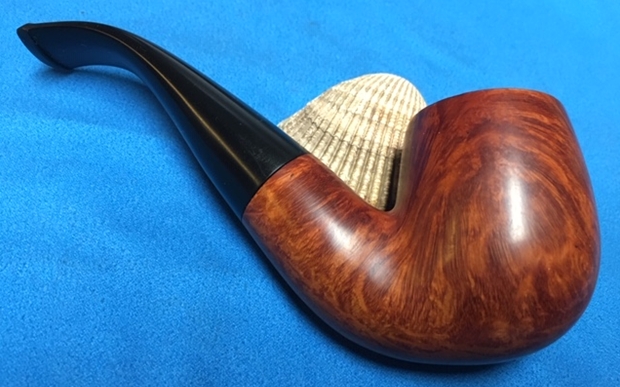
 I polished the stem with micromesh sanding pads – wetsanding it with 1500-2400 grit pads and dry sanding it with 3200-12000 grit pads. I wiped the stem down with Obsidian Oil after each pad. I polished it with Before & After Pipe Polish – both Fine and Extra Fine and gave it a final coat and set it aside to dry.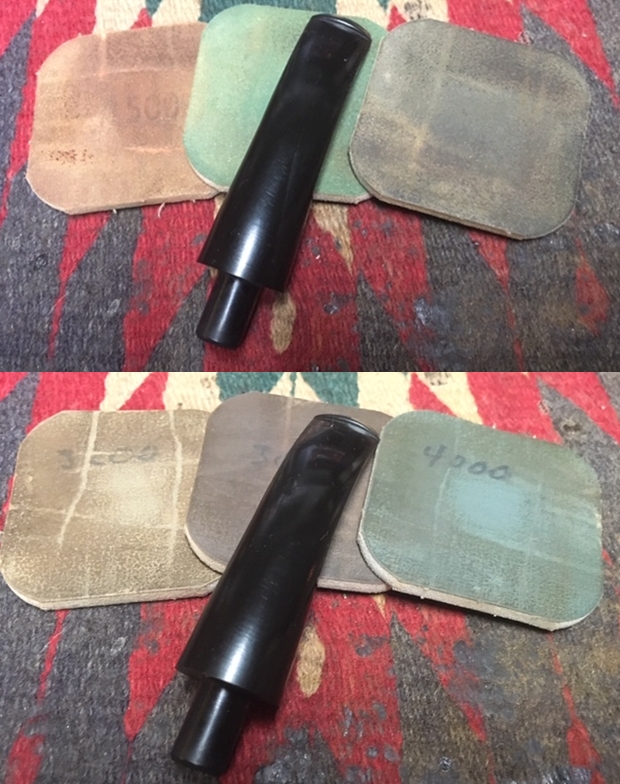
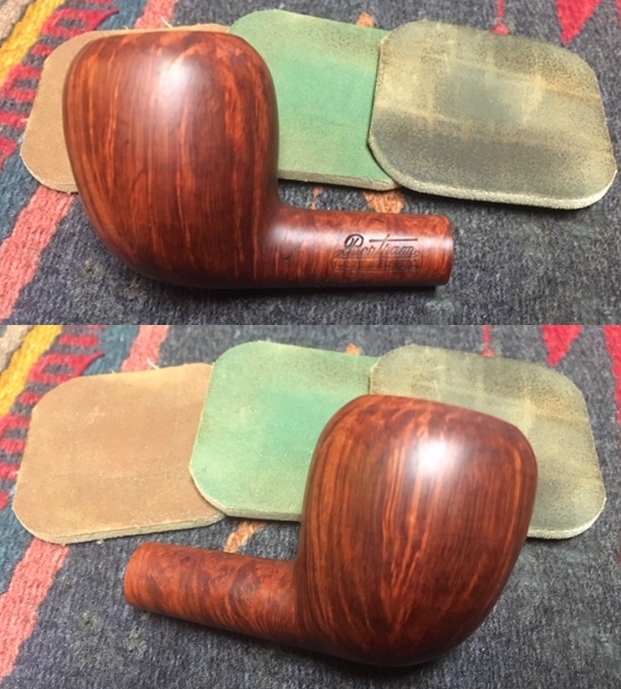
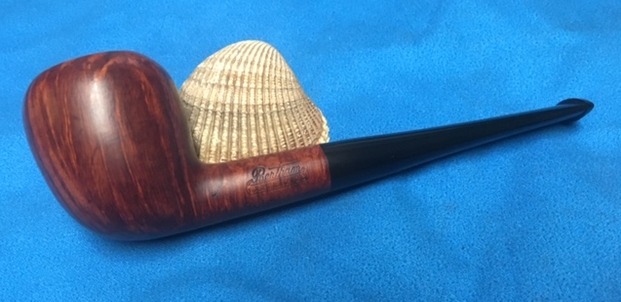
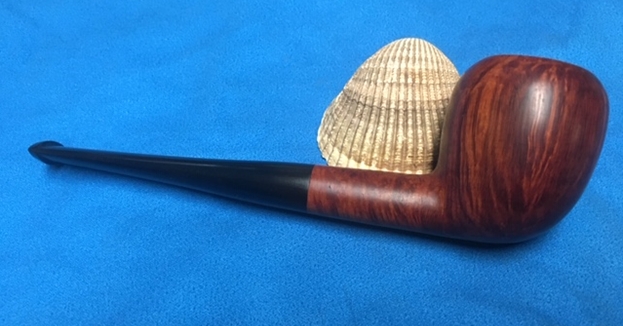
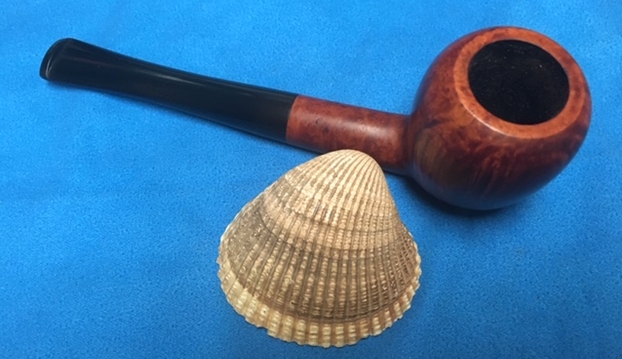
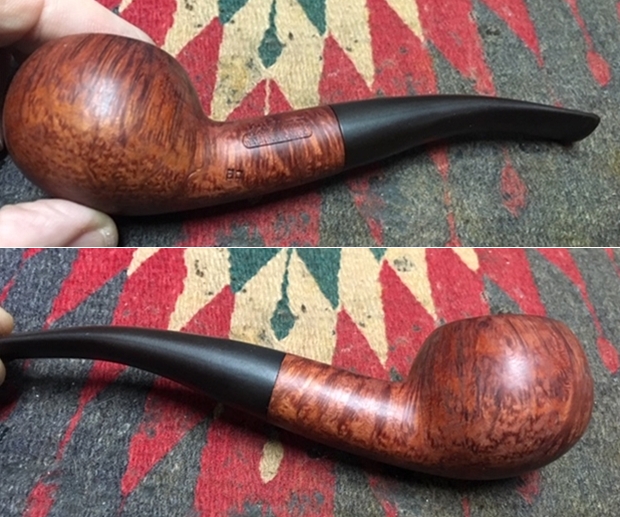
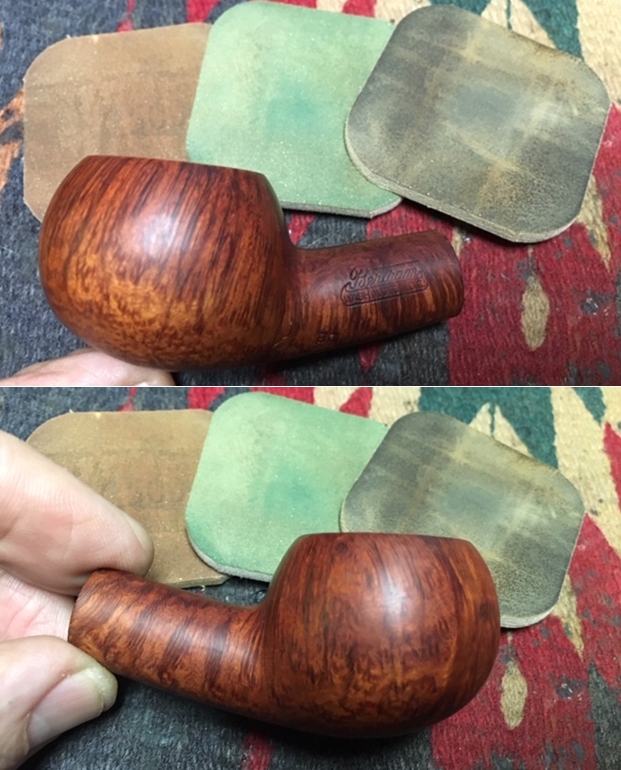
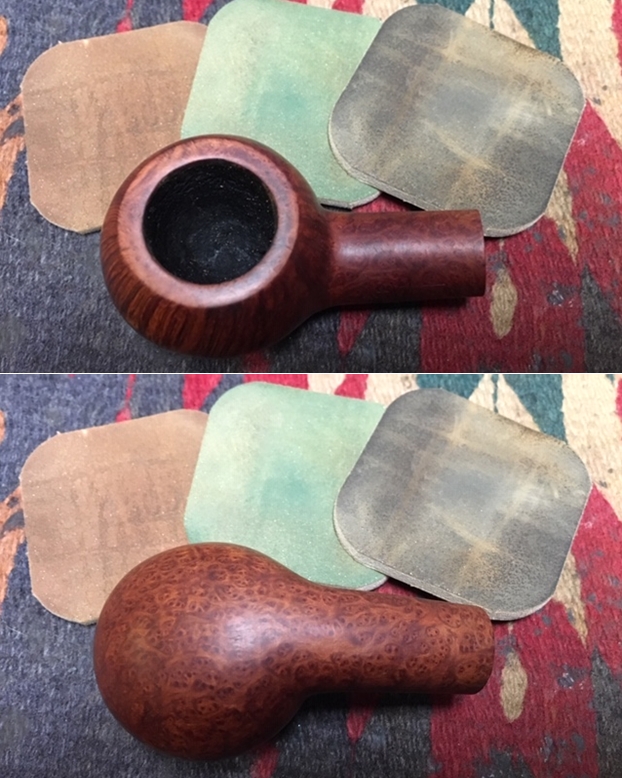
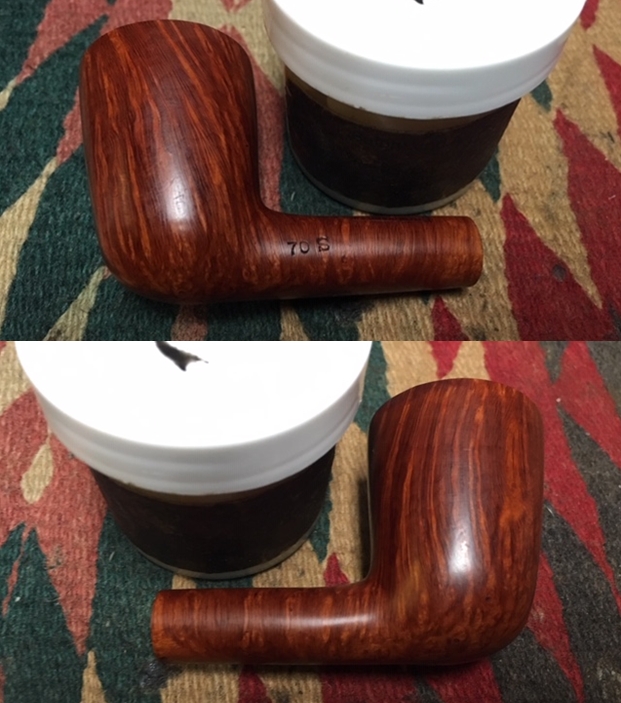
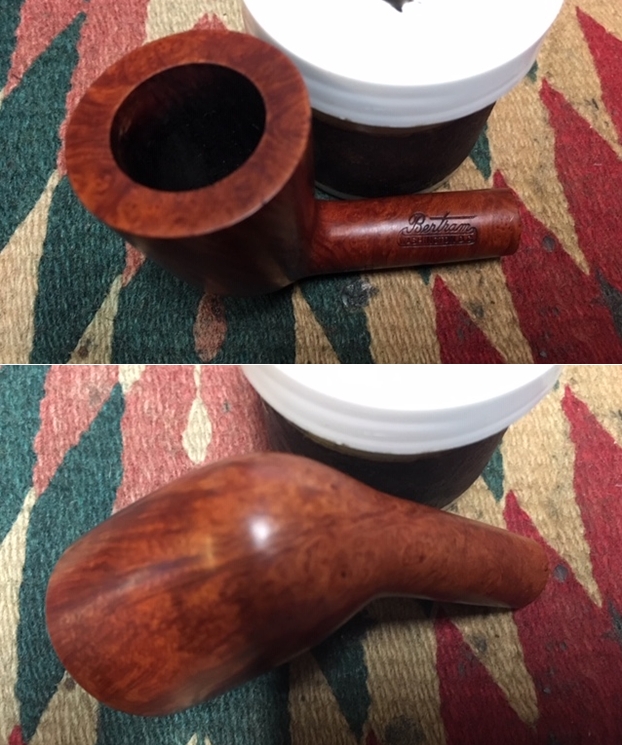
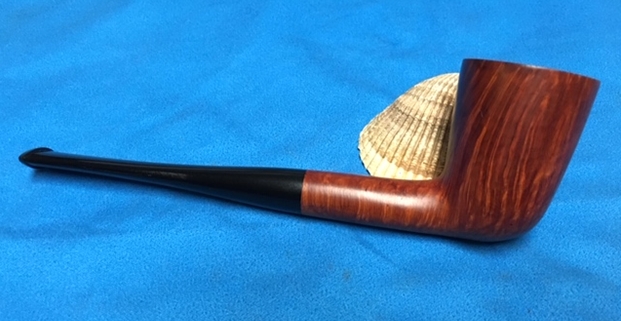
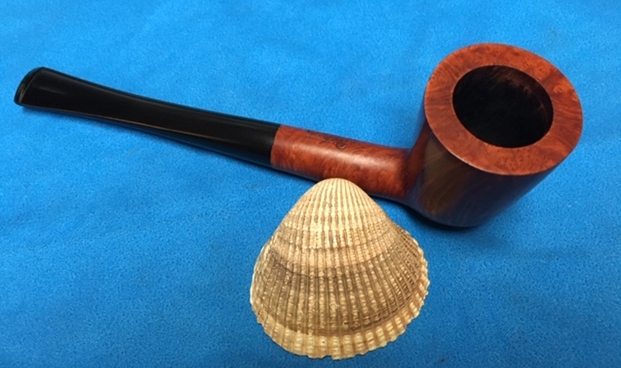
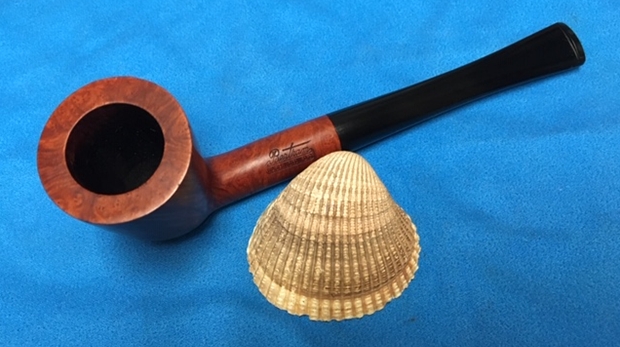
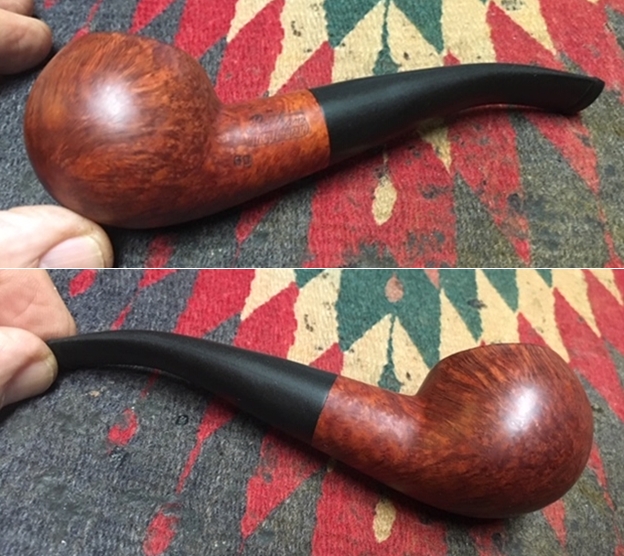
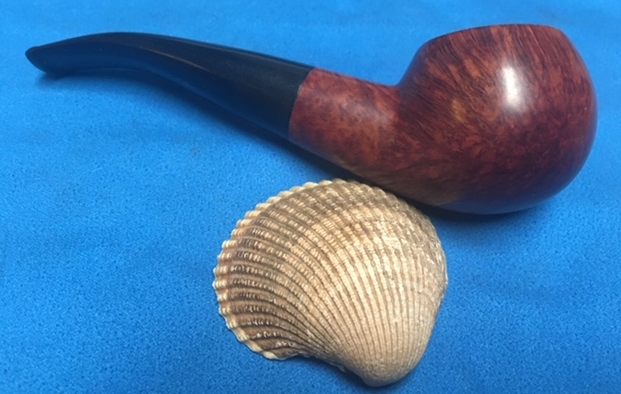
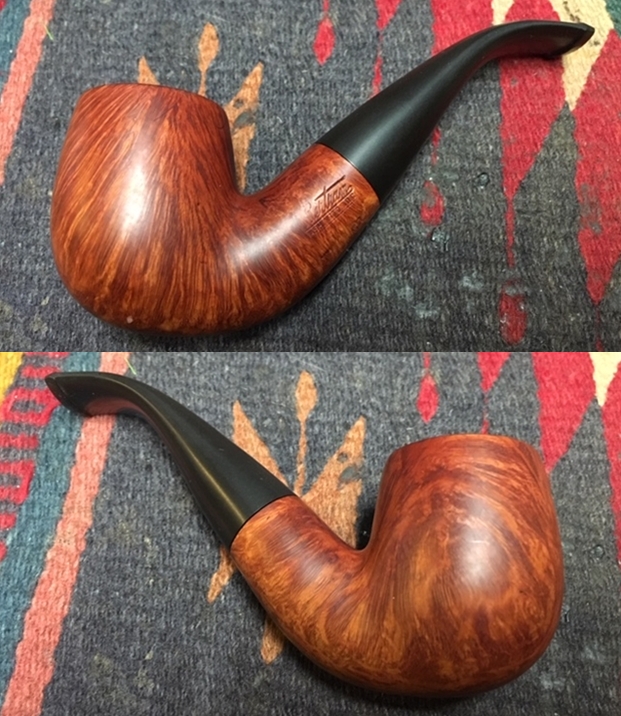
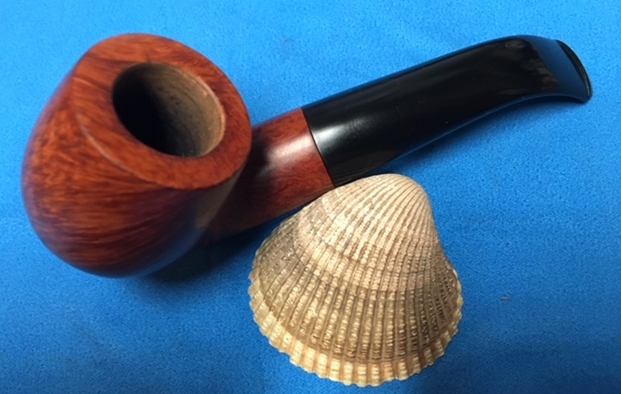
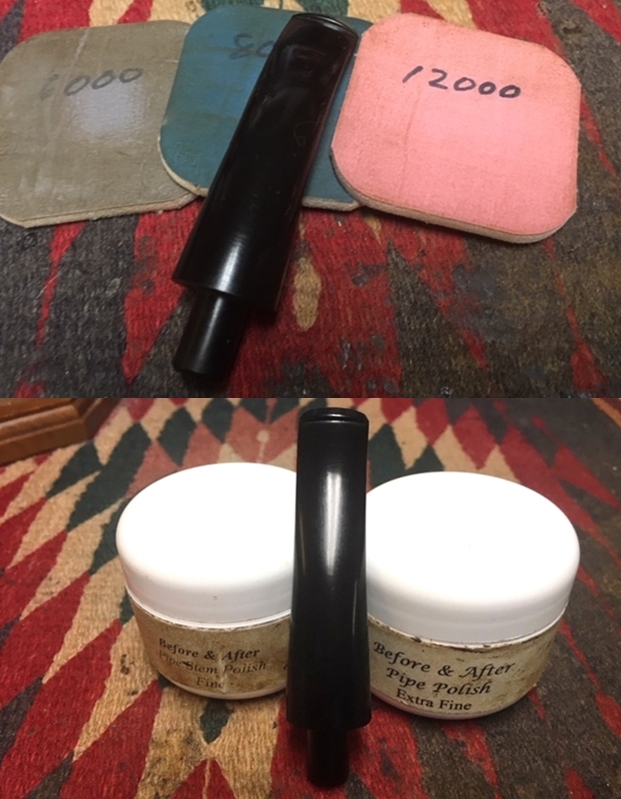 I put the stem and bowl back together and buffed the pipe with Blue Diamond on the buffing wheel. I polished the briar and the minute scratches still in the vulcanite of the stem until there was a rich shine. This Bertram has a protruding chin or nose to it. It is that shape that is called a Bull Moose. Once I buffed the pipe the briar came alive and the mixture of grain – straight, flame and birdseye popped with polishing. There are some fills on the left side of the bowl but they are not glaring pink putty. The black vulcanite stem had a rich glow. The finished pipe is a beautiful grained Bull Moose shaped pipe. Like the other Bertrams I have worked on this one fits well in the hand and sits right in the mouth. Have a look at it with the photos below. The dimensions are Length: 5 3/4 inches, Height: 1 5/8 inches, Outside diameter of the bowl: 1 3/4 inches, Chamber diameter: ¾ of an inch. Since I am traveling for a bit for the next three weeks this one will go on the store once I return. If you are interested let me know. Thanks for walking through the restoration with me as it was a pleasure to work on.