by Steve Laug
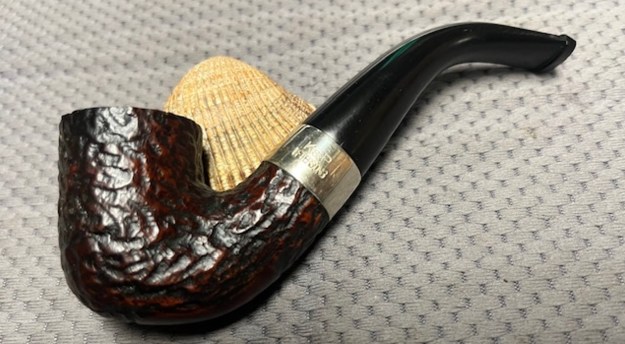
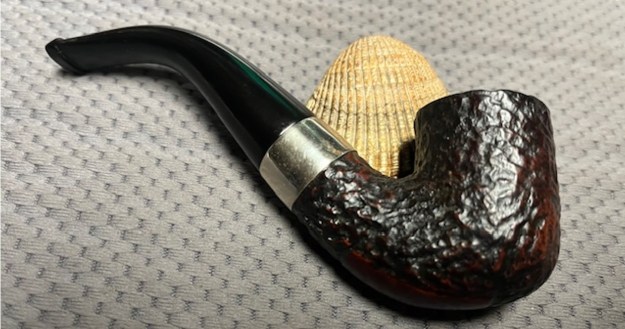
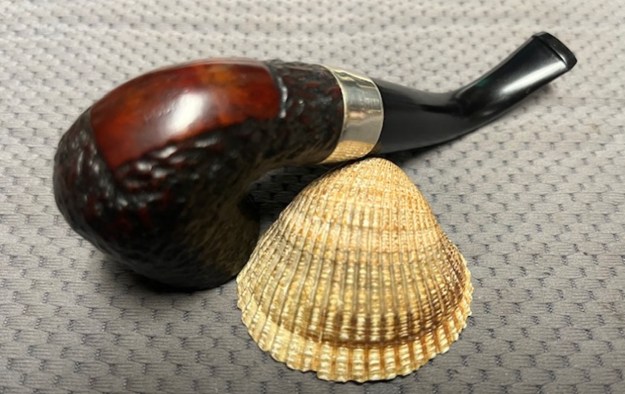
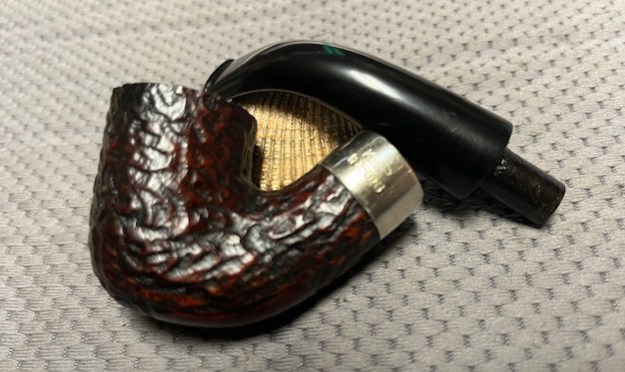
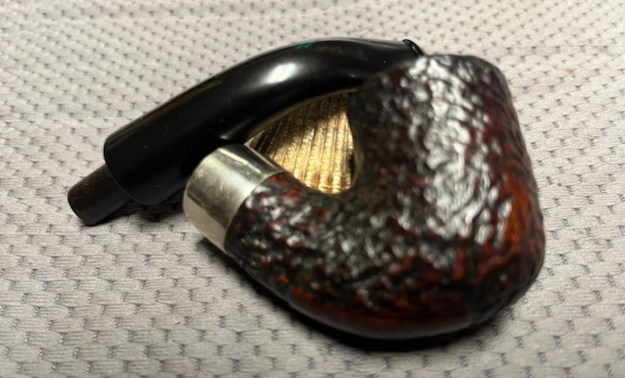
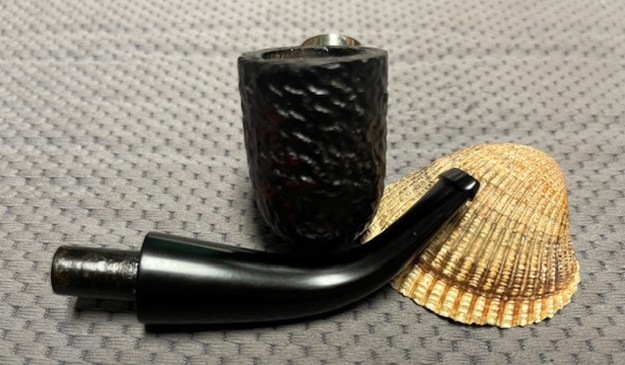
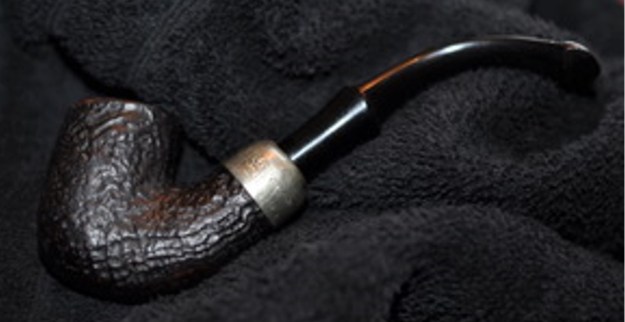
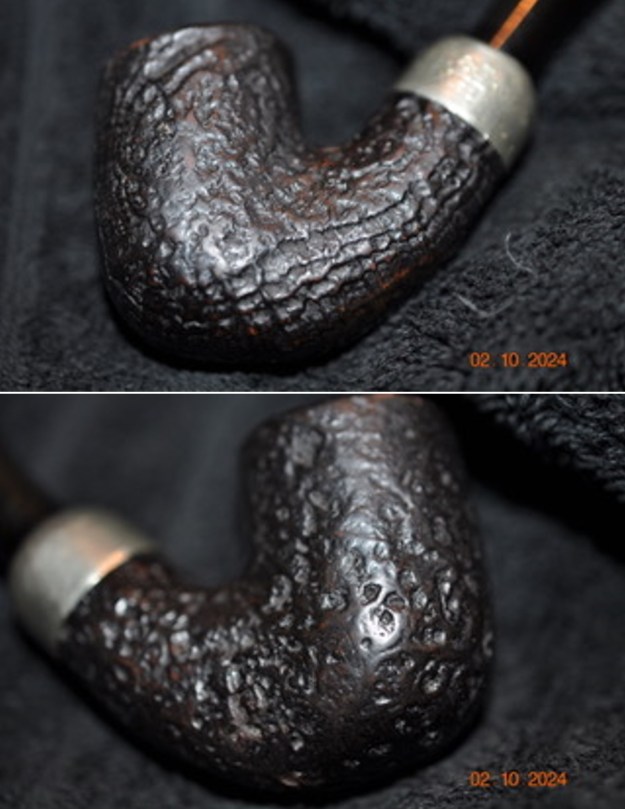
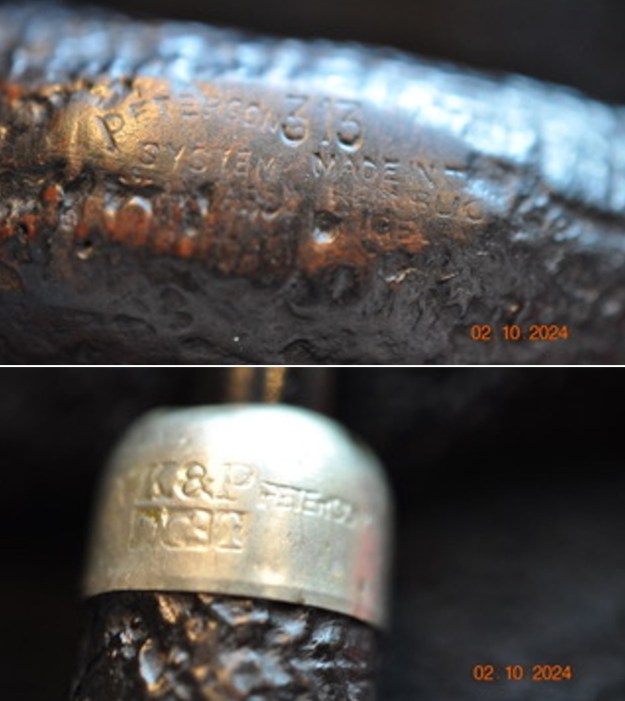
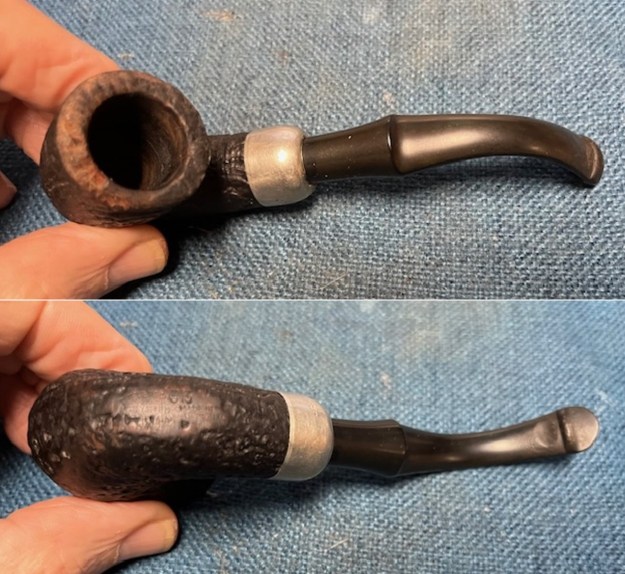
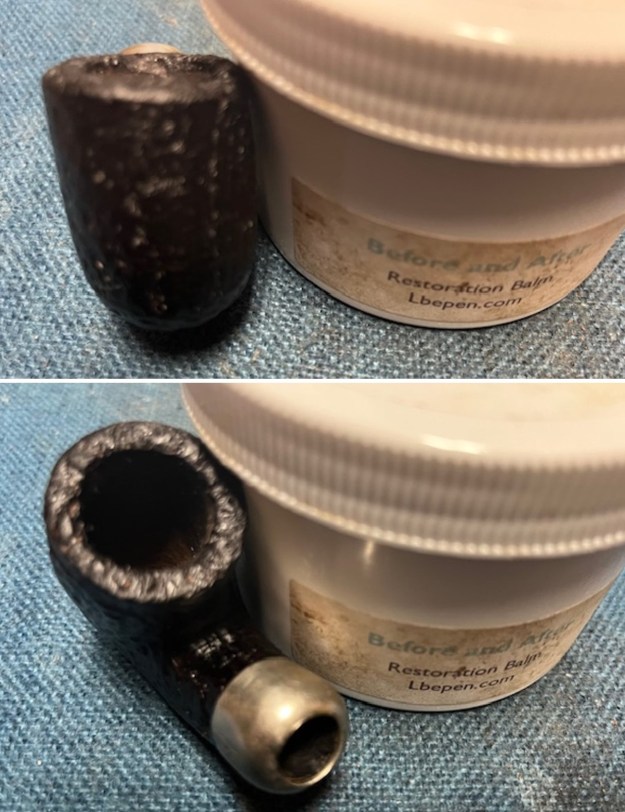
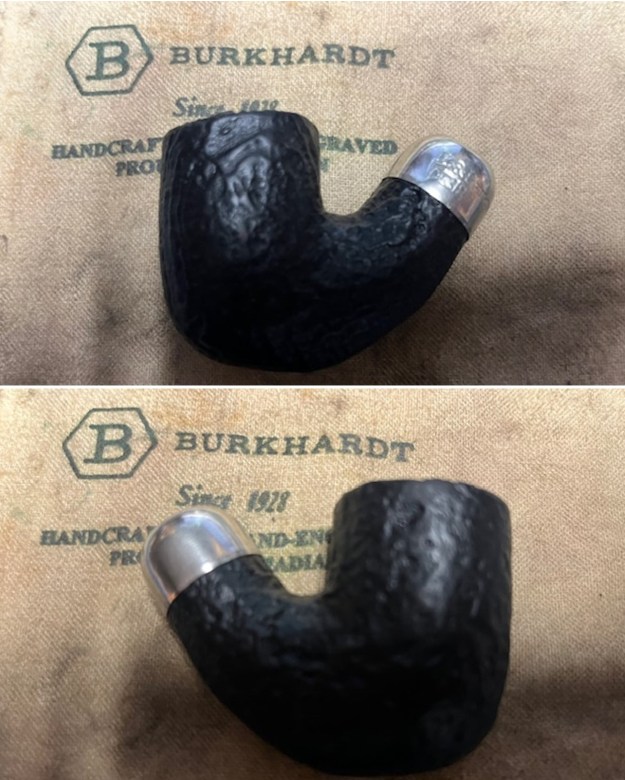
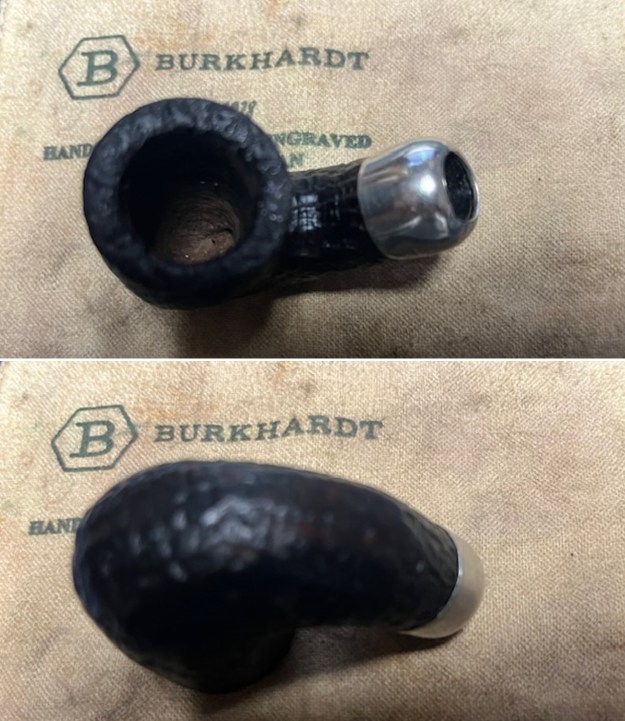
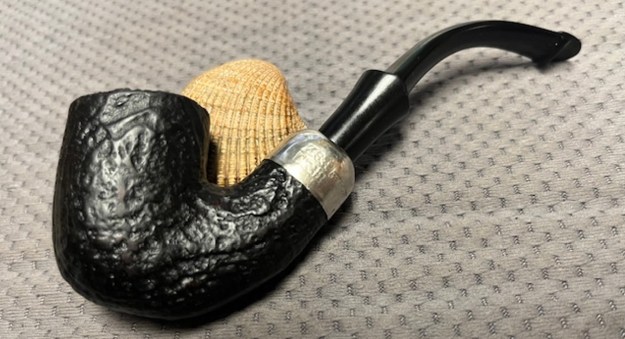
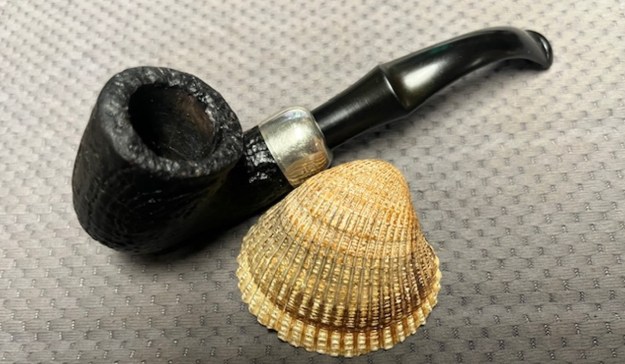
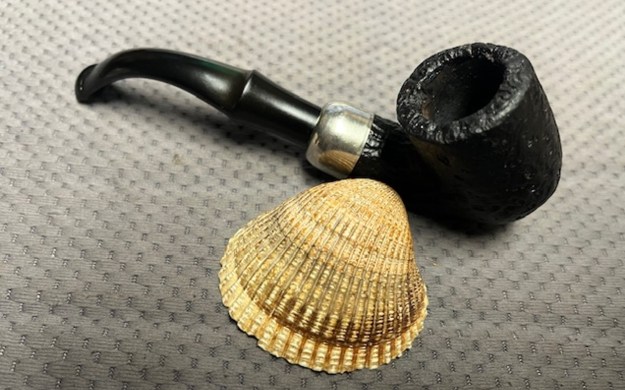
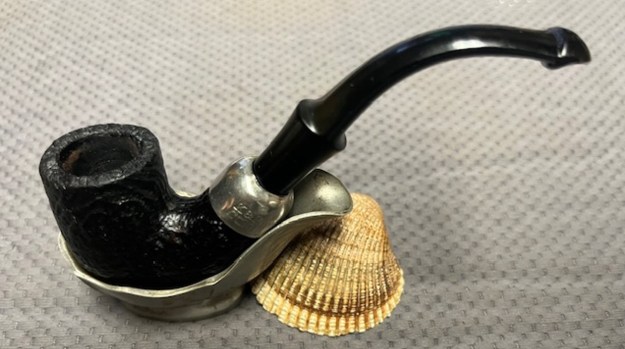
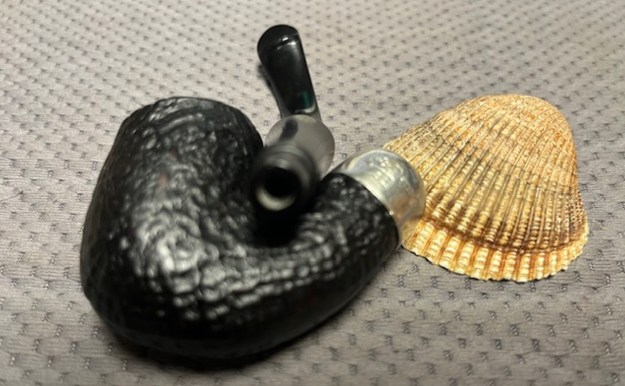
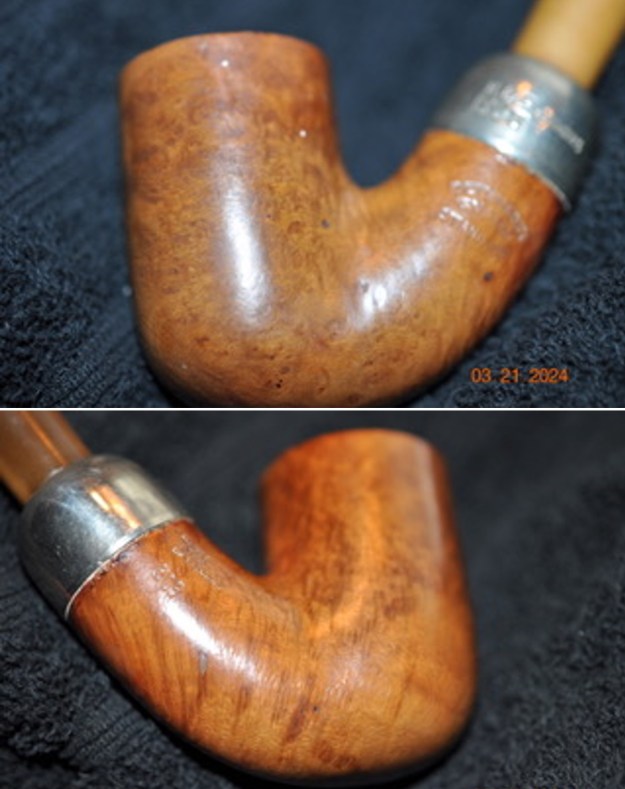
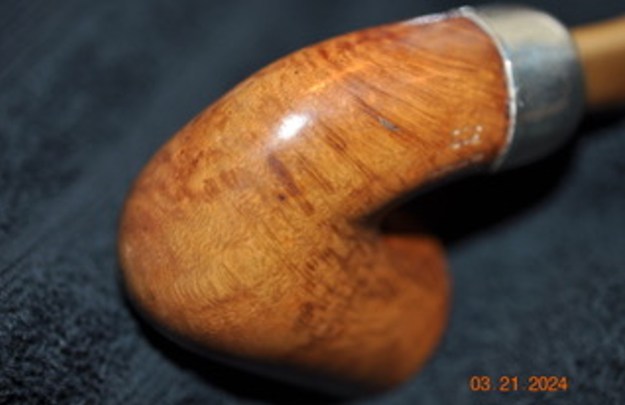
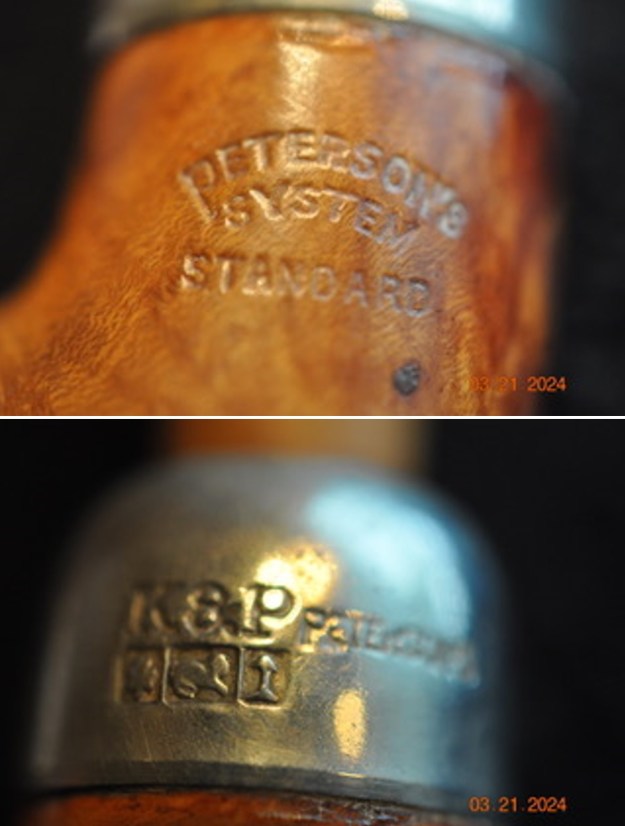
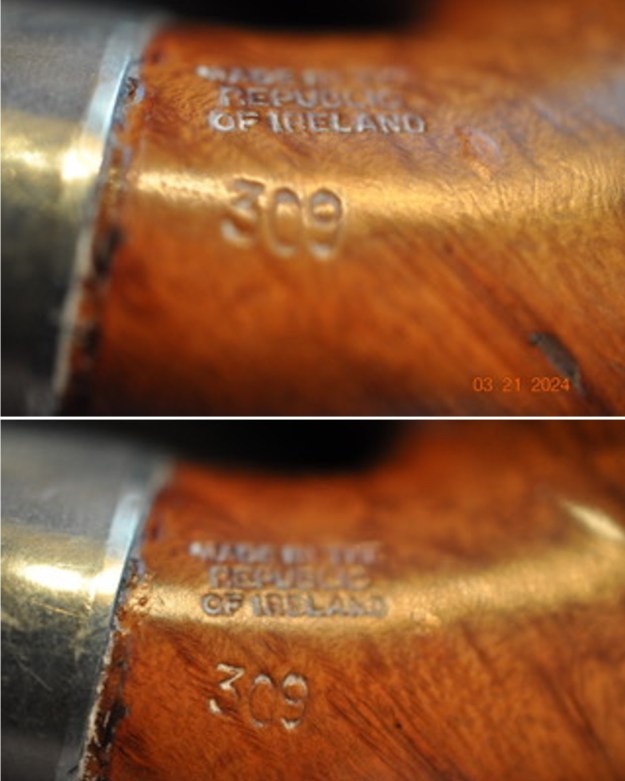
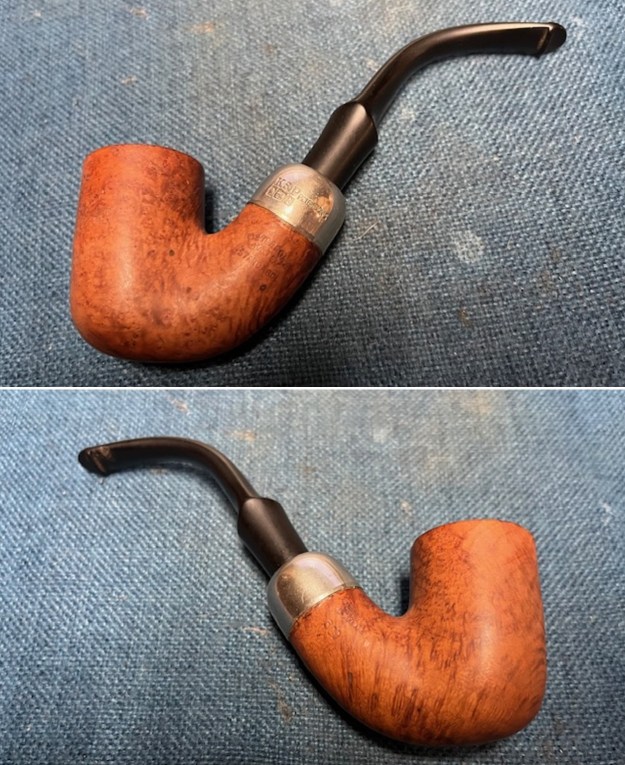
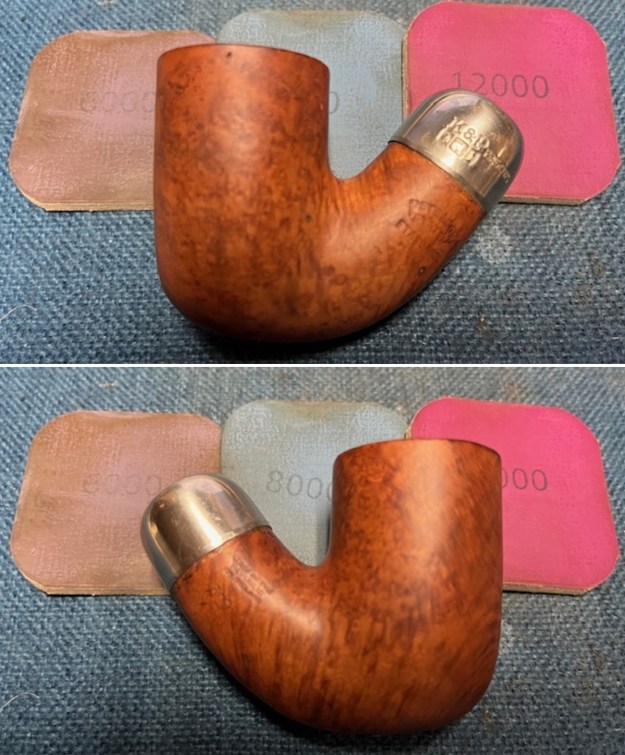
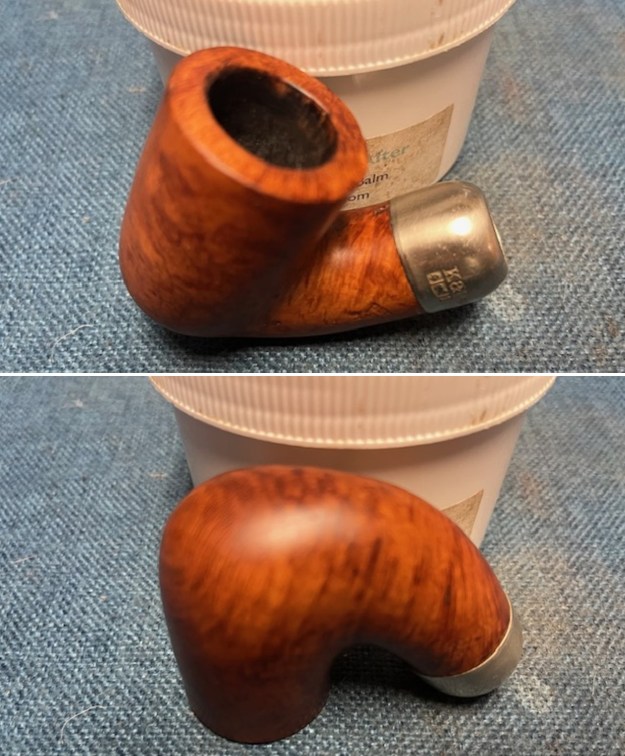
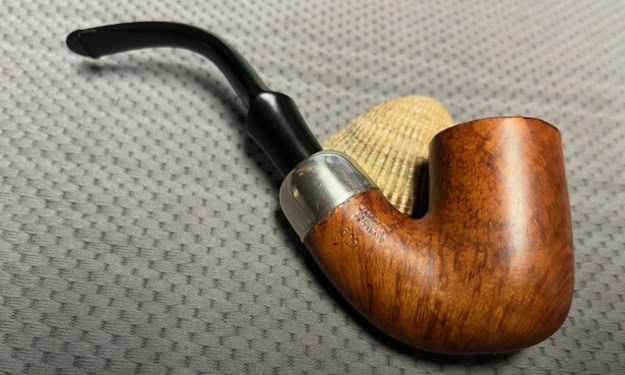
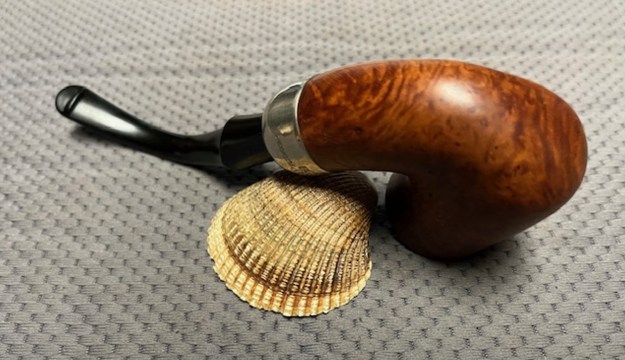
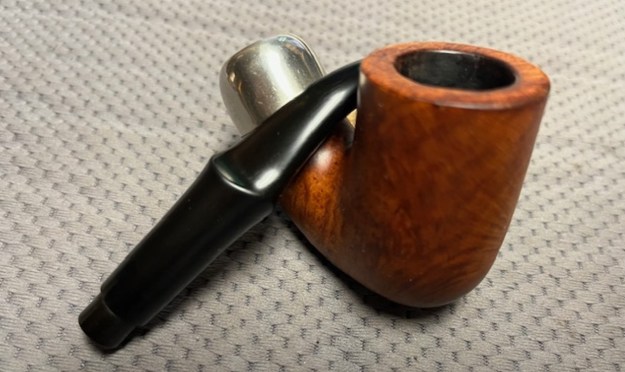
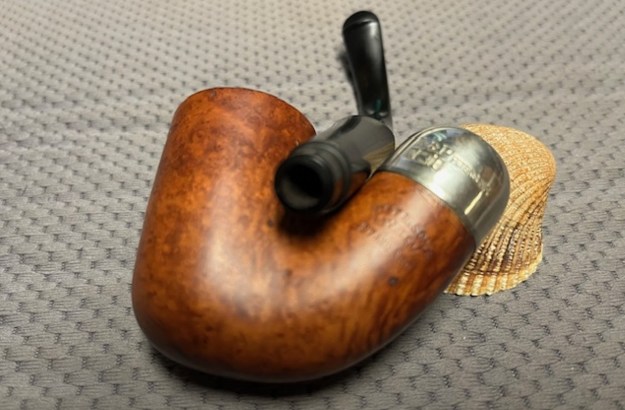
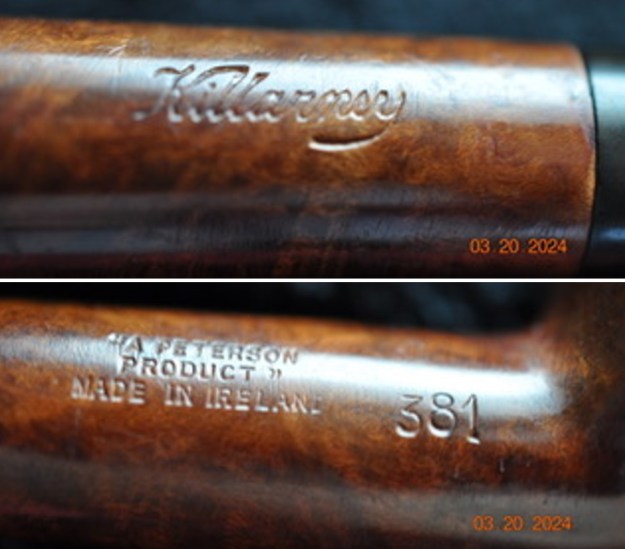
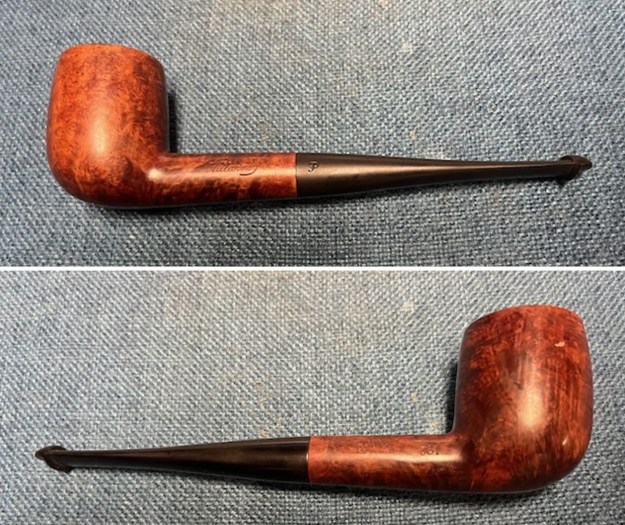
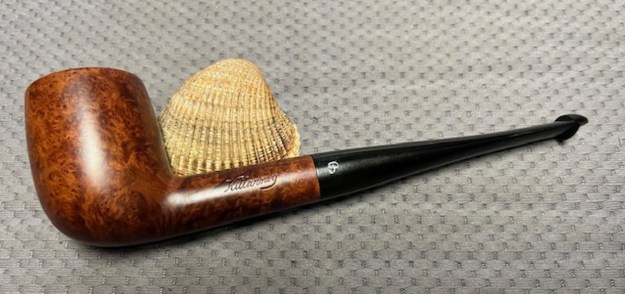
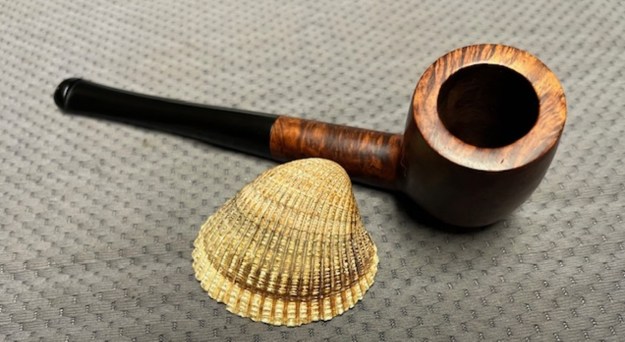
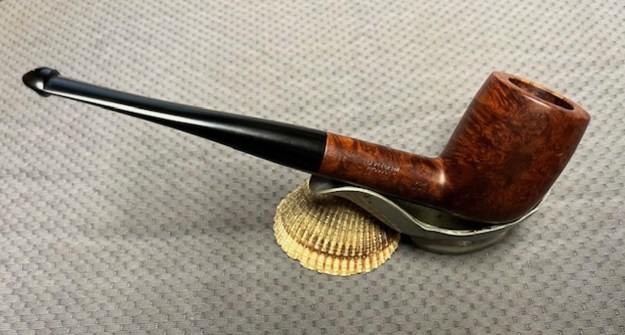
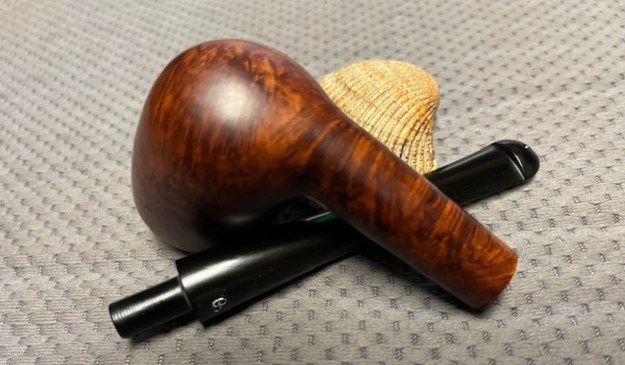
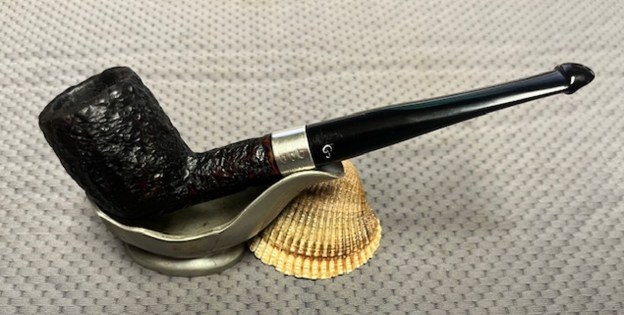
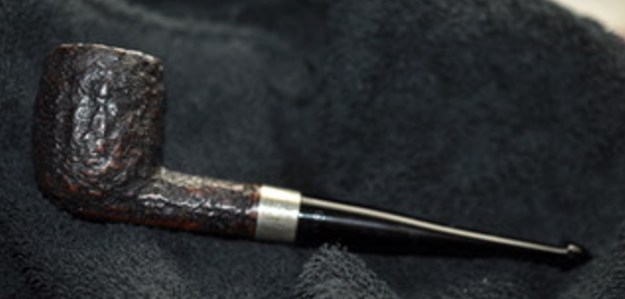
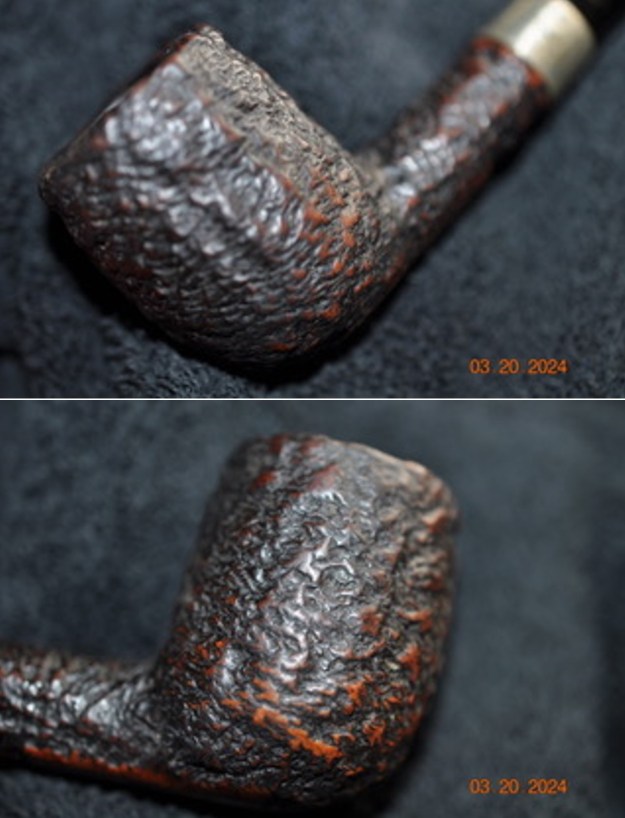
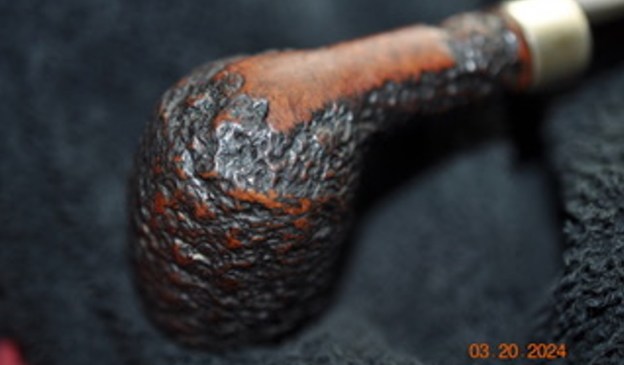
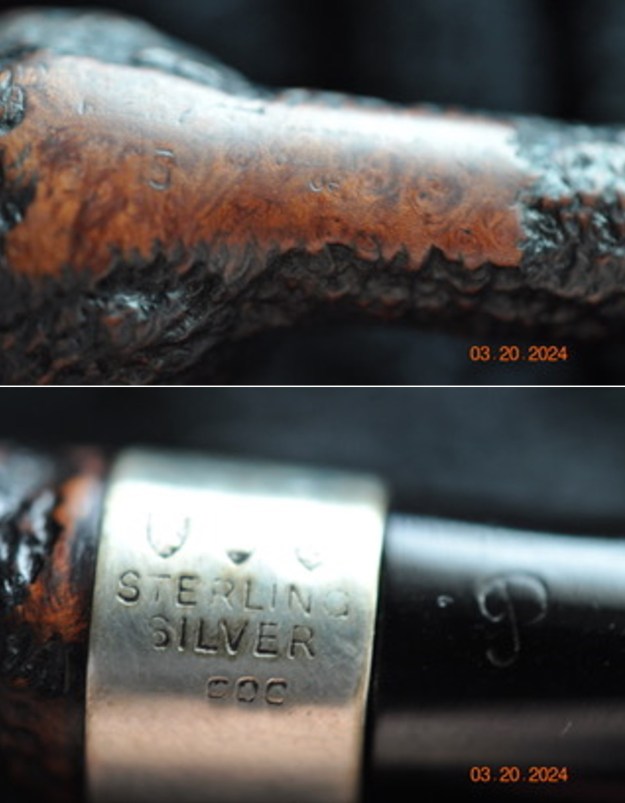
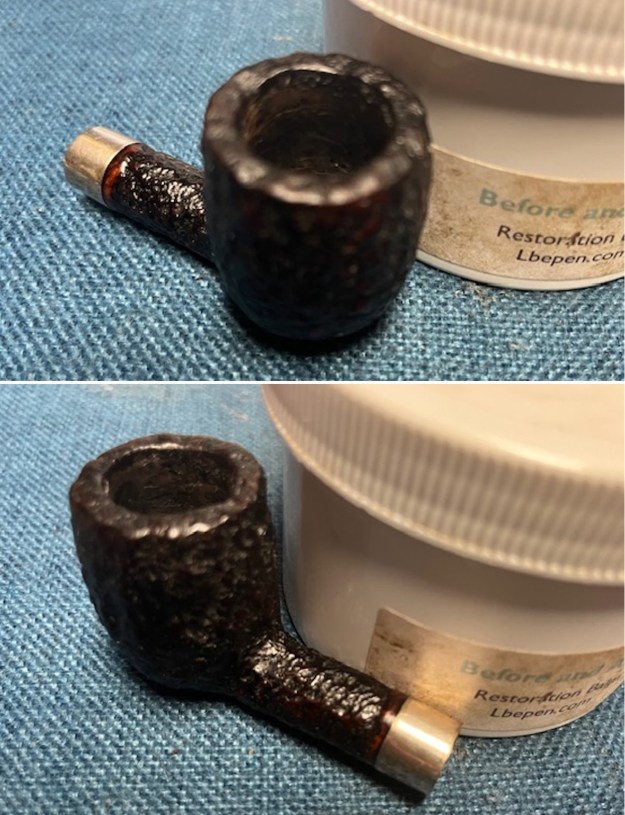
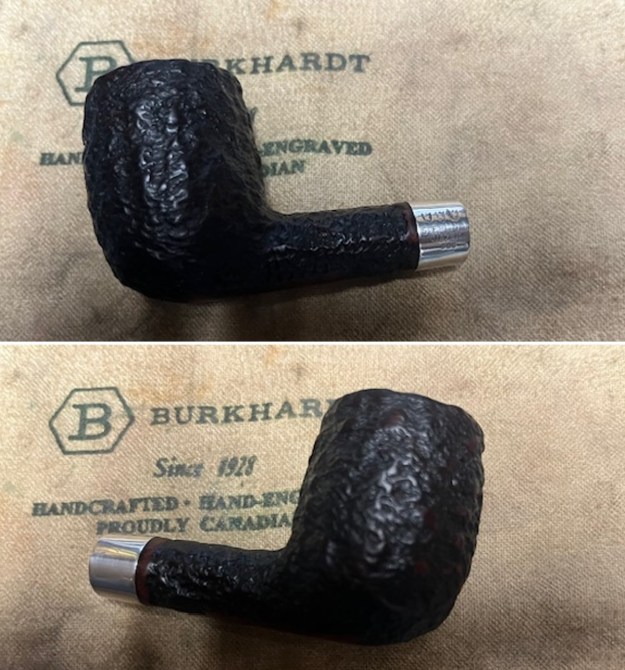
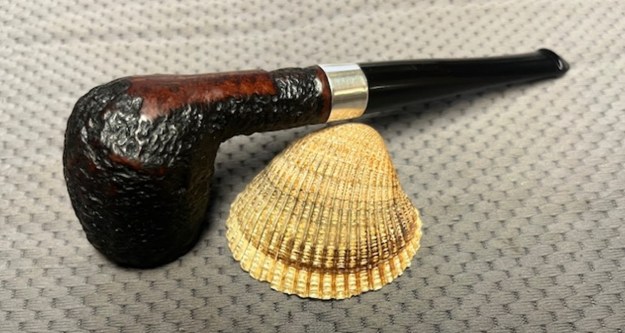
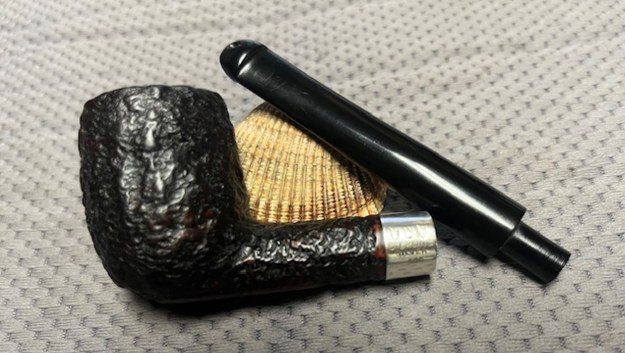
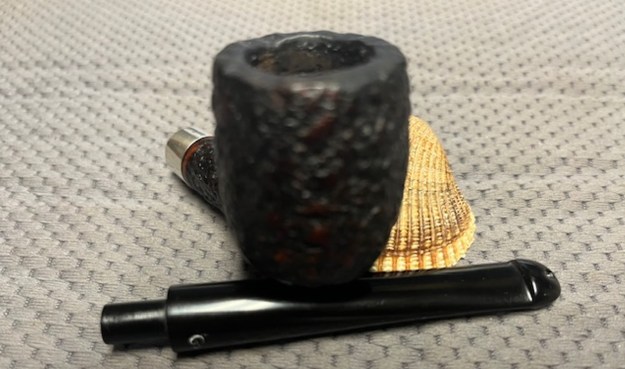
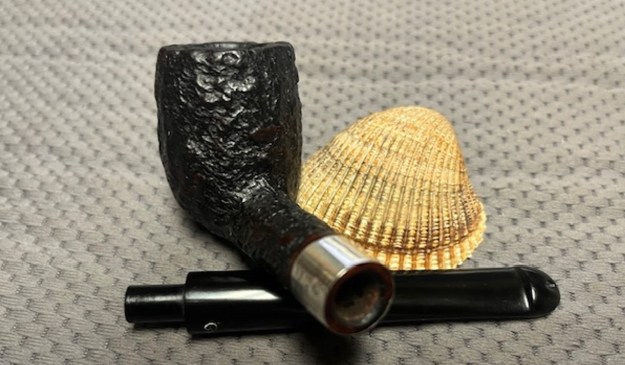
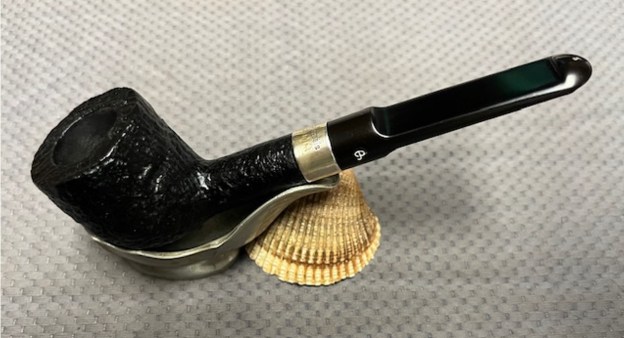
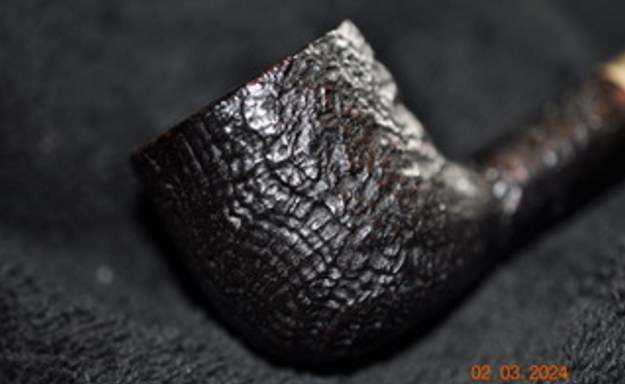
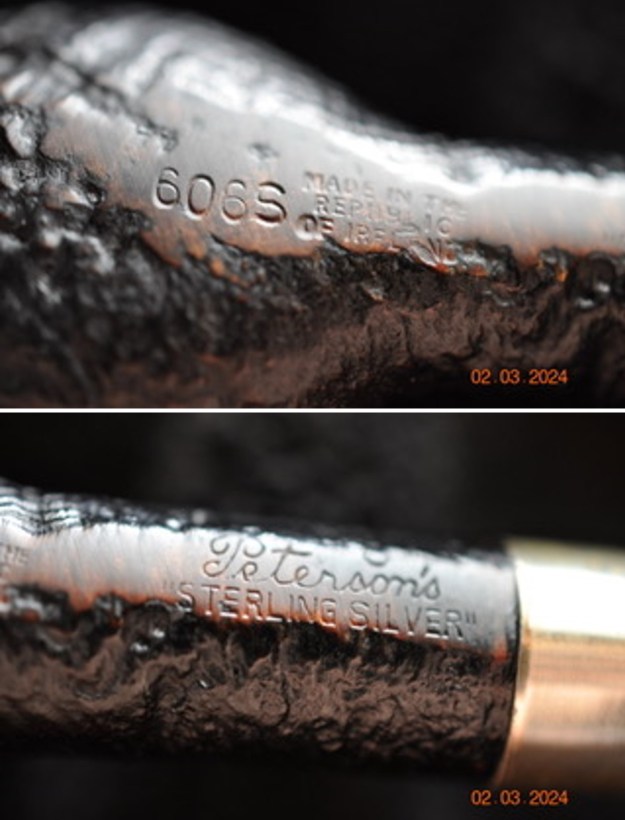
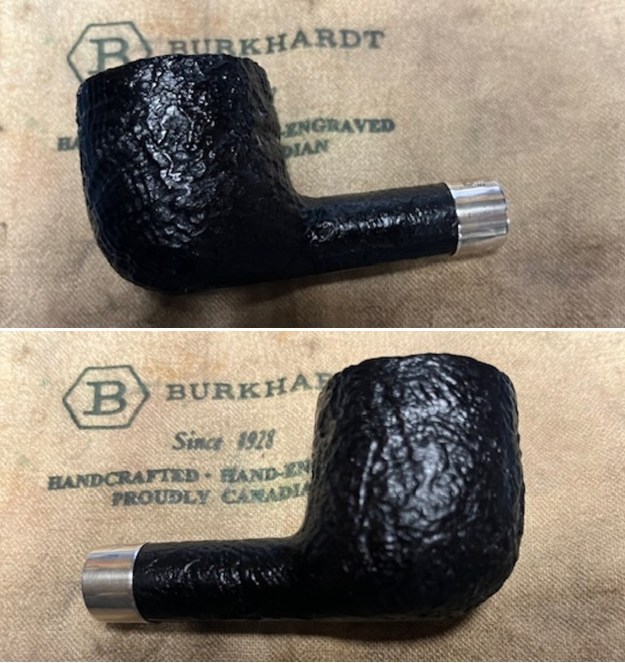
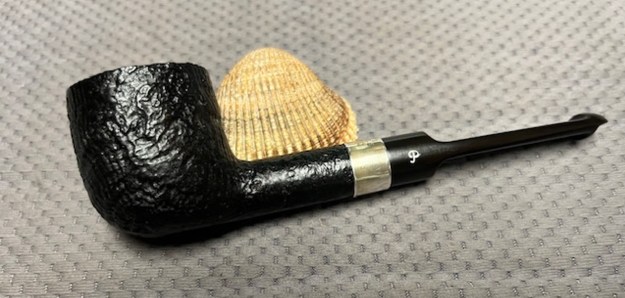
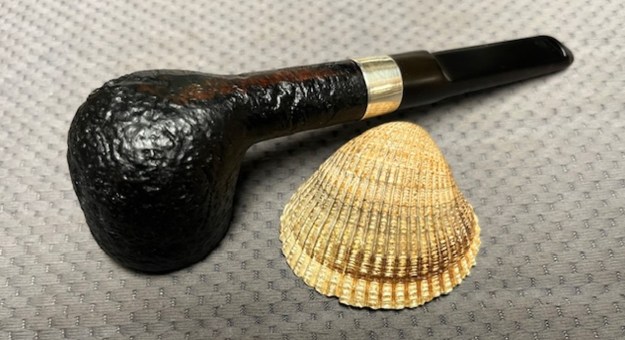
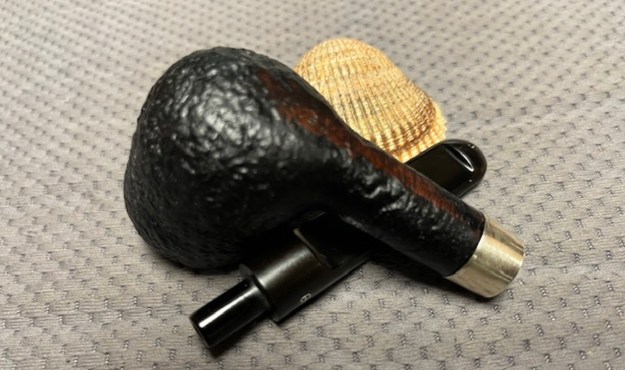
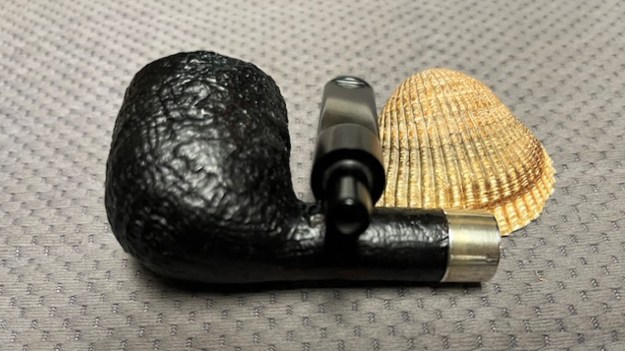
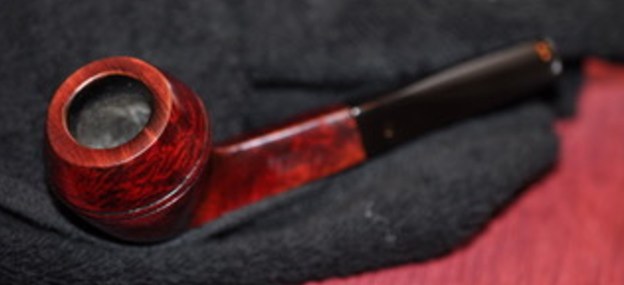
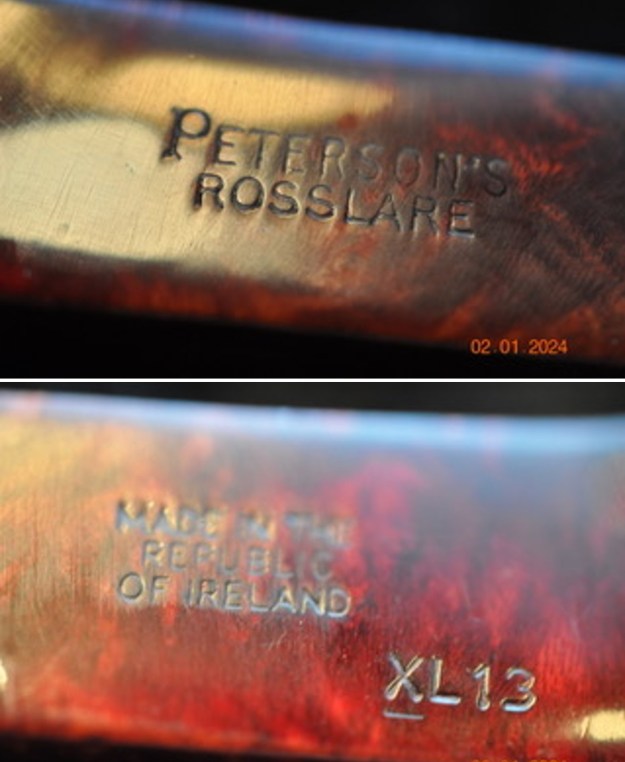
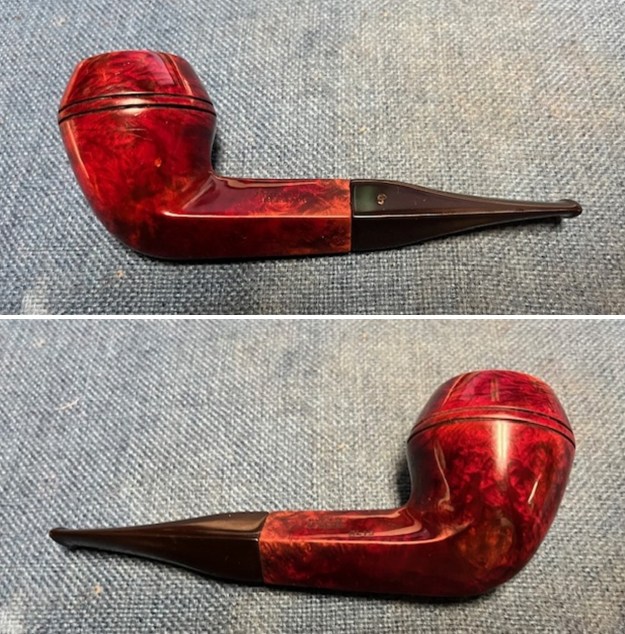
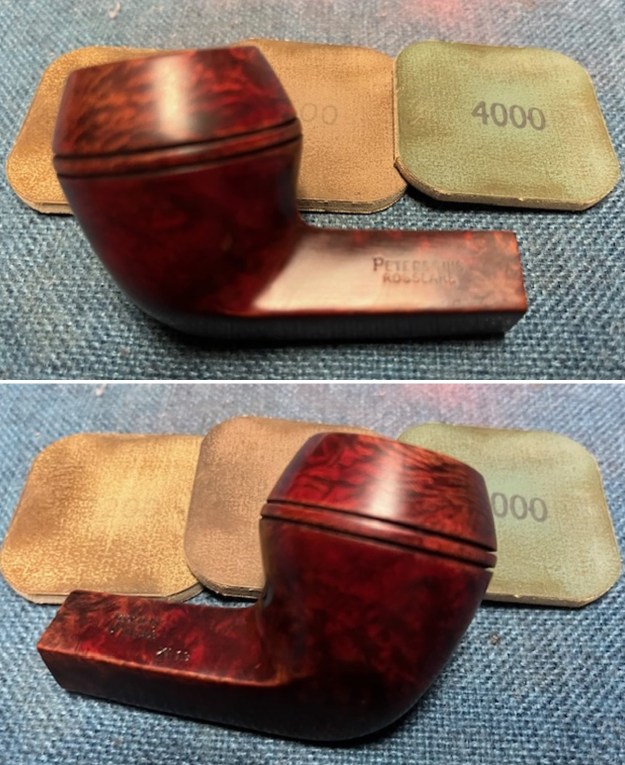
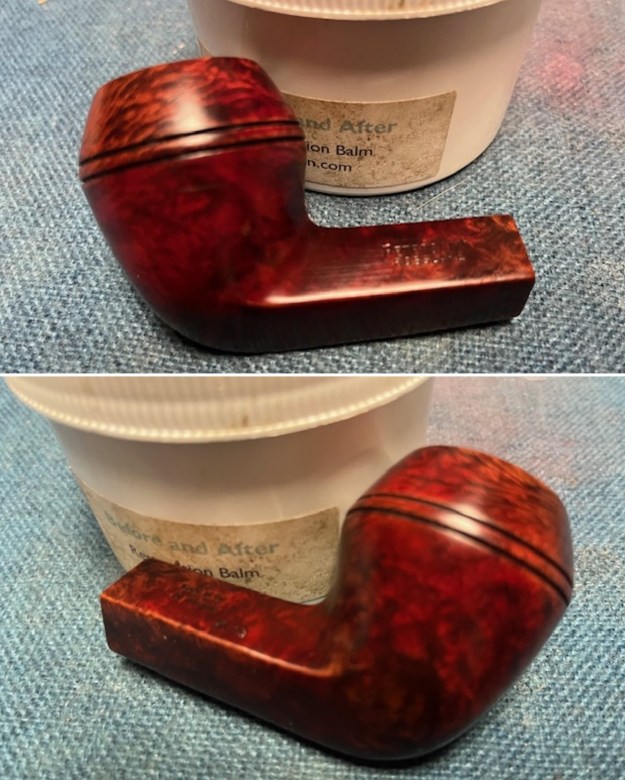
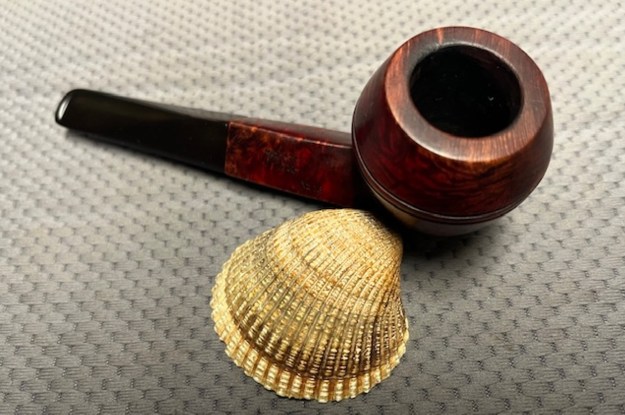
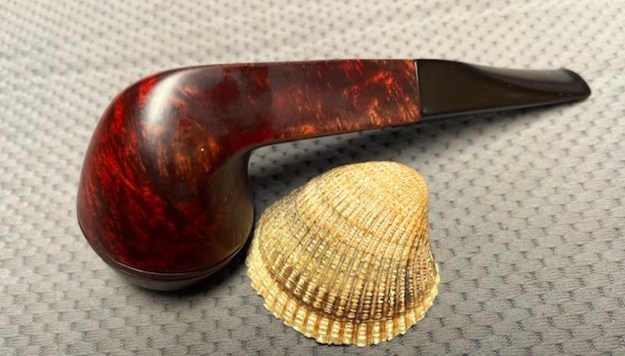
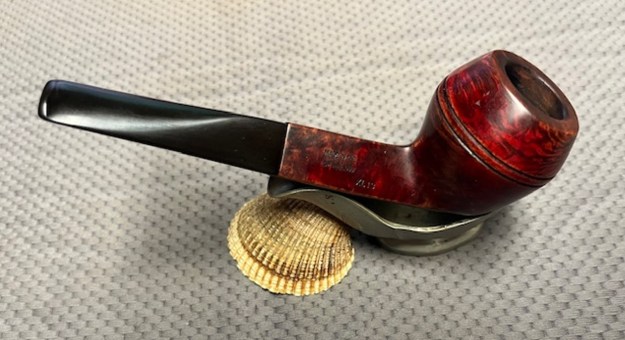
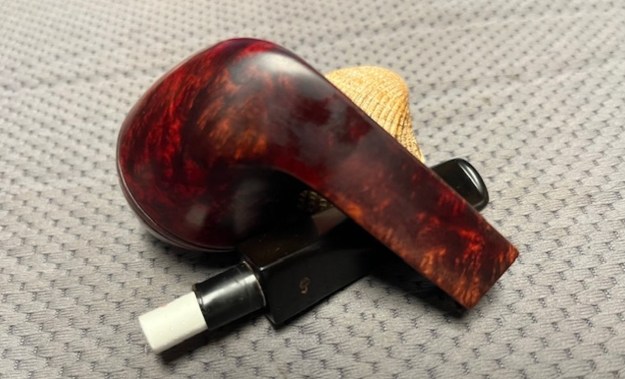
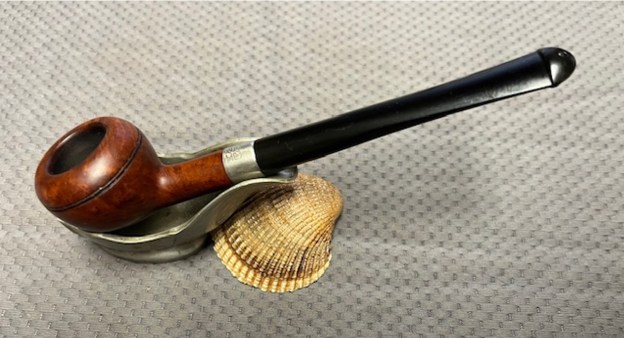
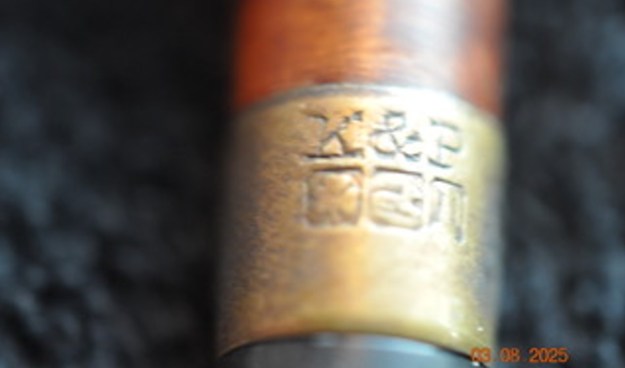
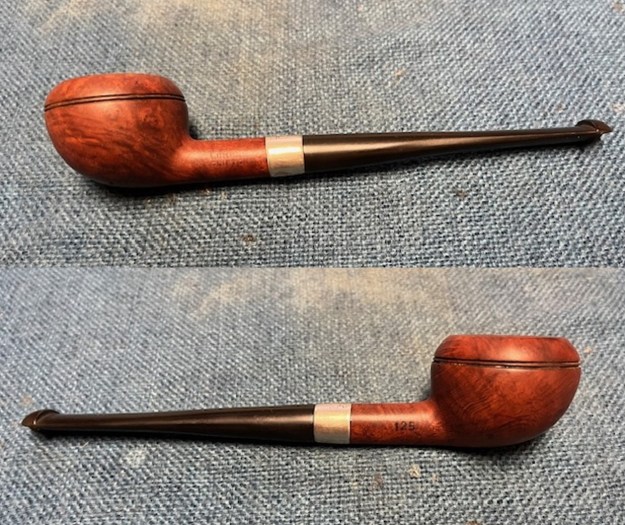
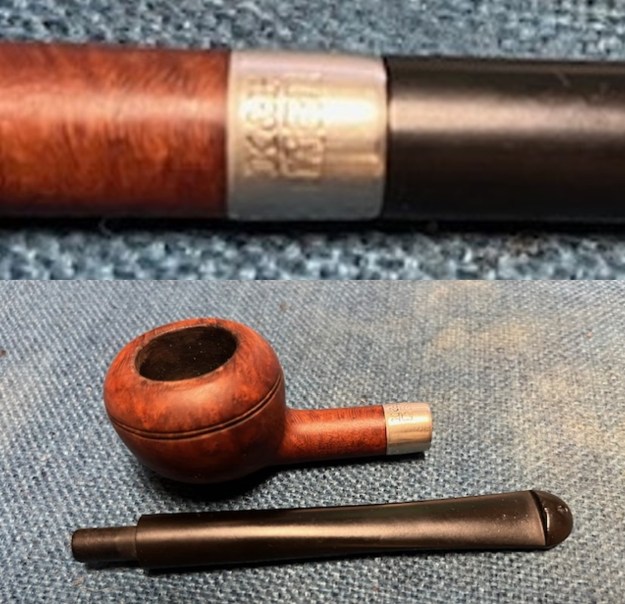
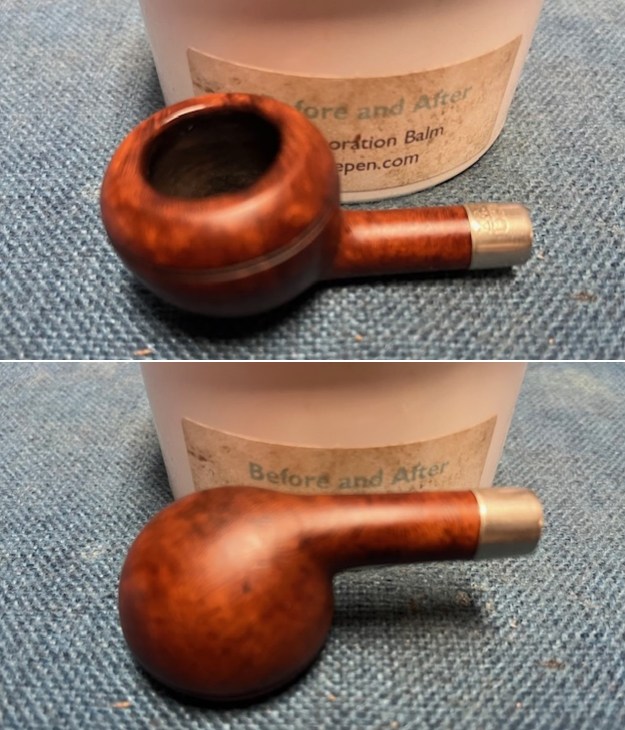
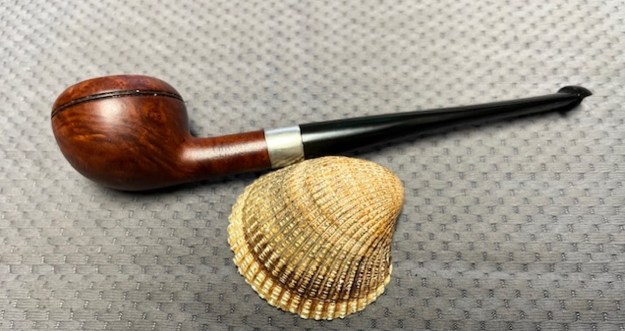
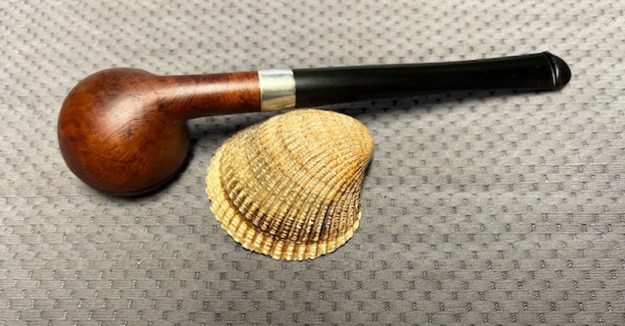
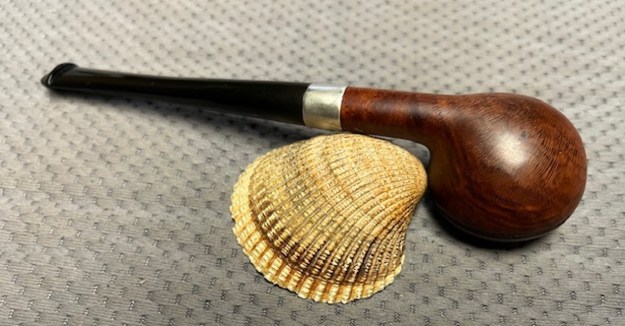
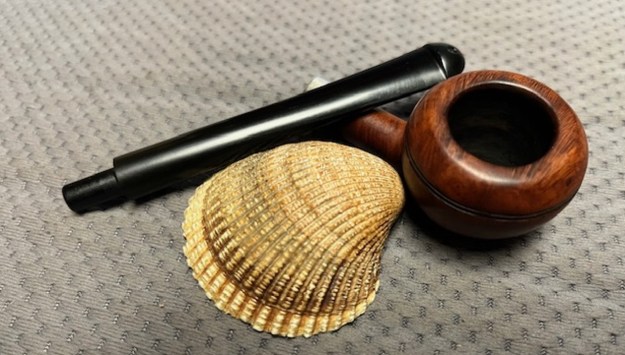
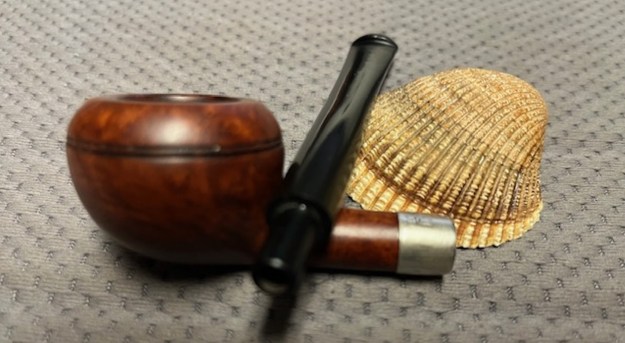
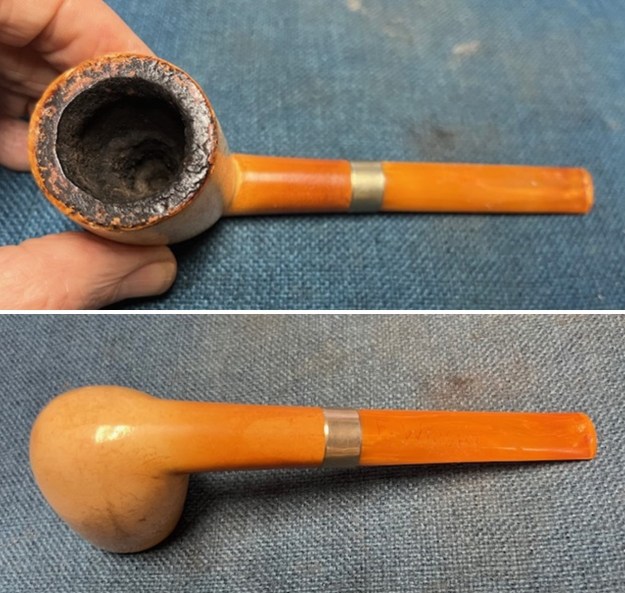
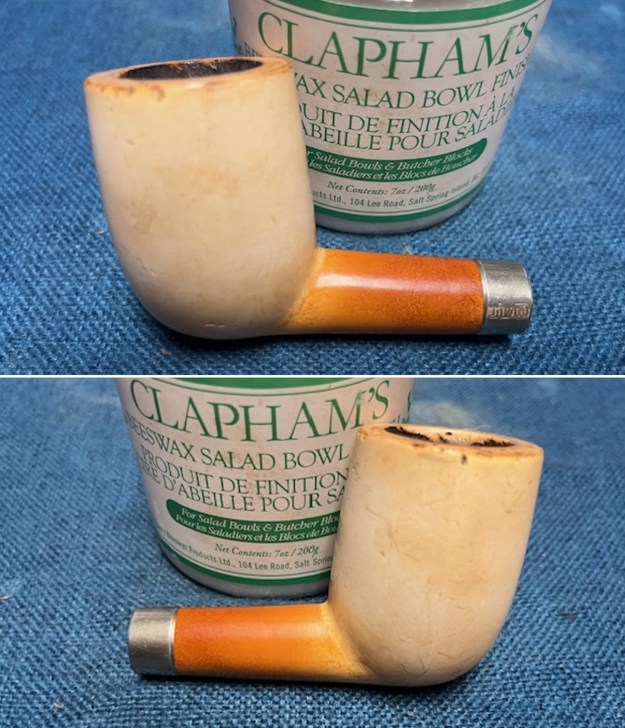
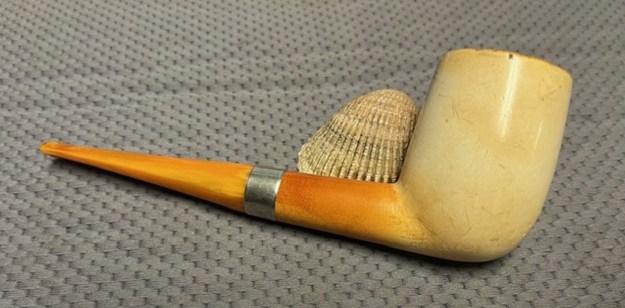
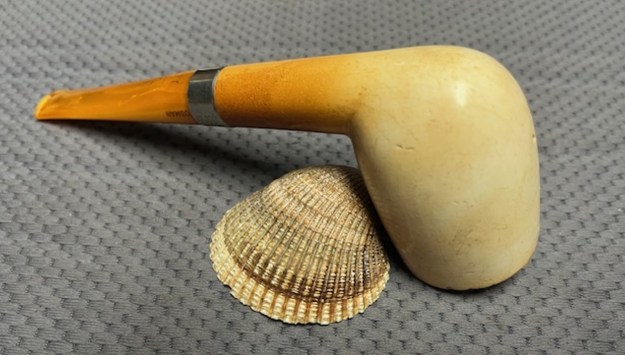
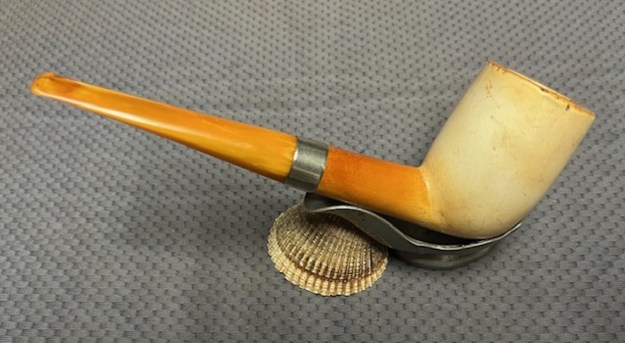
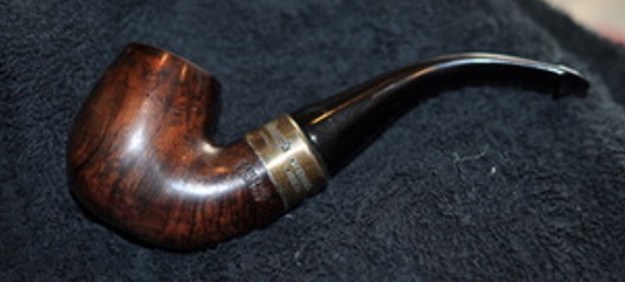
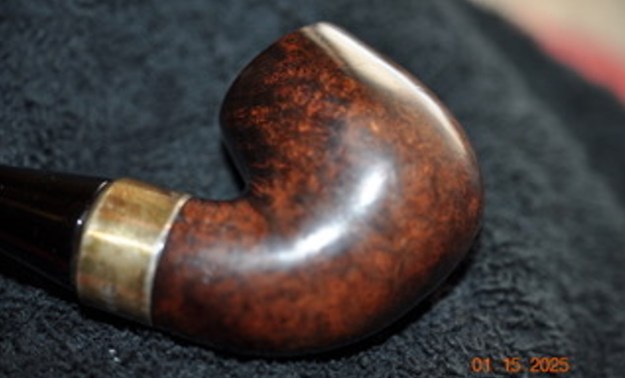
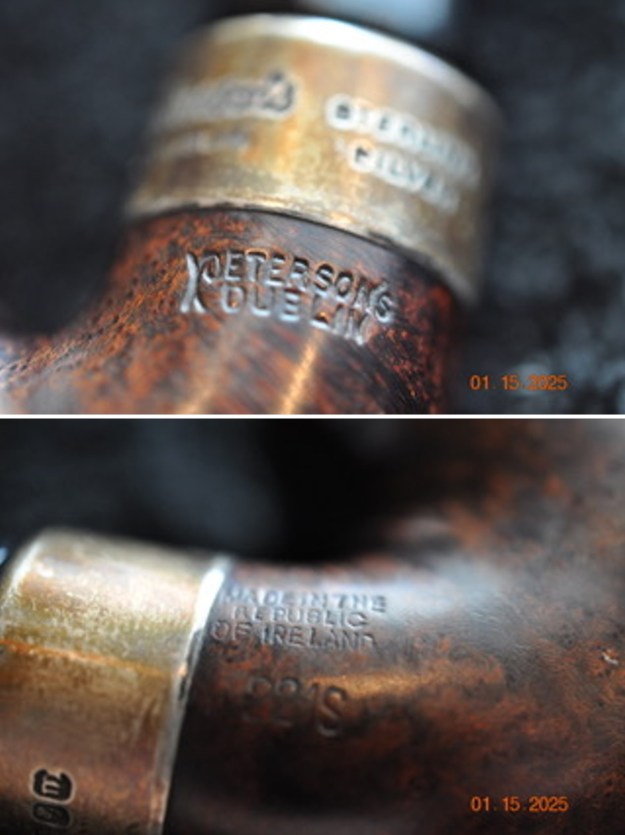
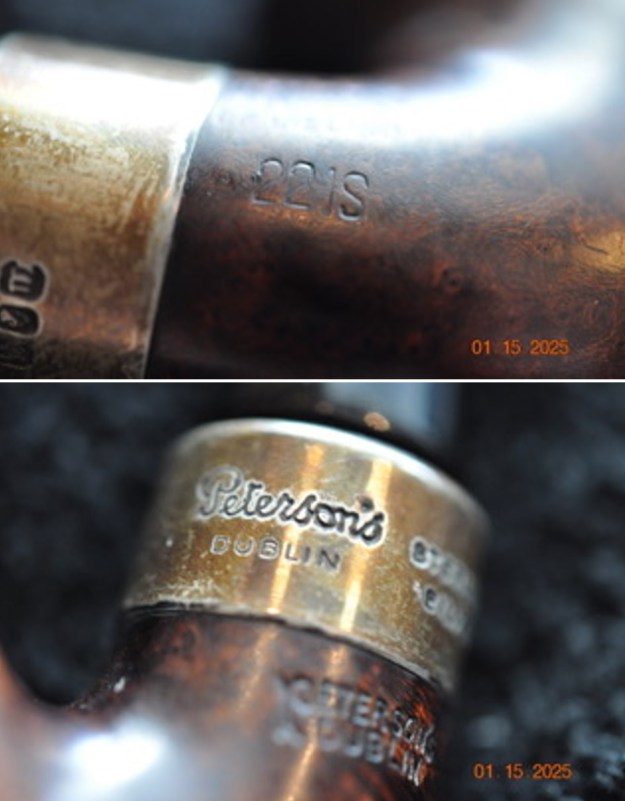
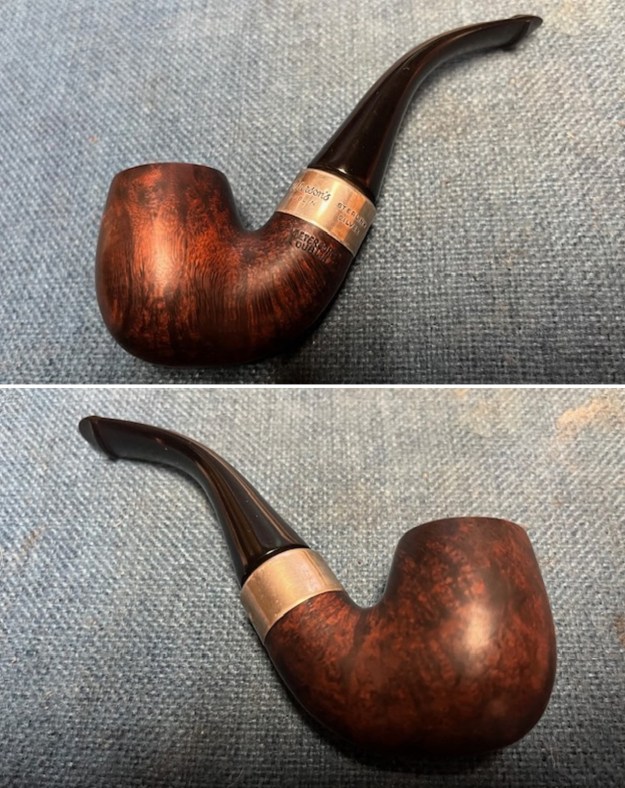
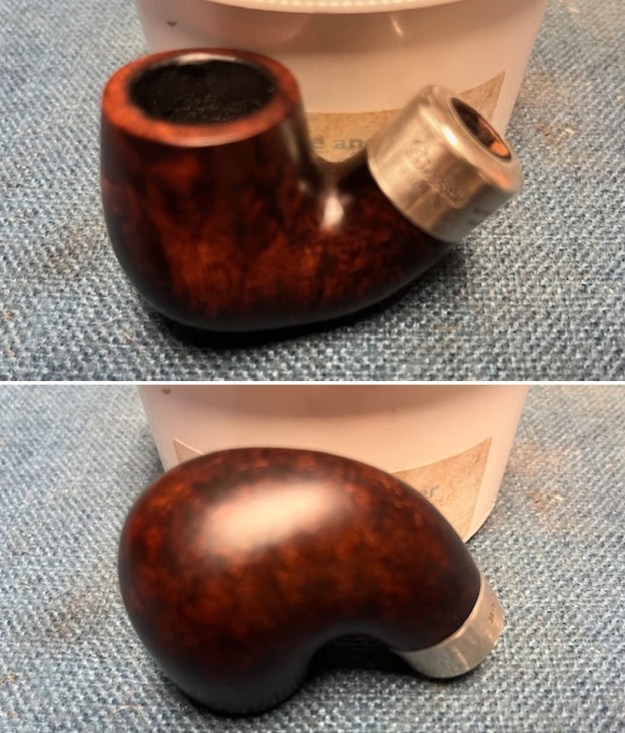
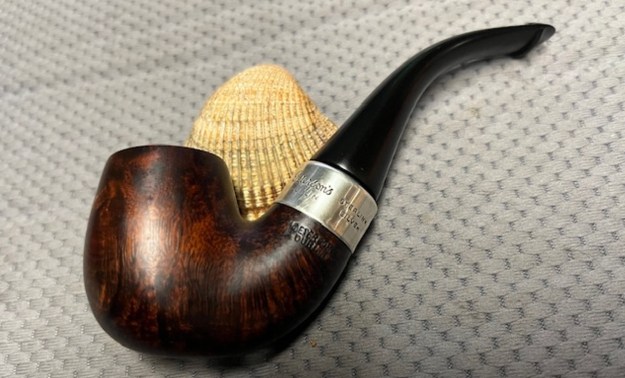
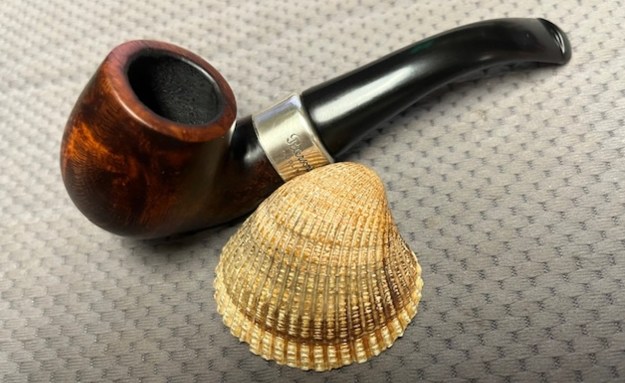
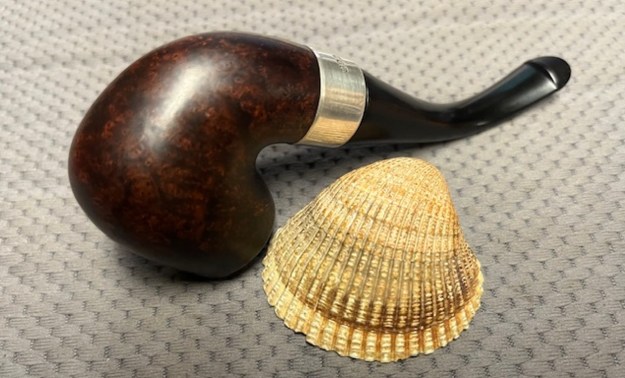
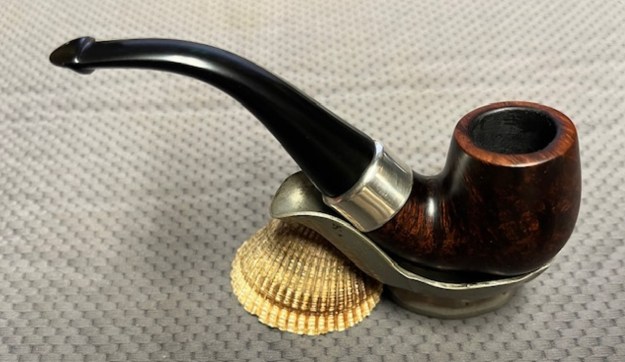
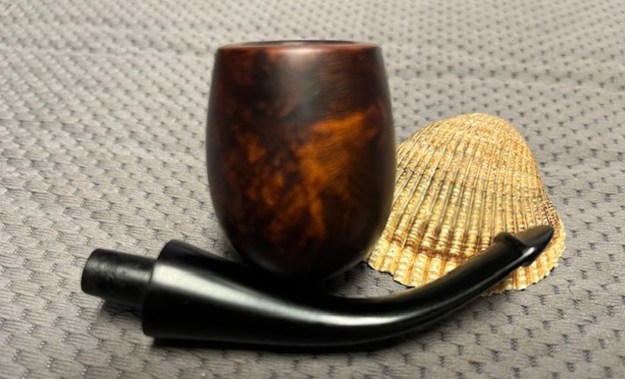
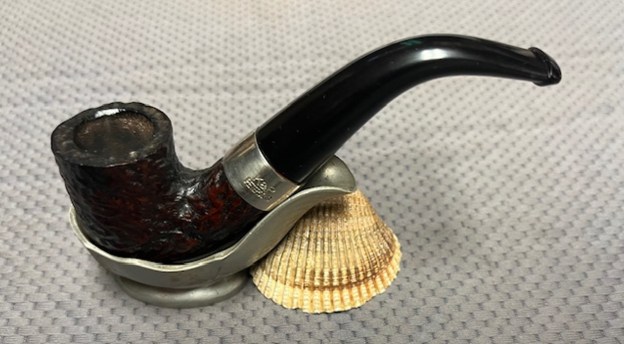
The next pipe on the table came to us from one of our pipe hunts or a trade but neither Jeff or I remember when and where we picked it up. It is a classically rusticated Peterson’s “Donegal” Rocky 338 Bent Billiard. The finish is quite nice with at that classic Peterson’s rustication pattern. The pipe pretty clean with the exterior polished and dust free. The bowl had been reamed somewhere along the way and the bowl was pretty clean. The rim top was in good condition and the inner edge looked quite good and the bowl was slightly out of round. The pipe is stamped on a smooth panel on the underside of the bowl and shank and reads Peterson’s [arched over] “Donegal” [over] Rocky followed by the shape number 338. On the oxidized Sterling Silver band it is stamped K&P [over] Peterson’s. The stamping is clear and readable on both the pipe and band. The fishtail stem is clean – no tooth marks and chatter. I took photos of the pipe before I starting work on it.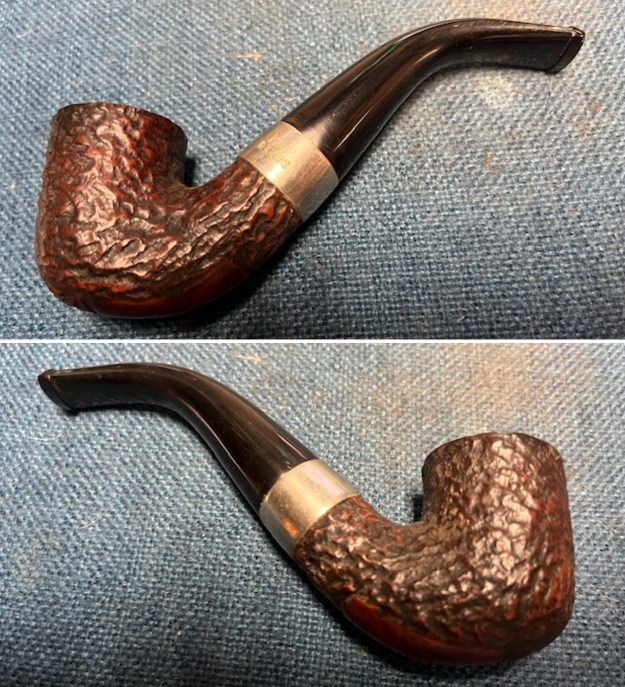
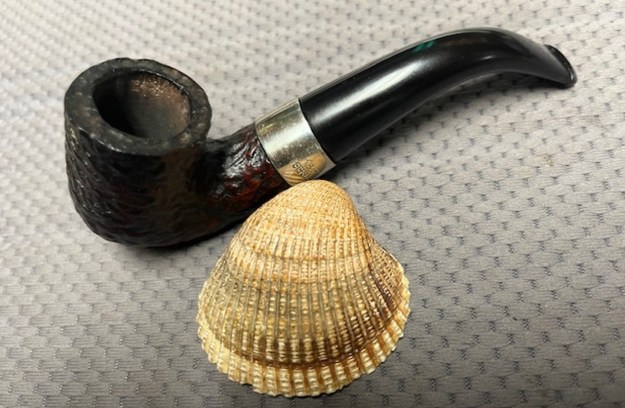
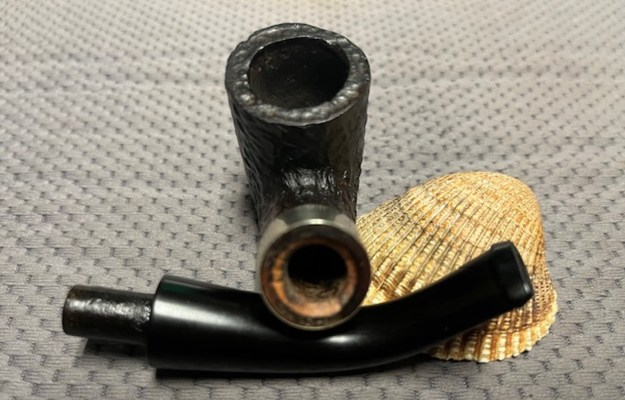
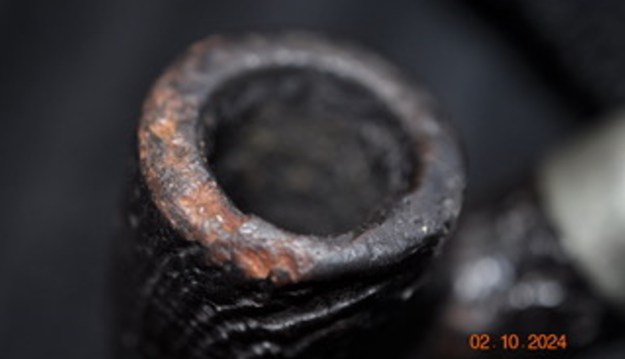
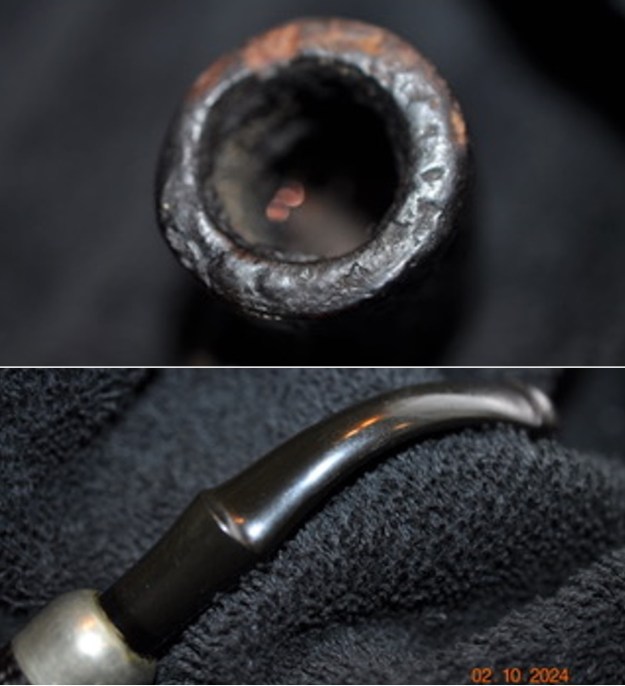
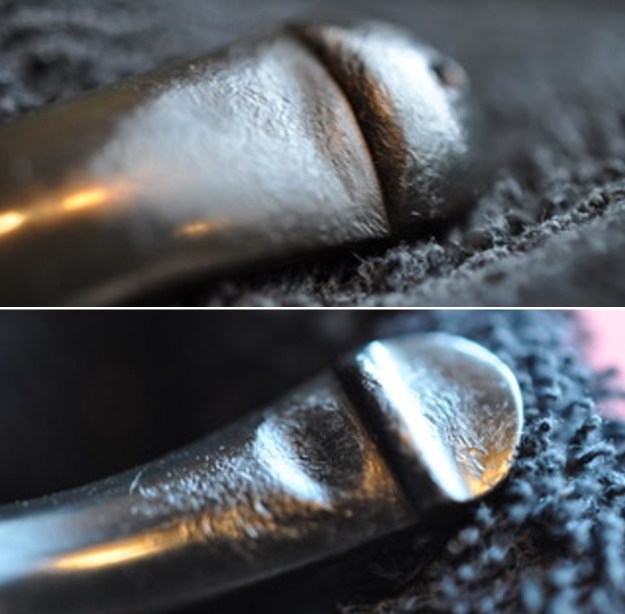
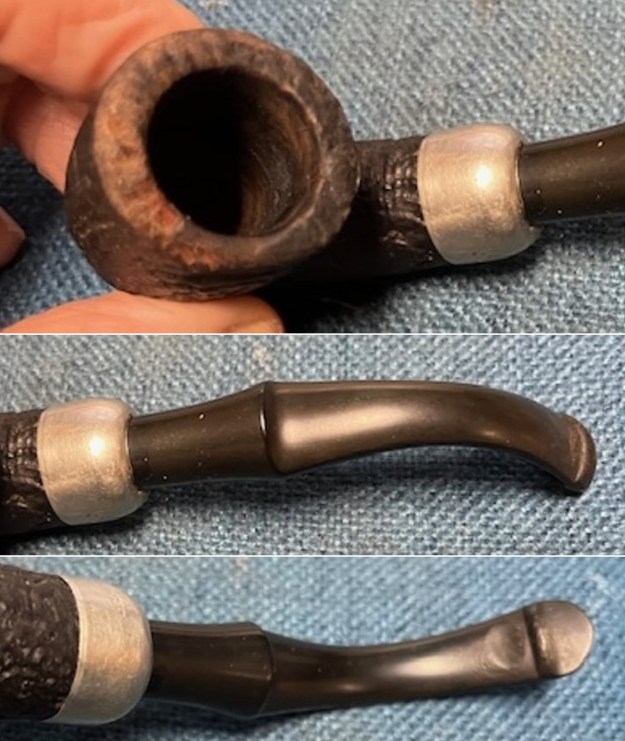
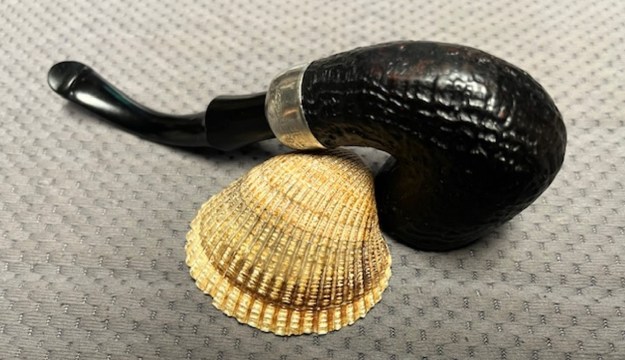
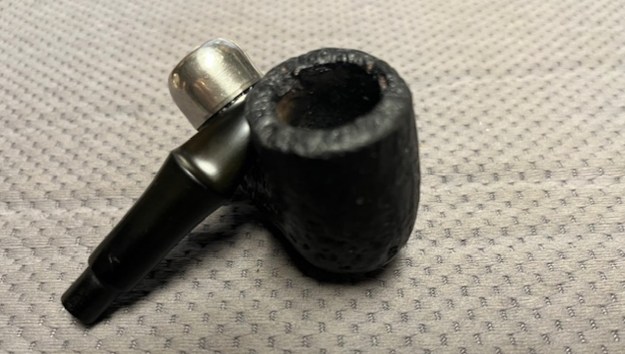
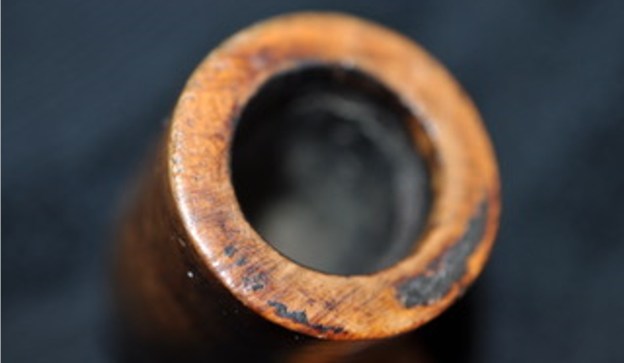
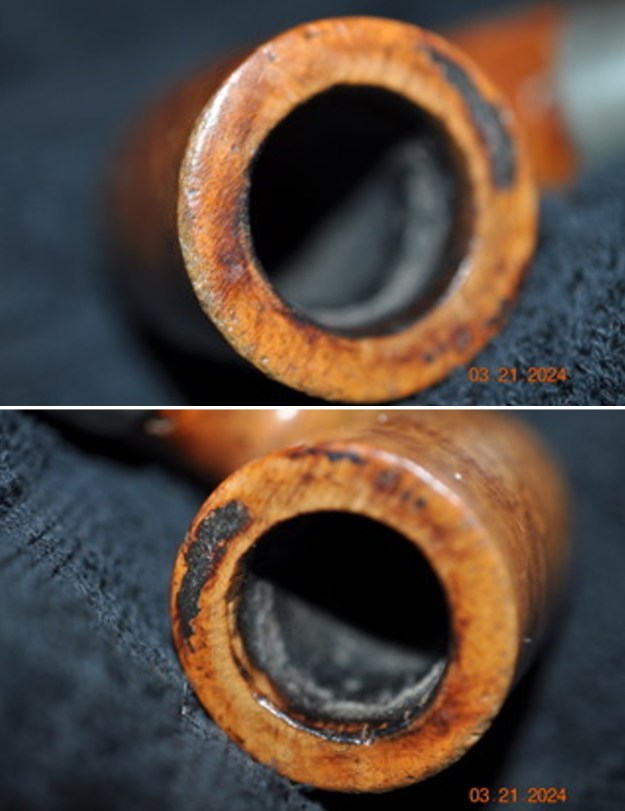
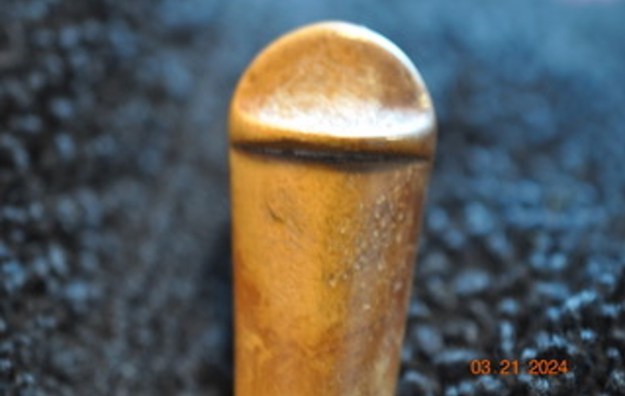
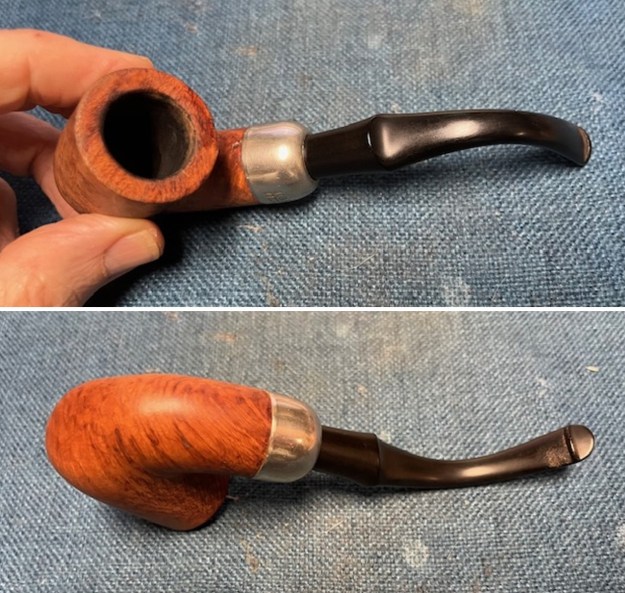
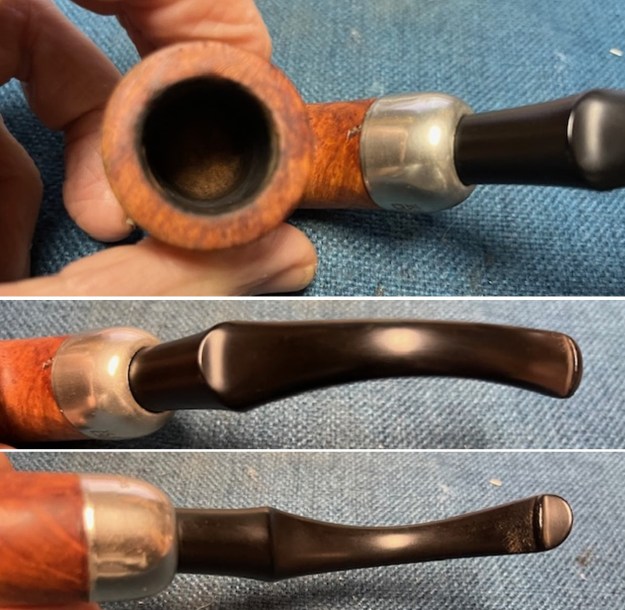
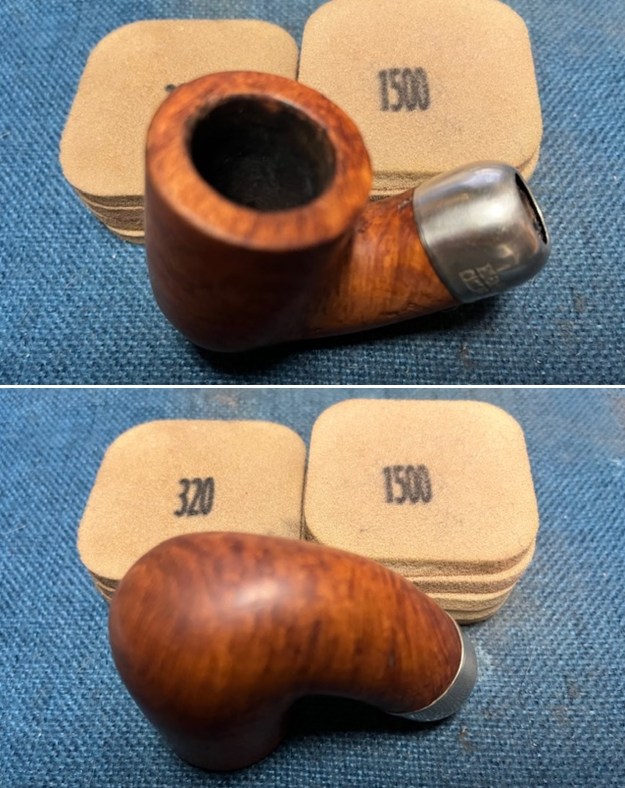
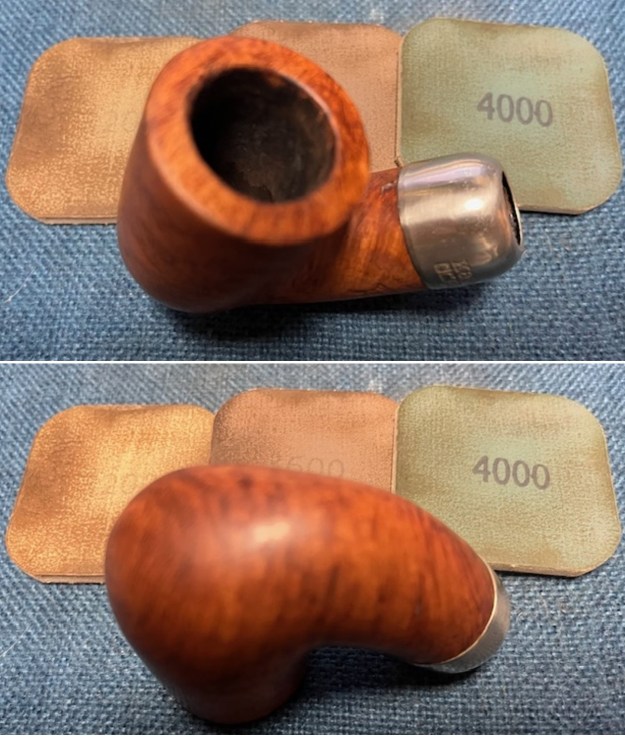
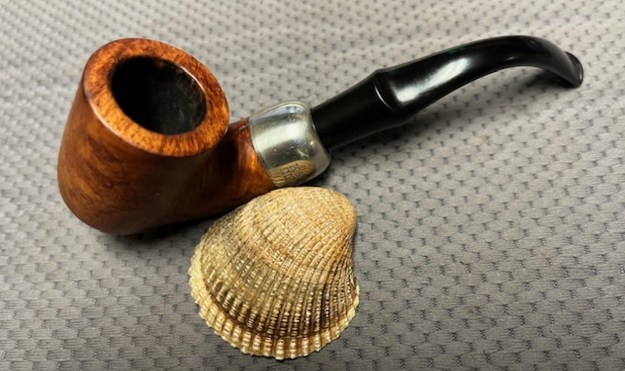
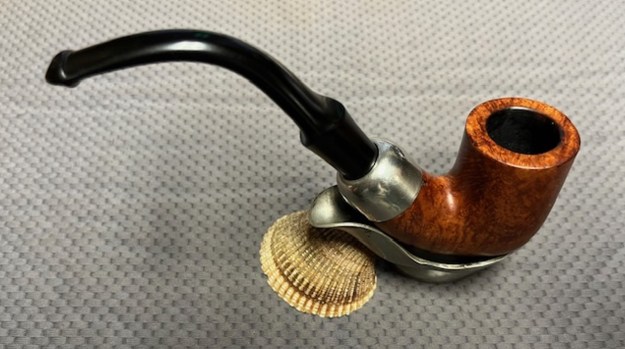
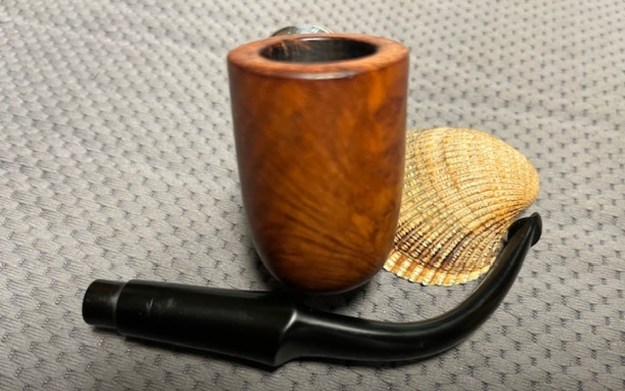
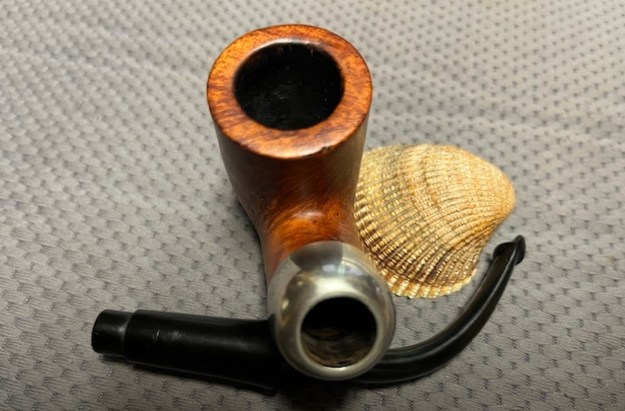
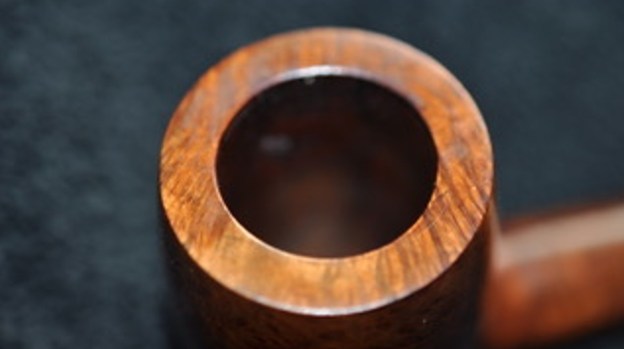
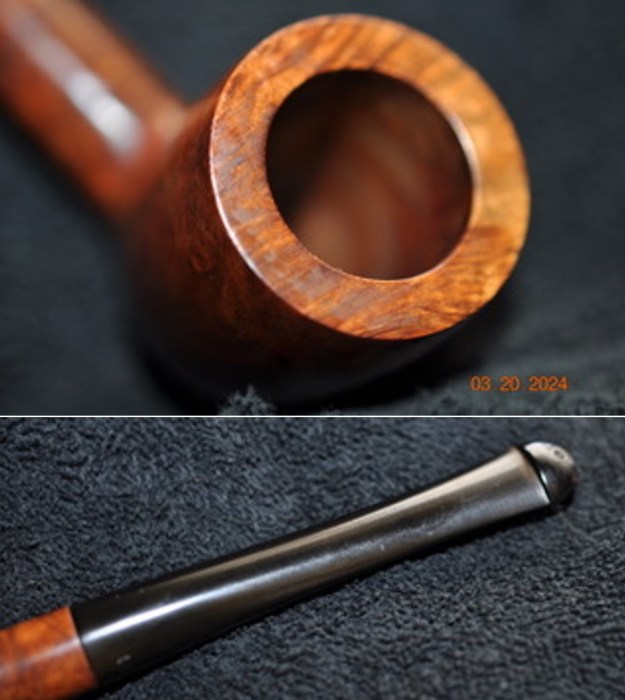
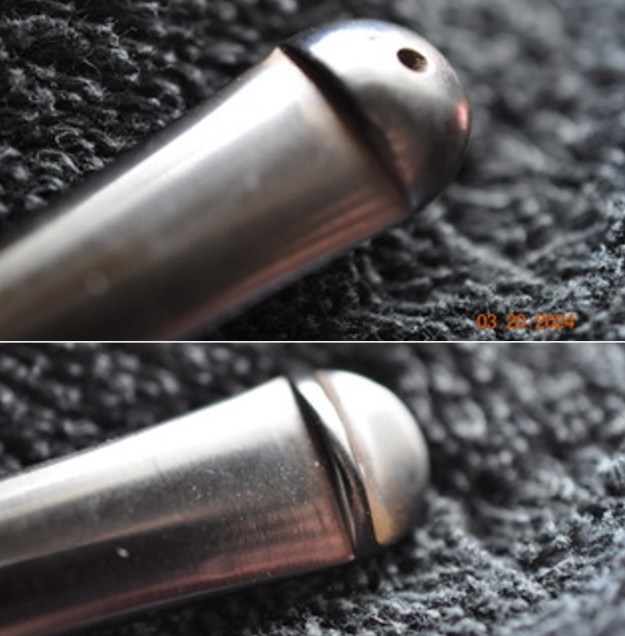
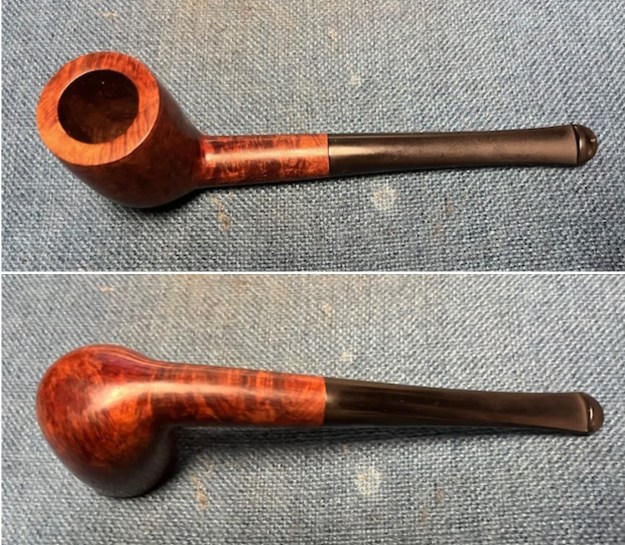
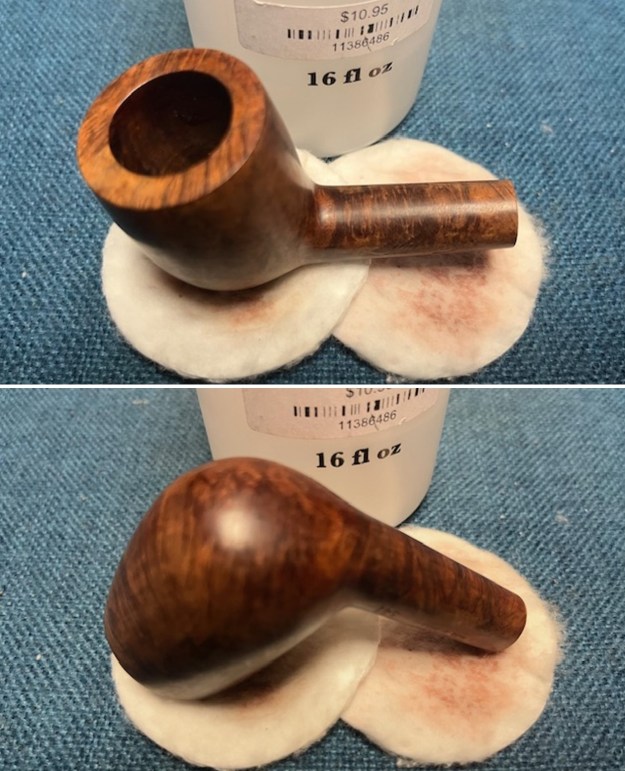
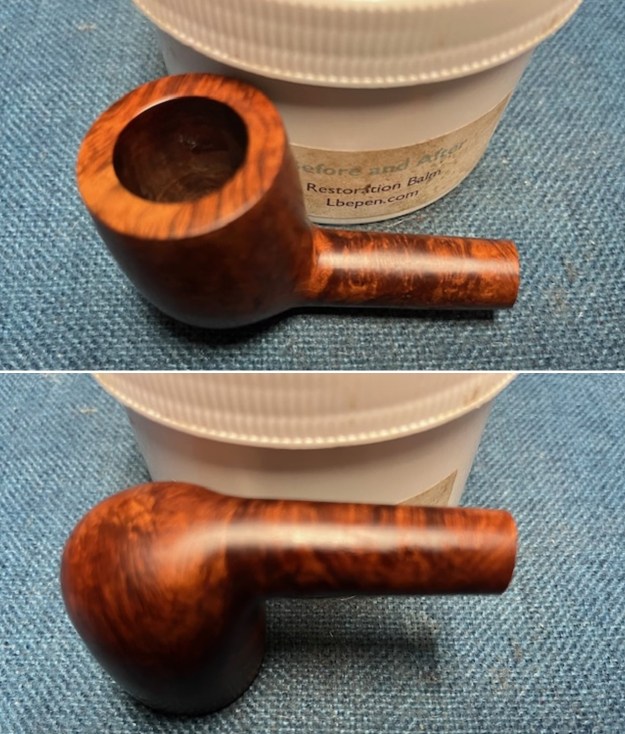
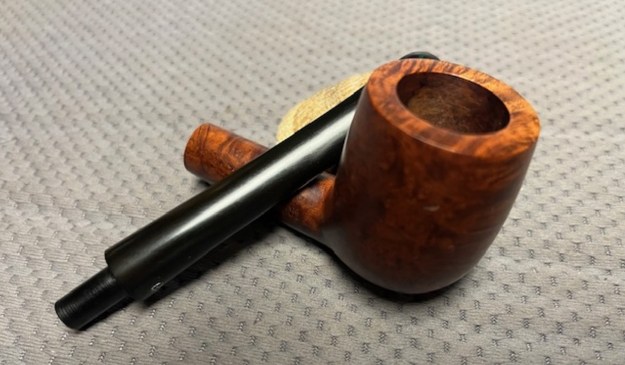
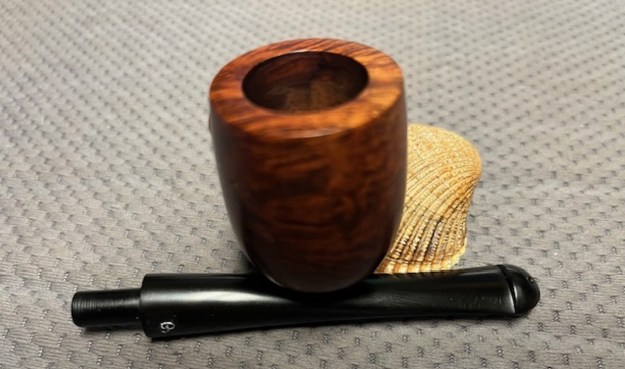
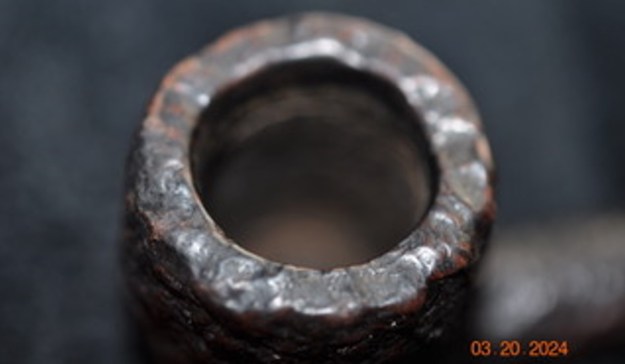
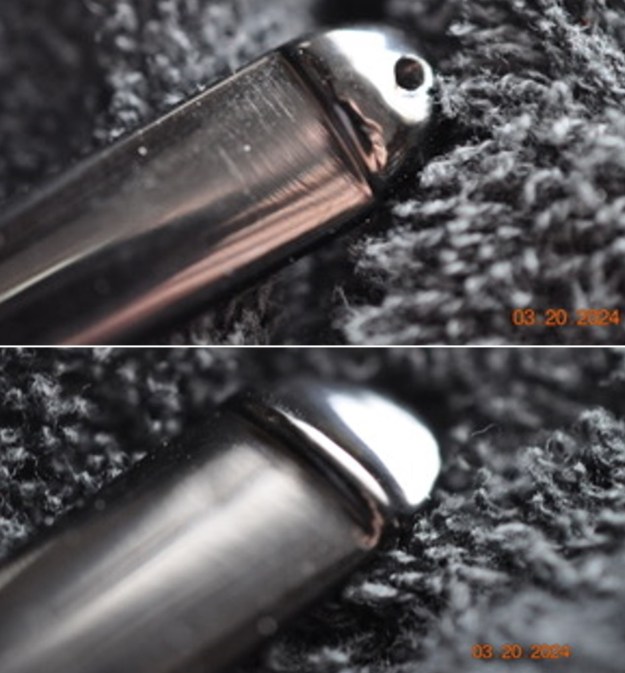
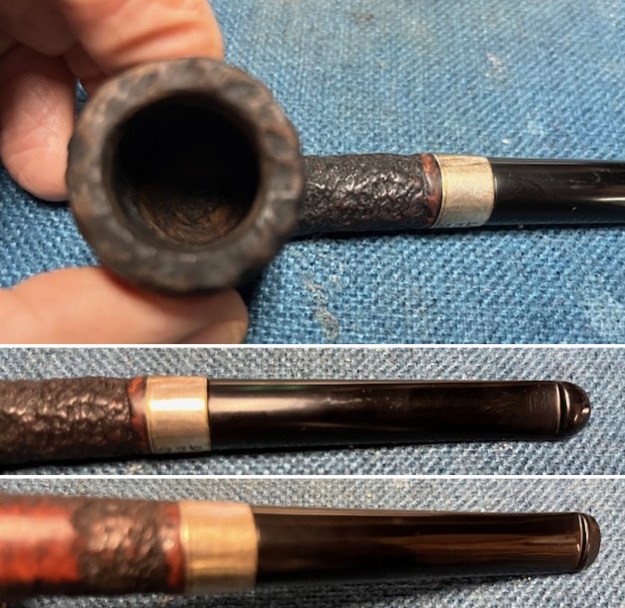
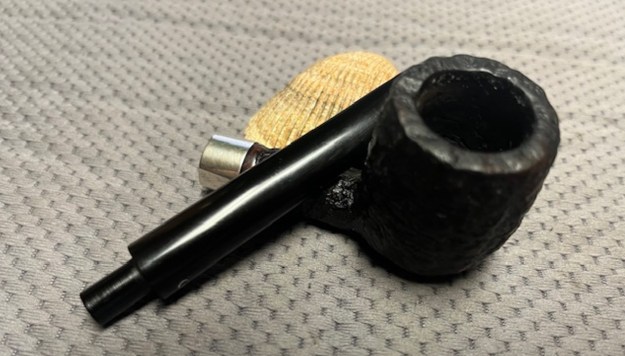
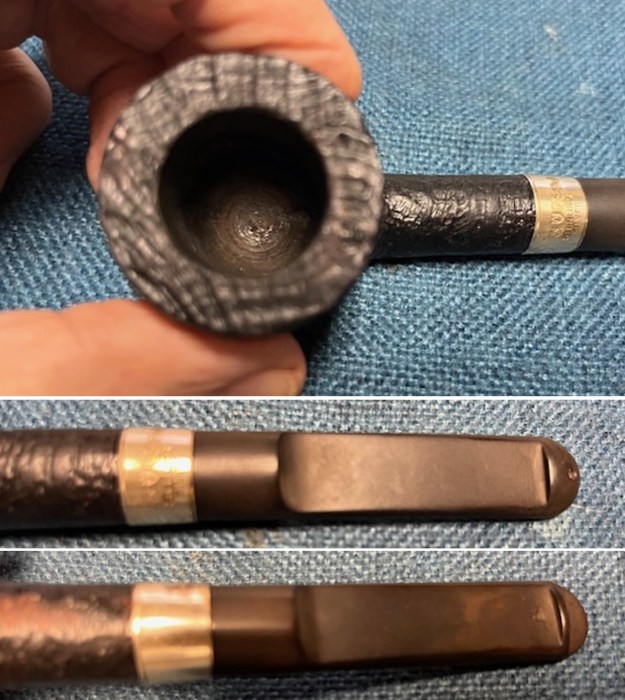
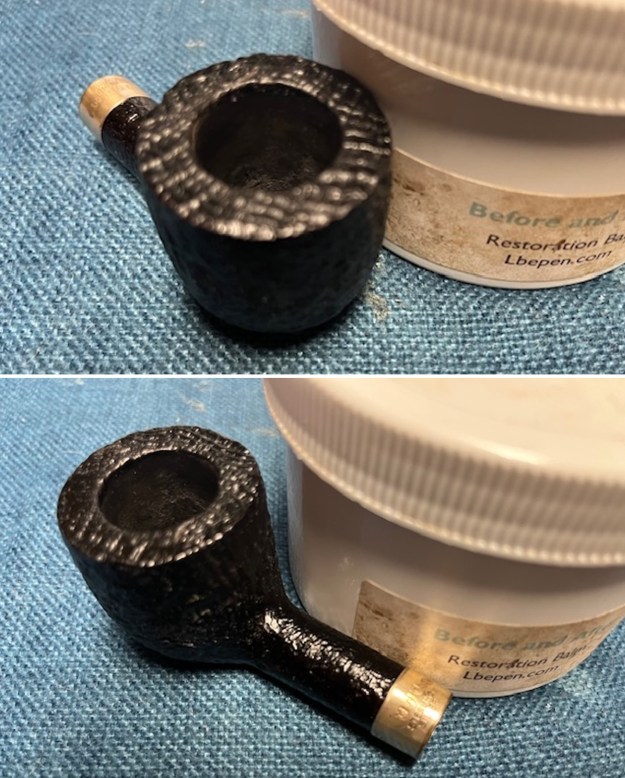
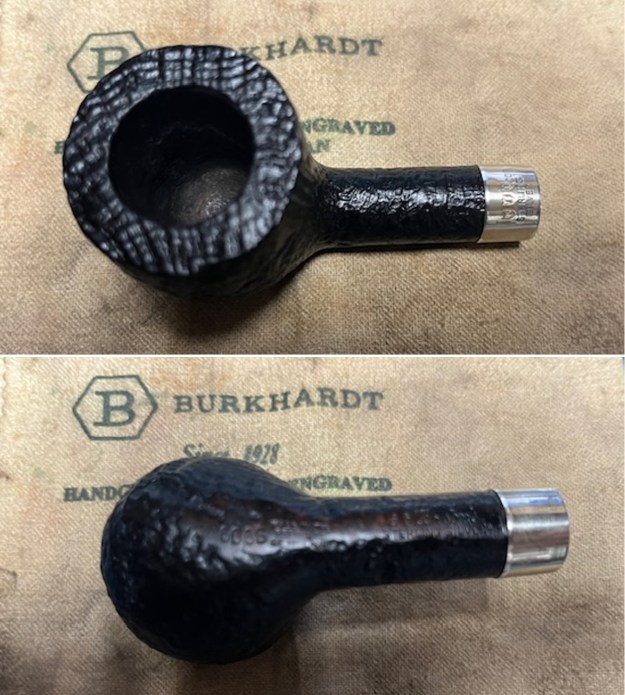
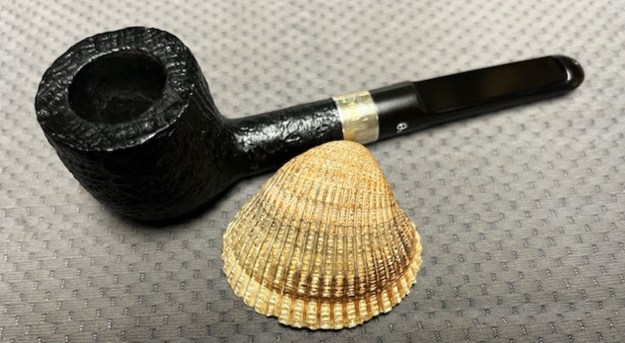
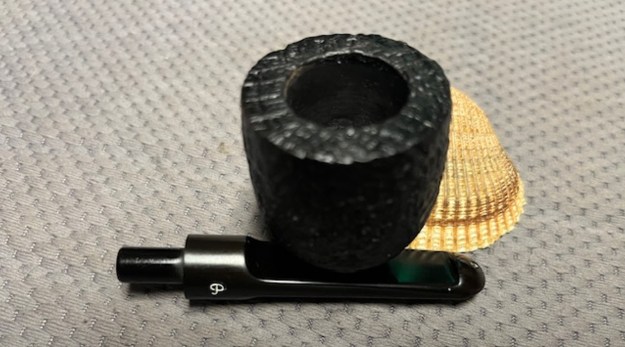
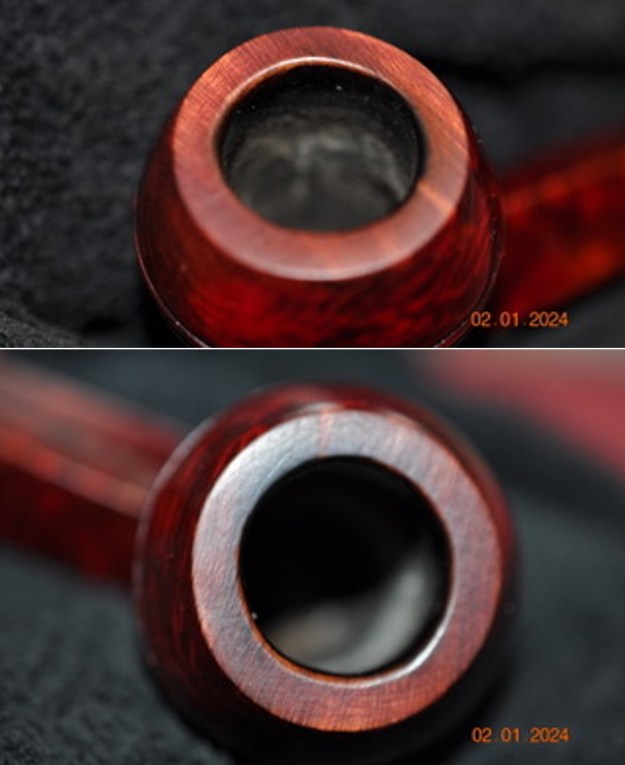
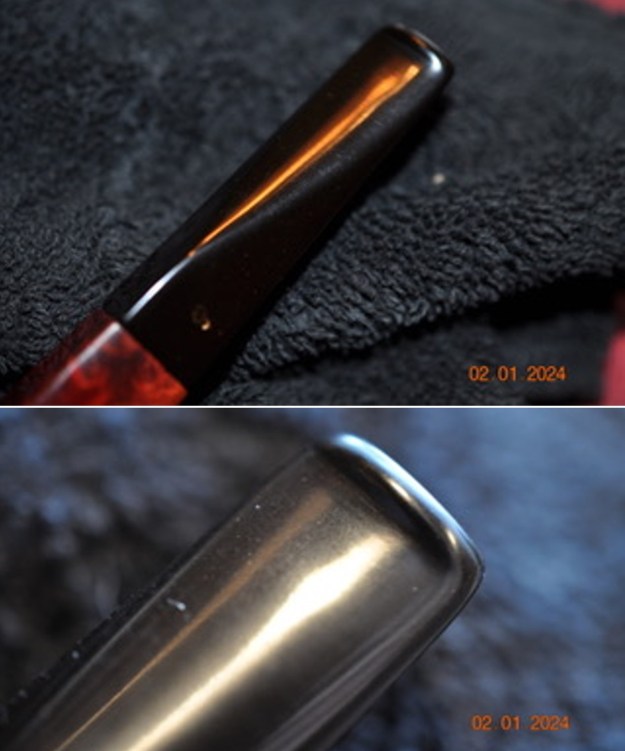
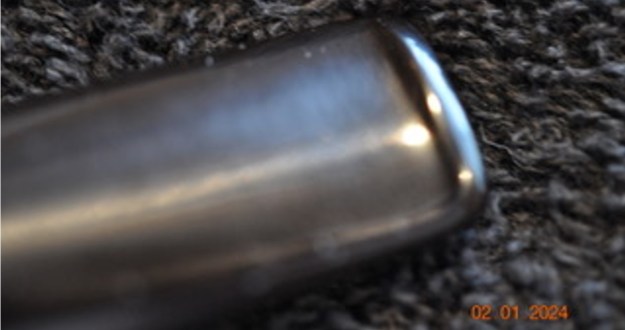
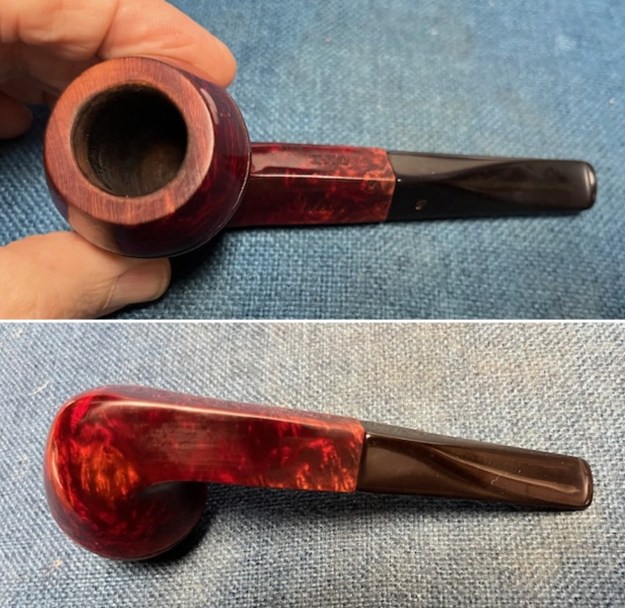
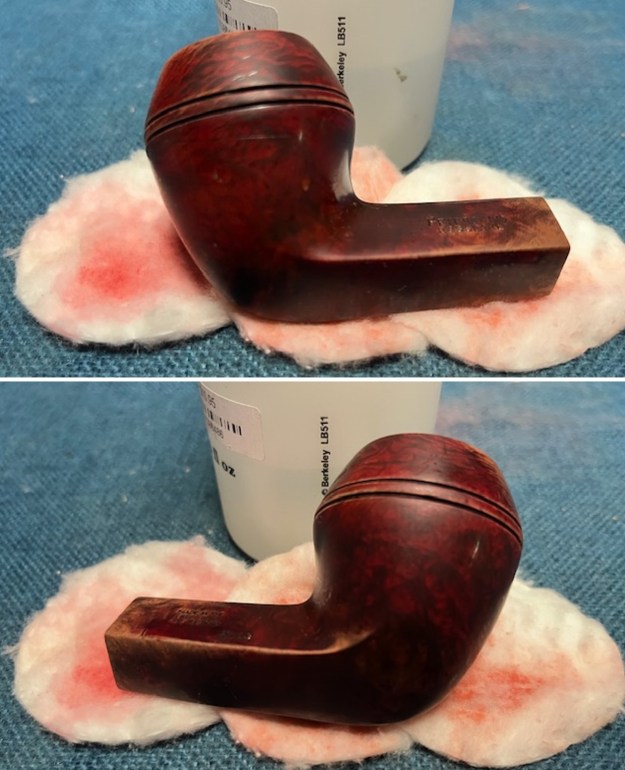
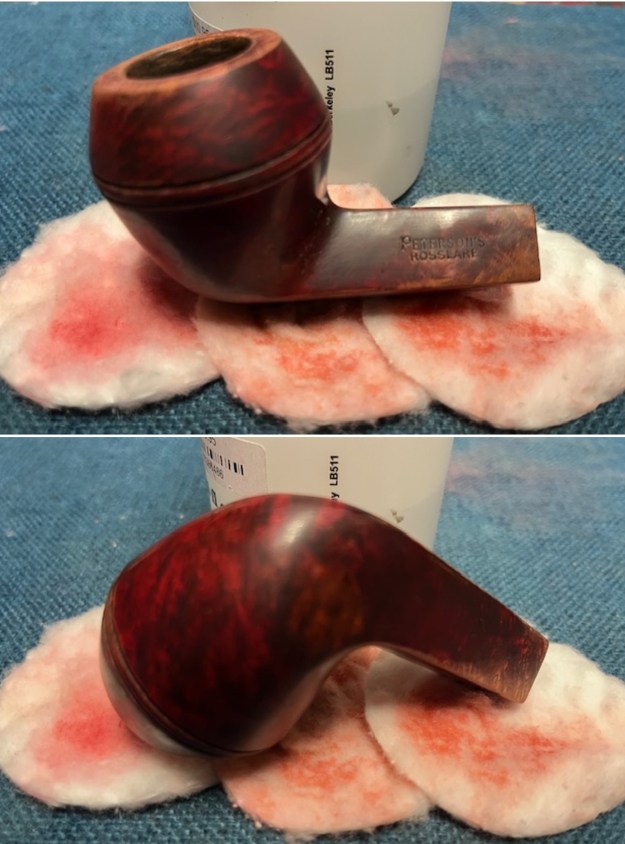
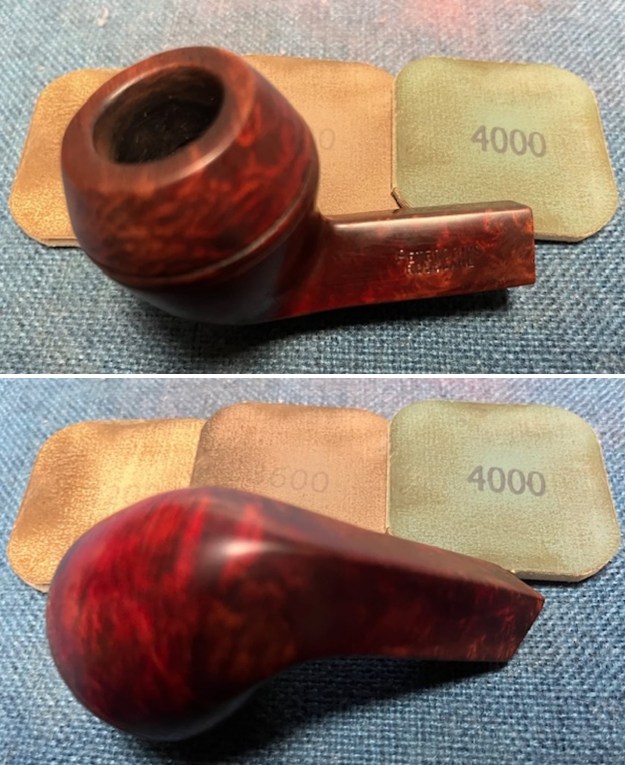
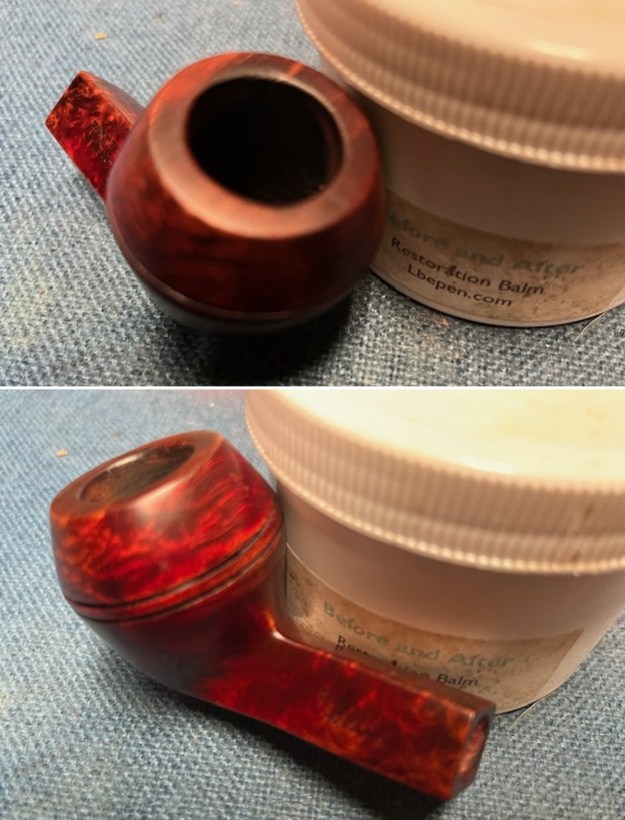
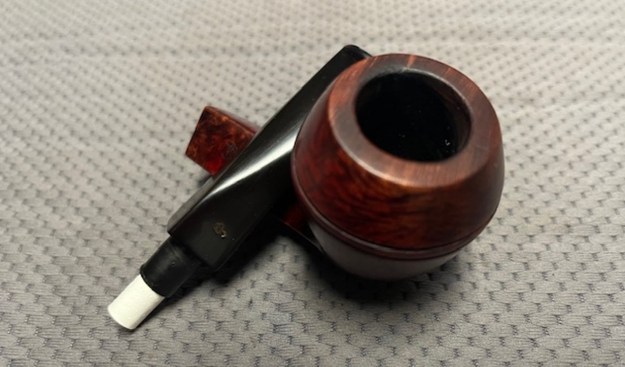
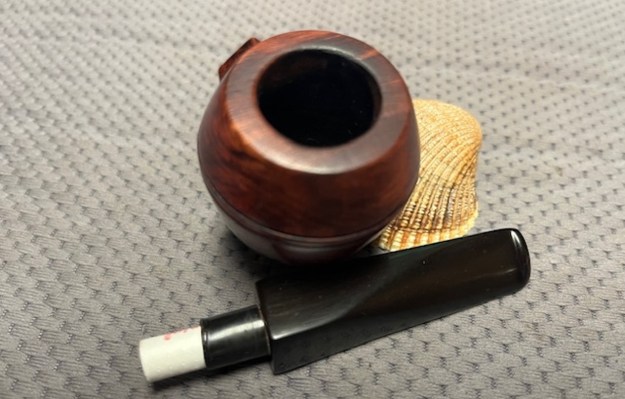
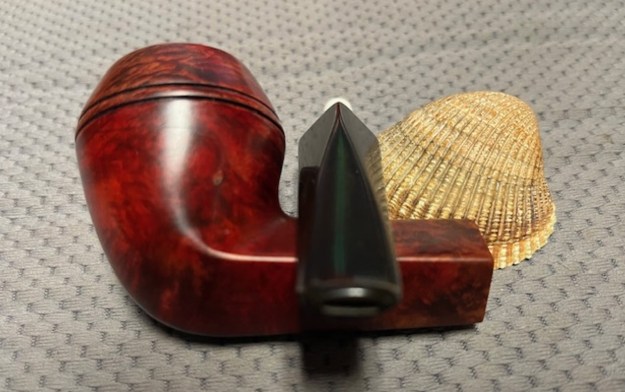
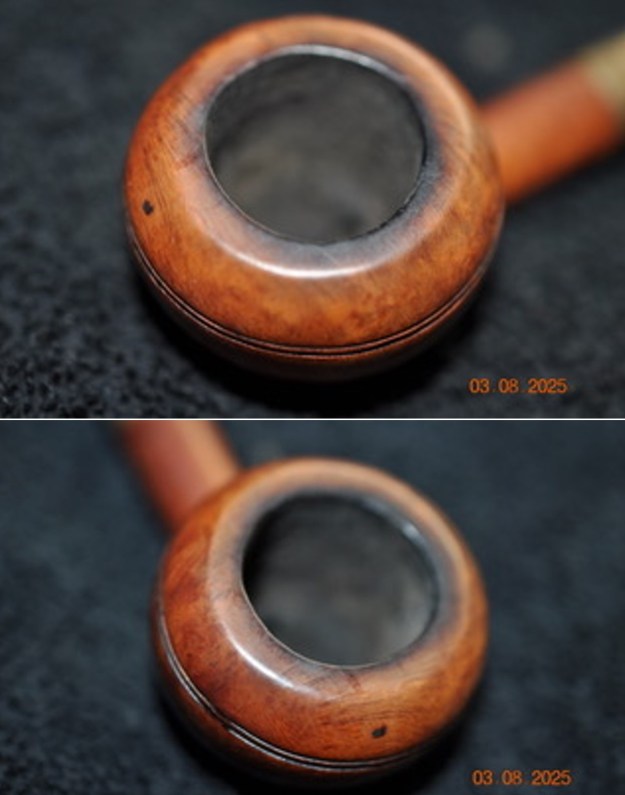
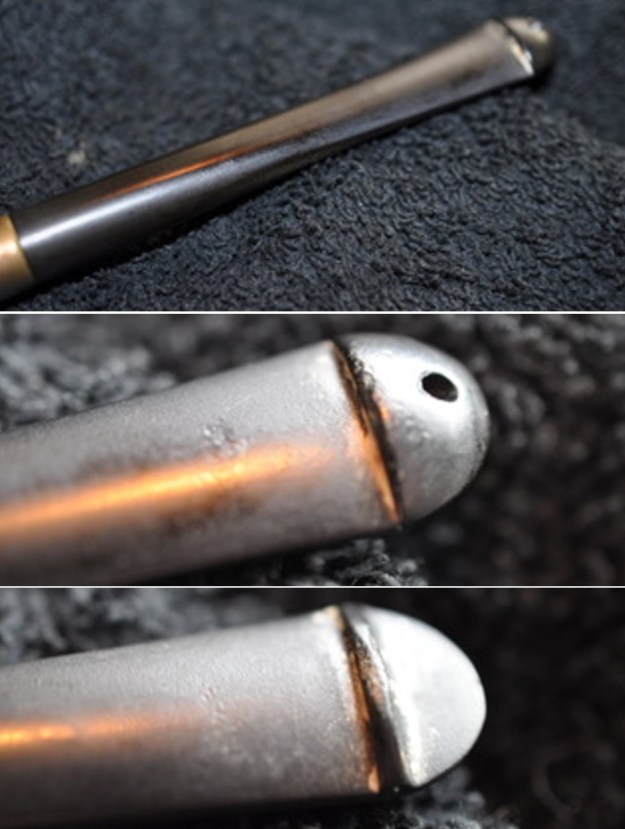
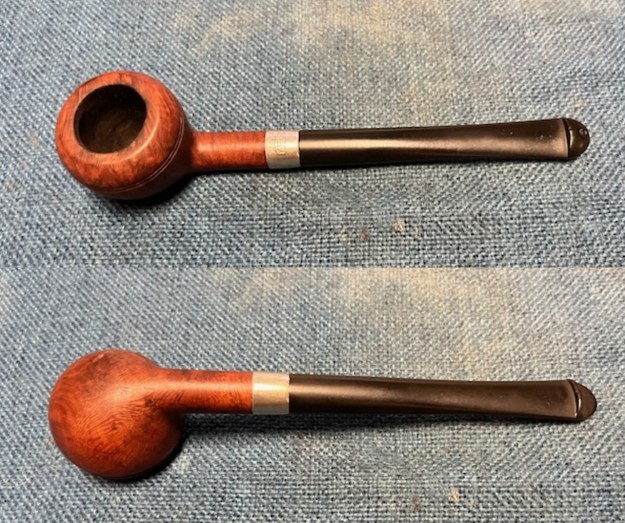
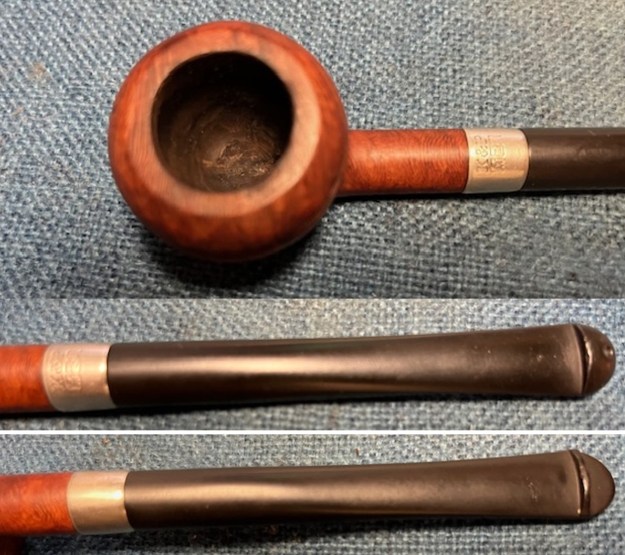
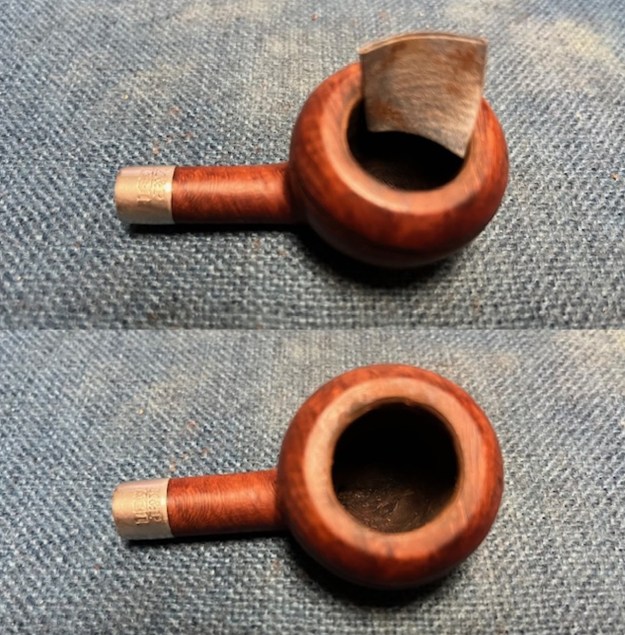
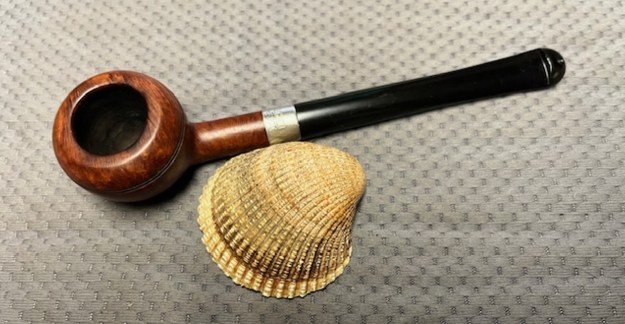
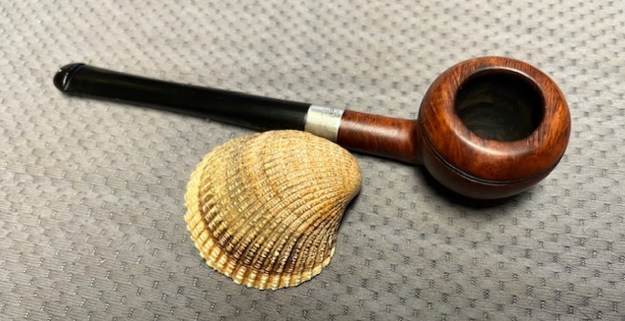
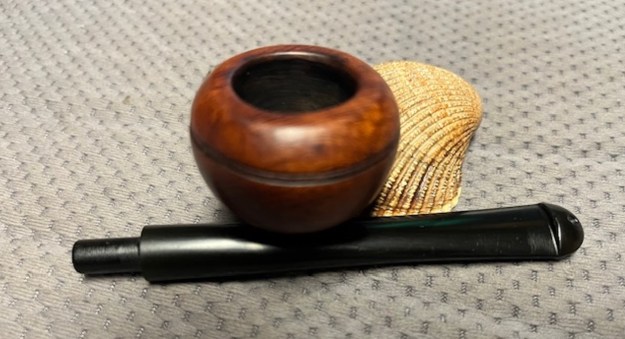
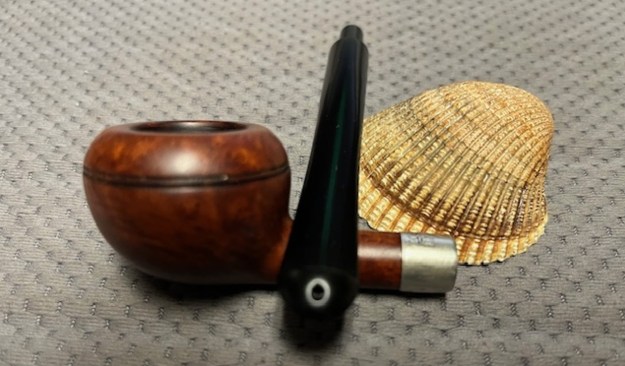
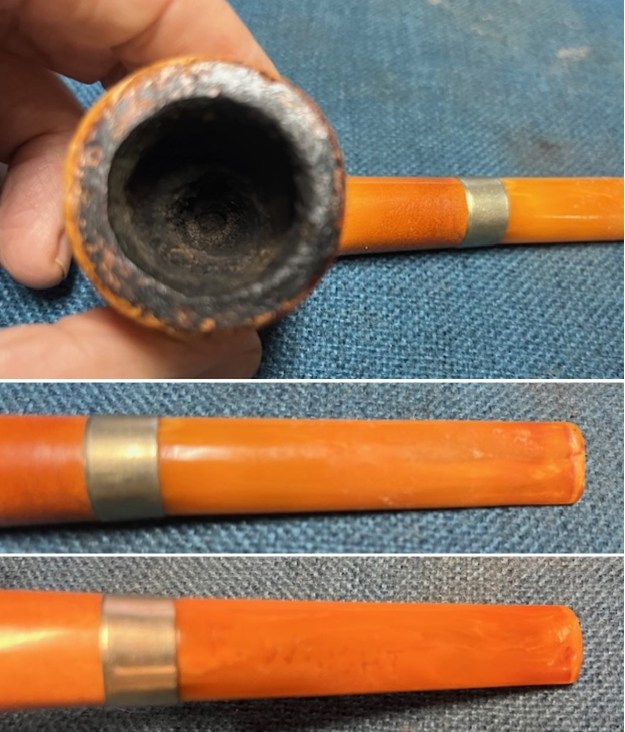
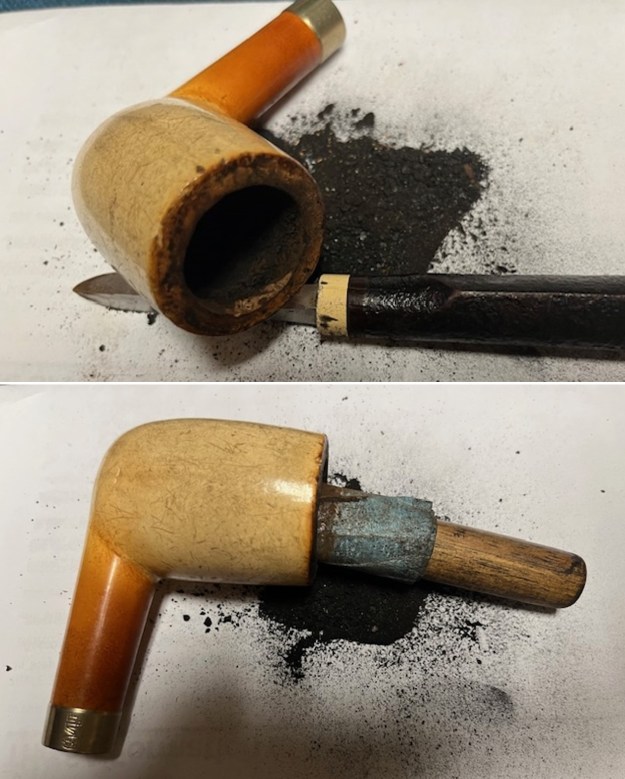
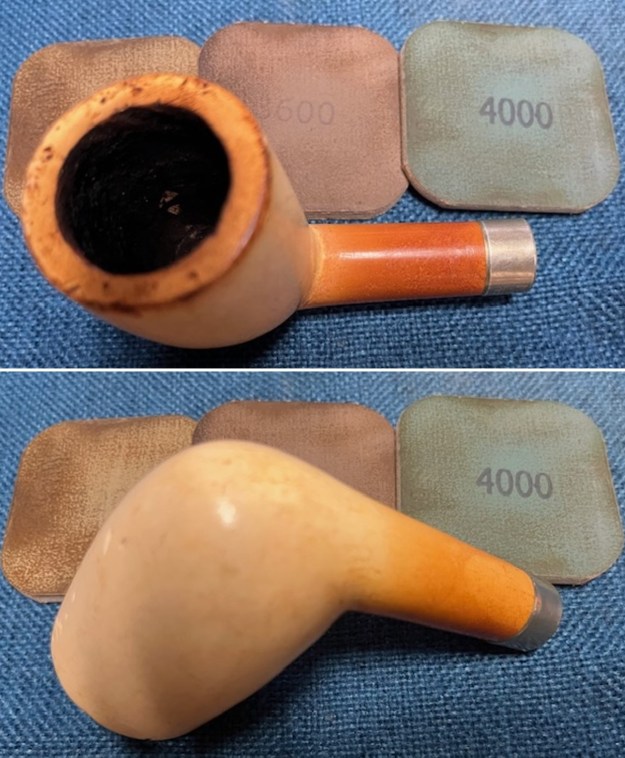
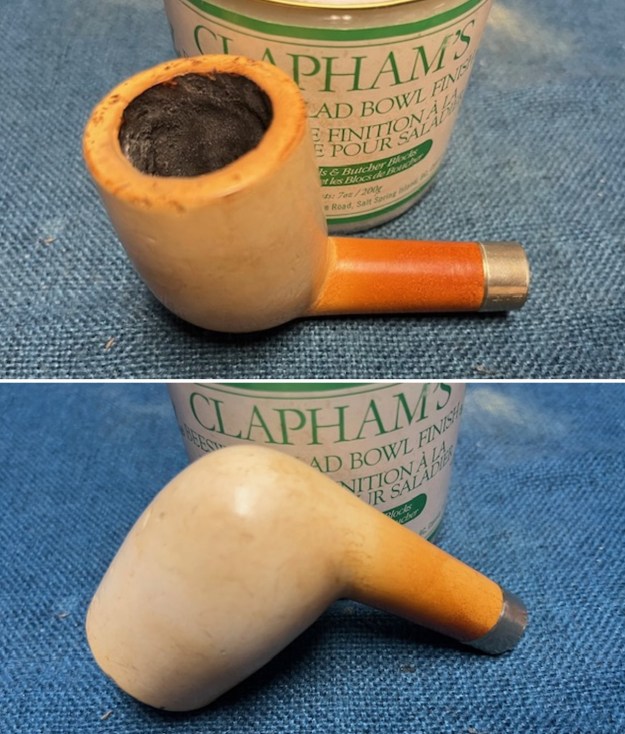
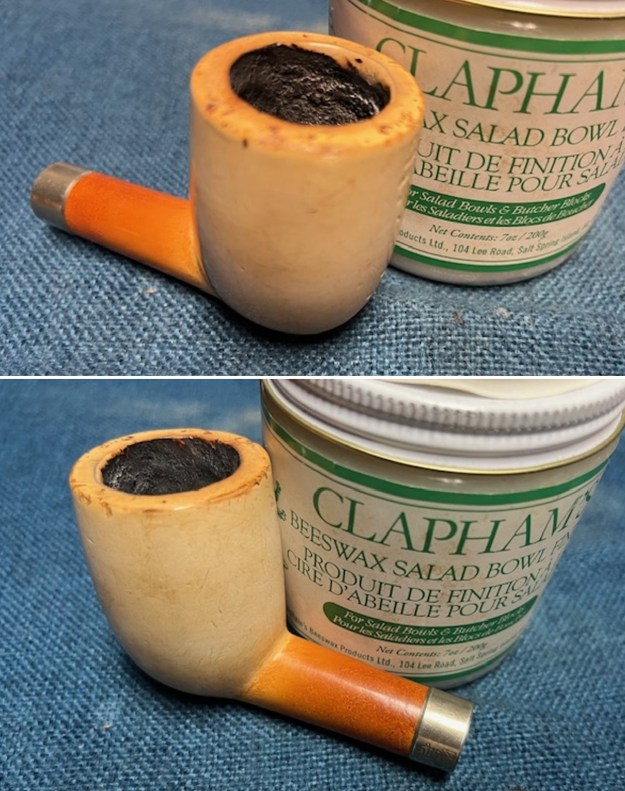
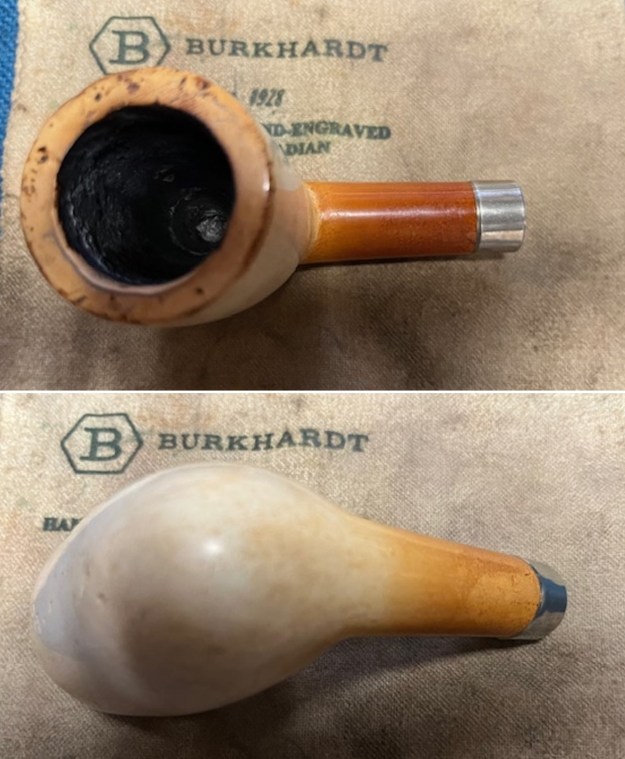
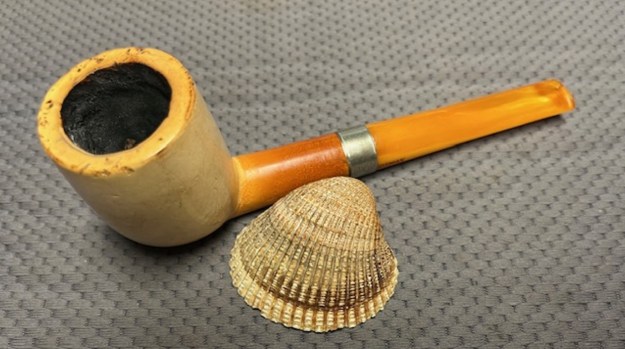
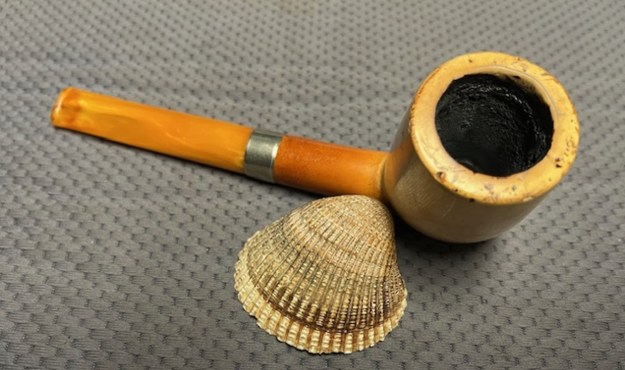
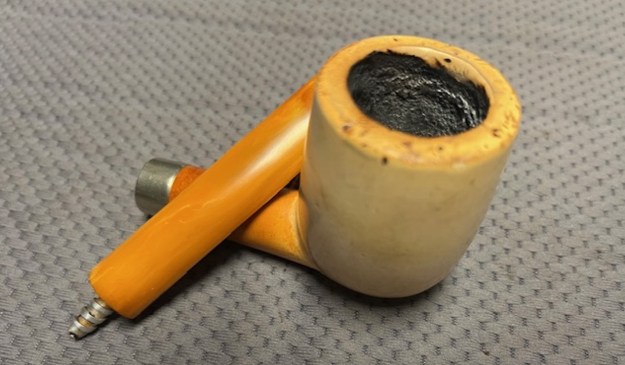
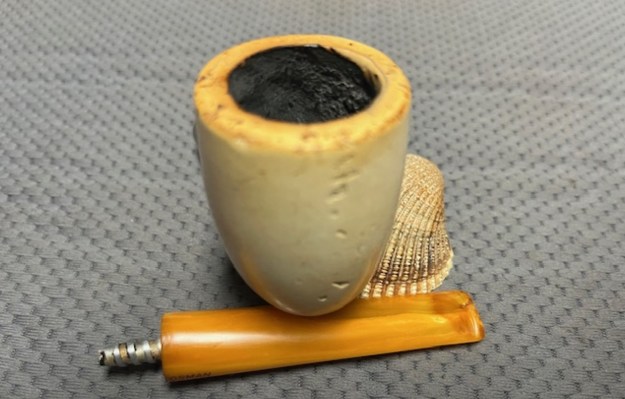
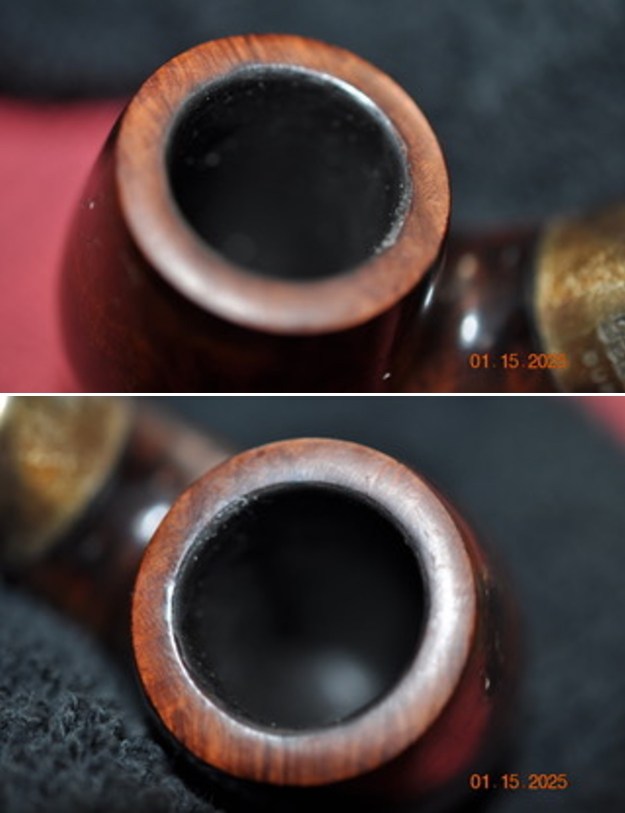
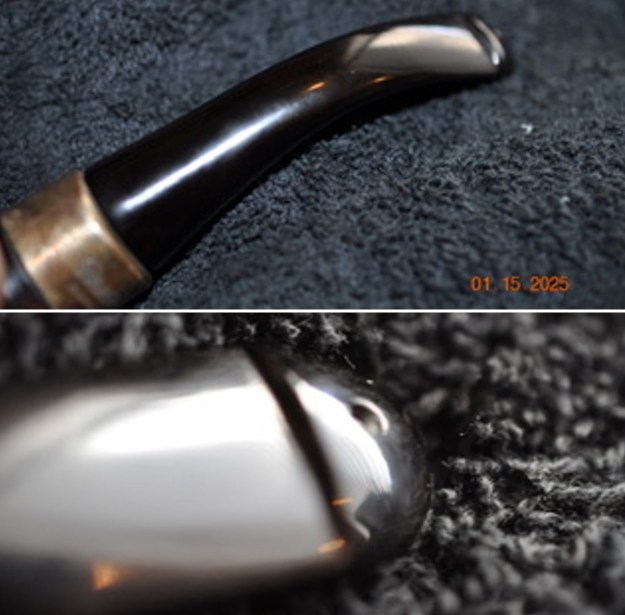
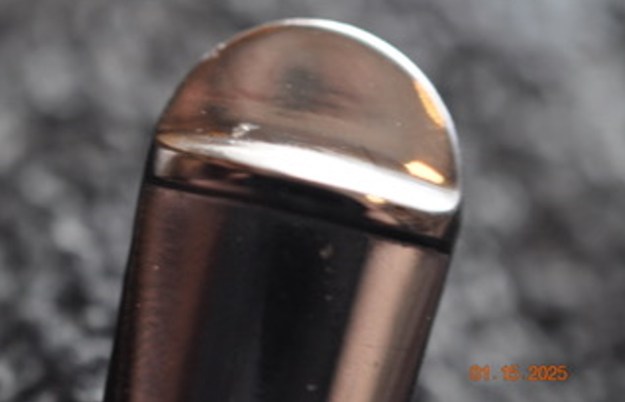
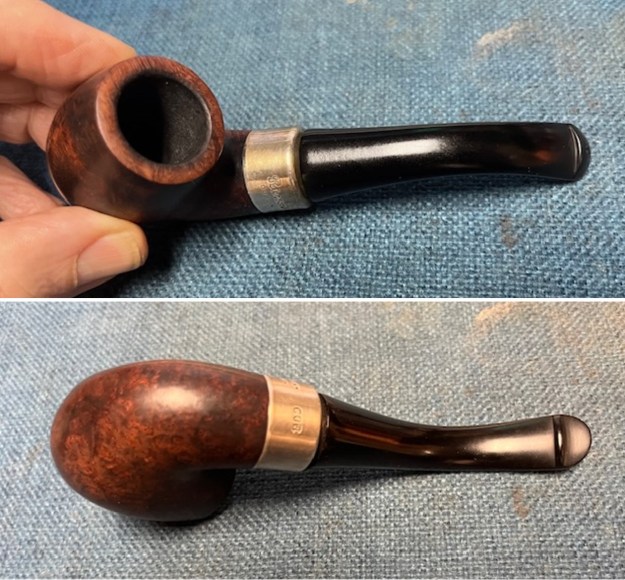
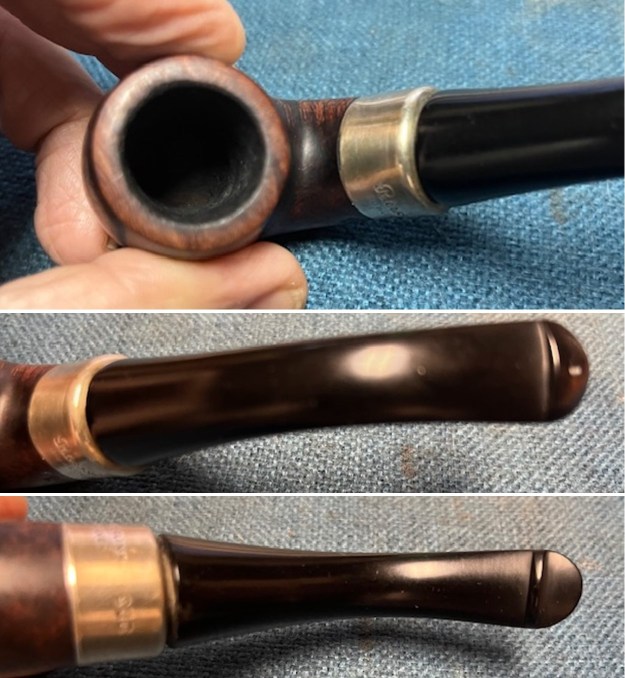
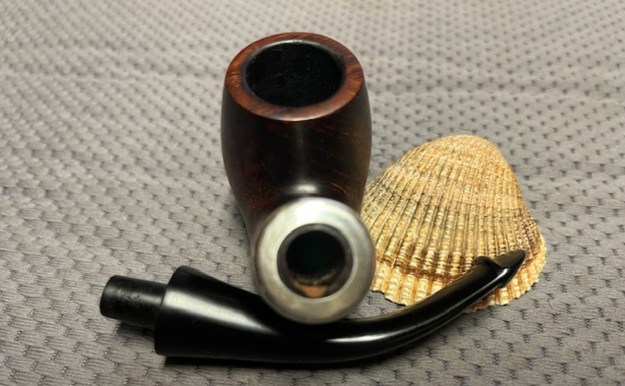
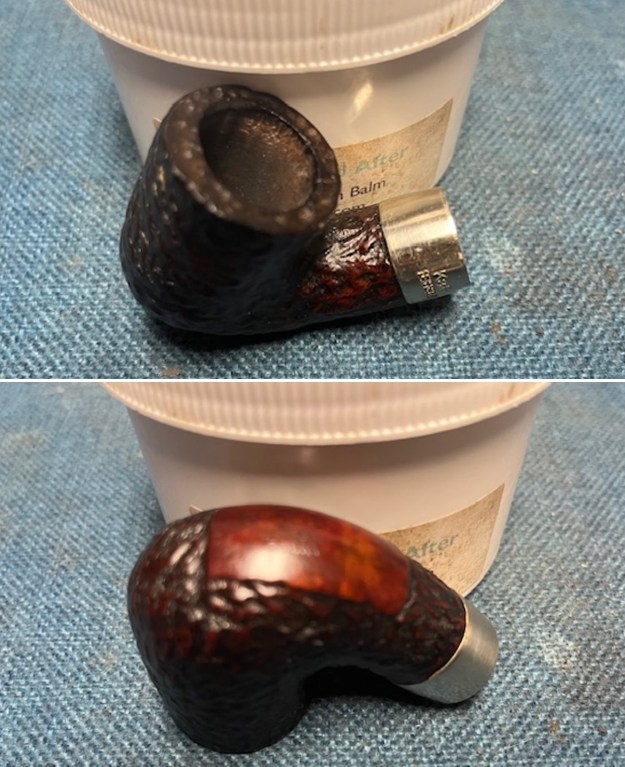
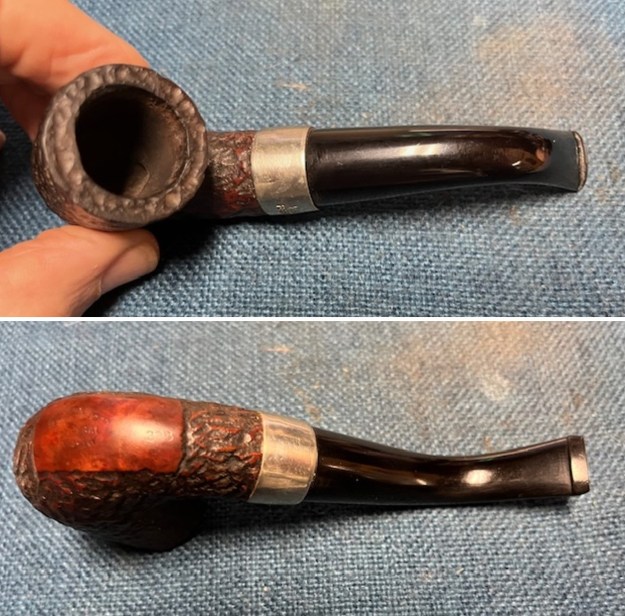 I took photos of the rim top to show the lack of cake in the clean bowl and rim top and edges. The stem was also in decent condition other than scratches and nick marks.
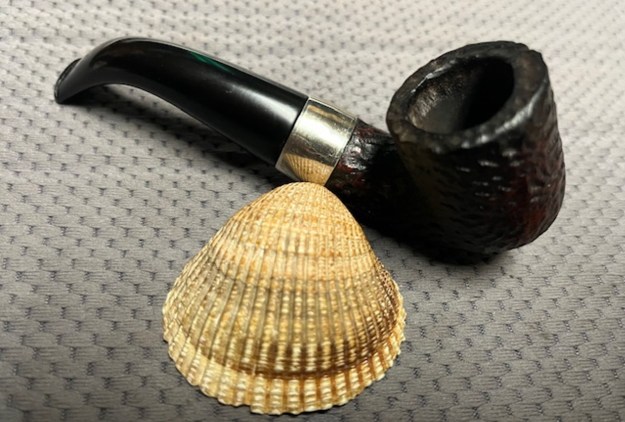
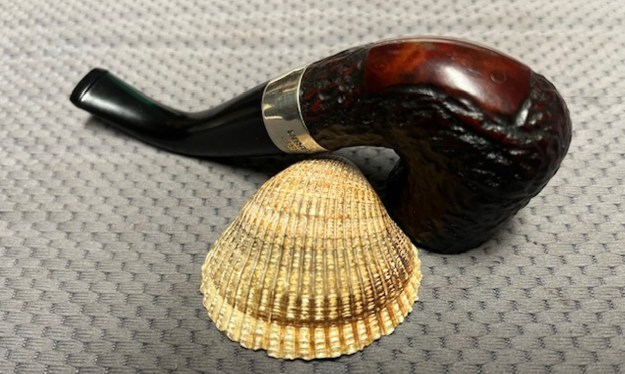
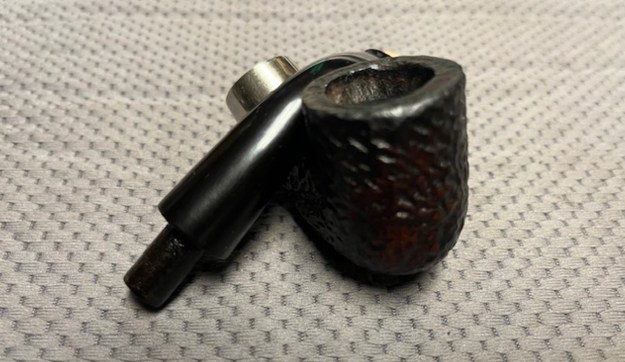
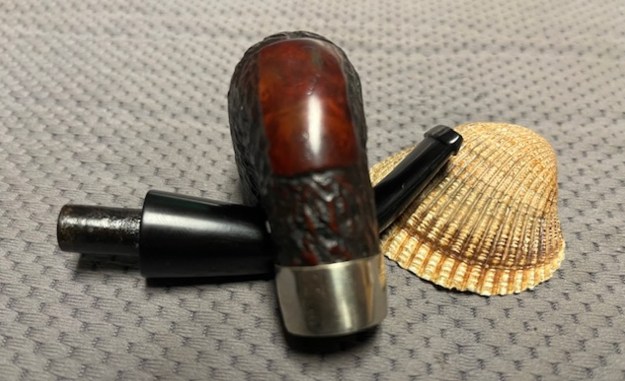
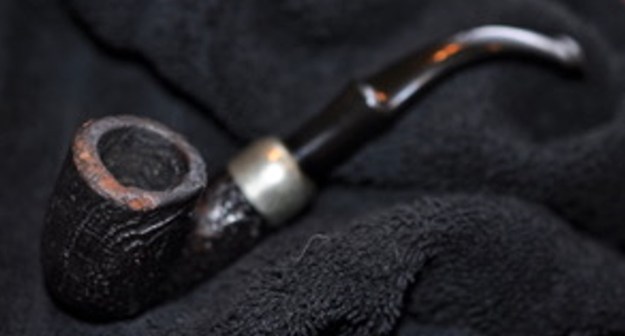
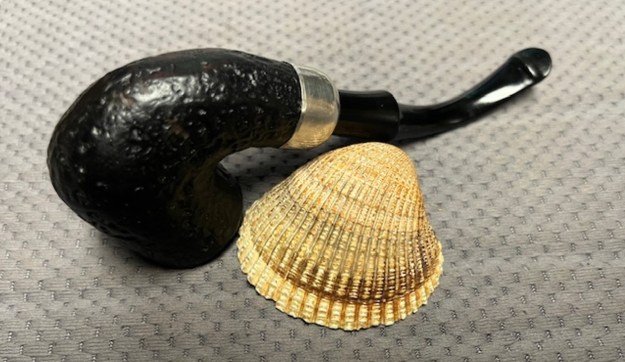
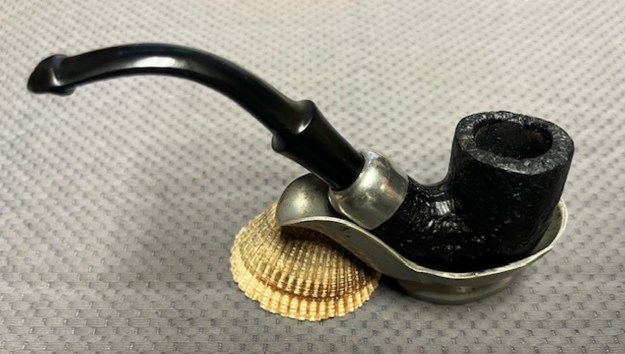
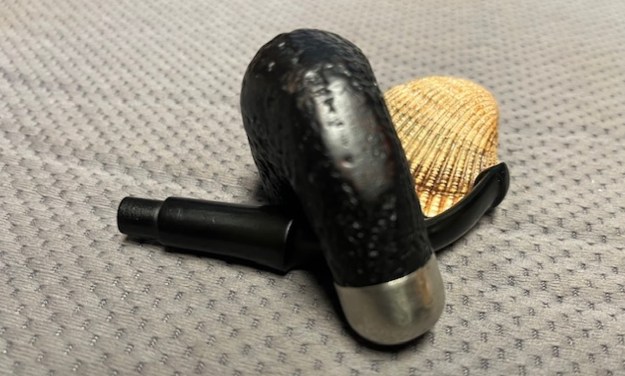
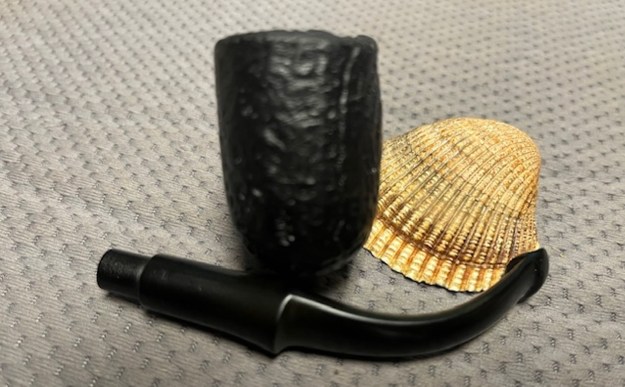
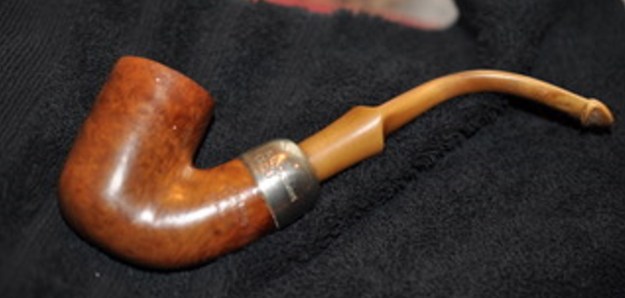
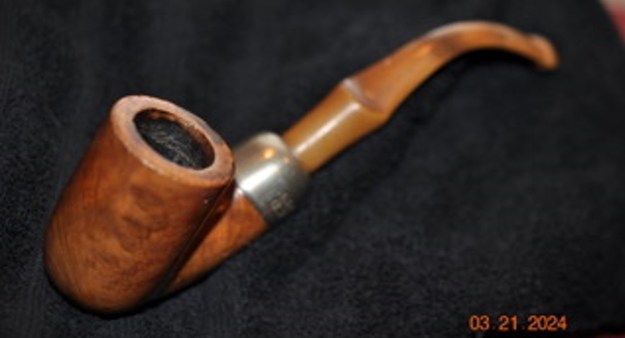
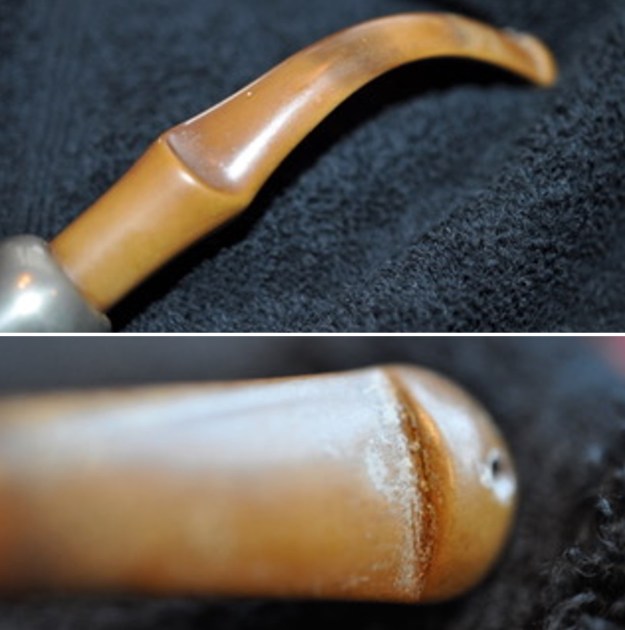
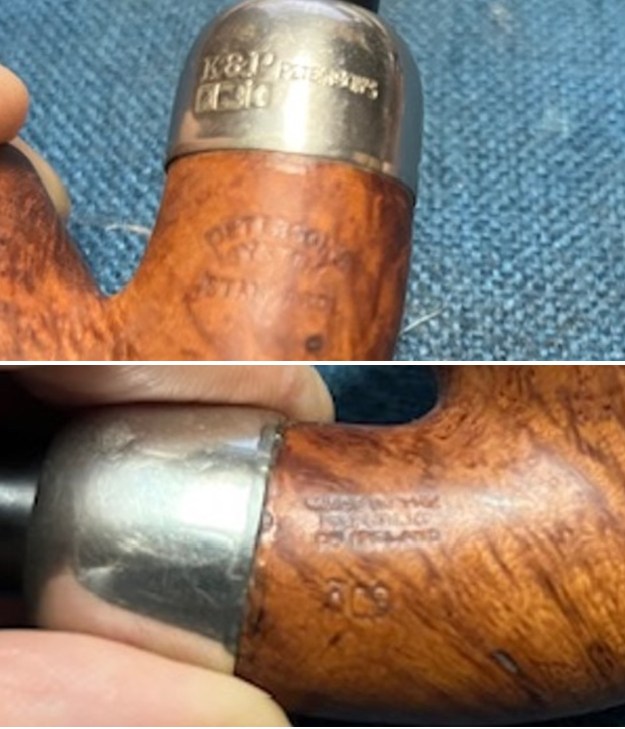
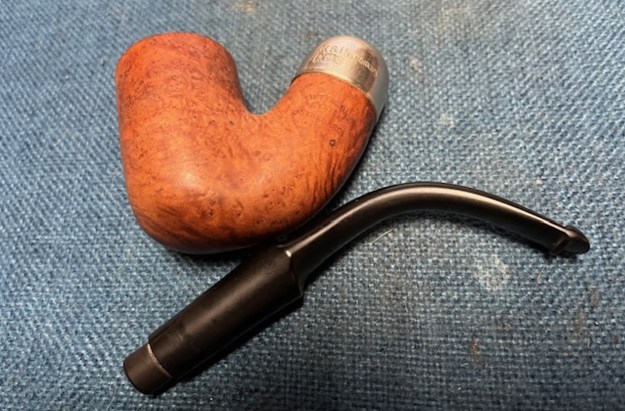
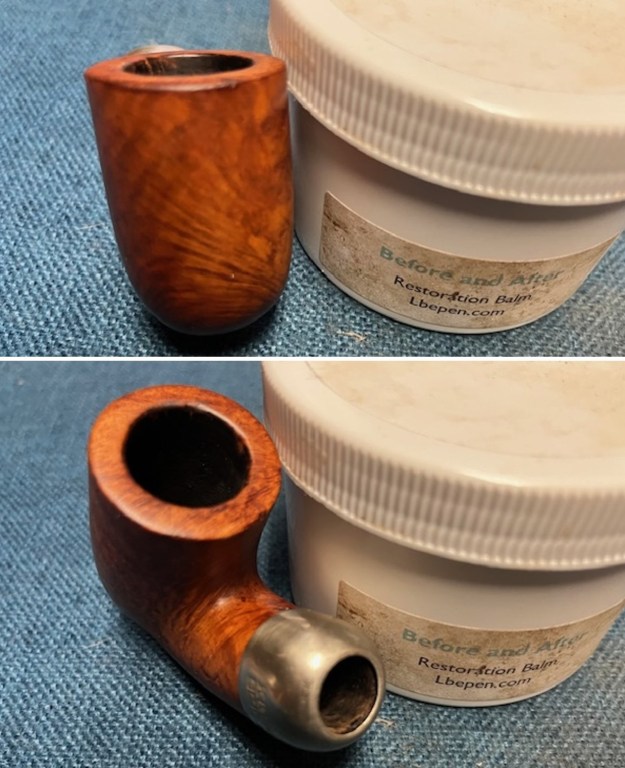
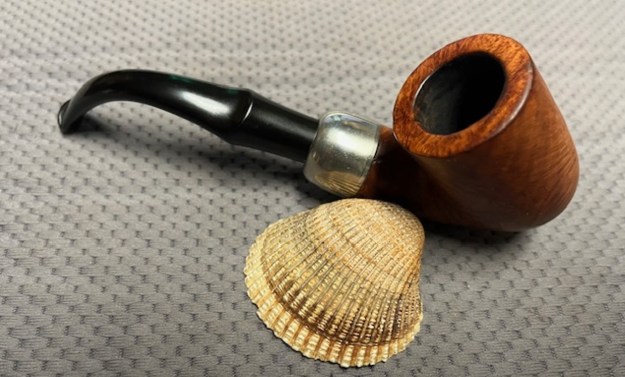
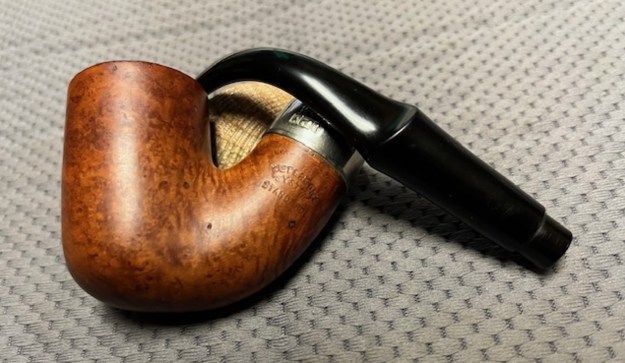
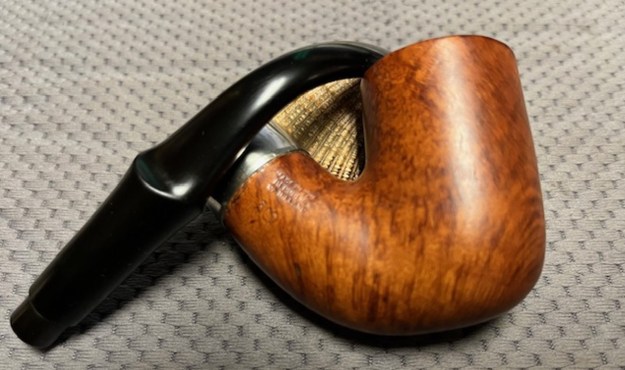
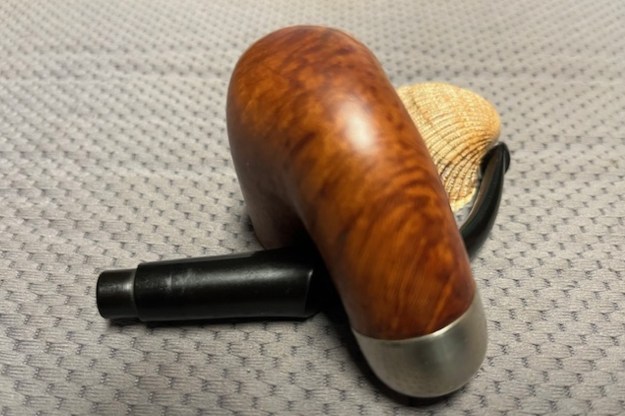
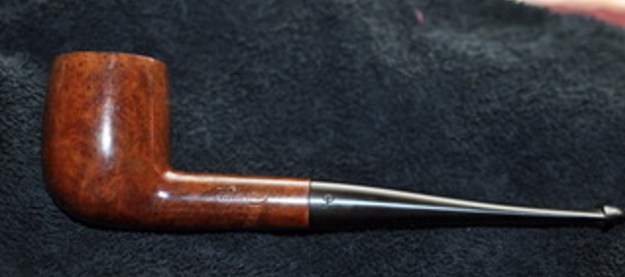
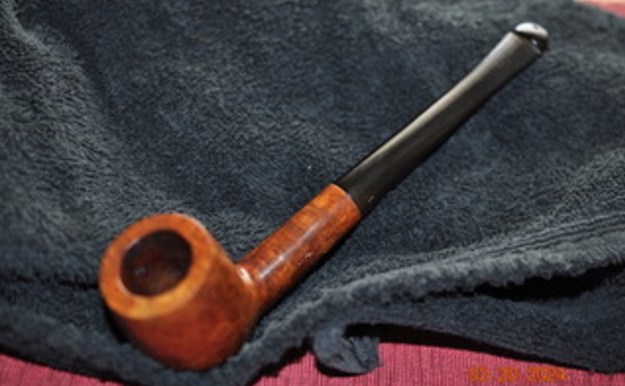
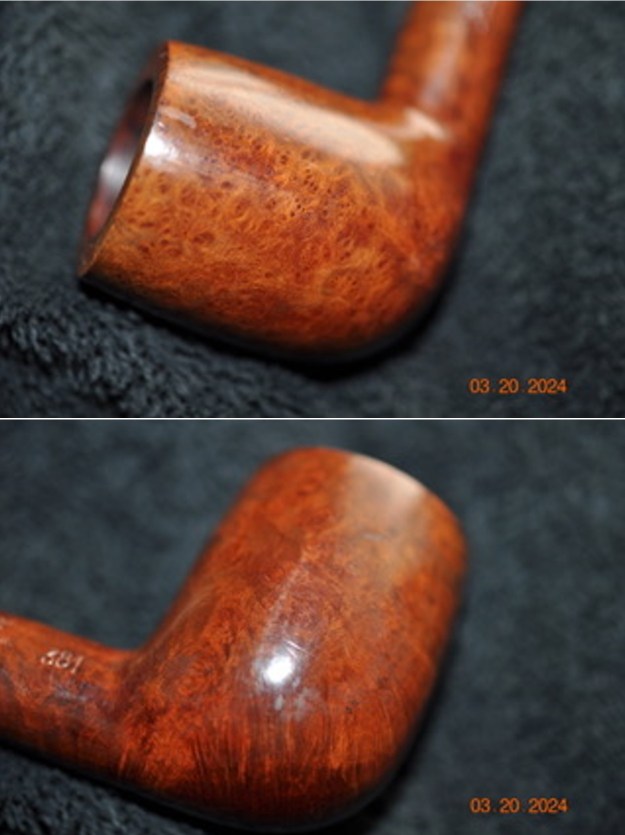
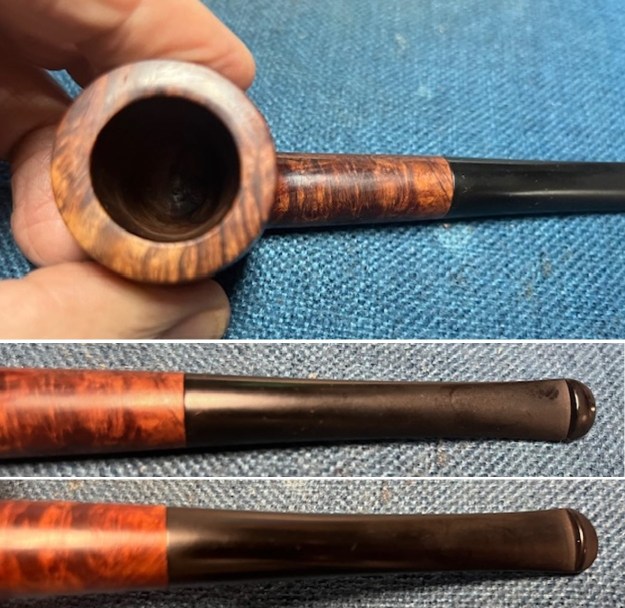
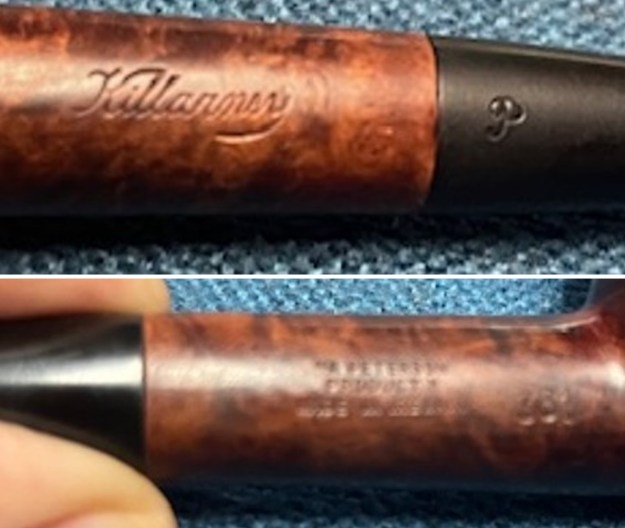
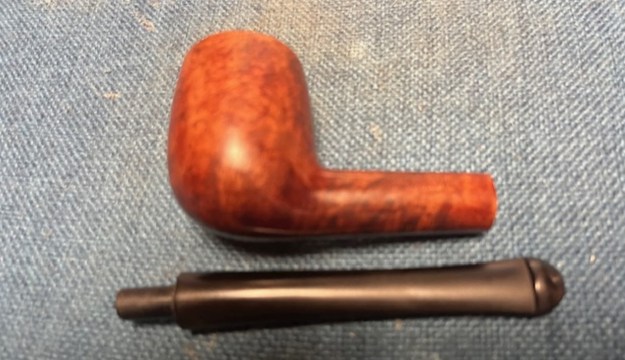
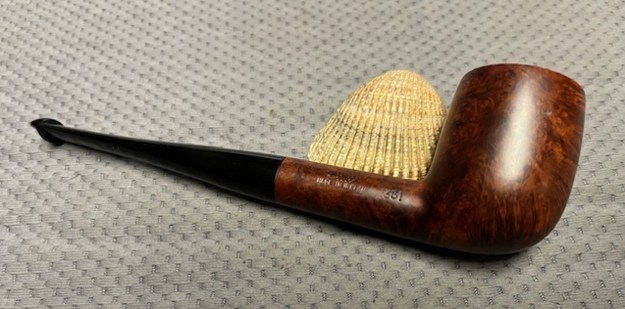
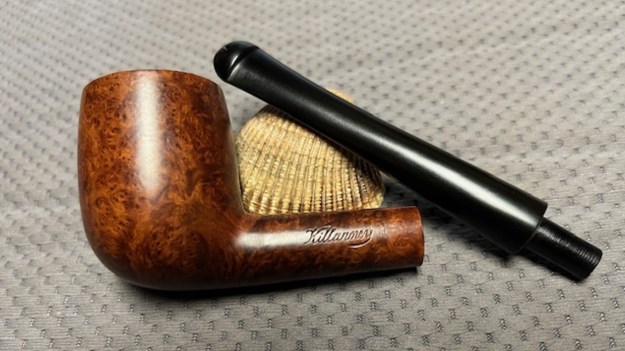
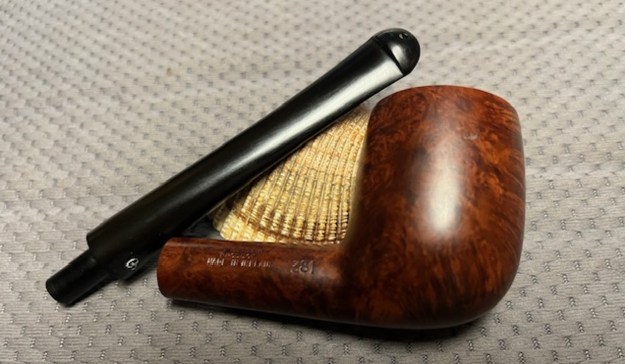
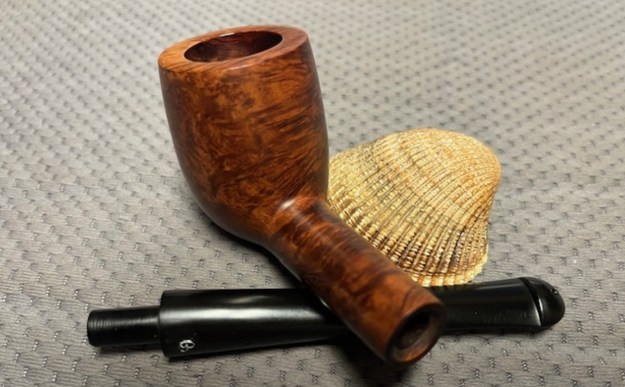
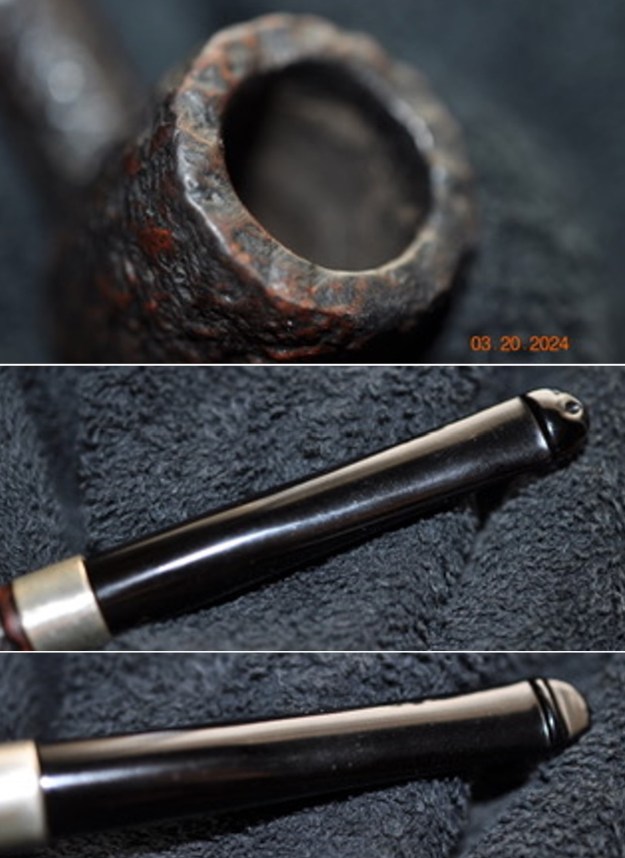
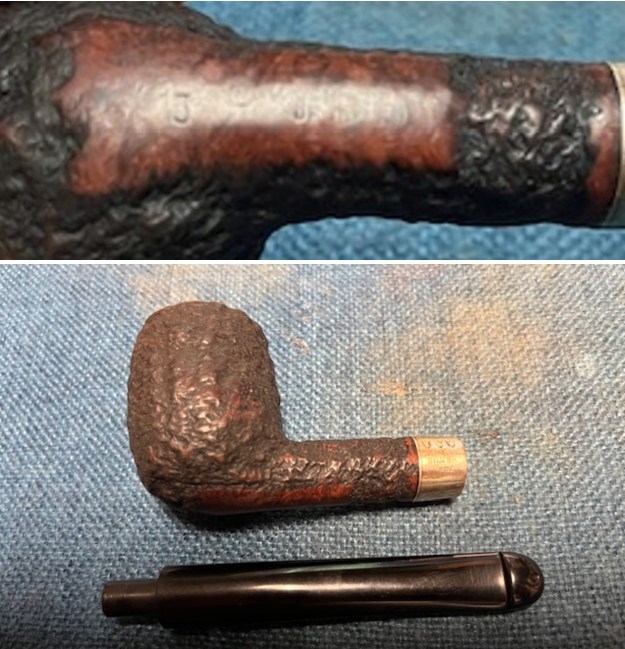
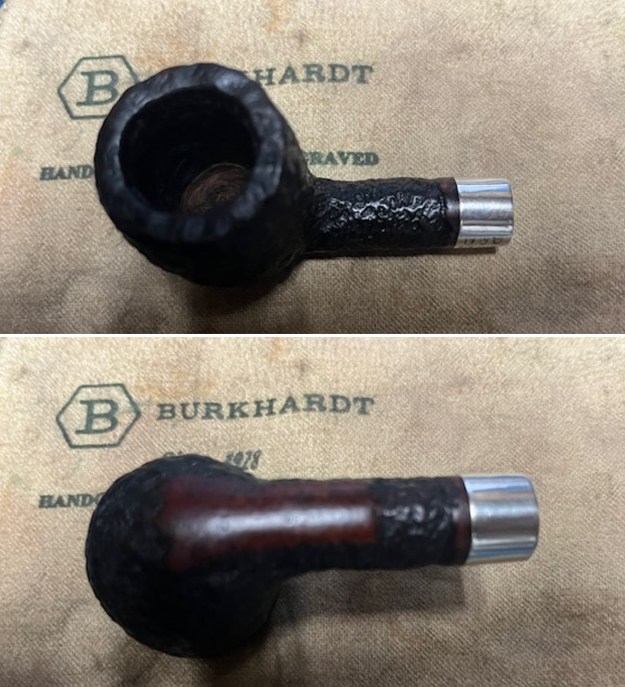
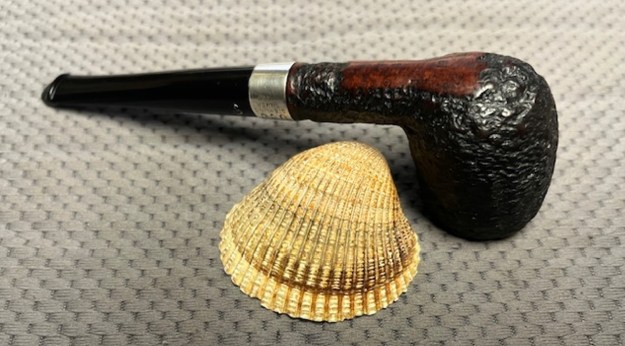
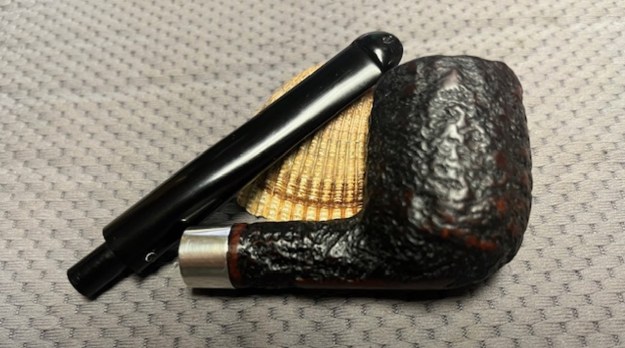
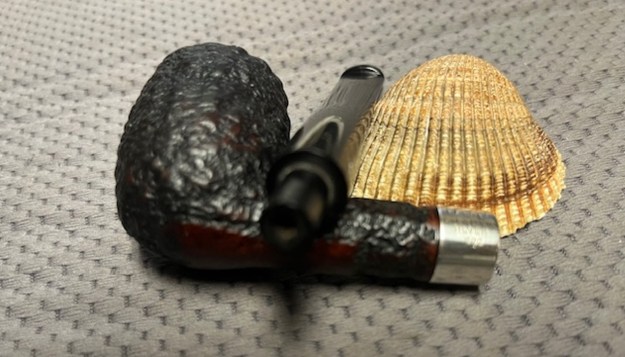
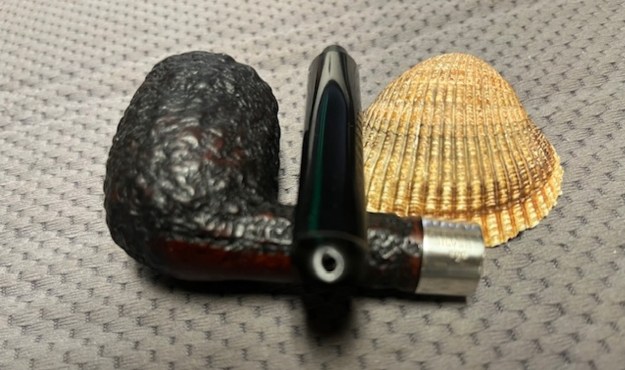
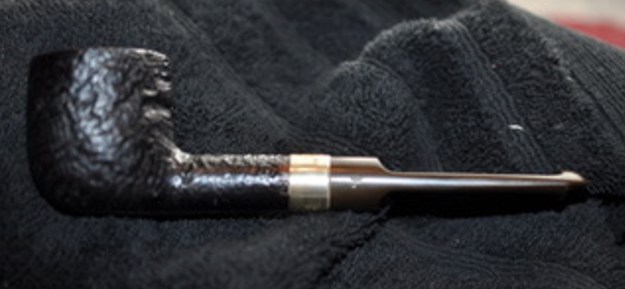
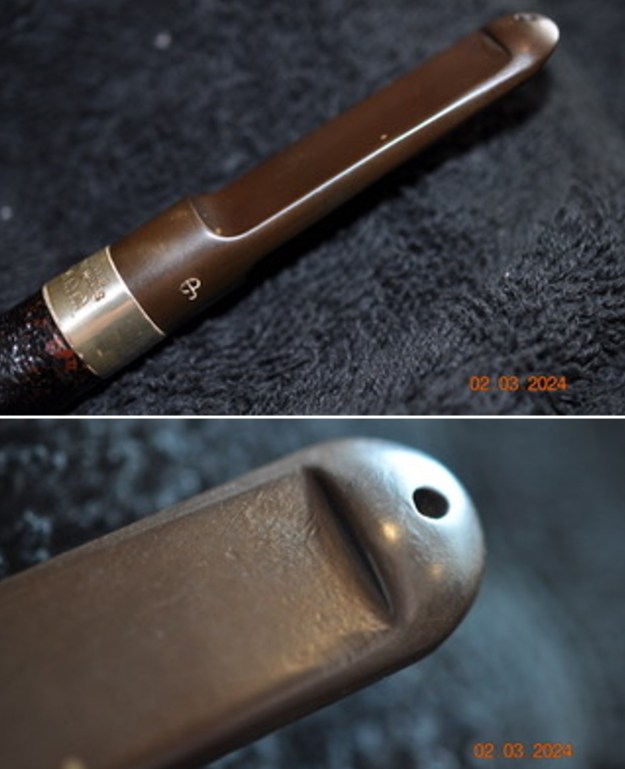
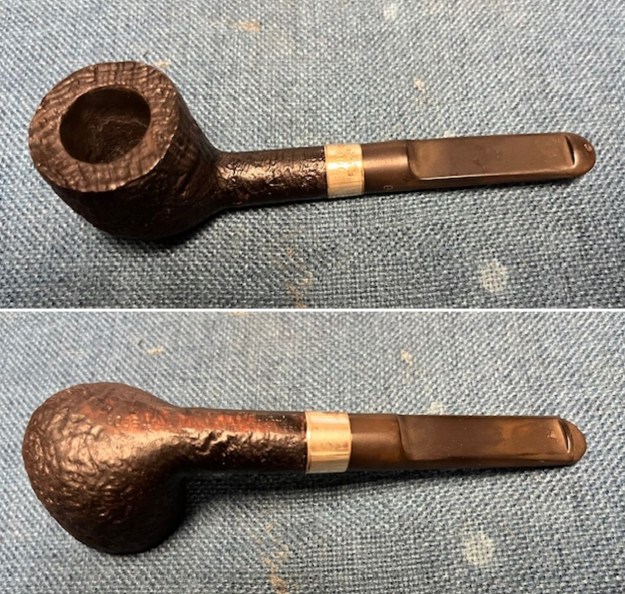
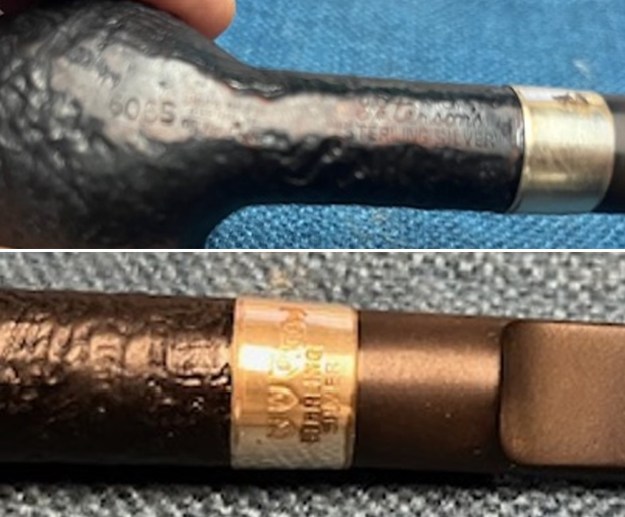
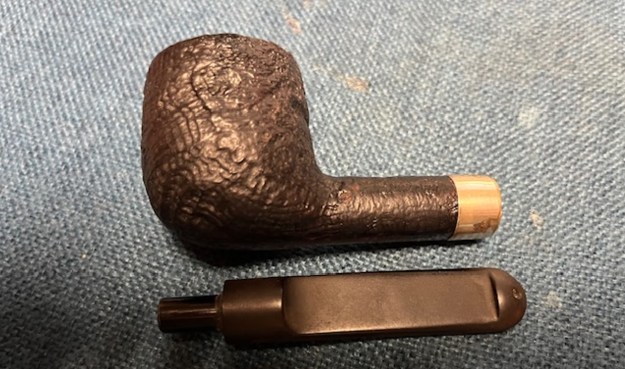
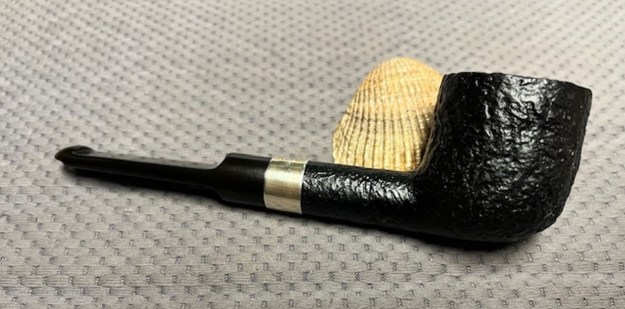
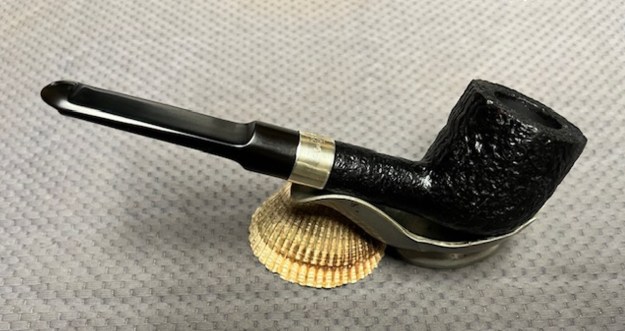
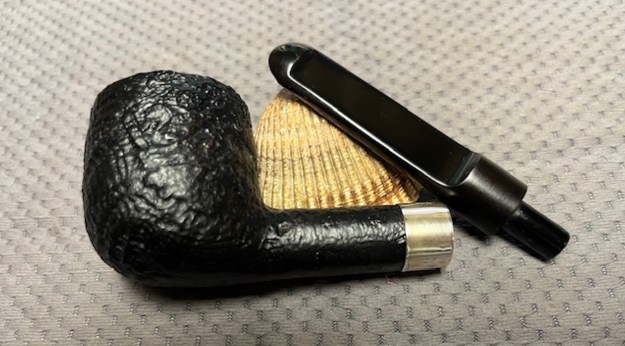
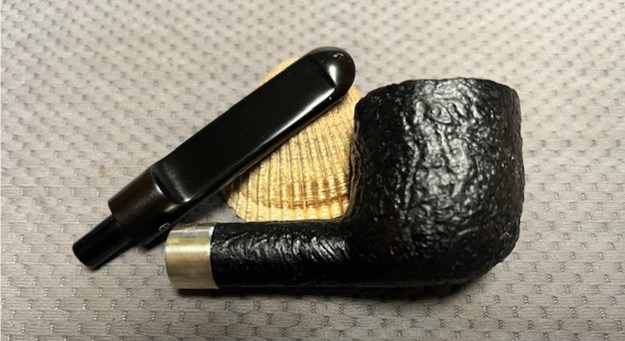
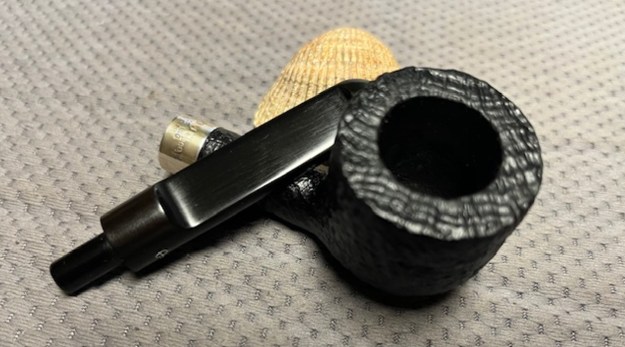
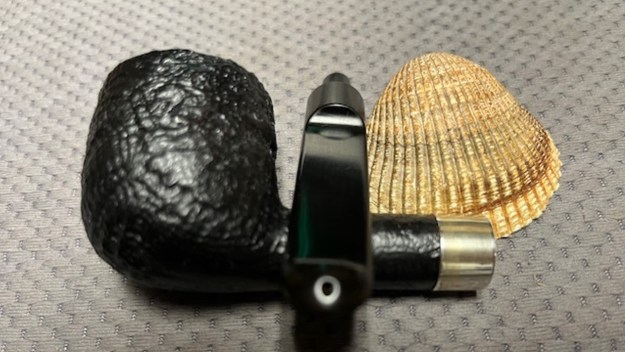
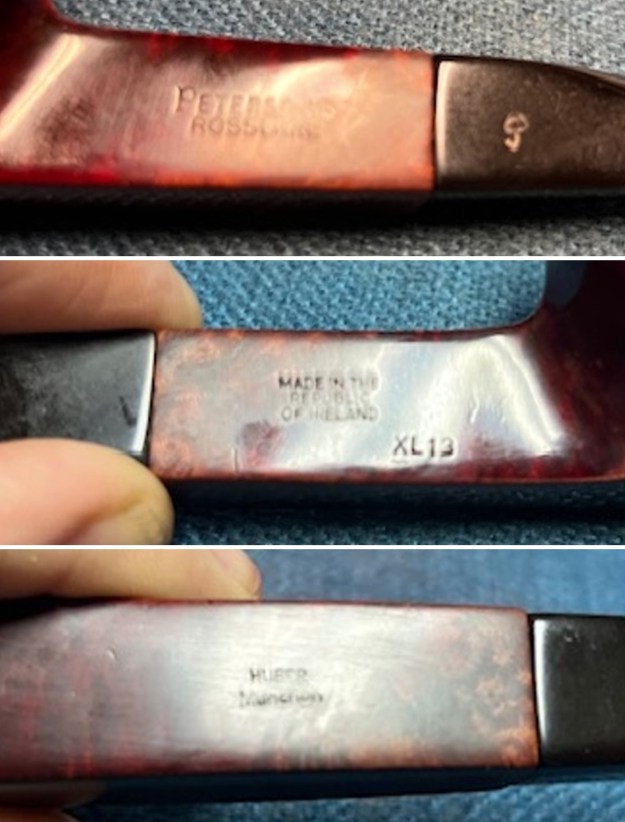
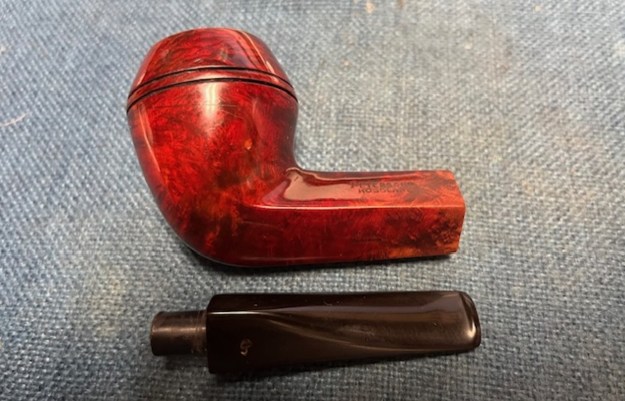
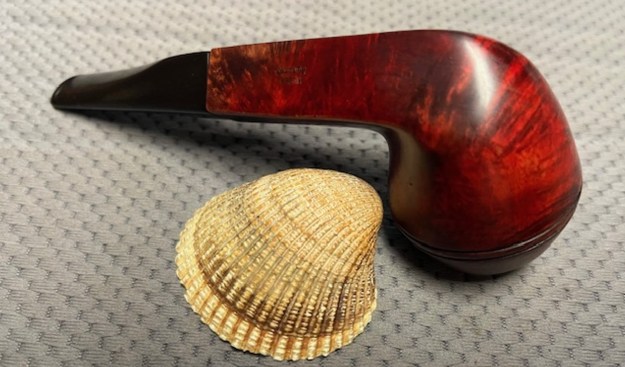
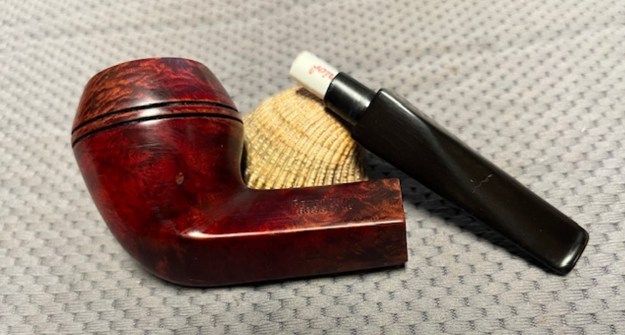
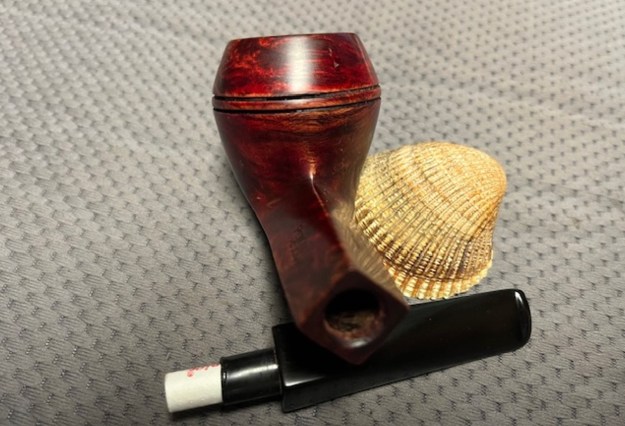
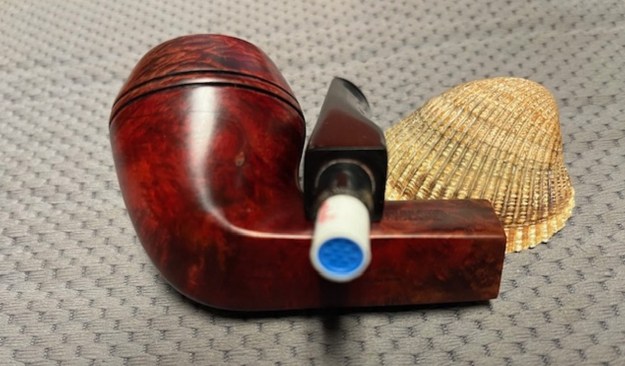
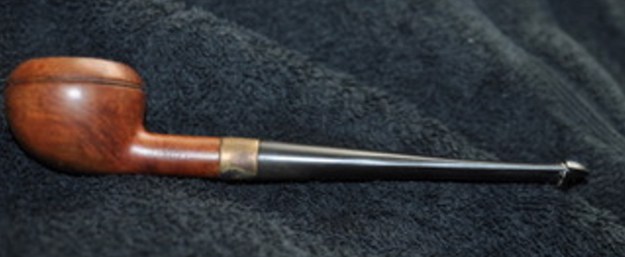
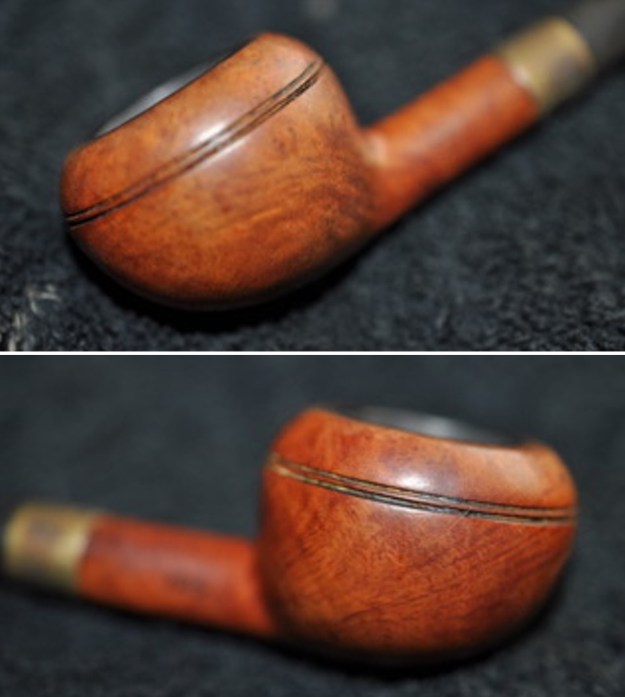
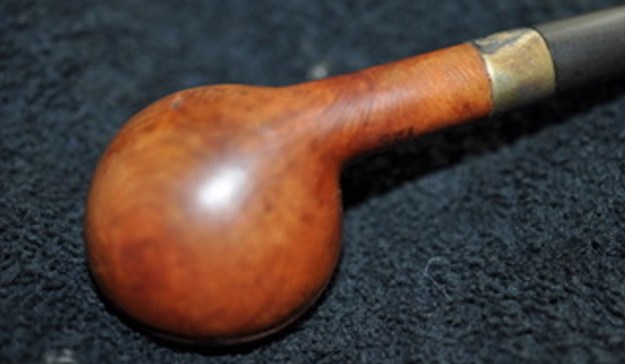
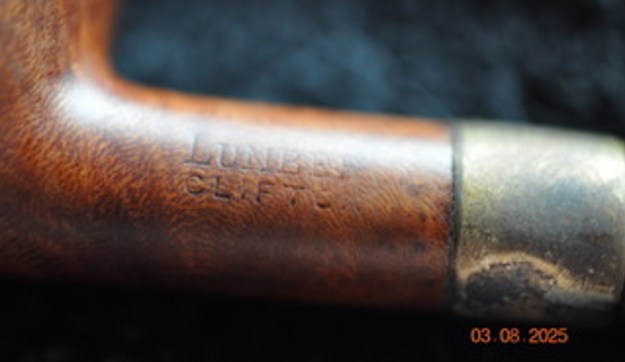
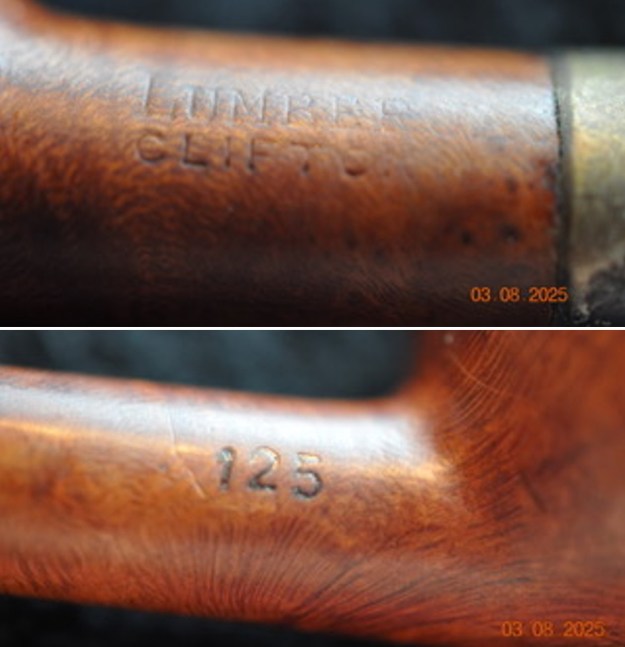
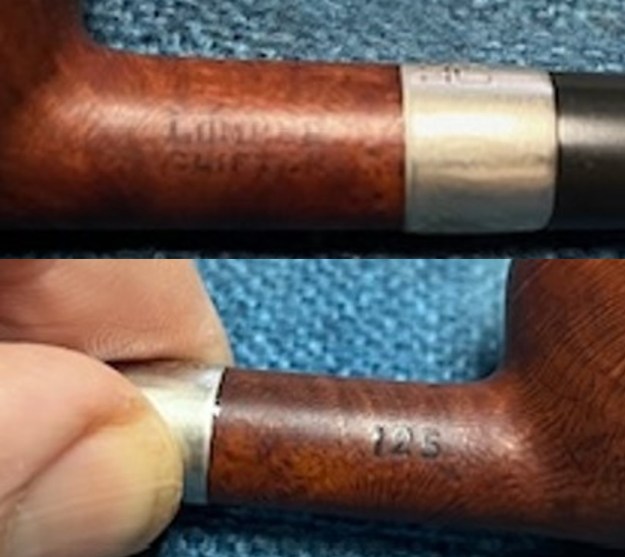
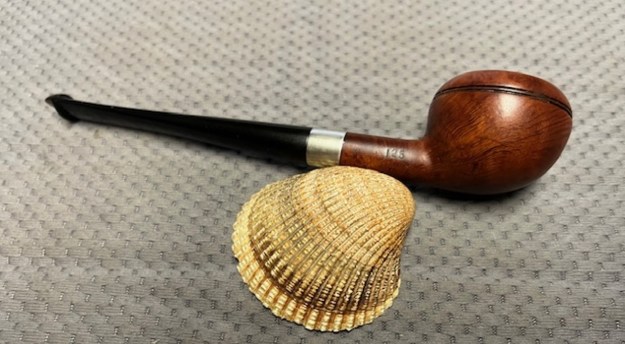
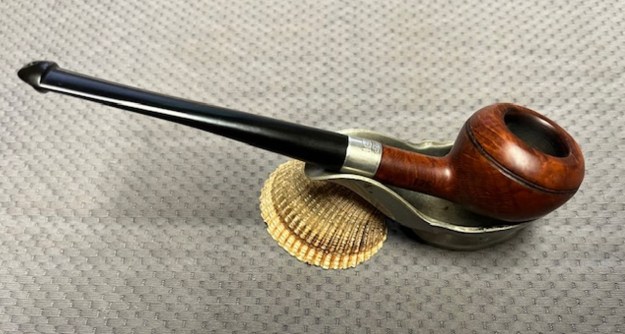
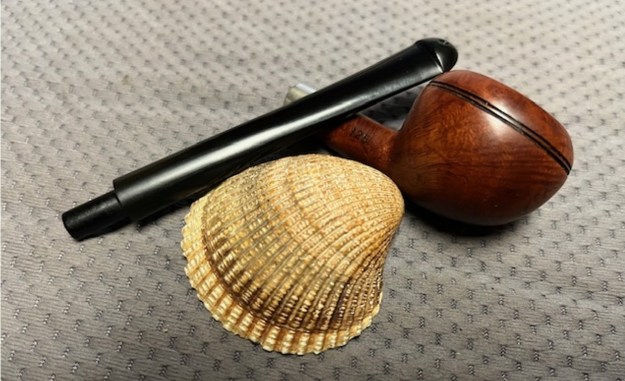
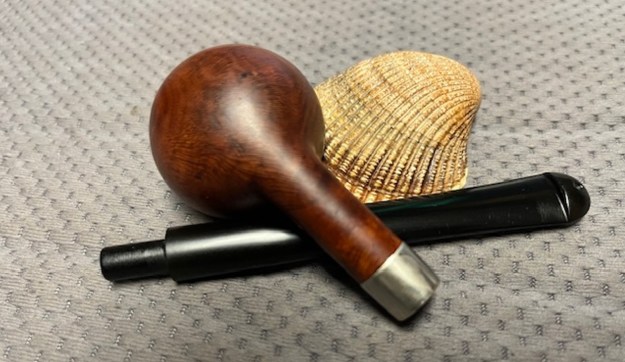
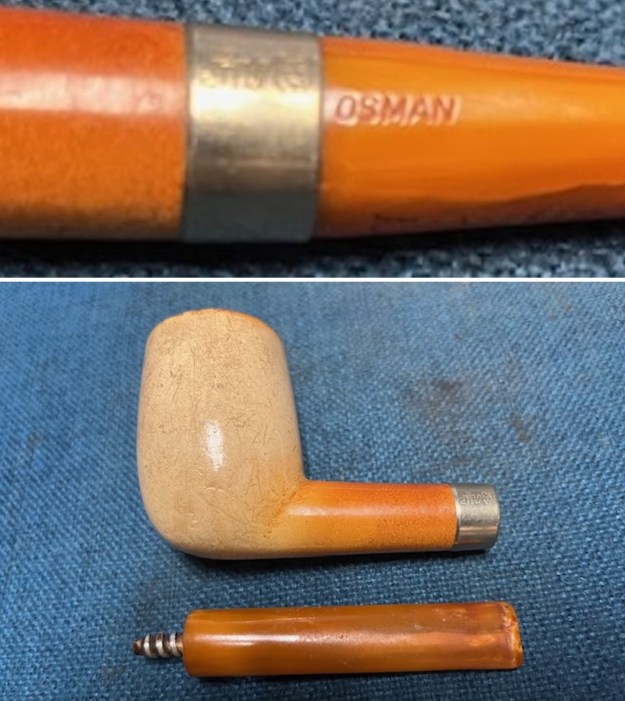
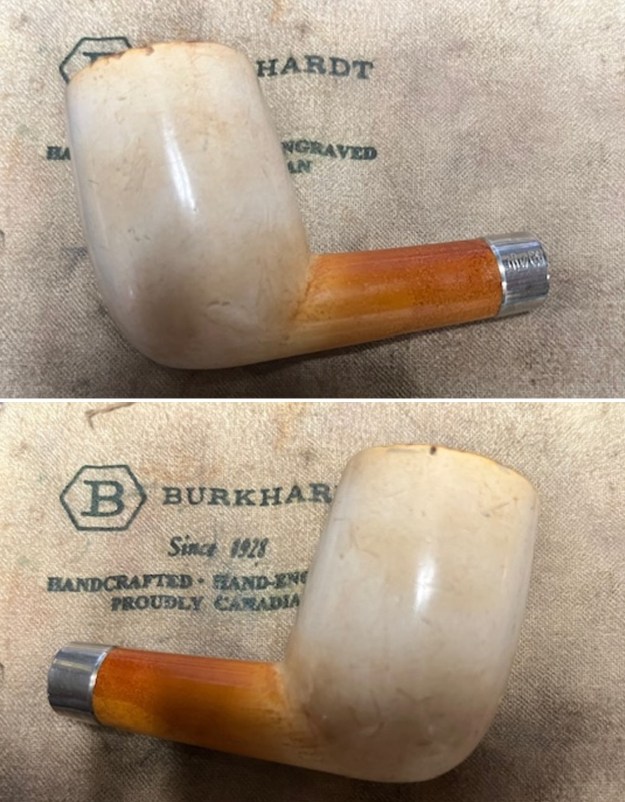
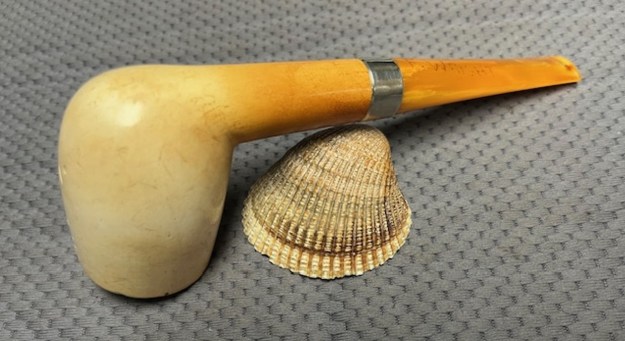
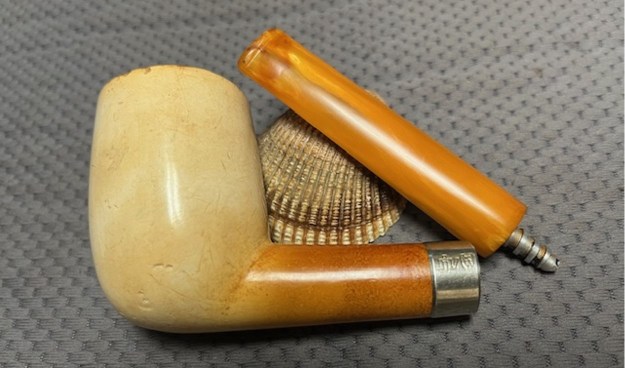
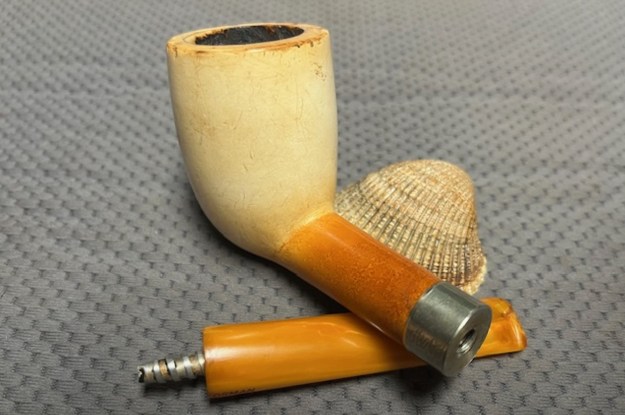
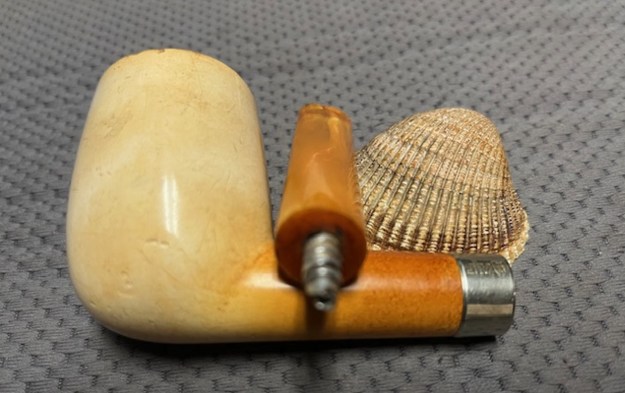
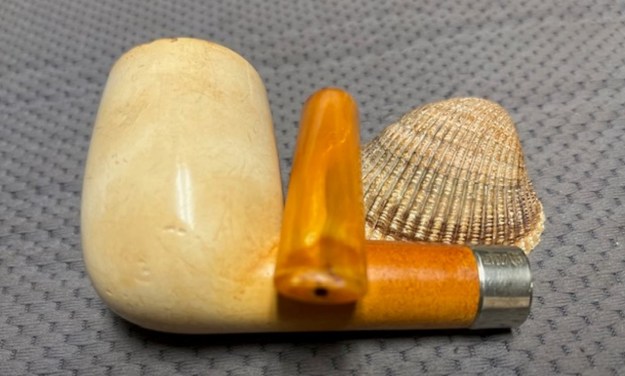
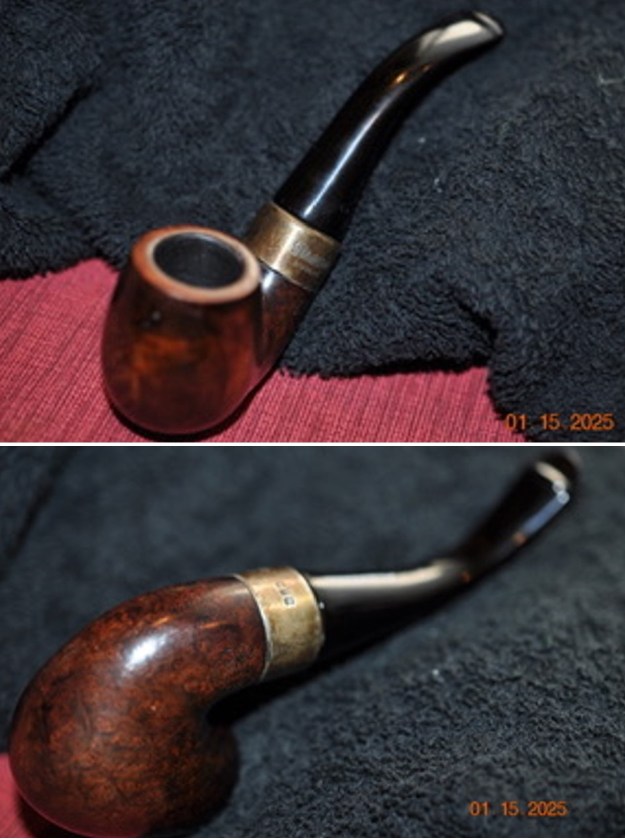
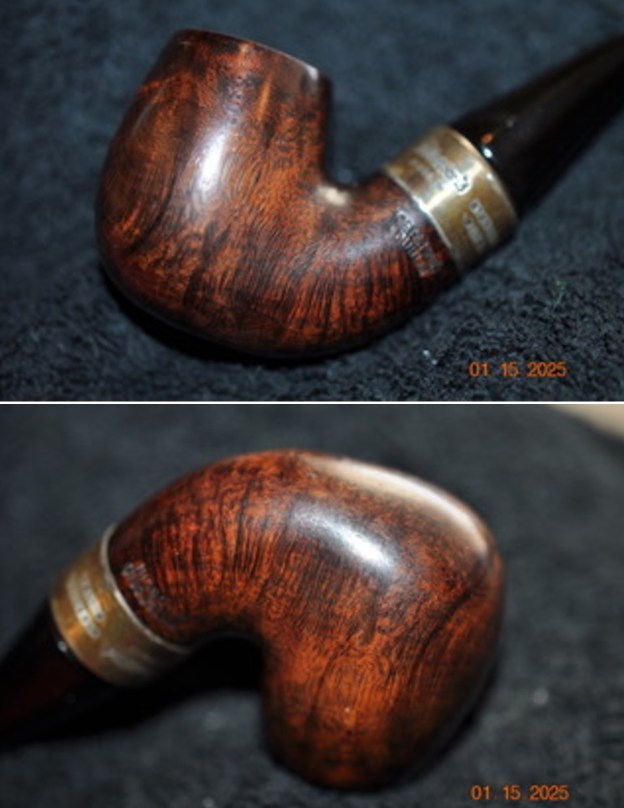
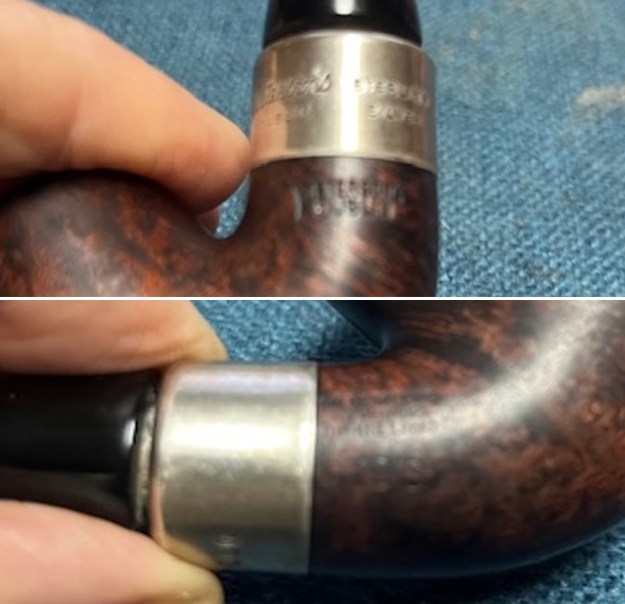
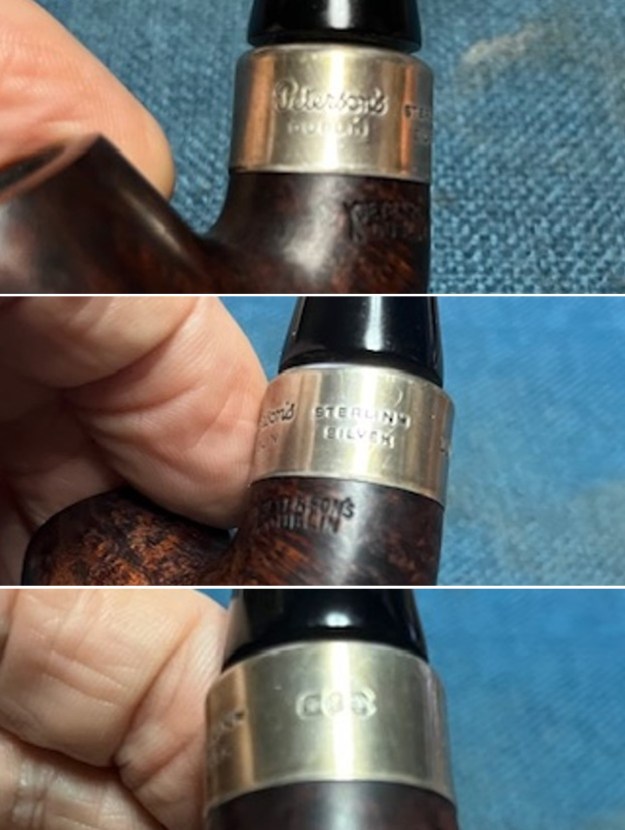
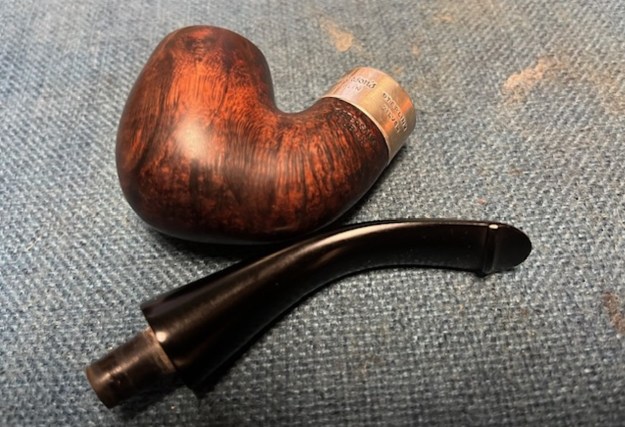
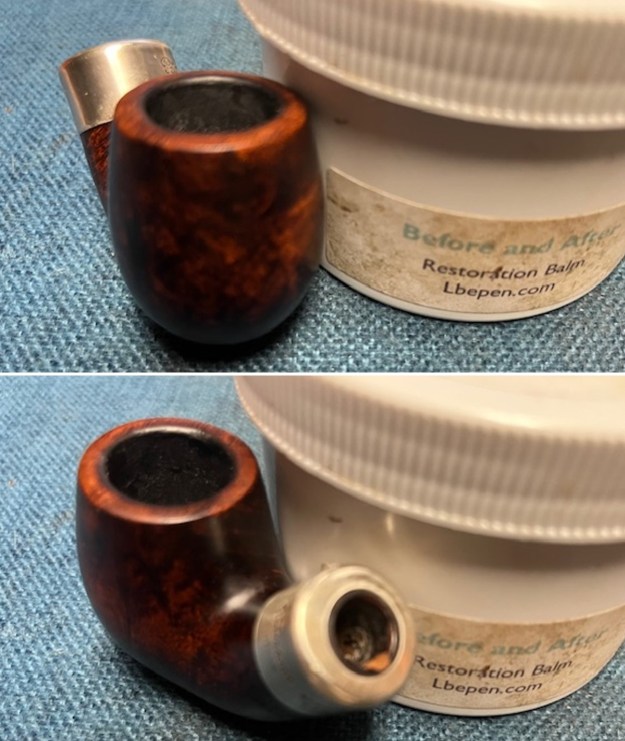
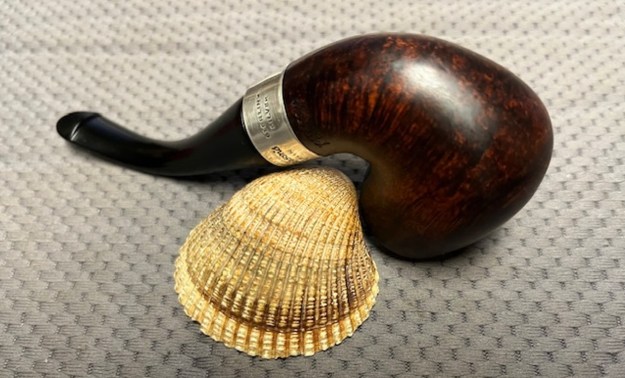
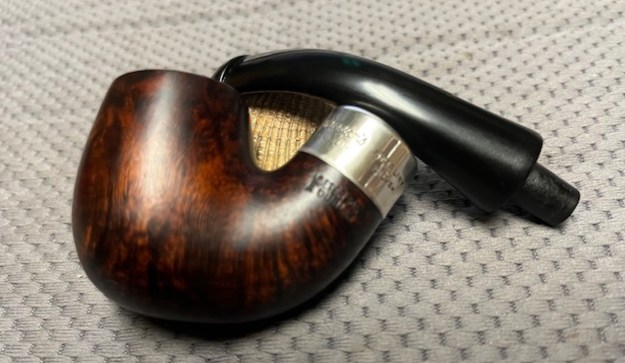
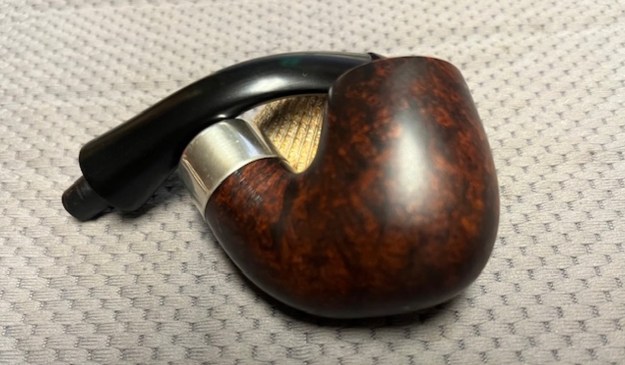
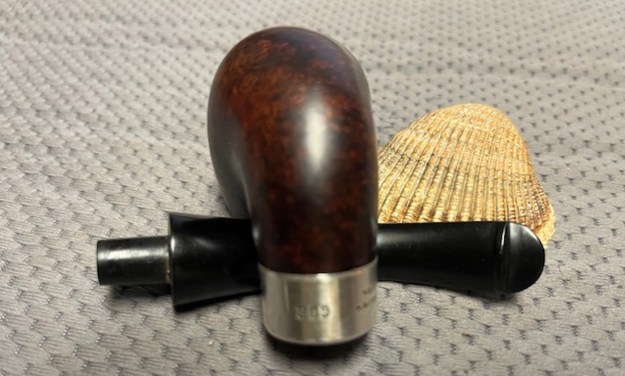
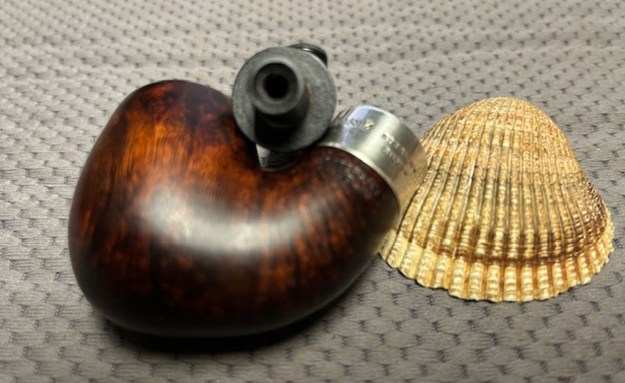
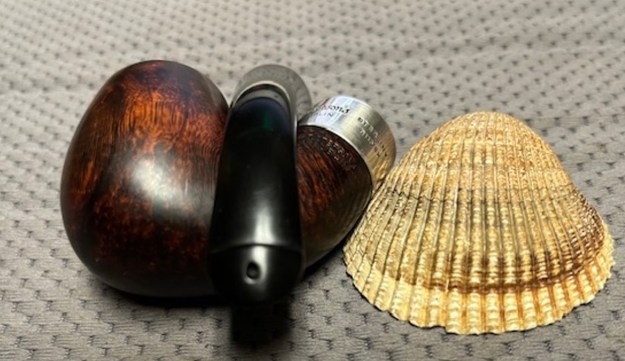
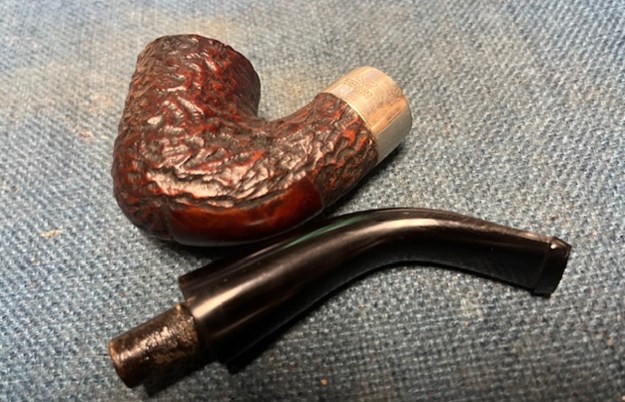
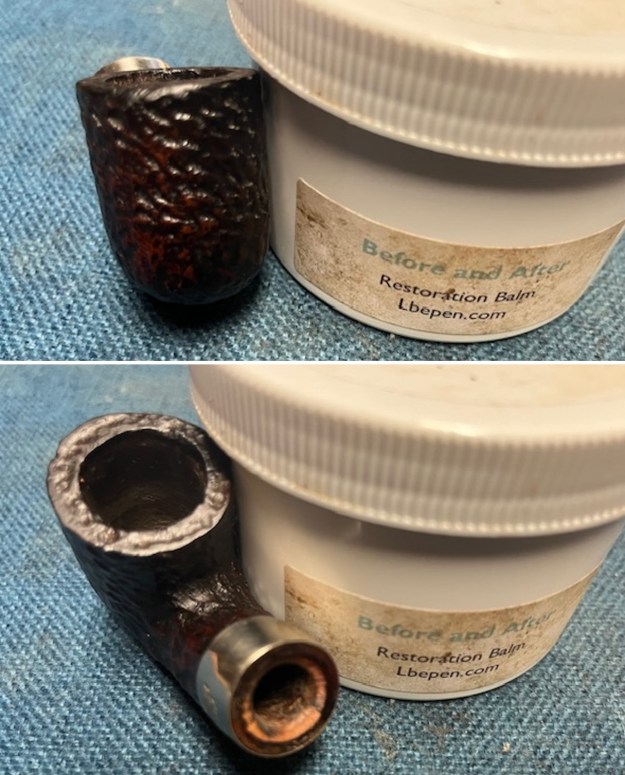
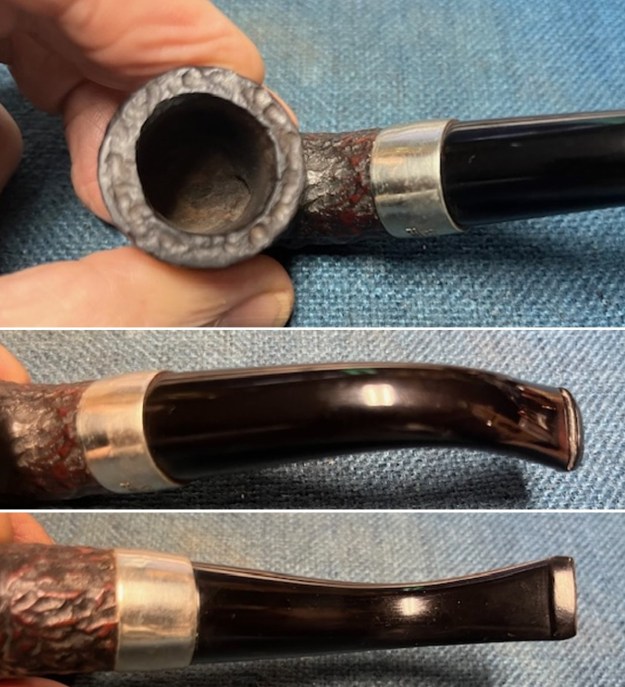 The stamping on the underside of the shank read as noted above. The photo shows that they are faint but clear and readable. The stamping on the silver is also readable. I took a photo of the pipe with the stem removed to show the overall look of stem, tenon and profile of the pipe. It is a great looking pipe.
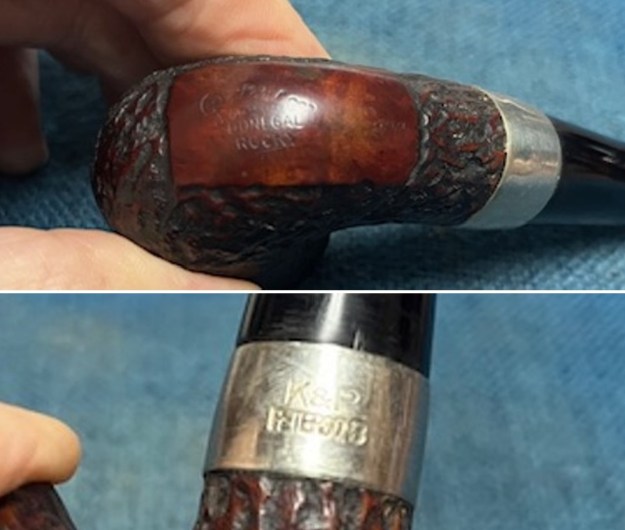
 Peterson’s website describes the pipe as follows (https://www.peterson.ie/pipes/classic/donegal-rocky/moreinfo.cfm?pd_product_Id=247):
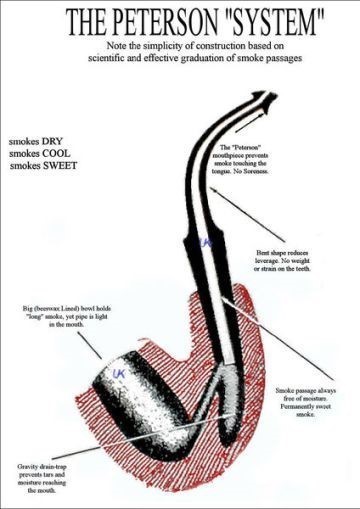
Though quite compact in terms of overall length, this bent Billiard shape maintains the signature muscularity and tubular profile that define our House Style, the bowl being more cylindrical in shape with a stout, angular transition. Its half bend provides a natural clenching posture for a comfortable, hands-free smoke.
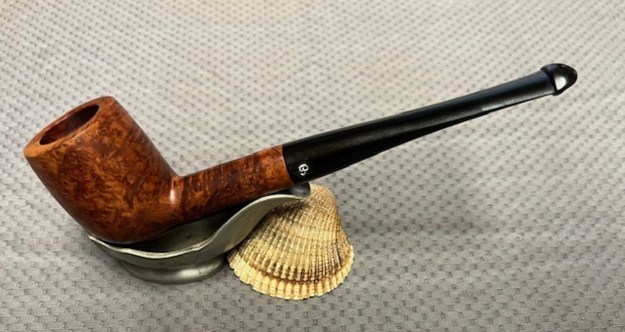
Both Al Jones and I have worked on a 338 in the past. Mine had a P-lip stem while Al’s had a fishtail stem like this one. I am including the links to both of our blogs below if you are interested in seeing the details of the shape.
https://rebornpipes.com/2024/11/15/peterson-338-donegal-rocky-clean-up/
I quote a portion of Al’s blog on the shape as his research really helped clarify a timeline for this pipe. I quote:
This Peterson Shape 338 caught my eye because it was a Donegal Rocky and came with a silver band. Peterson introduced this line in 1945 with a rusticated finish and two-tone stain. The rustication style has evolved over the decades.
Mark Irwin had an entry on the Donegal Rocky line on his Peterson Pipe Notes blog. Curiously, the line was first introduced only with a fishtail stem and Sterling band. The line came with a P-lip starting in 1975.
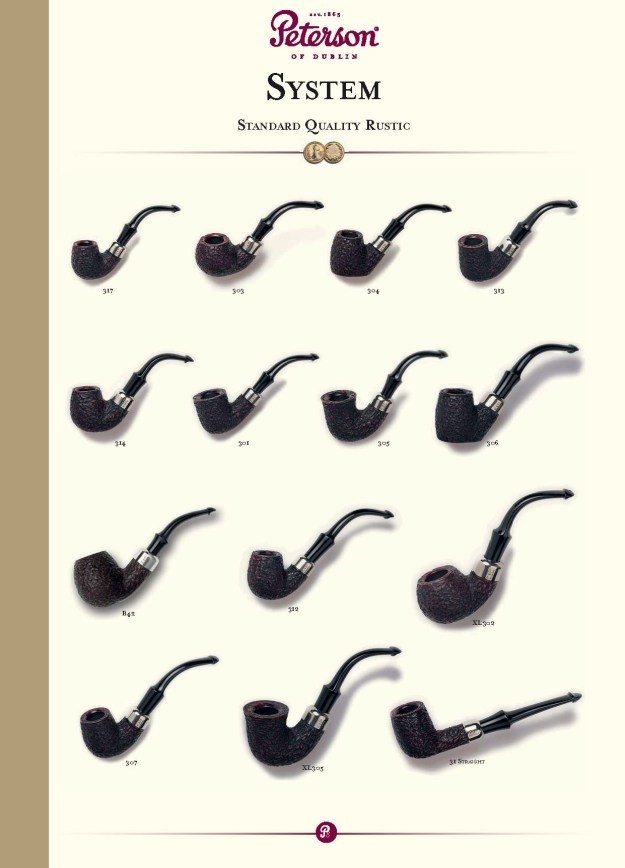
I followed Al’s link to the Peterson’s Pipe Notes blog (https://petersonpipenotes.org/148-the-rocky-history-of-the-donegal-line/). I quote the pertinent sections on the site about the Donegal line and have included the shape charts.
The “Donegal Rocky” (in quotation marks), released in 1945 or so, was Kapp & Peterson’s first rusticated line. Not that K&P hadn’t rusticated pipes previously, they just that they hadn’t devoted an entire line to rustication. And they were apparently proud of it, because they gave it a sterling mount along with a black finish and white-stamped P on the mouthpiece.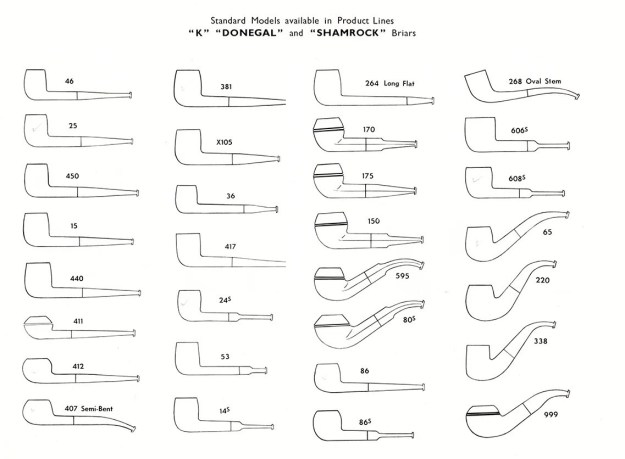 It was part of K&P’s “Product Line,” what I call gateway pipes and others might call an entry-level pipe, as you can see in this shape chart from the 1945 catalog. Like the Shamrock (European version) and “K,” it was originally a fishtail line.
For nearly thirty years, from 1947 until 1975, the line continued uninterrupted, black rusticated finish with fishtail mouthpiece and sterling band.
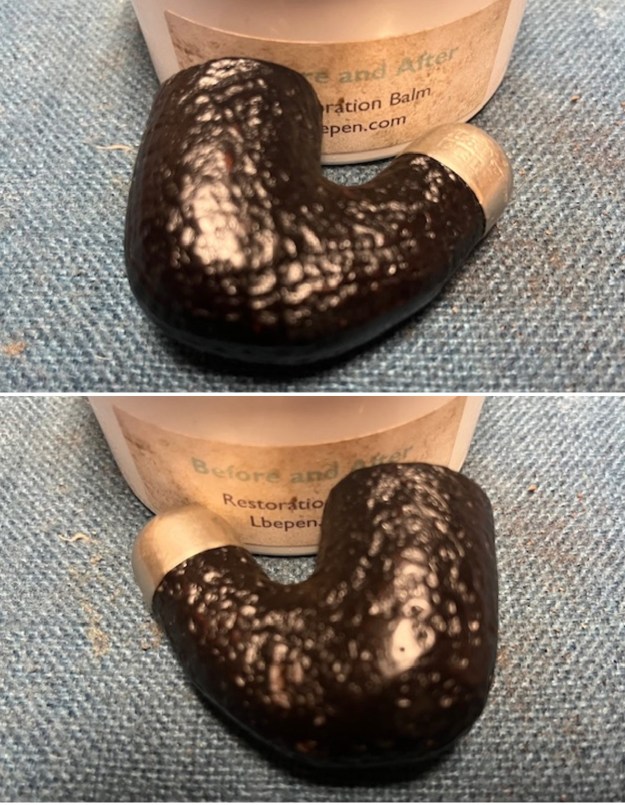
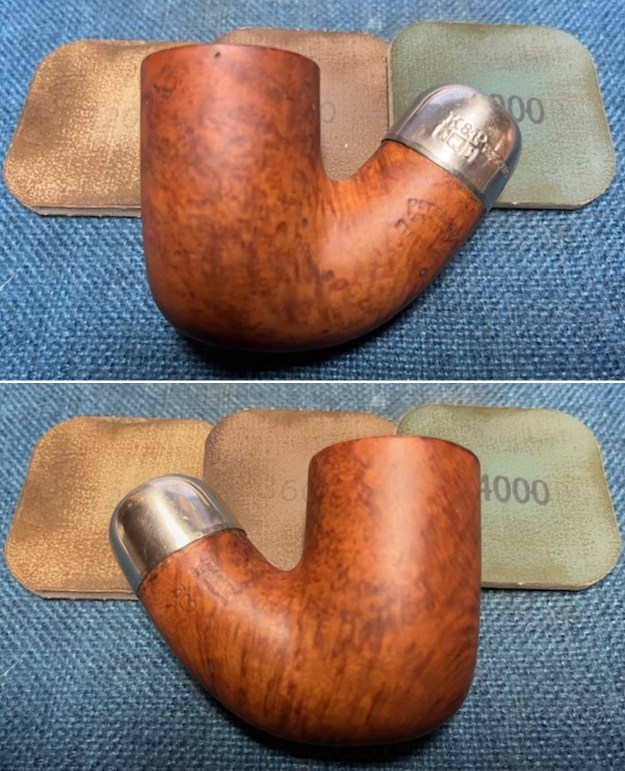
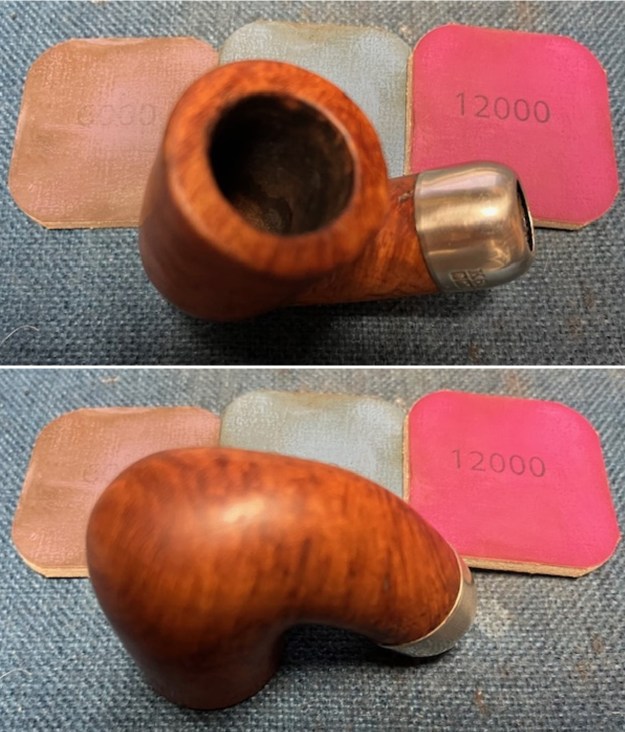
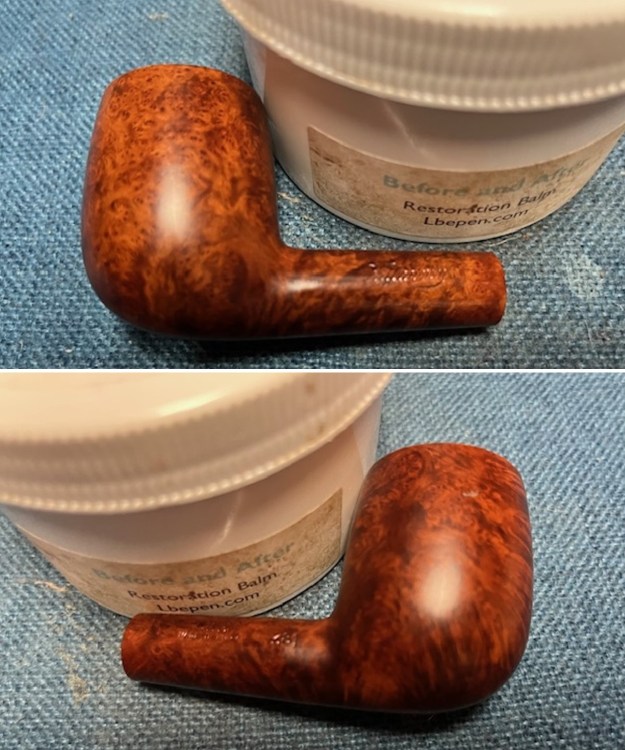
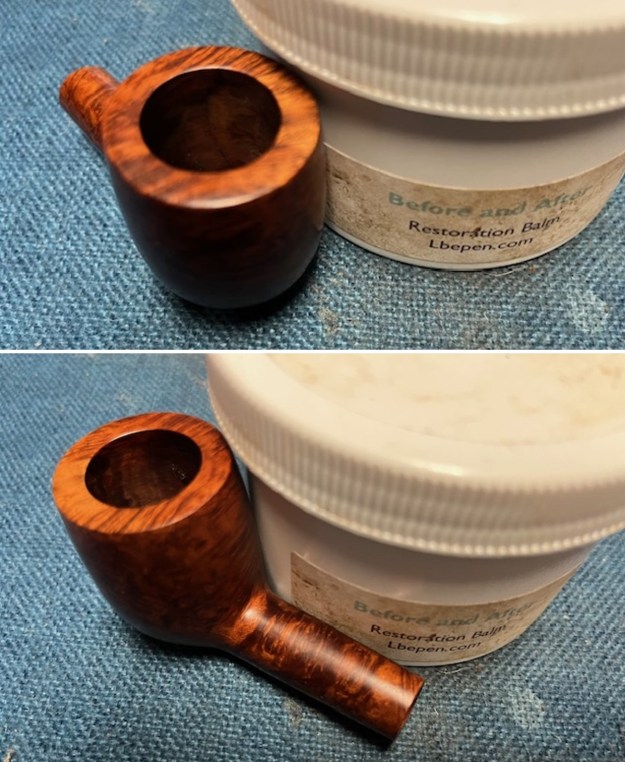
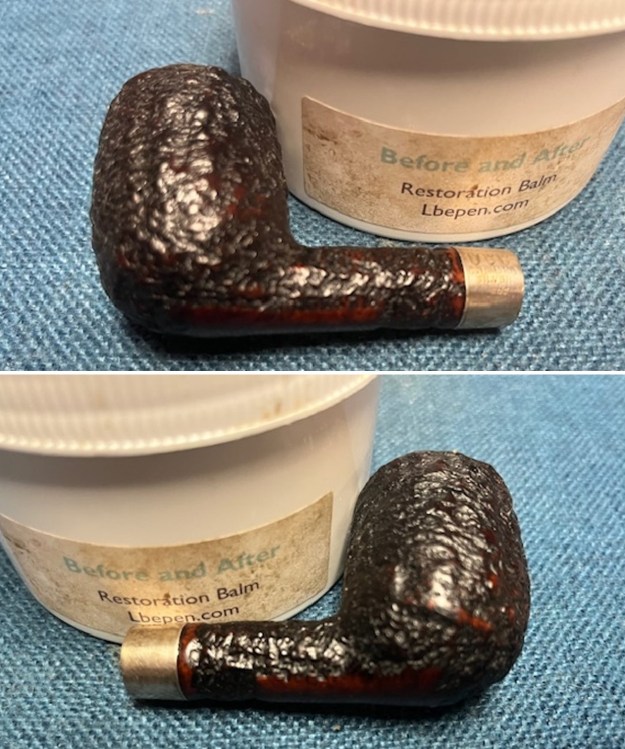
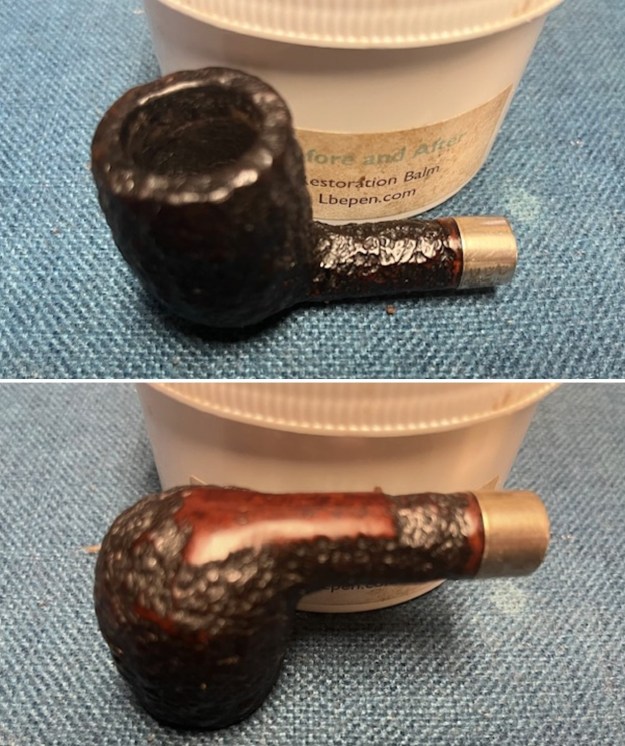
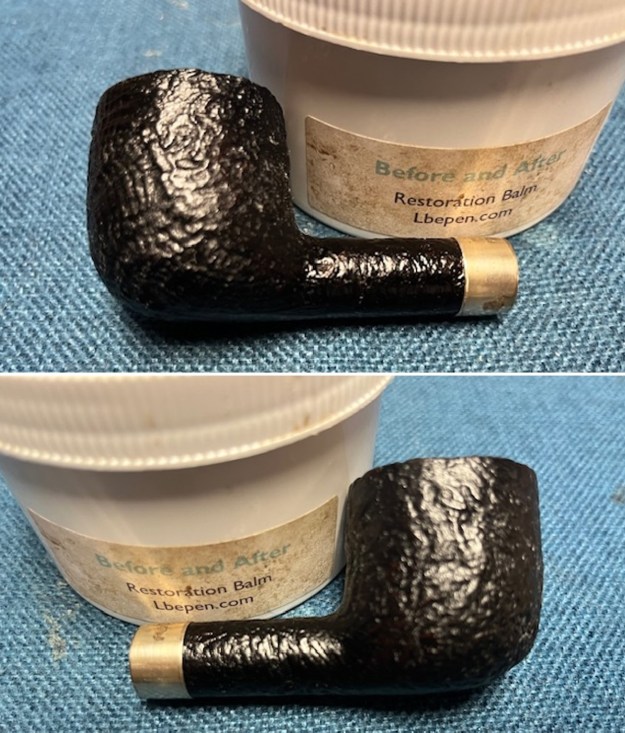
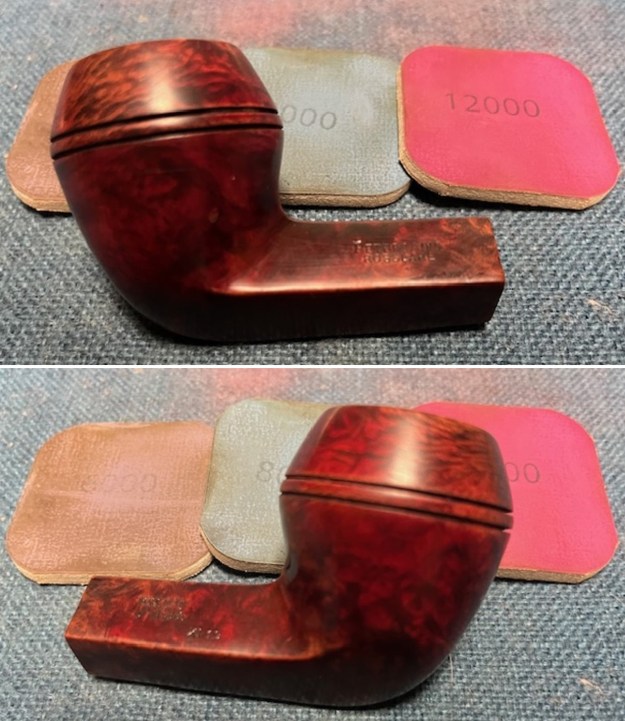
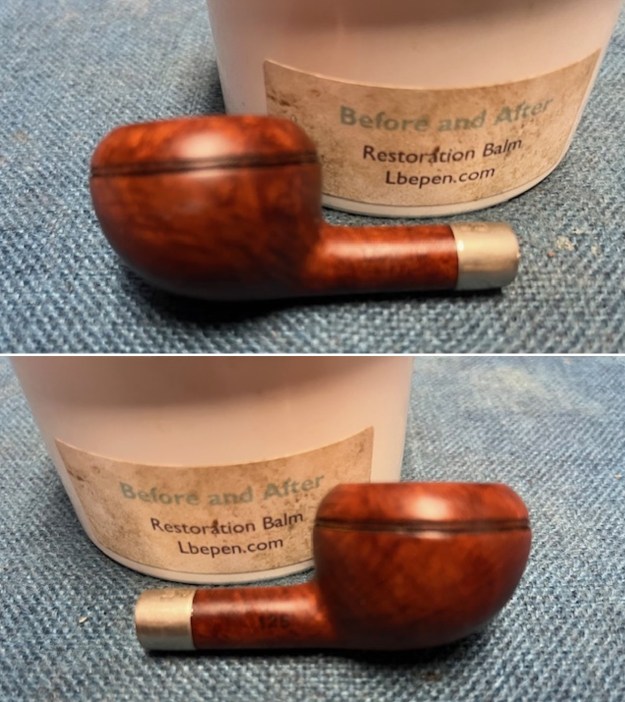
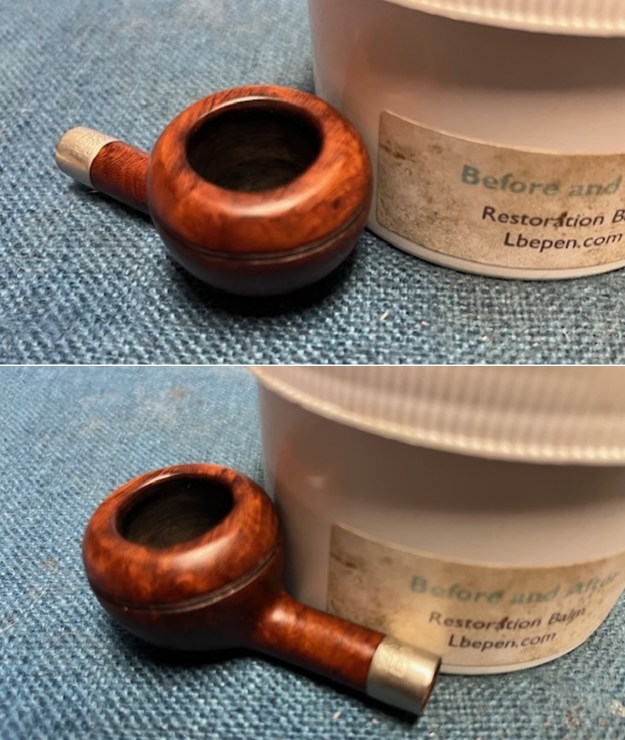
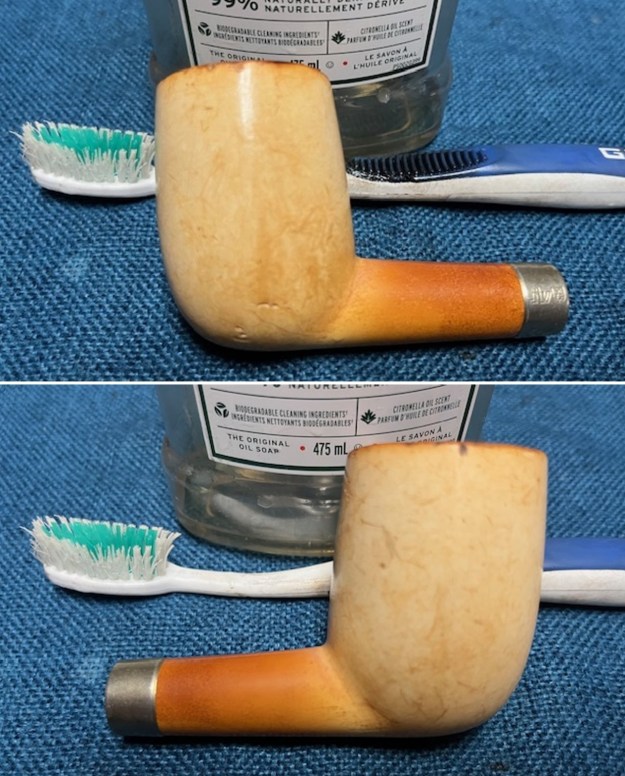
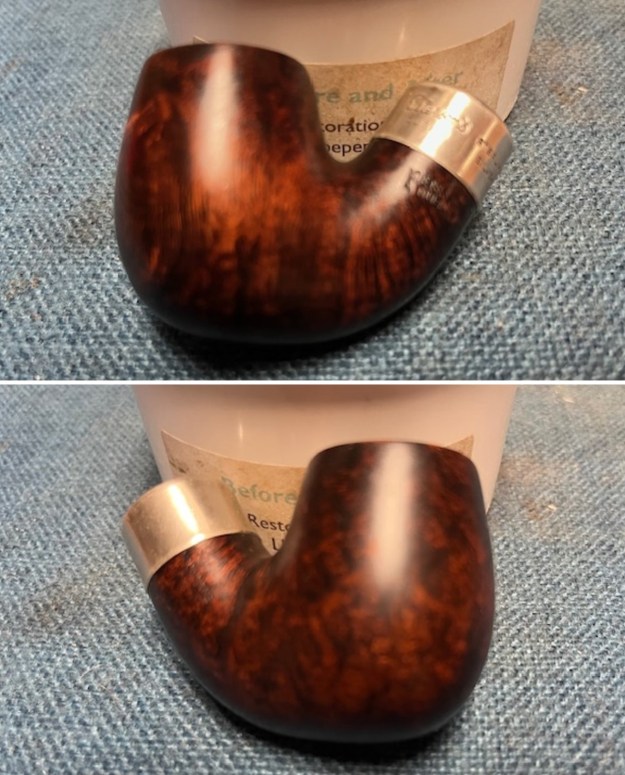
The bowl was clean the briar looked very good, so I rubbed the briar down with Before & After Restoration Balm. I worked it into the briar with my fingertips and a horse hair shoe brush to get it into the deep crevices of the rustication. The product works to clean, enliven and preserve the briar. I let it sit for 10 minutes while I worked on the stem. After the time passed I buffed it with a cotton cloth to deepen the shine. The rustication came alive with the balm. 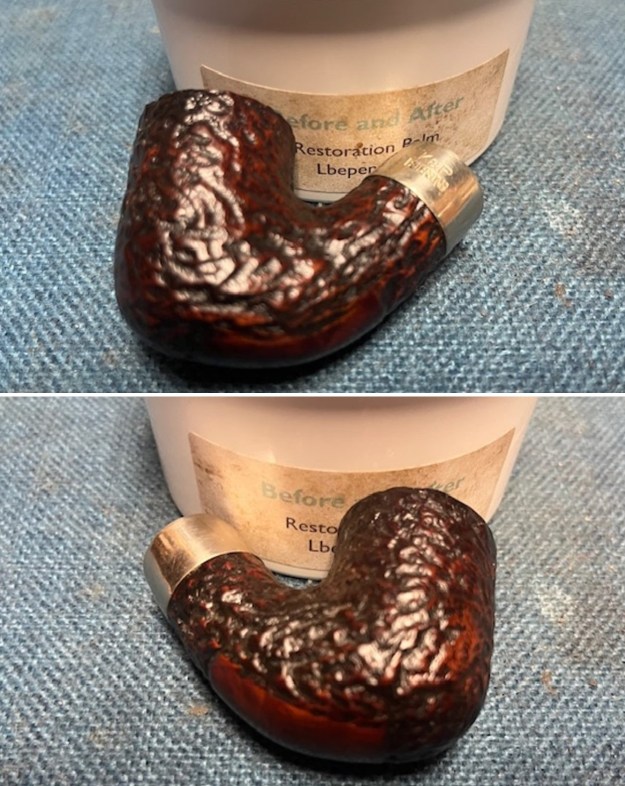
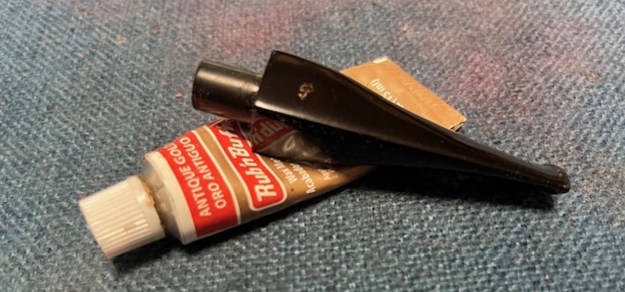
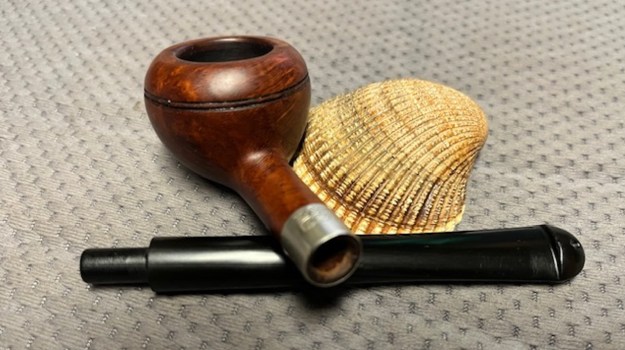
 I polished the Sterling Silver band on the shank with a jeweller’s cloth to remove the tarnish and polish it.
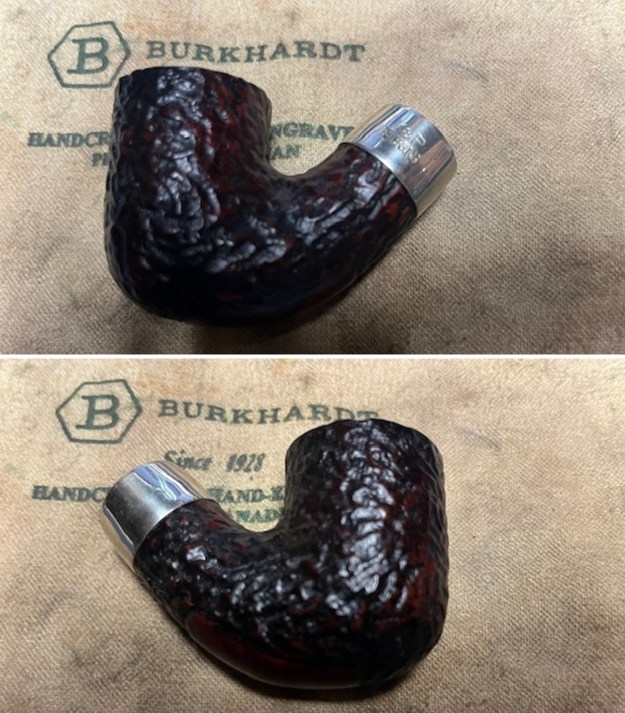
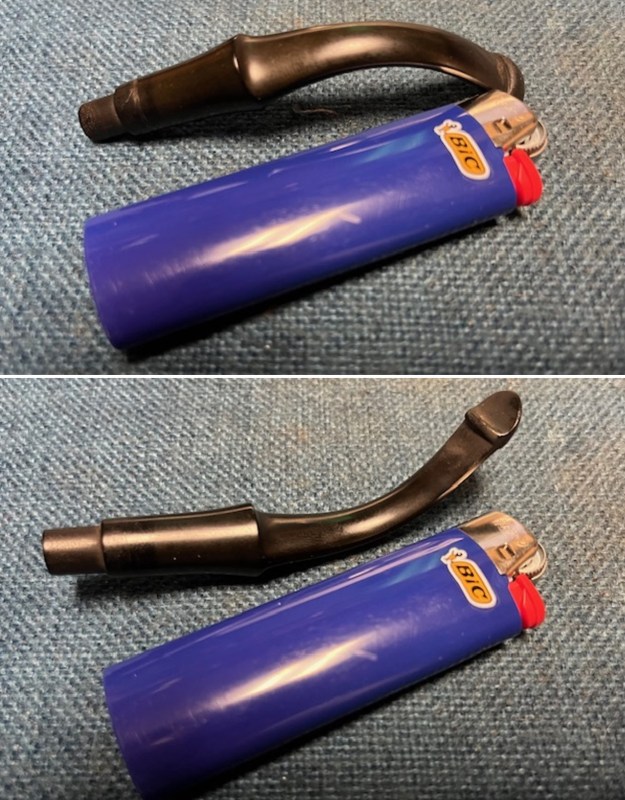
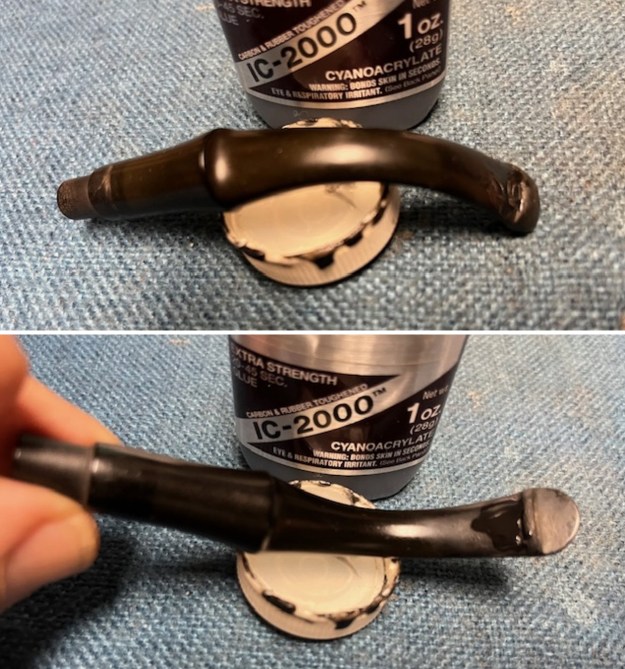
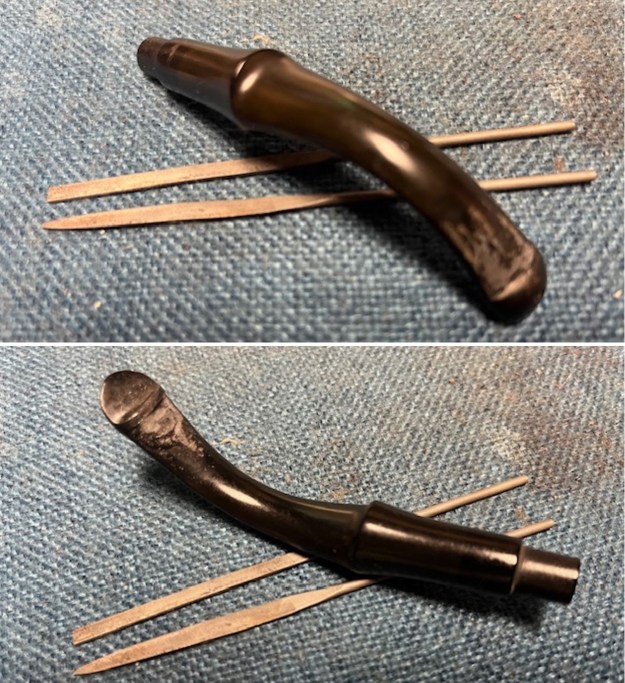
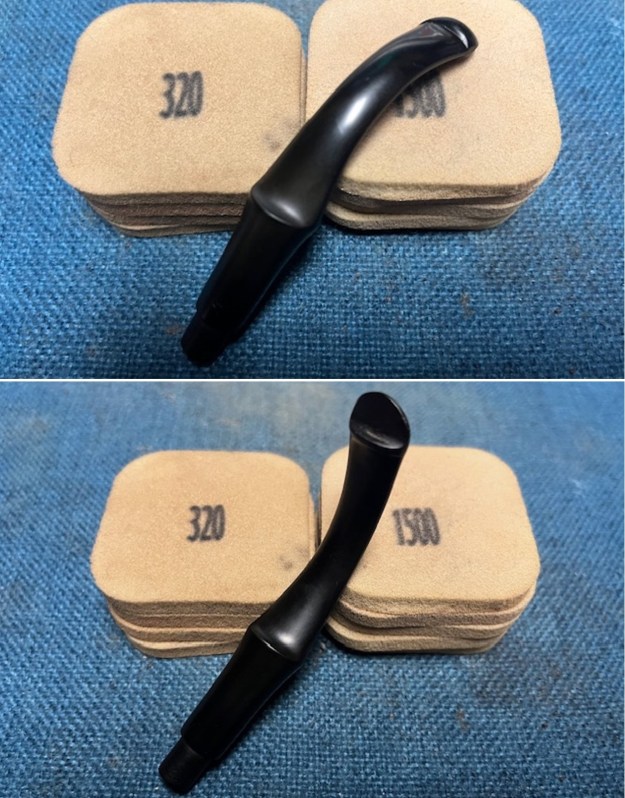
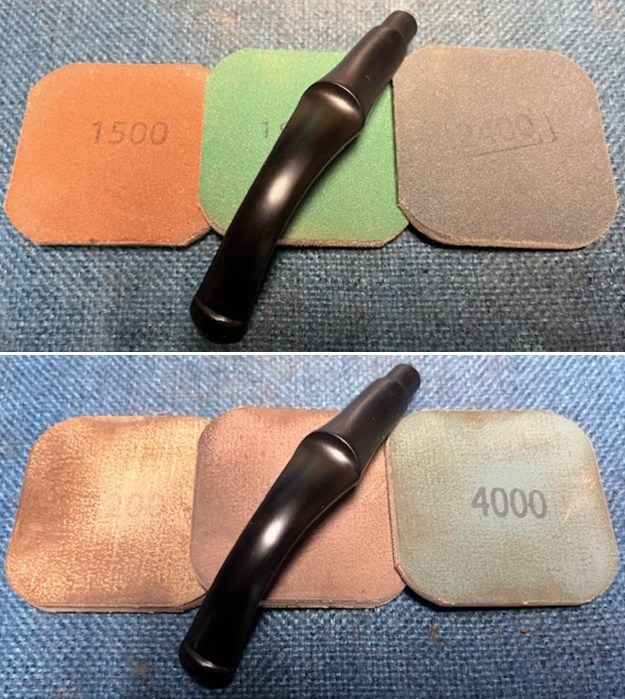
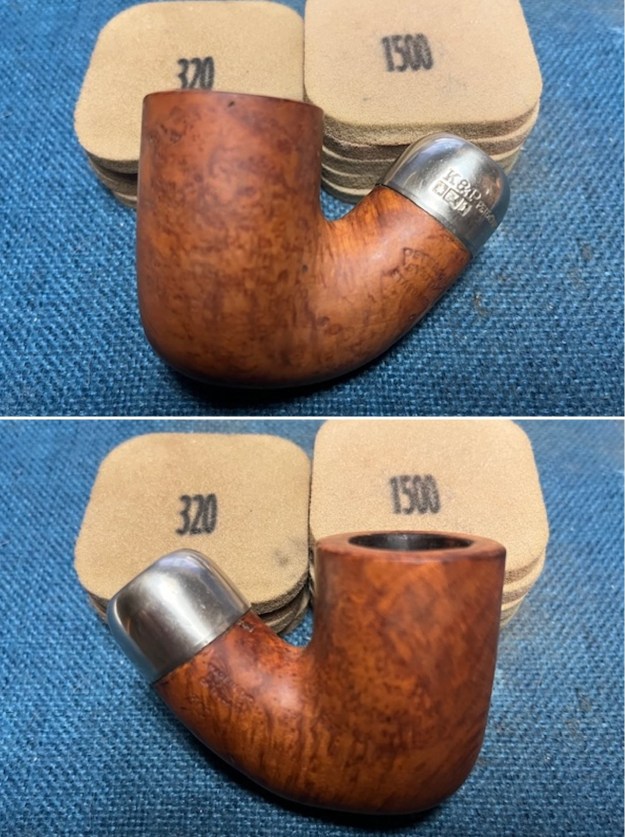
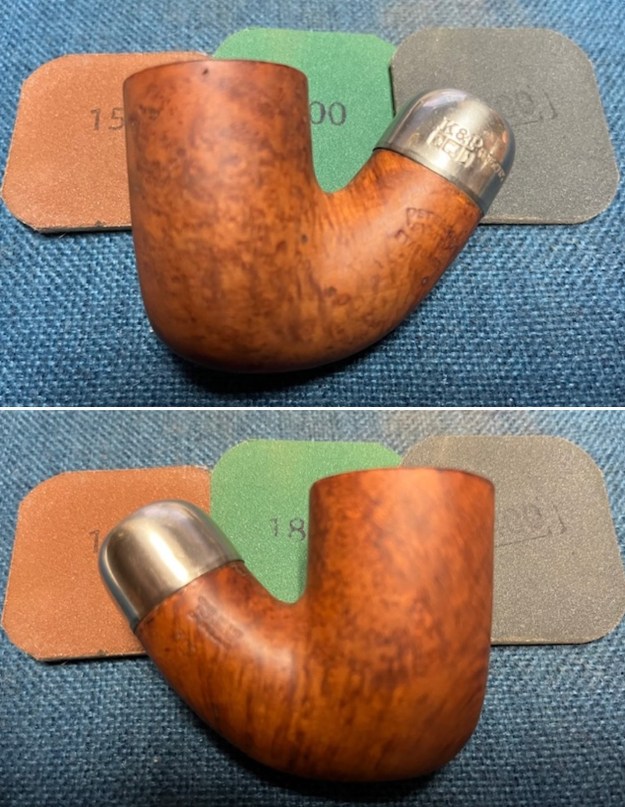
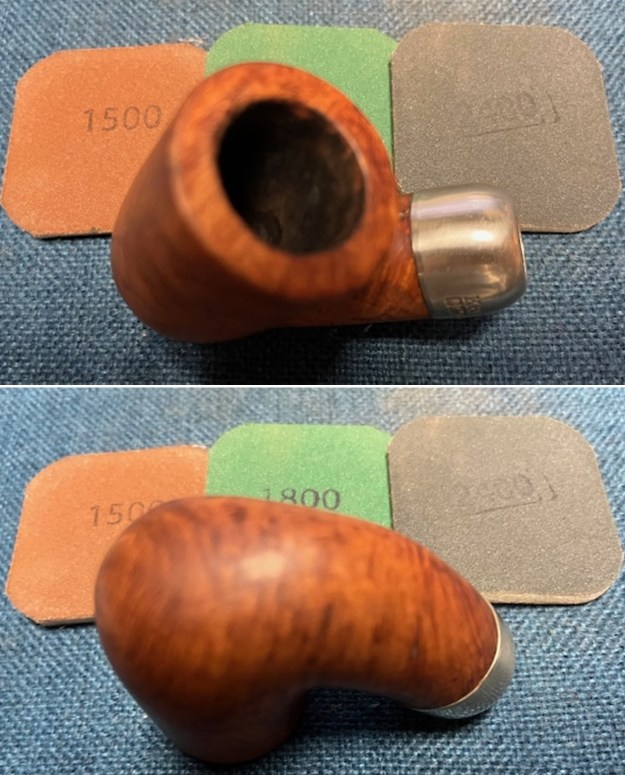
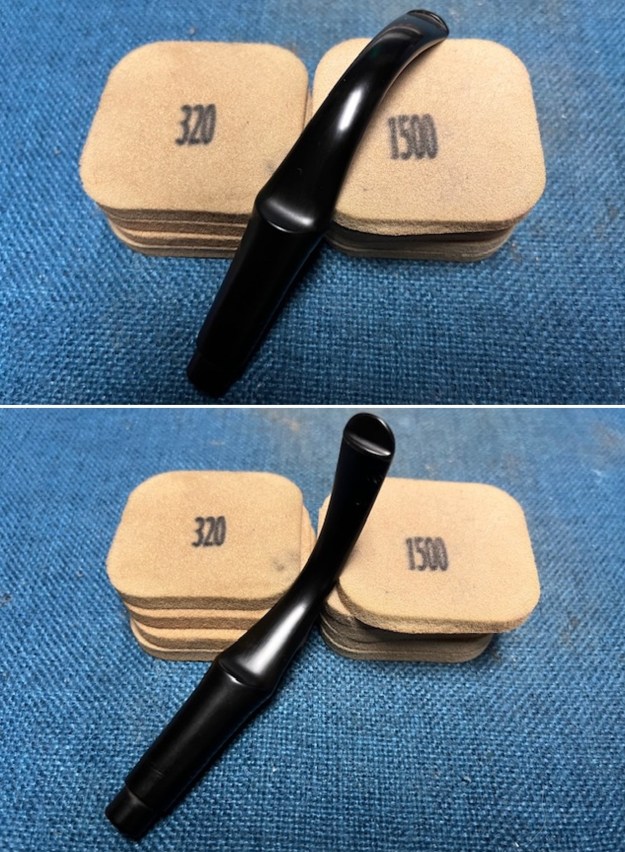
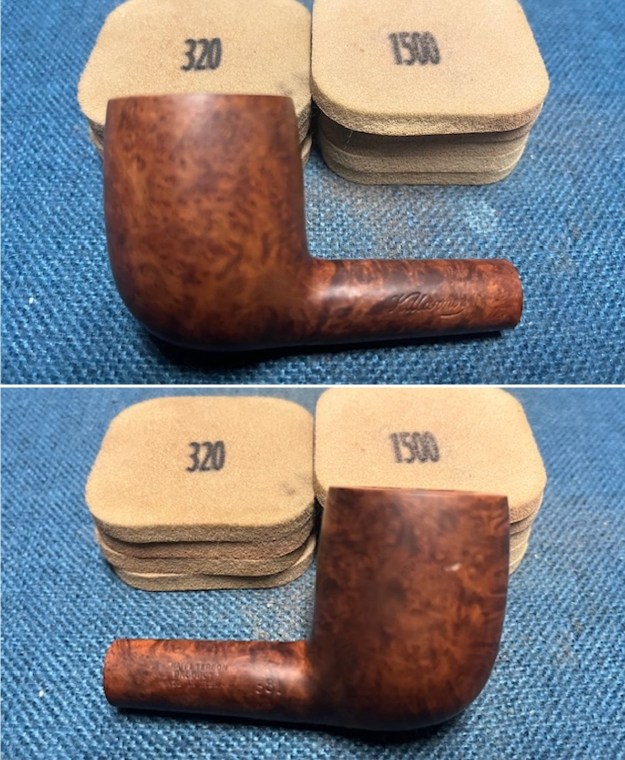
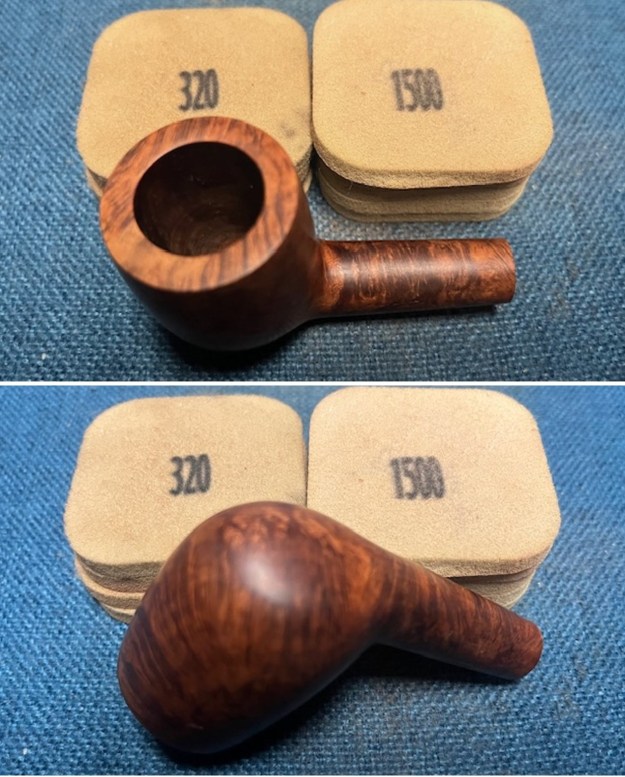
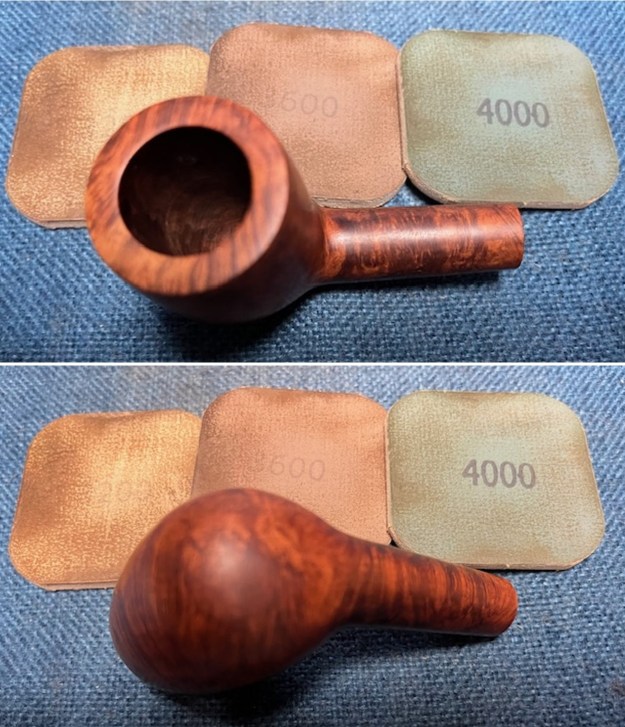
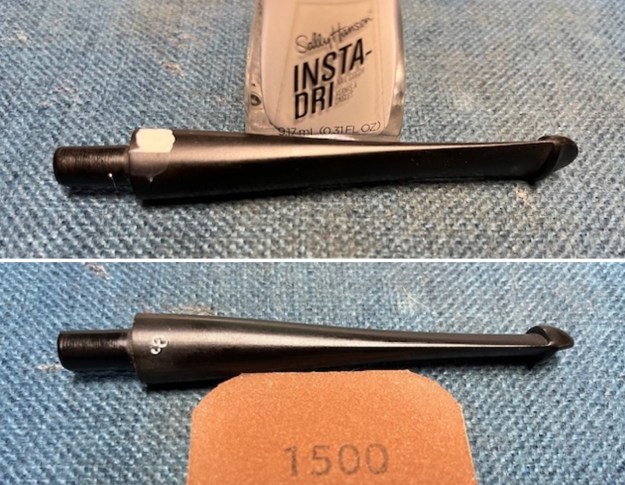
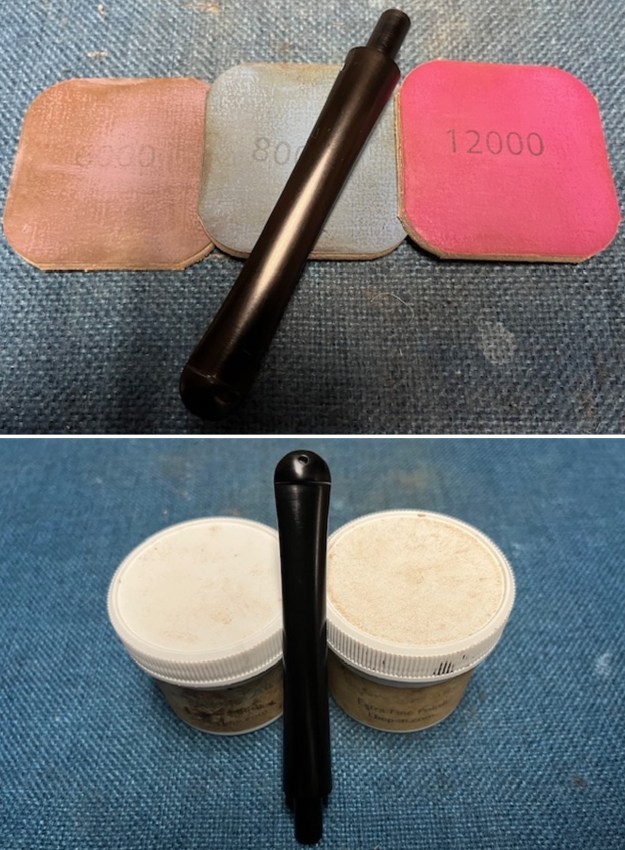
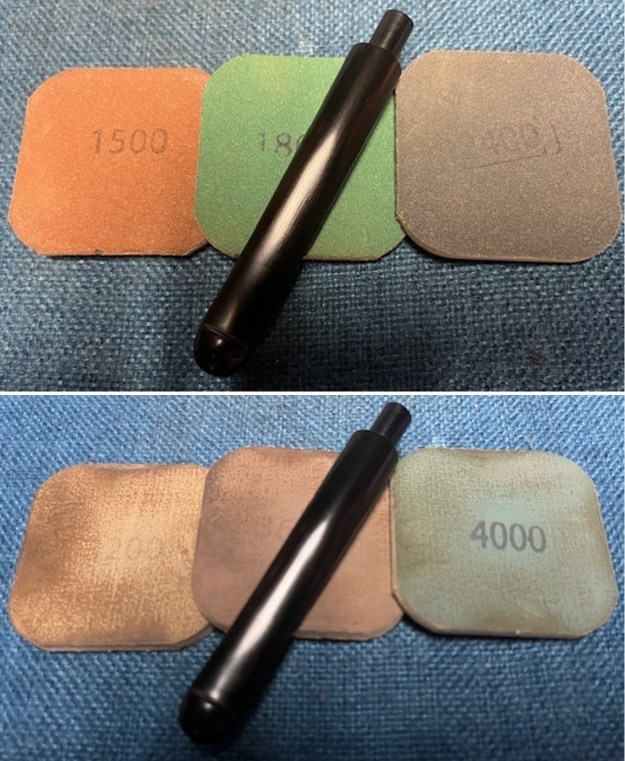
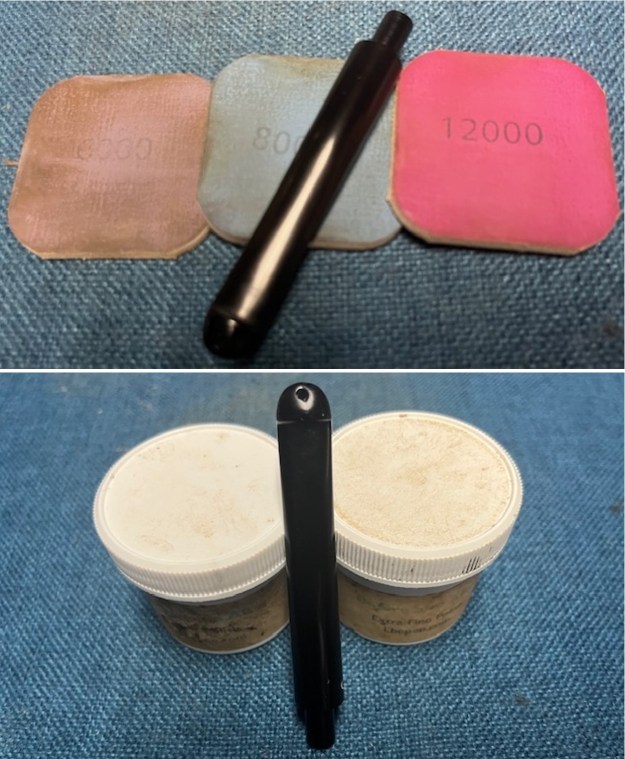
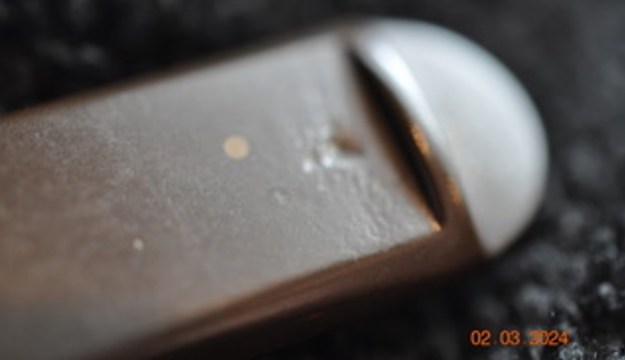
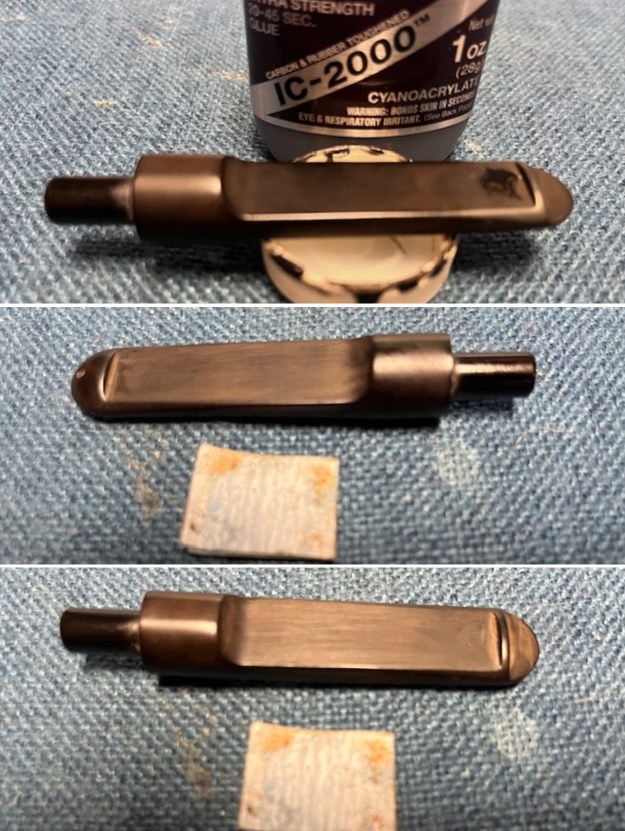
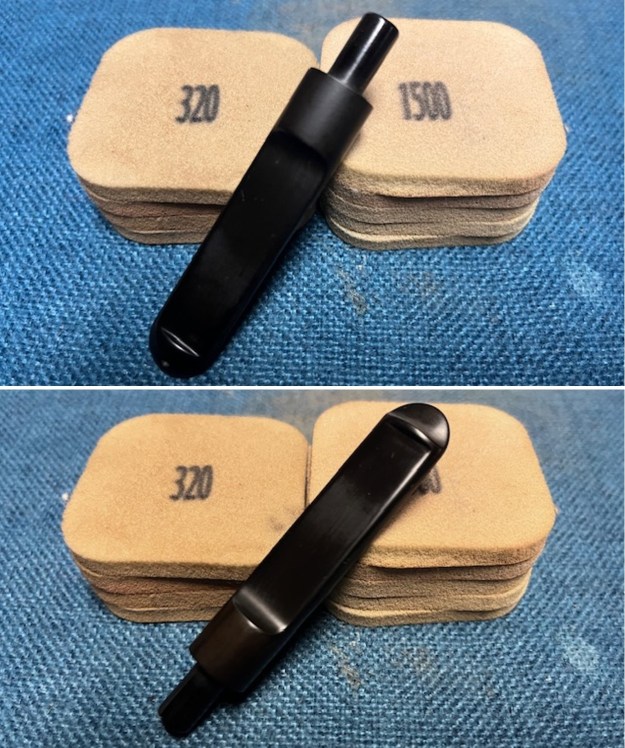
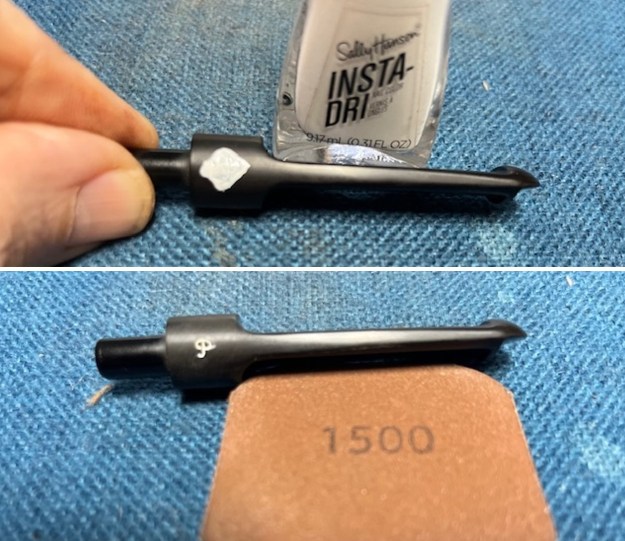
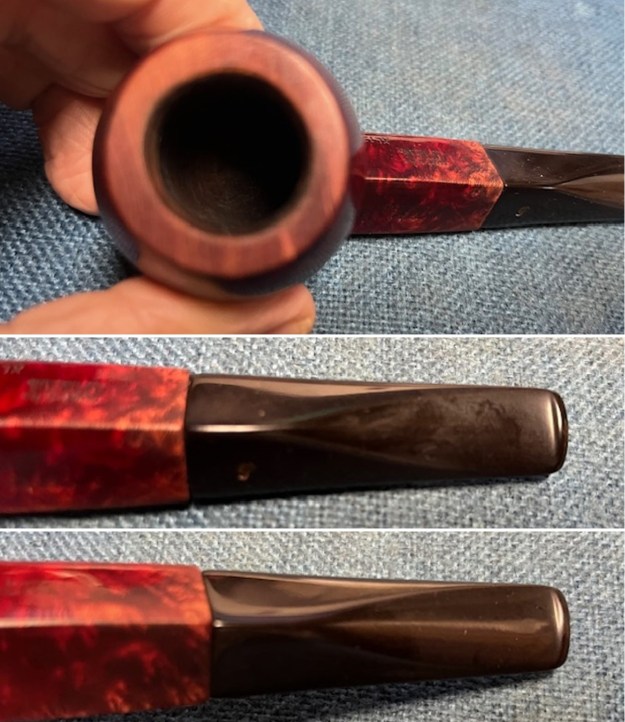
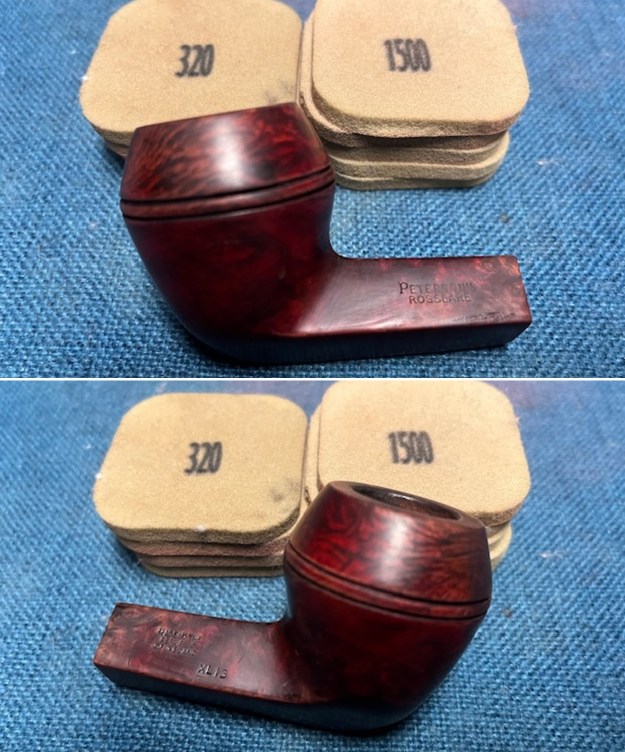
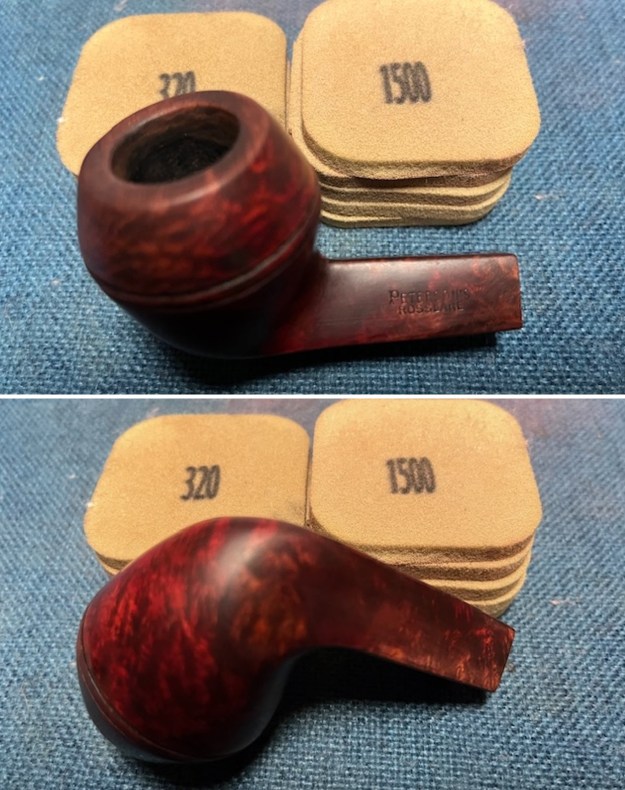
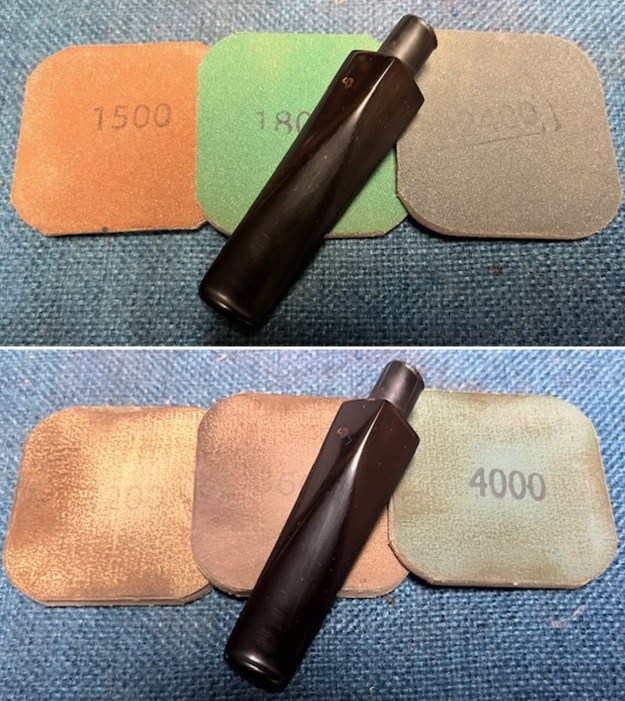
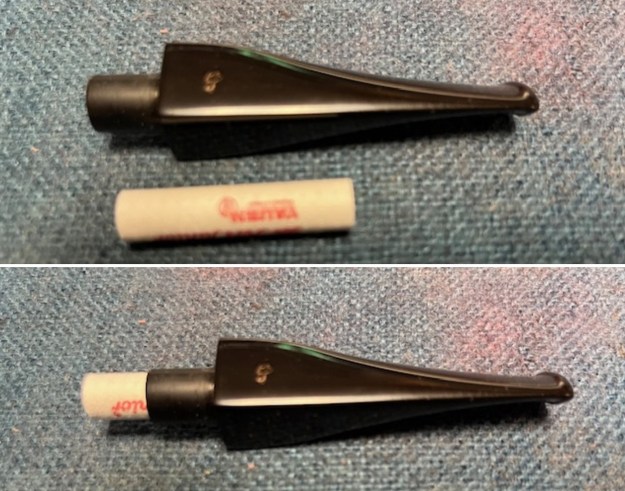
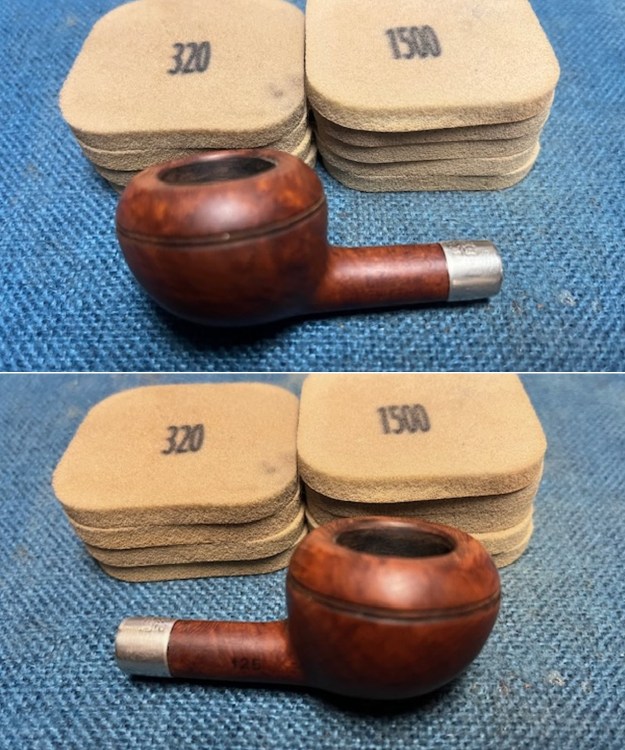
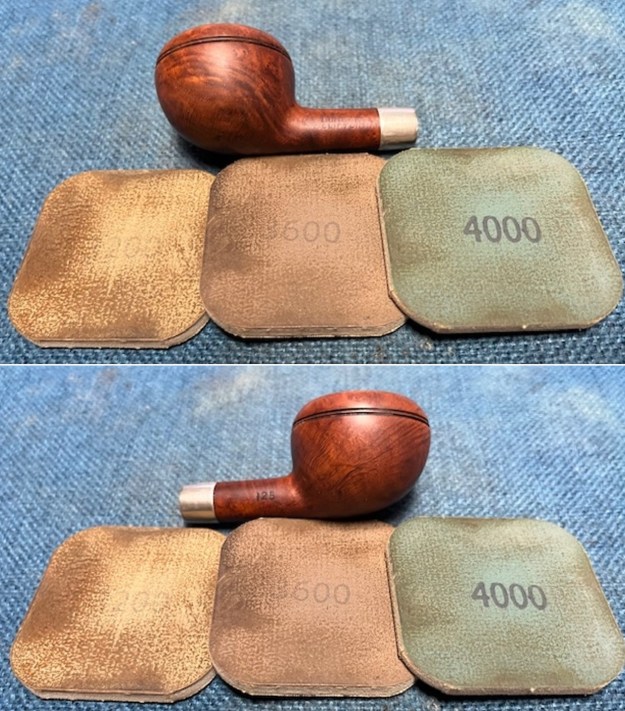
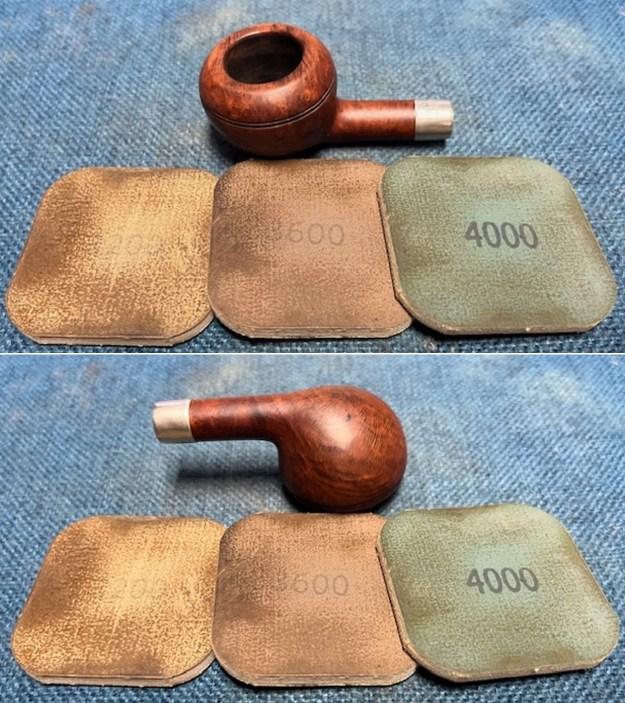
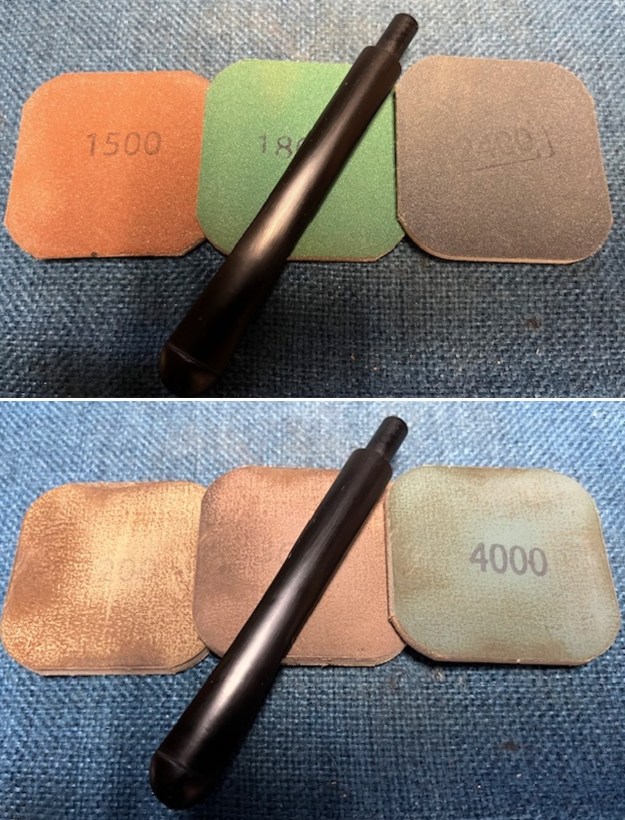
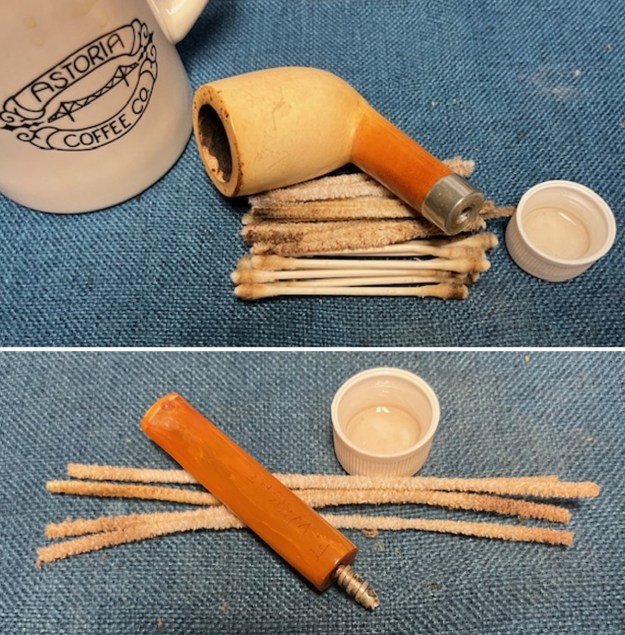
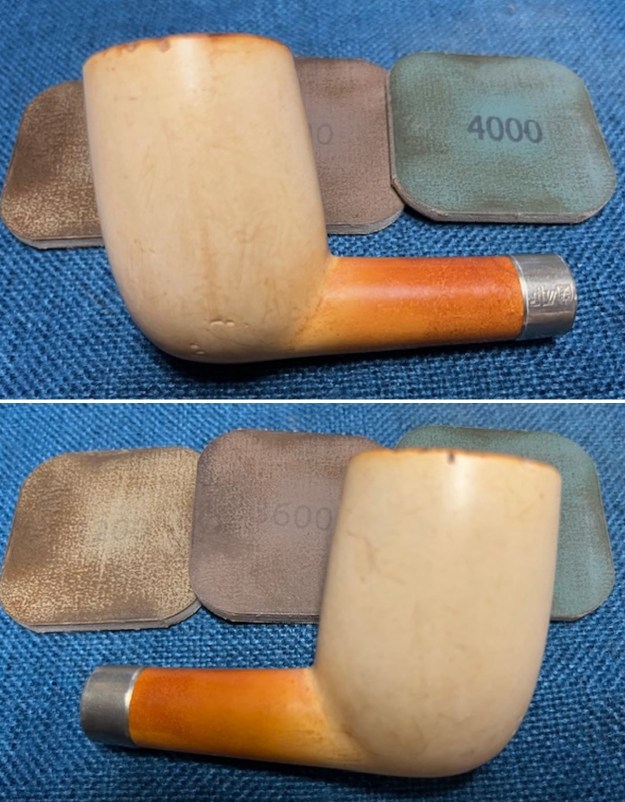
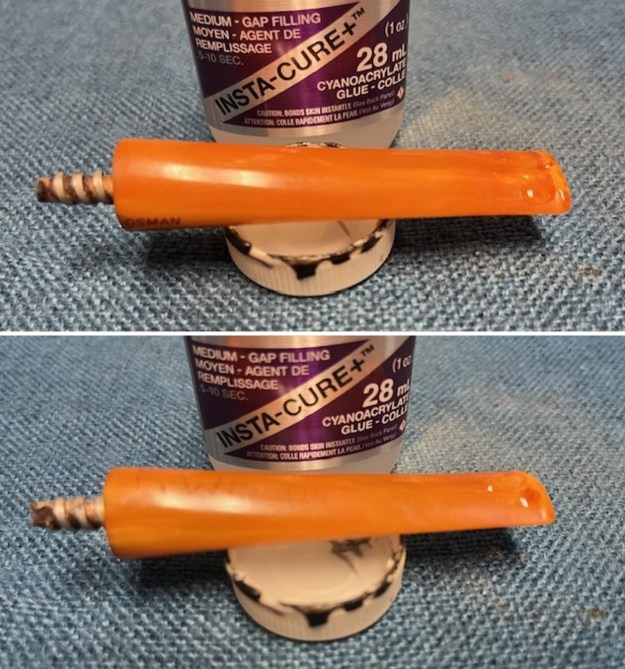
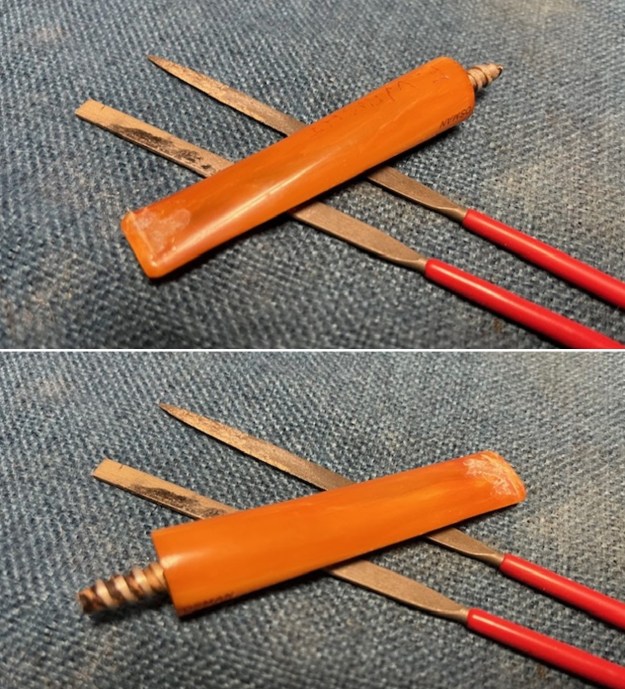
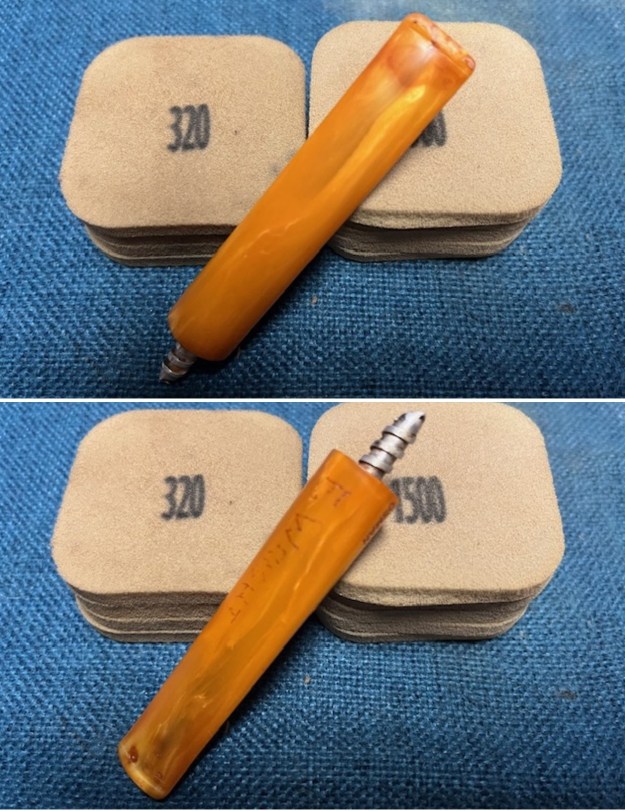
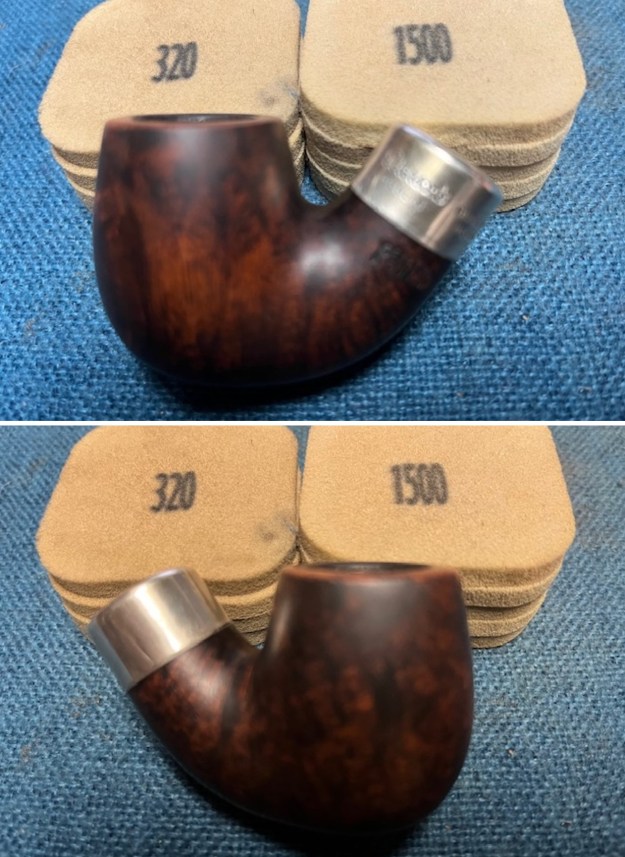
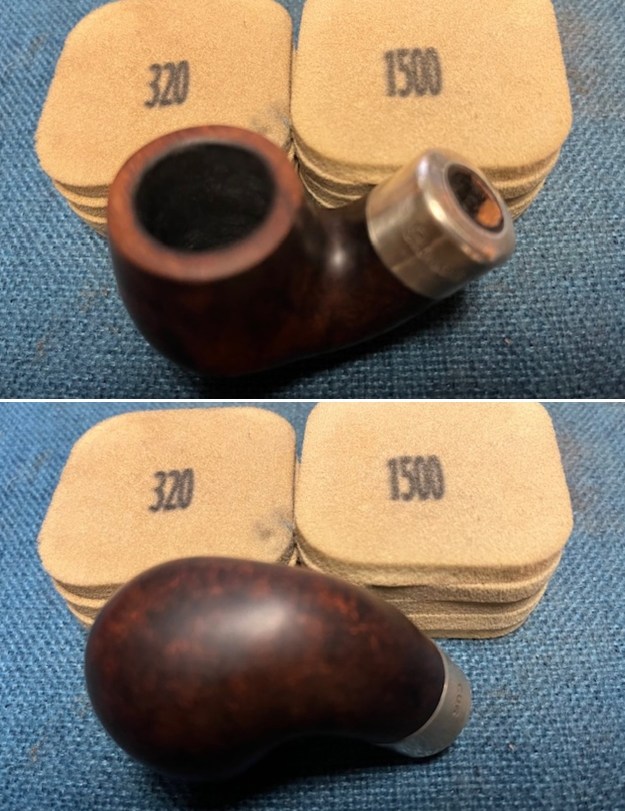
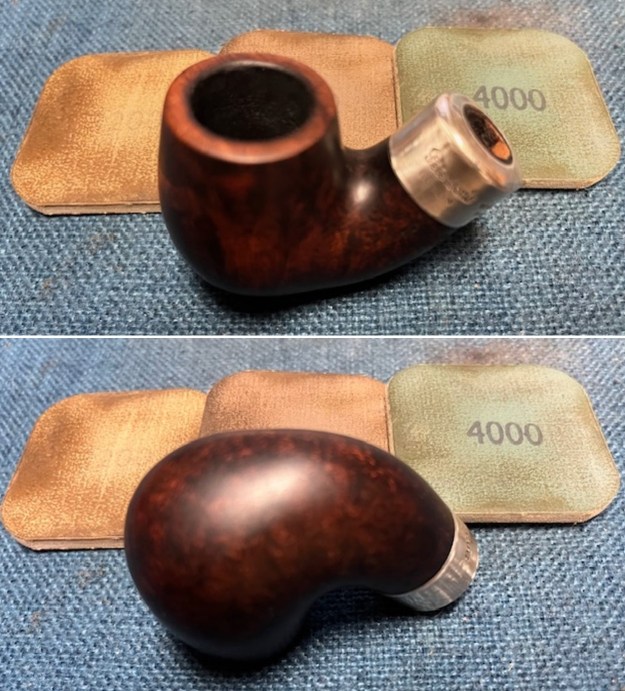
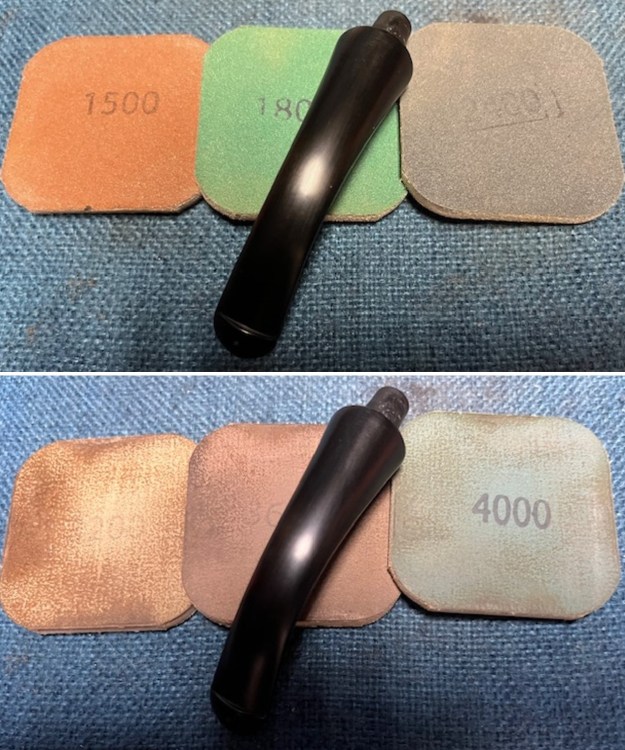
 I sanded out the scratches in the stem at the shank end. There marks, almost small cuts in the vulcanite that I sanded out with 320-3500 grit 2×2 inch pads. I was able to remove the marks and give the stem a rich shine. There was some glue from a previous repair on the tenon and face of the stem to expand the tenon. I scraped off the excess glue and sanded the tenon and the stem surface at the same time.
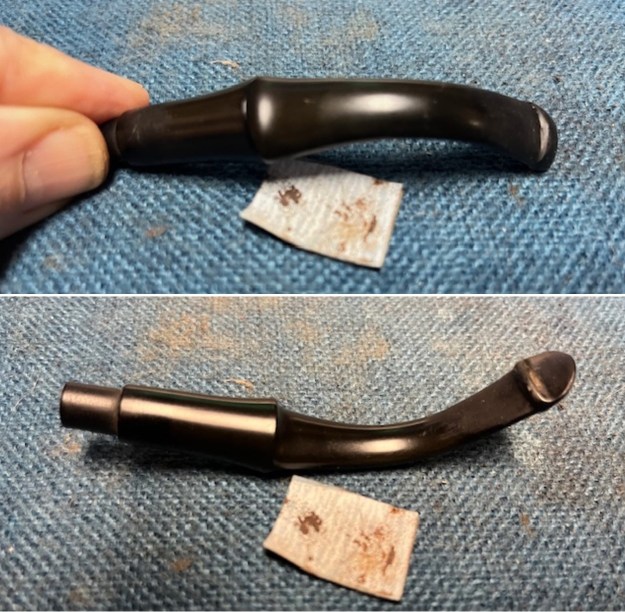
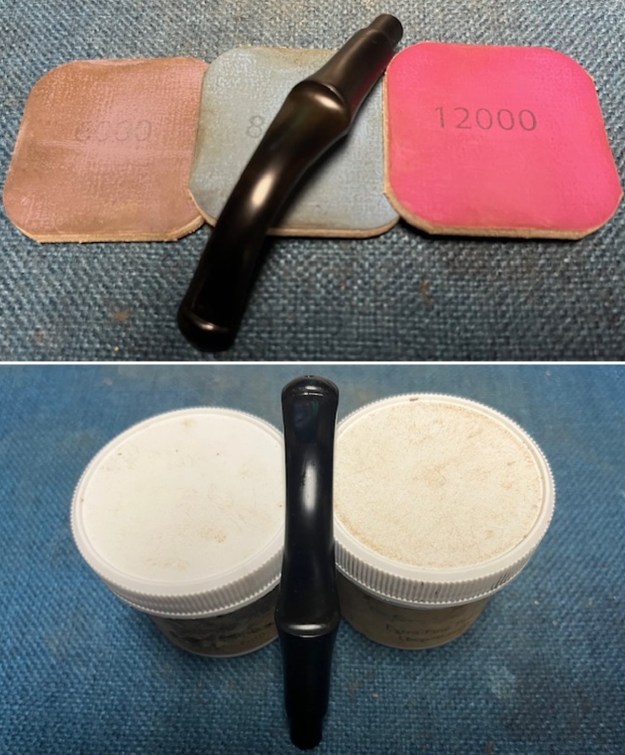
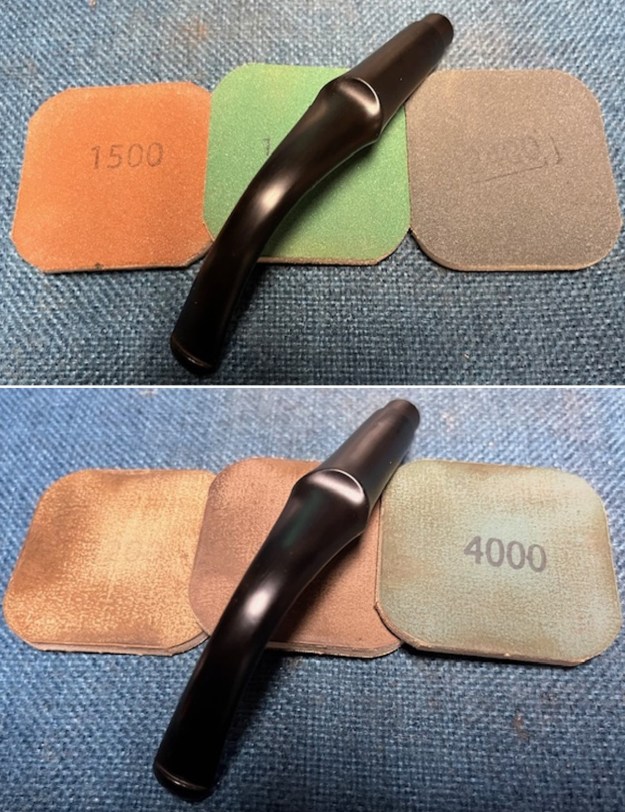
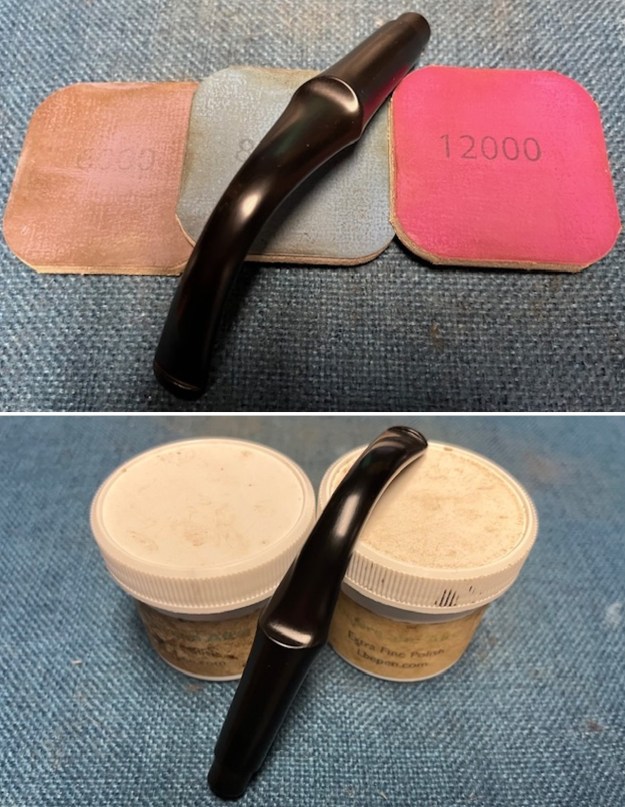
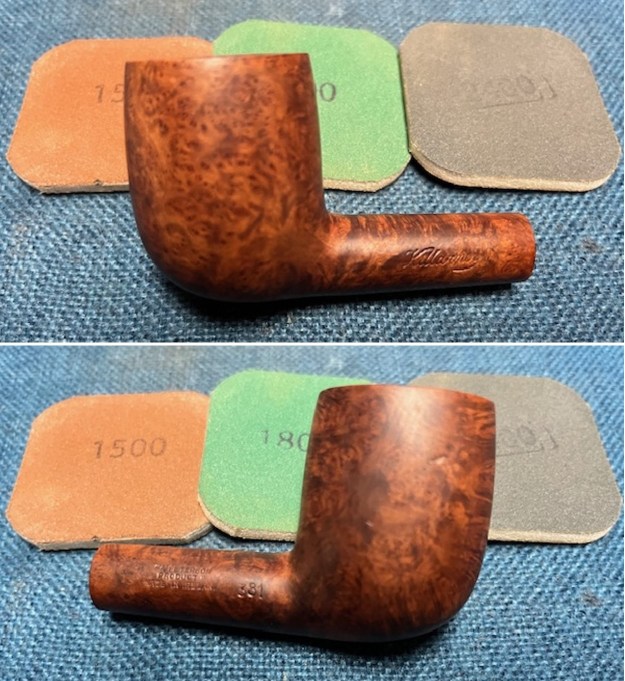
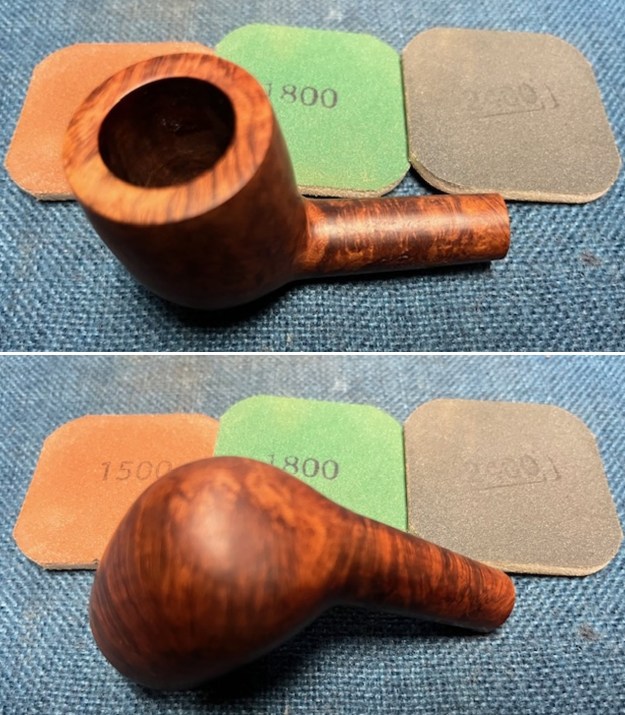
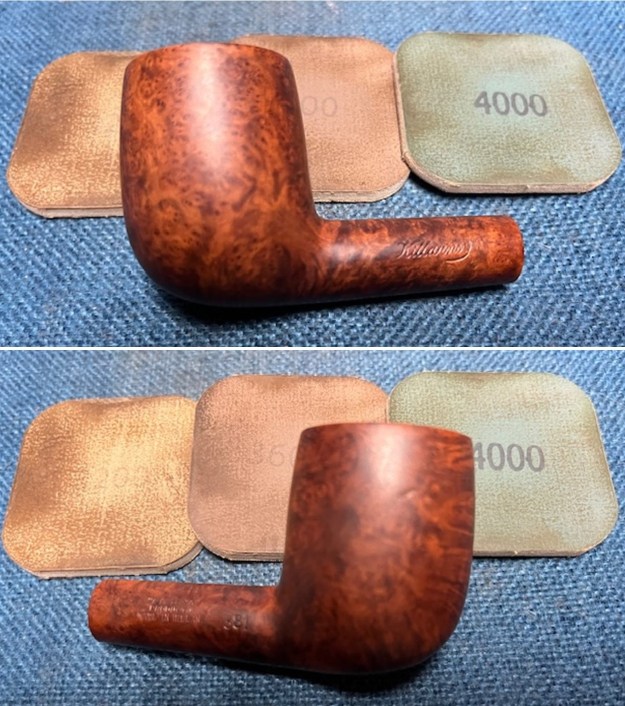
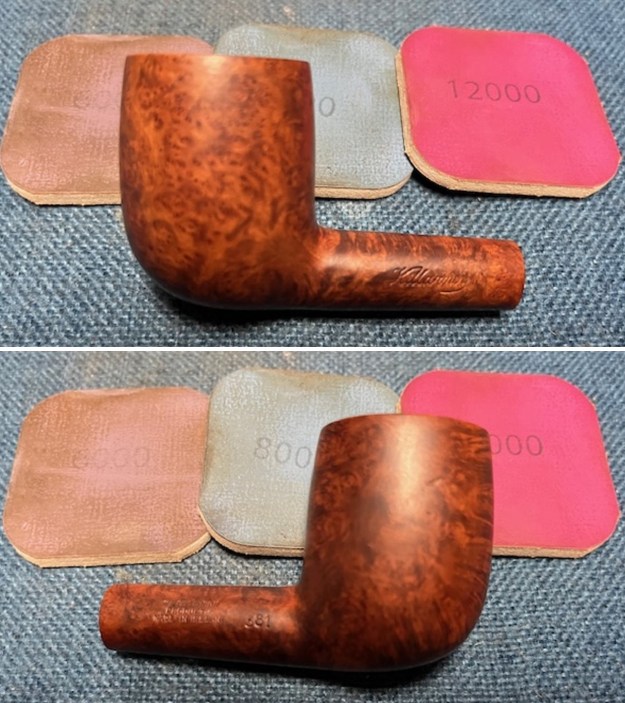
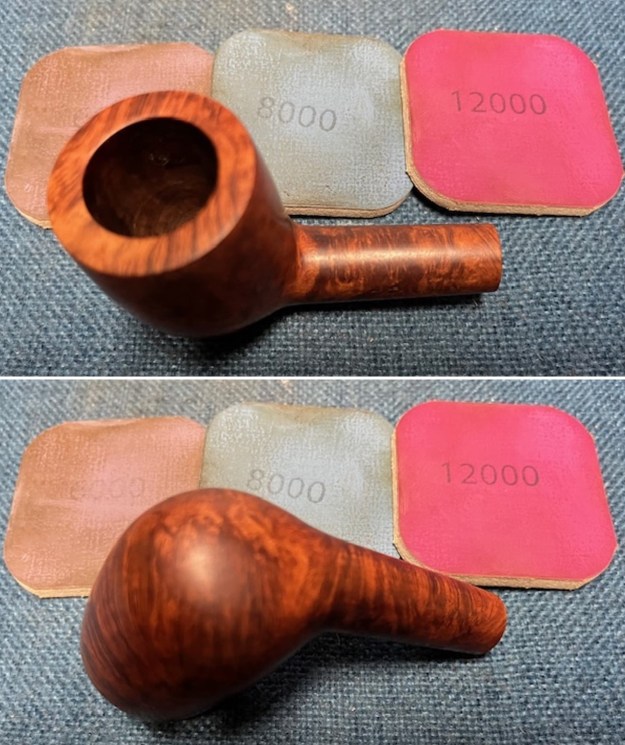
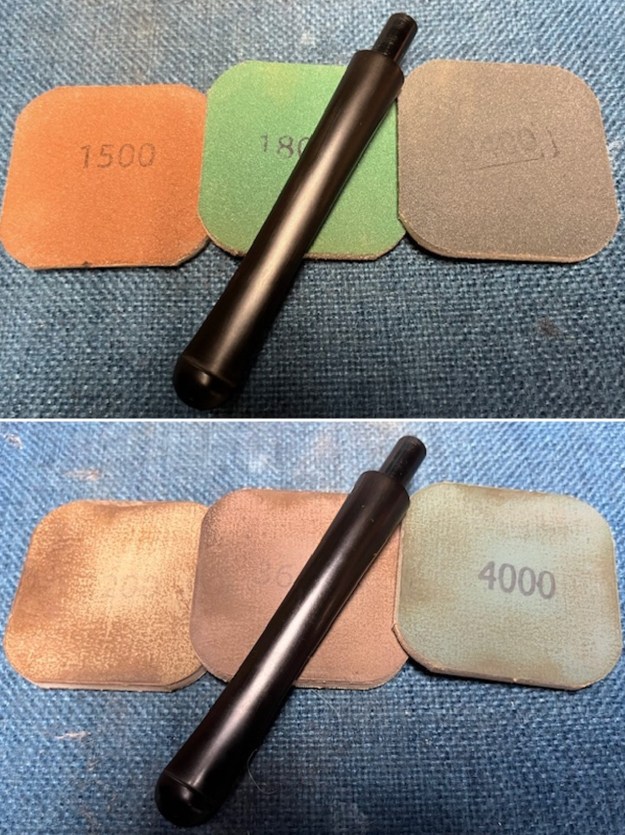
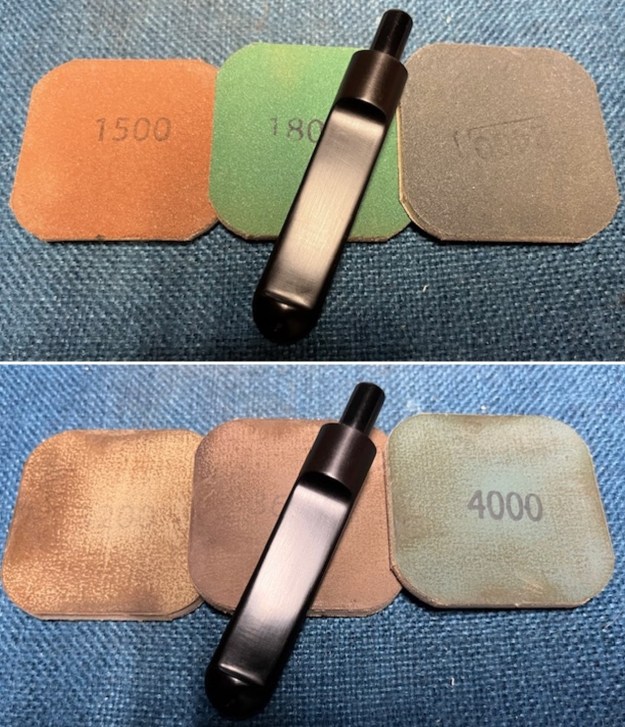
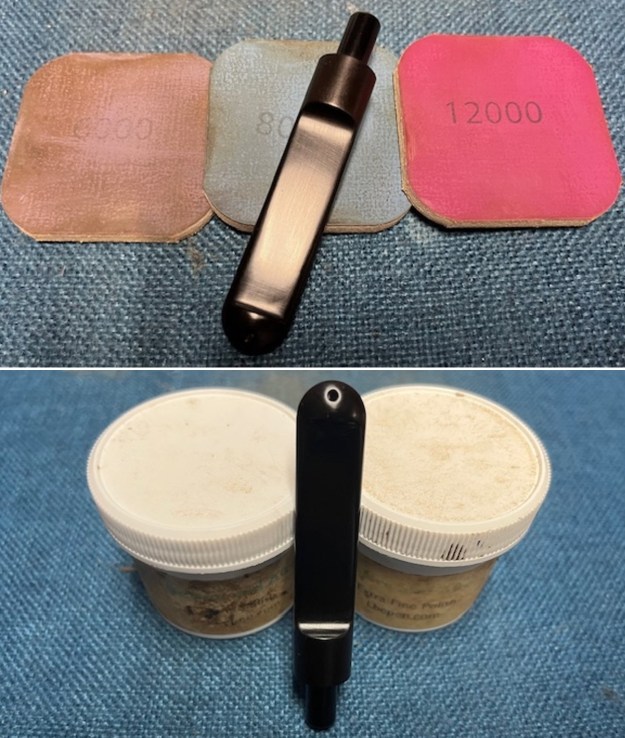
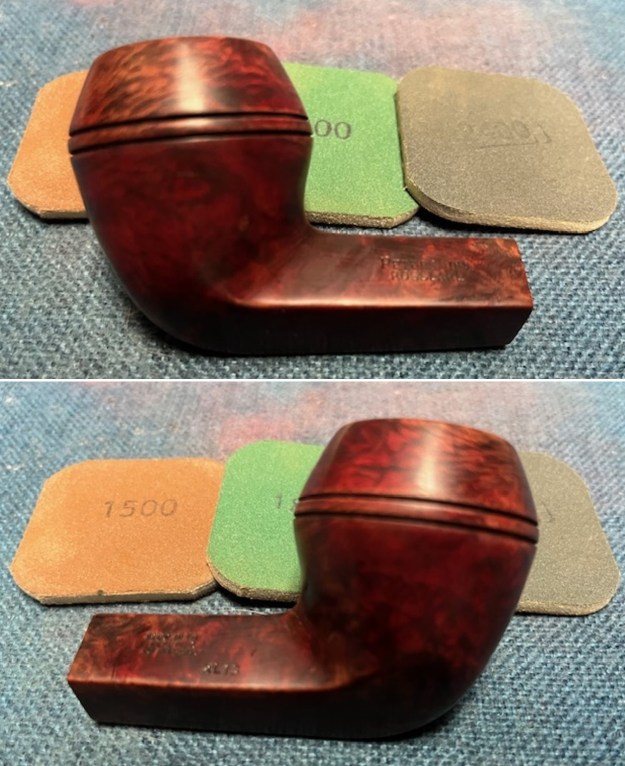
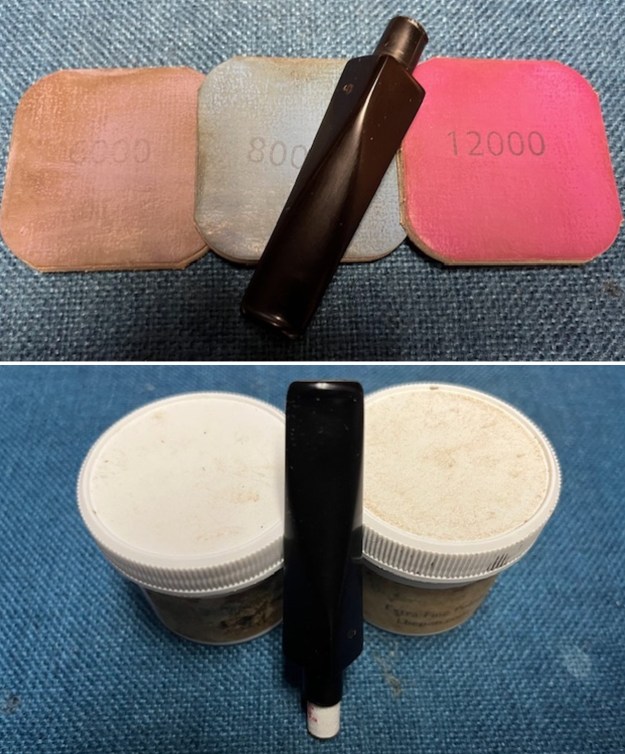
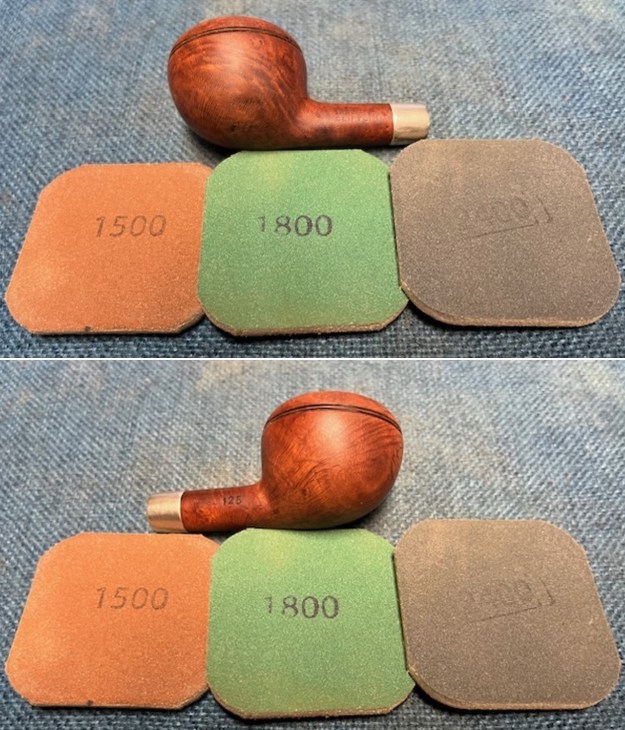
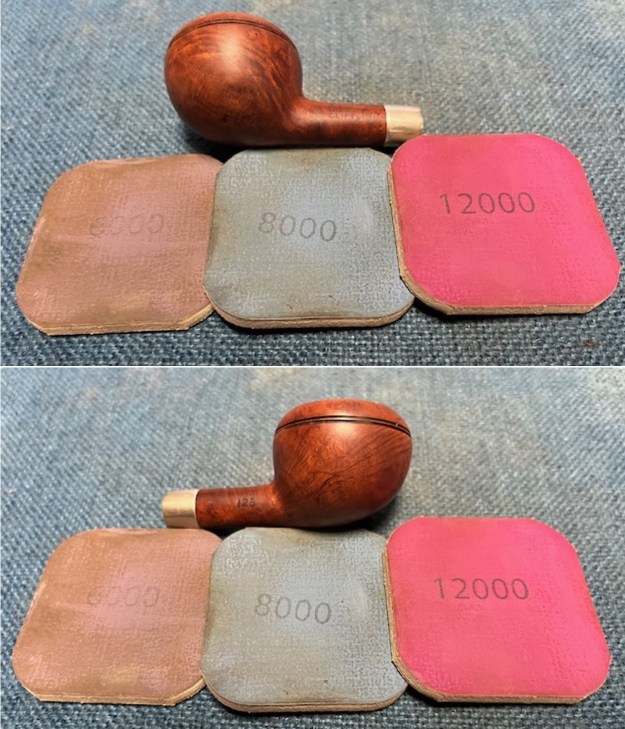
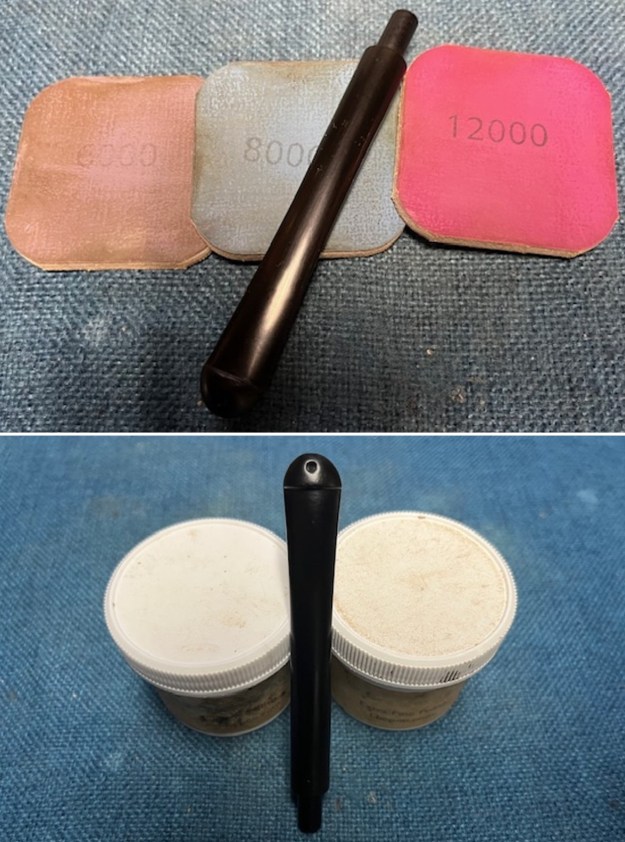
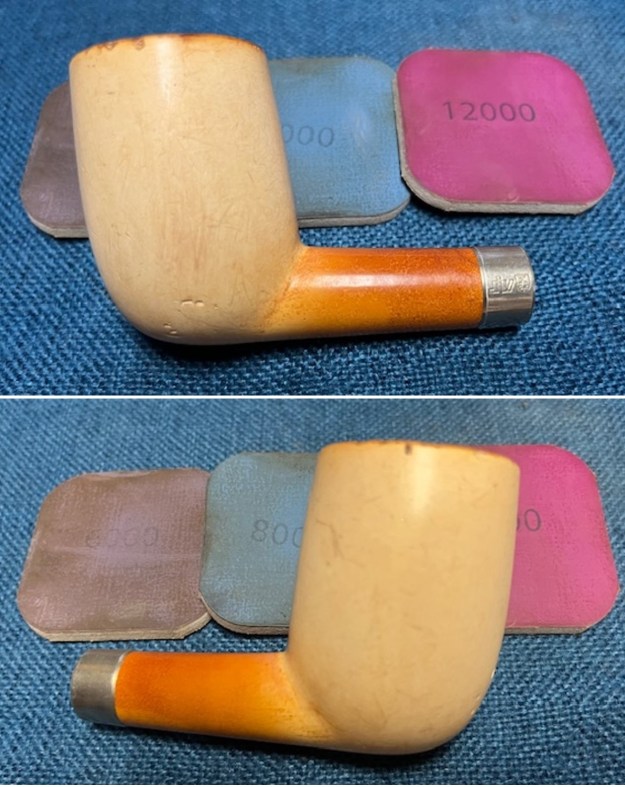
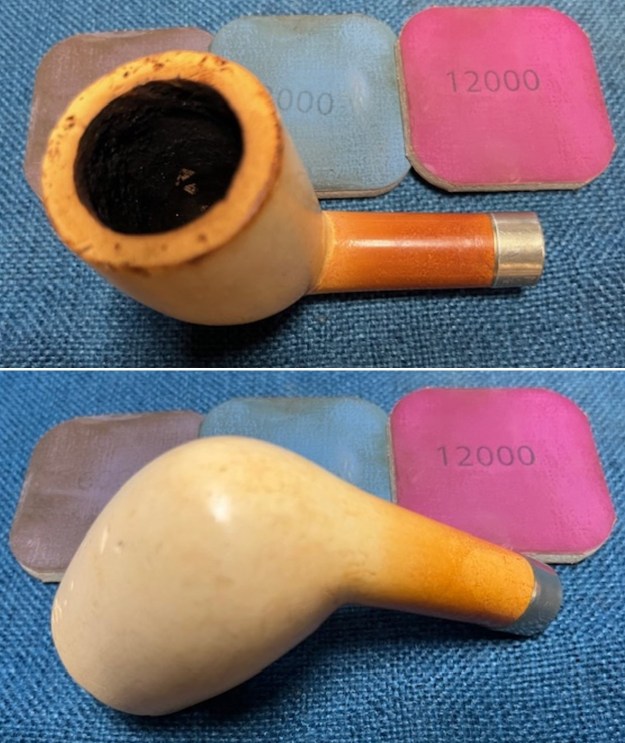
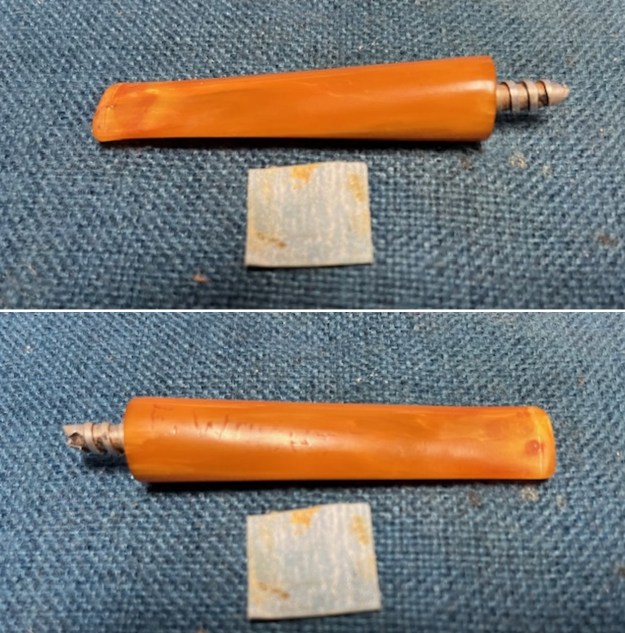
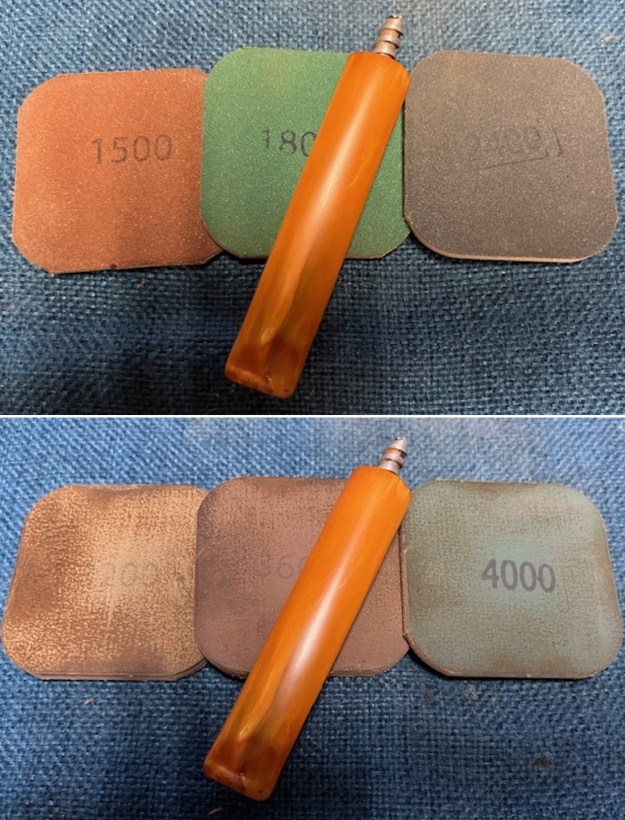
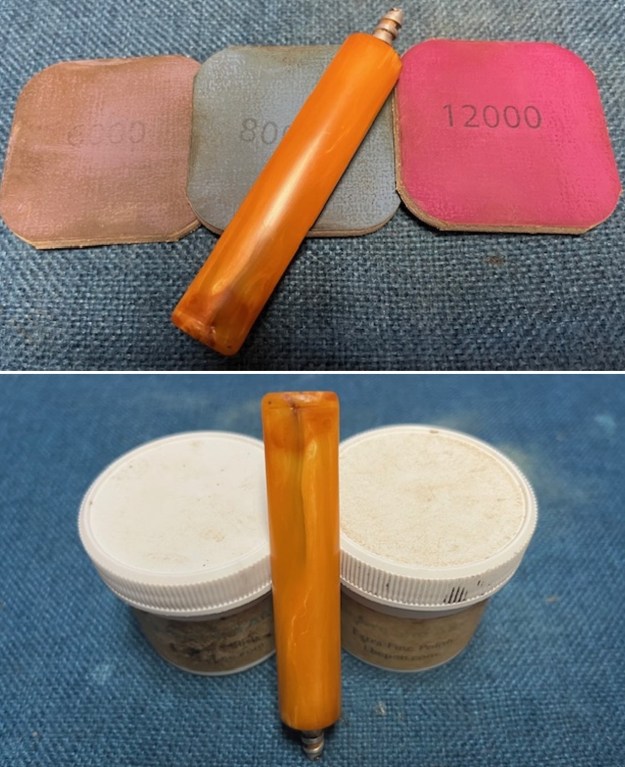
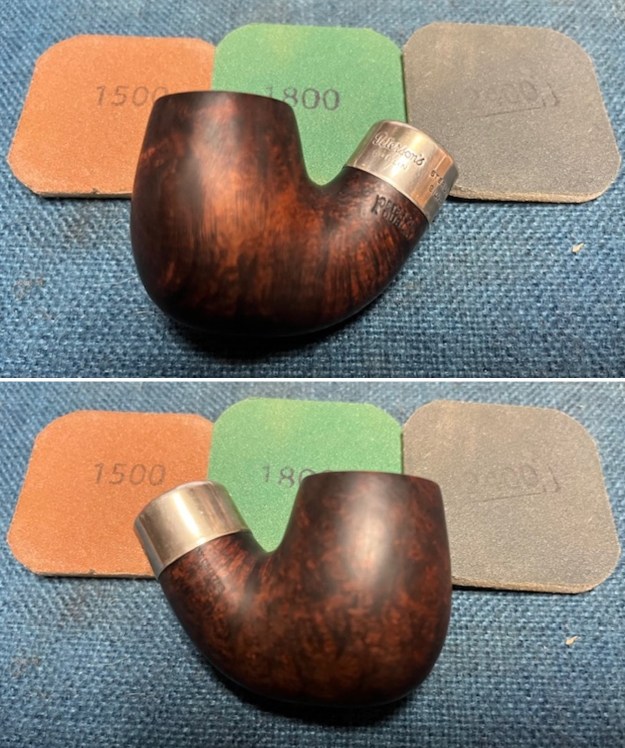
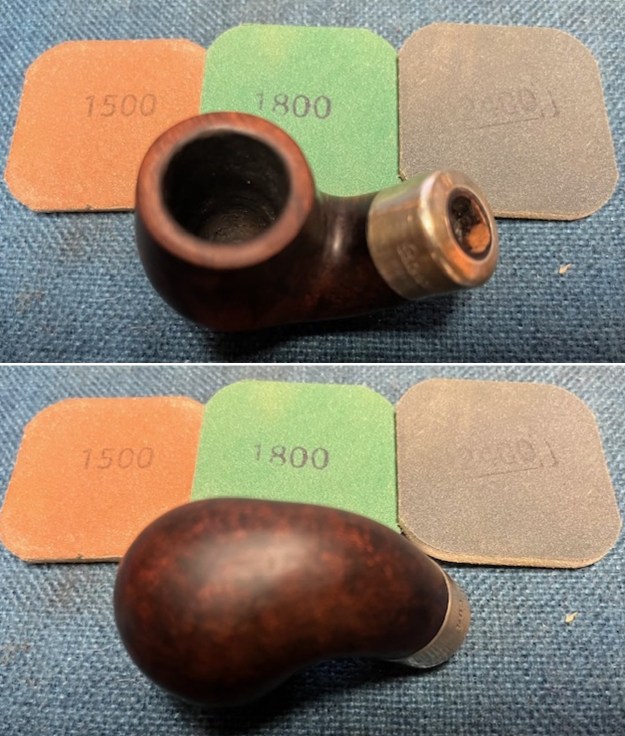
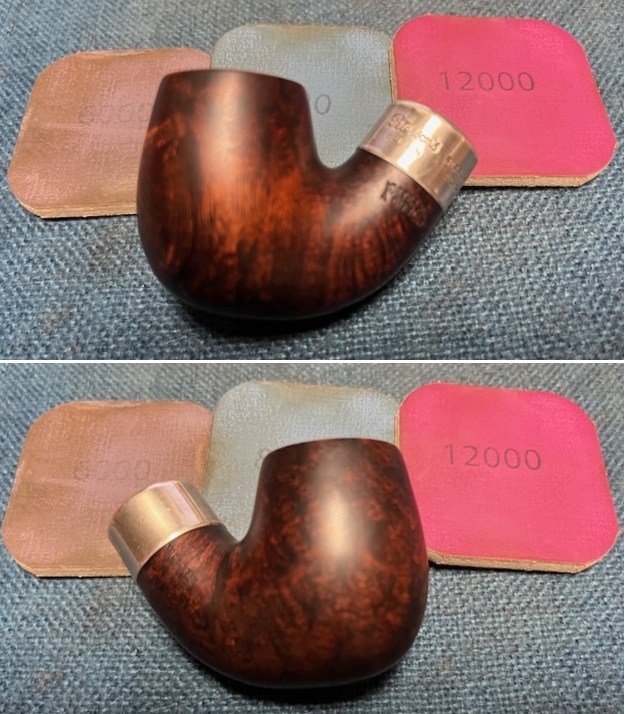
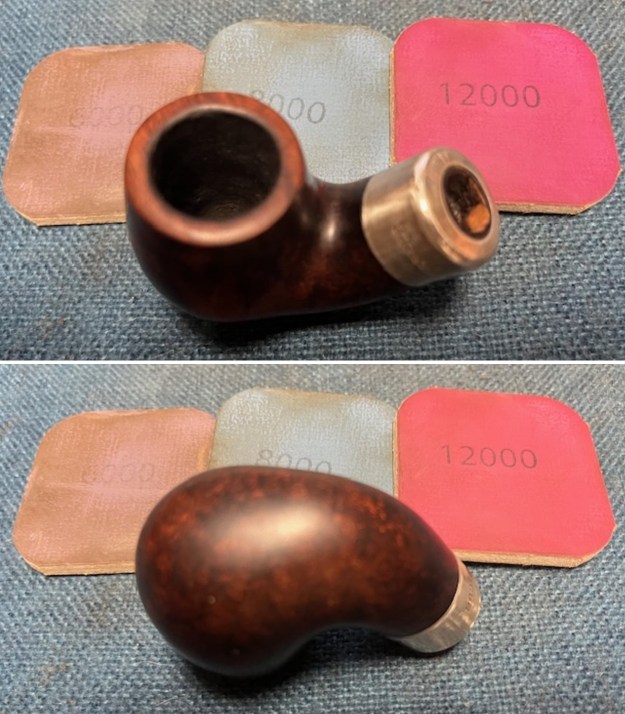
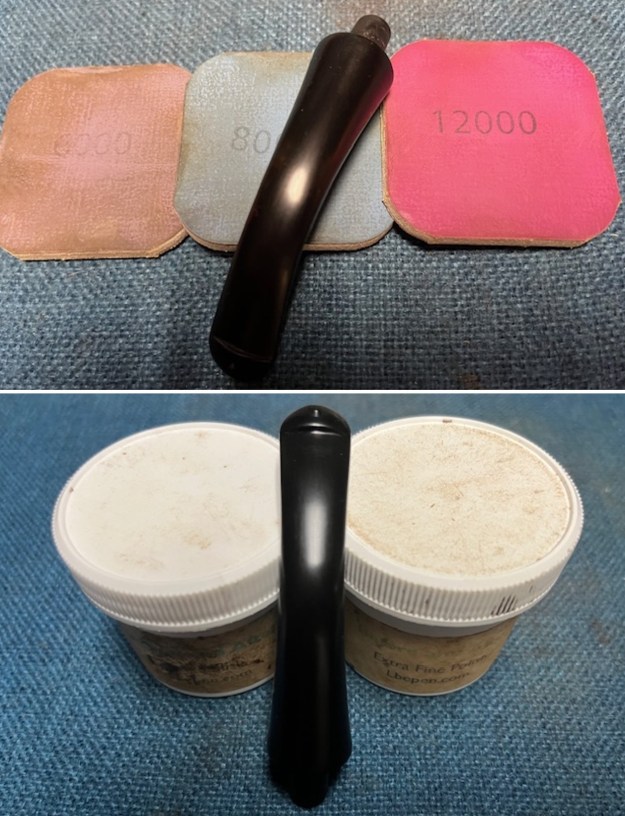
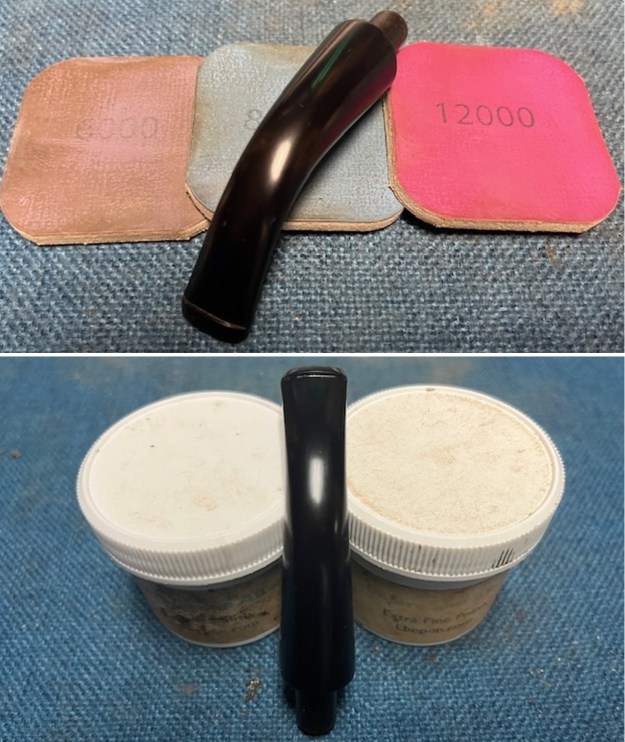
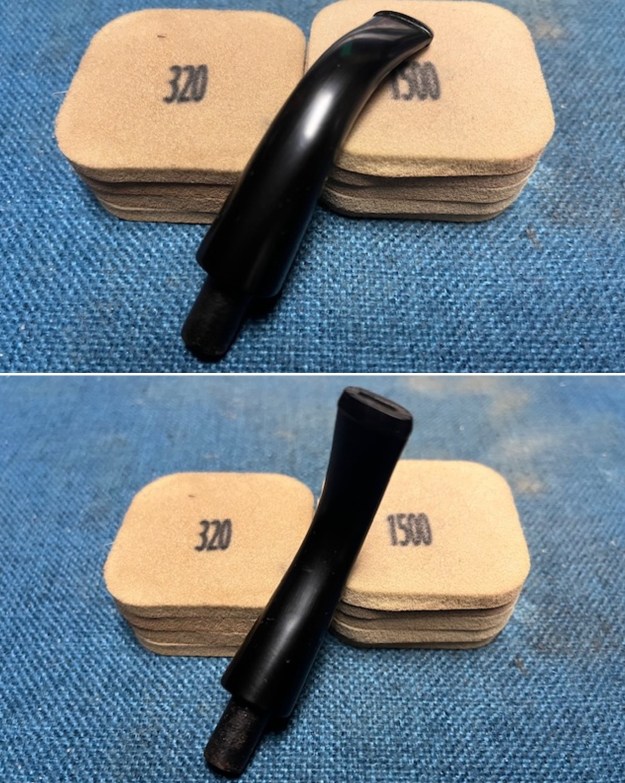 I polished the stem with micromesh sanding pads – 1500-12000 grit pads. I wiped it down with Obsidian Oil after each sanding pad. I used Before & After Pipe Polish – both Fine and Extra Fine to further polish the stem.
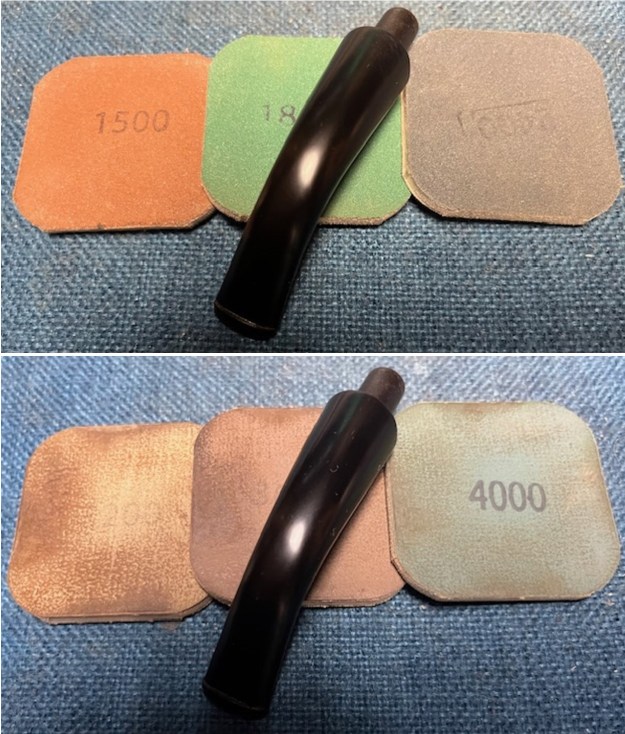
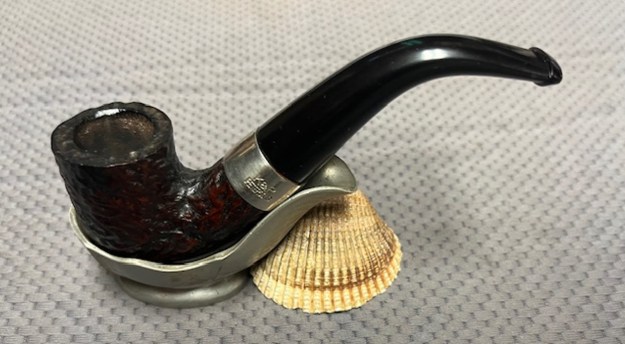
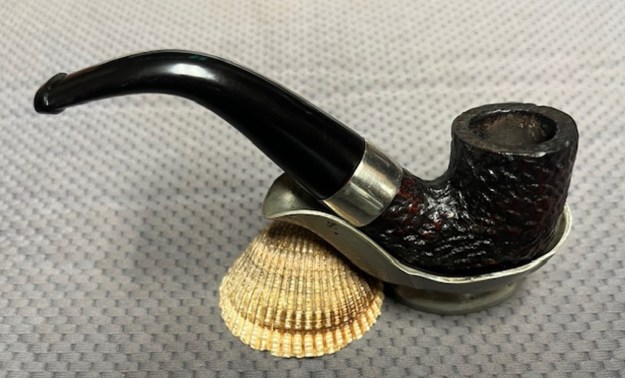
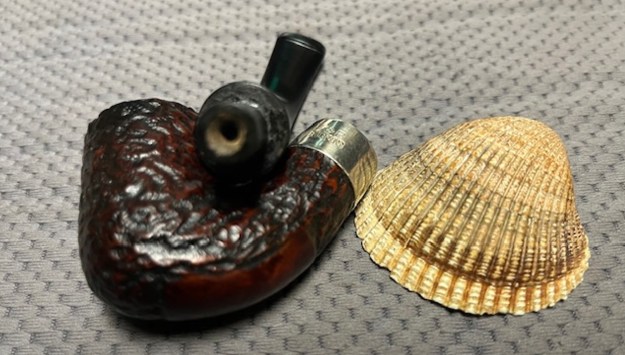
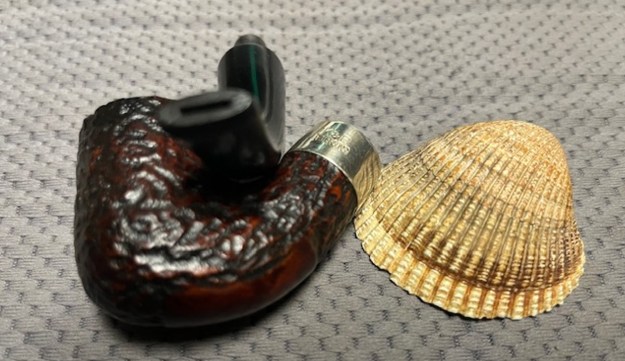
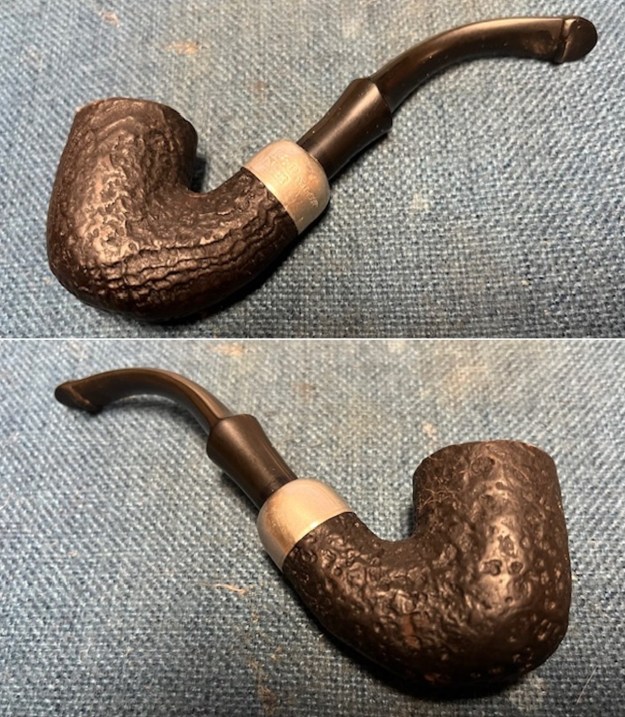
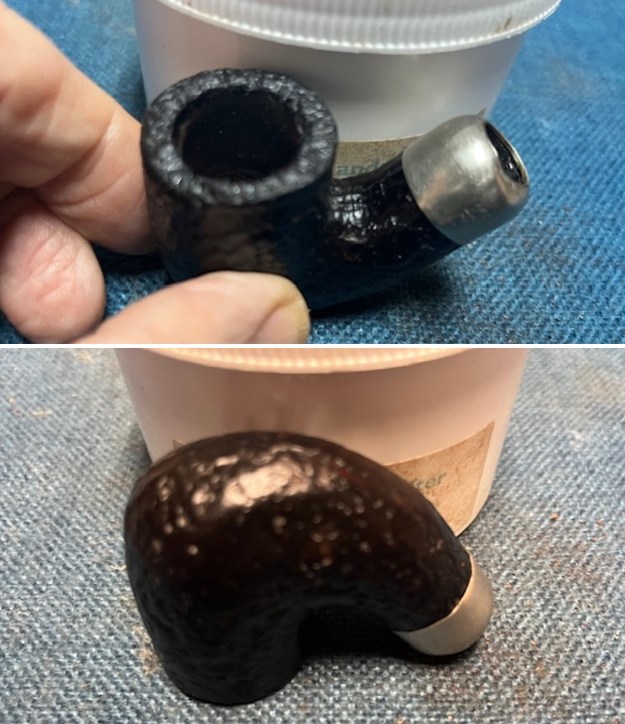
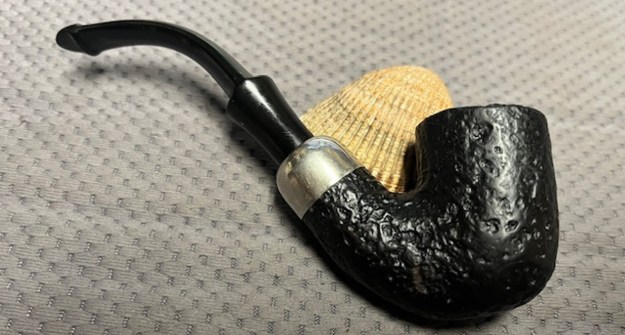
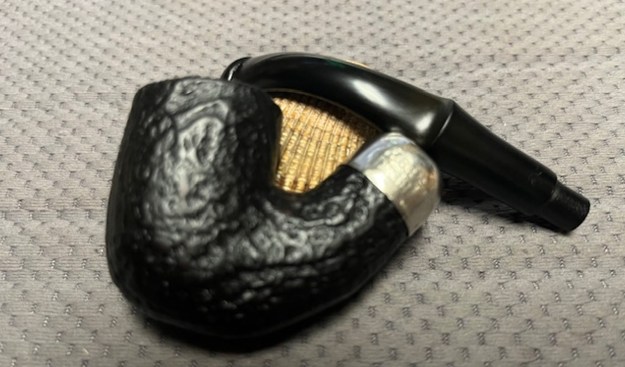
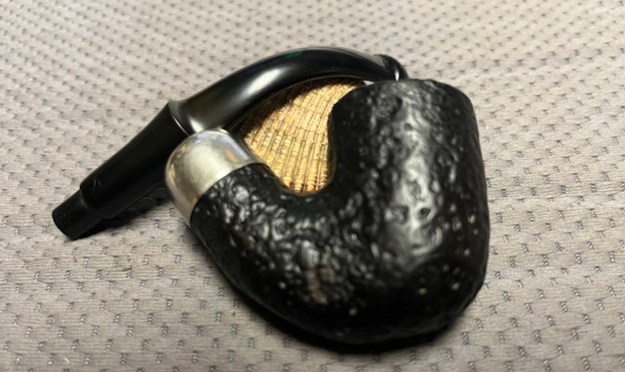
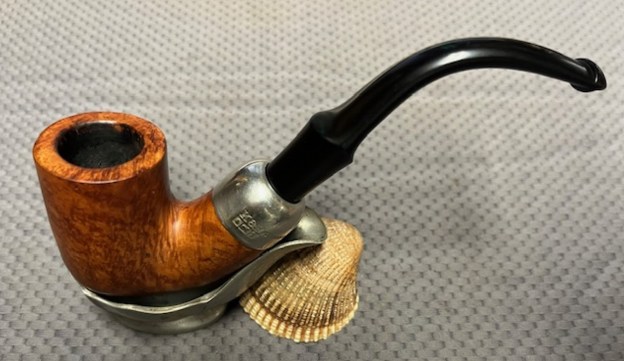
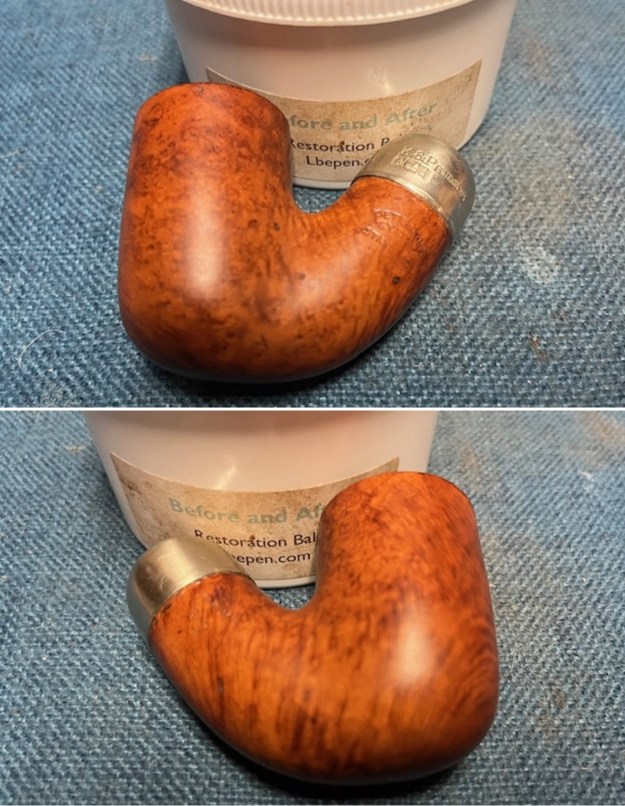
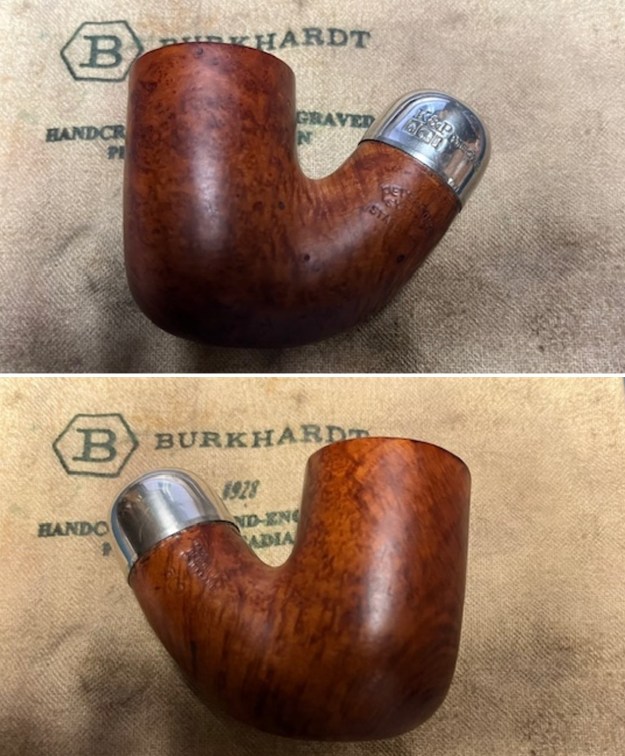
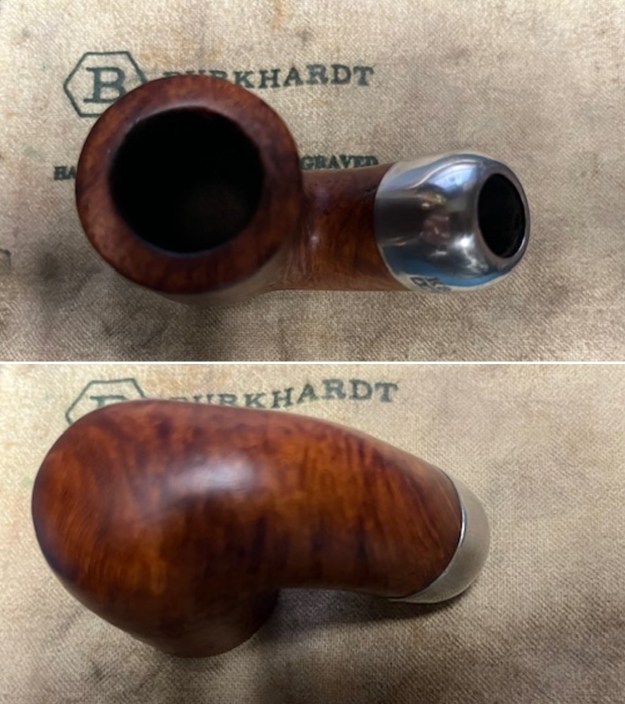
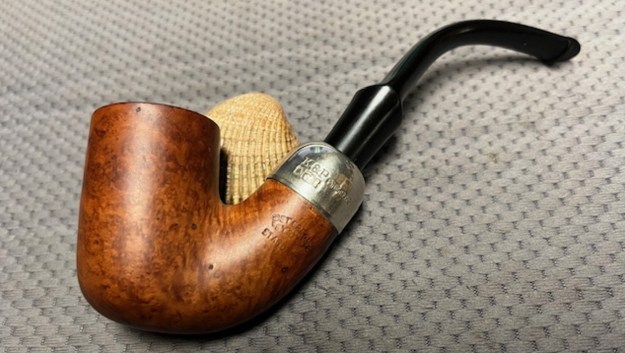
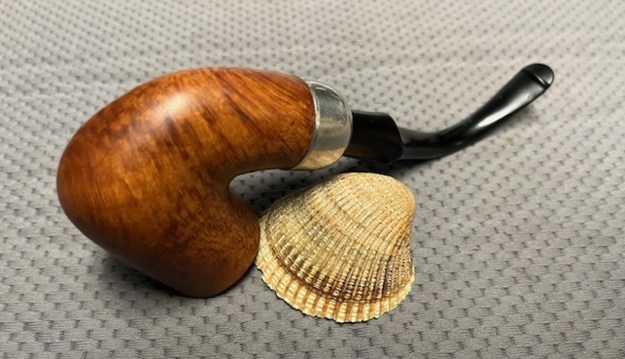
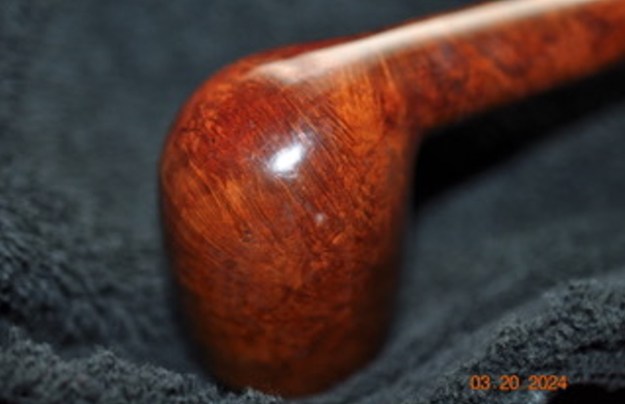
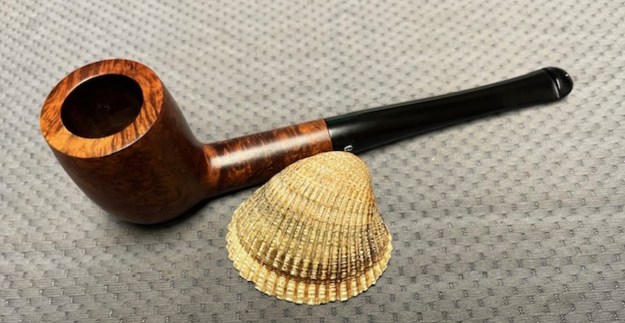
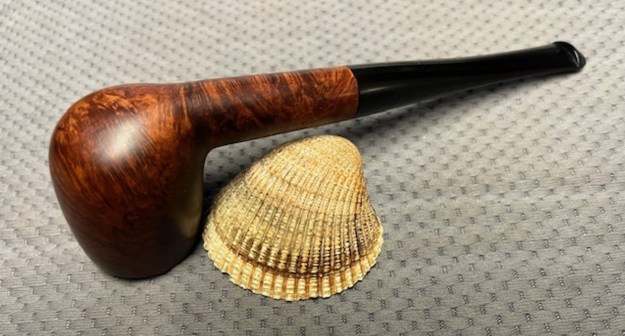
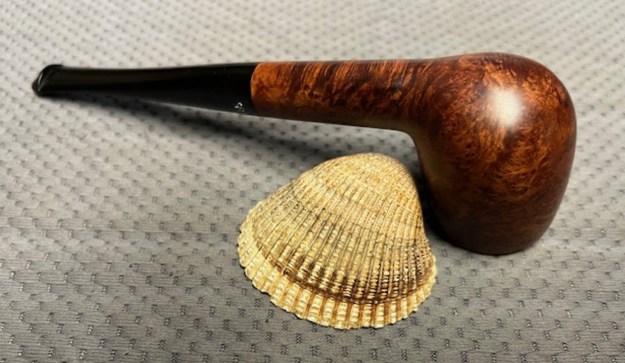
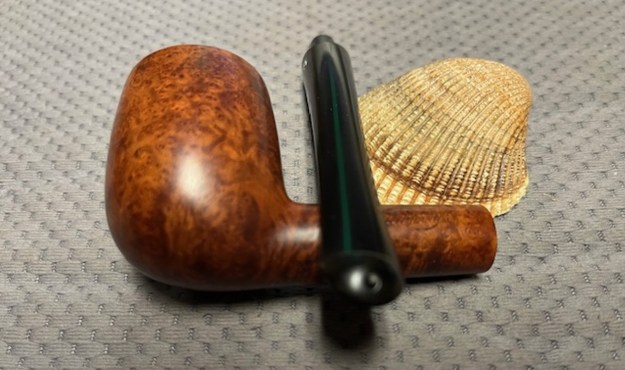
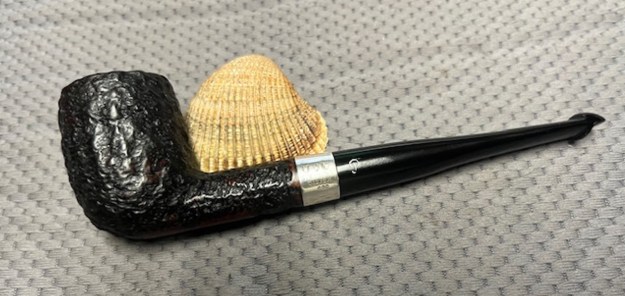
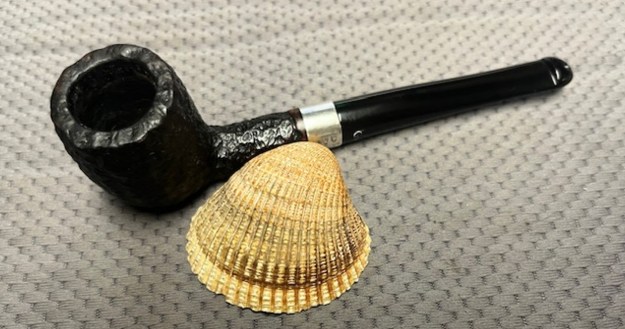
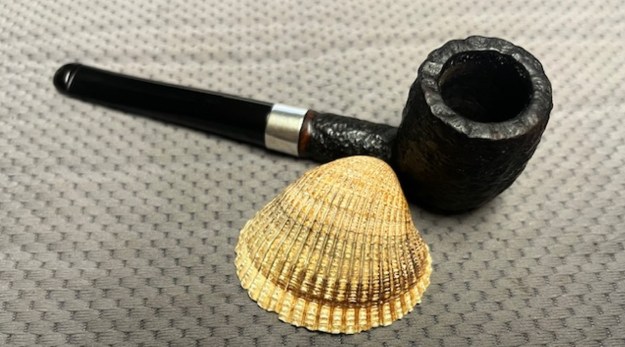
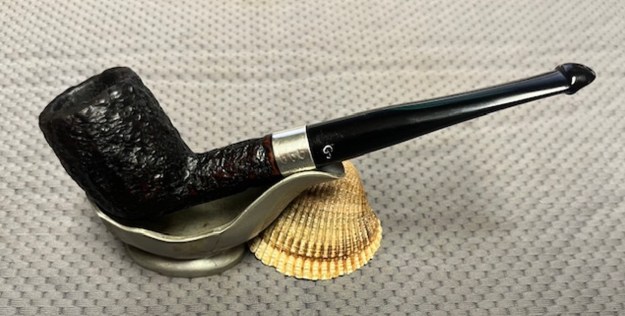
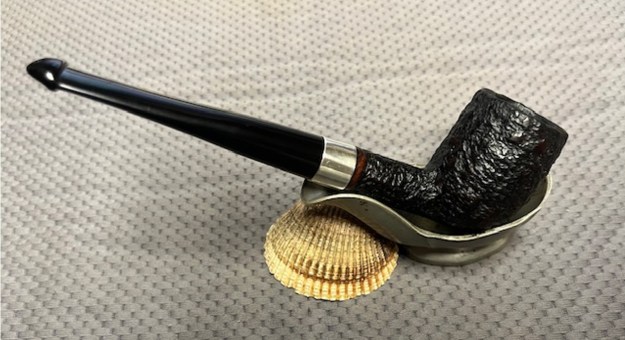
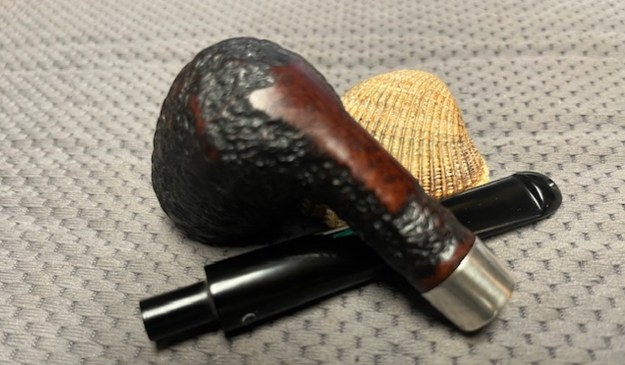
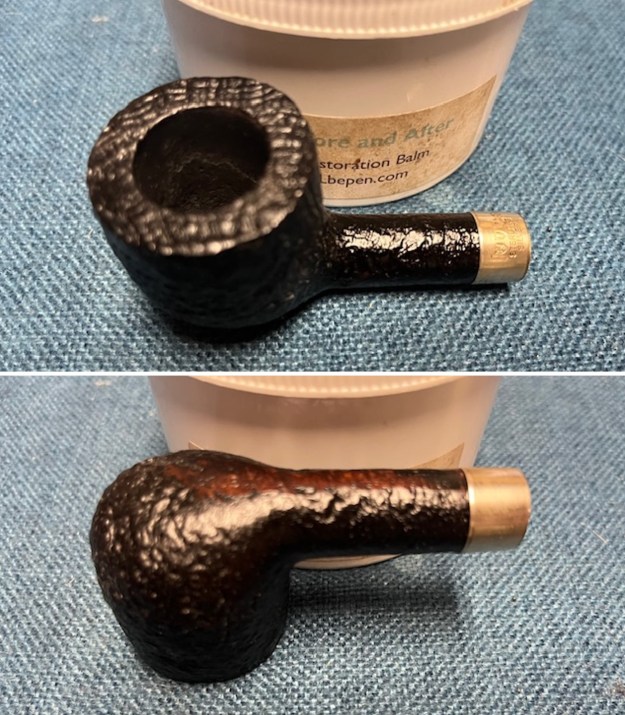
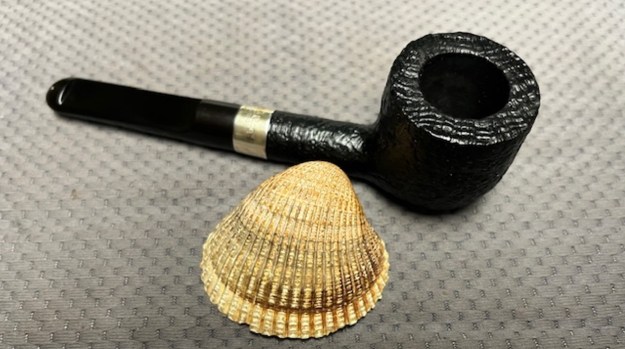
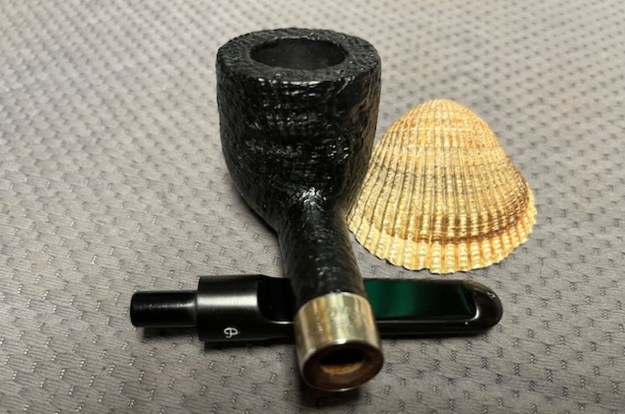
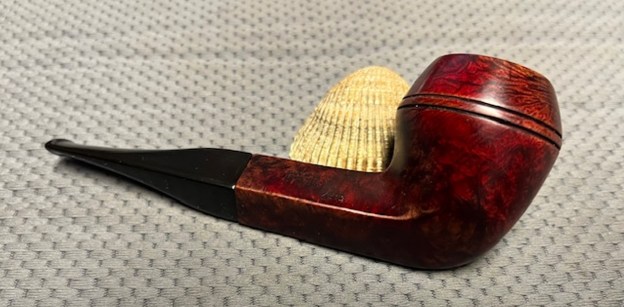
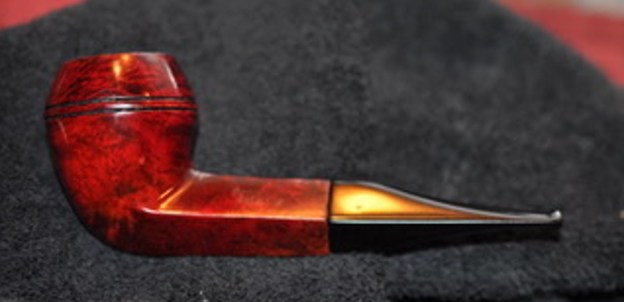
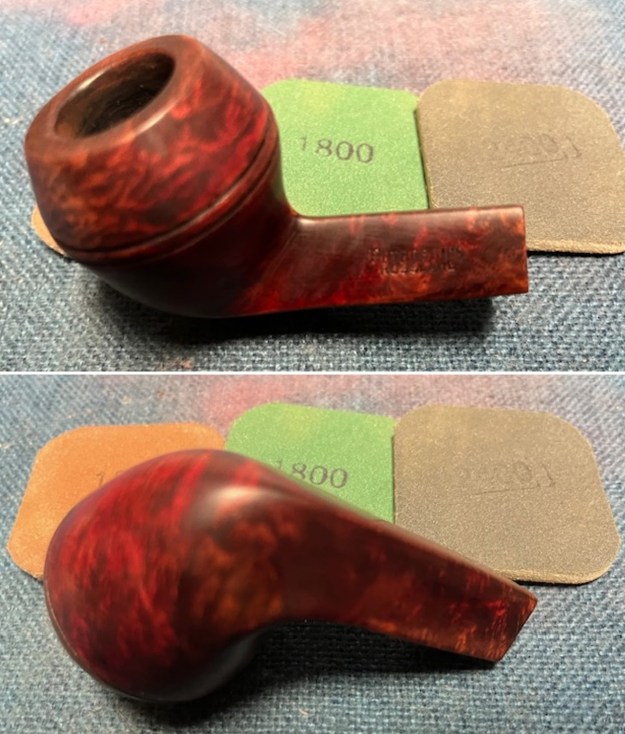
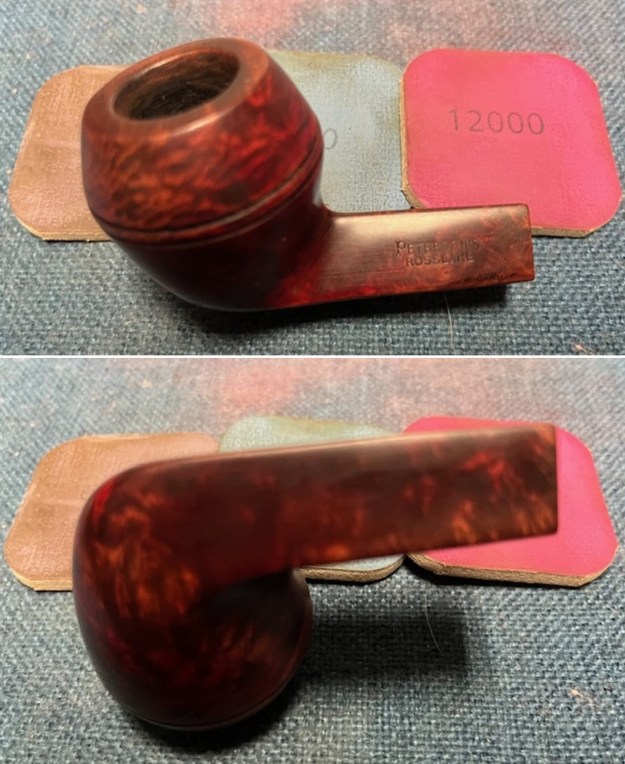
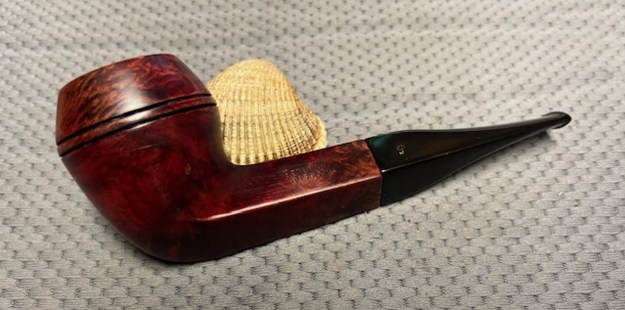
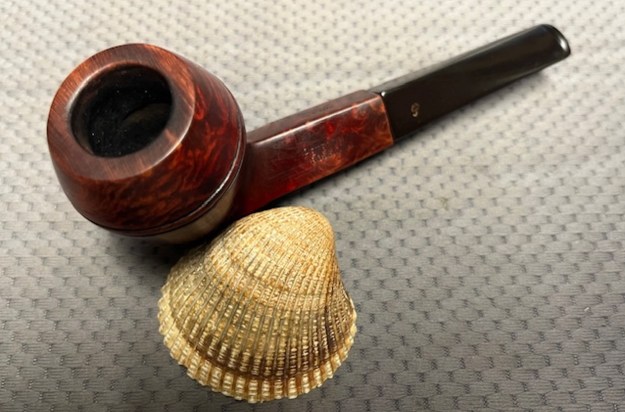
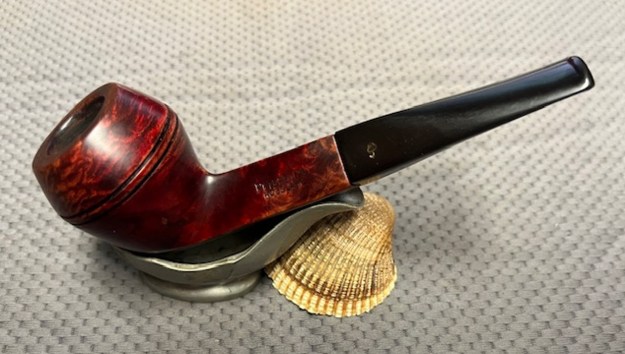
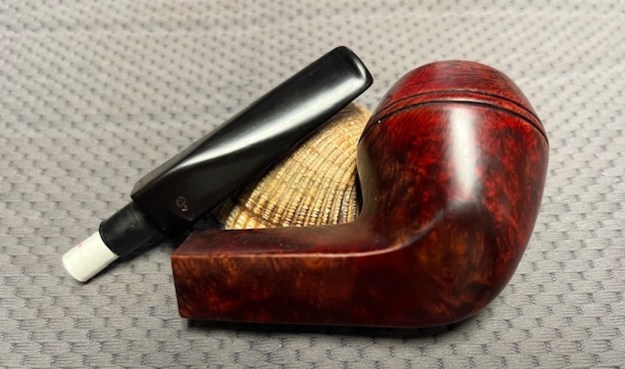
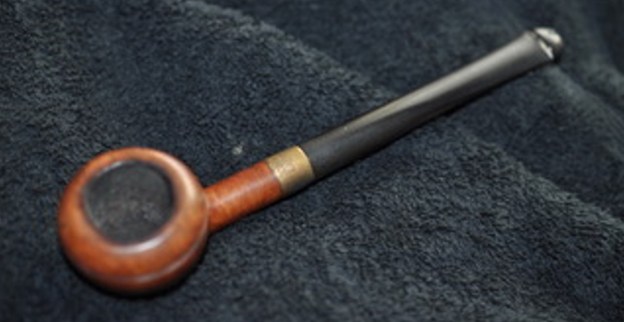
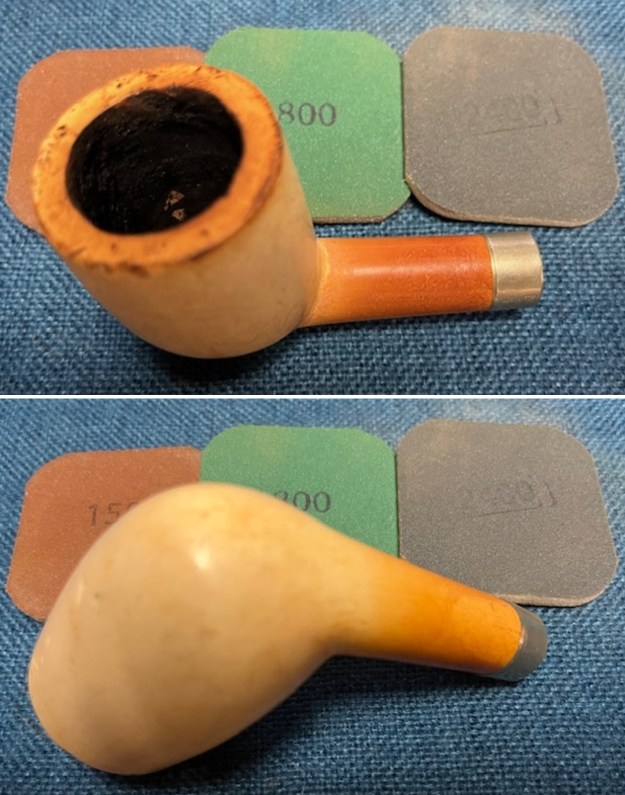
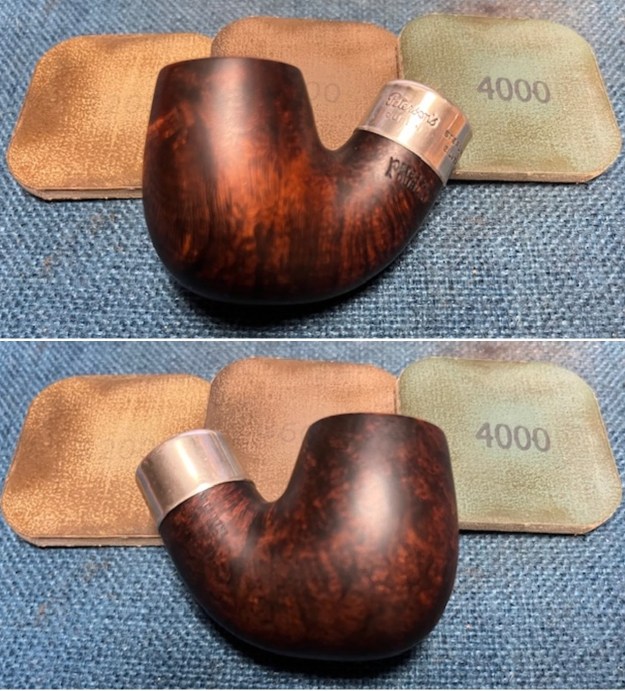
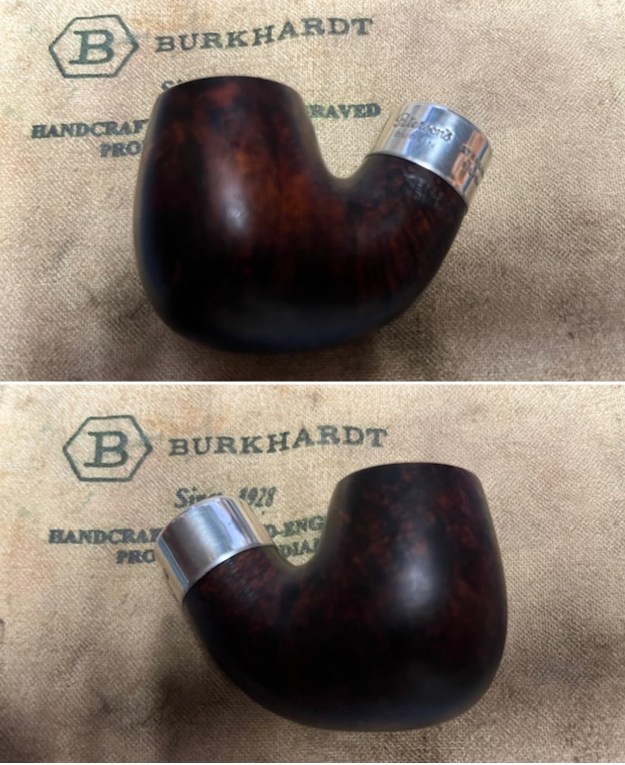
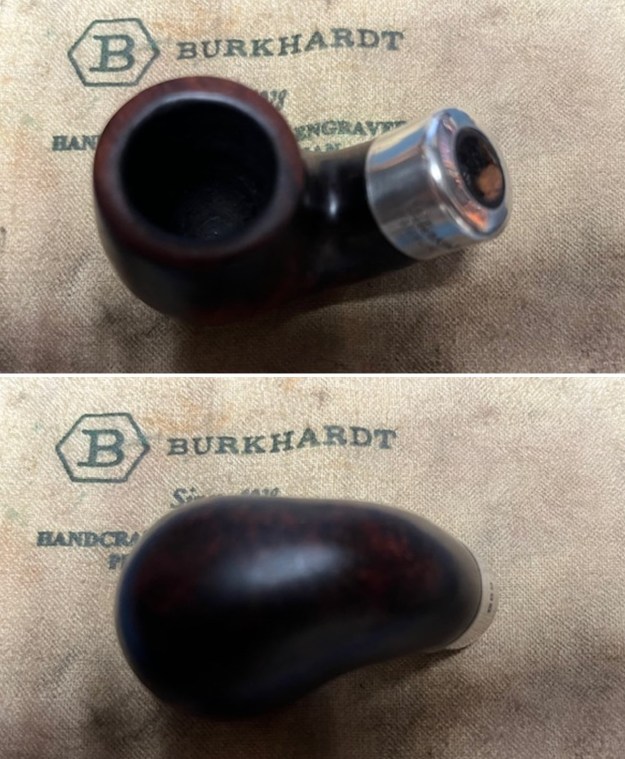
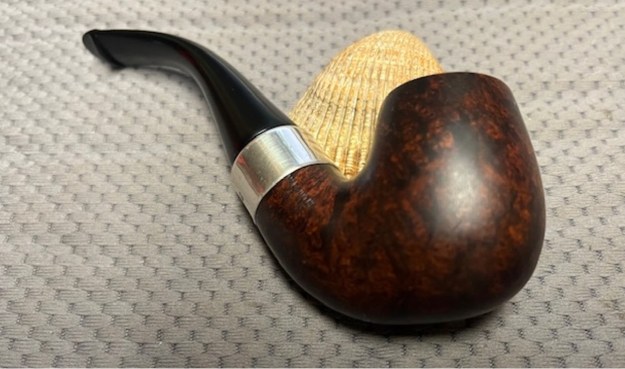
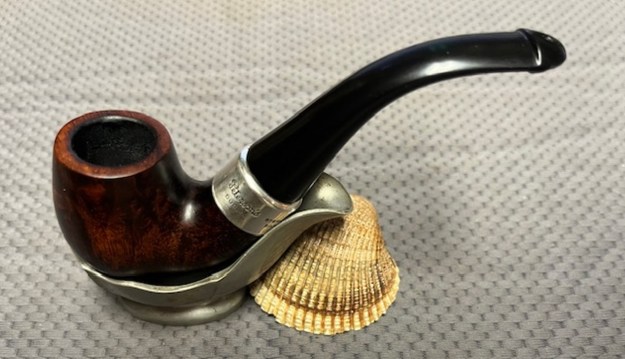
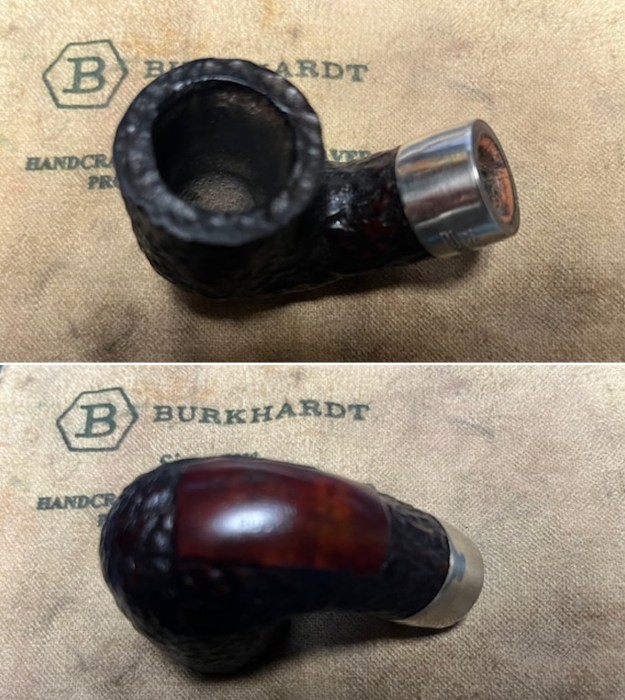
 This Peterson’s “Donegal” Rocky 338 Bent Billiard is a nice-looking pipe. The rustication and mixed stain around the bowl sides and shank really stand out with the polishing. The finish on the pipe is in excellent condition and the contrasting stains work well to give some contrast to the rusticated finish of the pipe. The polished black vulcanite, fish tail P-lip taper stem adds to the mix. The pipe is really quite eye-catching. I put the stem back on the bowl and buffed the pipe with Blue Diamond on the buffing wheel, carefully avoiding the stamping on the shank and using a light touch on the rusticated portions. I gave the bowl and the stem multiple coats of carnauba wax on the buffing wheel and followed that by buffing it with a clean buffing pad. I hand buffed the pipe with a microfiber cloth to deepen the shine. The finished Peterson’s “Donegal” Rocky 338 is quite nice and feels great in the hand. The dimensions of the pipe are Length: 5 inches, Height: 1 ½ inches, Outside diameter of the bowl: 1 1/8 inches, Chamber diameter: ¾ of an inch. The weight of the pipe is 37 grams/1.31 ounces. Thanks for walking through the restoration with me as I worked over another interesting pipe. I will be adding it to the Irish Pipe Makers Section of the rebornpipes store soon. If you want to add it to your collection send me an email or a message! Thanks for your time.