Blog by Steve Laug
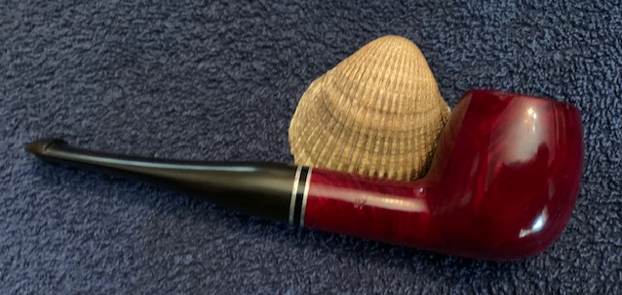
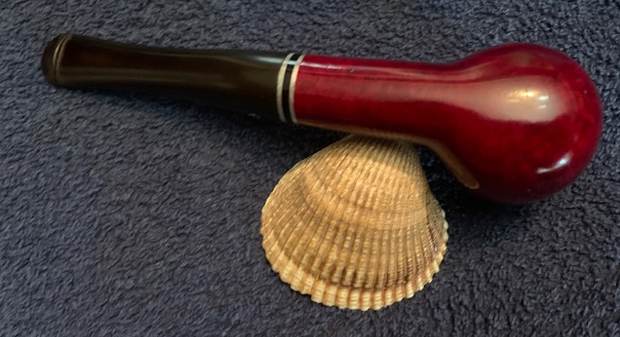
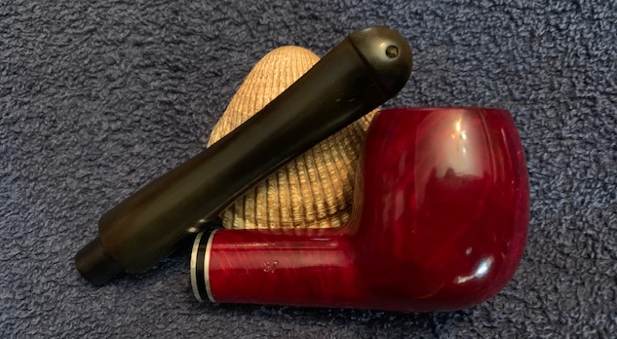
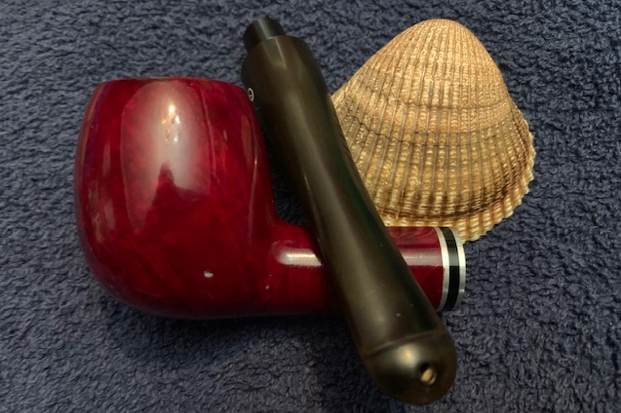
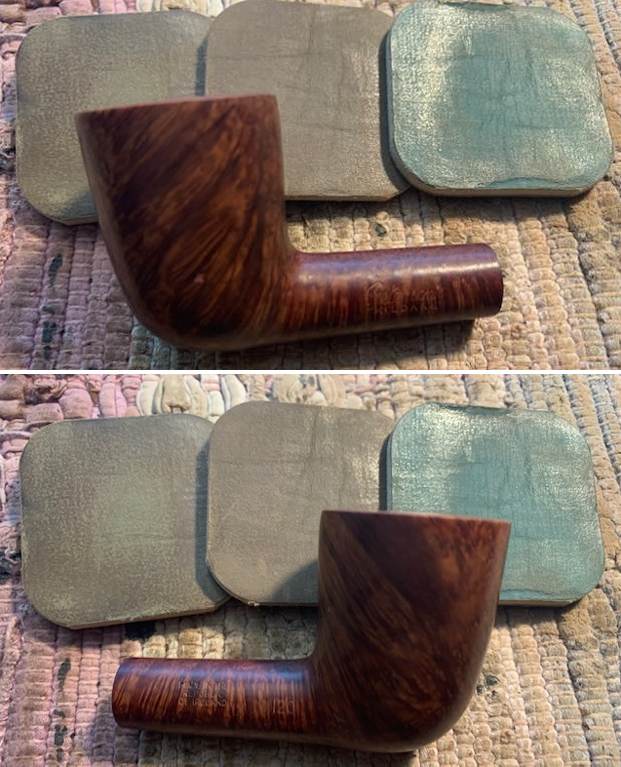
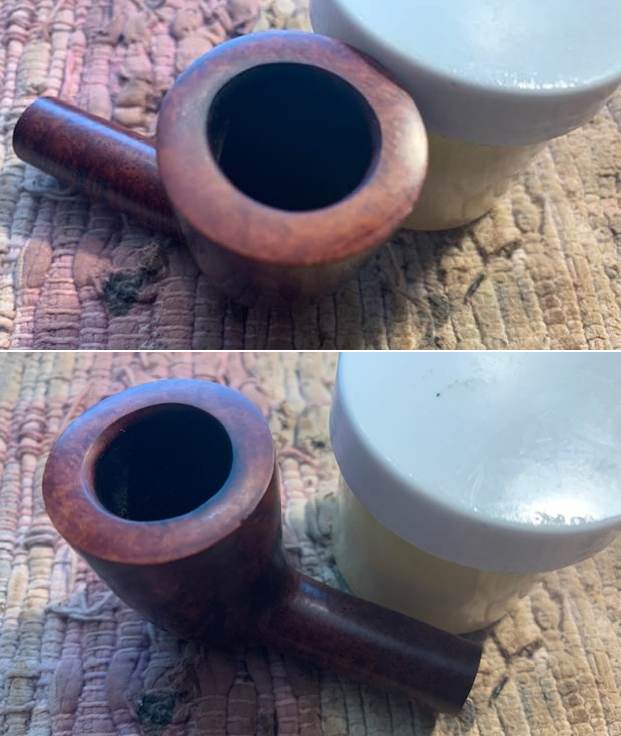
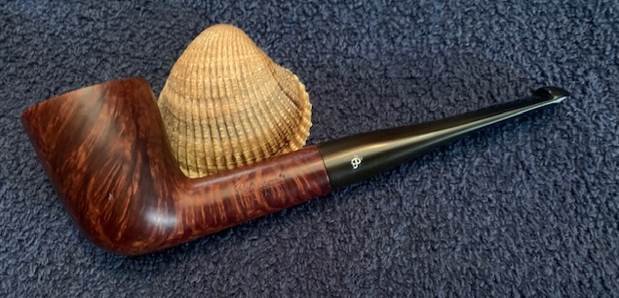
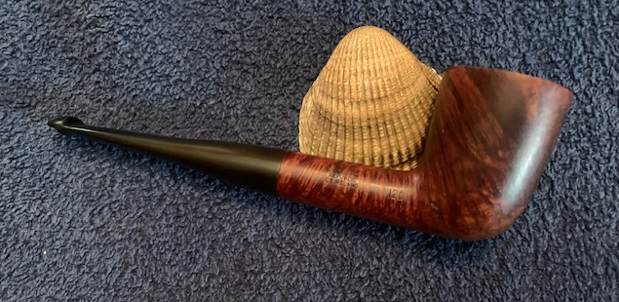
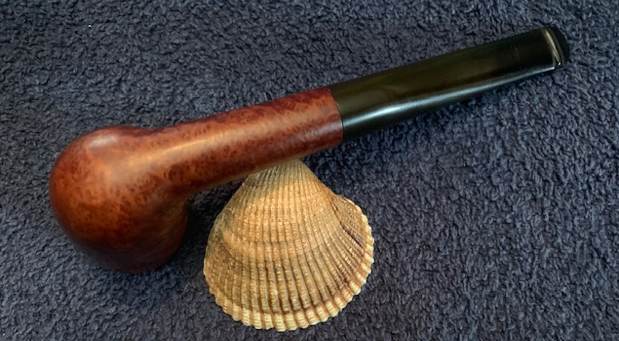
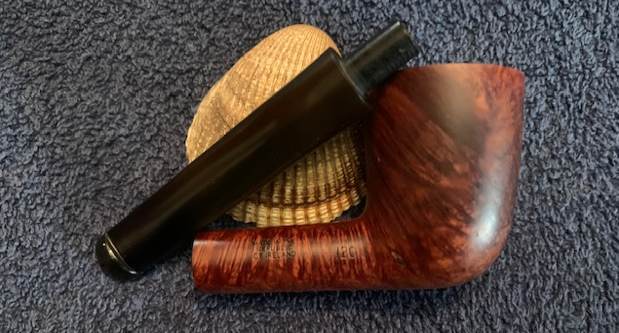
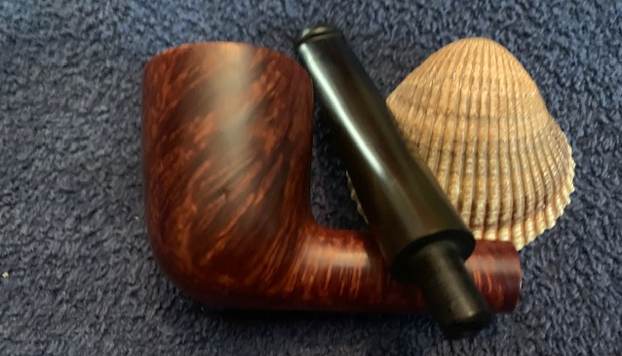
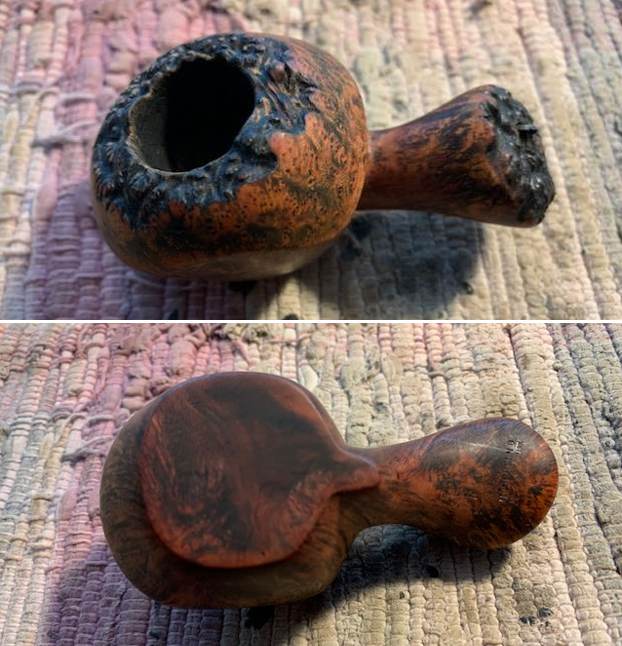
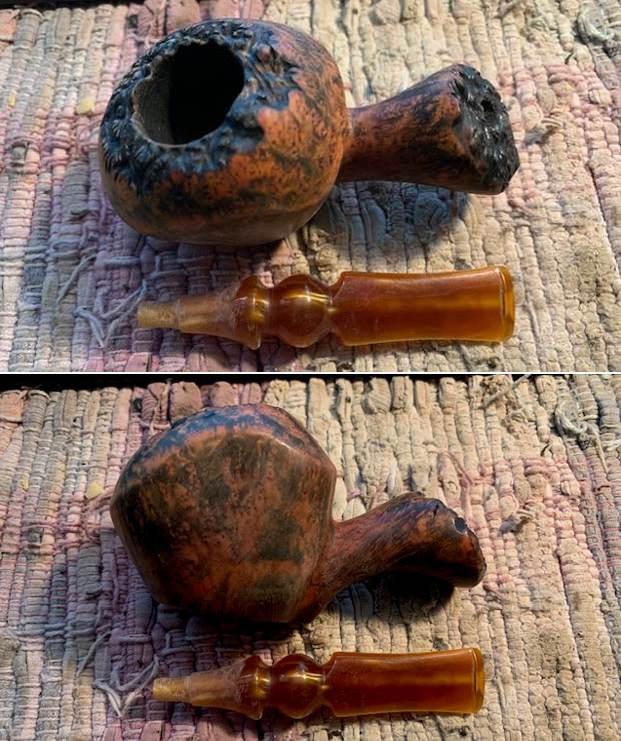
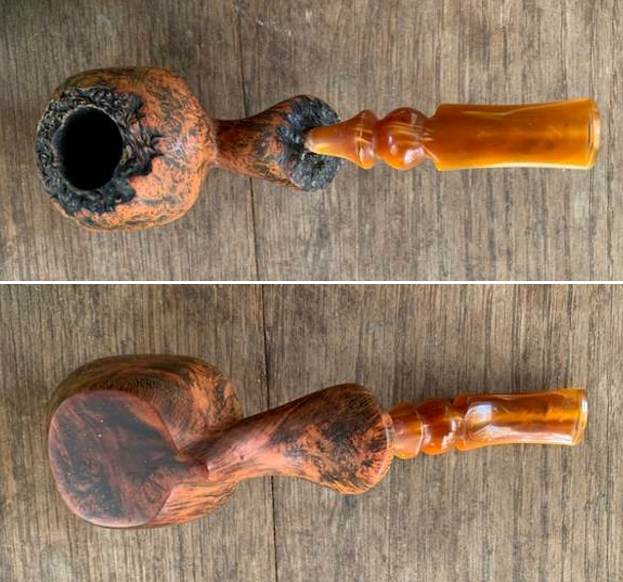
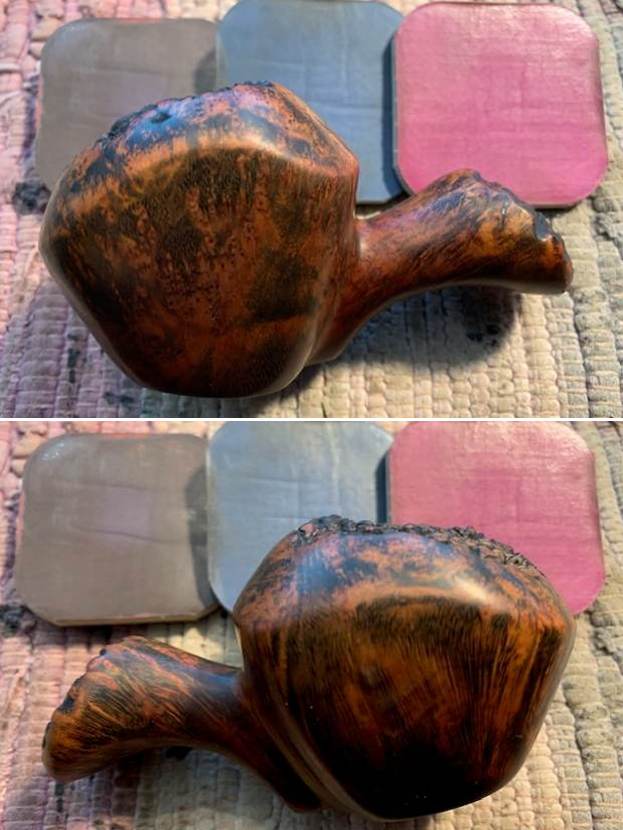
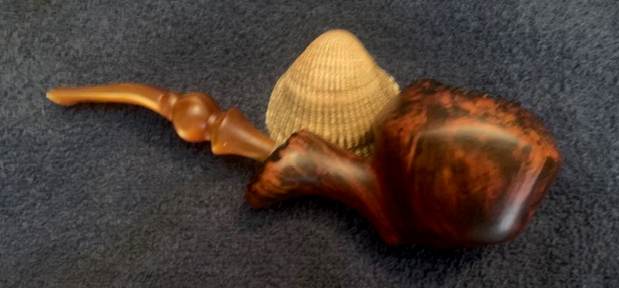
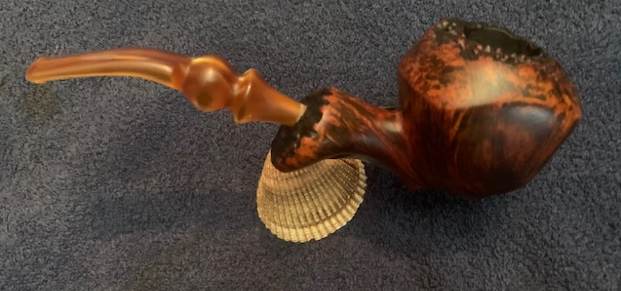
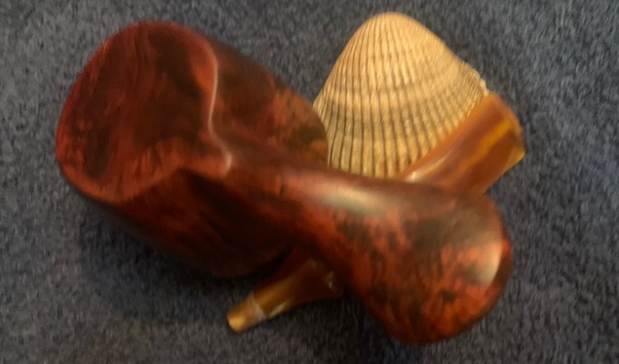
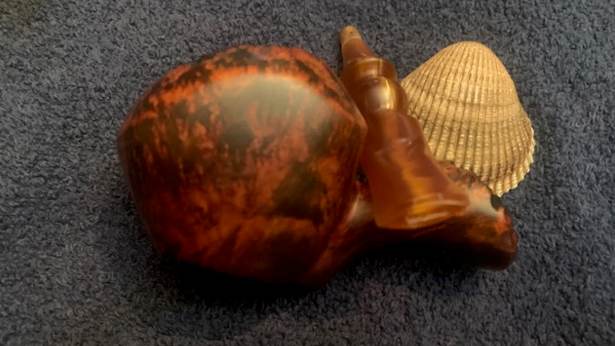
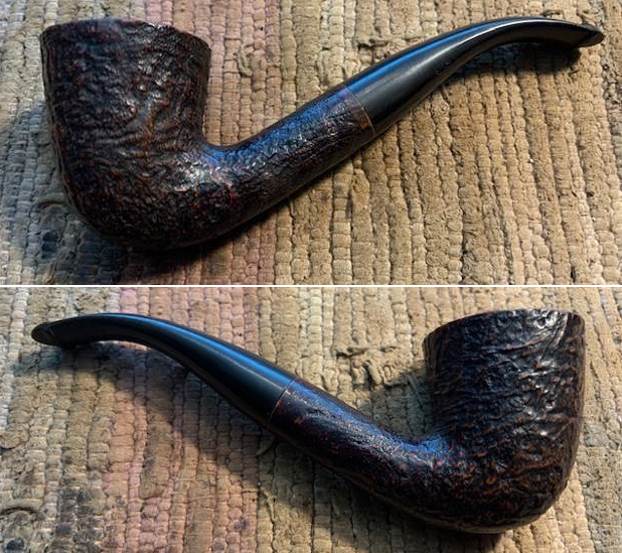
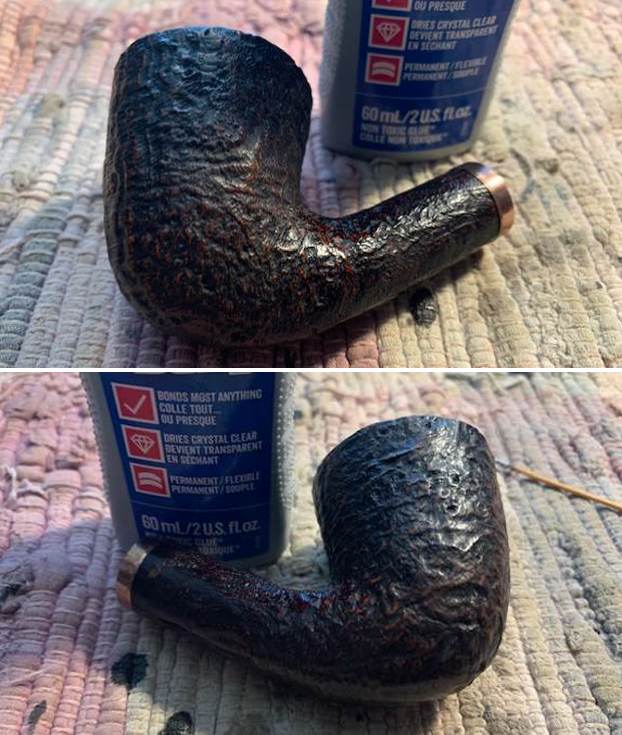
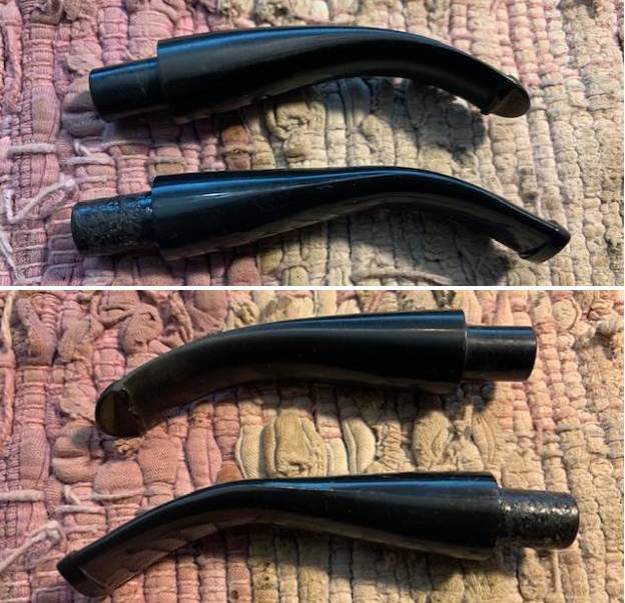
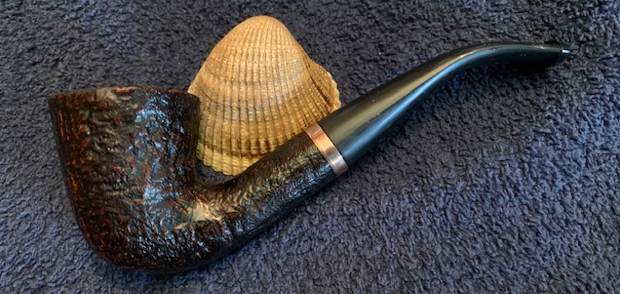
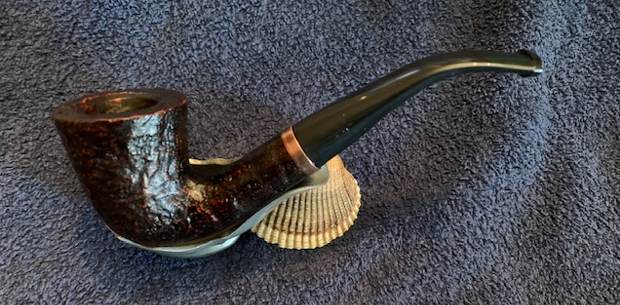
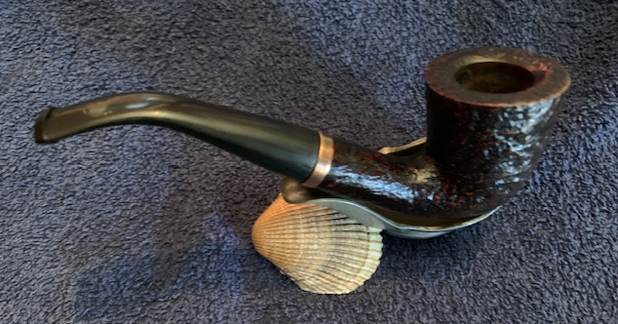
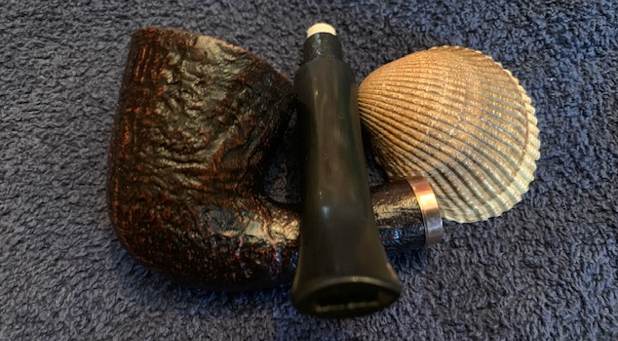
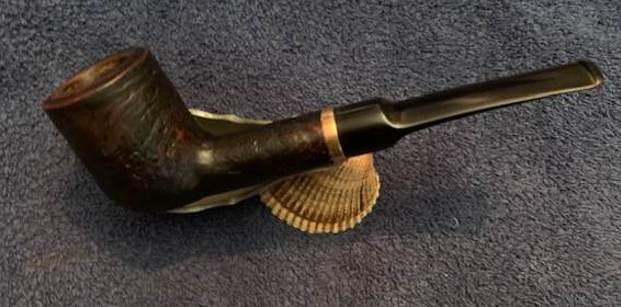
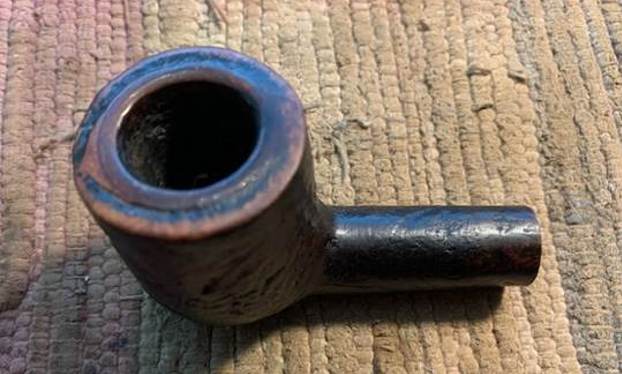
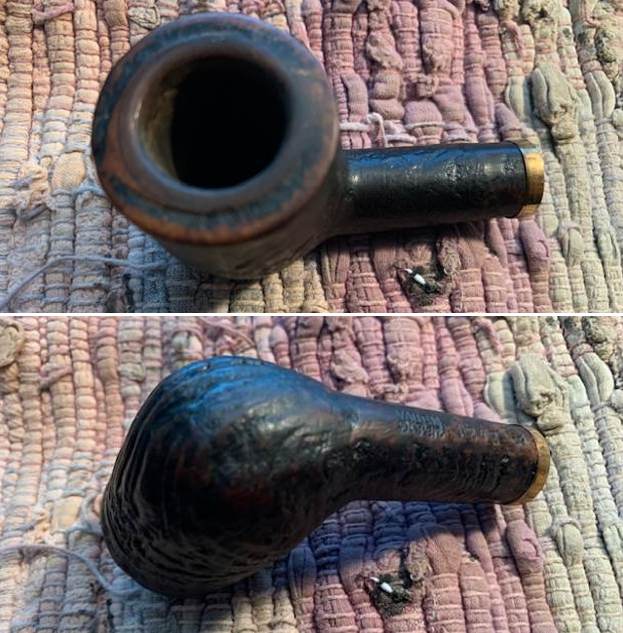
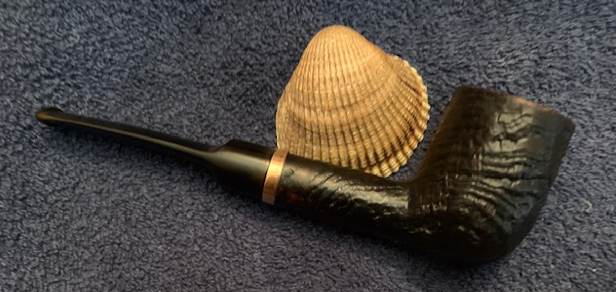
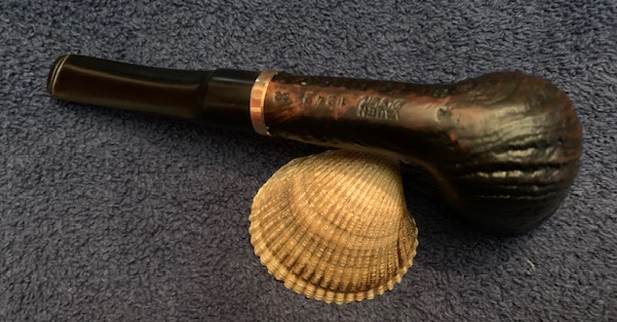
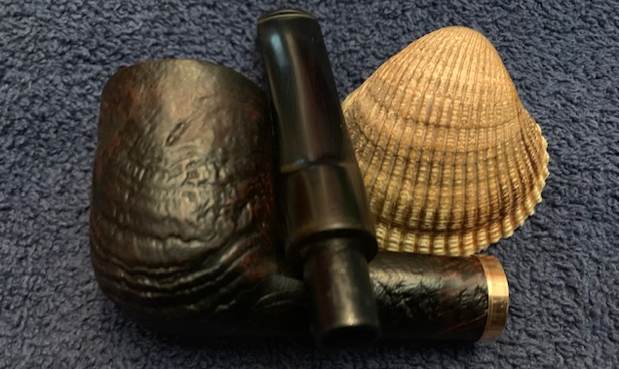
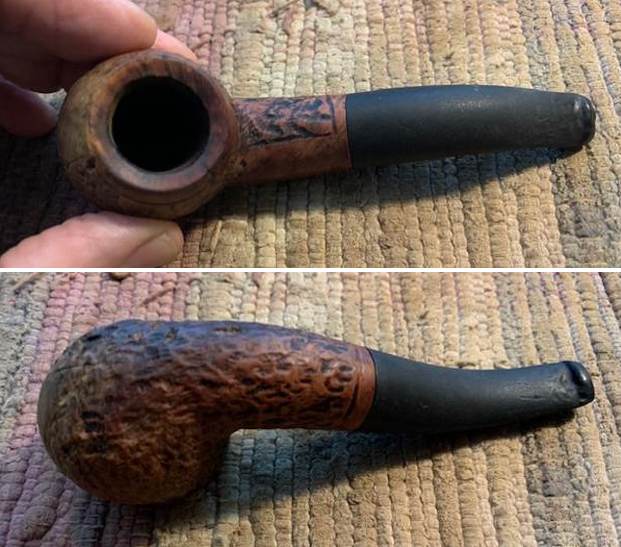
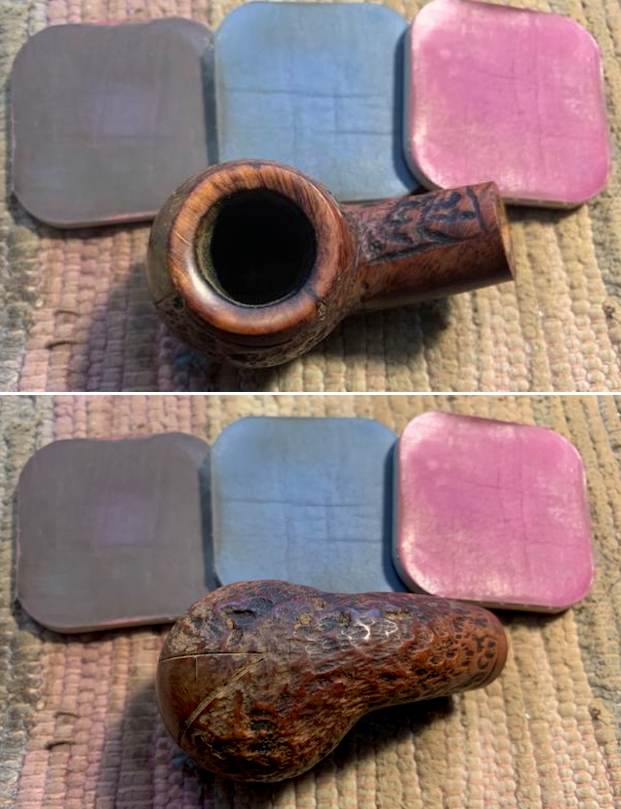
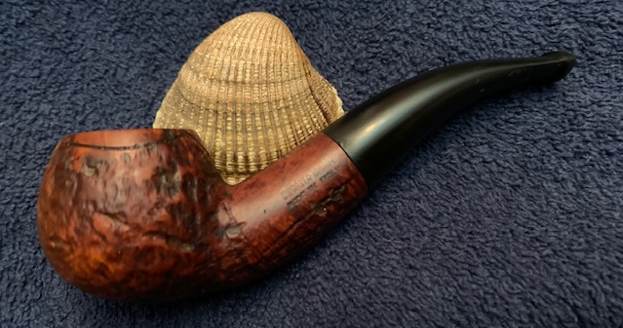
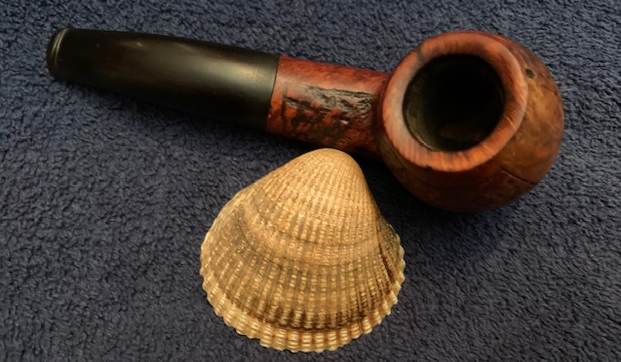
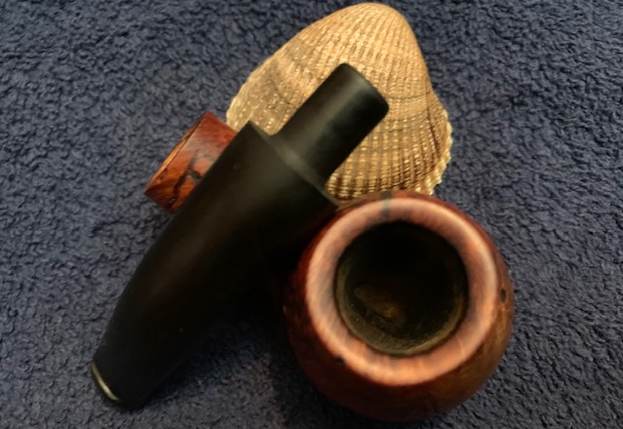
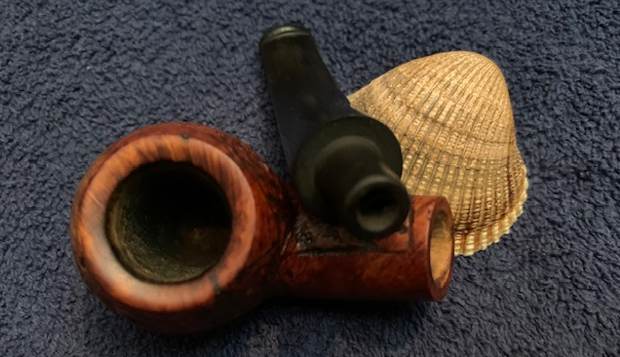
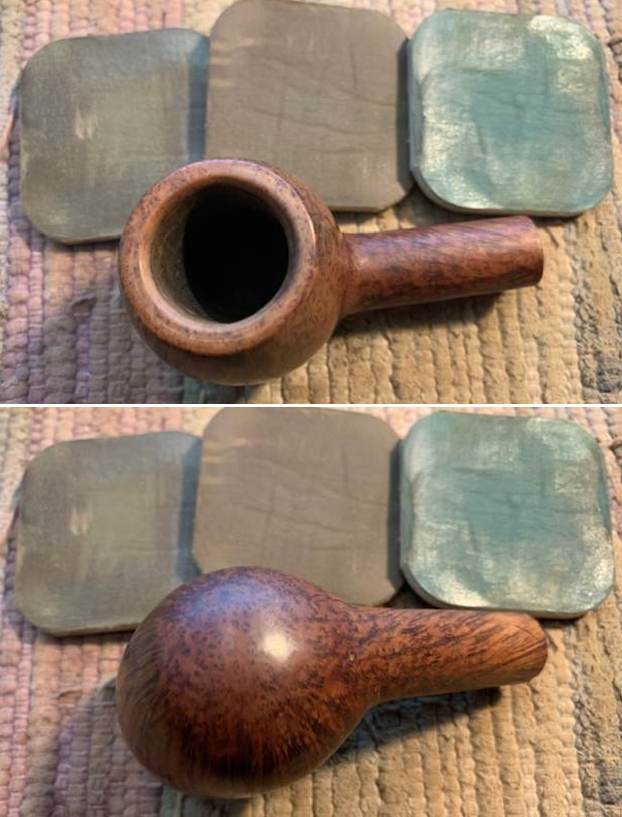
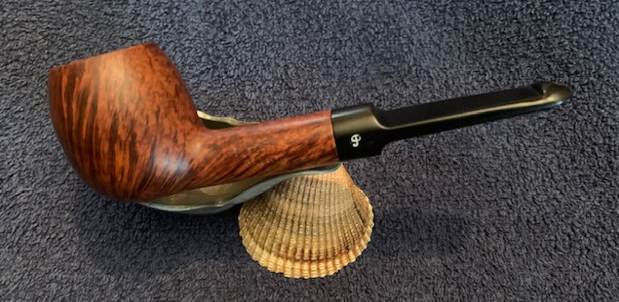
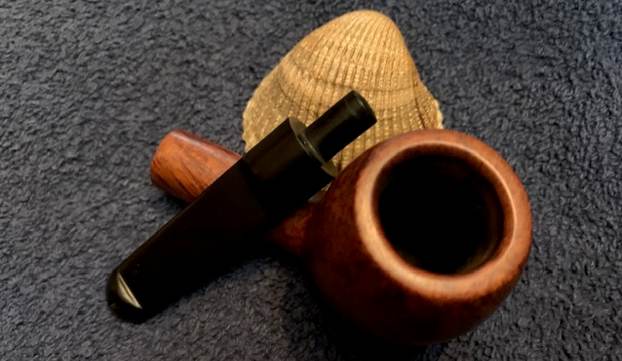
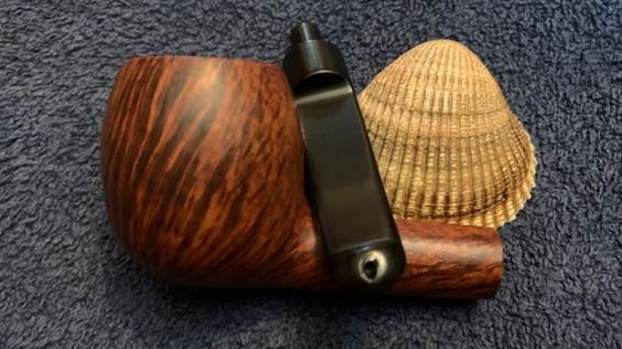
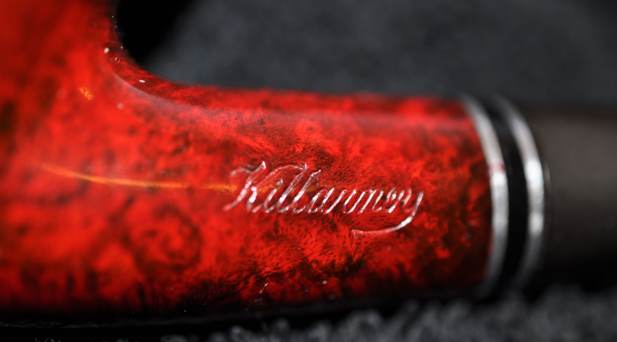
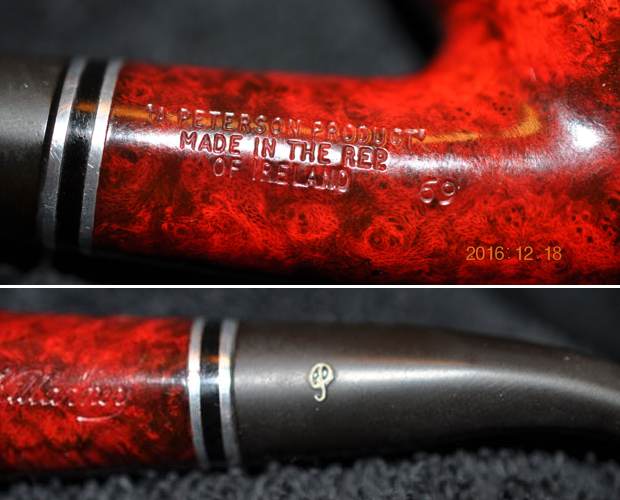
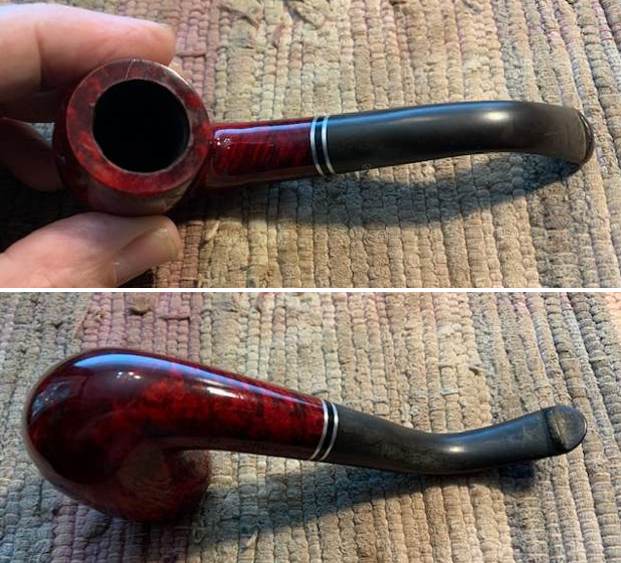
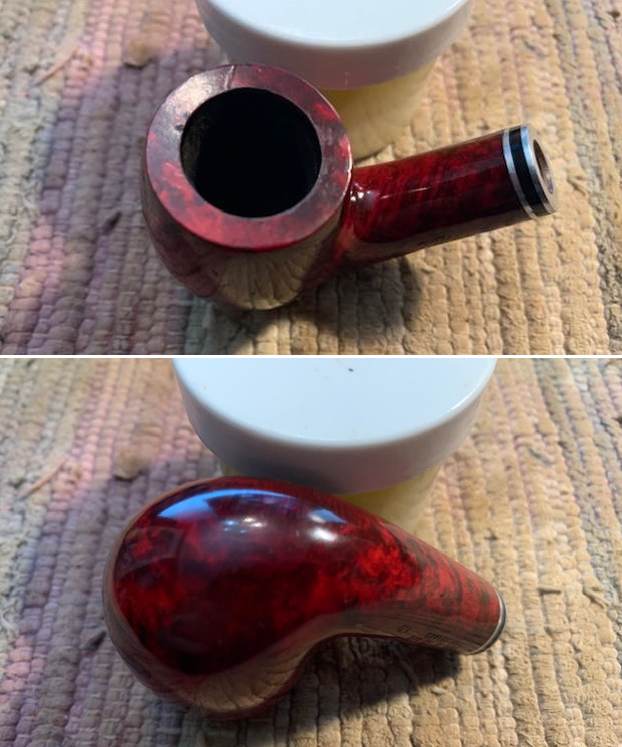
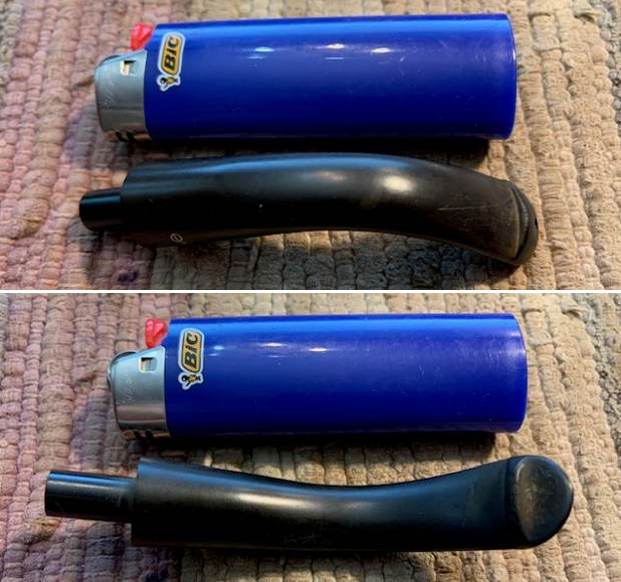
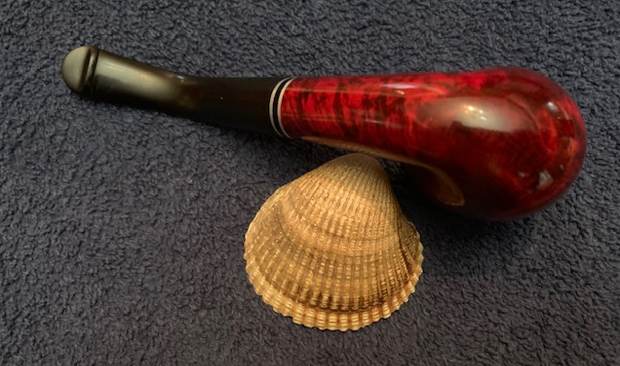
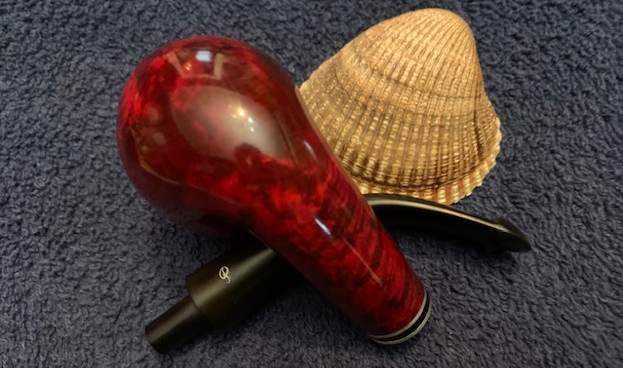
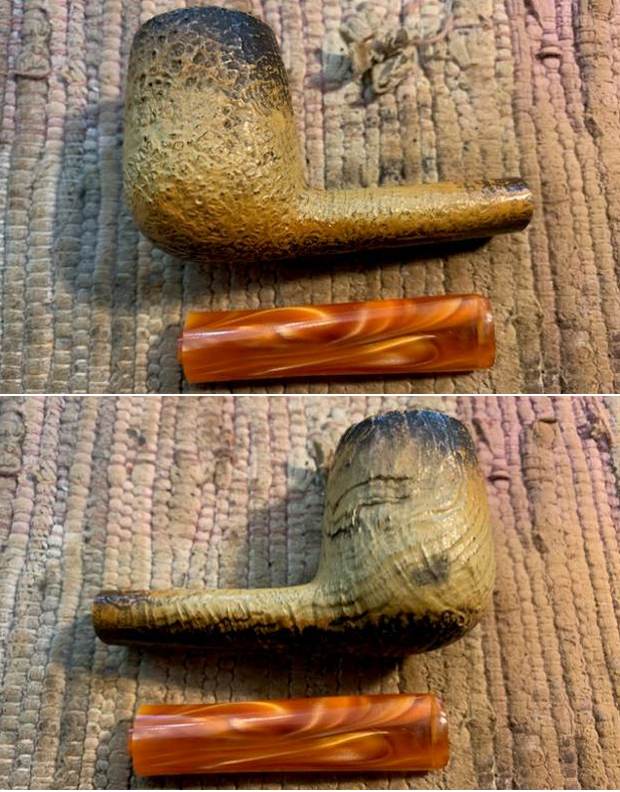
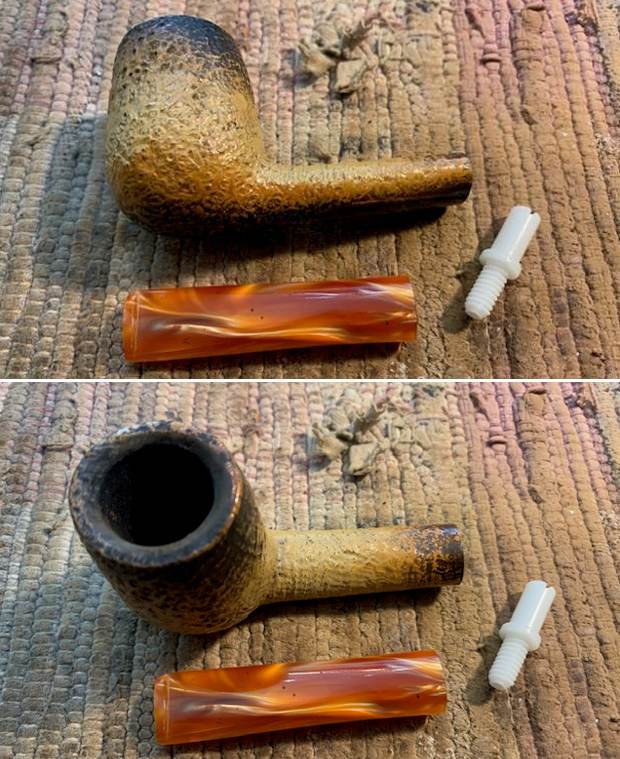
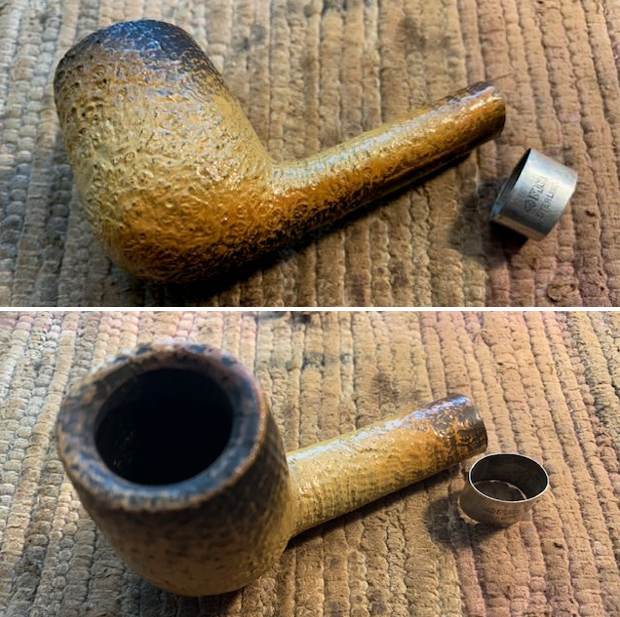
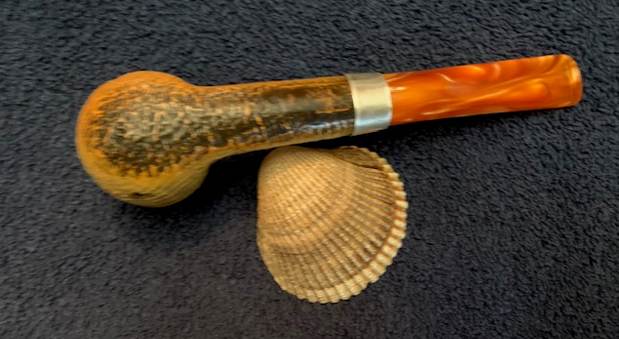
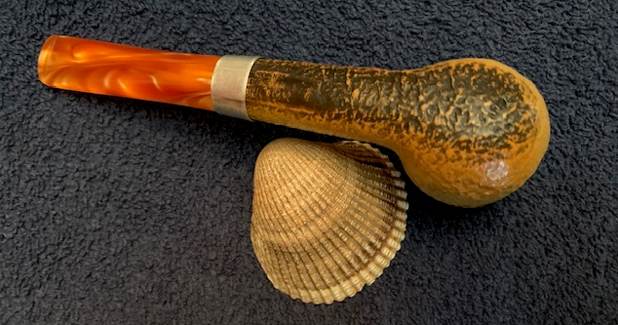
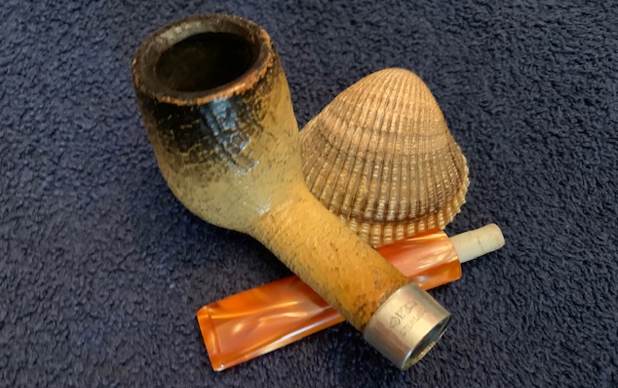
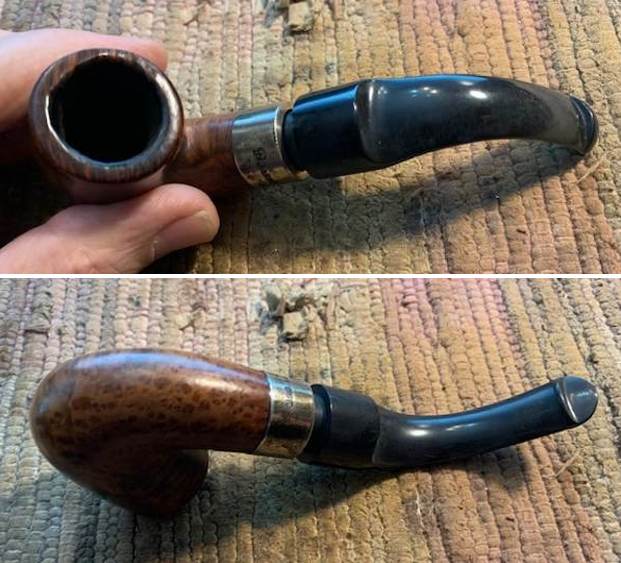
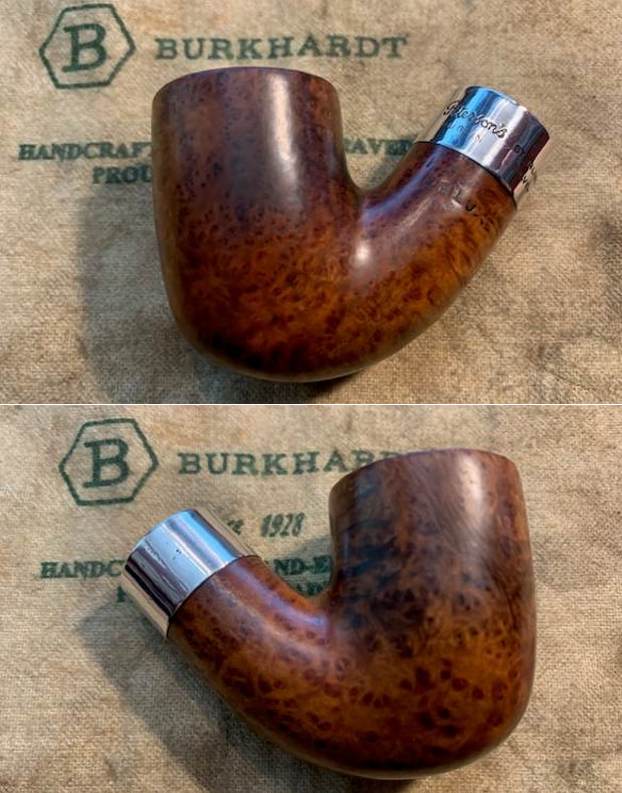
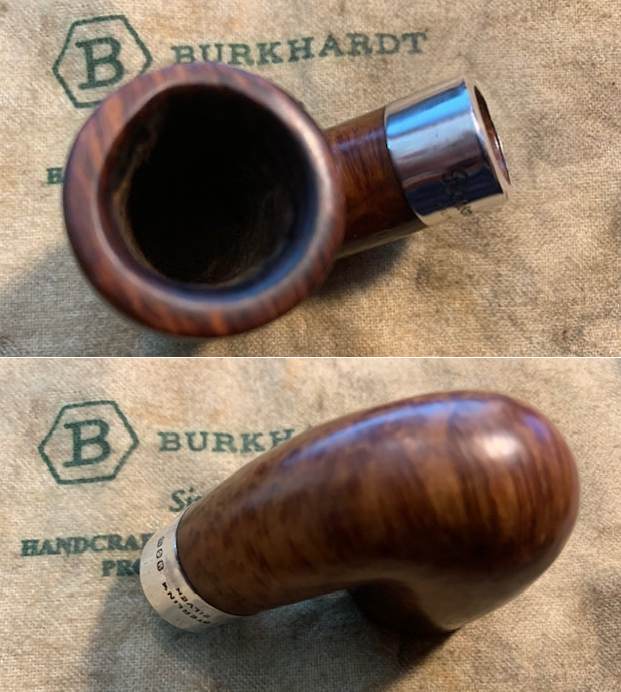
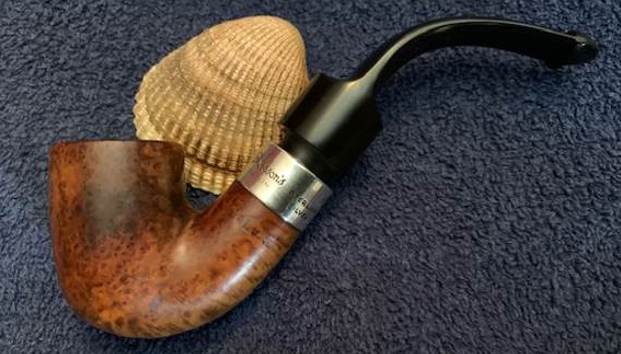
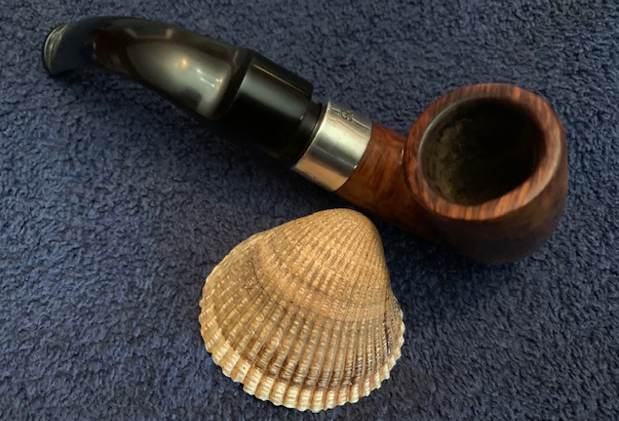
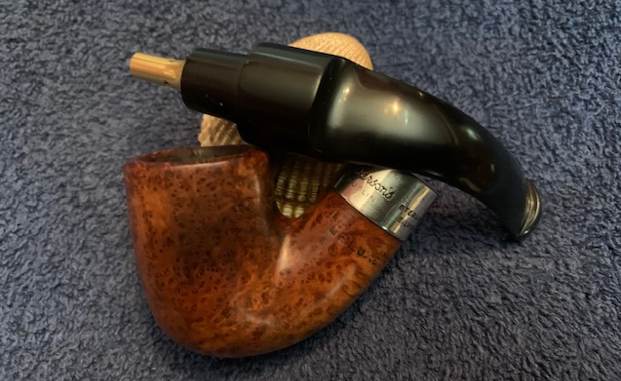
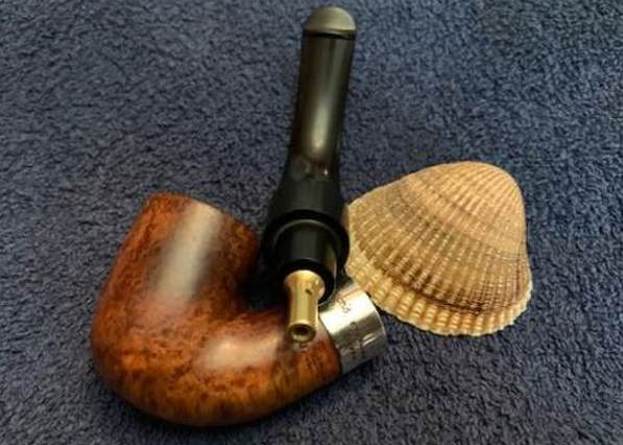
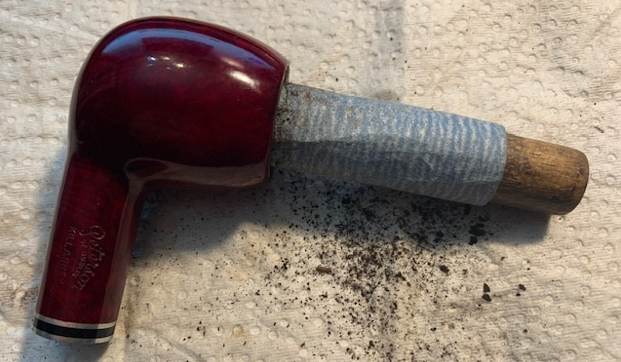
This is another one of those pipes that has been here for a long time and I have no memory where it came from. I might have taken it in on a trade for work. It has not been cleaned up all. It is a apple shaped pipe with an almost Cherry red finish (little darker but to me it is that red). It is stamped on the left side of the shank and reads Peterson [over] of Dublin [over] Killarney in block print. On the right side there is the shape number 87 near the bowl and no other stamping. The bowl had a thin cake and some overflow of lava and darkening on the rim top. The finish on the bowl was quite clean. The twin silver bands separated by a black acrylic band on the stem is dirty but in good condition. The stem was oxidized, calcified and had tooth chatter on both sides ahead of the button. The mortise was so dirty that the tenon would not fit in the shank all the way. It was very tight and almost stuck in the front of the shank. I took photos of the pipe before I started cleaning up the pipe. 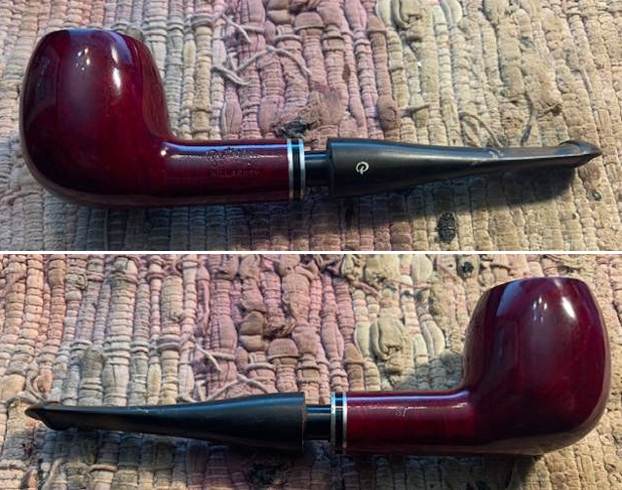
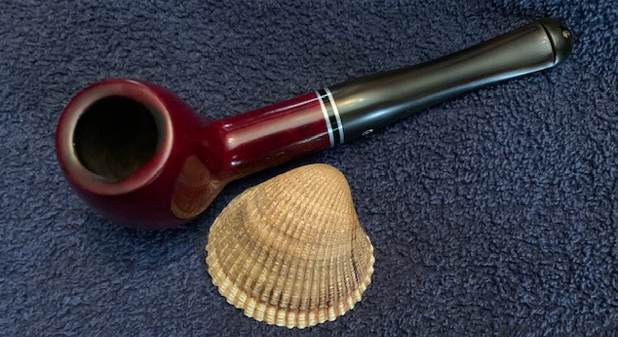
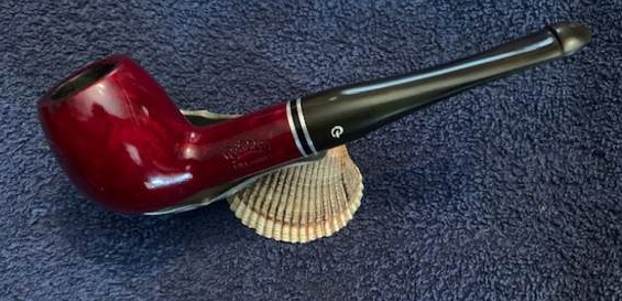
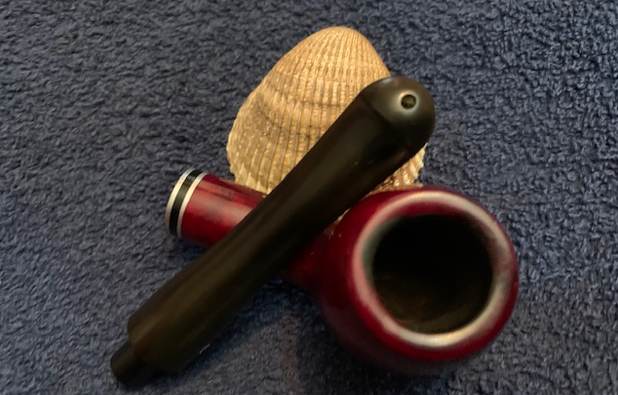
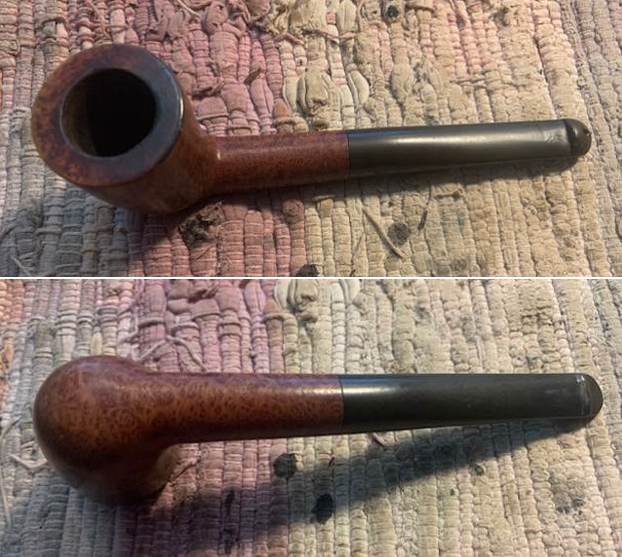
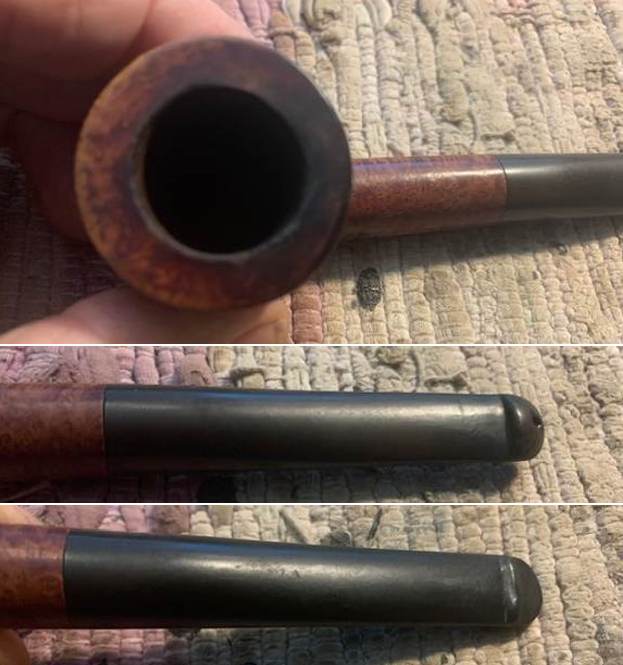
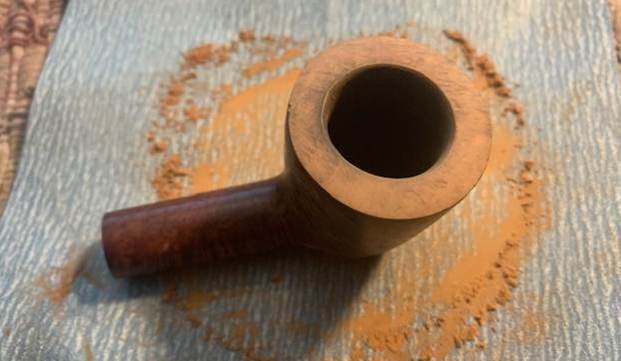
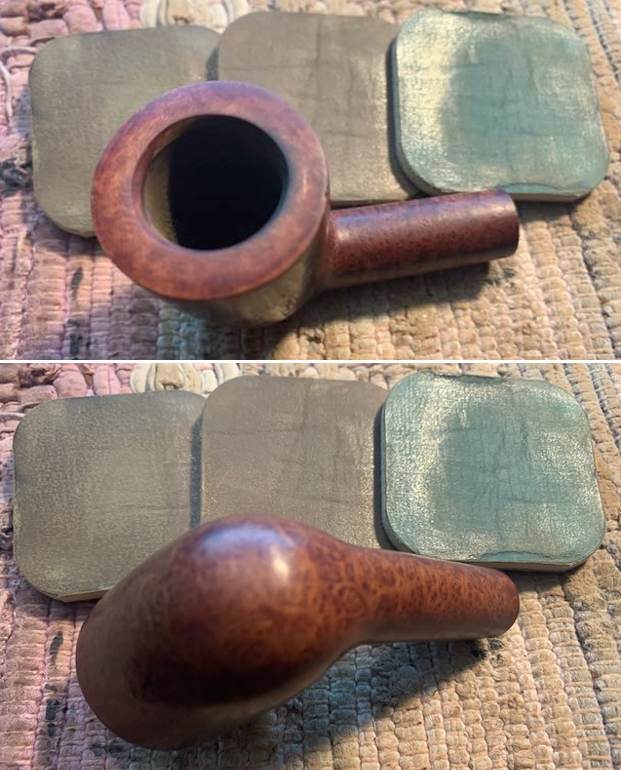
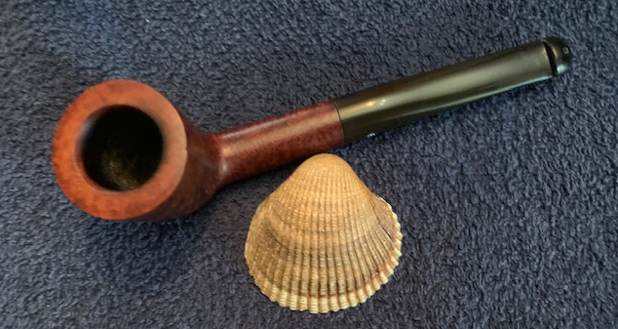
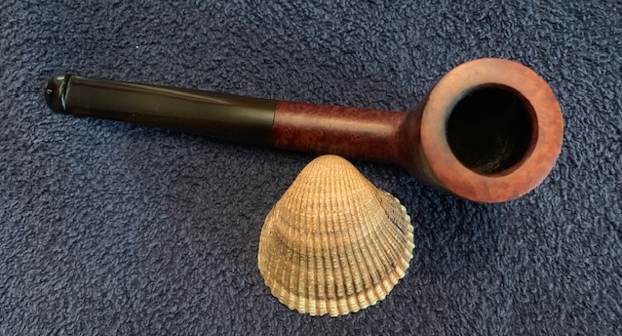
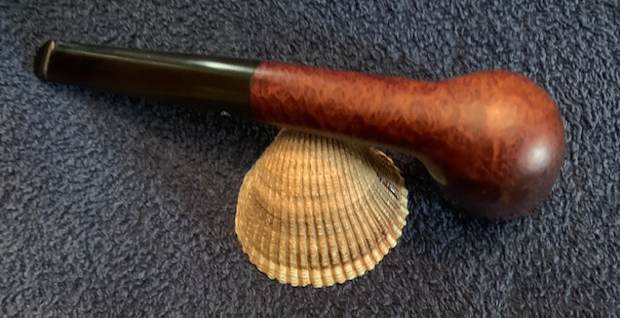
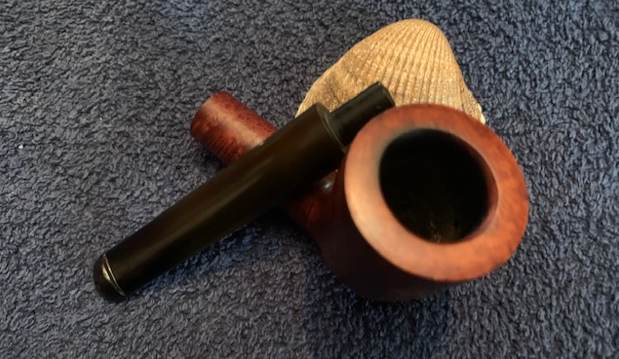
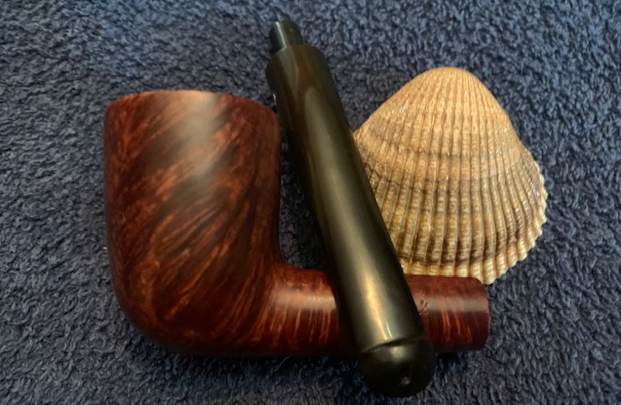
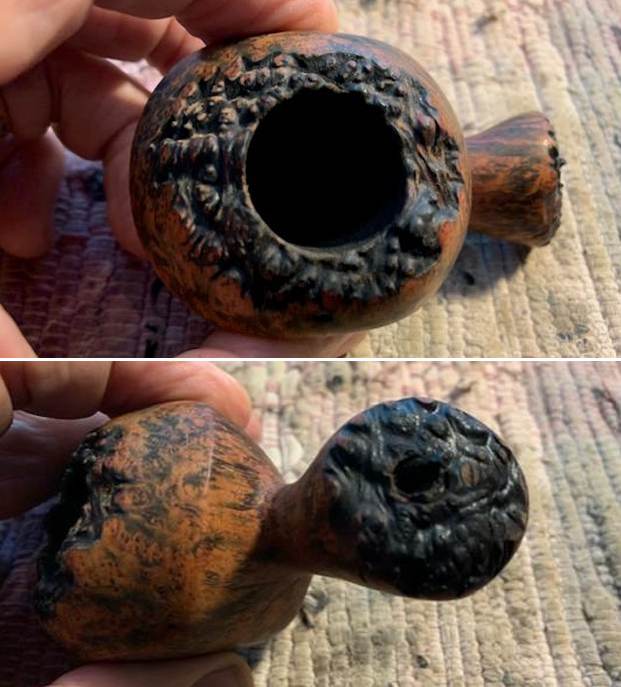
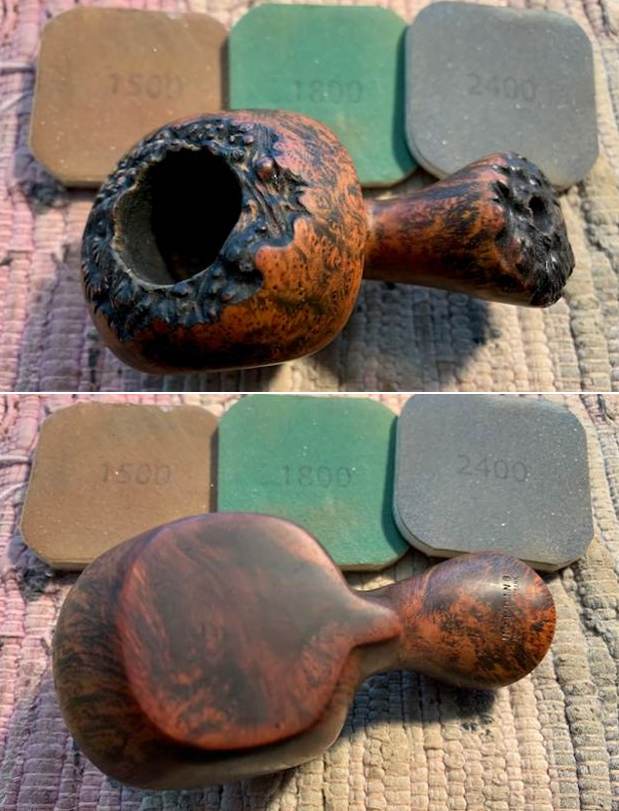
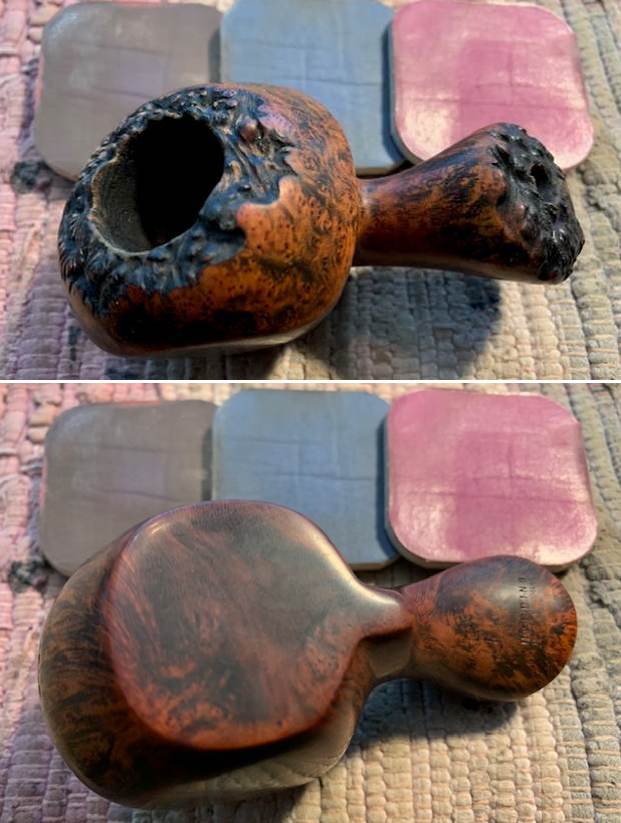
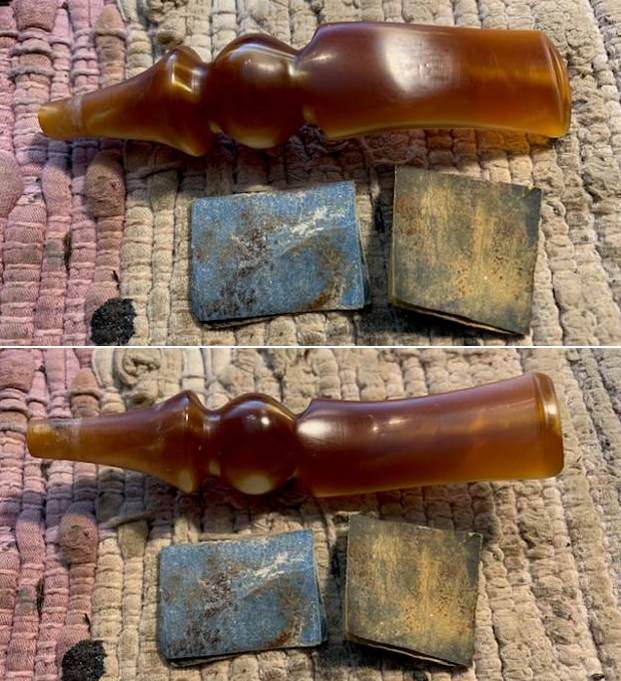
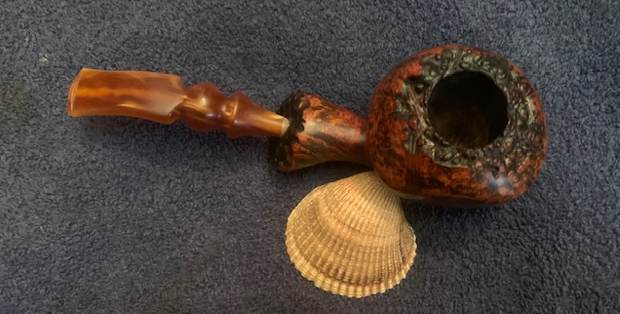
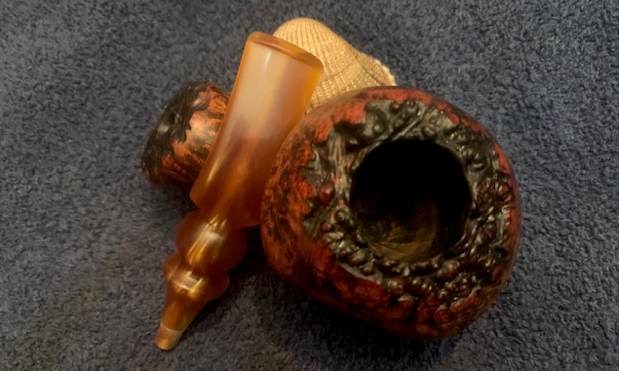
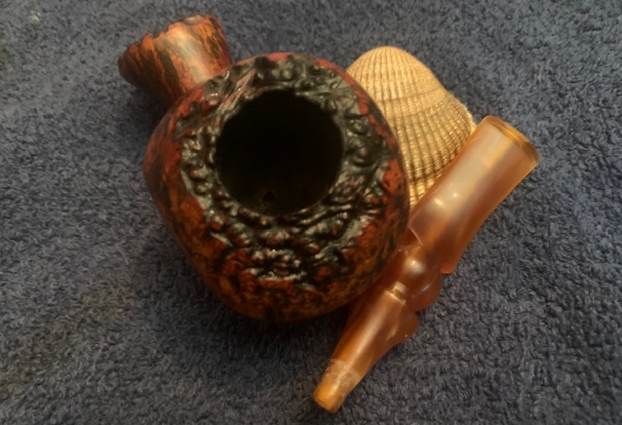
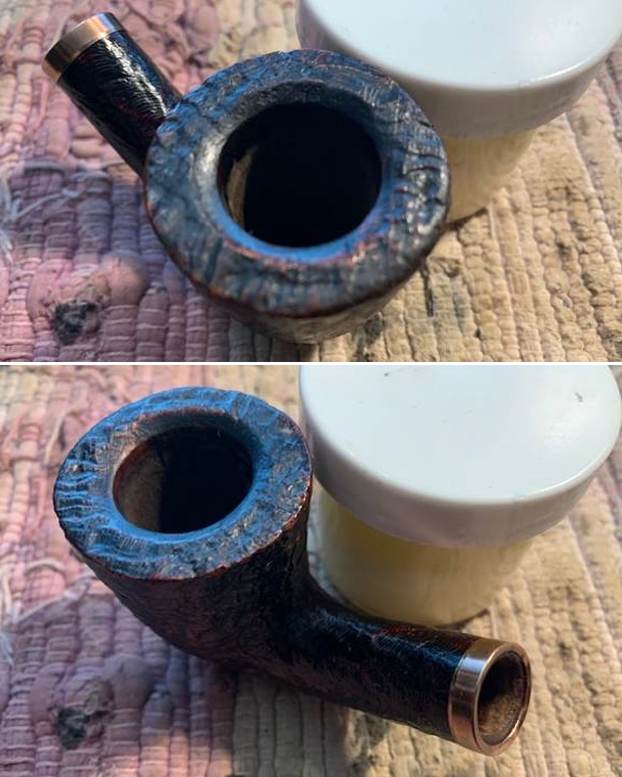
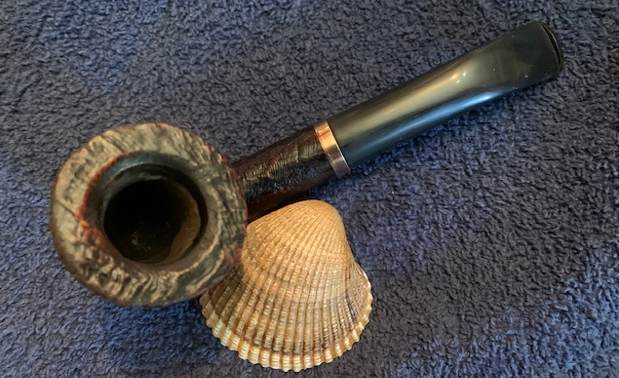
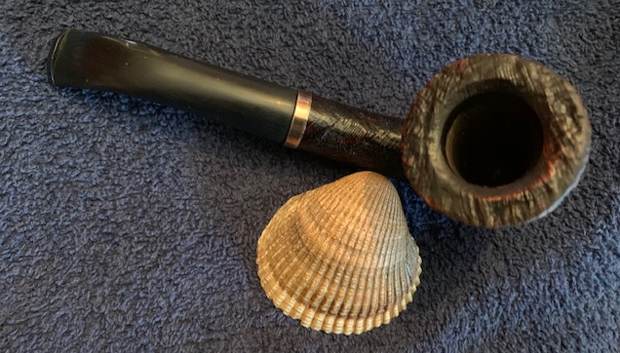
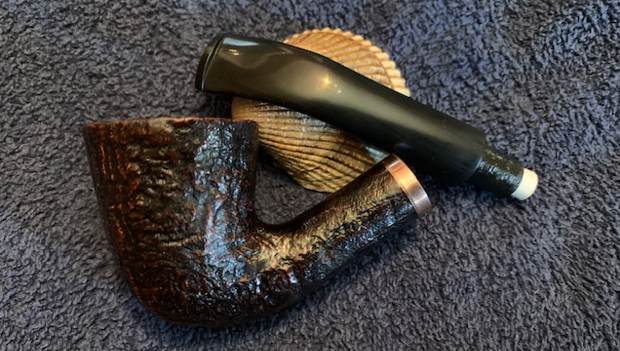
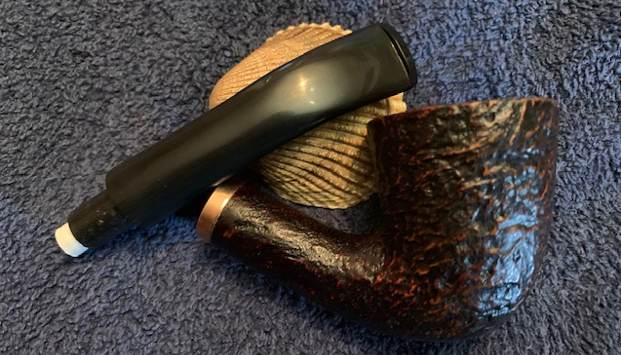
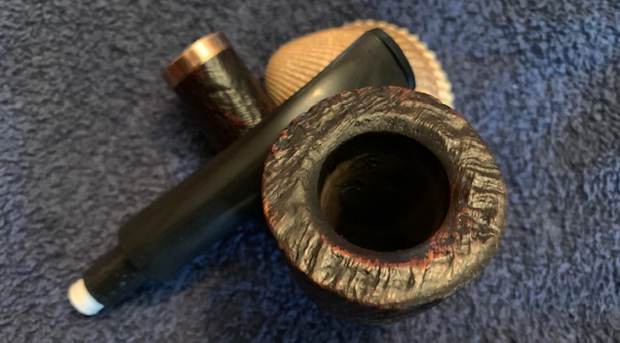
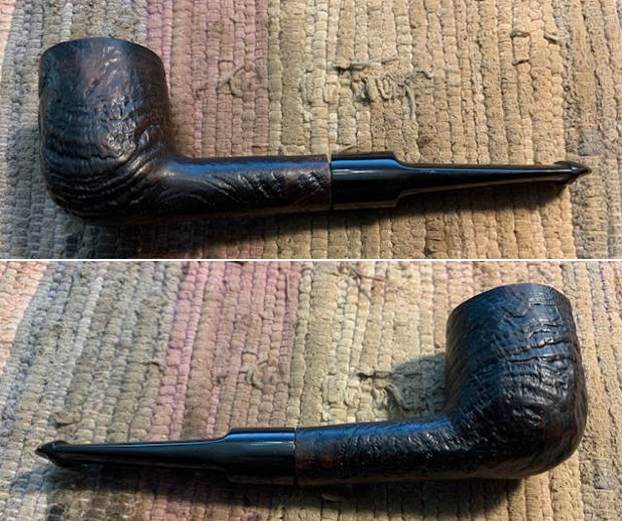
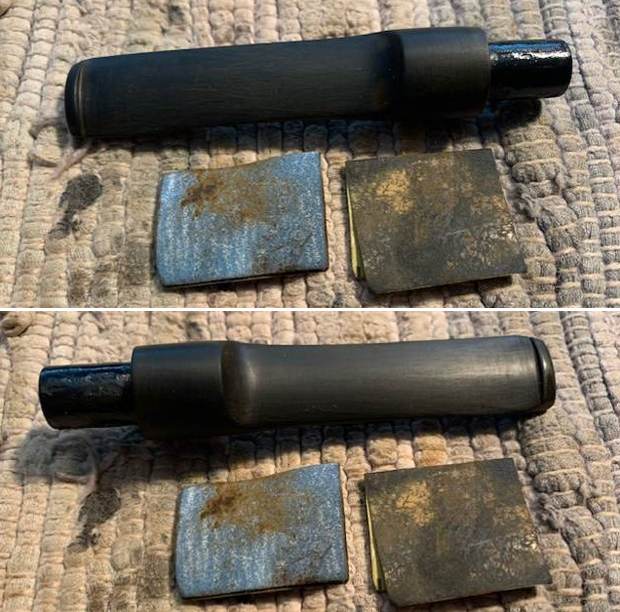
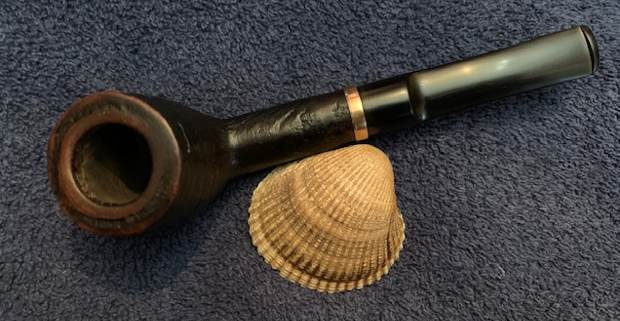
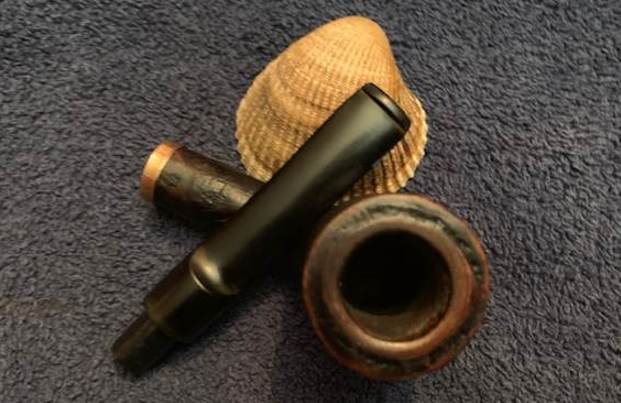
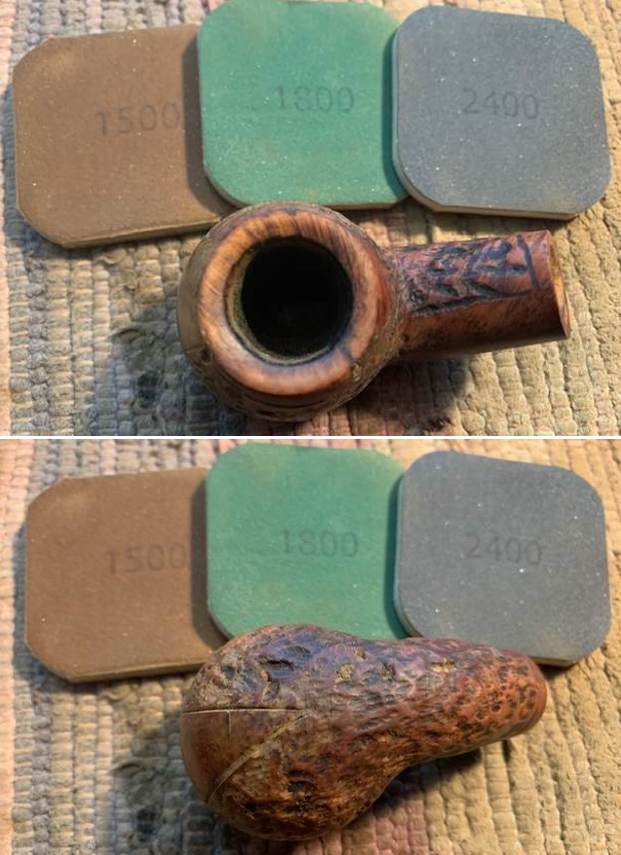
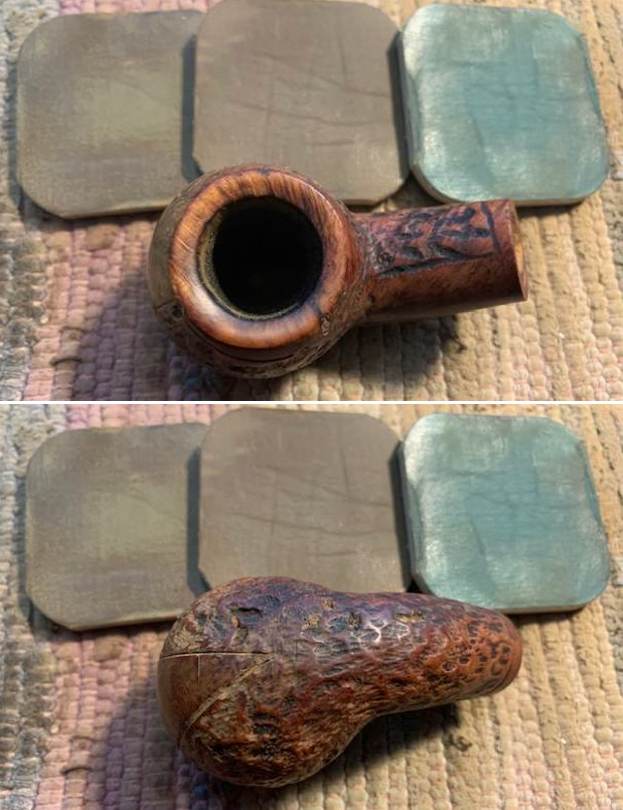
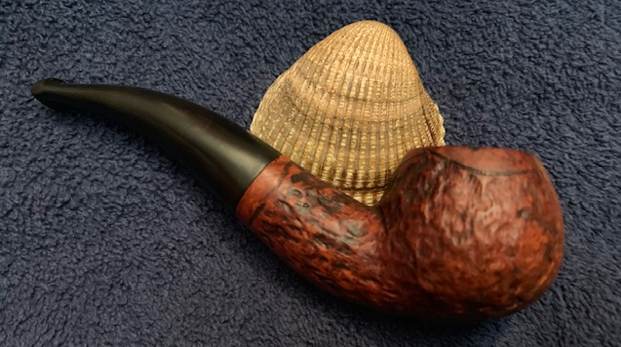
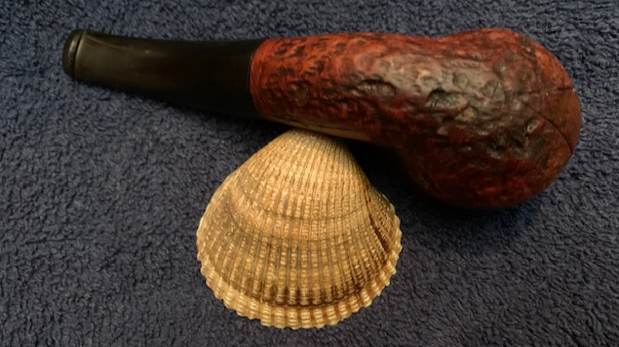
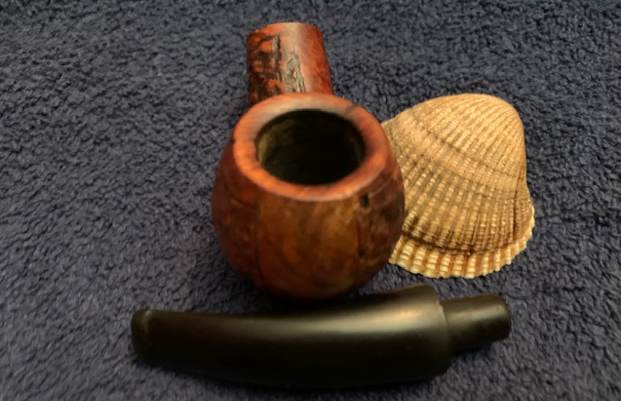
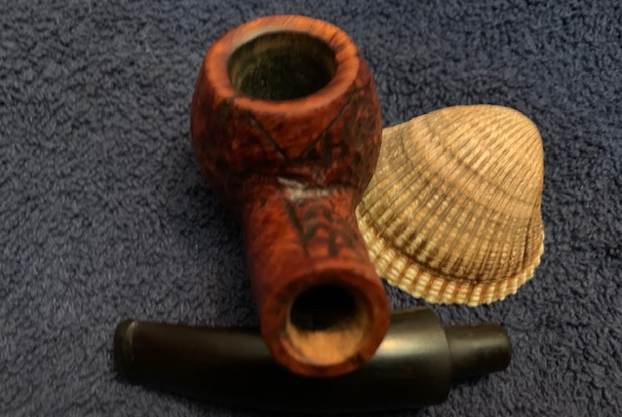
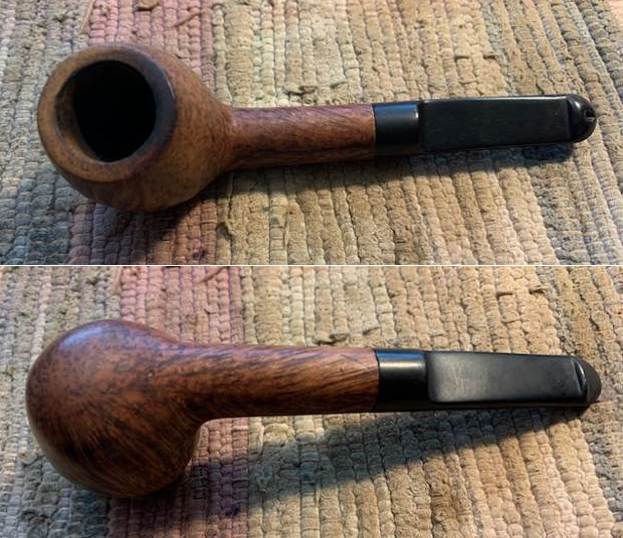
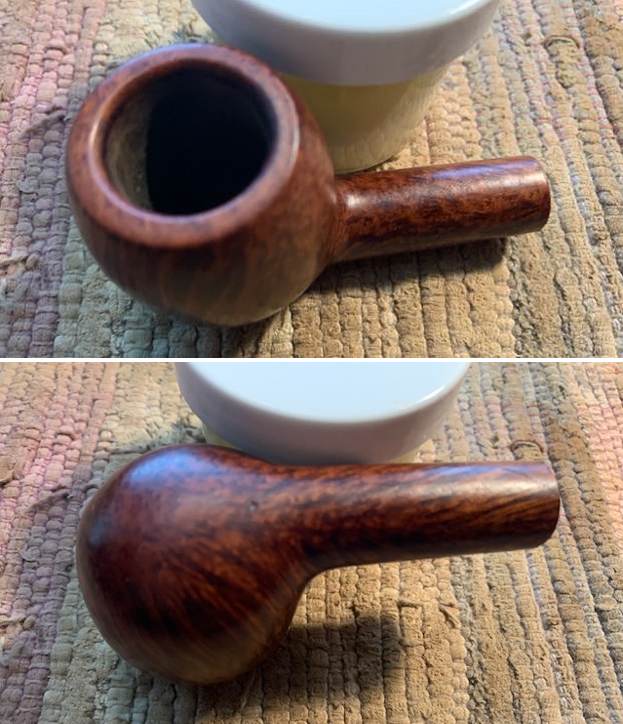
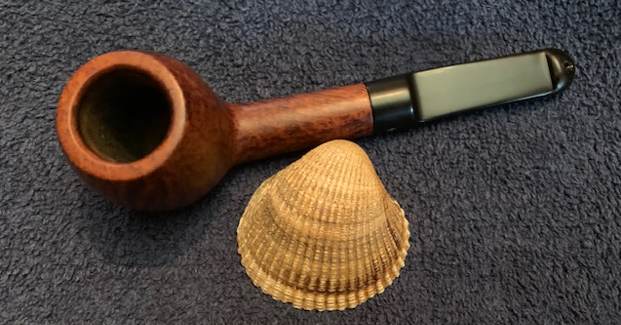
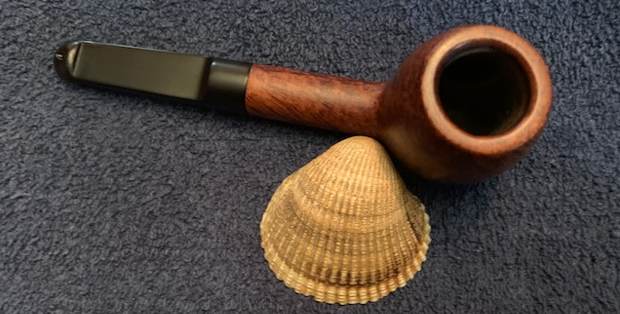
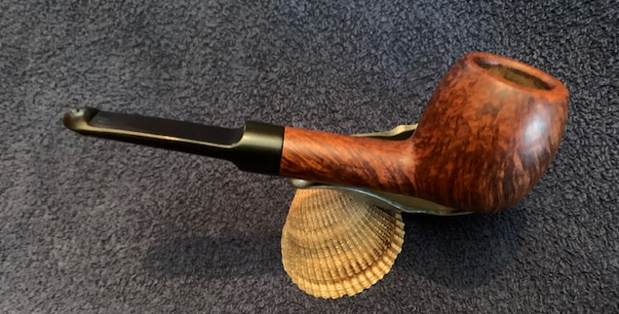
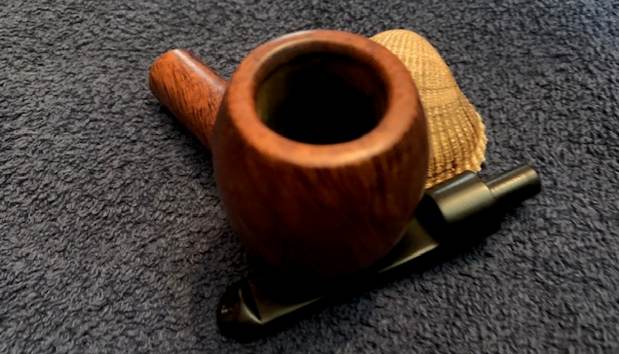
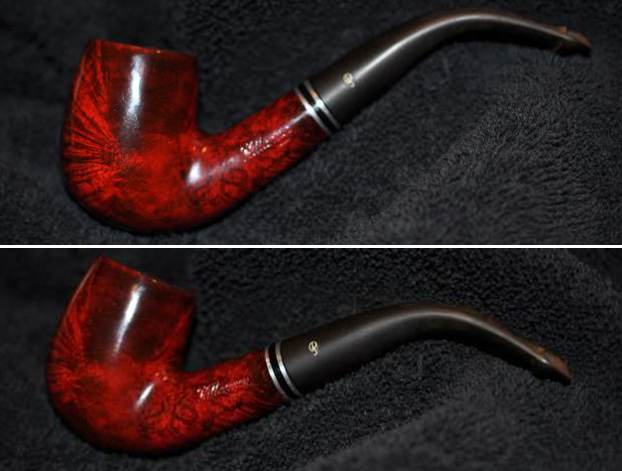
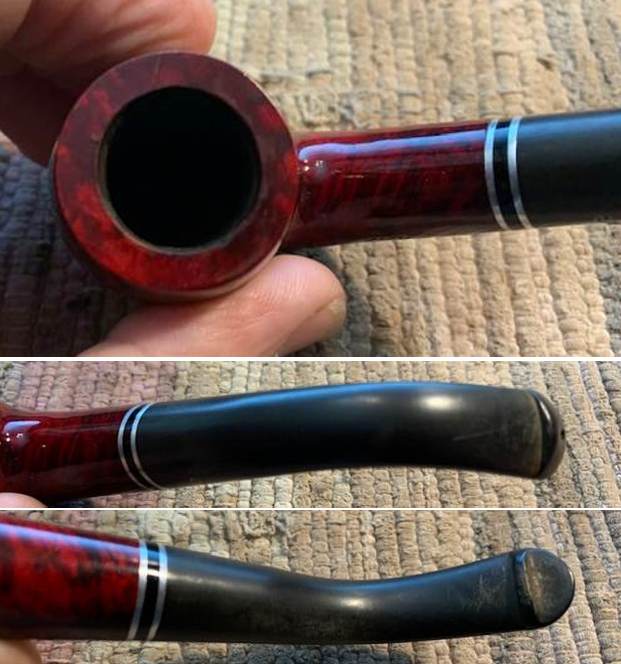
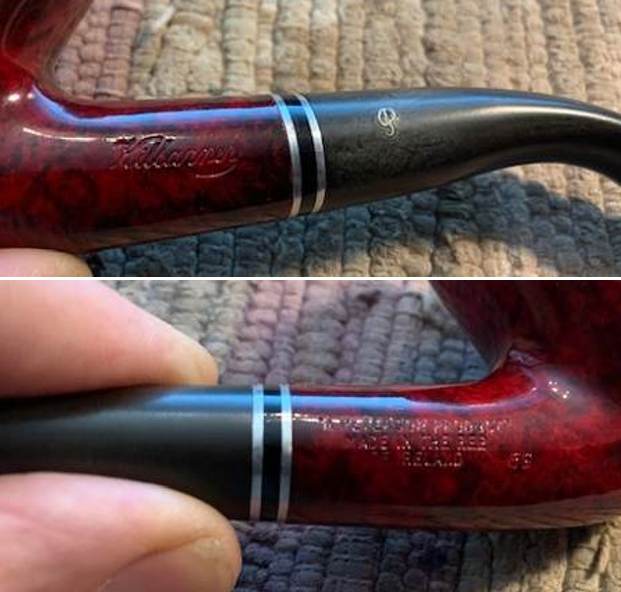
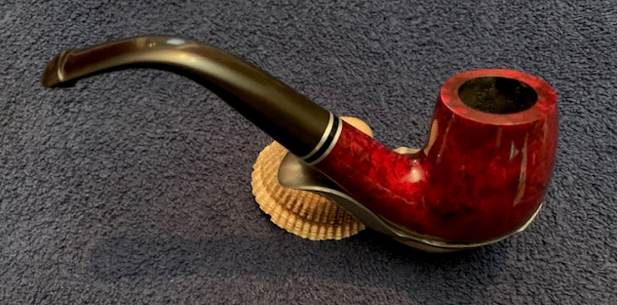
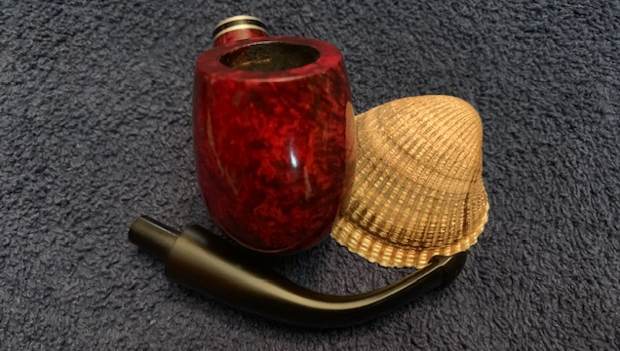
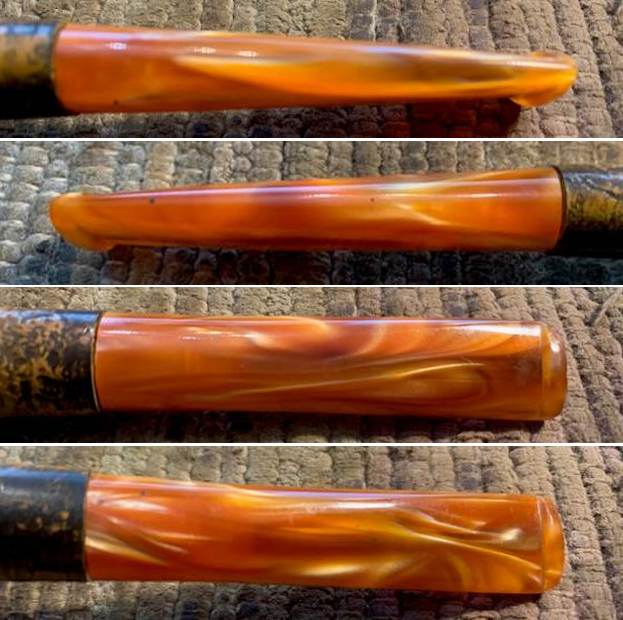
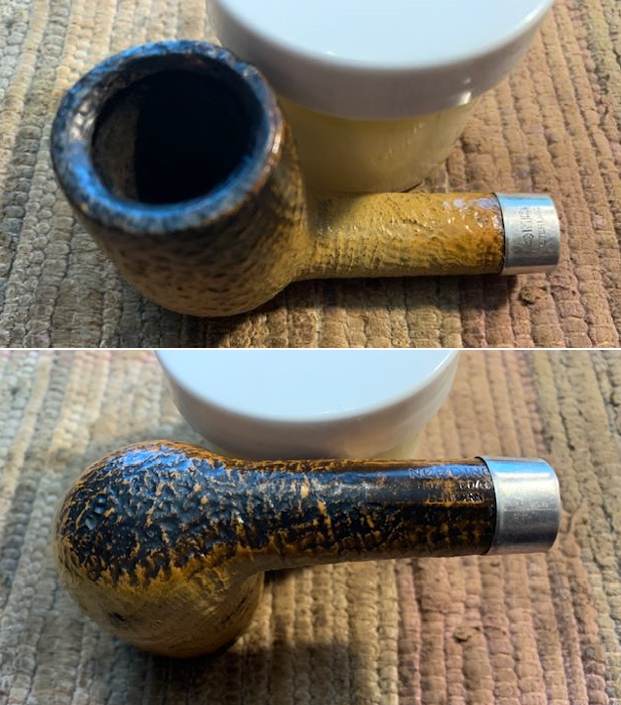
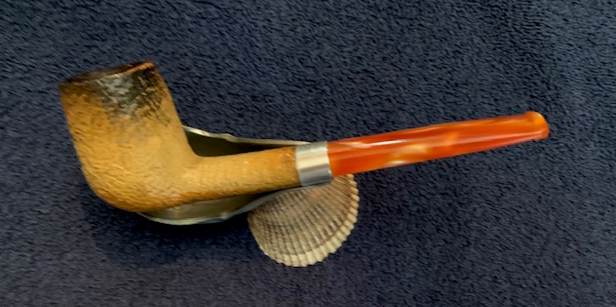
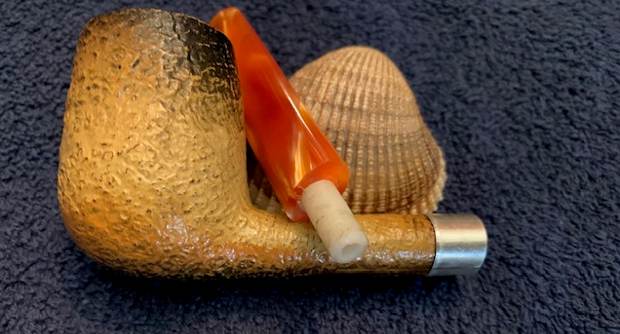
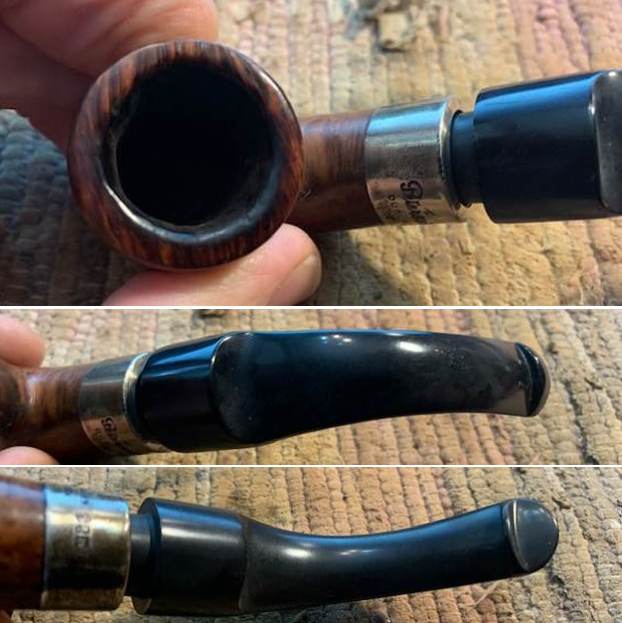
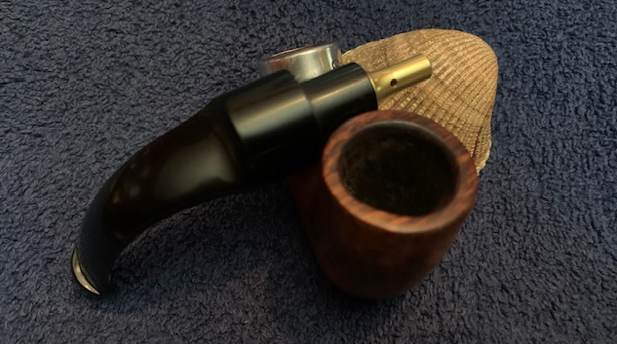
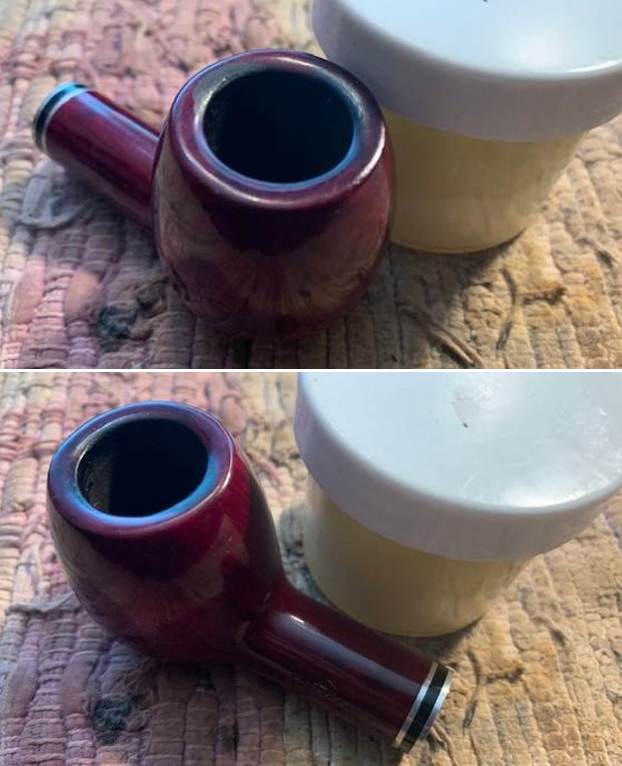
 I took close up photos of the bowl and the stem. You can see the bowl and the lava and darkening on the rim top and the back edge. The stem surface was lightly oxidized, calcified and there were light tooth marks and chatter on both sides on and ahead of the button.
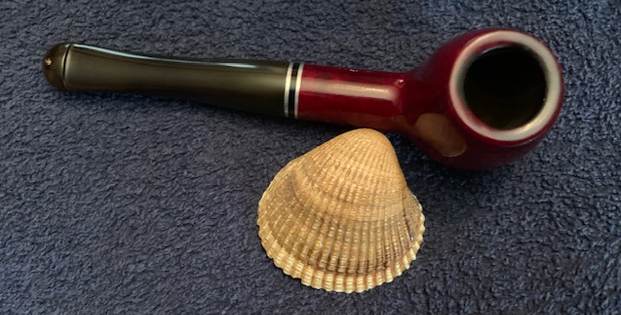
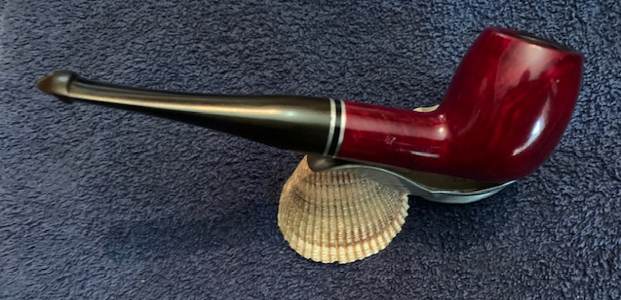
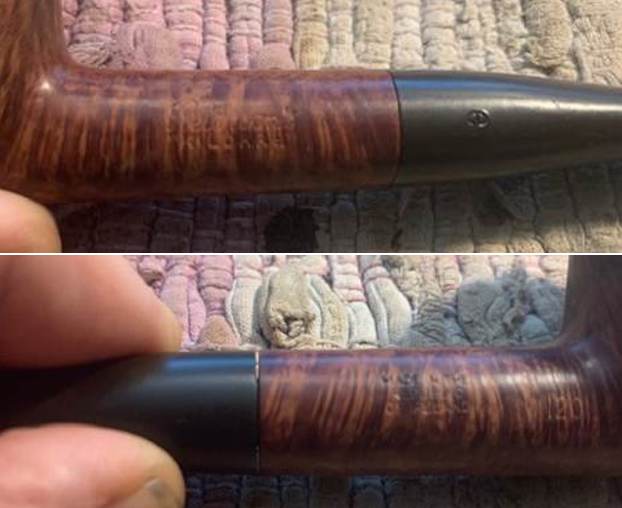
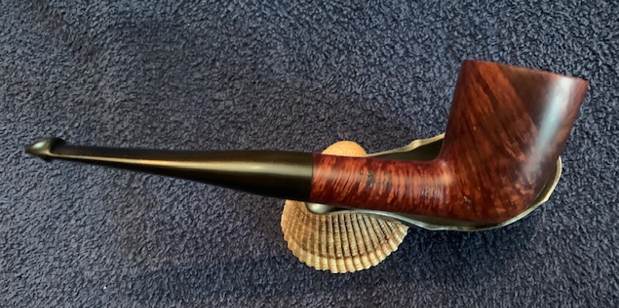
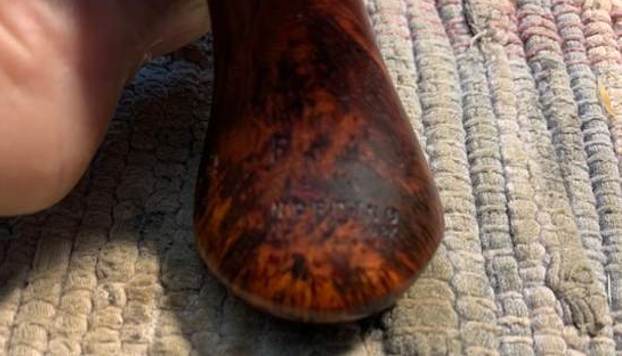
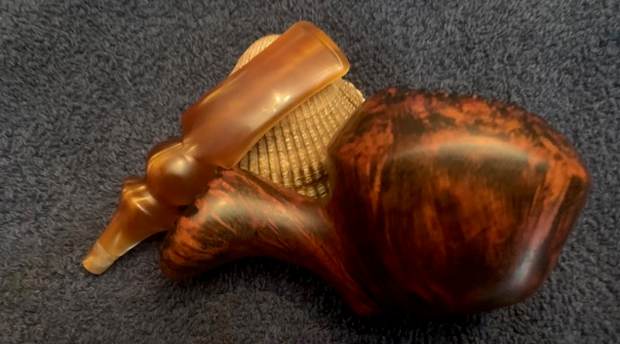
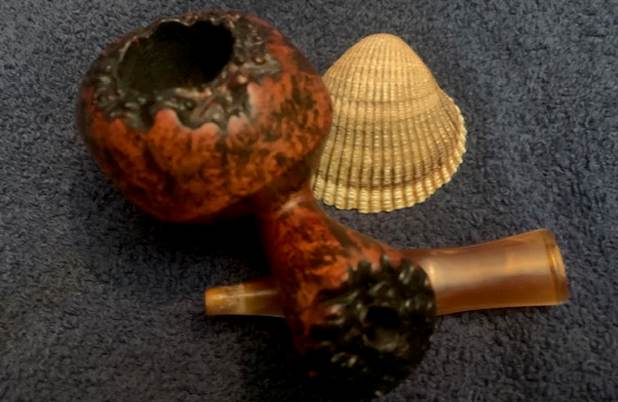
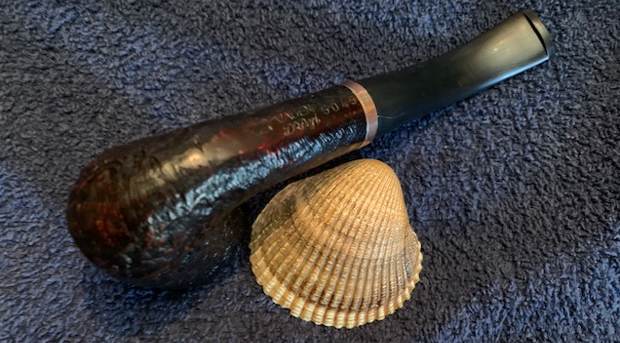
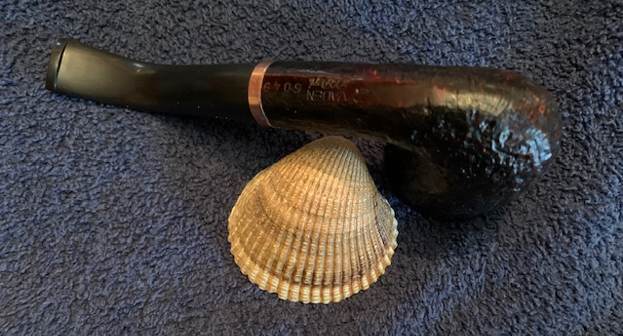
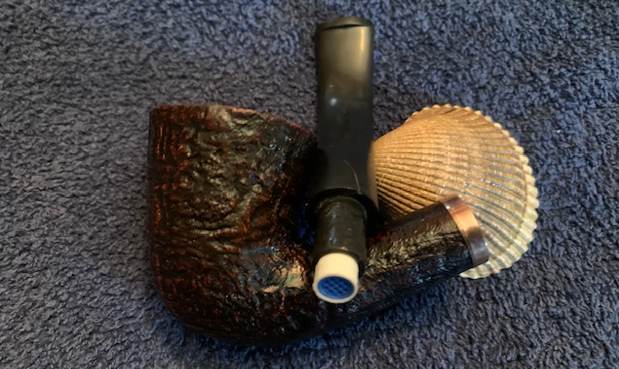
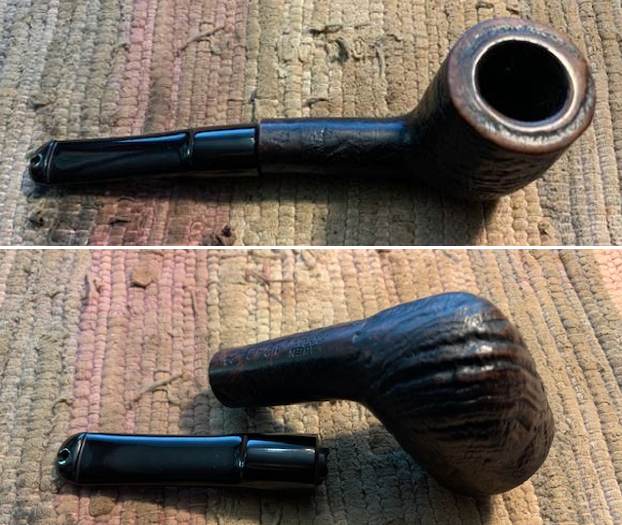
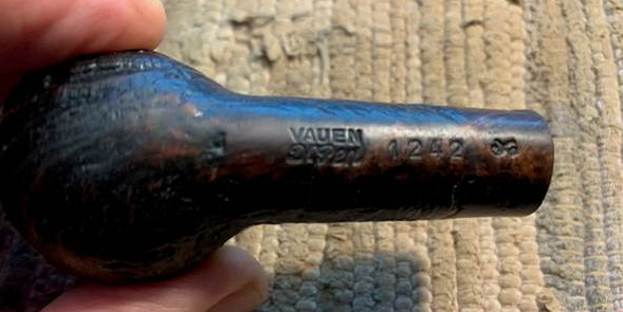
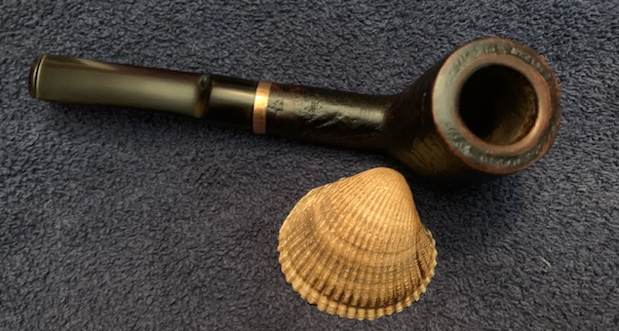
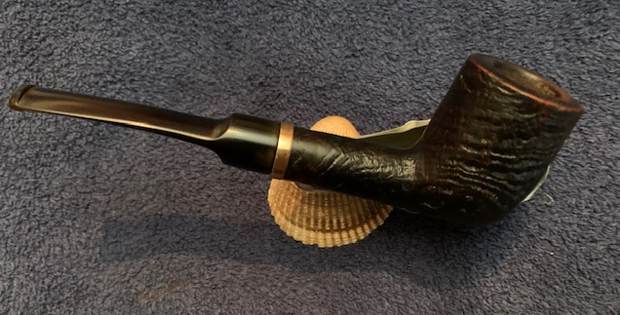
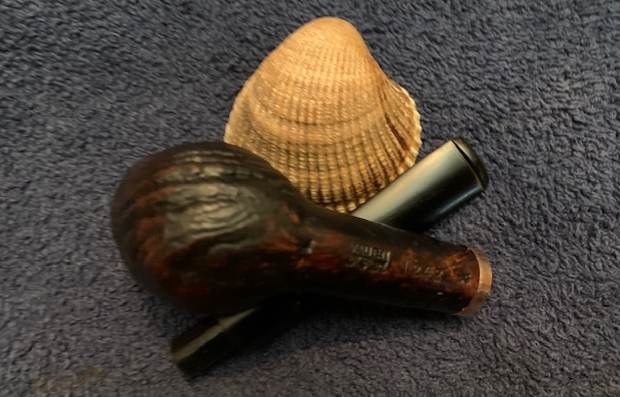
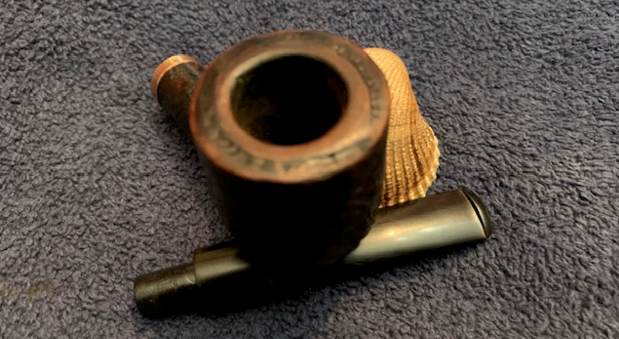
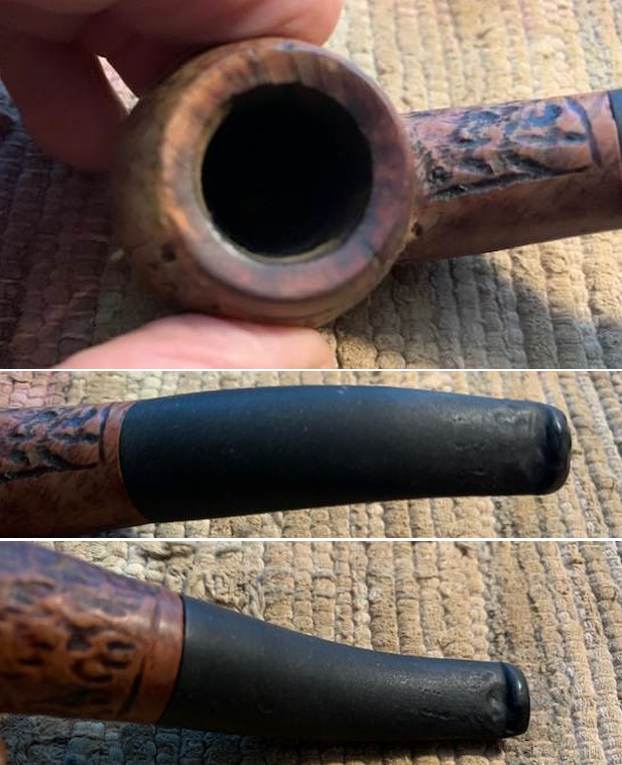
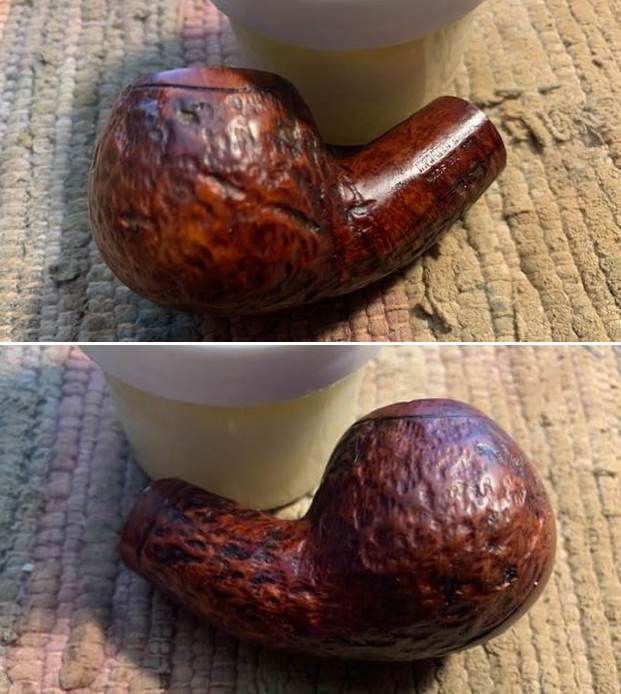
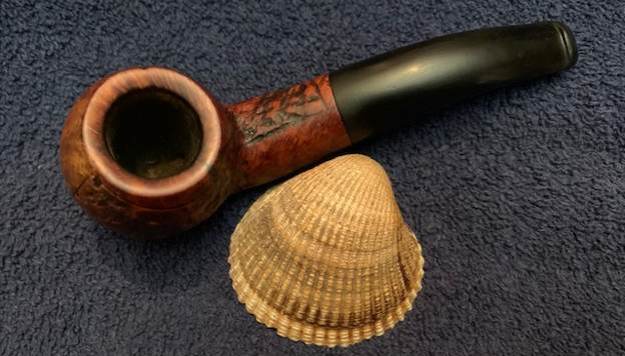
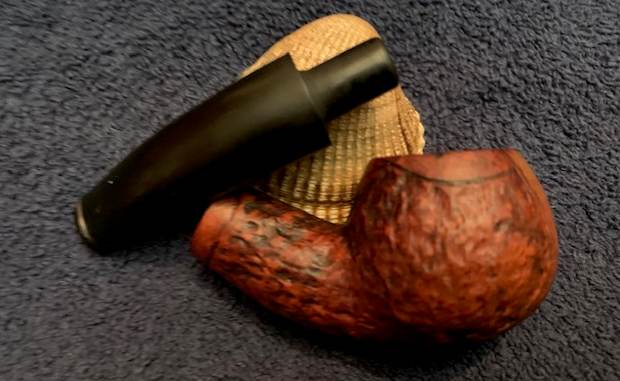
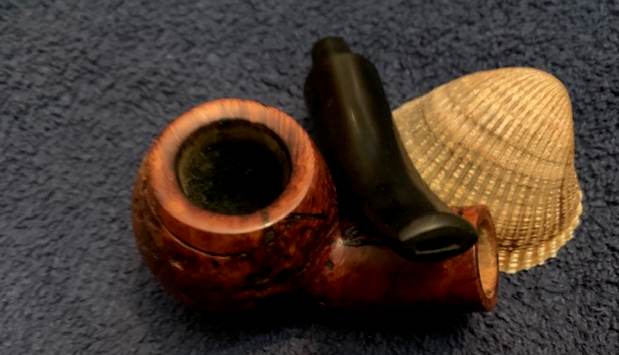
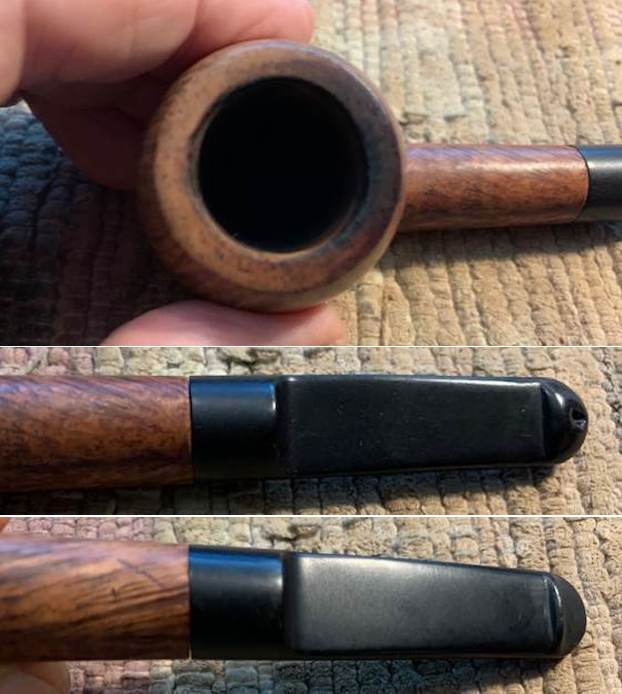
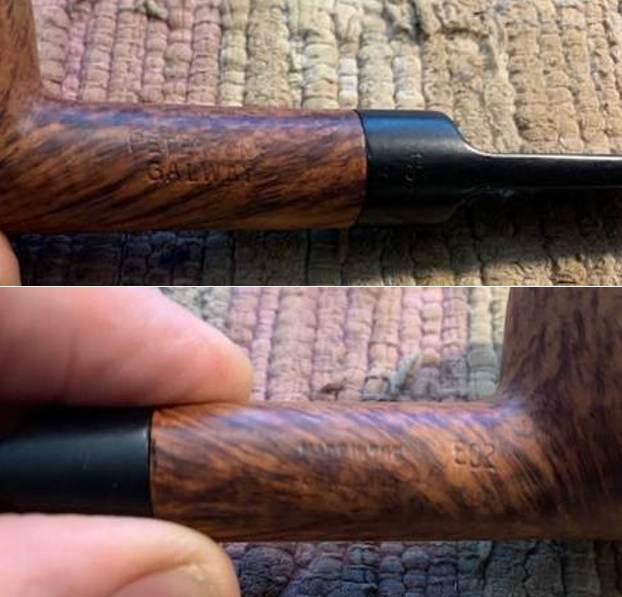
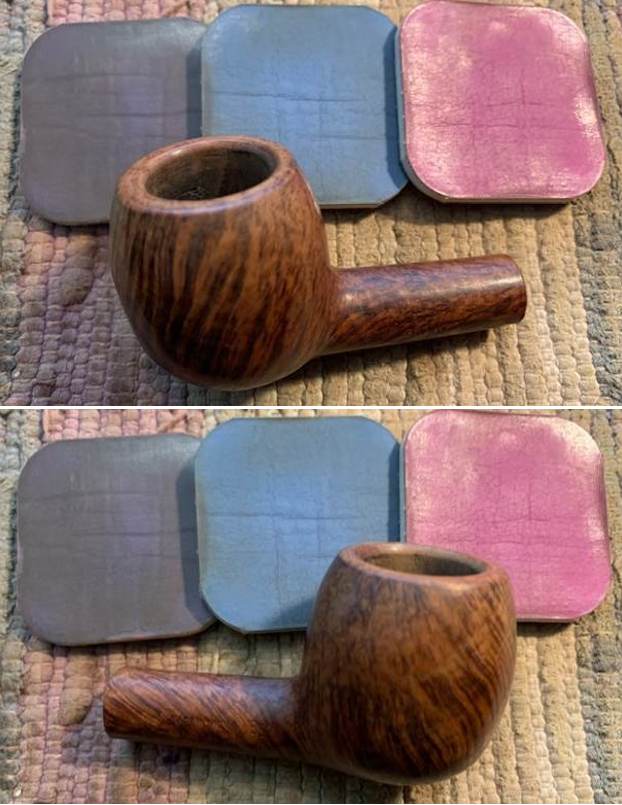
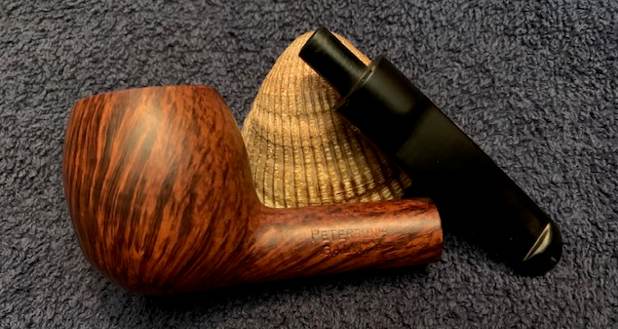
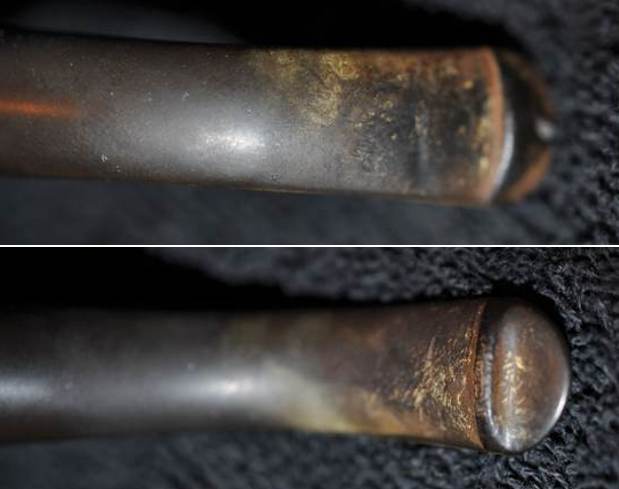
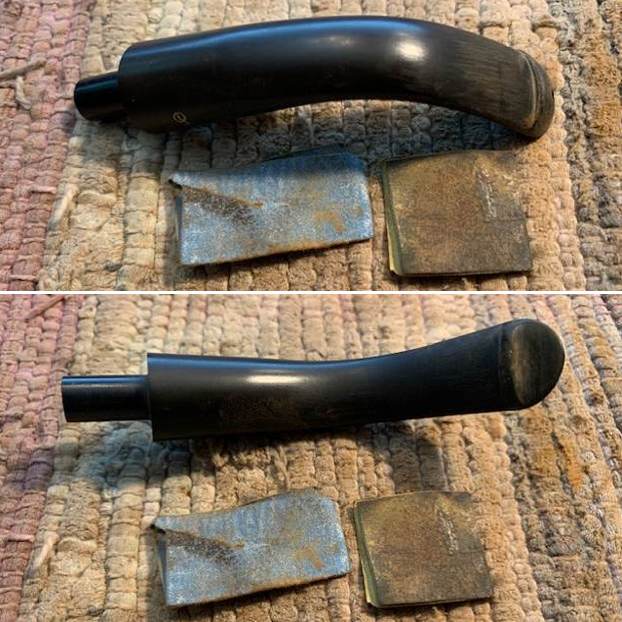
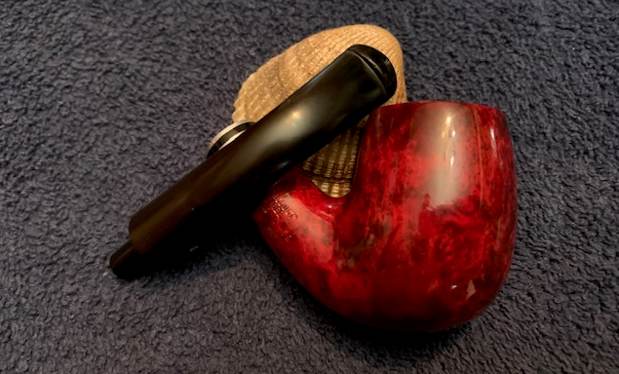
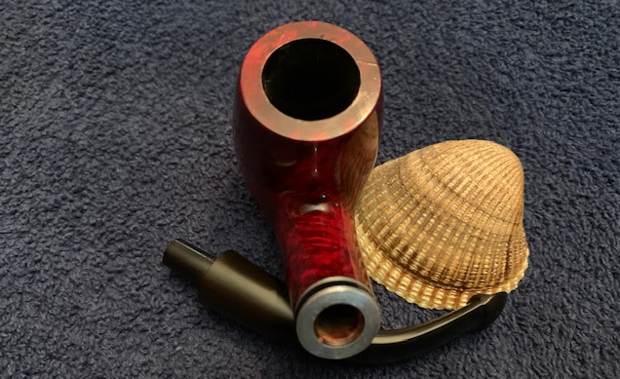
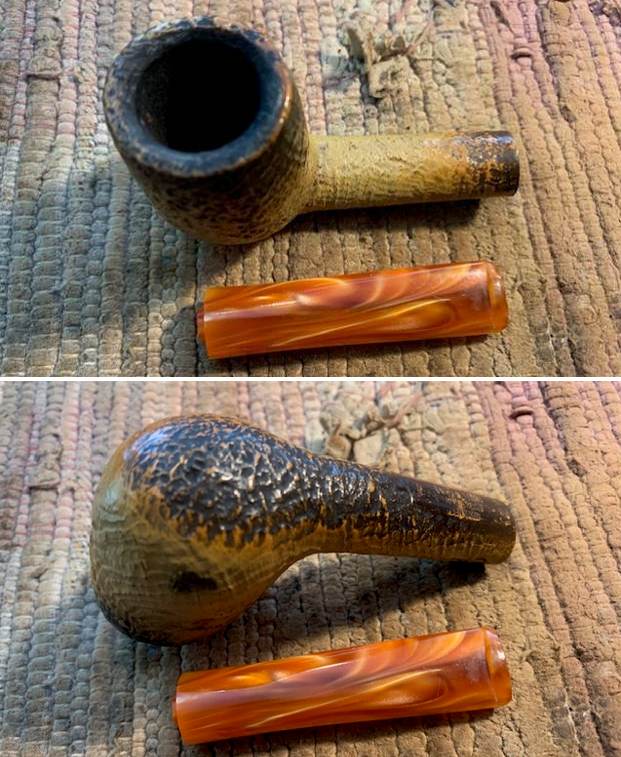
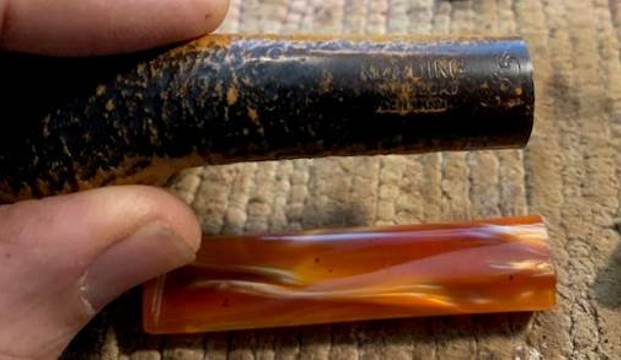
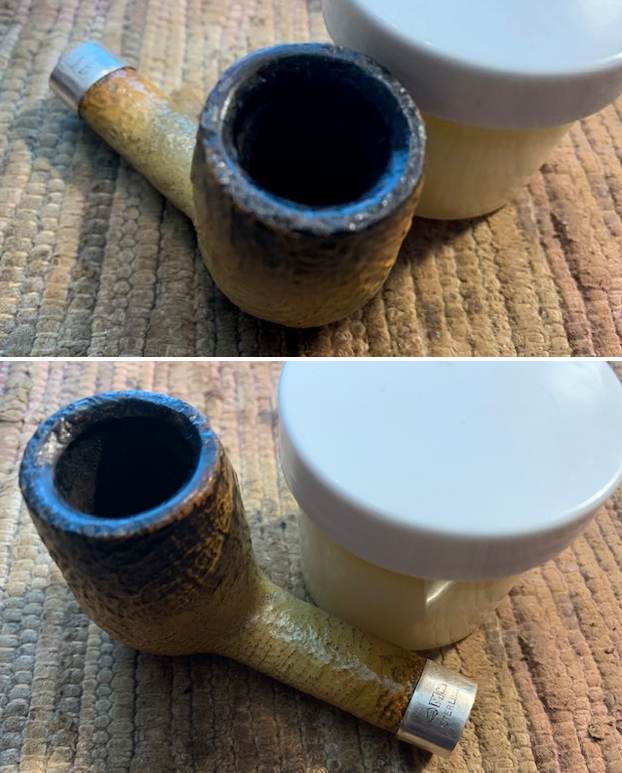
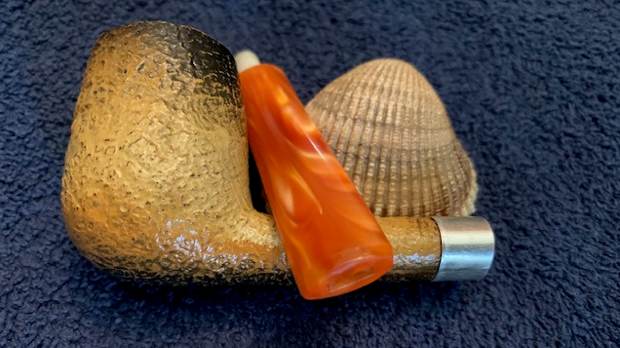
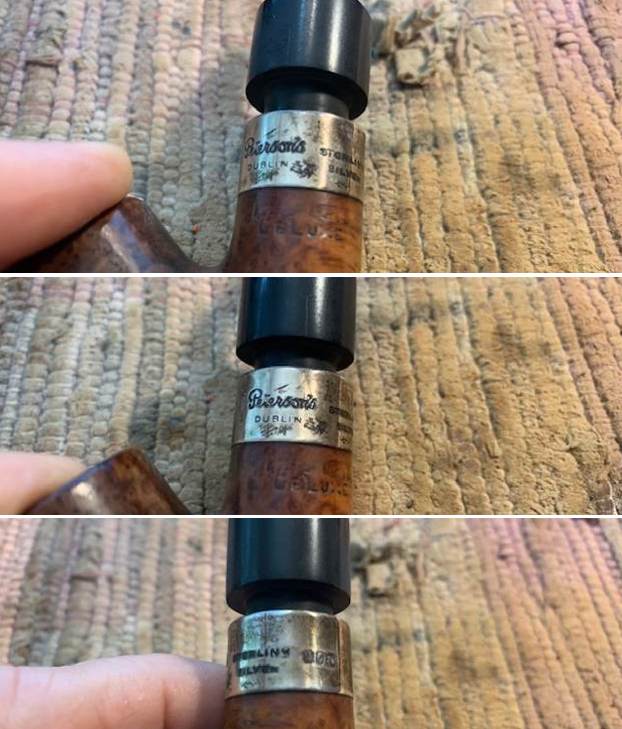
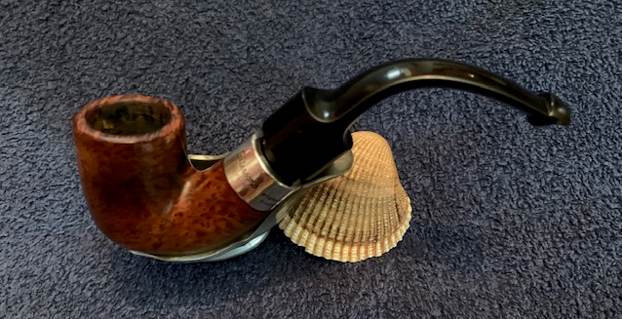
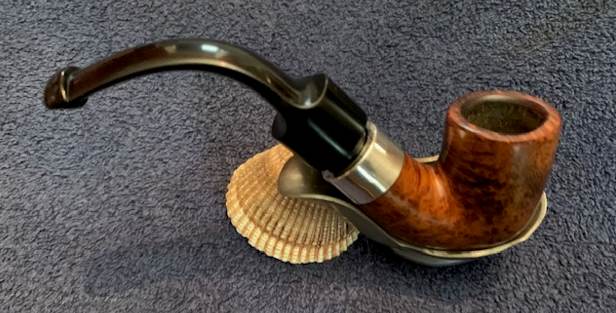
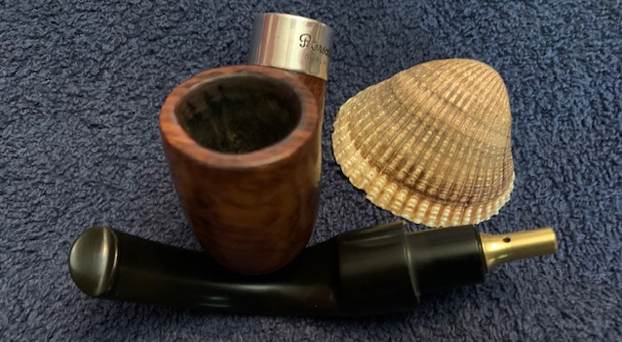
 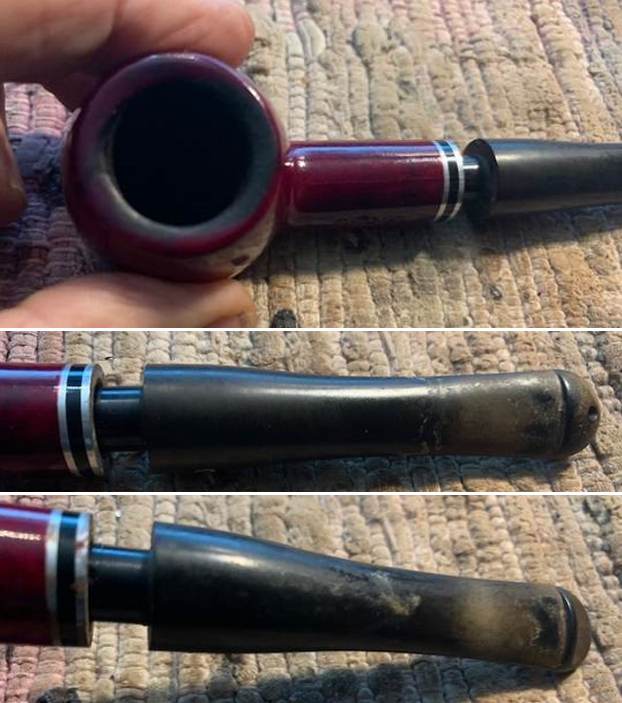 I took photos of the stamping on the sides of the shank. It is clear and readable as noted above. There is also a “P” stamp on the right side of the taper stem.
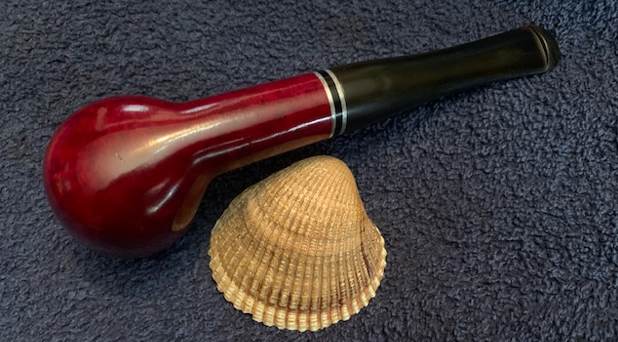
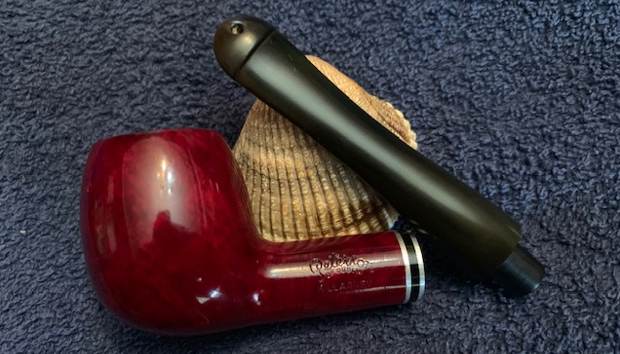
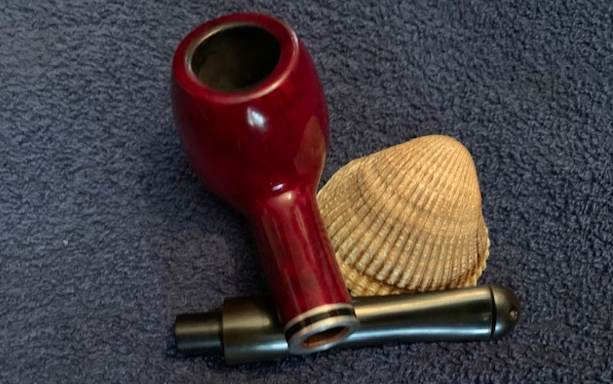
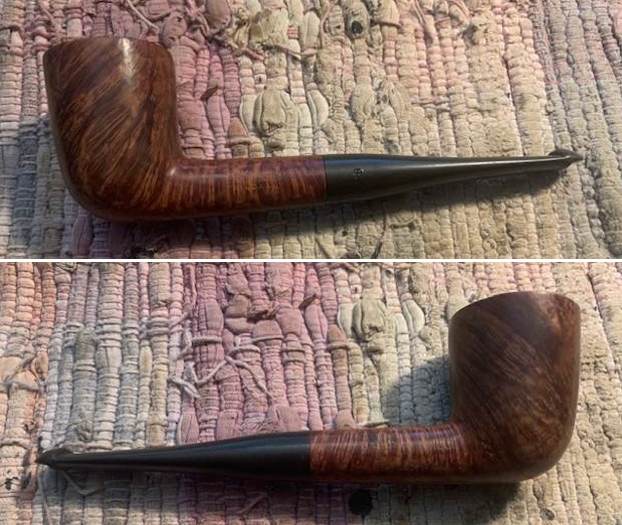
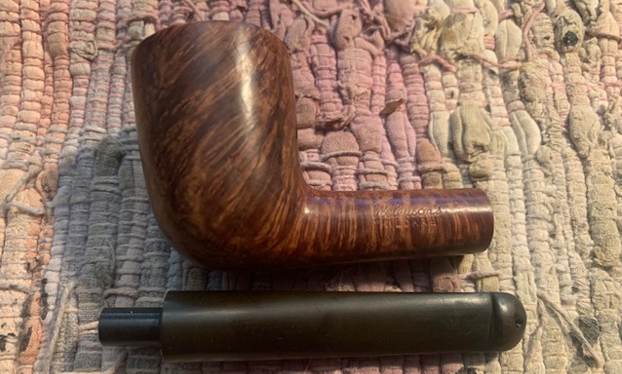
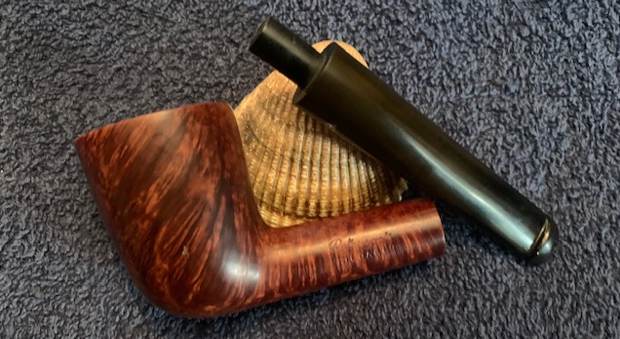
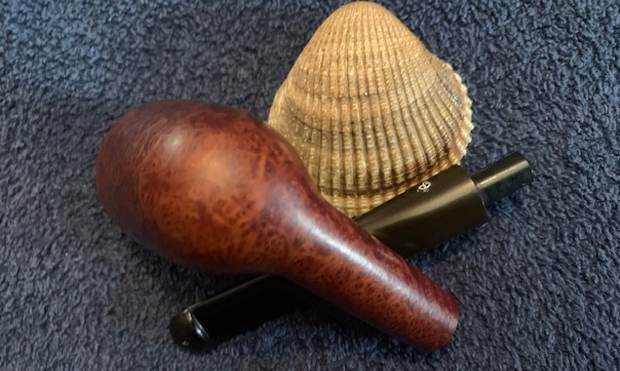
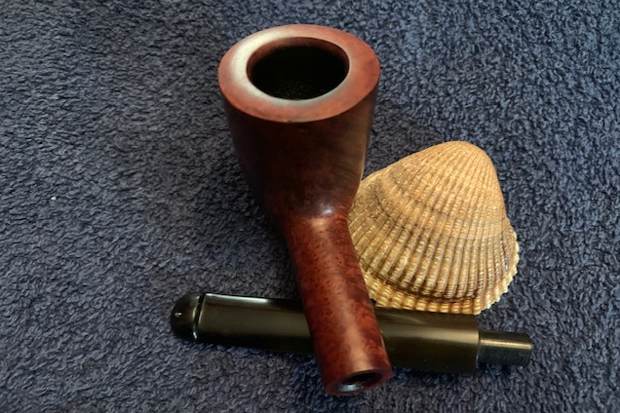
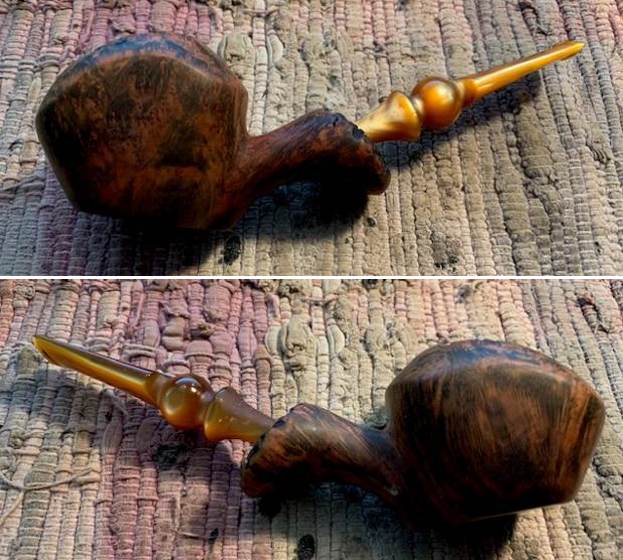
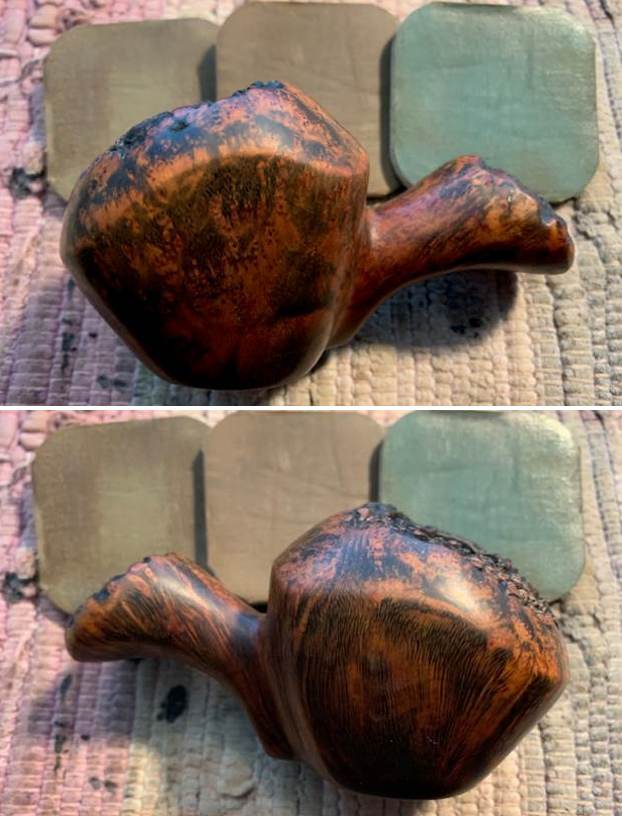
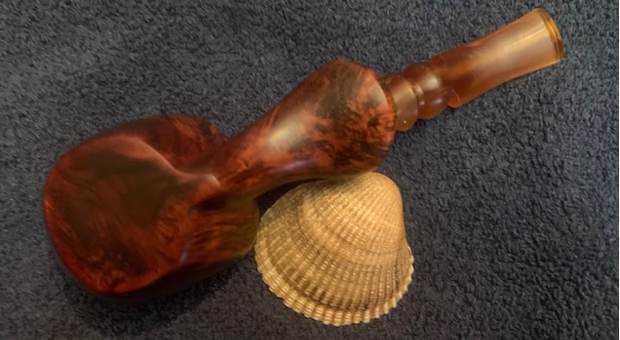
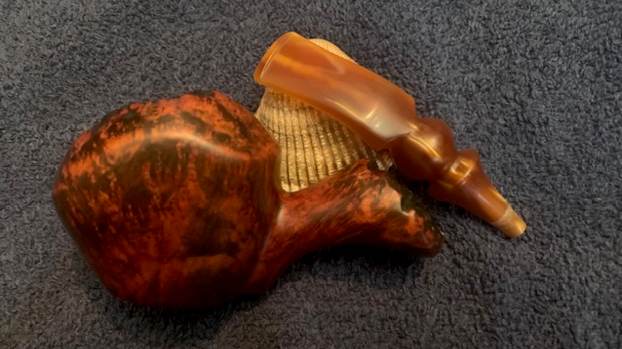
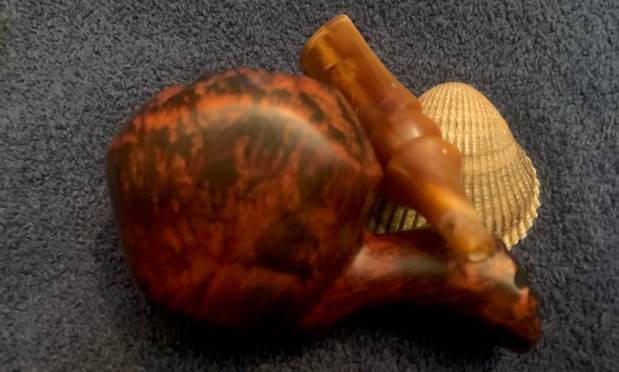
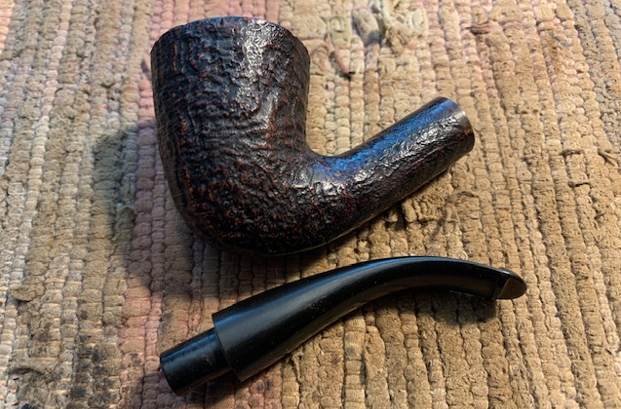
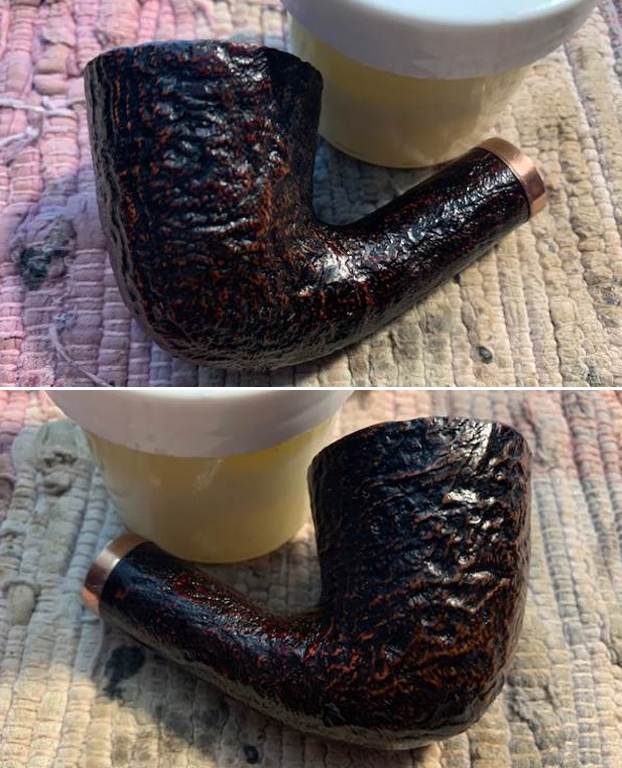
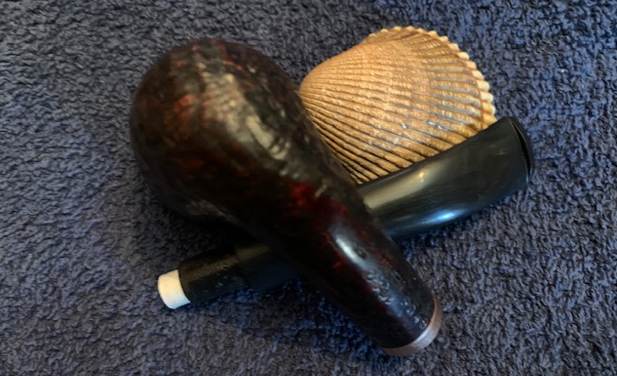
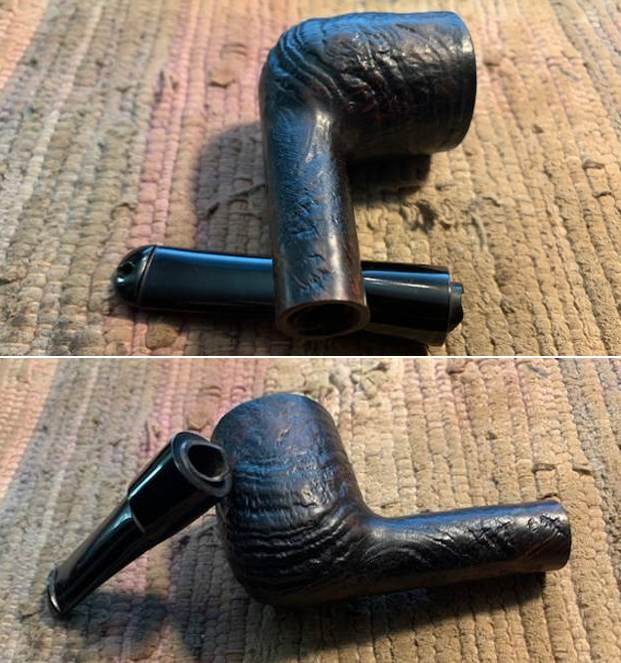
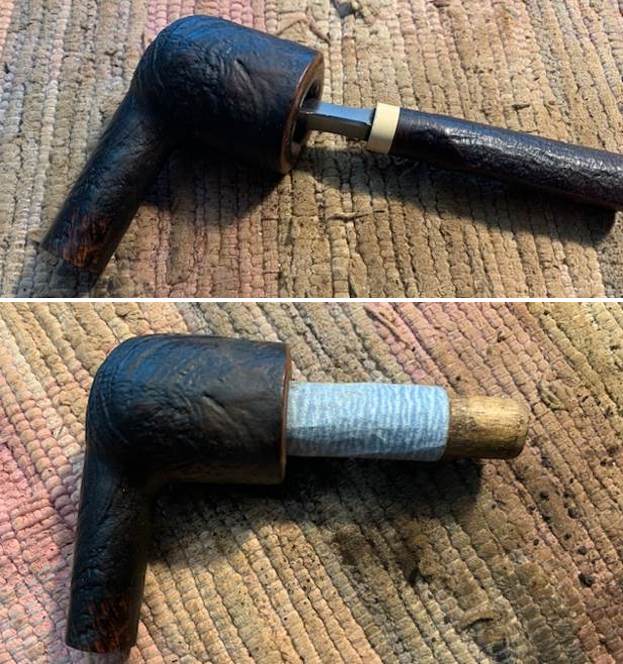
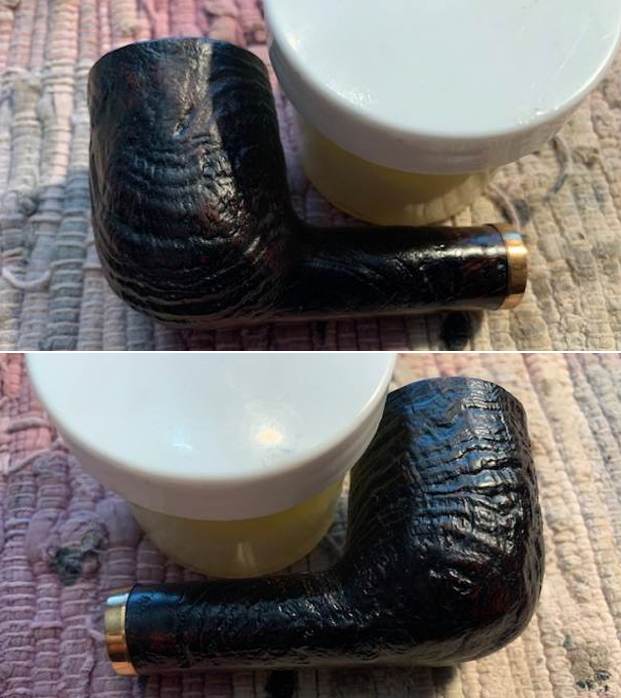
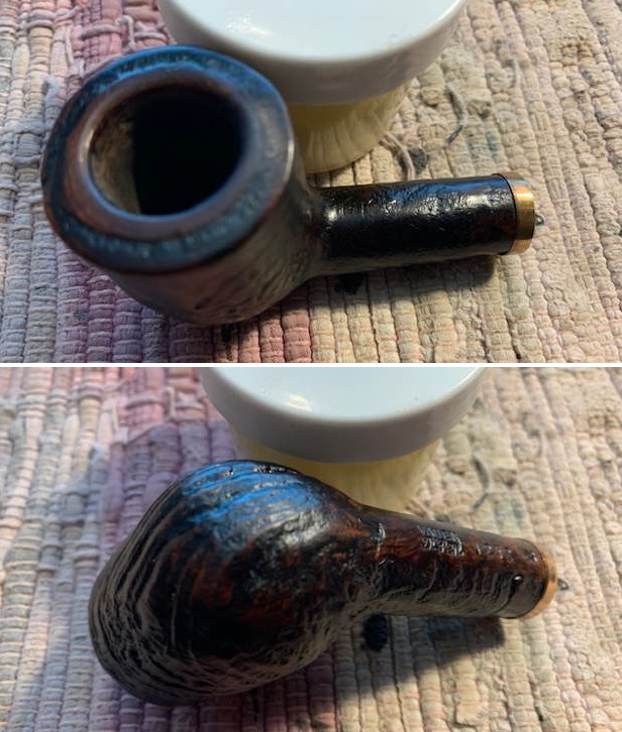
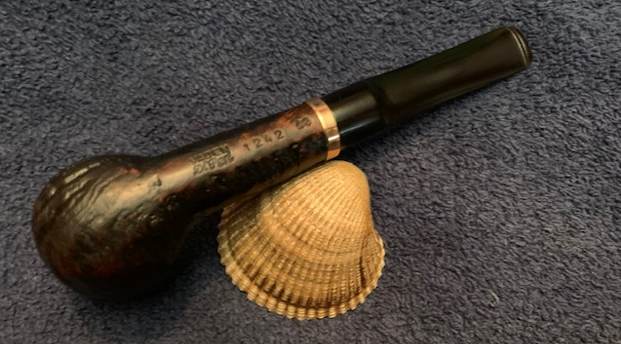
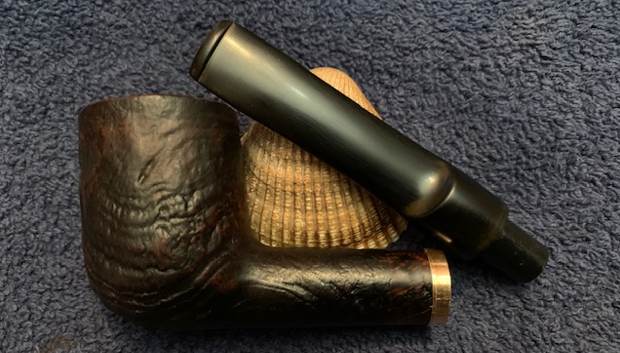
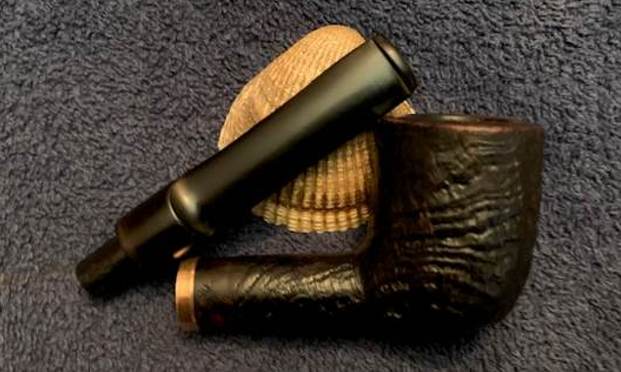
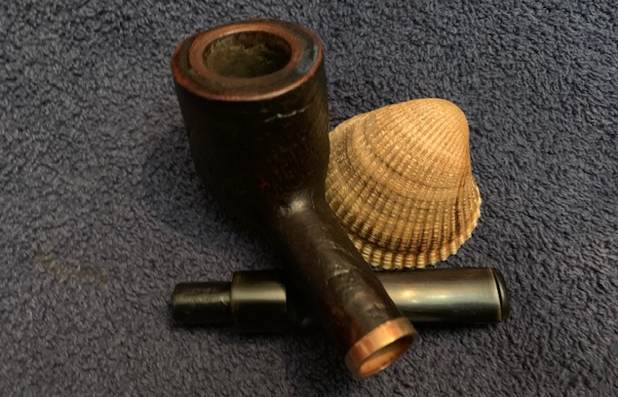
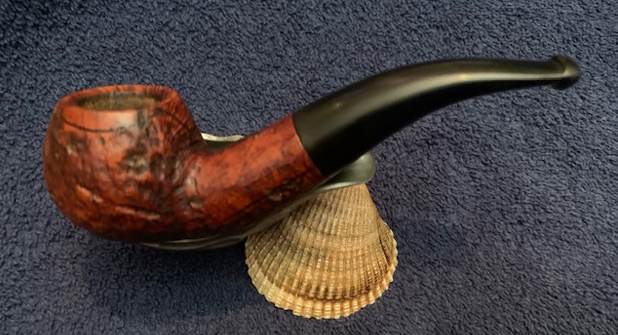
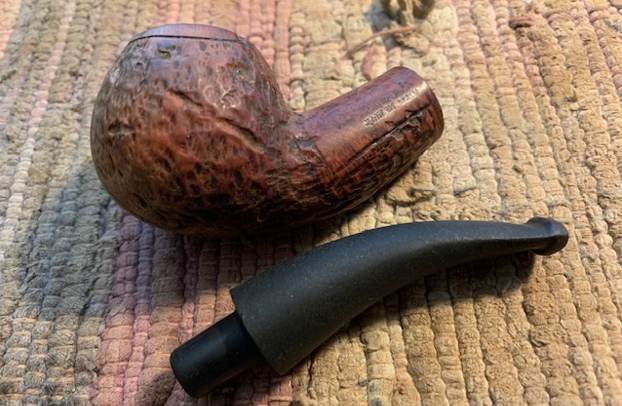
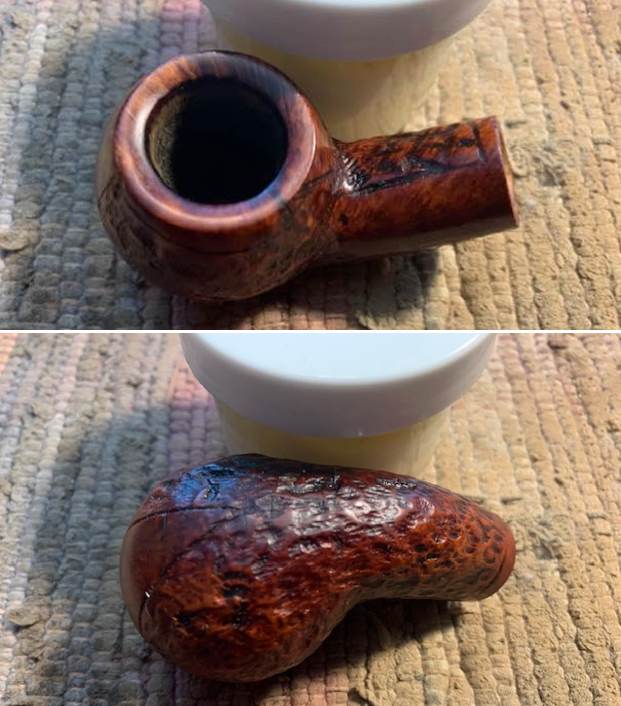
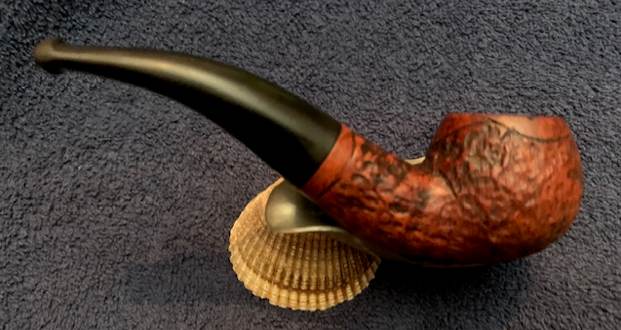
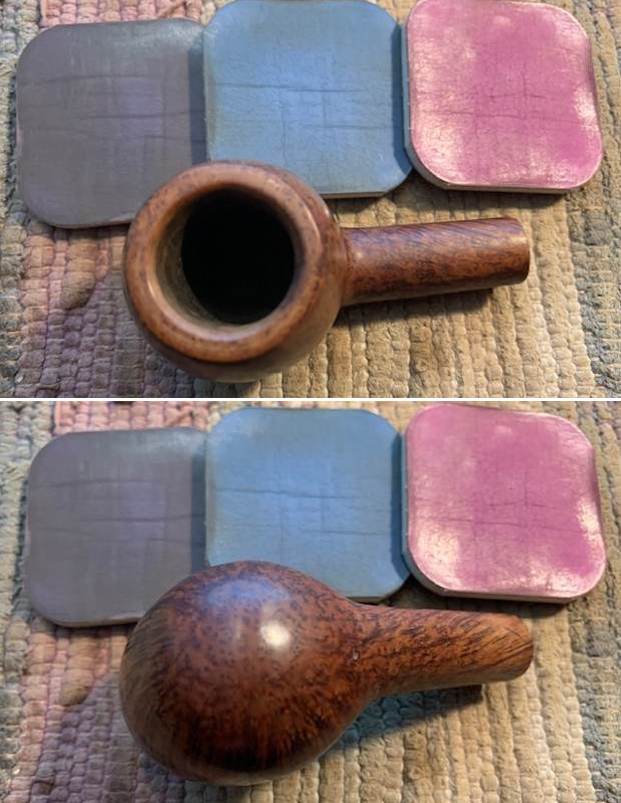
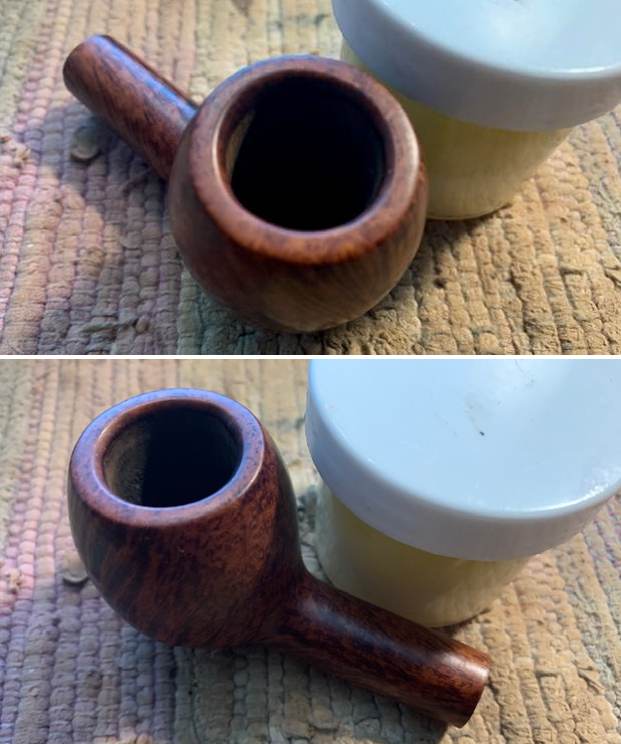
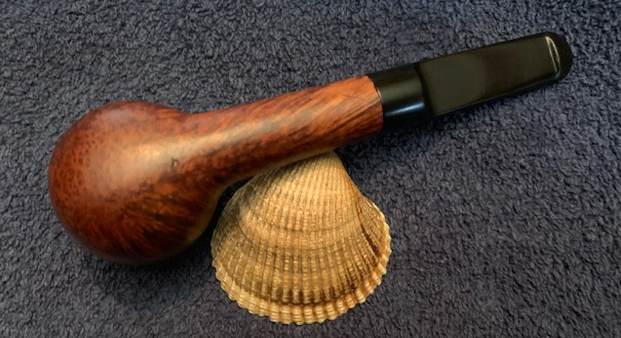
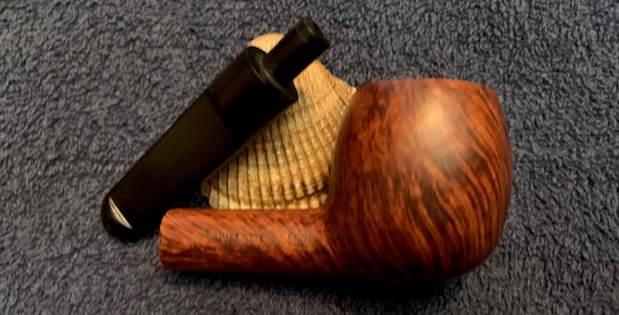
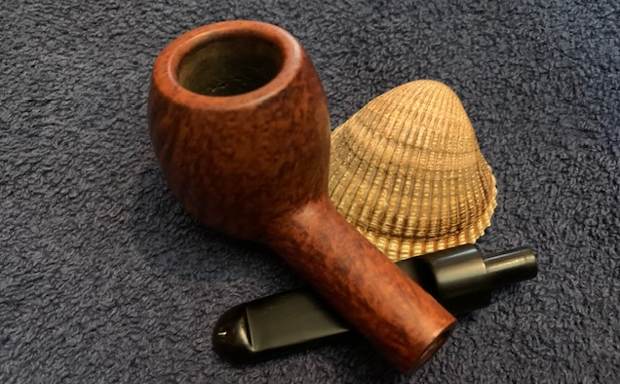
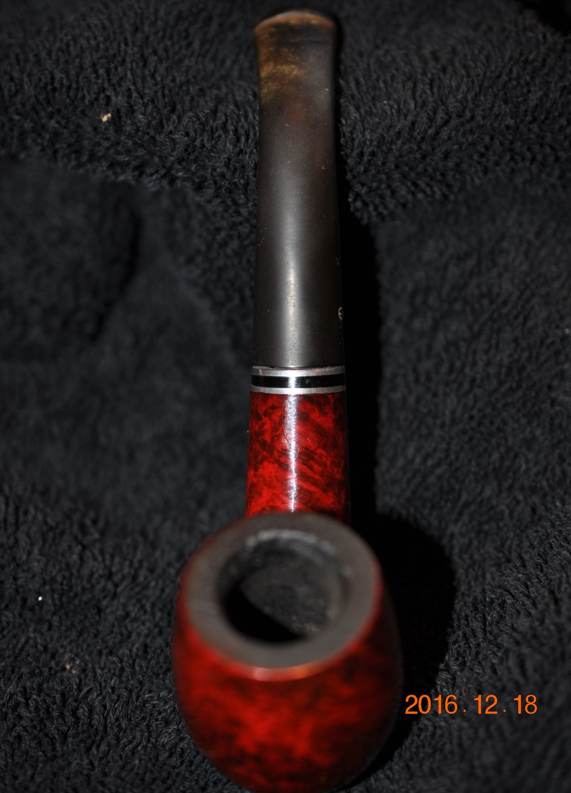
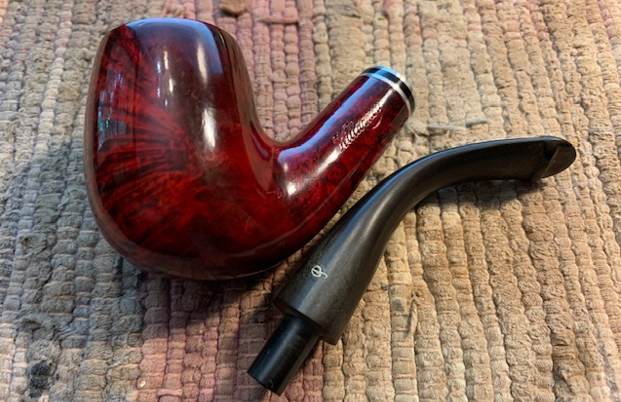
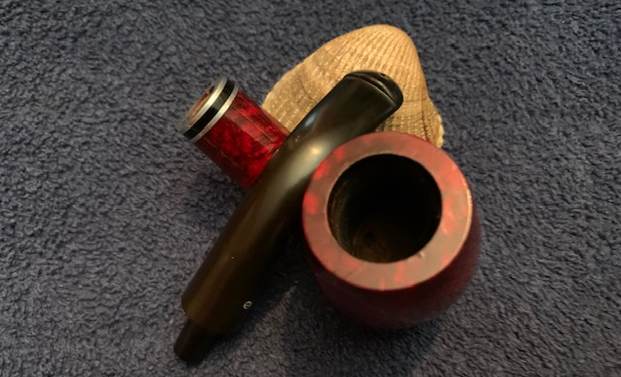
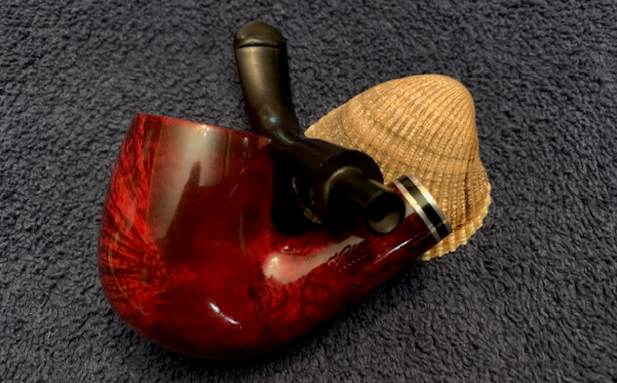
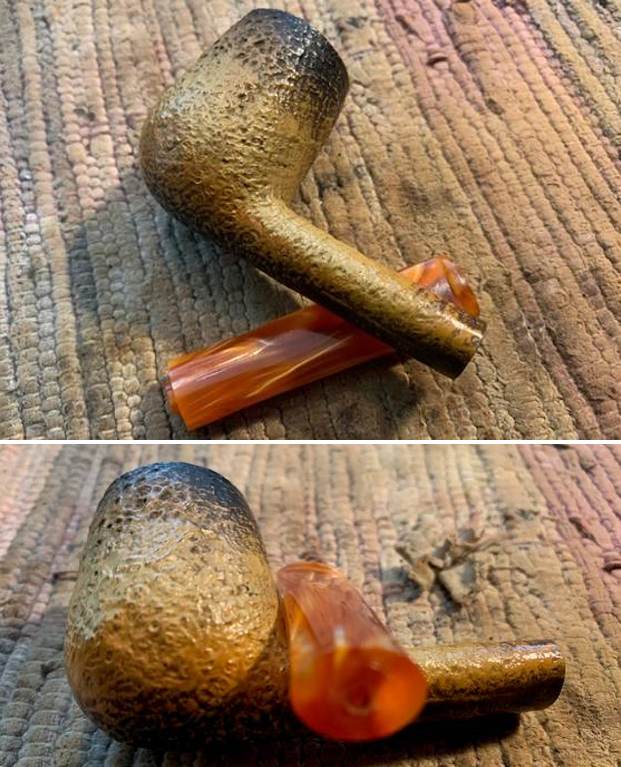
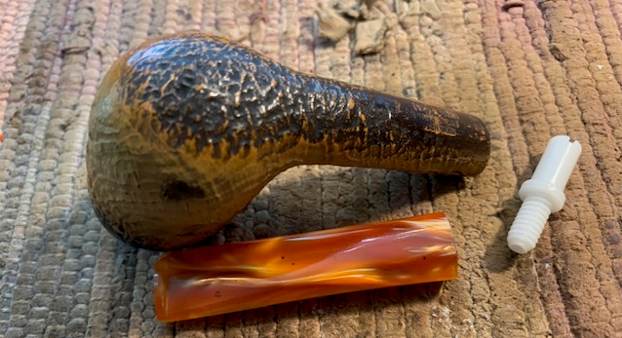
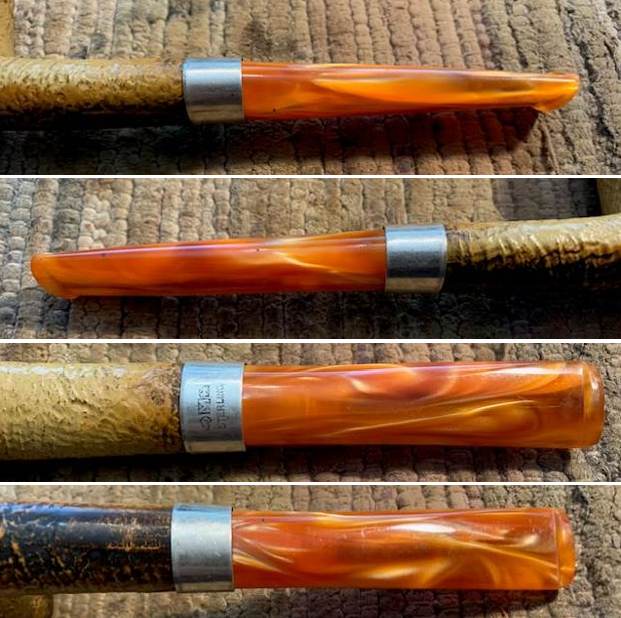
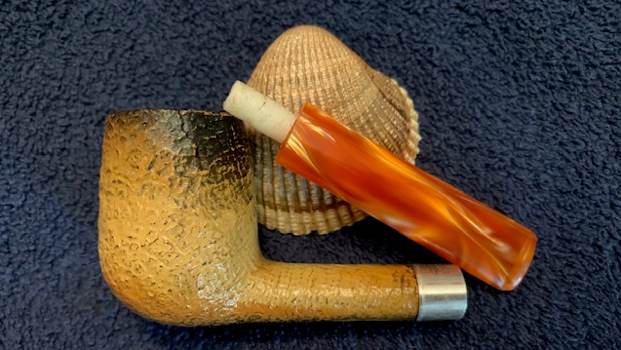
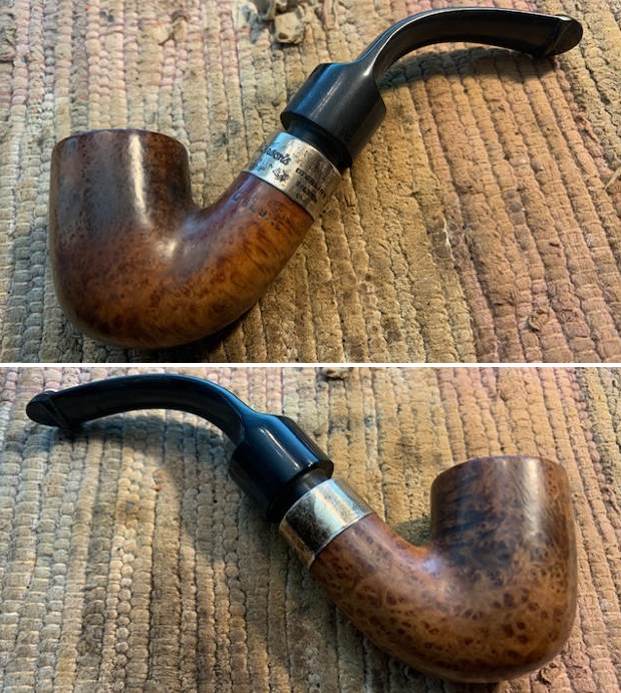
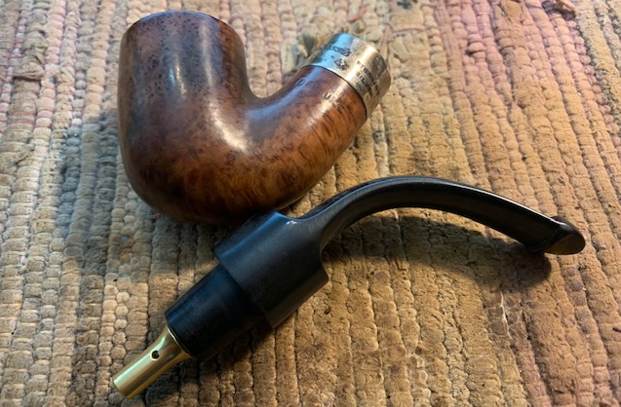
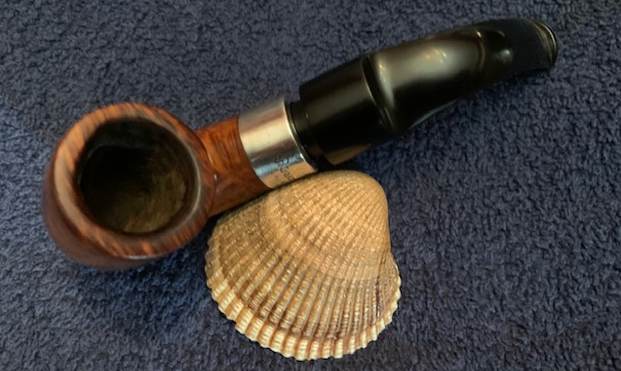
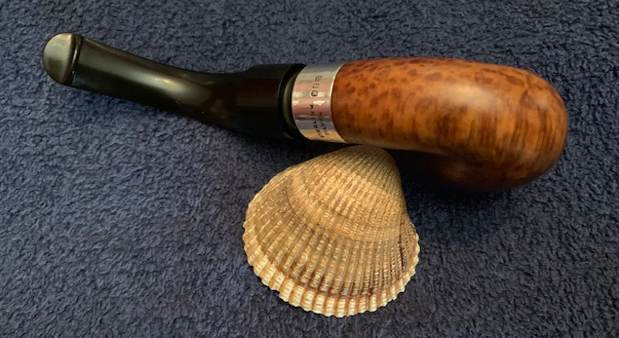
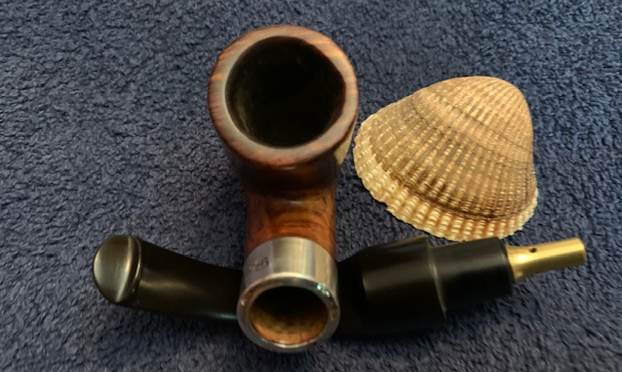
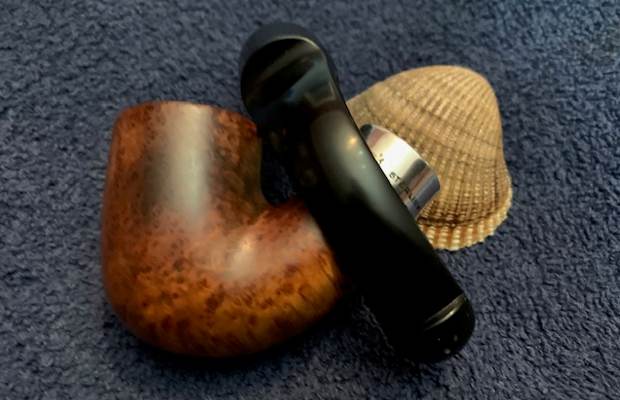
 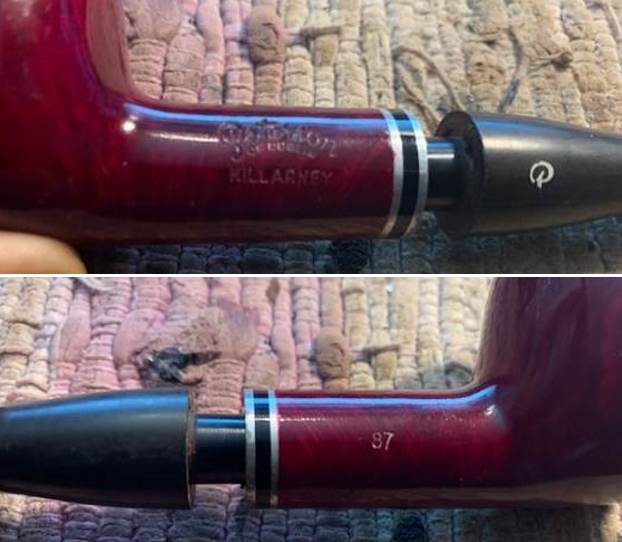 I removed the stem from the shank and took a photo to give a sense of the proportions of the pipe. It is really quite nice looking.
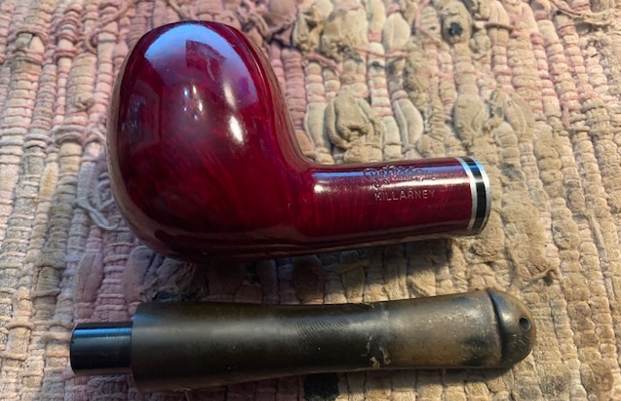 I am including the information from Pipedia’s article on Peterson pipes. It is a great read in terms of the history of the brand (https://pipedia.org/wiki/Peterson)
I turned to “The Peterson Pipe” by Mark Irwin and Gary Malmberg to get some background on the Killarney Pipe. On page 306 it had the following information on the pipe.
Killarney (1949-) Entry line with smooth finish and P-Lip mouthpiece. May have either a K or P stamped on the mouthpiece; may have aluminum stinger (not to be confused with the tenon extension tube found on straight System pipes). 1949-c.1957 examples made for the US market may have any of the following COM stamps: MADE IN IRELAND (forming a circle), “A PETERSON’S PRODUCT” over MADE IN IRELAND or LONDON MADE over ENGLAND. Some early specimens stamped KILLARNEY over NATURAL (a higher grade) have MADE IN IRELAND (forming a circle). Examples c. 1986-90 feature a nickel band, which was replaced in ’91 with a shank extension of nickel band with black acrylic inlay. Fishtail mouthpiece from ’86 although P-Lip is sometimes seen. For the current German market, the Killarney is stamped CONNEMARA
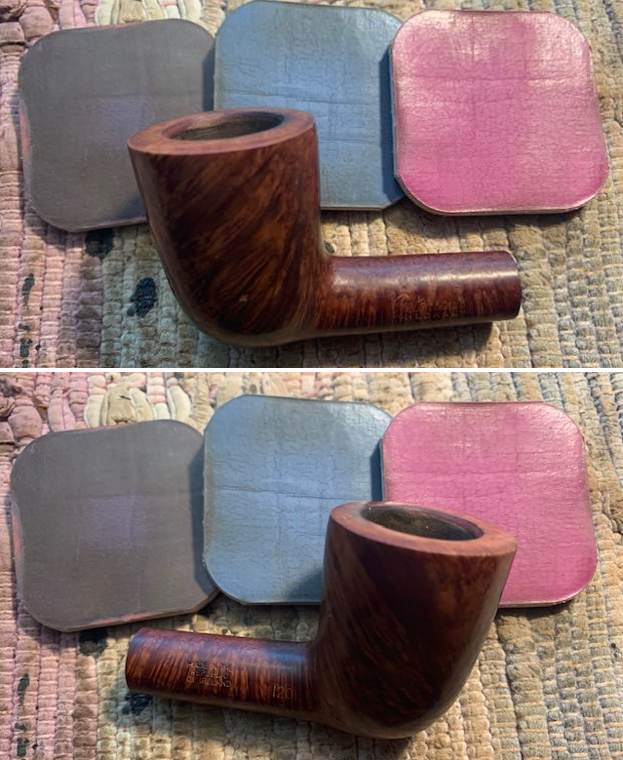
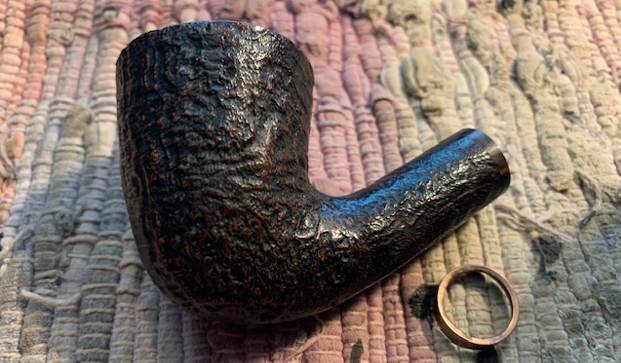
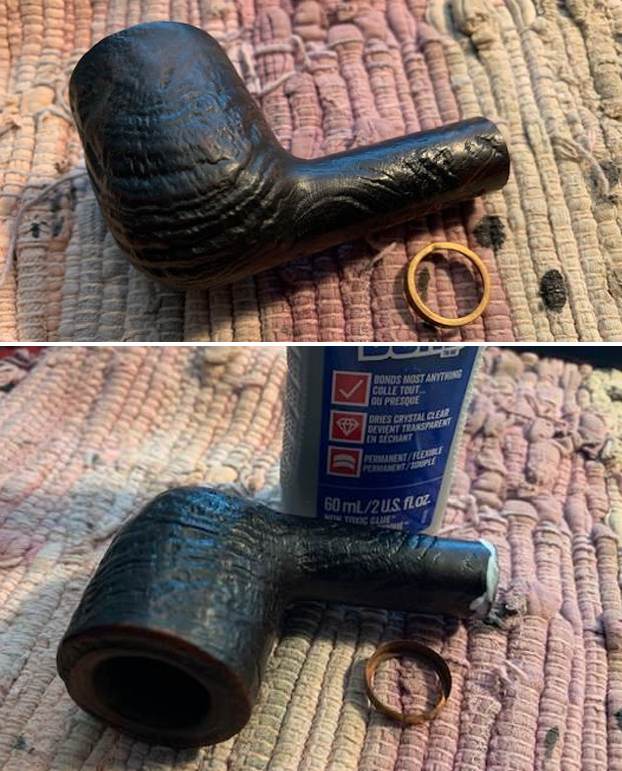
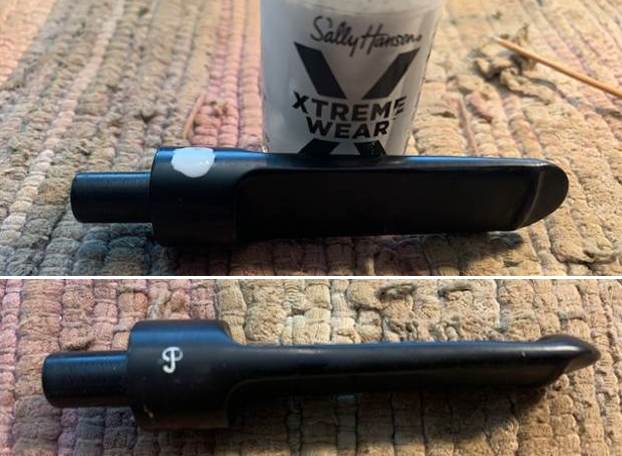
I knew that I was dealing with a pipe made in 1991 or after due to shank extension of nickel and black acrylic inlay. It has the “P” stamp on the stem side and a P-lip mouthpiece. Now it was time to work on the pipe.
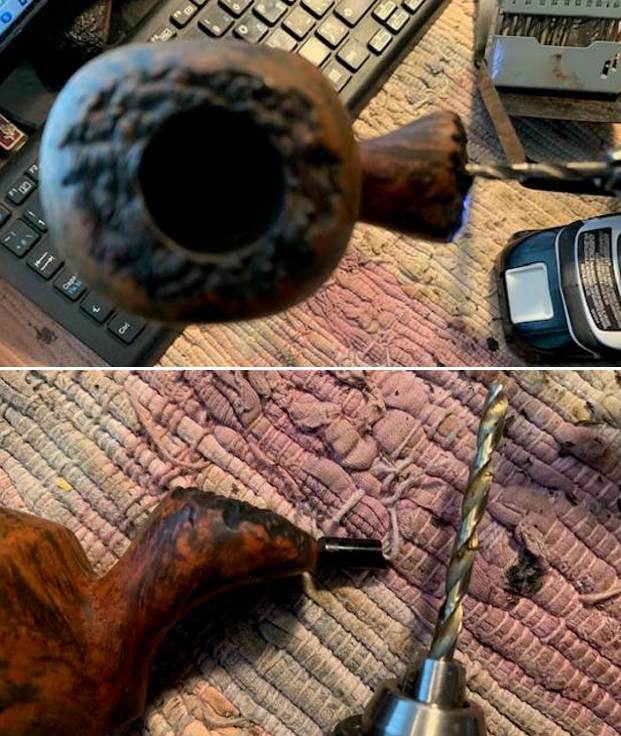
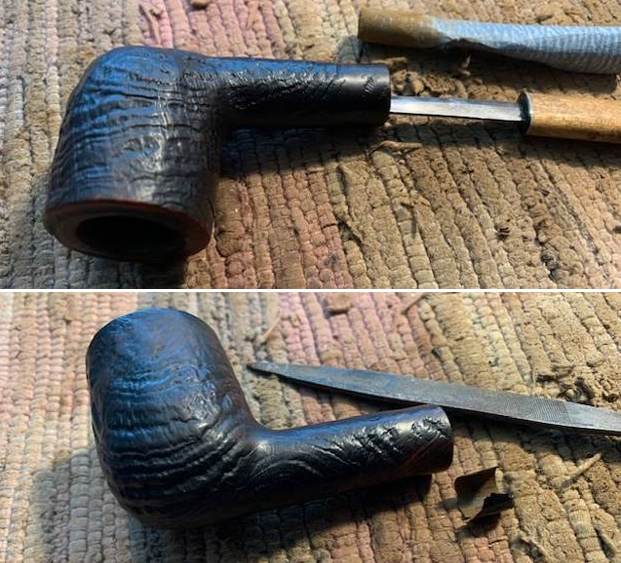
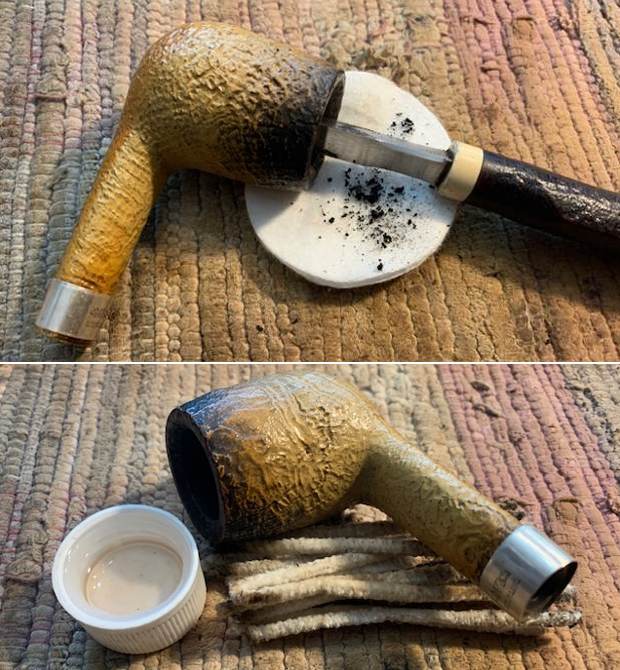
I reamed the bowl with a PipNet pipe reamer and removed the cake from the walls. I followed up with a Savinelli Fitsall pipe knife to remove the remnants of the cake still in the bowl. I sanded the bowl walls with 220 grit sandpaper wrapped around a piece of dowel to smooth out the surface. 
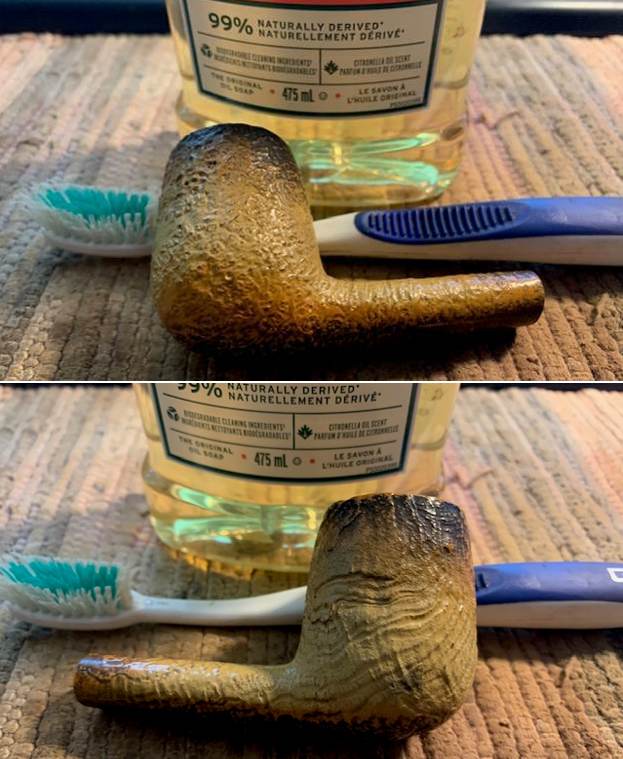
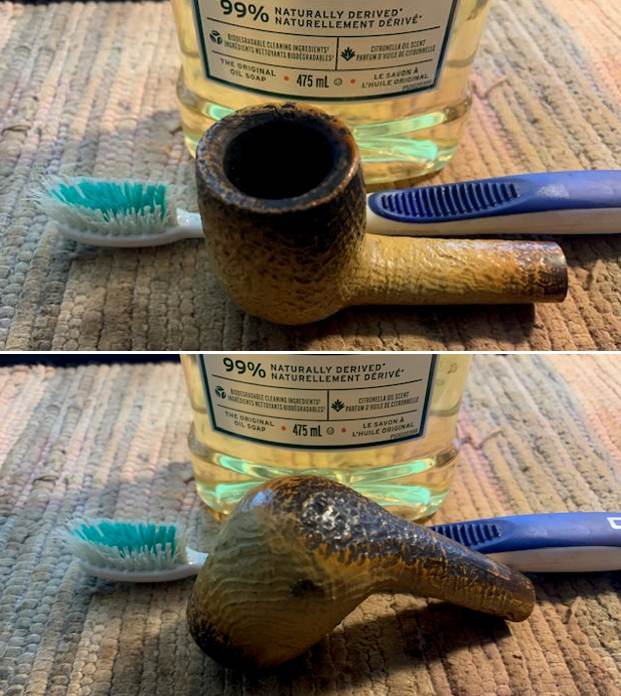
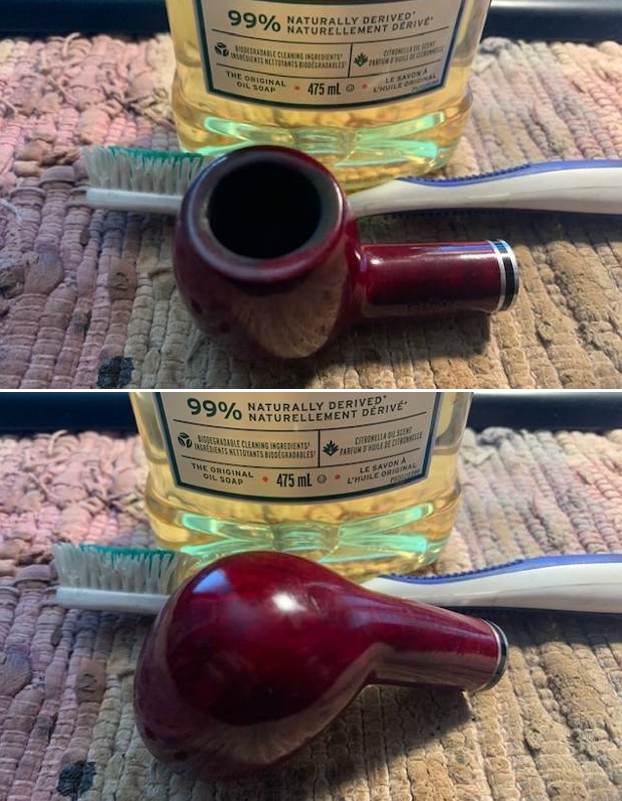
 I scrubbed the bowl exterior and rim top with a tooth brush and undiluted Murphy’s Oil Soap to remove the grime on the finish of the bowl and the lava from the rim top. I rinsed it under running water. I dried it off with a soft cloth.
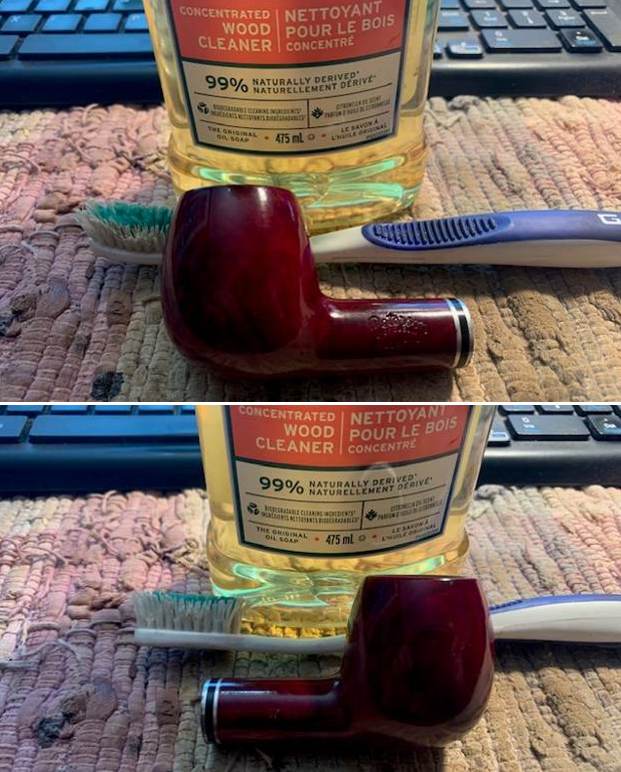
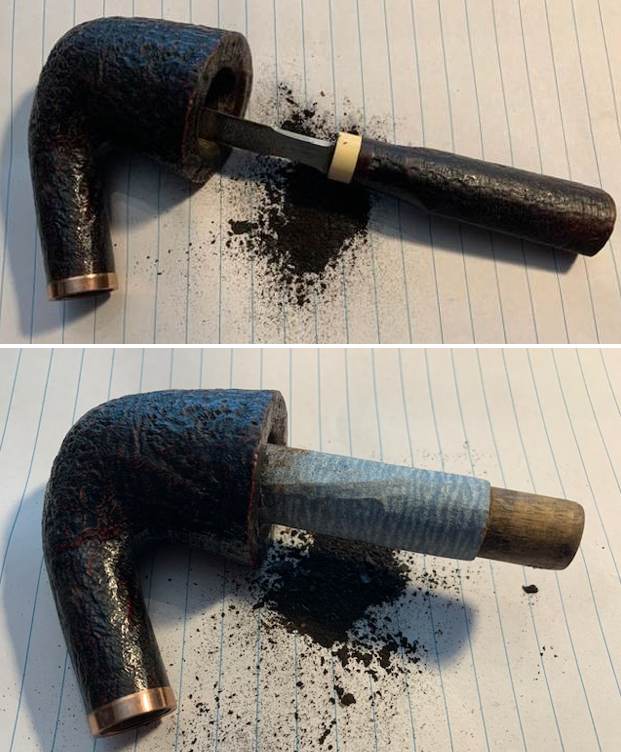
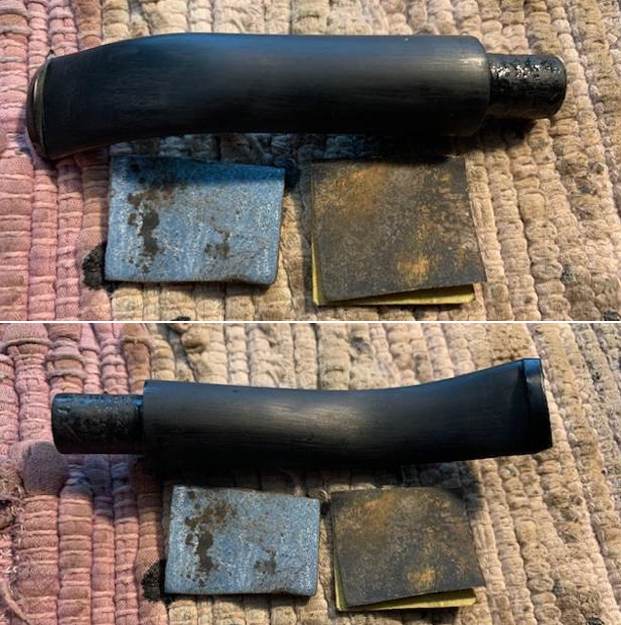
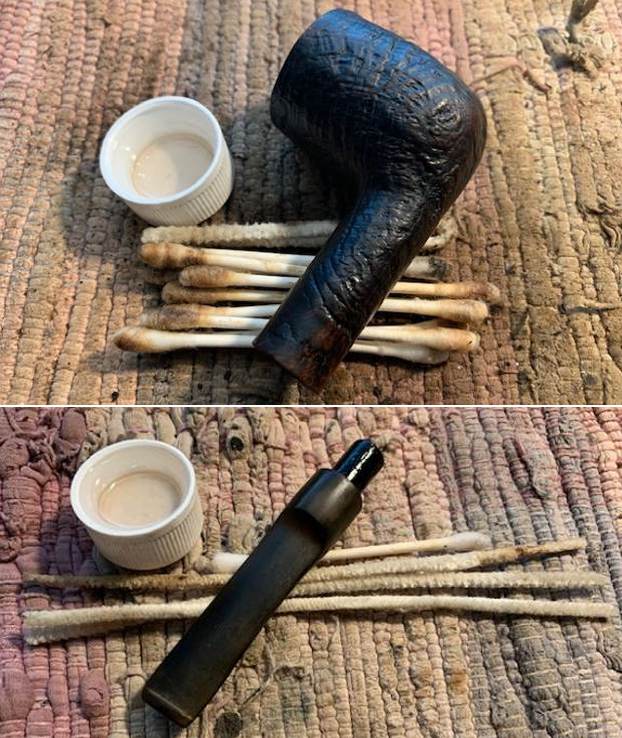
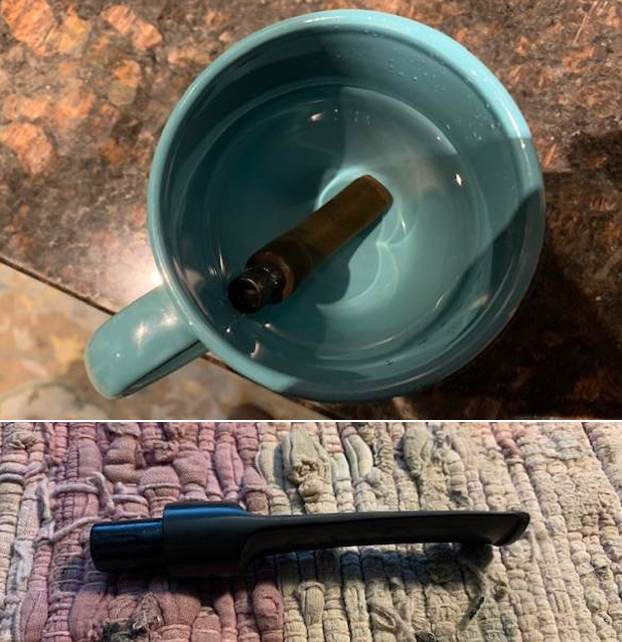
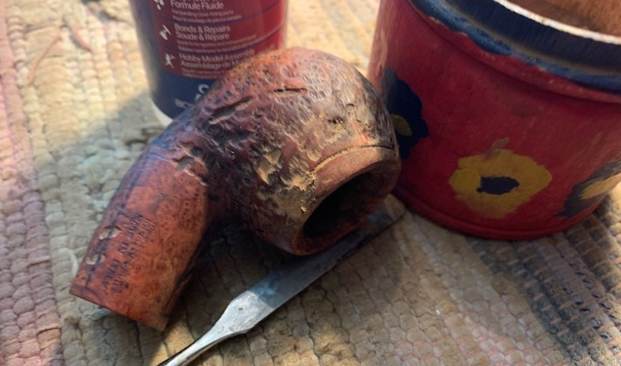
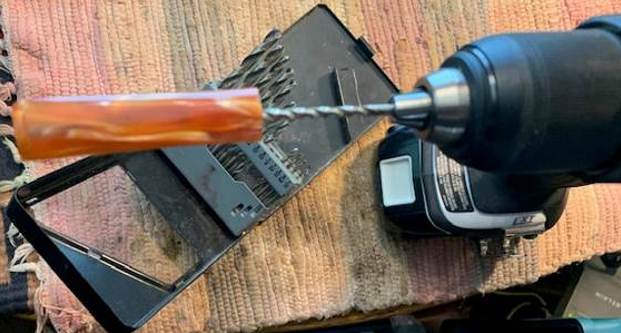
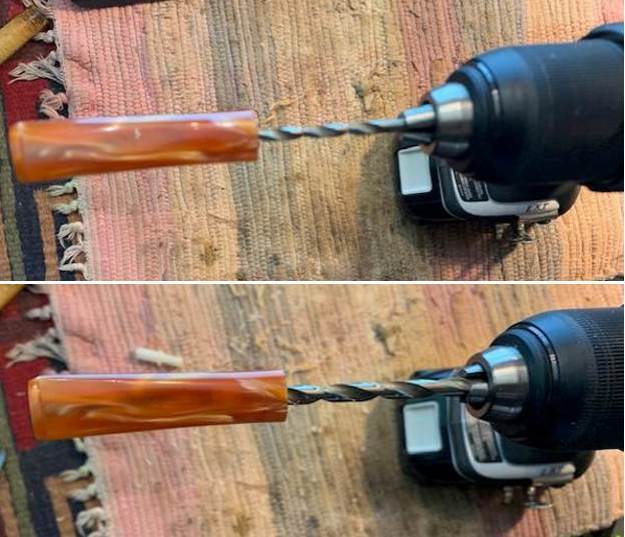
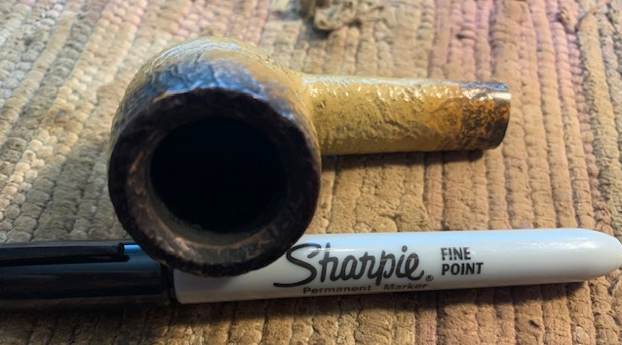
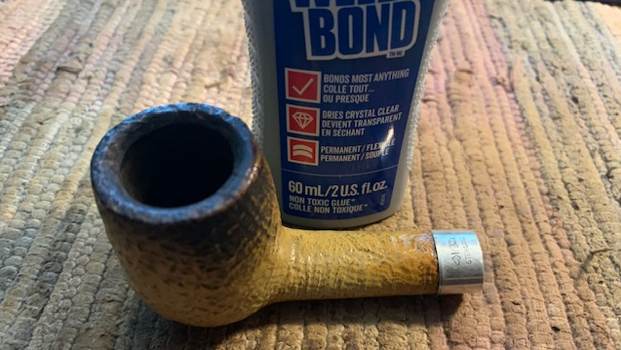
 I cleaned the internals of the mortise, shank and stem with alcohol, cotton swabs and pipe cleaners to remove the grime. Once it was clean I was able to fit the stem in the shank.
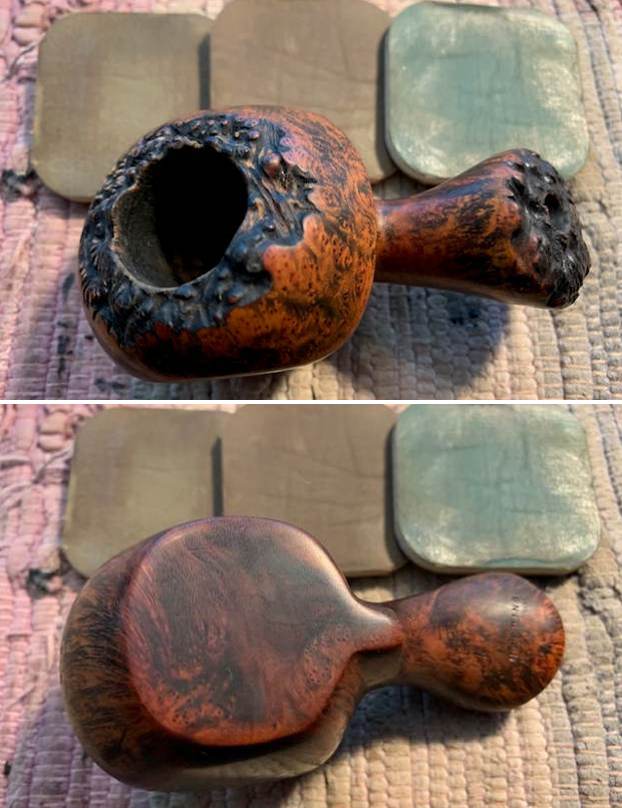
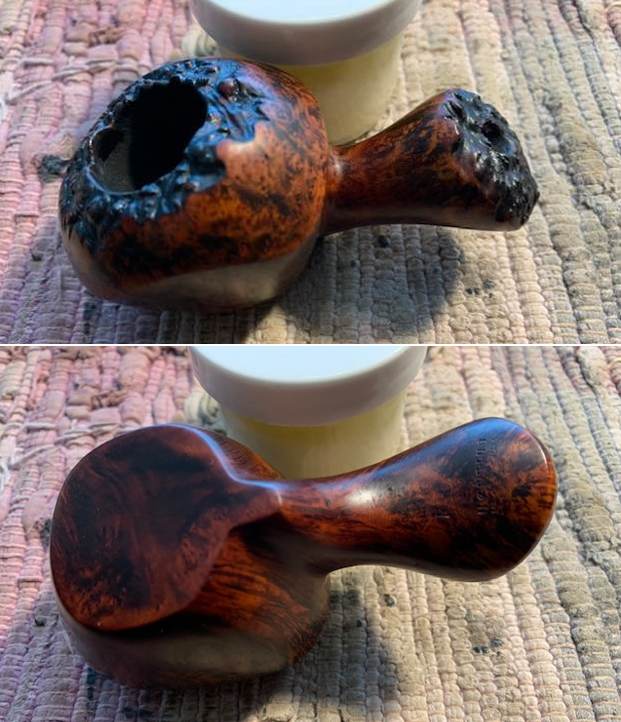
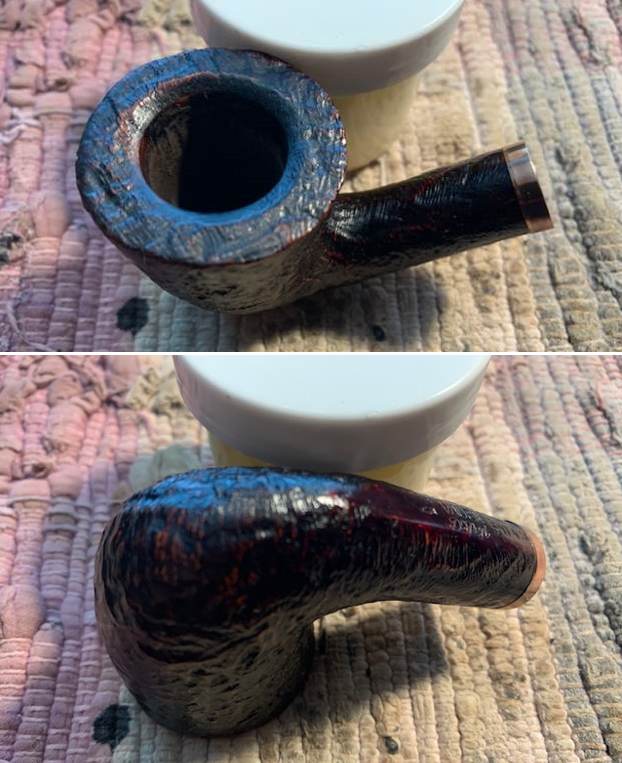
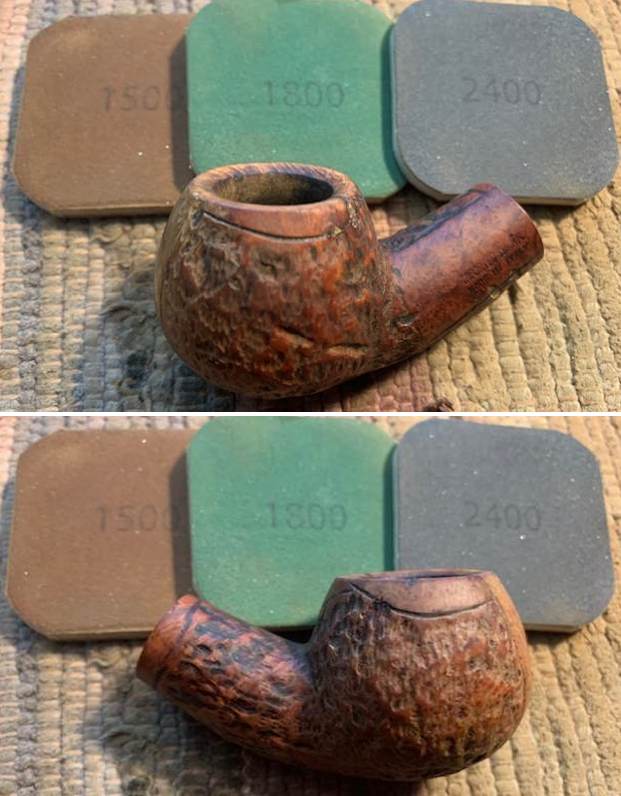
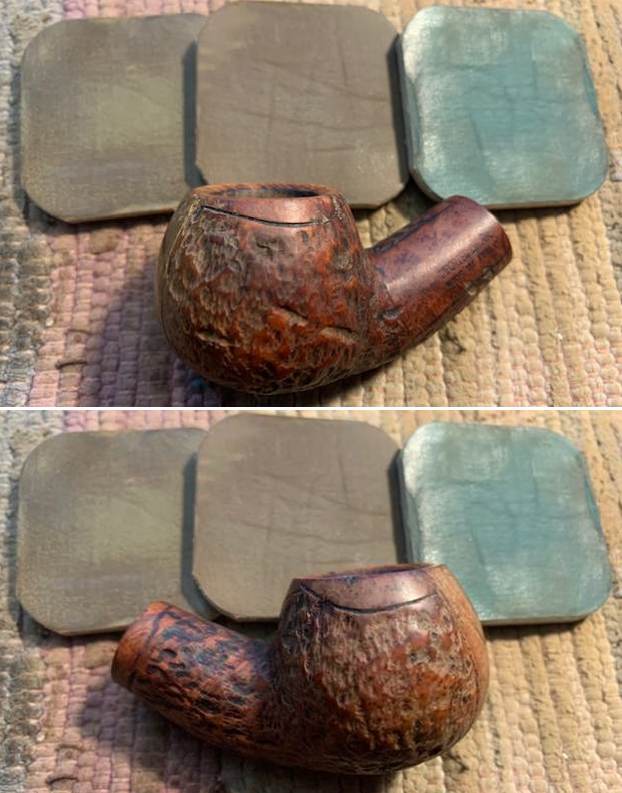
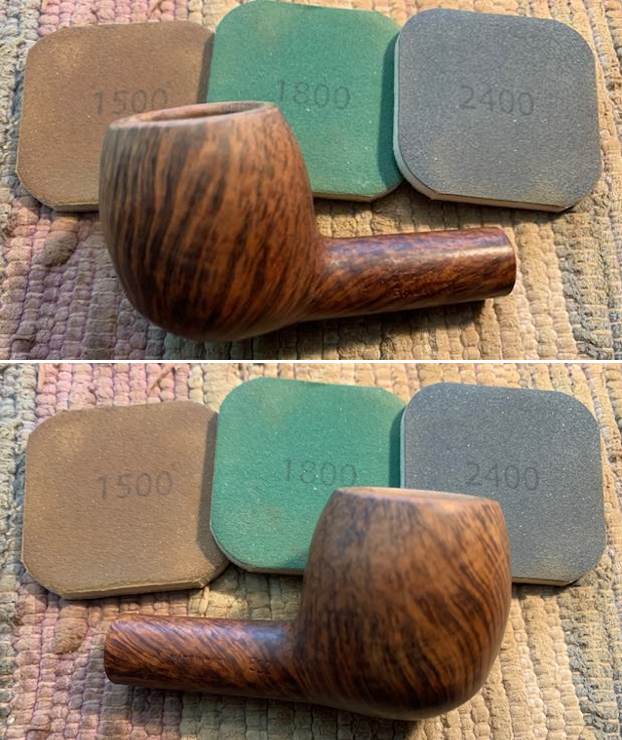
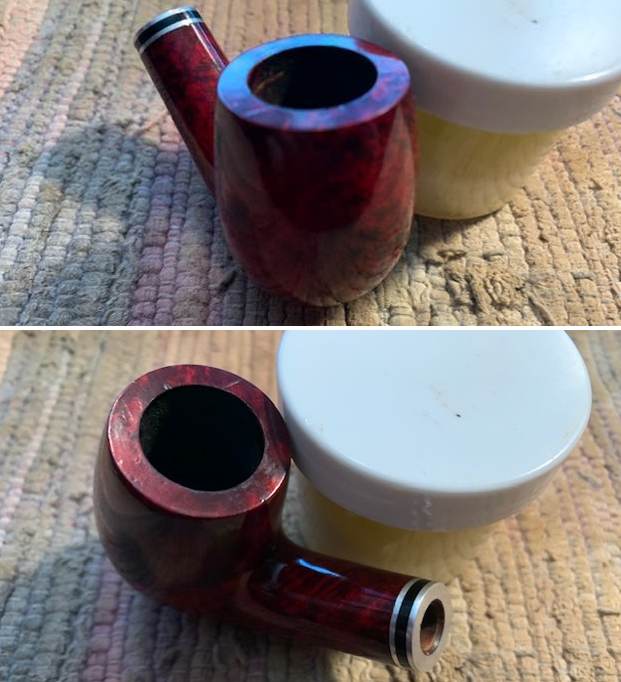
 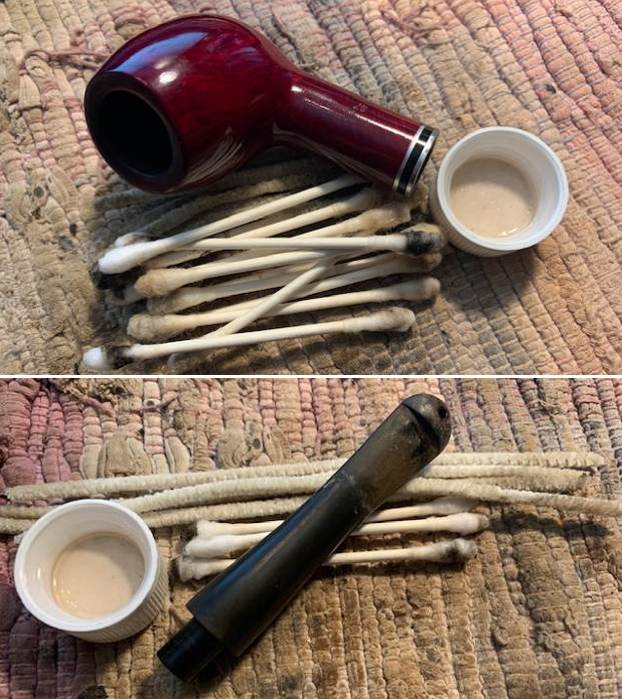 I removed the stem from the shank and worked on the rim top and edges with 3000 and 4000 grit micromesh sanding pads and saliva. I was able to remove the remaining lava on the bowl. There was some darkening remained but it looked much better.
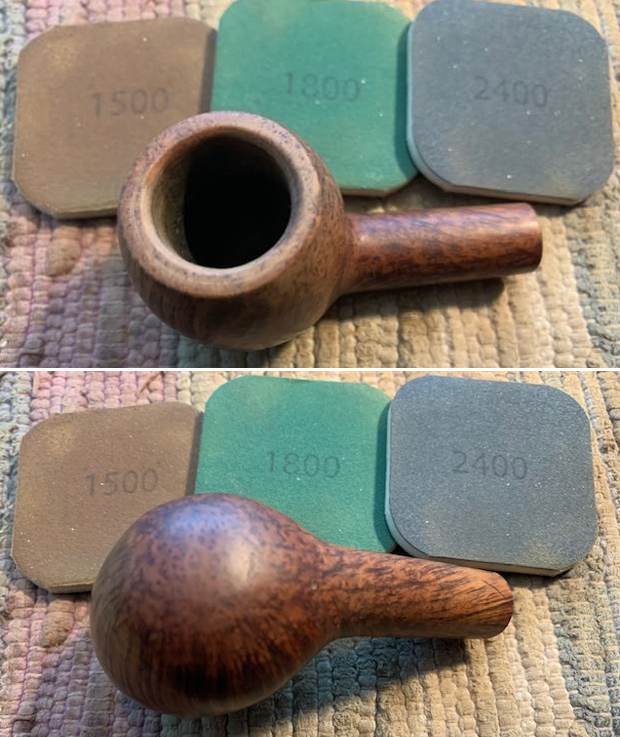
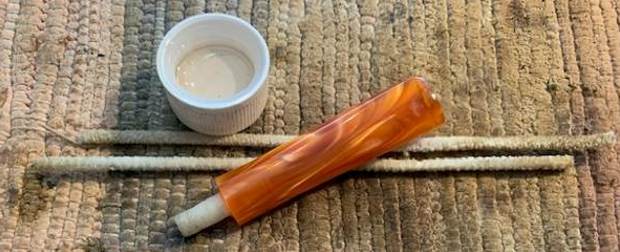
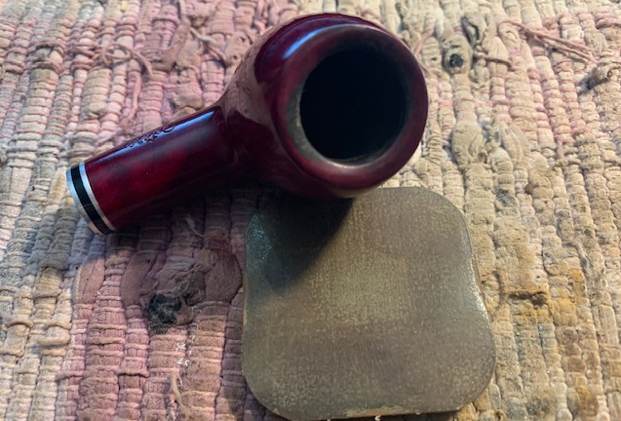 I rubbed down the bowl with Before & After Restoration Balm. I worked it into the surface of the bowl sides and shank with my fingertips to clean, enliven and protect the briar. I let the balm sit for 10 minutes, then buffed with a cotton cloth to raise the shine. The Balm did its magic and the grain stood out on the briar.
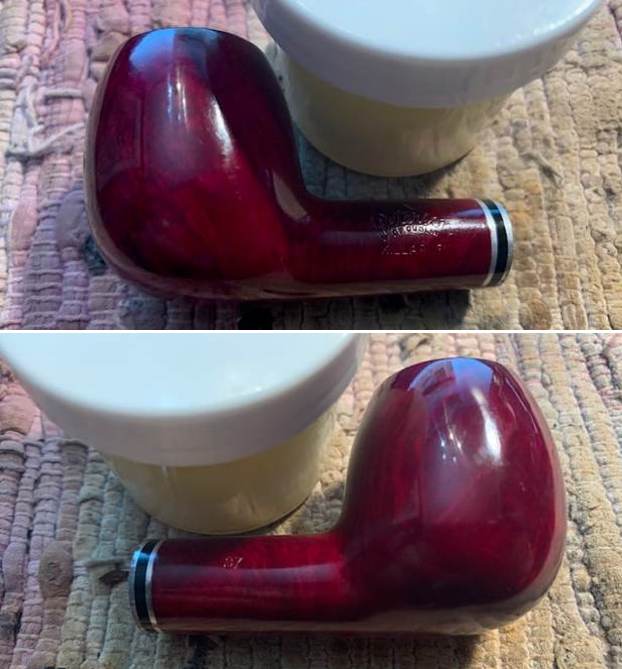

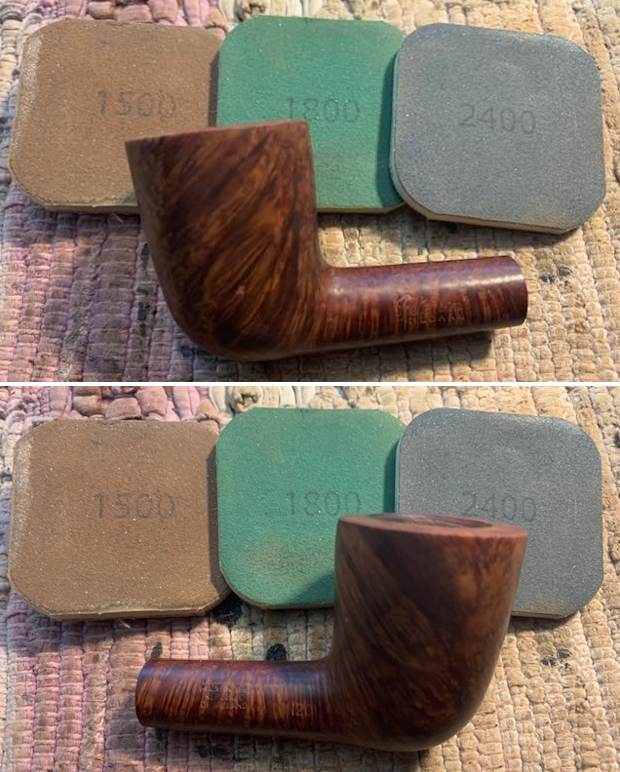
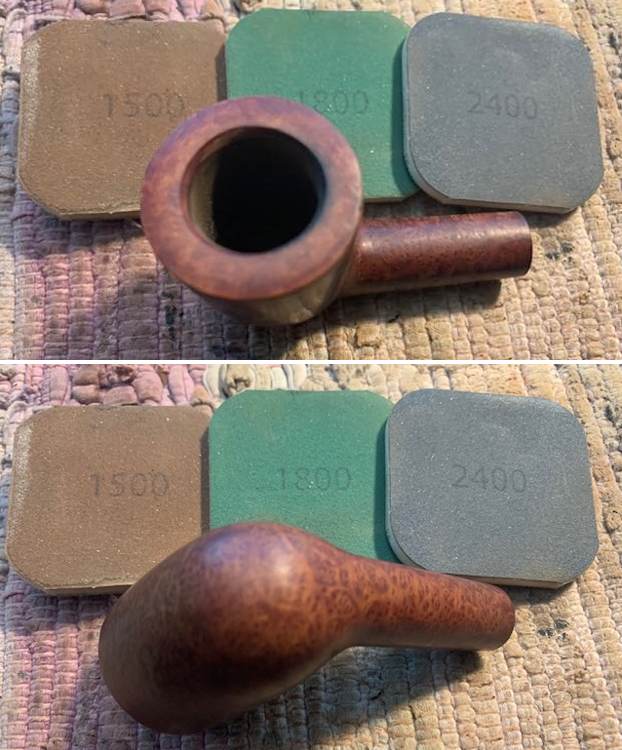
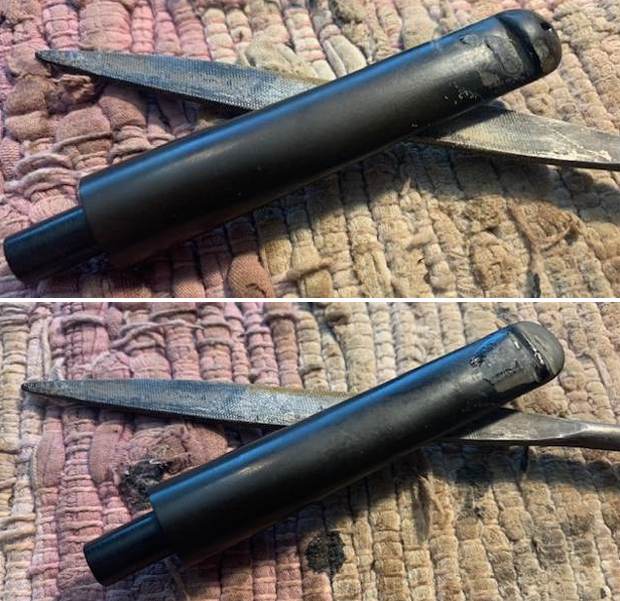
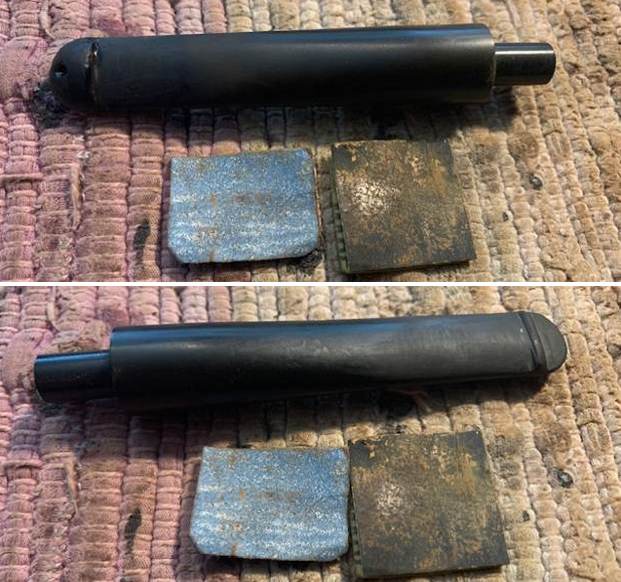
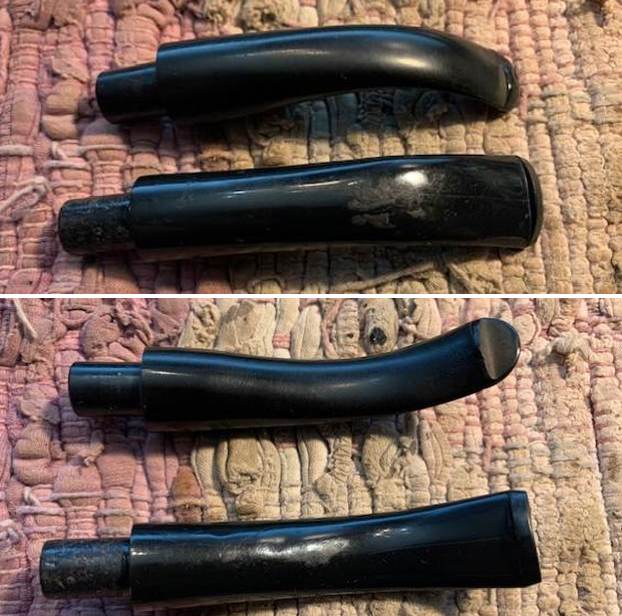
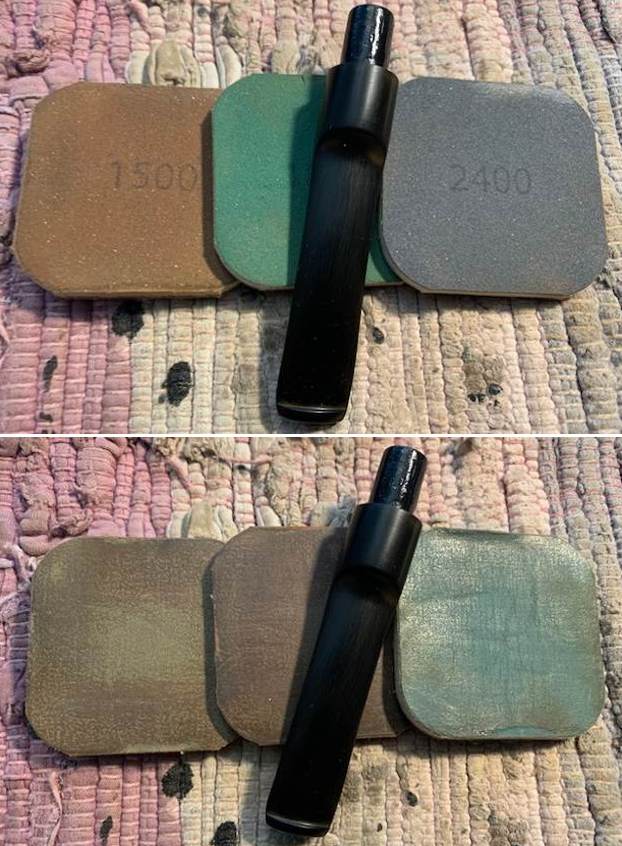
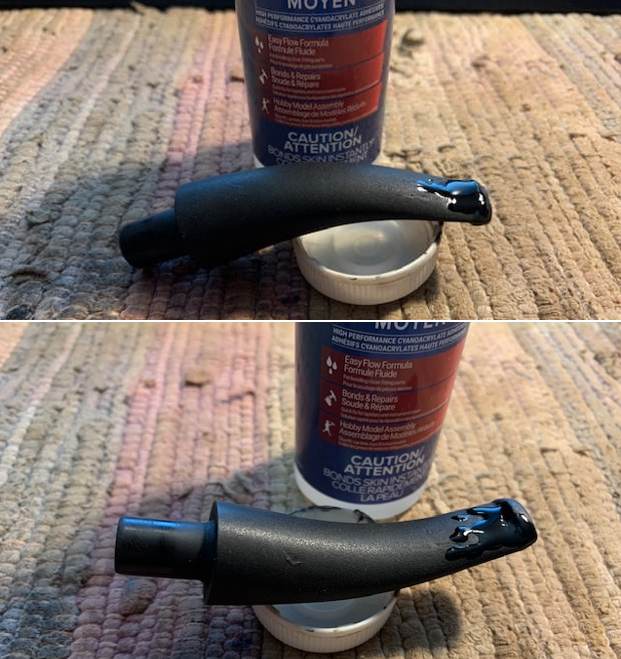
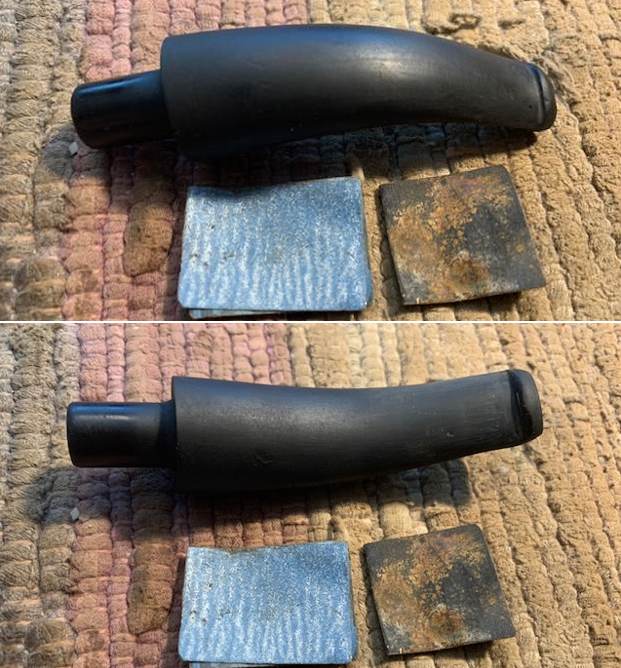
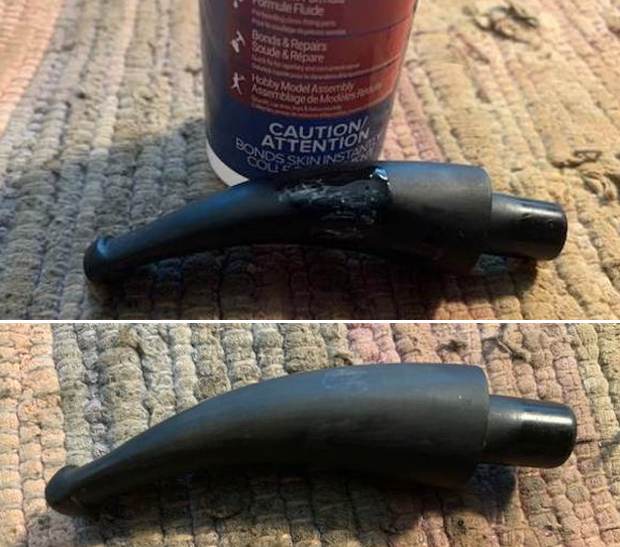
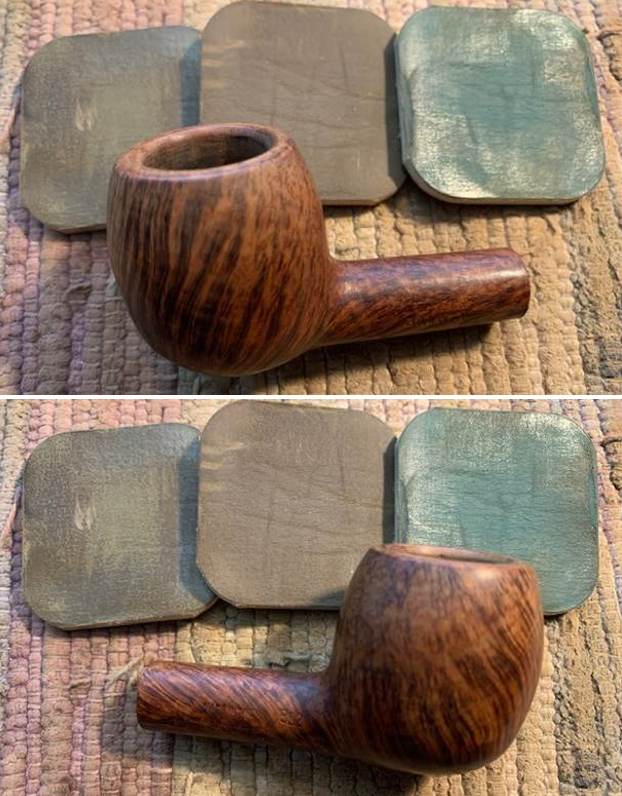
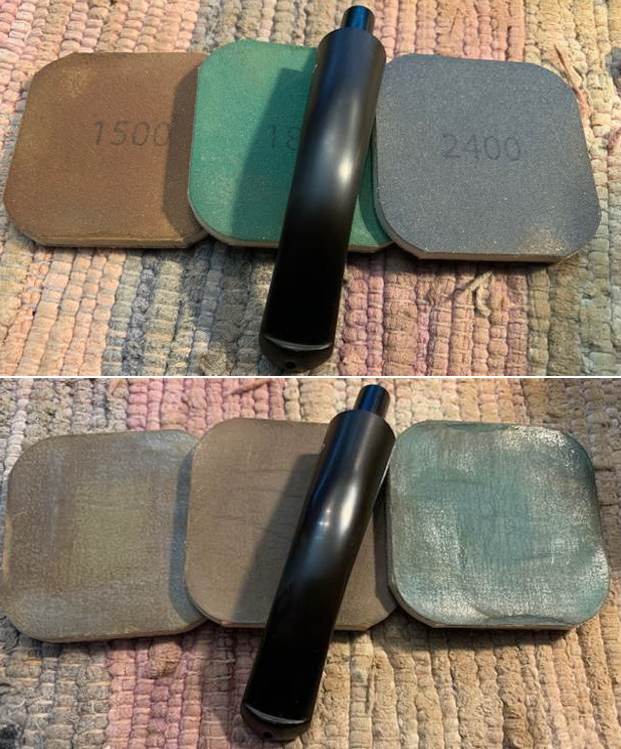
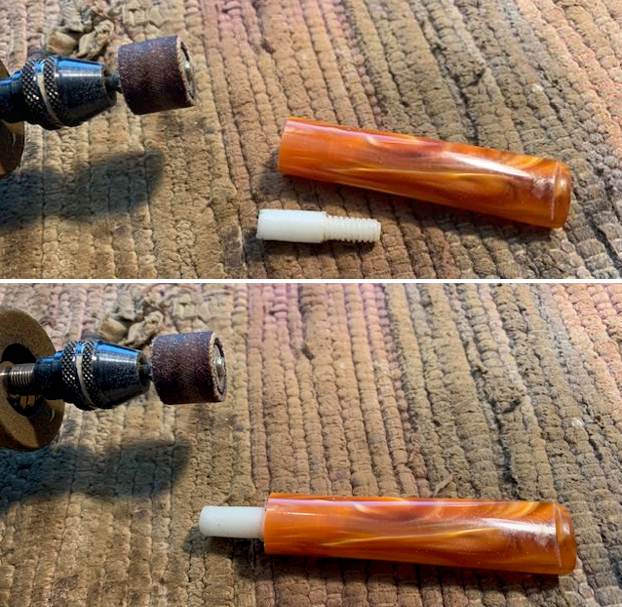
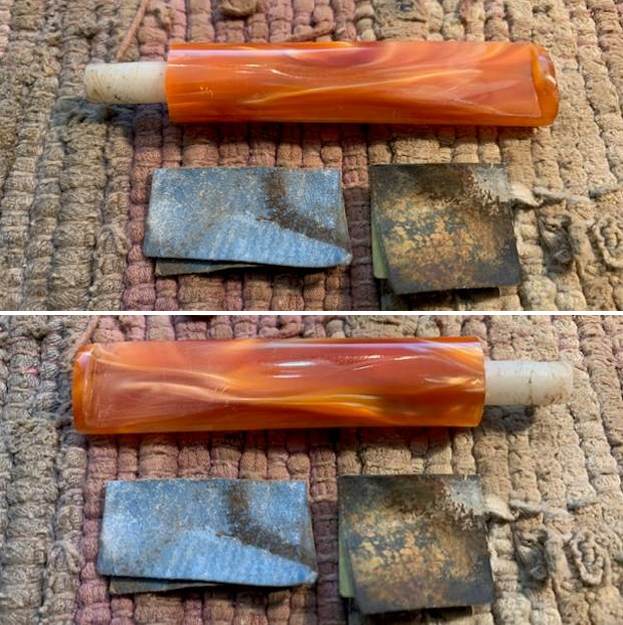
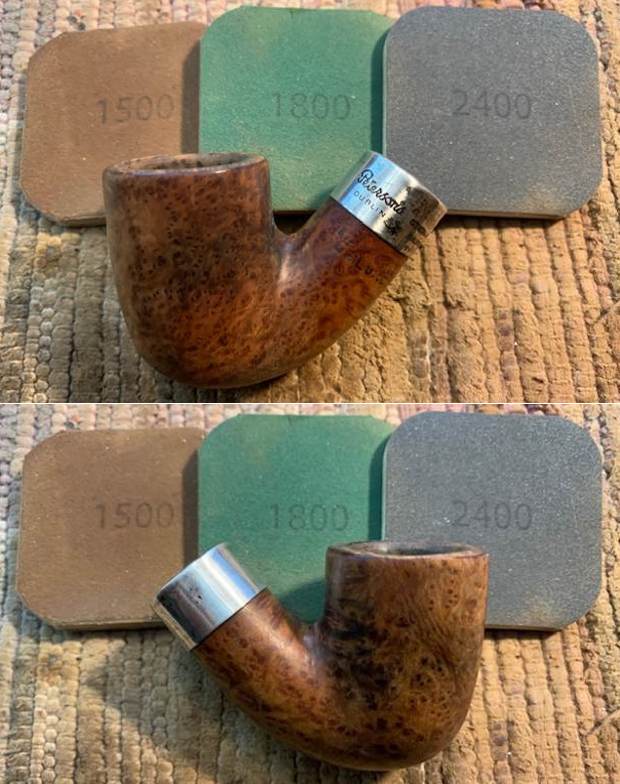
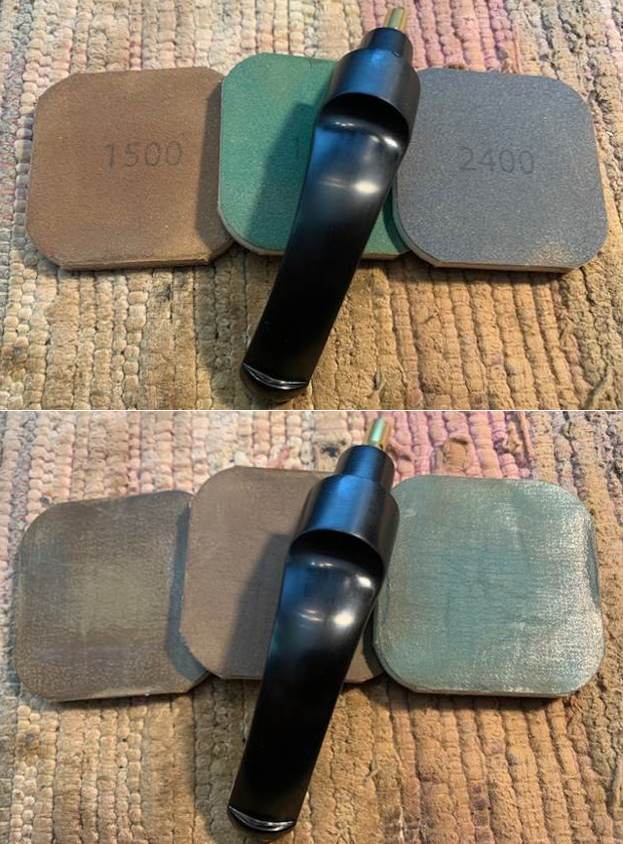
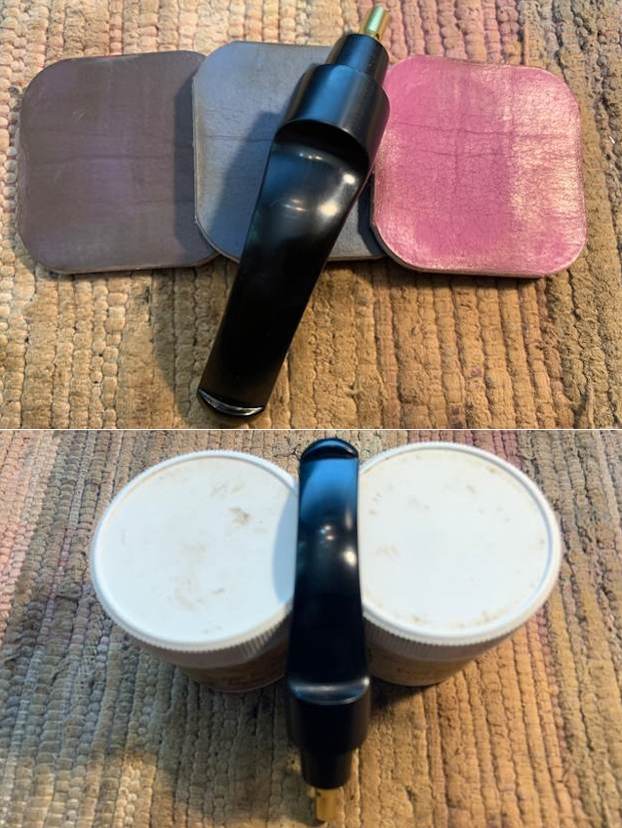
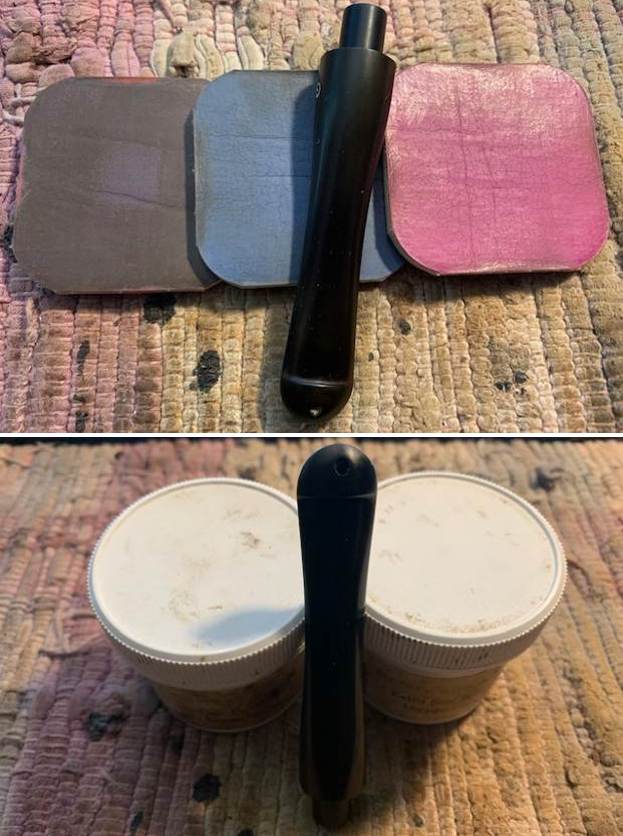
 I set the bowl aside and turned my attention to the stem. I sanded off the calcification and oxidation along with the chatter and tooth marks with a folded piece of 220 grit sandpaper. I started polishing it with 400 grit wet dry sandpaper.
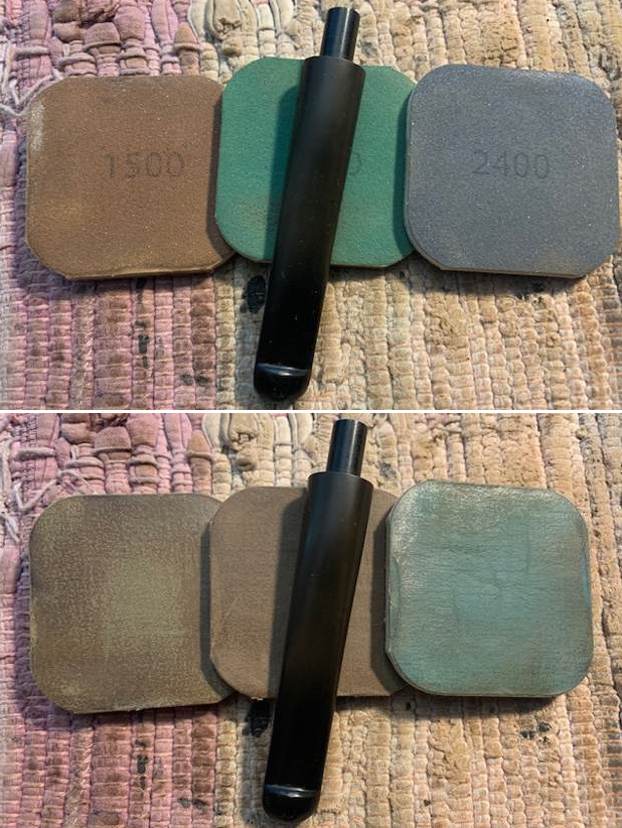
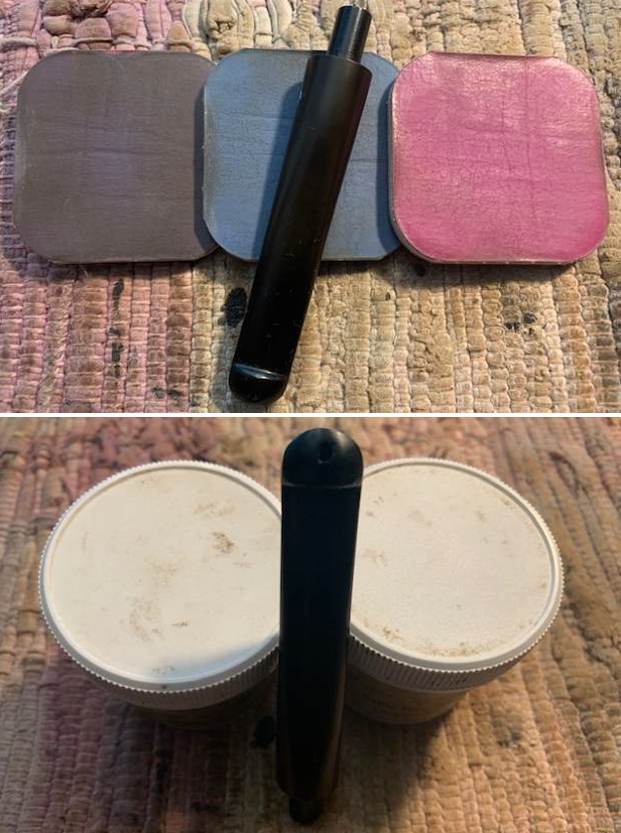
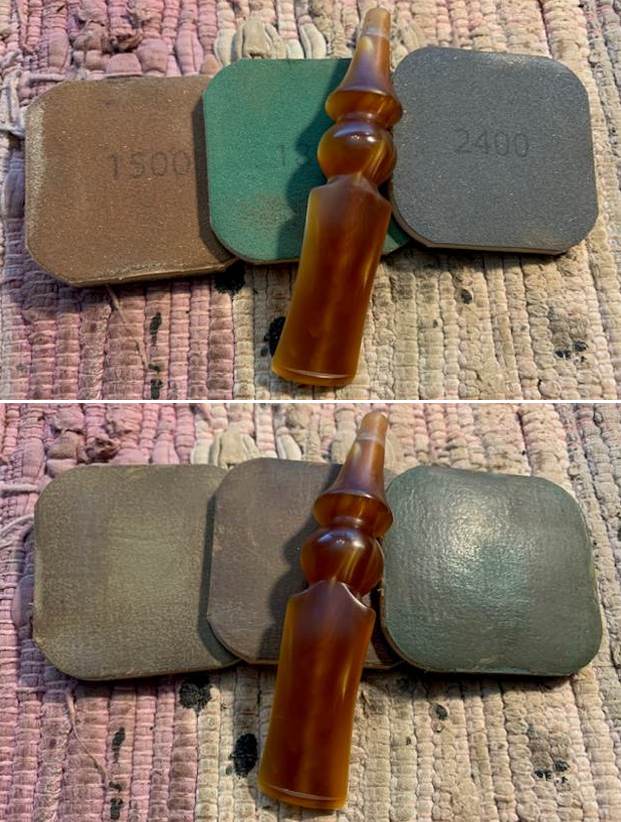
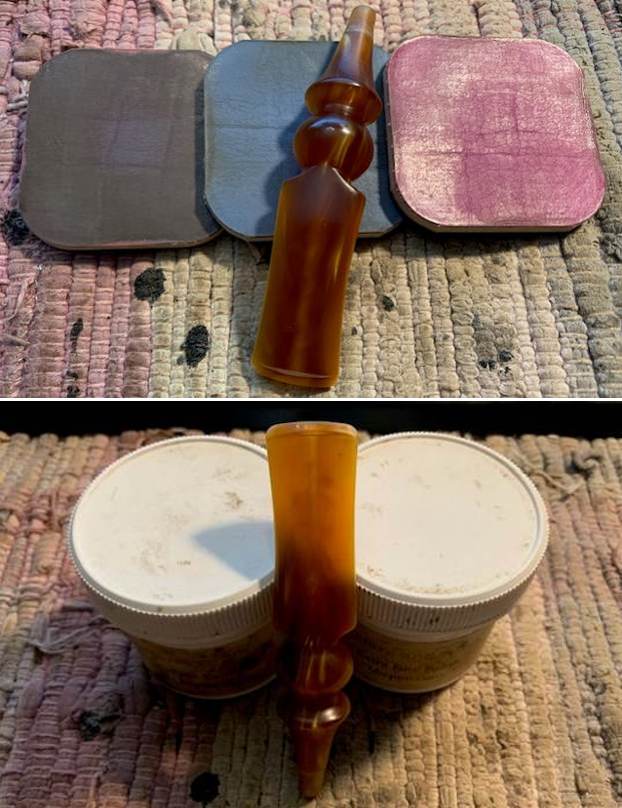
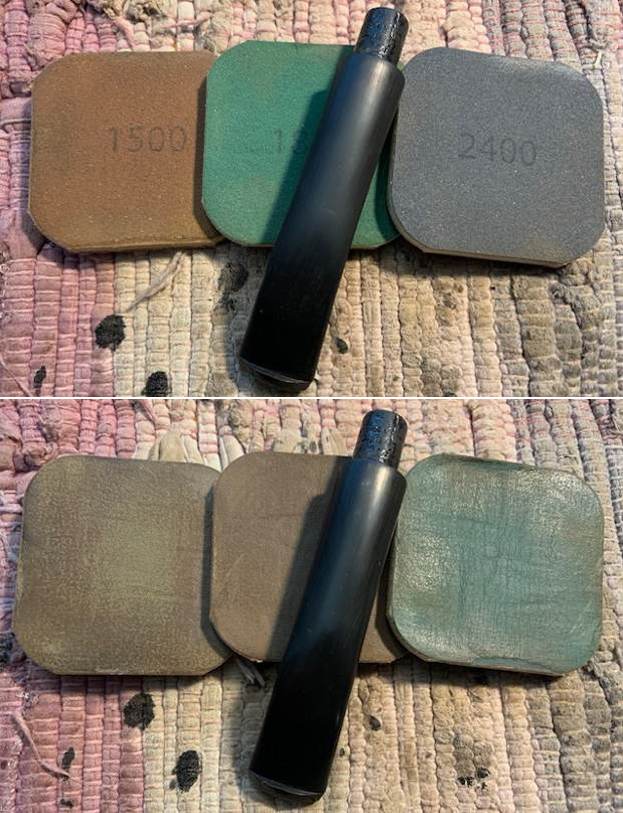
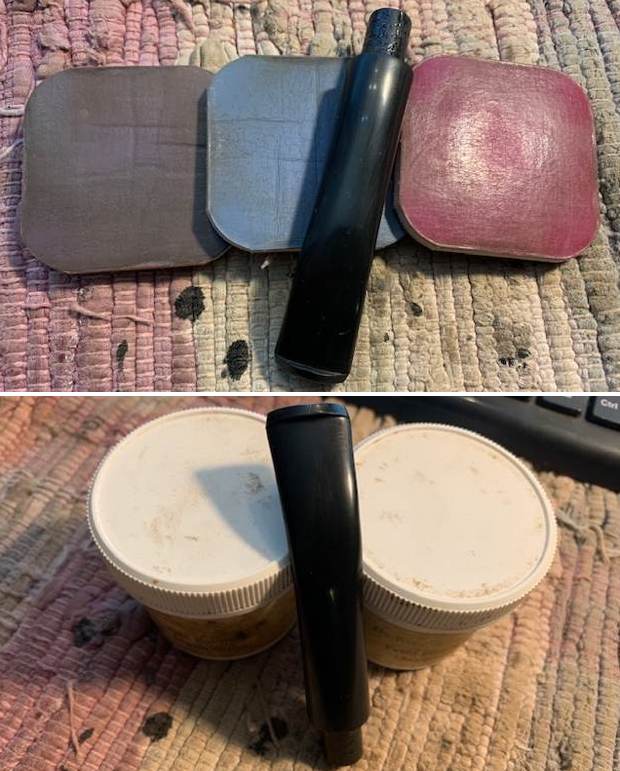
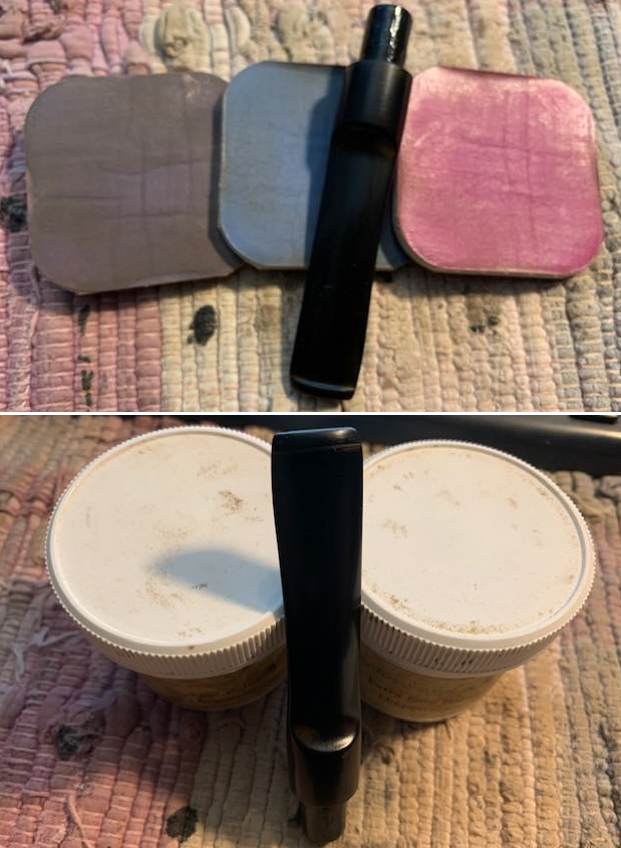
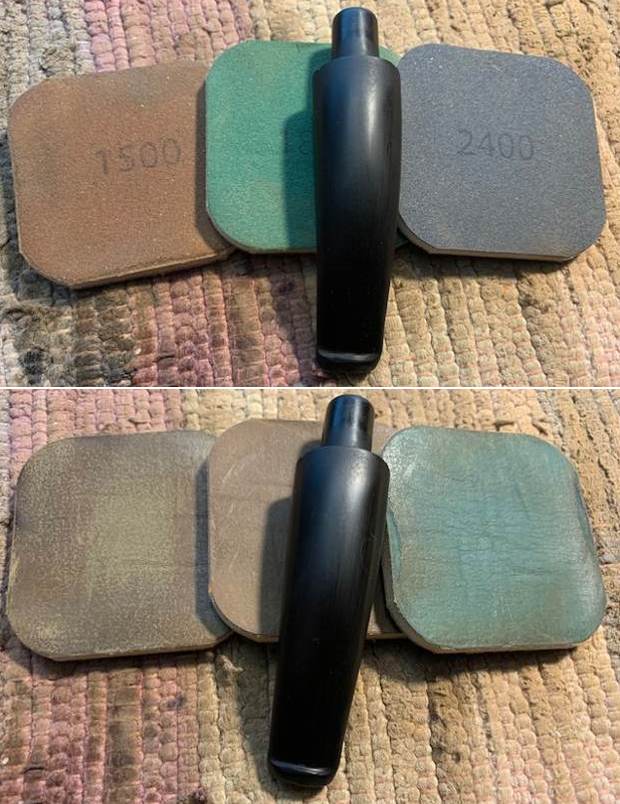
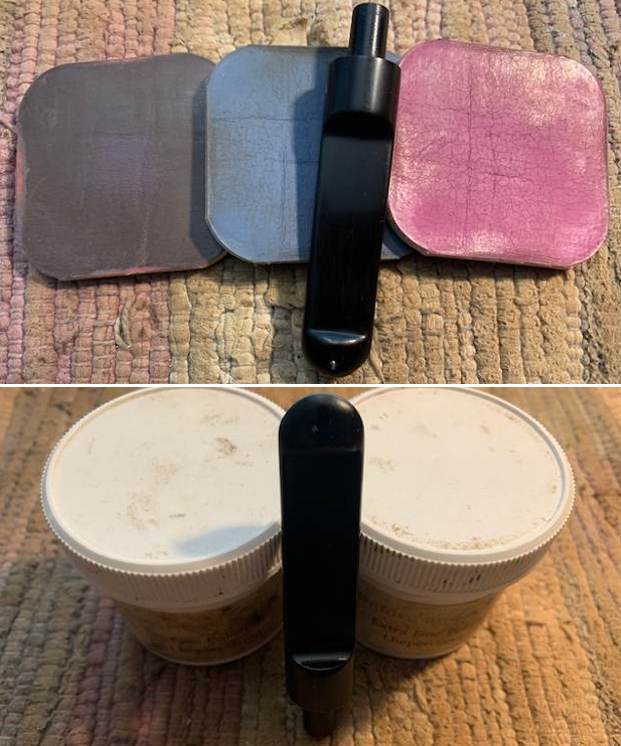
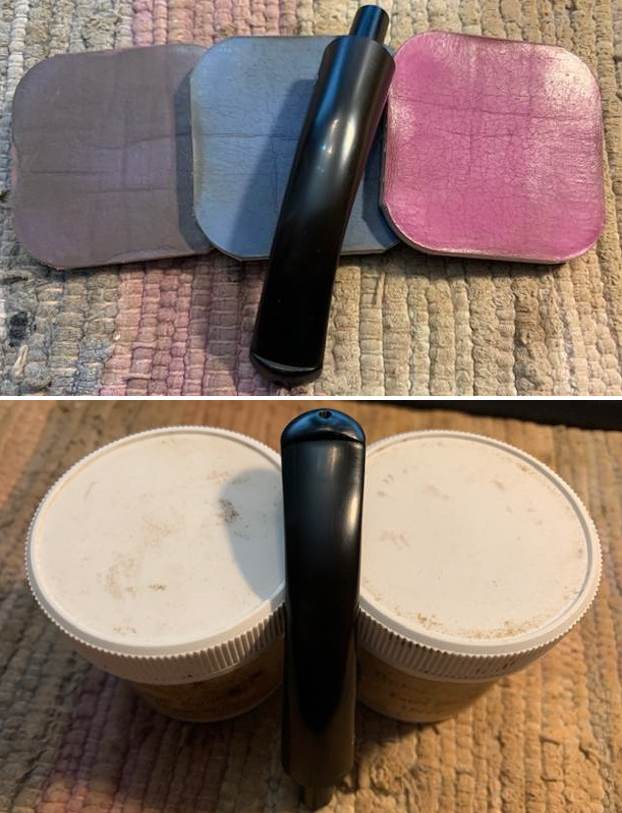
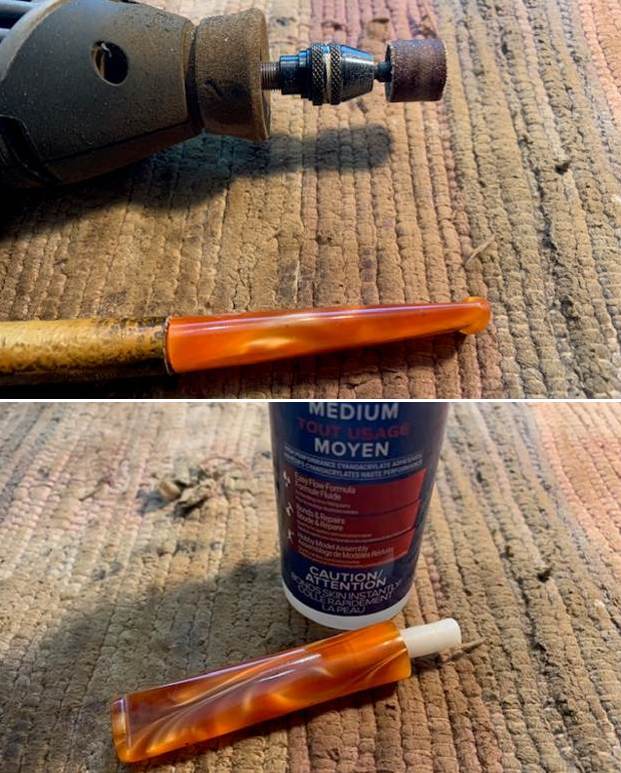
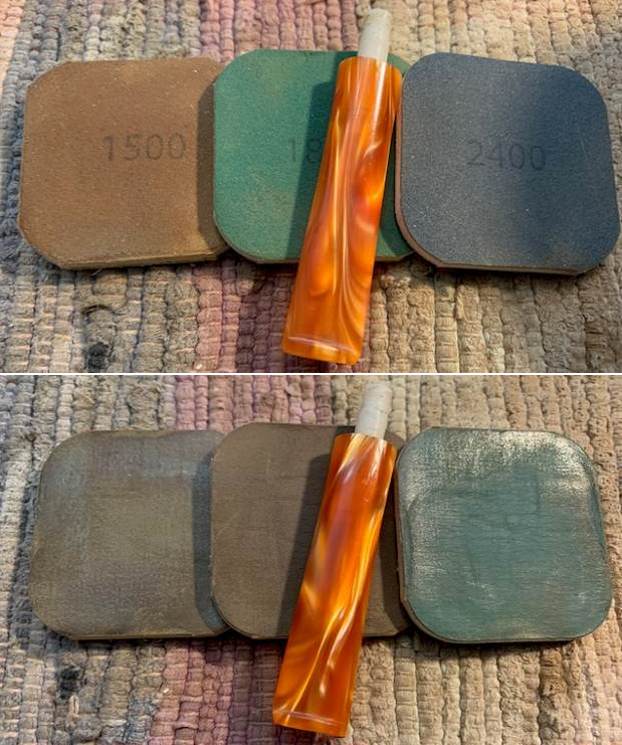
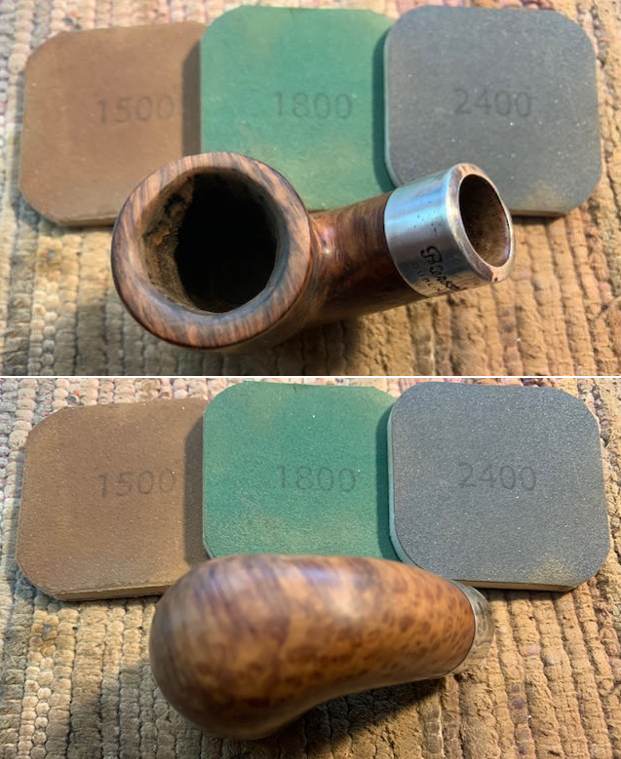
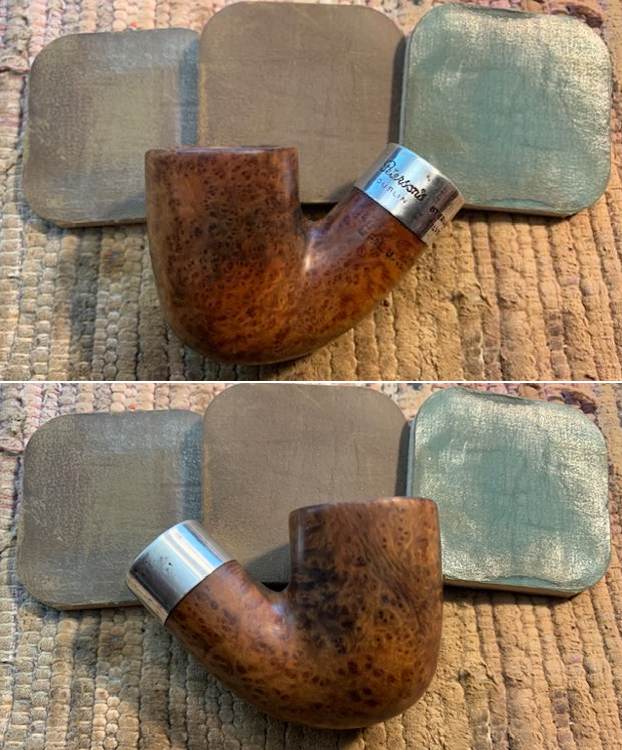
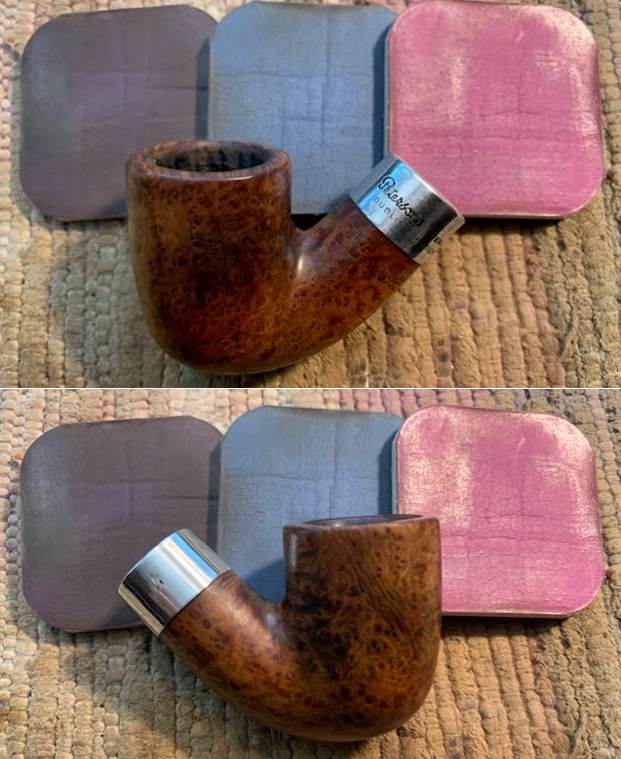
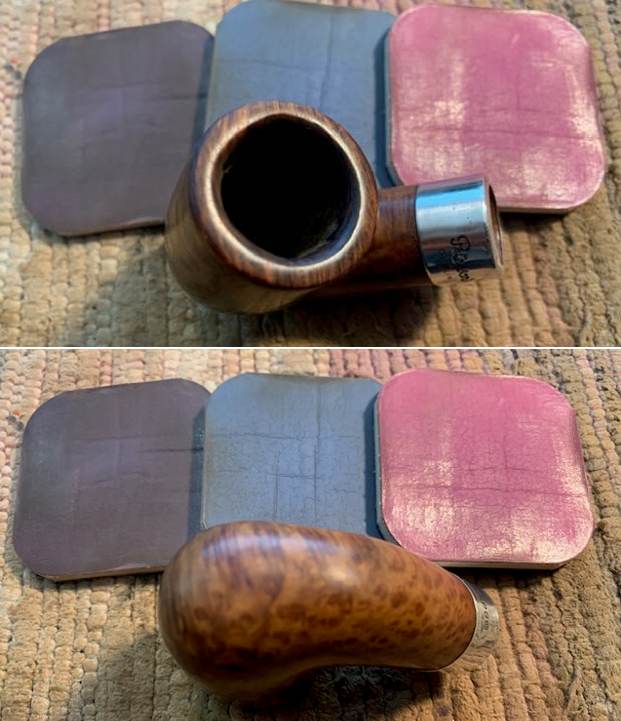
  I polished the stem with micromesh sanding pads – 1500-12000 grit pads. I wiped it down with Obsidian Oil after each sanding pad. I finished the polishing with Before & After Polishes – both Fine and Extra Fine. I gave it a final rub down with Obsidian Oil and set it aside to dry.
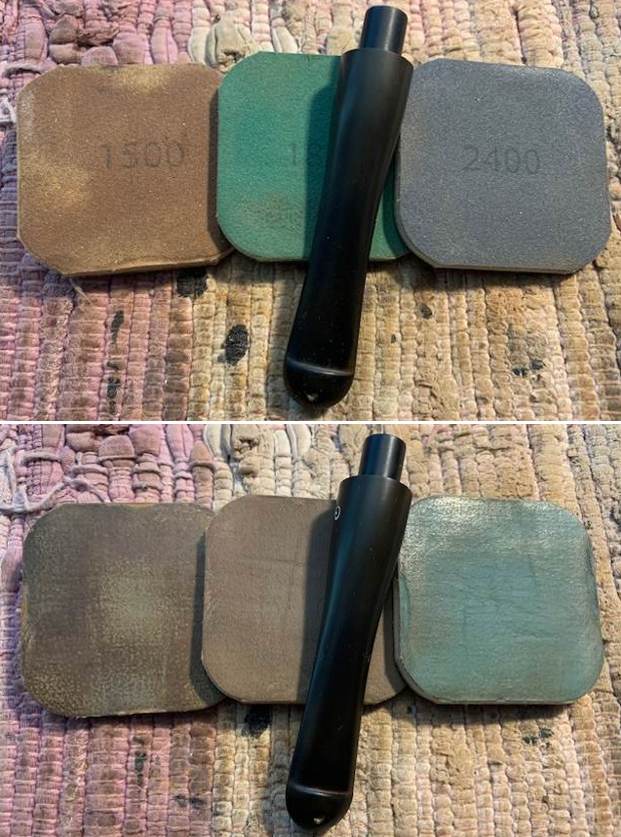
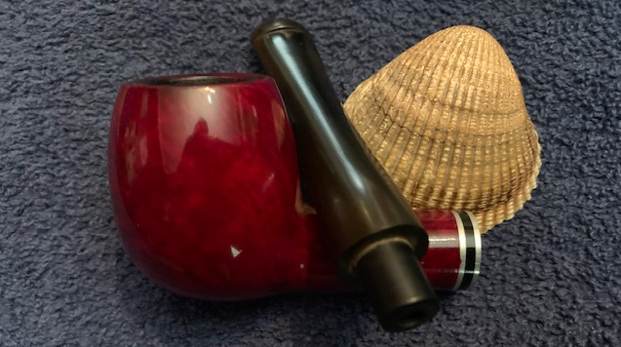
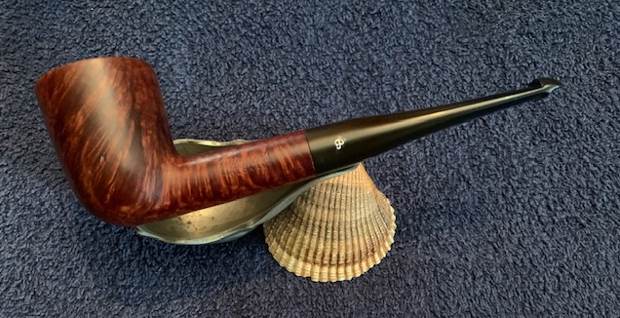
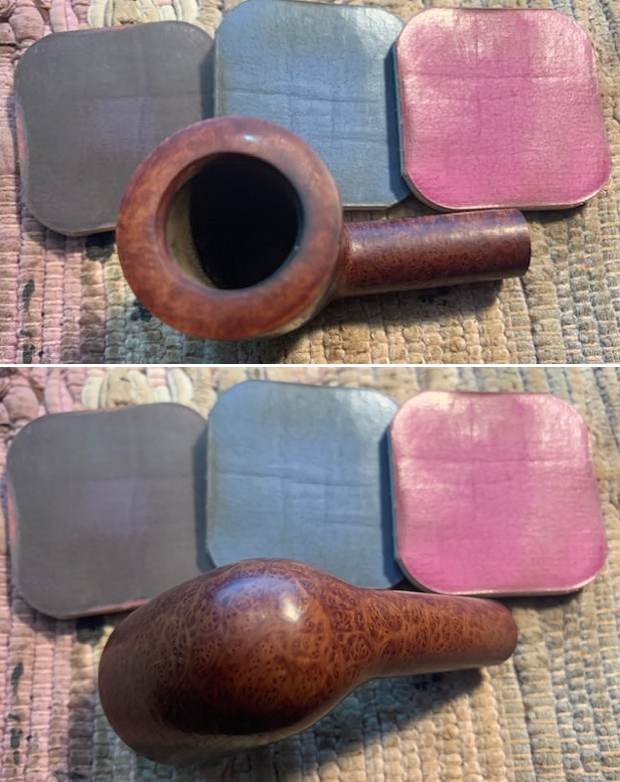
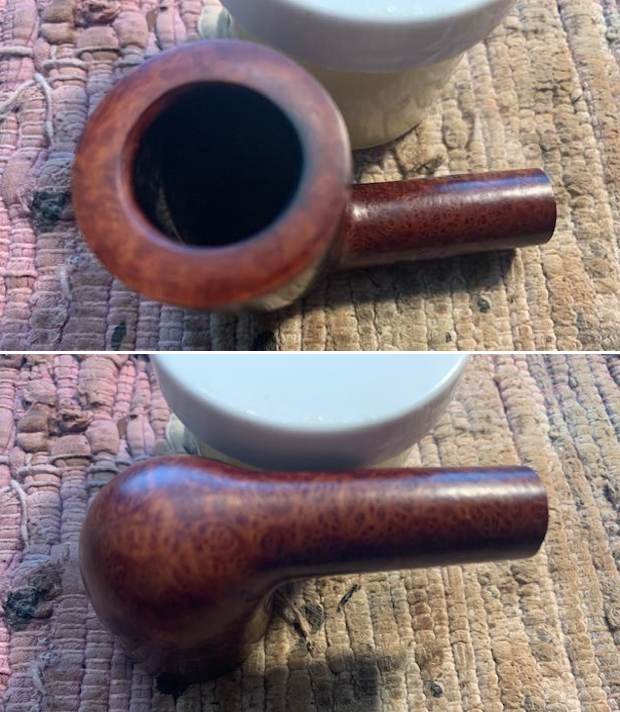
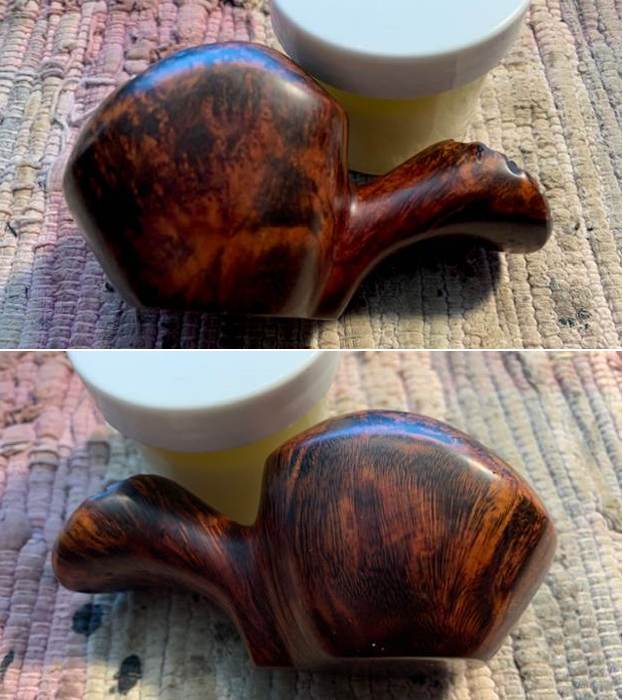
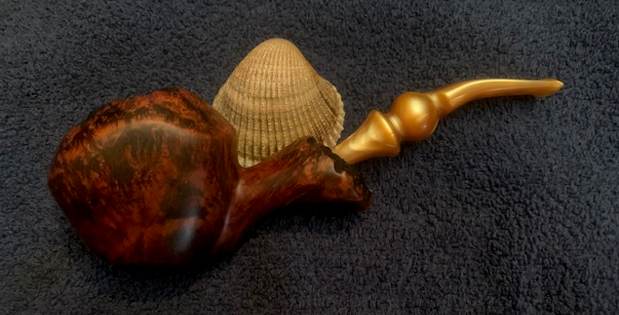
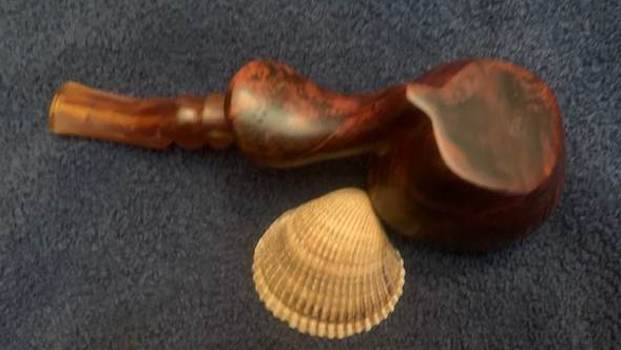
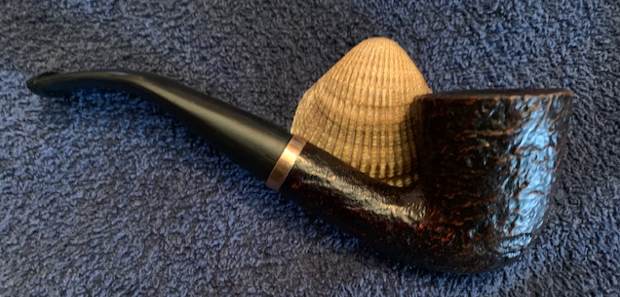
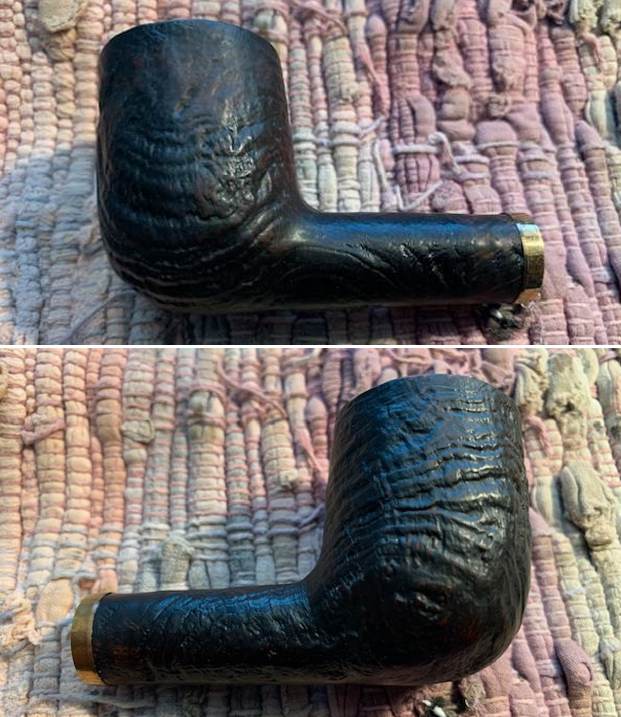
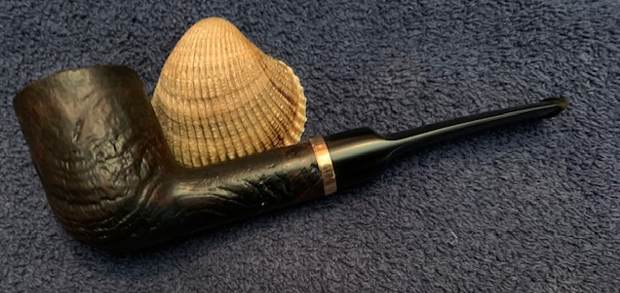
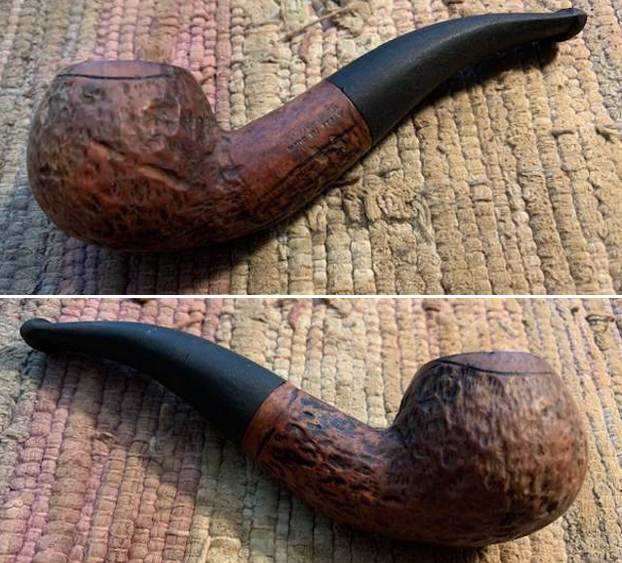
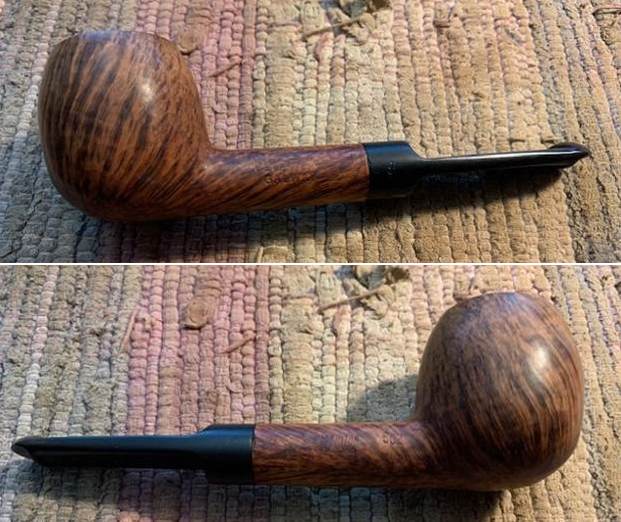
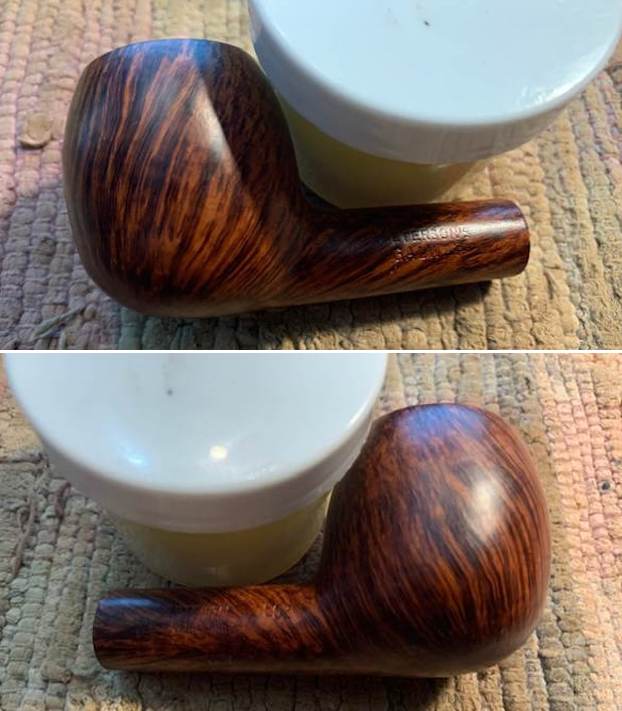
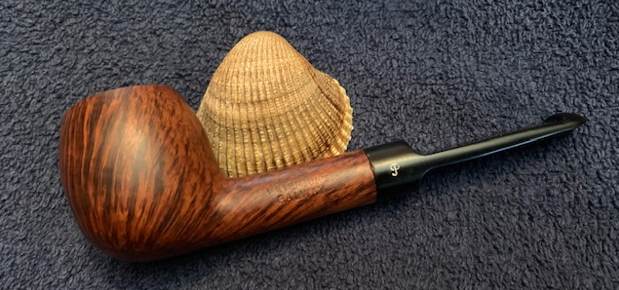
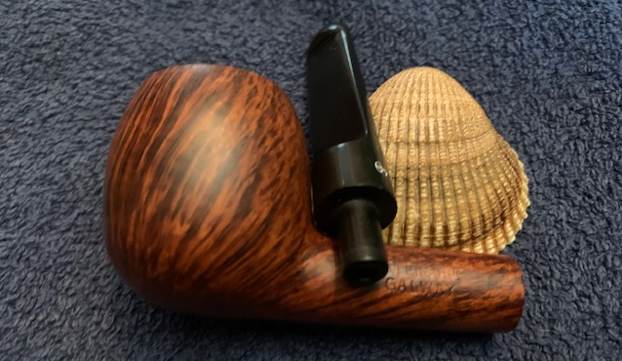
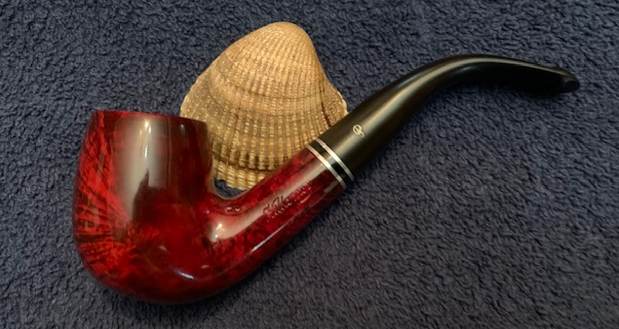
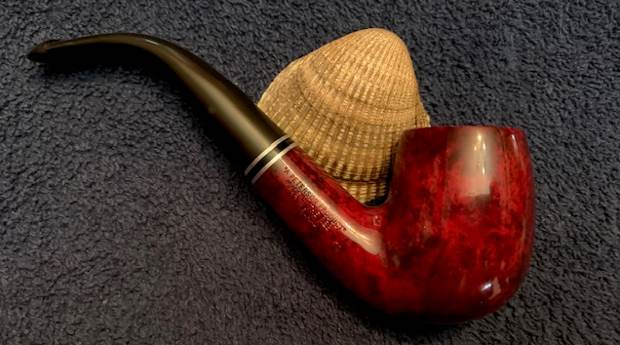
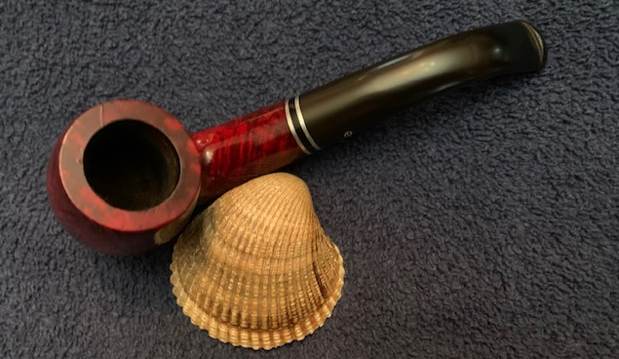
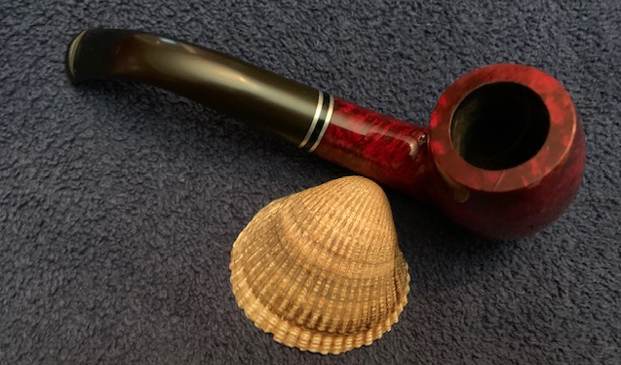
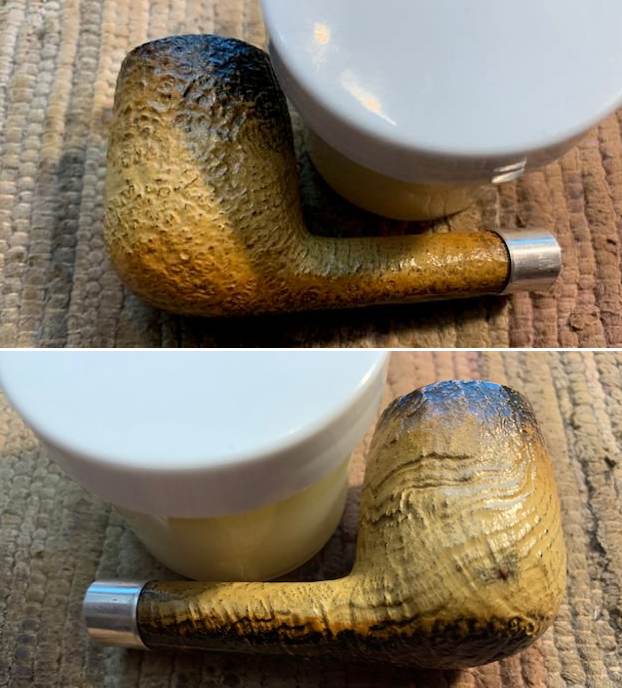
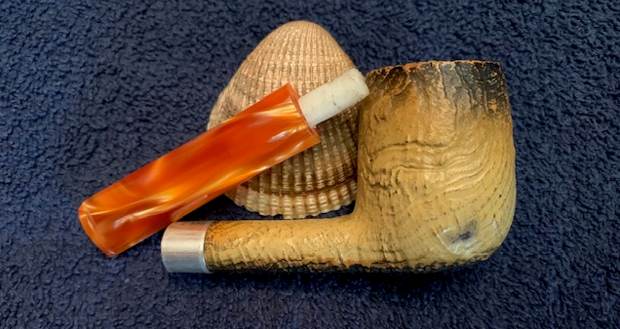
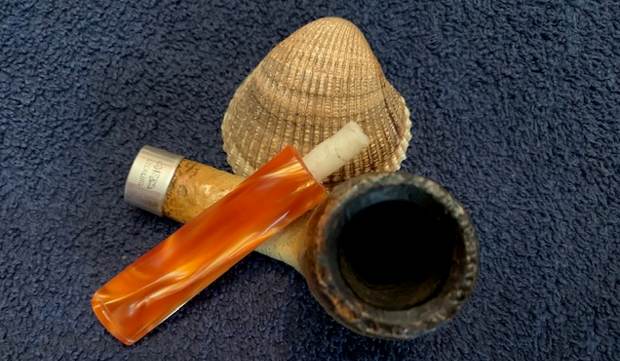
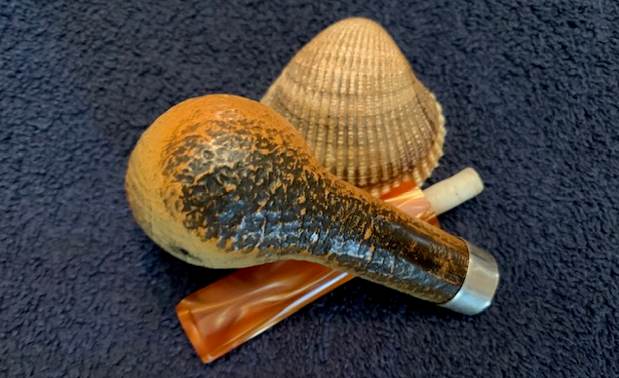
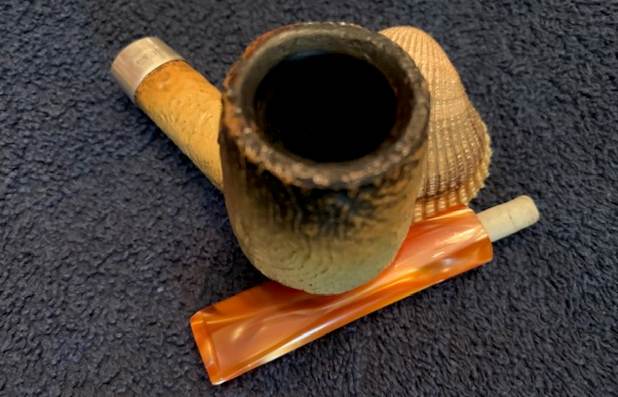
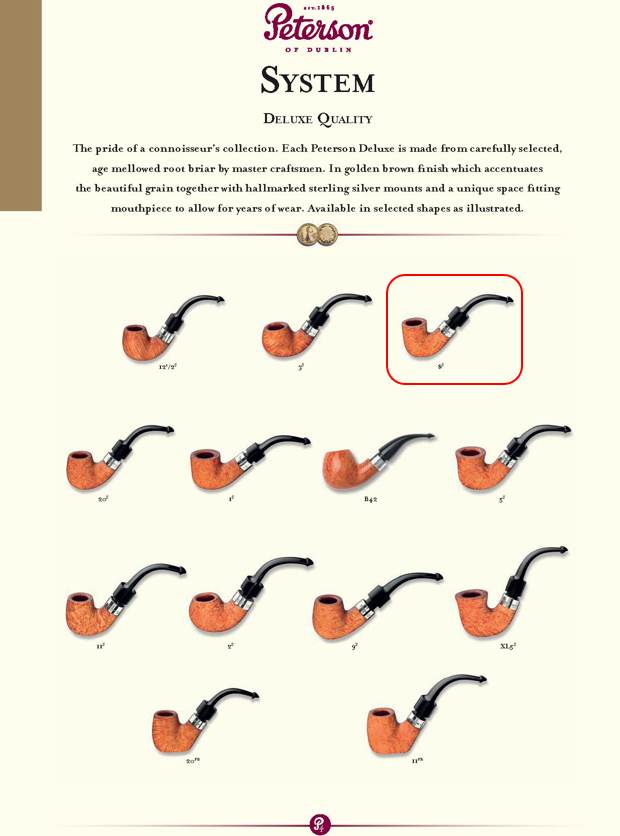
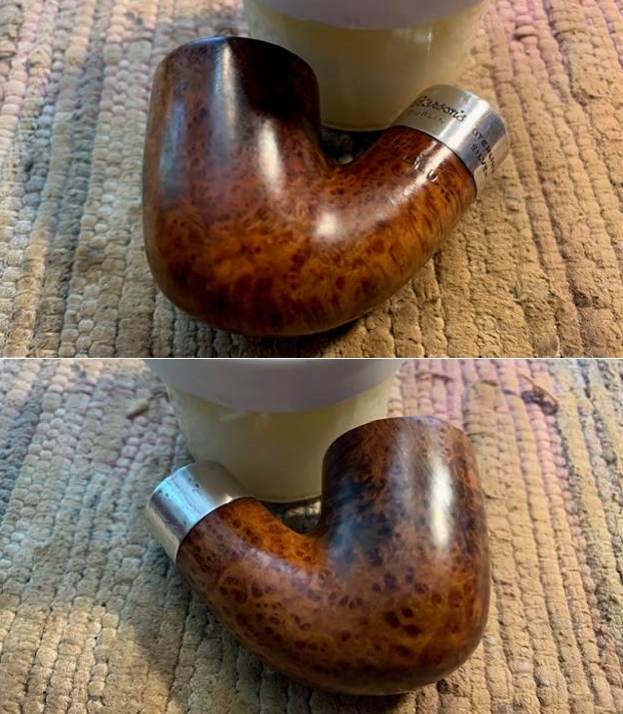
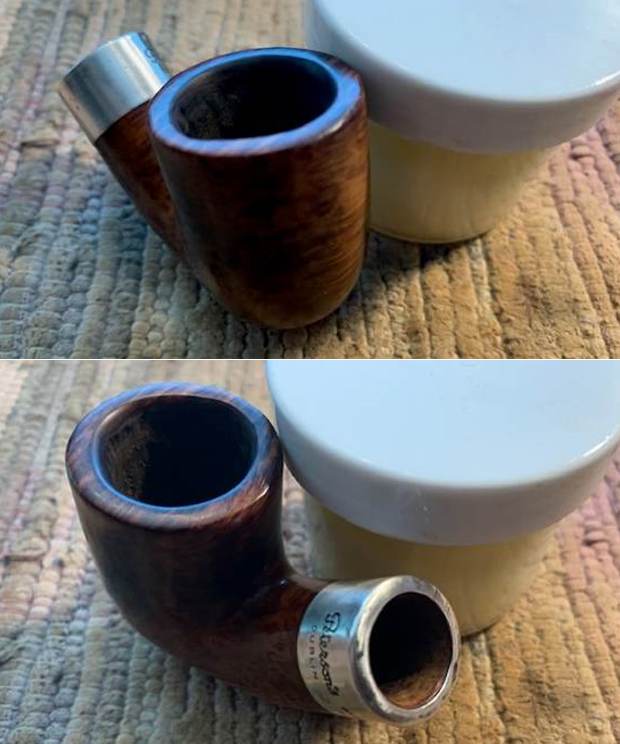
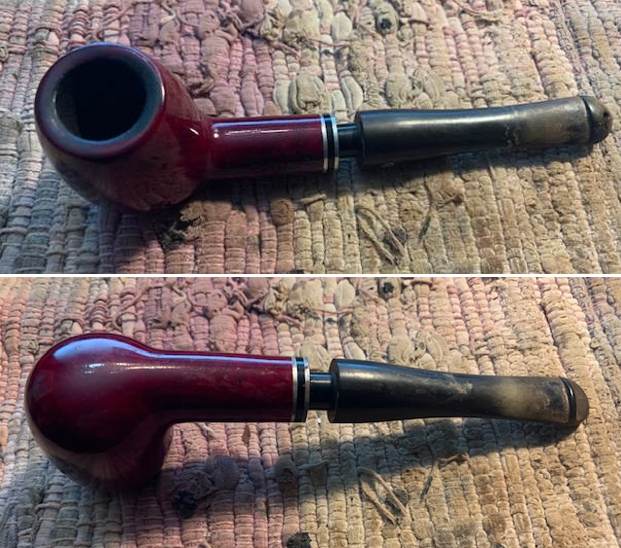
 This Republic Era Peterson Killarney 87 Straight Apple with a vulcanite taper stem has a smooth reddish finish. The rich reds and blacks of the contrasting stain makes the grain come alive with the polishing and waxing. I put the vulcanite stem back on the bowl and carefully buffed the pipe with Blue Diamond on the buffing wheel using a light touch on the briar. I gave the bowl and the stem multiple coats of carnauba wax on the buffing wheel and followed that by buffing the entire pipe with a clean buffing pad. I hand buffed the pipe with a microfiber cloth to deepen the shine. The finished Peterson’s Killarney 87 Apple really is a great looking even with the bit of darkening on the rim top toward the backside. It is a good looking apple and it fits nicely in the hand. Give the finished pipe a look in the photos below. The dimensions of the pipe are Length: 5 ¾ inches, Height: 1 ¾ inches, Outside diameter of the bowl: 1 ¼ inches, Chamber diameter: ¾ of an inch. The weight of the pipe is 1.41 oz./40 grams. This pipe will soon be on the Irish Pipe Makers Section of the rebornpipes store if you would like to add it to your collection. Thanks for reading this blog and my reflections on the pipe while I worked on it. There are many more to come!