Blog by Steve Laug
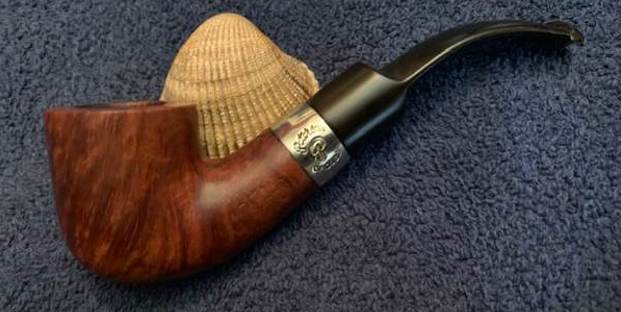
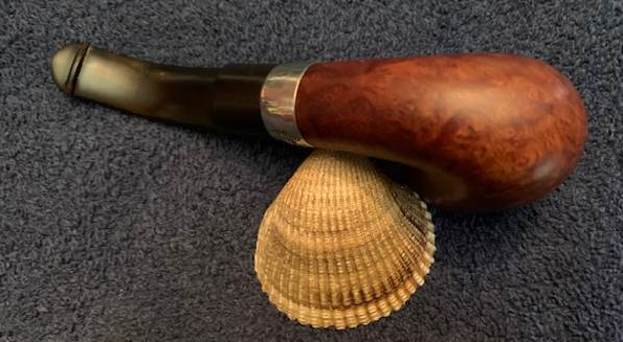
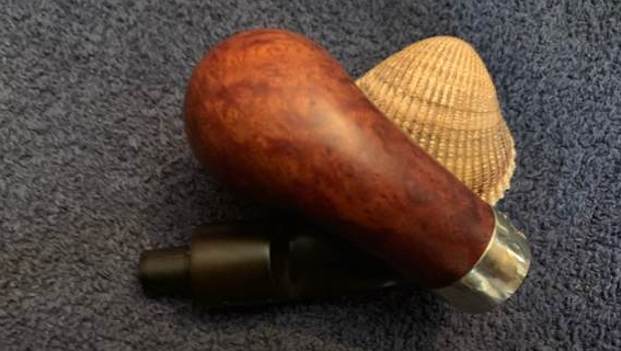
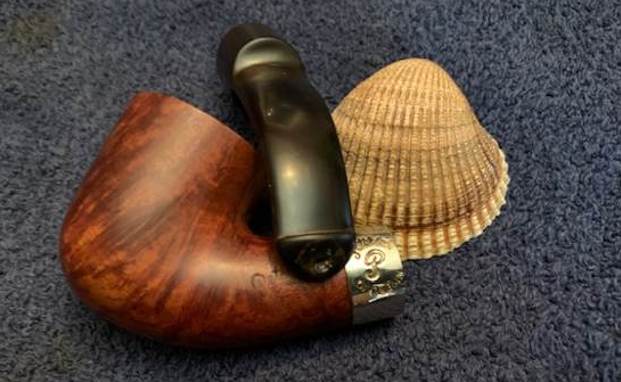
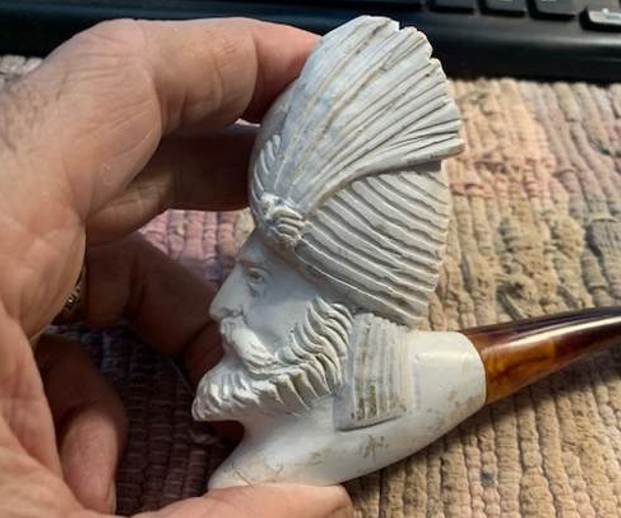
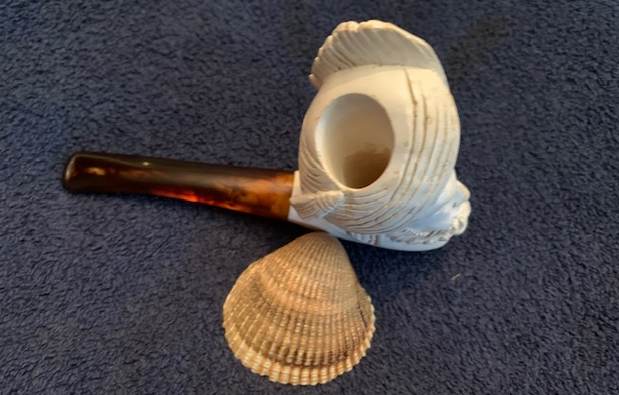
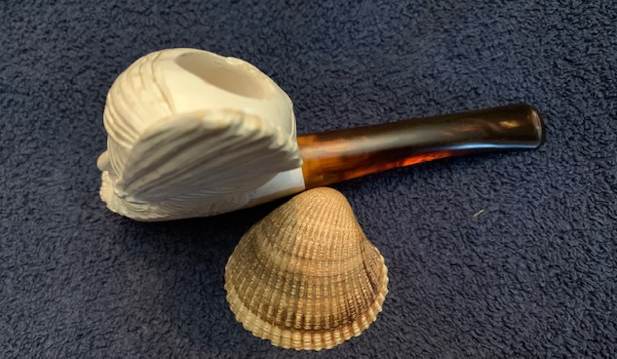
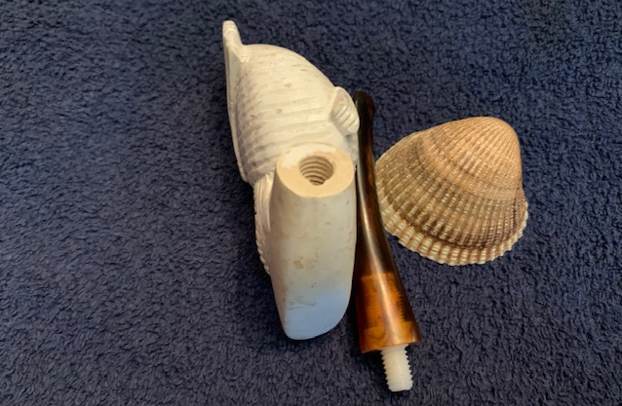
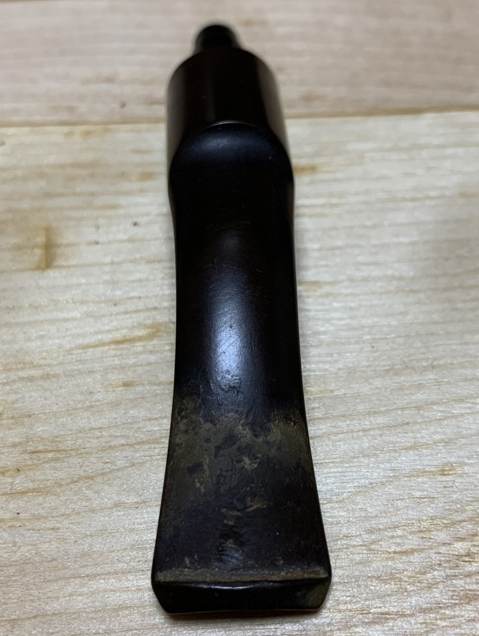
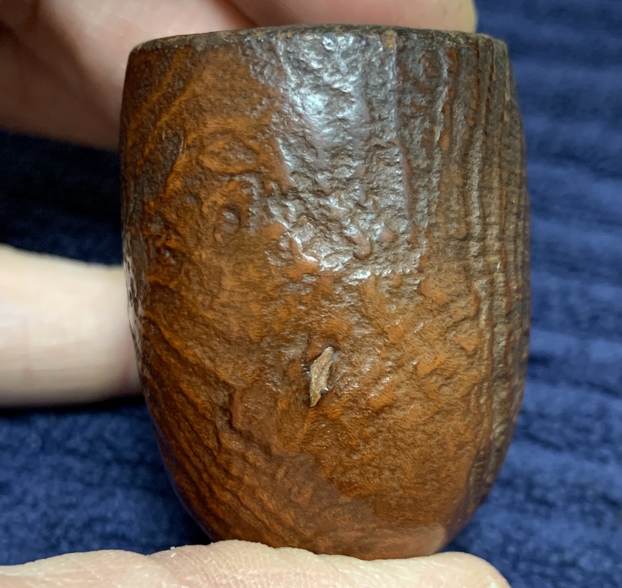
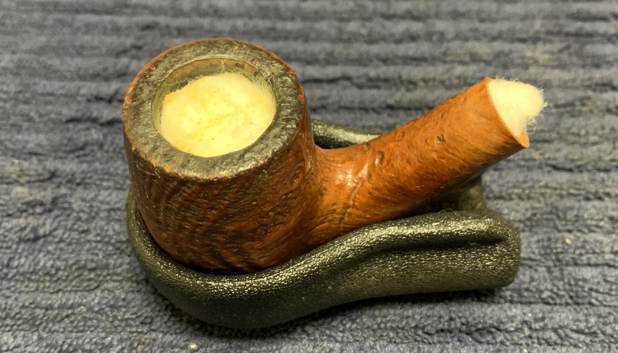
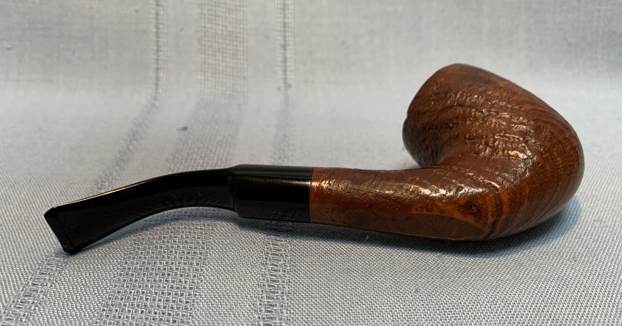
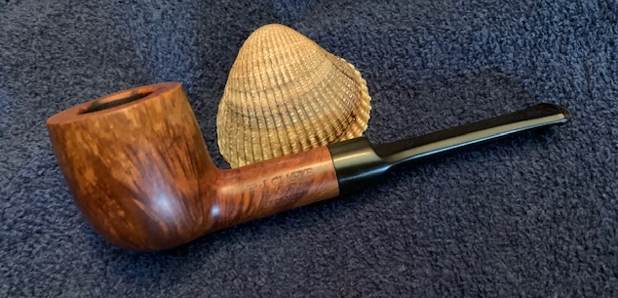
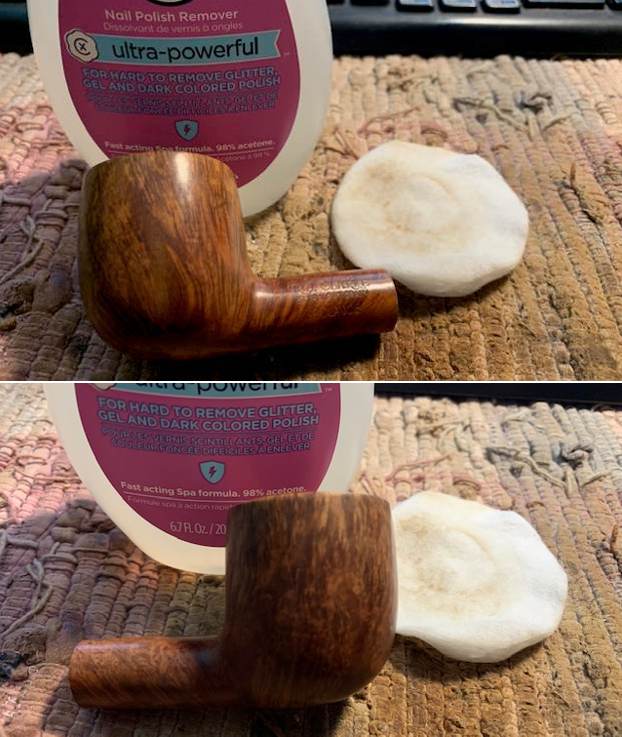
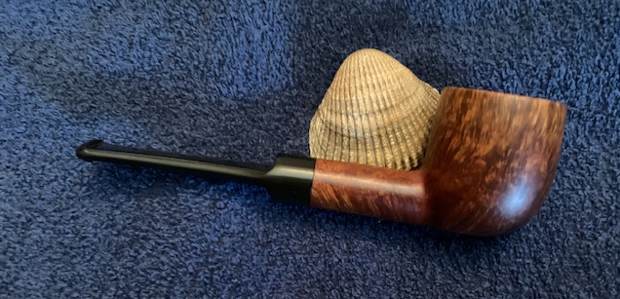
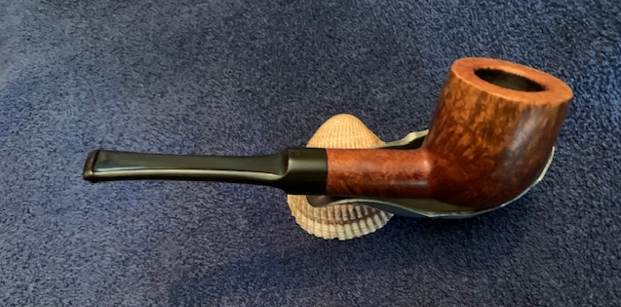
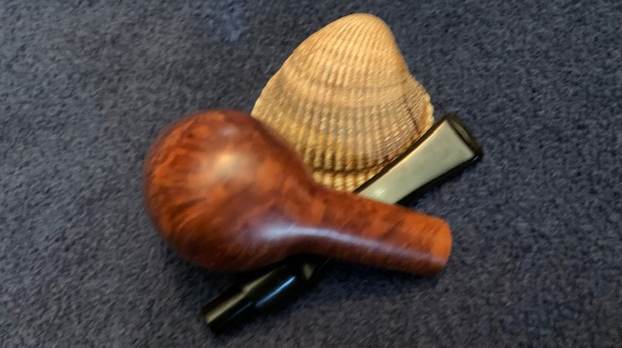
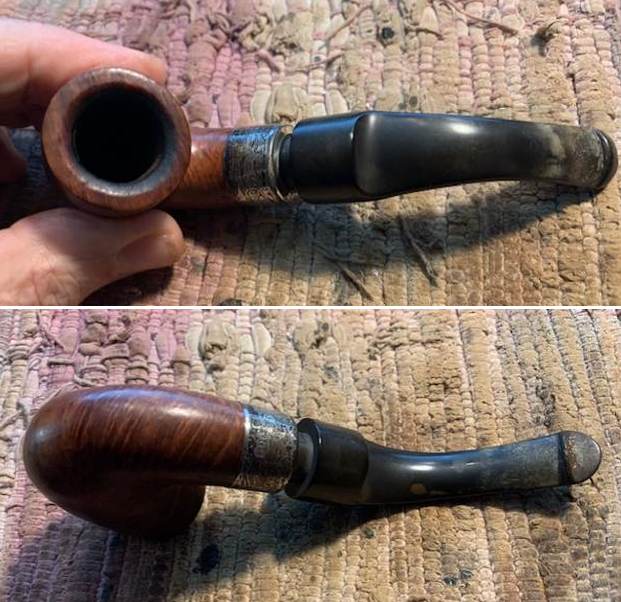
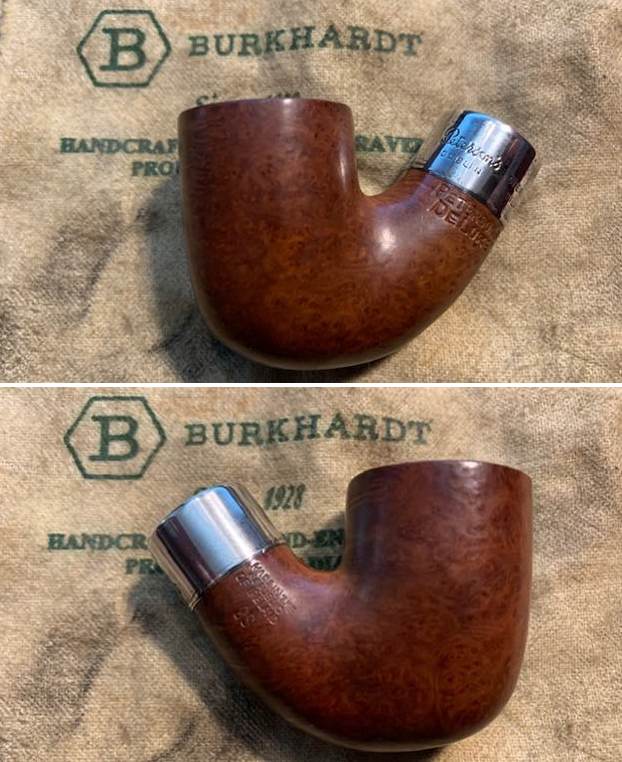
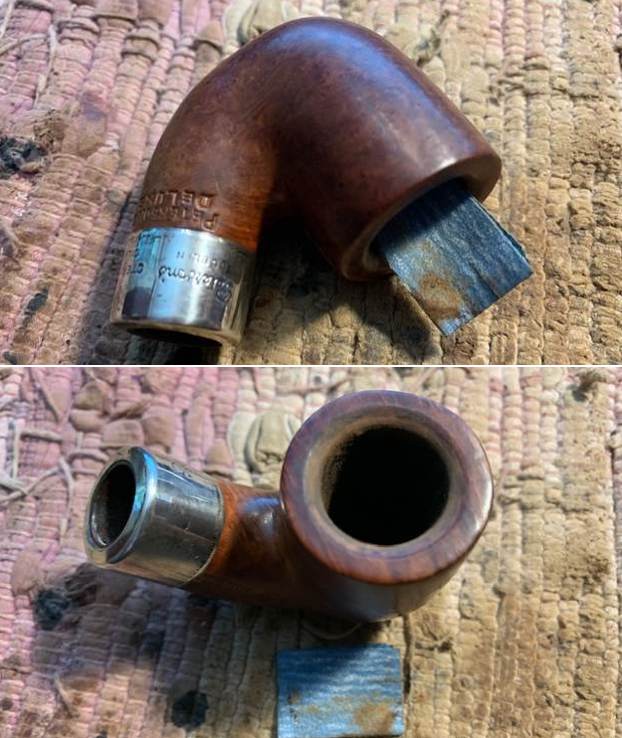
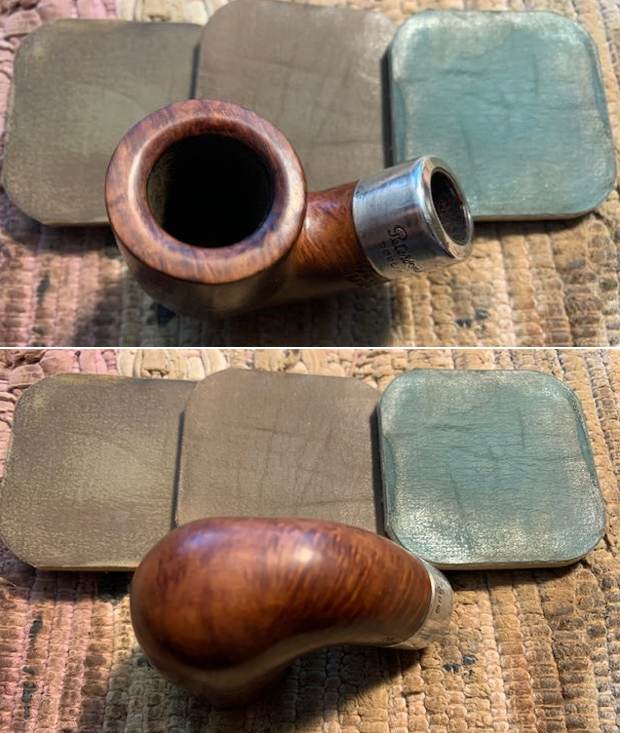
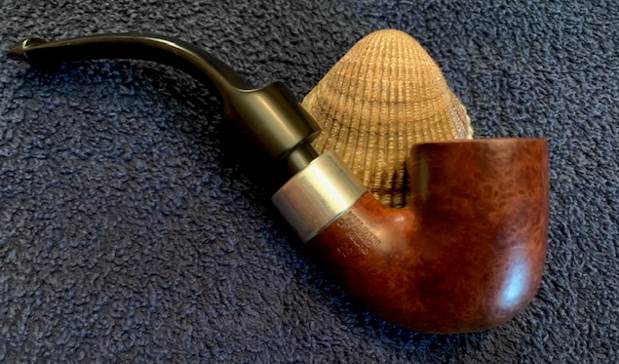
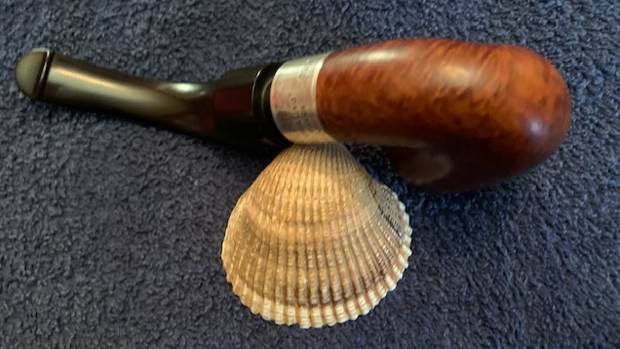
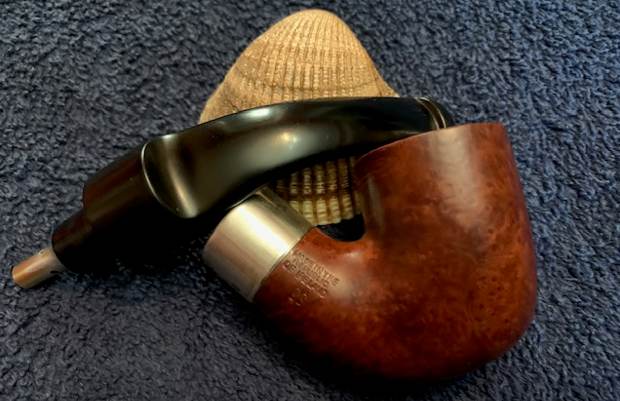
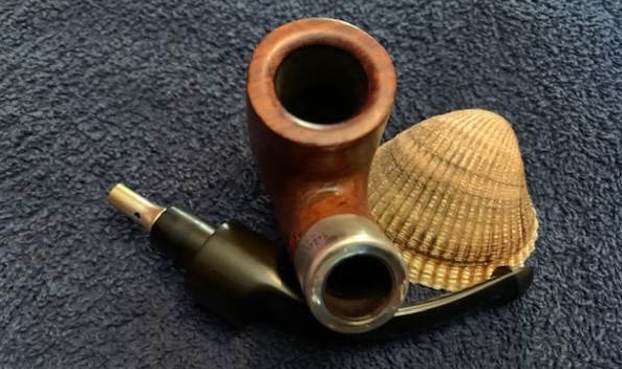
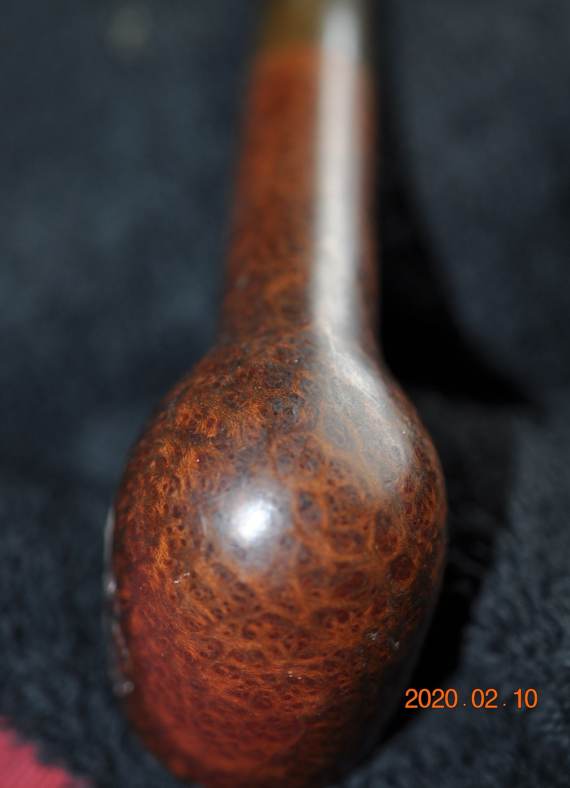
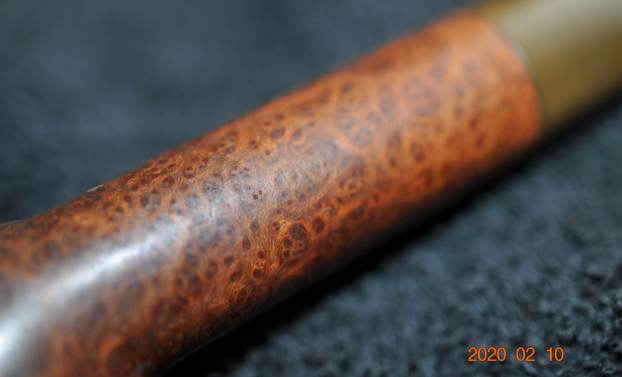
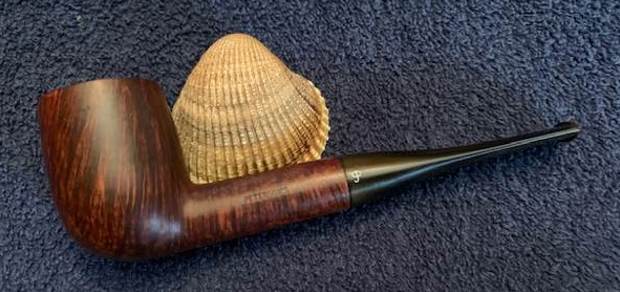
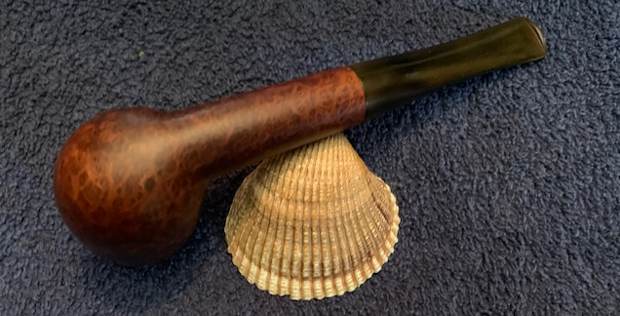
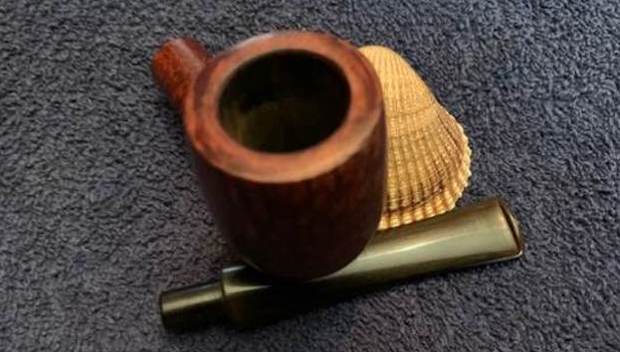
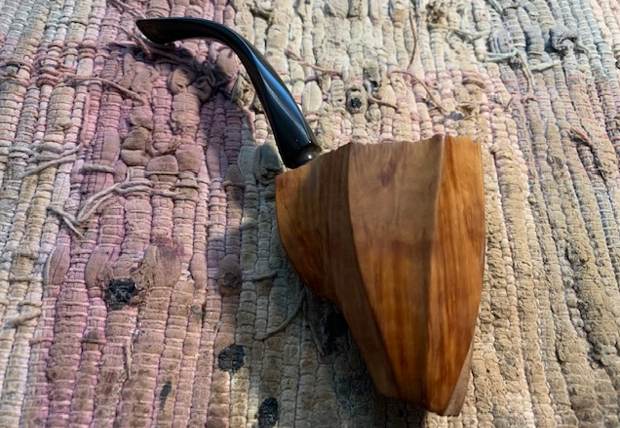
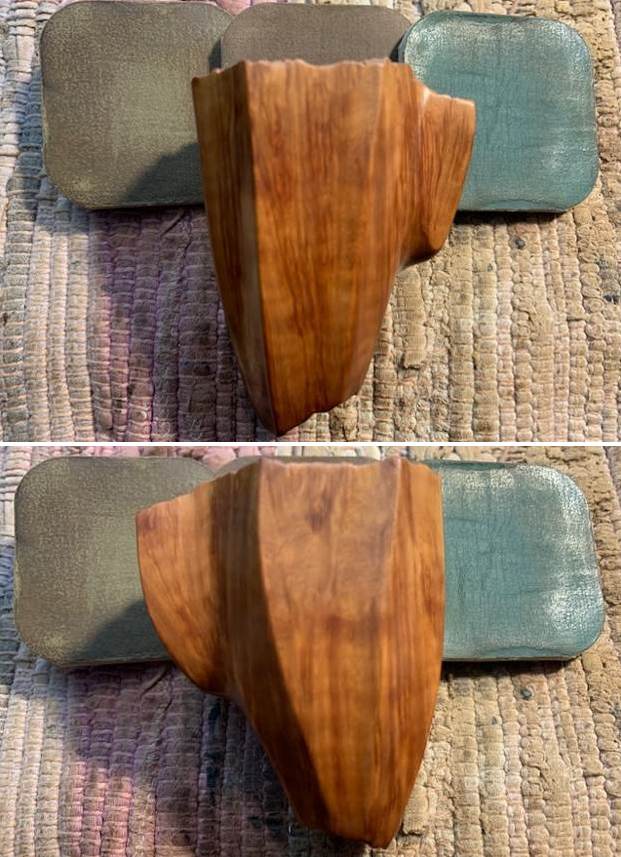
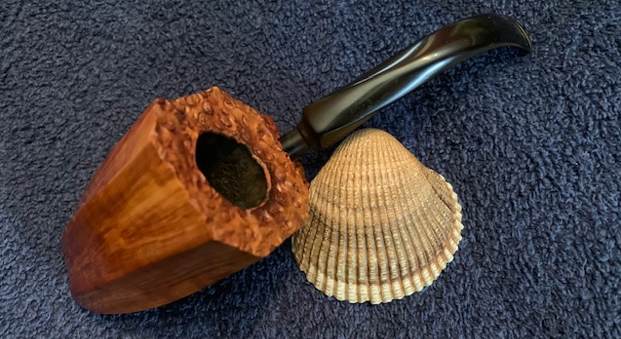
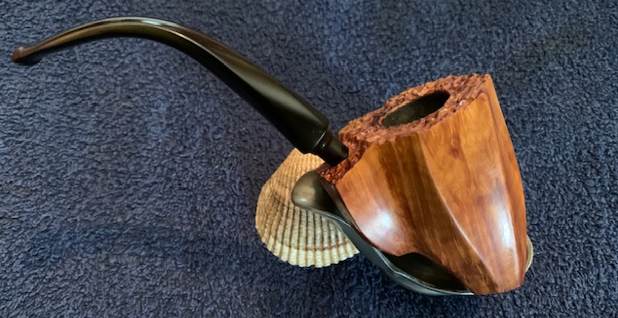
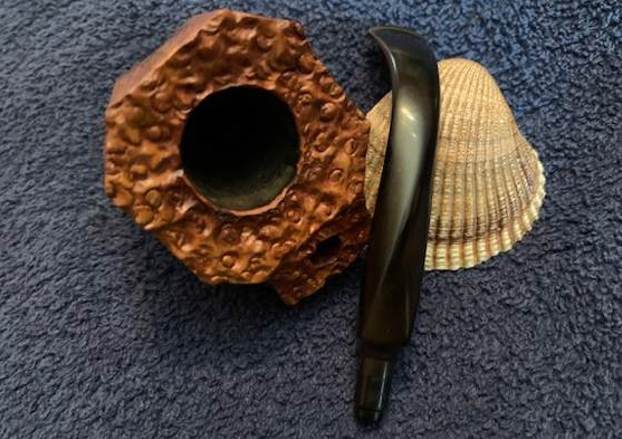
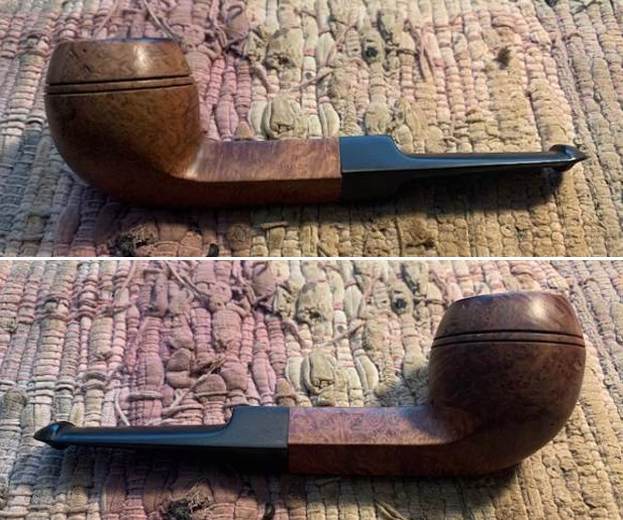
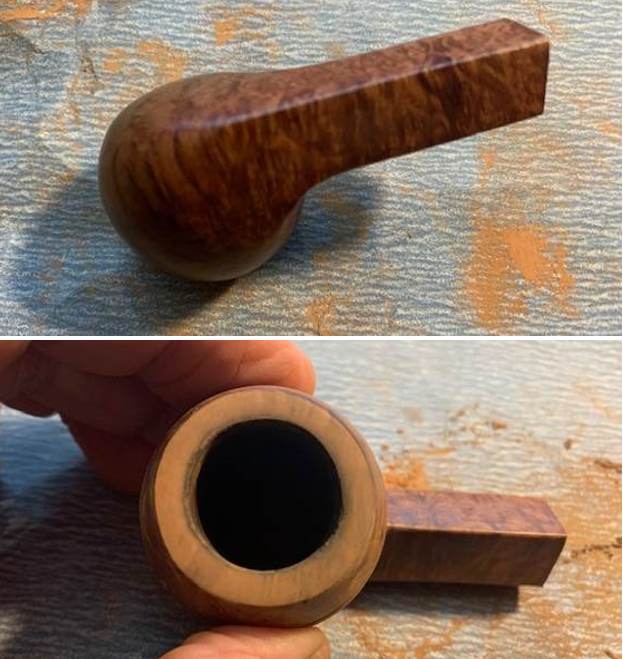
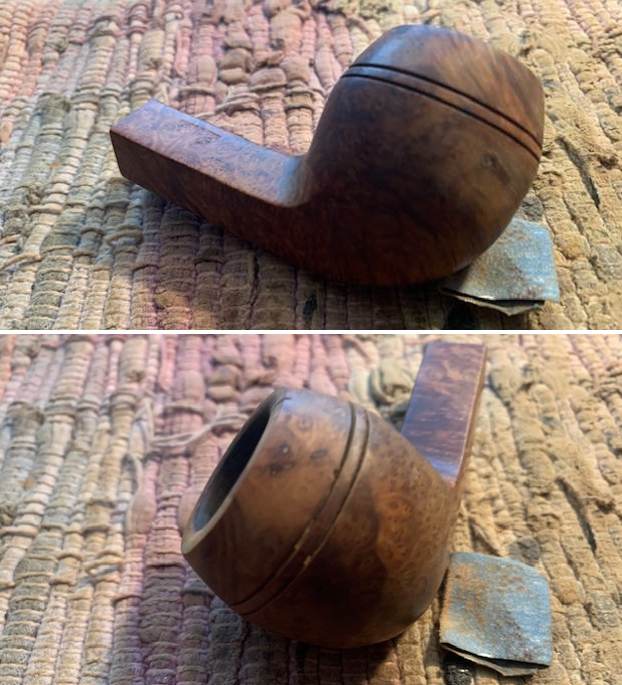
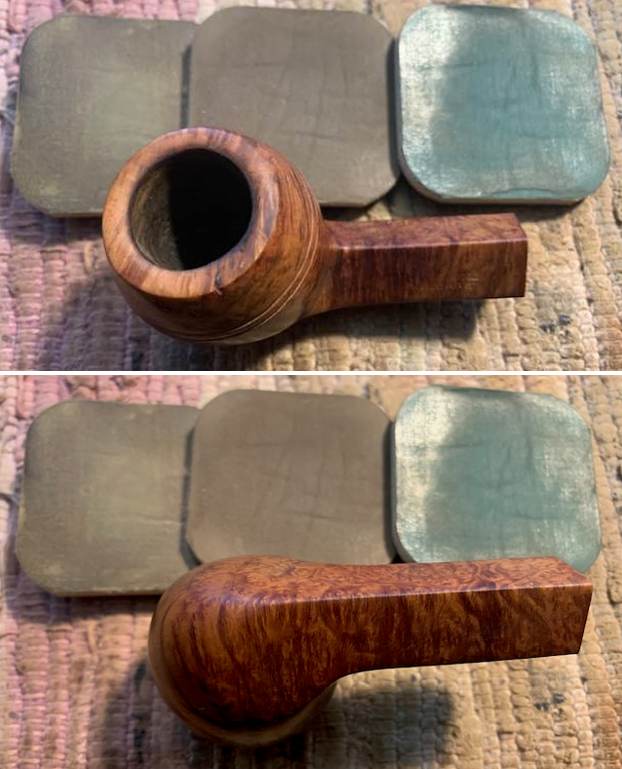
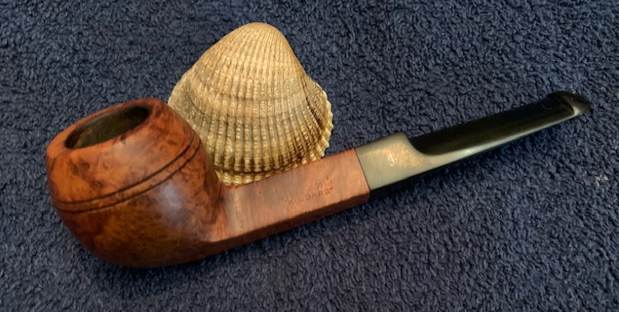
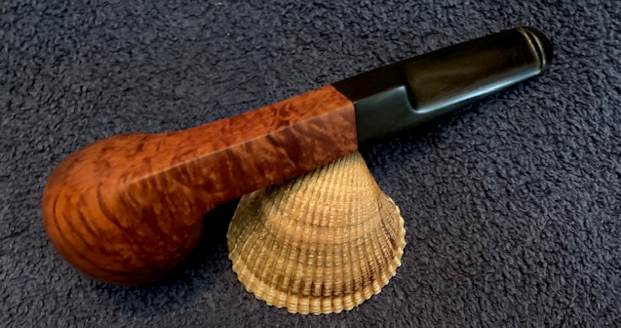
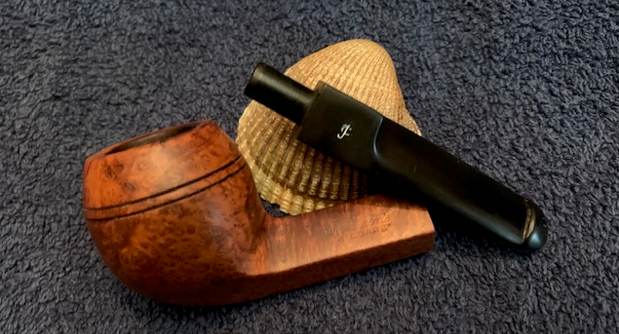
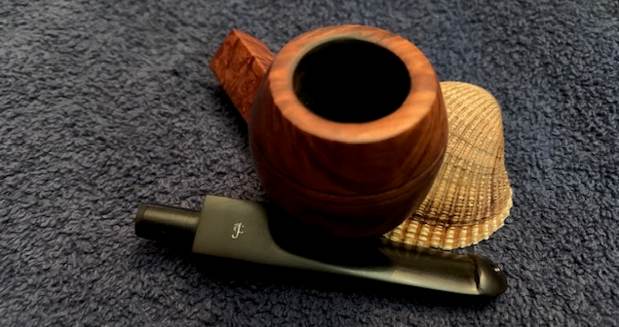
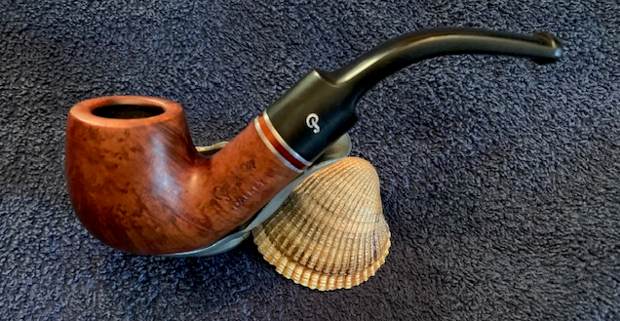
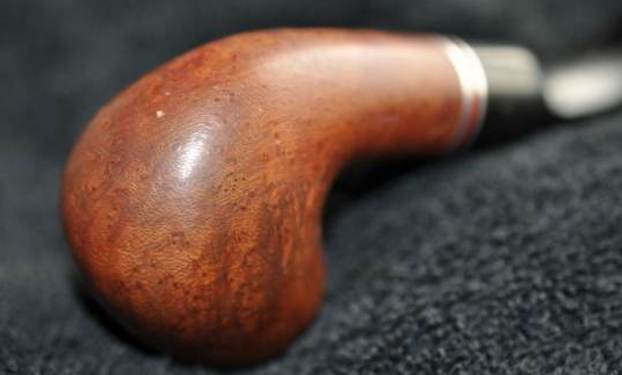
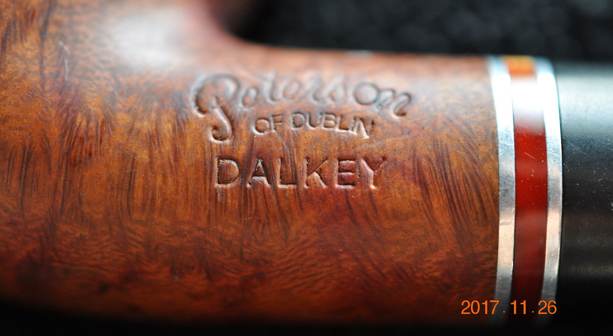
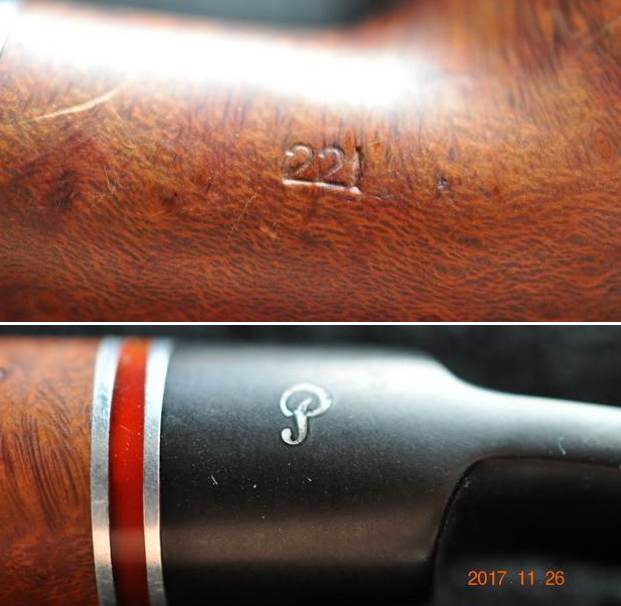
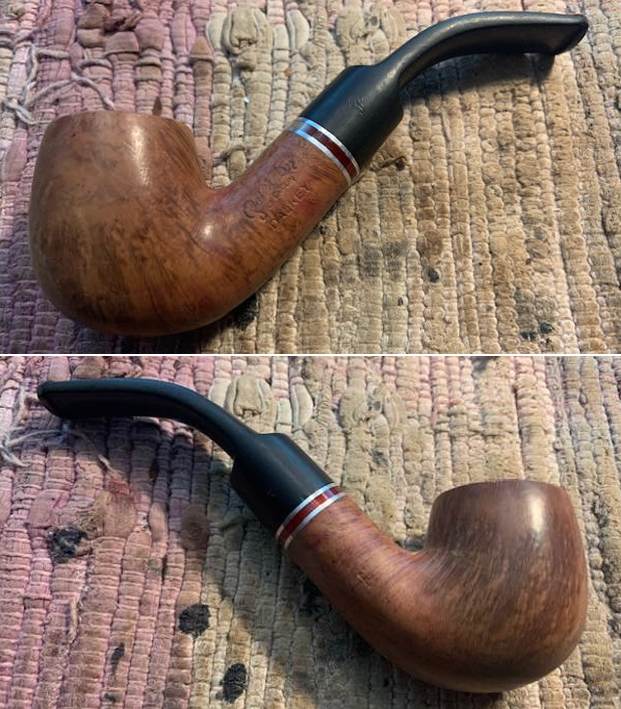
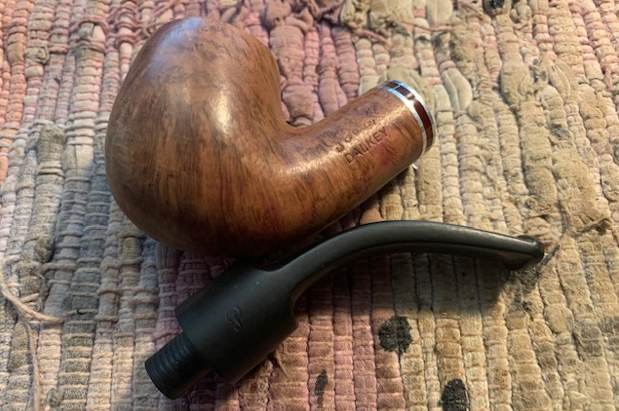
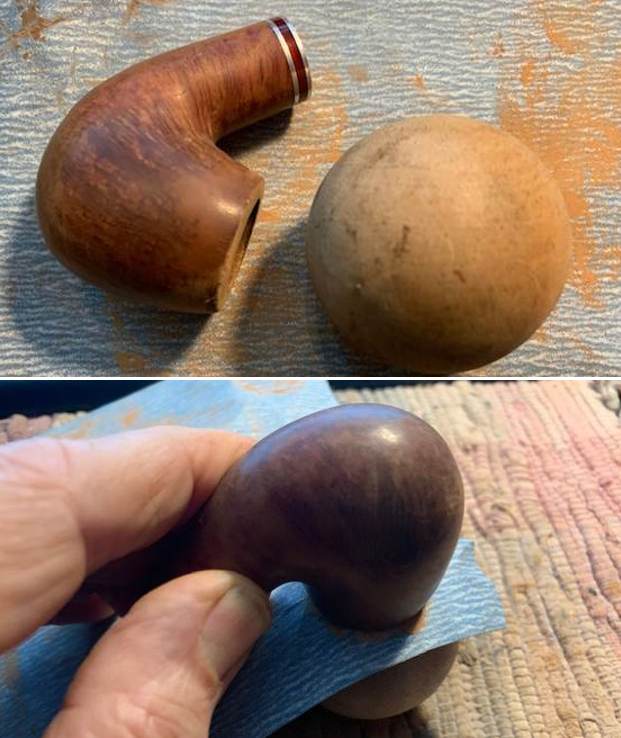
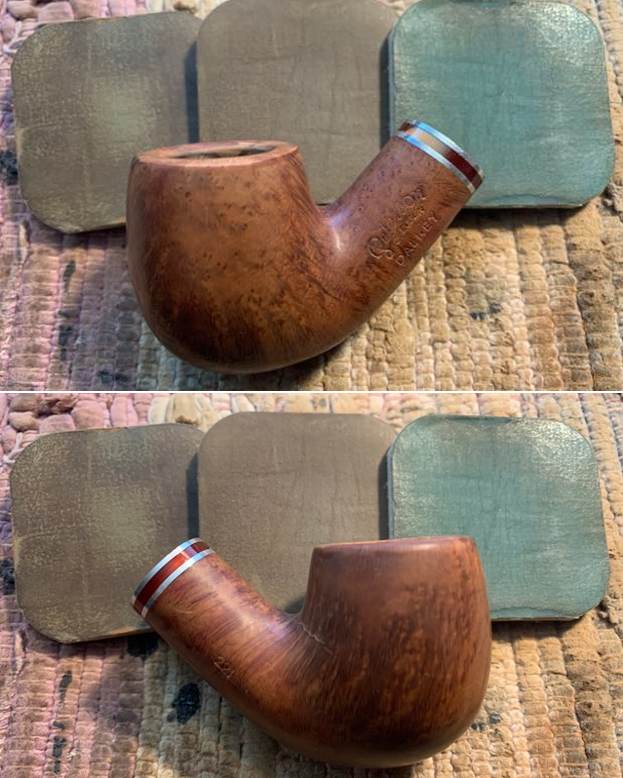
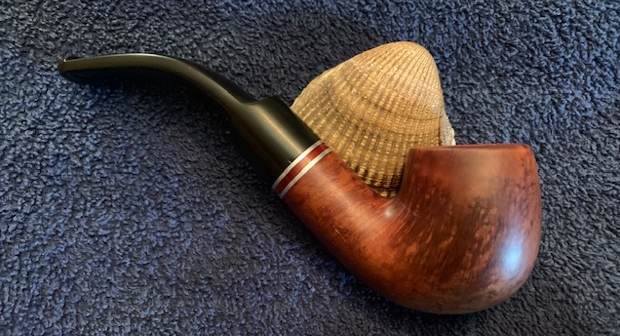
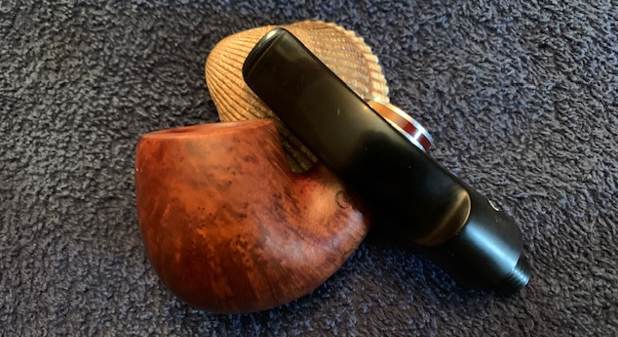
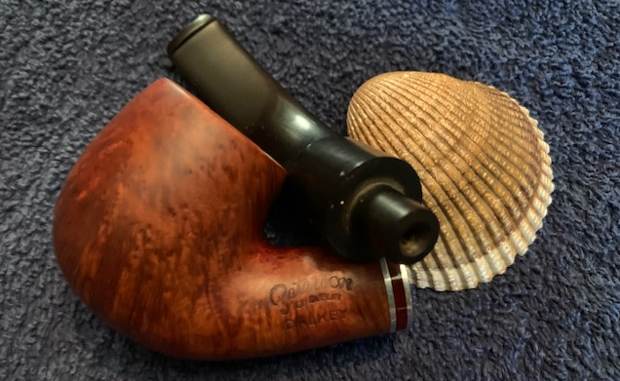
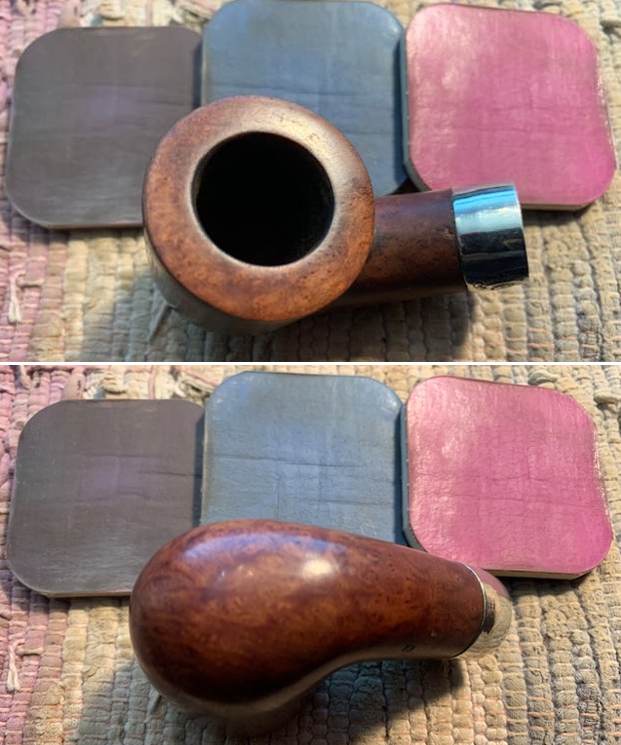
The next pipe I have chosen is a smooth Peterson’s Bent Pot. I am not sure where it came from or when we might have picked it up. This Bent Pot came with a nice nickel band on the shank end that was factory fitted to the stamping on the shank. The grime was ground into the finish on the bowl sides. The contrast of the brown stains gave the grain a sense of depth. It was stamped on the left side of the shank and read Peterson [over] of Dublin [over] Aran. The right side had the shape number 01 stamped toward the bowl. The nickel band was stamped Peterson [over] a stylized P [over] Of Dublin. There was a moderate cake in the bowl and a light overflow of lava on the rim top. The stem was oxidized, calcified and had tooth marks, chatter on the top and underside on and near the button. I took photos of the pipe before I started my cleanup work. They tell the story and give a glimpse of the promise that we see in this pipe.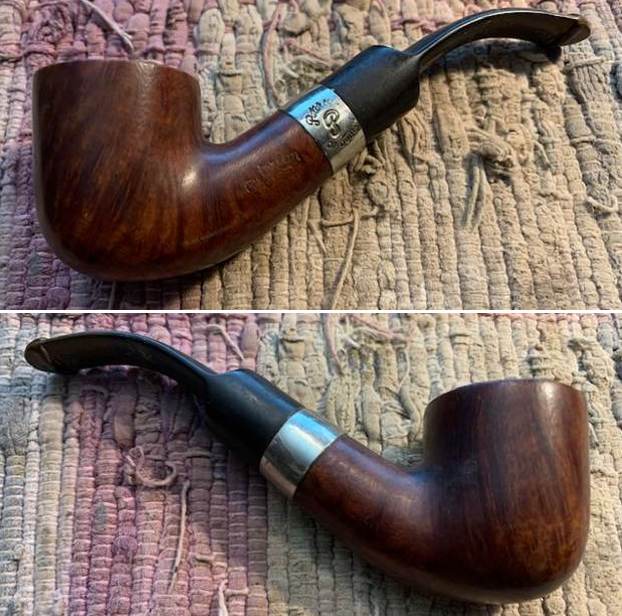
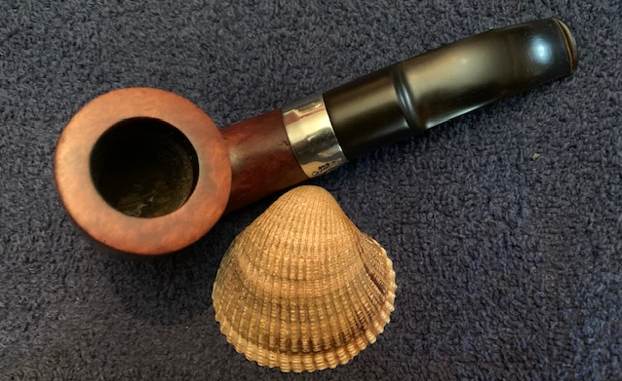
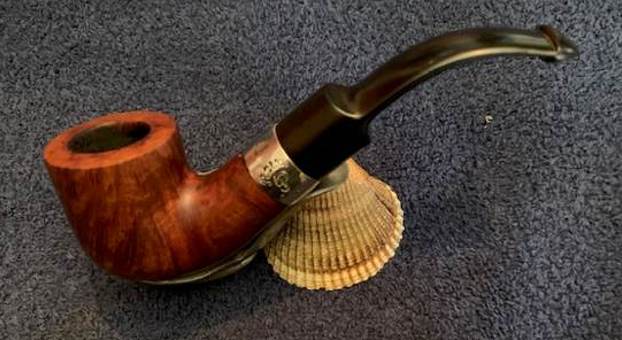
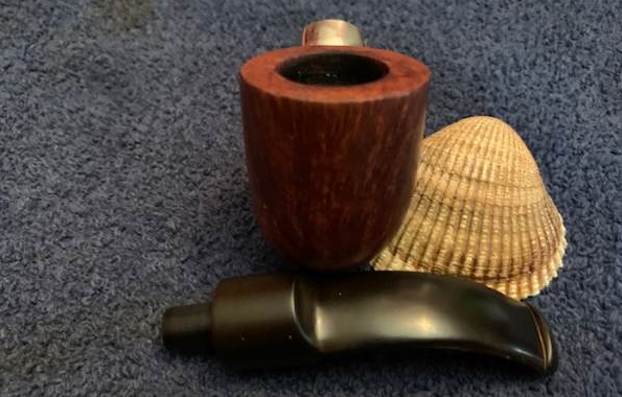
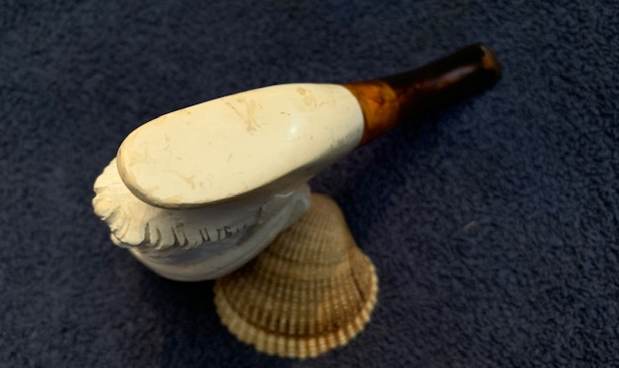
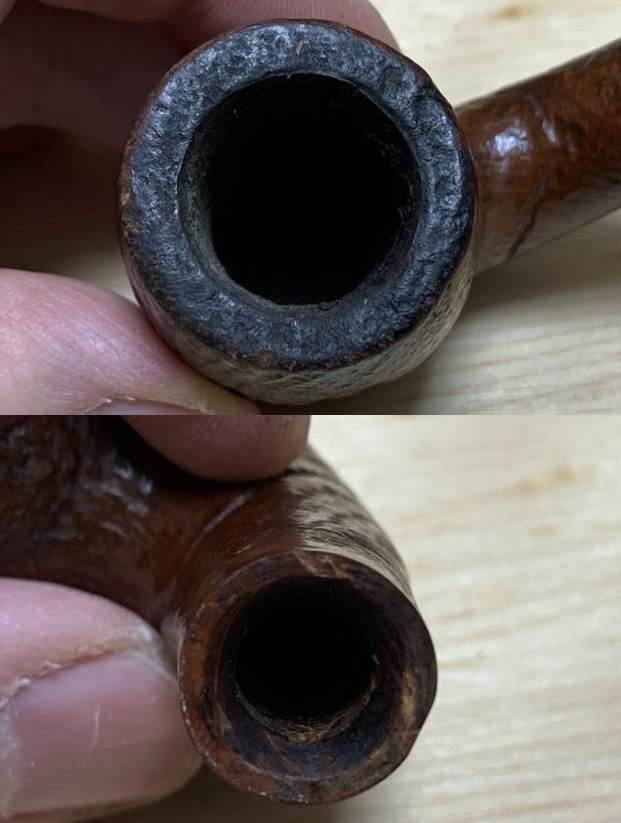
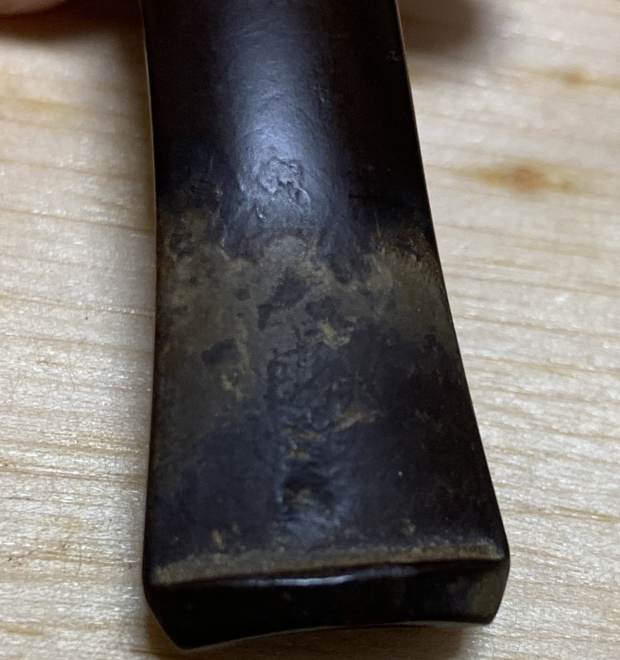
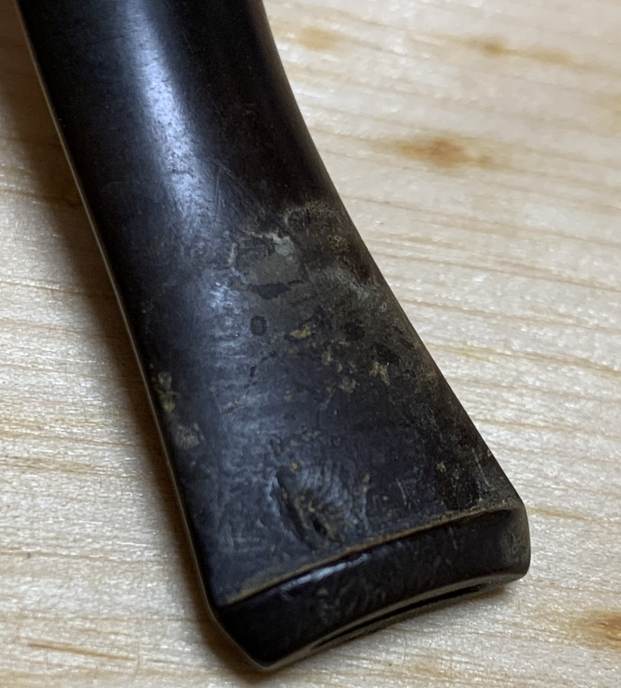
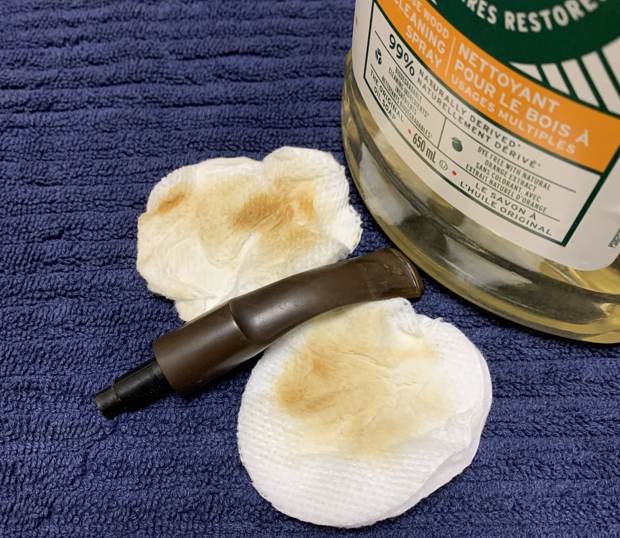
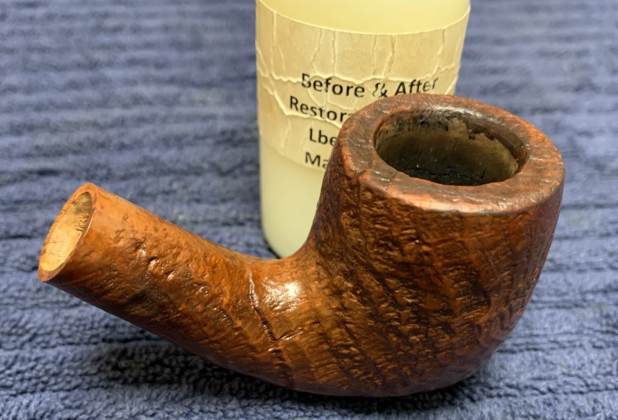
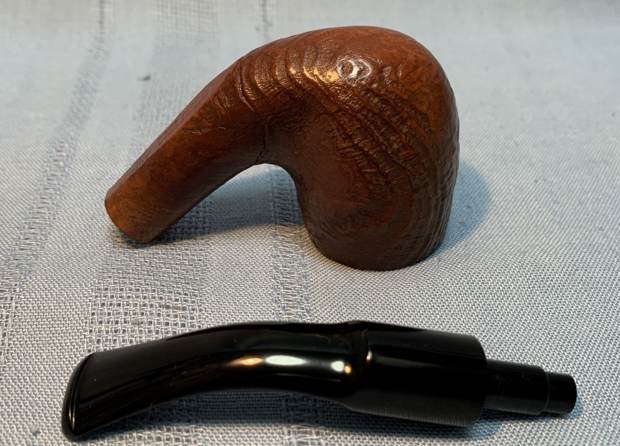
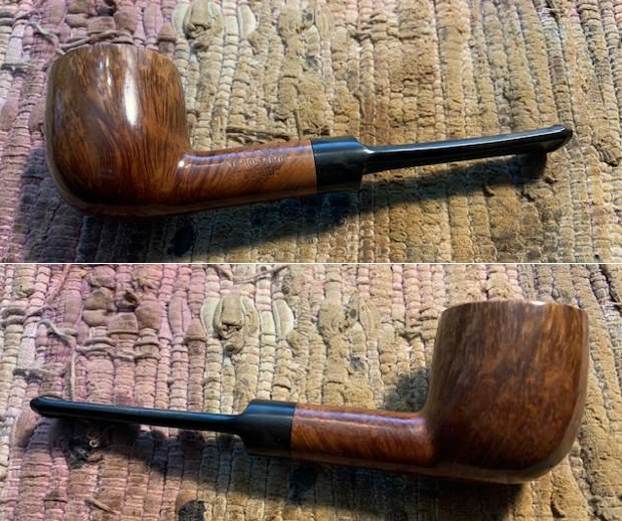
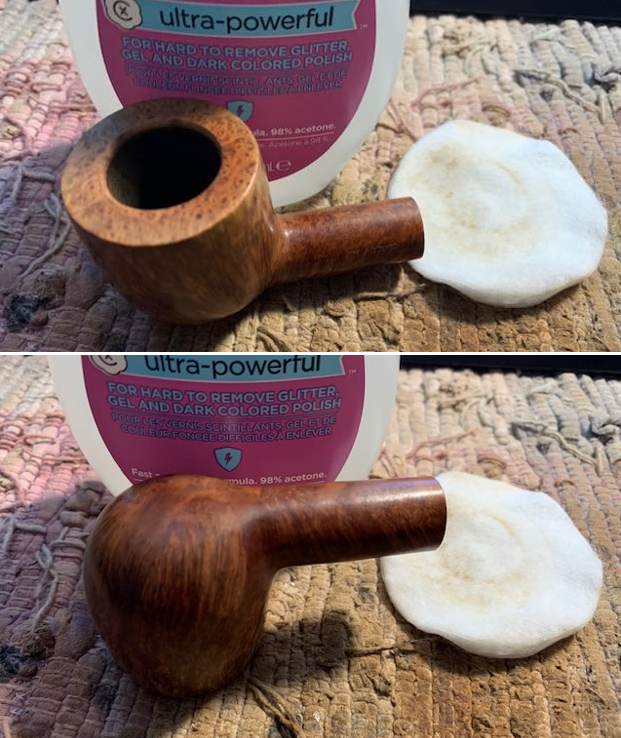
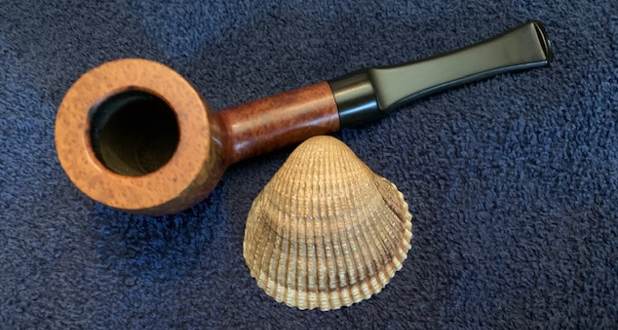
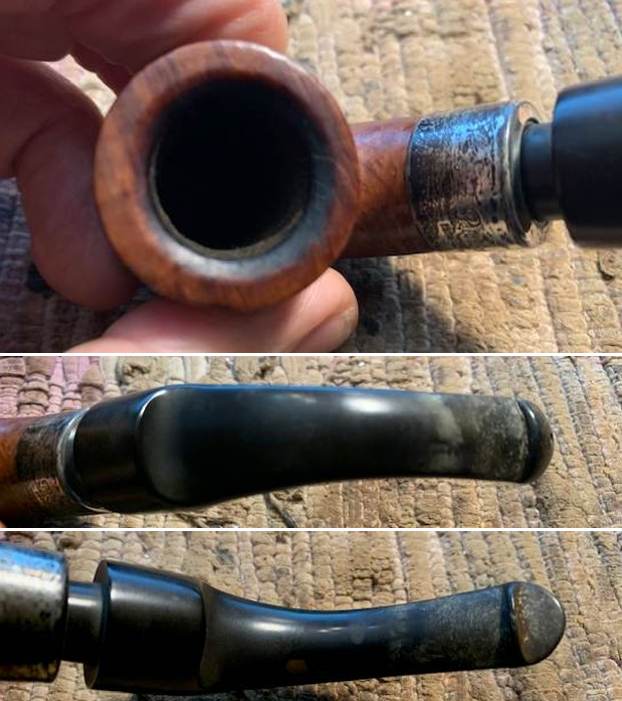
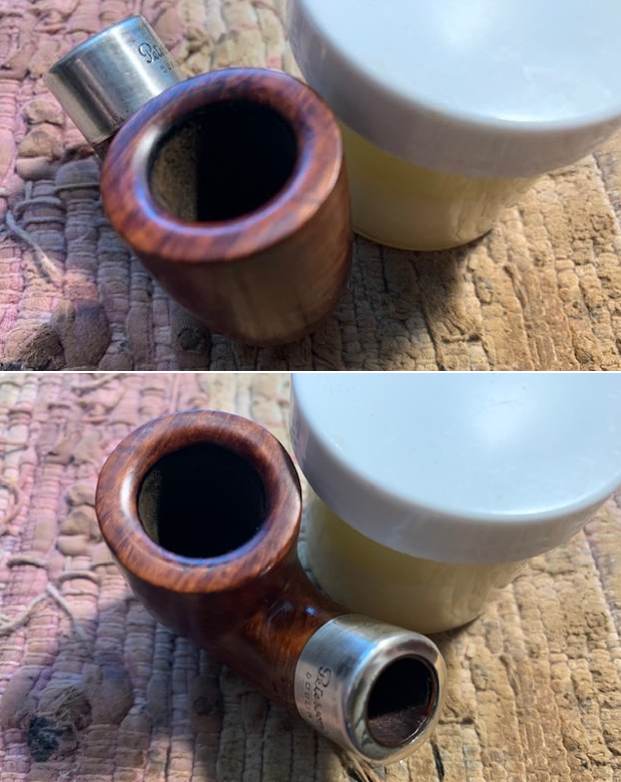
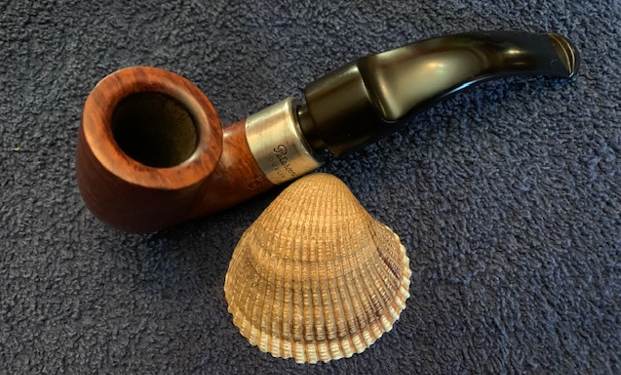
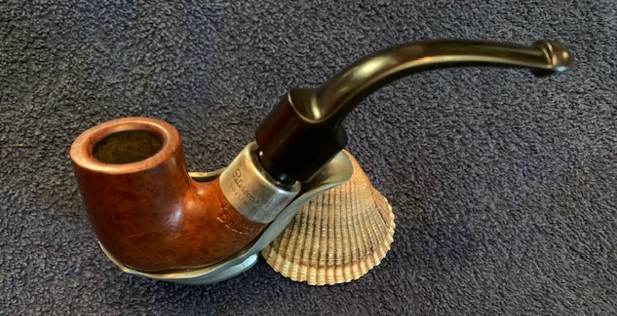
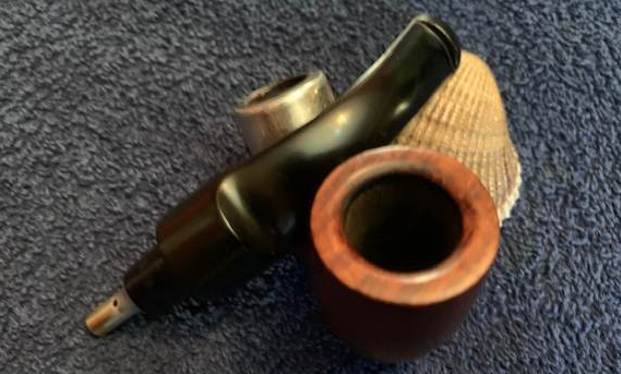
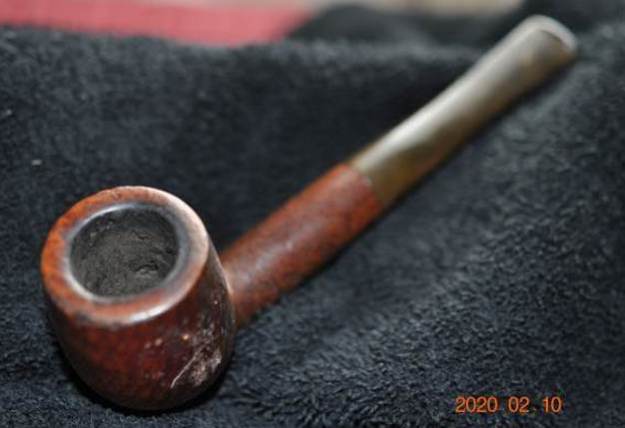
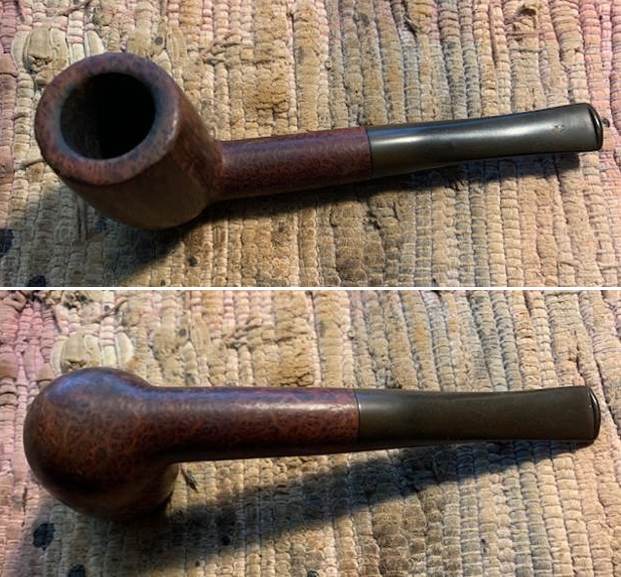
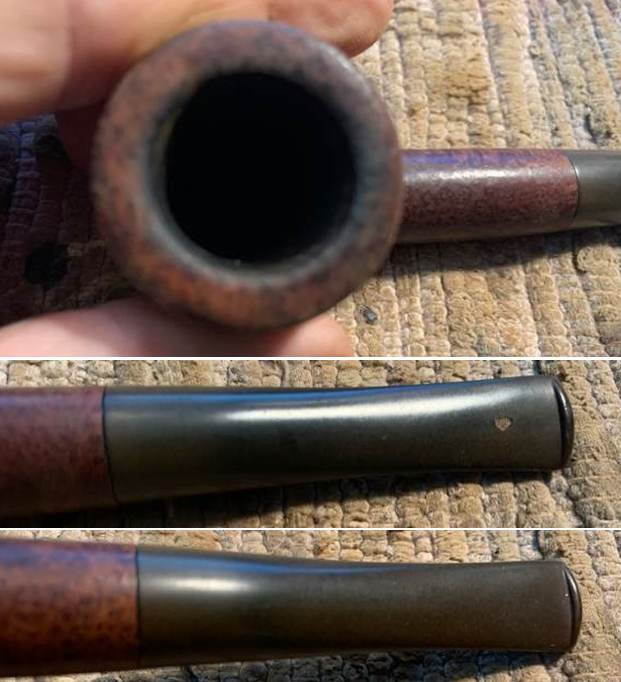
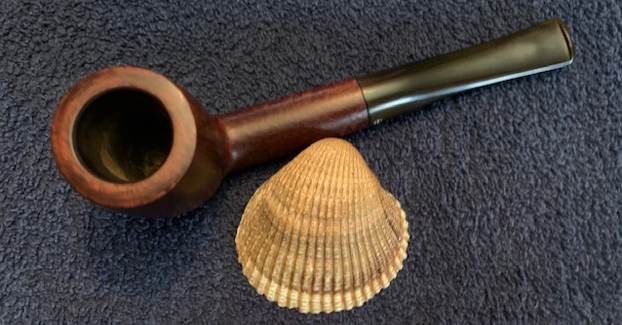
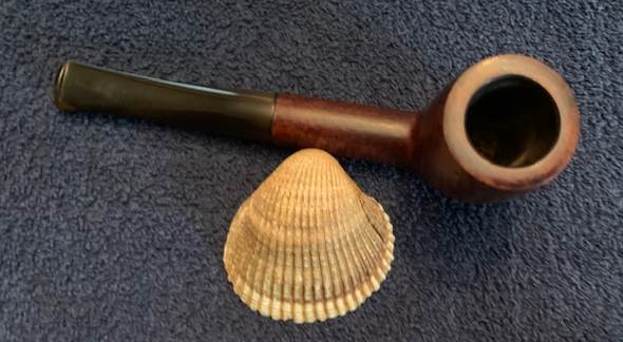
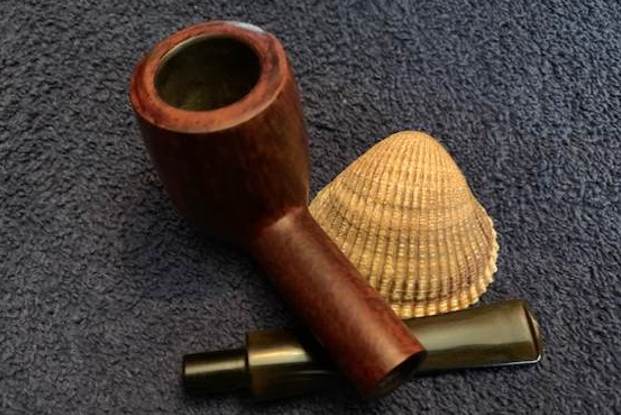
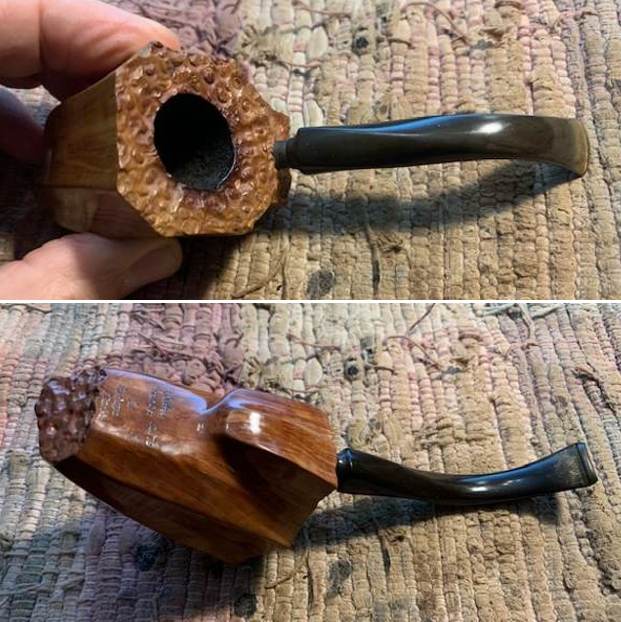
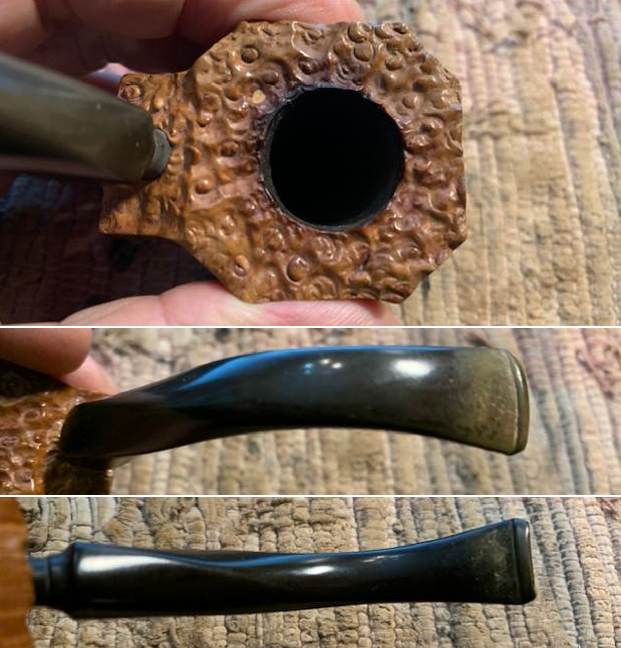
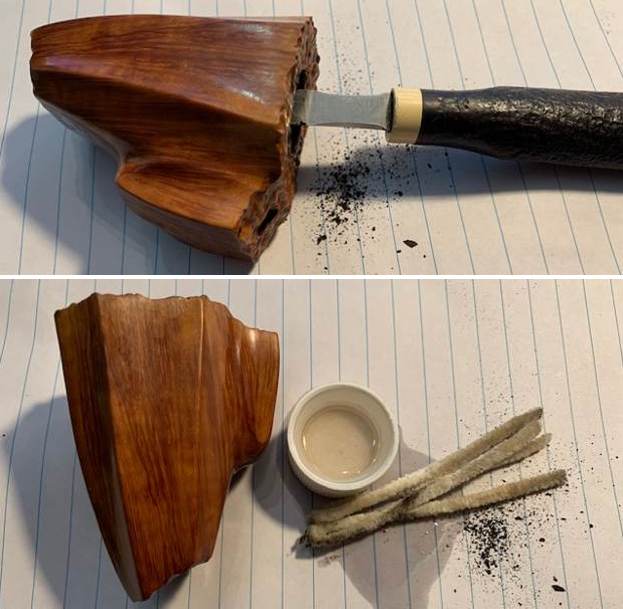
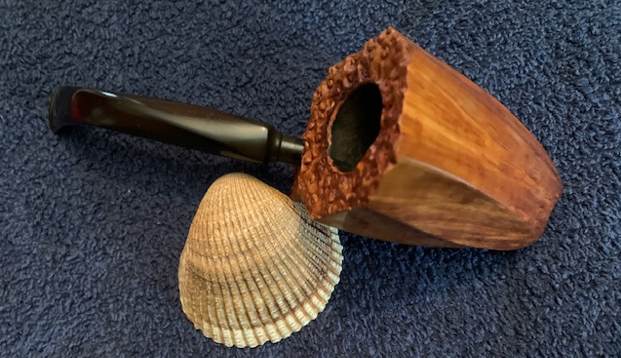
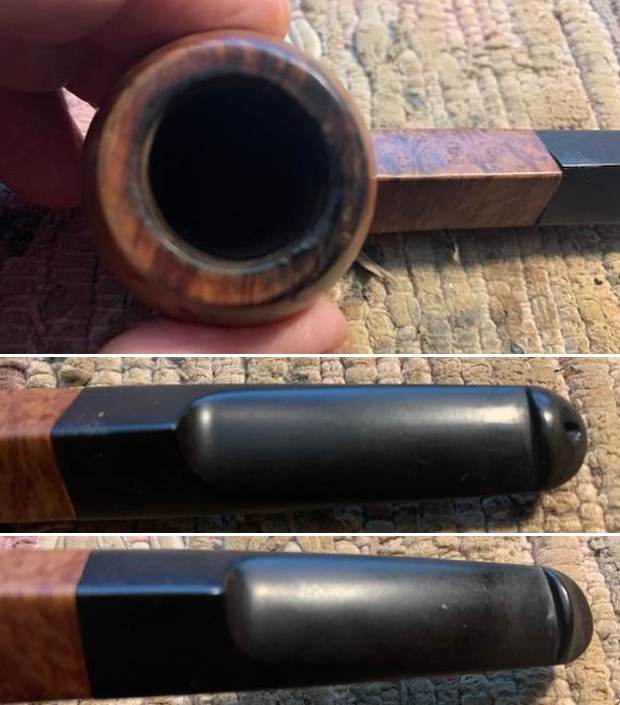
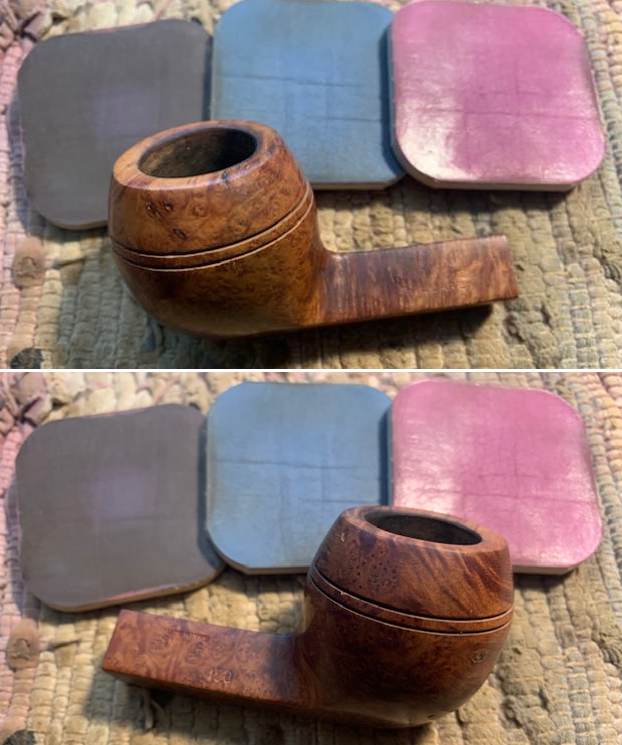
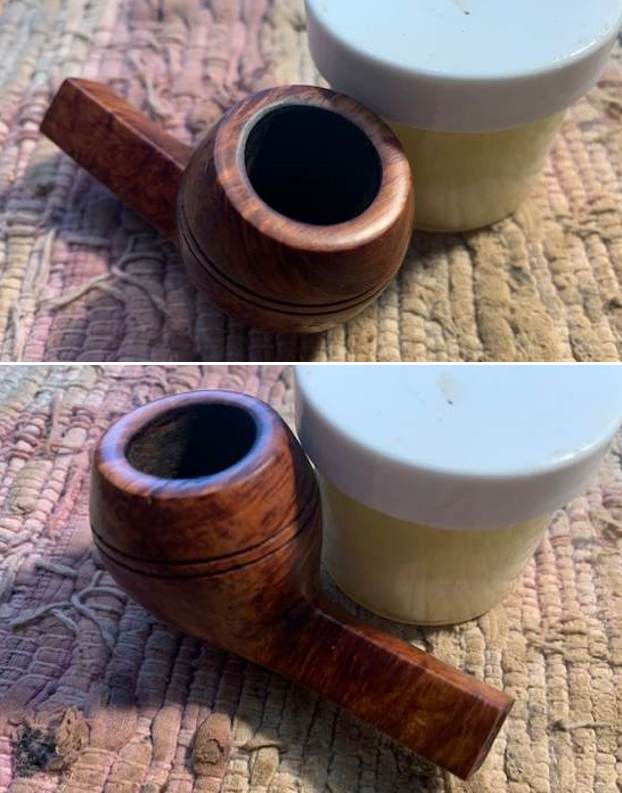
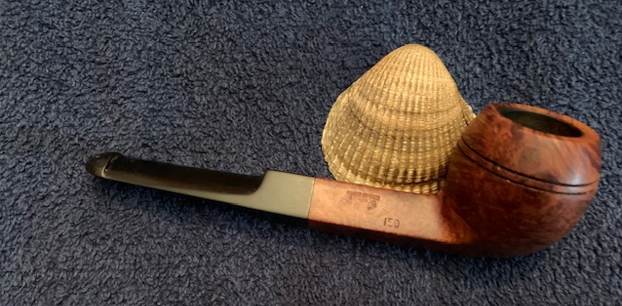
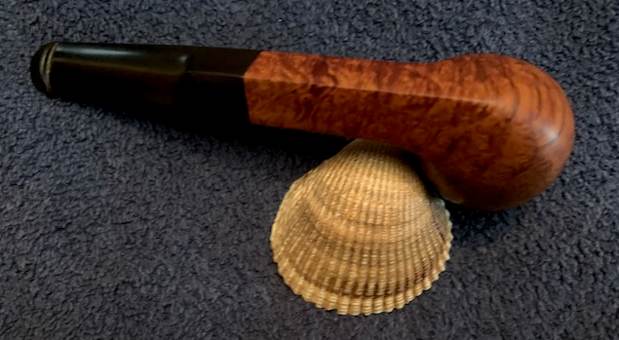
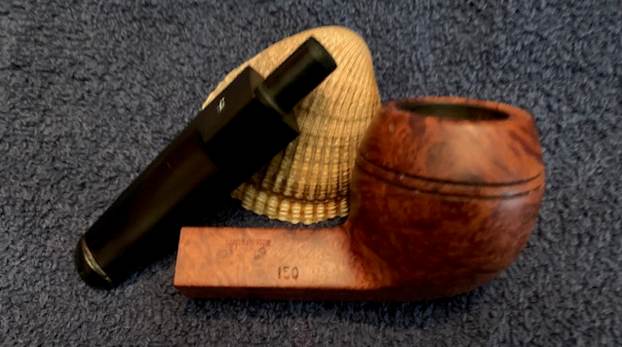
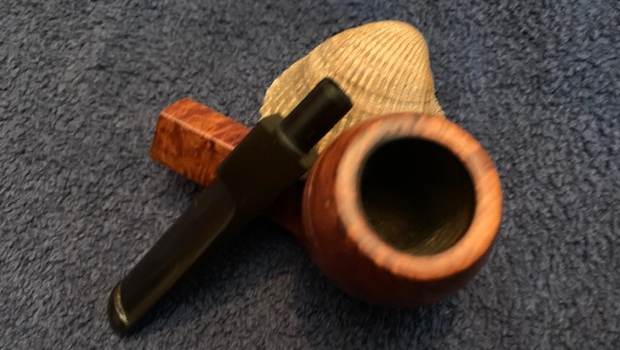
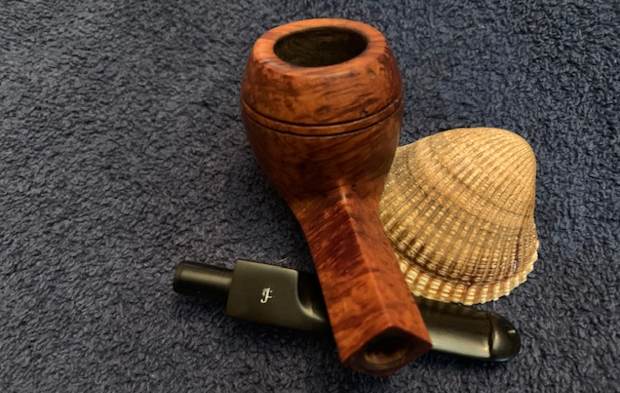
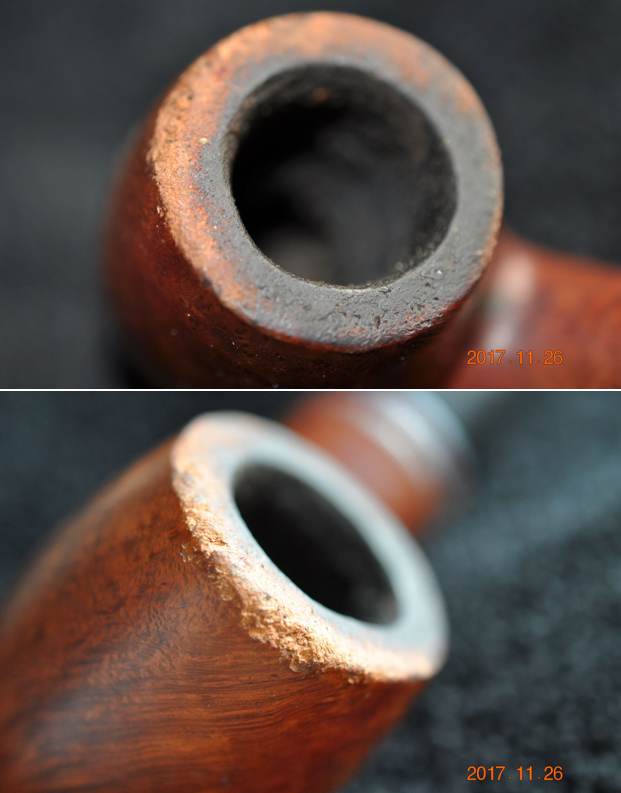
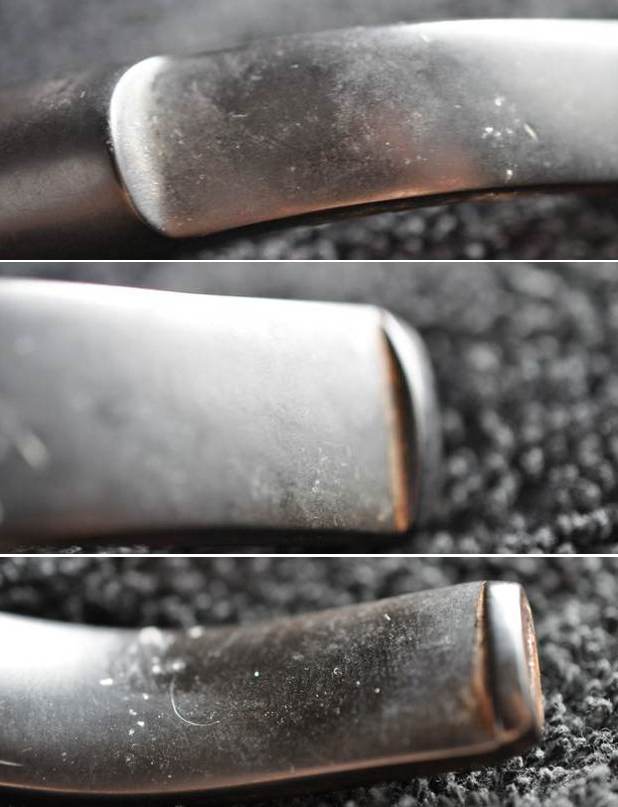
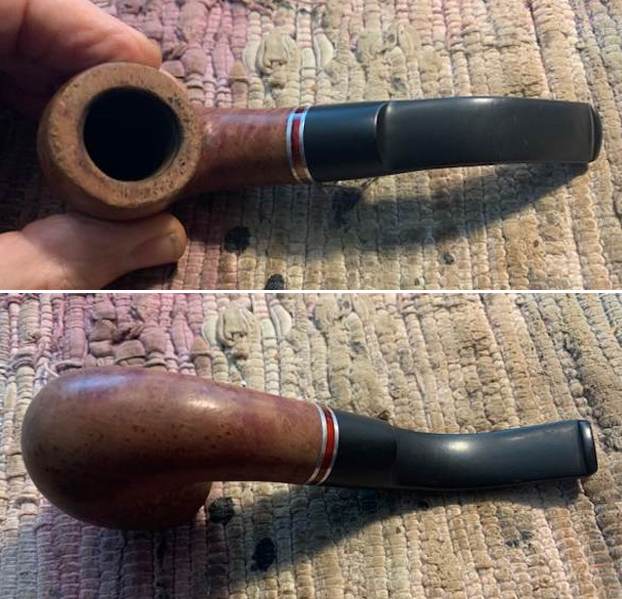
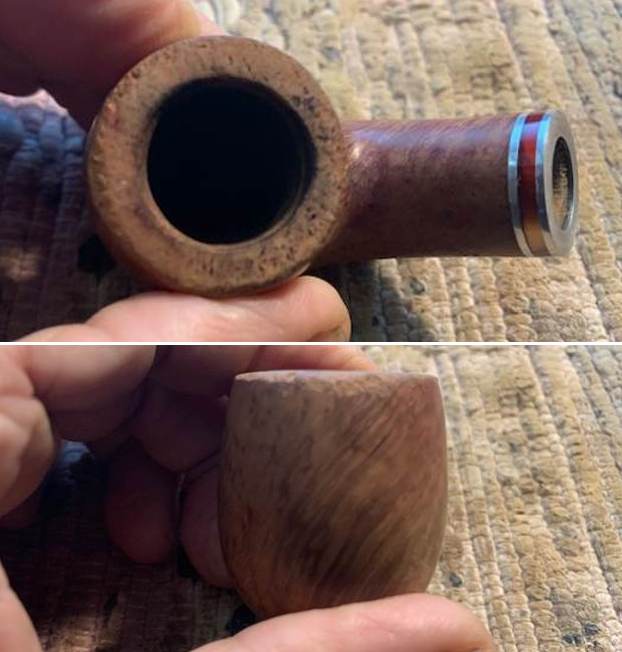
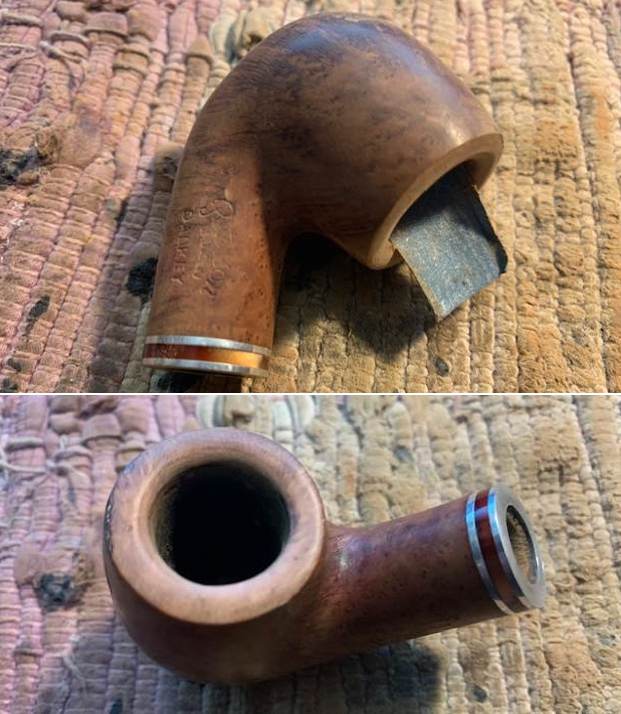
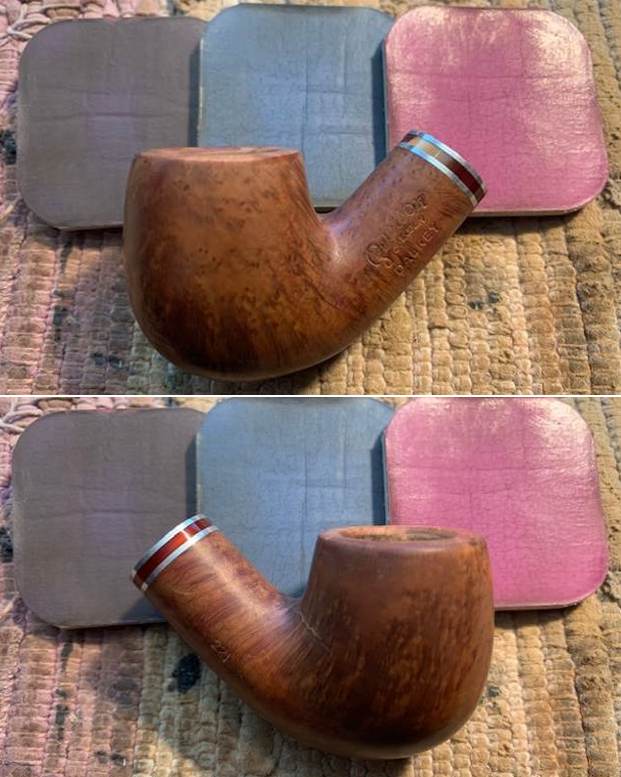
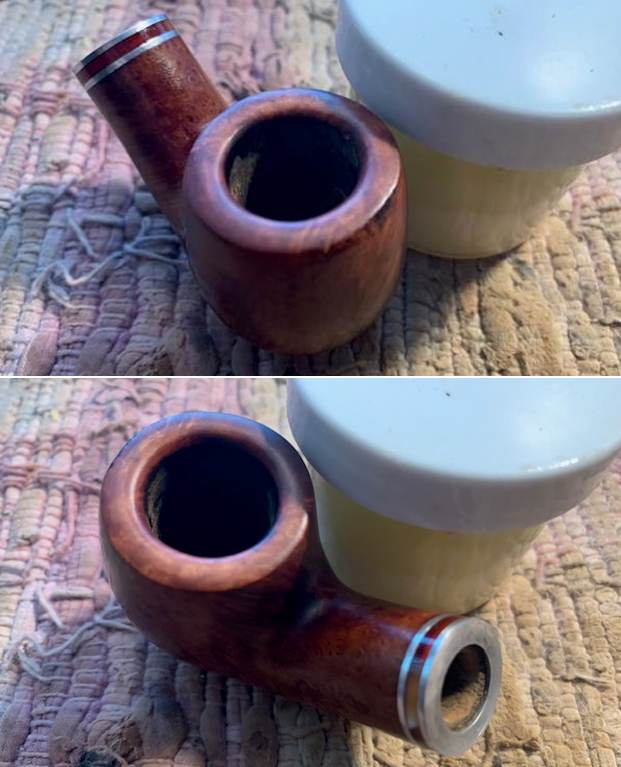
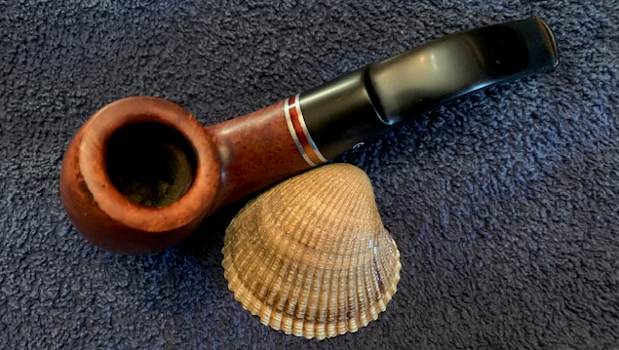
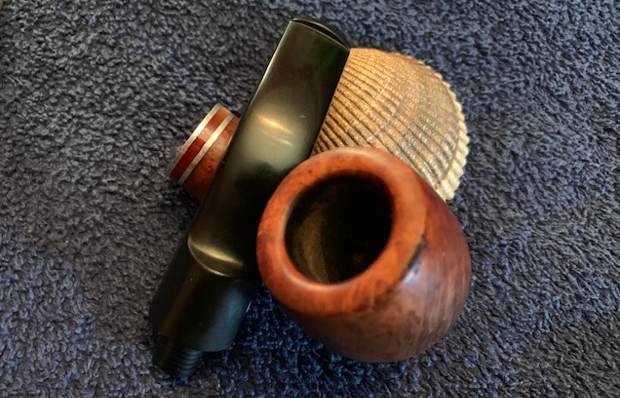
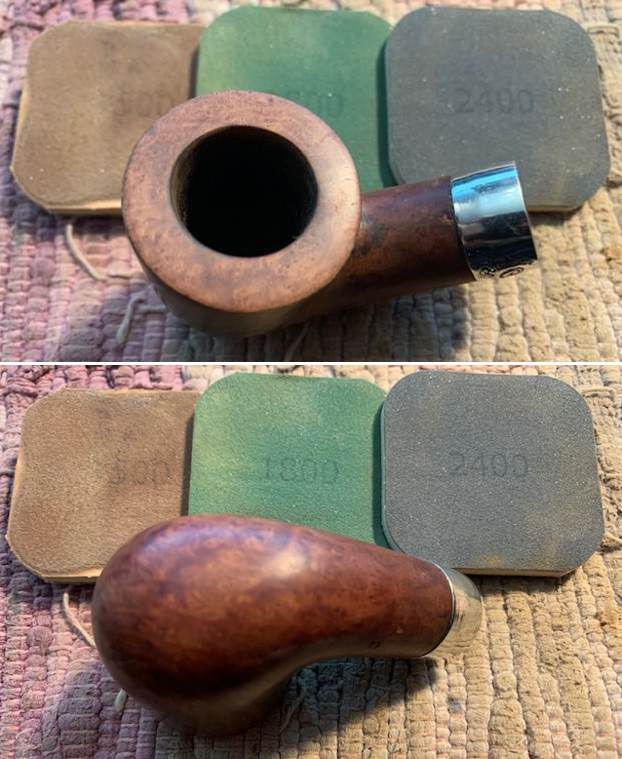
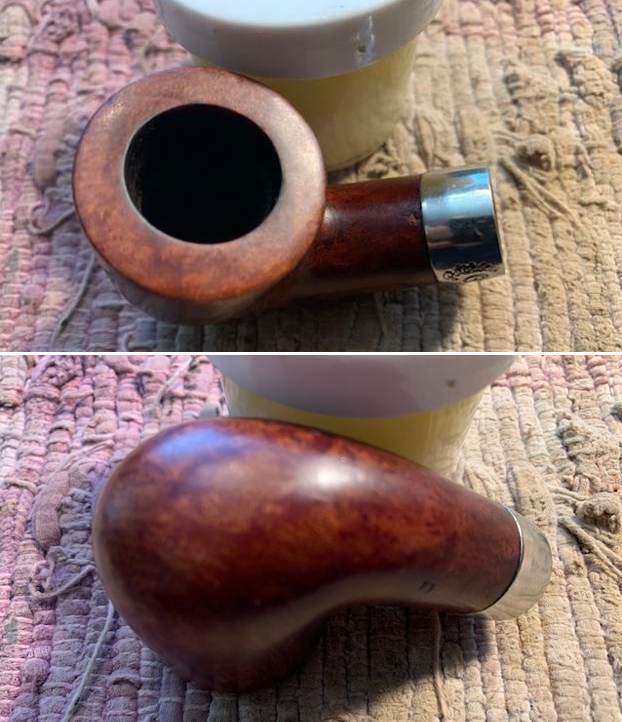
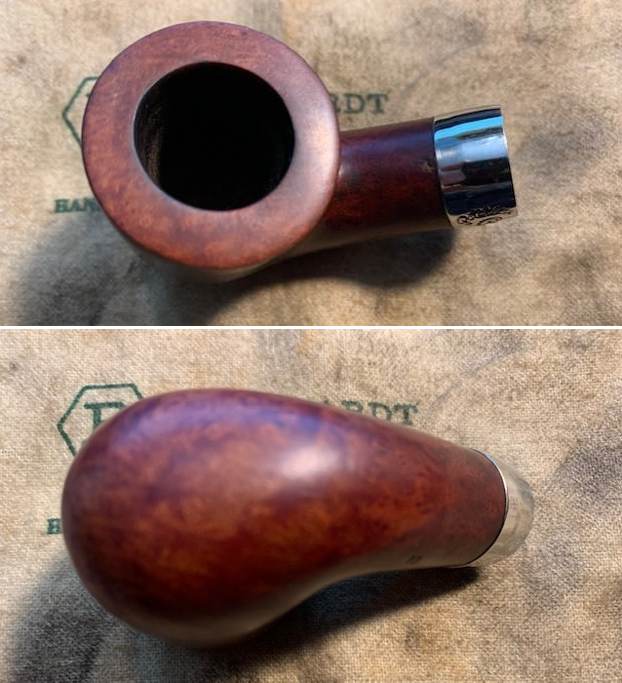
 I took photos of the rim top and stem to show the general condition of the pipe. The bowl is moderately caked and the rim top and back edges have a thick lava overflow. The photos of the stem show that it was oxidized, calcified and has light tooth marks on the top and underside near the button.
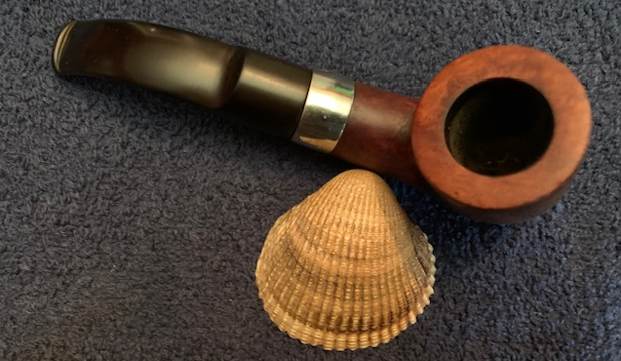
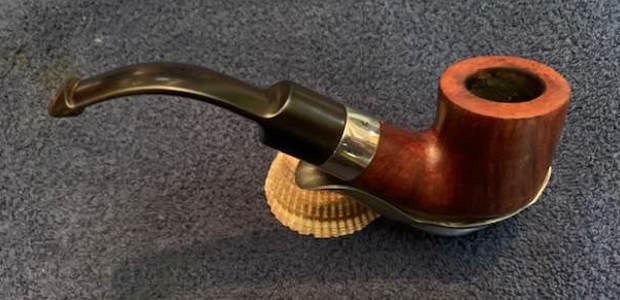
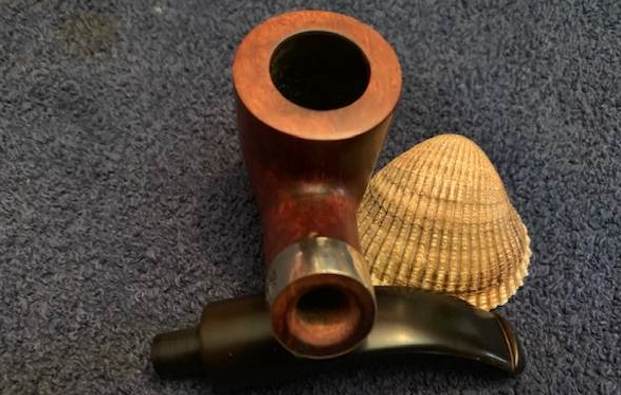
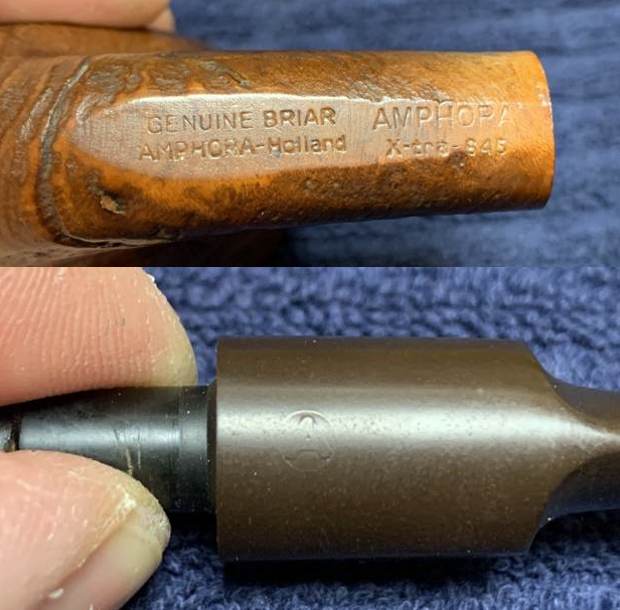
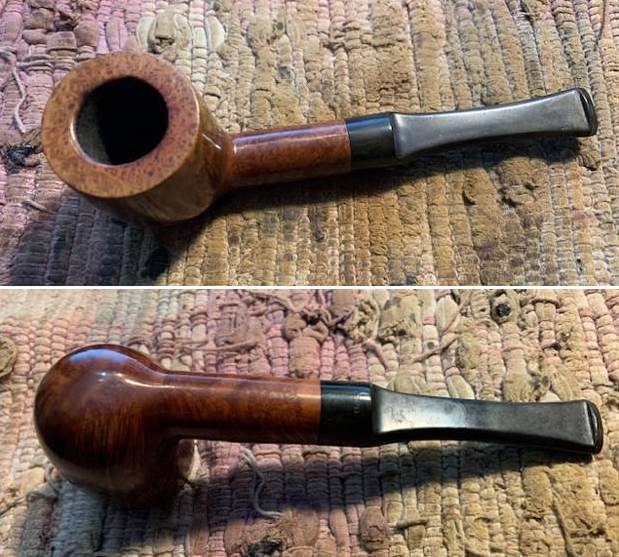
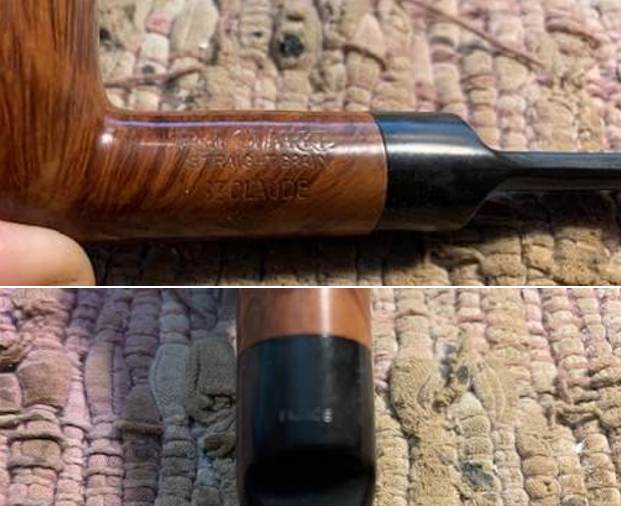
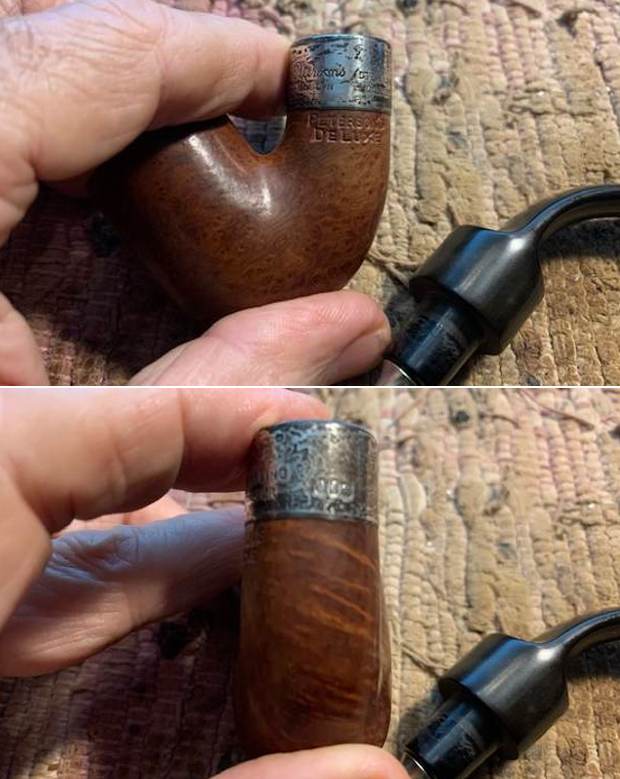
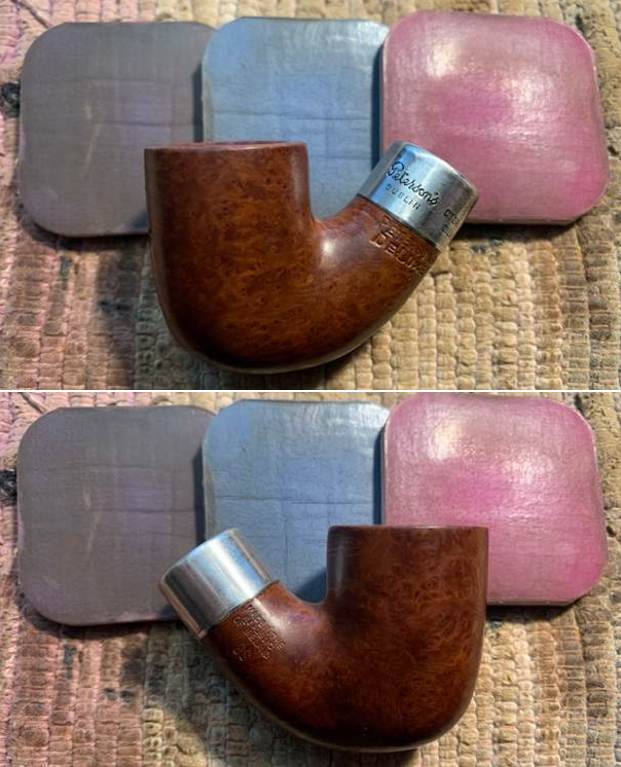
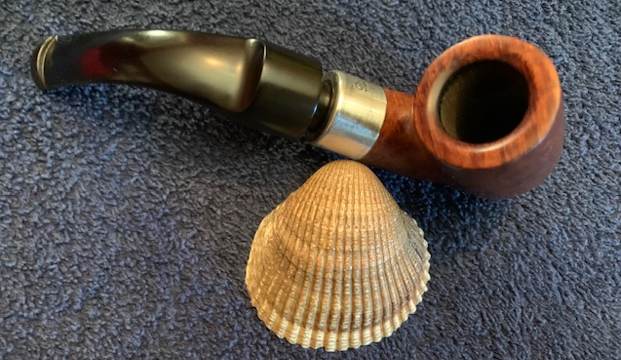
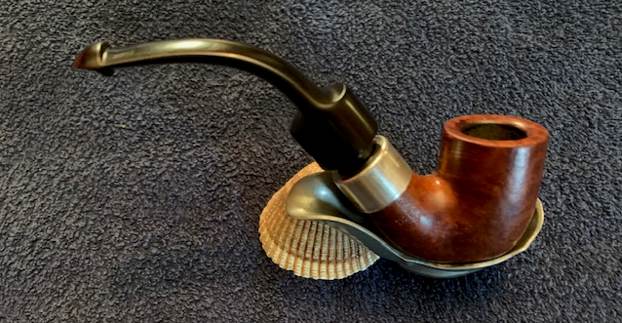
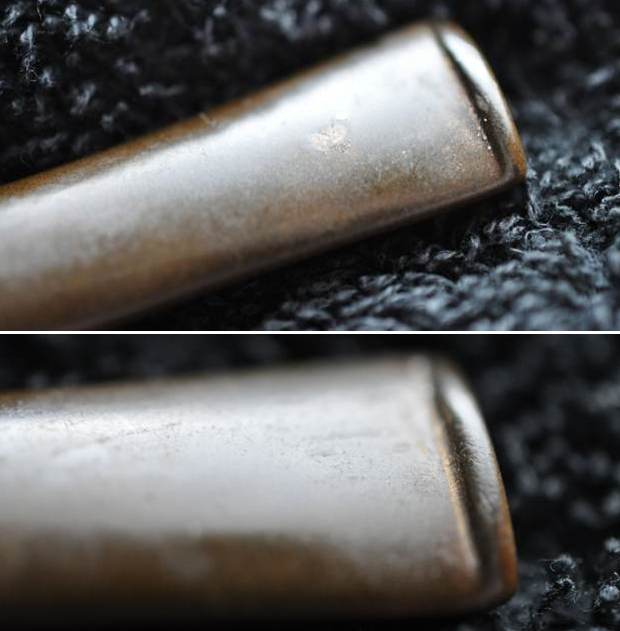
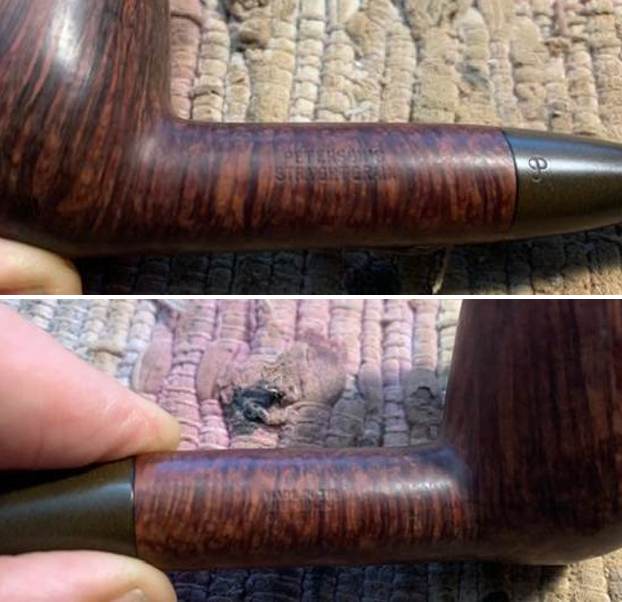
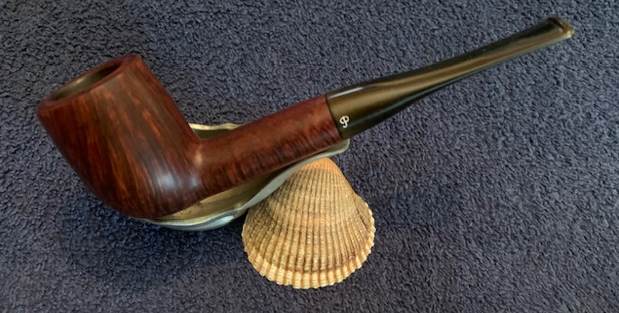
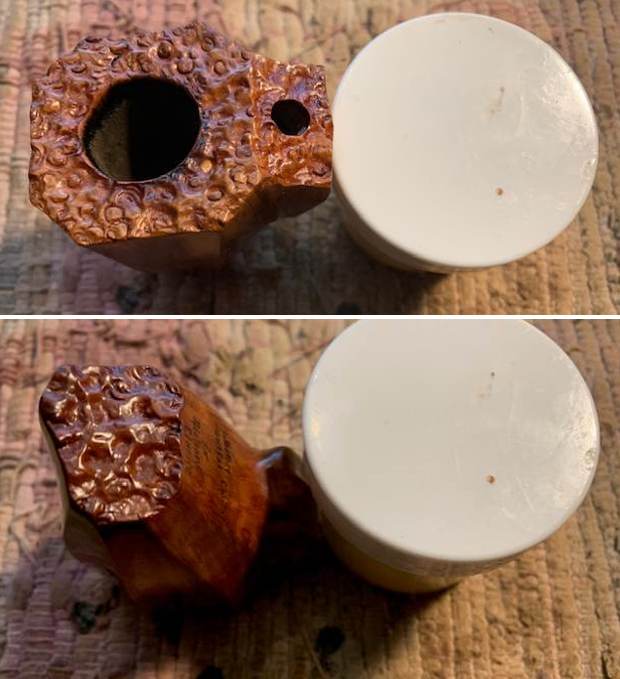
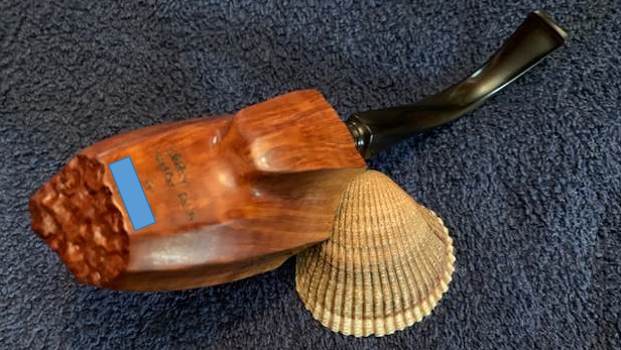
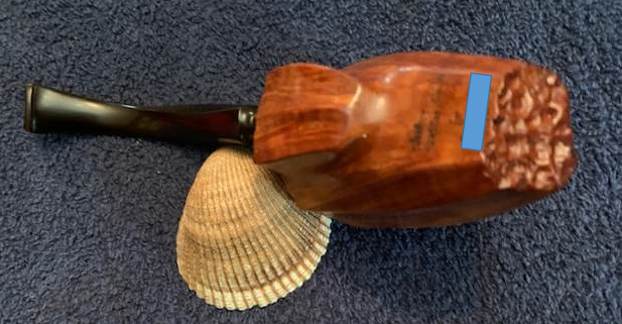
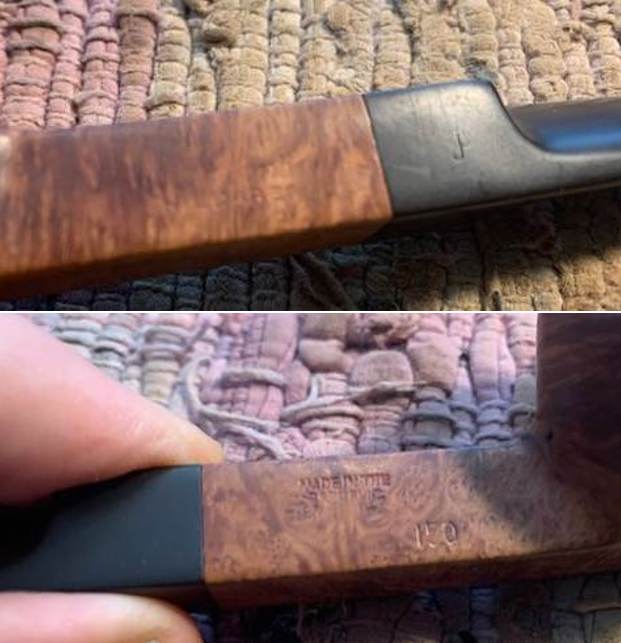
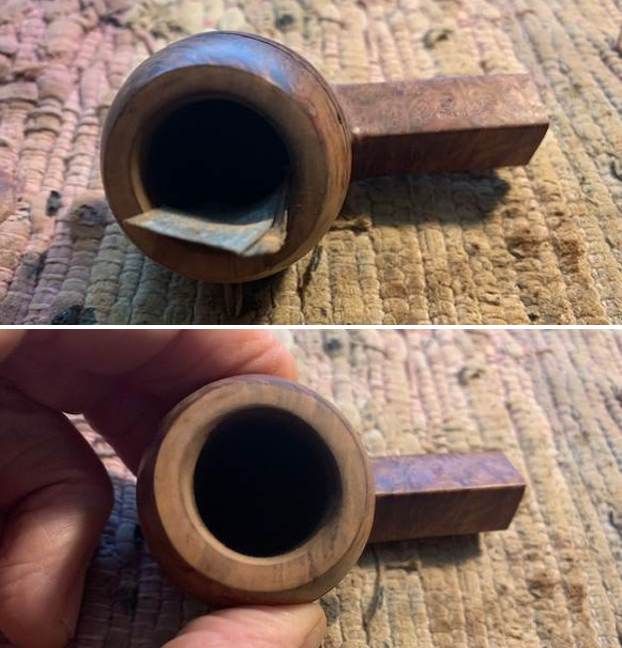
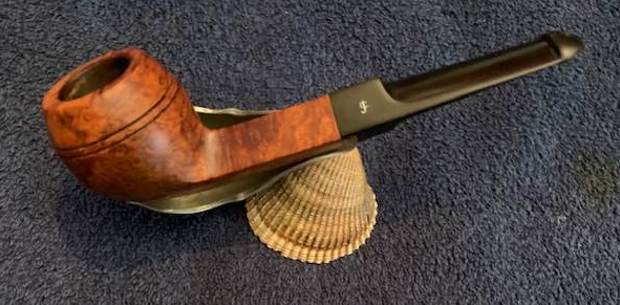
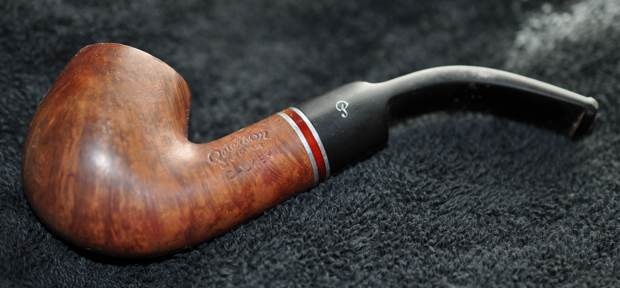
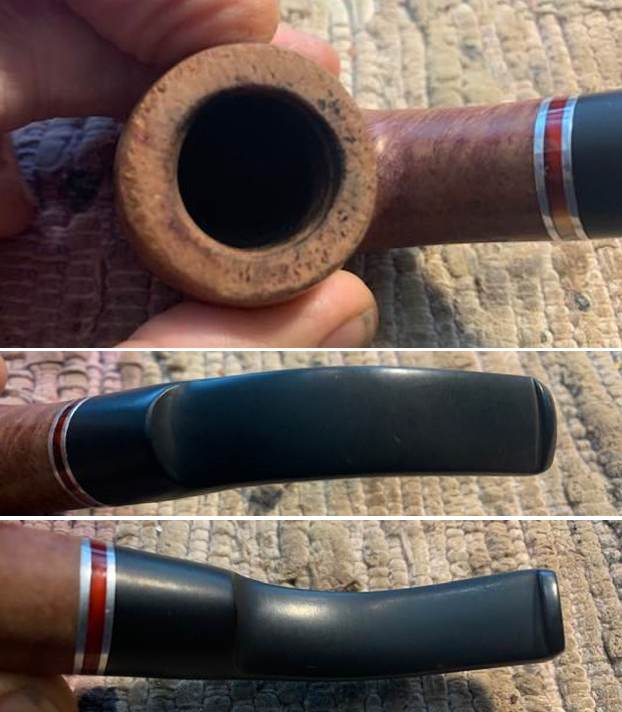
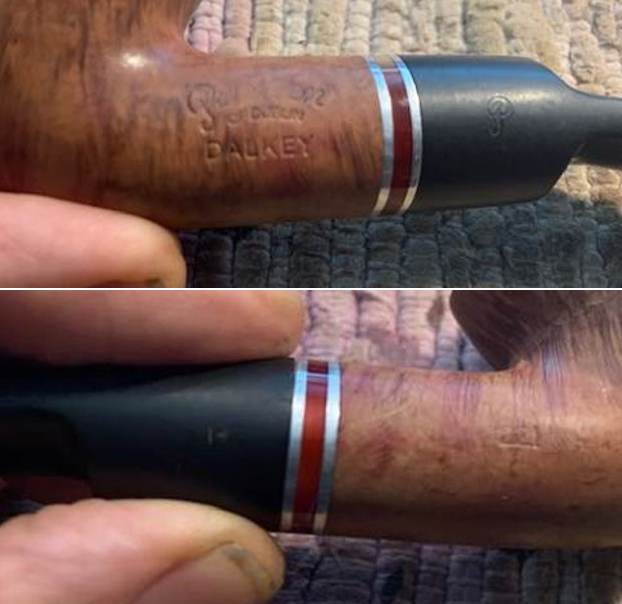
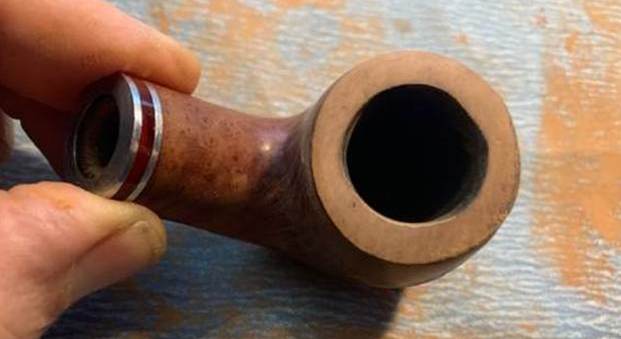
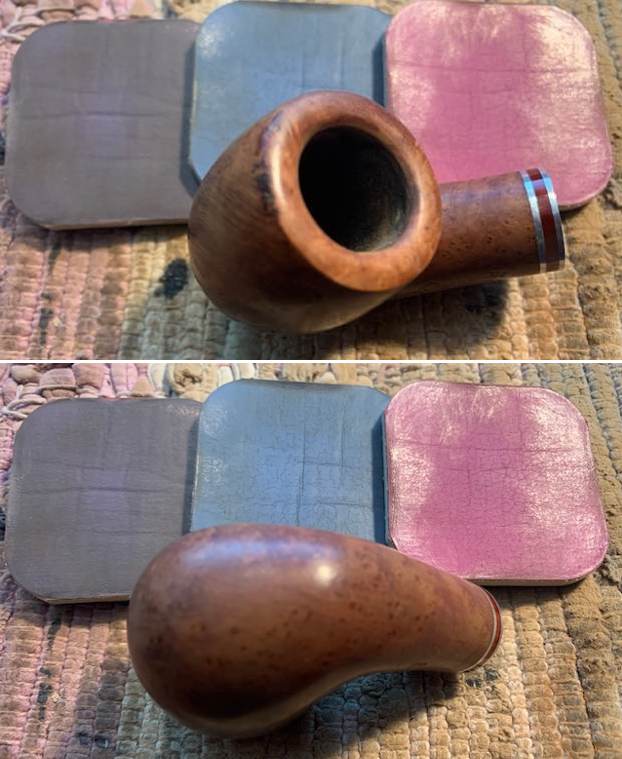
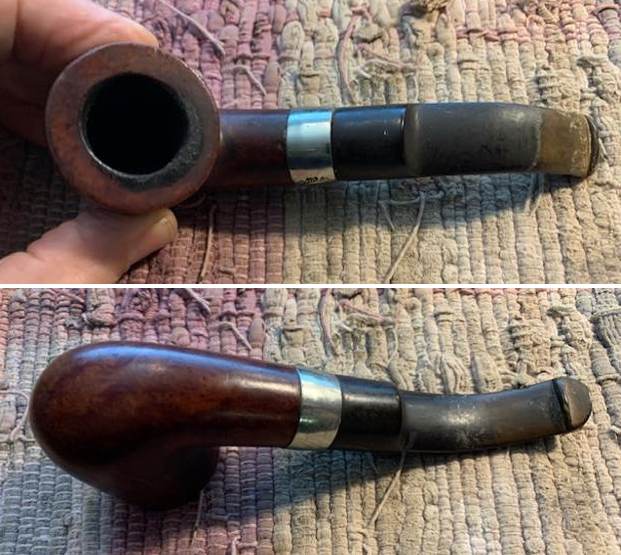
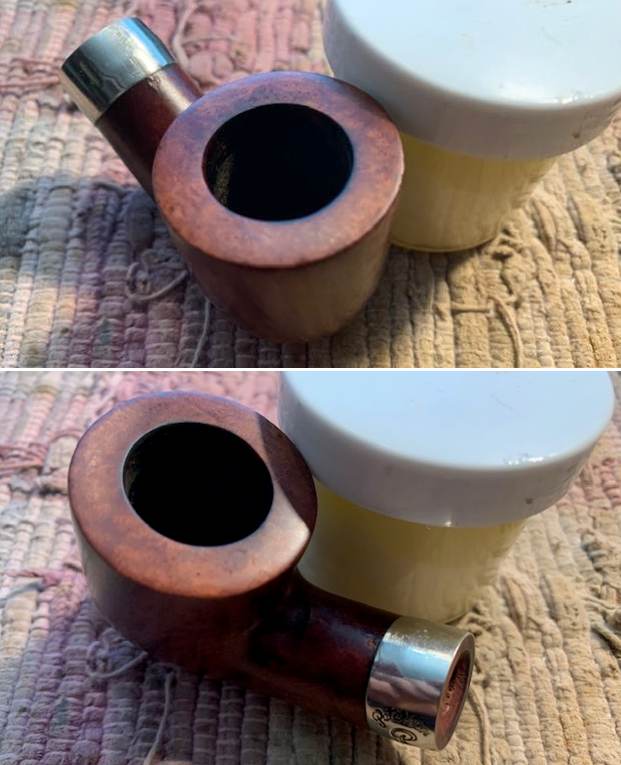
 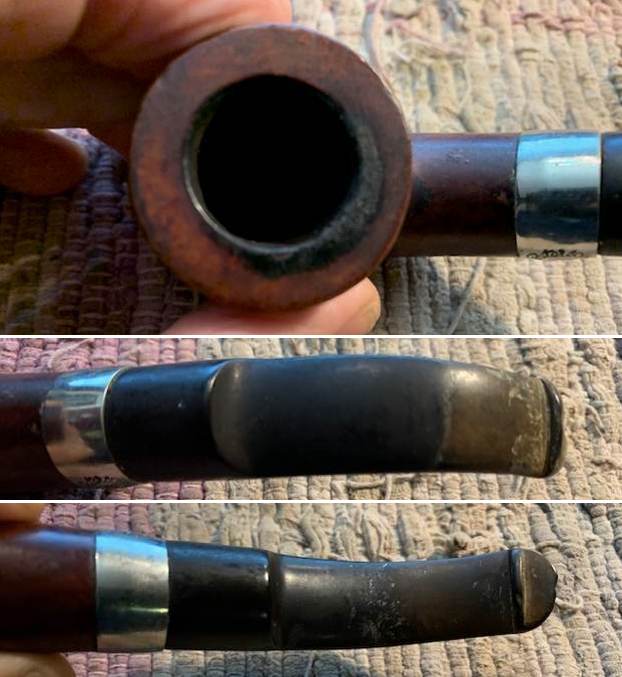 I took a photo of the stamping on the left side of the shank and the band. It is faint but readable and reads as noted above. The right side stamping is also faint but readable. The photo of the band shows how it was stamped on the nickel – centered and clean. There was some oxidation and sticky substance on the underside of the band next to the shank.
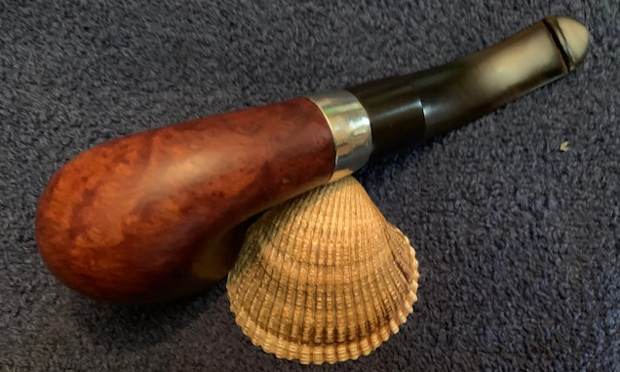
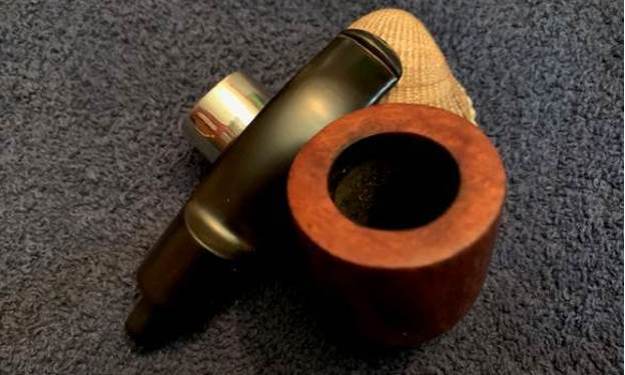
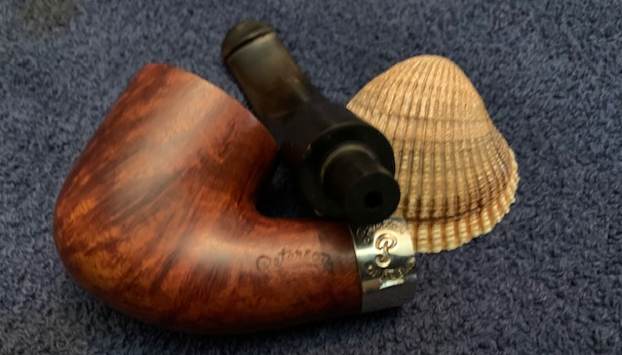
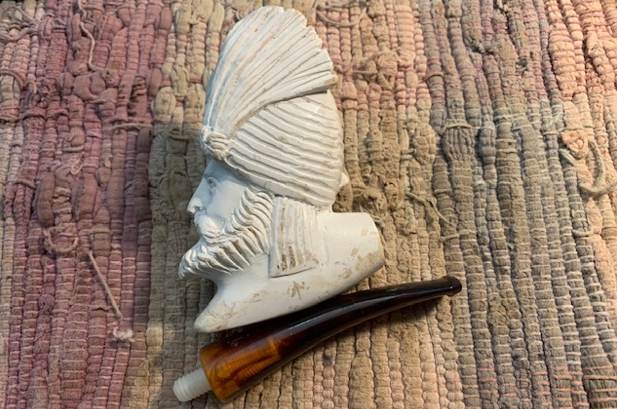
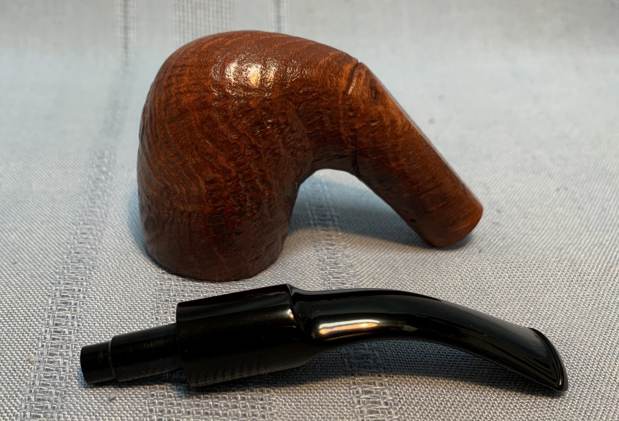
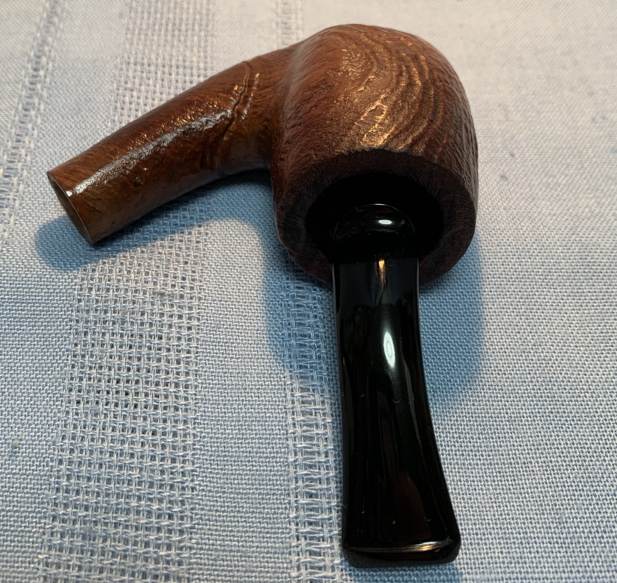
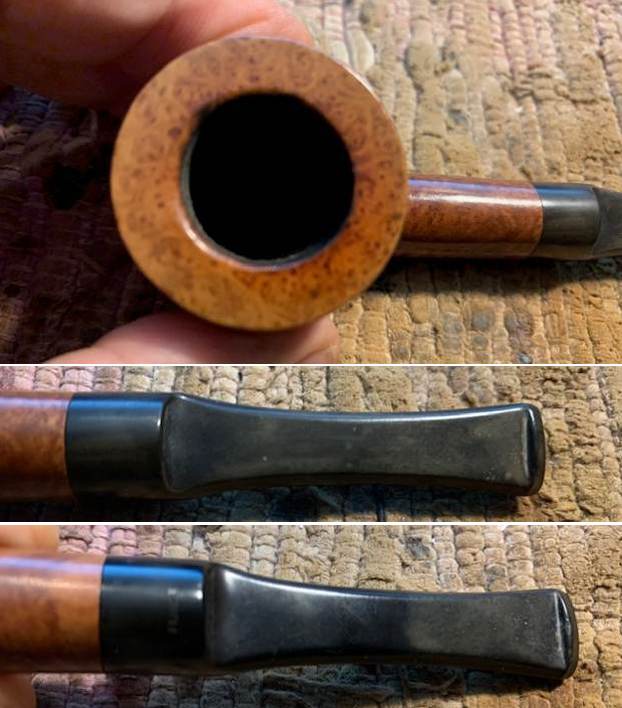
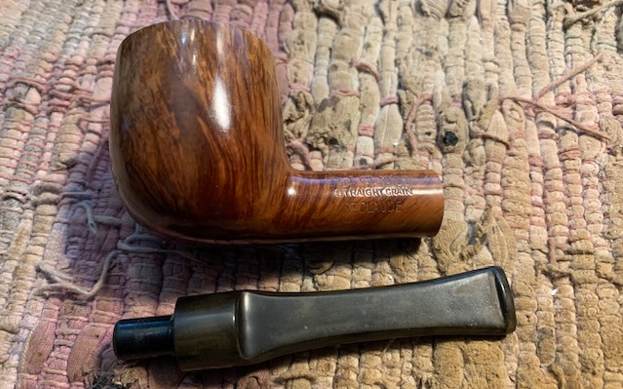
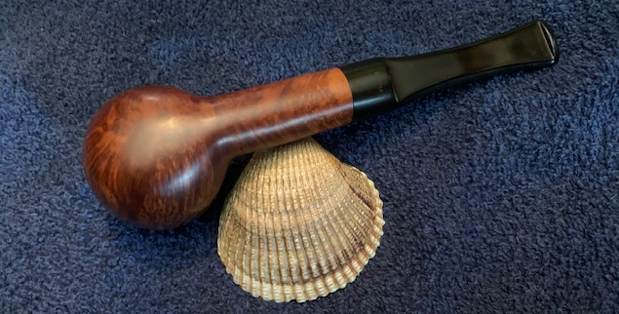
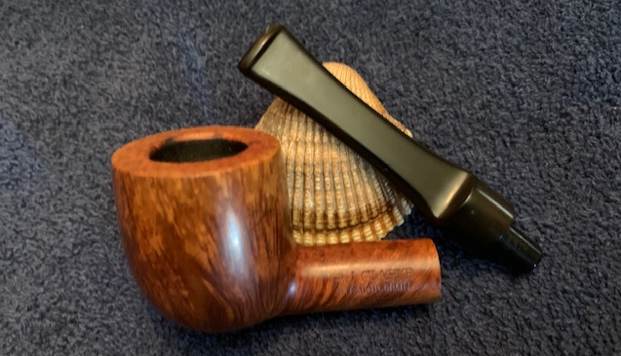
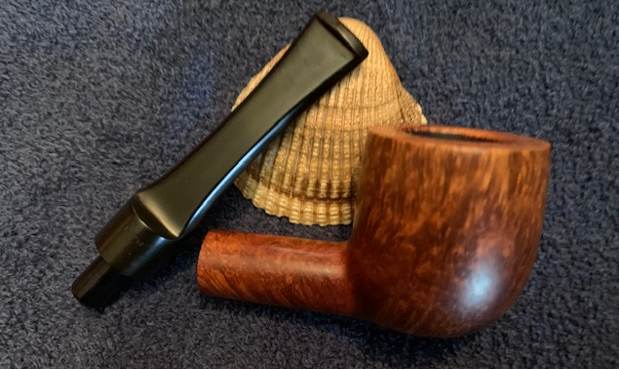
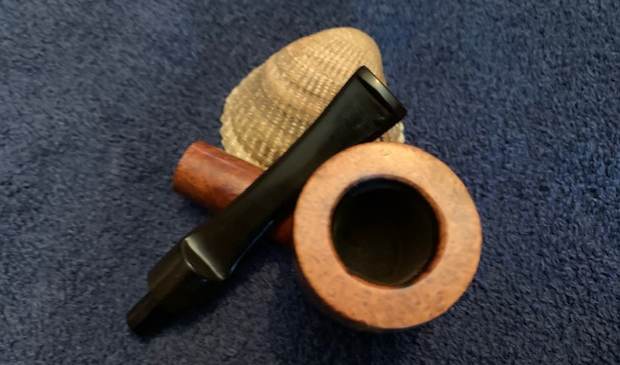
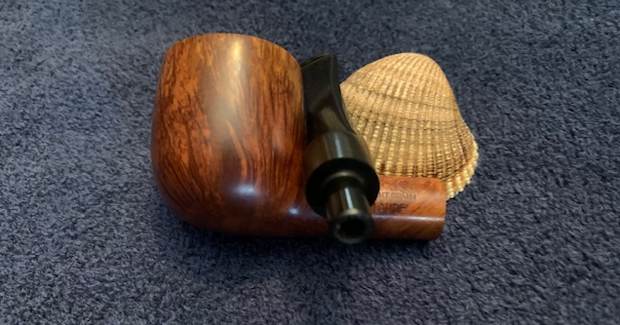
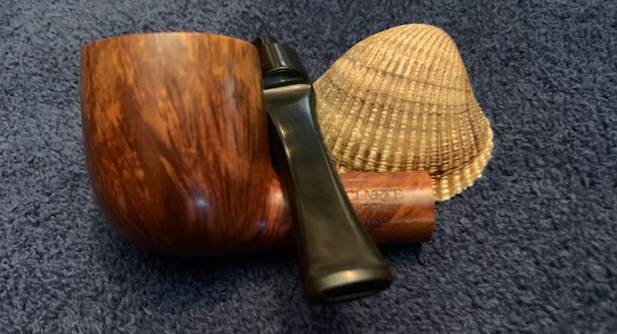
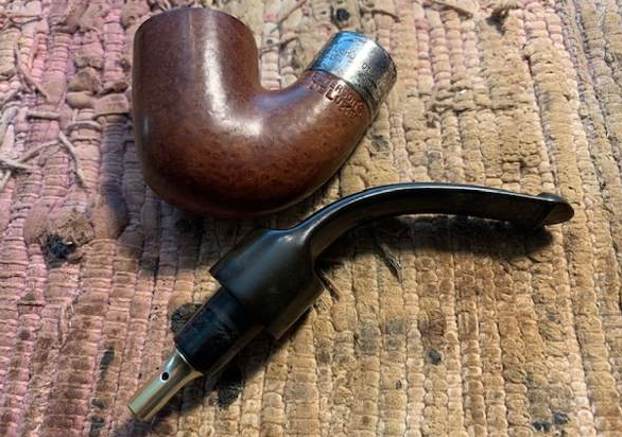
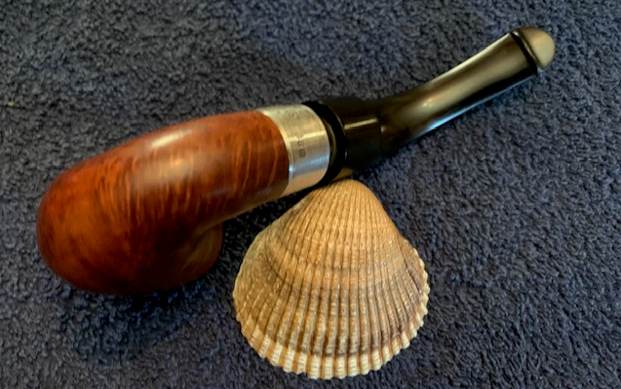
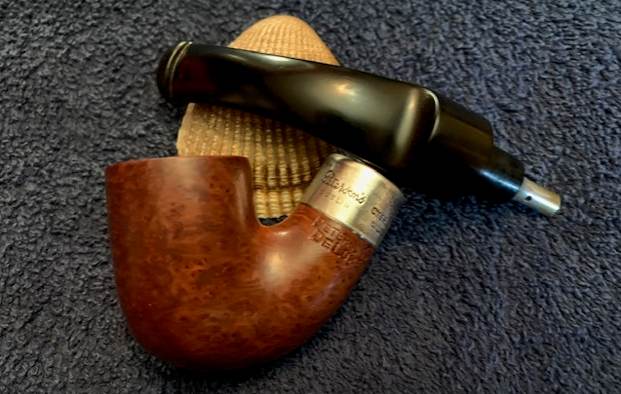
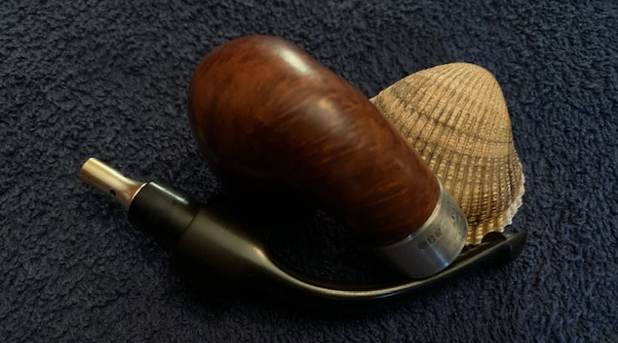
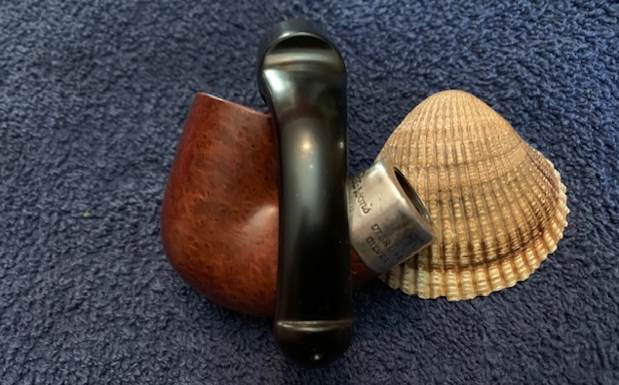
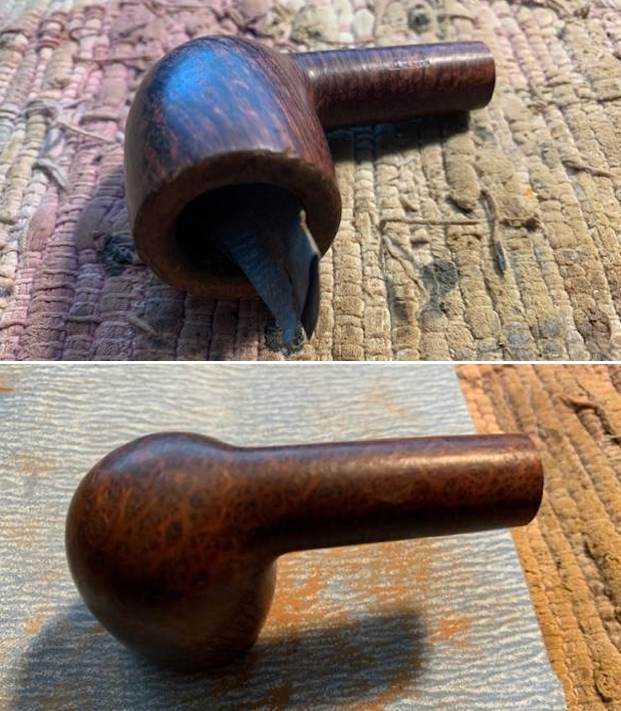
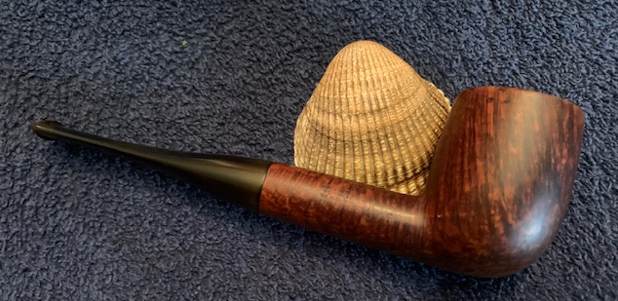
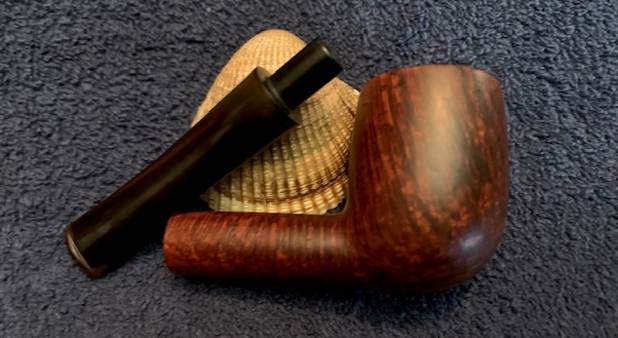
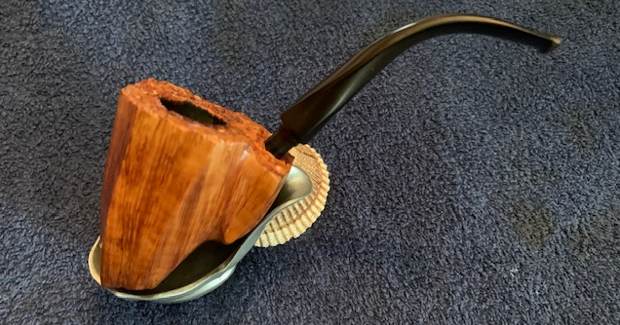
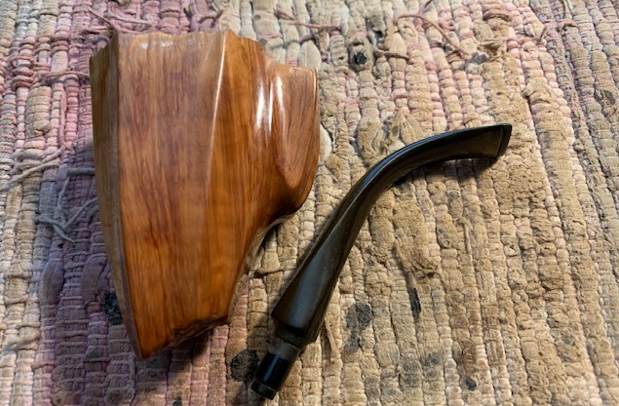
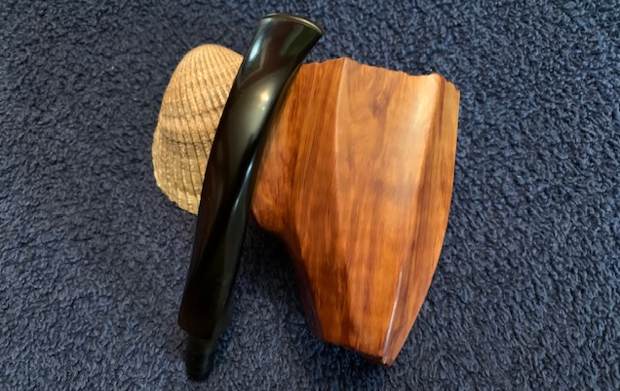
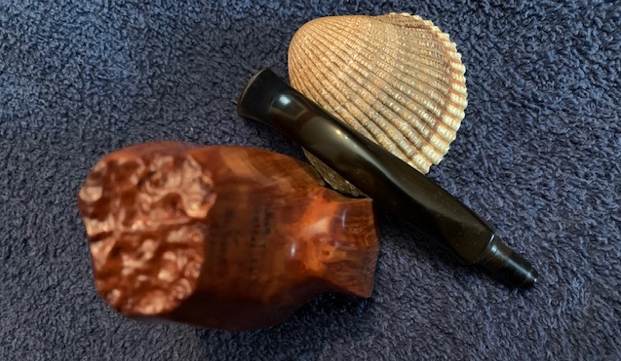
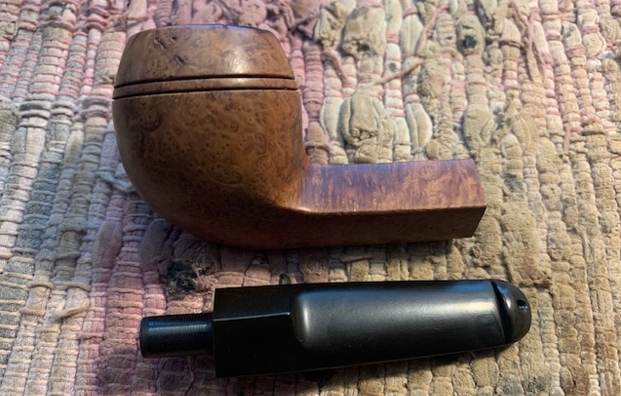
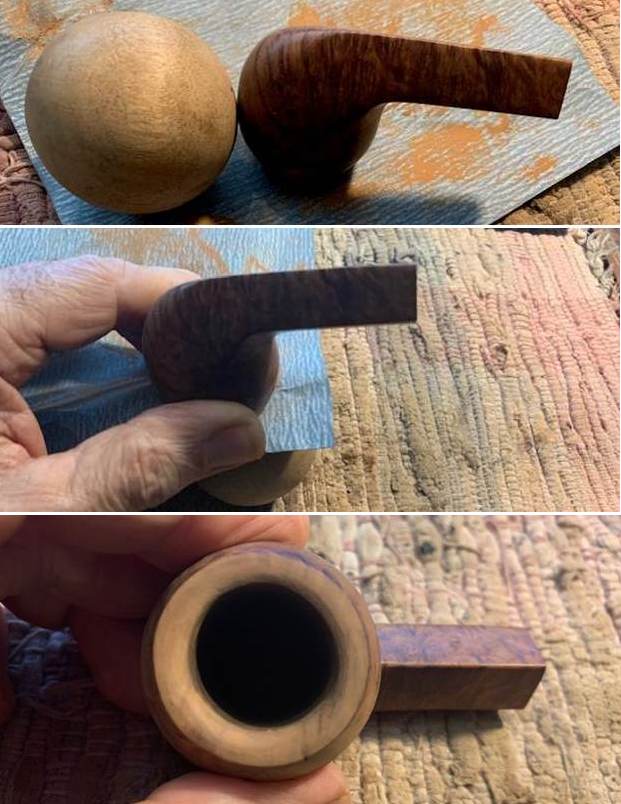
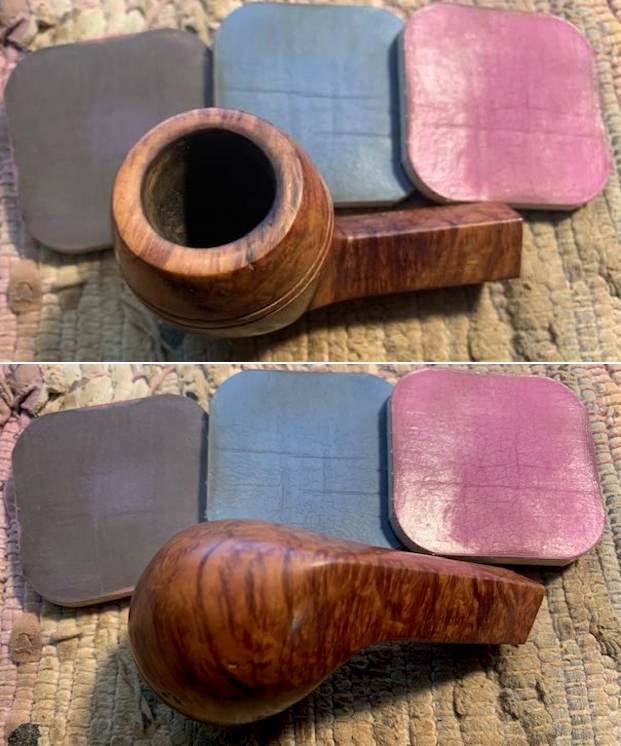
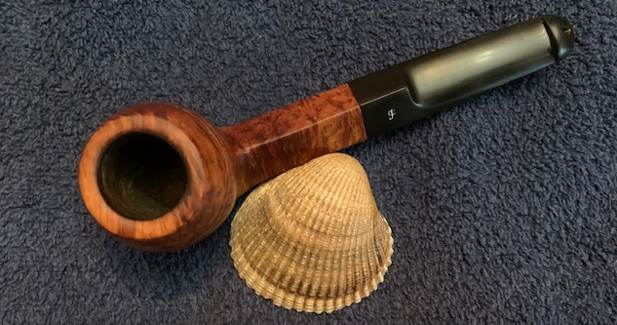
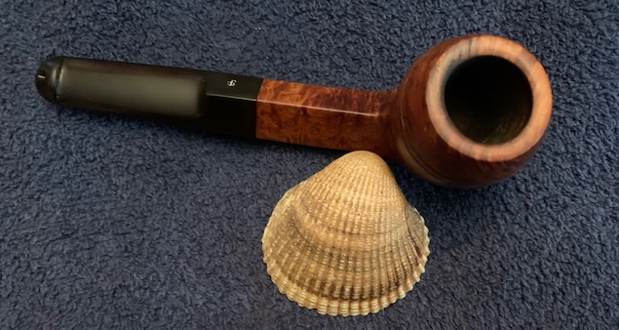
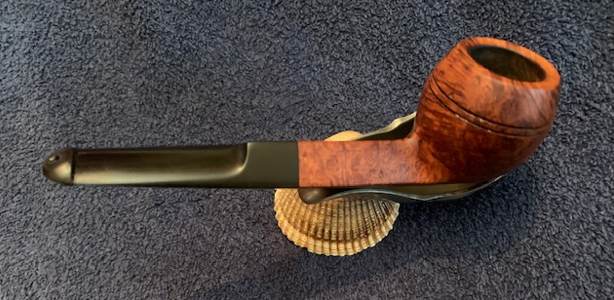
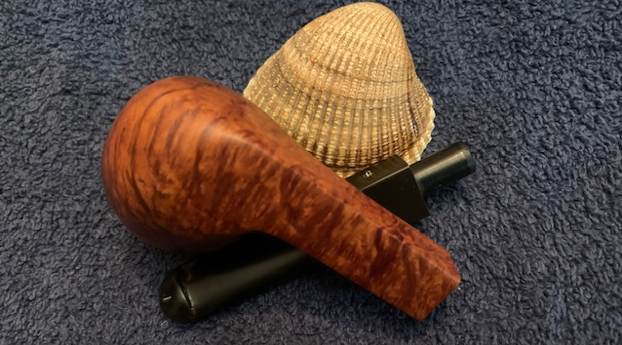
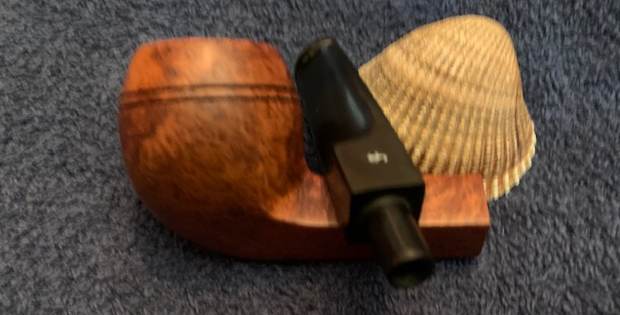
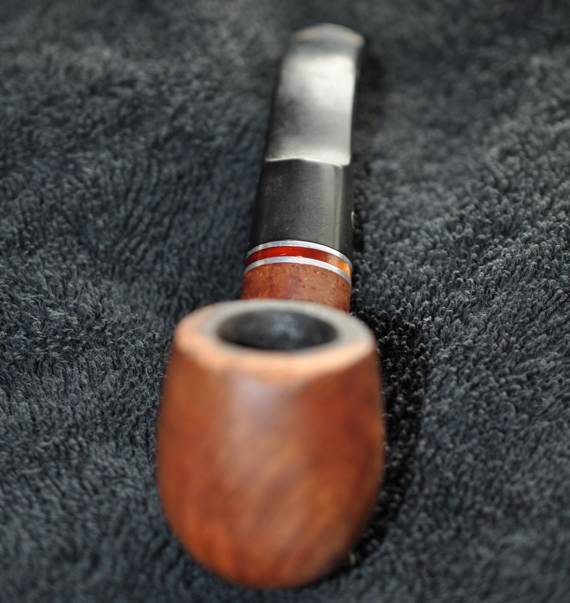
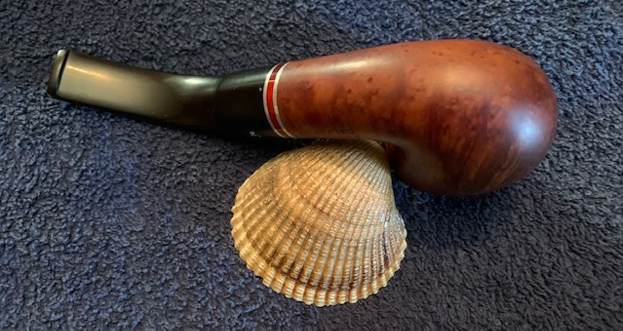
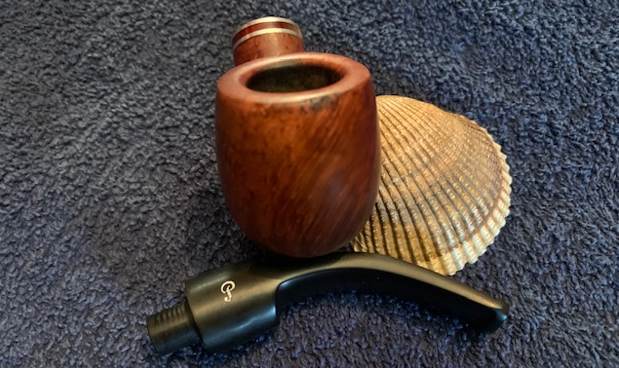
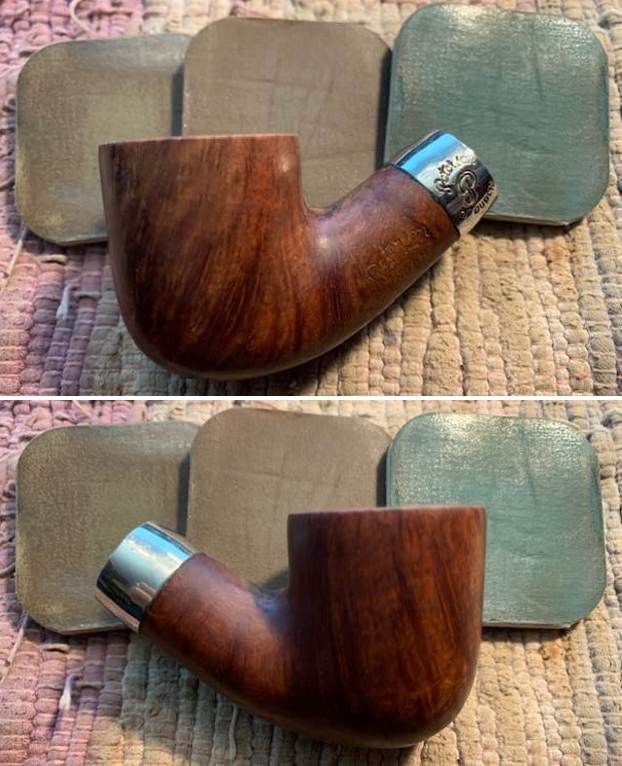
 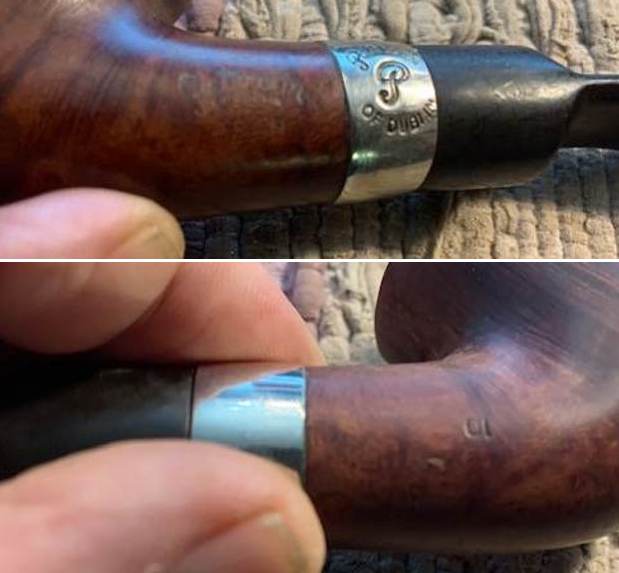 I took the stem off the shank and took a photo of the look of the pipe to show the relation of the size of the parts. It is a nice looking pipe.
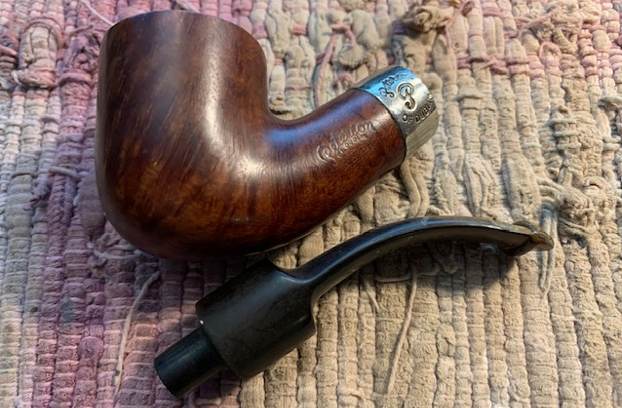 I turned to “The Peterson Pipe” by Mark Irwin and Gary Malmberg to get some background on the Aran line. On page 294 it had the following information.
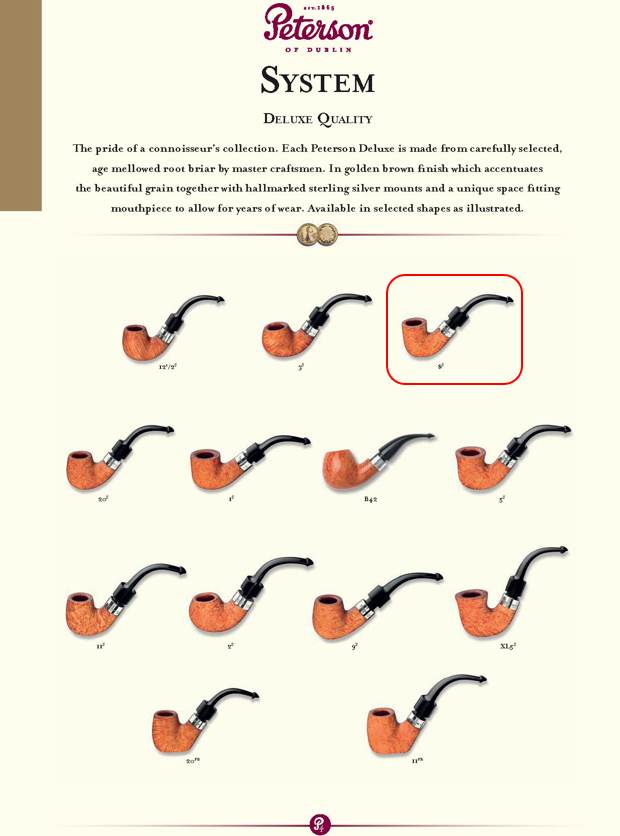
Aran (1965-) First issue of line described as “handhewn” (rusticated) with black semi-matte finish, in P-lip and fishtail mouthpiece. Second issue 1975, red sandblast, XL shapes. Third issue circa ’97, gold hot-foil P stamped on the mouthpiece, brown semi-matte smooth finish, no band. Fourth issue after 2010, with nickel band, no P stamped on the mouthpiece. Mounted and unmounted versions are available concurrently.
I knew that I was dealing with an Aran from the Fourth Issue of the Aran line that came out after 2010 because of the nickel band and unstamped stem. As such it was a newer pipe. Now it was time to work on the pipe. (Applicable information noted in red above.)
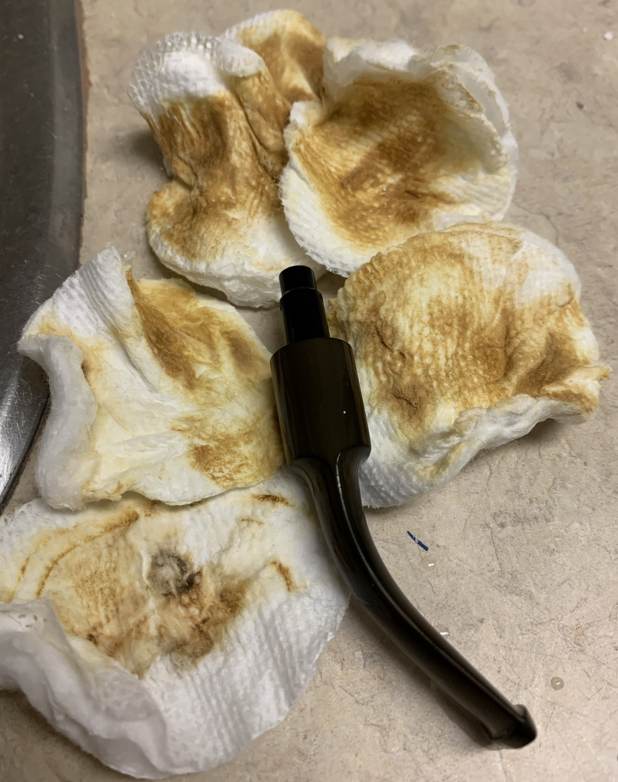
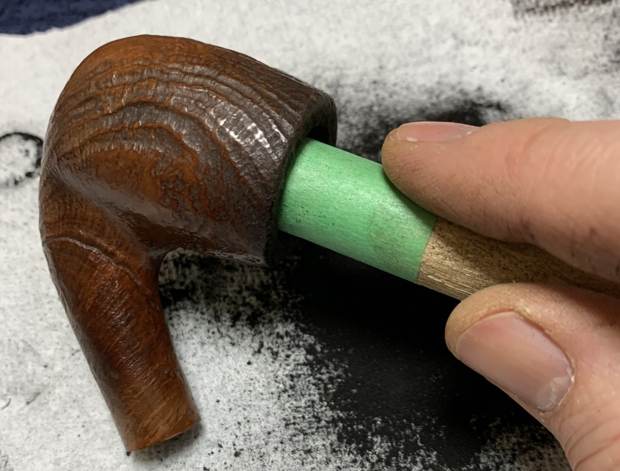
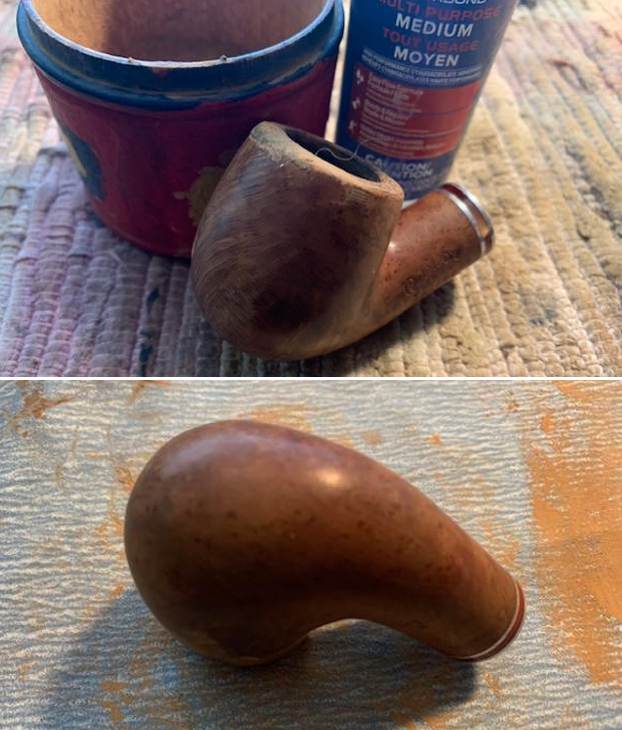
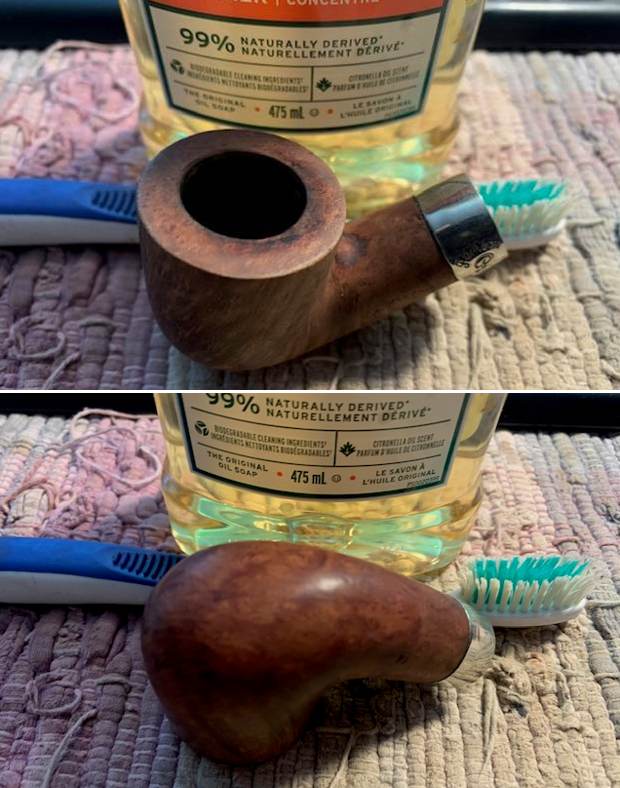
I started my work on the pipe by reaming it with a PipNet reamer and cut back the cake back to the bare briar. I cleaned up the walls with a Savinelli Fitsall Pipe Knife. I sanded the bowl walls with 220 grit sandpaper wrapped around a piece of dowel.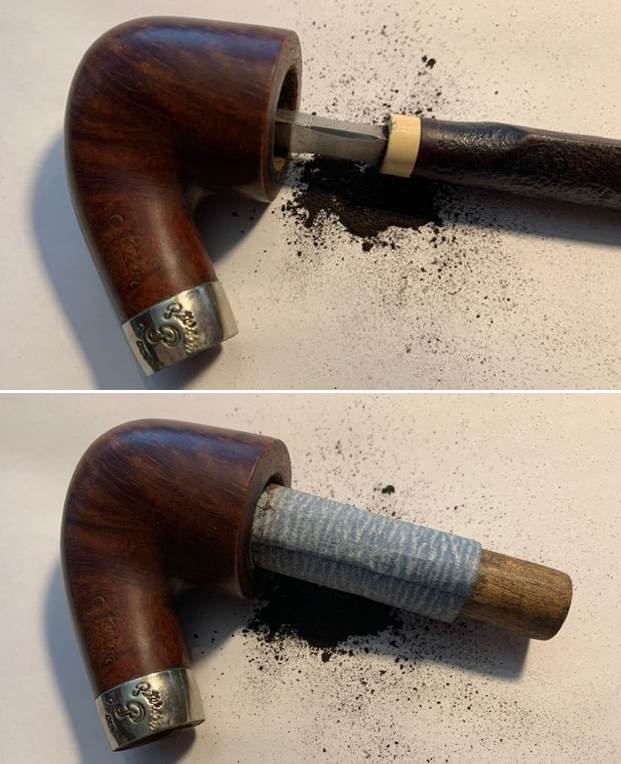 I scrubbed the exterior of the pipe with Murphy’s Oil Soap and a tooth brush to remove the grime from the finish. I worked on the rim top lava and darkening with the soap and tooth brush. I used a shank brush to clean out the inside. I rinsed the pipe with warm water and dried it off.
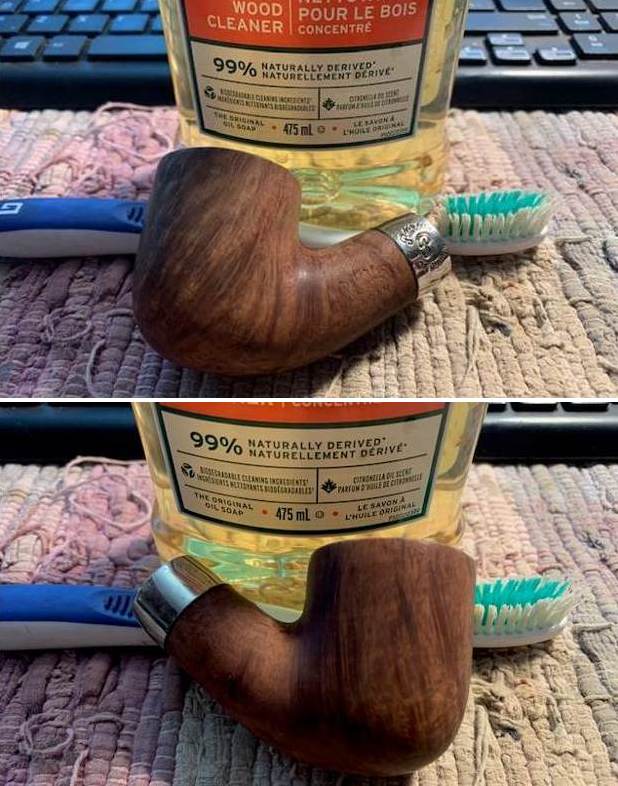
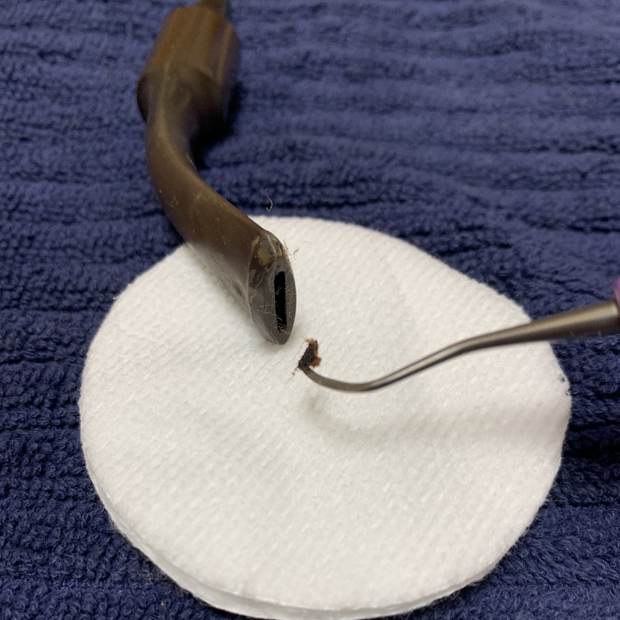
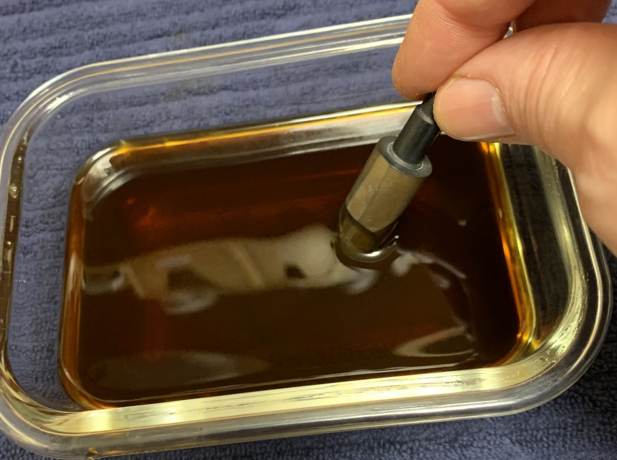
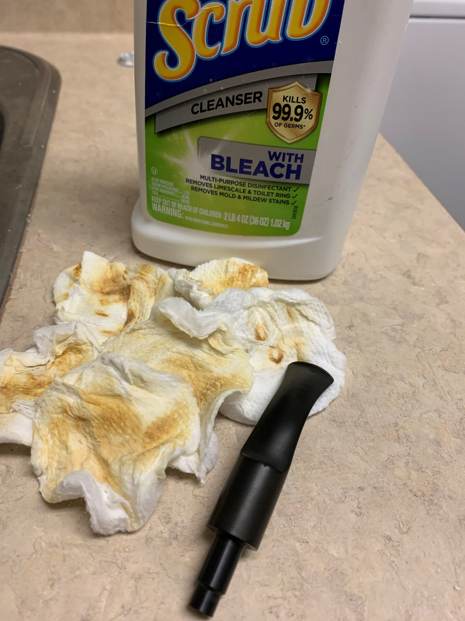
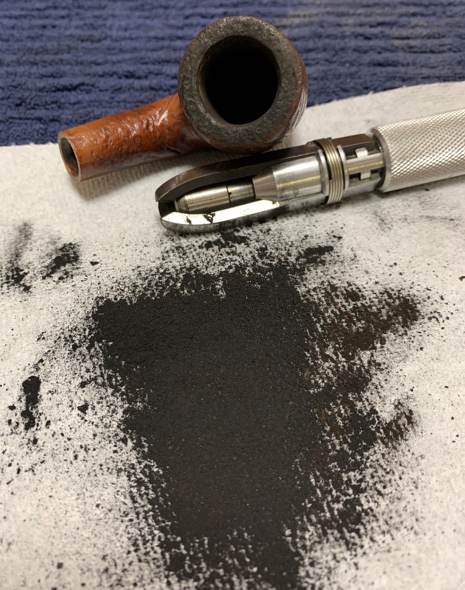
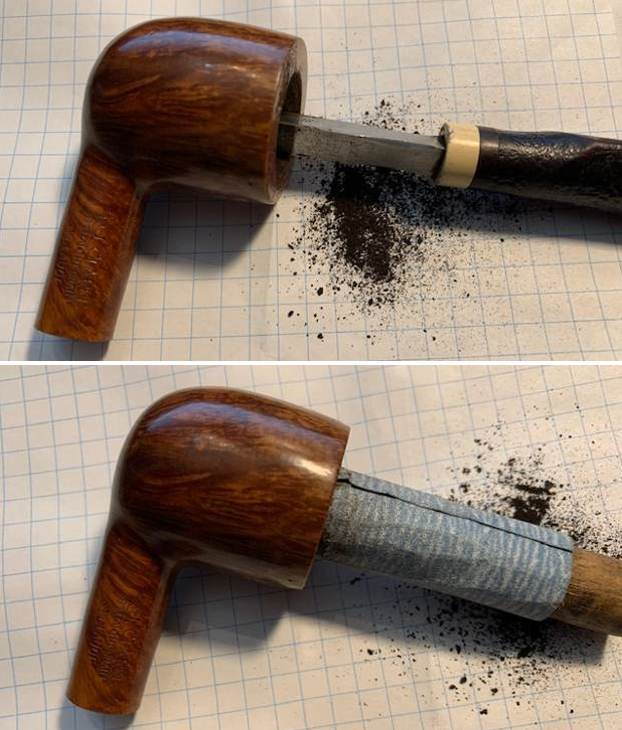
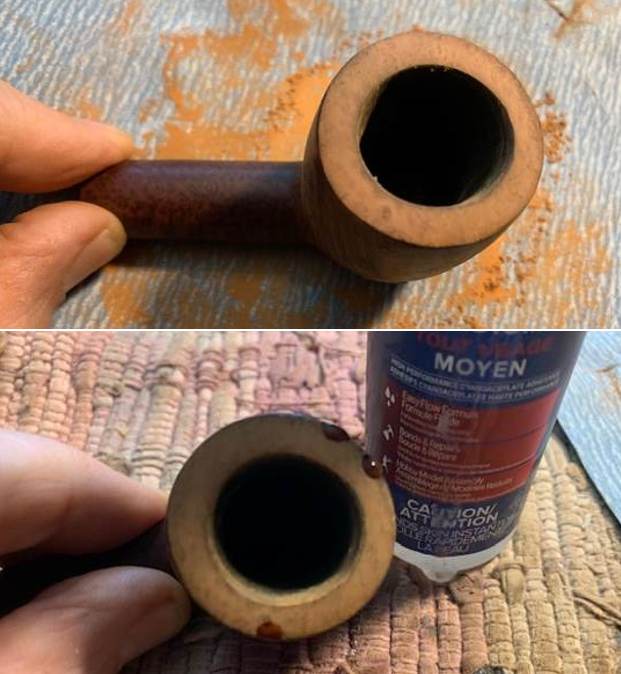
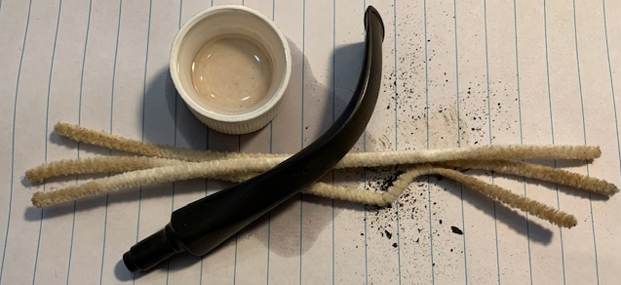
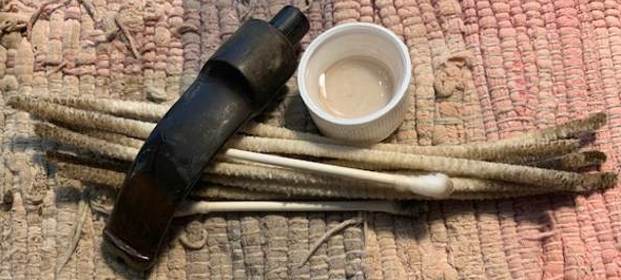
 I scraped out the inside of the shank with a dental spatula to remove the thick build up of tars and oils. Once I had removed that I scrubbed the inside of the shank with alcohol, cotton swabs and pipe cleaners. I cleaned the airway in the stem at the same time.
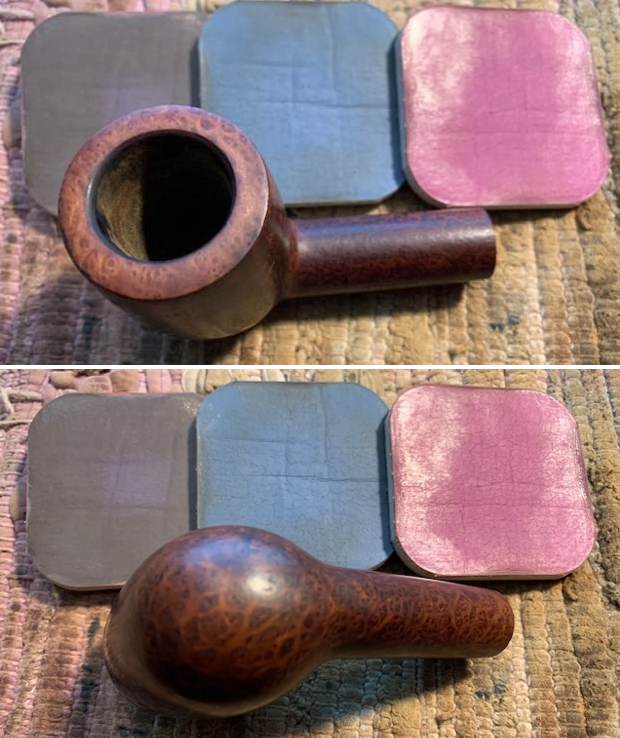
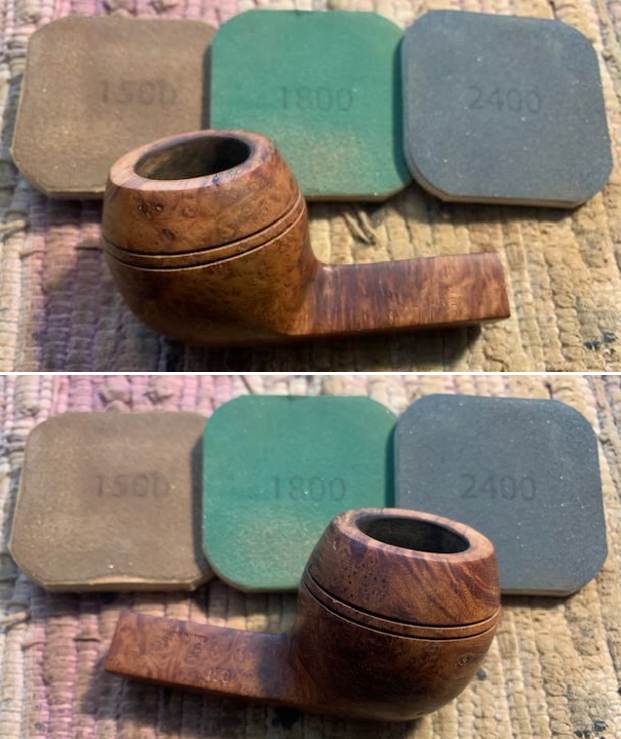
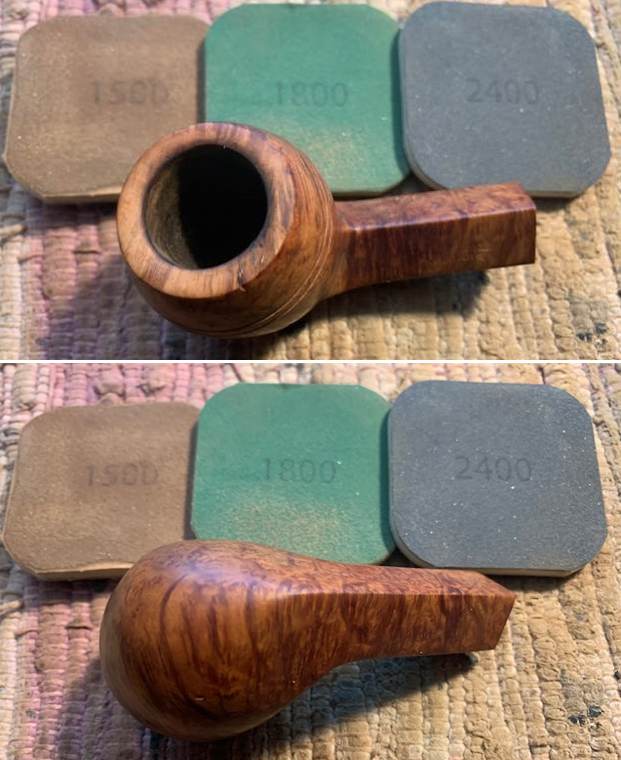
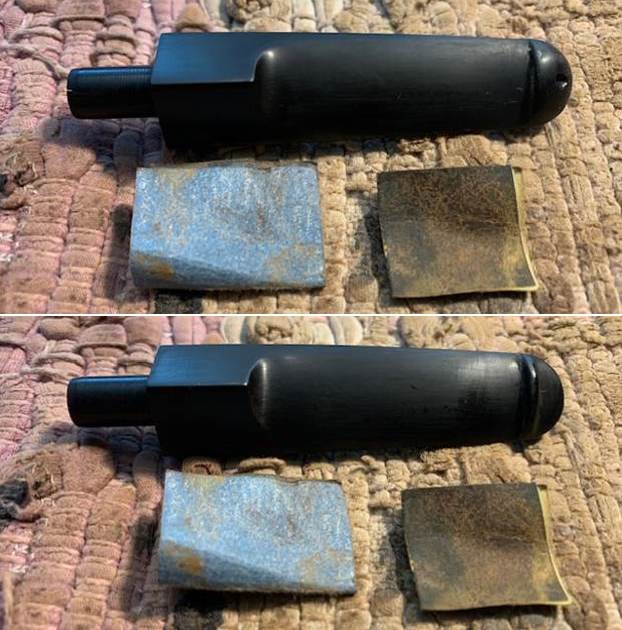
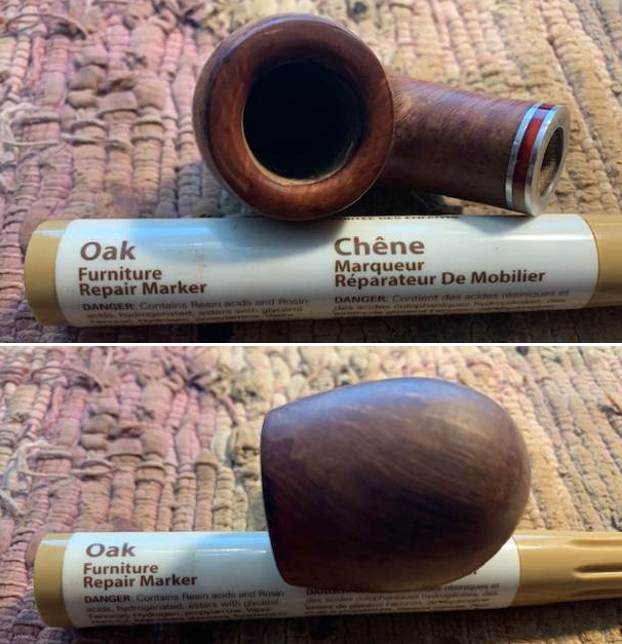
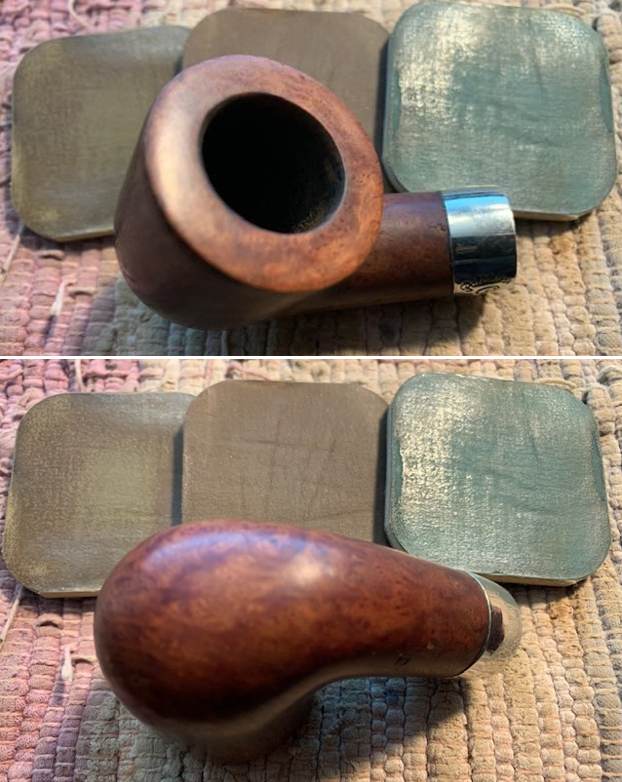
 I cleaned up the darkening on the rim top and the inner edge with a folded piece of 220 grit sandpaper until it was clean and undamaged.
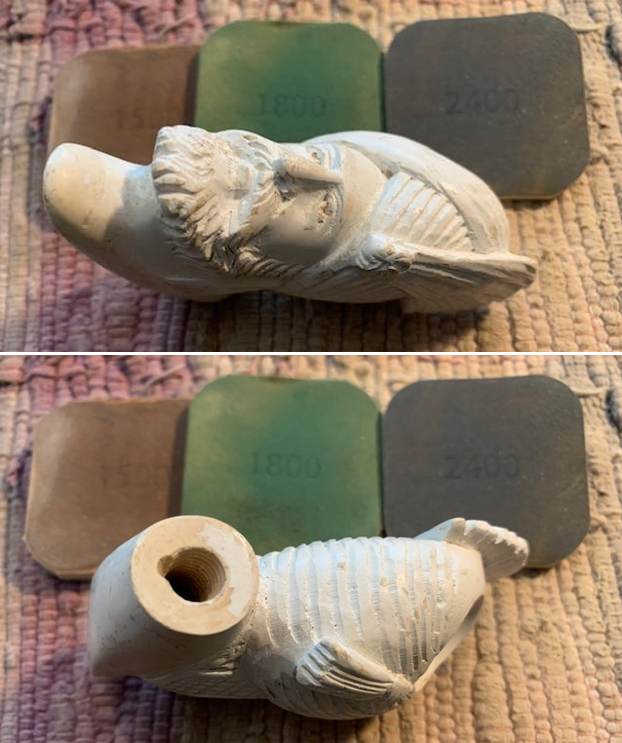
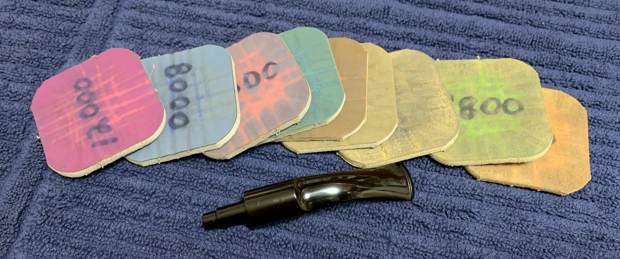
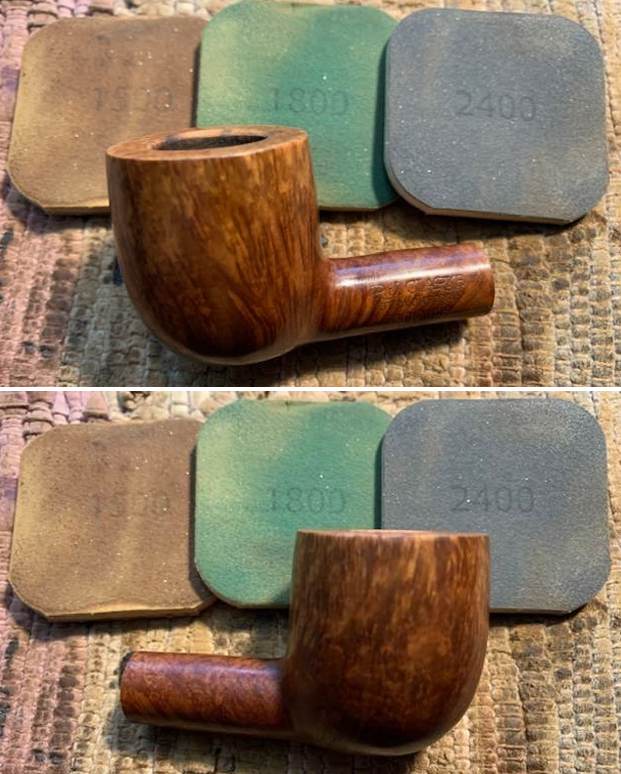
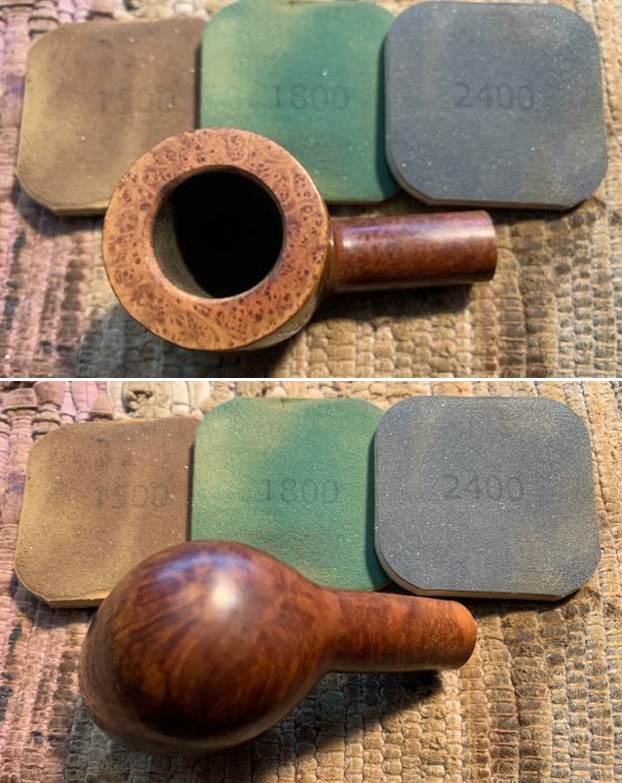
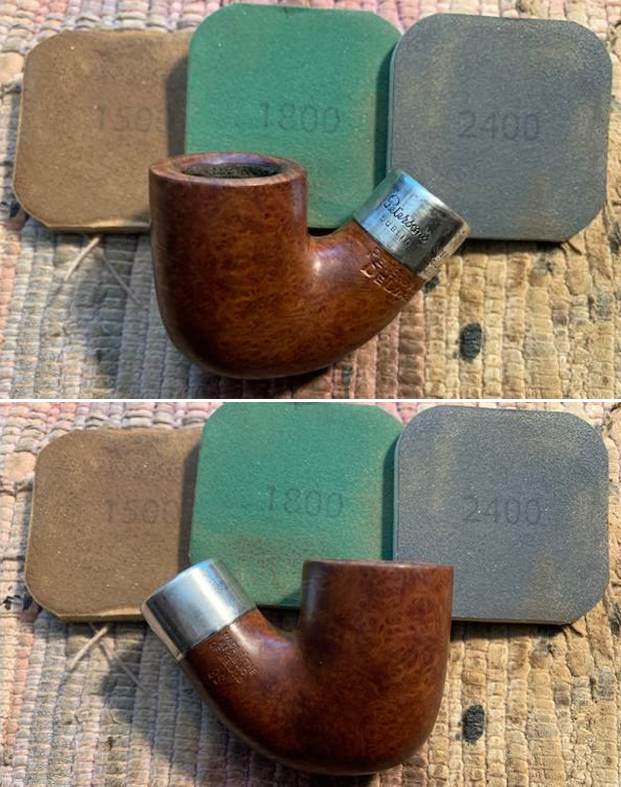
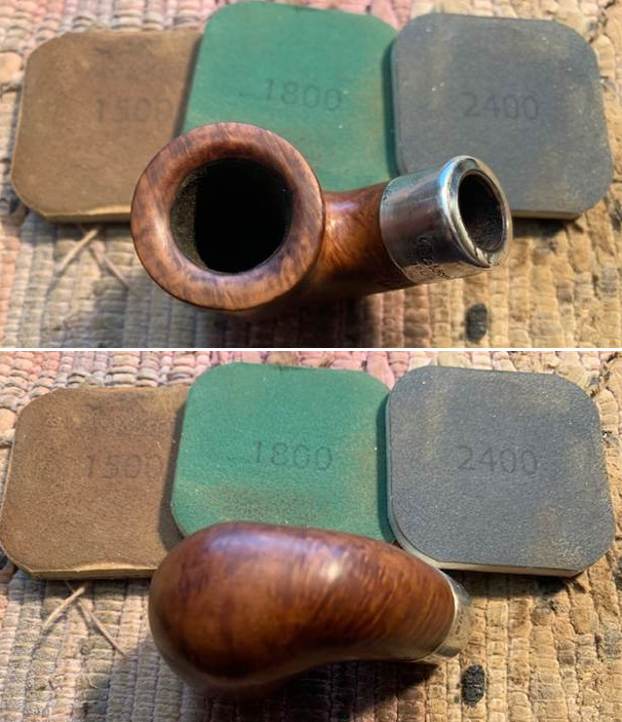
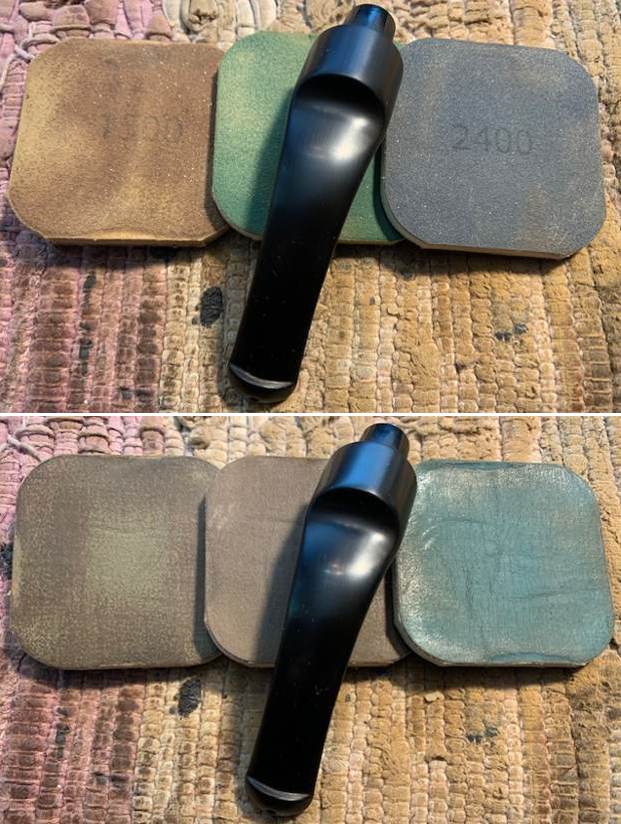
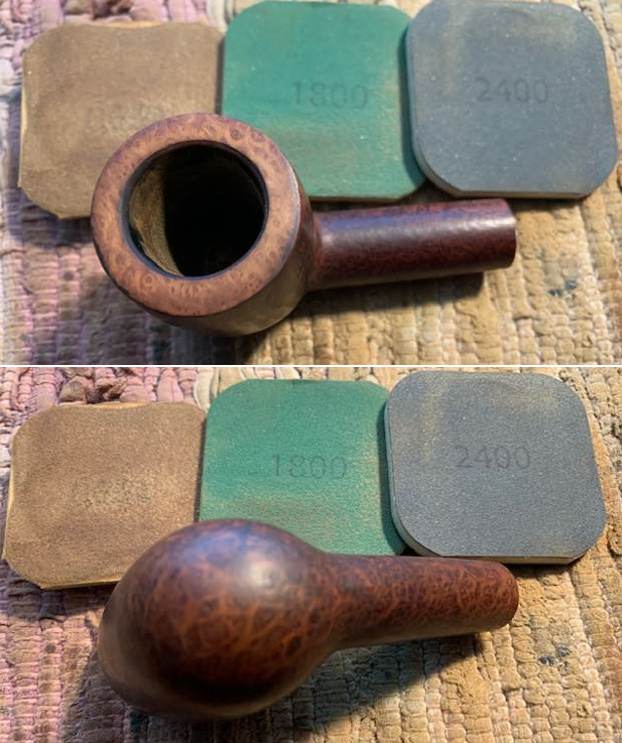
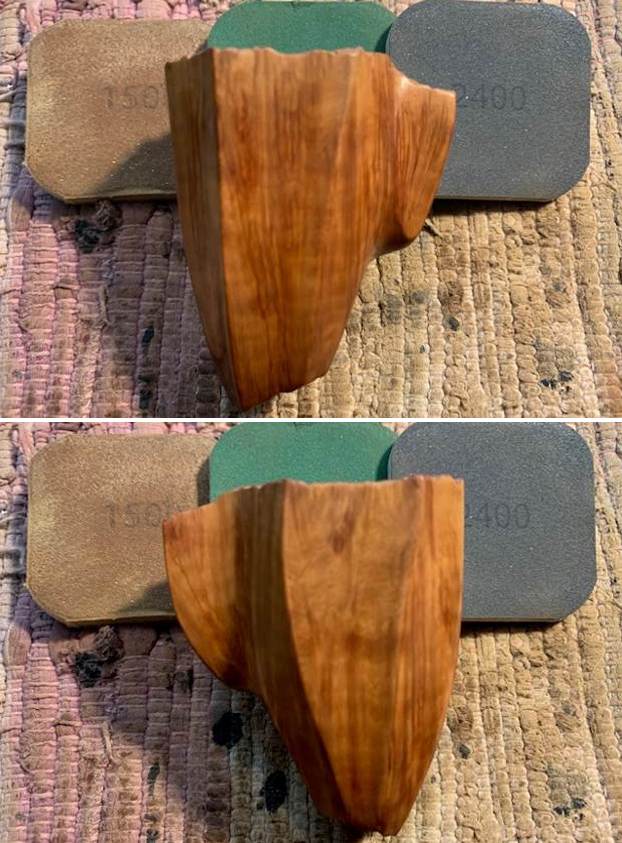
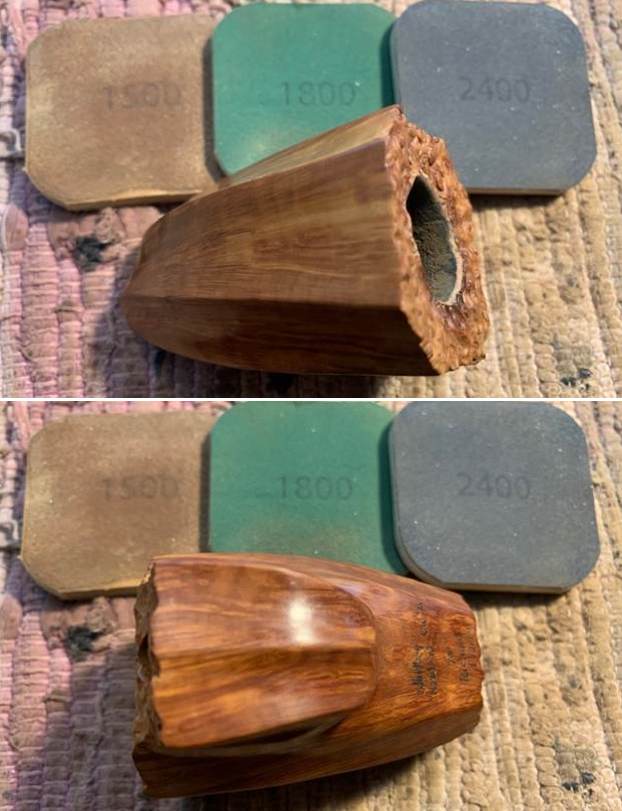
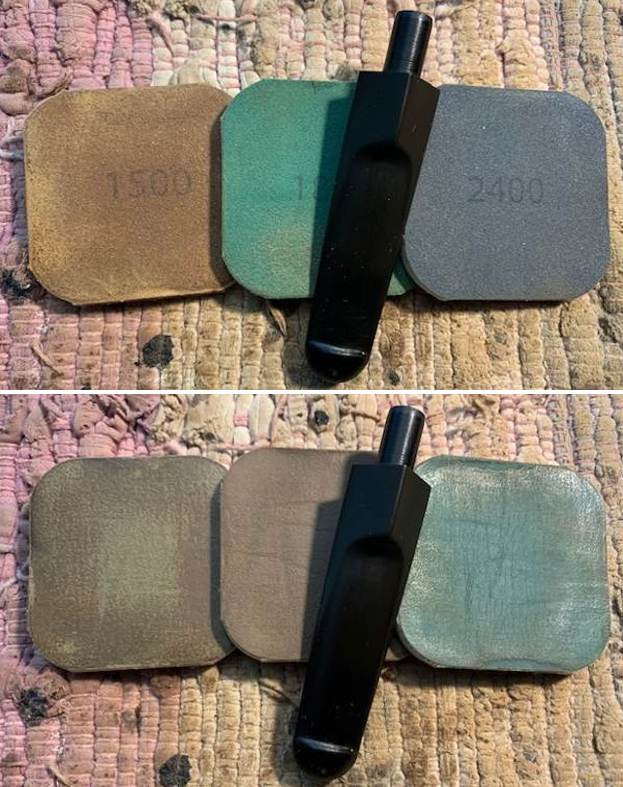
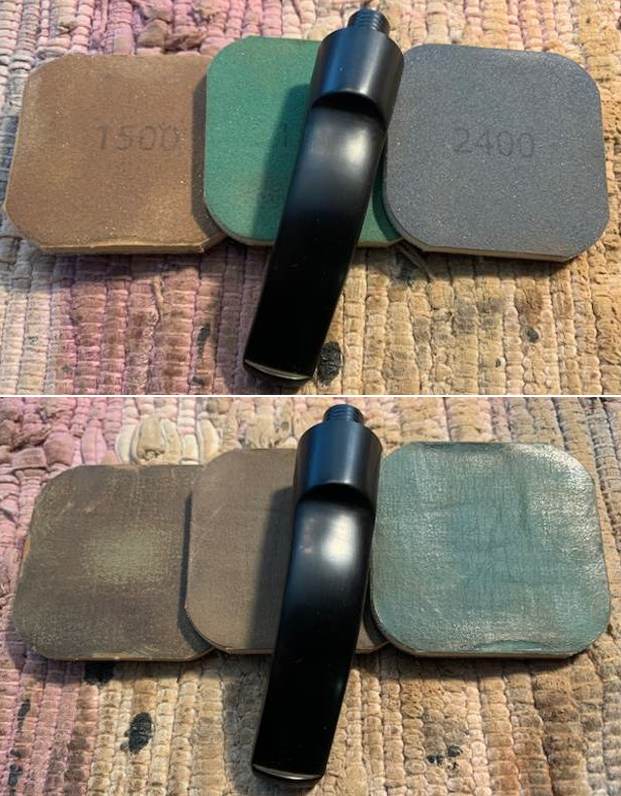
 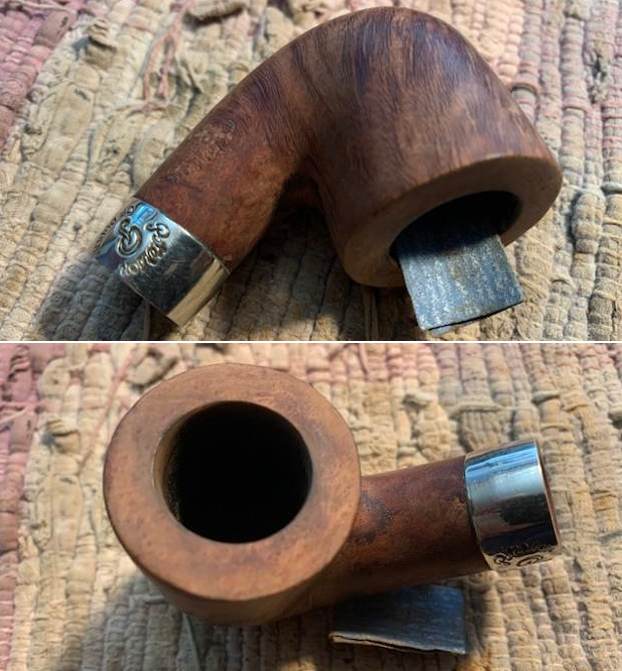 I polished the briar bowl and shank with micromesh sanding pads. I dry sanded it with 1500-12000 grit pads and wiped it down with a damp cloth after each pad.
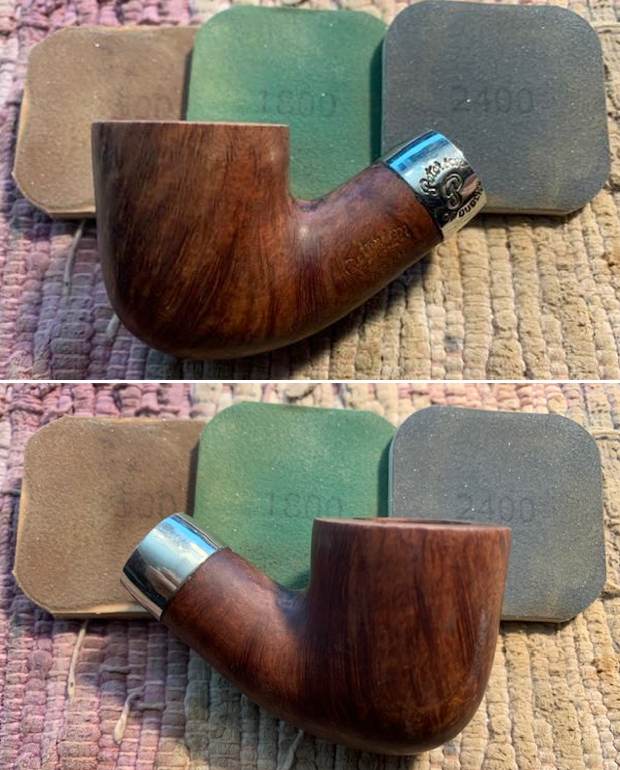
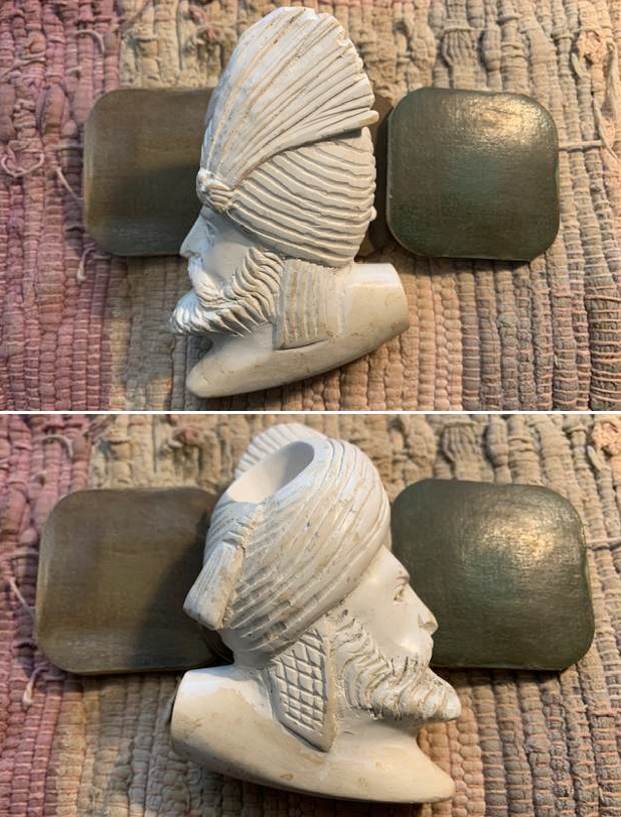
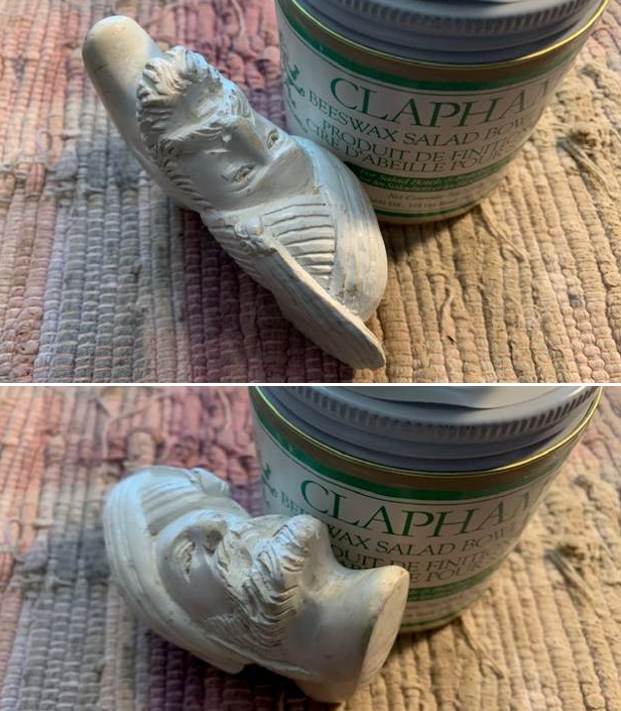
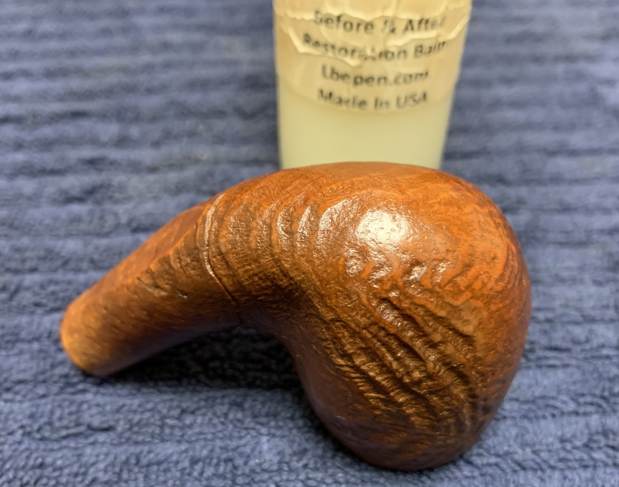
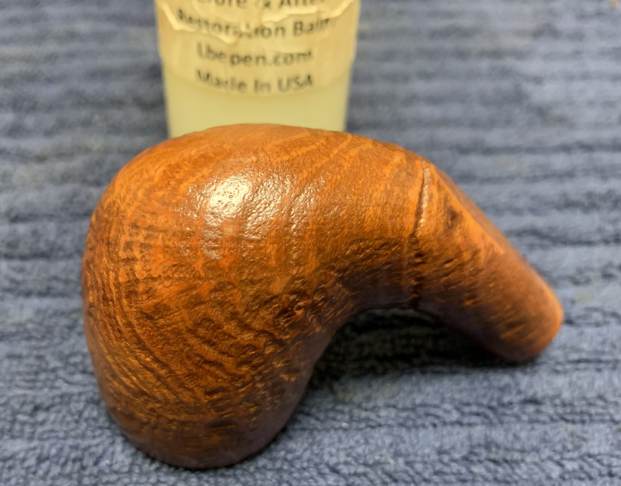
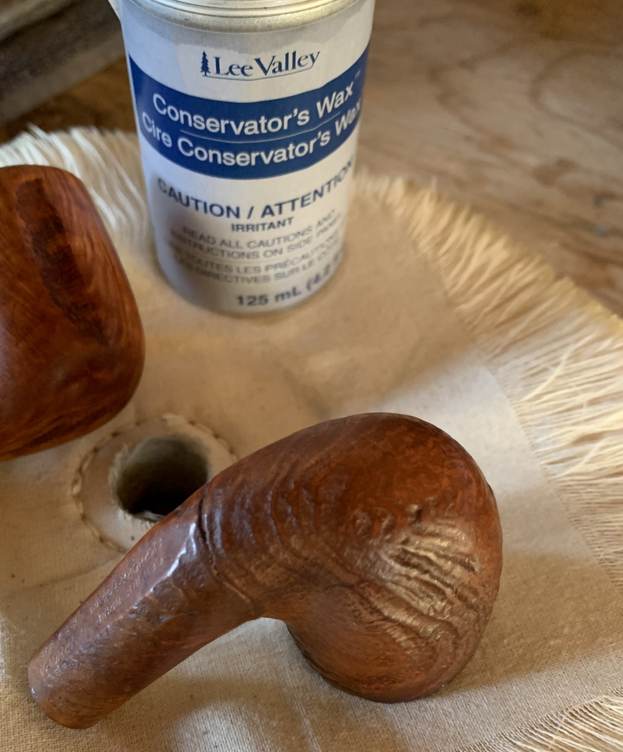
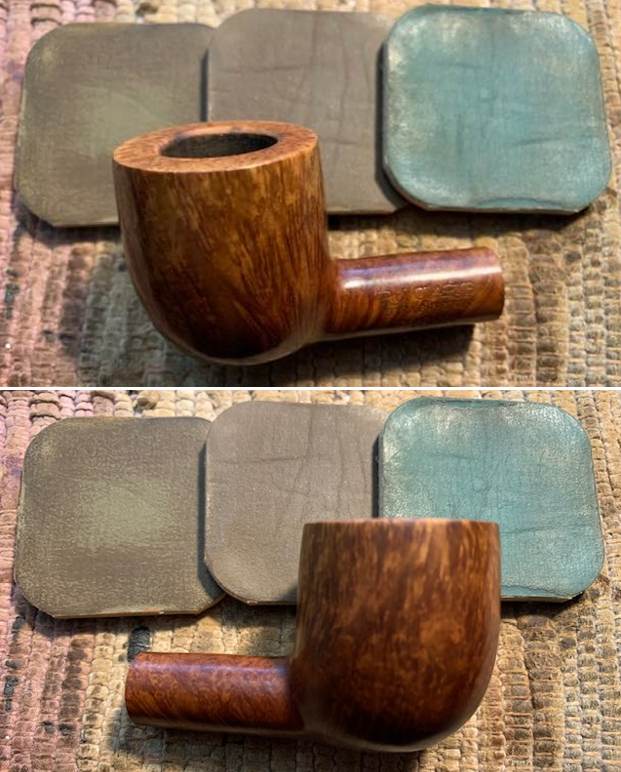
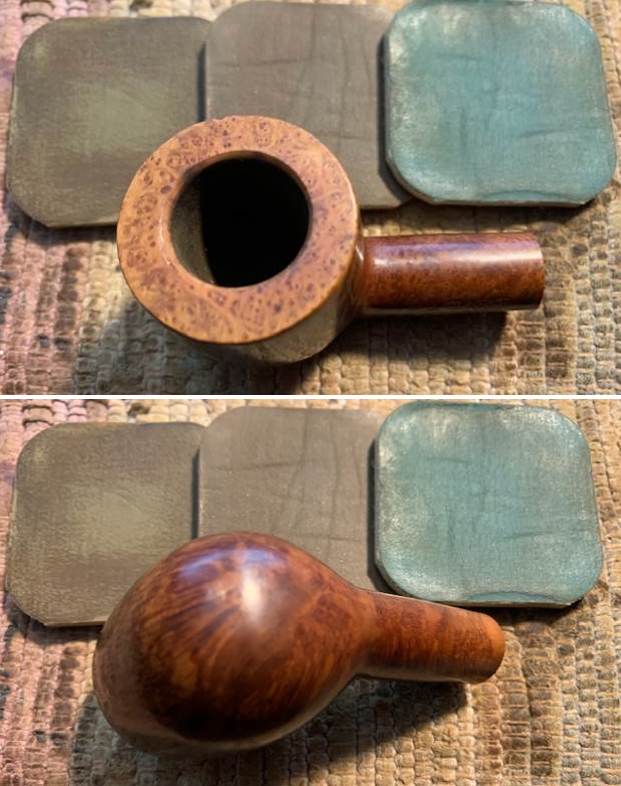
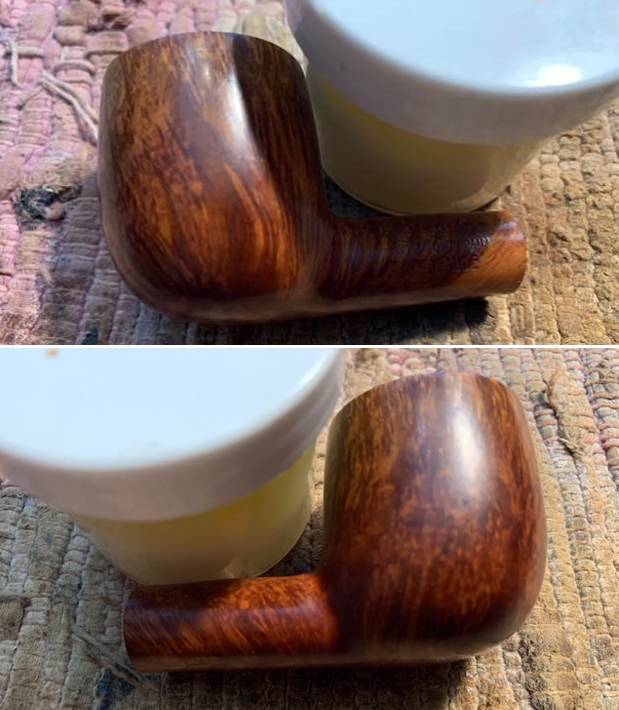
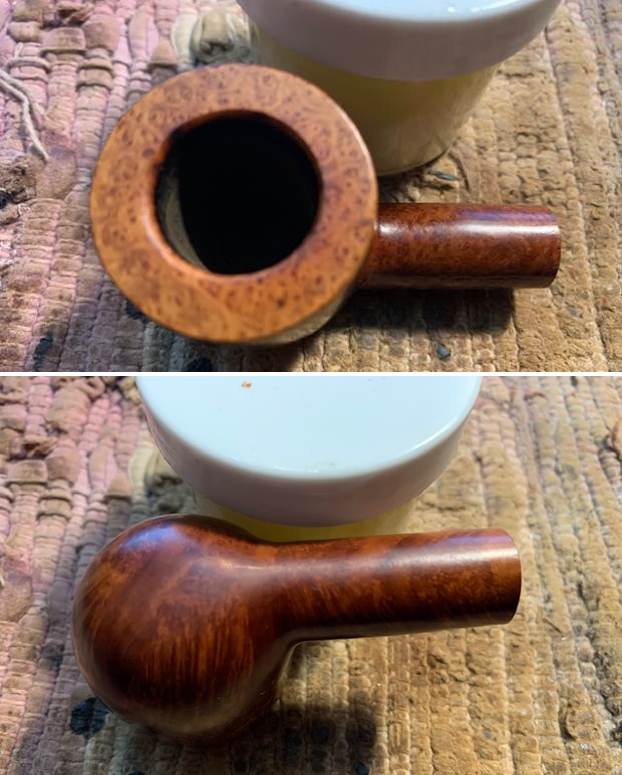
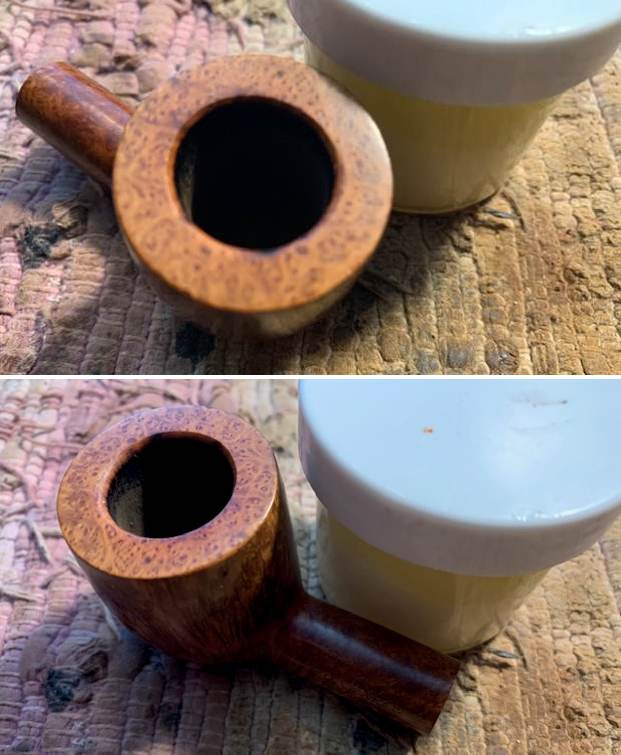
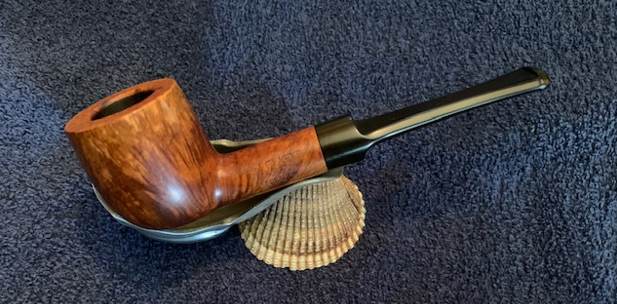
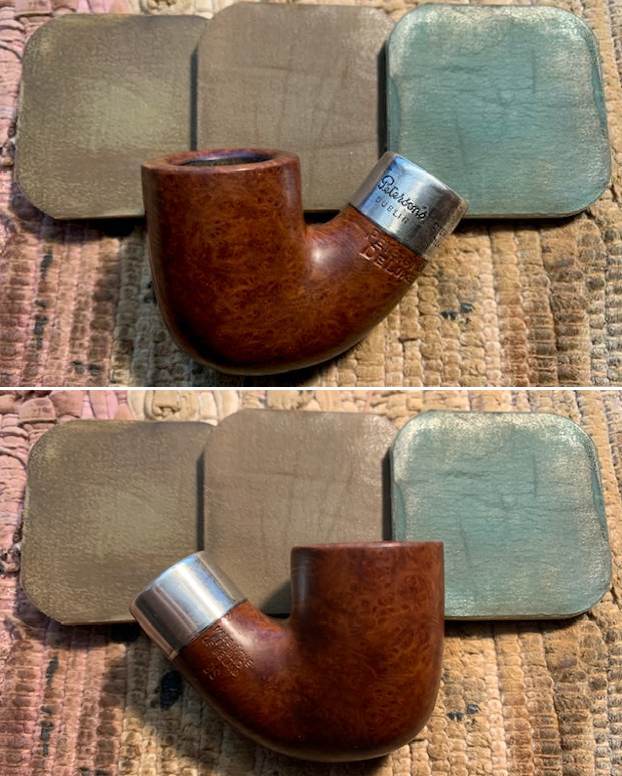
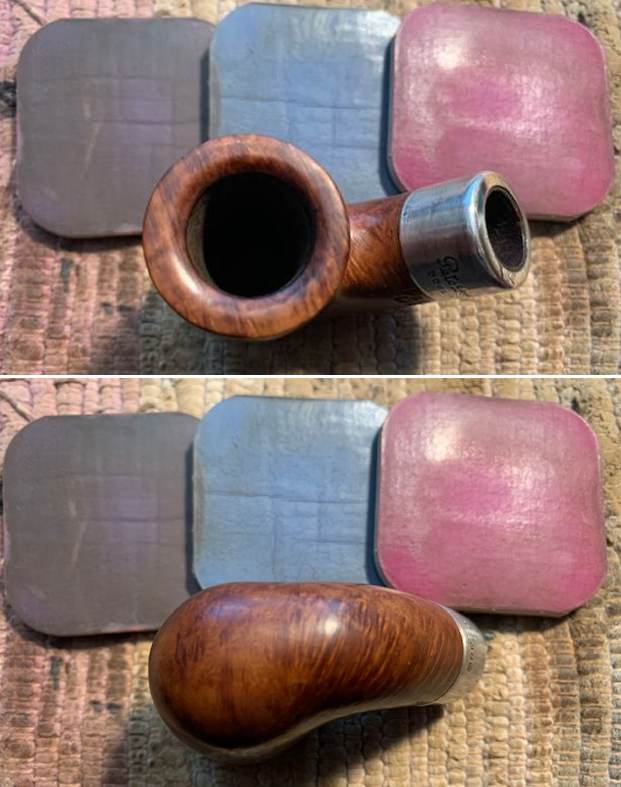
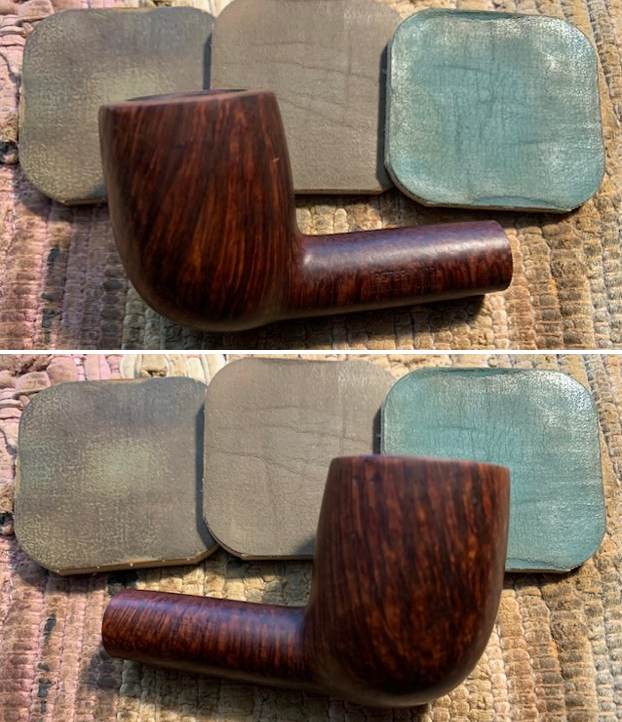
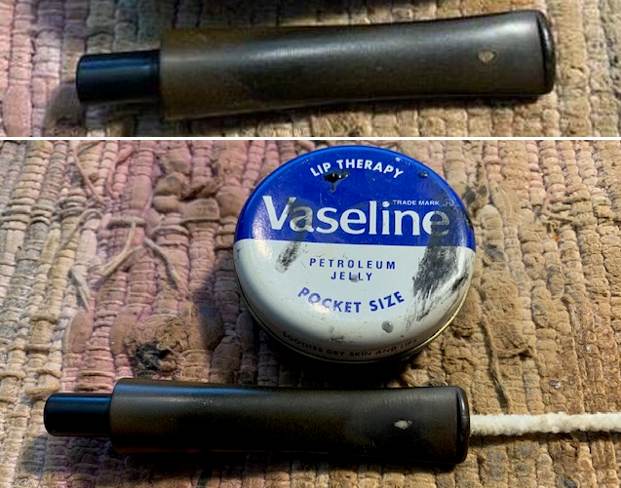
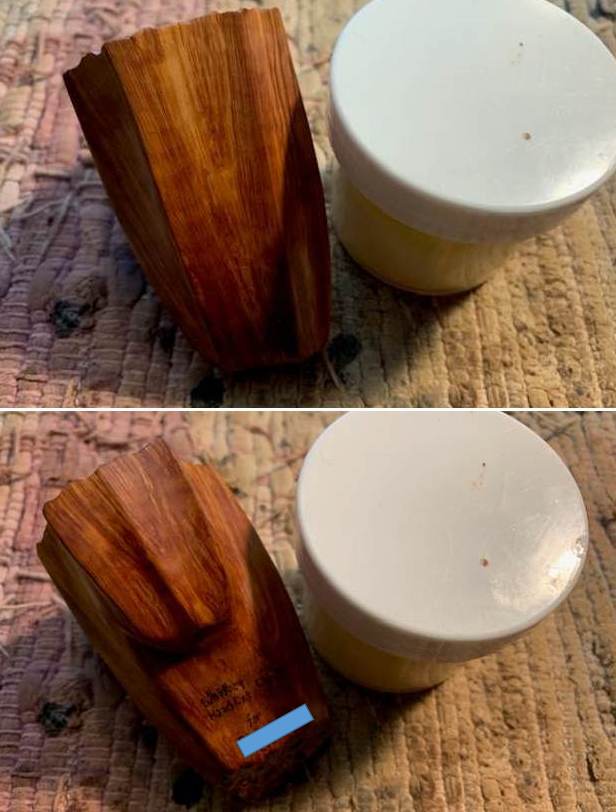
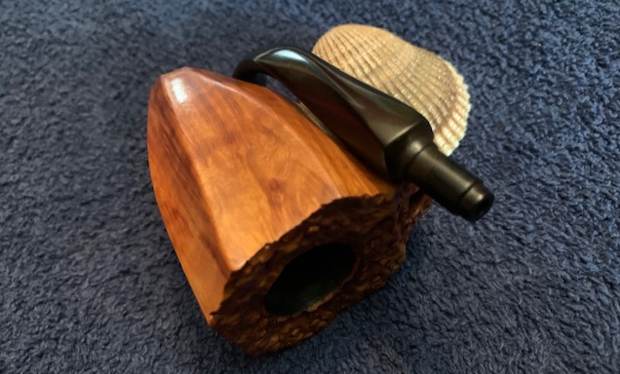
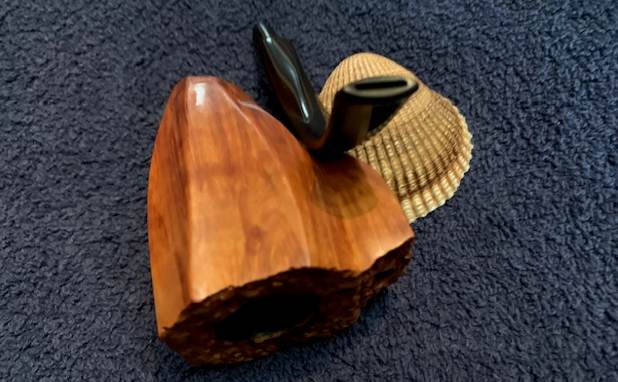
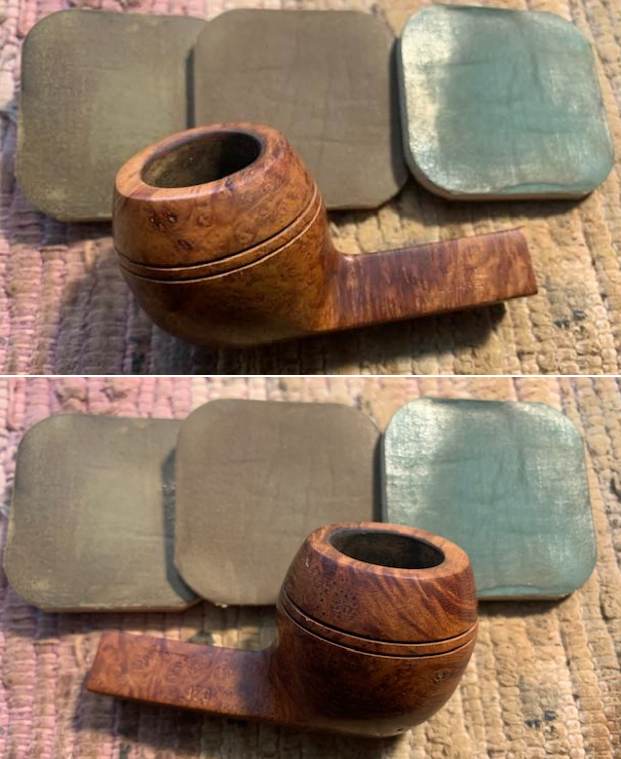
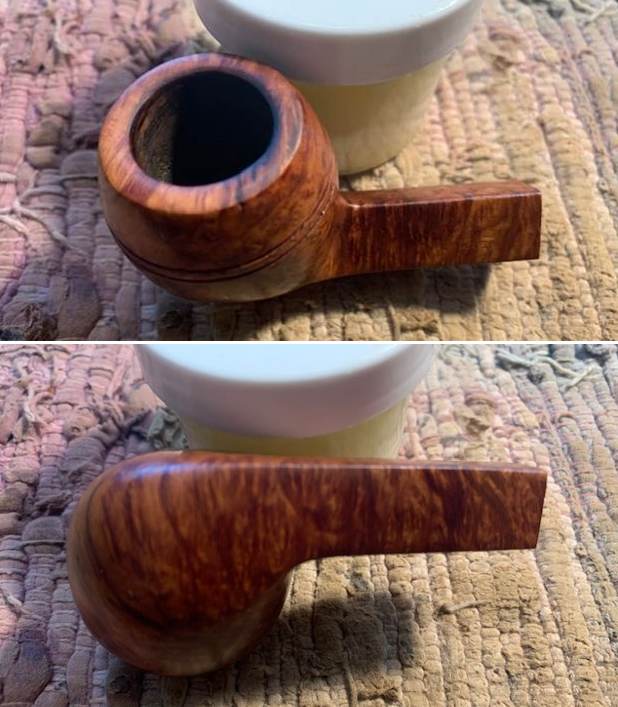
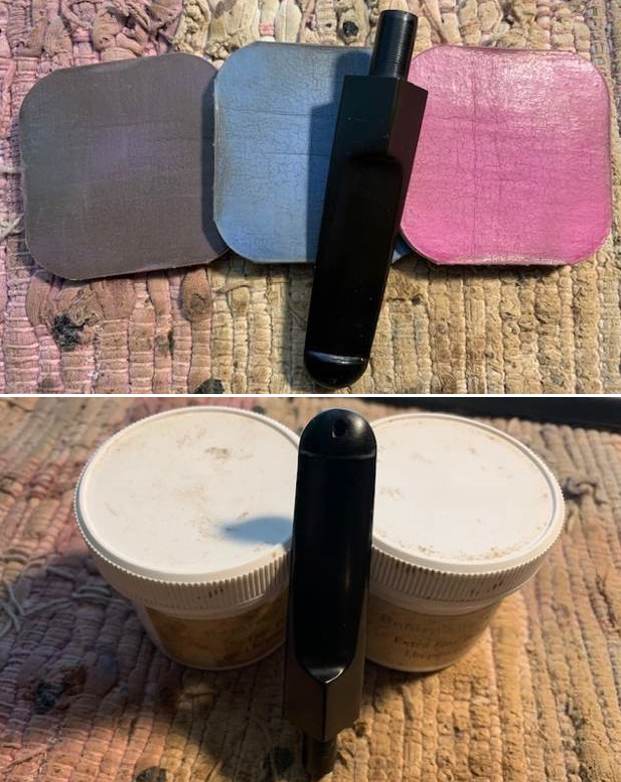
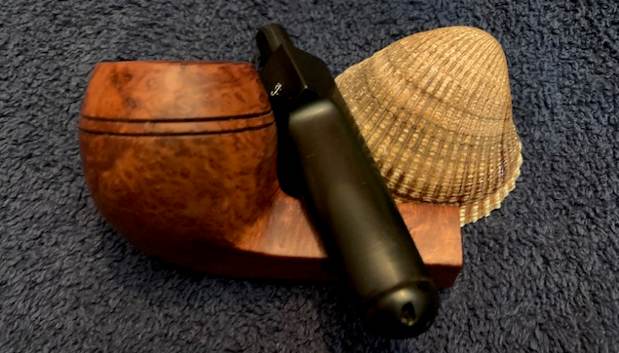
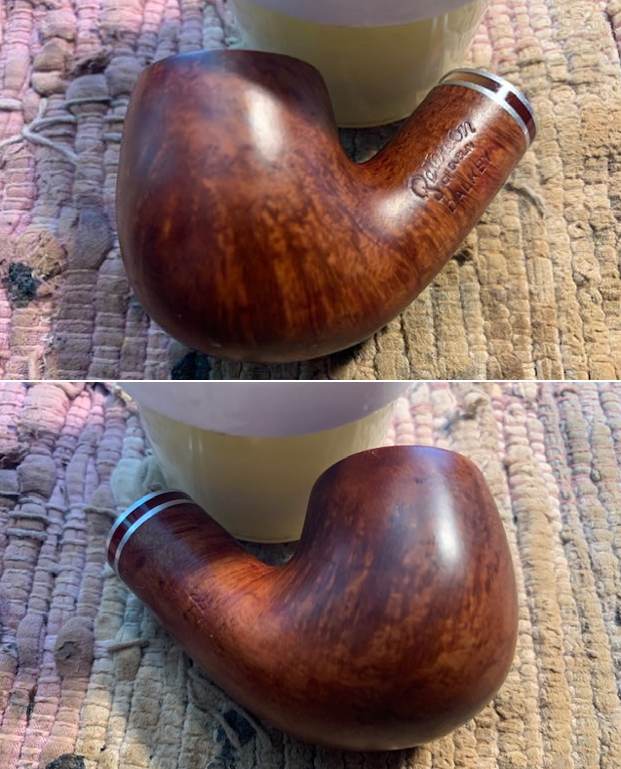
 I worked some Before & After Restoration Balm into the surface of the briar with my fingertips to clean, enliven and protect the briar. I let the balm sit for 15 minutes and then buffed with a cotton cloth to raise the shine. The photos show the bowl at this point in the restoration process.
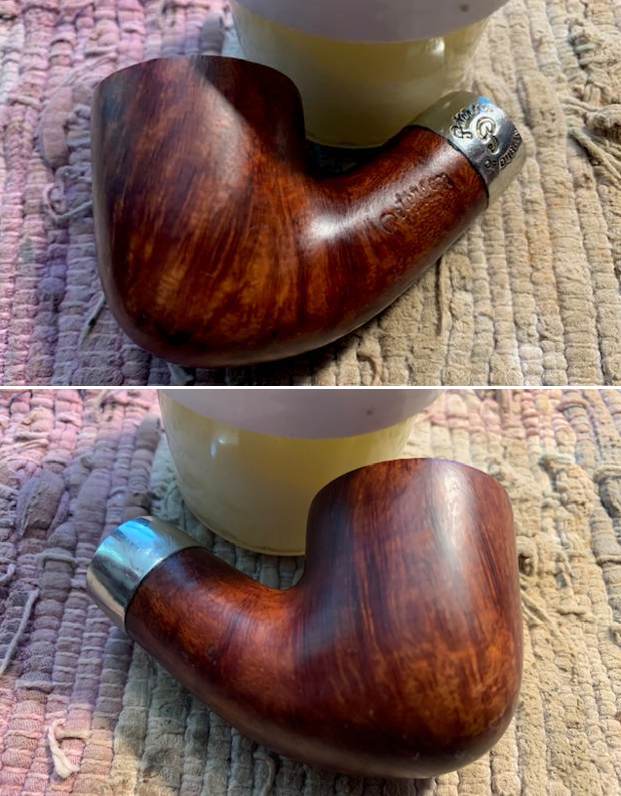
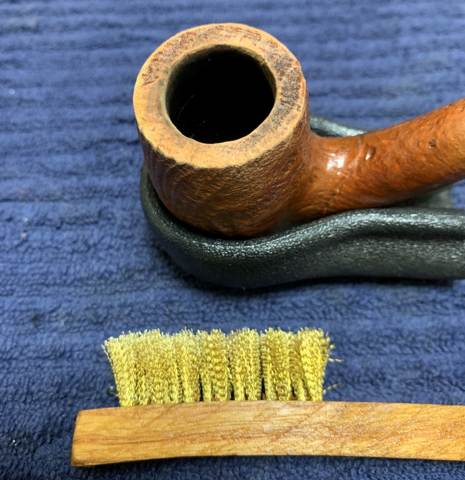
 I polished the nickel band with a jeweler’s cloth to remove the tarnish and oxidation as well as add some protection to the band.
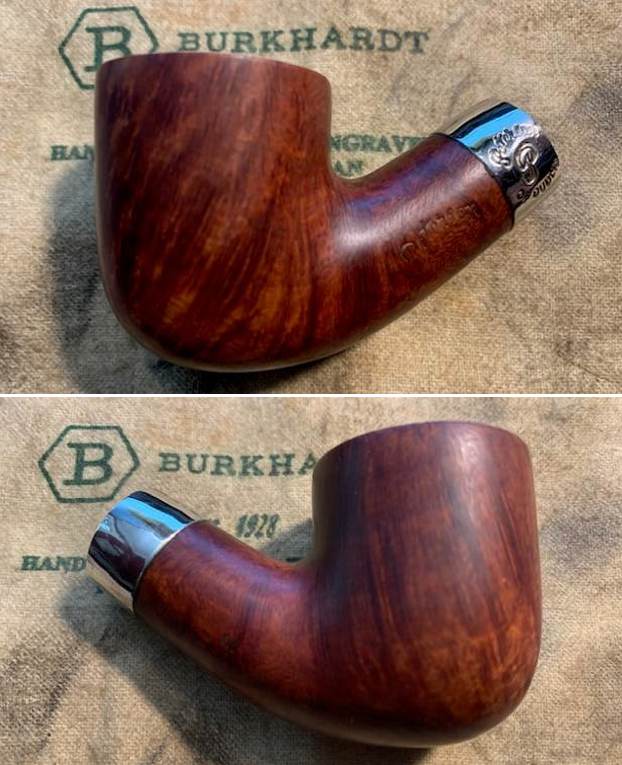
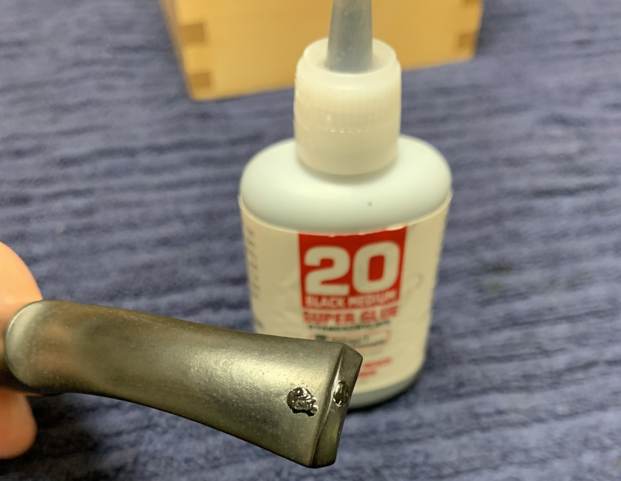
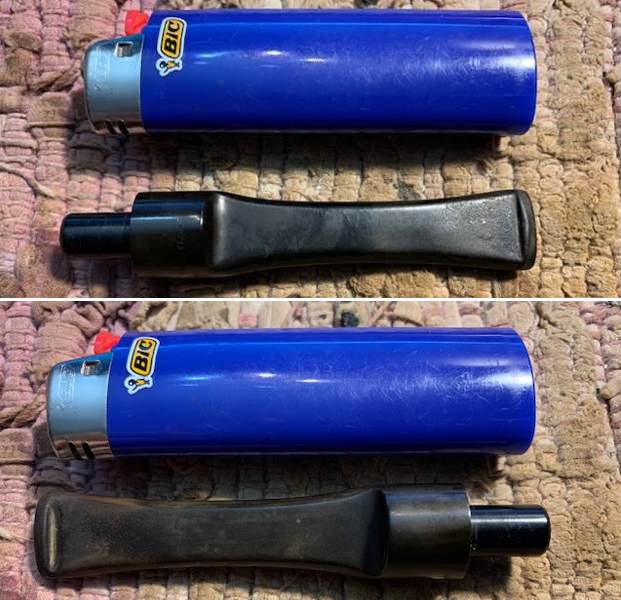
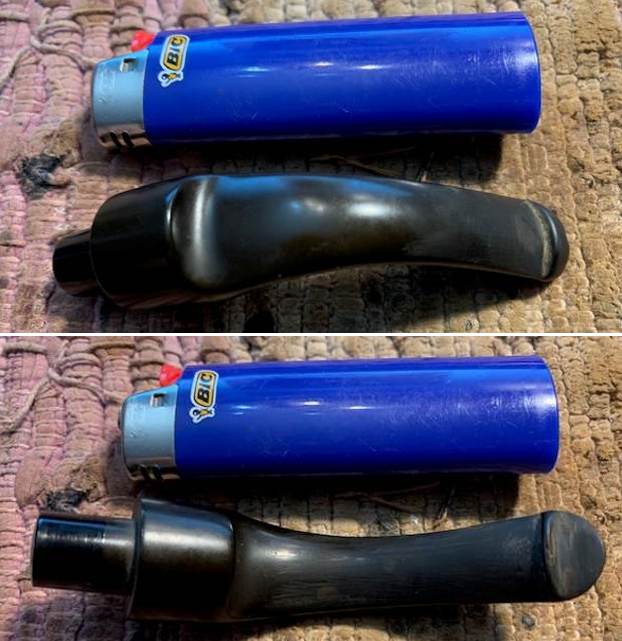
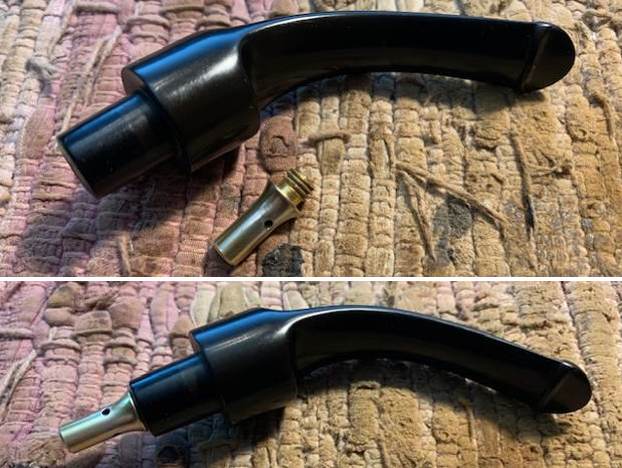
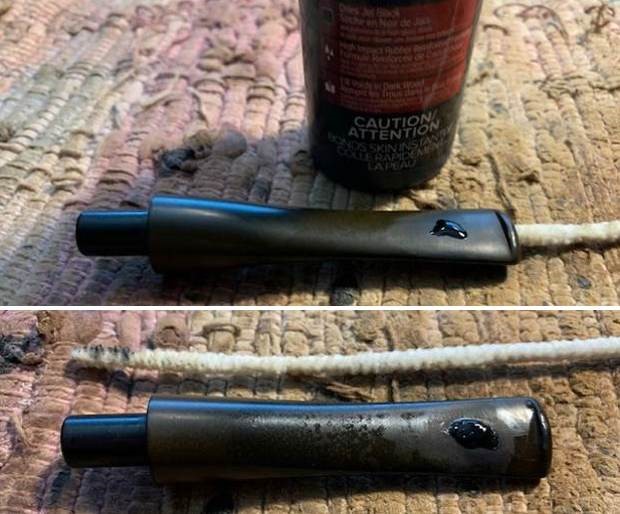
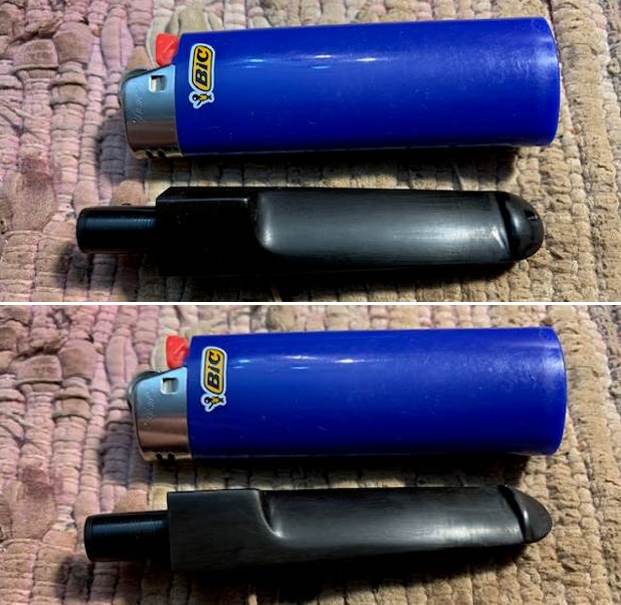
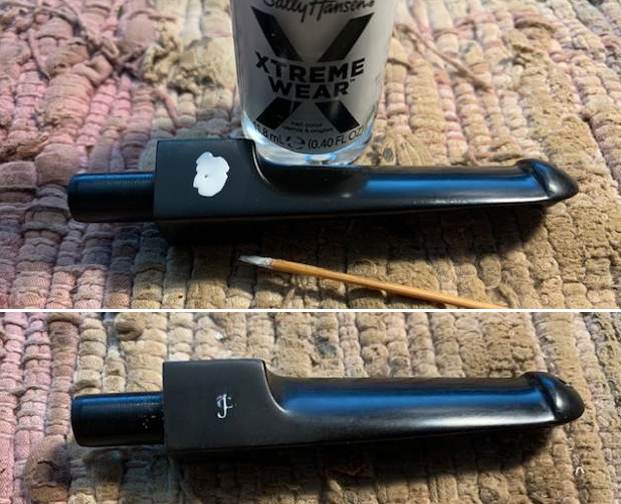
 I set the bowl aside and turned my attention to the stem. I rebuilt the button with black super glue. I flattened and reshaped it with a small flat file.
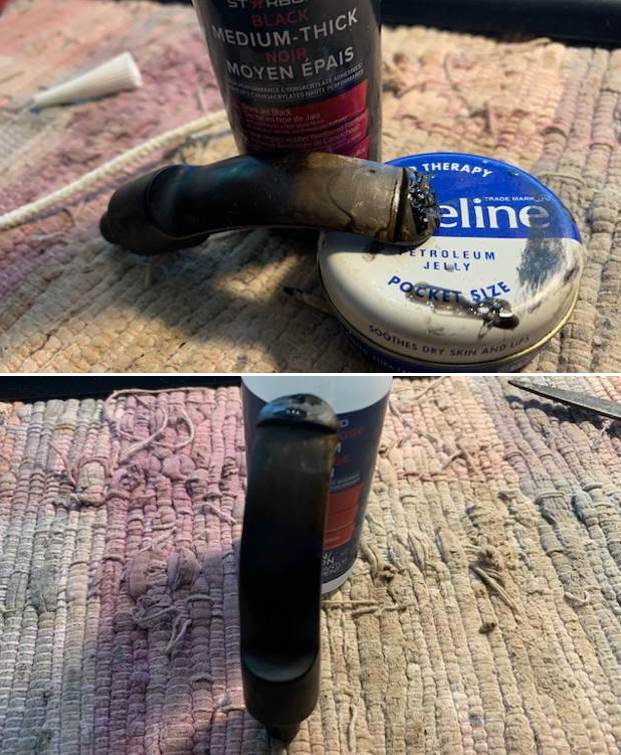
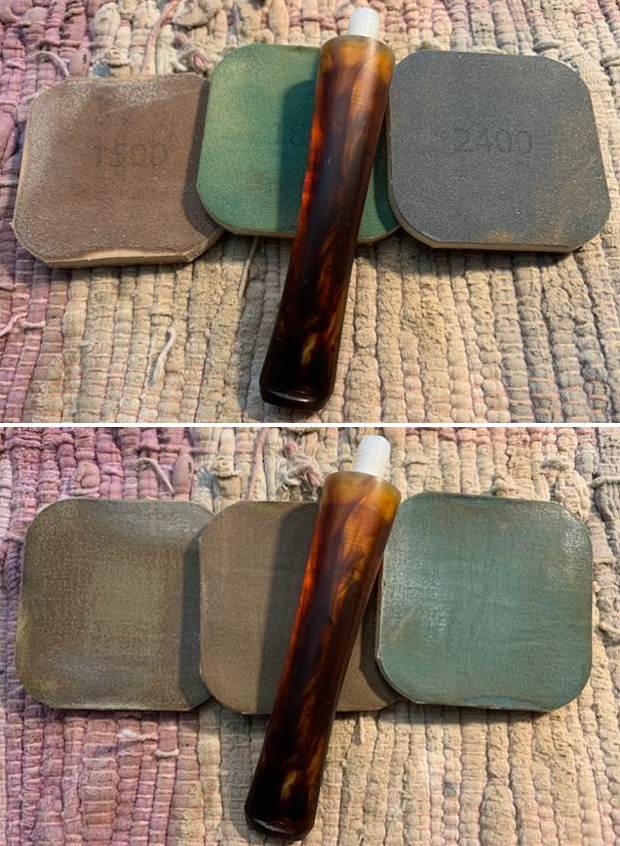
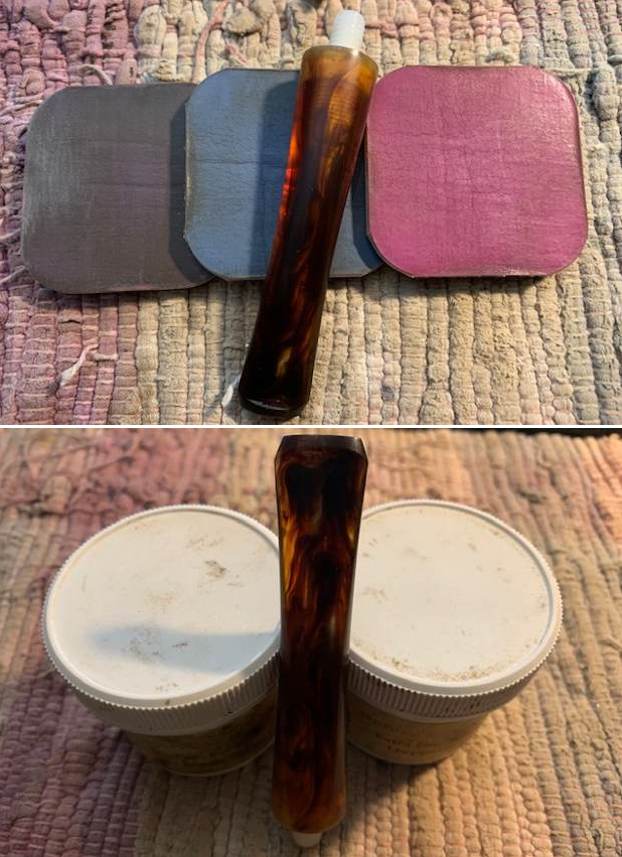
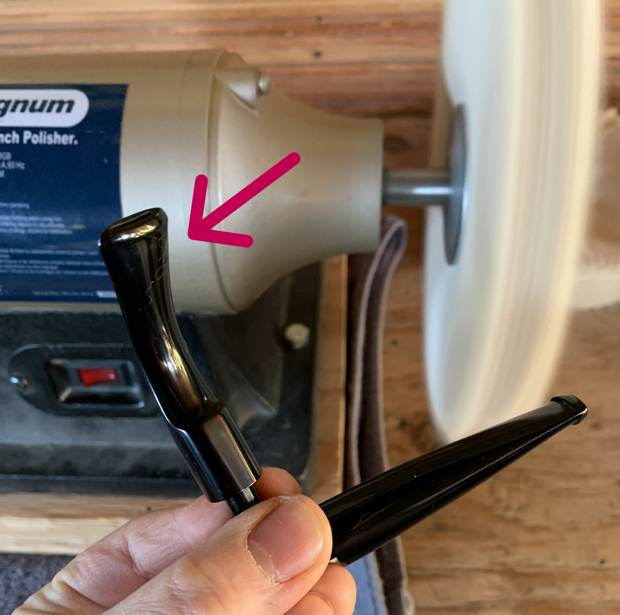
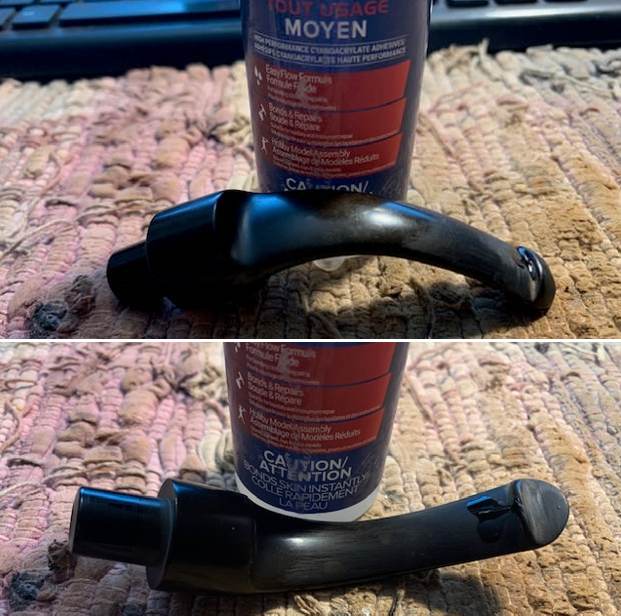
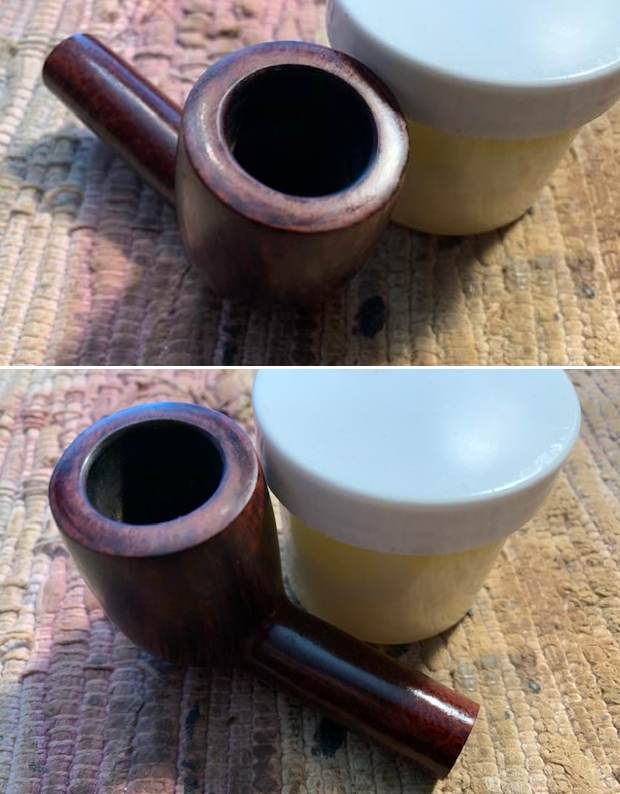
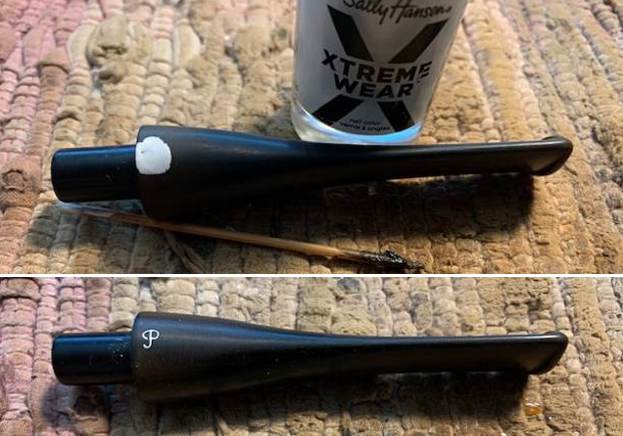
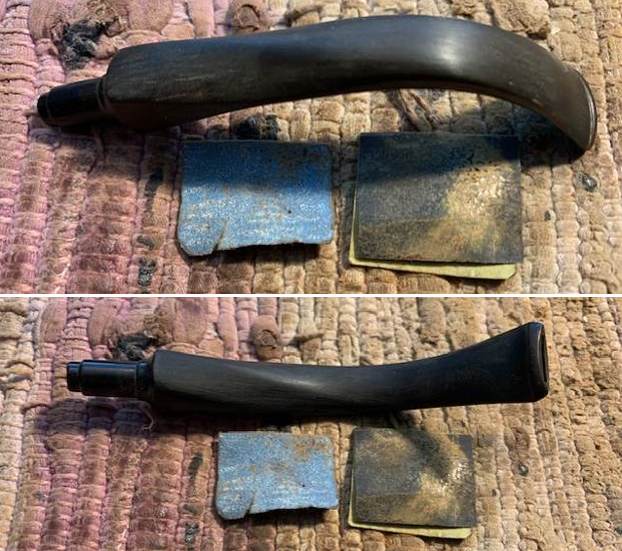
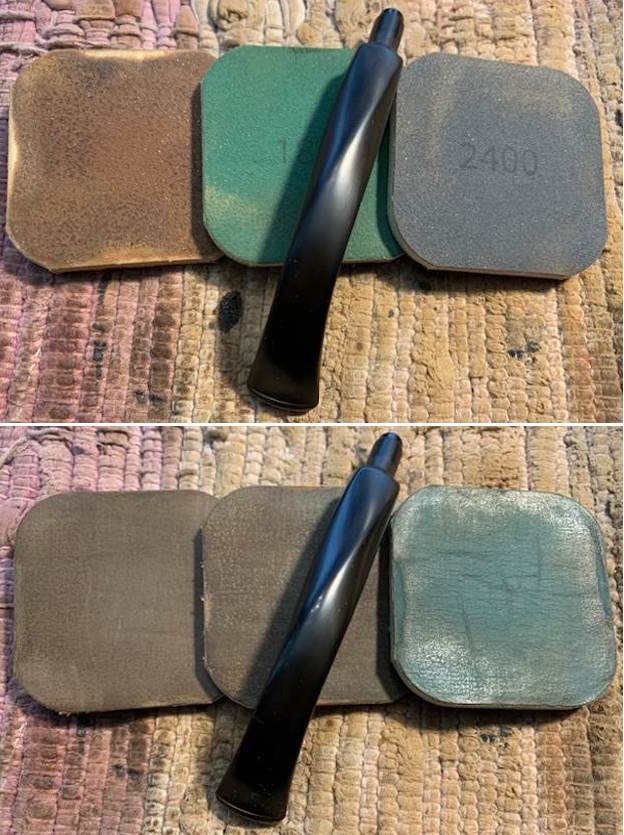
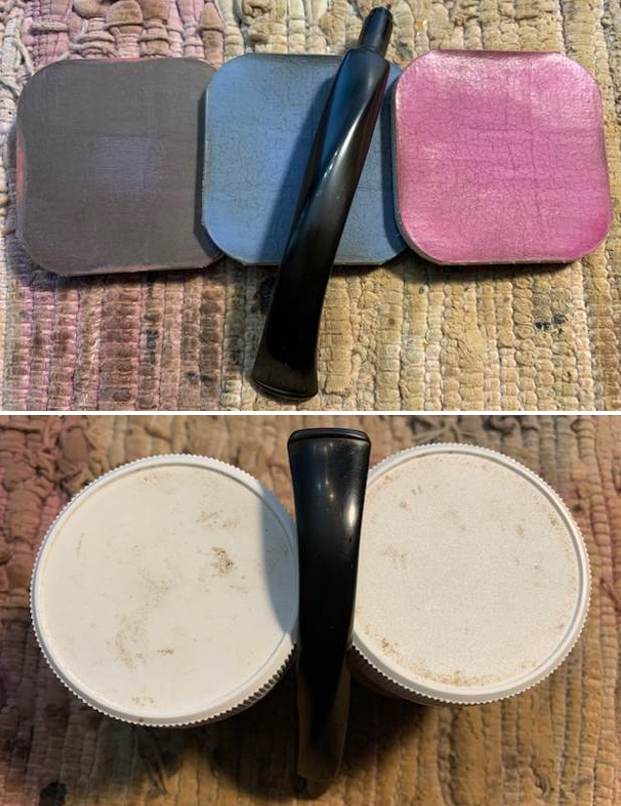
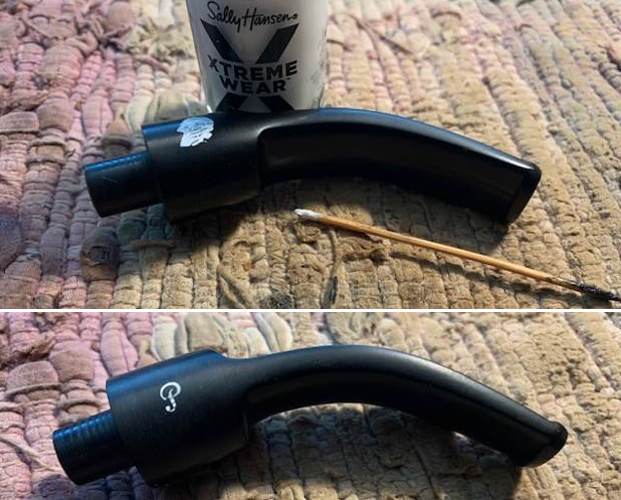
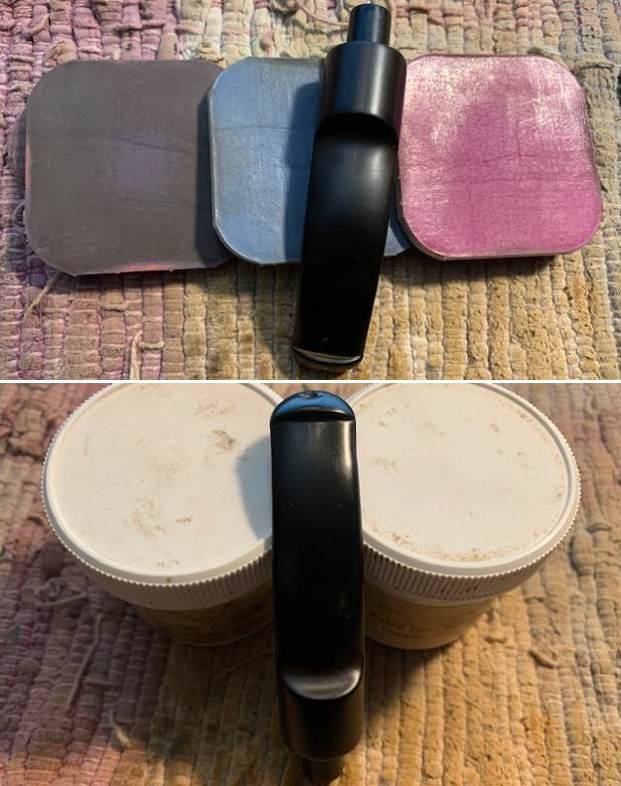
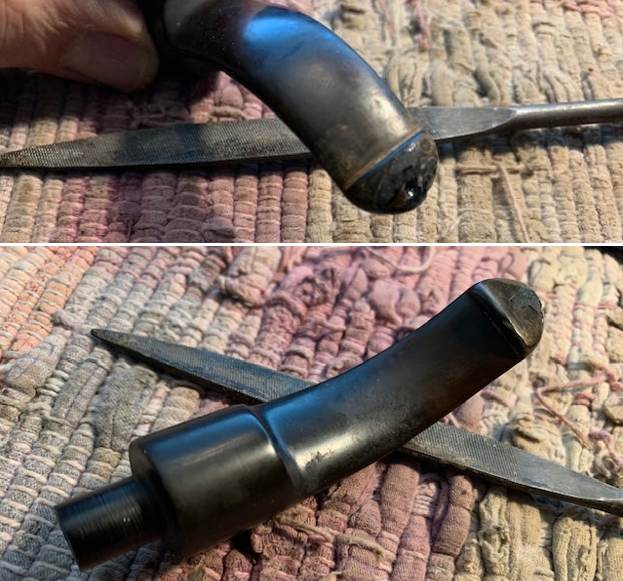 I finished reshaping the button surface and end and sanded out some tooth marks on the stem surface with 220 grit sandpaper. I started the polishing the stem with 400 grit wet dry sandpaper. I wiped it down with some Obsidian Oil.
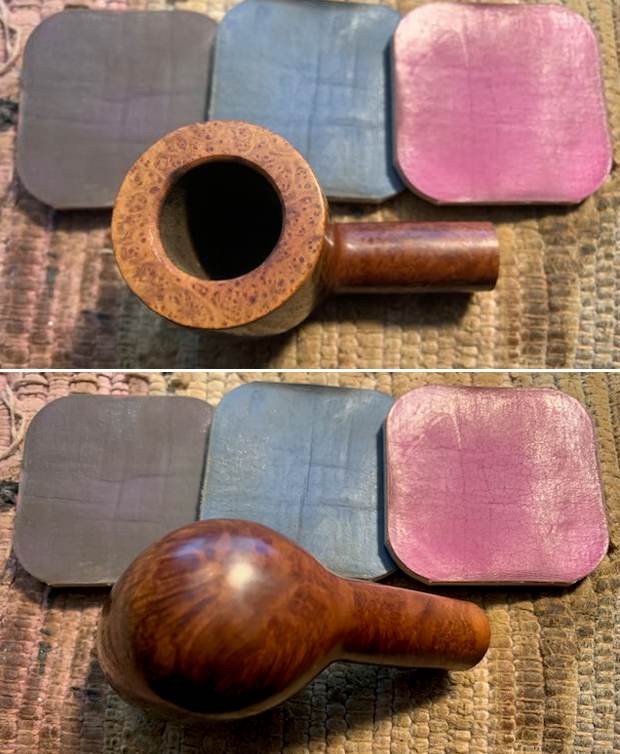
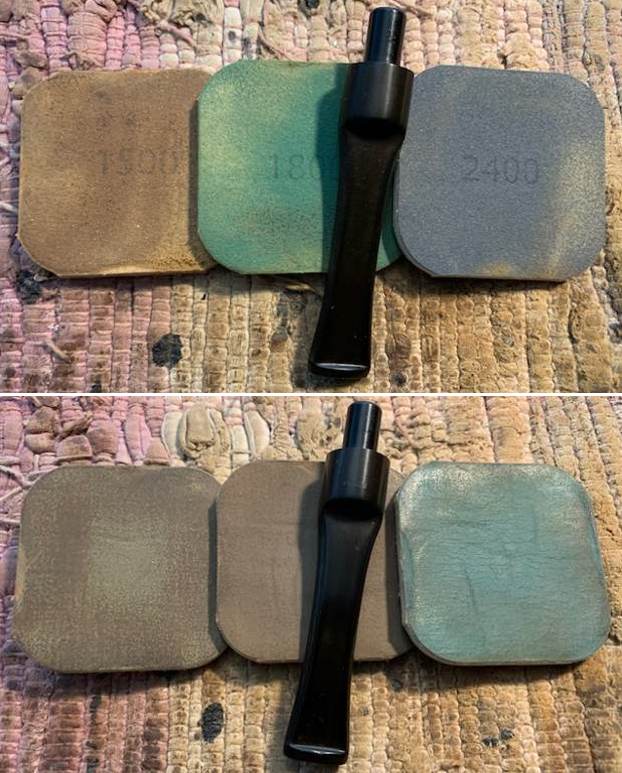
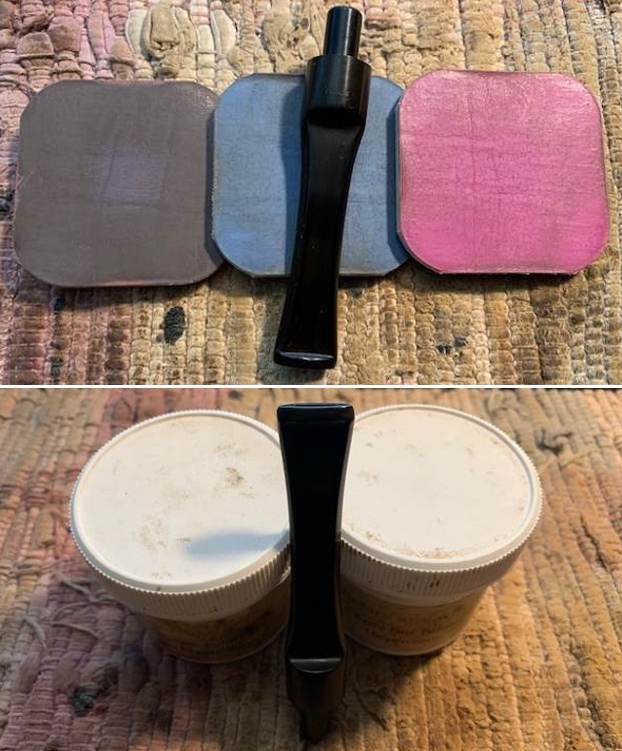
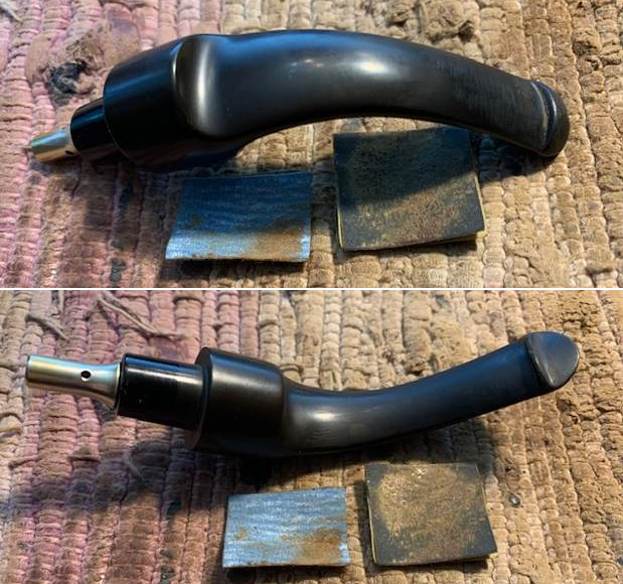
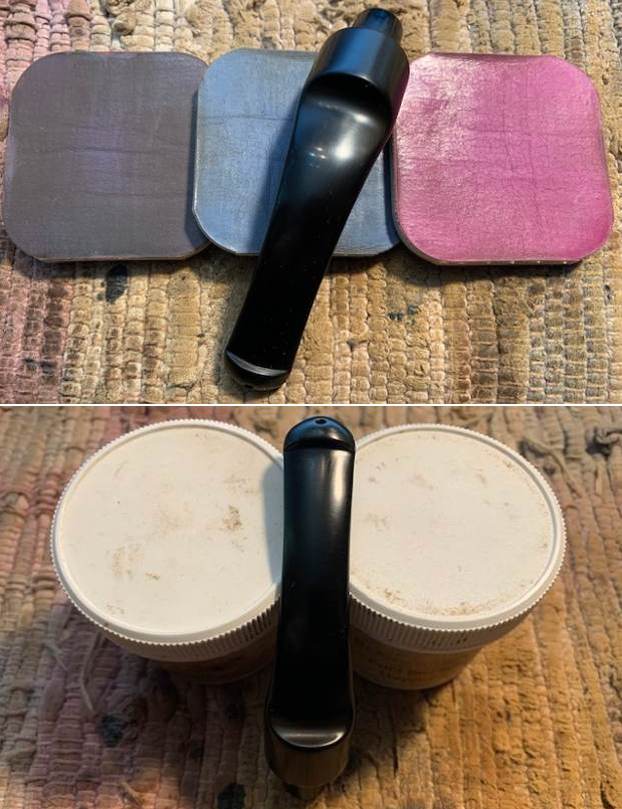
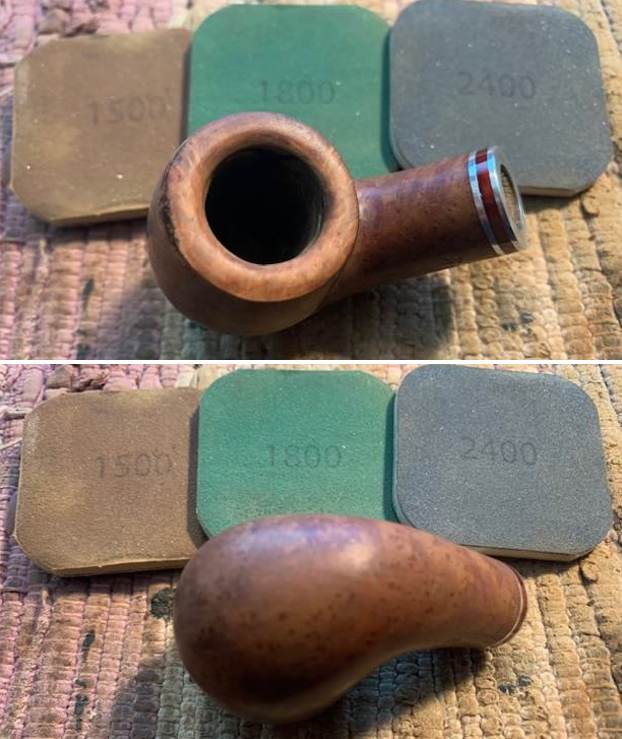
 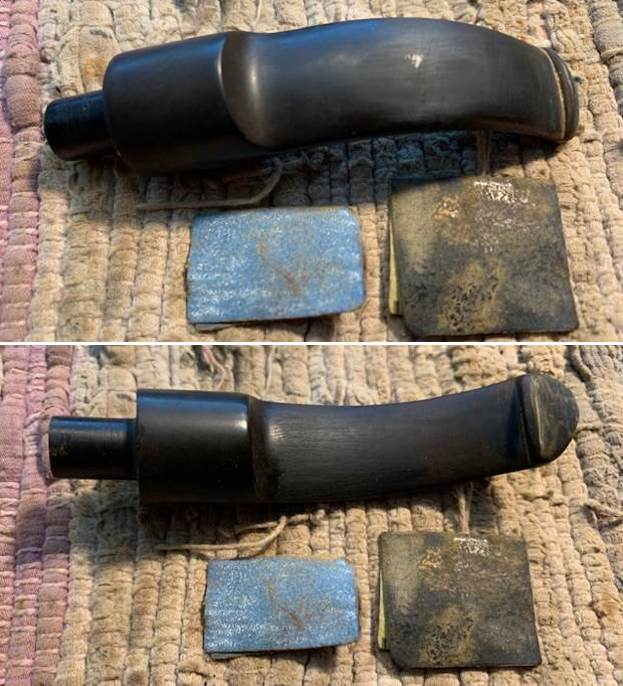 I polished the stem with micromesh sanding pads – wet sanding with 1500-12000 grit sanding pads. I wiped it down after each sanding pad with Obsidian Oil. I polished it with Before & After Pipe Stem Polish – both Fine and Extra Fine.
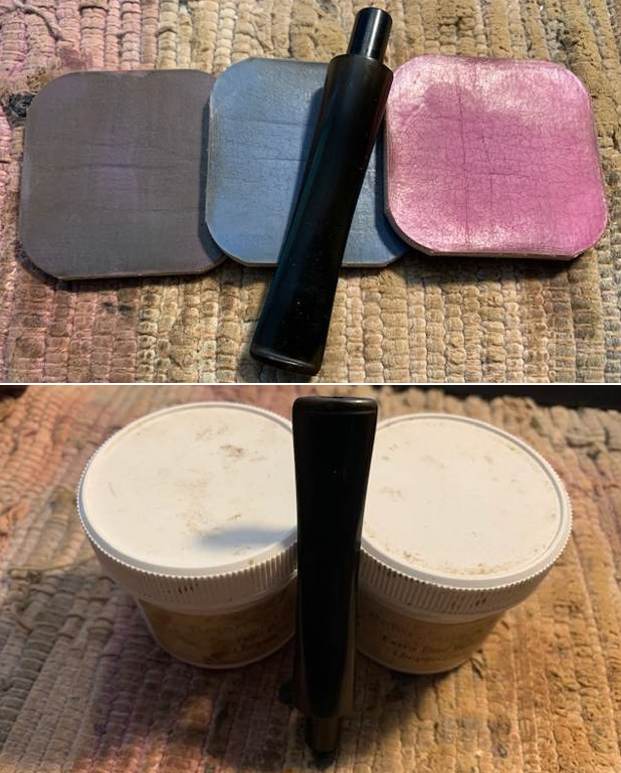
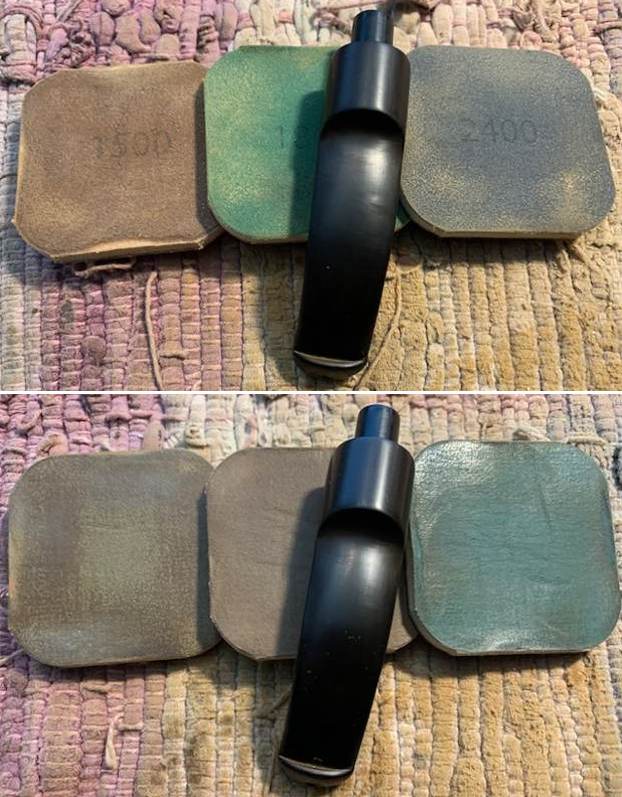
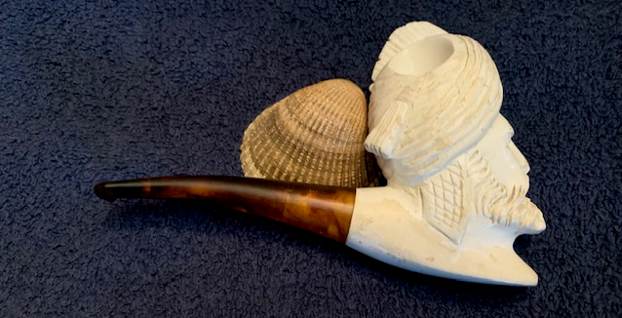
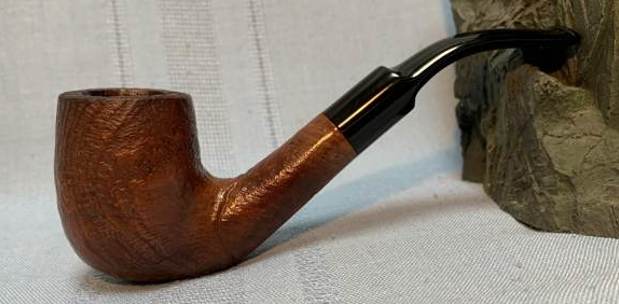
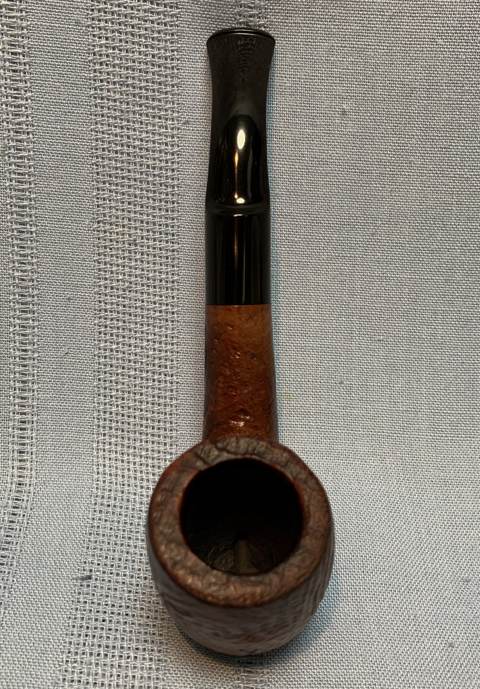
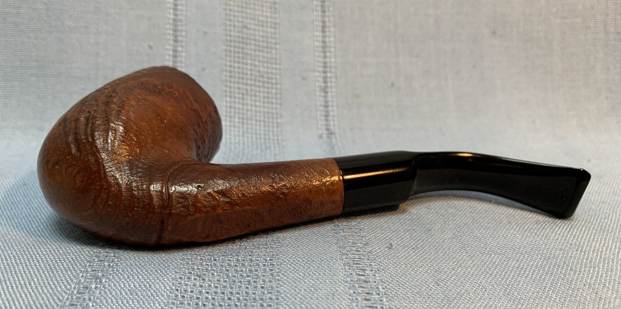
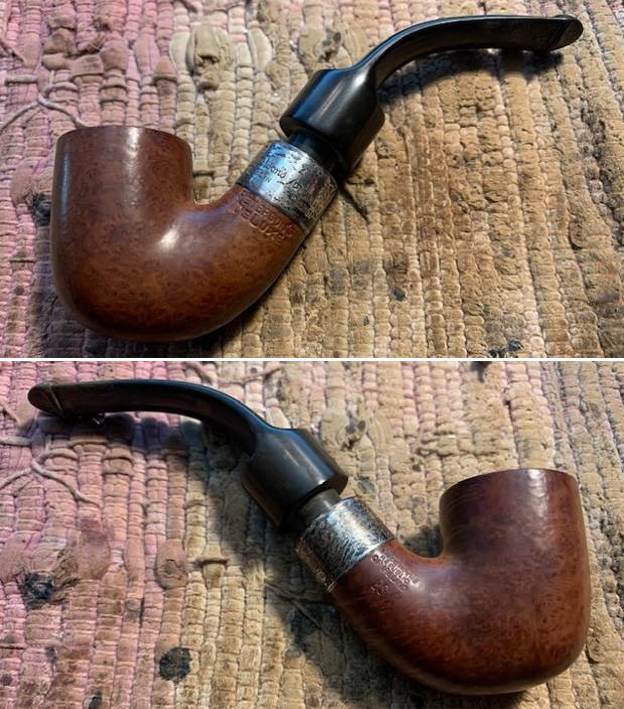
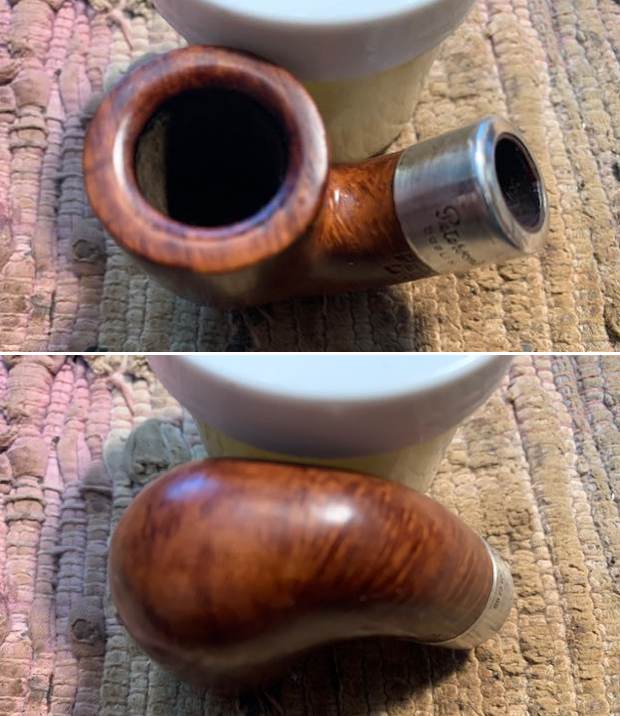
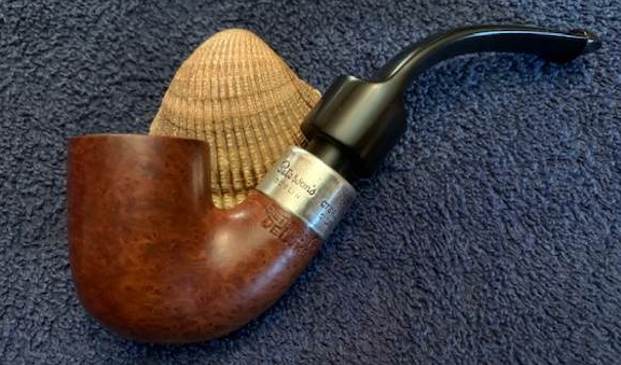
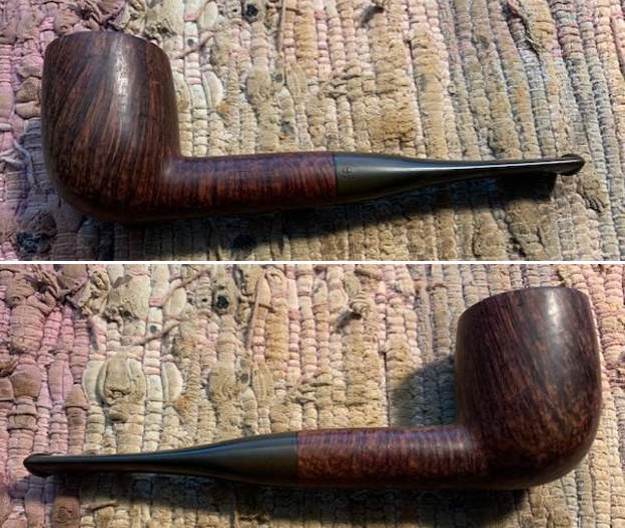
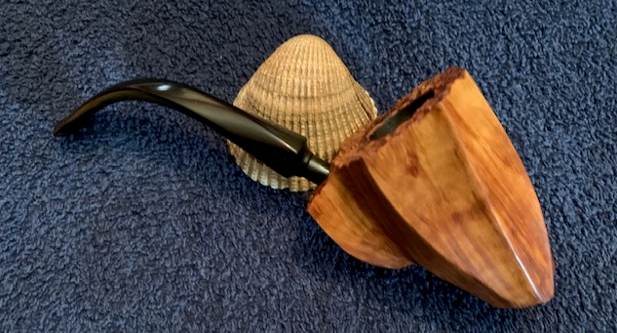
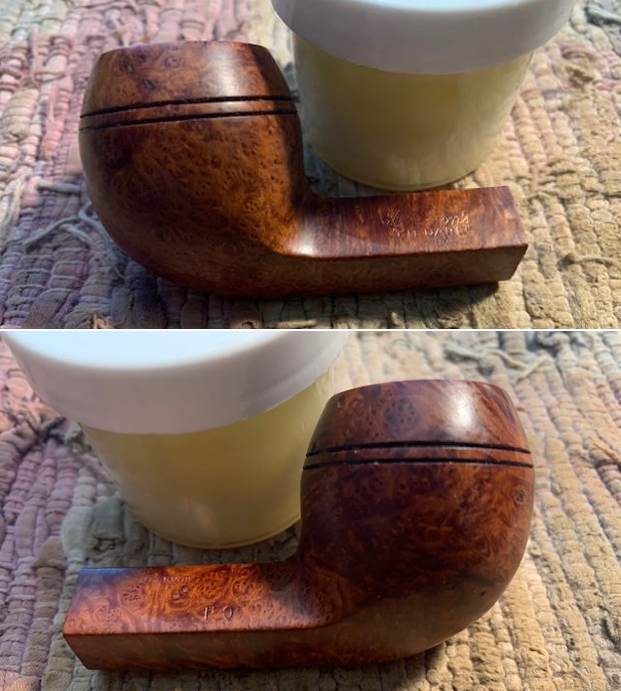
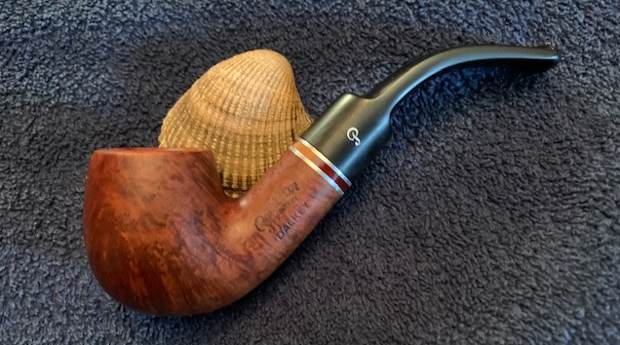
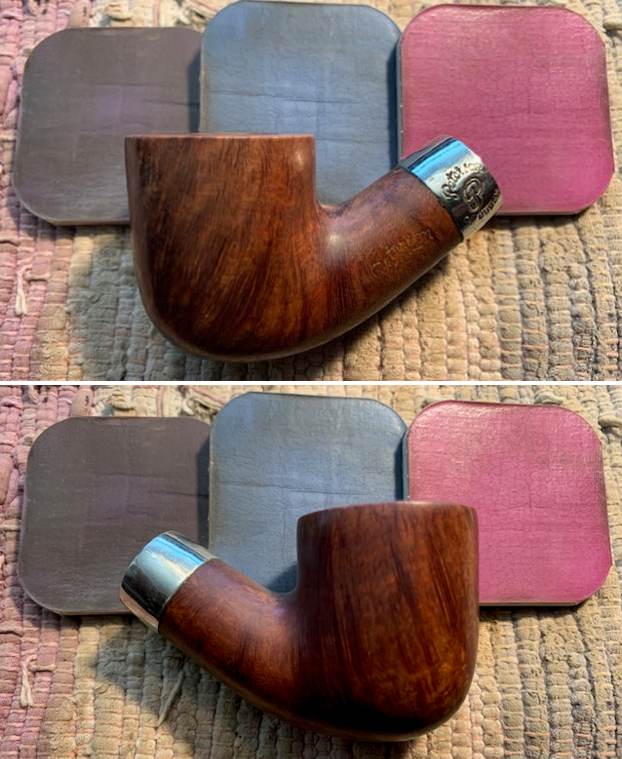
 I am excited to finish this Peterson of Dublin Aran 01 Bent Pot. I put the pipe back together and buffed it with Blue Diamond on the buffing wheel. I gave the bowl and stem multiple coats of carnauba wax. I hand buffed the pipe with a clean buffing pad to raise the shine and hand buffed it with a microfibre cloth to deepen the shine. It is fun to see what the polished bowl looks like with the polished nickel band and the black vulcanite stem. This Classic looking Peterson’s Aran Bent Pot is one of my favourite shapes and it feels great in my hand. It is light and well balanced. Have a look at it with the photos below. The dimensions are Length: 5 ½ inches, Height: 1 ¾ inches, Outside diameter of the bowl: 1 ½ inches, Chamber diameter: ¾ of an inch. The weight of the pipe is 52 grams/1.83 ounces. It is a beautiful pipe and one that will be on the Irish Pipe Makers Section of the rebornpipes store soon. If you are interested in adding it to your collection let me know. Thanks for walking through the restoration with me as I worked over this pipe. Thanks to each of you who are reading this blog.