Blog by Steve Laug
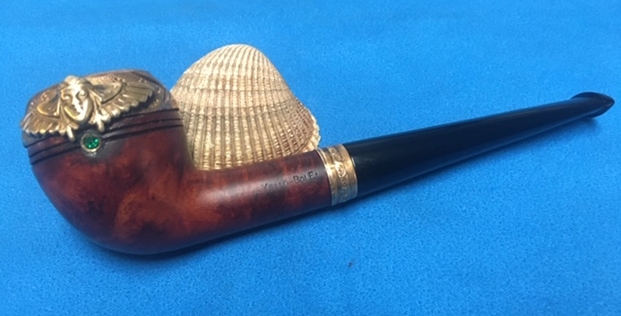
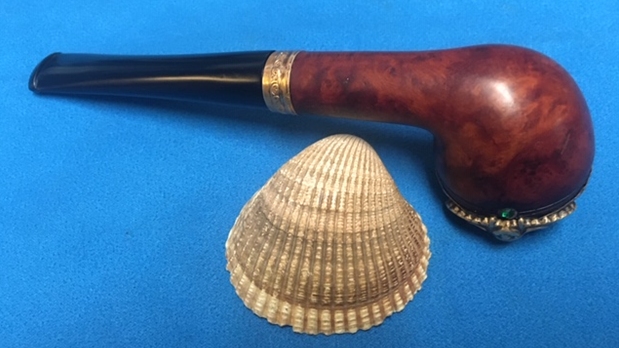
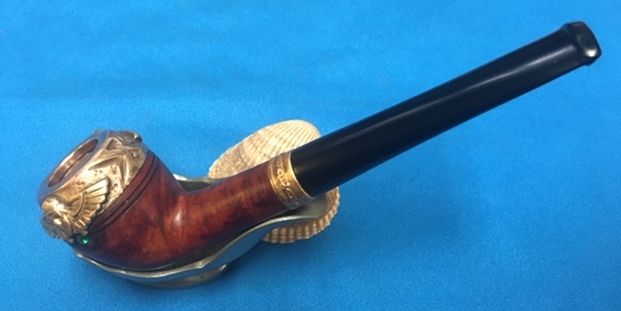
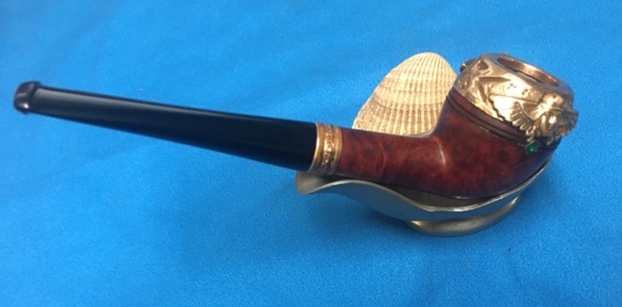
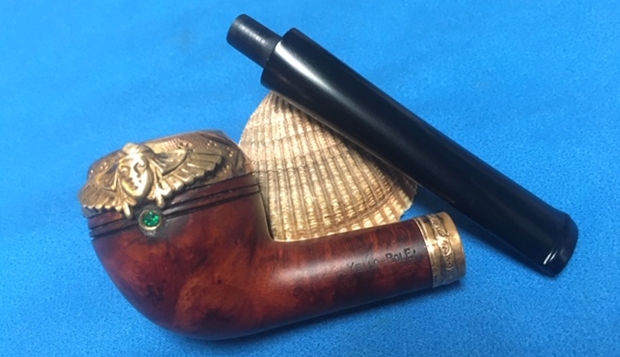
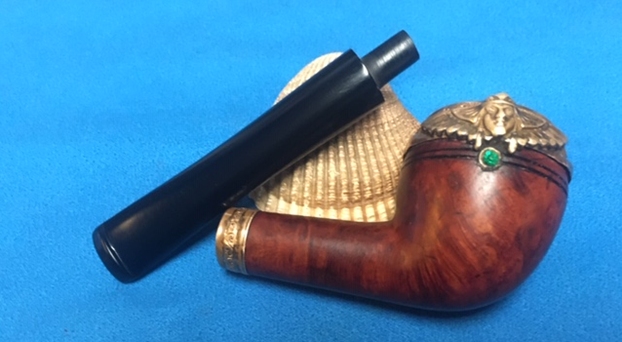
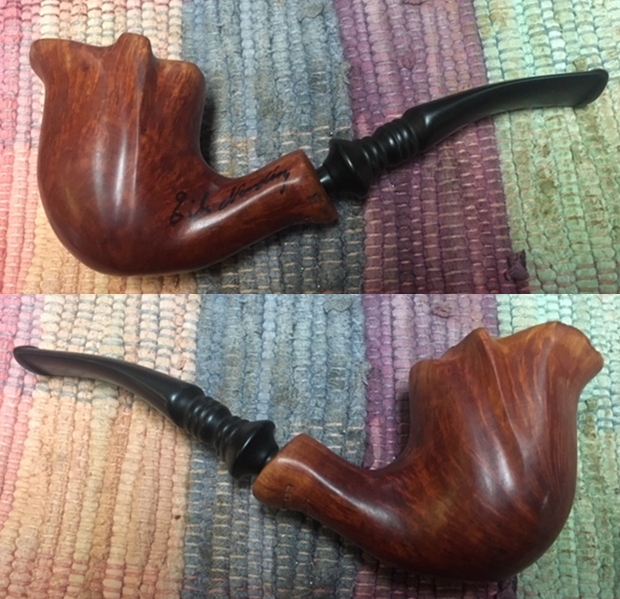
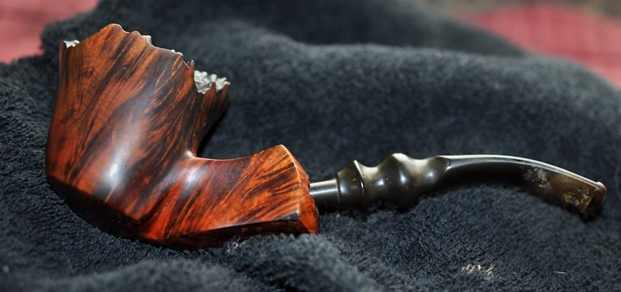
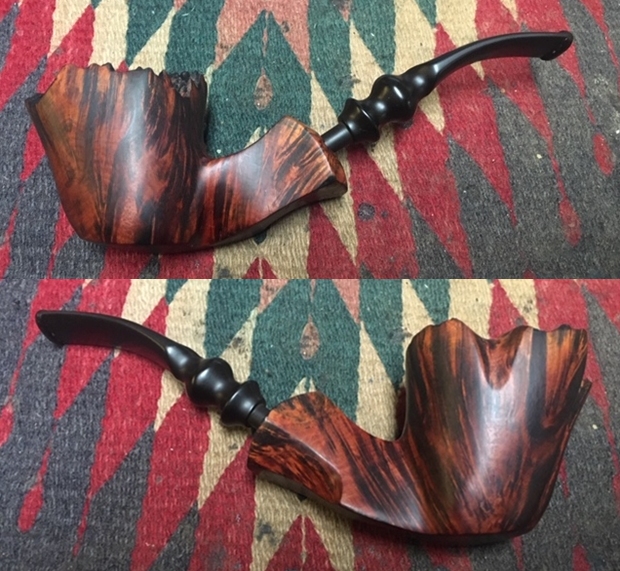
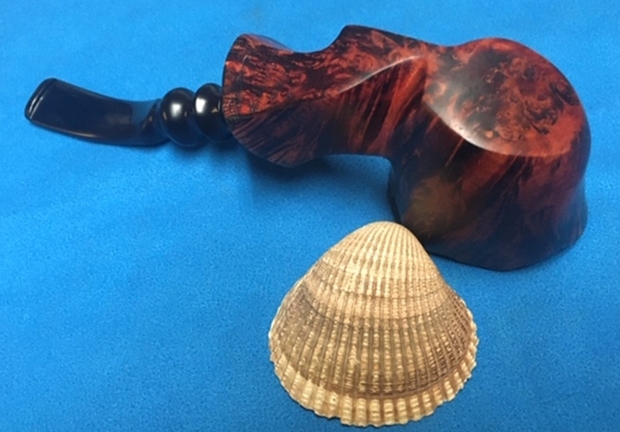
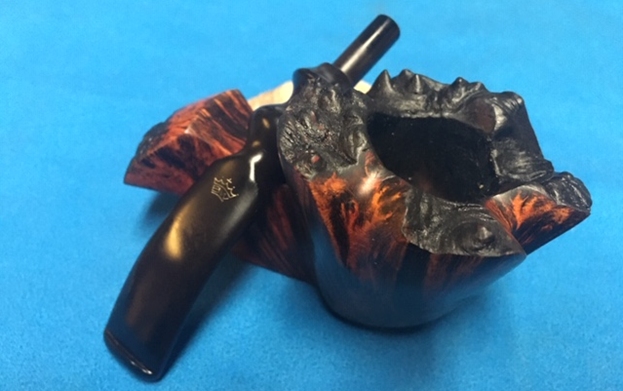
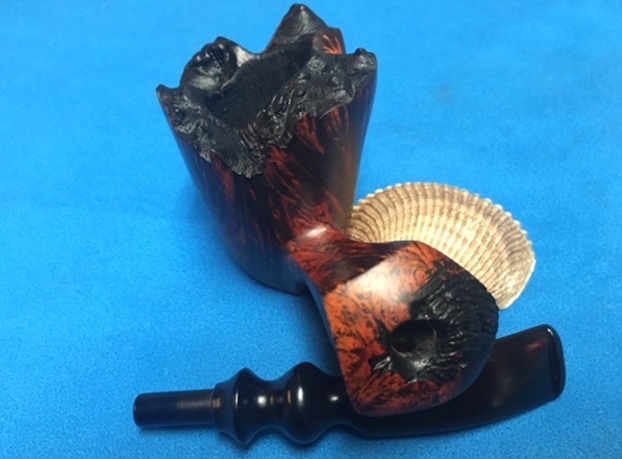
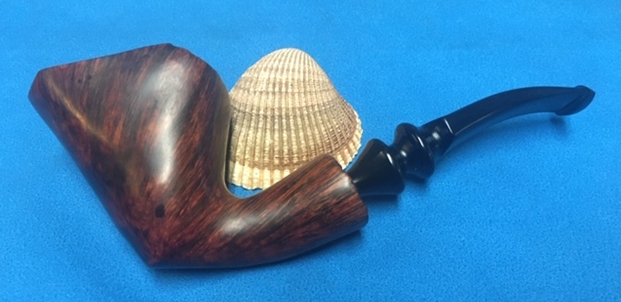
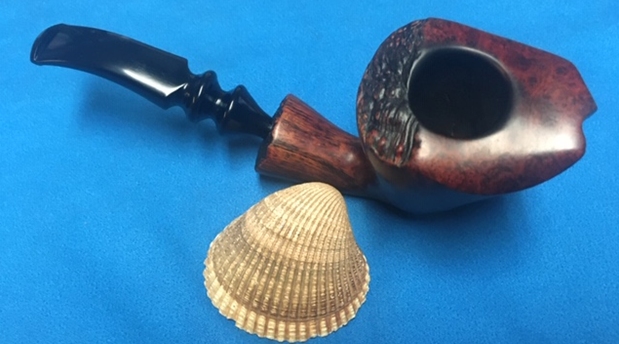
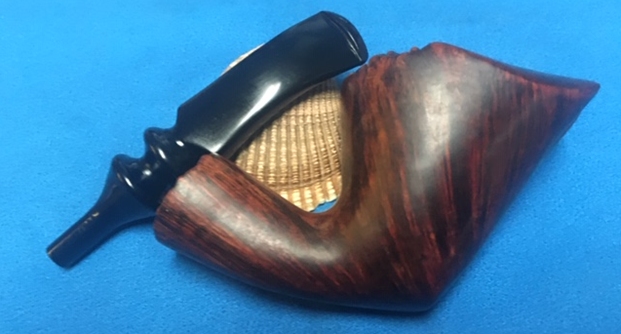
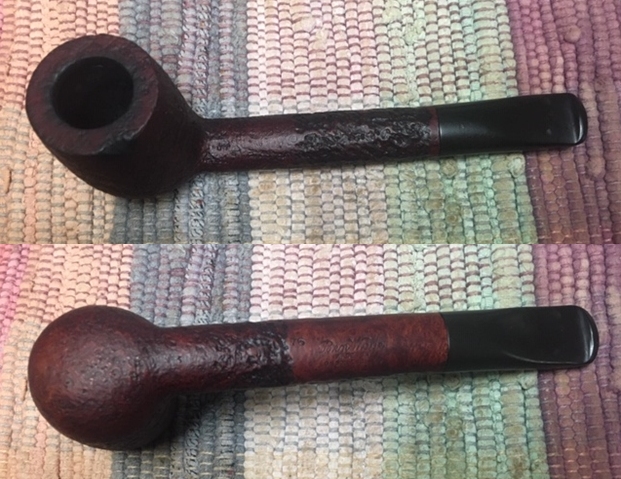
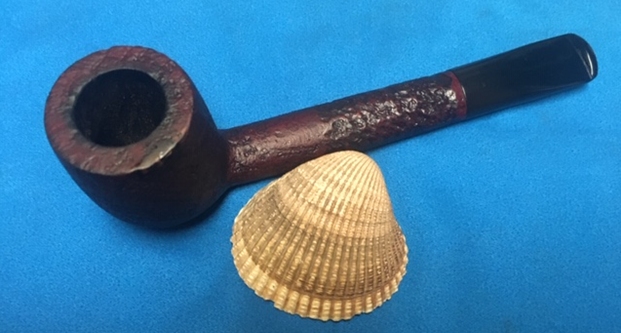
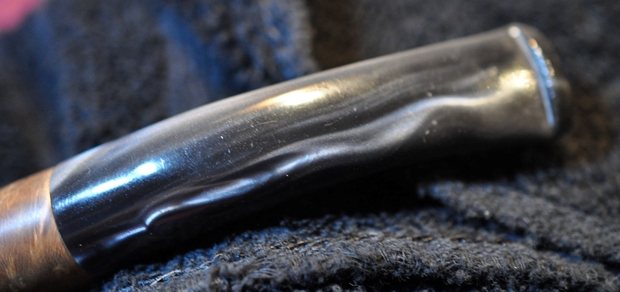
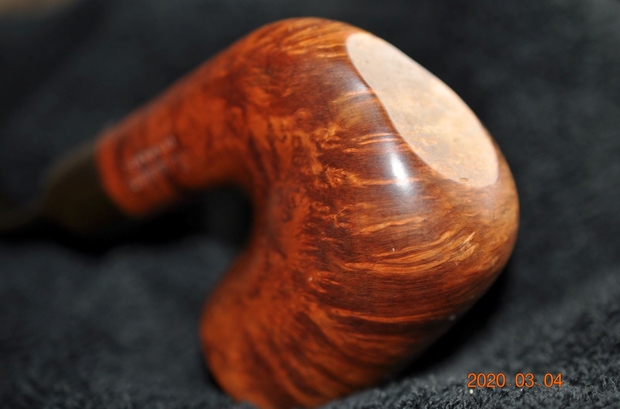
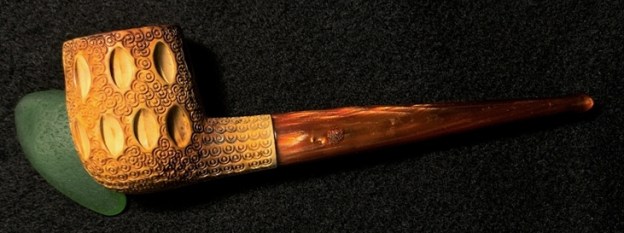
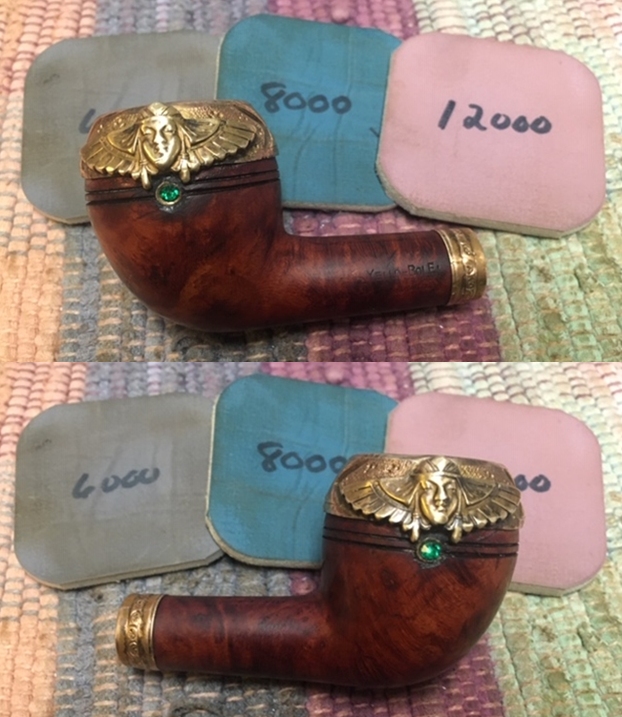
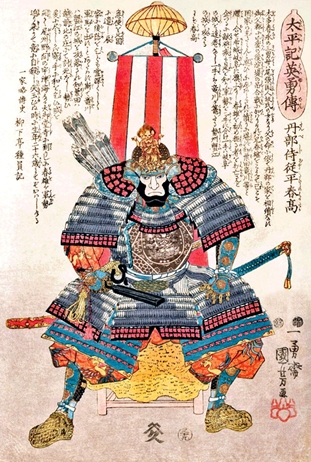 Jeff picked this one up because of our mutual love of older late 19th– early 20th Century. Even in its sorry state when he found it there was a stunning quality about the pipe. The shape and design of the bling make me think it is an Art Deco period pipe 1920s and 1930s. The briar is quite nice and the rim cap is well sculpted. It has a cast head on each side of the cap. The helmeted head looks like a Samurai warrior like the picture to the left. The helmet flares to the left and right like feathers like that. Under the chin of the head is green “gem” or glass inset in a “gold” ring and inlaid in the bowl. There is a matching band around the shank. Those two decorative pieces on the pipe add a touch of unique style to the pipe.
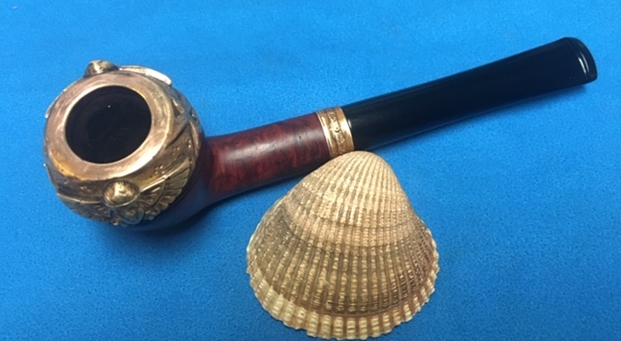
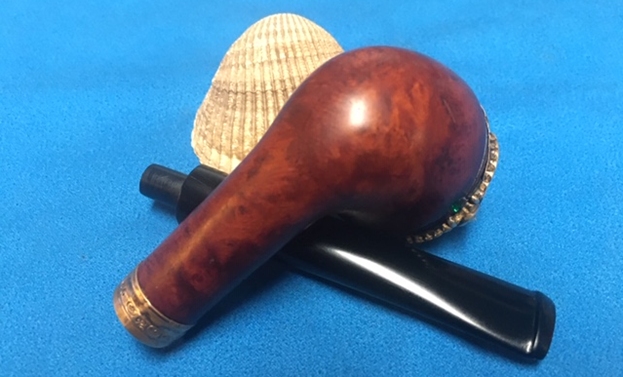
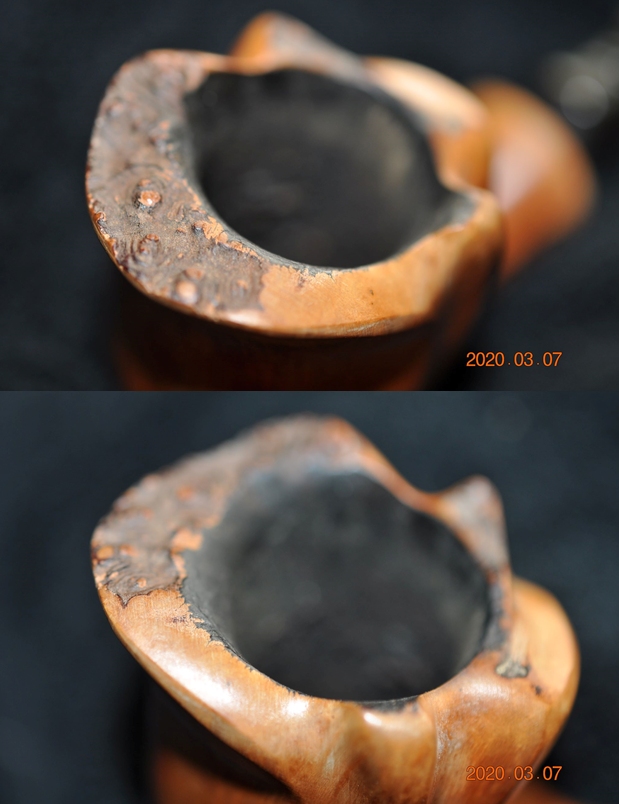
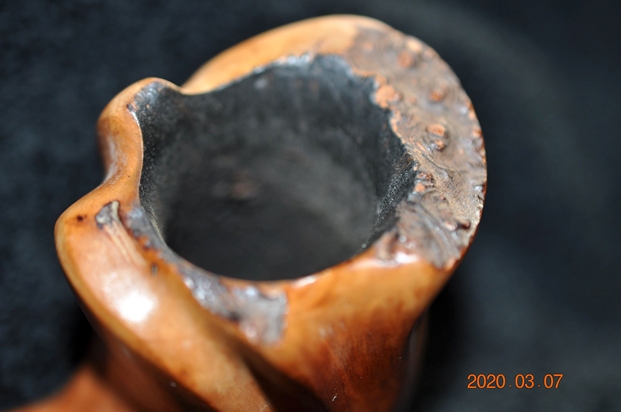
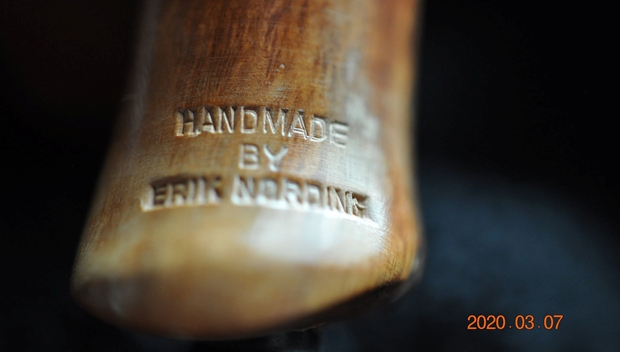
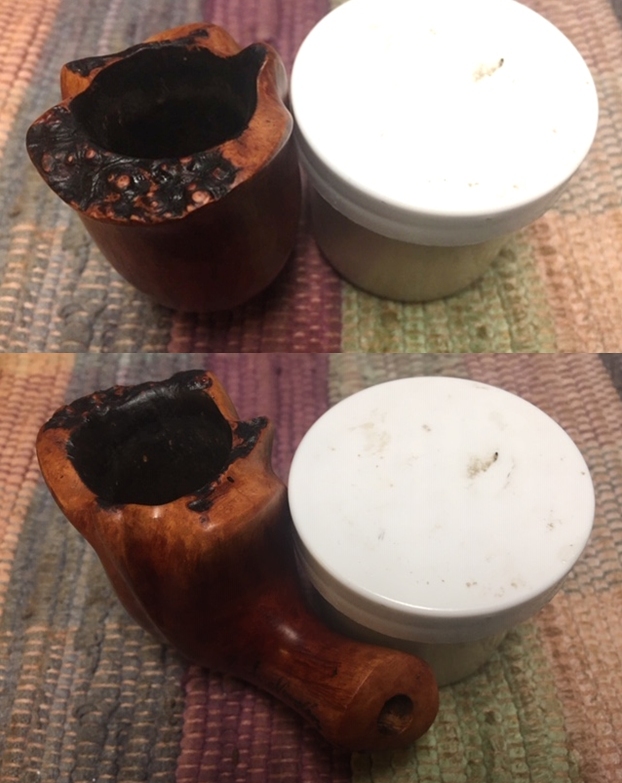
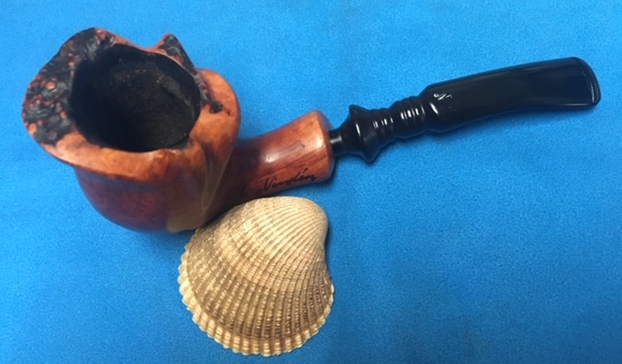
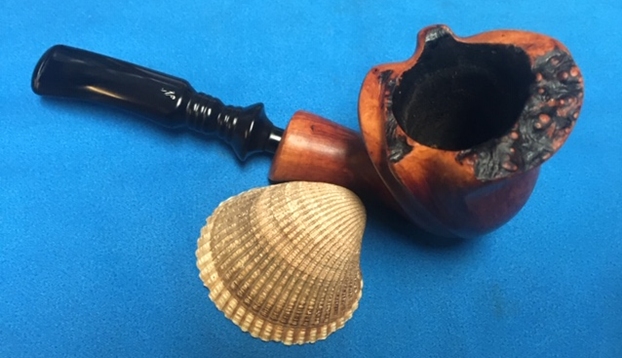
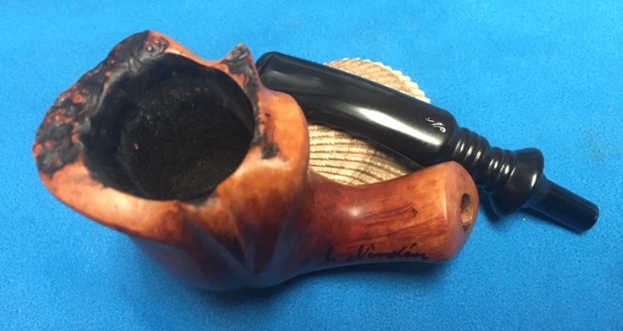
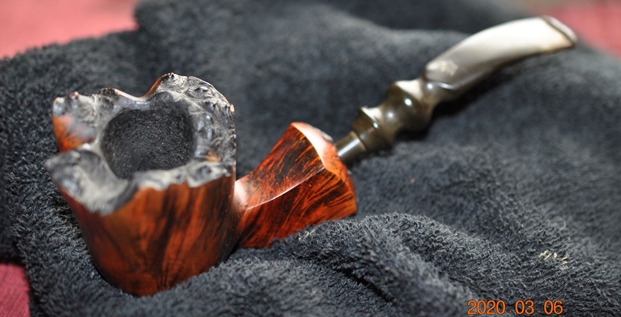
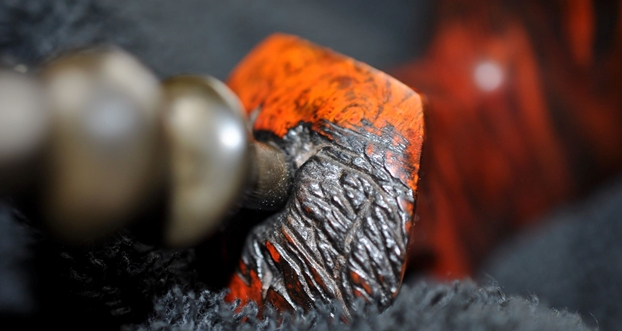
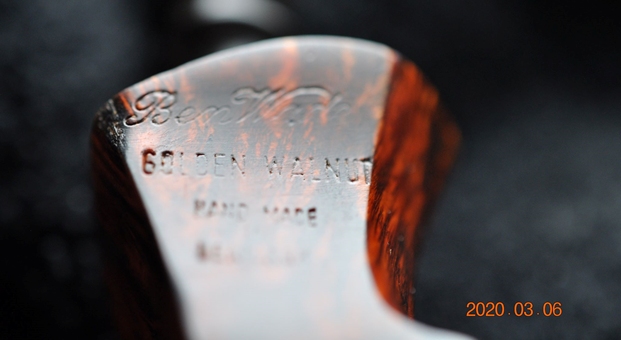
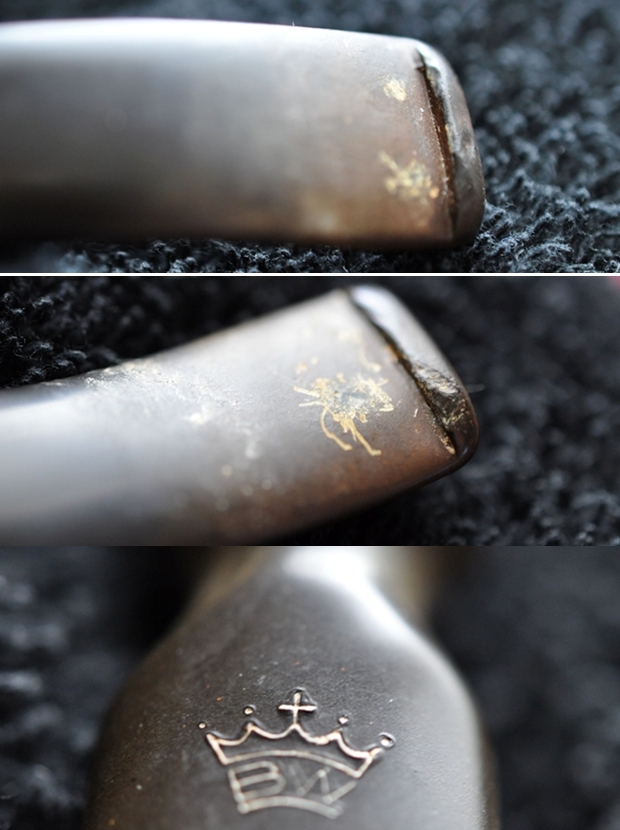
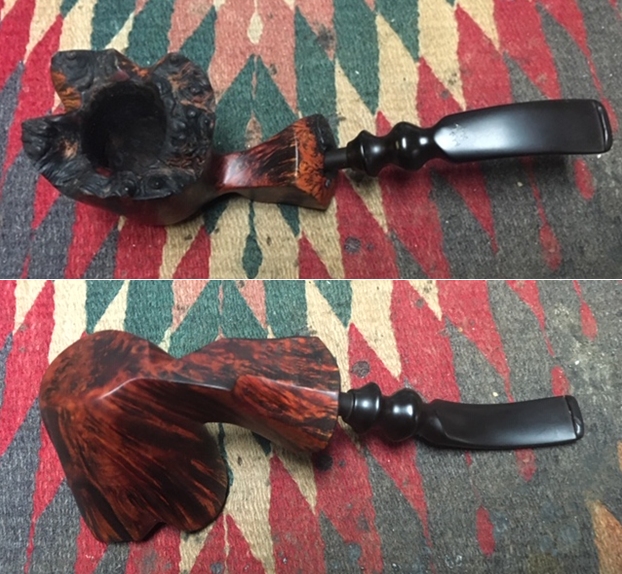
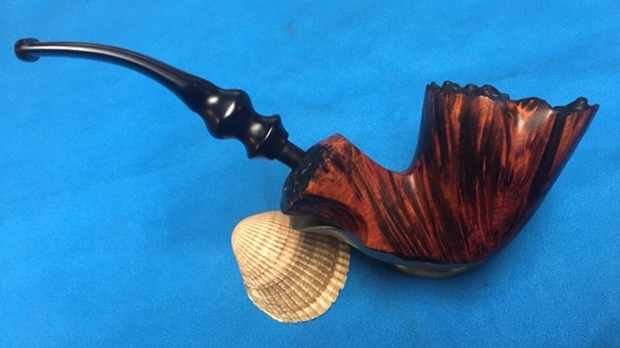
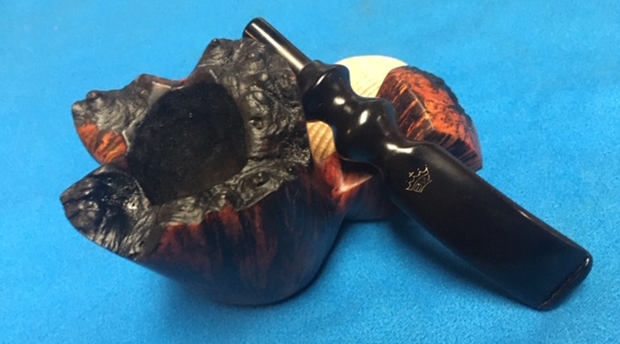
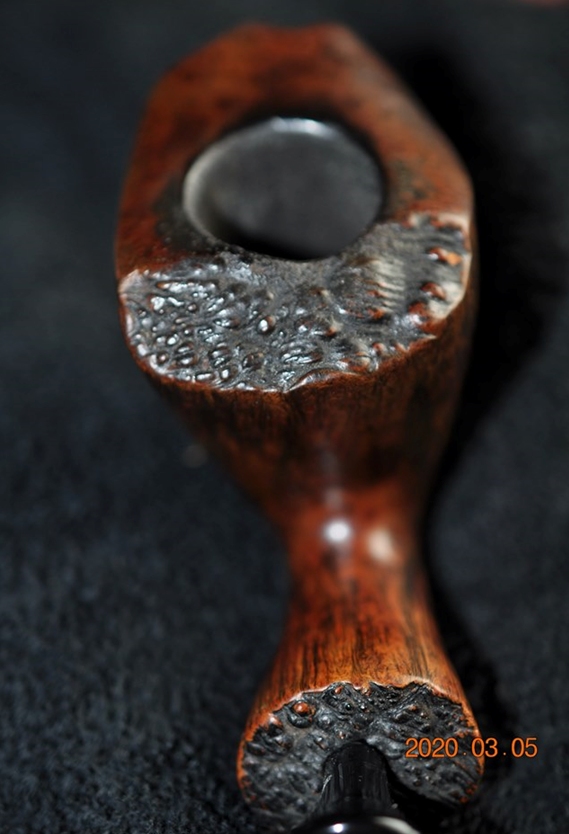
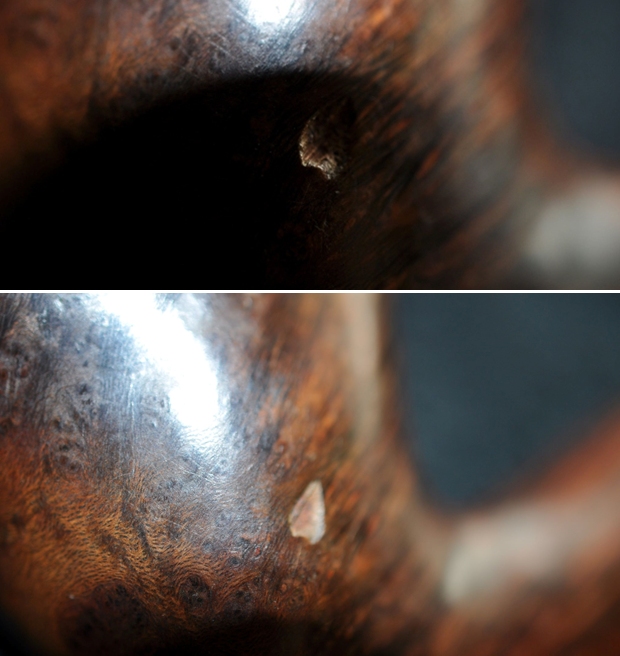
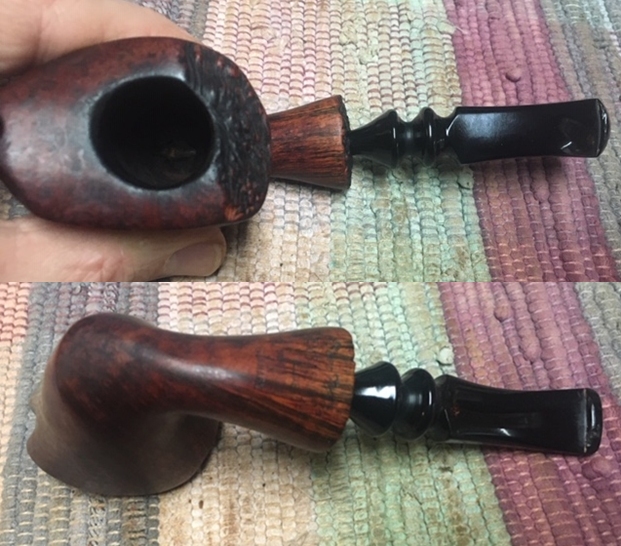
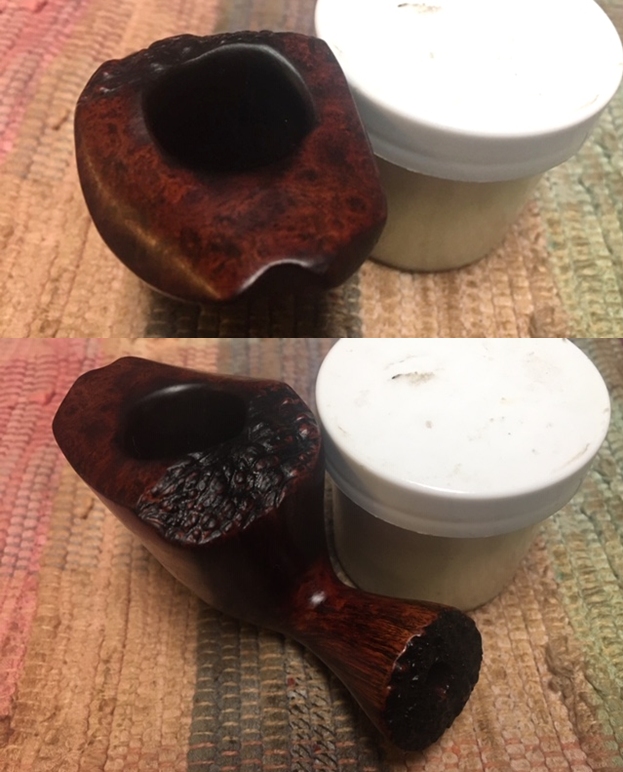
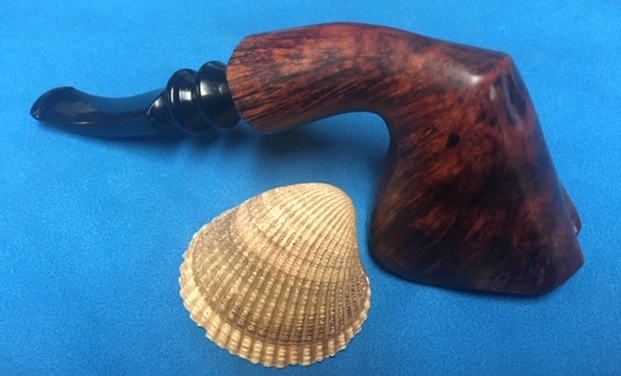
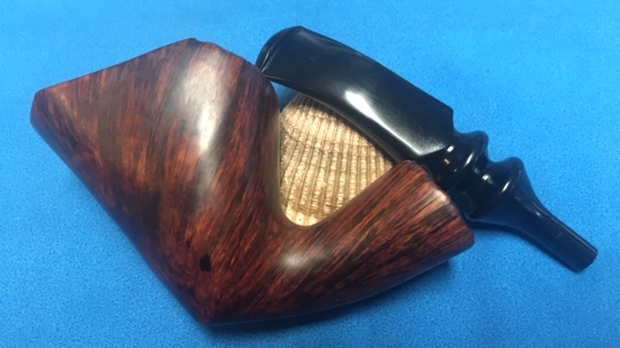
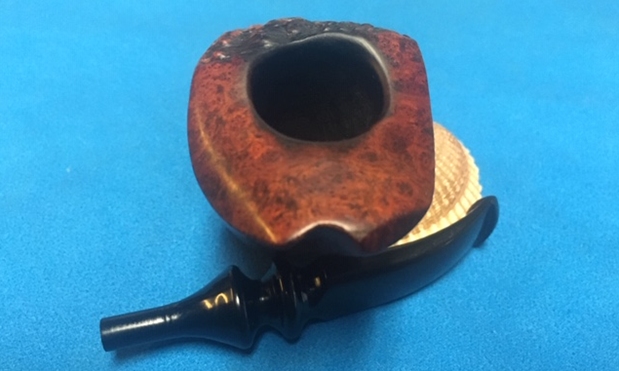
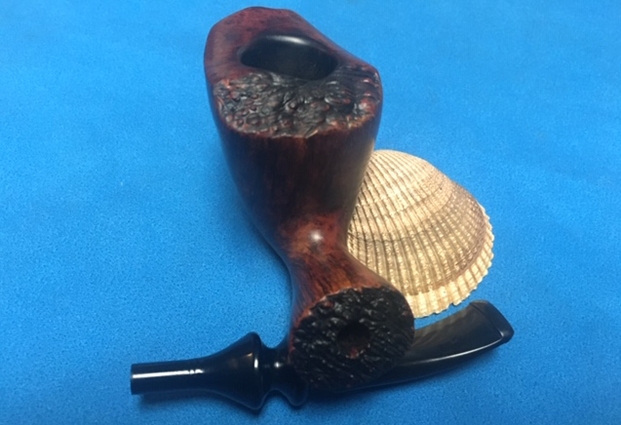
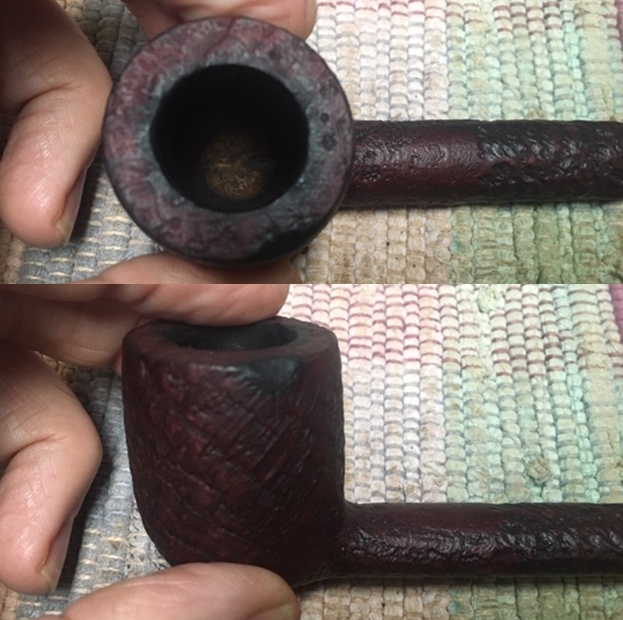
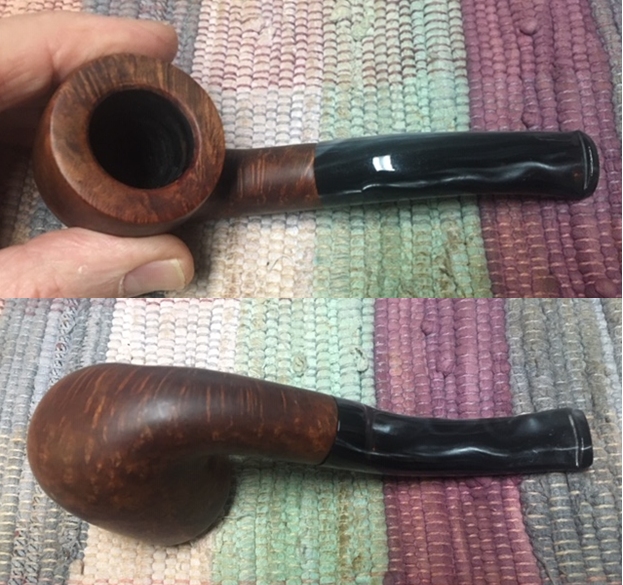
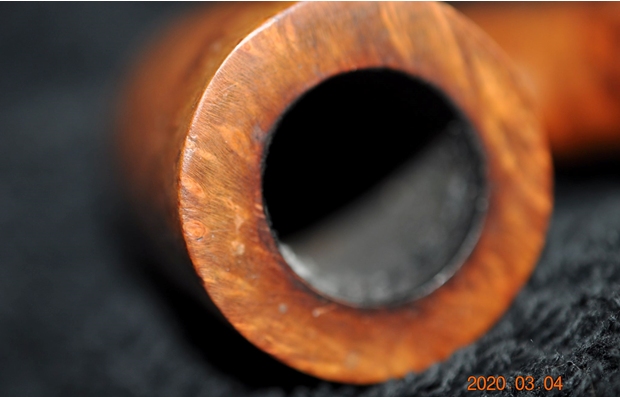
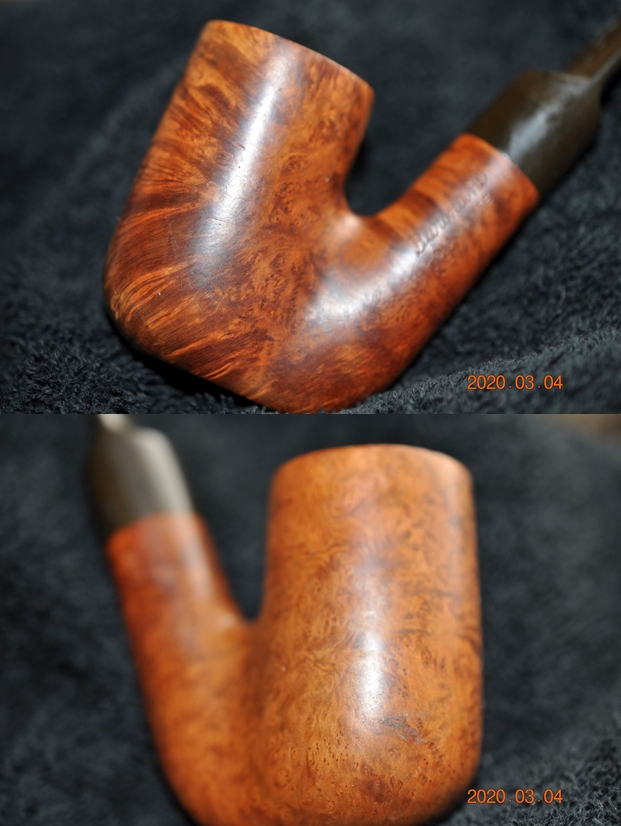
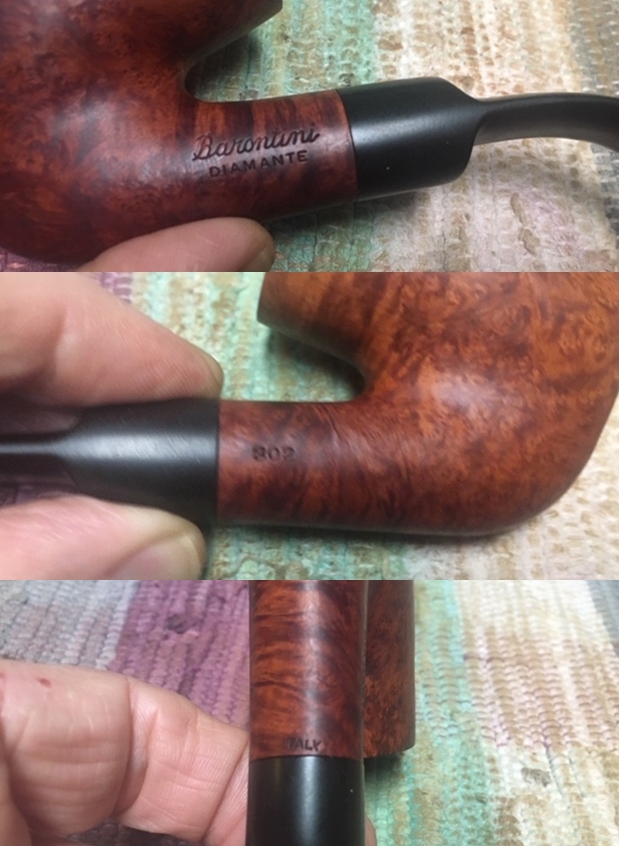
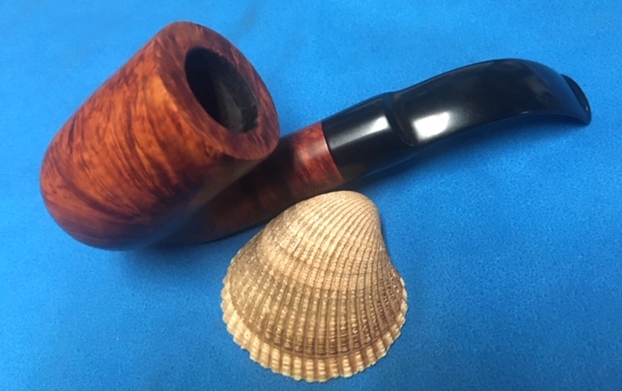
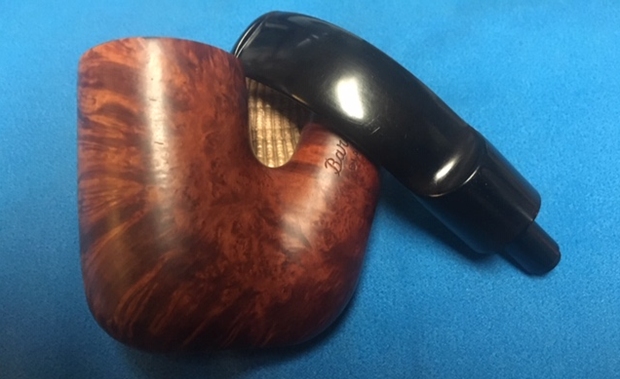
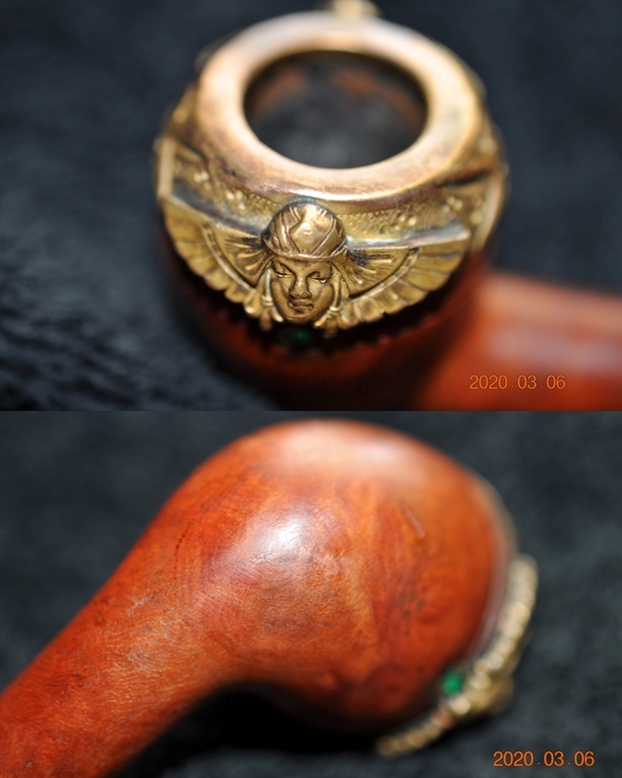
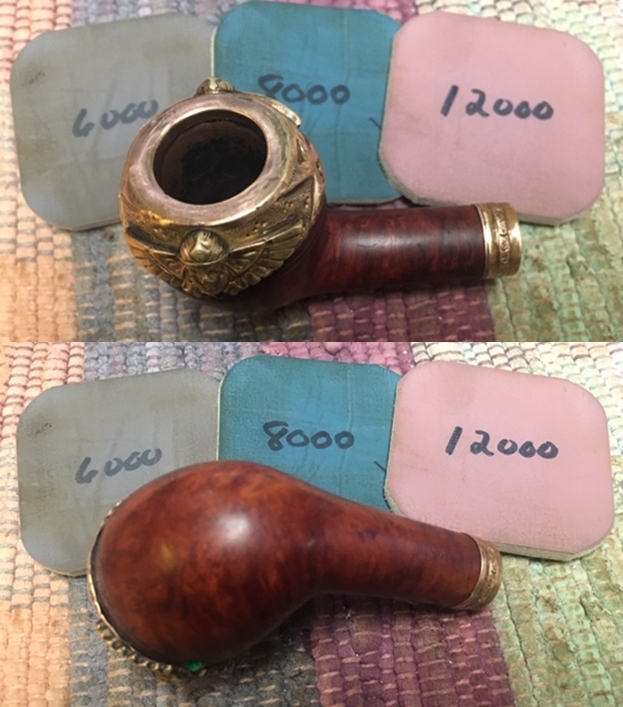
The pipe is stamped on the left side of the shank and read: KBB in a cloverleaf followed by Yello-Bole. Under that it is stamped Cured with Real Honey and an R in a circle. Under that it is stamped Imperial in script. The bottom line of the stamping reads Imported Briar. The finish on this pipe was dirty with dust and a light lava coat on the edge of the rim cap. The bowl was lined with a thick cake and the metal edge of the bowl cap is thickly caked. The smooth finish was also dirty and dull looking. The finish looks good under the grime and dust. The stem is a tapered vulcanite stem with an orific button on the end. The fit of the stem to the shank was snug. There were light tooth marks and chatter on both sides of the stem at the button. Otherwise it was a very clean stem. Jeff took of the pipe to show the overall condition of the bowl and stem.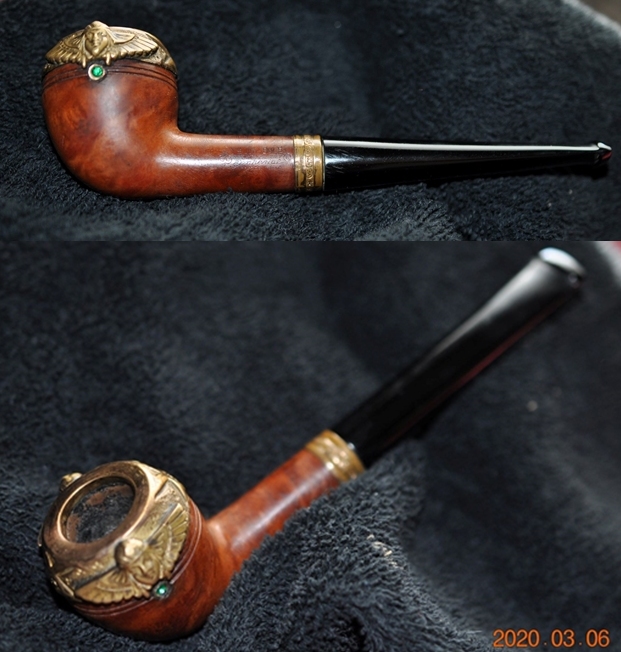 Jeff took some close-up photos of the bowl sides and heel. You can see the cast Samurai head and the inset “gems”. It is dirty and tarnished with a lot of oily tars inserted in the twin rings around the bowl and around the inset gems.
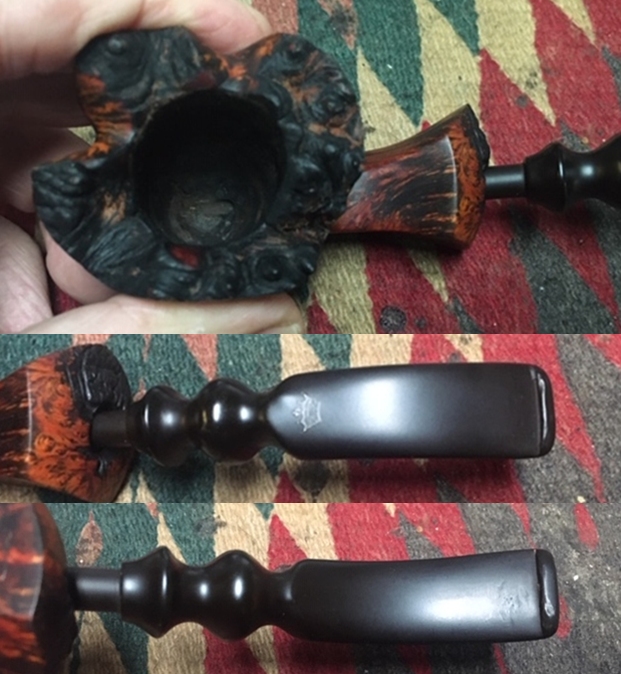
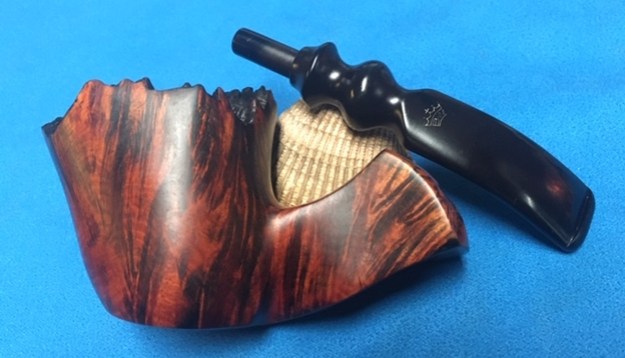
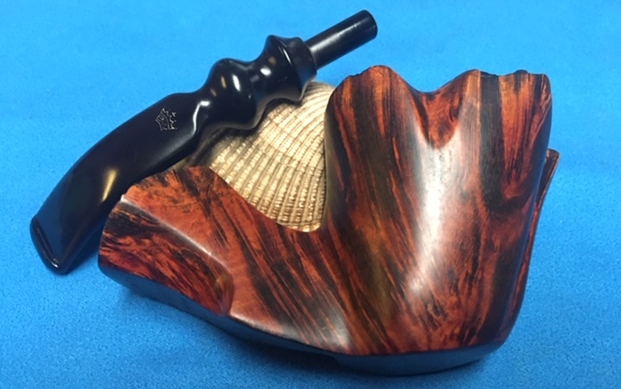
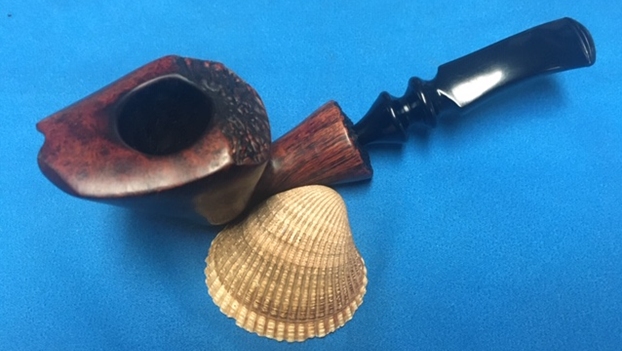
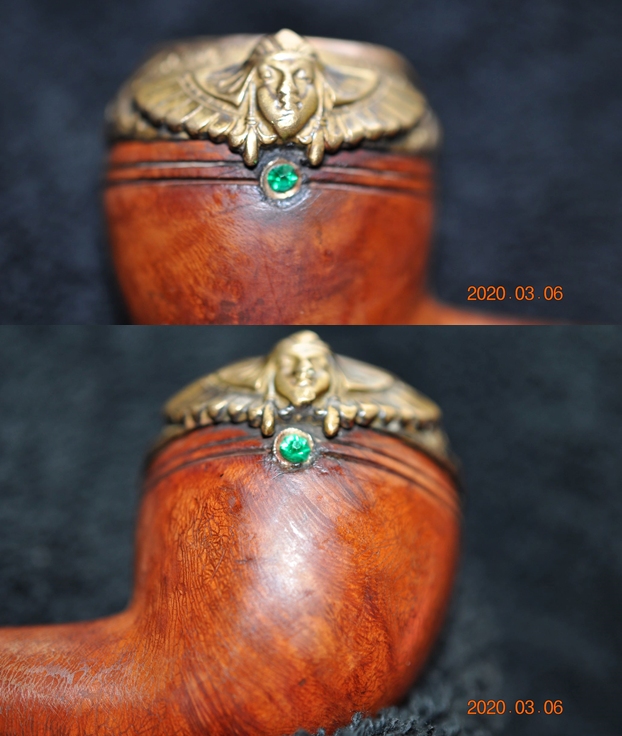
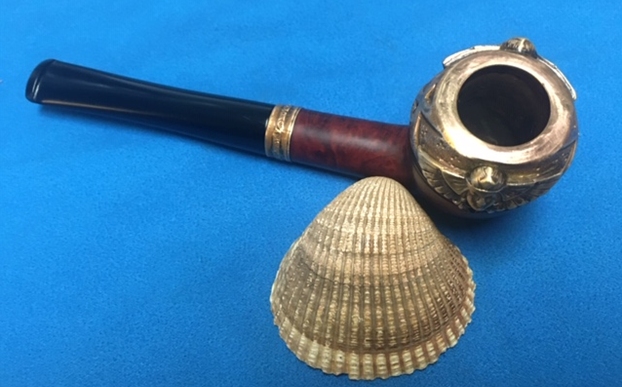
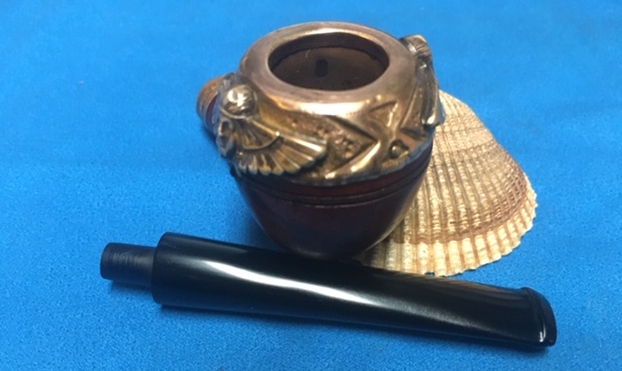
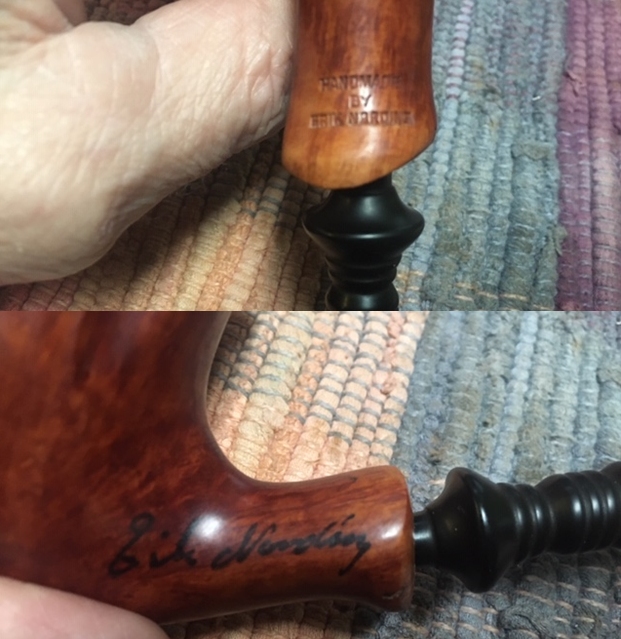
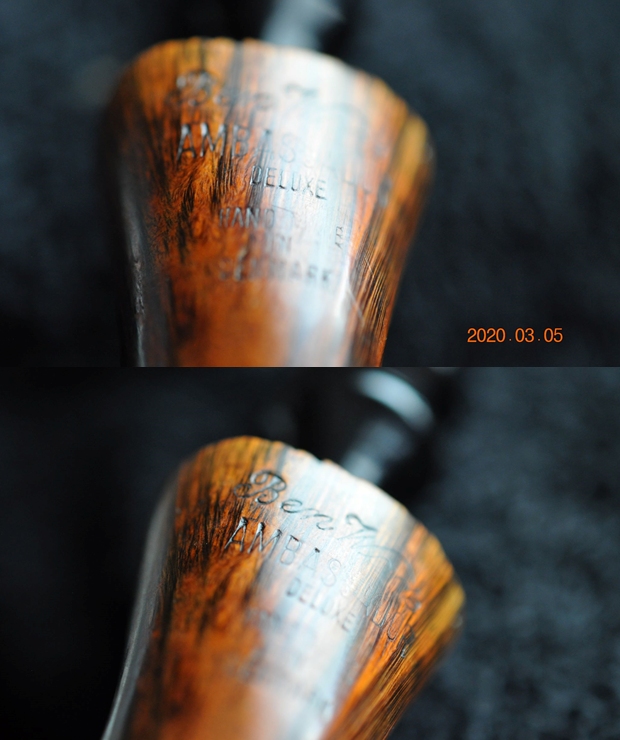
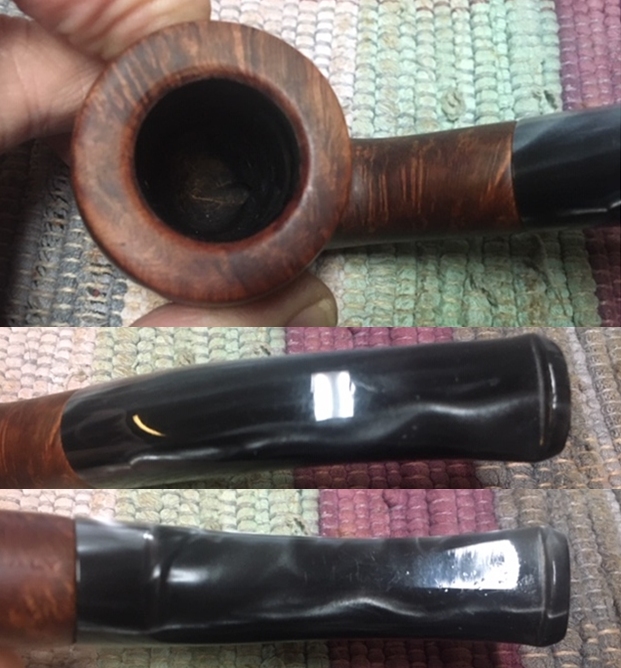
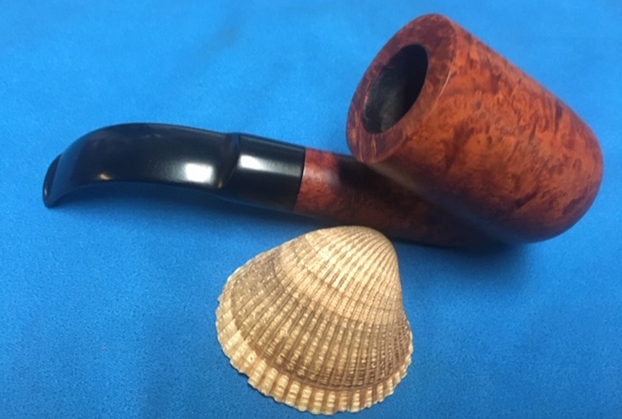
 Jeff took photos of the stamping on the left side of the shank. It is clear and readable but hard to capture in the photos. You can also see the filigree on the band and the scratching on the stem.
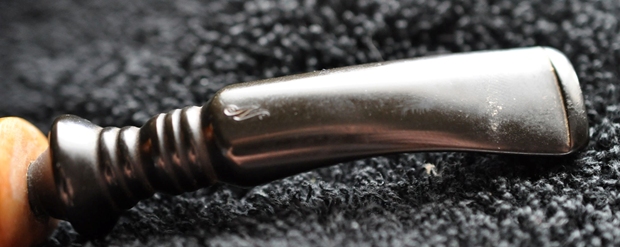
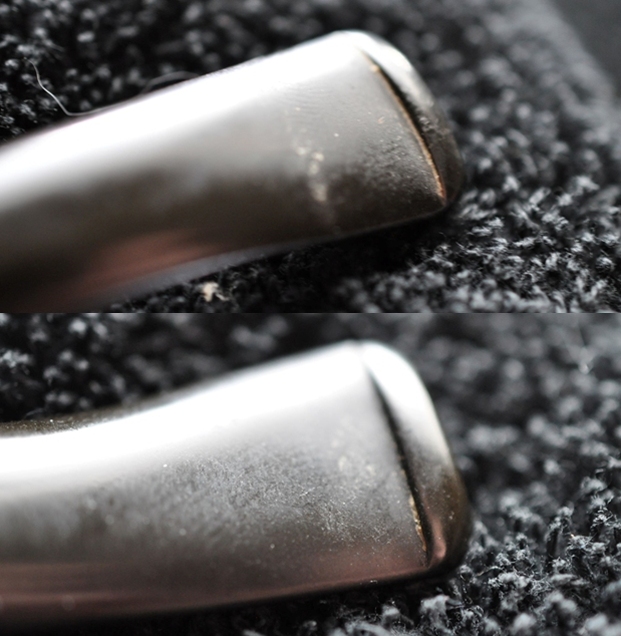
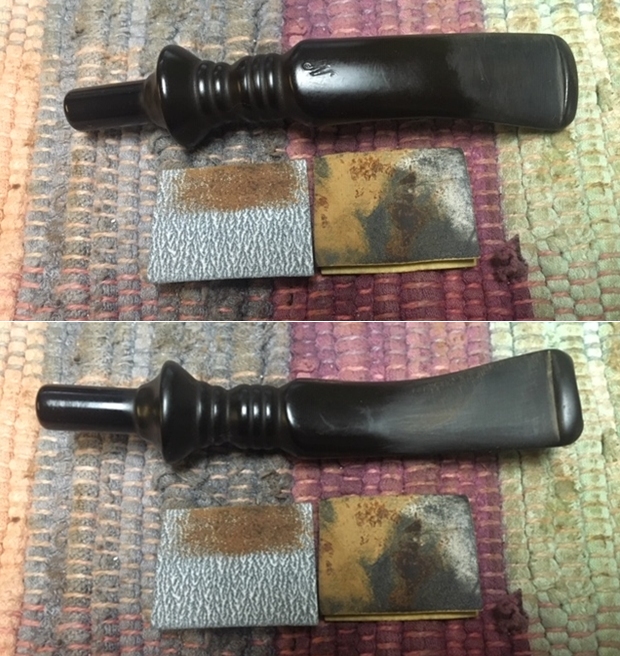
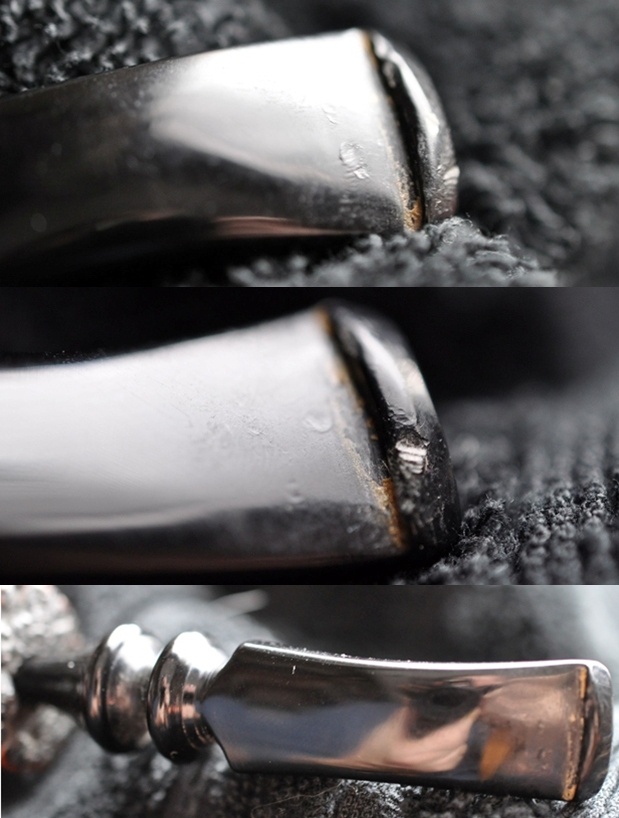
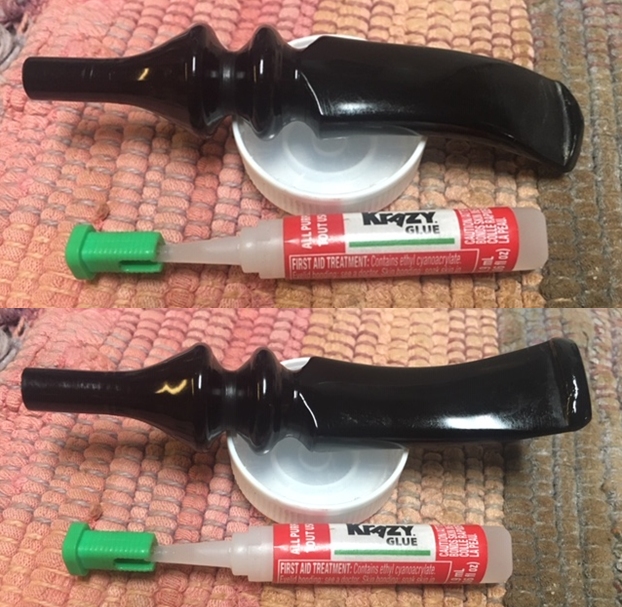
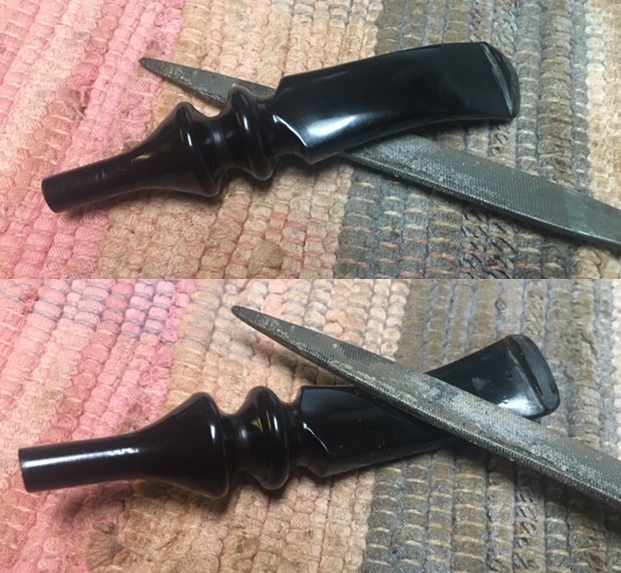
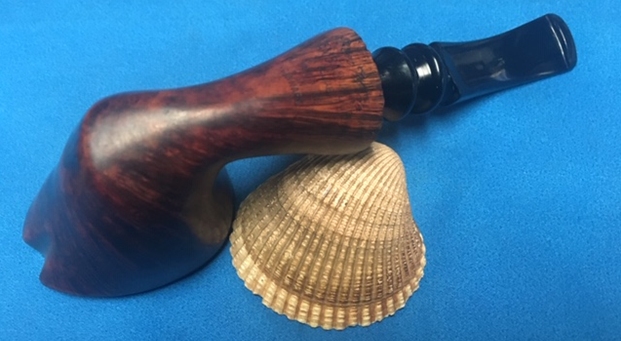
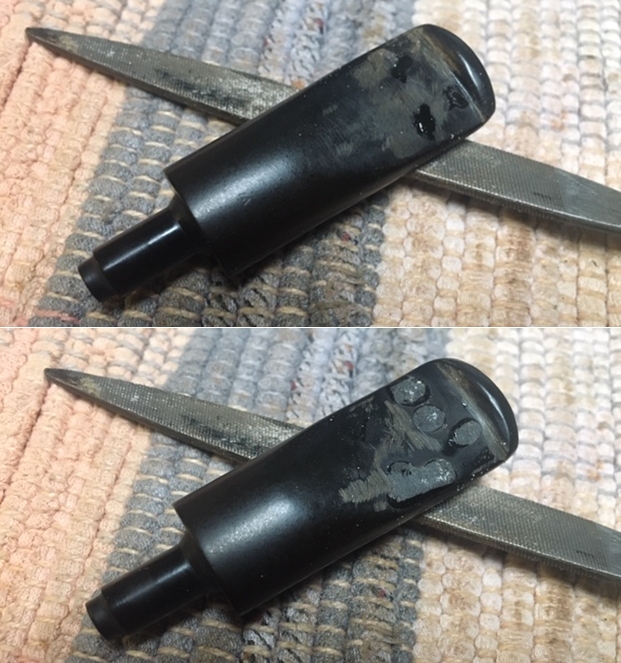
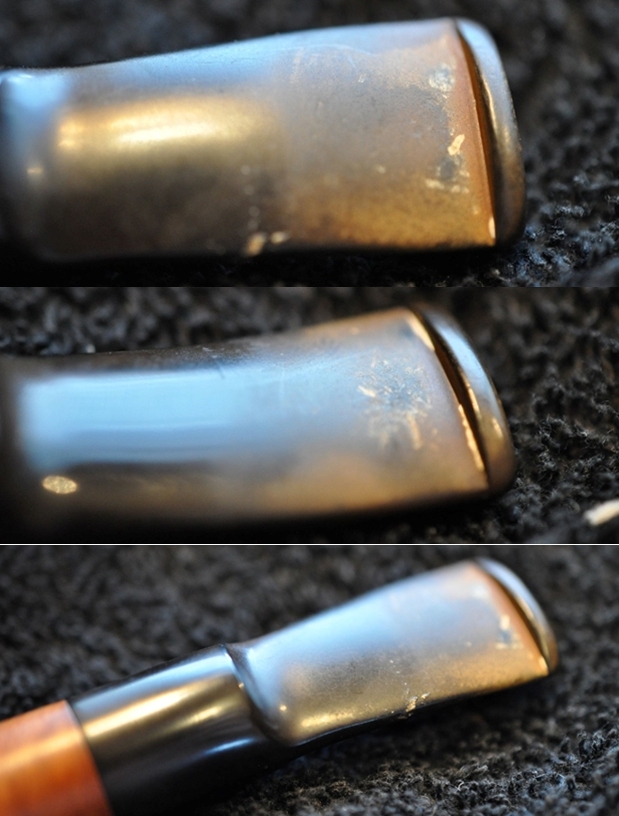
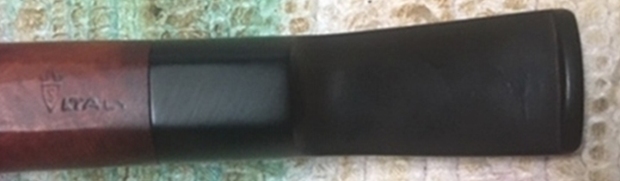
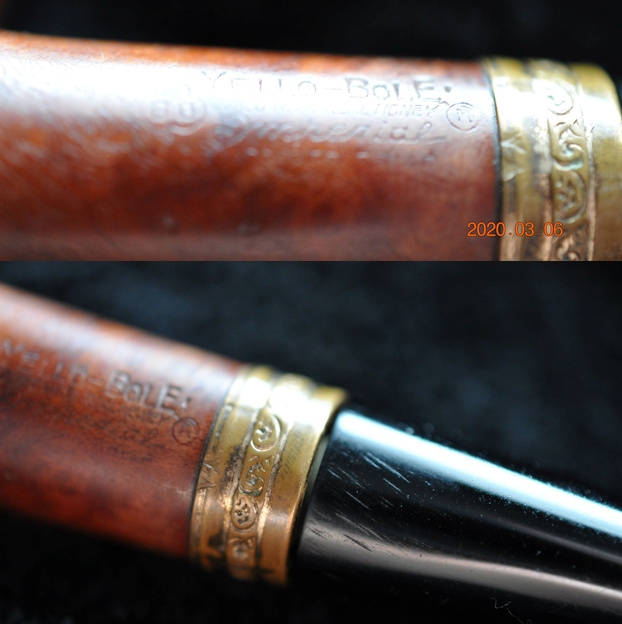 The first photo below shows the full length and profile of the vulcanite stem. The next two photos show the surface of the top and underside of the stem. You can see the light tooth marks and chatter both on the button surface and on the blade itself.
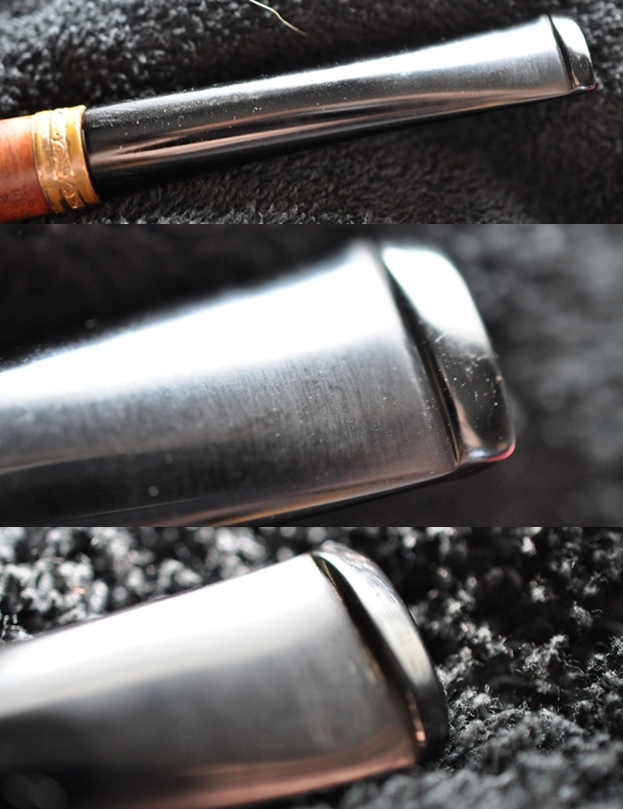 I turned to Pipephil’s site (http://www.pipephil.eu/logos/en/logo-y.html) and captured the following screen. In it the key point is that KBB (Kaufman Brothers & Bondy) expanded their lines by adding the Yello-Bole line in 1932. That helps to date this pipe a bit. From this I knew that the pipe was issued after 1932. It also shows the stamping Cured with Real Honey.
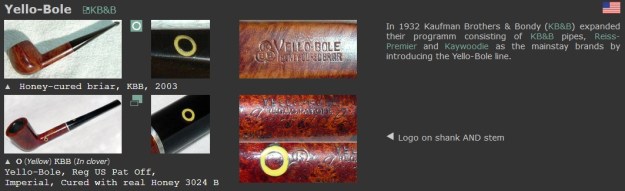 I turned then to Pipedia (https://pipedia.org/wiki/Yello-Bole) to see if I could pin down the date with a little more clarity. I quote two pertinent parts of the article below:
In 1932 Kaufman Brothers & Bondy (KB&B), est. 1851, expanded their program consisting of KB&B pipes, Reiss-Premier and Kaywoodie as the mainstay brand by introducing the Yello-Bole line. Yello-Bole was designed as an outlet for lower grade briar not used in Kaywoodie production…
Tips for Dating Yello-Bole Pipes
- KBB stamped in the clover leaf indicates it was made in 1955 or earlier as they stopped this stamping after being acquired by S.M. Frank.
- Pipes from 1933-1936 they were stamped “Honey Cured Briar”
- Post 1936 pipes were stamped “Cured with Real Honey”
- Pipe stems stamped with the propeller logo were made in the 1930’s or 1940’s – no propellers were used after the 1940’s.
- Yello Bole used a 4 digit code stamped on the pipe in the 1930’s.
- Pipes with the Yello-Bole circle stamped on the shank it were made in the 1930’s, this stopped after 1939.
- Pipes stamped BRUYERE rather than BRIAR it was made in the 1930’s.
I have highlighted the two lines in the dating article that help narrow down the date for me. The first tells me that pipes stamped with the KBB in the cloverleaf indicate that the pipe was made prior to 1955. Now I had both a starting and ending date to work with 1932-1955. The second red highlighted text tells me that pipes stamped Cured with Real Honey came out after 1936. This took it a bit further for me. I knew that the pipe I have is made after 1936. The fact that it is an Art Deco piece sets the end date a bit closer. I now knew that the pipe was made between 1936-1939. I was definitely honing in on the date.
I did some more research online to establish the ending date of the Art Deco period and found this interesting site:
In 1937 came the Exposition Internationale des Arts et Techniques dans la Vie Moderne. Its emphasis on science and technology decisively, if unintentionally, marked the end of the Art Deco period (https://theculturetrip.com/europe/france/paris/articles/a-history-of-art-deco-in-1-minute/).
With the additional information I can with some certainty say that this pipe was made sometime in the period of 1936-1937.
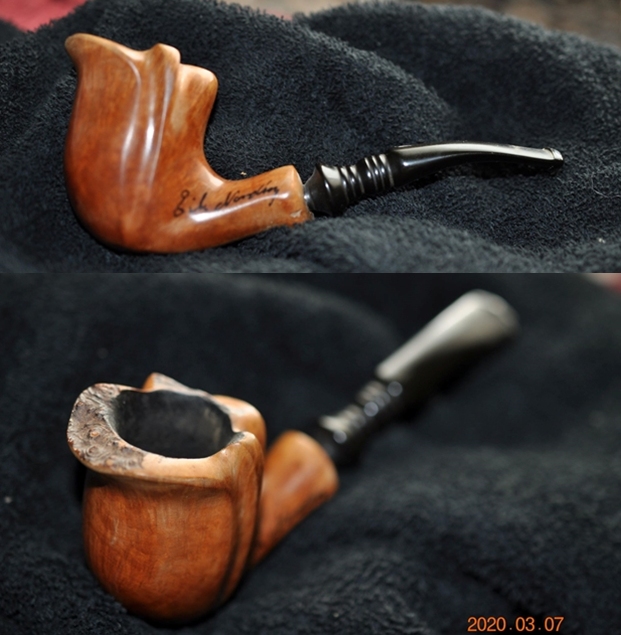
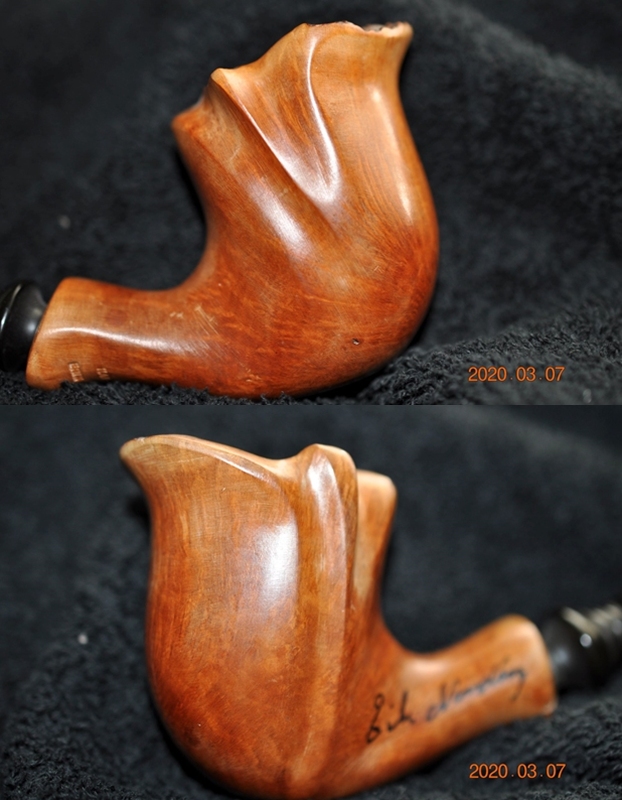
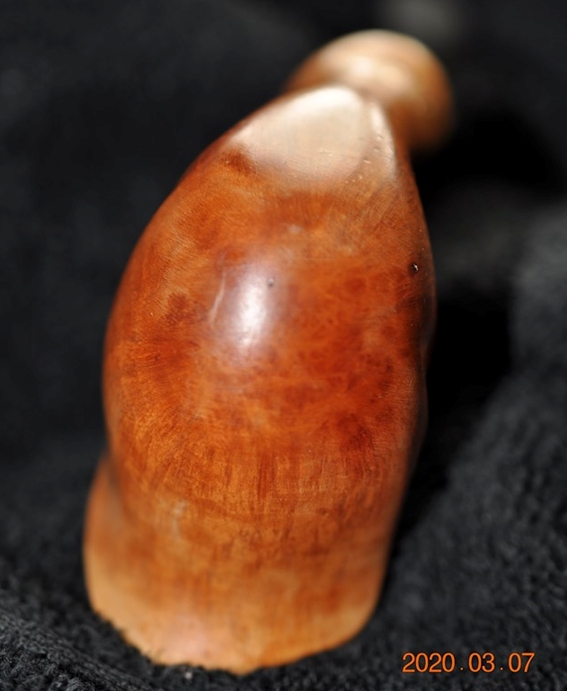
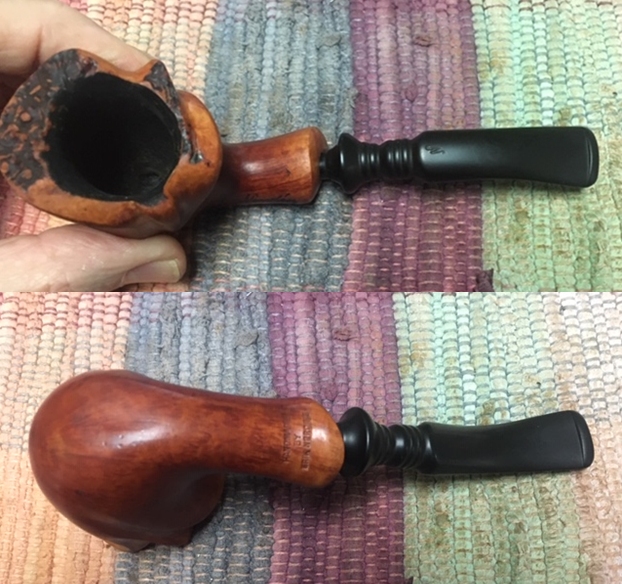
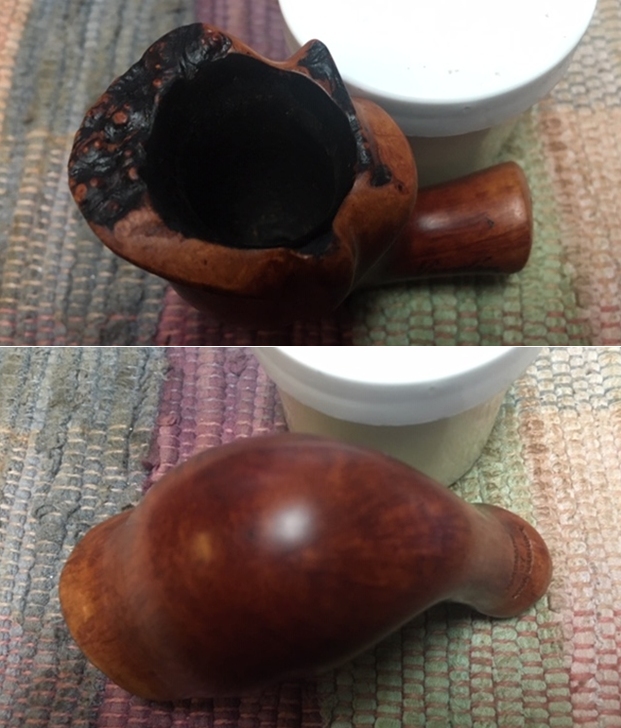
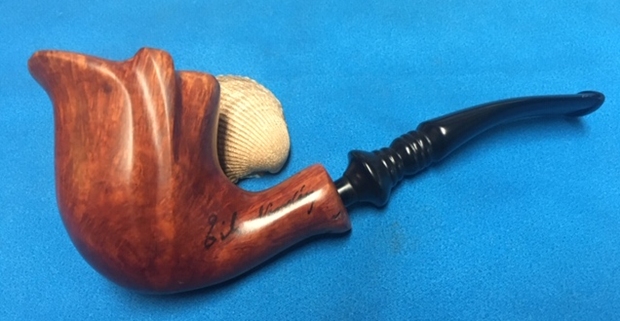
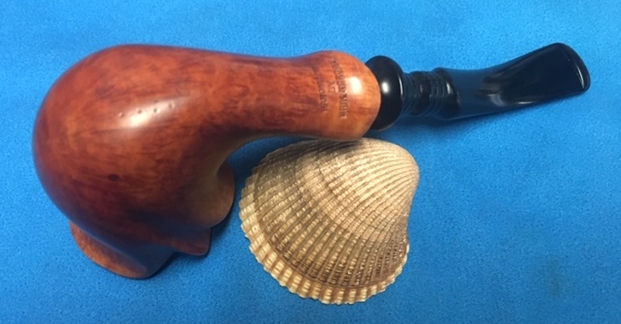
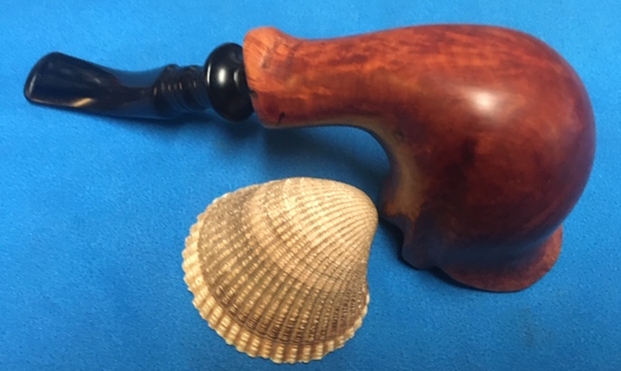
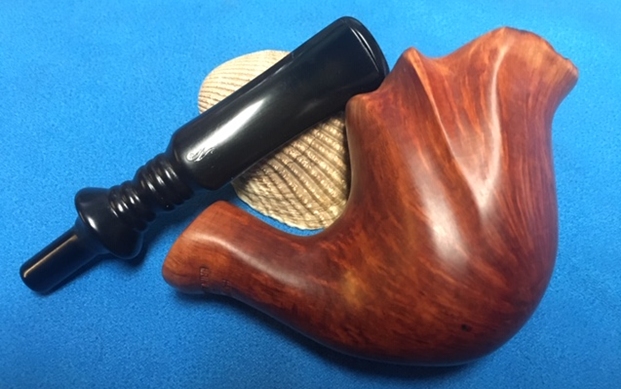
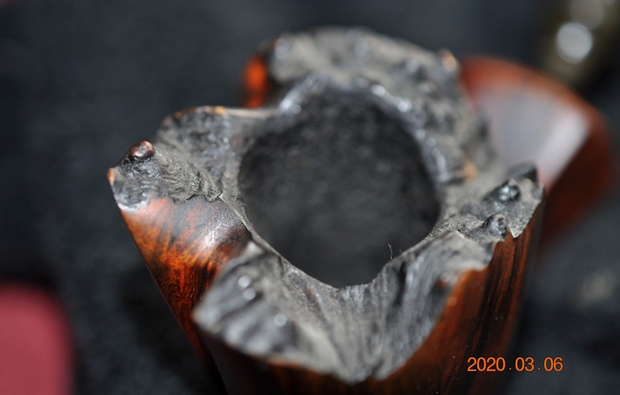
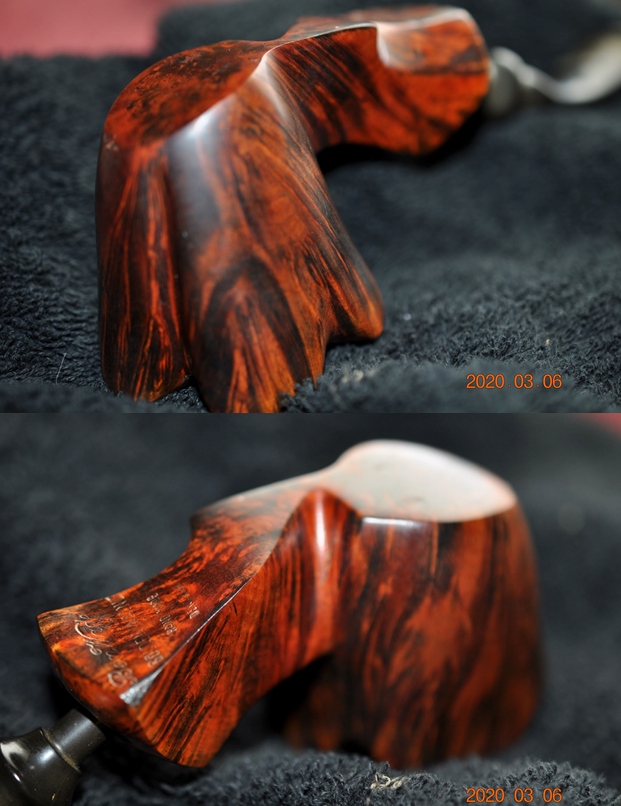
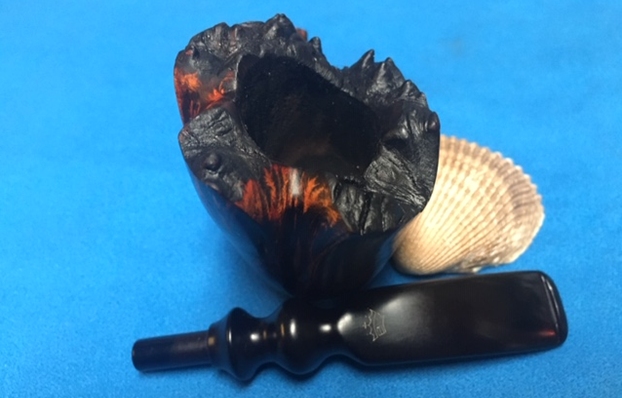
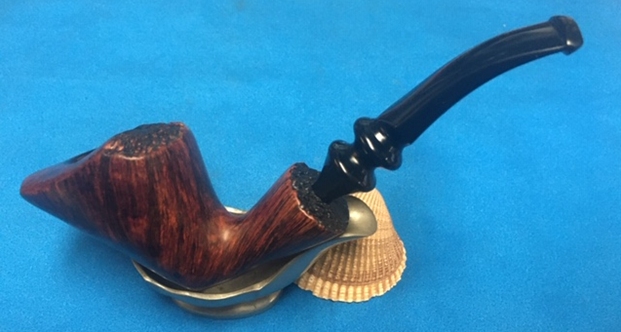
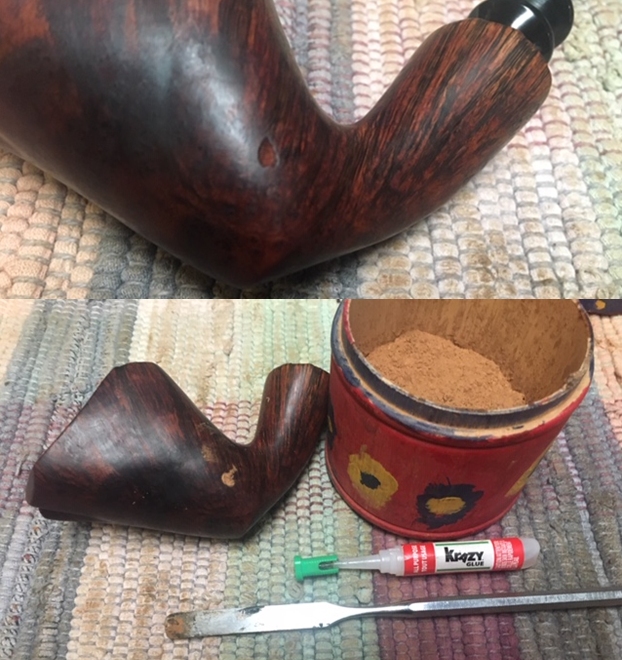
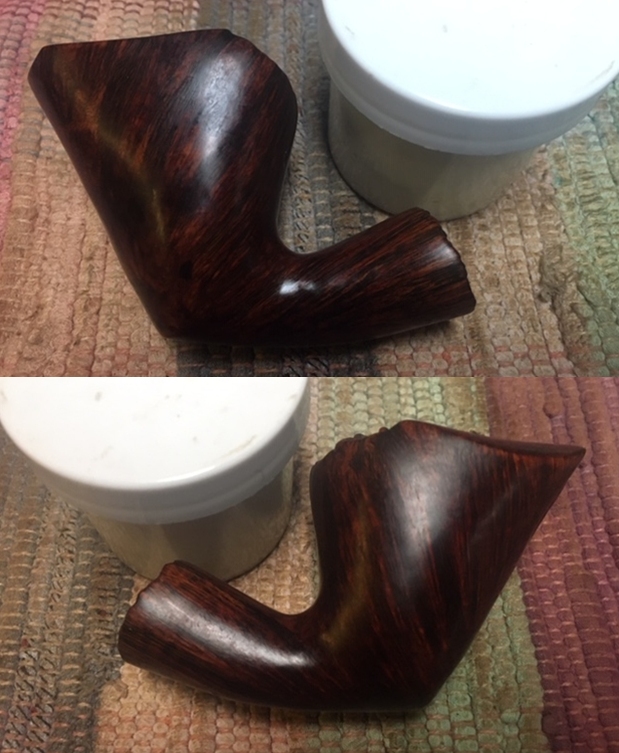
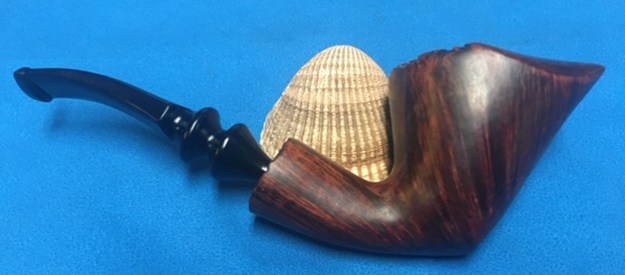
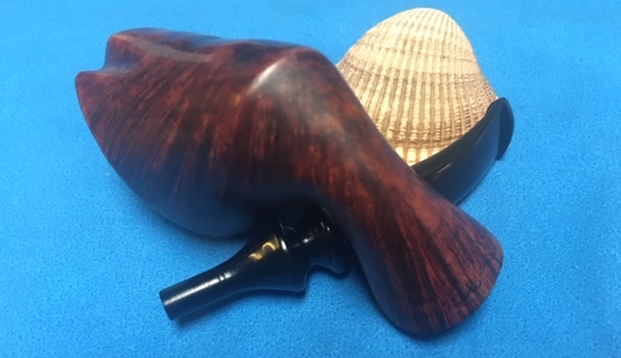
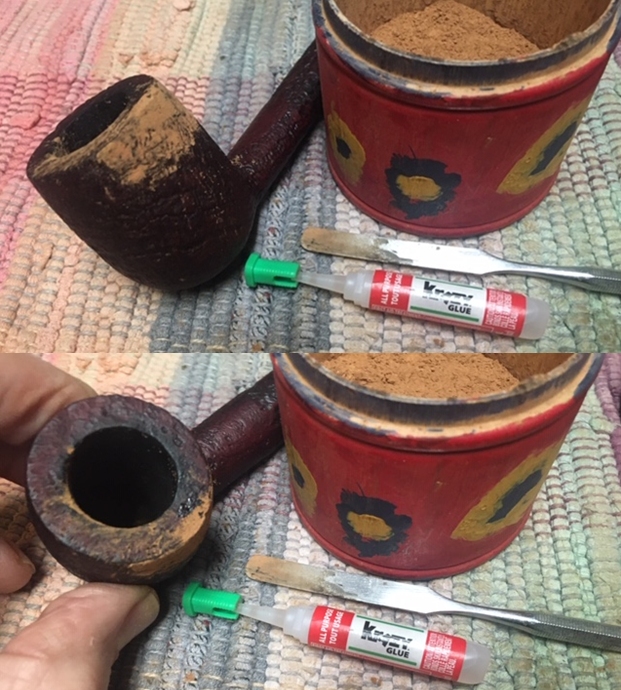
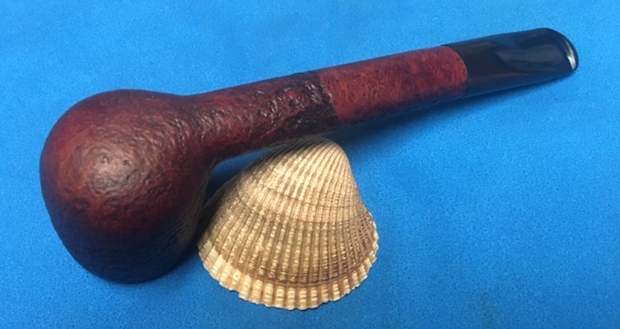
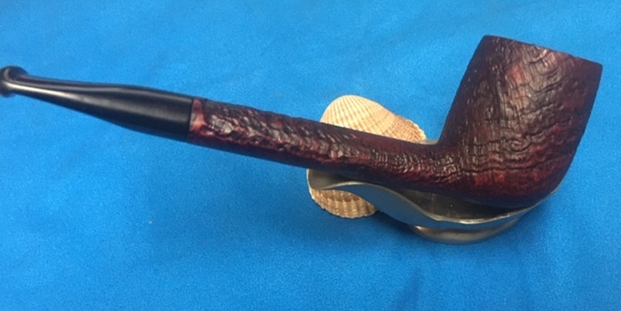
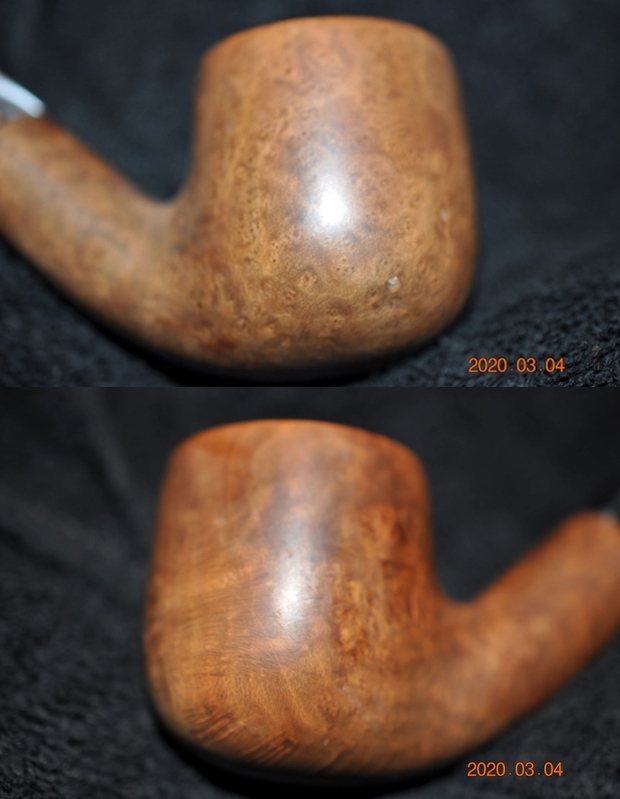
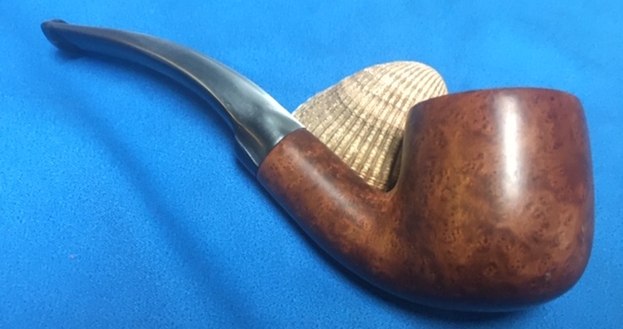
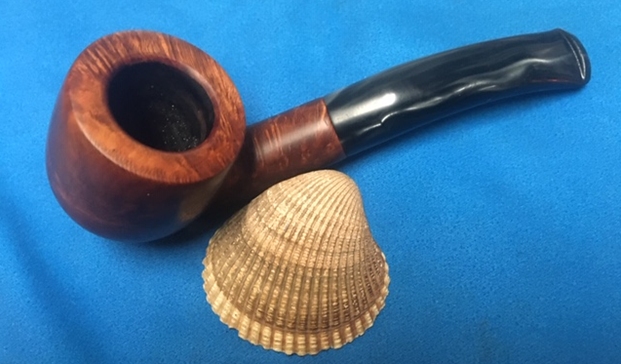
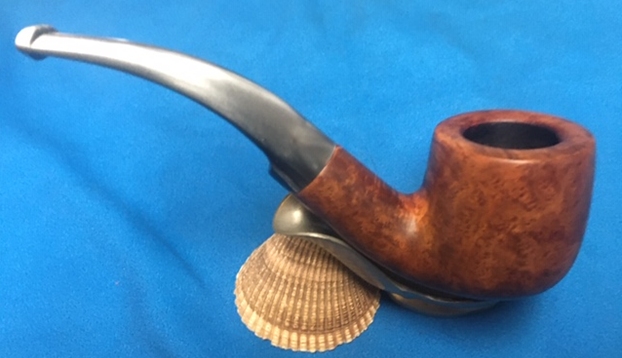
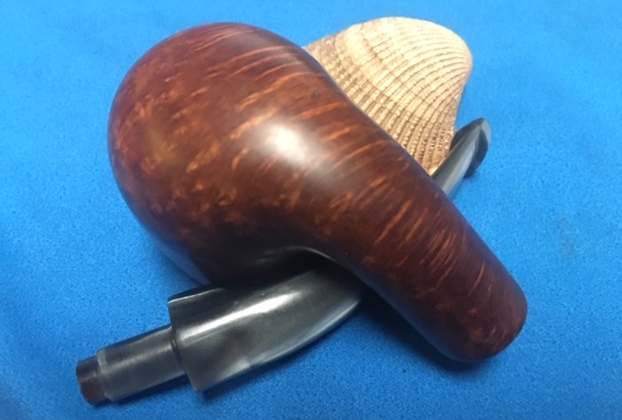
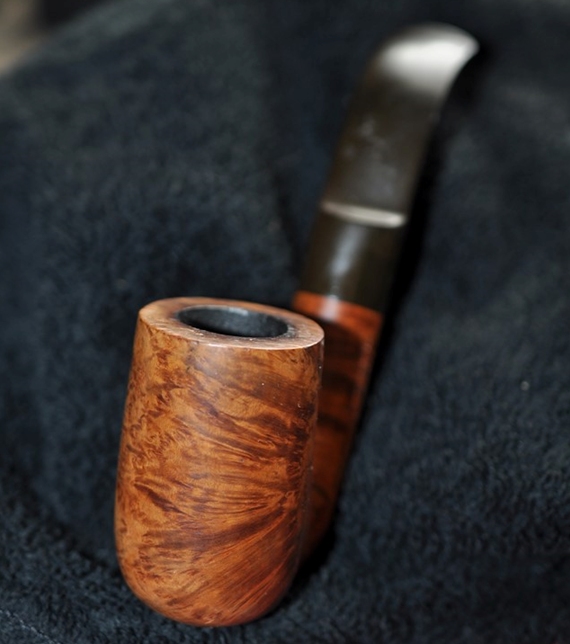
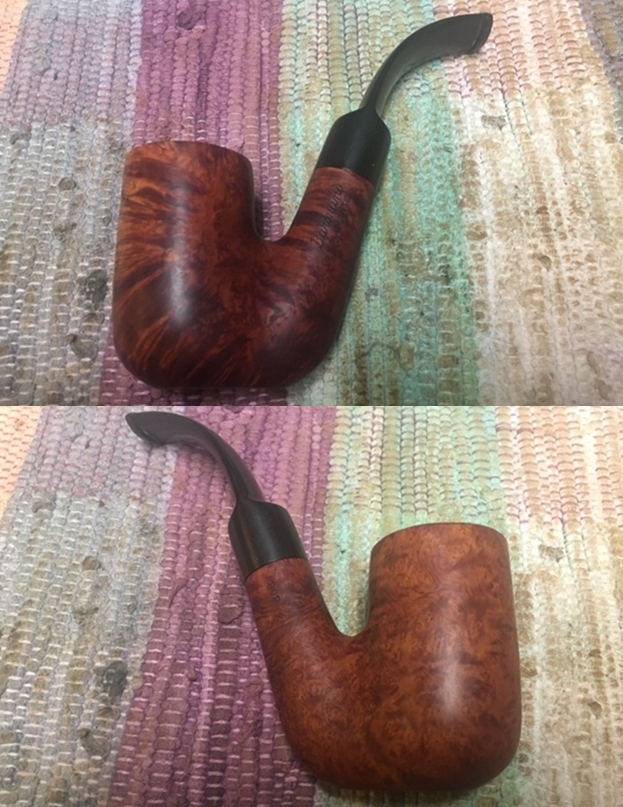
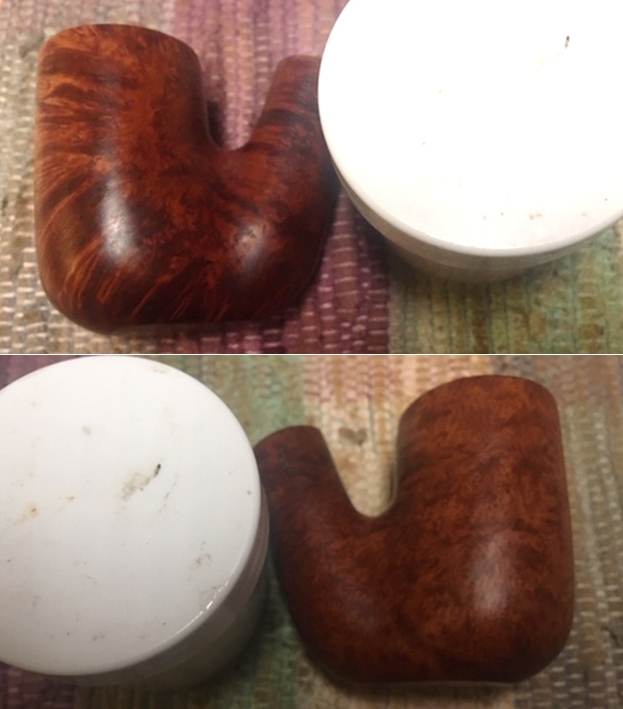
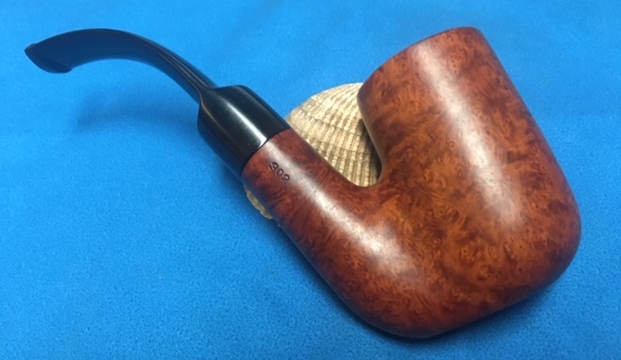
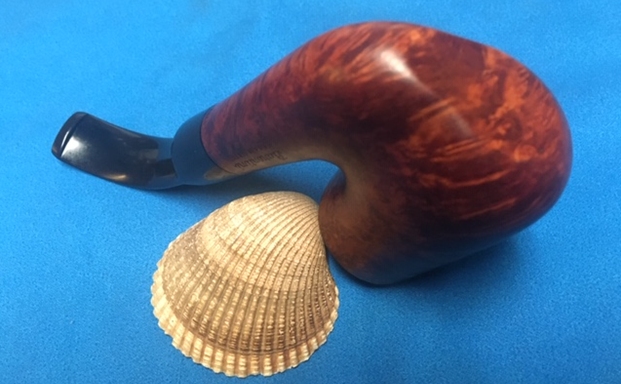
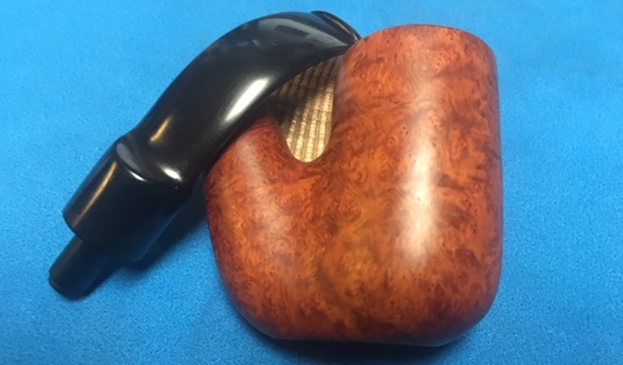
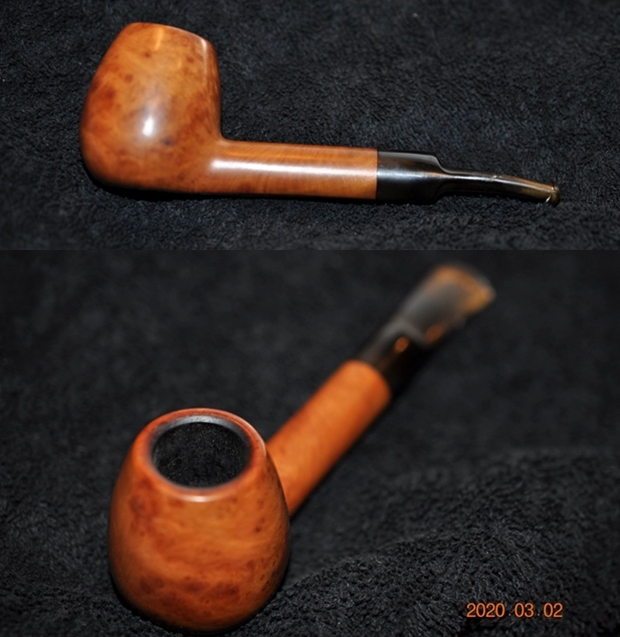
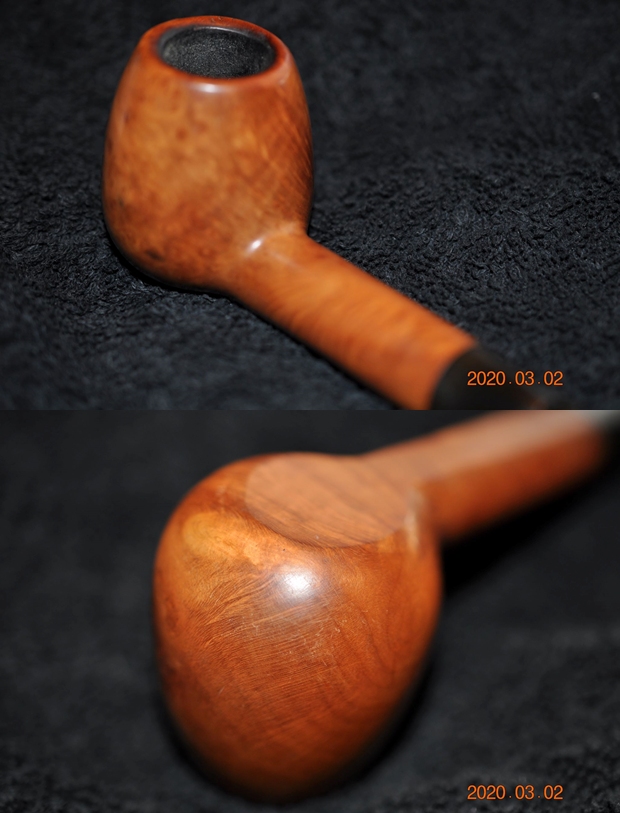
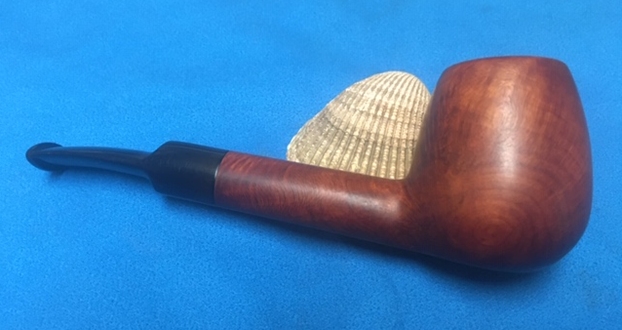
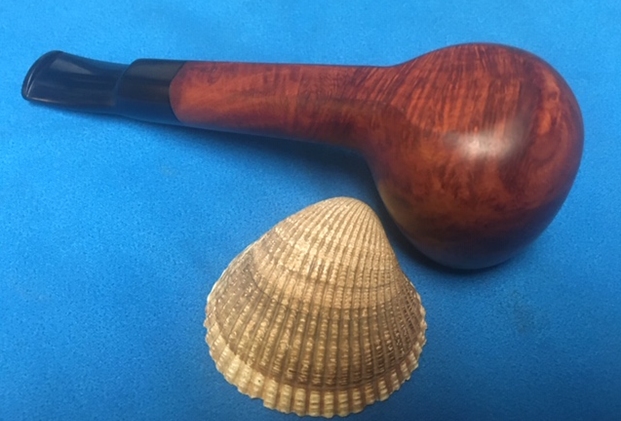
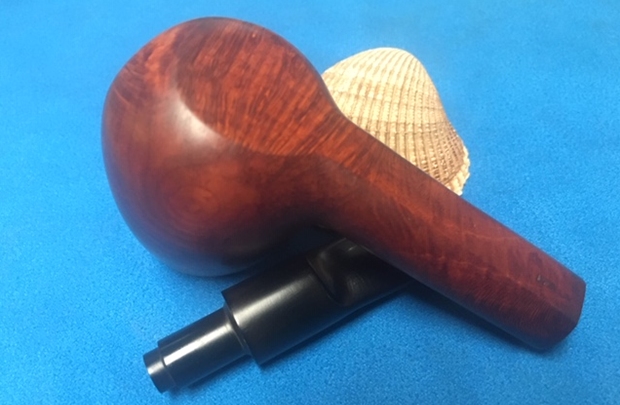
Armed with that information I moved forward to work on the pipe itself and see what I had to do with it. It had come back looking amazingly clean. Even the stem looked like new. The brass bling just shone. I was impressed. Jeff had done his normal thorough clean up – reaming, scrubbing, soaking and the result was evident in the pipe when I unpacked it. I took photos of the pipe before I started my work on it. 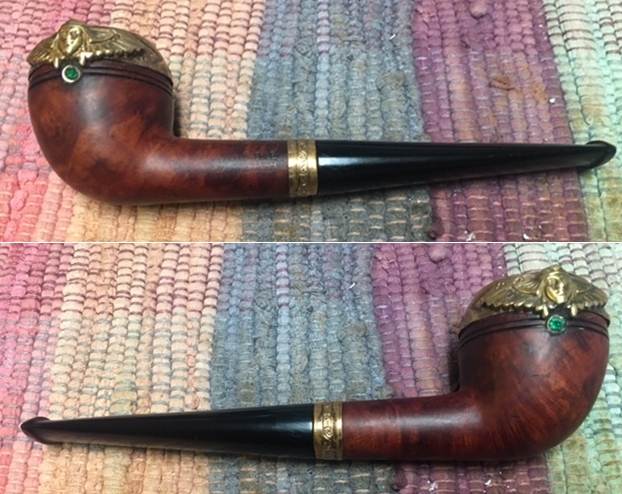
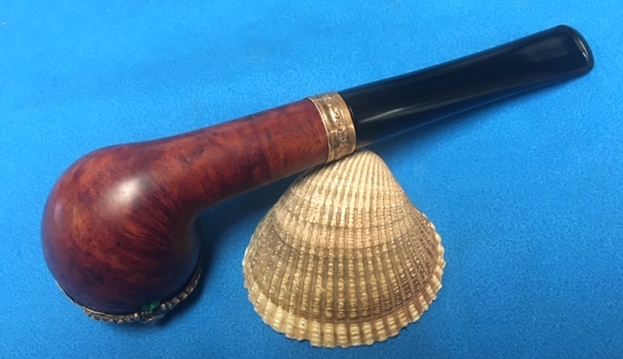
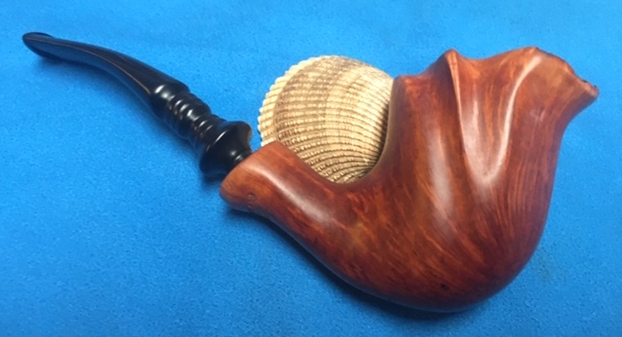
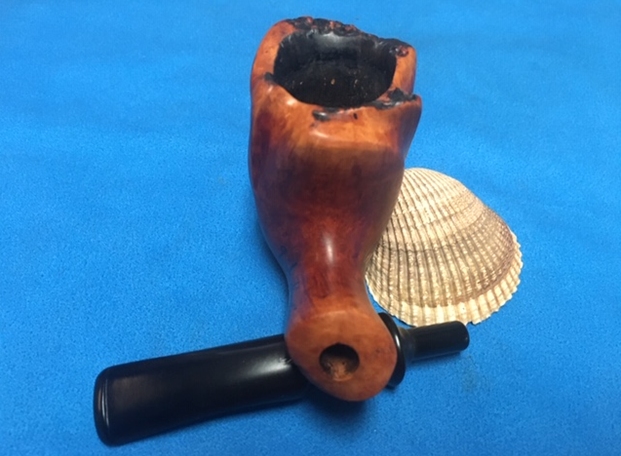
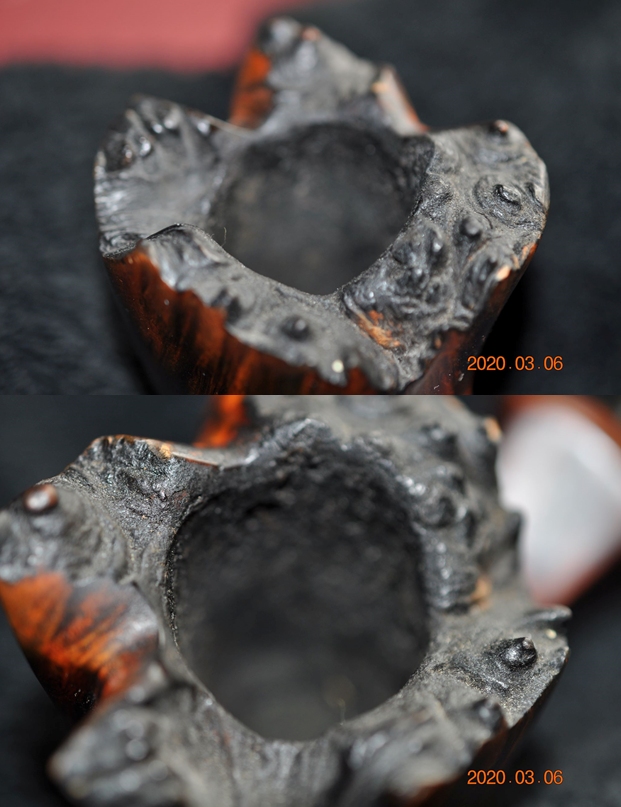
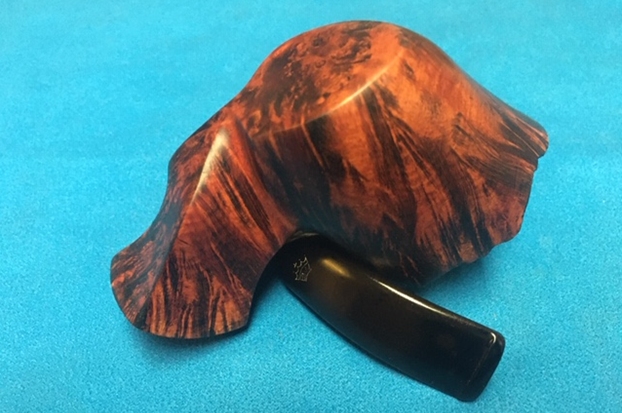
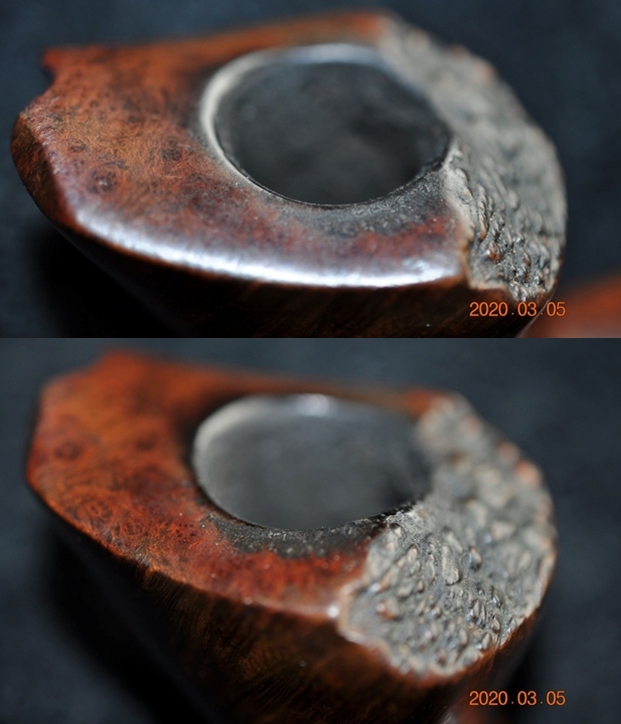
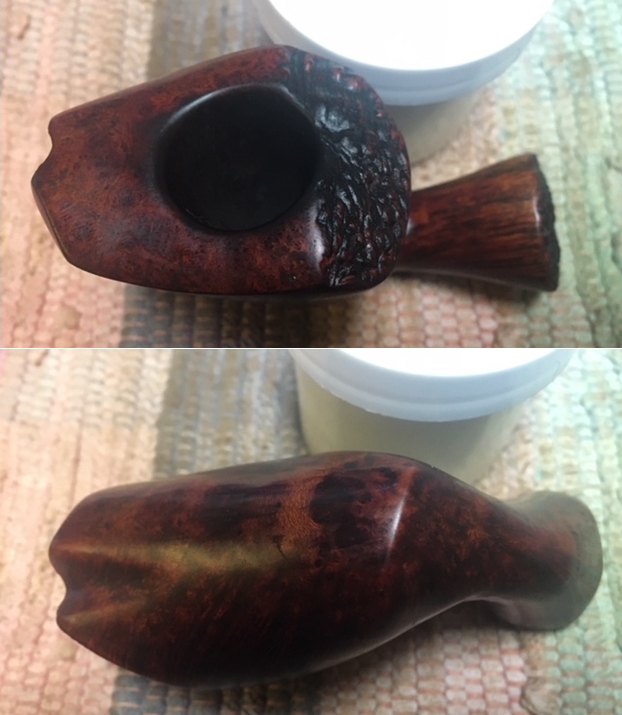
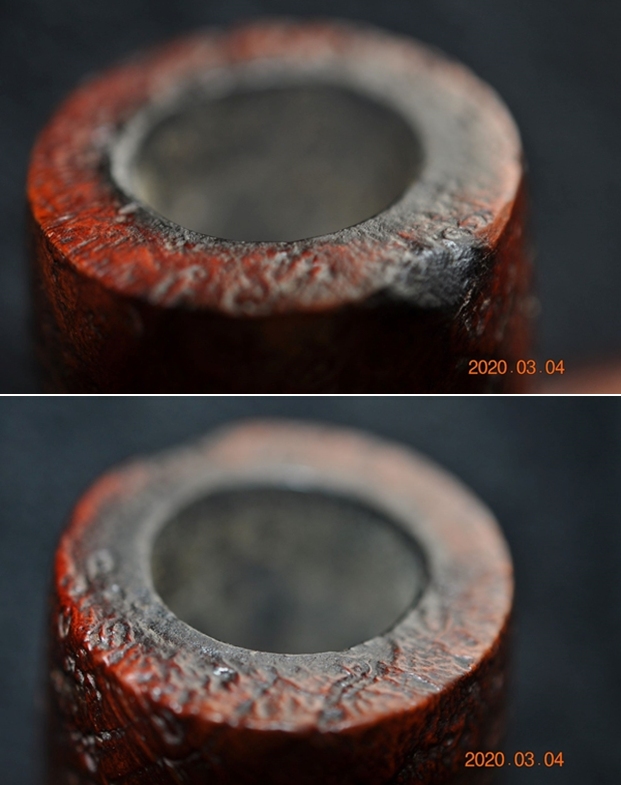
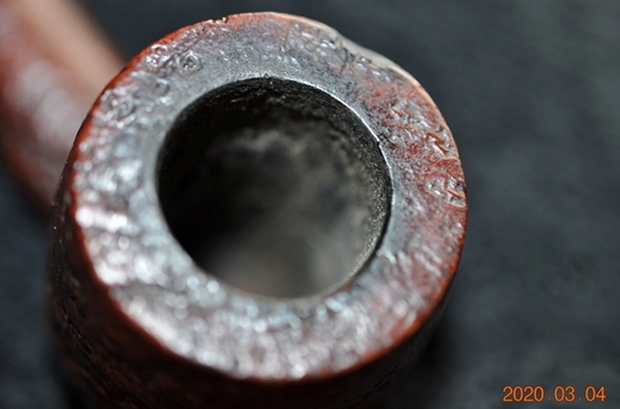
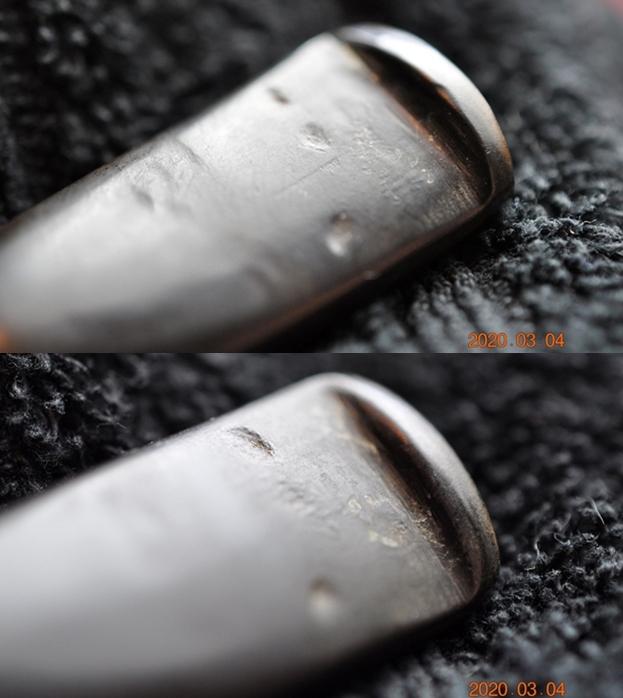
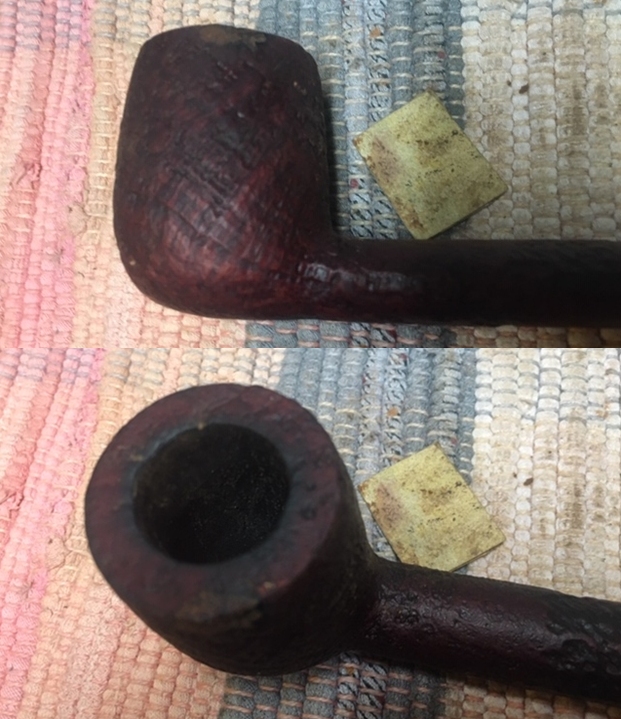
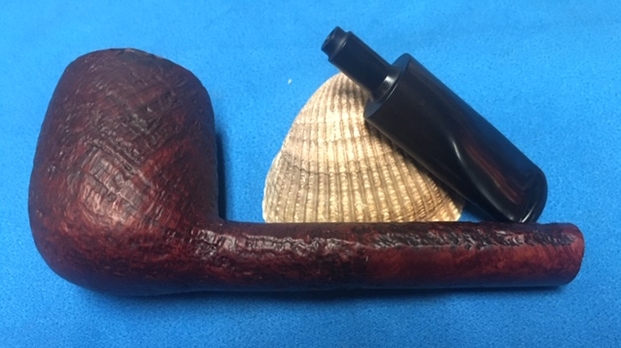
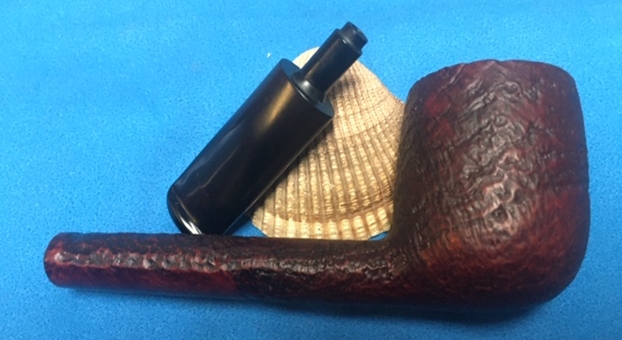
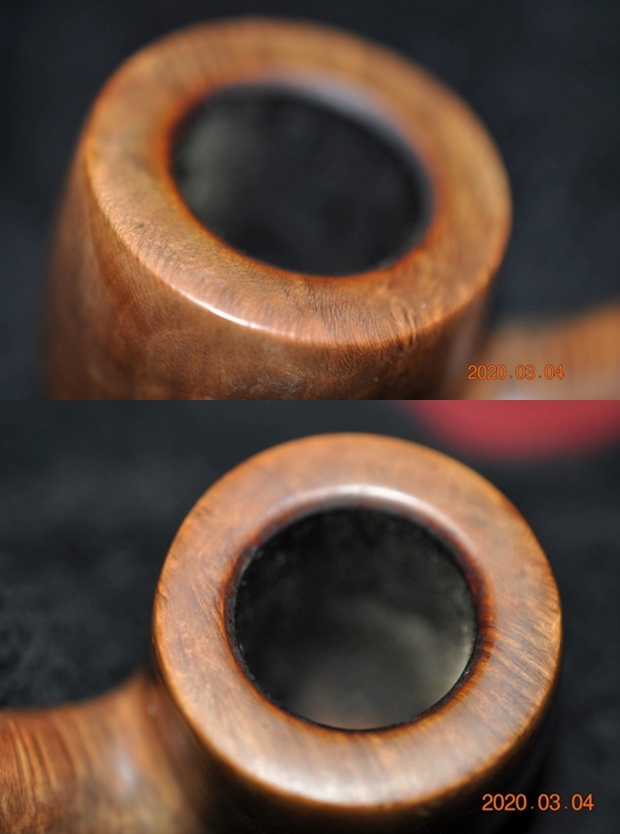
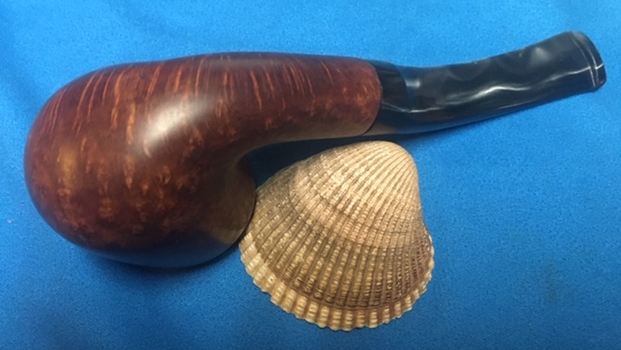
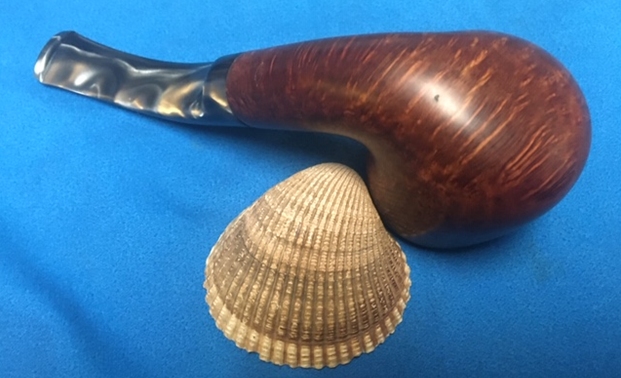
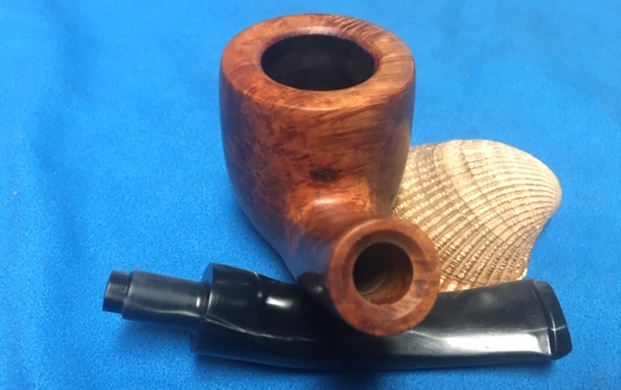
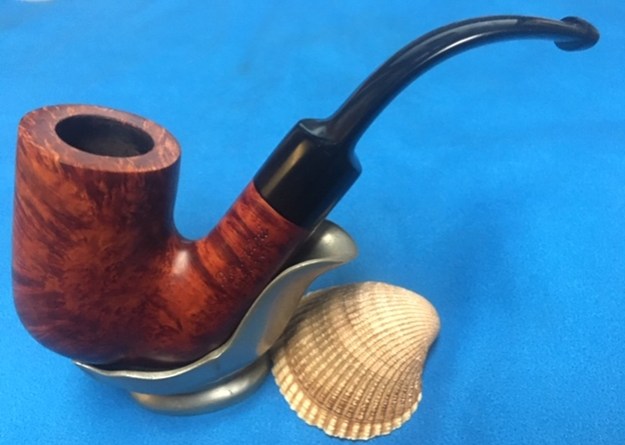
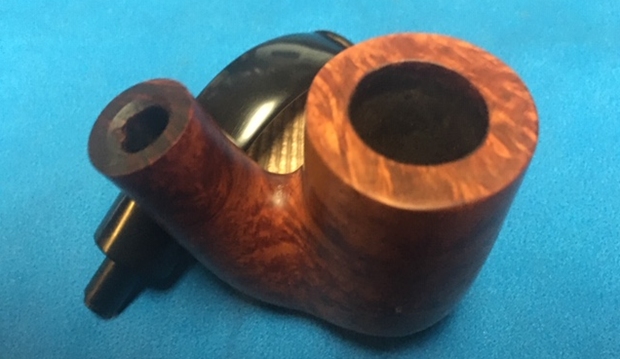
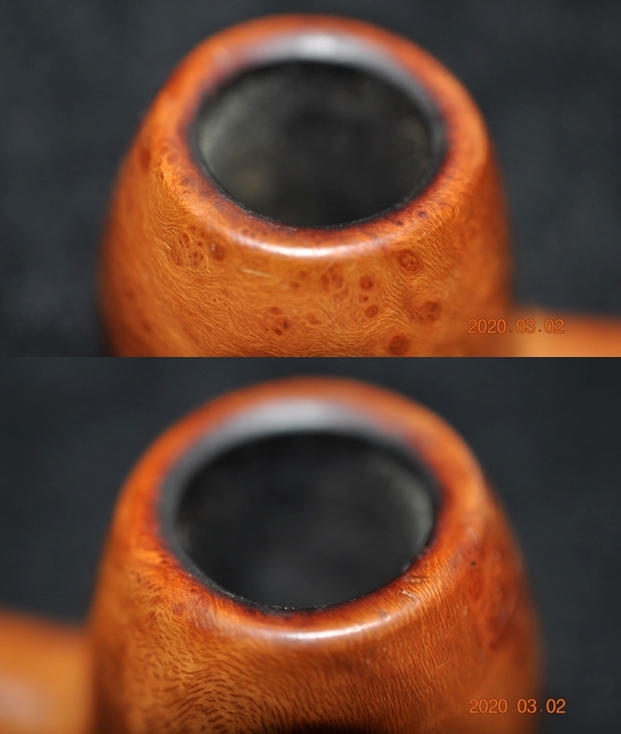
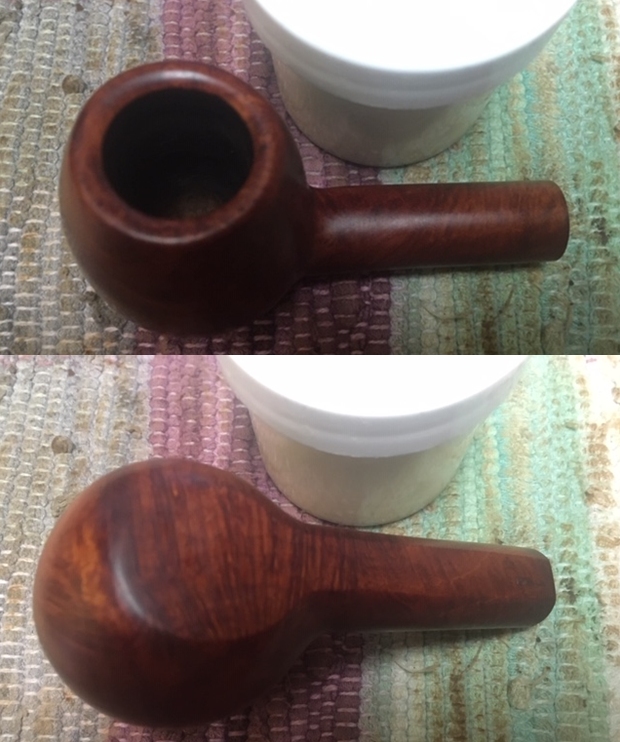
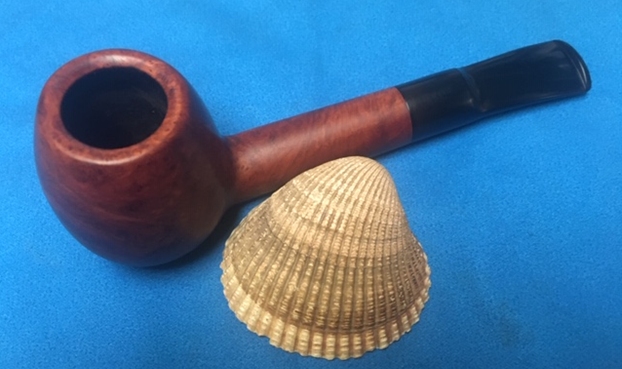
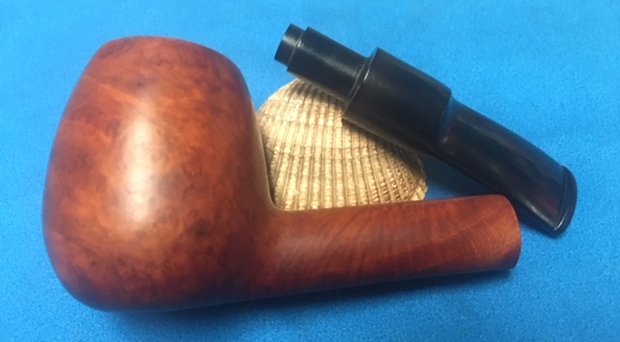
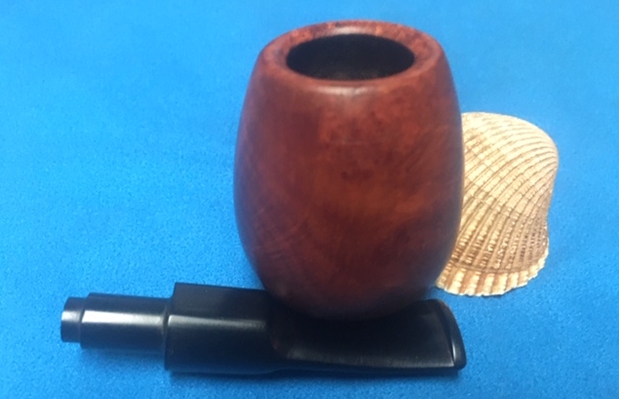
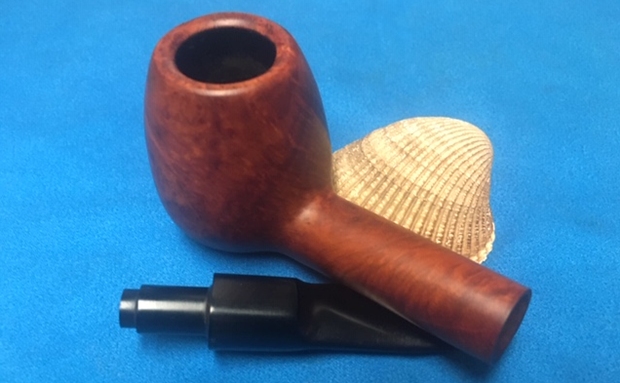
 I took some photos of the rim top and stem to show the condition of them both when it arrived. Overall it looked good. The rim top was very clean. The stem looked amazingly good. The chatter on the stem surfaces was gone and the surface was clean.
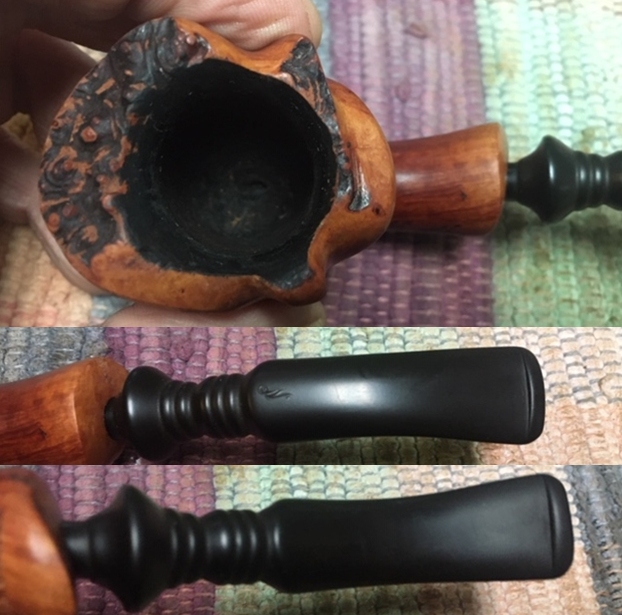
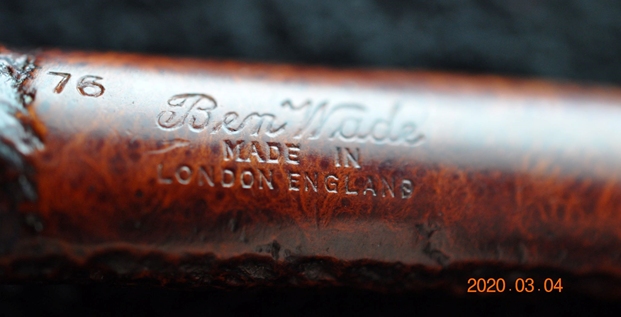
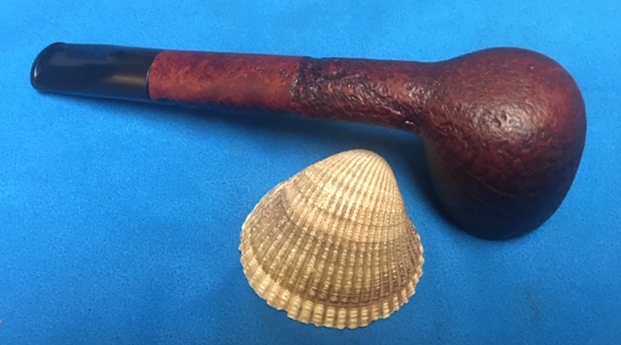
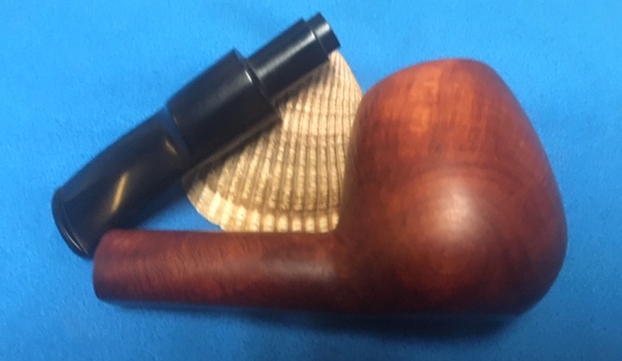
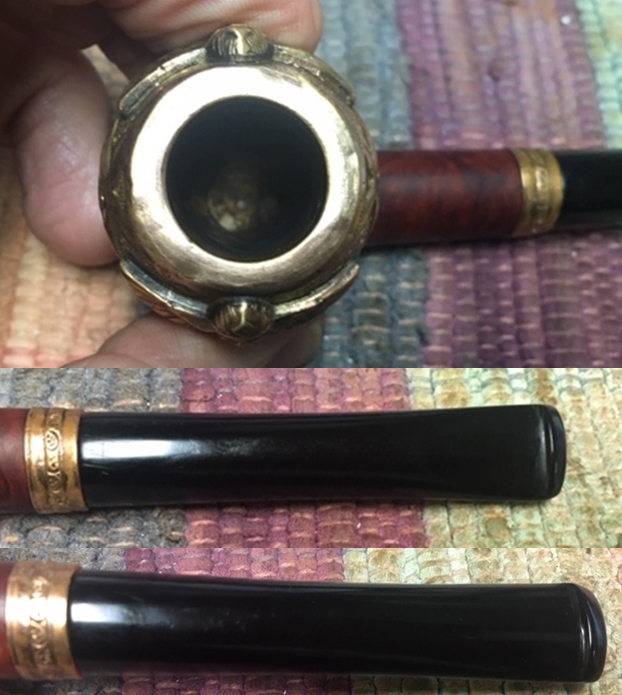 I took a photo of the stamping on the left side of the shank. It was in very good condition and was readable and clear.
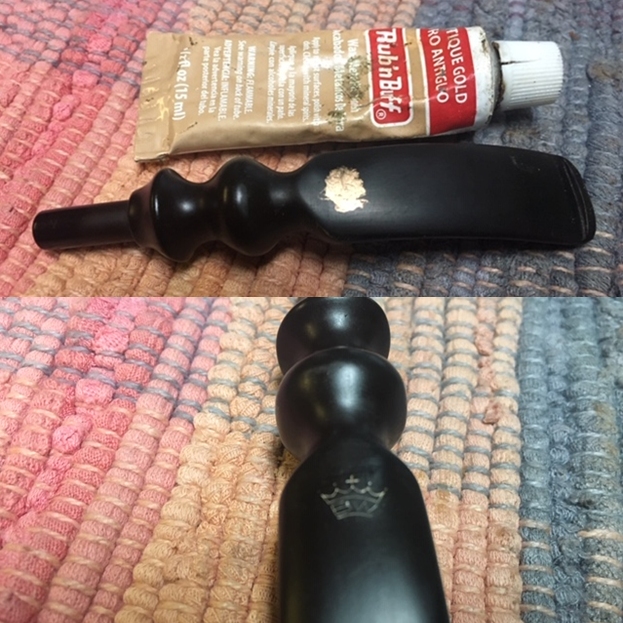
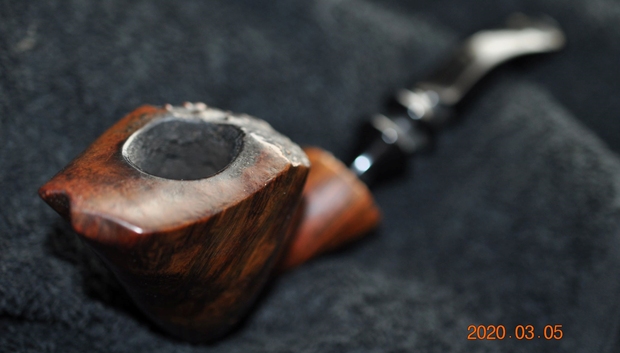
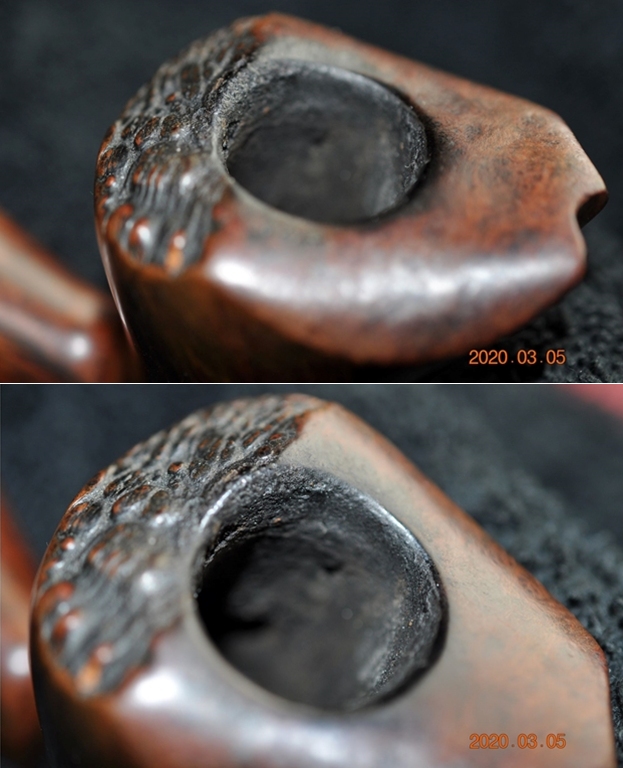
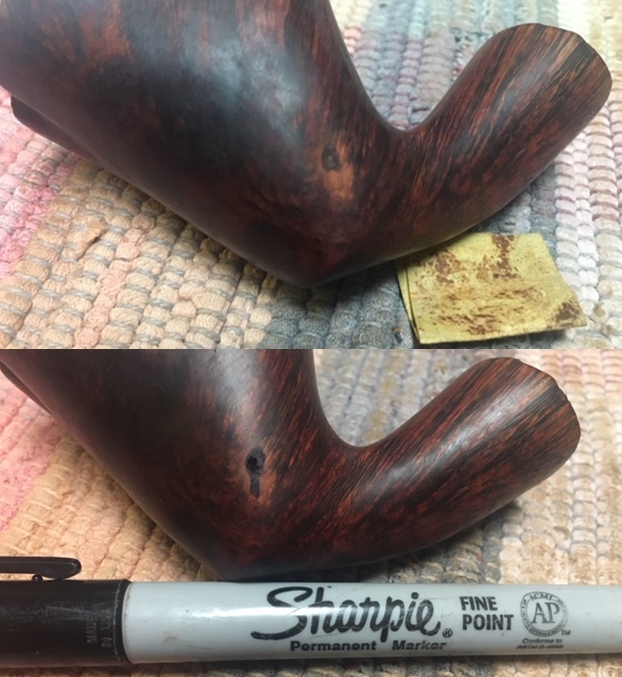
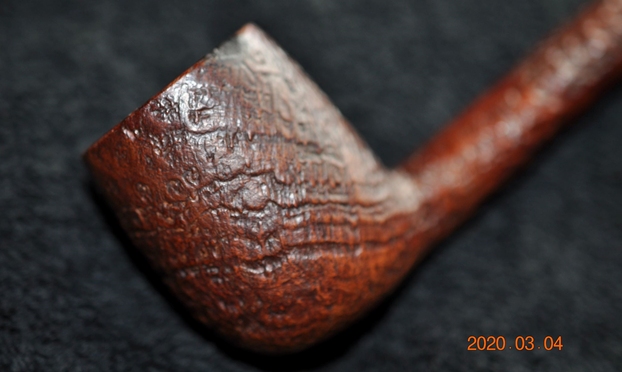
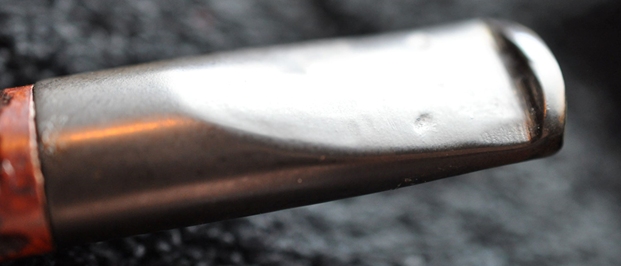
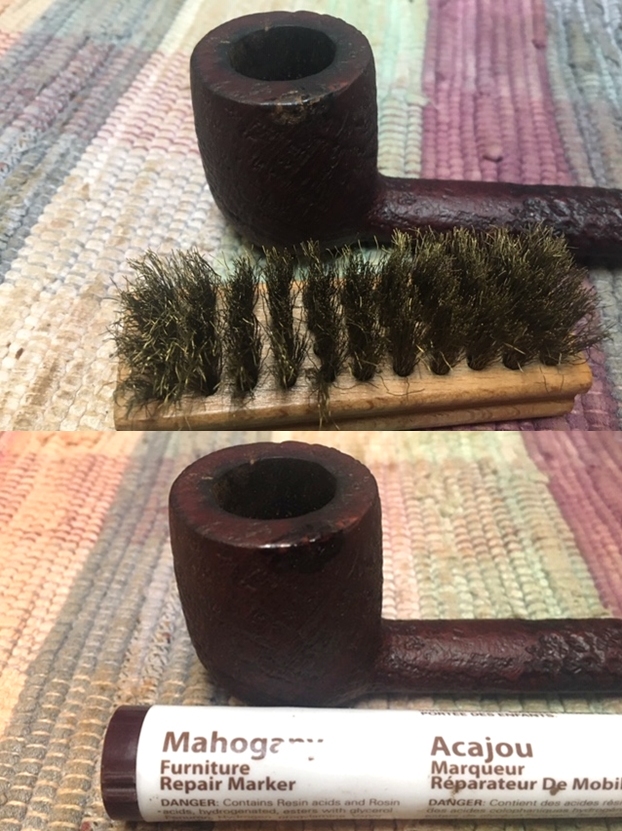
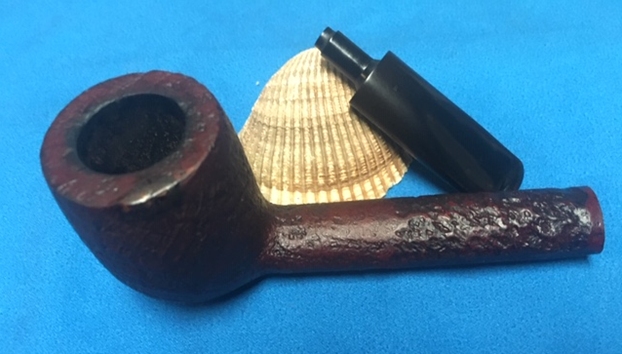
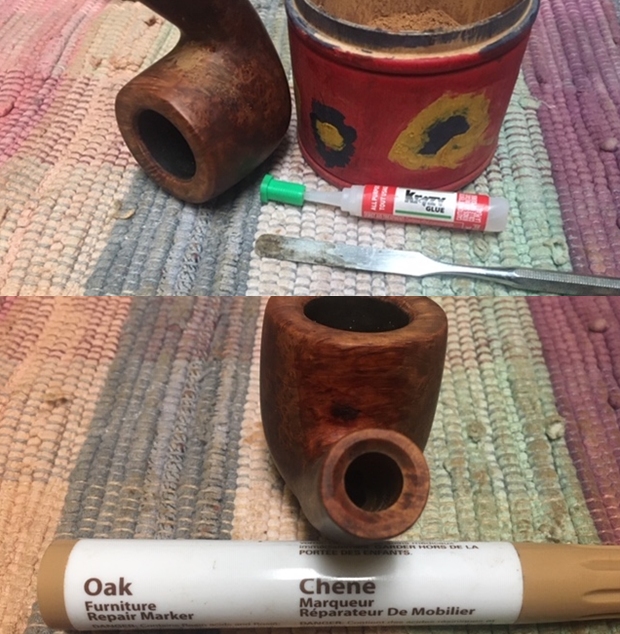
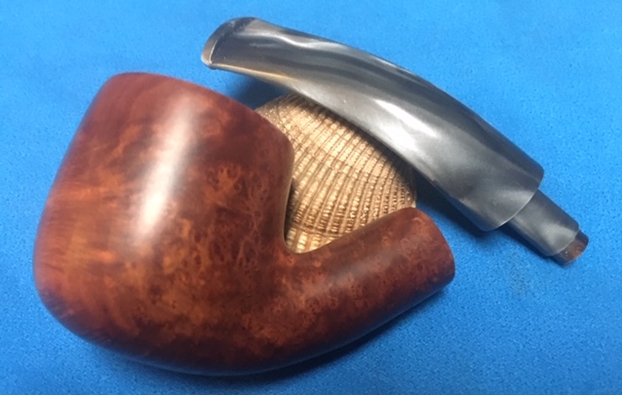
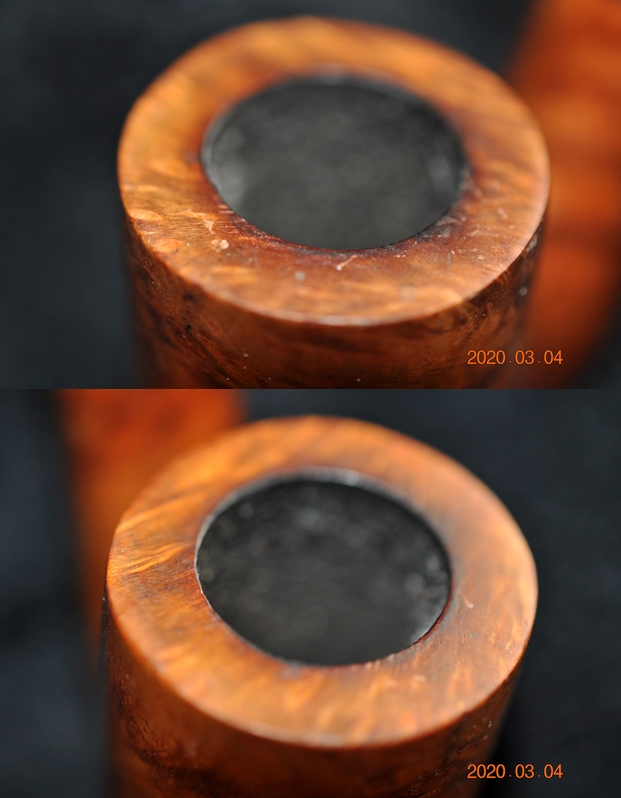
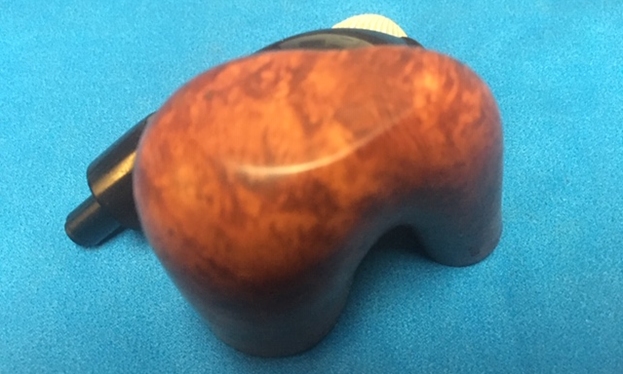
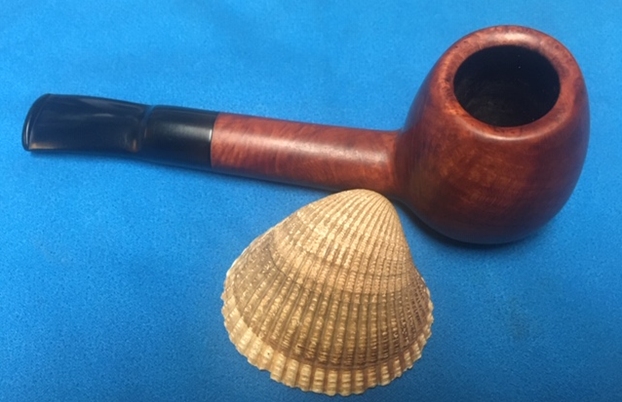
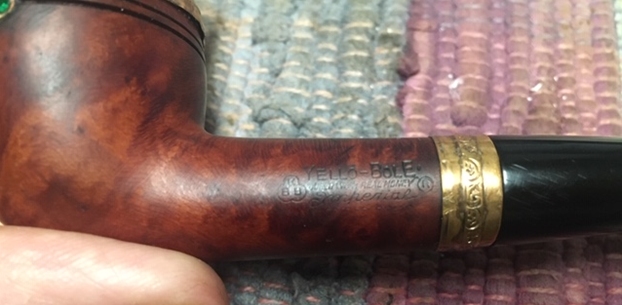 To begin my part of the restoration work I decided to tap out the dings on the rim cap as much as possible without removing the cap. It appeared to me that the dings were on the surface of the cap. I used a ball peen hammer to gently tap the surface of the rim. It worked to smooth out the surface significantly.
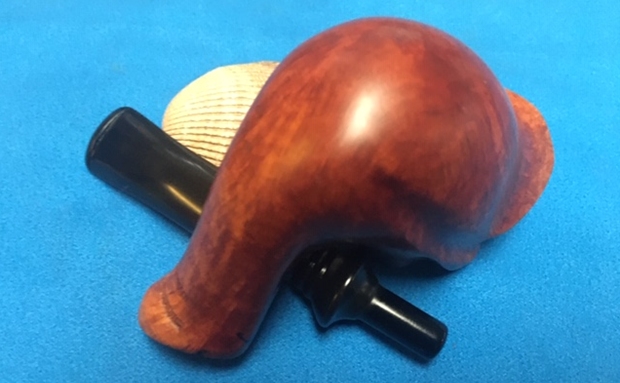
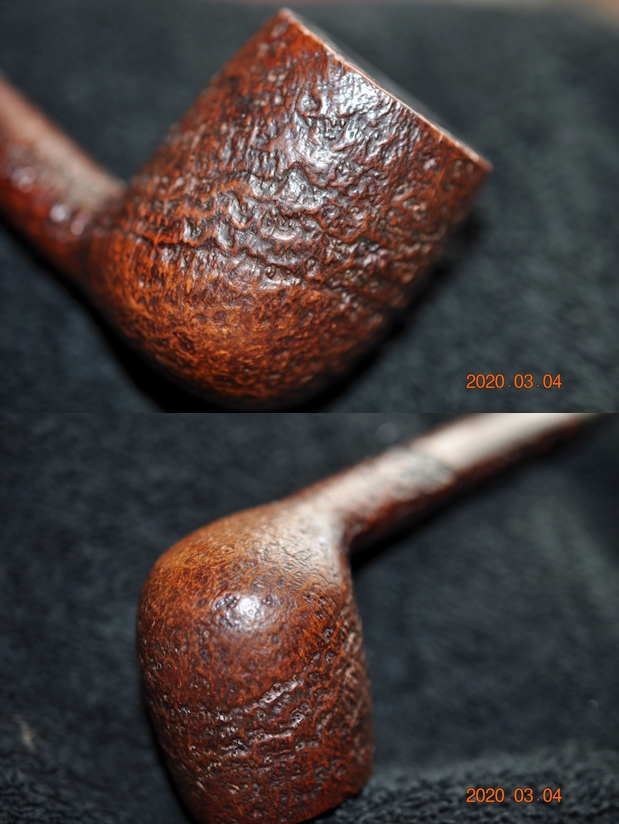
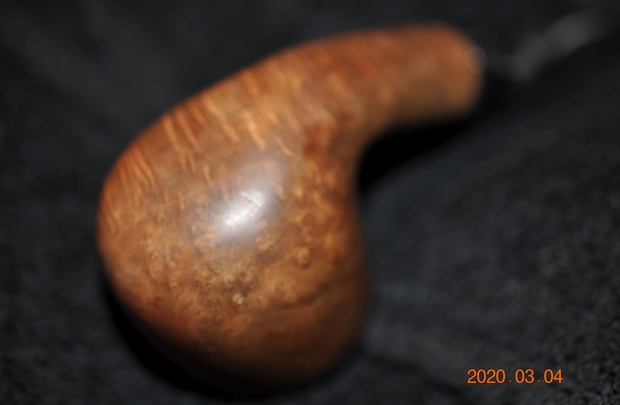
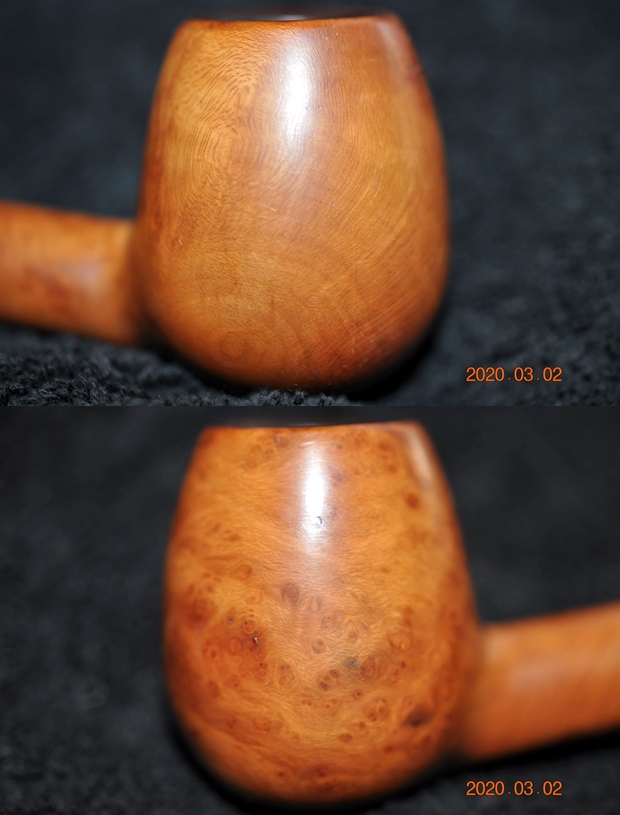
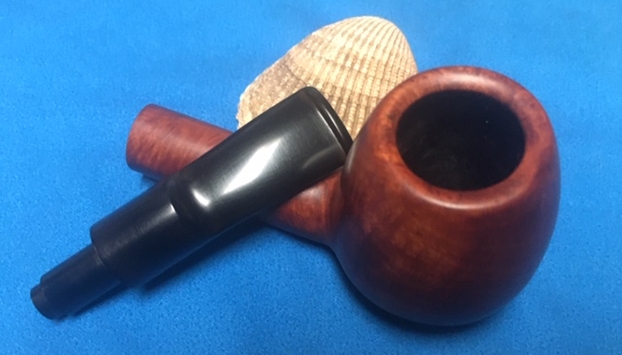
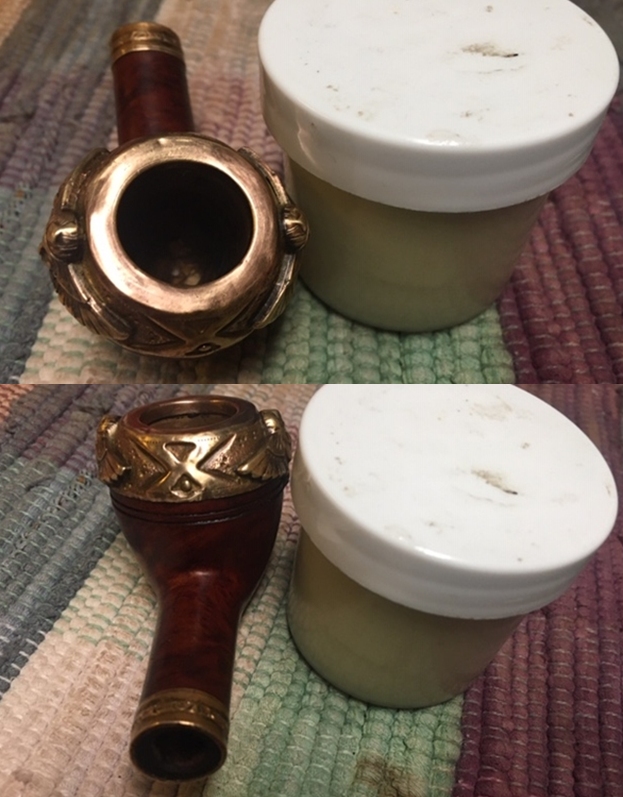
 With that finished the work on the bowl was quite minimal. There were no fills to repair and no damage to deal with. I took two photos of side of the cap to show their condition. The bling was quite shiny and looked good. I did not need to clean it or polish it.
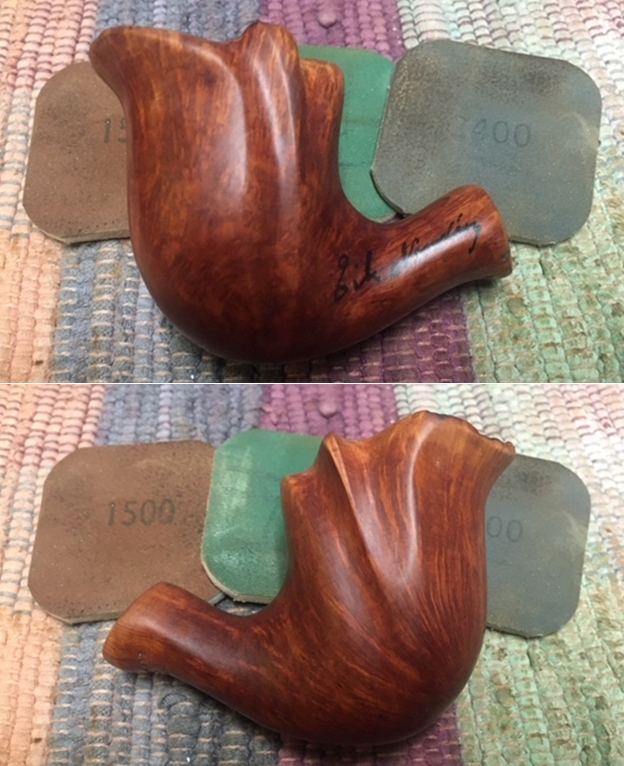
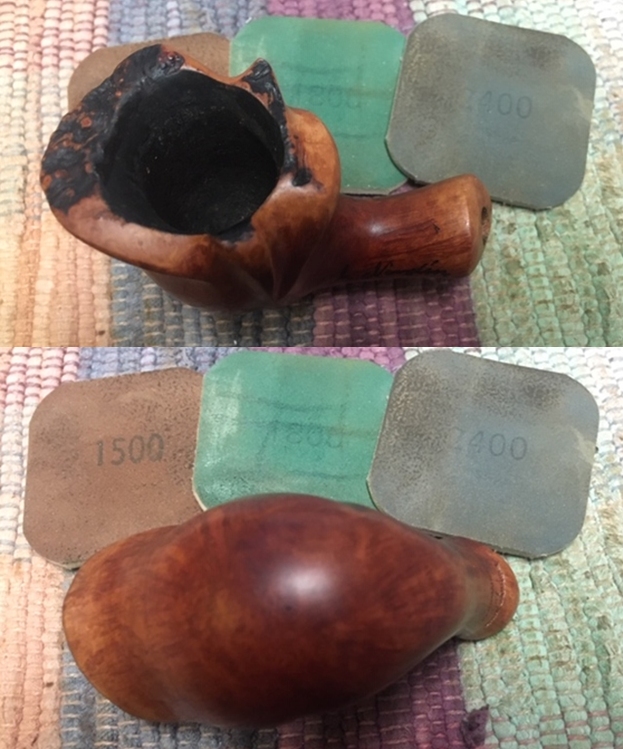
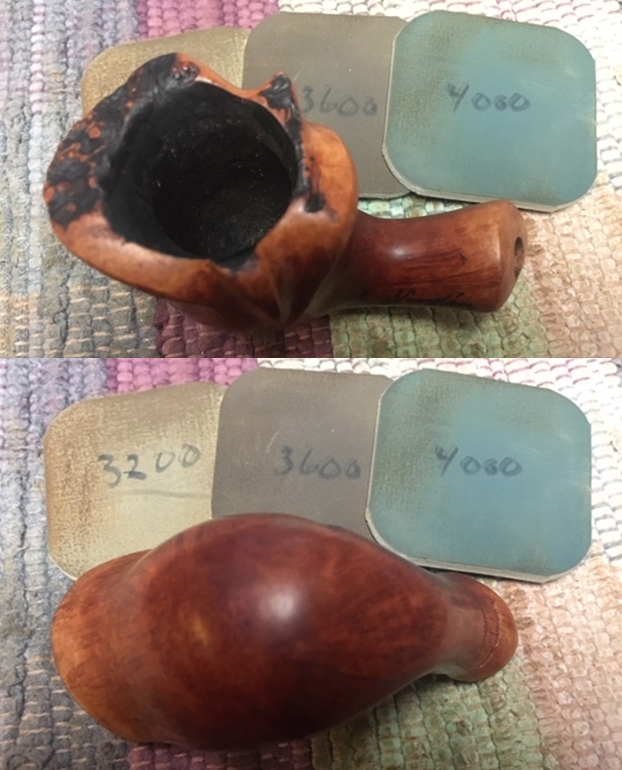
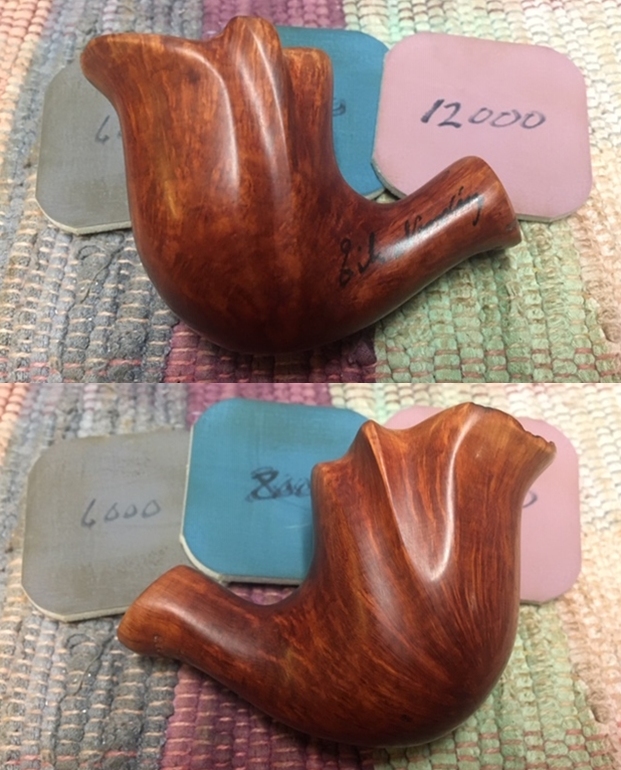
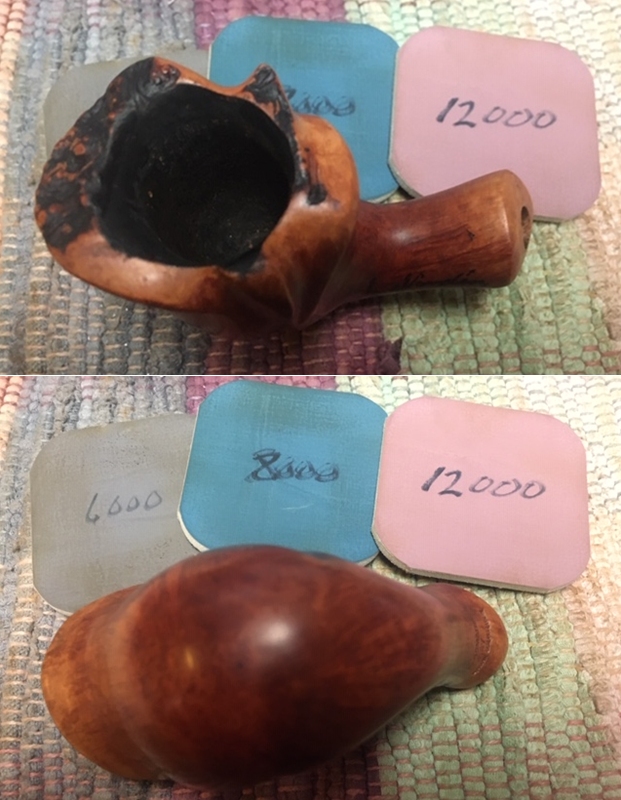
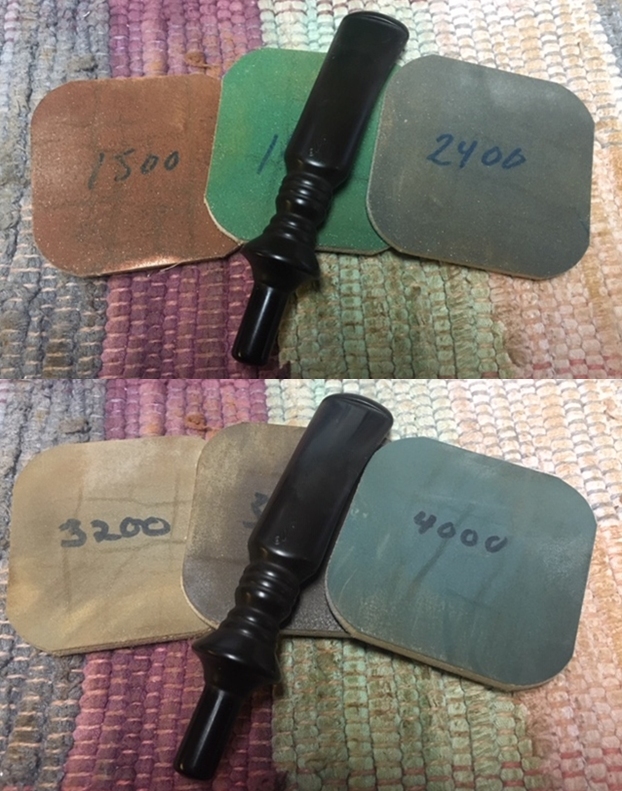
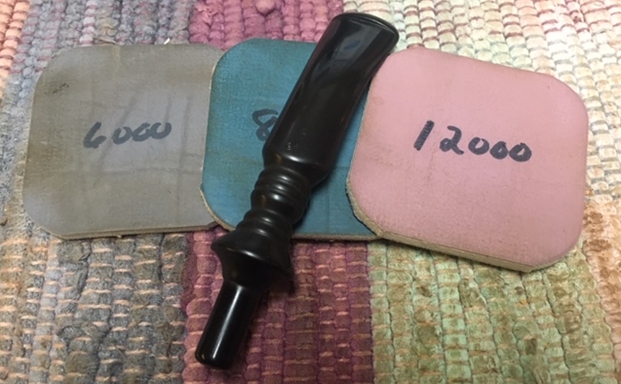
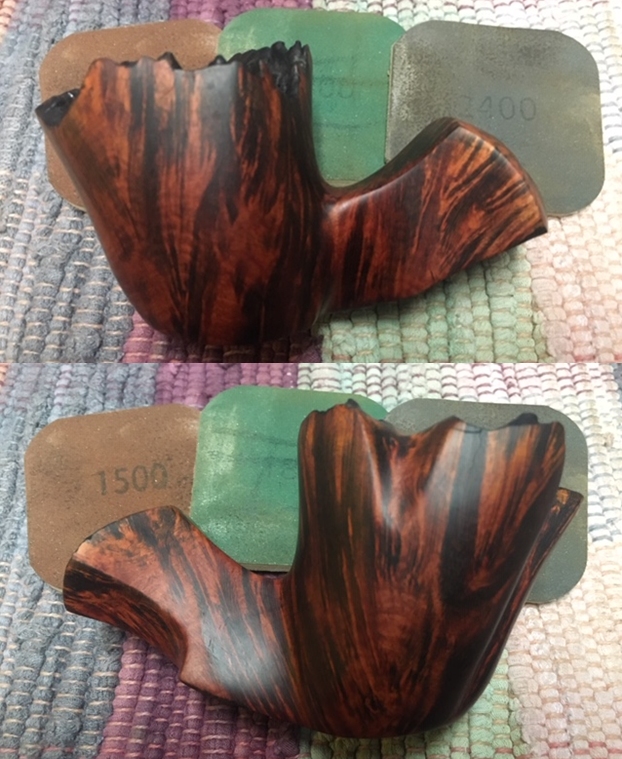
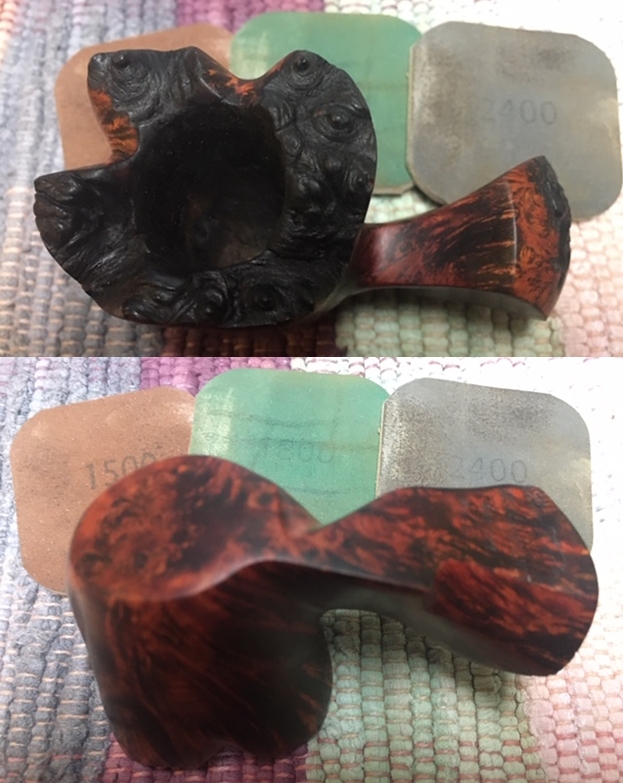
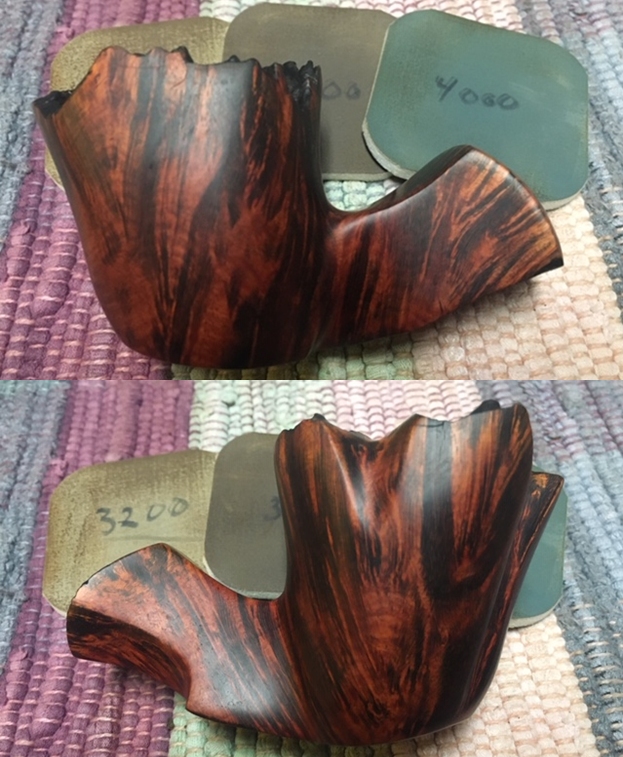
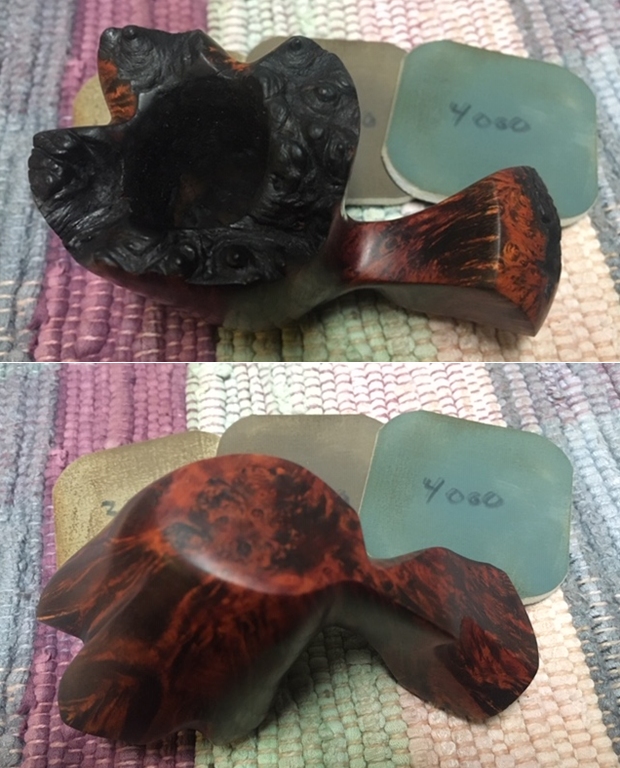
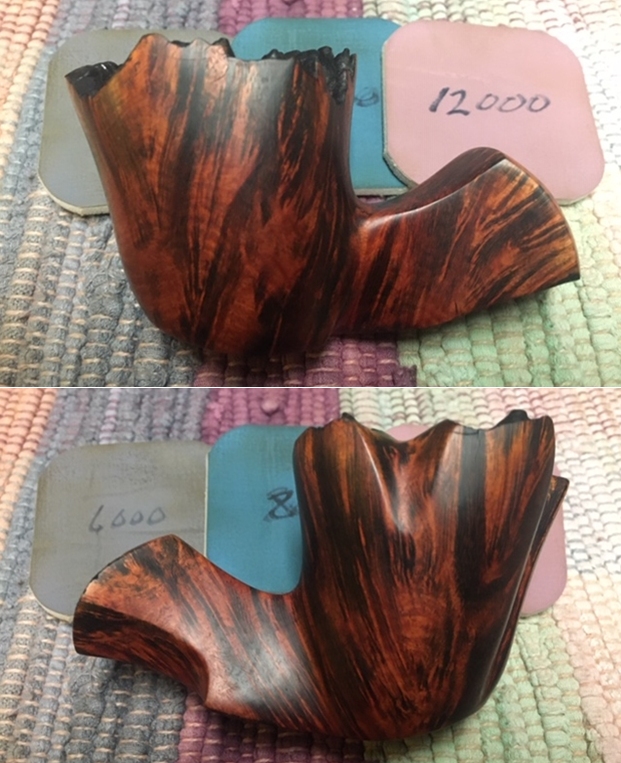
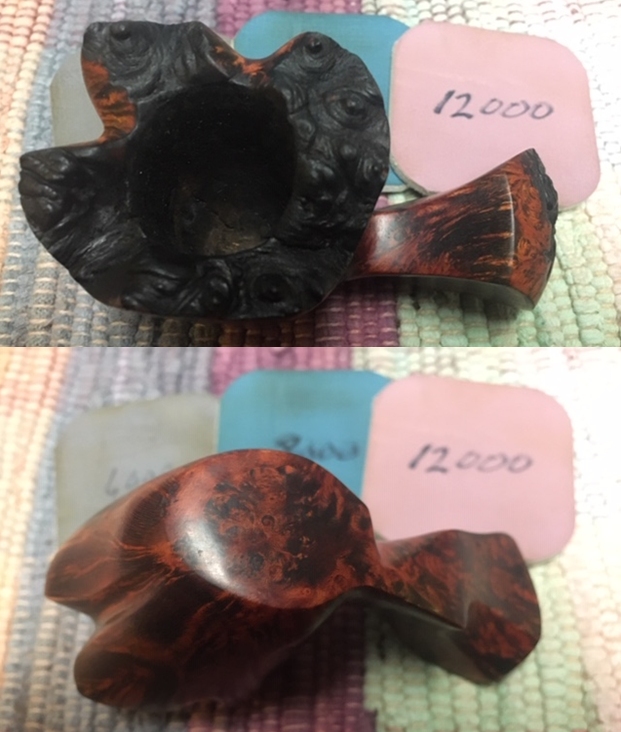
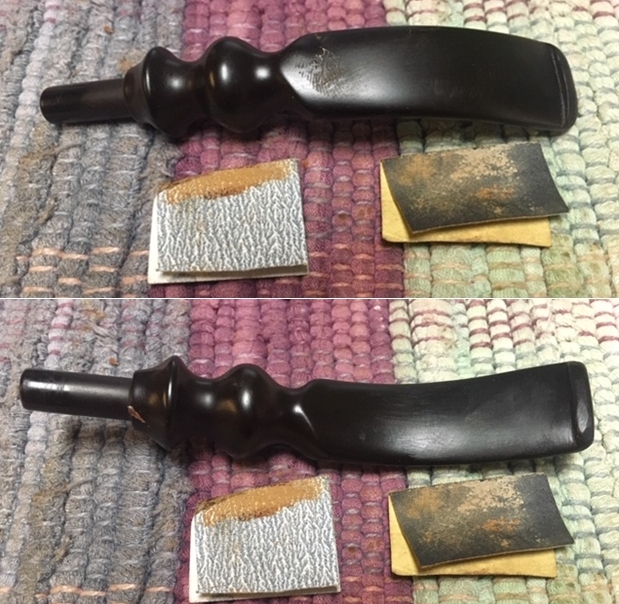
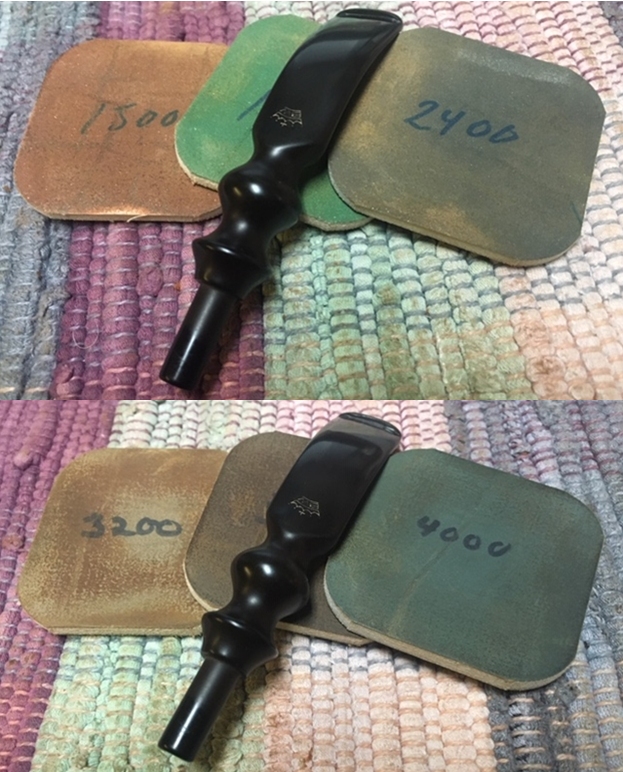
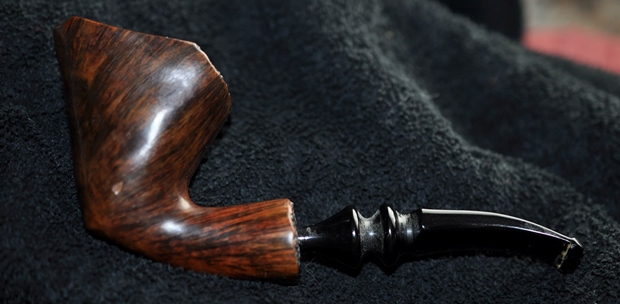
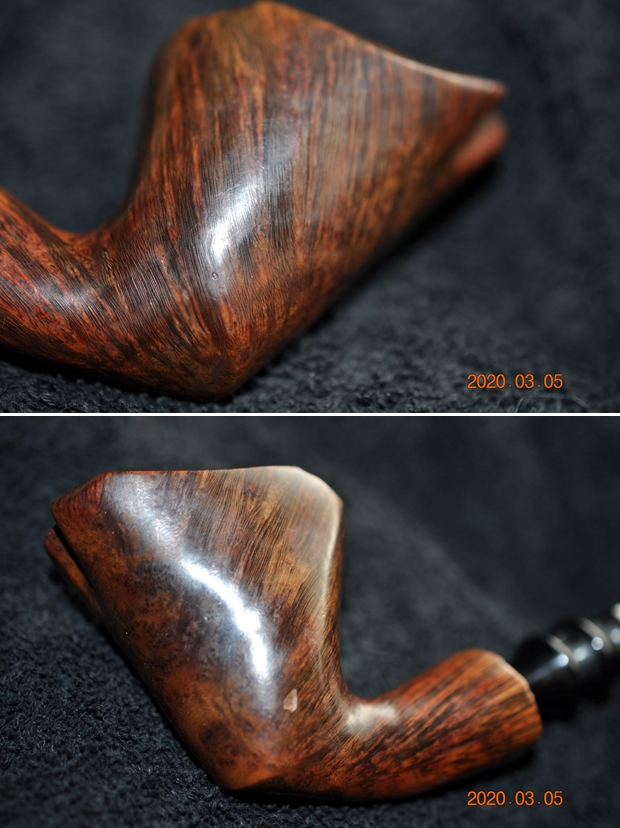
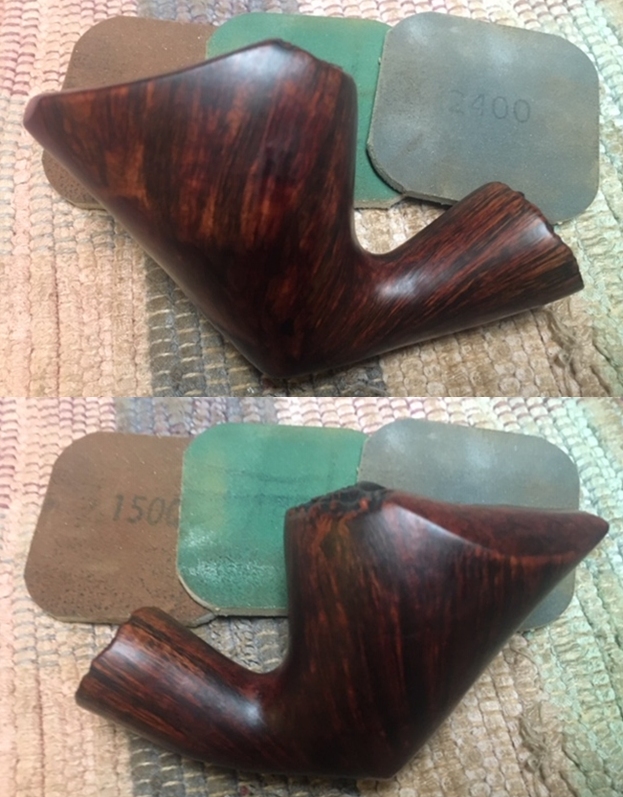
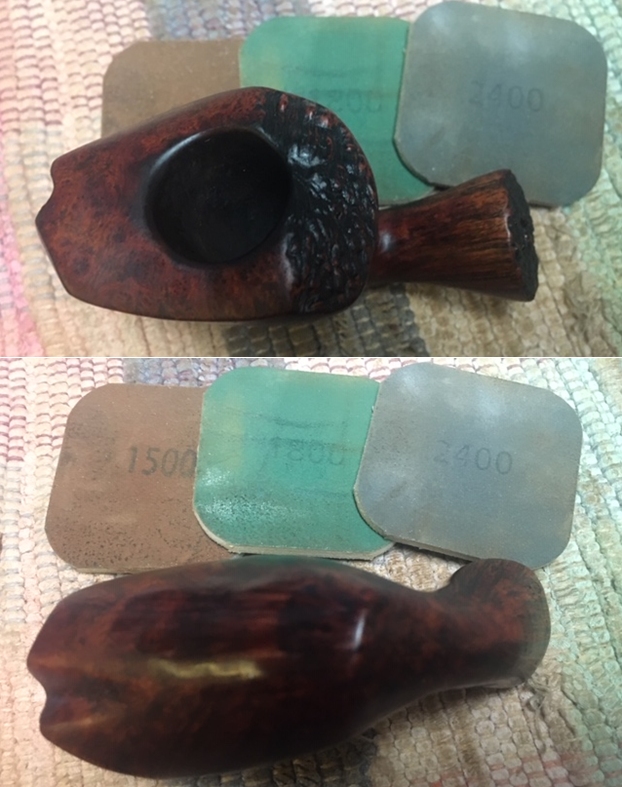
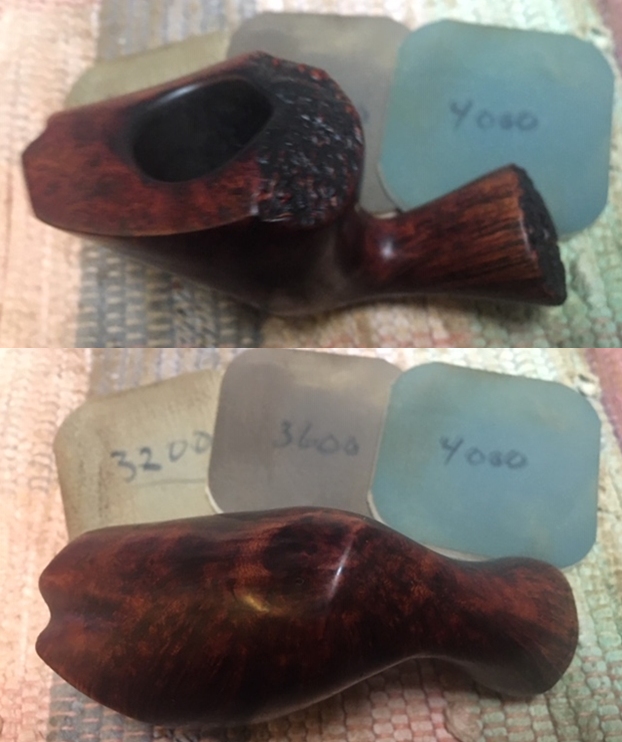
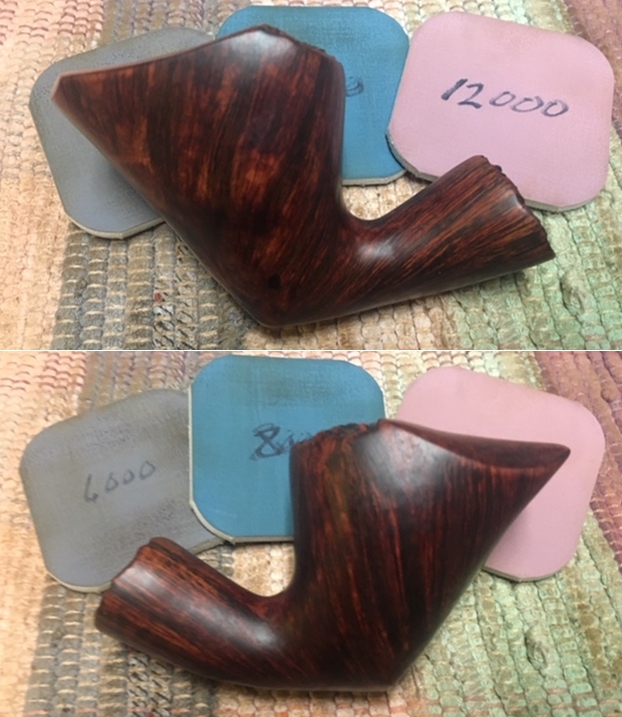
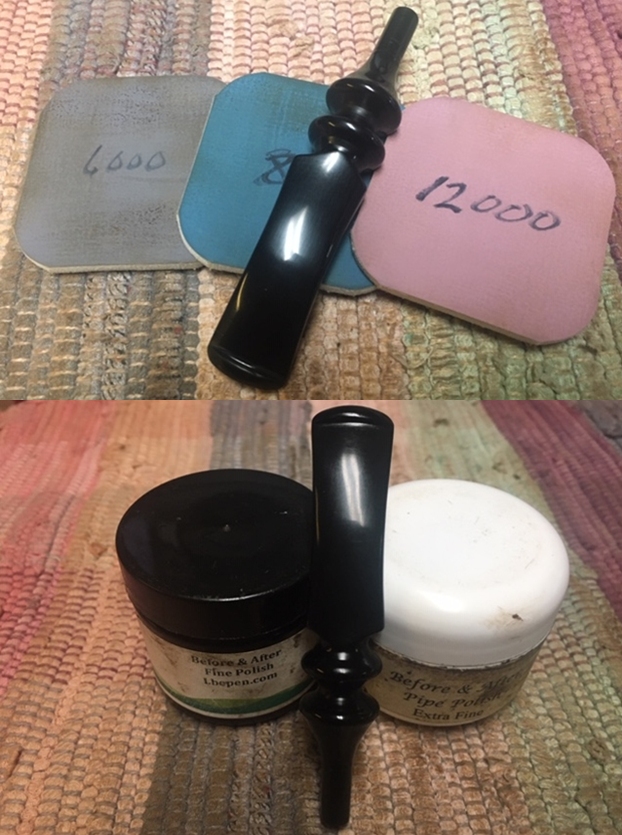
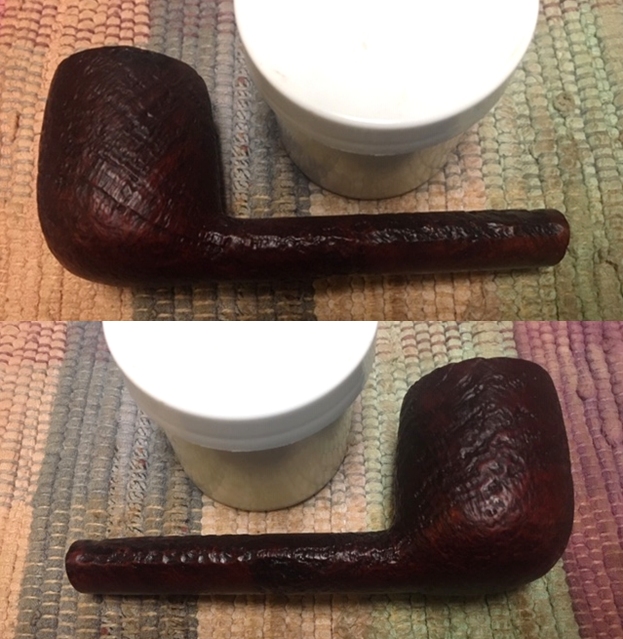
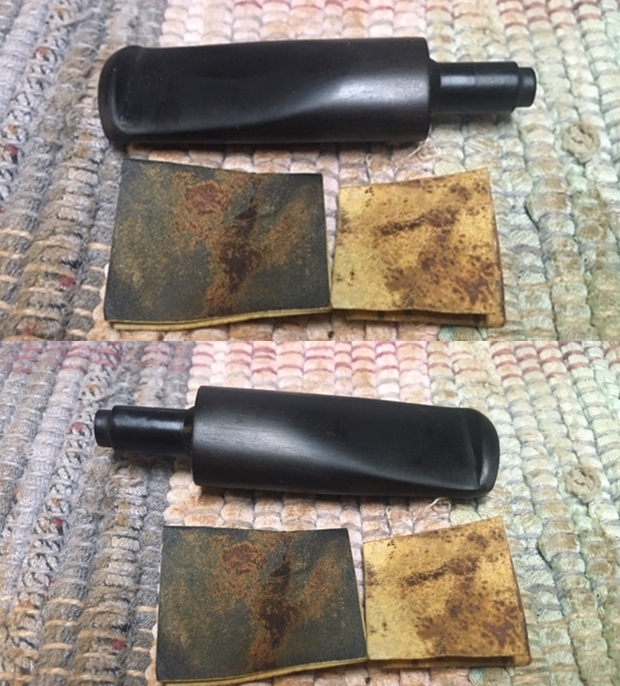
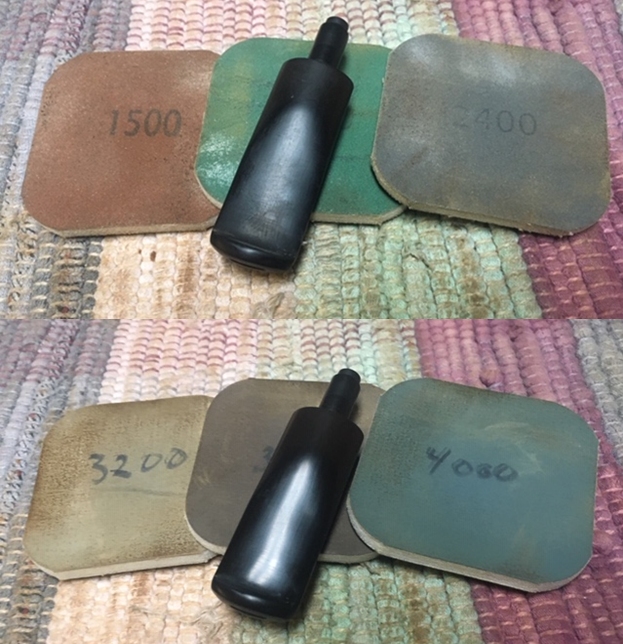
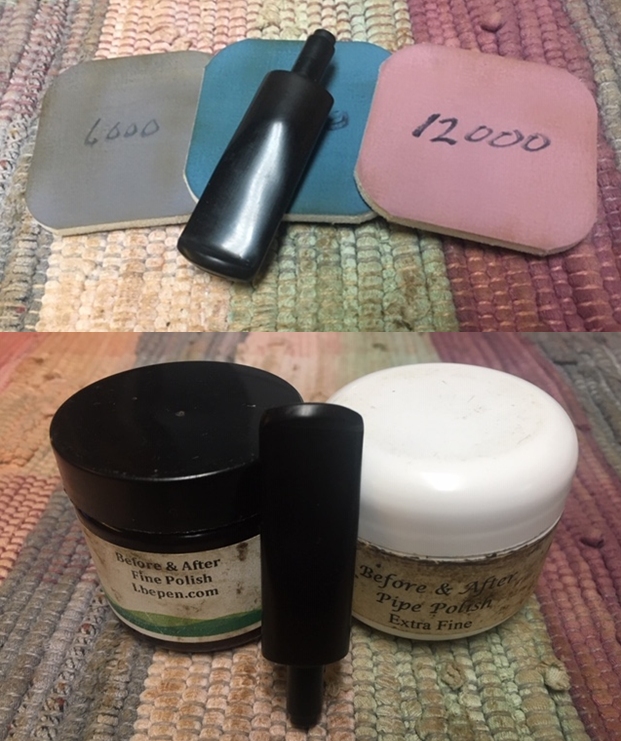
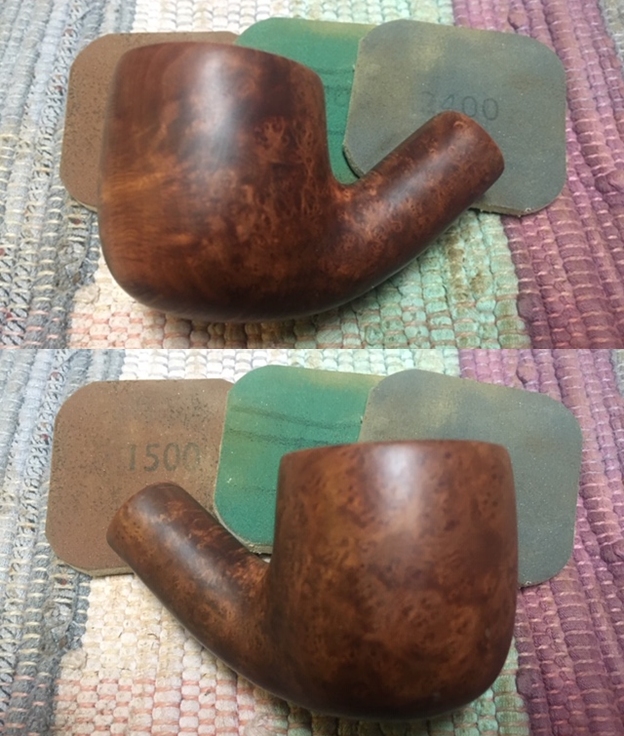
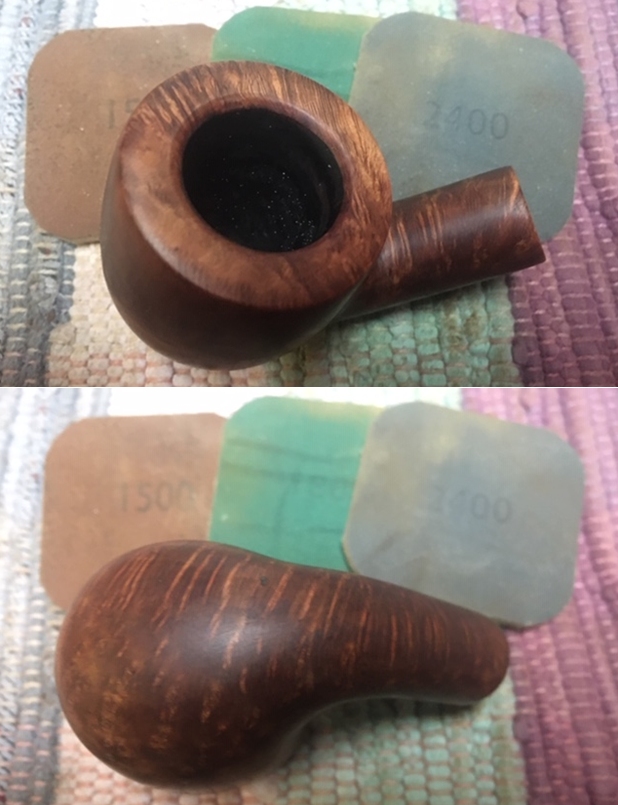
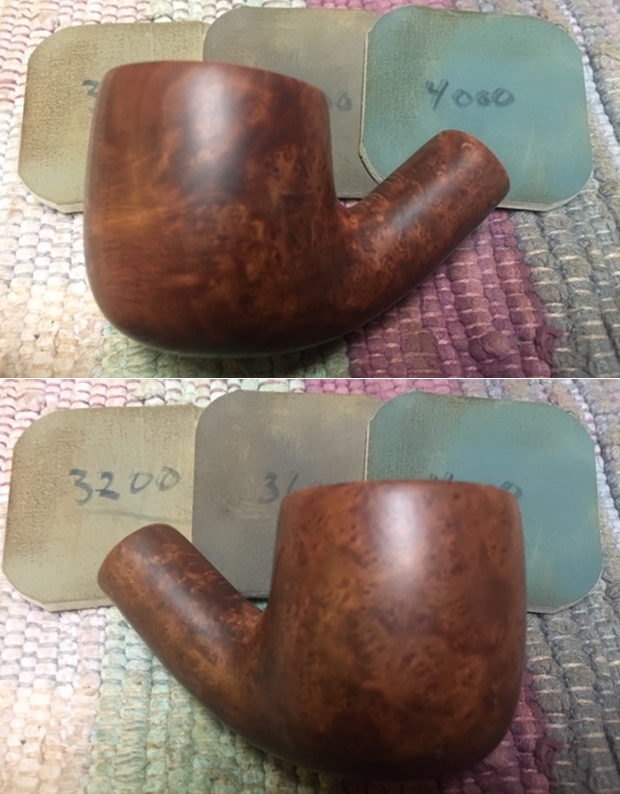
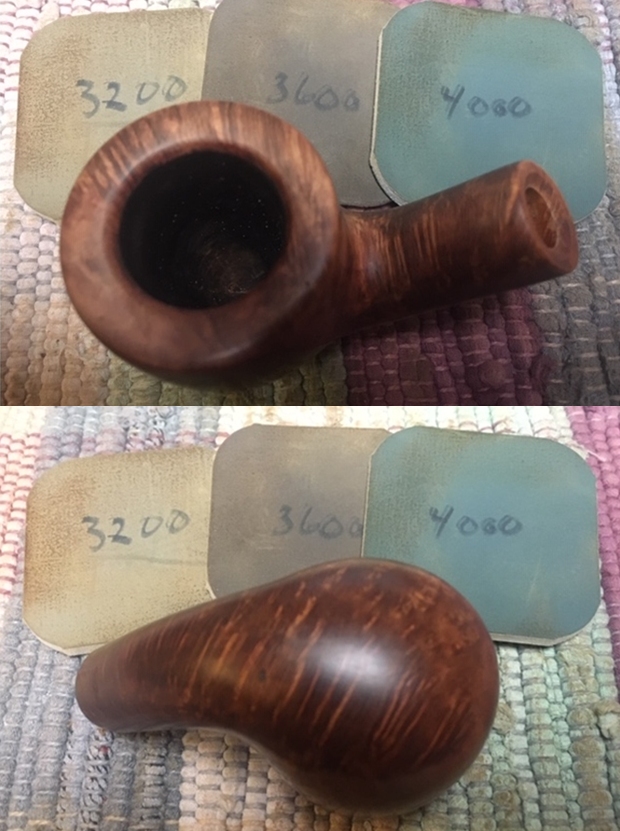
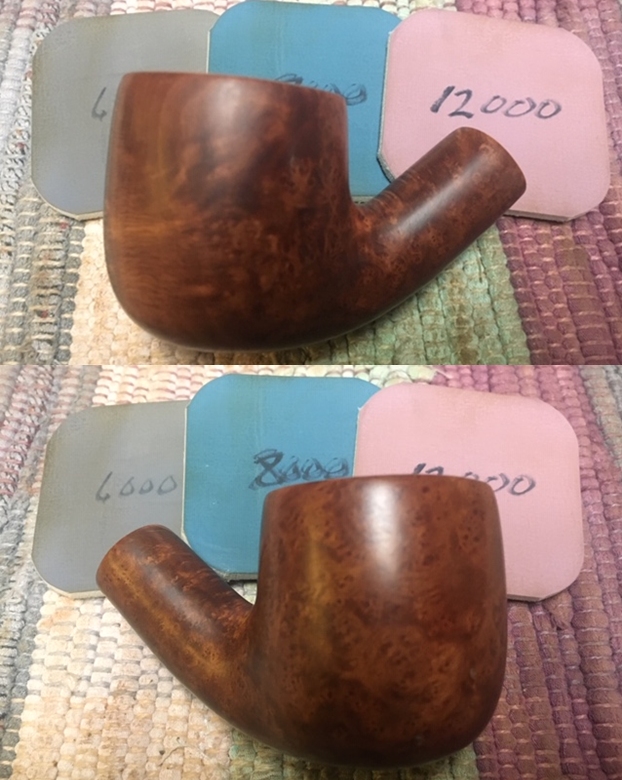
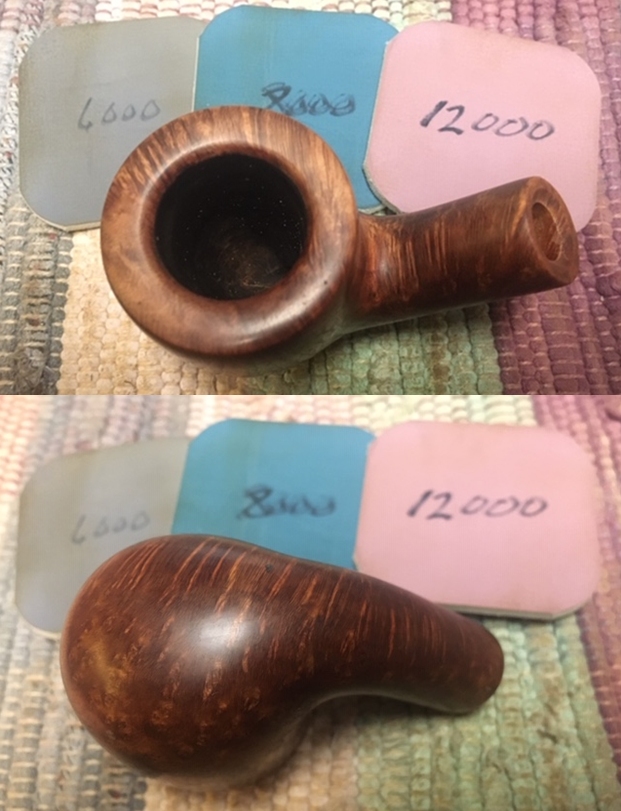
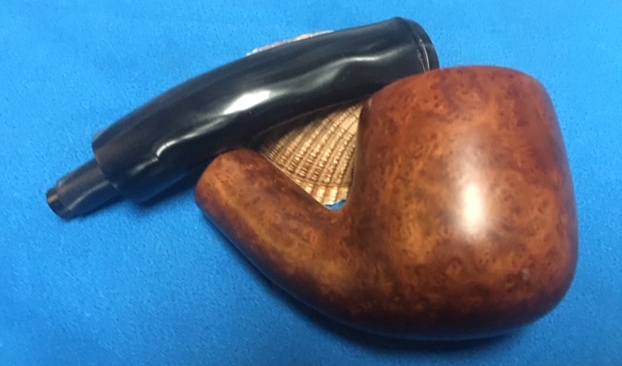
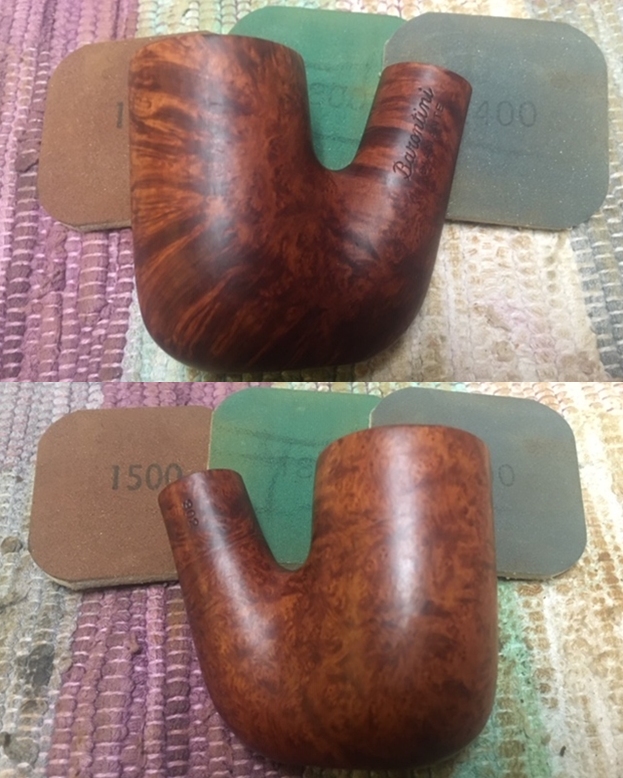
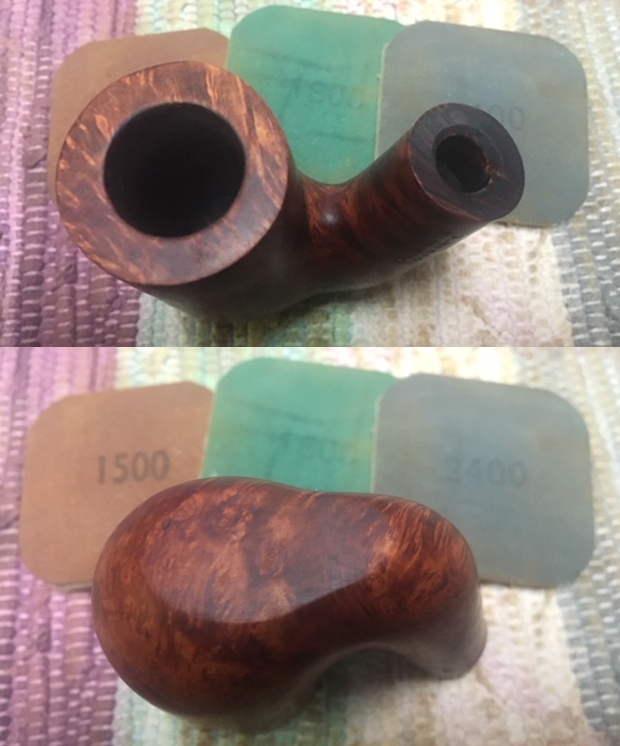
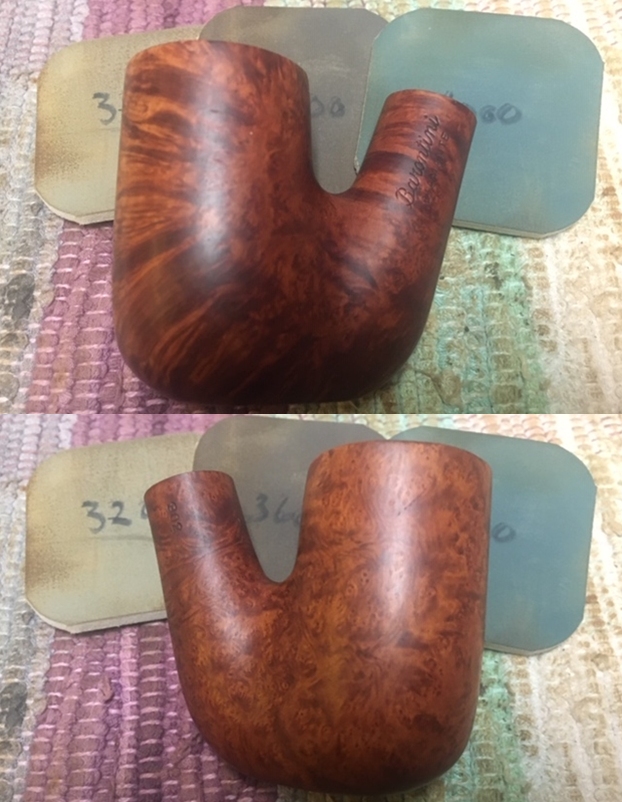
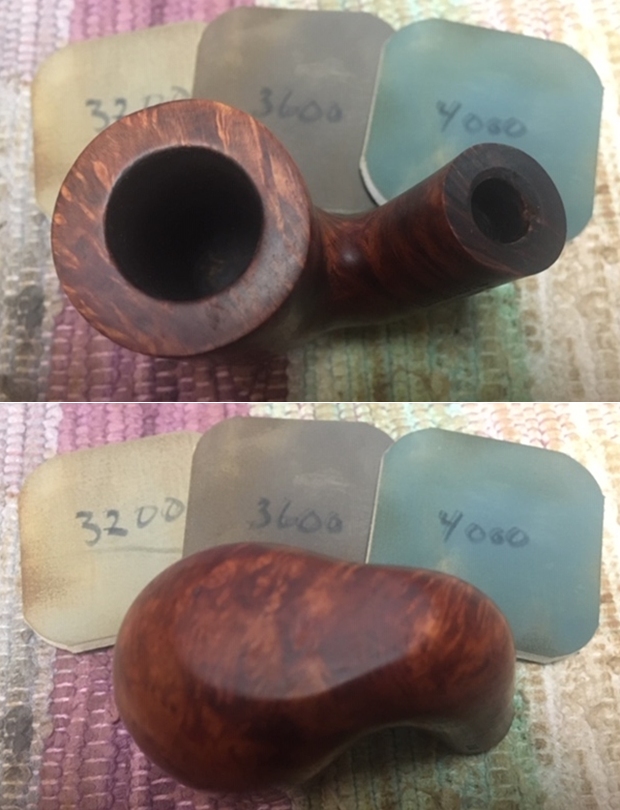
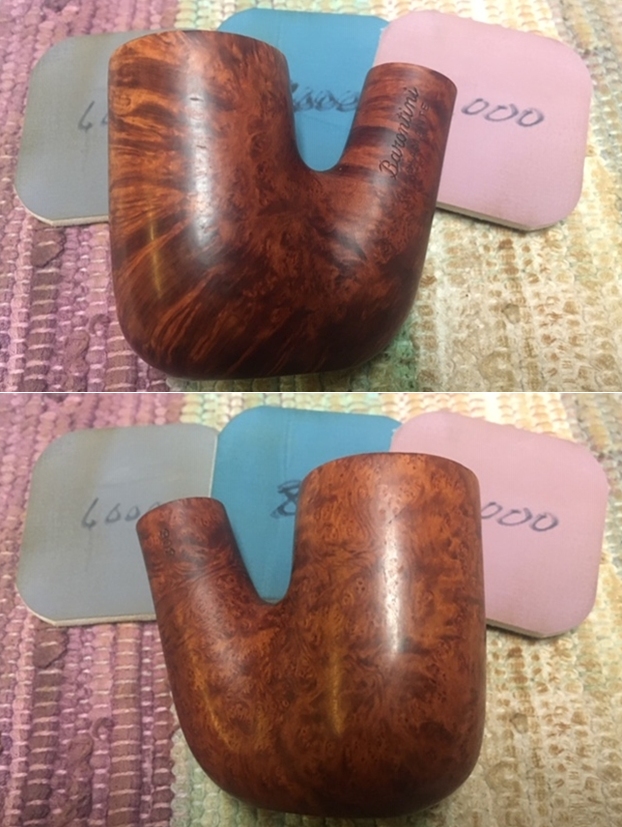
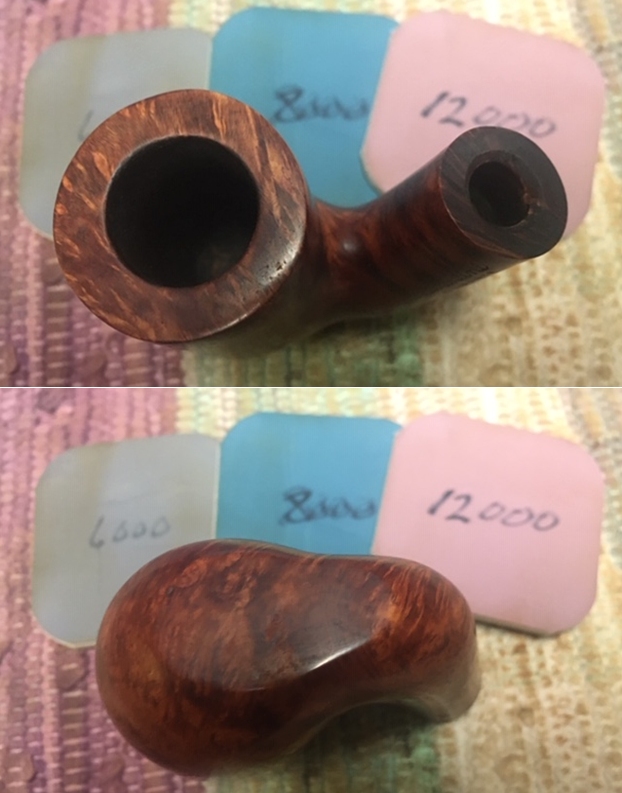
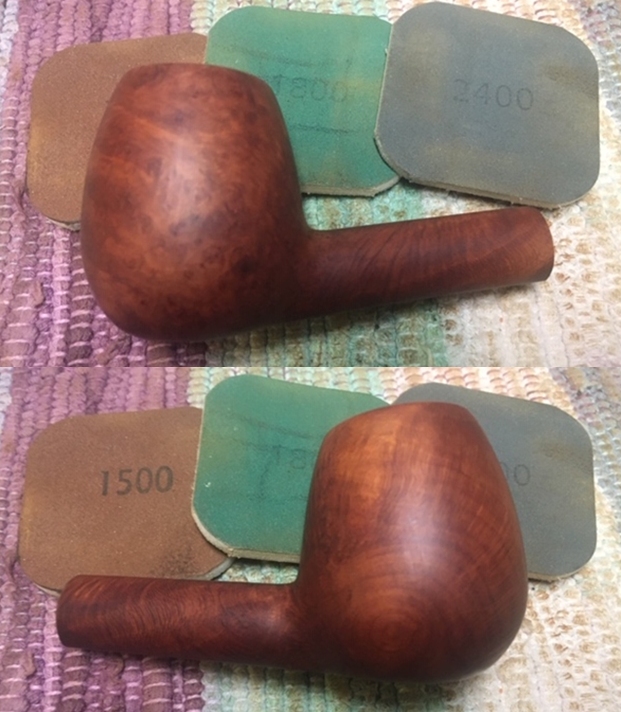
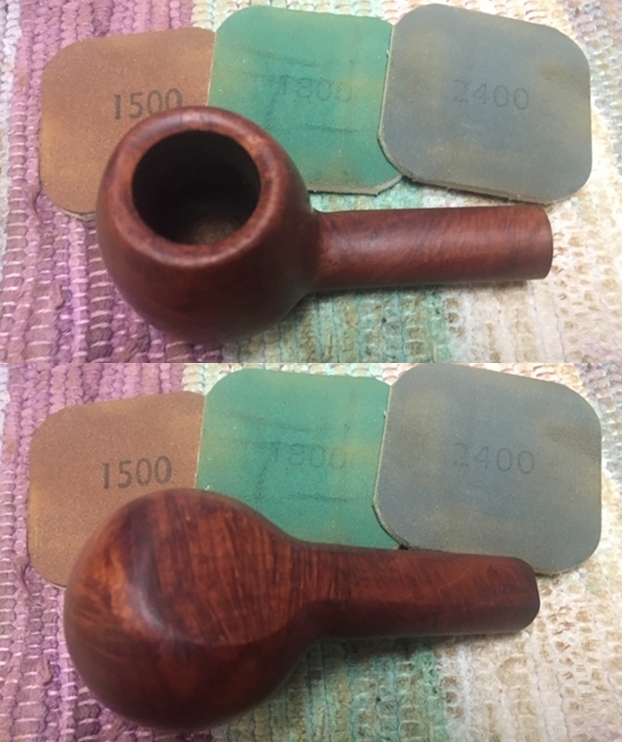
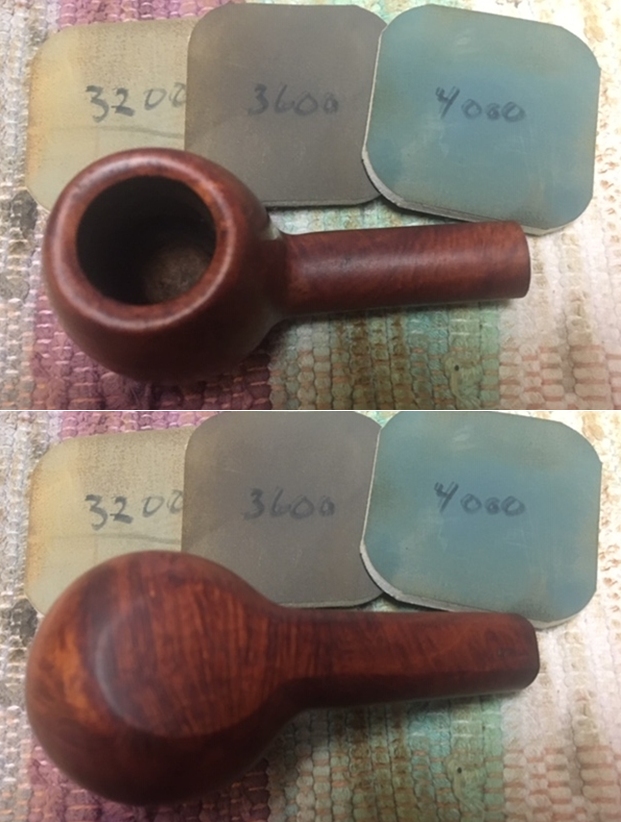
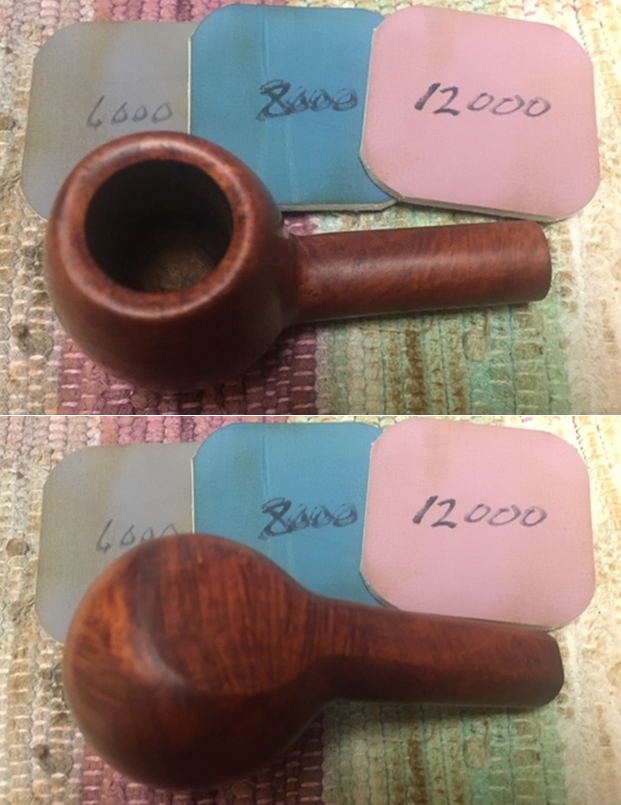
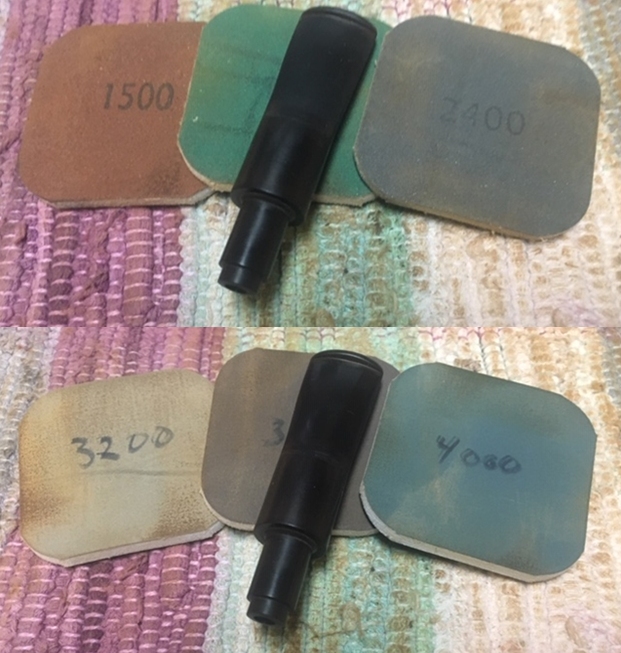
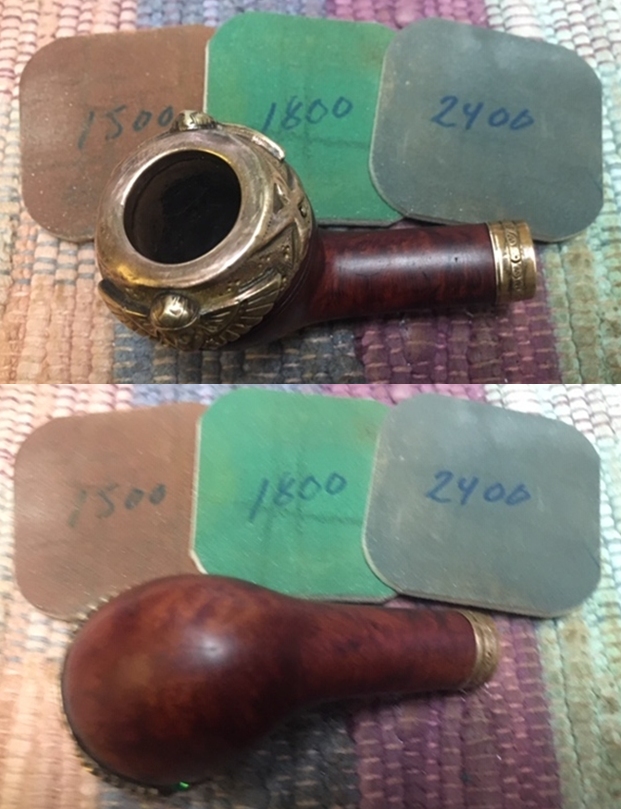
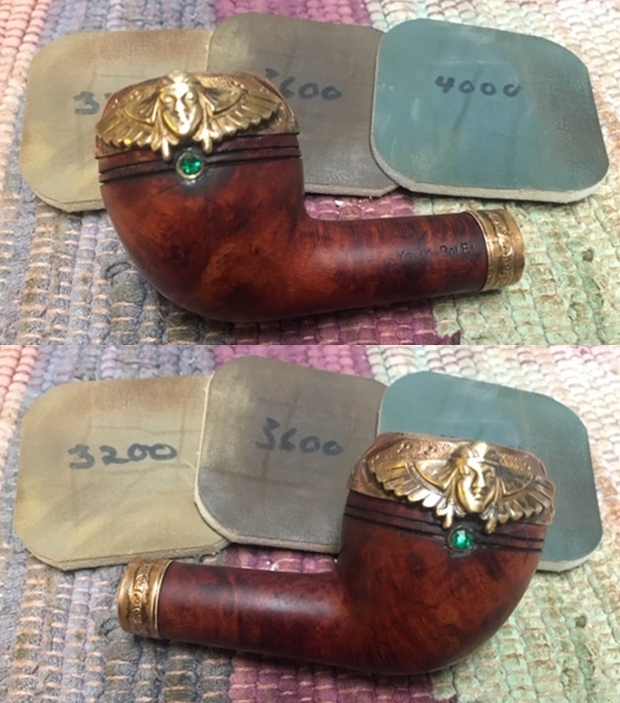
 I decided to polish the briar with micromesh sanding pads – wet sanding with 1500-12000 grit pads. I wiped the briar down after each pad with a damp cloth. The briar bowl begins to shine with the transition to each new pad. After the final polishing pad it looks great.
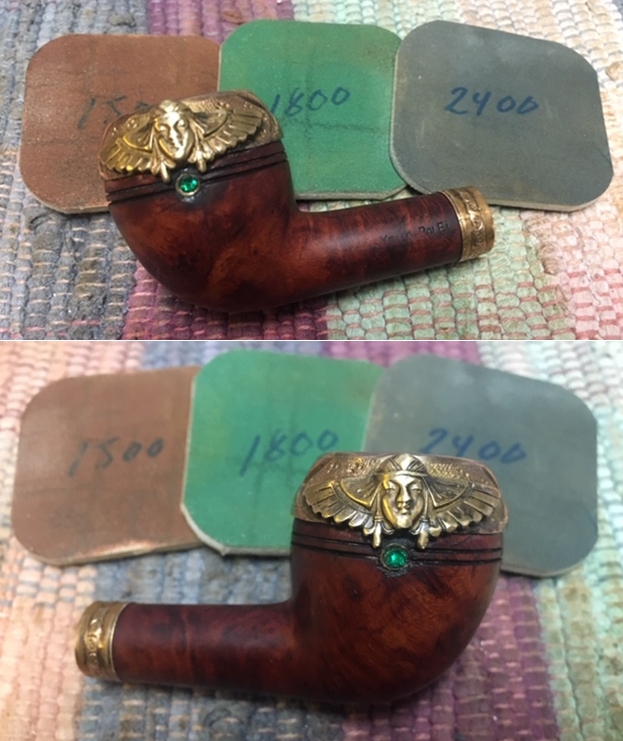

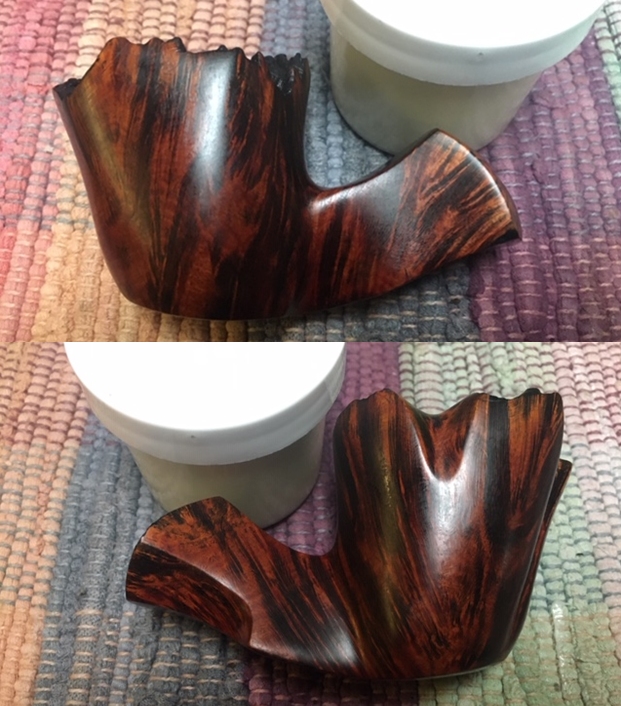
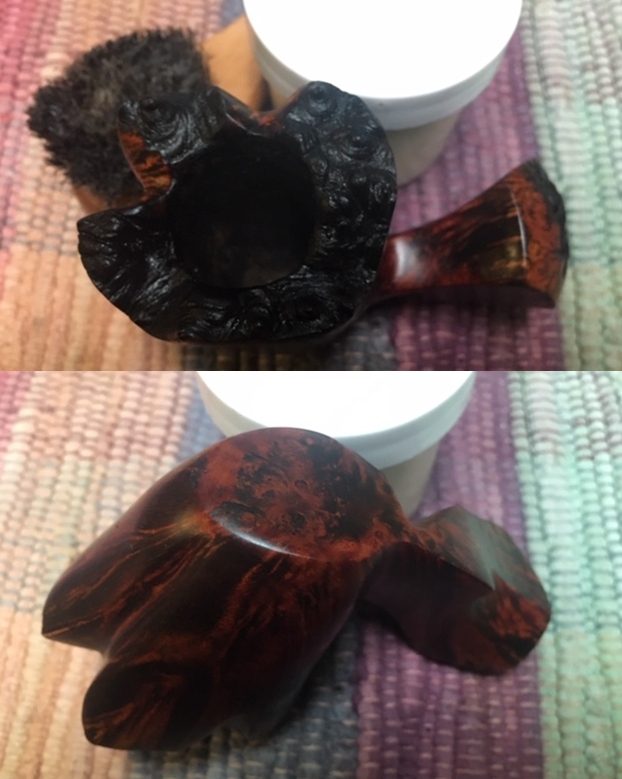
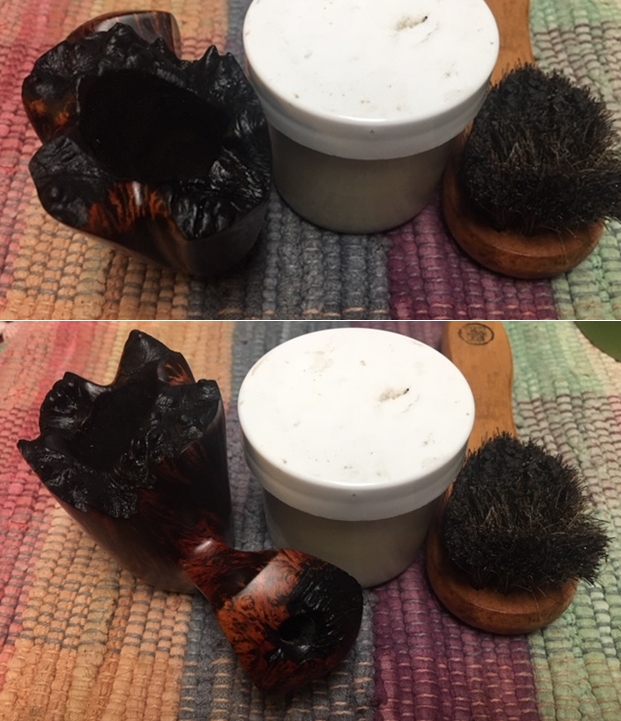
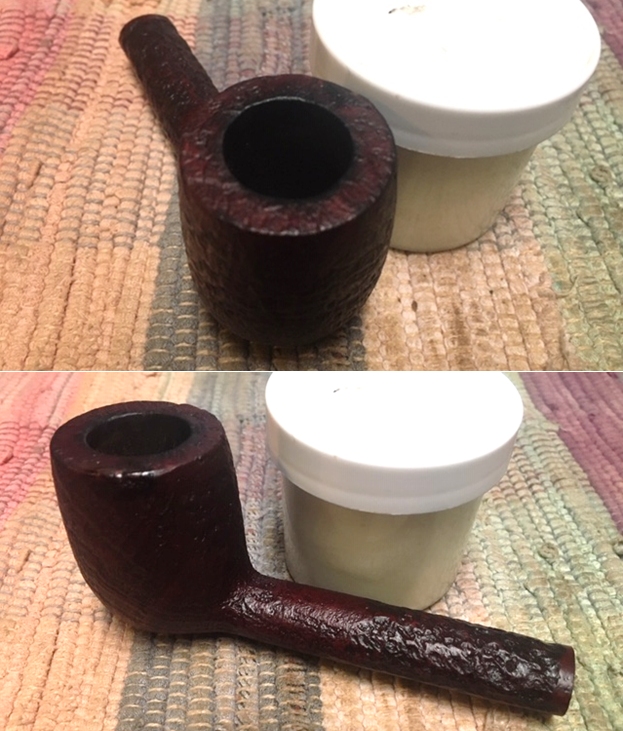
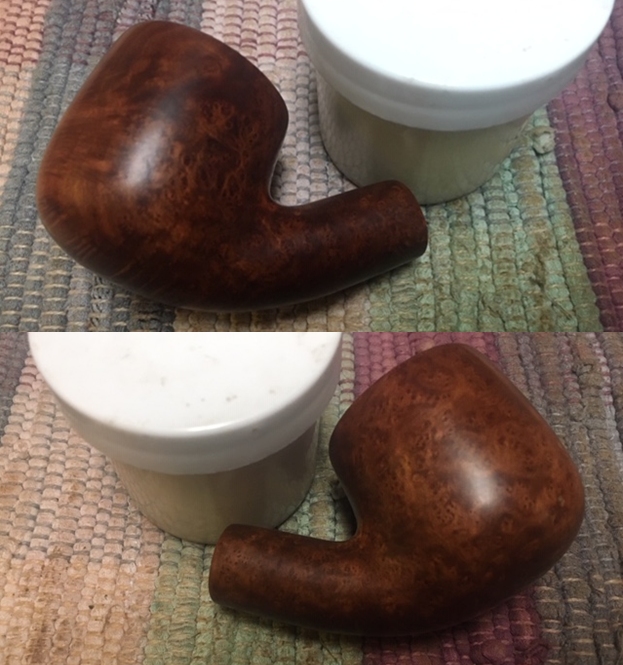
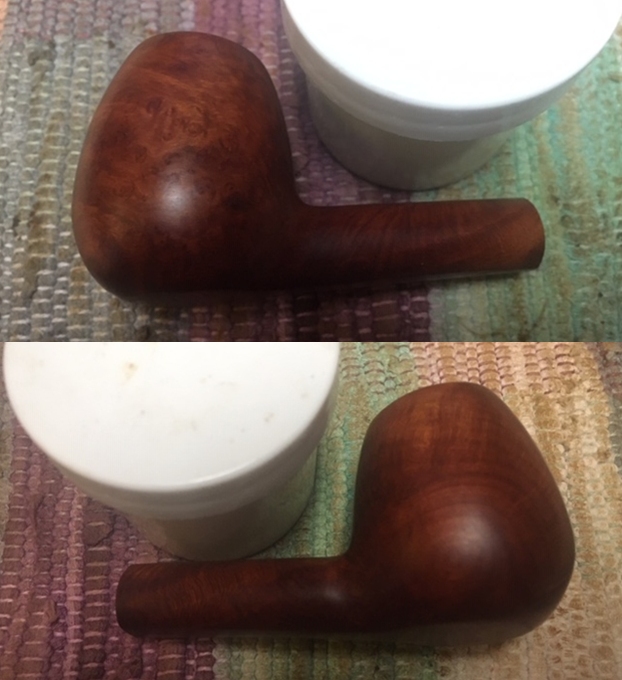
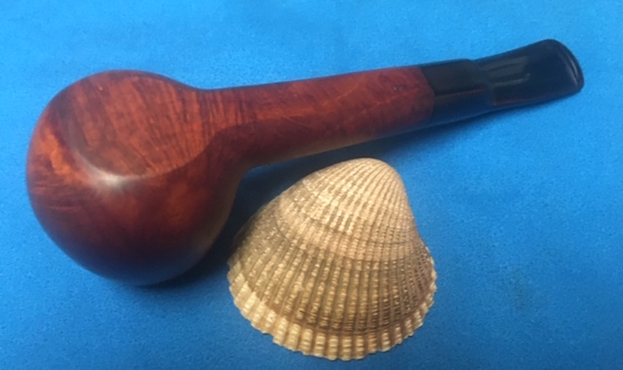
 I worked some Before & After Restoration Balm into the surface of the briar with my fingertips and into the plateau rim top and shank end with a horsehair shoe brush to clean, enliven and protect it. I let the balm sit for a little while and then buffed with a cotton cloth to raise the shine. The photos show the bowl at this point in the restoration process.
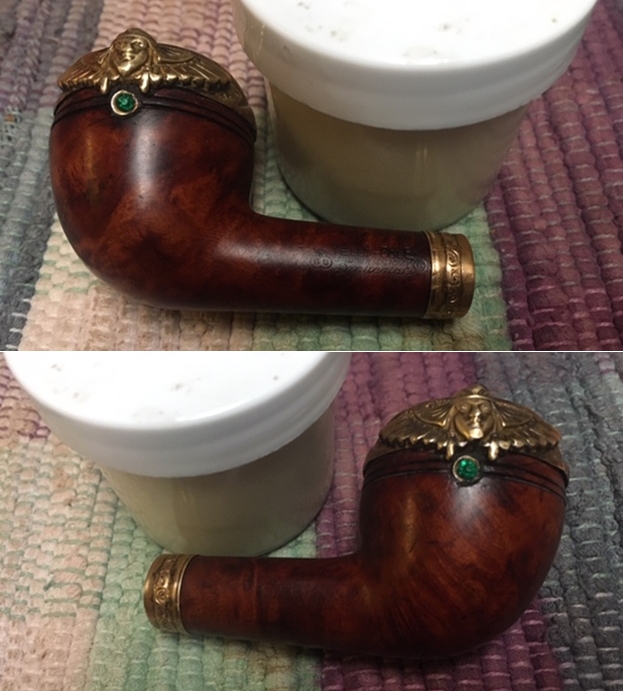

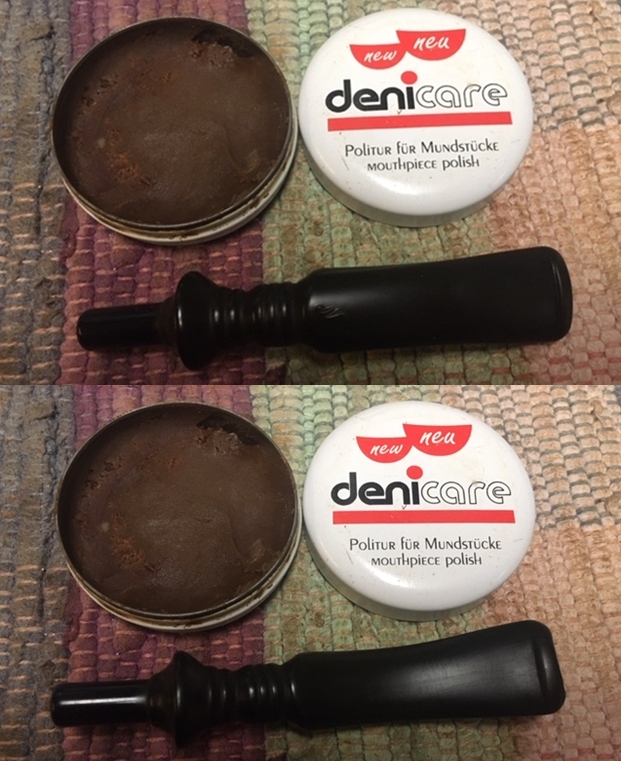
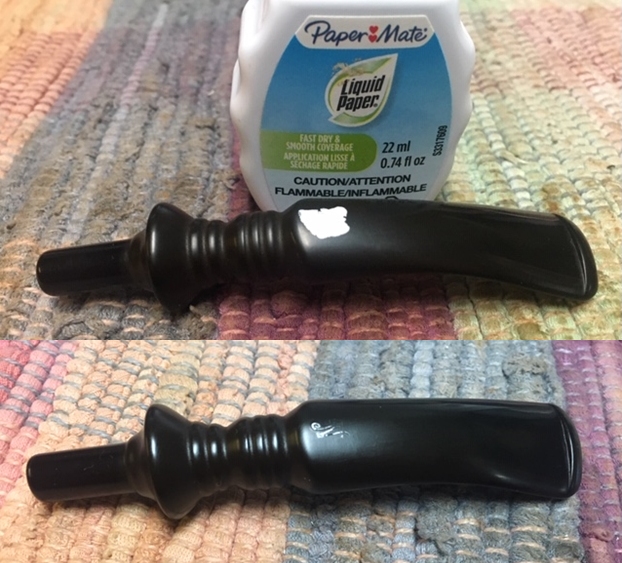
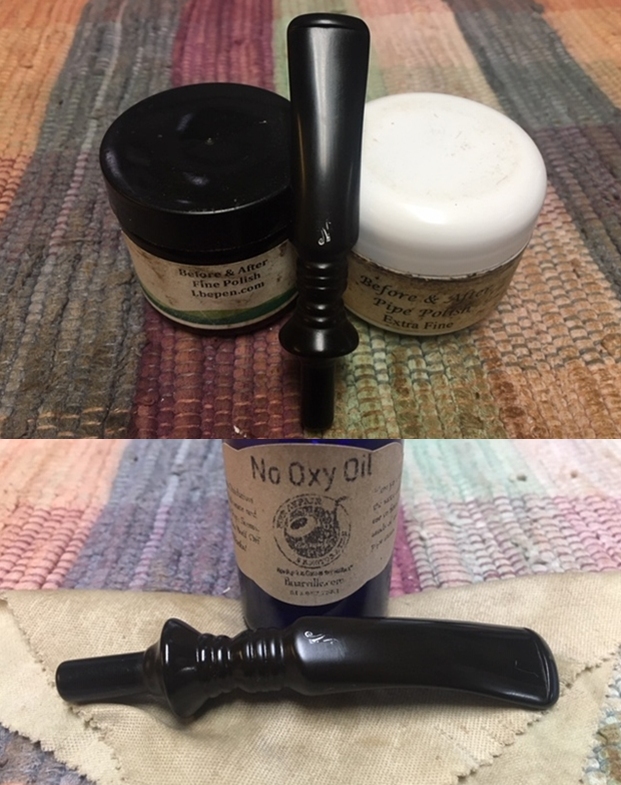
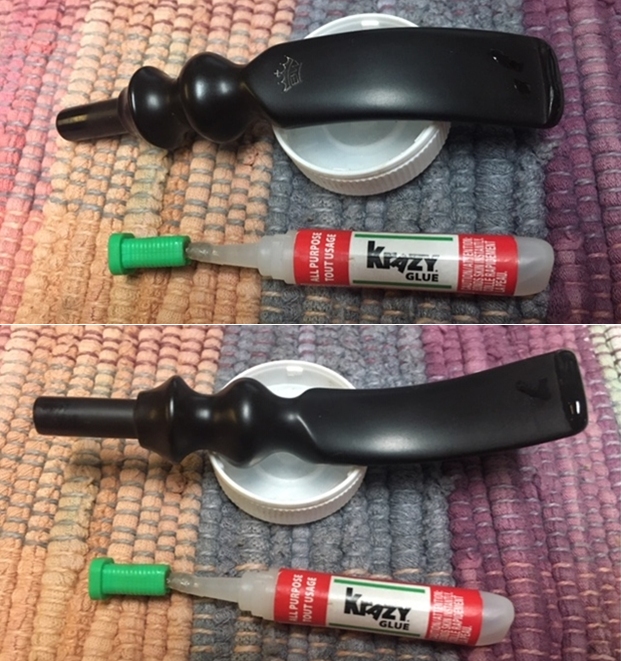
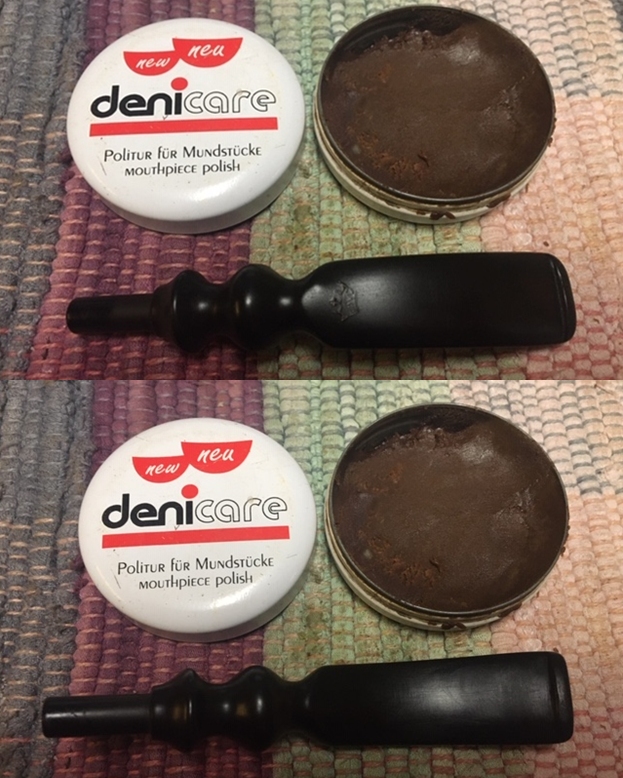
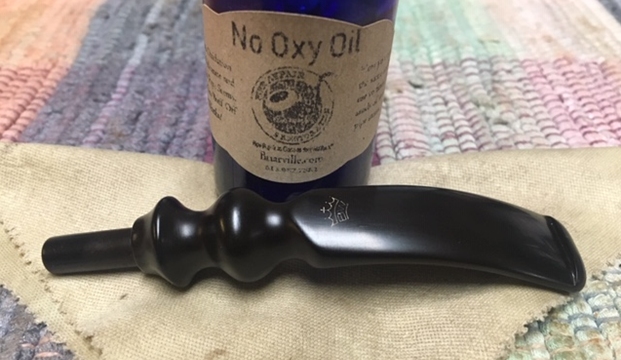
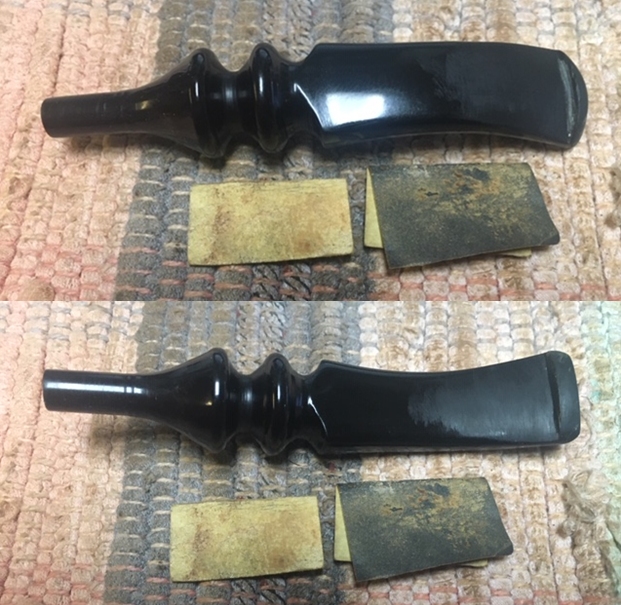
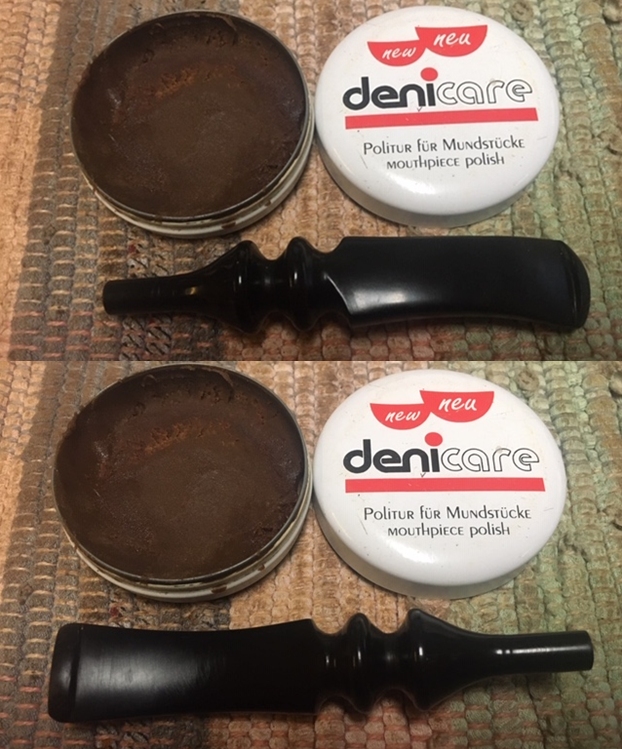
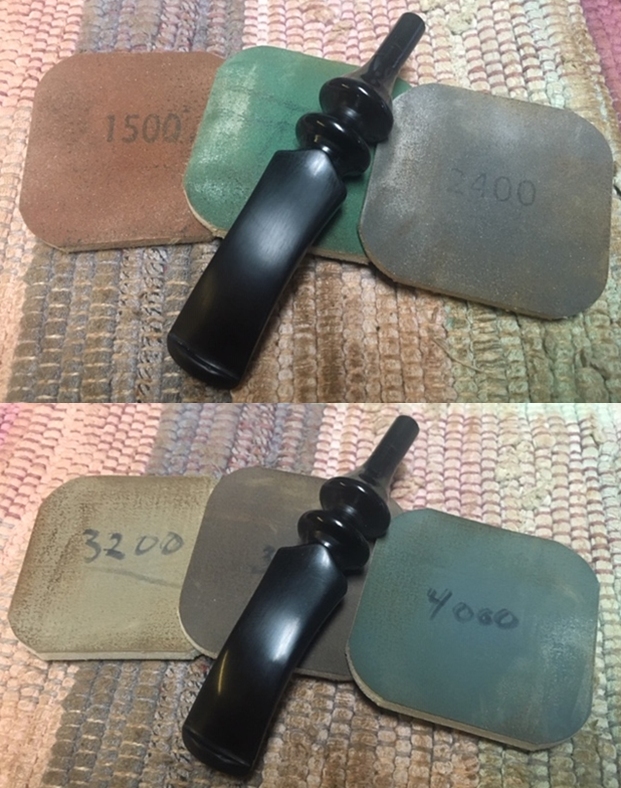
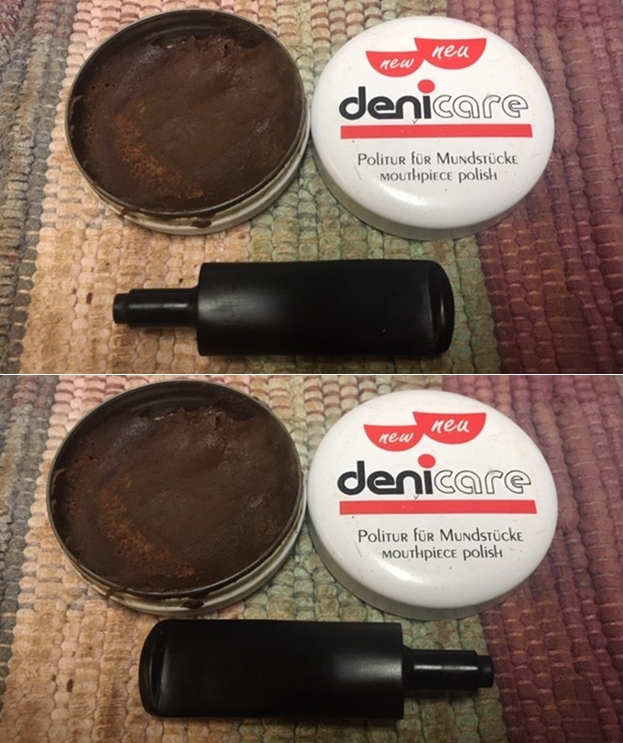
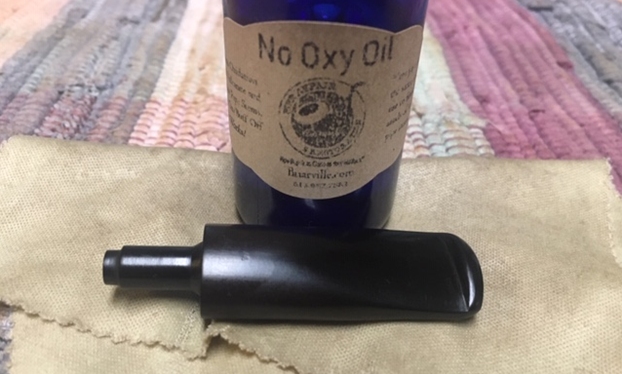
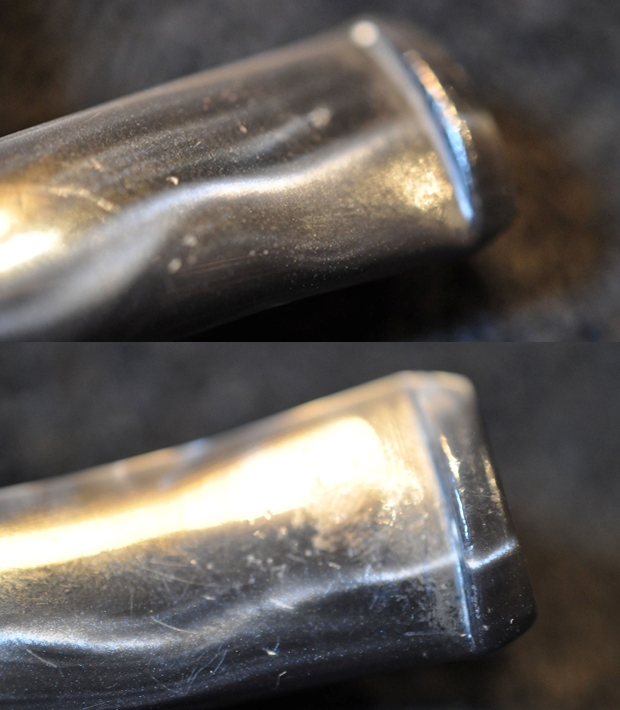
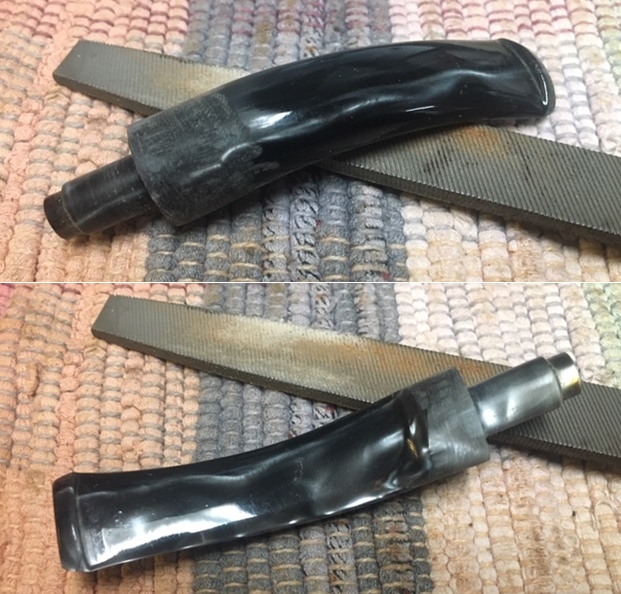
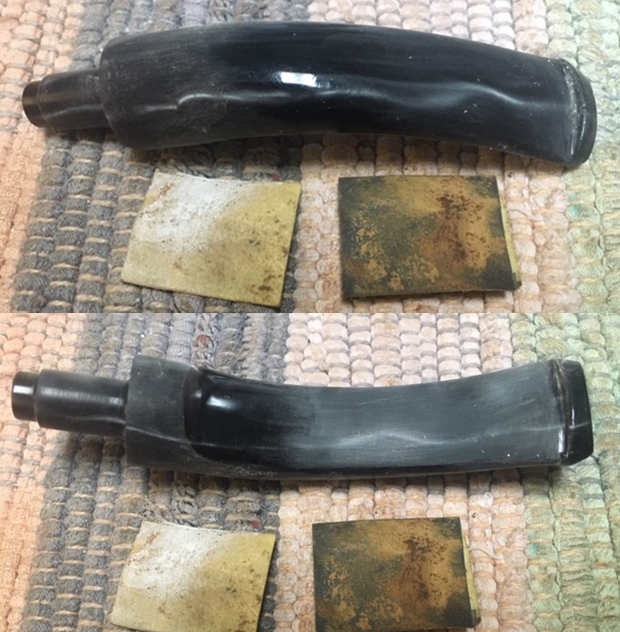
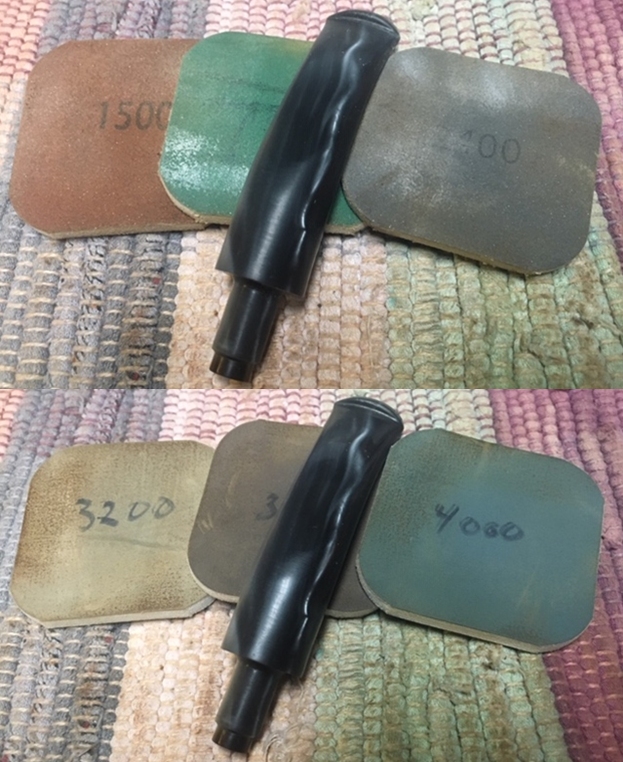
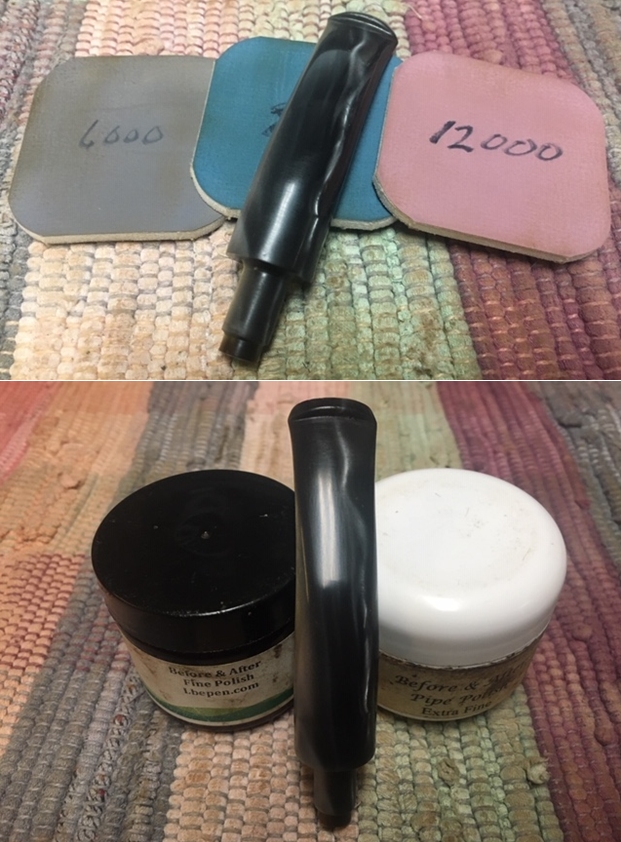
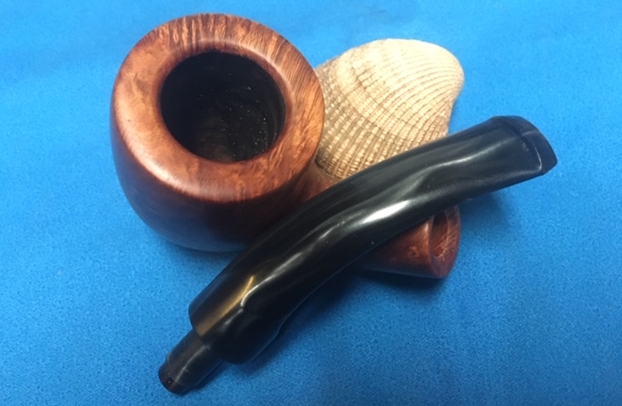
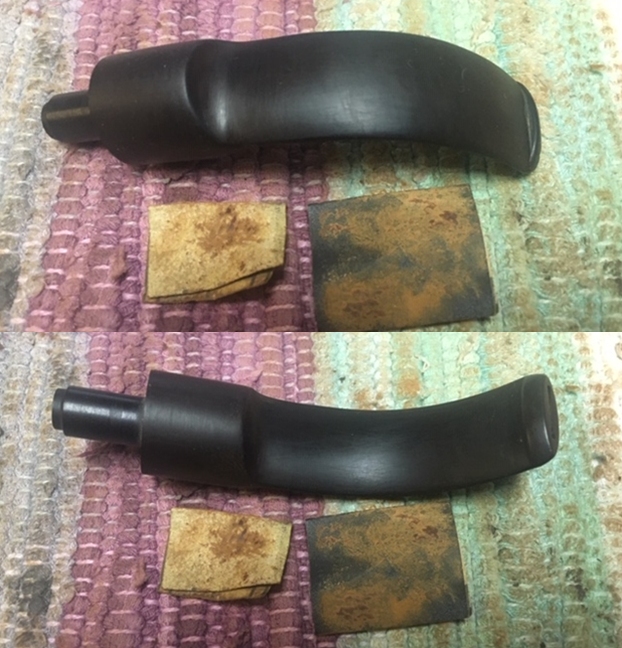
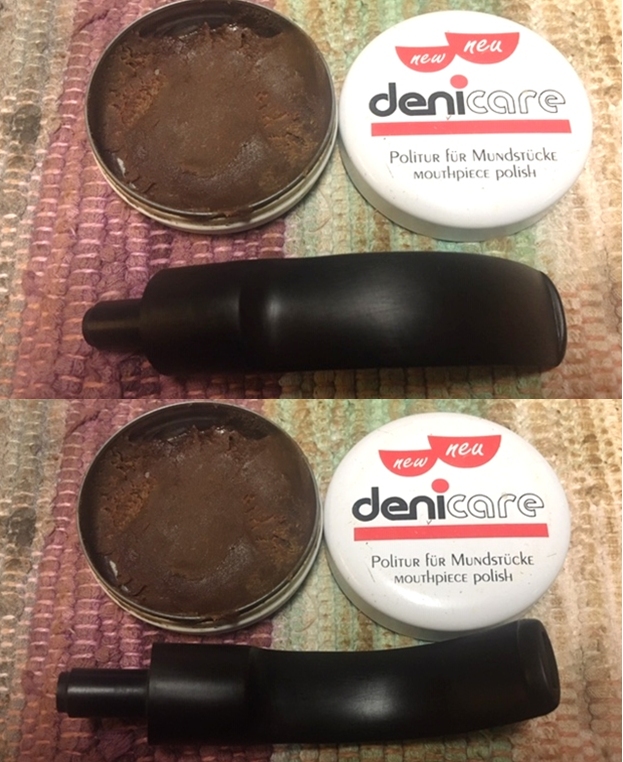
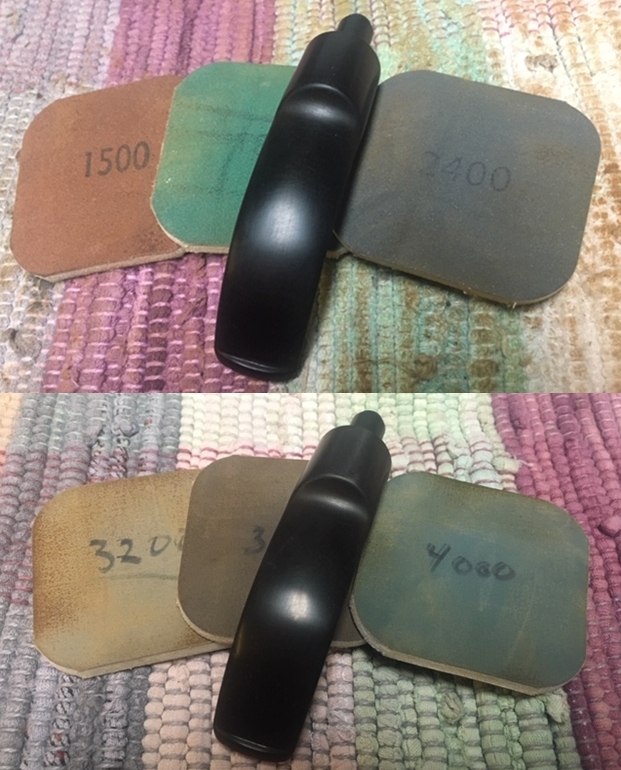
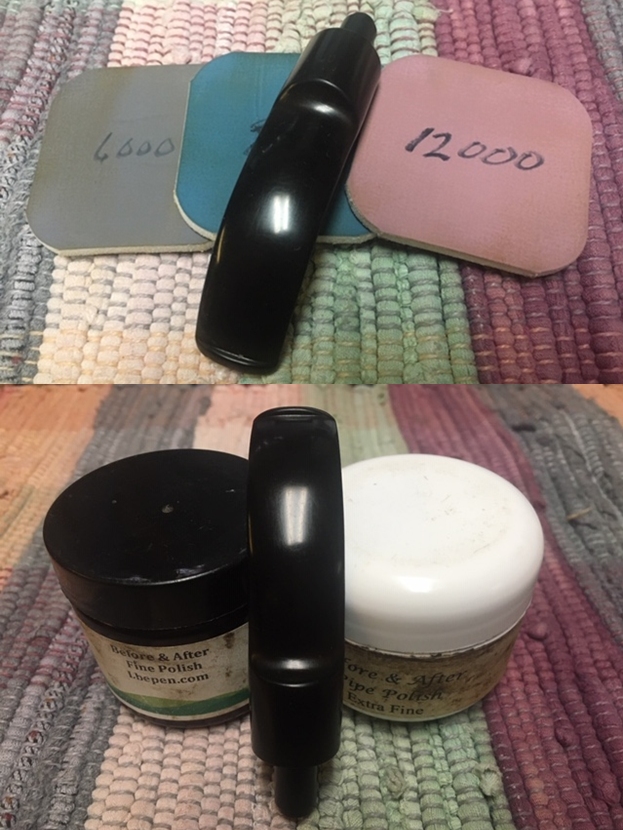
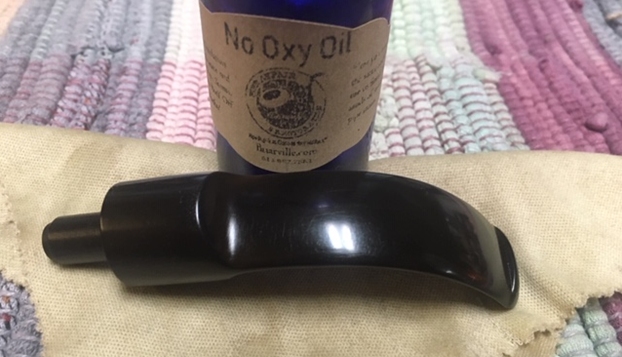
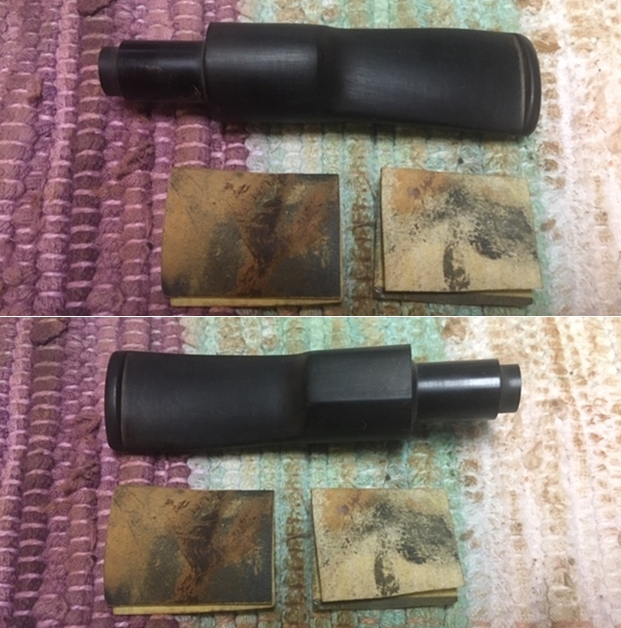
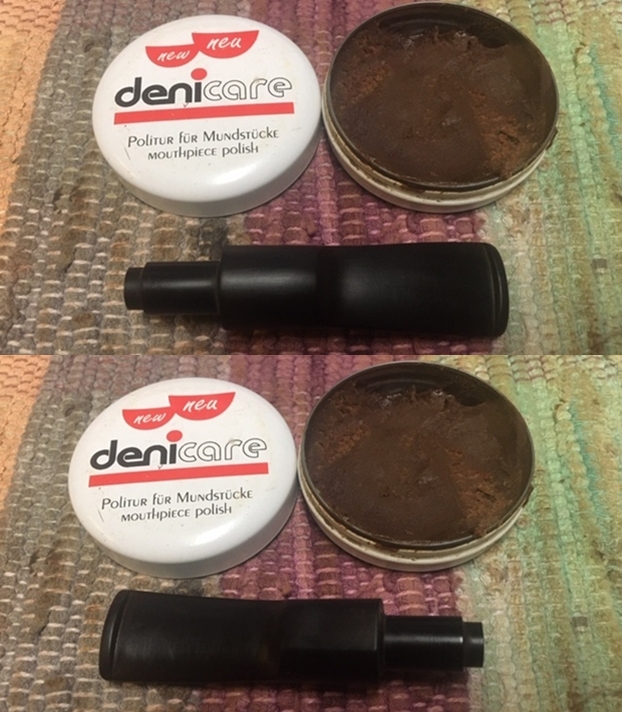
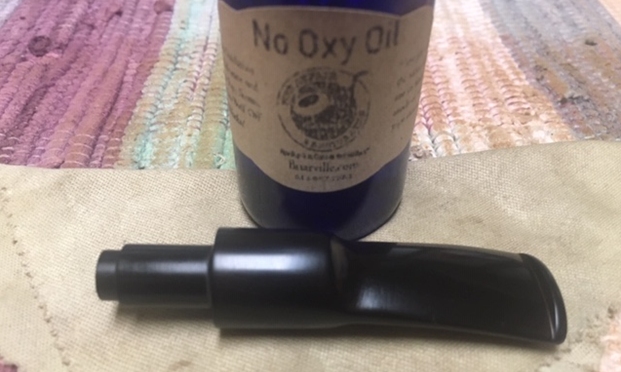
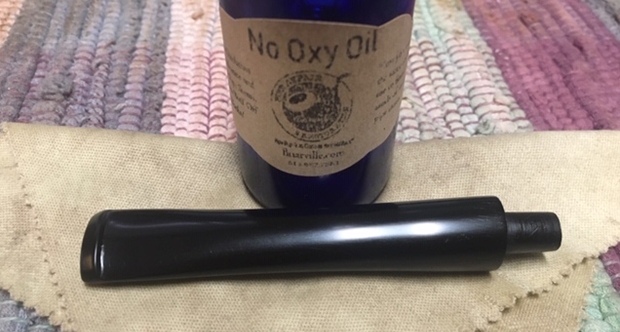
 The stem looked really good so I skipped the sanding and Denicare steps and went directly to polishing it with micromesh sanding pads – wet sanding with 1500-12000 grit sanding pads. I wiped it down after each sanding pad with some Obsidian Oil. I finished polishing it with Before & After Pipe Stem Polish – both Fine and Extra Fine and buffed it off with a cotton cloth. I wiped the stem down with Briarville’s No Oxy Oil to protect and preserve the stem.
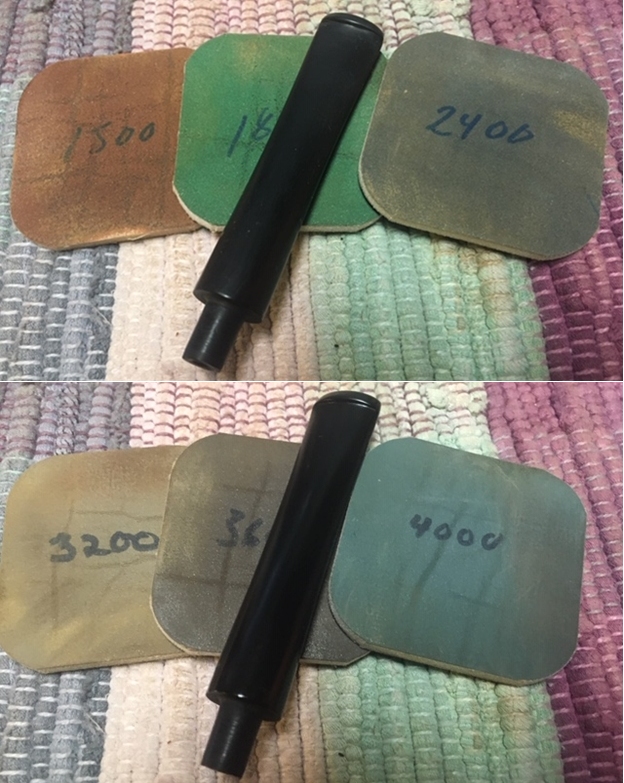

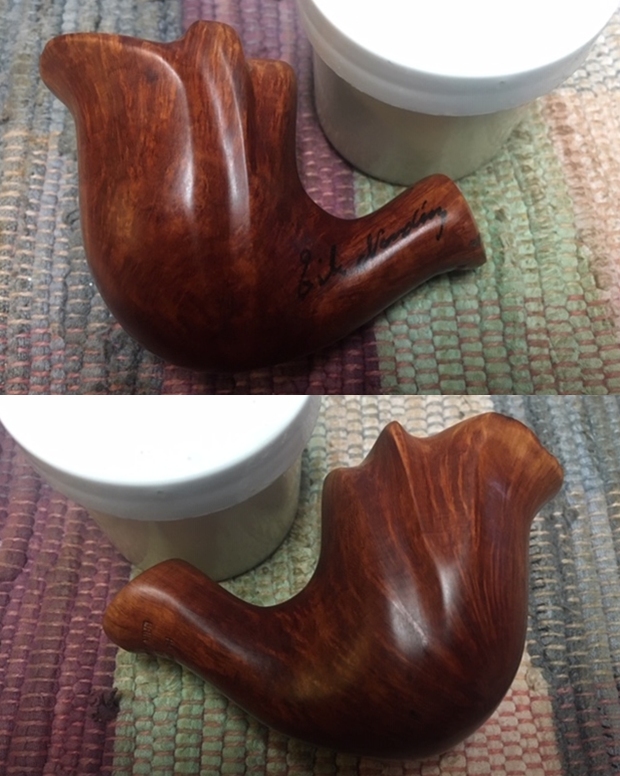
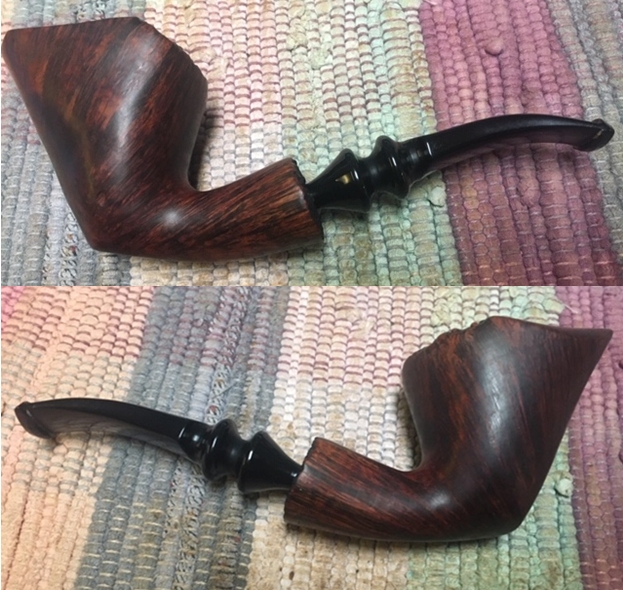
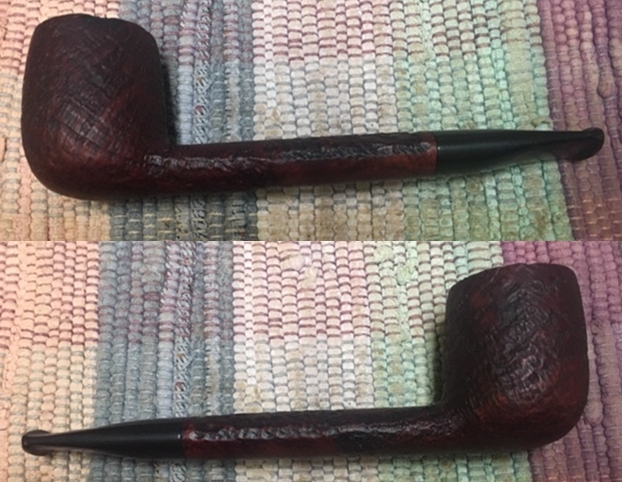
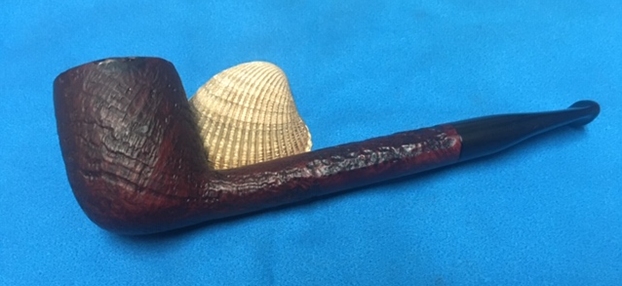
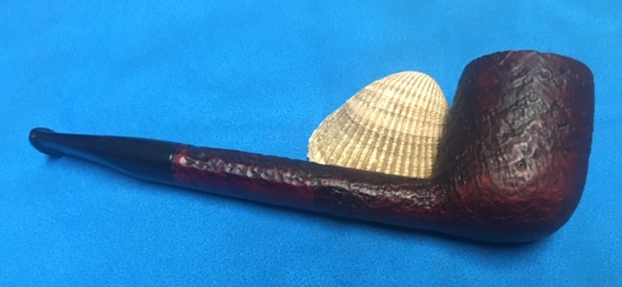
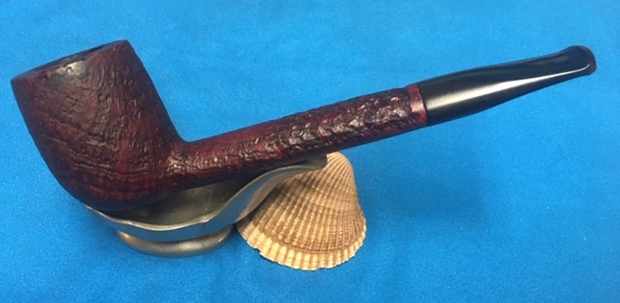
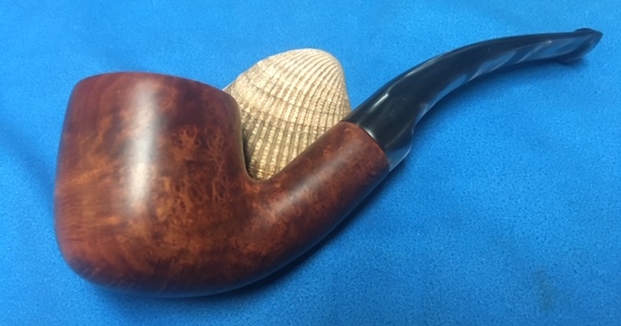
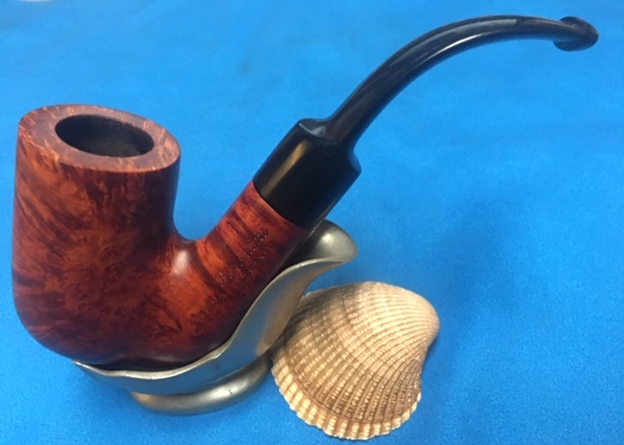
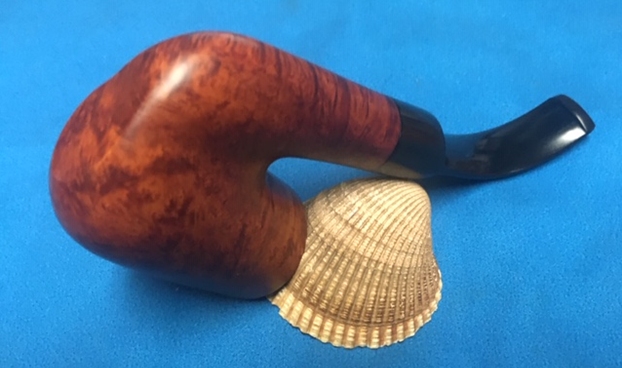
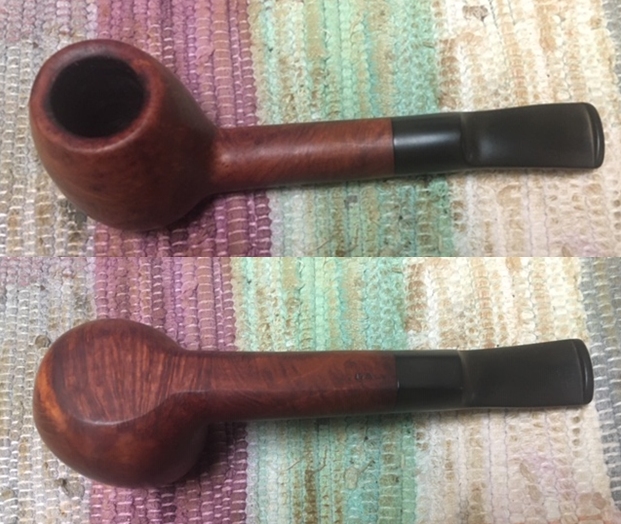
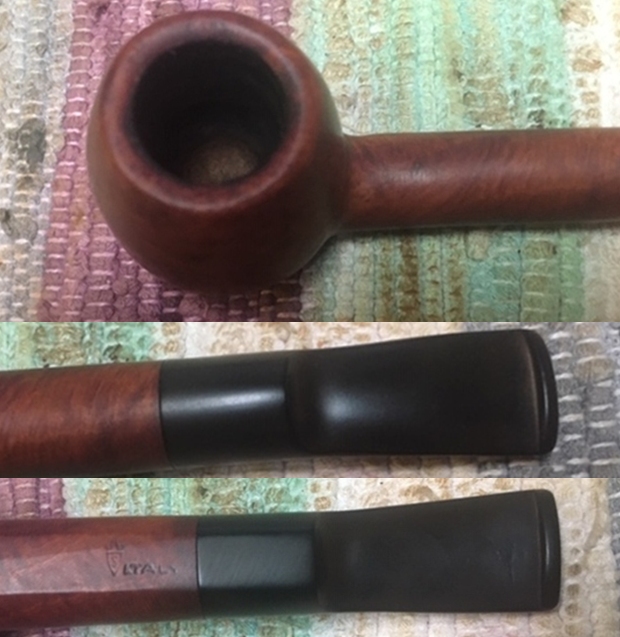
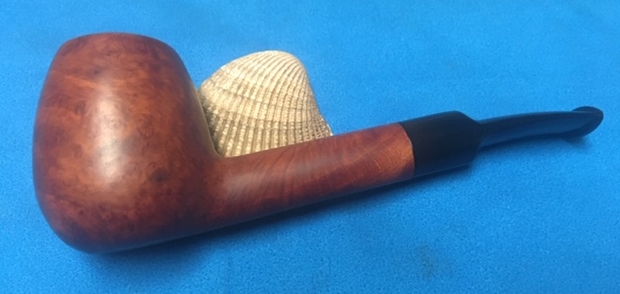
 This is a great piece of pipe history and one that I can at least give a reasonable date for it making. It is a fancy KBB Yello-Bole Cured with Real Honey Rhodesian with a unique rim cap and band on the shank. The figures on the sides of the cap could easily be a fanciful samurai or some other figure but that is my best guess. The stem is a polished hard rubber that really shines with the buffing. The briar is also quite nice with just a few well-hidden fills. The brass, the briar and the hard rubber all combine well for a unique looking pipe. I polished stem and the bowl with Blue Diamond polish on the buffing wheel carefully avoiding the brass. I gave the bowl and the stem multiple coats of carnauba wax. I buffed the pipe with a clean buffing pad to raise the shine. I hand buffed it with a microfiber cloth to deepen the shine. The pipe polished up pretty nicely. The rich combination of brass, browns and black of the bowl and stem came alive with the buffing. Have a look at it with the photos below. The shape, finish and flow of the pipe and stem are very well done. The dimensions are Length: 5 ¾ inches, Height: 1 ¾ inches, Outside diameter of the bowl: 1 ¼ inches, Chamber diameter: 5/8 of an inch. This older American made Art Deco era pipe is a real beauty. Thanks for walking through the restoration with me as I worked over another beautiful pipe. This one will be joining my collection of older American made pipes. Thanks for your time.