By Steve Laug
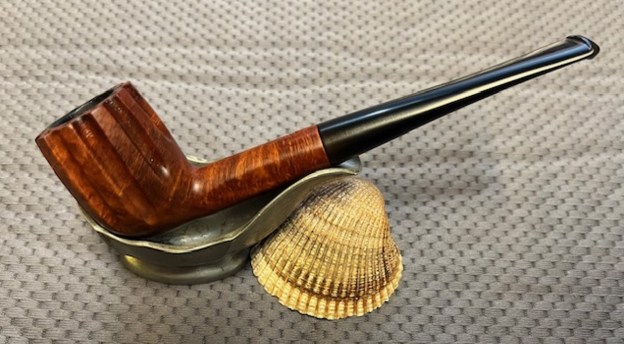
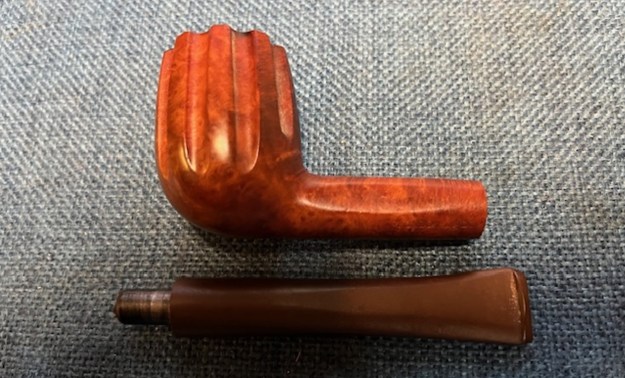
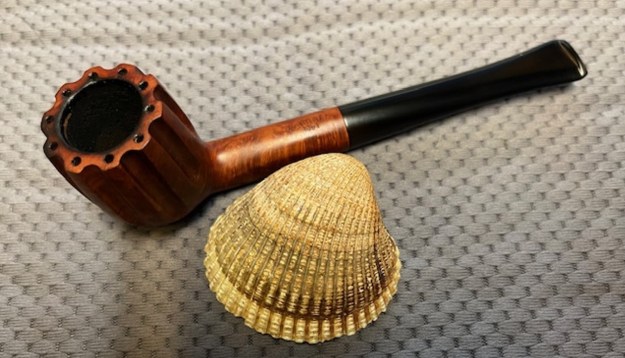
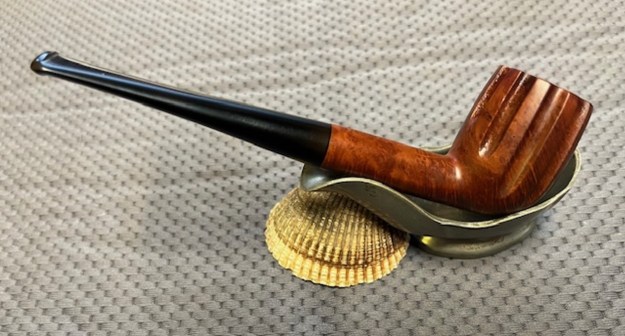
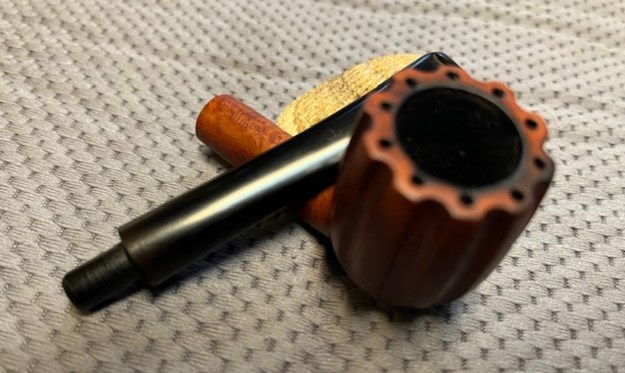
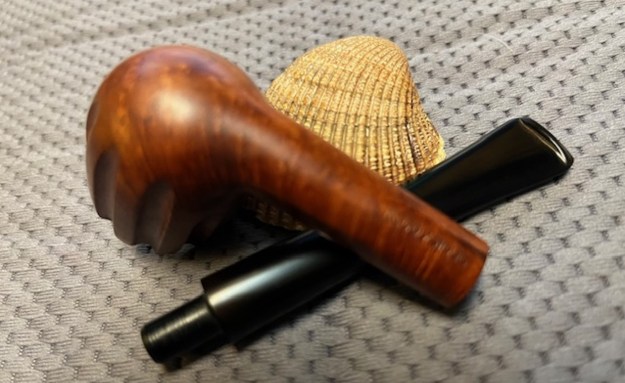
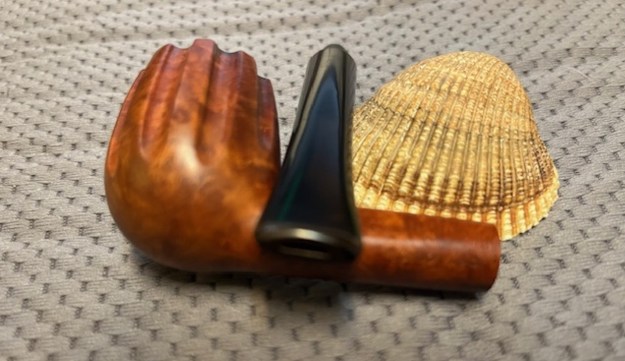
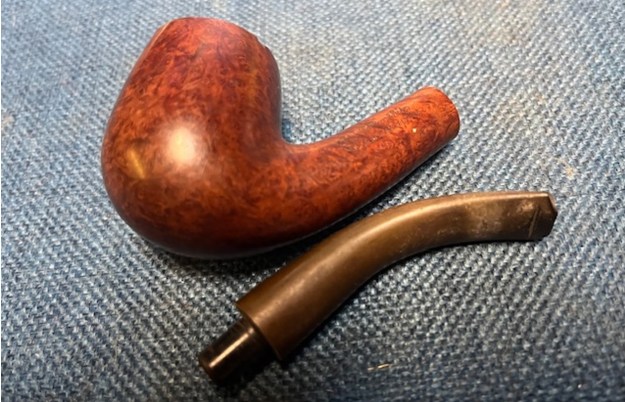
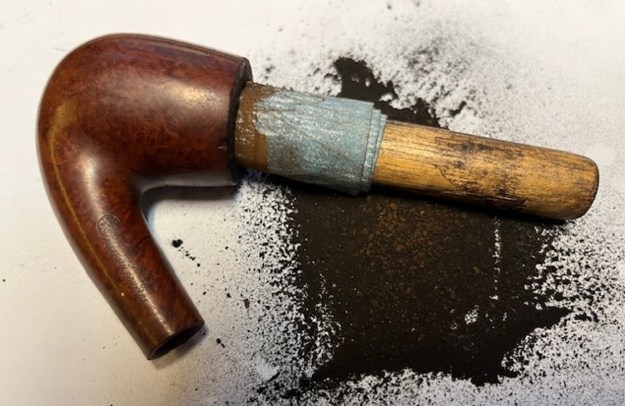
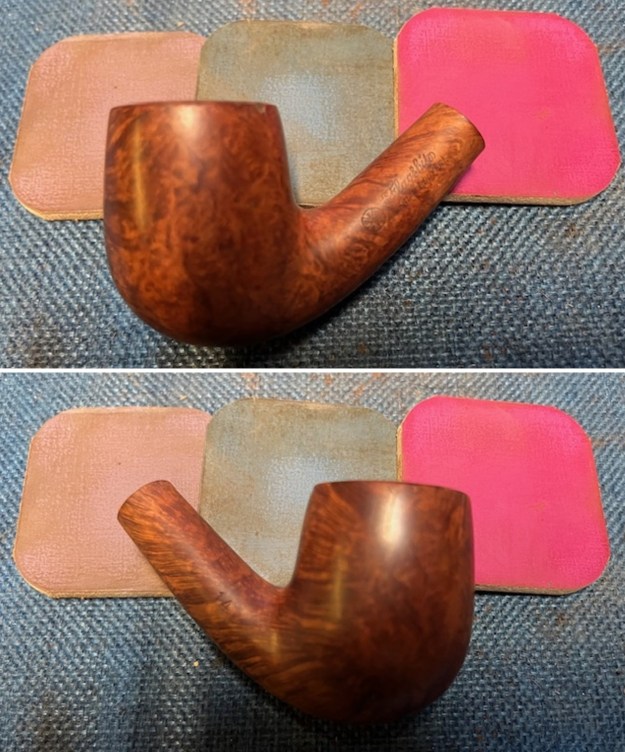
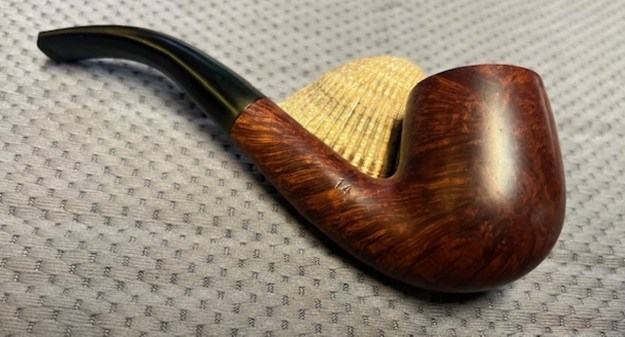
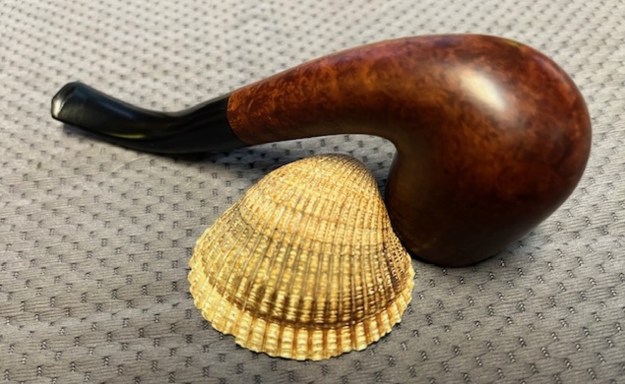
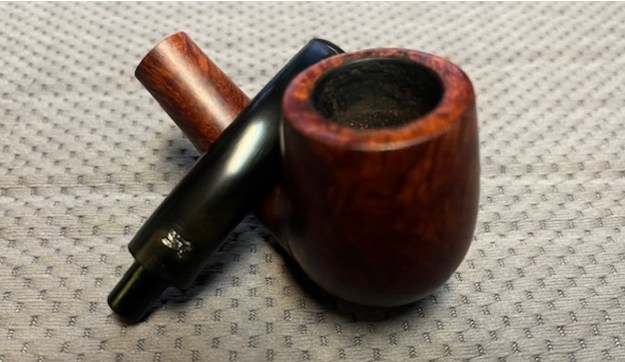
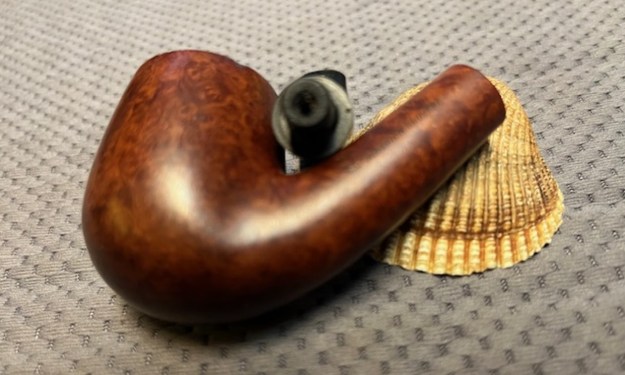
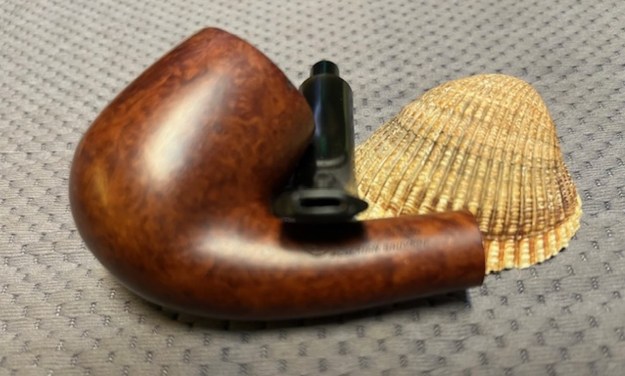
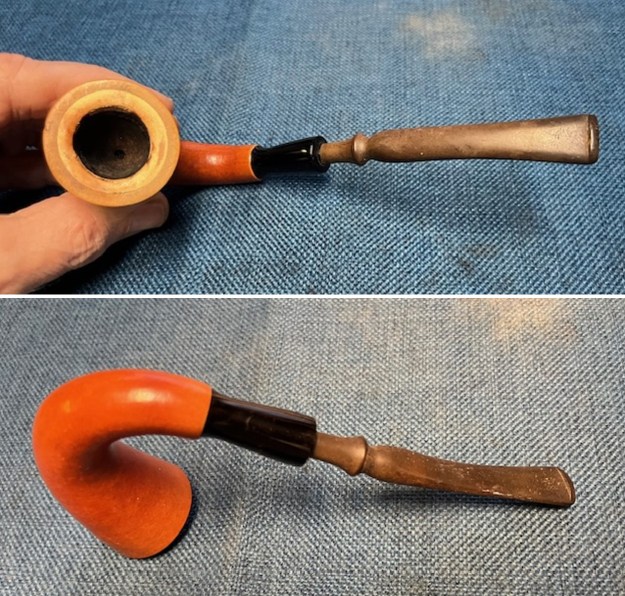
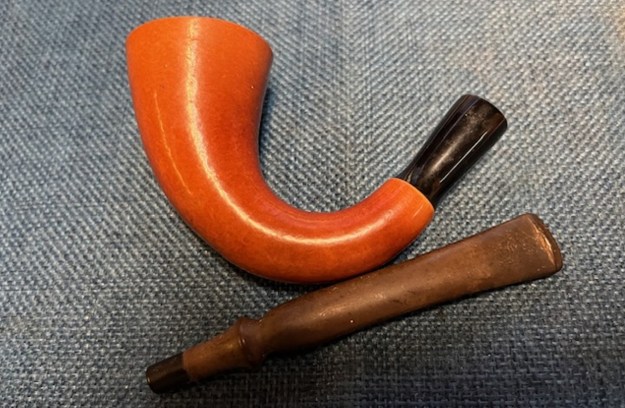
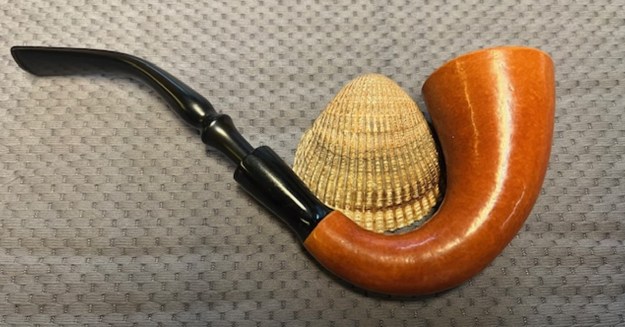
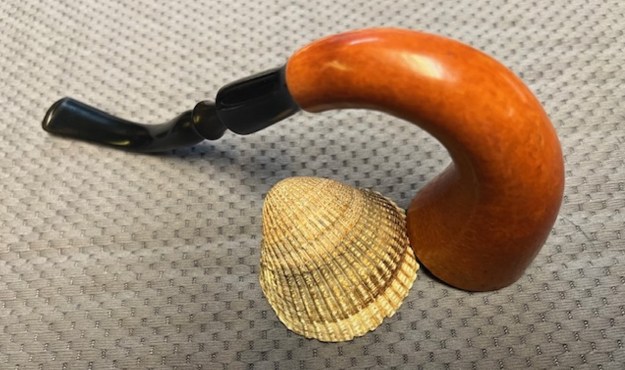
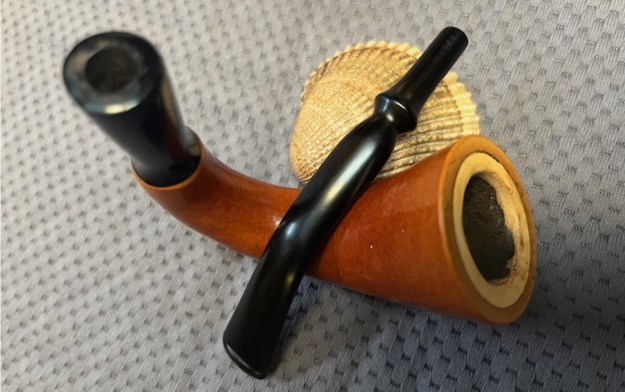
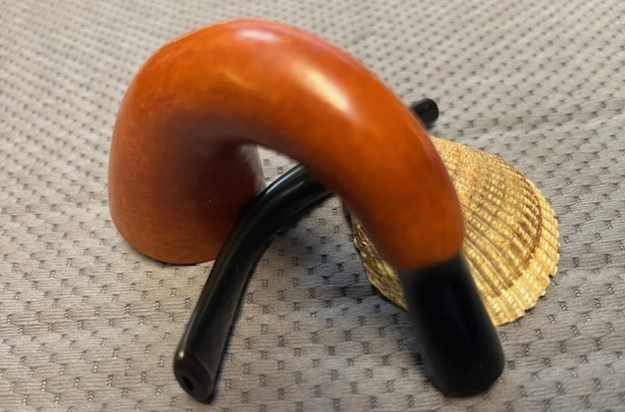
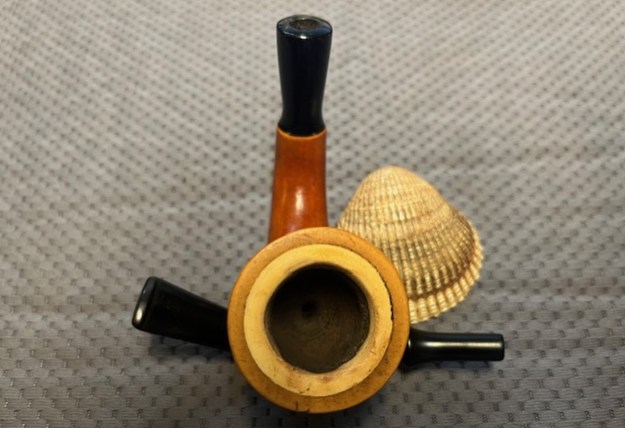
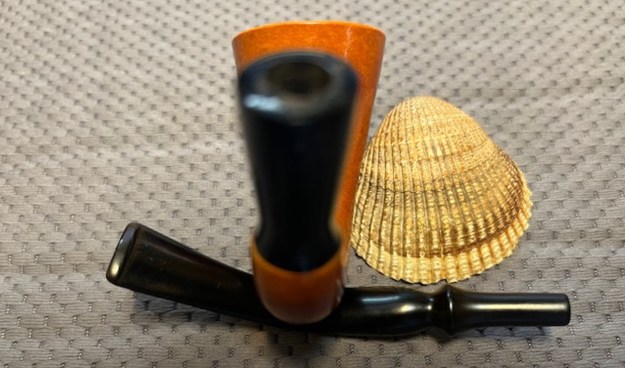
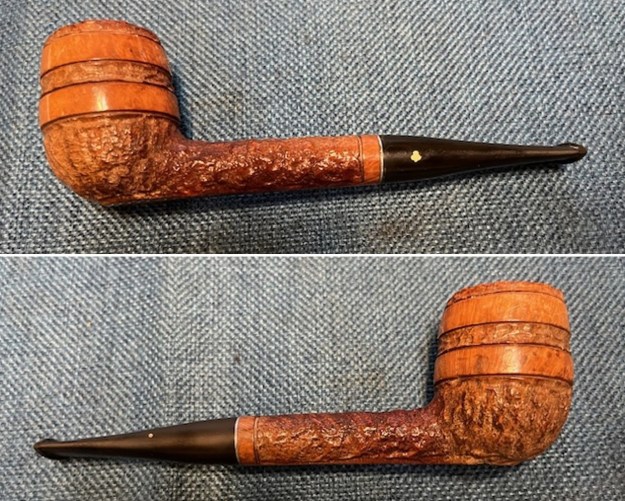
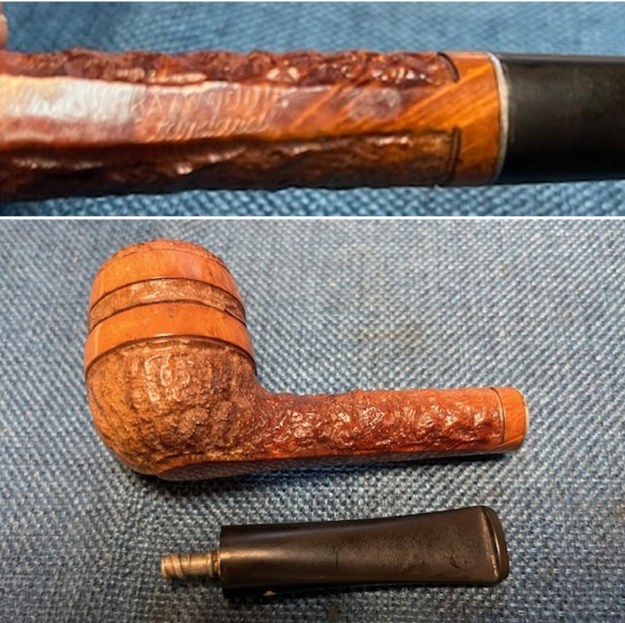
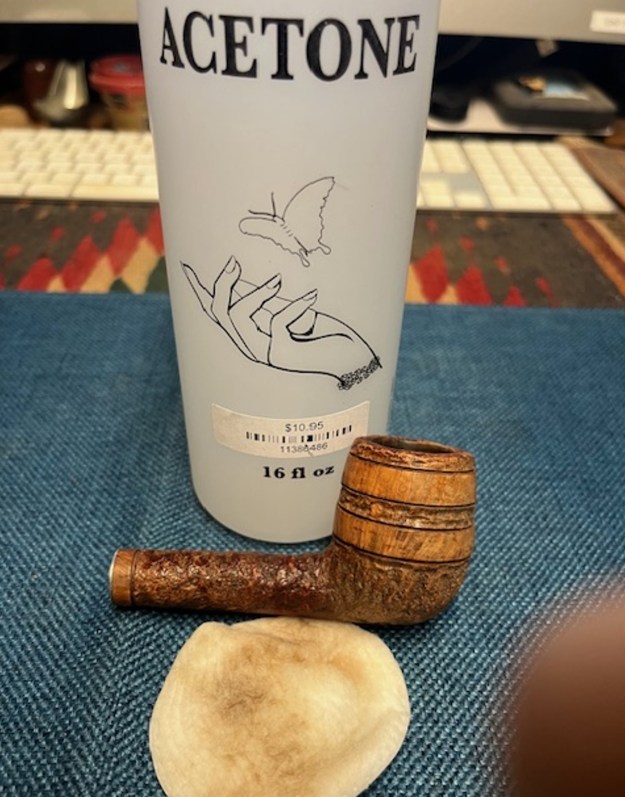
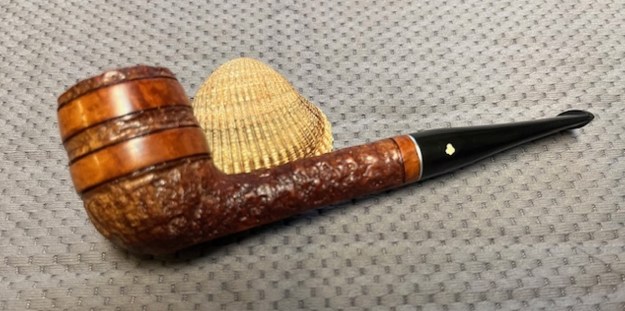
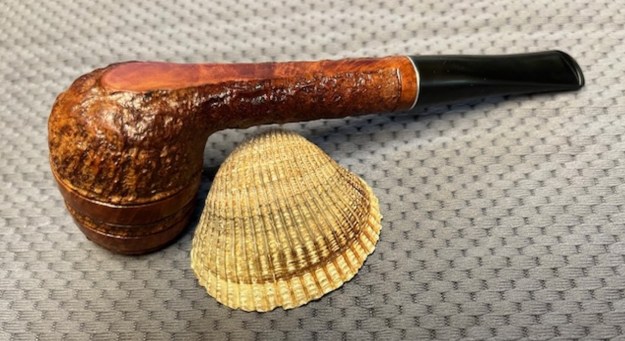
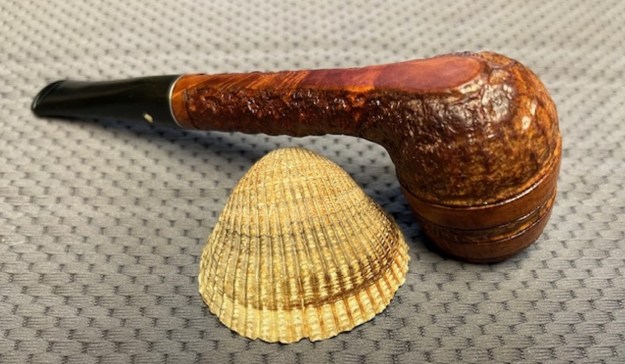
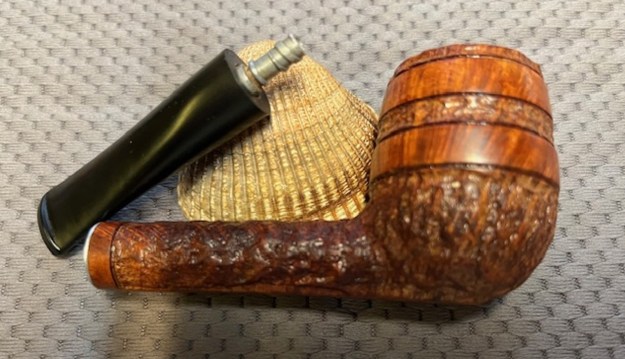
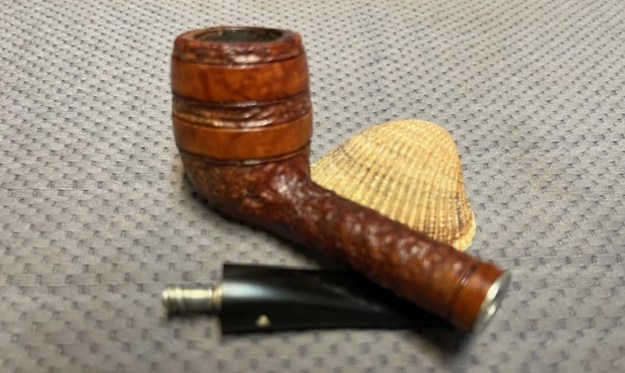
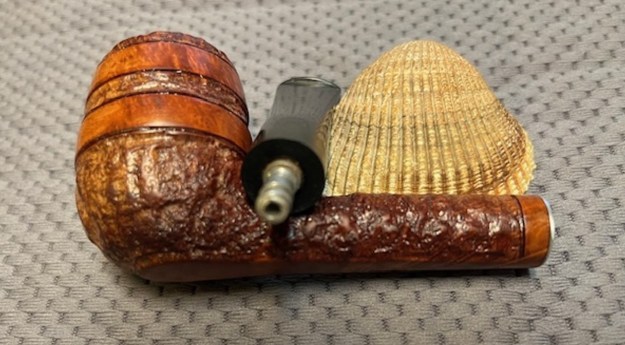
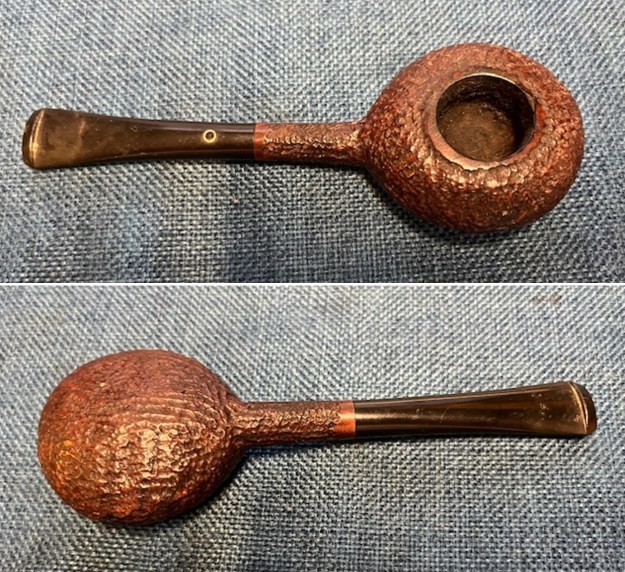
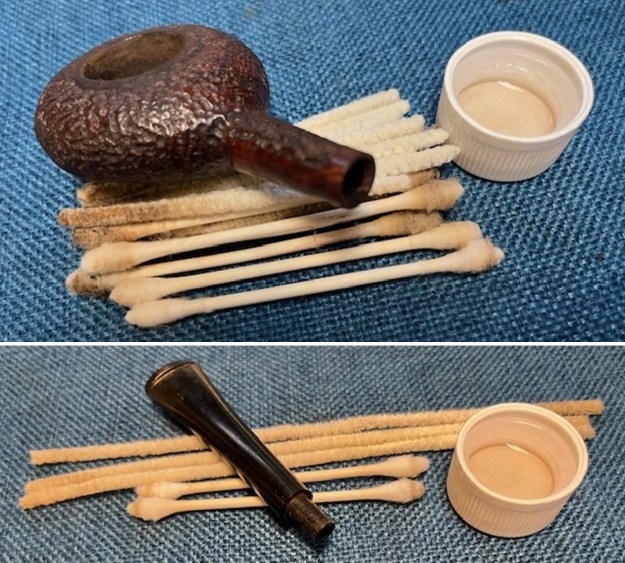
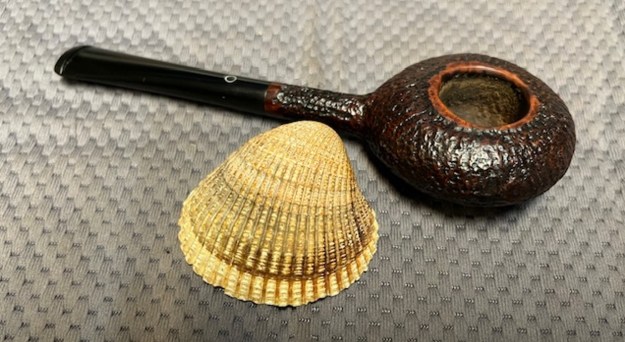
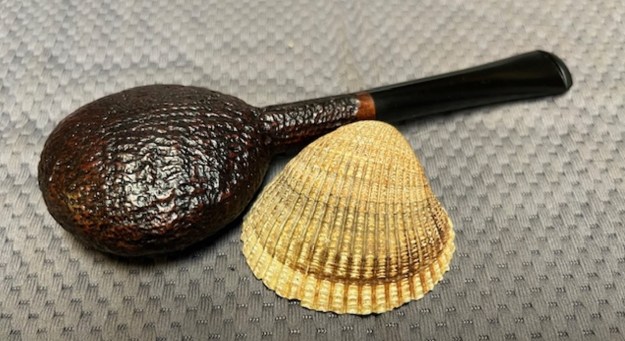
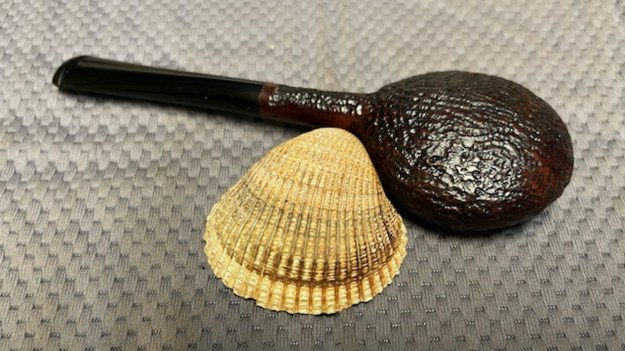
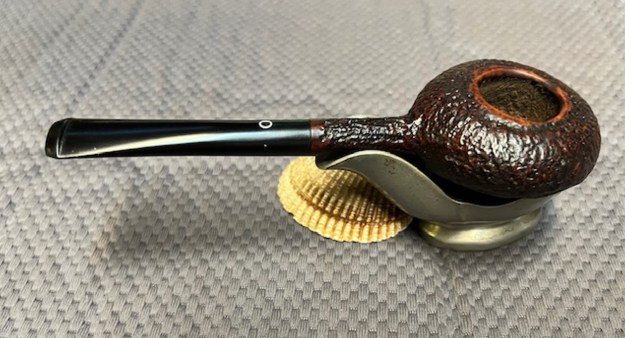
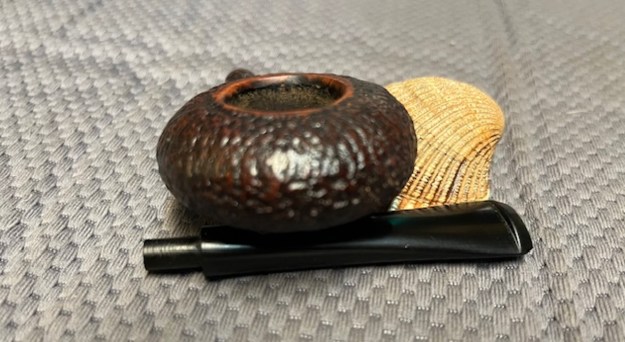
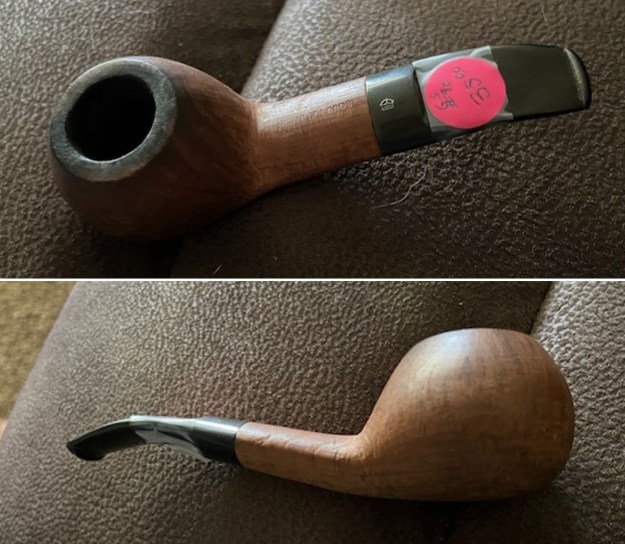
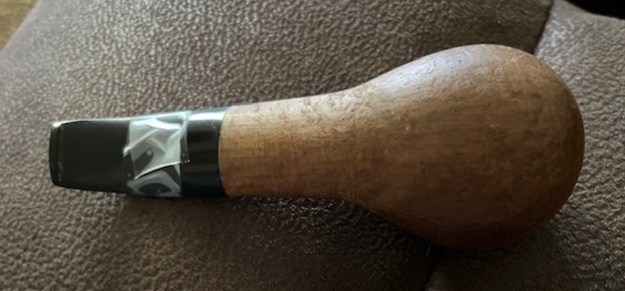
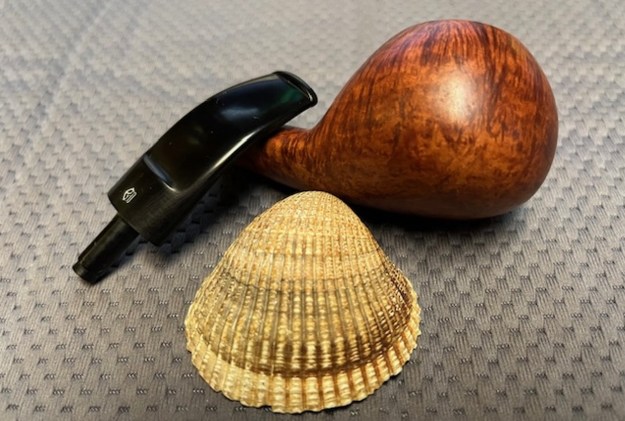
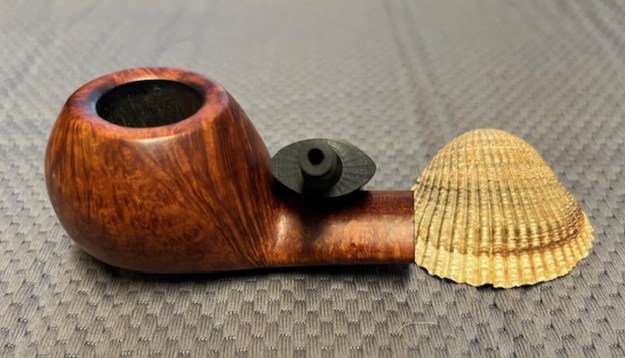
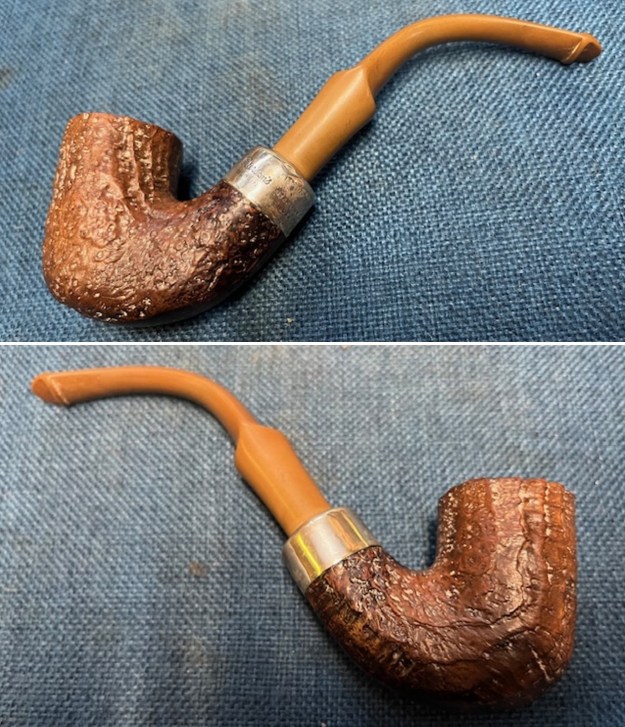
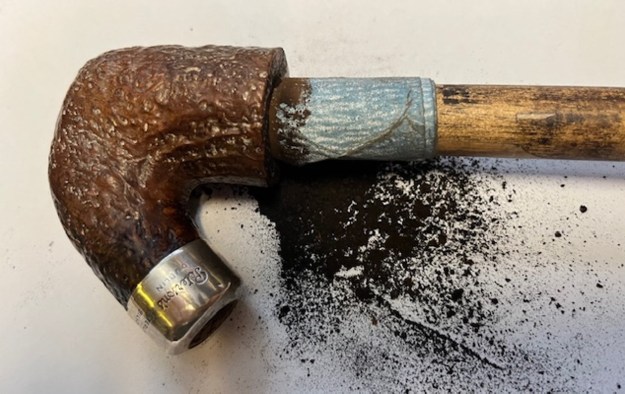
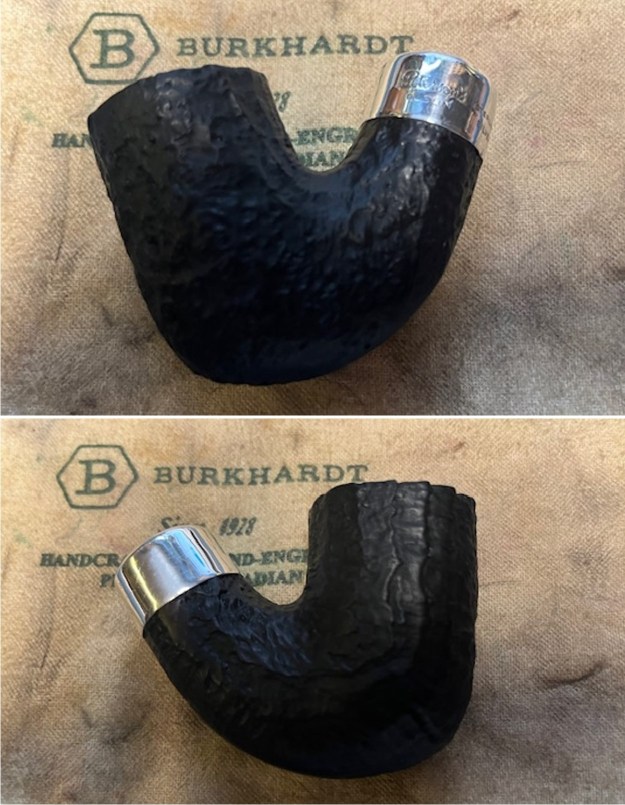
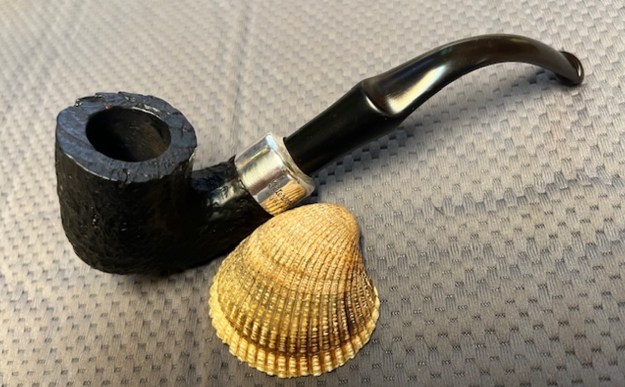
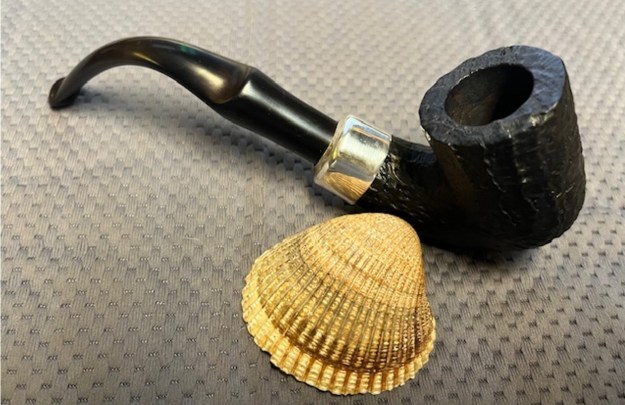
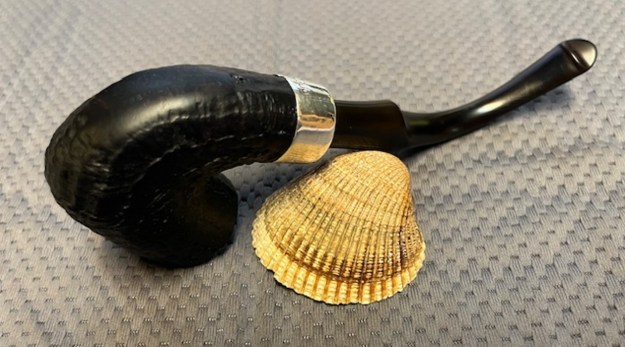
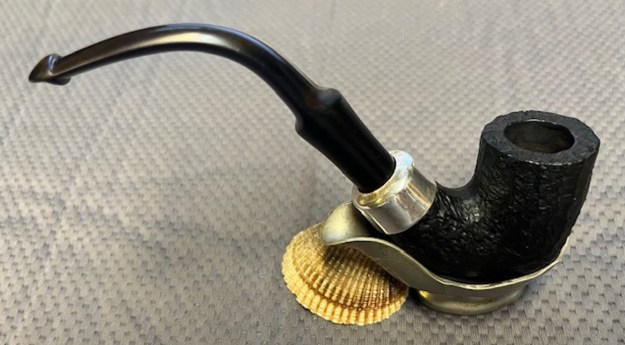
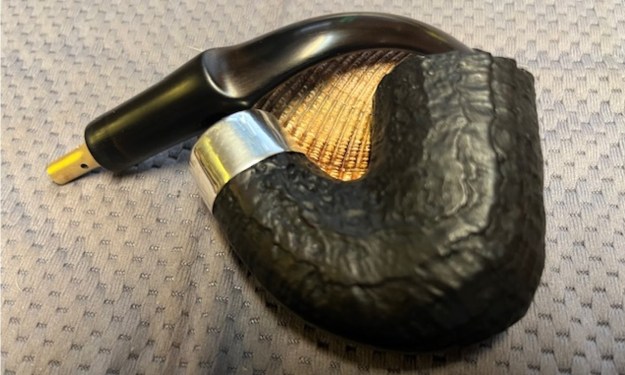
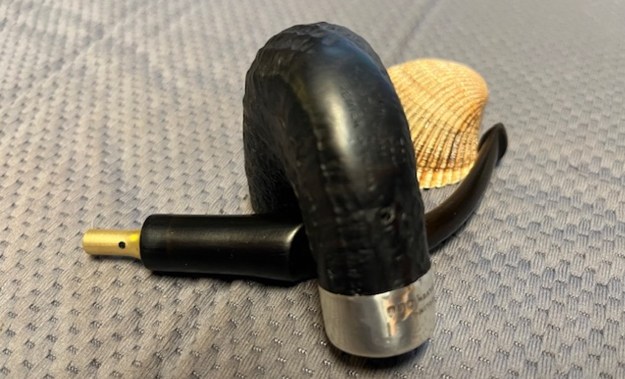
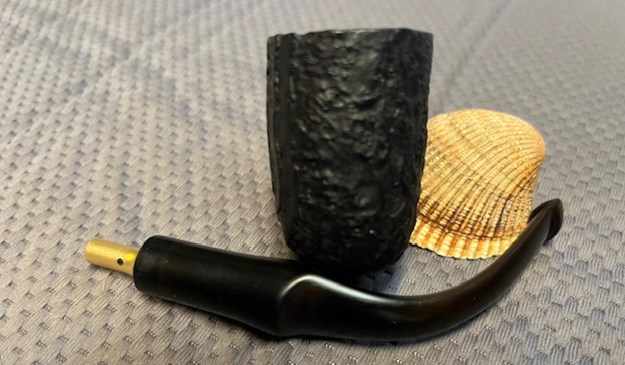
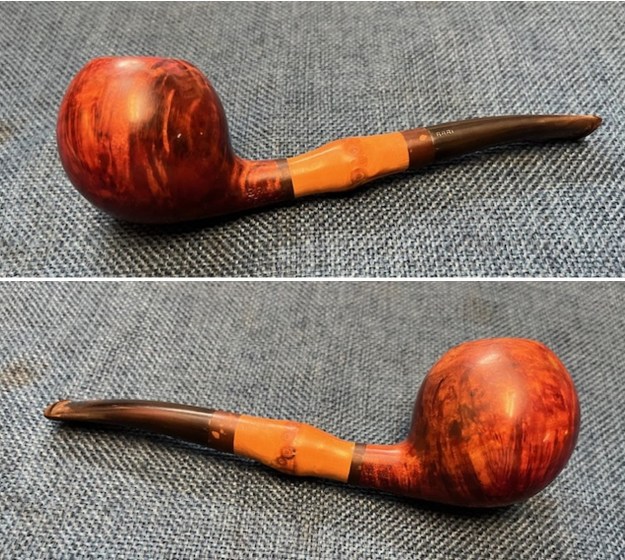
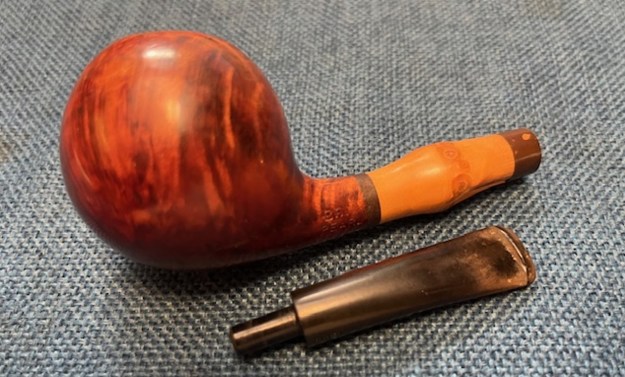
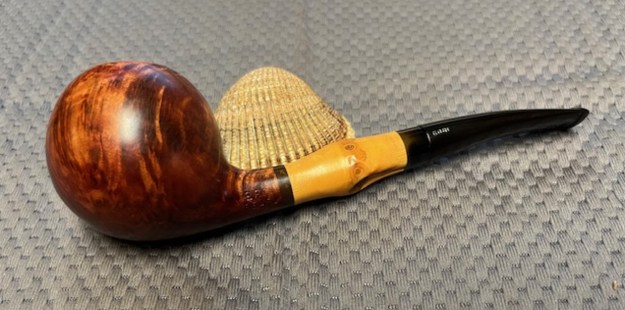
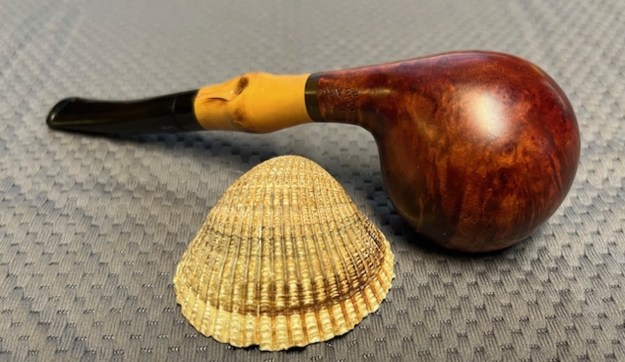
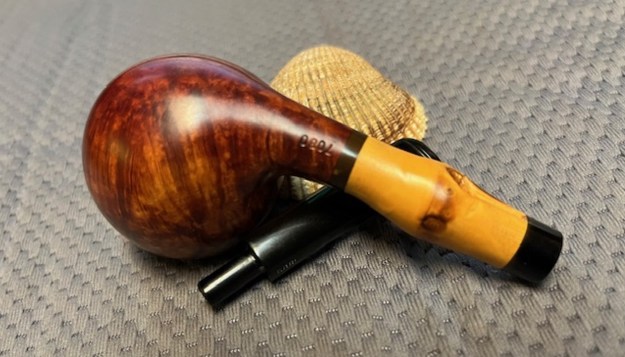
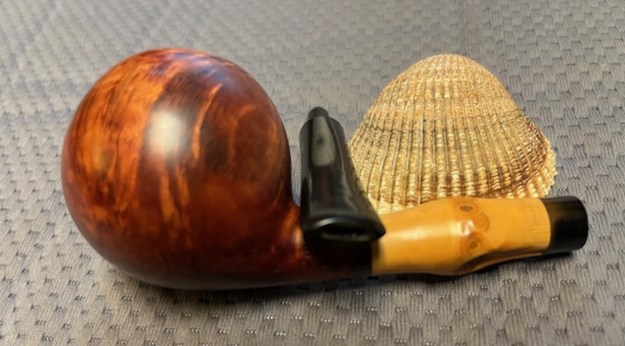
The next pipe on the work table is a pipe that we picked up from a seller in Cottage Grove, Minnesota, USA on 02/02/2022. This one was a unique fluted, pinched shank take on classic Billiard. It is stamped on the topside of the shank and reads Kennett [arched over] No 1. On the underside of the shank it is stamped London Made [over] Made in England [over] Reg’d 731096. The smooth, fluted finish around the bowl shows some nice grain patterns. There was grime and oil ground into the finish around the bowl. The fluted carving on the bowl sides and the holes around the rim go down the ridges to the bottom of the bowl. There was a moderate cake in the bowl and tobacco debris on the walls and heel. The rim top had lava overflowing from the bowl. It was thicker on left back of the rim top. The edges looked good but a clean up would tell the story. There was some thinning around the inner edge of the bowl affecting the holes in the rim top. The vulcanite taper stem was oxidized and had some tooth chatter and tooth marks on the top and underside ahead of the button. The interesting pipe showed a lot of promise but it was a mess. I took pictures of the pipe before I started my clean up work.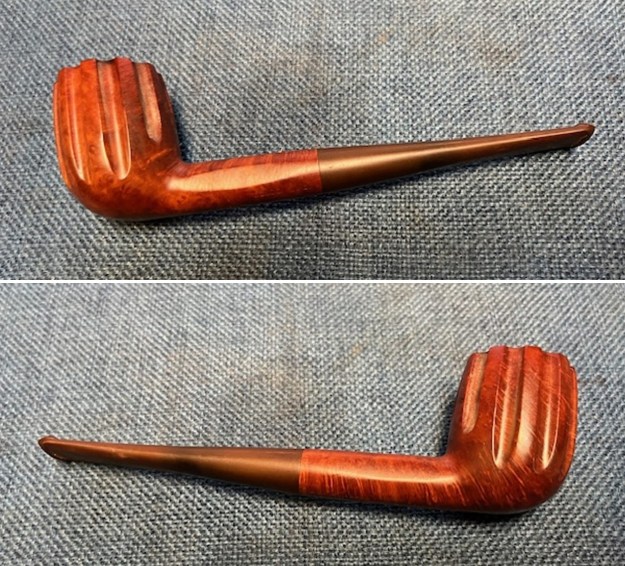
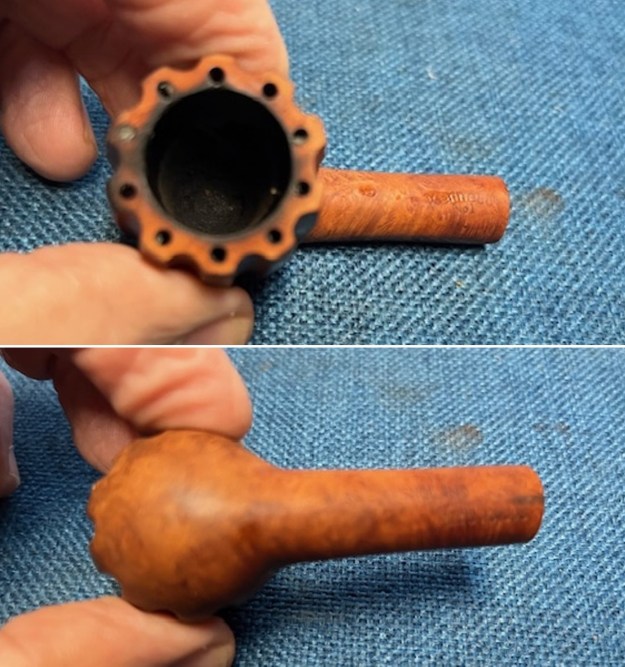
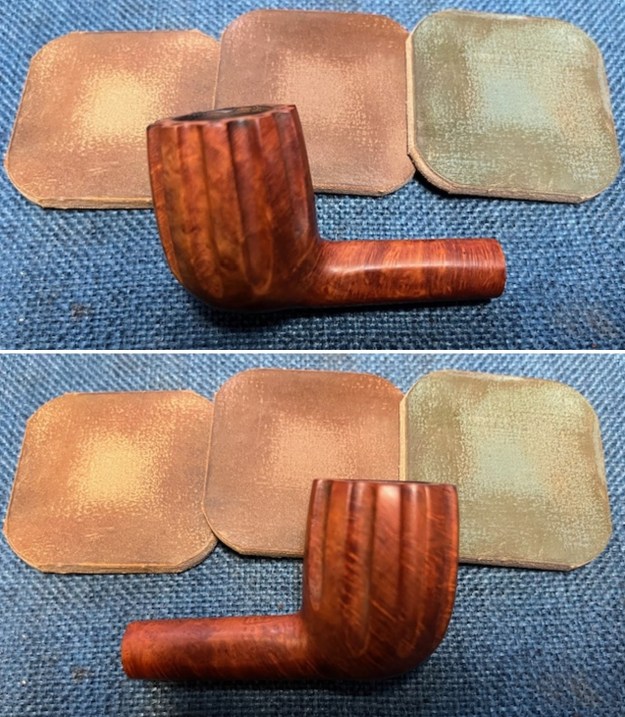
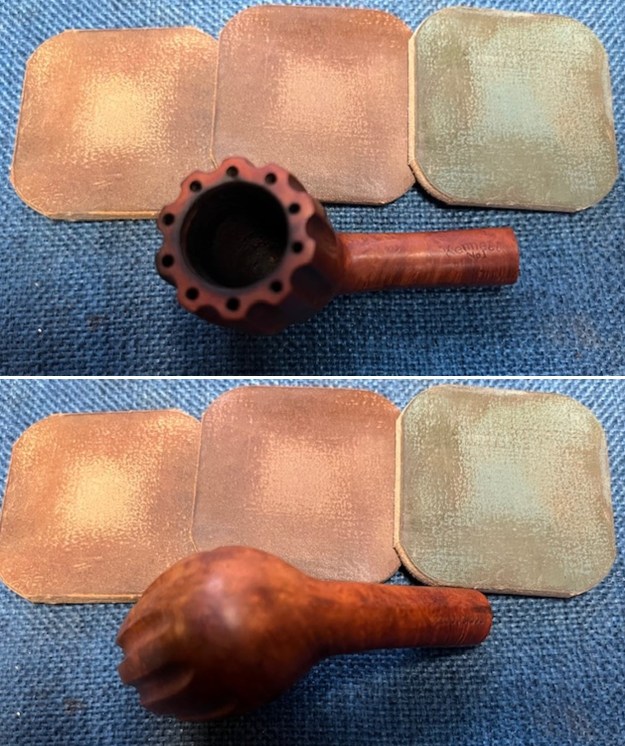
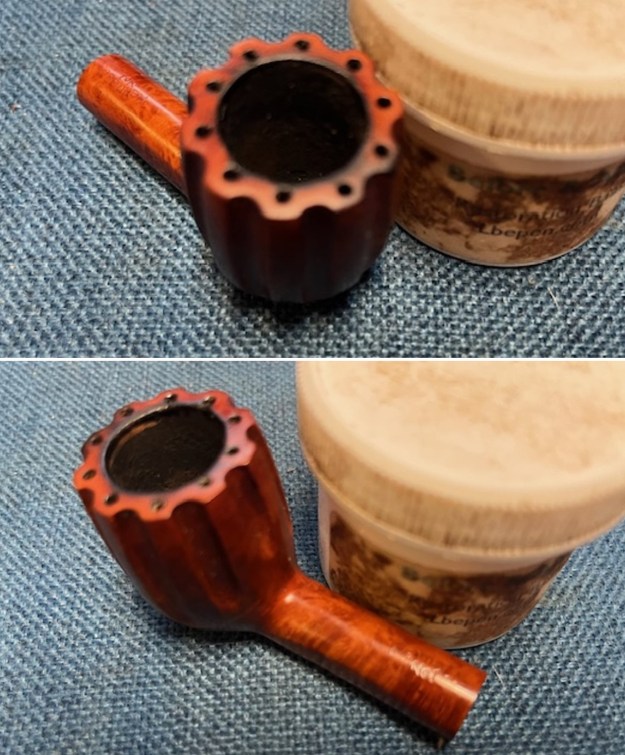
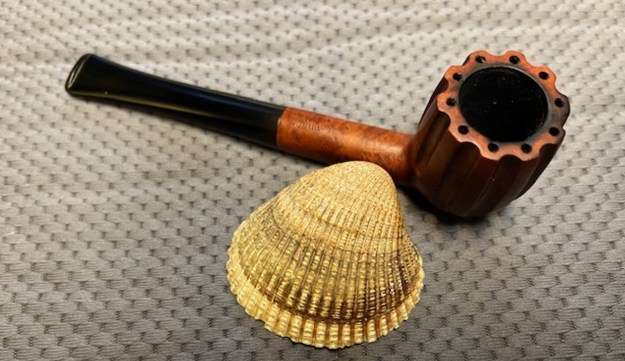
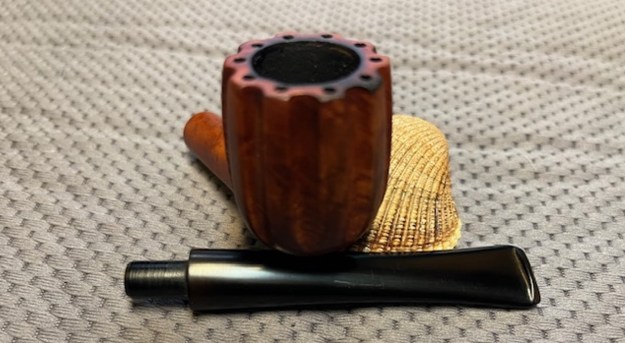
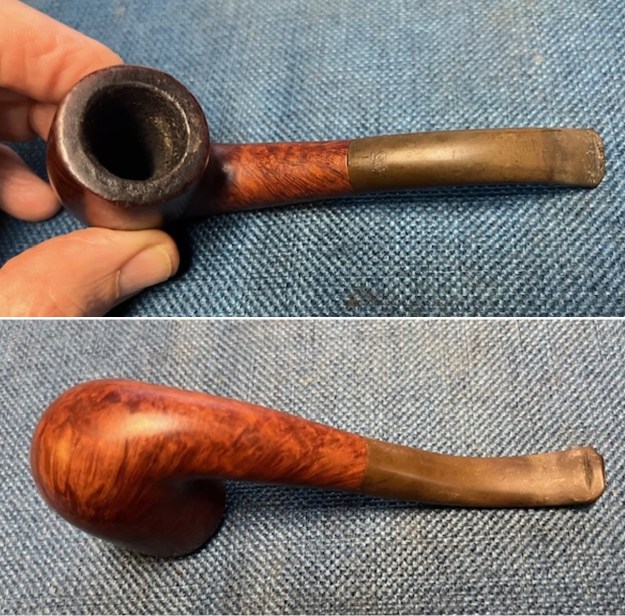
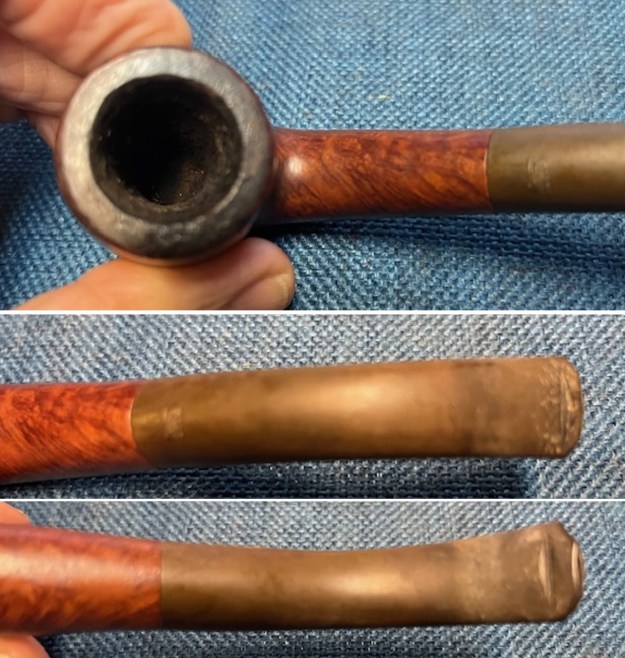
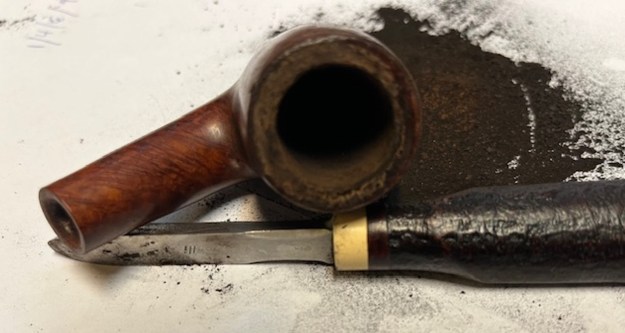
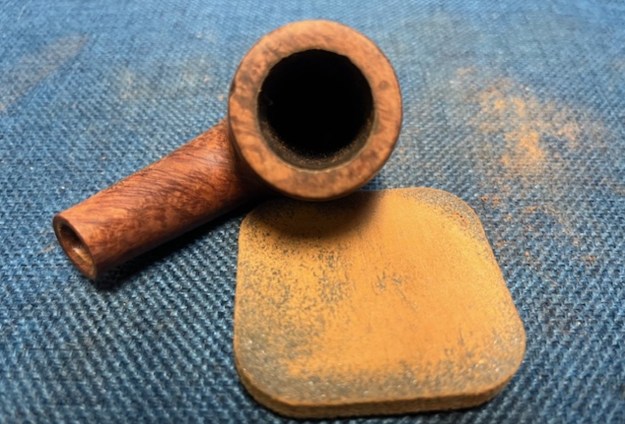
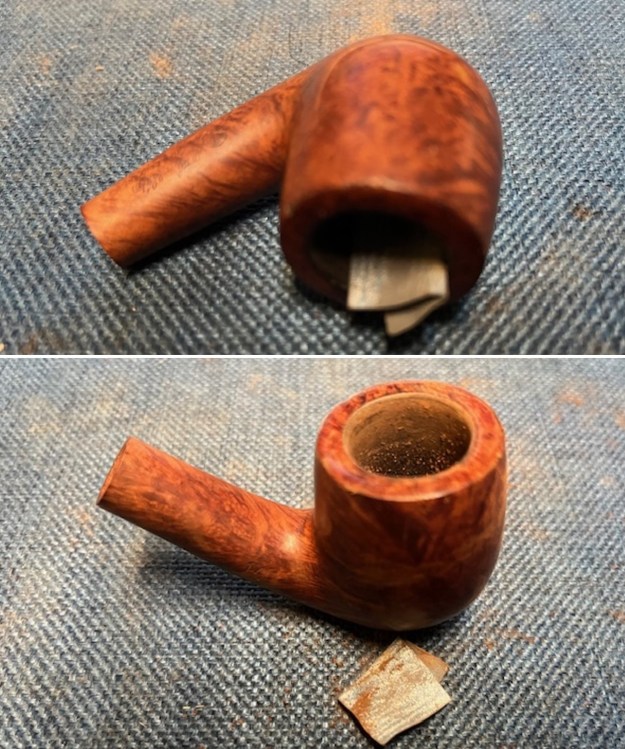
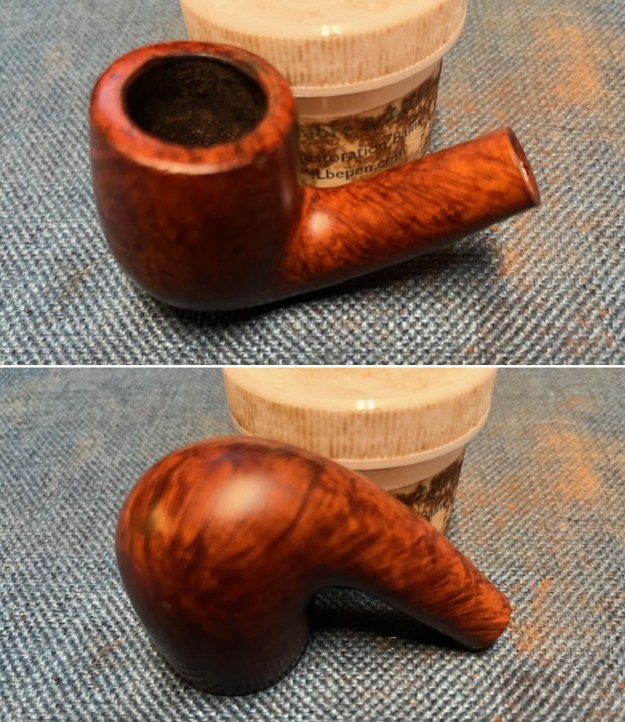
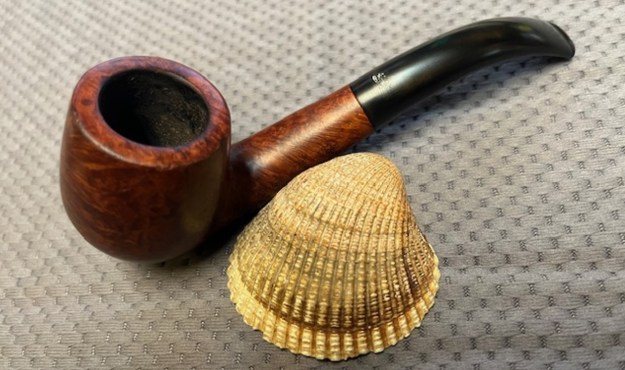
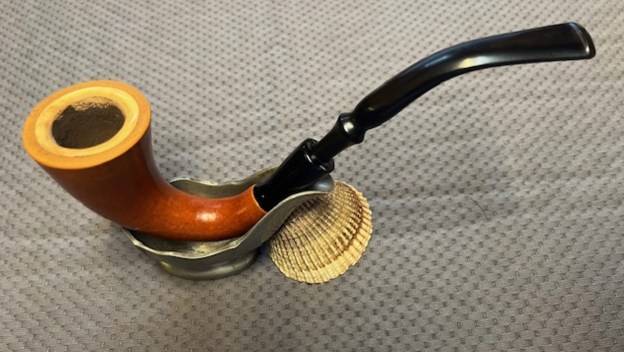
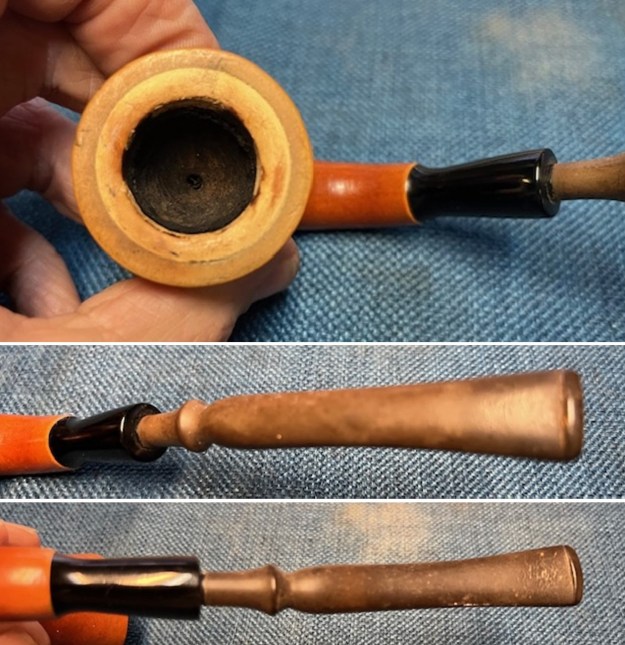
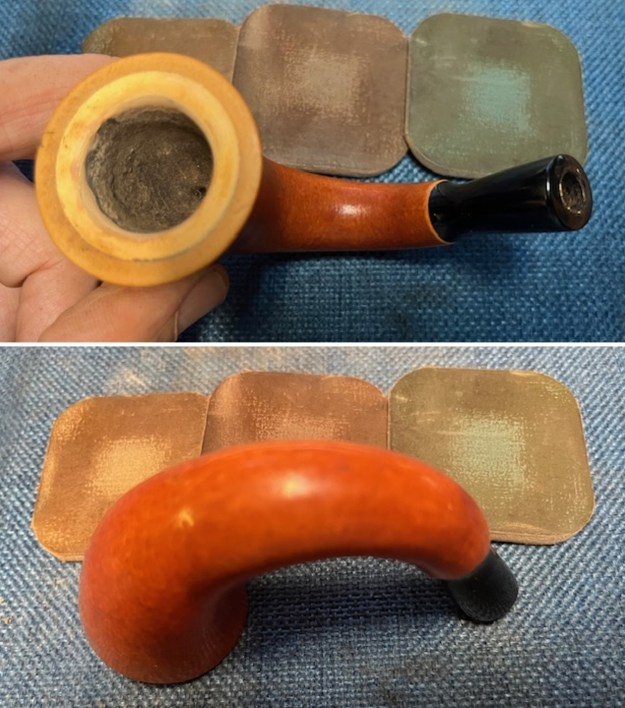
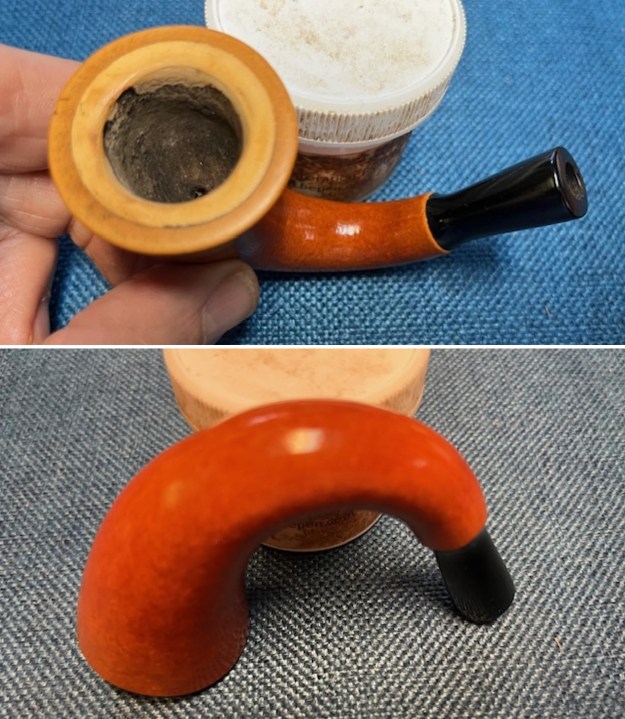
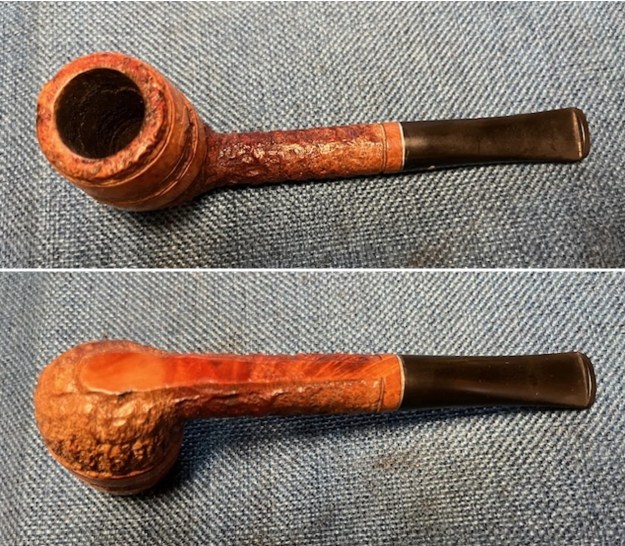
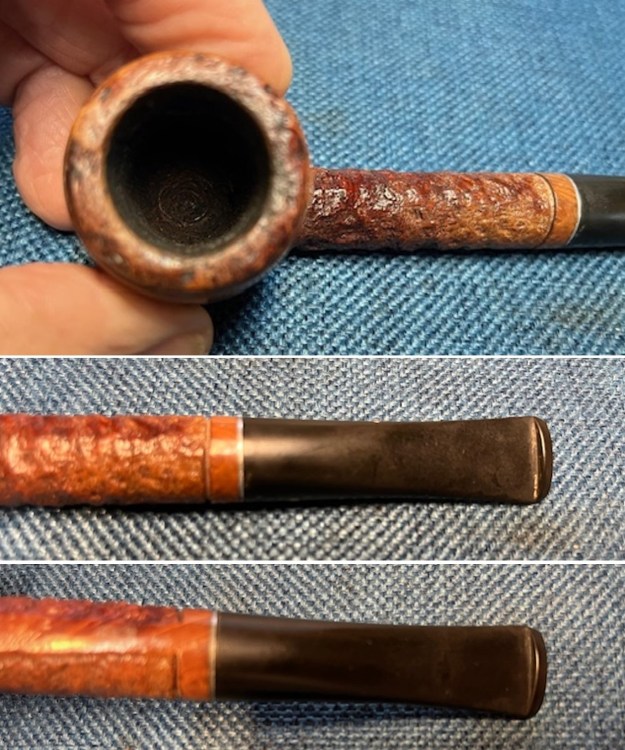
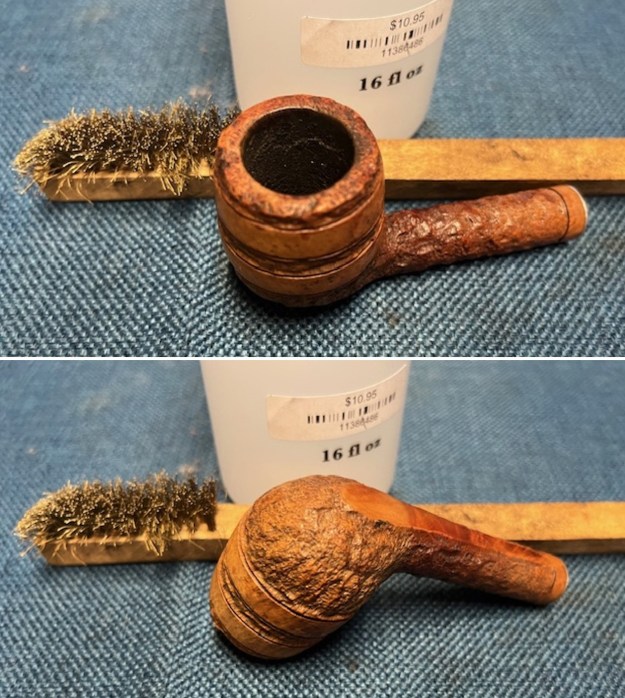
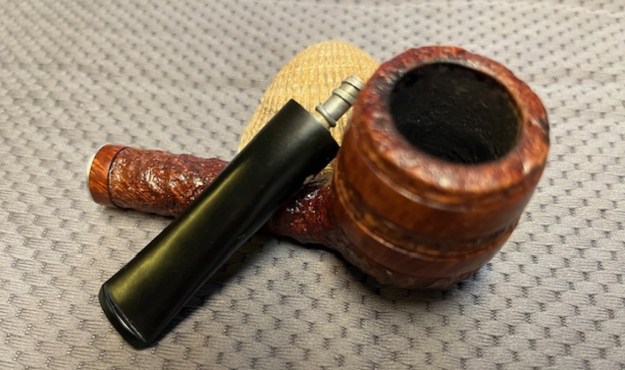
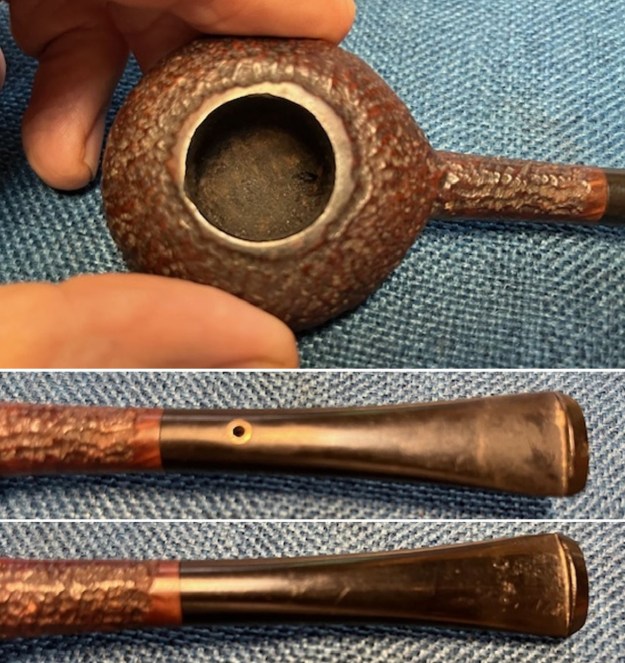
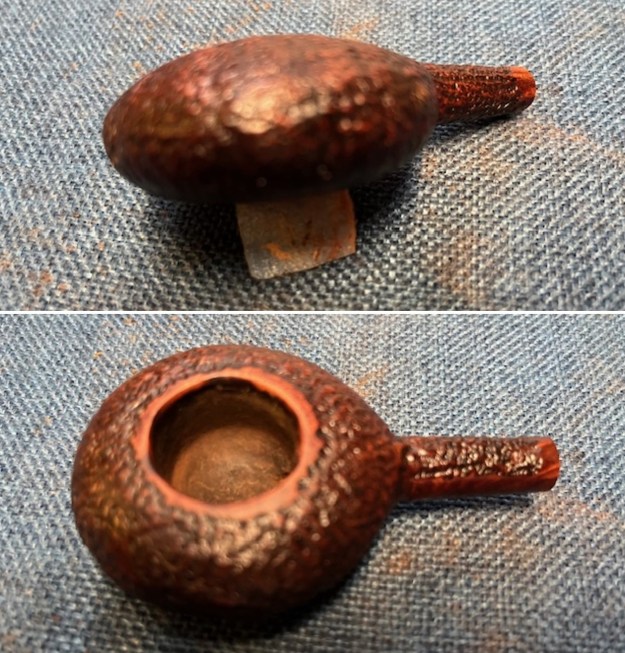
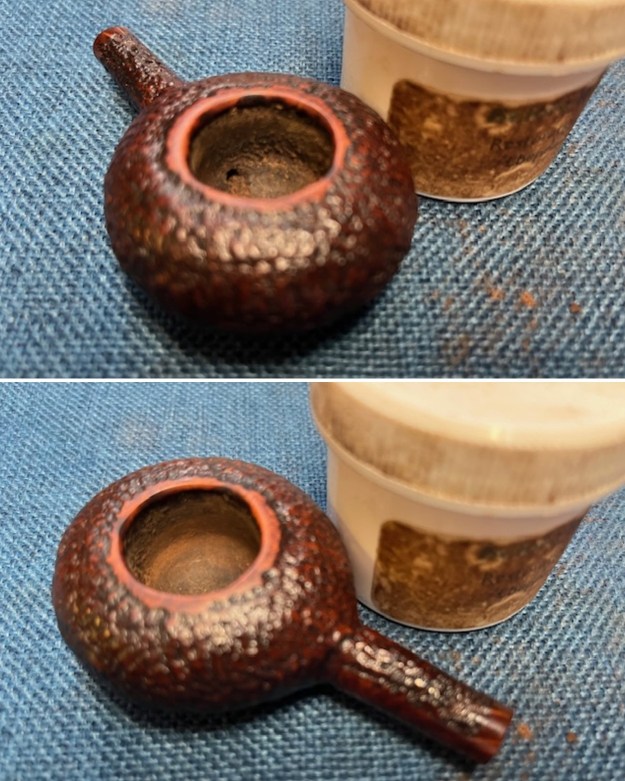
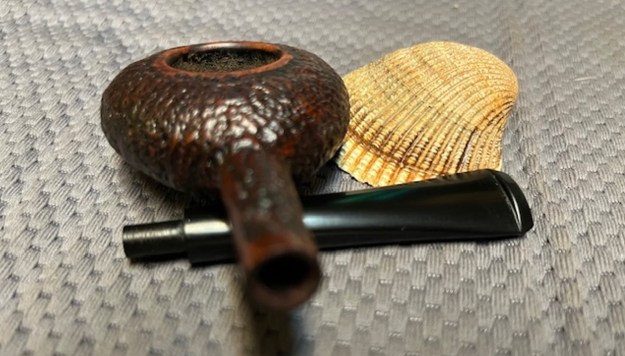
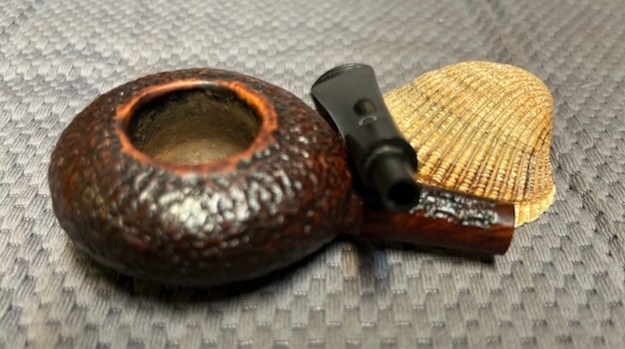
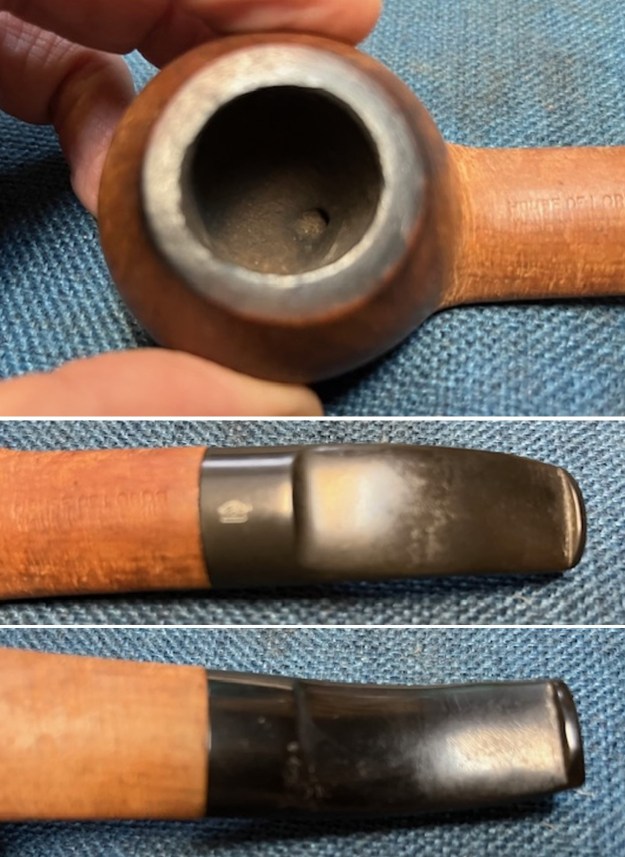
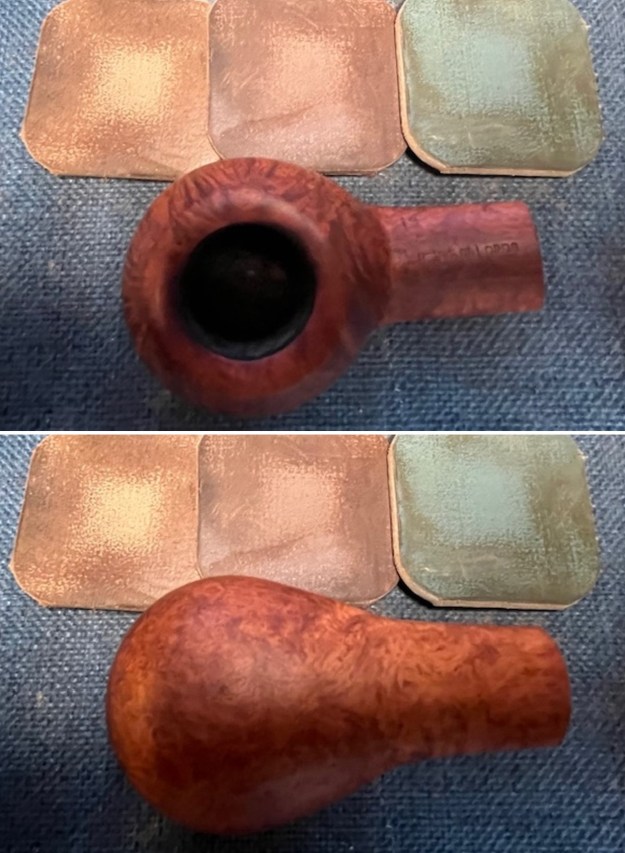
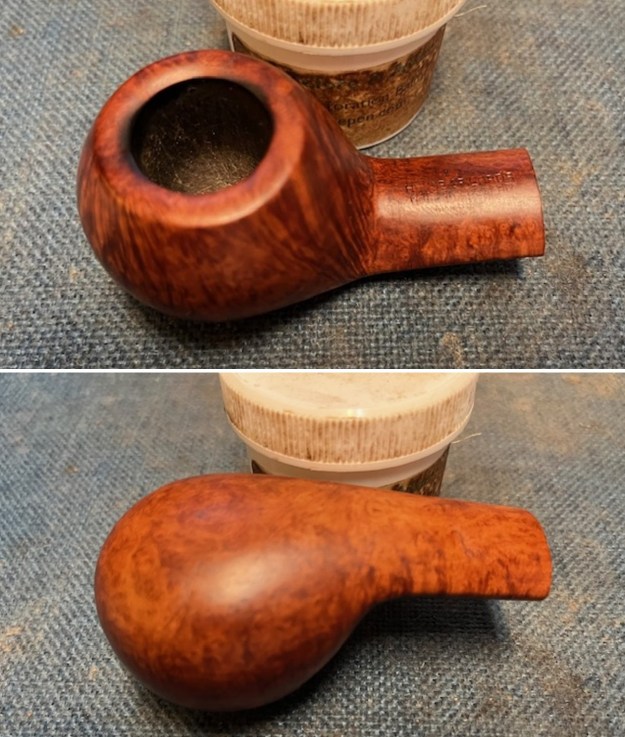
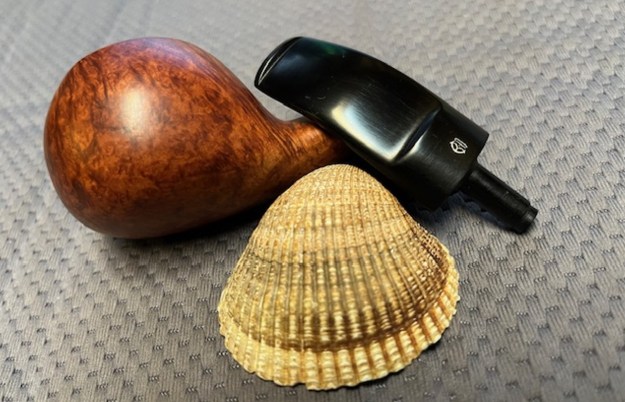
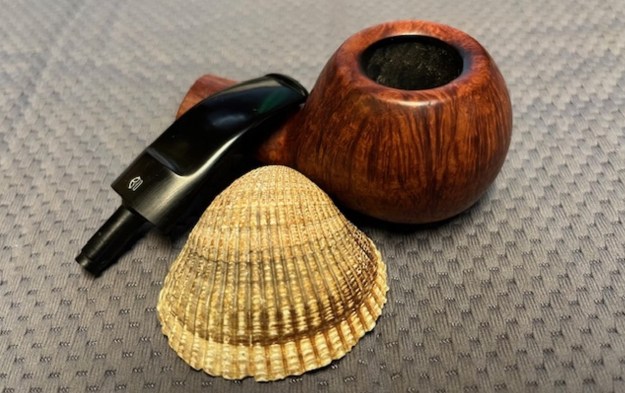
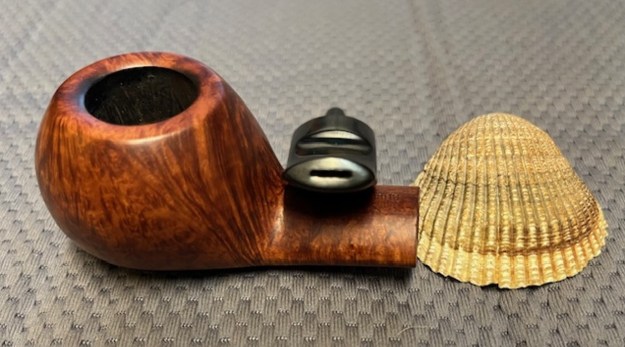
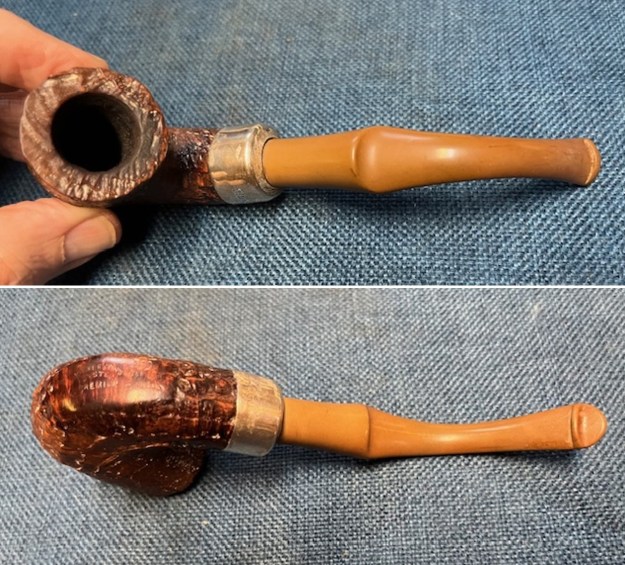
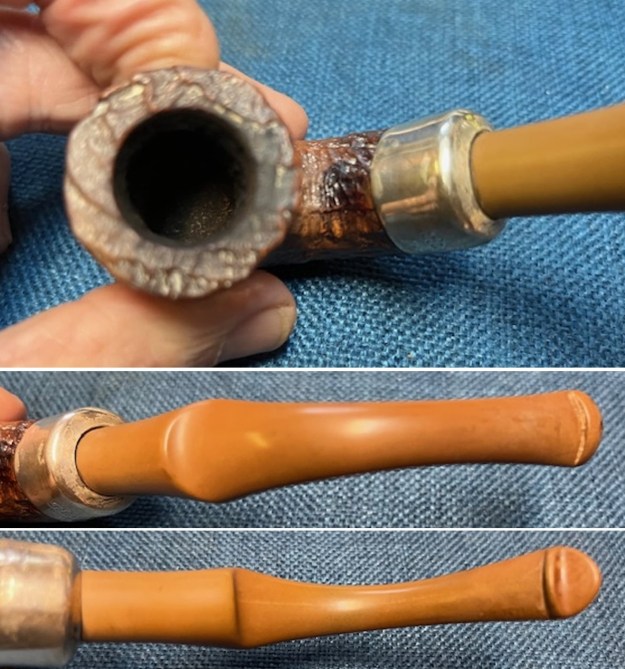
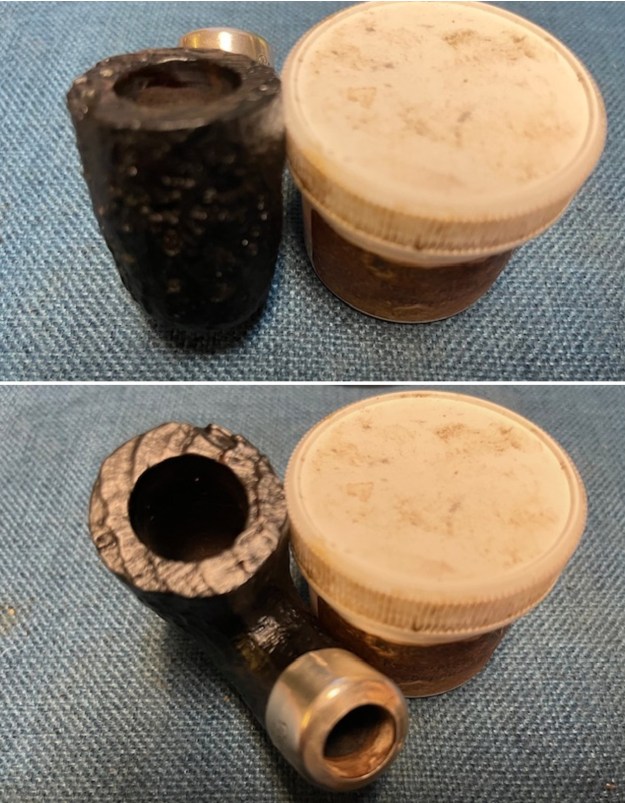
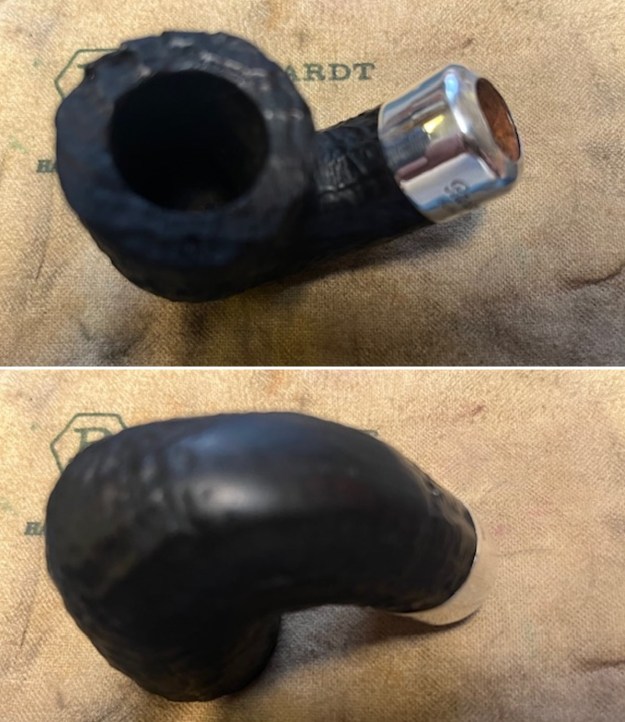
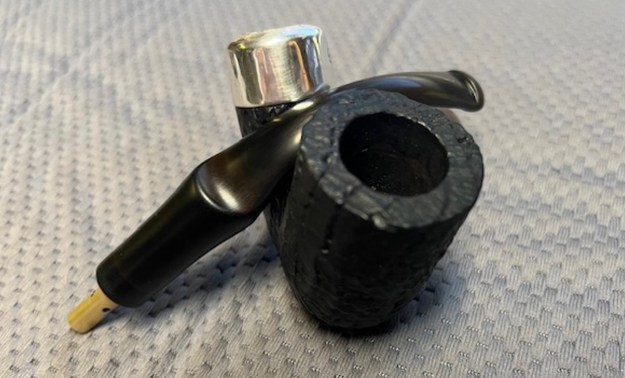
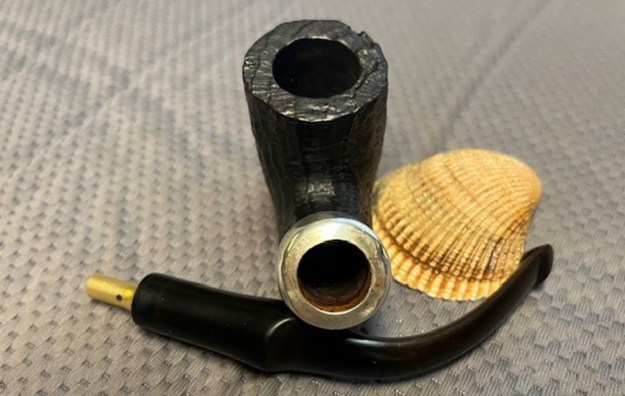
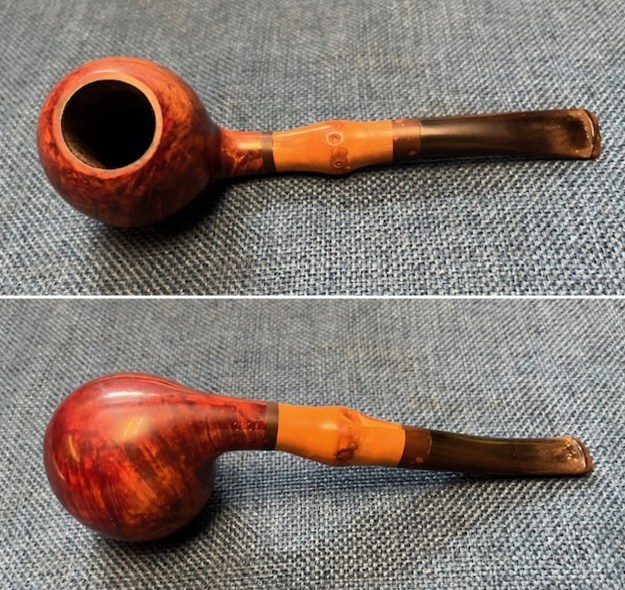
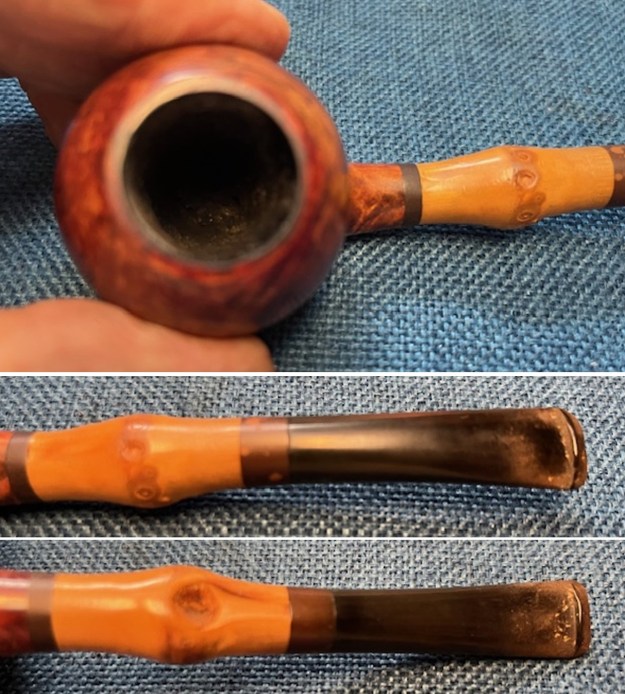
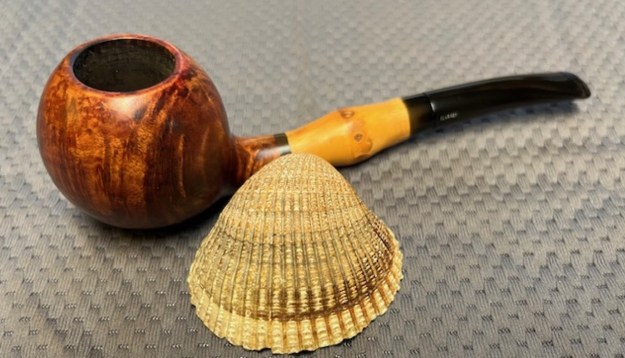
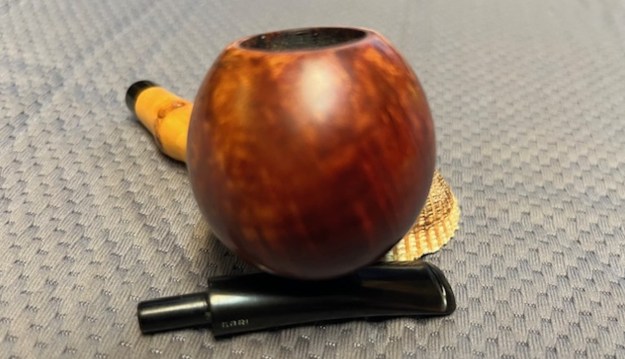
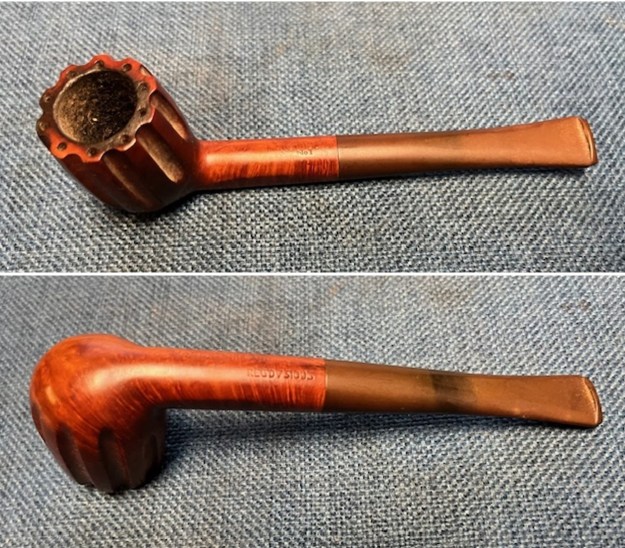 I took photos of the rim top and bowl as well as the stem surfaces to show the condition of the well smoked pipe. You can see the thick cake in the bowl and the lava on the inner edge and rim top. There is also some roughening on the inner edge but the out edge looked good. There was a small nick in the outer edge on the left backside. The stem was oxidized, calcified and had scratches and light tooth chatter and marks on both sides ahead of the button.
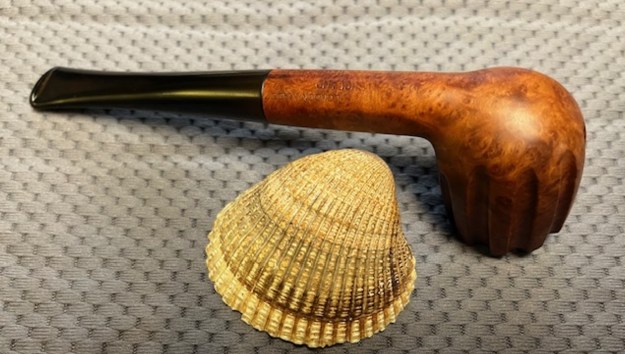
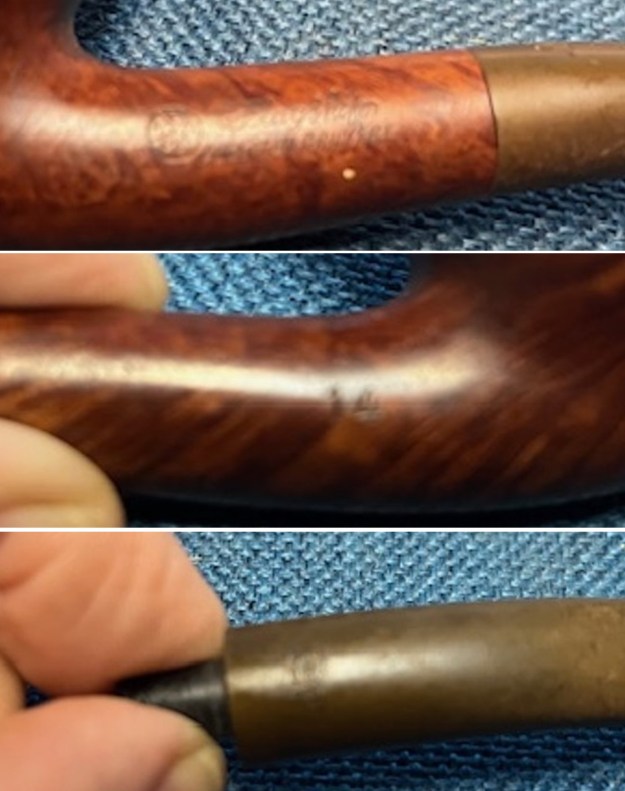
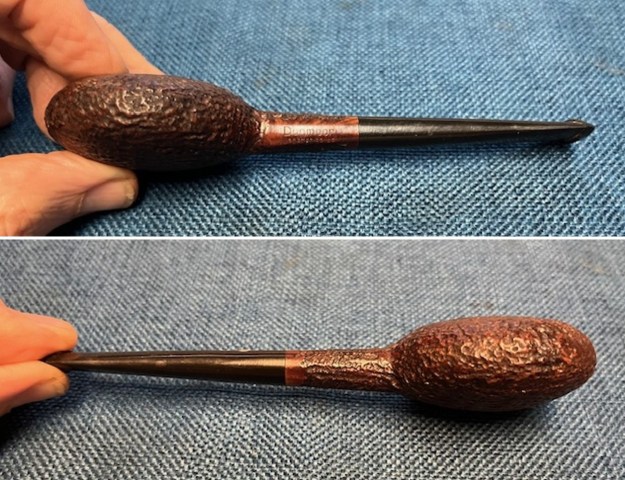
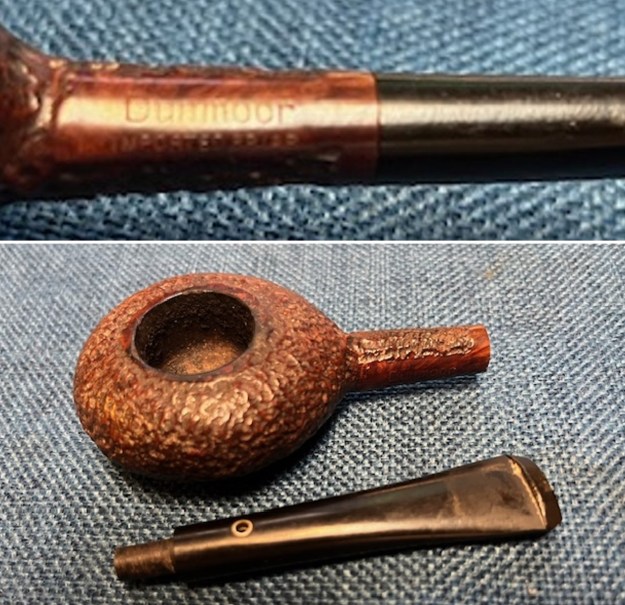
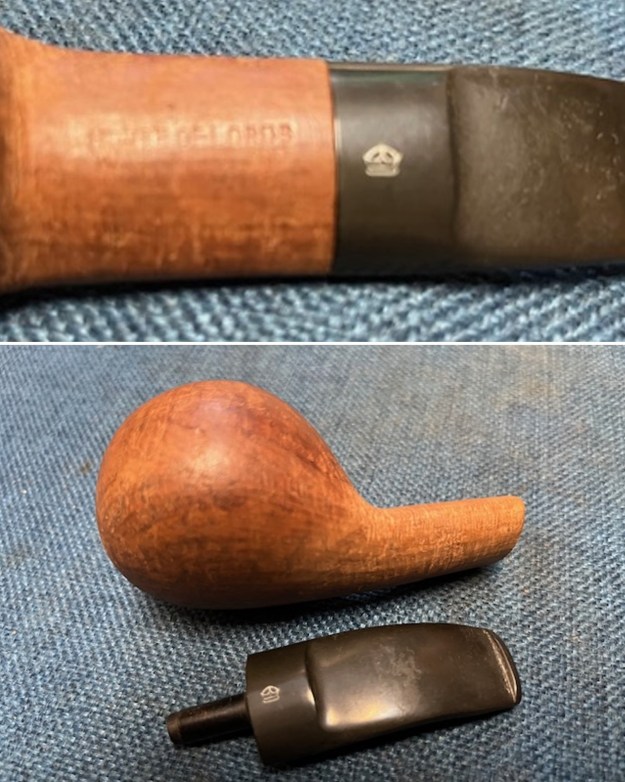
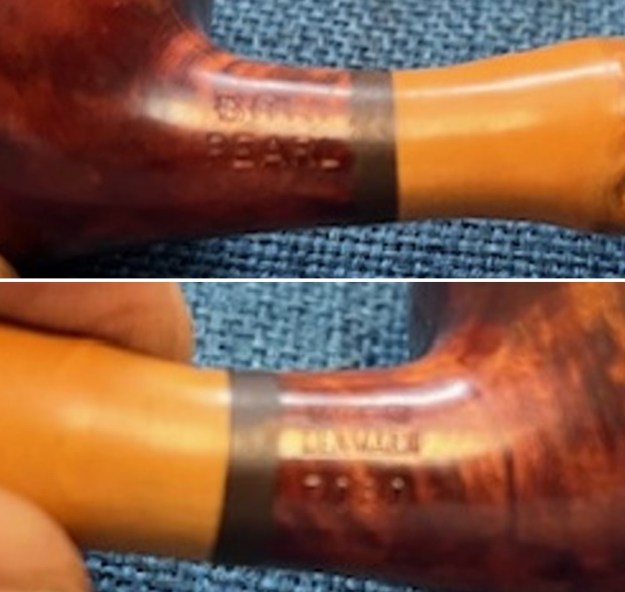
 I took photos of the stamping on the sides of the shank and stem. The stamping is clear and readable as noted above.
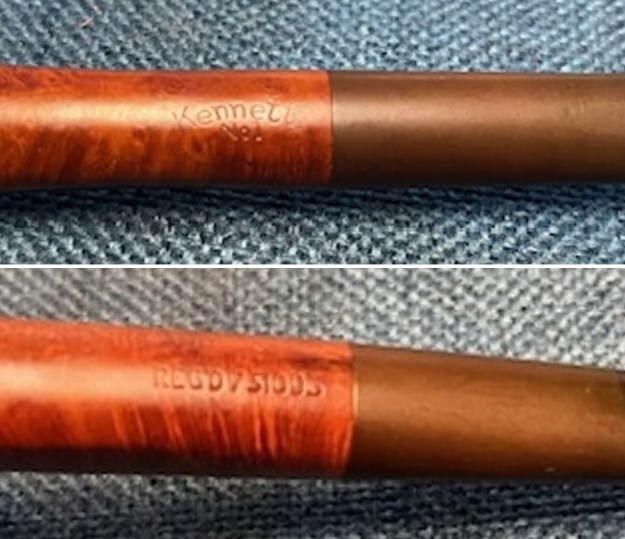
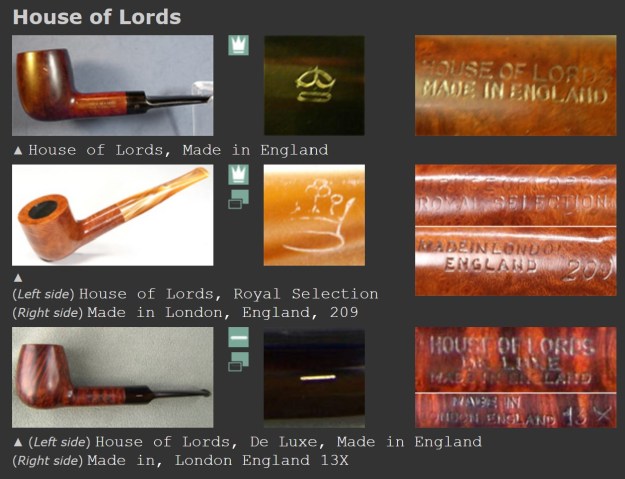
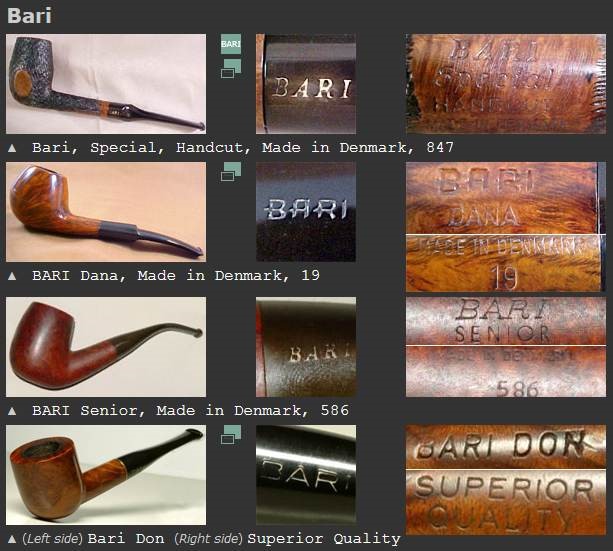
 Before I started working on the pipe I wanted to do a bit of research and see what I could learn about it. First, I looked on Pipephil for The Kennett London Made No 1 and was unable to find any information there. There was no logo on the shank or the stem to help identify the brand.
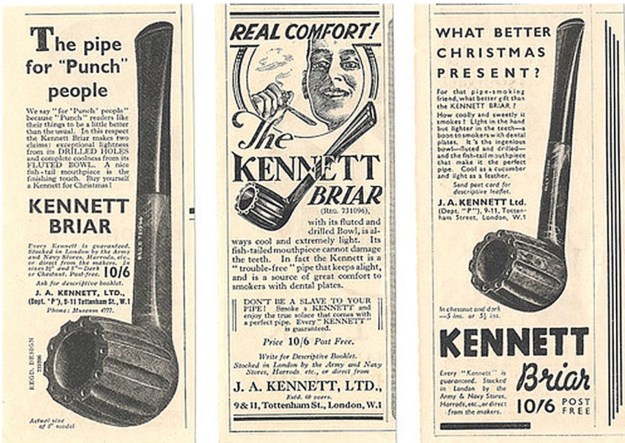
I turned then to Pipedia (https://pipedia.org/wiki/Kennett) and found a very short entry there. I quote it below. There were photos of several pipes, a Kennett Box and a pamphlet that gave some information. I quote it below:
J.A. Kennett, LTD. in London were the makers of the Kennett pipe (photos thank to Doug Valitchka).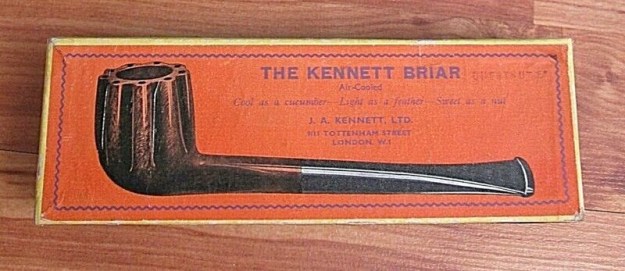
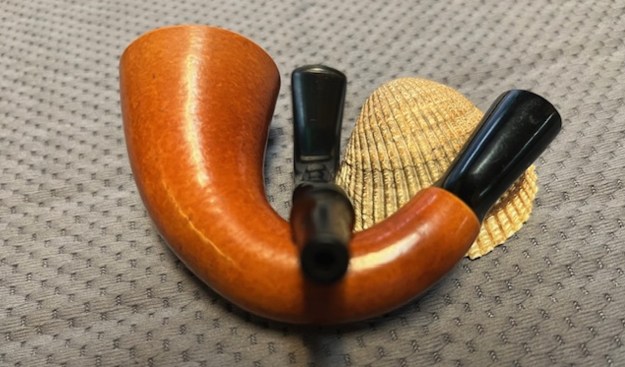
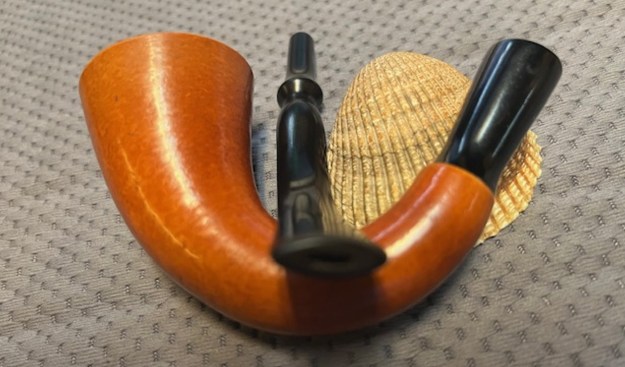
 I also Googled and was able to find a link to a Kennett for sale on smokingpipes.com (https://www.smokingpipes.com/pipes/estate/england/moreinfo.cfm?product_id=372529). There was also a photo that are worth look in at. I have included the description that was written about the pipe below.
This 1930s Billiard from Kennett is really unique, with its vertical, fluted channels opening up into tiny, hollow holes on the rim, resulting in an intriguing aesthetic. But wait: There’s more. Paired to the pert, tall bowl is a tapered, pinched, paneled shank that is unusual and is complemented by the bowl’s ridges. The jet-black vulcanite stem is also tapered. This smooth piece is dressed in a warm, chestnut stain that accentuates all of the above, and the fluting certainly provides entertainment for nimble fingers. -Angela Robertson
I also found a link on Google for an auction on Worthpoint for an unsmoked Kennett that was for sale there (https://www.worthpoint.com/worthopedia/kennett-briar-unsmoked-air-cooled-469502789 . I have included the description that seller included with the item.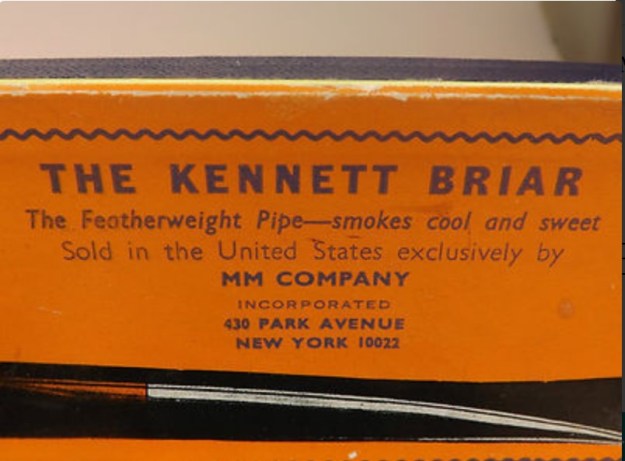 Here’s an auction for sale. A The Kennett Briar “Air Cooled” Briar Pipe made in London England in the 1950’s or earlier. The bowl has 10 holes drilled down thru the bowl wall on the ribs on the bowl. The pipe will be very cool to touch and to smoke because of the air cooled circulation in the holes and around the rib cuts. The Kennett Briar pipe is Air-Cooled, Cool as a Cucumber, Light as a Feather, Sweet as a Nut says J. A. Kennett, Ltd.9/11 Tottenham Street London, W. The Kennett Guarantee says every care has been used in selecting well seasoned Briar Root for making of this Pipe, and it is guaranteed with fair usage not to crack or burn. The stem is English Vulcanite.
Now I knew that the pipe was made between the 30s and 50s. The Reg’d number on it makes me think that is an older one – possibly from the 30s. I would not be able to further pin the date down on the pipe. Now it was time to work on it.
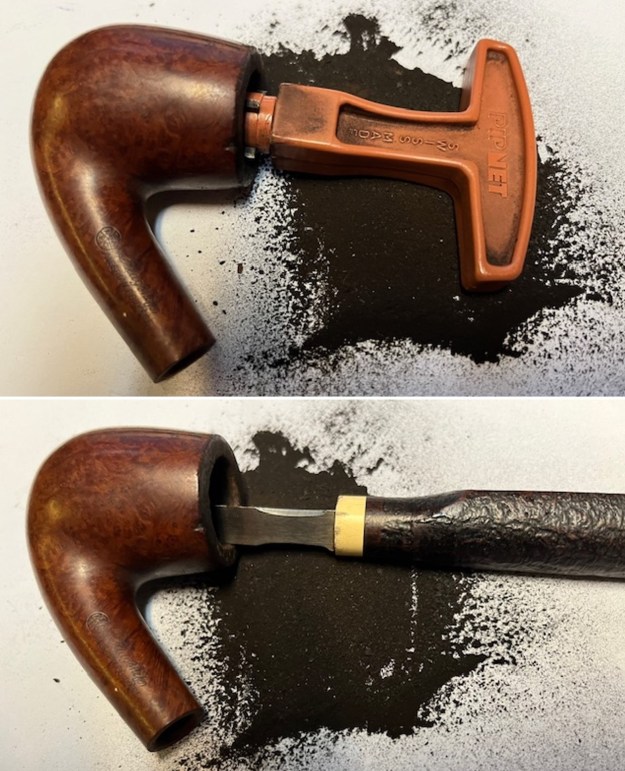
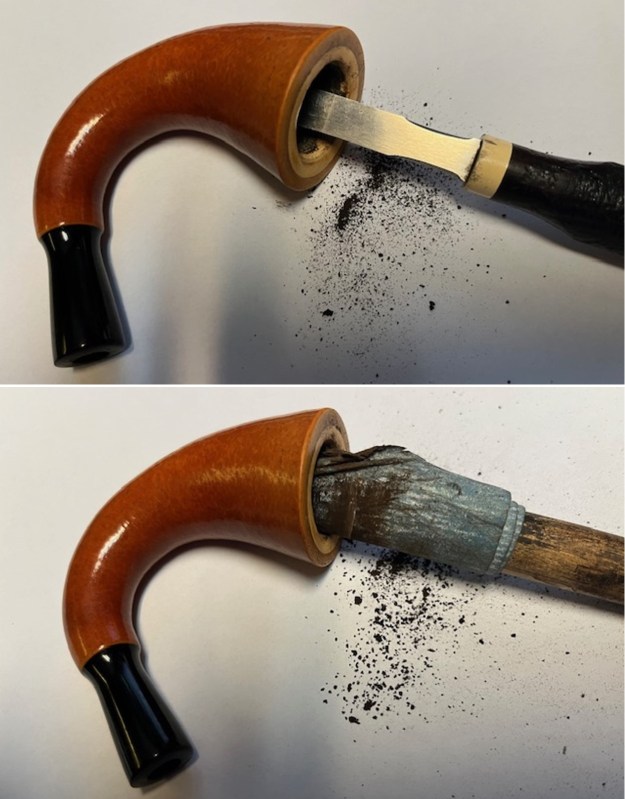
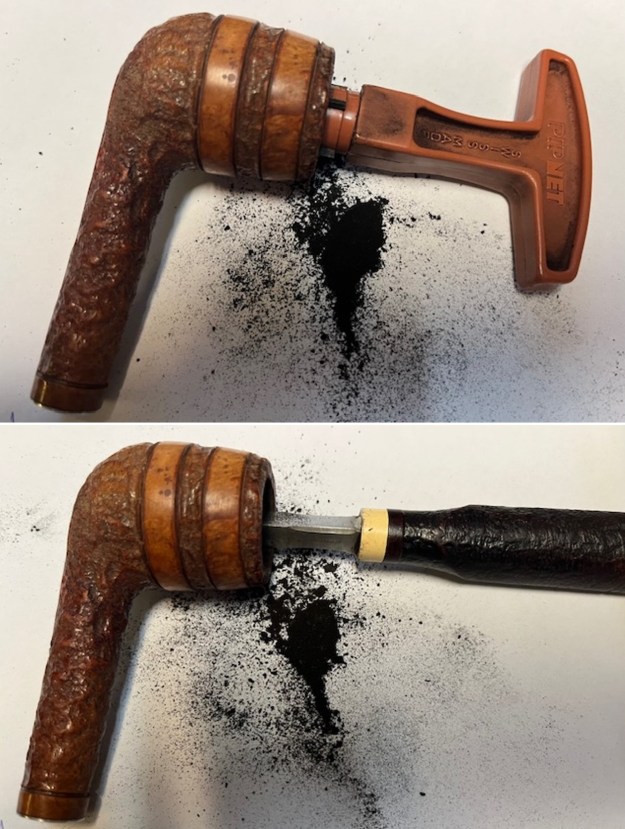
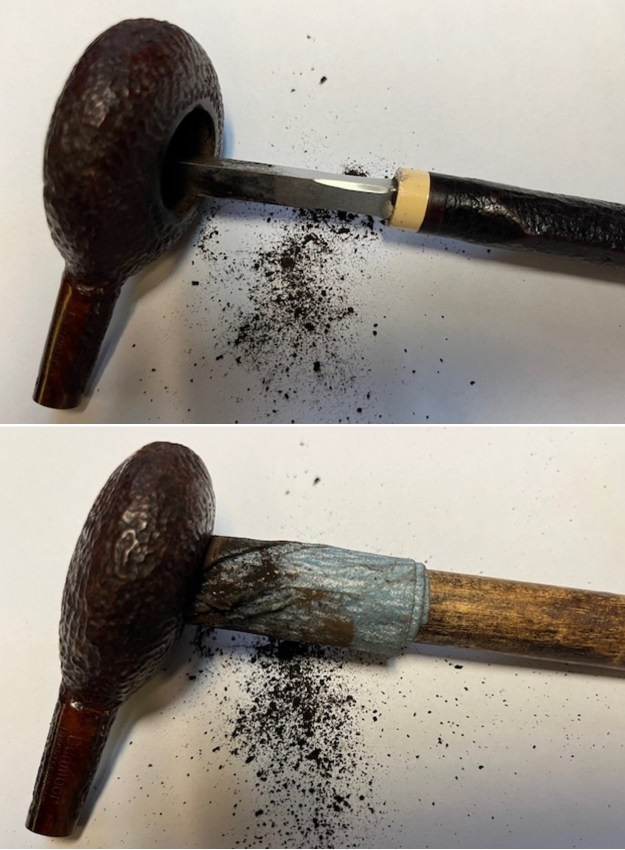
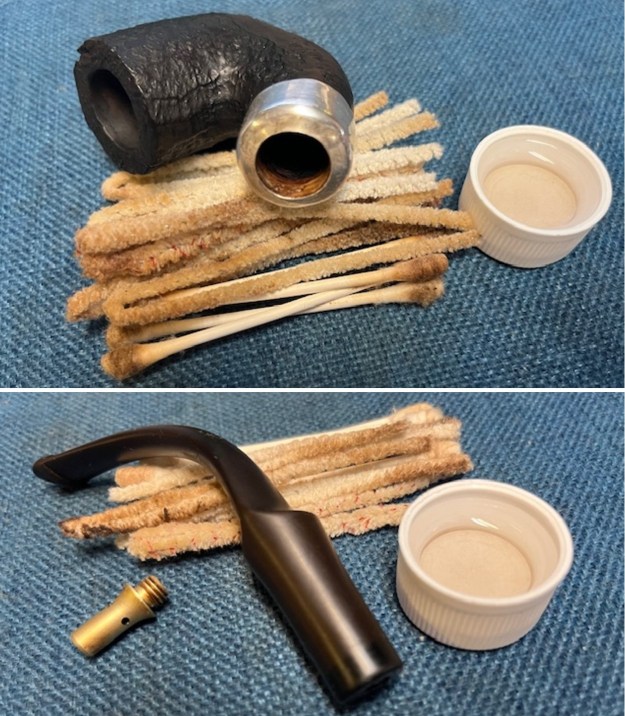
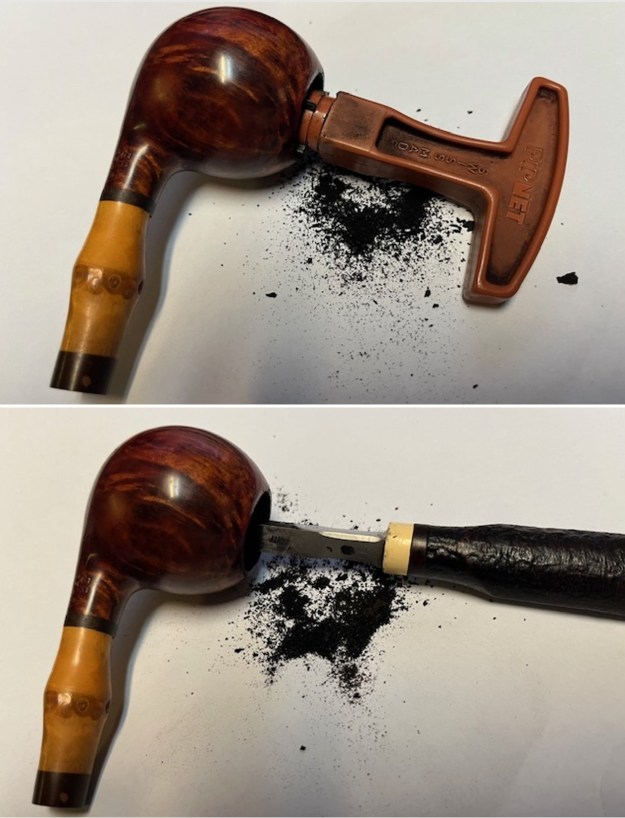
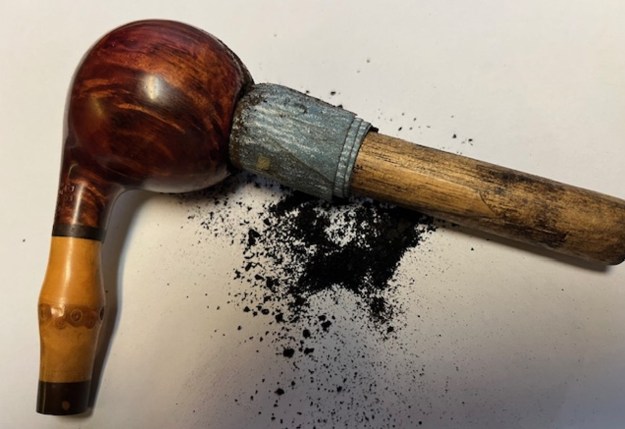
I started my work on the pipe by cleaning up the lava on the rim top. I used a folded piece of 220 grit sandpaper to clean it up. I carefully cleaned the darkening on the inner edge at the same time.  I scraped the cake around the bowl sides with a Savinelli Fitsall Pipe knife and then sanded the walls with 220 grit sandpaper wrapped around a piece of dowel. The walls were smooth and showed no burn damage.
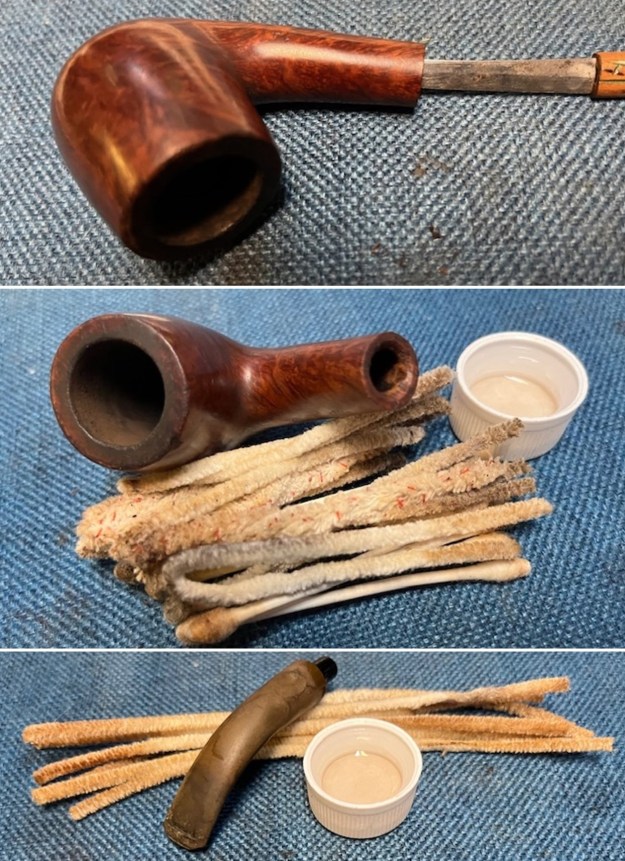
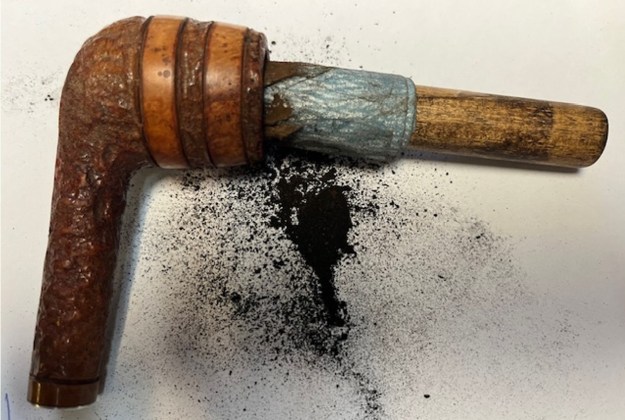
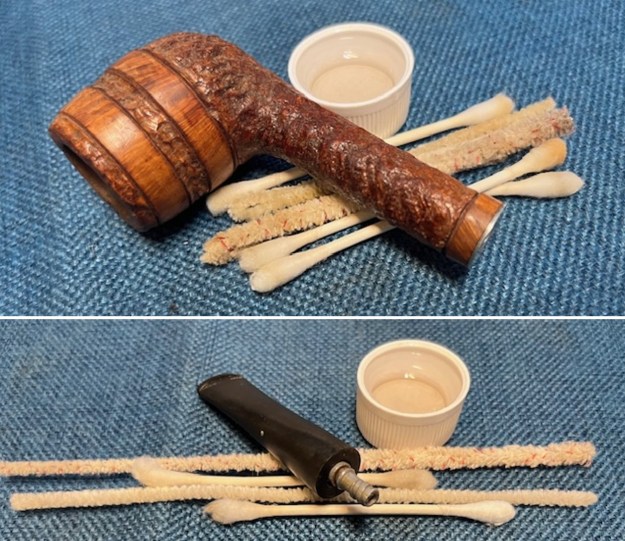
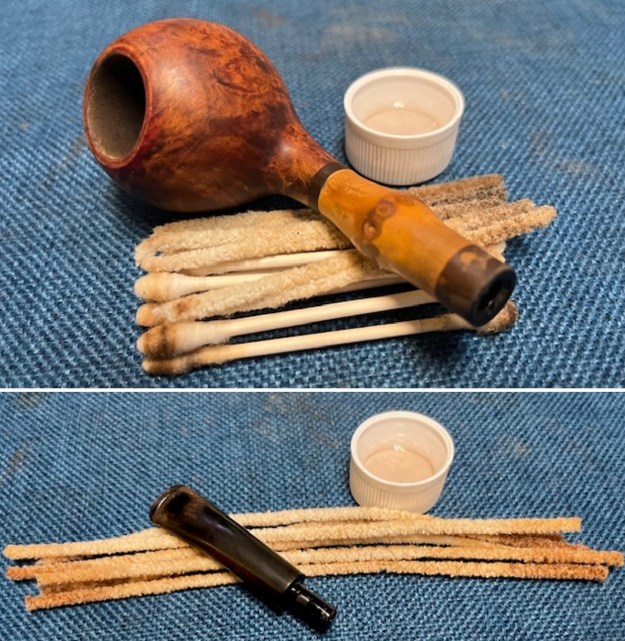
 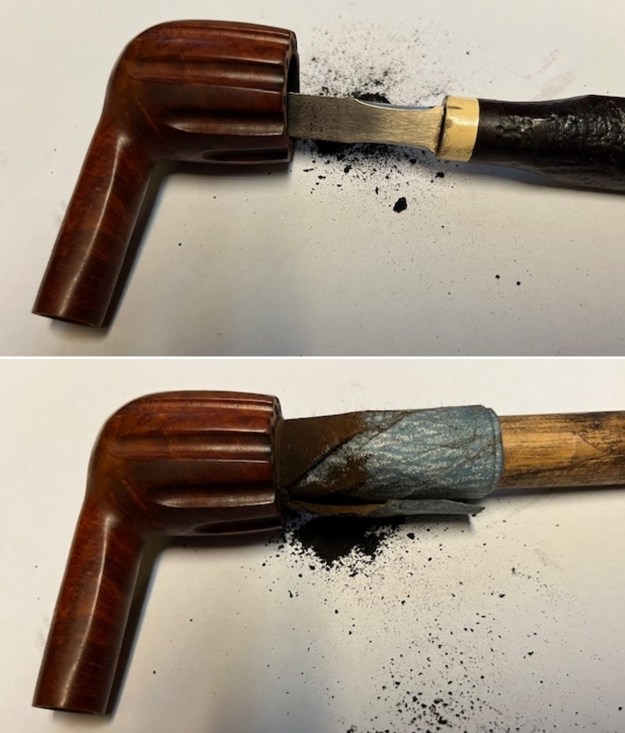 I cleaned out the interior of the shank, mortise and airway in the stem with pipe cleaners, cotton swabs and alcohol. It was a dirty pipe.
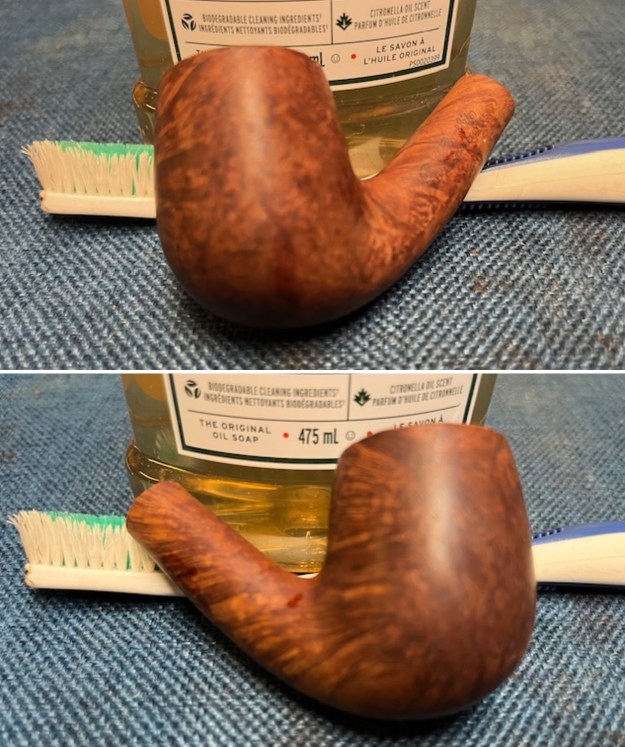
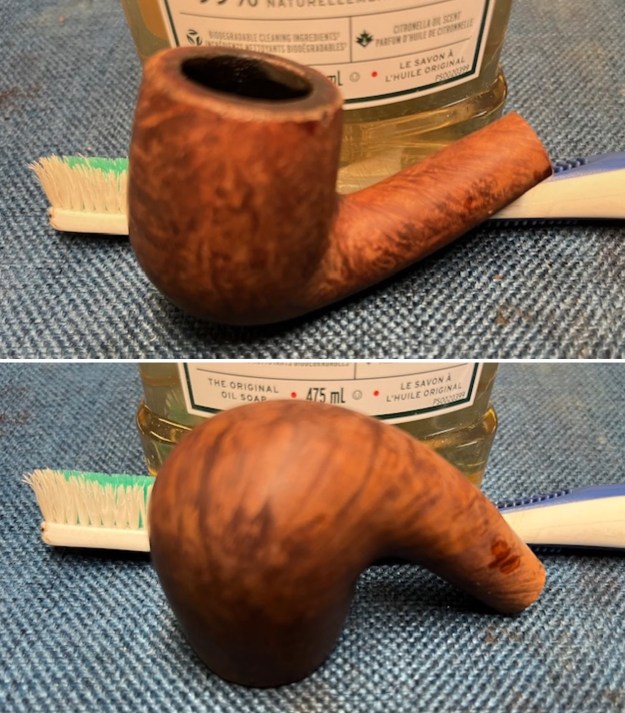
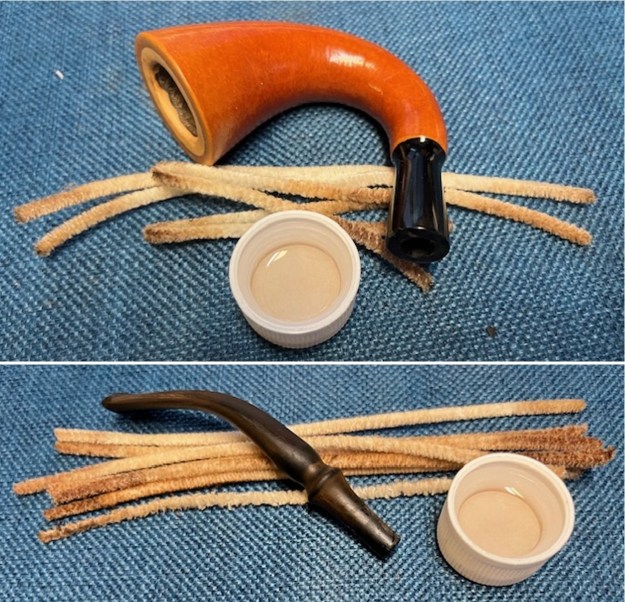
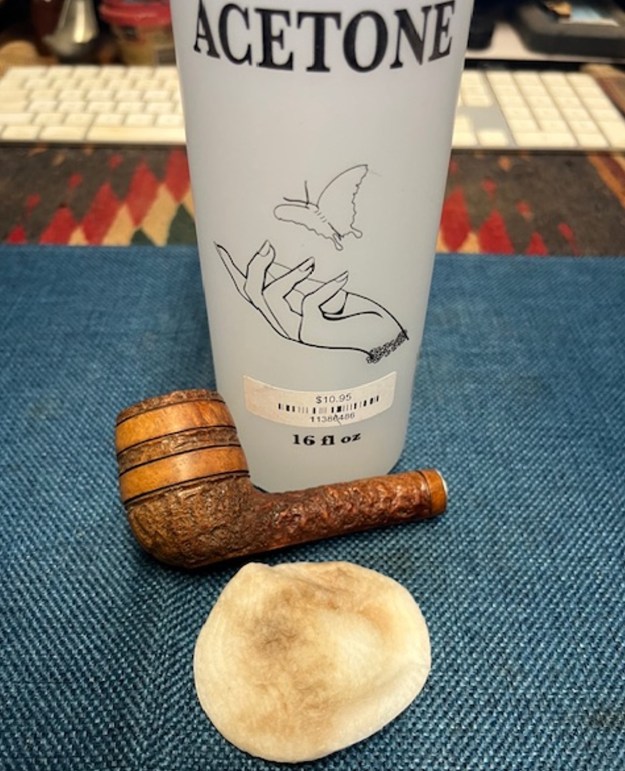
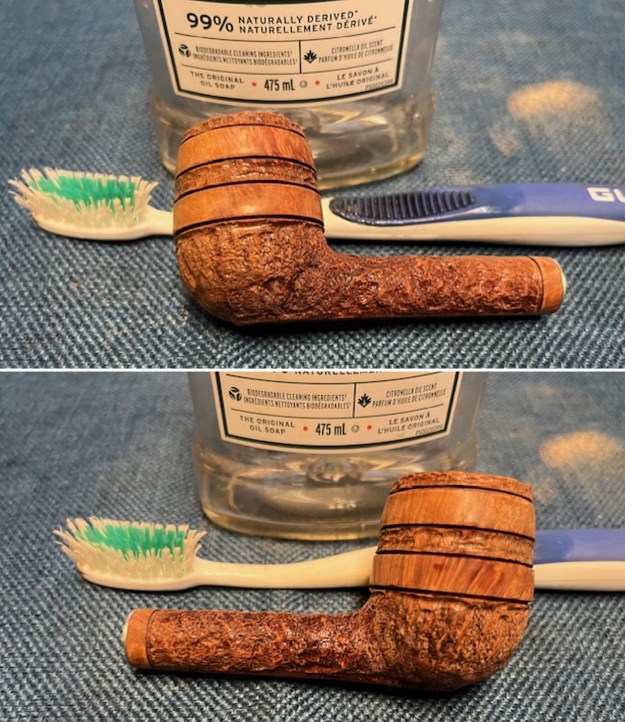
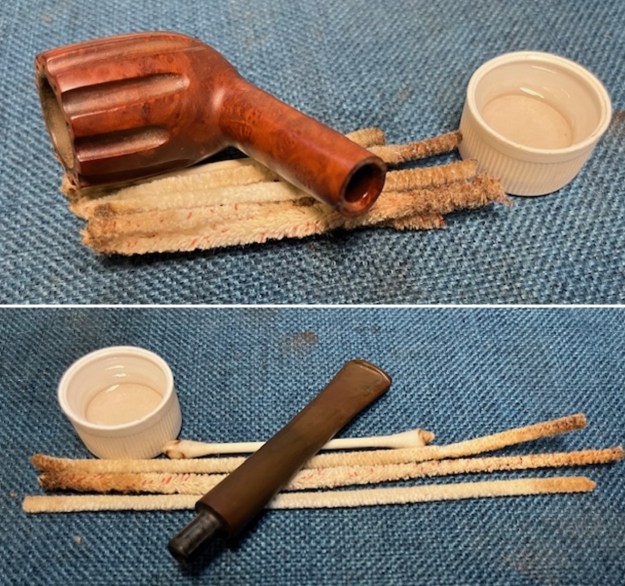 I scrubbed the externals of the pipe with Mark Hoover’s Briar Cleaner (extra strength). I cleaned the surface of the briar with my fingertips working product into the surface of the briar. I scrubbed it with a tooth brush working it over.
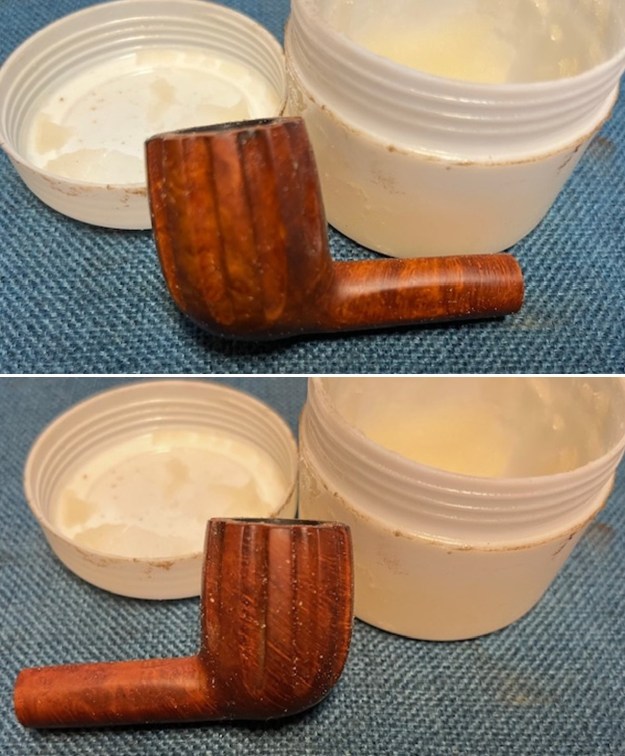
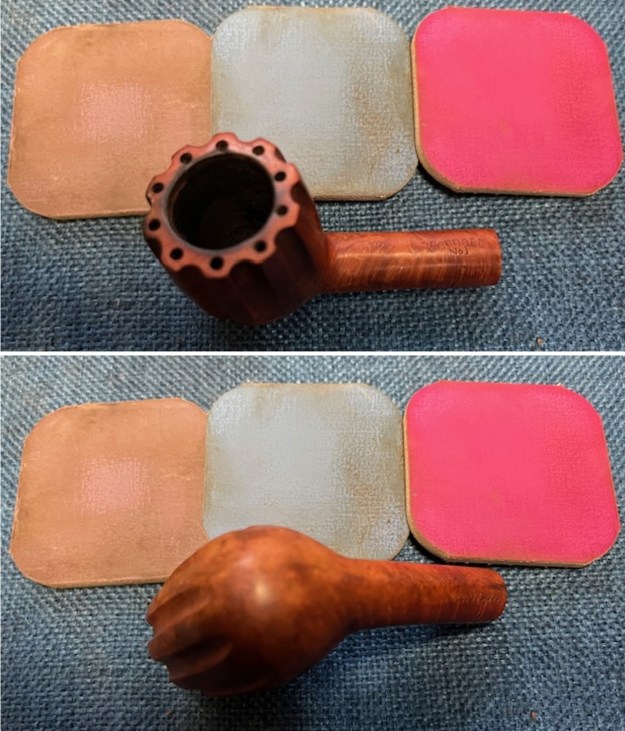
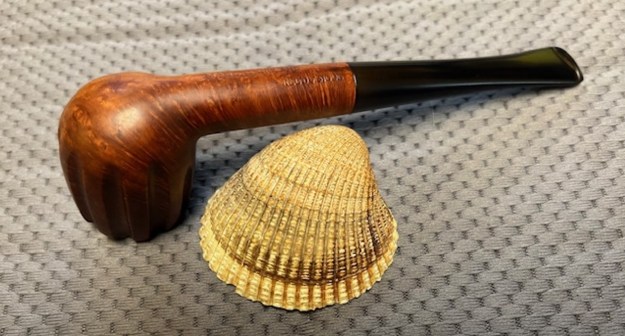
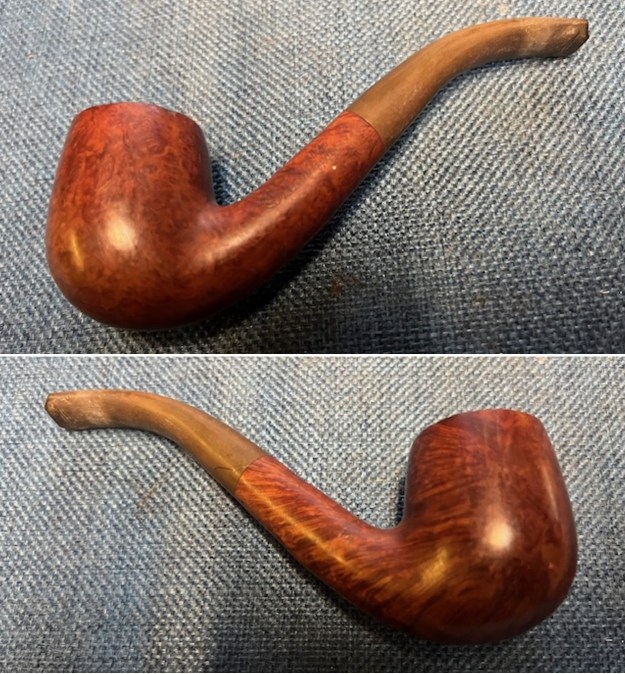
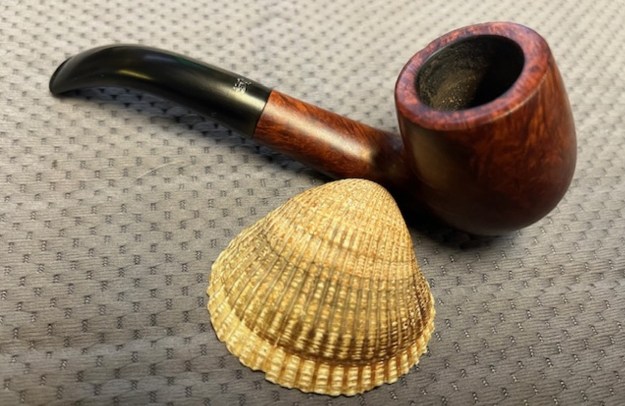
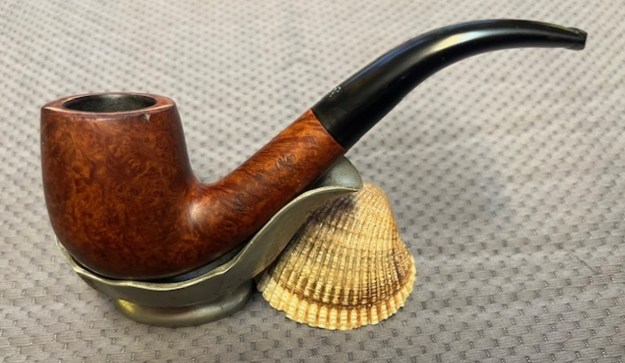
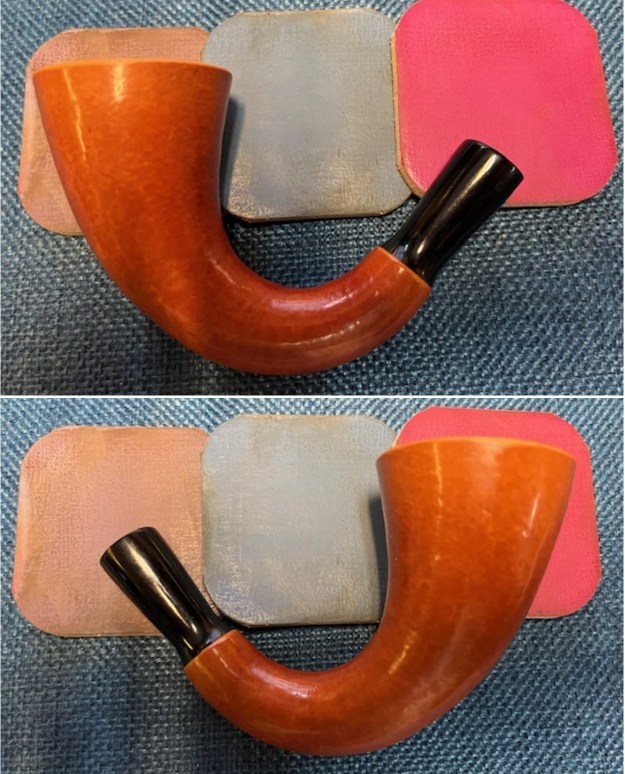
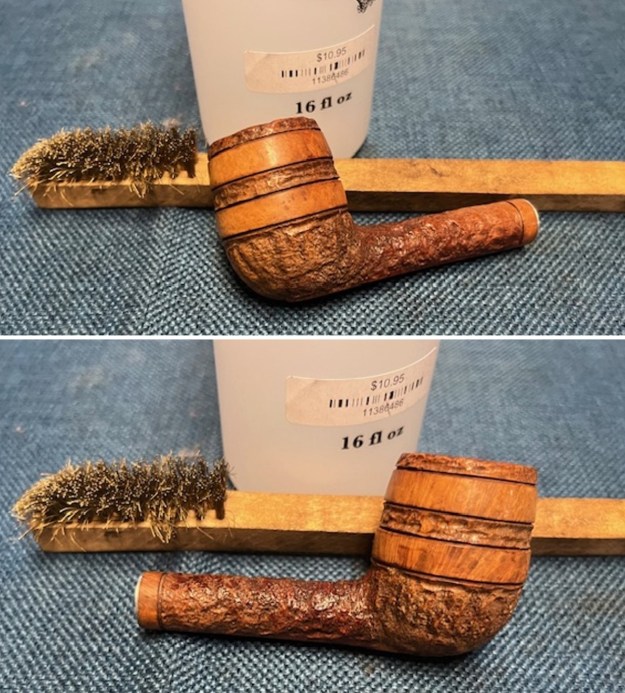
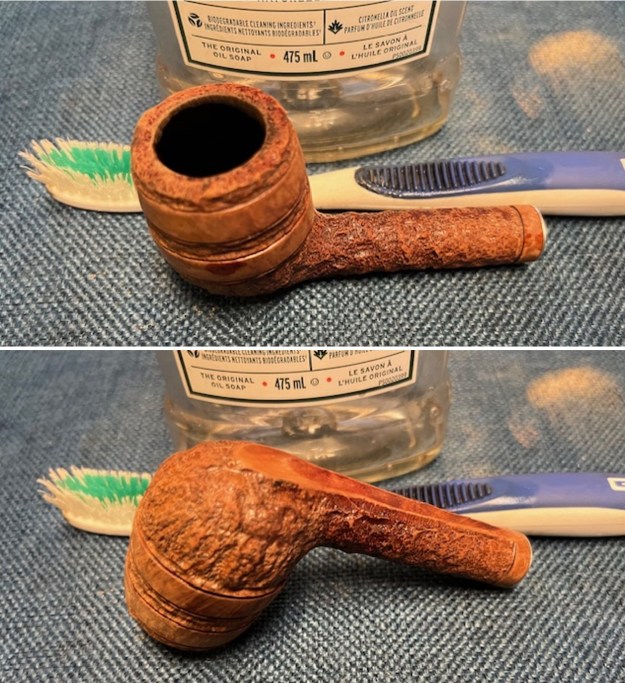
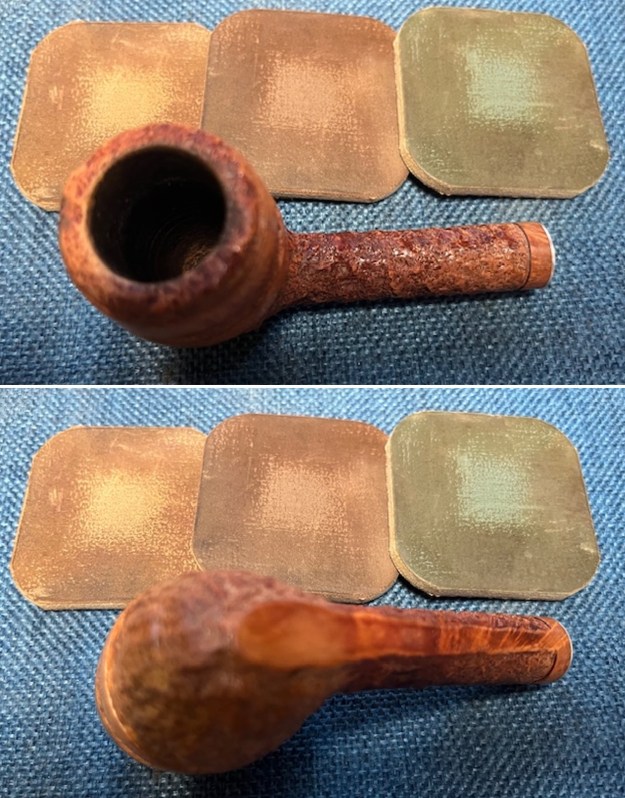
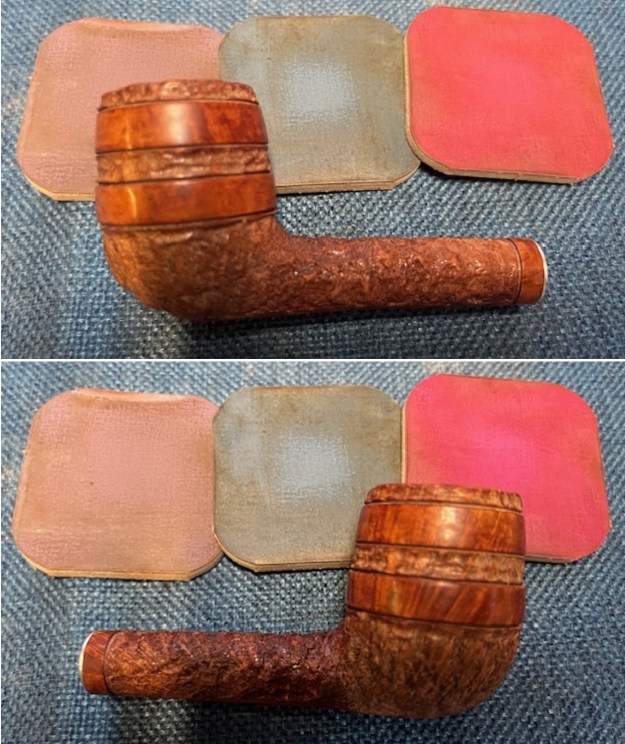
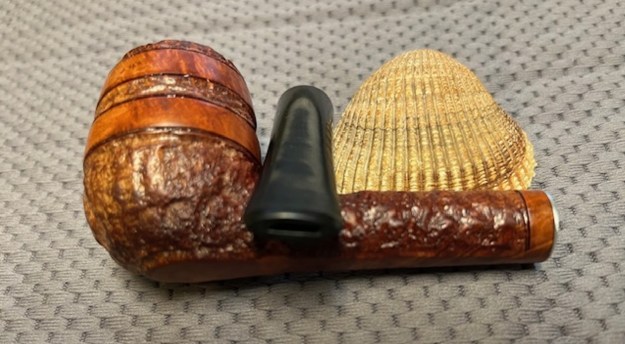
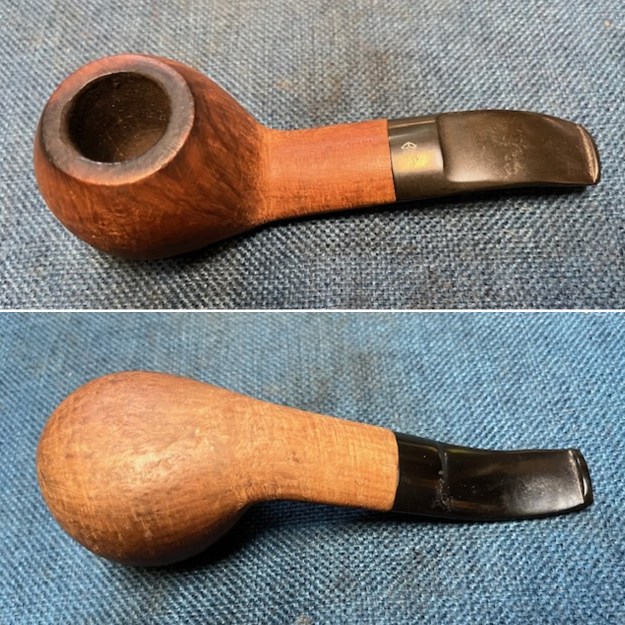
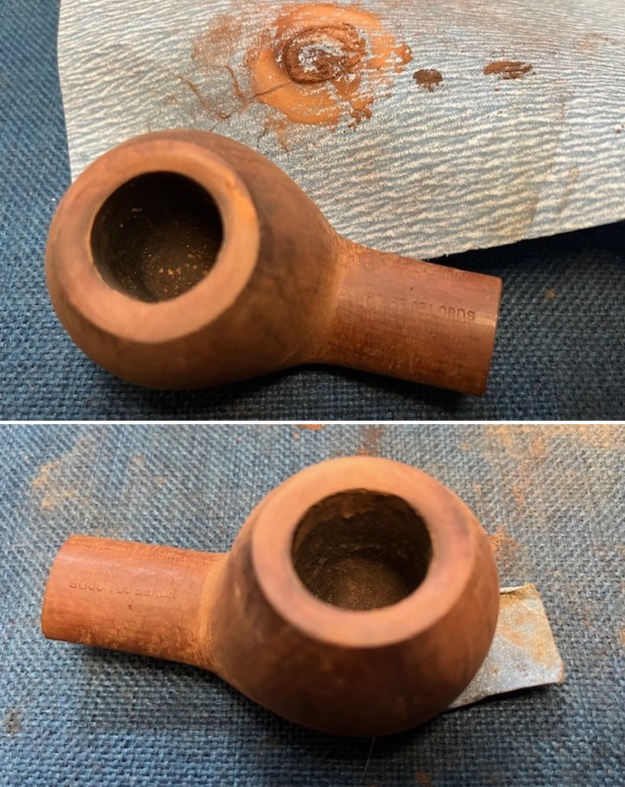
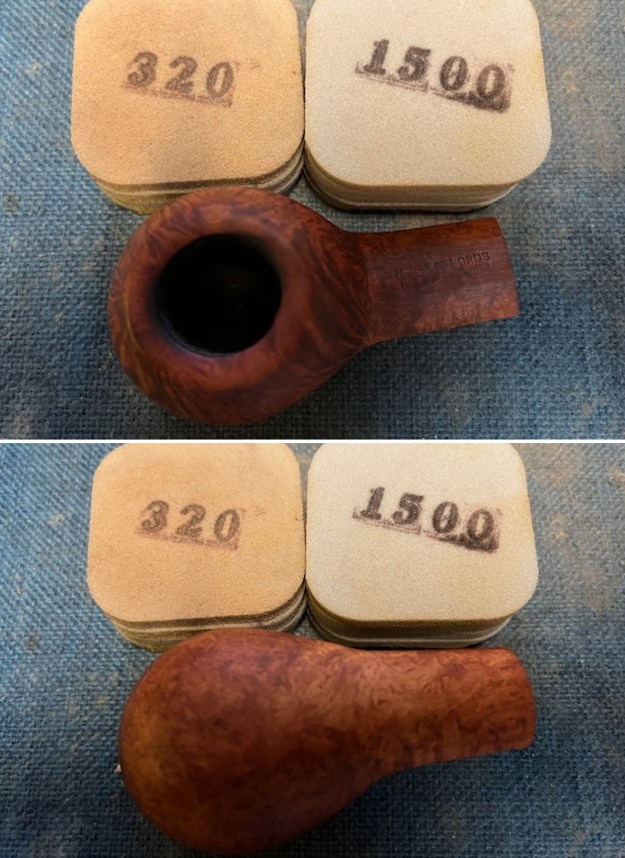
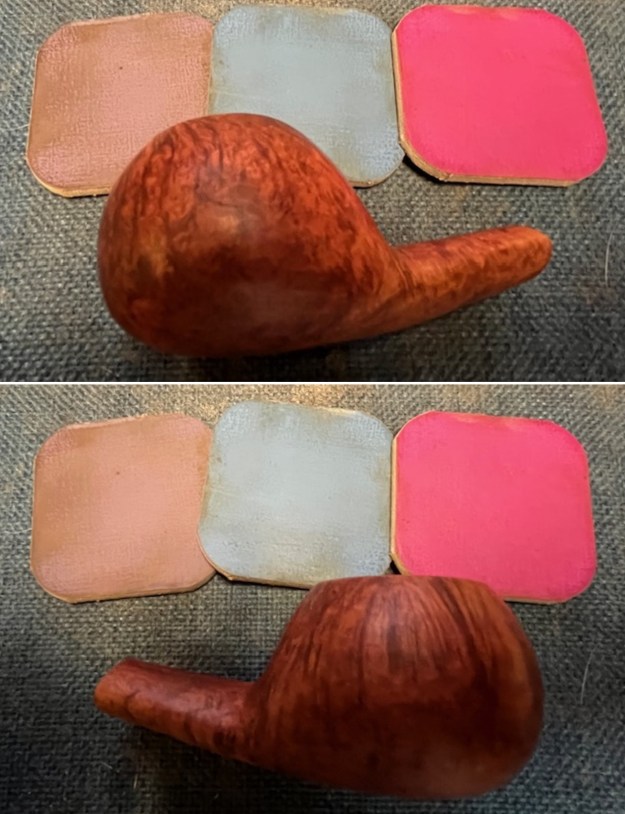
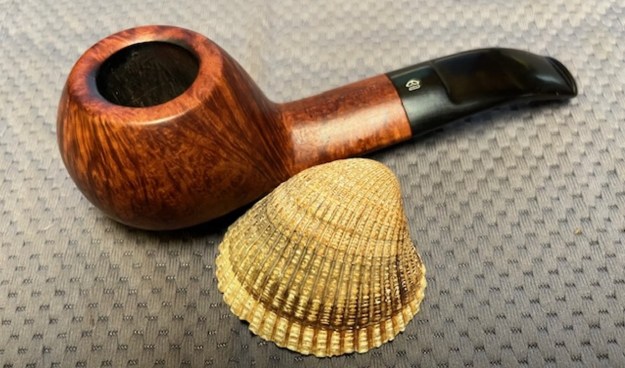
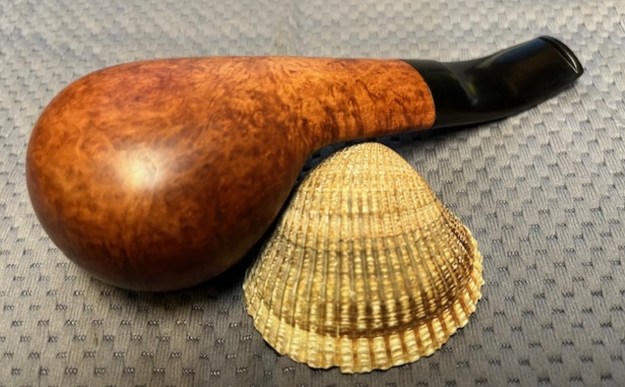
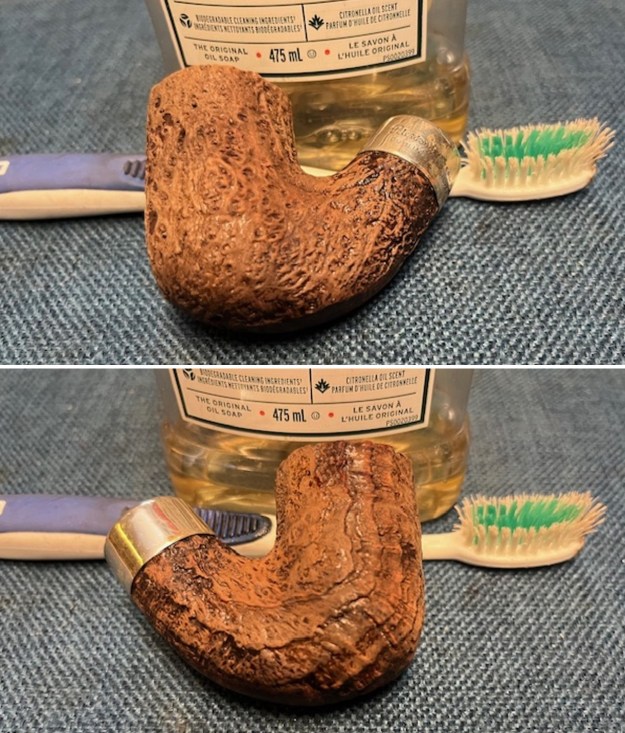
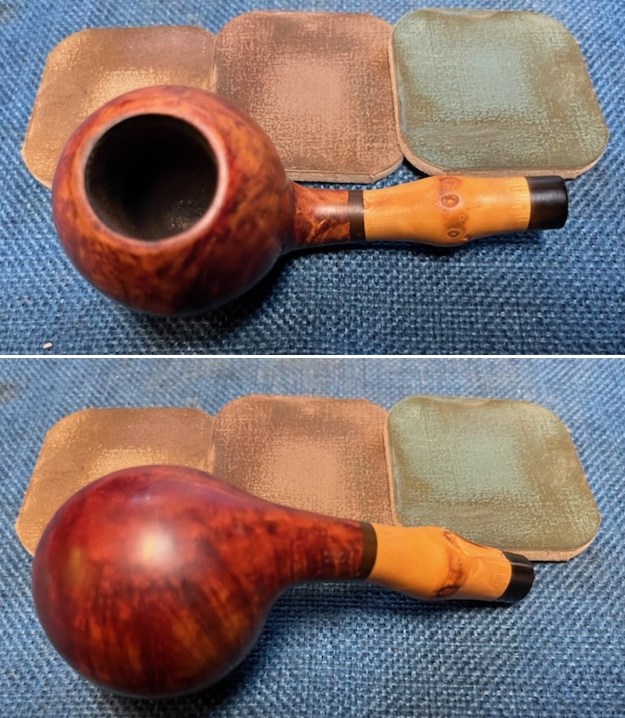
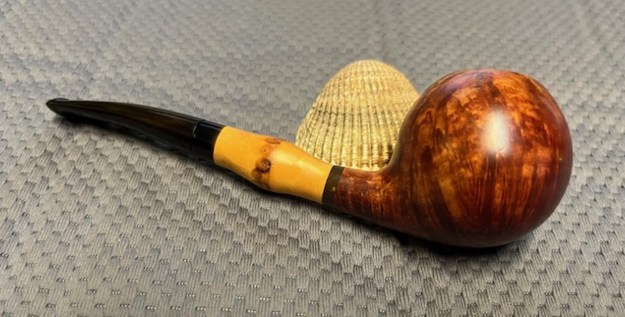
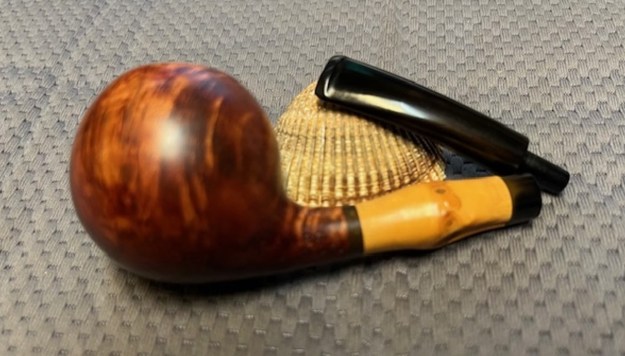
 I rinsed off the Mark’s Briar cleaner with warm water to remove the debris and grit that it had collected. I dried it off with a soft cotton cloth and took some photos of the pipe at this time.
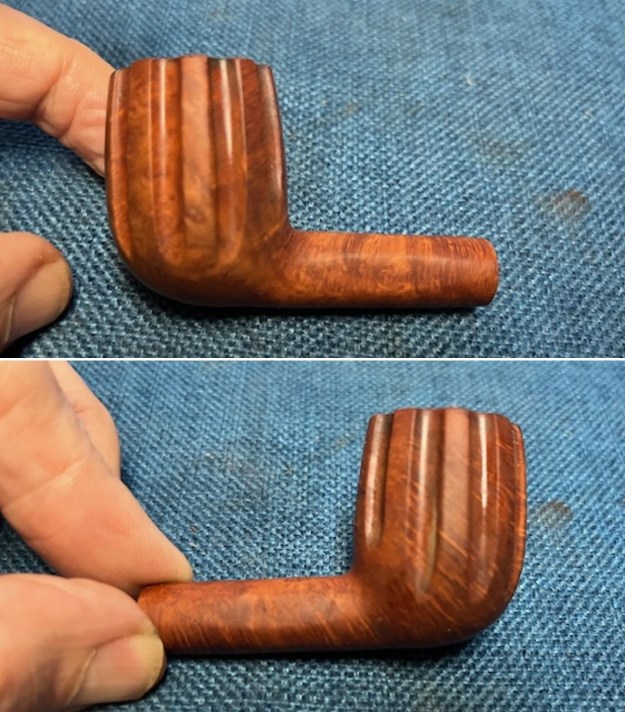
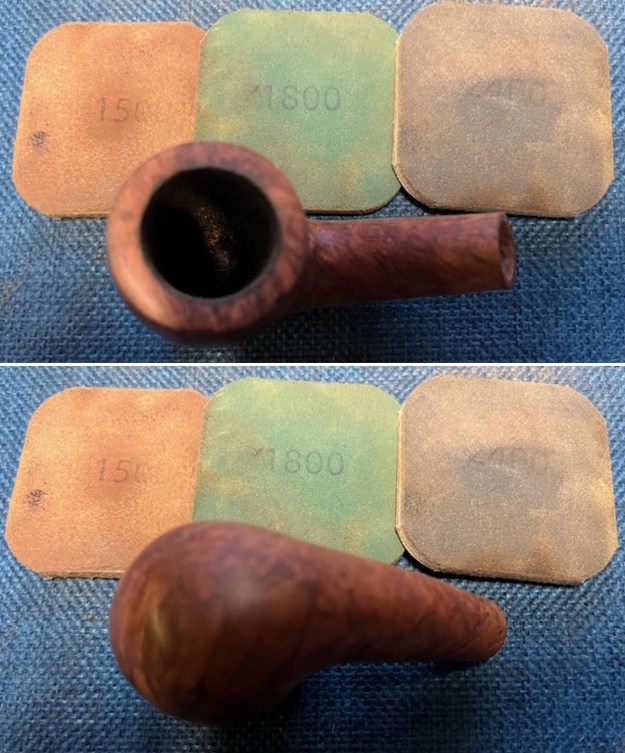
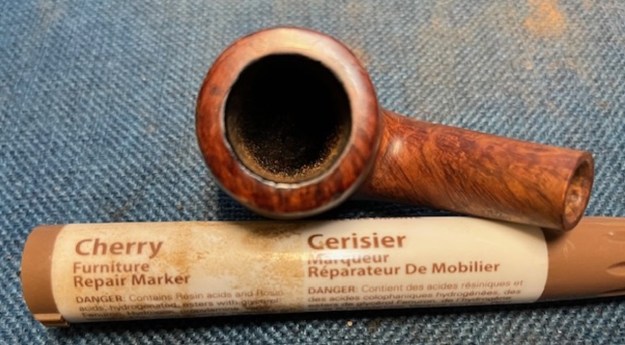
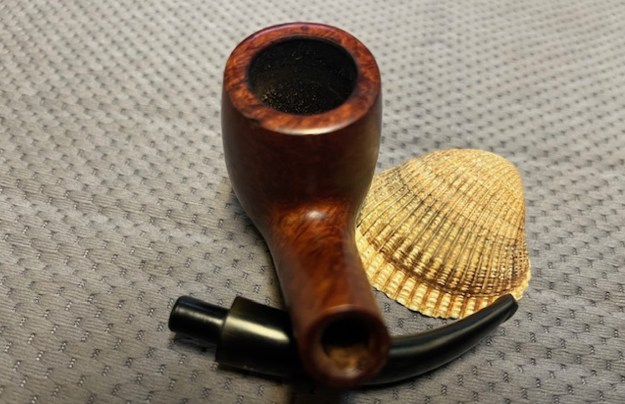
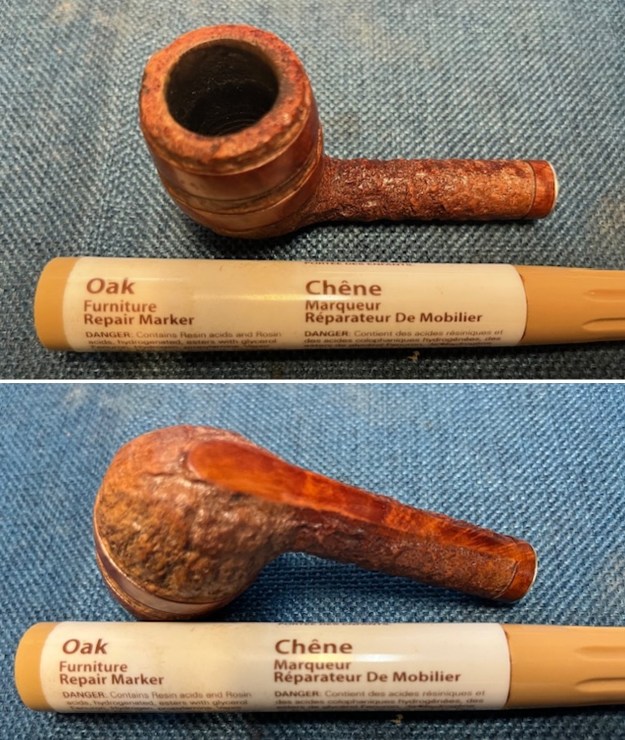
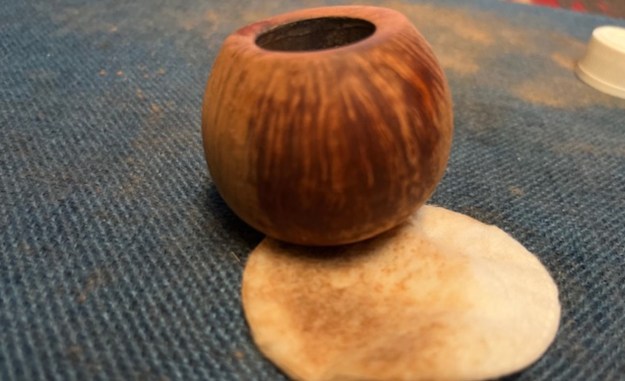
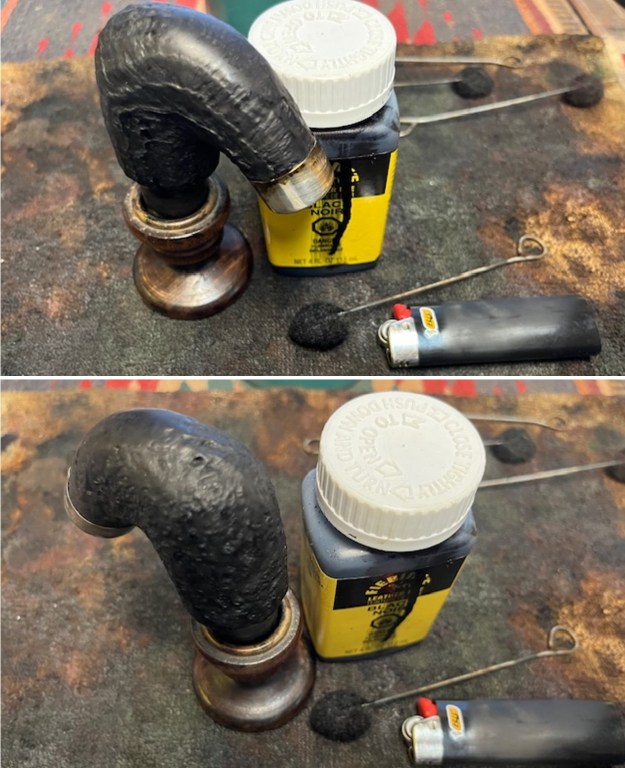
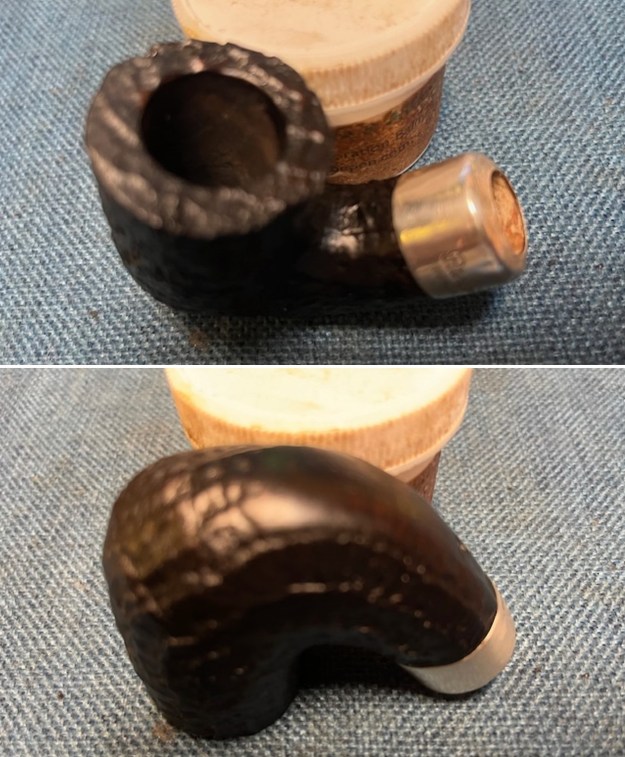
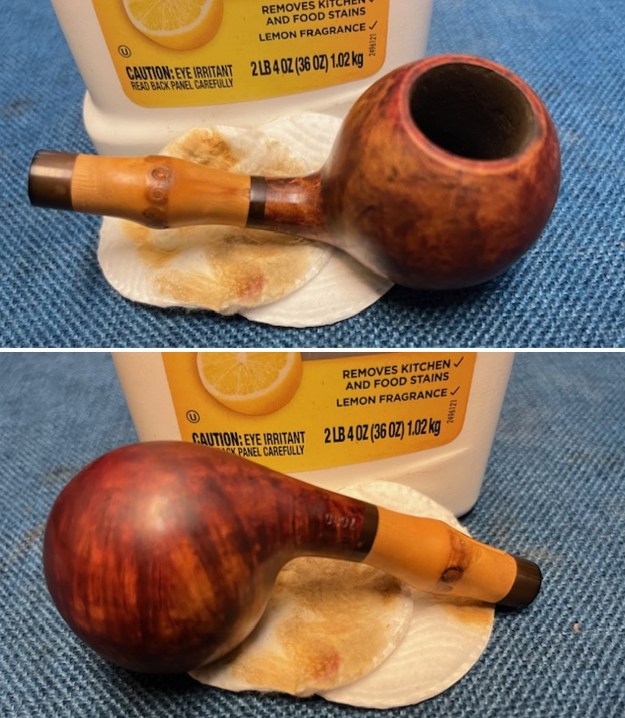
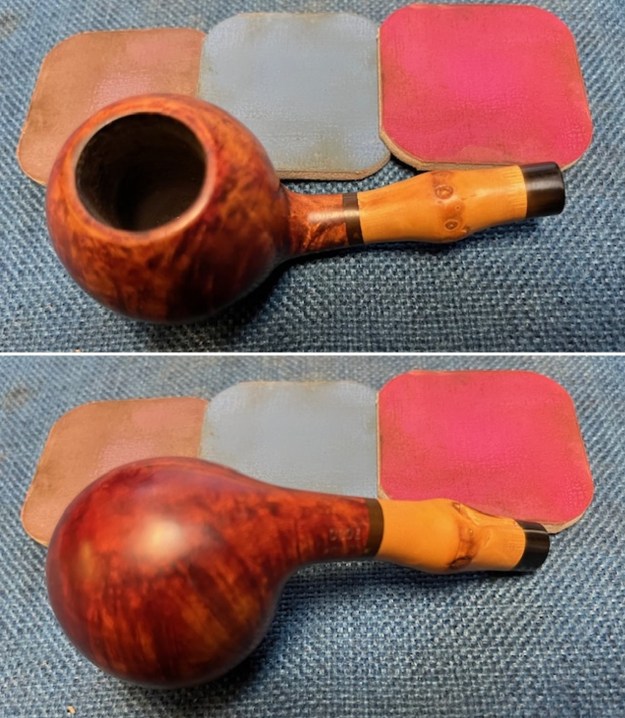
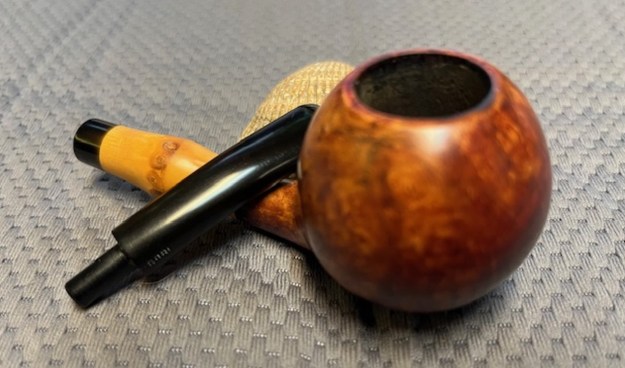
 There was burn damage on the rim top that was going to remain. The holes down the sides of the bowl from the rim top were thin so I did not want to remove any of the briar. I chose to leave the burn marks as they are. I used a Maple stain pen to touch up the rim top. It matched the colour of the stain on the rest of the bowl. Once it was polished it would blend in very well.
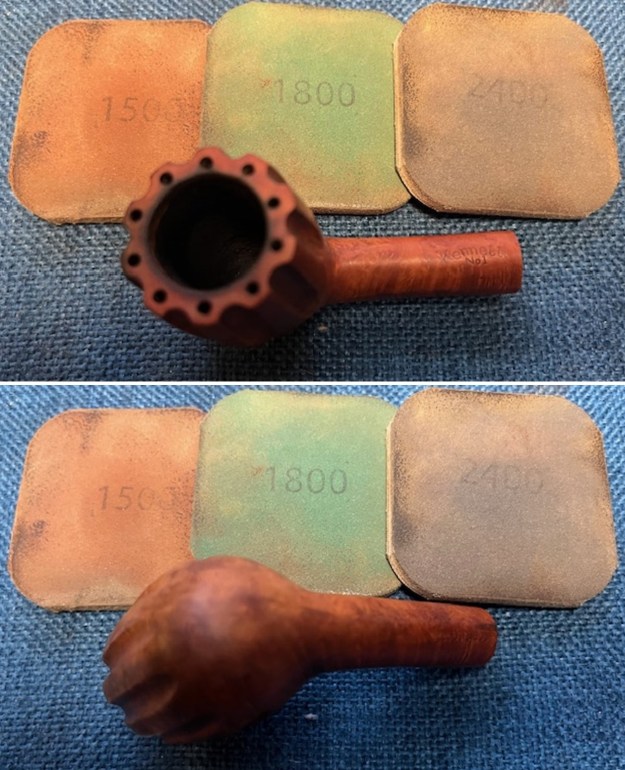
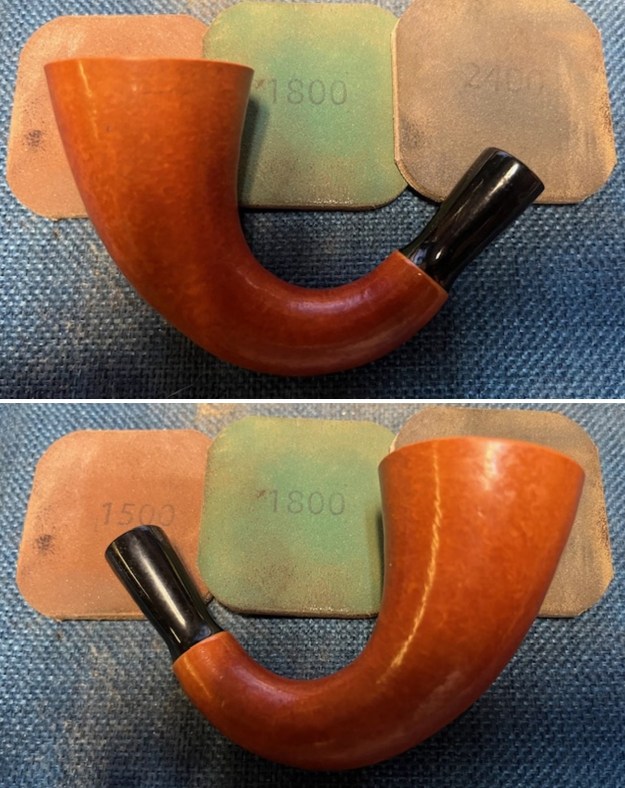
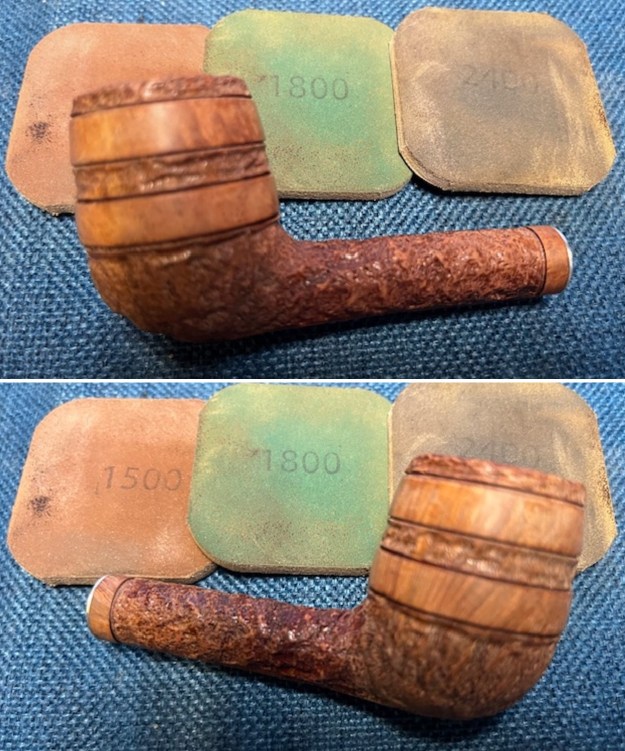
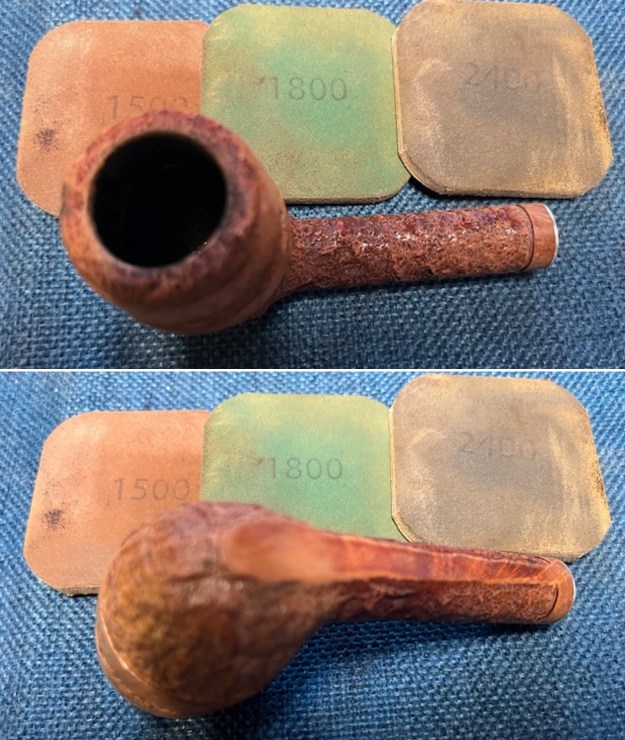
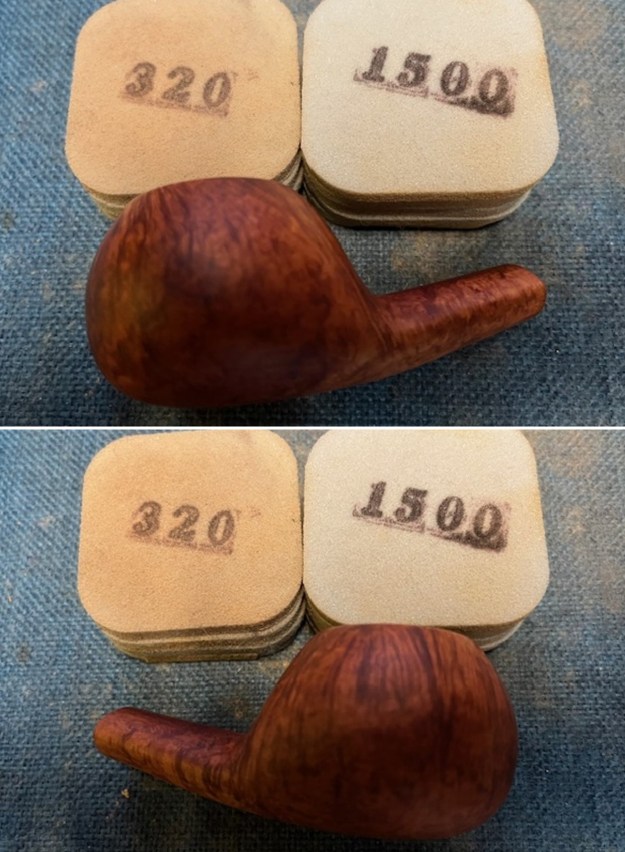
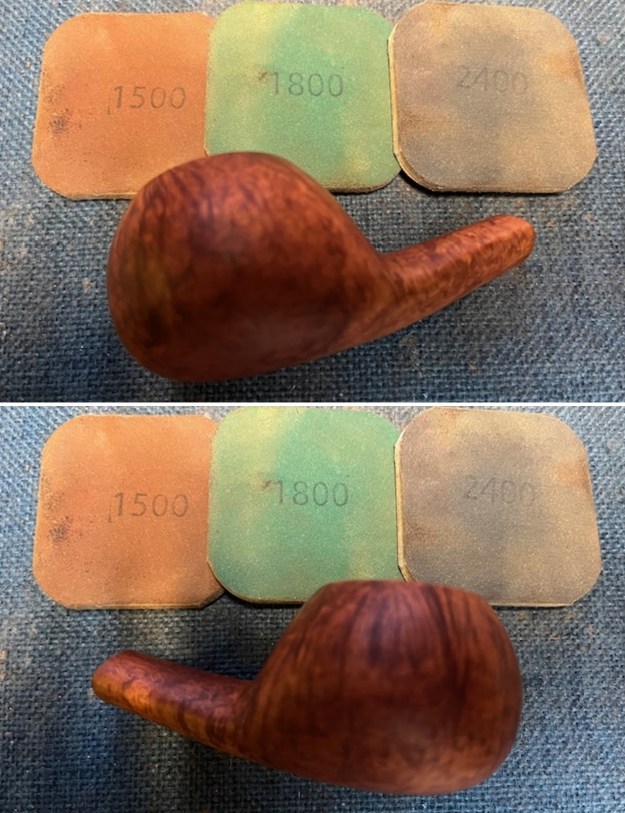
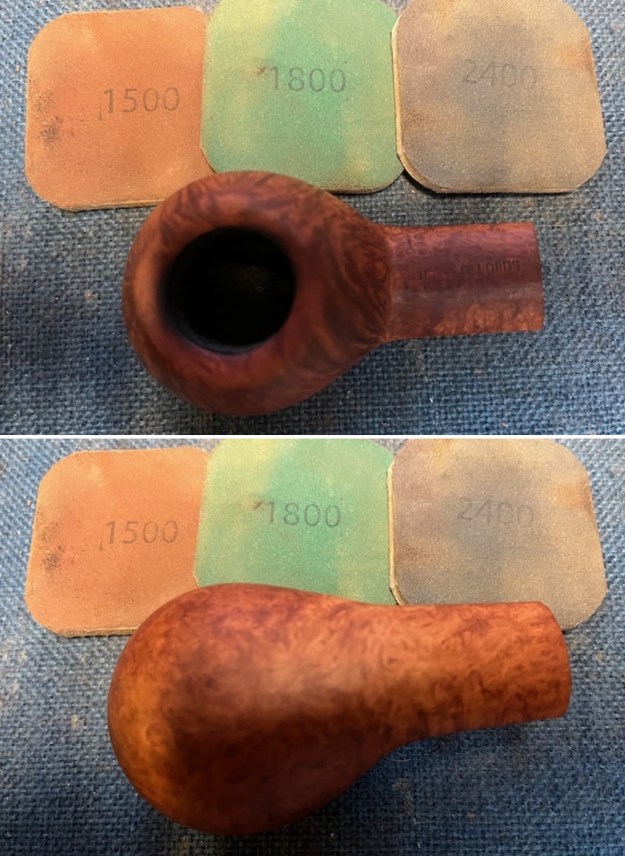
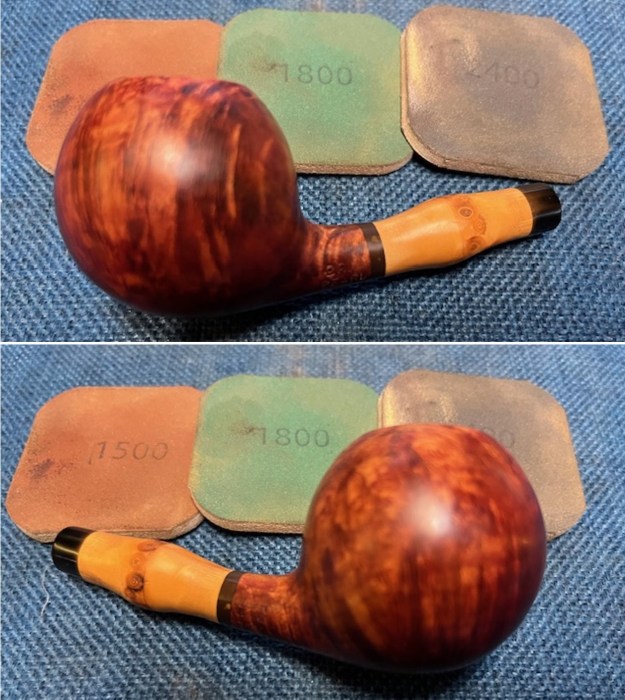
  I polished the bowl with micromesh sanding pads – dry sanding with 1500-12000 grit pads. I wiped it down with a damp cotton pad after each sanding pad. The briar really took on a patina that began to look better with the polishing.
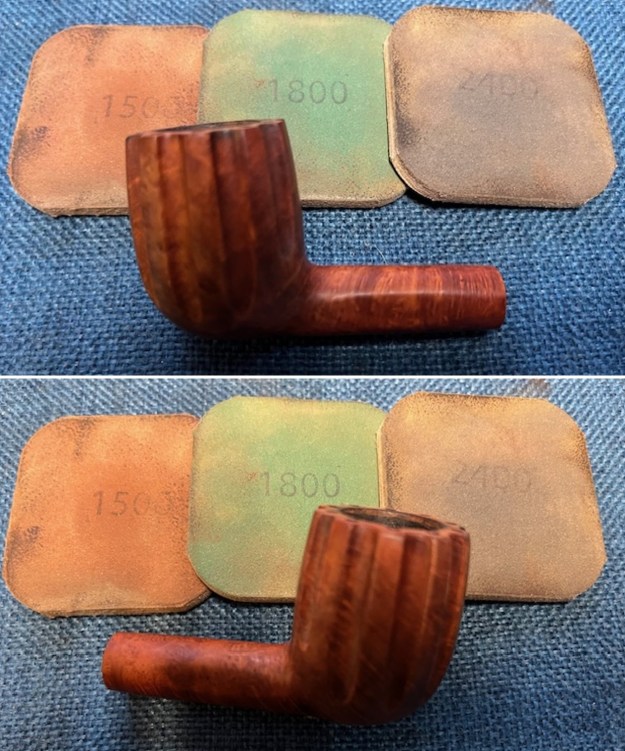

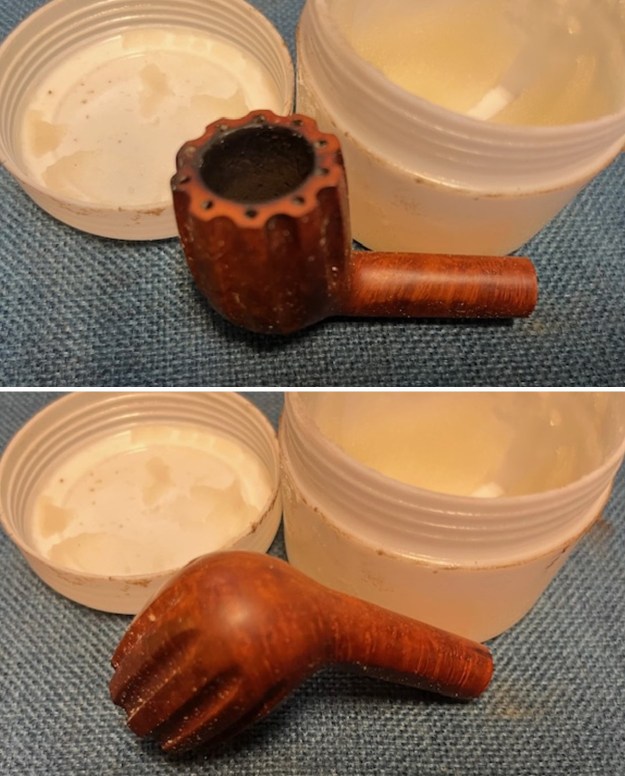
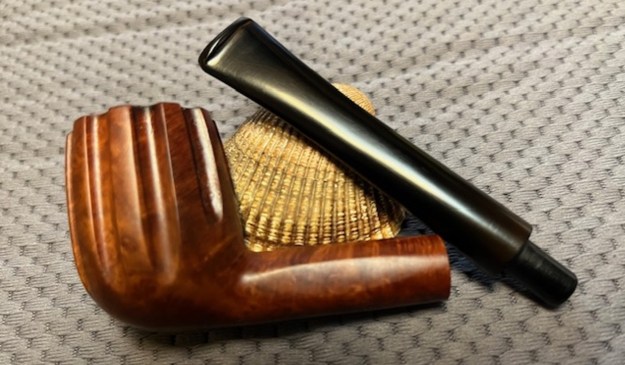
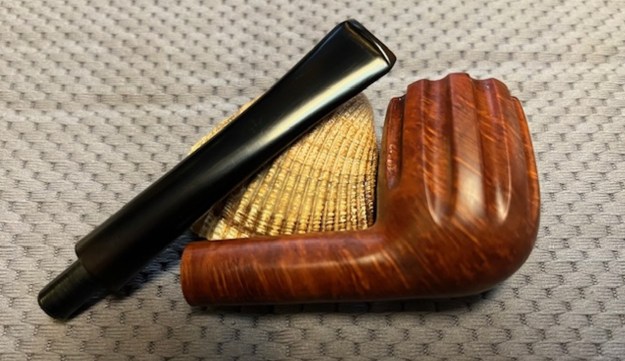
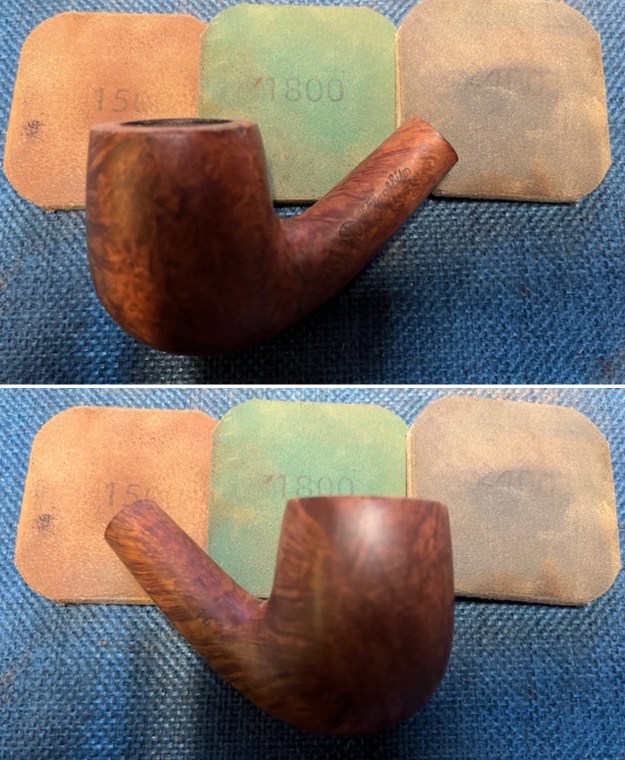
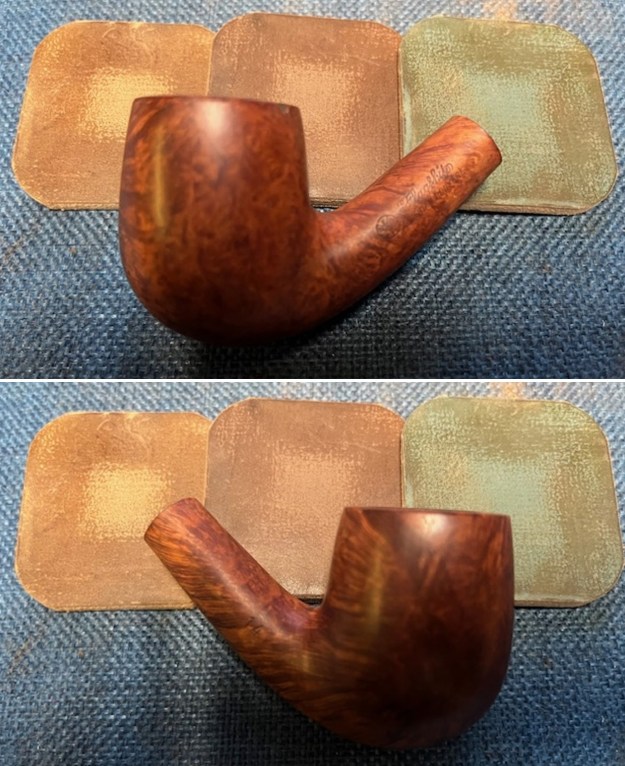
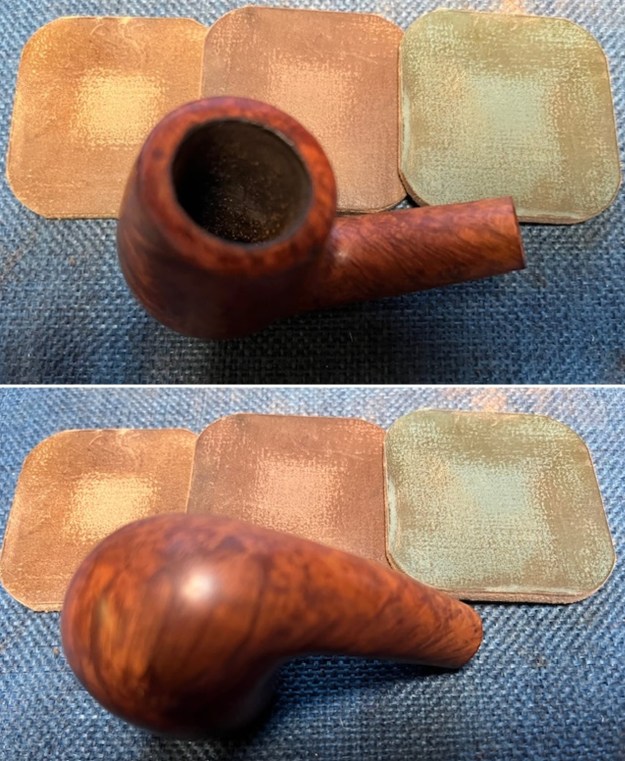
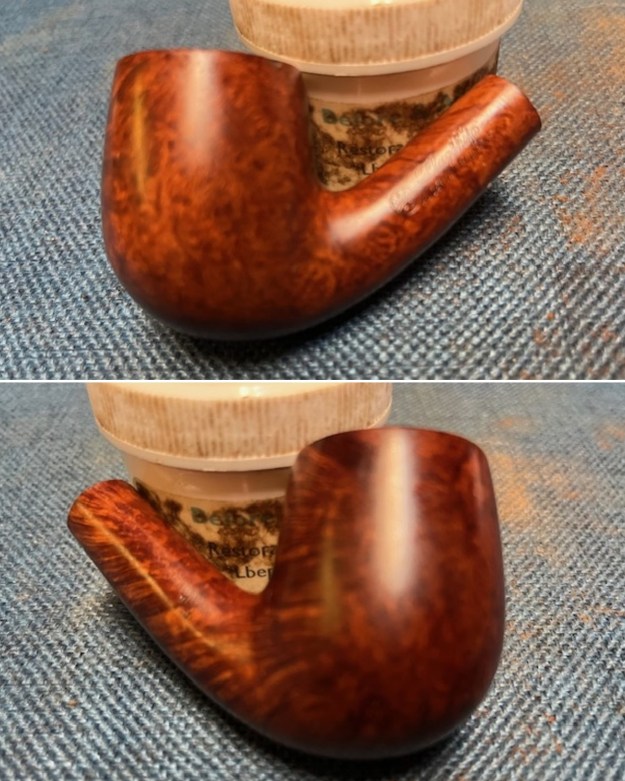
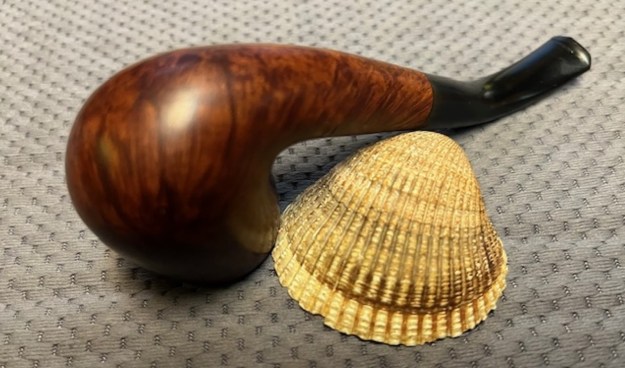
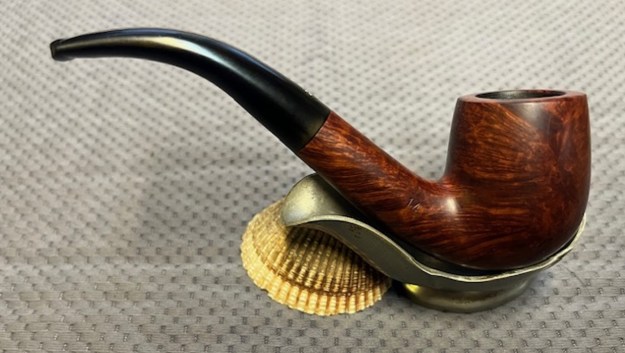
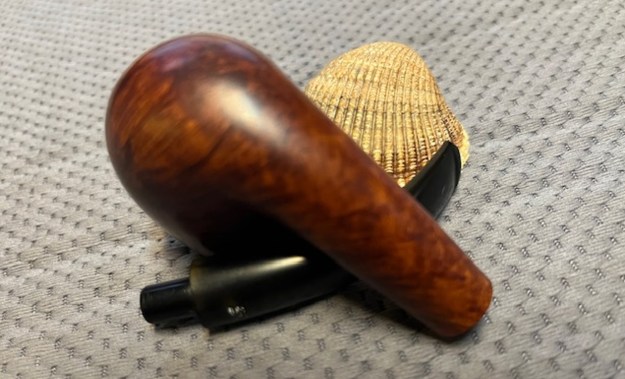
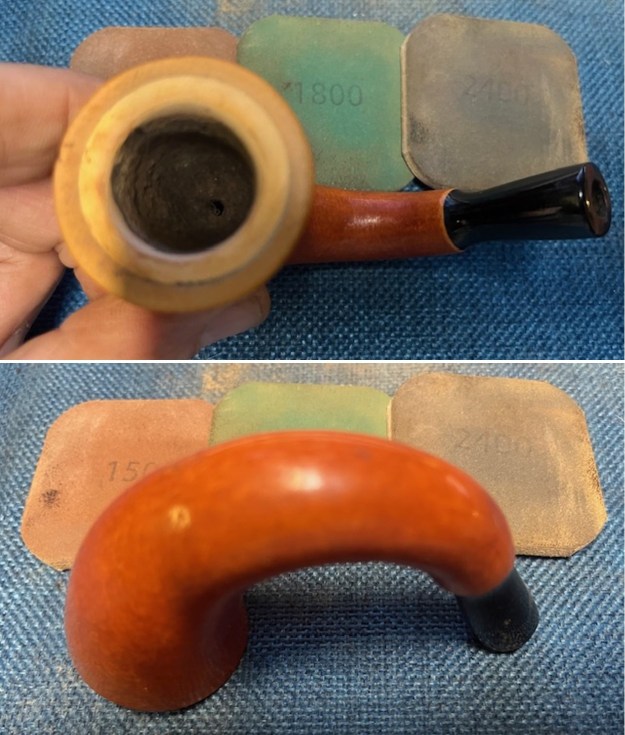
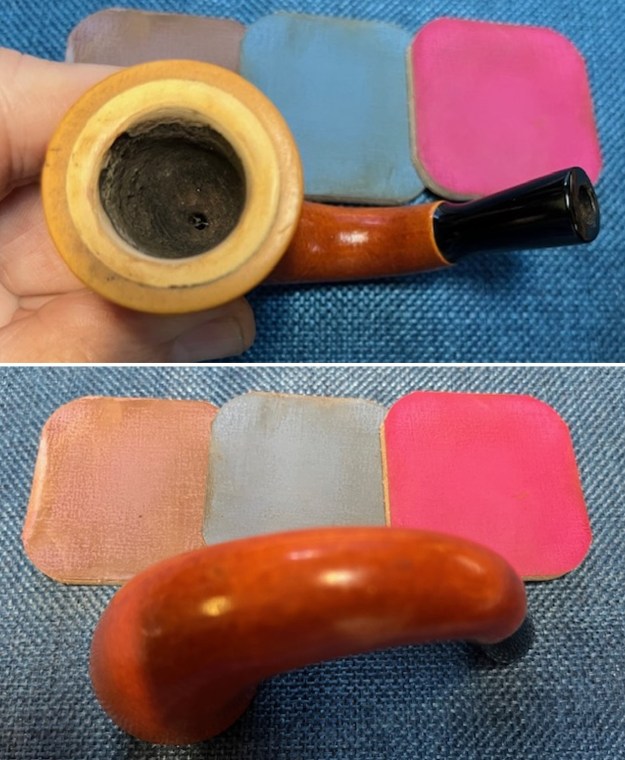
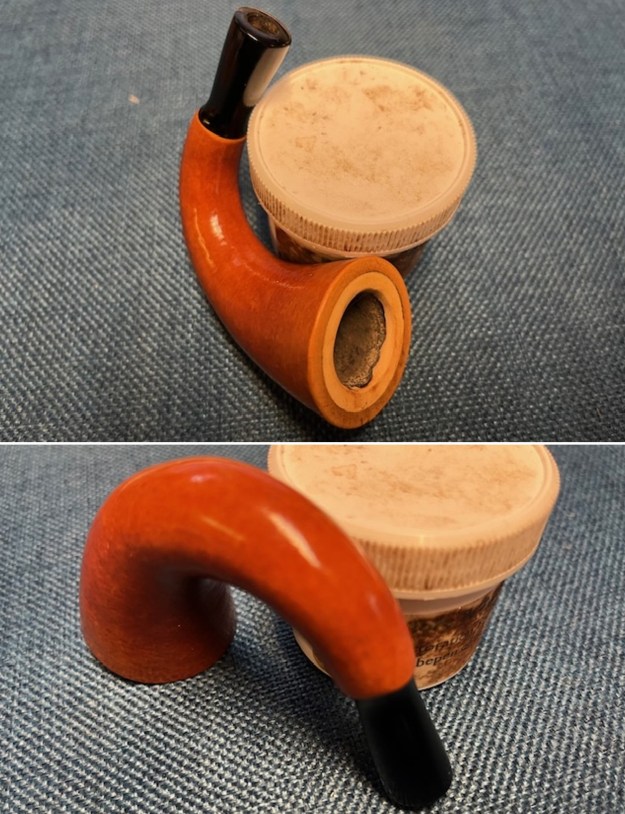
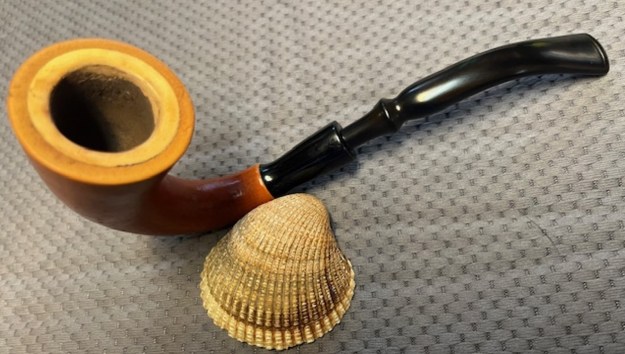
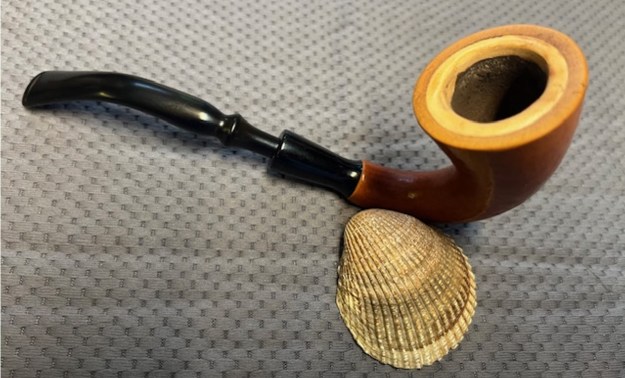
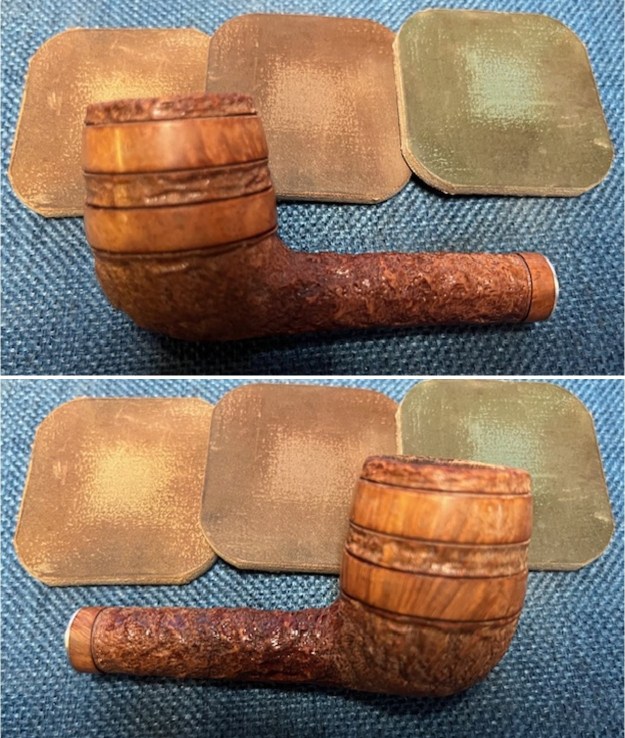
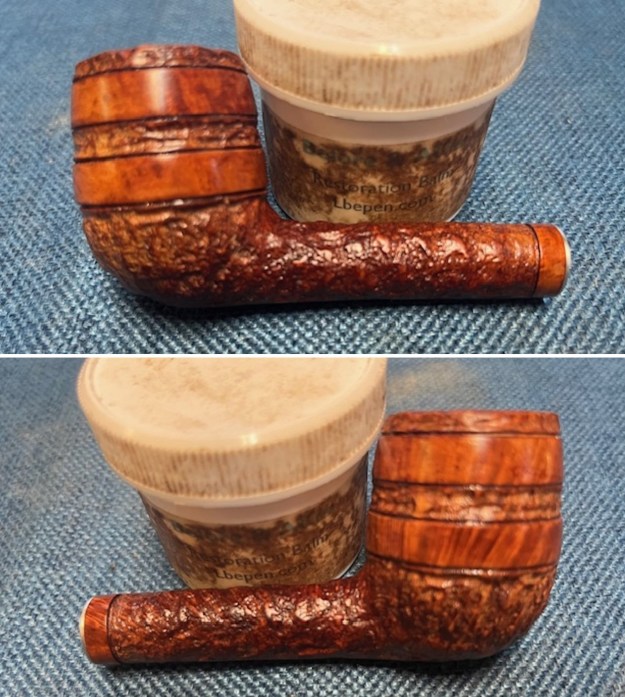
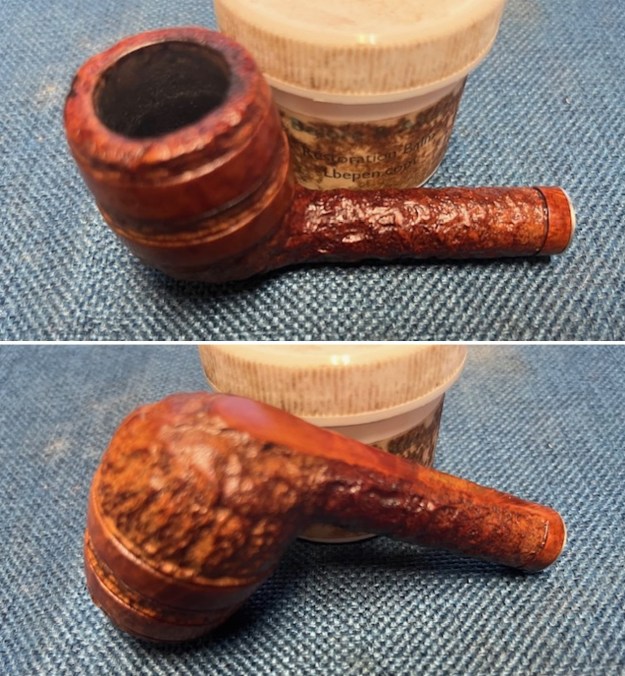
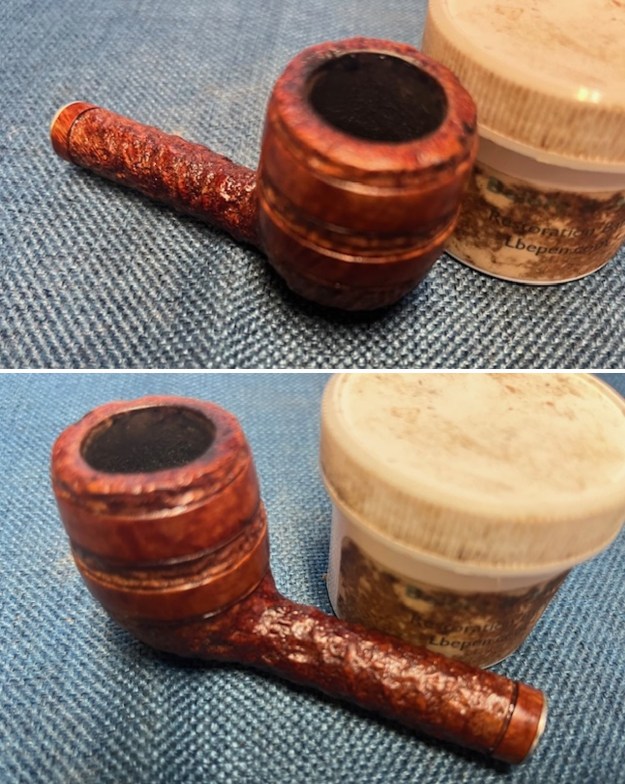
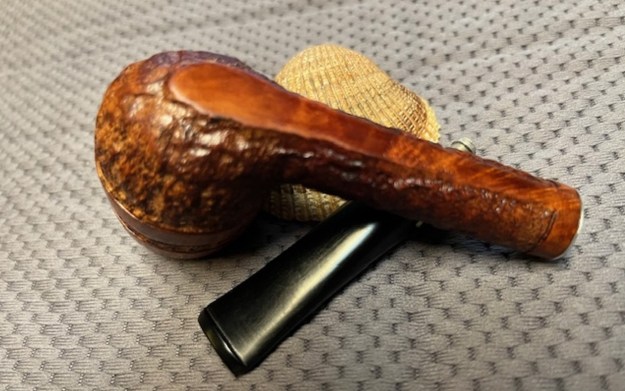
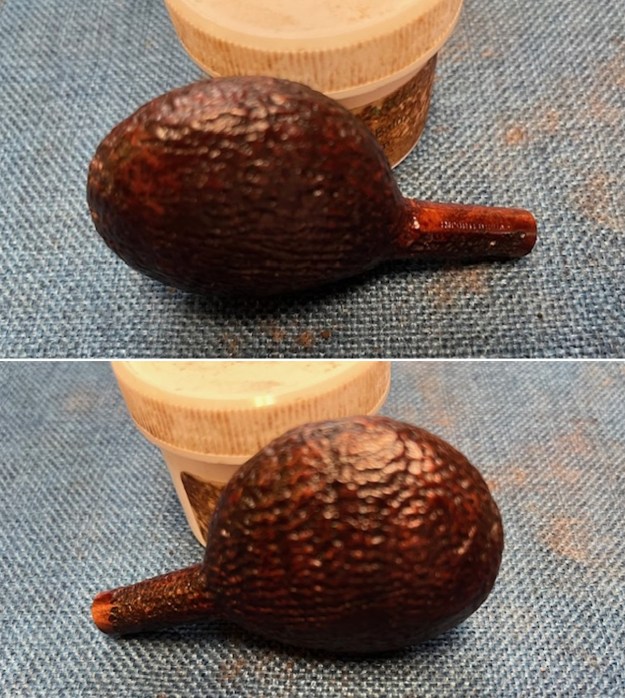
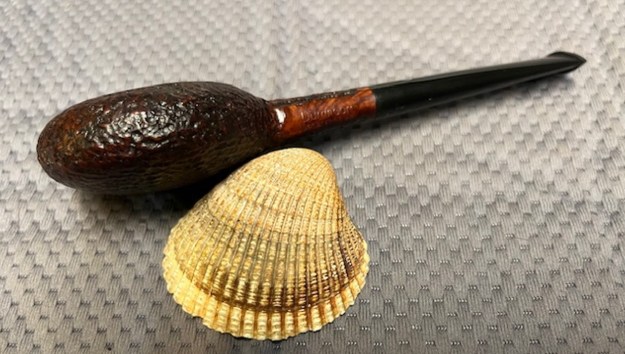
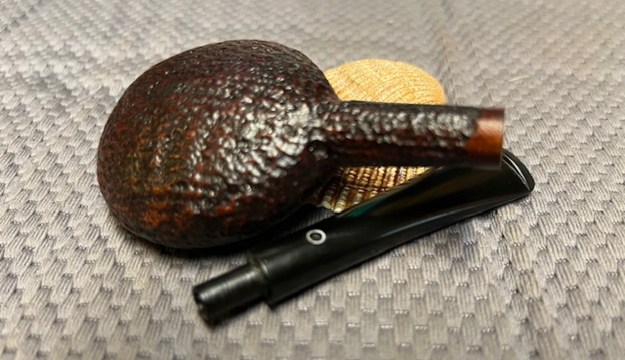
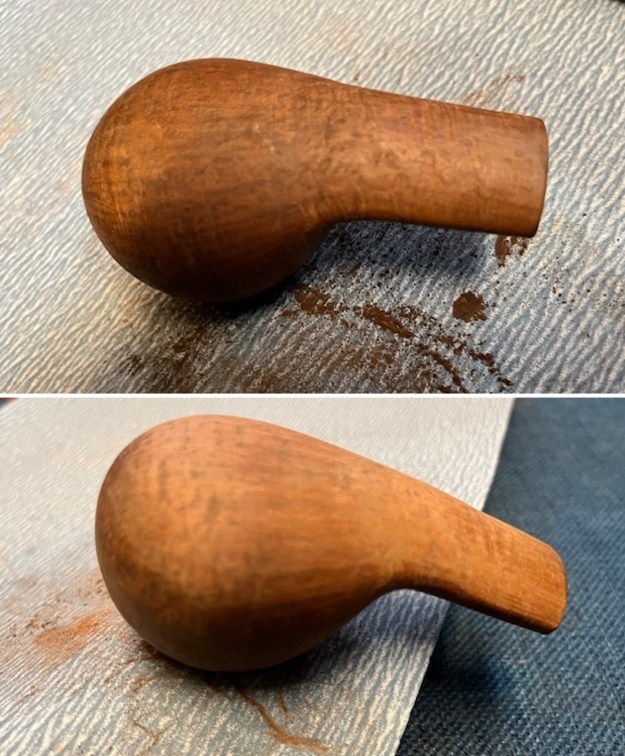
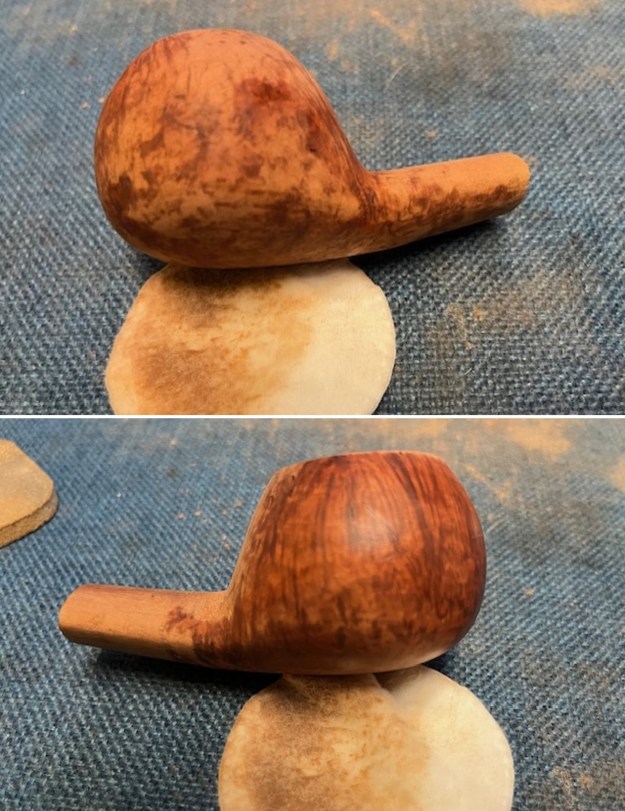
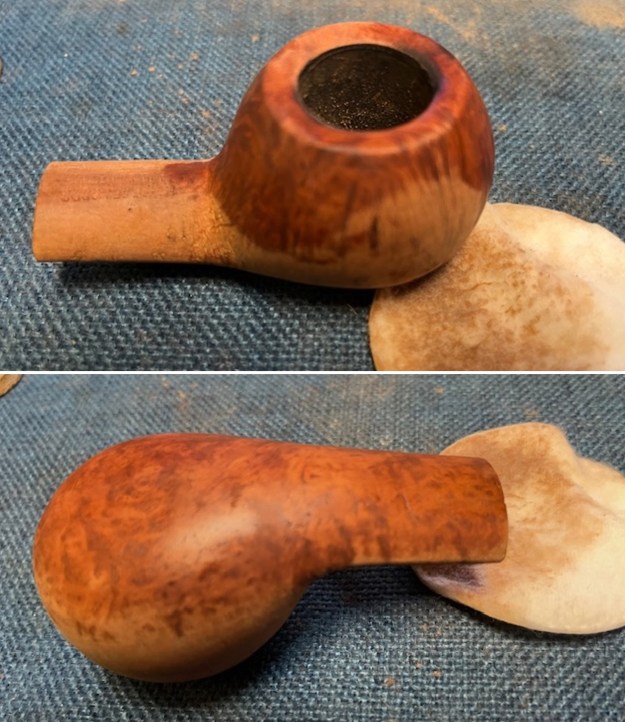
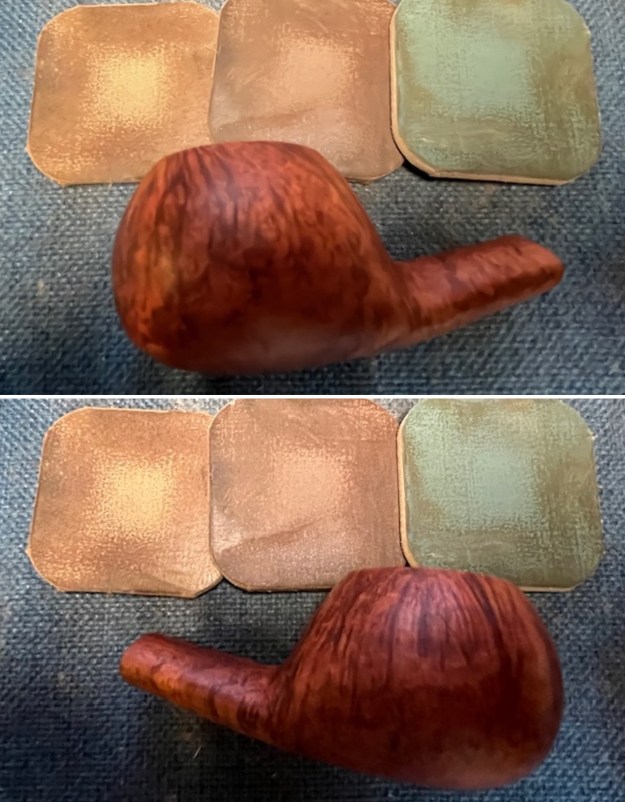
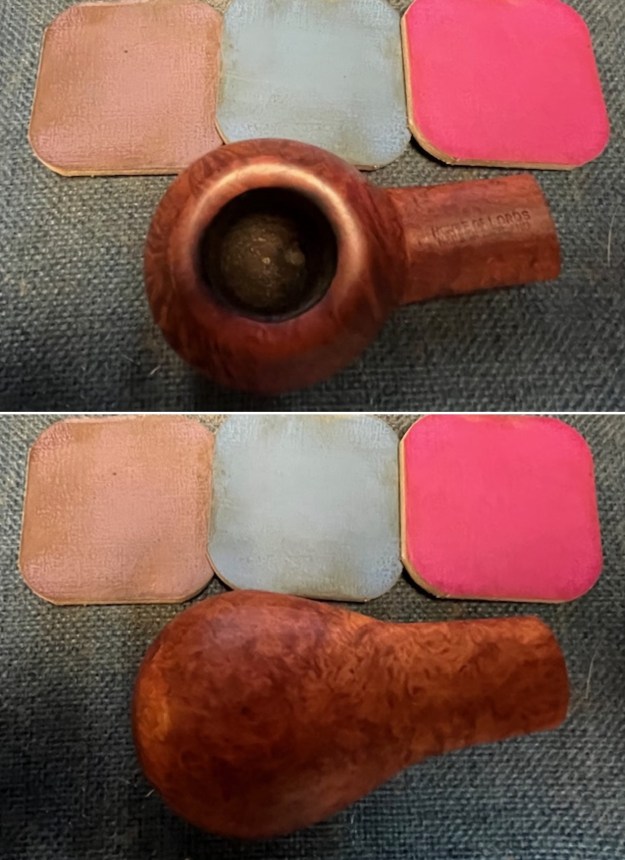
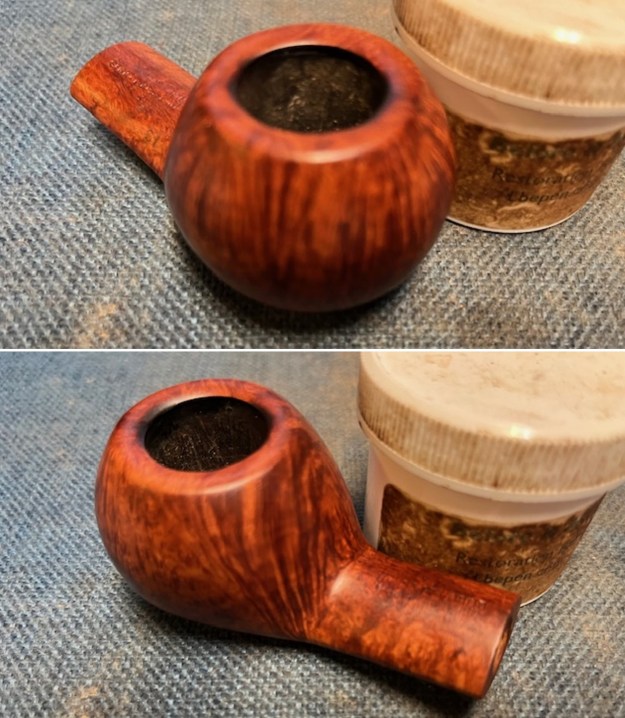
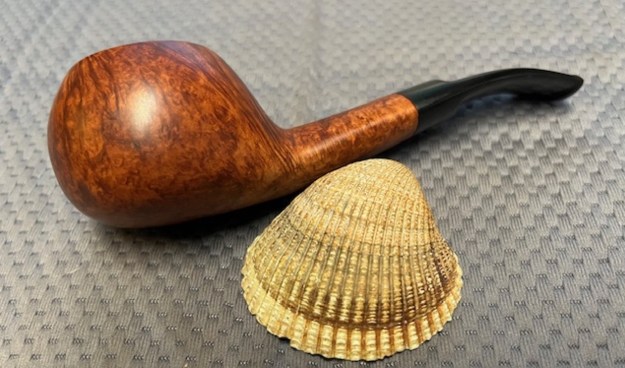
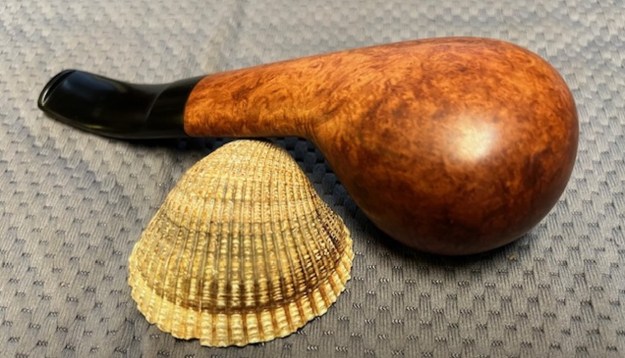
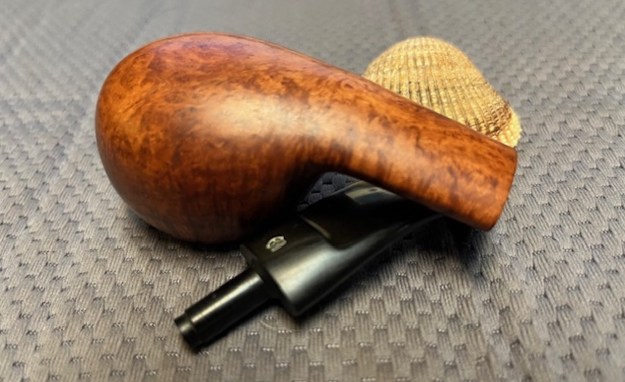
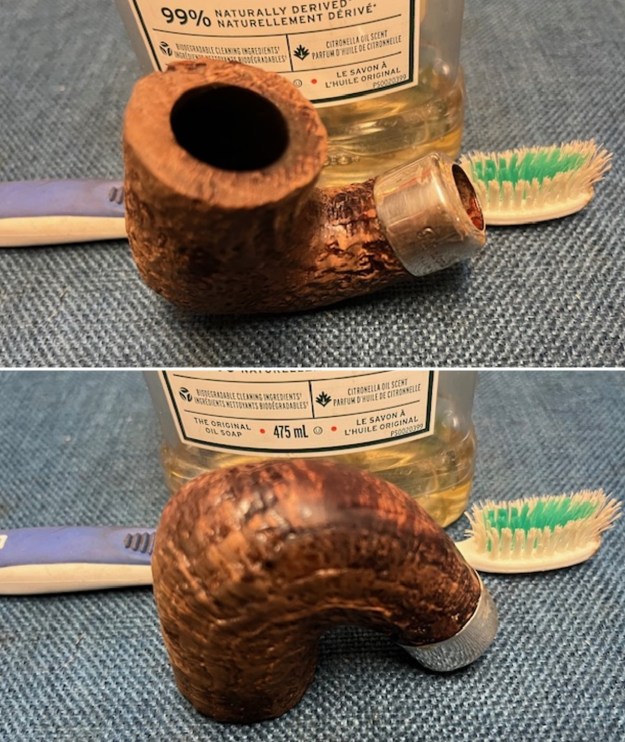
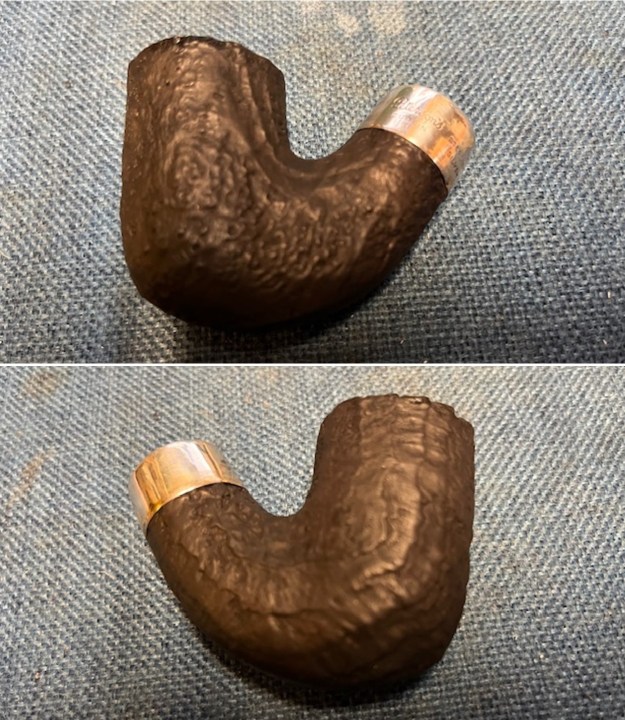
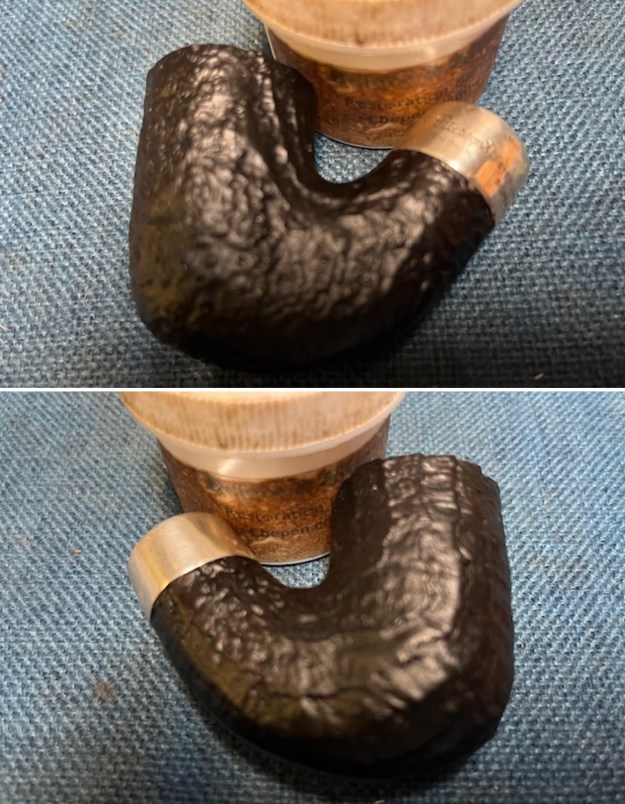
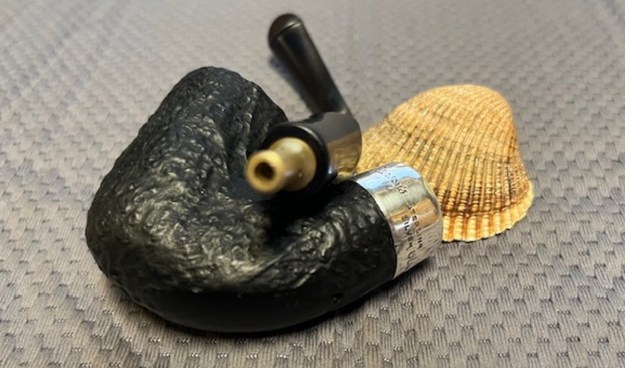
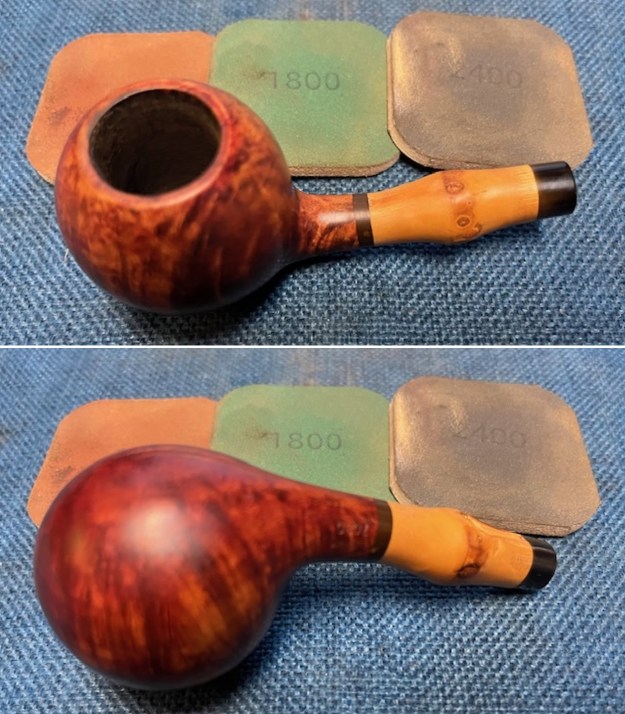
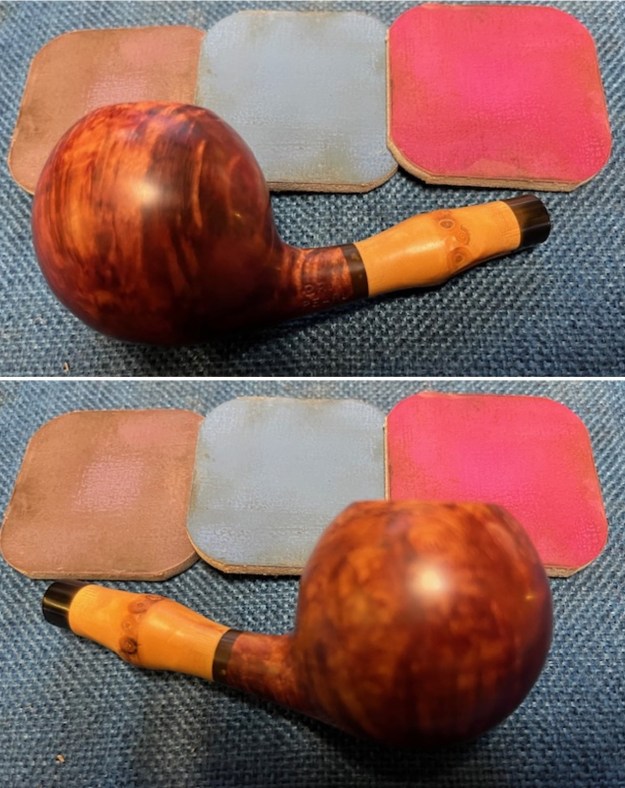
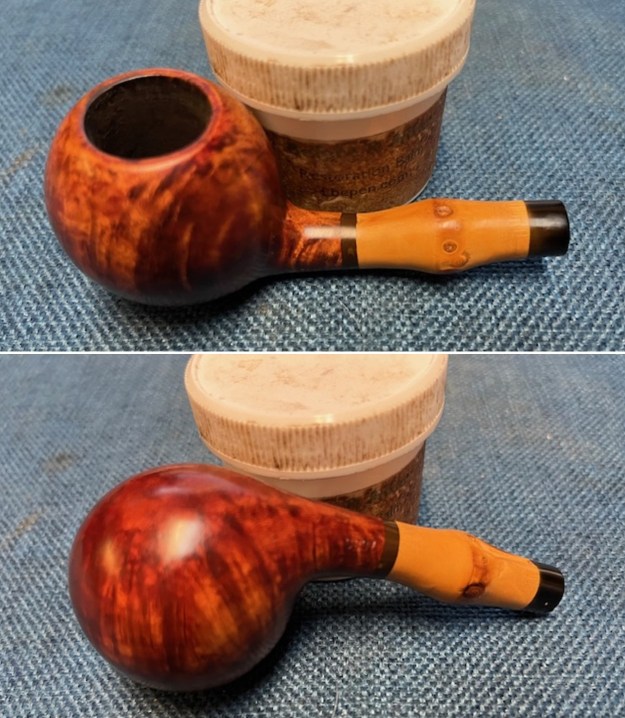
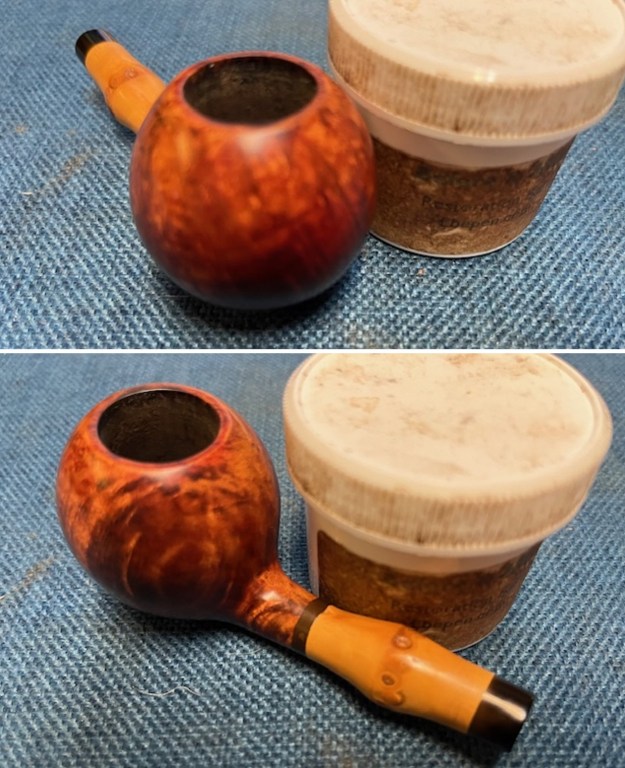
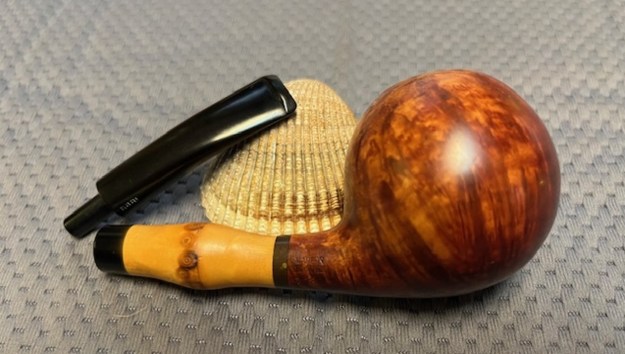
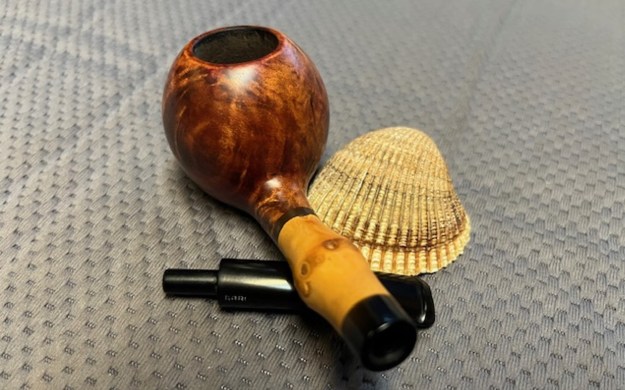
 I rubbed the bowl down with Before & After Restoration Balm. It is a paste/balm that works to deep clean the finish, enliven and protect the briar. I work it into the briar with my finger tips to make sure that it covers every square inch of the pipe. I set it aside for 10 minutes to let it do its work. I wiped it off with a soft cloth then buffed it with a cotton cloth. The briar really began to have a deep shine. The photos I took of the bowl at this point in the restoration. You see the shine that the briar has taken on and the way grain pops with the light buffing.
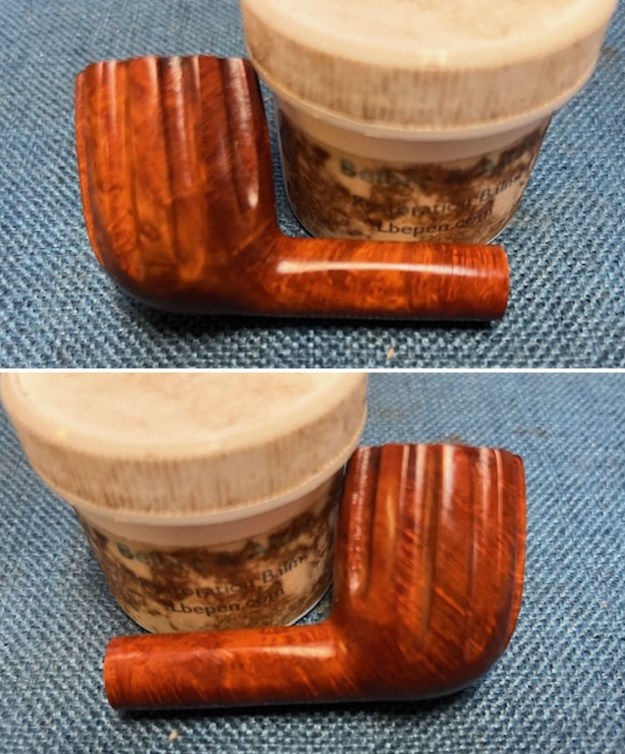

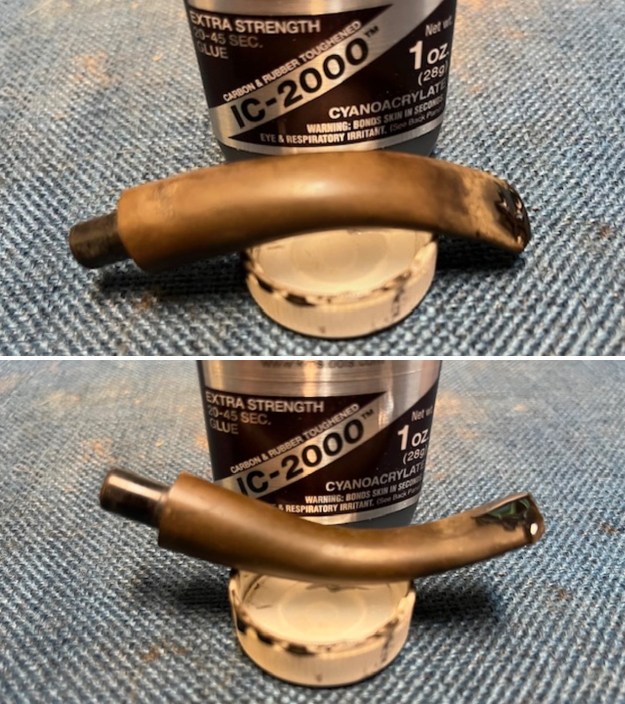
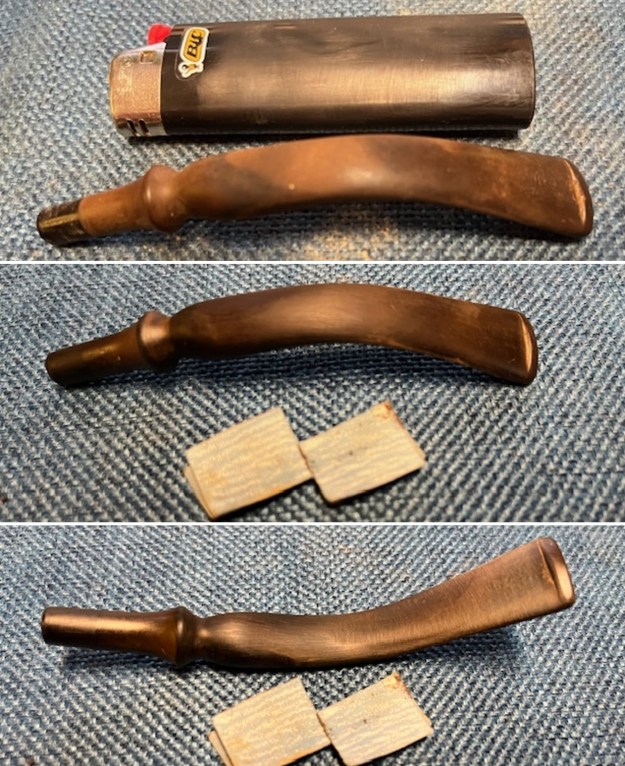
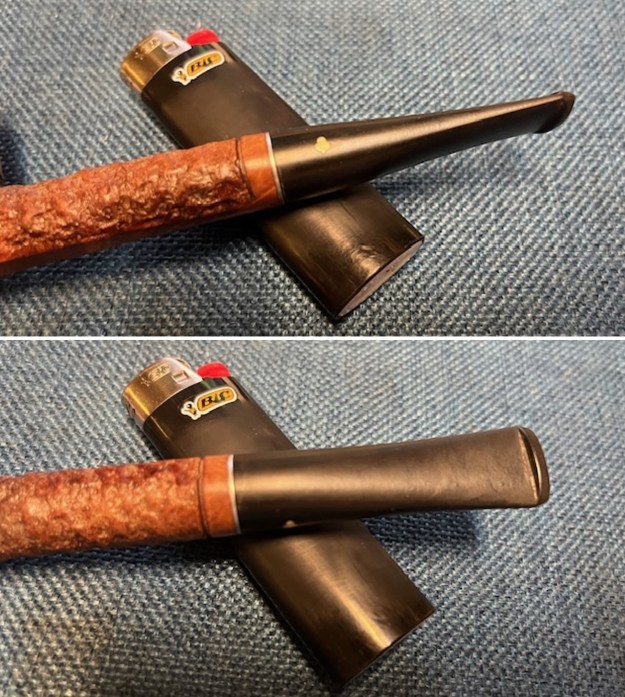
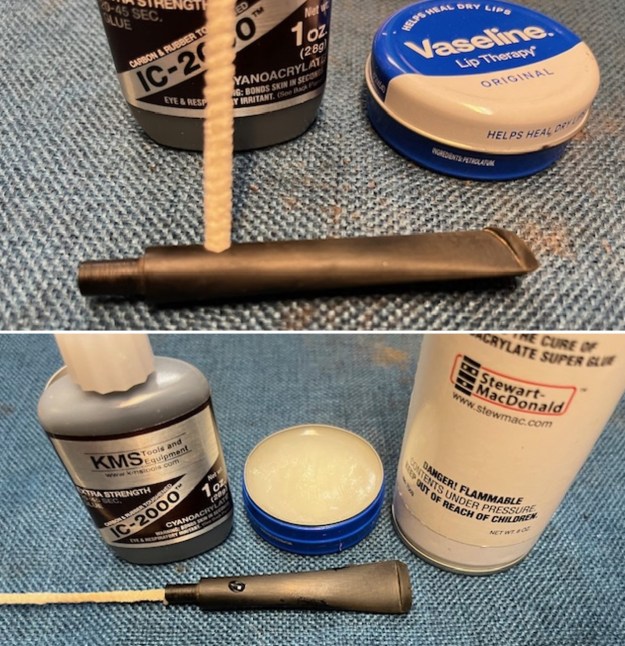
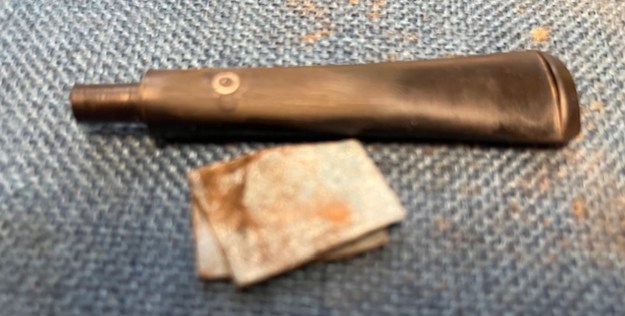
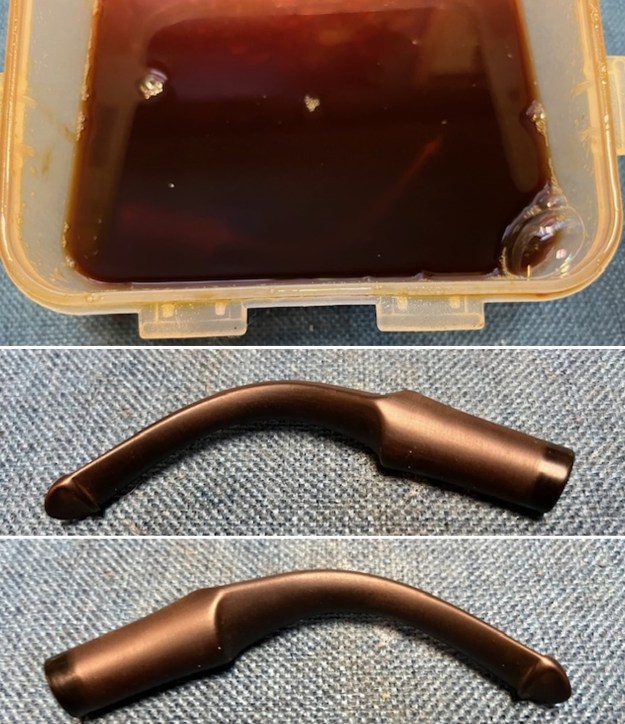
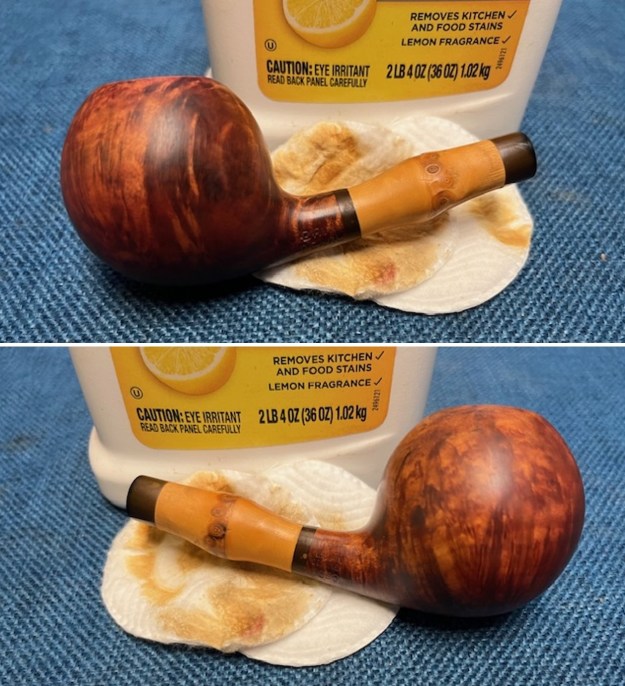
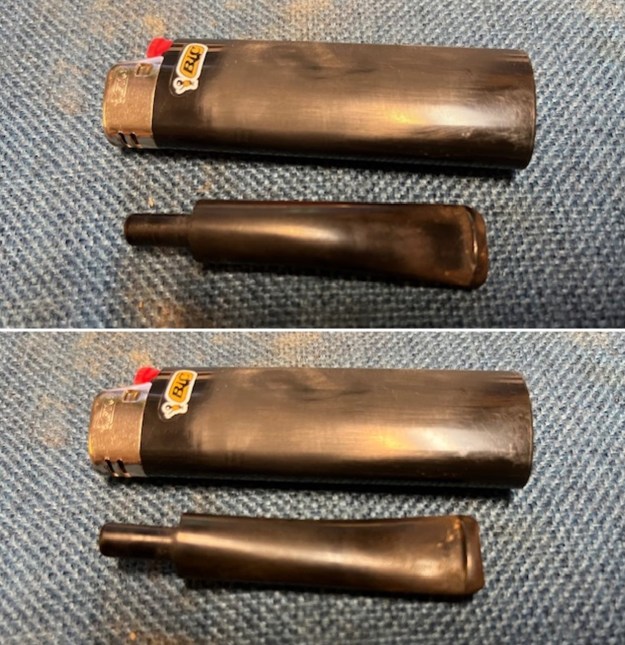
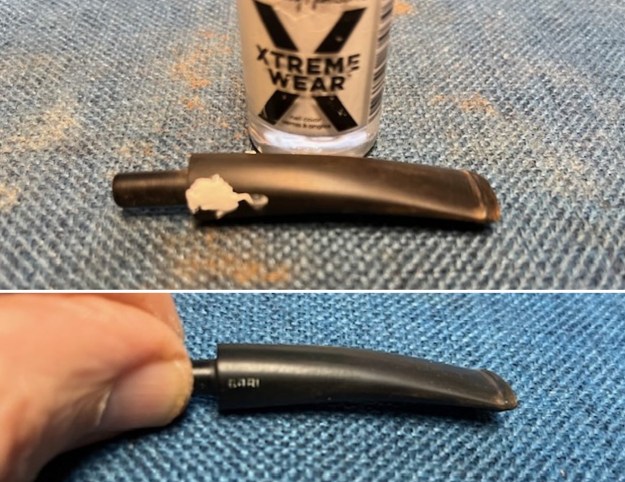
 I set the bowl aside and turned my attention to the stem. I worked on the oxidation on the stem with Soft Scrub and was able to remove it. Lots of elbow grease and working over the surface but it started to look much better.
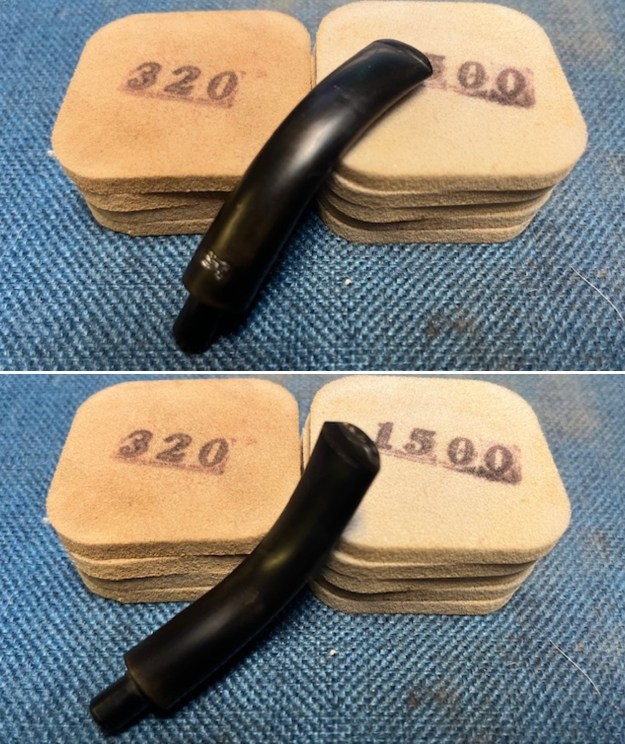
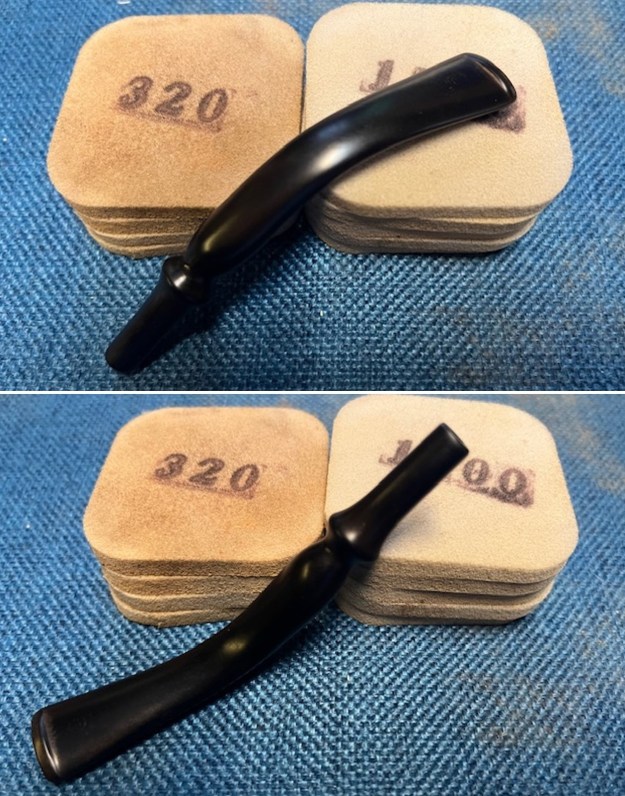
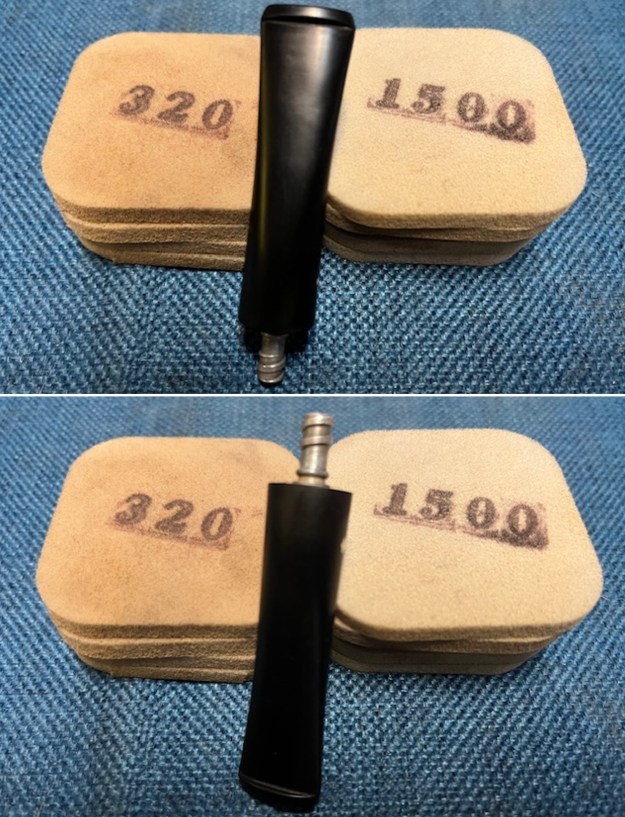
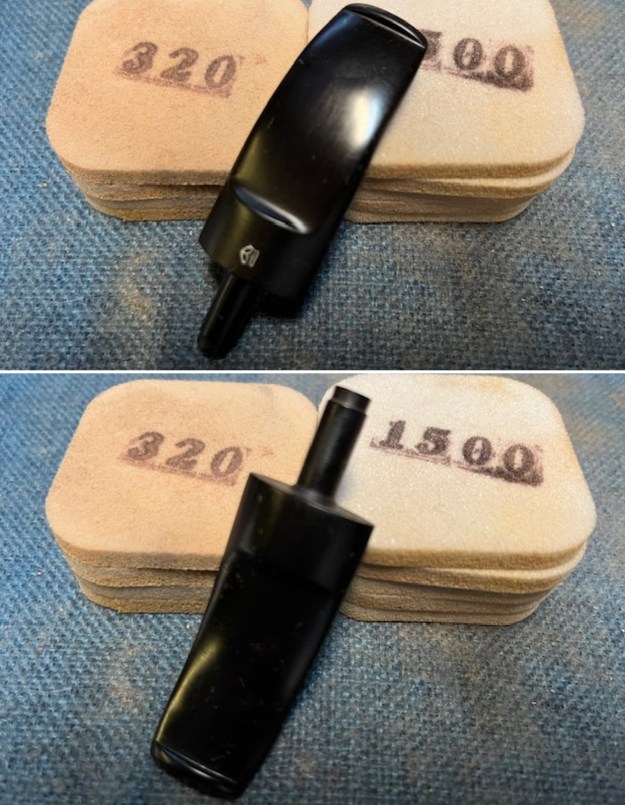
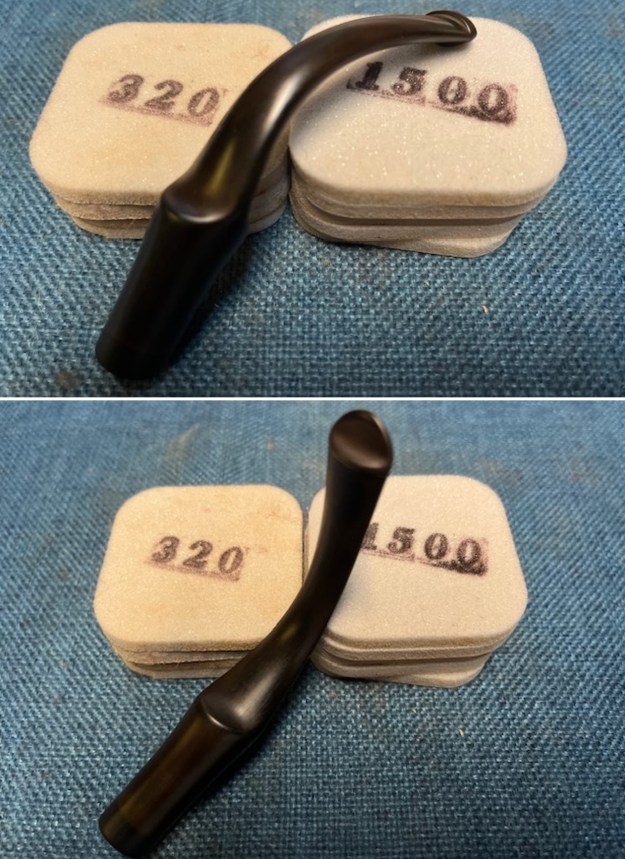
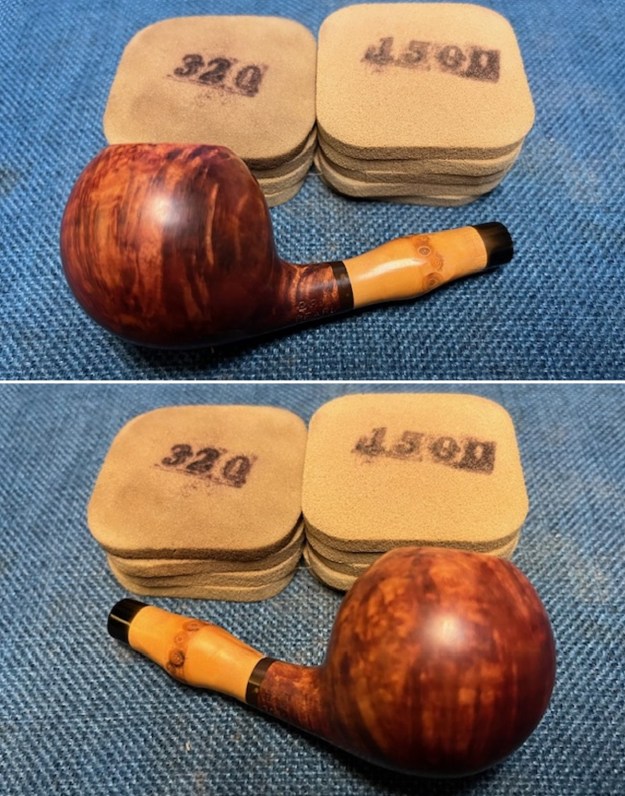
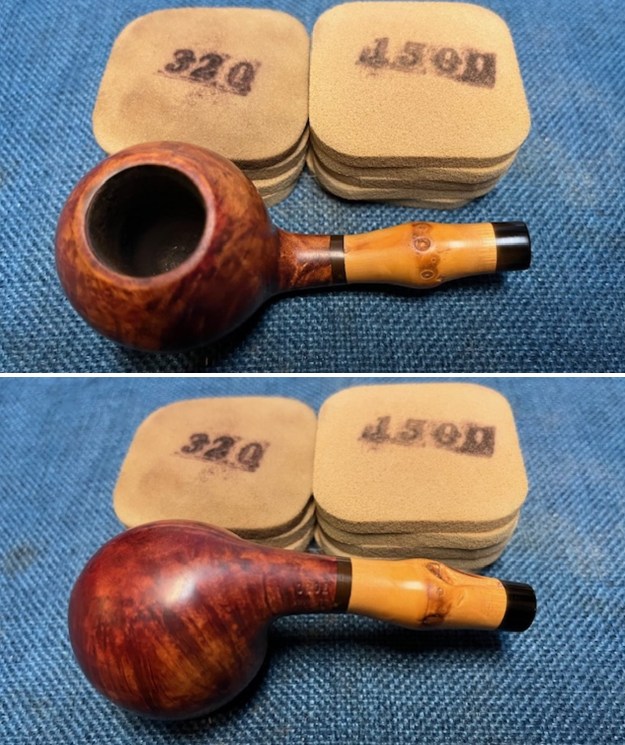
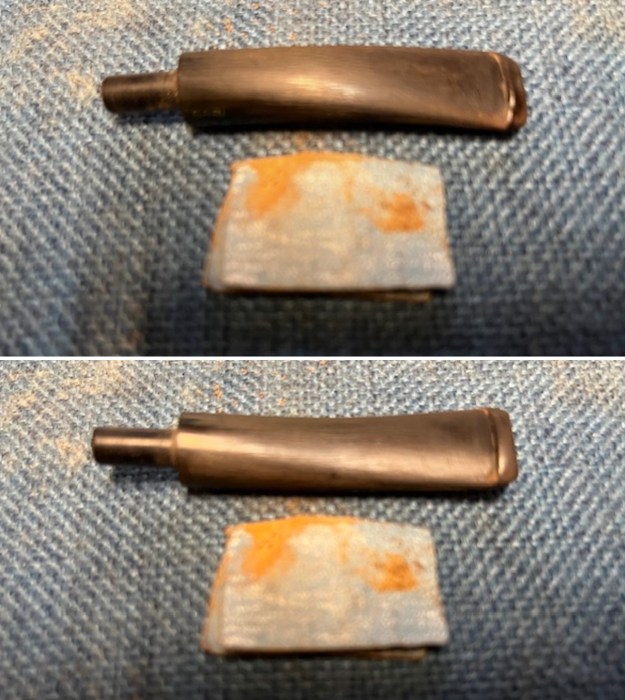
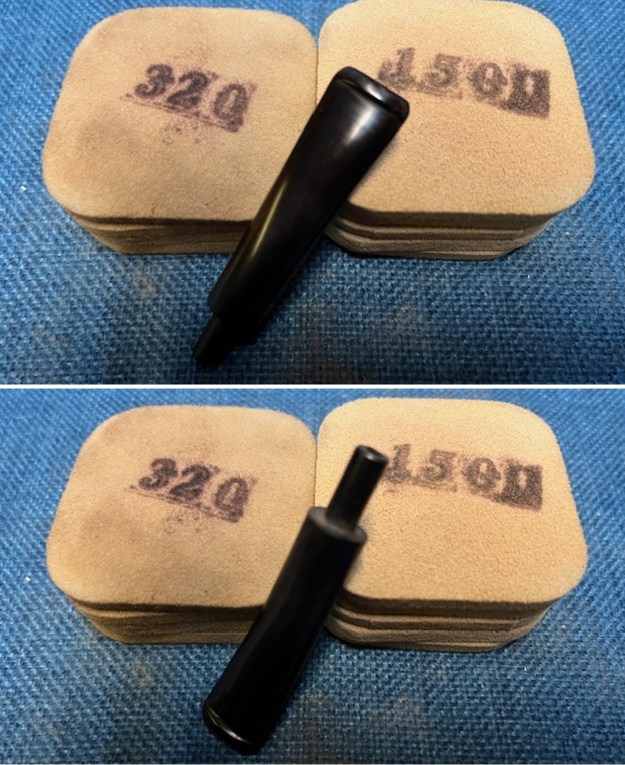
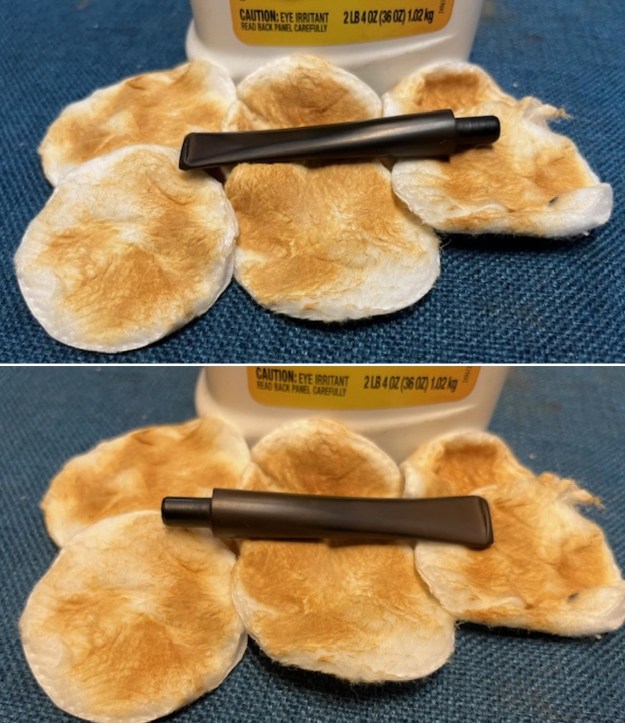 I sanded the stem with 320-3500 grit sanding pads to break up the remaining oxidation. I wiped it down after each sanding pad with an Obsidian Oil impregnated cloth. It was looking good.
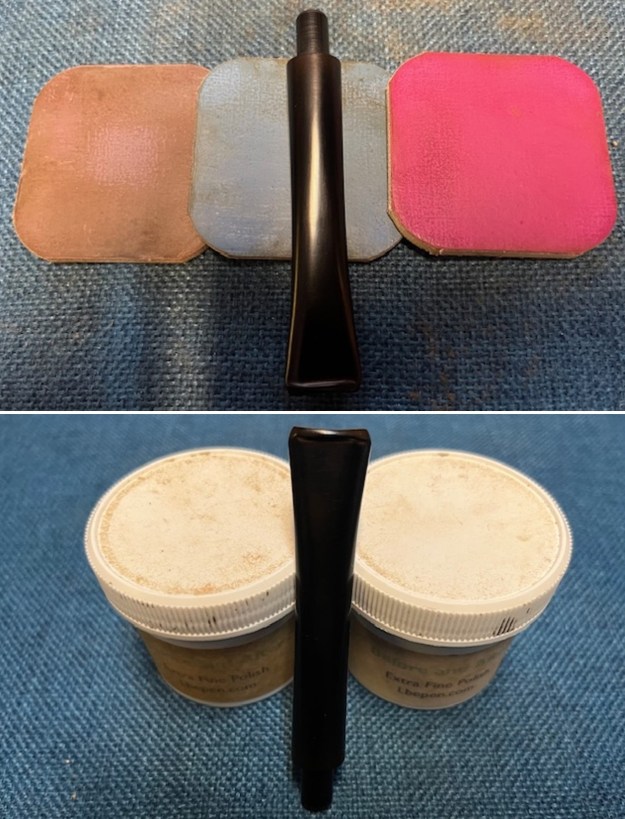
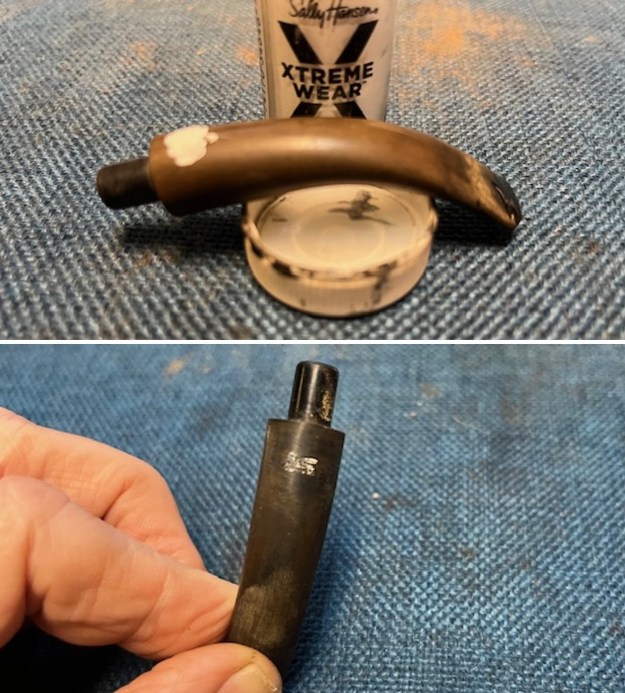
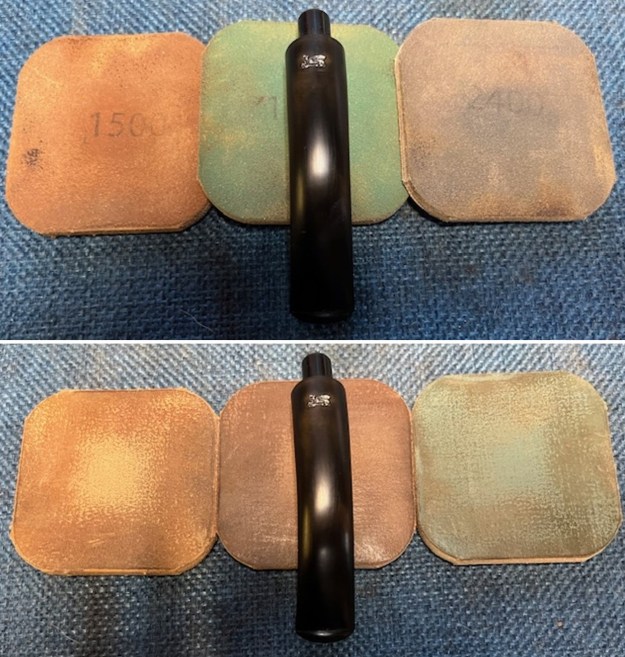
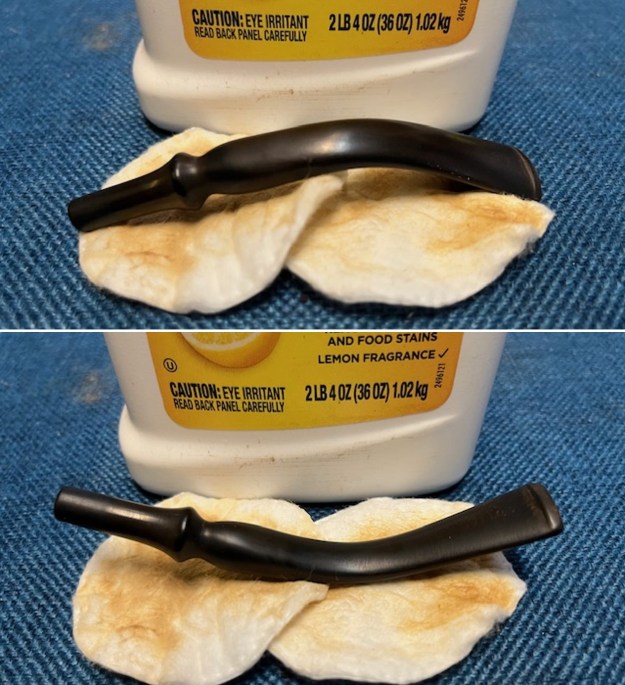
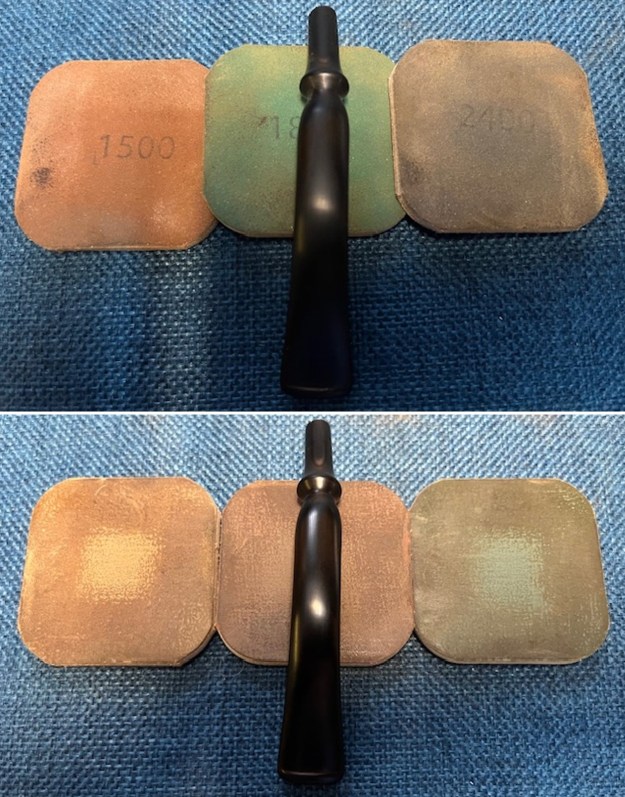
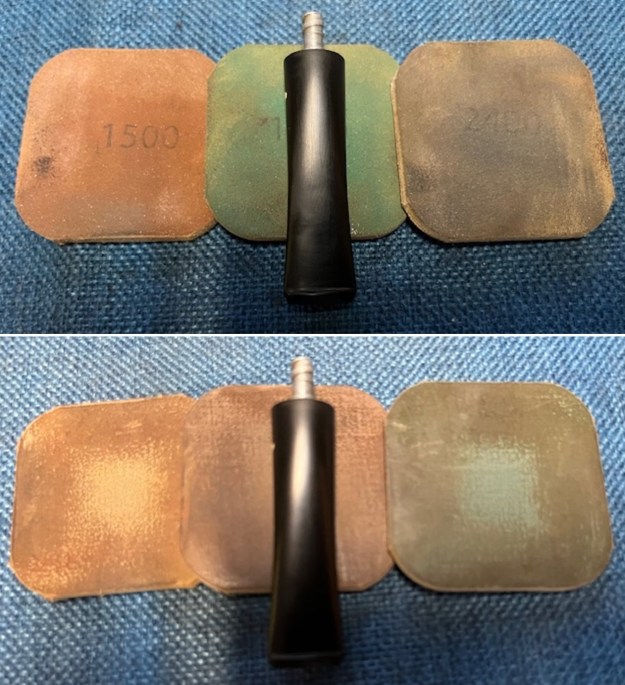
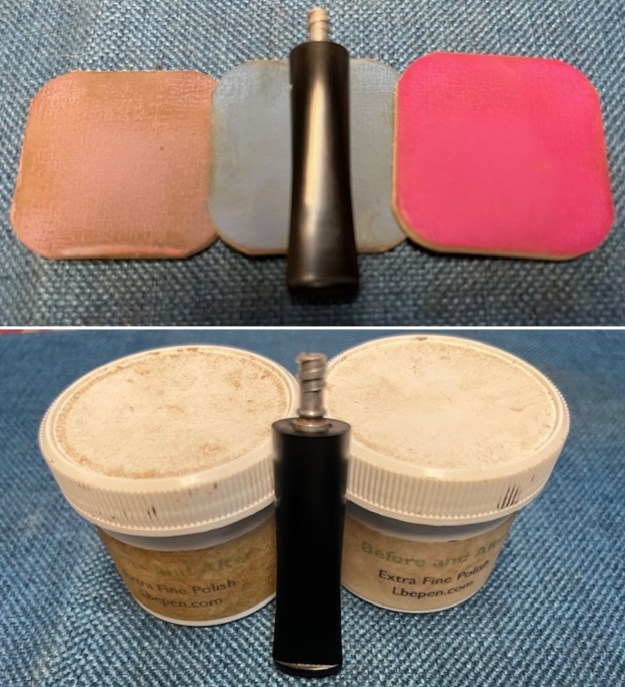
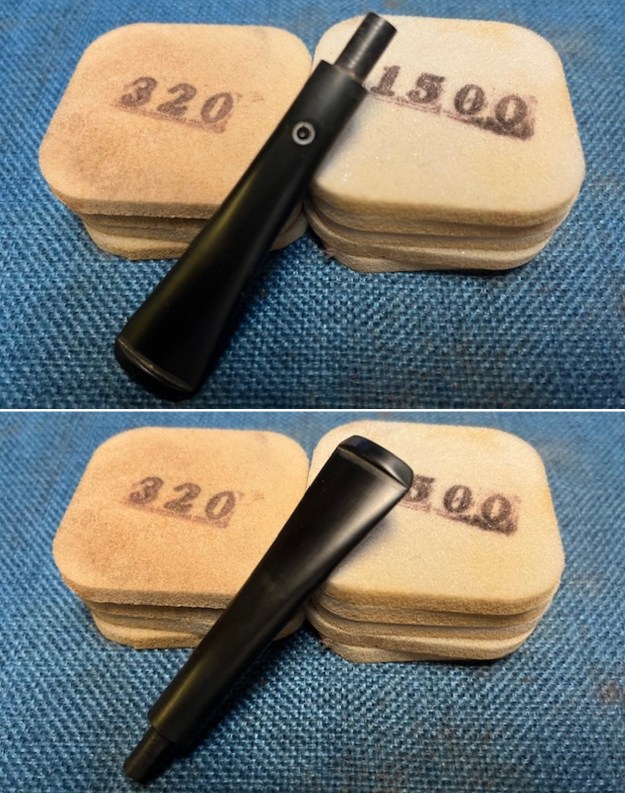
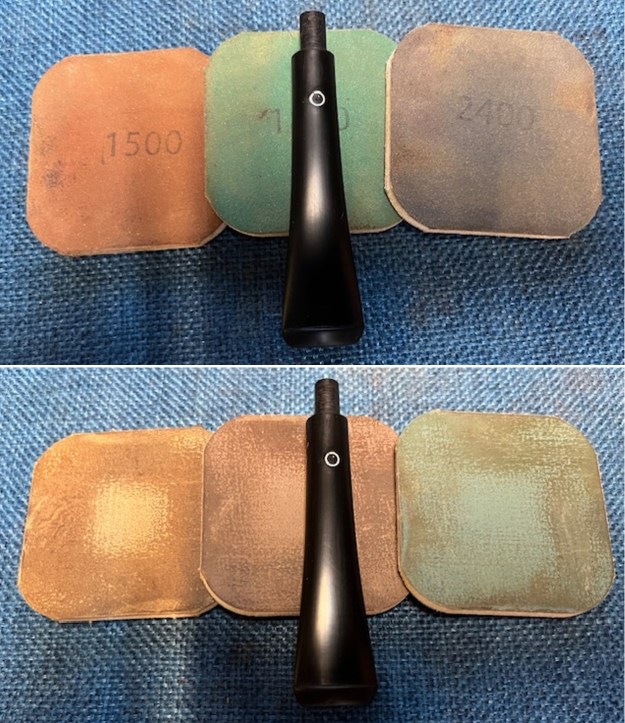
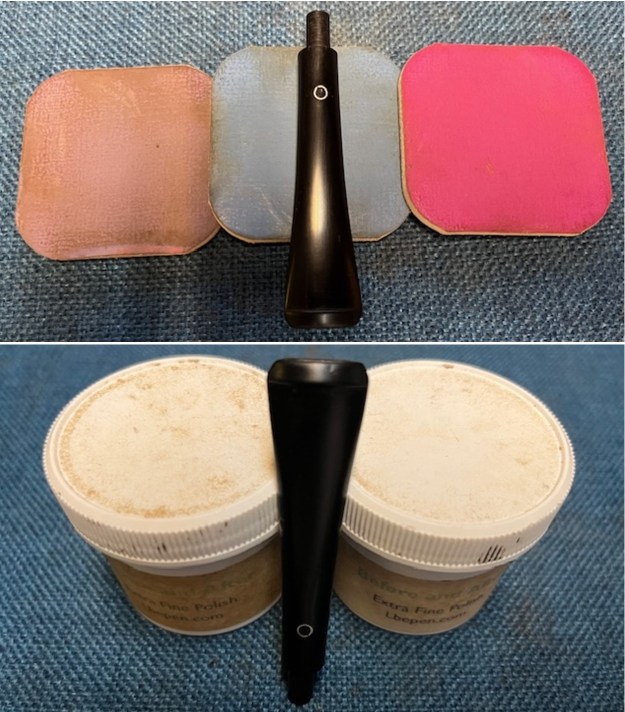
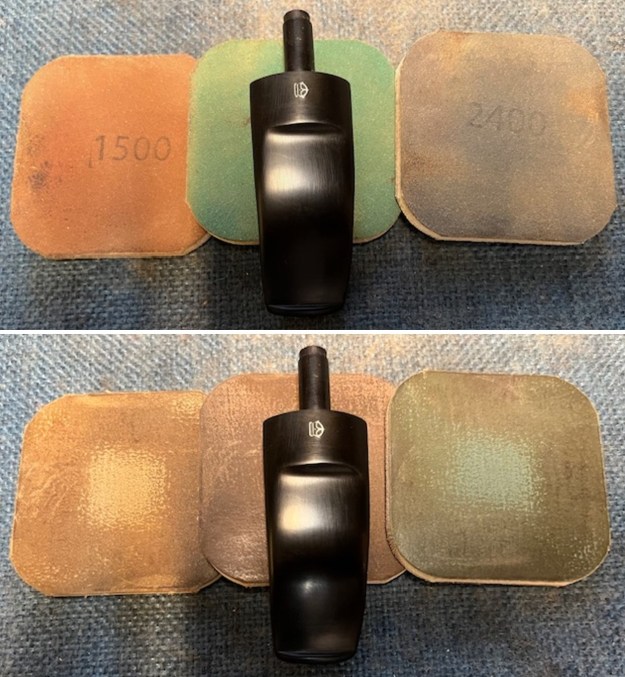
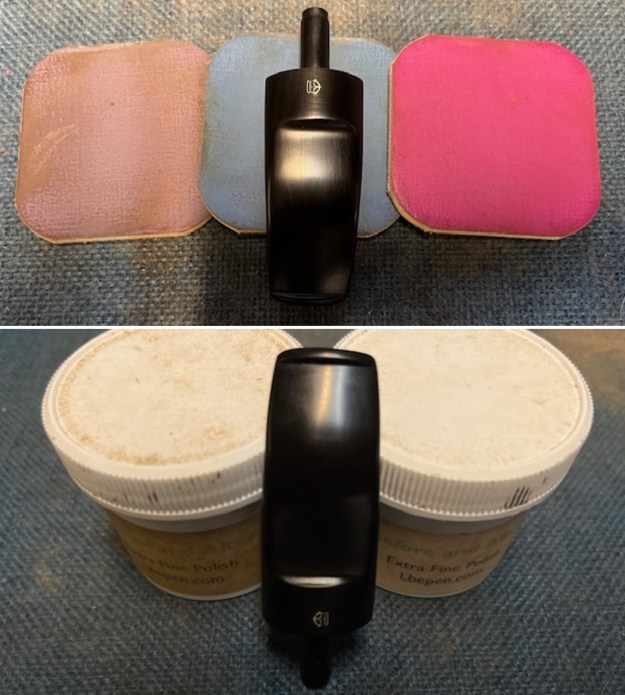
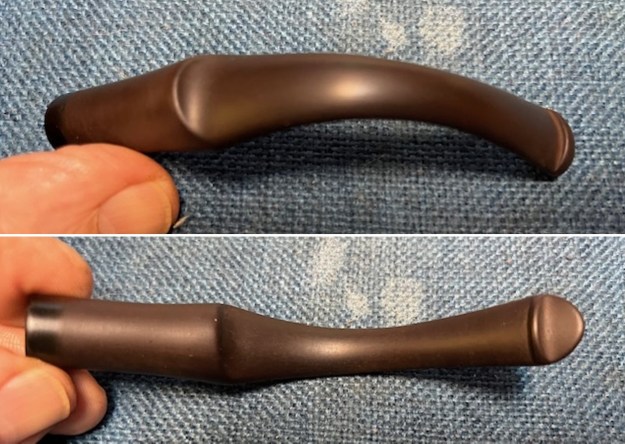
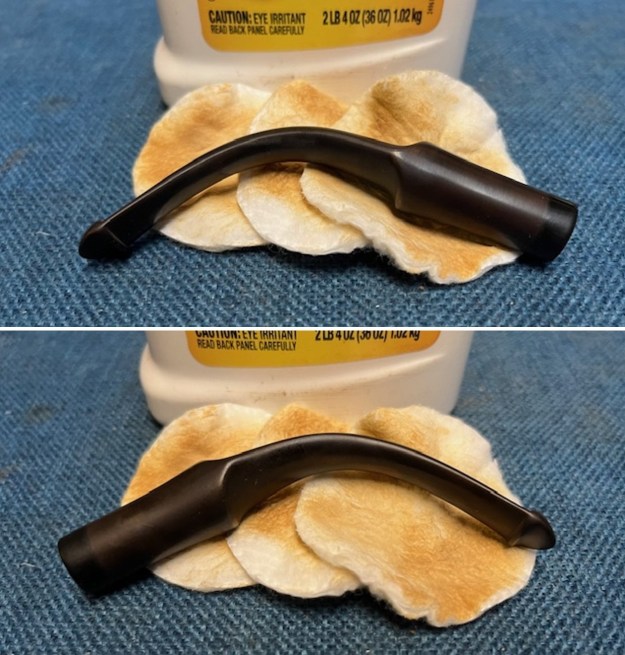
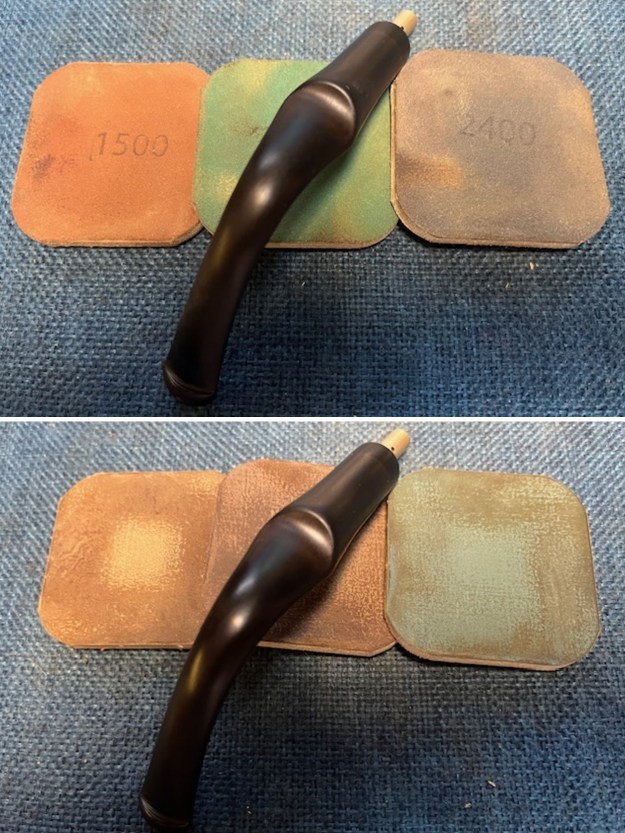
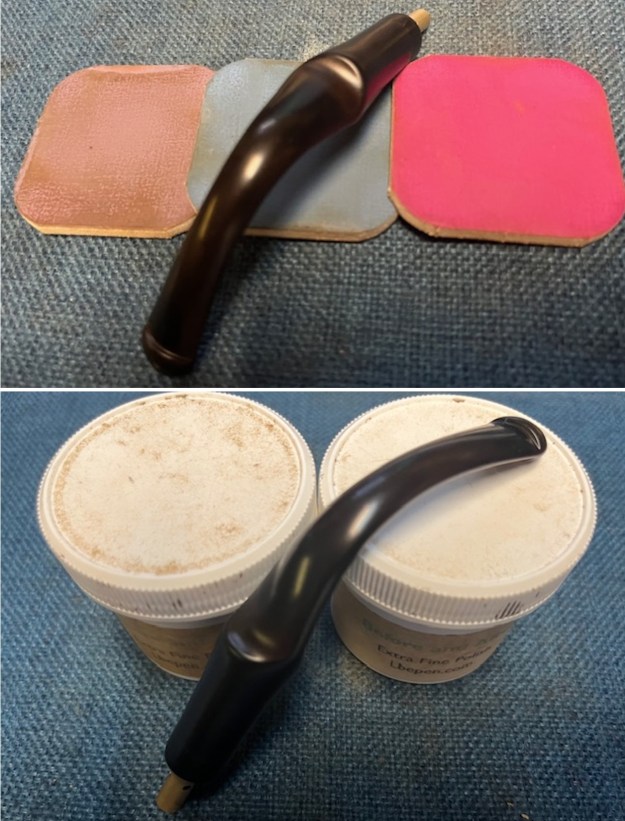
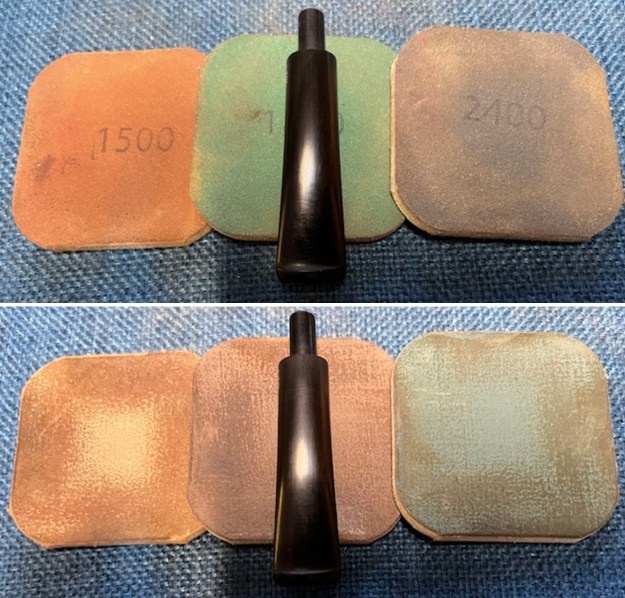
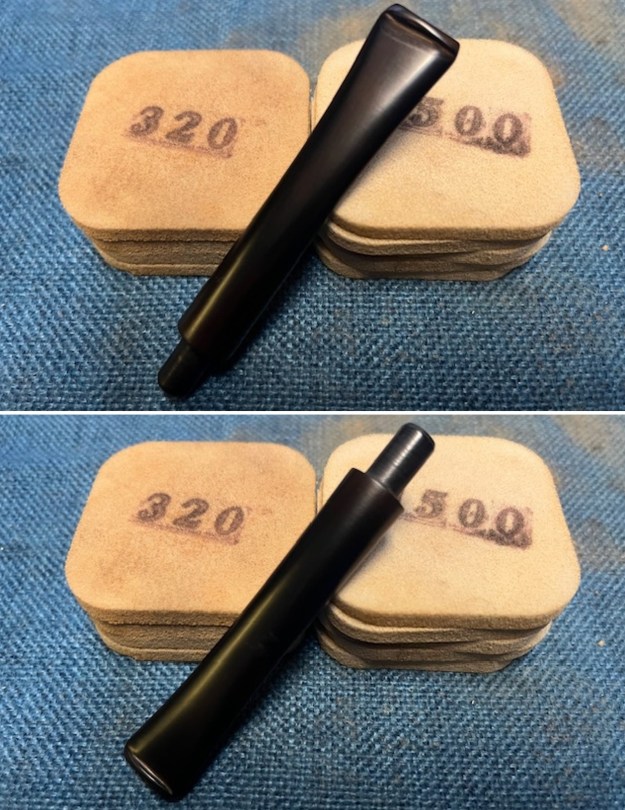 I polished the stem with micromesh sanding pads – dry sanding with 1500-12000 grit pads. I wiped the stem down after each sanding pad with Obsidian Oil. I polished it with Before & After Pipe Stem Polish – both Fine and Extra Fine. Once I had finished the polishing I gave it final coat of Obsidian Oil and set it aside to dry.
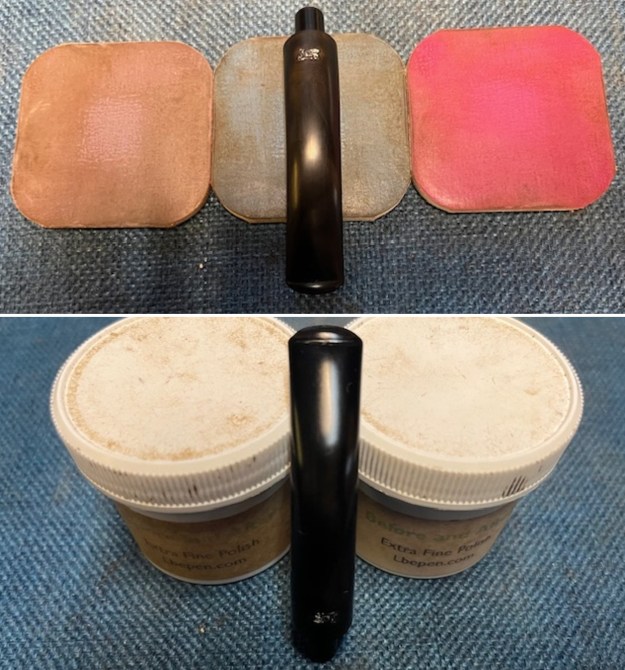
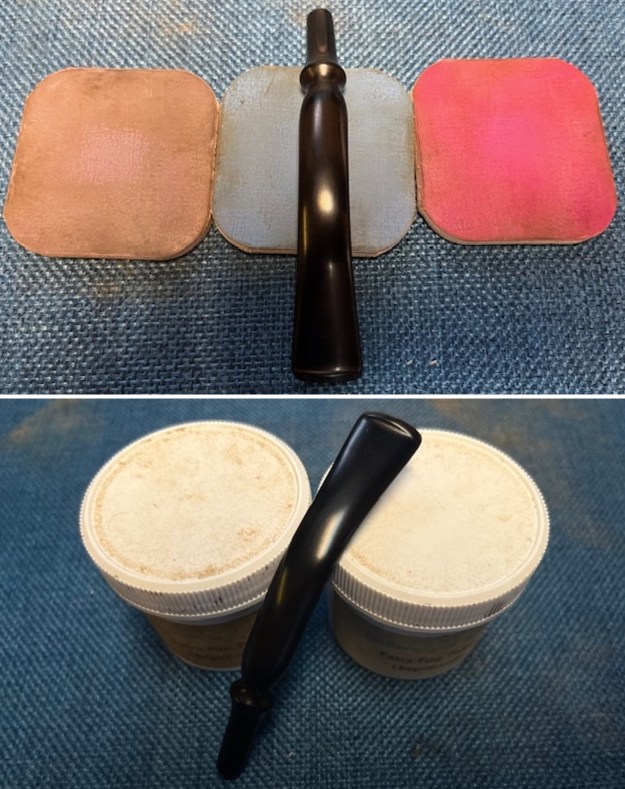
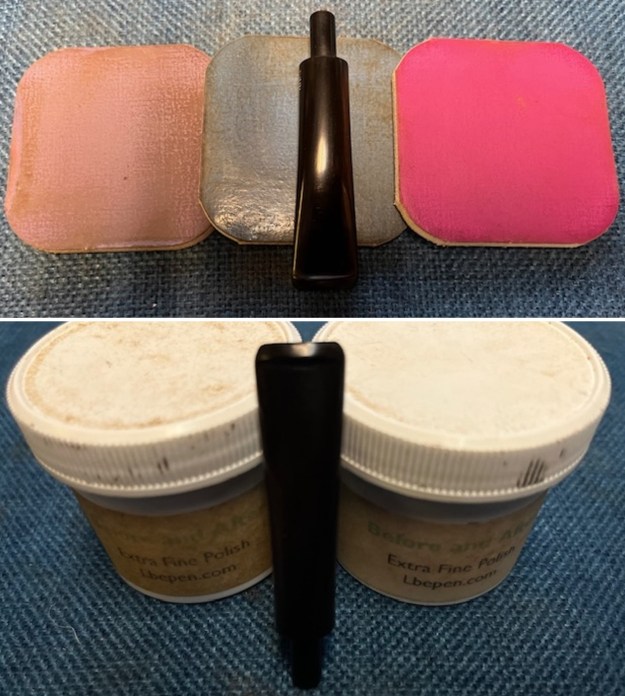
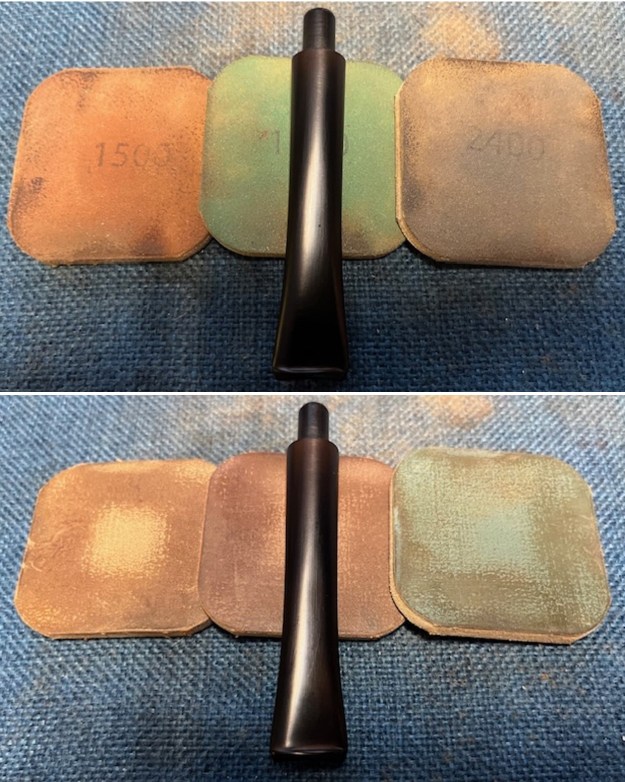
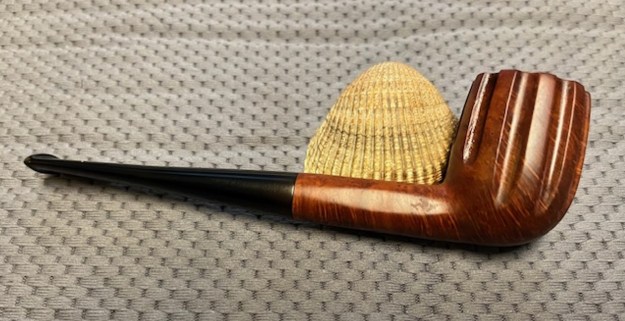
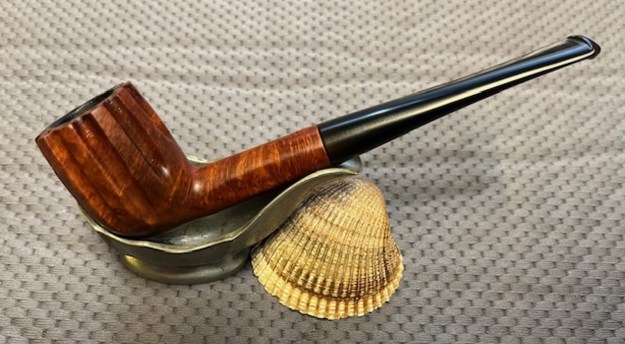
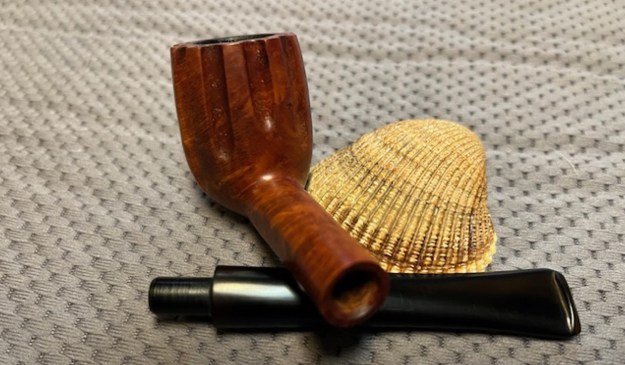
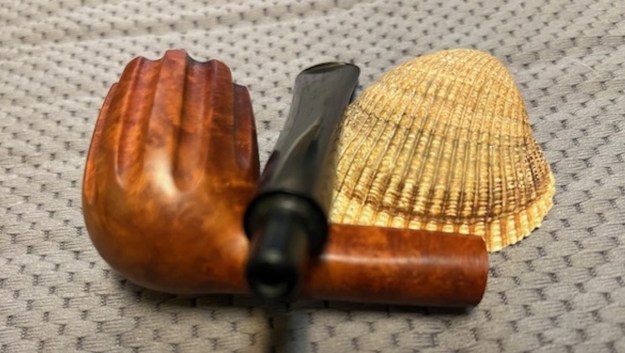
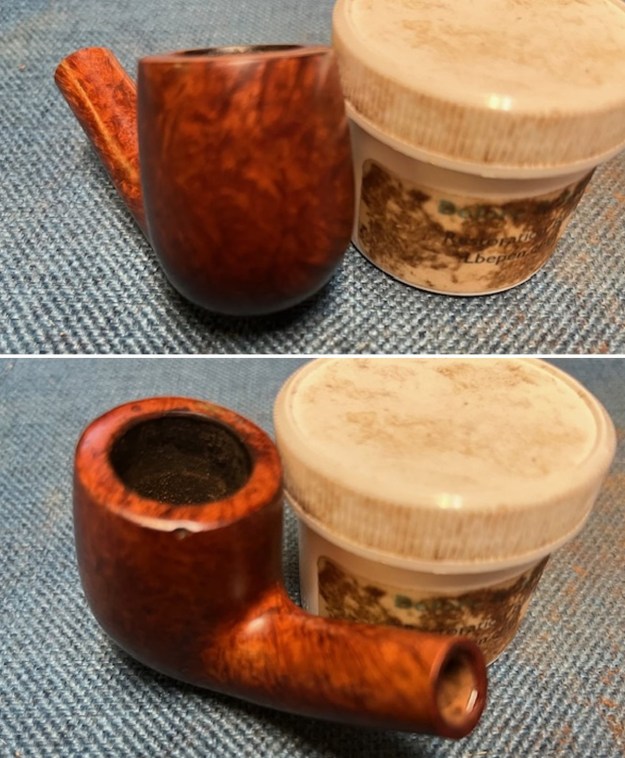
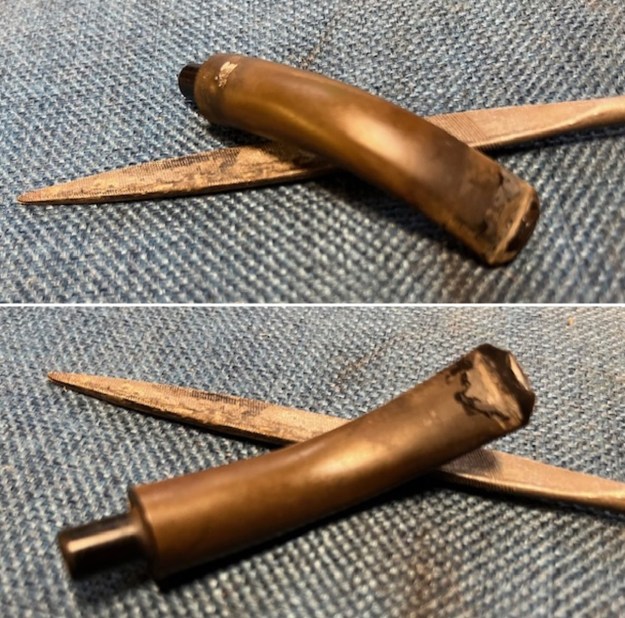
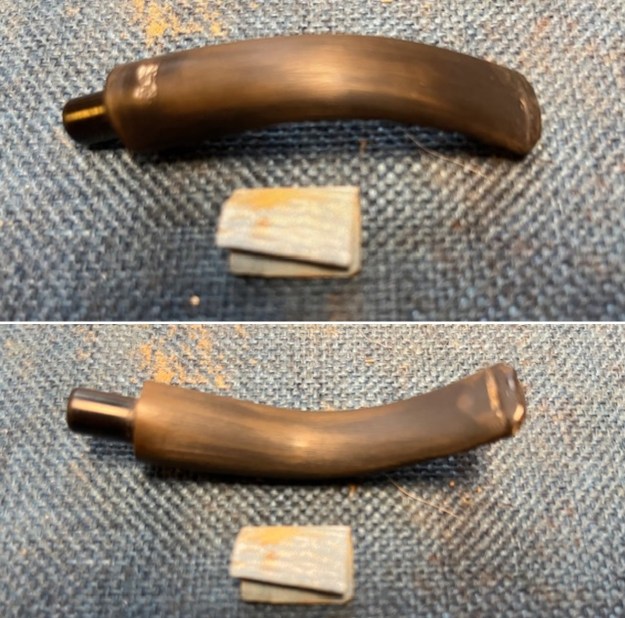
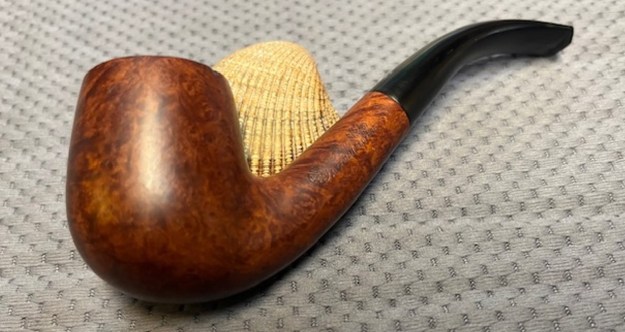
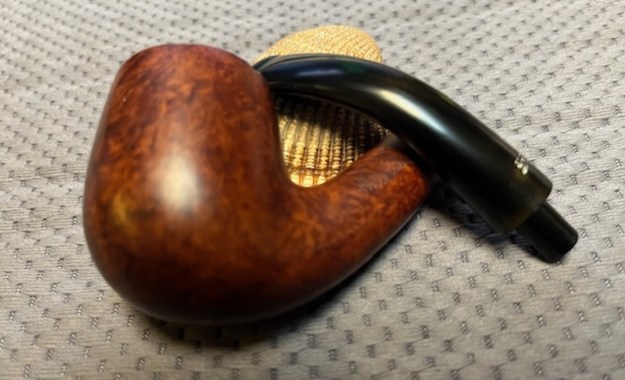
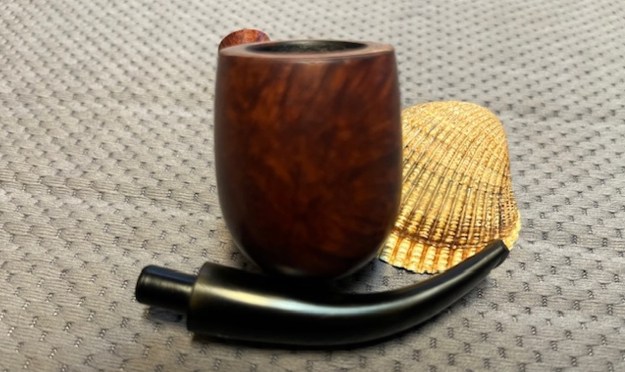
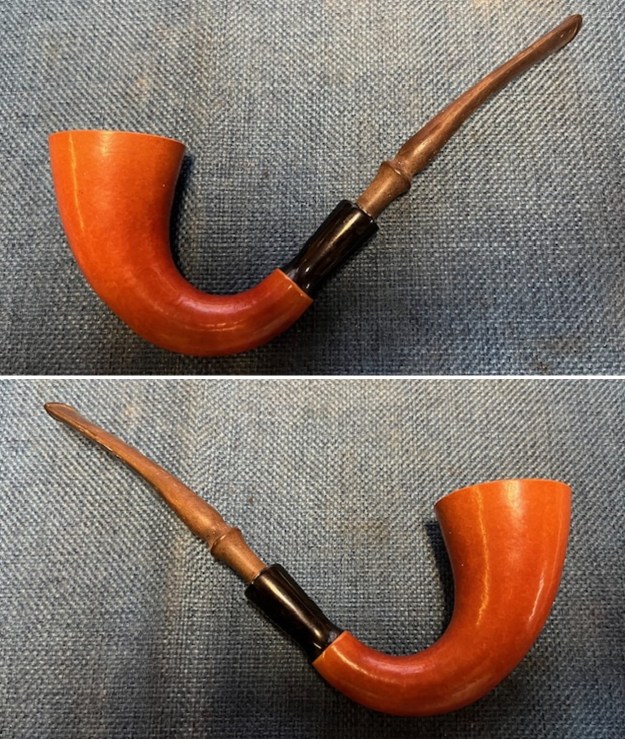
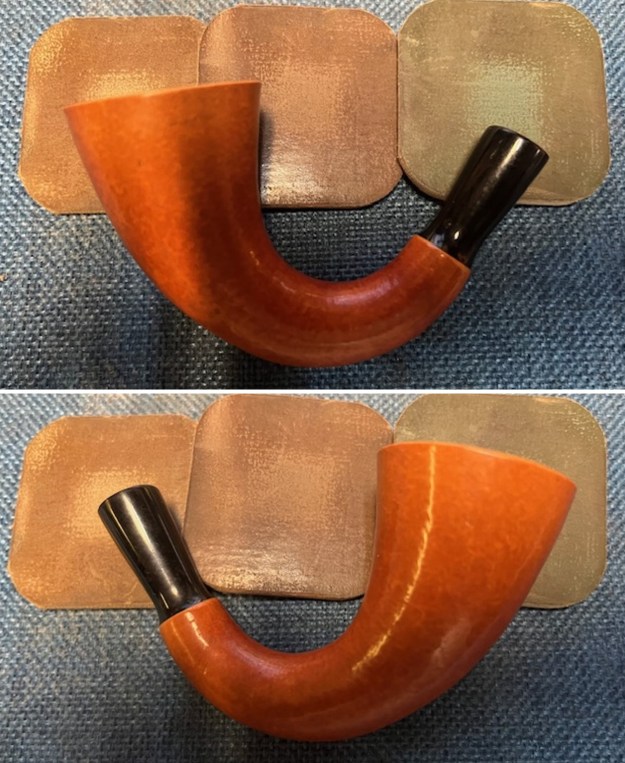
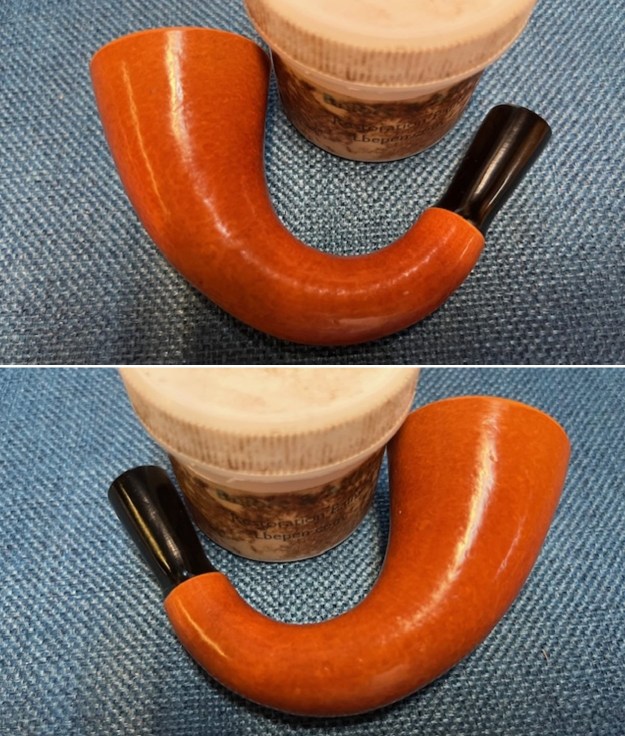
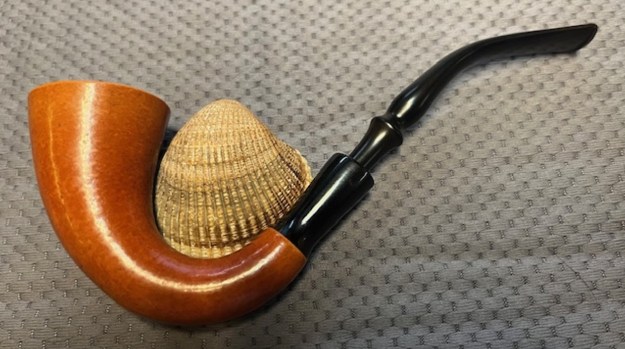
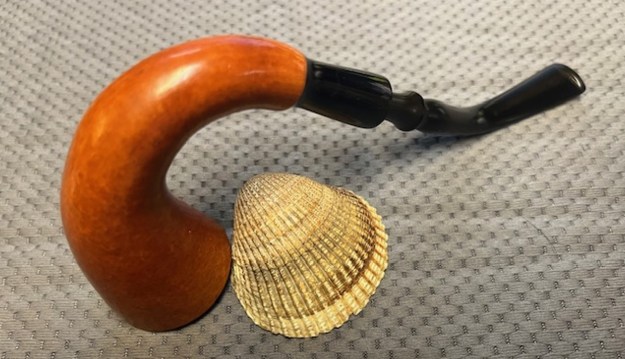
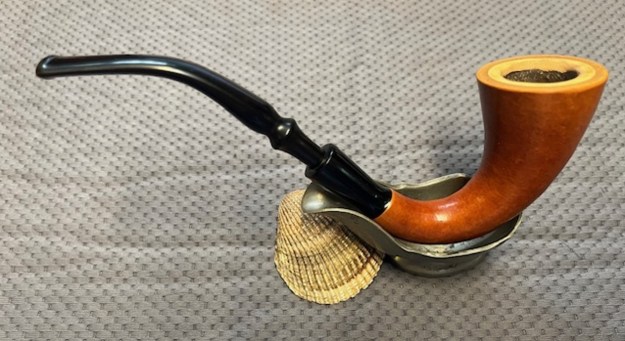
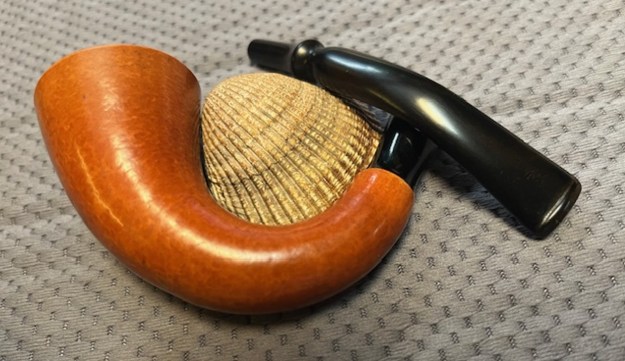
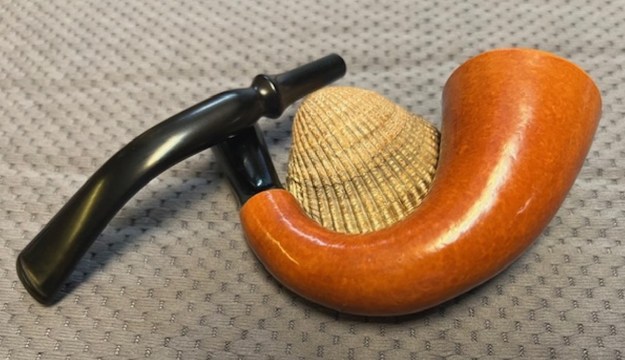
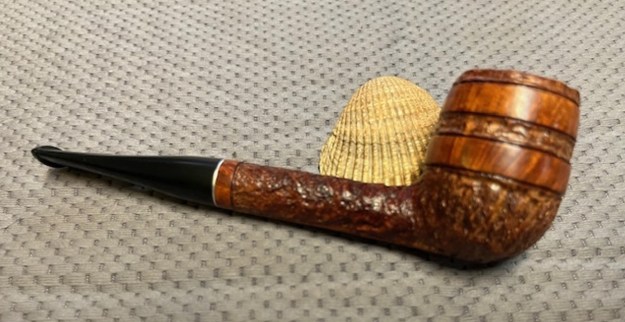
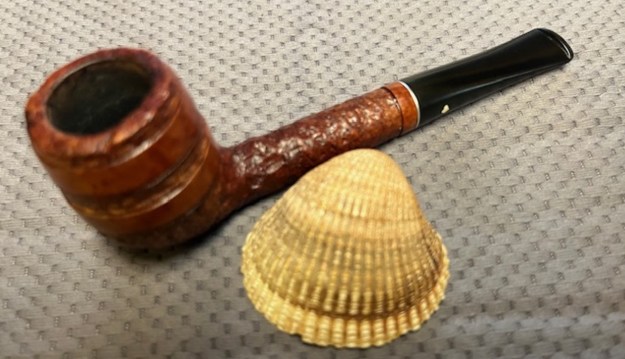
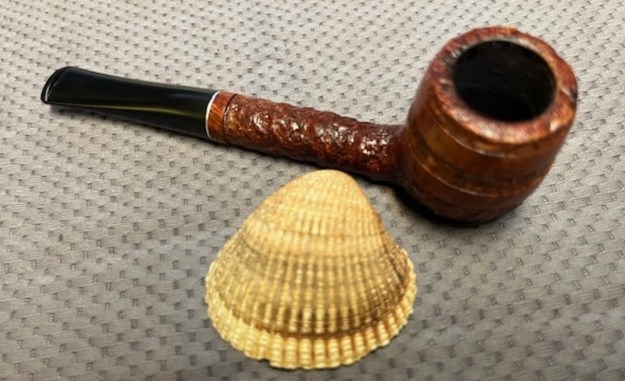
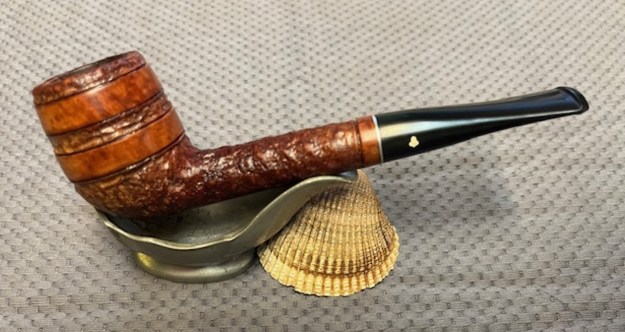
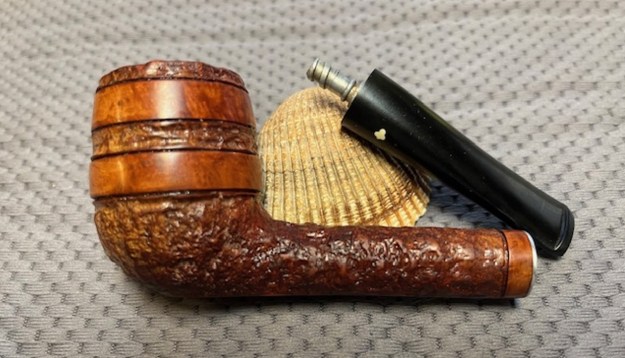
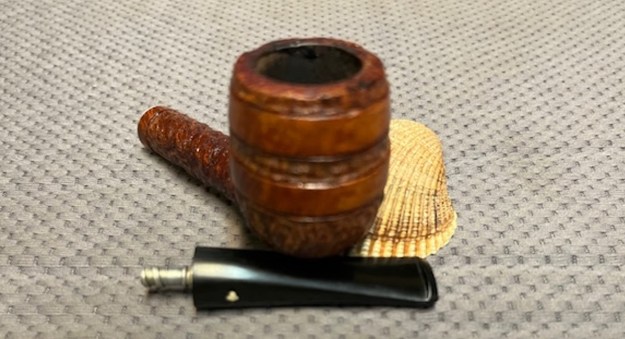
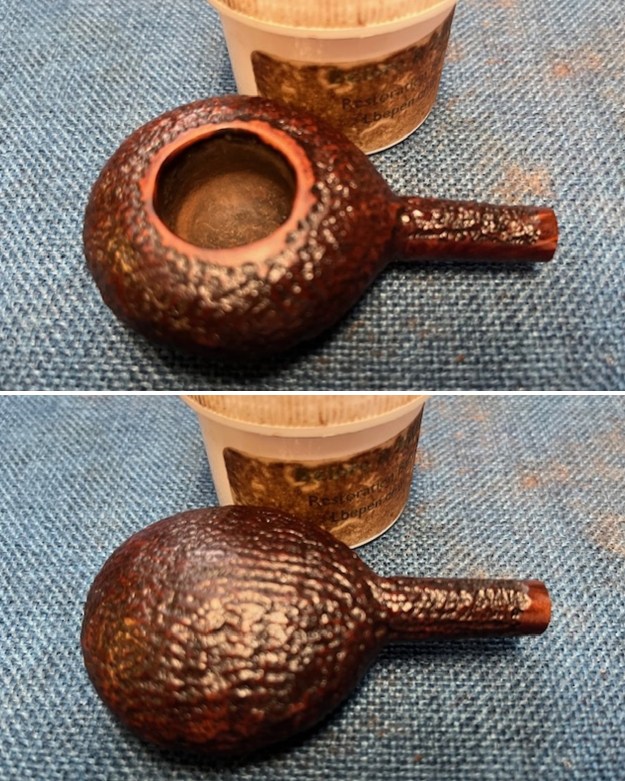
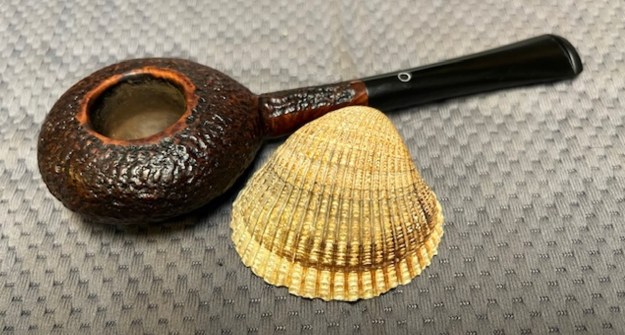
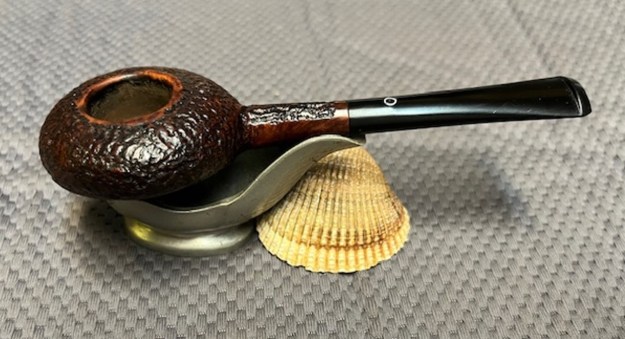
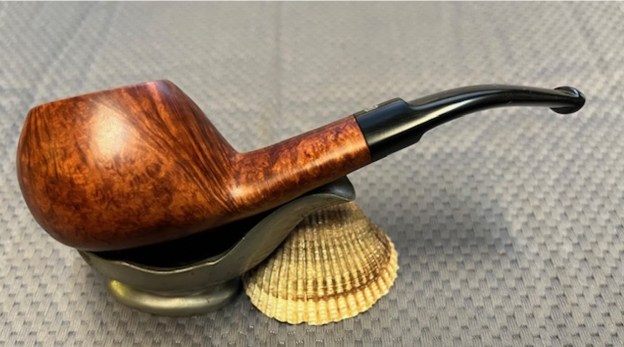
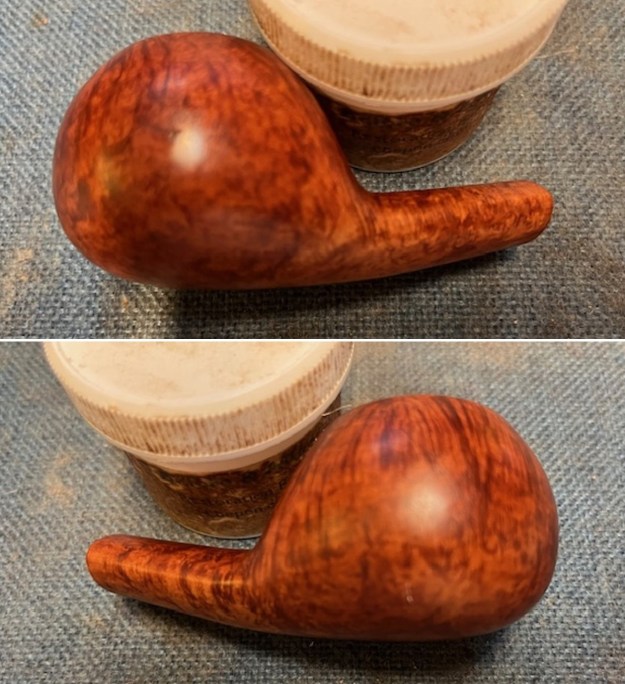
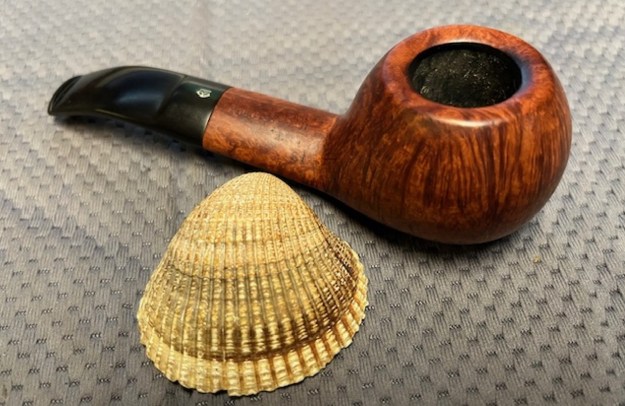
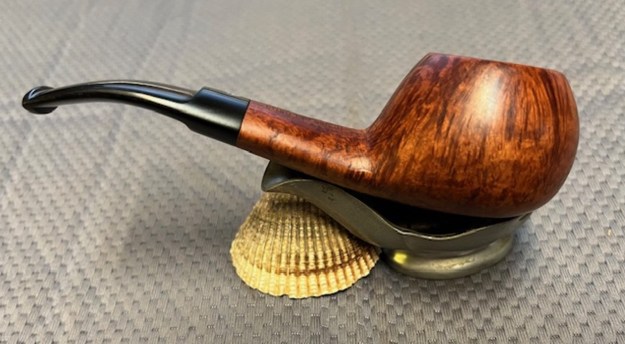
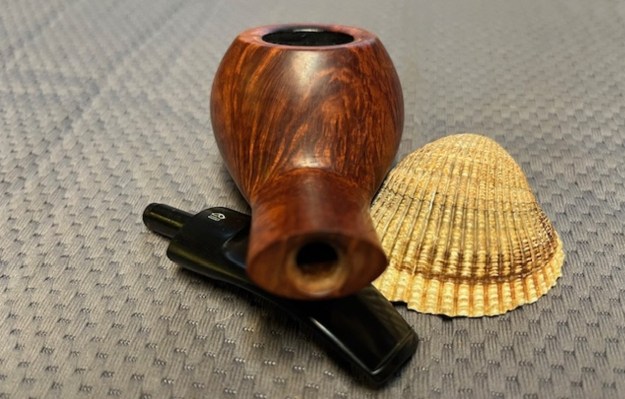
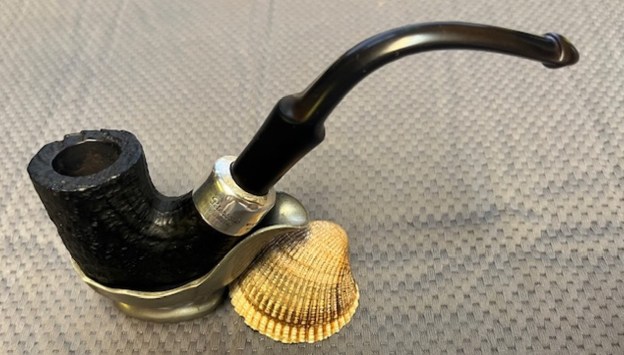
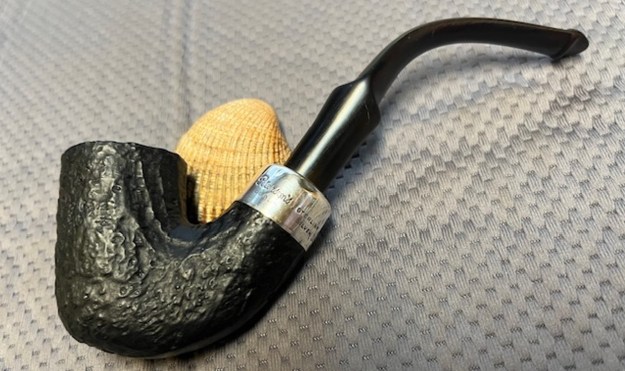
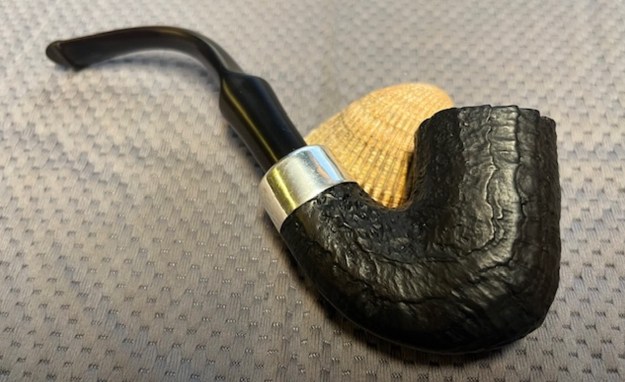
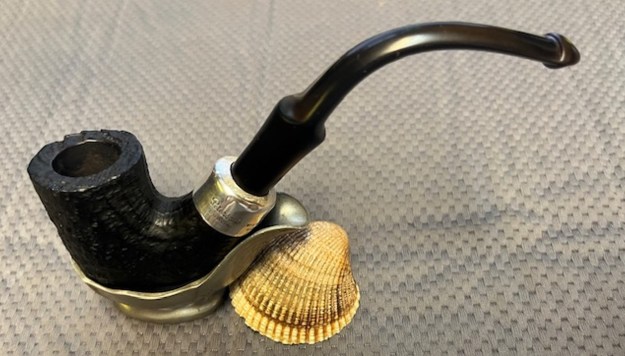
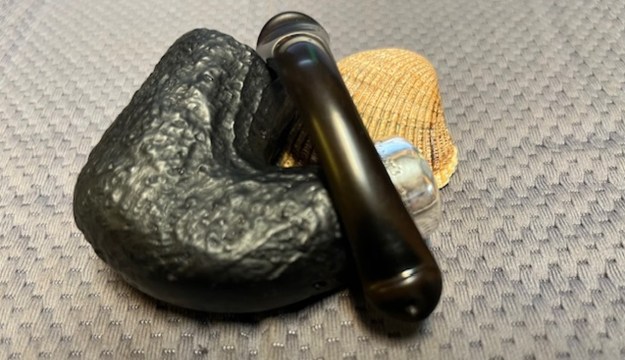
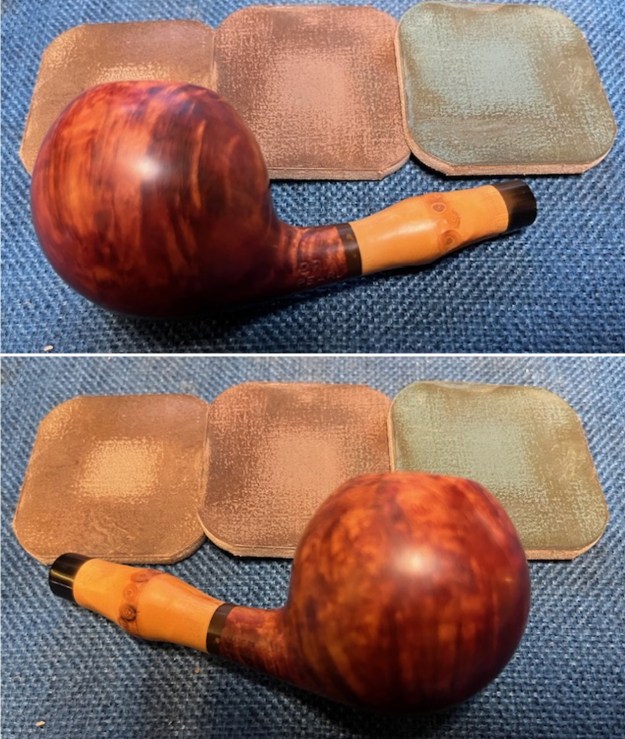
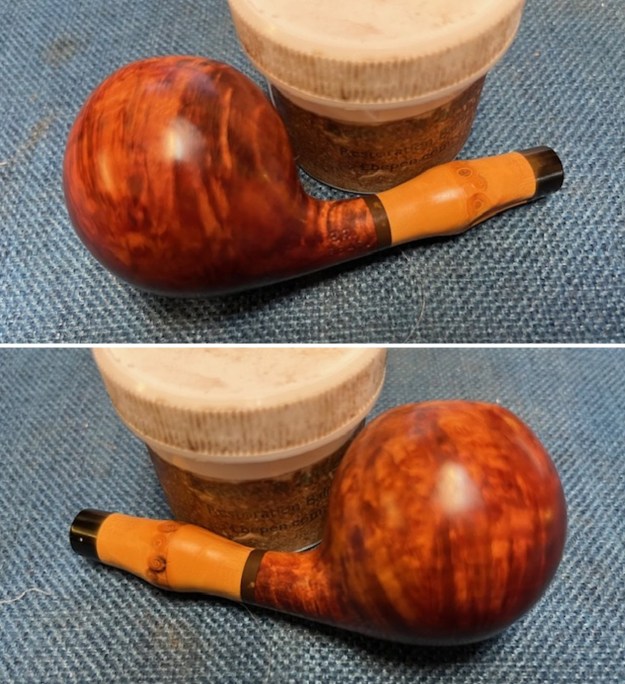
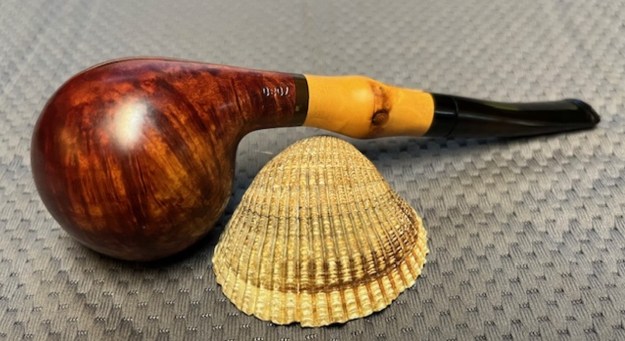
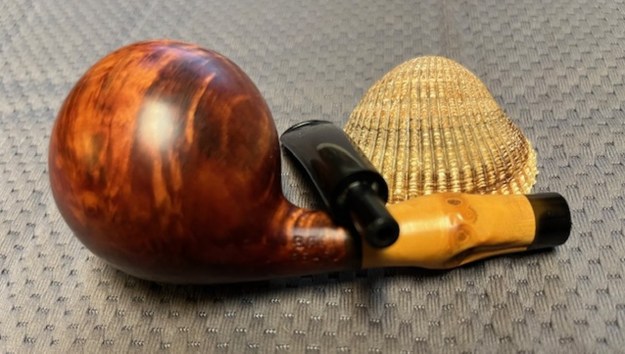
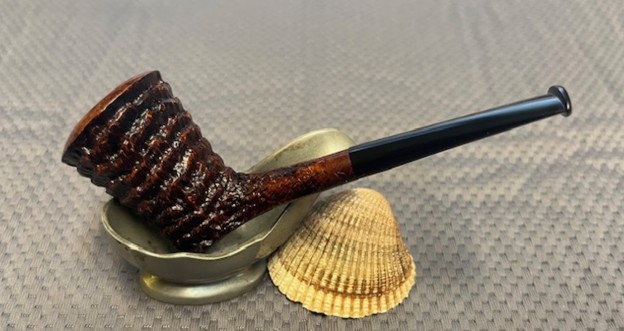
 I am glad to be on the homestretch on what was a mystery pipe when I started. I really am looking forward to the final look when I put a pipe back together, polished and waxed. I polished the bowl and stem with Blue Diamond to polish out the scratches in the briar and the vulcanite. I gave the bowl and the stem multiple coats of carnauba wax. I buffed the pipe with a clean buffing pad to raise the shine. I hand buffed it with a microfiber cloth to deepen the shine. The pipe polished up pretty nicely. The grain pops with the wax and polish. The shiny black vulcanite stem is a beautiful contrast to the browns of the bowl and shank. This The Kennett No1 Reg’d 731096 Billiard was interesting pipe to work on. The pipe is comfortable pipe to hold in the hand. The finished pipe is shown in the photos below. The dimensions of the pipe are Length: 5 inches, Height: 1 ¾ inches, Outside diameter of the bowl: 1 ¼ inches, Chamber diameter: ¾ of an inch. The weight of the pipe is 1.45 ounces/41 grams. This Kennett pipe is a great piece of history of the ongoing search for the cooler and drier smoke. I will be adding it to the British Pipe Making Companies Section on the rebornpipes store shortly. Thanks for reading this blog and my reflections on the pipe while I working on it.
As always, I encourage your questions and comments as you read the blog. Thanks to each of you who are reading this blog. Remember we are not pipe owners; we are pipemen and women who hold our pipes in trust until they pass on into the trust of those who follow us.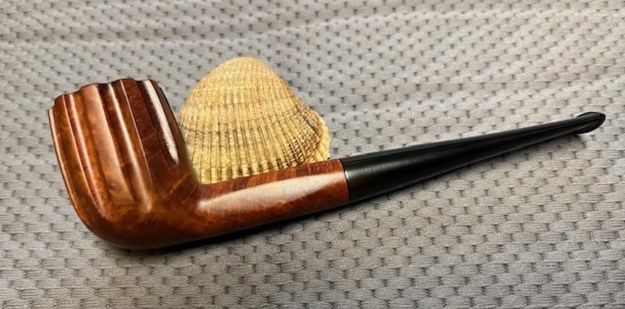


