Blog by Steve Laug
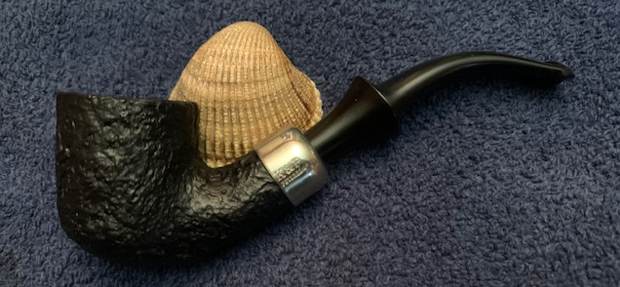
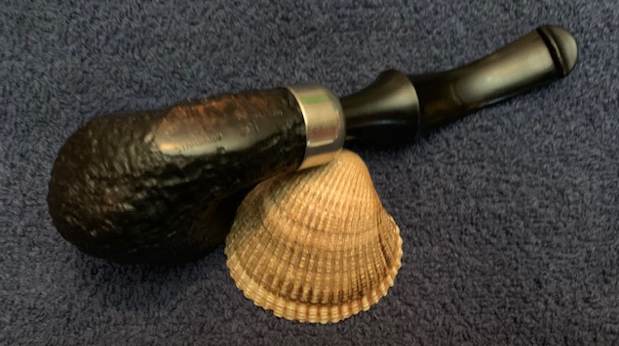
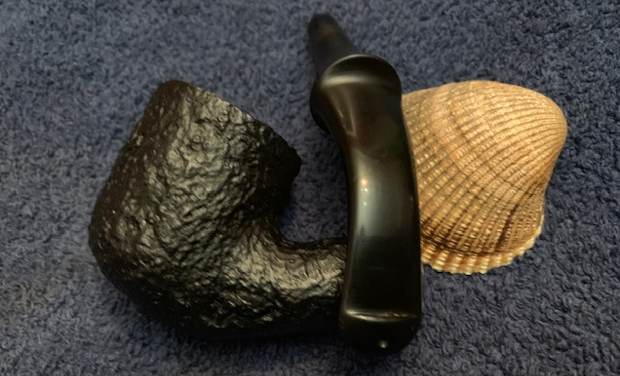
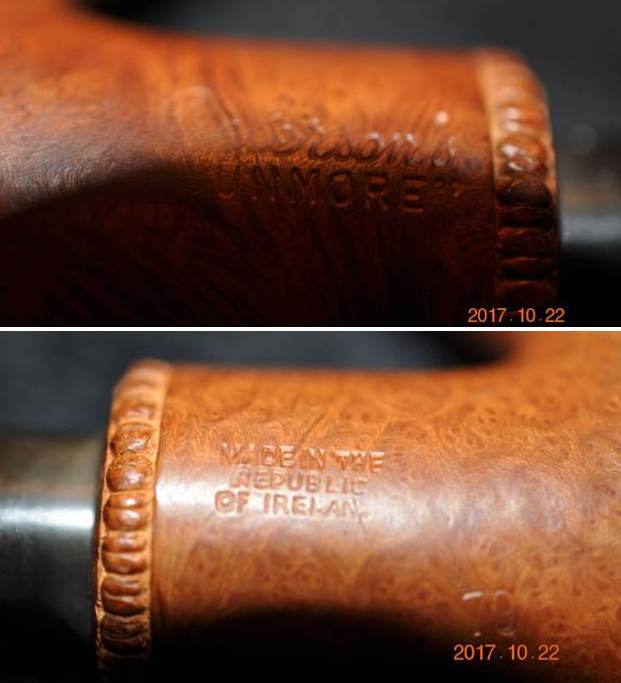
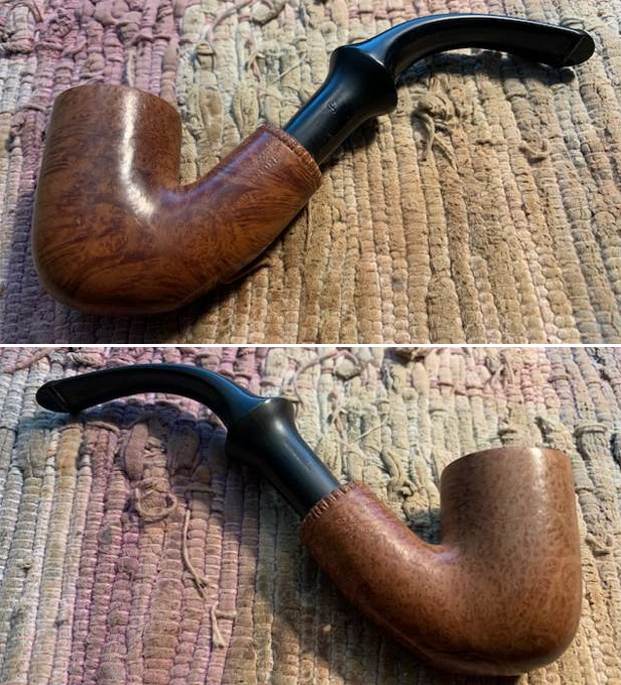
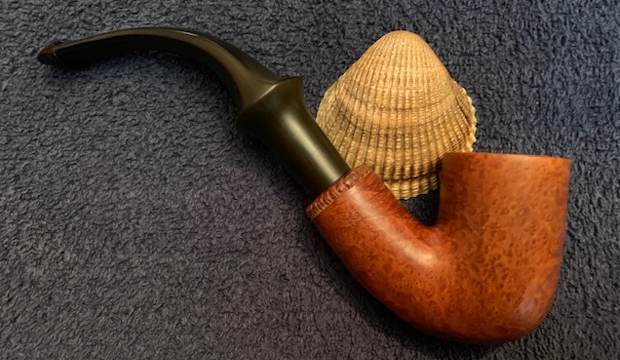
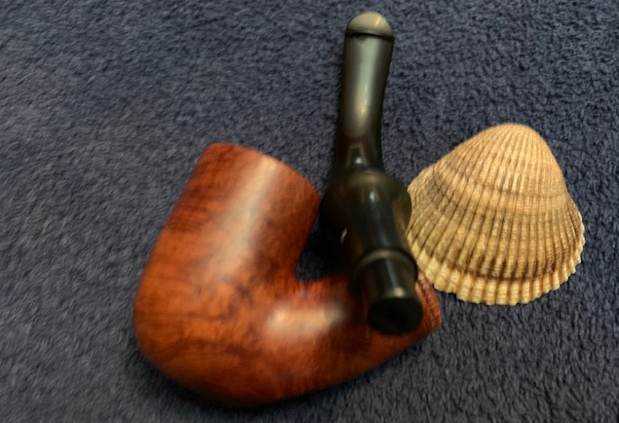
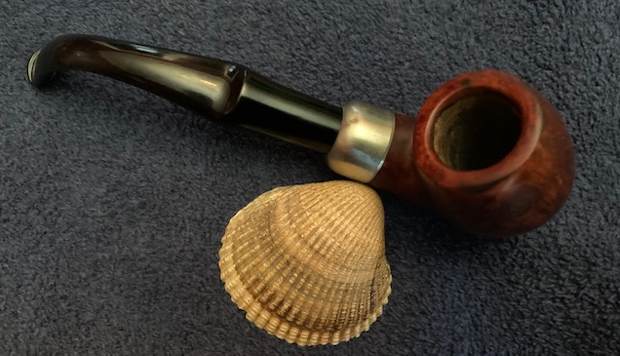
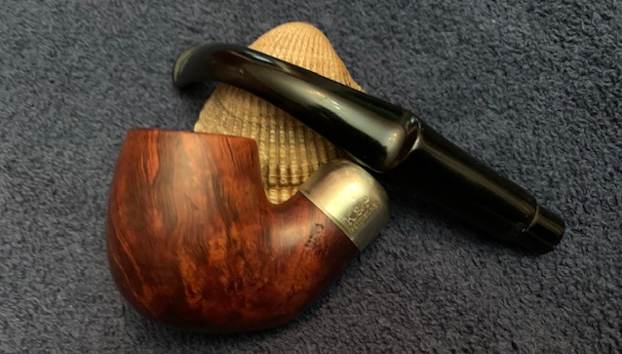
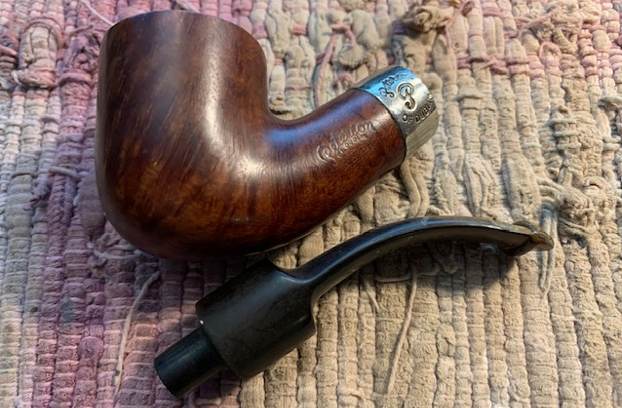
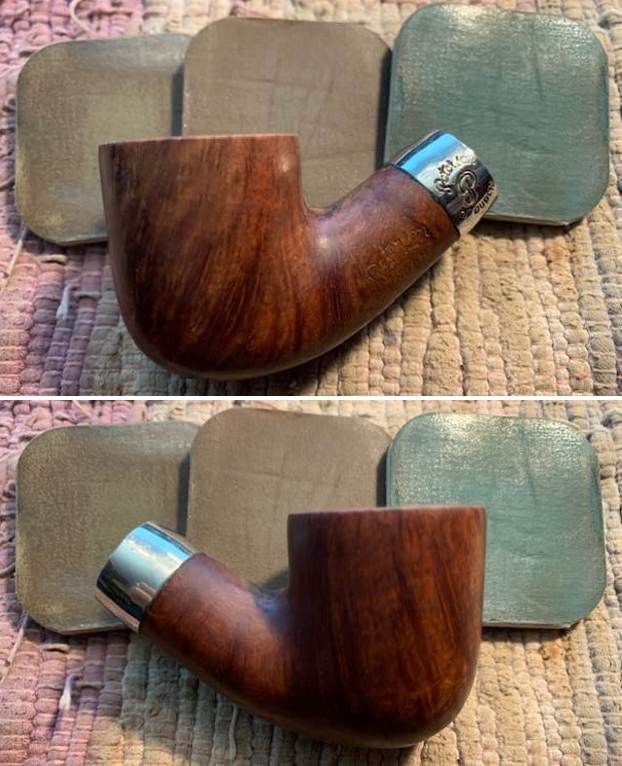
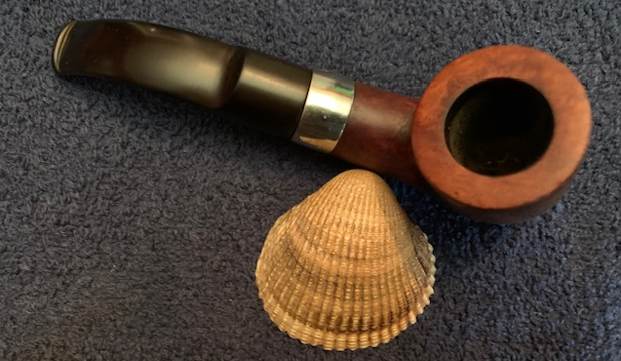
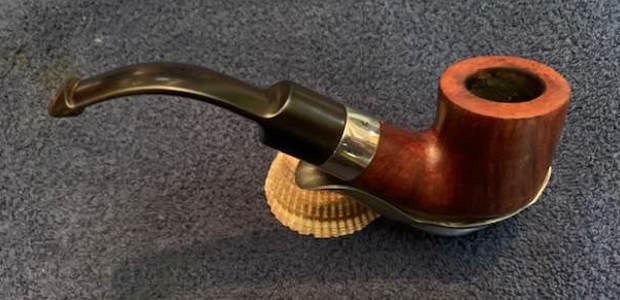
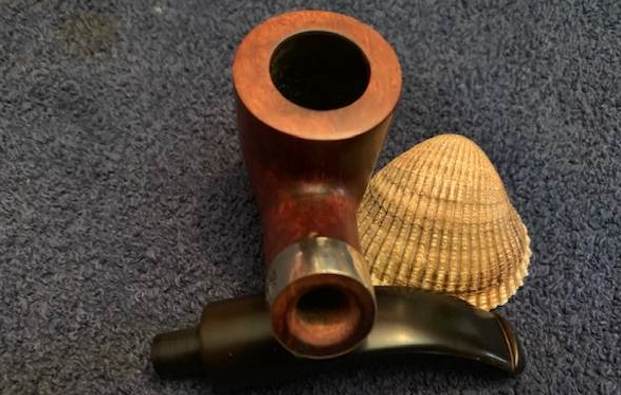
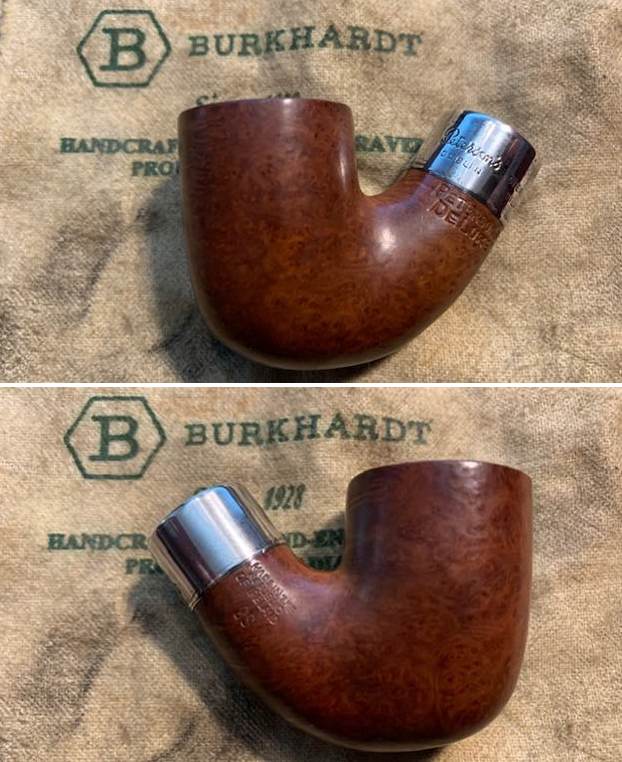
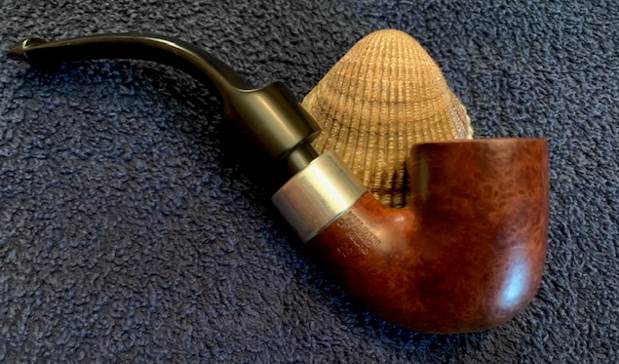
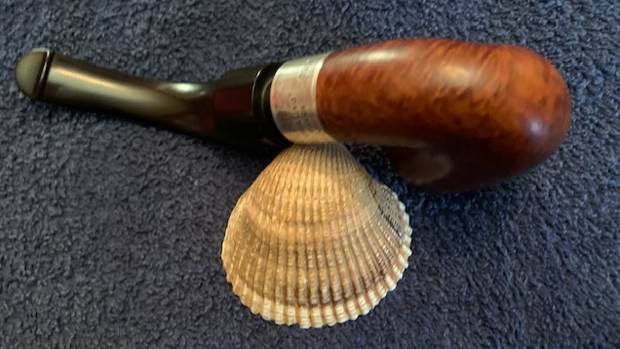
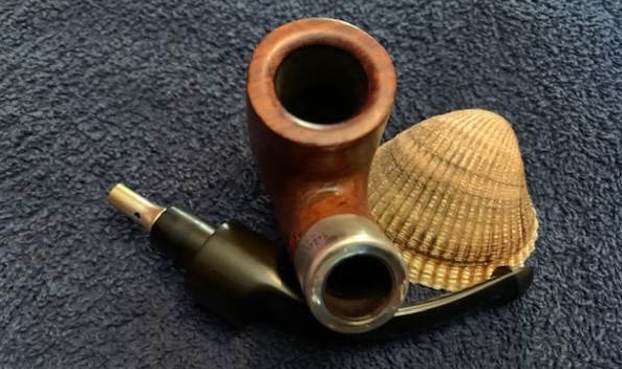
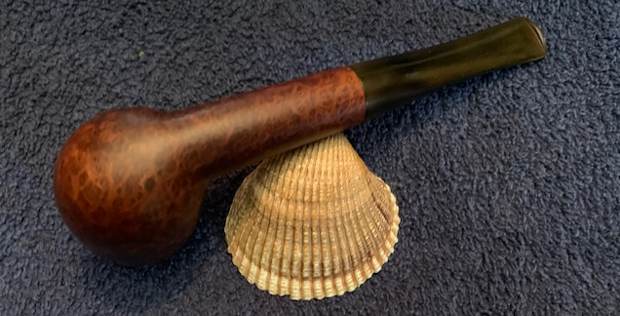
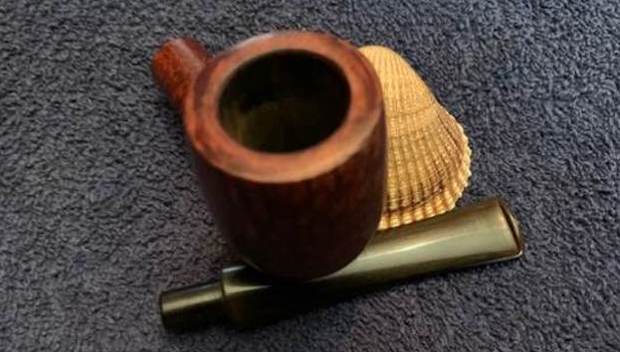
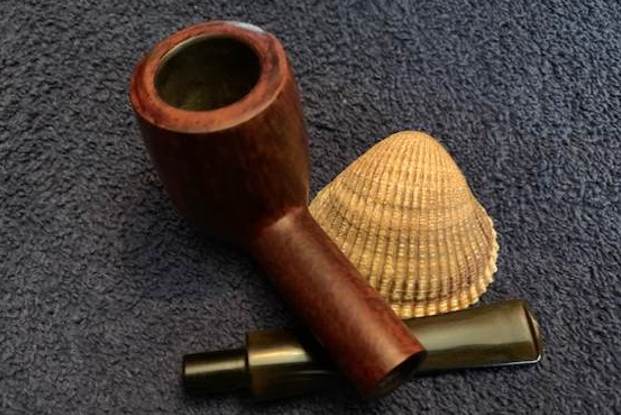
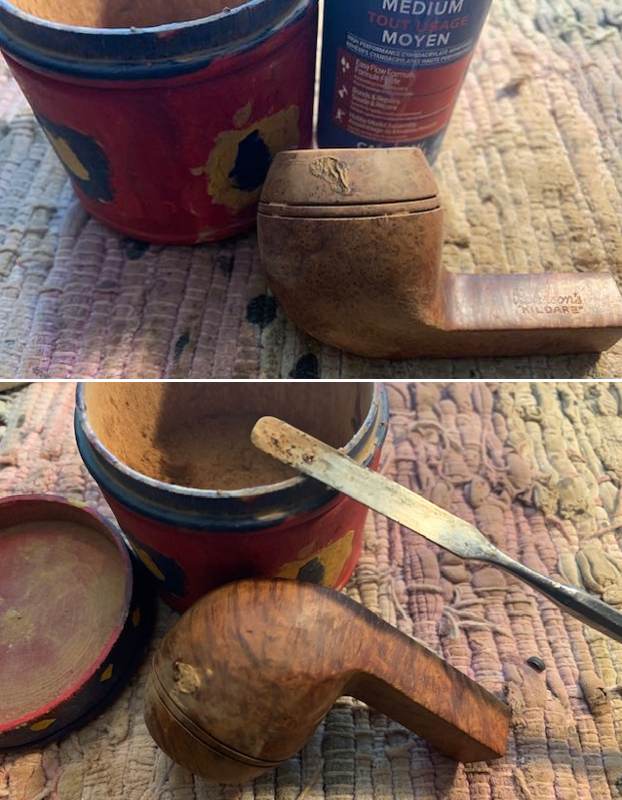
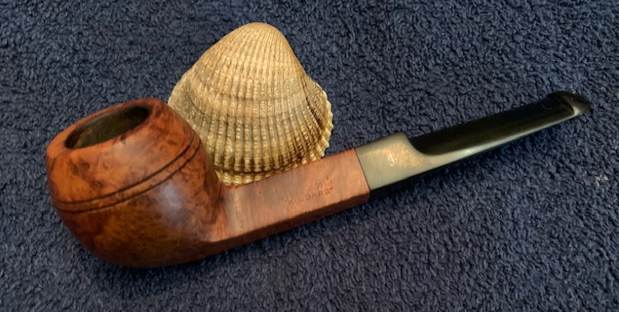
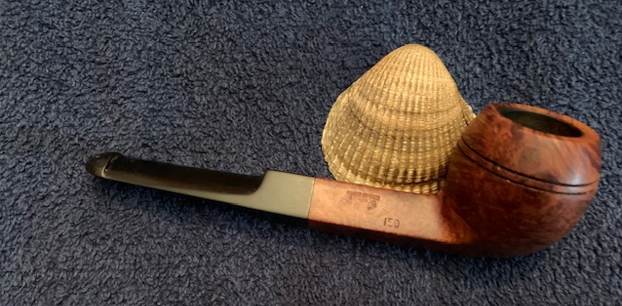
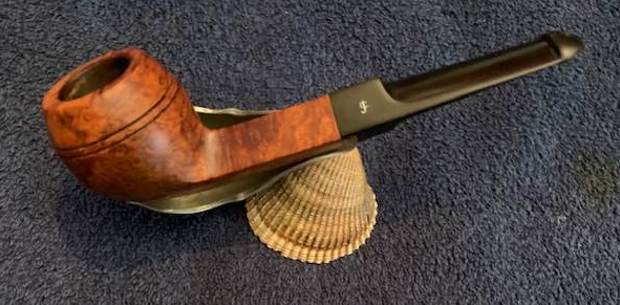
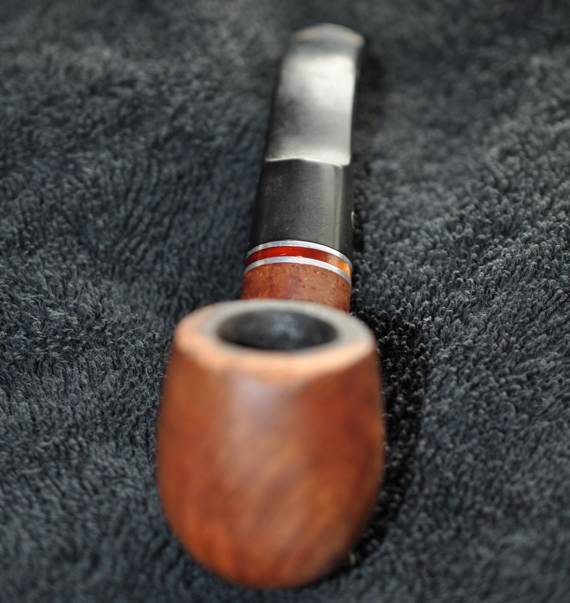
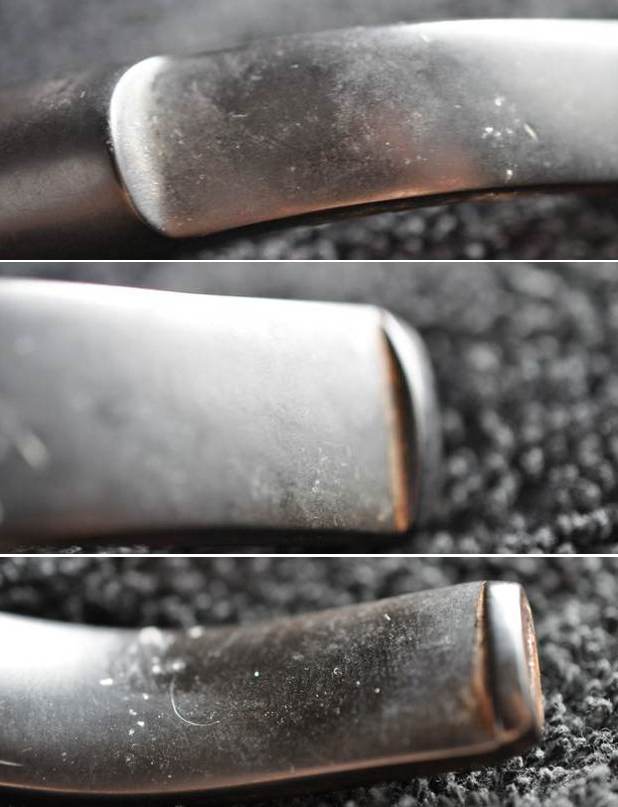
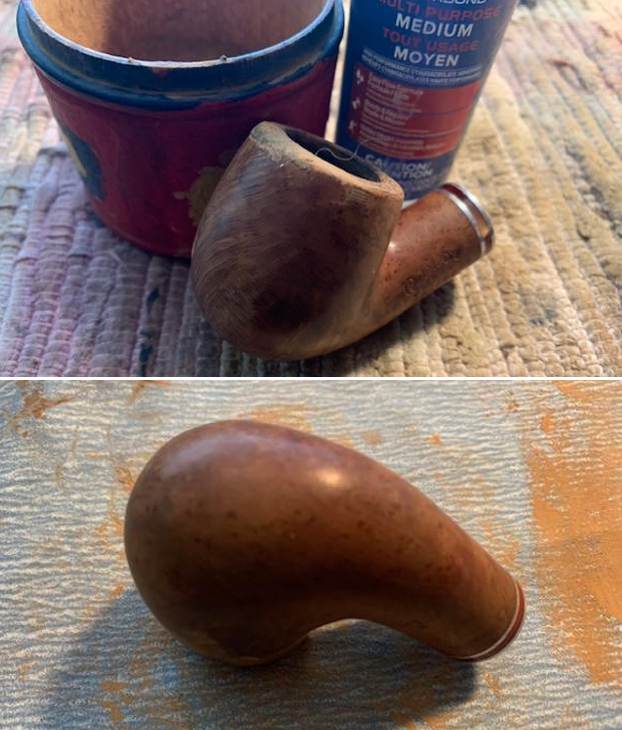
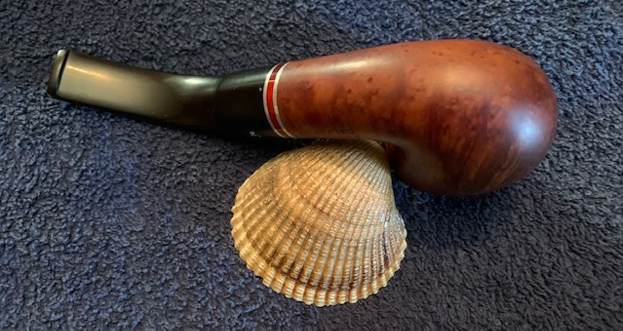
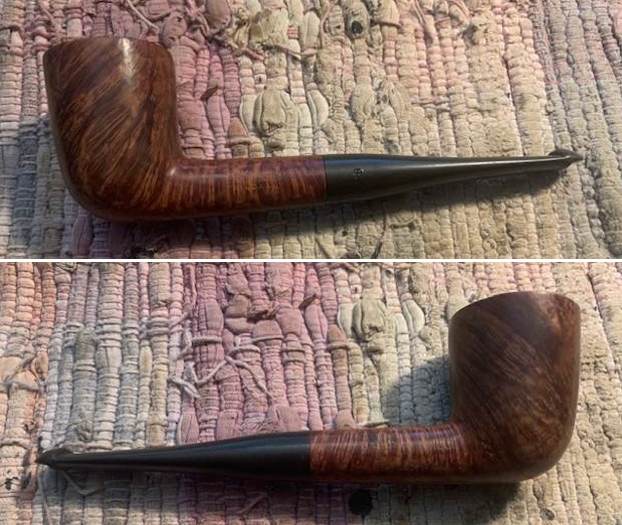
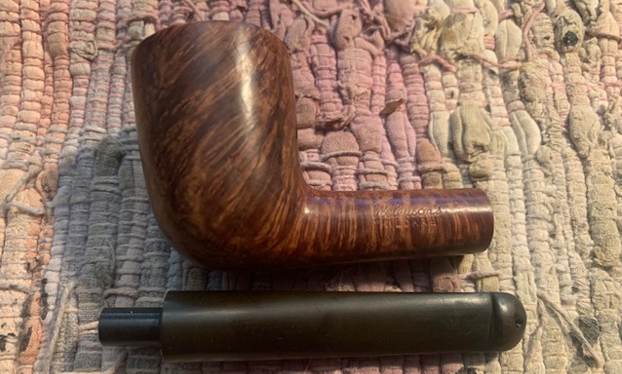
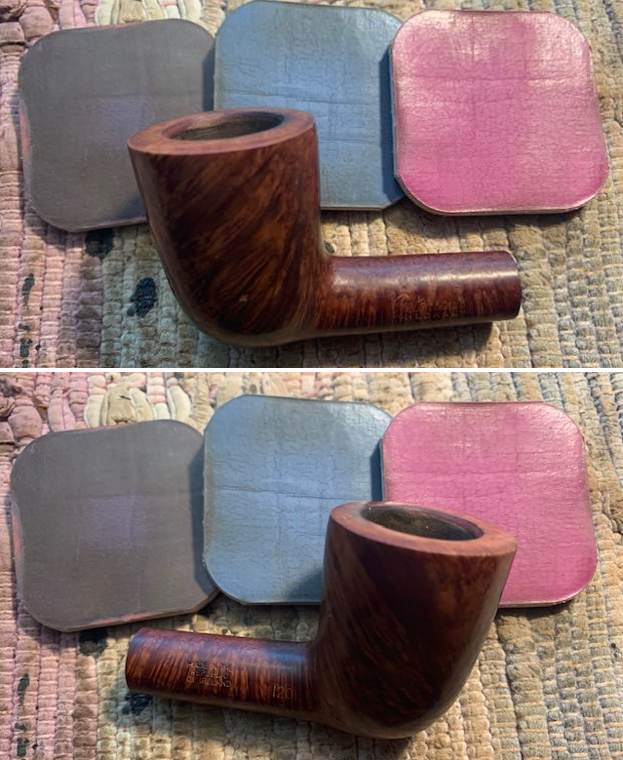
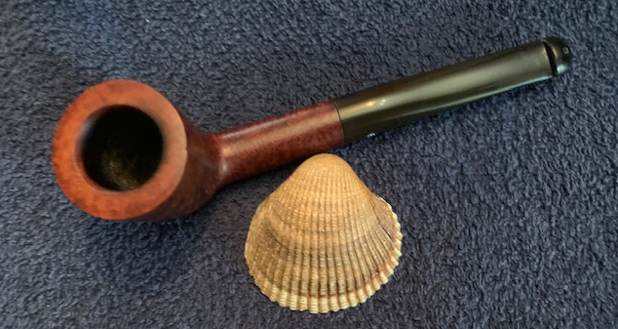
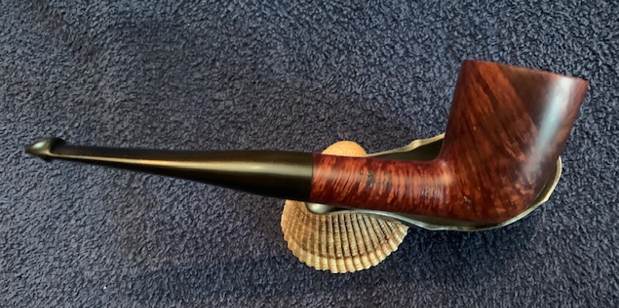
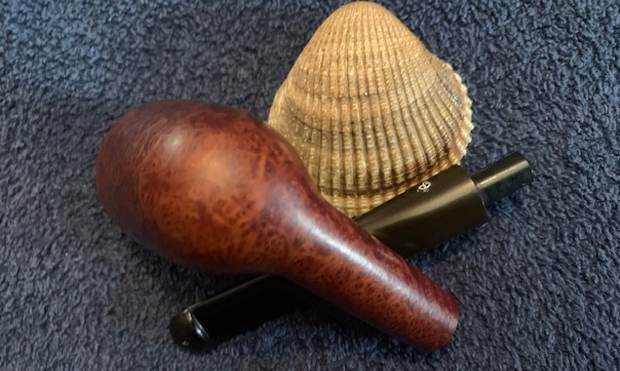
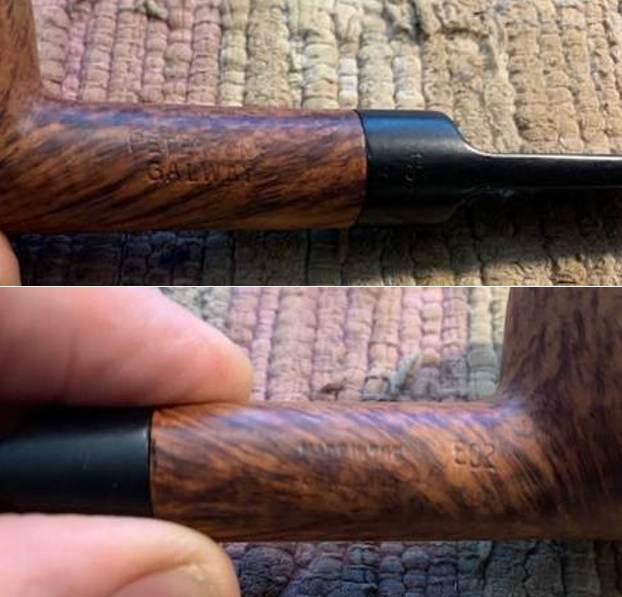
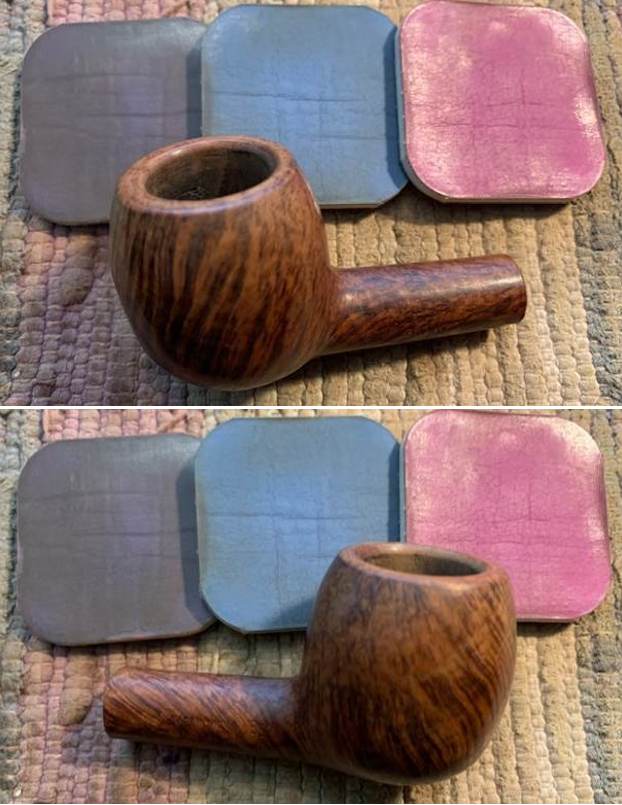
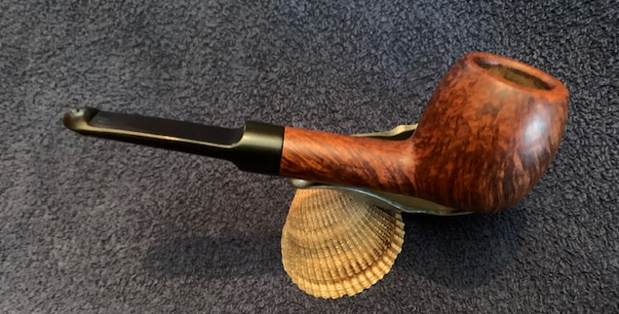
The next pipe on the table was purchased from an antique store on 09/09/2017 in Salt Lake City, Utah, USA. It is stamped on the underside of the shank and reads Peterson’s [over] System [over] Standard. That is followed by Made in the Republic of Ireland (3 lines) over the shape number 301. It was someone’s favourite pipe as could be seen from the thick cake in the bowl and the lava build up on the rim top. The sandblast finish looked good underneath all of the grime and debris that was ground into the bowl sides and heel. The polished nickel ferrule was in excellent condition. The stem was in excellent condition with some deep tooth marks and chatter on both sides ahead of the p-lip. Jeff took photos of the pipe before he started his clean up work on it. It is a pretty pipe!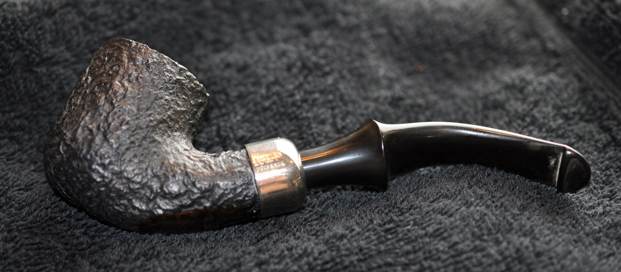
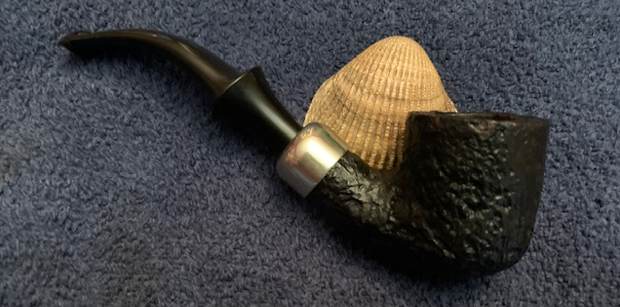
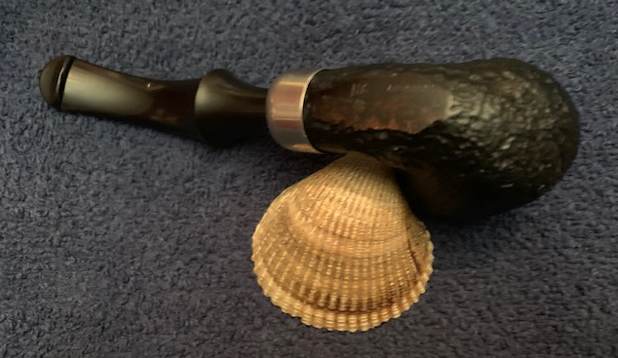
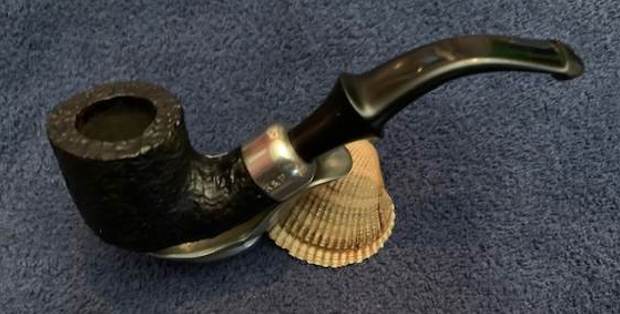
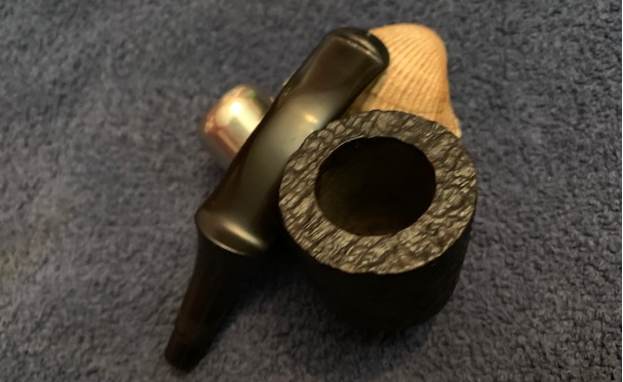
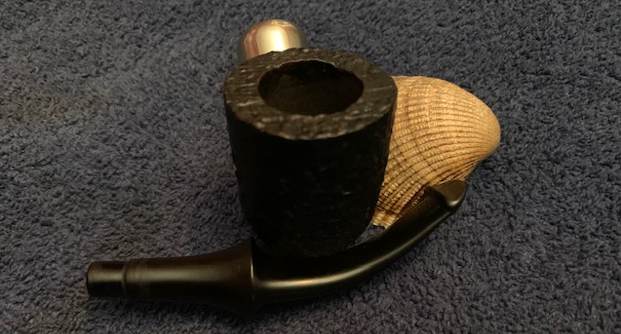
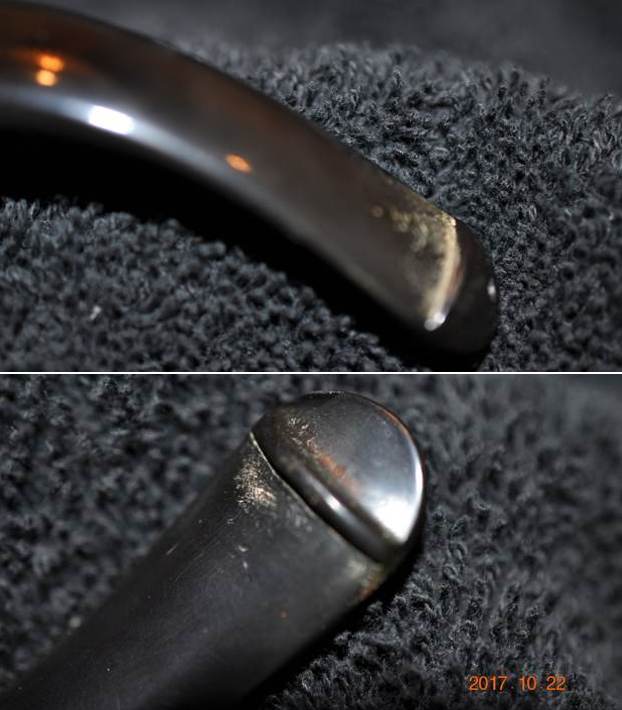
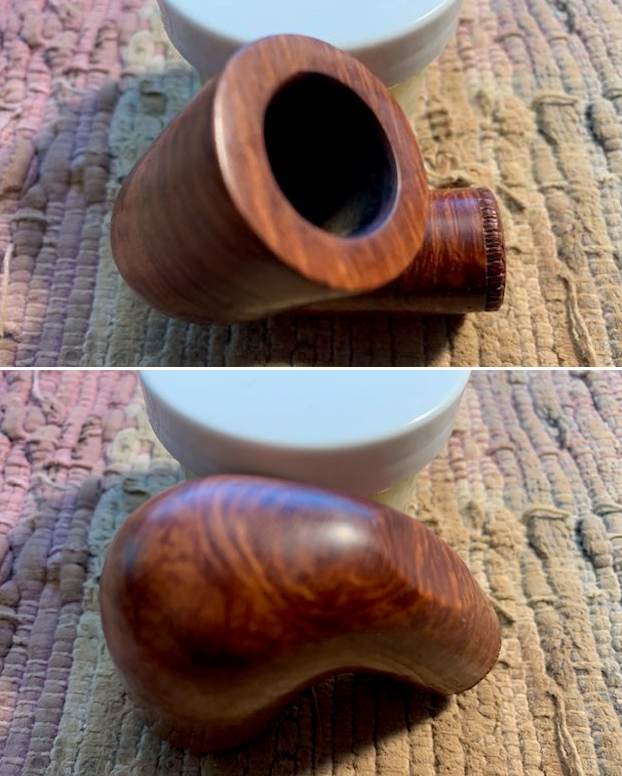
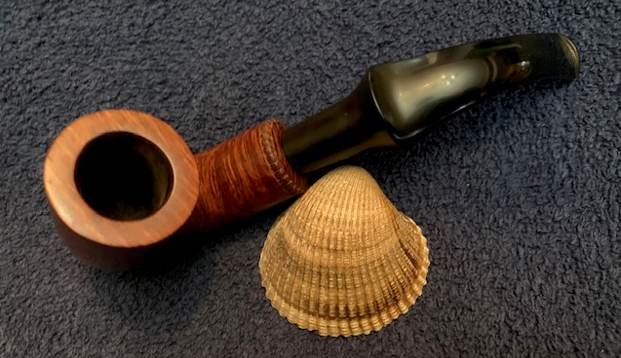
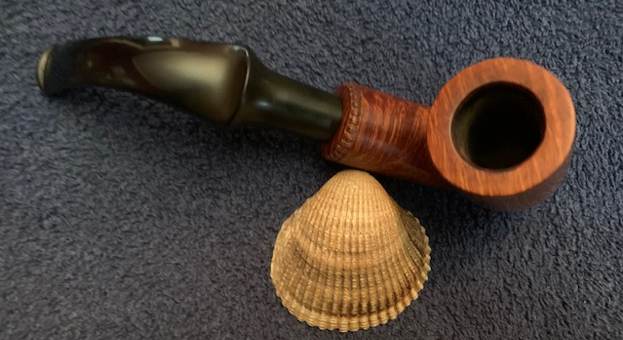
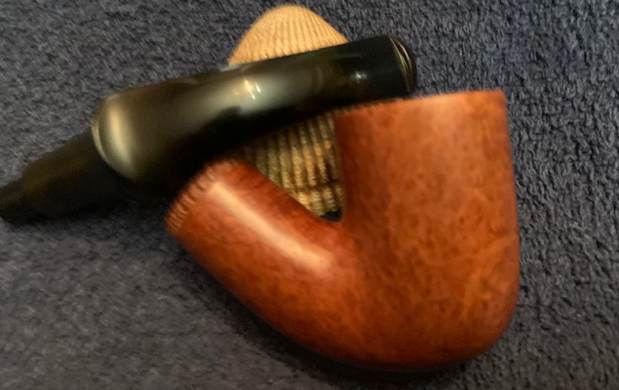
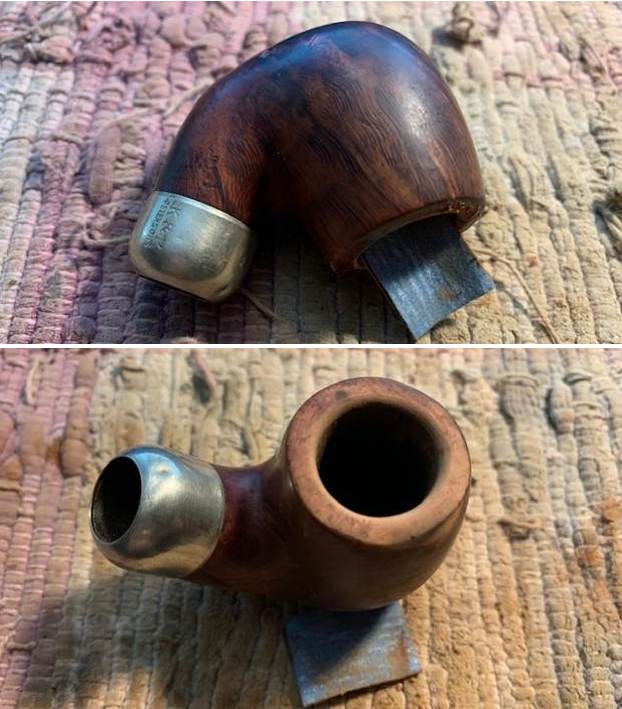
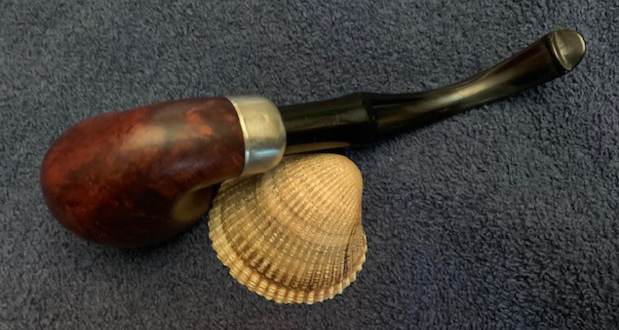
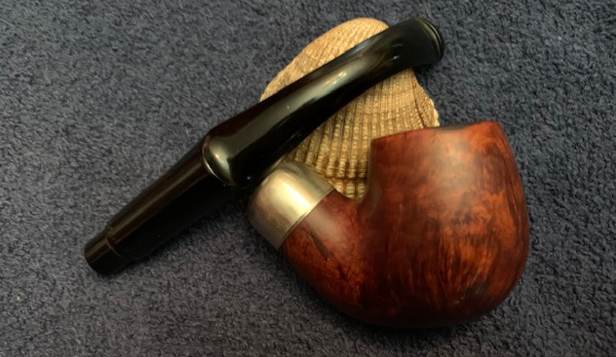
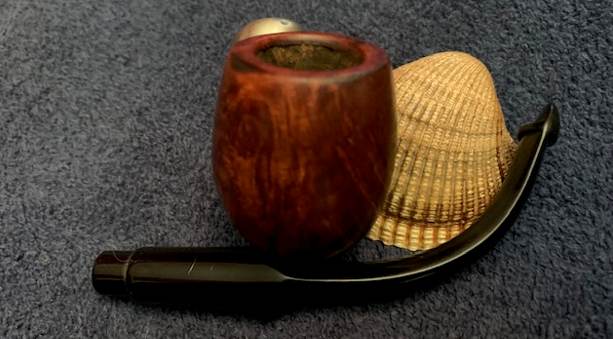
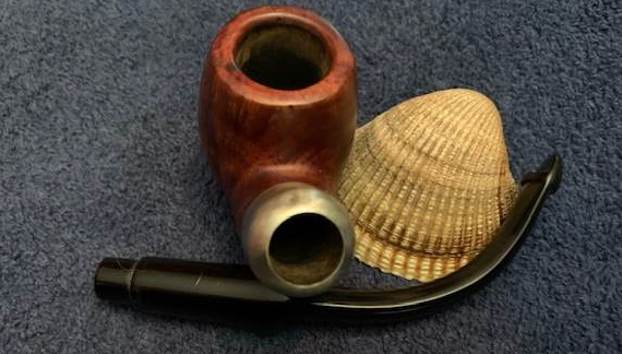
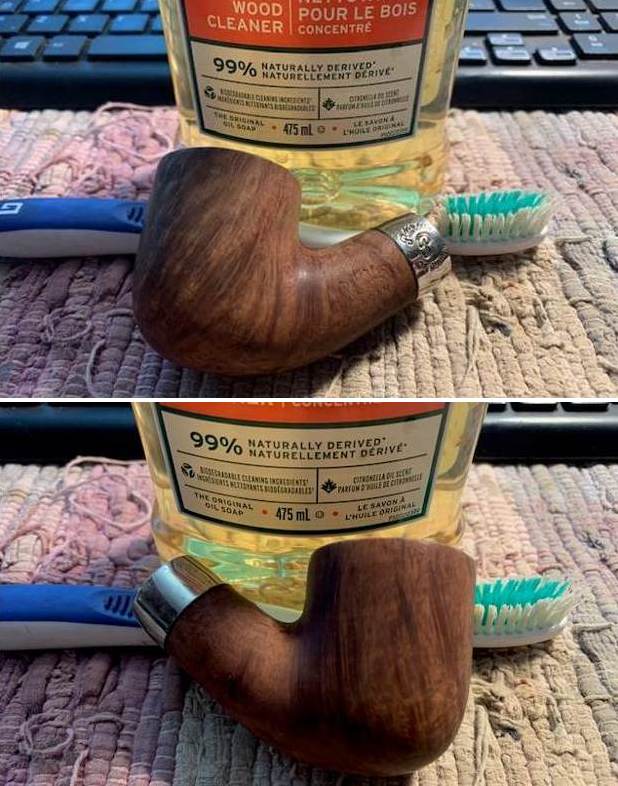
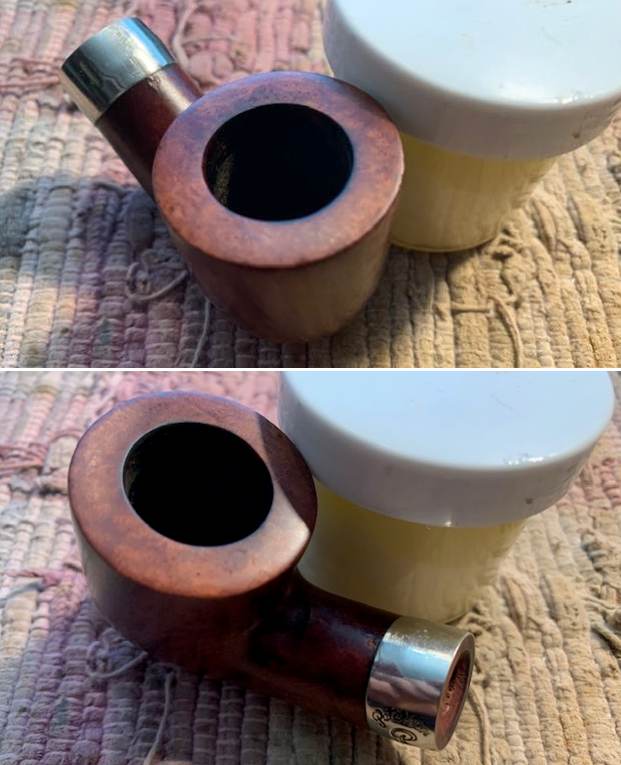
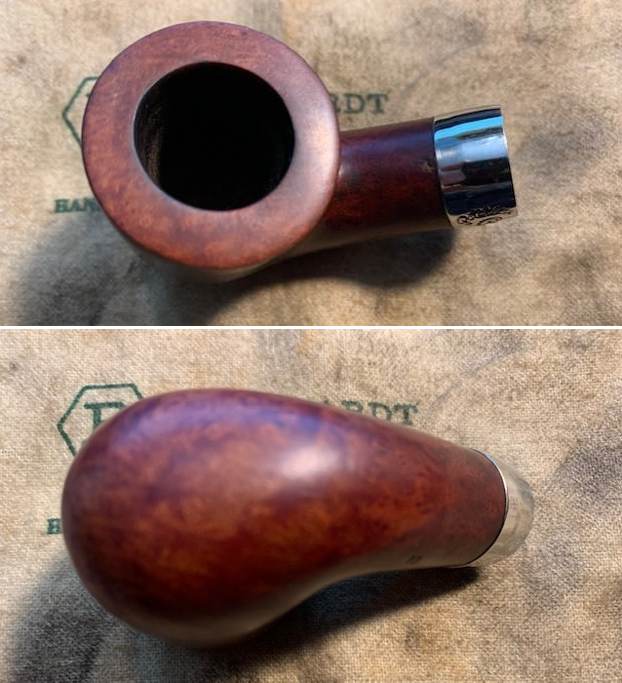
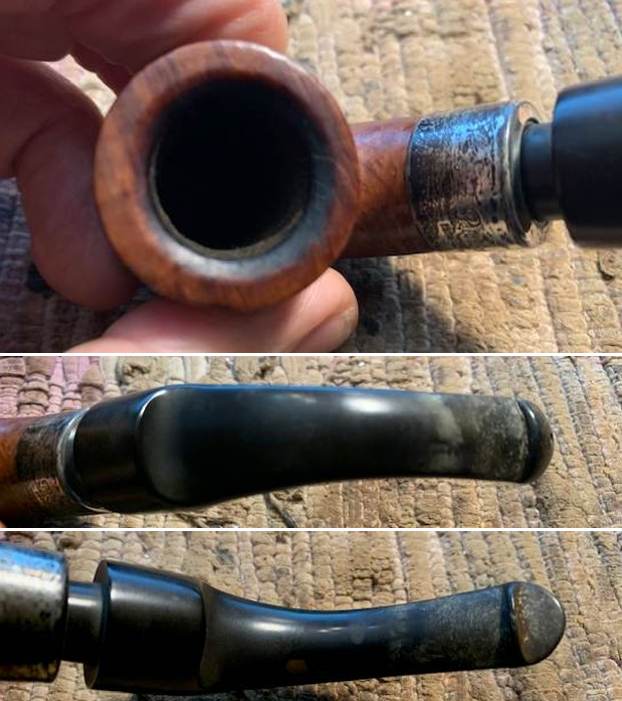
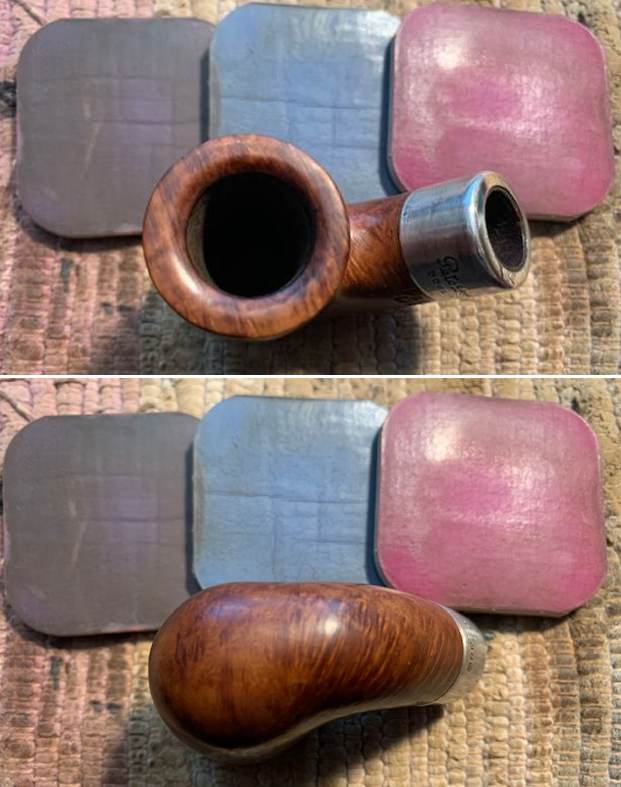
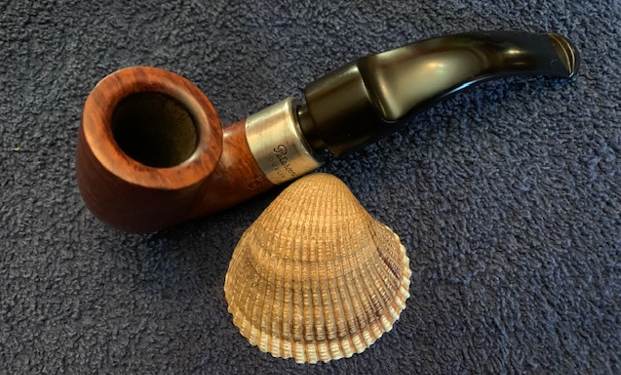
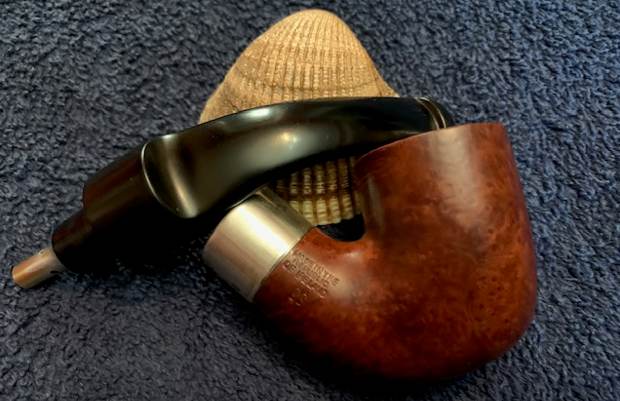
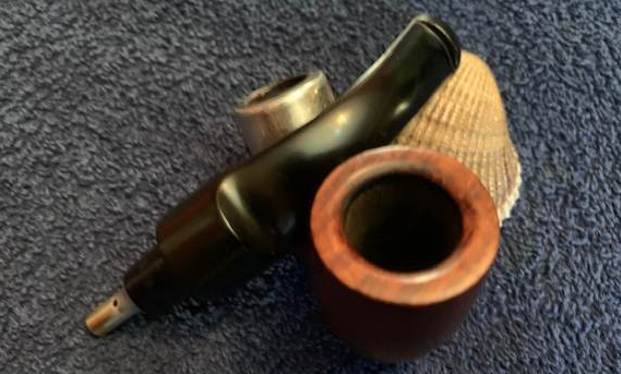
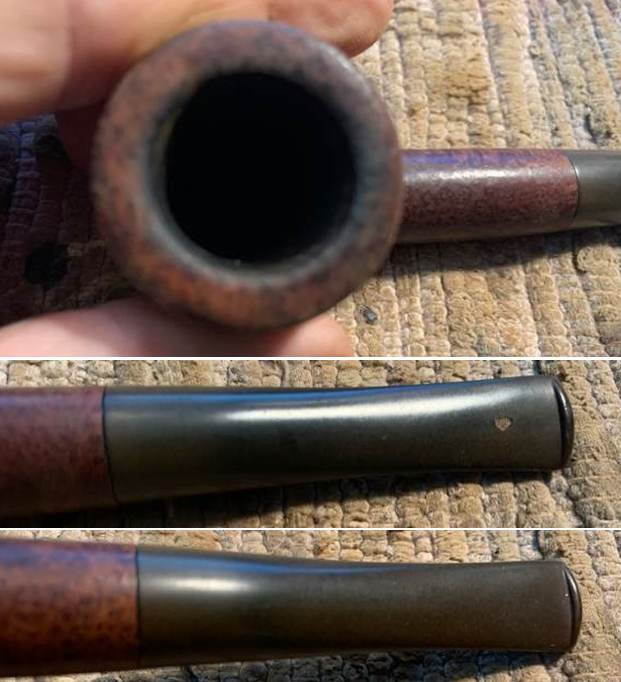
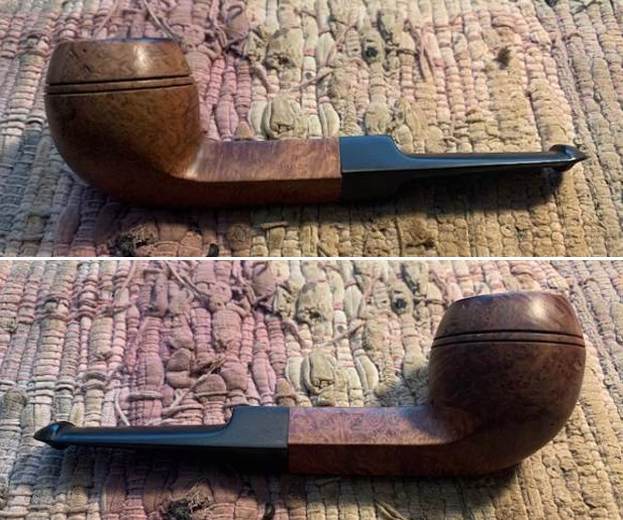
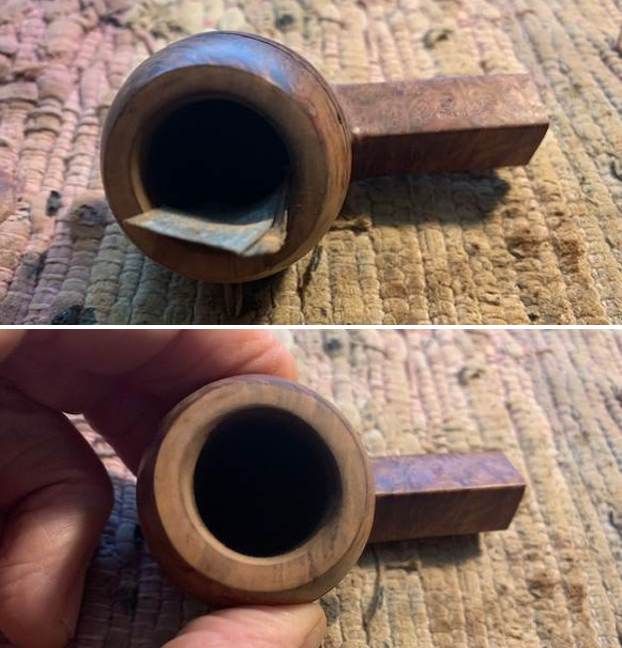
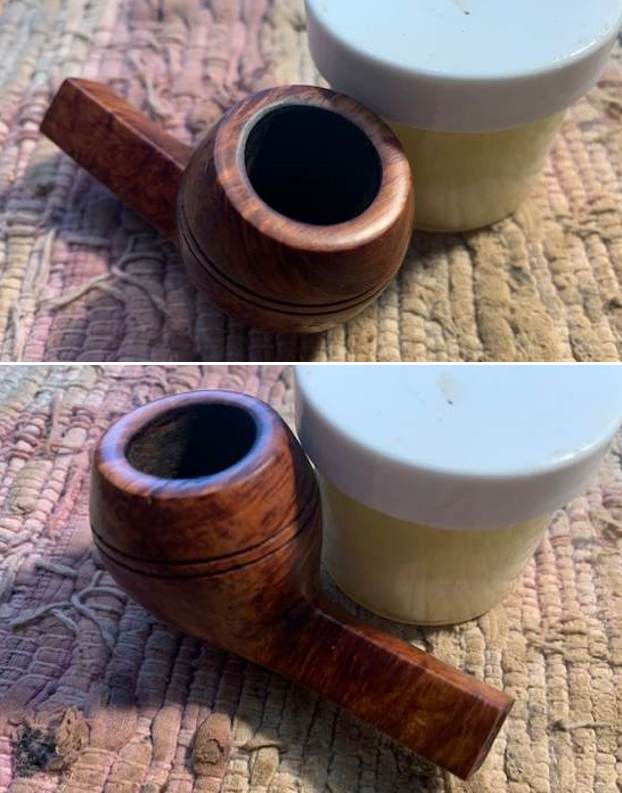
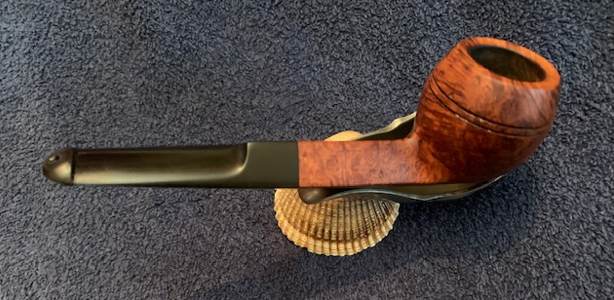
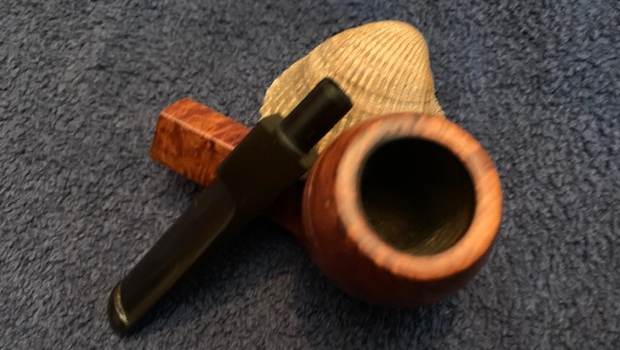
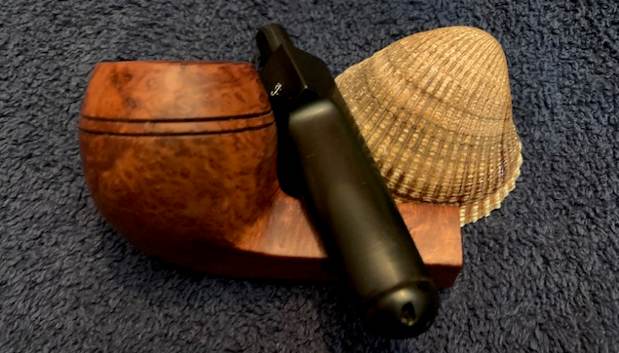
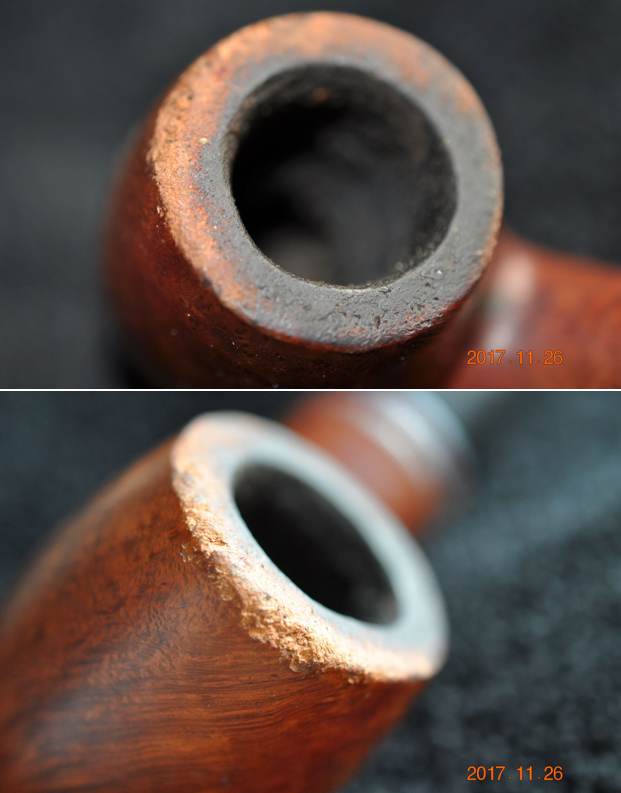
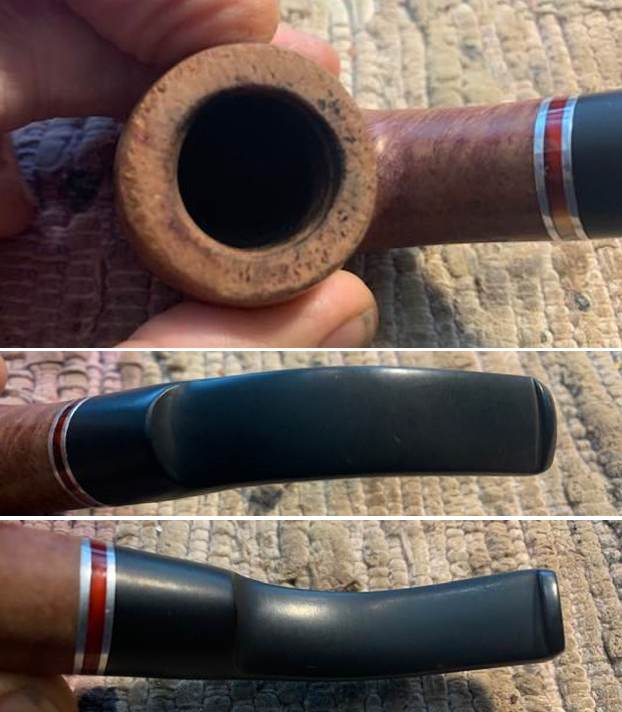
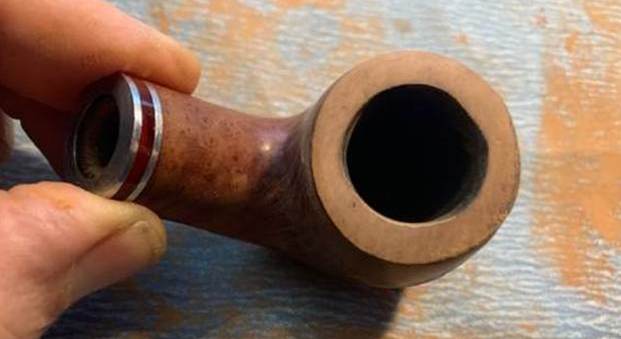
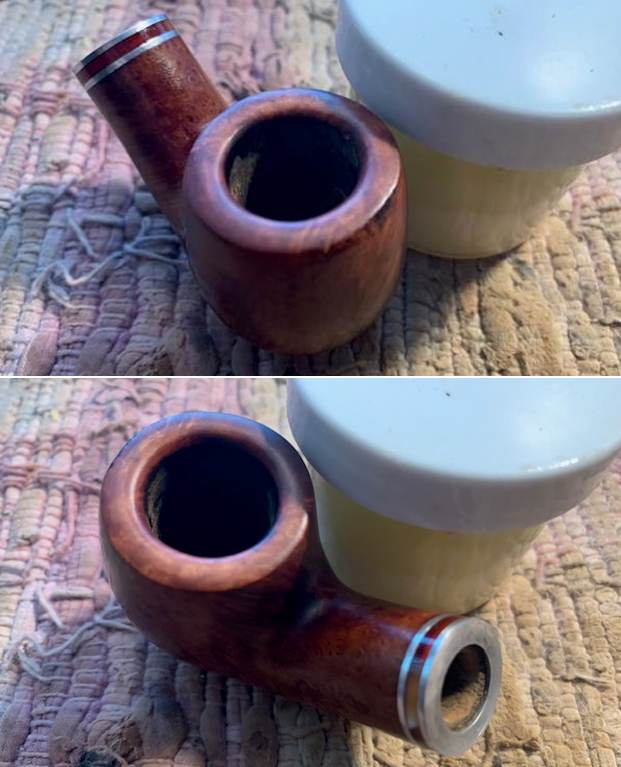
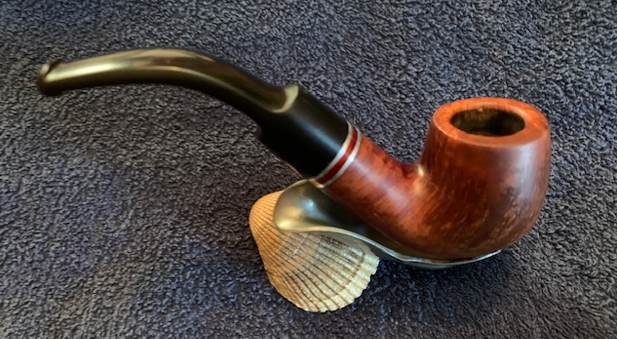
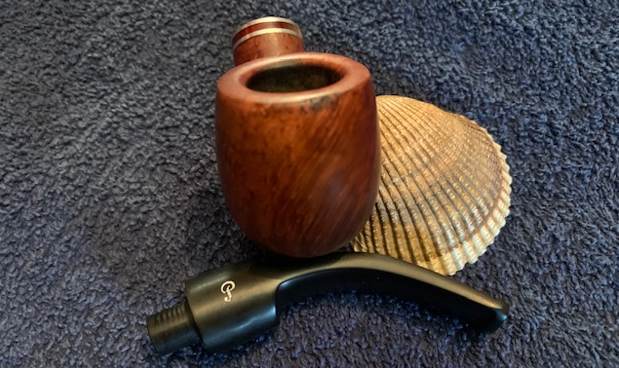
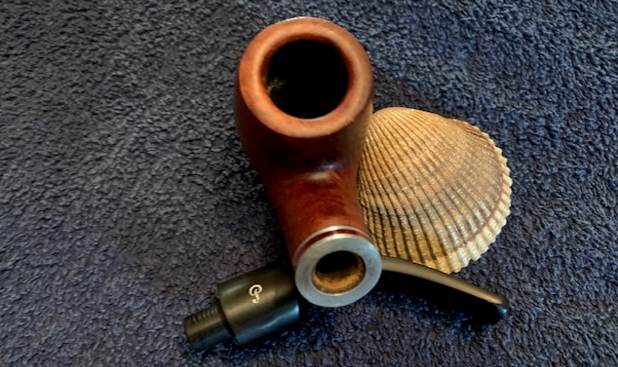
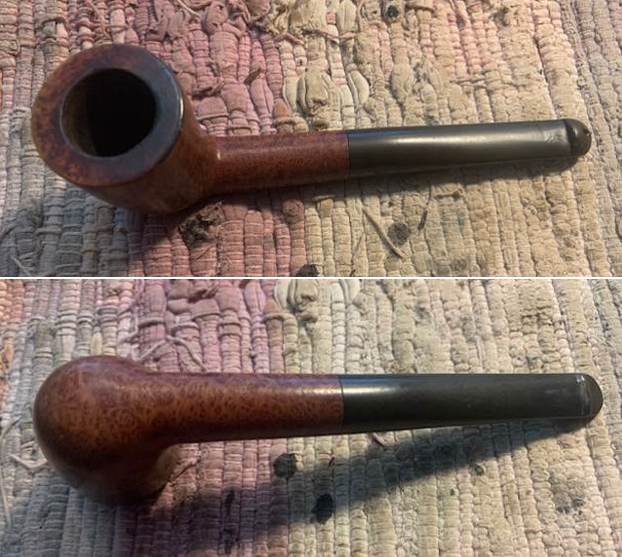
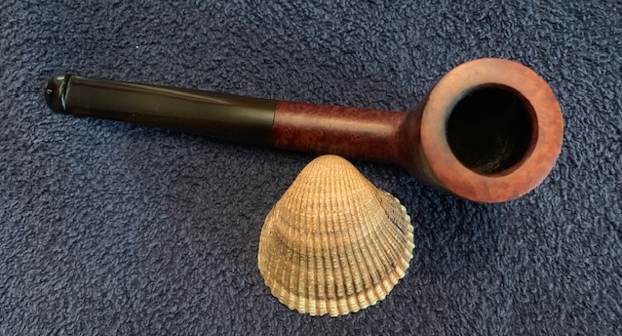
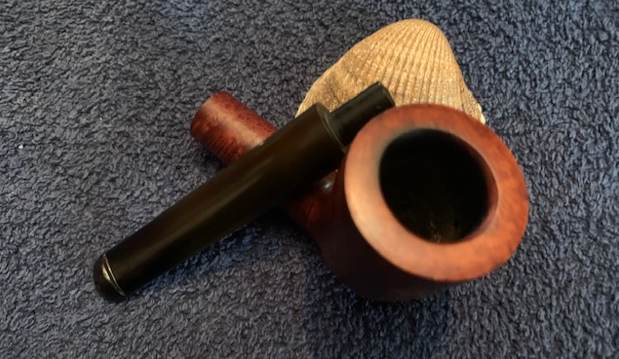
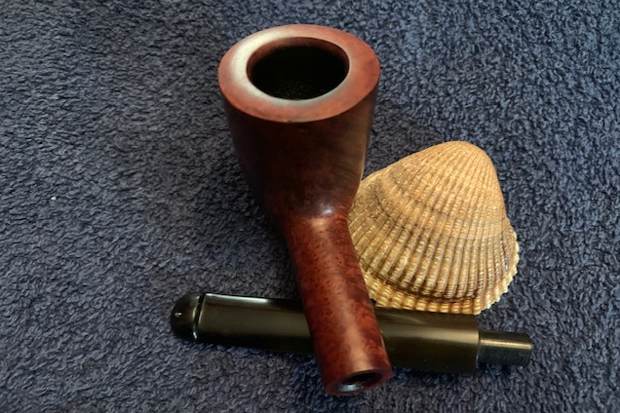
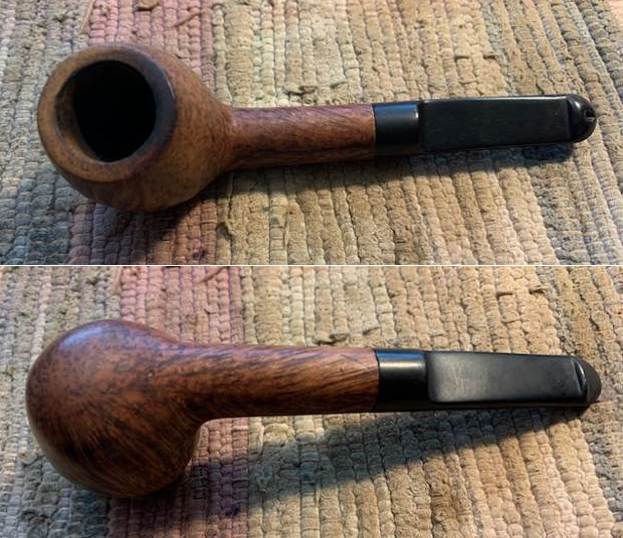
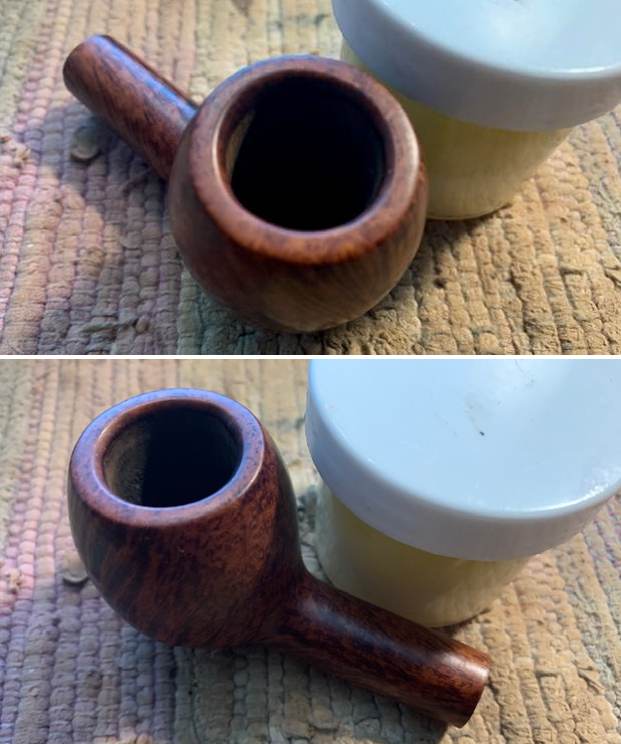
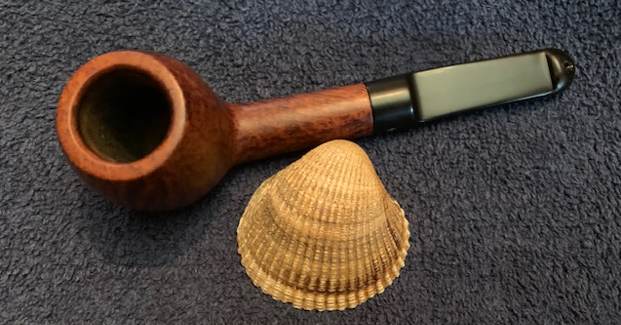
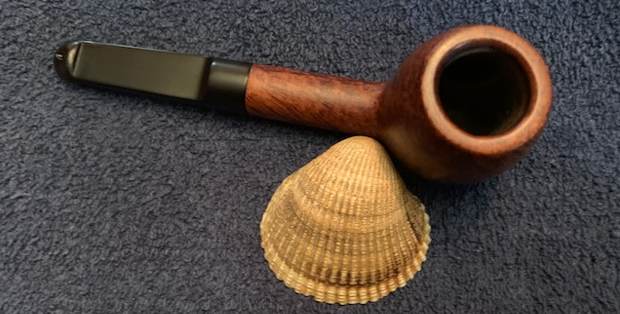
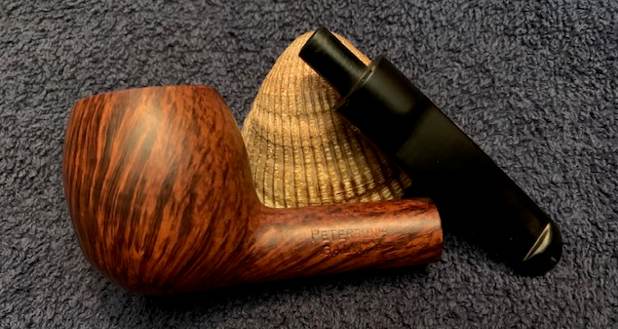
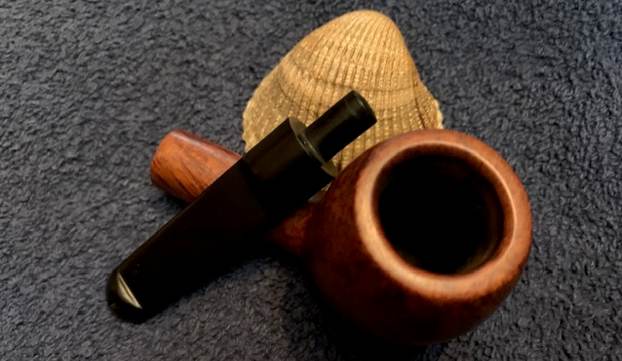
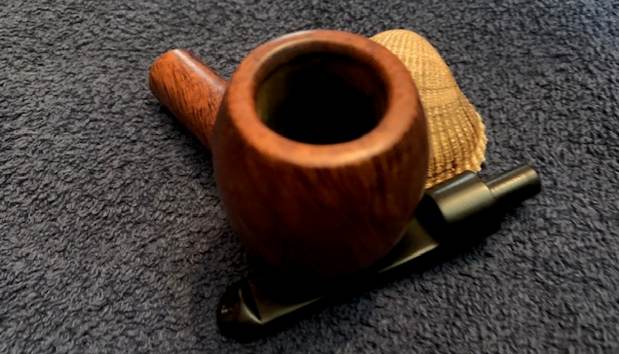
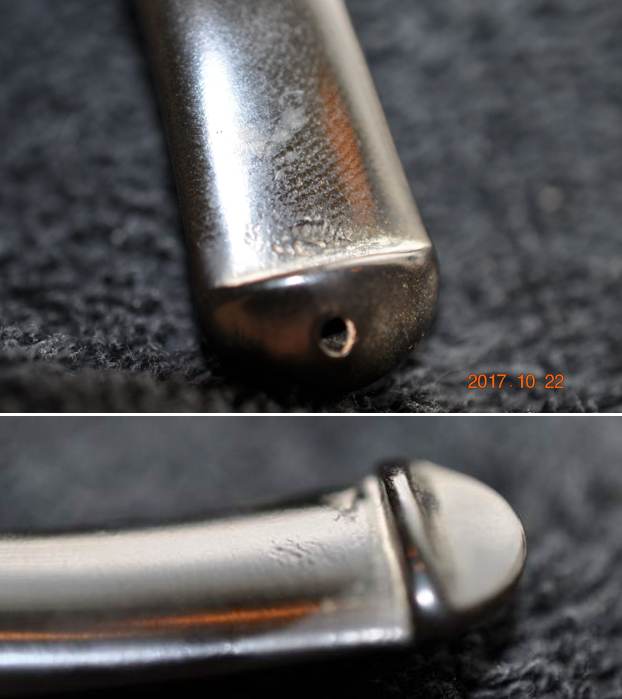
 The next photos show the bowl and rim top as well as the stem condition. The bowl was lightly caked and there was lava build up in the blast on the rim top. The edges of the bowl looked very good. The stem had some tooth marks and tooth chatter on both sides ahead of the button.
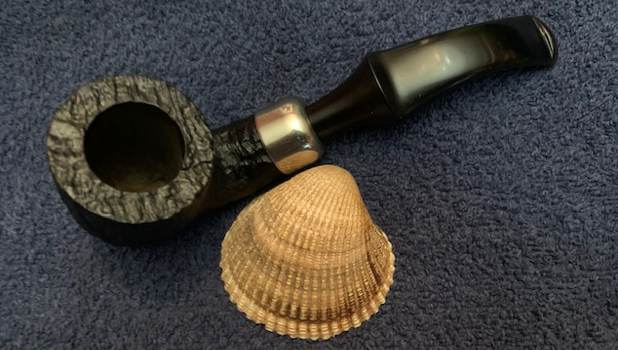
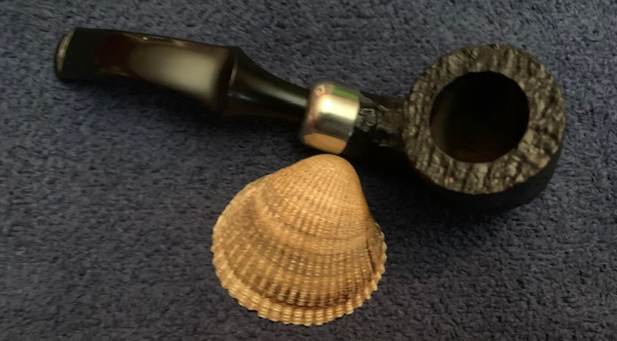
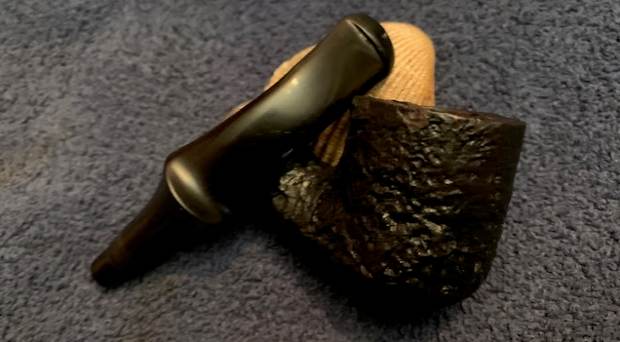
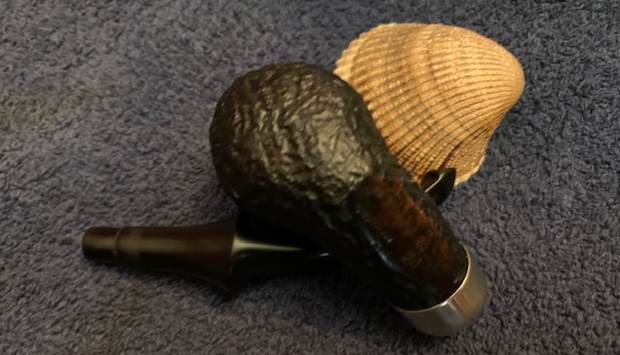
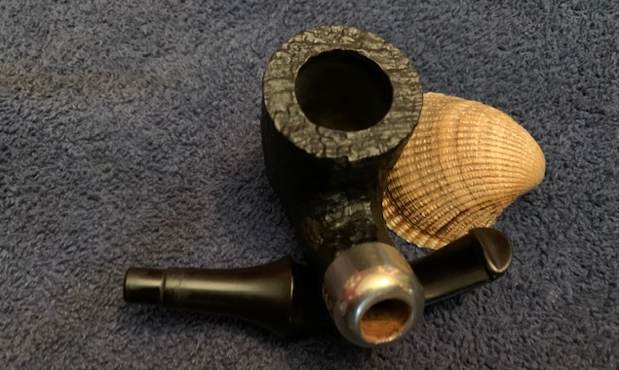
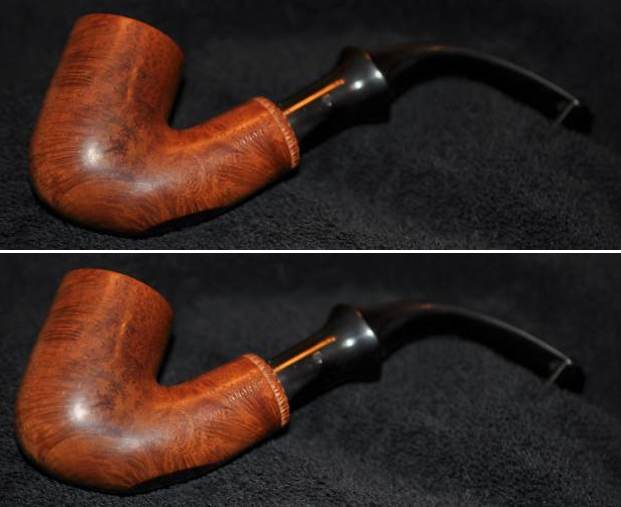
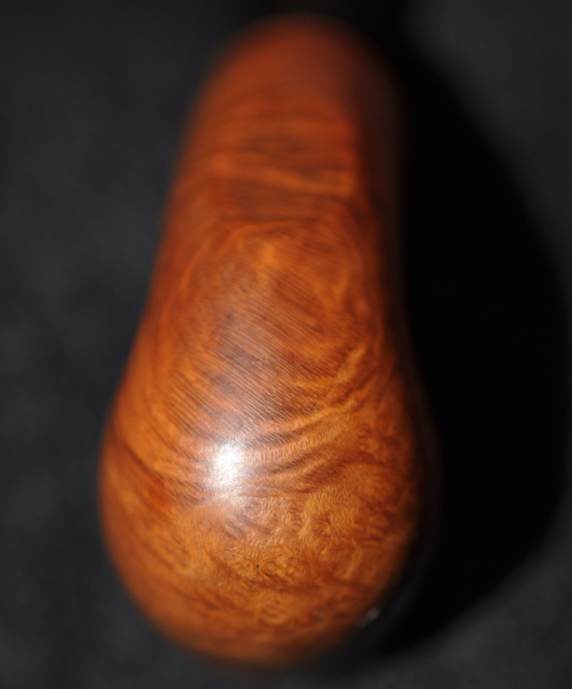
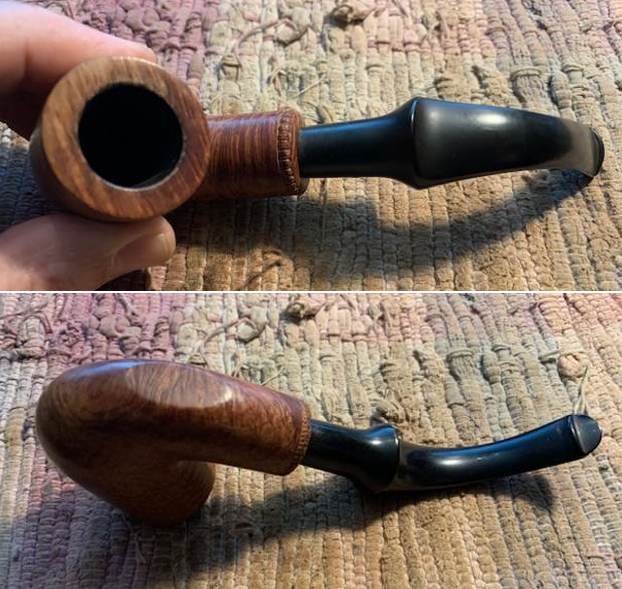
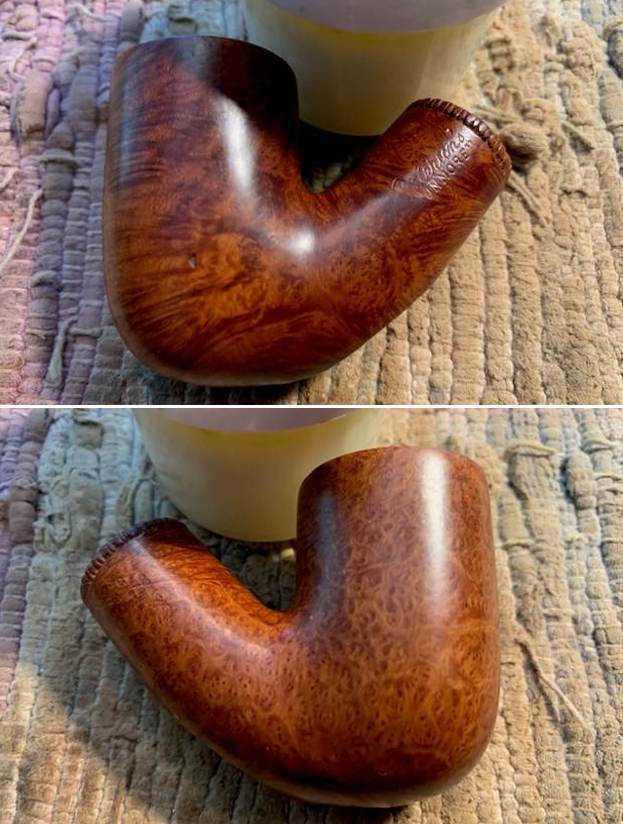
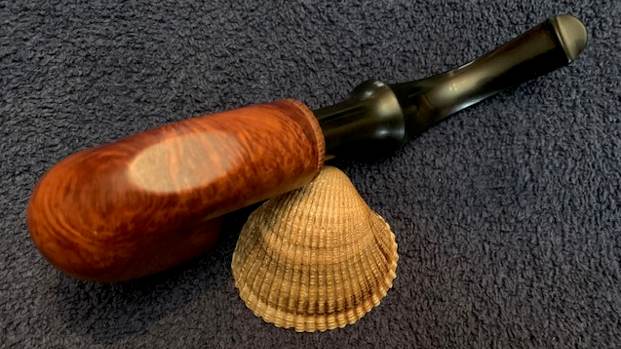
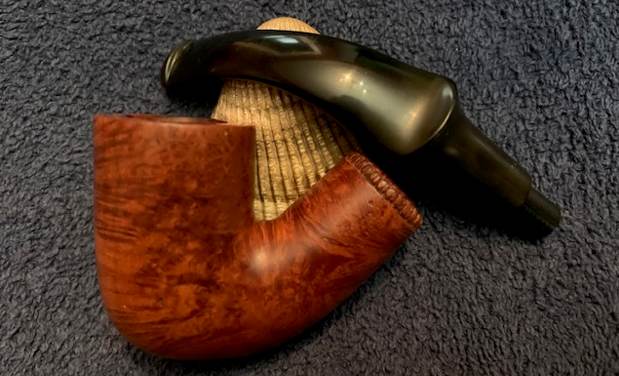
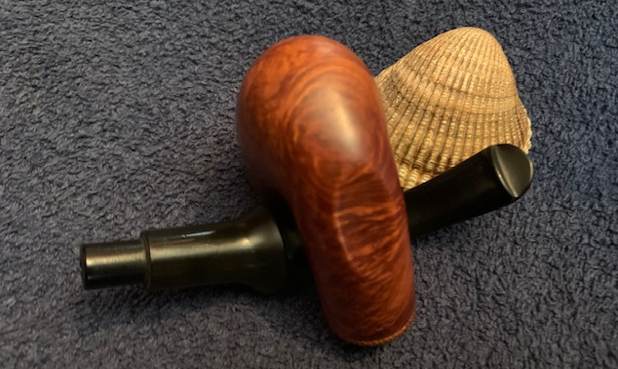
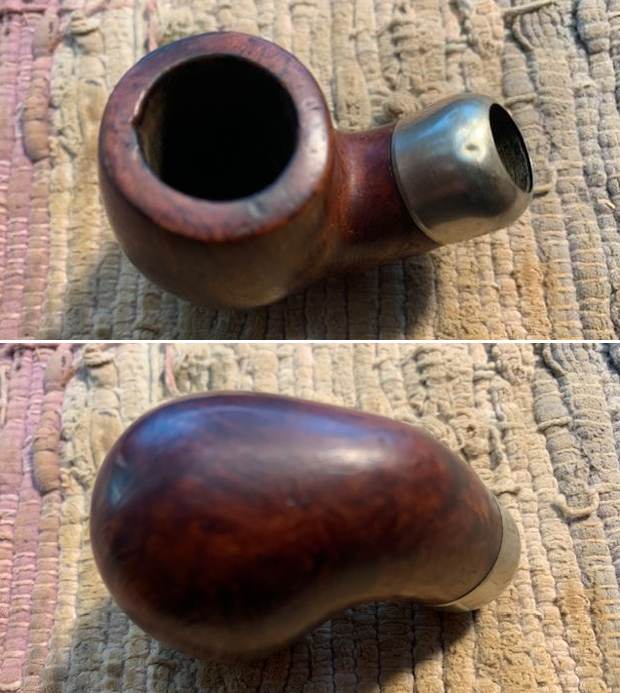
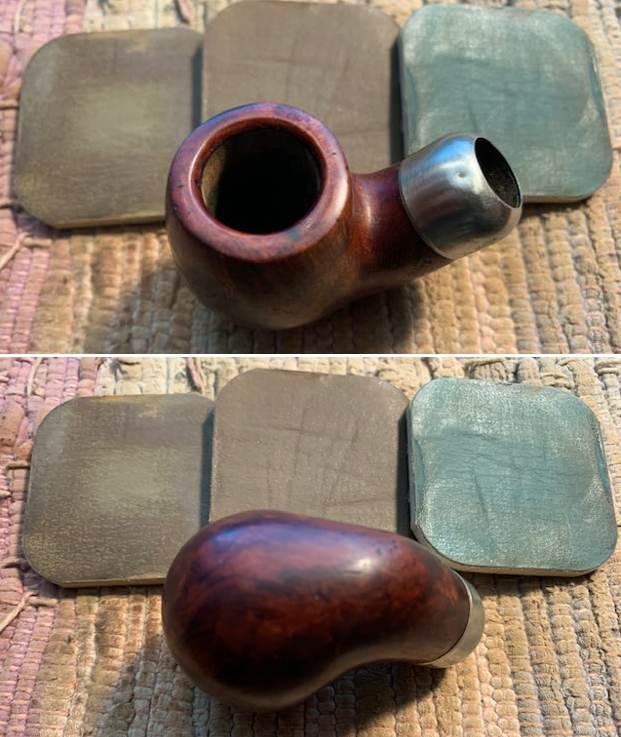
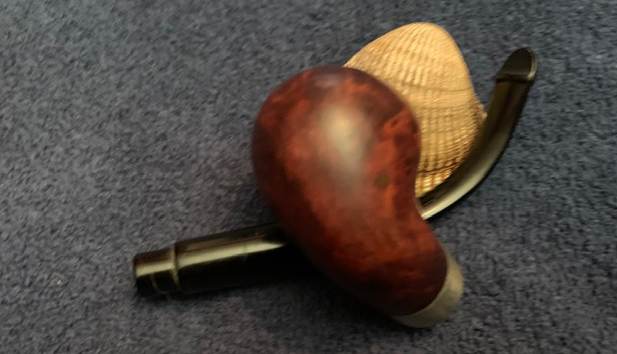
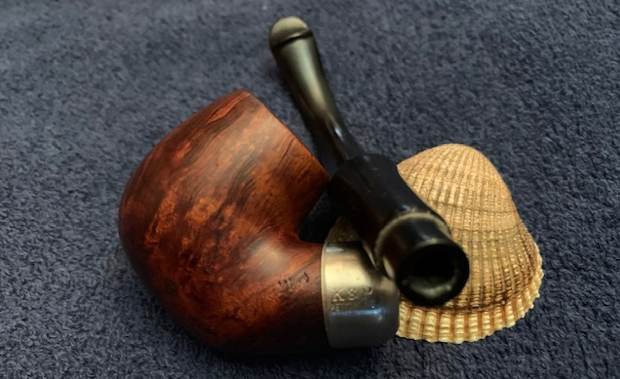
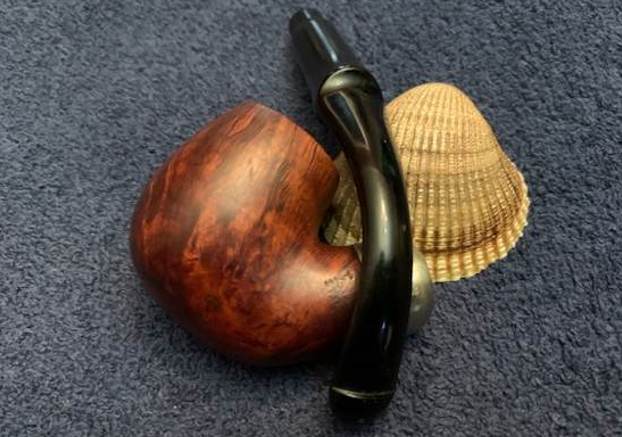
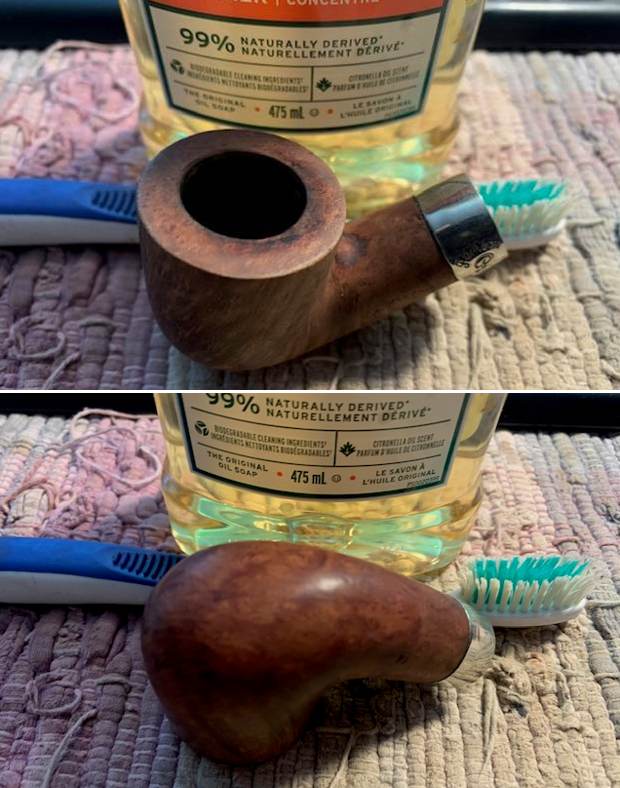
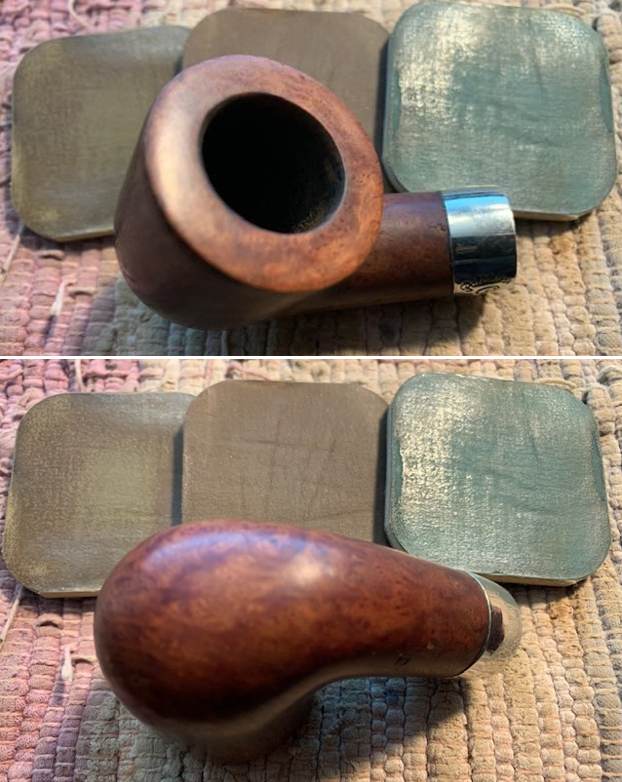
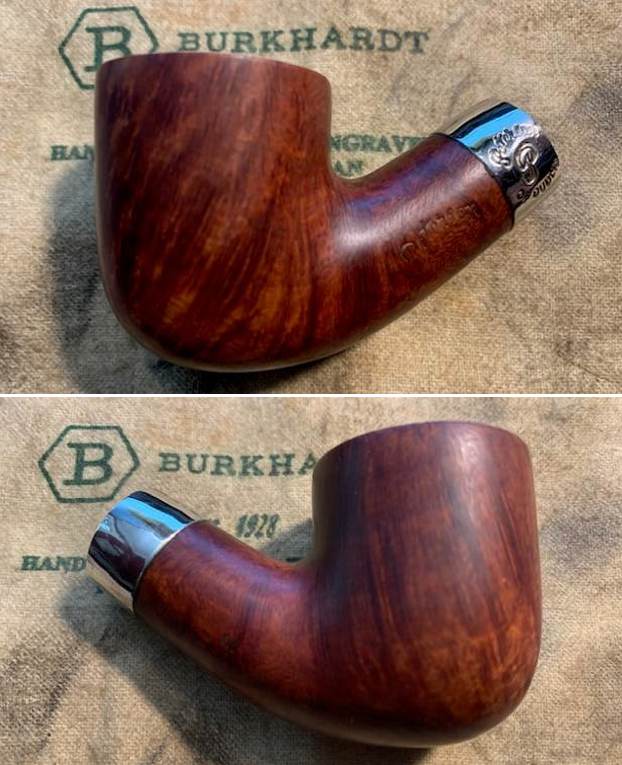
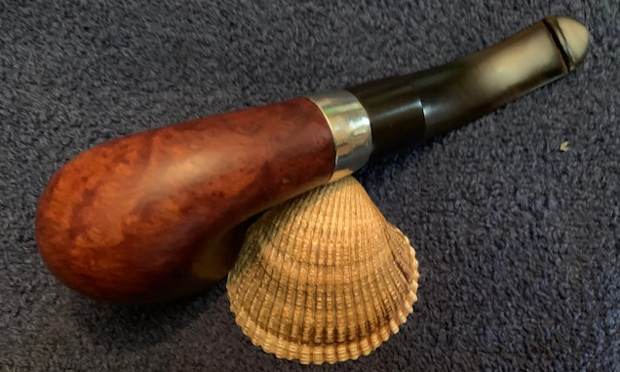
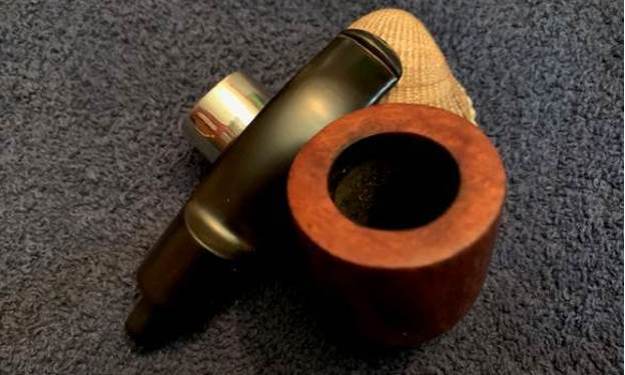
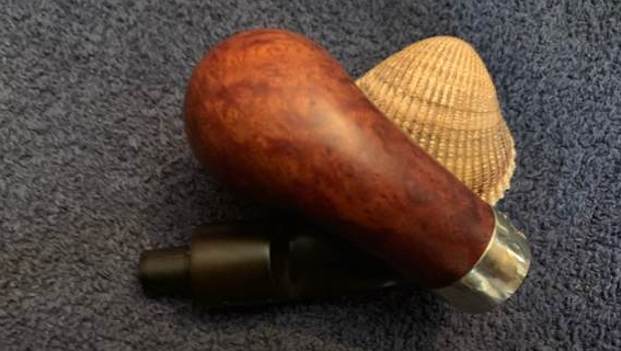
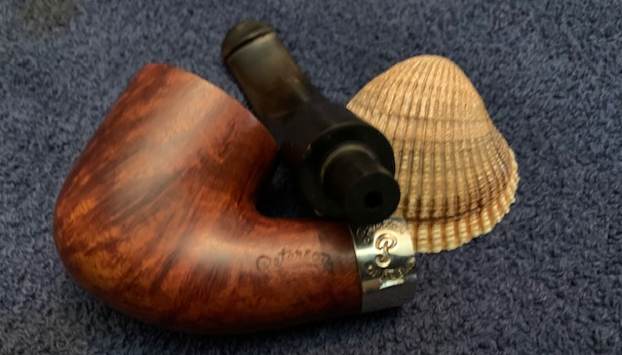
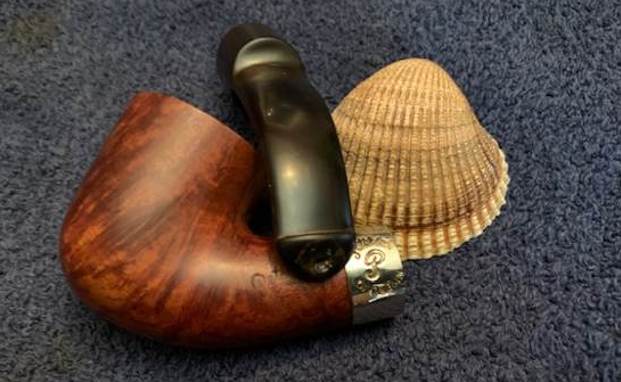
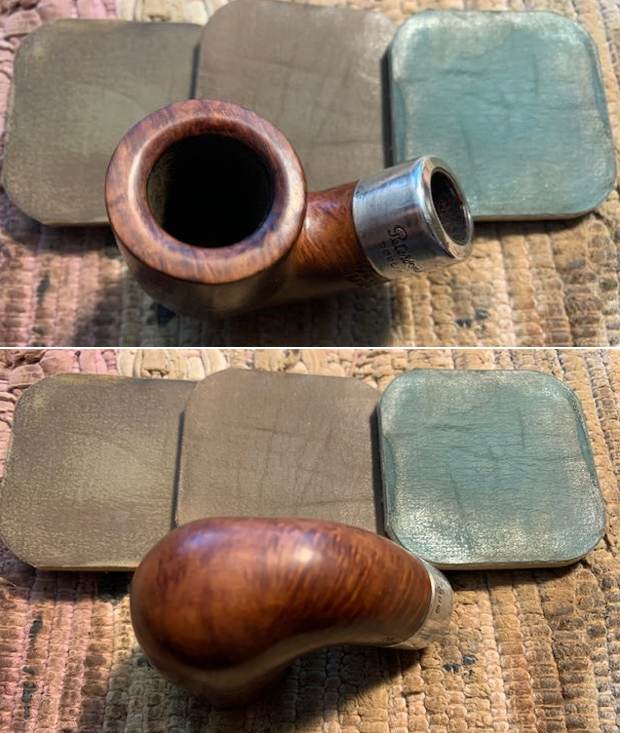
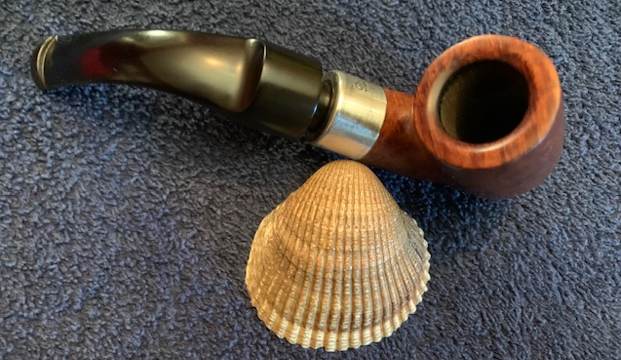
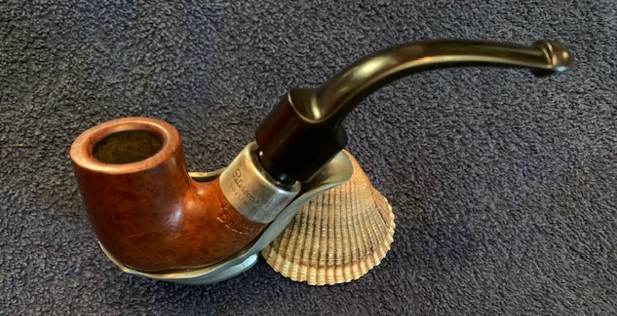
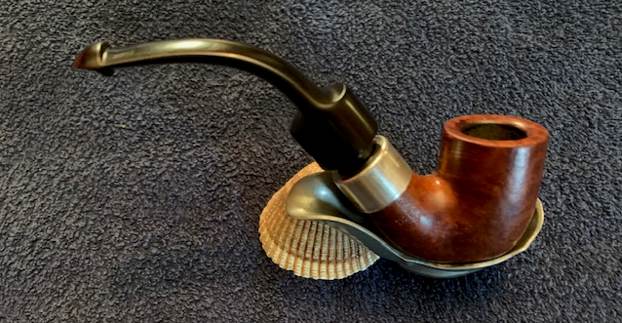
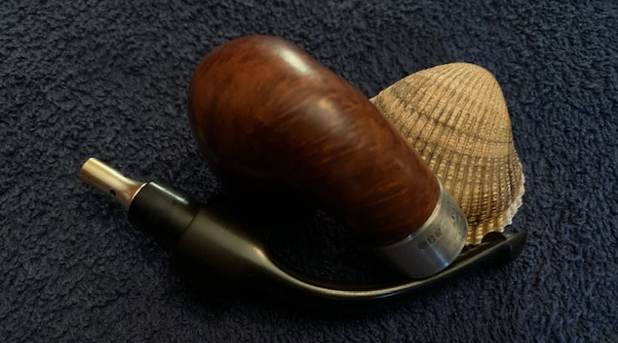
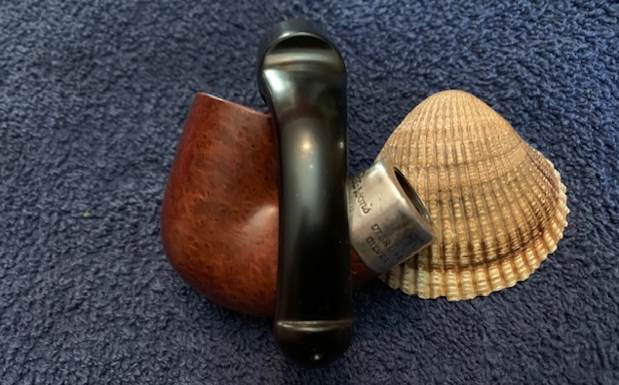
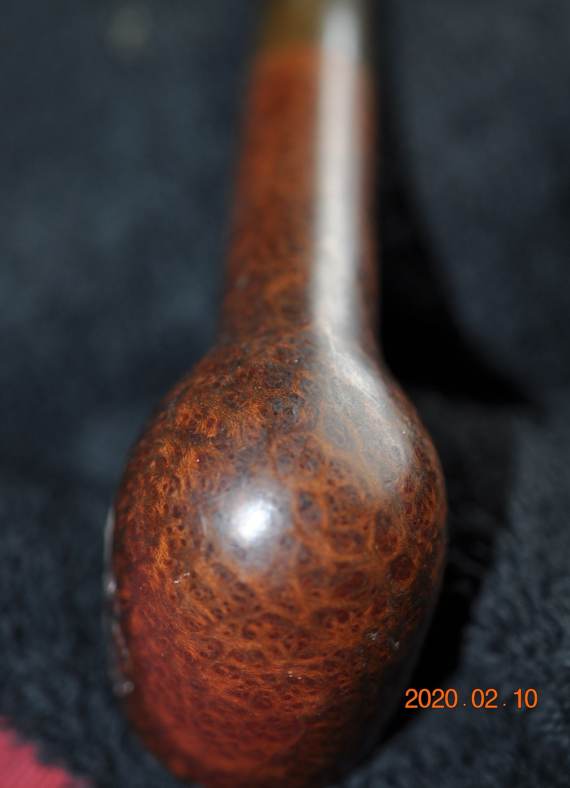
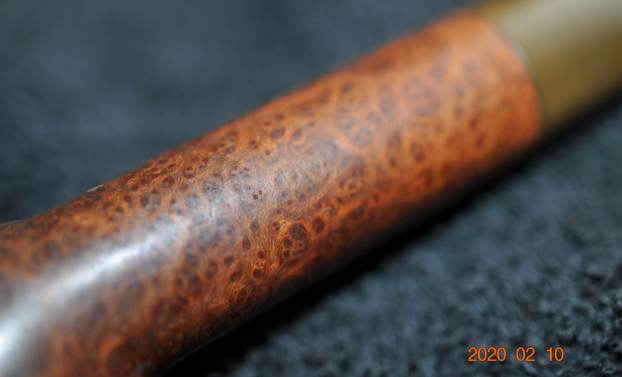
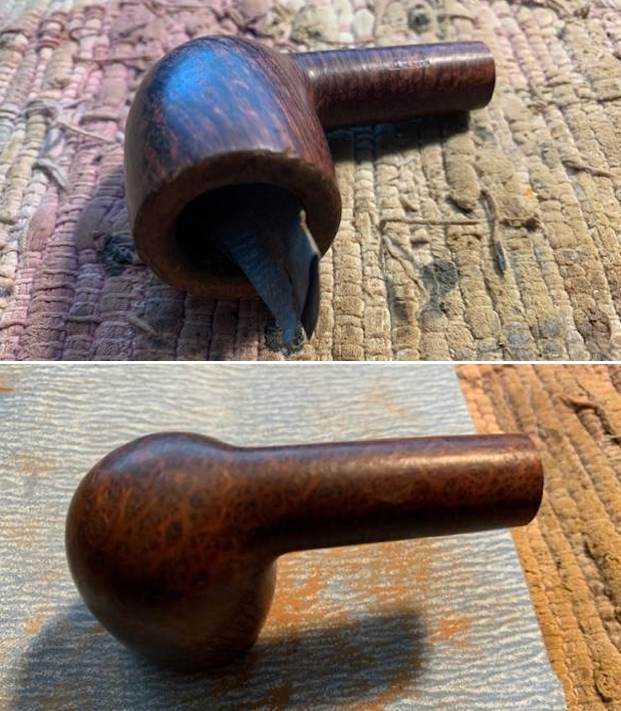
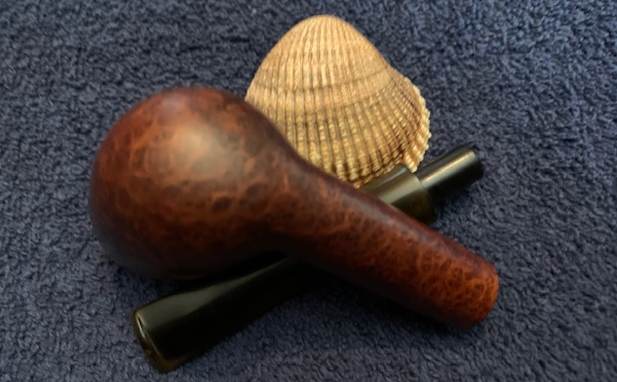
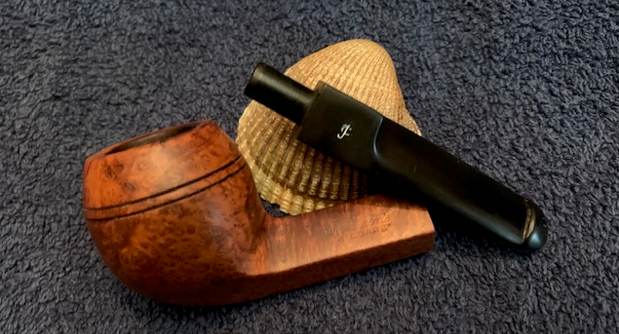
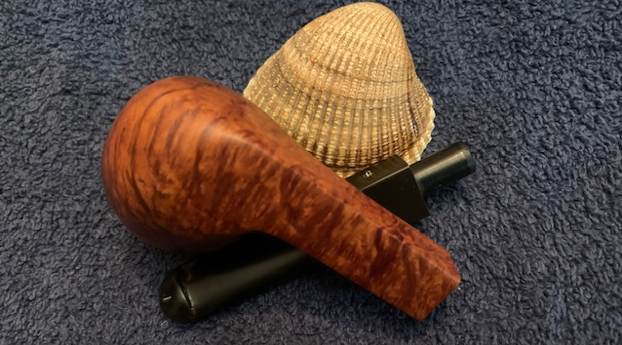
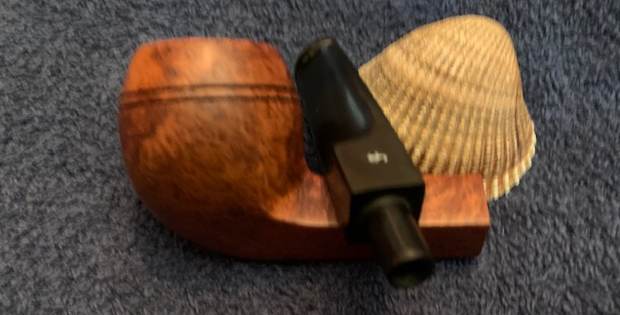
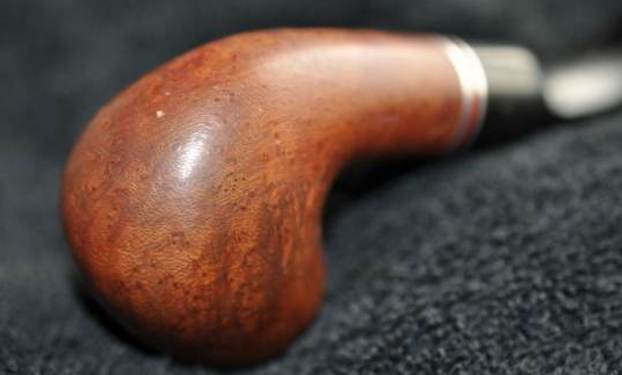
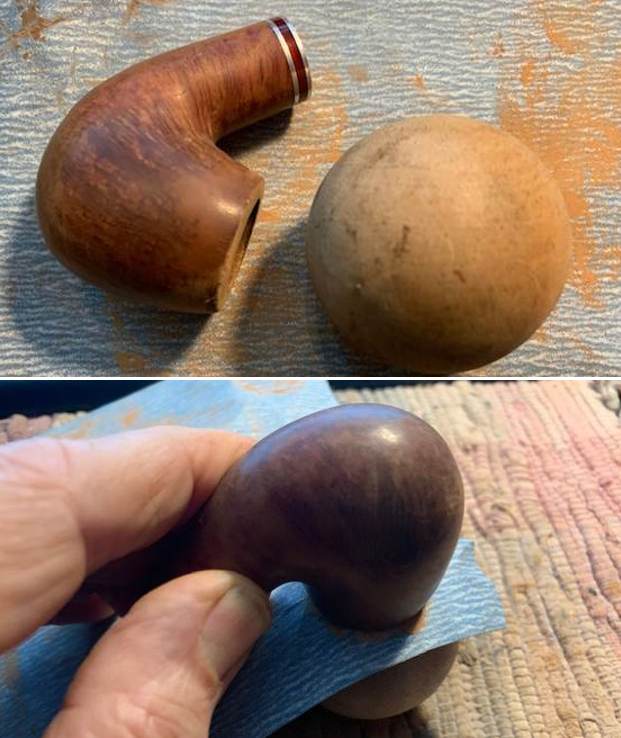
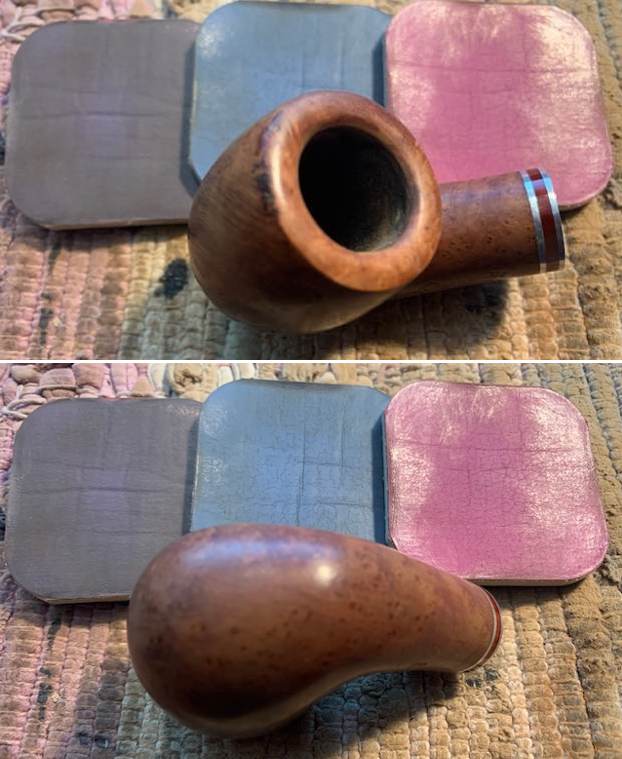
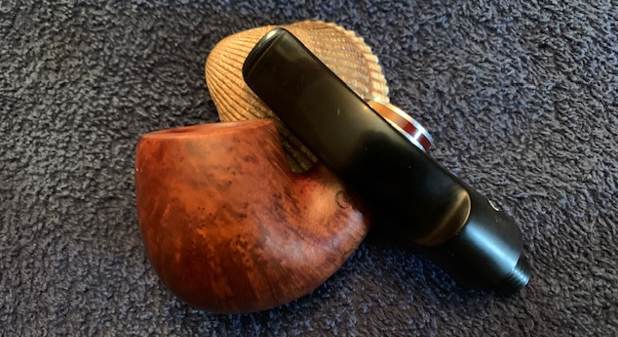
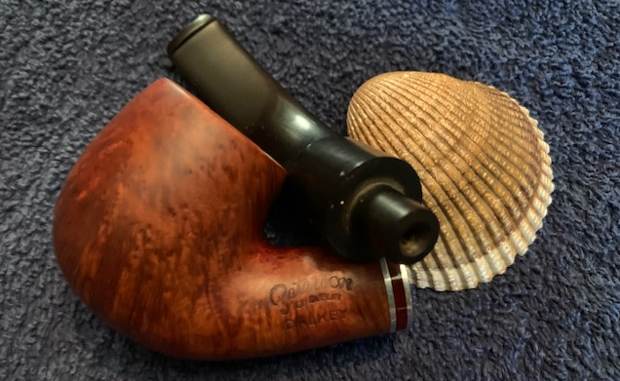
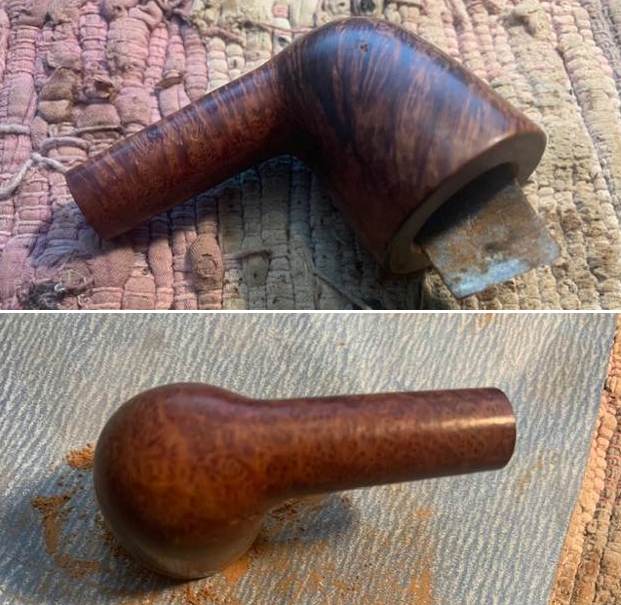
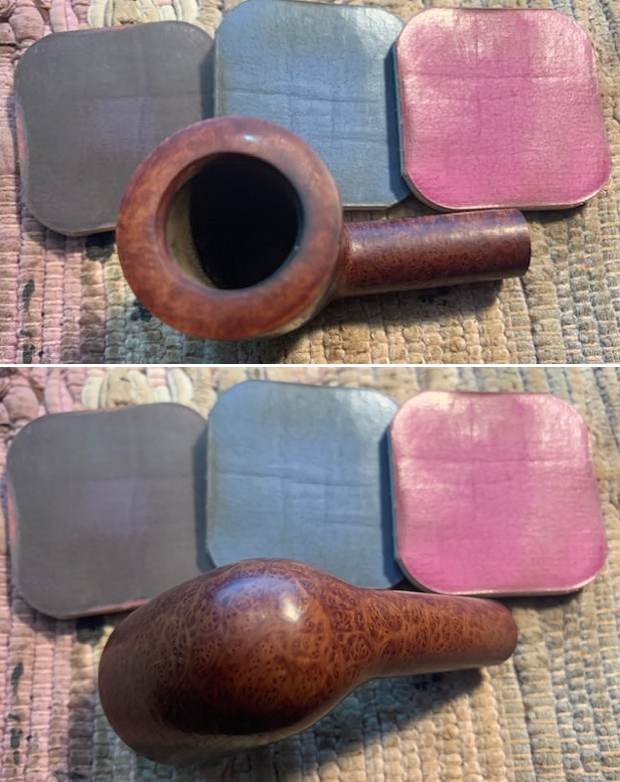
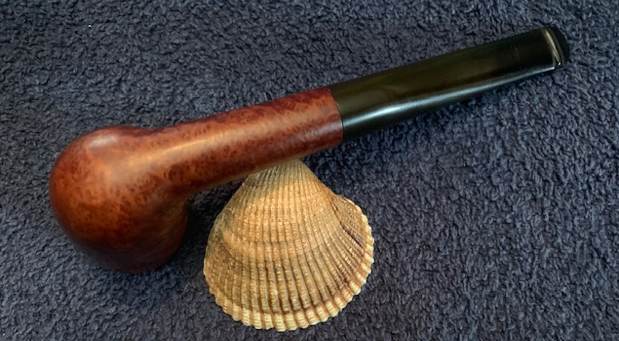
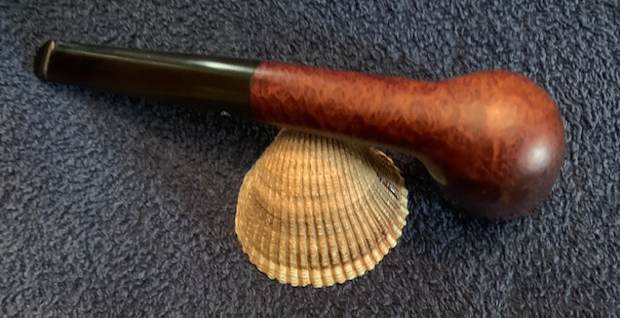
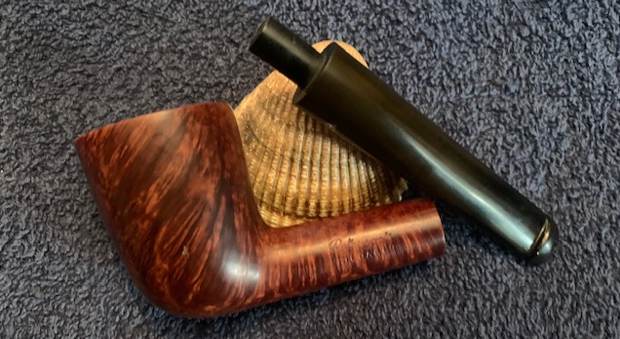
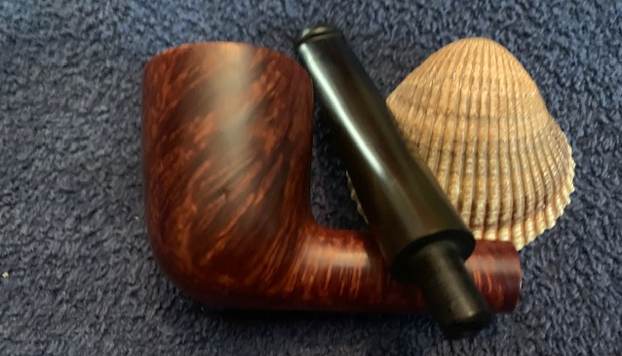
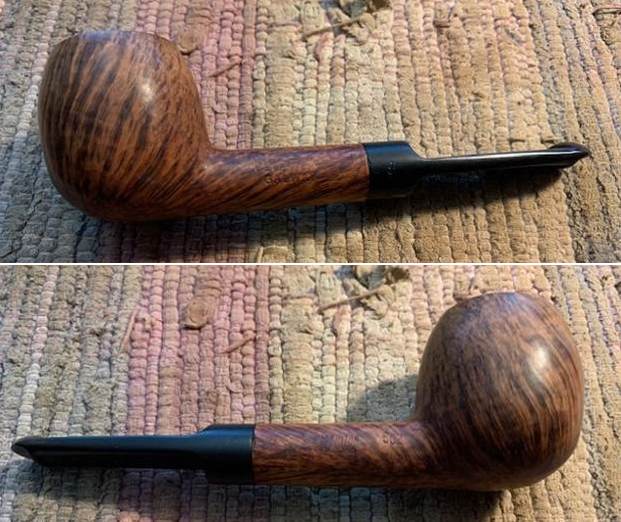
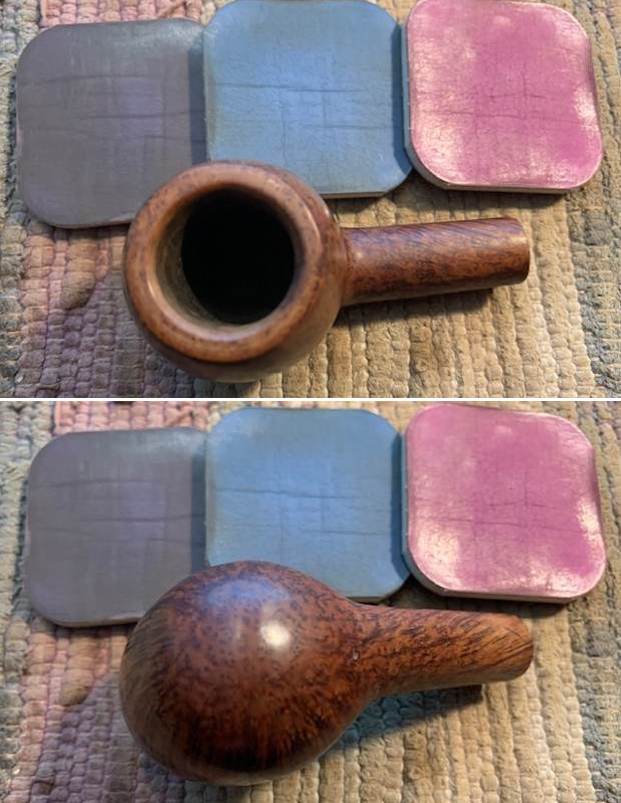
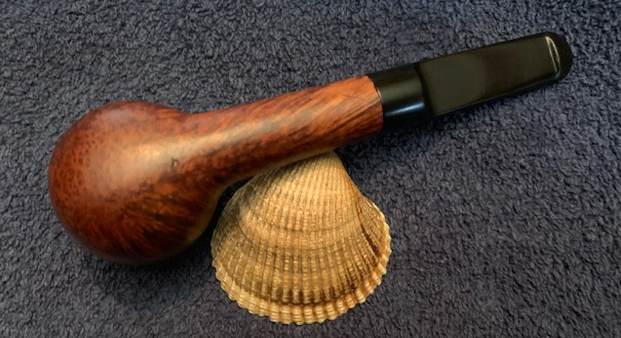
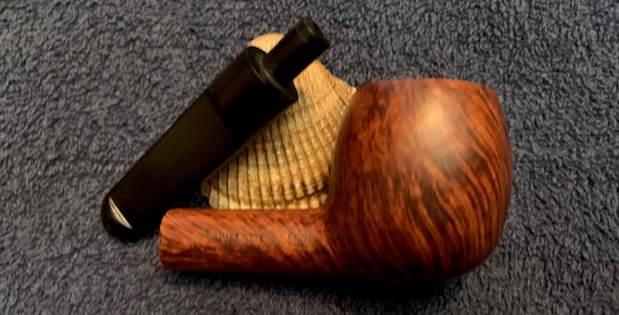
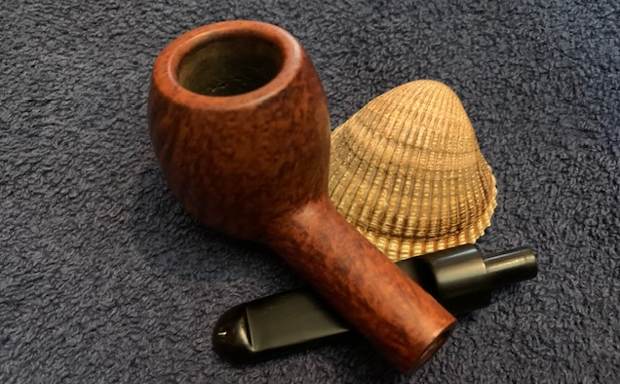
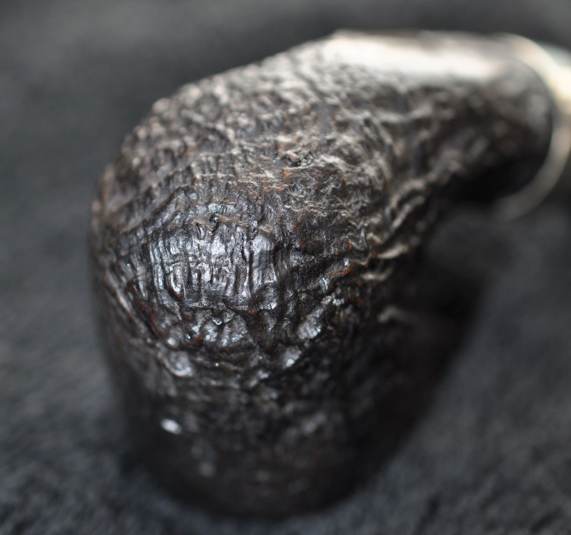
 Jeff took photos of the side and the heel of the bowl to show the swirling patterns of the grain in the briar. It is unique and quite beautiful. I can’t wait to see it once it is cleaned and polished.
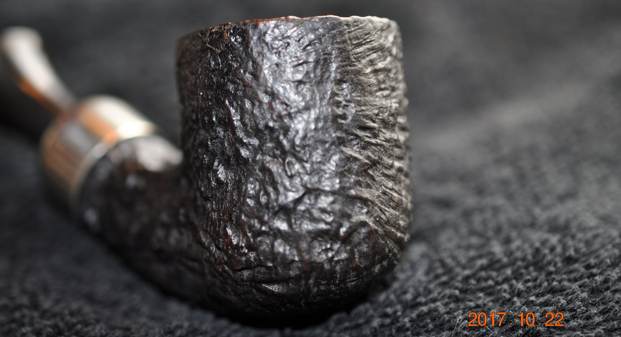
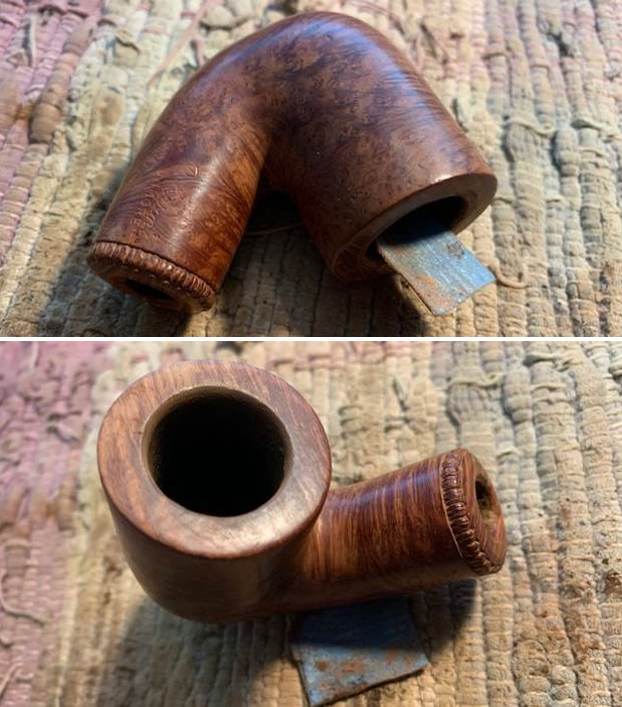
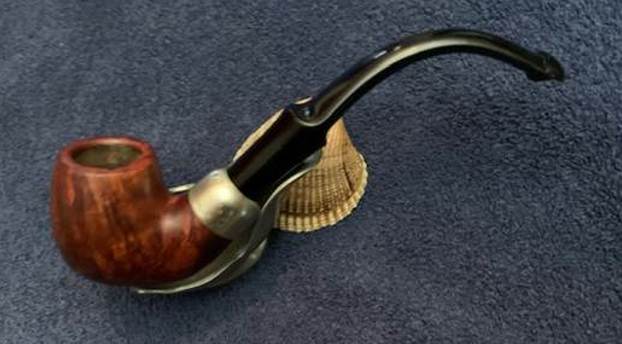
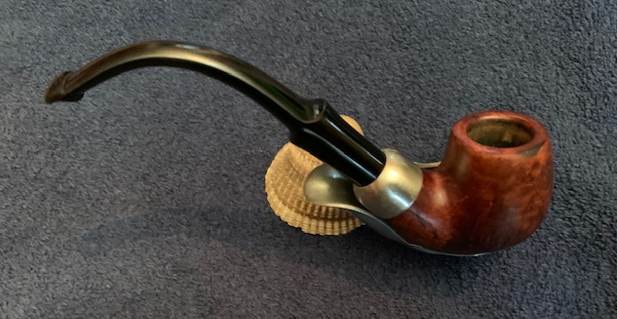
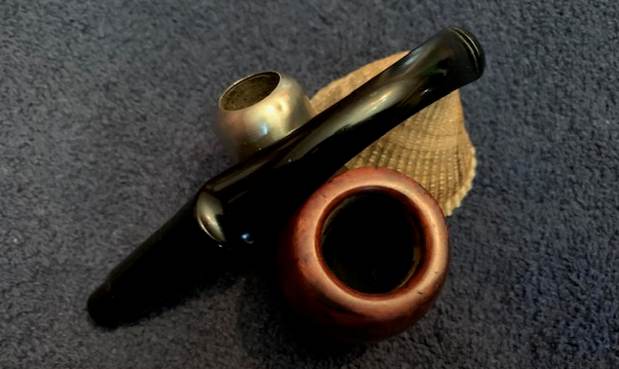
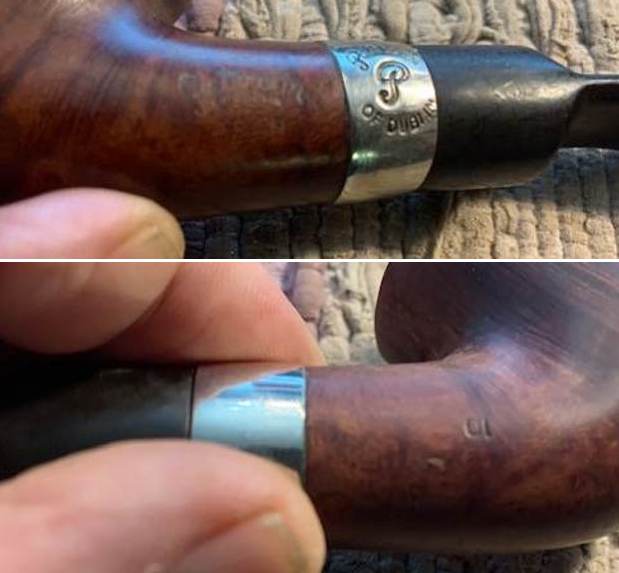
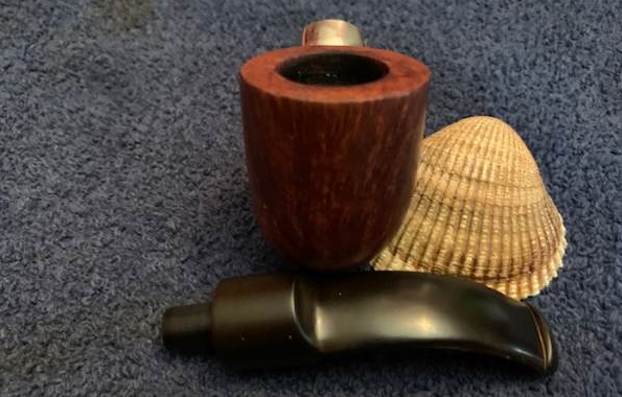
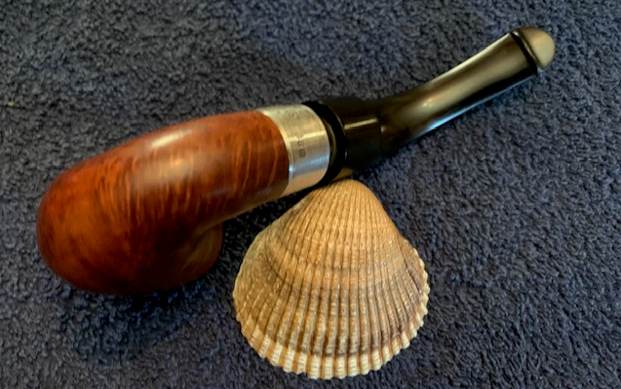
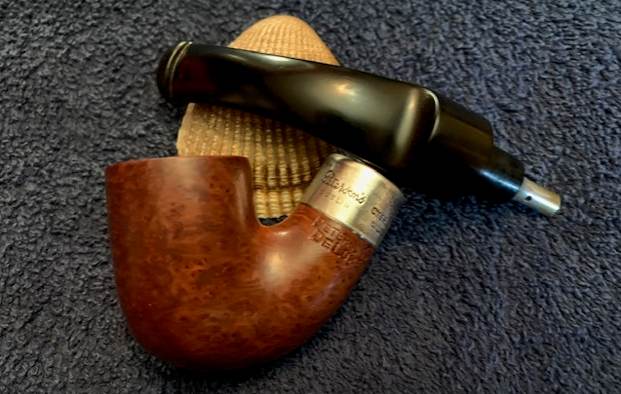
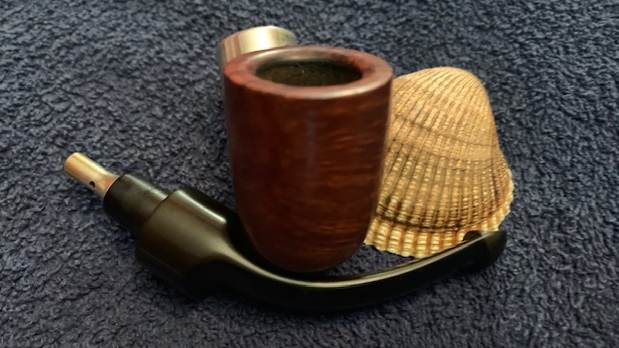
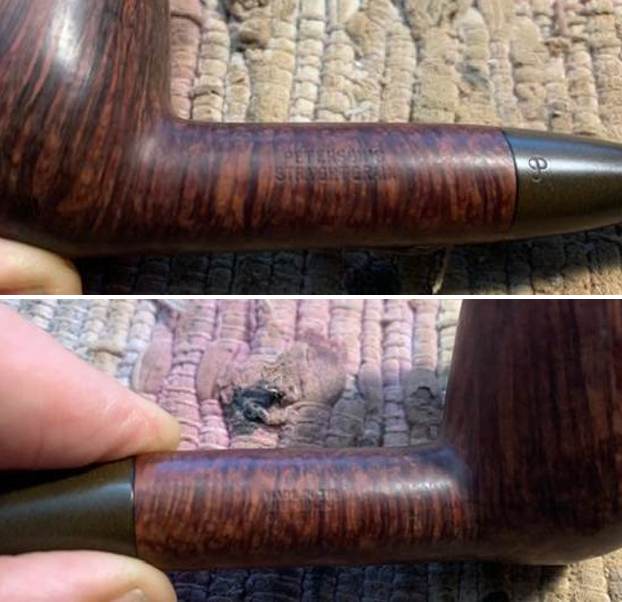
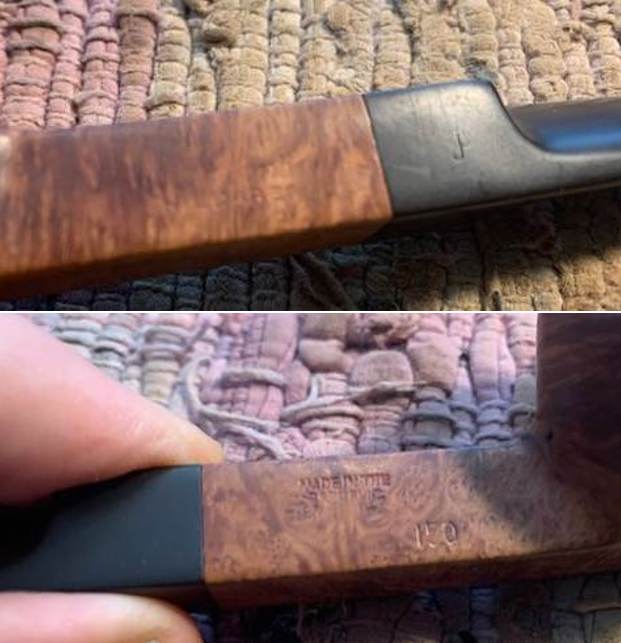
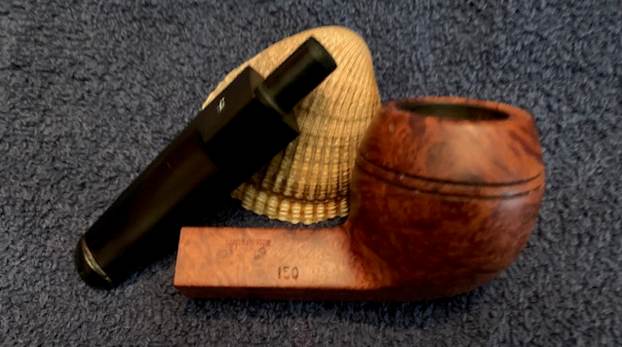
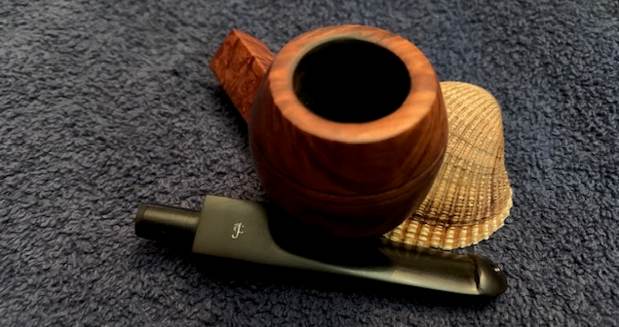
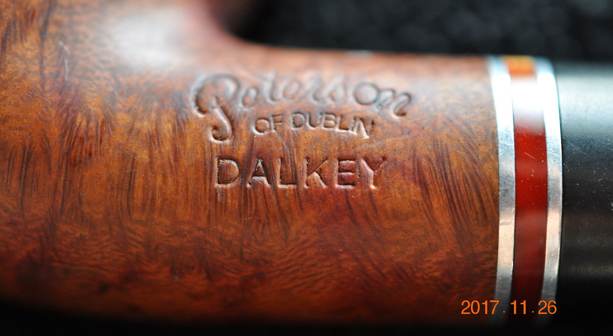
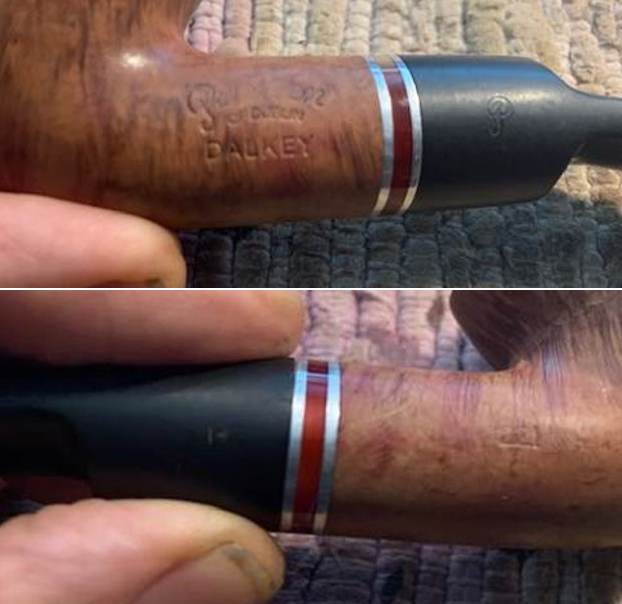
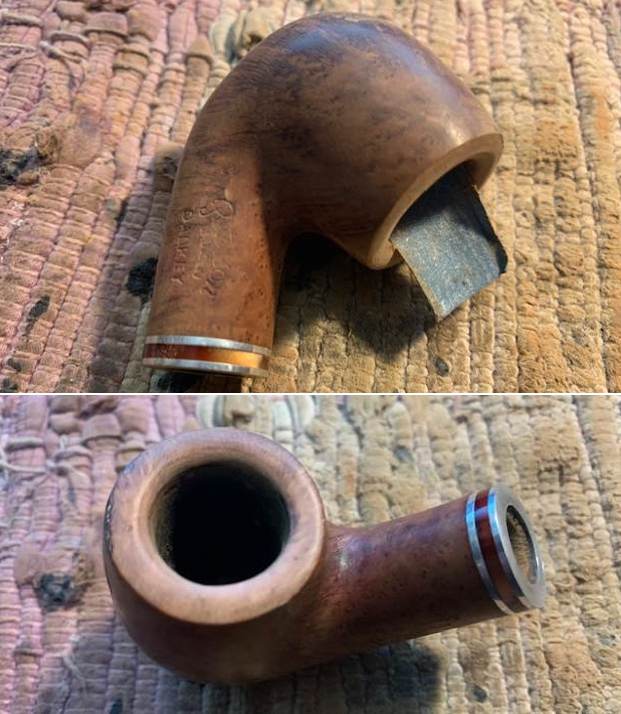
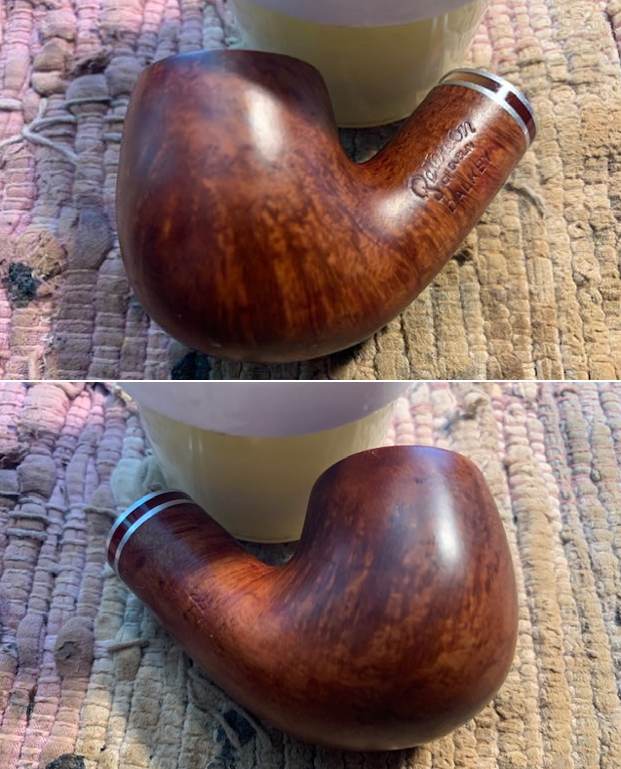
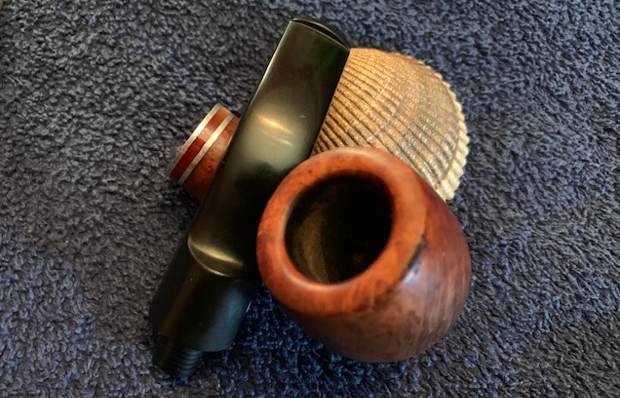
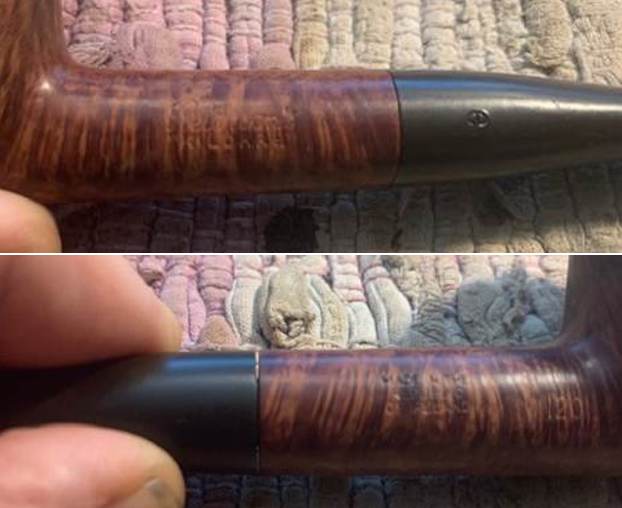
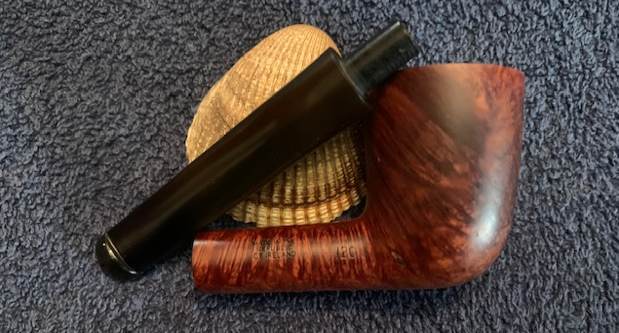
 The stamping on the underside of the shank was very readable and read as noted above. It had been buffed but was not overly damaged.
 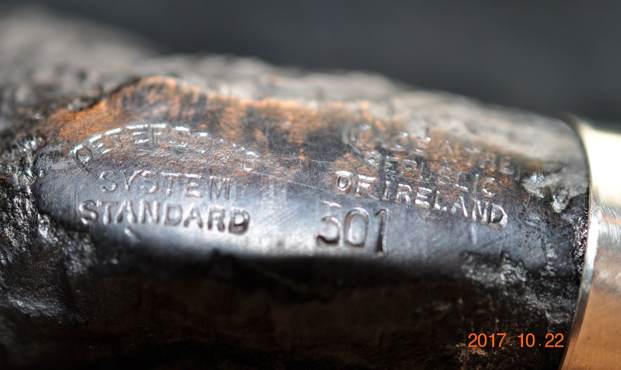 I am including the link to the Pipedia’s article on Peterson pipes. It is a great read in terms of the history of the brand (https://pipedia.org/wiki/Peterson).
I turned to “The Peterson Pipe” by Mark Irwin and Gary Malmberg to get some background on the Peterson’s System Line. On page 314 it had the following information.
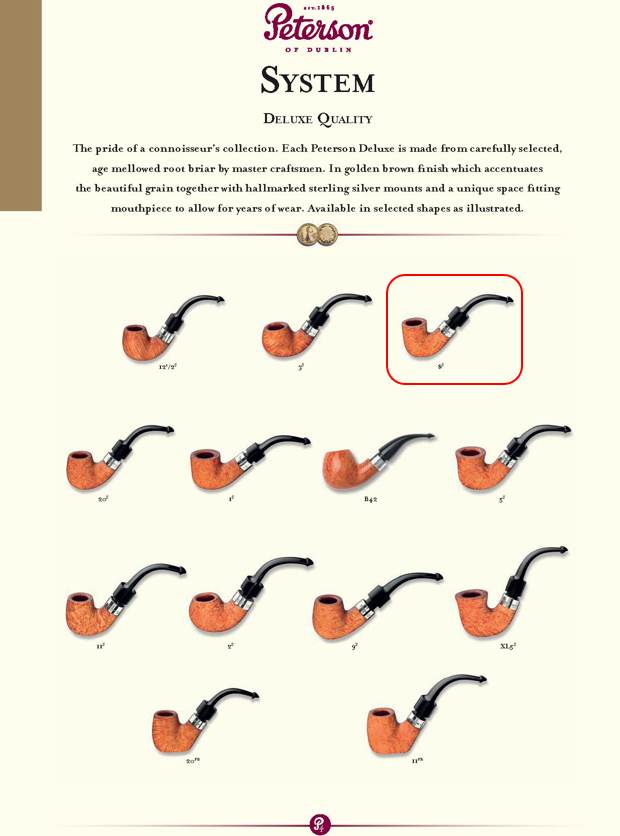
Peterson’s over System – Pipes stamped Peterson’s System have been documented as early as 1920. A ’20 brochure is the earliest printed reference to the Peterson System. The pipe came in three quality grades (no mark, 2, or 3) until 1959, thereafter as De Luxe (no mark), Premier (the old 2) and Standard (the old 3).
Peterson’s over System over Standard (c1945-)
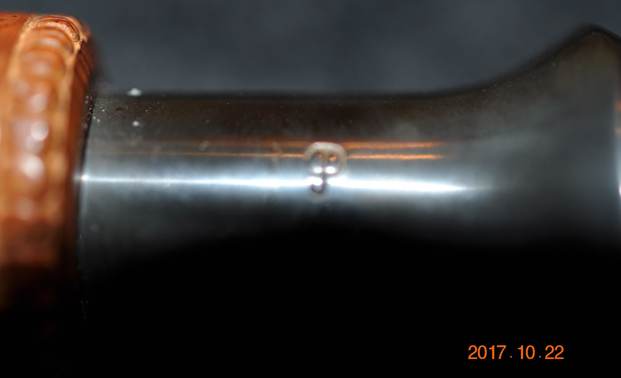
I learned previously that the shape 301 was not introduced until 1975. Considering the Republic stamp, this one would likely date between 1975 and 2000. My guess is that the pipe was made somewhere between 1975 and mid-80s. Now it was time to work on the pipe.
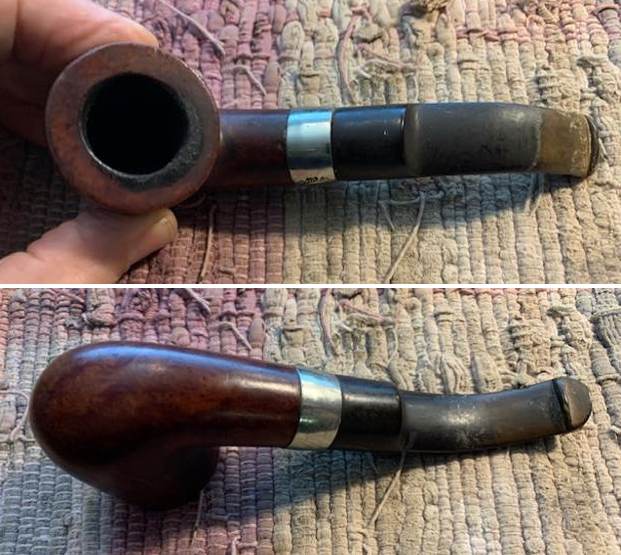
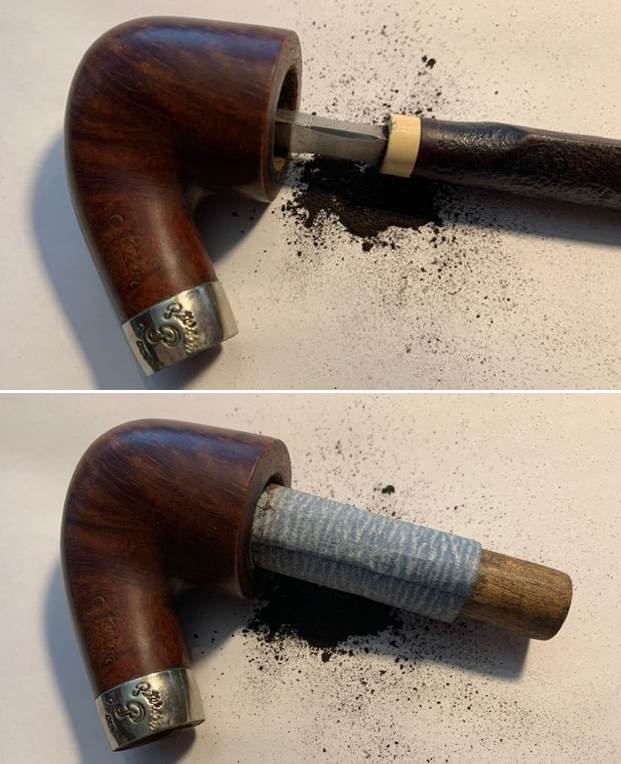
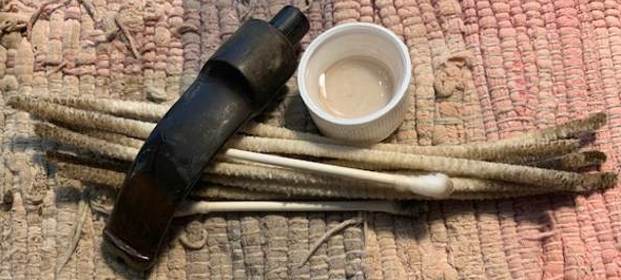
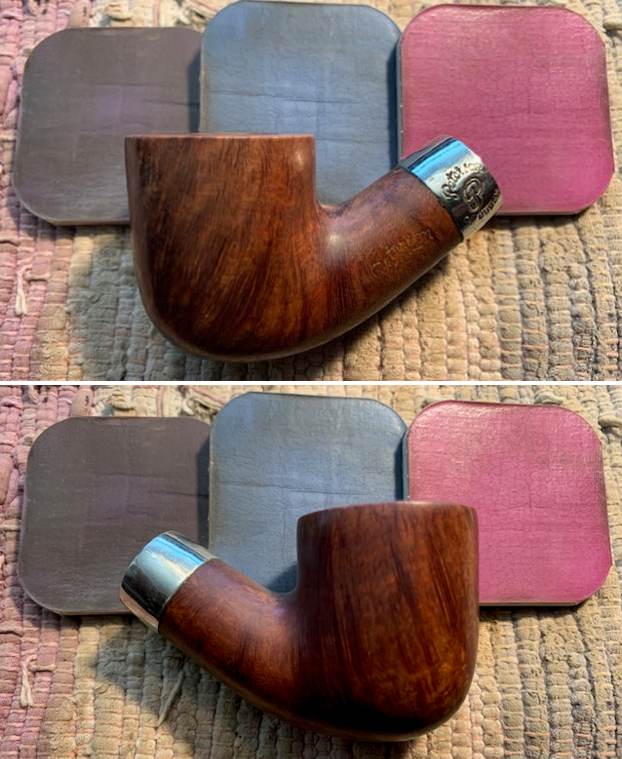
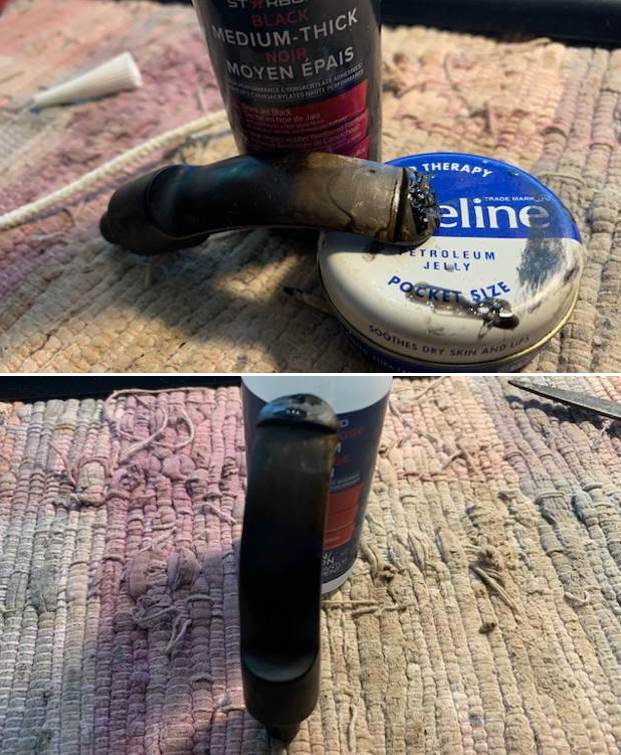
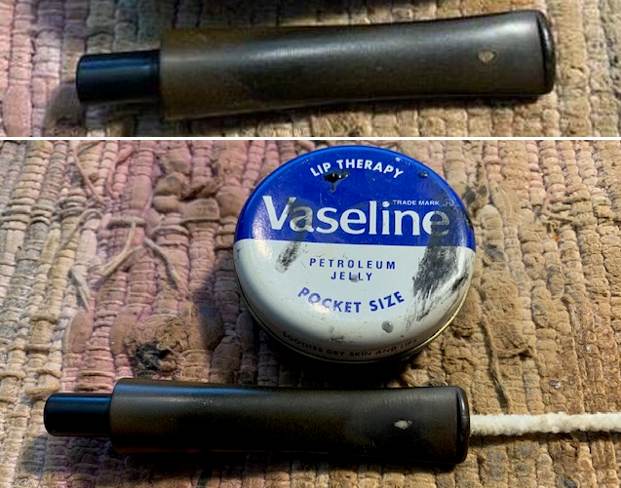
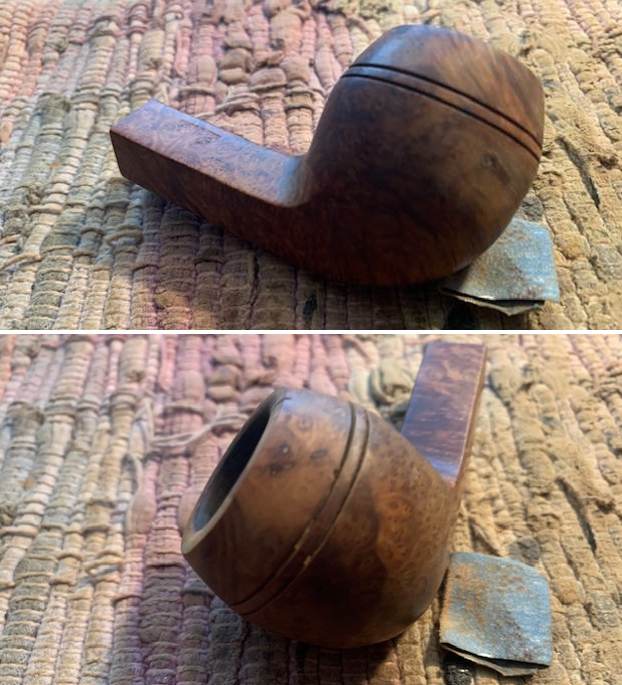
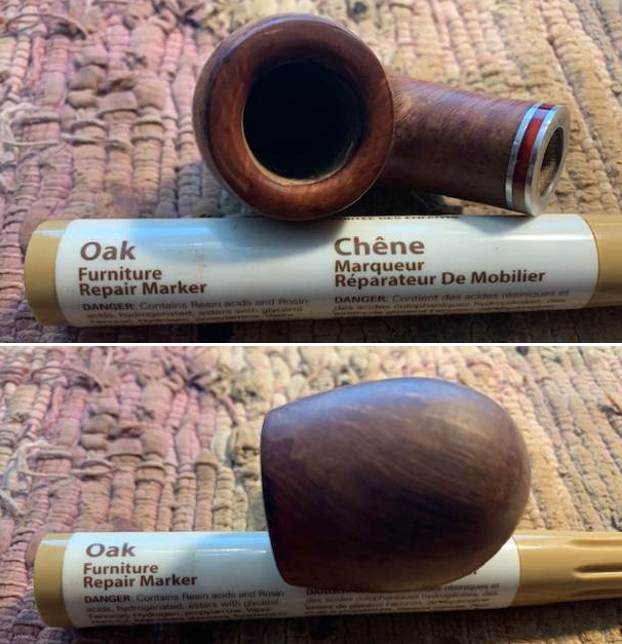
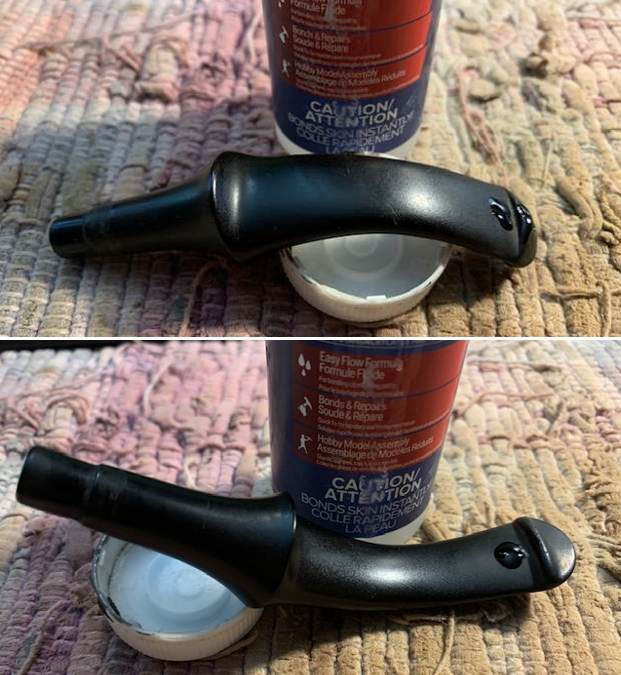
With that information at hand I turned to work on the pipe itself. Jeff had thoroughly cleaned up the pipe. He reamed the pipe with a PipNet Pipe Reamer and cleaned up the remnants with a Savinelli Fitsall Pipe Knife. He scrubbed the bowl with undiluted Murphy’s Oil Soap with a tooth brush. He rinsed it under running warm water to remove the soap and grime. He cleaned out the inside of the shank and the airway in the stem with alcohol, cotton swabs and pipe cleaners. He scrubbed the exterior of the stem with Soft Scrub to remove as much of the oxidation and calcification as possible. He soaked the stem in Before & After Deoxidizer and rinsed it off with warm water. I took photos of the pipe once I started to work on it. 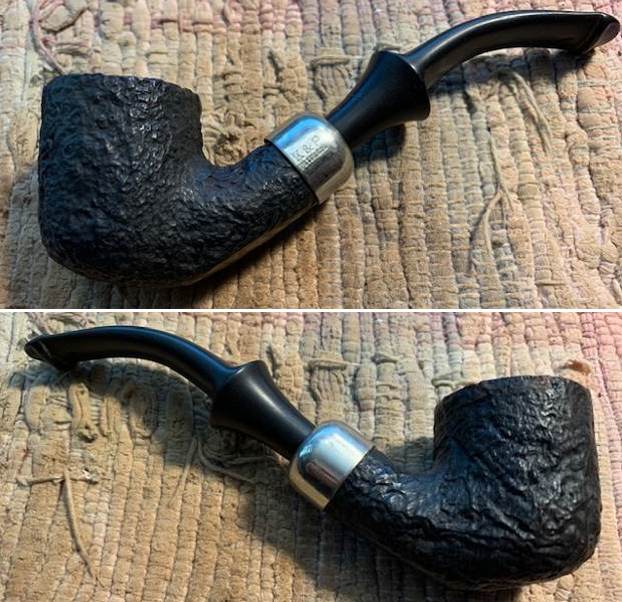
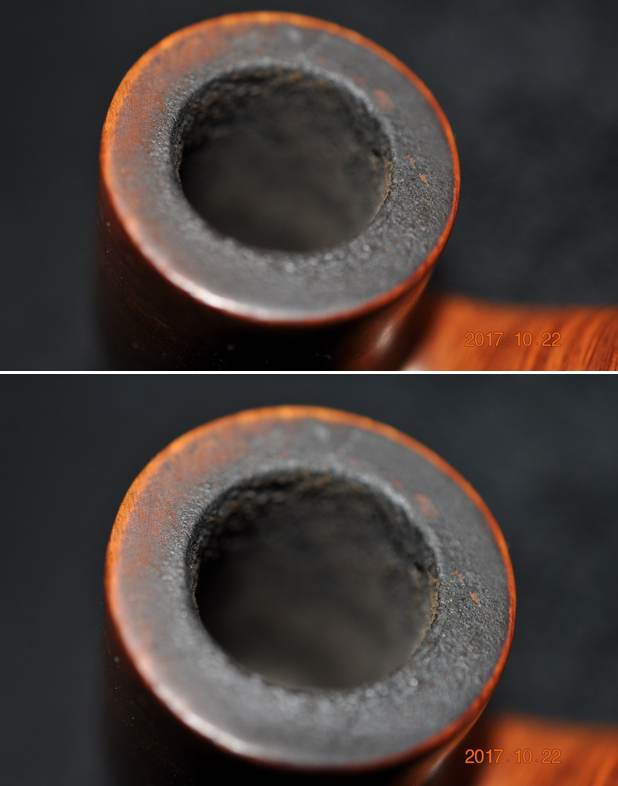
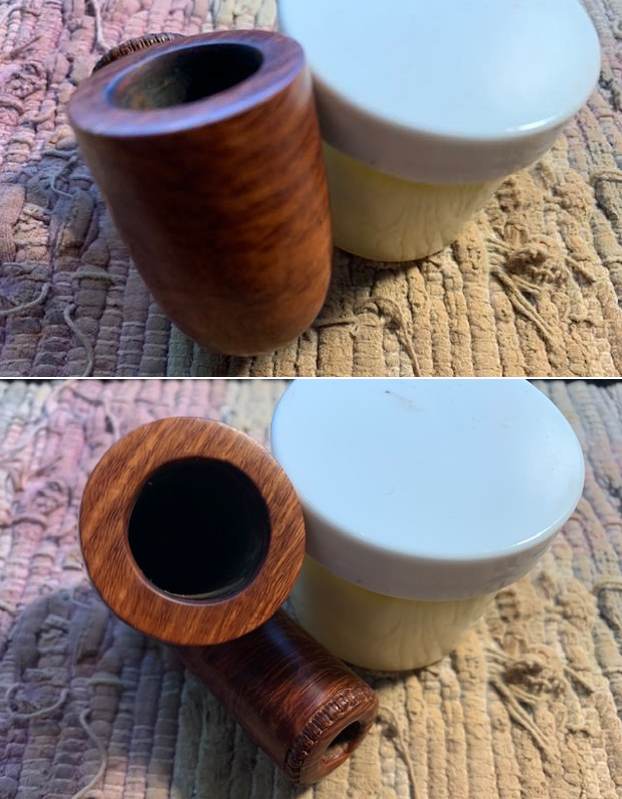
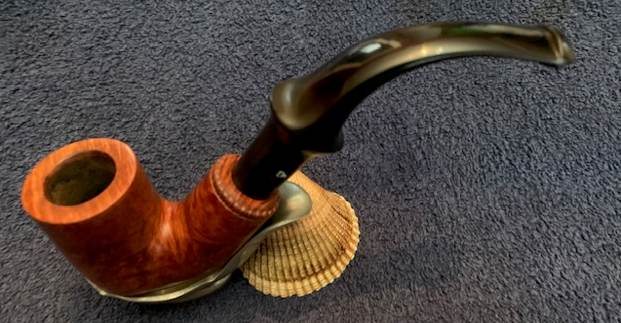
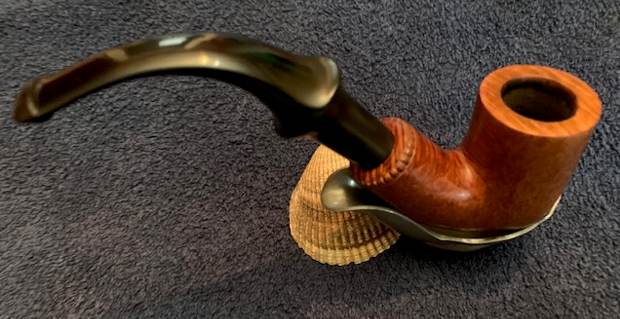
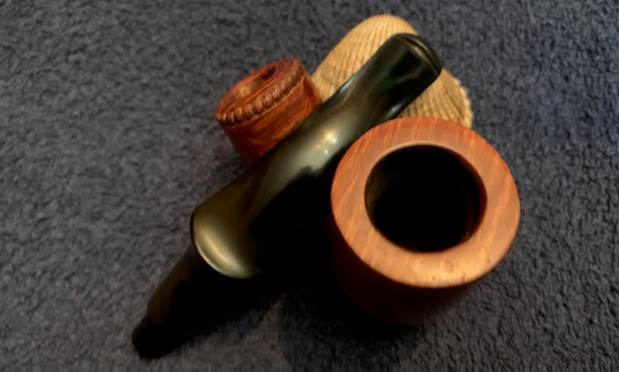
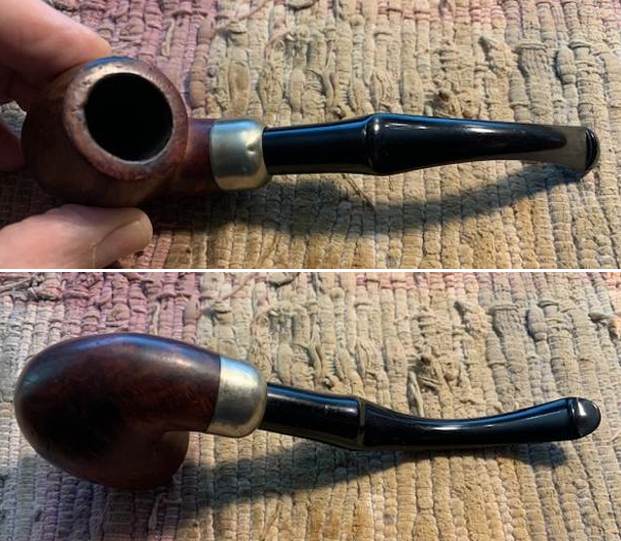
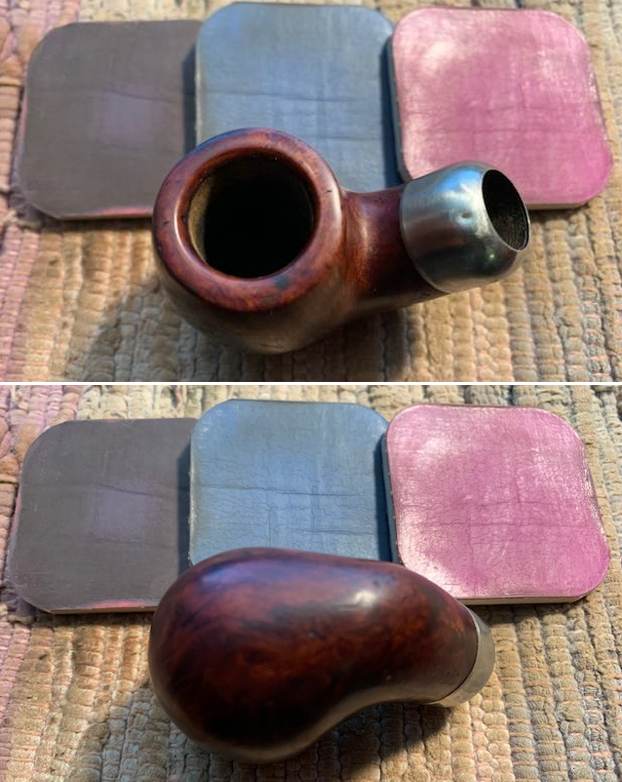
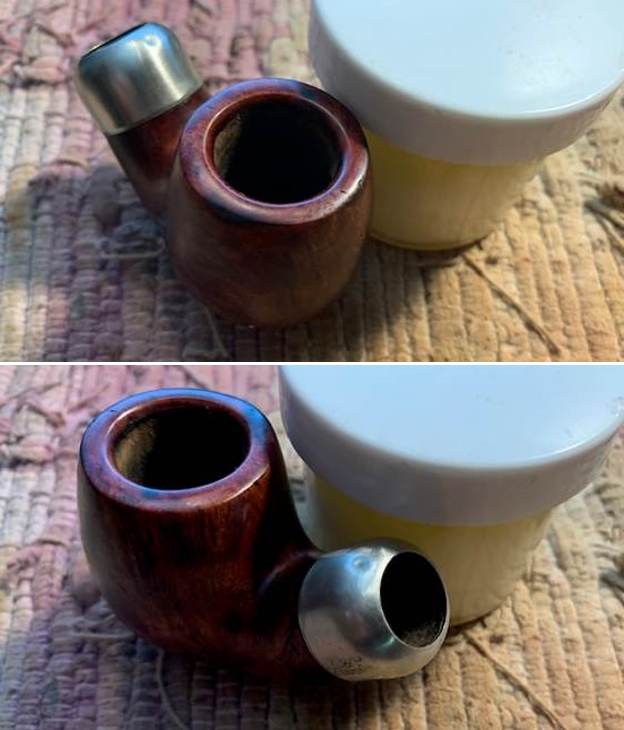
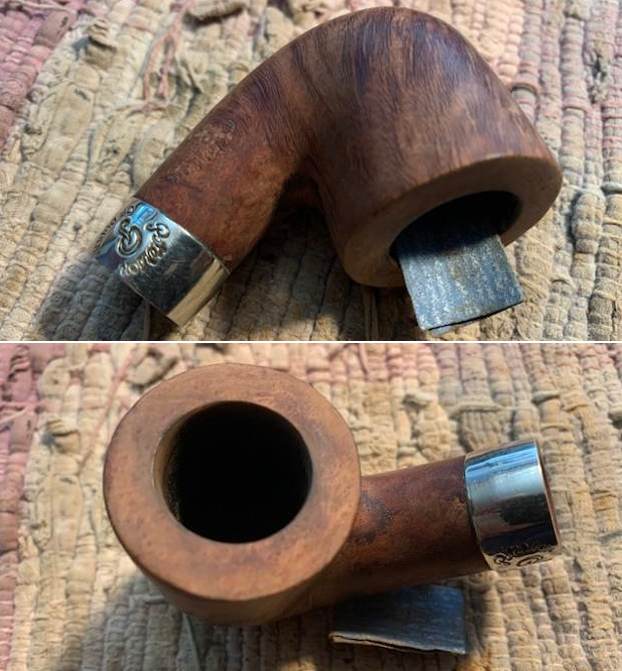
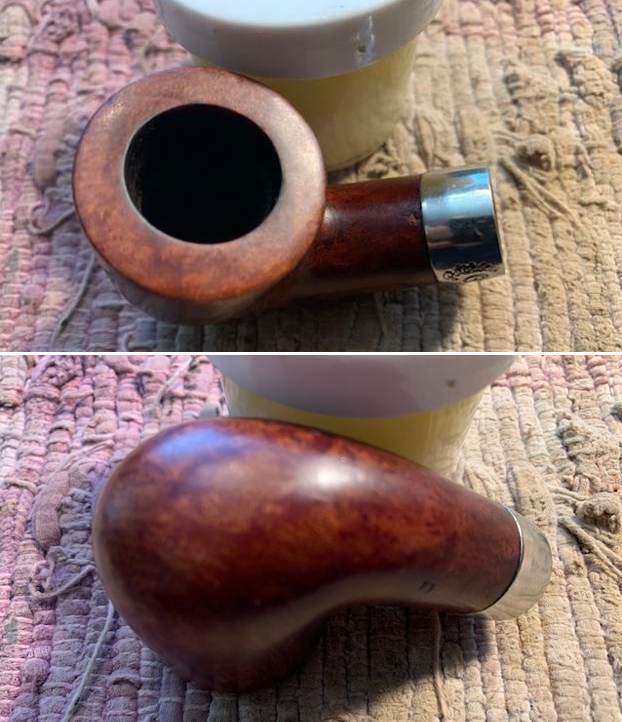
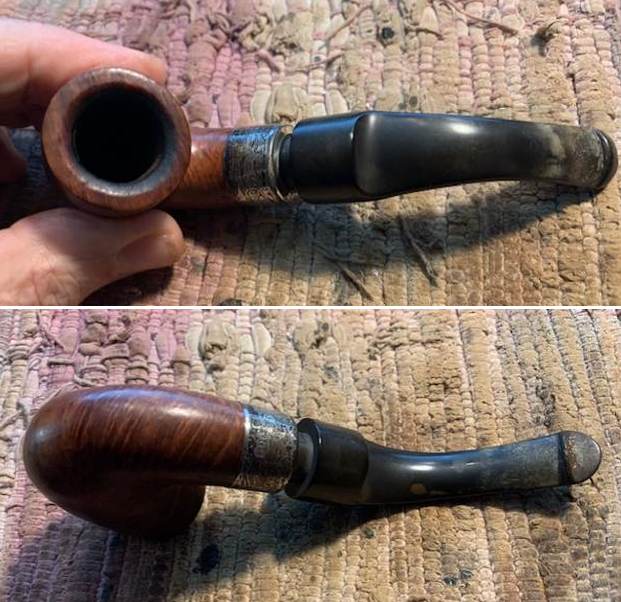
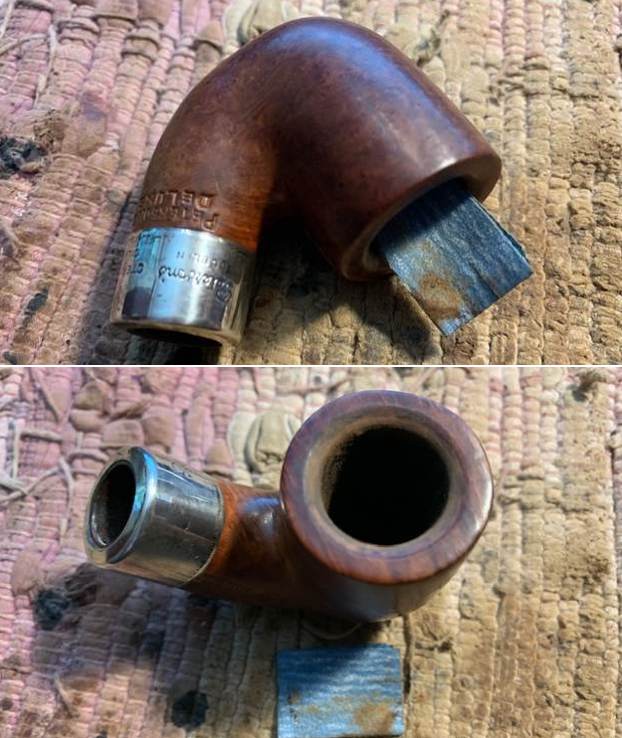
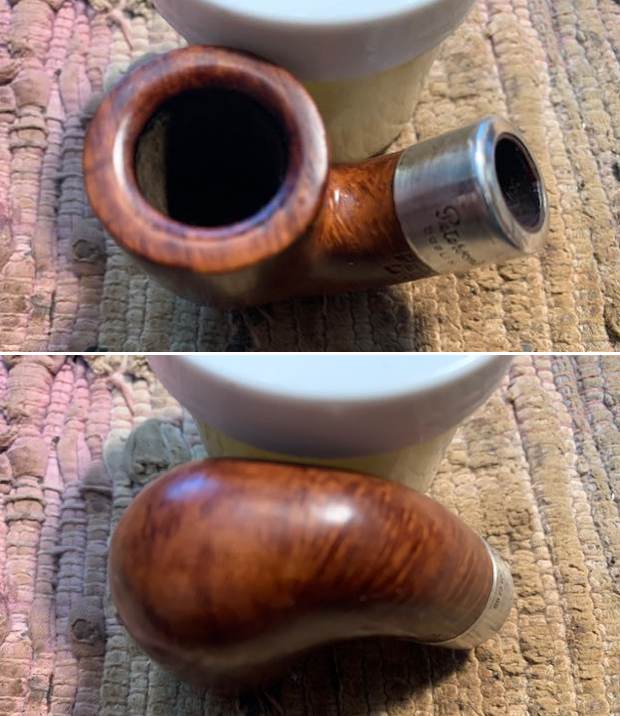
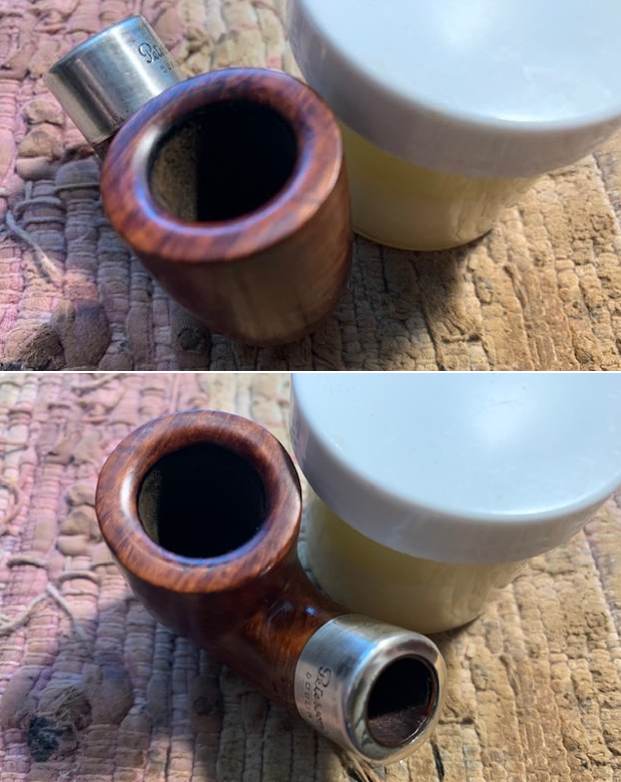
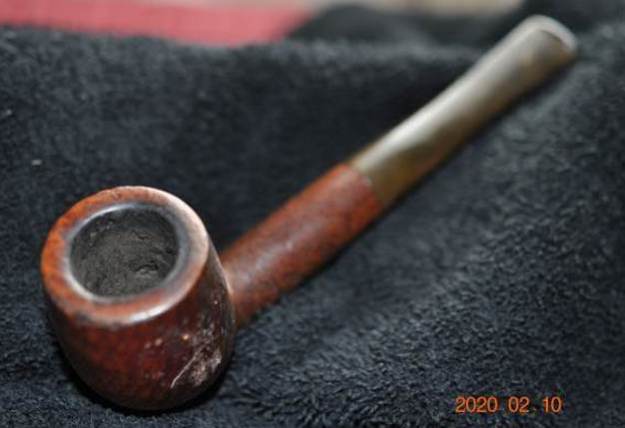
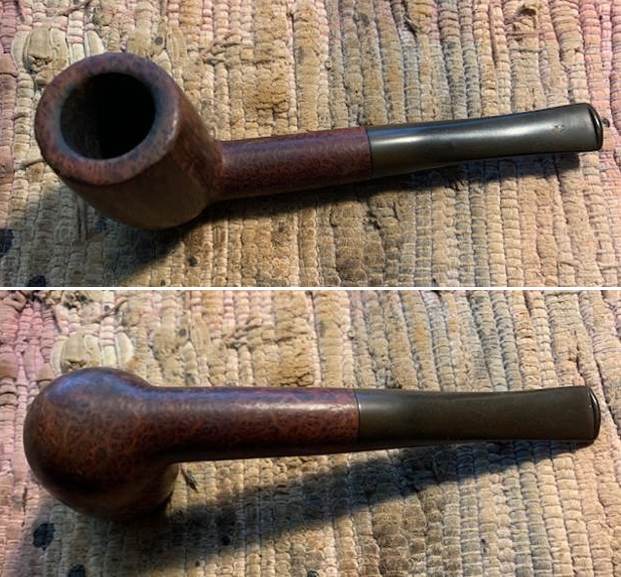
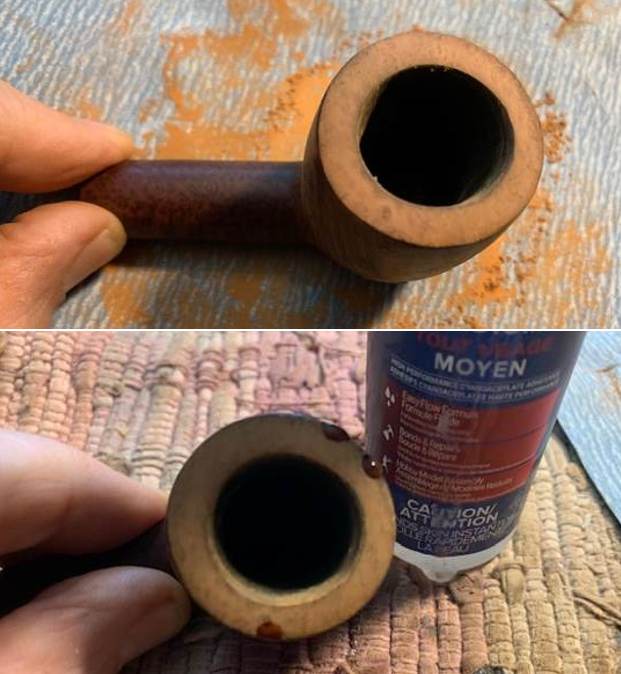
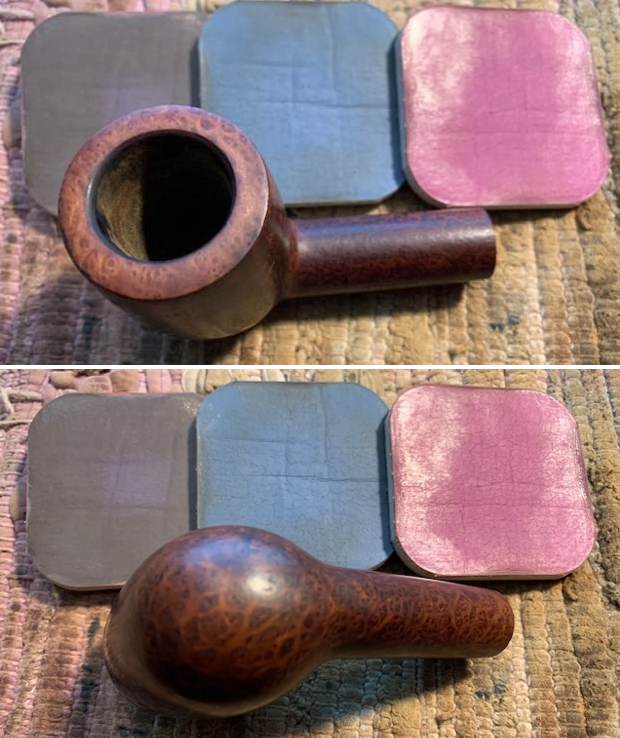
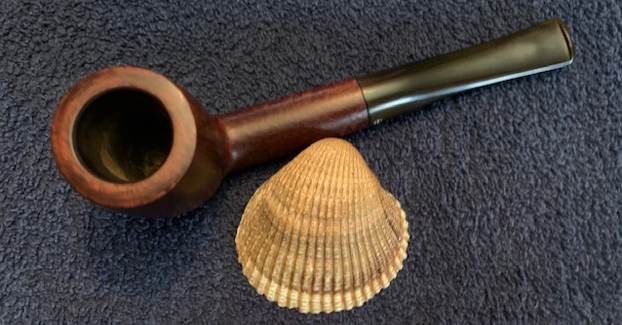
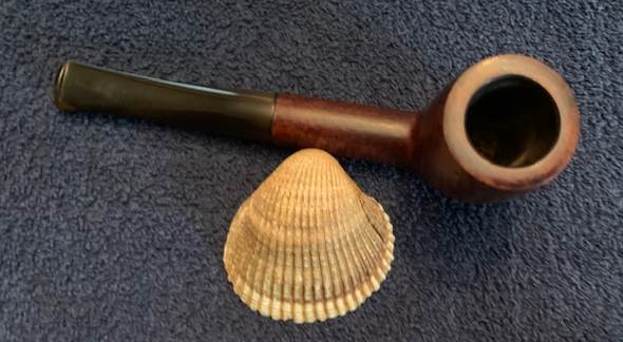
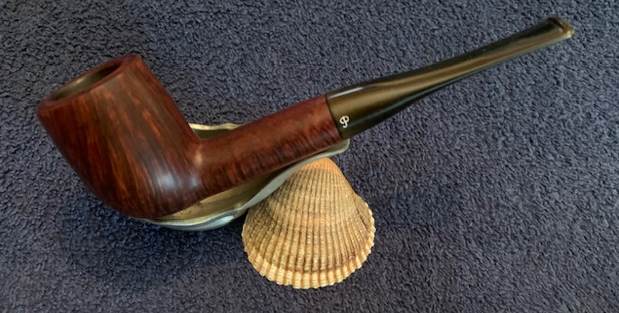
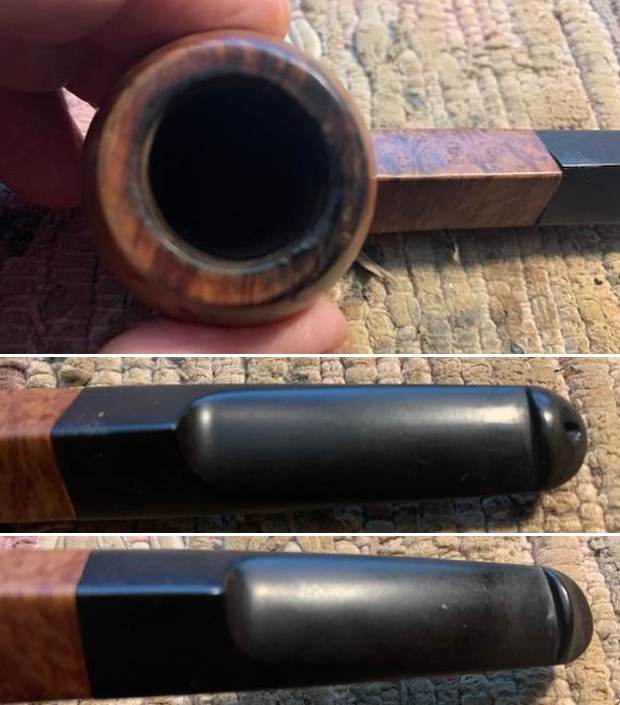
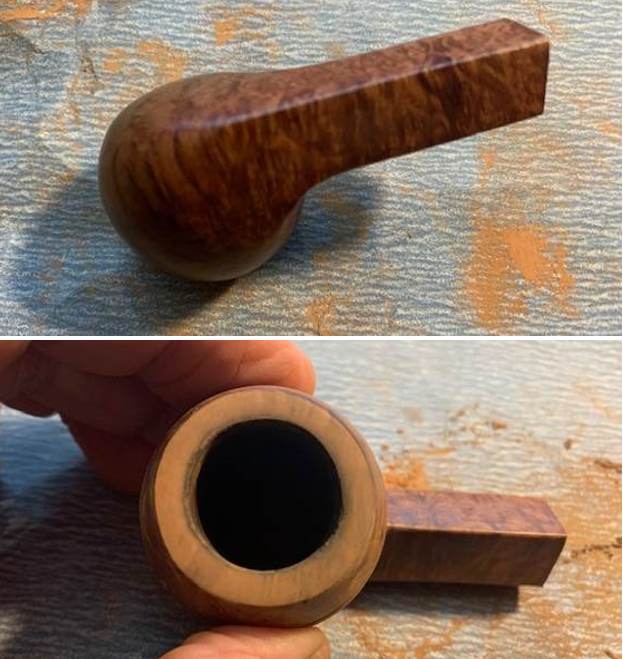
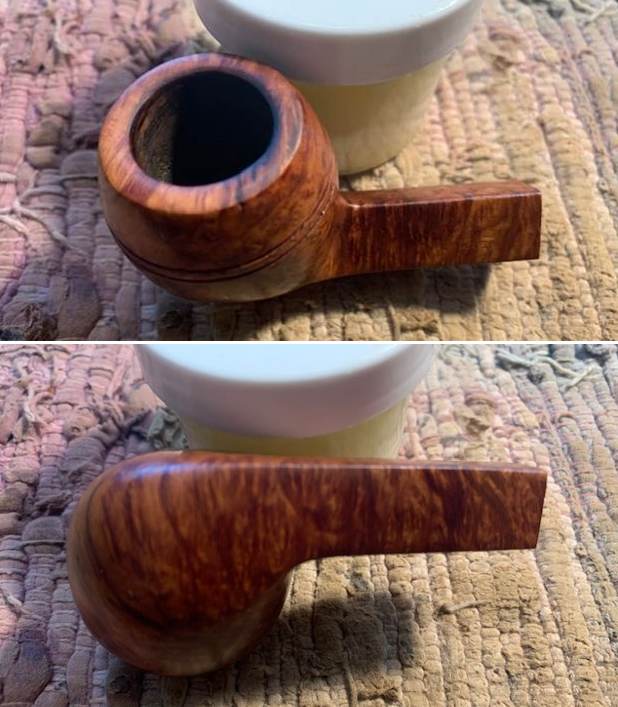
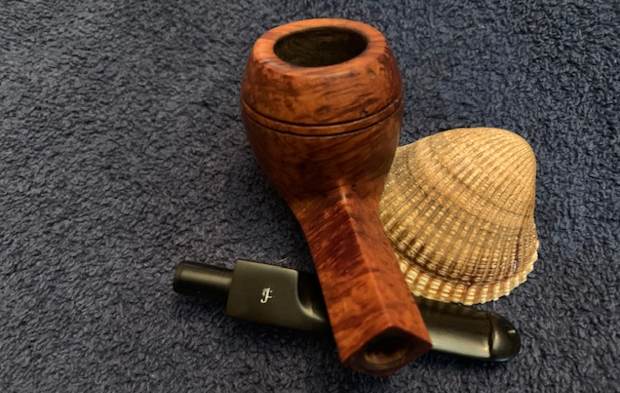
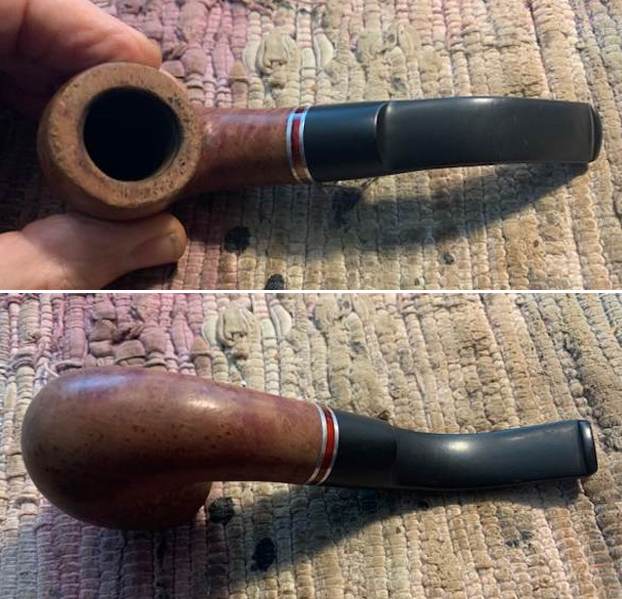
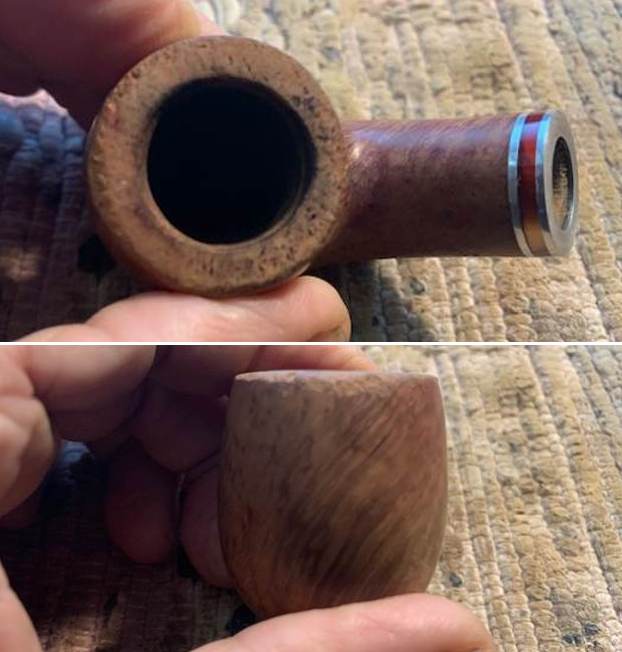
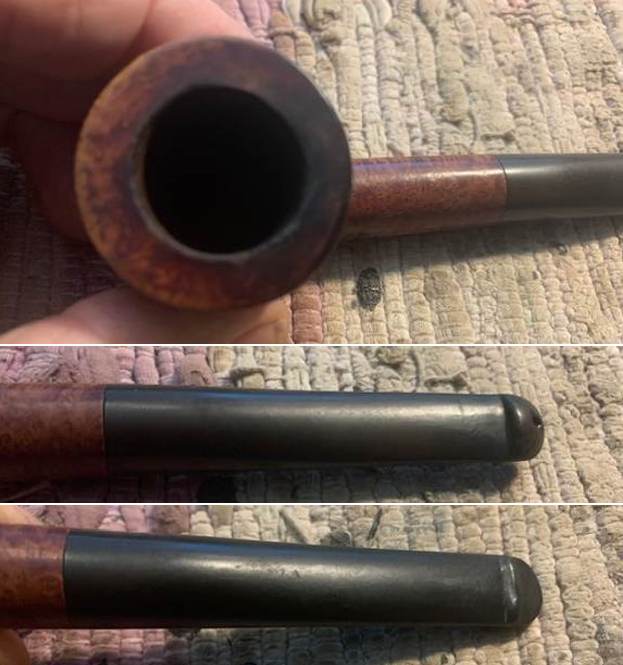
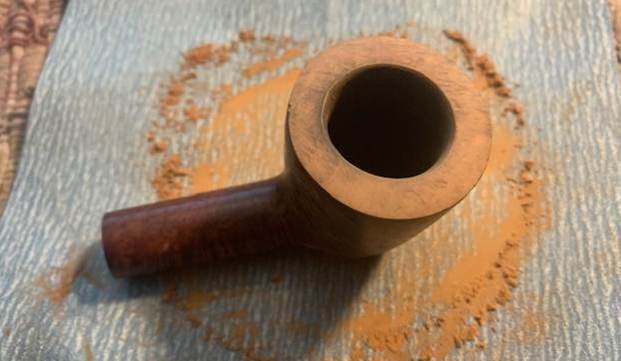
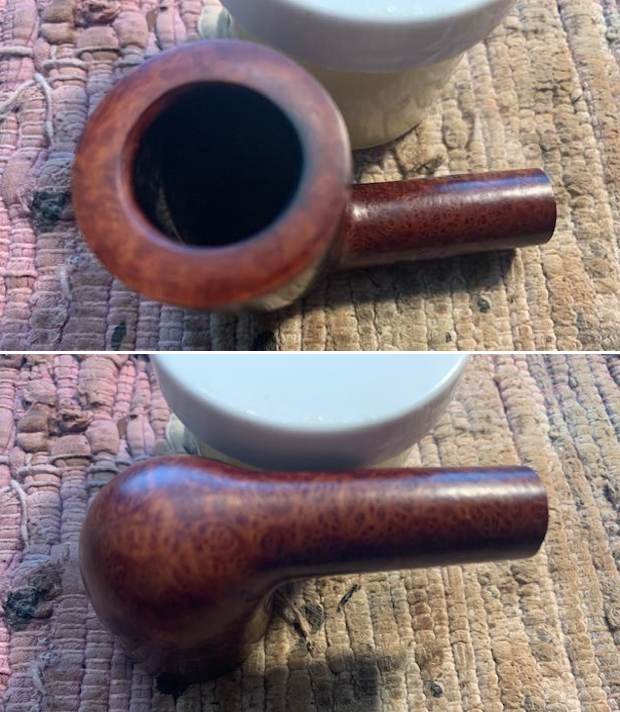
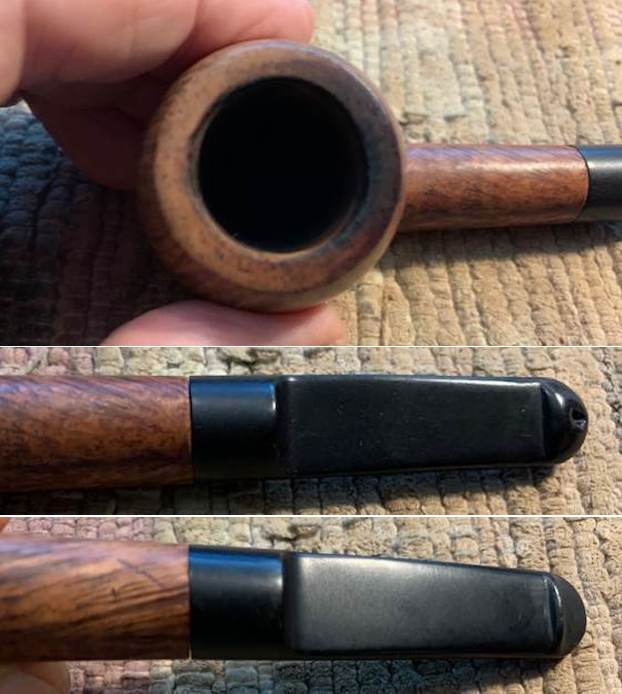
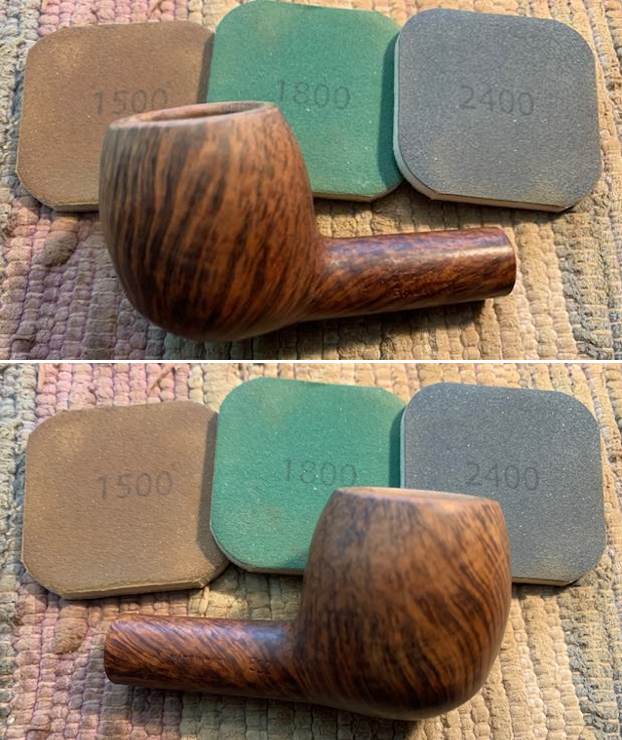
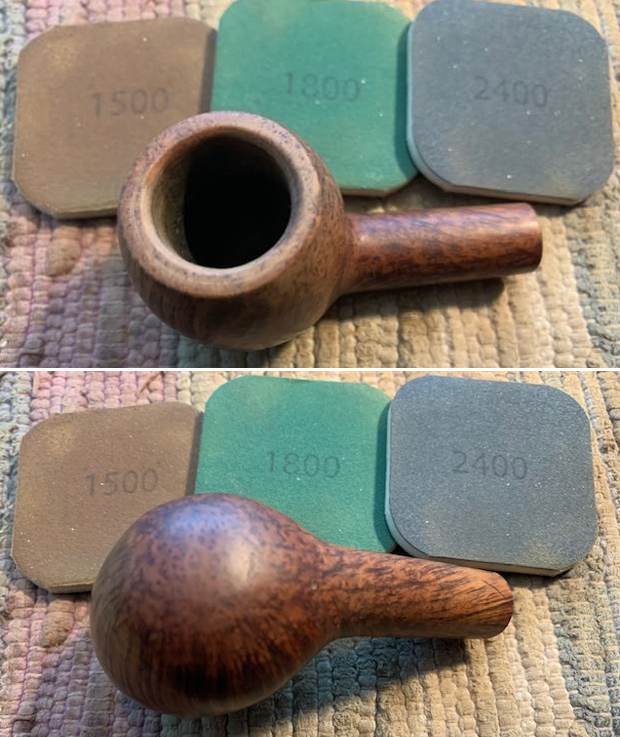
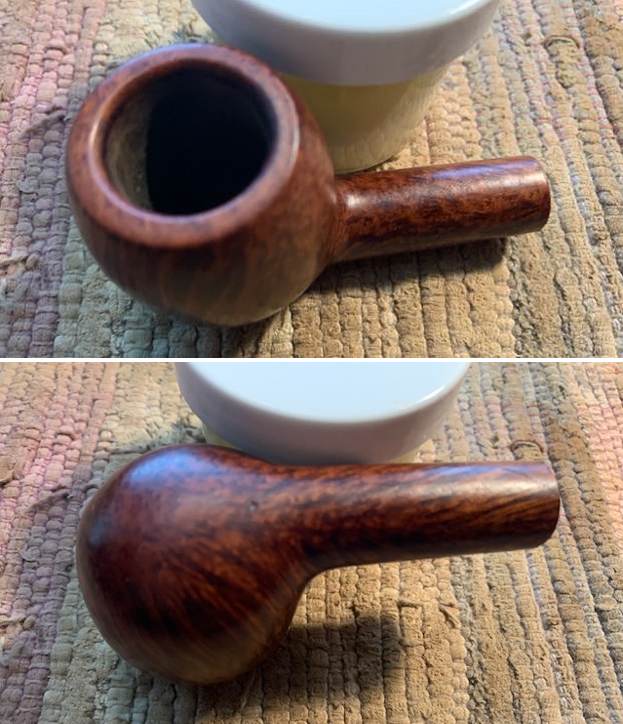
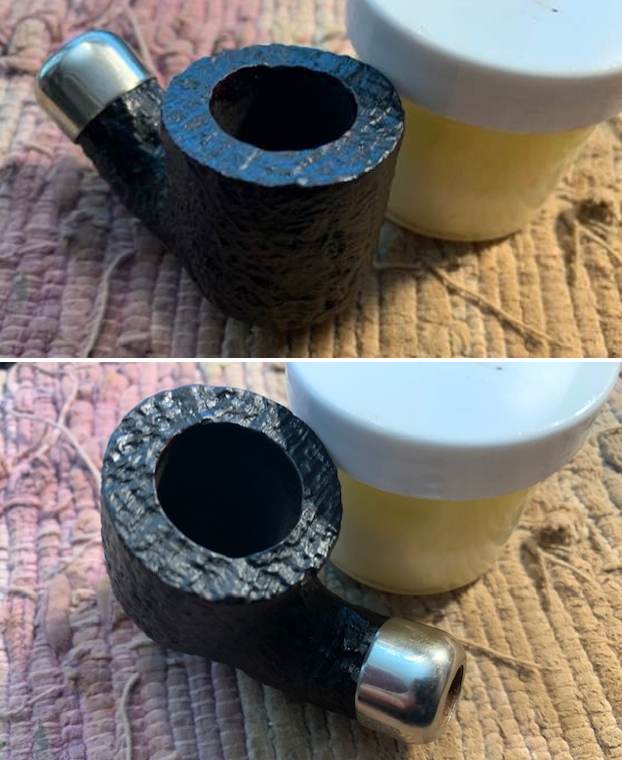
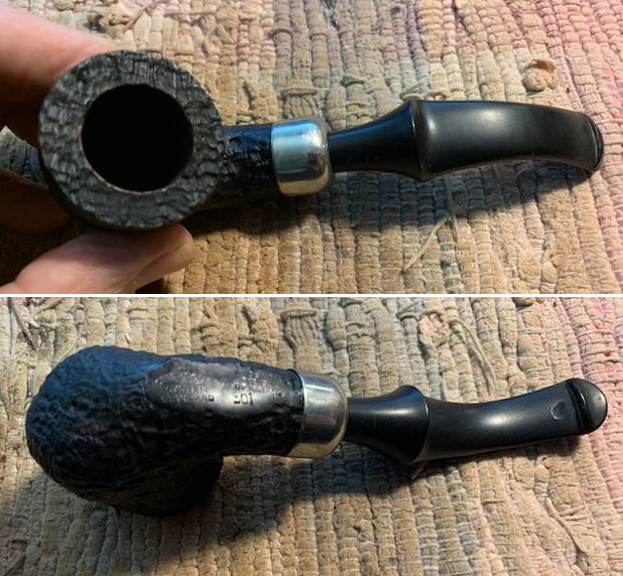 I took close up photos of the bowl and the stem. You can see the reamed bowl and the darkening and damage on the rim top and the edges. The stem surface was clean but there are light tooth marks and chatter on both sides on and ahead of the button.
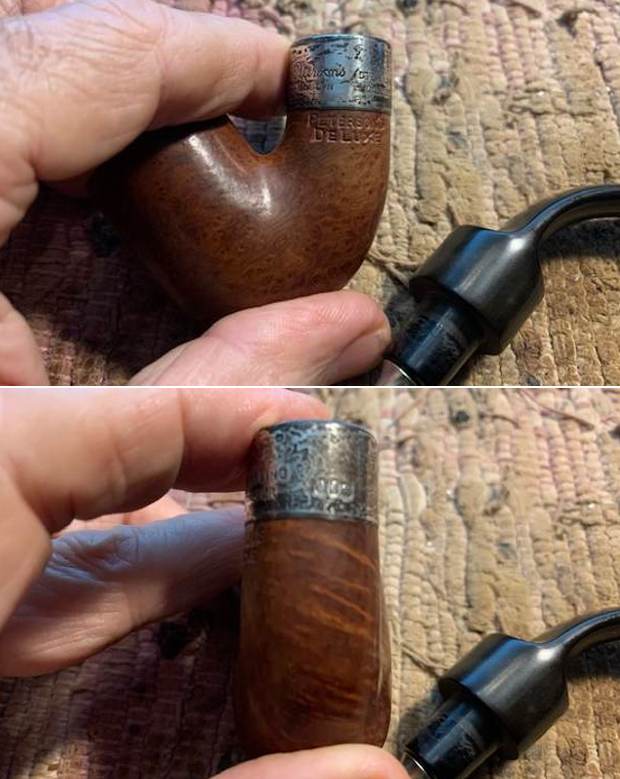
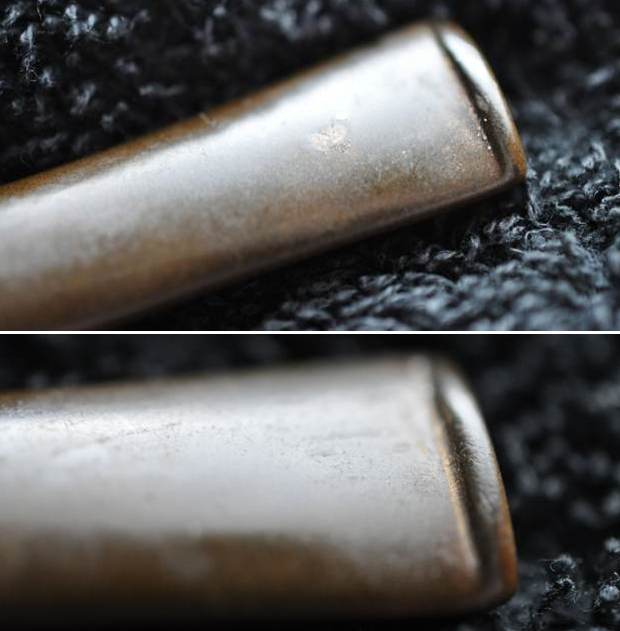
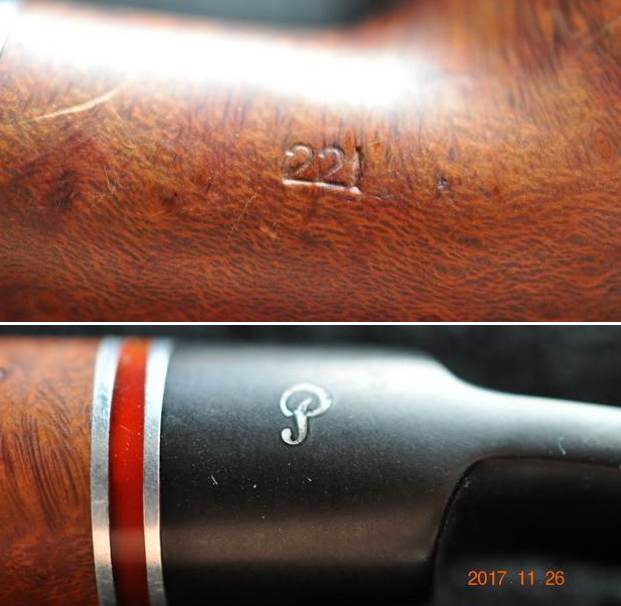
 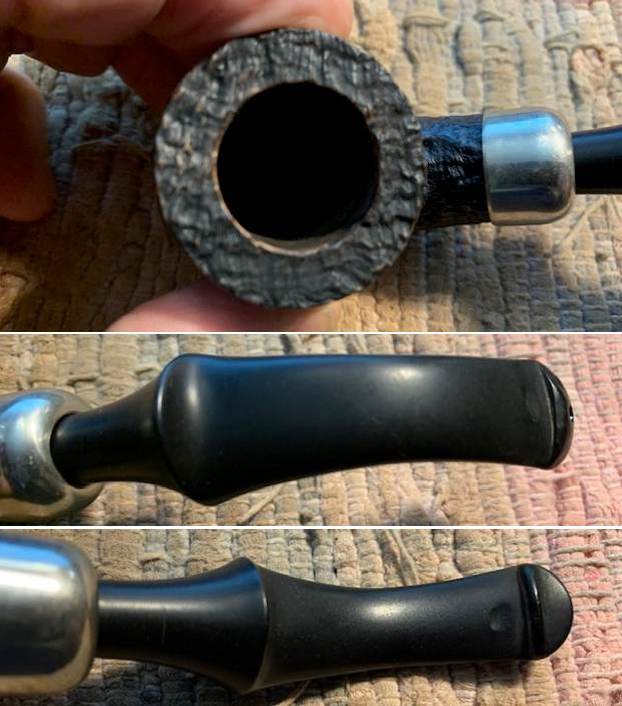 I took a photo of the stamping on the underside of the shank. It is clear and readable as noted above.
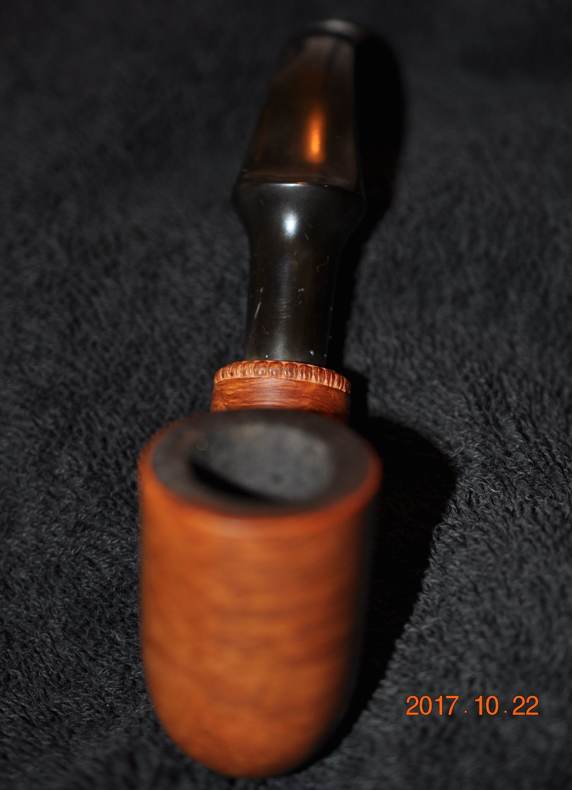
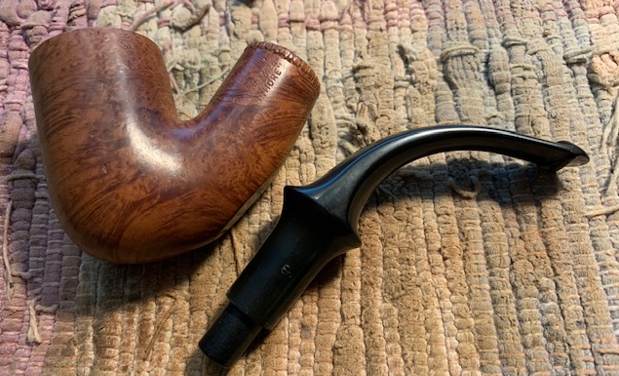
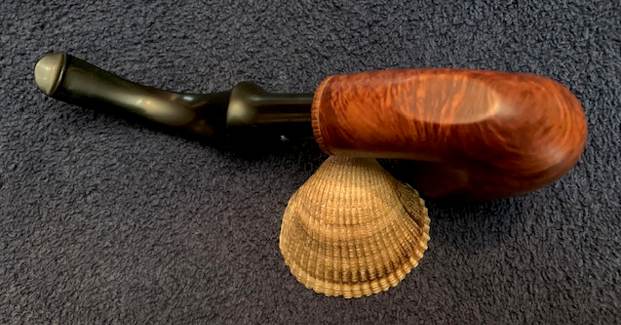
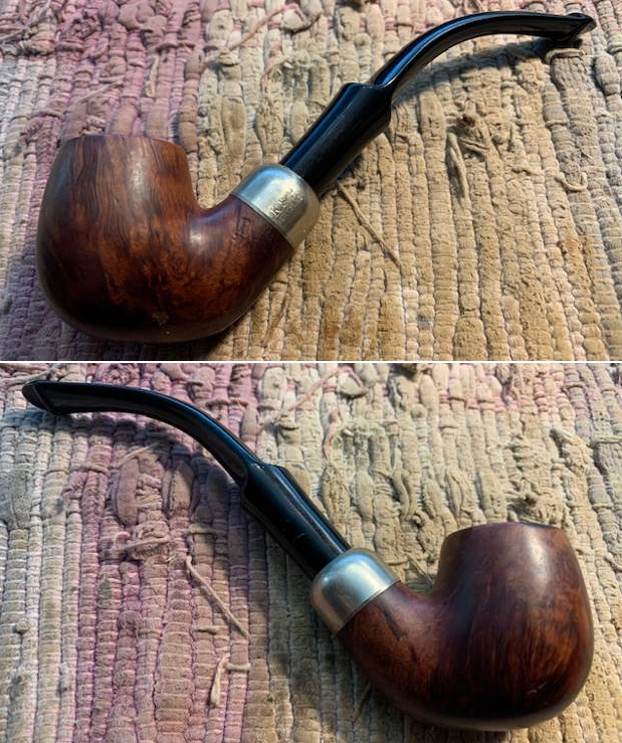
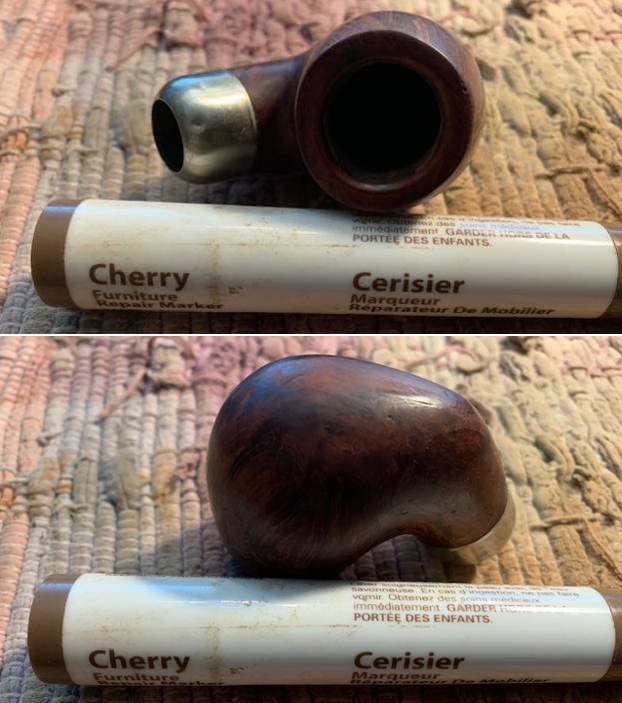
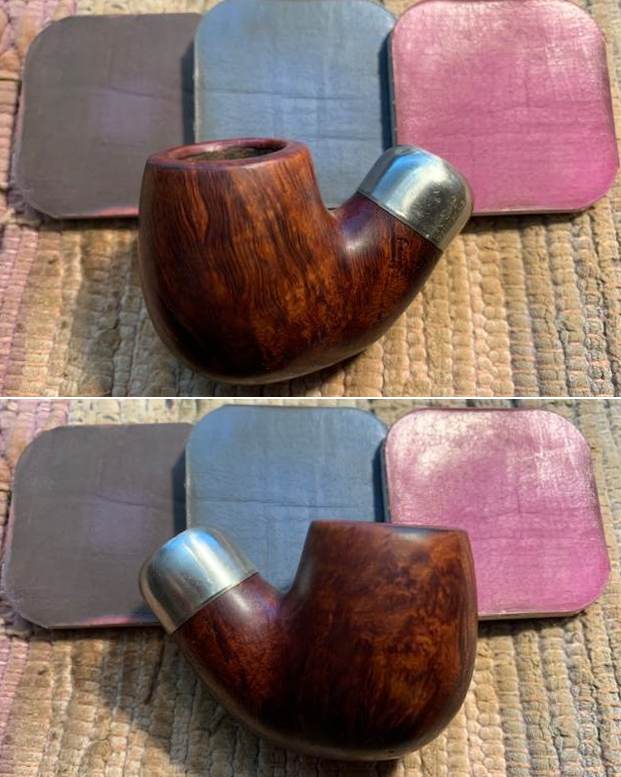
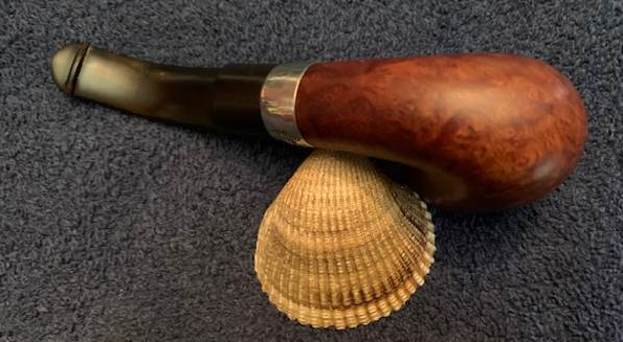
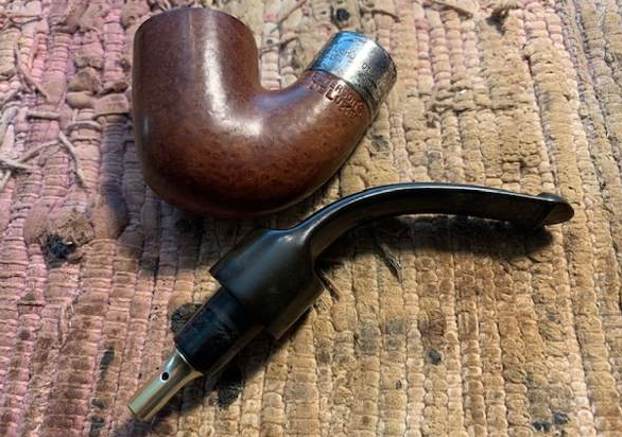
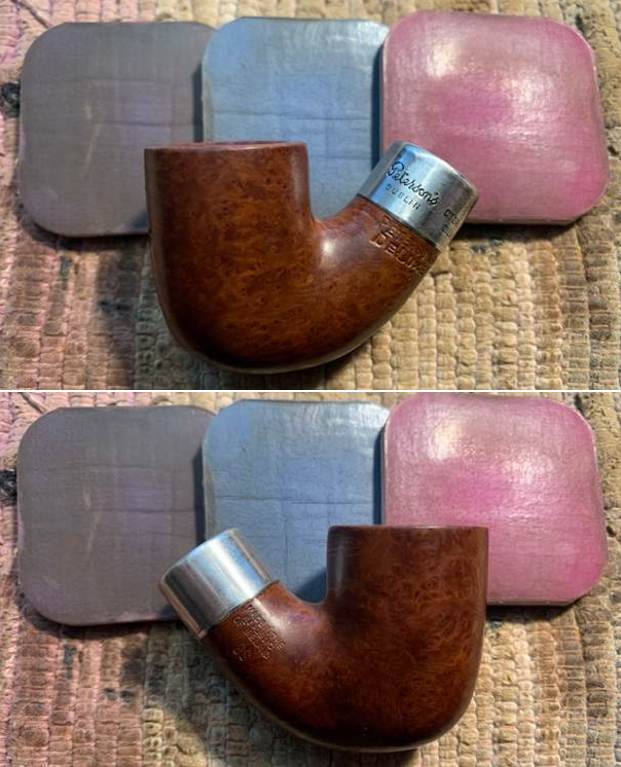
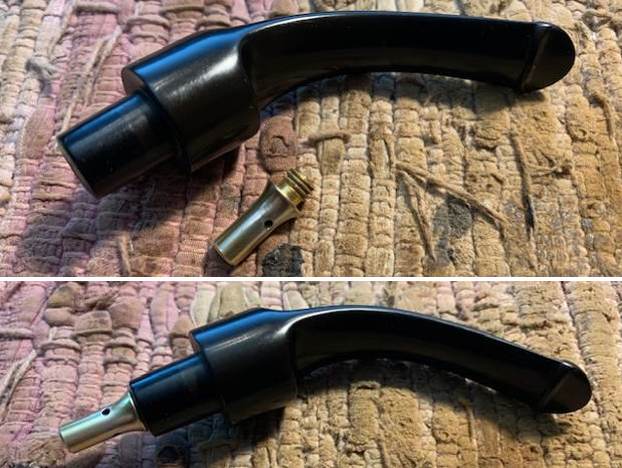
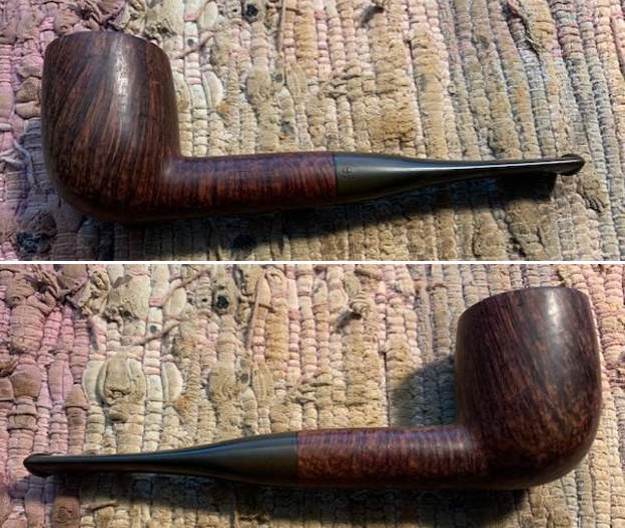
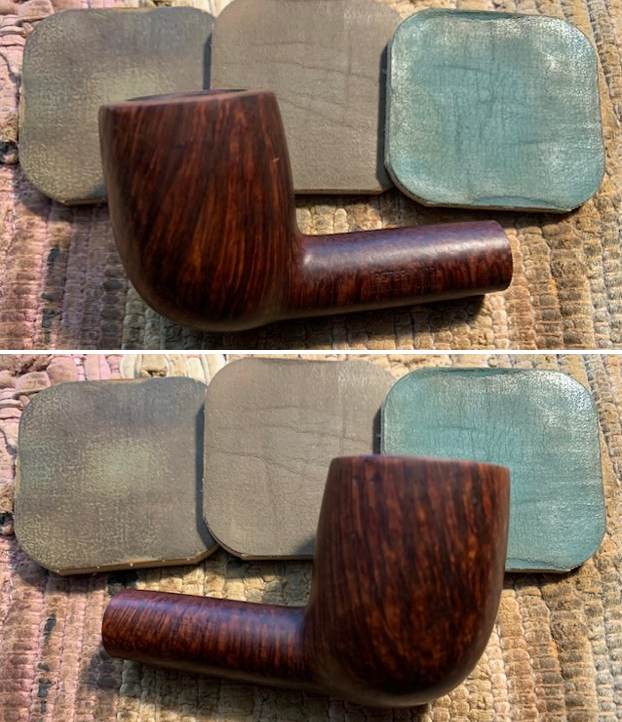
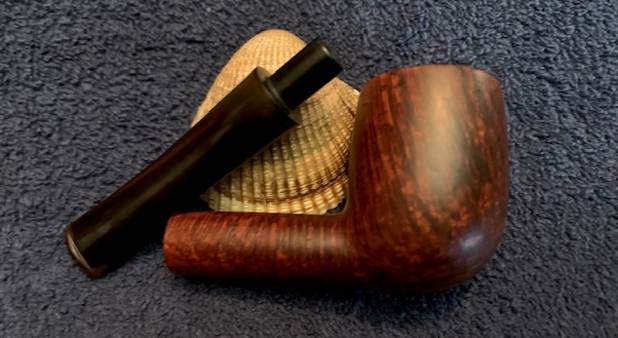
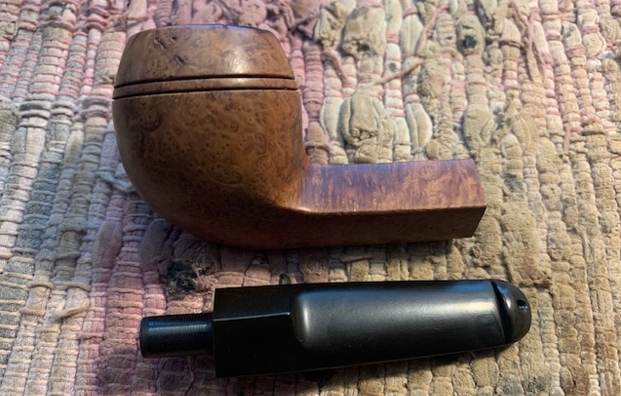
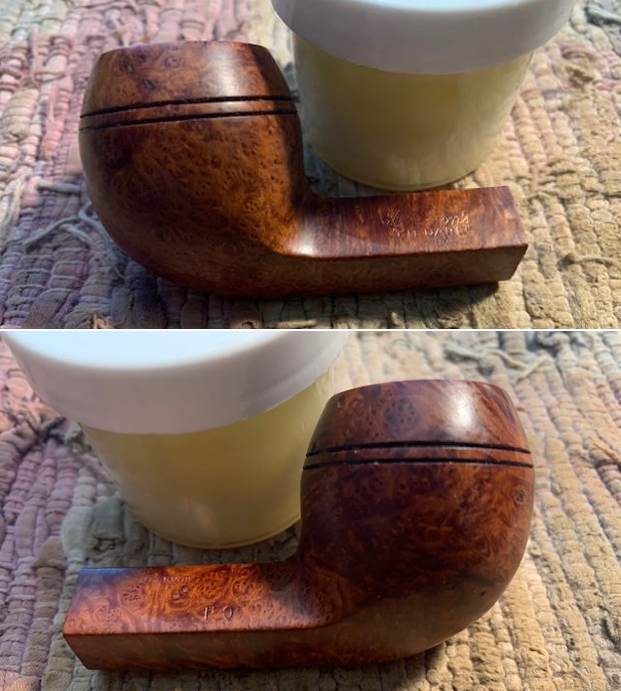
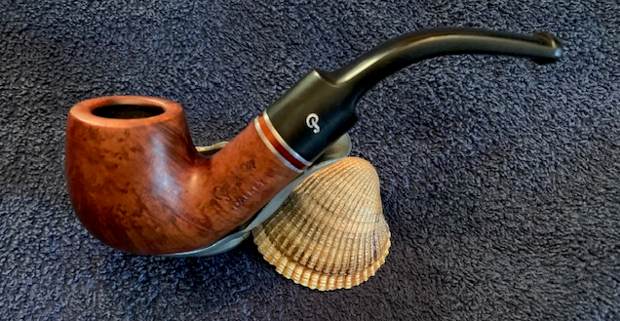
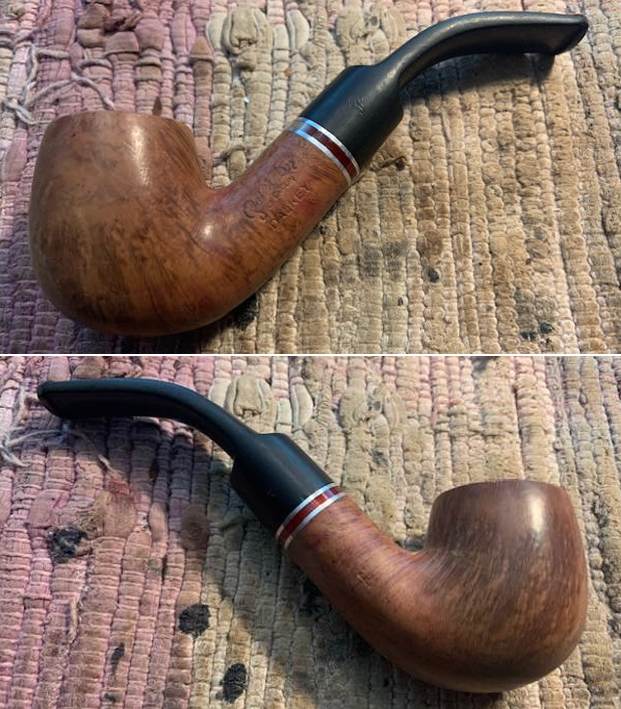
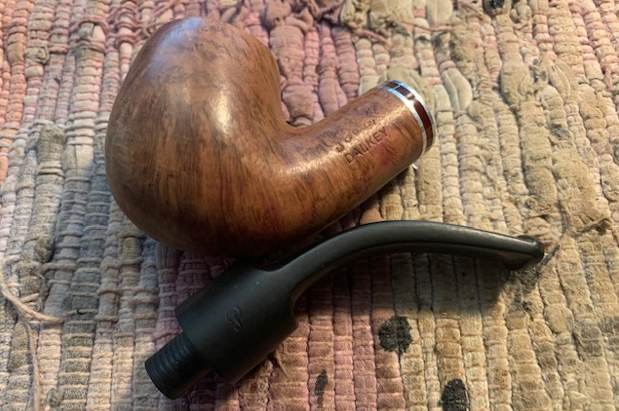
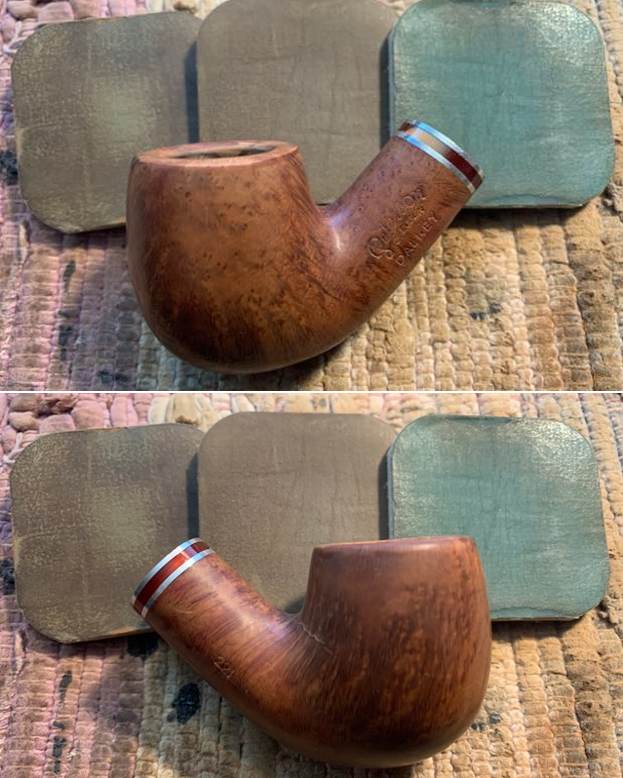
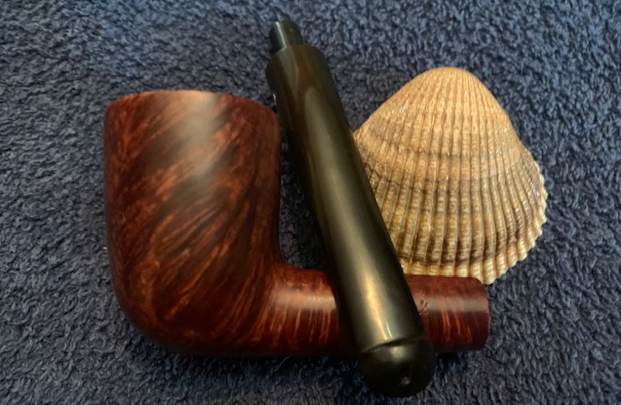
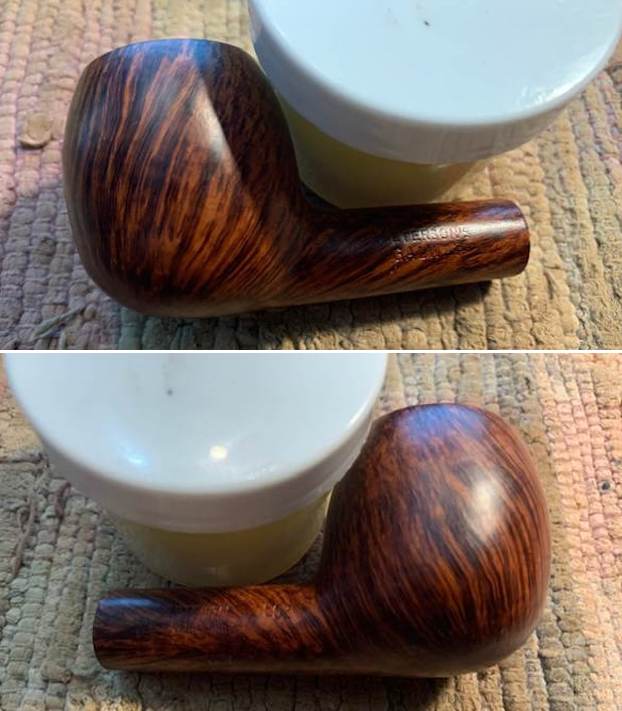
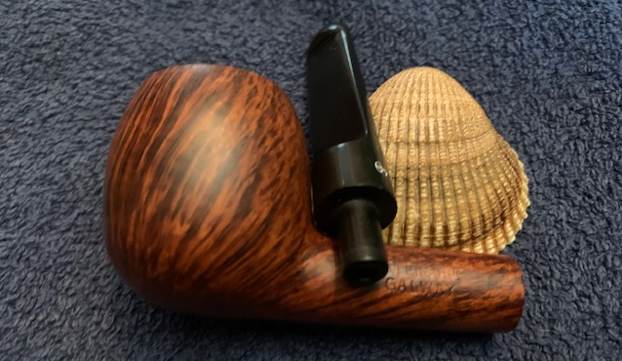
  I removed the stem from the shank and took a photo to give a sense of the proportions of the pipe. It is really quite nice looking.
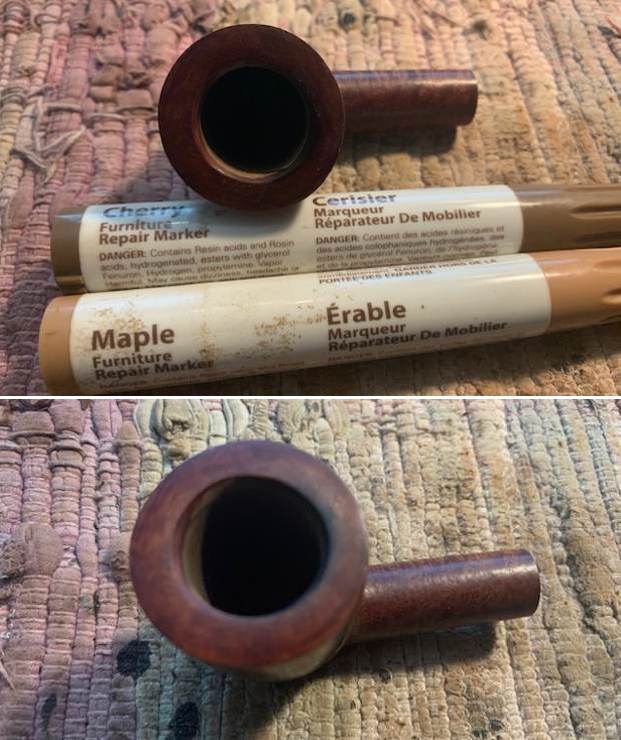
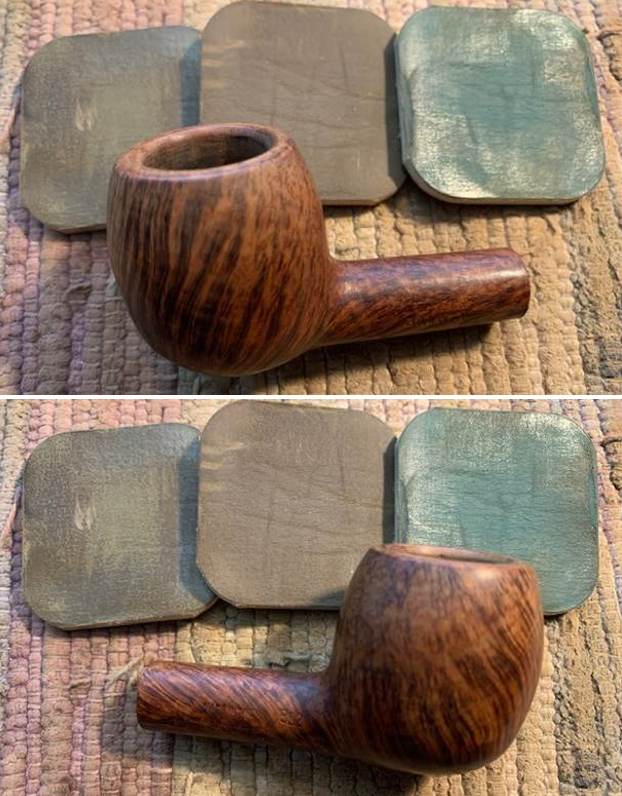
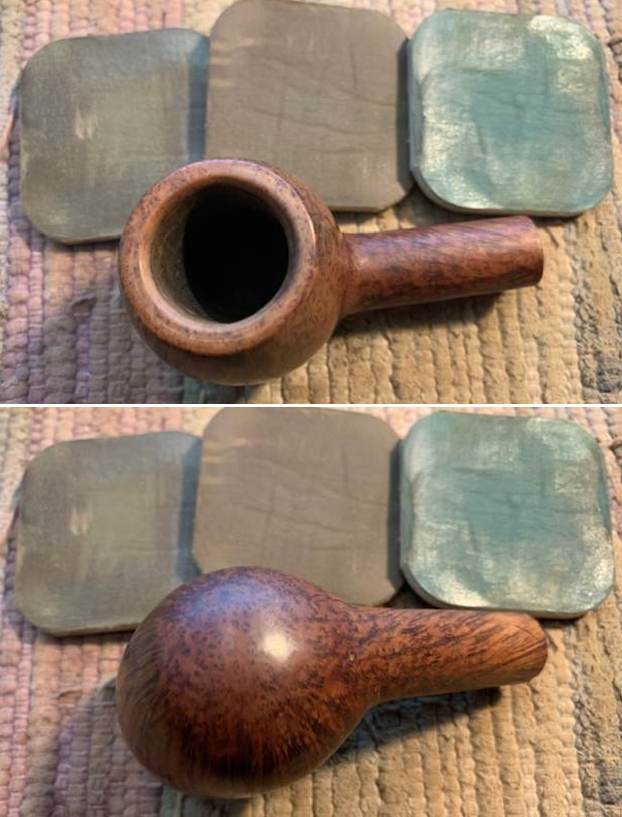
 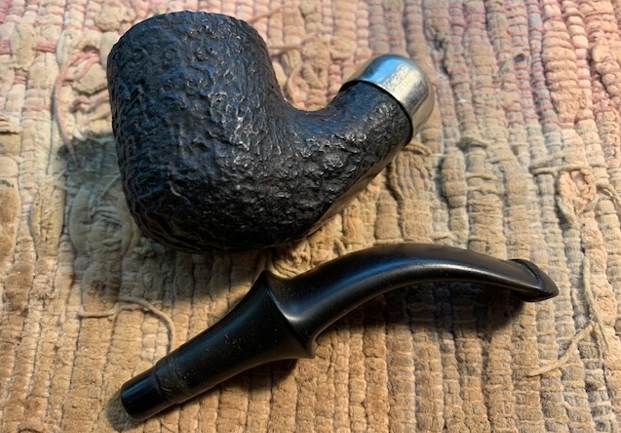 The briar was in such good condition that I rubbed the bowl and shank down with Before & After Restoration Balm. I worked it into the surface of the bowl sides and shank with my fingertips to clean, enliven and protect the briar. I let the balm sit for a little while and then buffed with a cotton cloth to raise the shine.
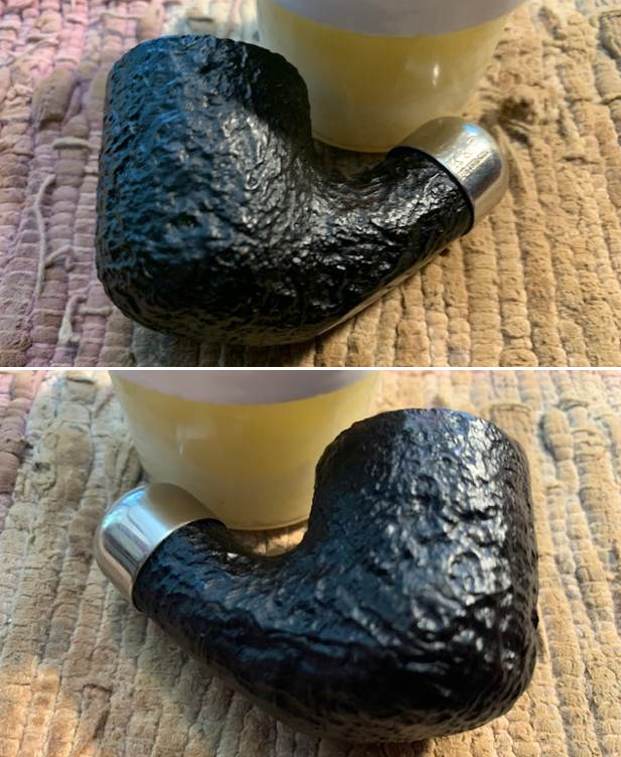

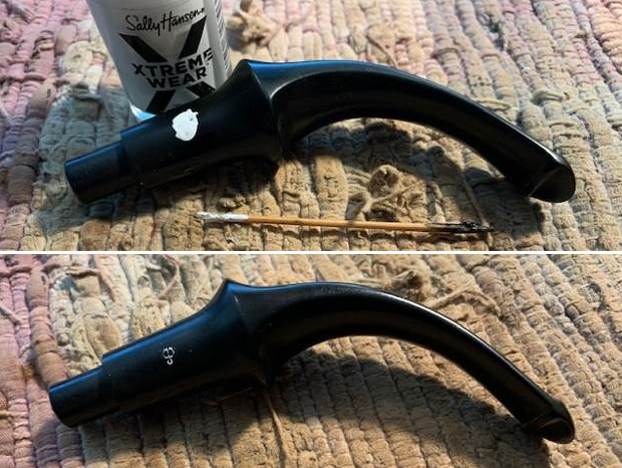
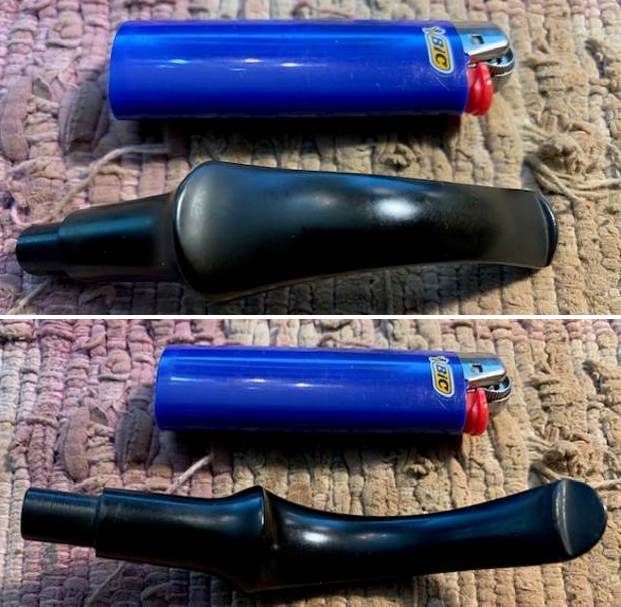
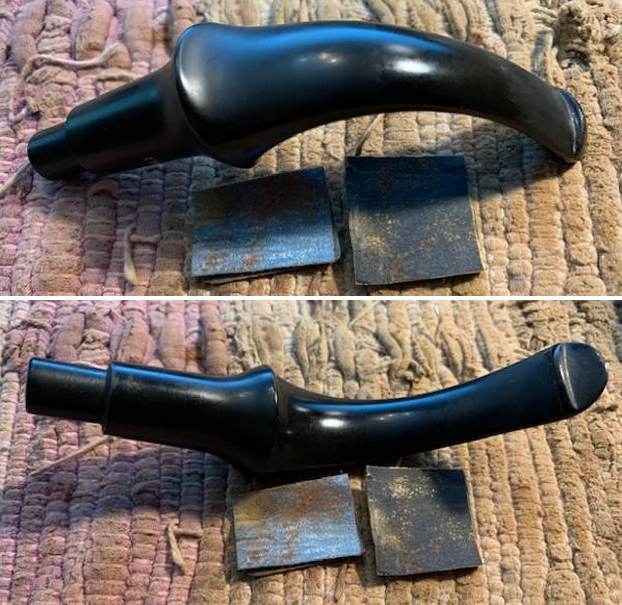
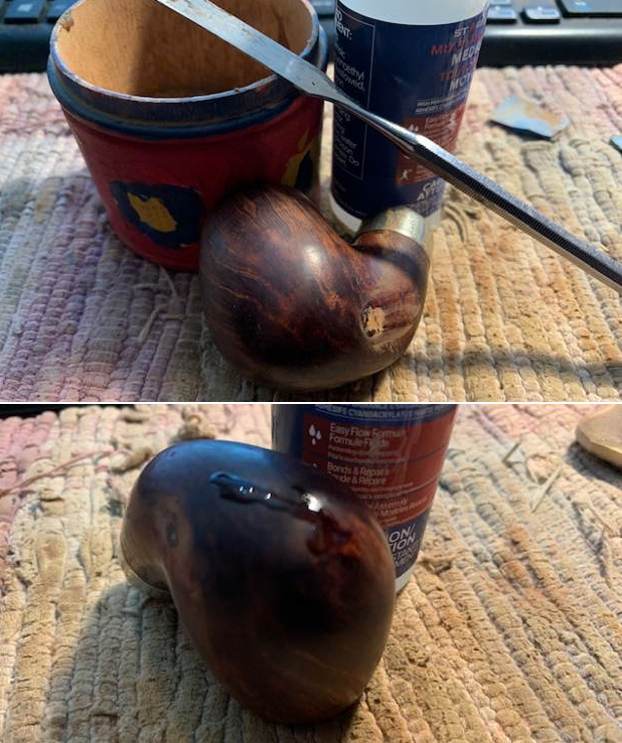
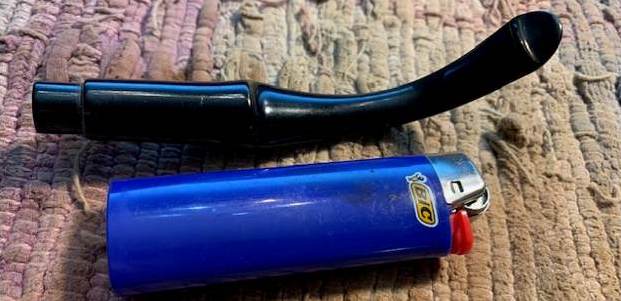
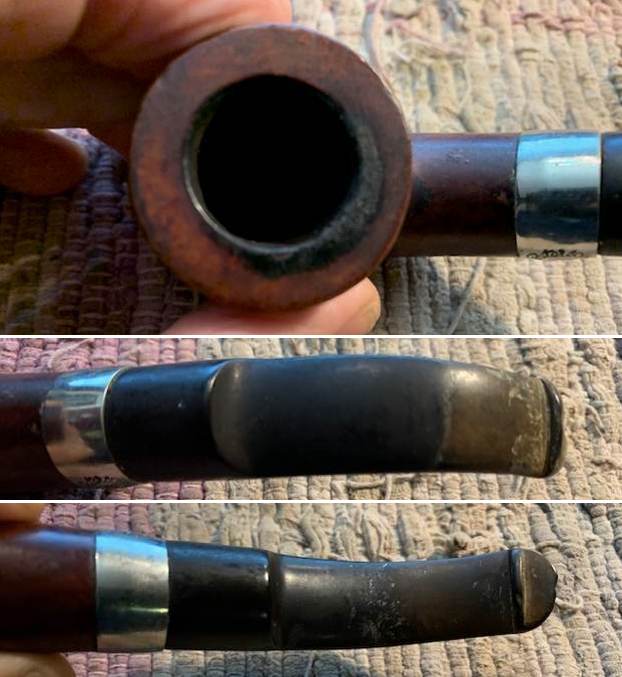
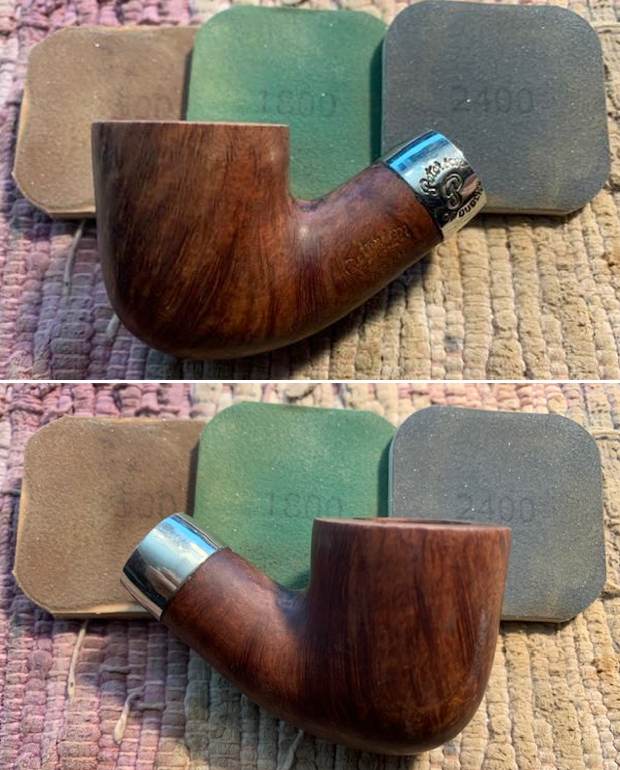
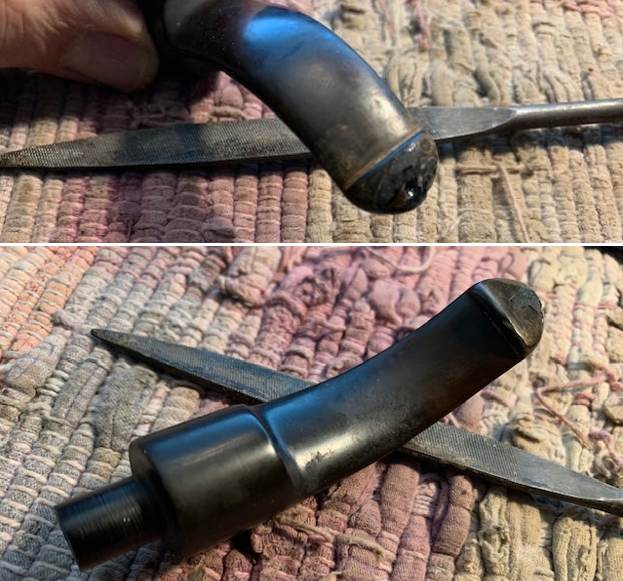
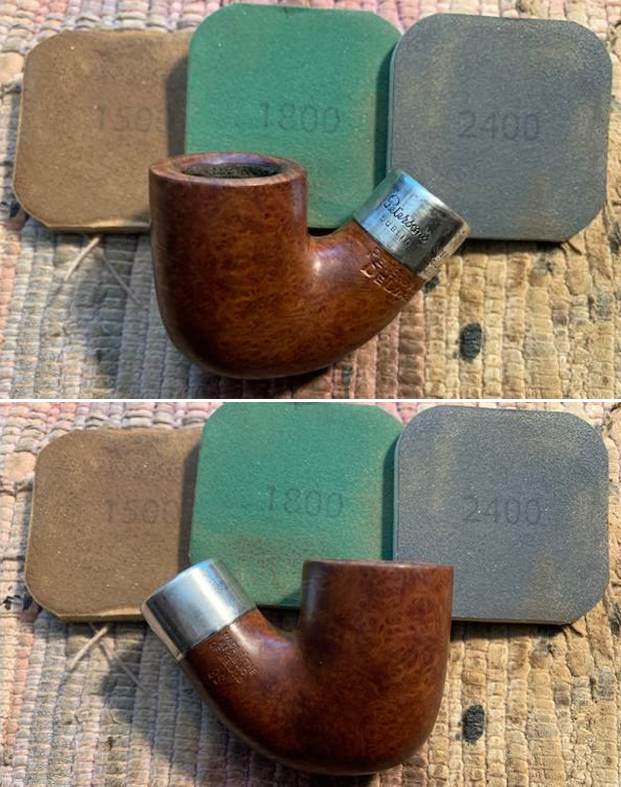
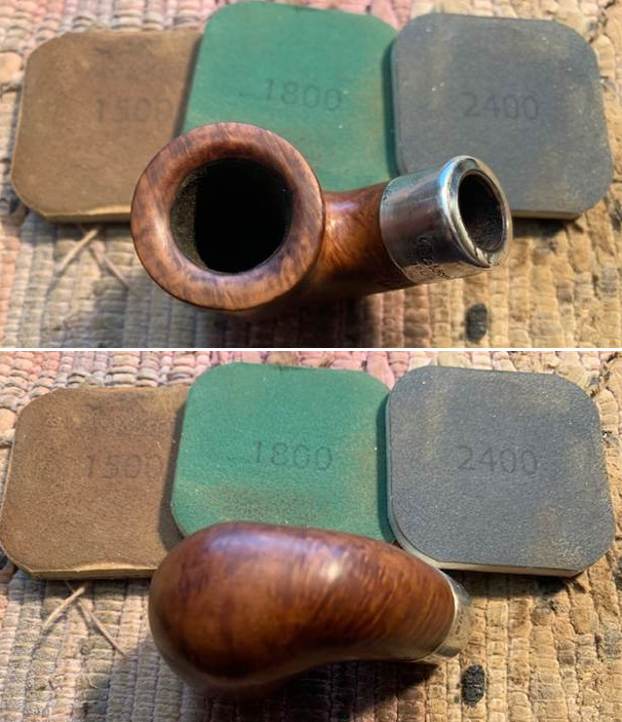
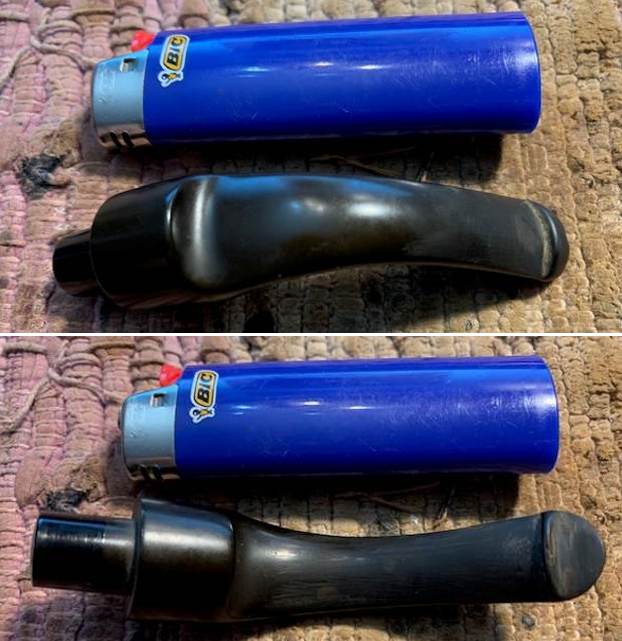
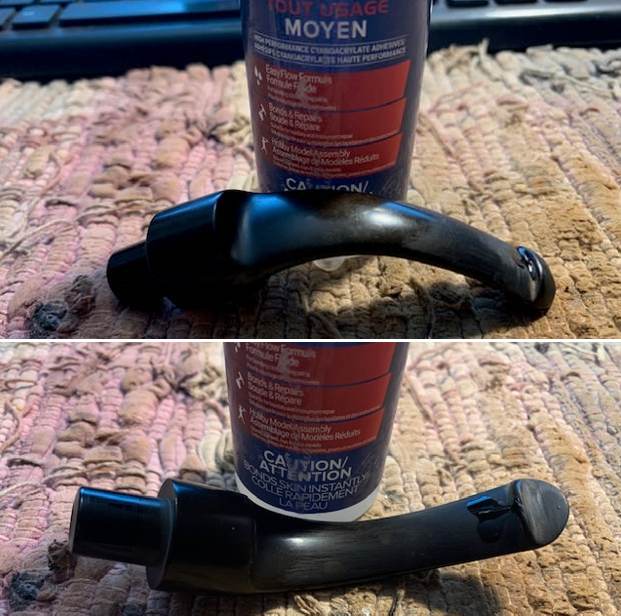
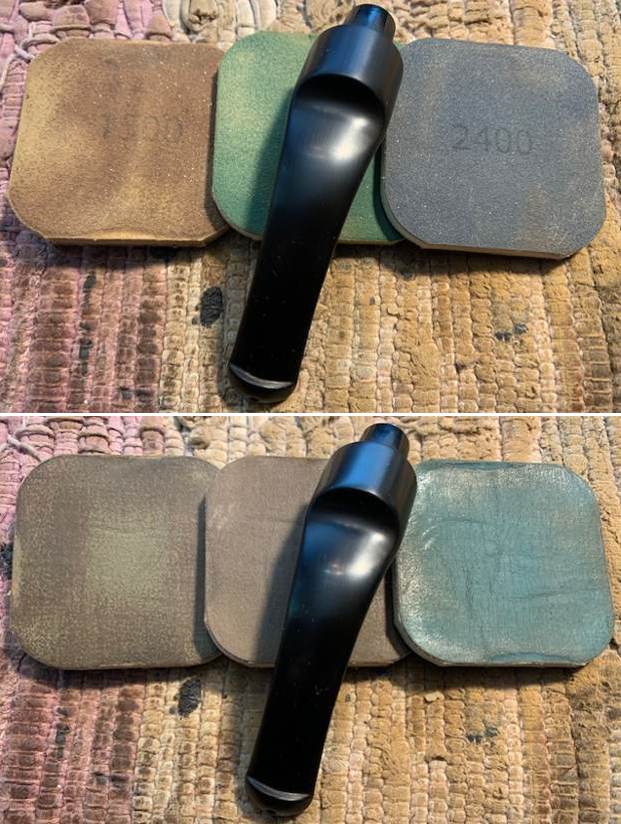
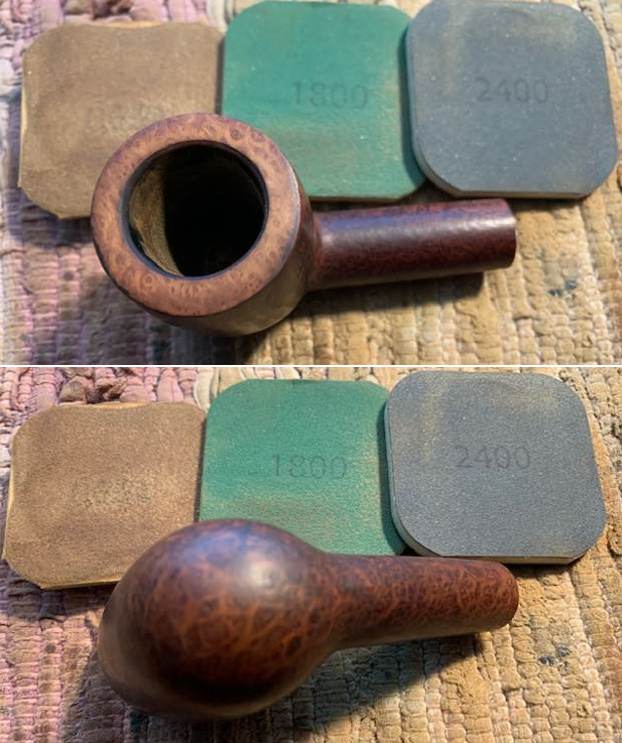
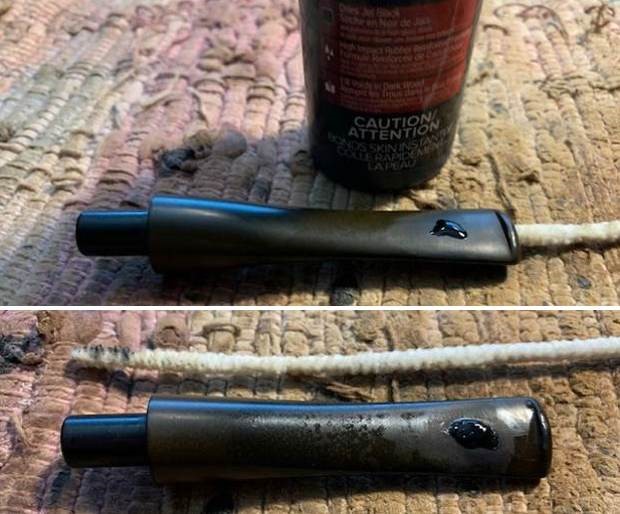
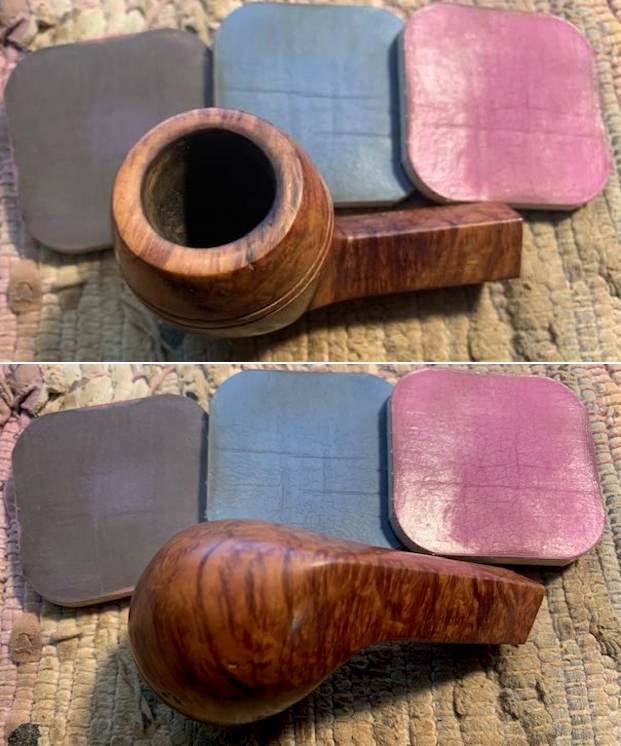
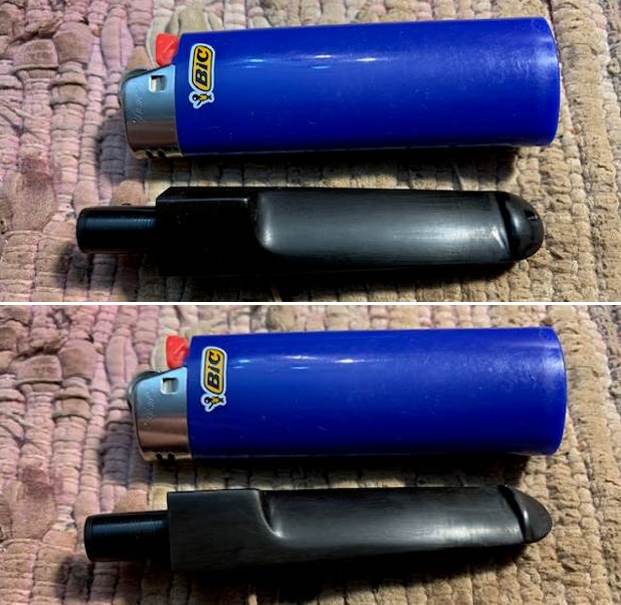
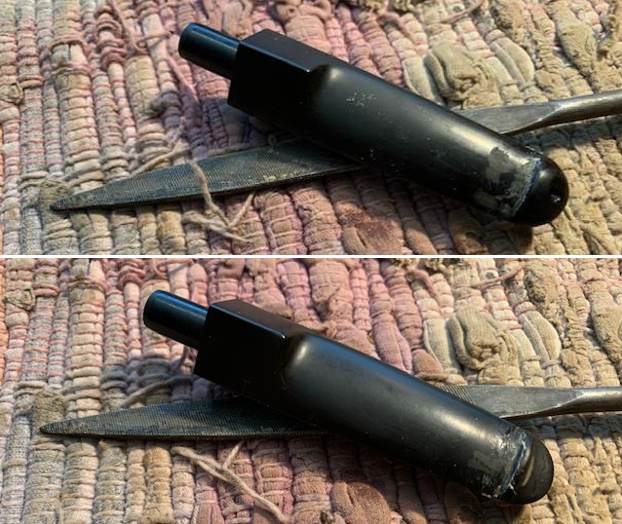
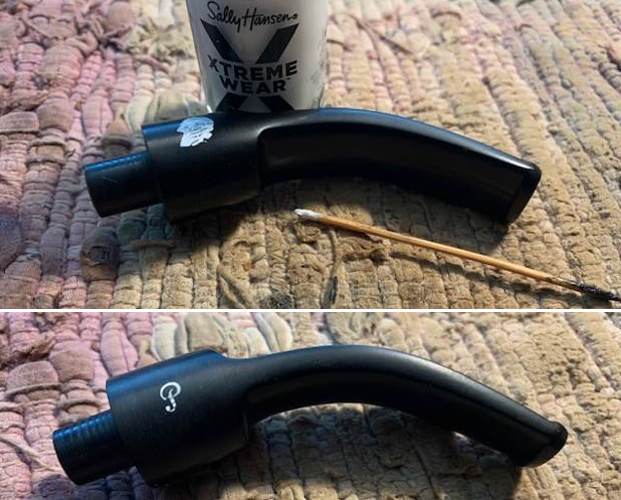
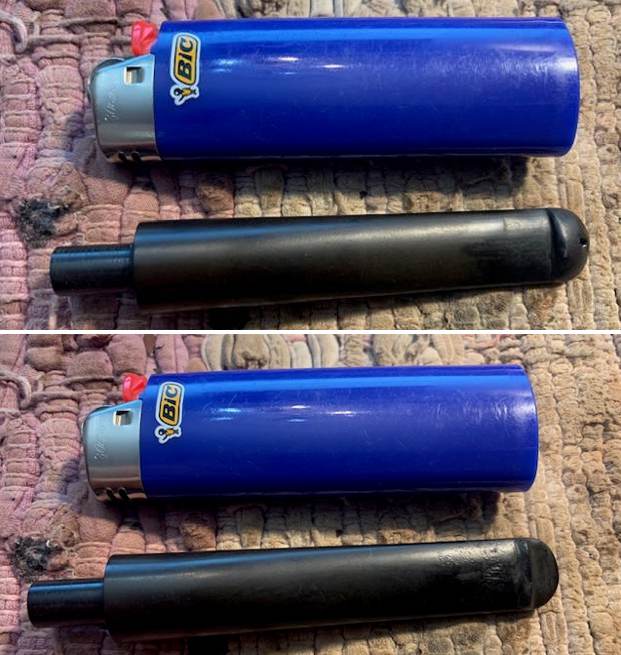
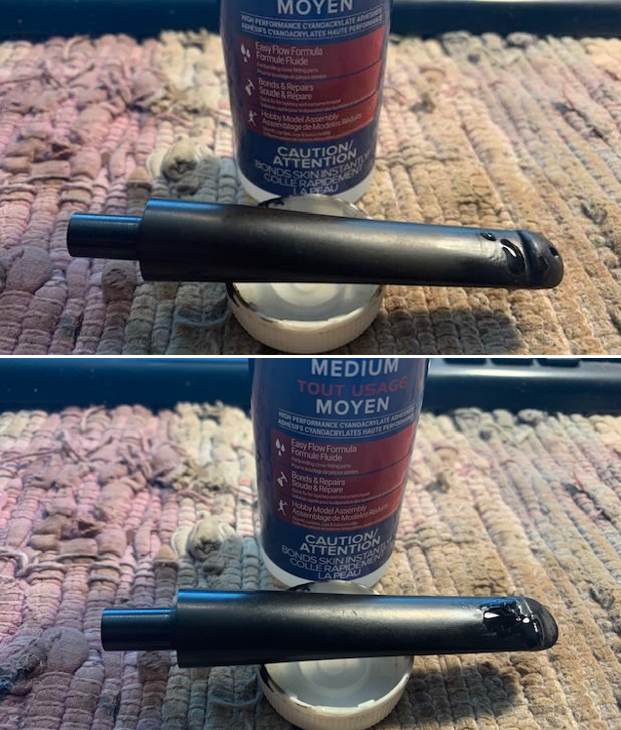
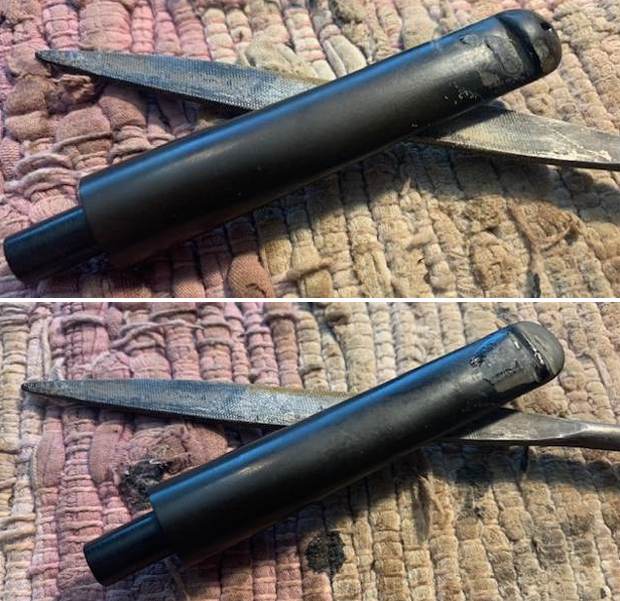
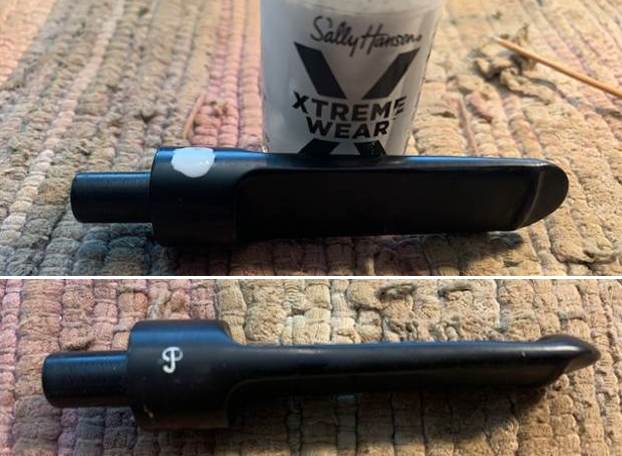
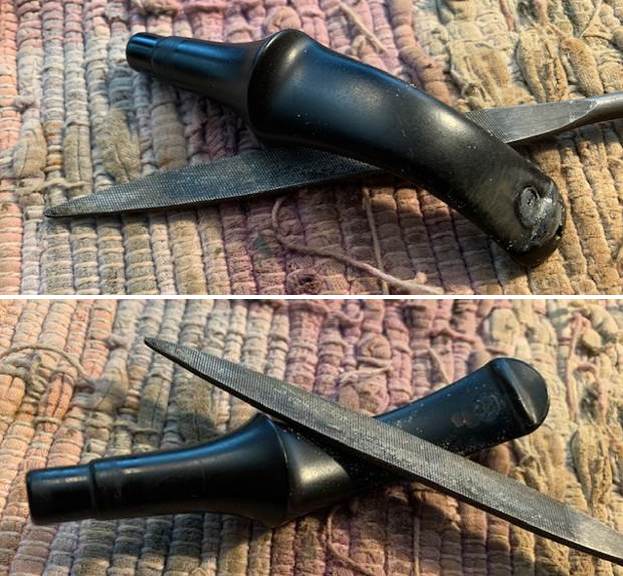
 I “painted” the tooth marks on the stem with the flame of a Bic lighter to lift them. I was able to lift them a lot. I filled in what remained with clear CA glue. Once the repairs cured I used a small file to flatten them and sanded them smooth with 220 grit sandpaper. I started polishing the stem with 400 grit wet dry sandpaper.
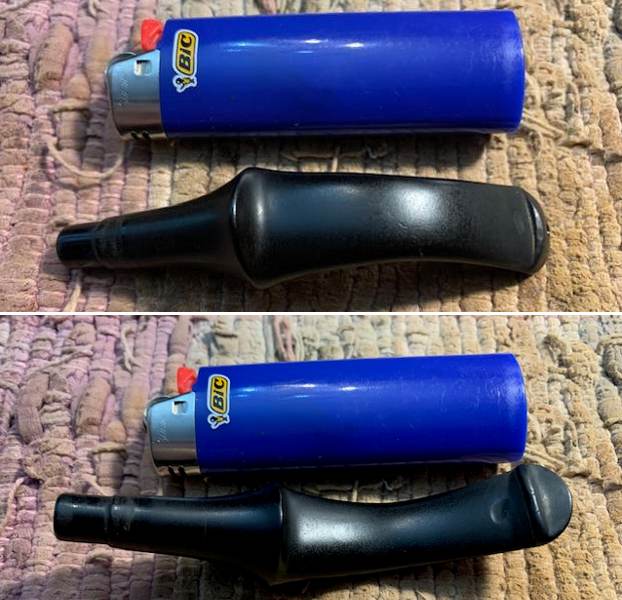
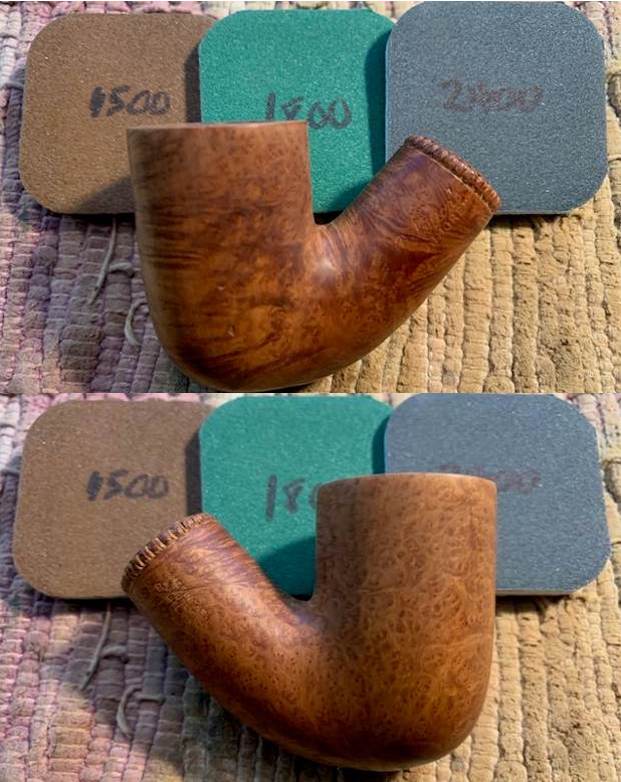
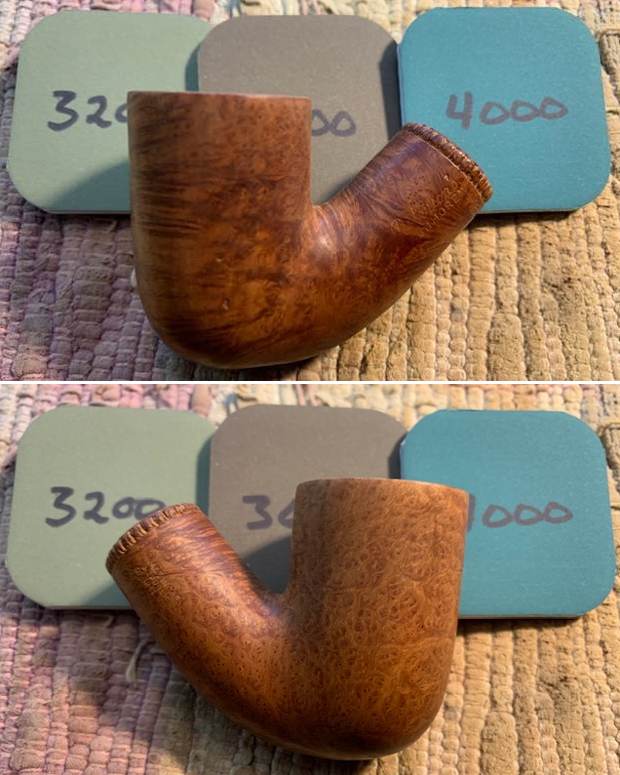
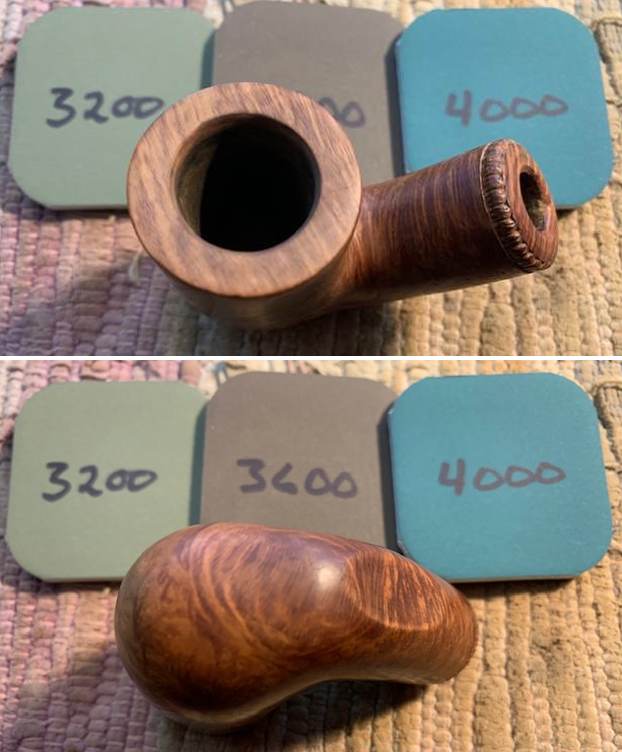
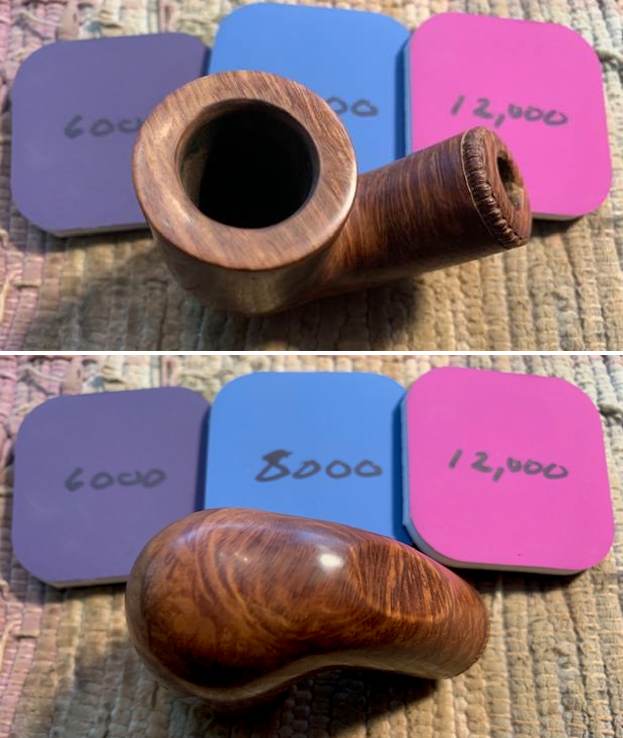
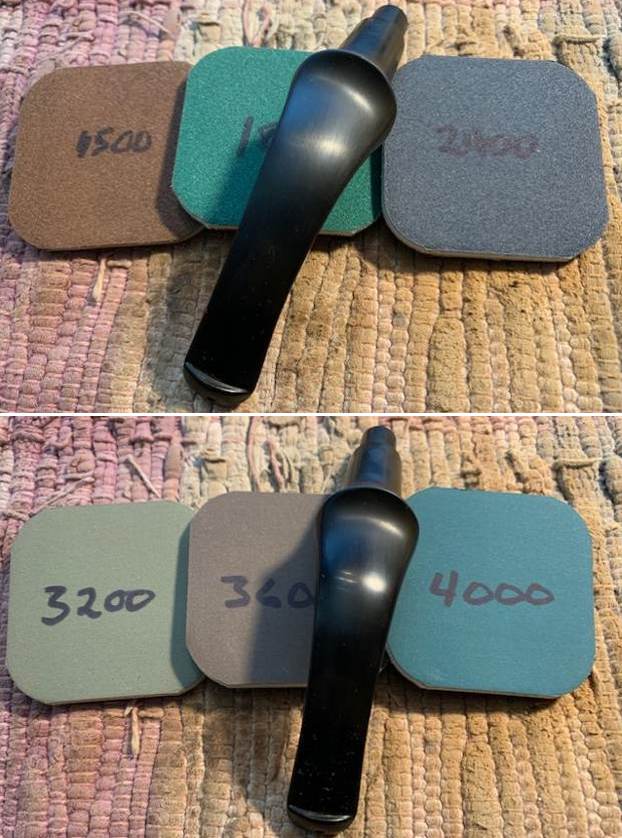
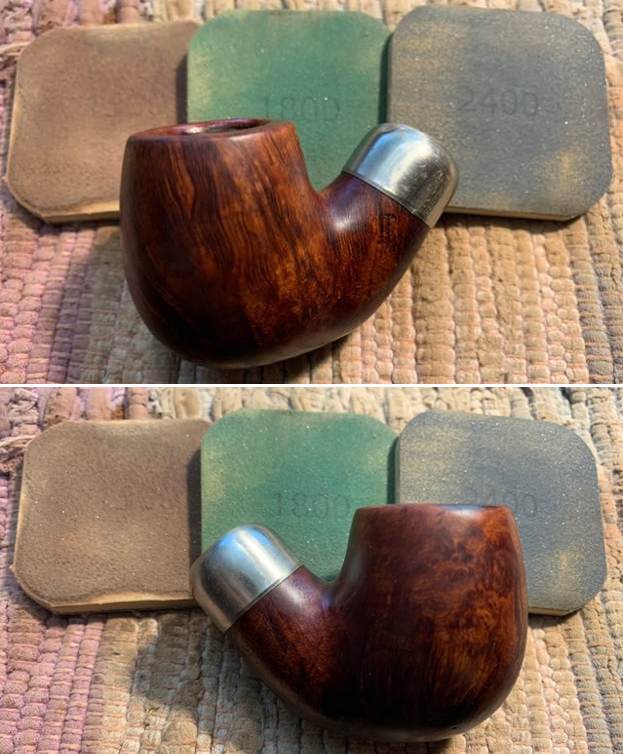
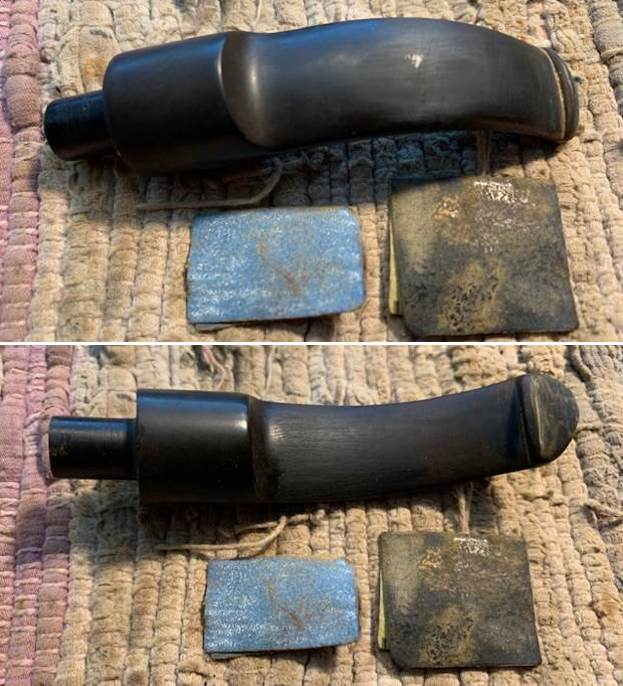
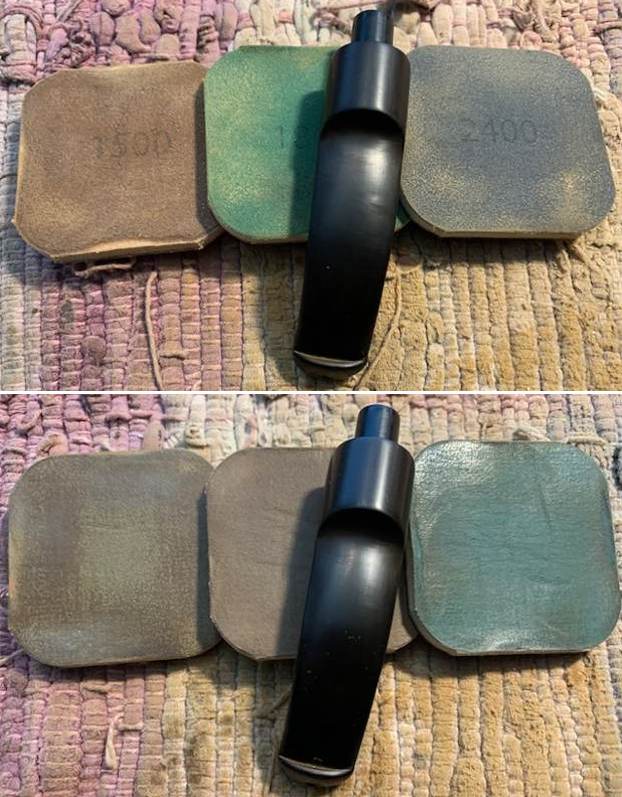
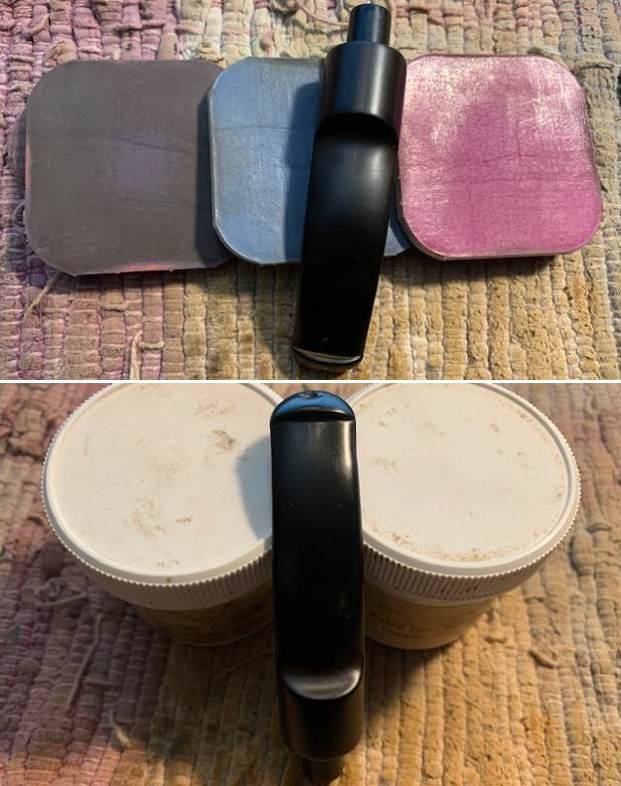
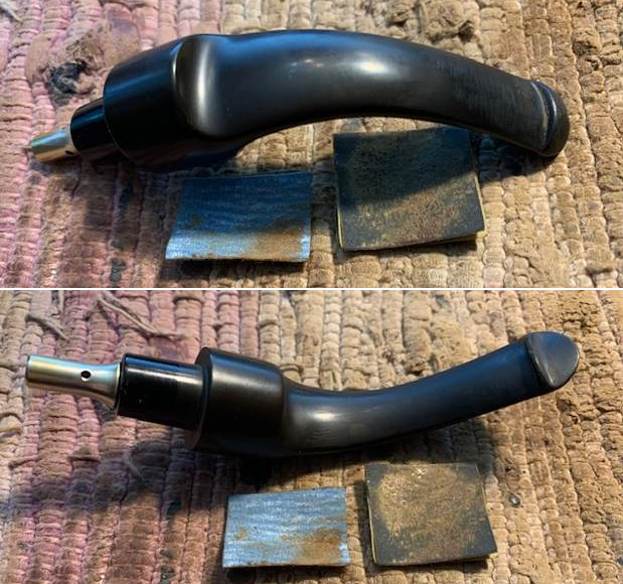
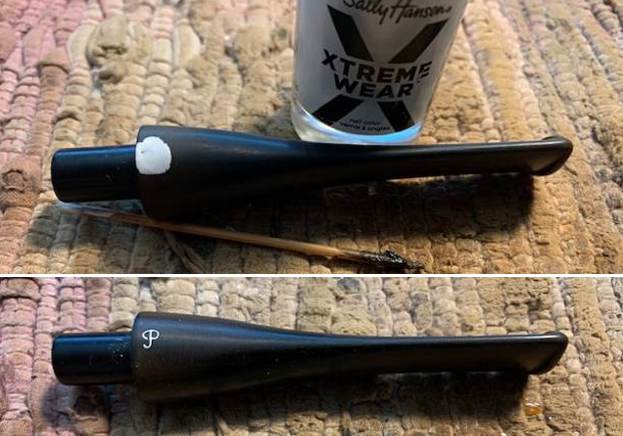
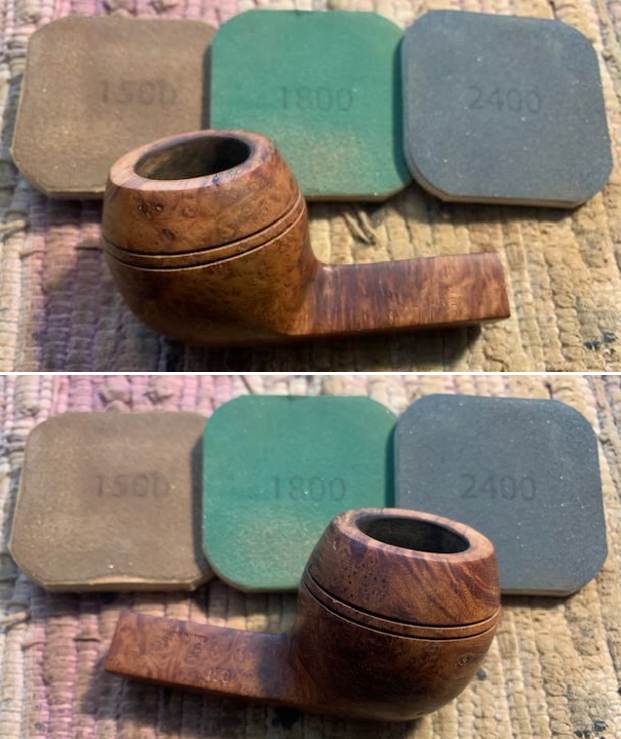
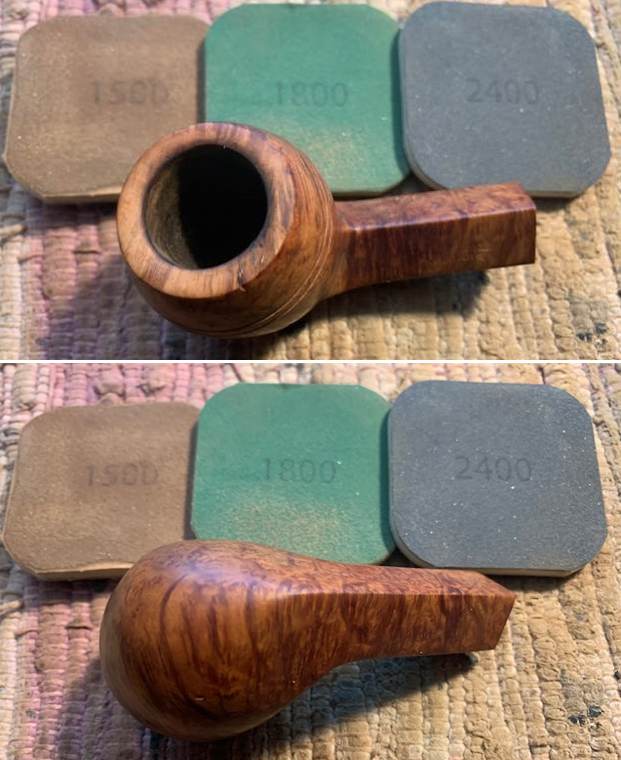
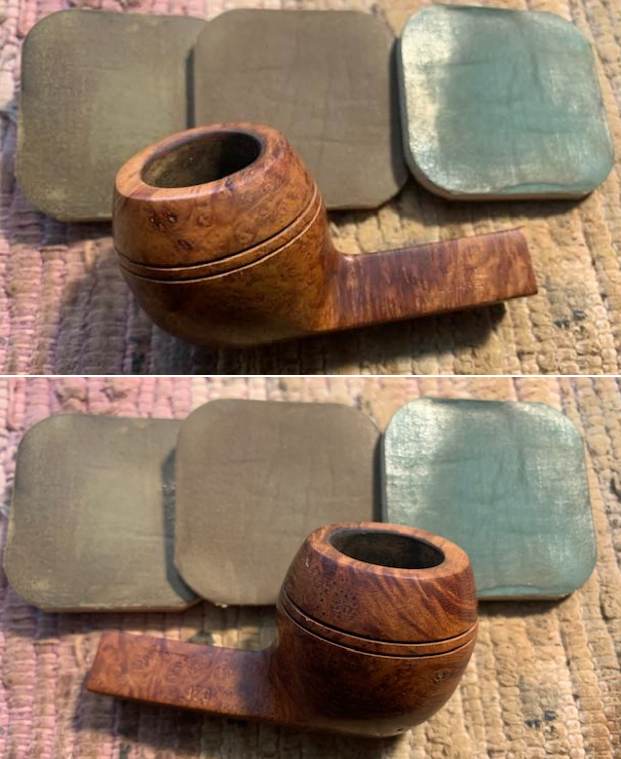
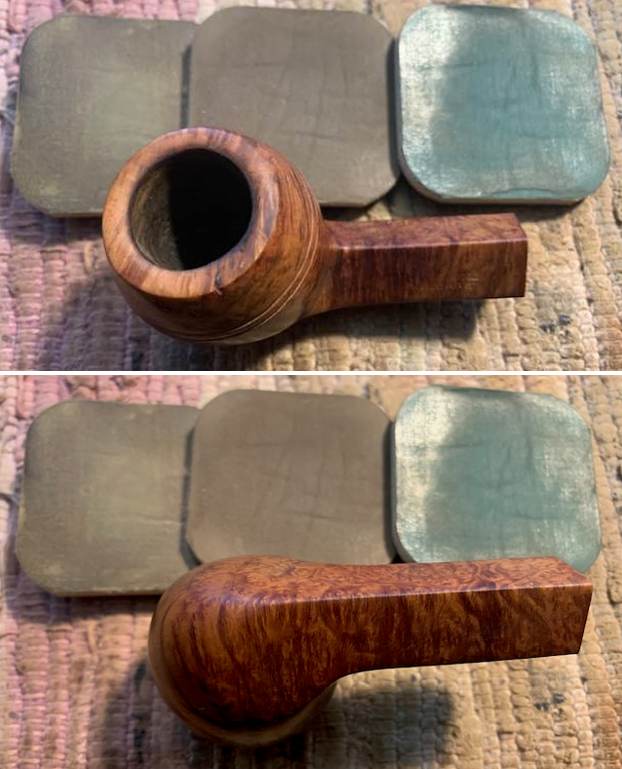
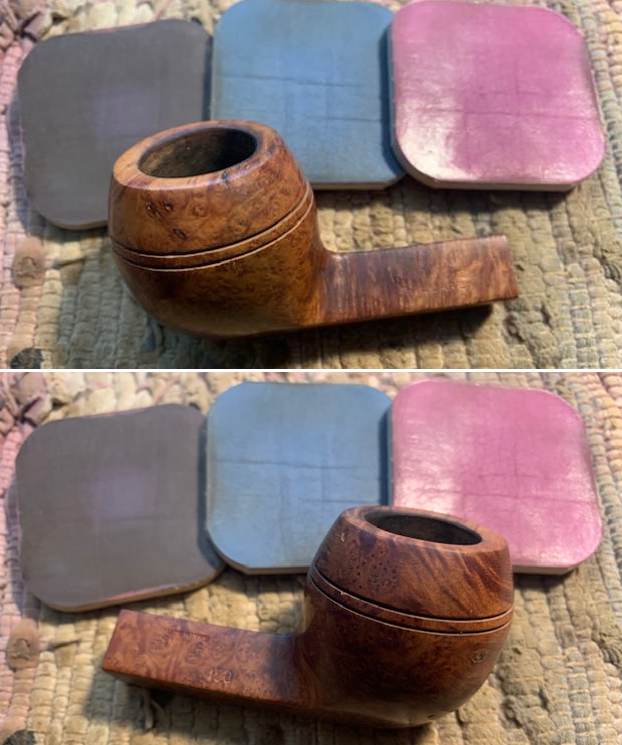
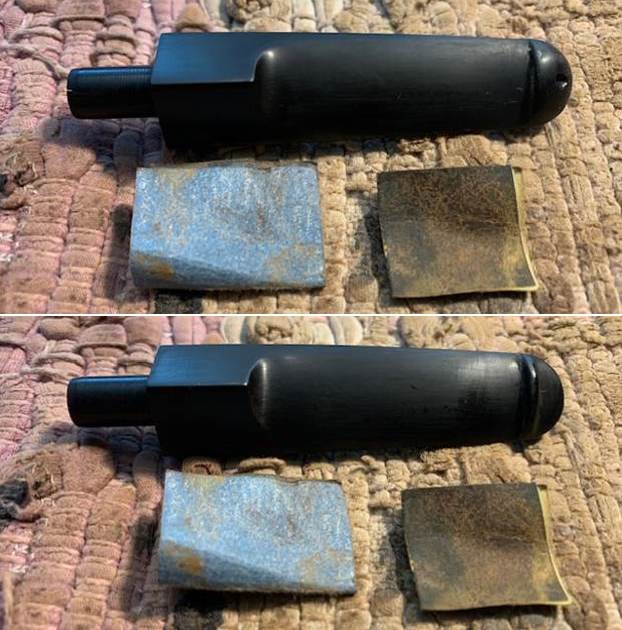
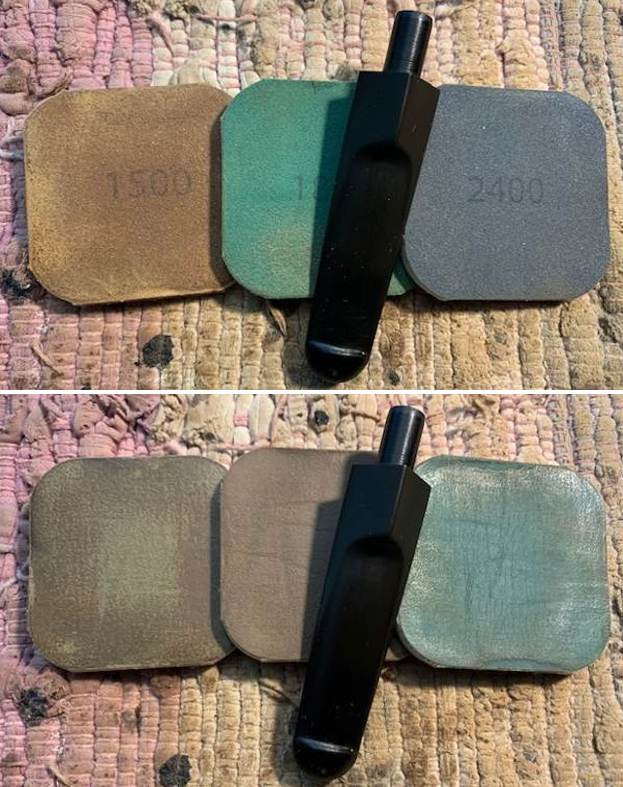
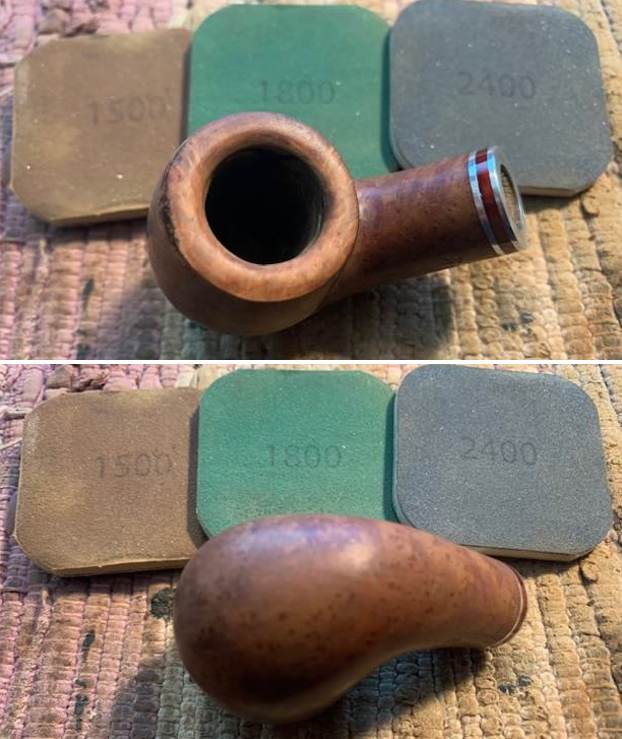
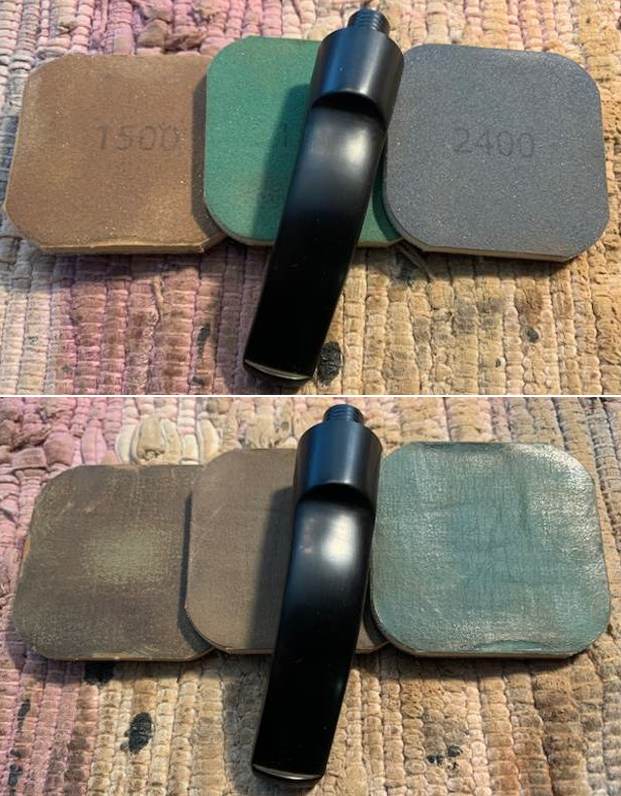
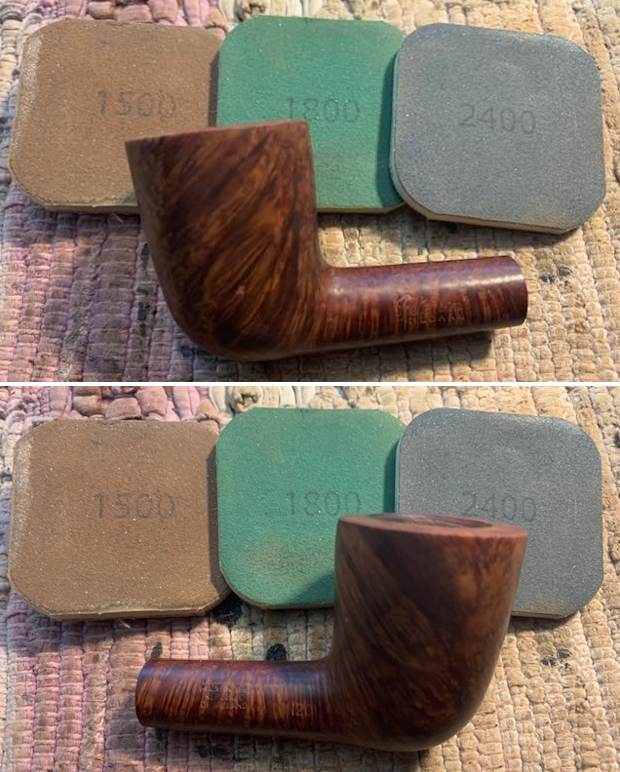
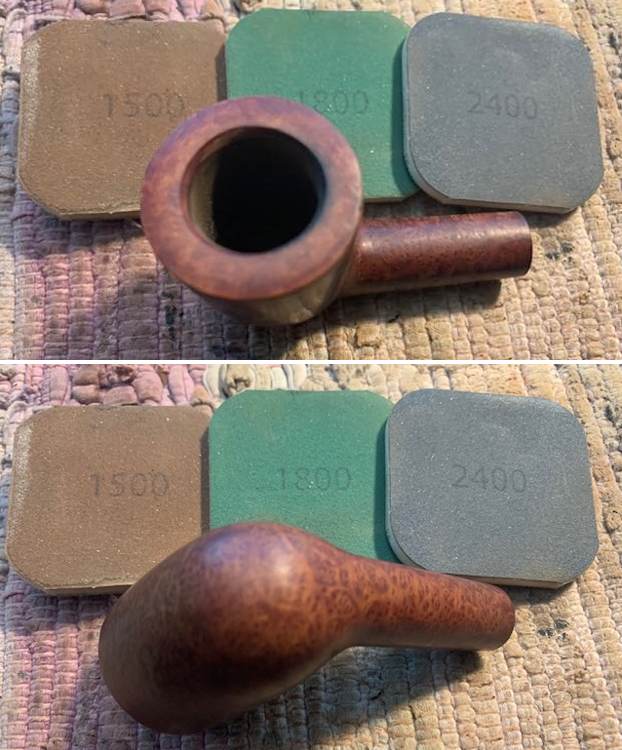
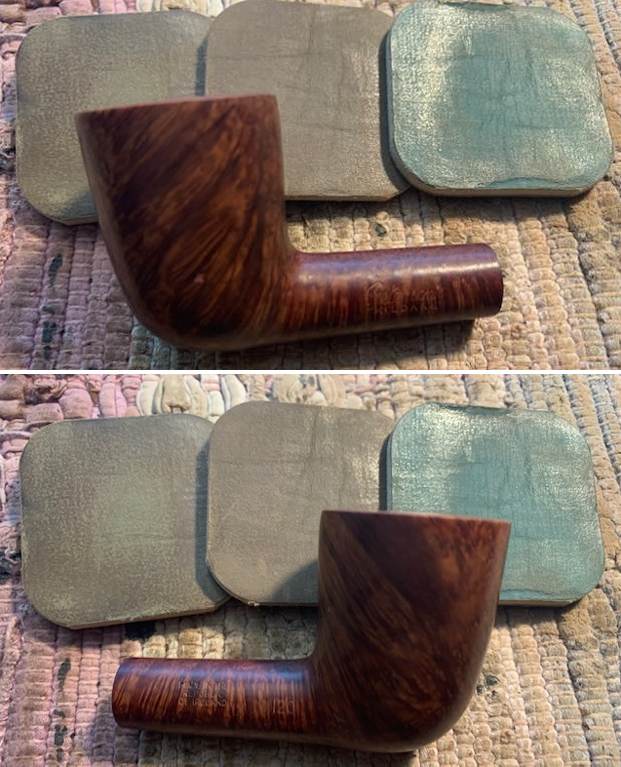
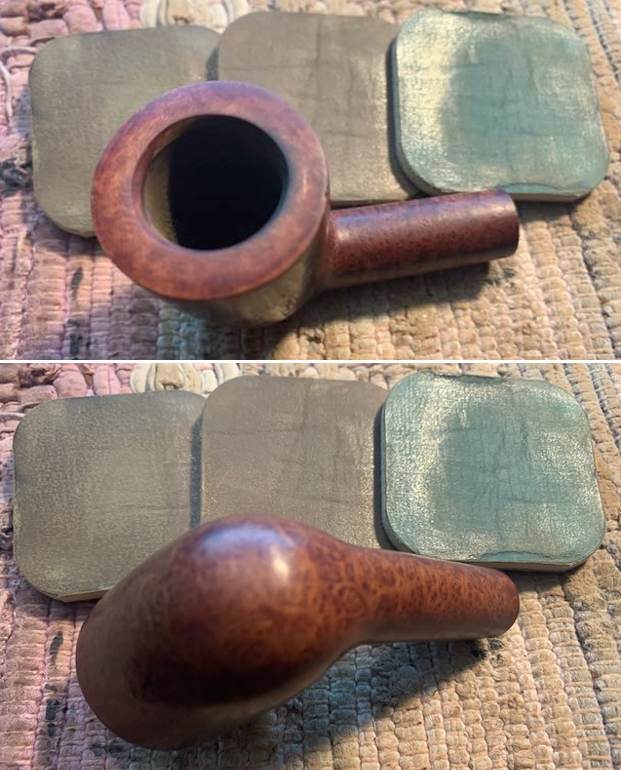
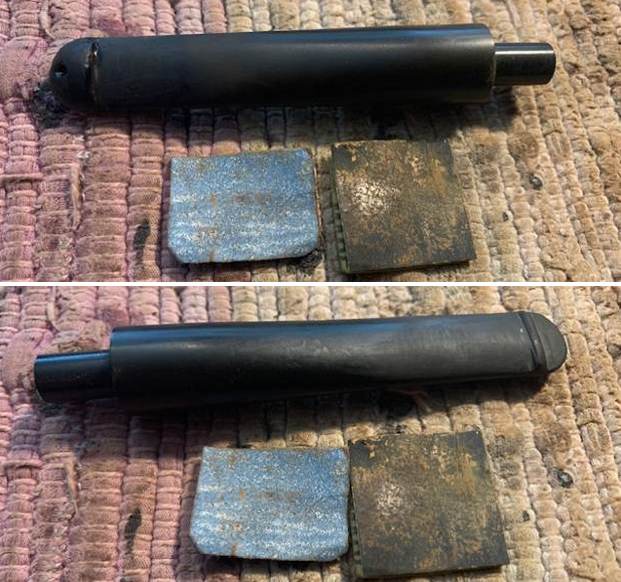
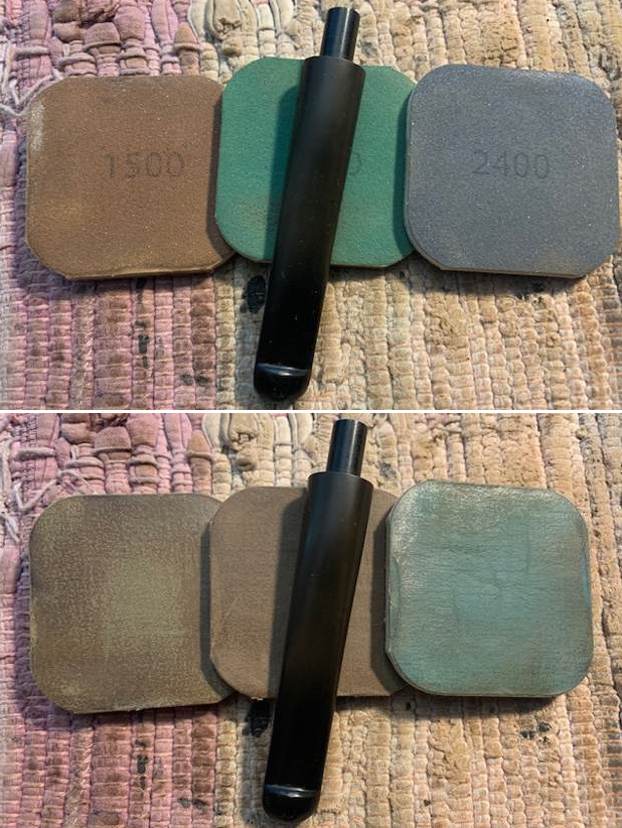
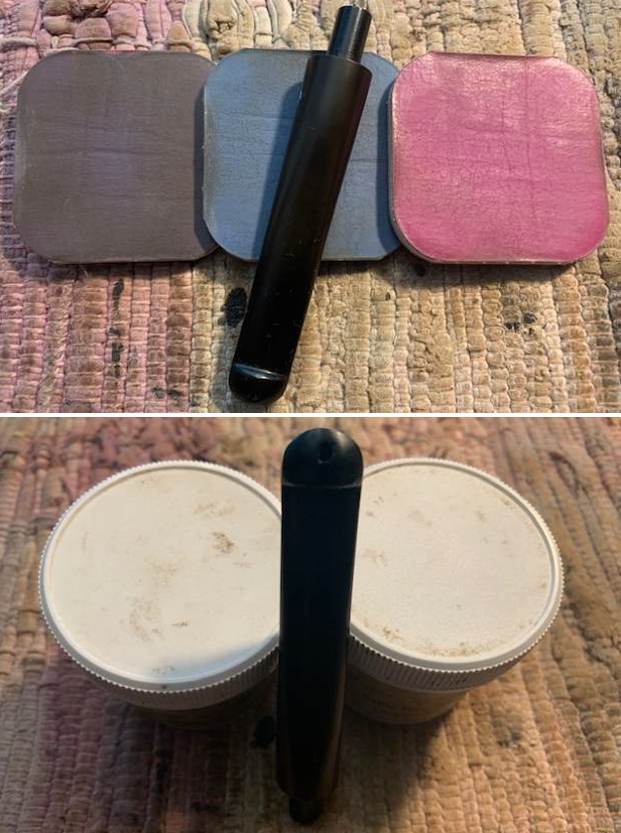
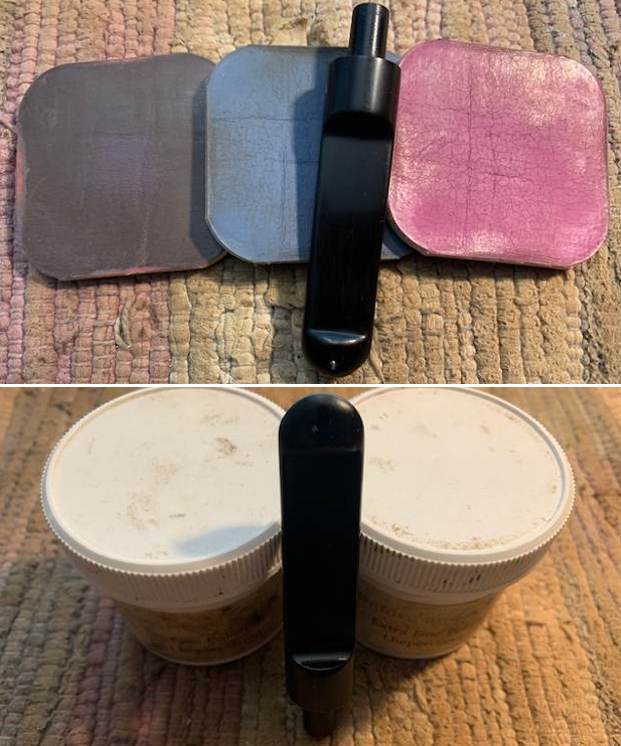
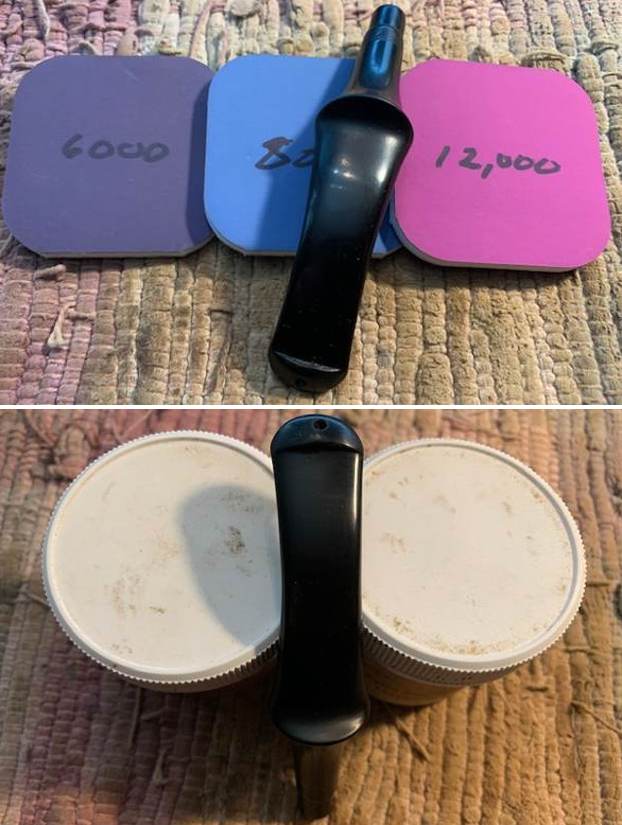
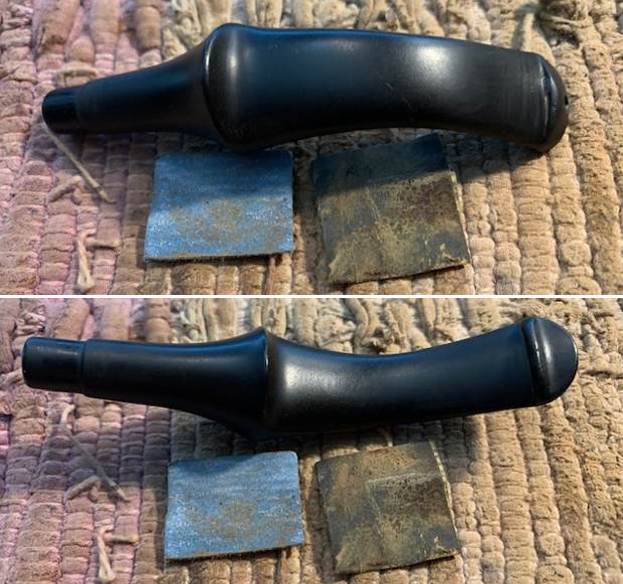 I polished the vulcanite stem with micromesh sanding pads – 1500-12000 grit pads. I wiped it down with a damp cloth after each sanding pad. I used Before & After Pipe Polish – both Fine and Extra Fine to further polish the stem.
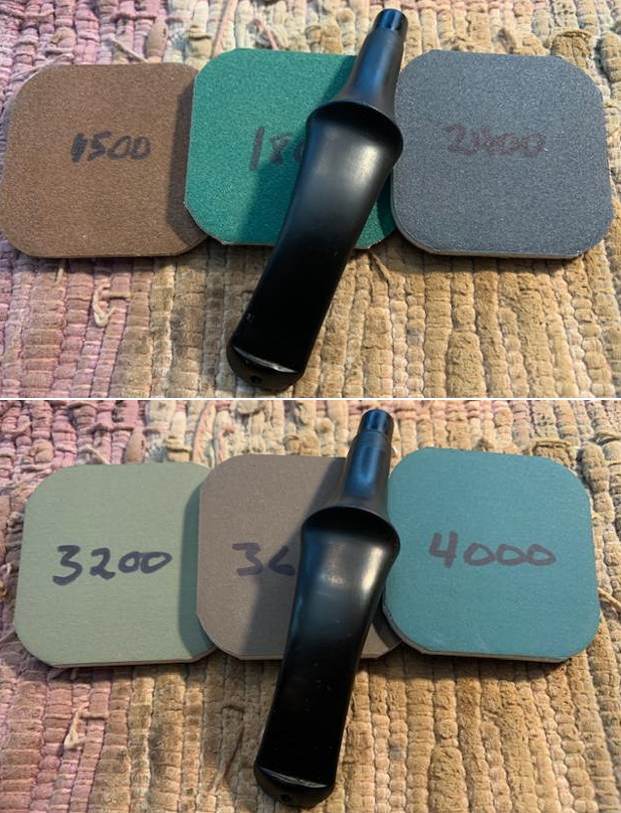
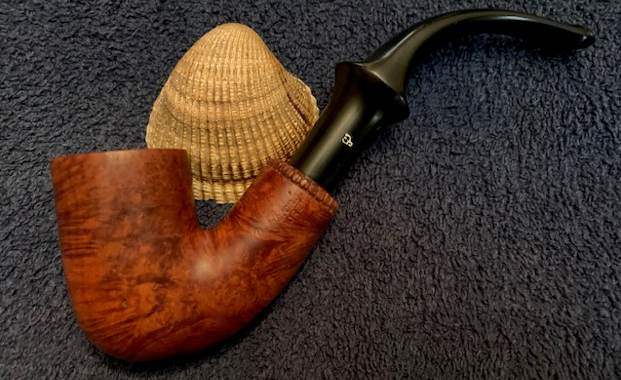
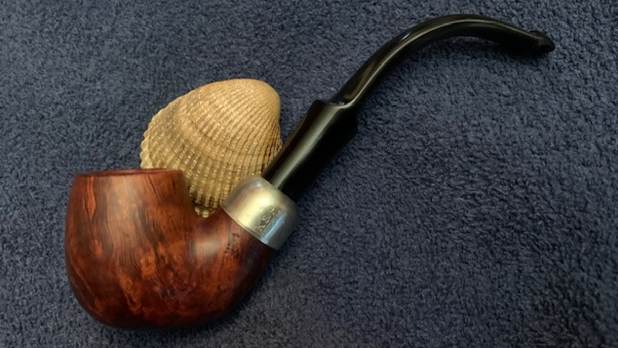
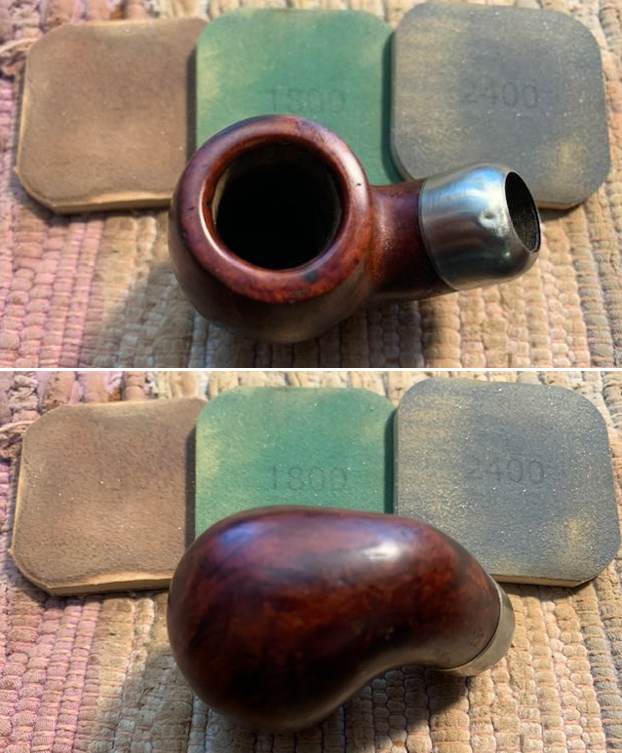
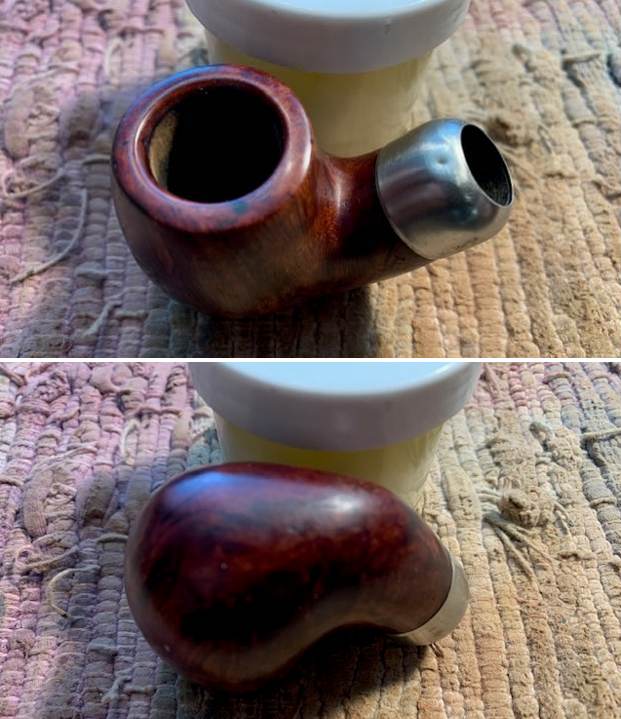
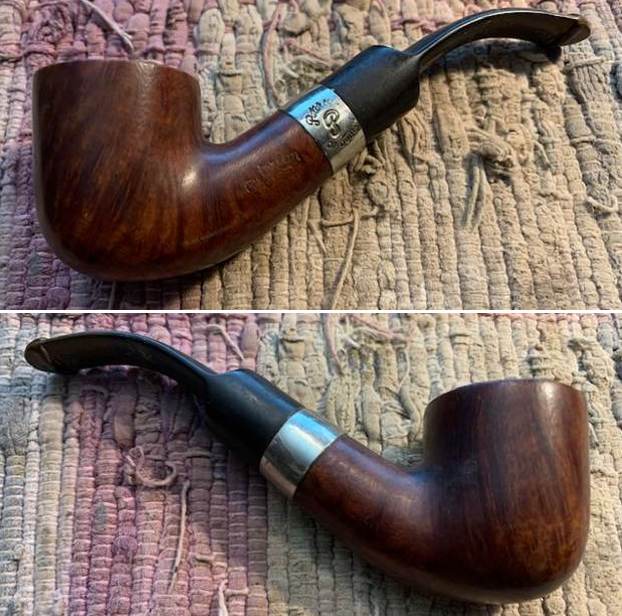
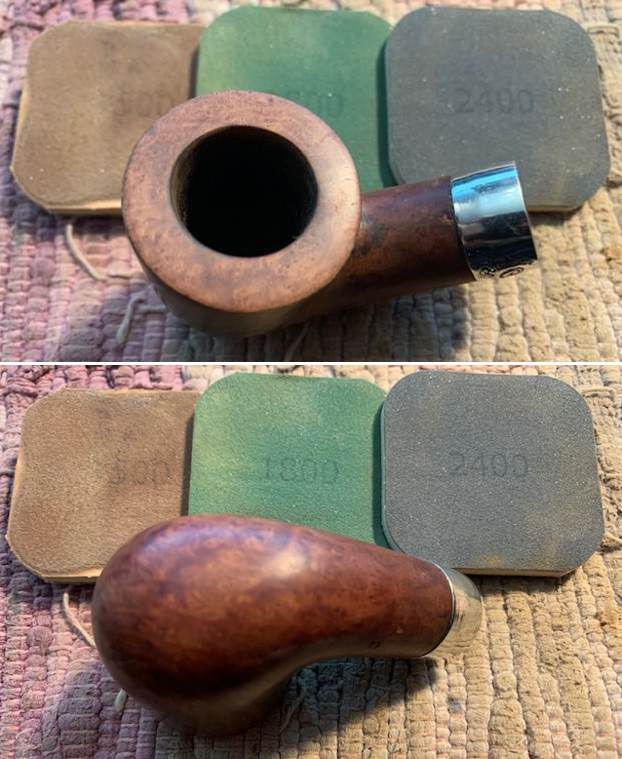
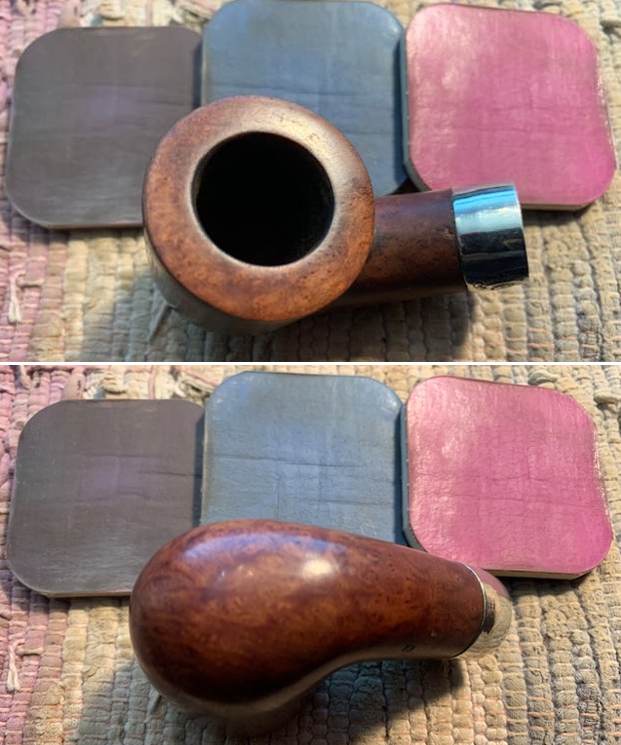
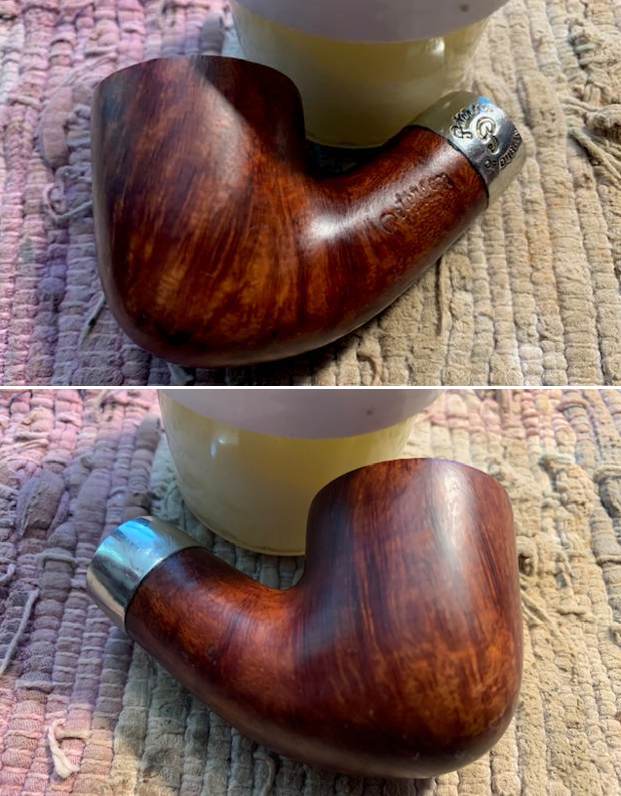
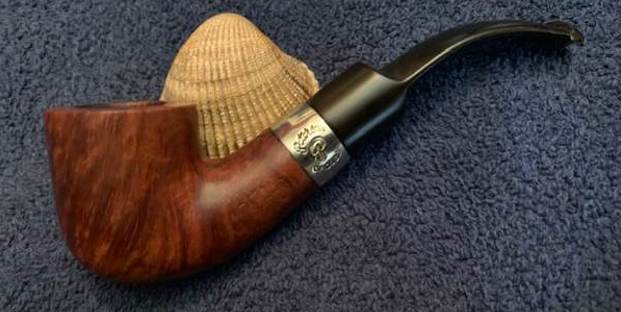
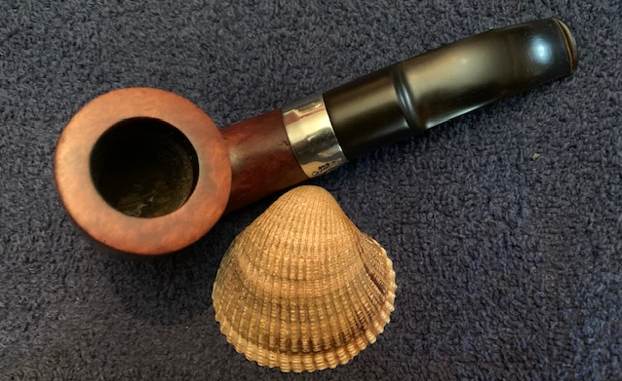
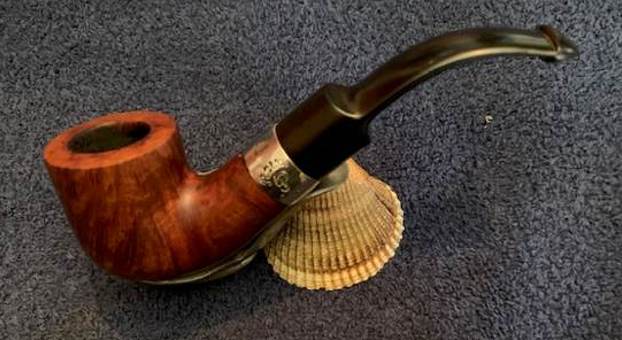
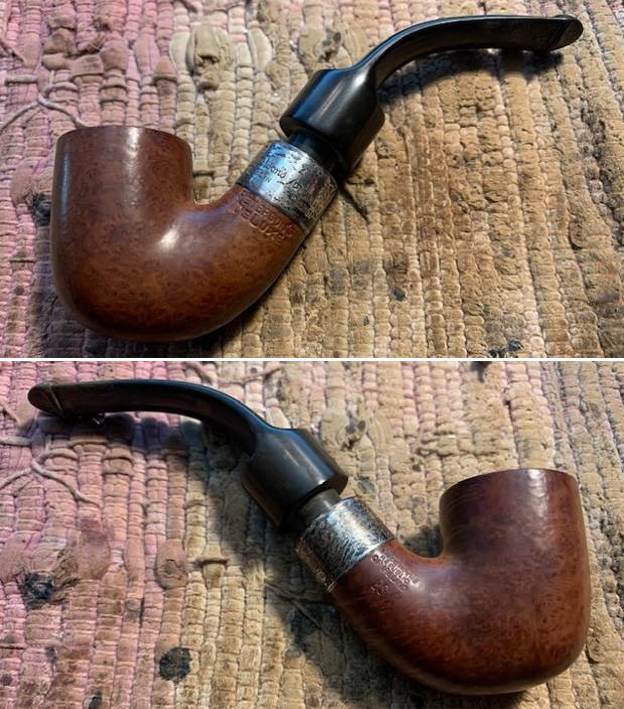
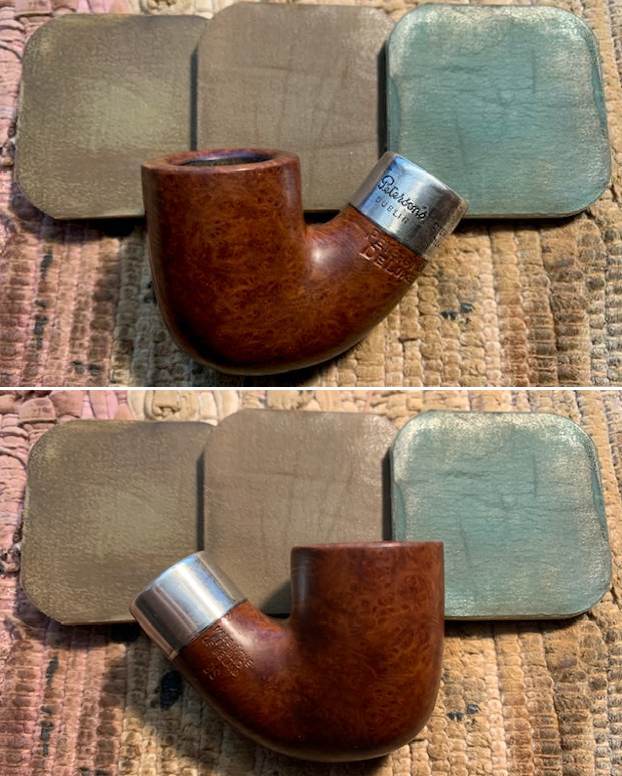
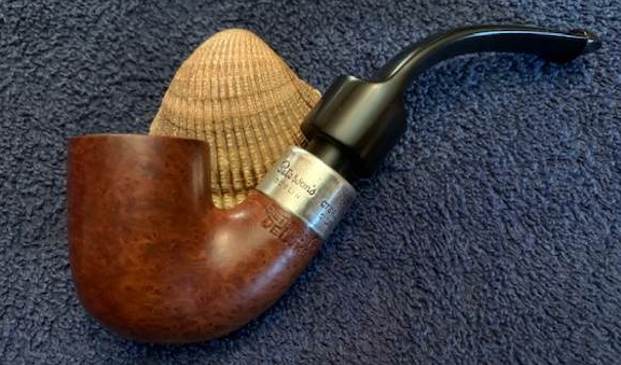
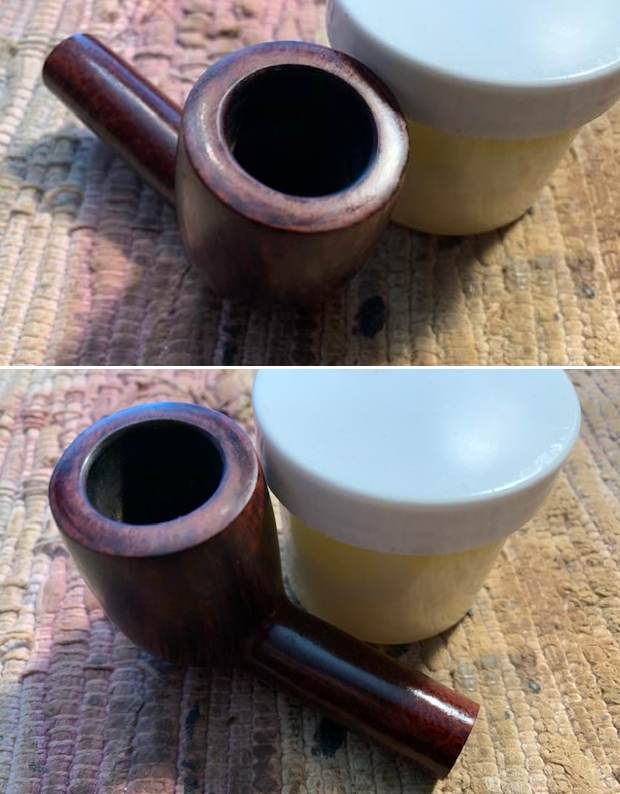
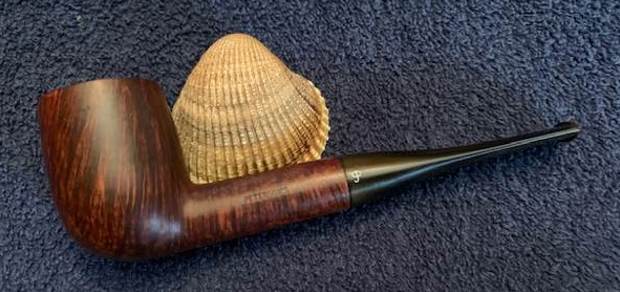
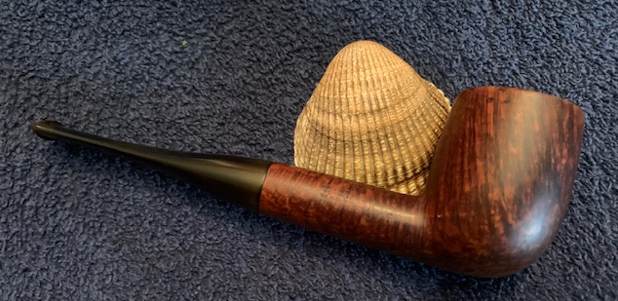
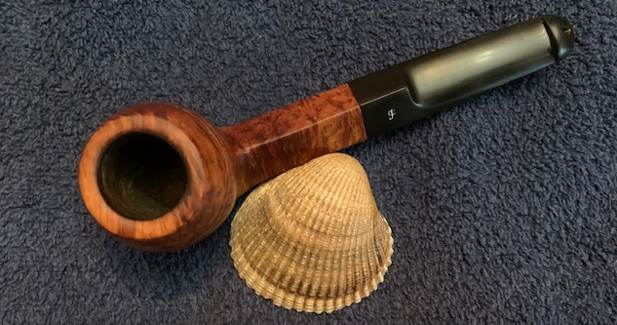
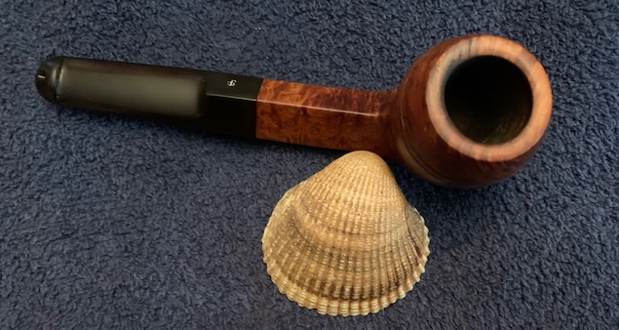
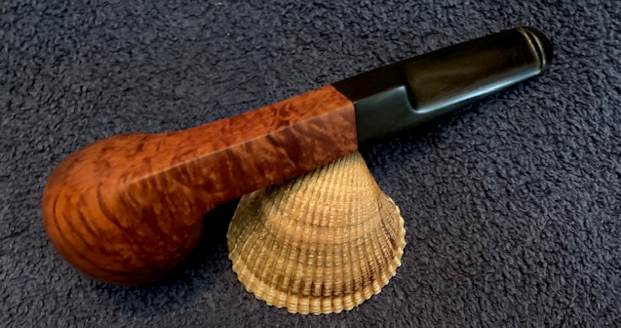
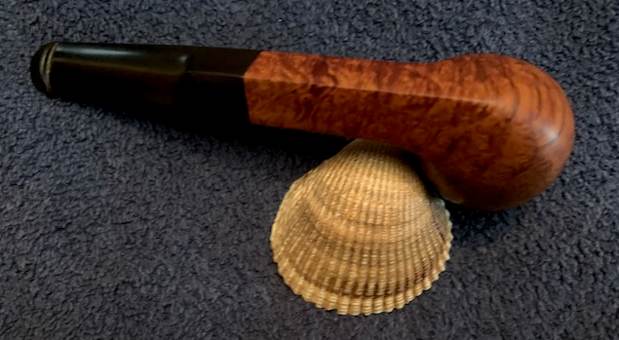
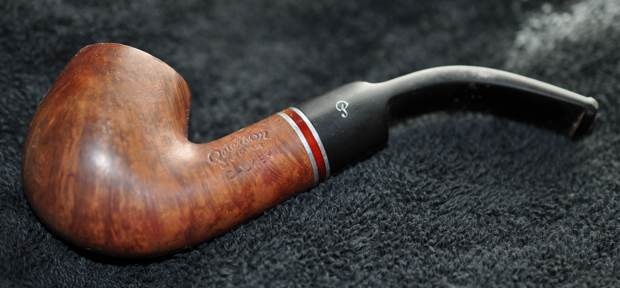
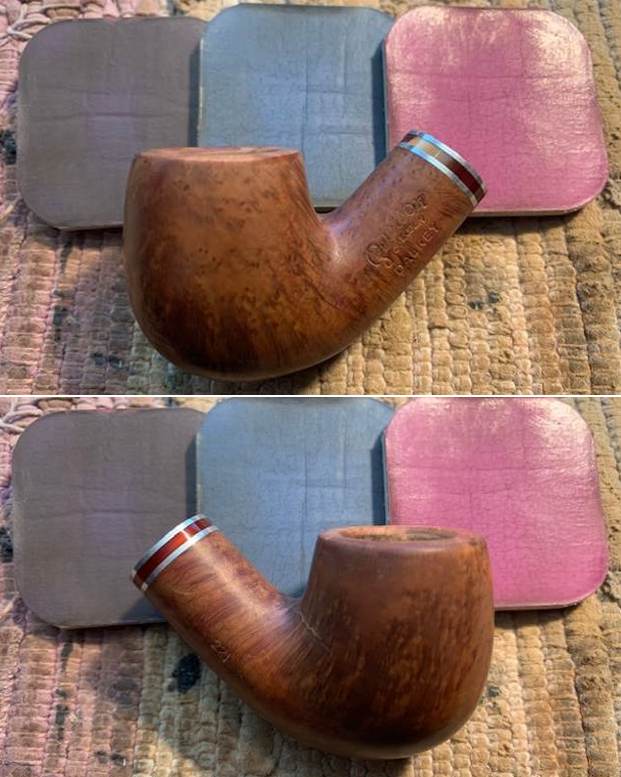
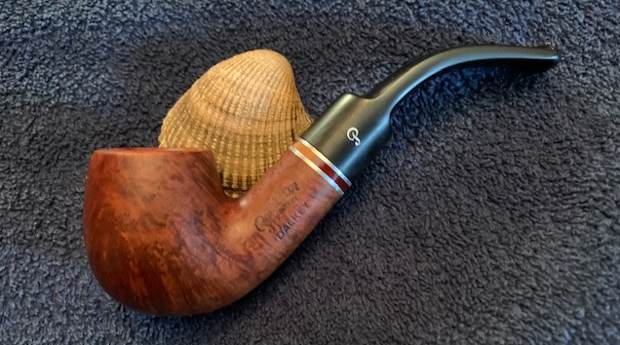
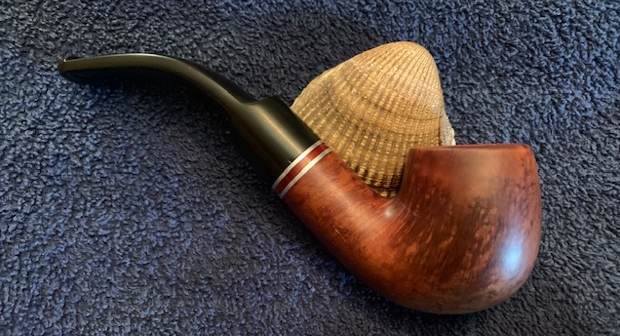
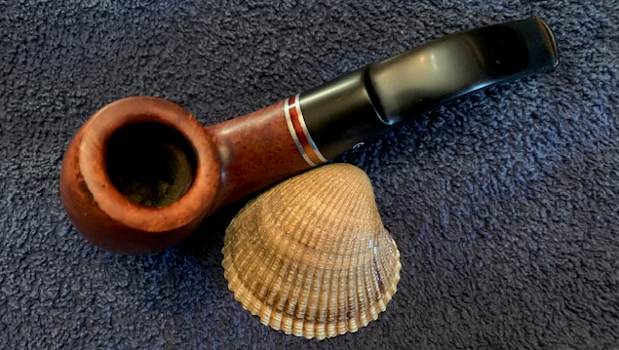
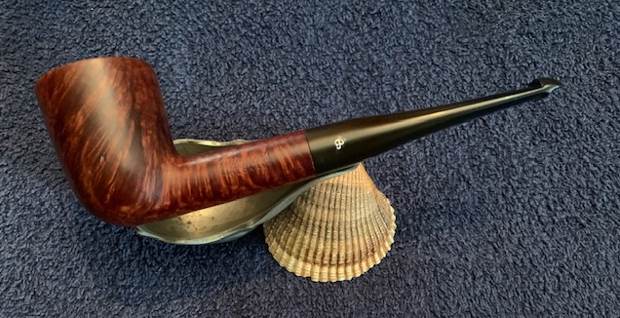
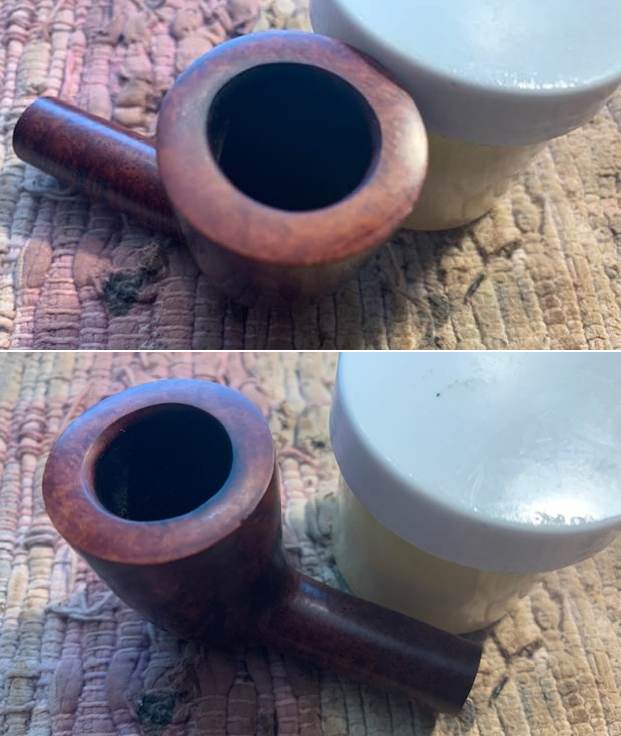
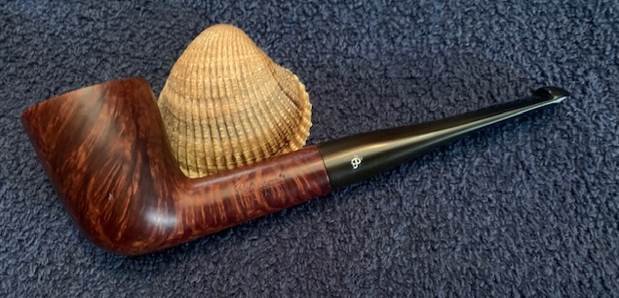
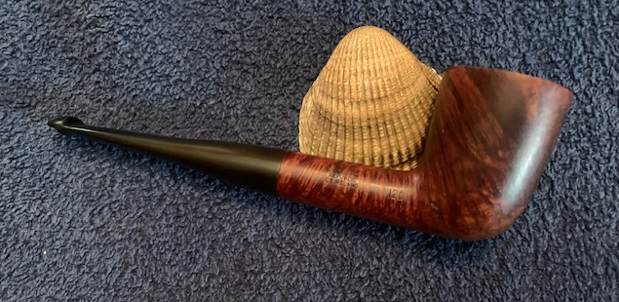
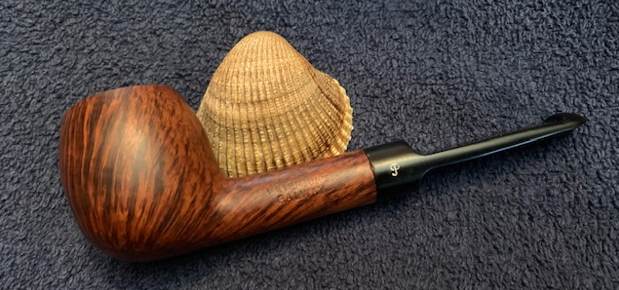
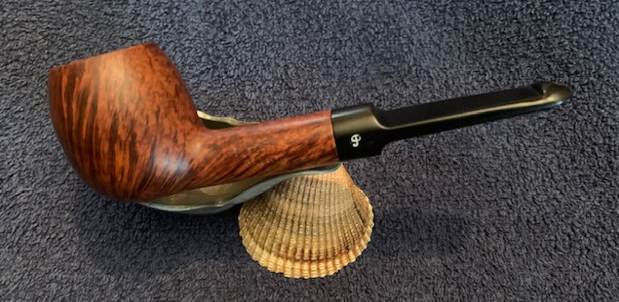
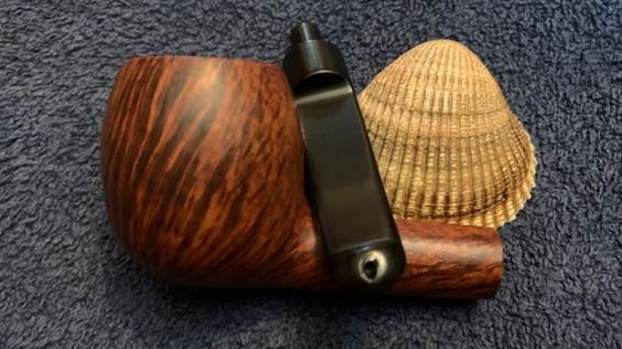
 This nice looking Peterson’s System Standard 301 Sandblast Bent Pot with a classic Peterson’s P-lip vulcanite stem looks much better now that it has been restored. The rim top and edges cleaned up very well. The dark brown stains on the bowl came alive with the polishing and waxing. I put the stem back on the bowl and carefully buffed the pipe with Blue Diamond on the buffing wheel using a light touch on the briar. I gave the bowl multiple coats of Conservator’s Wax and the stem multiple coats of carnauba wax on the buffing wheel and followed that by buffing the entire pipe with a clean buffing pad. I hand buffed the pipe with a microfiber cloth to deepen the shine. The finished Peterson’s System Standard is a beauty and fits nicely in the hand and looks very good. Give the finished pipe a look in the photos below. The dimensions of the pipe are Length: 5 ½ inches, Height: 1 ¾ inches, Outside diameter of the bowl: 1 ½ inch, Chamber diameter: ¾ of an inch. The weight of the pipe is 50 grams/1.76 ounces. If you are interested in adding this pipe to your collection send me a message or an email. Thanks for reading this blog and my reflections on the pipe while I worked on it. There are many more to come!