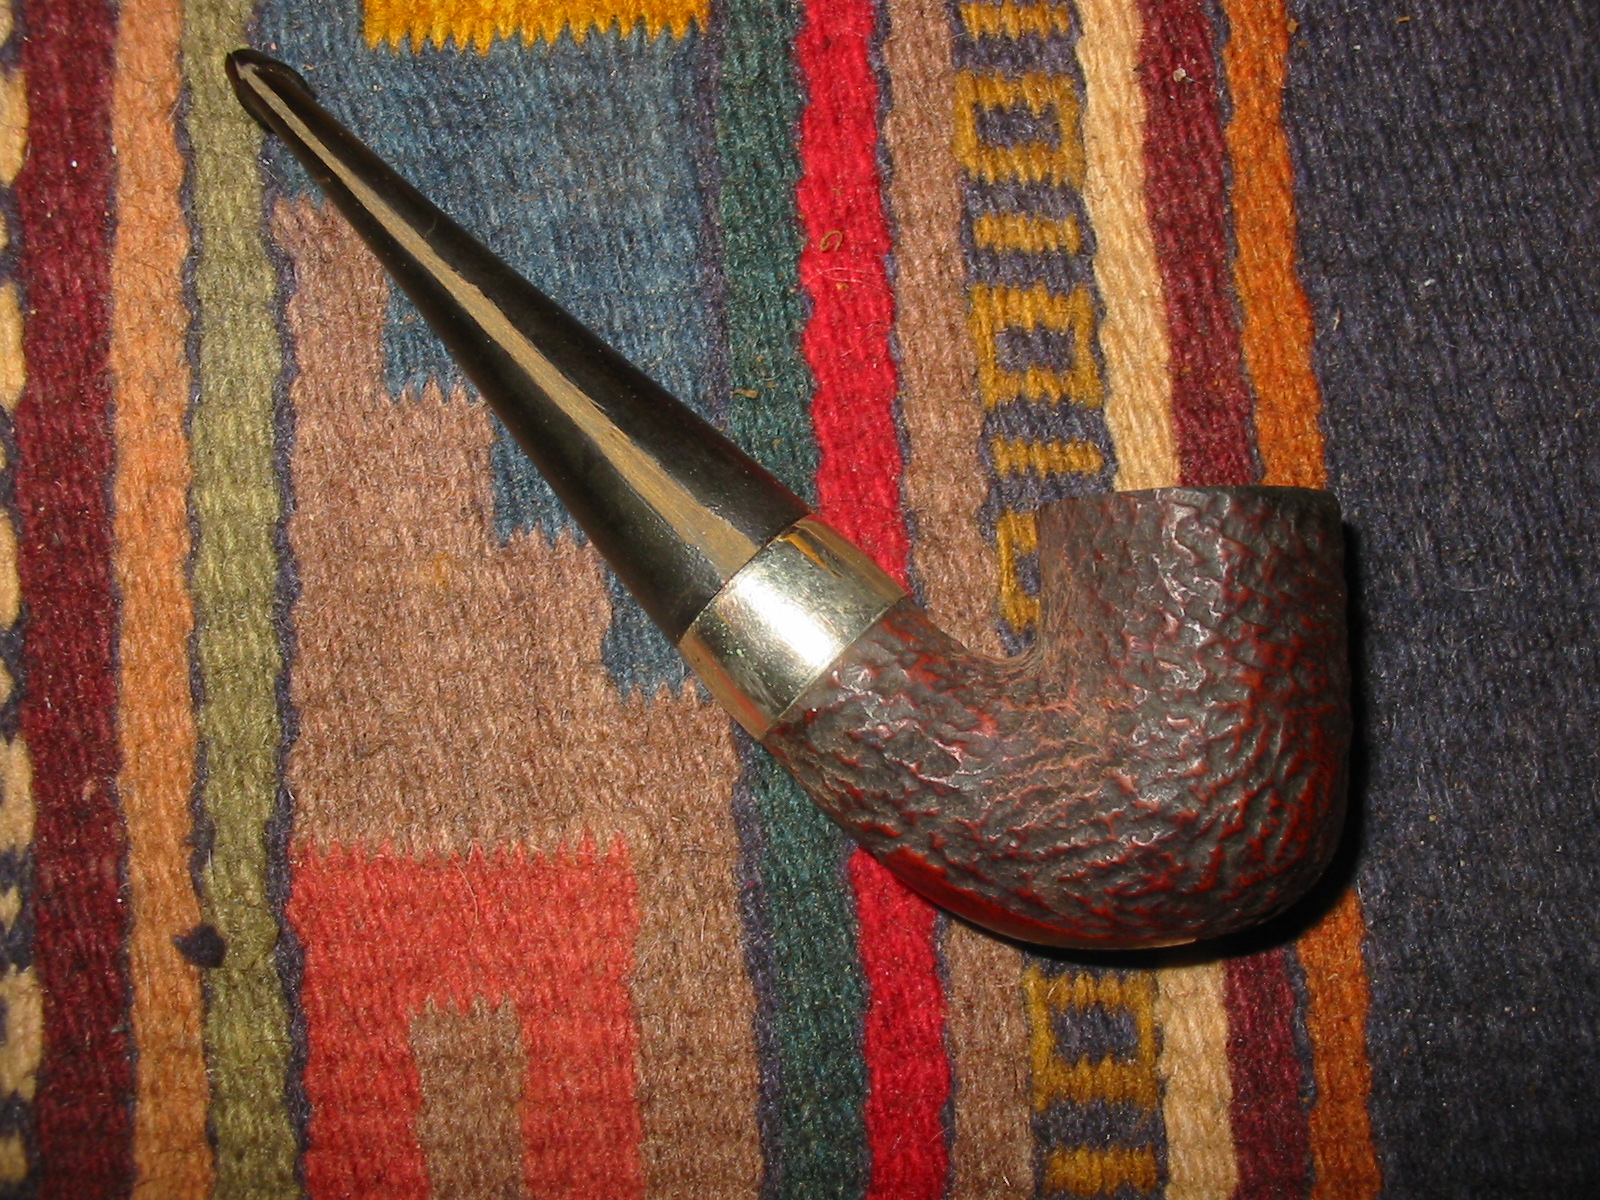
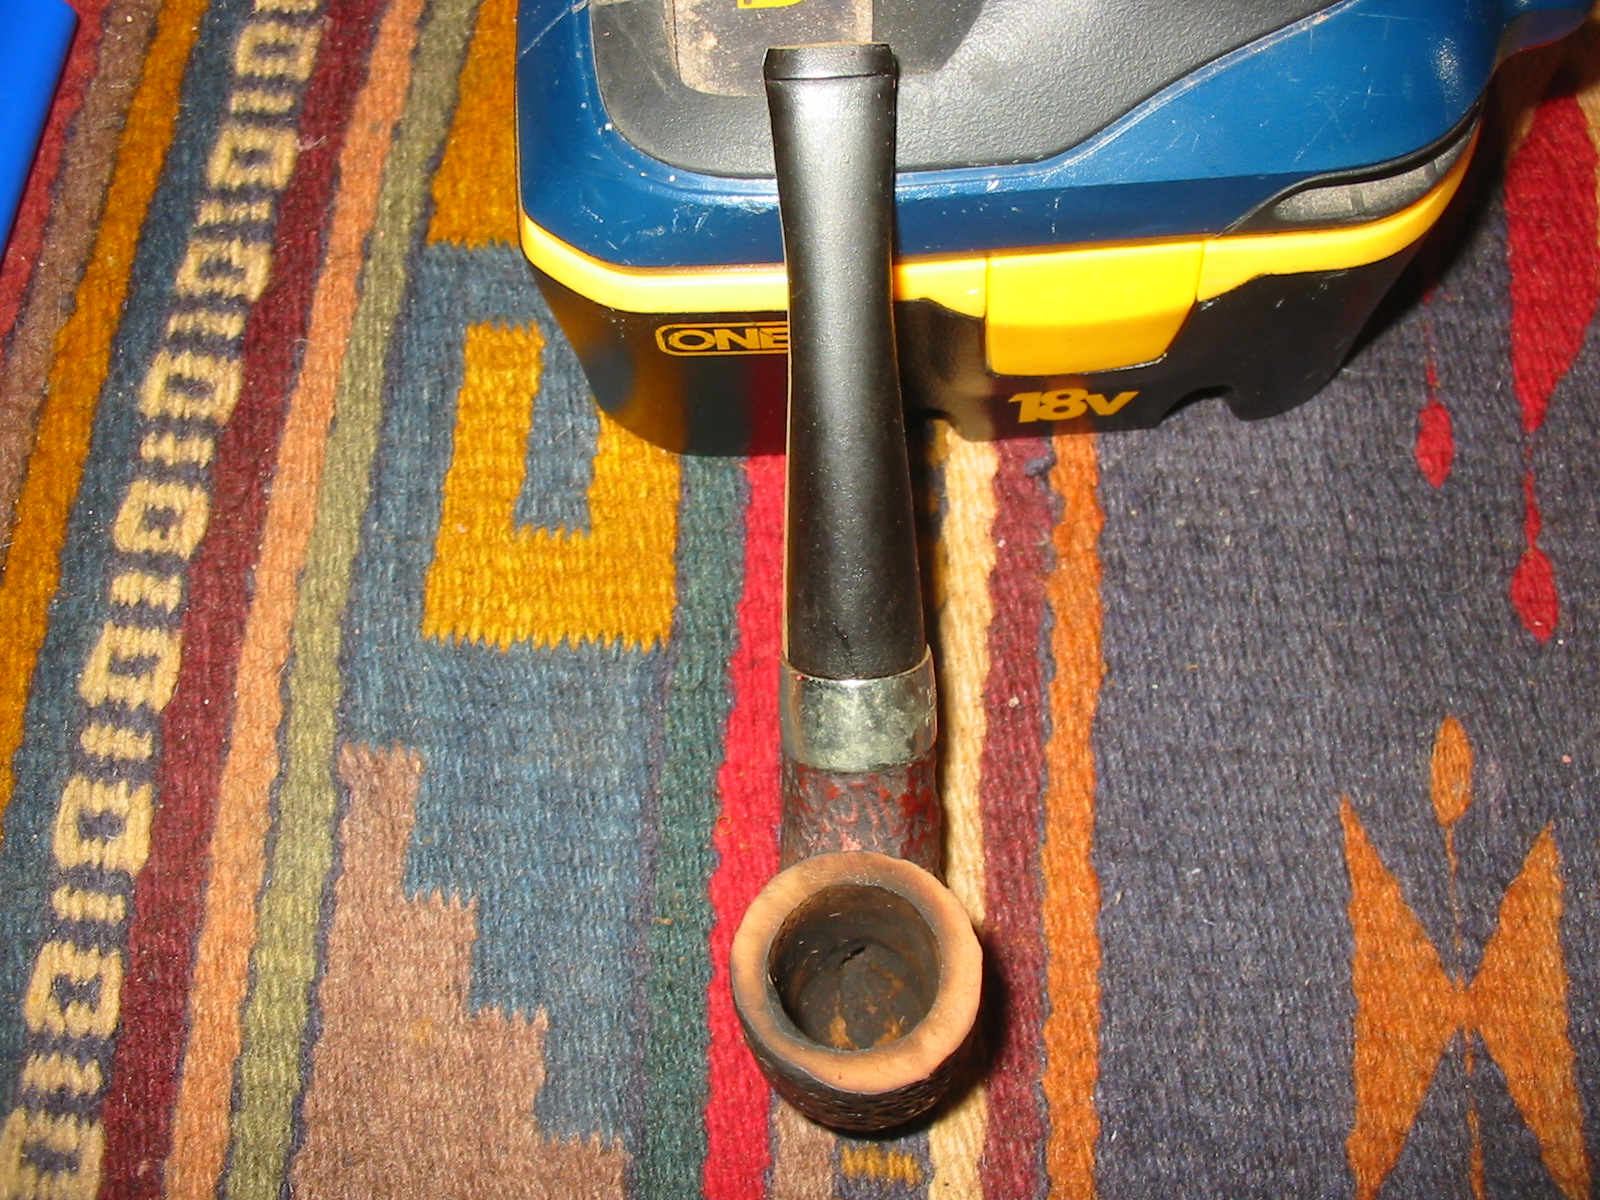
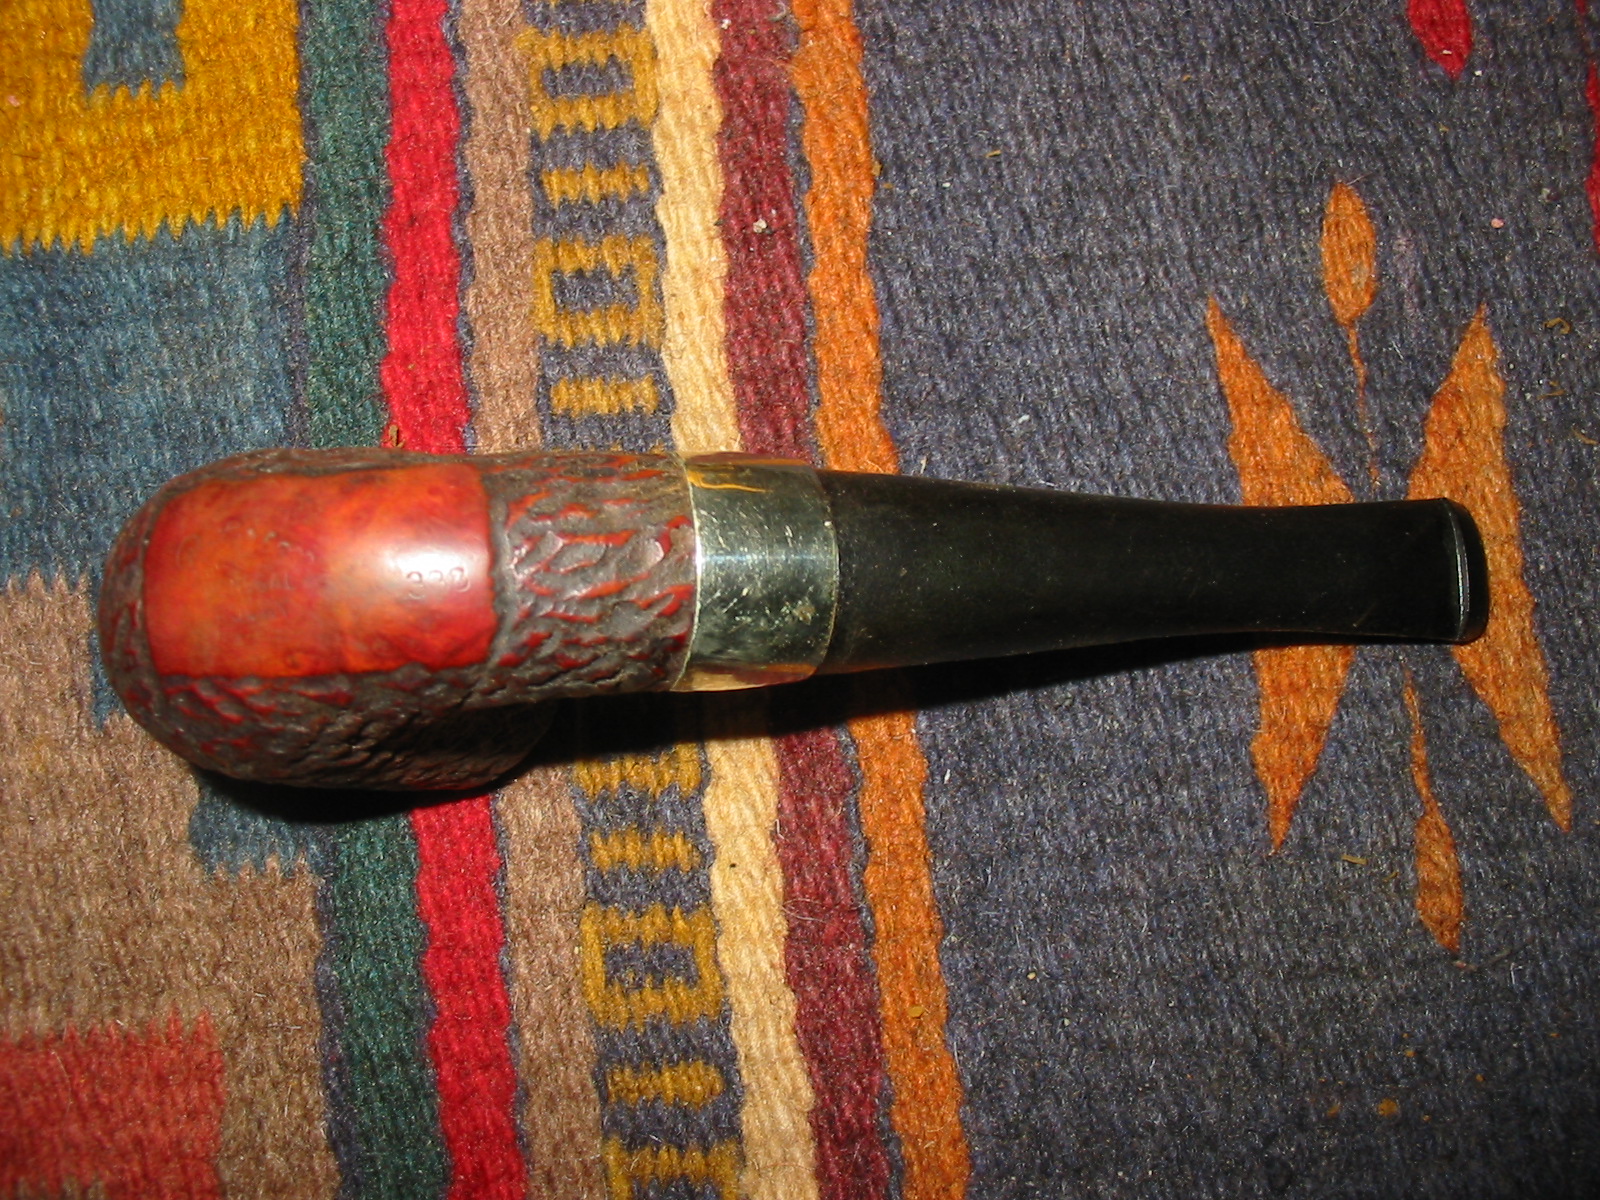
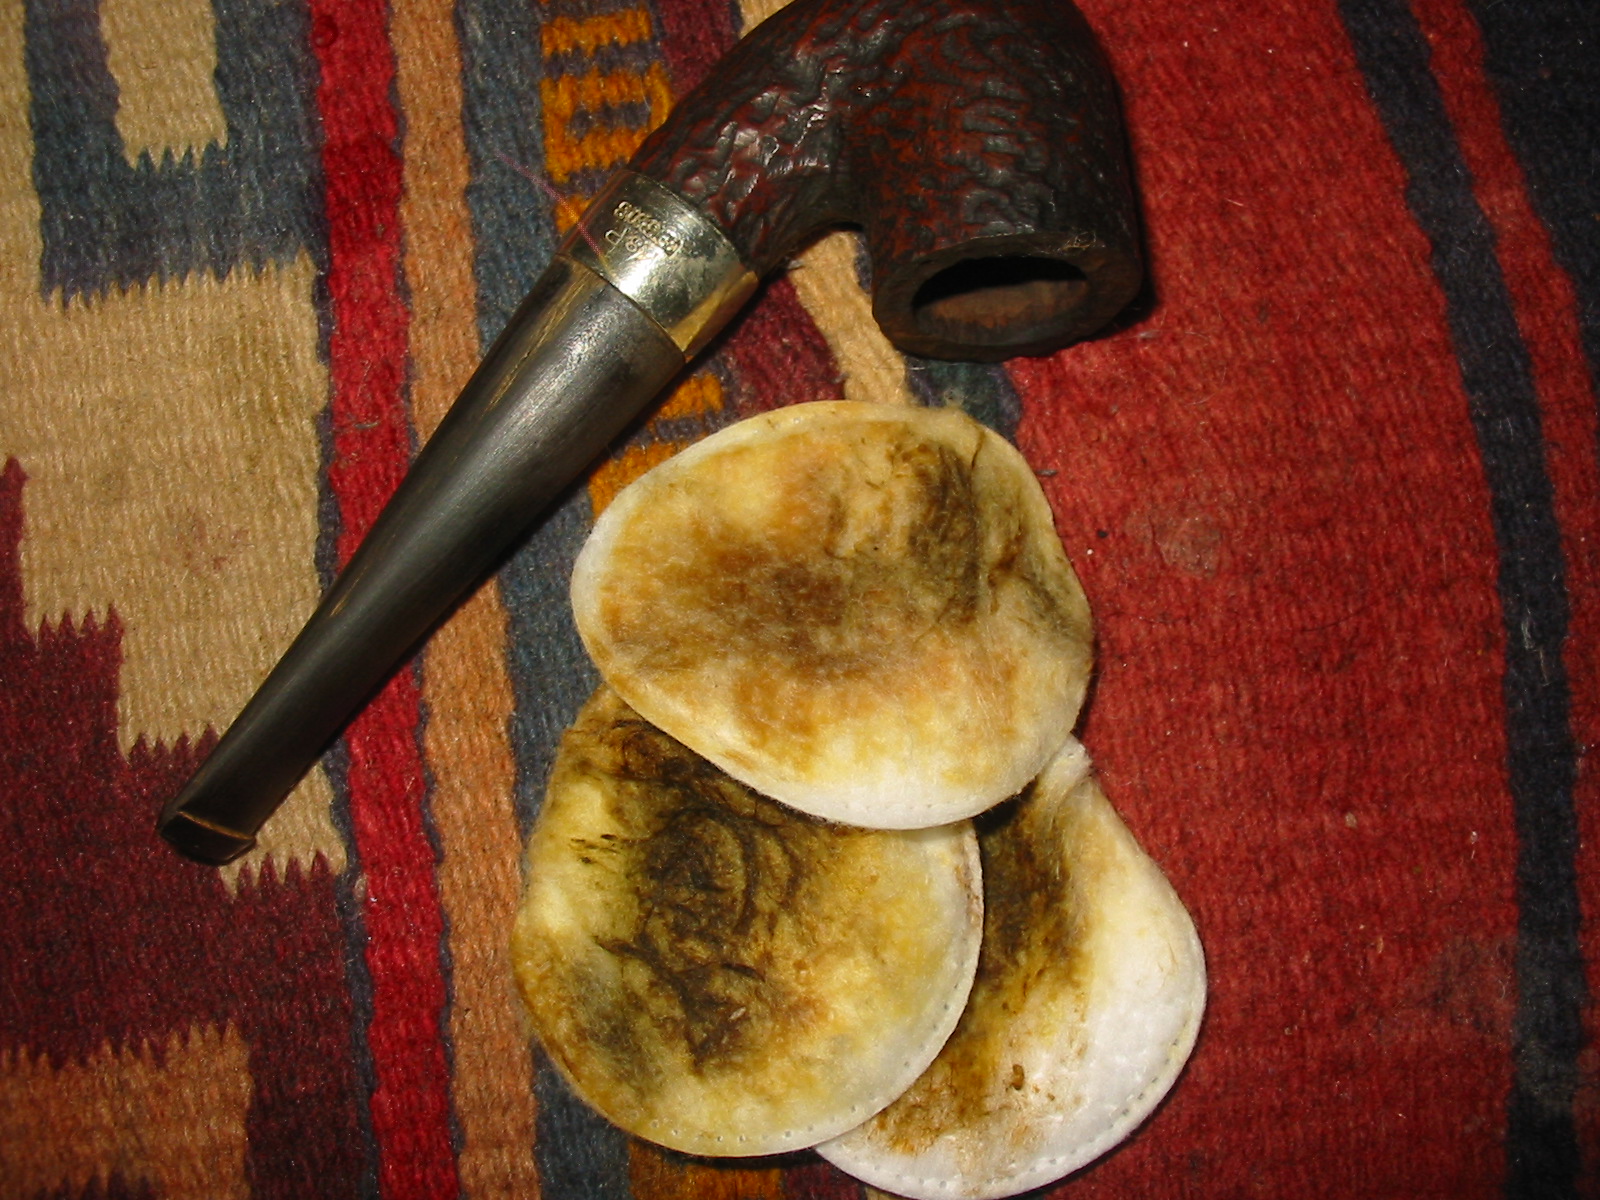
Tag Archives: Peterson Pipes

Restoring a Peterson Dunmore #72


Blog by Steve Laug

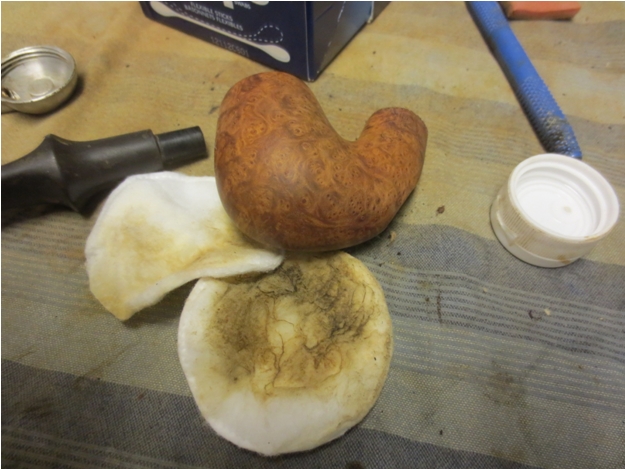
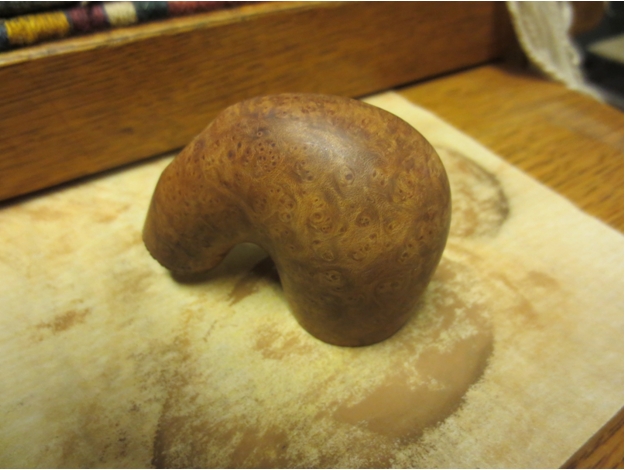
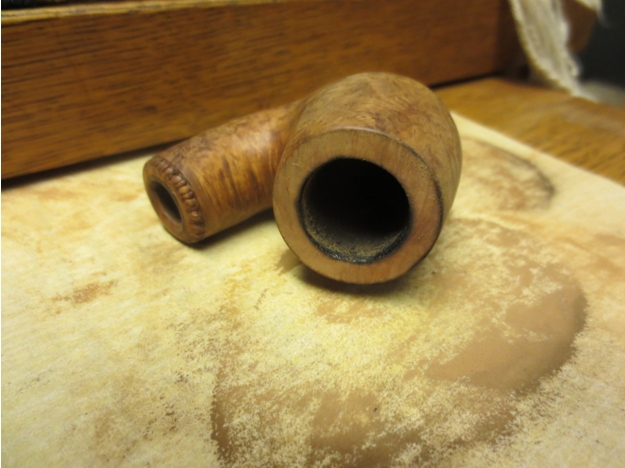
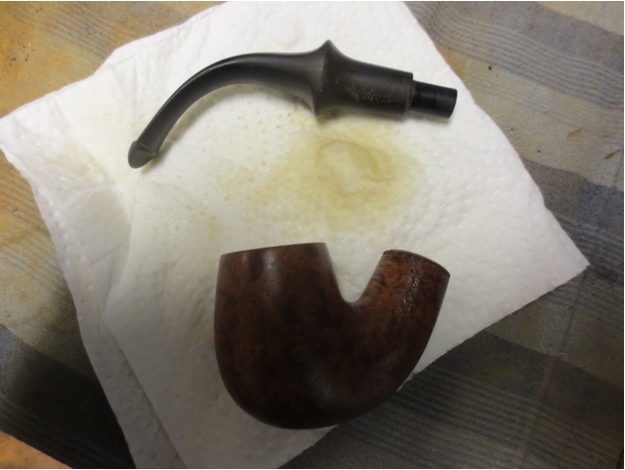
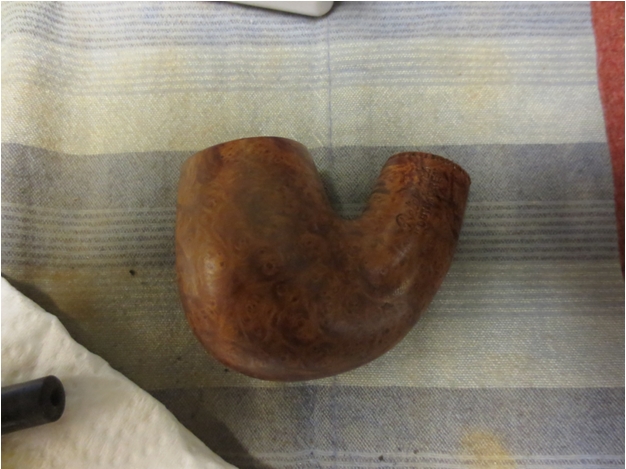
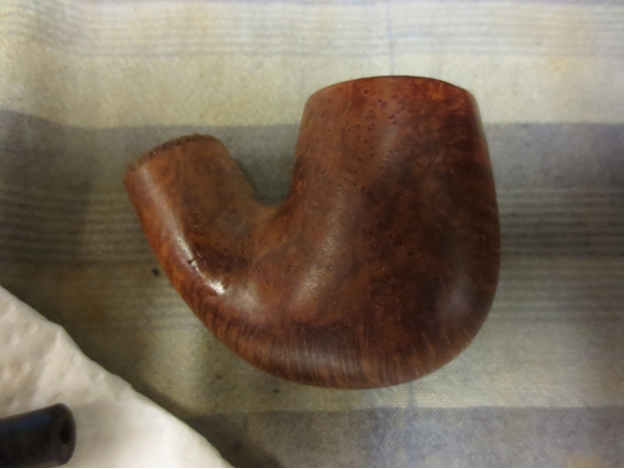
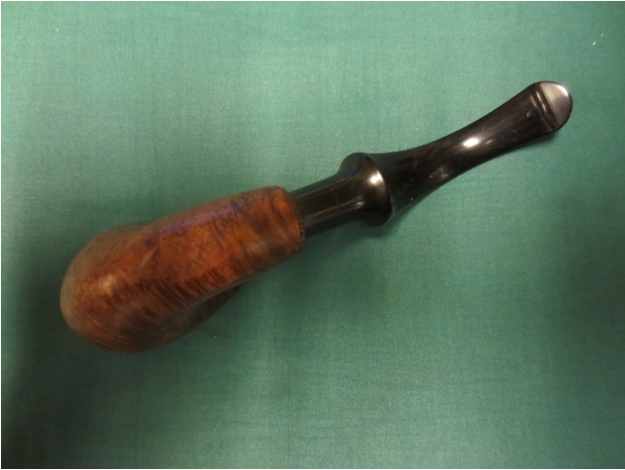
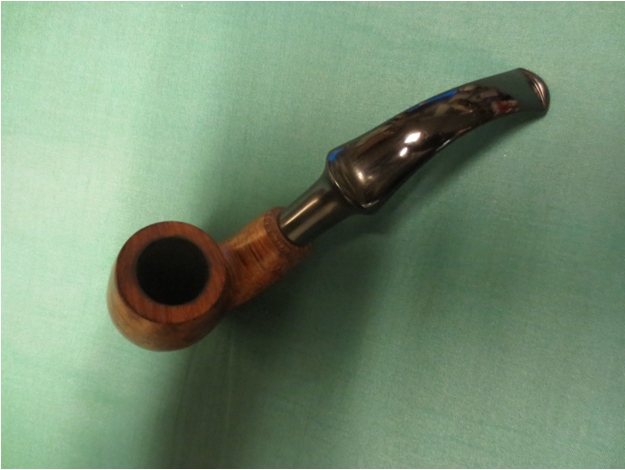
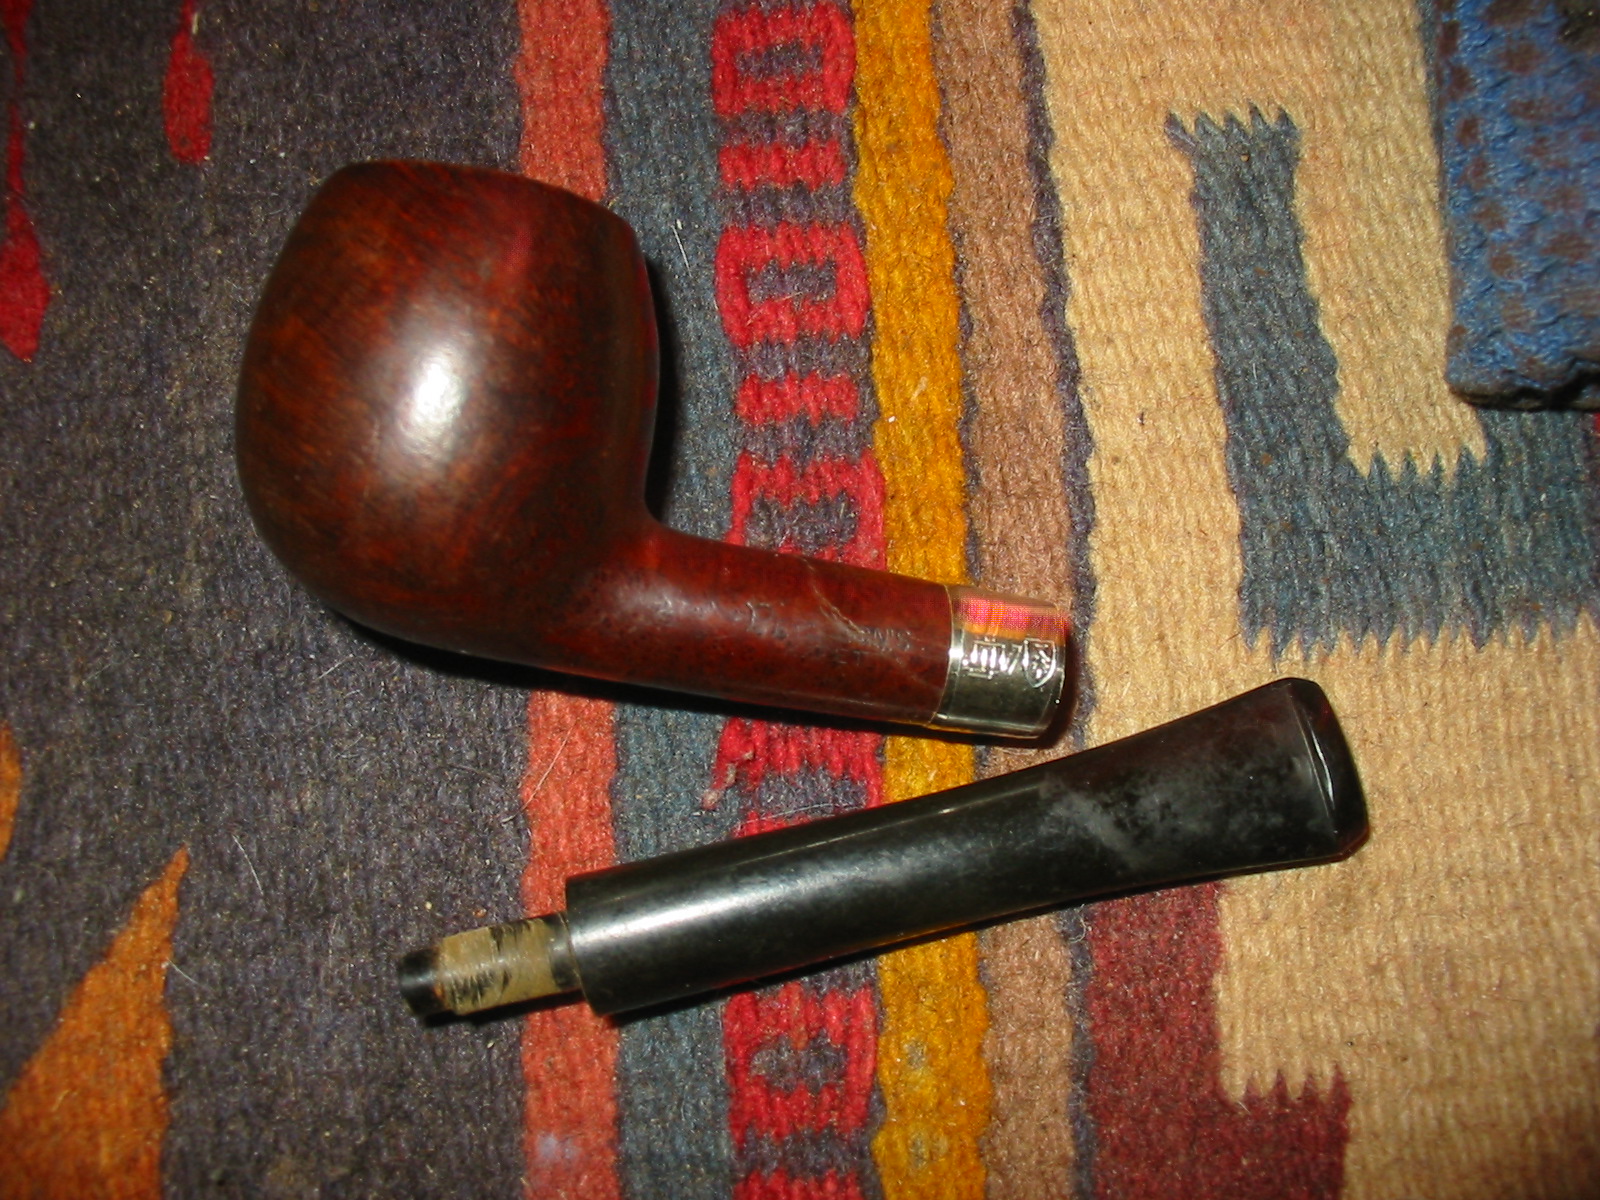
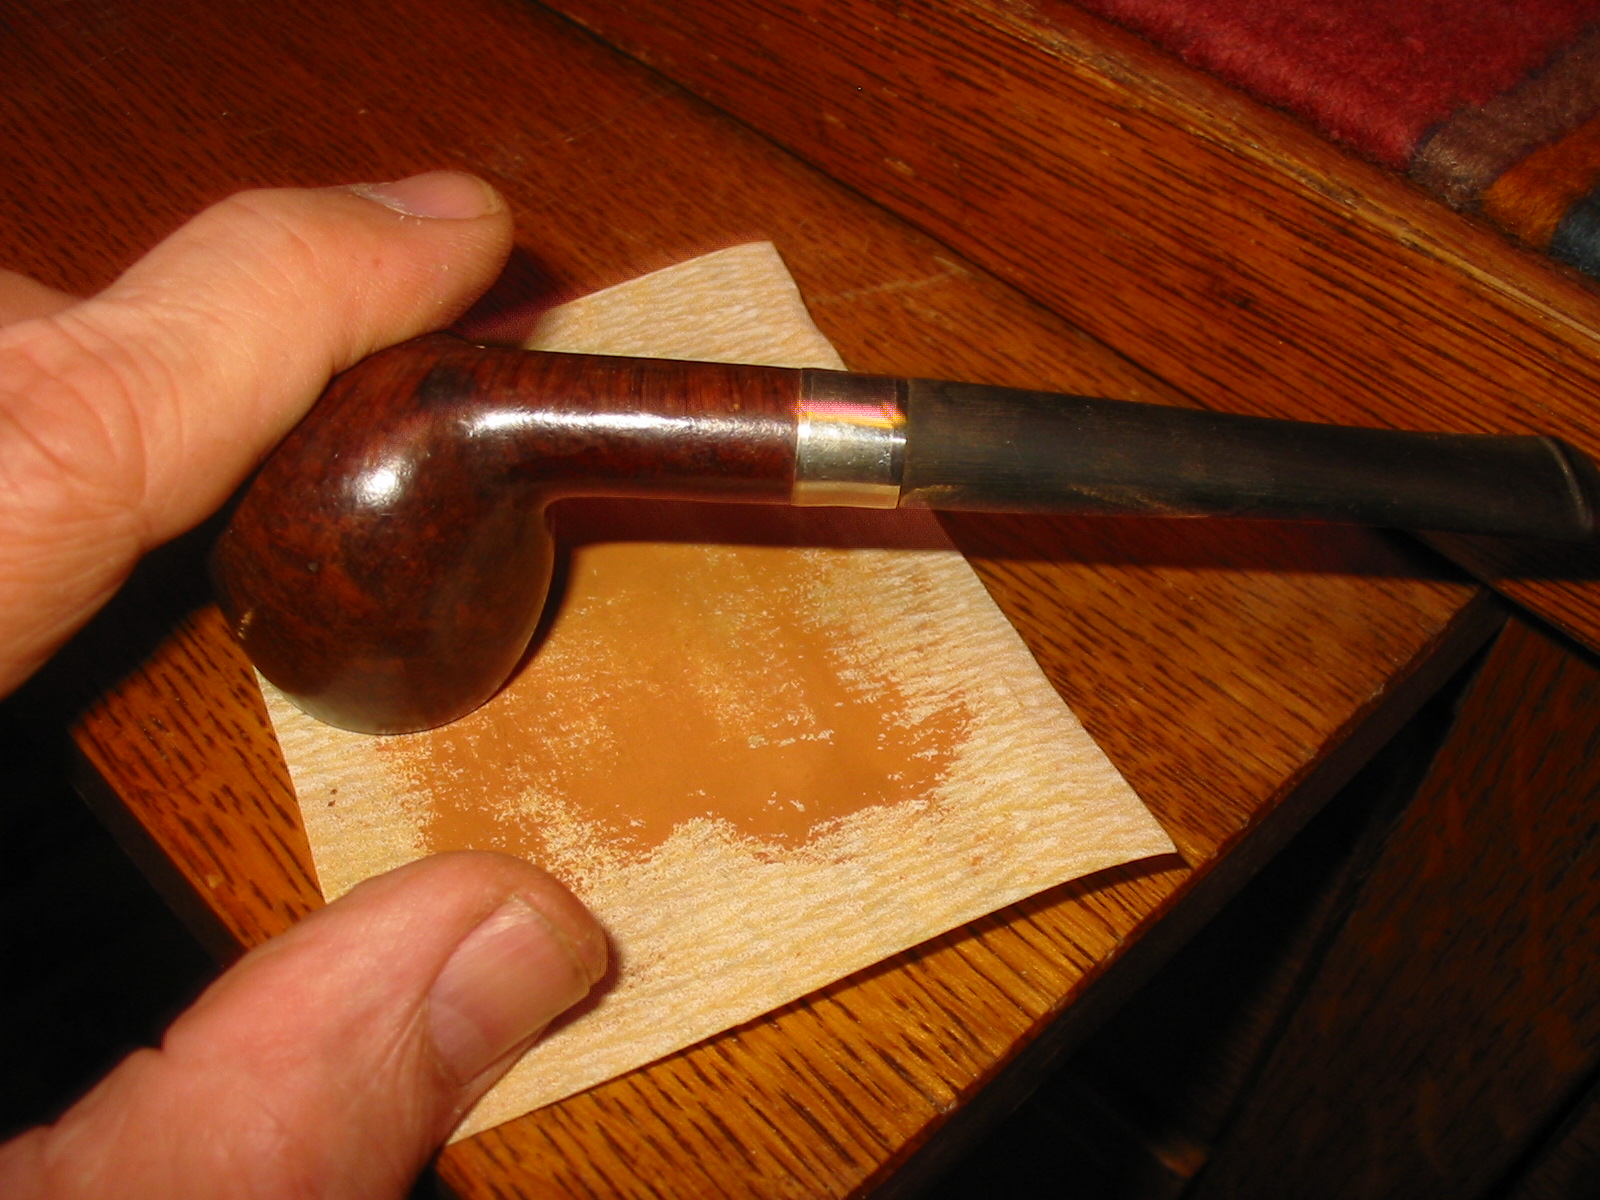
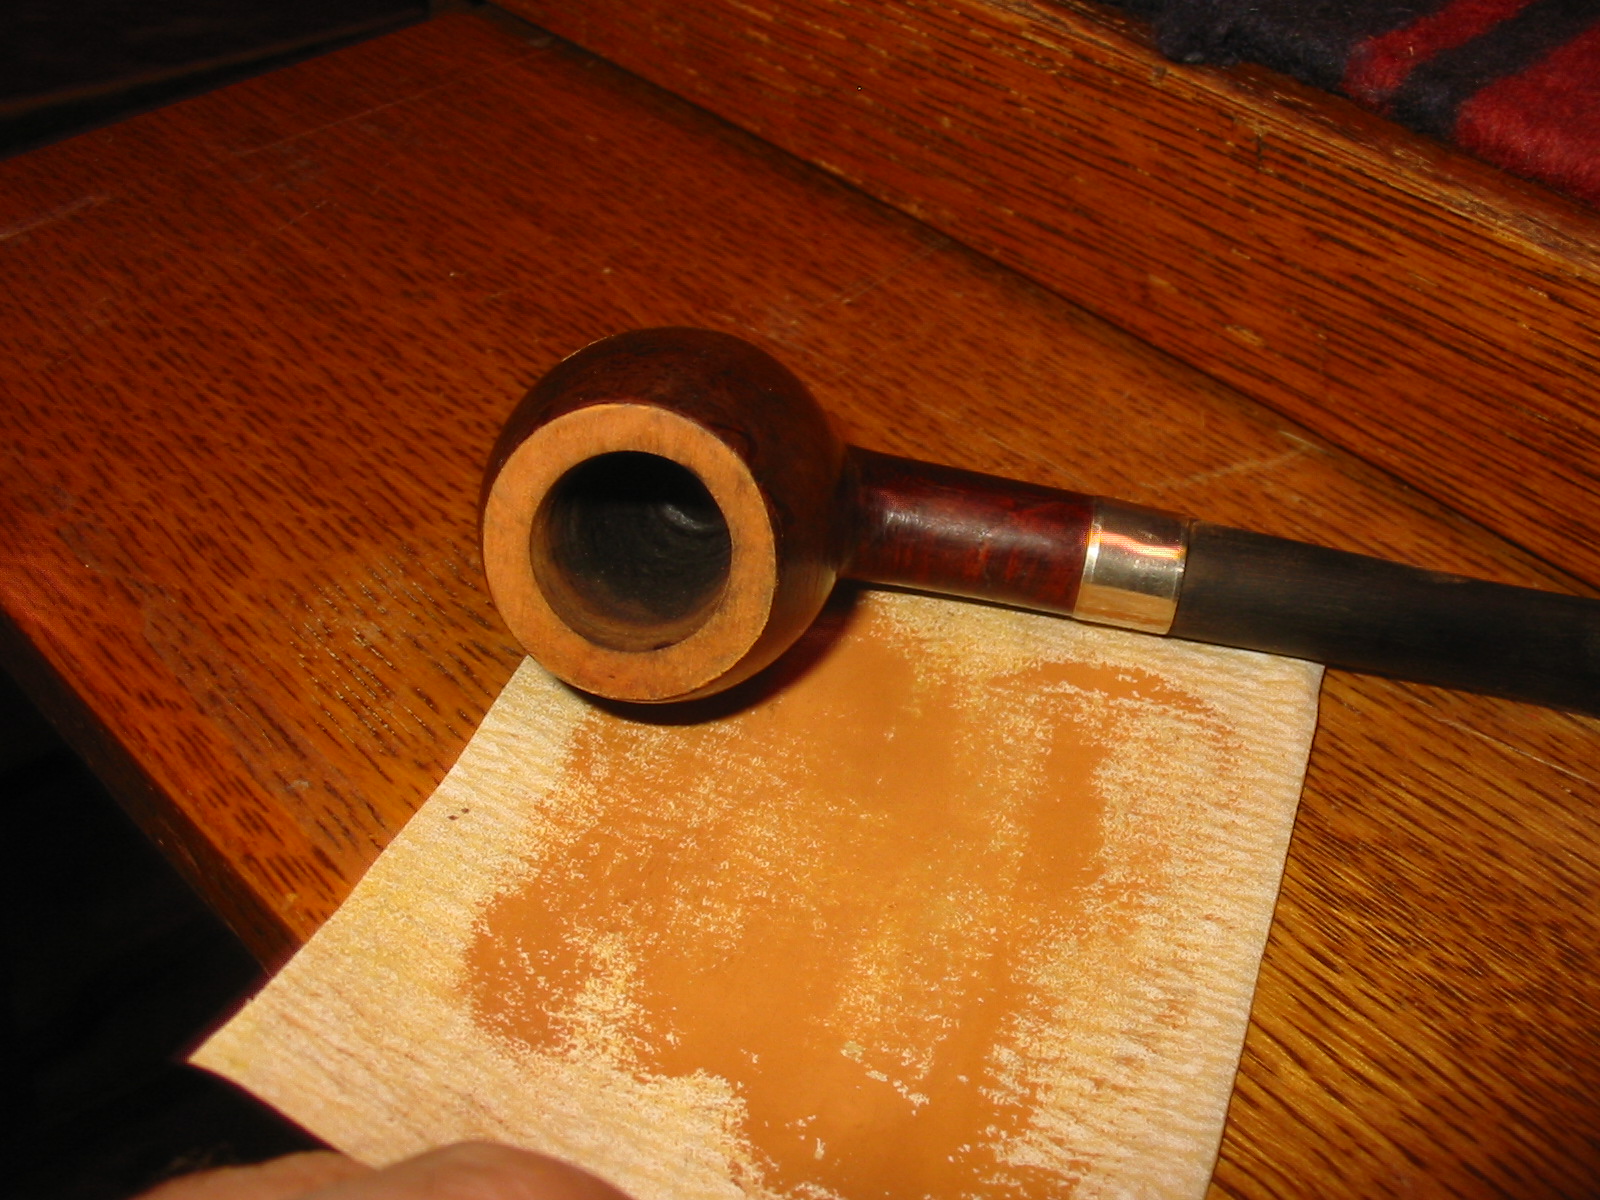
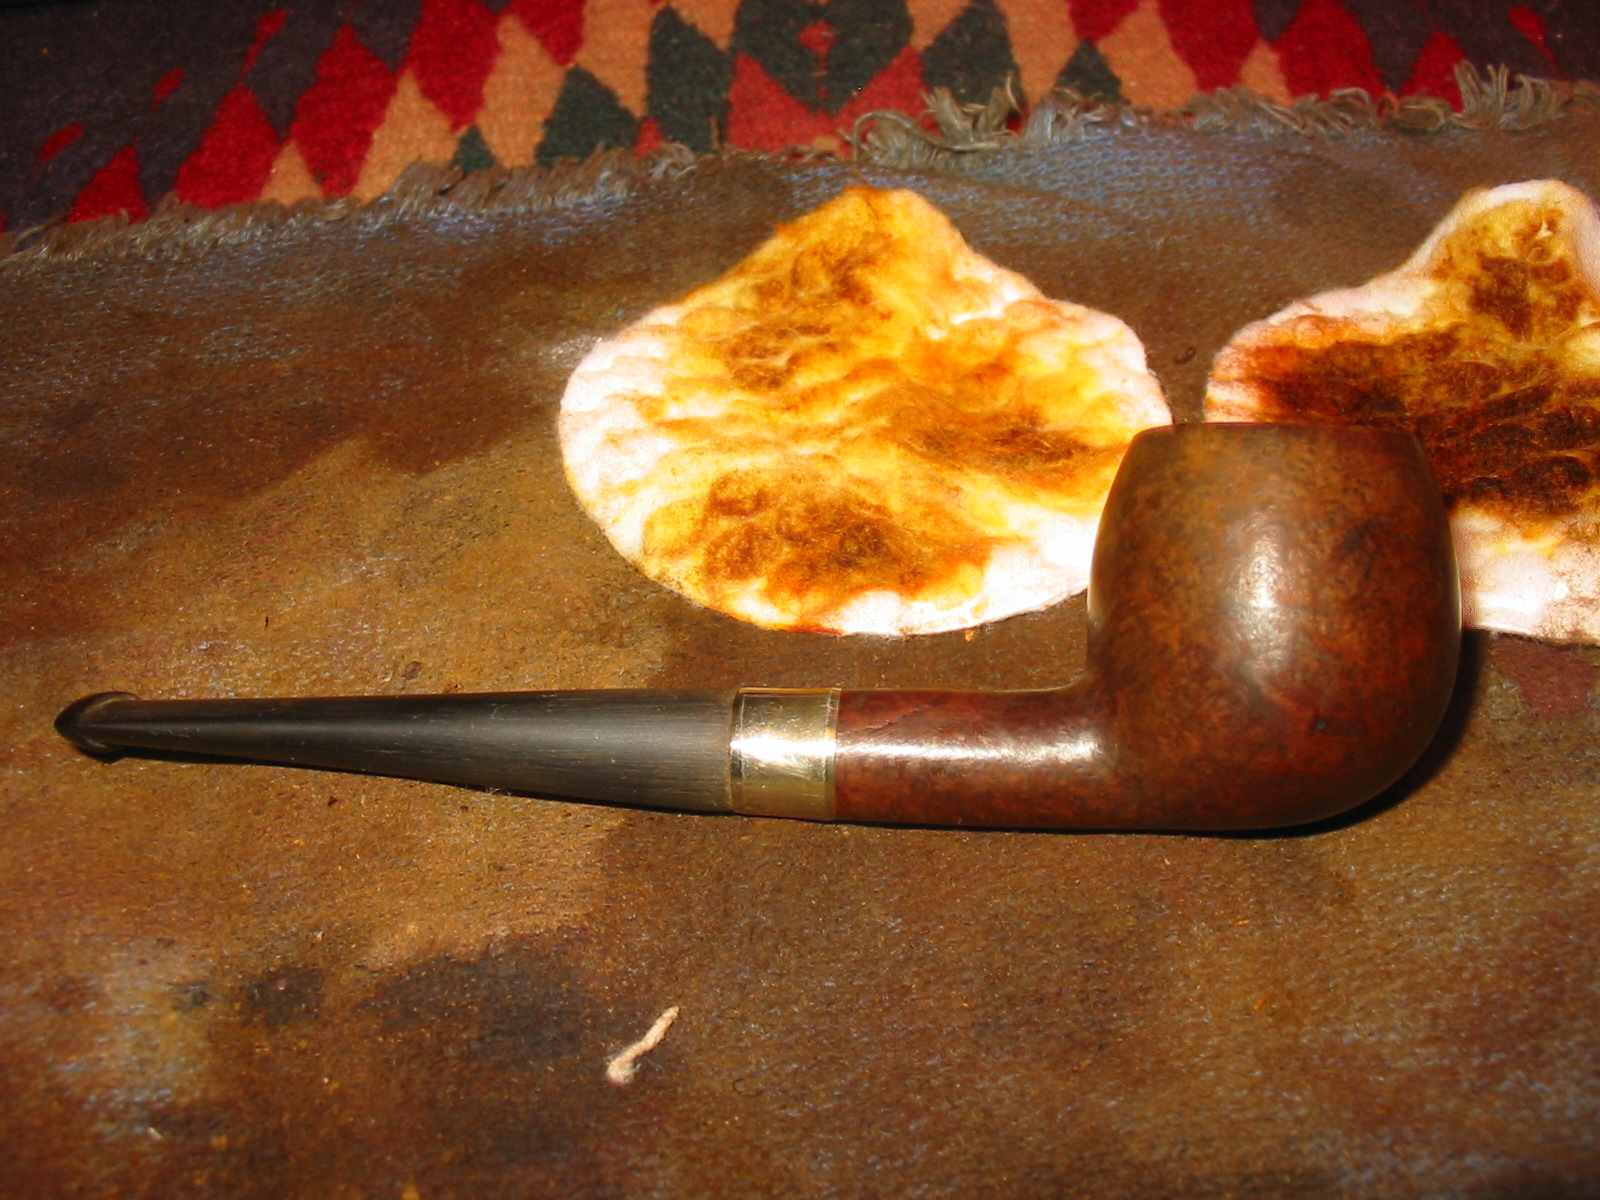
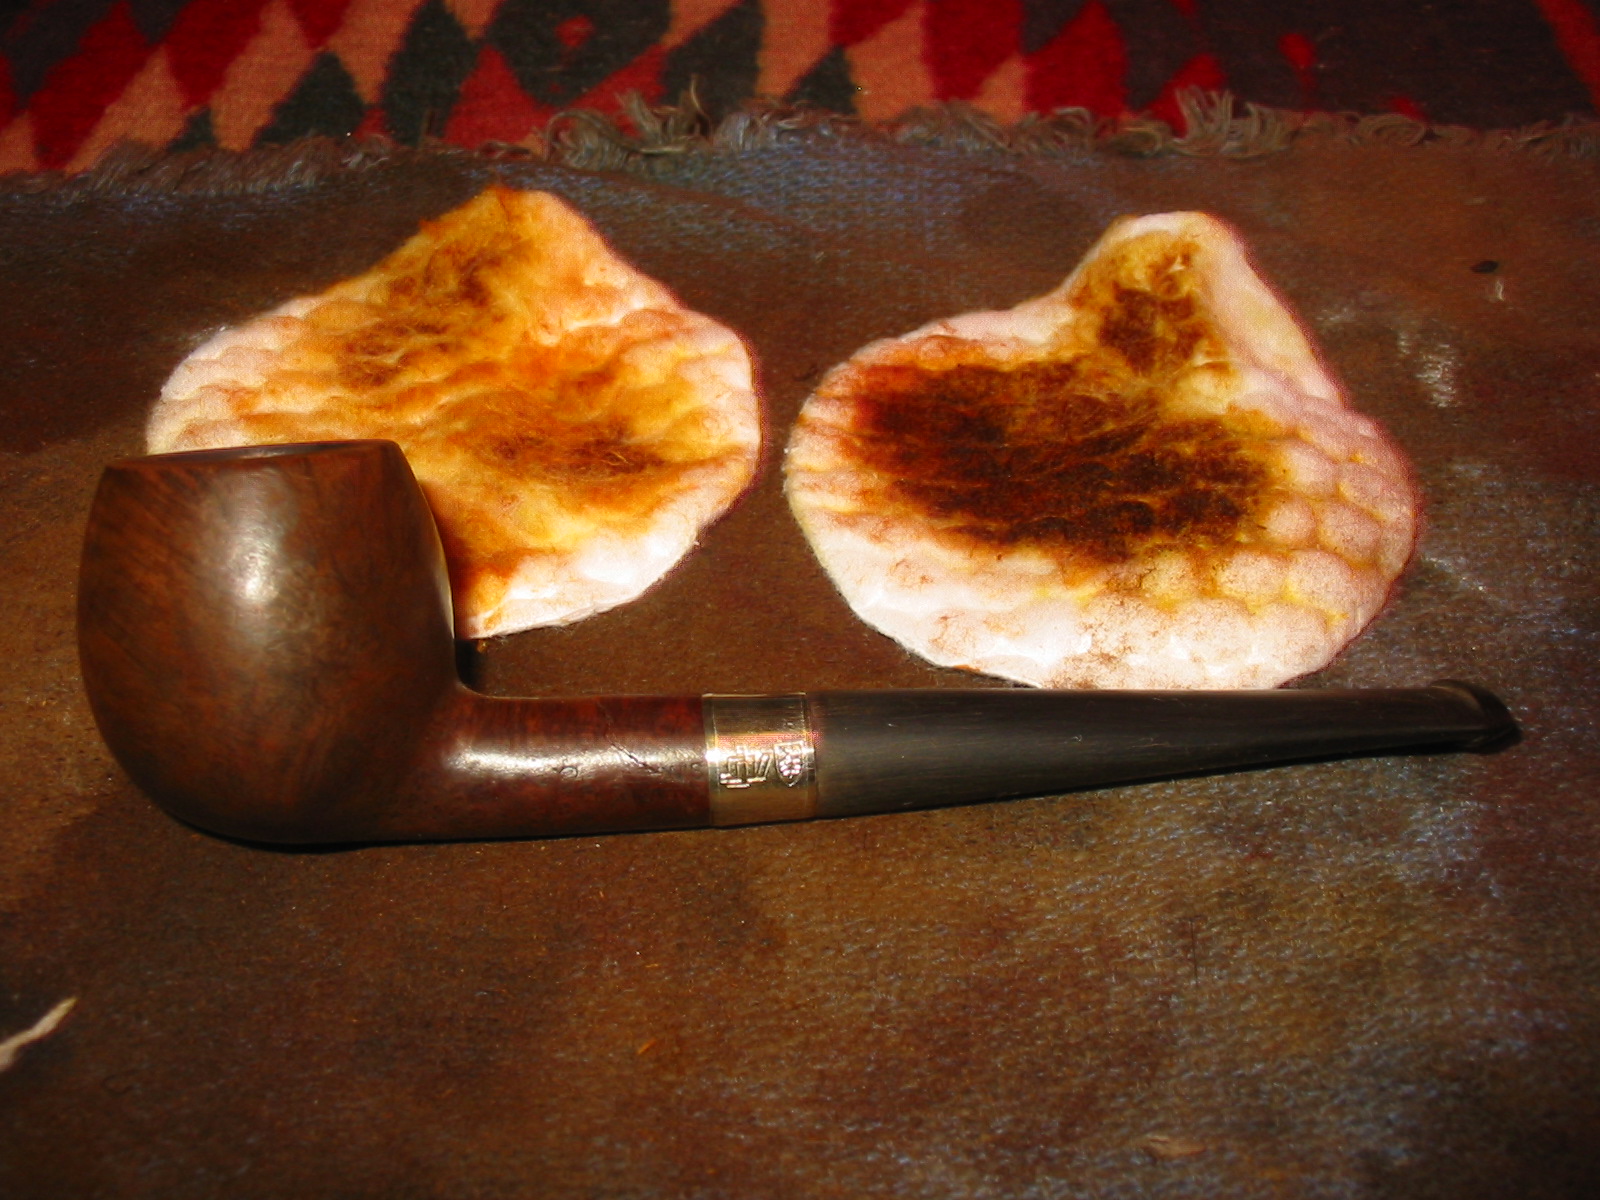
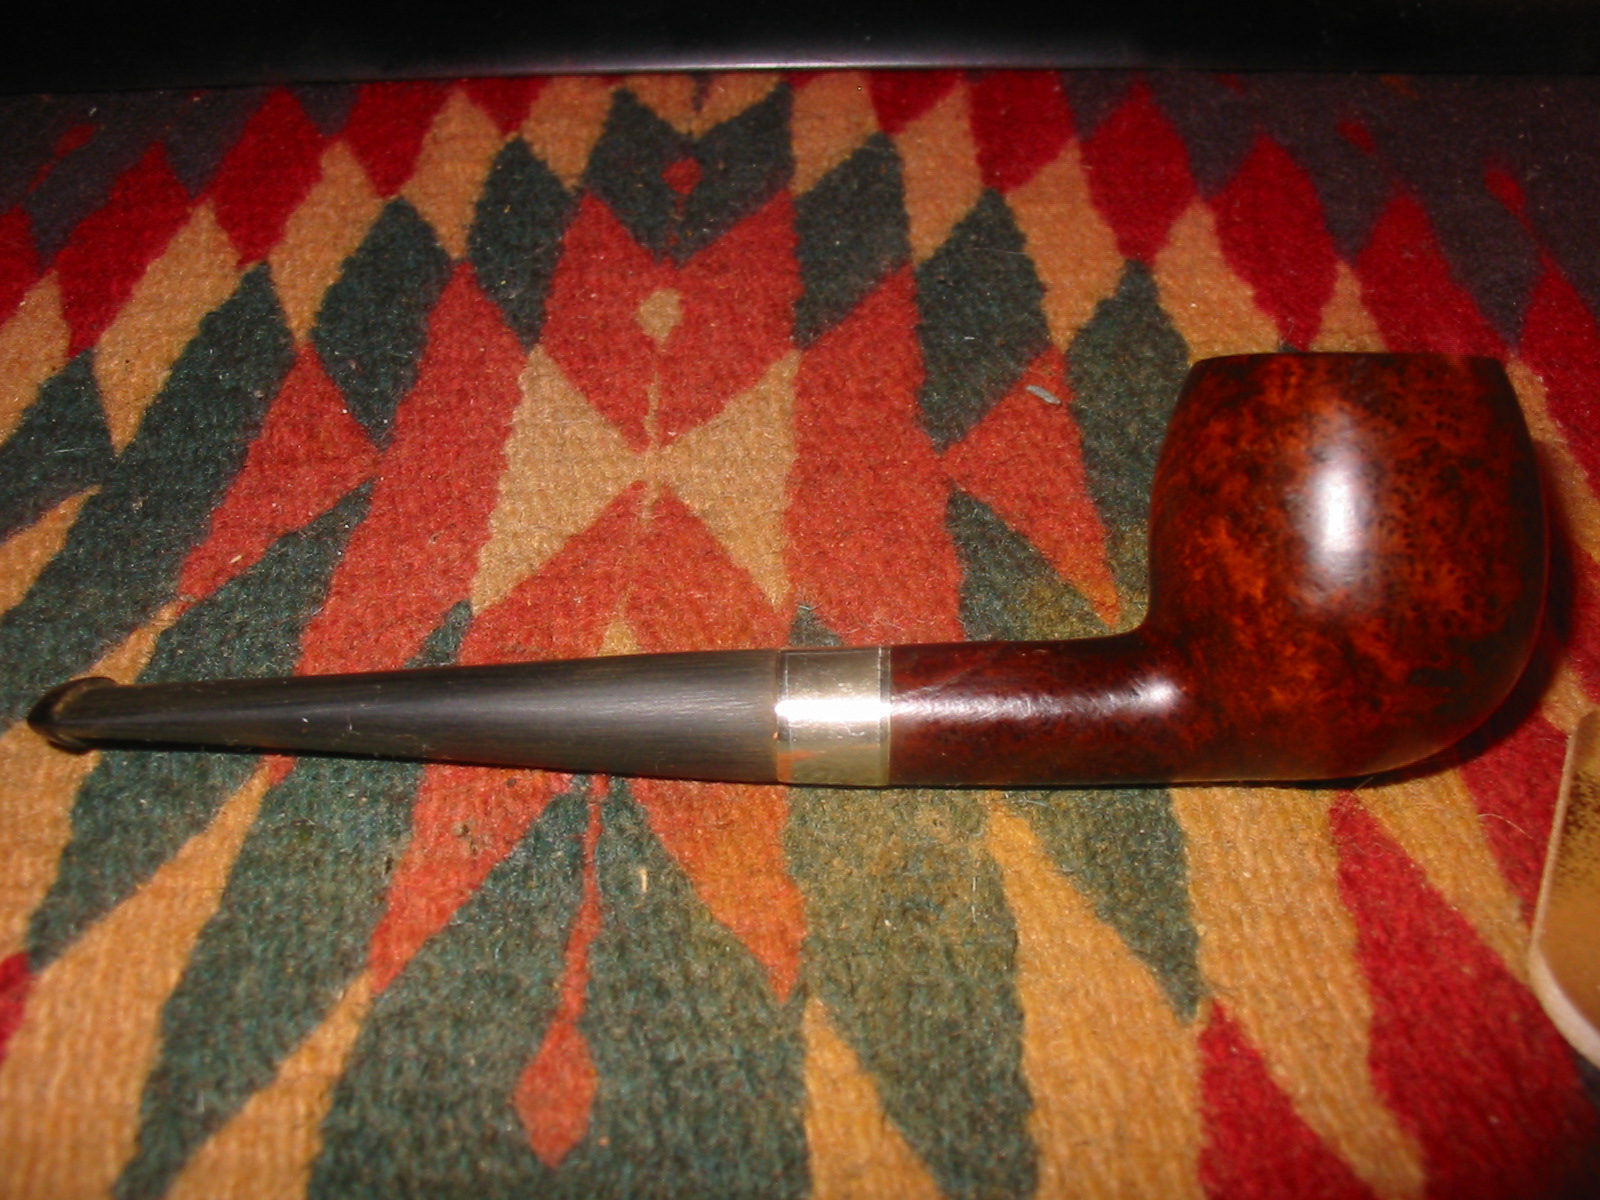
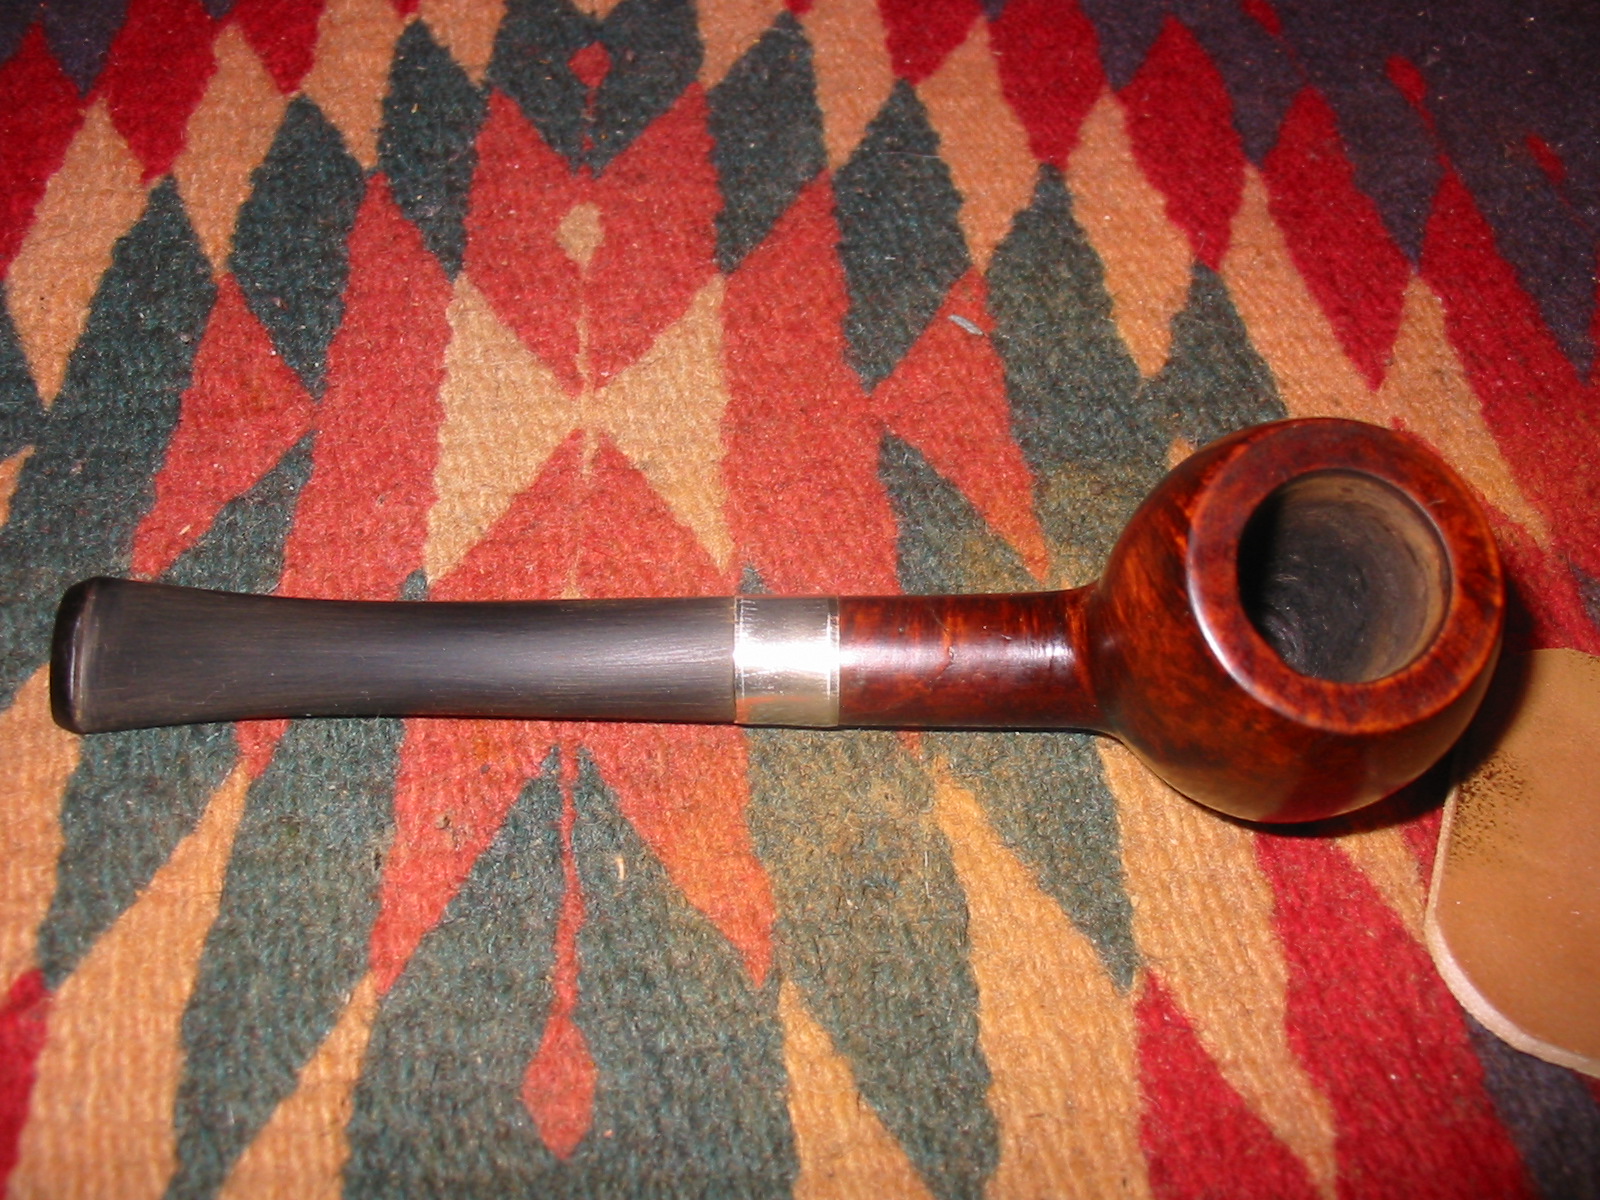
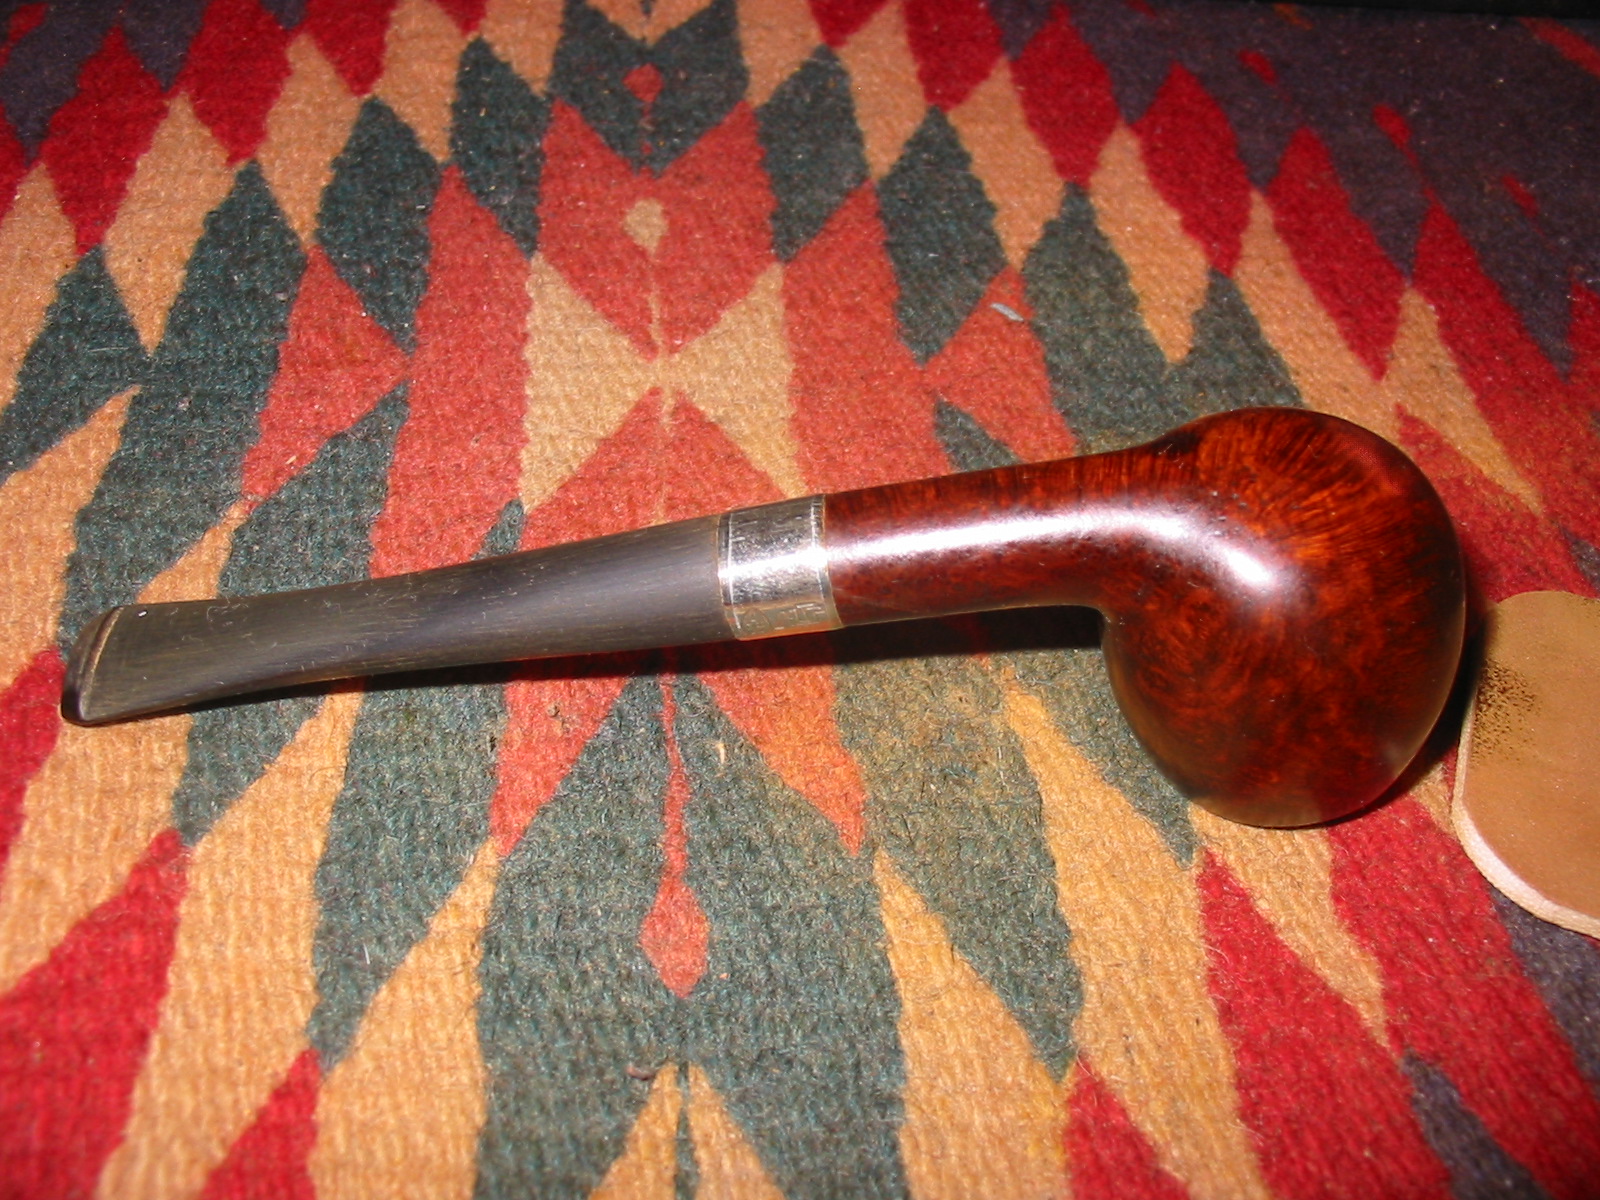
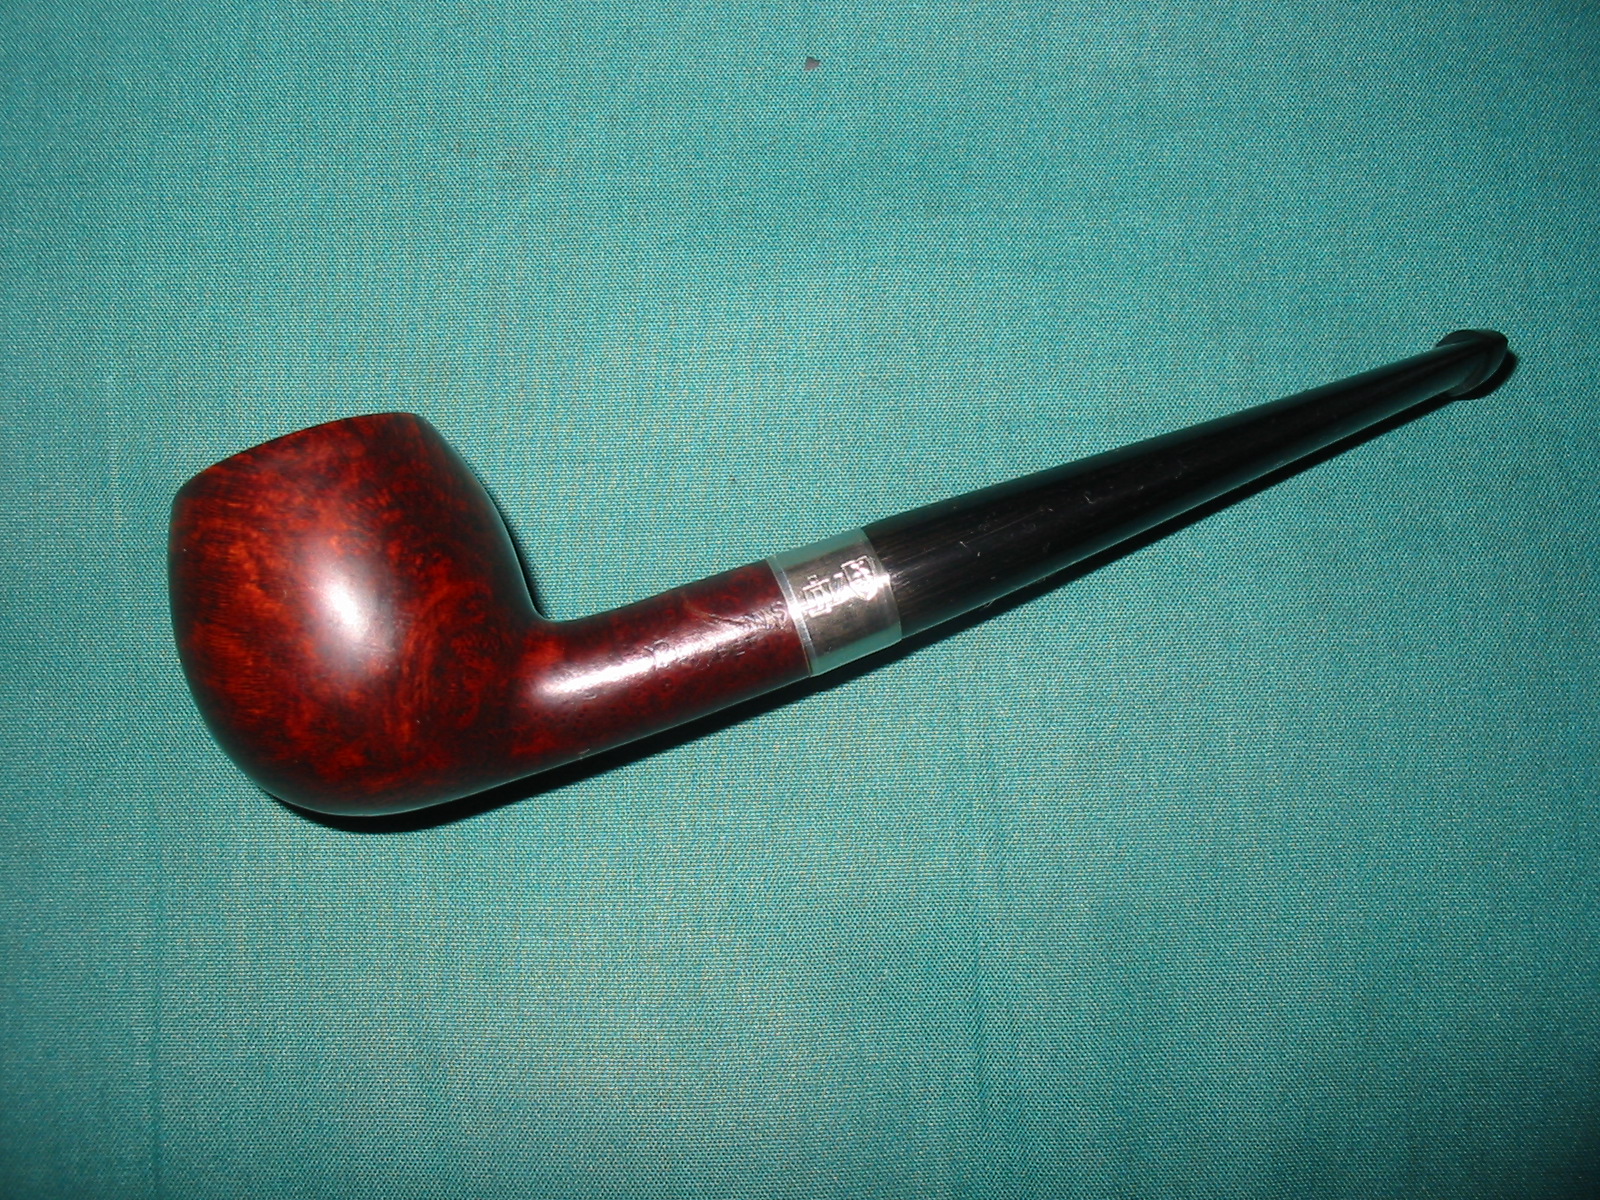
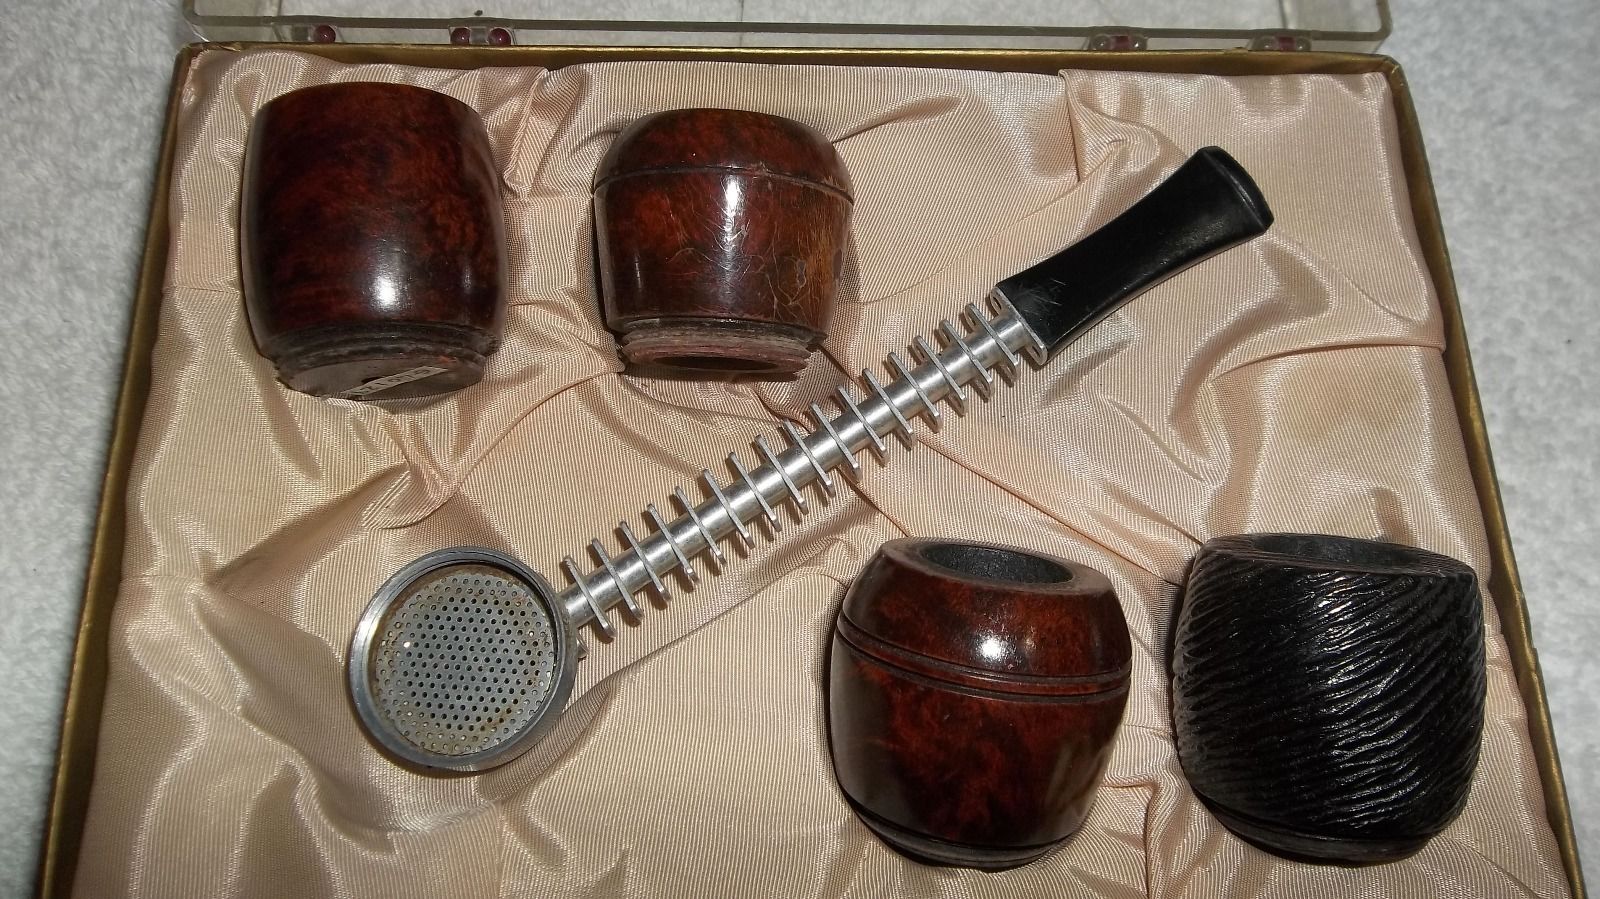
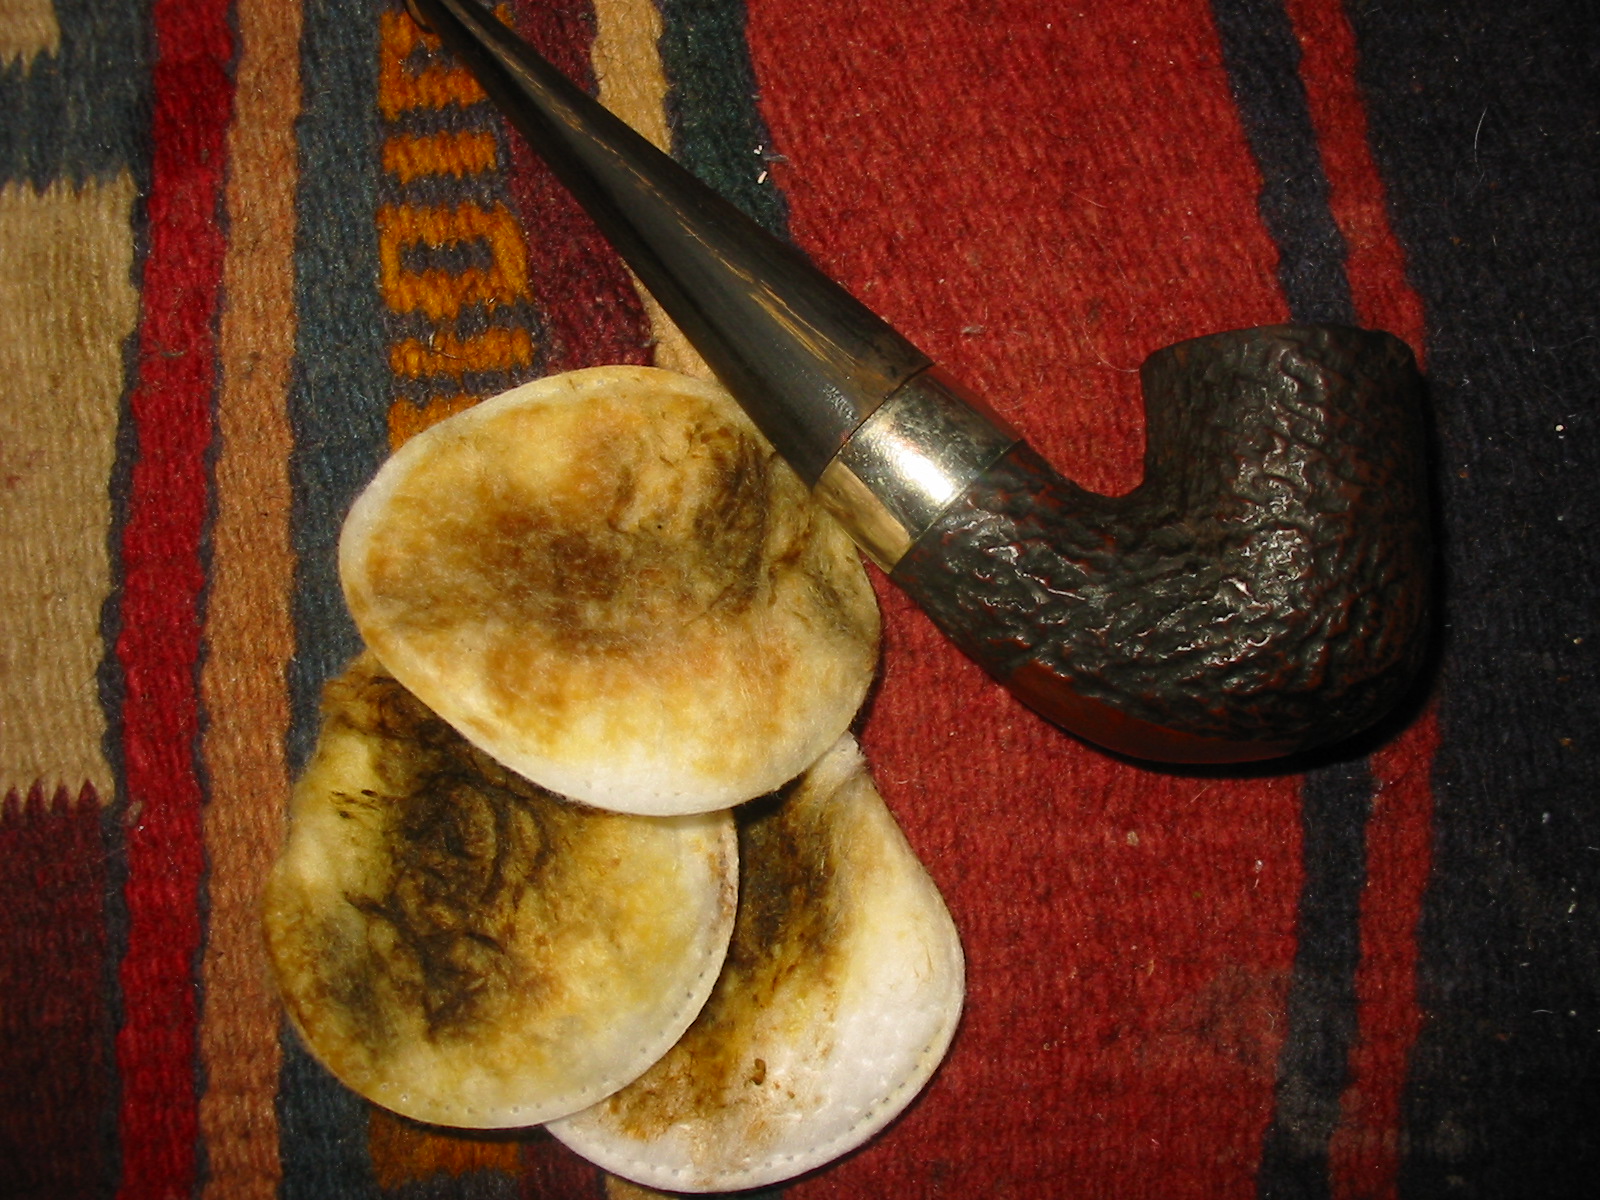
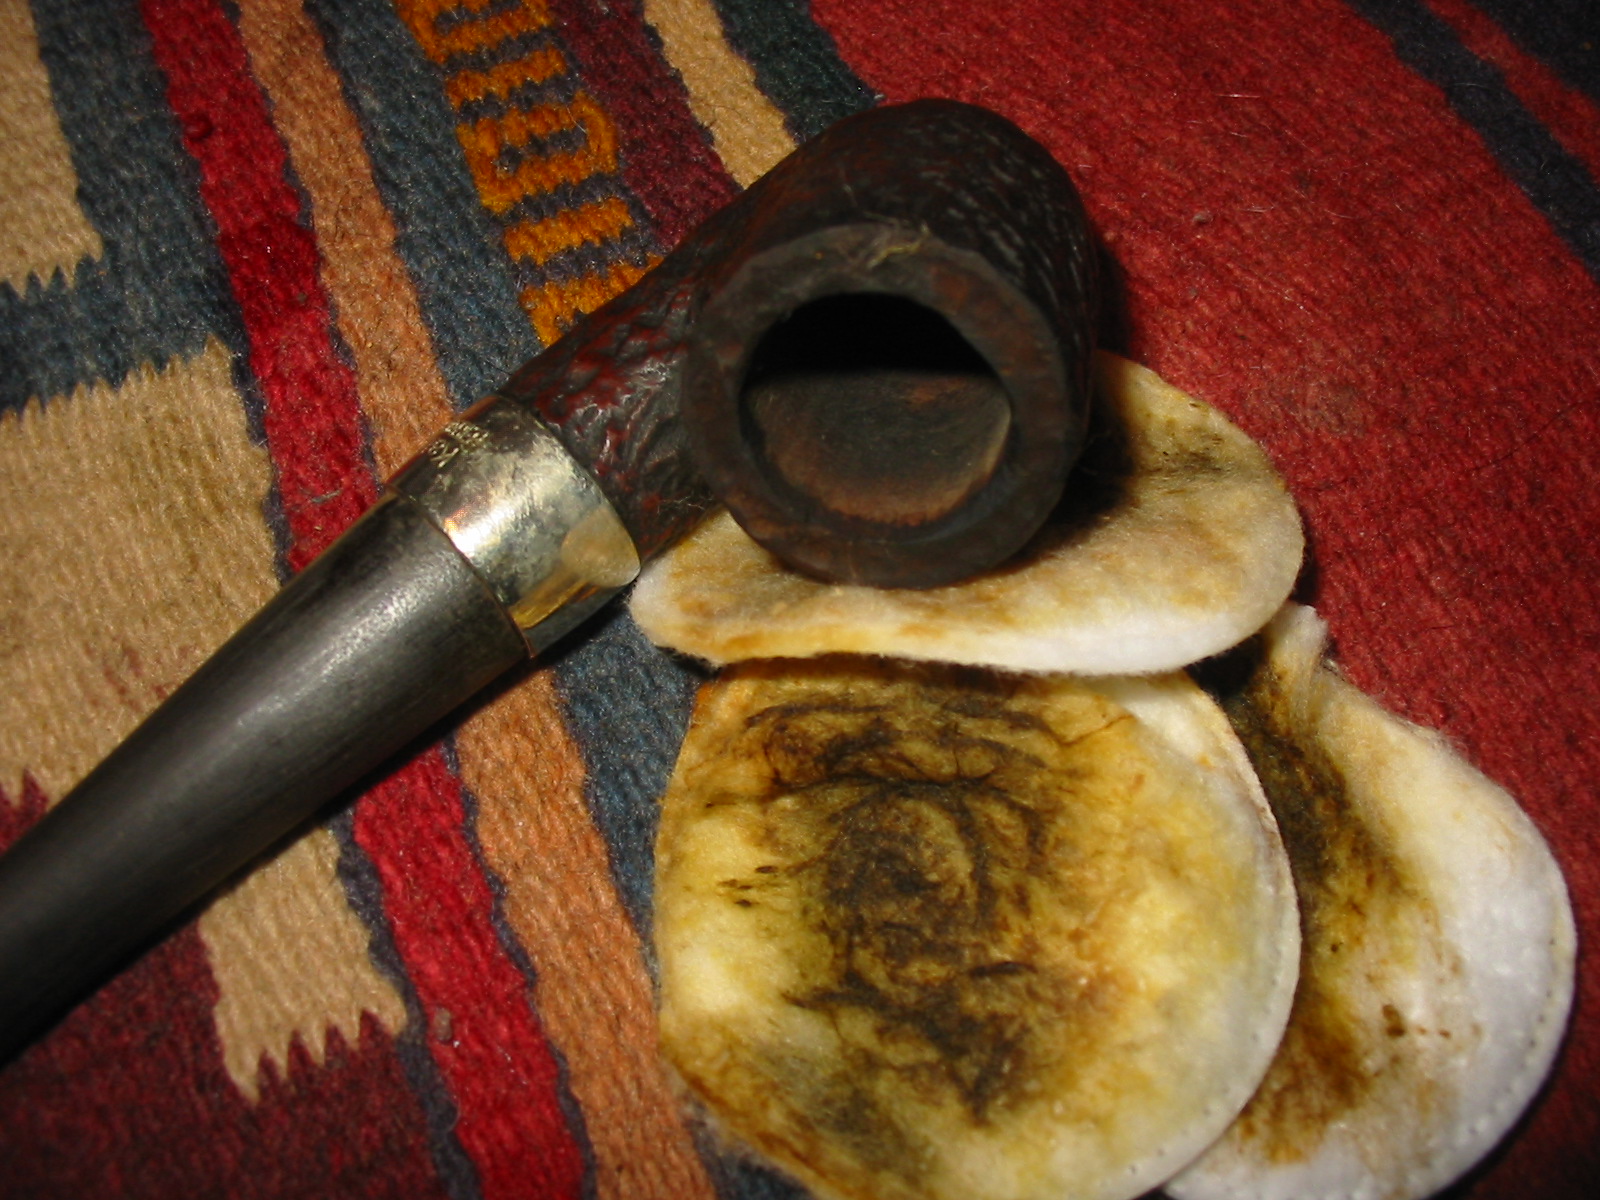
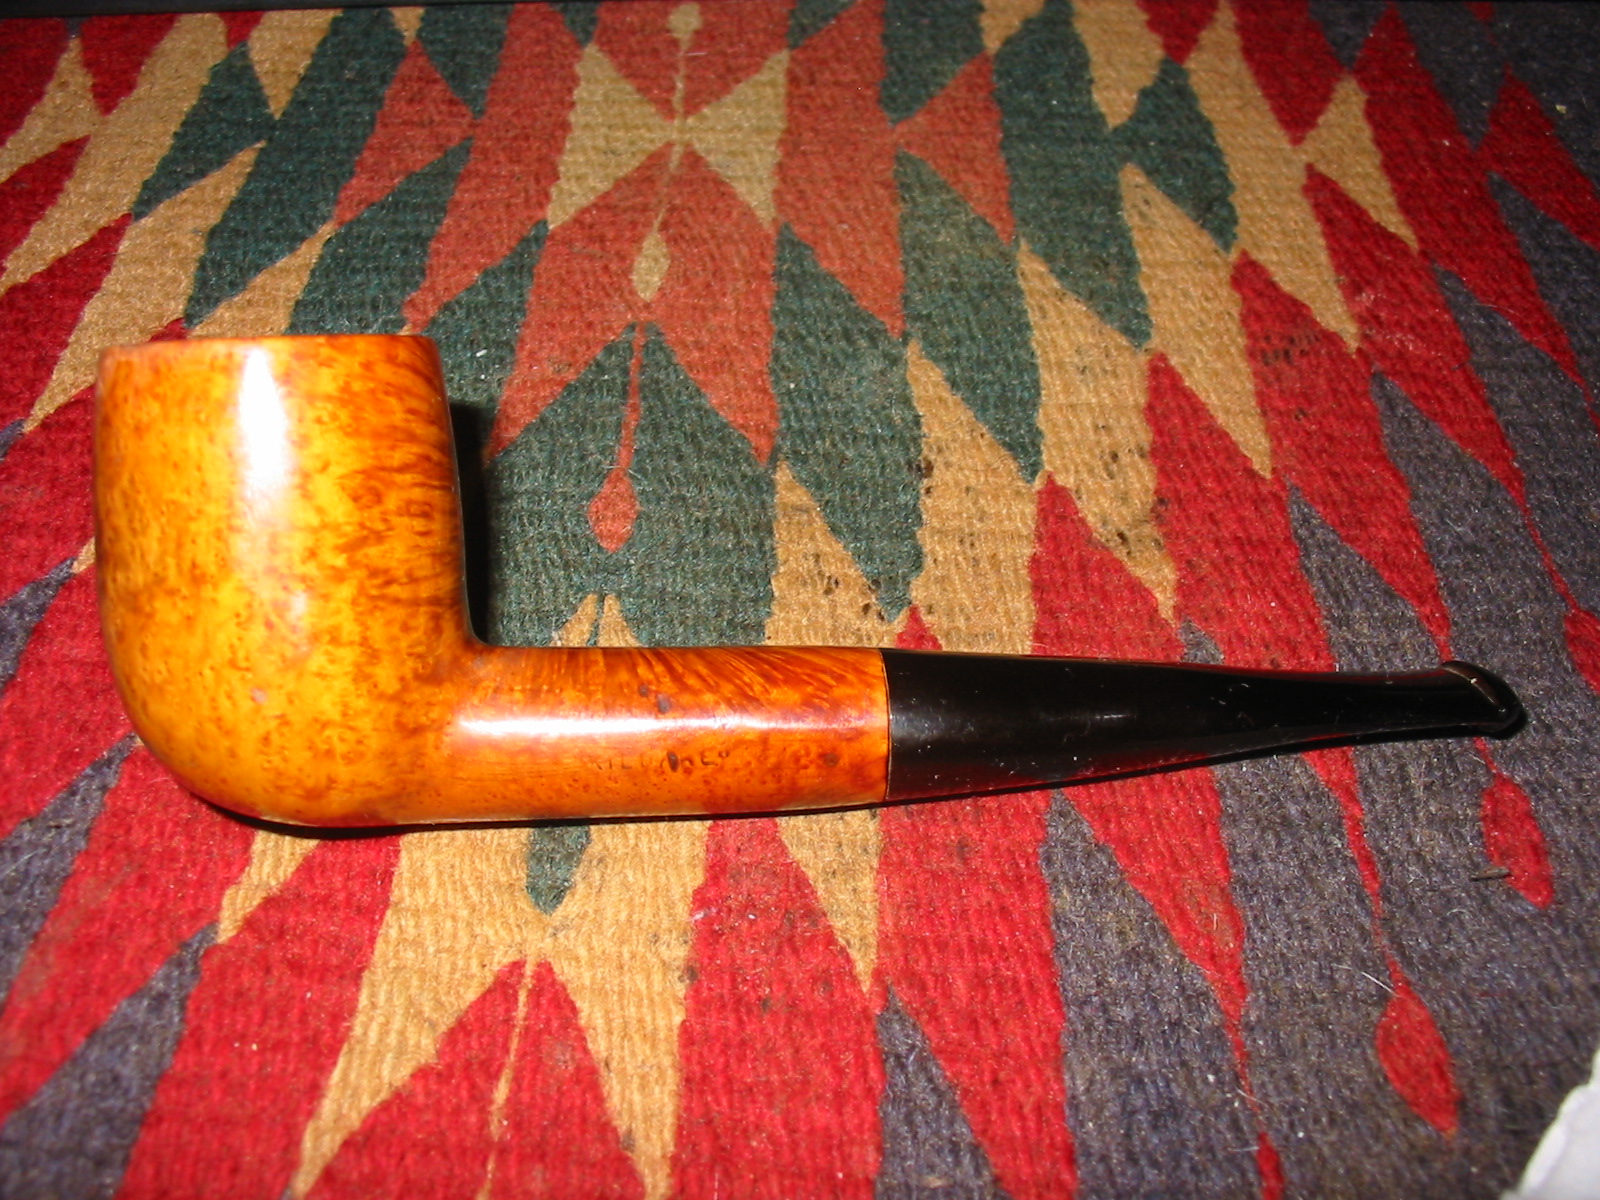
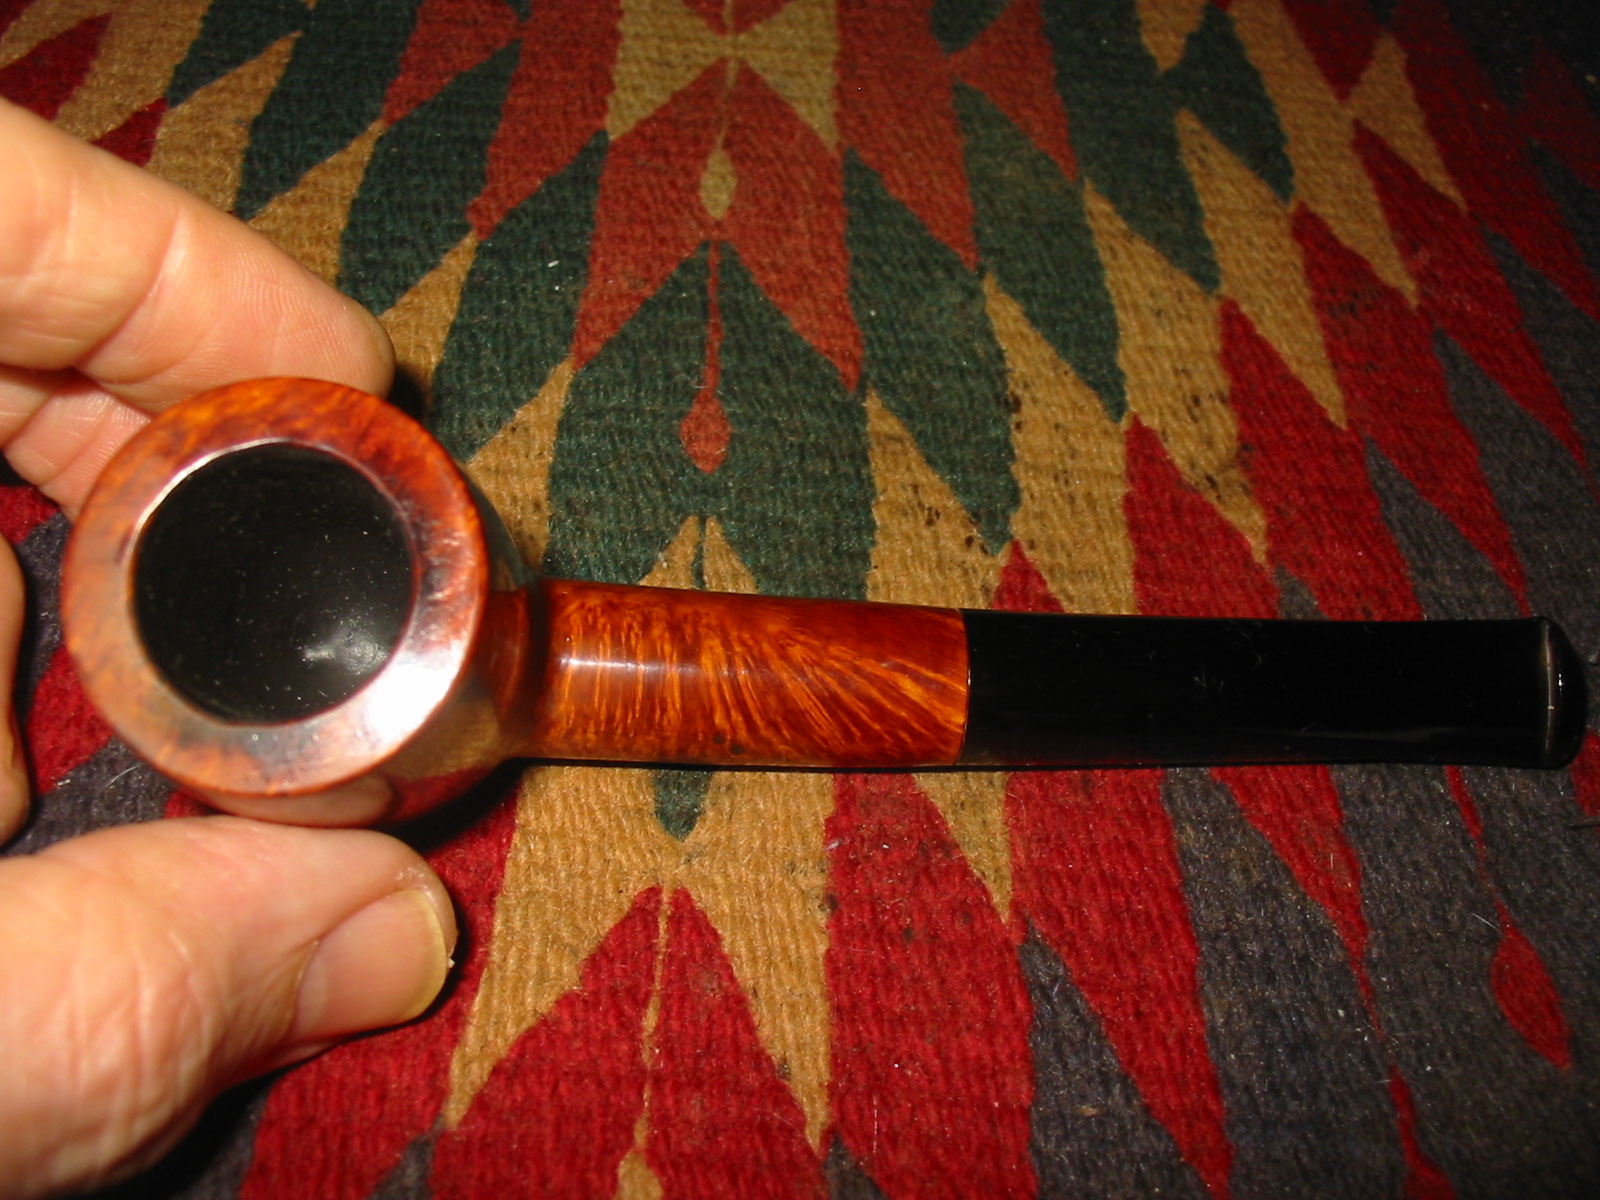
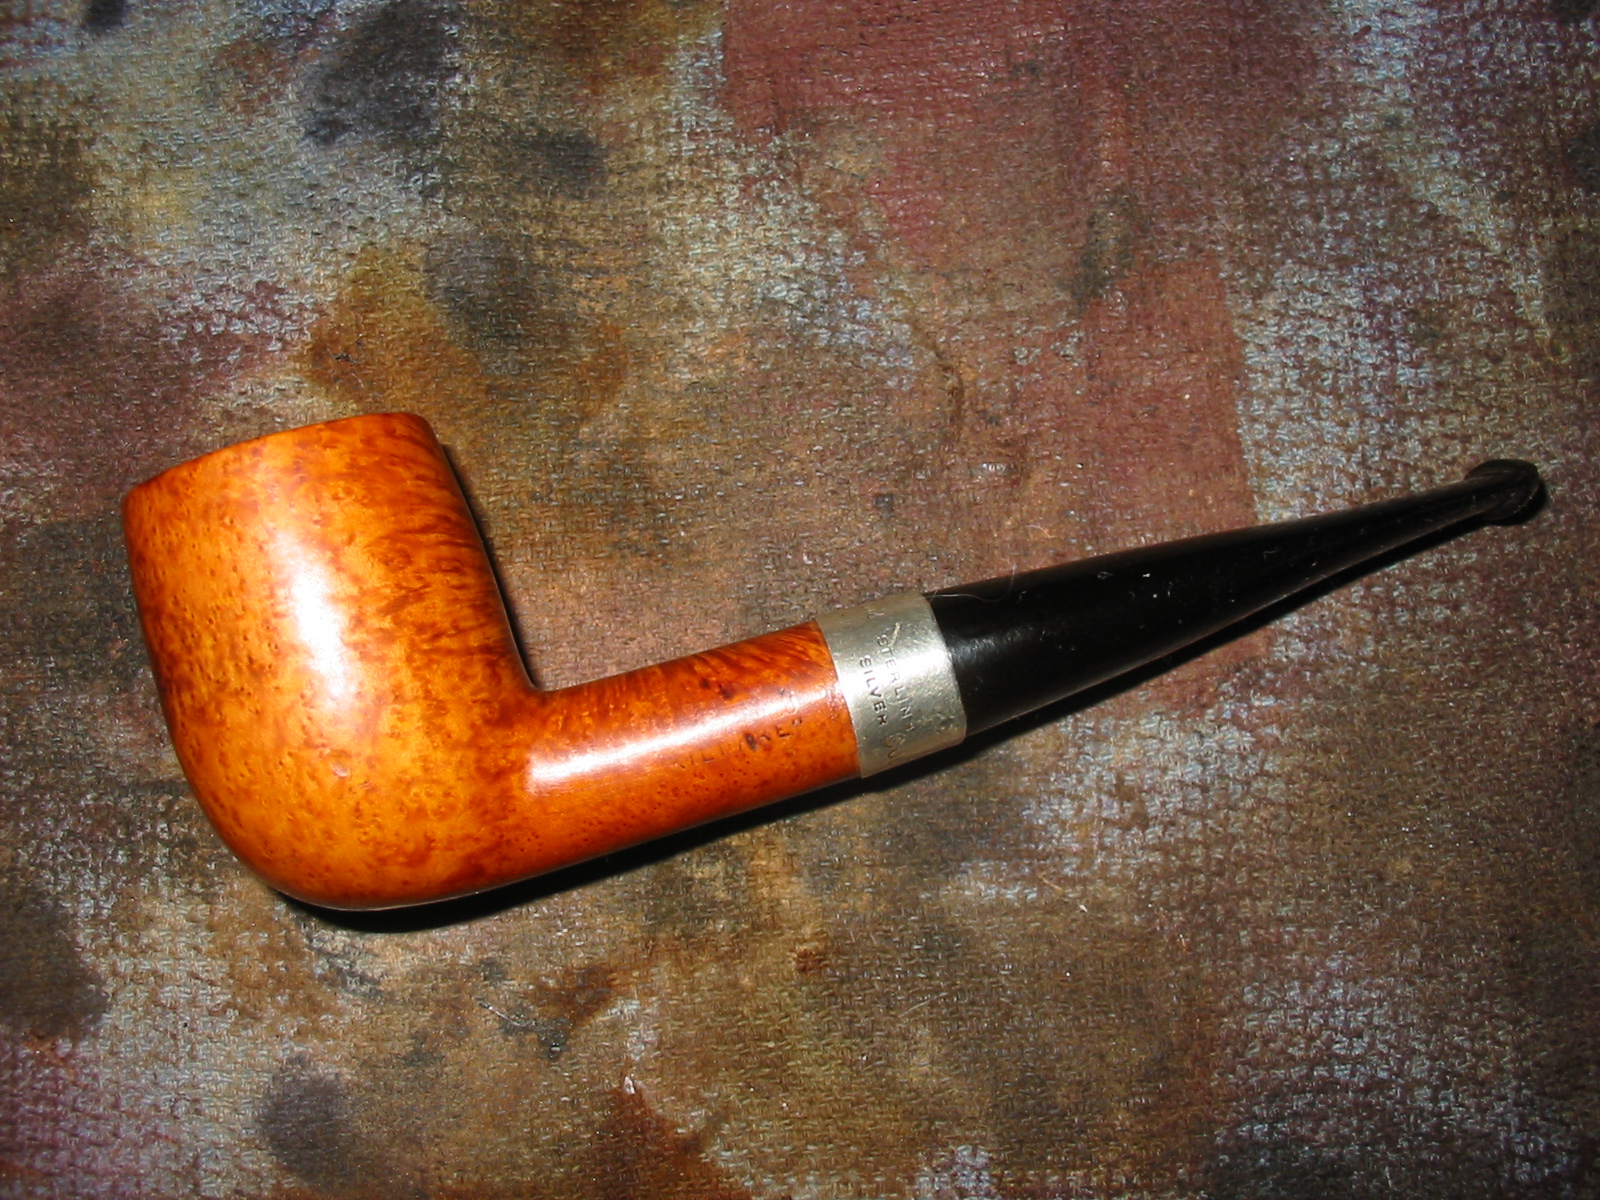
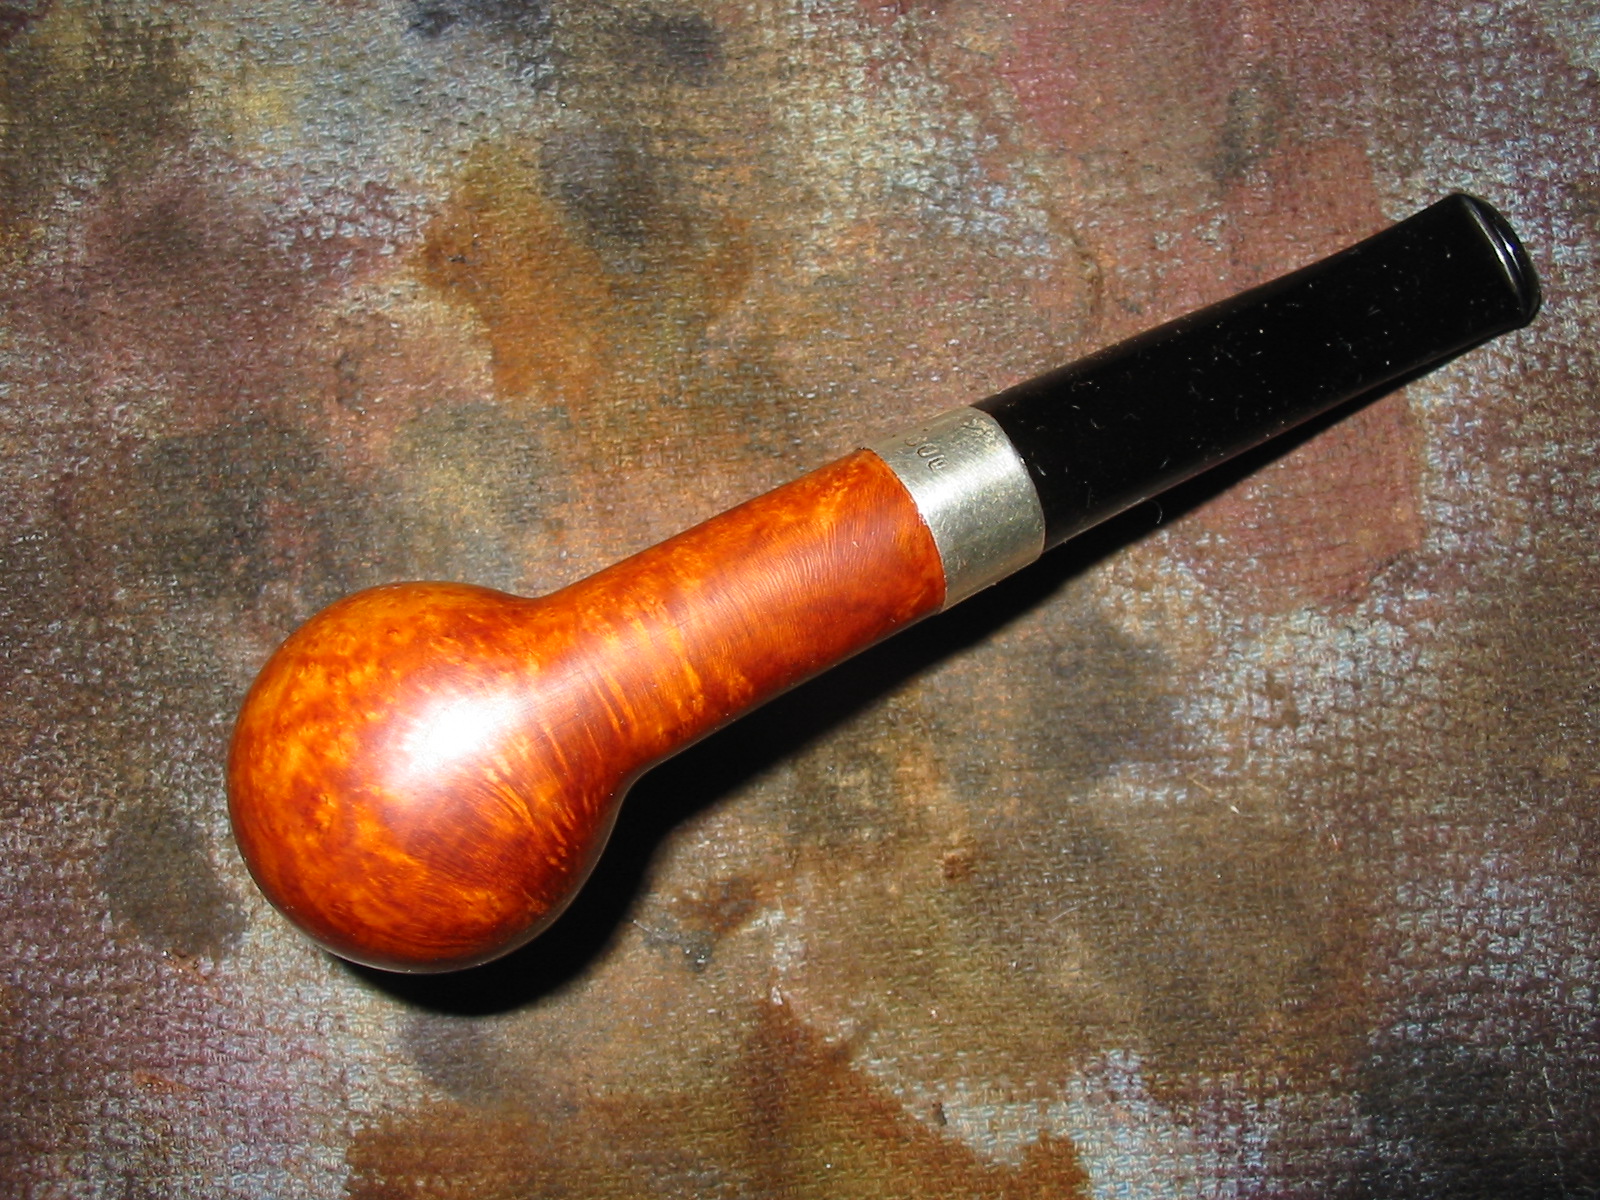
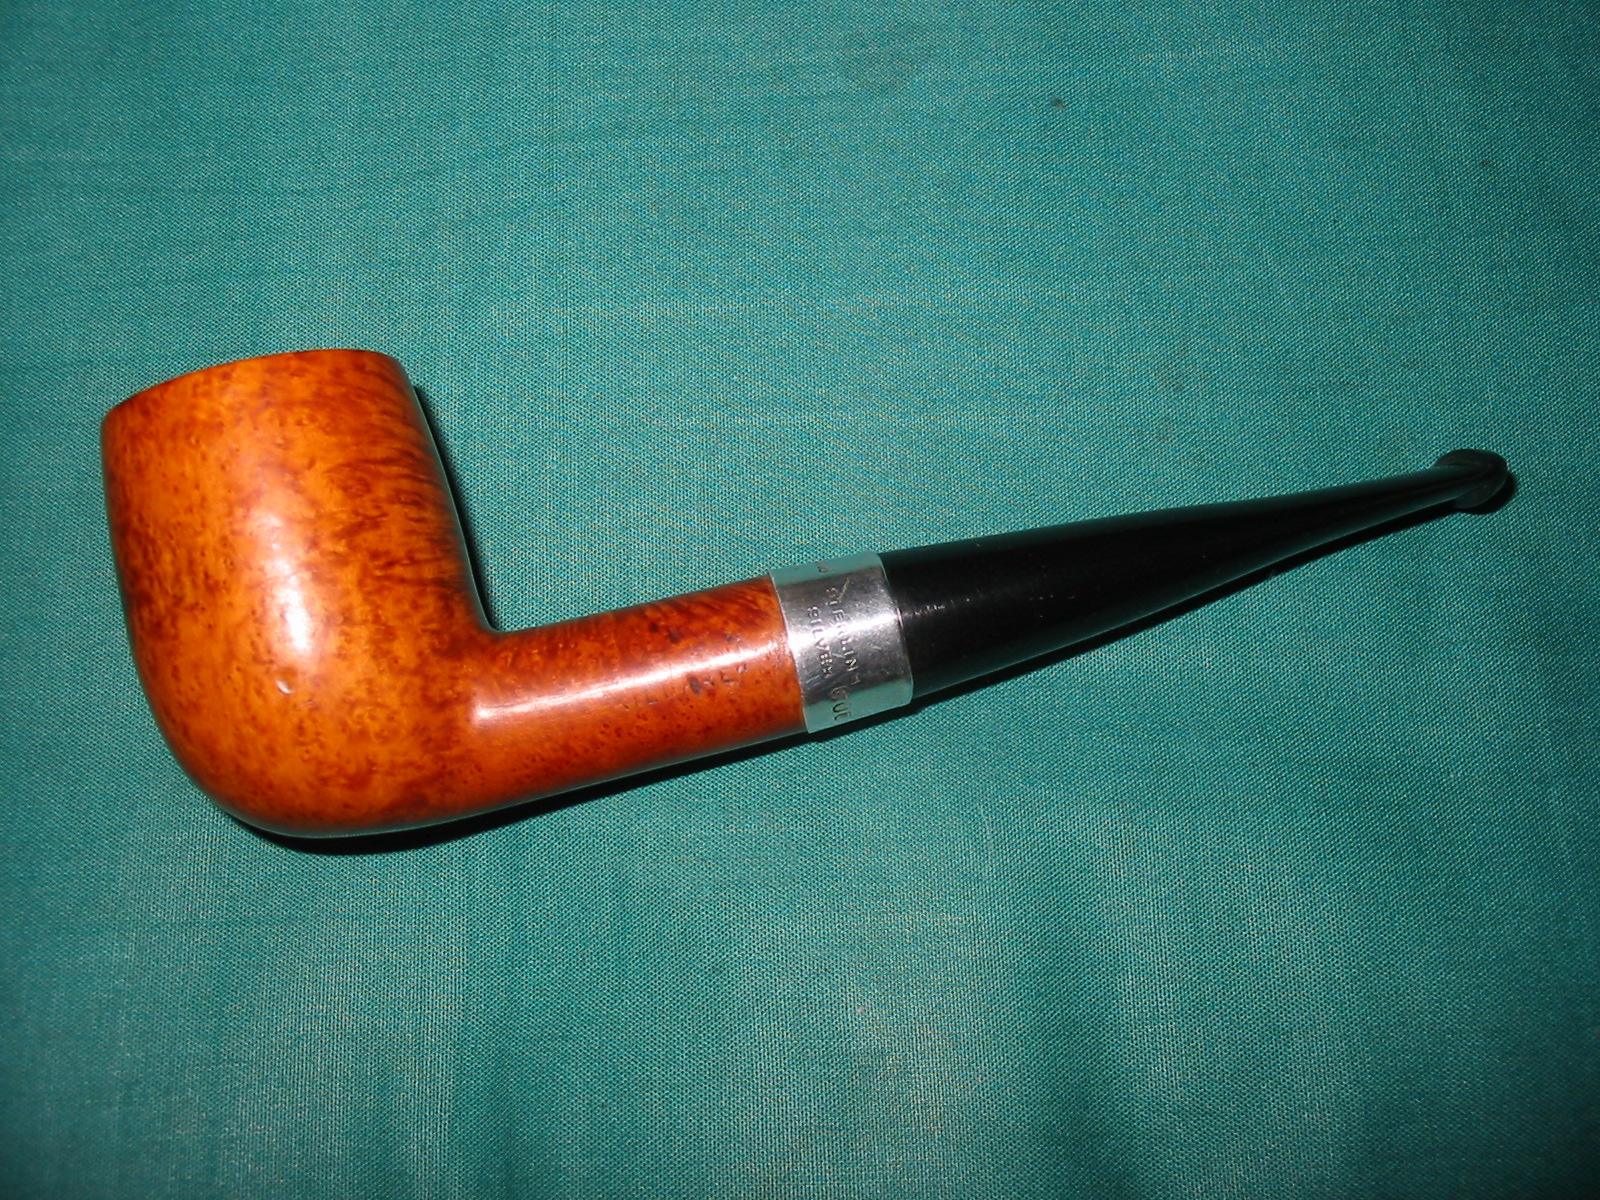
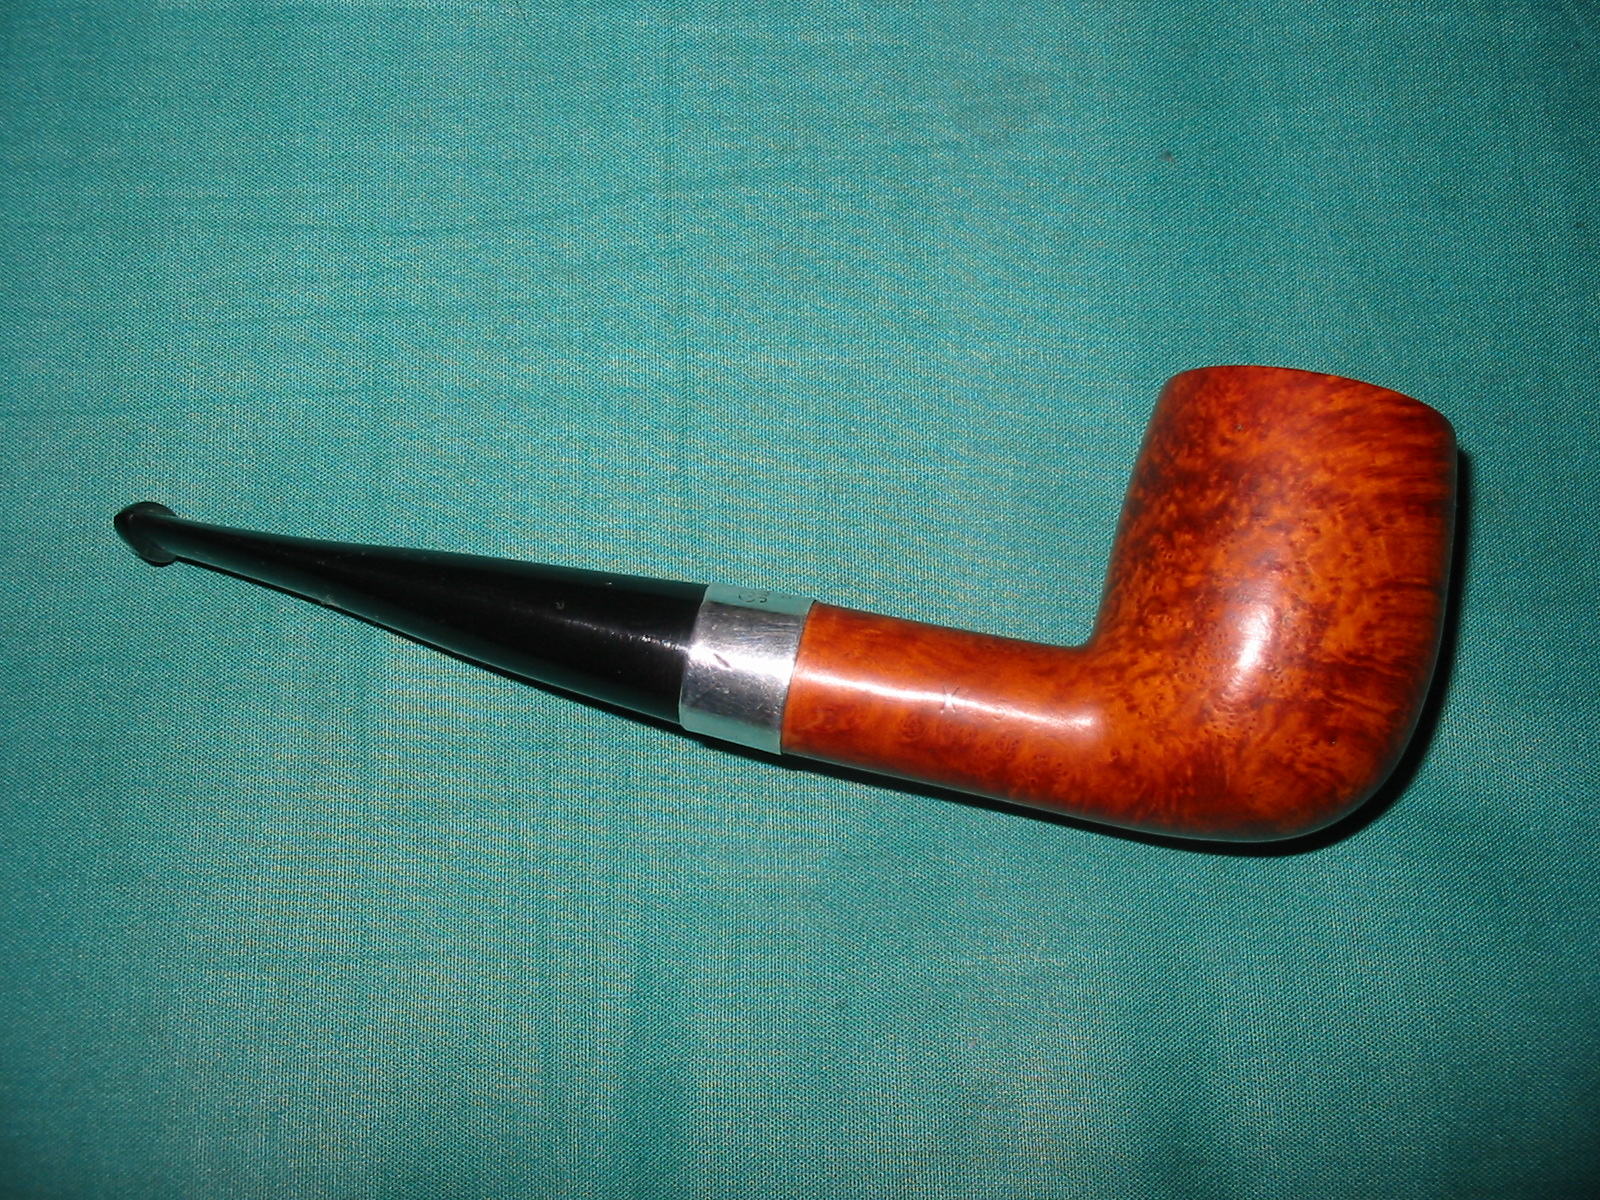
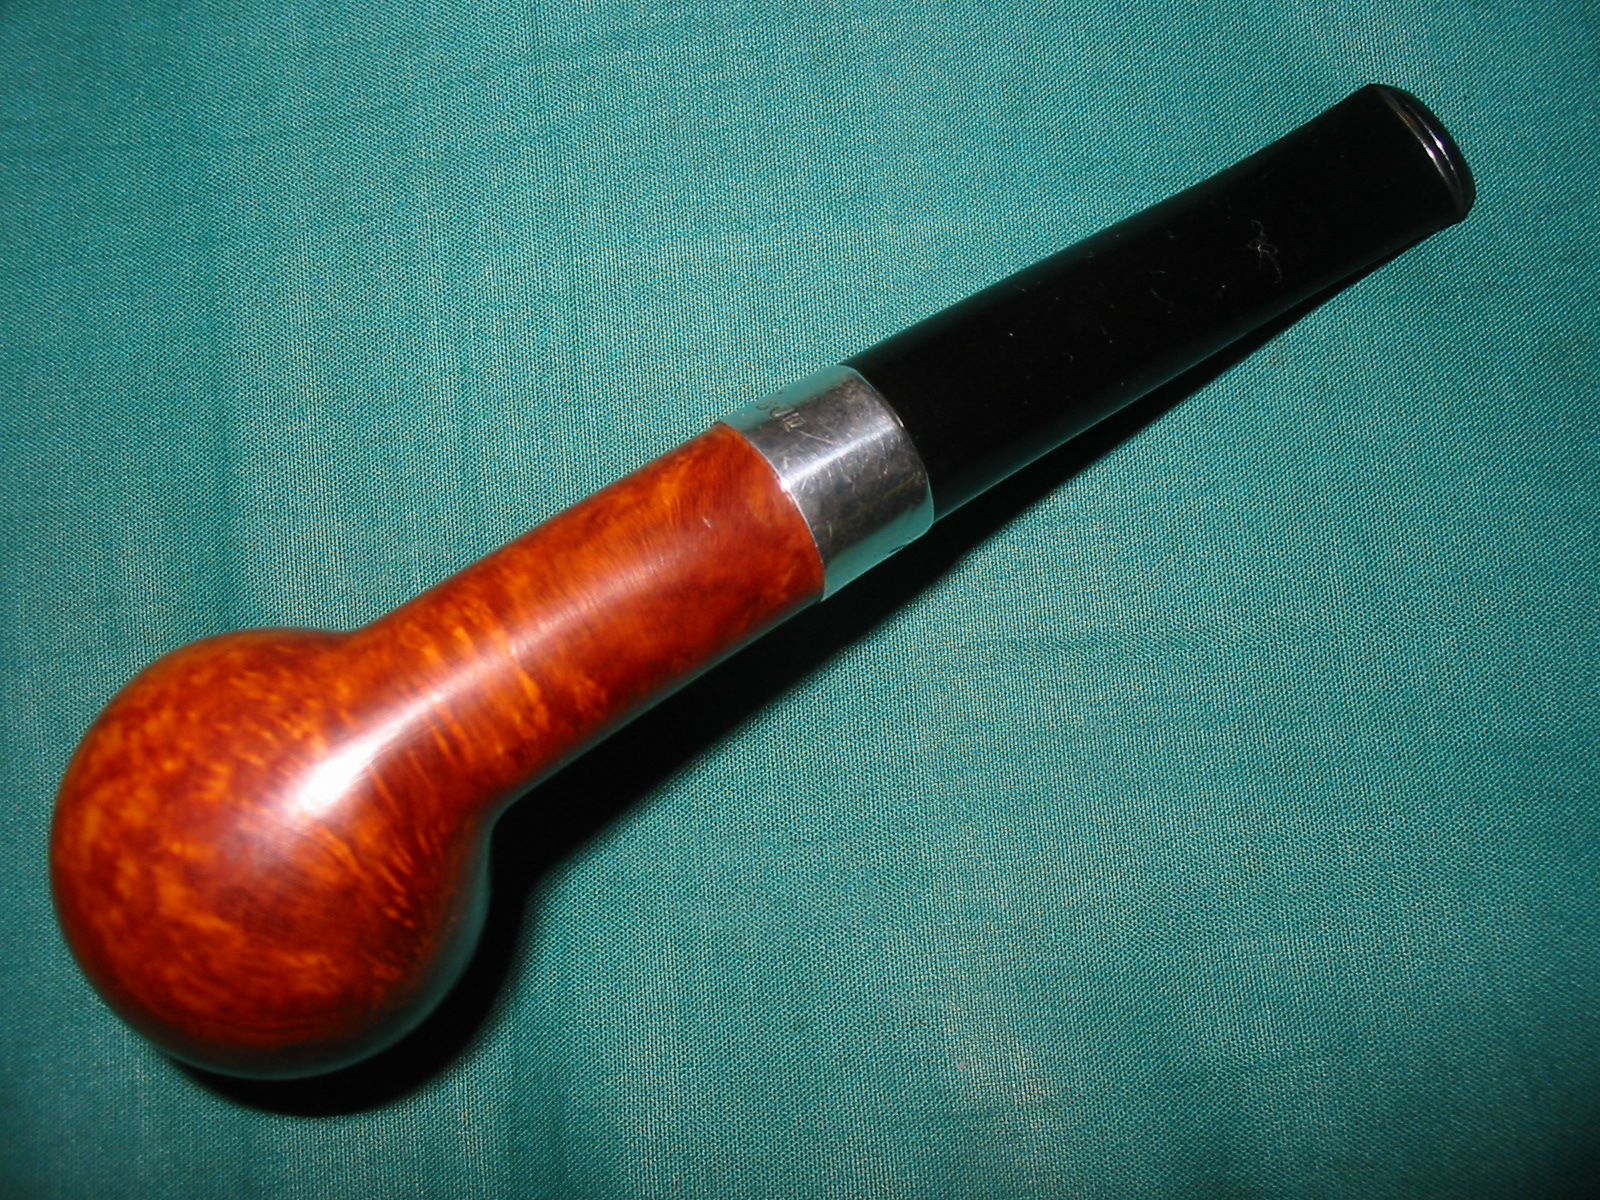
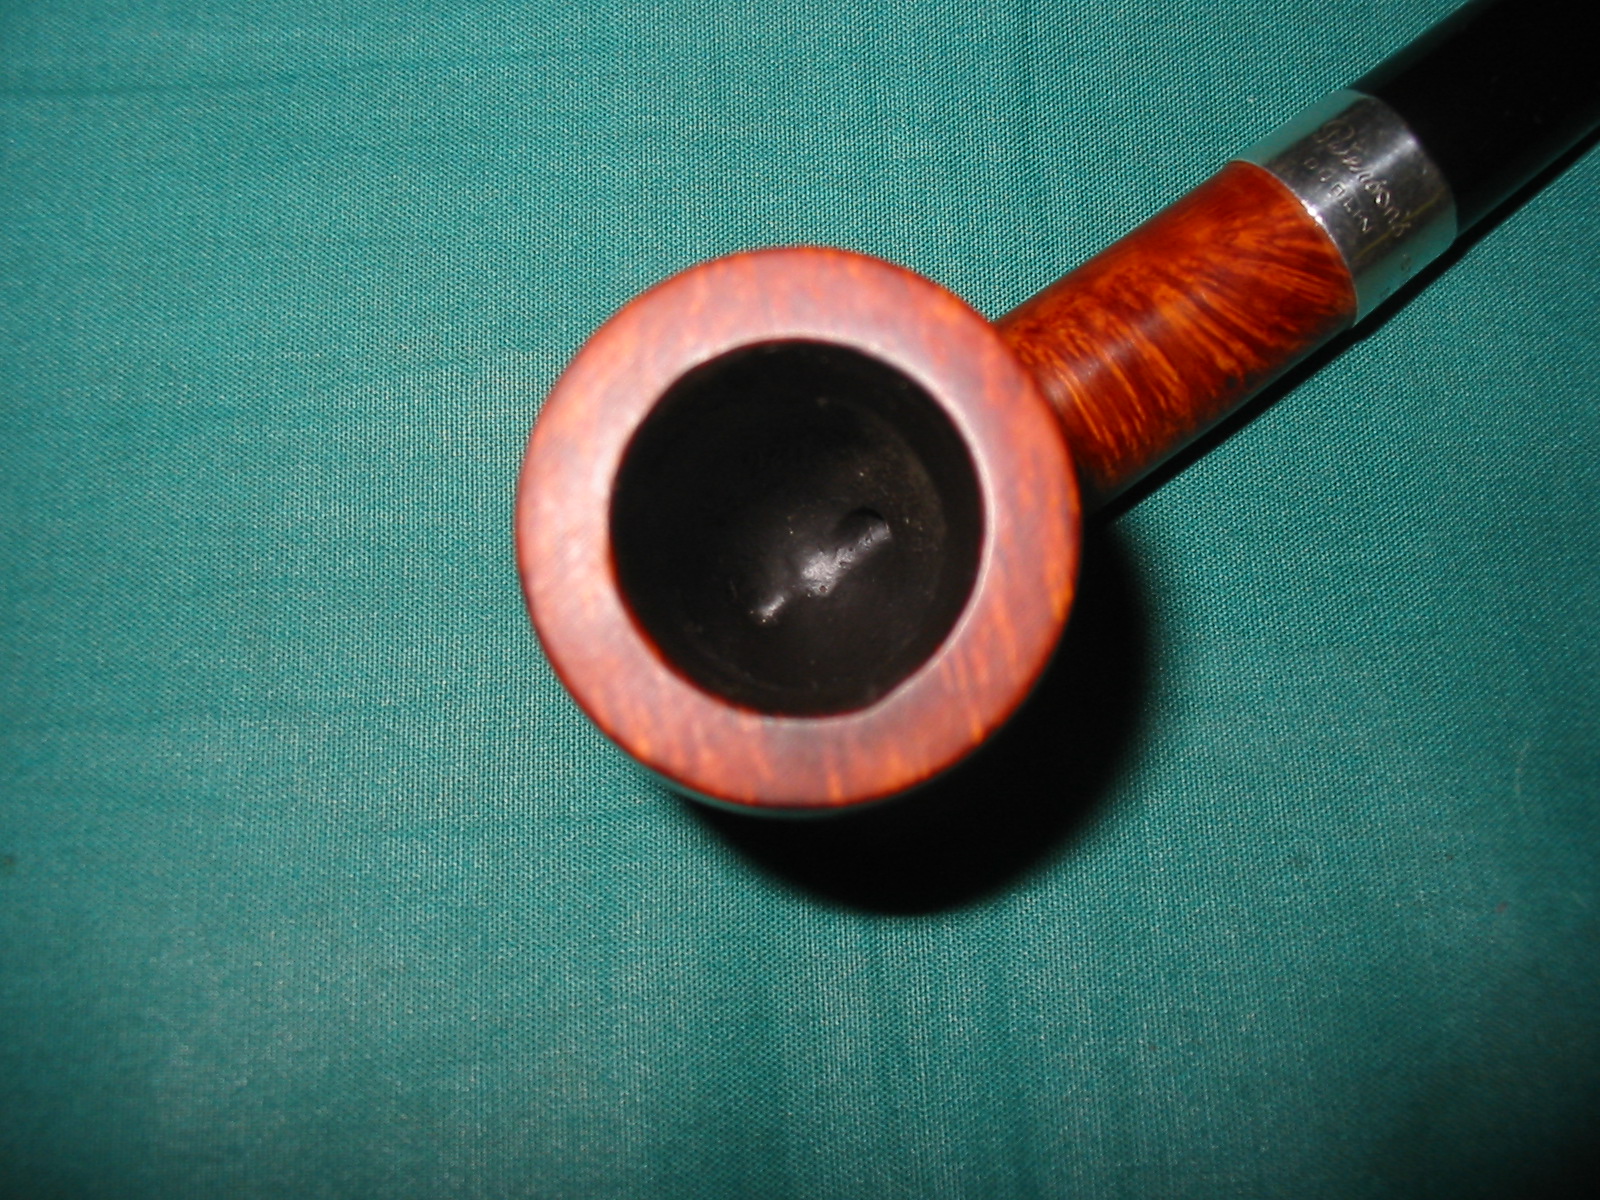
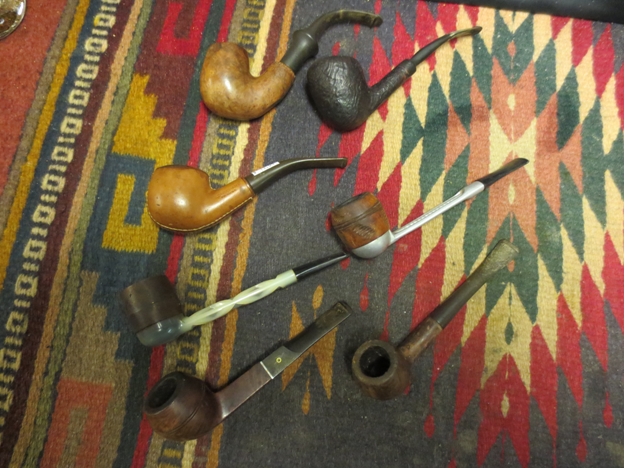
The Dunmore line from Peterson really is a stripped down pipe. The one that I worked on this weekend was in essence a system pipe. The lack of a ferrule is made up for by a stylized carving around the shank end. The stem sits snugly against the end of the shank but is not flush with the diameter of the shank. The saddle on the stem has a different flair than a regular Peterson pipe. The one we found had a Plip stem. This particular Dunmore was found by my friend John when we went pipe hunting this weekend. We had a blast as can be seen from the haul of pipes that he picked up below. The Dunmore is picture at the top left of the first column in the photo below. below. IMG_2050 While John worked on restoring the oak pipe rack that he had found I worked on his Peterson Dunmore. This old pipe had some beautiful grain – birdseye on both sides and cross grain front and back. The bowl almost perfectly aligned with the grain on this one. I forgot to take pictures of the pipe before I began cleaning it up so the only one that is left of the pre-clean is shown in the group photo above. I reamed the bowl with a PipNet reamer and then cleaned out the sump and the internals of the bowl and stem with pipe cleaners, cotton swabs and isopropyl alcohol until all came out clean. Dunmore1 The finish on the bowl was virtually non-existent as it had worn away. I wiped it down with acetone to clean the briar and remove the oils and marks that had settled on top of the wood. The acetone pads came away dirty with the grime more than with any previous colour or stain. Cleaning the surface revealed even more clearly the marvelous grain that was on this pipe. Dunmore2 The top of the bowl and rim had some damage from tapping out the pipe. The outer edge of the rim particularly had taken a beating. The bowl was still in round so the inner edge was fine. To minimize the damage to the top and the outer edge I set up a topping board with 220 grit sandpaper and worked on the bowl top. (The whole time I was working on this pipe I gave a running commentary to John as he wanted to know the process so that he could clean up some of the other pipes once he had finished the rack). Dunmore3 Dunmore4 After topping the bowl I sanded the outer edge with a folded piece of 220 grit sandpaper to remove some of the darkening around the bowl top. I resanded it with medium and fine grit sandpaper to remove scratches and did the same to the rim top. I sanded the entirety of the rim and edges with 2400 grit micromesh to smooth it out. After wiping down the briar with alcohol to remove the dust from the surface of the bowl John and I decided not to stain the pipe but to keep it natural. I rubbed it down with a bit of olive oil to give some life to the wood and then buffed it with White Diamond. I was careful to not buff the areas around the stamping so as not to damage them. I chose rather to buff these areas by hand with a shoe brush. I gave the bowl several coats of carnauba wax and buffed it with a soft flannel buff to shine it. Dunmore5 Dunmore6 Dunmore7 There were two small crevices that showed up on the inside of the bowl on the right side about ¼ inch below the rim. I mixed a batch of pipe mud and filled the small crevices and smoothed the mud over the surrounding area of the bowl. I set it aside to dry while I worked on the stem.

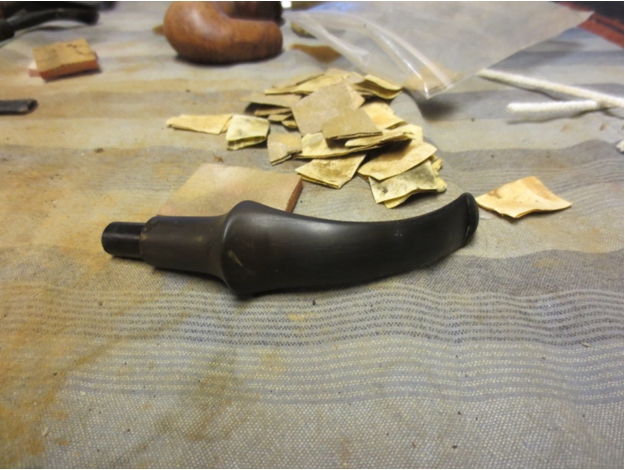
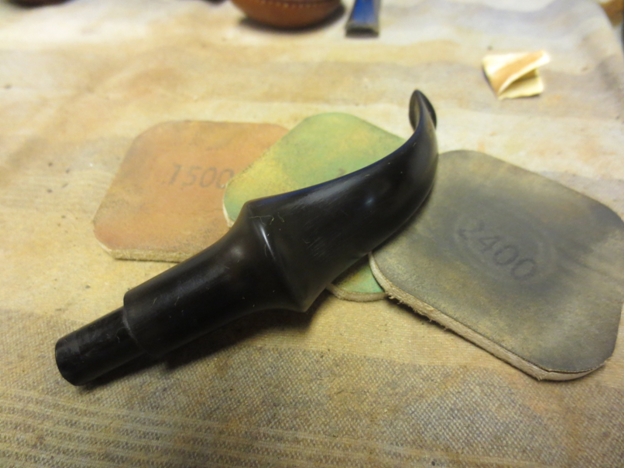
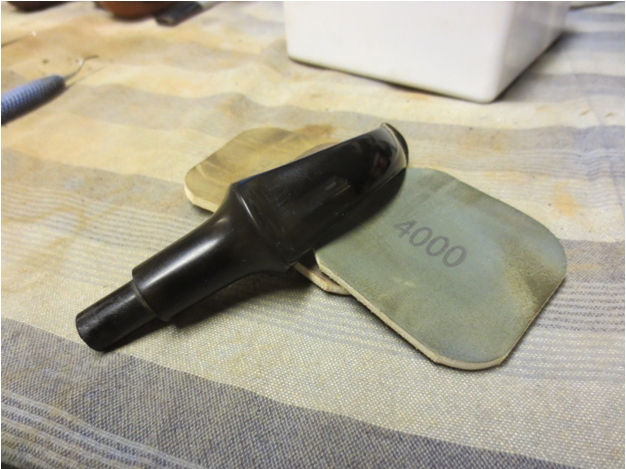
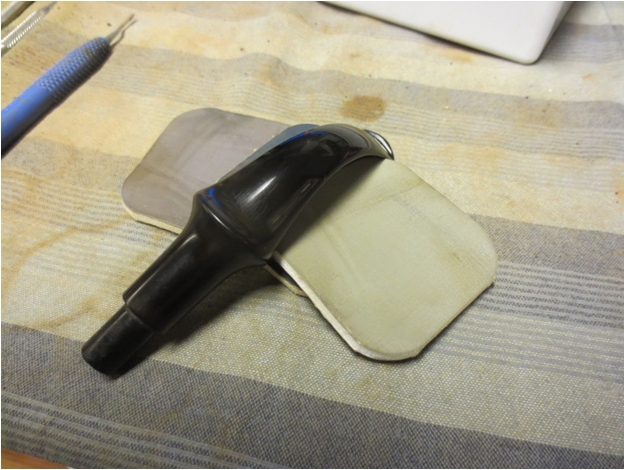
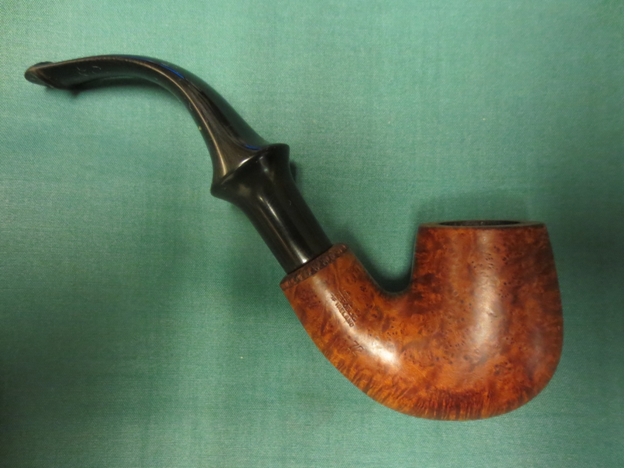
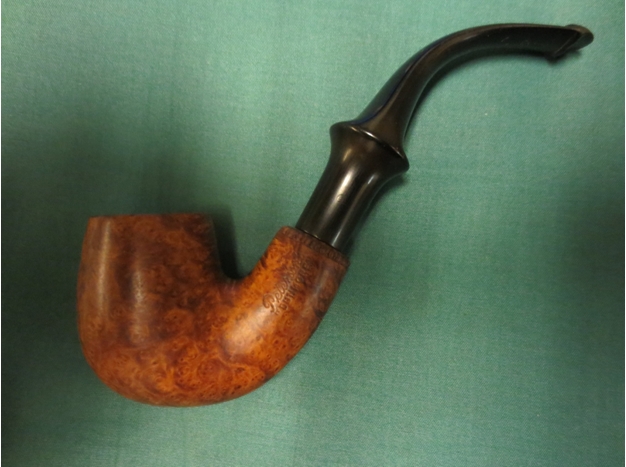
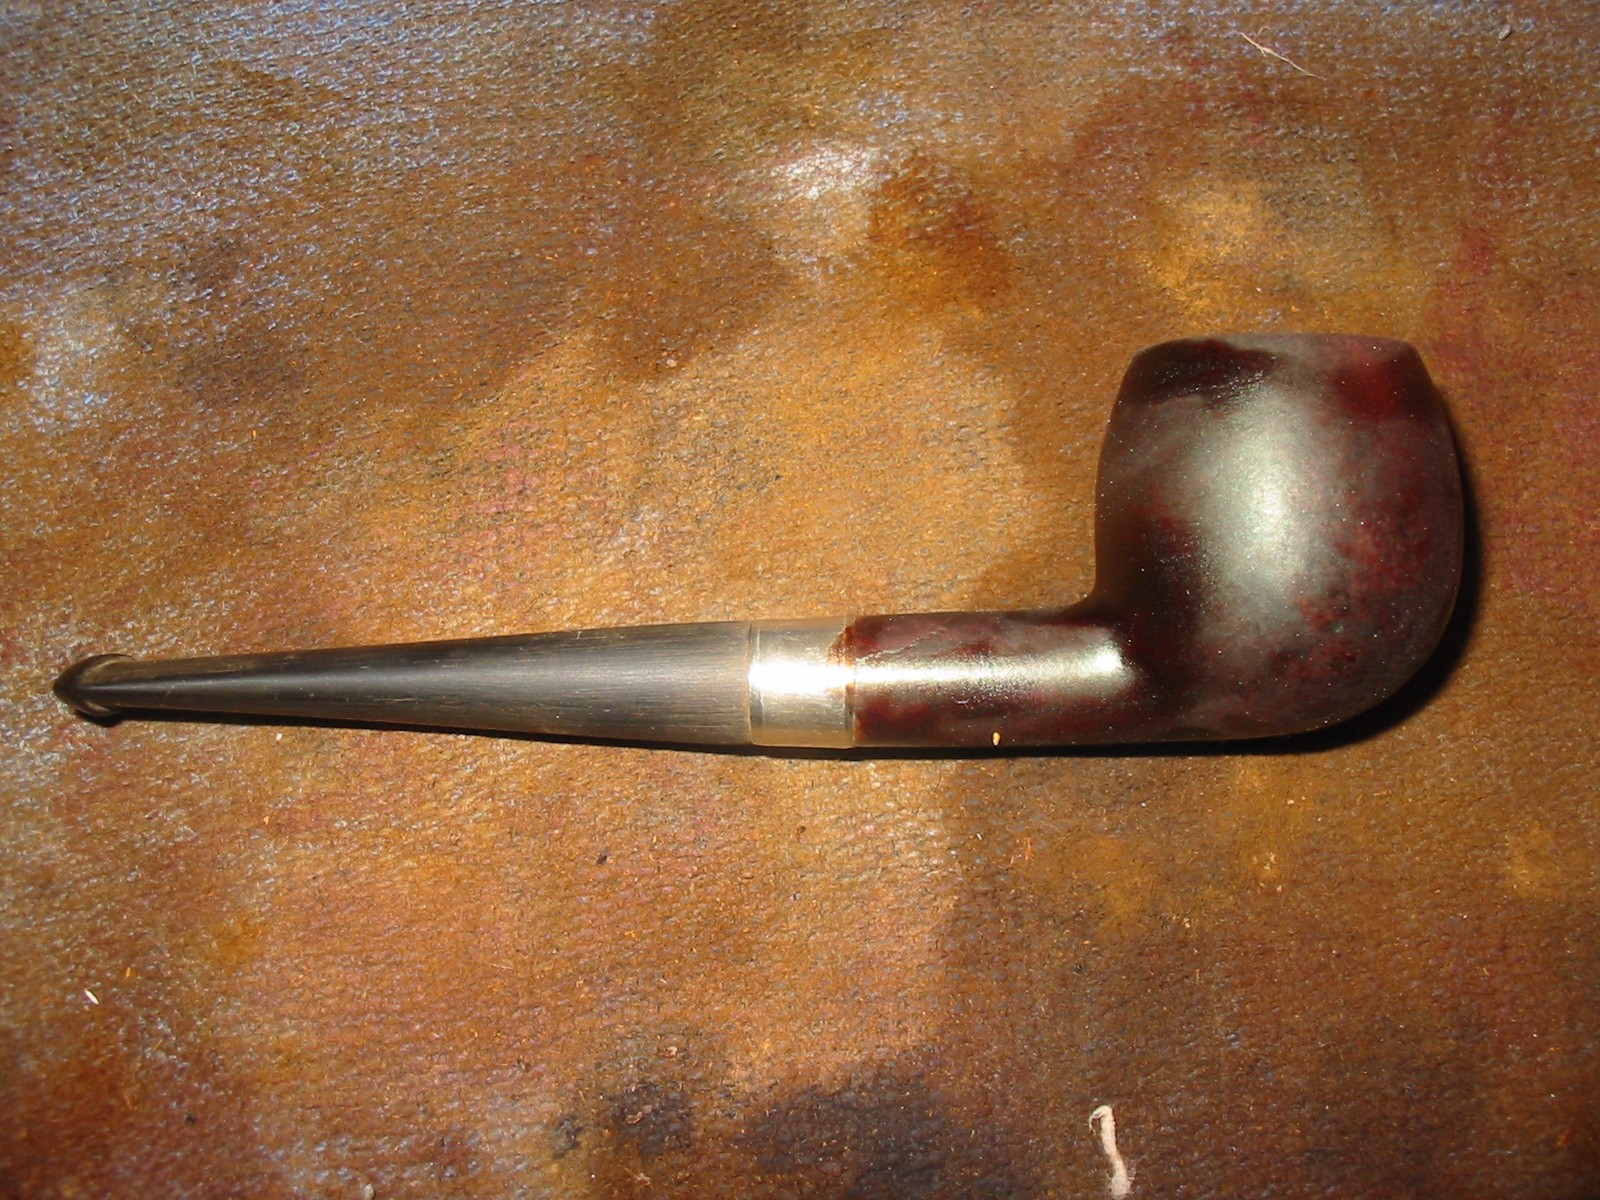
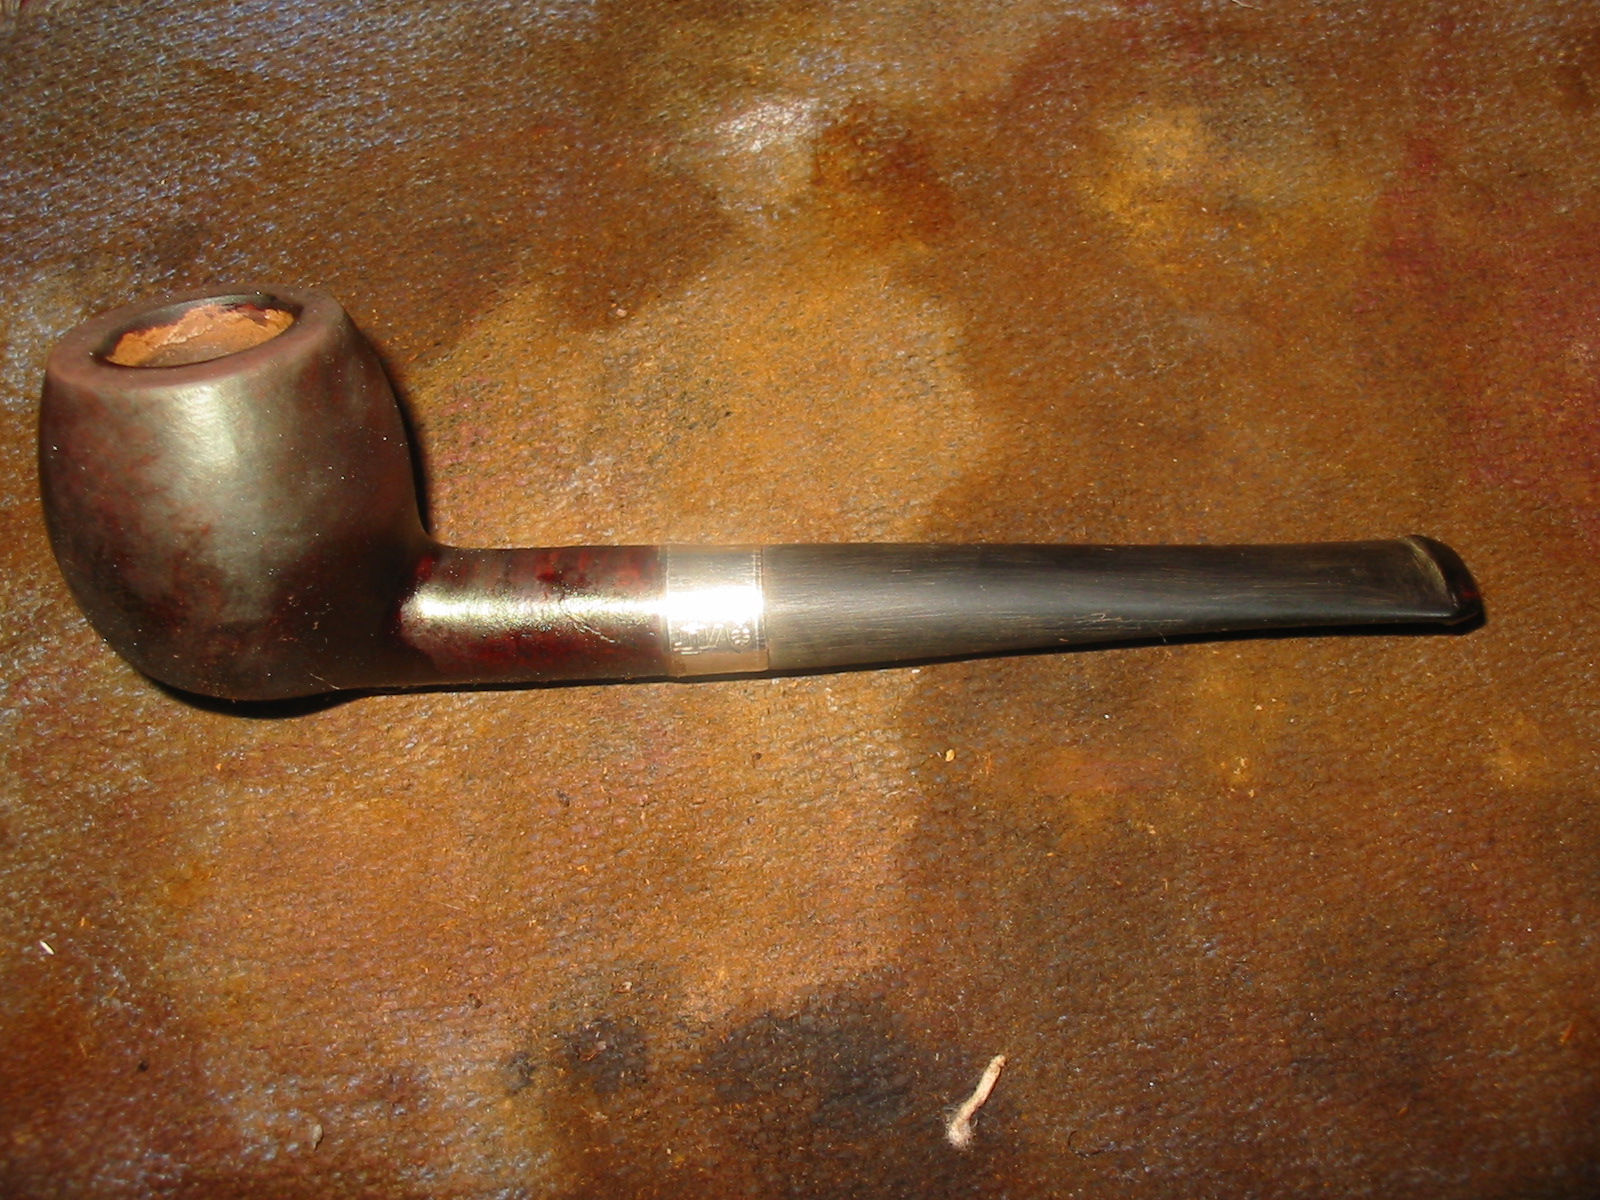
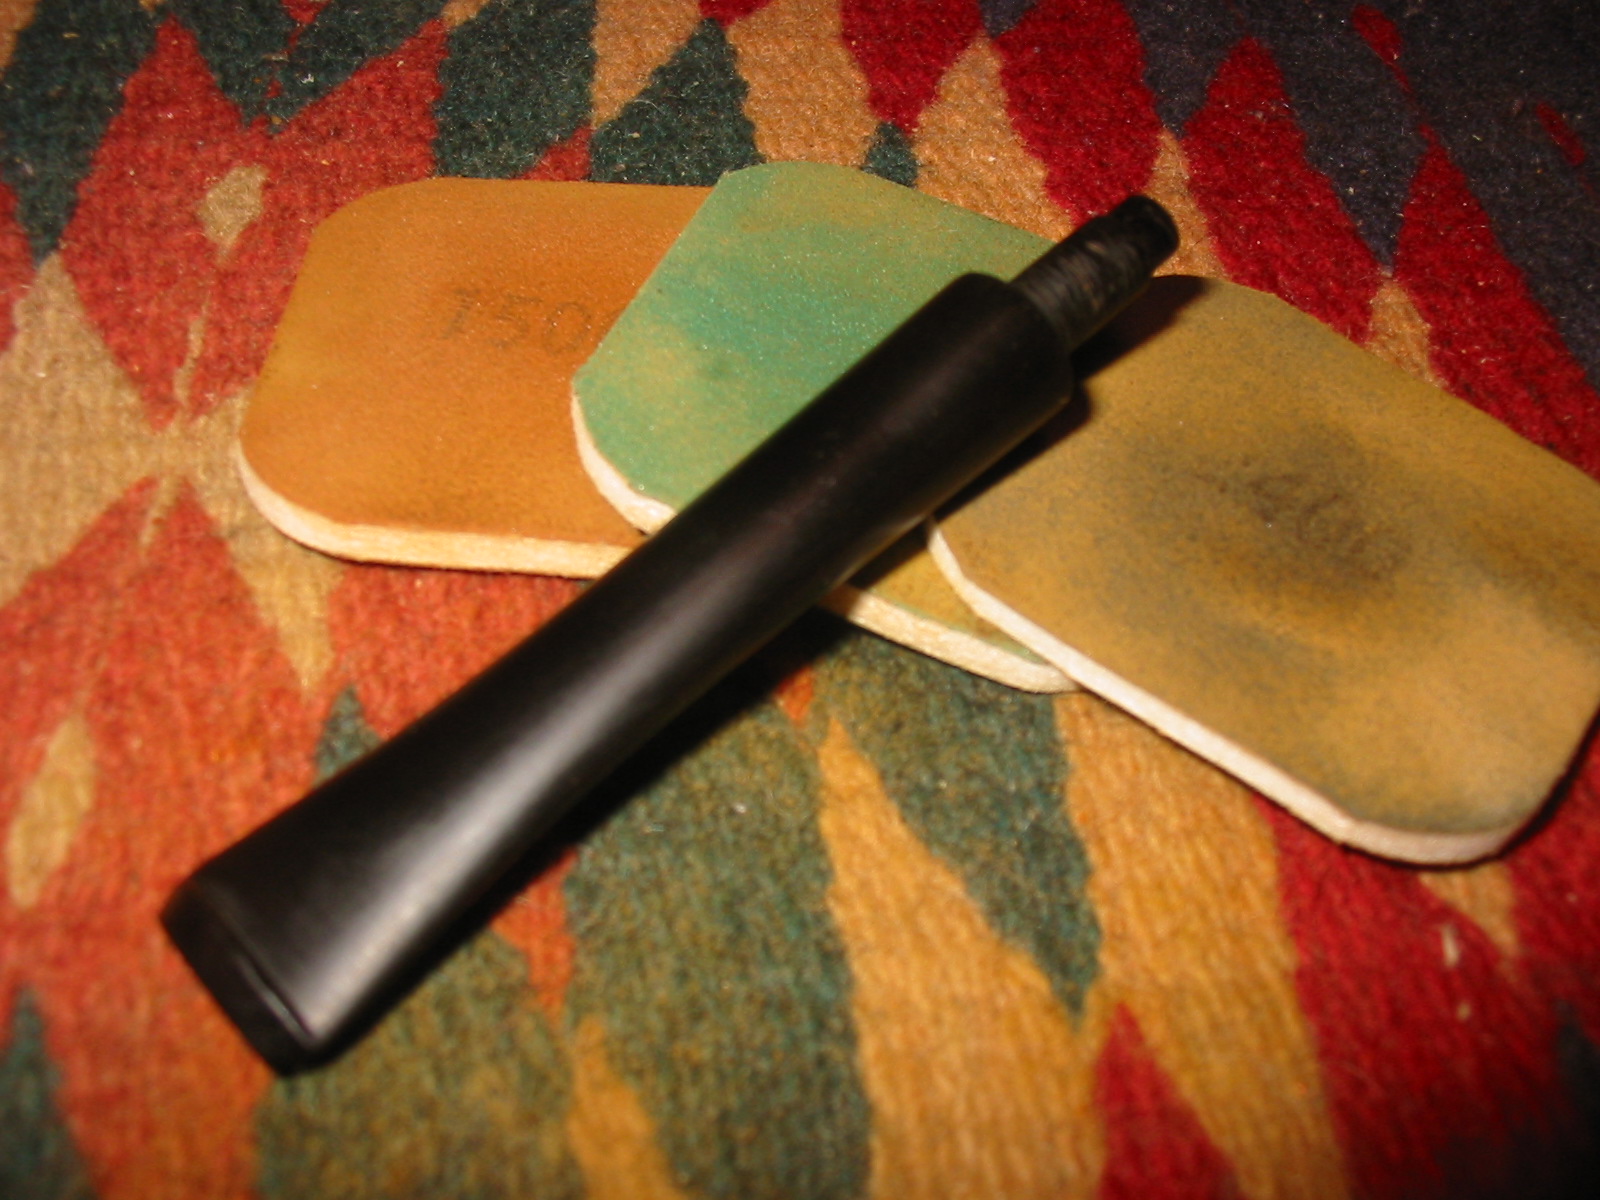
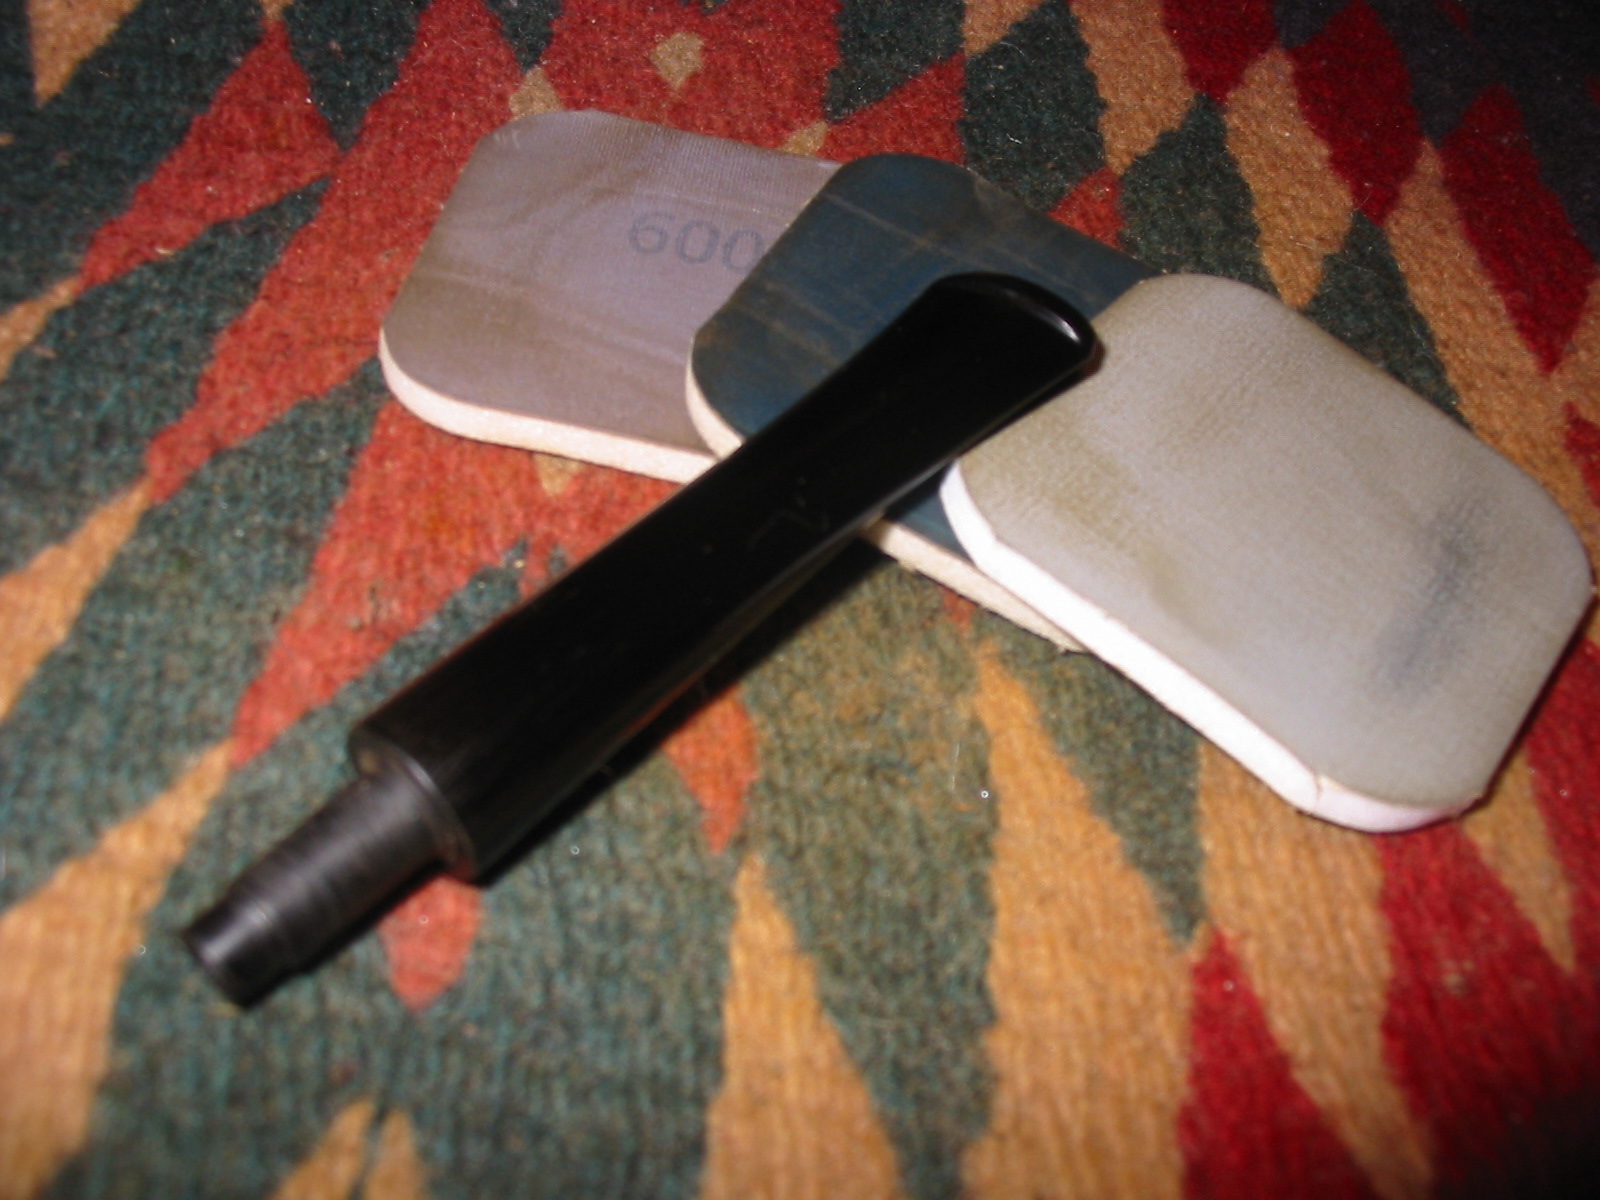
The stem had a lot of tooth chatter and a few shallow tooth marks on the top and the bottom next to the button. It also had a deep oxidation that required a lot of elbow grease to remove. I sanded the stem with 220 grit sandpaper to remove the surface oxidation and the calcification near the button. I “painted” the stem with my Bic lighter to raise more of the oxidation to the surface and also to raise the small tooth marks on the stem. I sanded it some more with the 220 grit sandpaper followed by a medium and a fine grit sanding sponge. That work brought it to the condition shown in the next two photos below. Dunmore8 Dunmore9 I sanded it with micromesh sanding pads – wet sanding with 1500-2400 grit pads and dry sanding with 3200-12,000 grit pads. I rubbed the stem down between each set of three pads with Obsidian Oil. After finishing with the 12,000 grit pad I buffed it lightly with White Diamond on the wheel and then rubbed it down one more time with the oil. When it had dried I gave the stem multiple coats of carnauba wax and buffed it to a shine. Dunmore10 Dunmore11 Dunmore12 I hand buffed the completed pipe with a bit more wax and a shoe brush to finish the polish. The finished pipe is shown below in all of its beauty. I am really glad we decided to leave the wood natural and only give it a light oil finish before waxing. The grain stands out well and the feel of the pipe in hand is very nice. John loved the finished pipe. I am looking forward to hearing from him once he has smoked it a few times. Dunmore13 Dunmore14 Dunmore15 Dunmore16

A Peterson Dating Guide; a Rule of Thumb – Mike Leverette


Blog by Mike Leverette

As a pipe refurbisher who has worked on and restored many older Peterson pipes over the years and a researcher who likes to understand the brands of pipes I work on I have always been amazed at how little there is on the history of the brand. When I was working on one of the first Peterson pipes that came my way I remember writing then calling Mike Leverette and seeking his help in dating the little Pre-Republic pipe I had in hand. Mike directed me to this article of his on Pipelore.net and later sent me a copy of the piece he had written. It became my go to piece when seeking information on Petersons. Mike and some of his colleagues created the well-known ‘Peterson Pipe Project’ web site. Mike died in 2009, following a long battle with cancer. His work has been taken up by Mark Irwin and Gary Malmberg who are currently working on a book on entitled, The History of the Kapp & Peterson Company and their system pipes. According to the Briar Books Press website the book’s release has been pushed back to Christmas 2015. While we all wait for the publication of this work I am posting the article that Mike sent me many years ago now and dedicate it respectfully to my good friend Mike’s memory. Without further ado here is Mike’s article.

This guide first appeared in pipelore.net on August 26, 2006 by: Mike Leverette.

Introduction
The history of Ireland is an old and honourable one; steeped in warfare, family, racial and religious traditions. No other country can compete in comparison. However, the first couple of millennia of Irish history have no relevance to this dating guide. Should you wish to read more on the history of the Irish, I recommend “The Story of the Irish Race” by Seamus MacManus who gives a very vivid, and near as we can tell an accurate portrayal of their history.

History pertinent to our purposes began in the year 1865; the year Charles Peterson opened a small tobacco shop in Dublin. Later in 1875, Charles Peterson approached the Kapp brothers, Fredrich and Heinrich, with a new pipe design and with this, a very long-lived partnership was formed, Kapp & Peterson. This new pipe design is the now famous Peterson Patented System Smoking Pipe. By 1890, Kapp & Peterson was the most respected pipe and tobacco manufacturer in Ireland and rapidly gaining followers in England and America. In 1898 another of Peterson’s remarkable inventions became available, the Peterson-Lip (P-Lip) mouthpiece, also known as the Steck mouthpiece. So for the purpose of this dating guide, we will study Irish history, relevant to our pipe dating needs, from 1870s until now.

Before we start with this Peterson dating guide, an observation; the Kapp Brothers were making pipes as early as the 1850s and in many of the shapes we now associate with Peterson since the Kapp Brothers simply took their existing shapes and incorporated Charles Peterson’ s patented design into them. From their inception, Kapp & Peterson’s goal was to make a good smoking pipe that the ordinary, common working man could afford and we believe they have, very admirably, lived up to this.

Explanation of Title
The vagaries of Peterson’s processes do not allow for an accurate dating guide so this guide is a ‘rule-of-thumb’ guide only. For example; Peterson did not take up the old Country of Manufacture stamps as new ones were issued so depending on which one the various workers happen to pick up, the stamps can and do cross over the boundaries of the various Eras. Some of the pipes of the Sherlock Holmes Series of the 1980s have pre-Republic stamps, as well as other pipes produced in 2000. However, there will not be too many of these missed stamped pipes. For silver anomalies, see the section on silver marks.

Stamping of Bowls
During the years of Kapp and Peterson’s business operations, the country of Ireland has undergone several name changes and K&P’s stamping on their pipes reflects these changes. Knowing these changes, a Peterson pipe can be roughly dated and placed in “eras.”

• The Patent Era was between the years of K&P’s formation until the expiration of the patent; 1875 through approximately 1910. Though for our purposes we will list this era as 1875 through 1922. Peterson pipes made during the majority of this period had no “Country of Manufacture” (COM) stamped on them. However, later in this period, say around 1915/16, Peterson began stamping their pipes “Made in Ireland” in a block format.
• The Irish Free State was formed on 15 January 1922. So the Free State Era will be from 1922 through 1937. Peterson followed with a COM stamp of “Irish Free State” in either one or two lines, either parallel or perpendicular to the shanks axis and extremely close to the stem.
• Eire was formed on 29 December 1937. The Made in Eire Era will be from 1938 through roughly 1940? or 1941?. For dates with ?’s, see below. Peterson now stamped their pipes with “Made in Eire” in a circle format with “Made” and “Eire” in a circle with the “in” located in the center of the circle. This COM was used during the years of 1938 – 1940?/41?. Later they stamped their pipes with “Made in Ireland” in a circle format (1945?-1947?) and still later with “Made in Ireland” in a block format (1947?-1949). The “Made in Ireland” block format came in either one line or two lines.
• The Republic Era is from 1949 until the present. The Republic of Ireland was formed on 17 April 1949. From 1949 to present the stamp for this era is “Made in the Republic of Ireland” in a block format generally in three lines but two lines have been used with or without Republic being abbreviated.
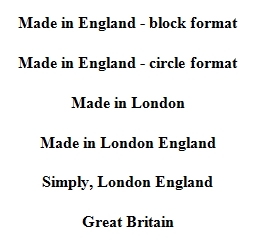
• English made Peterson pipes actually spans between the pre-Republic and Republic eras. In 1895, Peterson opened a shop in London England that lasted until the late 1950s or early 1960s. So the English Era, for a simplified date, will be from 1895 through 1959. The stamps Peterson used in London and that we have seen are: Mike5
Though there are a couple of more, the above will give one the general idea. We believe the earliest stamp of this era was the “Made in England” in a block format since Peterson was using the “Made in Ireland” block format at about the same time on their Irish production pipes. The “Made in England” circle format was used during the same time frame as the “Made in Eire” and “Made in Ireland” circle formats.

As one can see this is pretty straightforward but there have been inconsistencies within this method of stamping. Peterson was never very energetic in removing their old stamps from the work stations so the older stamps can and did cross-over into the newer Era’s.

The explanation for the question marks in the 1940’s dates is, during the Second World War briar was hard to come by for obvious reasons, so no one can say for sure what years Peterson produced briar pipes and how many briar pipes were produced in those years. Why the switch from “Made in Eire” to “Made in Ireland” is anyone’s guess since the country was still technically Eire until 1949. As a point of interest and due to the shortage of briar, Peterson did make clay and Bog Oak pipes during the war years though they had ceased clay pipe production in the Patent Era and Bog Oak production back in the early 1930s.

Mike1 The “Made in Ireland” block format (above) can be another headache in dating Peterson pipes since this stamp was used in the late Patent Era as well as the late 1940s. So for a guide we must take into consideration the style of lettering Peterson used on their pipes. From the start of the Patent Era until somewhere in the early 1930s, Peterson used the “Old Style” lettering that used a forked tail “P” in Peterson.

Mike2 From then until now, Peterson used the more familiar script “P” (above) intermixed with a plain block letter “P.” Later in the 1970s, Peterson began production of “commemorative” pipes, often referred to as “replica” or “retro” pipes and these will also have the old style lettering but according to the pipes that we own and have seen, most of these will have a small difference in the original forked tail “P”. Again, there appears to be a cross-over with the old style forked tail and the later forked tail P’s (below). However, these commemorative pipes generally have a silver band with hallmarks so one can date these pipes by the hallmark.

Mike3 Also, we must address the stamp “A Peterson Product.” During the last few years of the Pre-Republic era and throughout the Republic era, Peterson began stamping their other lines, such as Shamrocks and Killarneys, with “A Peterson Product” over the COM stamp. So a pipe stamped thusly will have been made say from 1948 to the present with the COM stamp identifying it as a pre-Republic or a Republic pipe.

Silver Band Dating
Silver hallmarks are placed on the silver after an assay office, in Peterson’s case, the Dublin Assay Office, has verified that the silver content is indeed sterling, in other words 925 parts of silver per 1000 parts of the metal. The silver hallmarks on Peterson pipes are a group of three marks, each in an escutcheon; the first is a seated Hibernia denoting Dublin Ireland, the second is a harp denoting the silver fineness, and the third is a letter denoting the year. The style of letter and the shape of the escutcheon the letter is in, will determine the year in which the assay office stamped the metal band and not necessarily the year the pipe was made. Peterson orders these bands by the thousands and sends them to the assay office for hallmarking. The assay office will stamp the date of the year in which they received the bands and it may be a year or two or three before Peterson’s employees happen to place one of these bands on a pipe though generally the bands are placed on a pipe in the year they were stamped. The Dublin hallmarks can be found in any book on silver markings or on one of several web sites.

For the one year, 1987, the Dublin Assay Office added a fourth mark to commemorate the City of Dublin’s founding in 988. However, the Peterson pipes we have and have seen with silver dates of 1987 and 1988 generally do not have this fourth mark.

Here again, we must add a “maybe” to the above hallmarks. On 1 June 1976, certain countries attended an international conference on silver markings and decided to adopt an entirely different mark for sterling silver. This mark is an Arabian numeral, 925, located between the scales of a balance beam and in Peterson’s case may or may not have the Hibernia and Harp marks to either side. These particular pipes can only be said to date between 1976 and the present, and were stamped as such for shipment to the different countries involved in the conference. For pipes shipped to all other countries, Peterson still uses the old style hallmarks. Peterson pipes with a sterling silver band that does not have hallmarks could have been made for the United States market since the United States only requires sterling silver to be stamped “sterling silver” or “sterling.”

Before we close this section on silver hallmarks, we must address the marks that many people refer to as hallmarks. Peterson uses three marks on some of their pipes that are not silver hallmarks but are rather another Peterson logo (below). These marks are:
• A Shamrock for the many shamrocks found in Ireland
• A Prone Fox representing the famous fox hunts in Ireland’s history, and
• A Stone Tower for the many hundreds of stone towers spotted throughout Ireland

Again these are not genuine silver hallmarks: Mike4 Also many of the newer pipe smokers think that Kapp & Peterson’s official logo of “K&P,” each in a shield shaped escutcheon, are hallmarks but, of course, they are not. They are simply Kapp & Peterson’s initials.

Dating by Series
Dating by series or numbers is an area in which we are having a difficult time of establishing. For instance, the 300 series are all shapes used during the Patent Era and we believe Peterson started using this number system when the original patent expired. In the case of the 300 series and without looking at the COM stamp or silver hallmark, one can only say that they were made between 1910 and today. The 300 series was not in Peterson’s 1905 catalogue.

Though we are still trying to find the start dates of many series, here are some that we are pretty positive about:
• Centennial Edition – 1975 (for K&P’s Centennial)
• Great Explorers Series – 2002
• Harp Series – 2002
• Mark Twain Numbered Edition – 1979 (numbered 1 through 400)
• Mark Twain 2nd Numbered Edition – 1981 (numbered 1 through 1000) Mark Twain Un-numbered Edition – 1983 to c1989 (There must be a fourth production of Mark Twain pipes for there a couple of men who own Mark Twain pipes with a silver date of 1998; we are still trying to pin down the dates of this fourth production.)
• Emerald – c1985 to 2003
• Millennium Edition – 1988 (for the City of Dublin’s founding)
• Sherlock Holmes Series – 1987 to c1989
• Return of Sherlock Holmes Series – c1991
• Sherlock Holmes Meerschaums – 2006

Peterson Clay, Bog Oak and Cherry Wood Pipes
Peterson Clay, Bog Oak and Cherry Wood pipes were offered in the Patent Era with or without a formed case, as also offered with their briar and meerschaum pipes.

Peterson made clay pipes during the Patent Era with only two shapes being offered and depicted in their 1905 catalogue. During this period their clay pipes were stamped/moulded “Peterson Patent” and could be purchased with either a silver or nickel band. How long and in what years Peterson made these clays is not known but as stated above two shapes were offered in their 1905 catalogue. Then during World War II, Peterson again made clay pipes due to the understandable shortage of briar. The clays of this period are stamped “Peterson System” and were only offered with nickel bands. This later production of clay pipes ended with the closing of Peterson’s London Shop in the late 1950s or early 1960s.

Also during World War II, Peterson again made bog oak pipes and again, this was due to the shortage of briar. They had previously ceased production of bog oak pipes in the 1930s during the Irish Free State Era. On the subject of bog oak pipes, Peterson’s bog oaks will always have a metal band with either amber (early production only) or vulcanite stems and will have the appropriate COM stamp. As with their clay pipes, Peterson offered a silver or nickel band on their early bog oak pipes of the Patent Era and just a nickel band on their WWII bog oak pipes.

Peterson made pipes of cherry wood during their Patent Era in both the smooth finish and the bark-left-on finish; and as with their clay pipes, Peterson used both amber and vulcanite stems and choice of silver or nickel bands. And like their clay pipes of the Patent Era, the introduction and termination dates are not known. Peterson Cherry Wood pipes were offered with or without a meerschaum lining.

Metal Ferrules of Military Mounted Pipes
As pipes get older, wear will, with all the handling, cleaning and polishing, take its toll on the nomenclature which will eventually disappear, thus, making it harder to determine the age of your Peterson. A good thorough cleaning of old hand oils, dirt and ash will sometimes bring out a faint outline of the nomenclature but sometimes the nomenclature has completely worn away and even this cleaning will not bring it back. So where do we go from here to determine the pipe’s age? The shape of the metal ferrule on Peterson pipes with the military mount will give you some hint though not a precise date.

During the Patent Era, the metal ferrules of Peterson military mounts will have a more ‘acorn-ish’ shape, that is, the bend will have a larger radius as it turns down to meet the stem. This larger radius gradually (?) changes to a smaller radius, more abrupt bend, during the Irish Free State Era and even more abruptly after World War Two when the bend takes on the modern day shape.

The metal ferrules on Peterson clay pipes during the Patent Era are angular while their clay pipes of World War Two will have the bend shape as do most of the Peterson pipes from then until now.
As with everything pertaining to the dating of Peterson pipes, this method can only give us a hint to the age of the pipe but it is better than nothing at all. The years of these changes in the metal ferrule shape are, we are sure, lost to the ages. However, someone with a larger number of Peterson pipes than we may be able to check the silver dates for more precise age boundaries. Well, this is a very short dating guide and we hope that you will be able to date more accurately your favourite Peterson with this information.

A Non-descript Old Bowl turns out to be a Worthwhile Peterson


In the gift box that I received there was an old worn bowl that had a thick coat of grime on the finish. The shank was cracked and had been repaired but still showed. There was stamping on the shank but it was illegible without magnification. The bowl had been reamed but was out of round. It had been topped at some point but had not been flattened it had an odd crown and was quite a bit lighter than the rest of the bowl. The briar itself was quite nice under the grime. The right side of the bowl had some birdseye grain while the rest was mixed grain. The rim also had birdseye grain on it. I used a magnifying glass to look at the stamping – low and behold it was stamped Peterson’s (with a forked P) over Kapet on the left side of the shank. It was faint but clearly readable with light and magnification. The right side was even more worn but I was able to make out that it was stamped Made in London England. The shape number was not readable. There was not a stem with the bowl but I had one that would work in my box of stems.
IMG_7455
I cleaned up the shank area with a wipe down with acetone on a cotton pad. I wanted to avoid covering the remaining stamping with the band but wanted a band that would strengthen the repair that had been made to the cracked shank. I heat the band and pressed it into place on the shank. I also sanded the tenon on the stem so that it would fit the shank.
IMG_7456

IMG_7457
With the new band in place I cleaned up the tenon and pushed the stem into the shank. I sanded the stem with 220 grit sandpaper to remove the tooth chatter and also to adjust the diameter of the stem at the band. I wanted it to fit evenly against the band so that looking at the pipe from the end view there would we equal silver all the way around the stem junction.
IMG_7458

IMG_7459

IMG_7460

IMG_7461
When I had the fit against the shank and band correct I sanded the stem with a medium and a fine grit sanding sponge to clean up the scratch marks. I also used a folded piece of sandpaper to work on the inner edge of the rim to bring it back to round. I wiped down the bowl with isopropyl alcohol on a cotton pad to remove the grit and buildup on the bowl and lighten the bowl to match the current colour of the rim. Even though I would later end up topping the bowl I knew that the lightening of the stain would make the restain much simpler.
IMG_7462

IMG_7463

IMG_7464
I cleaned the inside of the shank and stem with cotton swabs, pipe cleaners and isopropyl alcohol until the cleaners went in and came out the same colour. The photo below shows some of the building pile of cleaners that were used to get the pipe clean.
IMG_7465
I set up the topping board and 220 grit sandpaper and twisted the rim into the sandpaper until I had the top of the bowl flat once again. I took out the rounded/crowned rim that had been done earlier and squared it up with sharp edges once more.
IMG_7466

IMG_7467
I sanded the rim with the sanding sponges and also with 1500-2400 grit micromesh sanding pads to remove the scratches. I stained the bowl with a dark brown aniline stain with several more applications of stain to the rim to achieve a match with the bowl. I applied, flamed and repeated the process of staining until I got an even coverage on the bowl and rim.
IMG_7468

IMG_7469

IMG_7470
To make the stain less opaque I washed it down with alcohol on cotton pads. I wanted to remove enough of the stain to make the grain visible.
IMG_7471

IMG_7472

IMG_7473
I sanded the bowl with 1500-2400 grit micromesh sanding pads to further lighten things. I buffed the bowl with White Diamond, while avoiding the light stamping. I rubbed the bowl down with a light coat of olive oil. The result was exactly what I was aiming for. The reddish brown tint of the briar came through beautifully.
IMG_7474

IMG_7475

IMG_7476

IMG_7477
I sanded the stem with the medium and fine grit sanding sponges and then went on to sand with my usual array of micromesh sanding pads. I wet sanded with 150-2400 grit pads and dry sanded with 3200-12,000 grit pads. I rubbed the stem down with Obsidian Oil between each of the three groups of micromesh pads. The Oil penetrates deeply into the vulcanite and makes the sanding simpler. The oil that sits below the surface lubricates the surface and the micromesh cuts into the vulcanite to clean up the scratches.
IMG_7478

IMG_7479

IMG_7480
I gave the stem a final coat of Obsidian Oil and when it dried I buffed the bowl and stem with White Diamond. I gave both multiple coats of carnauba wax and between the coats I buffed it with a soft flannel buff. I hand buffed the bowl with a shoe brush. The finished pipe is shown in the photos below. It is not a large pipe – a mere 5 ½ inches long and 1 3/8 inches tall. The bowl is in good condition and cleaned and ready to smoke. This should make a great little Virginia pipe.
IMG_7481

IMG_7483

IMG_7484

IMG_7485

A Peterson’s Donegal Rocky 05 Reborn


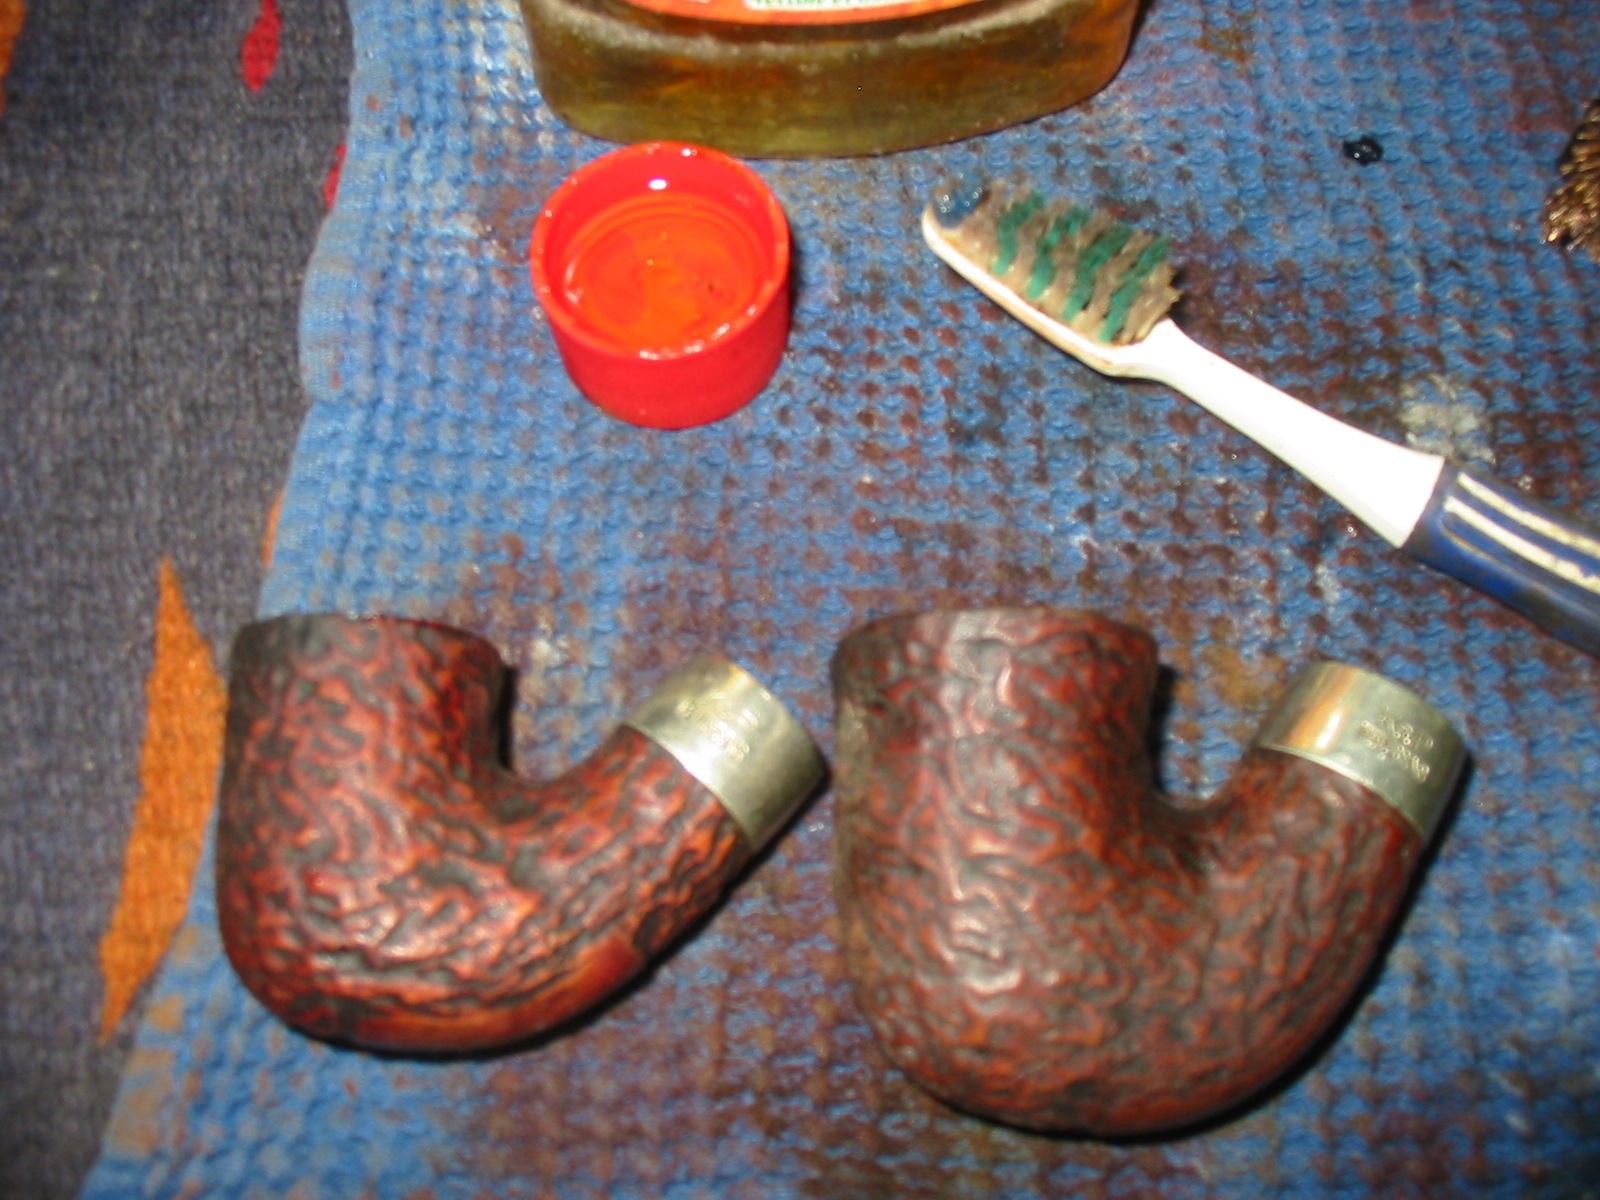
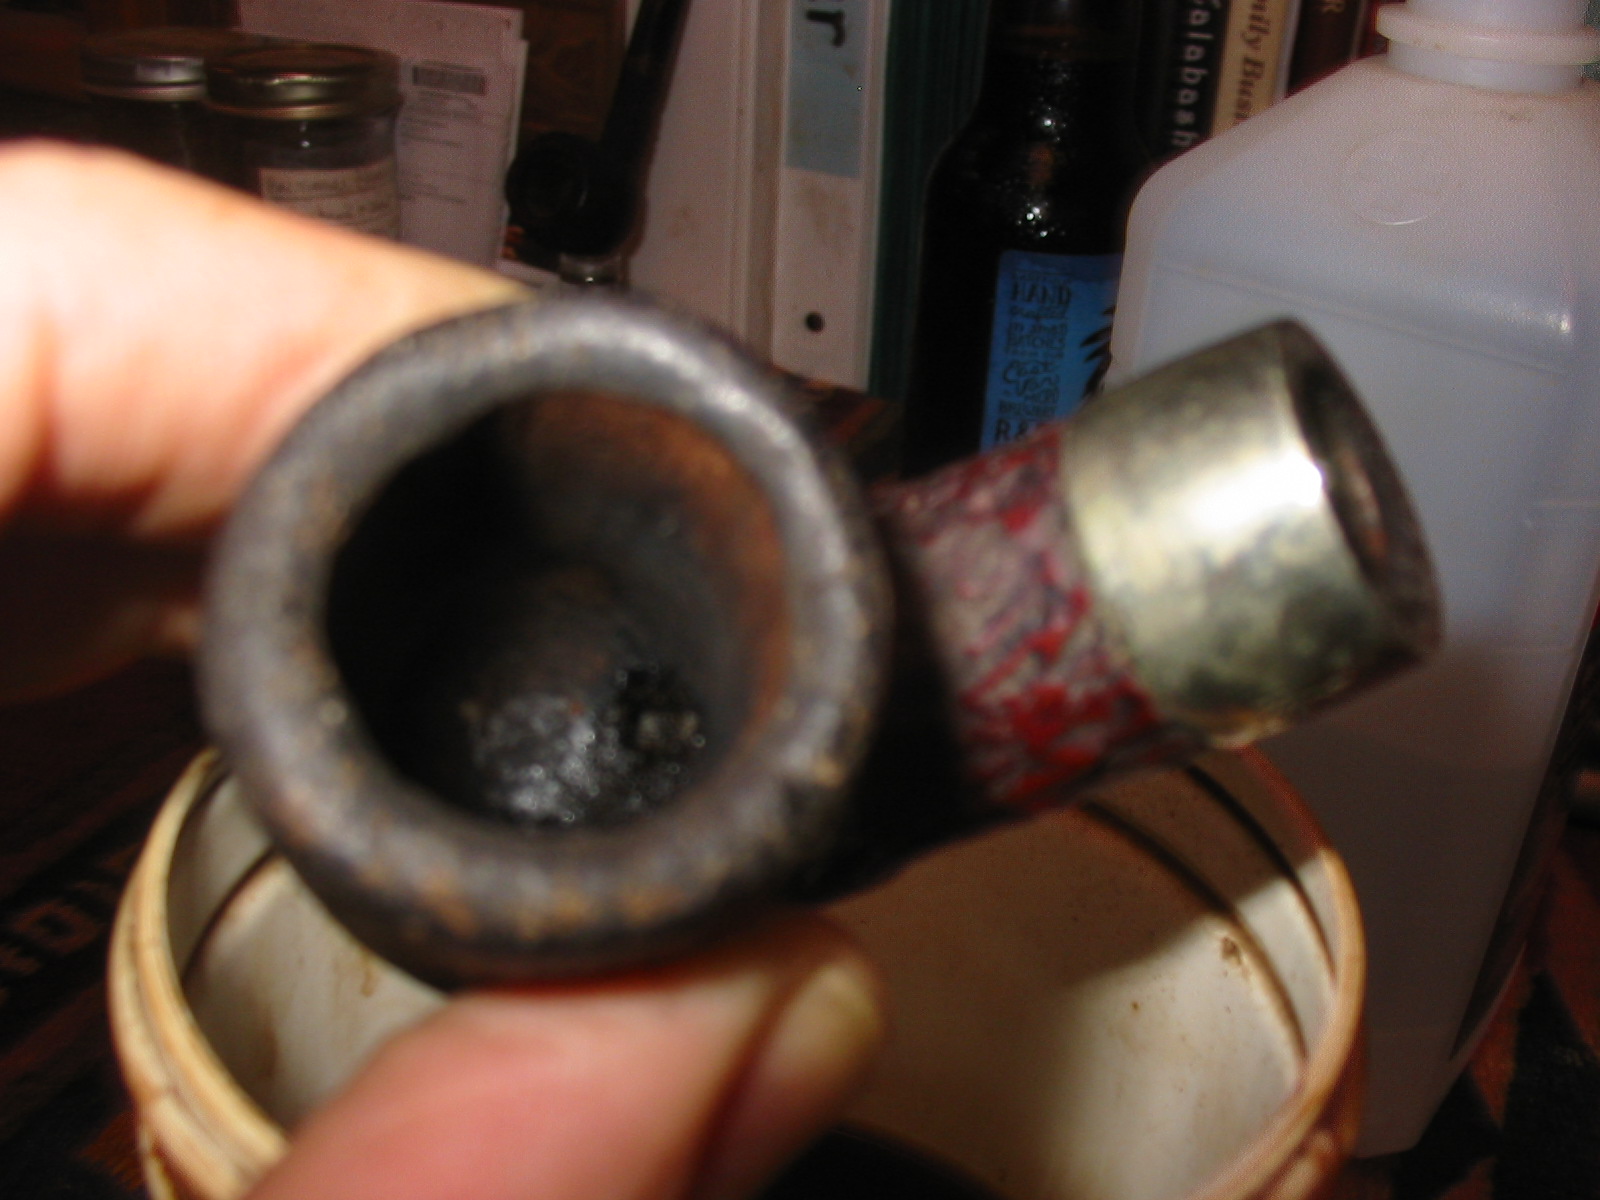
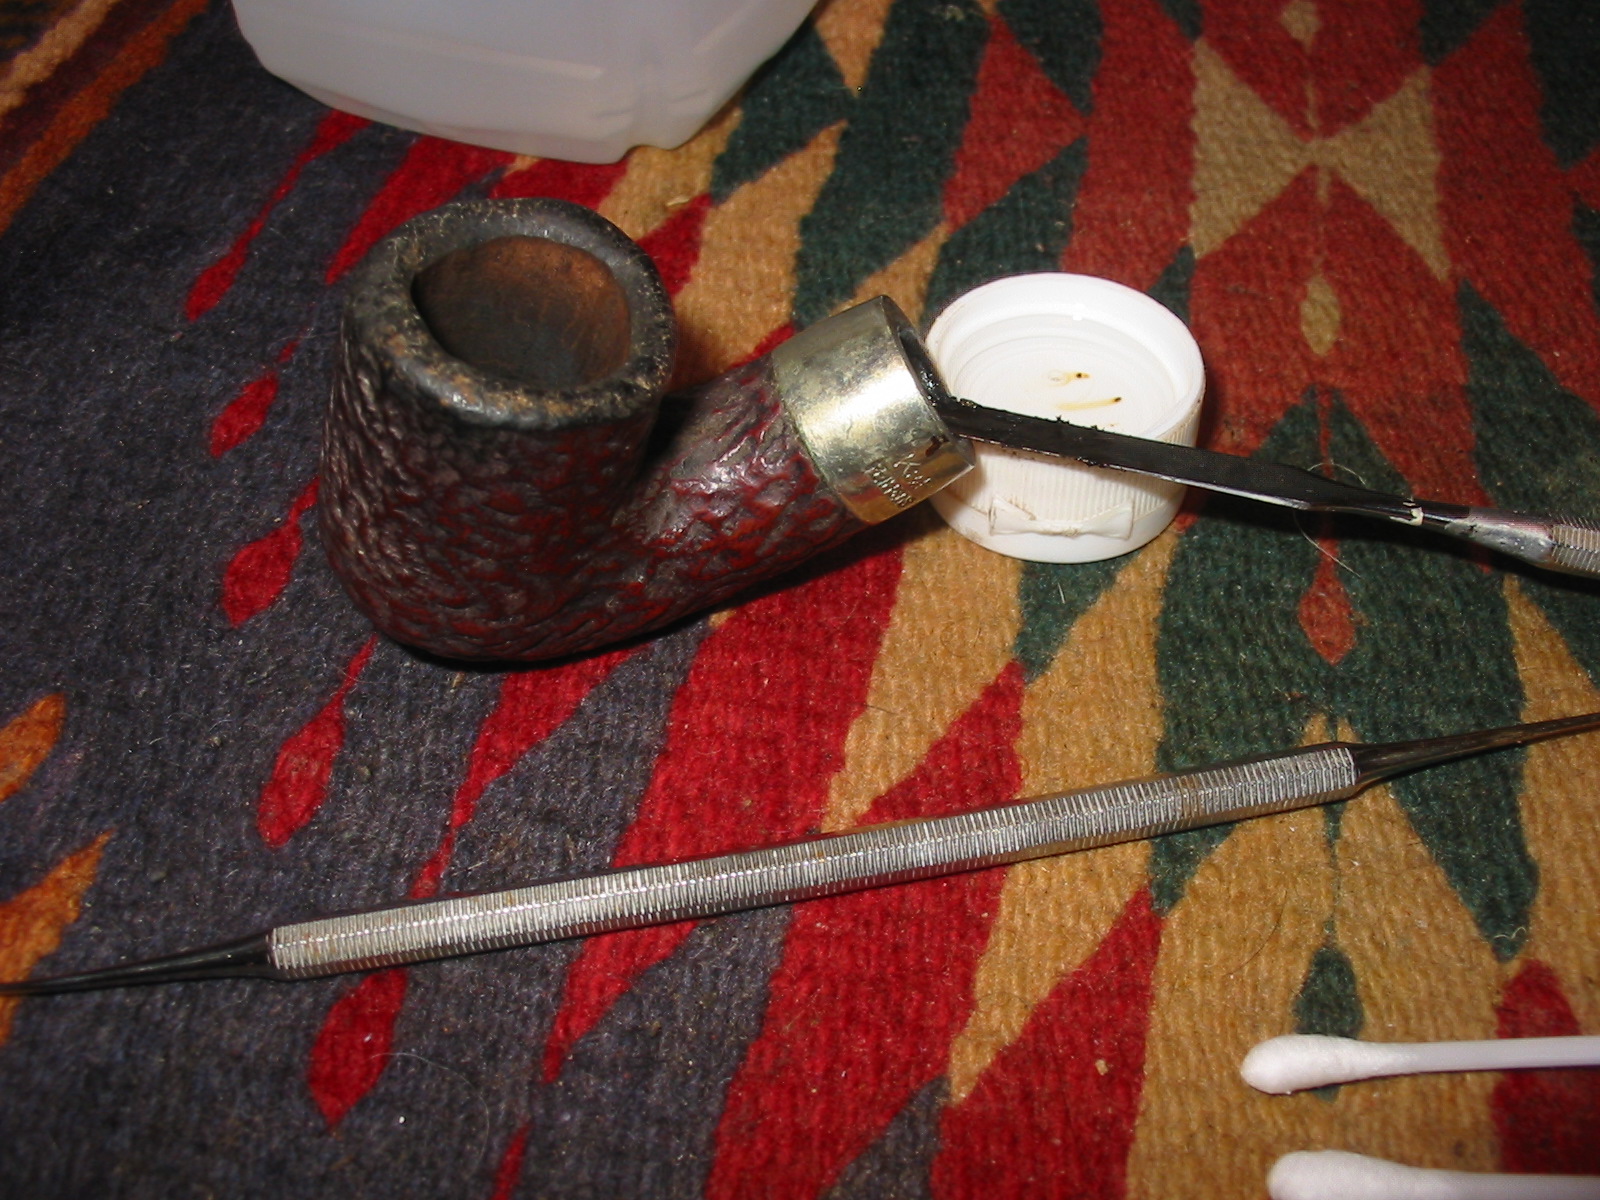
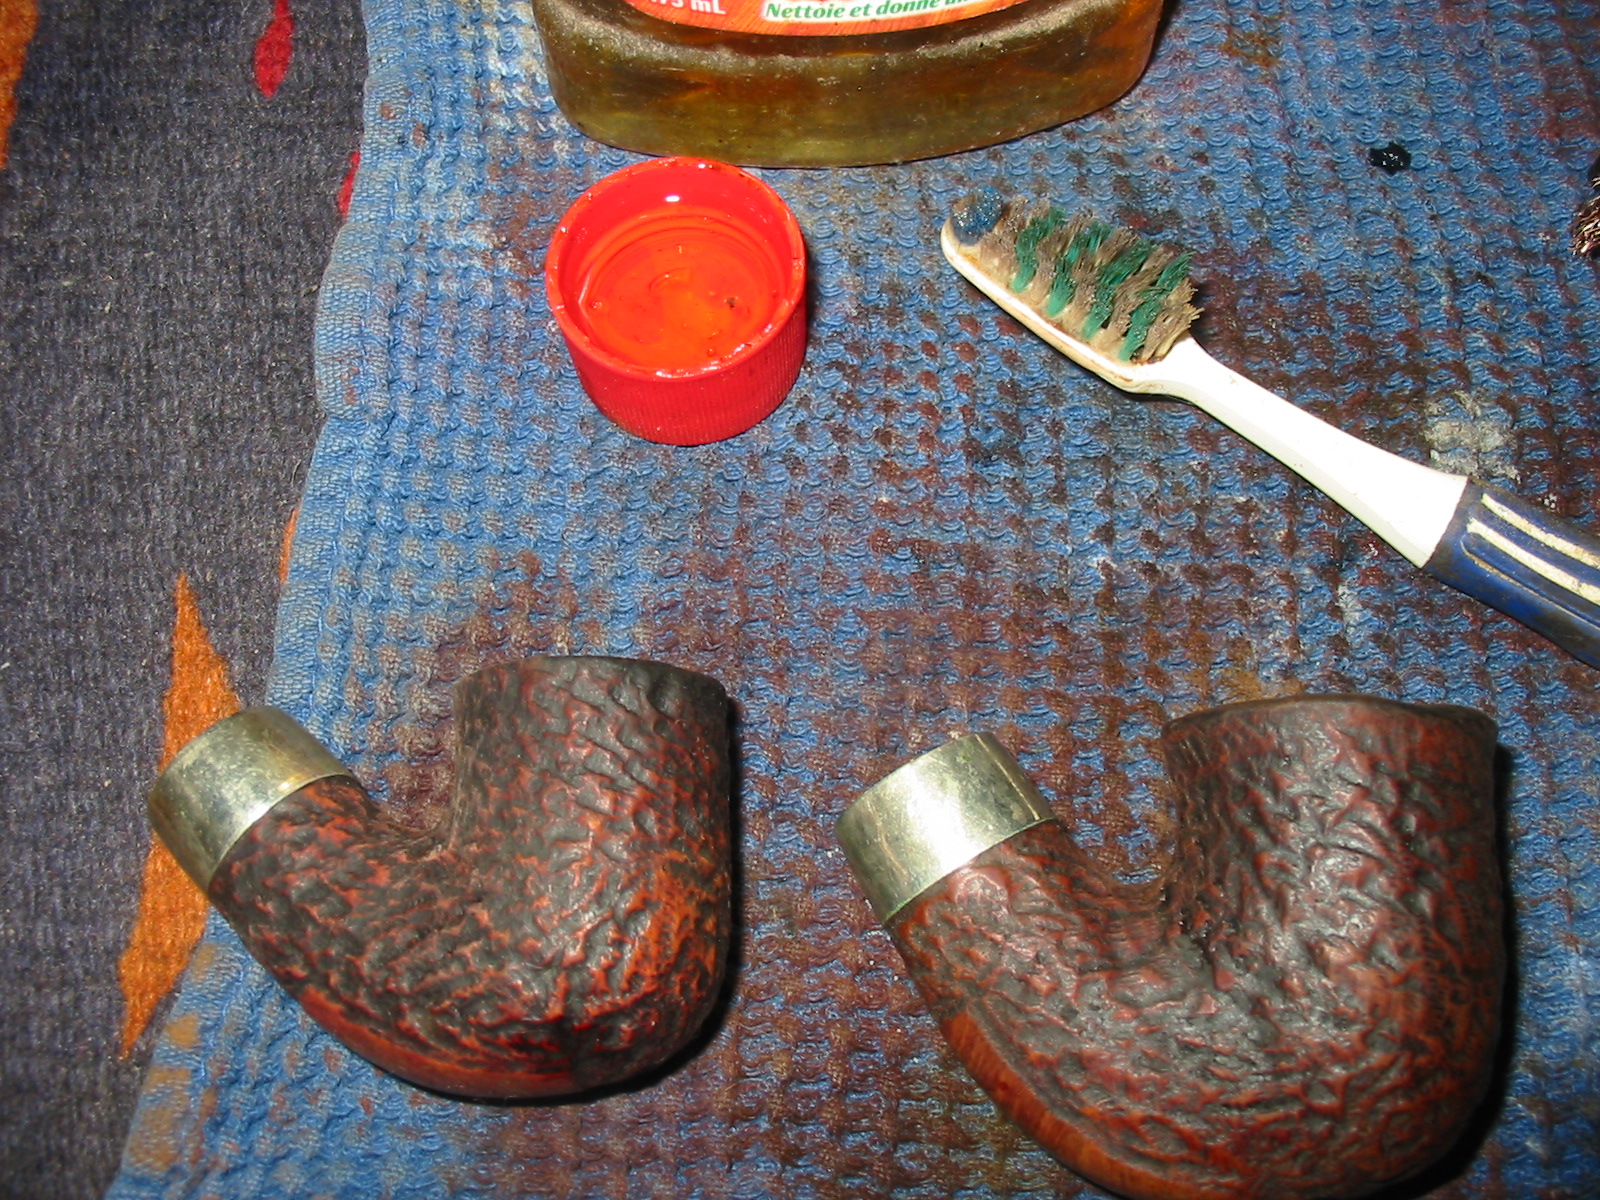
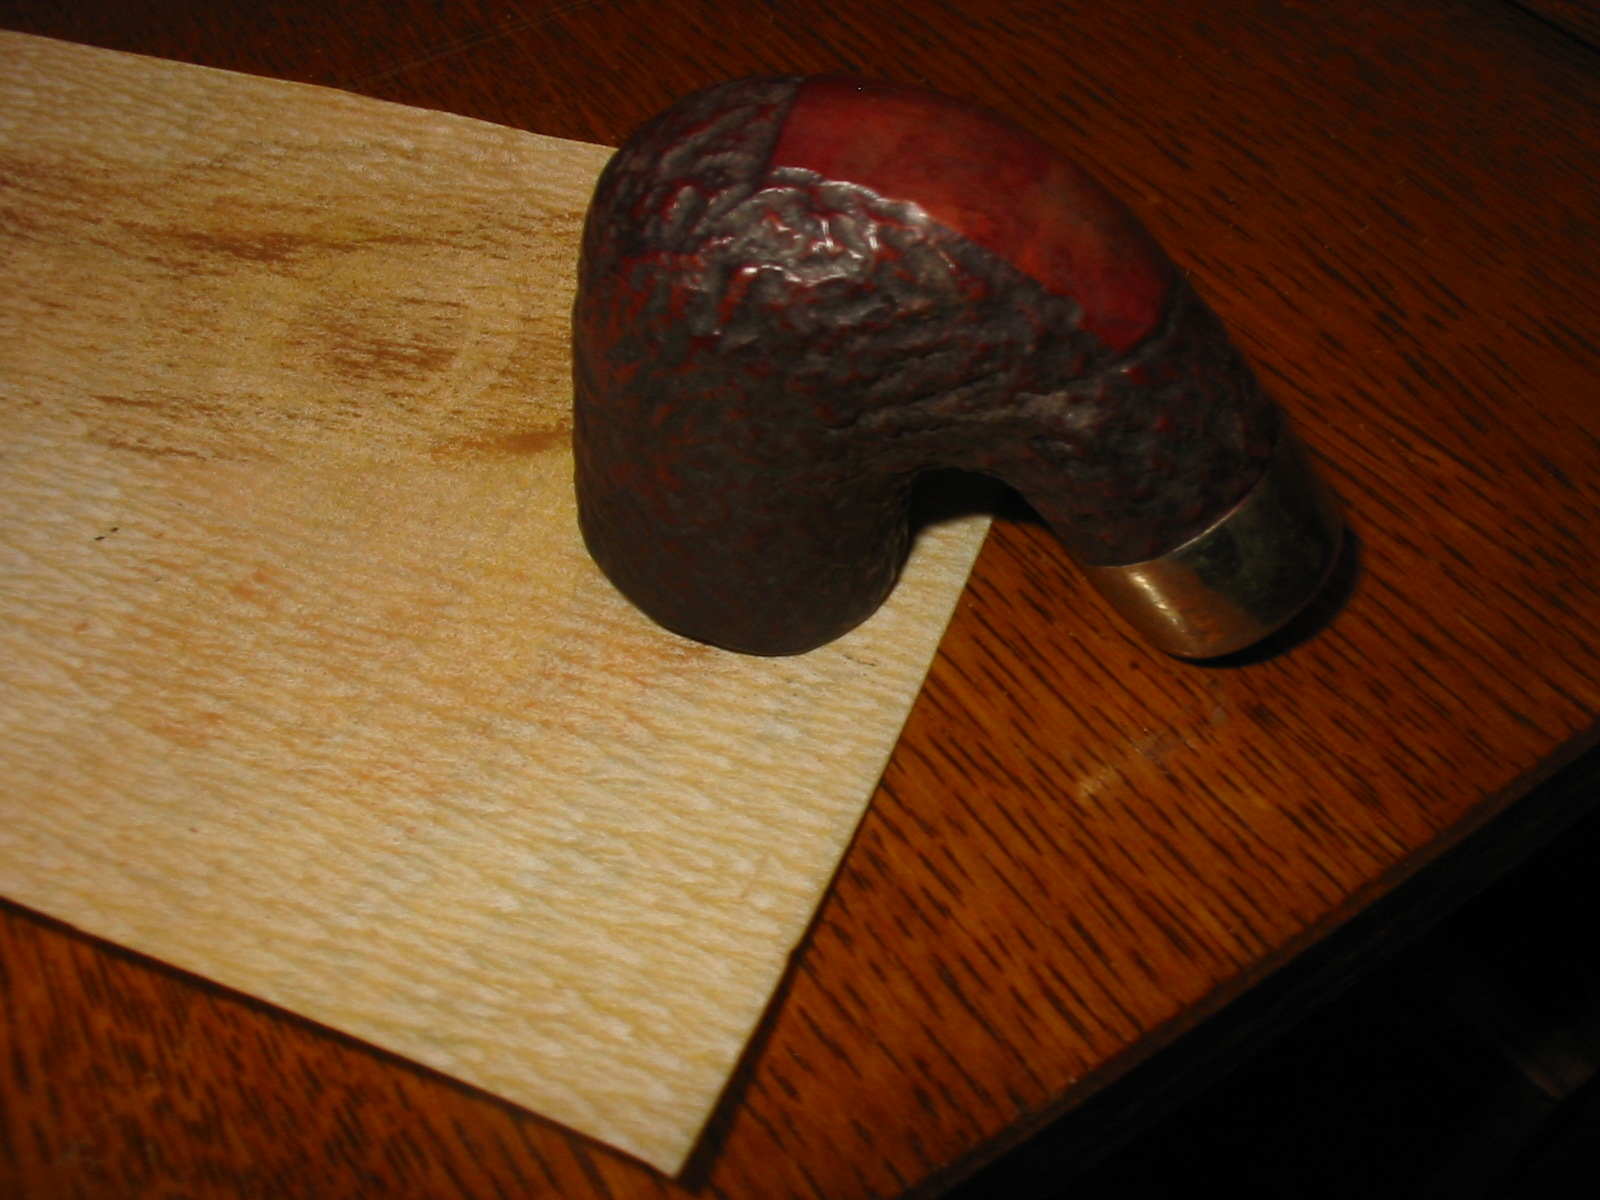
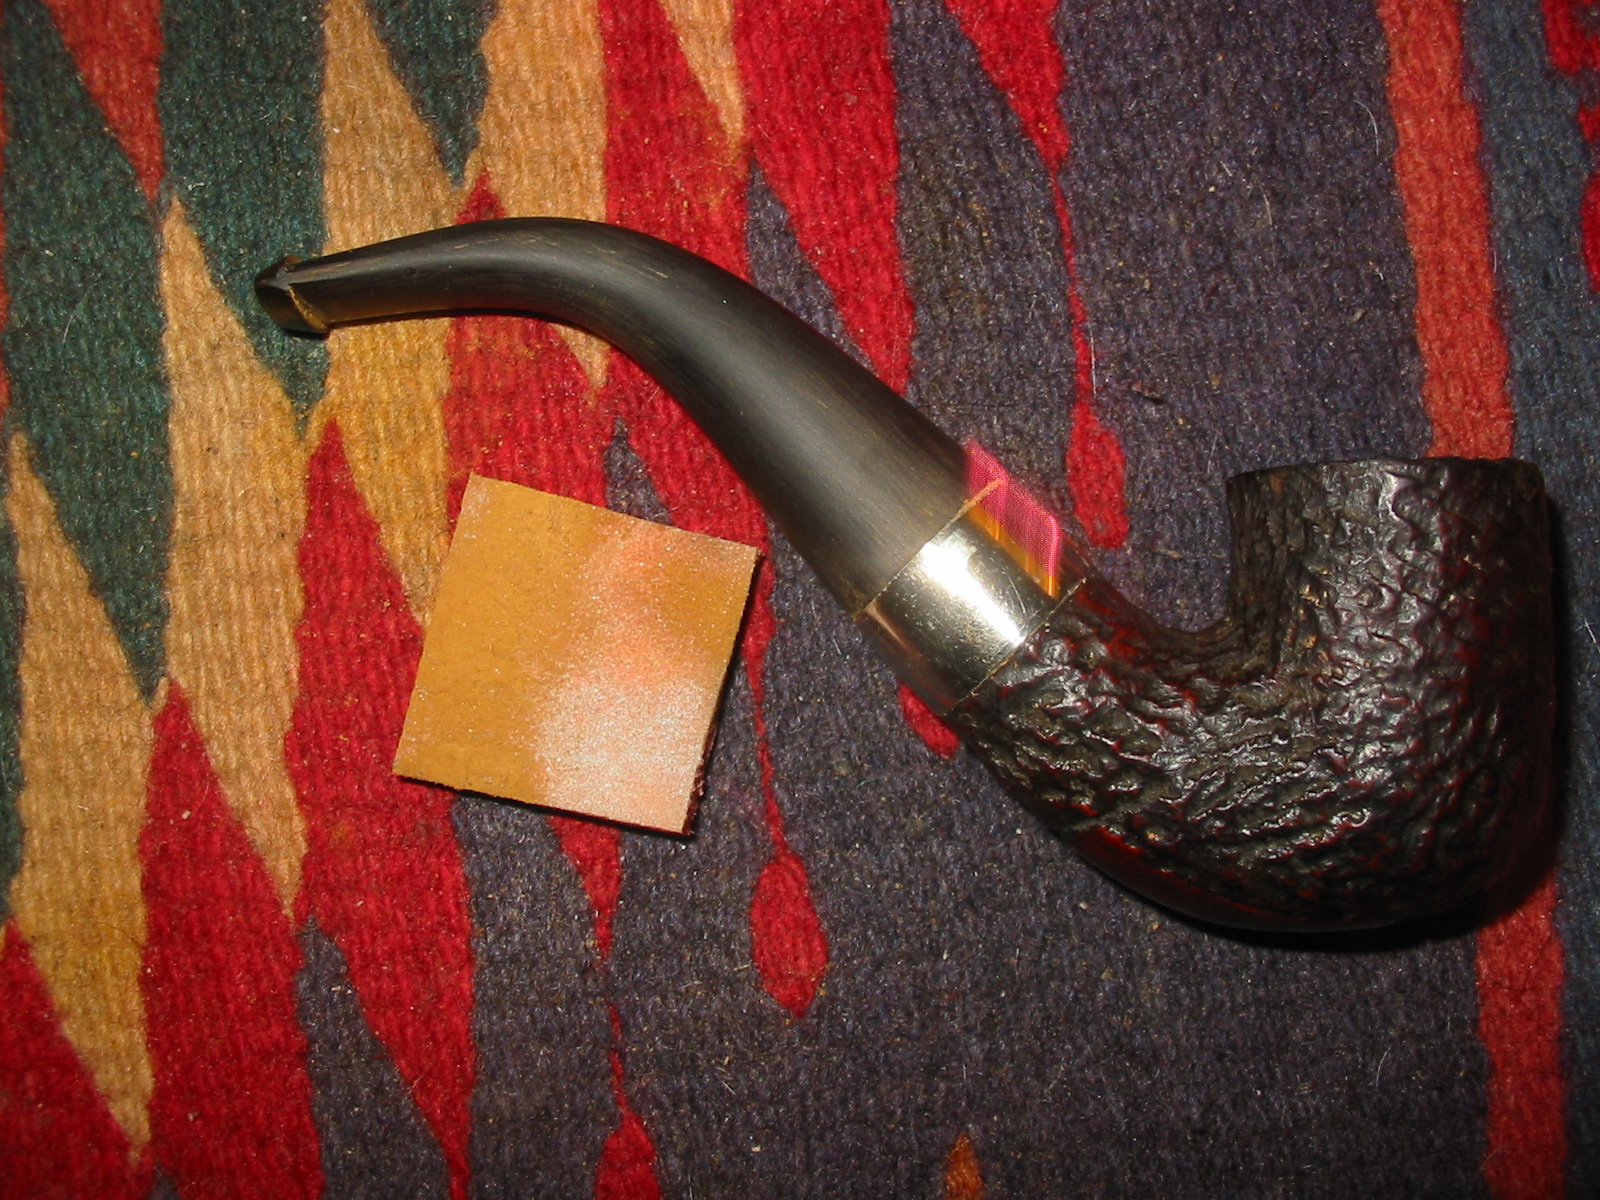
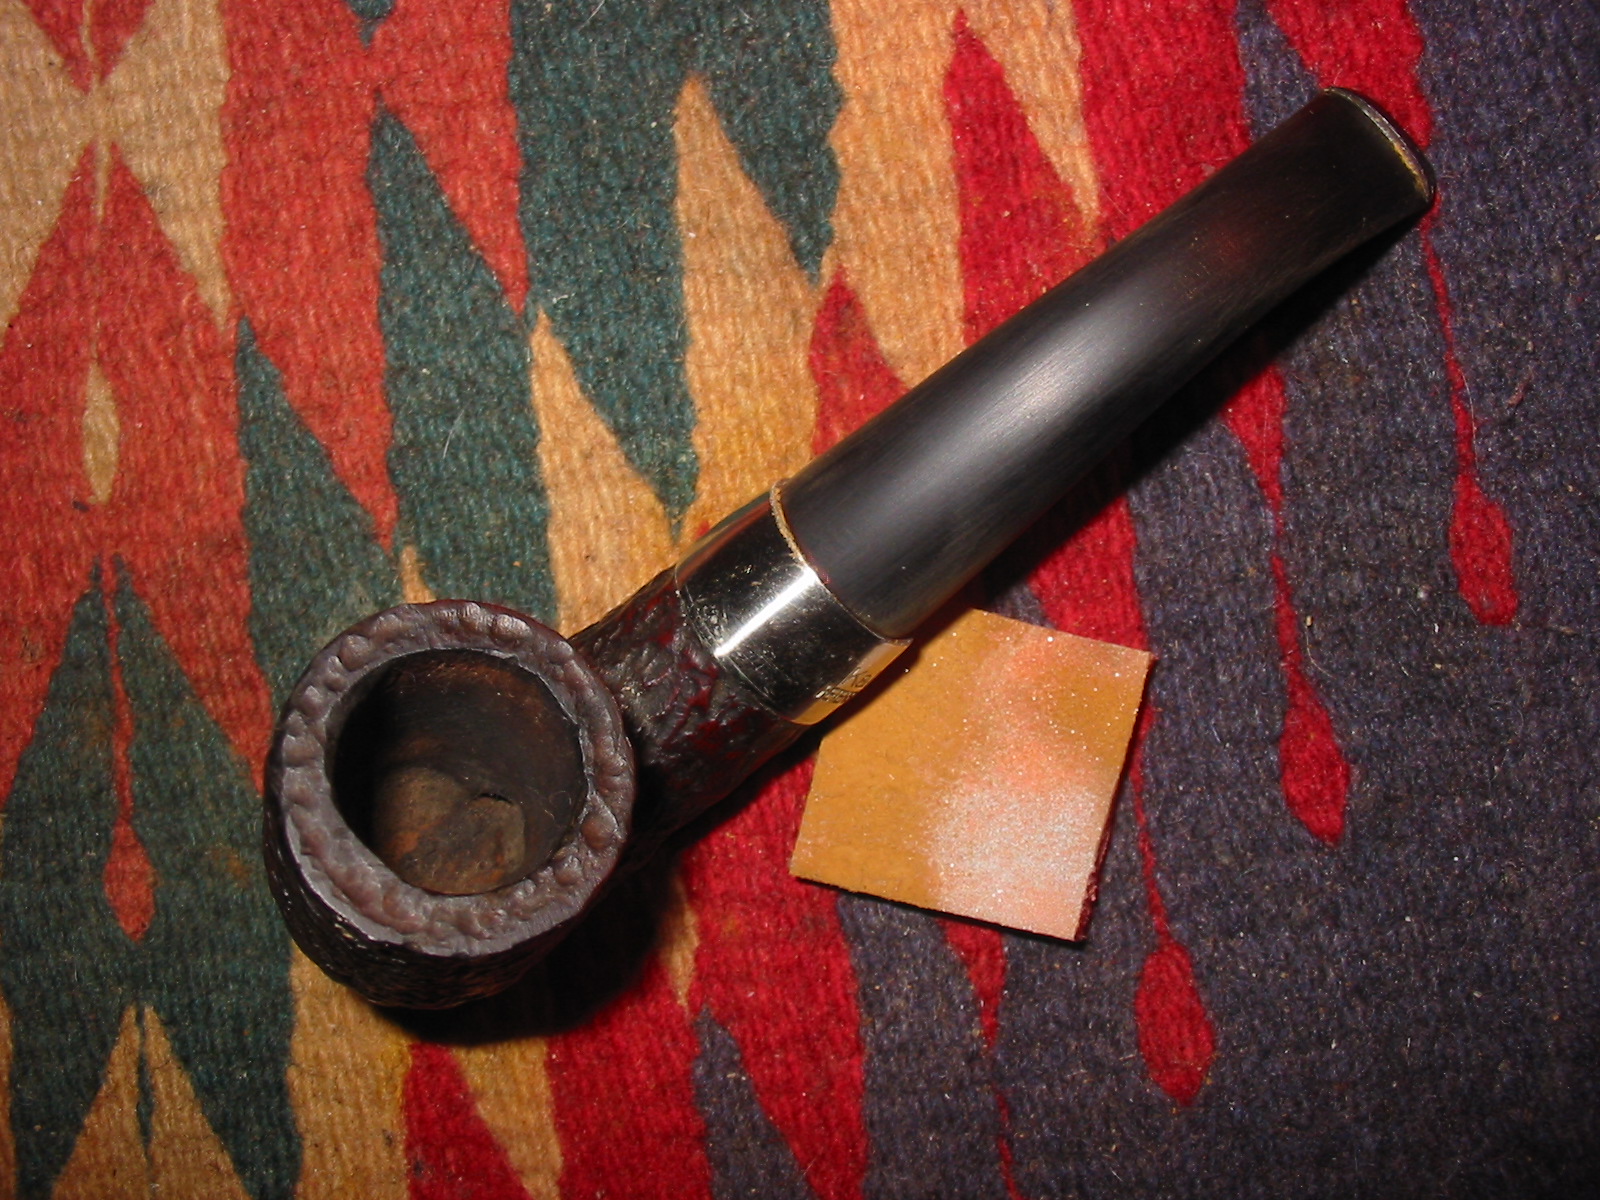
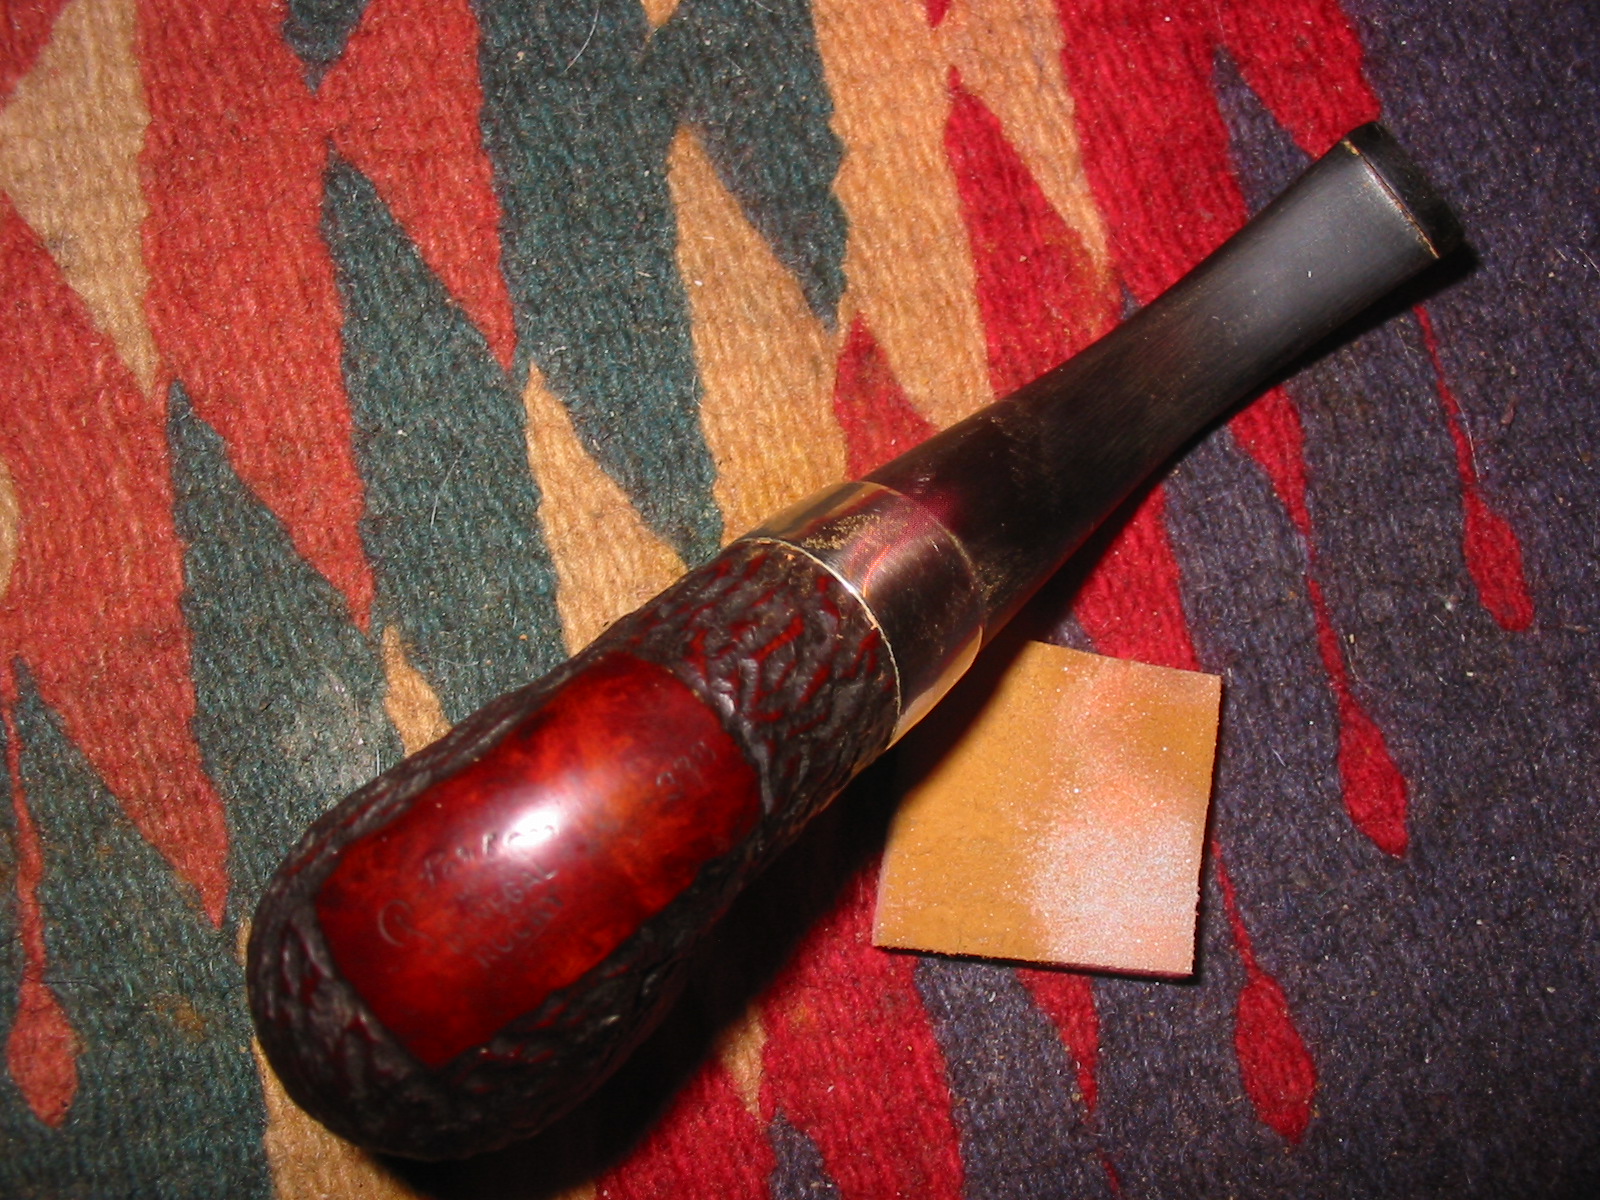
The third pipe in the Peterson trio of pipes shown in the photo below came to the worktable today. It is a Peterson’s Donegal Rocky 05 bent Dublin. It is the second pipe in the photo below. The bowl was badly caked – uneven and broken. The rim had a thick coat of tar and carbon buildup and was damaged on the right front side of the rim. The stem was missing and the nickel band was tarnished but undented. The finish was worn and the grooves of the rustication were filled with grit and grime from years of smoking. Like the other two pipes in this lot it must have been a favourite of the previous owner to be smoked to this degree. The inside of the shank was clogged with thick tars and oils and I was unable to blow air through it.
$_57
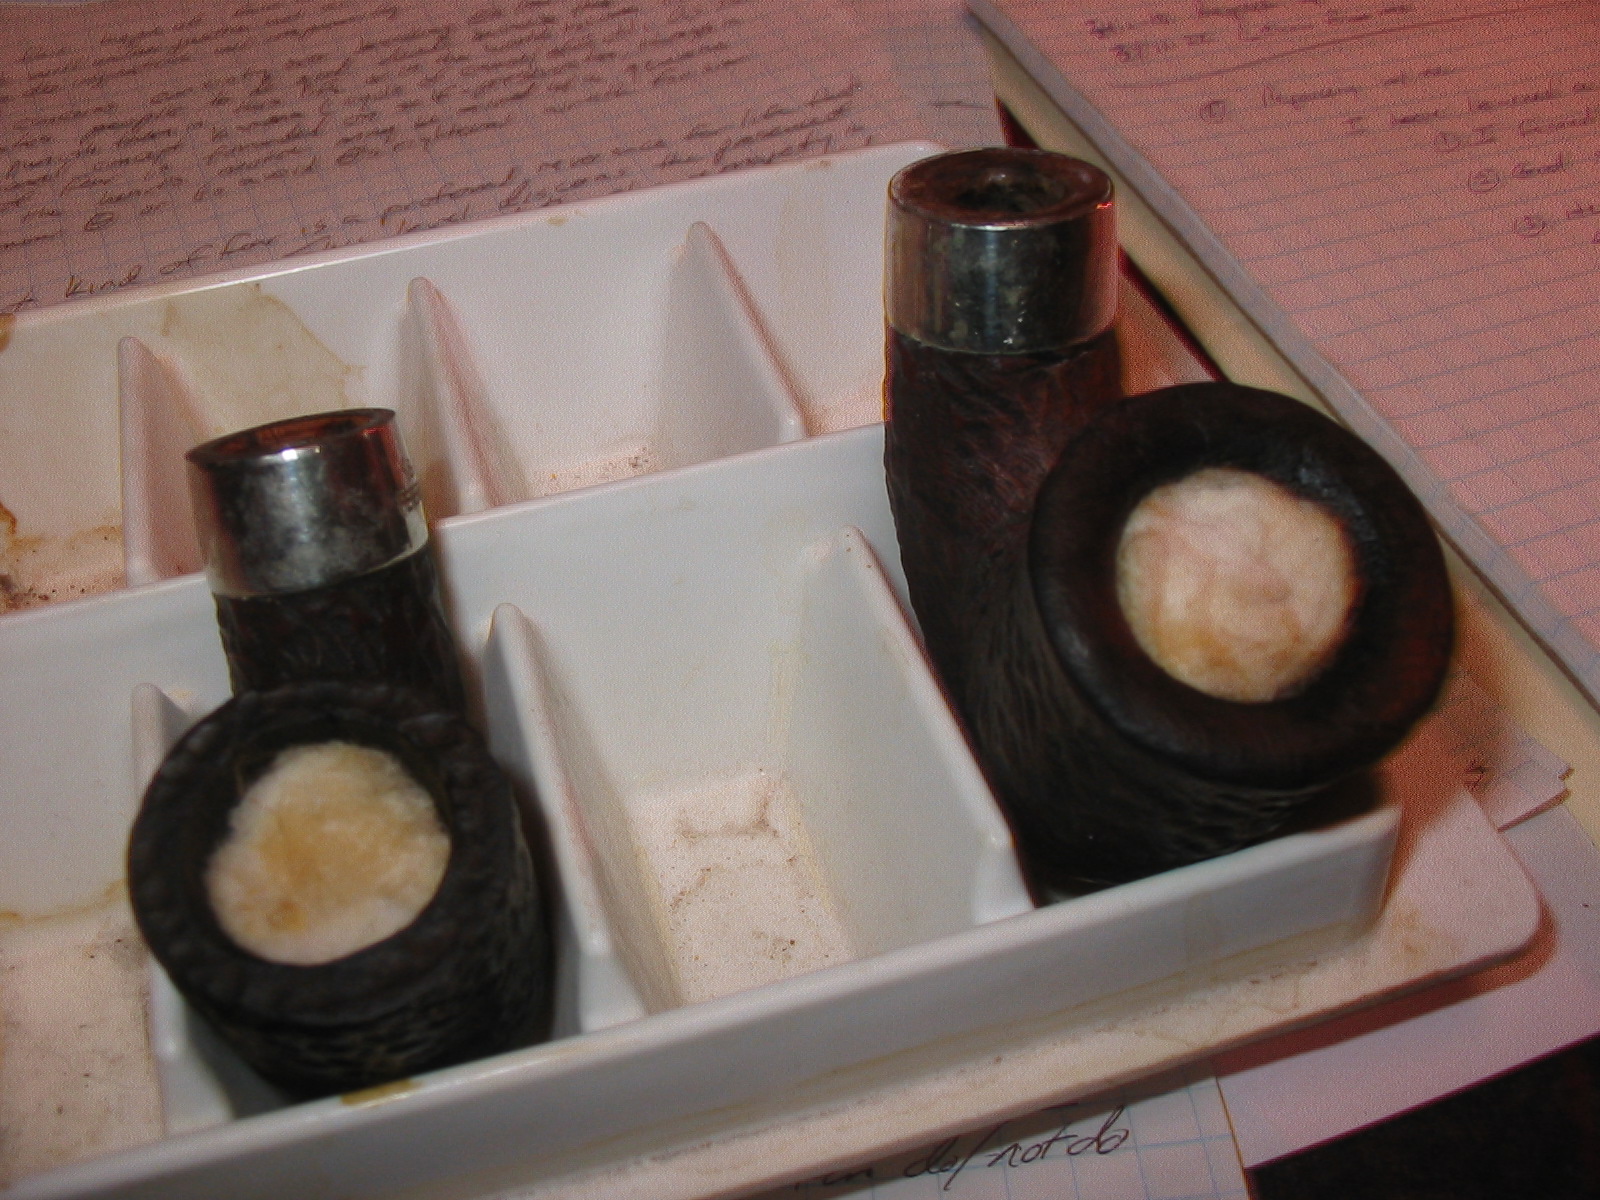
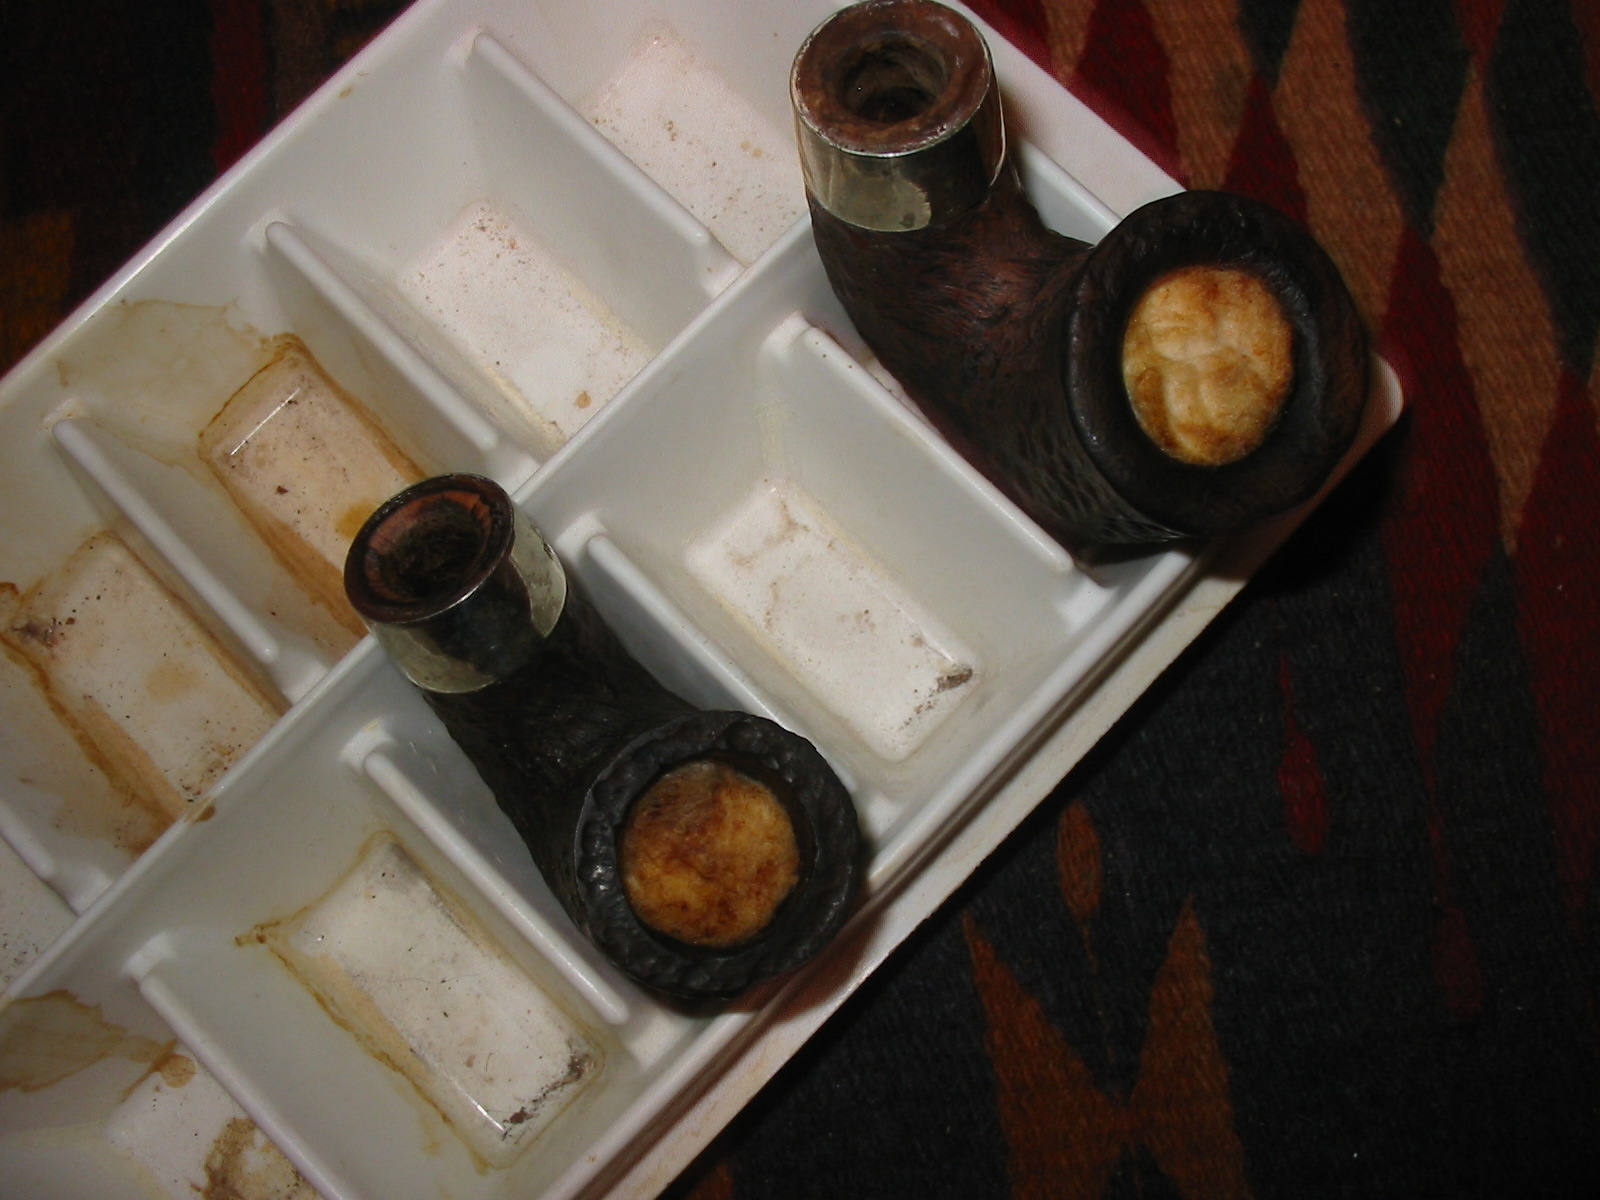
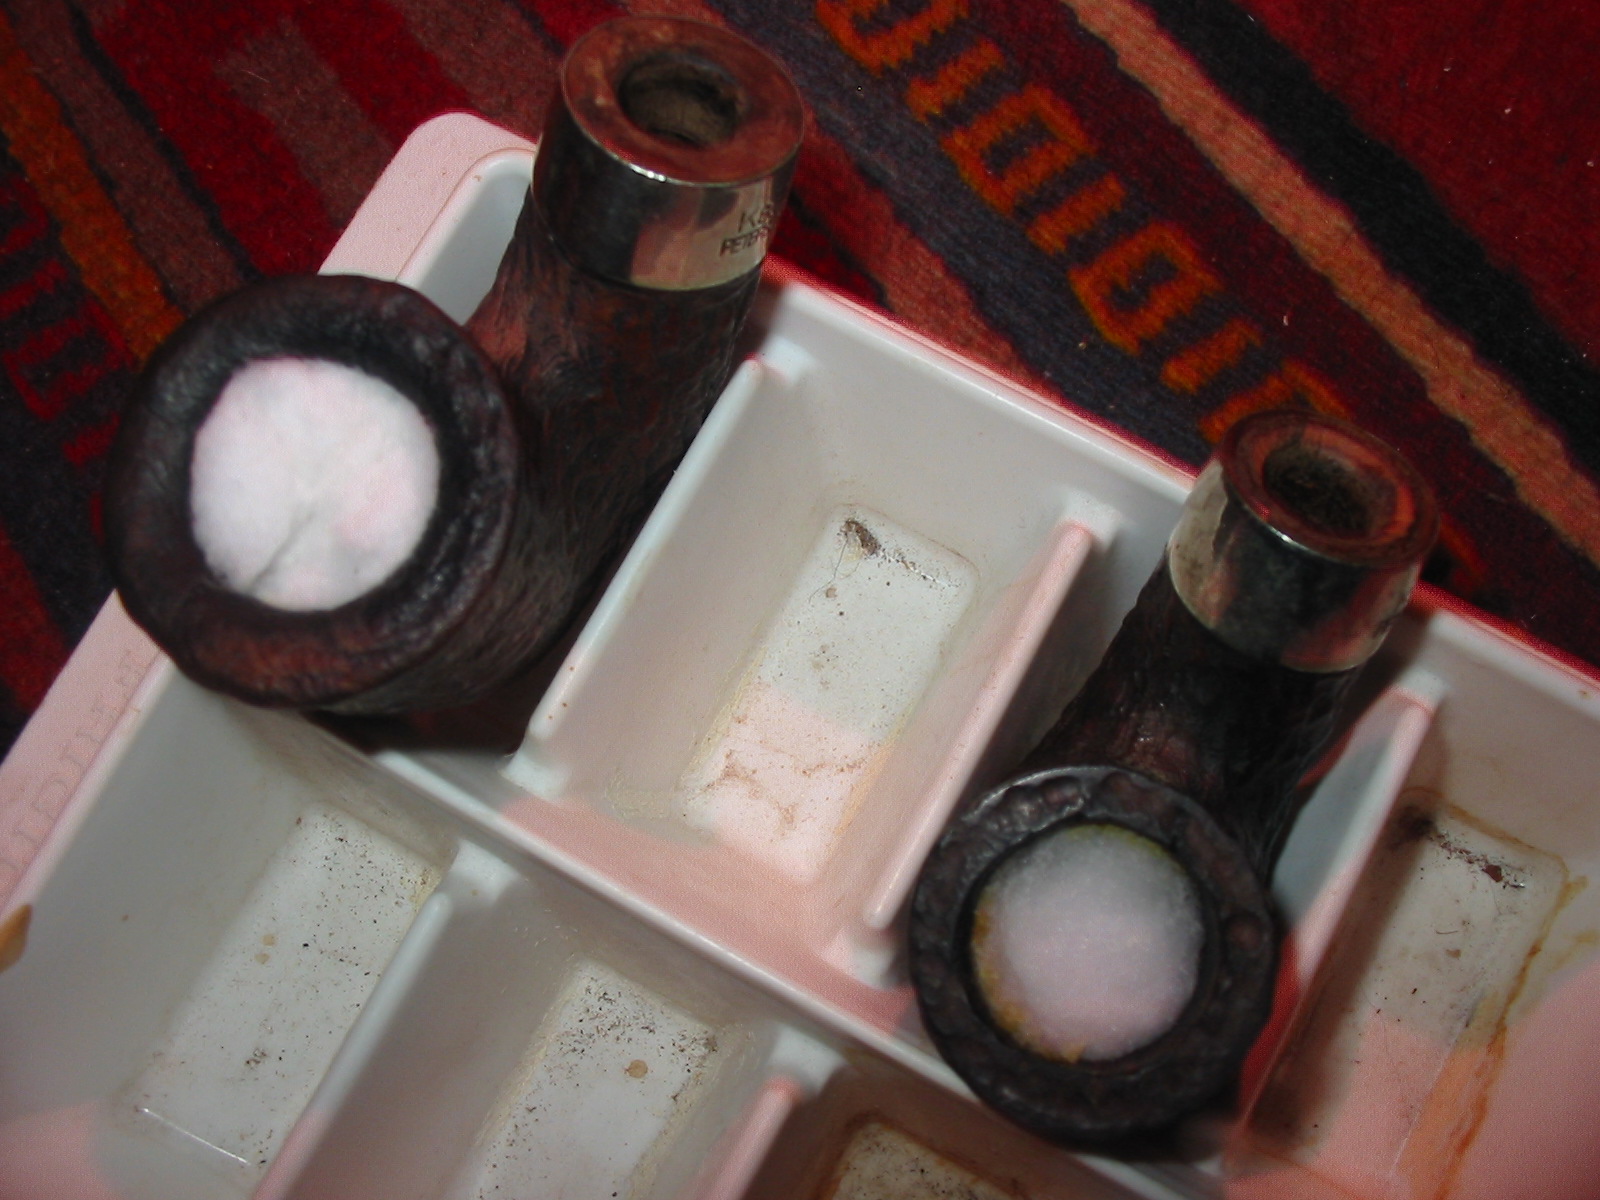
I reamed the bowl with a PipNet reamer until the cake was gone and the bowl was bare wood. My goal was to take back all the cake and rebuild a new smooth one. I pushed a paper clip through the airway to open the clog. I used cotton swabs, shank brushes and a drill bit to remove all of the grime and buildup in the airway and the shank. I scrubbed the exterior of the bowl with a soft bristle tooth brush and Murphy’s Oil Soap. I rinsed it under warm water to remove the soap and patted it dry. Once it was clean I filled the bowl with cotton balls and used an ear syringe to fill the bowl with isopropyl alcohol. I let the bowl sit over night in an ice cube tray to keep it upright. The first photo shows the set up when I first filled it. The second photo below shows the bowl after it had soaked over twelve hours.
IMG_7127

IMG_7152

IMG_7153
I took the dirty cotton balls out and washed out the bowl and shank with clean isopropyl alcohol and cotton swabs. While it was drying I scrubbed the rim with a brass tire brush to clean off the build up on the rustication. In the photo below the damage to the rustication is very evident. It is burned and worn smooth on the right front and side.
IMG_7173
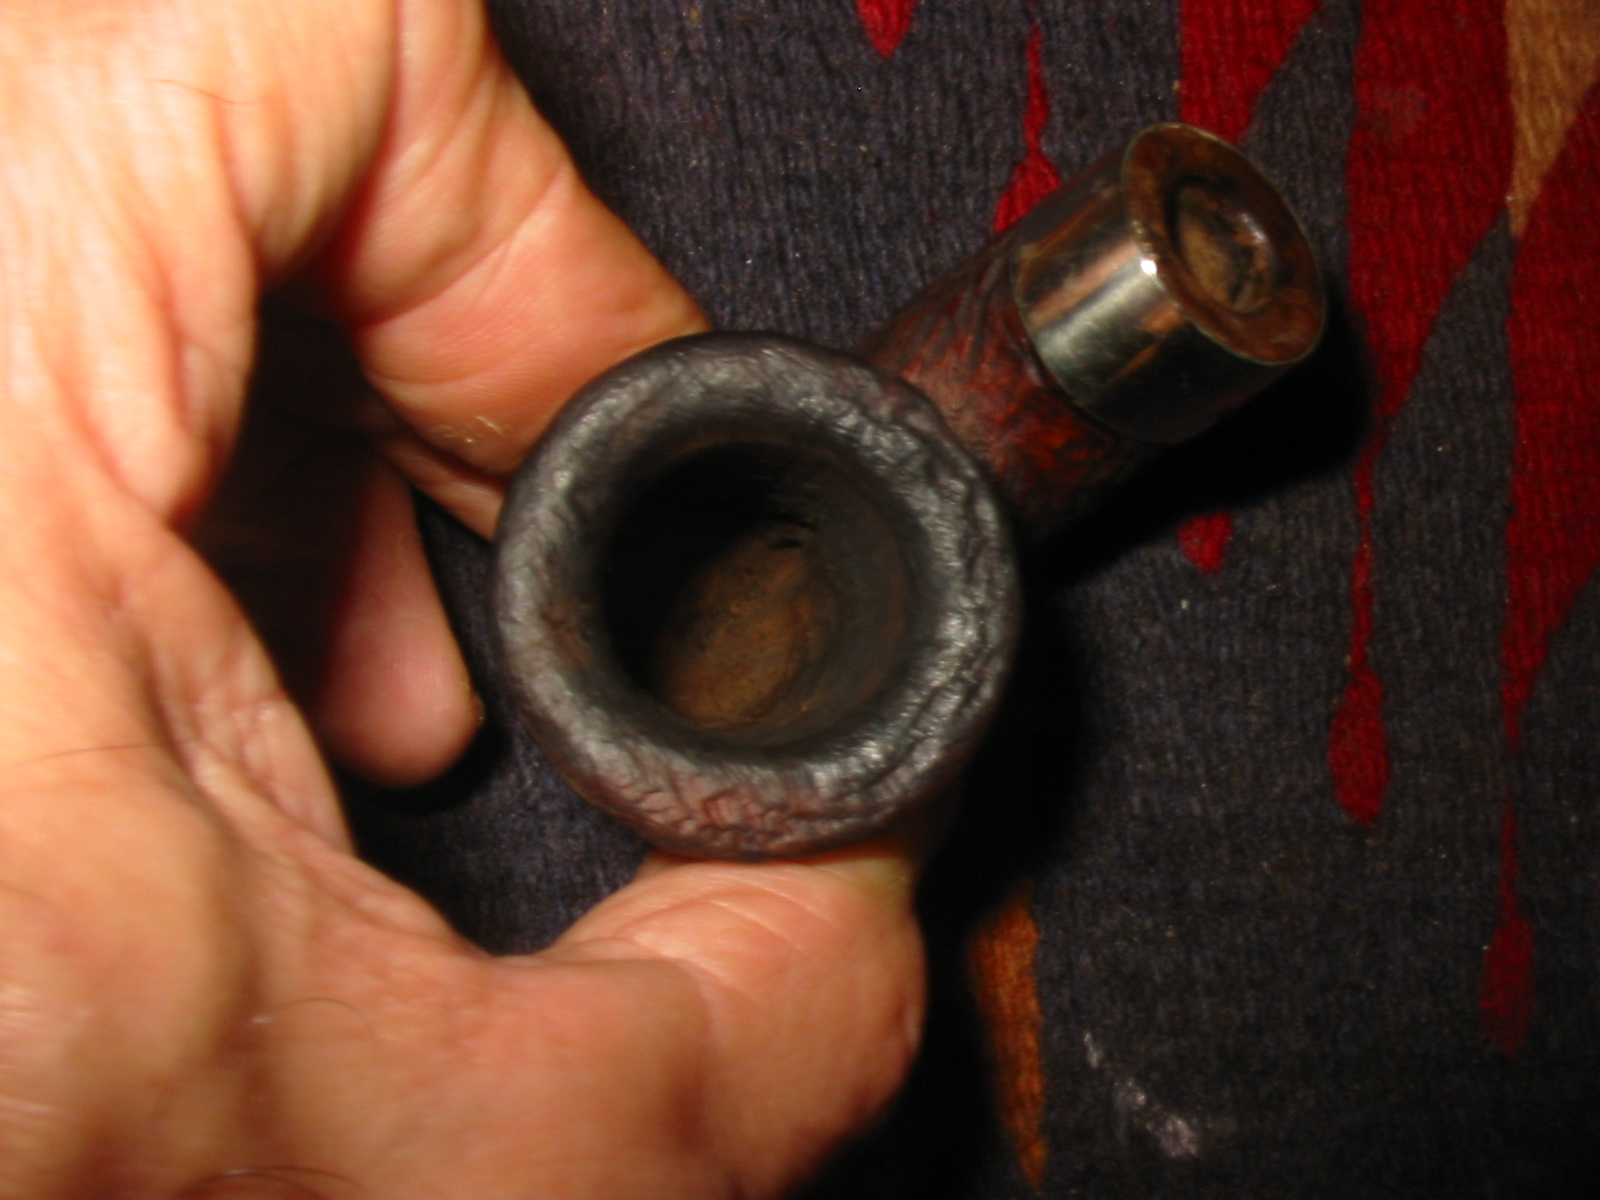
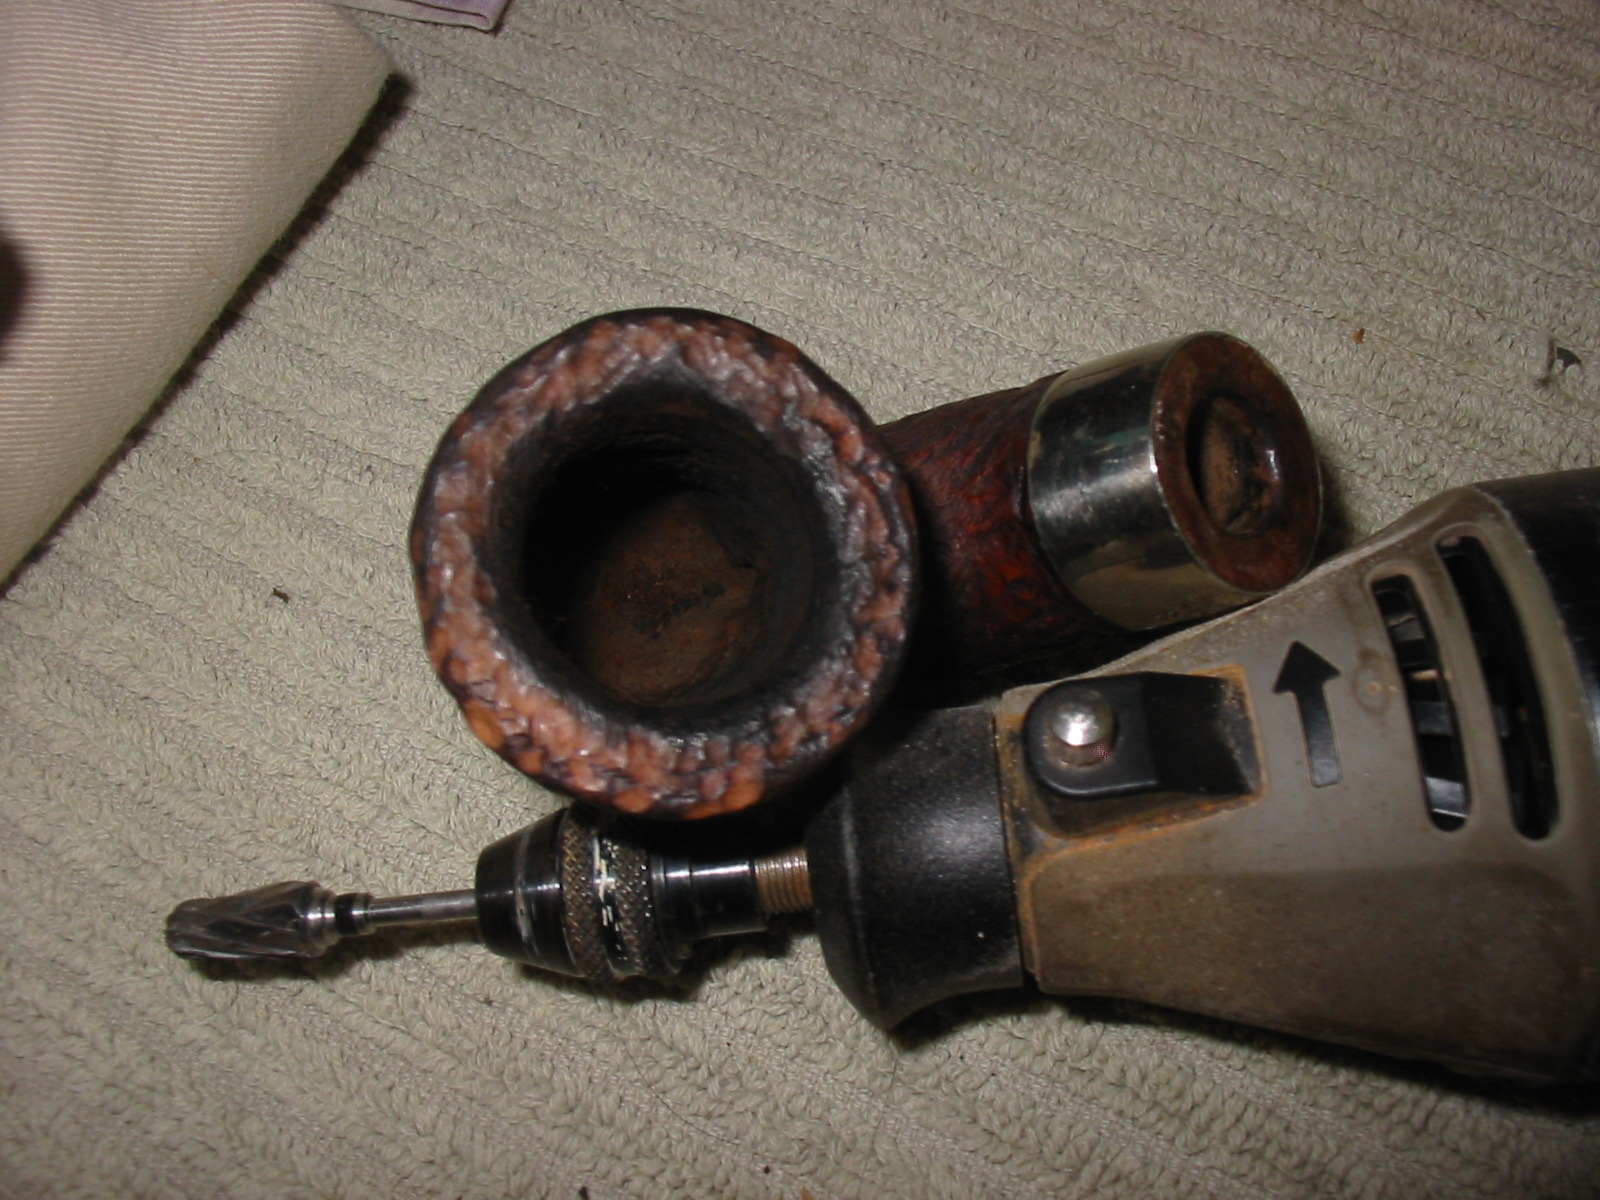
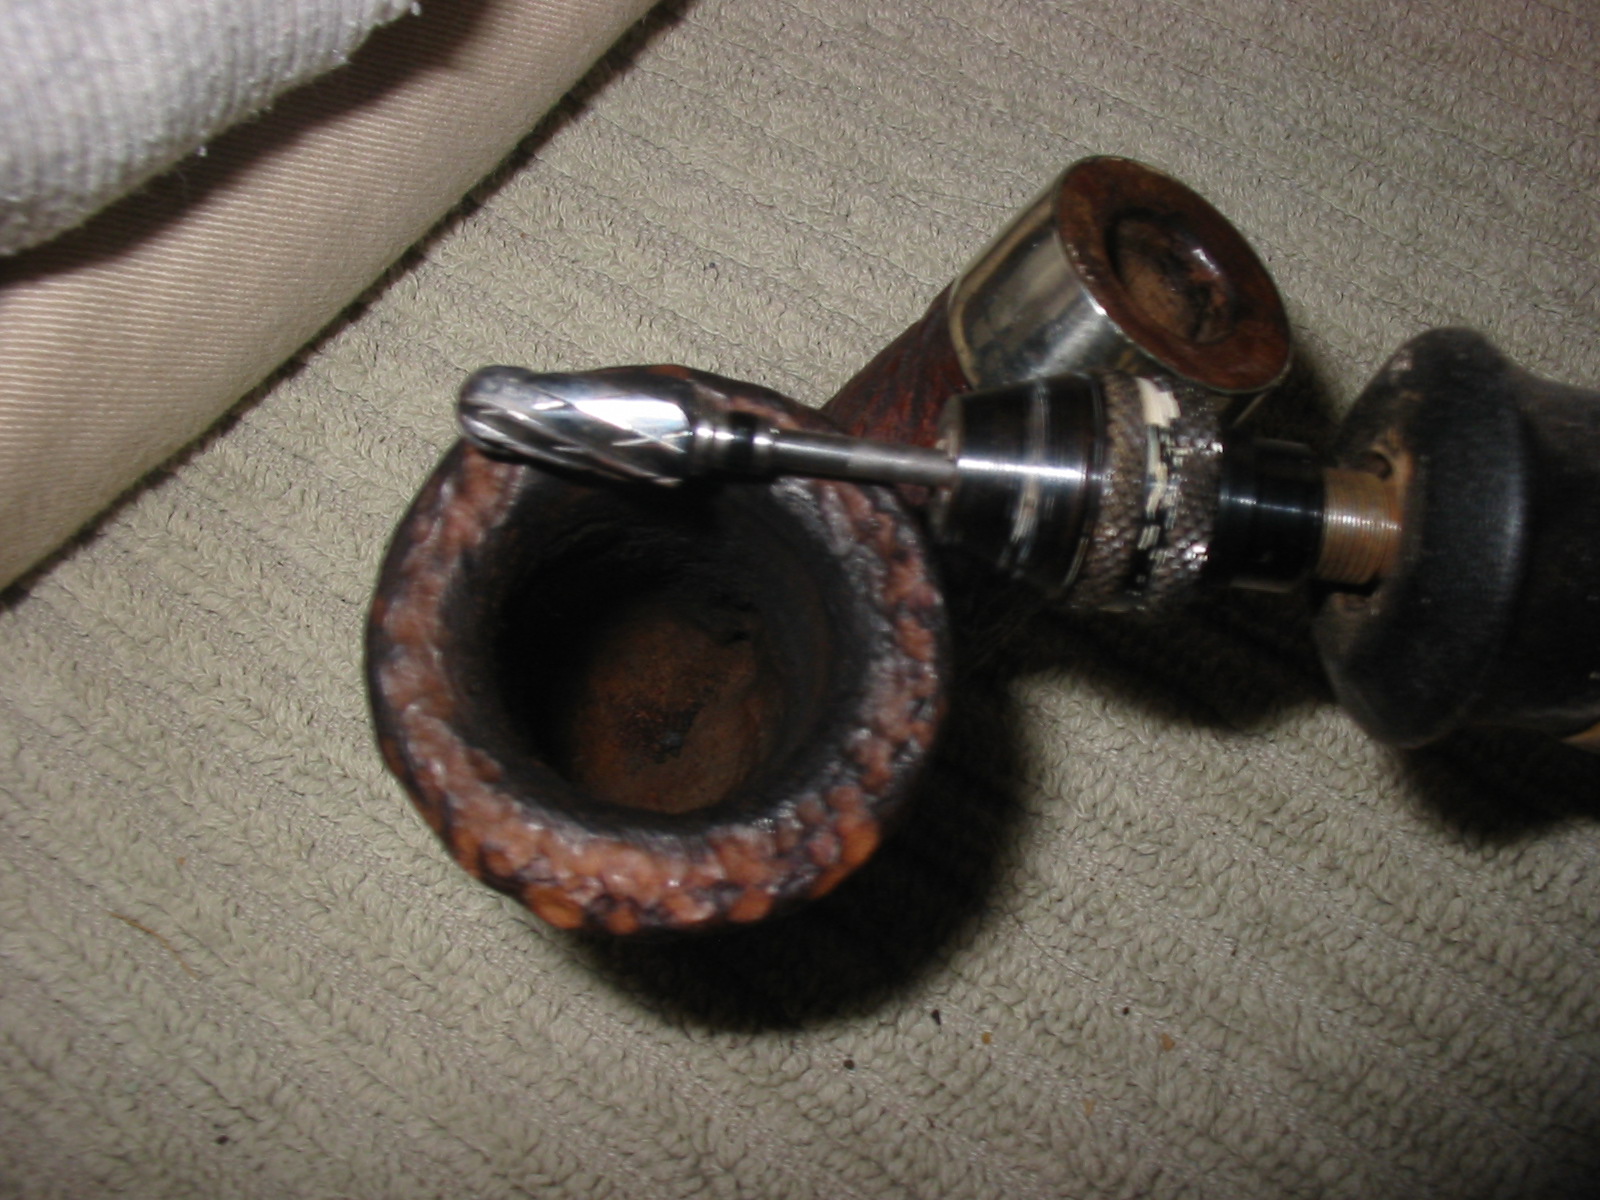
I used the Dremel with one of the burs that Joyal gave me to re-rusticate the rim. I followed the patter on the portions of the rim that were still visible and tried to duplicate them on the rest of the rim.
IMG_7174

IMG_7175
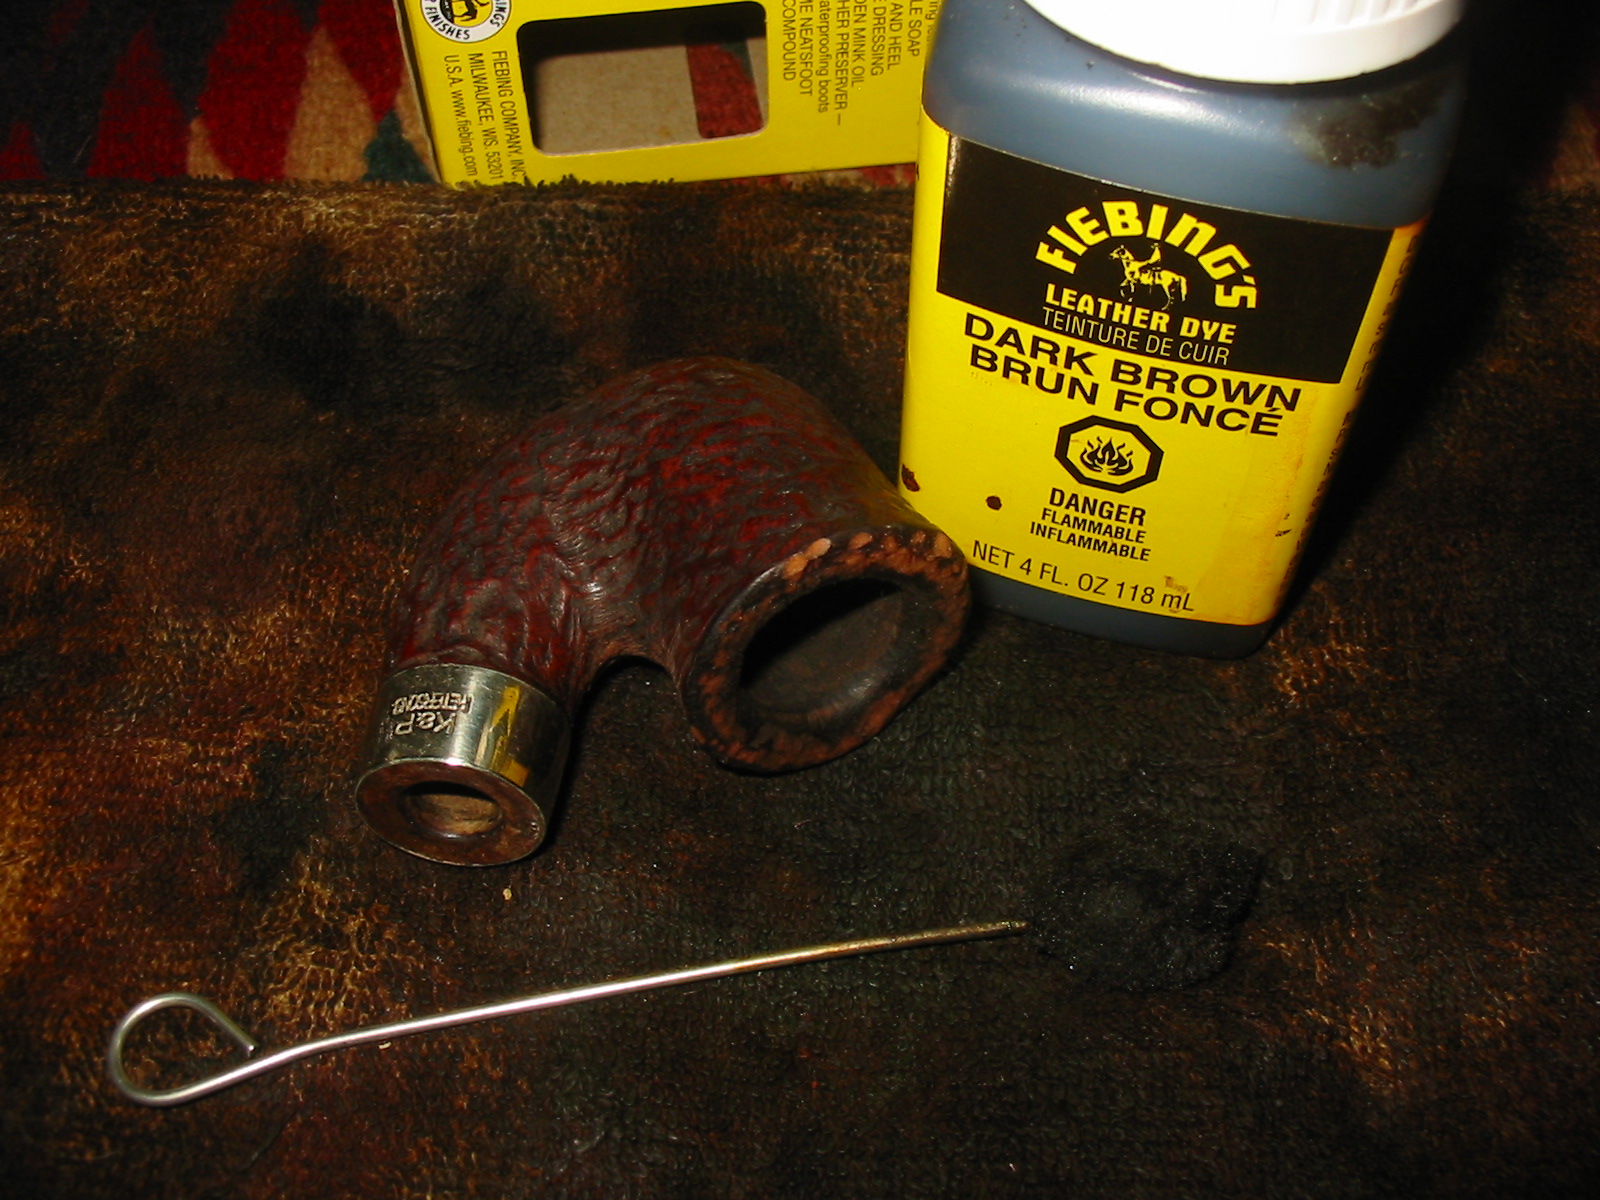
After rusticating the rim I restained it with a dark brown aniline stain. I applied the stain, flamed it and repeated the process until the coverage was even across the rim. I stained the bowl with the dark brown stain as well and flamed it.
IMG_7177

IMG_7178
The brown stain was too opaque and the contrast between the dark in the crevices and grooves of the briar and the lighter brown on the high spots was gone. I wiped the bowl down with acetone on a cotton pad until I had the contrast that I was aiming for.
IMG_7179

IMG_7180

IMG_7183
I ordered some stems that were the correct diameter and length for the 05 from Tim West at J.H. Lowe and Company. They arrived on Friday so I was able to fit one to the shank. I turned the tenon with a PIMO Tenon Turning Tool. The fitting of a tenon to the tapered shank of Peterson pipes takes a little getting used to. I worked to match the taper of the tenon to the taper of the mortise and was able to get a good fit on against the band.
IMG_7236

IMG_7238
I used the sanding drum on the Dremel to remove the casting seams on the sides and the button of the stem.
IMG_7239

IMG_7240

IMG_7241

IMG_7242
I sanded the stem with 150 and 220 grit sandpaper to match the diameter of the shank to the diameter of the band.
IMG_7251

IMG_7252
I sanded the stem with medium and fine grit sanding sponges to remove the scratching left behind by the sandpapers.
IMG_7257

IMG_7258

IMG_7259

IMG_7260
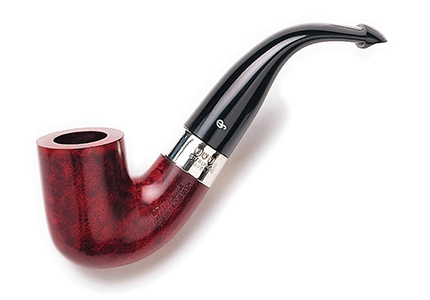
I wanted to bend the stem to match the original stem that would have been on the pipe. I looked up photos on the web of the 05 and copied one of them. I decided to use a fishtail stem instead of the p-lip stem but I was able to use the photo as a template of the bend.
don05
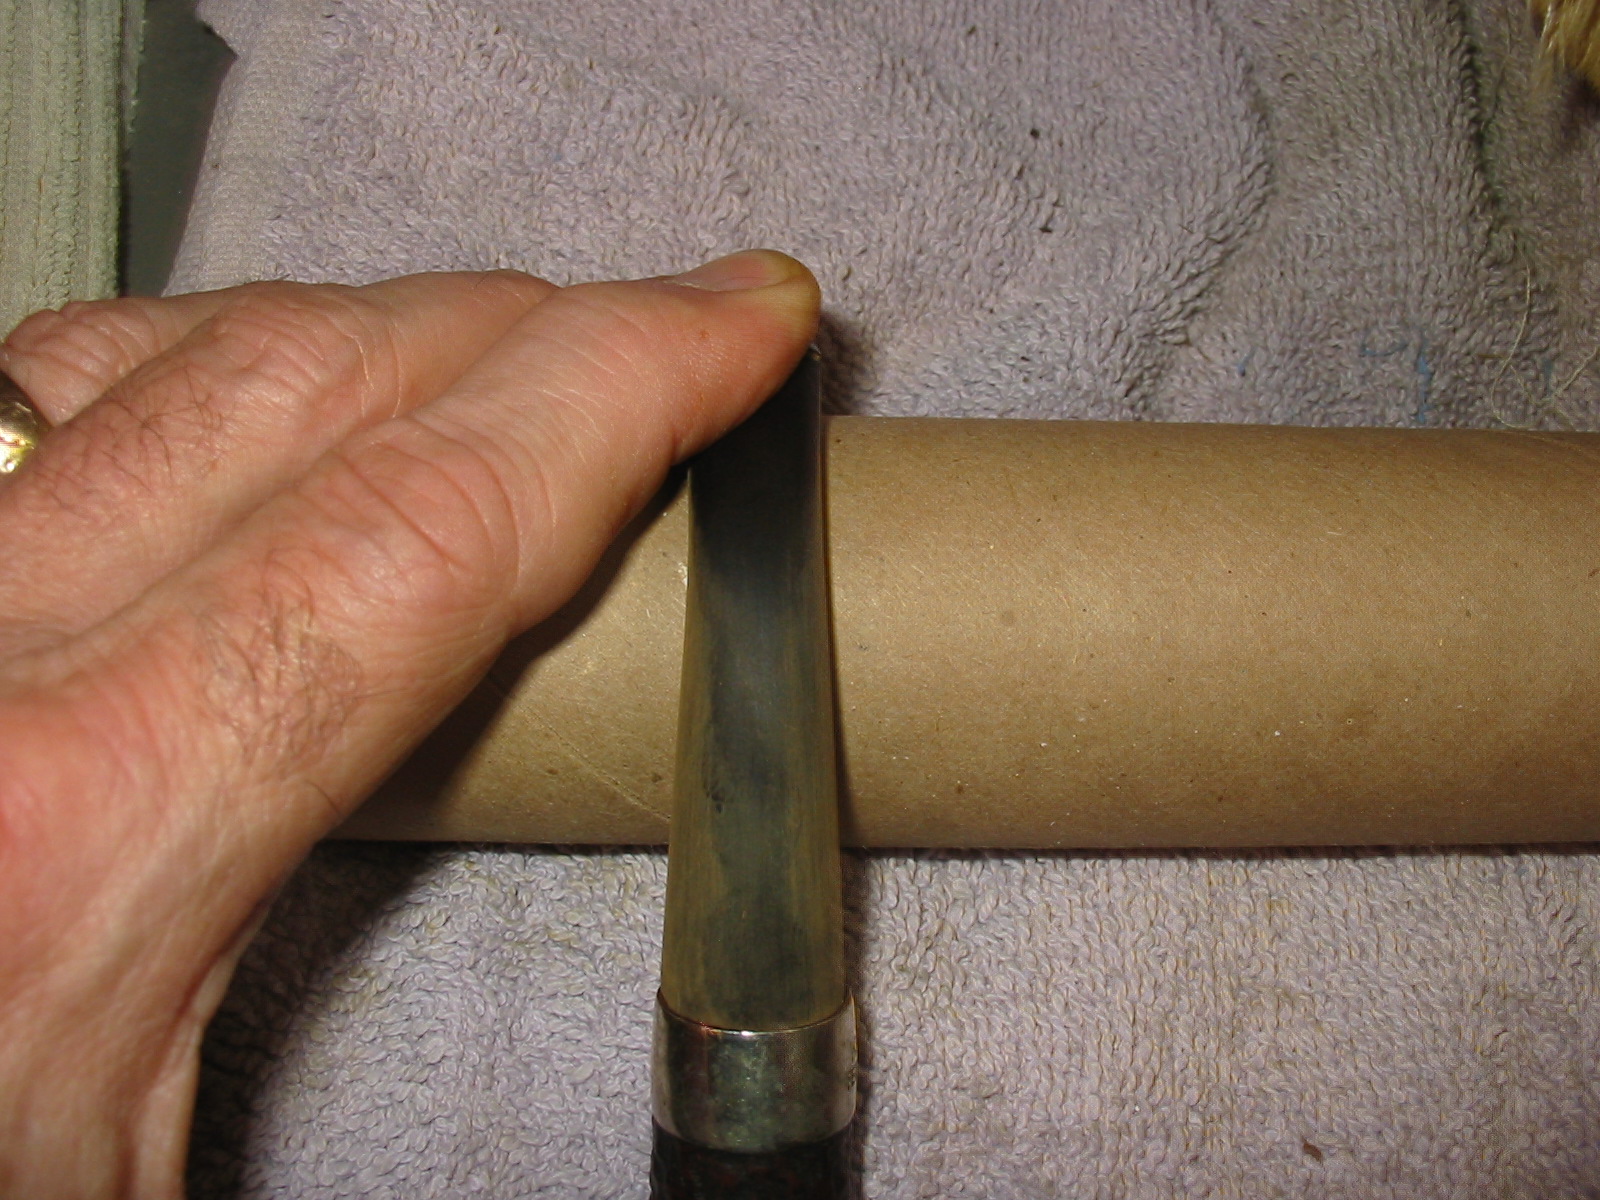
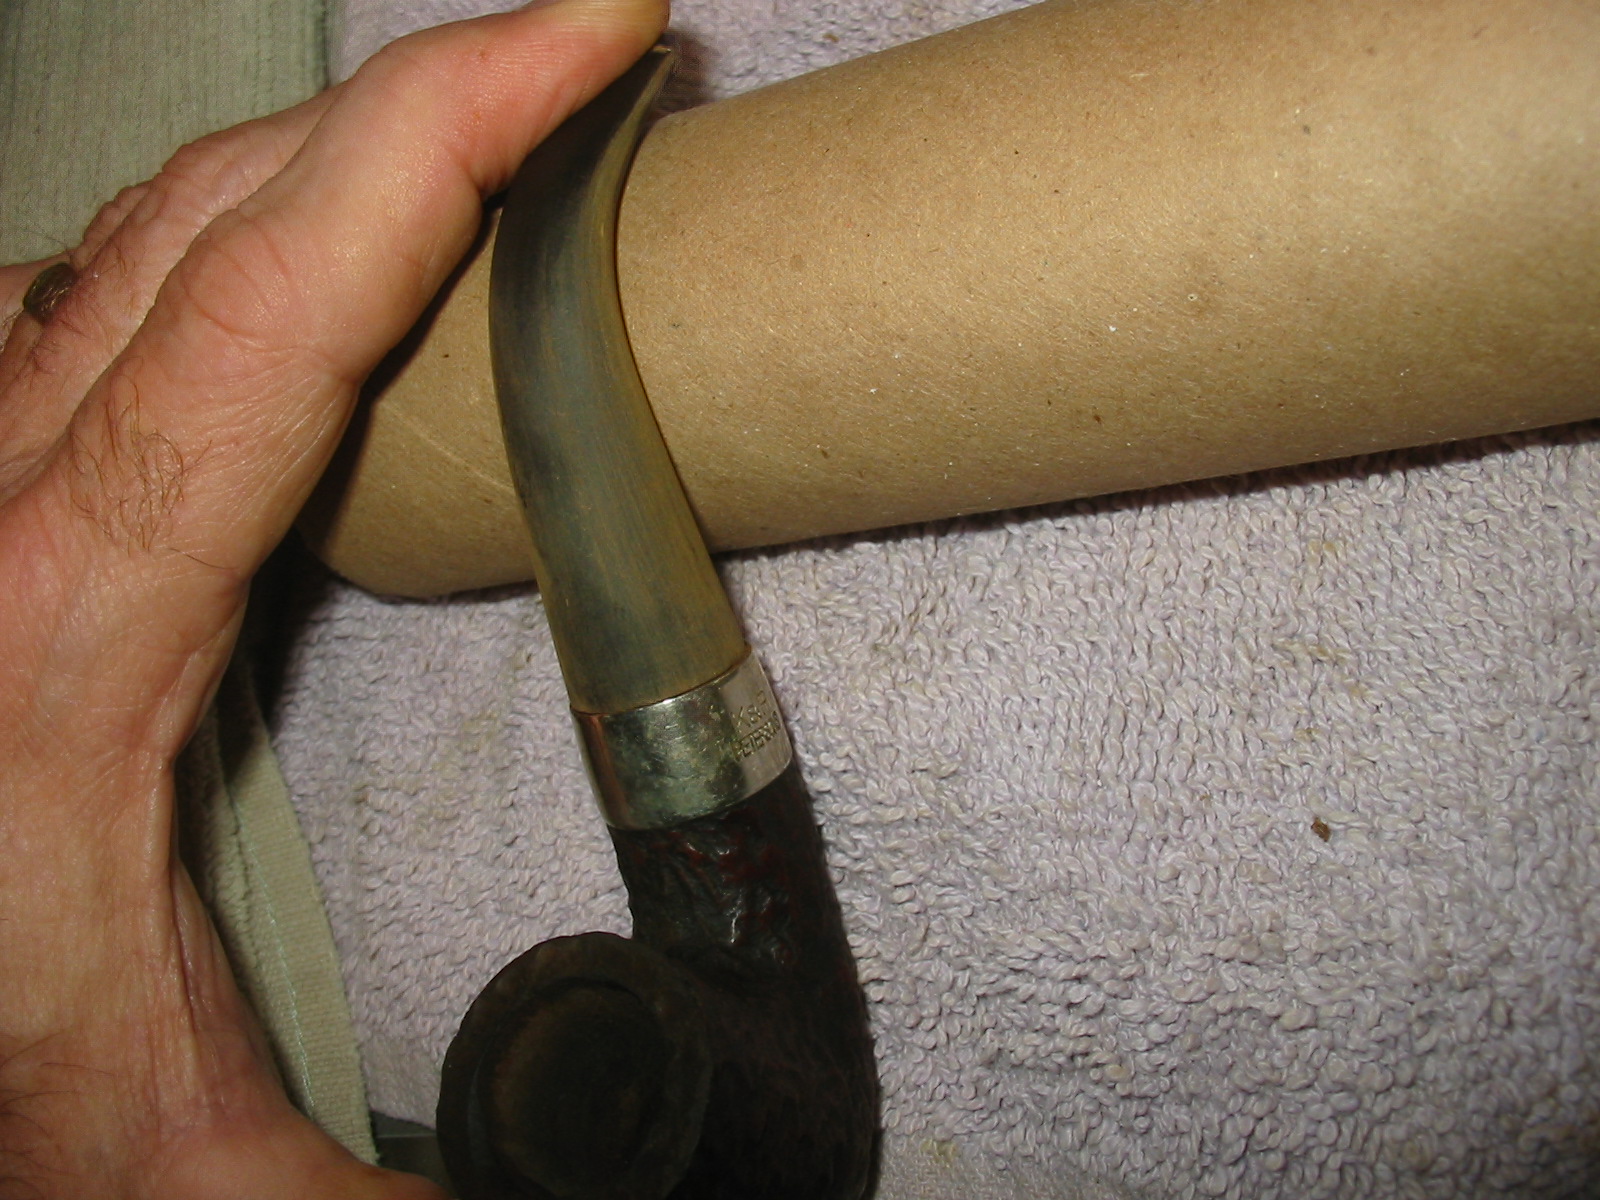
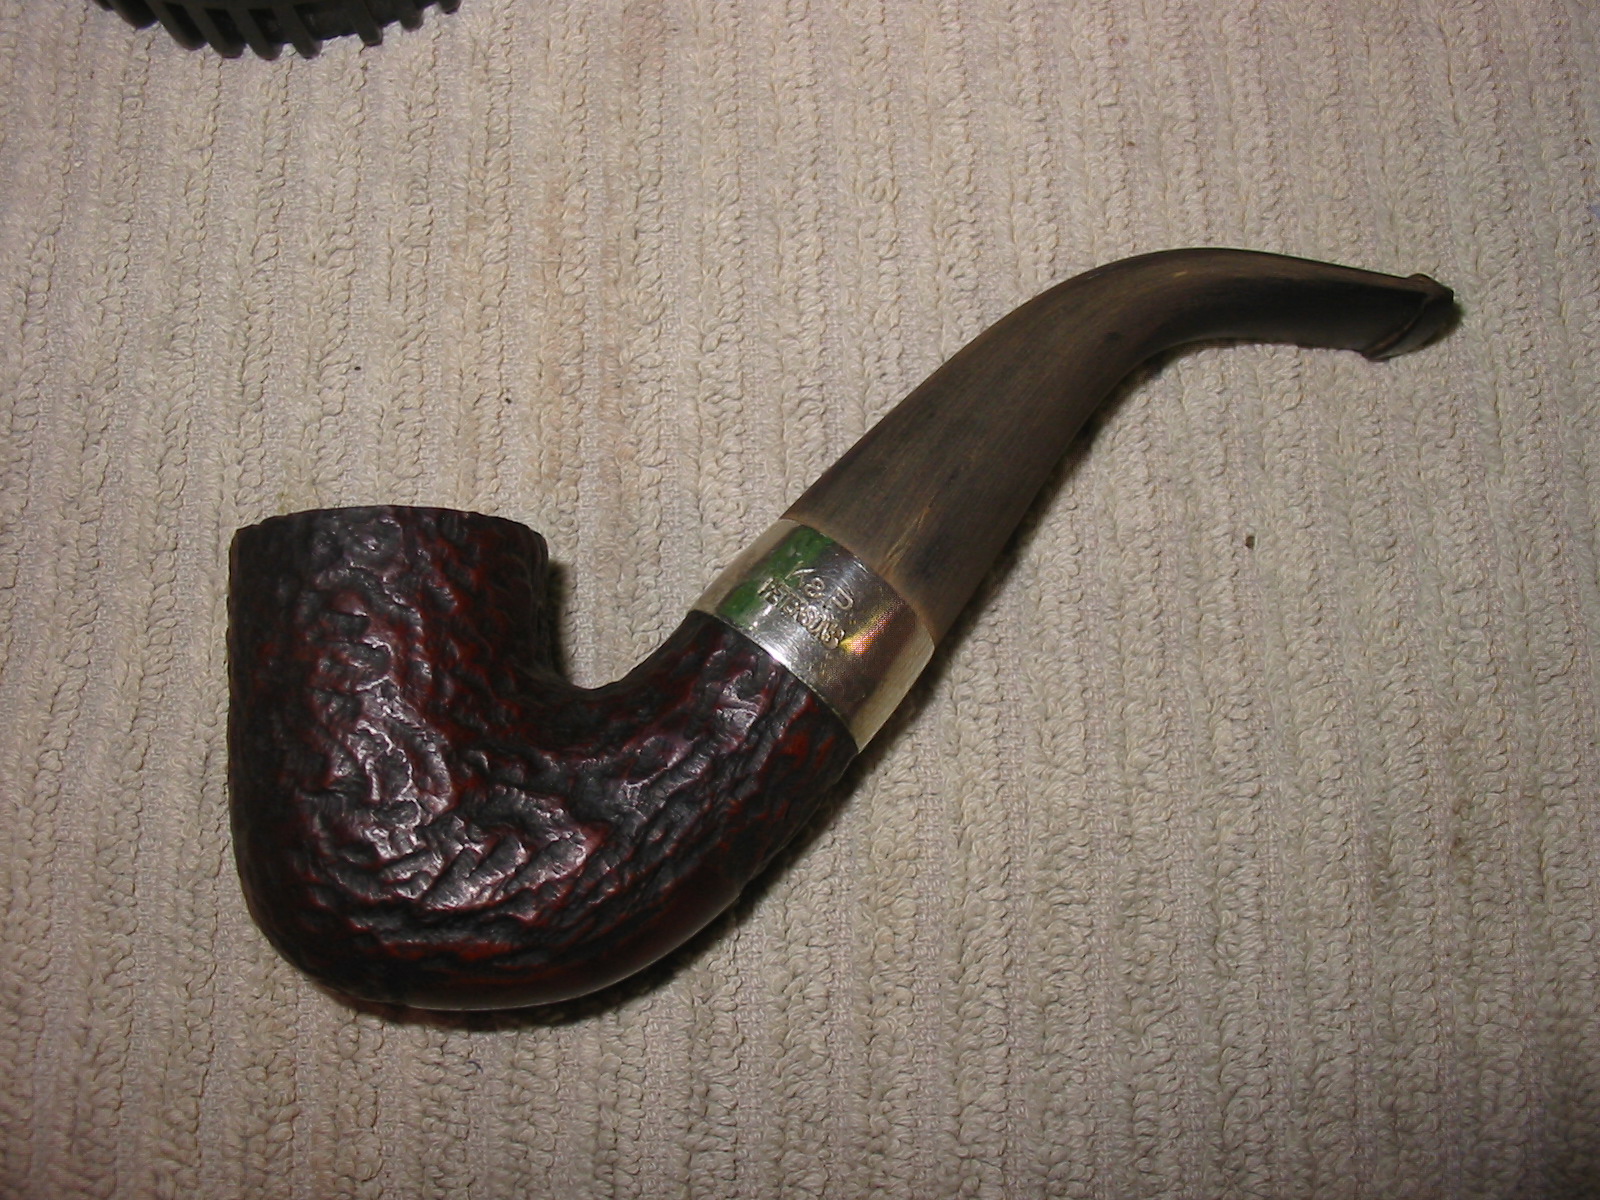
I heated the stem with a heat gun until it was flexible and then bent it over a rolling pin with a cardboard sleeve over it. I have found that the cardboard prevents the hot vulcanite from marring when I bend it. The second photo below shows the first attempt at the bend and the third photo shows it after I reheated it and rebent it to match the template.
IMG_7271

IMG_7275

IMG_7277
I sanded the stem with the medium and fine grit sanding sponges again. At this point in the process the stem was ready for the fine sanding work with the micromesh sanding pads.
IMG_7294

IMG_7295
I sanded the stem with the usual array of micromesh sanding pads – wet sanding with 1500-2400 grit pads and dry sanding with 3200-12000 grit pads. In between each set of three pads (1500-2400, 3200-4000 and 6000-12000) I rubbed the stem down with Obsidian Oil. I let it dry before moving on to the next grit of pads. Once it was finished I rubbed it down with a final coat of Obsidian Oil and when it had dried I buffed the stem with White Diamond. I gave the bowl a coating of Halcyon II wax and hand buffed it with a shoe brush and gave the stem multiple coats of carnauba wax, buffing with a clean flannel buffing pad between applications. The finished pipe is shown below. It too is ready for its inaugural smoke – maybe a bowl of Louisiana Red will start this one off also… anyway, it is ready for the a long life ahead.
IMG_7301

IMG_7302

IMG_7303

IMG_7304

Restoring and Restemming a Peterson’s Kapmeer 999S


Blog by Steve Laug

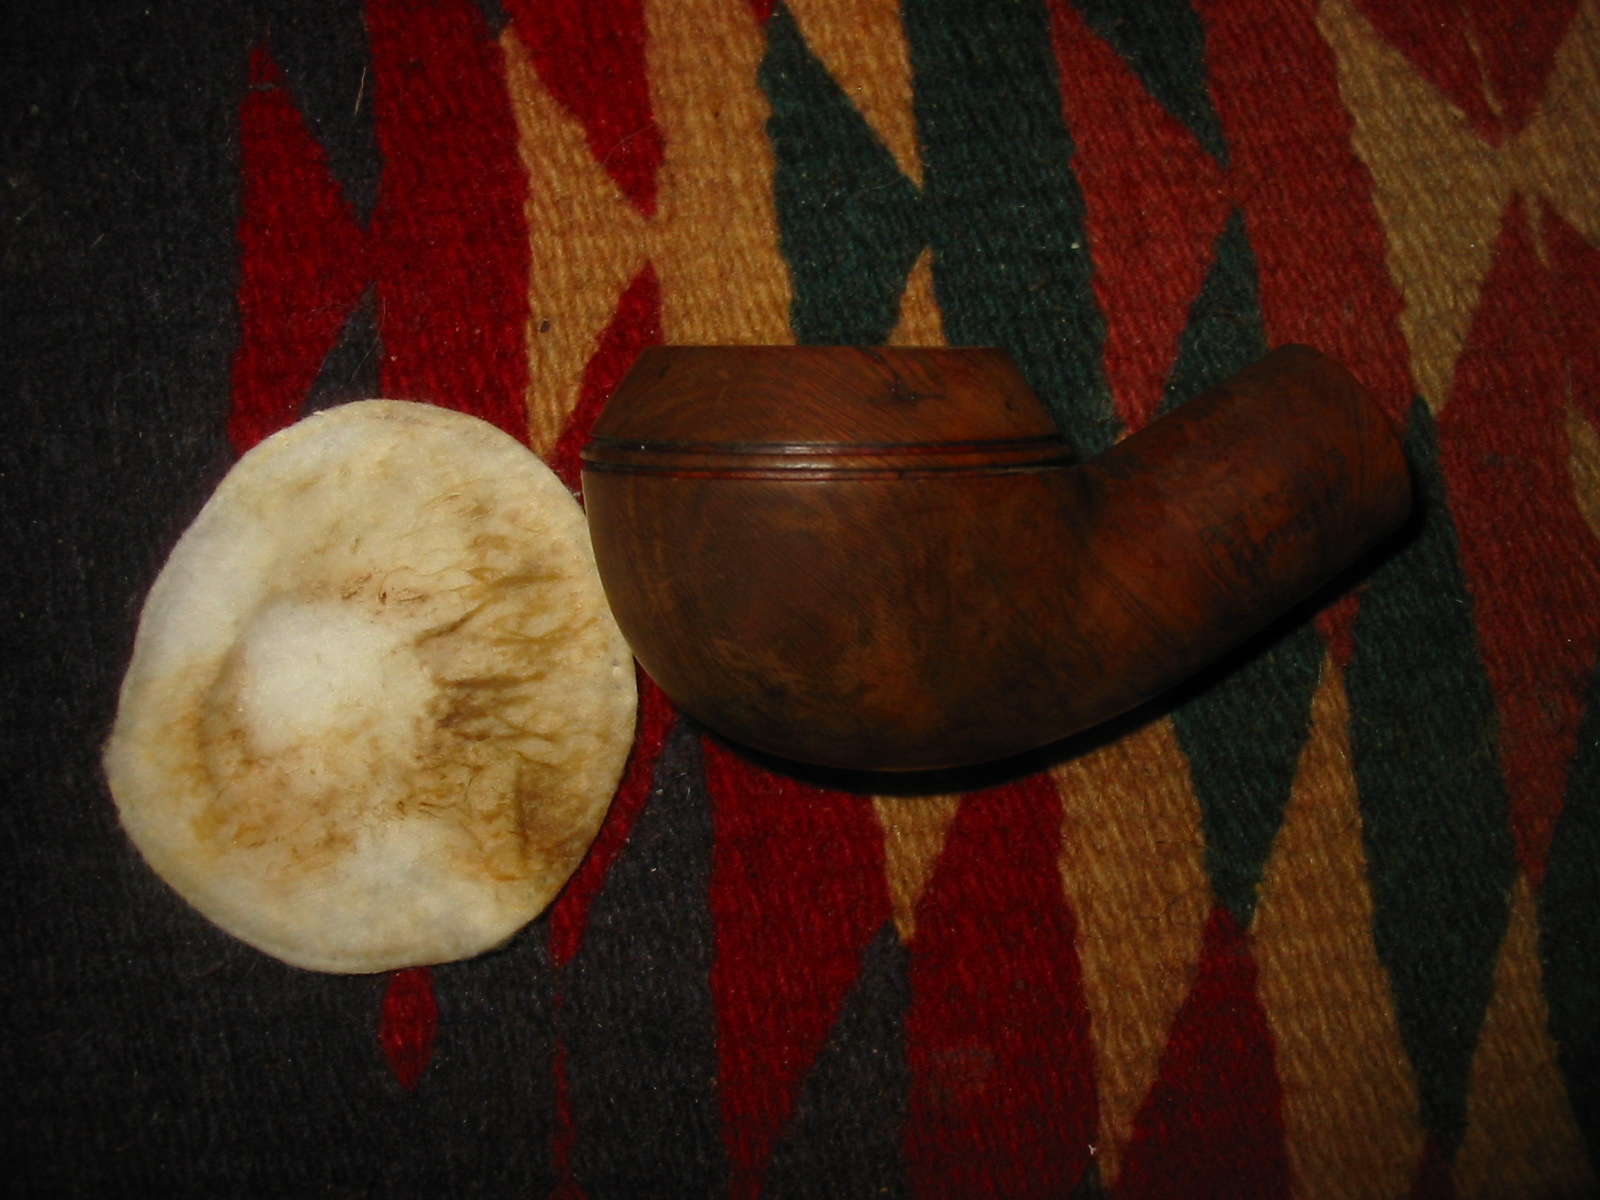
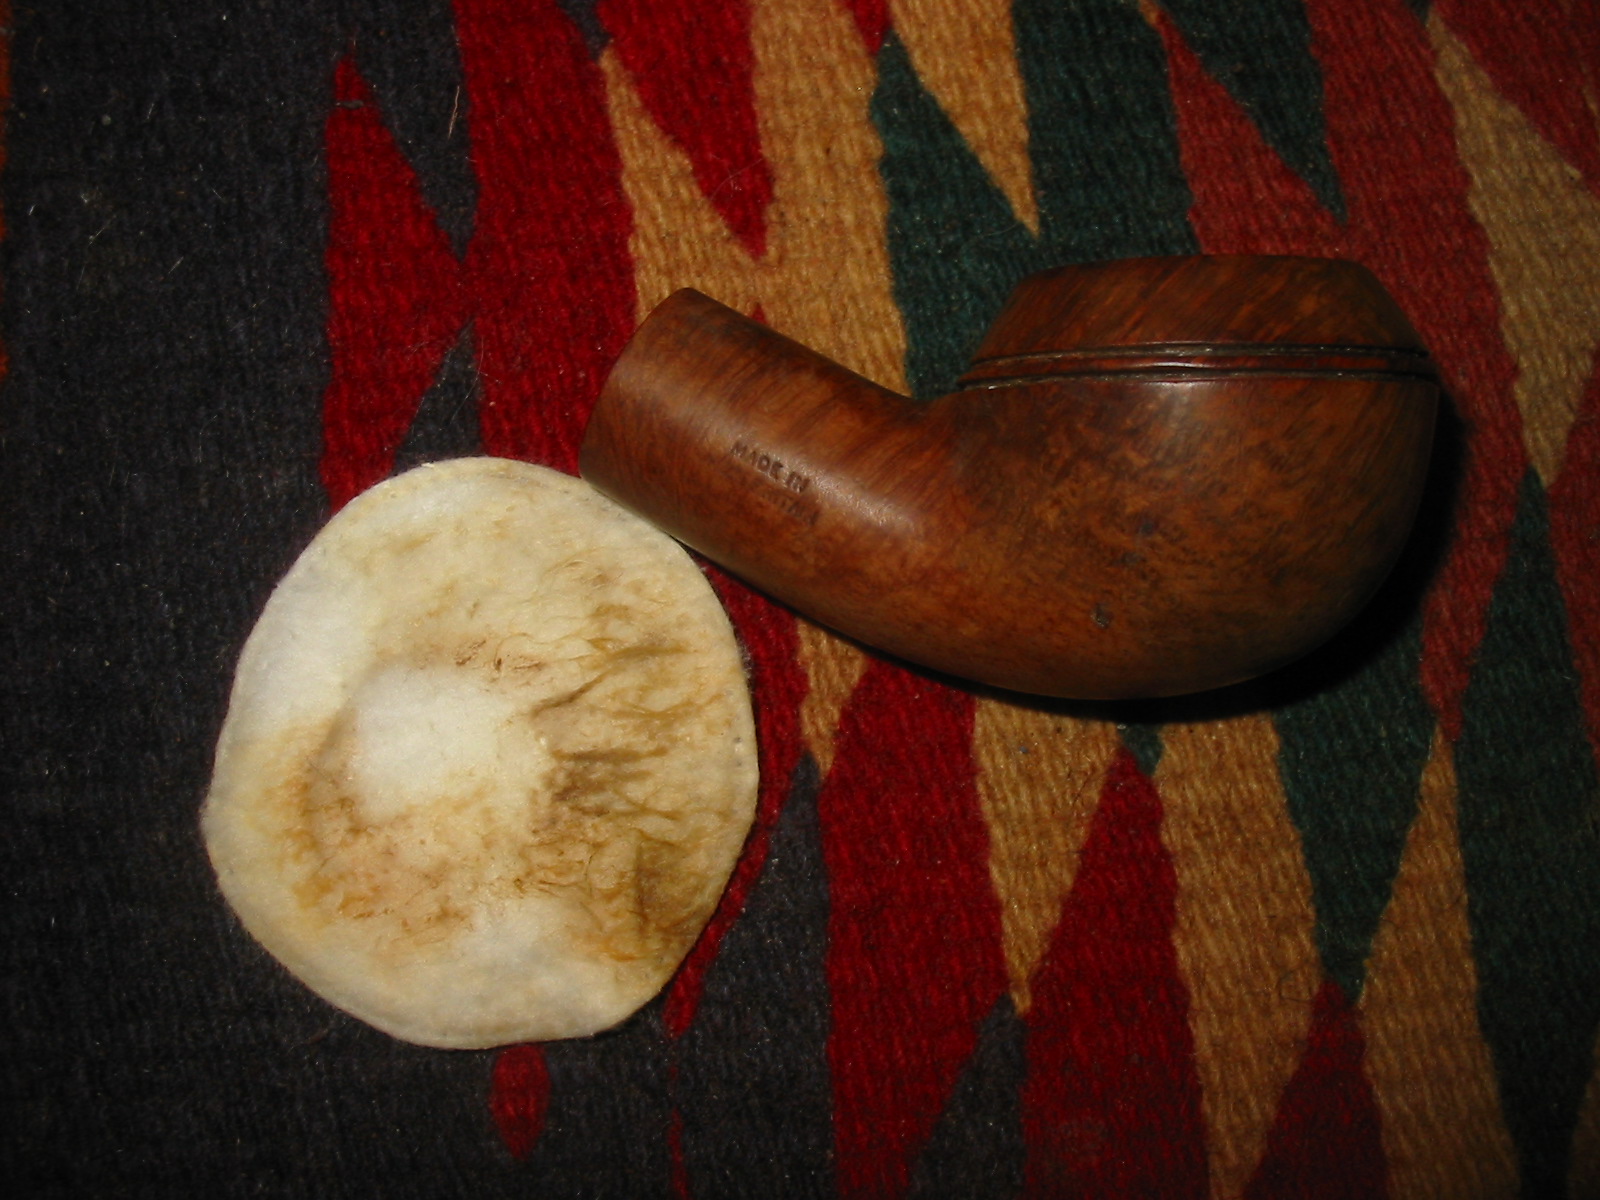
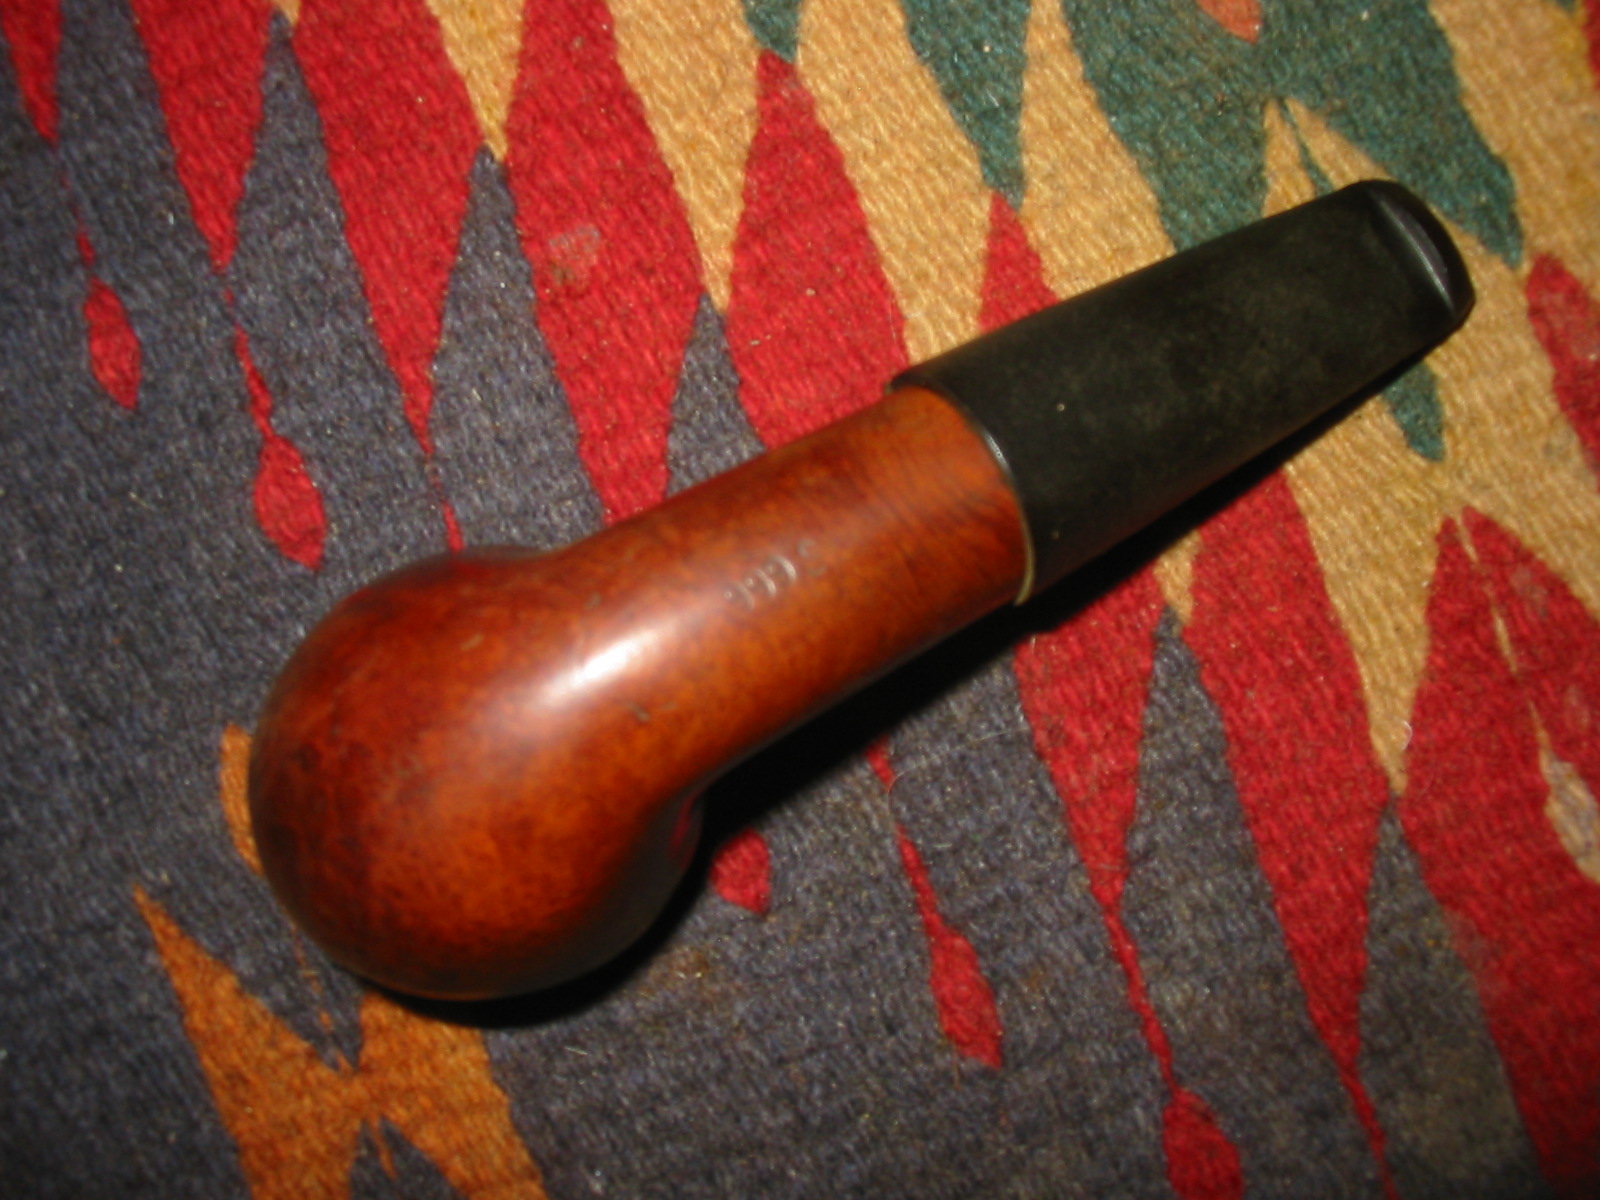
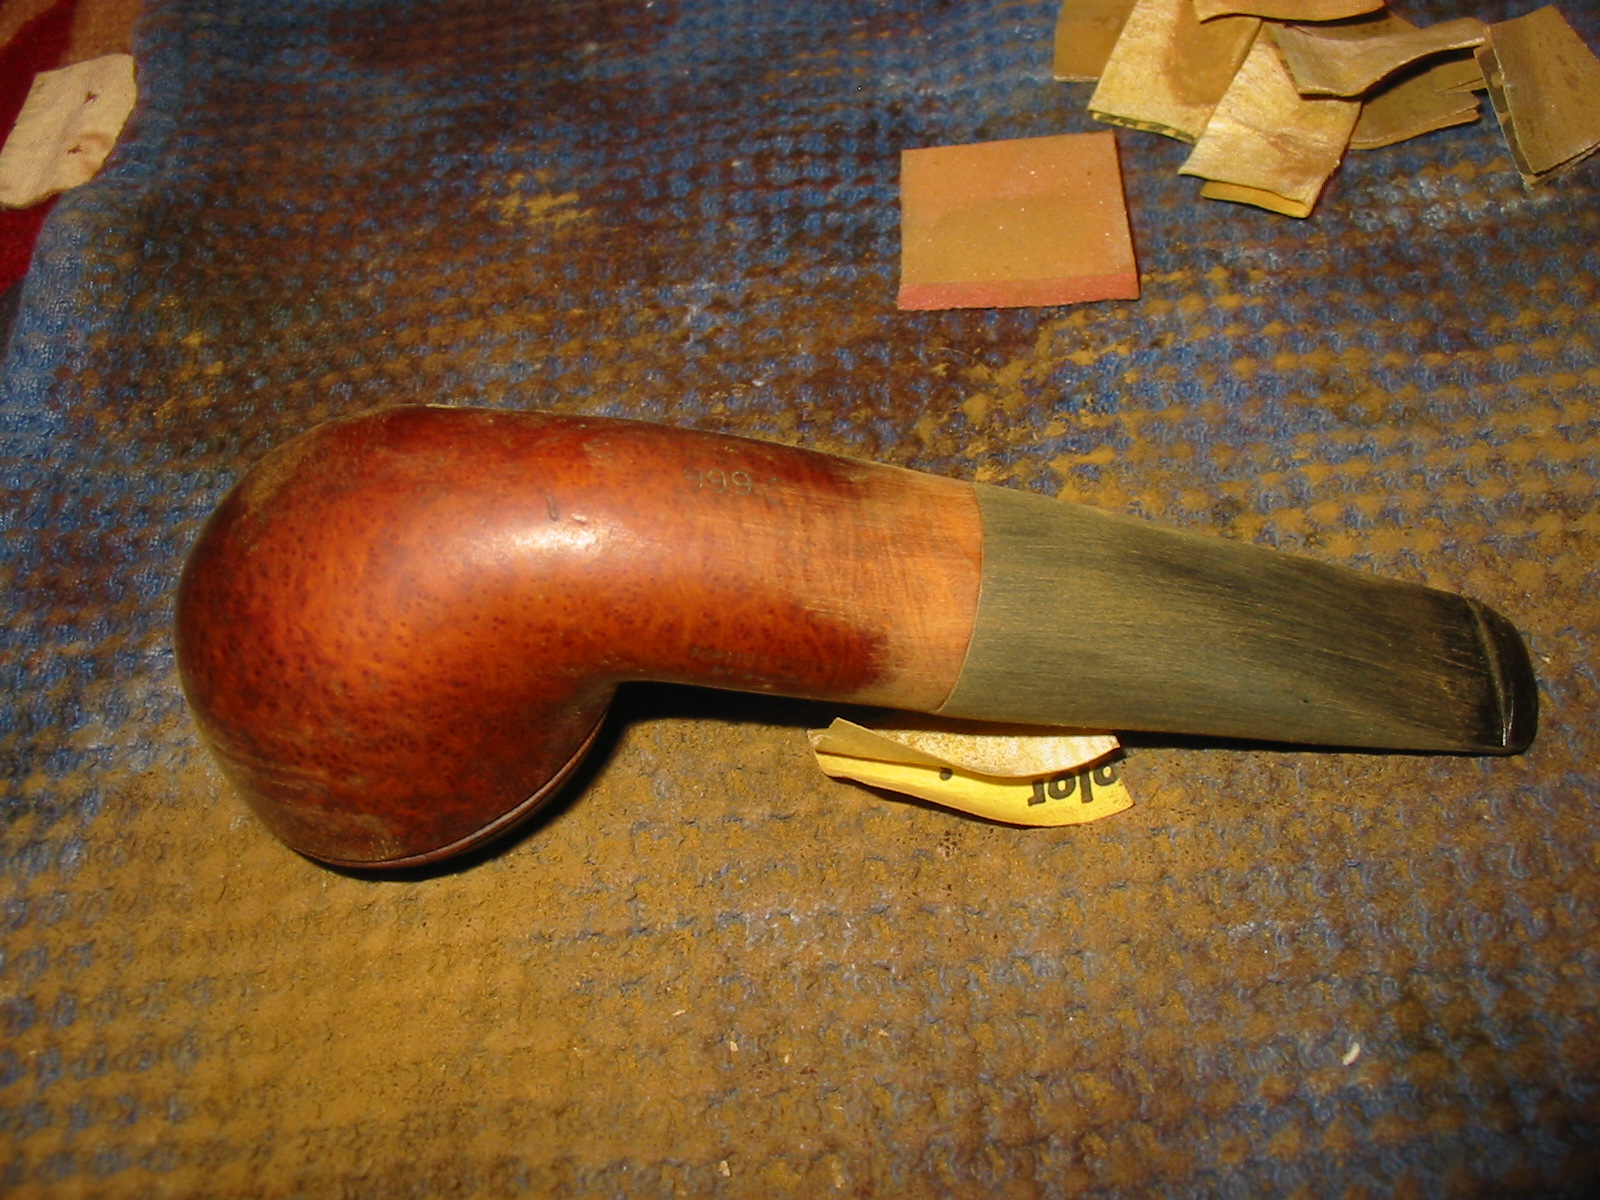
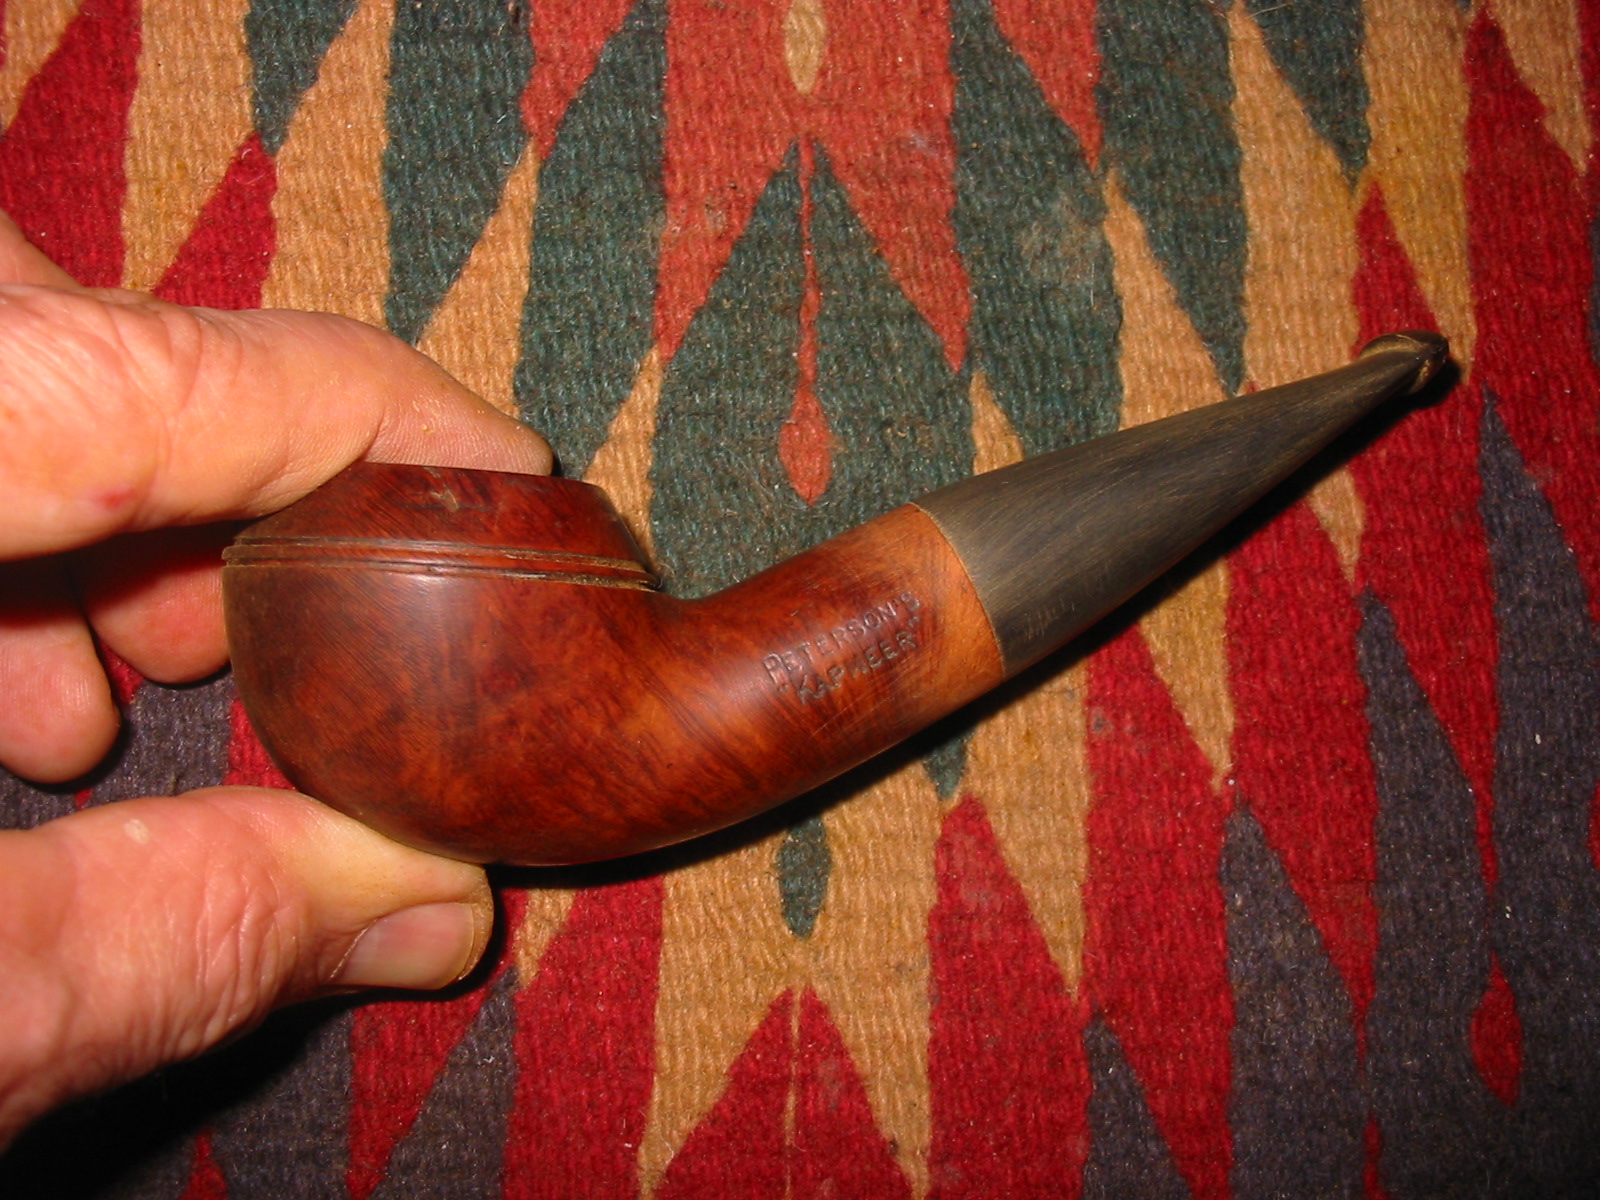
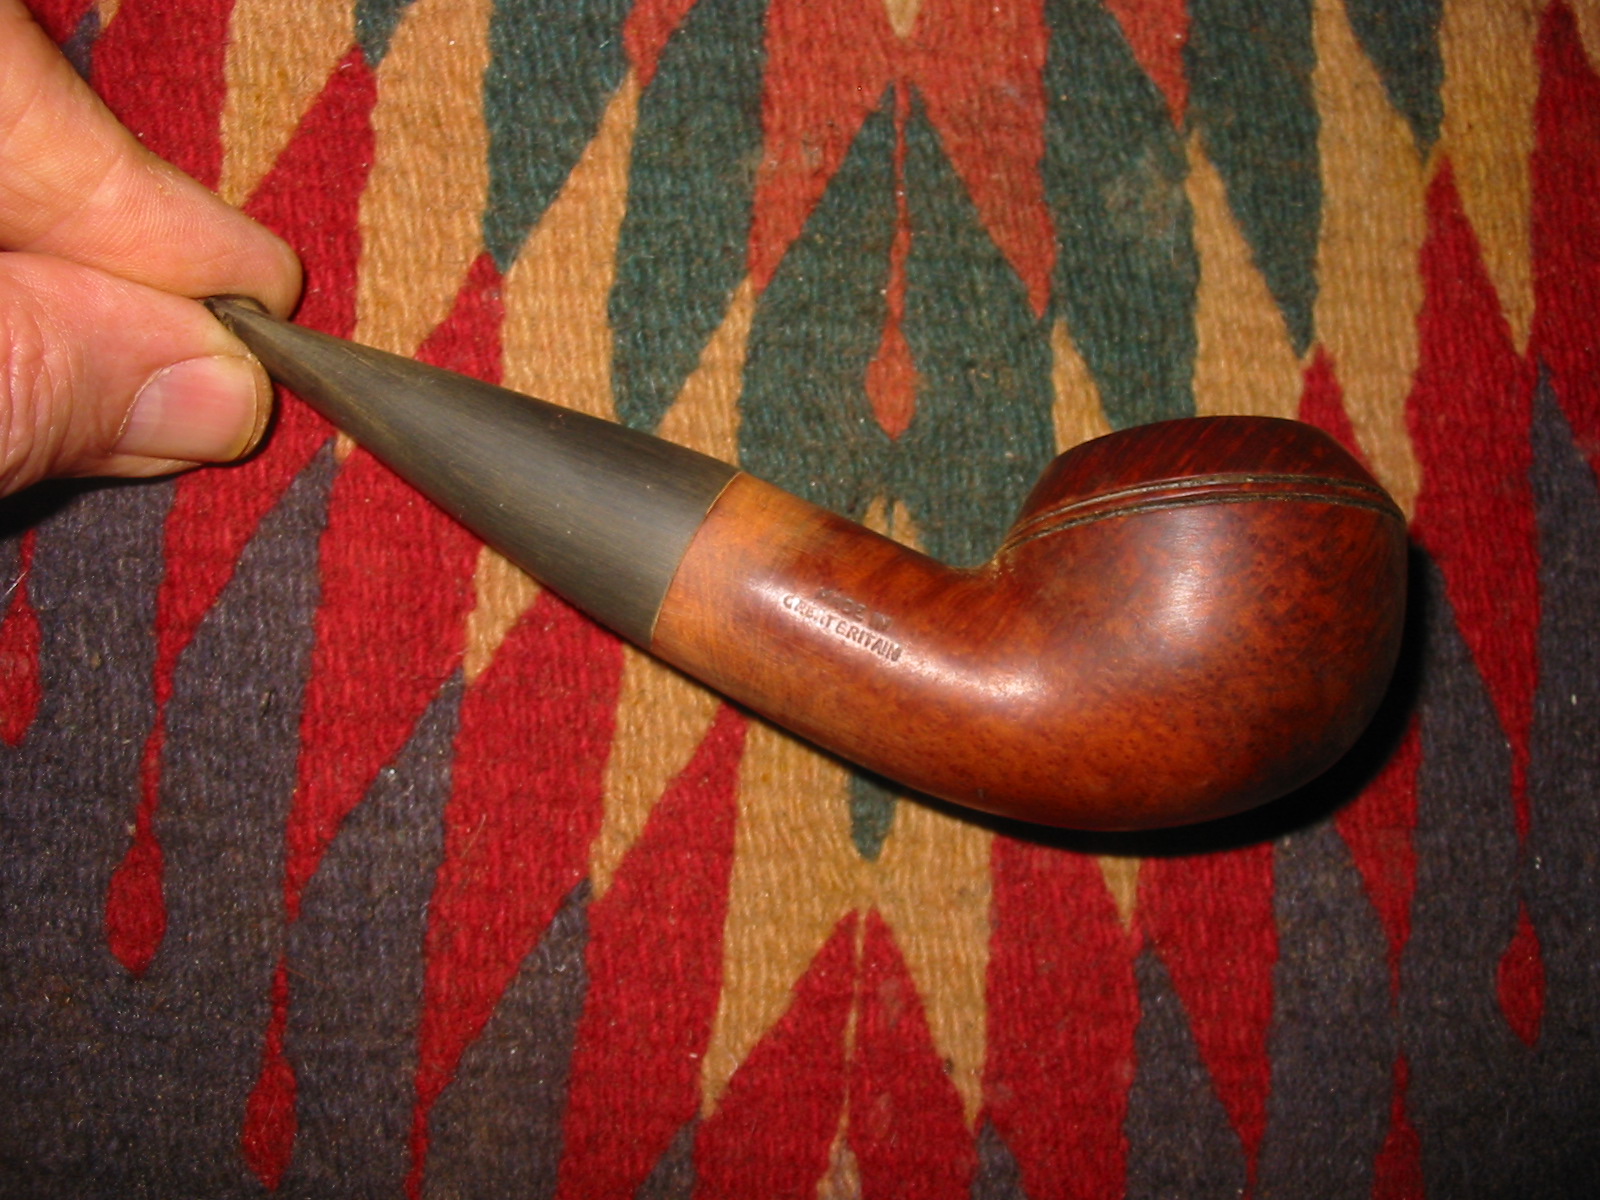
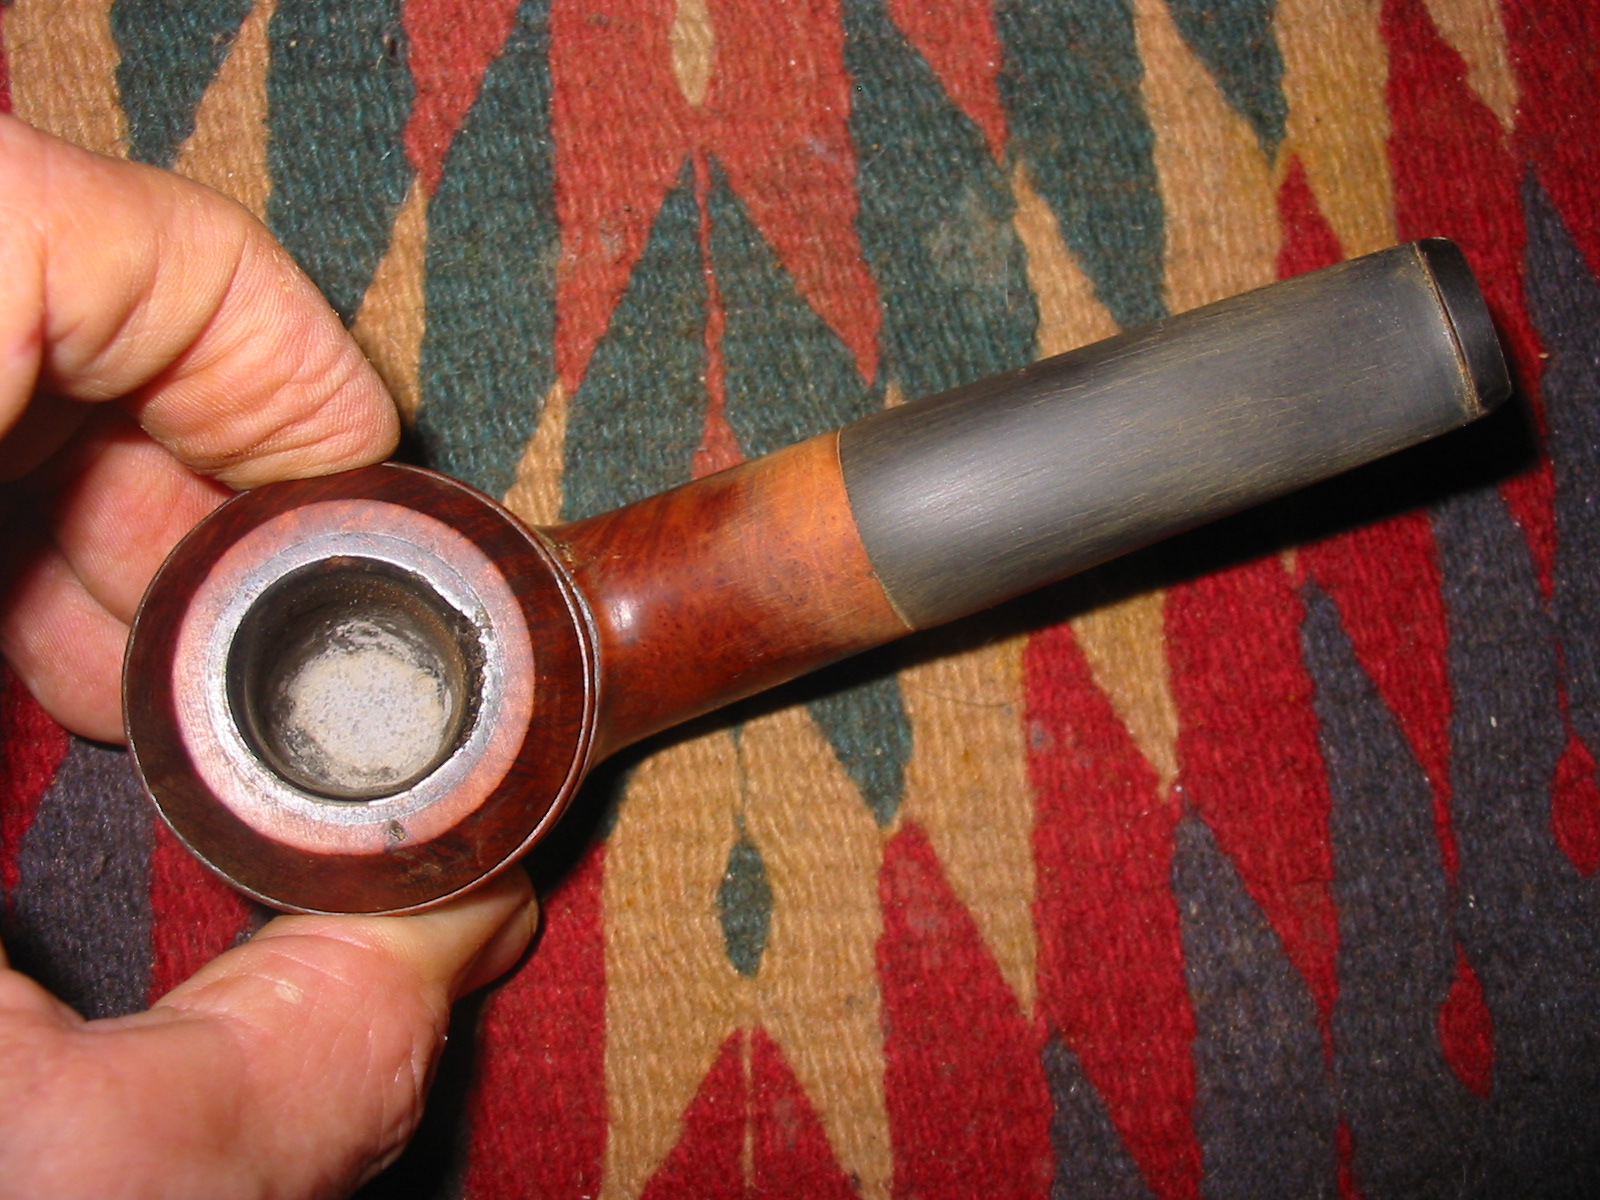
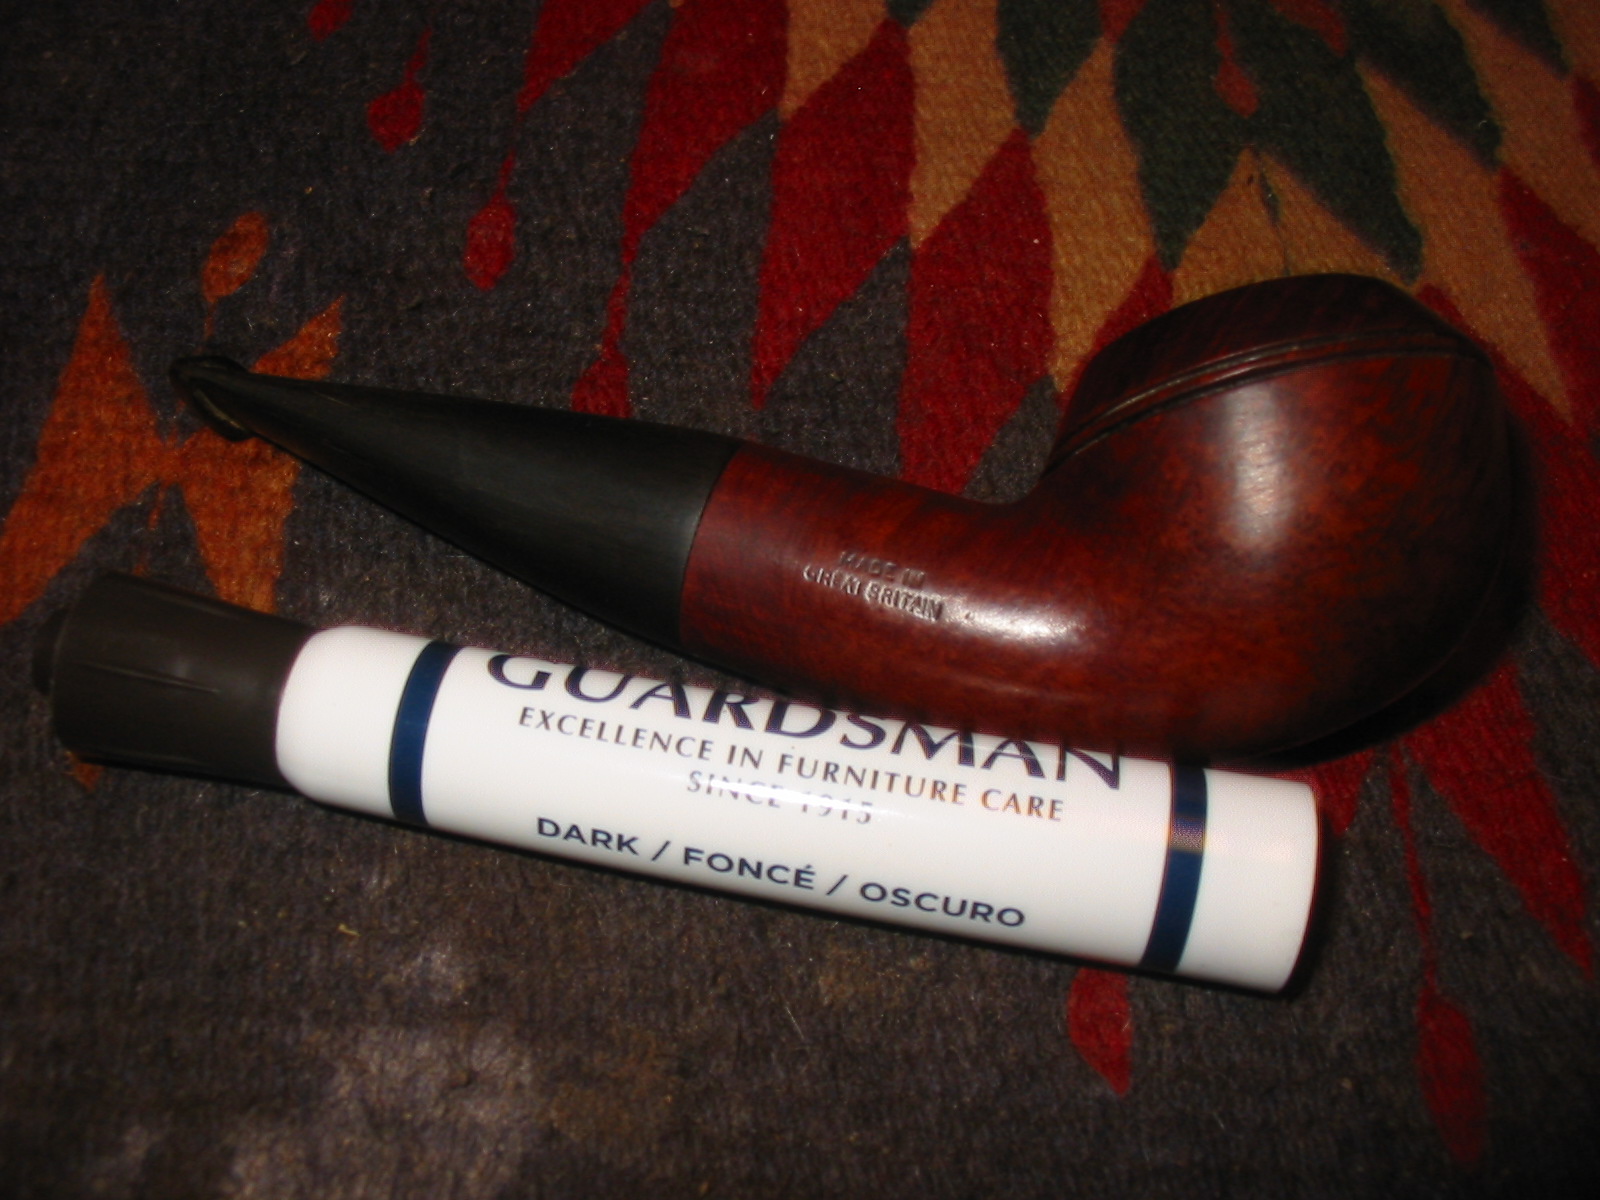
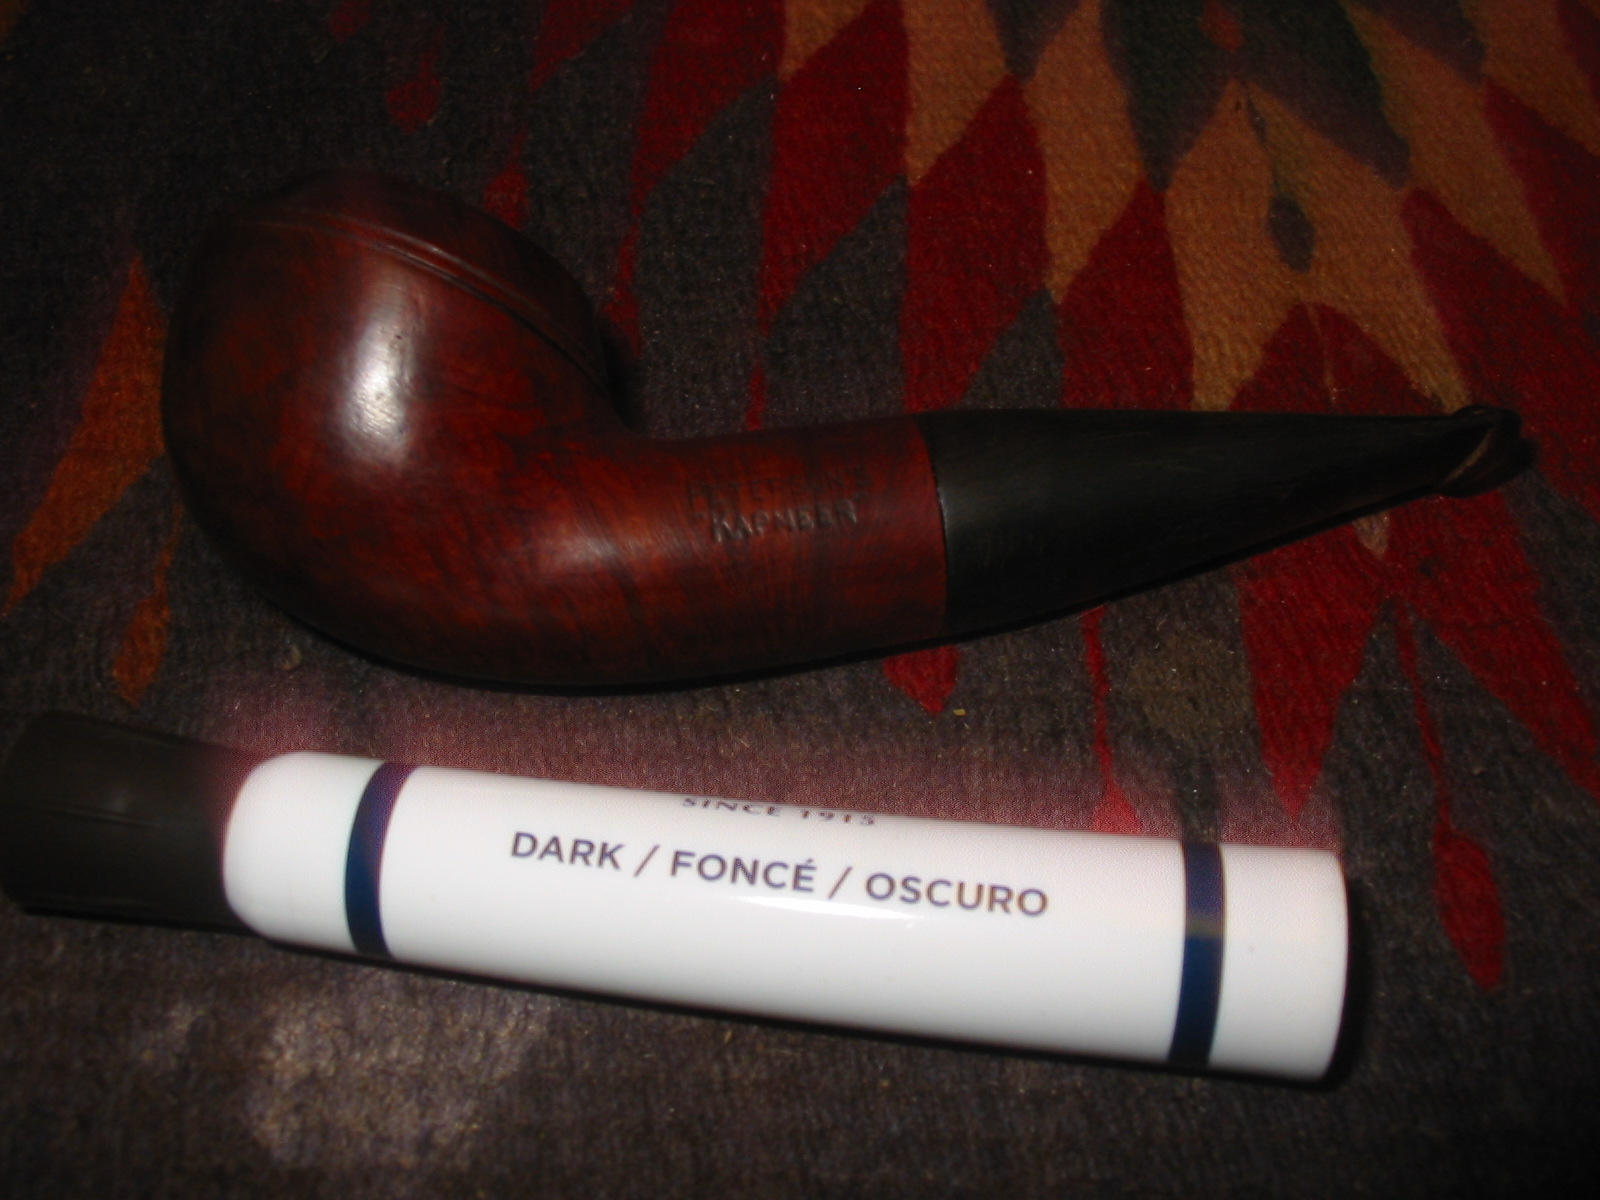
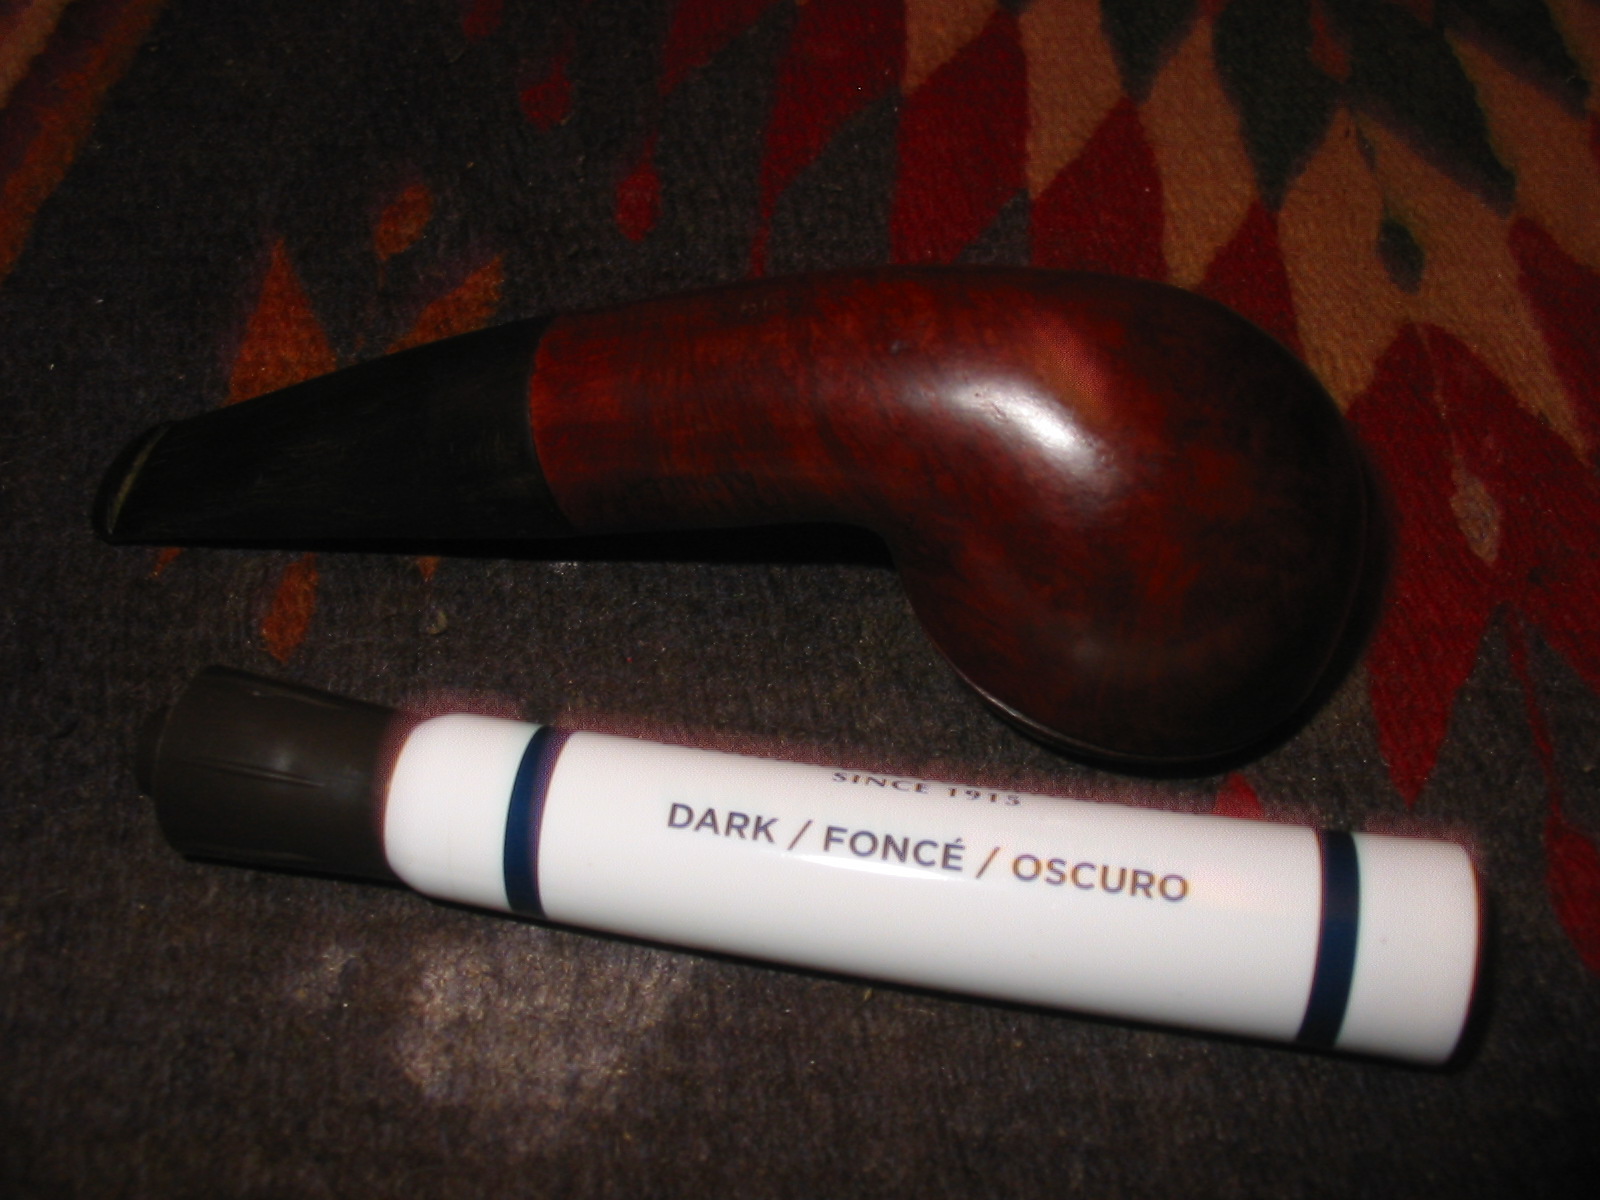
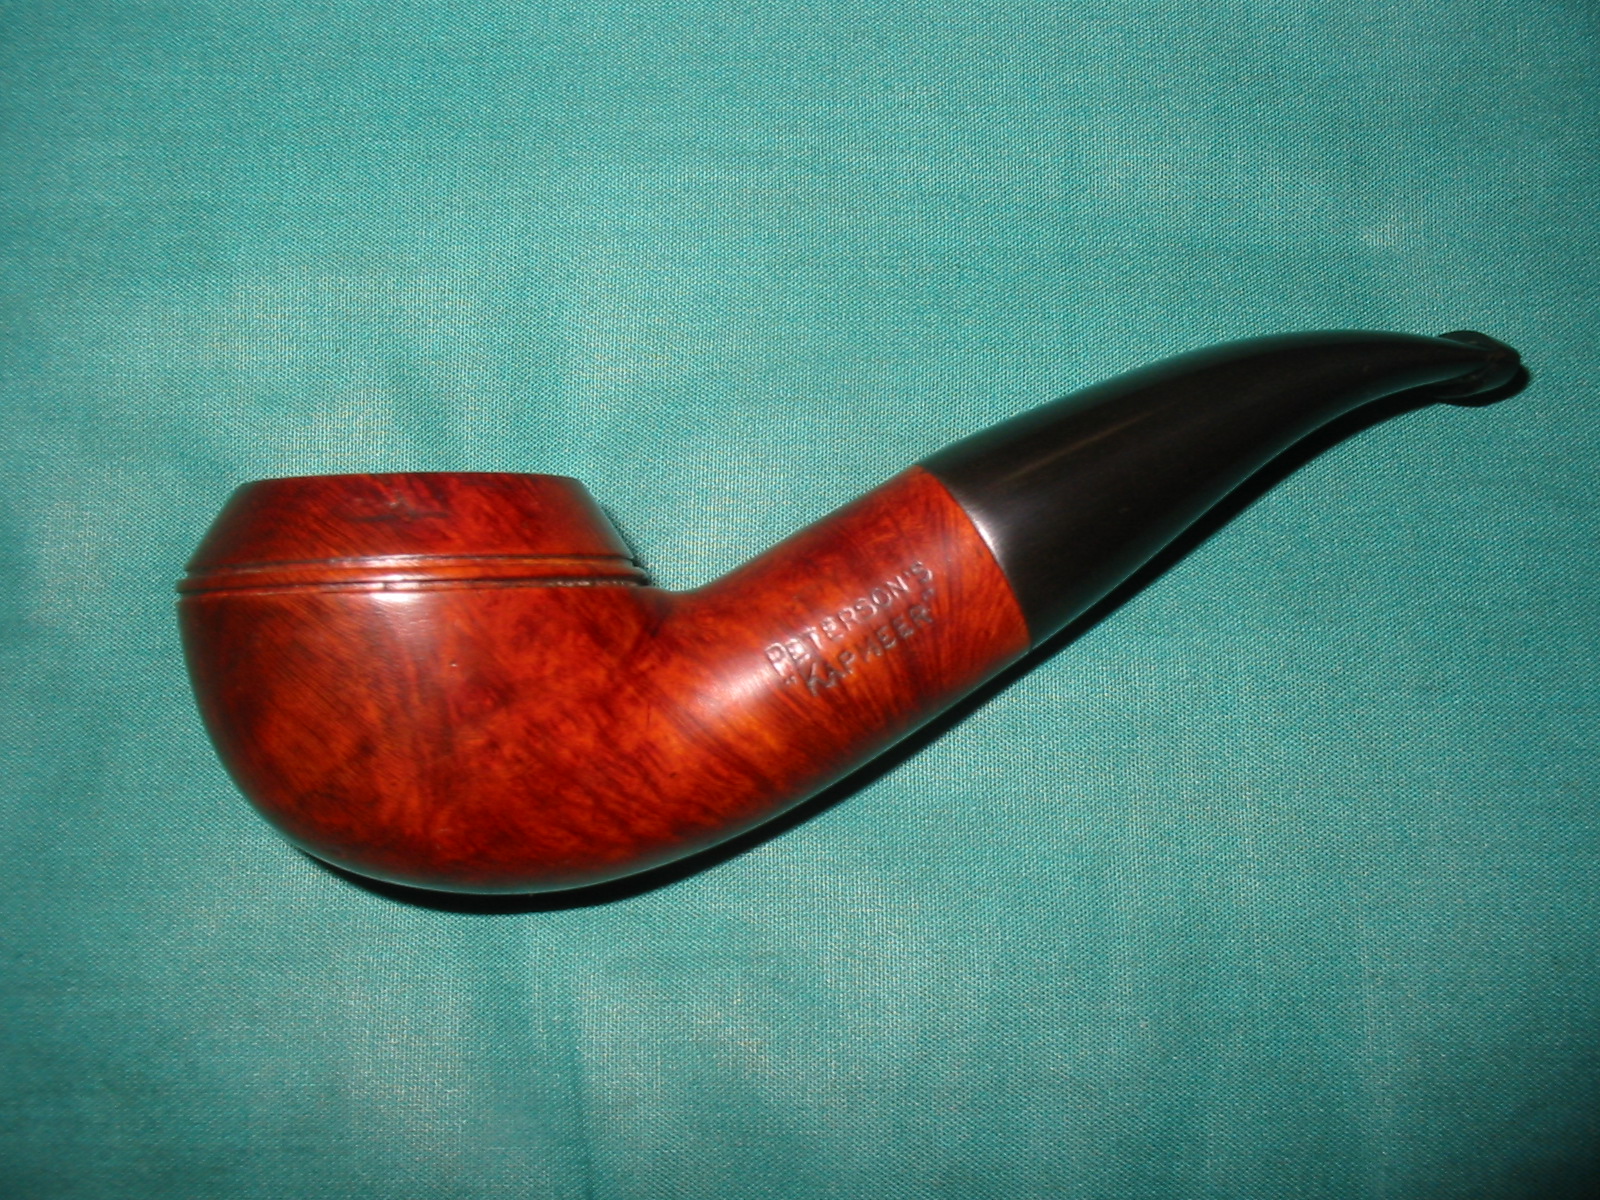
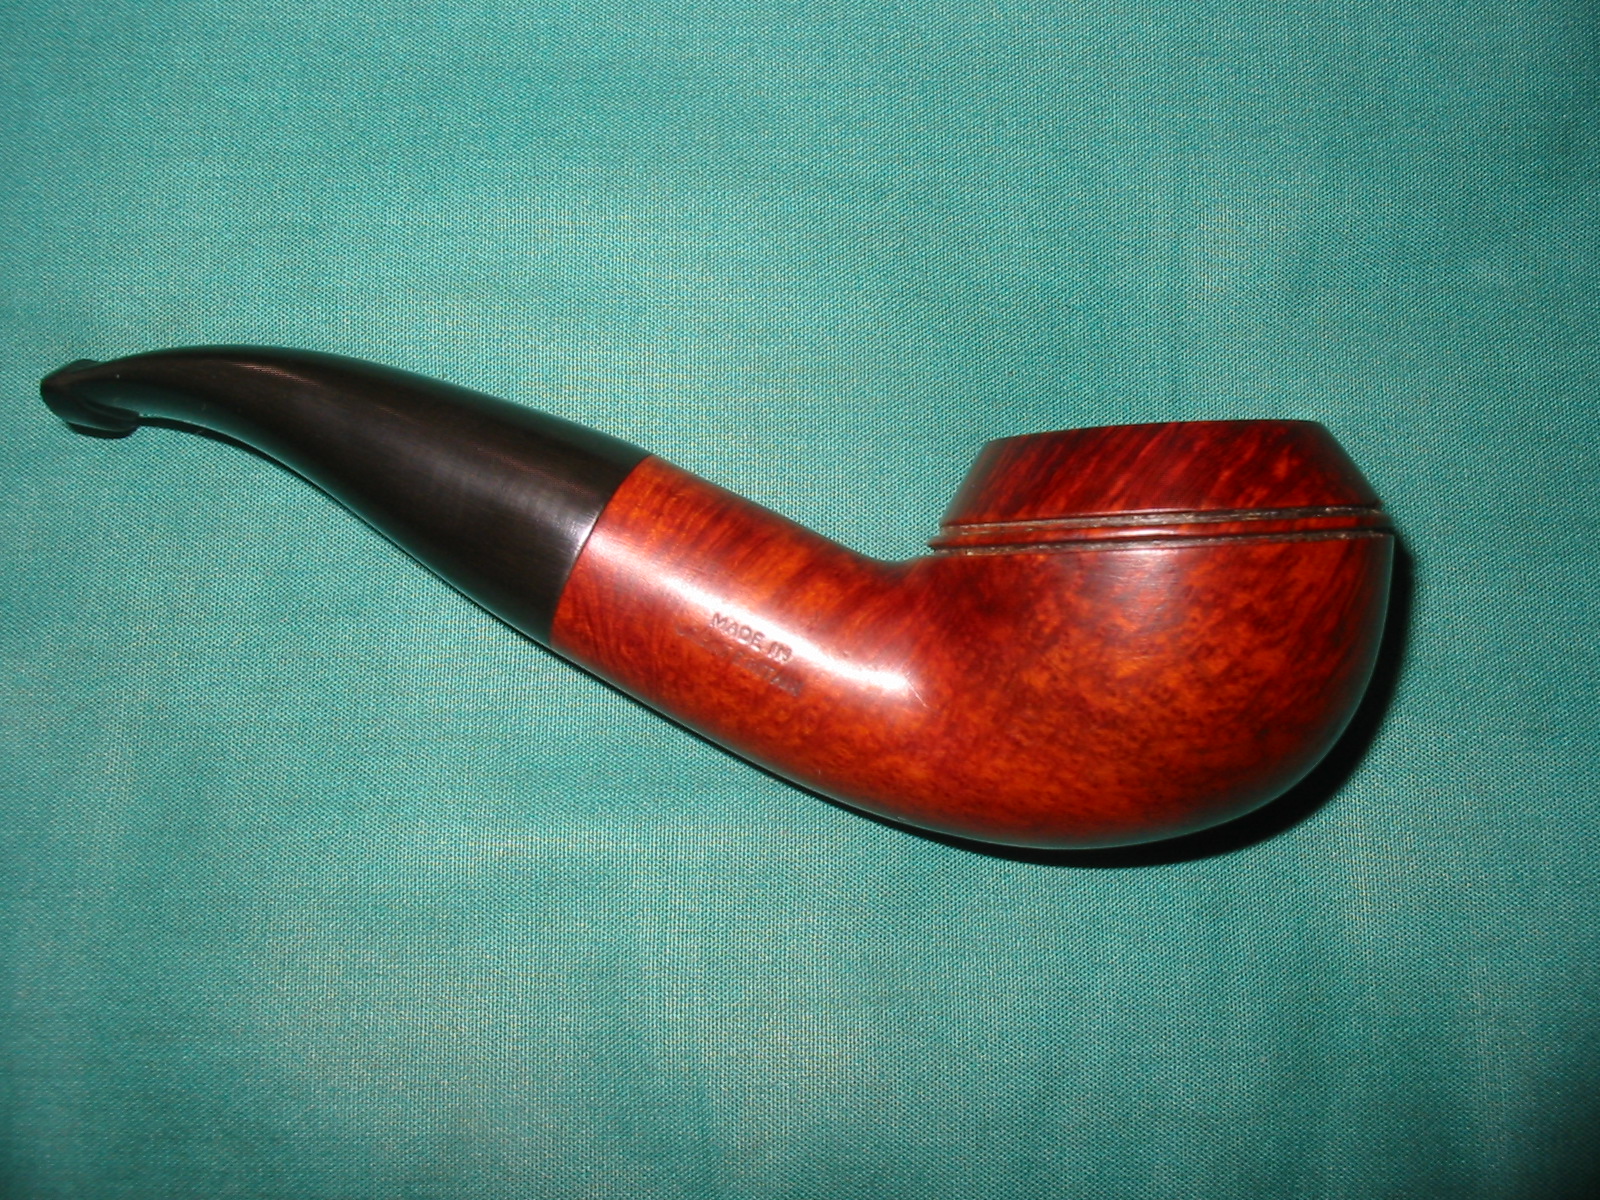
I just finished working on the second of the three pipes that I picked up on Ebay in the lot of three Petersons. It is the third bowl in the photos below. It is stamped Peterson’s over KAPMEER on the left side of the shank, 999S on the underside of the shank and Made in Great Britain on the right side of the shank. It is actually the reason I bid on this lot of pipe bowls. I love the older 999 shape with the thick shank. I like the way it feels in hand and the look of it. As you can see it was in rough shape. There was no stem for it. The finish was rough and worn, the bowl had a thick uneven cake in it and the top of the rim was thick with a cake build up. From what little I knew the KAPMEER was a meerlined pipe. There was something unique about its design but that escaped me at the moment.

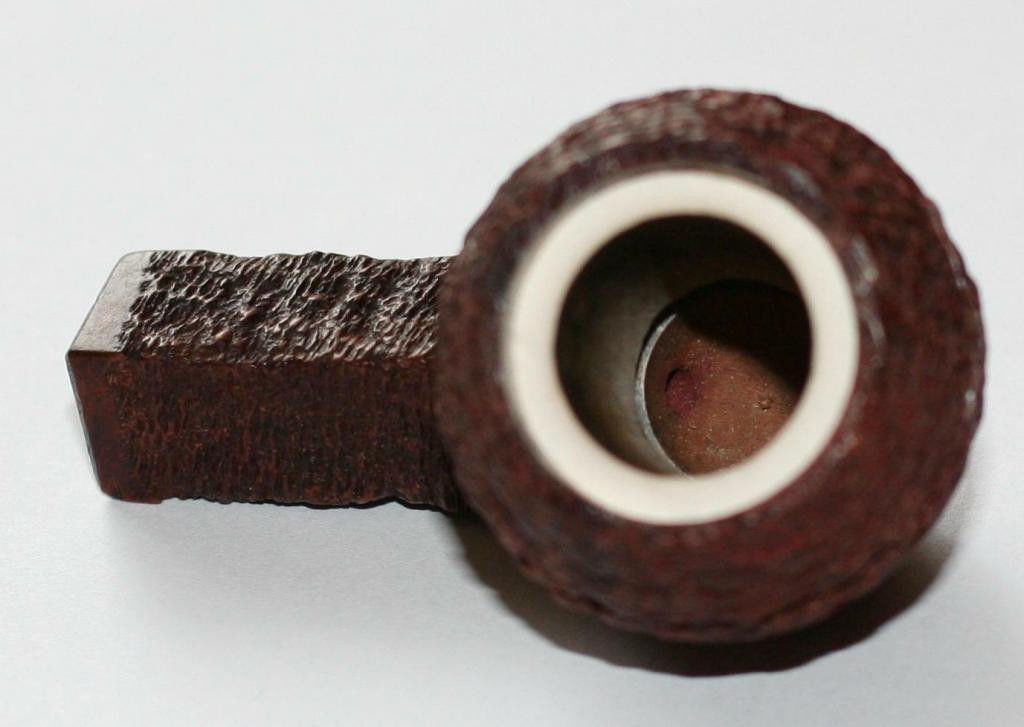
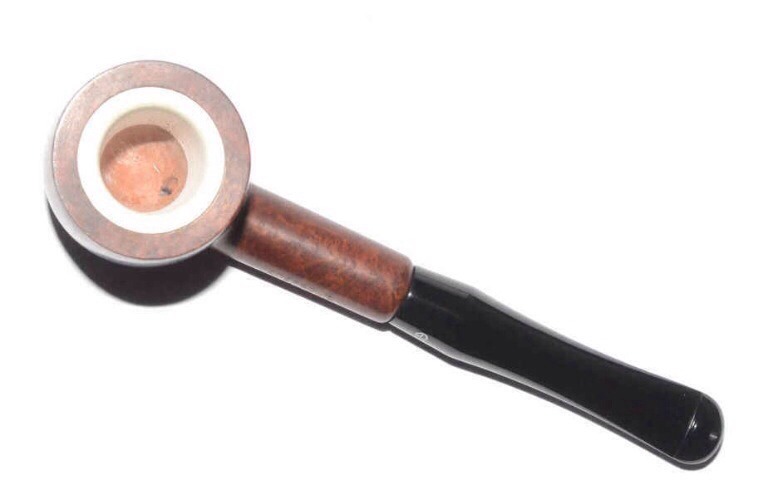
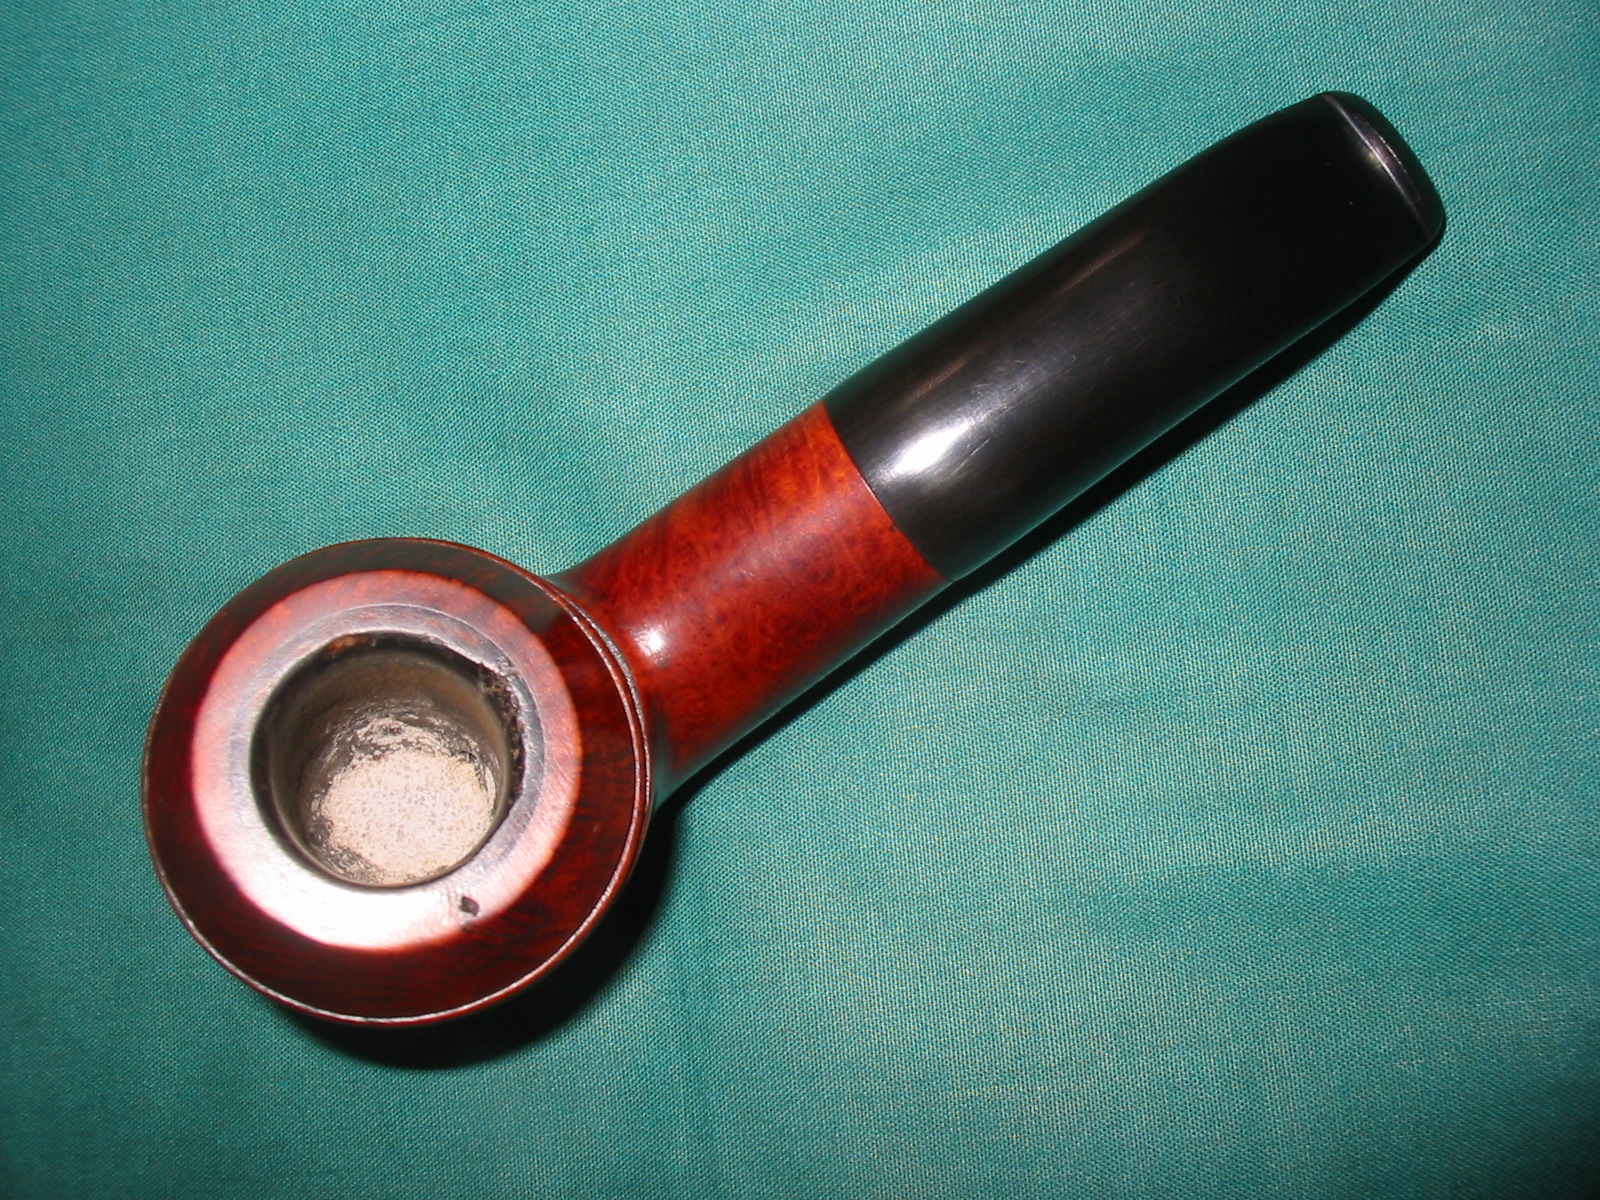
While I waited for it to arrive I did a bit of digging into the KAPMEER line. The first thing I found was a quote that said, “The line was introduced for those who preferred to smoke their tobacco in a meerschaum bowl, but still have the looks and advantages of a briar pipe”. That was not altogether helpful to me. It is much the same advertizing info that is included in most of the sales material for meerlined pipes. What was the difference between those pipes and the KAPMEER? The meerschaum lining ended just before the draw hole, so you do not have the problem of deterioration in the bottom of the meerschaum insert in the tobacco chamber. It was believed that this would reduce the possibility of a burn out on the sides of the bowl. I found the two photos below online that clearly show the design of the KAPMEER bowl. The first photo shows the bottom edge of the insert just above the draught hole. The bowl bottom is briar. The second photo shows the contrast between the meerschaum lining and the briar on the bottom of the bowl. In looking at these photos I think I understand the idea of combining the best of meerschaum and briar pipes. The theory would be that the meerschaum lining would deliver a meerschaum style cool smoke and the briar bottom would give the durability and strength of briar.
Kapmeer bowl top view

tumblr_mw3ugfrLNV1t13exzo2_1280
or early 1970s. The pipe in the second photo is a later design. The early pipes had a regular stem/shank junction rather than the faux military stem. The one that I had came from a period in time where the stem was most likely a tapered stem with an aligned fit. The pipes were made in Great Britain on the Isle of Man. I found out that though Peterson had maintained a factory in London since 1899, the ‘Made in England’ stamp was discontinued with the closing down of the London-based factory (1969/70). That puts my bowl pre-1970 in terms of date. The thick shank on the 999 bowl dates it earlier than that period.

I gently reamed the bowl, being careful to not damage the meer lining. I wanted to take the cake back as far as possible with the reamer and would do the rest with sandpaper. I sanded the meer lining with 220 grit sandpaper until the entire cake was gone and the meer was once again smooth. It was darkened and would not be white again do to use. I gently topped the bowl with a topping board to remove the cake and smooth out the rim damage before working on the rest of the bowl. I wiped the bowl down with acetone on cotton pads, carefully avoiding the meerschaum lining on the top of the rim. The acetone removed the grime and the spotty stain on the bowl and would form the base for restaining the bowl later.

The bottom of the bowl had been over reamed and the briar damaged with deep gouges on the bottom. The bottom was still thick so there were no worries about burn out. I mixed a batch of pipe mud from cigar ash and water and applied it to the bottom of the bowl to bring the bottom up to the airway entrance. I tamped it in place with a pipe nail. I put some mud on the side walls below the end of the meerschaum lining. I set it aside to cure.
IMG_7169

IMG_7170

IMG_7171

IMG_7172
Once the mud had cured I wiped out the inside of the bowl with a damp cotton pad to clean any of the mud that had gotten on the meer lining. I wiped down the outside of the bowl with acetone and cotton pads a final time. I had a stem set aside from my can of stems that would fit the shank once the tenon was turned and the diameter of the stem reduced. I turned the tenon with a PIMO Tenon Turning Tool slowly until it fit the shank. I sanded the tenon with a sanding drum on a Dremel to finish the fit. I sanded the casting marks on both sides of the stem and on the end of the button with the Dremel as well. When all was finished the fit against the shank was snug and clean.

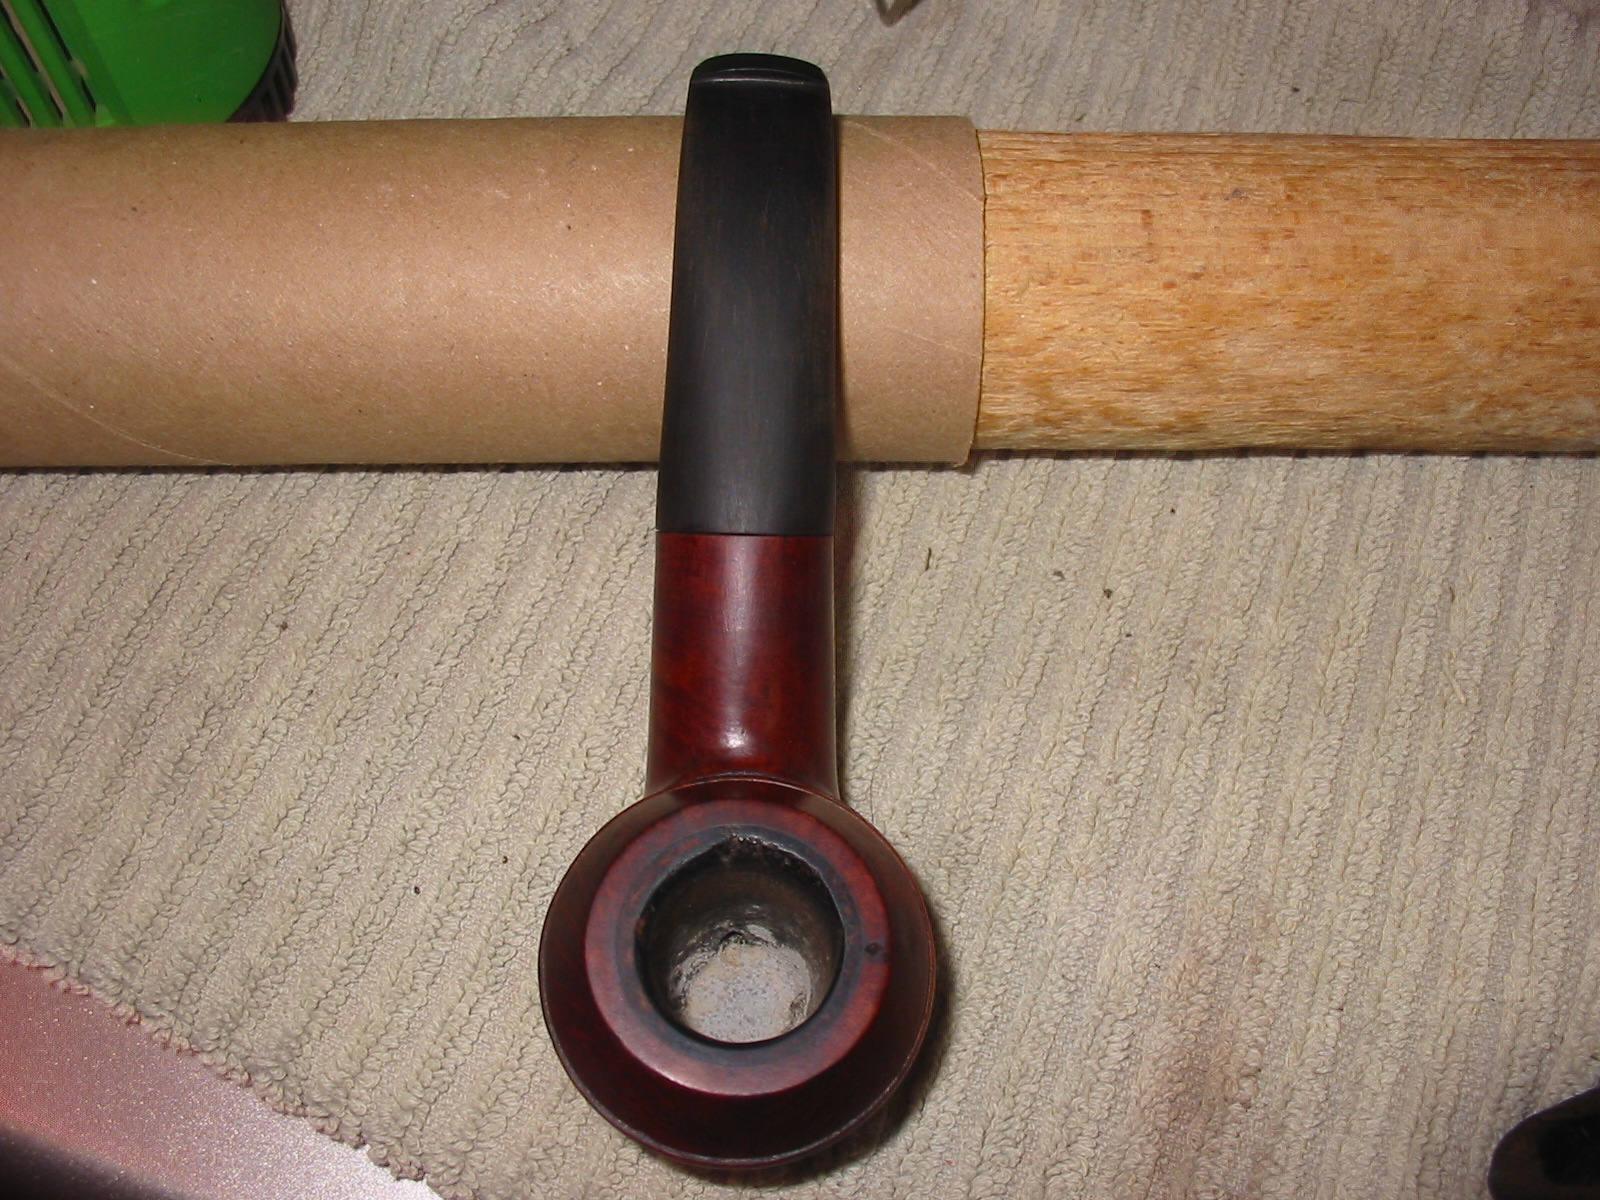
IMG_7243 IMG_7244 IMG_7245 IMG_7246As can be seen from the photos above the diameter of the stem was bigger than that of the shank. I used the sanding drum on the Dremel to take it down as close as possible to the shank diameter without damaging the shank. Once I had it close I did the rest of the work with 150 grit sandpaper and followed that with 220 grit sandpaper. When the transition between the two was smooth to touch I used a medium and a fine grit sanding sponge to remove the scratch marks from the stem. Since I was planning on restaining the pipe I sanded the shank gently to make sure that the transition would be smooth and the flow correct. I have found that this is the only way to keep the stem and shank matching without and shift in height on either material.
IMG_7247IMG_7248IMG_7249IMG_7250I wiped off the sanding dust with a damp cloth and gave the stem a wipe down as well. The photos below show the look of the stem and shank union at this point in the process. I also gave the rim a light sanding with the sanding sponges as well. There is one small sandpit in the top left side of the rim. I decided to leave it rather than fill it.

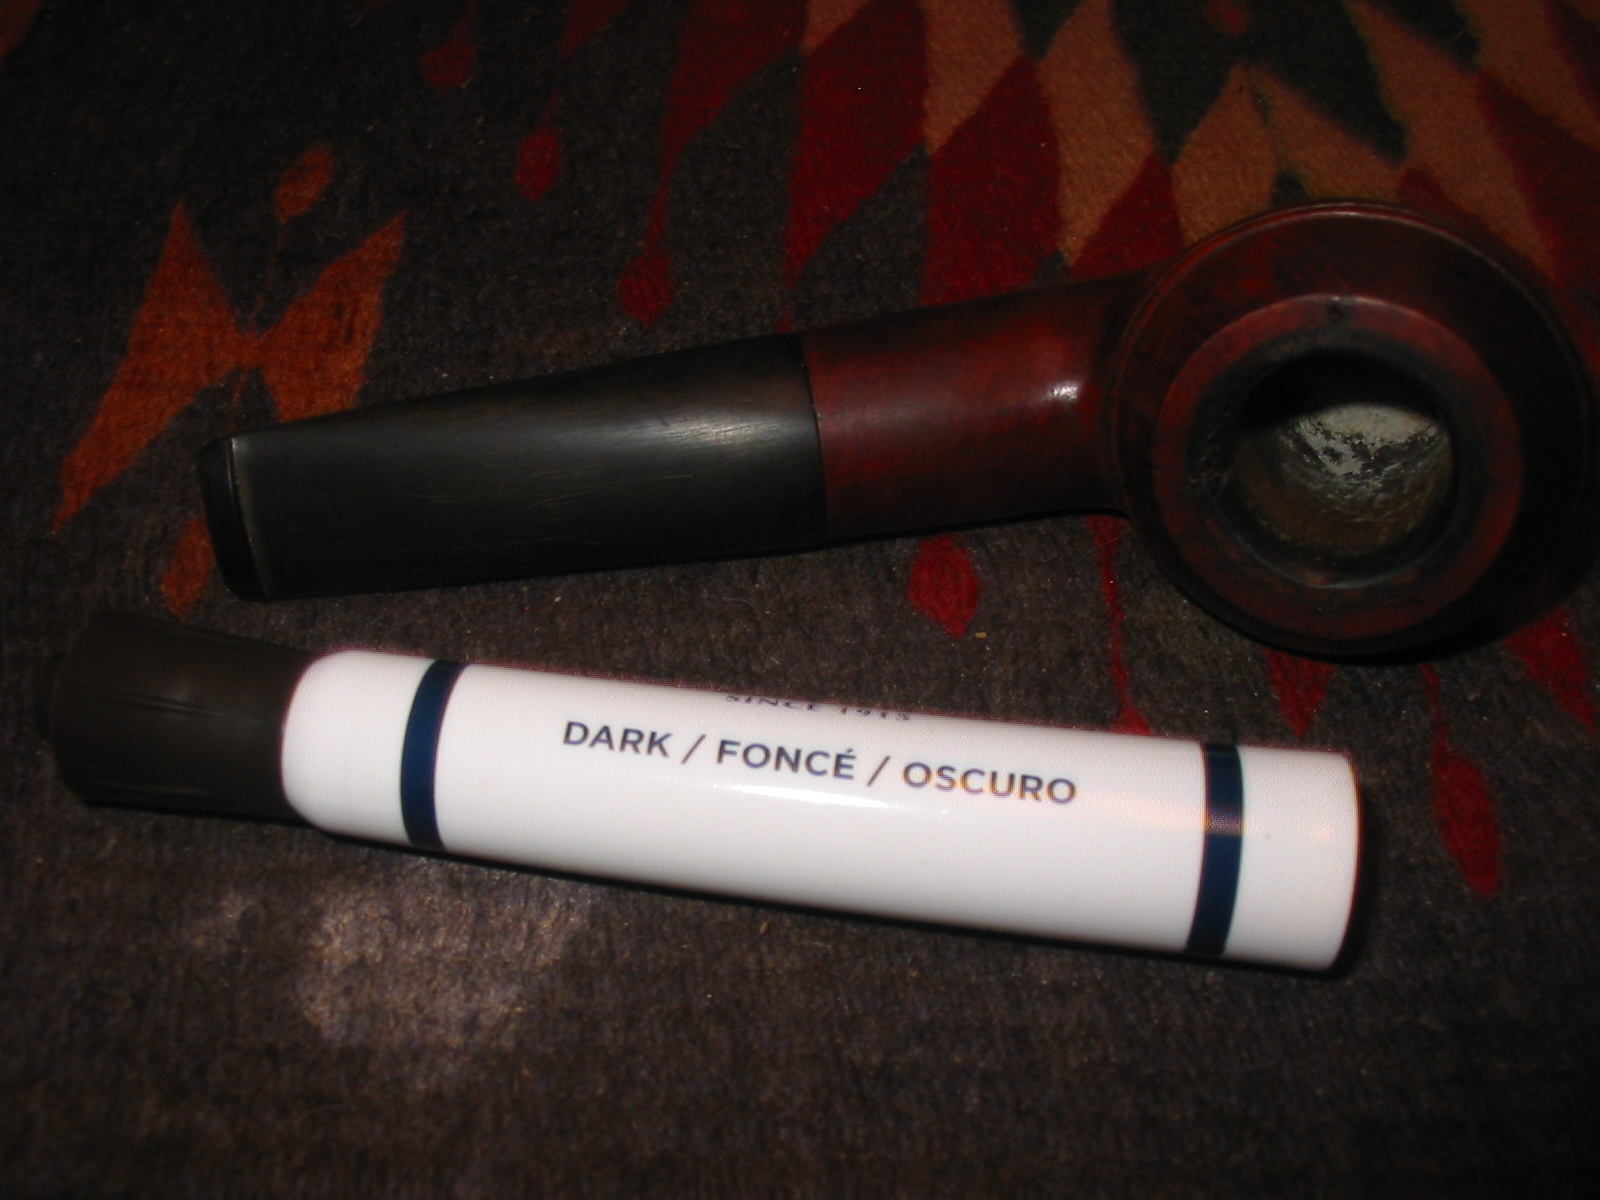
IMG_7253 IMG_7256IMG_7254IMG_7255I sanded the shank with 1500-2400 grit micromesh sanding pads to remove scratches in the finish and wiped the bowl down with alcohol on a cotton pad. Greg sent me a set of staining pens to work with so I decided to try them out on this pipe. I tried the light and medium pens and found that they did not match the stain on the pipe so I settled for the dark pen. I drew on the unstained surface of the shank and then blended it into the rest of the bowl. I also did the same on the rim, blending it downward into the sides of the bowl. The pen was very easy to control and keep off the meer lining on the inner edge of the rim.

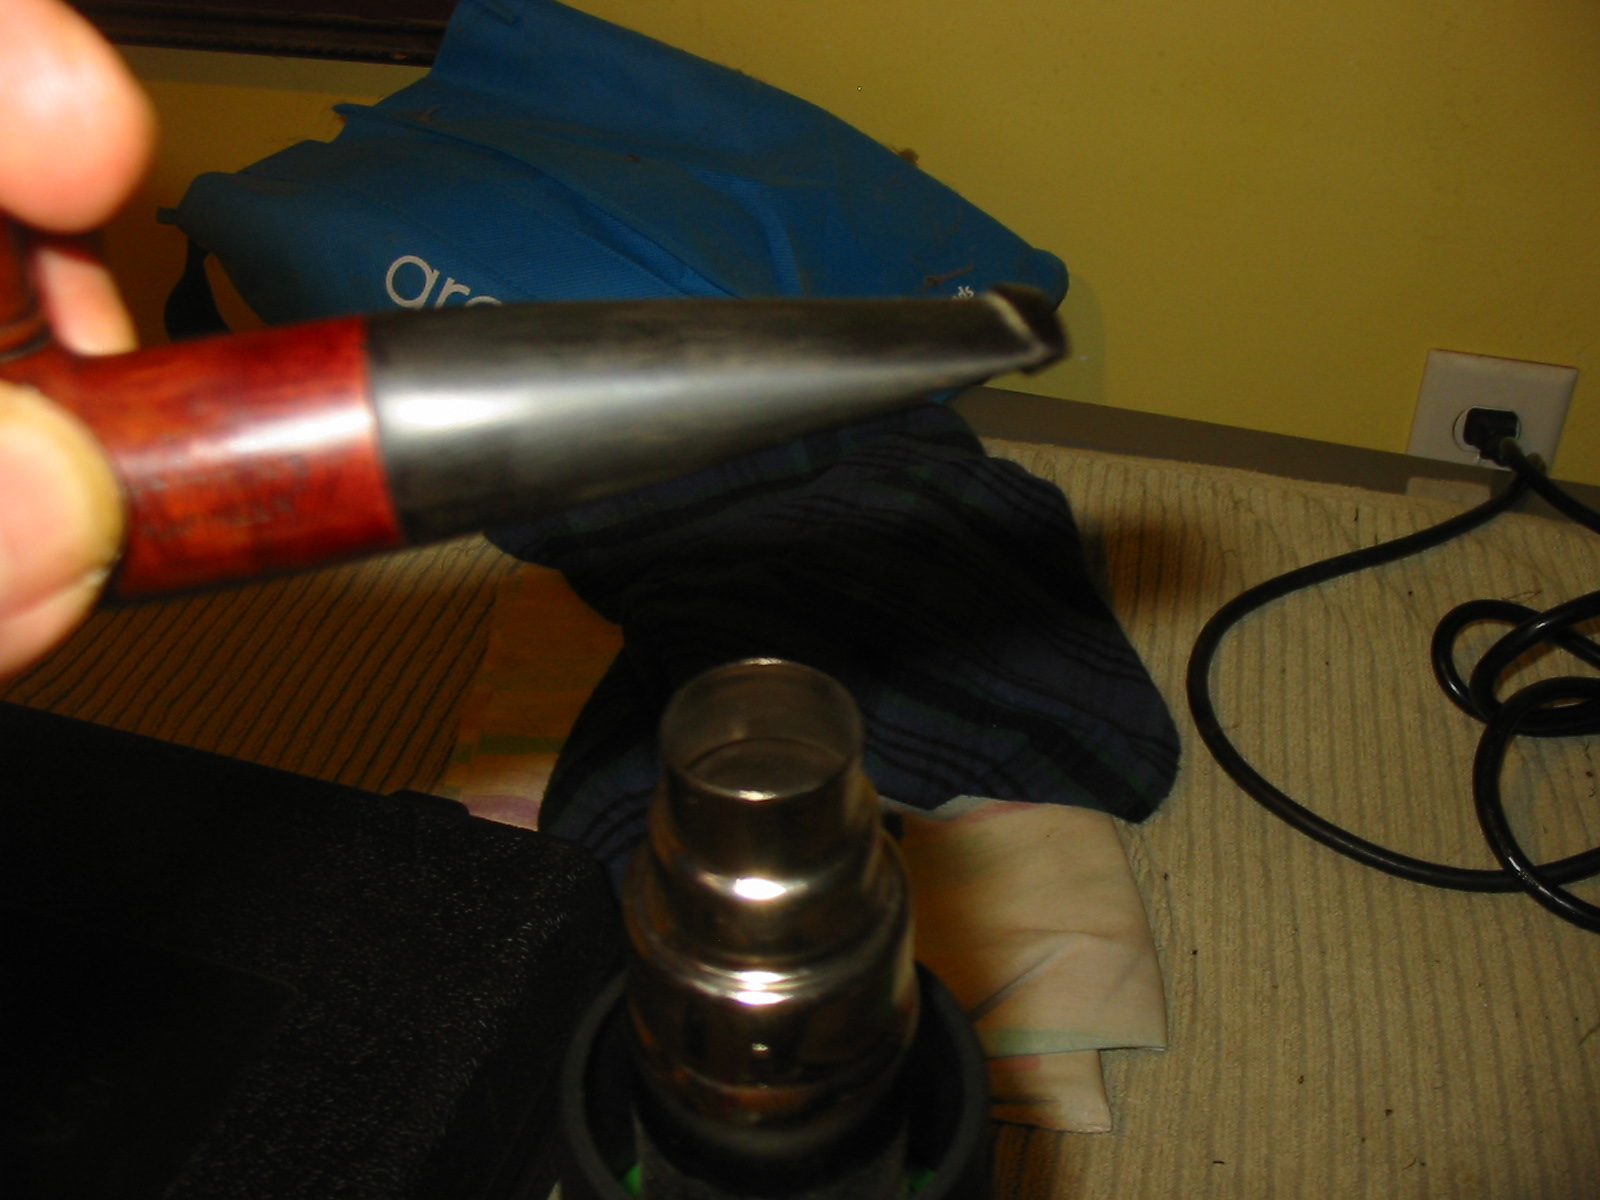
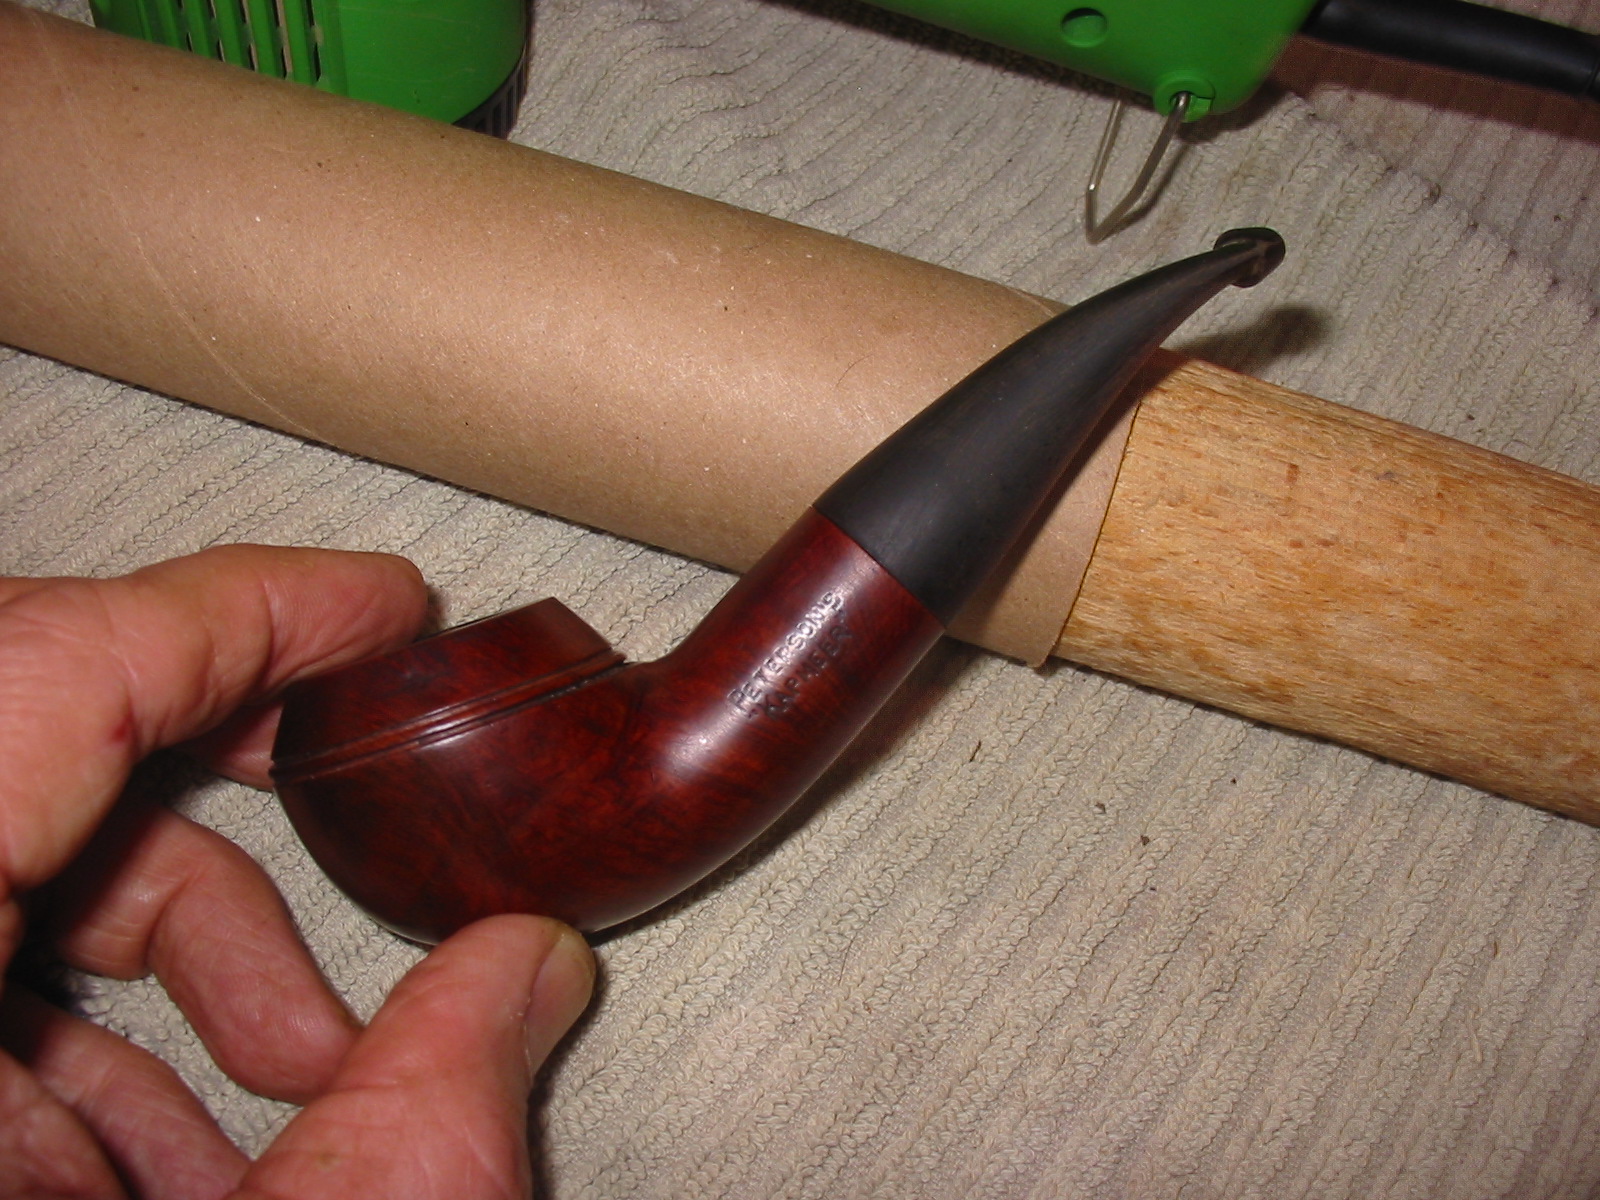
IMG_7262 IMG_7263 IMG_7264 IMG_7265When the stain had dried I buffed the bowl with White Diamond and then gave it a coating of carnauba wax to seal it and give it a shine. I had done enough of the early sanding on the stem by that point to set up a heat gun to heat and bend the stem. I held it over the heat until the stem was soft and then bent it over a rolling pin that I use for bending stems. I have a thick cardboard tube that I slide on the rolling pin to provide a softer surface than the old rolling pin when I am bending the heated vulcanite.

IMG_7268 IMG_7272 IMG_7273The photo above shows the first attempt at the bend in the stem. It was not bent enough to my liking so I reheated it and bent it again. Once the bend was correct I set it in cool water.

IMG_7276I took the pipe back to the worktable to sand the stem. I wet sanded with 1500-2400 grit micromesh sanding pads and dry sanded with 3200-12,000 grit pads. I rubbed the stem down between each of the three grits with Obsidian Oil and let it soak in before moving on to the next series of three grits.

IMG_7278 IMG_7279 IMG_7280I rubbed it down a final time with the Obsidian Oil and then buffed the pipe and stem with White Diamond on the wheel. I gave the pipe multiple coats of carnauba wax and between each coat buffed it with a soft flannel buff. The finished pipe is shown in the photos below. All that is left is to load a bowl of some aged Louisiana Red and enjoy a bowl.

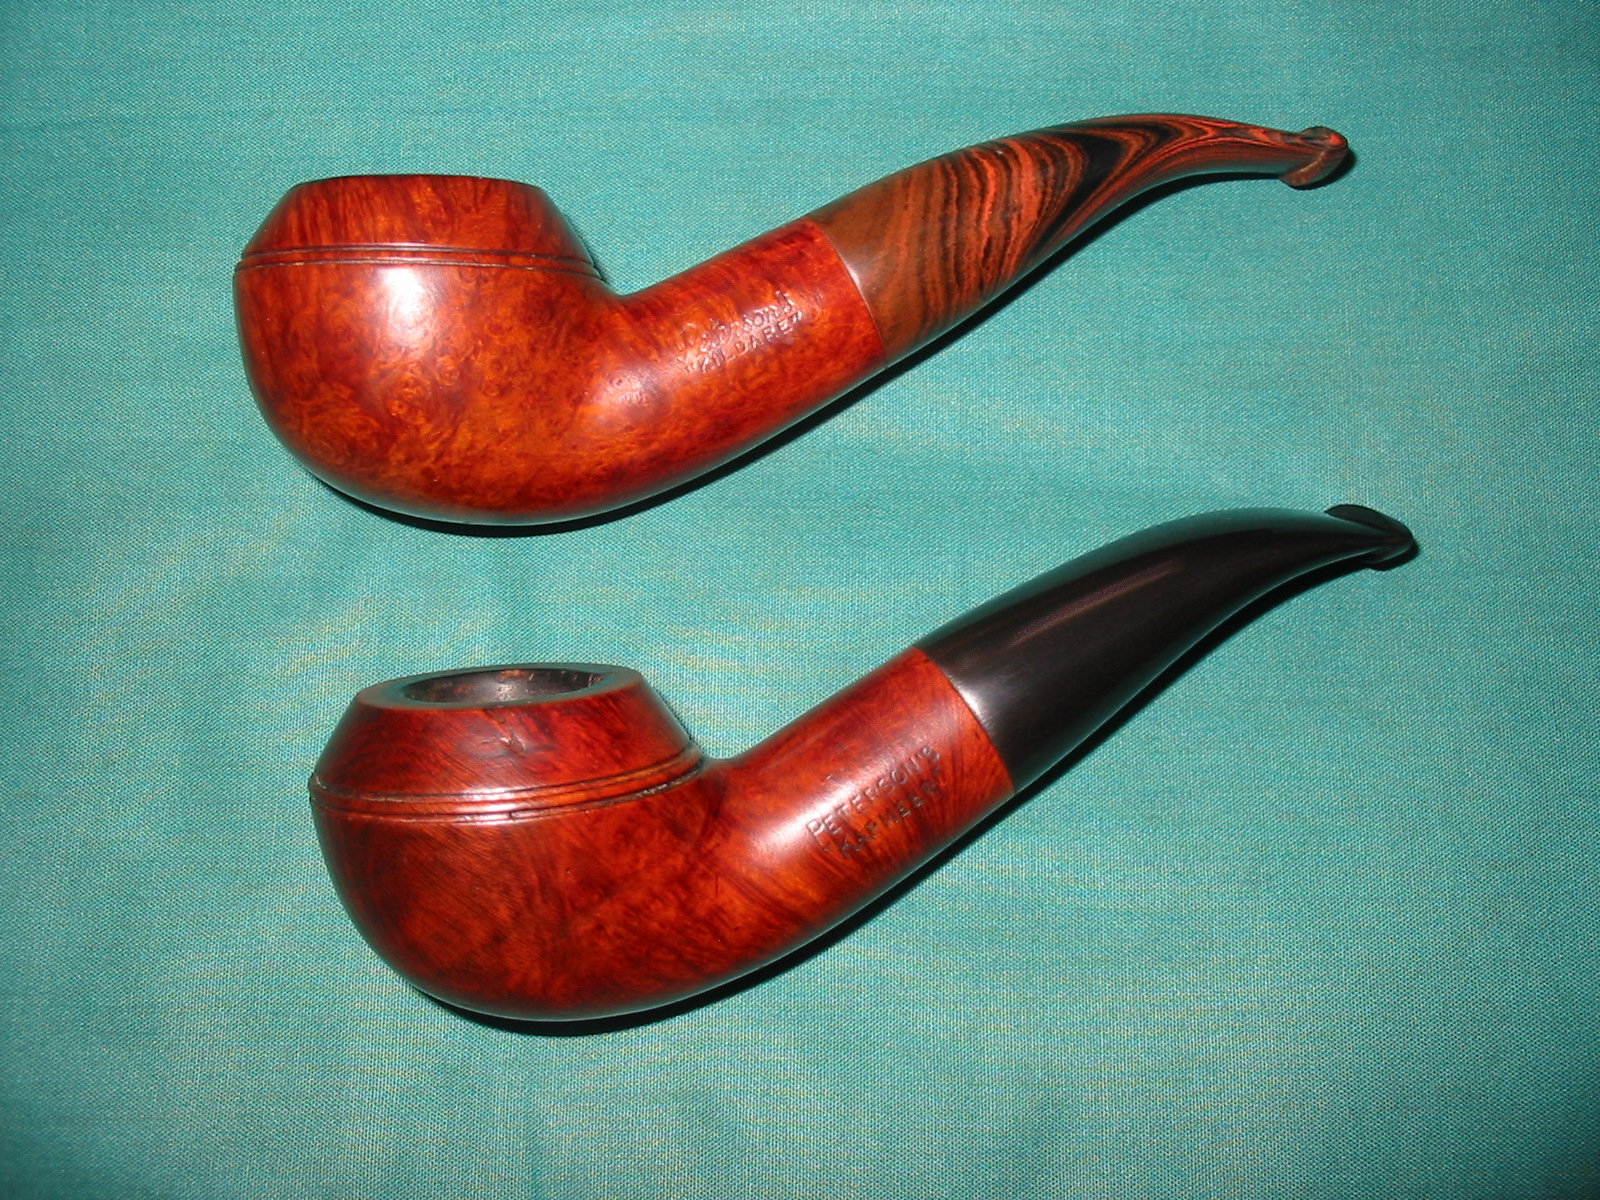
IMG_7281 IMG_7284 IMG_7285 IMG_7289For comparison sake, I have included a photo of the newly reworked KAPMEER with the earlier KILDARE that I restemmed from a piece of Cumberland rodstock that I purchased from Todd Bannard of Briar, Sweat and Tears Pipes http://www.briarsweatandtears.com/ . Todd cut the length and did the drilling and shaping on that piece before sending it to me to finish. As you can see both have the thicker old style shanks that are no longer used on Peterson 999 pipes. This pipe is the third one that I have from that earlier time period. It is the shape of the 999s that I favour.

IMG_7291

Resuscitating a Peterson Donegal Rocky 338 Bent Billiard


A few weeks ago one of the EBay sellers that I have bought several pipes from over the years had three Peterson bowls, sans stems listed for sale. They were in rough shape but I decided I wanted to give refurbishing them all a try. Besides one of them was a 999S and I love the 999 shape. That alone would have pushed me to make a bid on this lot. I ended up buying the threesome for more than I usually pay for pipe bowls but I figured it was worth the effort. This is the photo of the threesome from the sale listing.

The first of the three Peterson bowls is on the worktable at the moment. The finish was very rough on the pipe. It had built up grime in all of the grooves of the rustication. The inside of the bowl was caked almost to the top of the rim. The shank was one of the foulest things I think I have seen before. It was caked with oily tars from just inside the edge of the mortise to the bottom of the mortise. The rim was badly damaged with the front edge burned down lower than the rest. The rim was ragged looking and uneven all the way around. It looked to be solid though underneath the damage. The stamping on the underside of the shank said Petersons Donegal Rocky with the shape number 338. All the stamping is quite faint but still readable with a lens.
IMG_7098

IMG_7099
I cleaned and reamed the bowl. It is funny how short and easy that sounds but in this case that was not true. The cake in the bowl was like concrete and had totally closed off the bottom half of the bowl. The remaining top half had a slight slice to the airway but that effort was useless as the shank was completely clogged and no air could go through. I reamed as much of the bowl as I could with a PipNet reamer, not even getting as low as the airway. This stuff was very hard. I cleaned the shank with alcohol and cotton swabs. I tried to push a pipe cleaner through the clogged airway in the shank and was unable to get it to through. I decided to throw the bowl in an alcohol bath to soak for several hours to loosen things up.
IMG_7100

IMG_7111
When I took it out of the bath the alcohol soak had done its work. I was able to ream the rest of the way to the bottom of the bowl and completely remove the cake. I was able to push a wire through the airway and then cleaned out the airway and shank with cotton swabs and some assorted dental tools (thanks Joyal).
IMG_7112

IMG_7108
I scrubbed the rusticated finish of the bowl with Murphy’s Oil Soap and a tooth brush. I used a soft brass bristle brush to work on the rim and clean up the loose build up. Once I had scrubbed it I rinsed it with warm water. I dried it off and still had to do some more scrubbing. I cleaned the inside of the bowl and shank with the dental tools and cotton swabs and alcohol.
IMG_7125

IMG_7127
The rim was so badly damaged and uneven with the burned area that I topped it using the topping board and 220 grit sandpaper until it was flat.
IMG_7121

IMG_7123

IMG_7124
I went through my stem can and found a three inch long stem that was approximately the same shape and length as the original stem. I turned the tenon with the PIMO Tenon Turning tool and removed the castings on the sides and the end of the stem. I further shaped it with the Dremel and sanding drum.
IMG_7128

IMG_7129

IMG_7131

IMG_7132

IMG_7133
I wanted the top of the bowl to have the same rustication that it originally had before all the rim damage. It had a pattern that was similar to the rustication on the bowl itself. I looked on line to find photos of the rim of a Donegal Rocky that would be a pattern for me to copy. I put a dental bur that Joyal has given me on a Dremel tool and set the speed to a slow speed and used it to rusticate the rim to match the pattern in the photo of the bowl.
IMG_7134
I wiped the bowl down with a cotton pad and alcohol to clean off the dust from the rustication and then stained the whole bowl with a dark brown aniline stain. In the photos below the rim is obviously much lighter in colour than the rest of the bowl so it took five coats of stain before it matched the bowl. I applied the stain and flamed it with a lighter to set the stain repeatedly until the coverage was correct.
IMG_7135

IMG_7136
The brown was very dark and the original contrast look on the Donegal Rocky was not evident. I wiped the bowl down with acetone on cotton pads to lighten it and bring back some contrast to the rusticated finish. In the photos below the properly darkened rim is visible.
IMG_7137

IMG_7138

IMG_7139
I lightly buffed the bowl and rim with White Diamond and then applied some Halcyon II wax on both and then buffed with a soft flannel buff. I knew that I would have to wax it again once I had finished but I always put a coat of wax on the bowl to protect the finish when I give it a more thorough clean. I sanded the stem with 220 grit sandpaper to smooth out the casting marks and the Dremel marks. Once I had the initial sanding finished I decided to bend the stem. I heated it over a heat gun until it was pliable and bent it over and old rolling pin. I used a photo of 338 I found on the net as a template for the bend in the stem. I made the photo life sized and laid the pipe against the computer screen to match the bend. Once I had the bend correct the rest of the stem work could begin.
IMG_7140

IMG_7141

IMG_7142

IMG_7143

0003284_sterling-silver-338_430

IMG_7144

IMG_7145

IMG_7146

IMG_7147
I removed the stem from the bowl, stuffed cotton bolls in the bowl of the pipe and used an ear syringe to fill the bowl with isopropyl alcohol. I set the bowl in an old ice cube tray that keeps the bowl upright. I set the tray aside to let the alcohol sweeten the pipe and draw out the oils in the bowl and shank.
IMG_7149
Four hours later the alcohol had begun to pull out the tars and oils into the cotton.
IMG_7152
Twelve hours from the starting time, the cotton was a dark brown and most of the alcohol had evaporated. I pulled the cotton out of the bowls and wiped them dry with a cotton swab soaked in clean alcohol and they came out clean other than a little bit of the detritus that had collected in the bottom of the bowl. I swabbed out the shank and airway as well with pipe cleaners and cotton swabs dipped in alcohol and the shank was clean. The pipe smelled sweet and ready to smoke.
IMG_7153
I turned my attention to the stem and sanded it with a medium and a fine grit sanding sponge. It removed the majority of scratches from the surface of the stem left behind by the 220 grit sandpaper (I believe these sponges are equivalent to 400 and 600 grit wet dry sandpaper).
IMG_7154

IMG_7155
The rustication that I did on the top of the bowl rim is very clear in the next photo.
IMG_7156

IMG_7157
I sanded the stem with micromesh sanding pads – wet sanding with 1500-2400 grit pads and dry sanding with 3200-12,000 grit pads. Between each set of three grits I wiped the stem down with Obsidian Oil and let it soak into the vulcanite.
IMG_7160

IMG_7161

IMG_7162
When I had finished sanding with the 12,000 grit pad I rubbed it down with a final coat of Obsidian Oil and when it had dried buffed the stem with White Diamond and a Blue Plastic buffing compound. I then gave the stem multiple coats of carnauba wax, buffing with a soft flannel buff between coats. I waxed the bowl with Halcyon II wax and hand buffed it with a soft bristle shoe brush and a cotton buffing cloth. I used the 6000, 8000 and 12,000 grit micromesh pads to polish the nickel band and then gave it a buff with a silver polishing cloth. This old Peterson 338, that must have been an incredible smoke to have been smoked as hard as it was, is now ready to enter the next era of its life and provide the same kind of service to me. I look forward to smoking it later in the week once I am sure the alcohol in the bowl and shank has all evaporated. I have to tell you, I am looking forward to having a bowl in this old timer.
IMG_7163

IMG_7164

IMG_7165

IMG_7167

IMG_7166

Reworking a Peterson’s Kildare X105


I picked up this old pipe primarily for the shape. It has the chunky look I like in a pipe. The bowl has some nice grain on it and that was attractive as well. The stamping was too faint to read in the shop but when I got home with a bright light and a loupe I was able to see the stamping more clearly – though it is very faint. The left side of the shank says Peterson’s over Kildare and the right side says Made in England and the shape number of X105 (at least that is what the stamping of the number looks like). The pipe was in decent shape and would clean up quite nicely. The finish was not too bad though the previous restorer had given it a coat of varnish or something that was quite heavy. There were finger prints still in the varnish coat. The bowl was reamed and clean and the shank quite clean. The rim had some buildup that had been varnished over which gave it a damaged appearance. The stem seems like a replacement but I cannot be sure as the fit is very well done. It was in great shape with minimal oxidation and slight pitting on the surface of the vulcanite. There were not any tooth marks or chatter.
IMG_4342

IMG_4343

IMG_4344

I decided to remove the varnish coat (it seems like I have had to do that a lot lately with the pipes I am reworking for the pipe club). I wiped down the bowl with acetone and cotton pads until I had removed the varnish and the stain. I scrubbed the rim with the acetone and pads as well to remove the buildup under the varnish. It came of quite easily and turned out to be undamaged. There was a slight darkening of the rim on the left side toward the front but no damage to the area.
IMG_4345

IMG_4346

IMG_4347

IMG_4349

While I was working on it I remembered that I had picked up a Peterson sterling silver band that would probably fit this pipe very well. I dug it out of my box of bands and gave it a try on the shank. It fit perfectly on the shank. I like the look of the bling and the added perk of it being a Peterson stamped sterling silver band was bonus!
IMG_4350

IMG_4351

IMG_4352

I put wood glue on the shank to anchor the band (no repairs were necessary and the band was purely adornment) and pressed the band into place. I rotated it so that the Peterson engraving was on the top of the shank.
IMG_4353

I stained the bowl with MinWax Medium Walnut and Red Mahogany stain to get a reddish brown tint to the briar. I rubbed it on the pipe and then off again. I did the same with both colours. When it was dry I hand buffed it with a soft cotton cloth.
IMG_4357

IMG_4358

IMG_4359

IMG_4360

The stem was lightly oxidized and slightly pitted so I decided to work it over with the micromesh sanding pads. I used the usual method I have developed as a habit over the years and wet sanded with 1500-2400 grit pads and dry sanded with 3200-12,000 grit pads. I buffed the stem with White Diamond and rubbed in some Obsidian Oil to preserve the vulcanite.
IMG_4362

IMG_4363

IMG_4364

When the stem was done I reinserted it into the shank and buffed the entire pipe with White Diamond. I avoided buffing the silver as I find that it darkens the wheels and also the wood and vulcanite on both sides of the band. So once I had finished buffing the pipe I gave it multiple coats of carnauba wax and then buffed it with a clean flannel buff. I took it back to the work table and polished the silver band with a jeweler’s cloth and then applied some wax on the band to slow down the oxidation of the silver. The finished pipe is pictured below. I also have included a picture of the finished rim to show the cleanup results. The pipe is cleaned and ready to be smoked. The addition of the silver band worked well in my opinion and I like the finished look of the old timer quite a bit.
IMG_4365

IMG_4366

IMG_4367

IMG_4368

IMG_4369

A Peterson Dating Guide; a Rule of Thumb – Mike Leverette


Blog by Mike Leverette

Many years ago now, Mike Leverette sent me a copy of this document. I have had it on the hard drive since sometime late in 2006. I am sure there are newer iterations of the material but I have found this little piece very helpful. I am looking forward with expectation to the book that is being worked on now by Mark Irwin and others. It will certainly be a definitive work on Peterson Pipes. Until then I use the Peterson forum and refer to this article by Mike.

A Peterson Dating Guide; a Rule of Thumb

This guide first appeared in pipelore.net on August 26, 2006 by: Mike Leverette

Introduction

The history of Ireland is an old and honorable one; steeped in warfare, family, racial and religious traditions. No other country can compete in comparison. However, the first couple of millennia of Irish history have no relevance to this dating guide. Should you wish to read more on the history of the Irish, I recommend “The Story of the Irish Race” by Seumas MacManus who gives a very vivid, and near as we can tell an accurate portrayal of their history.

History pertinent to our purposes began in the year 1865; the year Charles Peterson opened a small tobacco shop in Dublin. Later in 1875, Charles Peterson approached the Kapp brothers, Fredrich and Heinrich, with a new pipe design and with this, a very long-lived partnership was formed, Kapp & Peterson. This new pipe design is the now famous Peterson Patented System Smoking Pipe. By 1890, Kapp & Peterson was the most respected pipe and tobacco manufacturer in Ireland and rapidly gaining followers in England and America. In 1898 another of Peterson’s remarkable inventions became available, the Peterson-Lip (P-Lip) mouthpiece, also known as the Steck mouthpiece. So for the purpose of this dating guide, we will study Irish history, relevant to our pipe dating needs, from 1870s until now.
Before we start with this Peterson dating guide, an observation; the Kapp Brothers were making pipes as early as the 1850s and in many of the shapes we now associate with Peterson since the Kapp Brothers simply took their existing shapes and incorporated Charles Peterson’ s patented design into them. From their inception, Kapp & Peterson’s goal was to make a good smoking pipe that the ordinary, common working man could afford and we believe they have, very admirably, lived up to this.

Explanation of Title

The vagaries of Peterson’s processes do not allow for an accurate dating guide so this guide is a ‘rule-of-thumb’ guide only. For example; Peterson did not take up the old Country of Manufacture stamps as new ones were issued so depending on which one the various workers happen to pick up, the stamps can and do cross over the boundaries of the various Eras. Some of the pipes of the Sherlock Holmes Series of the 1980s have pre-Republic stamps, as well as other pipes produced in 2000. However, there will not be too many of these missed stamped pipes. For silver anomalies, see the section on silver marks.

Stamping of Bowls

During the years of Kapp and Peterson’s business operations, the country of Ireland has undergone several name changes and K&P’s stamping on their pipes reflects these changes. Knowing these changes, a Peterson pipe can be roughly dated and placed in “eras.”
• The Patent Era was between the years of K&P’s formation until the expiration of the patent; 1875 through approximately 1910. Though for our purposes we will list this era as 1875 through 1922. Peterson pipes made during the majority of this period had no “Country of Manufacture” (COM) stamped on them. However, later in this period, say around 1915/16, Peterson began stamping their pipes “Made in Ireland” in a block format.
• The Irish Free State was formed on 15 January 1922. So the Free State Era will be from 1922 through 1937. Peterson followed with a COM stamp of “Irish Free State” in either one or two lines, either parallel or perpendicular to the shanks axis and extremely close to the stem.
• Eire was formed on 29 December 1937. The Made in Eire Era will be from 1938 through roughly 1940? or 1941?. For dates with ?’s, see below. Peterson now stamped their pipes with “Made in Eire” in a circle format with “Made” and “Eire” in a circle with the “in” located in the center of the circle. This COM was used during the years of 1938 – 1940?/41?. Later they stamped their pipes with “Made in Ireland” in a circle format (1945?-1947?) and still later with “Made in Ireland” in a block format (1947?-1949). The “Made in Ireland” block format came in either one line or two lines.
• The Republic Era is from 1949 until the present. The Republic of Ireland was formed on 17 April 1949. From 1949 to present the stamp for this era is “Made in the Republic of Ireland” in a block format generally in three lines but two lines have been used with or without Republic being abbreviated.
•English made Peterson pipes actually spans between the pre-Republic and Republic eras. In 1895, Peterson opened a shop in London England that lasted until the late 1950s or early 1960s. So the English Era, for a simplified date, will be from 1895 through 1959. The stamps Peterson used in London and that we have seen are:
Made in England – block format
Made in England – circle format
Made in London
Made in London England
Simply, London England
Great Britain

Though there are a couple of more, the above will give one the general idea. We believe the earliest stamp of this era was the “Made in England” in a block format since Peterson was using the “Made in Ireland” block format at about the same time on their Irish production pipes. The “Made in England” circle format was used during the same time frame as the “Made in Eire” and “Made in Ireland” circle formats.

As one can see this is pretty straightforward but there have been inconsistencies within this method of stamping. Peterson was never very energetic in removing their old stamps from the work stations so the older stamps can and did cross-over into the newer Era’s.

The explanation for the question marks in the 1940’s dates is, during the Second World War briar was hard to come by for obvious reasons, so no one can say for sure what years Peterson produced briar pipes and how many briar pipes were produced in those years. Why the switch from “Made in Eire” to “Made in Ireland” is anyone’s guess since the country was still technically Eire until 1949. As a point of interest and due to the shortage of briar, Peterson did make clay and Bog Oak pipes during the war years though they had ceased clay pipe production in the Patent Era and Bog Oak production back in the early 1930s.

P1 The “Made in Ireland” block format (above) can be another headache in dating Peterson pipes since this stamp was used in the late Patent Era as well as the late 1940s. So for a guide we must take into consideration the style of lettering Peterson used on their pipes. From the start of the Patent Era until somewhere in the early 1930s, Peterson used the “Old Style” lettering that used a forked tail “P” in Peterson.

P2From then until now, Peterson used the more familiar script “P” (above) intermixed with a plain block letter “P.” Later in the 1970s, Peterson began production of “commemorative” pipes, often referred to as “replica” or “retro” pipes and these will also have the old style lettering but according to the pipes that we own and have seen, most of these will have a small difference in the original forked tail “P”. Again, there appears to be a cross-over with the old style forked tail and the later forked tail P’s(below). However, these commemorative pipes generally have a silver band with hallmarks so one can date these pipes by the hallmark.

P3Also, we must address the stamp “A Peterson Product.” During the last few years of the Pre-Republic era and throughout the Republic era, Peterson began stamping their other lines, such as Shamrocks and Killarneys, with “A Peterson Product” over the COM stamp. So a pipe stamped thusly will have been made say from 1948 to the present with the COM stamp identifying it as a pre-Republic or a Republic pipe.

Silver Band Dating

Silver hallmarks are placed on the silver after an assay office, in Peterson’s case, the Dublin Assay Office, has verified that the silver content is indeed sterling, in other words 925 parts of silver per 1000 parts of the metal. The silver hallmarks on Peterson pipes are a group of three marks, each in an escutcheon; the first is a seated Hibernia denoting Dublin Ireland, the second is a harp denoting the silver fineness, and the third is a letter denoting the year. The style of letter and the shape of the escutcheon the letter is in, will determine the year in which the assay office stamped the metal band and not necessarily the year the pipe was made. Peterson orders these bands by the thousands and sends them to the assay office for hallmarking. The assay office will stamp the date of the year in which they received the bands and it may be a year or two or three before Peterson’s employees happen to place one of these bands on a pipe though generally the bands are placed on a pipe in the year they were stamped. The Dublin hallmarks can be found in any book on silver markings or on one of several websites.

For the one year, 1987, the Dublin Assay Office added a fourth mark to commemorate the City of Dublin’s founding in 988. However, the Peterson pipes we have and have seen with silver dates of 1987 and 1988 generally do not have this fourth mark.

Here again, we must add a “maybe” to the above hallmarks. On 1 June 1976, certain countries attended an international conference on silver markings and decided to adopt an entirely different mark for sterling silver. This mark is an Arabian numeral, 925, located between the scales of a balance beam and in Peterson’s case may or may not have the Hibernia and Harp marks to either side. These particular pipes can only be said to date between 1976 and the present, and were stamped as such for shipment to the different countries involved in the conference. For pipes shipped to all other countries, Peterson still uses the old style hallmarks. Peterson pipes with a sterling silver band that does not have hallmarks could have been made for the United States market since the United States only requires sterling silver to be stamped “sterling silver” or “sterling.”

Before we close this section on silver hallmarks, we must address the marks that many people refer to as hallmarks. Peterson uses three marks on some of their pipes that are not silver hallmarks but are rather another Peterson logo (below). These marks are:
• A Shamrock for the many shamrocks found in Ireland
• A Prone Fox representing the famous fox hunts in Ireland’s history, and
• A Stone Tower for the many hundreds of stone towers spotted throughout Ireland
P4 Again these are not genuine silver hallmarks: Also many of the newer pipe smokers think that Kapp & Peterson’s official logo of “K&P,” each in a shield shaped escutcheon, are hallmarks but, of course, they are not. They are simply Kapp & Peterson’s initials.

Dating by Series

Dating by series or numbers is an area in which we are having a difficult time of establishing. For instance, the 300 series are all shapes used during the Patent Era and we believe Peterson started using this number system when the original patent expired. In the case of the 300 series and without looking at the COM stamp or silver hallmark, one can only say that they were made between 1910 and today. The 300 series was not in Peterson’s 1905 catalogue.

Though we are still trying to find the start dates of many series, here are some that we are pretty positive about:
• Centennial Edition – 1975 (for K&P’s Centennial)
• Great Explorers Series – 2002
• Harp Series – 2002
• Mark Twain Numbered Edition – 1979 (numbered 1 through 400)
• Mark Twain 2nd Numbered Edition – 1981 (numbered 1 through 1000) Mark Twain Un-numbered Edition – 1983 to c1989 (There must be a fourth production of Mark Twain pipes for there a couple of men who own Mark Twain pipes with a silver date of 1998; we are still trying to pin down the dates of this fourth production.)
• Emerald – c1985 to 2003
• Millennium Edition – 1988 (for the City of Dublin’s founding)
• Sherlock Holmes Series – 1987 to c1989
• Return of Sherlock Holmes Series – c1991
• Sherlock Holmes Meerschaums – 2006

Peterson Clay, Bog Oak and Cherry Wood Pipes
Peterson Clay, Bog Oak and Cherry Wood pipes were offered in the Patent Era with or without a formed case, as also offered with their briar and meerschaum pipes.

Peterson made clay pipes during the Patent Era with only two shapes being offered and depicted in their 1905 catalogue. During this period their clay pipes were stamped/molded “Peterson Patent” and could be purchased with either a silver or nickel band. How long and in what years Peterson made these clays is not known but as stated above two shapes were offered in their 1905 catalogue. Then during World War II, Peterson again made clay pipes due to the understandable shortage of briar. The clays of this period are stamped “Peterson System” and were only offered with nickel bands. This later production of clay pipes ended with the closing of Peterson’s London Shop in the late 1950s or early 1960s.

Also during World War II, Peterson again made bog oak pipes and again, this was due to the shortage of briar. They had previously ceased production of bog oak pipes in the 1930s during the Irish Free State Era. On the subject of bog oak pipes, Peterson’s bog oaks will always have a metal band with either amber (early production only) or vulcanite stems and will have the appropriate COM stamp. As with their clay pipes, Peterson offered a silver or nickel band on their early bog oak pipes of the Patent Era and just a nickel band on their WWII bog oak pipes.

Peterson made pipes of cherry wood during their Patent Era in both the smooth finish and the bark-left-on finish; and as with their clay pipes, Peterson used both amber and vulcanite stems and choice of silver or nickel bands. And like their clay pipes of the Patent Era, the introduction and termination dates are not known. Peterson Cherry Wood pipes were offered with or without a meerschaum lining.

Metal Ferrules of Military Mounted Pipes

As pipes get older, wear will, with all the handling, cleaning and polishing, take its toll on the nomenclature which will eventually disappear, thus, making it harder to determine the age of your Peterson. A good thorough cleaning of old hand oils, dirt and ash will sometimes bring out a faint outline of the nomenclature but sometimes the nomenclature has completely worn away and even this cleaning will not bring it back. So where do we go from here to determine the pipe’s age? The shape of the metal ferrule on Peterson pipes with the military mount will give you some hint though not a precise date.

During the Patent Era, the metal ferrules of Peterson military mounts will have a more ‘acorn-ish’ shape, that is, the bend will have a larger radius as it turns down to meet the stem. This larger radius gradually(?) changes to a smaller radius, more abrupt bend, during the Irish Free State Era and even more abruptly after World War Two when the bend takes on the modern day shape.

The metal ferrules on Peterson clay pipes during the Patent Era are angular while their clay pipes of World War Two will have the bend shape as do most of the Peterson pipes from then until now.

As with everything pertaining to the dating of Peterson pipes, this method can only give us a hint to the age of the pipe but it is better than nothing at all. The years of these changes in the metal ferrule shape are, we are sure, lost to the ages. However, someone with a larger number of Peterson pipes than we may be able to check the silver dates for more precise age boundaries. Well, this is a very short dating guide and we hope that you will be able to date more accurately your favorite Peterson with this information.

When Mike sent this to me it had the following addition at the bottom of the page:
This guide was first posted in Pipe Lore on August 26, 2006 by Mike Leverette. Should you have a correction or addition to any of the above, please do comment.

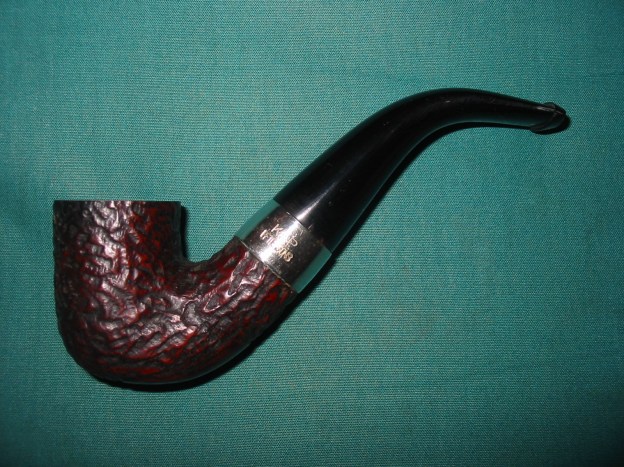
A Peterson Pipe Finds Its Way Home


I don’t think I have ever had a pipe I gave a way or sold come back to me years later. Usually they are gone from my radar. I have a record of the pipes I have sold but rarely record the ones I give away. They are gifts and as such the moment they leave my hand they are no longer on my radar. There has been times when I wished they would come home but never truly expected it to happen. That is until yesterday!

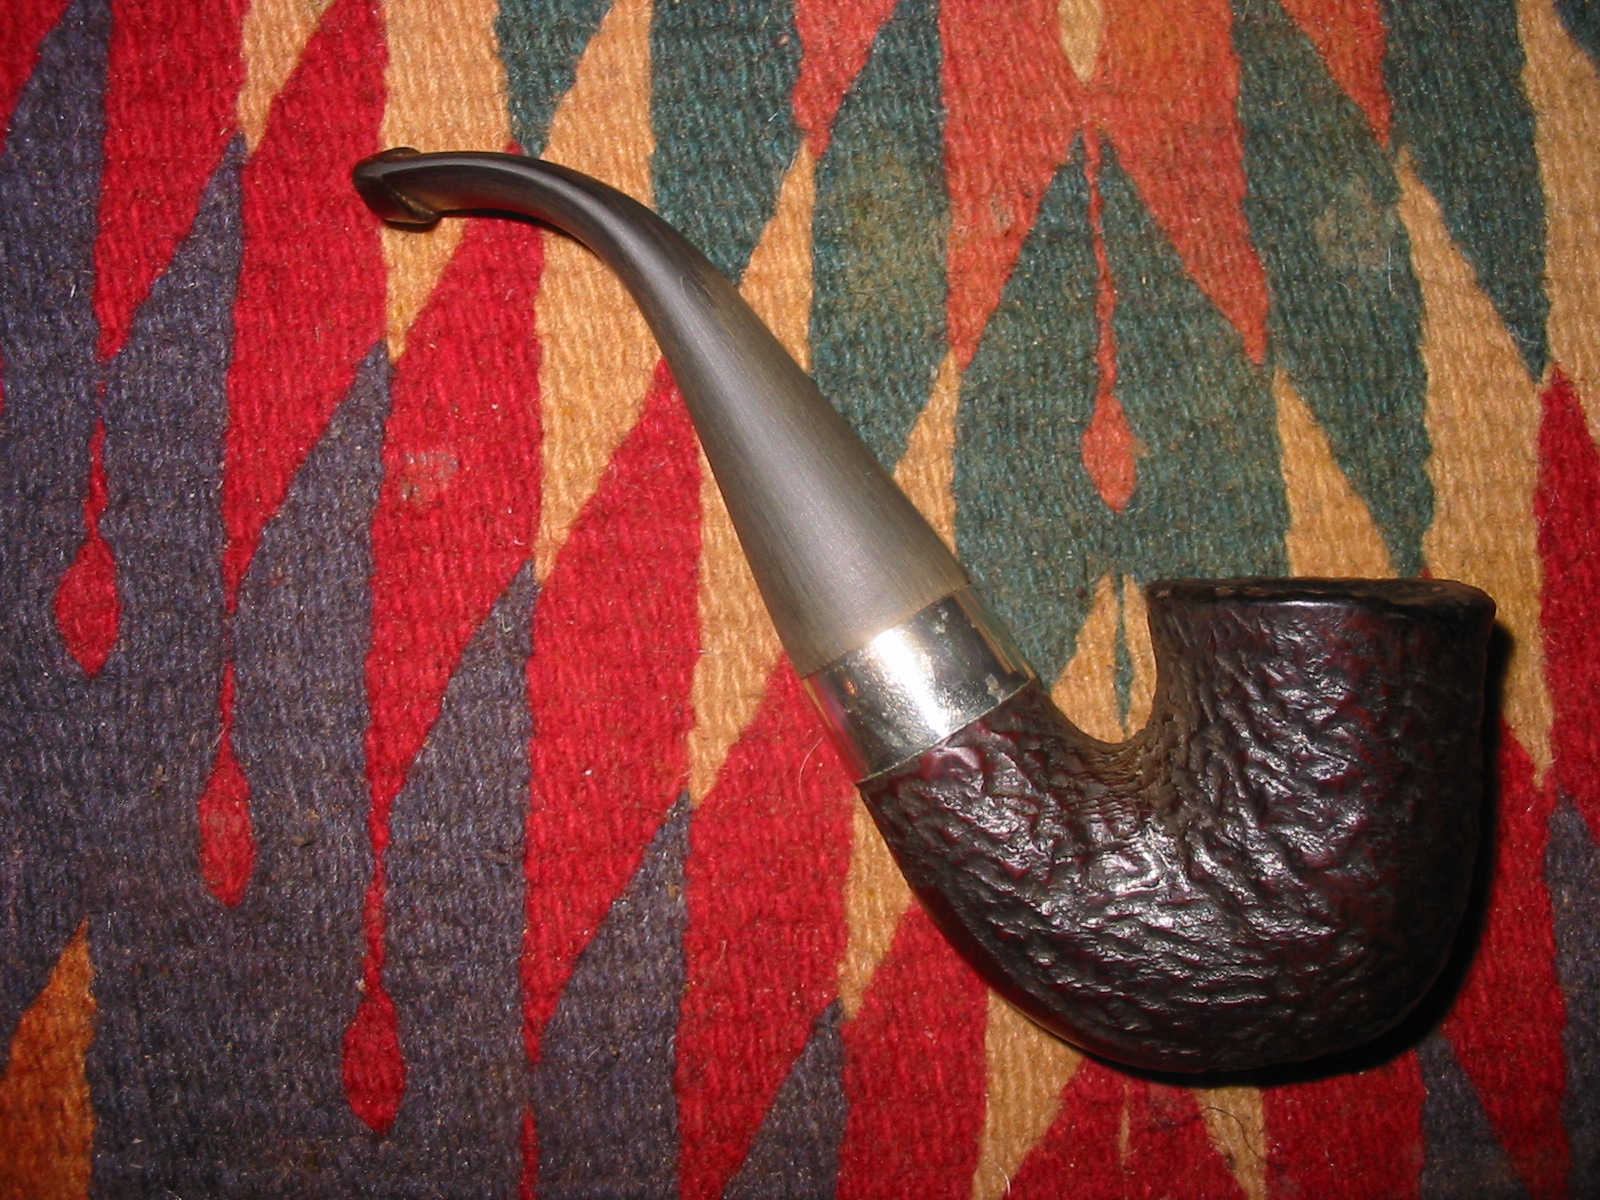
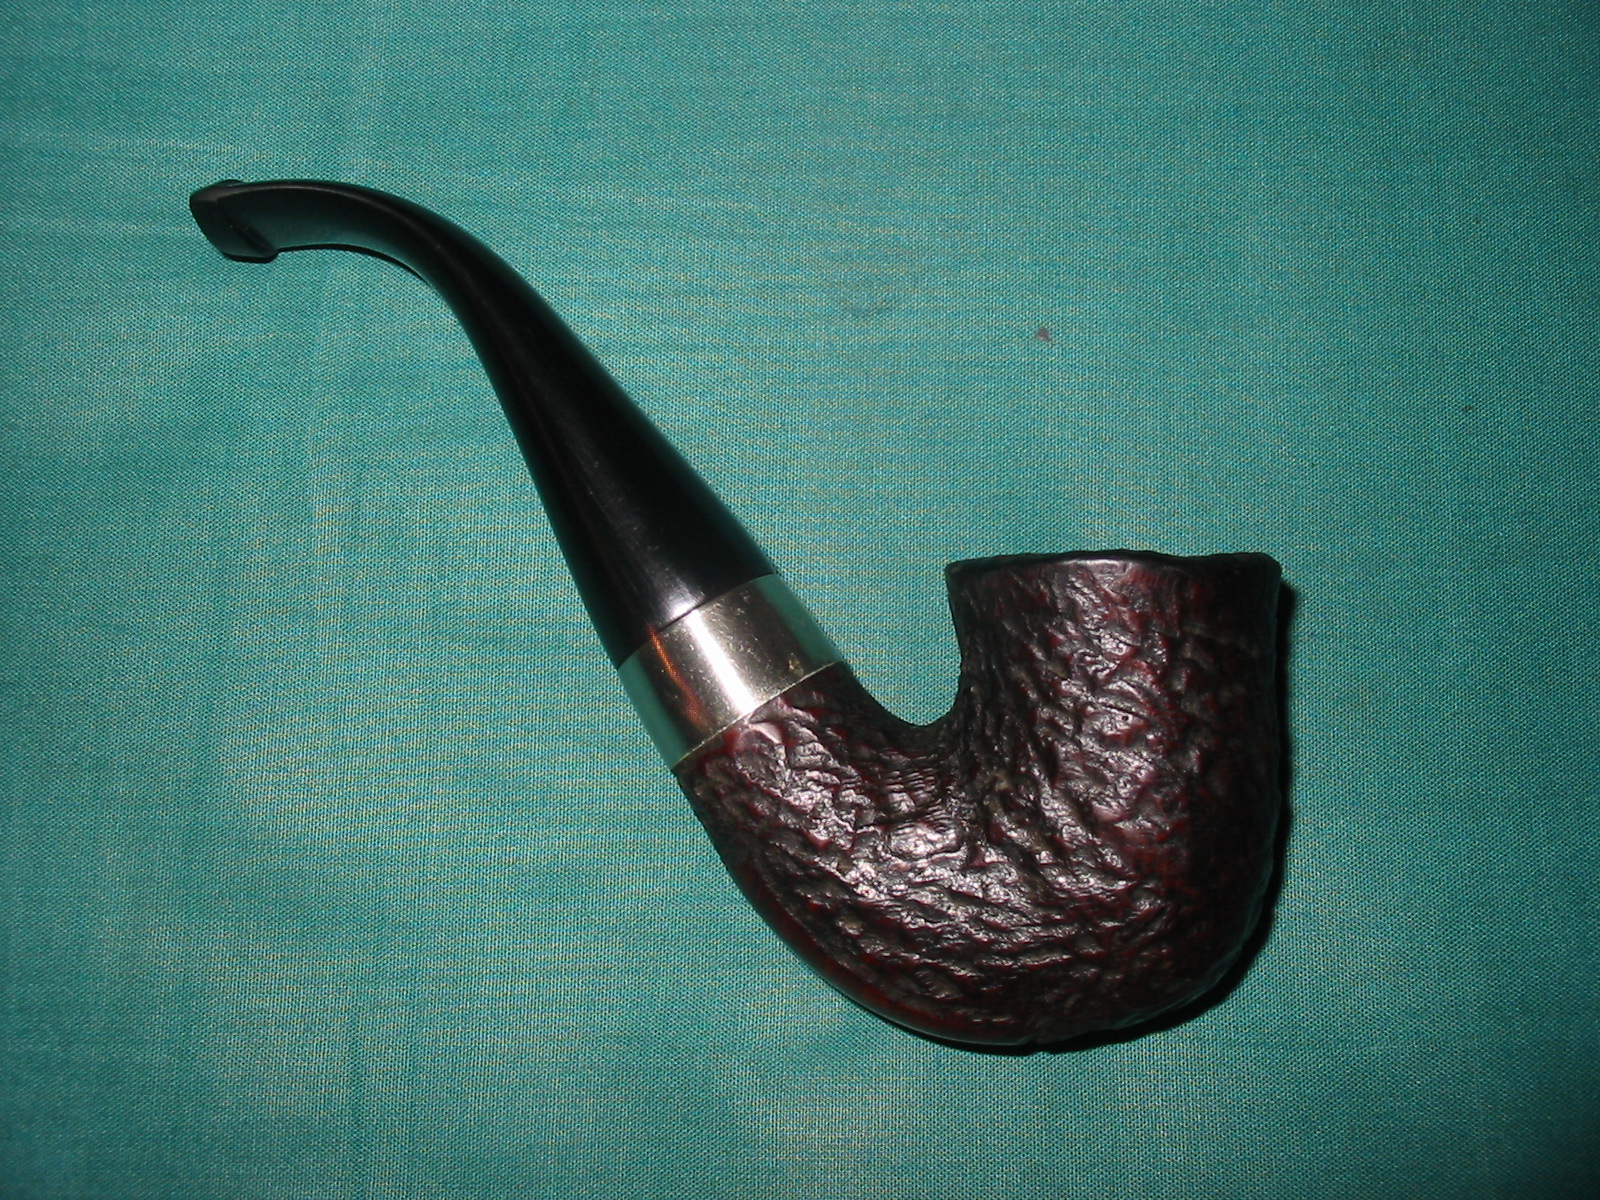
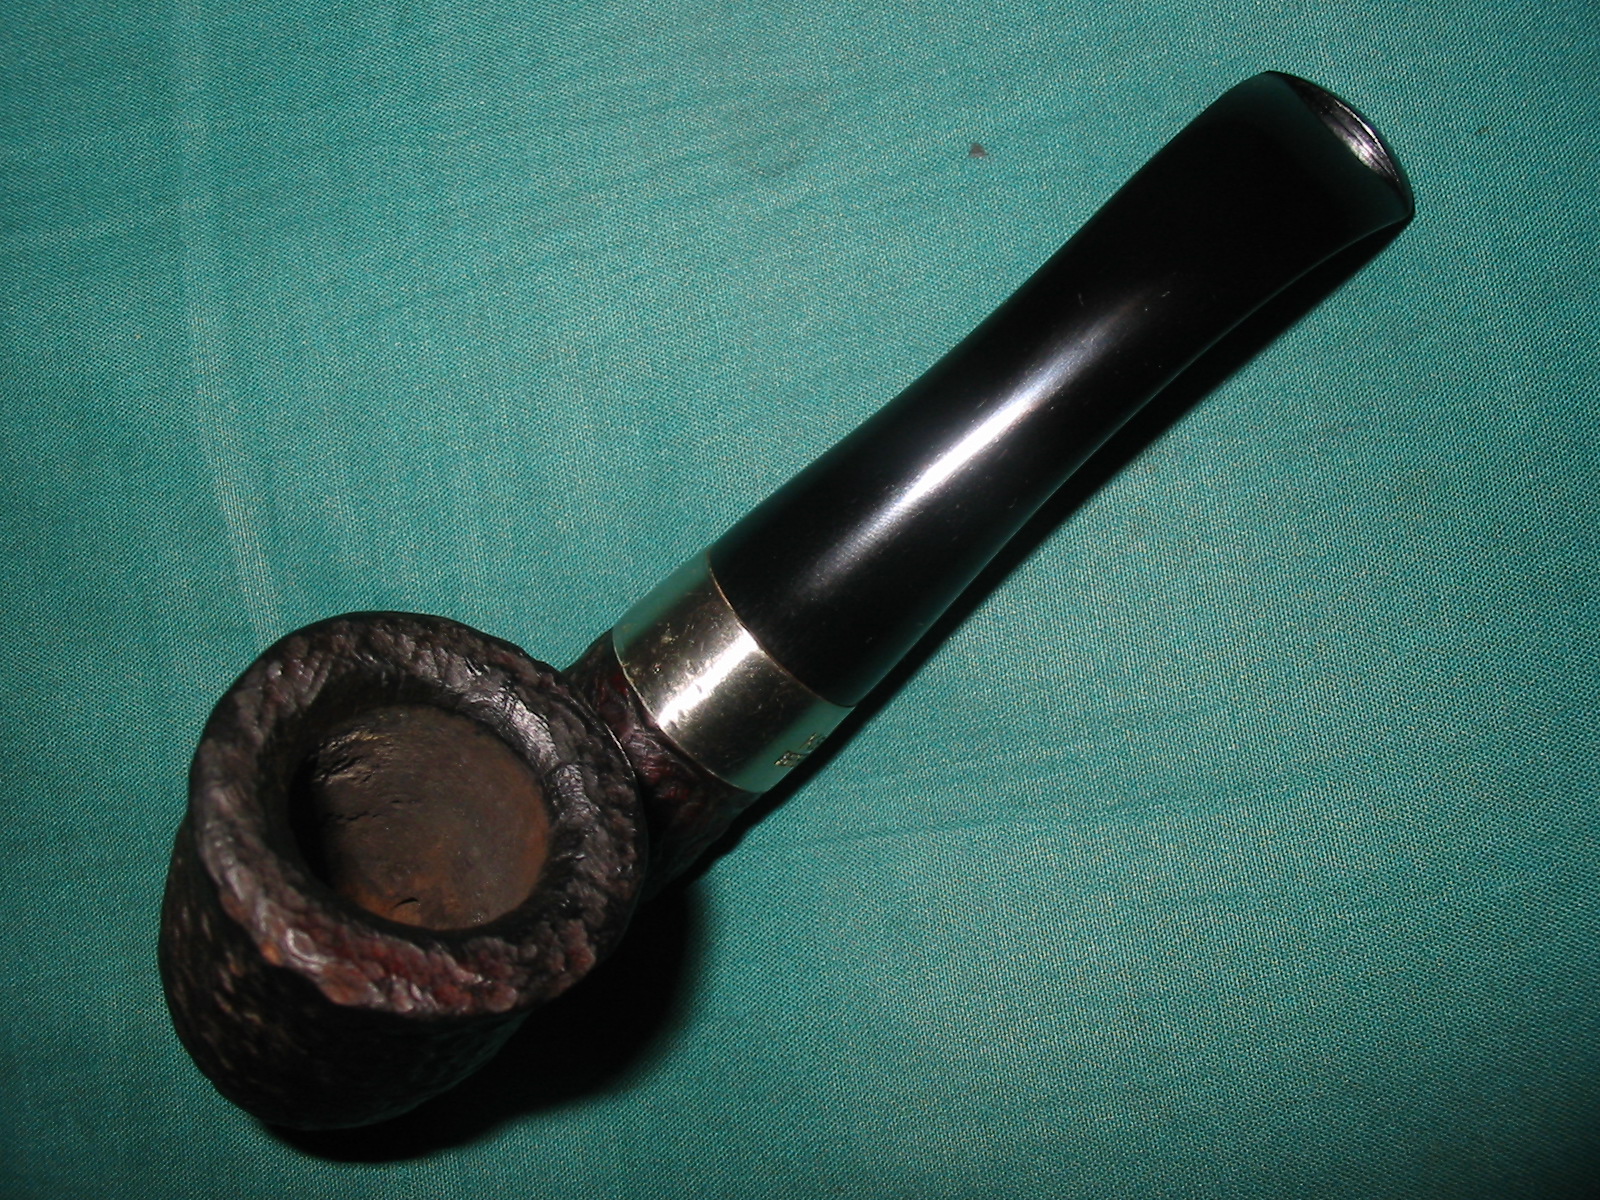
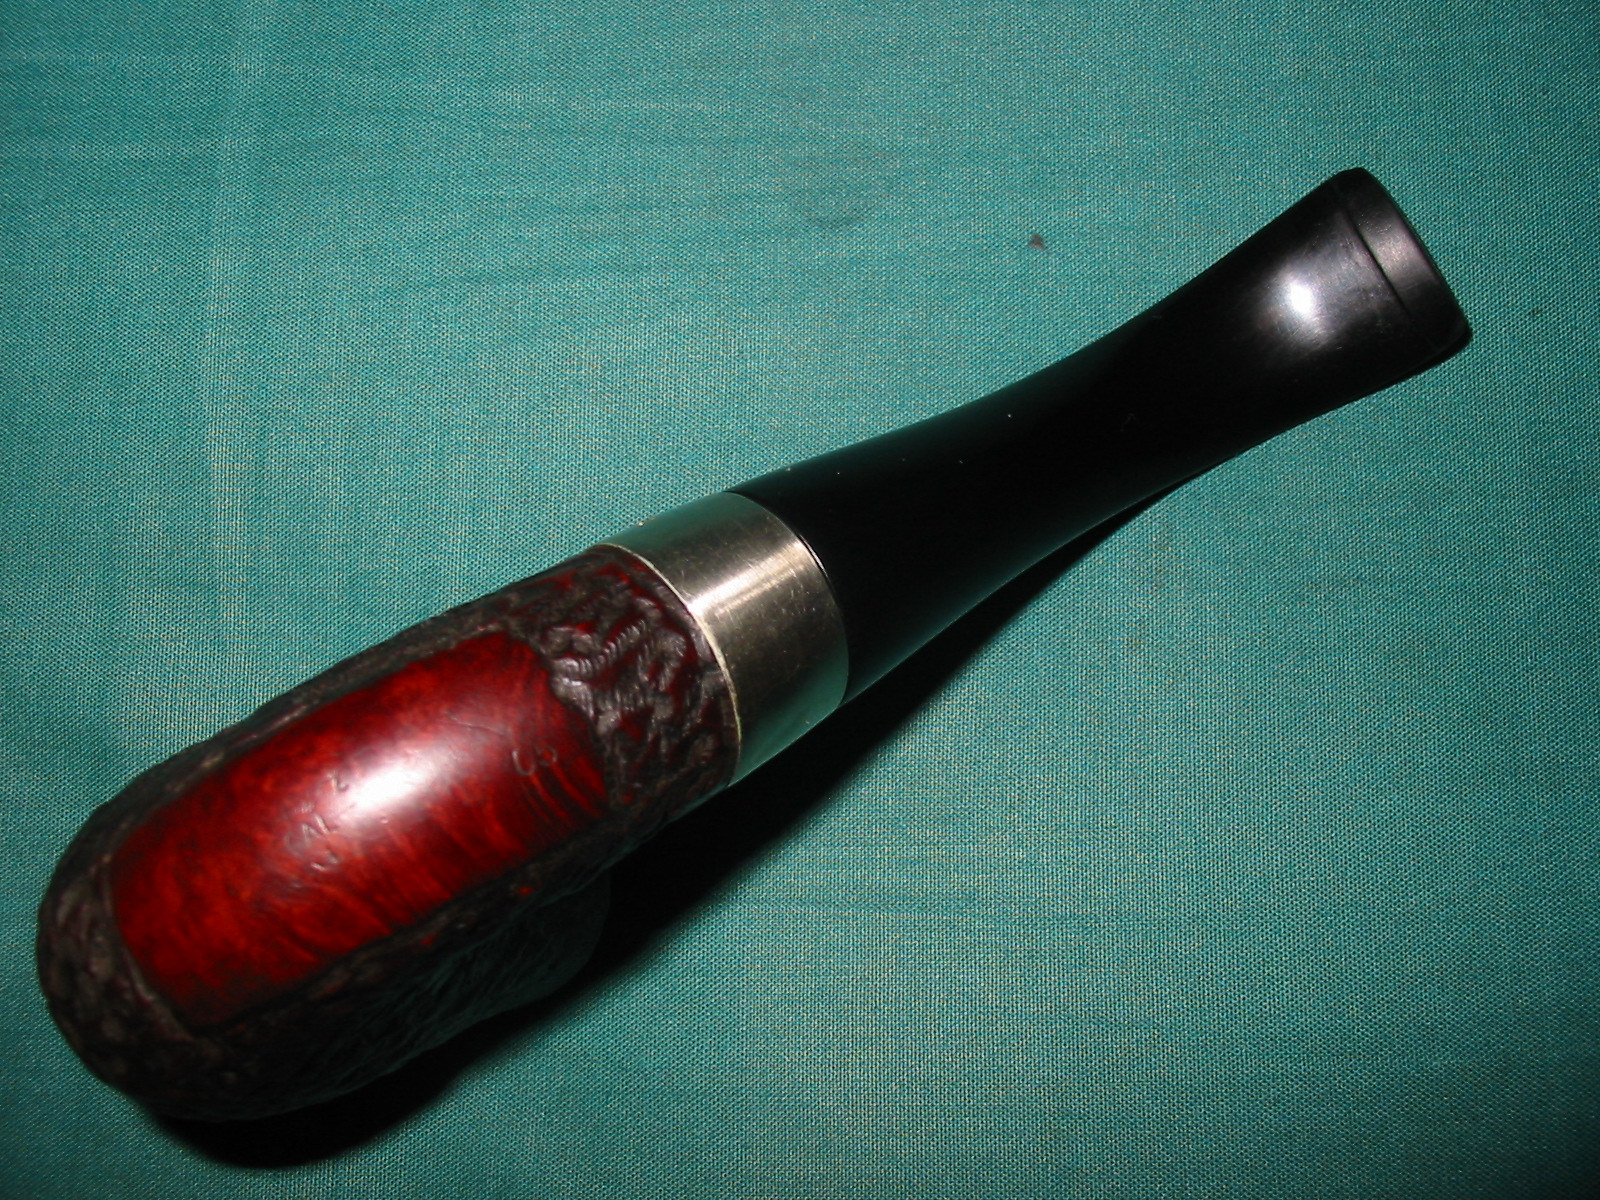
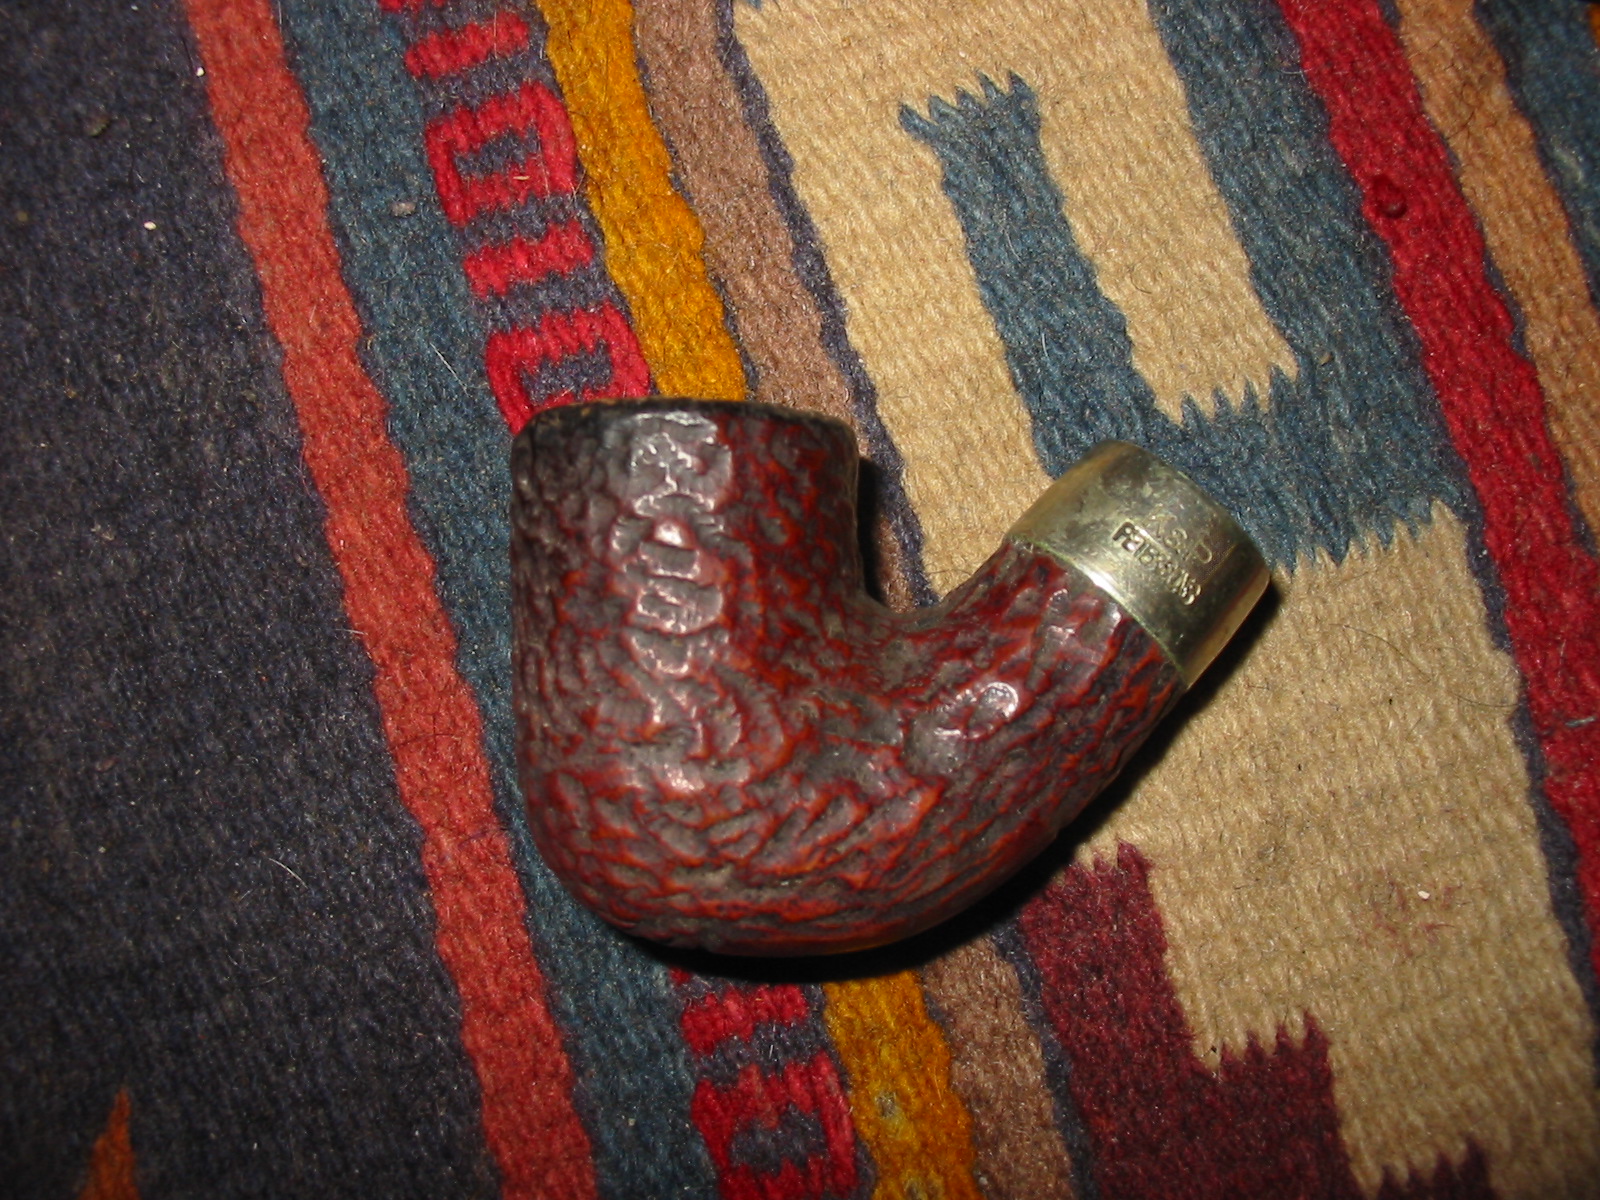
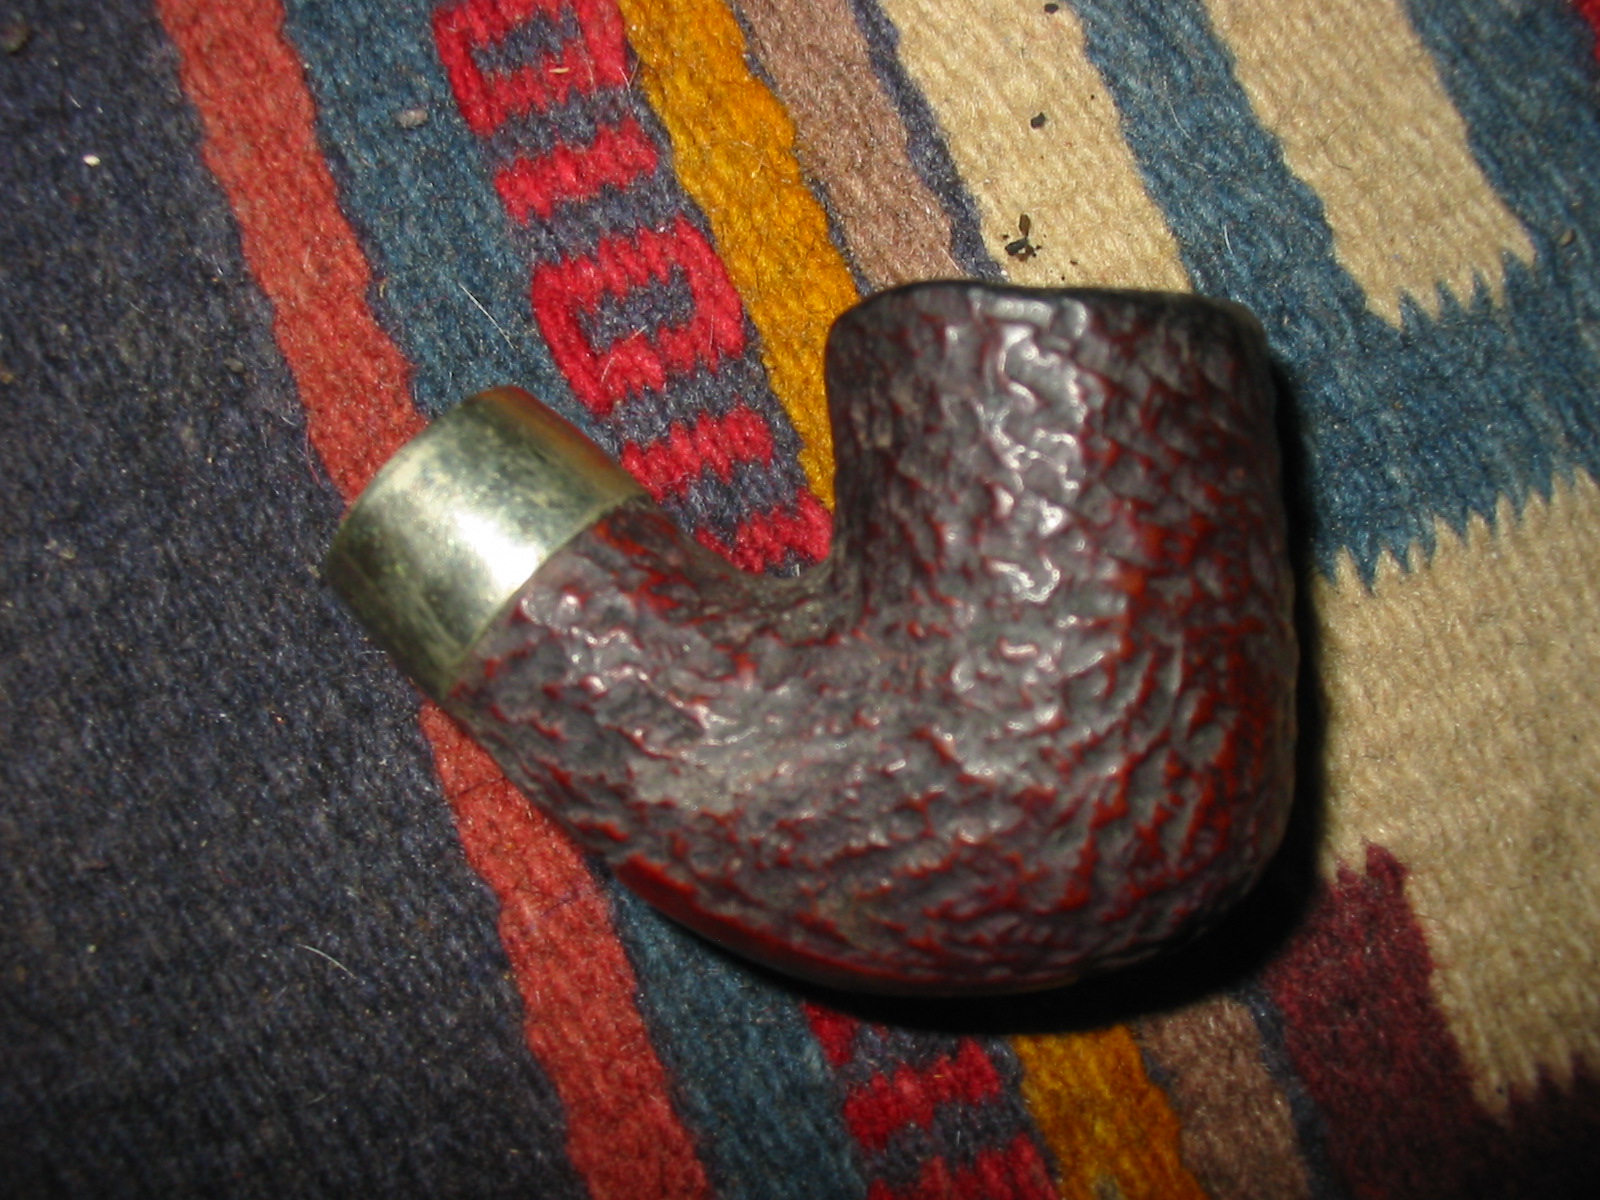
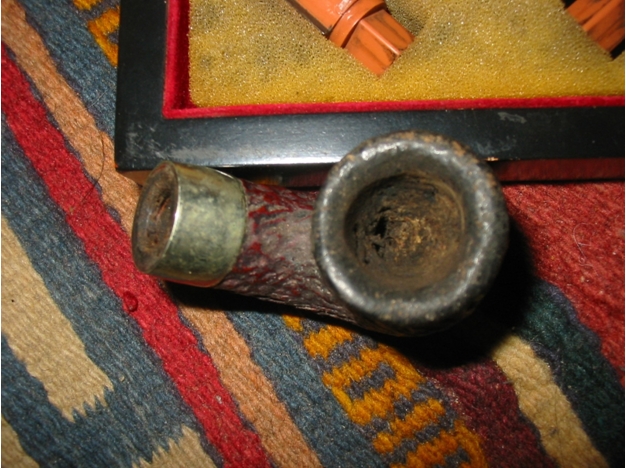
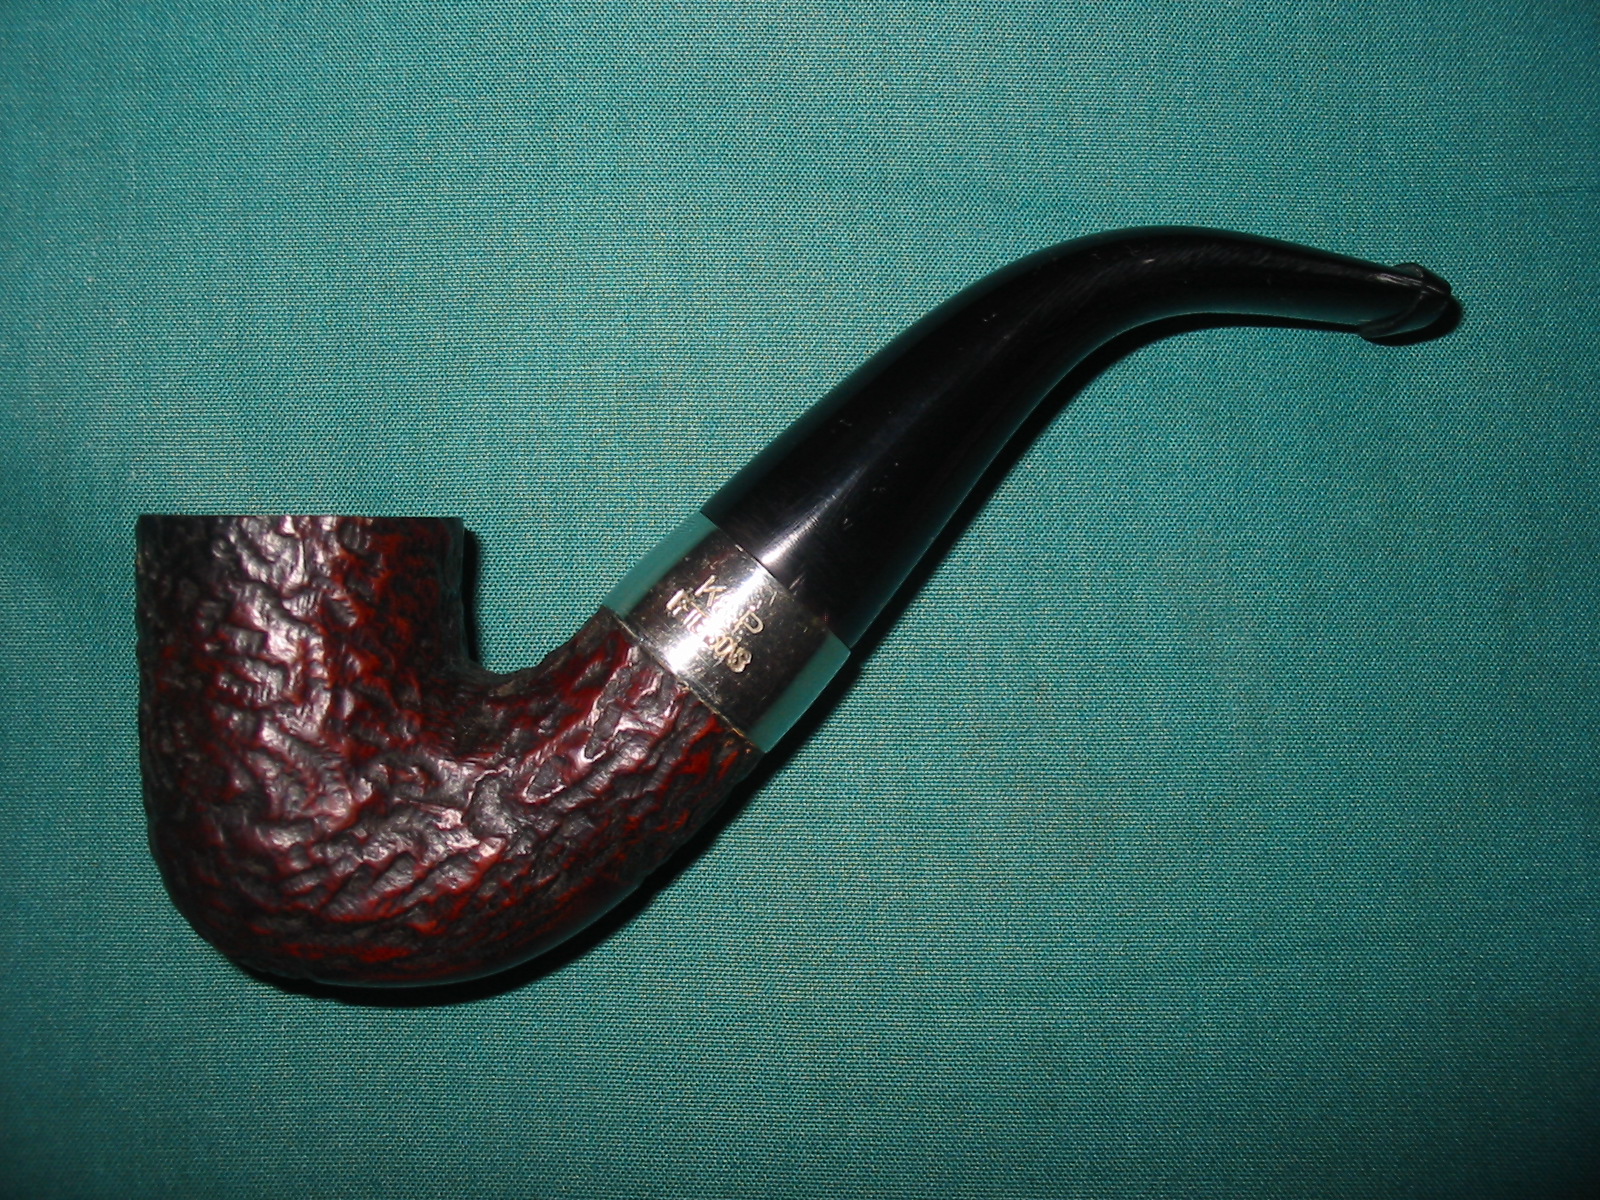
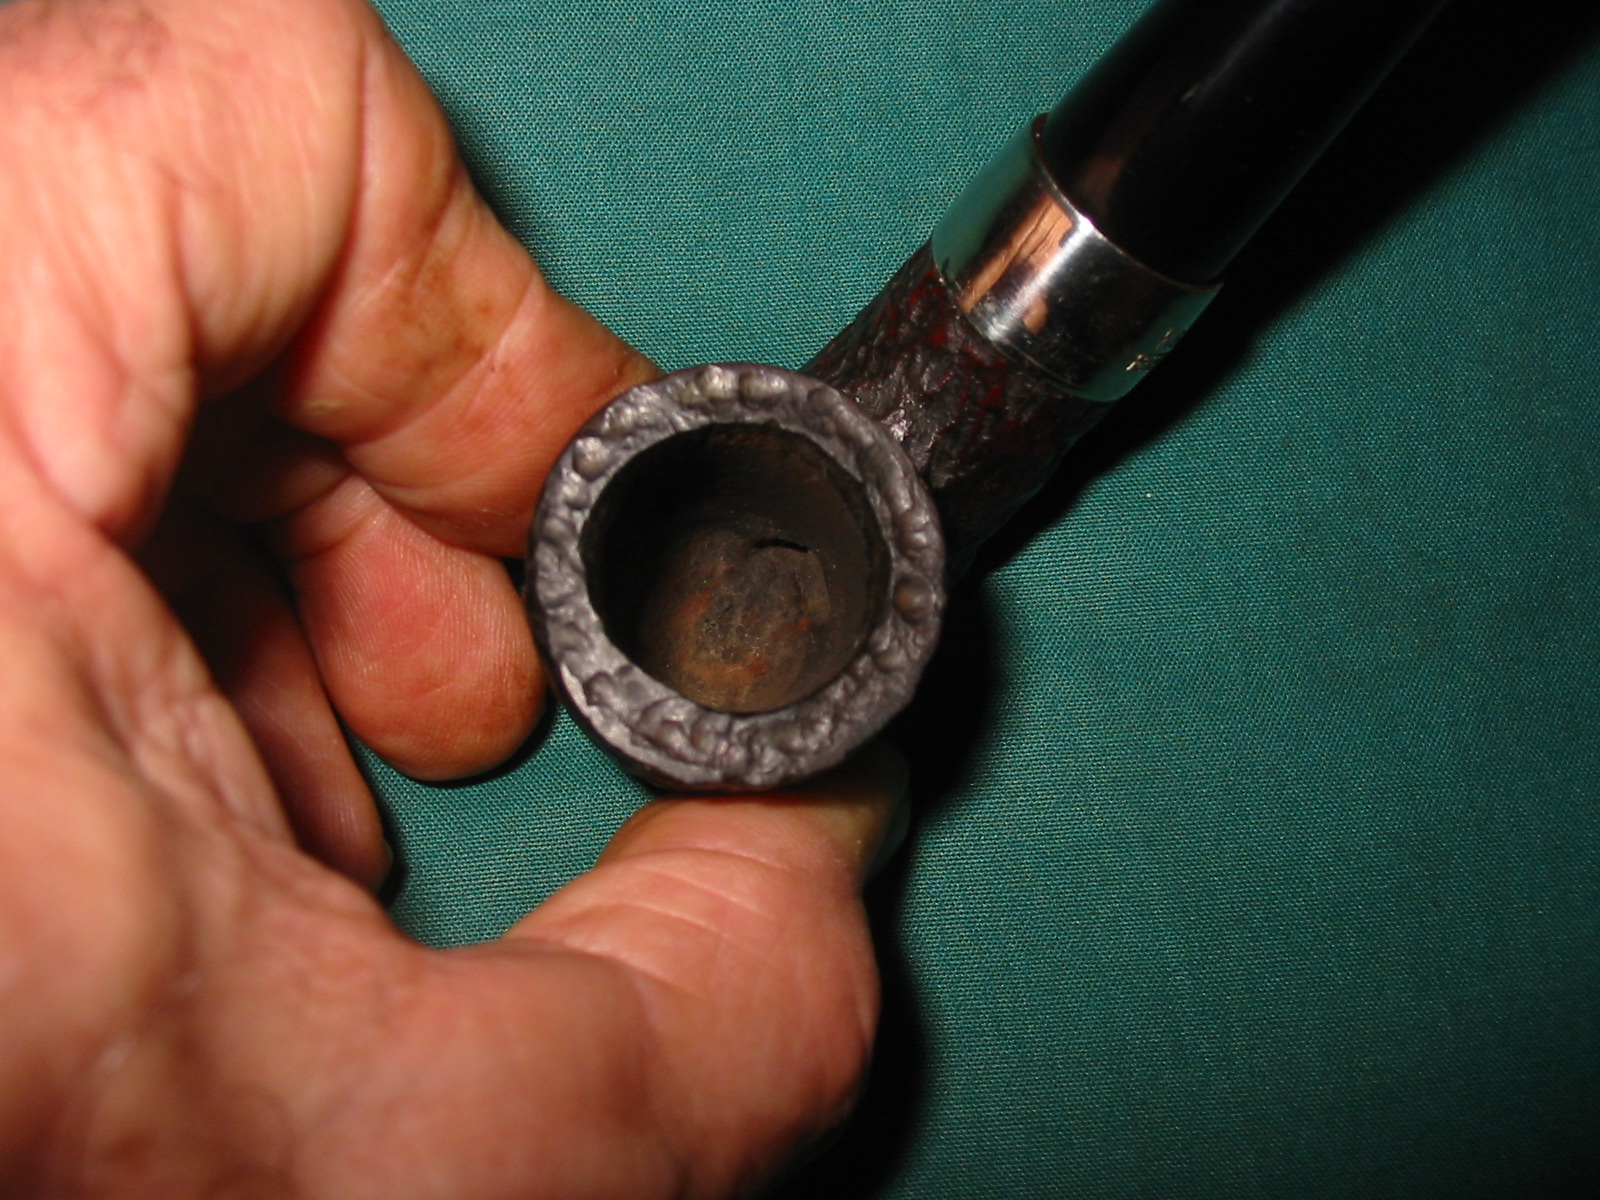
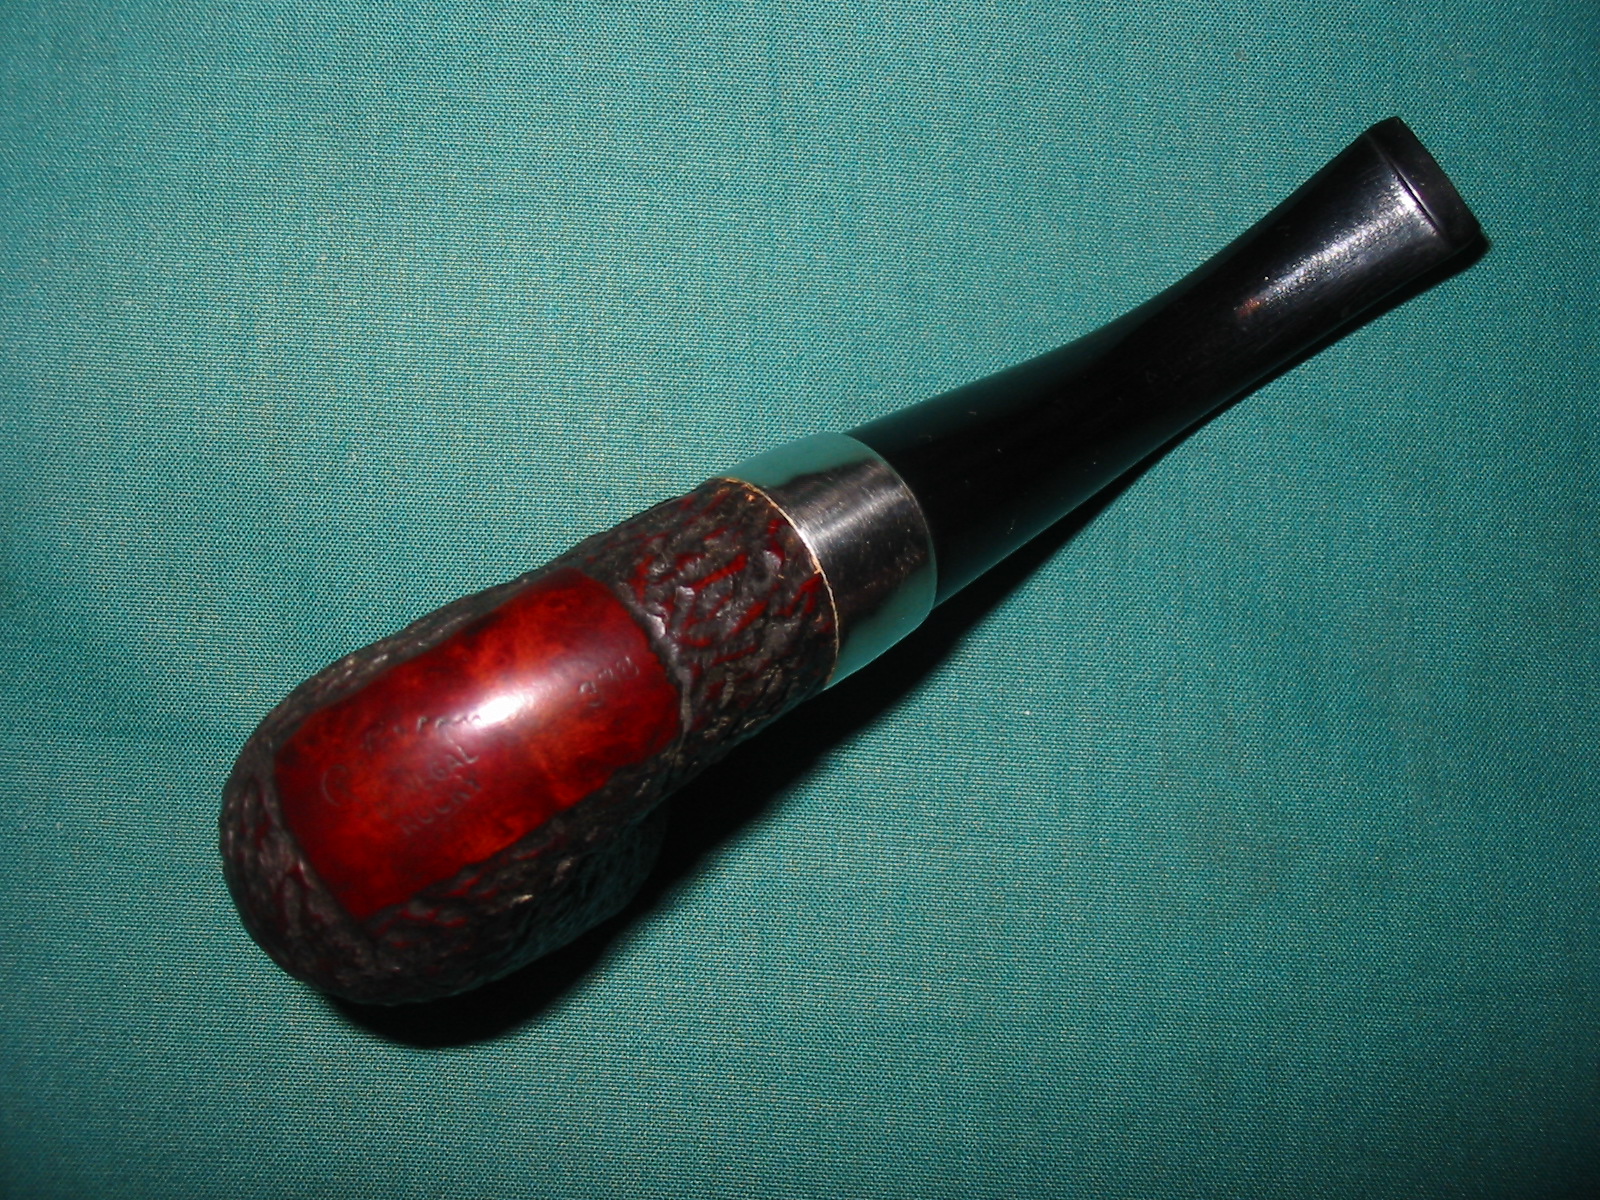
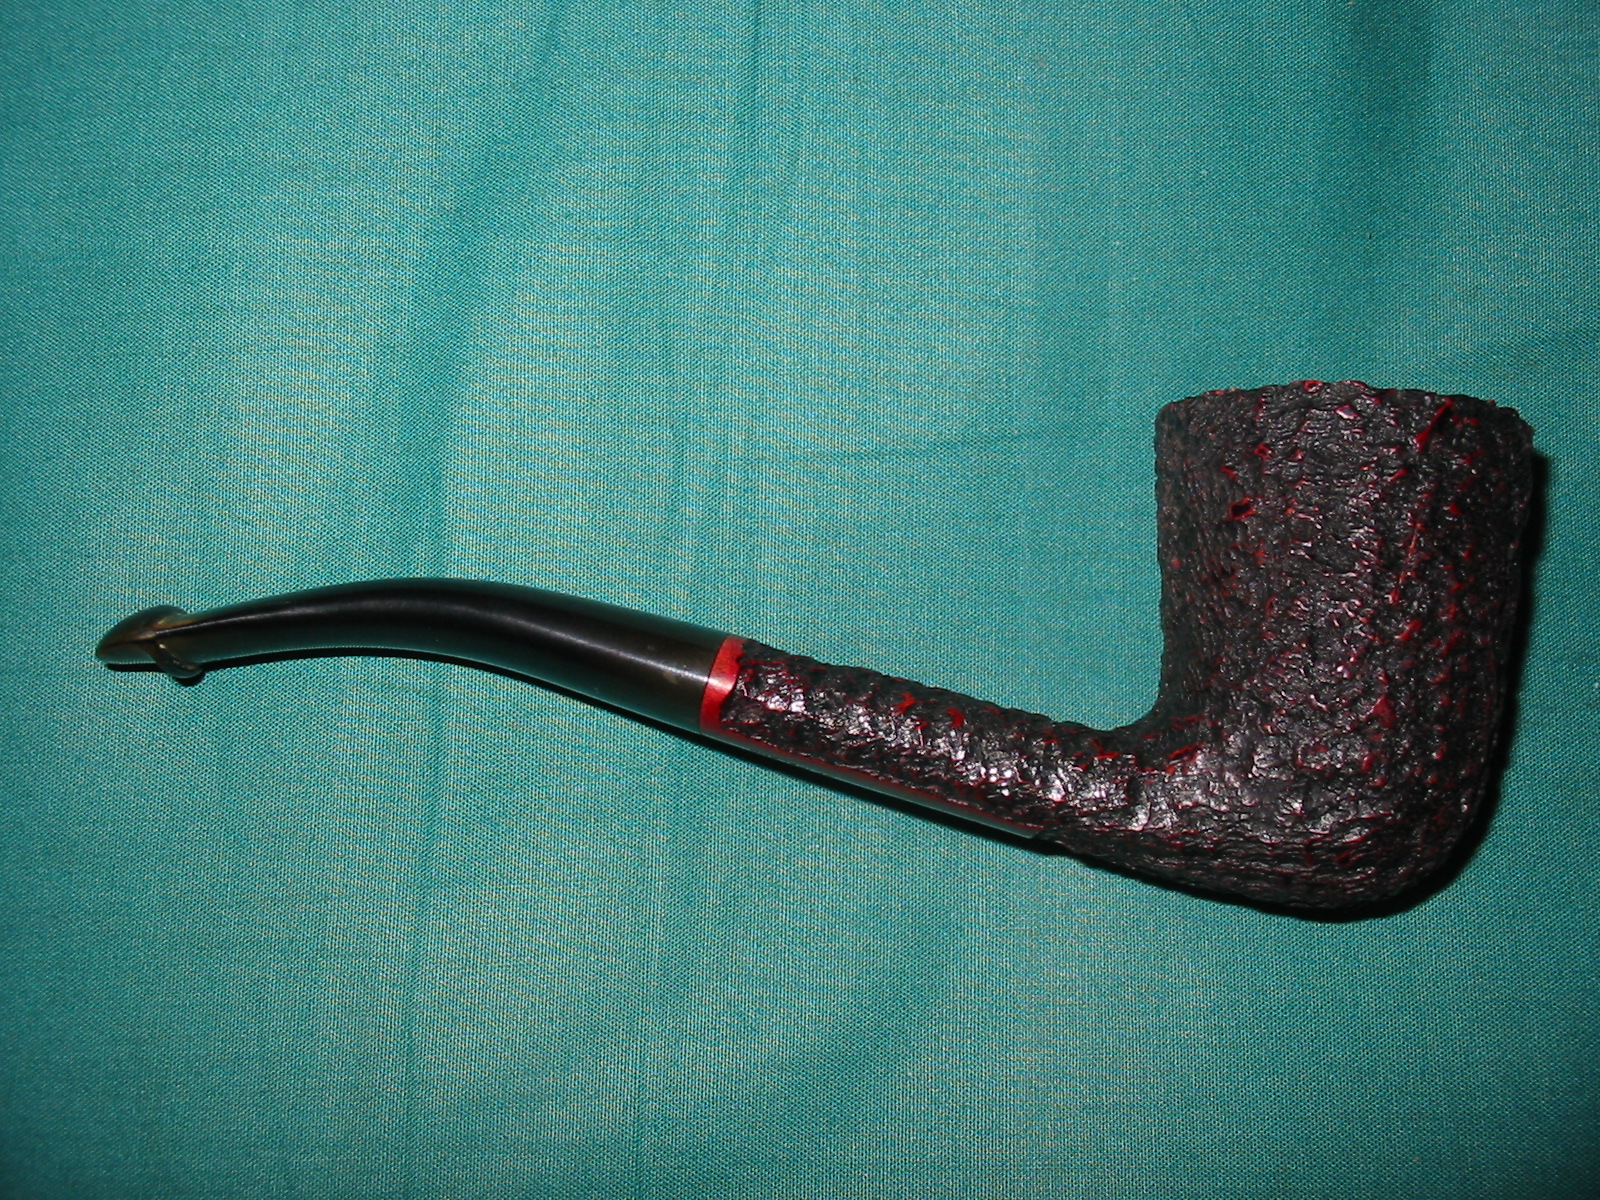
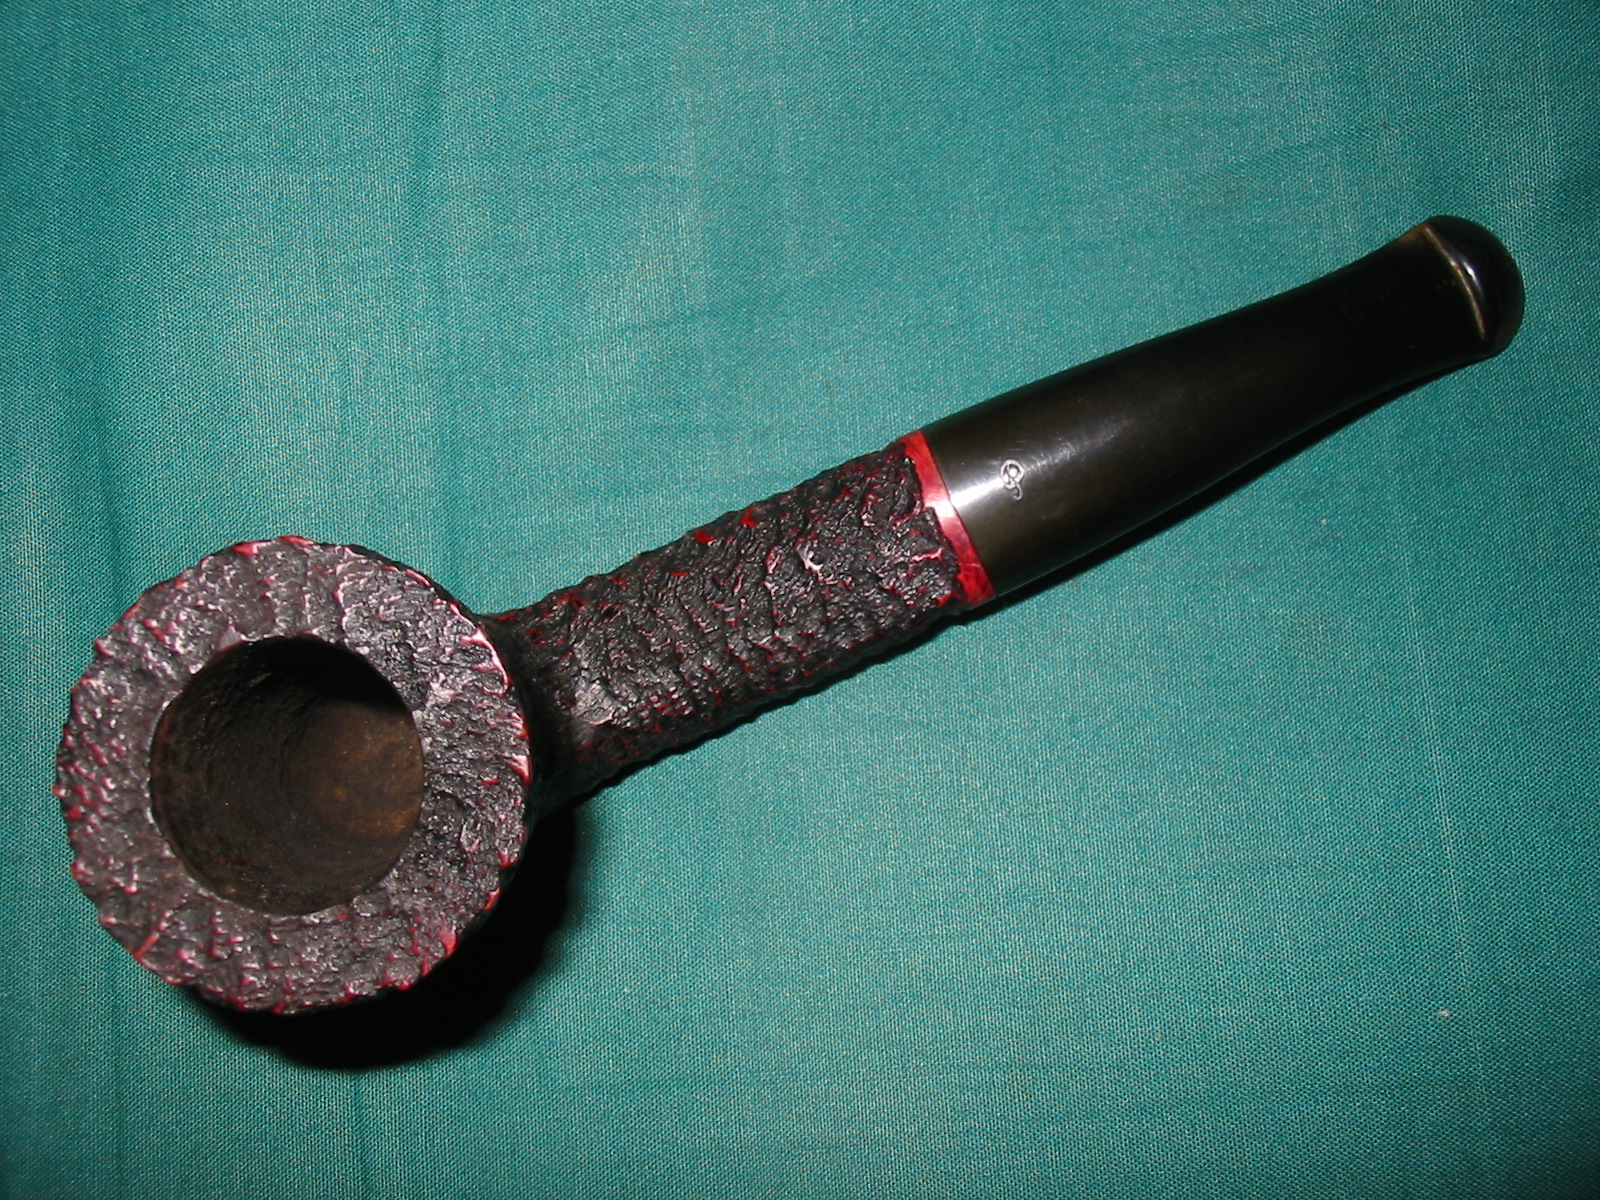
The pipe that came home has been there and back again! Its residence with me began when I visited Mike Glukler in Aldergrove many years ago. Periodically I would visit and look through the pipes he had for sale through Briar Blues. This time I looked through and was drawn to a Peterson Special in a rusticated Dublin shape. I checked it out and the purchased it. I brought it home with me and smoked it a couple of times but never quite enjoyed it enough to make it a regular in my rotation. So it sat neglected for a while. On day I was going through my rack and deciding which pipes to sell and which to keep and I came across this one. I almost put it in the “to be sold pile” but instead I cut a new fishtail stem for it. I smoked it more often then.
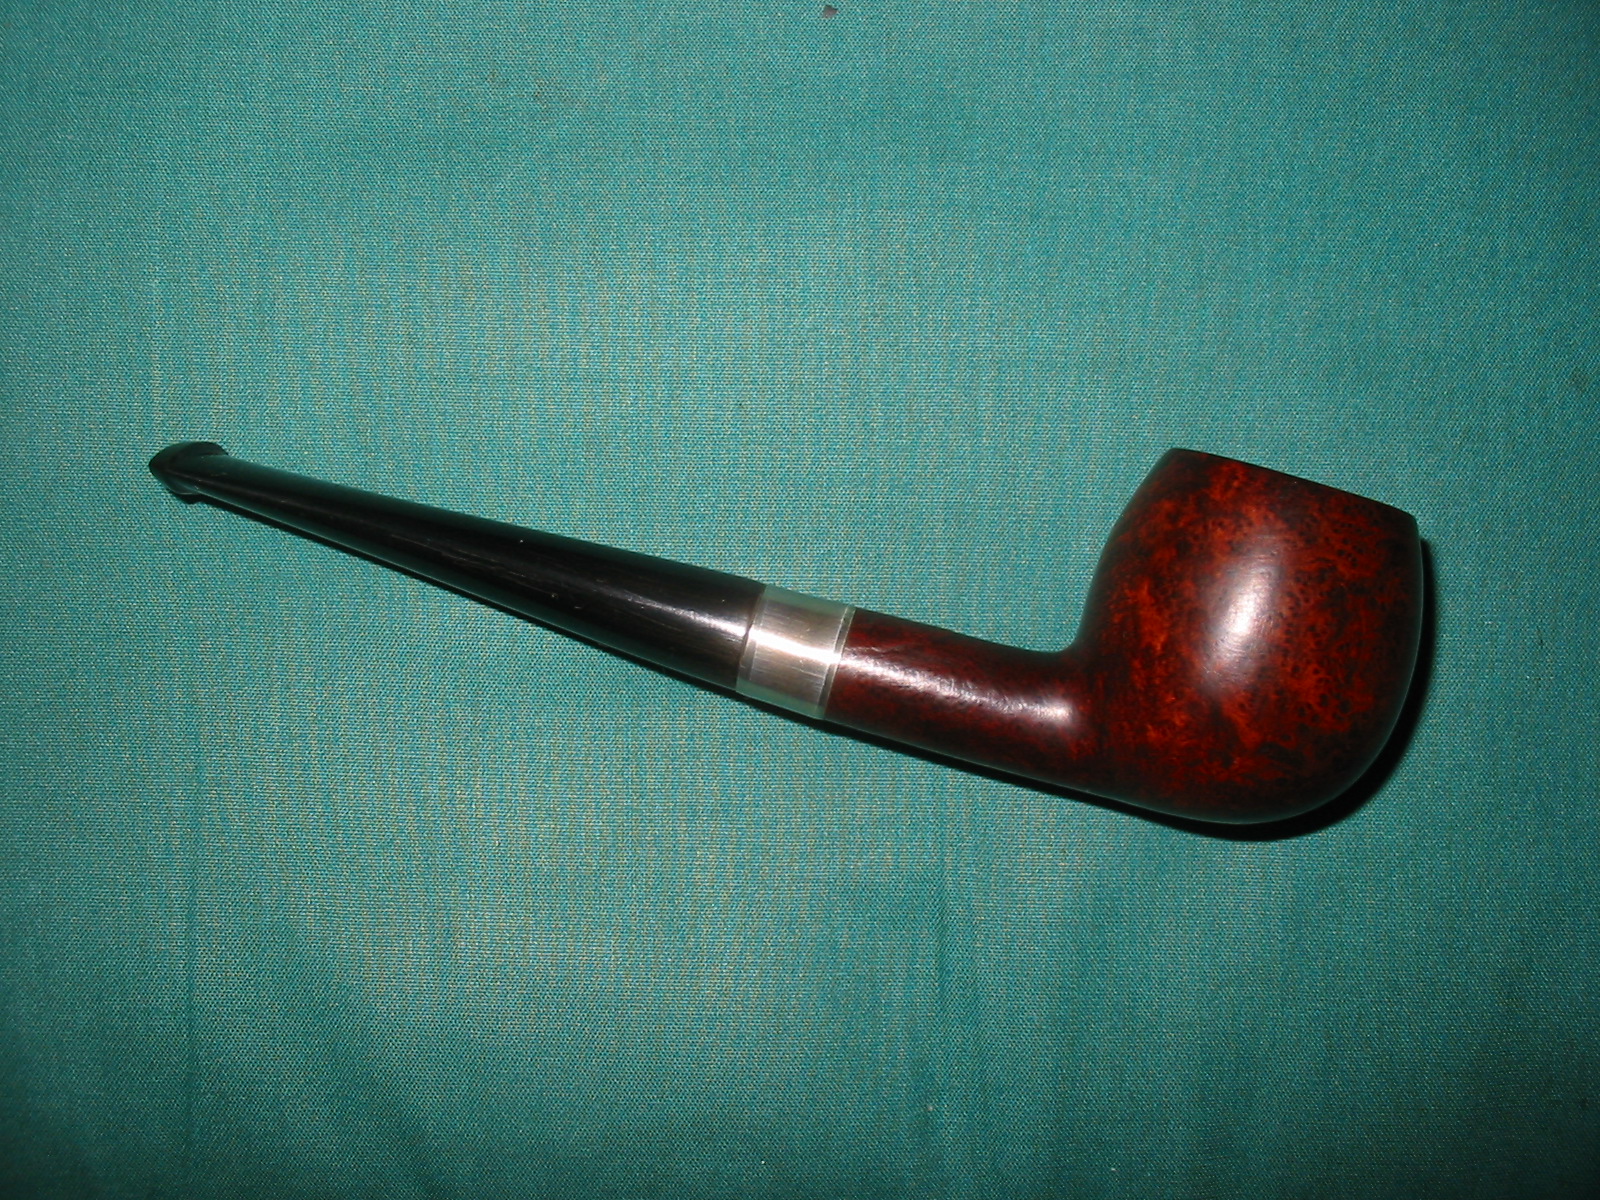
I have always had a curiosity about the estate pipes that I purchase. I want to find out as much as possible about them. In the case of this Peterson that meant I would contact Mike Leverette. I wanted to get an idea of what I had in my hands. I wanted to know a bit about the age and details of the pipe. Mike was excited when he heard about this pipe. He said he had never seen a Special in this shape. I sent him photos of it and he sent back replies about it that were very helpful to me. I had it in the rack and smoked it occasionally with the new fishtail stem but never truly seemed to reach for it that often.
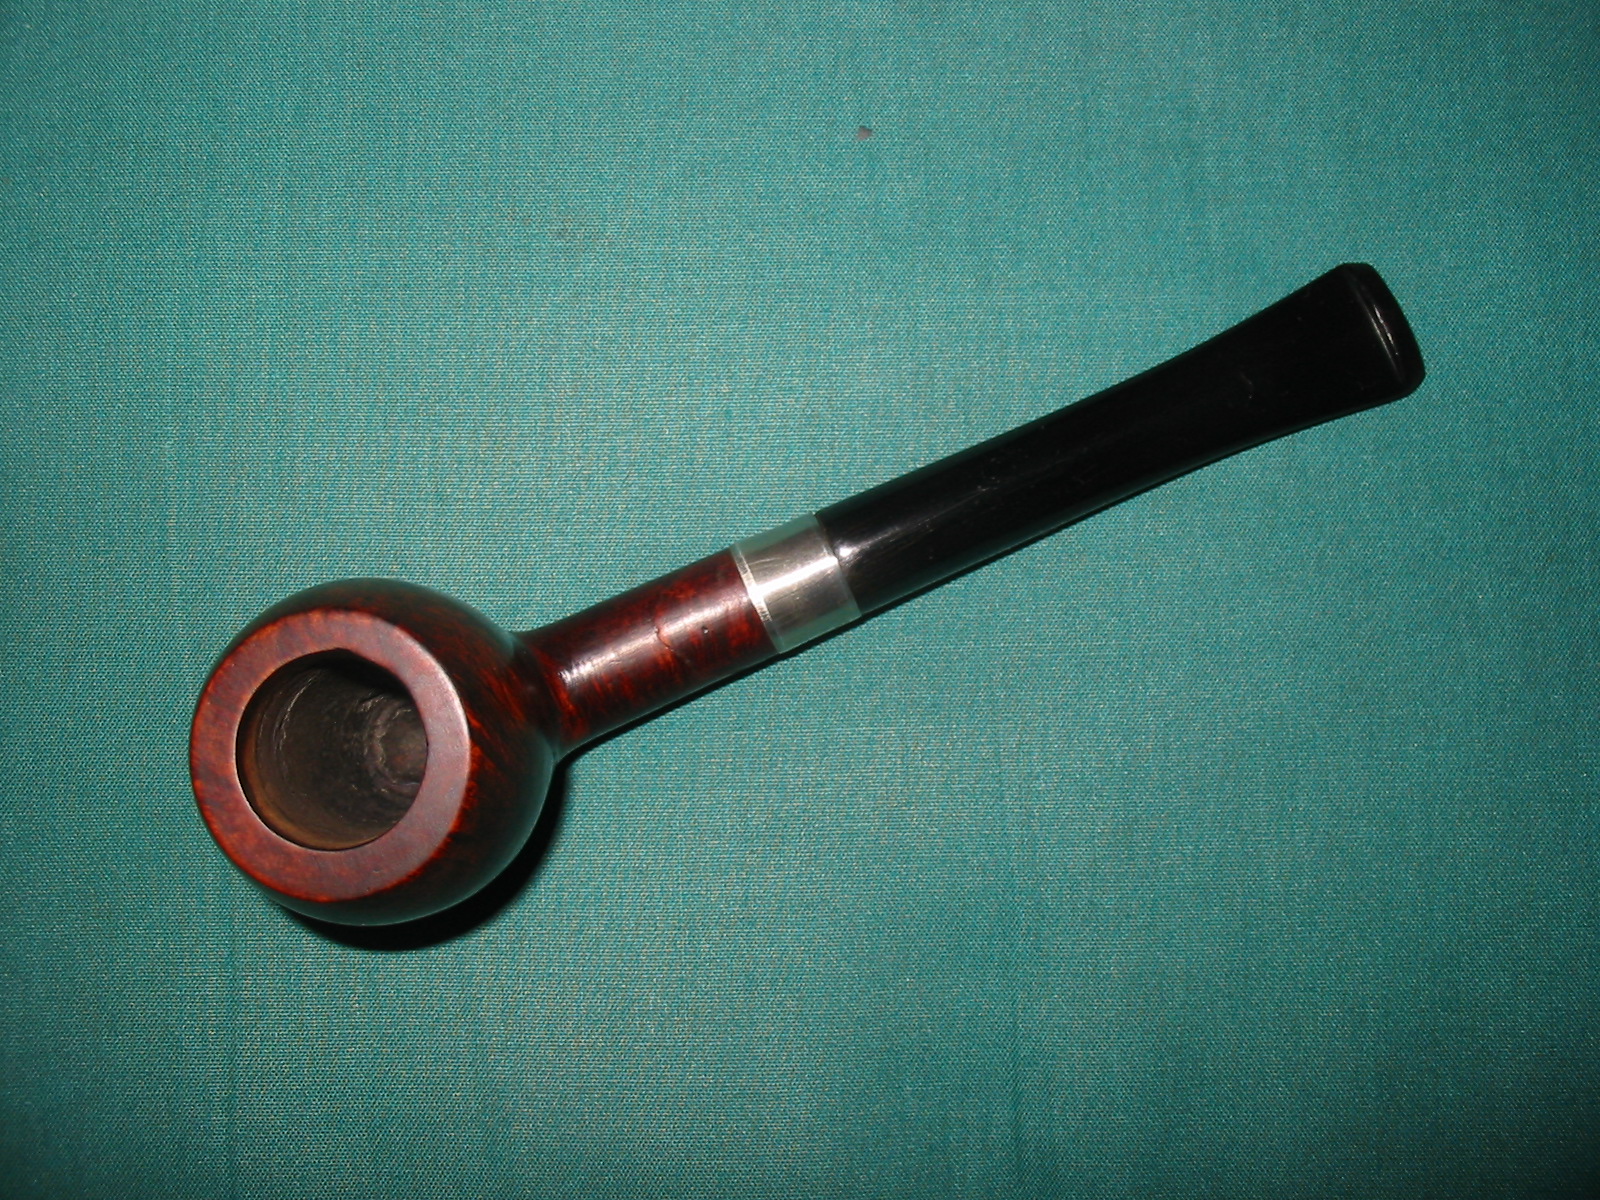
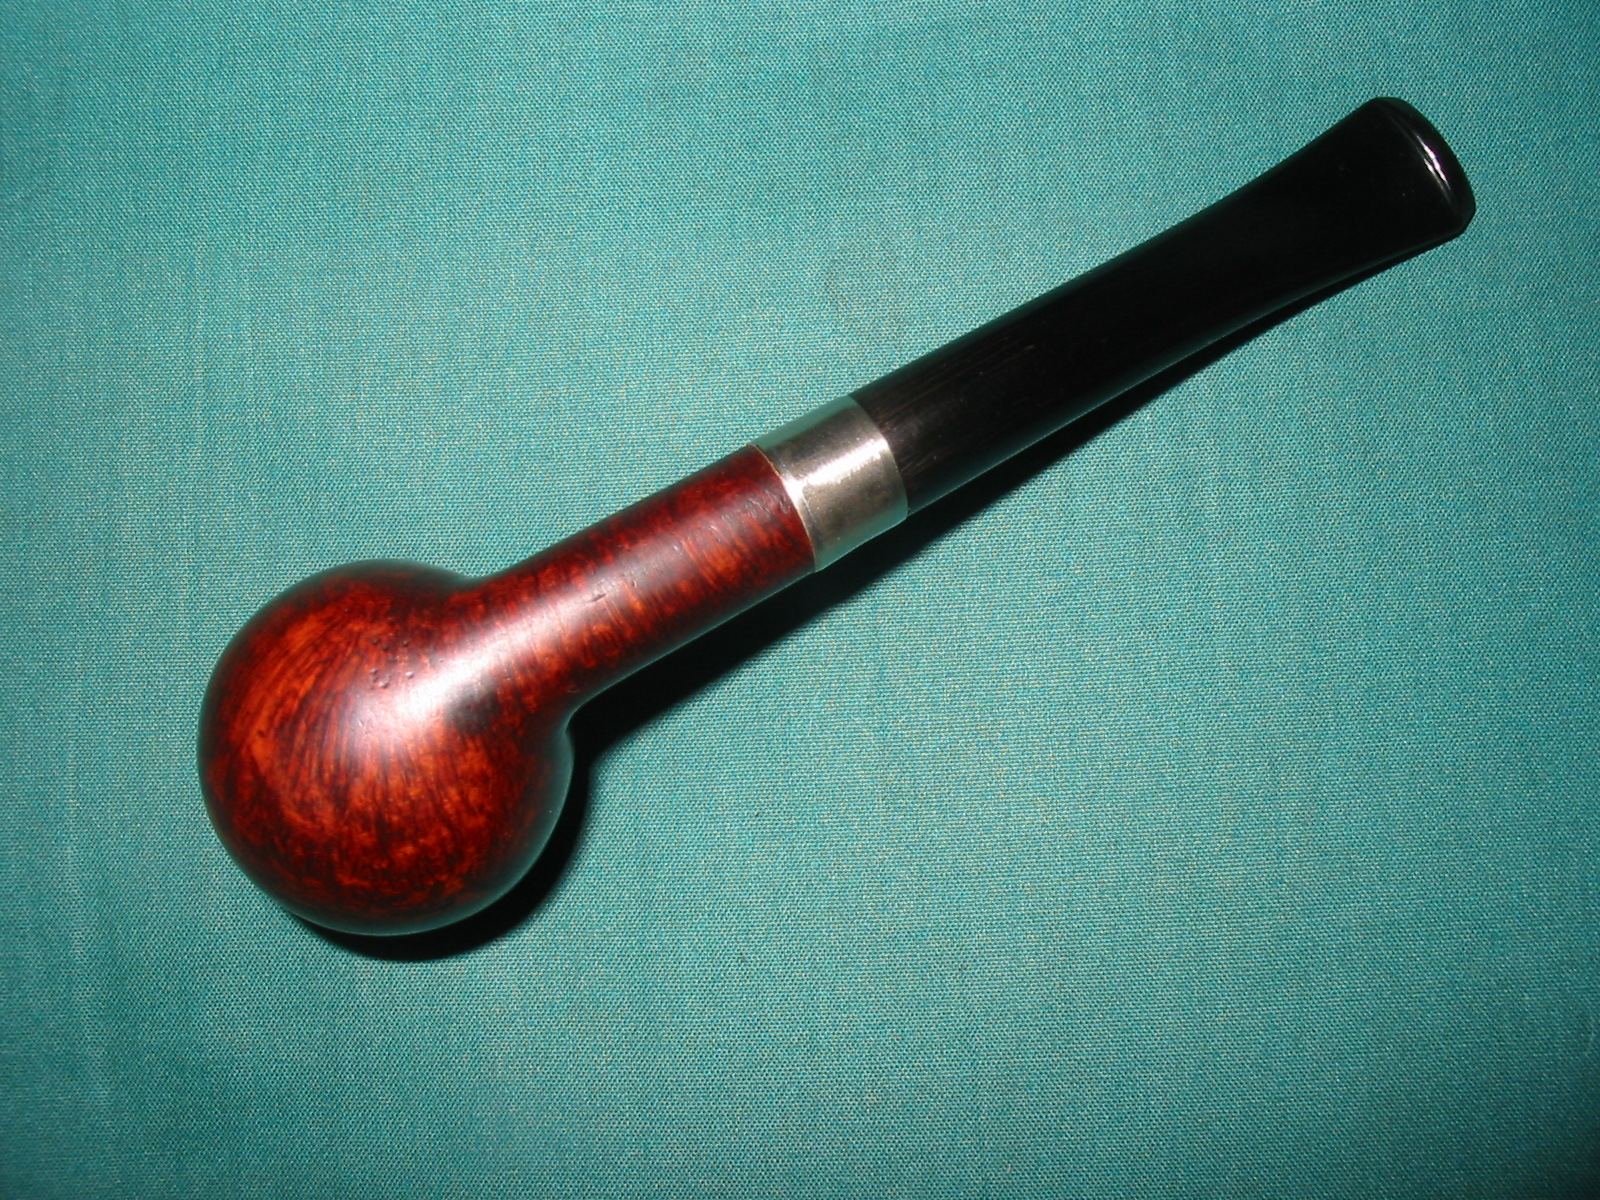
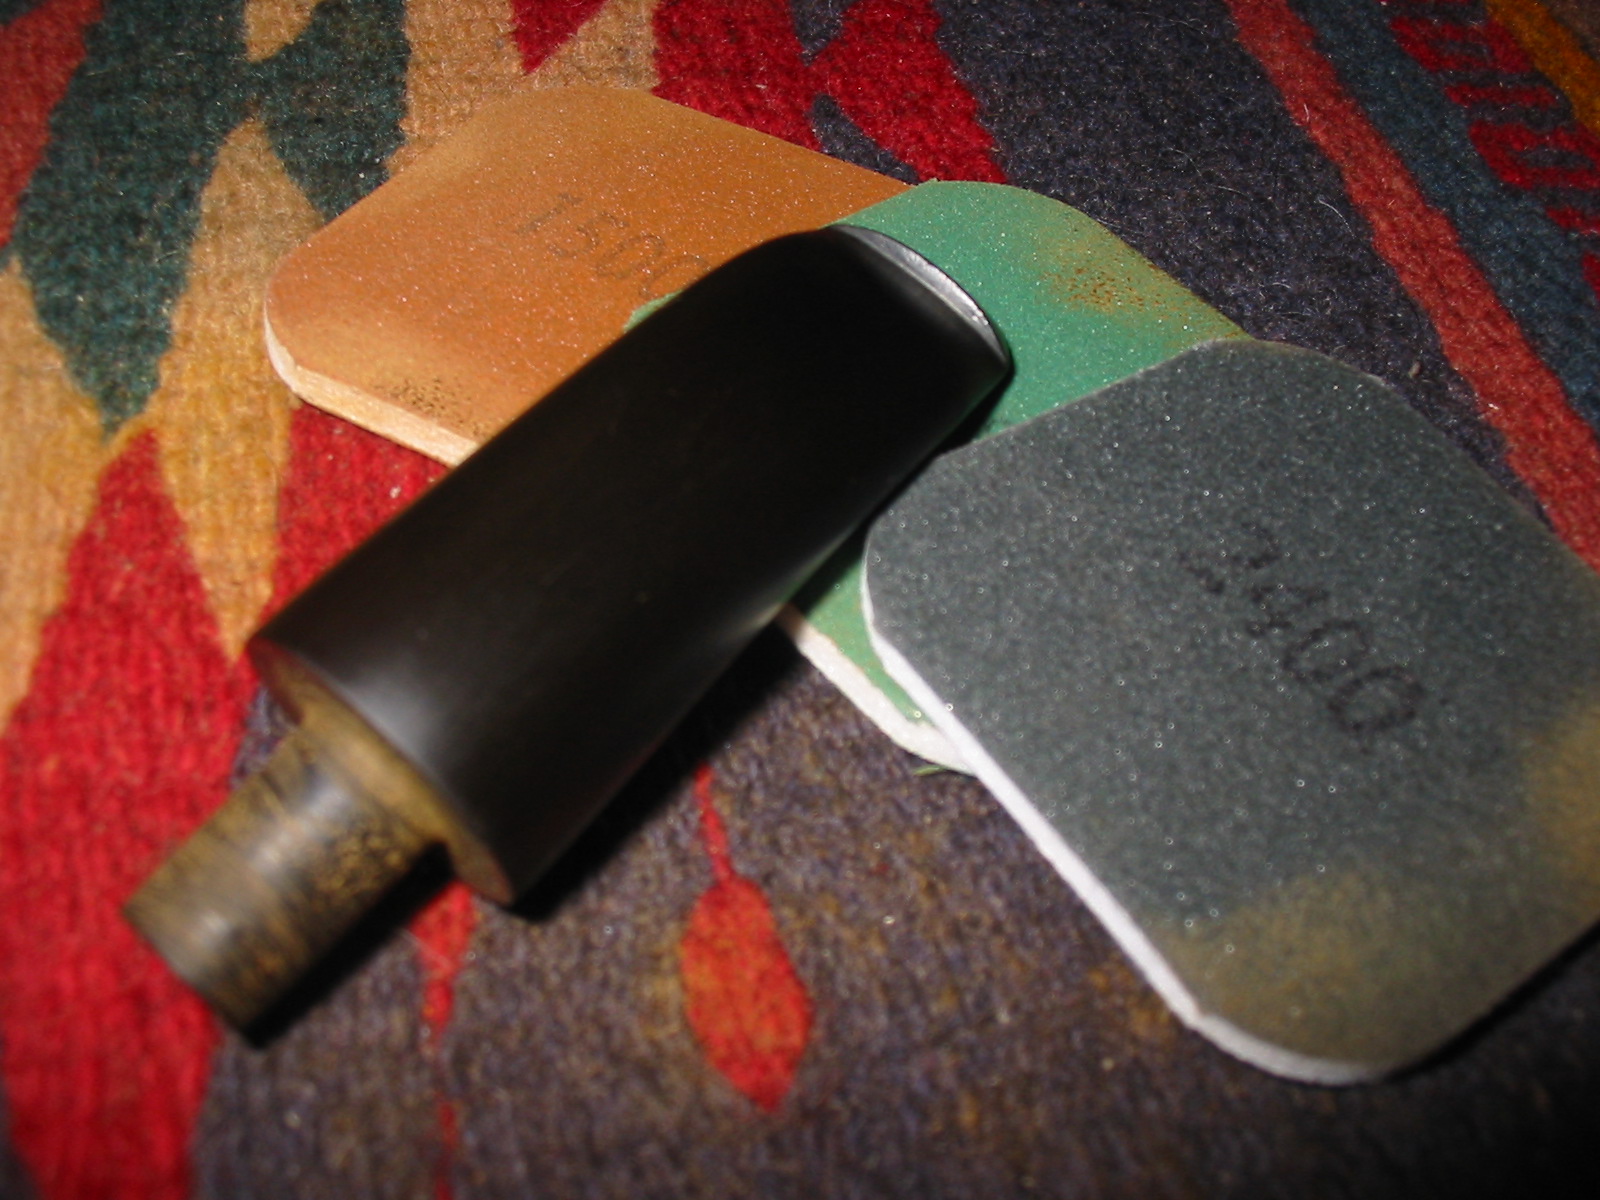
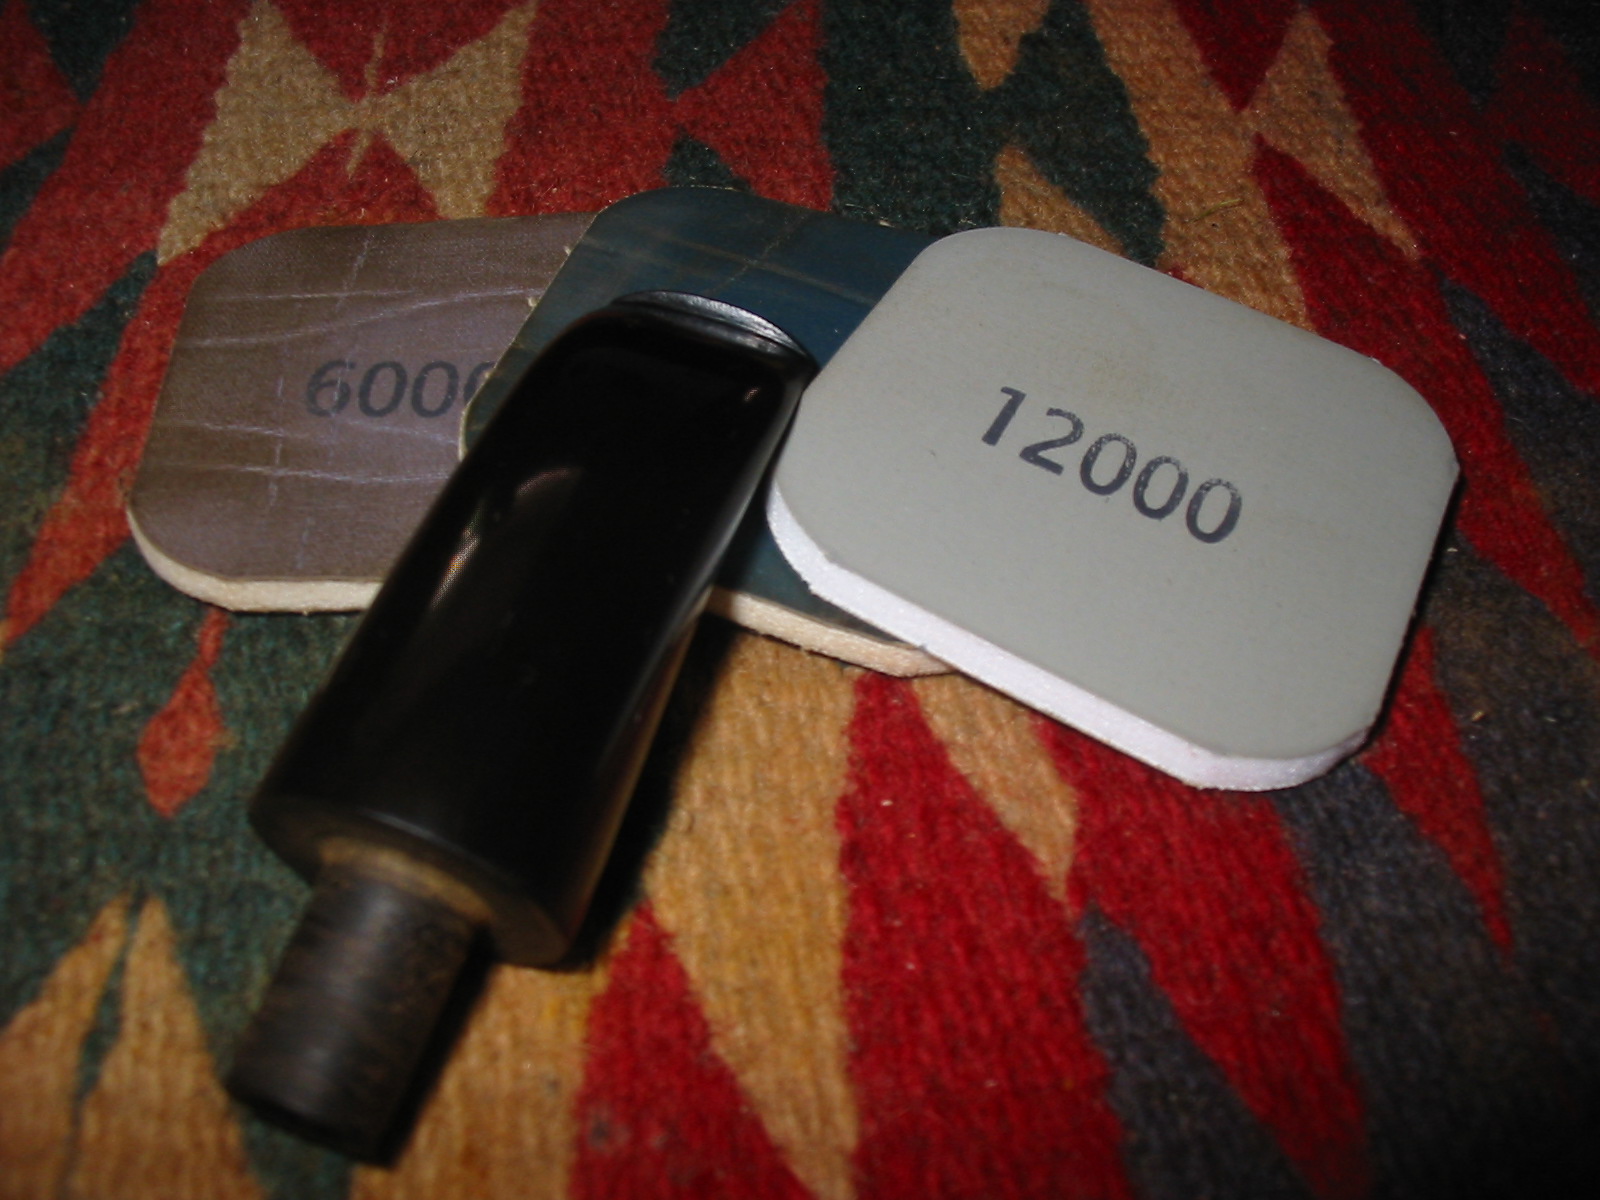
Through my work I would travel to Atlanta several times a year and stay for a week or more at a time. I always took along pipes and tobacco that I would gift to other pipemen that I would call and meet for a bowl and a chat. I met John Offerdahl and Mike Hagley on some of those trips. But I would always get together with Mike Leverette. He would drive up from his home to Atlanta where I was staying in a hotel by the airport and we would have lunch or dinner together. We would talk about all kind of things – history, Vikings, architecture, pipes, history, pipes. WE kept in touch by email and phone over the years and when he was diagnosed with cancer and underwent surgery we talked and afterwards we met together. When I was diagnosed with cancer and was scheduled for surgery we talked and met together. Mike was my friend and a kindred spirit in terms of pipes, history, writing and many other things. If you have a picture in your mind of two old gents sitting together over dinner chatting and later adjourning to the open space near my hotel to smoke our pipes and talk some more you have the right image in your mind. I always enjoyed those visits. Several times John Offerdahl would join us for dinner and a pipe. I have missed those visits and conversations since Mike died.
LTR: John Offerdahl, your’s truly, Mike Leverette

LTR: John Offerdahl, your’s truly, Mike Leverette

It was on one of those trips, quite a few years ago now, that I gave that Peterson’s Special Dublin to Mike when I visited him in Atlanta, Georgia. I remember sitting in an Italian restaurant near the hotel and each of us pulled out our gift pipe and tobacco to exchange. It had become a bit of a ritual with us. We would exchange our gifts before even opening the menu! I remember on this particular occasion Mike gave me two old sandblasted Barling Canadians that needed to be restemmed and a tin of Virginia Flake tobacco. My gift to him was wrapped like most of my presents (at least that is what my daughters tell me) in a grocery bag. When he opened it and took out the Pete Dublin the look on his face was a mixture of surprise and excitement. He turned it over in his hands and read the stamping and commented on the history of the pipe. He took it apart and looked down the long shank and examined the stem. He loved that pipe a lot. I had included a tin of Latakia Flake for him as it was a favourite of his.

We finished our dinner that evening and went back to the hotel and adjourned to the bench out front. He loaded up the pipe with some of his own tobacco and I loaded mine. He smoked it and thoroughly enjoyed the smoke. I am sure there was much more that went on that evening but this is what my memory brings up. That evening was in the pre-cancer days for both of us so we did not have a care in the world or a worry on our minds. I remember a bit of the conversation that evening – we spoke of the route of the Exodus of Israel from Egypt. Mike had done a lot of work on that in a paper he sent me and he wanted some feedback. It was a great evening and we talked and smoked until the sun went down. We parted company that evening both richer for the conversation and friendship. That was the last I saw of the Dublin.

Now jump ahead about 12 or more years. I was on the phone with a buddy who is selling Mike’s pipes for Mike’s widow, Jeanette. We were talking about the pipes in the lot that he was selling. There were several of them that he wanted to send me to recondition and document the process I used on them. As we talked I asked him in passing about the Peterson Special Dublin. I was curious as to what happened to that pipe after Mike died. I told him a bit of the story I have written above. He laughed and said that he happened to have that pipe in his hand at just that moment. I asked him about its condition and what he thought of it. It was at that point he offered to send it back to me. He would call Jeanette and tell her about our conversation and then ask her about the pipe coming back to me. She told him she was more than happy to have it come home! He let me know that it would be shipped out to me soon!

I knew it was coming but not when. Today I came home from work and found a package waiting for me. It was addressed from my buddy in Texas. I excitedly opened it and carefully unwrapped “Mike’s Pipe”. It had come home to Canada. As a kindness my friend had include a small bag of HH Dark Flake tobacco for me to try. I know he had said it was too strong for his liking but the funny thing is I think it is just the tobacco that Mike would have loved. I took the pipe down to my work table and gave it a thorough examination. It was actually in great shape. The cake was minimal, just the way I like it. The finish was in excellent shape with no dings or scratches. There was a little darkening and dust on the rim but that would clean up easily. The stem had some oxidation around the P stamp and on the underside as well (to be honest I think this was there when I gave it to Mike, or at least it looked like I remembered it). There was some small tooth chatter on the top of the stem and on the underside just ahead of the button and the shelf, but none of it was too deep. I decided to clean up the pipe right then. The next three photos show the pipe as it looked when I took it from the box.

IMG_1155

IMG_1156

IMG_1157

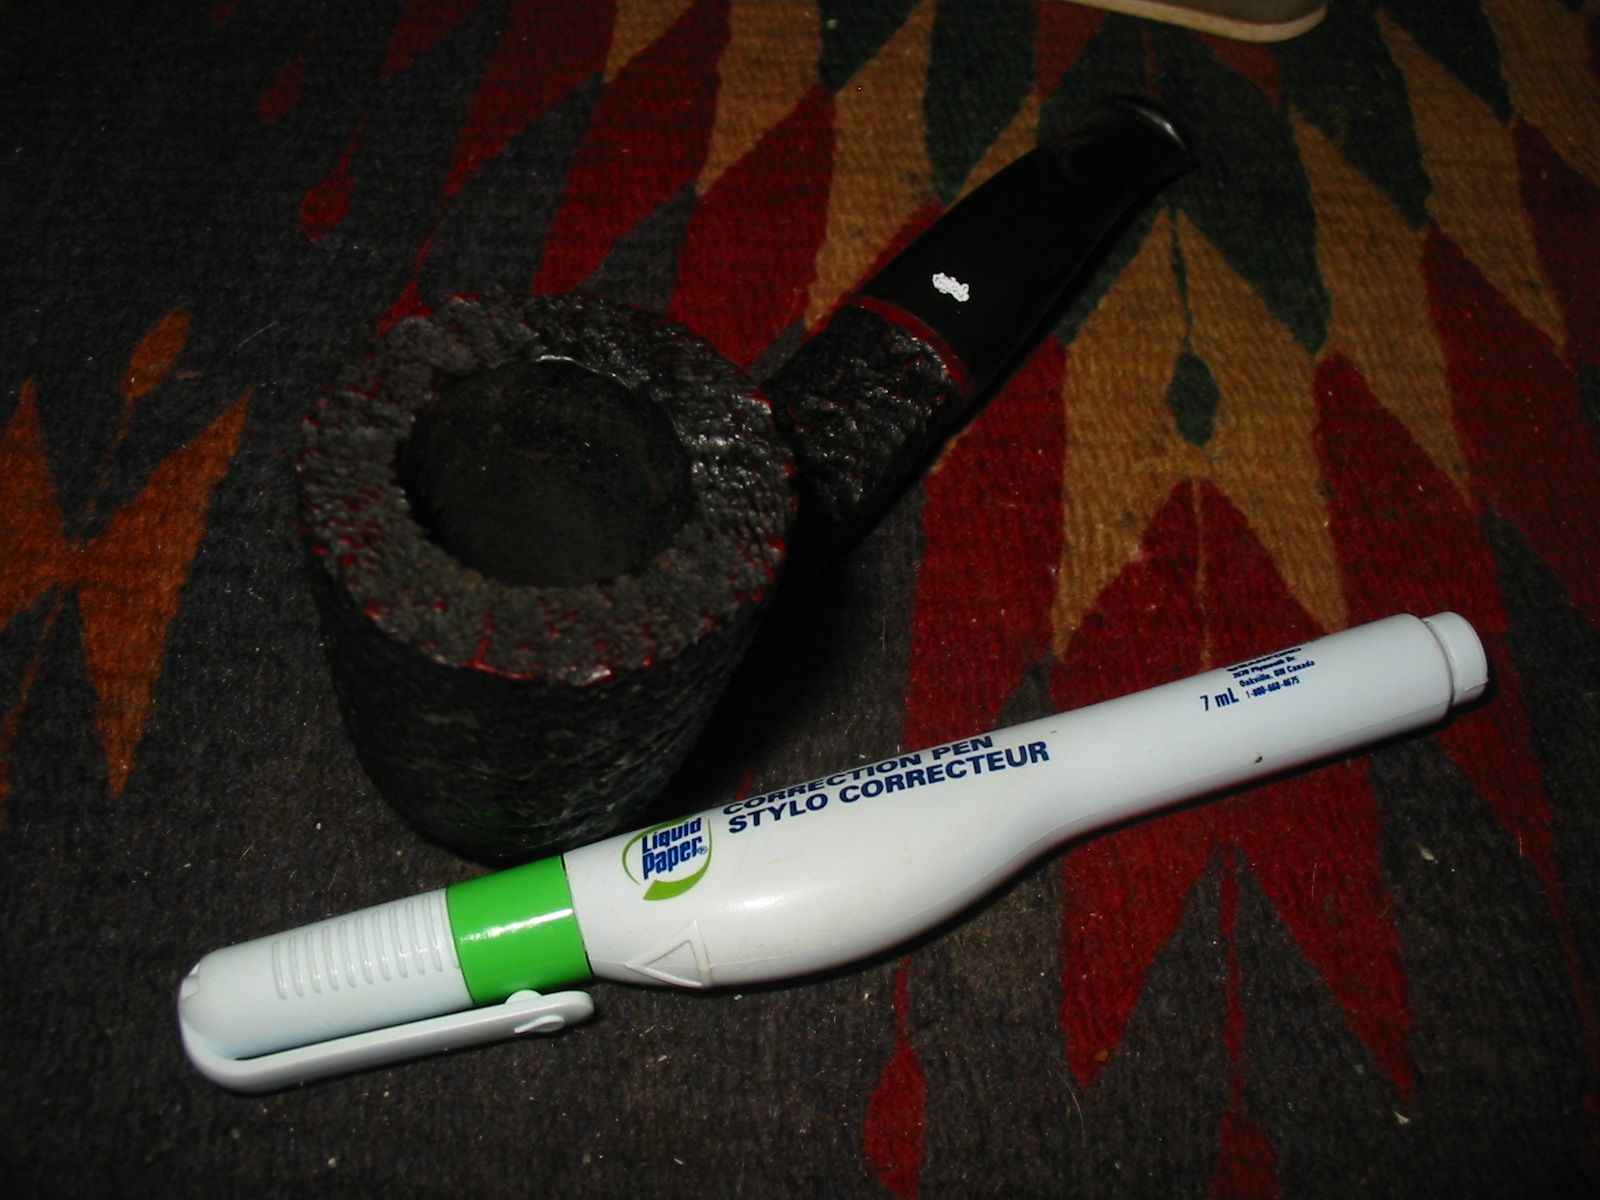
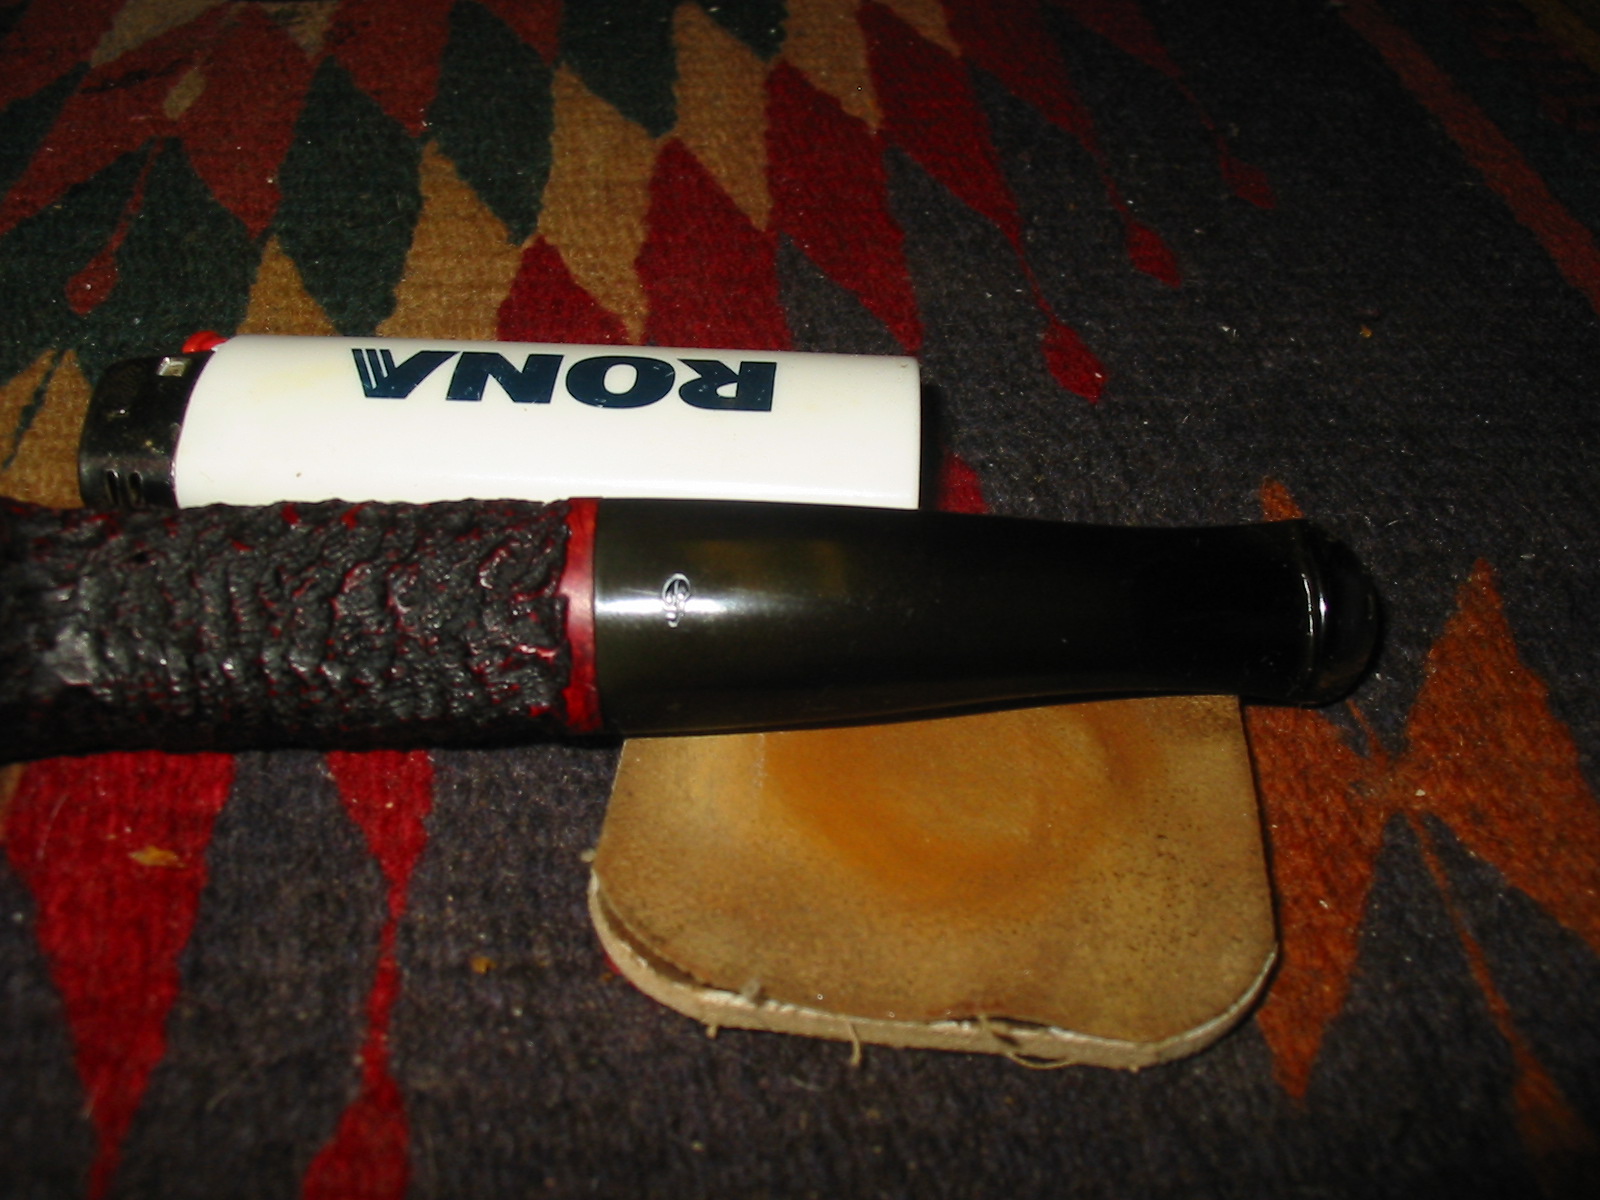
I used a Bic lighter and passed the flame over the tooth chatter on the top and underside of the stem. I then sanded it lightly with 1500 grit micromesh to make the tooth marks very visible. I used 220 grit sandpaper to remove the tooth ridges and remnants left after the heat of the lighter raised the dents. I wet sanded it with the 1500 grit micromesh to smooth out the scratches left by the 220 grit. I also decided to add some white to the stamping on the stem. I use a whiteout pen to do that. I apply the whiteout heavily to the stamping and once it is dried I sand it off with the 1500 grit micromesh sanding pad.

IMG_1163

IMG_1158

IMG_1159

IMG_1161

The next series of three photos show the progress of polishing the stem with the micromesh sanding pads from 1500-12,000 grit. The recoloured stamping is also visible. At this point in the process I scrubbed the top of the bowl with warm water and a tooth brush. The darkening and light build up was easily removed by this method. I then buffed the stem with White Diamond to give it a final polish and lightly buffed the bowl. I buffed the stem with carnauba to protect it from oxidizing and then took the pipe back to my table. I gave the bowl a coat of Halcyon II wax and hand buffed it with a shoe brush. I have found that this keeps the rustication crisp and fresh where a buff on the buffer can flatten the rustication and change the feel in the hand.

IMG_1164

IMG_1165

IMG_1166

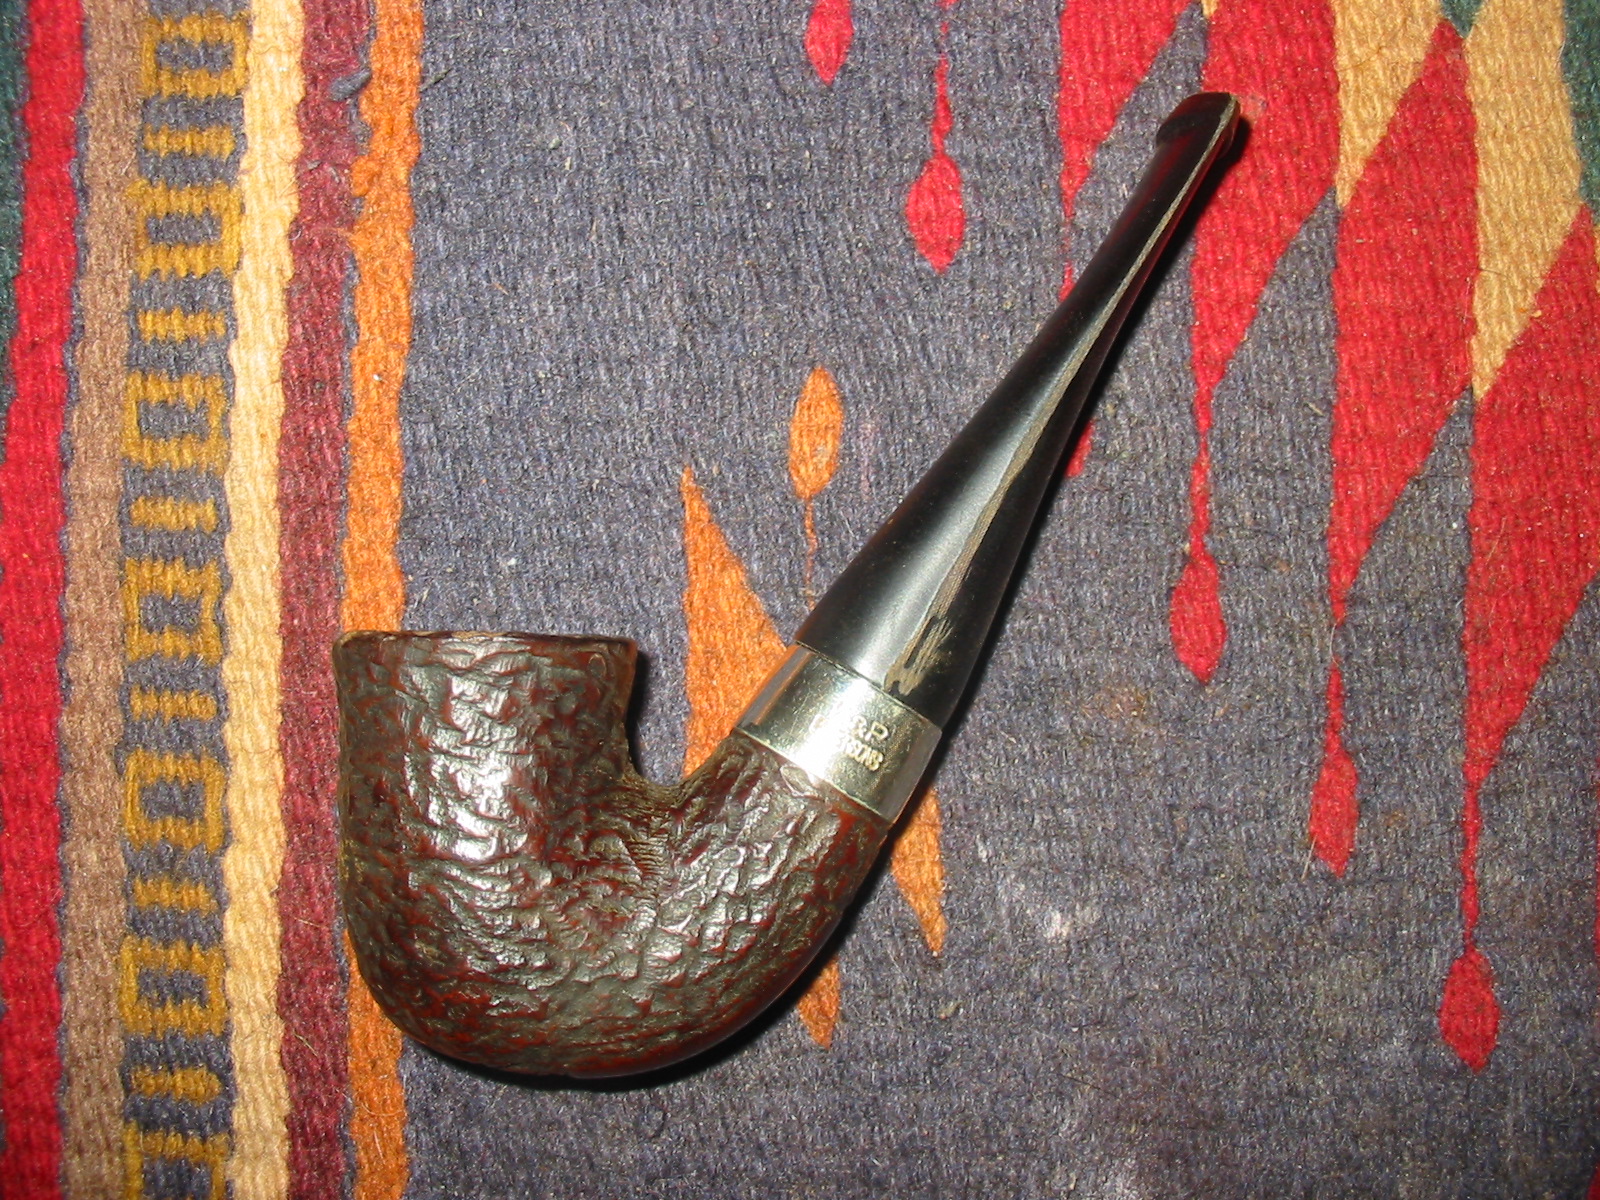
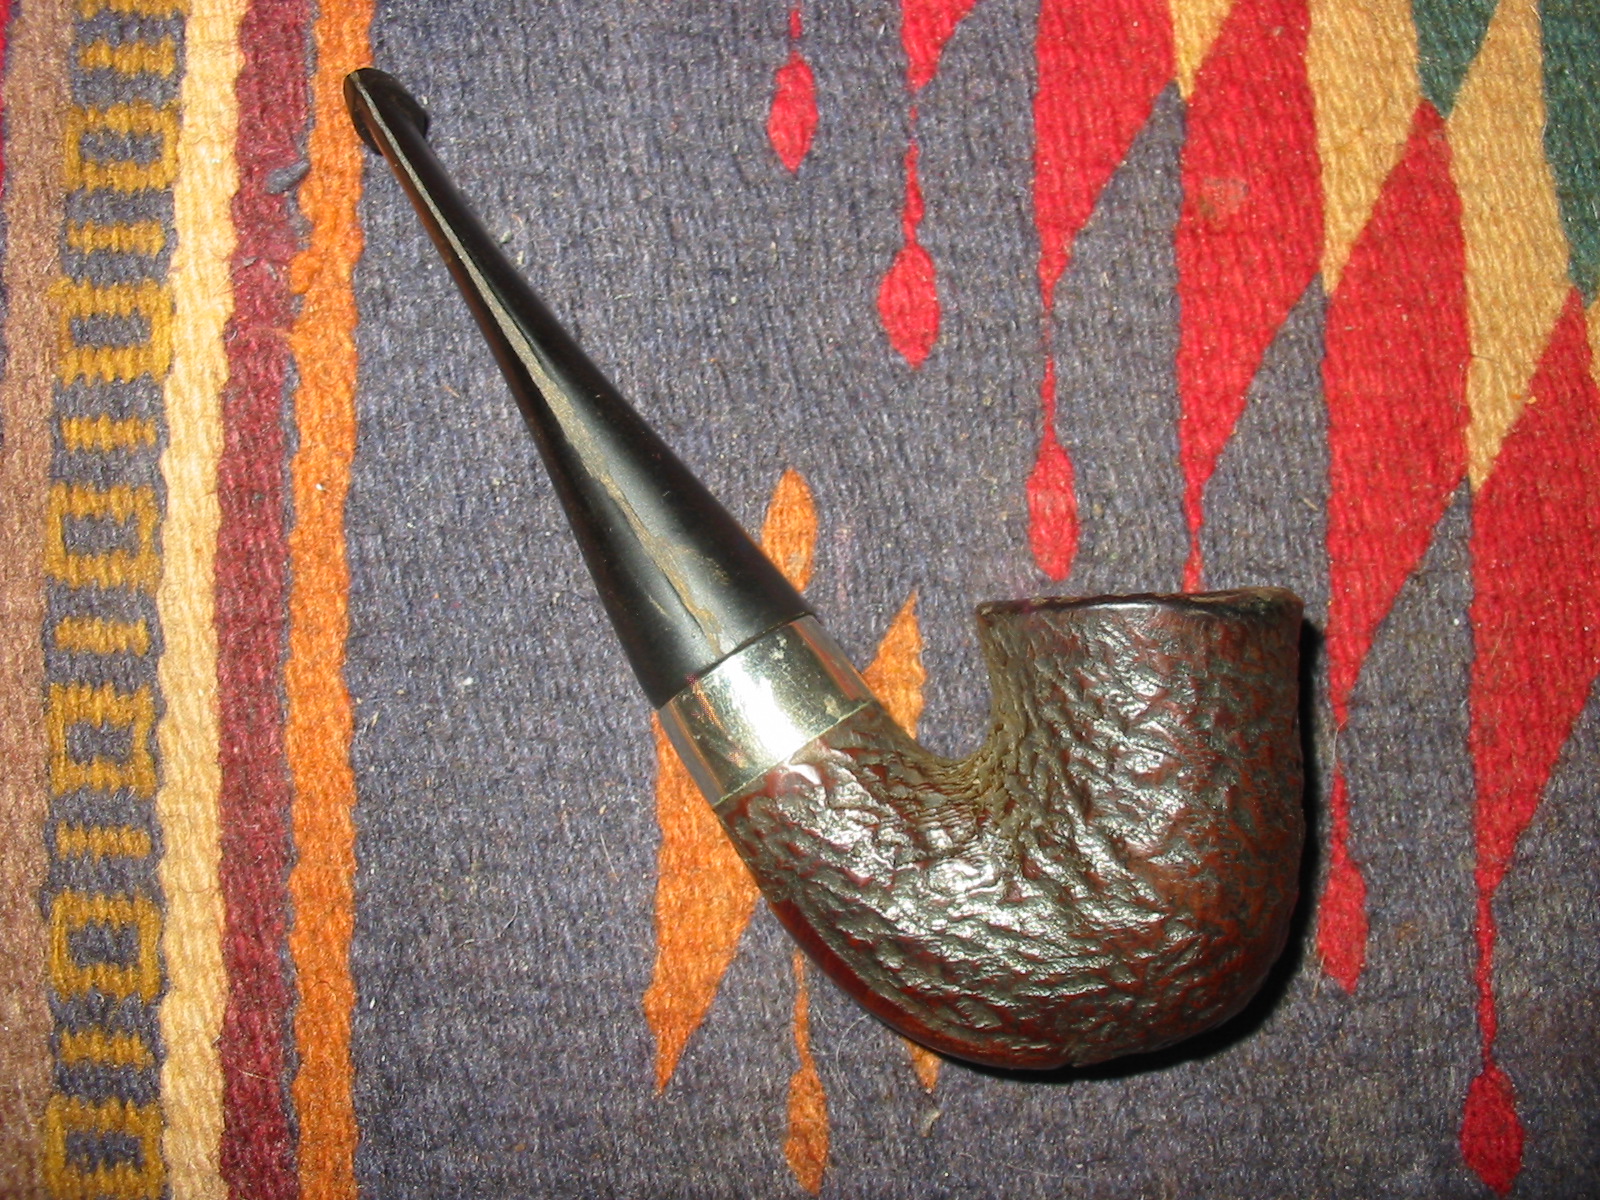
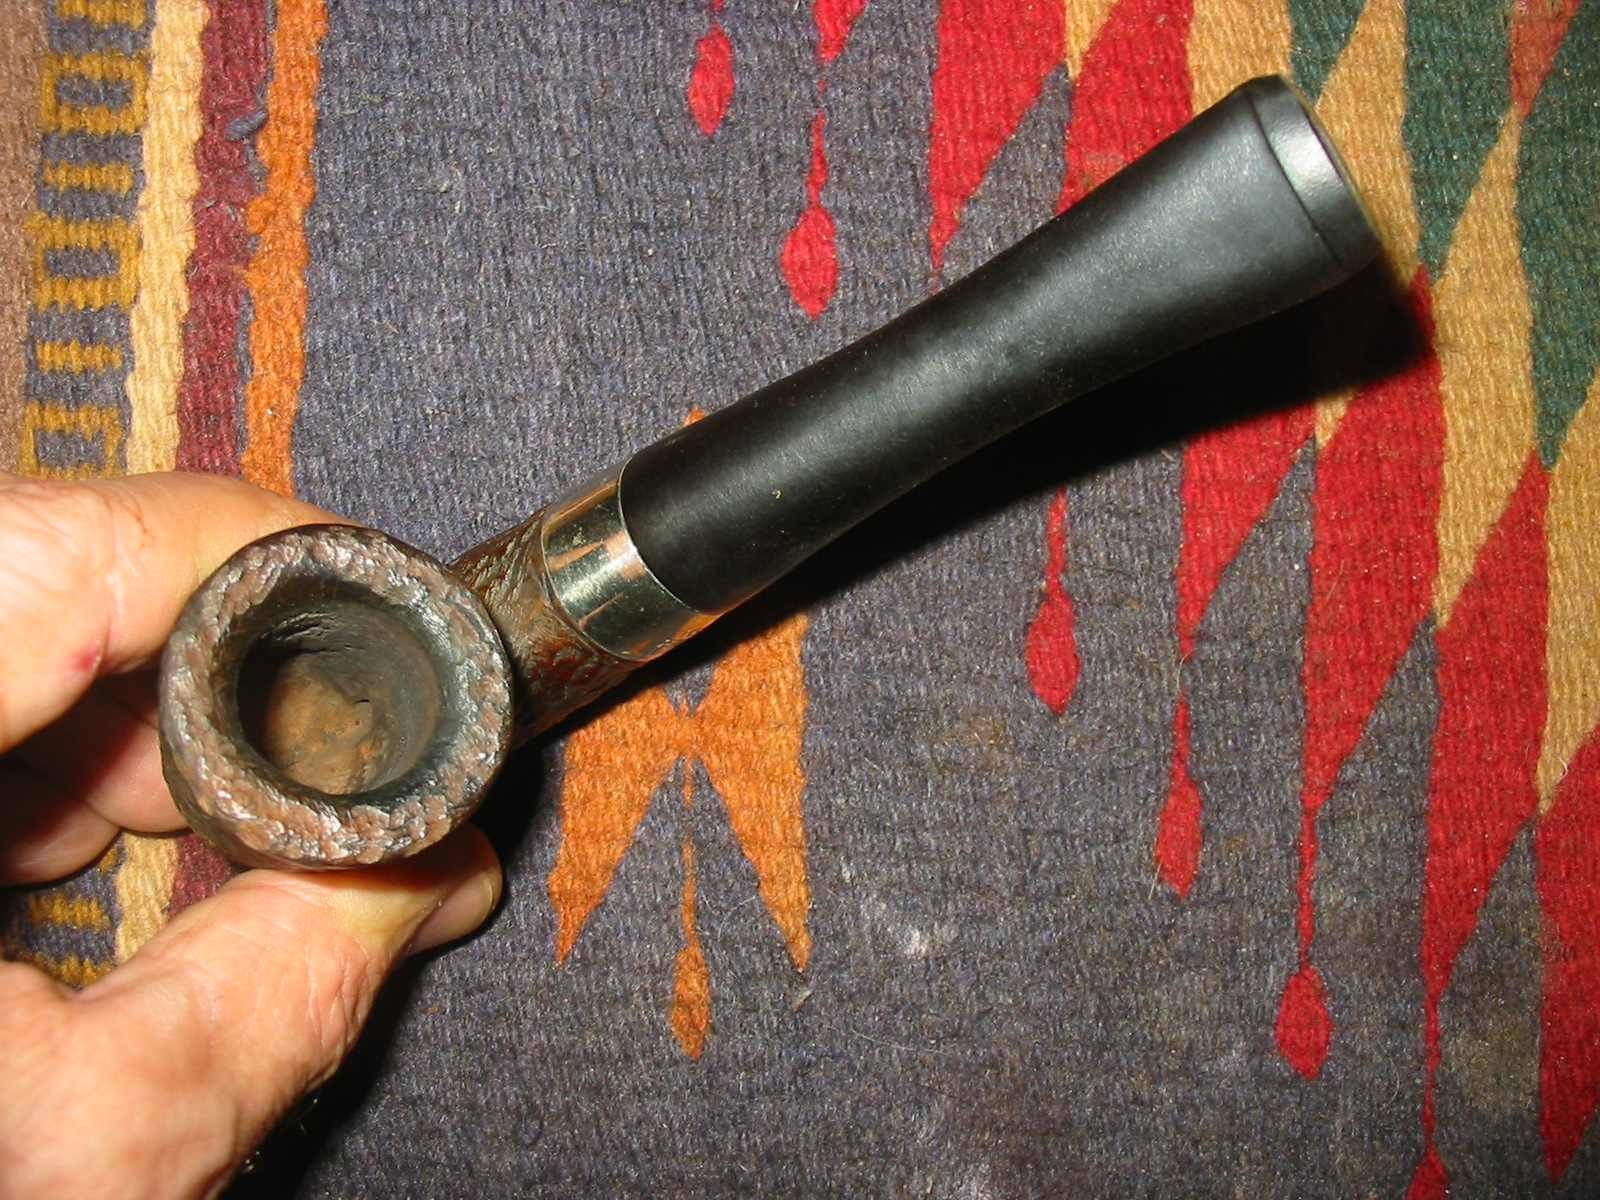
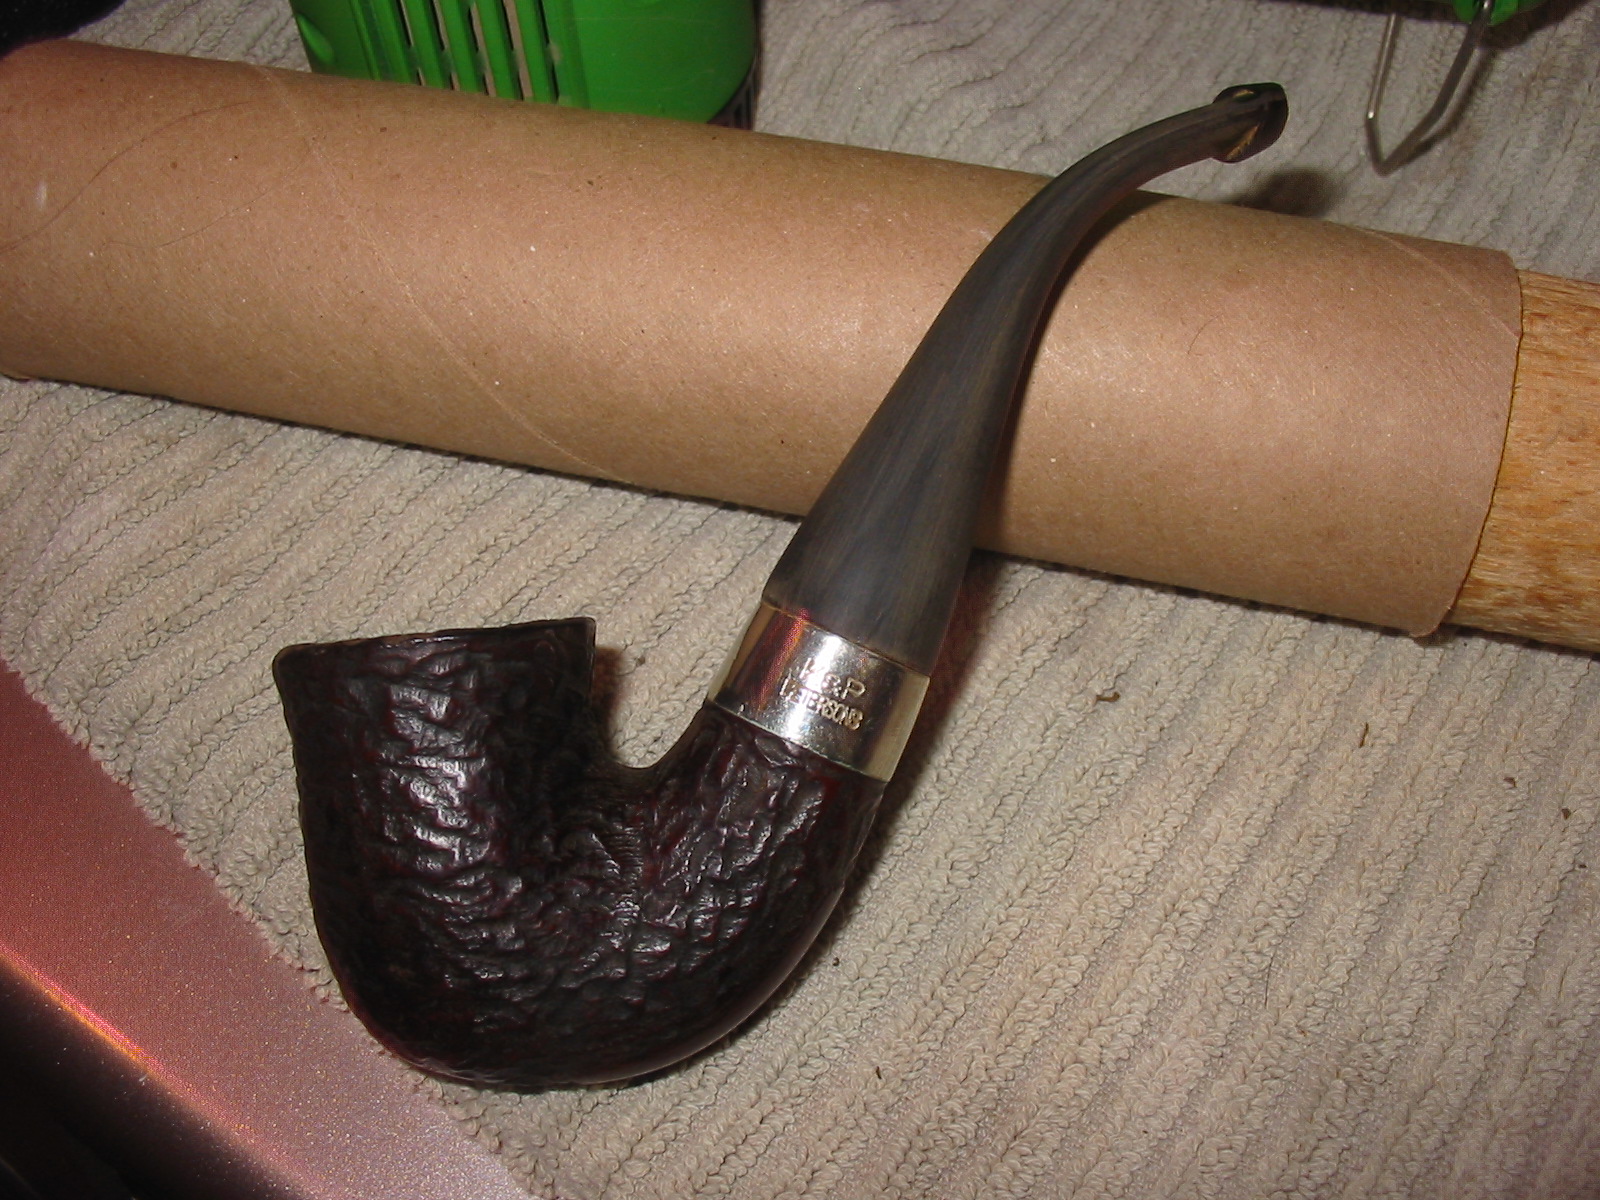
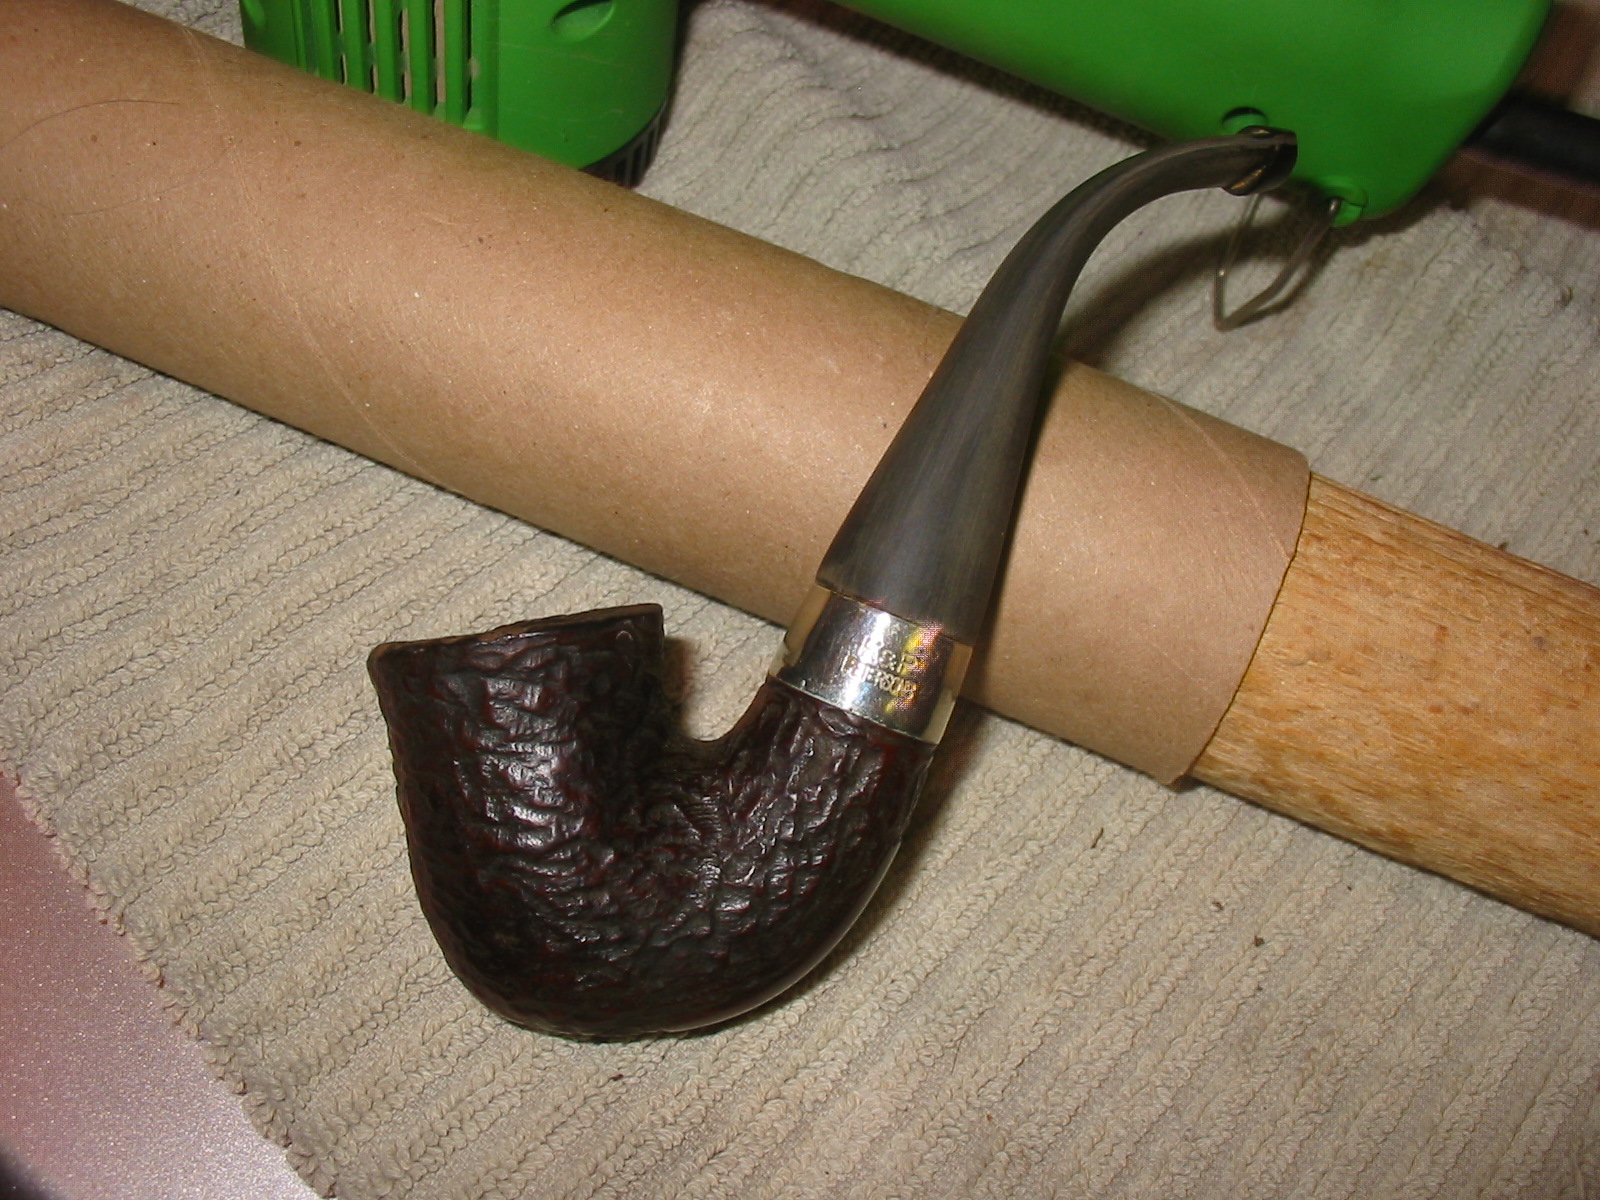
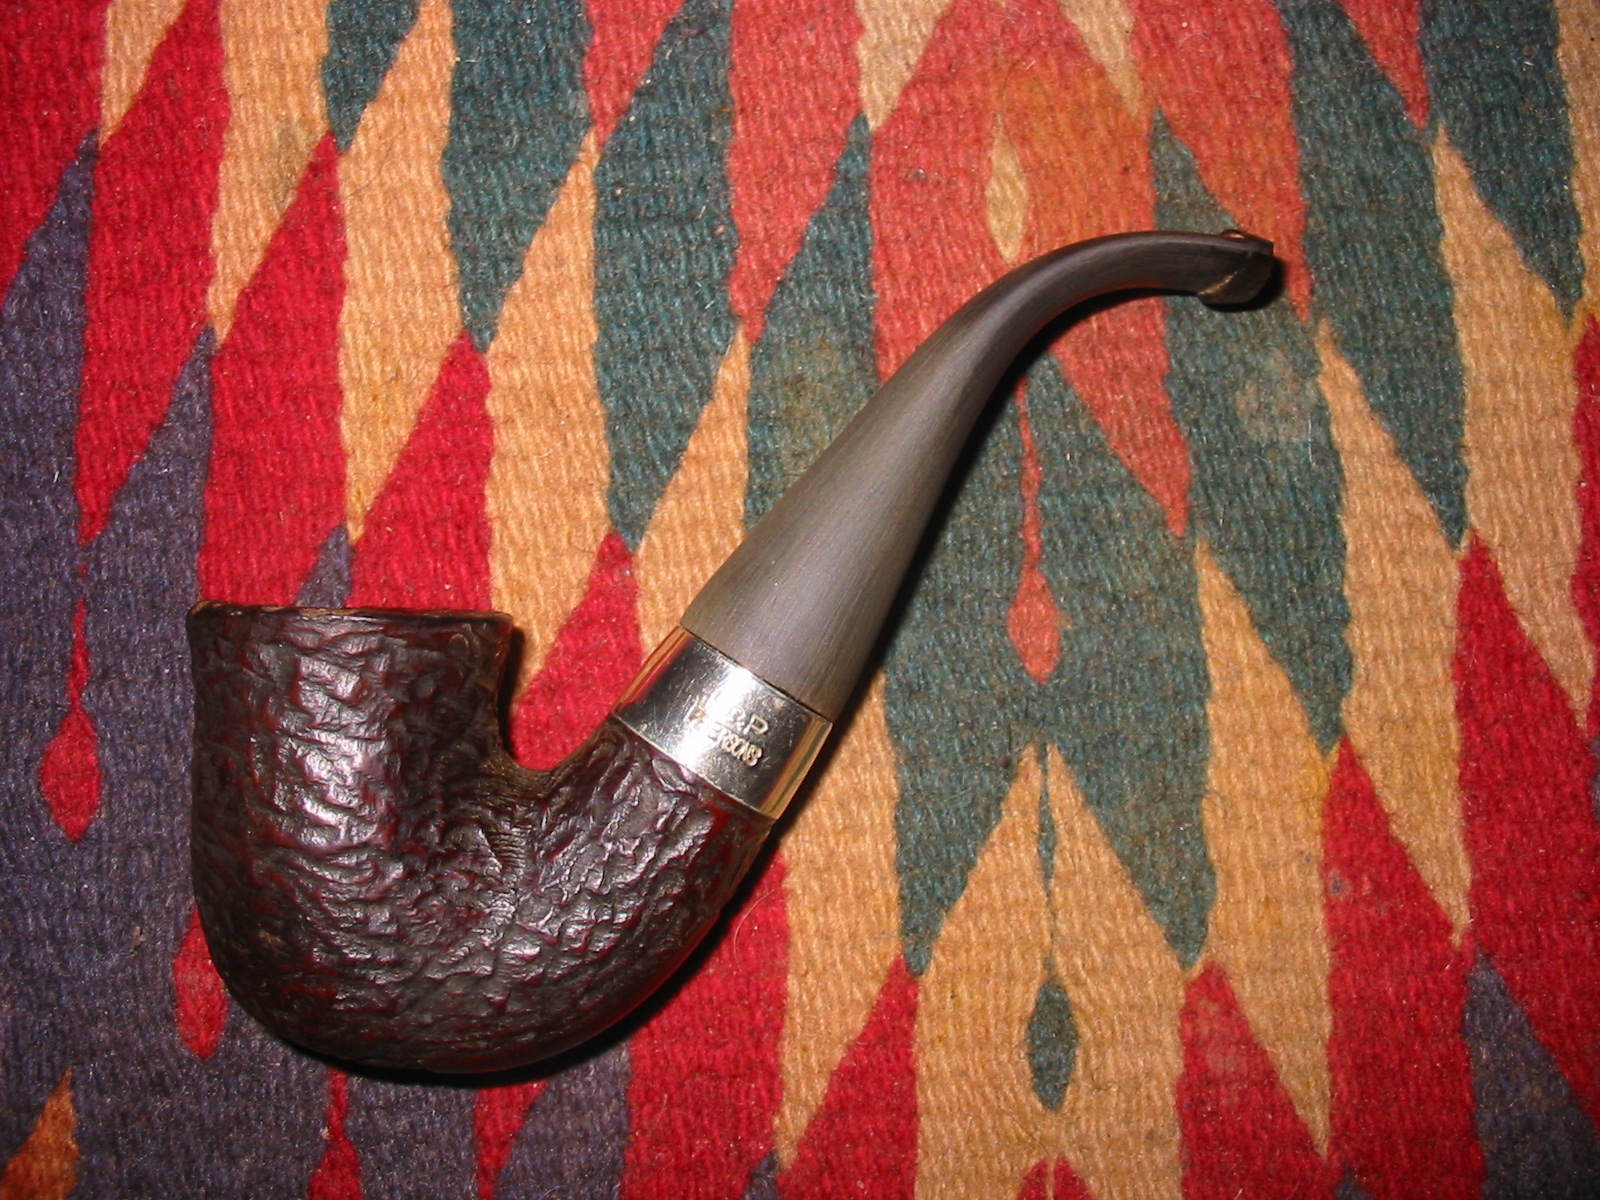
The next series of four photos show the rejuvenated pipe. The stem is a bright black and the tooth marks are gone. The bowl and internals are also cleaned and the pipe is ready to load up with the HH Dark Flake and smoke. This pipe will always be “Mike’s Pipe” to me. I raise the bowl in his honour!

IMG_1182

IMG_1183

IMG_1185

IMG_1187