Tag Archives: Peterson Pipes

Refurbished Peterson Sherlock Holmes 1994


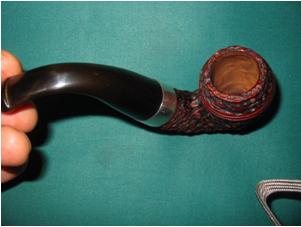
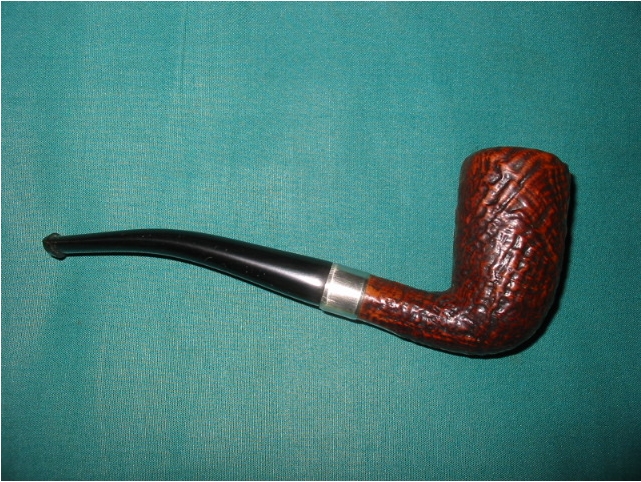
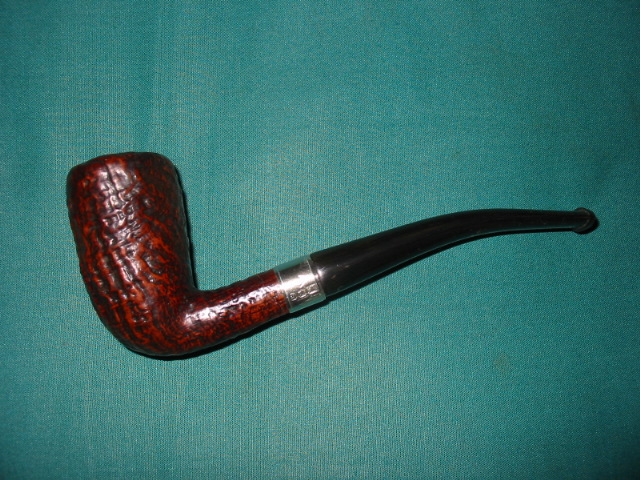
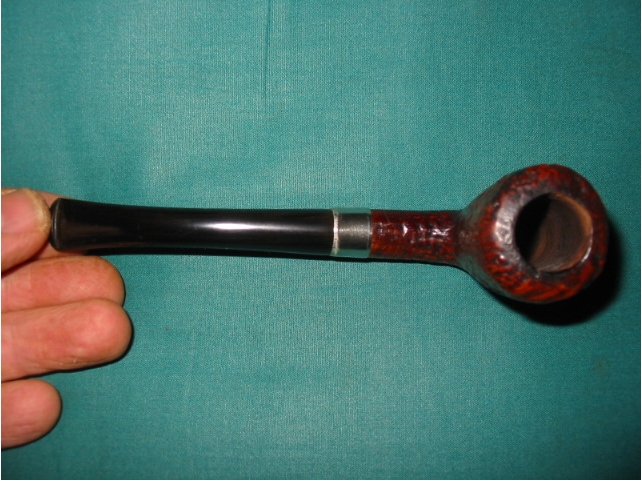
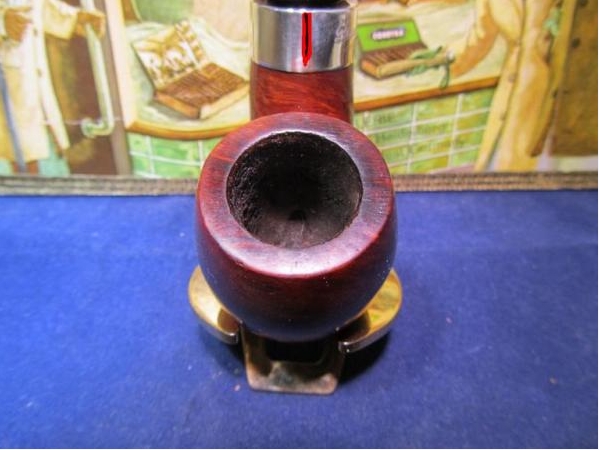
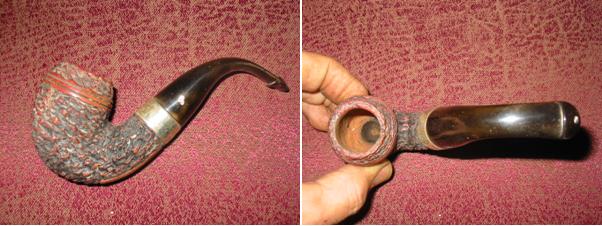
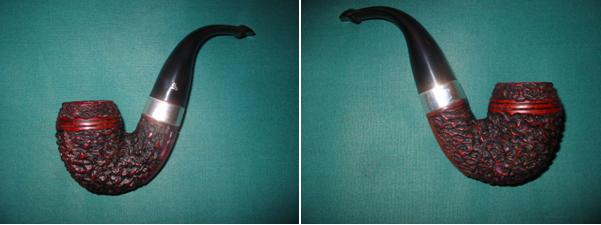
I worked on this Peterson Sherlock Holmes pipe with hallmarks on the silver band that date it to 1994. It has since found a new home and is being smoked and enjoyed by the new owner. The stamping on it was very light but still visible. The finish is in decent shape but very dirty. All of the crevices on the pipe were filled with grime and grit. The stem had oxidation and a light brown undercoating of brown throughout. The band was in great shape and just needed polishing. The bowl was a real question mark for me. It appears to have been drilled significantly larger. The bowl sides are smooth and they are still straight and clean. There was some blackening at the bottom of the bowl. I am thinking that the previous owner decided to open the bowl up and make it larger in order to hold more tobacco. The new owner says that it still smokes well so the drilling did not ruin the pipe.
Pete1

I scrubbed the bowl surface with some undiluted Murphy’s Oil Soap and a soft bristle tooth brush to get the grime out of the crevices. I repeated it until it was clean the grime was gone. I know many people do not like oil soap as it removes some of the stain on a pipe. But in this case it worked wonders. Once I had finished scrubbing it I washed it off with warm water and dried it with a soft cotton cloth. When it was dry I polished it with Halcyon wax and buffed it on my buffer with a soft clean flannel buffing pad. The oxidation on the stem came off easily with my buffer and Tripoli and White Diamond. I finished the stem by buffing it with carnauba wax.
Pete2

Pete3

Restoring a unique Peterson 10


I picked up this old Peterson shape number 10 at a flea market for about $12. This one needed cleaning inside and out as well as reaming. The finish was quite good. I just used a soft bristle tooth brush to get into the crevices. The shank had a crack in it so I banded it with a silver band. The bowl was caked and very narrow. I used a battery terminal brush and an old adjustable reamer to get inside of it. The stem on it was obviously not the original but a smaller diameter replacement stem that did not fit well. The shank had been sanded smooth but was not tapered to meet the misfit stem but it was perfect for setting the band. Before doing that I used some super glue to squeeze the crack in the shank together. I held it until it was dry. I then heated the band with my heat gun and pressure fit it on the shank. I flattened the bottom edge of the band to match the flat bottom where the stamping is. I fit and shaped a new stem. Once it was fit I bent it to a comfortable fit for the mouth. Then I sanded and polished it with my usual regimen of micromesh pads from 1500-6000 grit.

Peterson Mark Twain shank repair using a copper band


Blog by Bryan

Bryan, SenatorXMG, on Smokers Forums posted this photo essay on a repair he did on a cracked shank on a Peterson Mark Twain that he purchased. I asked for permission to post it here for information and passing on a great trick to others who would choose to use his method. He gladly granted that permission and I include it below for your use.

Well…today was the day to fix my Peterson Mark Twain with the cracked shank. I had previously posted on Smokers Forums regarding the problem and looking for advice on repairing it. I include the text and picture that I posted below.

I bought a Peterson Mark Twain off of eBay and when it arrived I discovered there was a crack in the shank. With the silver cap on the shank it was not easy to see and I believe the seller that he was unaware. You can only see the crack from inside the shank…with stem in place, it’s evident that it expands a little as the stem sits more deeply in the shank and is not quite so secure. Other than this crack, the pipe is in pretty good condition. The seller offered either a full refund or a partial one of $55 (he increased from the original $40 he offered). If I could have this adequately fixed, I’d be interested in that.

I’ve included a picture of where in the shank the crack is. It actually runs from the top of the shank down to the air hole.

I’m wondering if this is something I could repair myself. Any repairmen out there who could give me a basic step by step idea of how I would approach this fix? I was considering the following:
– remove cap (this is fairly straight forward. I’ve done this before)
– add appropriately-sized shank ring. Might have to sand down an area so that the ring is flush with the remaining shank? (I have no idea how this part is done and how I’d get a tight fit of the shank ring).
– re-install cap (easy to do)

While I’m pretty handy, this seems like it could be a job for someone with skills greater than mine. Would the $55 the seller has offered me back cover this type of repair from someone with experience?

Crack location marked in red/black indicated on silver cap (actual location is seen on the inside)

Image

I decided to repair the pipe myself and created a small photo essay on the work done in repairing the pipe. Here it is:

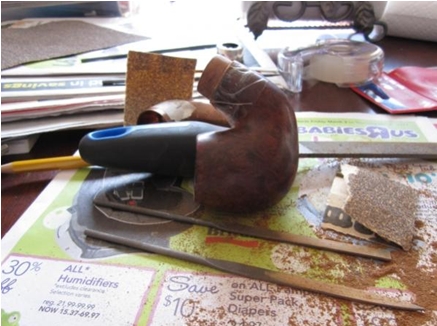
The silver cap was removed with use of heat. Once it is removed the crack is very visible. Copper piping will act as source of repair band.

Image

I sanded down repair area where copper band will be installed.

Image

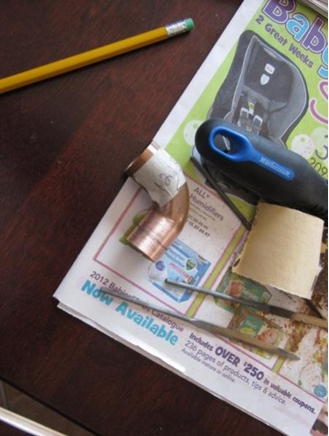
The copper piping is marked and ready to be cut.

Image

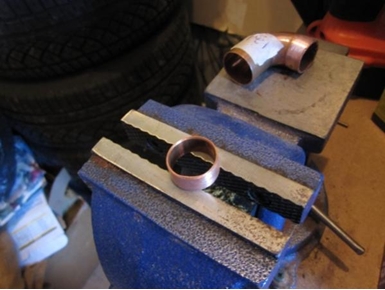
Copper band cut and filed smooth:

Image

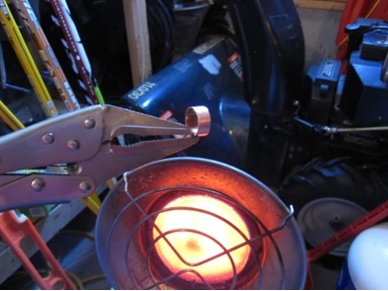
Heat for installation. No blow-torch to heat…had to use my propane space heater (it worked!):

Image

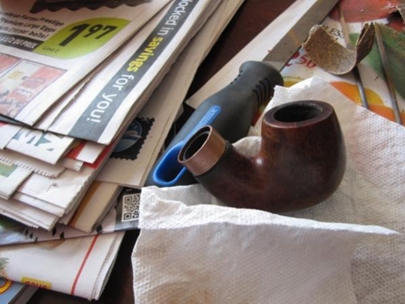
Cooper band installed…with a little bit of gentle force:

Image

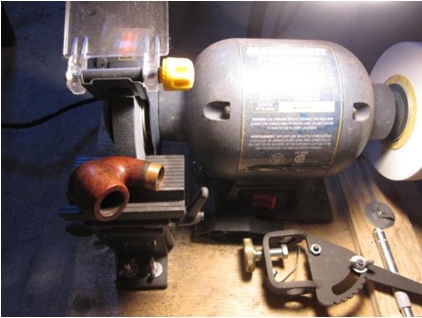
To the grinder to clean it up a little:

Image

Ahhhh…that’s a little better:

Image

Image

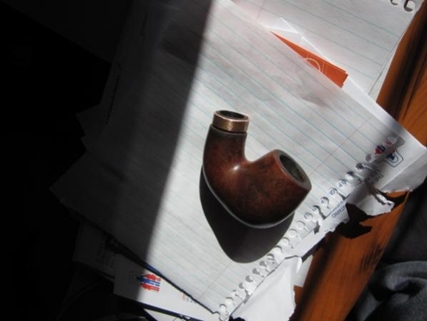
All finished!! Silver cap re-installed. With the installation of the repair band, the crack is much tighter and the stem now sits much more nicely!!

Image

All in all…wasn’t a terribly difficult repair. The hardest part was determining how much to sand down the area where the band would go. But, it all worked out fine!

Bryan