Blog by Steve Laug
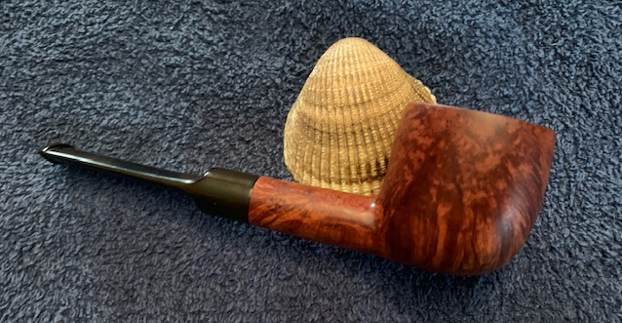
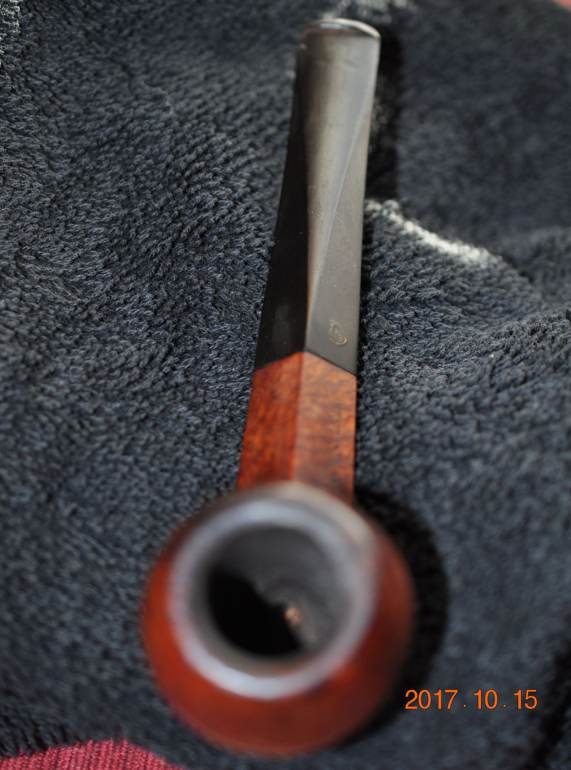
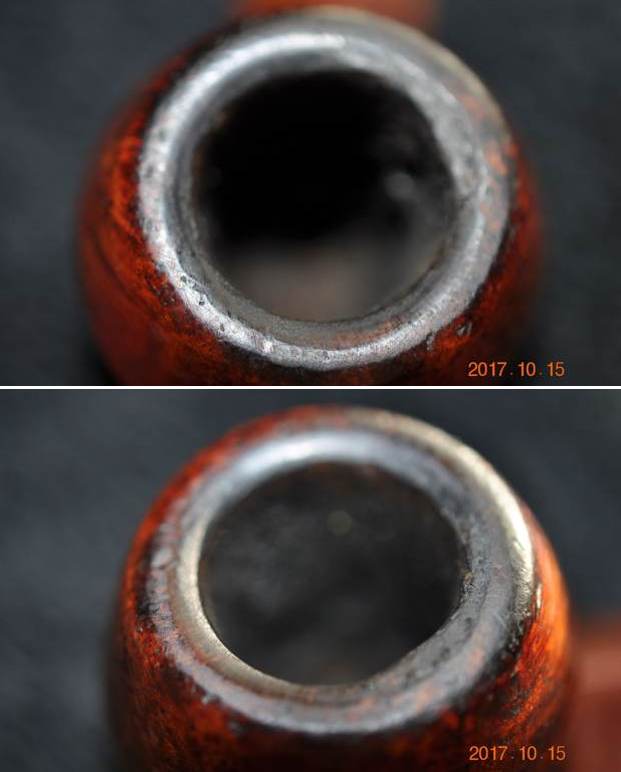
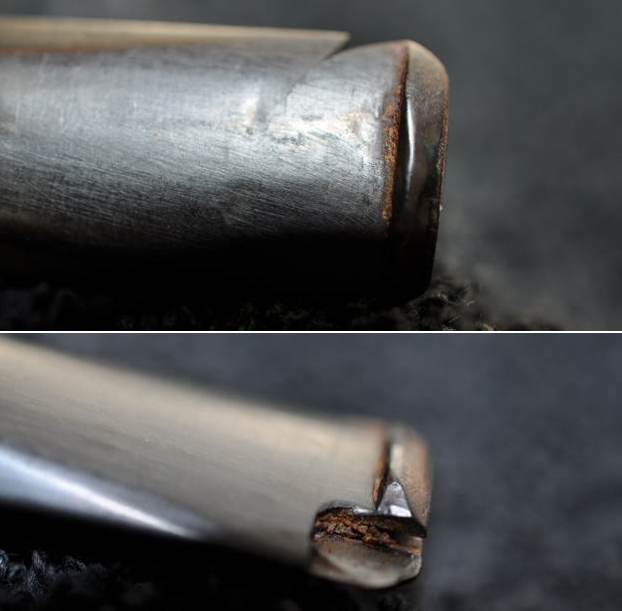
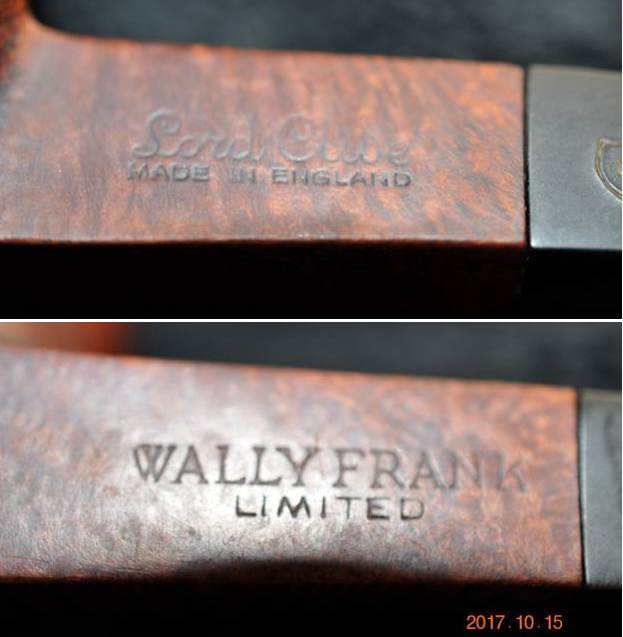
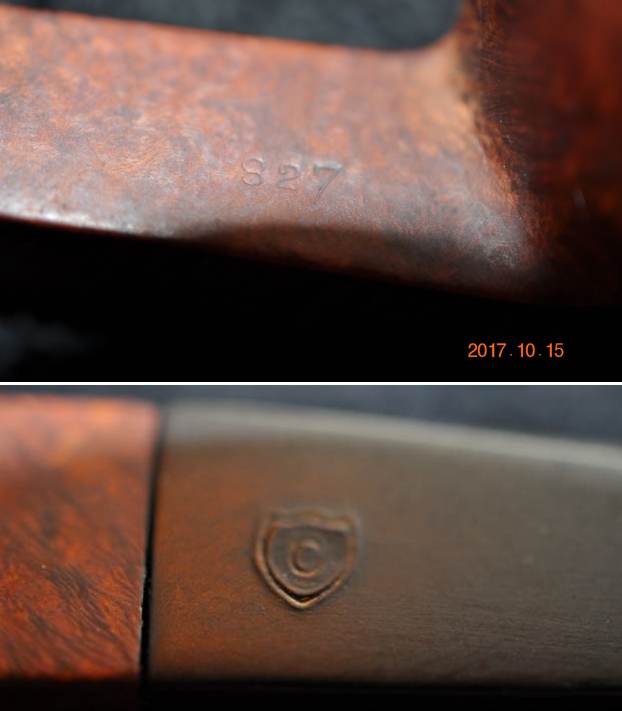
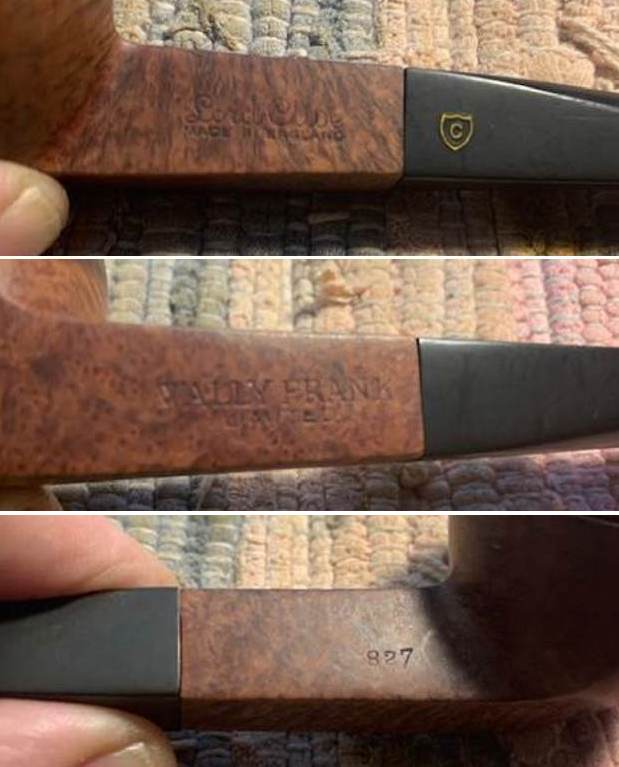
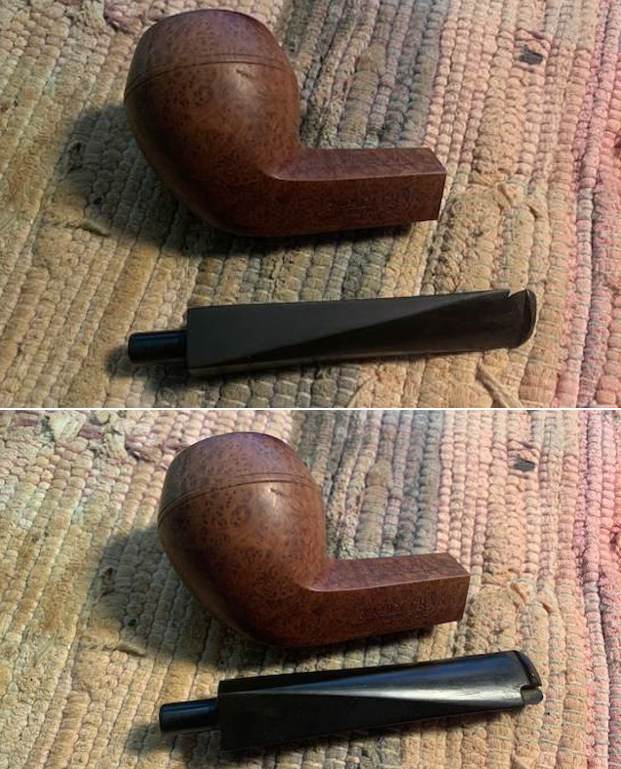
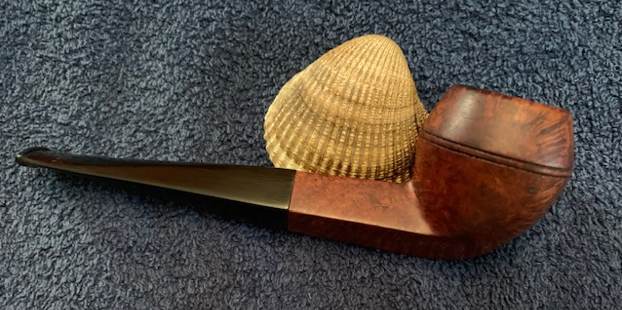
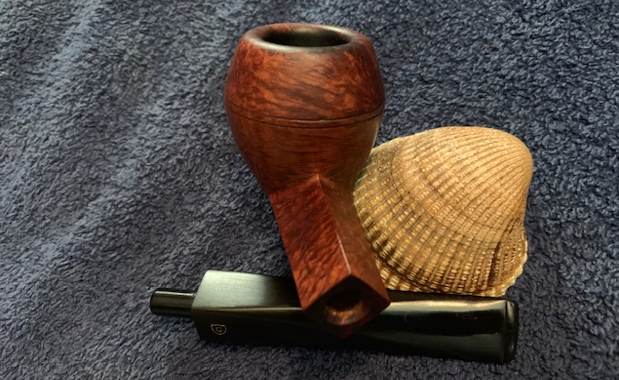
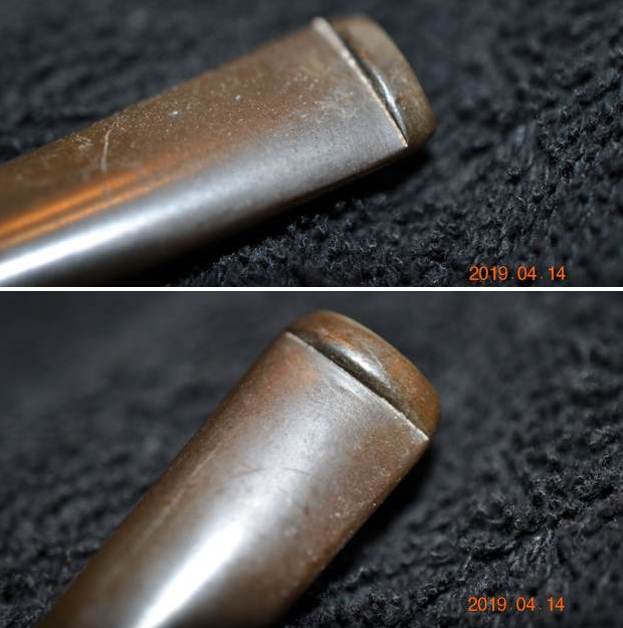
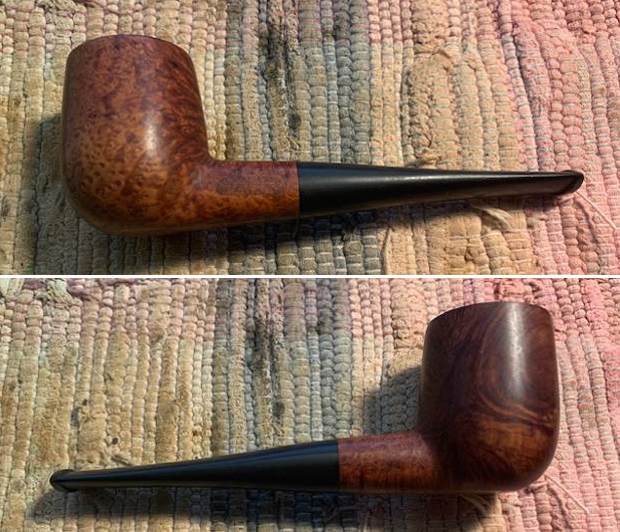
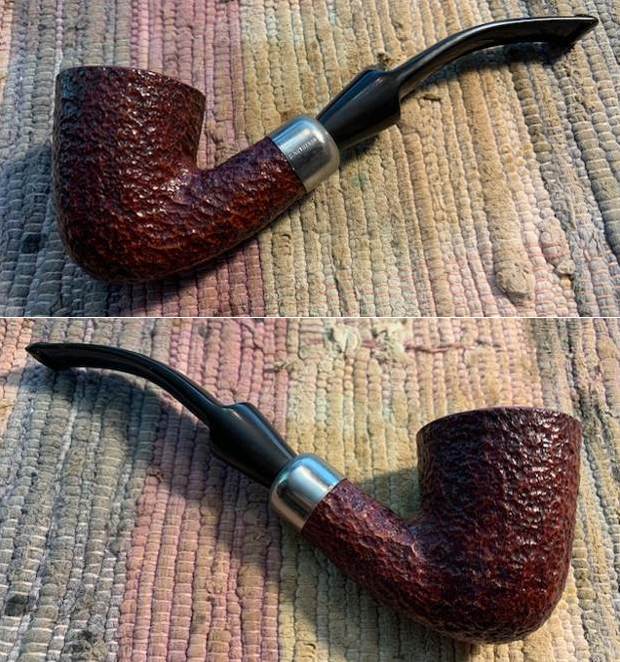
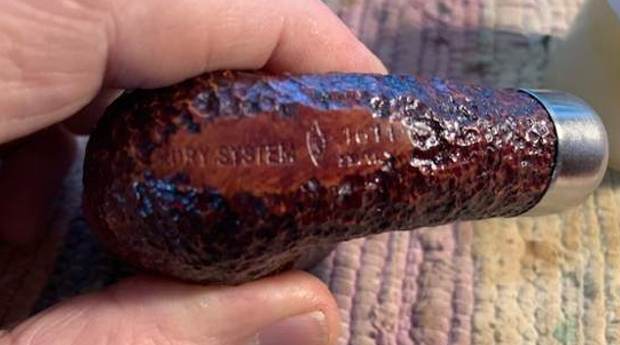
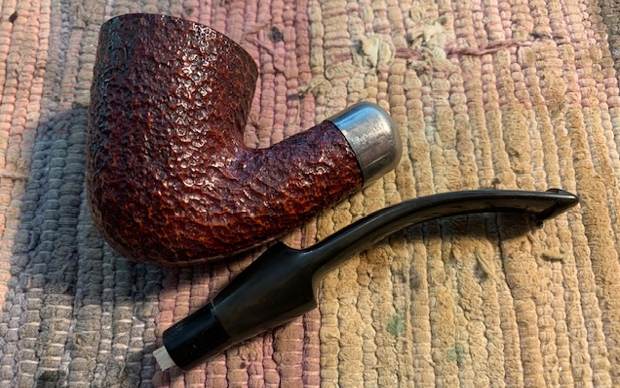
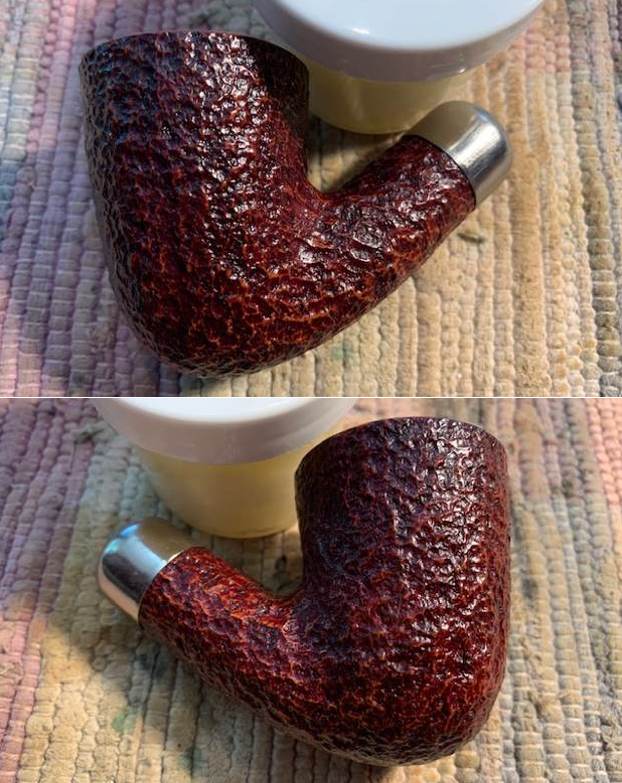
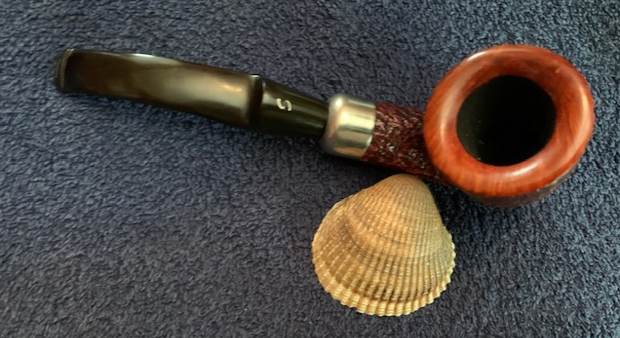
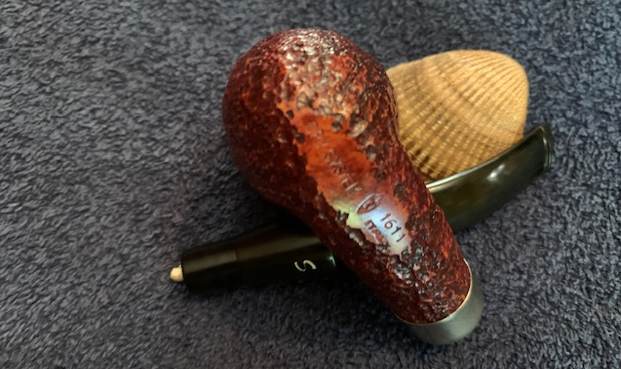
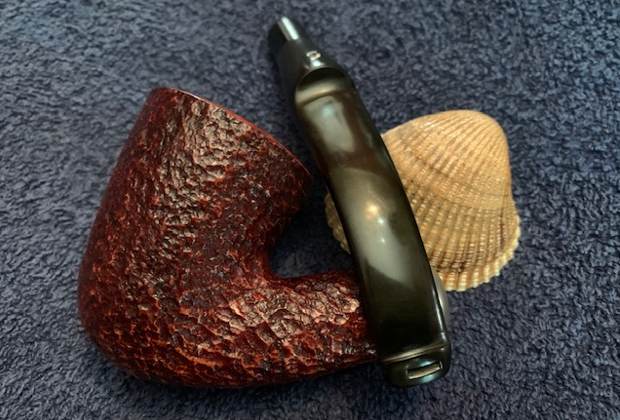
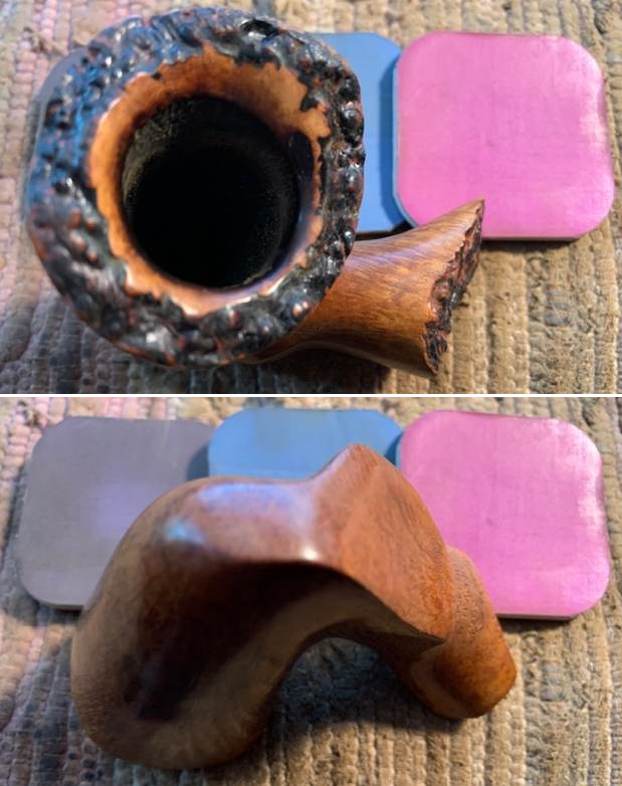
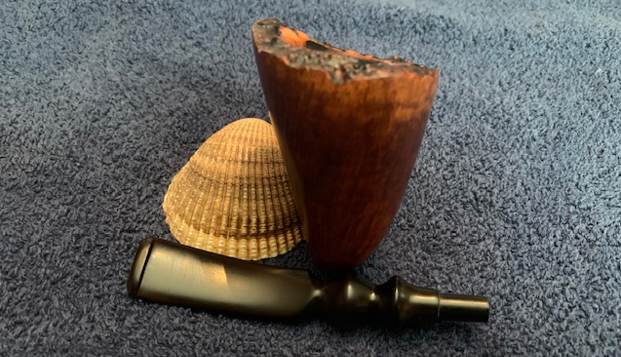
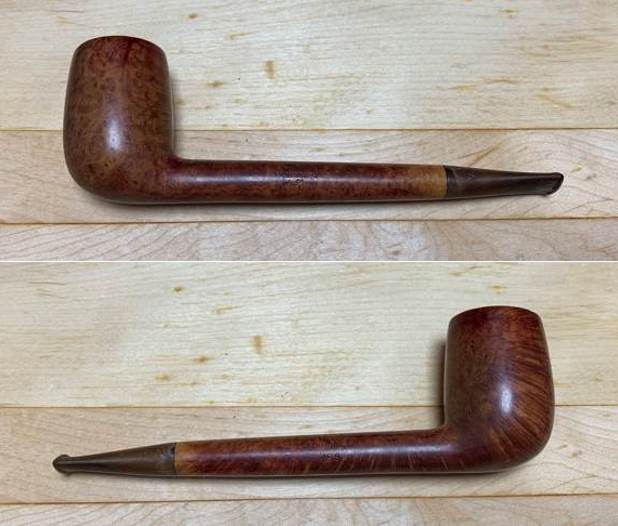
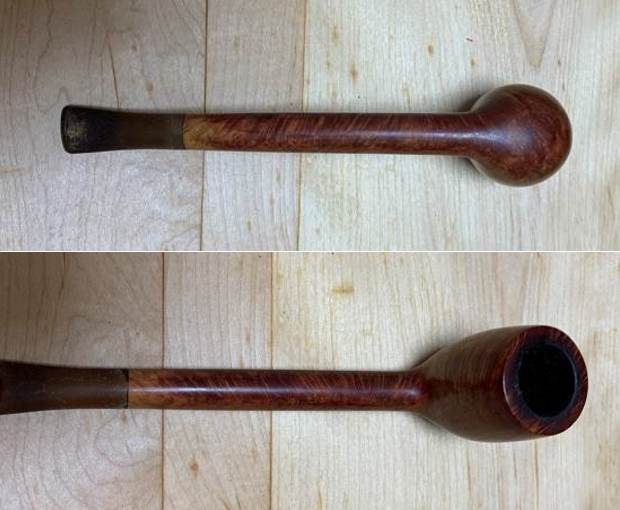
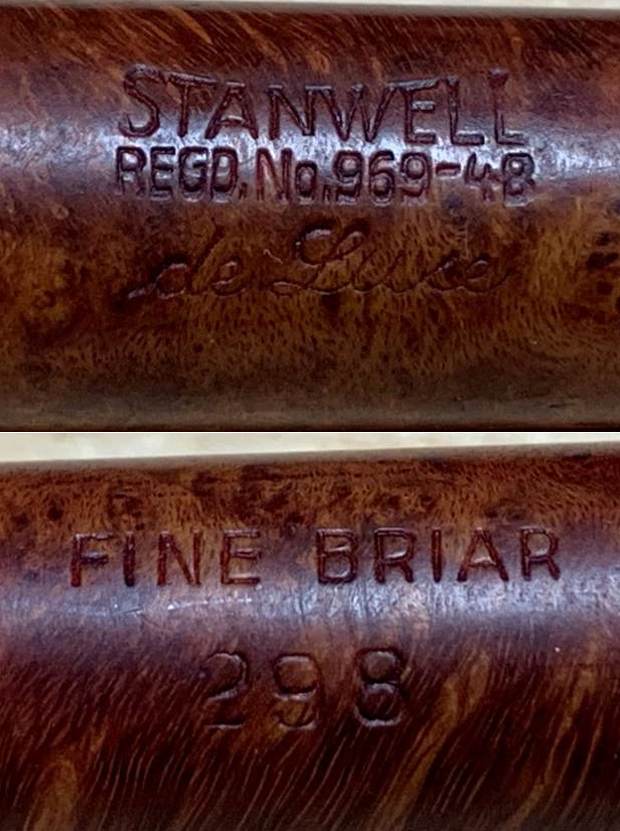
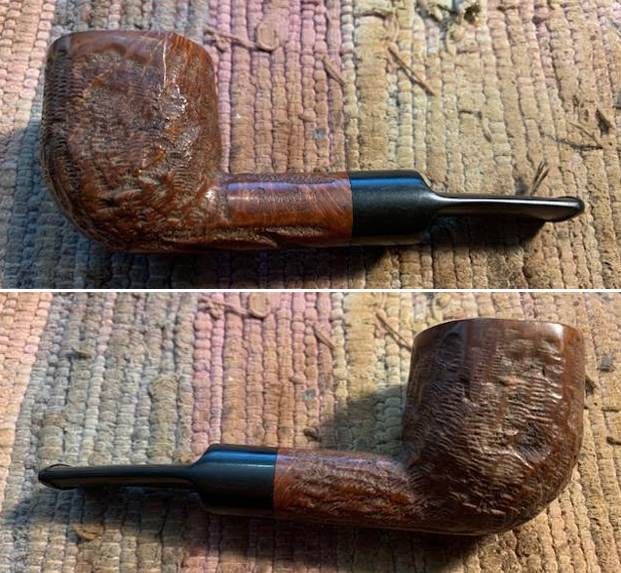
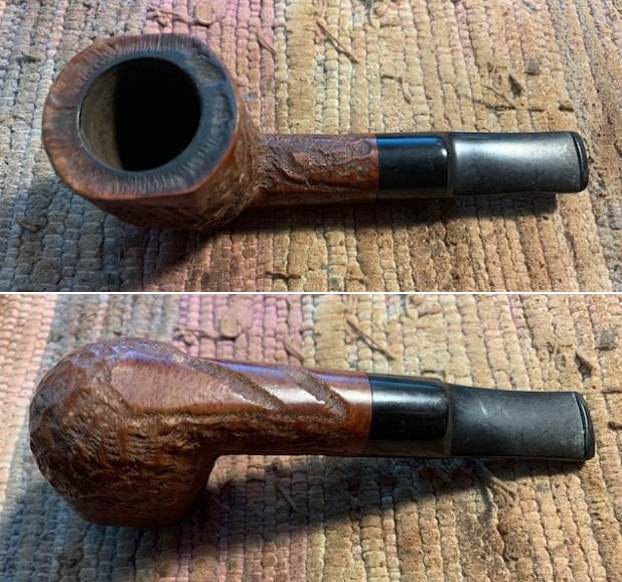
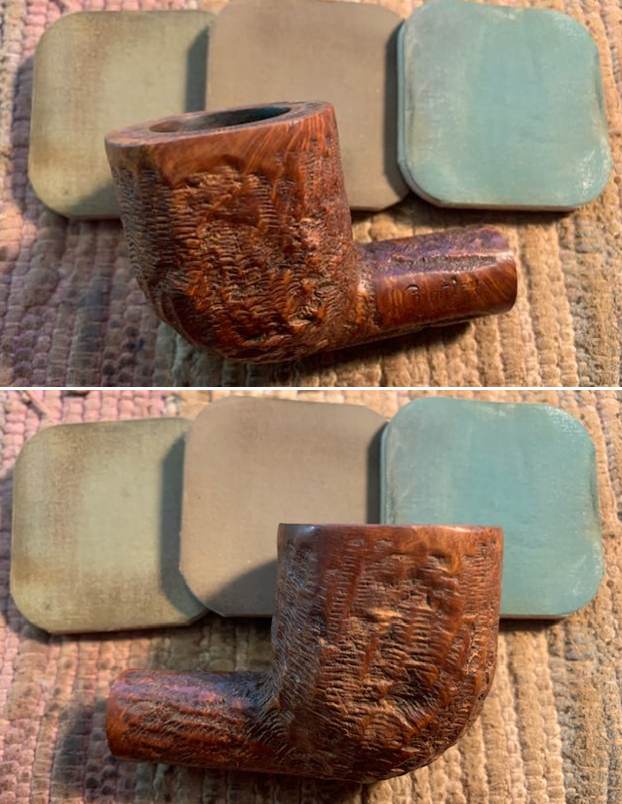
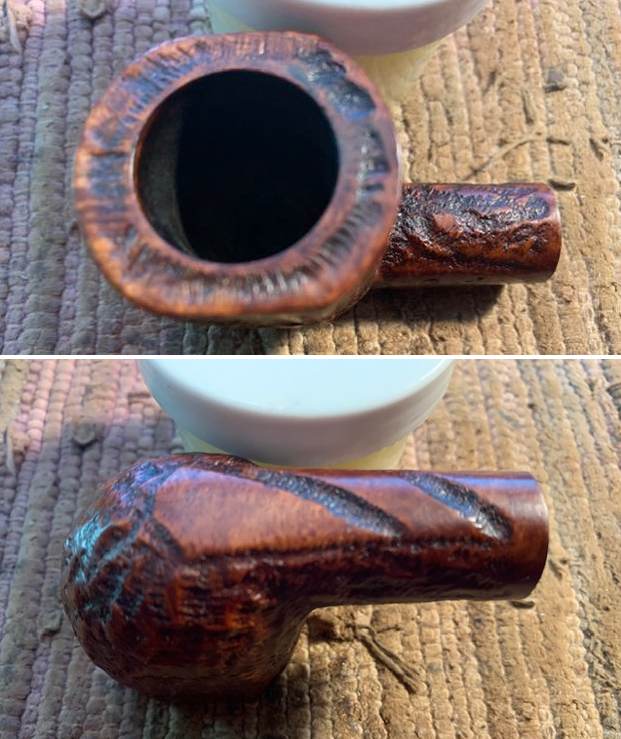
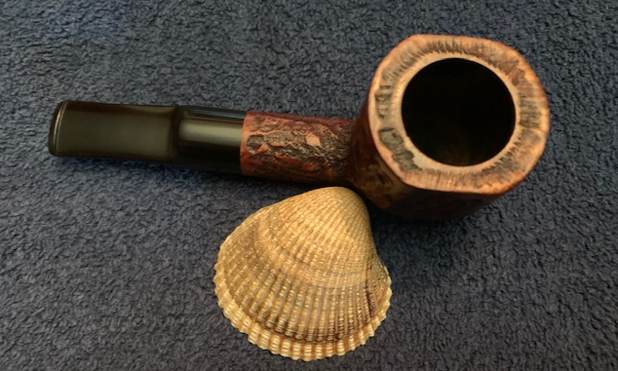
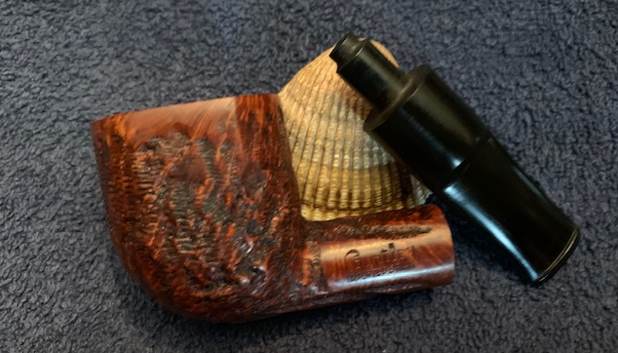
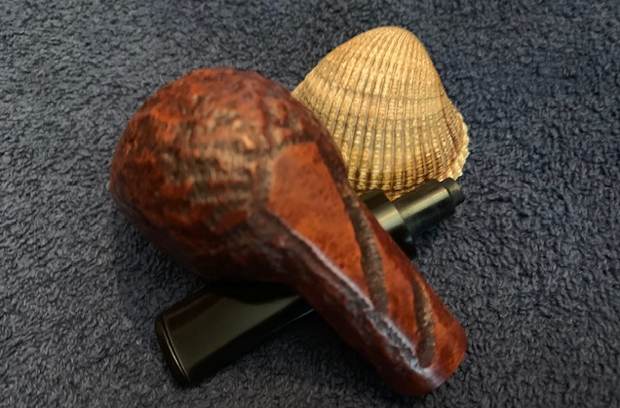
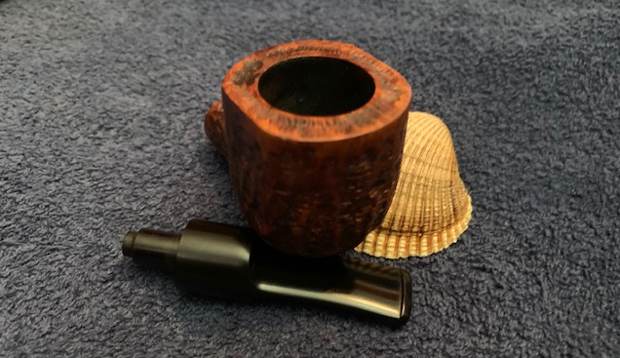
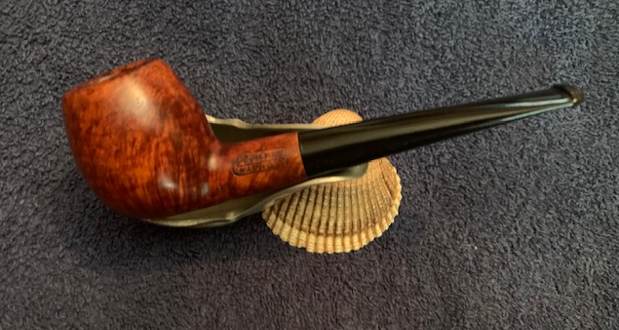
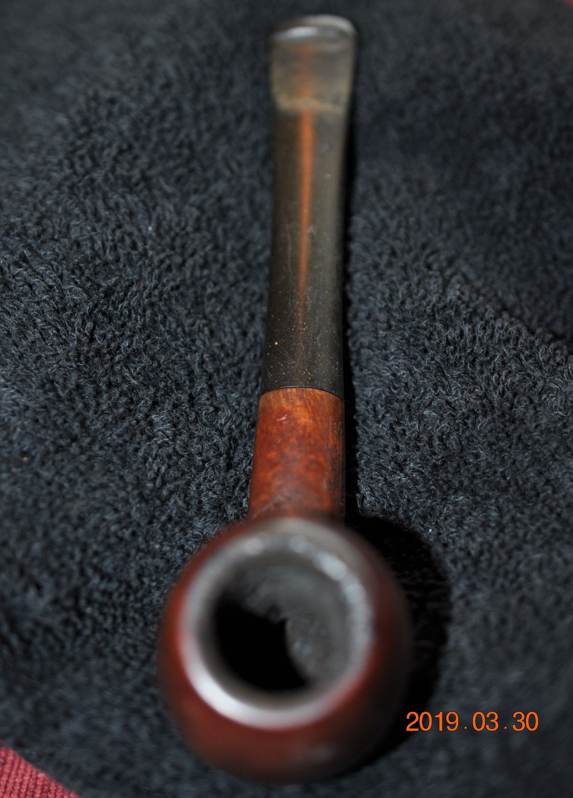
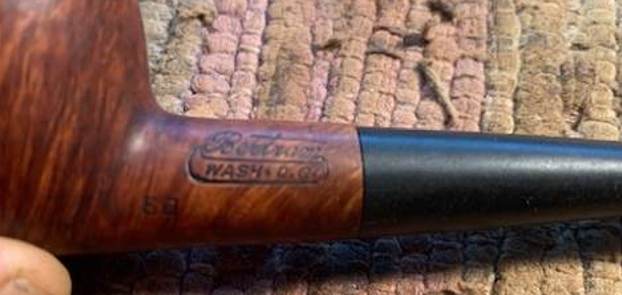
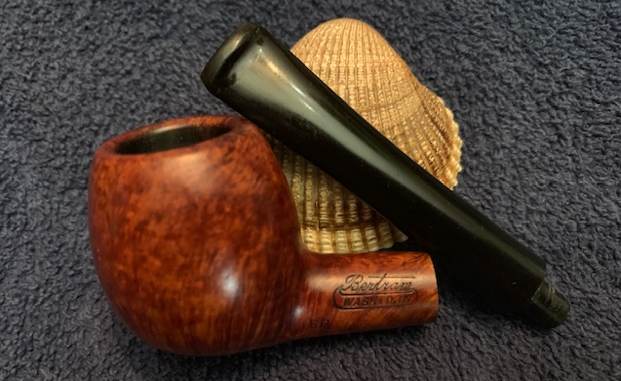
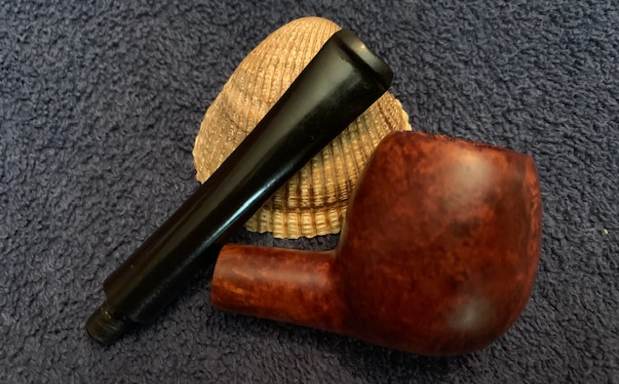
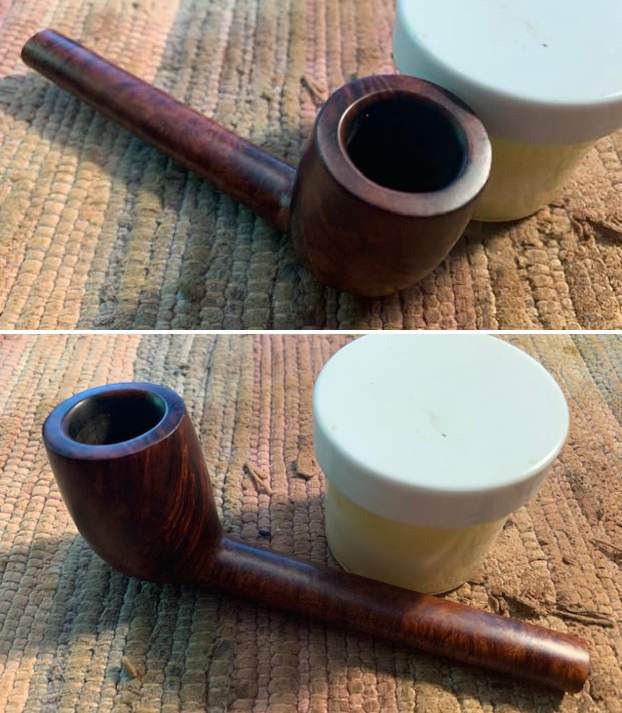
This nice looking Comoy’s Pot shaped pipe has some nice grain around the bowl. We purchased it on 04/20/18 from an estate pipe collection in Sterling Heights, Michigan, USA. It was a filthy pipe with a lot of grime ground into the surface of the briar. The stamping on the shank was clear and readable. On the left side it reads Comoy’s [over] Patina. On the right side it is stamped 495 next to the joint of the shank and bowl. Near the stem joint it is stamped with the characteristic Made in London in a circle over England. The C on the saddle side of the stem is a three part C so that helps date it as an older pipe. There was a thick cake in the bowl that overflows as thick lava on the rim top. The bevel on the inner edge of the rim looked to be in good condition but had some thick lava on it. The outer edge actually appeared to be in good condition. The stem was oxidized and has some deep tooth marks and chatter on both sides ahead of the button. There was a lot of promise in the pipe but it was going to take some work. Jeff took the following photos before he started his clean up work on the pipe.
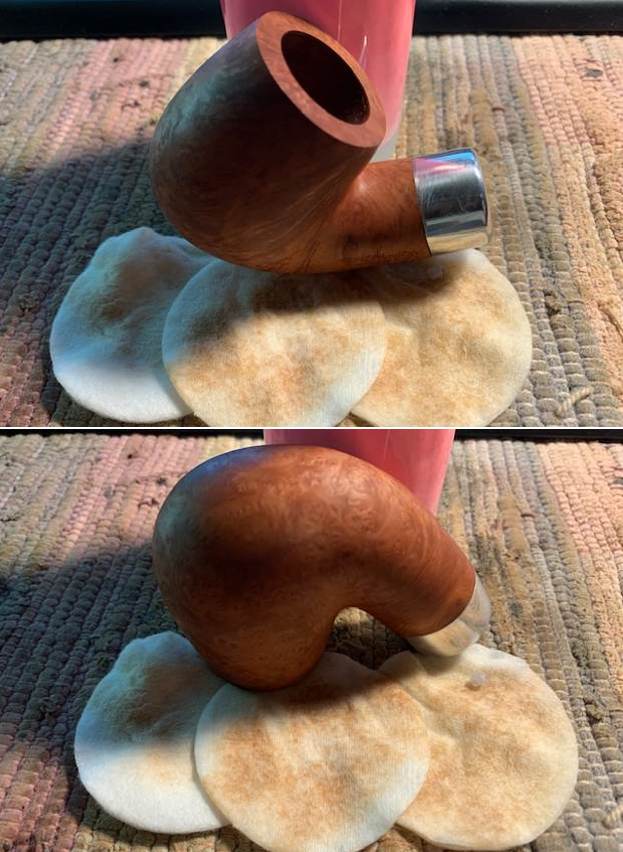
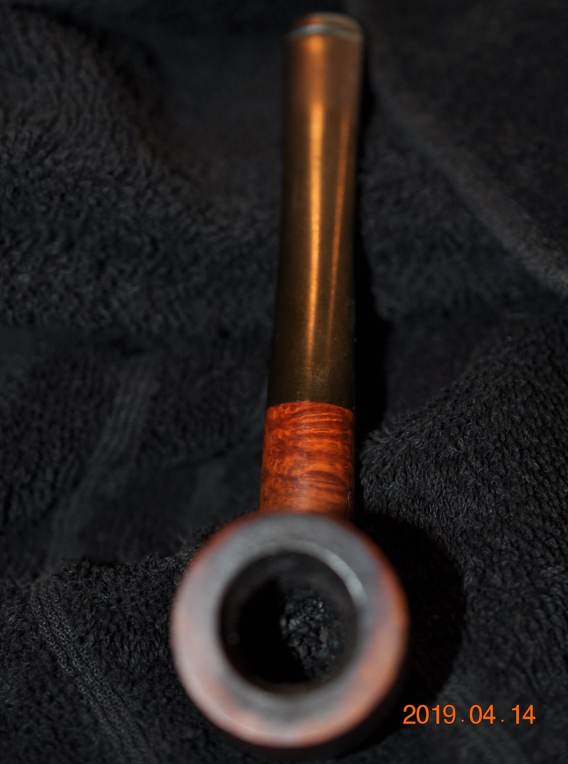
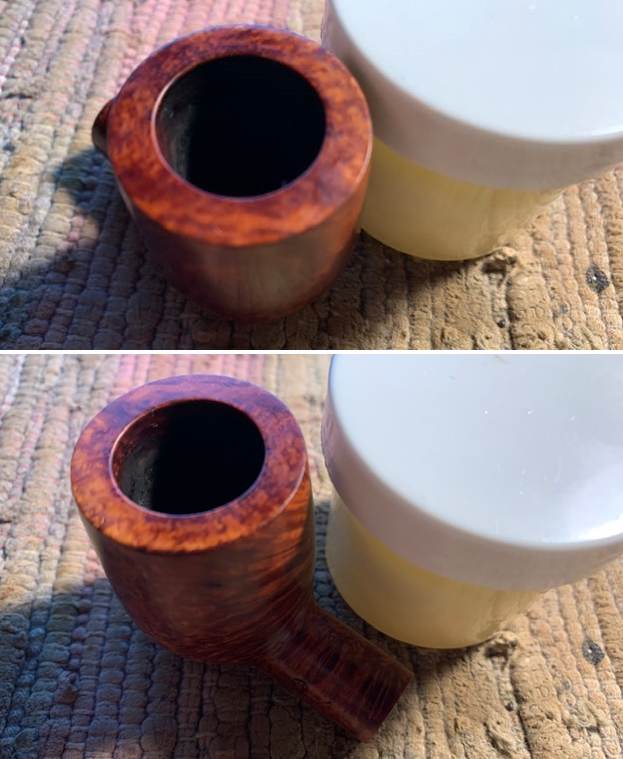
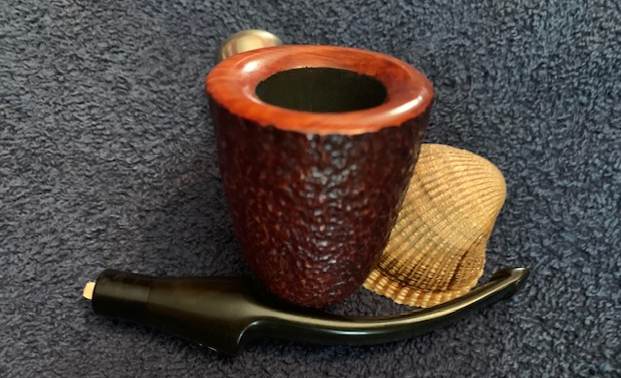
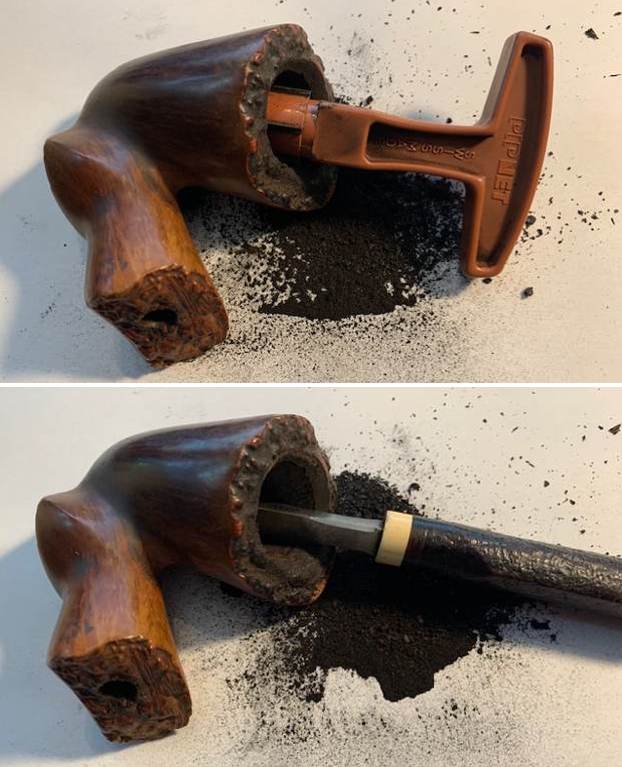
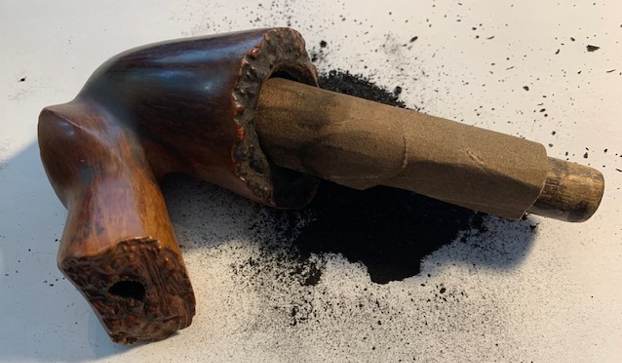
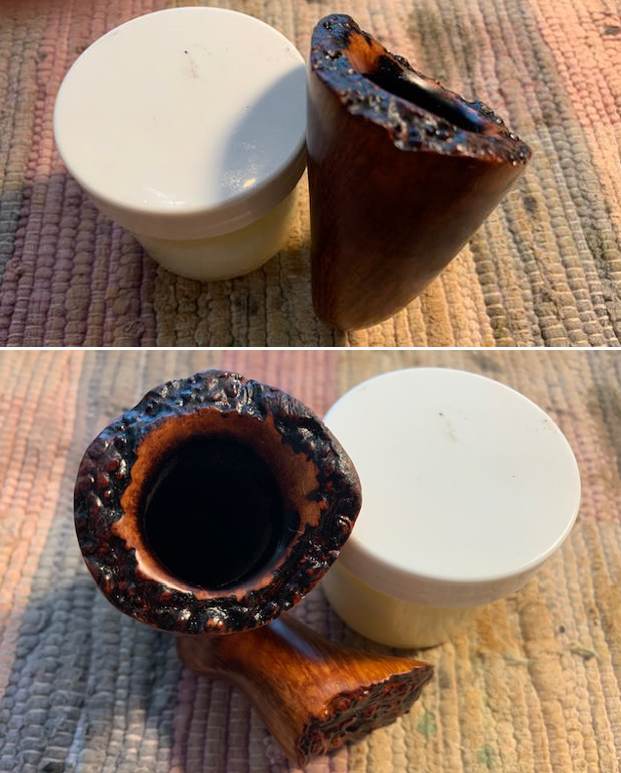
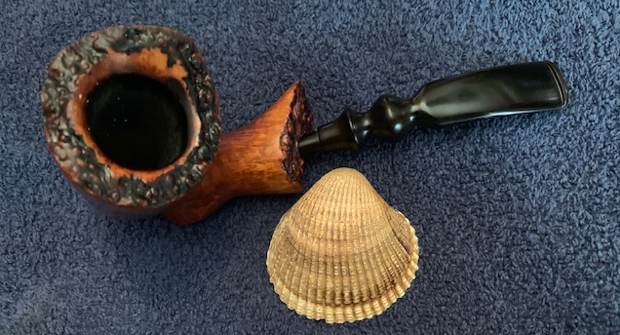
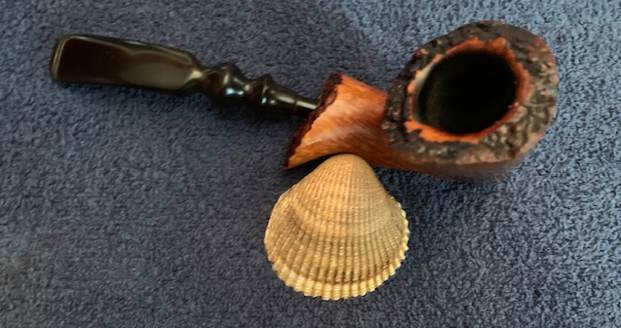
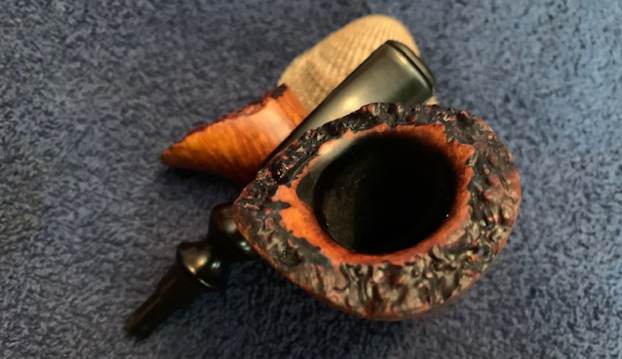
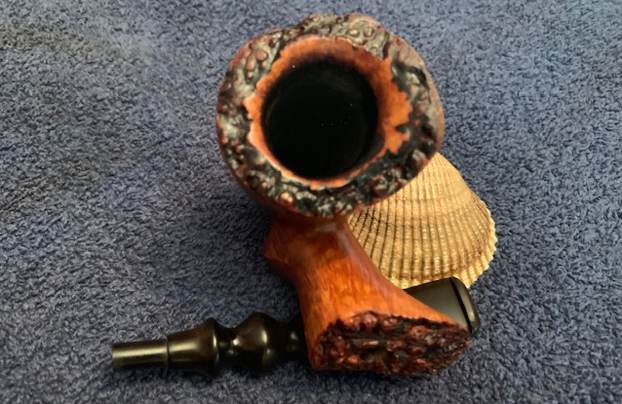
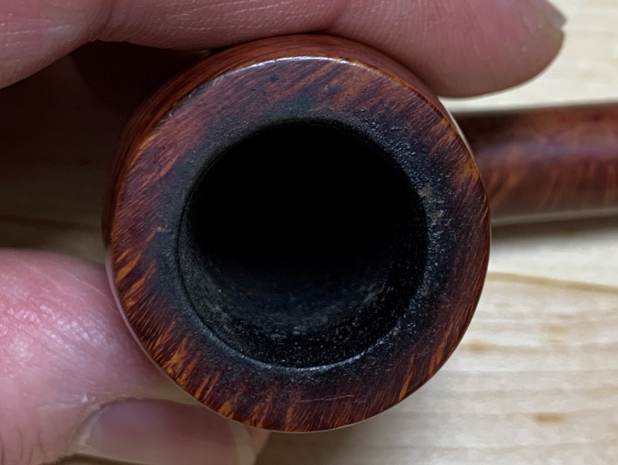
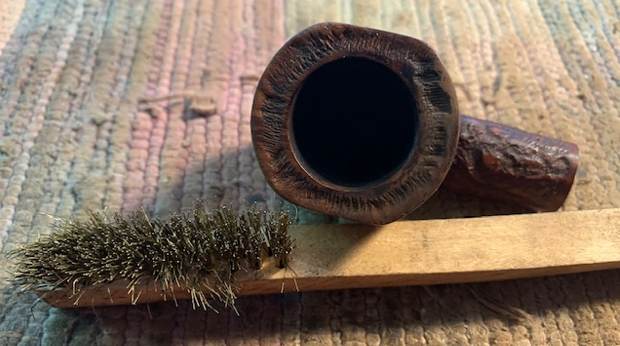
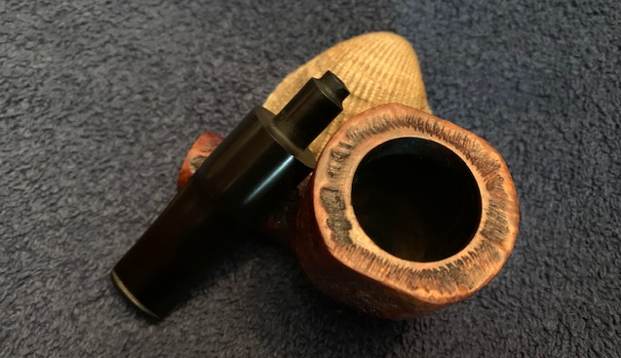
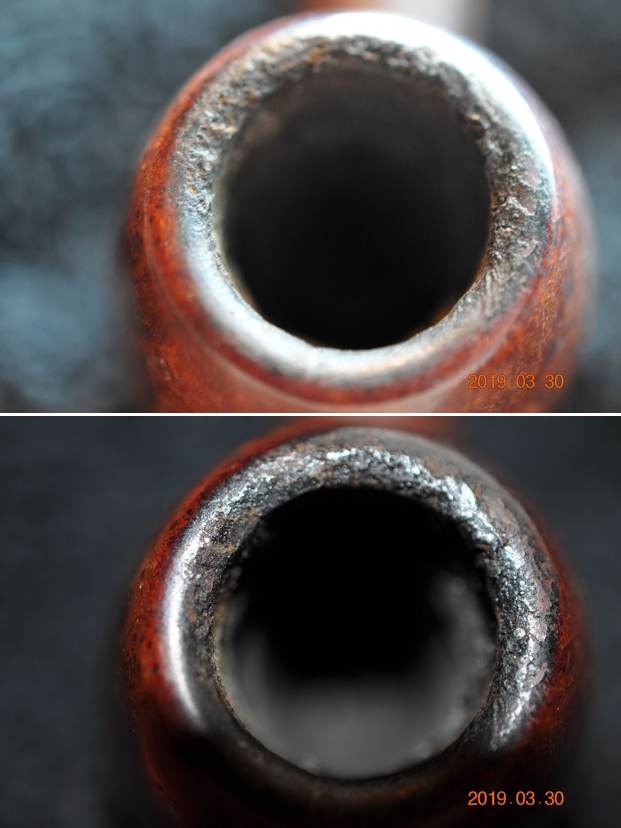
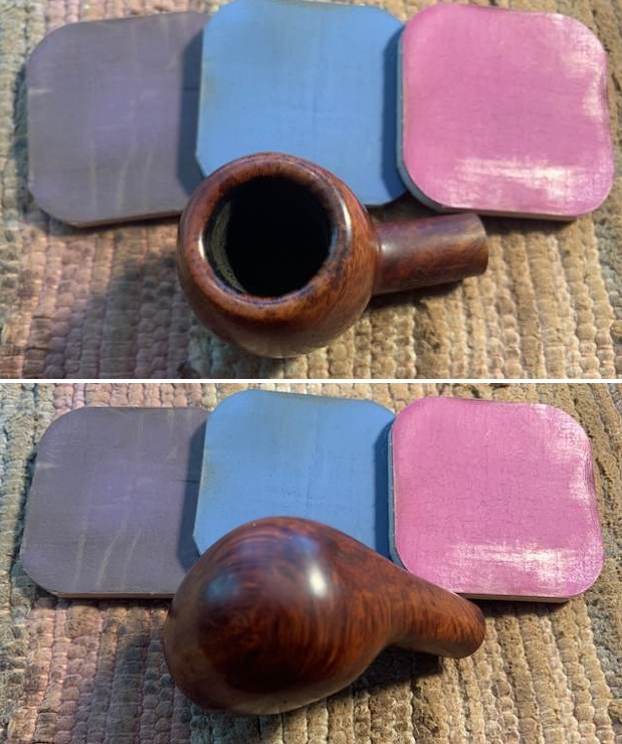
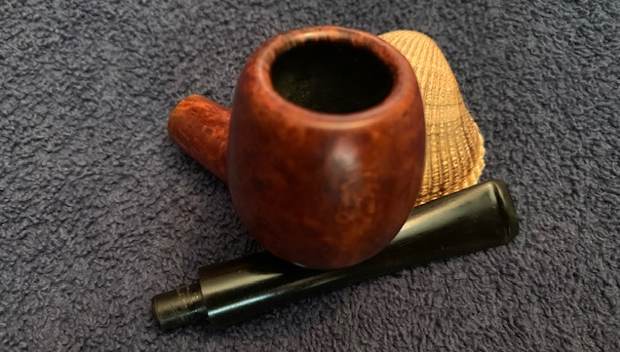
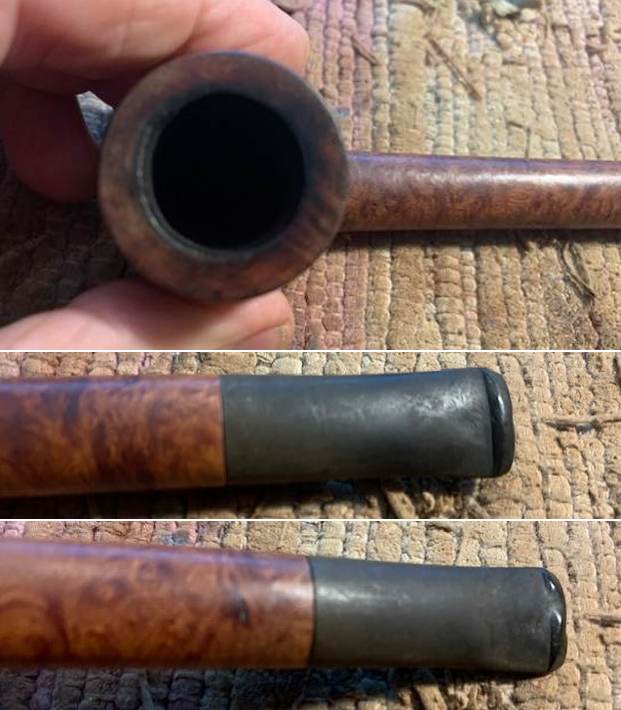
 He captured the thick cake in the bowl and the heavy lava cake on the rim top. It really was a mess. I thought the rim top would be okay under the lava. There inner bevel on the rim top looked pretty good under the grime. The photos of the stem show the oxidation and the tooth marks and chatter on the top and underside ahead of the button.
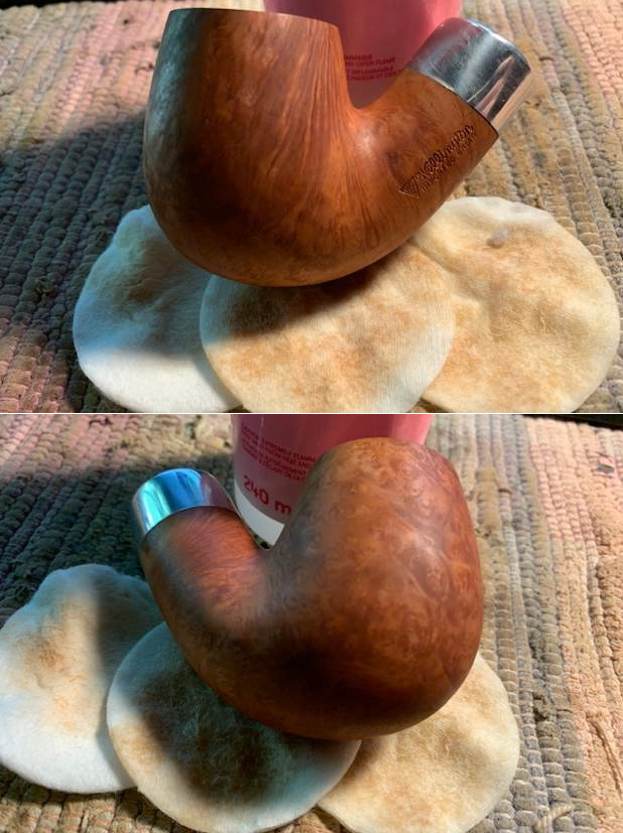
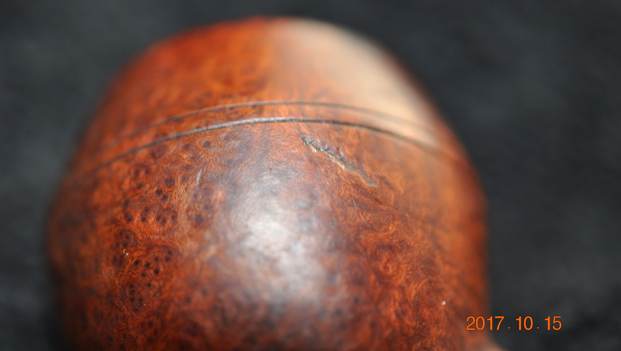
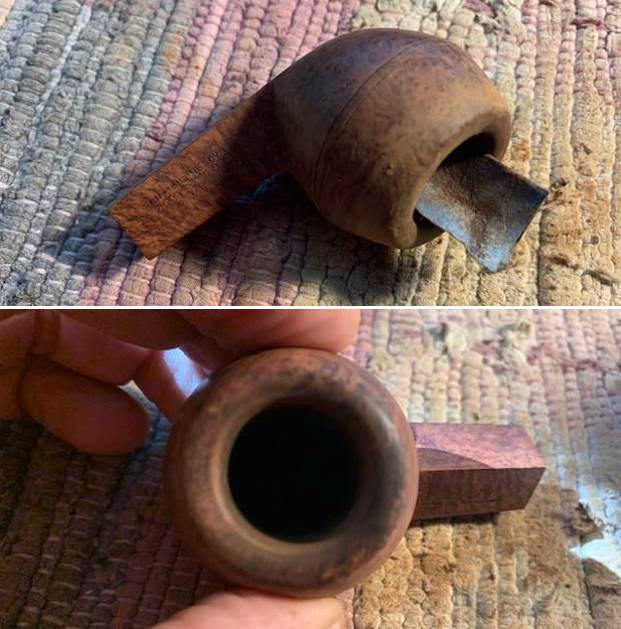
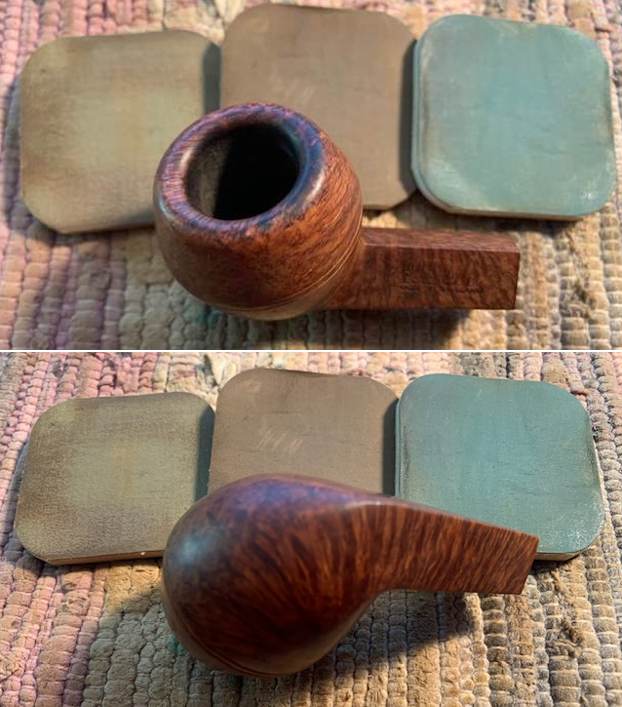
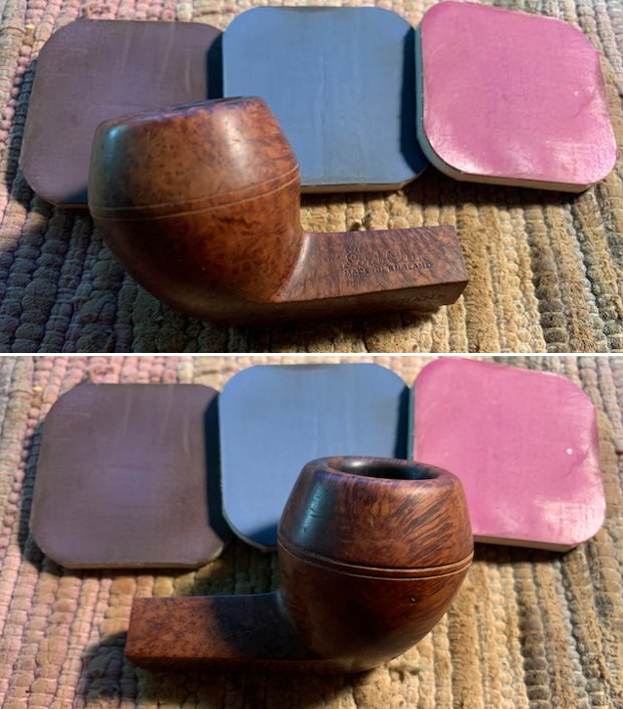
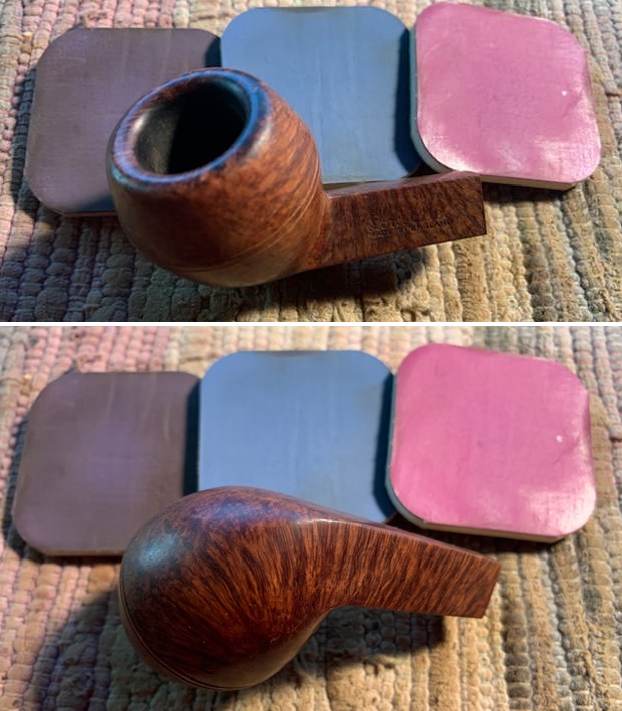
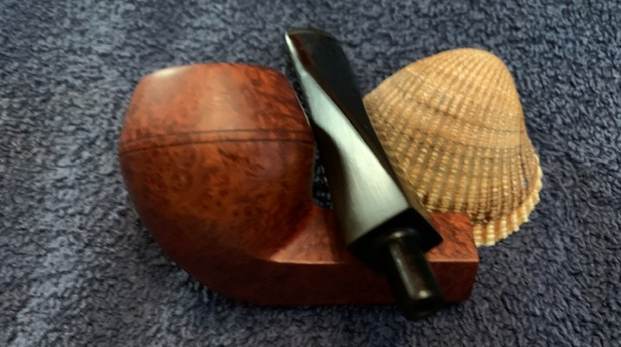
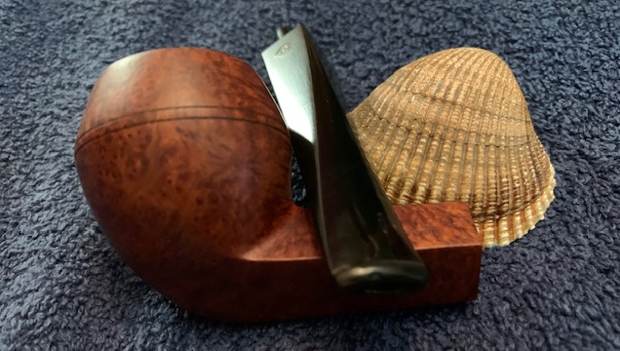
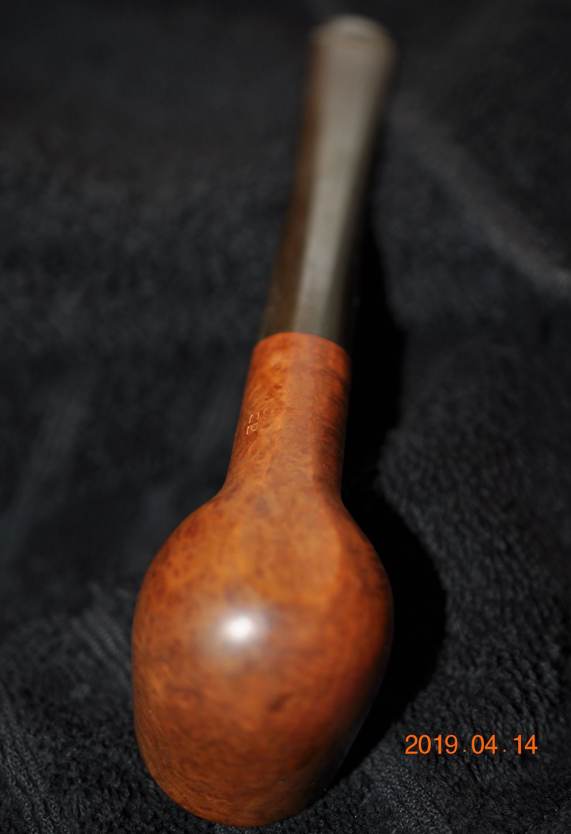
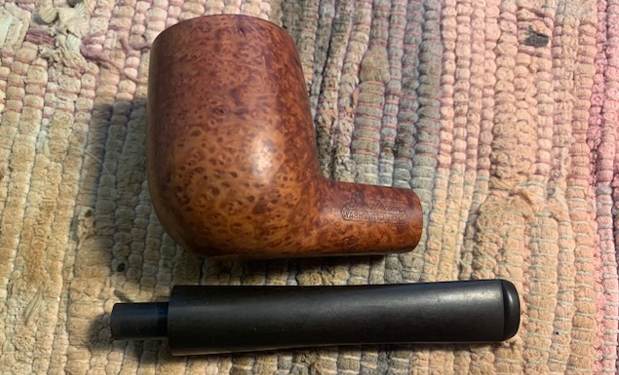
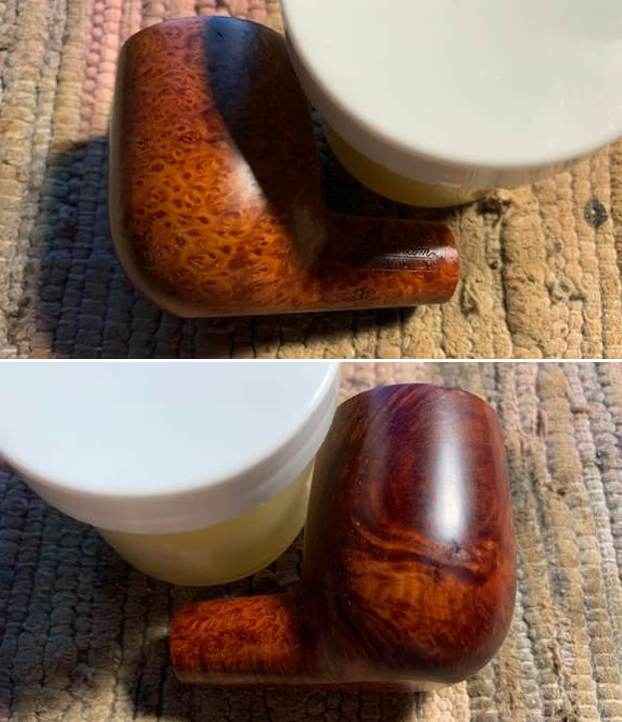
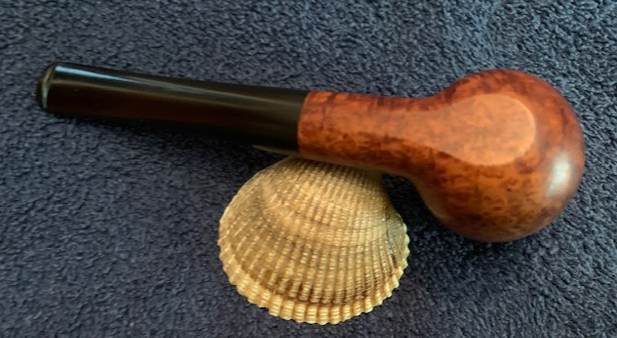
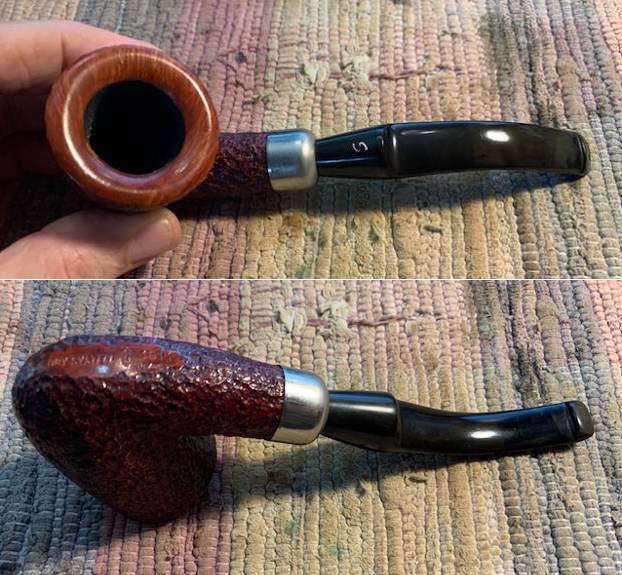
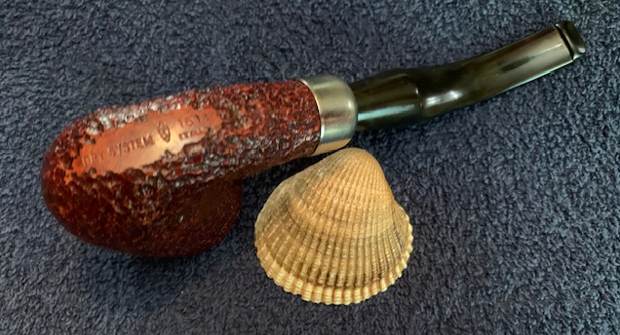
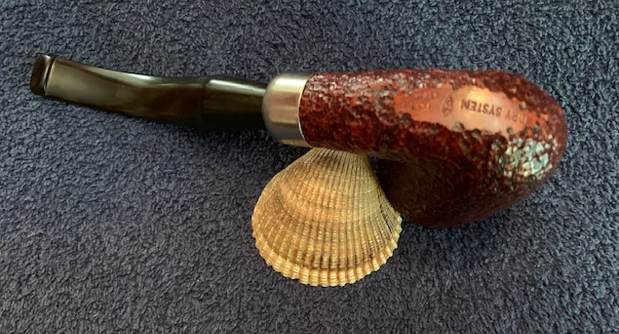
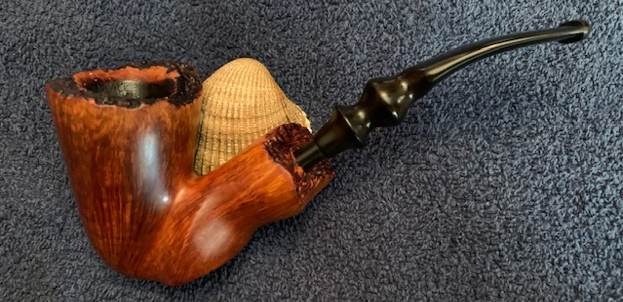
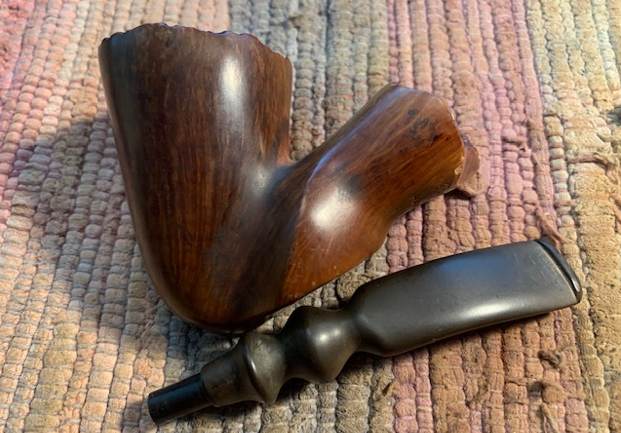
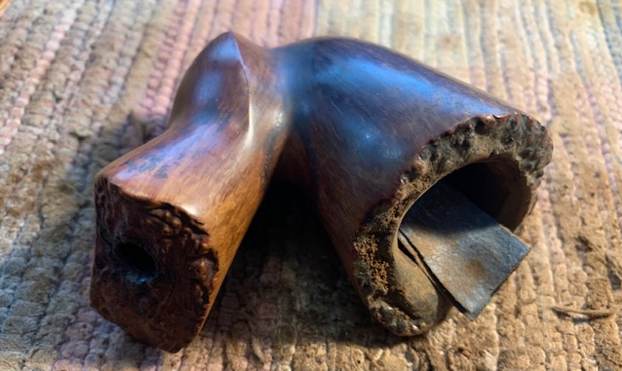
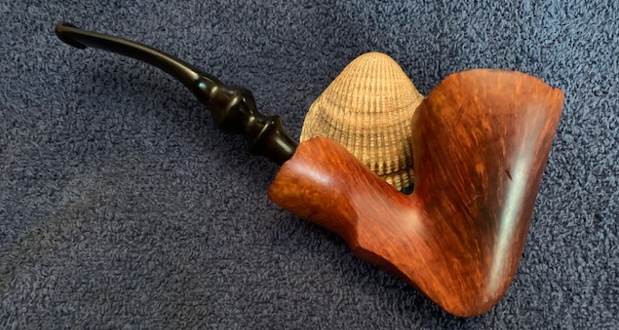
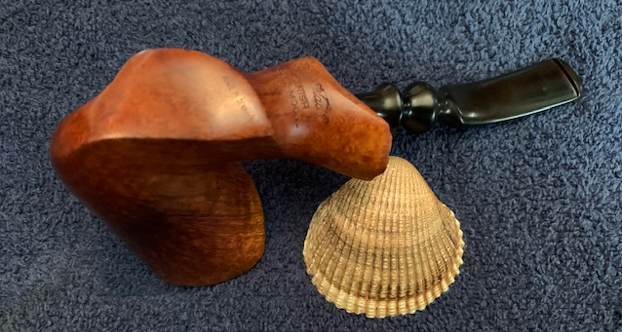
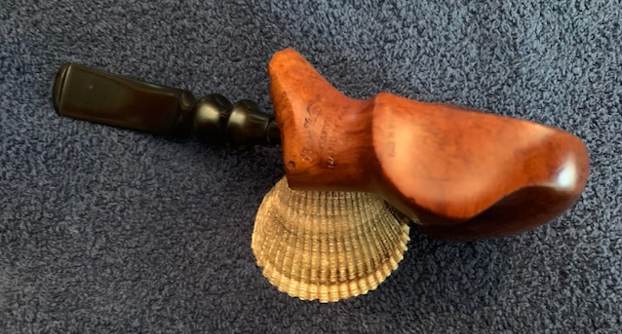
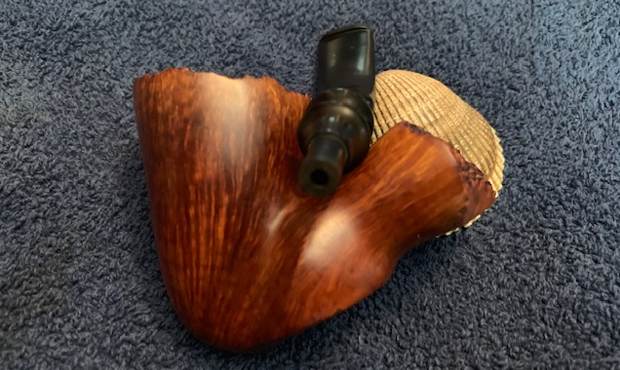
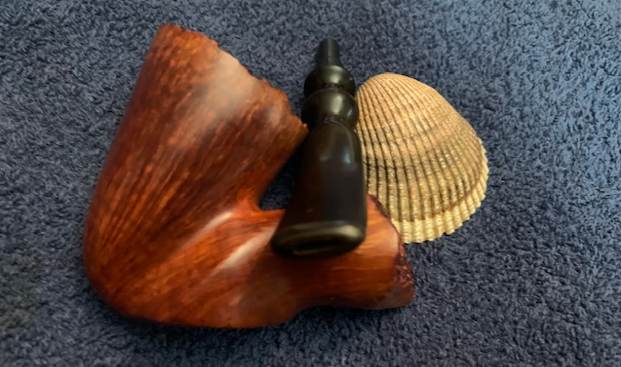
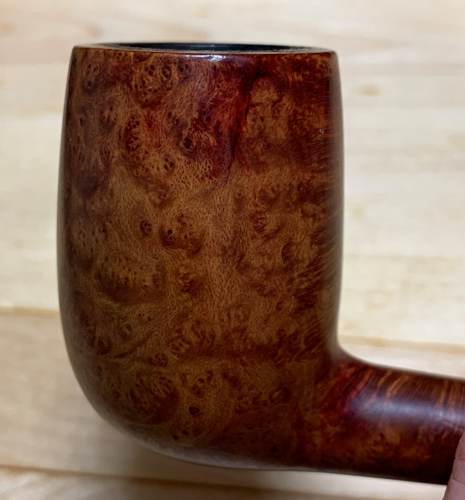
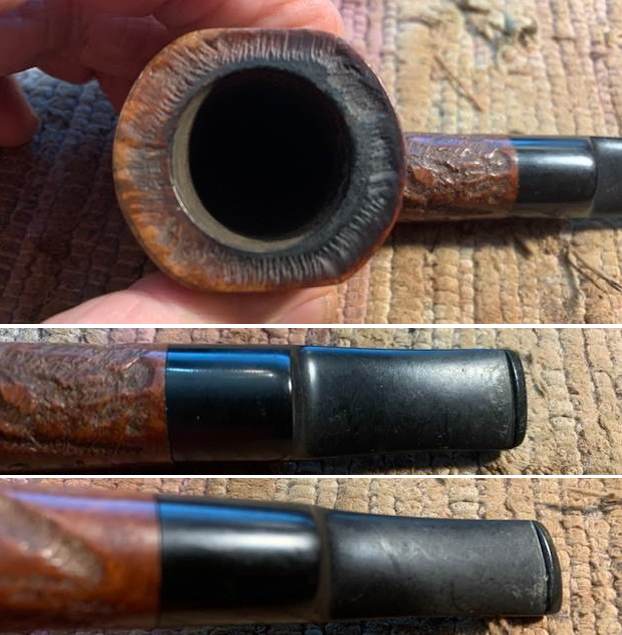
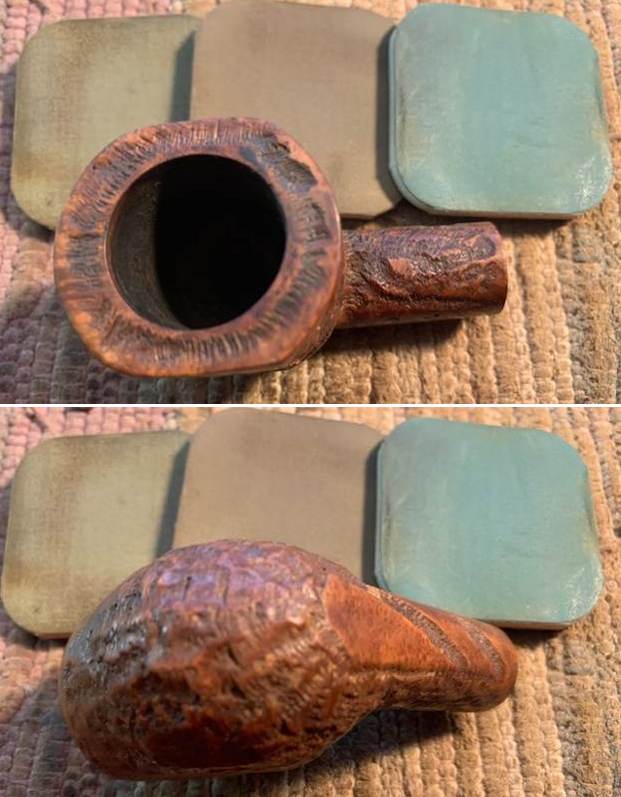
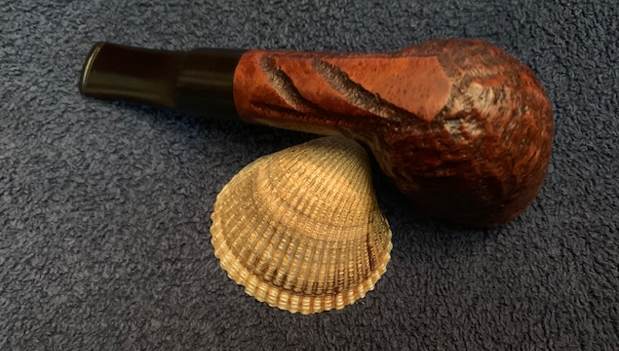
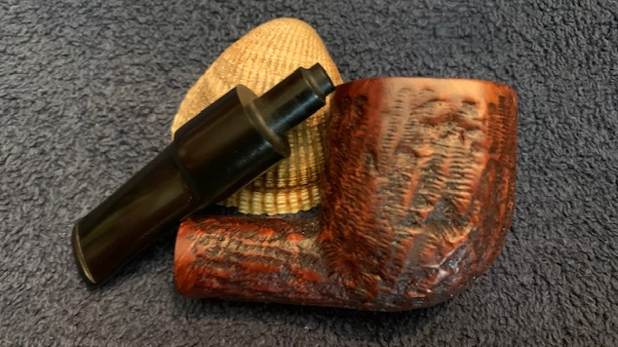
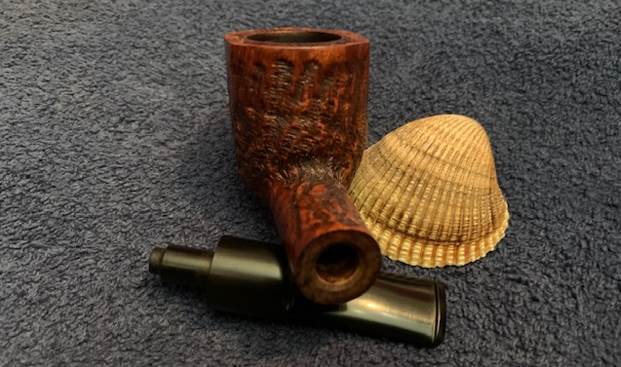
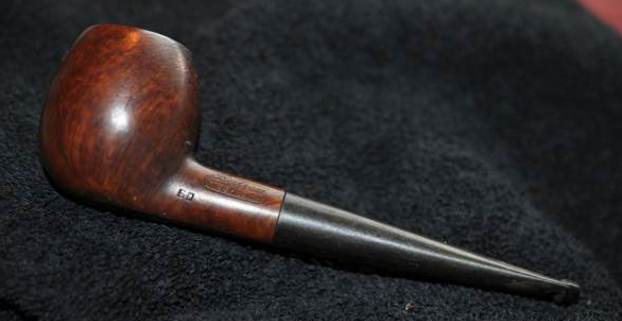
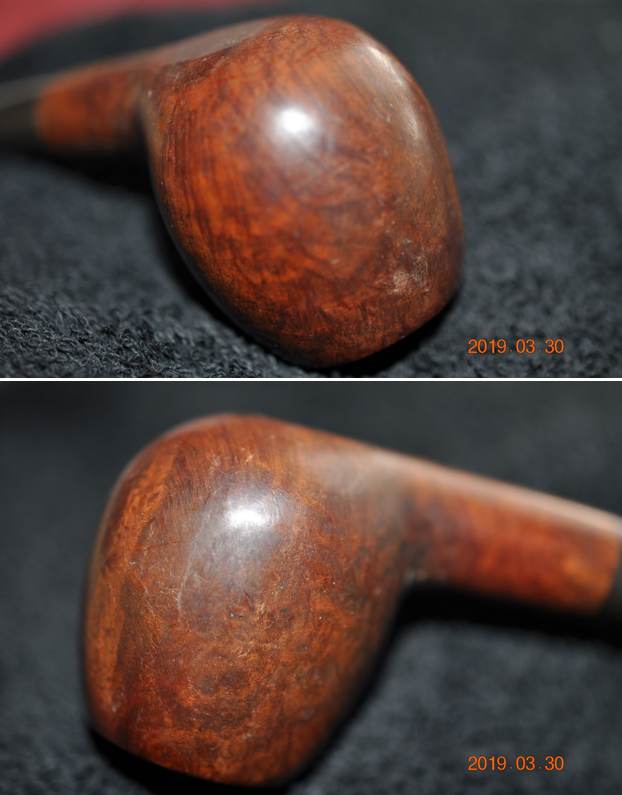
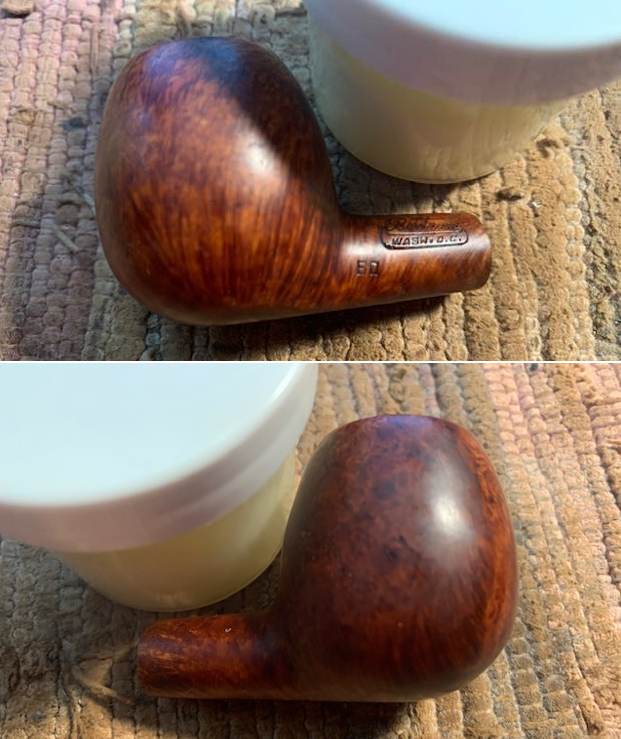
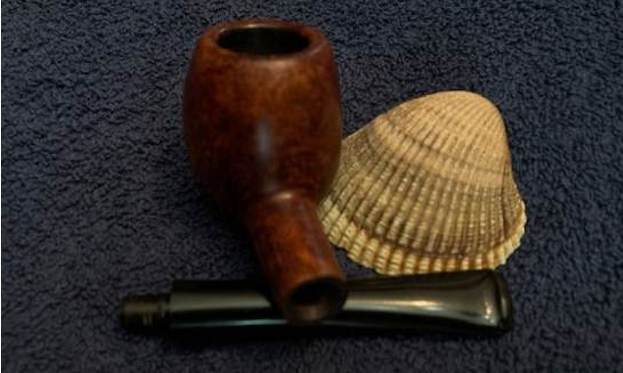
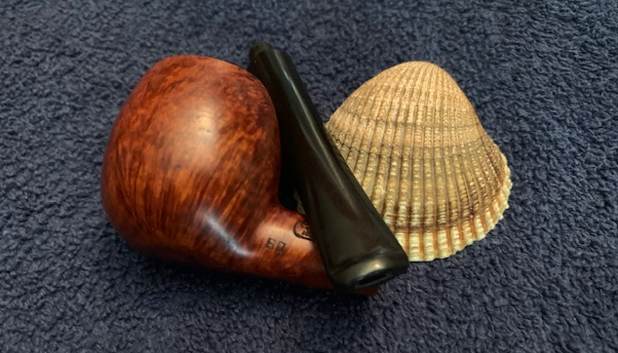
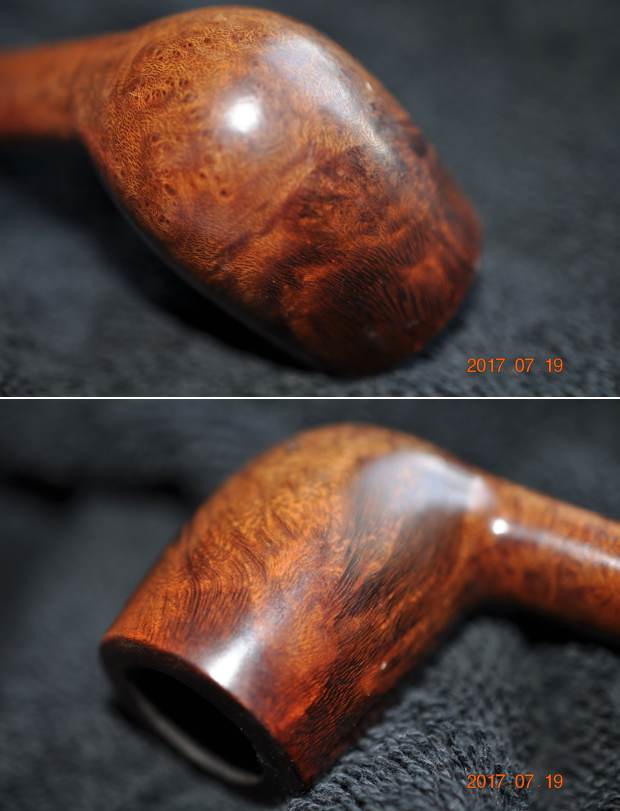
 He took a photo of the briar from the heel and right side of the bowl. The grain is quite nice.
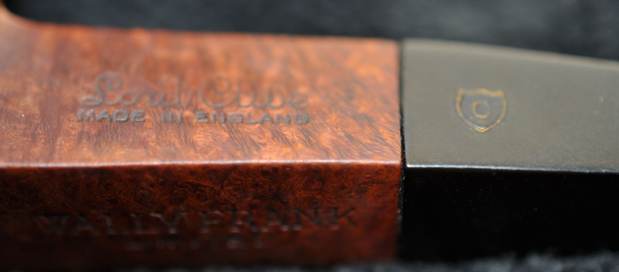
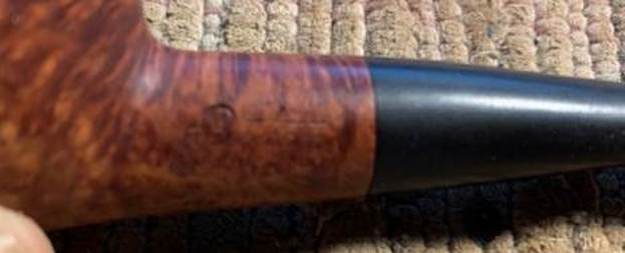
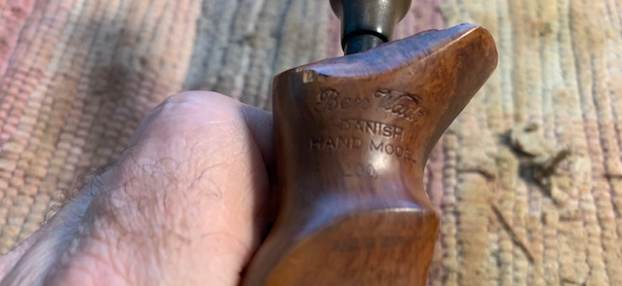
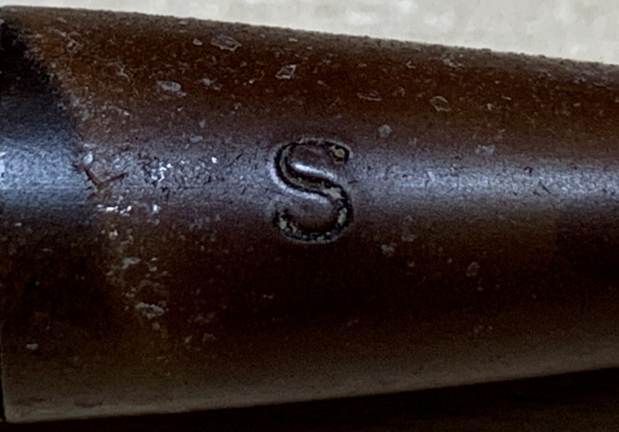
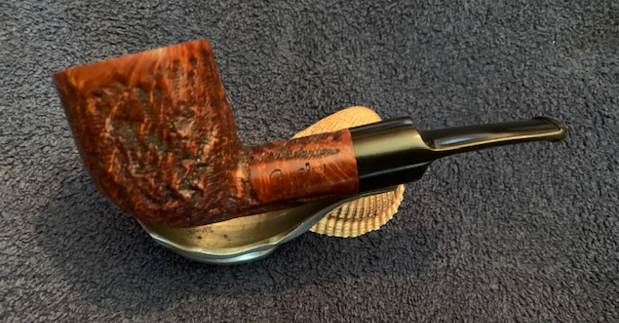
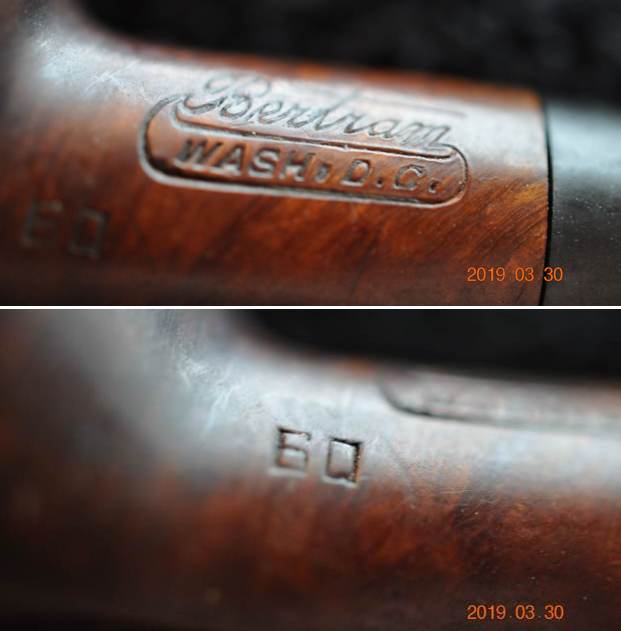
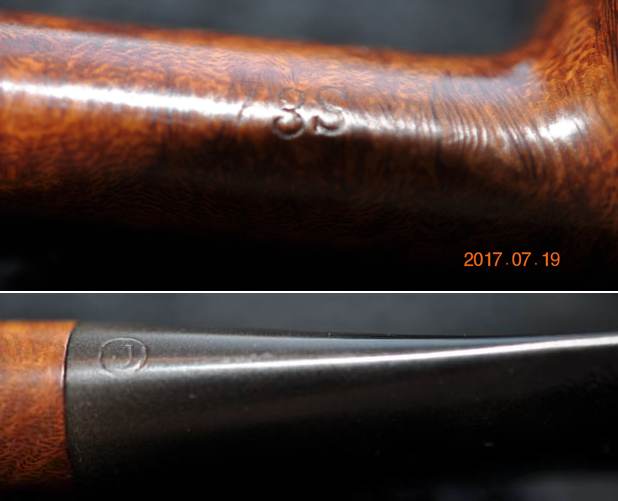
 He took photos of the stamping on the shank sides. It is clear and readable as noted above. You can also see the 3 part C in the photo of the stem side.
 I decided to do a bit of research on the Comoy’s Patina line before I worked on it. I could not find any listing for the Comoy’s Patina line on either Pipephil’s site or Pipedia. I decided however to move forward and try to pin down the shape number and the date of the pipe. I found a shape list on Pipedia (https://pipedia.org/wiki/Comoy%27s_Shape_Number_Chart). I did a screen capture of the shape 495-496 and included it below.
![]() I then turned to another shape number chart that had pictures of the various shapes that made up the Comoy’s lines (https://pipedia.org/wiki/Comoy%27s_Shape_Number_Chart/en). I have included a chart below and drawn a red box around the shape of the pipe I am working on.
I then turned to another shape number chart that had pictures of the various shapes that made up the Comoy’s lines (https://pipedia.org/wiki/Comoy%27s_Shape_Number_Chart/en). I have included a chart below and drawn a red box around the shape of the pipe I am working on. From there I turned to look for information on the stamping on the pipe that would help nail down a date for this pipe. I turned to Pipedia’s article “A Guide Toward Dating the Pipes – https://pipedia.org/wiki/A_History_Of_Comoy%27s_and_A_Guide_Toward_Dating_the_Pipes. I quote from the article below. I have highlighted the pertinent sections in red for ease of reference.
Comoy’s Name
1900 to about 1919. Normally, the Comoy’s name will be found in a joined flowing script canted forward, with a long tail running backwards from under the “S” to below the “C.” There are, however, 2 pipes in the 1909 catalogue where Comoy’s does not have a tail at all. I also have examples between 1913 to 1919 where the Comoy’s name is still in the same joined flowing script, canted forward but with a short tail running forwards from the bottom of the “Y” to under the “S.”
From about 1917 to the end of the 1930s, the slightly fancy “Comoy’s” can be found stamped in a curve, in upper case script with serifs, apostrophe before the “S,” and the “C” larger than the other letters. The arched Comoy’s with serifs and apostrophe may have been continued for a short time after the war. I have an “Old Bruyere” stamped this way that is just post-war. Pipes can also be found with the name stamped across the top of the stem as apposed to along the side.
During the 1940s, not many pipes were made, but just after WW II, in 1945 or slightly later, the “Comoy’s” stamp was changed from the curve to a straight line.
From the 1950s, the Comoy’s stamp can be found in three variants: (1) A simple block-letter style without serifs but with the C larger than the other letters and the apostrophe before the “s.” (2) A return to the slightly more fancy block letters with serifs and the apostrophe. My 1959/60 gold-banded example falls into this category. (3) A simple block-letter style without serifs and without the apostrophe and with the “C” the same size as the rest of the letters. I don’t think that this stamp was used for very long.
“Made In” Stamp
London Made. Comoy’s were the first London pipe maker to use this phrase. It is the earliest stamp to be used and can be found from 1902 or perhaps earlier and on into the 1930s . At this time, it can appear as “London” over “Made” or in a straight line.
Made in London. I have only seen this stamp on two Old Bruyere pipes dated 1921, and it appears in a straight line under the arched “Comoy’s.”
Made in England. This is stamped in a circle with “Made” at the top, “in” in the middle, and “England” forming the bottom of the circle. I call this the football shape or F/B for short. I have seen this stamp on a Cecil dated as early as 1910 and on an Old Bruyere of 1921 and then only on pipes from the 1930s.
Made in London England. This is again stamped in a circle with “Made” at the top, “In” in the middle, and “London” at the bottom, with “England in a straight line beneath the F/B. I believe this stamp was first used in the export drive in the early 1950s, and I have not seen any pre-WW II Comoy’s stamped in this way.
Inlaid “C”
“C” was first inlaid in the side of the mouthpiece around 1919. This was a complex inlay needing three drillings. First, a round white inlay was inserted, then the centre of the white was drilled out, and a smaller round black inlay was inserted. Finally, another drilling was made to remove the open part of the “C,” and an even smaller black inlay was inserted. This inlaid “C,” known as the “three-piece C,” was continued until the Cadogan era in the 1980s. However, the “C” in the 1920s and early 30s is much thinner and more delicate than the one post-war. Cadogan first changed the “C” to a single drilling with an inlay that had the “C” in the centre, and more recently it became a laser imprint. I have a cased pair of early 1920’ “Par Excellence” where the “C” is on top of the mouthpiece. Finish
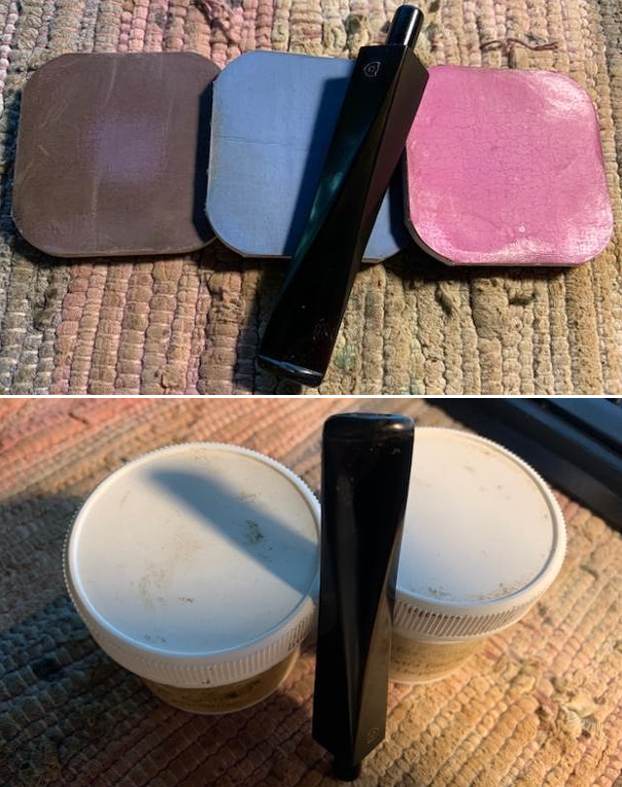
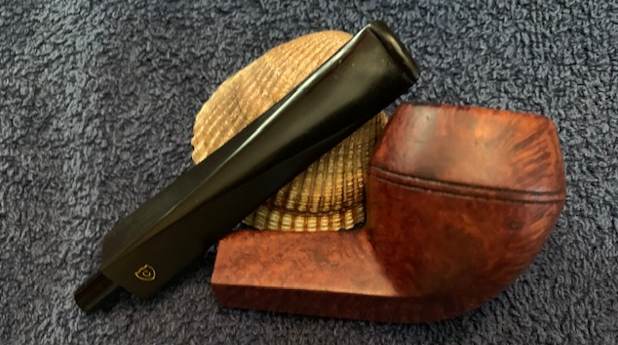
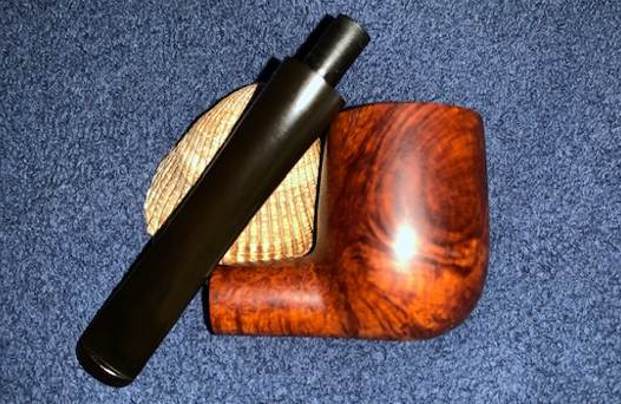
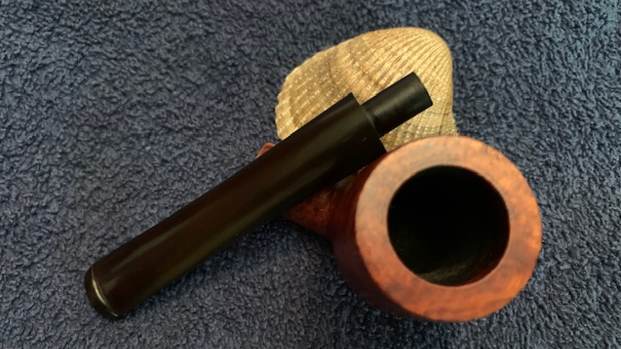
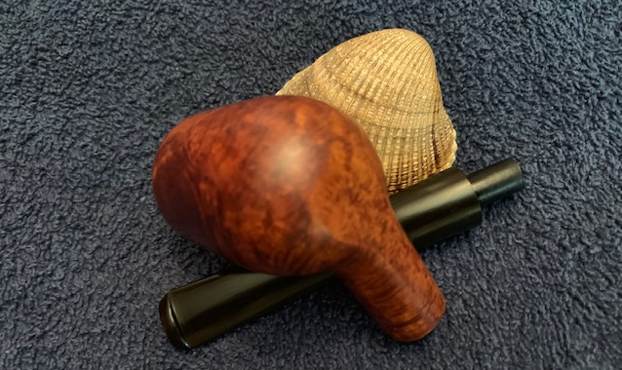
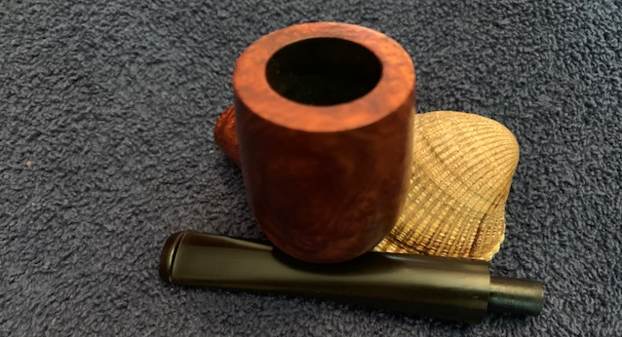
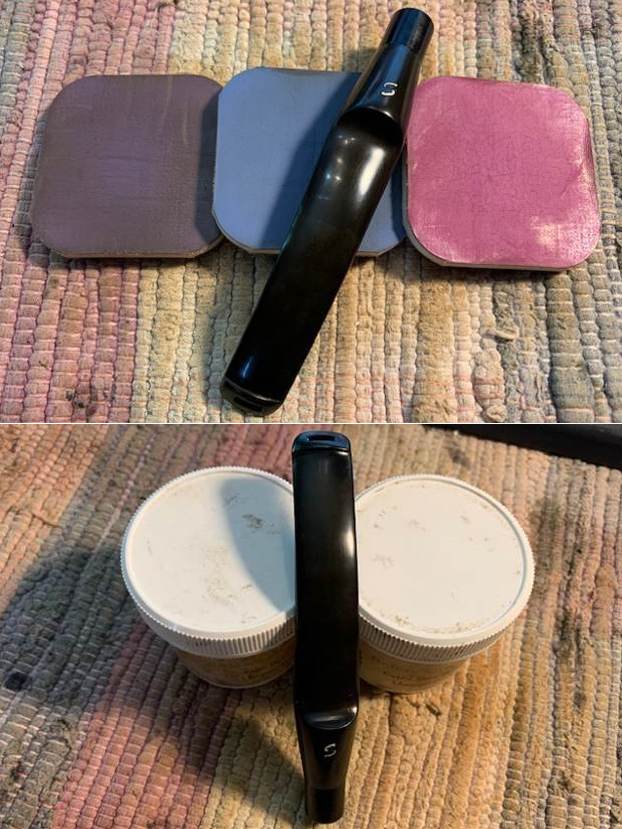
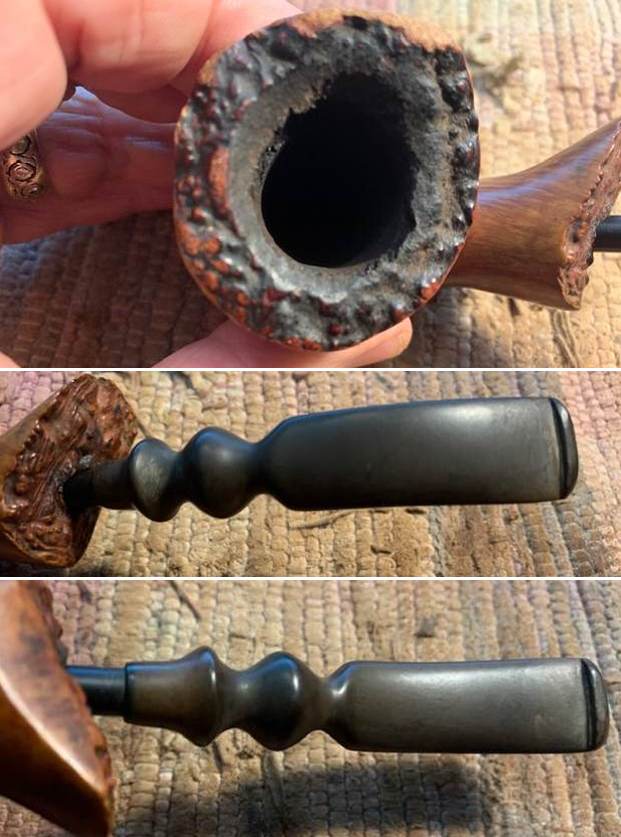
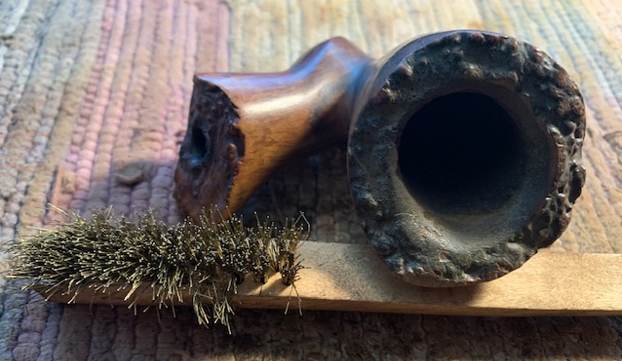
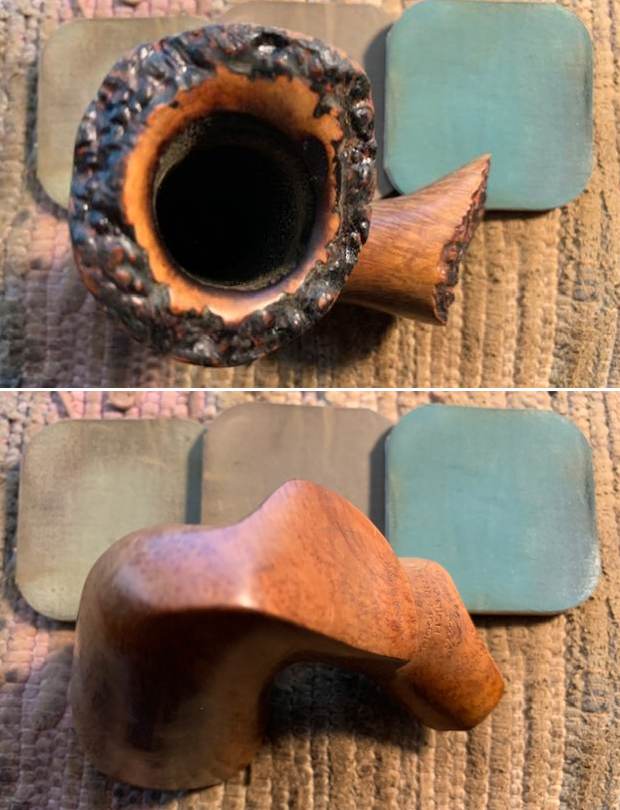
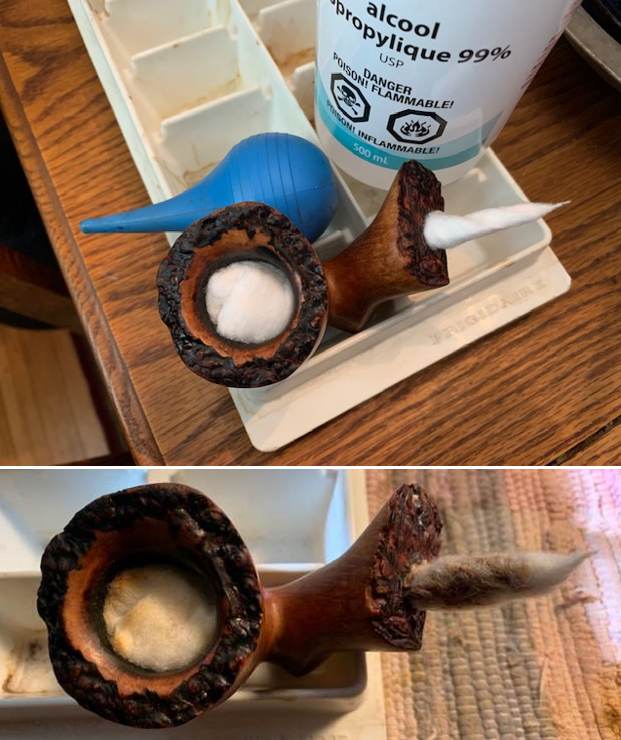
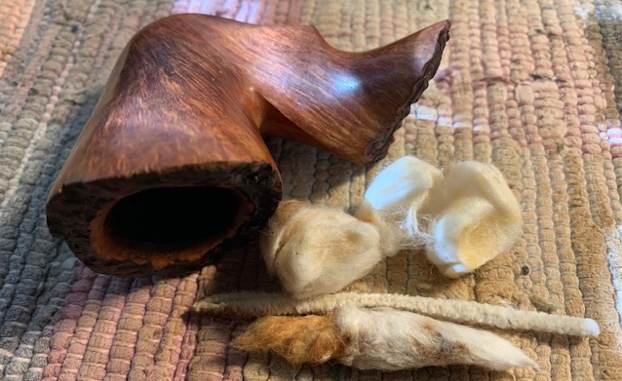
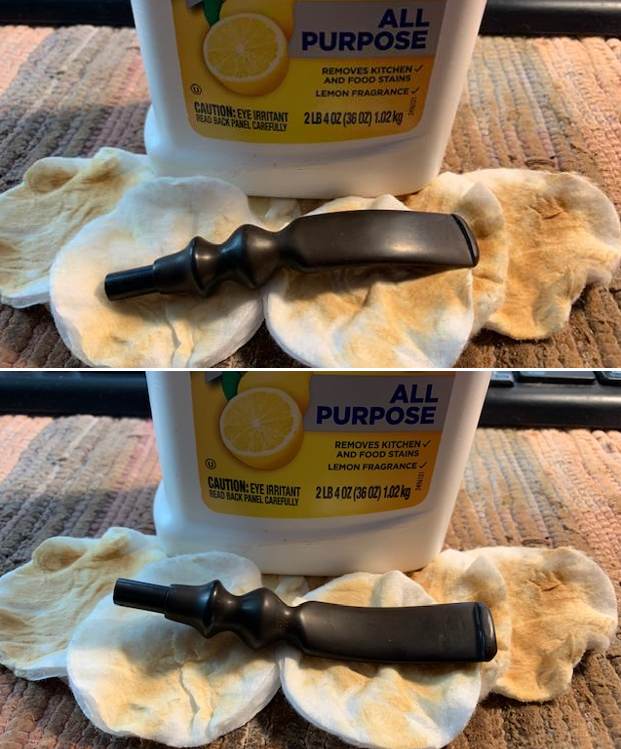
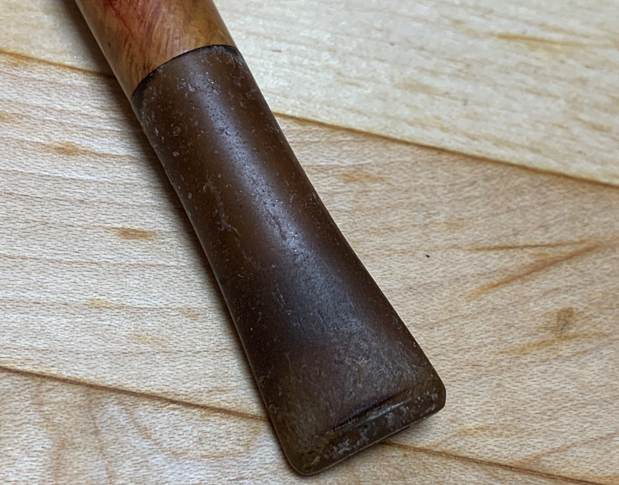
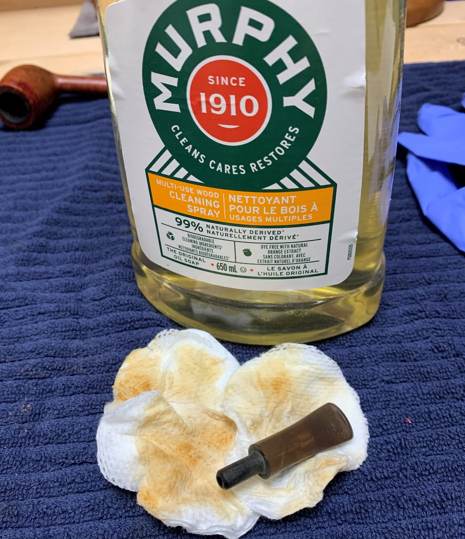
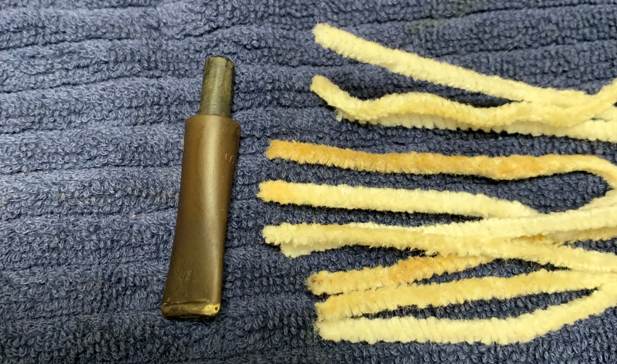
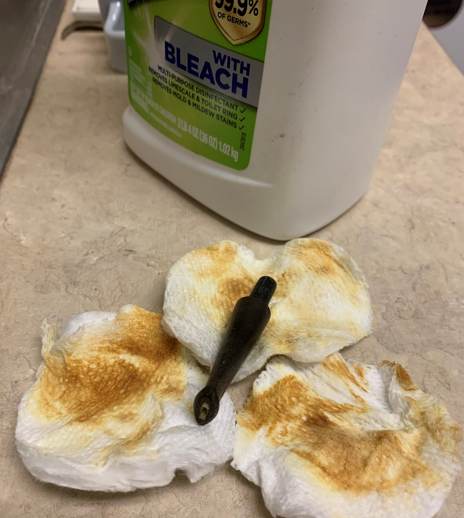
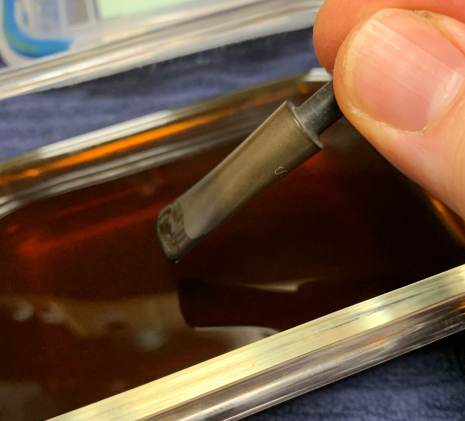
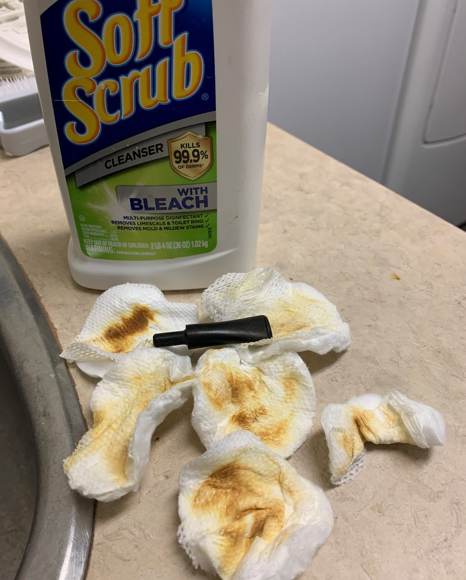
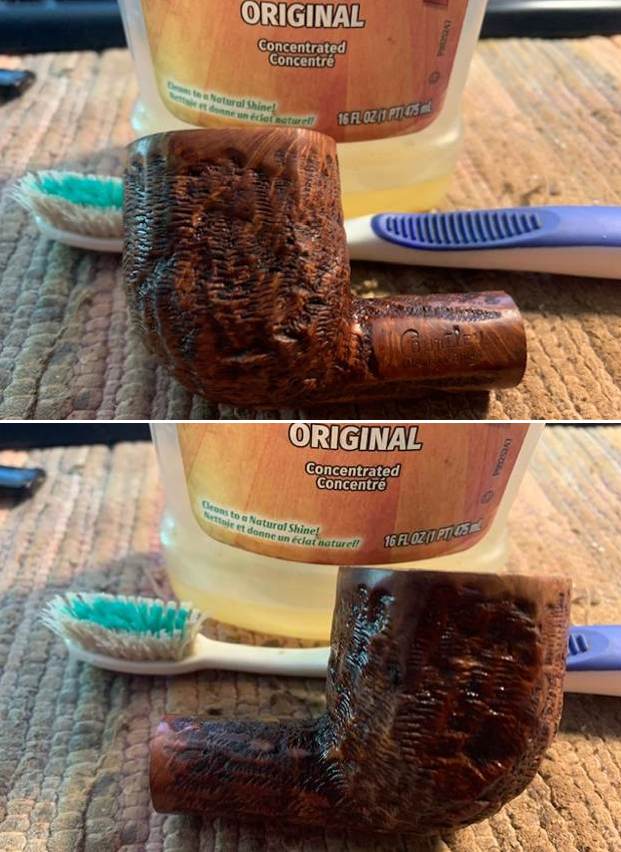
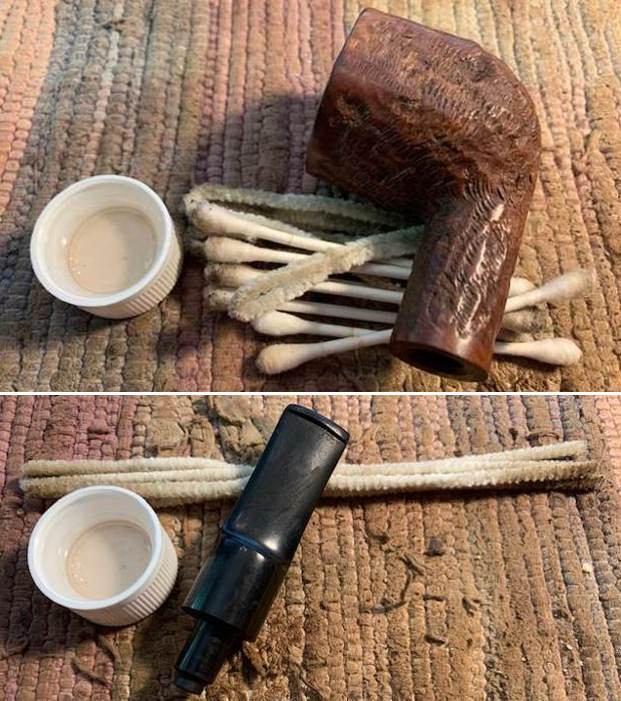
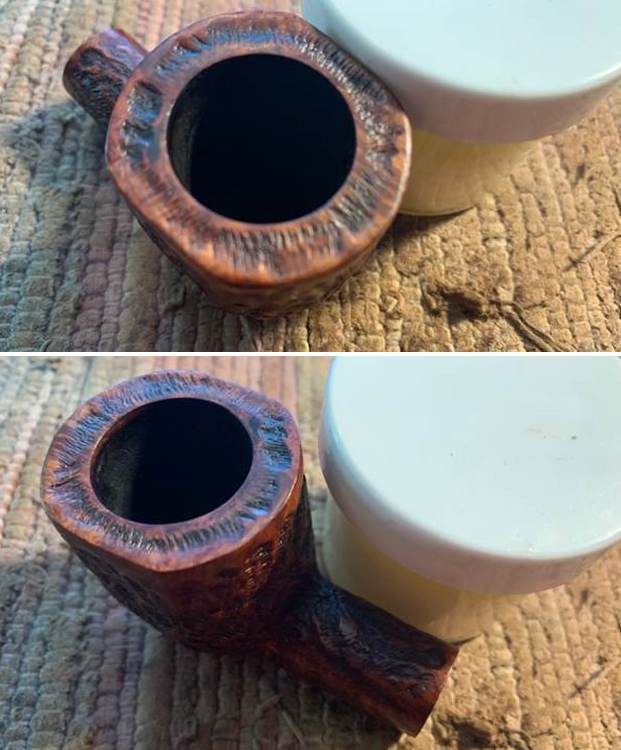
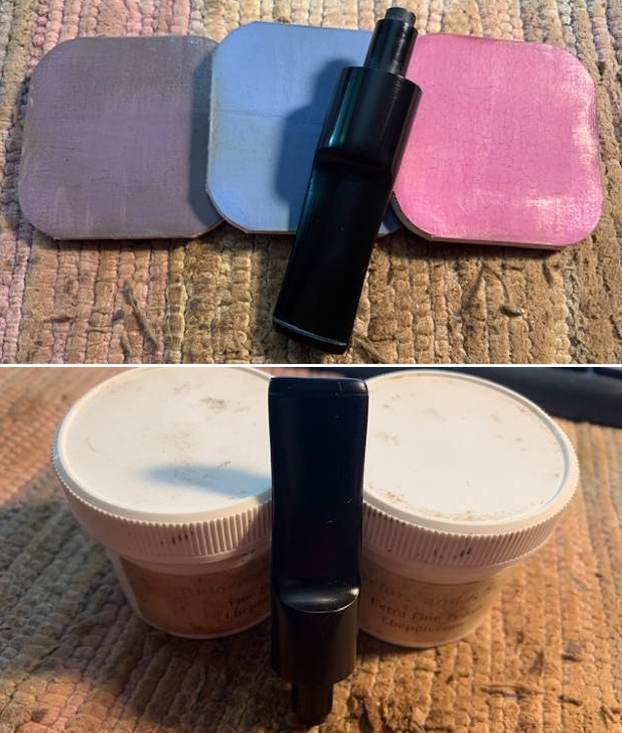
Now it was time to work on the pipe itself. Jeff reamed the bowl with a PipNet pipe reamer and followed up with a Savinelli Fitsall pipe knife to remove the cake. He scrubbed out the mortise and the airway in the shank and the stem with alcohol, cotton swabs and pipe cleaners. He scrubbed the exterior of the bowl, rim, shank and stem with a tooth brush and undiluted Murphy’s Oil Soap to remove the lava, oils and tars on the rim and the grime on the finish of the bowl. He rinsed it under running water. He dried it off with a soft cloth. He was able to remove lava build up on the rim top and you could see the great condition of the bowl top and edges of the rim. There was still some darkening to the rim top toward the back of the bowl. He soaked the stem in Before & After Deoxidizer to remove the oxidation. I took photos of the pipe before I started my work on it. 
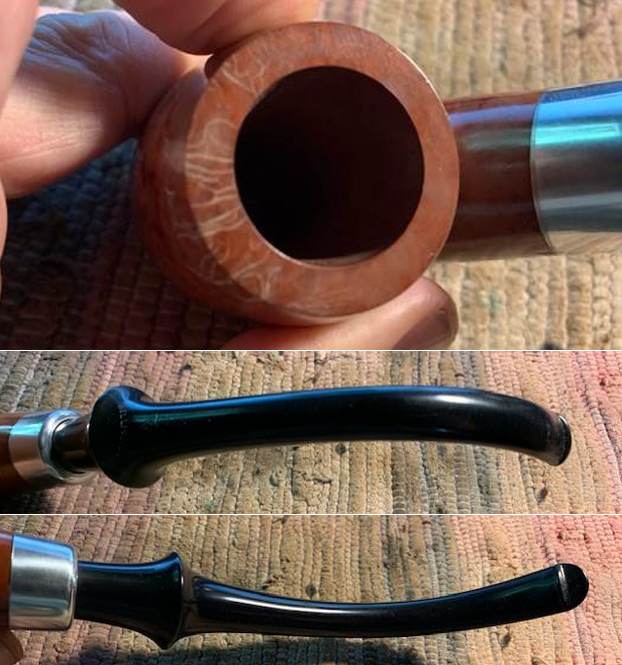
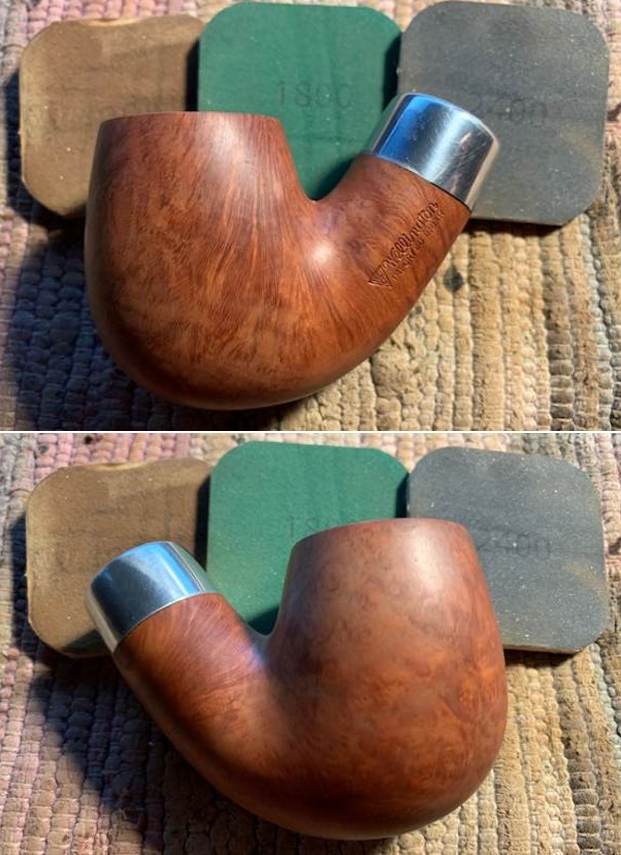
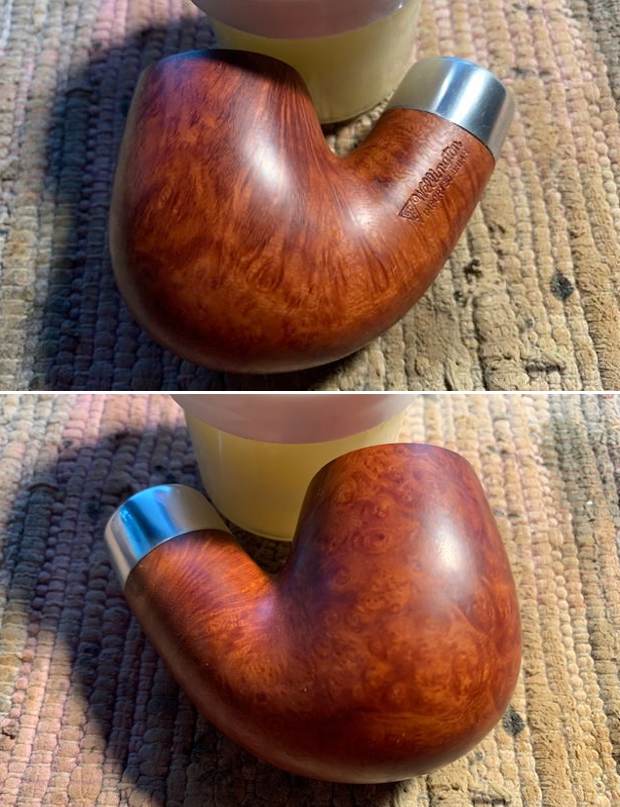
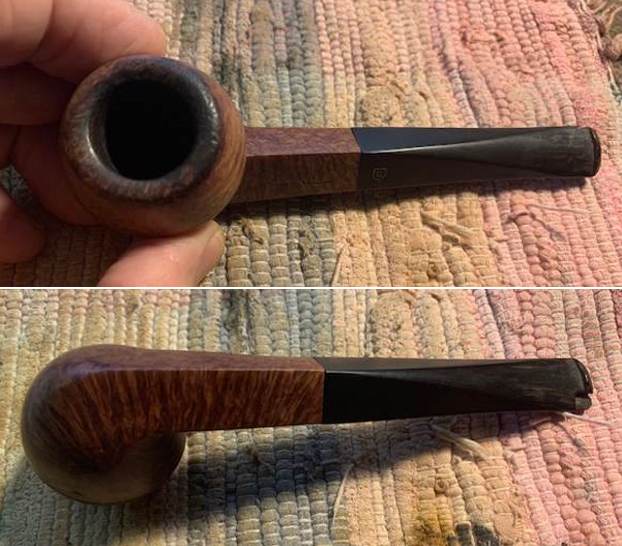
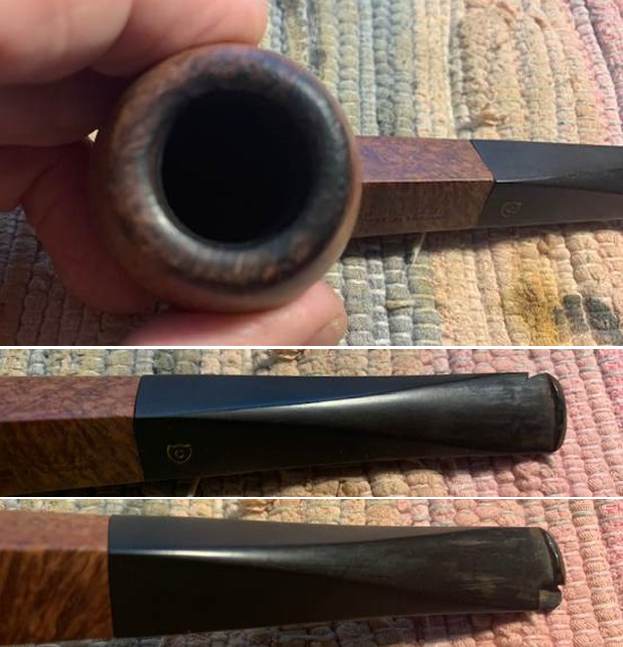
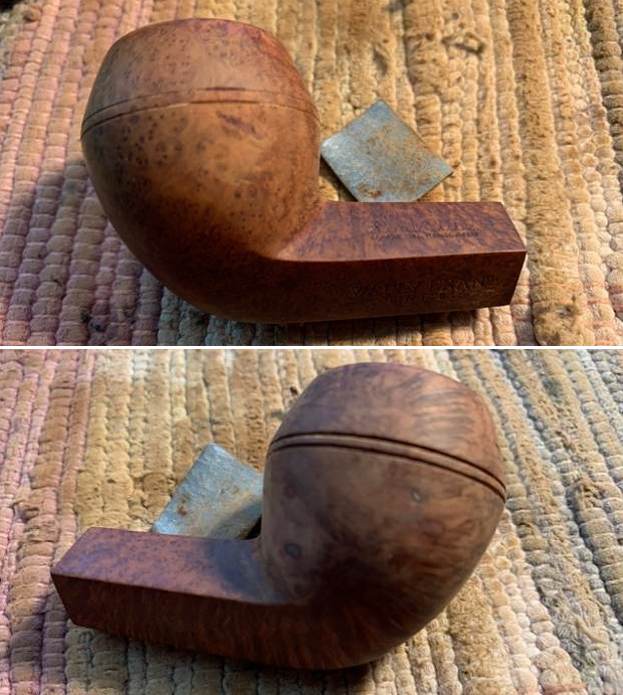
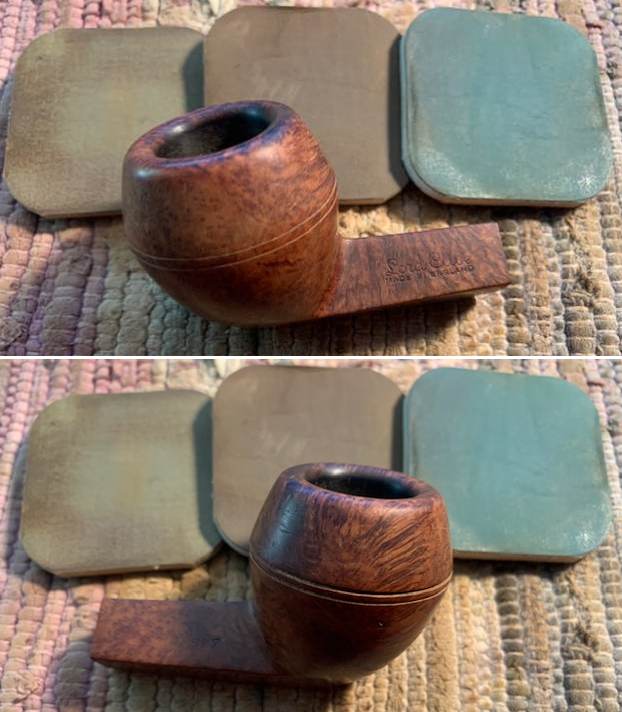
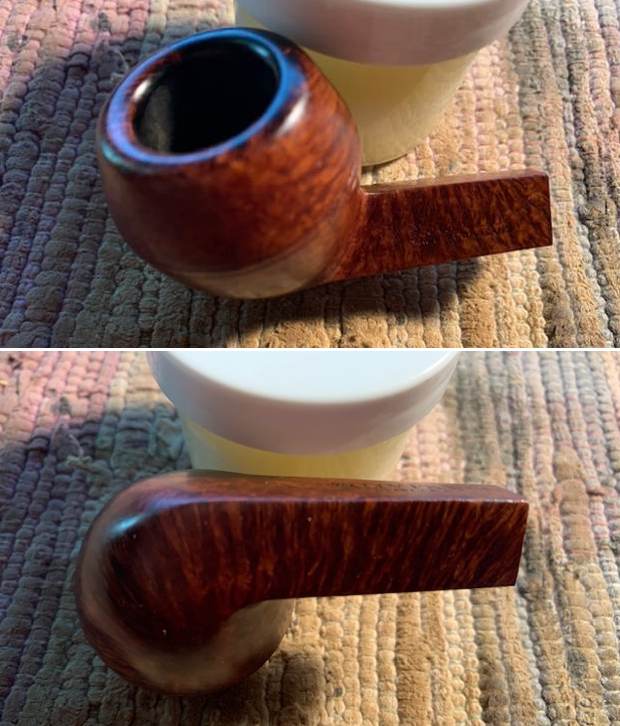
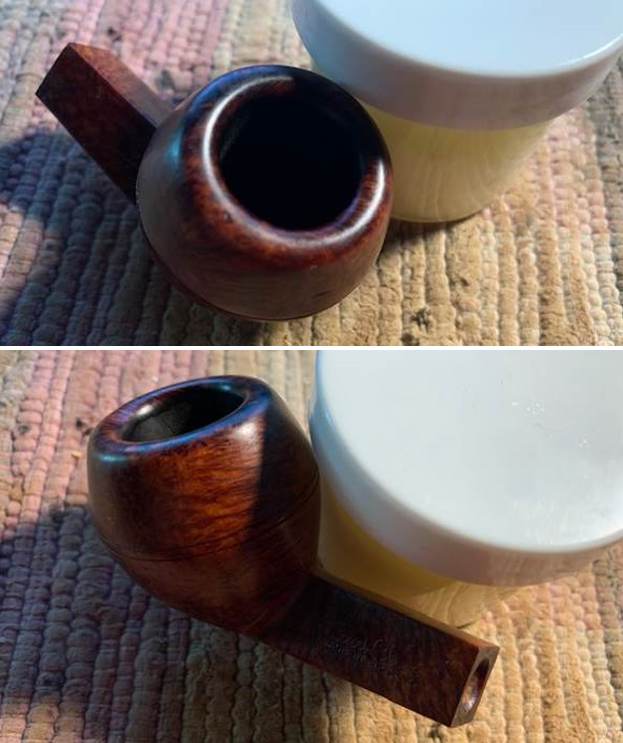
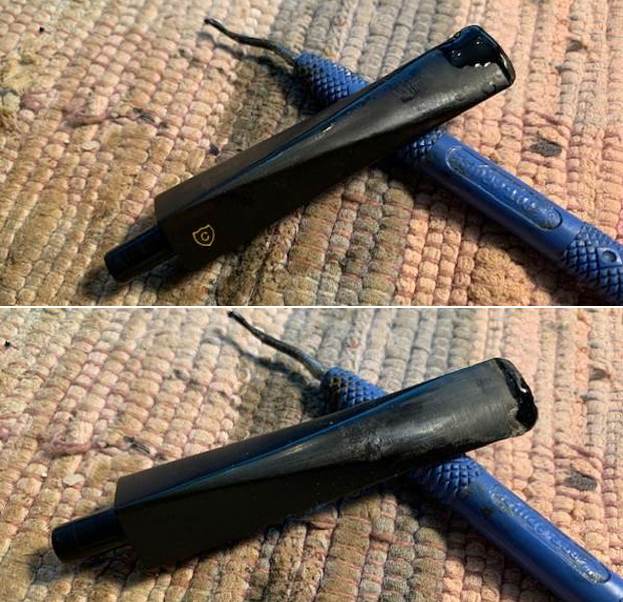
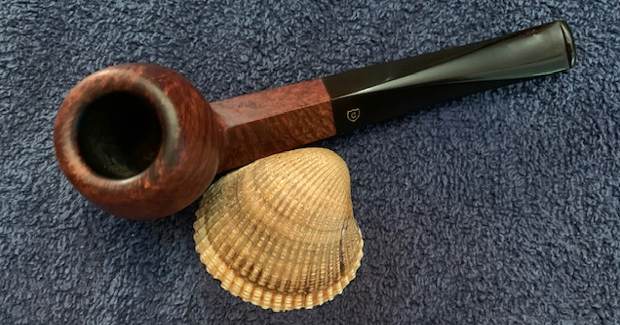
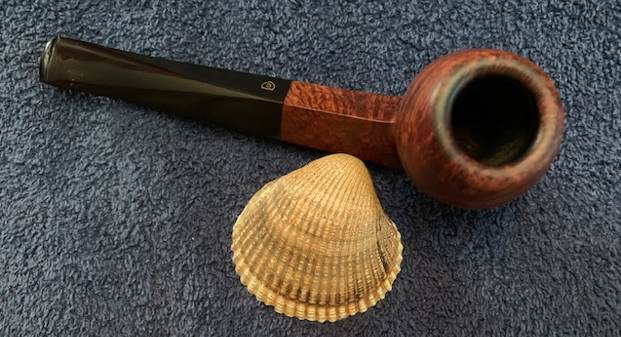
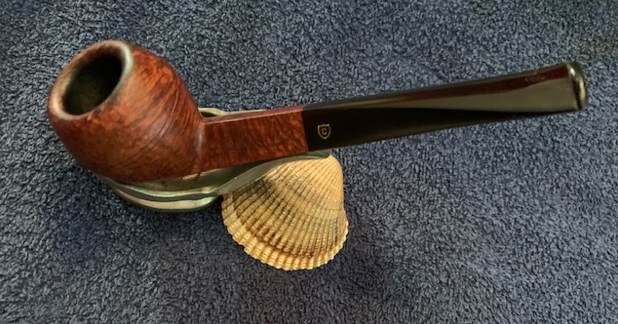
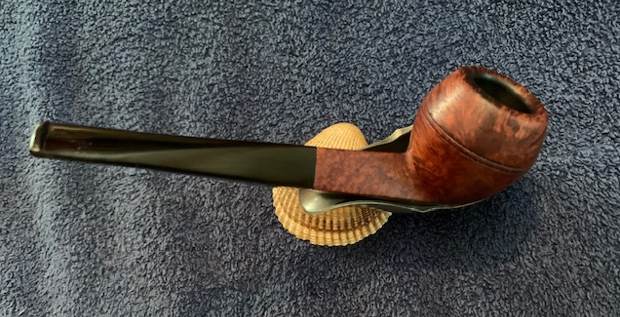
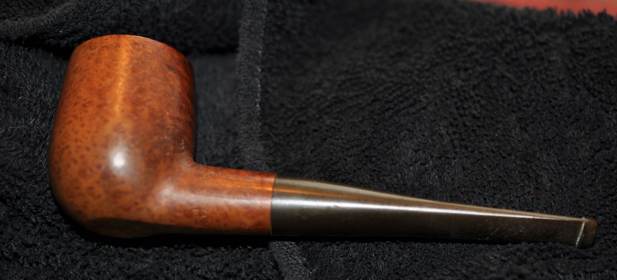
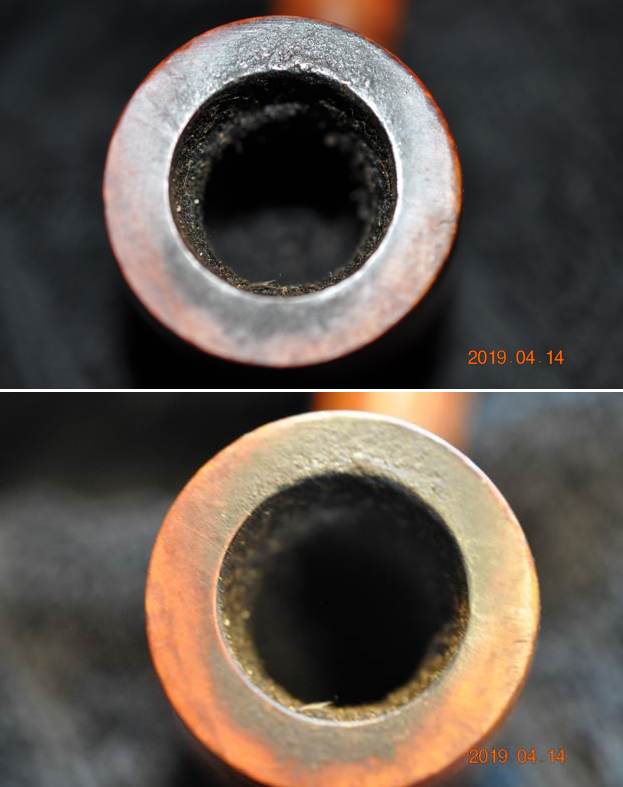
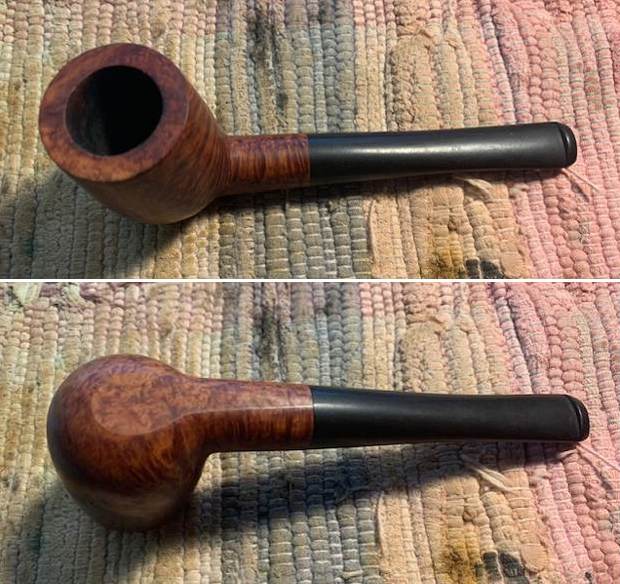
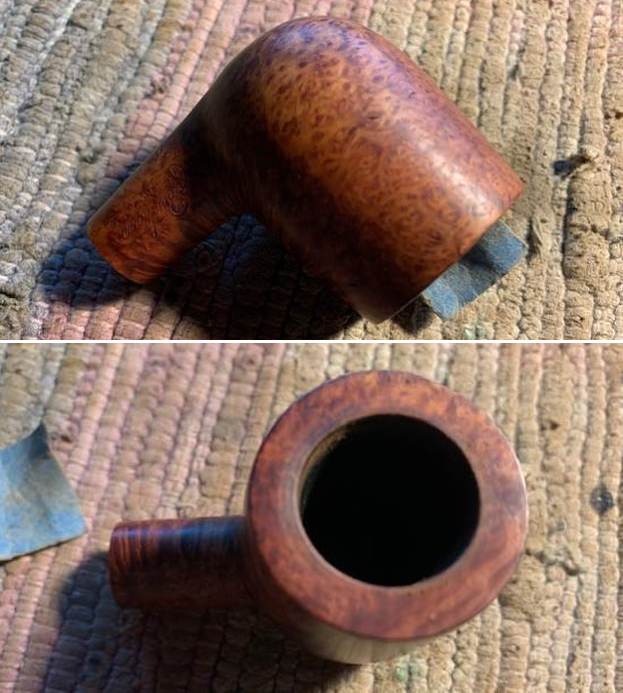
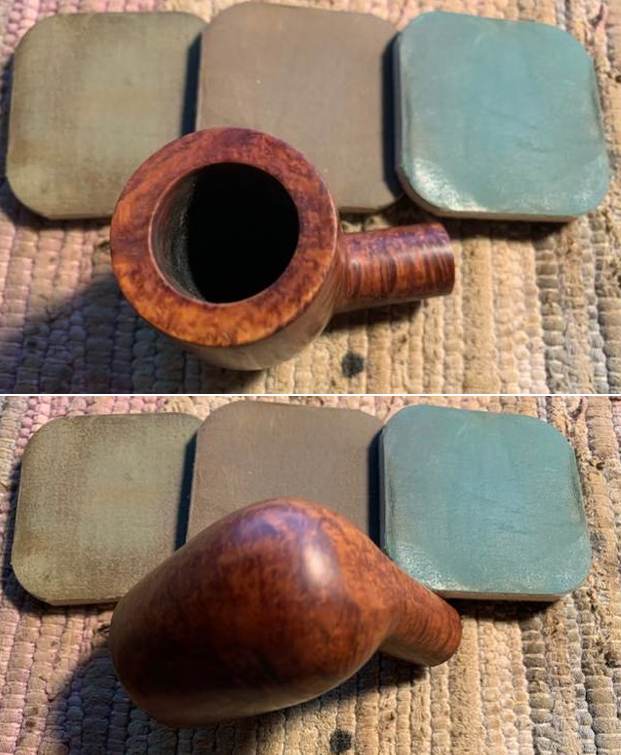
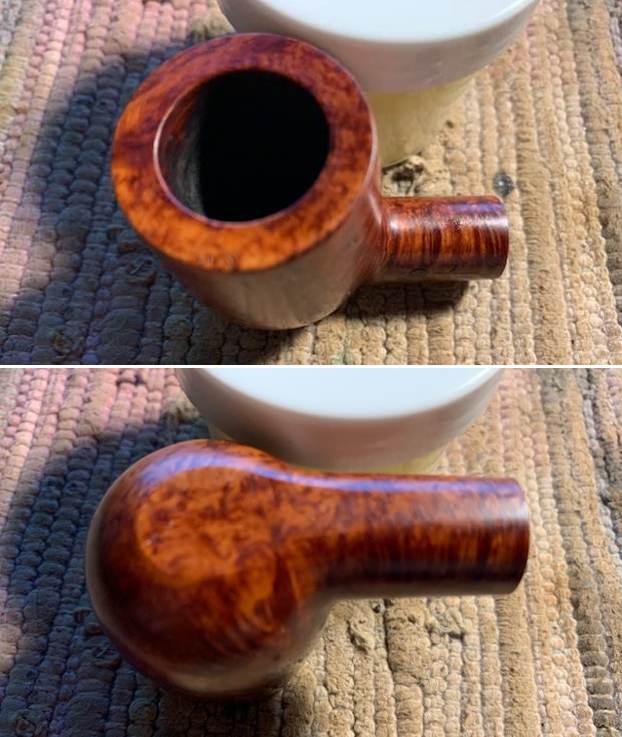
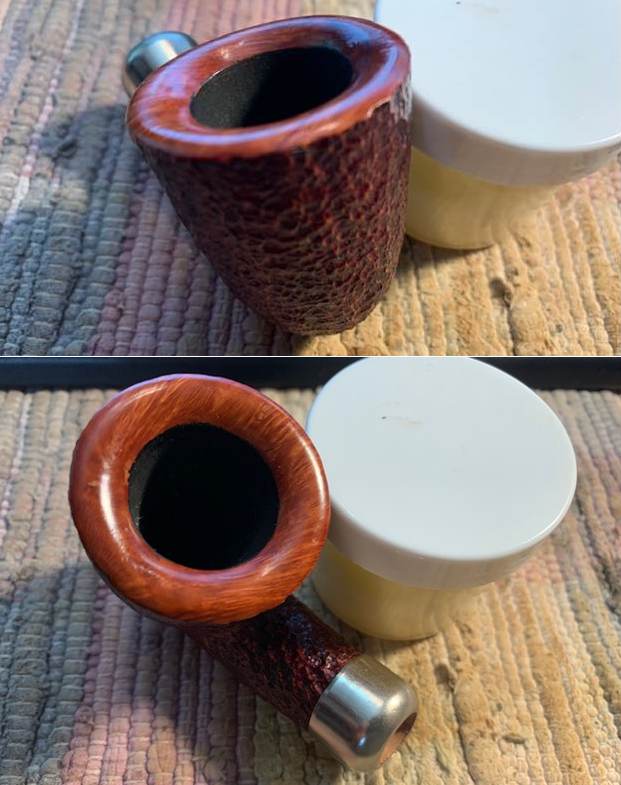
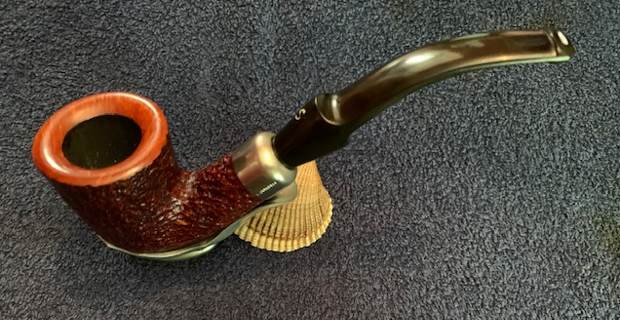
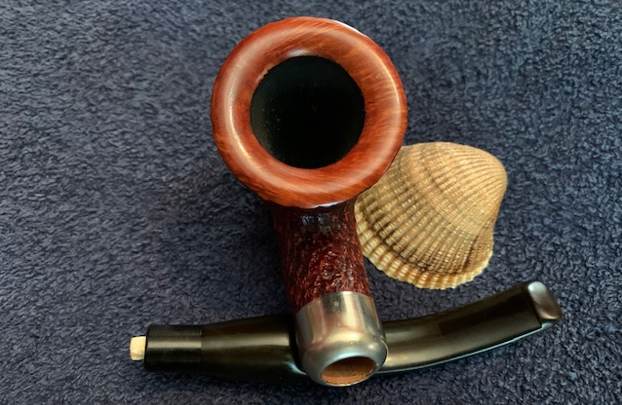
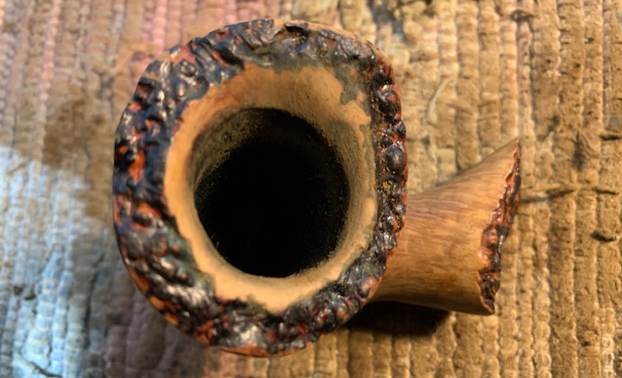
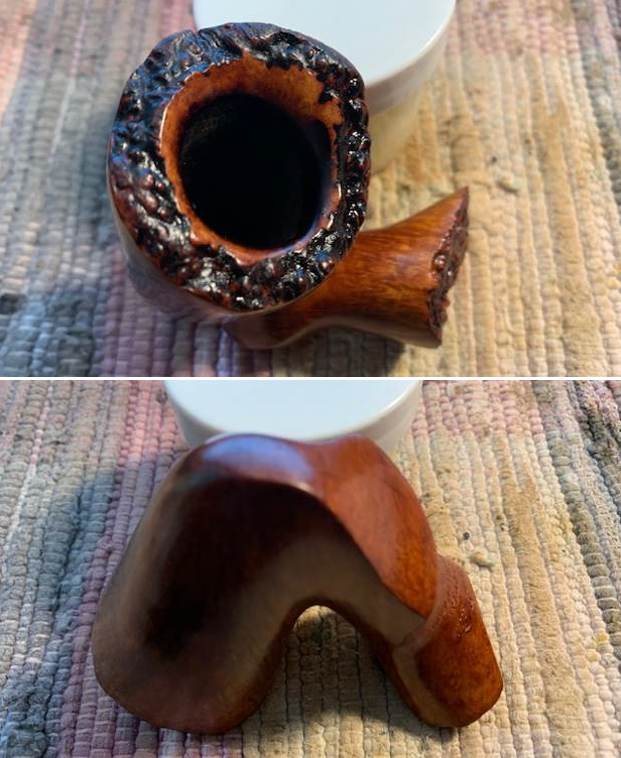
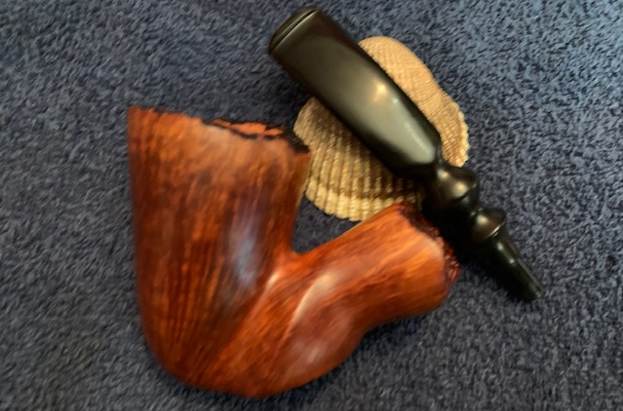
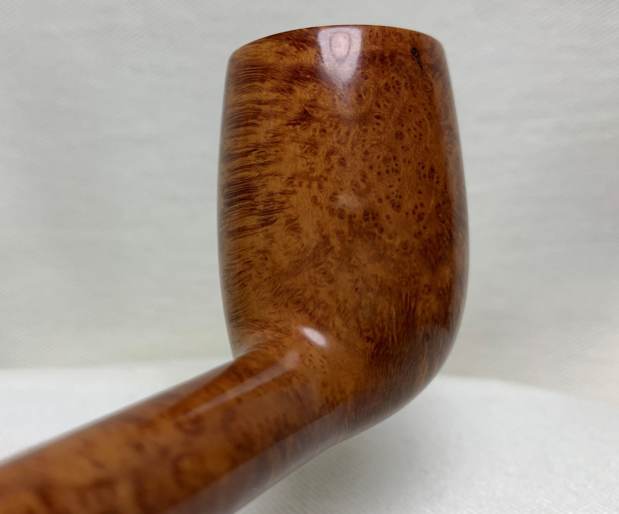
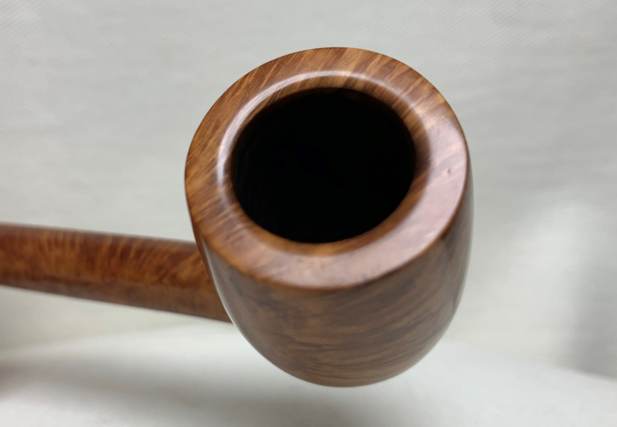
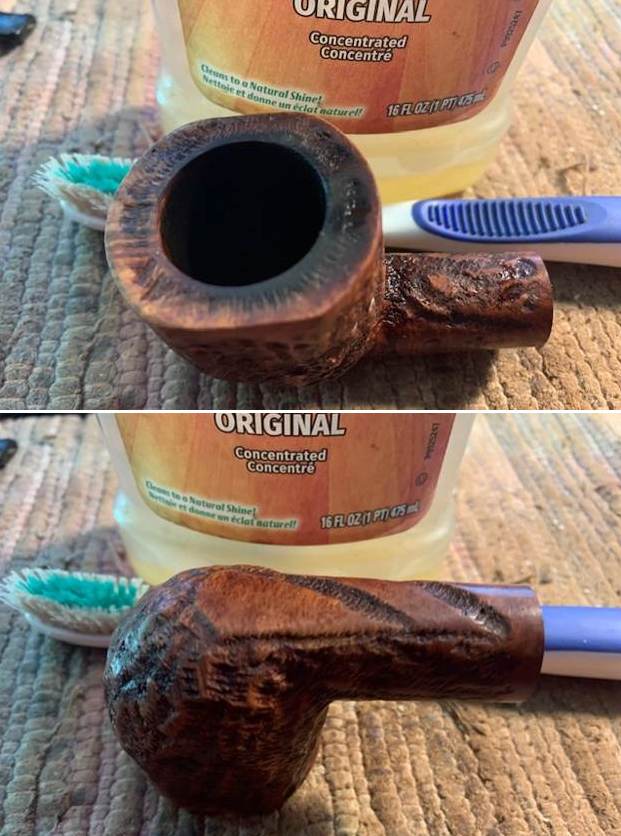
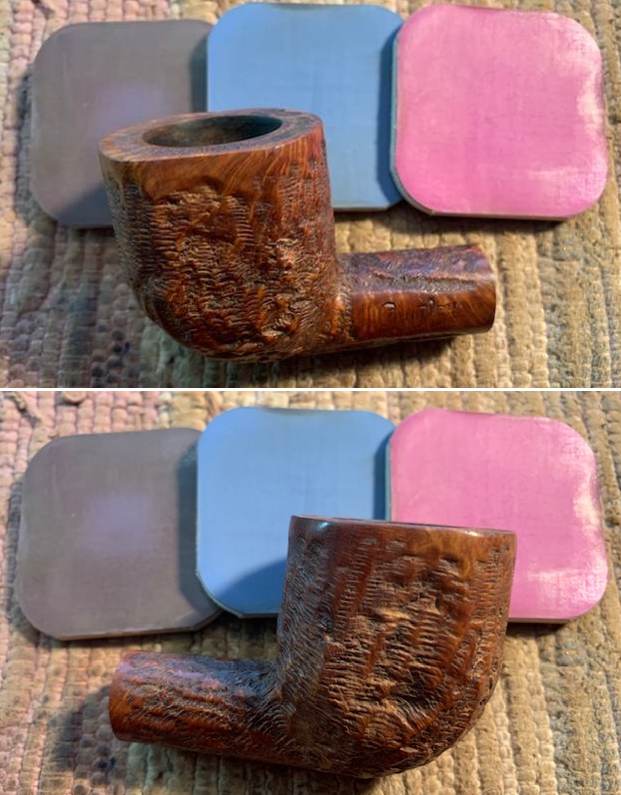
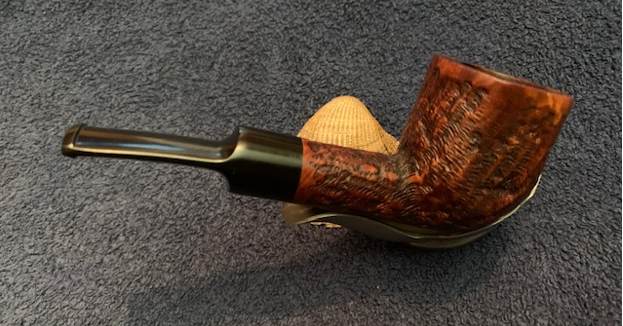
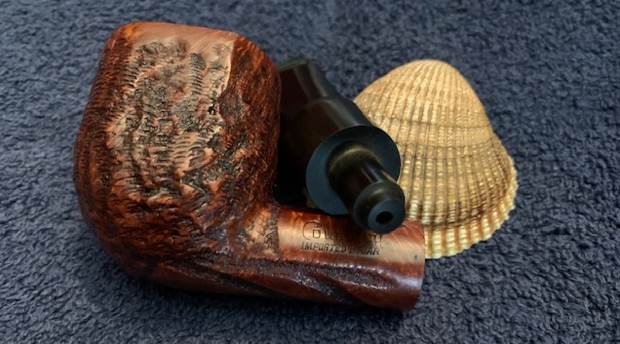
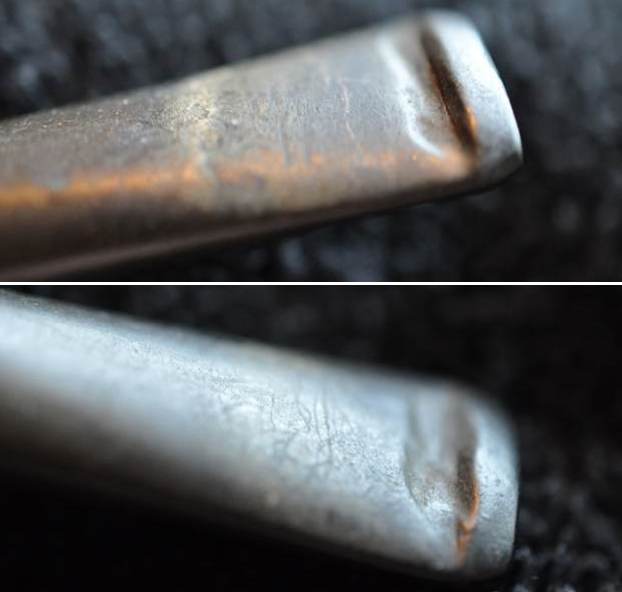
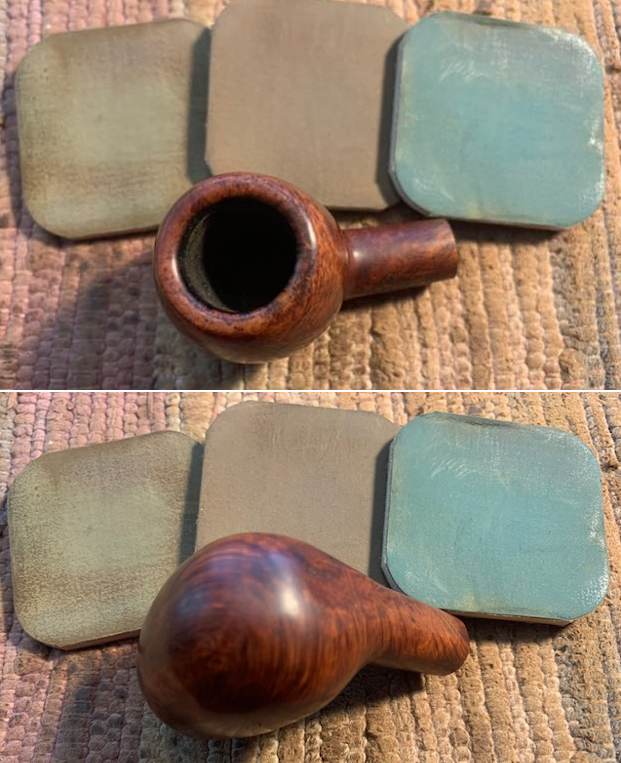
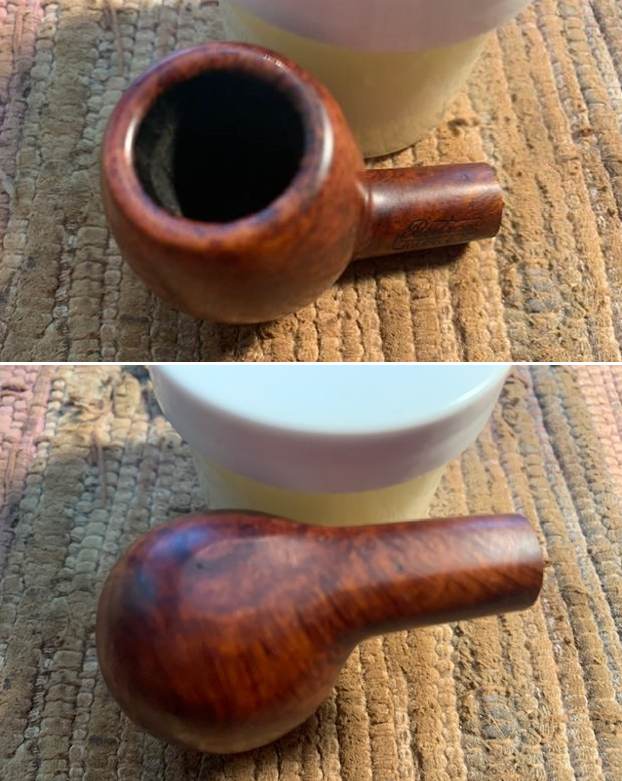
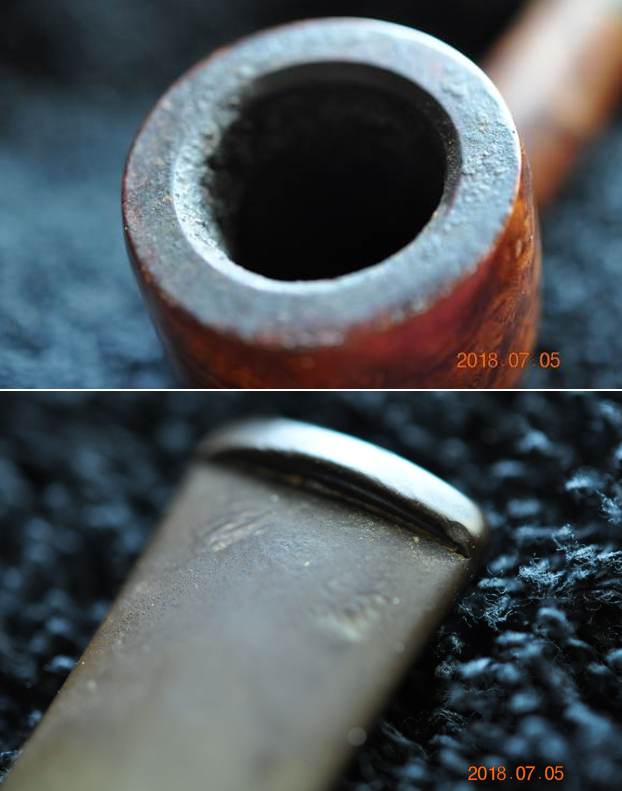
 I took a close up photo of the rim top to show the condition of the bowl and rim after Jeff had cleaned up the grime and lava. The beveled rim edge and top looked very good. The stem photos show light oxidation and the tooth marks and chatter on the stem and the button surface.
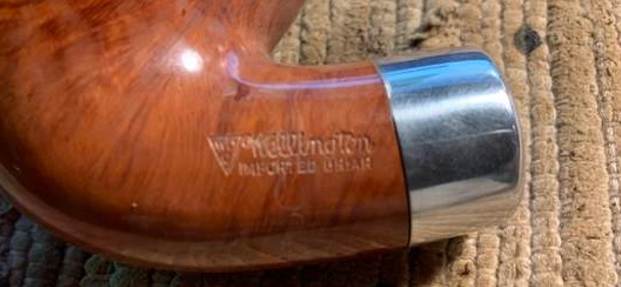
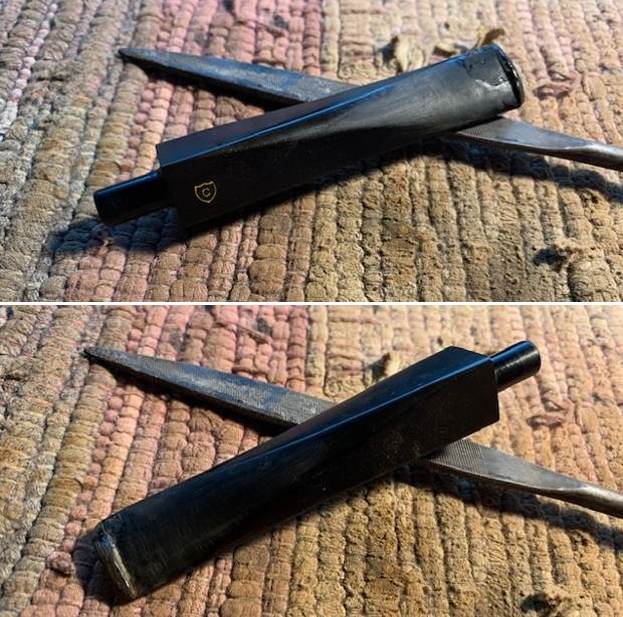
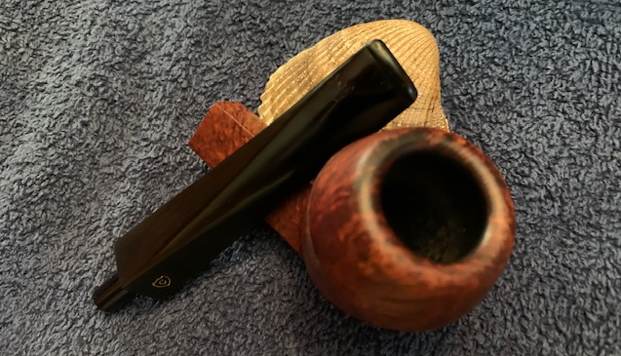
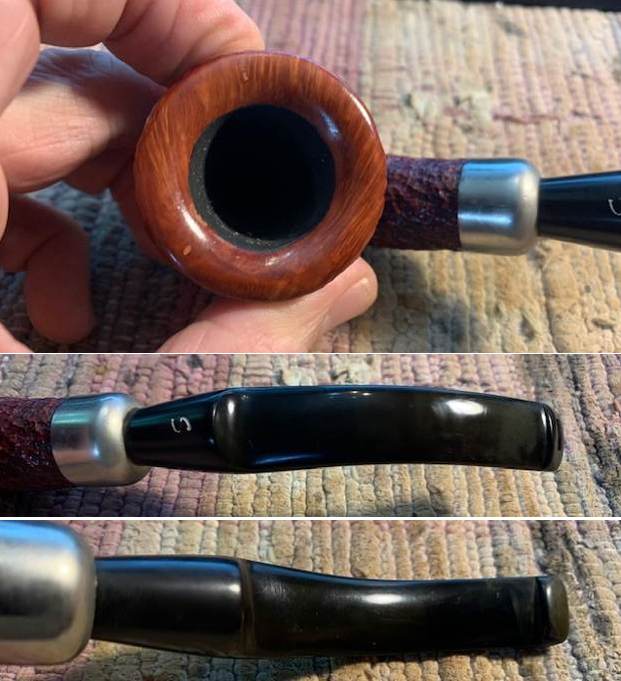
  I took photos of the stamping on the shank sides and the C logo on the stem. The stamping was clear and read as noted above.
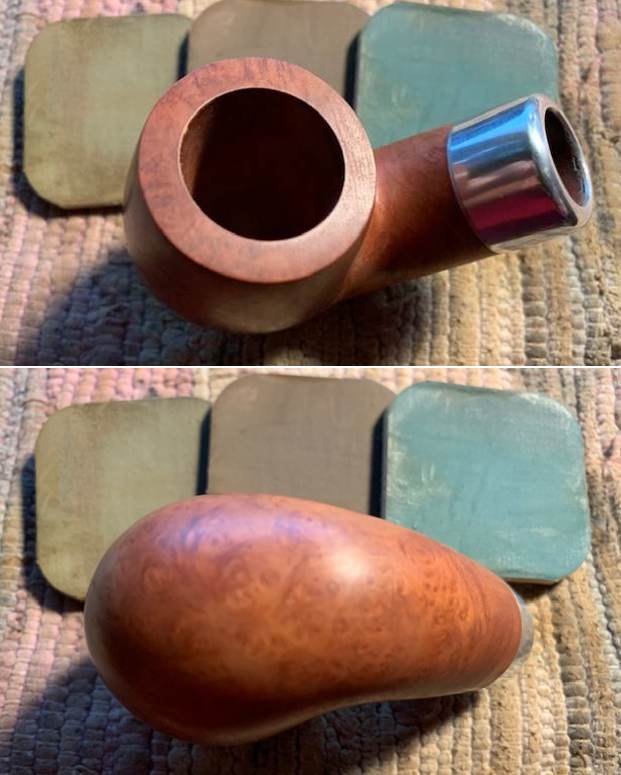
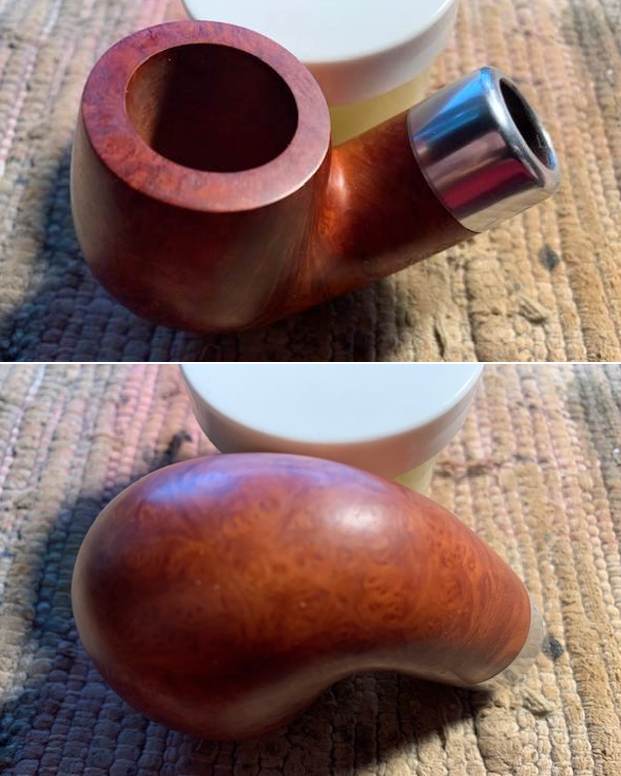
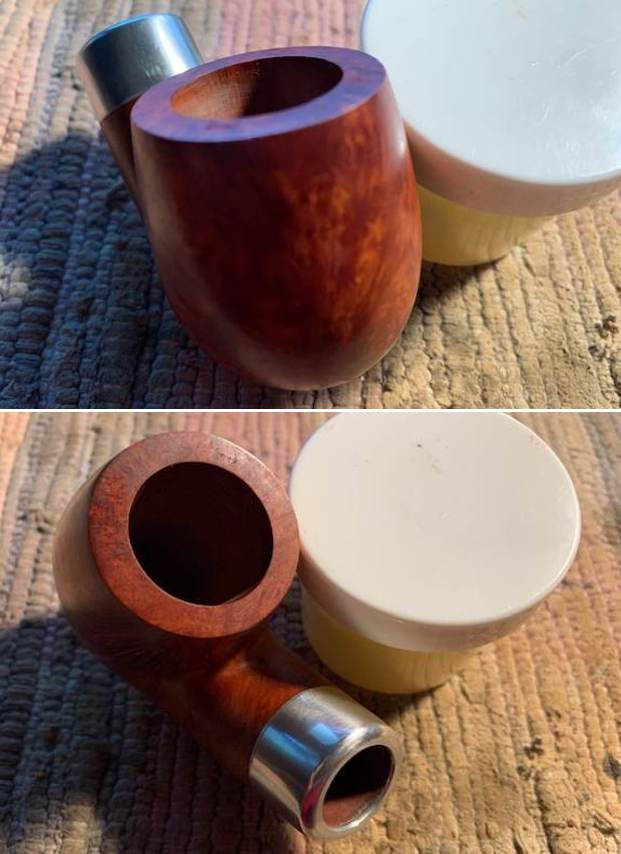
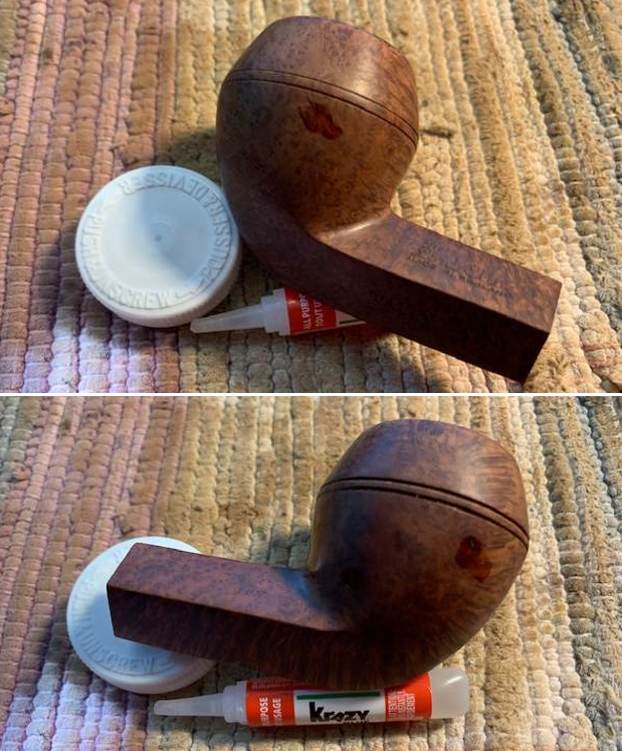
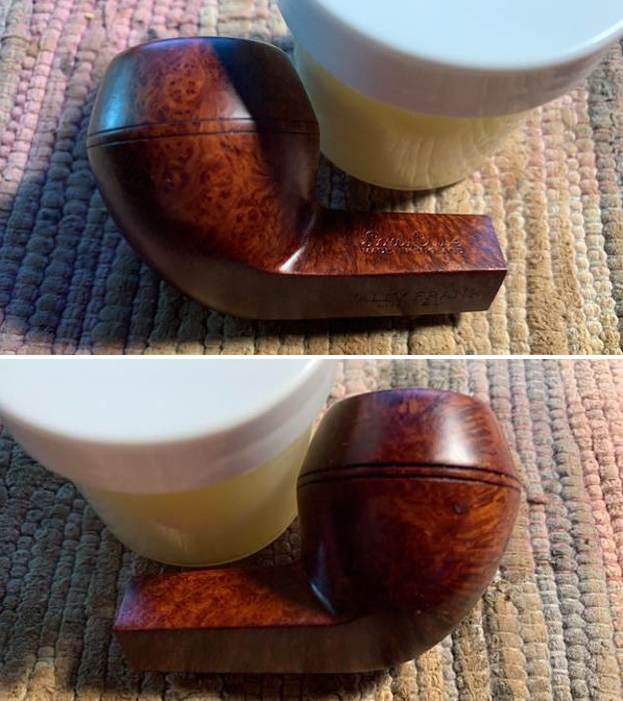
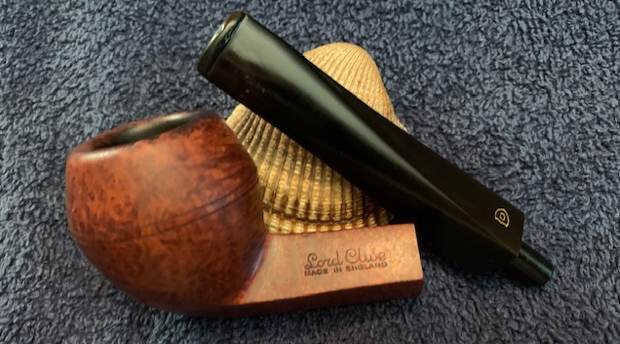
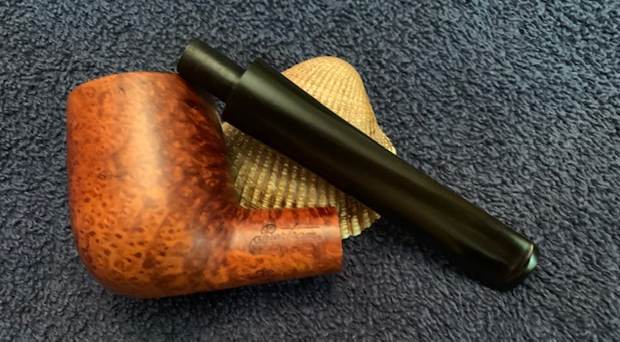
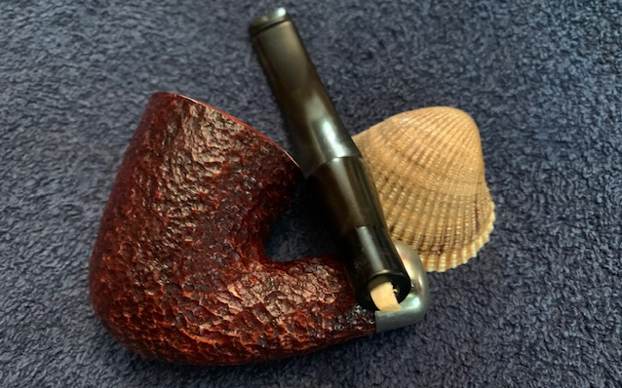
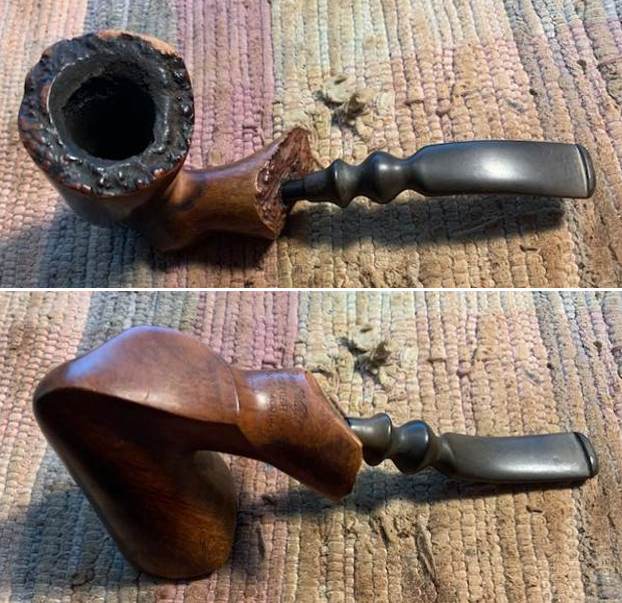
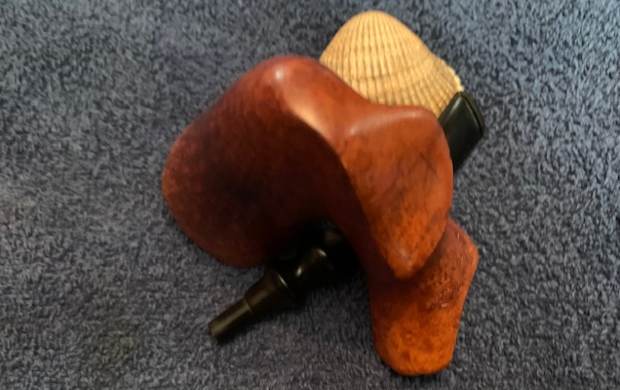
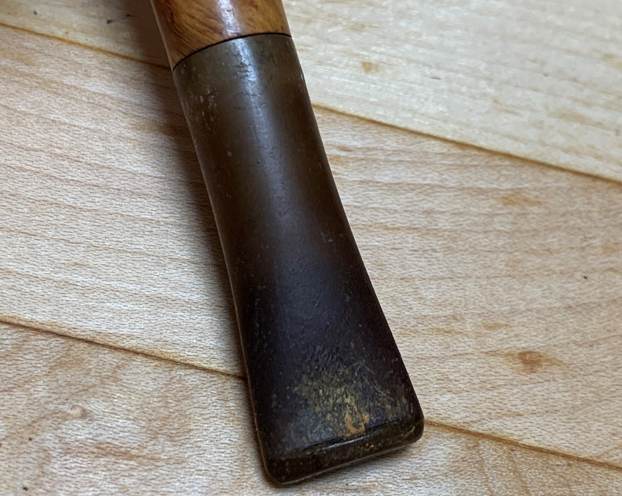
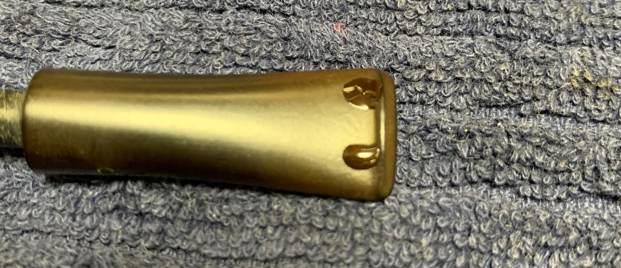
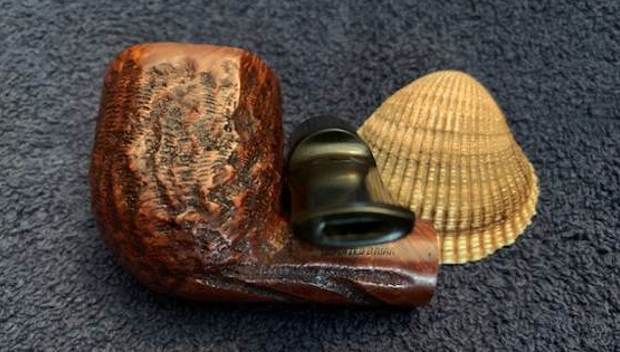
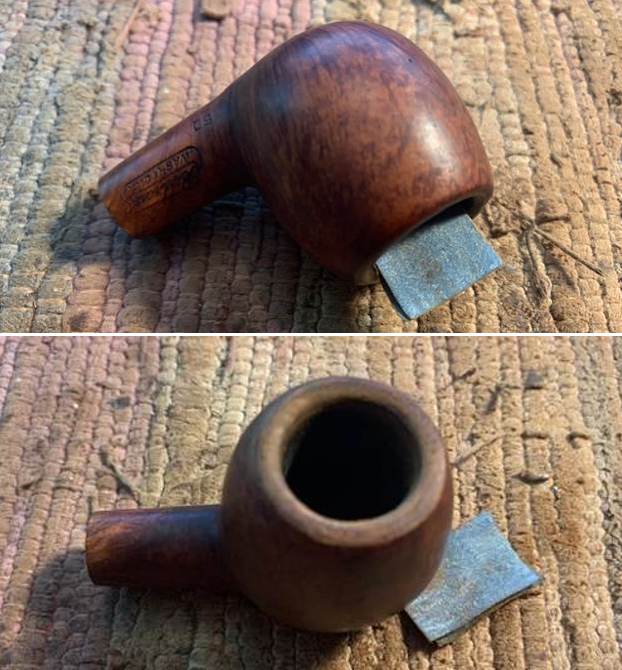
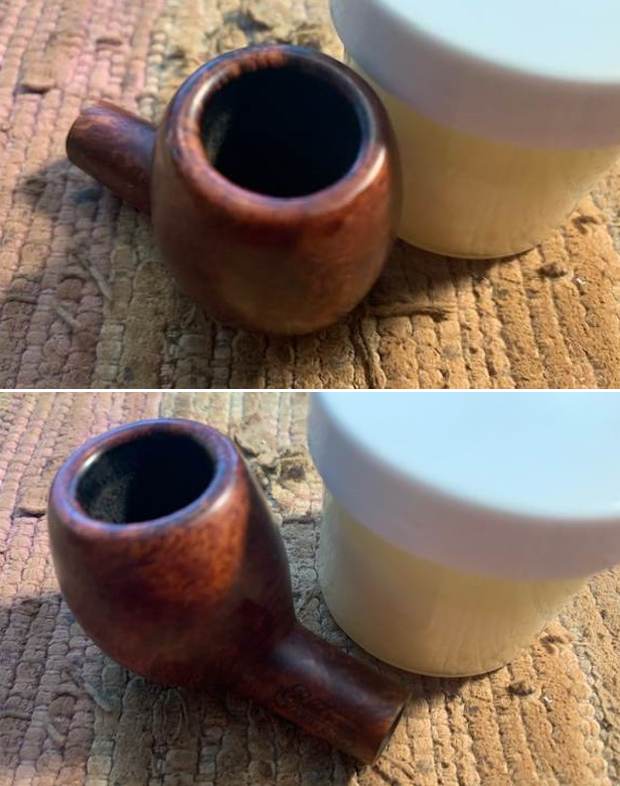
  I removed the stem from the shank and took a photo. You can see the small fill toward the top of the left side.
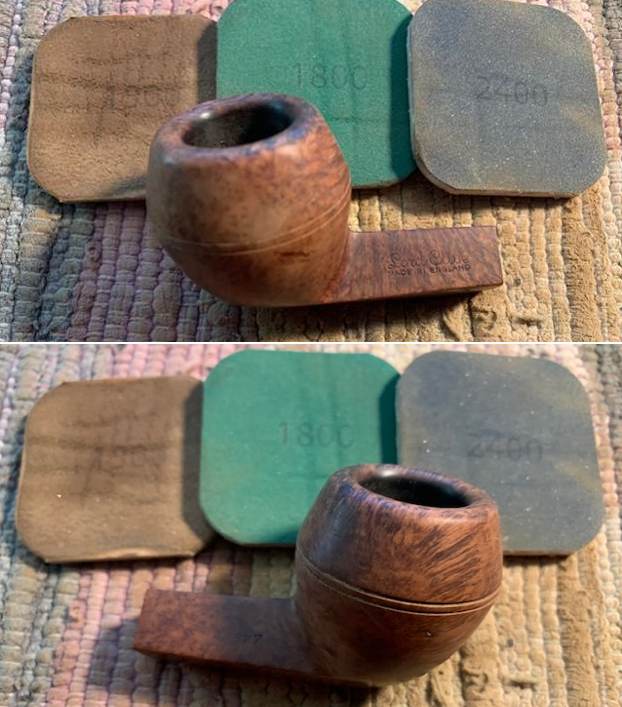
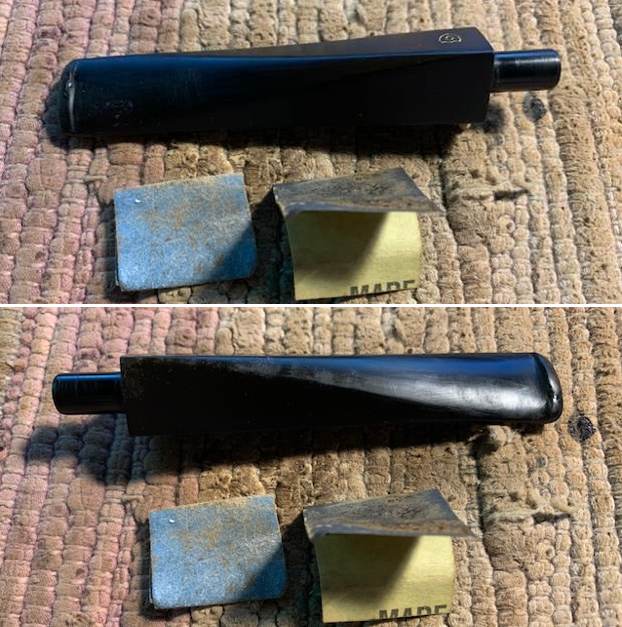
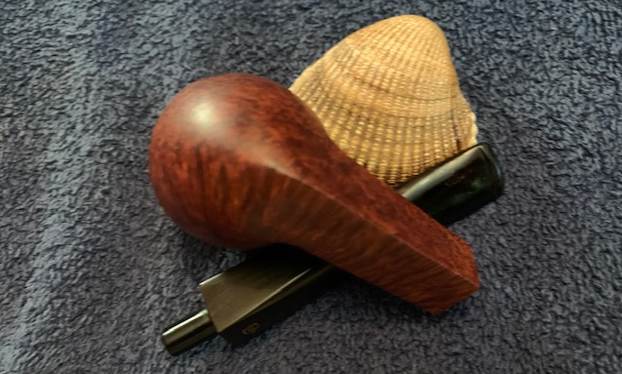
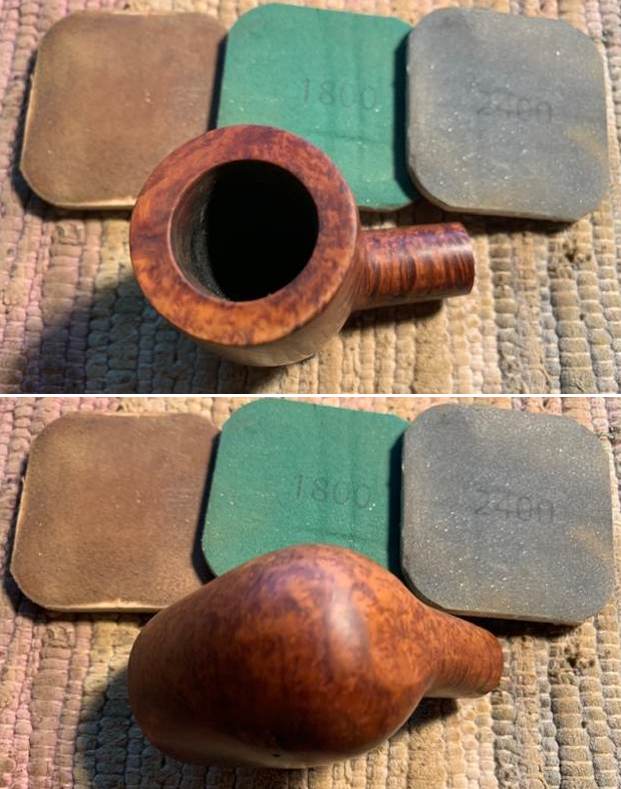
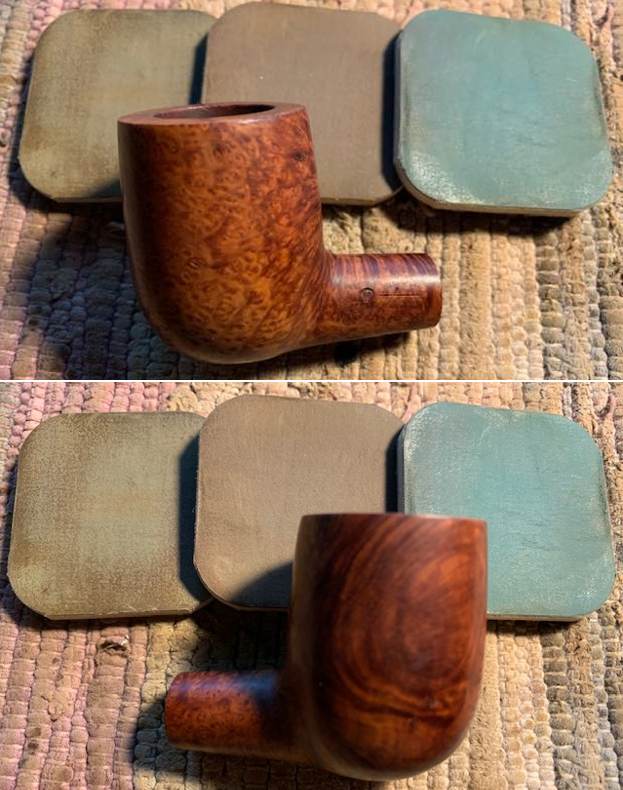
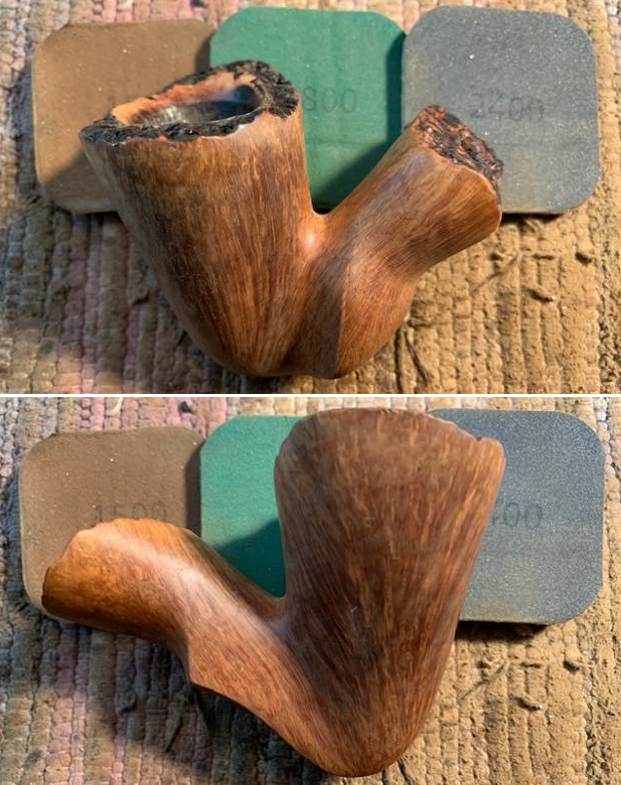
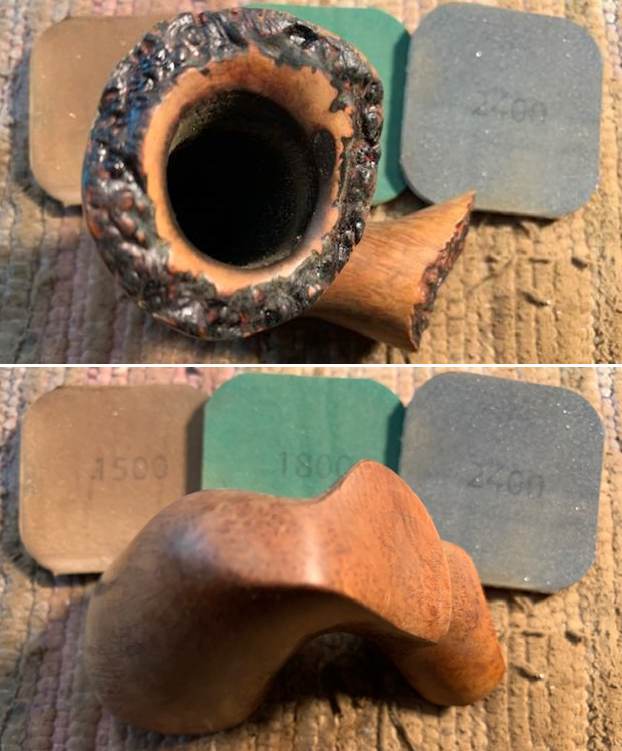
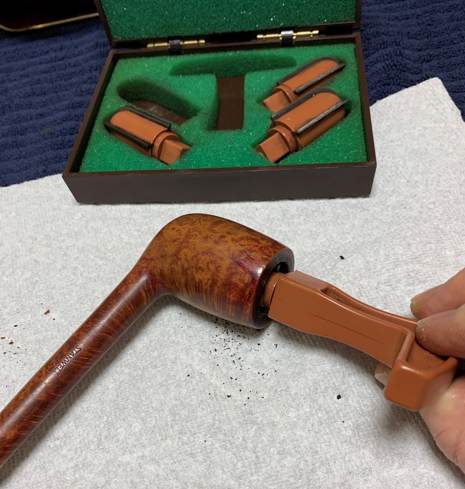
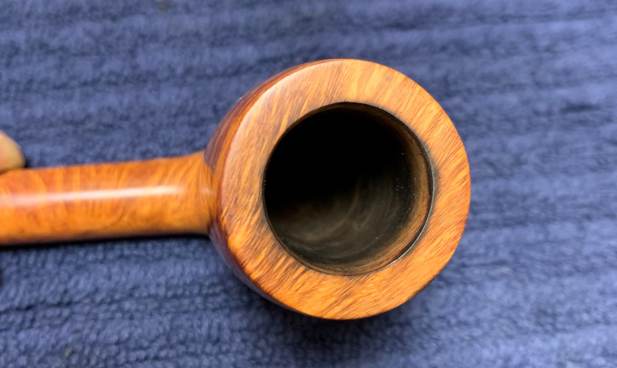
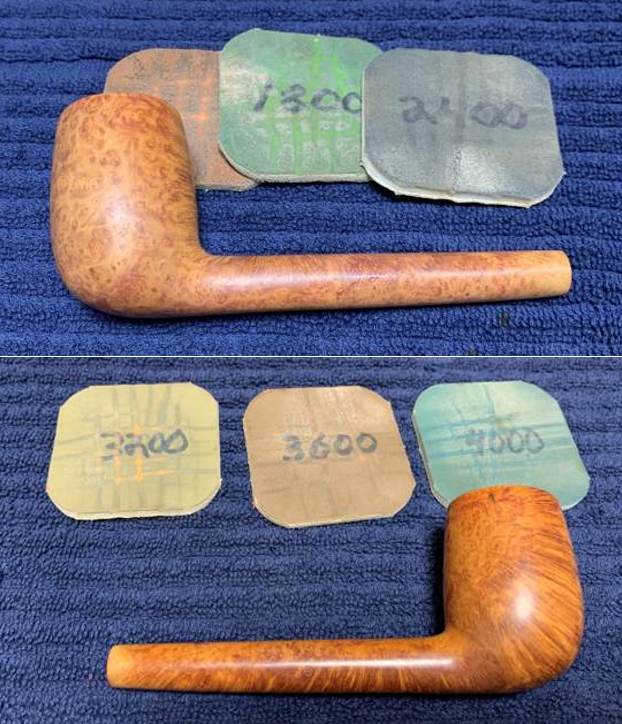
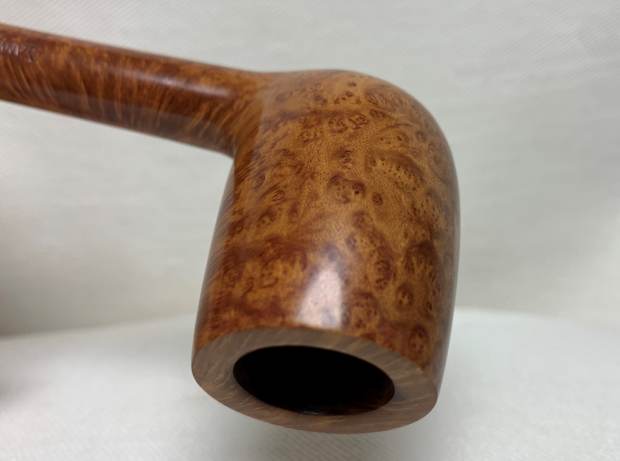
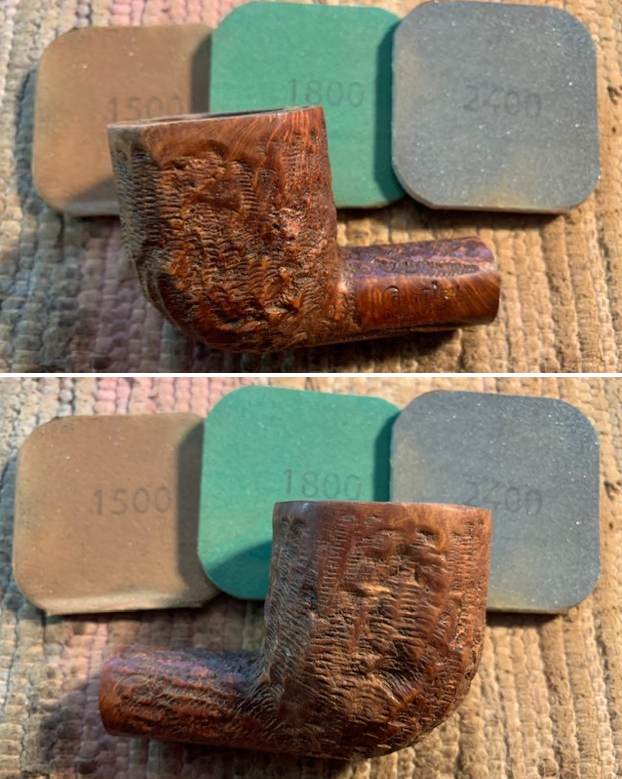
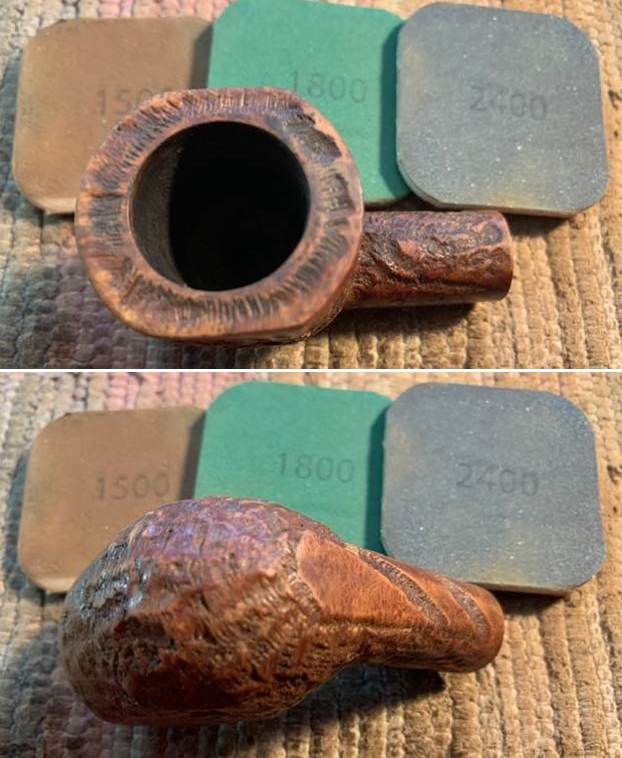
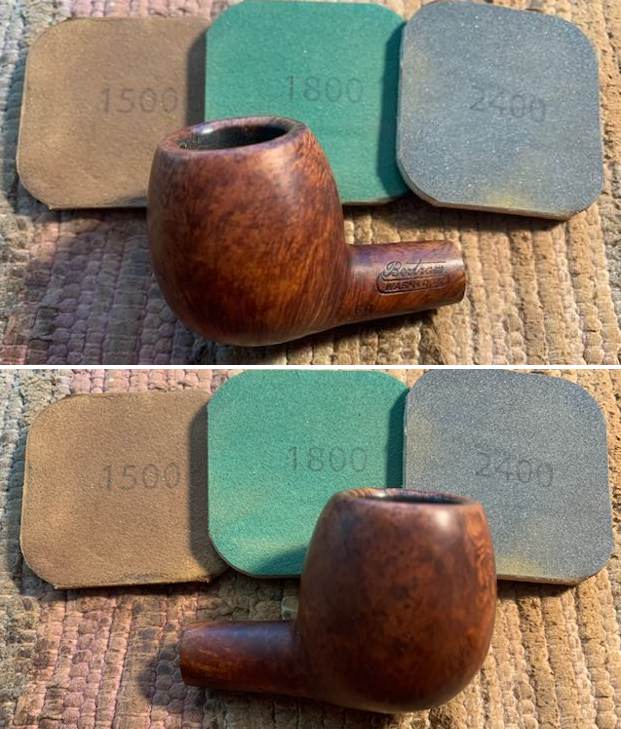
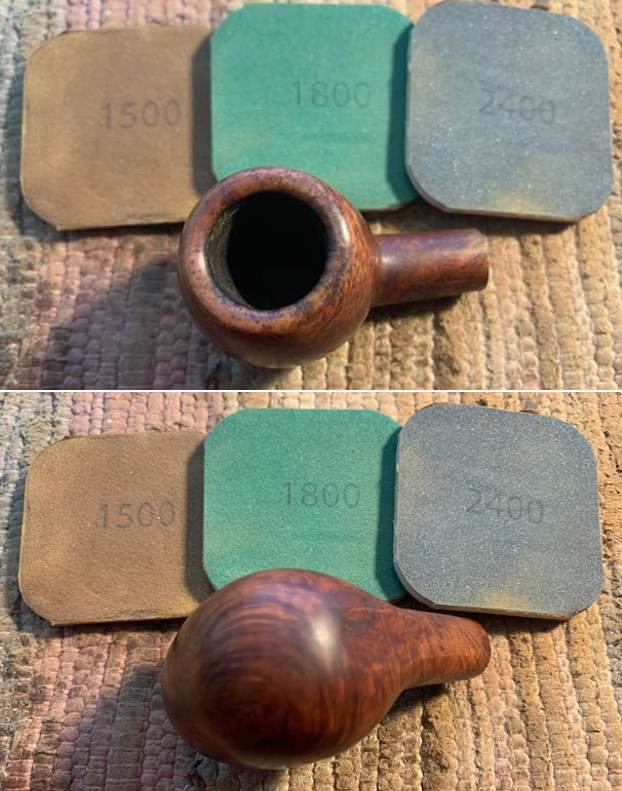
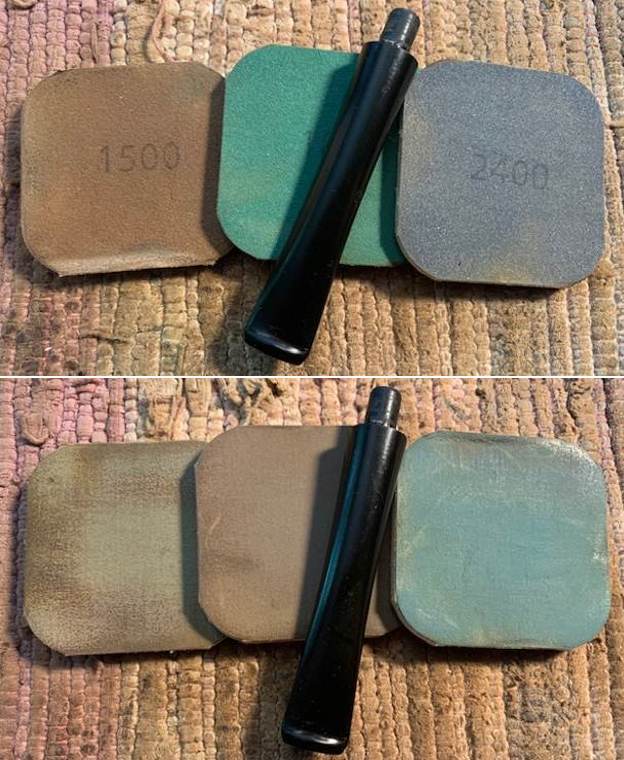
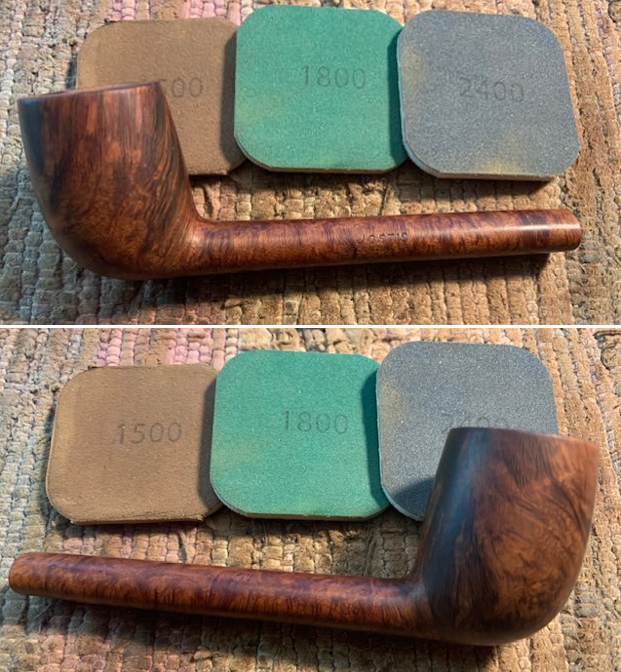
 The bowl was in good condition so I did not need to do any extra work on the rim or edges. It looked great so I polished the bowl and rim top with micromesh sanding pads – dry sanding it with 1500-12000 grit pads. I wiped the bowl down with a damp cloth after each pad to remove the sanding debris. After the final sanding pad I hand buffed it with a cotton cloth to raise a shine.


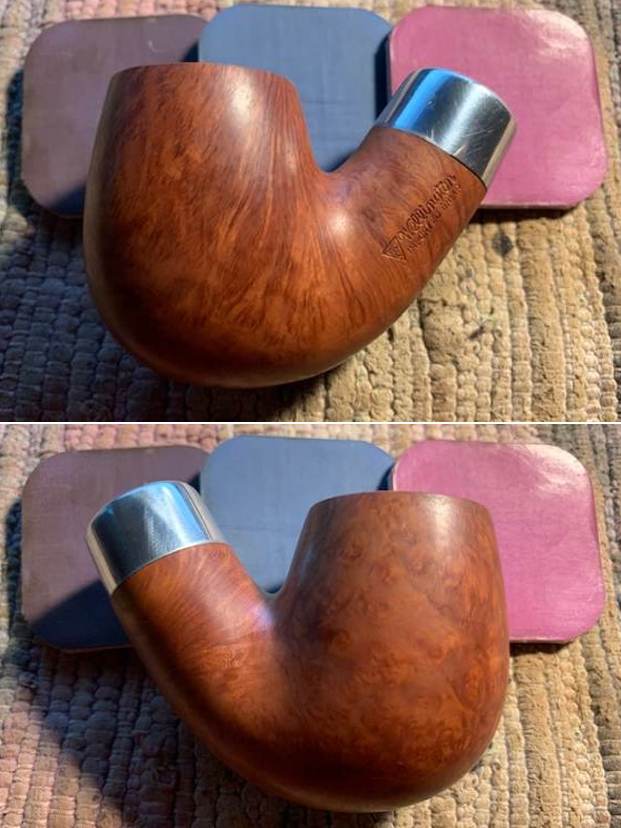
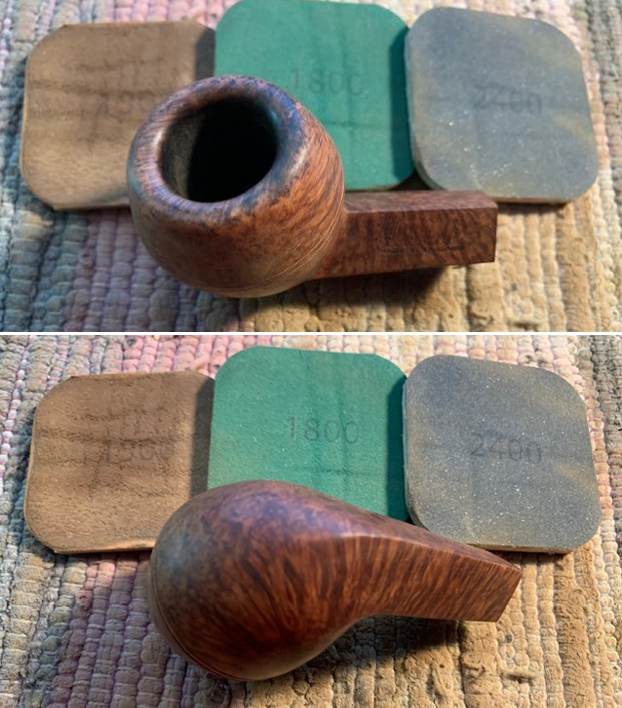
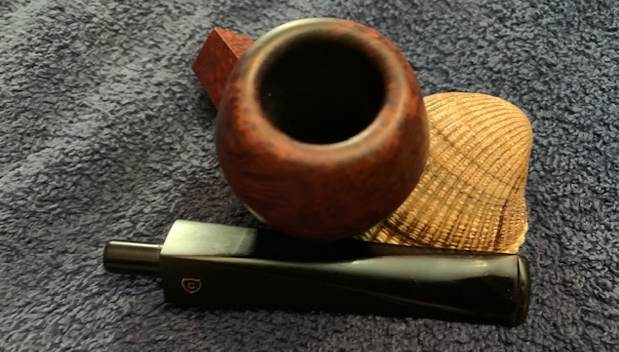
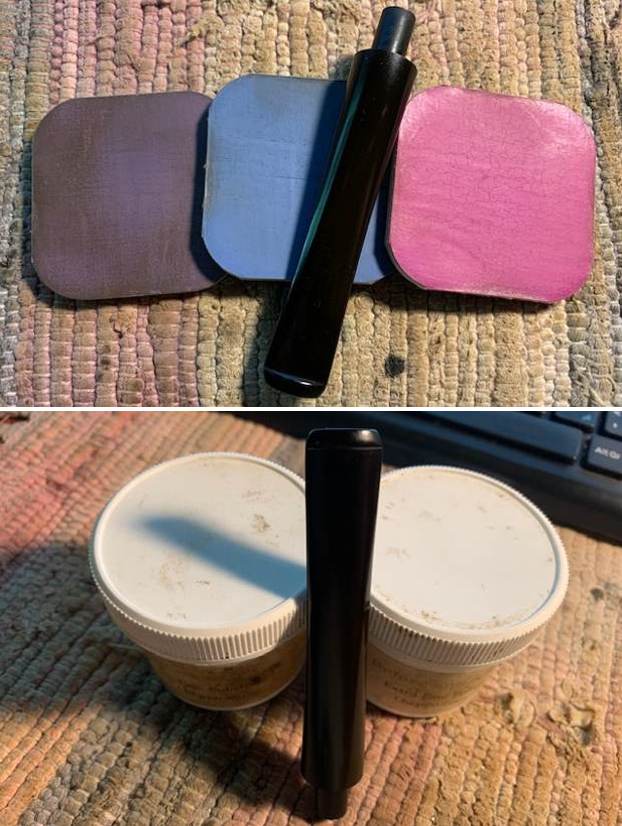
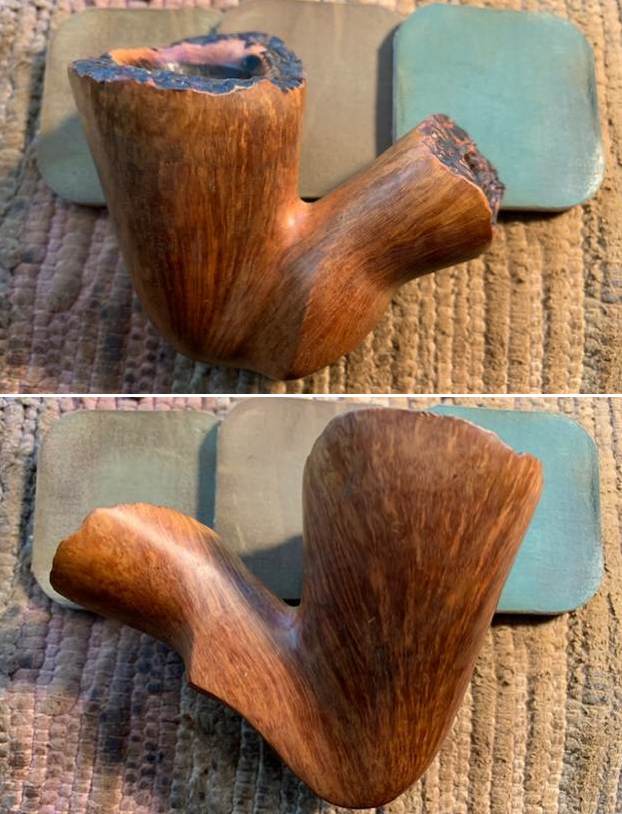
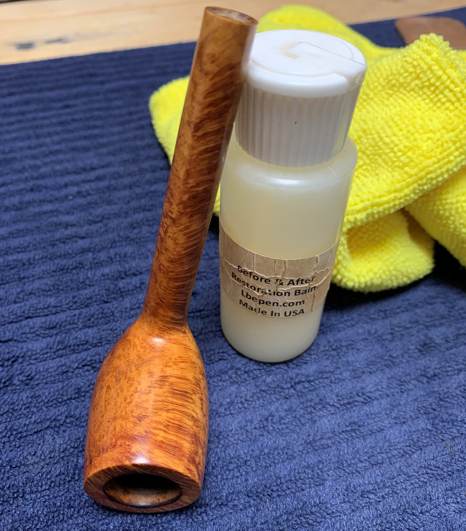
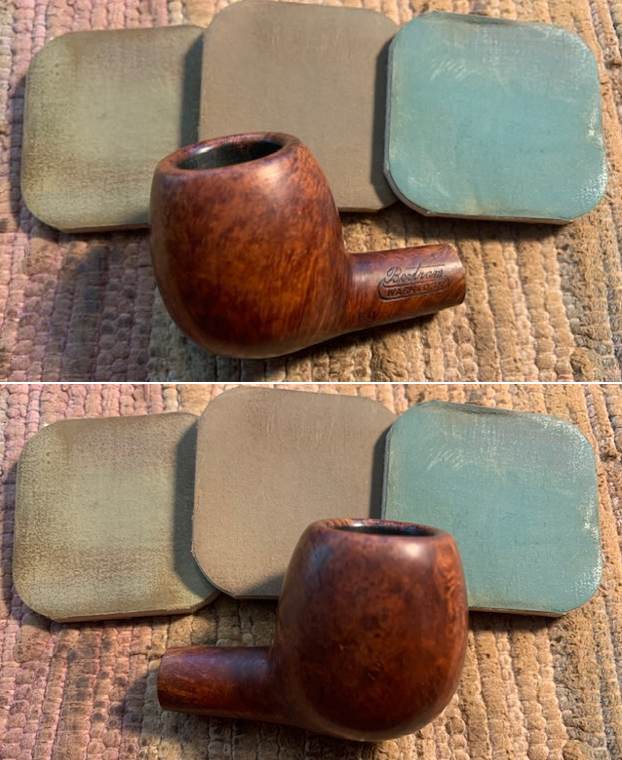
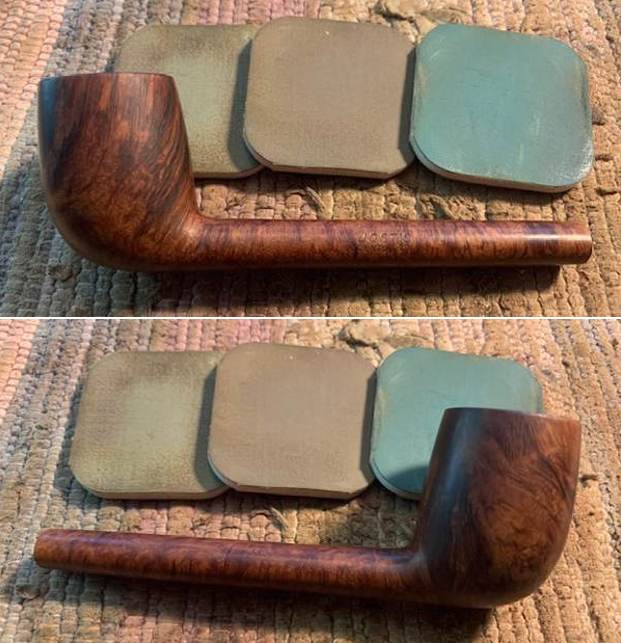
 I worked some Before & After Restoration Balm into finish of the briar with my fingertips to clean, enliven and protect it. I let the balm sit for a little while and then buffed with a cotton cloth to raise the shine. The Restoration Balm really makes the grain stands out beautifully.

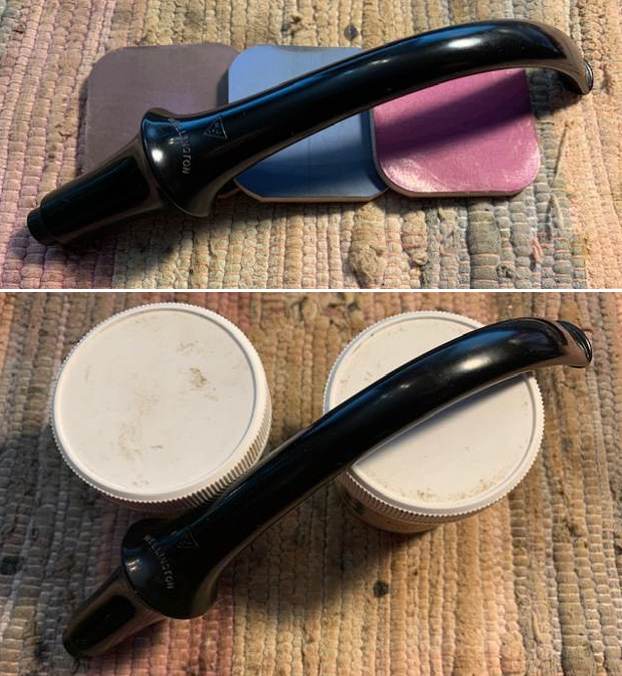
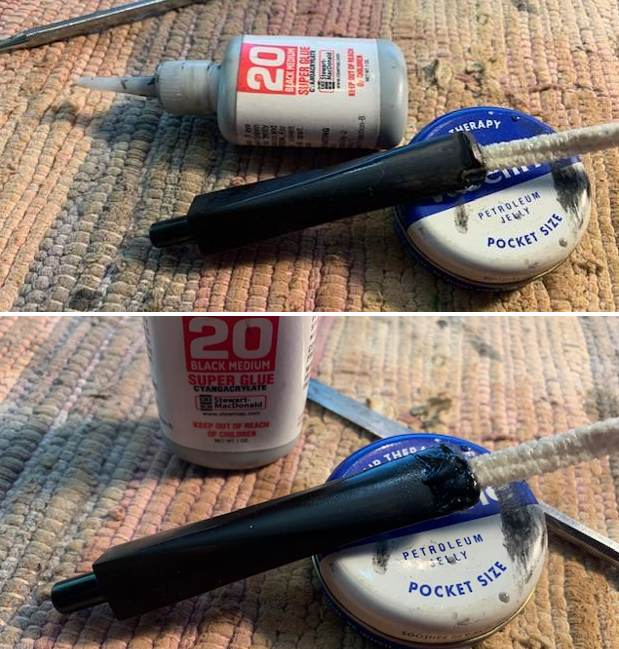
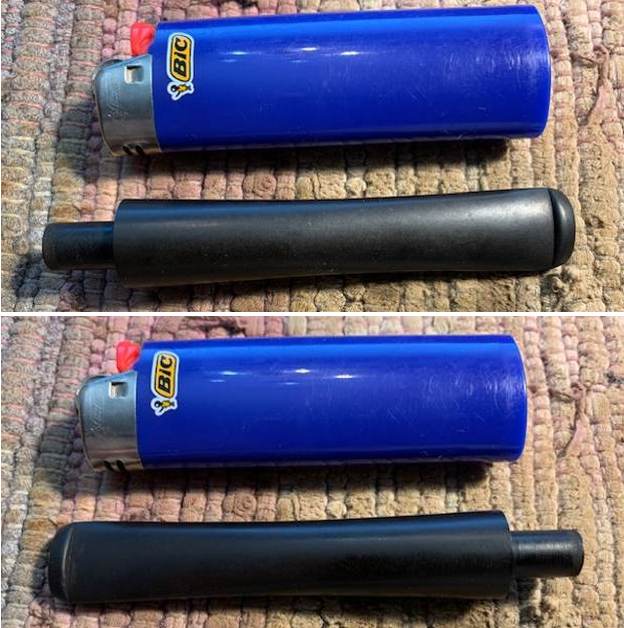
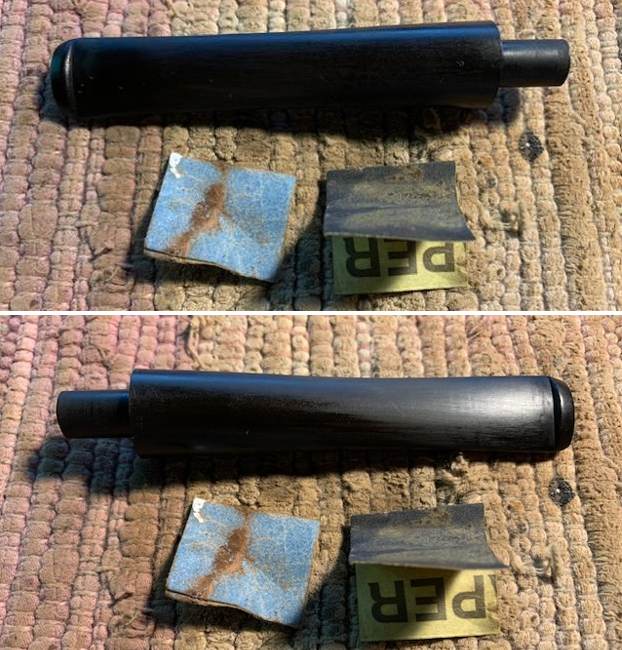
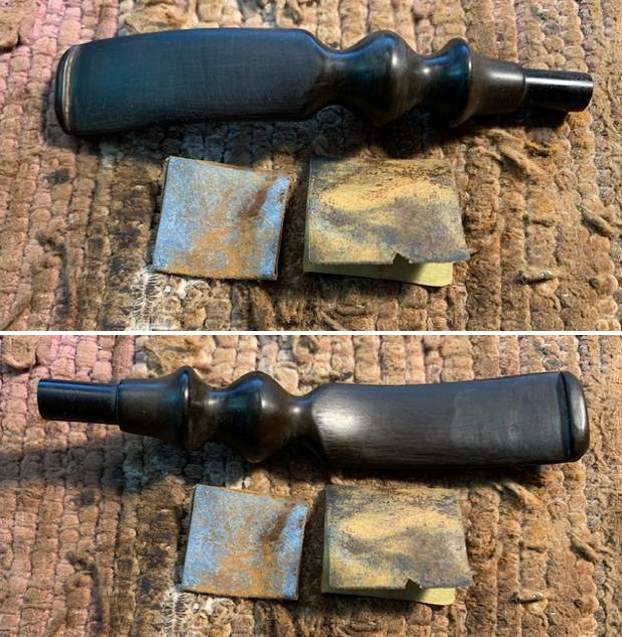
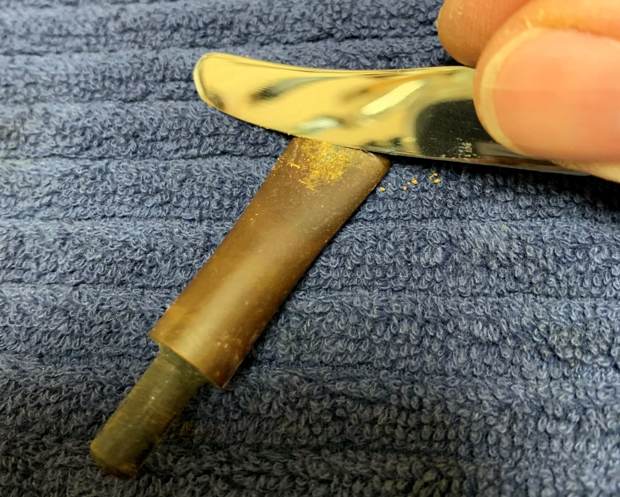
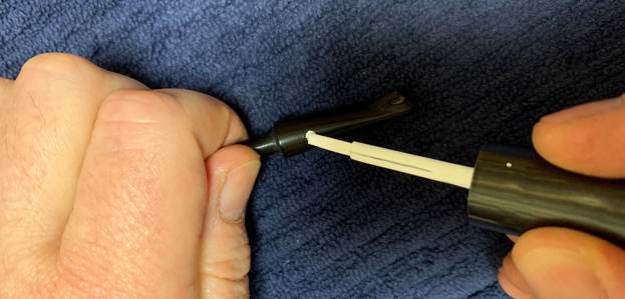
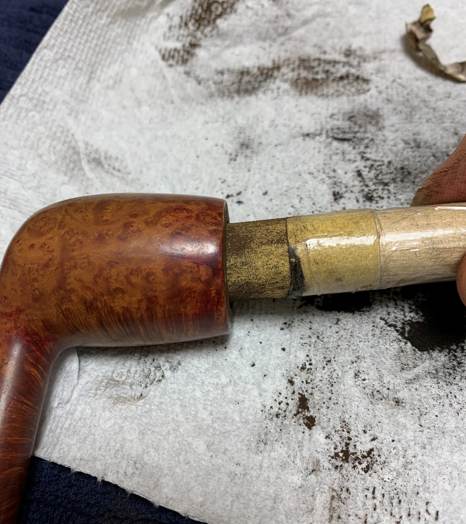
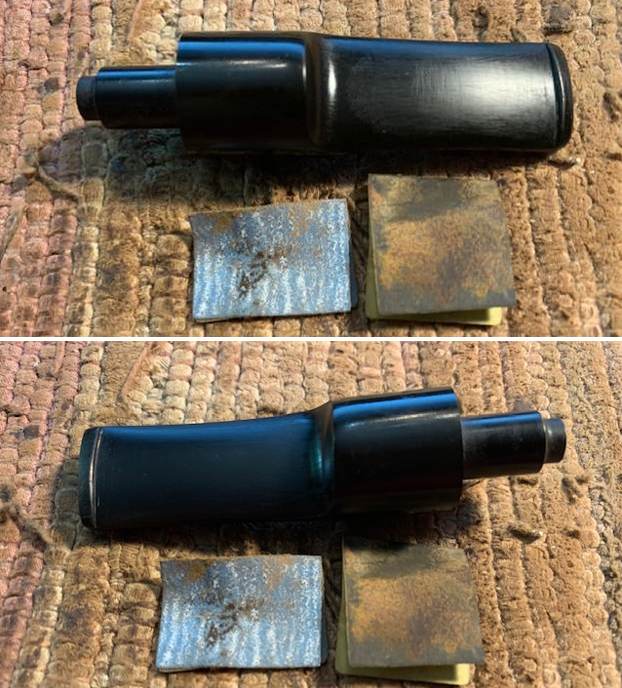
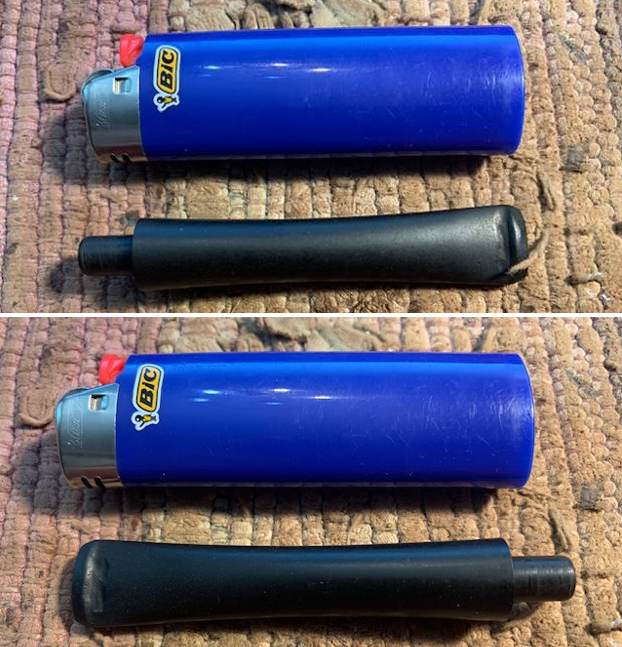
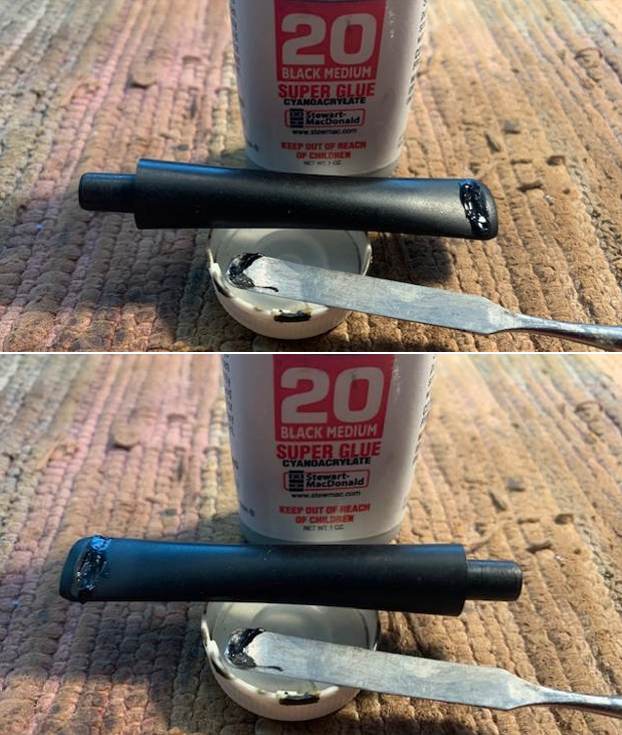
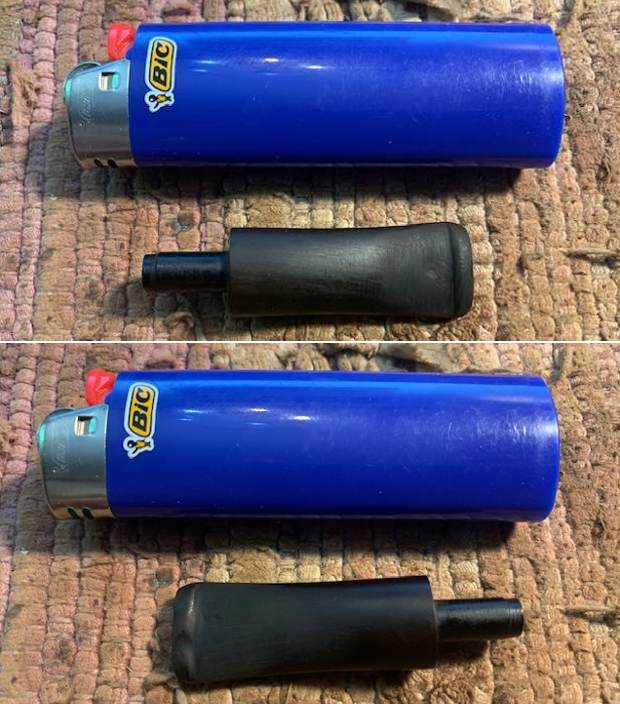
 I set the bowl aside and turned my attention to the stem. I “painted” the tooth marks with the flame of a Bic lighter. I was able to lift them a lot. The small spots that remained I filled in with clear CA glue.
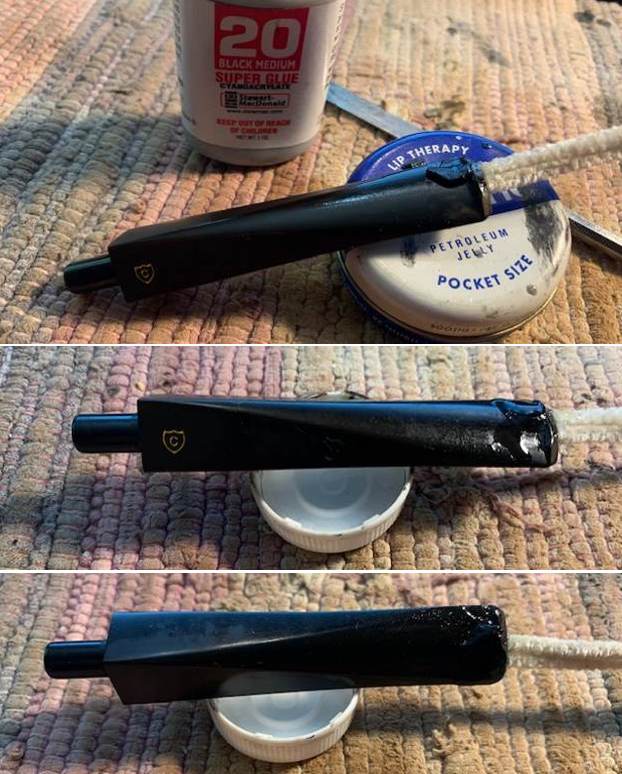
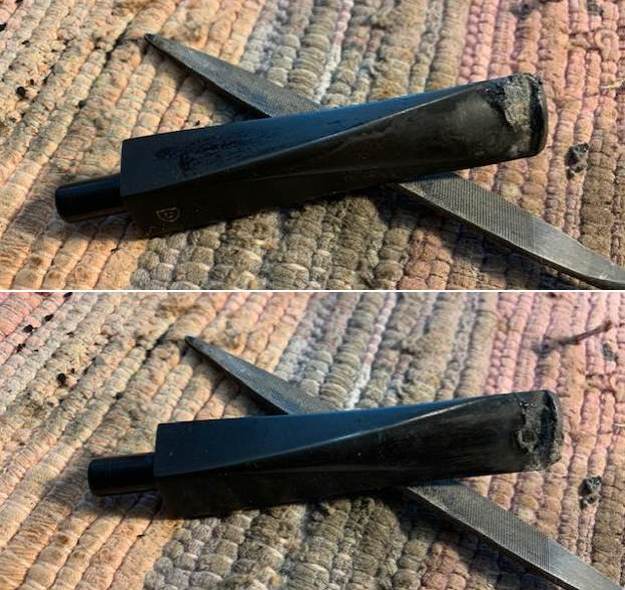
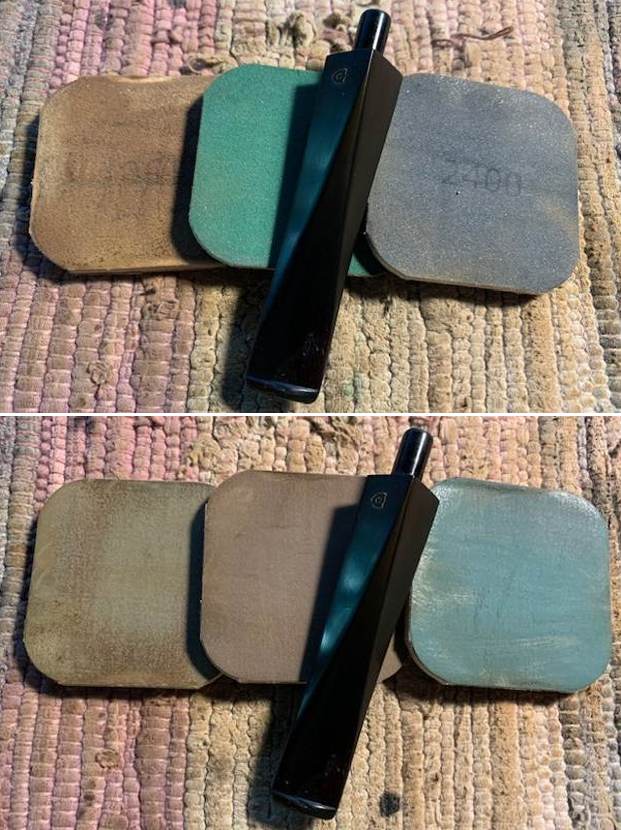
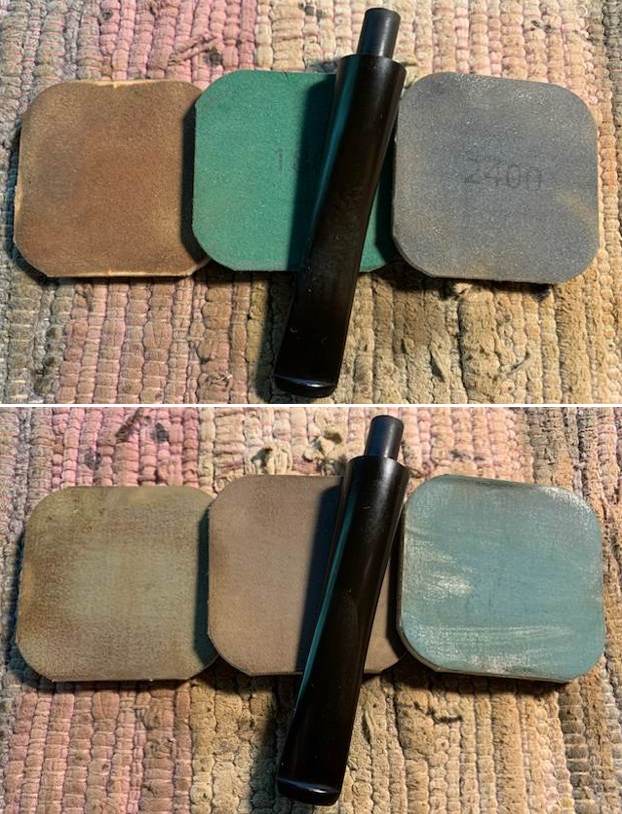
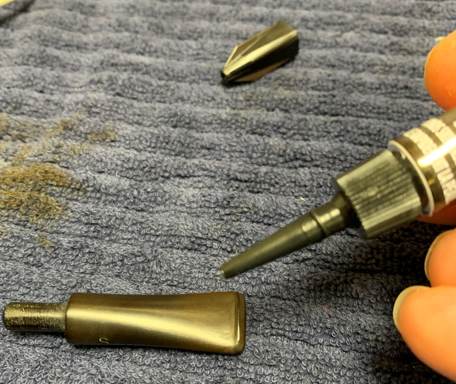
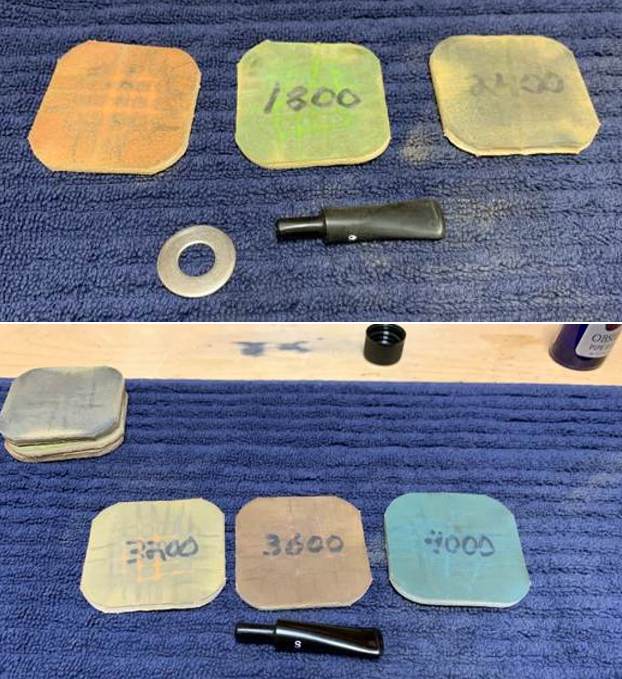
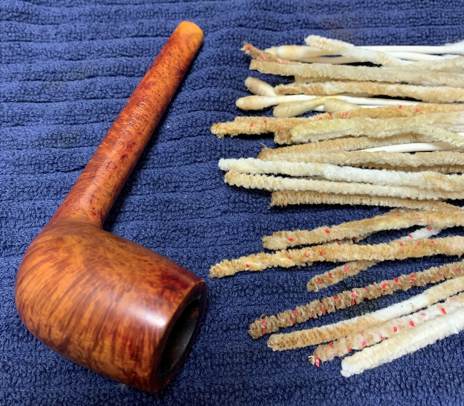
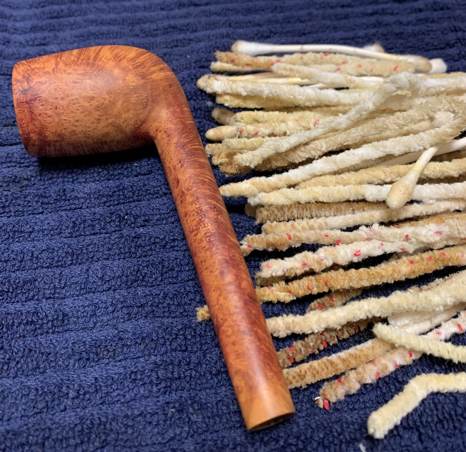
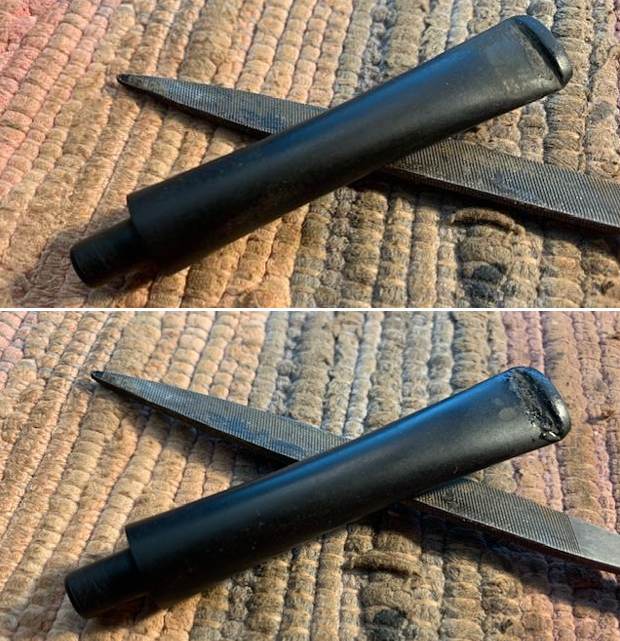
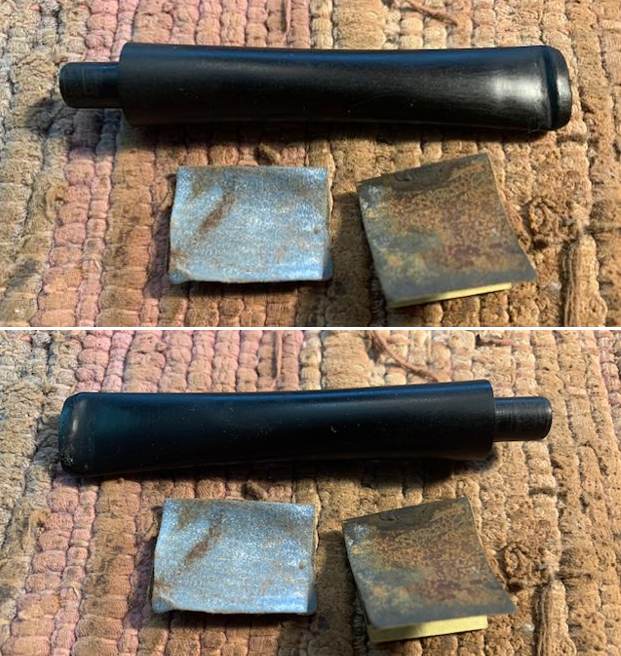
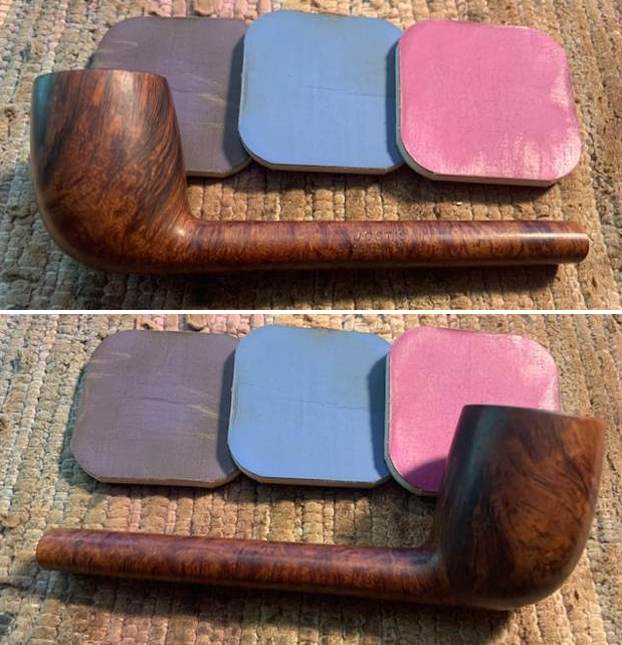
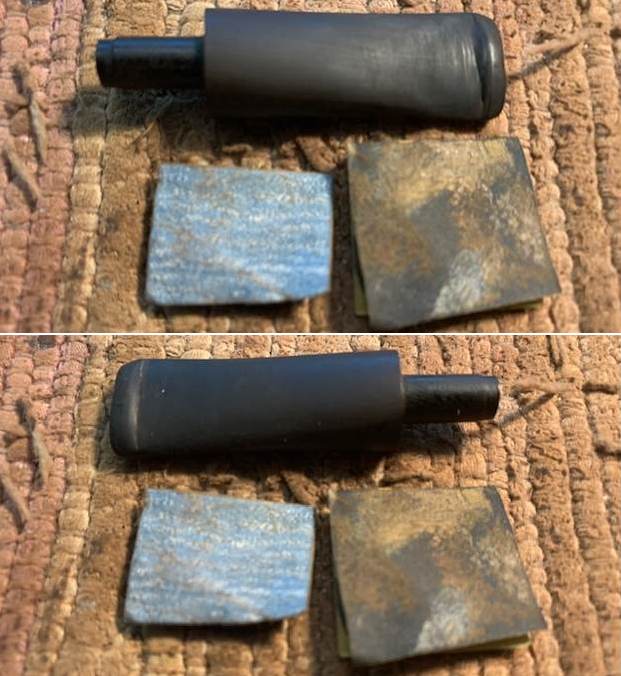
 I used a folded piece of 220 grit sandpaper to blend the repairs into the surface of the stem. I started polishing the stem with a folded piece of 400 grit sandpaper. I wiped the stem down with Obsidian Oil.
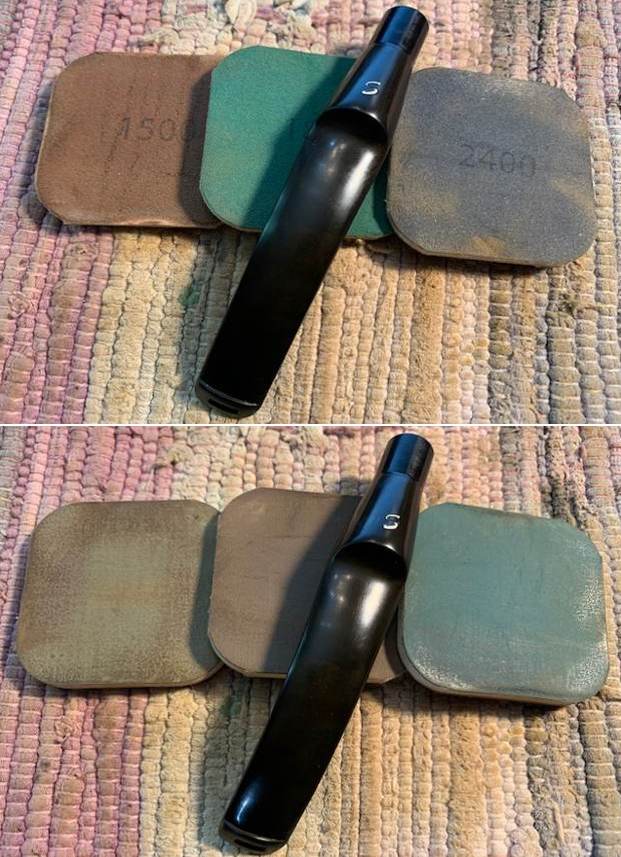
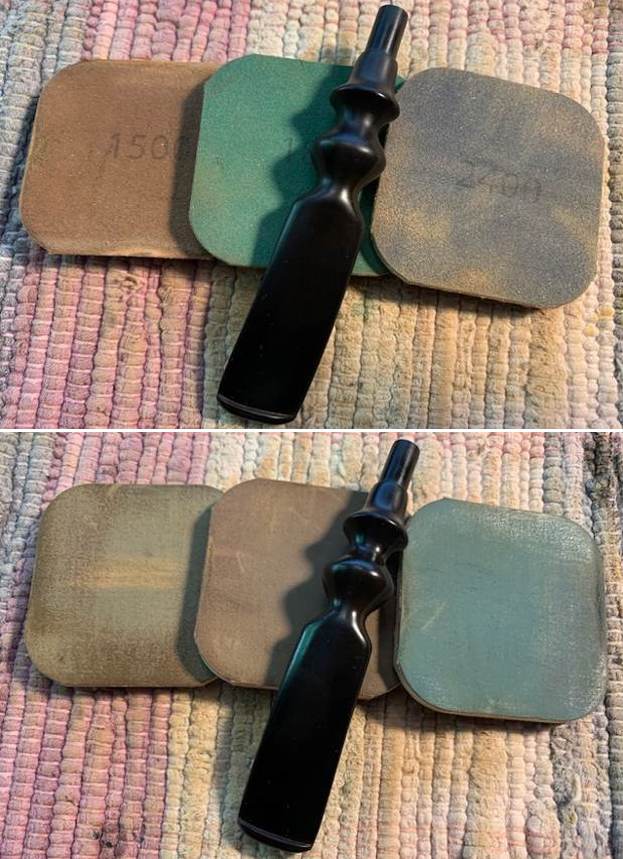
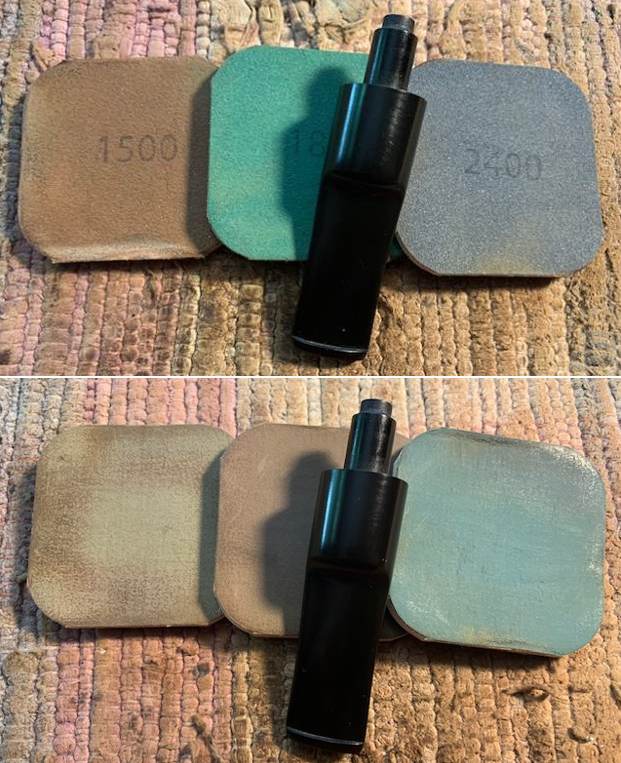
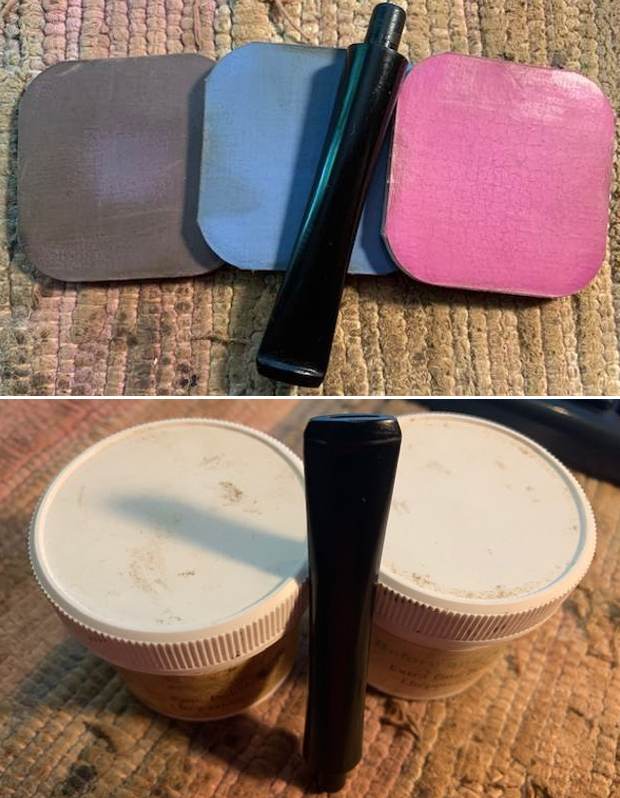
  I polished the stem with micromesh sanding pads – dry sanding it with 1500-12000 grit pads. I wiped the stem down with Obsidian Oil after each pad. I polished it with Before & After Pipe Polish – both Fine and Extra Fine and gave it a final coat and set it aside to dry.
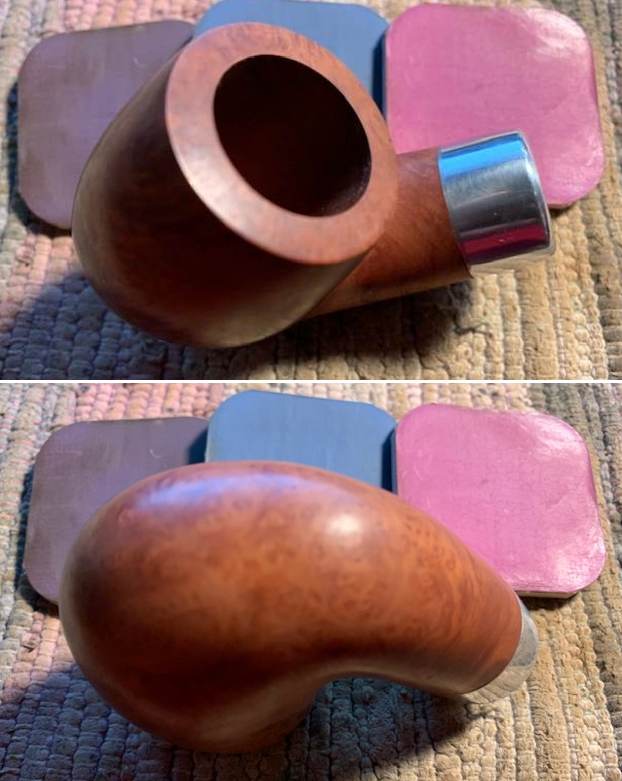
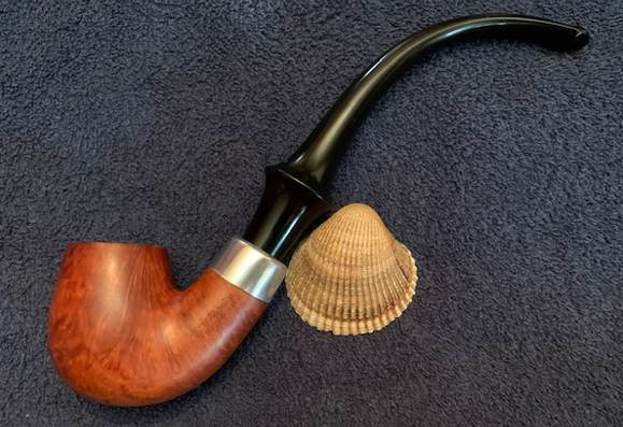
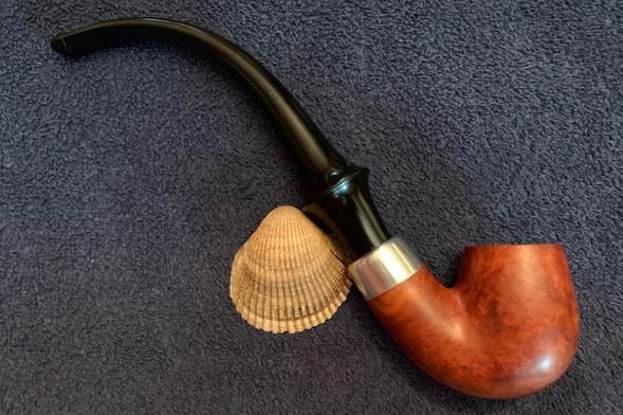
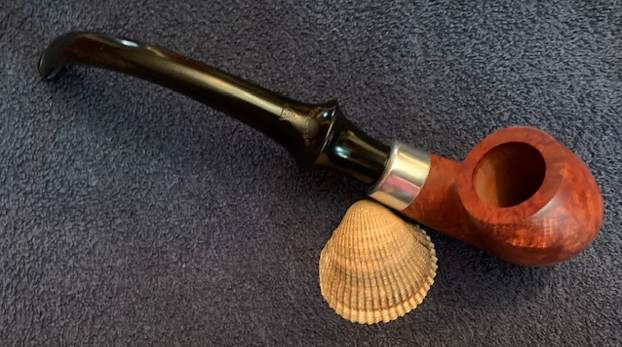
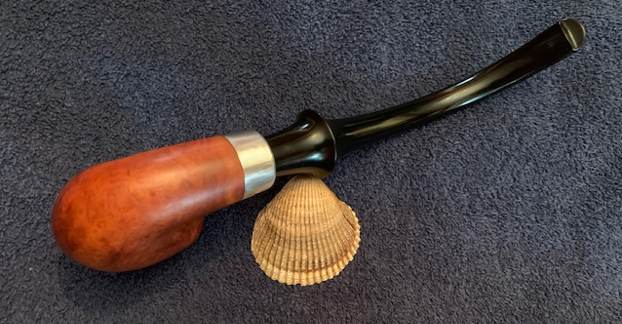
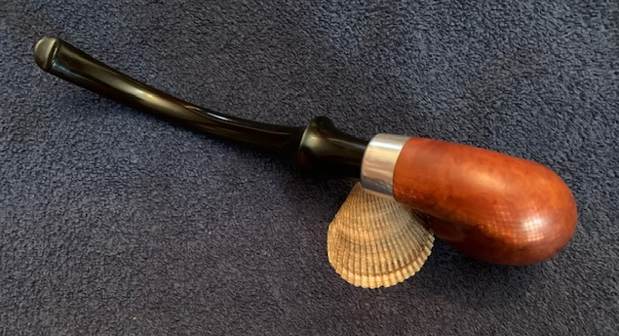
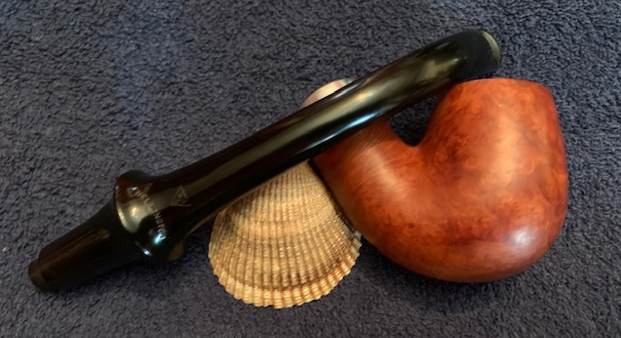
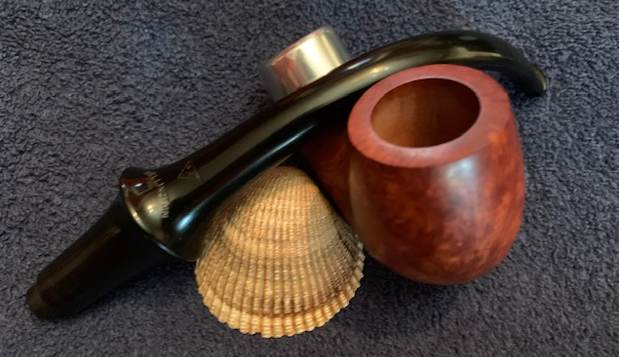
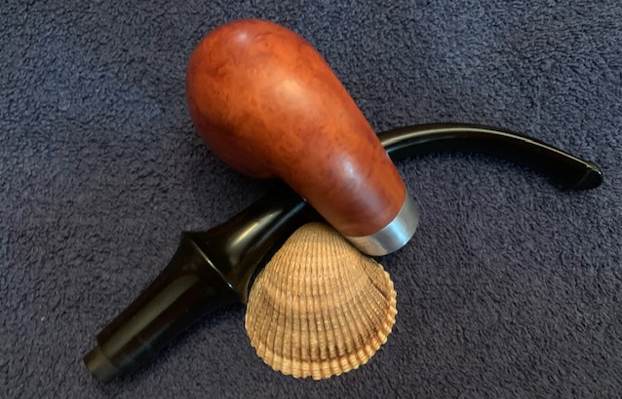
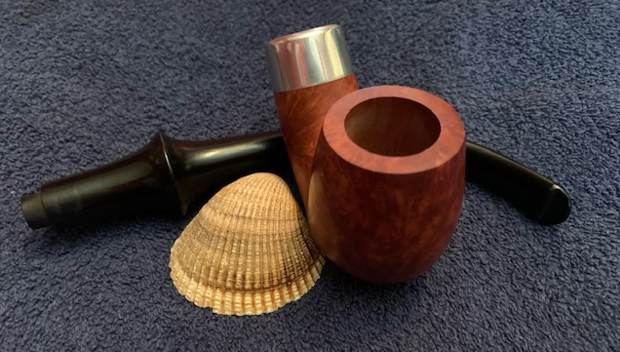
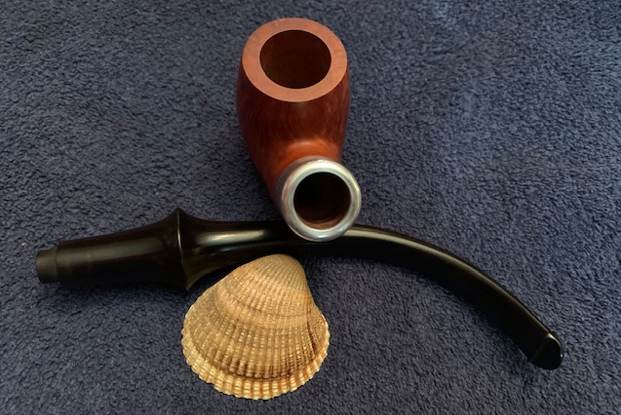
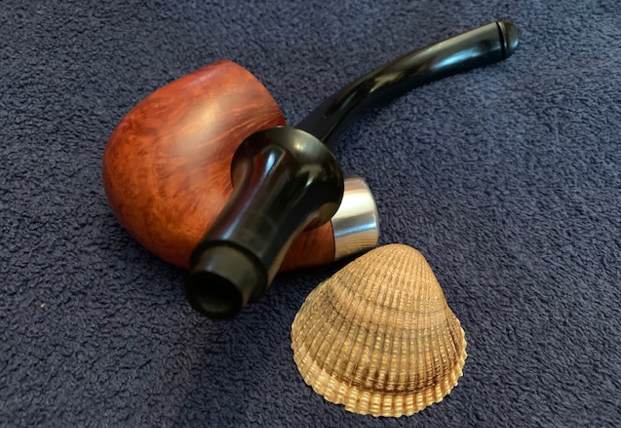
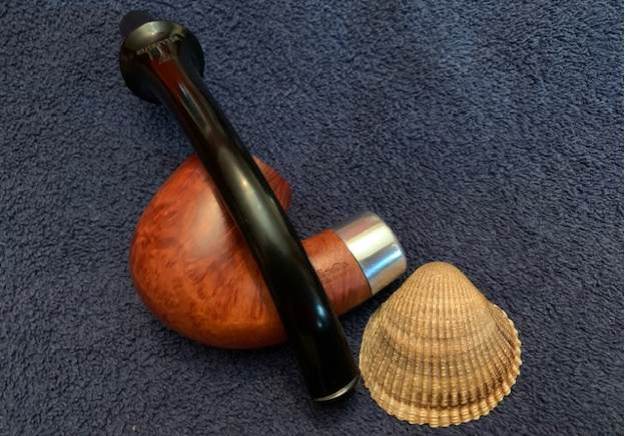
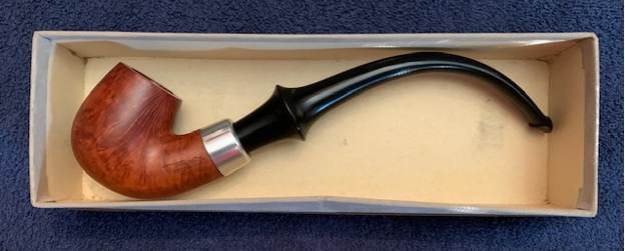
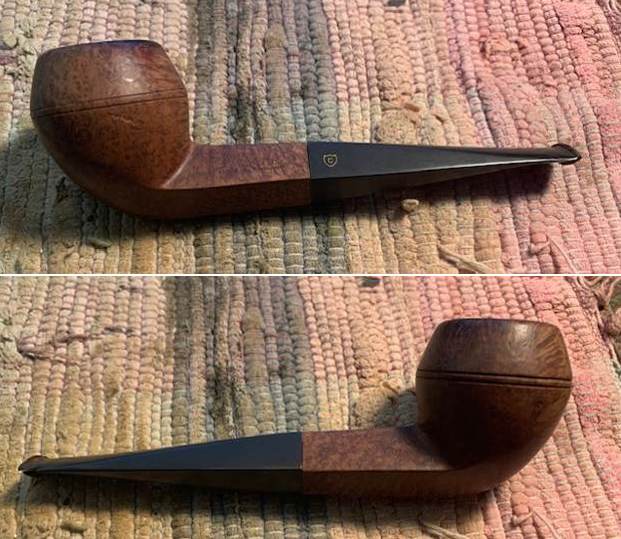
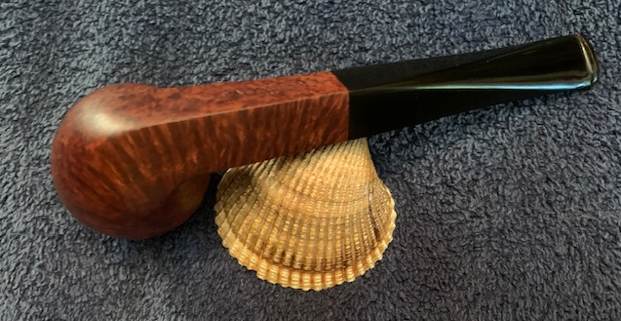
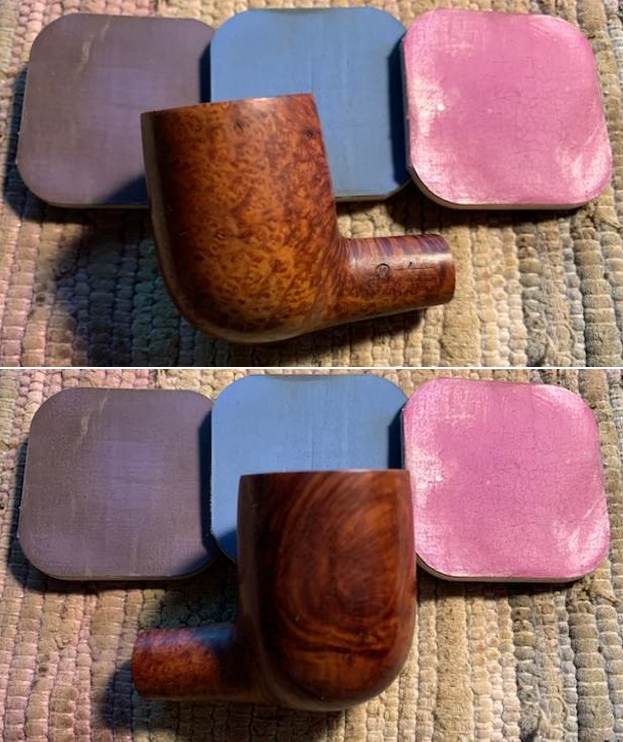
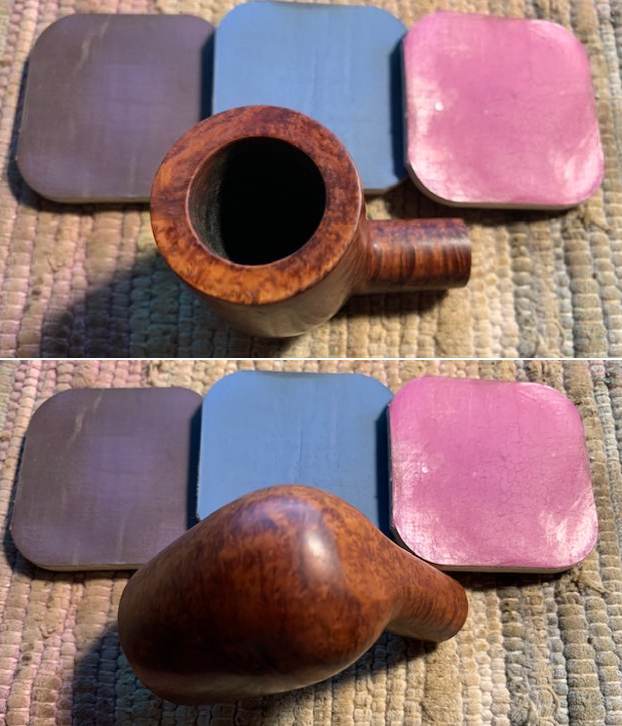
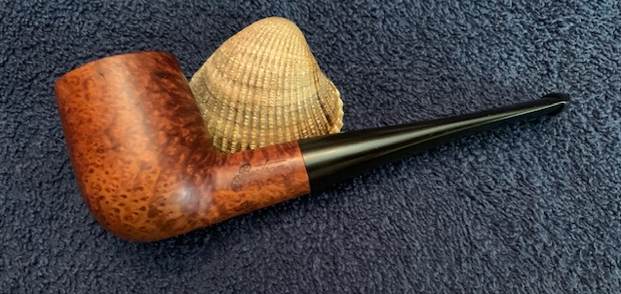
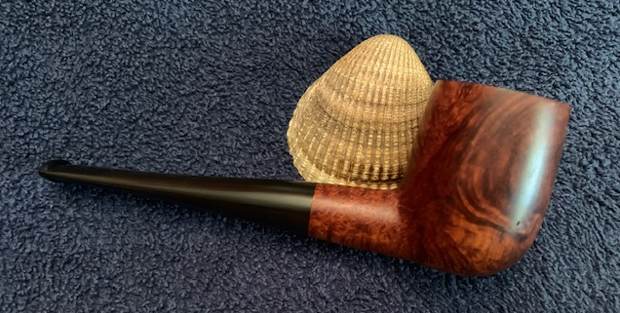
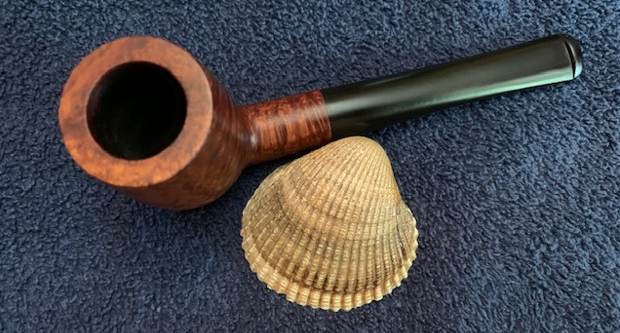
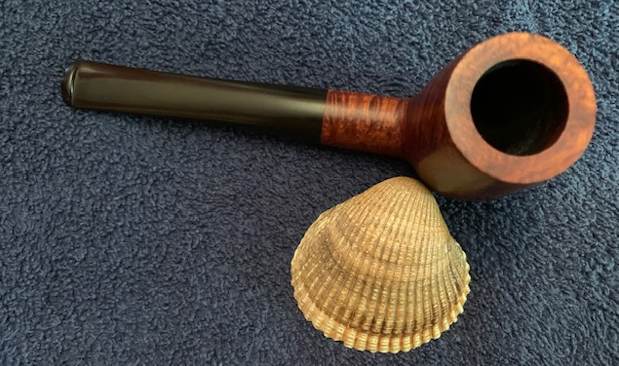
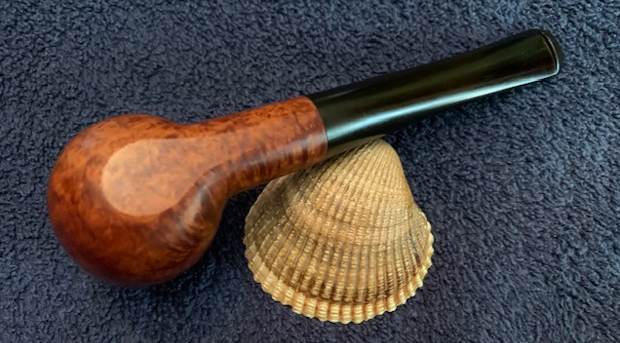
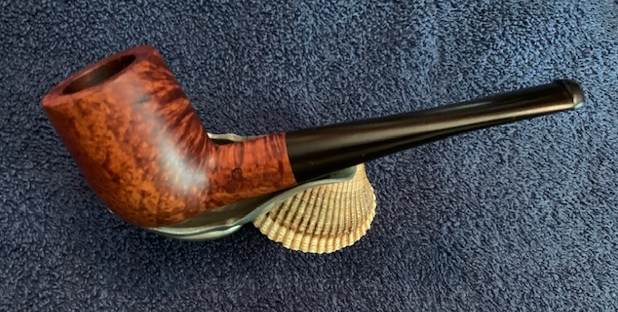
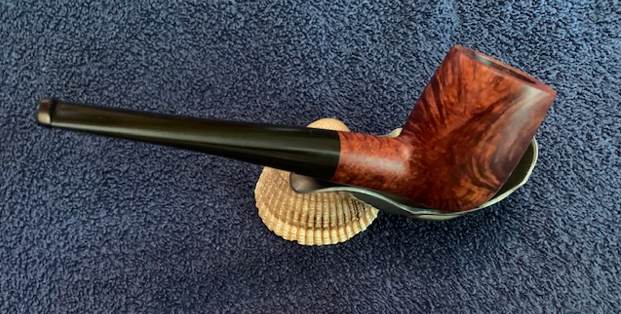
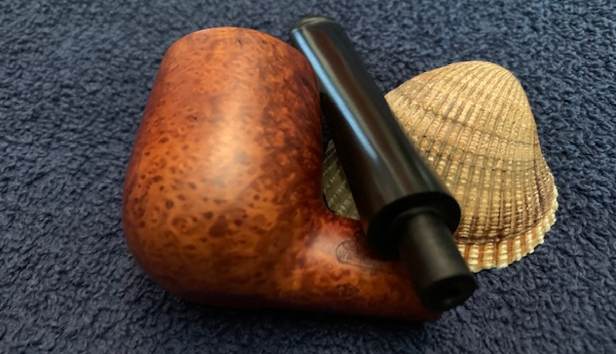
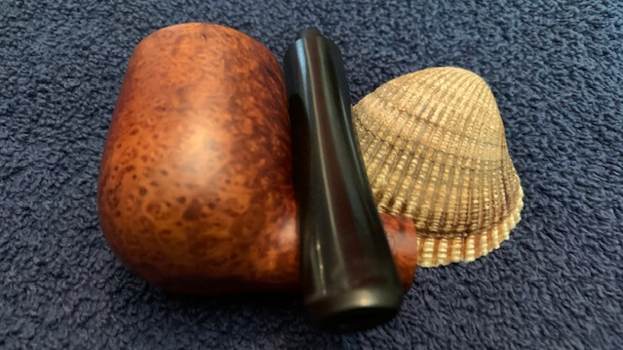
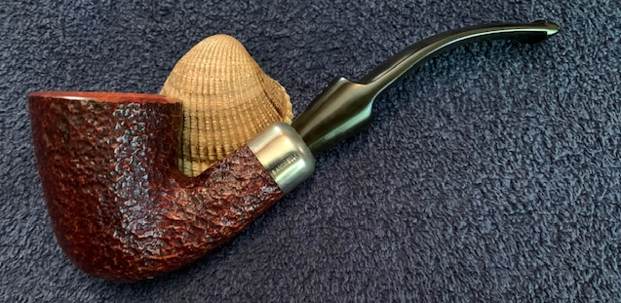
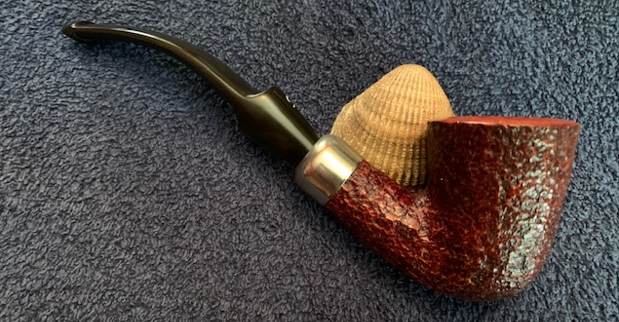
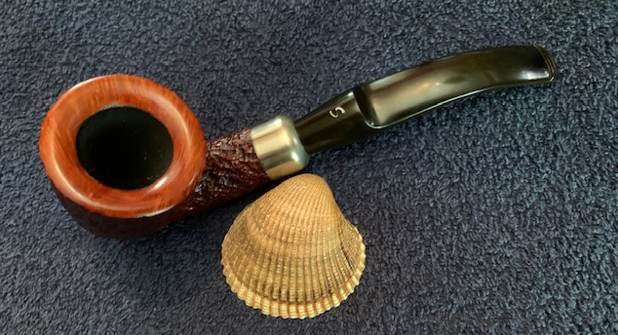
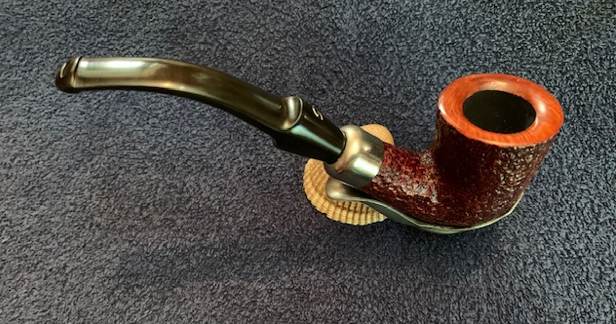
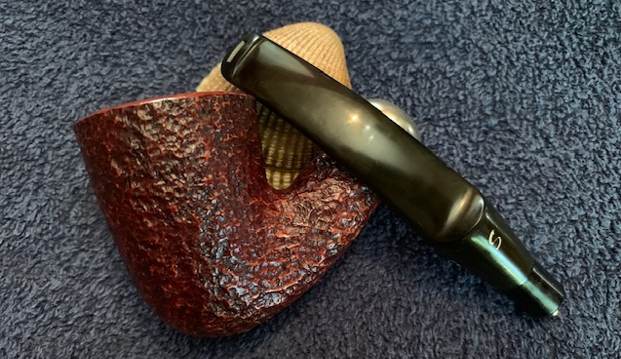
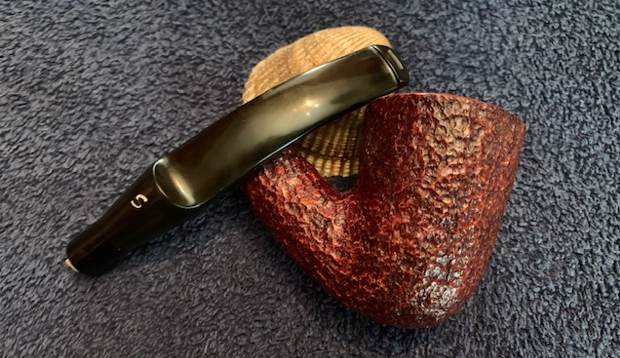
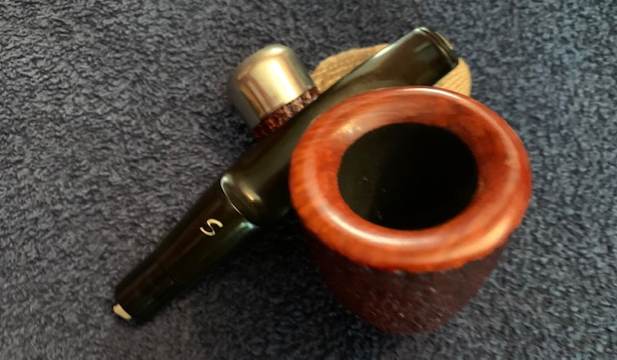
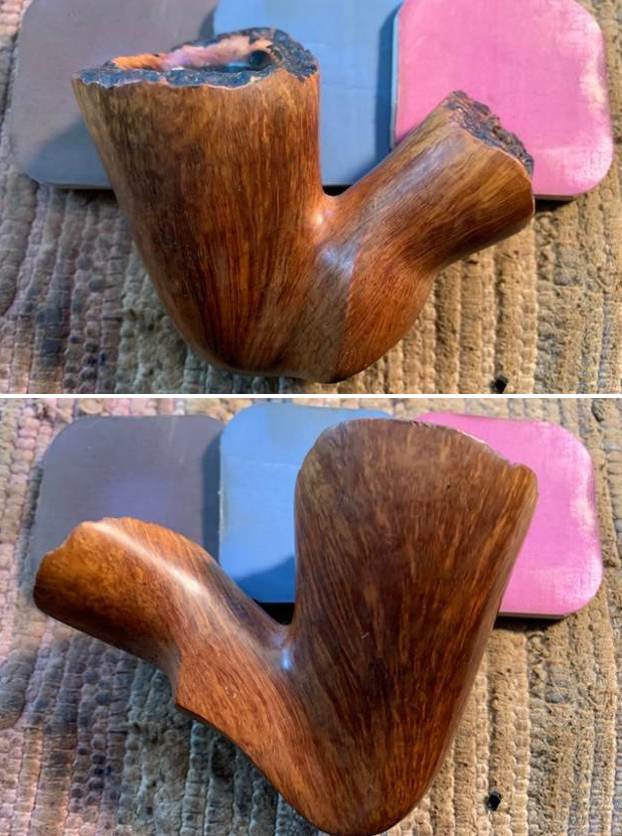
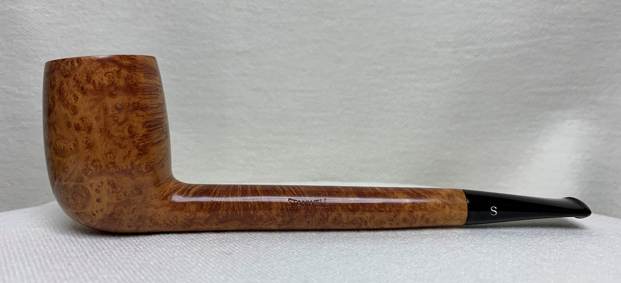
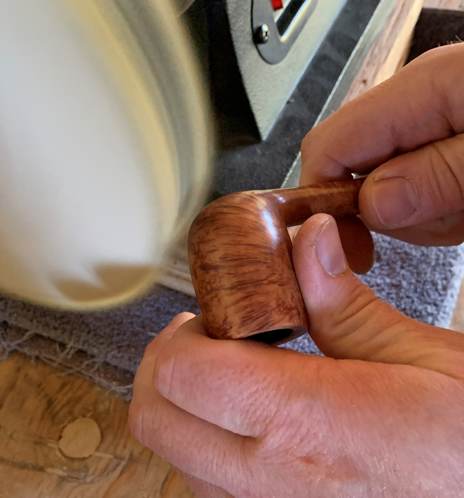
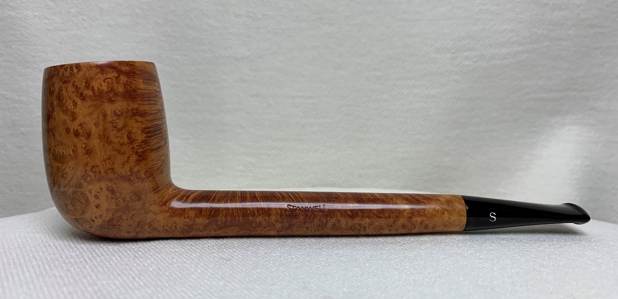
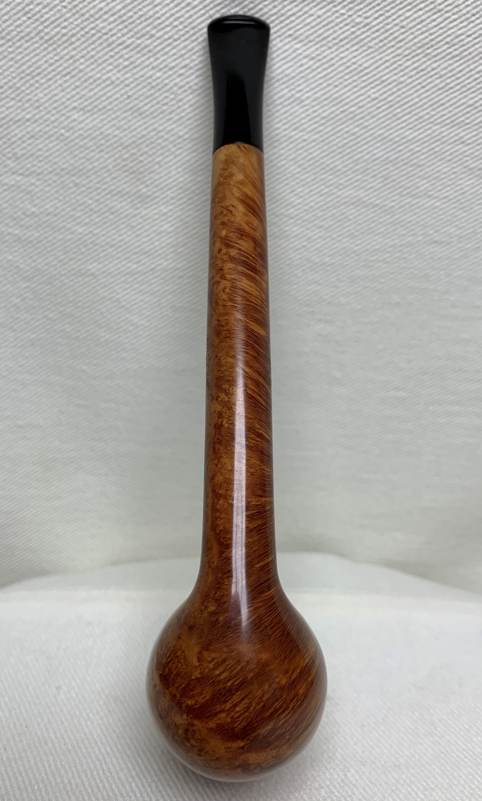
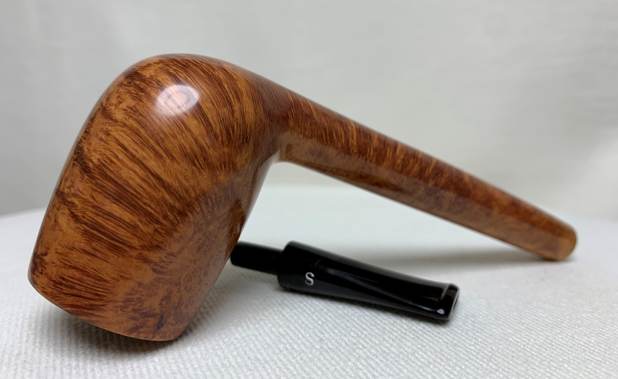
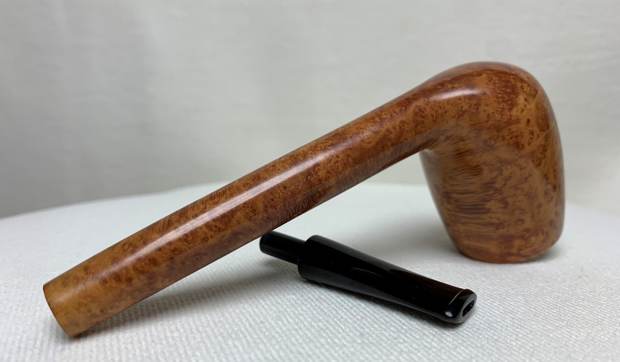
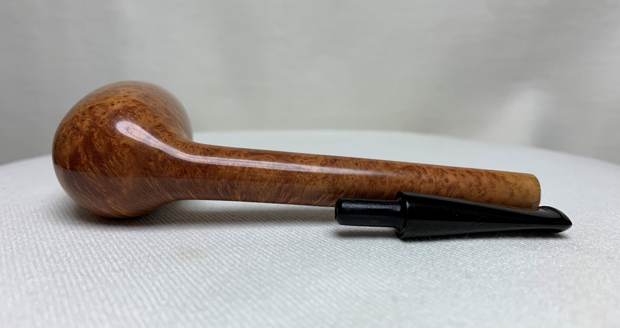
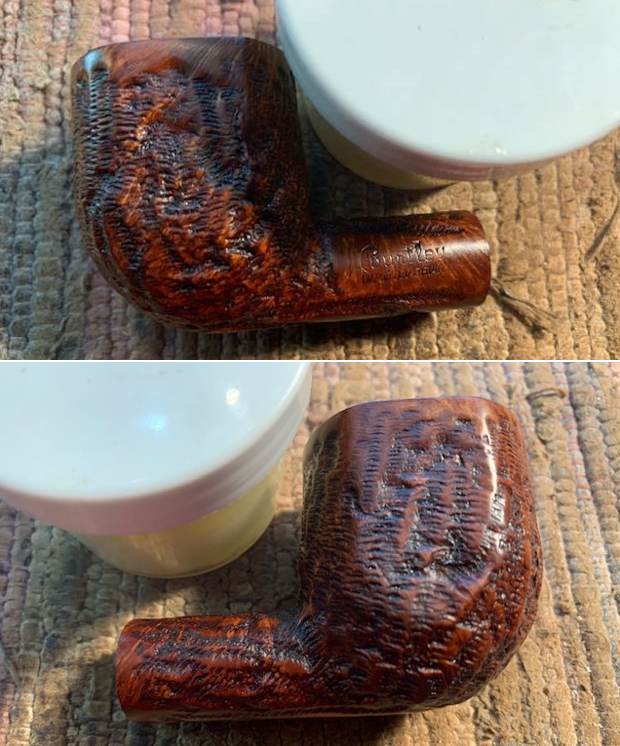
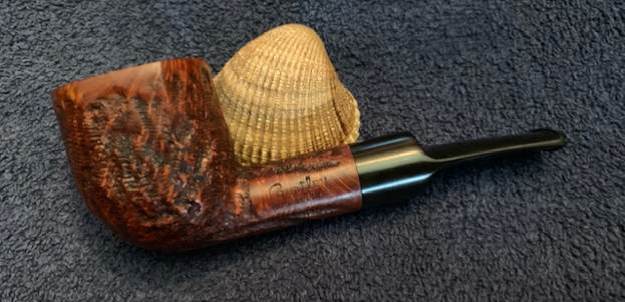
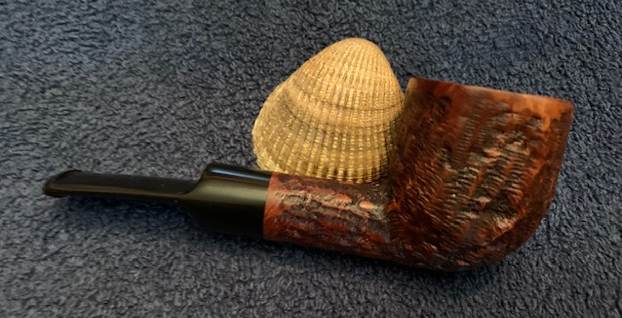
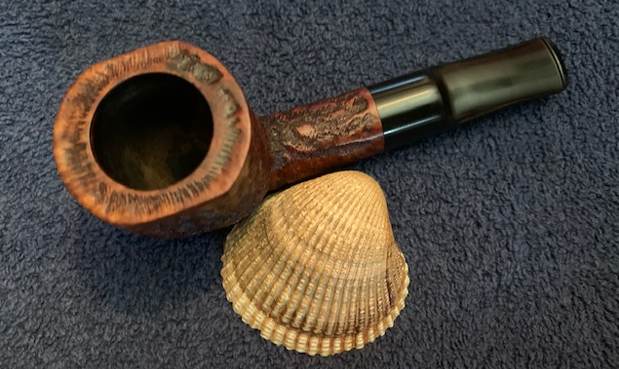
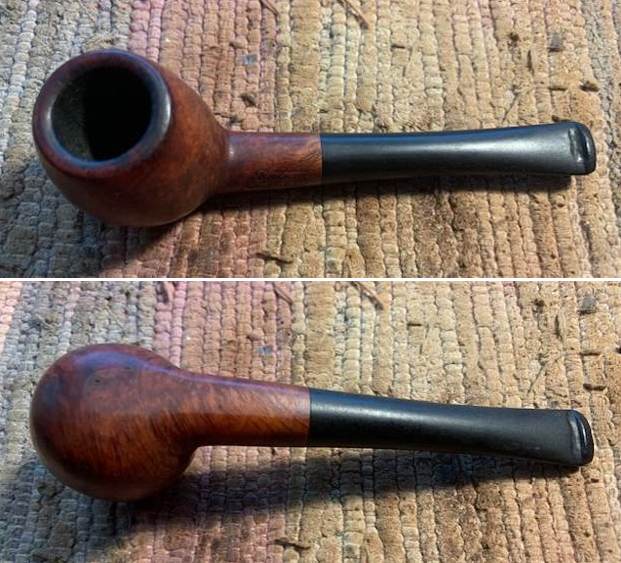
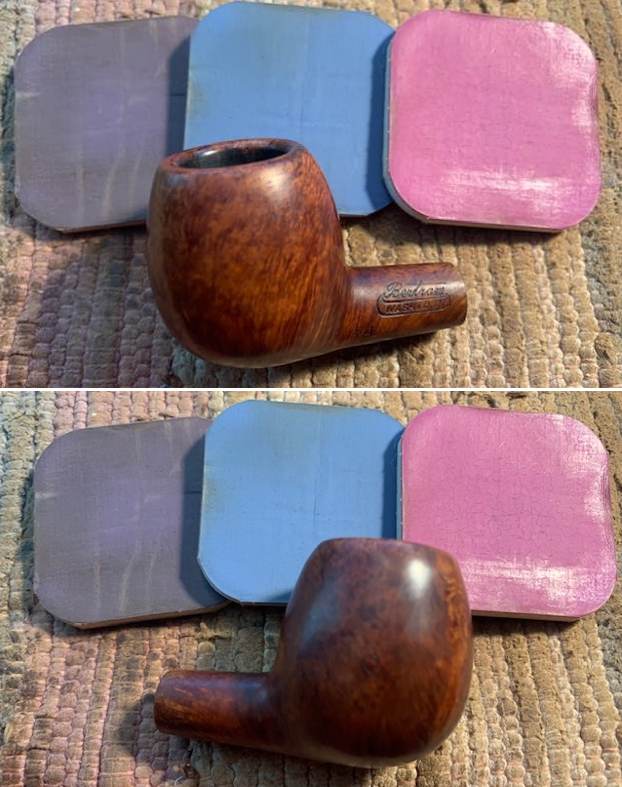
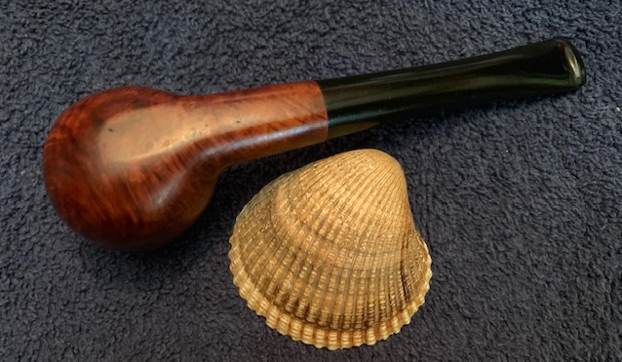
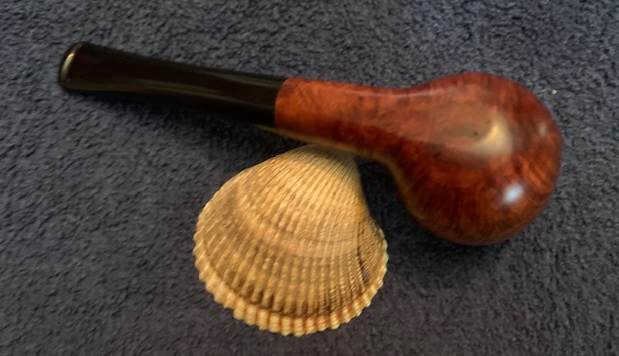
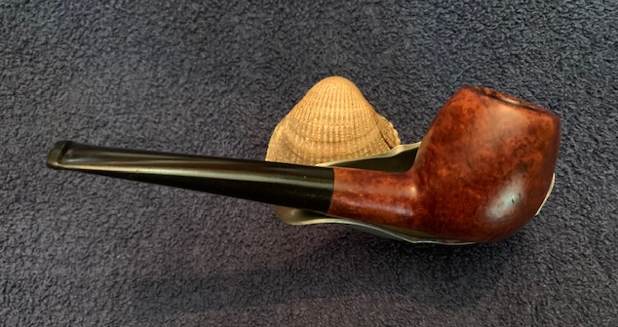
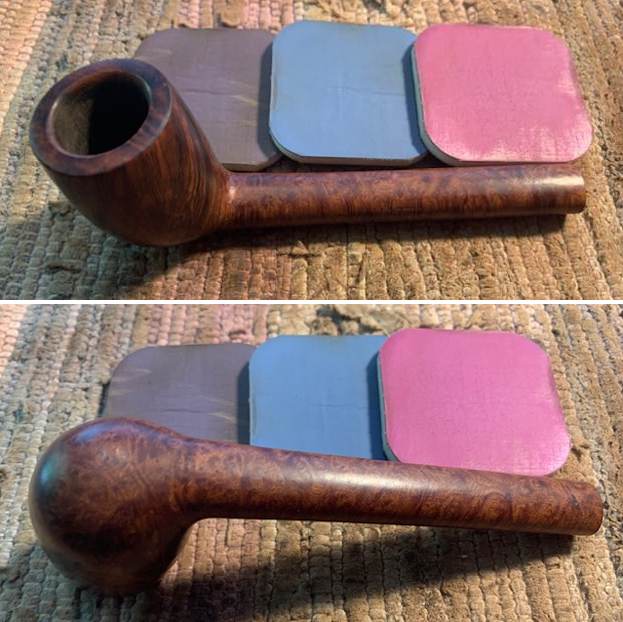
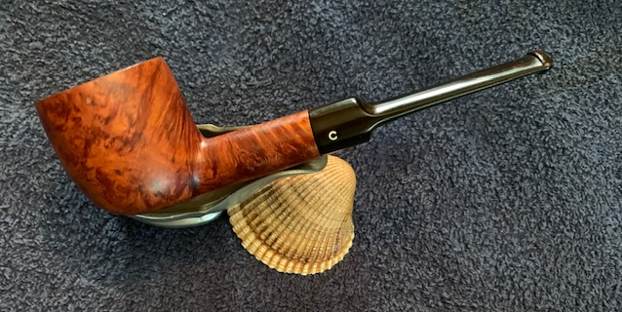
 I put the stem back on the Comoy’s Patina Made in London England 495 Pot and buffed the pipe with Blue Diamond on the buffing wheel. I polished the briar and the vulcanite of the stem until there was a rich shine. This classic Comoy’s Pot shape and finish really highlights some amazing grain on a proportionally well carved pipe. Once I buffed the pipe the briar came alive and the mixture of grain – straight, flame and birdseye – popped with polishing. The repaired black vulcanite stem had a rich glow. This Comoy’s Patina 495 Pot fits well in the hand and sits right in the mouth. Have a look at it with the photos below. The dimensions are Length: 5 ½ inches, Height: 1 ¾ inches, Outside diameter of the bowl: 1 ½ inch, Chamber diameter: 1 inch. The weight of the pipe is 1.48 ounces/41 grams. This beauty will be going on the rebornpipes online store in the English Pipemakers Section. If you are interested let me know. Thanks for walking through the restoration with me as it was a pleasure to work on.