by Kenneth Lieblich
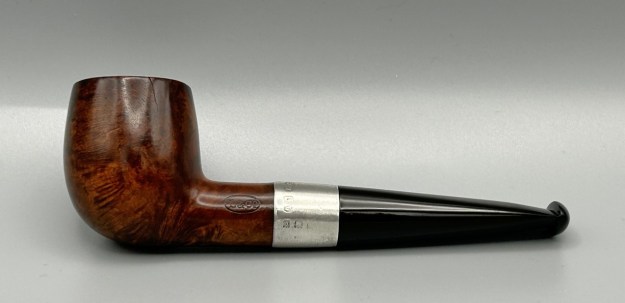
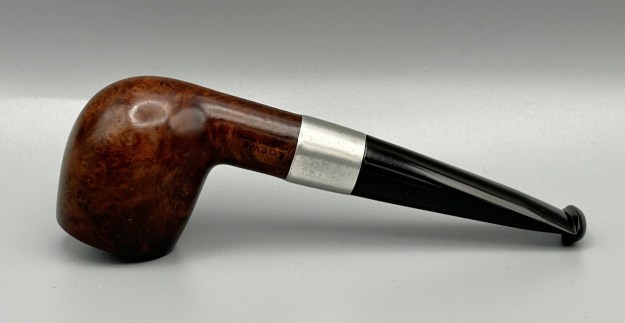
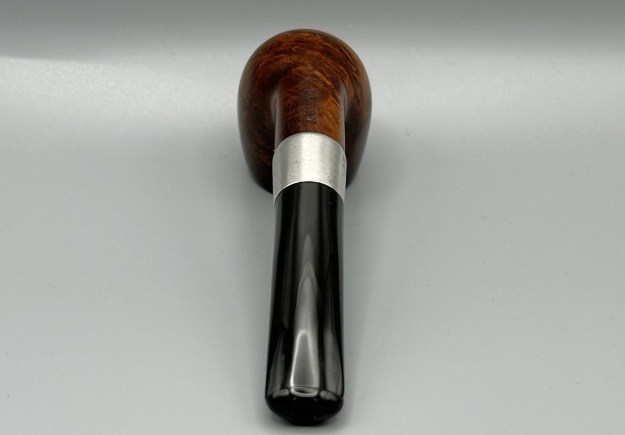
Charles Lamb famously described his friend, Samuel Taylor Coleridge, as ‘an archangel a little damaged’ – and that is how I feel about this extraordinary, sterling-silver banded Loewe & Co. billiard. Just by looking at the pipe, you can tell that it comes from a bygone era. There is an elegance and subtlety to this pipe which makes it somewhat angelic – but it is more than a century old and bears the damage of a life well-lived. This is something of a grail pipe for me and, despite the wounds, I am delighted to have found it.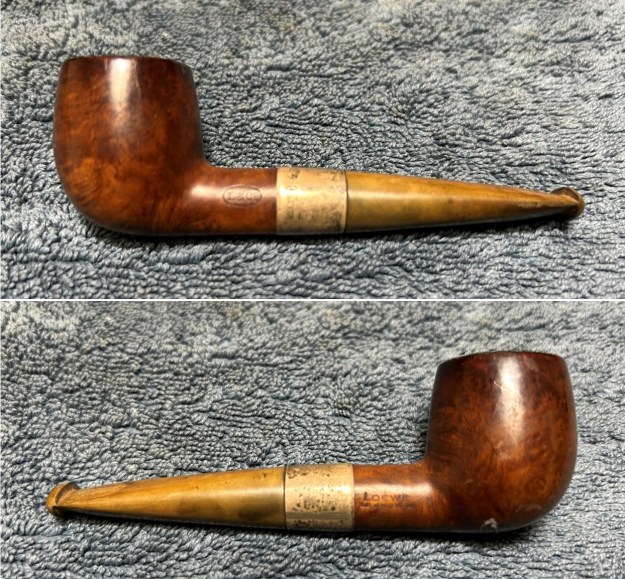
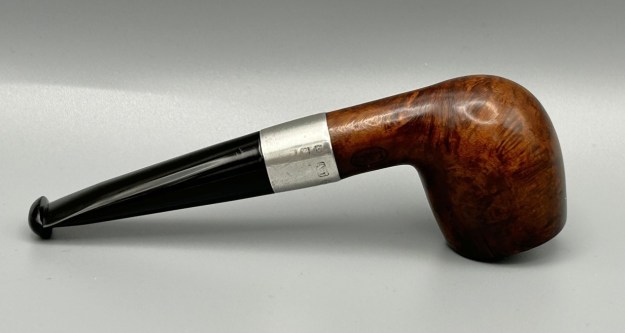
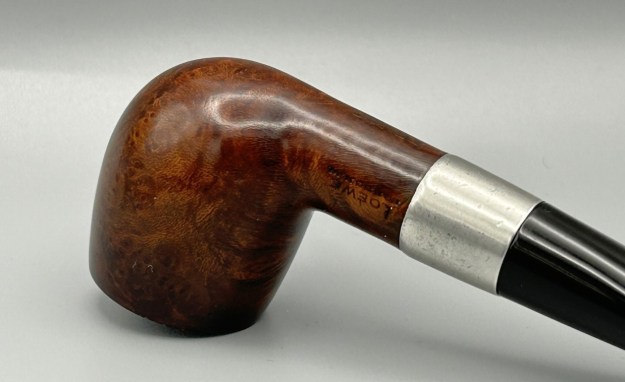
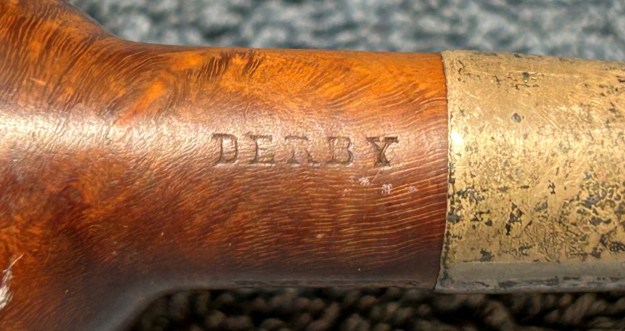
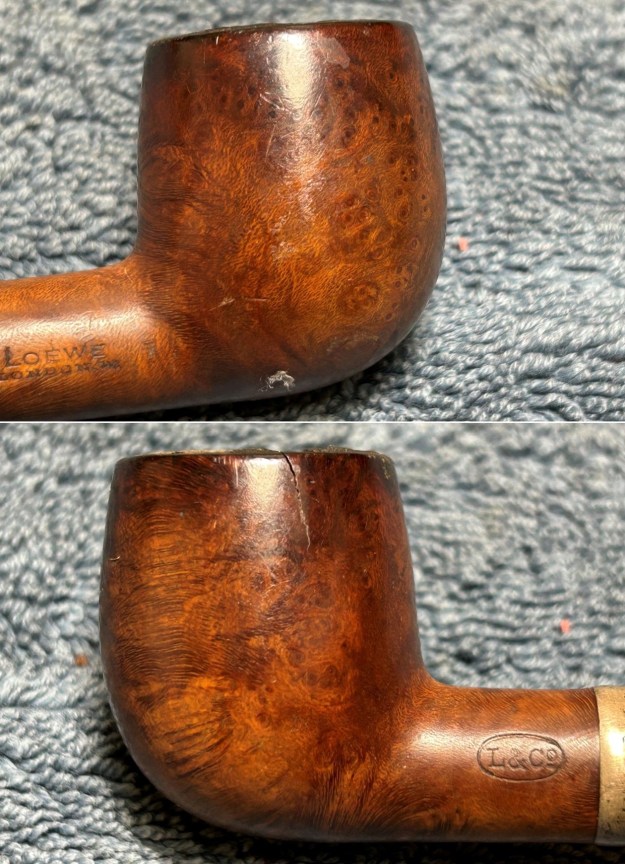
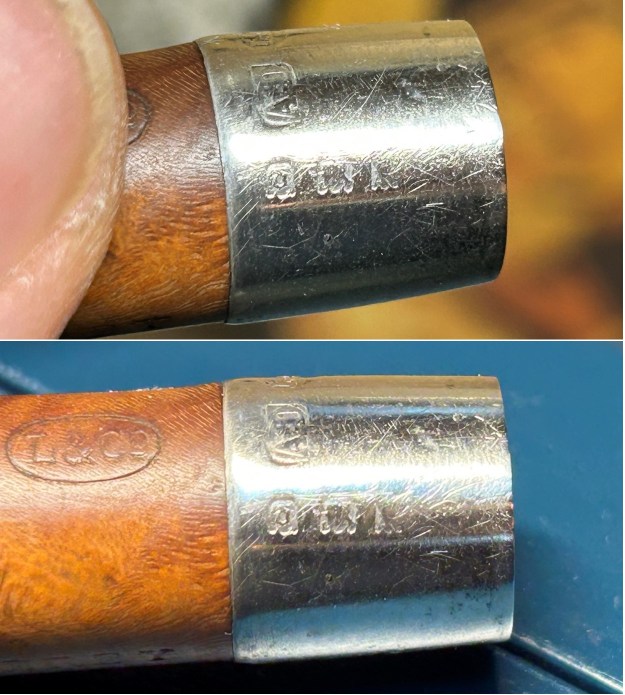
 Before we refresh our memories about the quasi-mythical Loewe & Co., let’s have a look at the marks on the pipe itself. On the left side of the shank is engraved the encircled logo of the company: L&Co. On the right side of the shank is engraved the words Loewe [over] London.W. On the underside of the shank is engraved the word Derby – the model name of this pipe, indicating it to be a billiard.
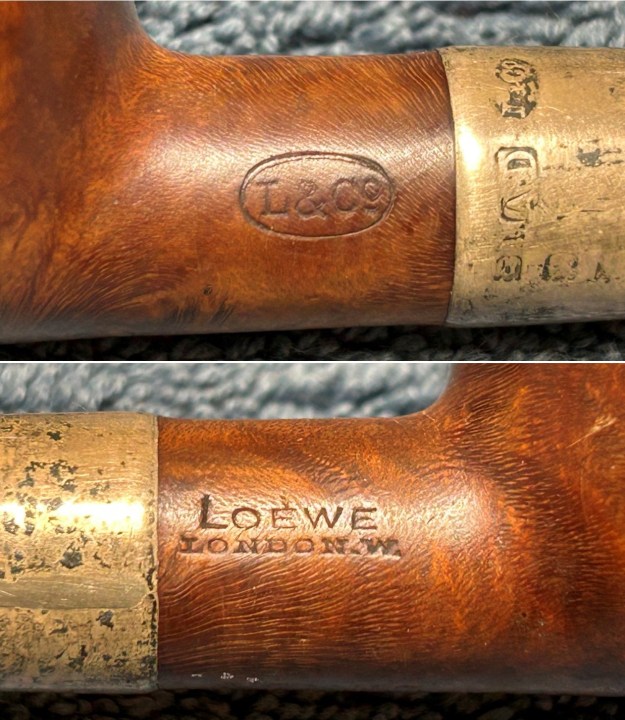
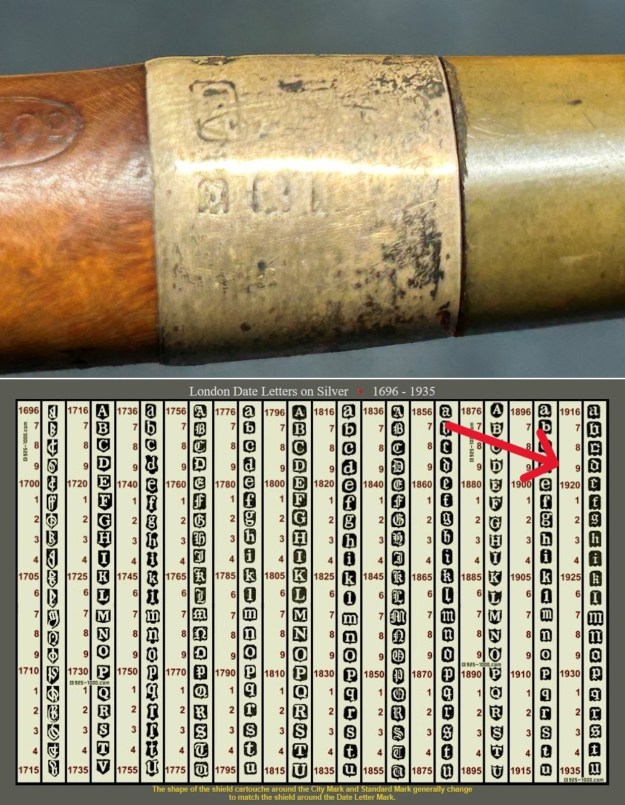
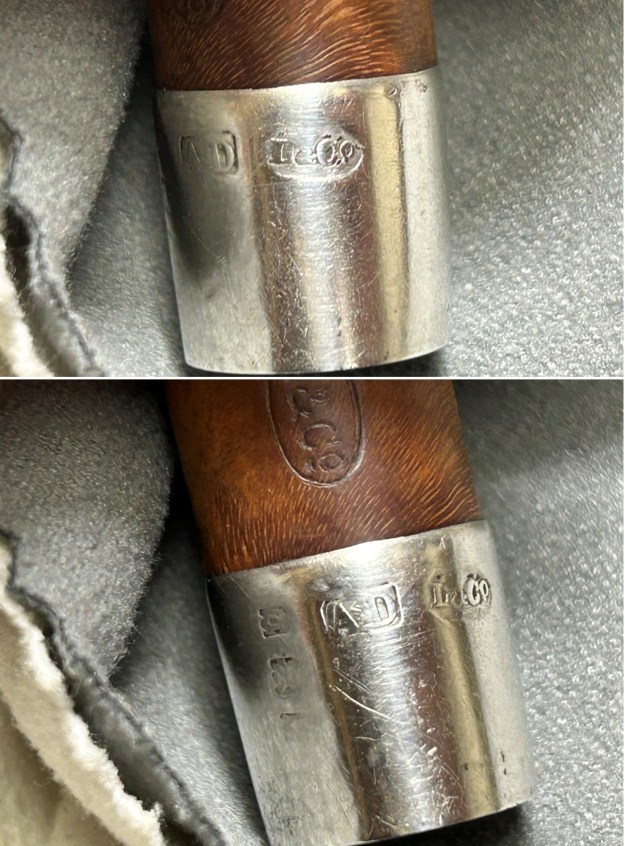
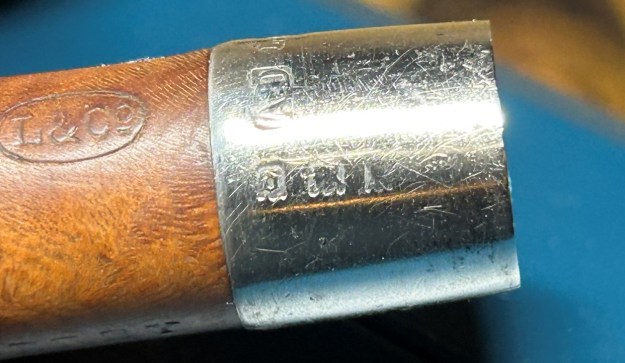
 We move on to the sterling-silver band. It also shows the encircled logo of the company: L&Co. In addition, it shows the letters A·D inside a rectangle. Finally, it also has a set of hallmarks which were nigh-on impossible to decipher at the start – but I did decipher some of them later in the restoration. But no need to jump ahead – I will tell you now that the hallmarks are a gothic letter ‘D’, then a somewhat-obscured lion passant, and the third is too faint to make out – but it is likely to be a leopard’s head. Naturally, L&Co. is an abbreviation of Loewe & Co. of London. The letters A·D on the silver refer to Auguste Dreyfus, whose company, Dreyfus & Co., had assay offices in London and Chester in England. The gothic letter ‘D’ corresponds to the year 1919 (as you can see in the chart below). The lion passant indicates that this is sterling silver (id est, 92.5% silver). And, assuming that the final mark is, actually, a leopard’s head, it would indicate that the object is from London.
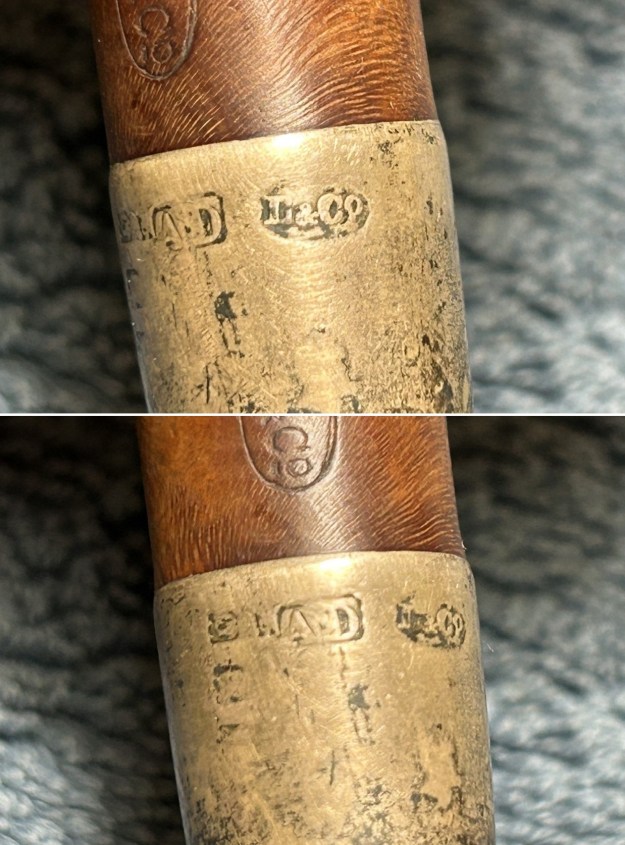
 Let us examine some of the details of Loewe’s history. Pipedia provides a surprisingly long entry on Loewe’s and I heartily encourage you to read it here. However, it is worth quoting a few lines (emphasis mine):
Loewe is one of the haunting old names of British pipe-making, characteristic of an almost vanished “upper middle class” of the trade, which also incorporated makes such as BBB, Orlik, Comoy’s and GBD. Along with these brands, Loewe has long dwindled into pseudo-existence, becoming little more than a logo occasionally used by the Cadogan factory in Southend-on-Sea. But owners of older Loewes treasure them as superb, featherweight smokers, excellently crafted and with grain characteristics superior to those of many contemporary Dunhills. The Frenchman Emil Loewe founded the company, both shop and workshop, in 1856 at the Haymarket 62, London. He is said to have been the first to make briar pipes in England. Richard Hacker maintains that theatre people from the West End were among the shop’s heyday aficionados. Loewe’s spigots are especially well regarded by lovers of elegance today – they were originally introduced for practical reasons, to facilitate the production of replacement stems for customers abroad.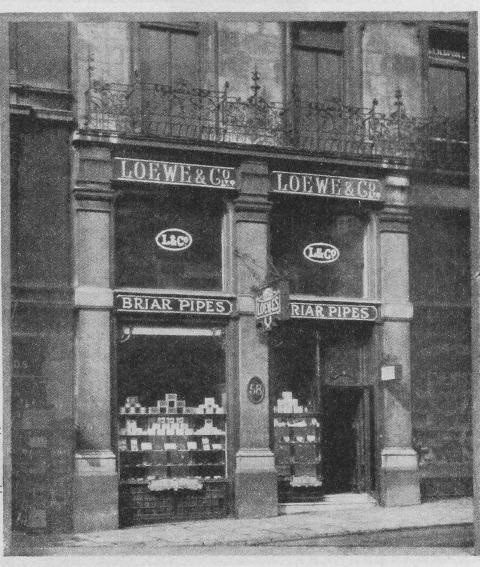 Furthermore, there is an excellent article on Loewe pipes (and especially their dating) by Martin Farrent, which Steve reposted on this blog. You can read it here. It would appear that much of his article was used to make the Pipedia post. In any case, it is well worth reading.
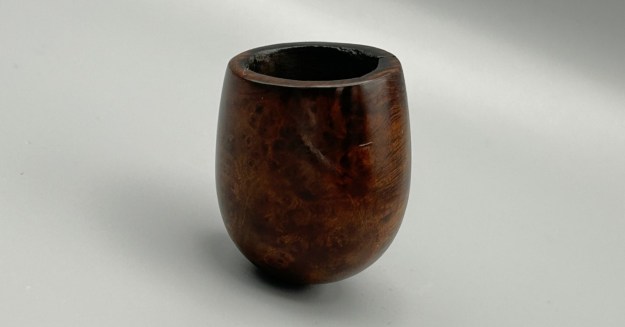
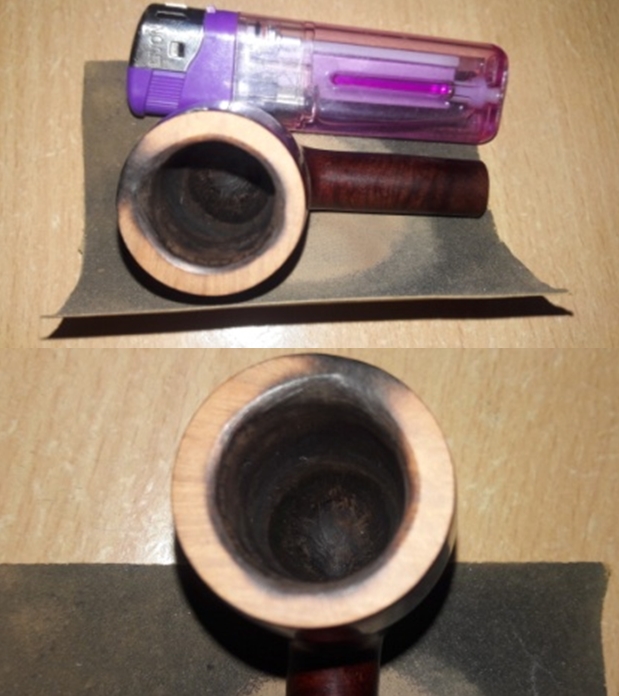
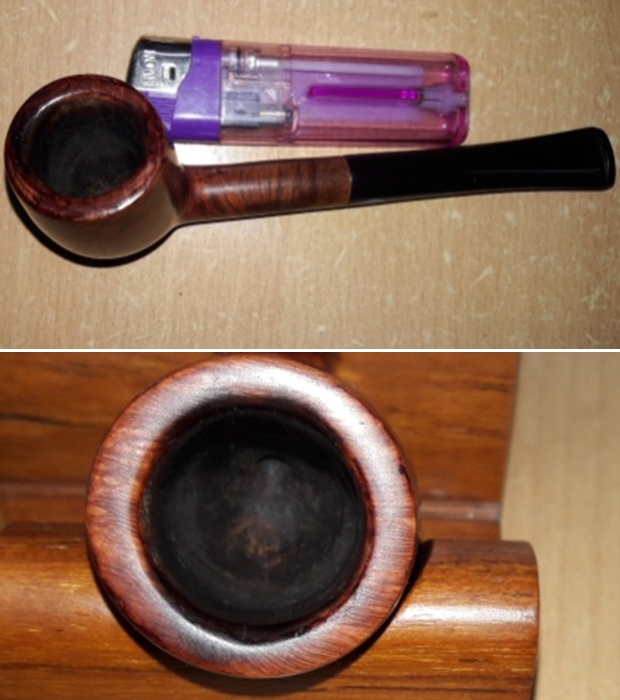
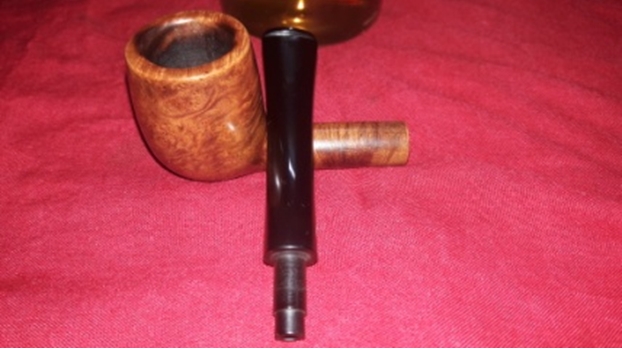
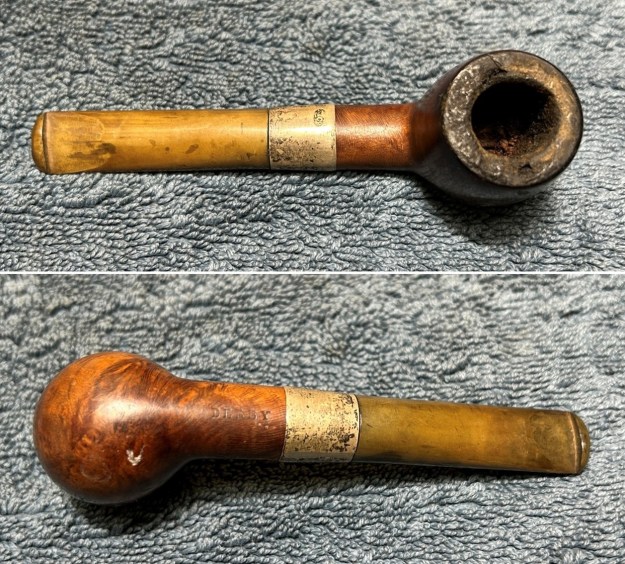
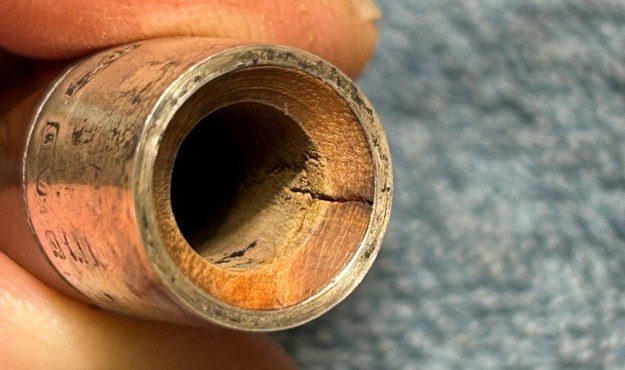
 Let’s examine this marvellous pipe. The condition of the pipe is not ideal, but only in the same sense that a hero wounded in battle is not ideal. The stem is beautifully shaped, but heavily oxidized. There are some scratches on the stem, around the bit, suggesting that someone may have tried to sand down some ancient tooth marks. This is an orific stem – not surprising, given its age – and it’s worth reading Steve’s old blog about such stems here. Meanwhile, the stummel has some issues. There is plenty of cake in the bowl, a mound of lava on the rim, a few small nicks here-and-there, and – most notably – a crack in the bowl and a crack in the shank. Finally, the sterling silver band is heavily worn and thoroughly tarnished.
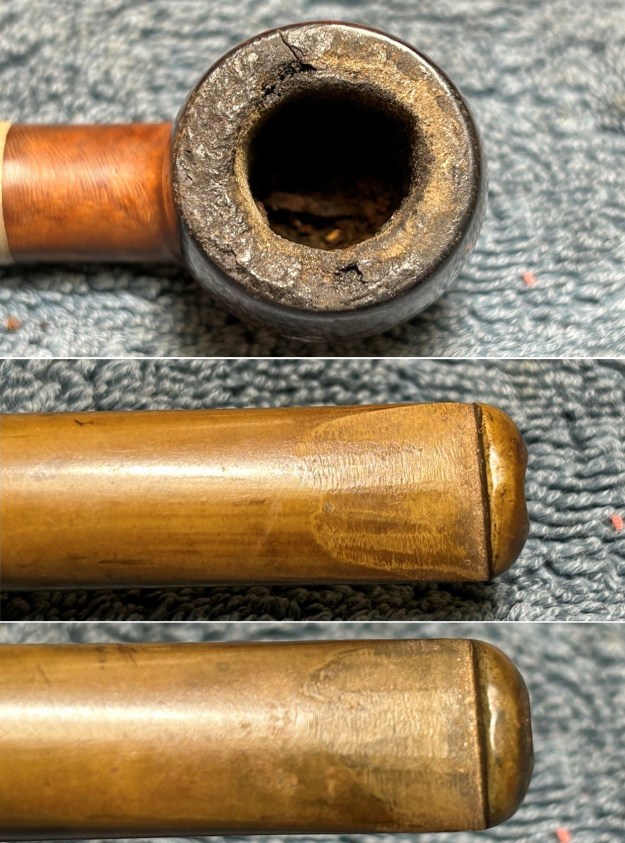
 Before I go on, I want to make something clear: because of the age of the pipe, I will not be making some of the repairs that I might on a younger pipe. There is something special about this Loewe – and its wounds are part of its history, part of its story.
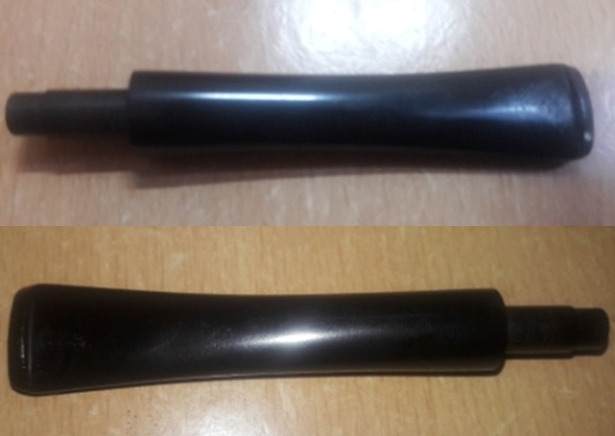
I used isopropyl alcohol on a few cotton rounds and wiped down the stem to provide an initial cleaning of filth before moving on to the next steps. The primary cleaning came next. I disinfected the inside of the stem with both pipe cleaners and cotton swabs dipped in lemon-infused 99% isopropyl alcohol. I scrubbed thoroughly to make sure the interior was very clean. It was pretty darn dirty and I used quite a few pipe cleaners and cotton swabs.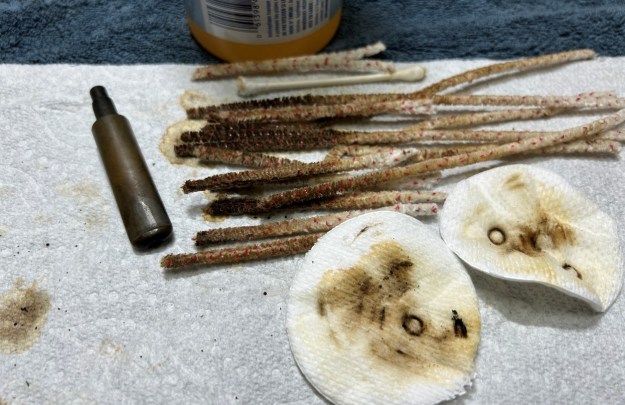 The goal of the next step is the removal (or minimization) of oxidation. Going to my sink, I used cream cleanser, cotton rounds, and a toothbrush, and scoured the stem to remove as much surface oxidation as possible. As the photos show, the result was a hideous, ochre-coloured mess – but better off the stem than on it.
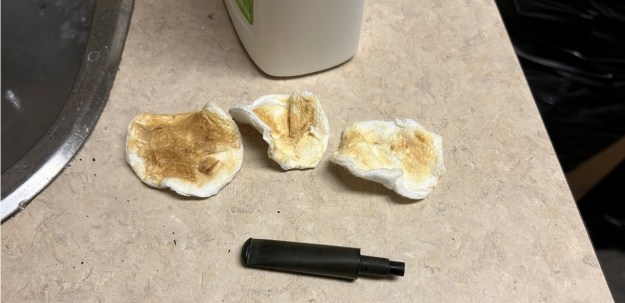 Once the stem was reasonably clean, I soaked it overnight in some Briarville Stem Oxidation Remover. This solution works to draw oxidation in the stem to the surface of the vulcanite. This is a major aid and an important step in ensuring a clean stem. The following day, I drew out the stem from its bath and scrubbed the lingering fluid with a toothbrush.
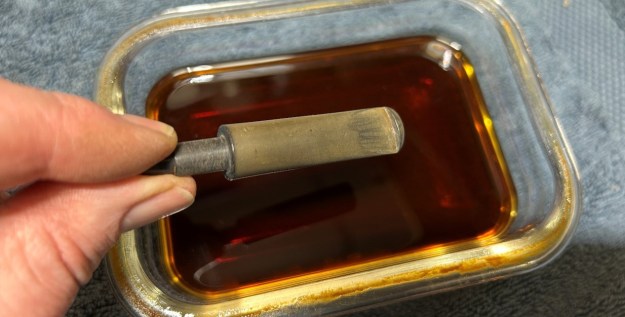 The penultimate step for the stem is sanding. I used all nine of the micromesh sanding pads (1,500 through 12,000 grit) to sand out flaws, even out the vulcanite, and provide gentle polishing of the finished surface. I also applied pipe-stem oil while using the last five micromesh pads. There was a wonderful, deep black shine to the stem when I was done.
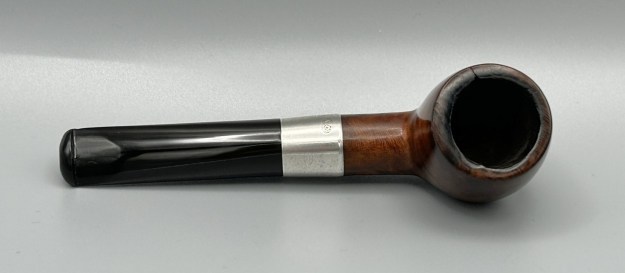
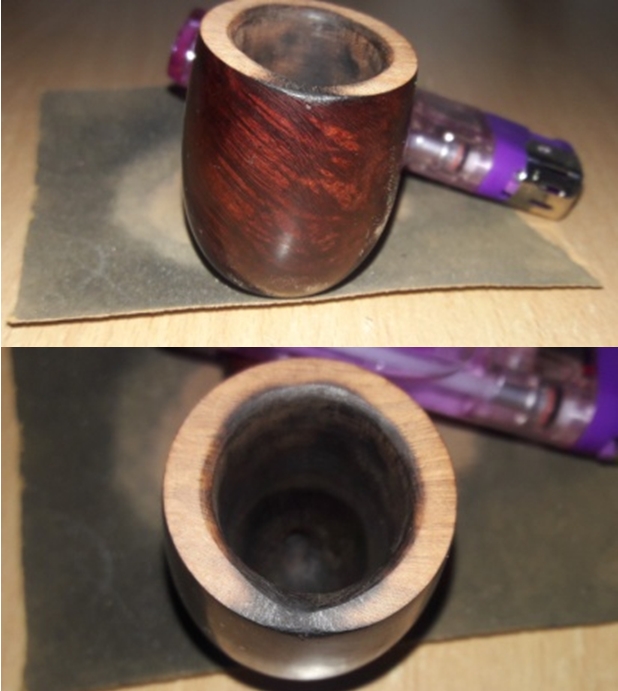
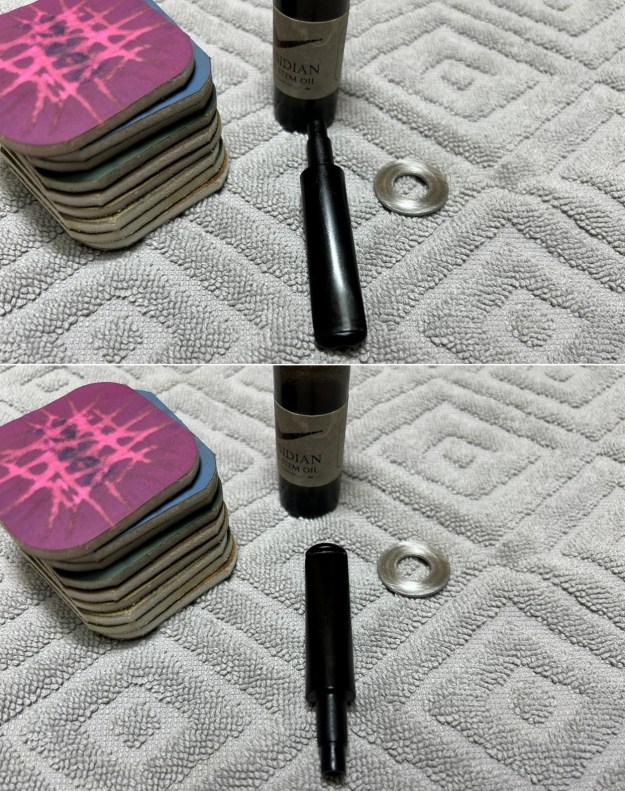 As the stem was (nearly) complete, I moved on to the stummel. The first step was to ream out the bowl – that is to say, remove all the cake inside the bowl. This accomplished a couple of things. First (and most obviously), it cleaned the bowl and provided a refurbished chamber. Second, when the old cake was removed, I could inspect the interior walls of the bowl and determine if there was damage or not. I used a reamer, a pipe knife, and a piece of sandpaper taped to a wooden dowel. Collectively, these ensured that all the debris was removed. I was pleased to see that, aside from the aforementioned crack, the walls of the chamber were intact and solid (albeit heavily used).
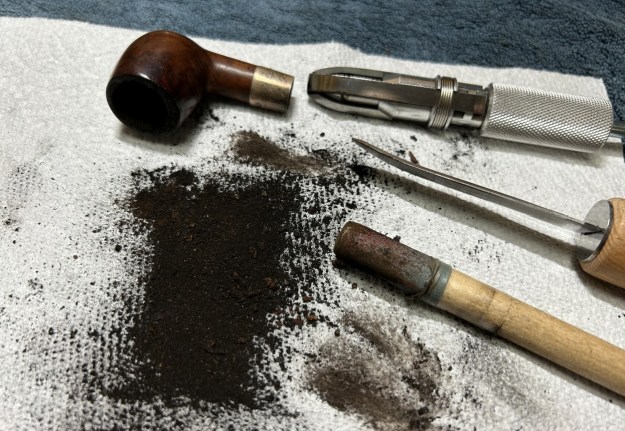 My next step was to remove the lava on the rim. For this, I took a piece of machine steel and gently scraped the lava away. The metal’s edge is sharp enough to remove what I need, but not so sharp that it damages the rim. This work revealed some notable wear, but nothing overly serious.
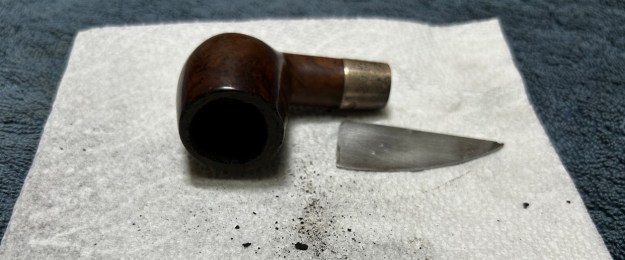 Similar to the stem, I then cleaned the stummel with both pipe cleaners and cotton swabs dipped in lemon-infused 99% isopropyl alcohol. With a pipe this dirty, it took quite a while and much cotton to clean.
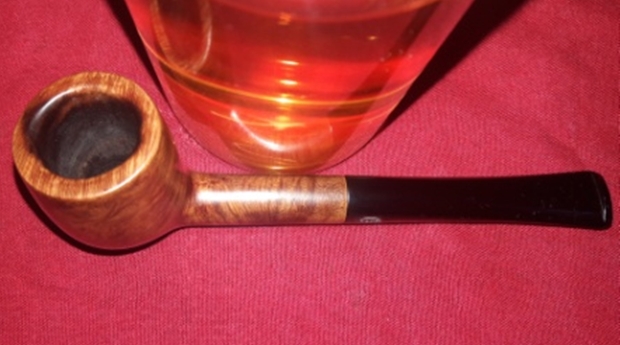
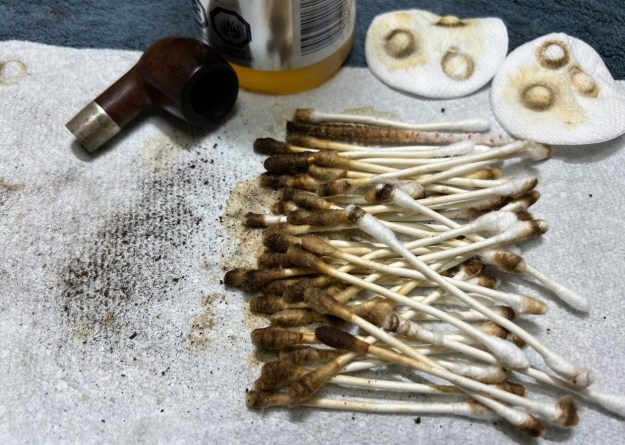 I then decided to ‘de-ghost’ the pipe – that is to say, exorcize the remaining filth from the briar. I filled the bowl and the shank with cotton balls, then saturated them with 99% isopropyl alcohol. I let the stummel sit overnight. This caused the remaining oils, tars and smells to leach out into the cotton.
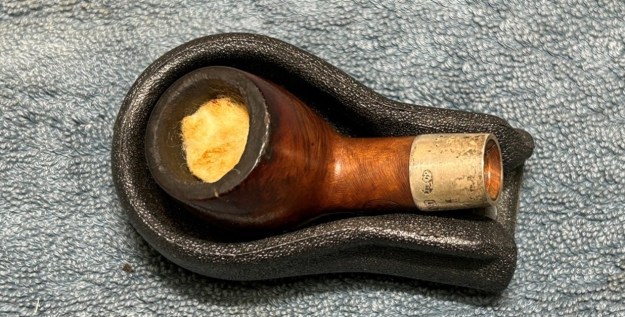 To tidy up the briar, I wiped down the outside, using a solution of a pH-neutral detergent and some distilled water, with cotton rounds. I also used a toothbrush in the crevices. This did a good job of cleaning any latent dirt on the surface of the briar. The last step of the cleaning process was to scour the inside of the stummel with the same mild detergent and tube brushes. This was the culmination of a lot of hard work in getting the pipe clean. This also laid bare the crack inside the shank. Unfortunate, but it is what it is.
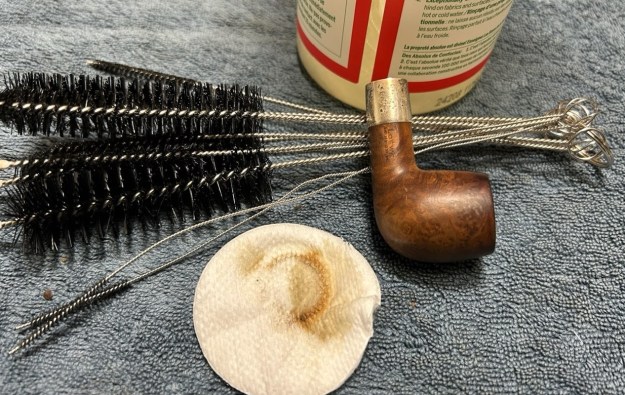
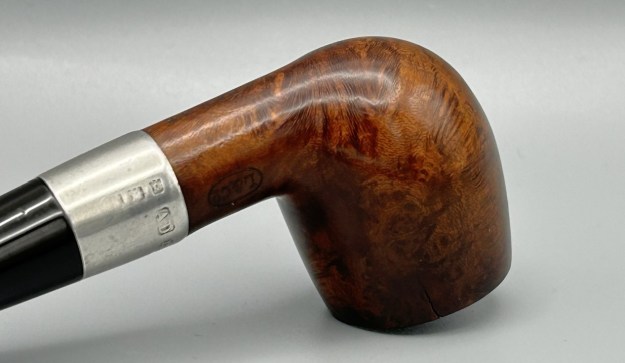
 I took the time to carefully clean and polish the silver band. I wanted to obviously remove the tarnish and grime, but without adding any wear to the already-heavily-worn band. I used some of the same pH-neutral detergent mentioned above and followed that by buffing it with my jewellers’ cloth. This worked very well and allowed me to finally decode the hallmarks, as discussed above. I have included a few detailed photos below. The marks are still hard to see, but they are there.
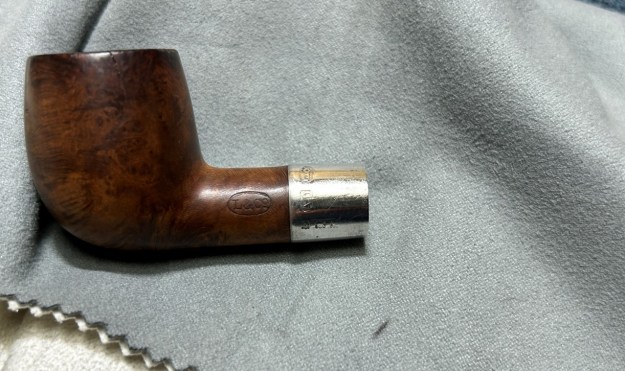
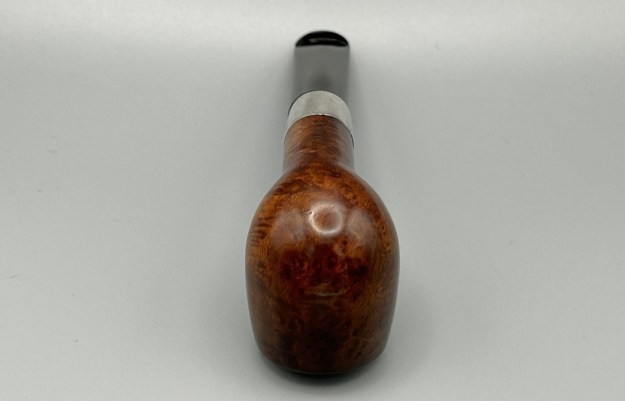
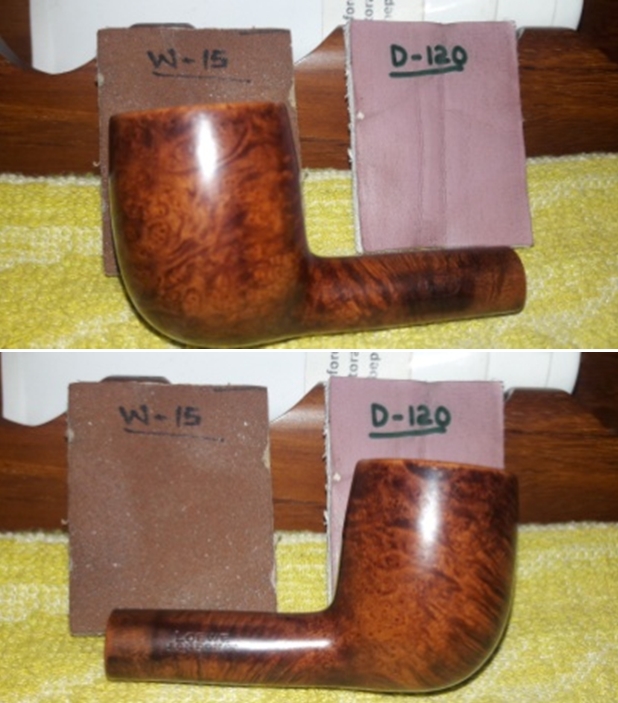
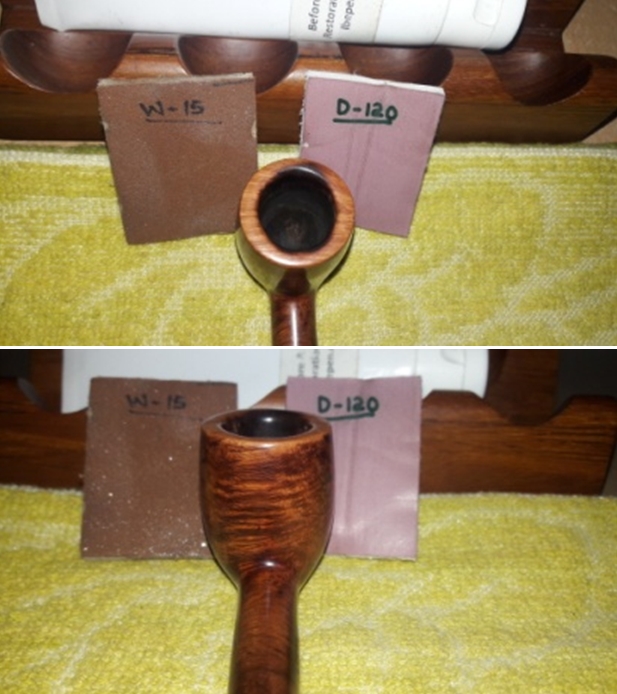
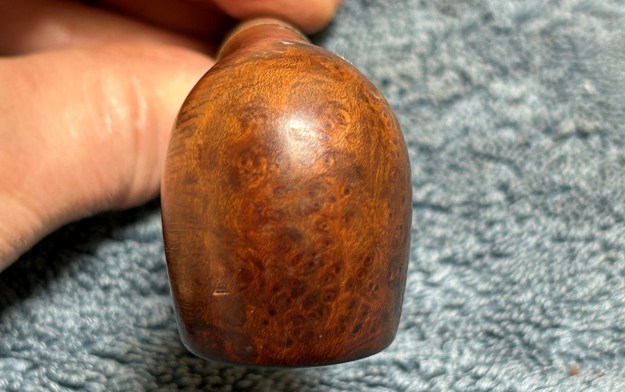
 I used a few micromesh pads (not all) to sand the outside of the stummel and finish it off. This sanding provides a beautiful smoothness to the wood. I rubbed some LBE Before & After Restoration Balm into the briar and let it sit for 30 minutes or so. The balm moisturizes the wood and gives a beautiful depth to the briar. I then buffed the stummel with a microfibre cloth.
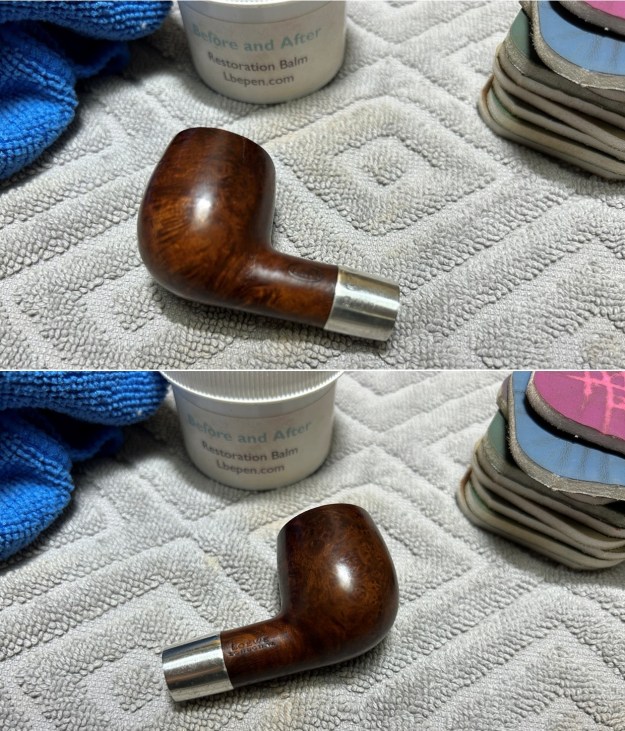
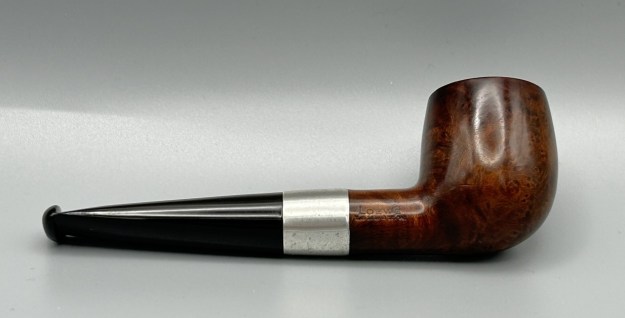
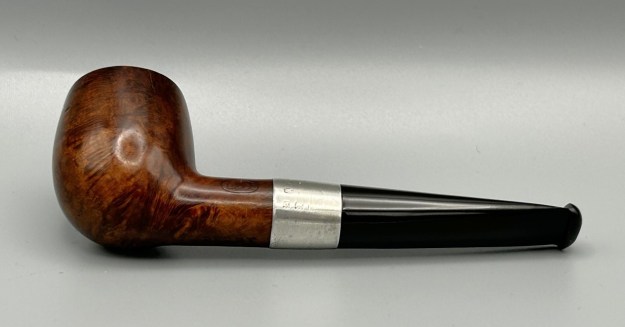
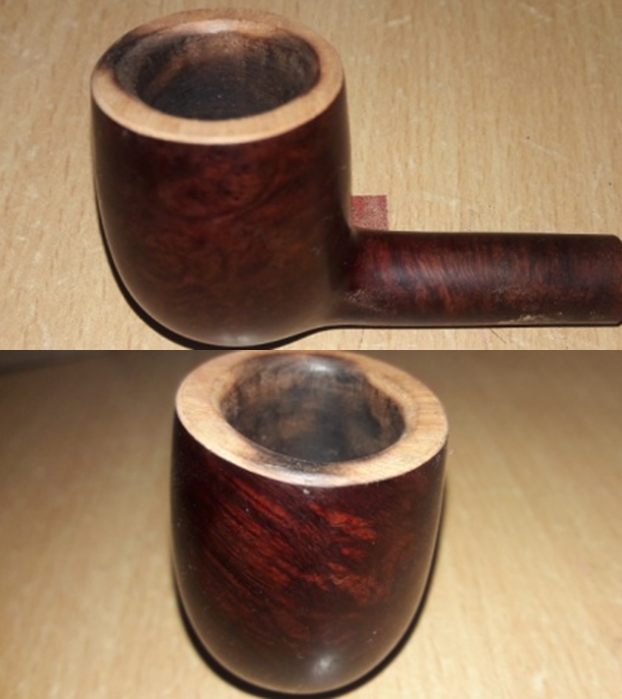
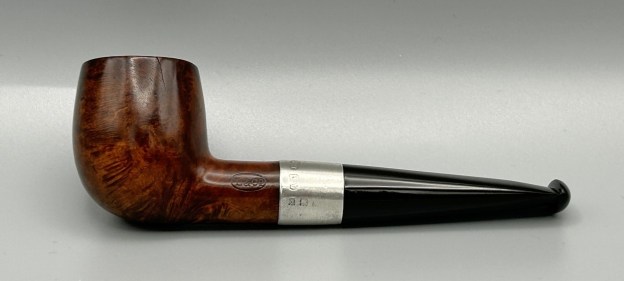
 For the final step, I took the pipe to my bench polisher and carefully buffed it – just with three coats of carnauba wax. This procedure makes the pipe look its best – the stummel sings and the stem glows.
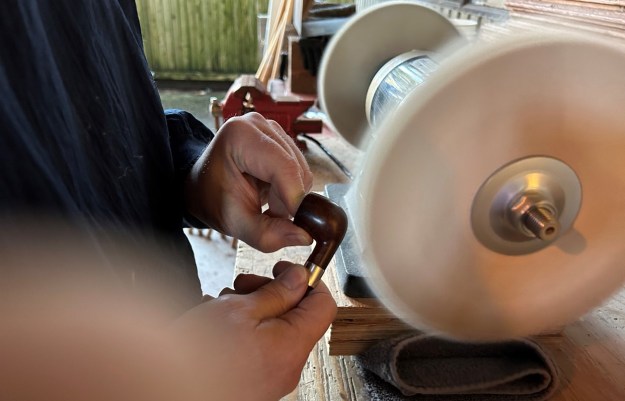 All done! This Loewe & Co. Derby billiard looks fantastic again and I am delighted with the results. This is one pipe that I am going to be adding to my collection. Feel free to email me directly at kenneth@knightsofthepipe.com. The approximate dimensions of the pipe are as follows: length 4⅓ in. (109 mm); height 1⅜ in. (35 mm); bowl diameter 1⅛ in. (30 mm); chamber diameter ⅔ in. (18 mm). The weight of the pipe is ⅝ oz. (22 g). I hope you enjoyed reading the story of this pipe’s restoration as much as I enjoyed restoring it. If you are interested in more of my work, please follow me here on Steve’s website or send me an email. Thank you very much for reading and, as always, I welcome and encourage your comments.