by Steve Laug
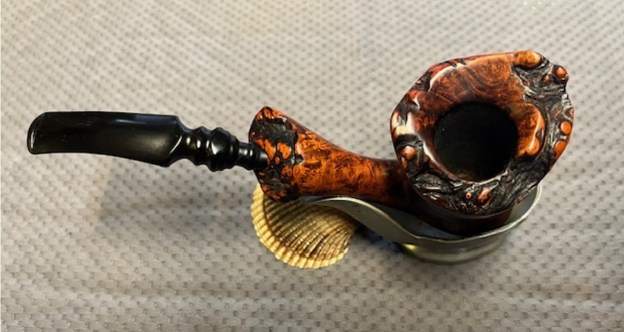
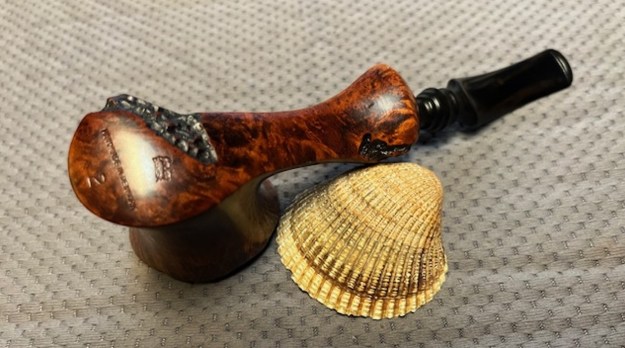
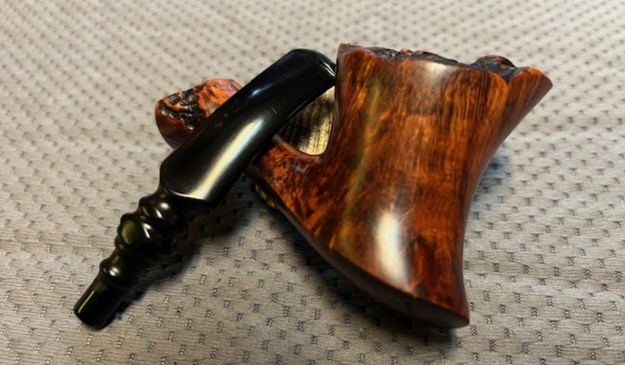
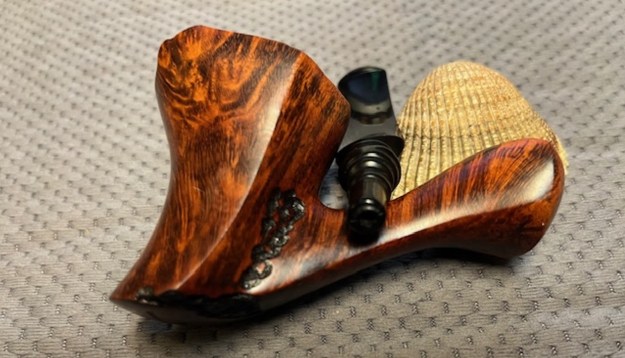
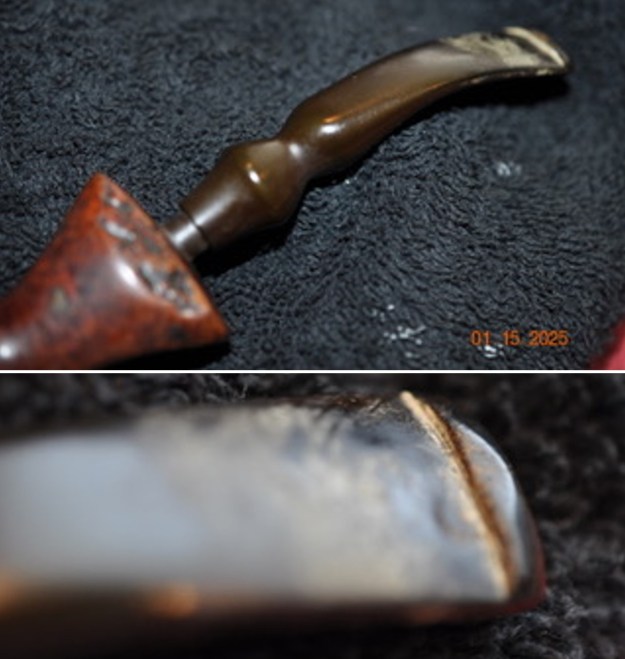
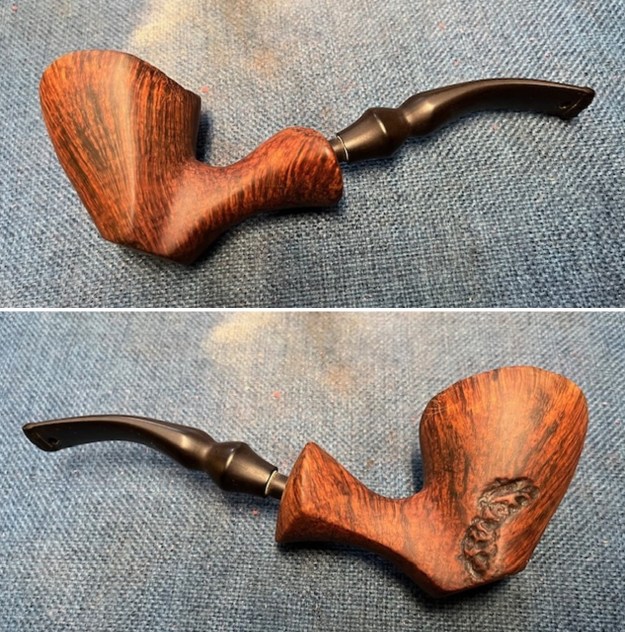
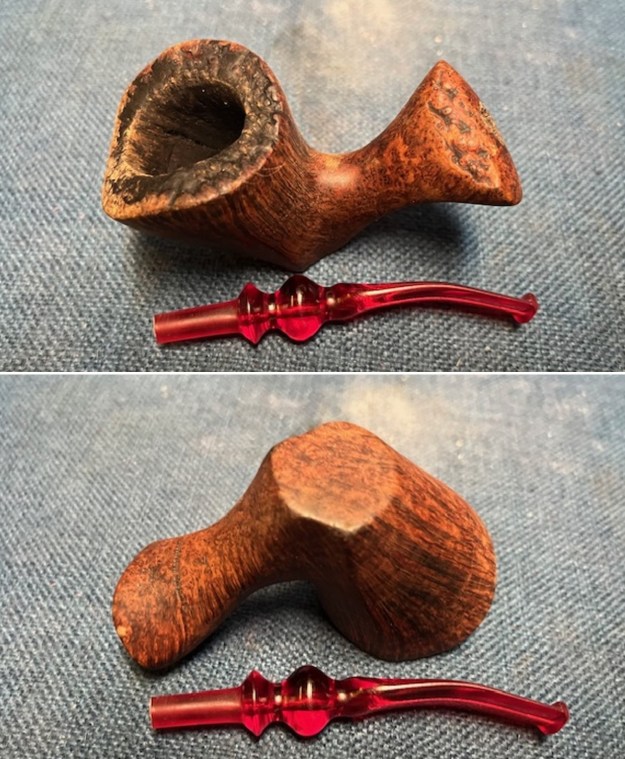
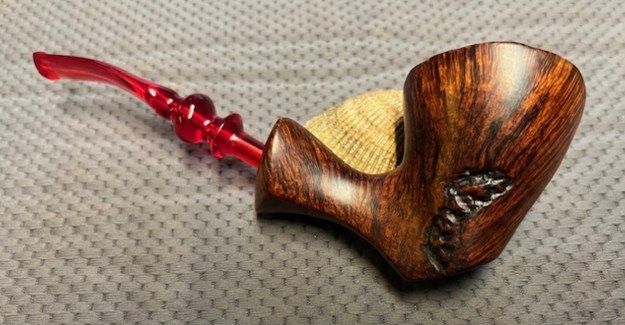
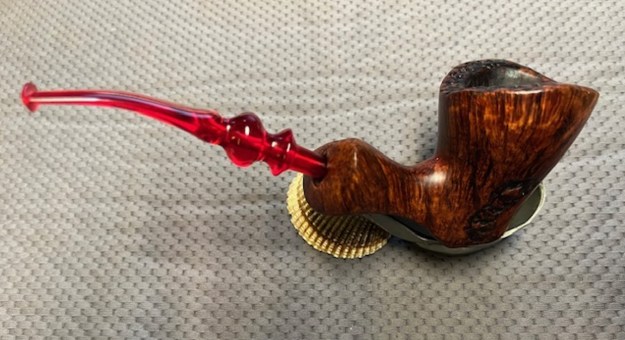
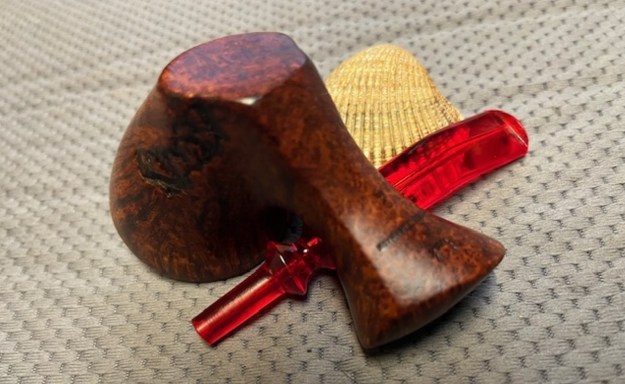
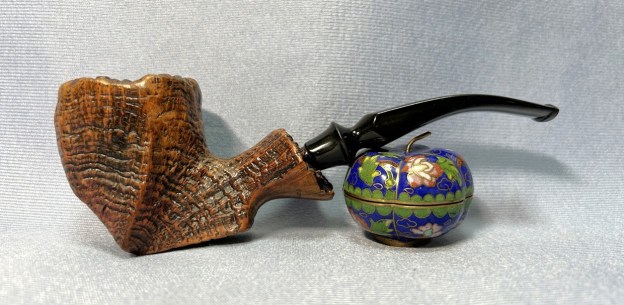
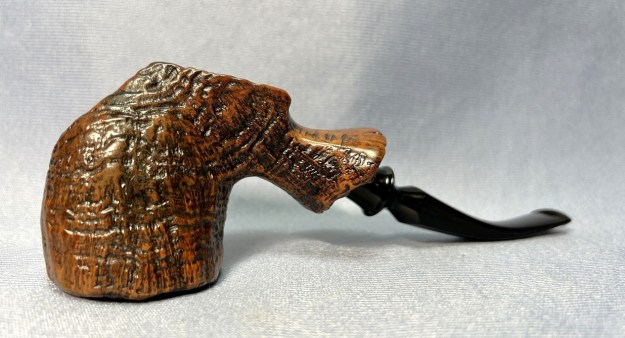
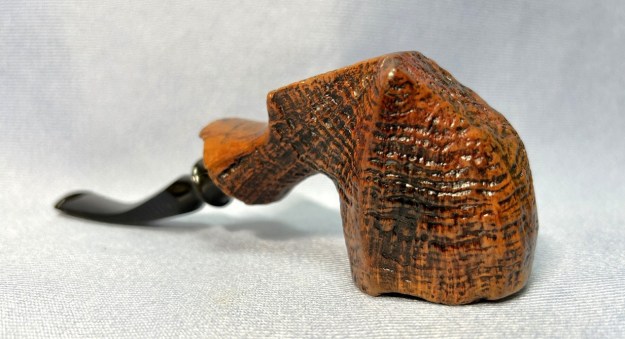
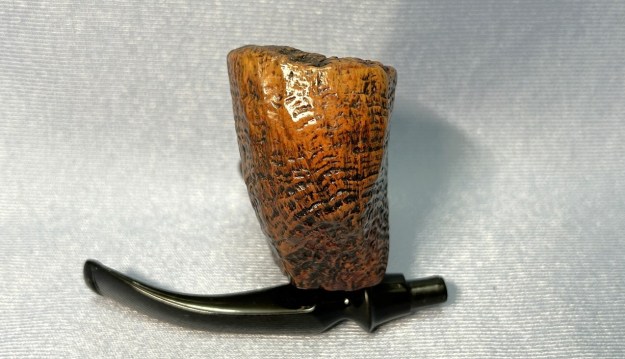
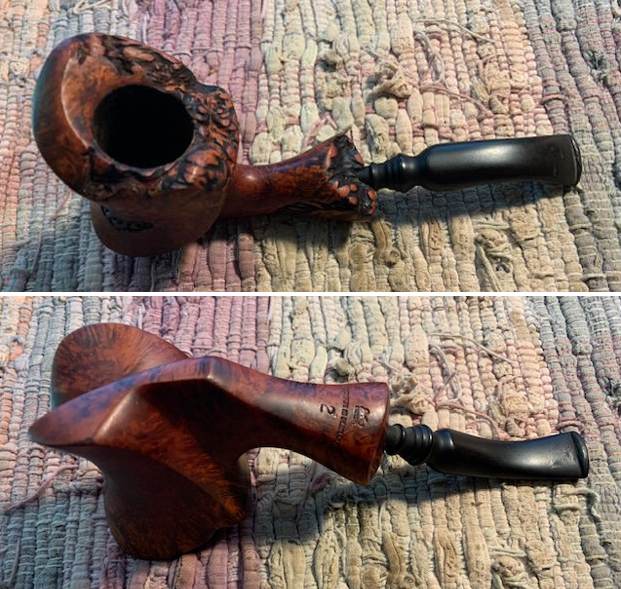
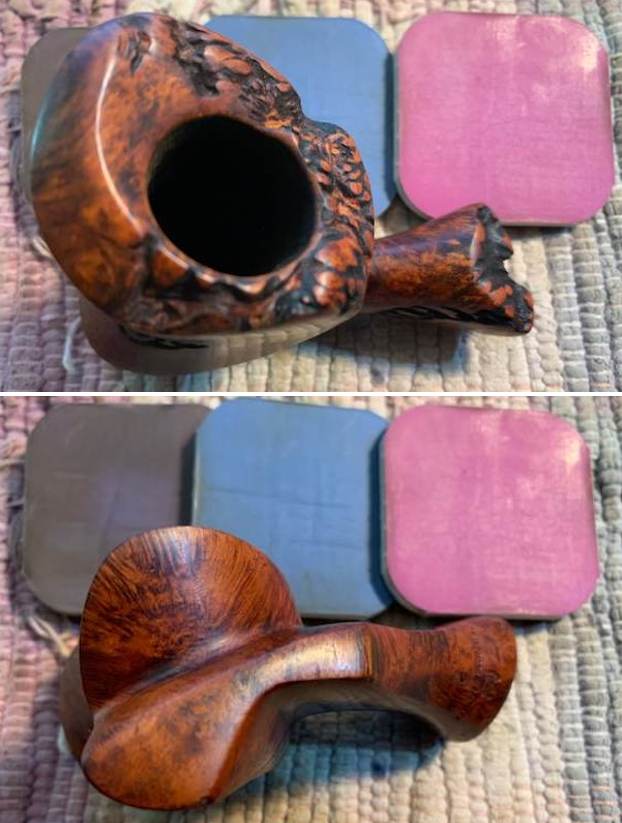
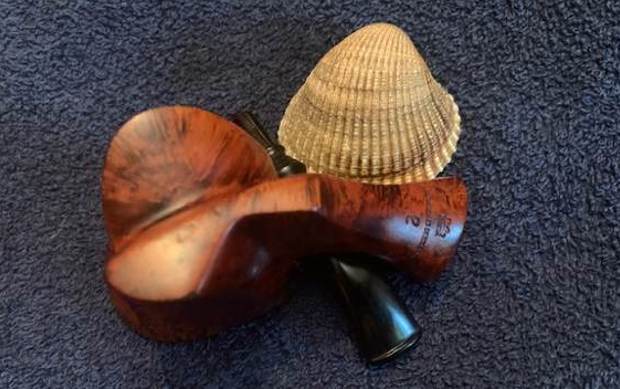
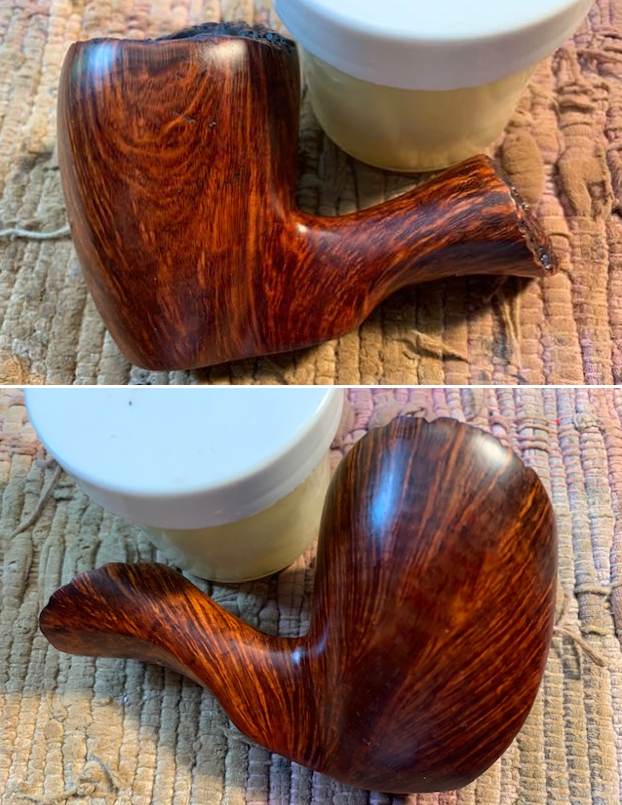
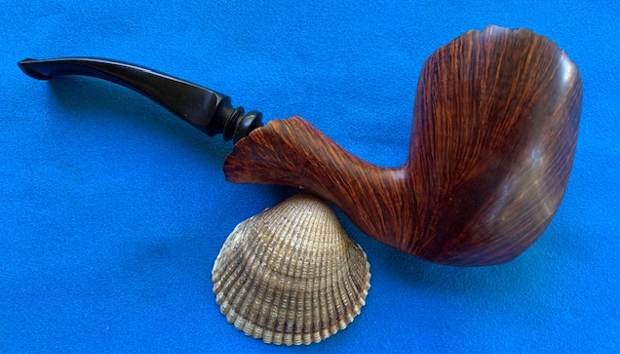
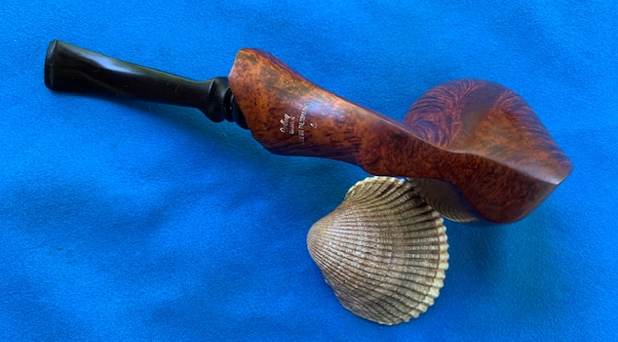
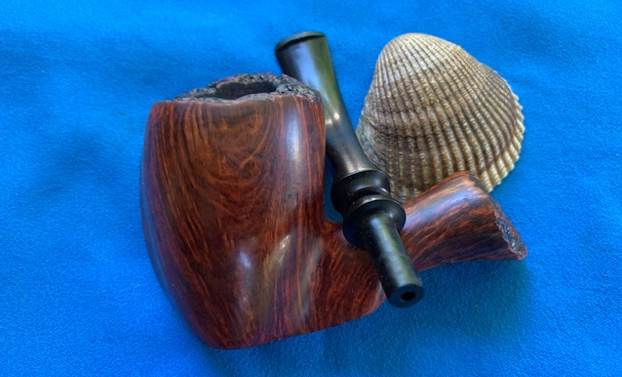
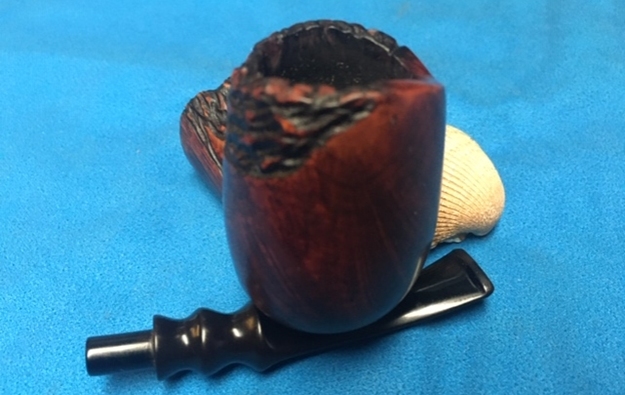
My brother Jeff picked up another Jobey Dansk 2 Freehand pipe on April 12, 2024 from a seller in Saint Cloud, Florida, USA. It had really unique shape and some nice grain with spot carvings around the bowl and shank. There was some plateau on the top of the rim and on the end of the shank. There was a rustication on the left side of the bowl and on the heel of the bowl. I have worked on enough of these to know that were Danish Freehand pipes were carved by Karl Erik Ottendahl. This one was stamped on the heel of the bowl and read Jobey in script [over] Dansk [over] Handmade in Denmark [over] 2. The finish on this pipe was very dirty with dust filing in the plateau top. There was some lava and darkening on the top as well. The bowl had a thick cake. There were oils and grime ground into the finish of the bowl and the shank. The fancy vulcanite stem fit the well. The stem was oxidized, calcified and there were light bite marks and chatter on both sides of the stem ahead of the button. Jeff took of the pipe to show the overall condition of the bowl and stem.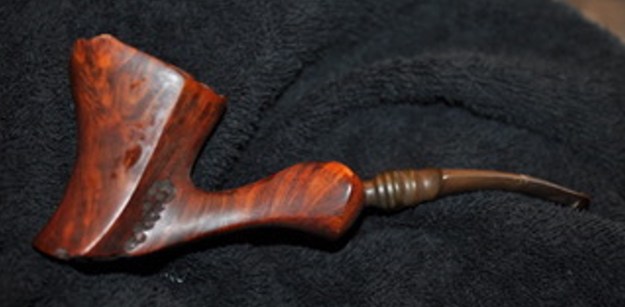
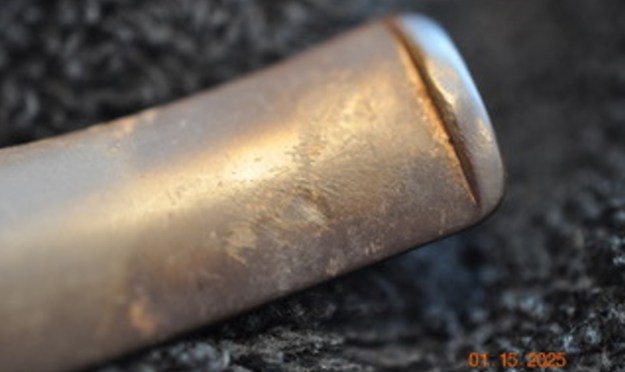
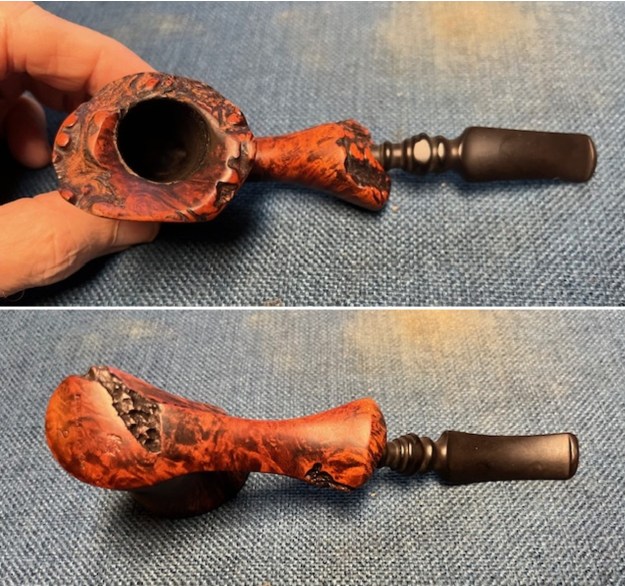
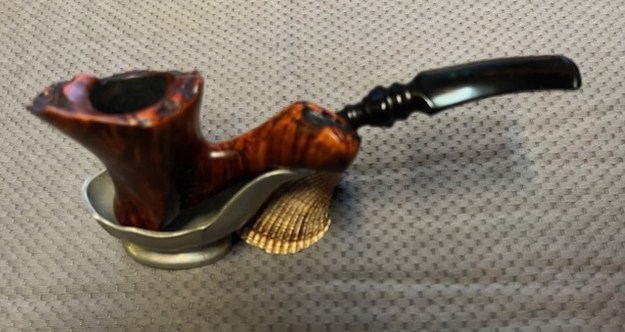
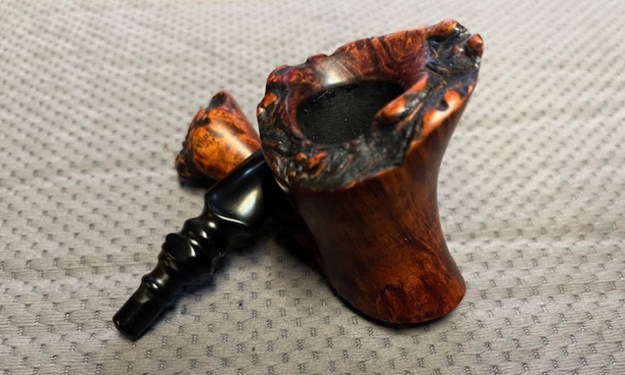
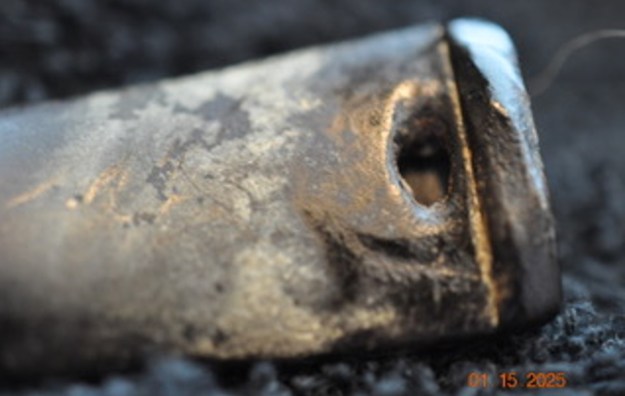
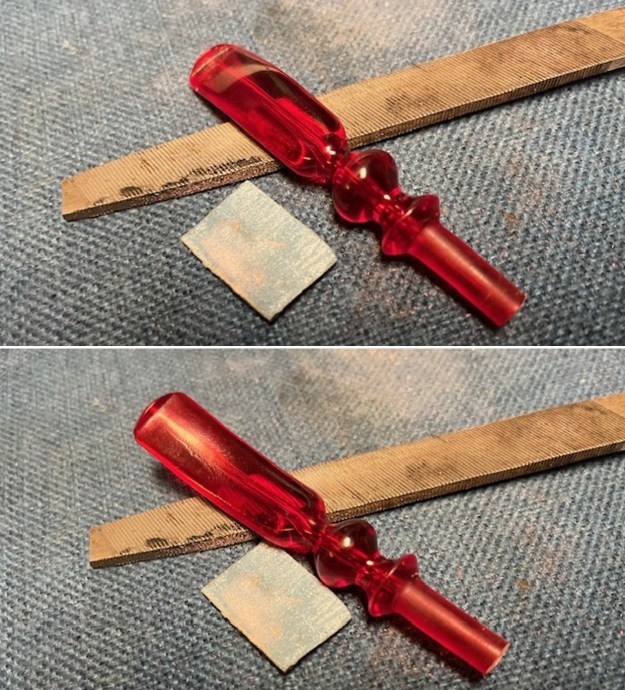
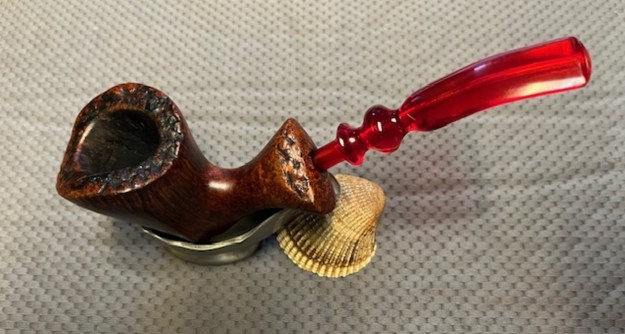
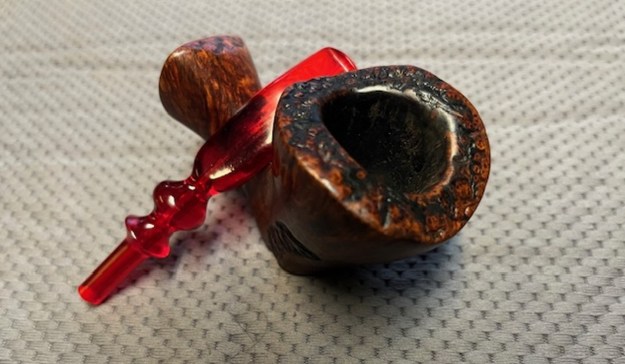
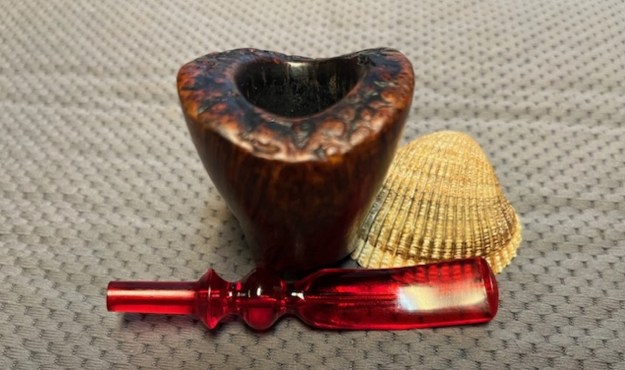
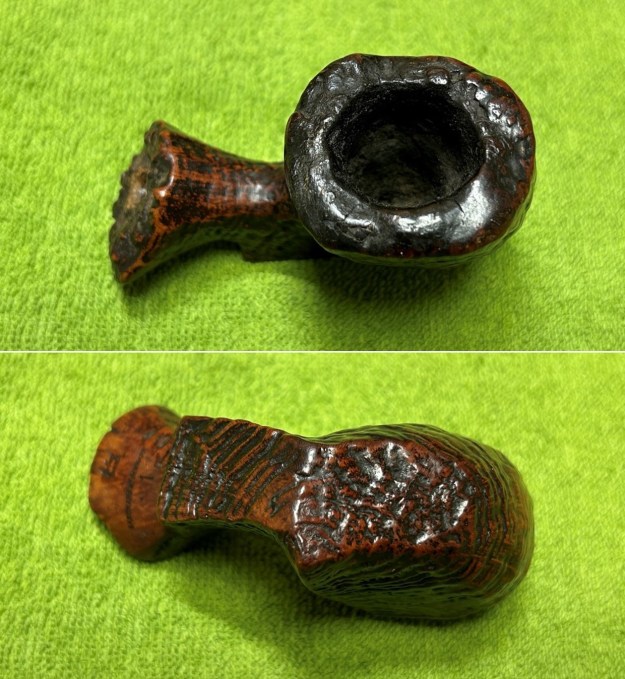
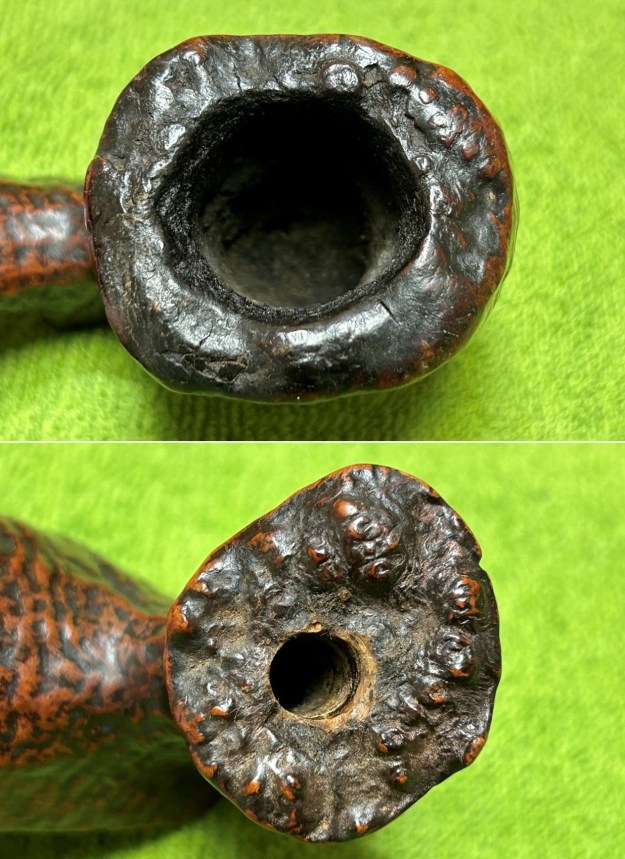
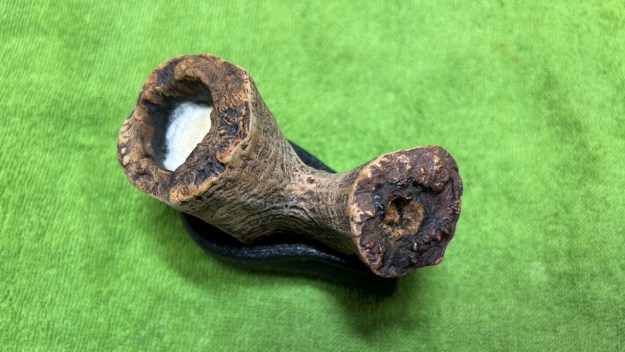
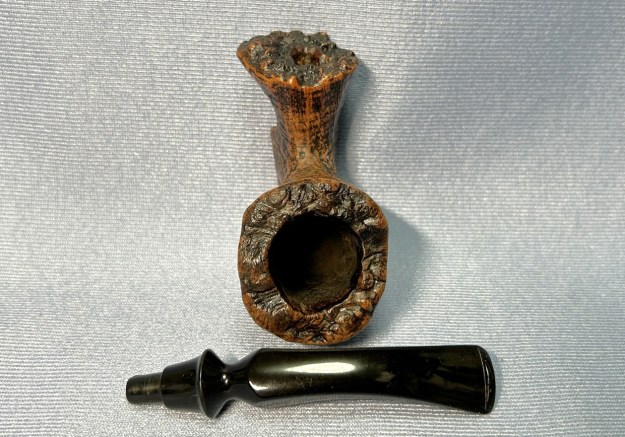
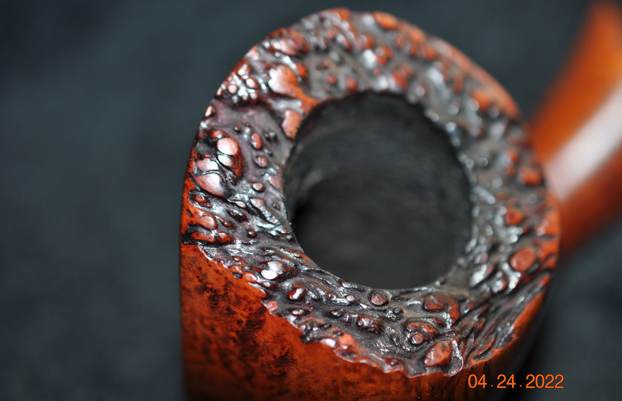
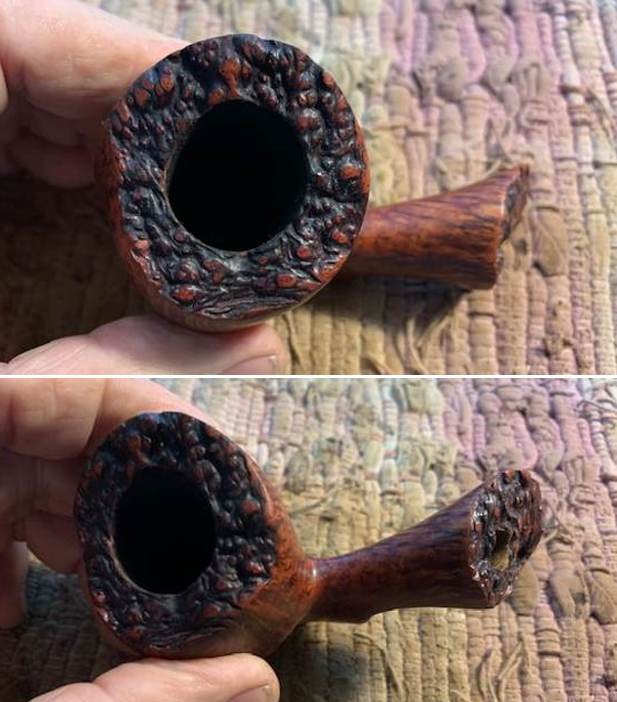
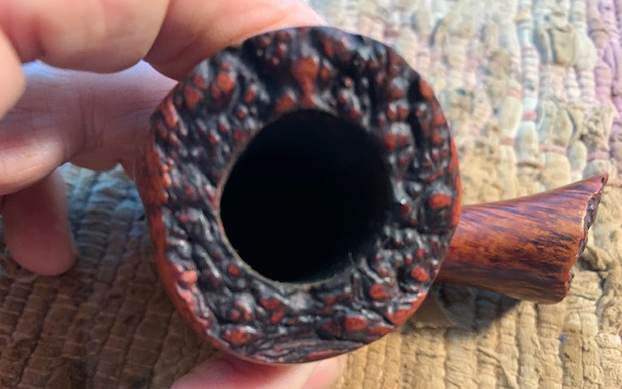
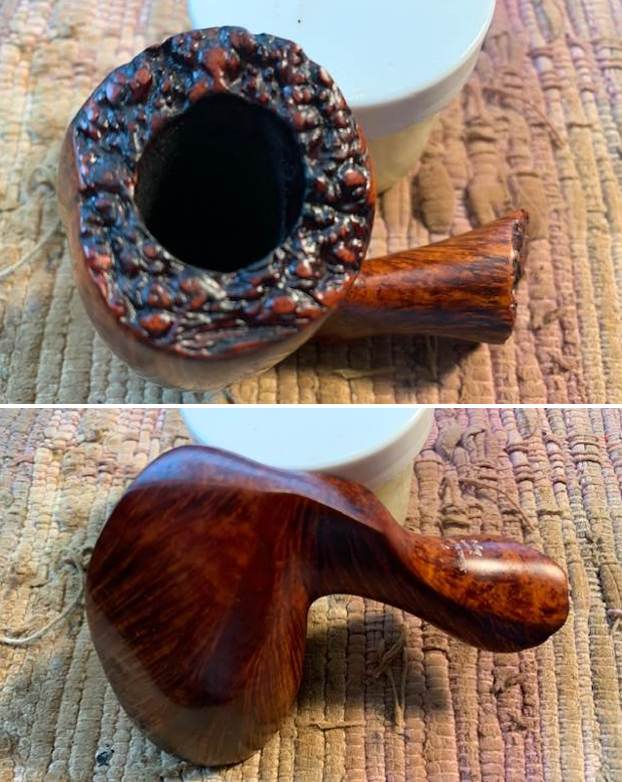
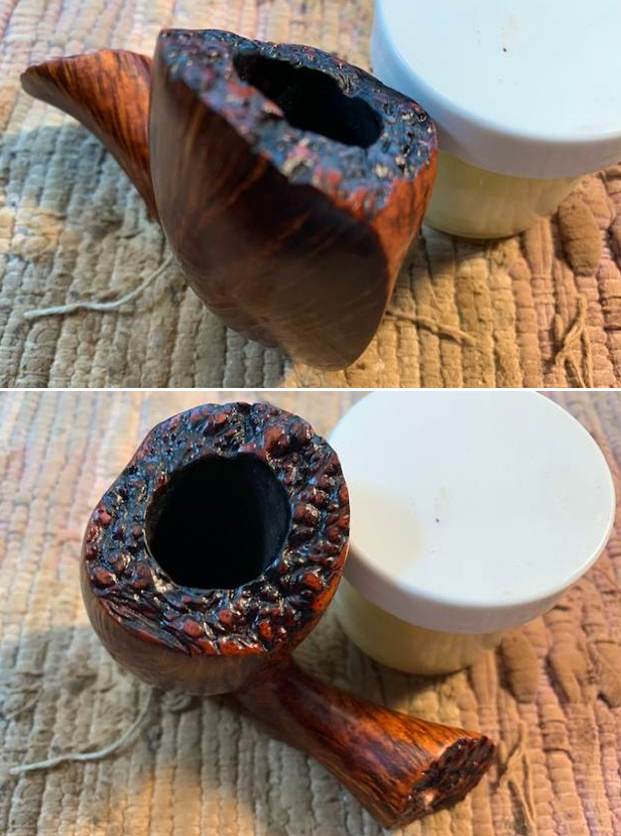
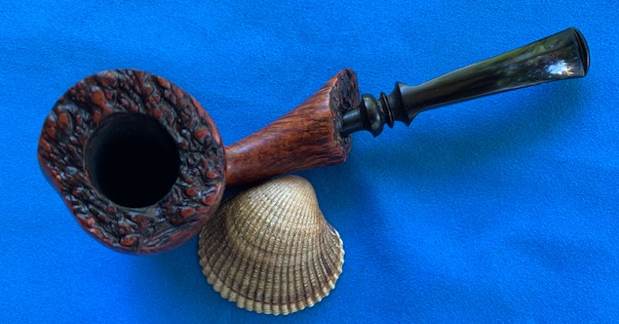
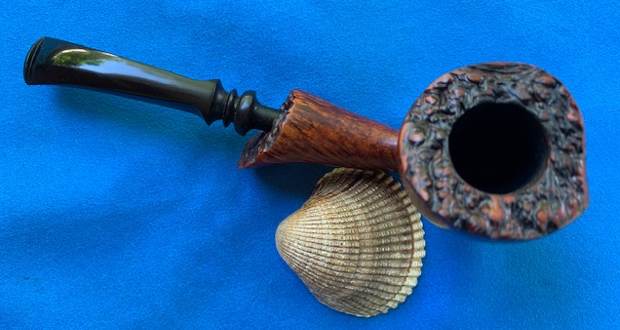
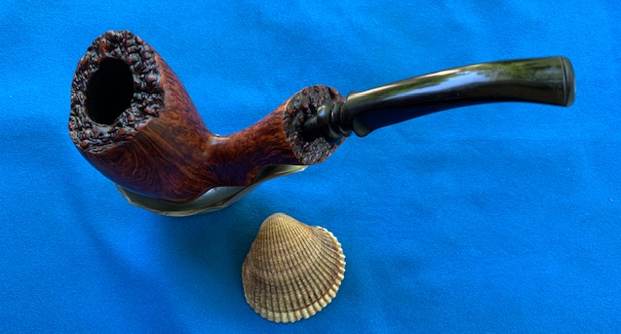
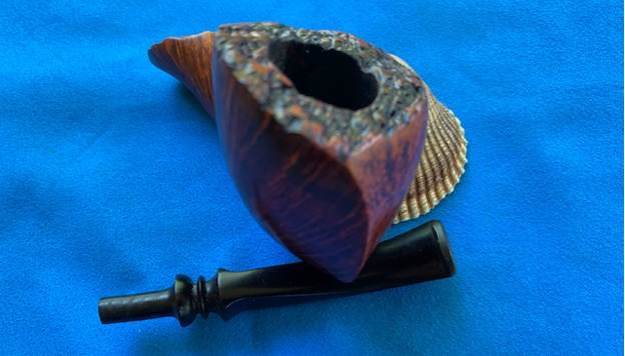
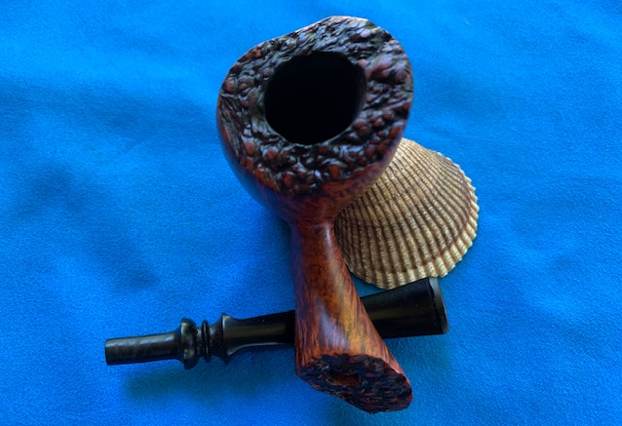
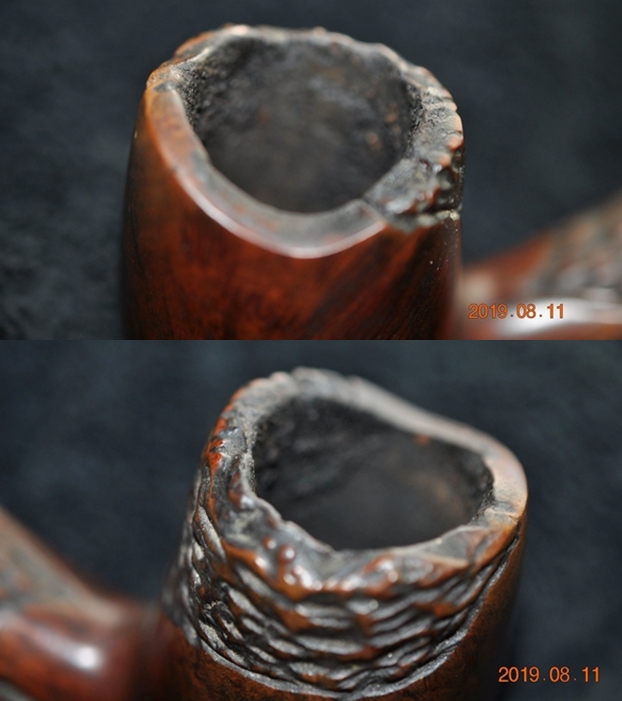
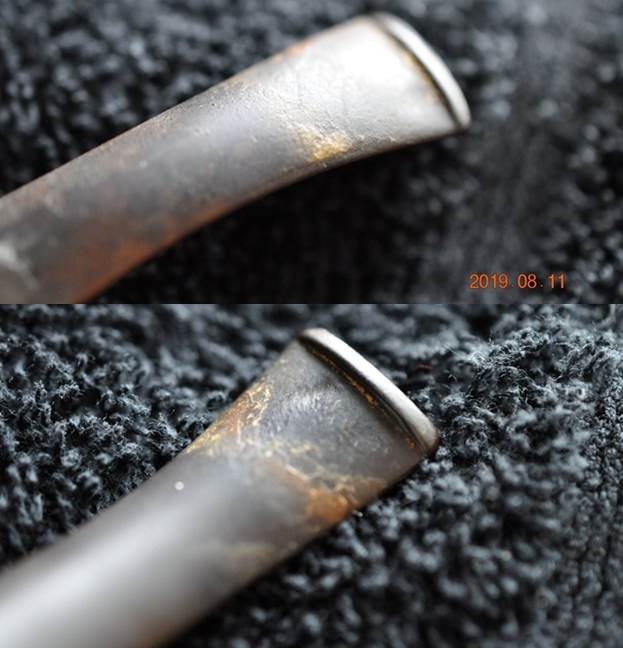
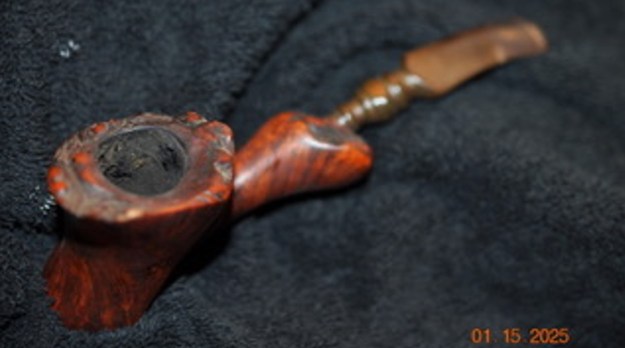 He took close up photos of the bowl and rim top from different angles to show the condition of the bowl and the plateau finish. You can see the thick cake in the bowl and the darkening and lava build up on the plateau rim top and edges of the bowl. The next photos show the condition of the vulcanite stem which is oxidized and calcified. You can see the light chatter and tooth marks on the surface of both sides ahead of the button.
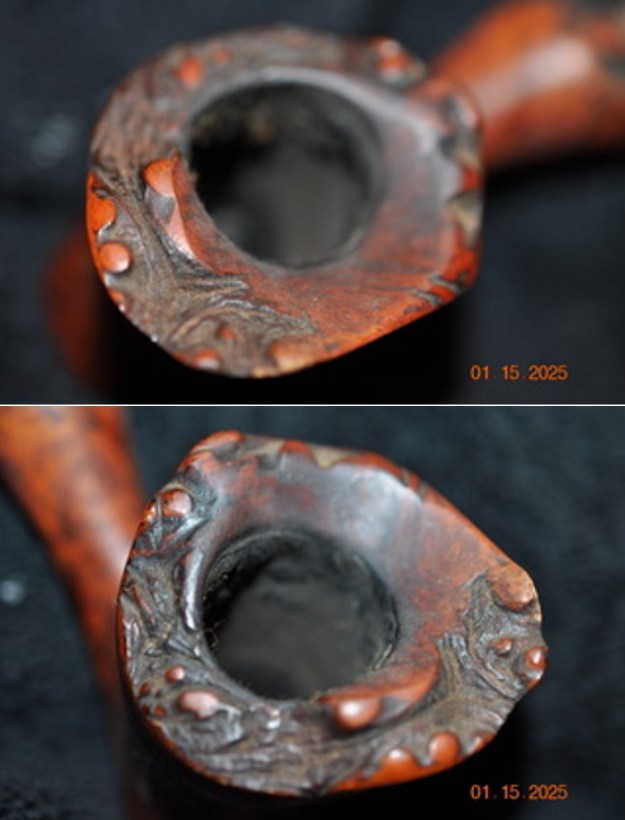

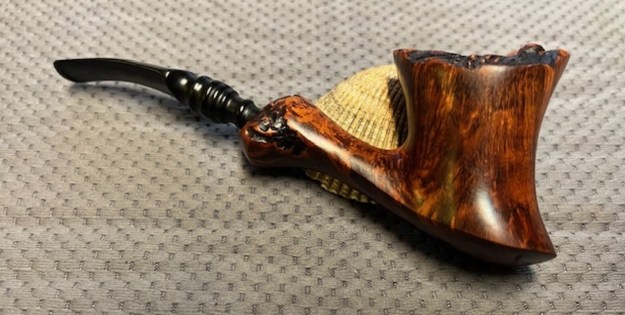
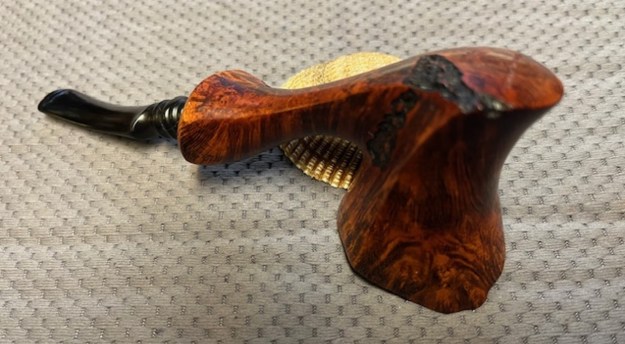
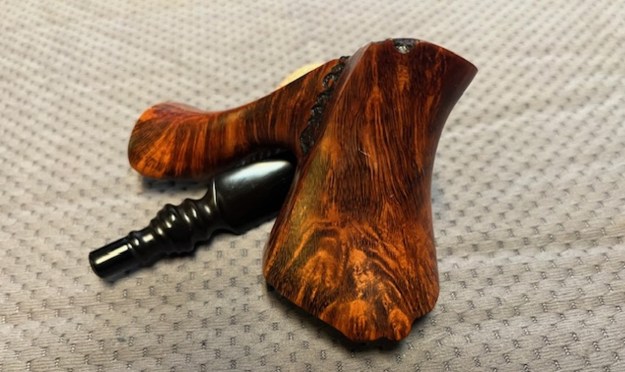
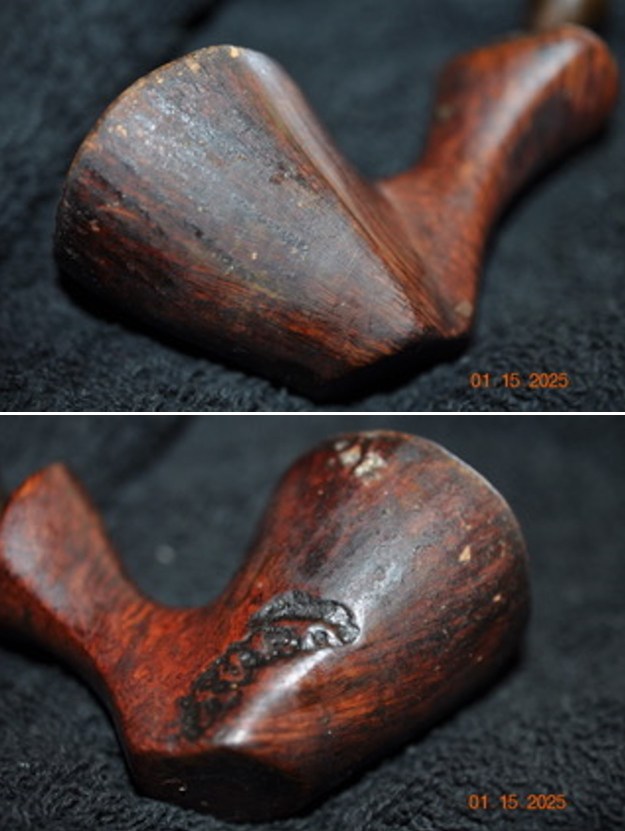
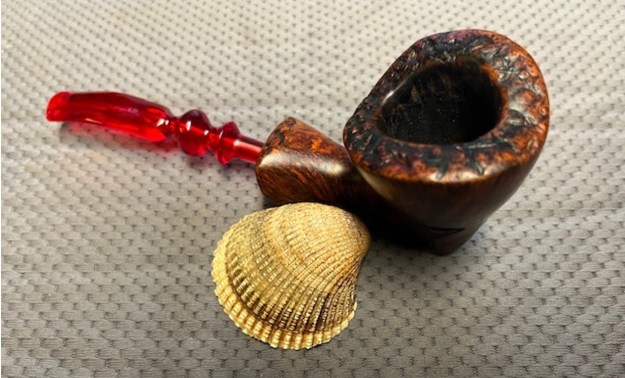
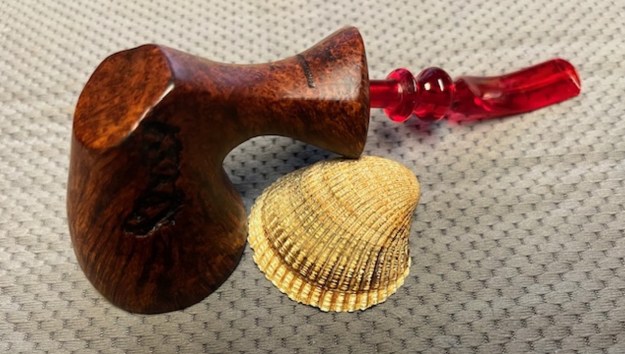
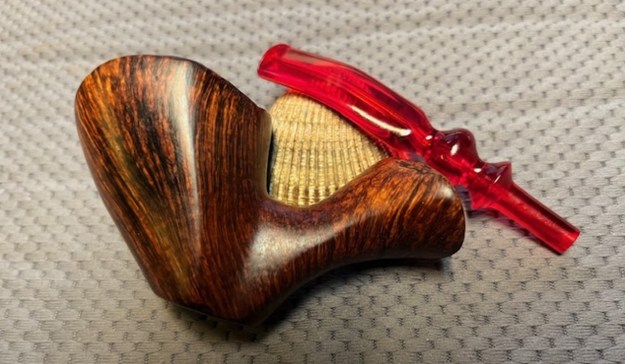
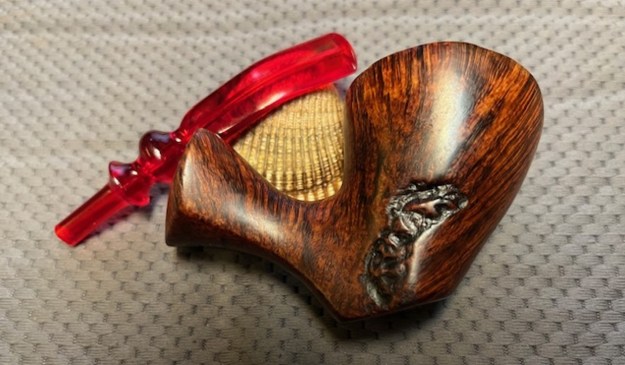
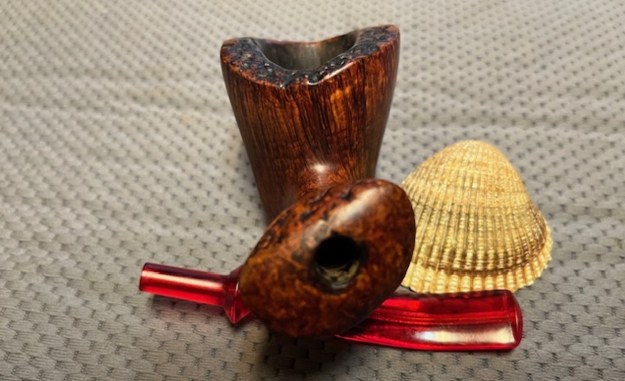
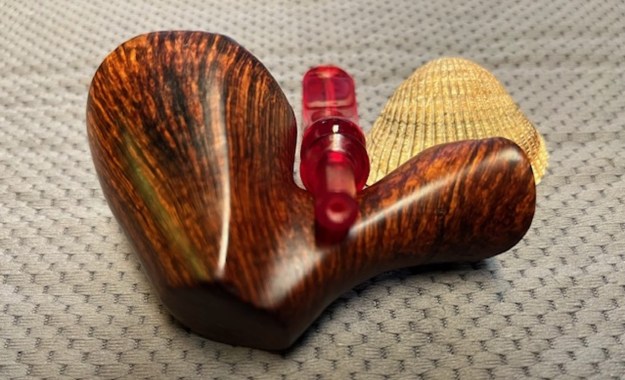
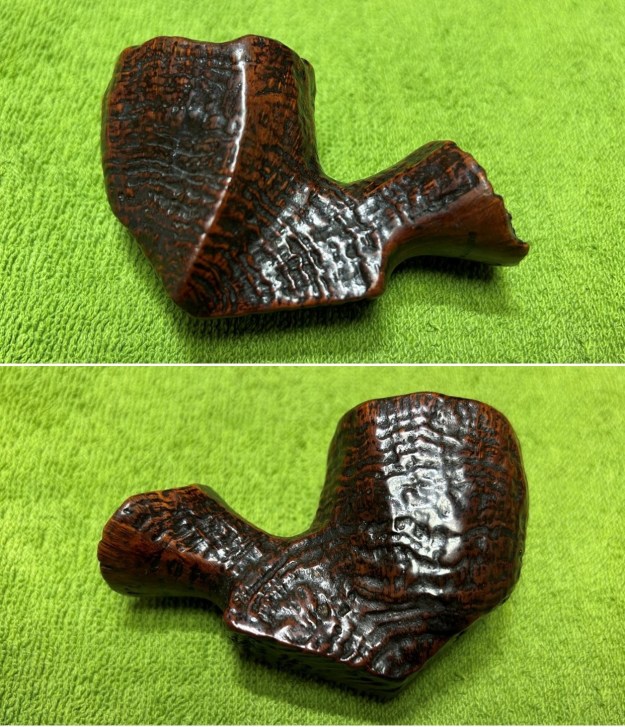
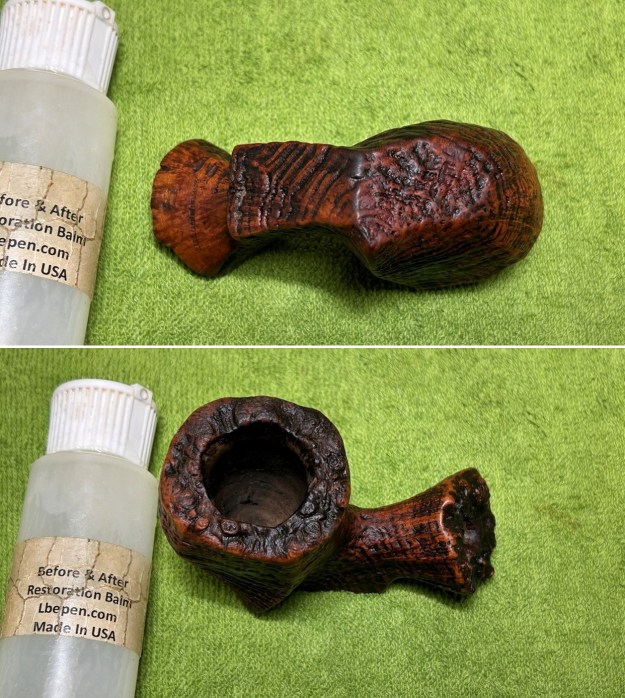
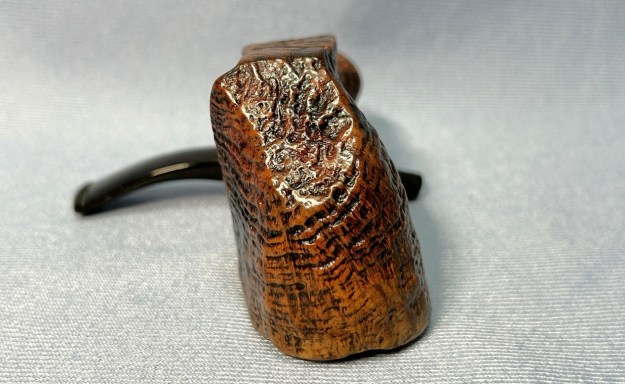
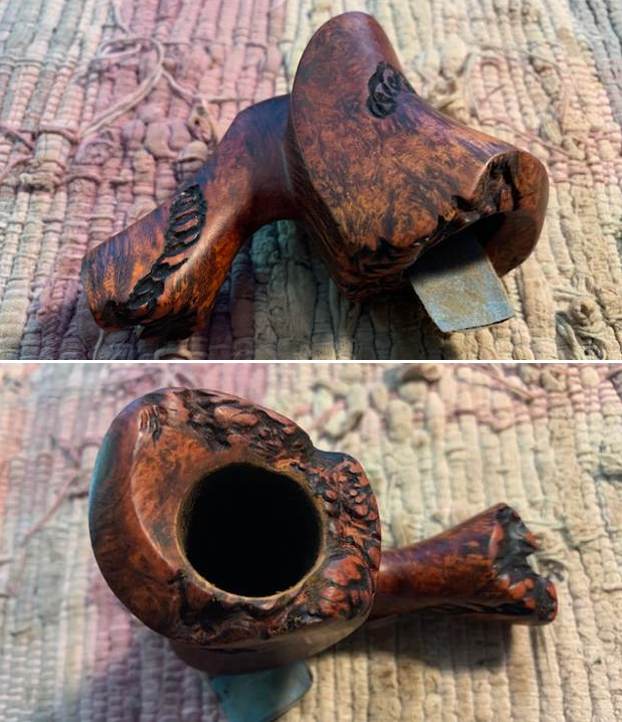
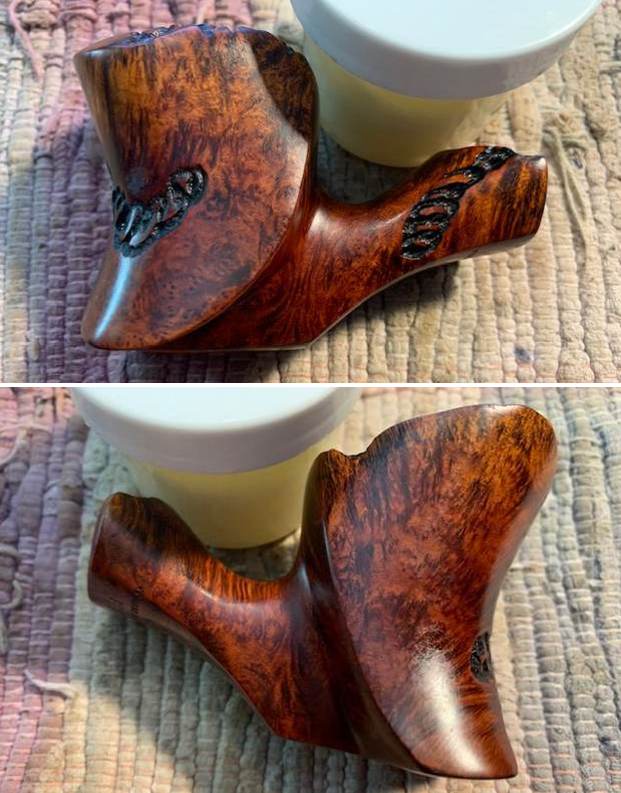
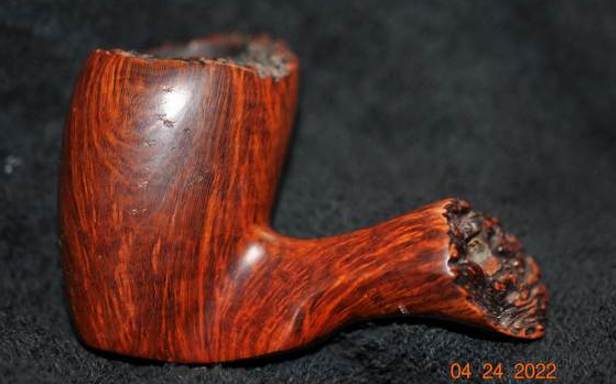
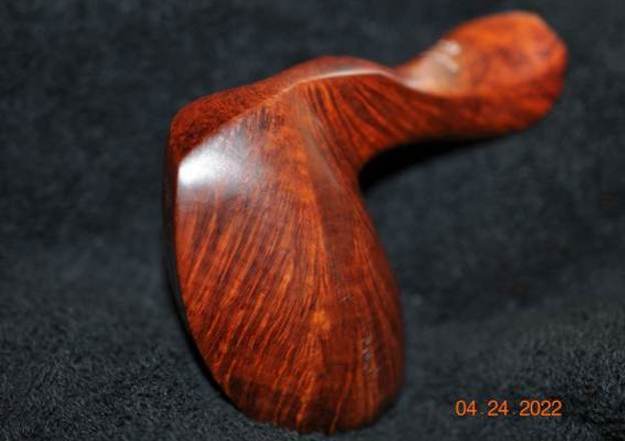
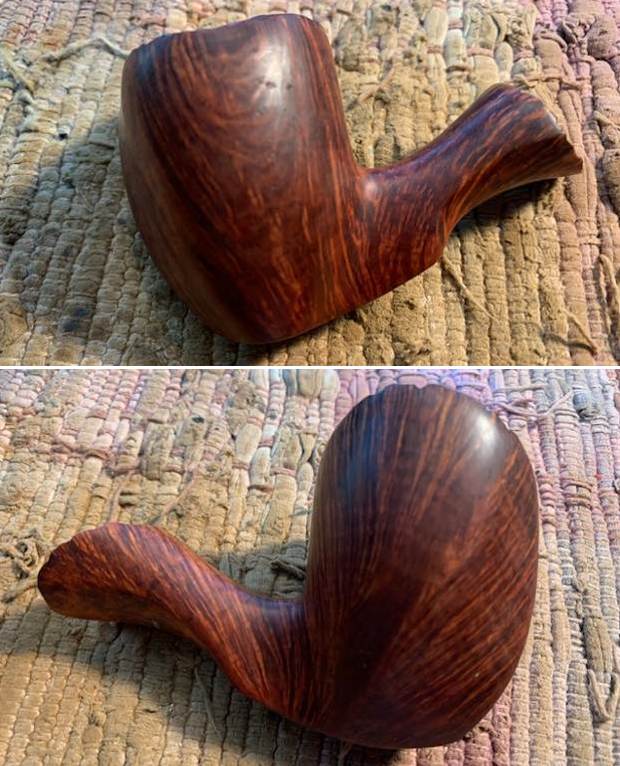
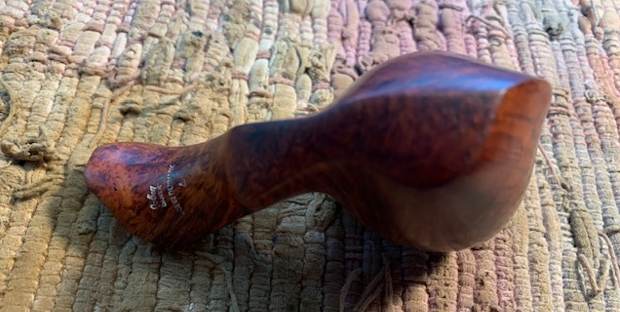
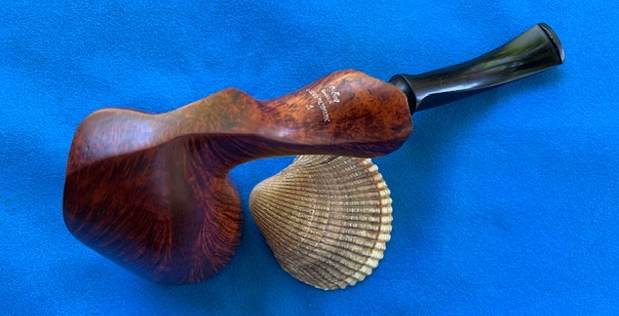
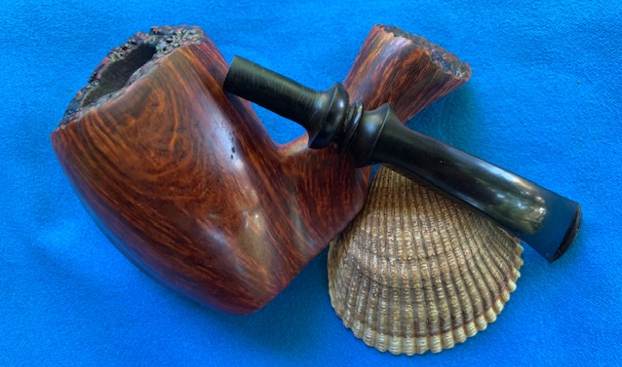
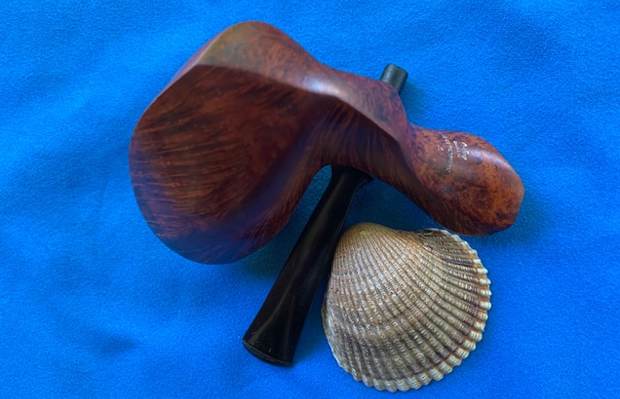
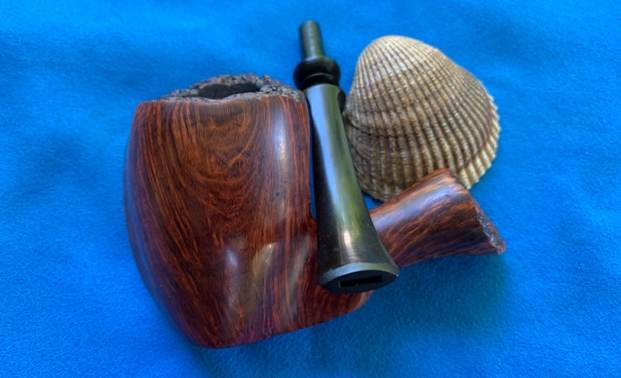
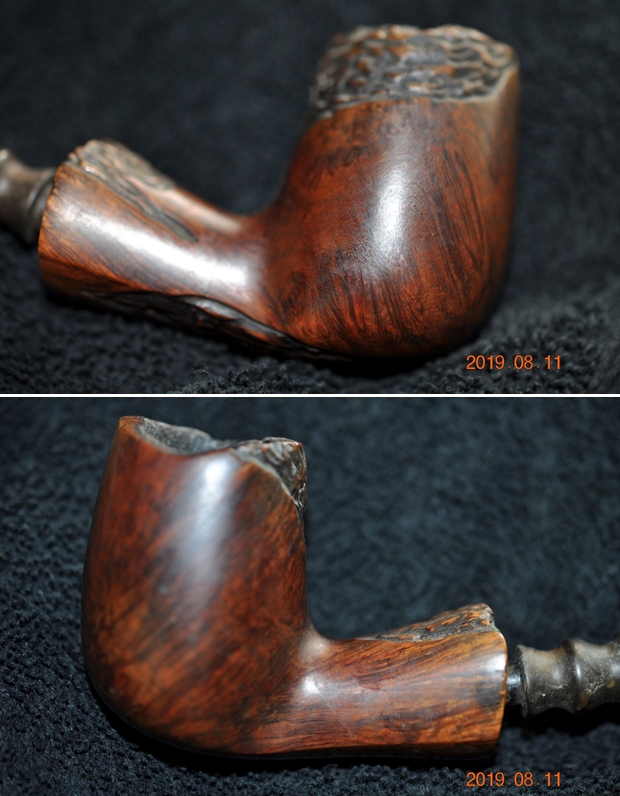
 He took photos of the sides and heel of the bowl to show the lay of the grain and the oils and dust in the finish around the pipe. It is a nice piece of briar with a unique shape and patches of rustication on the bottom left side of the bowl toward the heel and the heel itself.
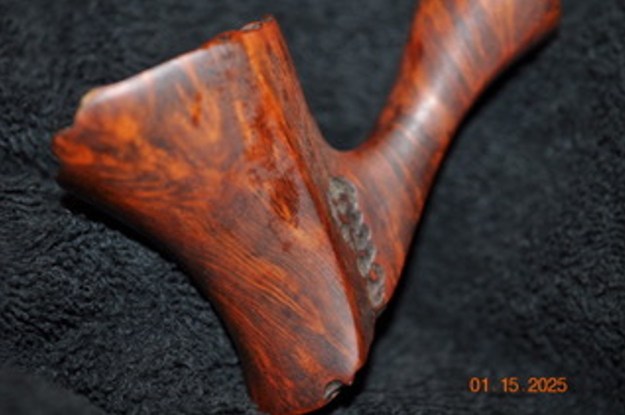
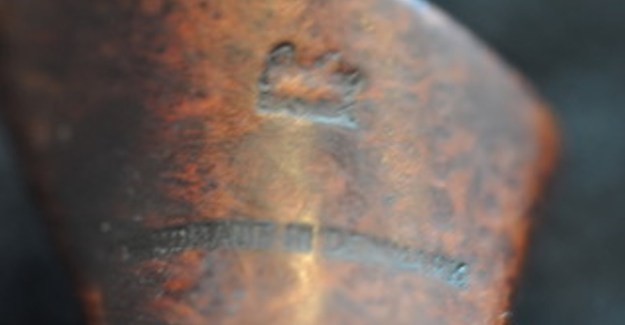
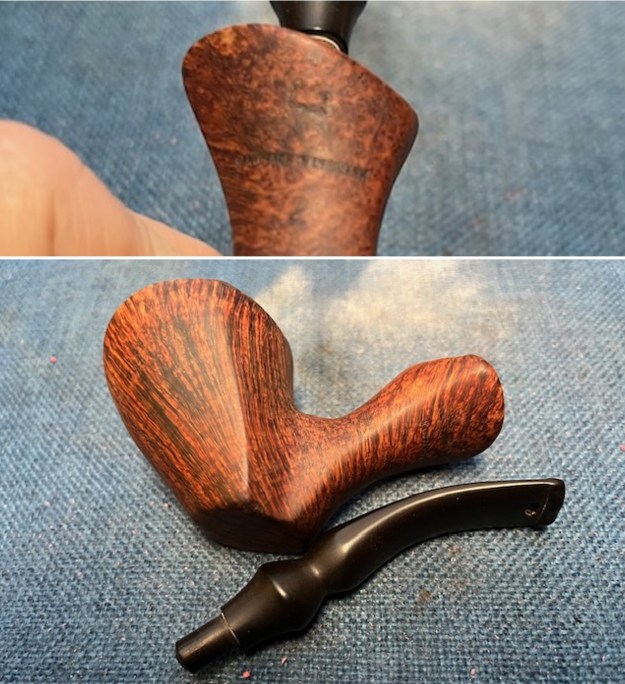
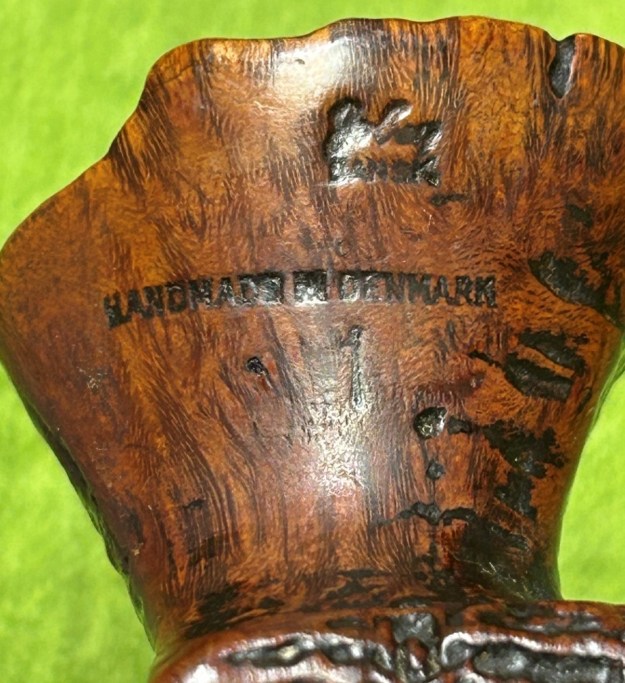
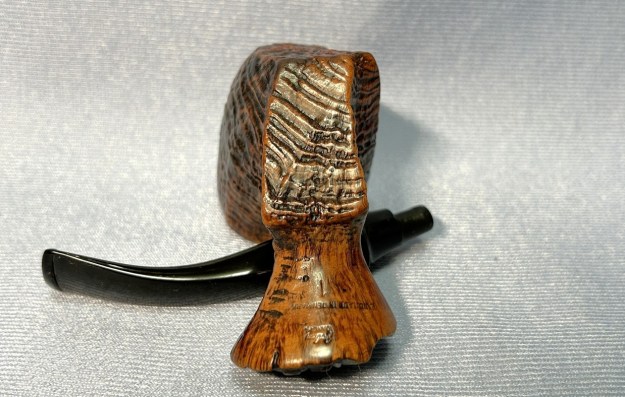
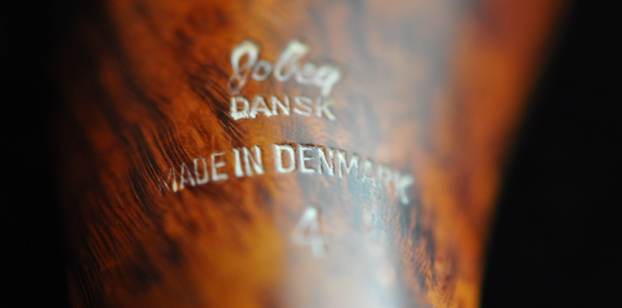
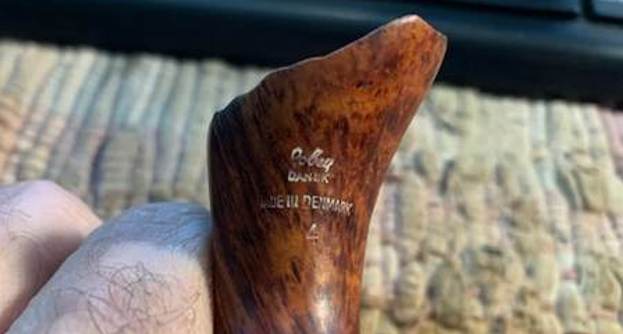
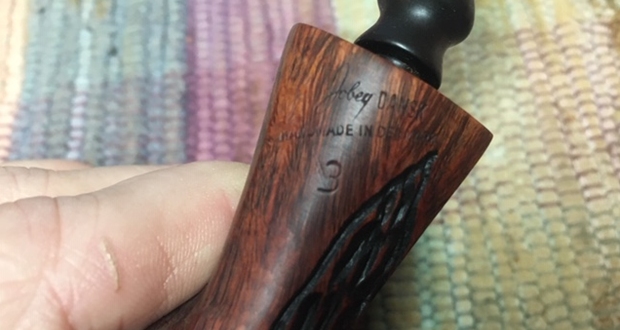
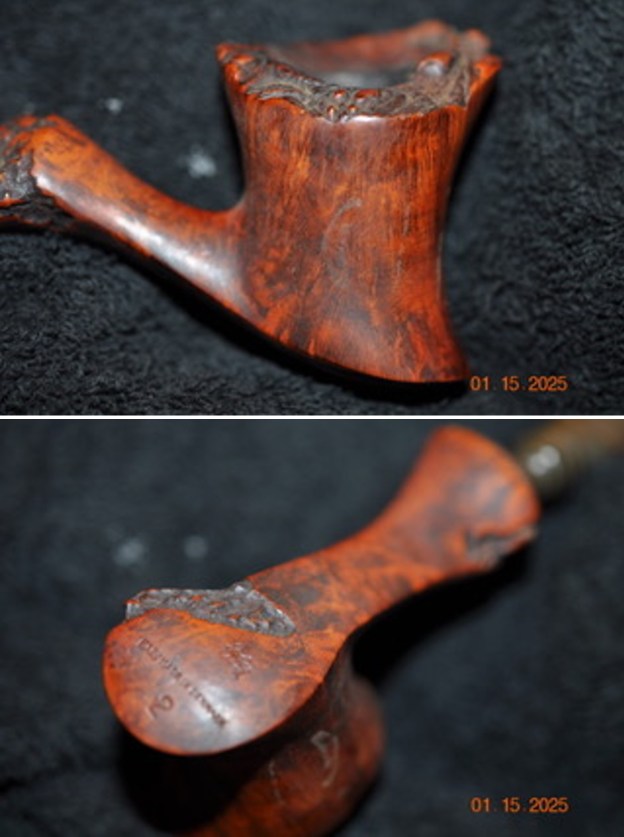 Jeff took a photo of the stamping on the underside of the shank to capture it. It was clear and read Jobey Dansk at the top. Under that it read Handmade in Denmark. Underneath that it is stamped with a number 2
 I have included the information that the pipes were carved by a Danish carver known as Karl Erik. I looked up the Jobey listing on Pipedia (https://pipedia.org/wiki/Jobey) and found the following information. I quote a portion of the article that is pertinent as follows.
English – American – Danish – French… Information about the brand Jobey are only to be found in form of smithereens…
Probably established in England around 1920(?) the brand hiked into the USA later. In the course of time owner, distributor and manufacturer changed repeatedly. As far as known:
George Yale Pipes & Tobacco, New York (1942)
Norwalk Pipe Co., New York (1949)
Arlington Briar Pipes Corp., Brooklyn (when?)
Hollco International, New York (1969).
Weber Pipe Co., Jersey City, NJ (1970’s)
The Tinder Box, (1970’s – 80’s).
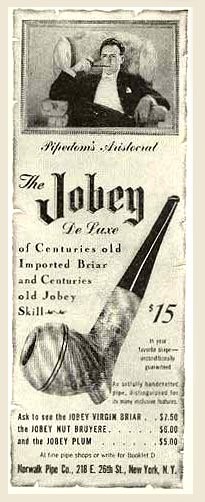
Throughout decades Jobey pipes were mainly sold in the USA, Canada and England but remained almost unknown in continental Europe. The bulk of Jobeys was predominantly made according to classical patterns and mainly in the lower to middle price range. The predominant judgment of the pipe smokers reads: “A well-made pipe for the price.” So there is hardly anything very special or exciting about Jobey pipes although a flyer from ca. 1970 assures: “The briar root Jobey insists upon for its peer of pipes is left untouched to grow, harden and sweeten for 100 years. […]Jobey uses only the heart of this century old briar and only one out of 500 bowls turned measures up to the rigid Jobey specifications.” 99.80% of cull… that makes the layman marveling!
Yet then there are partially really exciting Freehands mainly in the seventies, that Jobey – Weber owned back then – bought from Danish pipe genius Karl Erik Ottendahl. These pipes were offered as Jobey Dansk – ’70’s pure! (BTW waning sales caused Ottendahl to discontinue exports to the United States in 1987.)
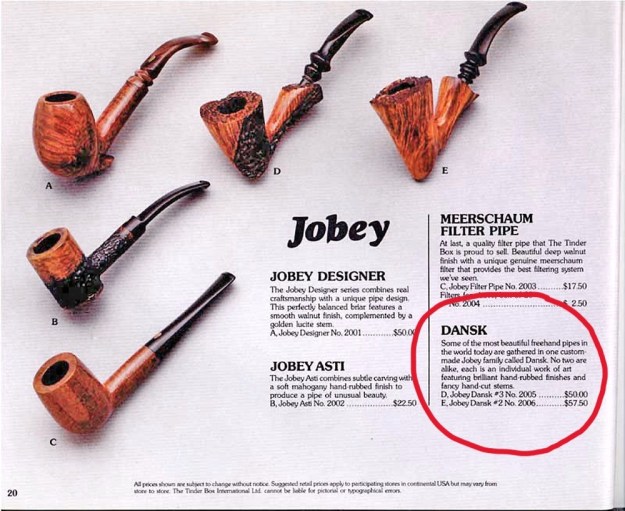
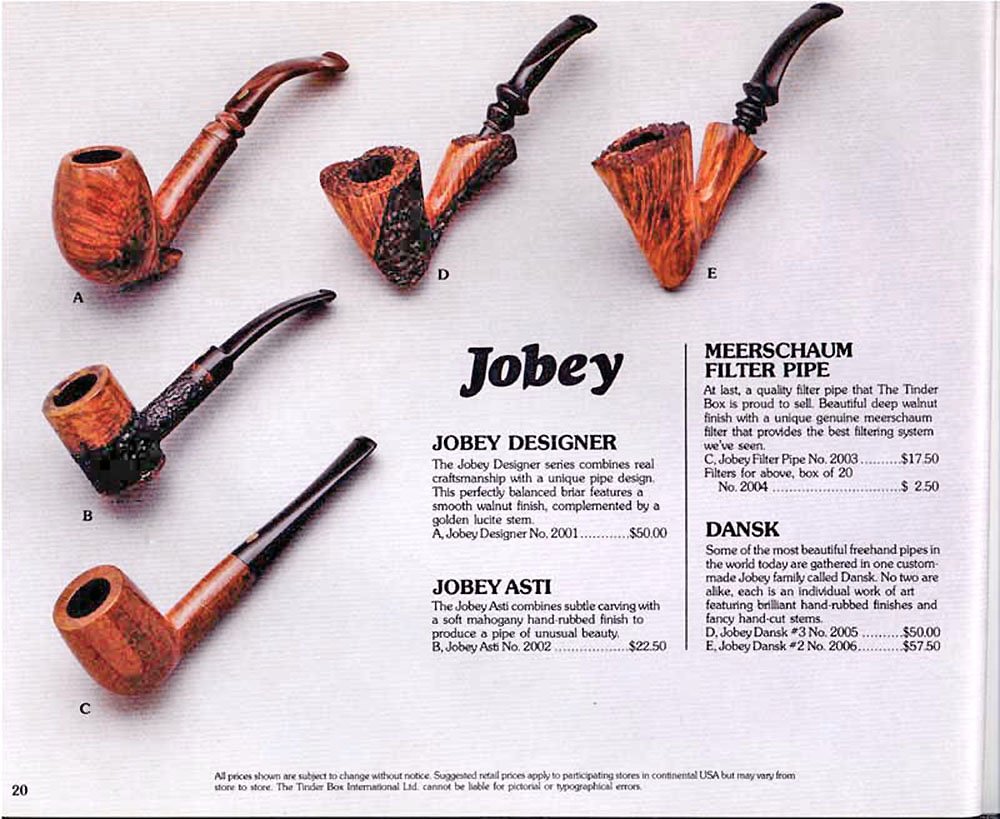
There was also an interesting Tinderbox catalogue page, provided courtesy of Doug Valitchka, that includes a note about the Jobey Dansk (https://pipedia.org/images/7/7a/Jobey1979.jpg).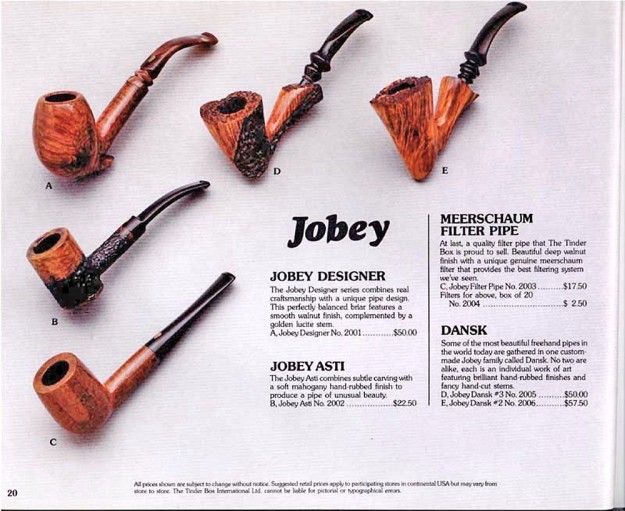 From that information I confirmed that the pipe that I was working on was carved by Karl Erik Ottendahl. There were some similarities to the Karl Erik pipes that I have worked on in the past. The dating of the pipe line in the 70s fits well with the pipe I have in hand.
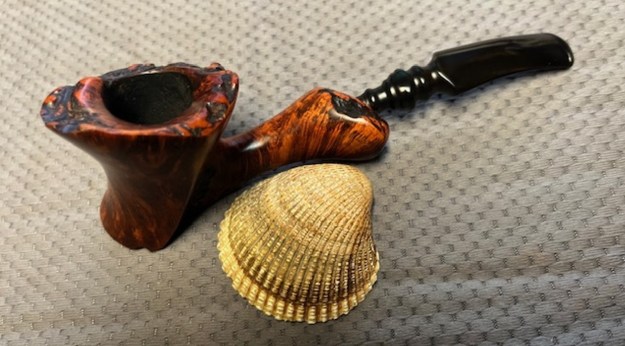
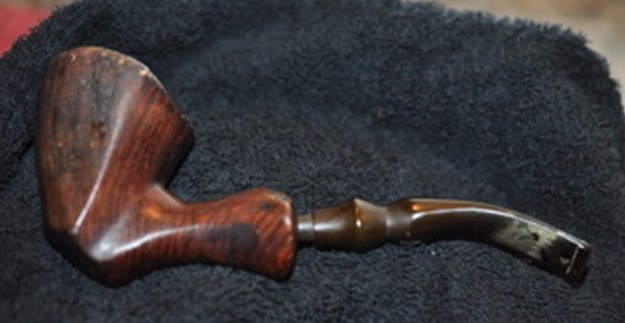
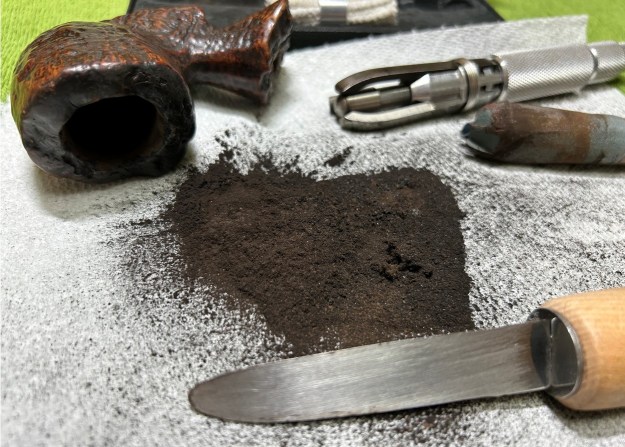
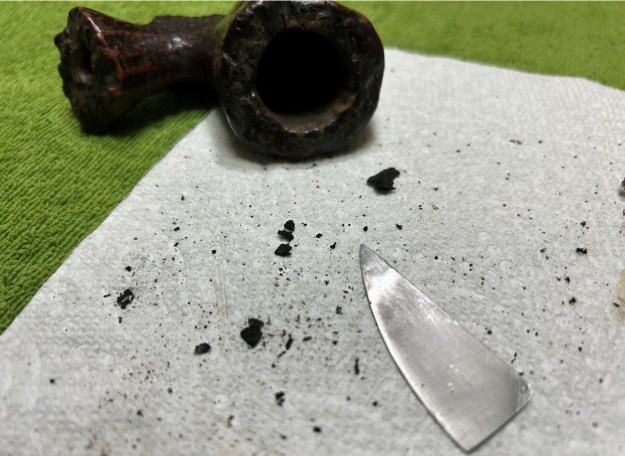
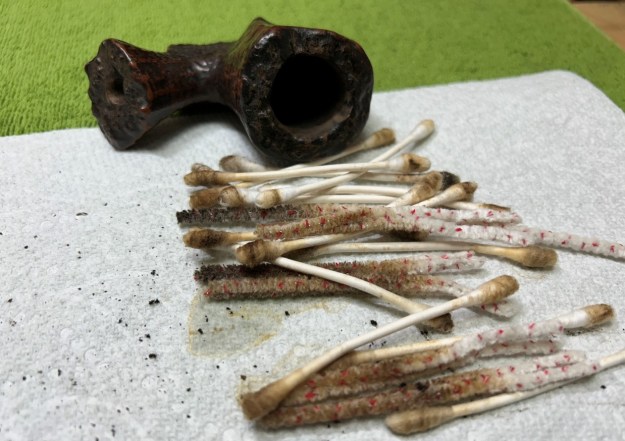
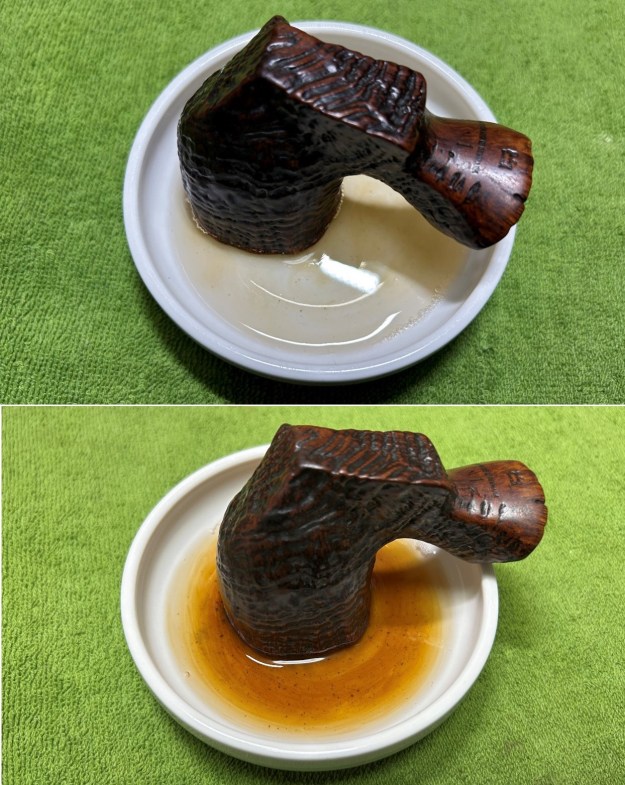
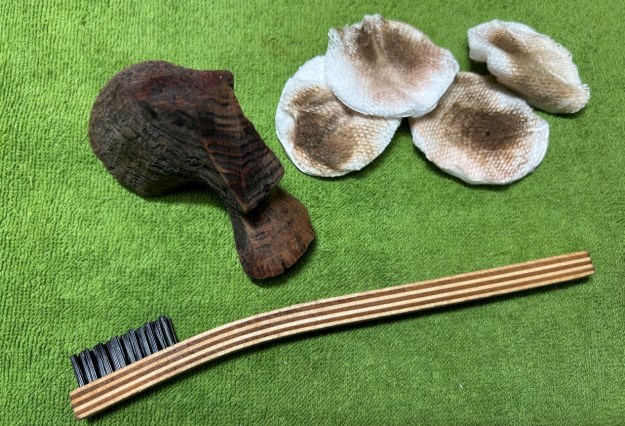
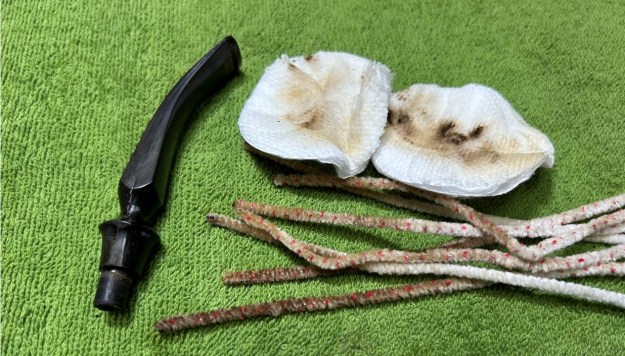
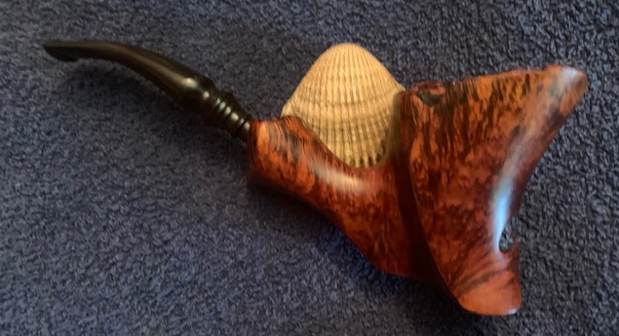
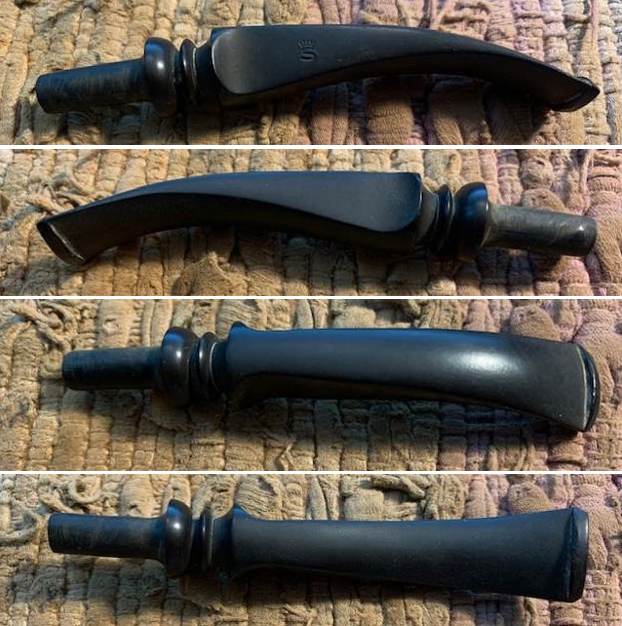
Now it was time to work on the pipe on my end. When I received it, Jeff had once again done an amazing job cleaning the pipe. He reamed it with a PipNet pipe reamer and got rid of the cake. He cleaned up the reaming with a Savinelli Fitsall Pipe Knife so that we could see the walls of the bowl and assess for damage. It was in good condition. He cleaned the internals of the shank and stem with cotton swabs, pipe cleaners, shank brushes and alcohol. He scrubbed the exterior with undiluted Murphy’s Oil Soap and a tooth brush. He rinsed the pipe under warm water. He dried it off with a cloth and then let it air dry. The stem was scrubbed with Soft Scrub and soaked in Briarville’s Stem Deoxidizer. It came out looking clean but the hole in the stem called for a replacement once again. The finish on the bowl and the rim top cleaned up nicely. I took pictures of the pipe to show how it looked when I brought it to the worktable.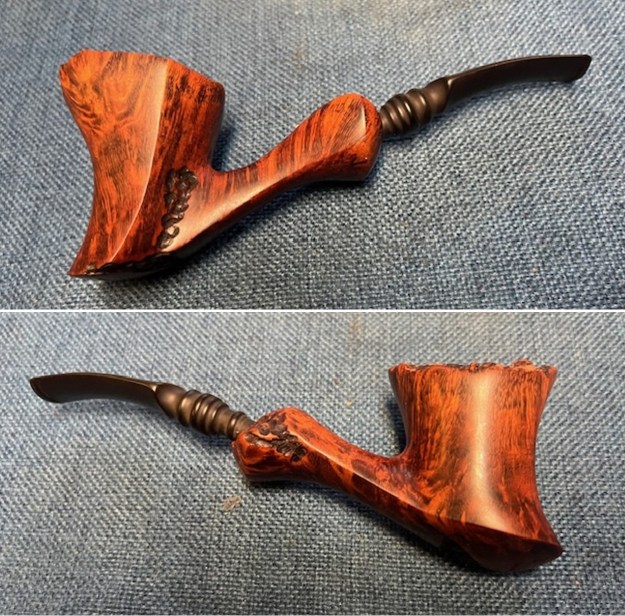
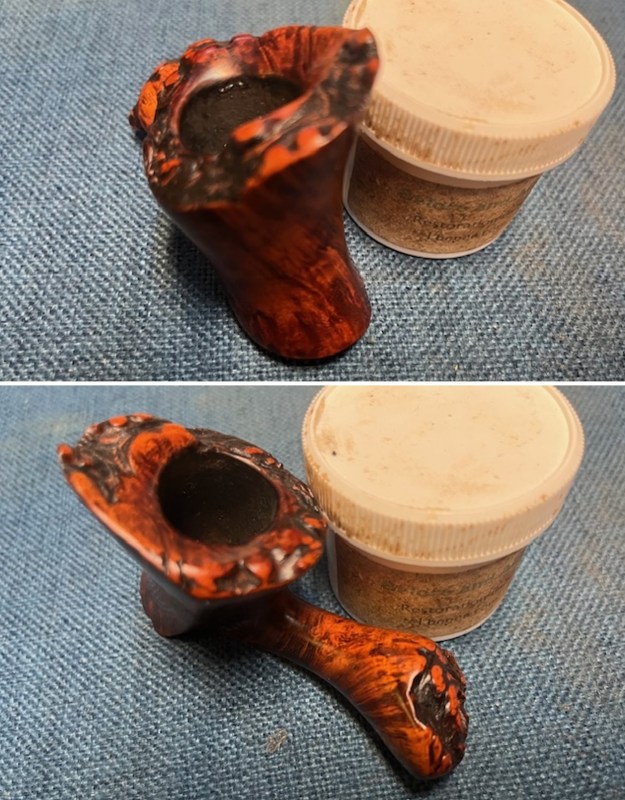
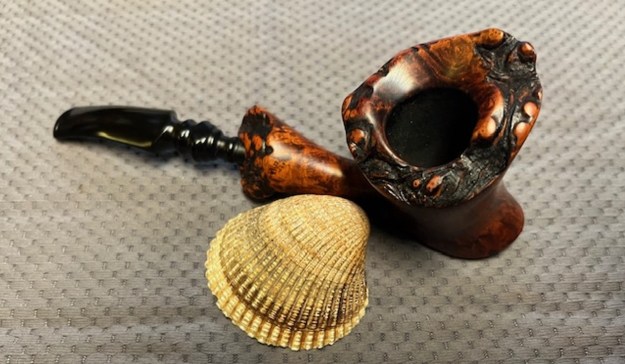
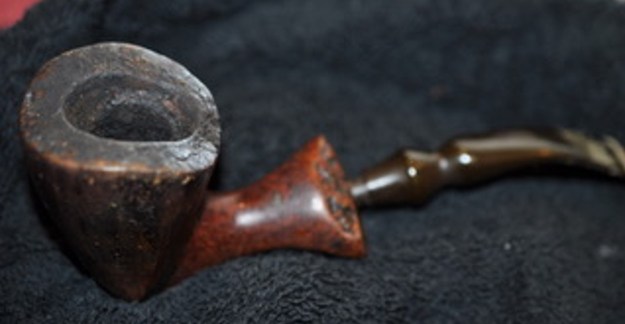
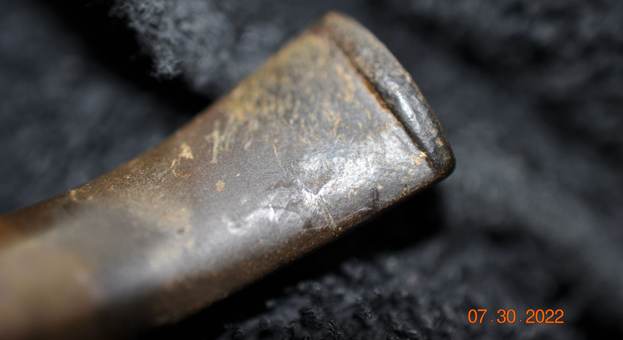
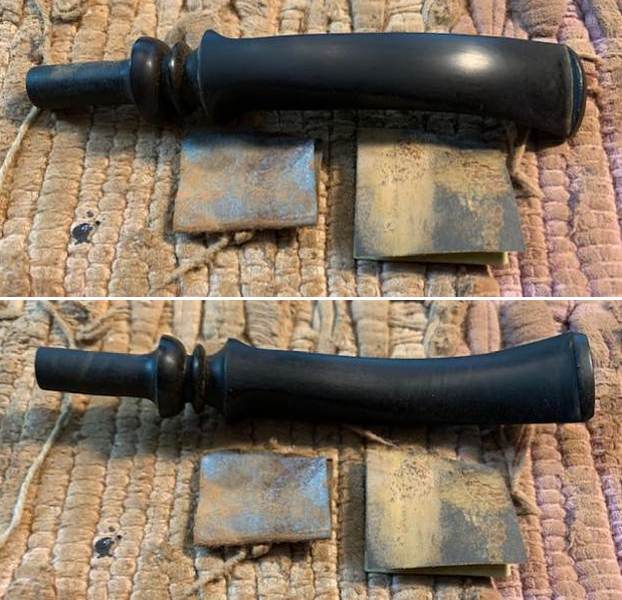
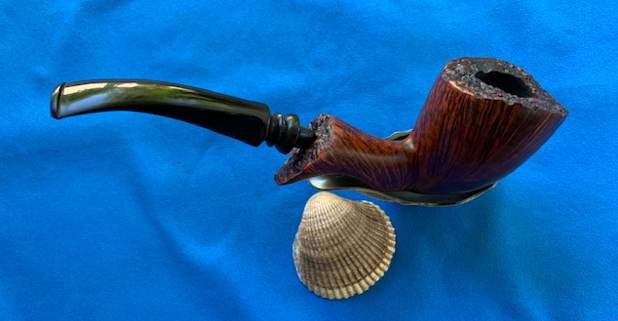
 I took some photos of the rim top and stem to show the condition of them both when the pipe arrived. It looked very good. The stem had some light chatter and tooth marks ahead of the button on both sides.
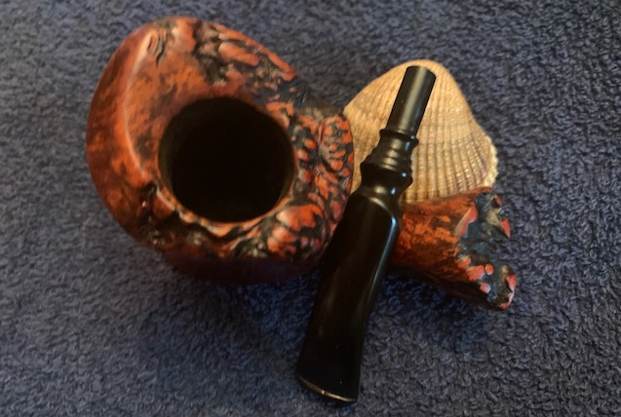
 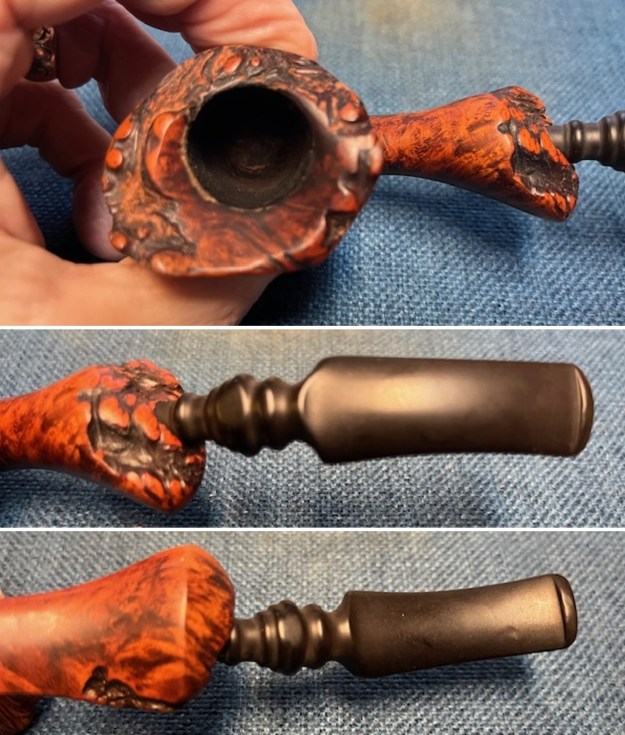 I took a photo of the stamping on the heel of the bowl. It is readable and in great condition. I removed the stem from the shank and took a photo of the pipe to show the look of the pipe.
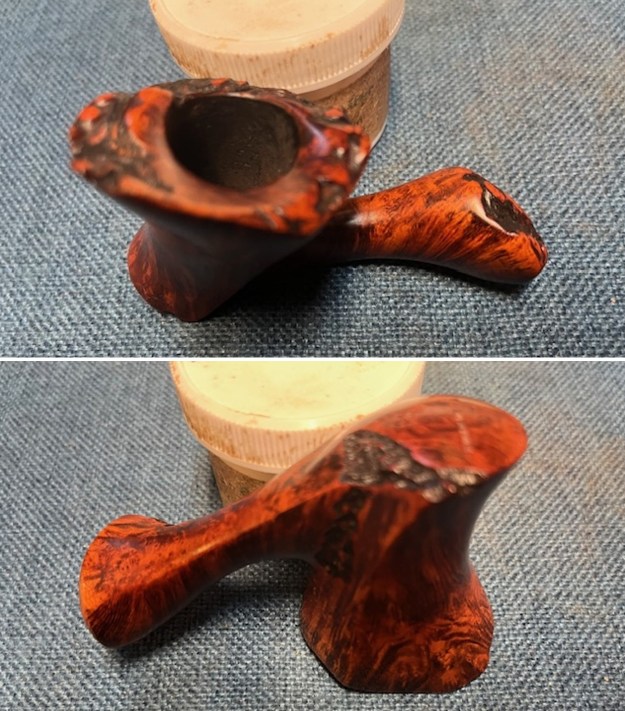
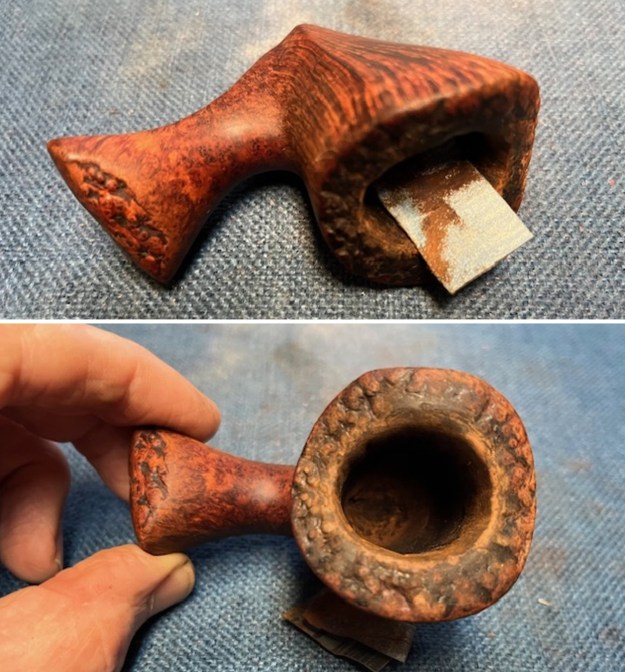
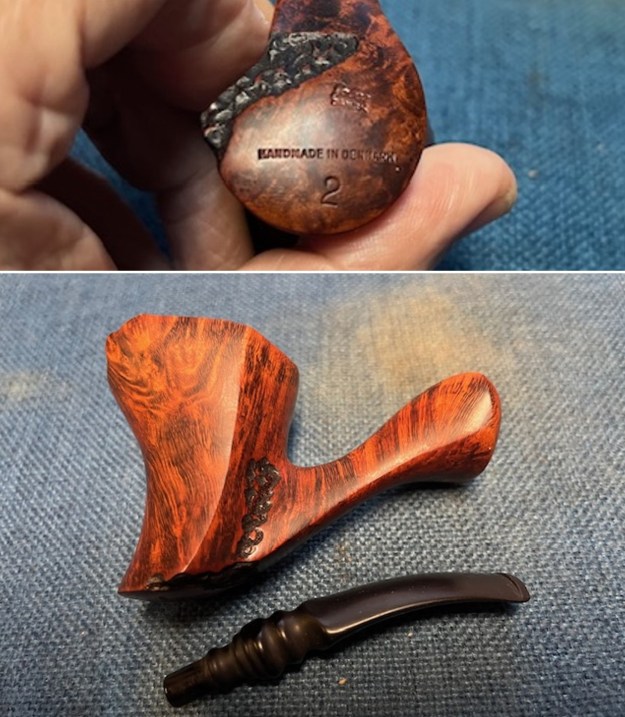 I sanded the darkening on the smooth portions of the rim top and the bevelled inner edge of the bowl with a folded piece of 220 grit sandpaper to remove it. The process worked very well and the rim top looked much better.
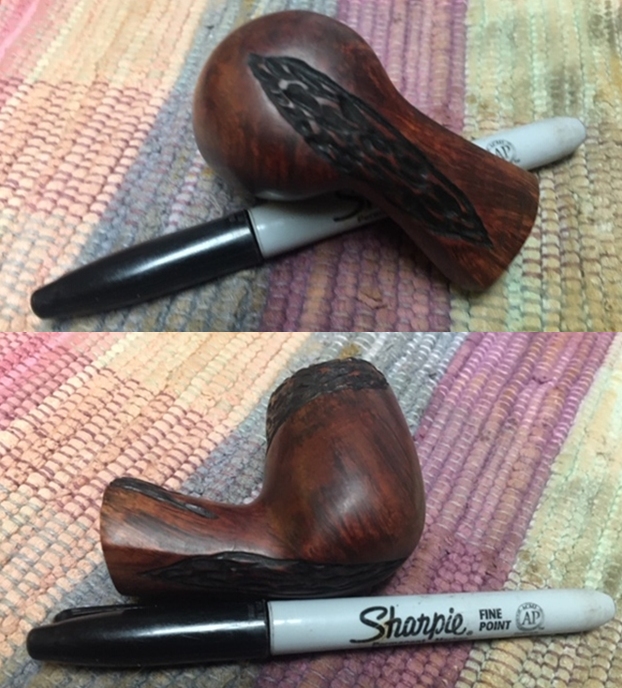
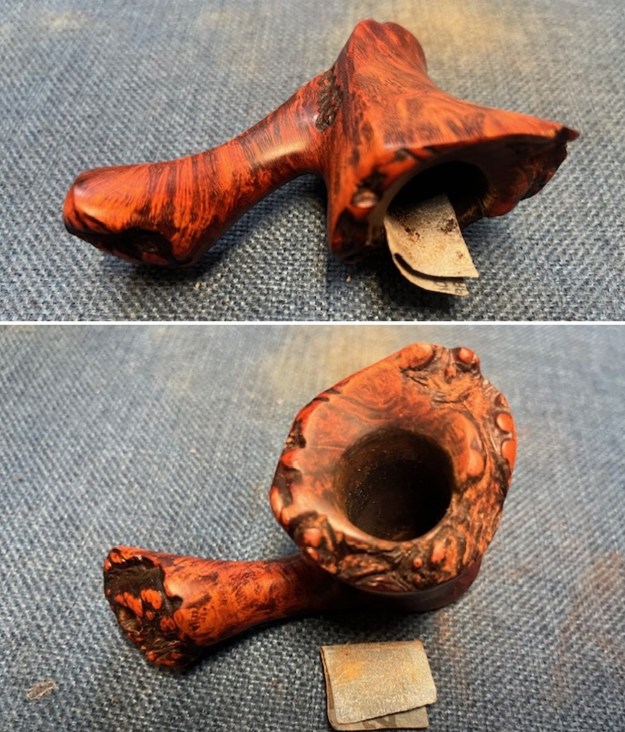 I touched up the valleys in the plateau with a black Sharpie pen to match the other valleys in the finish. It looked very good with the touch up.
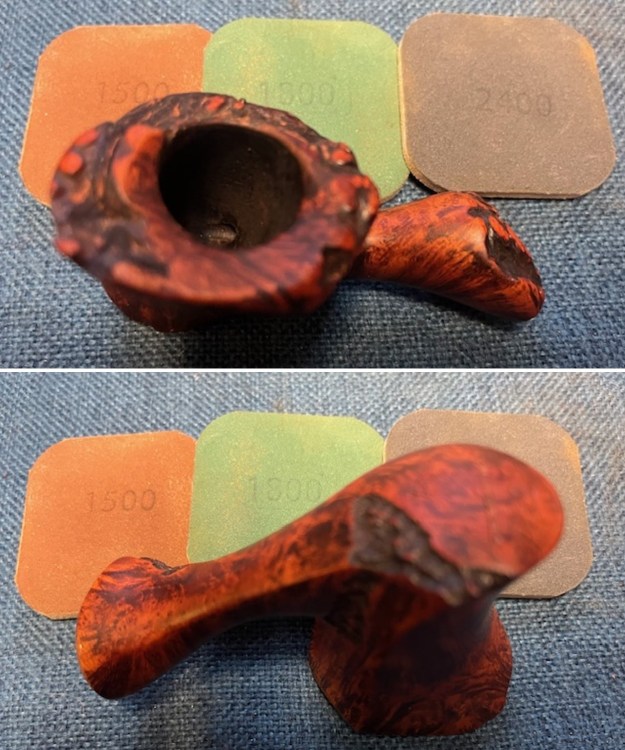
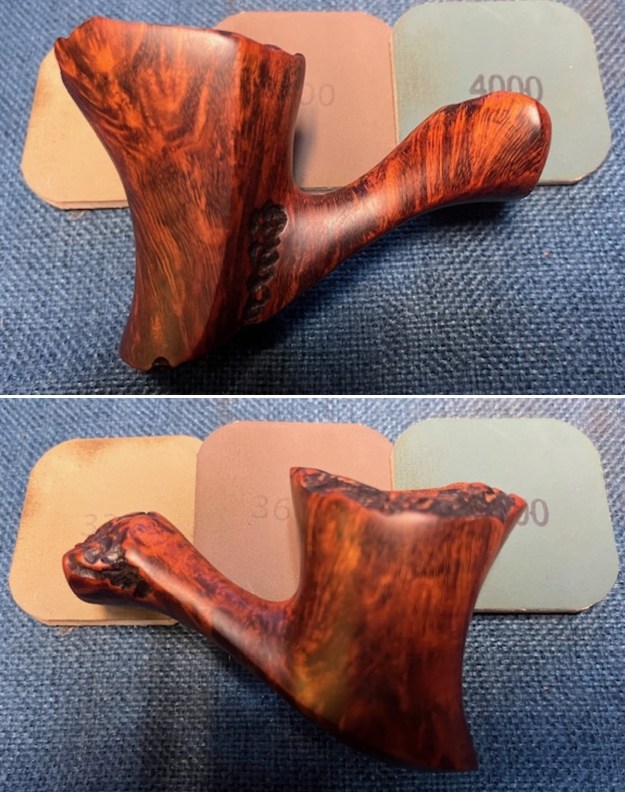
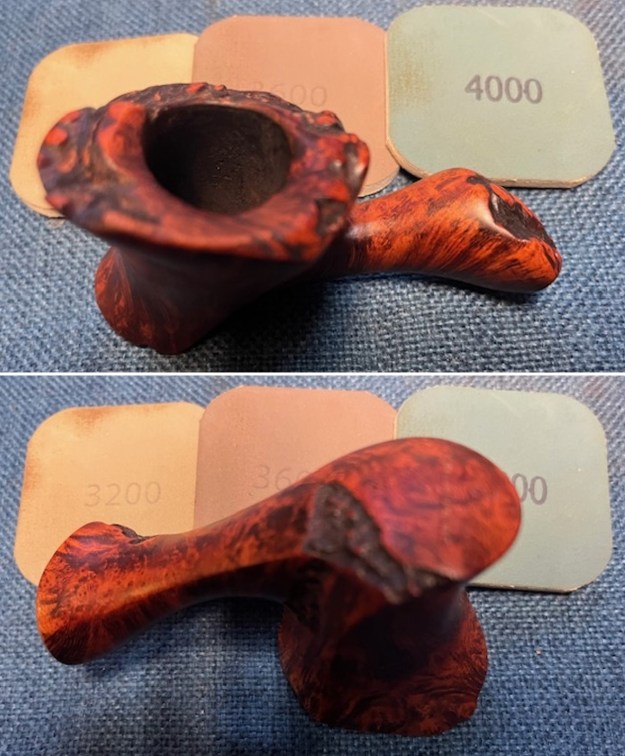
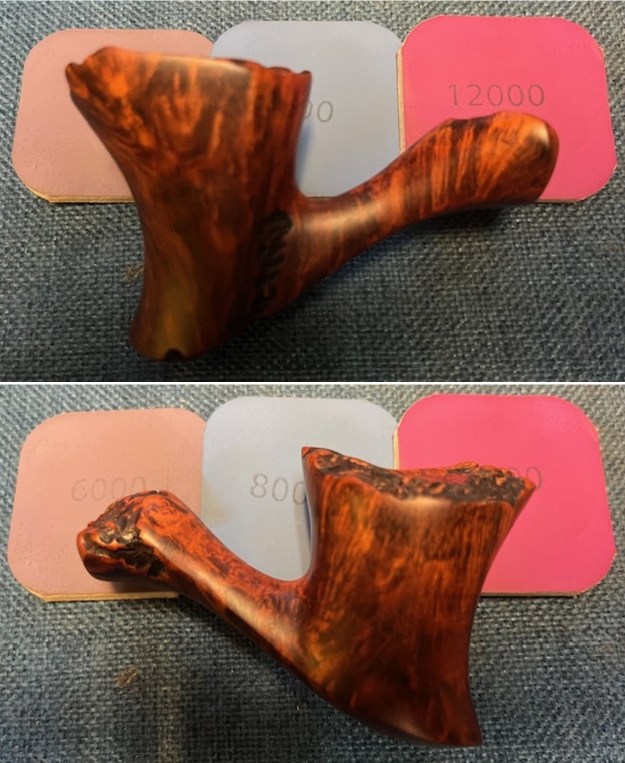
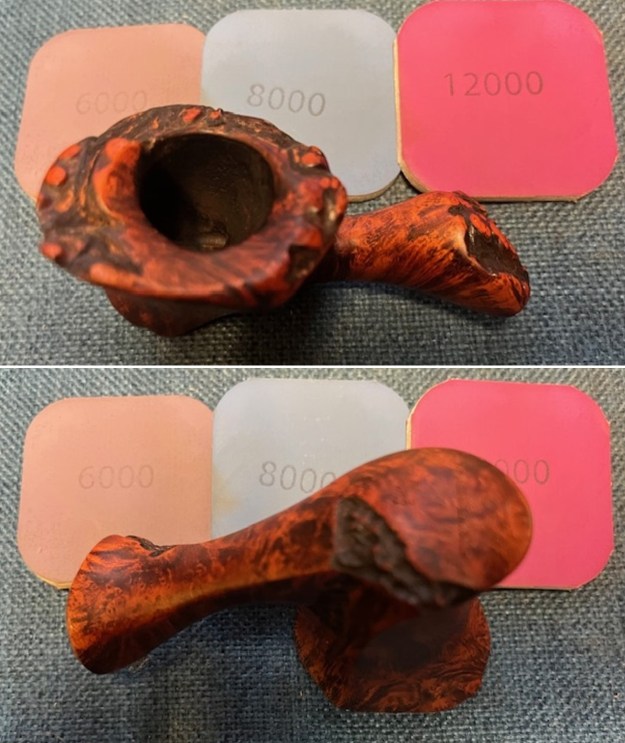
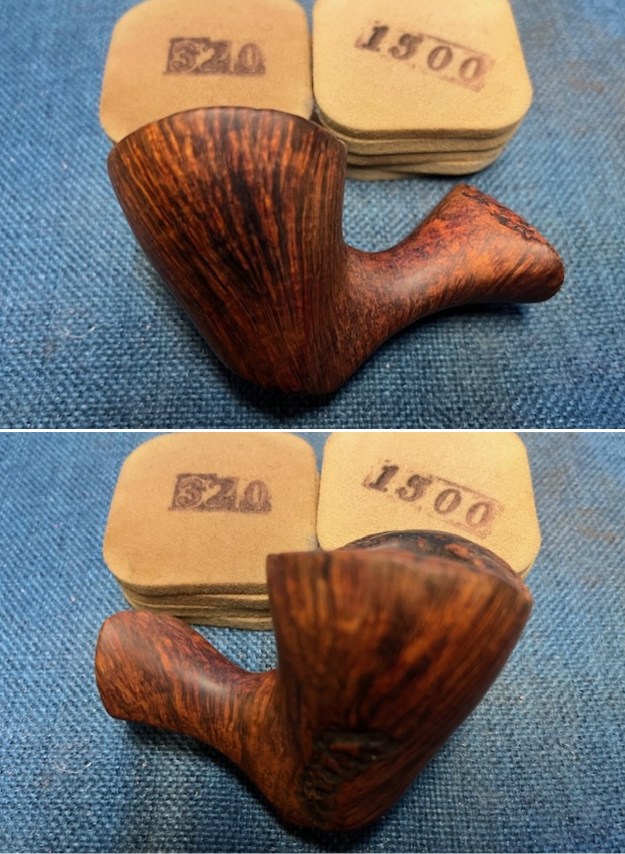
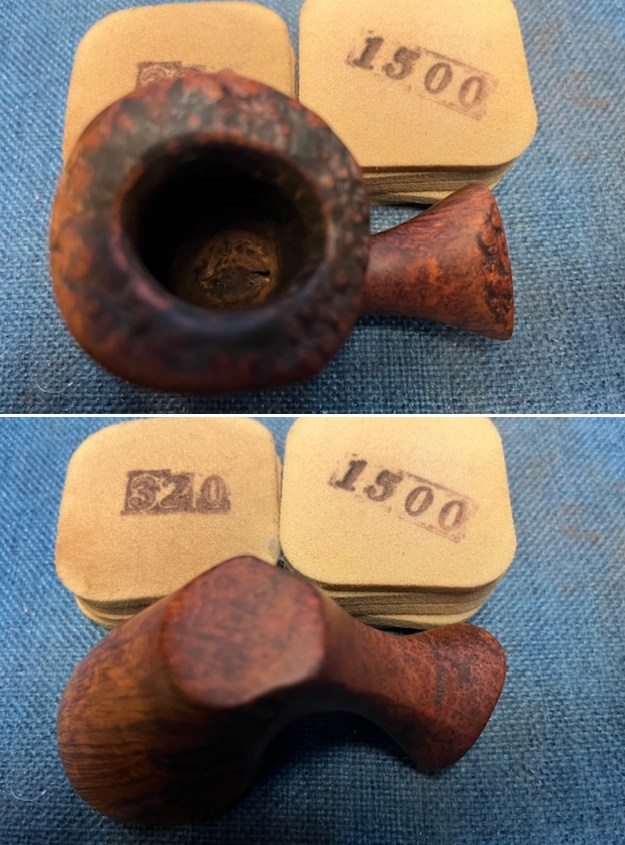
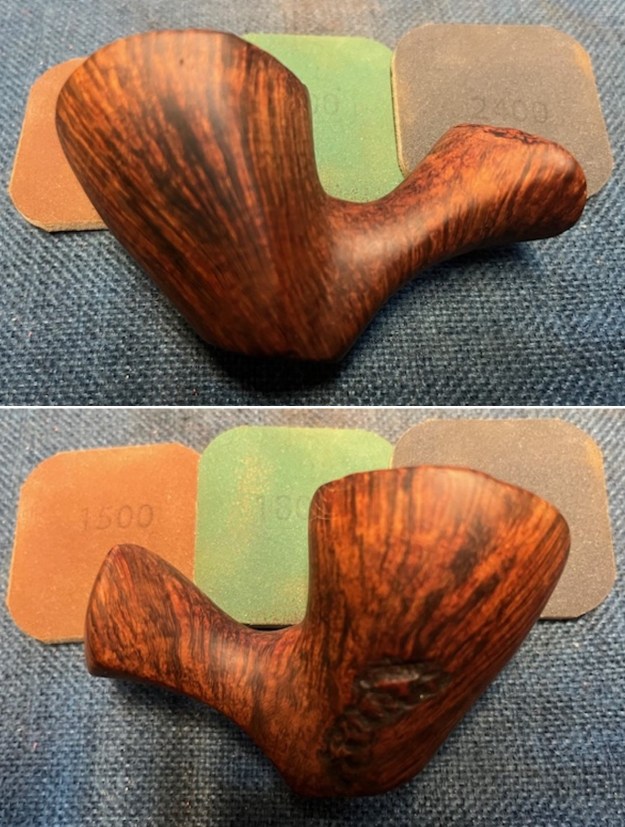
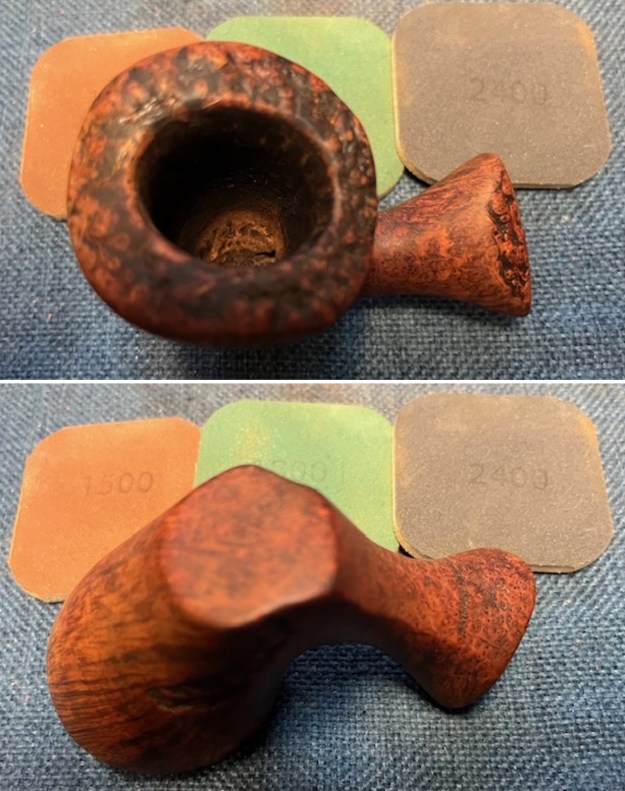
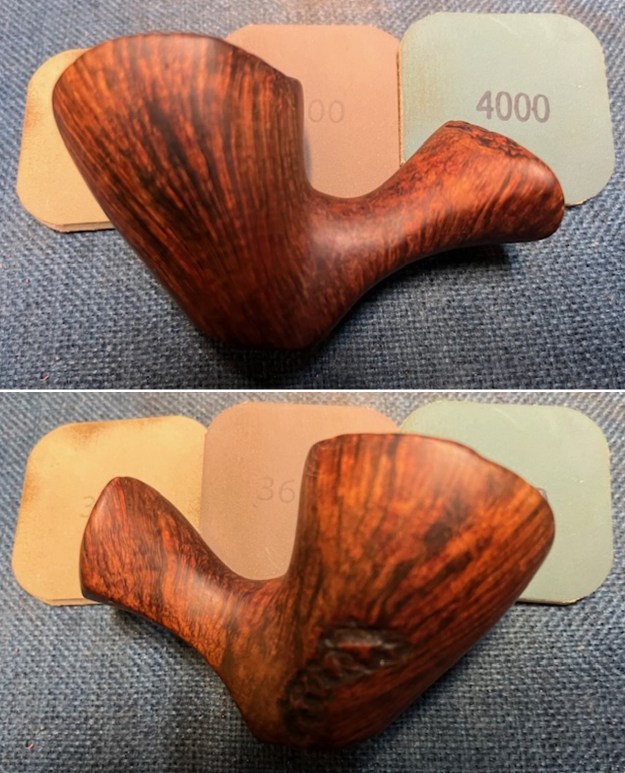
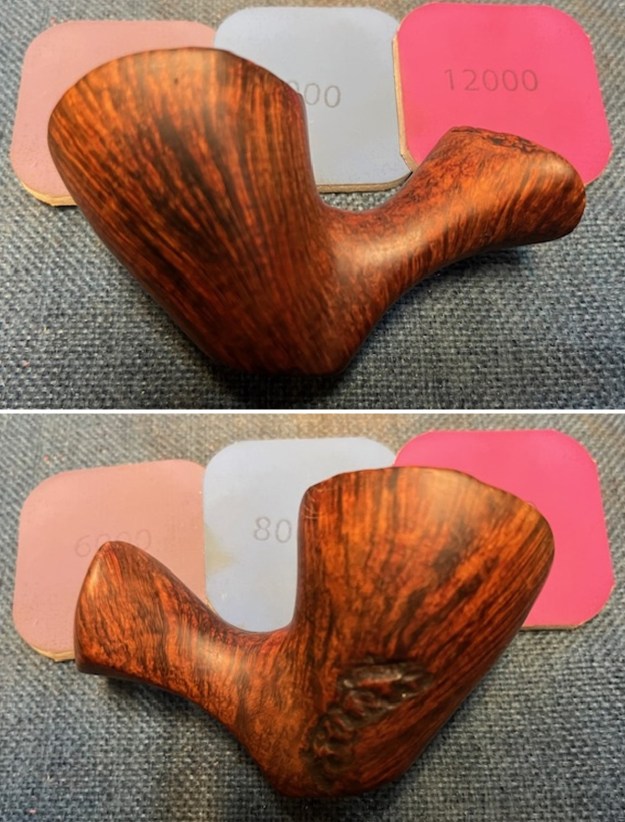
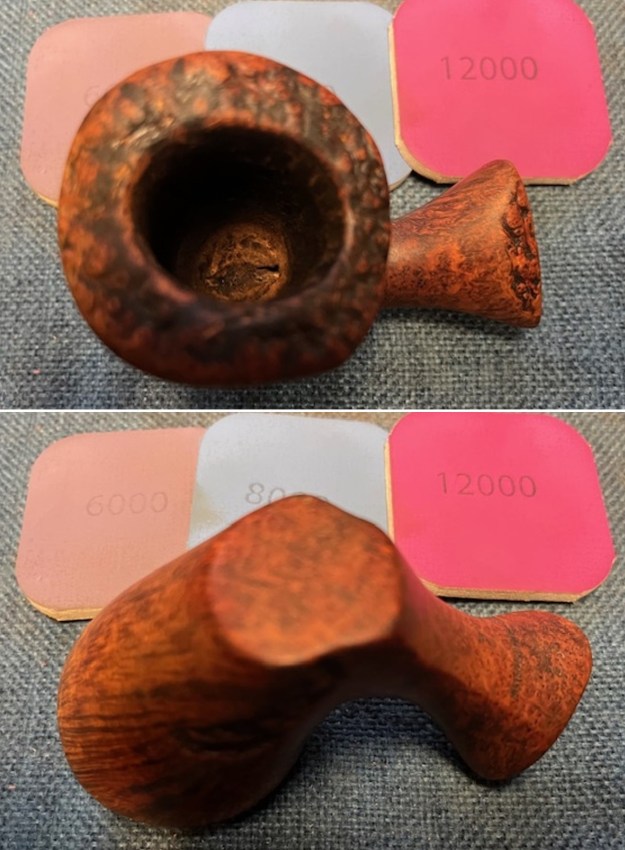
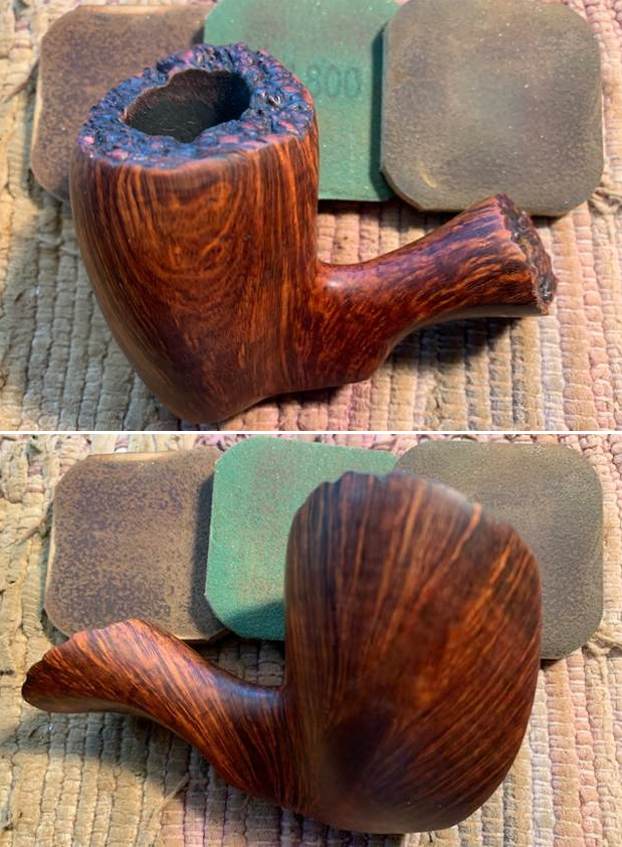
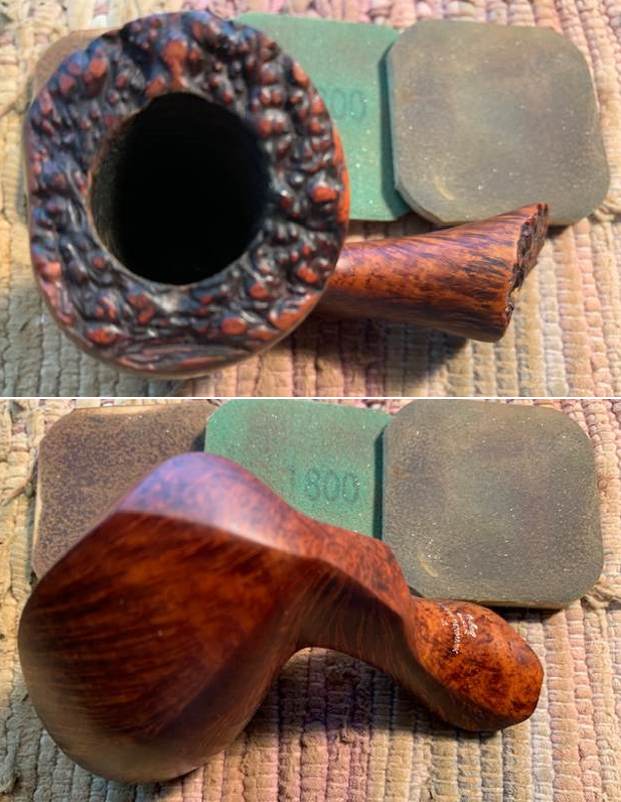
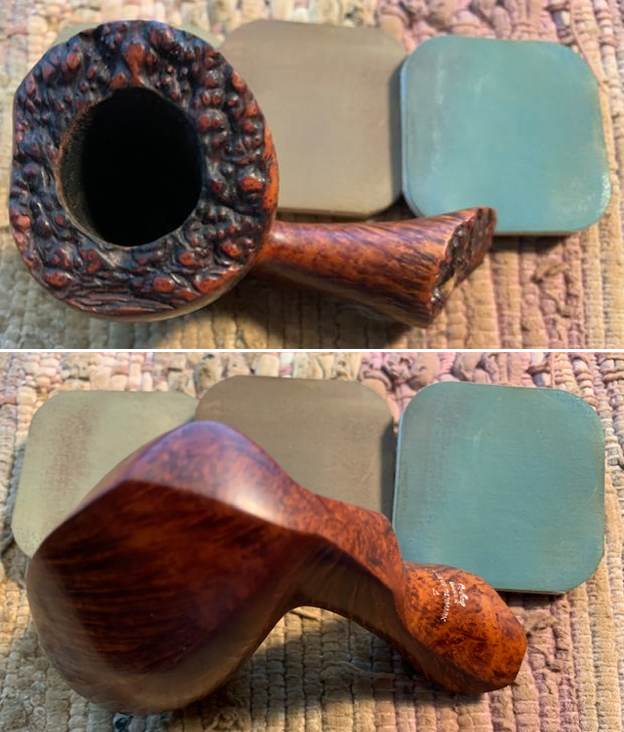
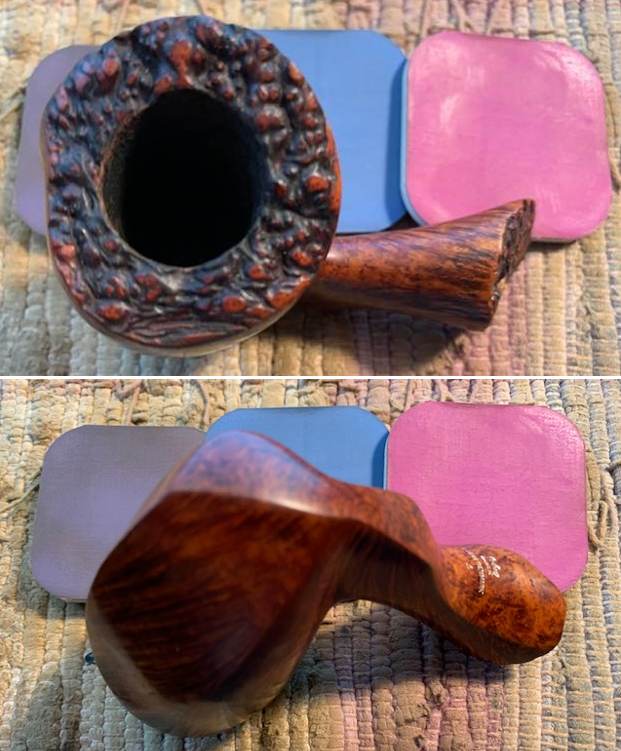
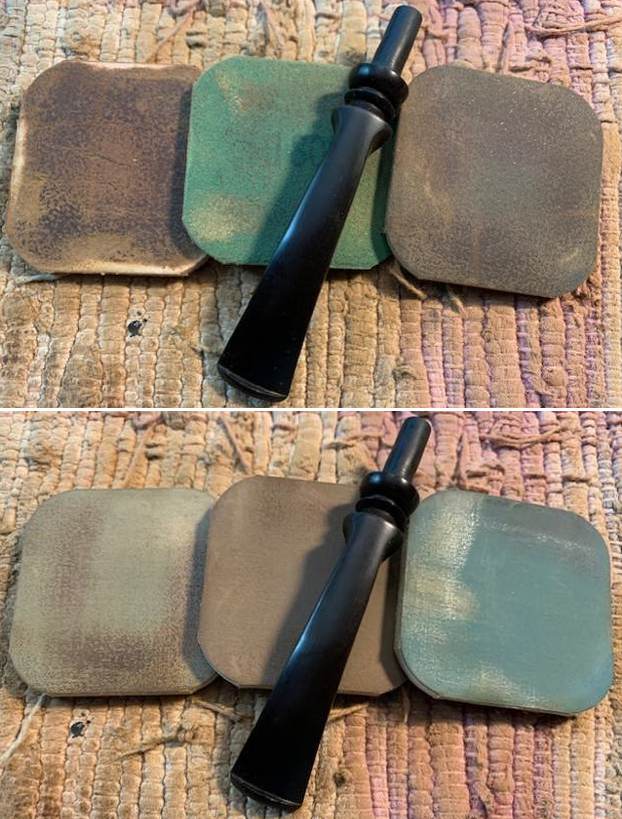
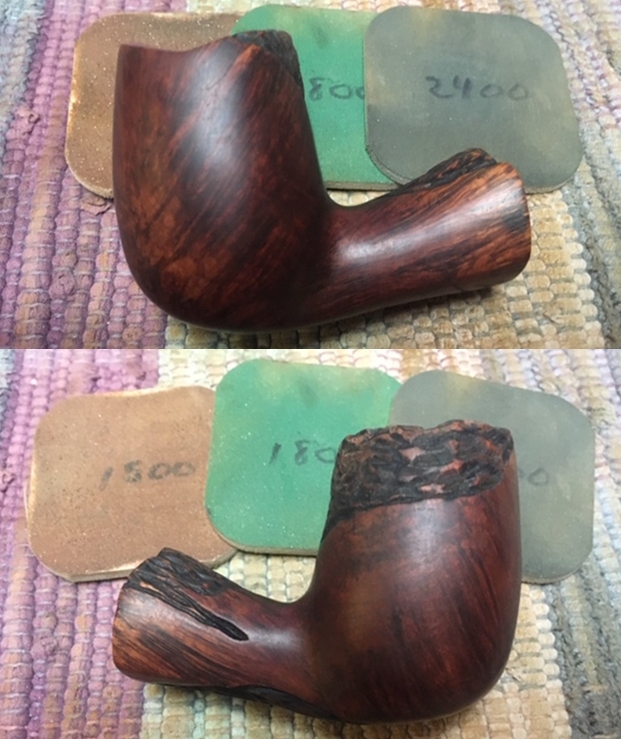
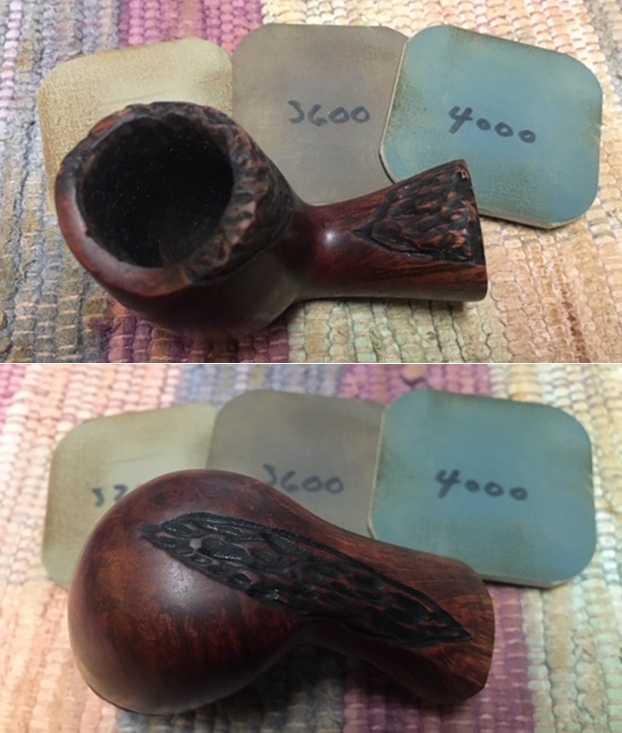
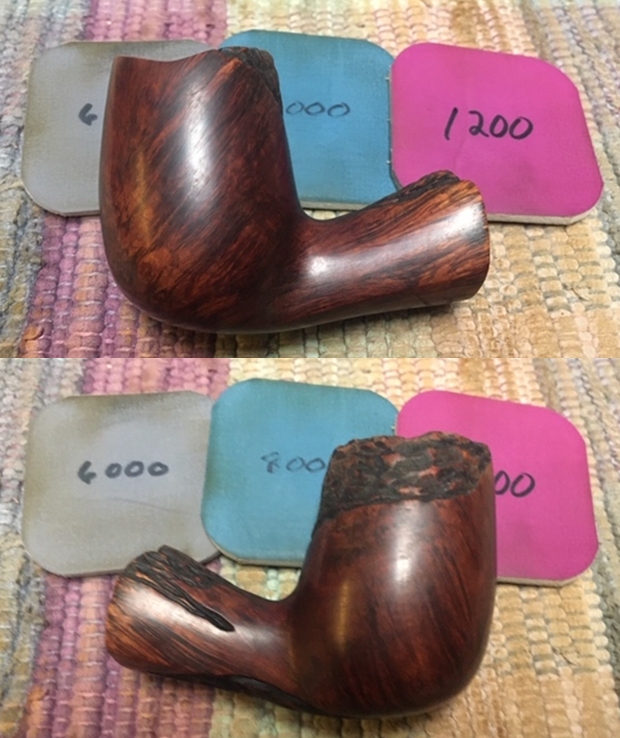
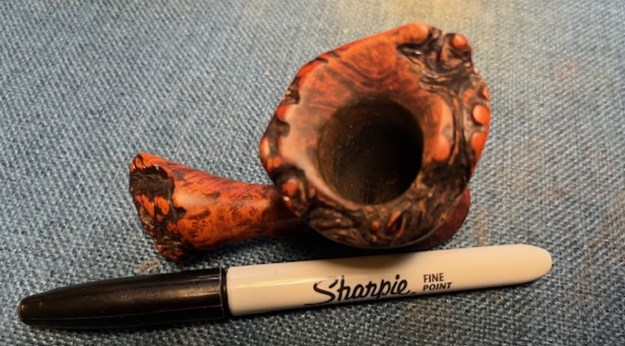 I polished the smooth portions of the bowl and the high points in the rustication and plateau with micromesh sanding pads – dry sanding with 1500-12000 grit pads. I wiped the briar down after each pad with a damp cloth. The bowl is starting to look very good.
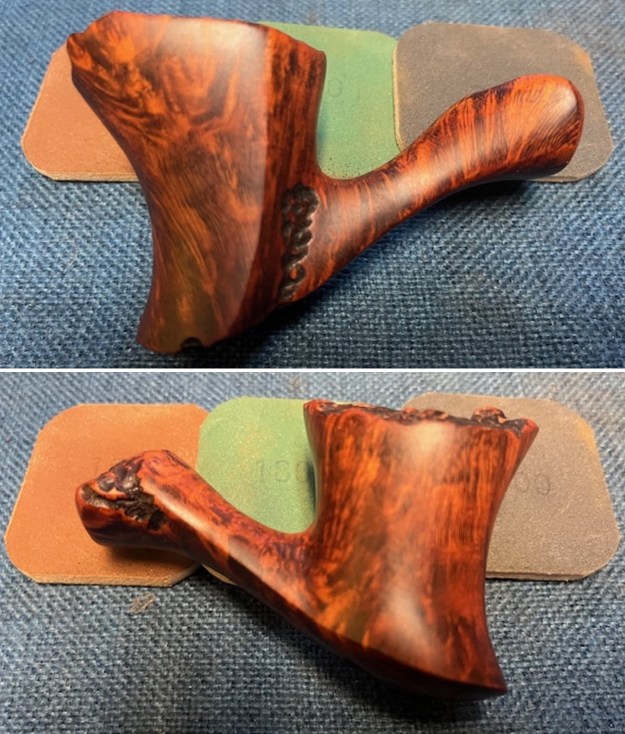
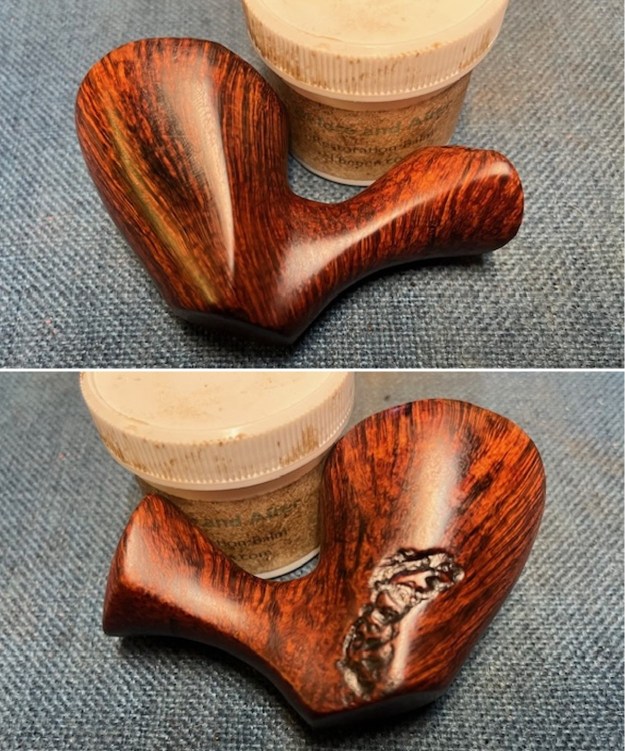
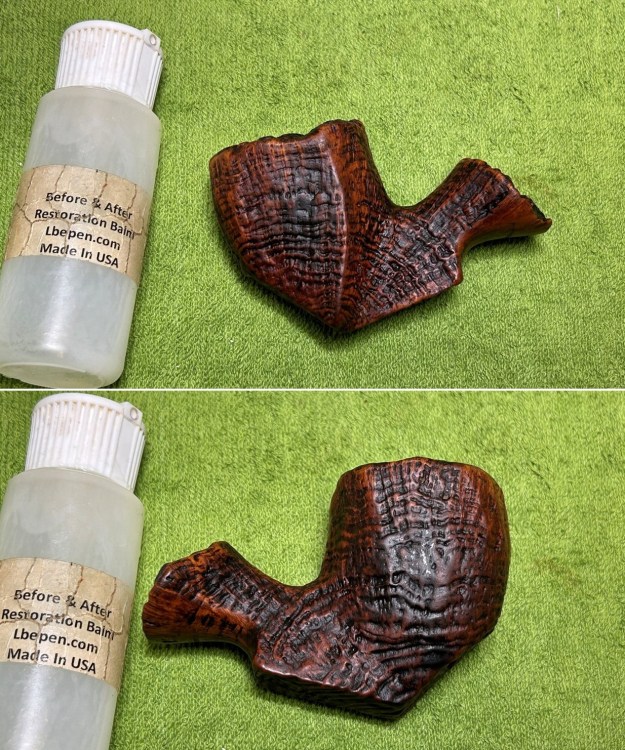
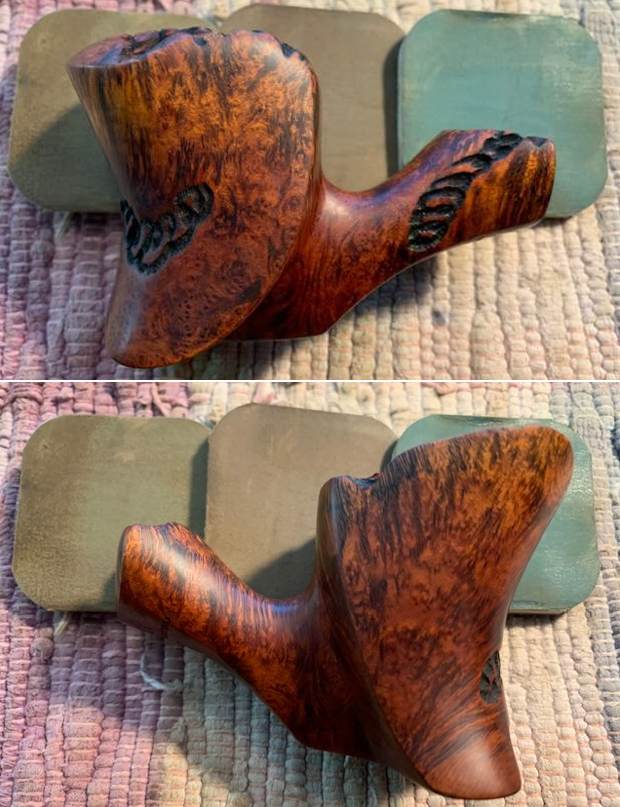
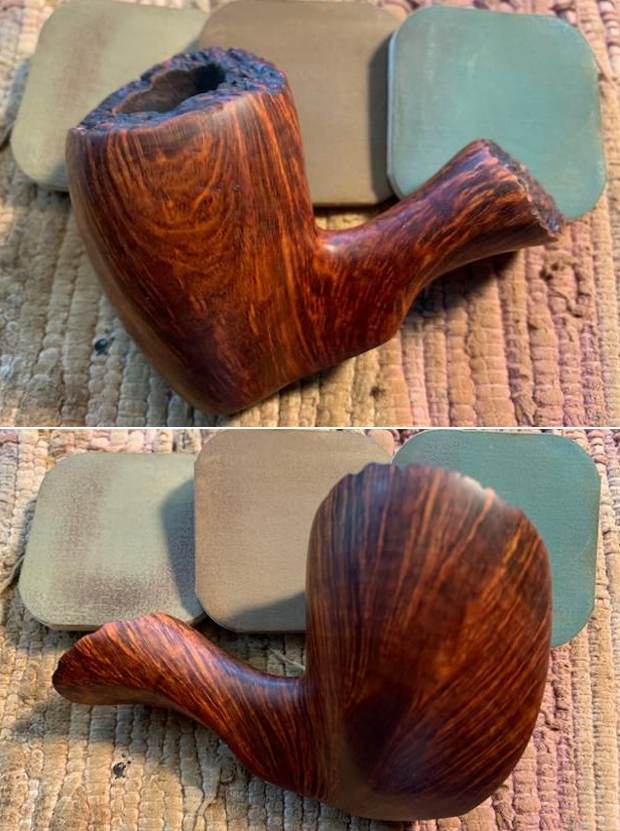
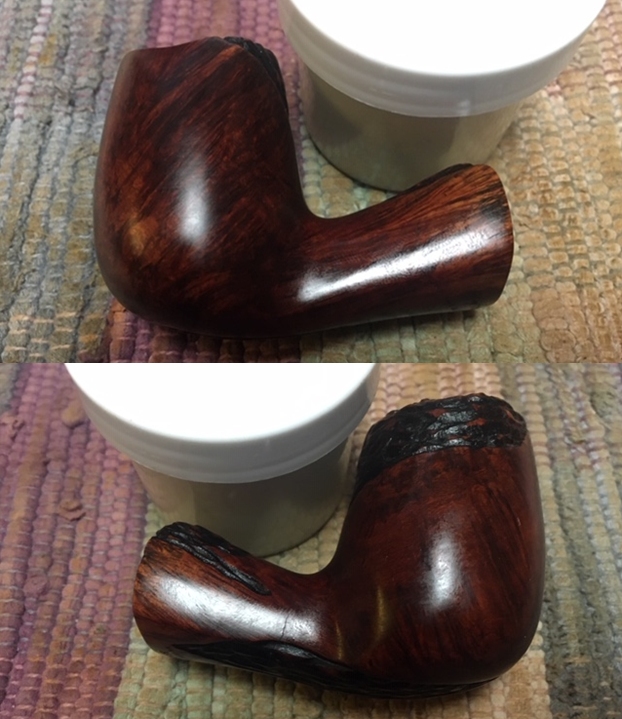
 I worked some Before & After Restoration Balm into the surface of the briar with my fingertips and into the plateau rim top and shank end with a horsehair shoe brush to clean, enliven and protect it. I let the balm sit for a little while and then buffed with a cotton cloth to raise the shine. The photos show the bowl at this point in the restoration process.
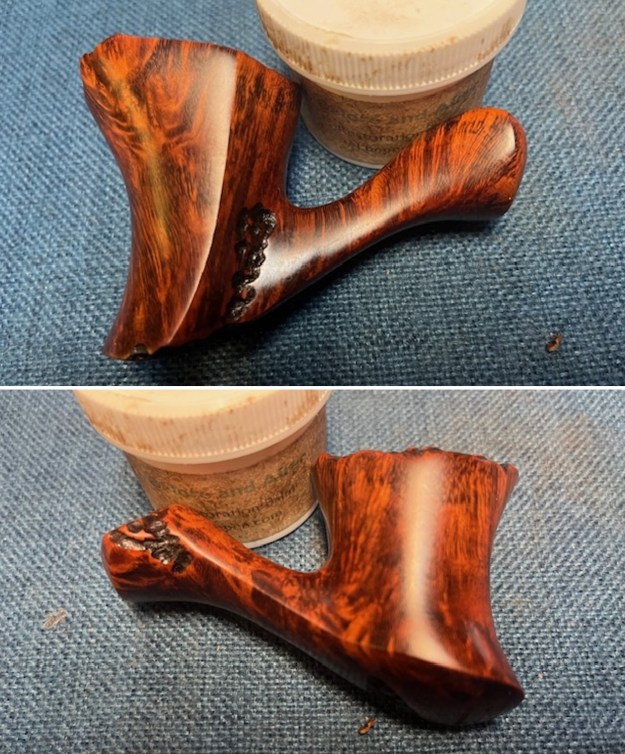
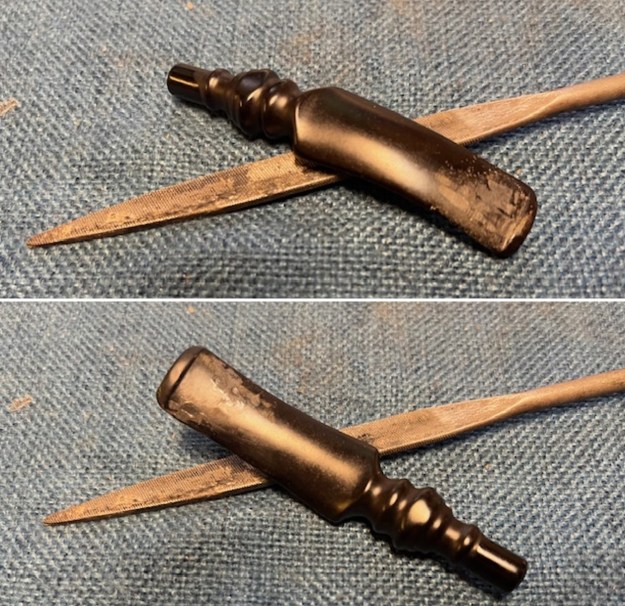
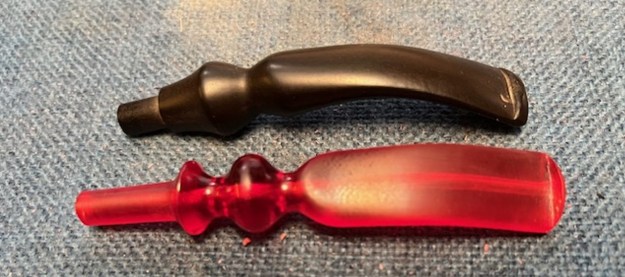
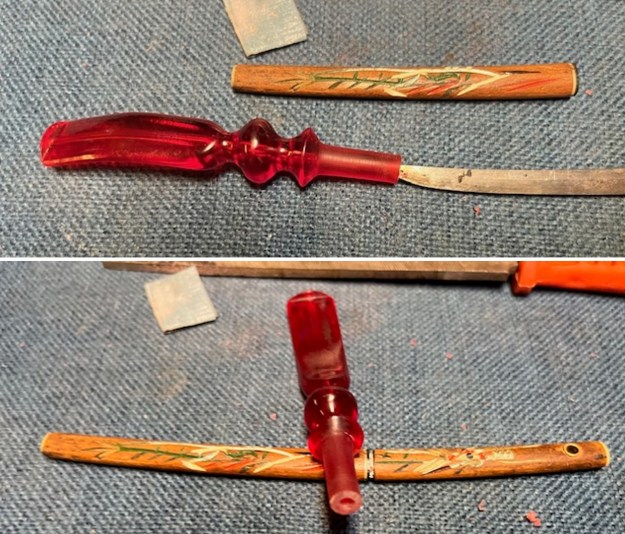
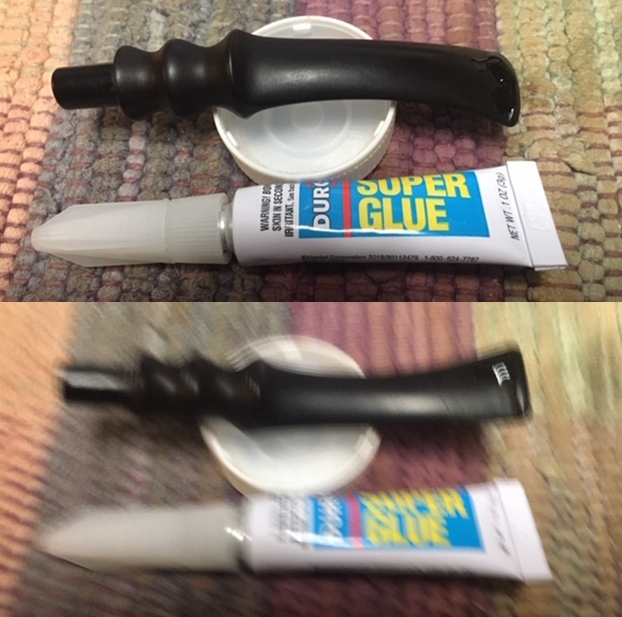
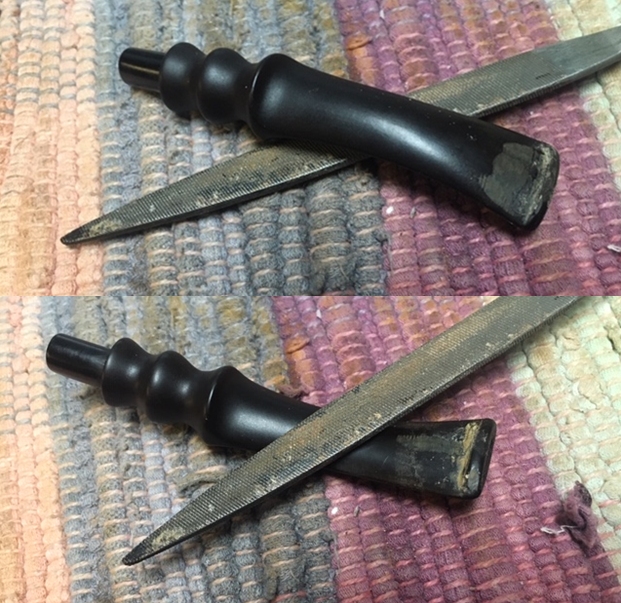
 I set the bowl aside and turned my attention to the stem. I “painted” the stem with a lighter flame and then filled in the remaining tooth damage with black rubberized CA glue. I set it aside to let the repair cure. Once cured, I flattened out the repairs with a flat file and then sanded it with 220 grit sandpaper to blend it into the surface of the surrounding vulcanite.
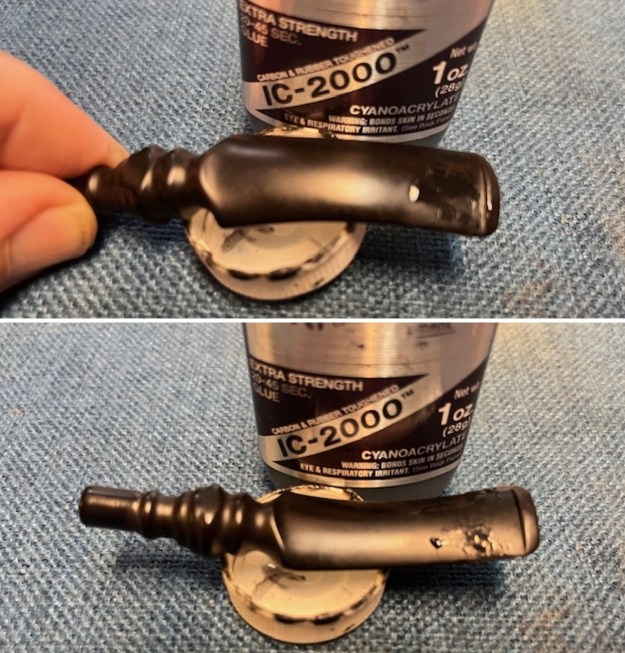
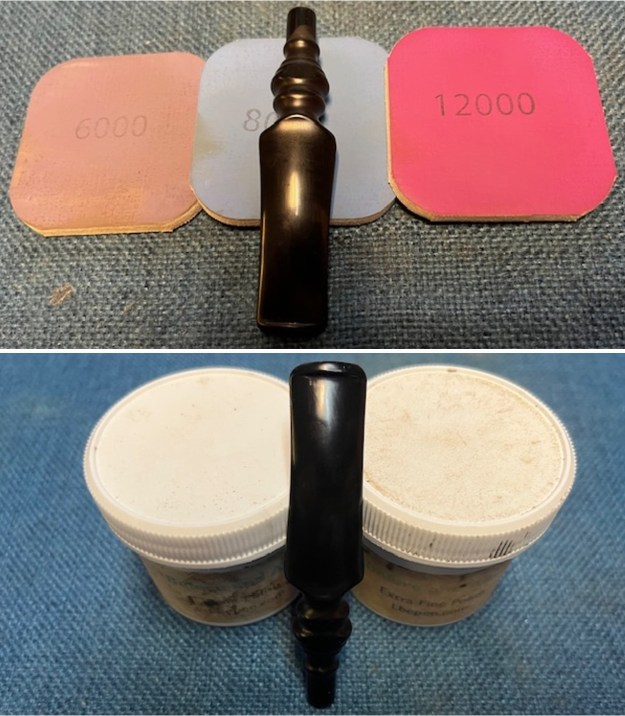
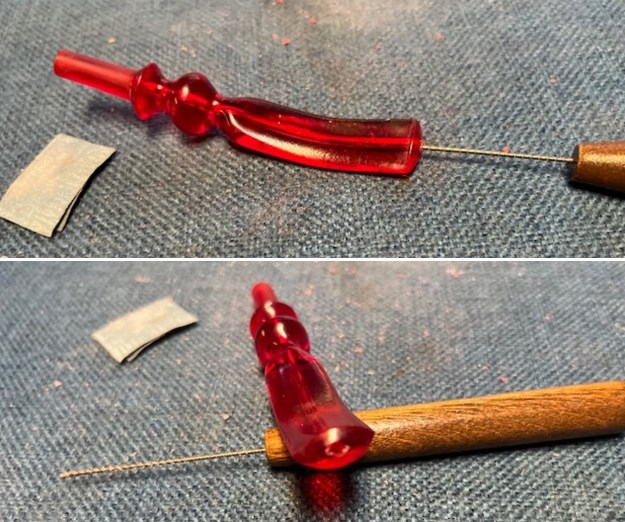
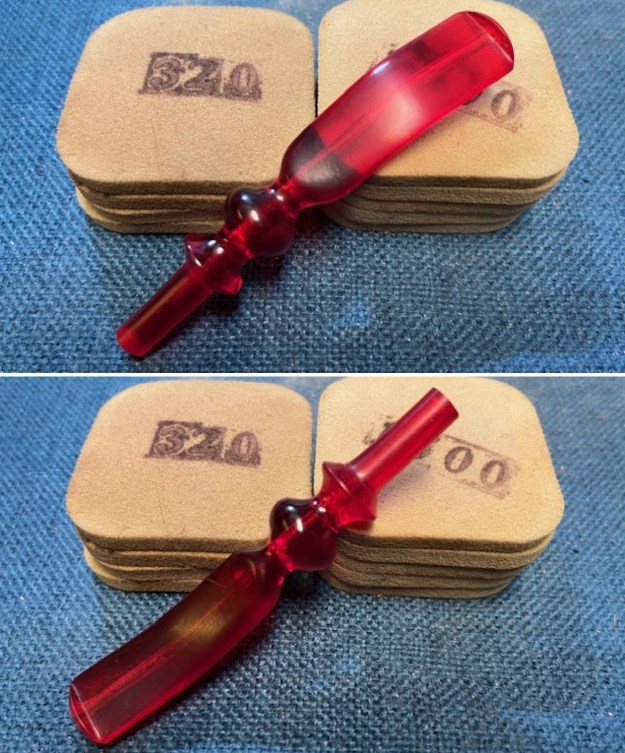
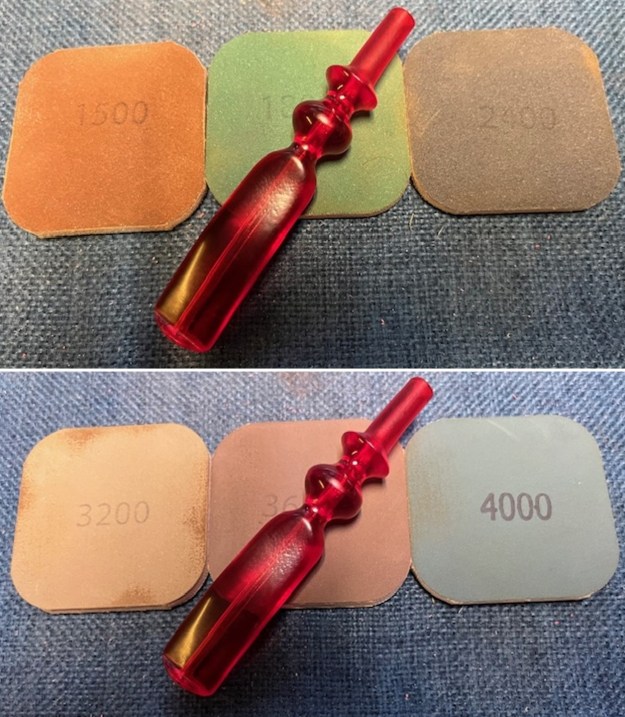
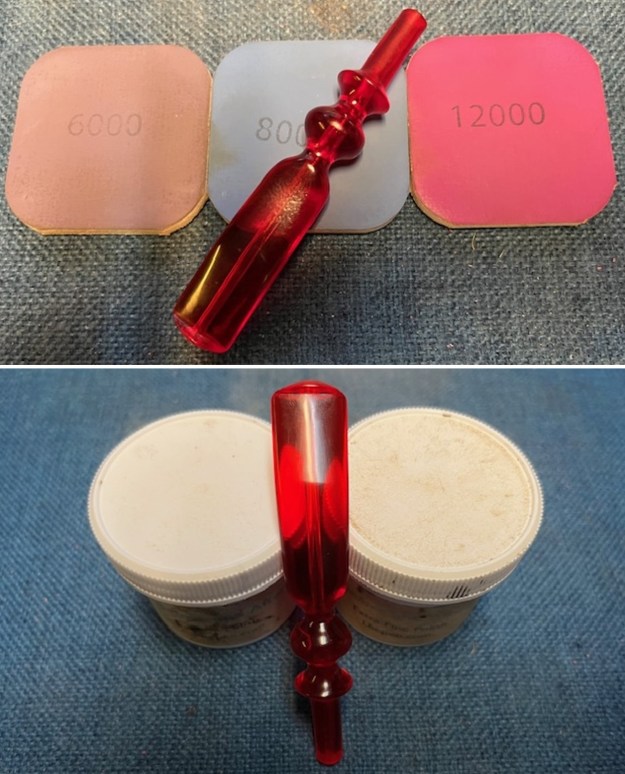
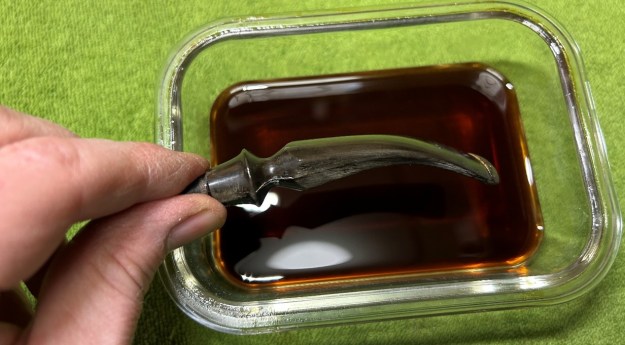
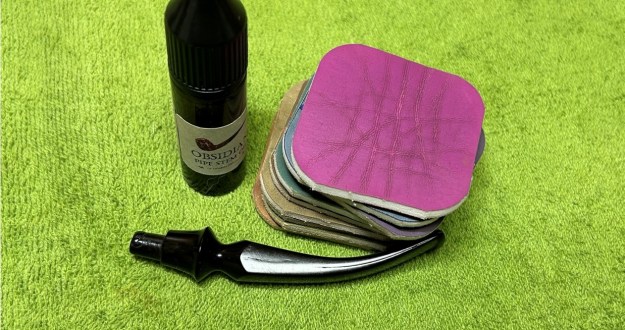
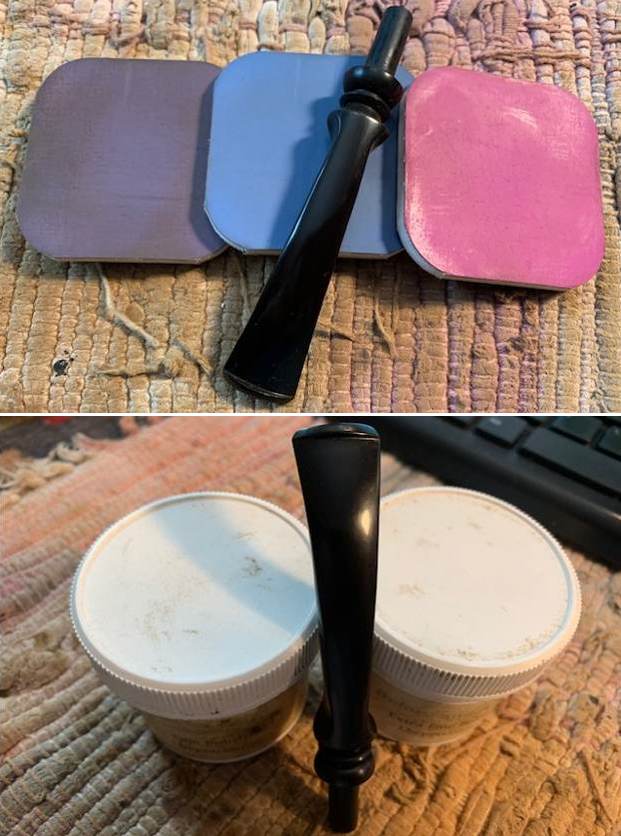
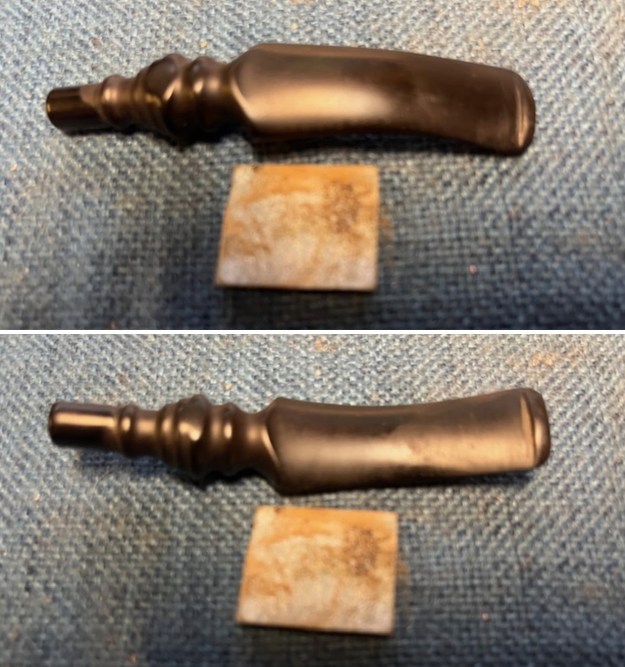 I sanded the stem with 320-3500 grit sanding pads. I wiped the stem down with an Obsidian Oil cloth after each sanding pad. Once I was finished it looked much better.
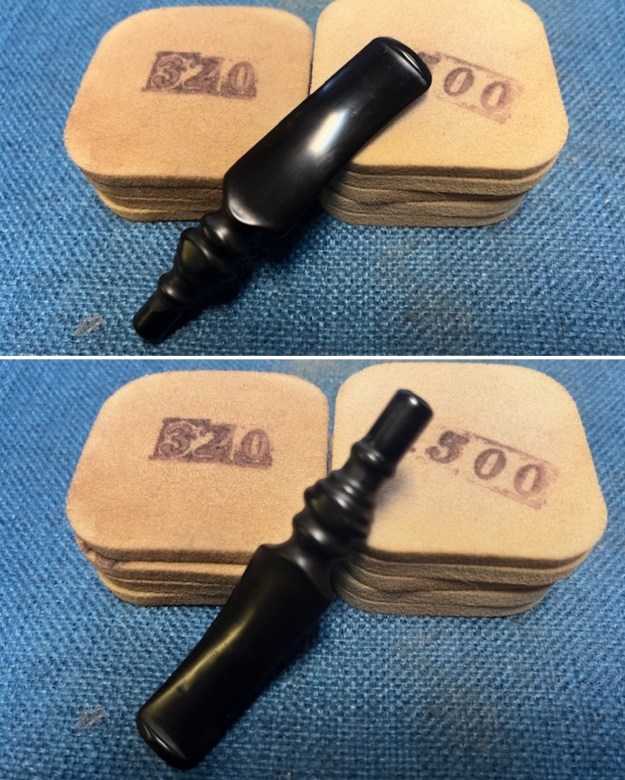 I polished the stem with micromesh sanding pads – wet sanding with 1500-12000 grit sanding pads. I wiped it down after each sanding pad with some Obsidian Oil. I finished polishing it with Before & After Pipe Stem Polish – both Fine and Extra Fine and buffed it off with a cotton cloth.
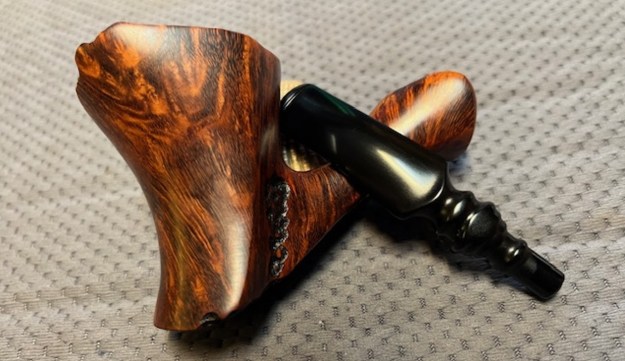
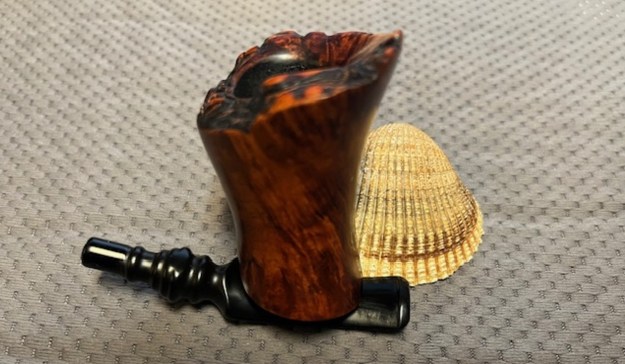
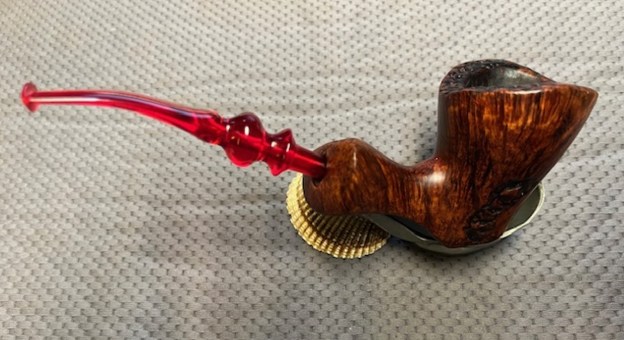
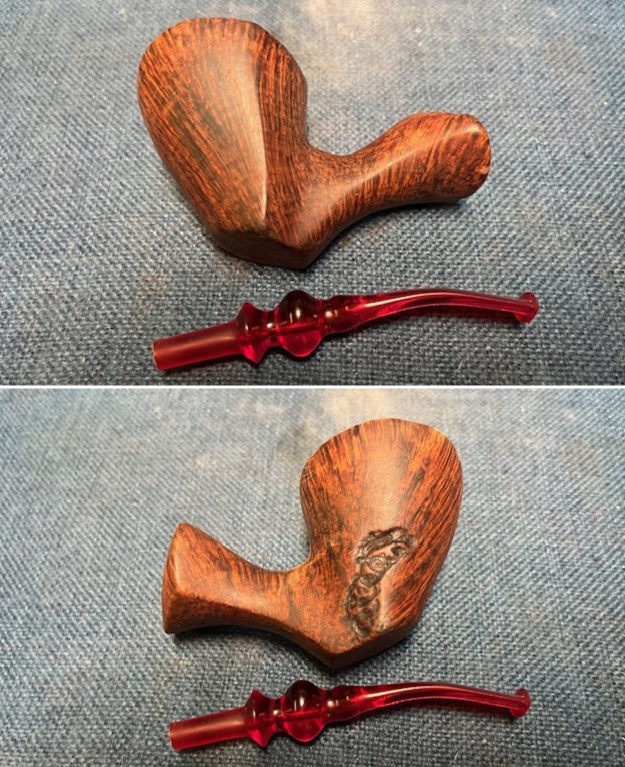
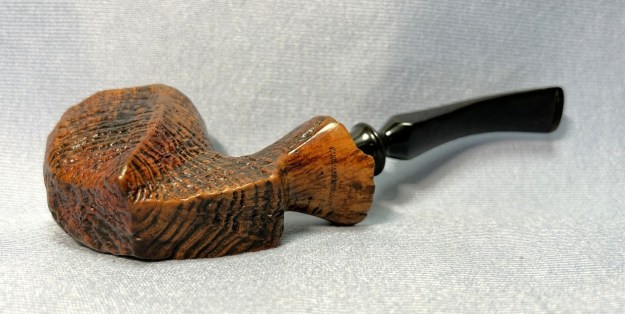
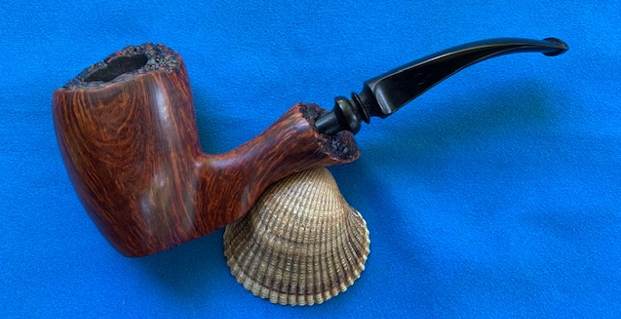
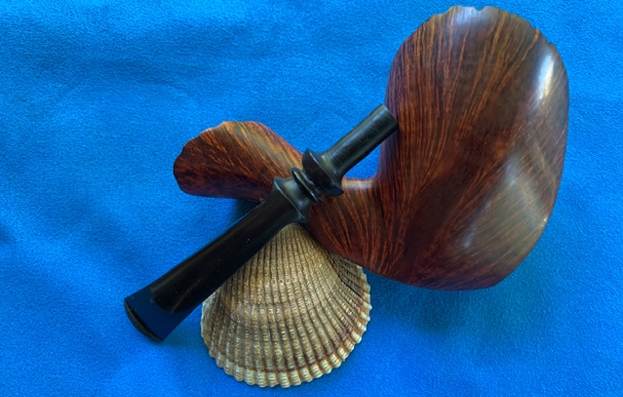
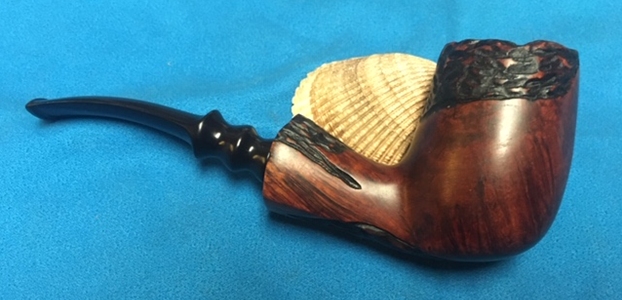
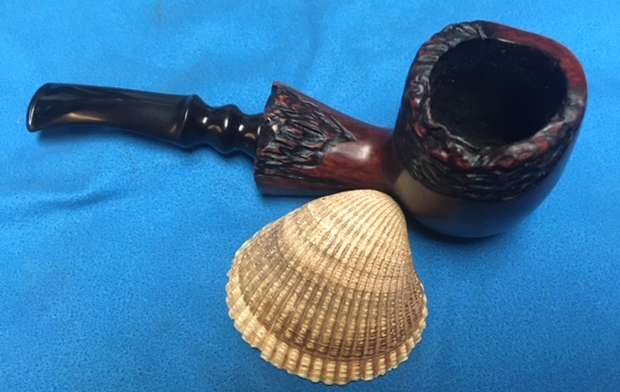
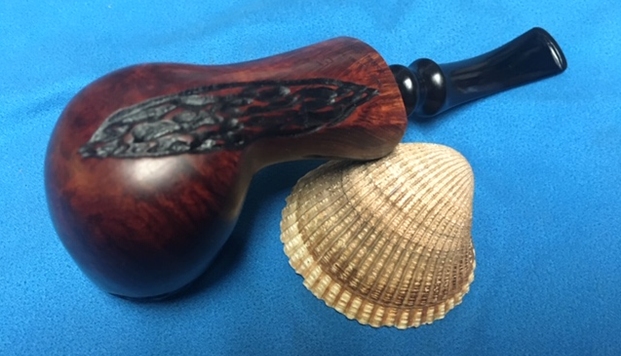
 This is a beautiful Jobey Dansk 2 Handmade Freehand by Karl Erik with a fancy, turned, vulcanite stem. It has a great look and feel. The shape fits well in the hand with the curve of the bowl and shank junction a perfect fit for the thumb around the bowl when held. I polished stem and the bowl with Blue Diamond polish on the buffing wheel. I gave the plateau on the rim top and shank end multiple coats of Conservator’s Wax. I gave the bowl and the stem multiple coats of carnauba wax. I buffed the pipe with a clean buffing pad to raise the shine. I hand buffed it with a microfiber cloth to deepen the shine. The pipe polished up pretty nicely. The rich combination of browns and black in the smooth finishes and the plateau areas took on life with the buffing. The rich colour of the briar works well with the polished vulcanite stem. I like the grain and finished look of this Jobey Dansk 2 pipe. Have a look at it with the photos below. The shape, finish and flow of the pipe and stem are very well done. The dimensions are Length: 6 inches, Height: 2 ¼ inches, Outside diameter of the bowl: 1 ½ wide, Chamber diameter: 7/8 of an inch. The weight of the pipe is 43 grams/1.52 ounces. This Danish Freehand is a real beauty. Thanks for walking through the restoration with me as I worked over another beautiful pipe. This one will be going on the rebornpipes store in the Danish Pipe Making Section shortly if you would like to add it to your collection. Thanks for your time.
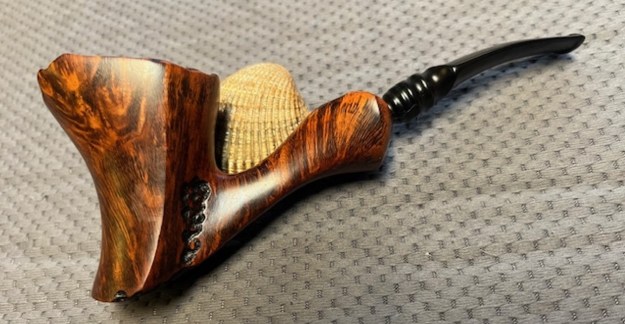


