By Steve Laug
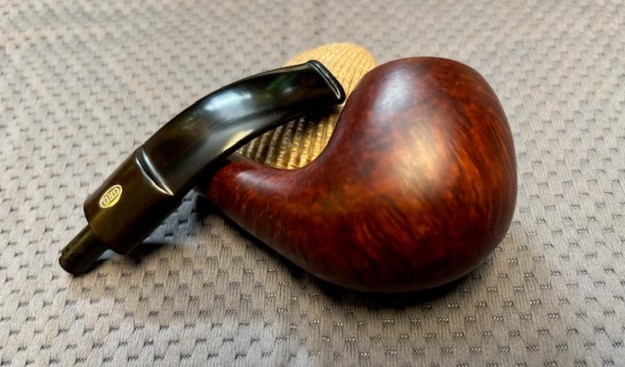
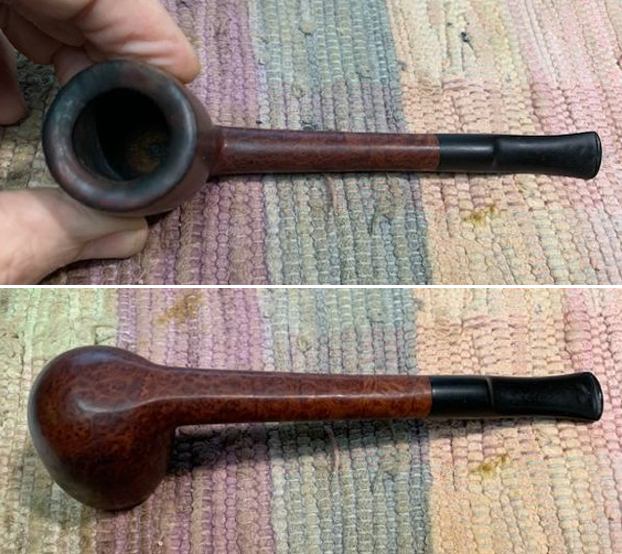
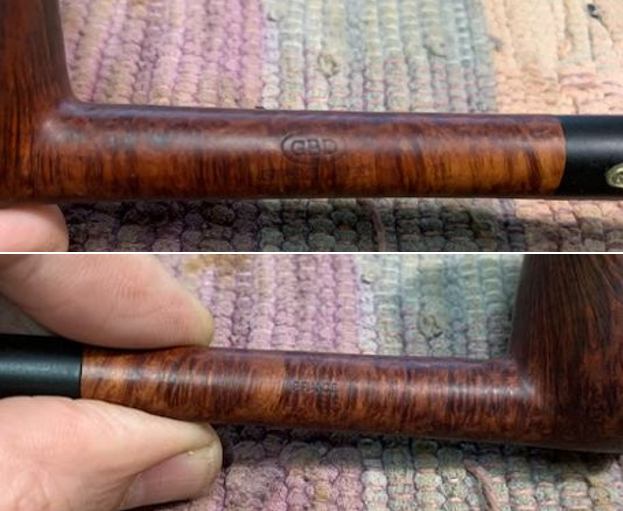
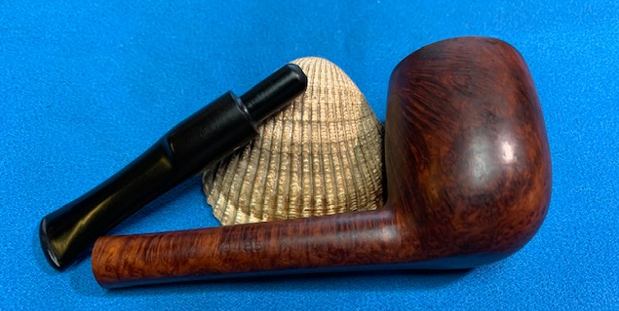
The next pipe on the worktable is an English made oval shank bent Apple with a classic brown finish. It is a combination reddish brown stains. The pipe came to us from a lot that we bought from a Facebook auction from Beach Lake, Pennsylvania, USA on 01/29/2024. The pipe is very dirty with a thick cake in the bowl and lava on the rim top. The rim edge looks good but it was hard to know what was under the lava coat on the top and edges. It is stamped on the top and the underside of the shank. On the topside it reads GBD in an oval [over] Speciale [over] Standard. On the underside it is stamped London, England [over] the shape number 788 followed by the letter D. The finish was dusty and there were oils and grime ground into the finish around the sides of the bowl. The stem is a vulcanite saddle stem with grime on the surface and tooth chatter and deep marks ahead of the button on both sides. There is an inlaid GBD oval medallion on the top of the saddle stem. Jeff took some photos of the pipe before he started his cleanup work.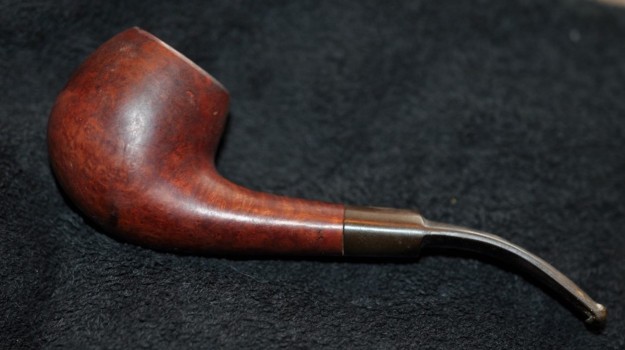
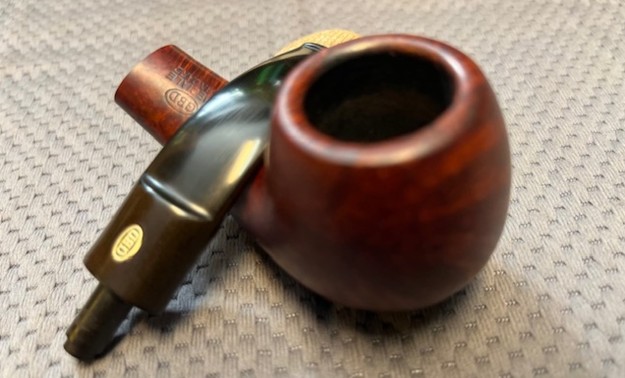
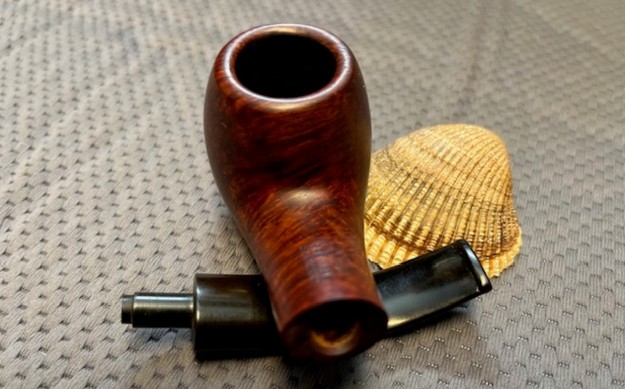
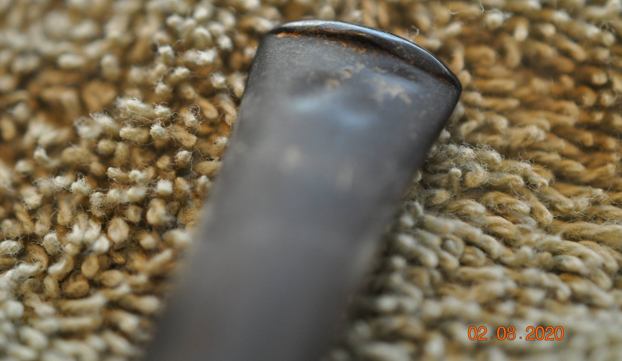
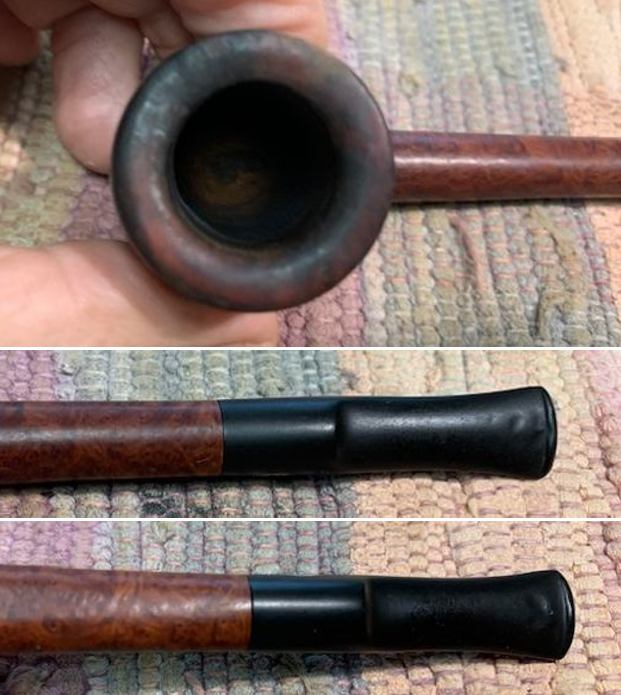
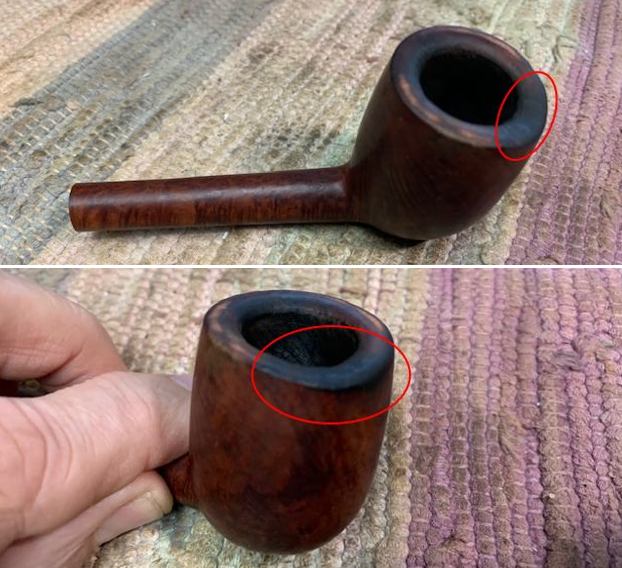
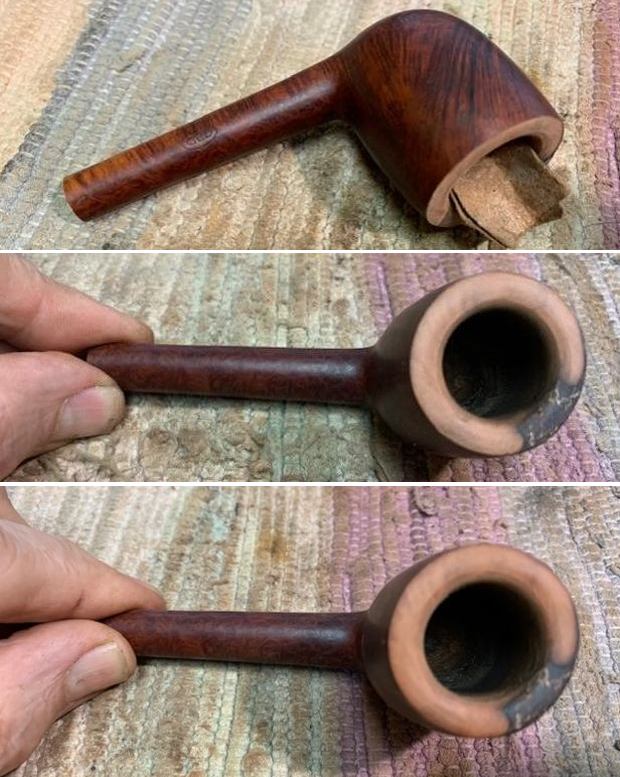
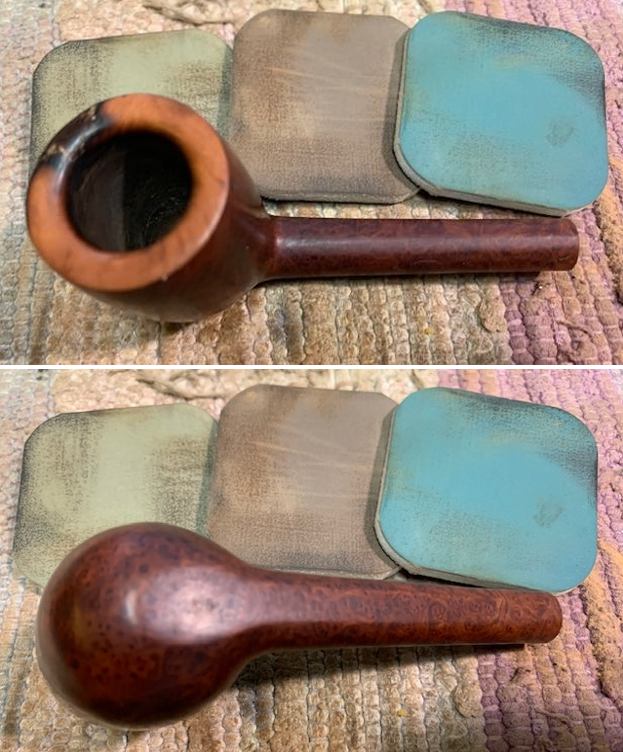
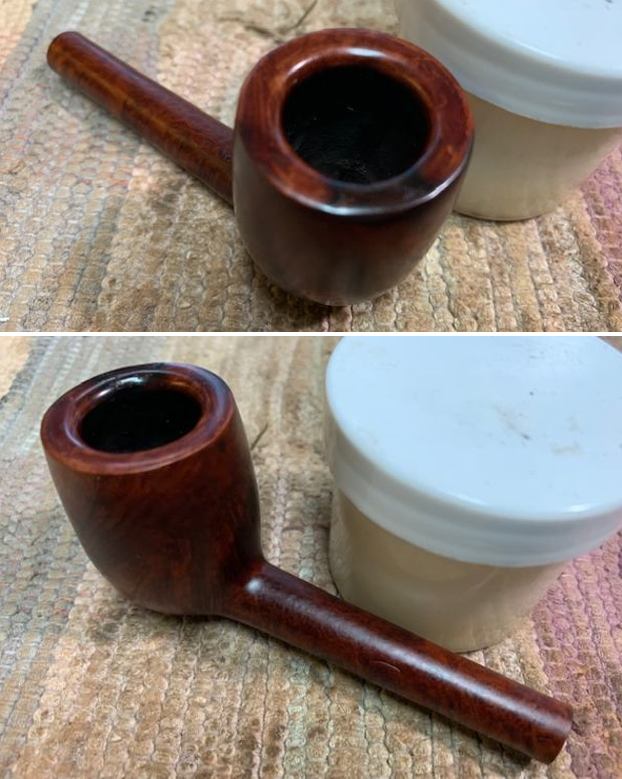
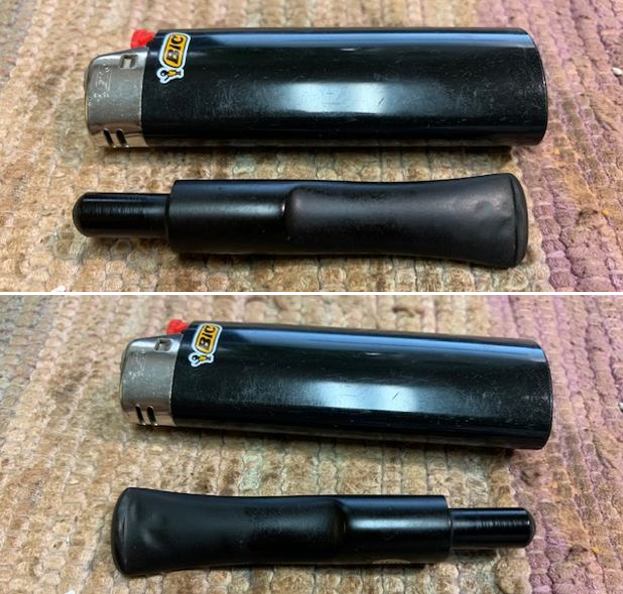
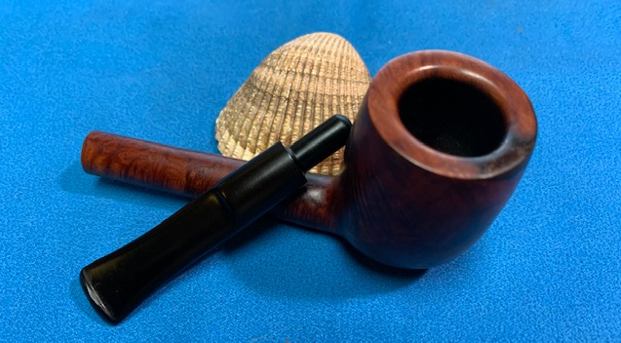
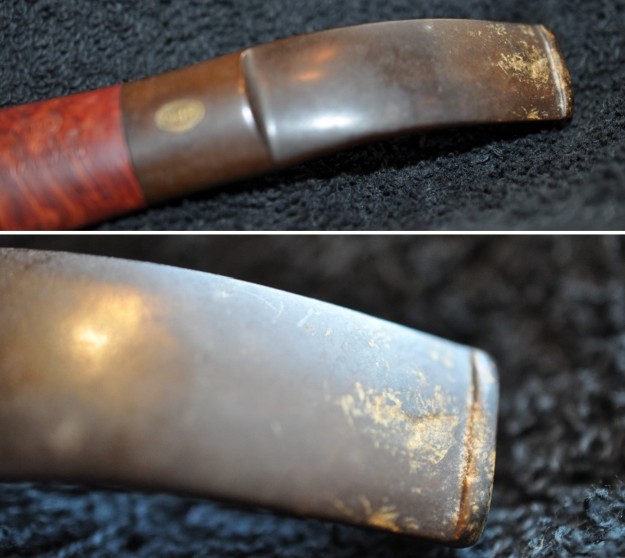
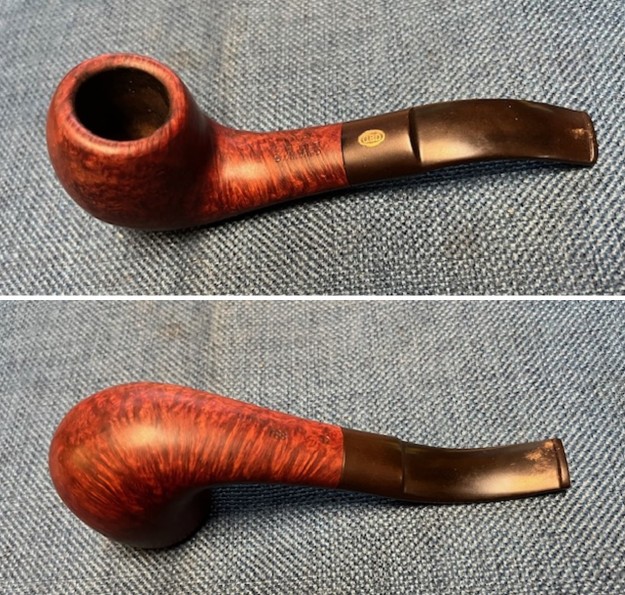
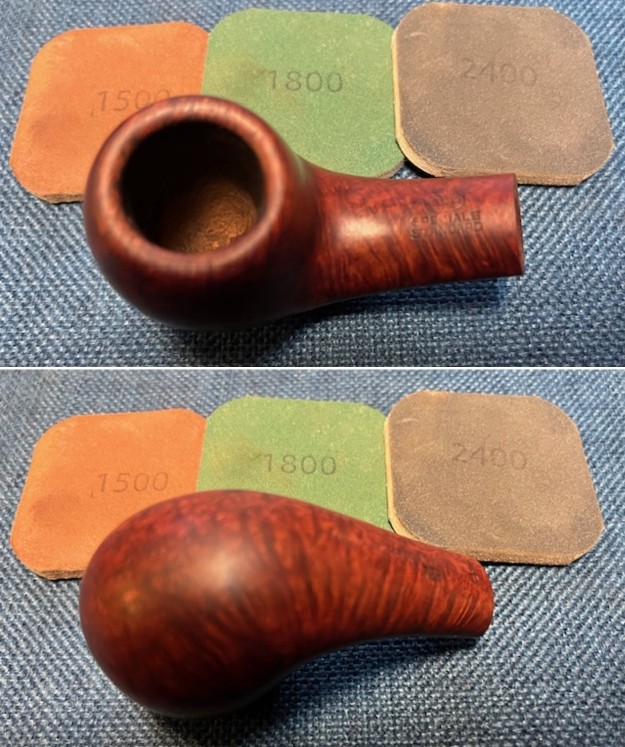
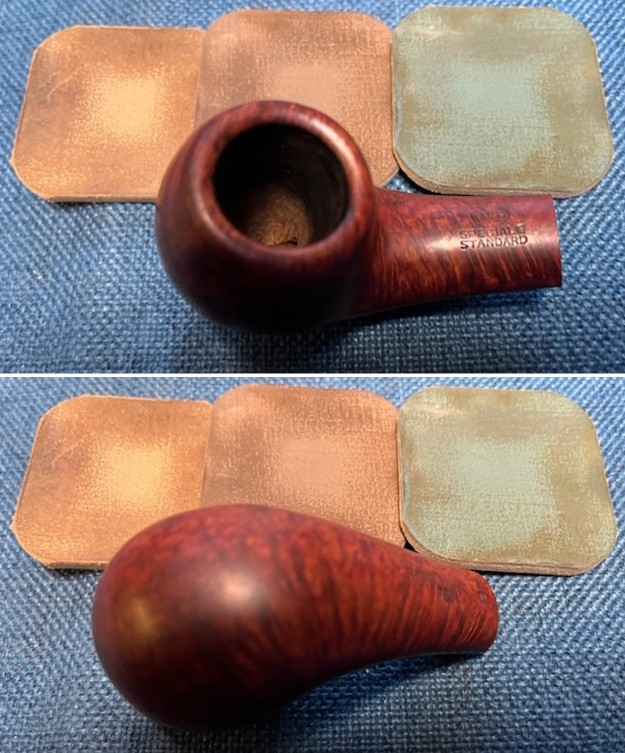
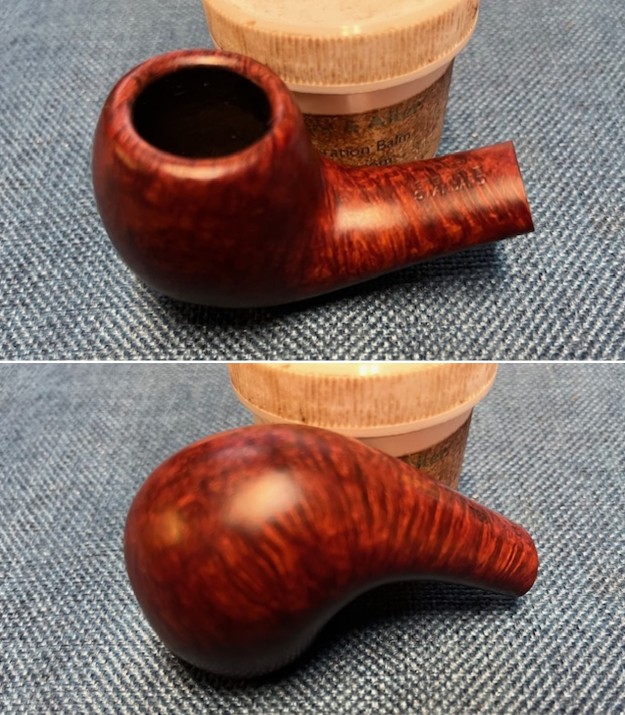
 Jeff took a photo of the bowl and rim top to show the condition of the pipe. There was a thick cake in the bowl and a build up of lava on the smooth rim top. It is also built up on the inner edge of the bowl. The stem photos show the grime and the deep tooth marks on both sides ahead of the button.
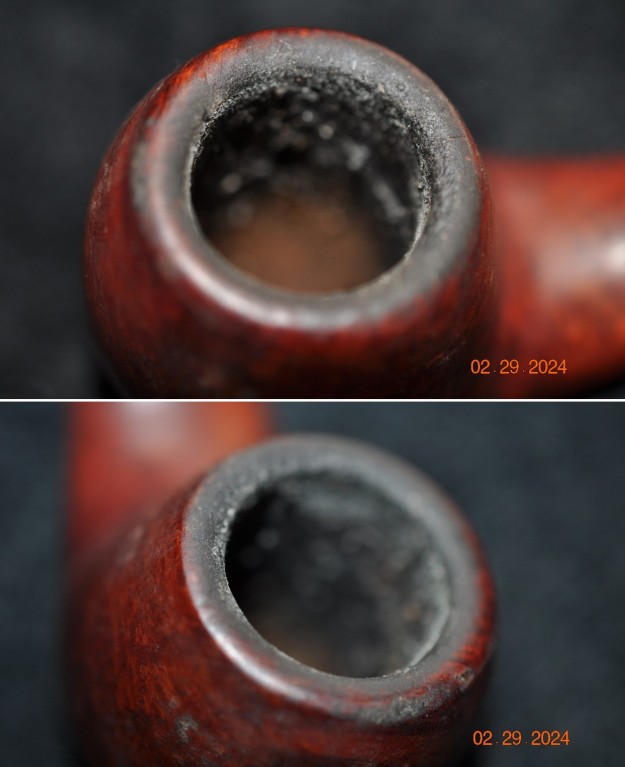
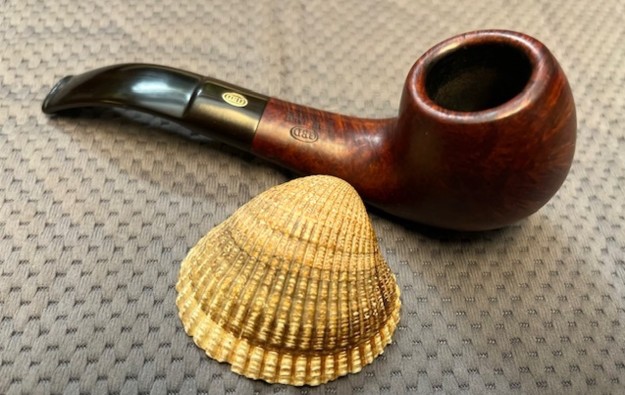
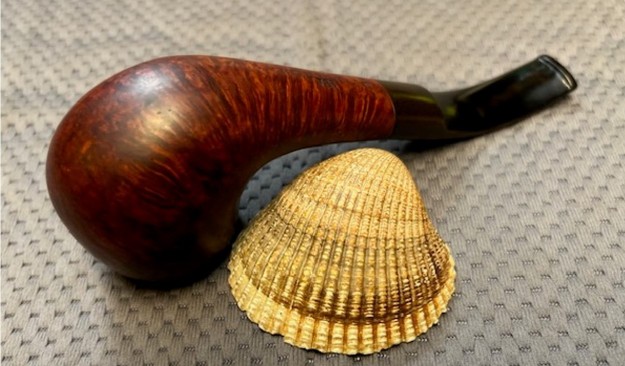
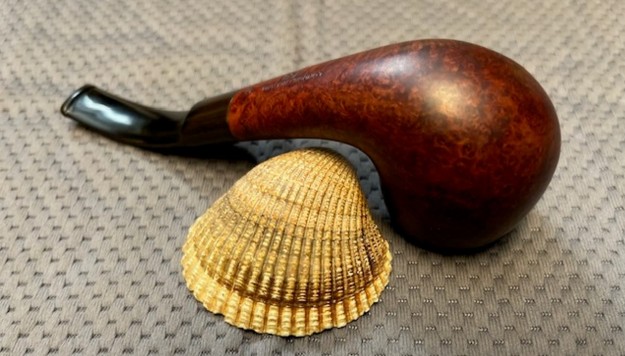
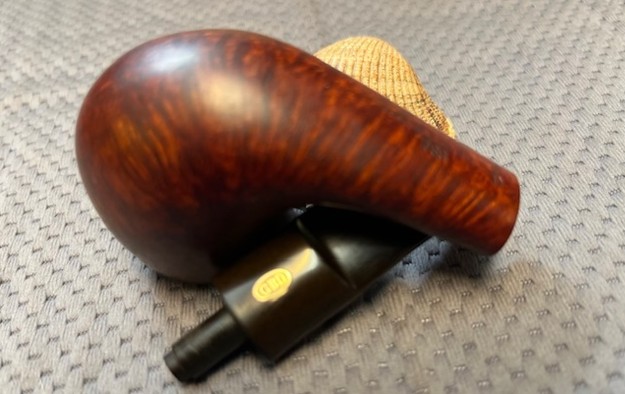
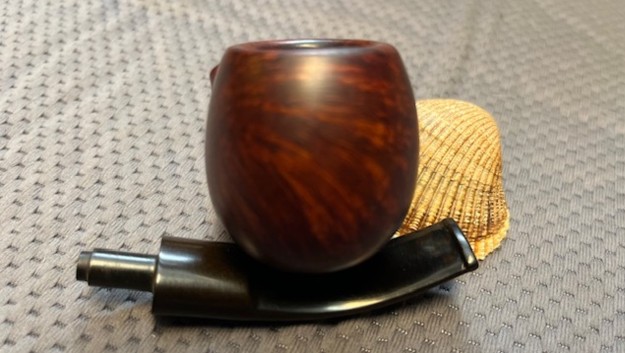
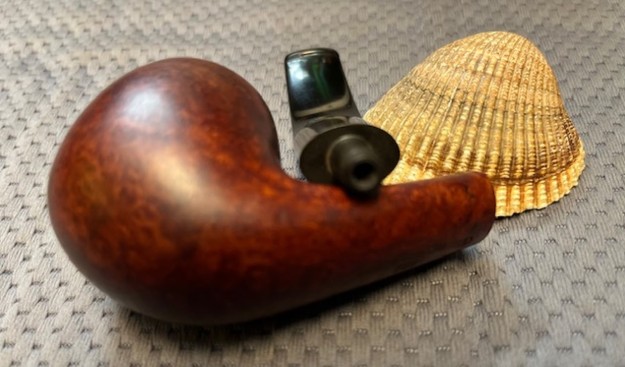
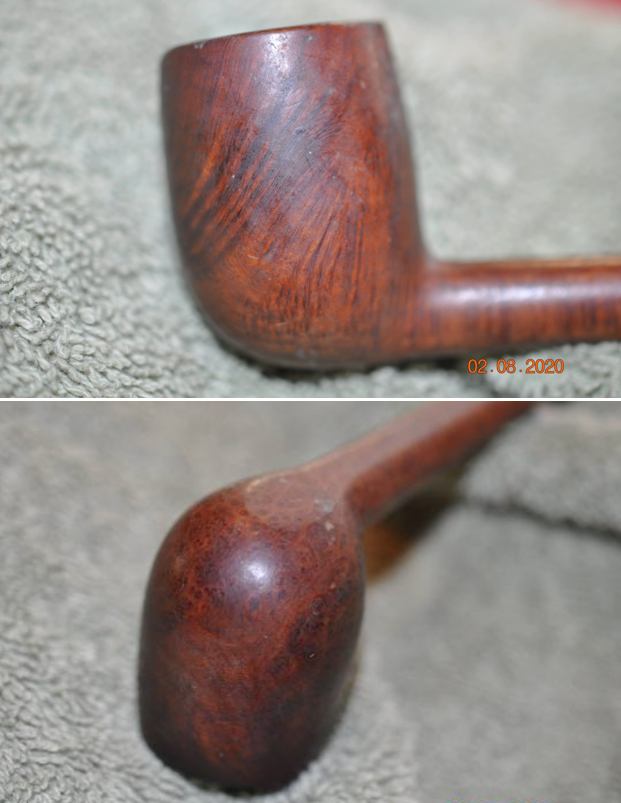
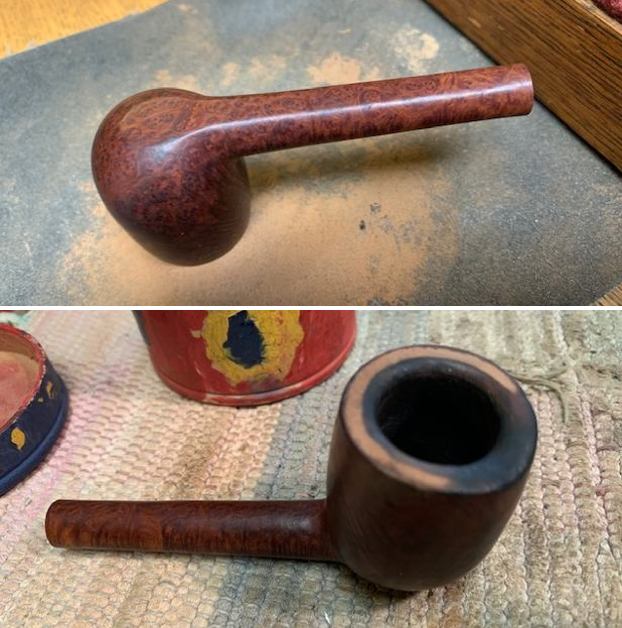
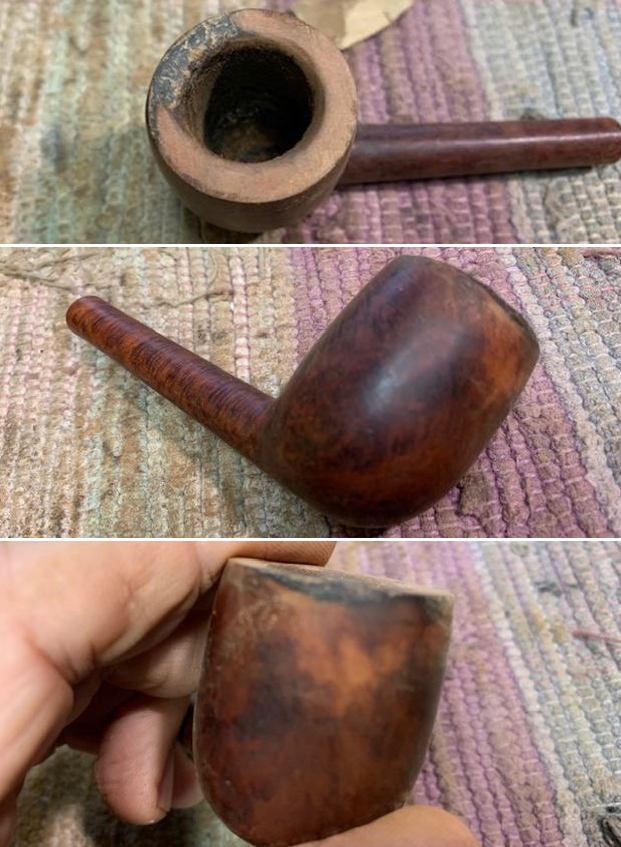
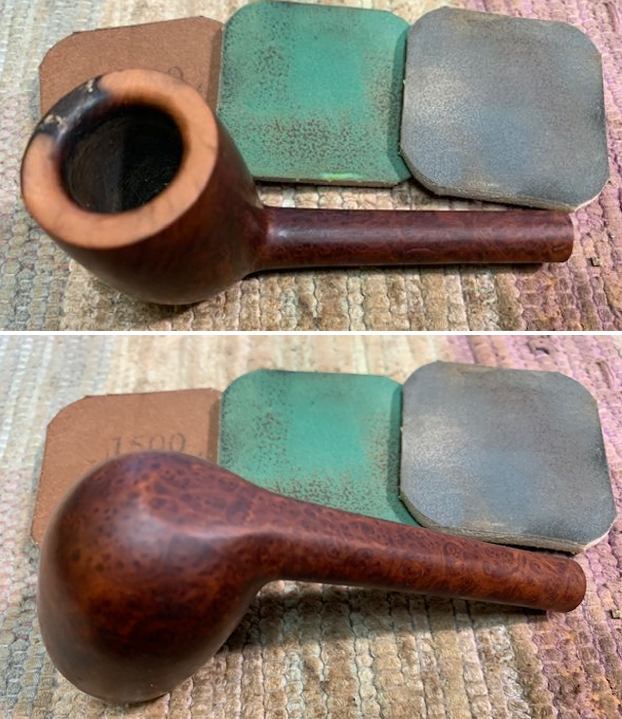
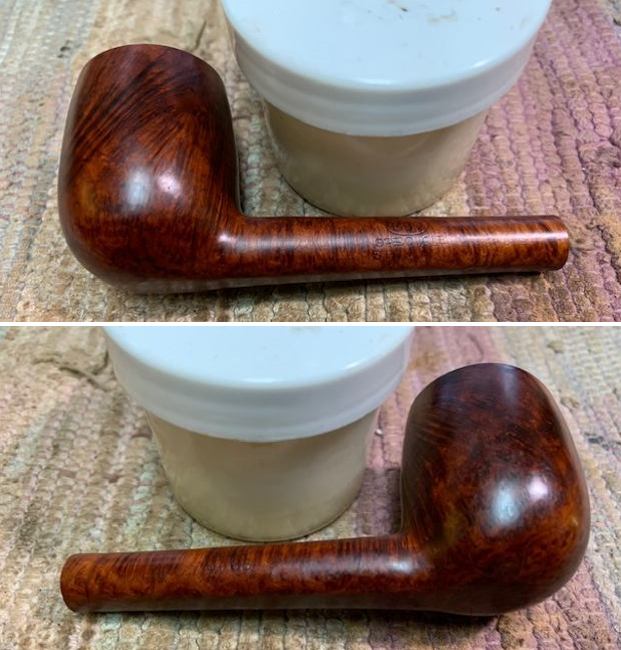
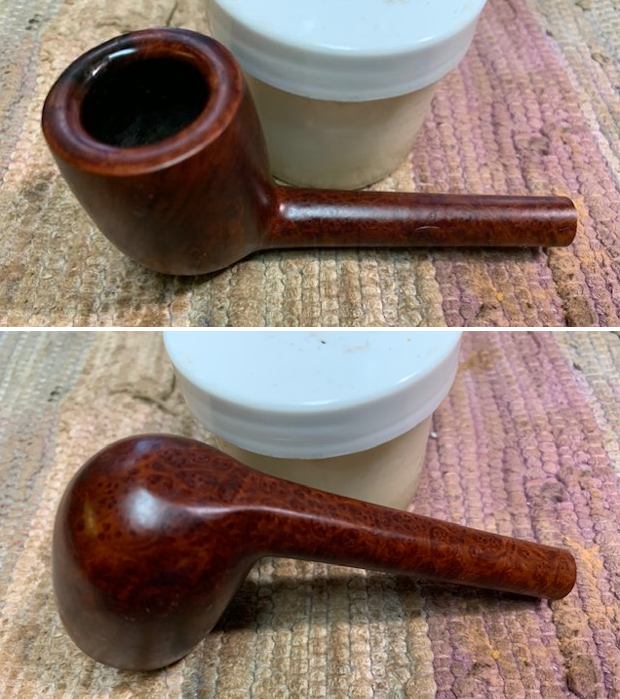
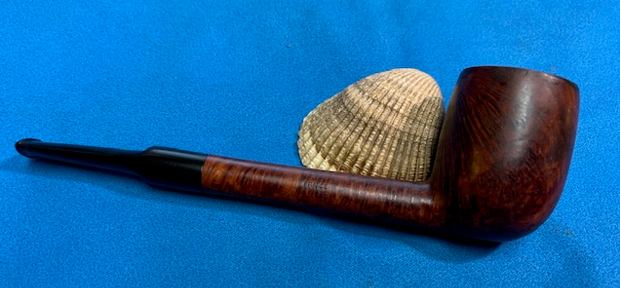
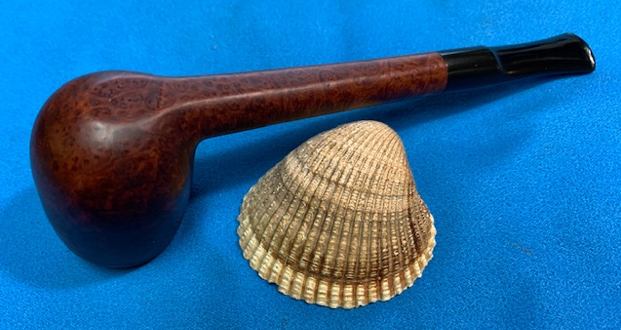
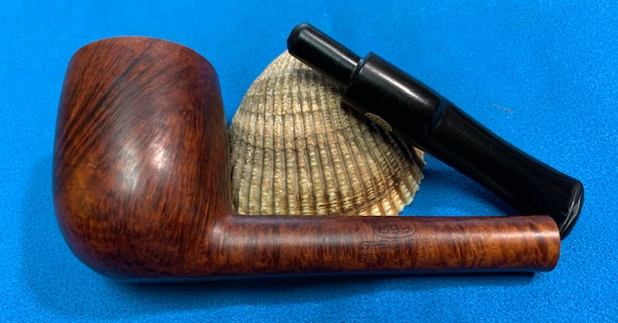
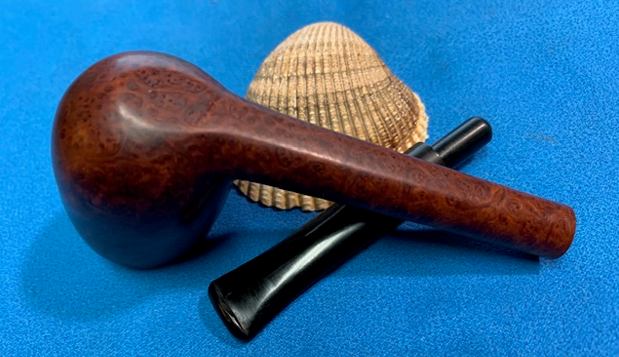
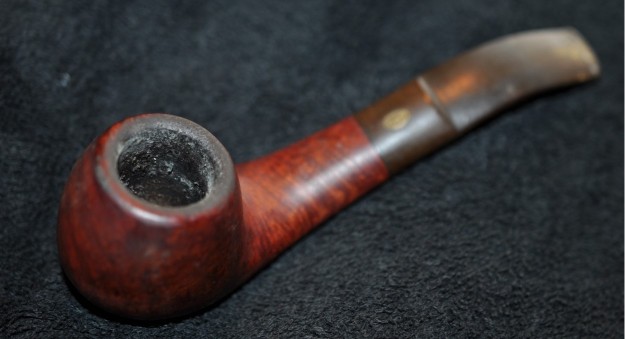
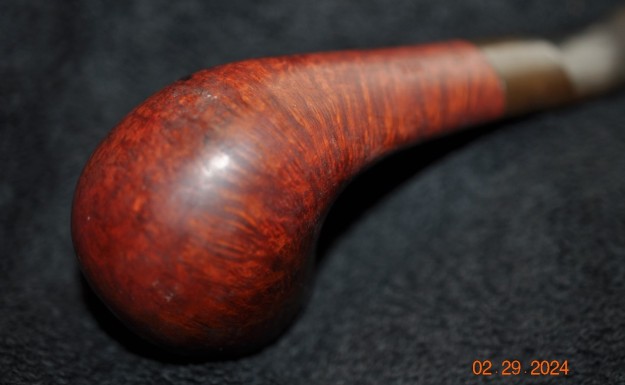
 He took photos of the sides and the heel of the bowl to show the finish on the pipe. It is a unique stain on it that really shows the grain around the bowl sides.
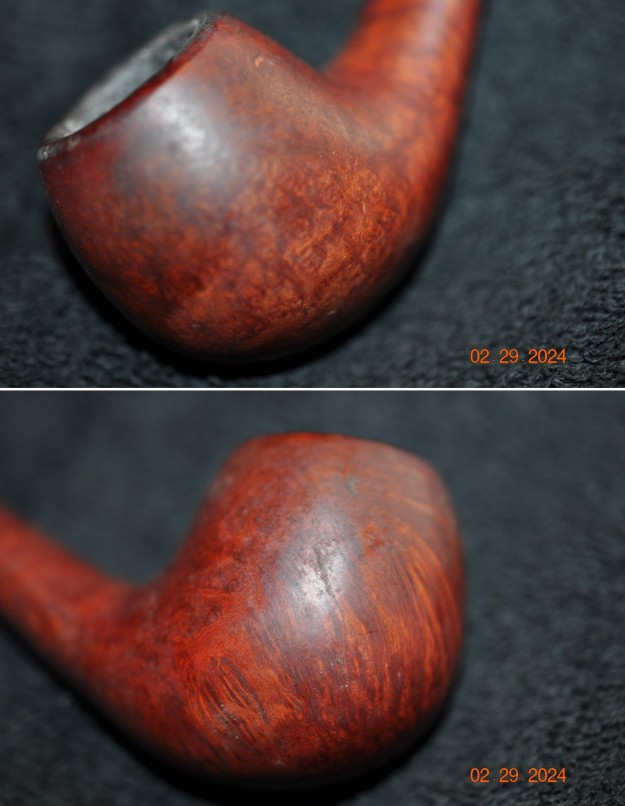
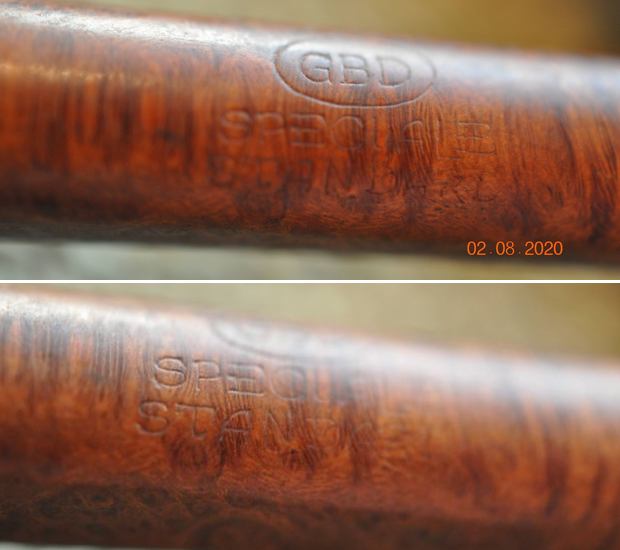
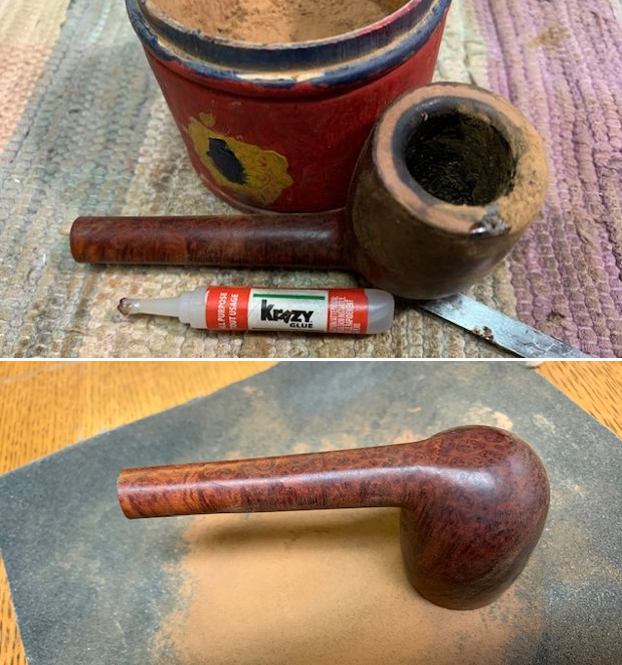
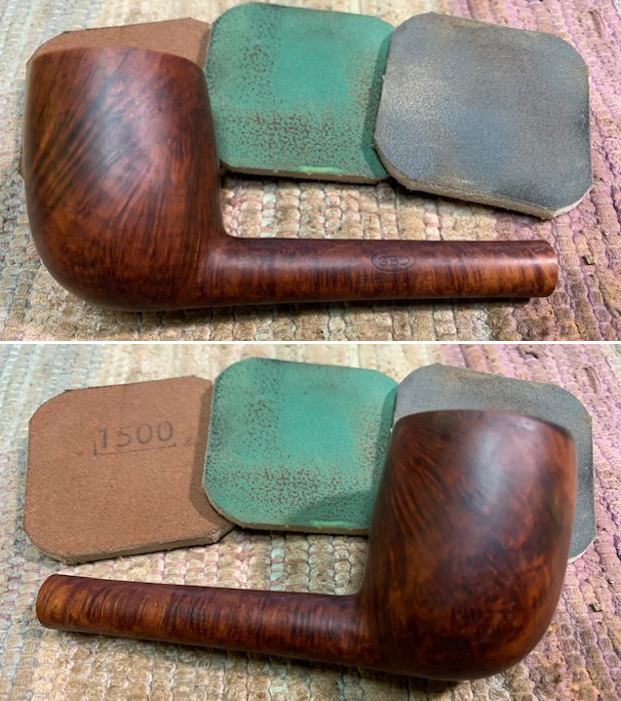
 He took two photos to capture the stamping on the sides of the shank. It is clear and readable as noted above
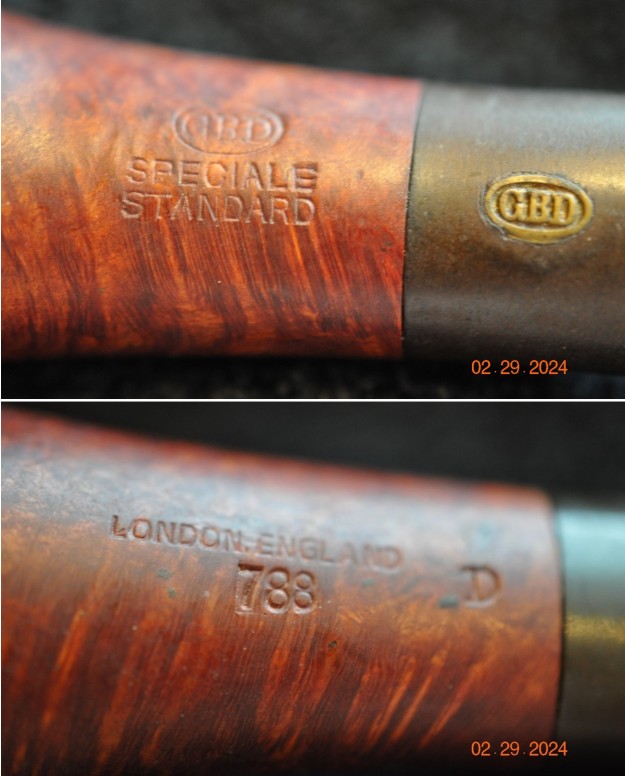 I turned to PipePhil’s site (http://www.pipephil.eu/logos/en/logo-gbd.html) to see what I could find. The site had nothing particular on the GBD Speciale Standard line of pipes.
I then turned to Pipedia (https://pipedia.org/wiki/GBD) to see if there was info the brand. It is a great read in terms of history but there was nothing giving details on a GBD Xtra Straight Grain.
The claims after the 1st World War demanded further distinctions. First of all was the London Made, which became the Standard London Made, followed by the New Era– in 1931 the top model asking 12½ Shilling. The Pedigree, although sketched around 1926, was not produced until the later 1930s. The New Standard was introduced in order to give the popular Standard of the 20s a higher rank in value. The Prehistoric, a deeply sandblasted black pipe, that still carried the small GBD Xtra stamp, was entirely new and unusual.
The French GBDs more or less followed the same developments, although Xtra and Speciale very longly used there. In the late 1920s a GBD with a metal filter system was introduced under the name Extra Dry. Also, from Paris came another important new feature: the introduction of the inserted metal plate with the GBD initials on the stems. That insert added a further “touch of class” to the pipes and in London it was attached immediately.
From that small note I knew that I was working on a post WW1 Pipe that carried the GBD Speciale Standard stamp.
I then followed a link at the end of the article to another article on Pipedia about model information (https://pipedia.org/wiki/GBD_Model_Information). There I found a note to the Speciale stamp that stated Production in France.
Further on in the thread on the Speciale pipe I found this response by snagstangl that reads as follows:
I was re reading a Jacques Cole article concerning GBDs titled “Story of a Pipe Brand” it had this to say about this topic:
“We have seen that early Briar GBDs were made in only one, later two qualities and the need to mark the difference did not arise. There were few finishes but towards the end of the 19th century demand was changing, for instance the UK had a “penchant” for the darker finishes. Qualities were therefore sub-divided and we see the introduction of the GBD XTRA (note the spelling). The GBD Speciales were as the name implied, special models, finishes and fittings. GBD XTRAs were the cream, being mostly straight grains. The “ordinary* quality was simply
stamped GBD. Demand after the First World War called for further identification starting with GBD ‘London Made* which became ‘Standard London Made*, followed by GBD “New Era’, top of the range in 1931 at 12/6d! GBD ‘Pedigree’, although first thought of around 1926, was well established in the late 1930s. GBD “New Standard’ was created to give a boost to the “Standards’ of the 1920s and a newly introduced sandblast was called GBD ‘Prehistoric’, still bearing a small GBD ‘Xtra* stamp. French made GBDs followed more or less the same ideas, still however using ‘Xtra’ and ‘Speciale’ while in the late ’20s a metal system GBD was introduced under the name GBD ‘Extra Dry*. The 1920s also saw an important development with the introduction of the metal GBD inlay on mouthpieces which gave the pipes that extra ‘touch of class’. This inlay has been used on GBDs for nearly 60 years.”
That was followed by a response from osiris01:
I started with either this text or one using it as source and it does explain well the reason for creating, first the Xtras and Speciales, and later, the other graded lines like New Era, Pedigree etc. The problem is that the Xtra and Speciale were discontinued in 1937/8 (Pipedia et al) because the new lines provided a more refined grading system. And yet, the Xtra was listed in the catalogs until 1950.
My guess is that the French factory continued with the Xtra, for a reason unknown to me. The only evidence I have of this is a badly translated sentence from Pipedia that describes the process of creating additional lines. It reads “The French GBDs more or less followed the same developments, although Xtra and Speciale very longly used there.” What ‘Longly used there’ means I don’t know, but somewhere was still making them, and if you translate ‘longly’ as ‘longer’, it does imply that they continued making them for a longer period. It’s a far from perfect explanation but, as I said, they were still being made somewhere and it does imply that the French factory were responsible. However, they were different to the Xtras made in the 20s/30s since the later ones had a chamfered rim, different stems etc.
However, reading you text again, I wonder if the it is hinting at a COM. “Demand after the First World War called for further identification starting with GBD ‘London Made* which became ‘Standard London Made*,”. It doesn’t say that a COM was not used before then (that would be too easy), but you wouldn’t stamp a pipe “Xtra, London Made, London Made” or similar.
I just don’t have enough evidence, reference points, old models to compare against etc. Even describing it as an educated guess is still stretching it a bit. The best guess, perhaps.
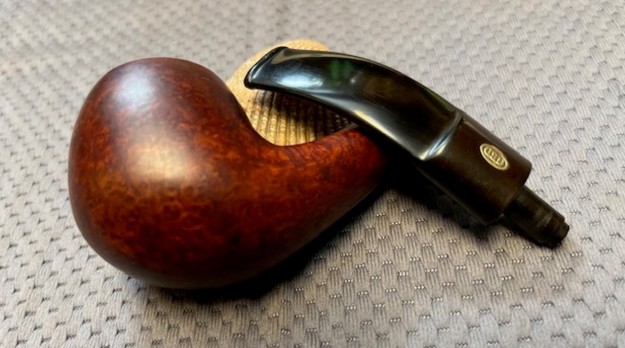
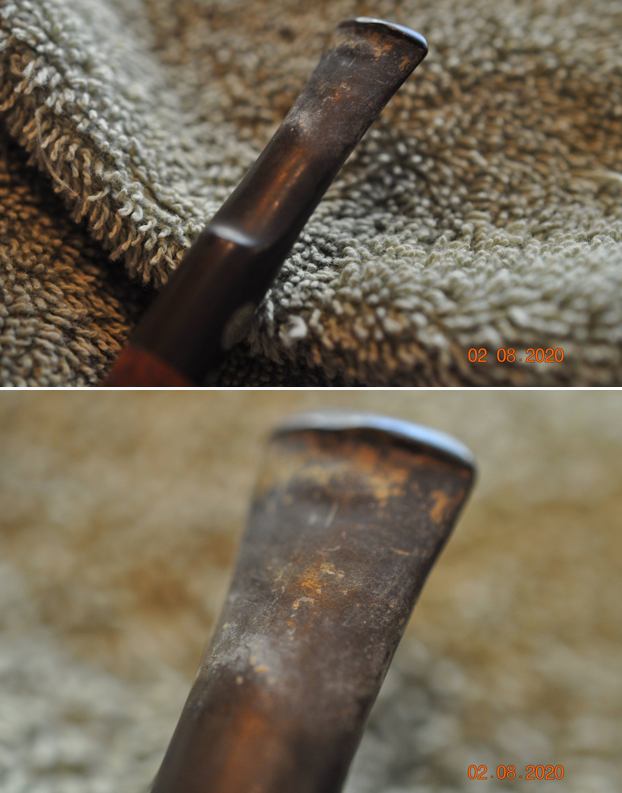
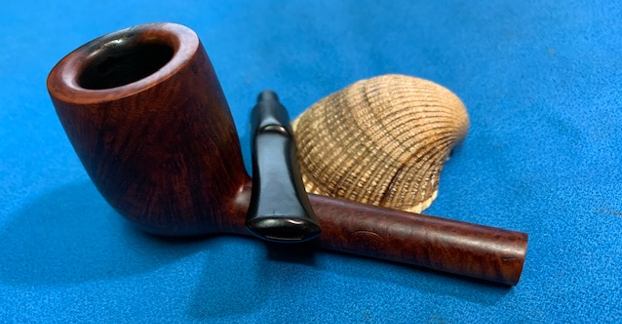
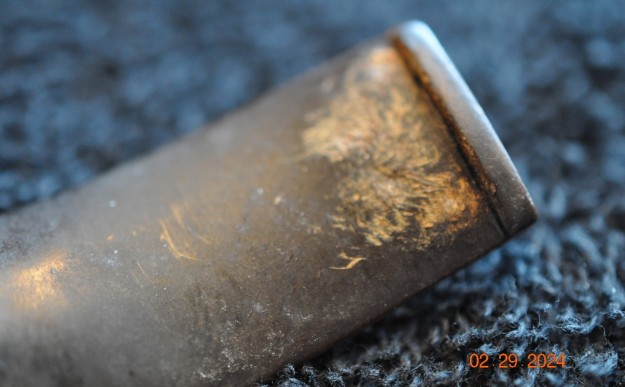
However, what I do know is that the 1930s Xtras were fitted with a specific stem with an unusual button called the ‘curved wafer tip of comfort’ (just rolls off the tongue). The following images shows the detail from a 1938 catalogue and the button on my pipe, and to my eye, they are the same. Not in any way conclusive, but it’s the best I’ve been able to come up with.
Now I knew that I was dealing with a French made GBD Speciale Standard created in the 1950s.
Jeff reamed it with a PipNet pipe reamer and cleaned up the reaming with a Savinelli Fitsall Pipe Knife. He scrubbed out the internals of the shank and stem with alcohol, pipe cleaners and cotton swabs until the pipe was clean. He scrubbed the exterior of the bowl with Murphy’s Oil Soap and a tooth brush to remove the grime and grit on the briar and the lava on the rim top. The finish on the bowl looked really good when I got it. The rim top and edges looked very good. He soaked the twin bore stem in Briarville’s Pipe Stem Deoxidizer bath to remove the oxidation. The stem looked better and the deep tooth marks and chatter on the surface were also visible. When the pipe arrived here in Vancouver for the second stop of its restoration tour it looked much better than when he found it. I took photos of the pipe before I started my work on it. 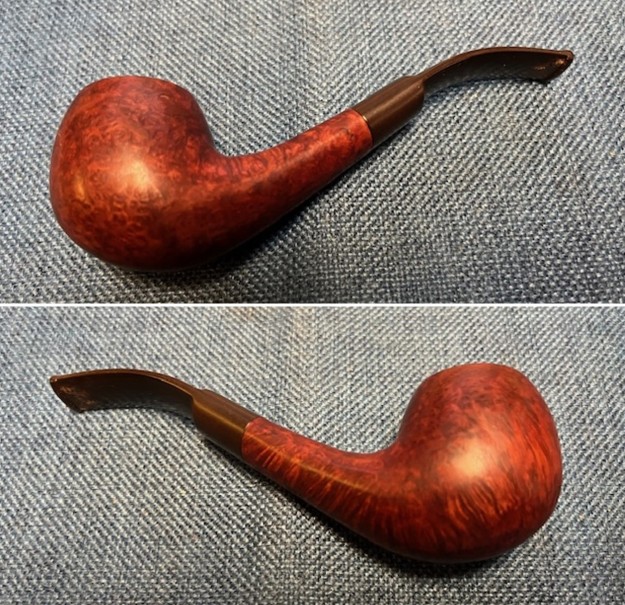
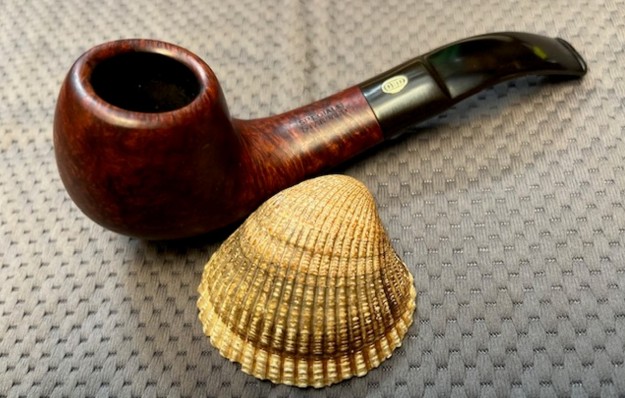
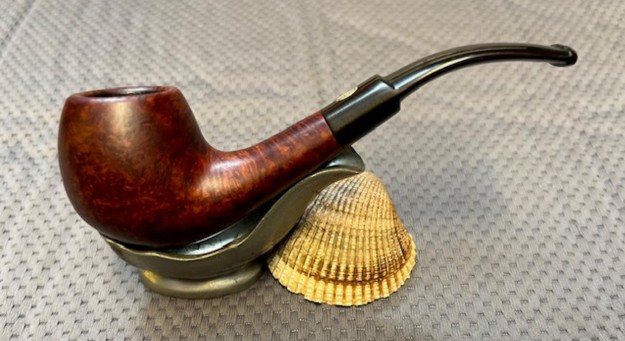
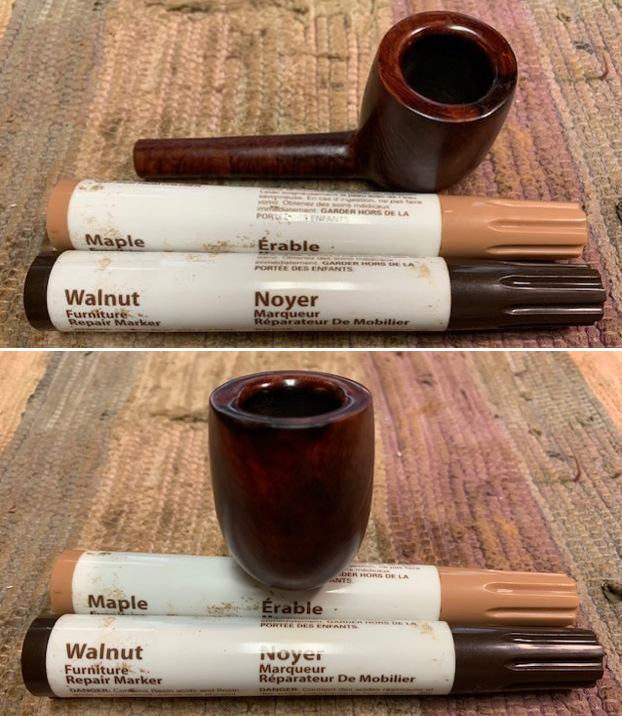
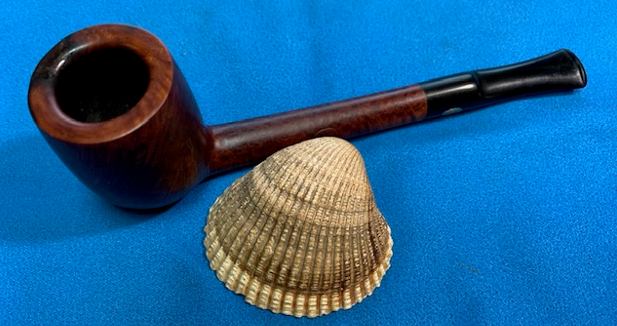
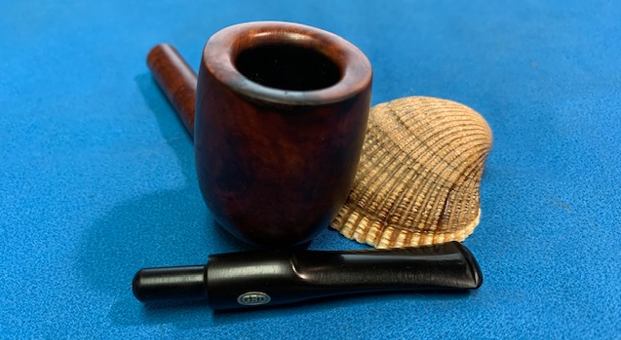
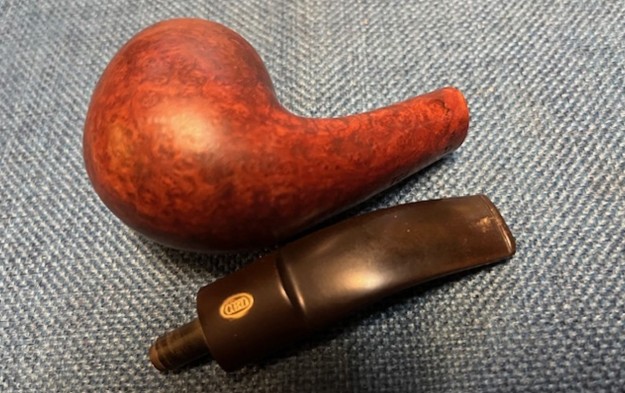
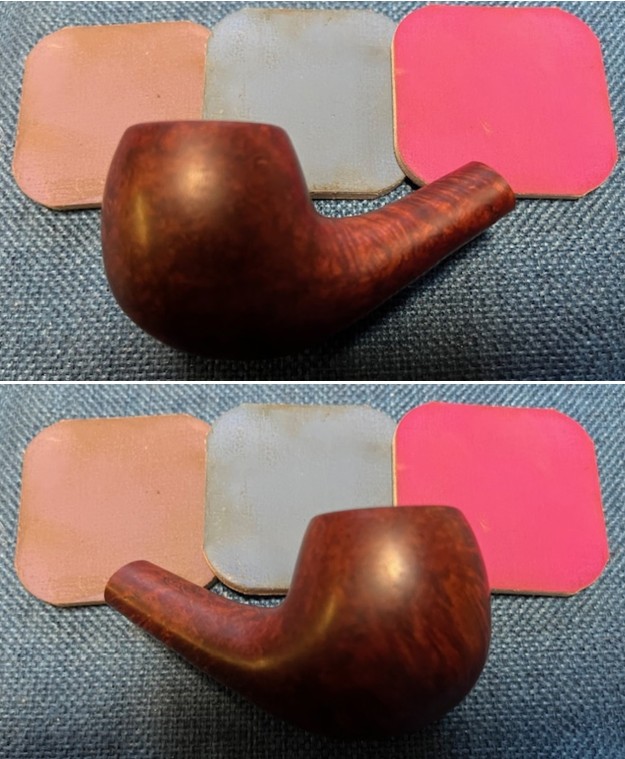
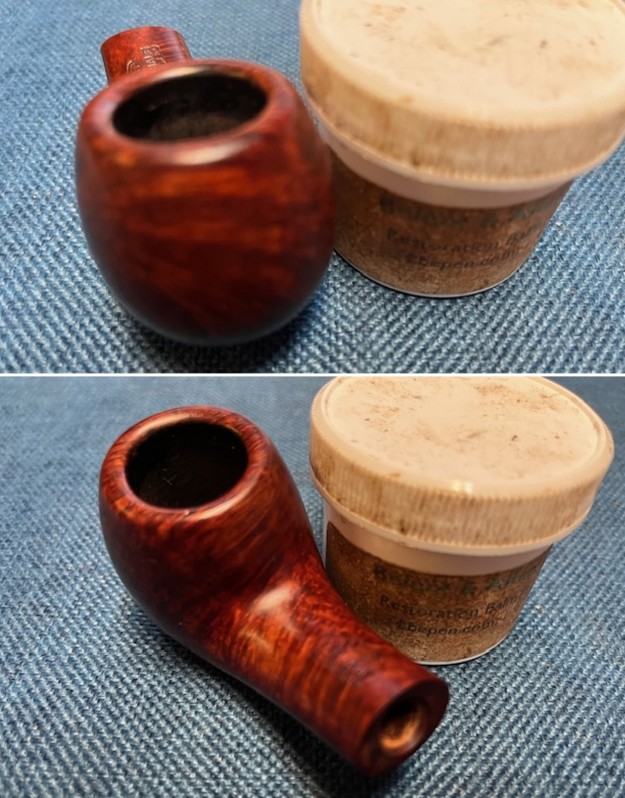
 I took photos of the condition of the rim top and stem before I started working. The rim top looks very good and the bowl is spotless. The stem is much better but still shows some oxidation and tooth chatter and deep marks on both sides near the button.
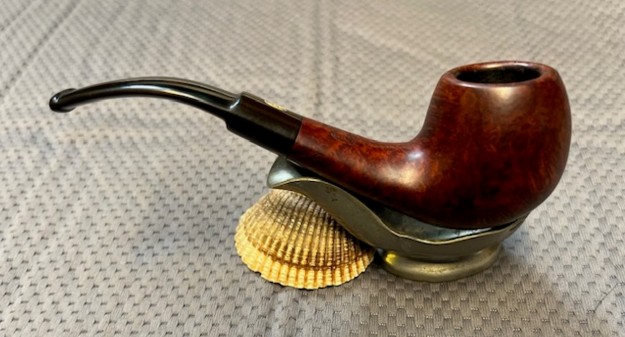
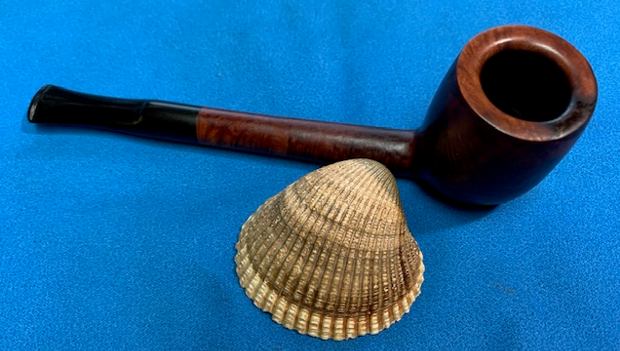
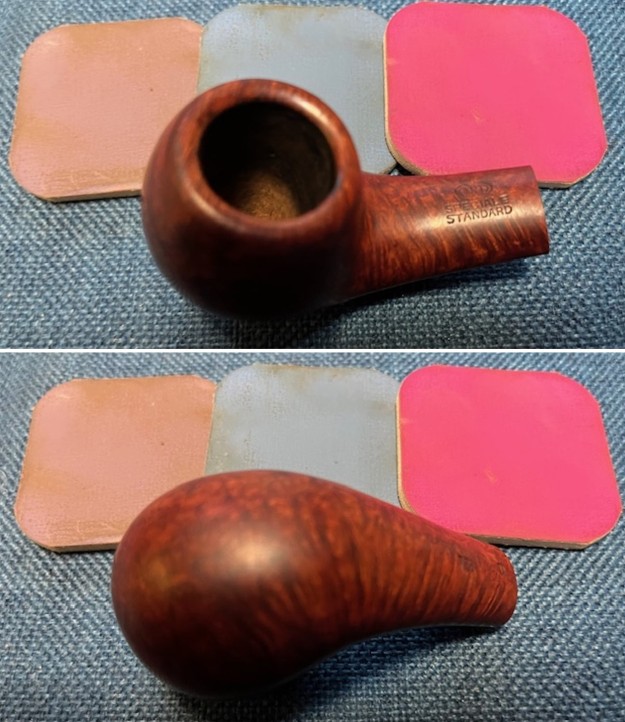
  I took photos of the stamping on the sides of the shank. The stamping was clear and readable as noted above. I took the bowl and stem apart and took a photo of the pipe to show the look of the pipe.
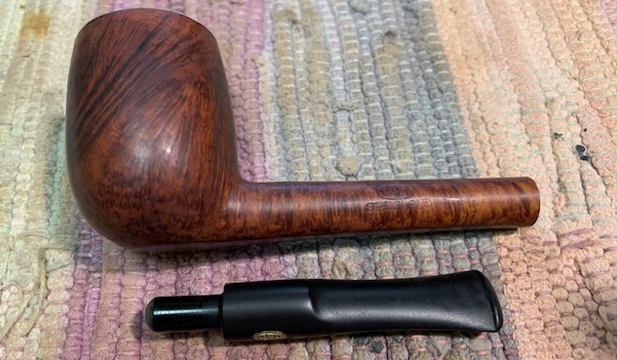
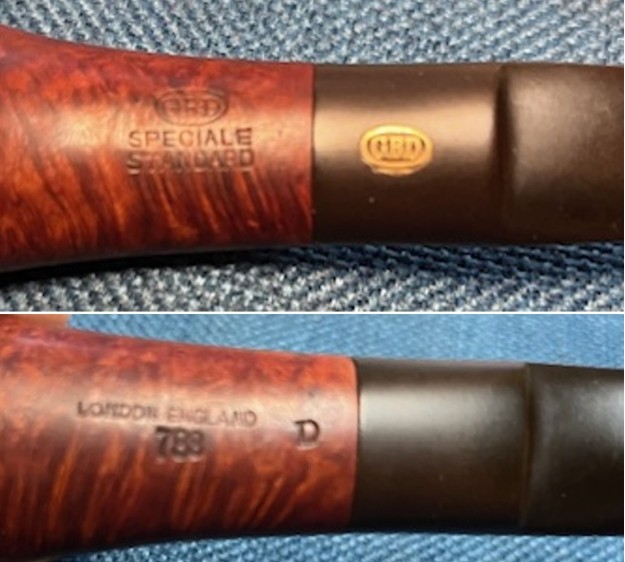
 Now it was my turn to work on the pipe. The bowl was in very good condition so I polished the briar with micromesh sanding pads – dry sanding with 1500-12000 grit pads. I wiped the bowl down after each pad with a damp cloth to remove the sanding dust.
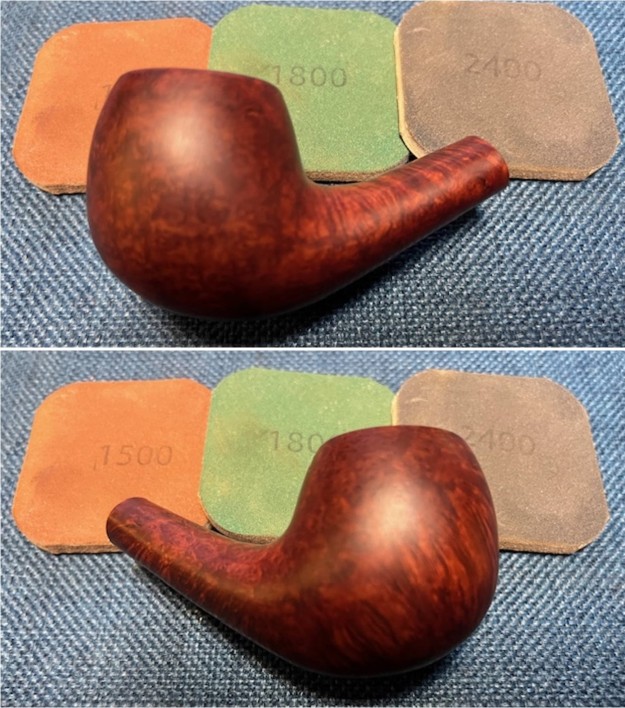
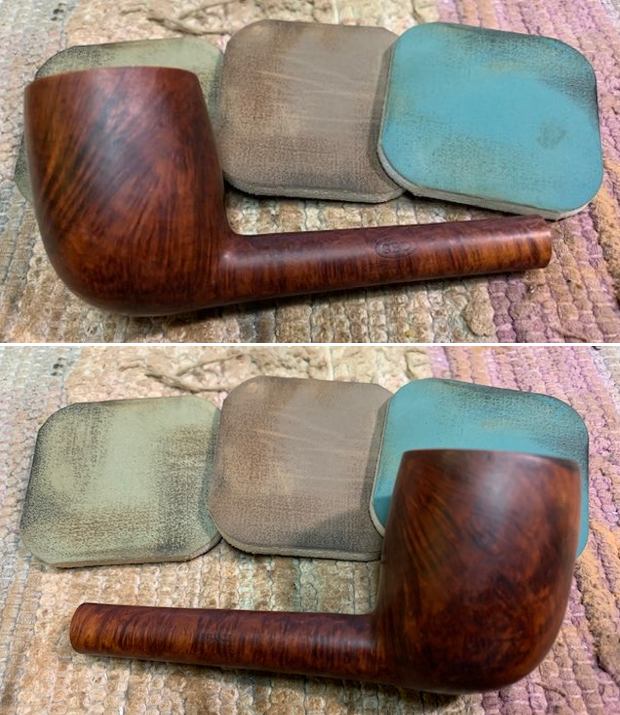
 I worked some Before & After Restoration Balm into the finish of the bowl, rim top and shank with my fingertips to clean, enliven and protect it. I find that the balm really makes the briar come alive again. The contrasts in the layers of stain really made the grain stand out. I let the balm sit for 15 minutes and then buffed with a cotton cloth to raise the shine. The bowl really looks good at this point.
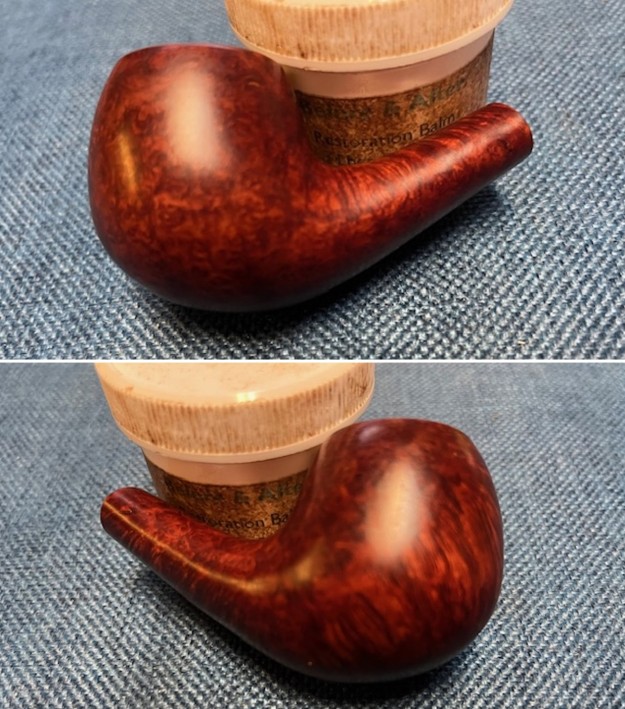
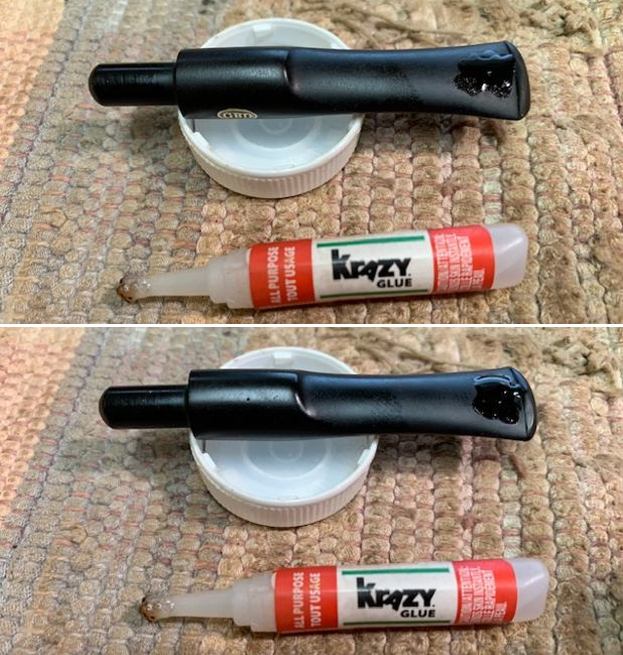
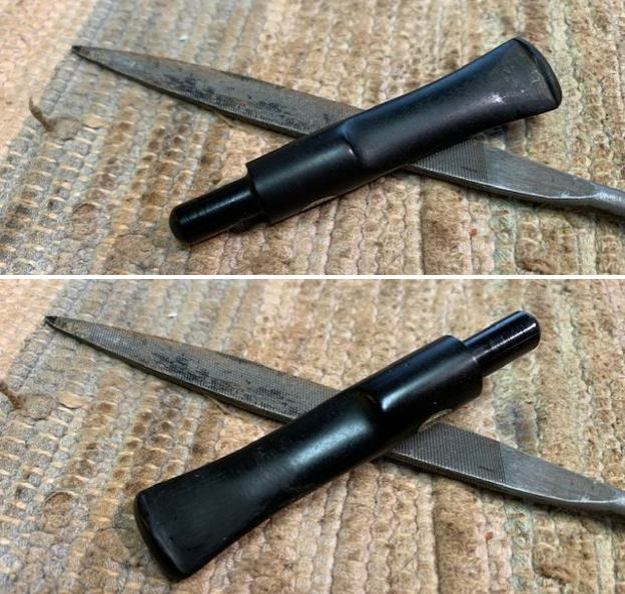
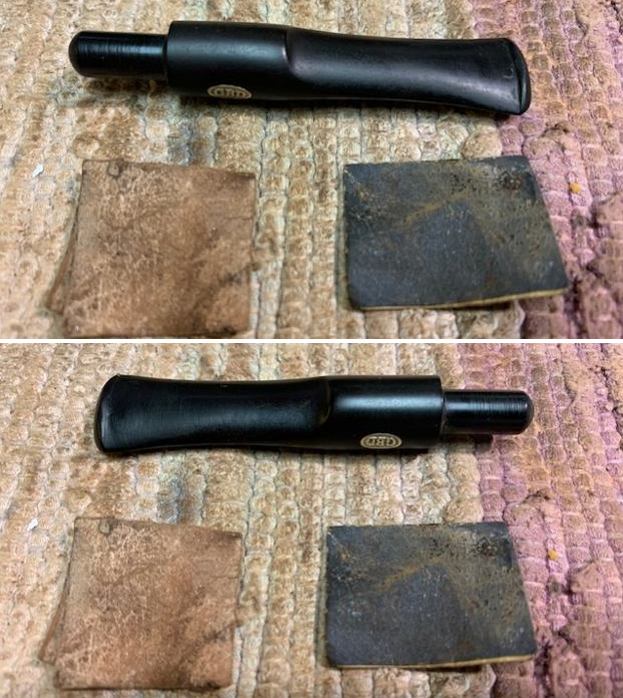
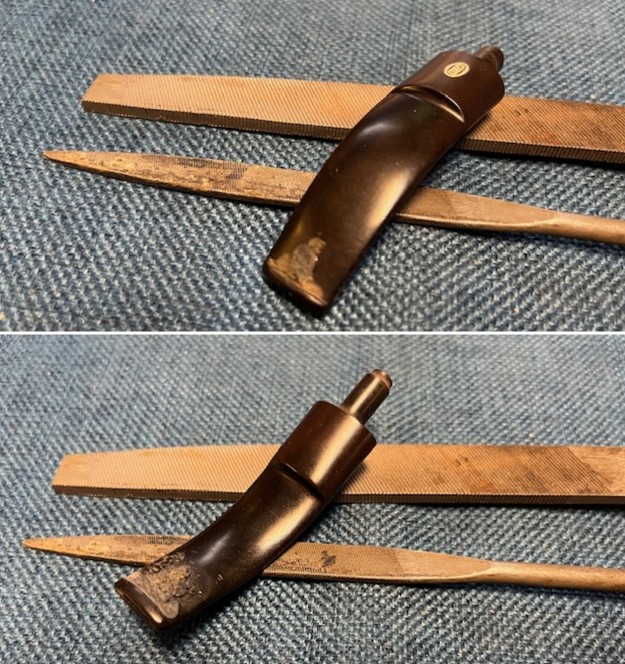
 I set aside the bowl and turned my attention to the stem. I “painted” the tooth marks on the surface of the stem and was able to lift them partially. I cleaned out the tooth marks with alcohol and q-tip then filled in the ones that remained with some rubberized, black CA glue. Once the glue cured I flattened out the repairs and recut the button edge with small files to start the process of blending them into the surface of the vulcanite.
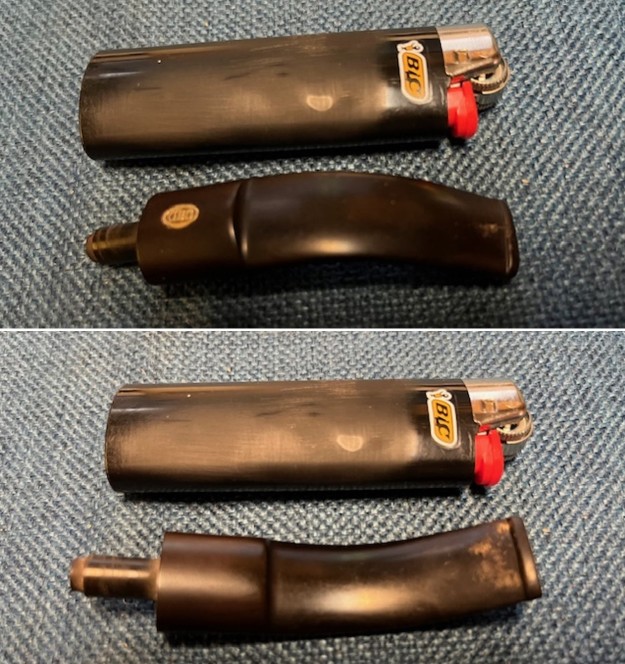
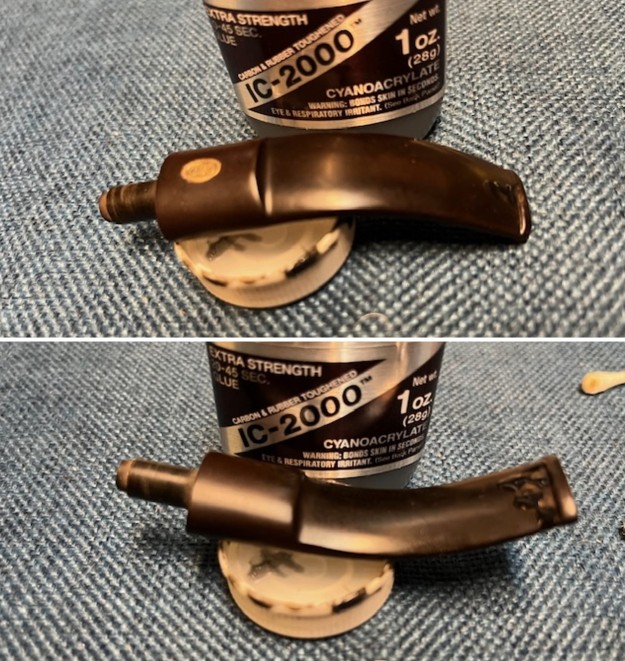
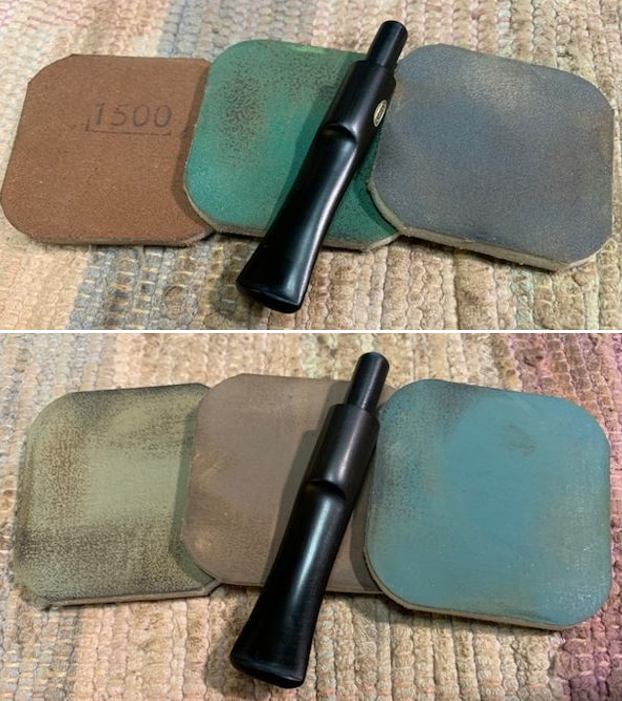
 I sanded the stem with 320-3500 grit sanding pads to further blend in the repairs. I wiped the stem down after each pad with an Obsidian Oil saturated cloth to remove the grime and protect the stem.
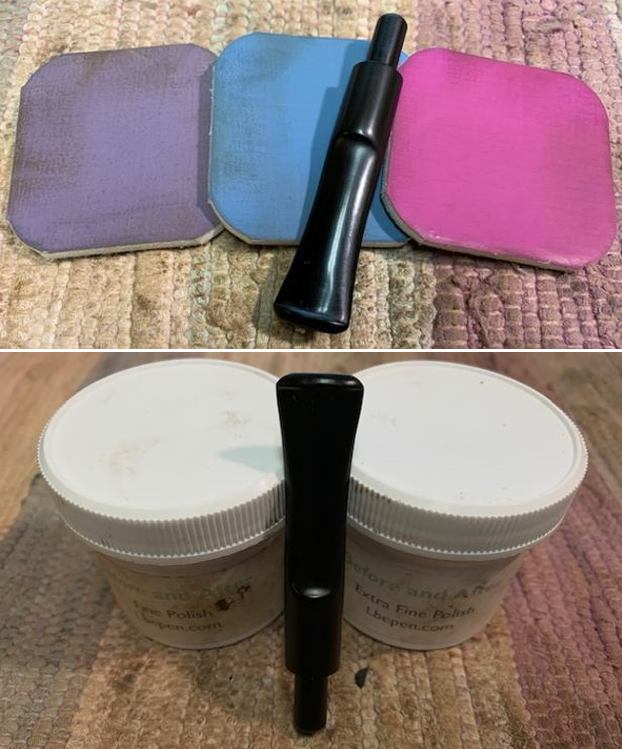
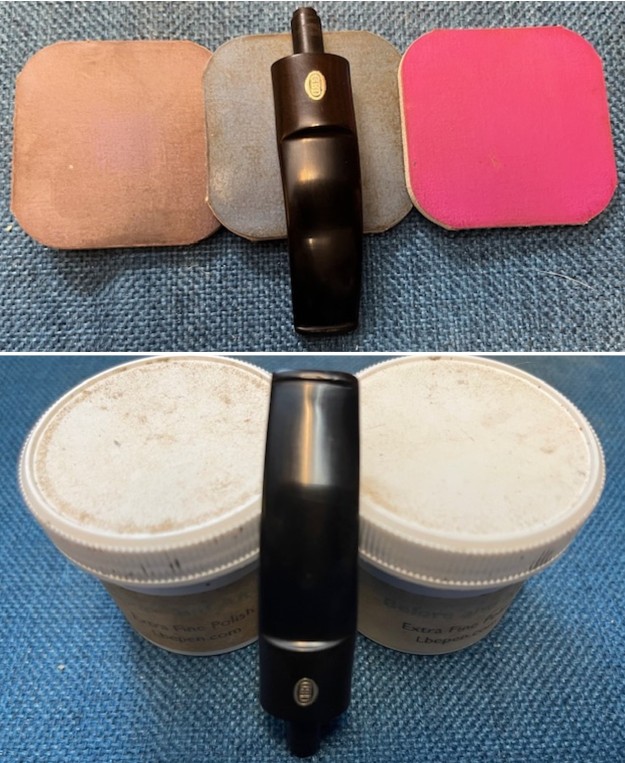
 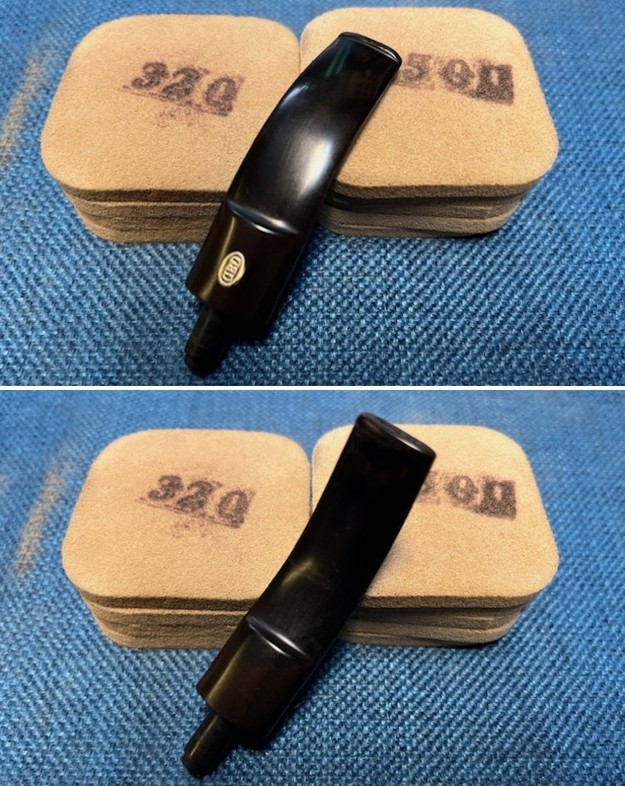 I polished the stem with micromesh sanding pads – wet sanding it with 1500-12000 grit pads. I polished it further with Before & After Pipe Stem Polish – both fine and extra fine. I wiped it down again with some Obsidian Oil and let it sit and dry.
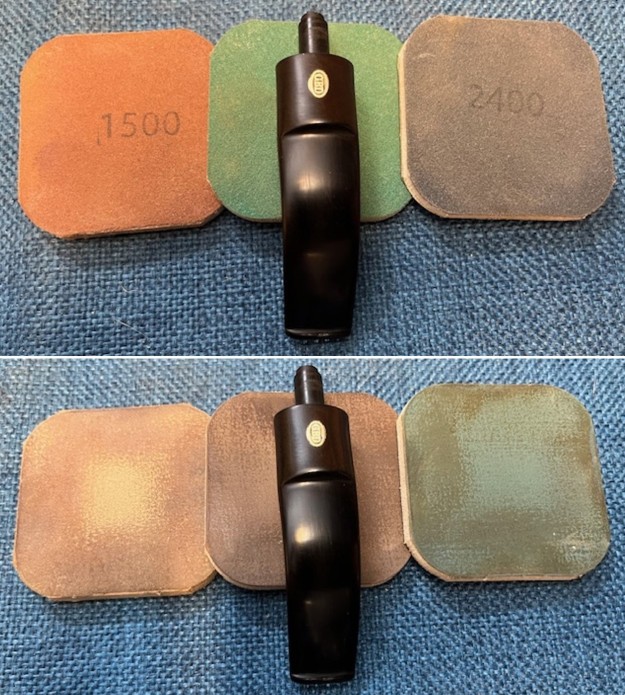
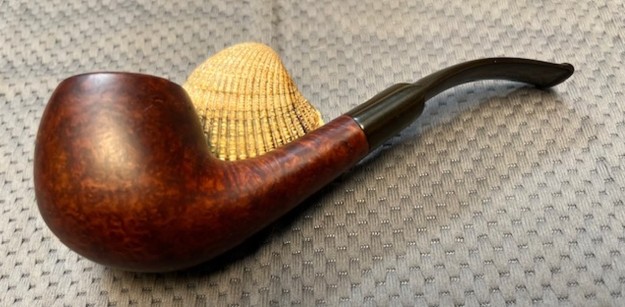
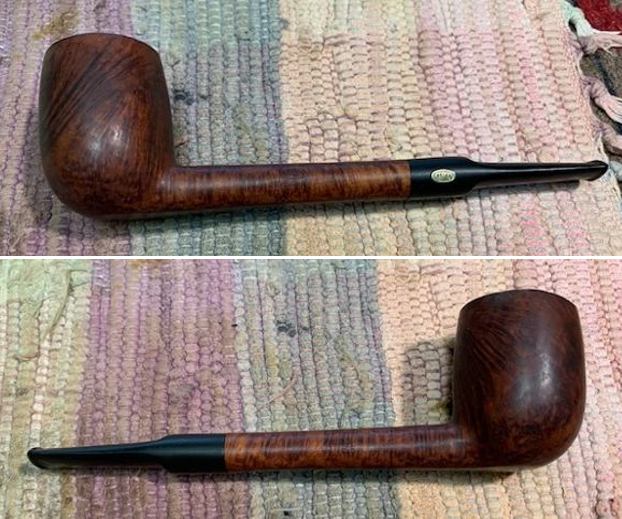
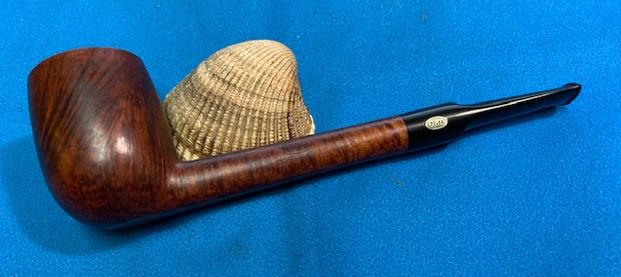
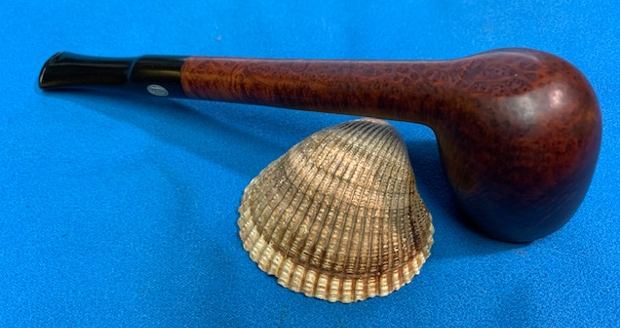
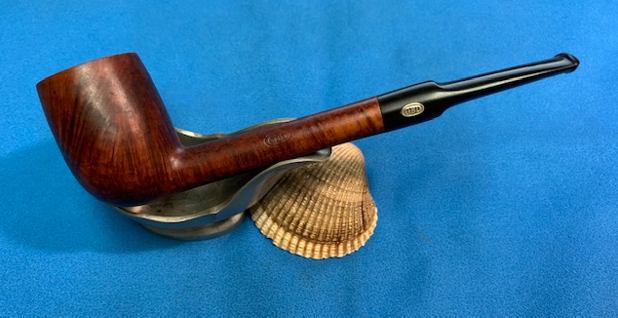
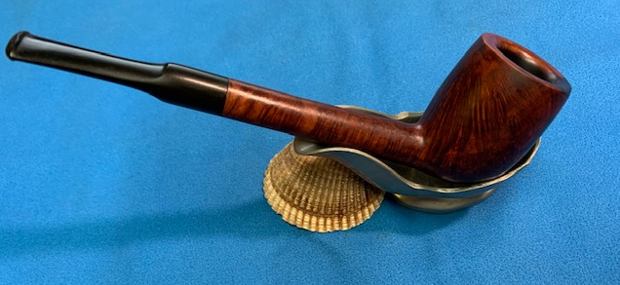
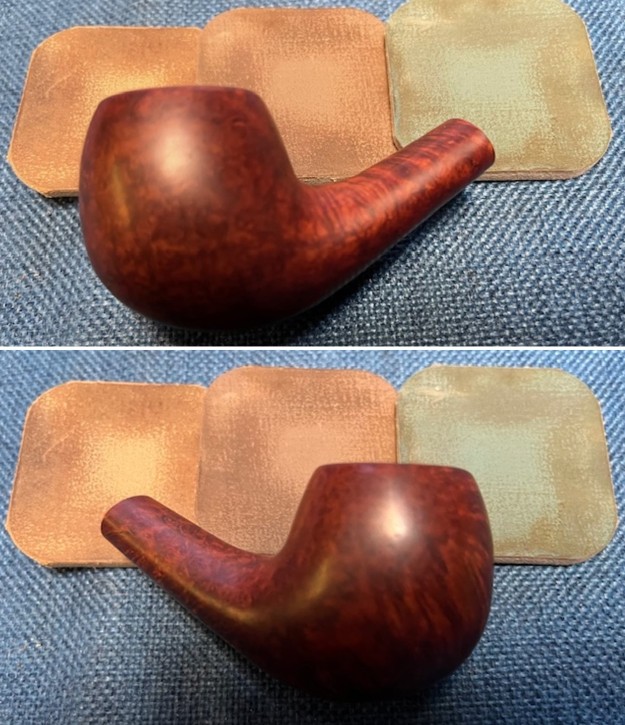
 I always look forward to the moment when all the pieces are put back together. The pipe makes a final trip to the buffing wheel and is met first with Blue Diamond polish on the buffing wheel. That is followed by multiple coats of carnauba wax over the whole pipe. Then I do a step that not everyone does but I learned from one of the old pipe men who no longer with us, I buff the pipe with a clean buffing pad to raise the shine. Finish my buffing by hand with a microfiber cloth to deepen the shine. It is fun to see what the polished bowl looks like with black vulcanite stem. This richly stained GBD Speciale Standard 788 Bent Apple is light weight and ready for you to load up a tobacco of preference and enjoy. Have a look at it in the photos below. The dimensions are Length: 5 ½ inches, Height: 1 ½ inches, Outside diameter of the bowl: 1 ¼ inches, Chamber diameter: ¾ of an inch. The weight of the pipe is 48 grams/1.69 ounces. This is one that will go on the British Pipemakers Section of the rebornpipes online store shortly. Let me know if you are interested in adding it to your rack. Thanks to each of you who are reading this blog. Remember we are not pipe owners; we are pipemen and women who hold our pipes in trust until they pass on into the trust of the next generation.