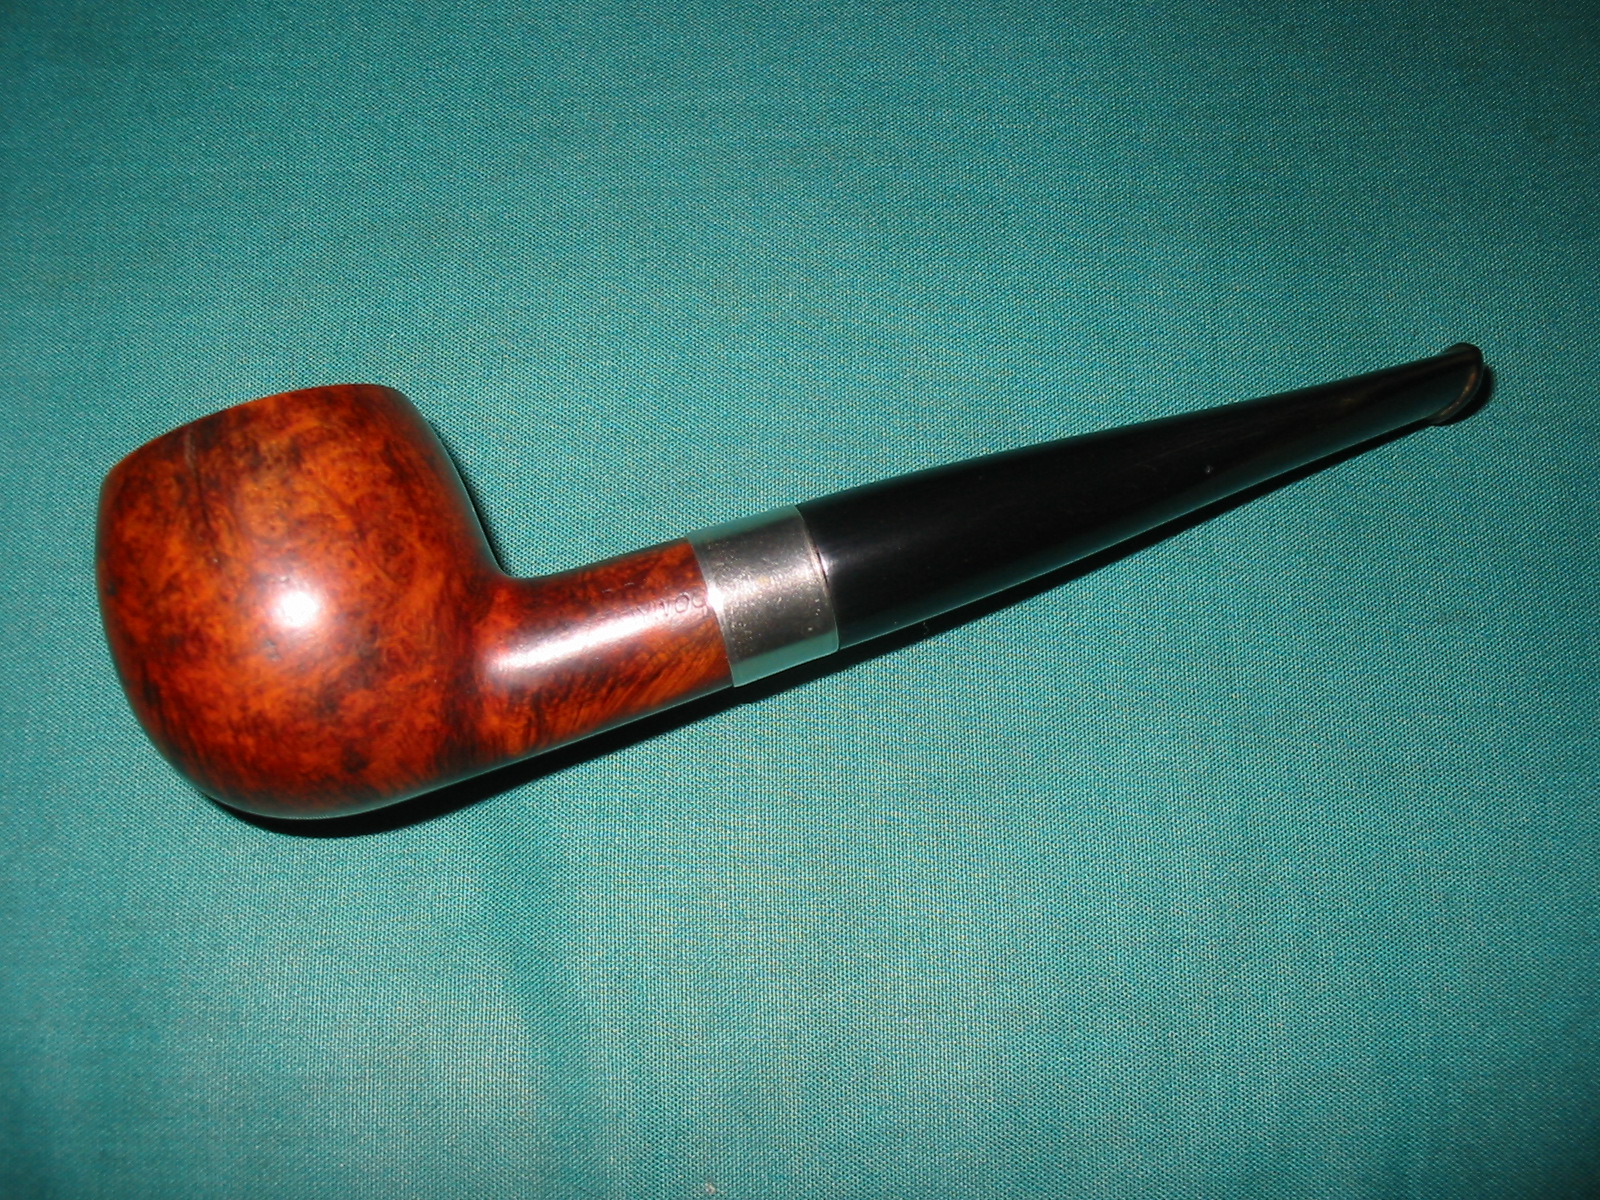
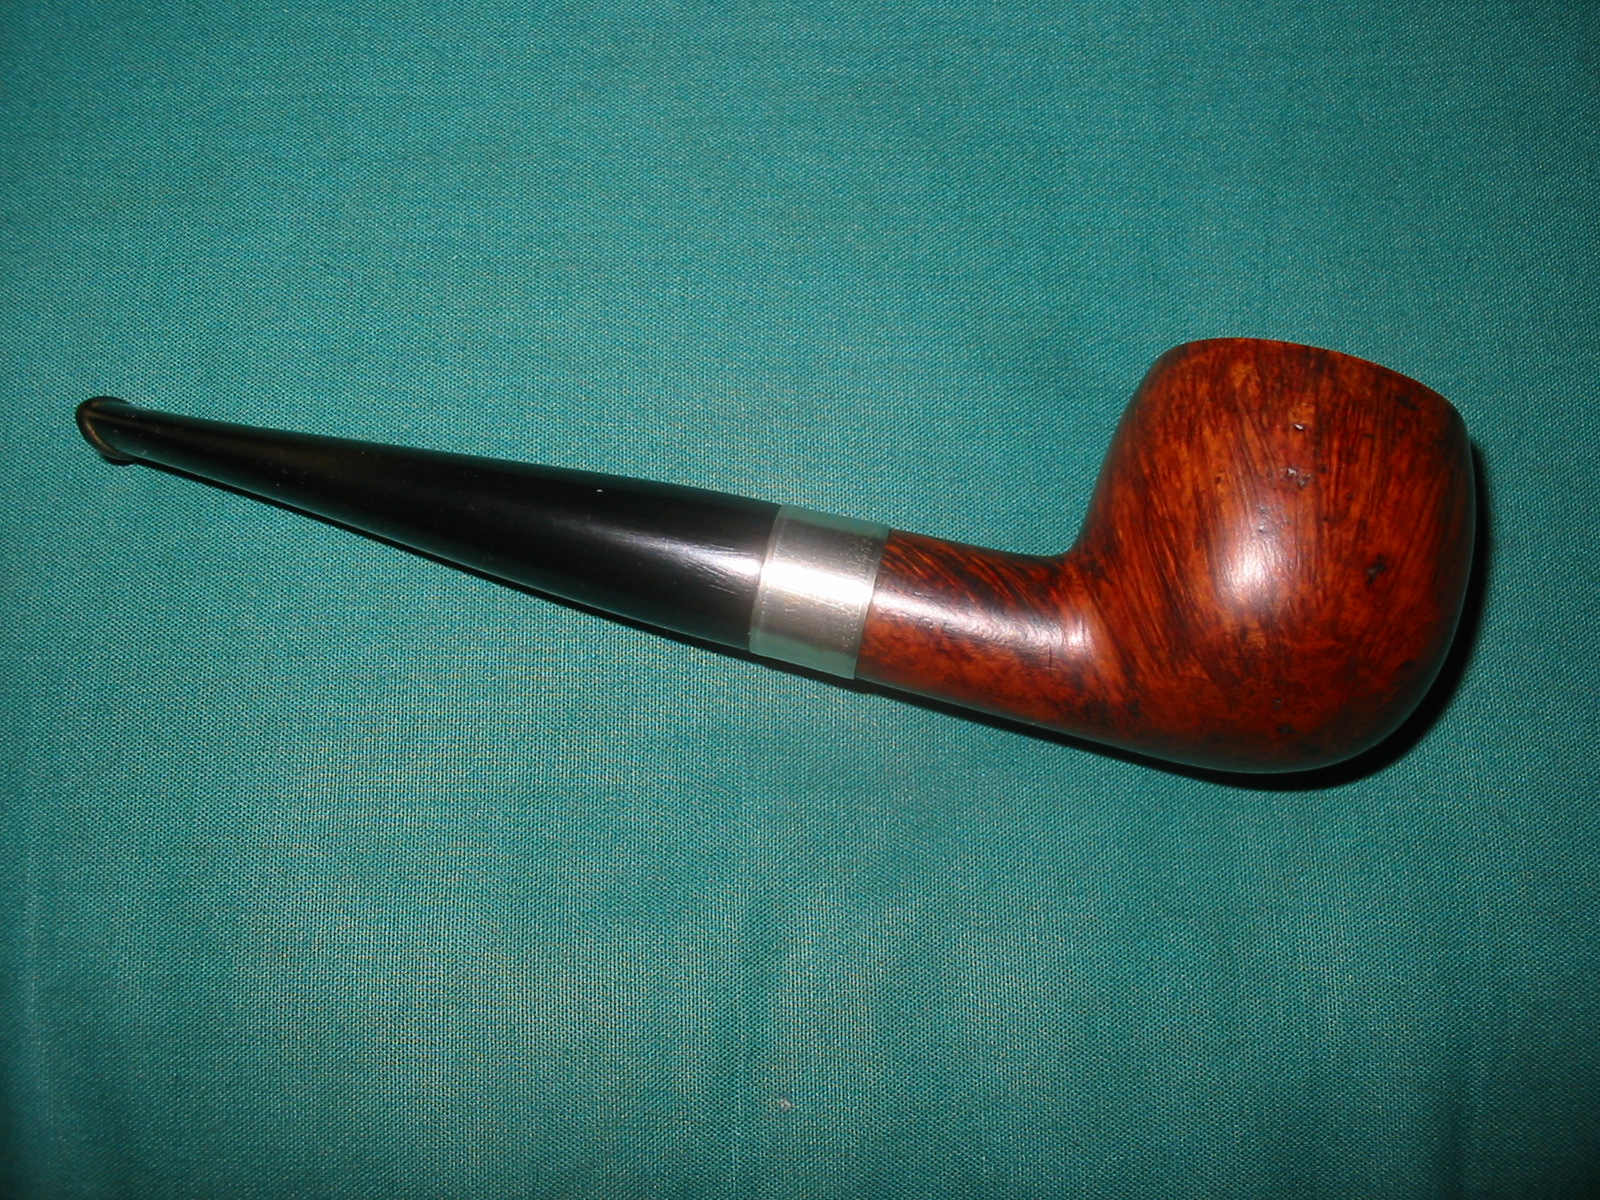
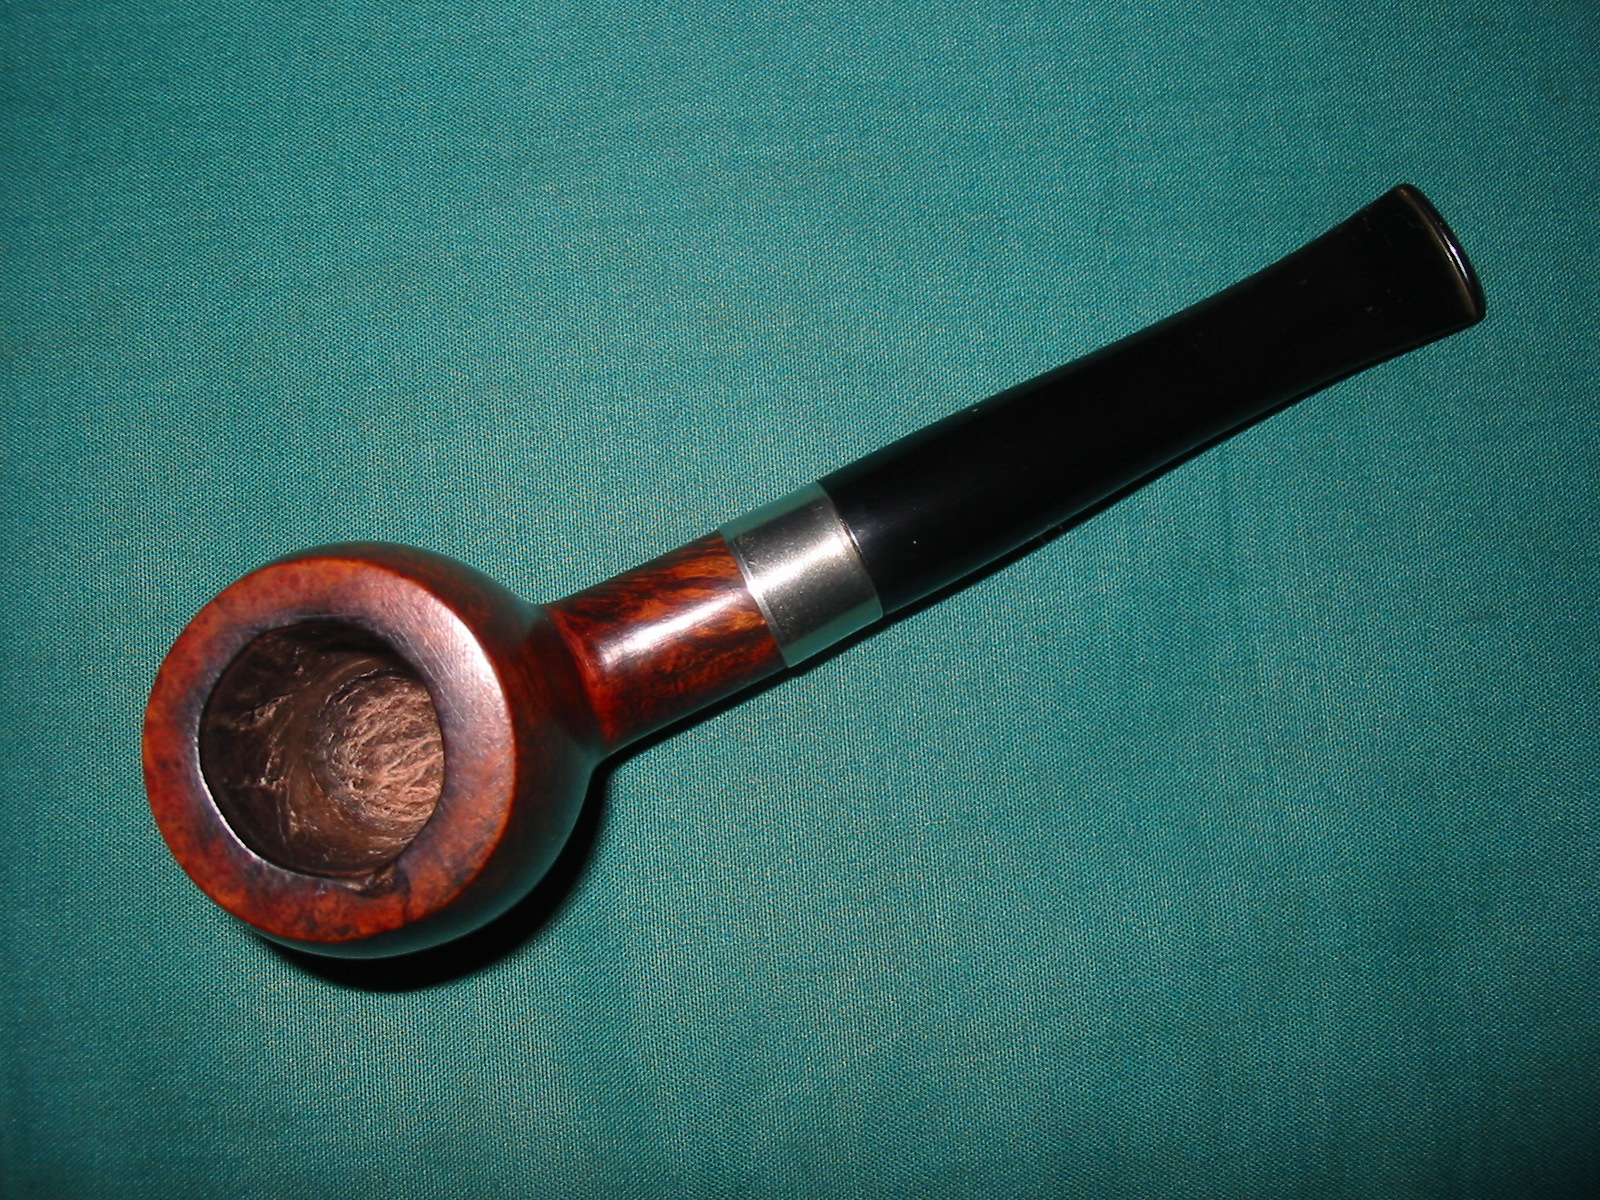
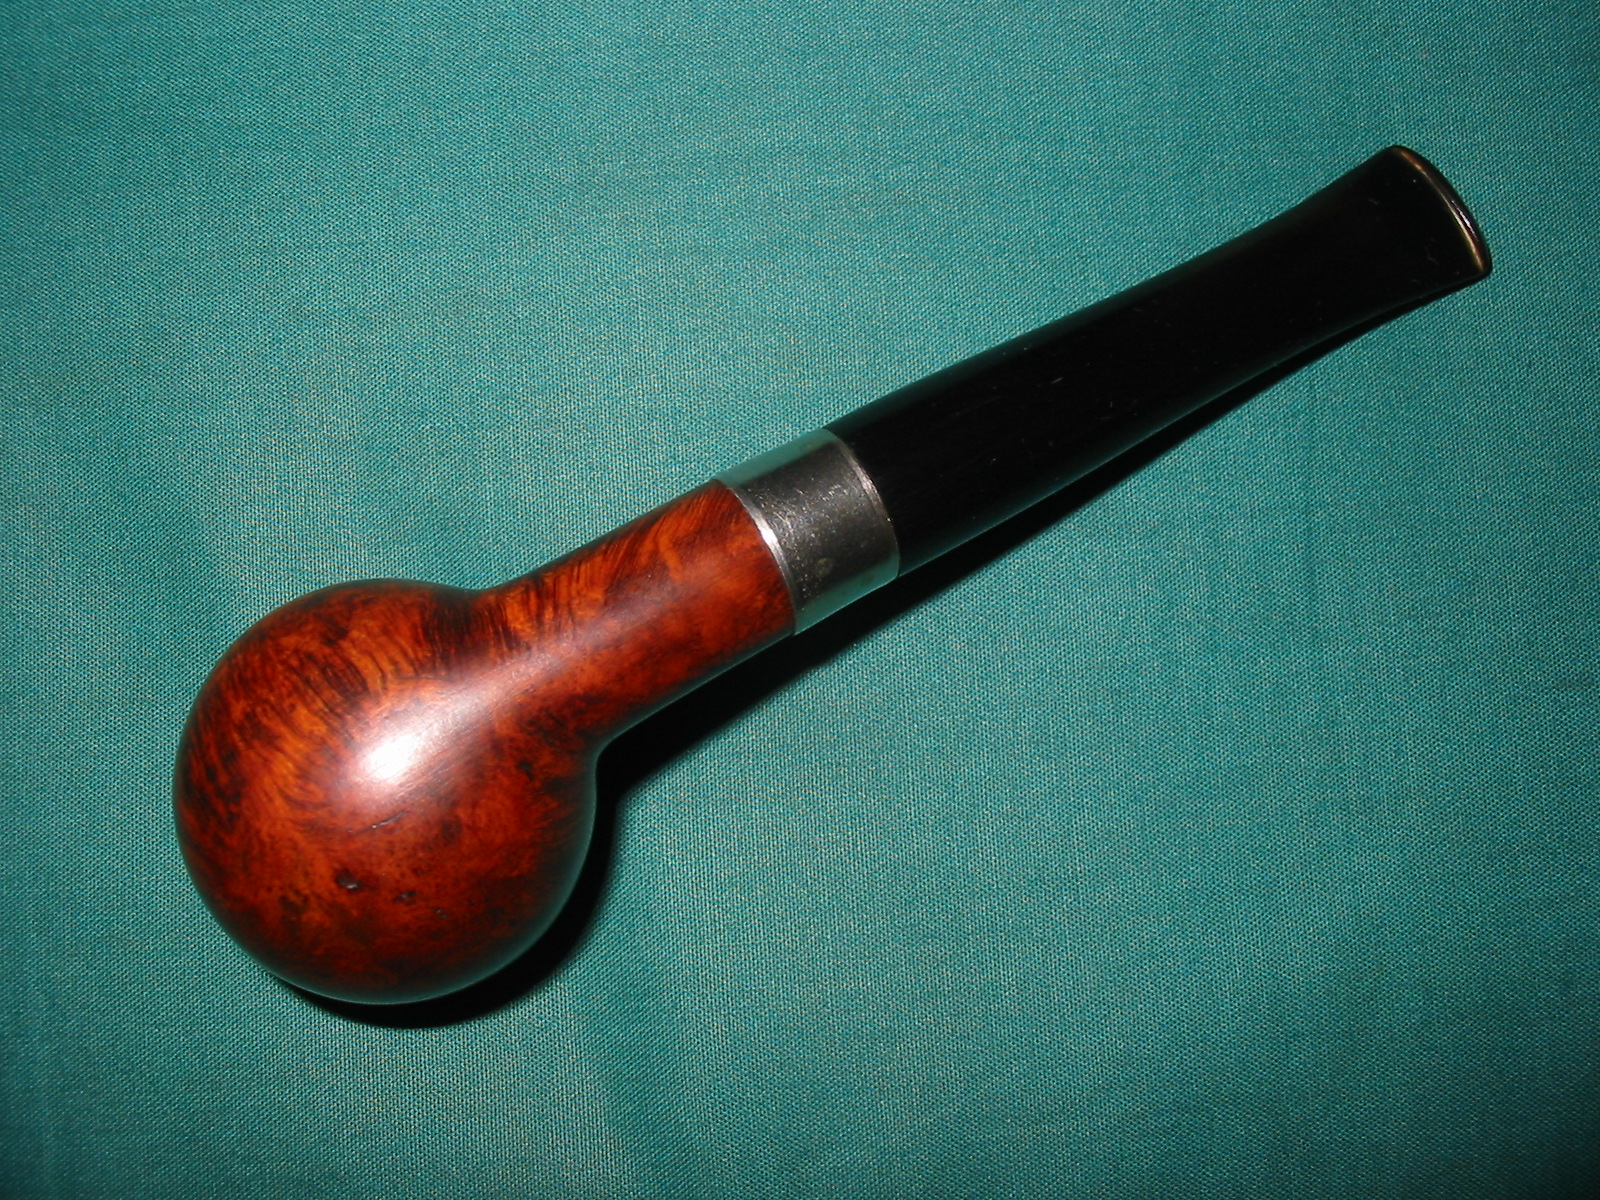
Tag Archives: fitting a stem

A Quick and Easy Cleanup on A GBD Prehistoric 9457?? Maybe Not!


Blog by Steve Laug

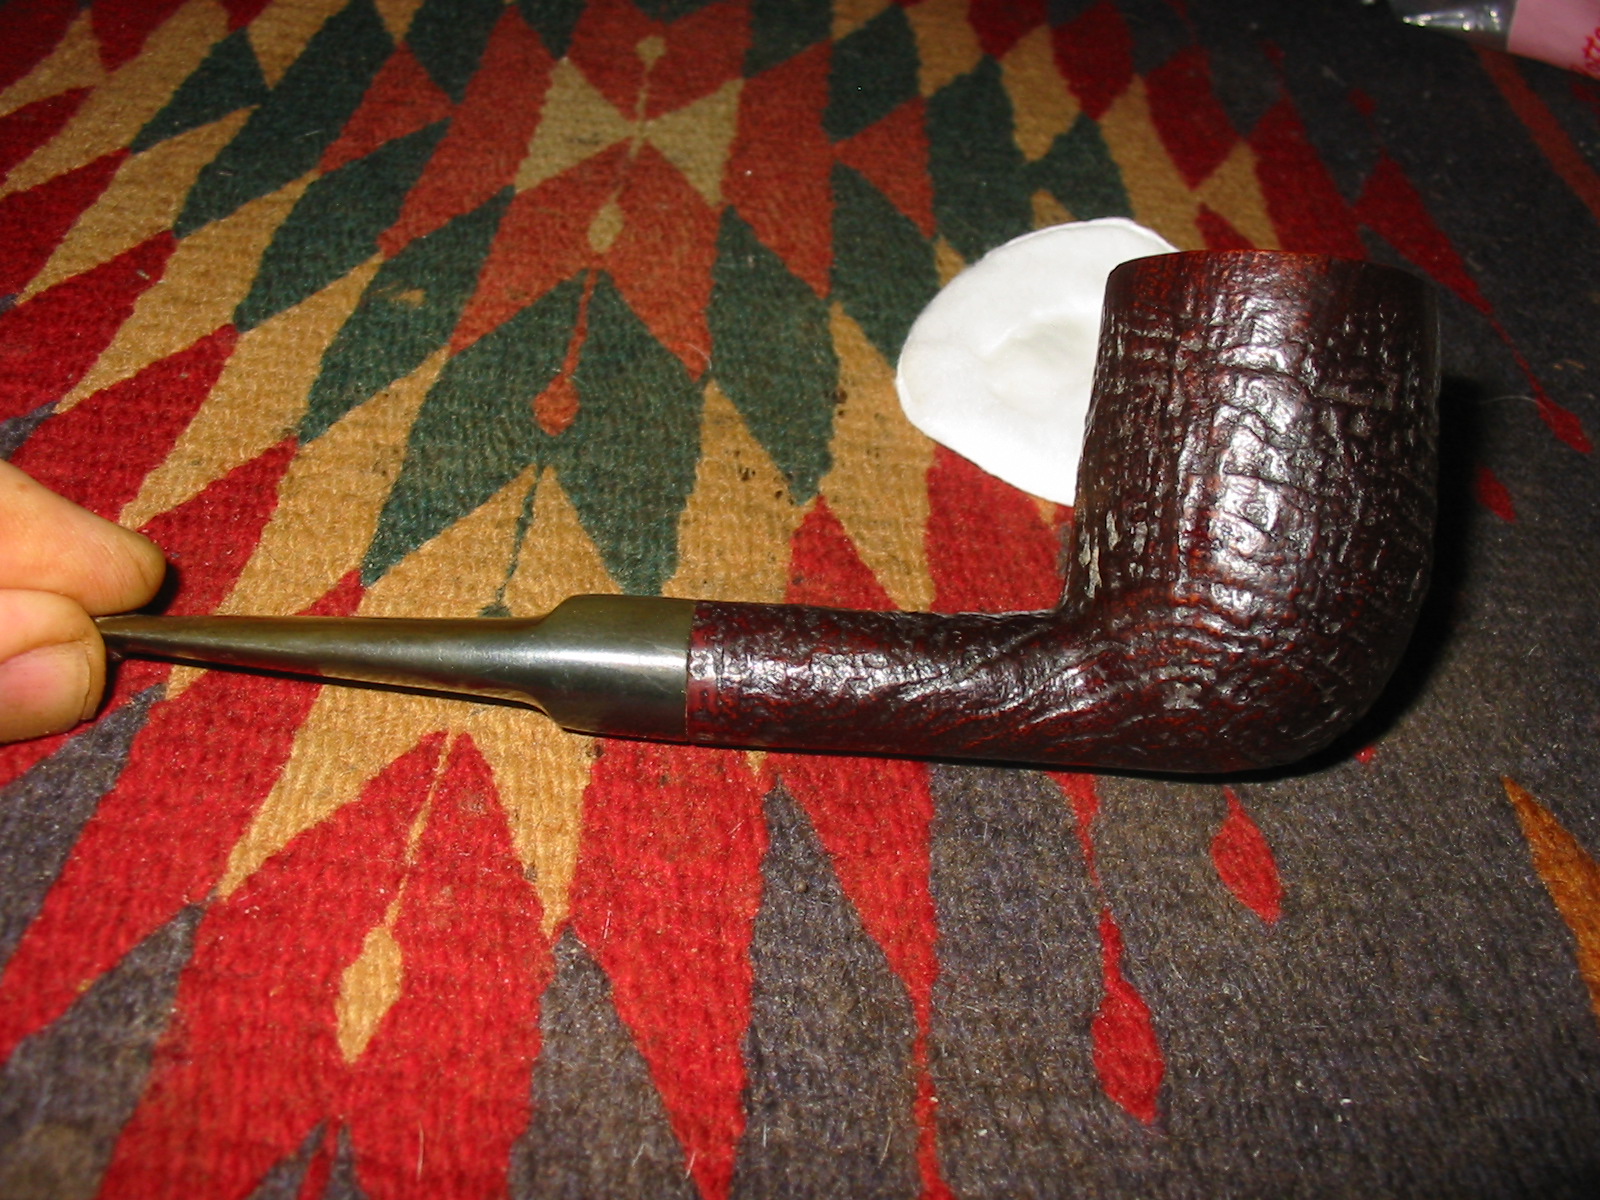
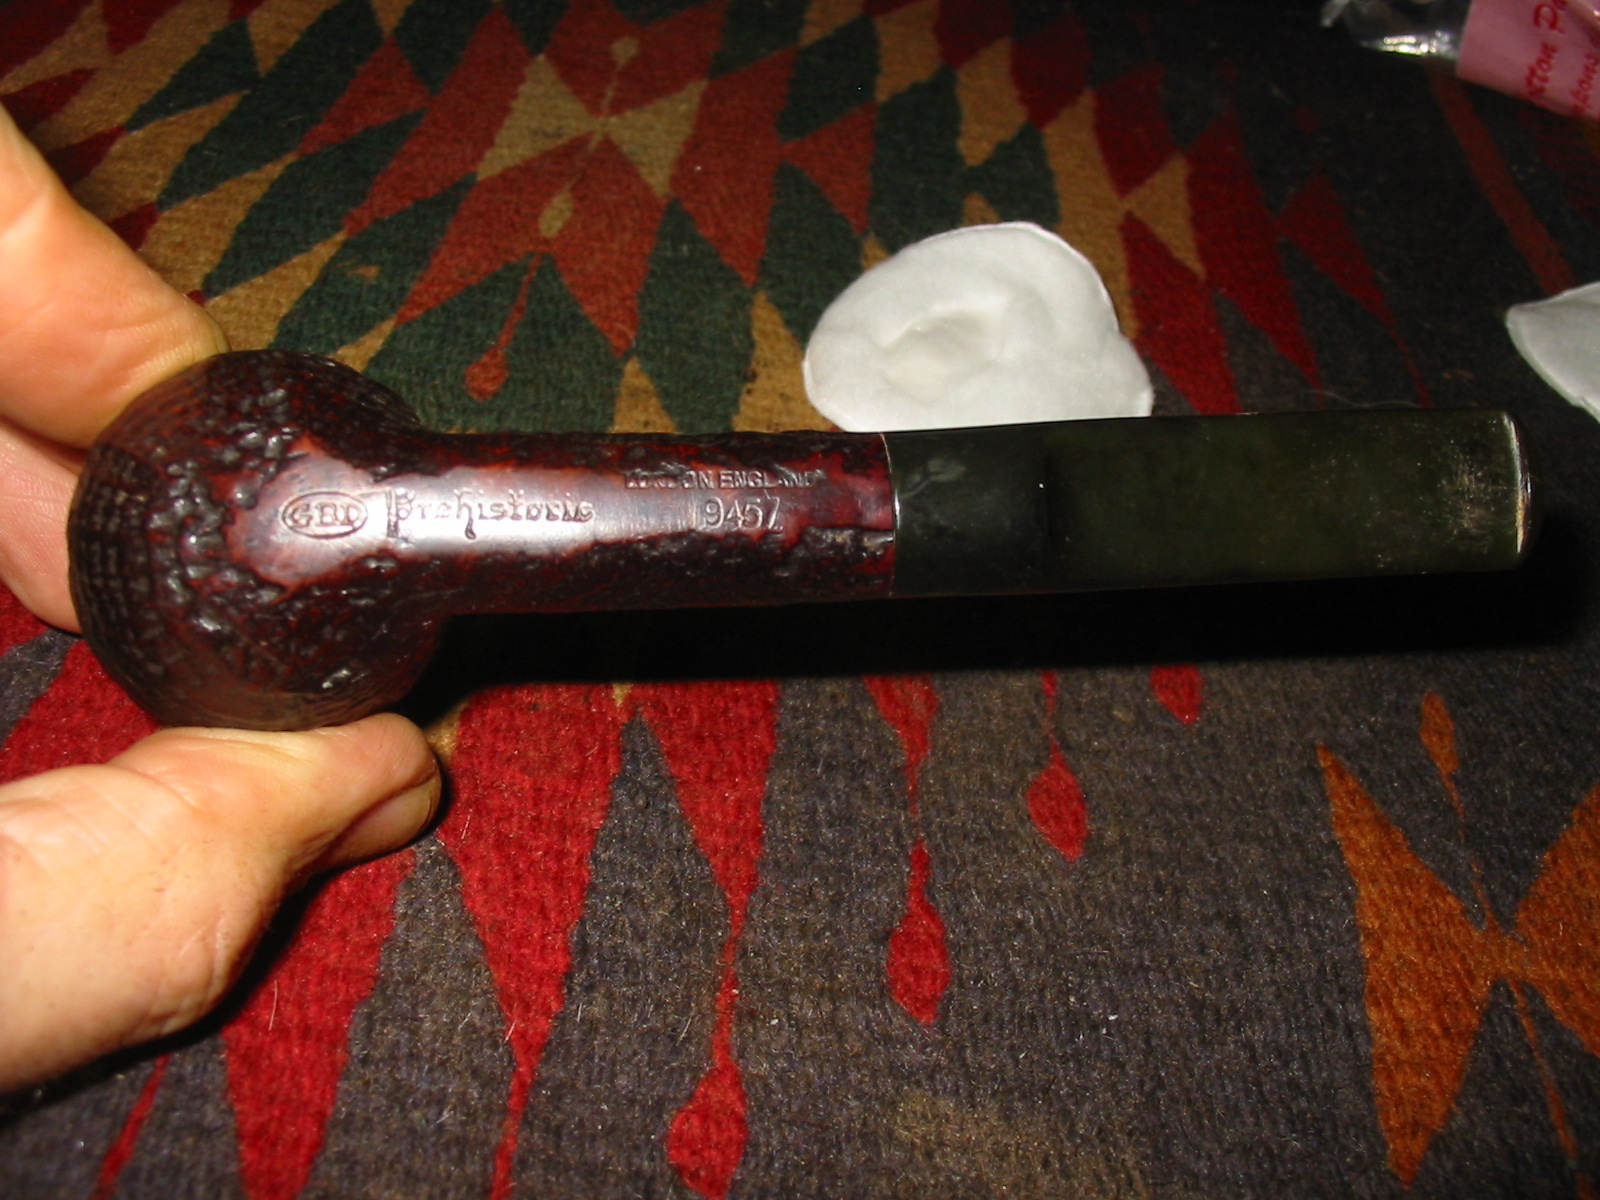
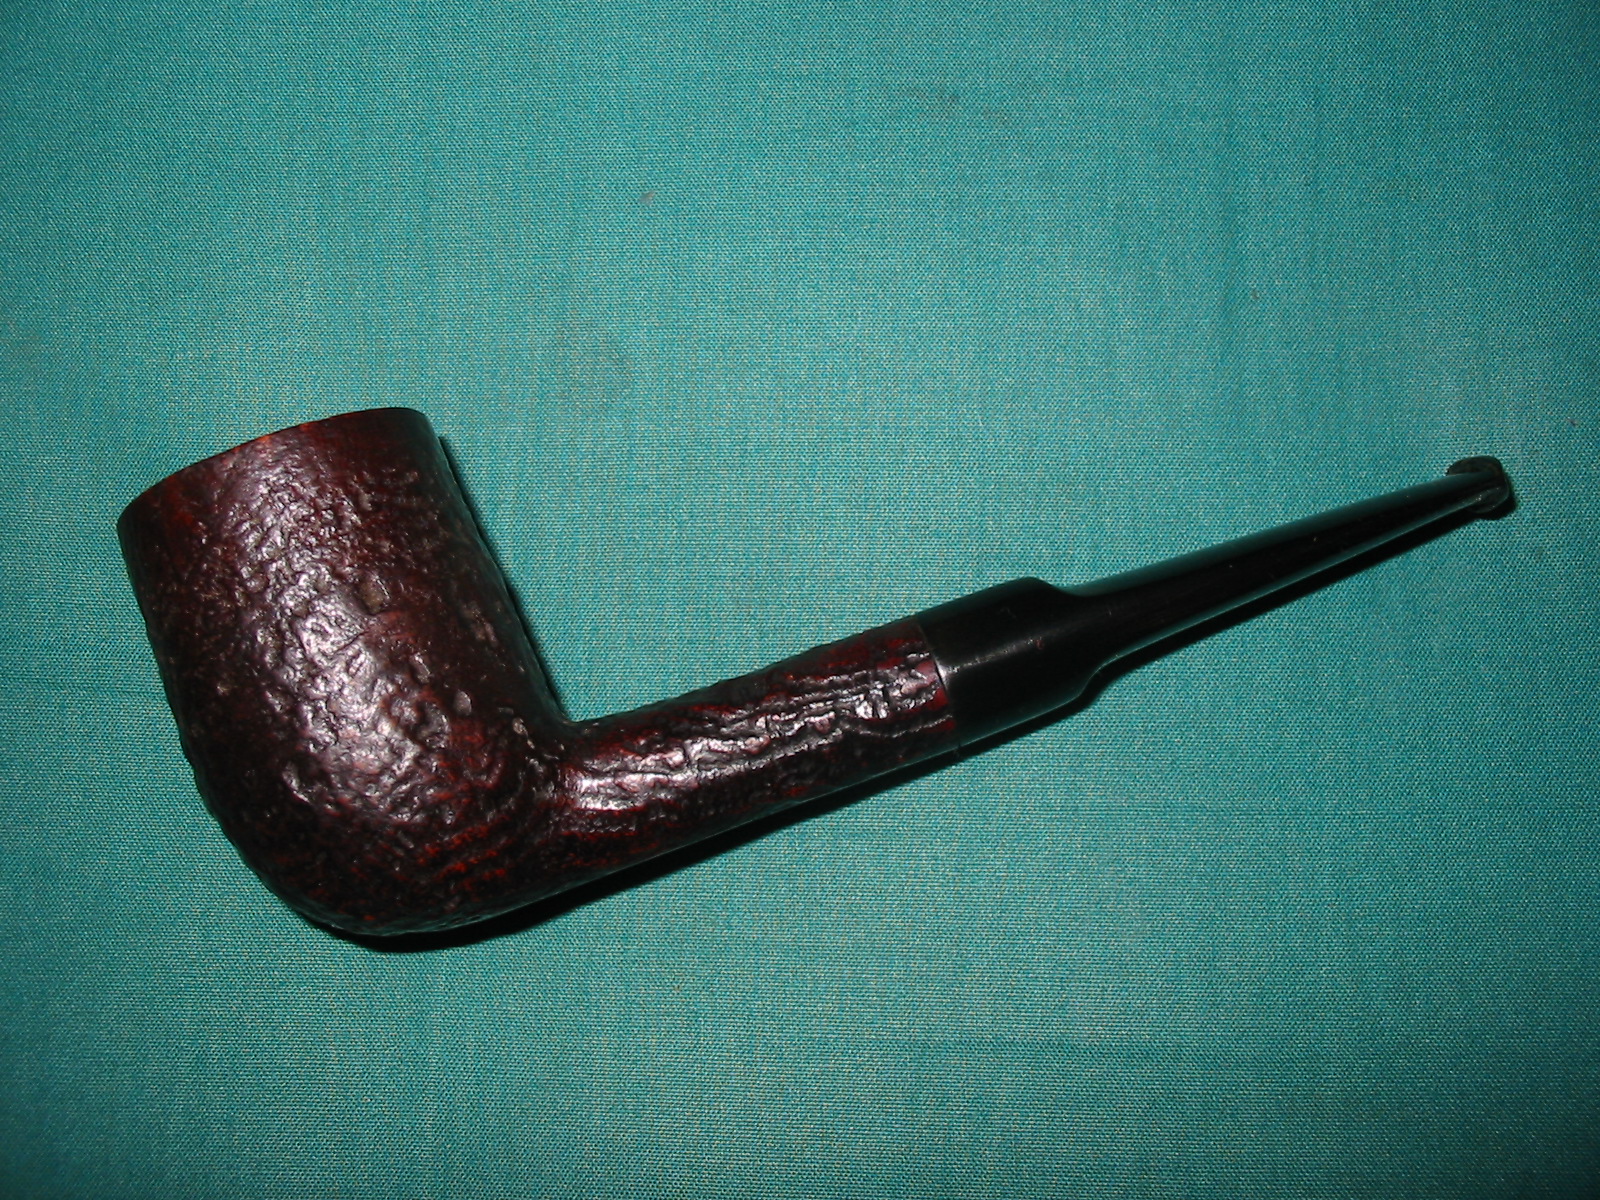
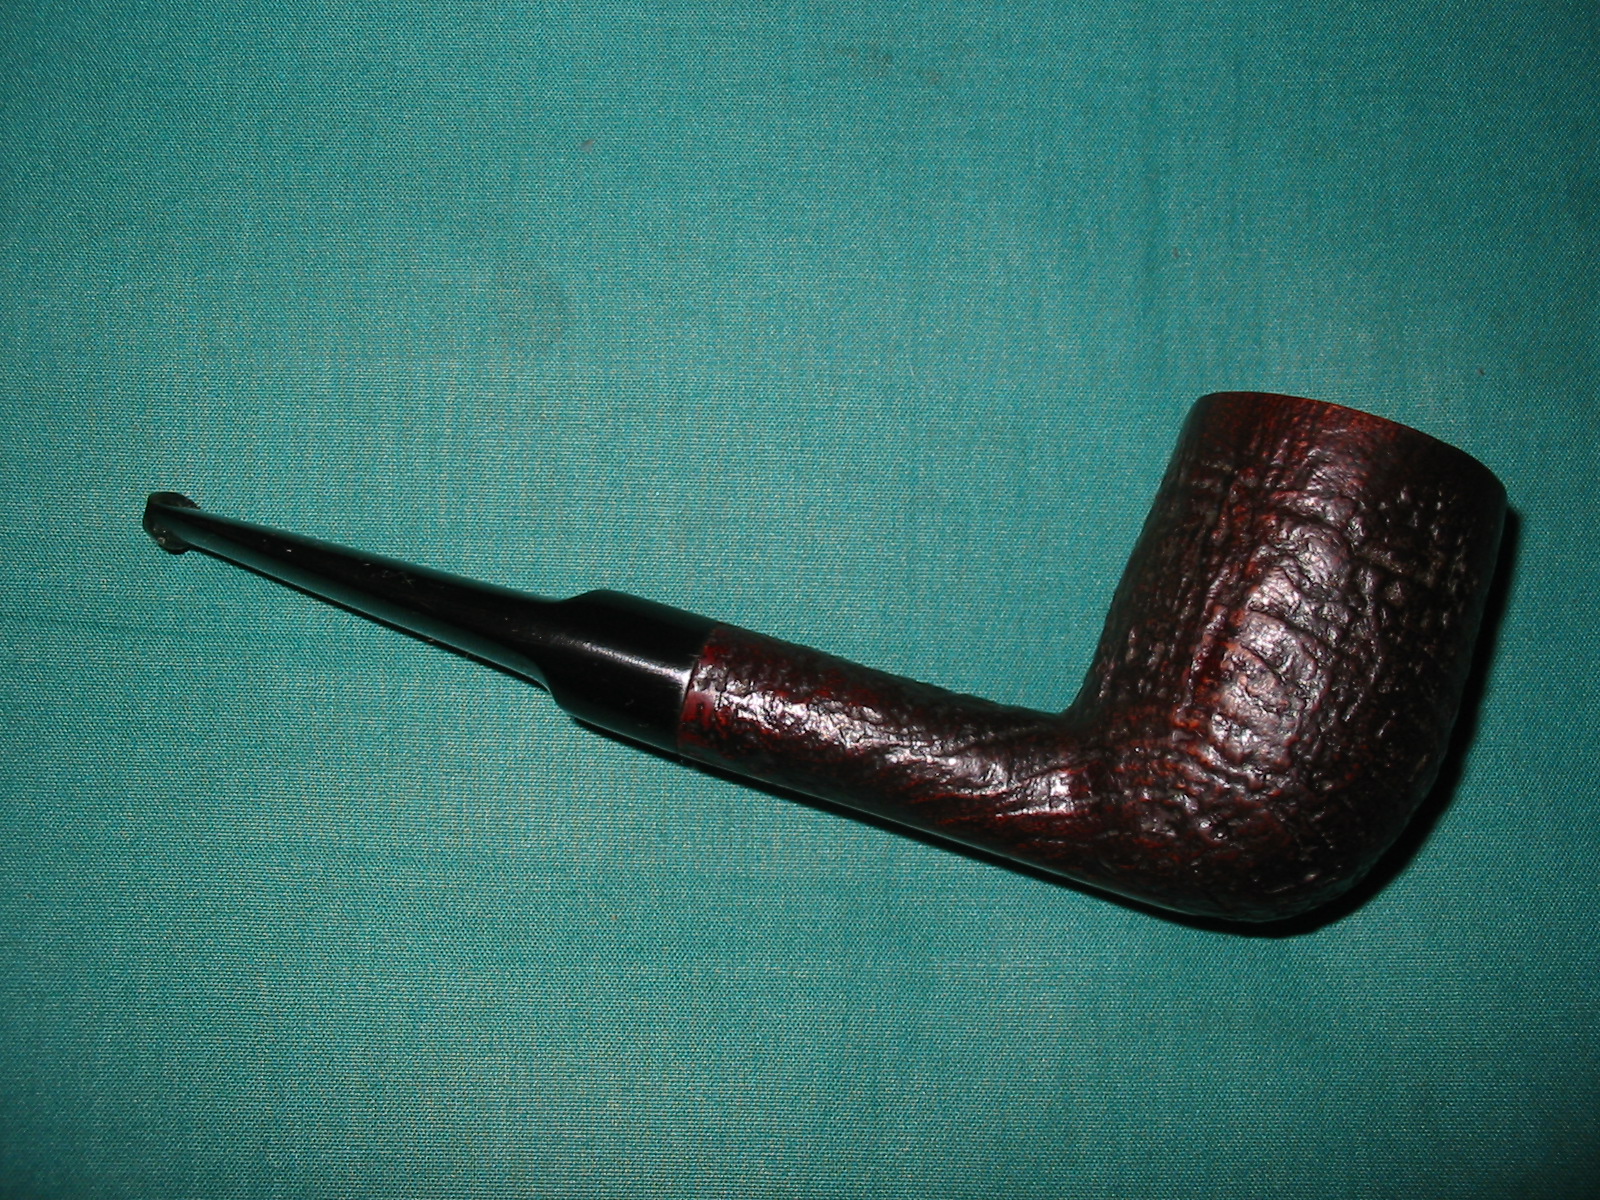
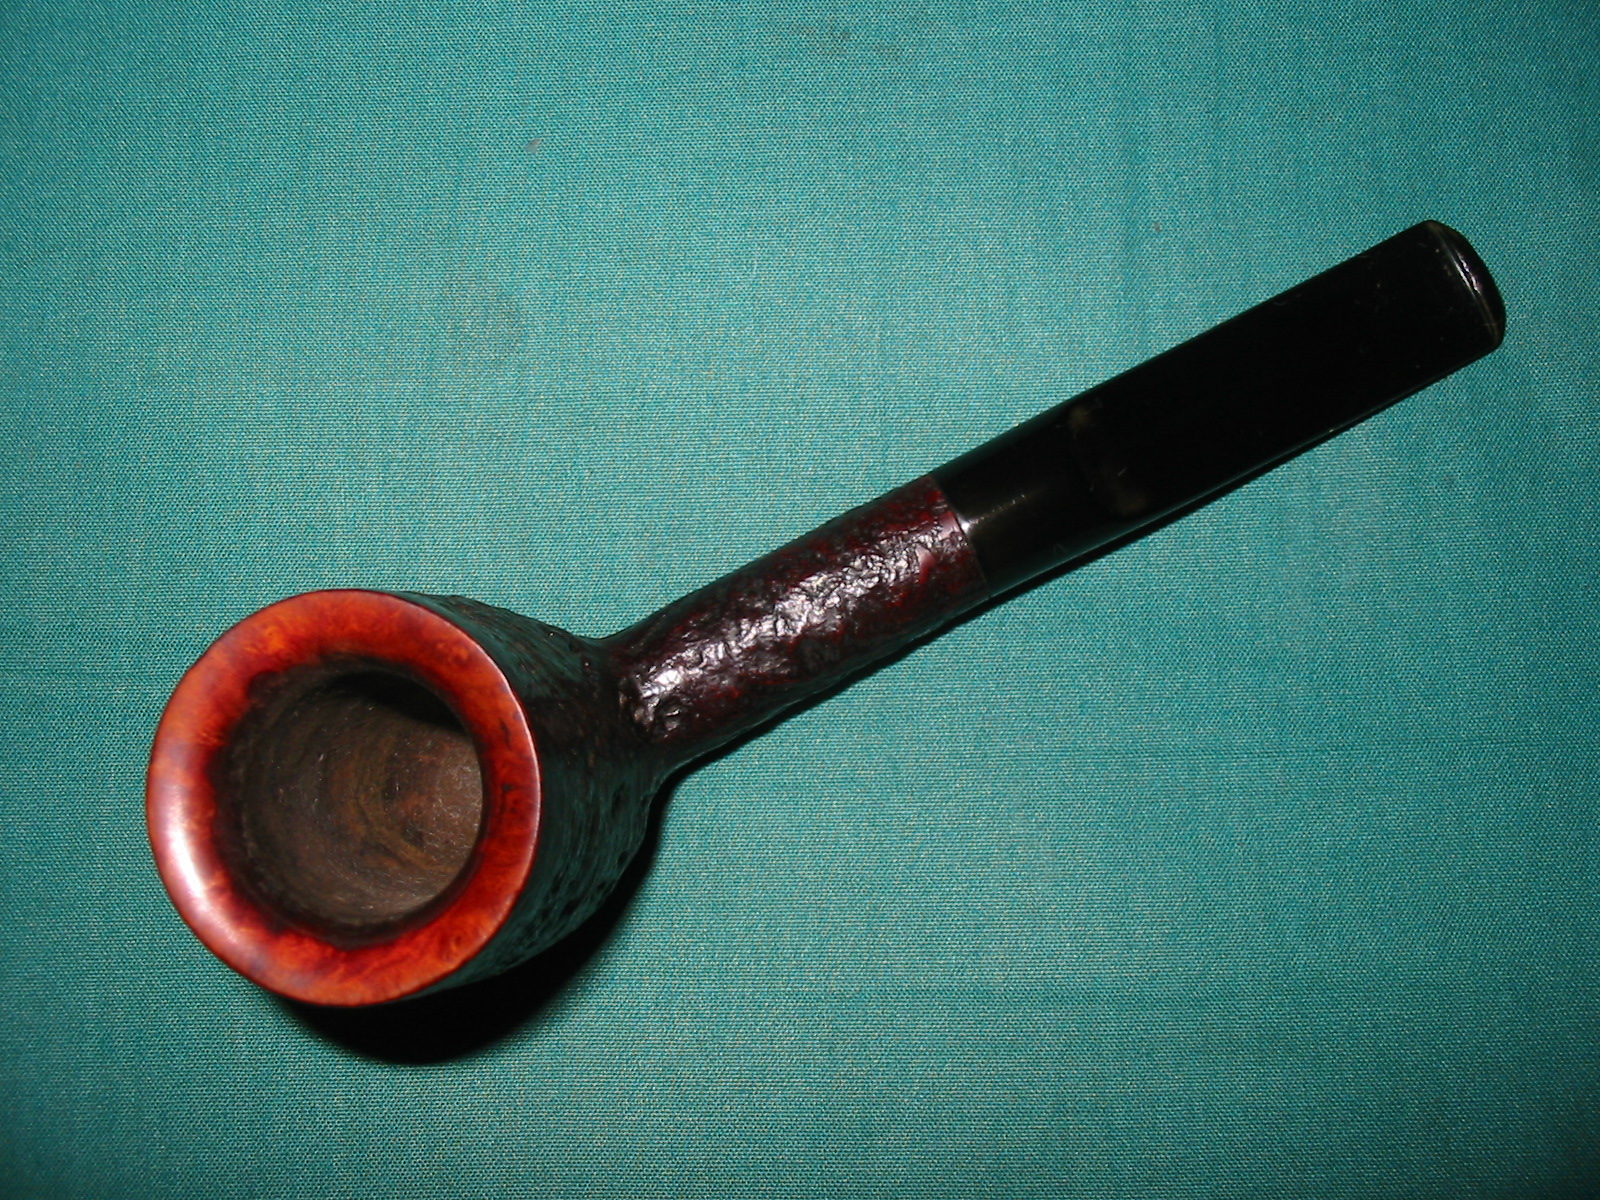
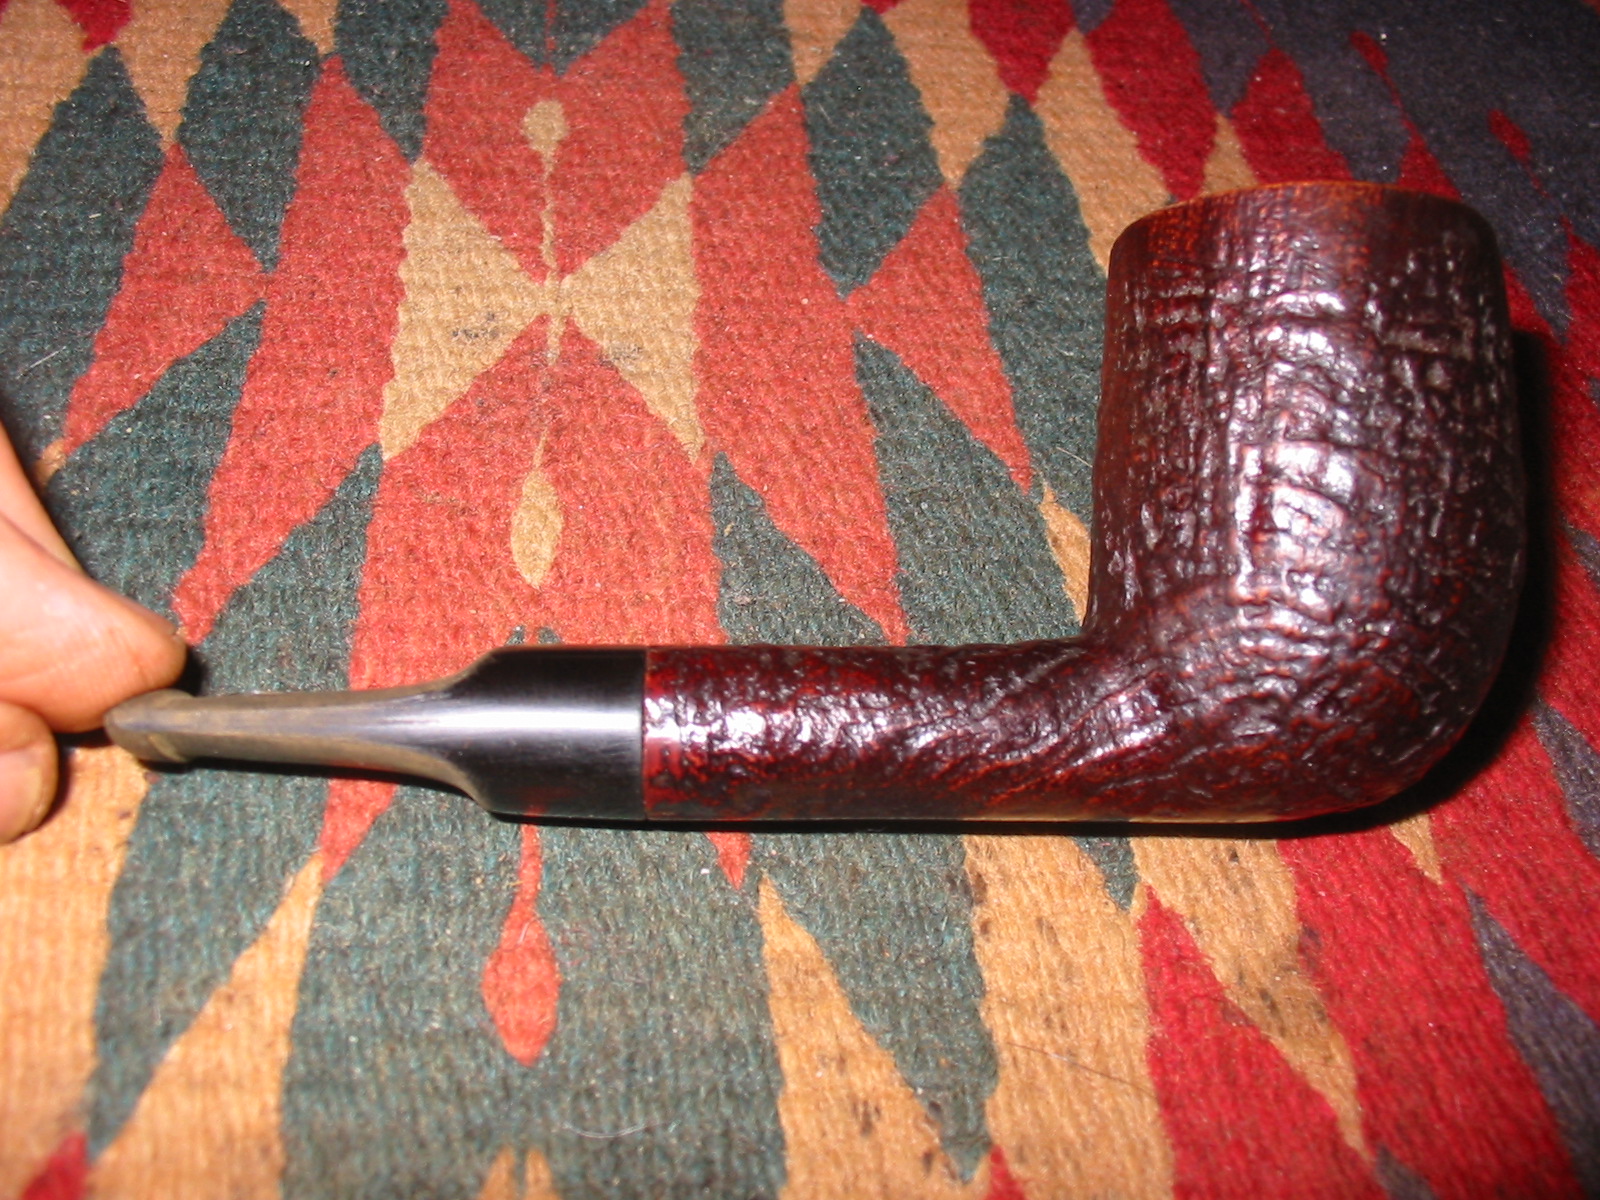
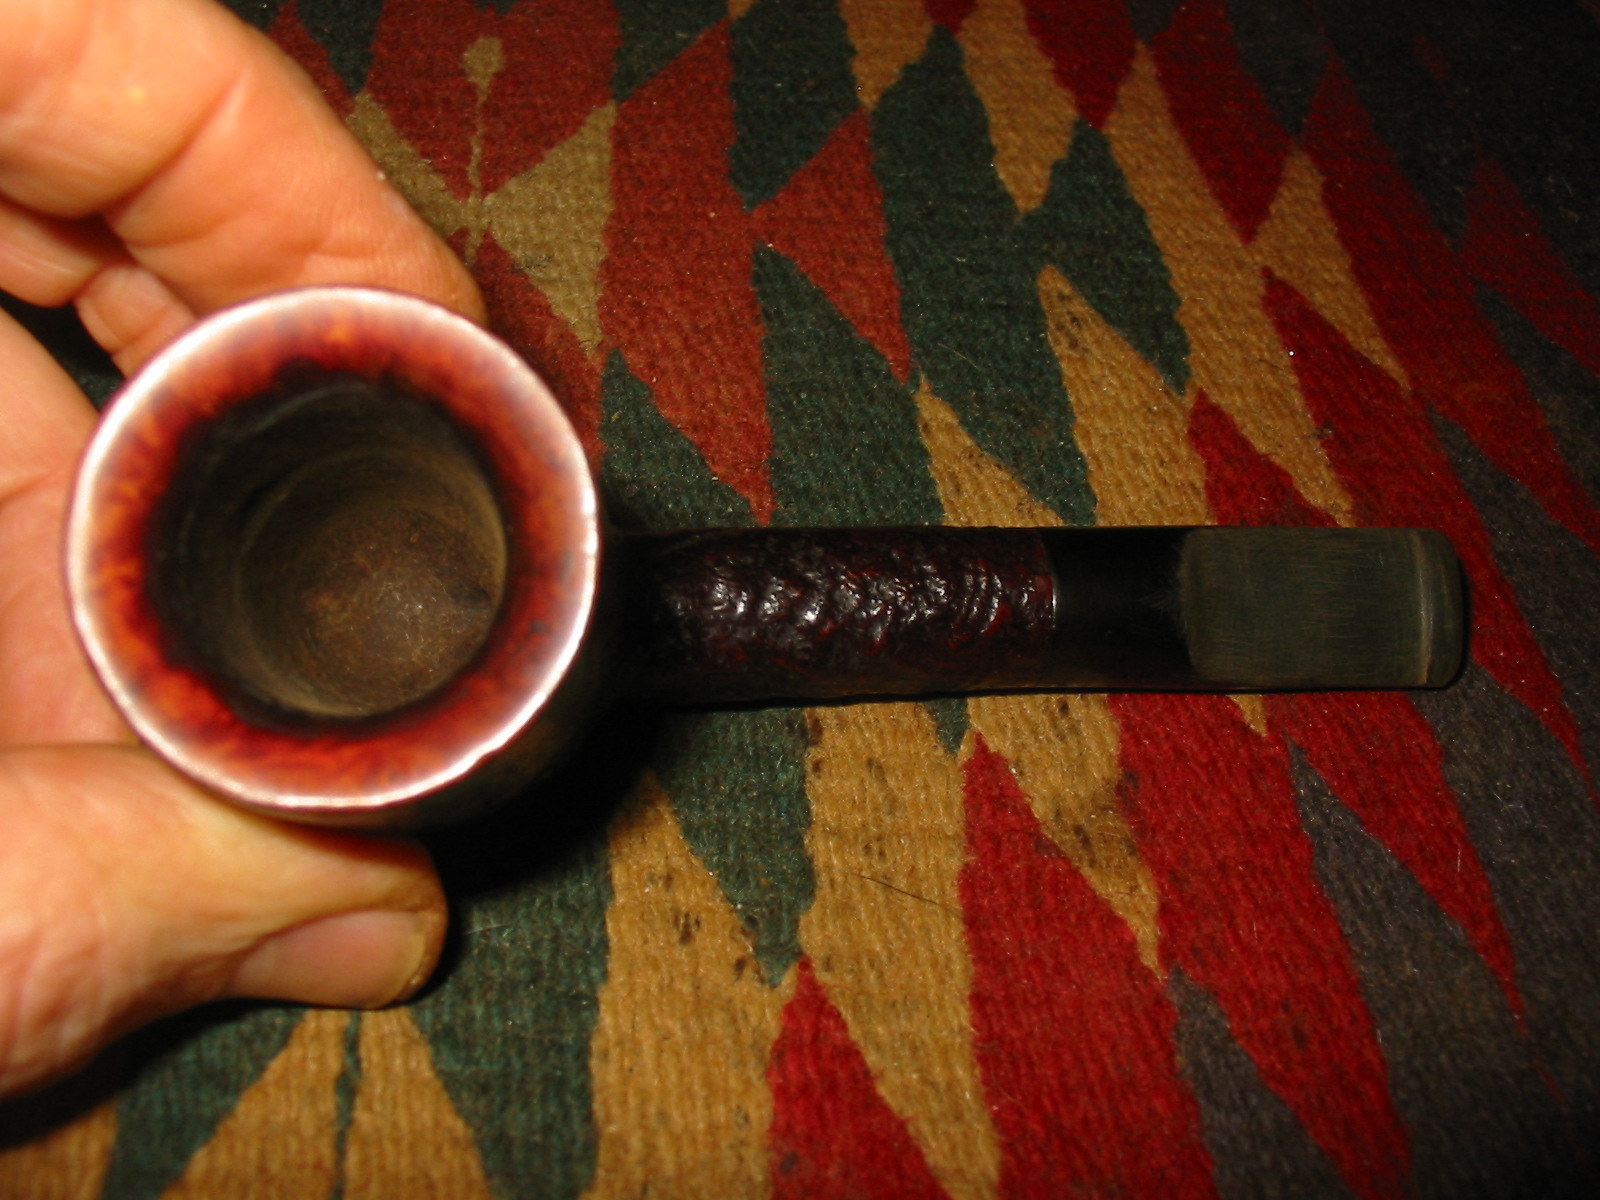
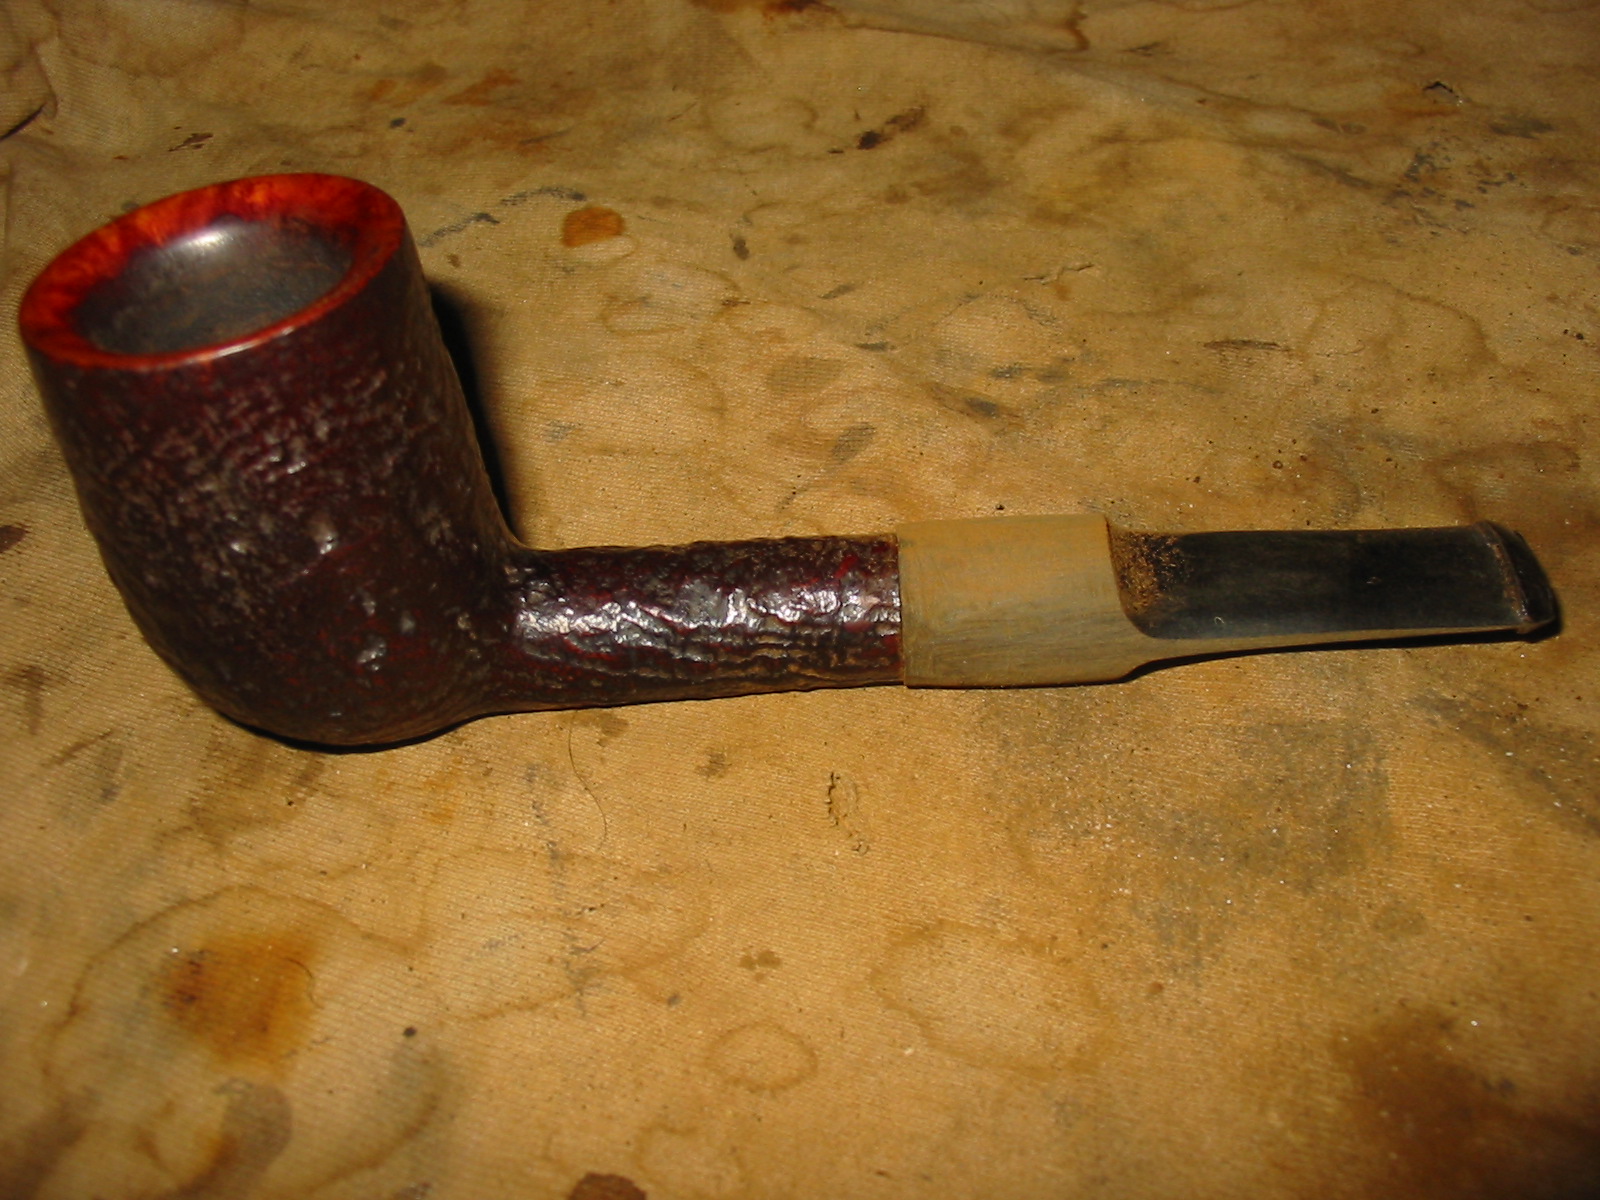
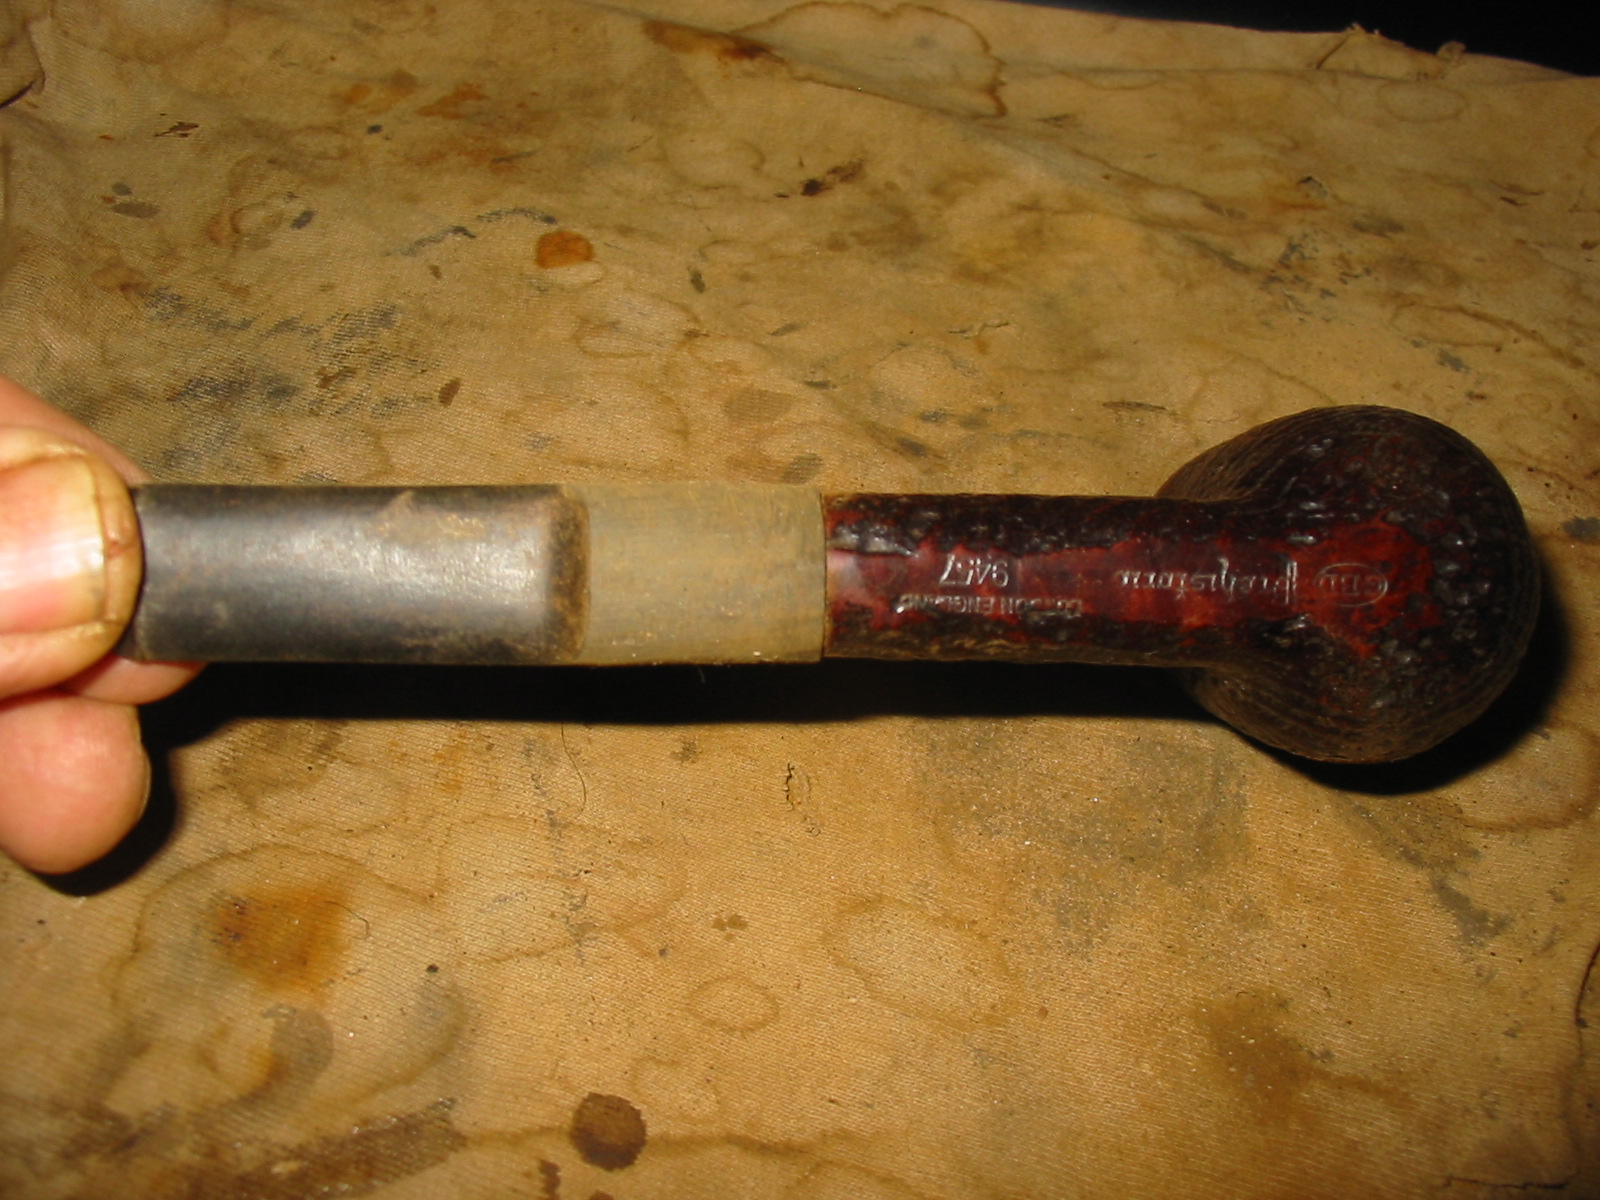
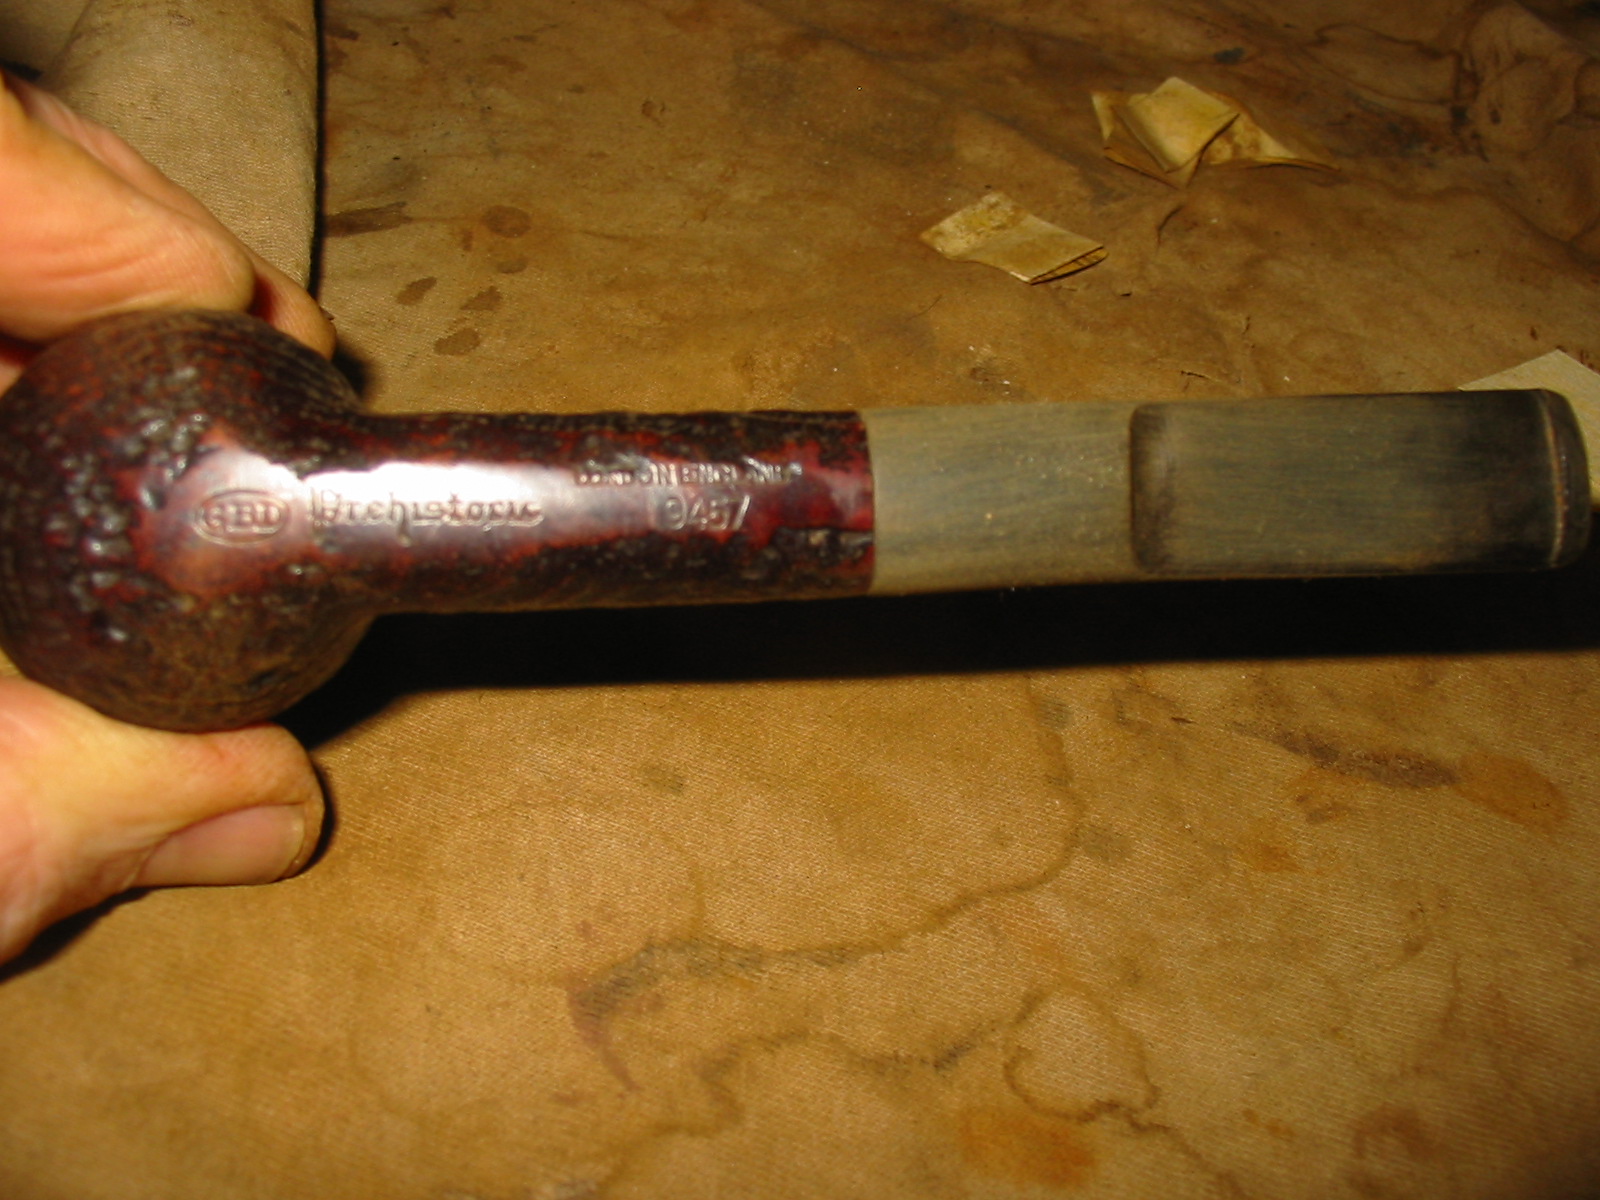
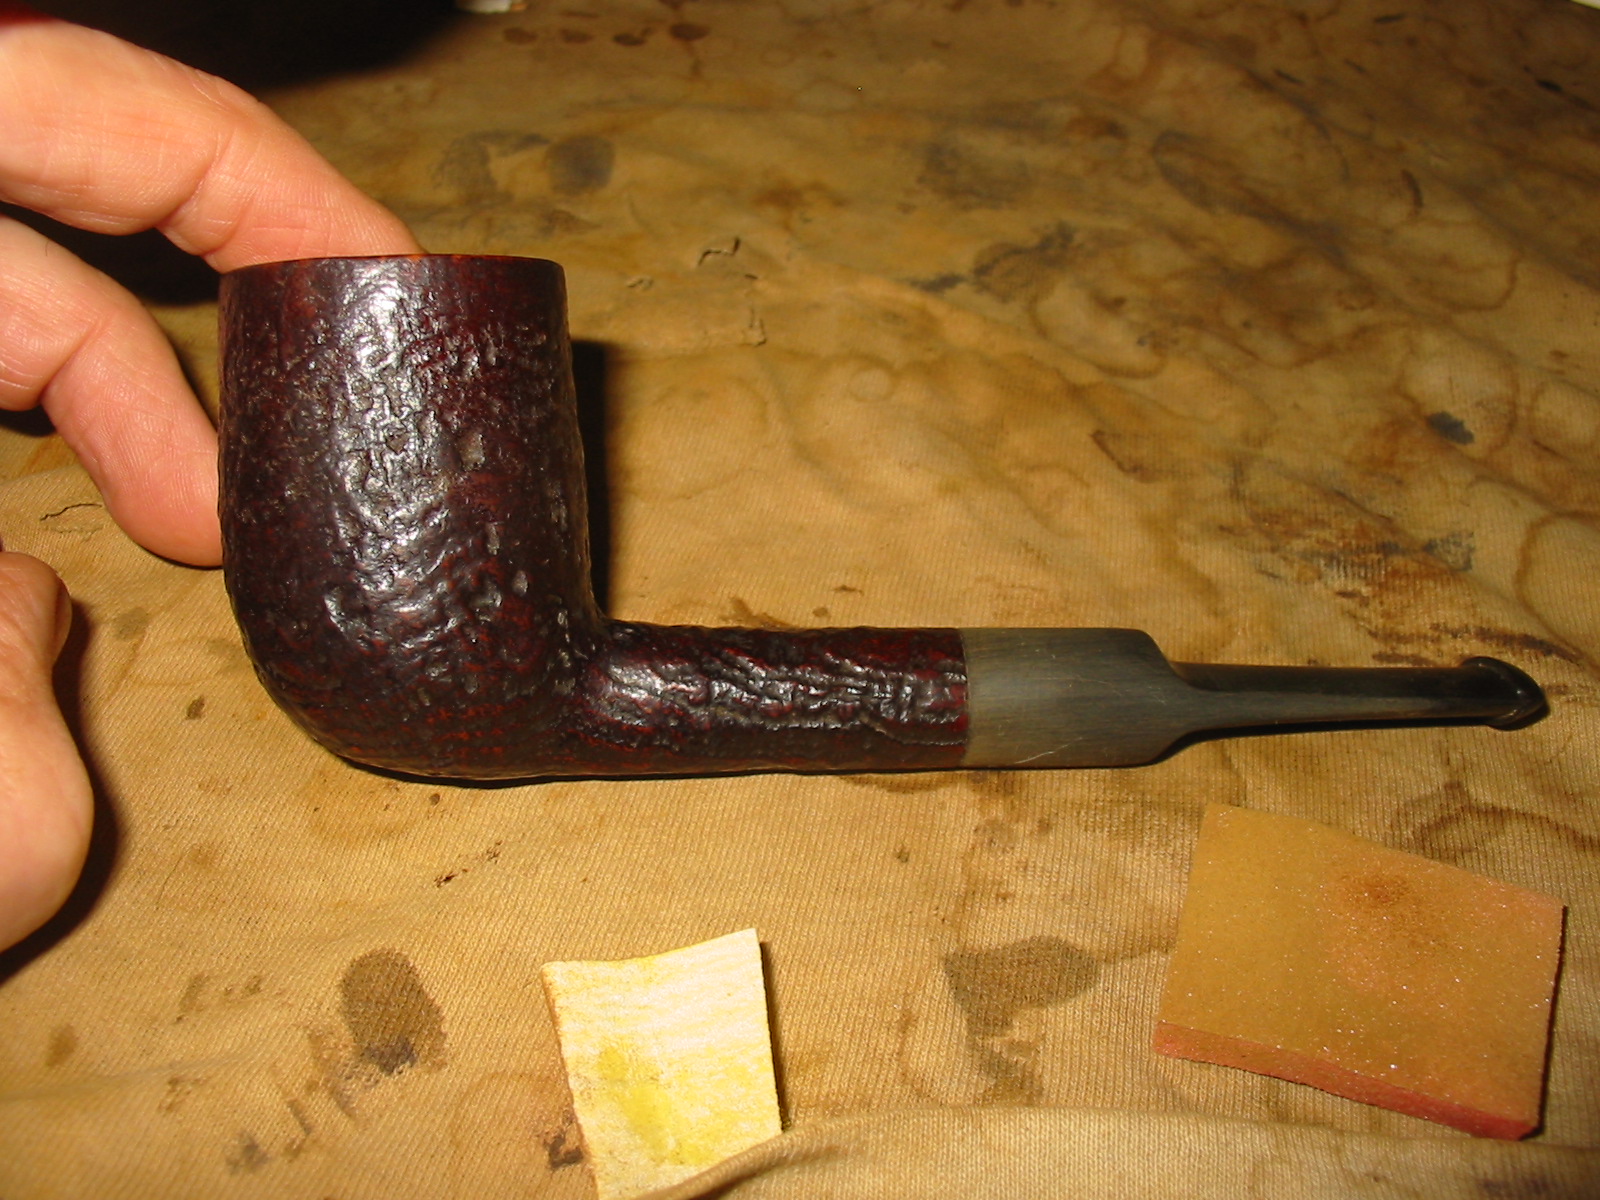
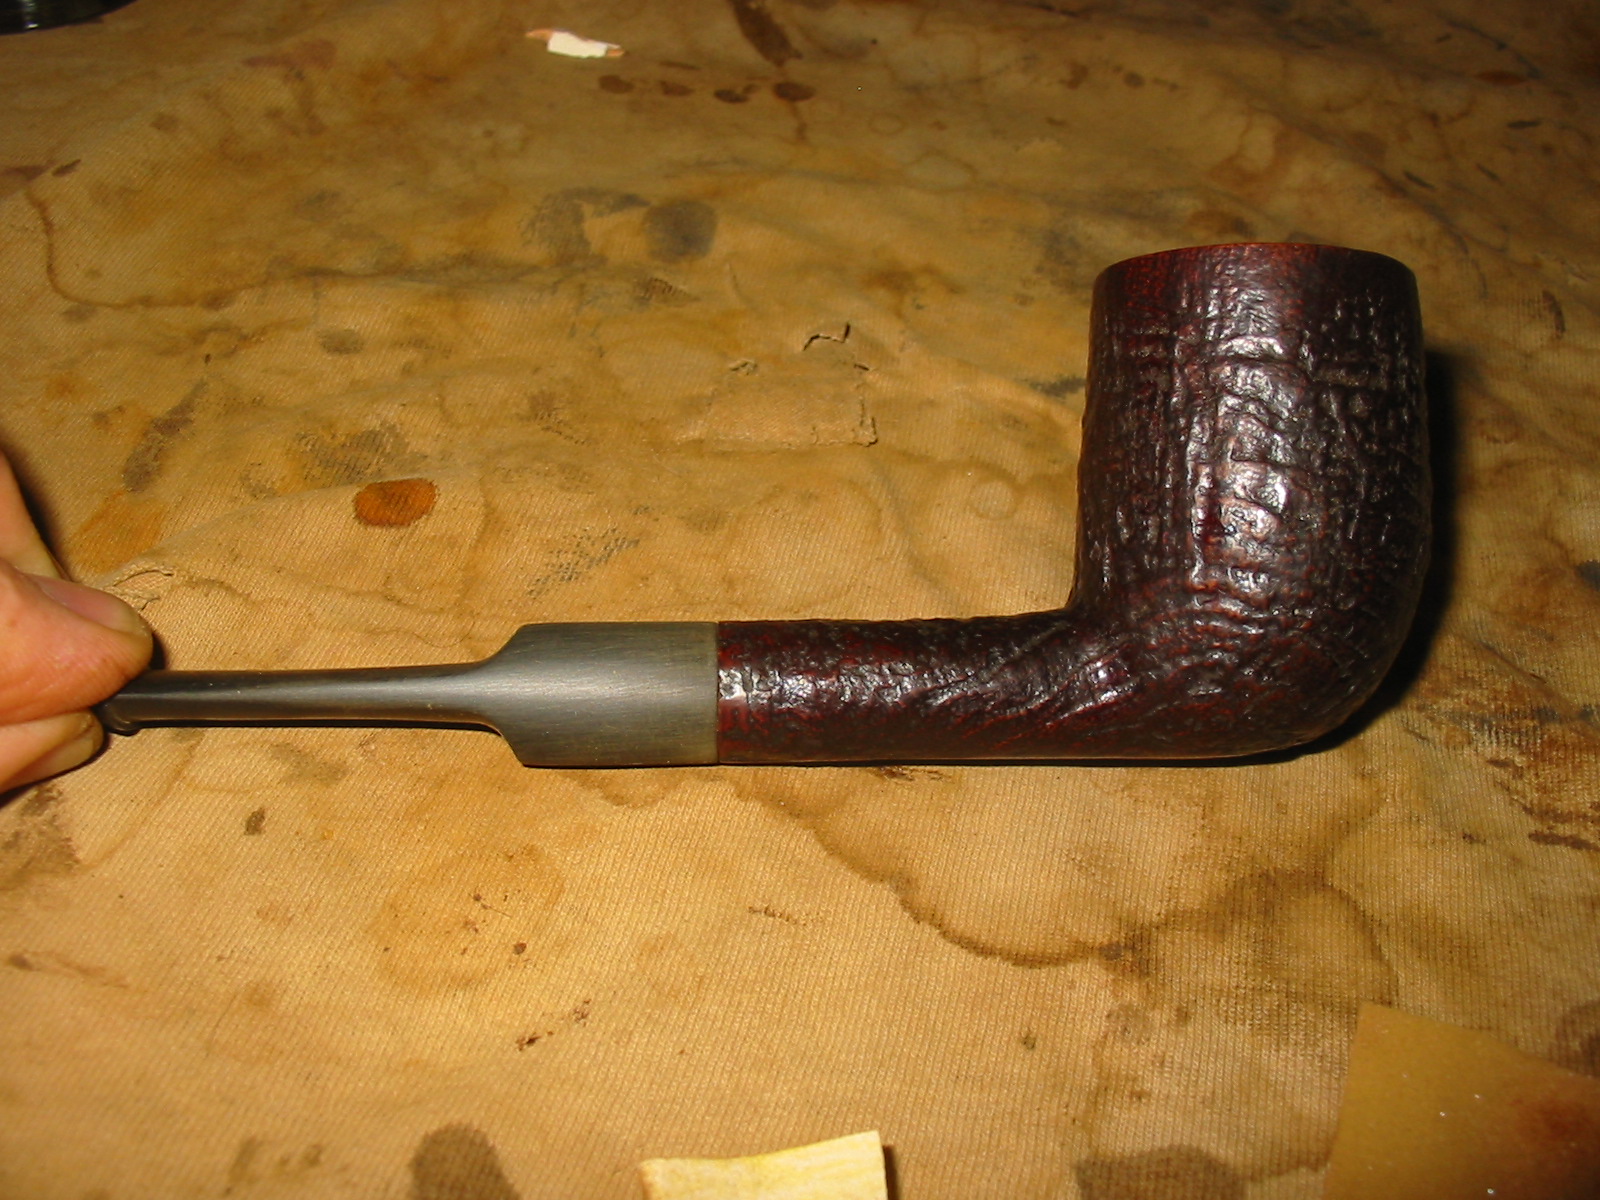
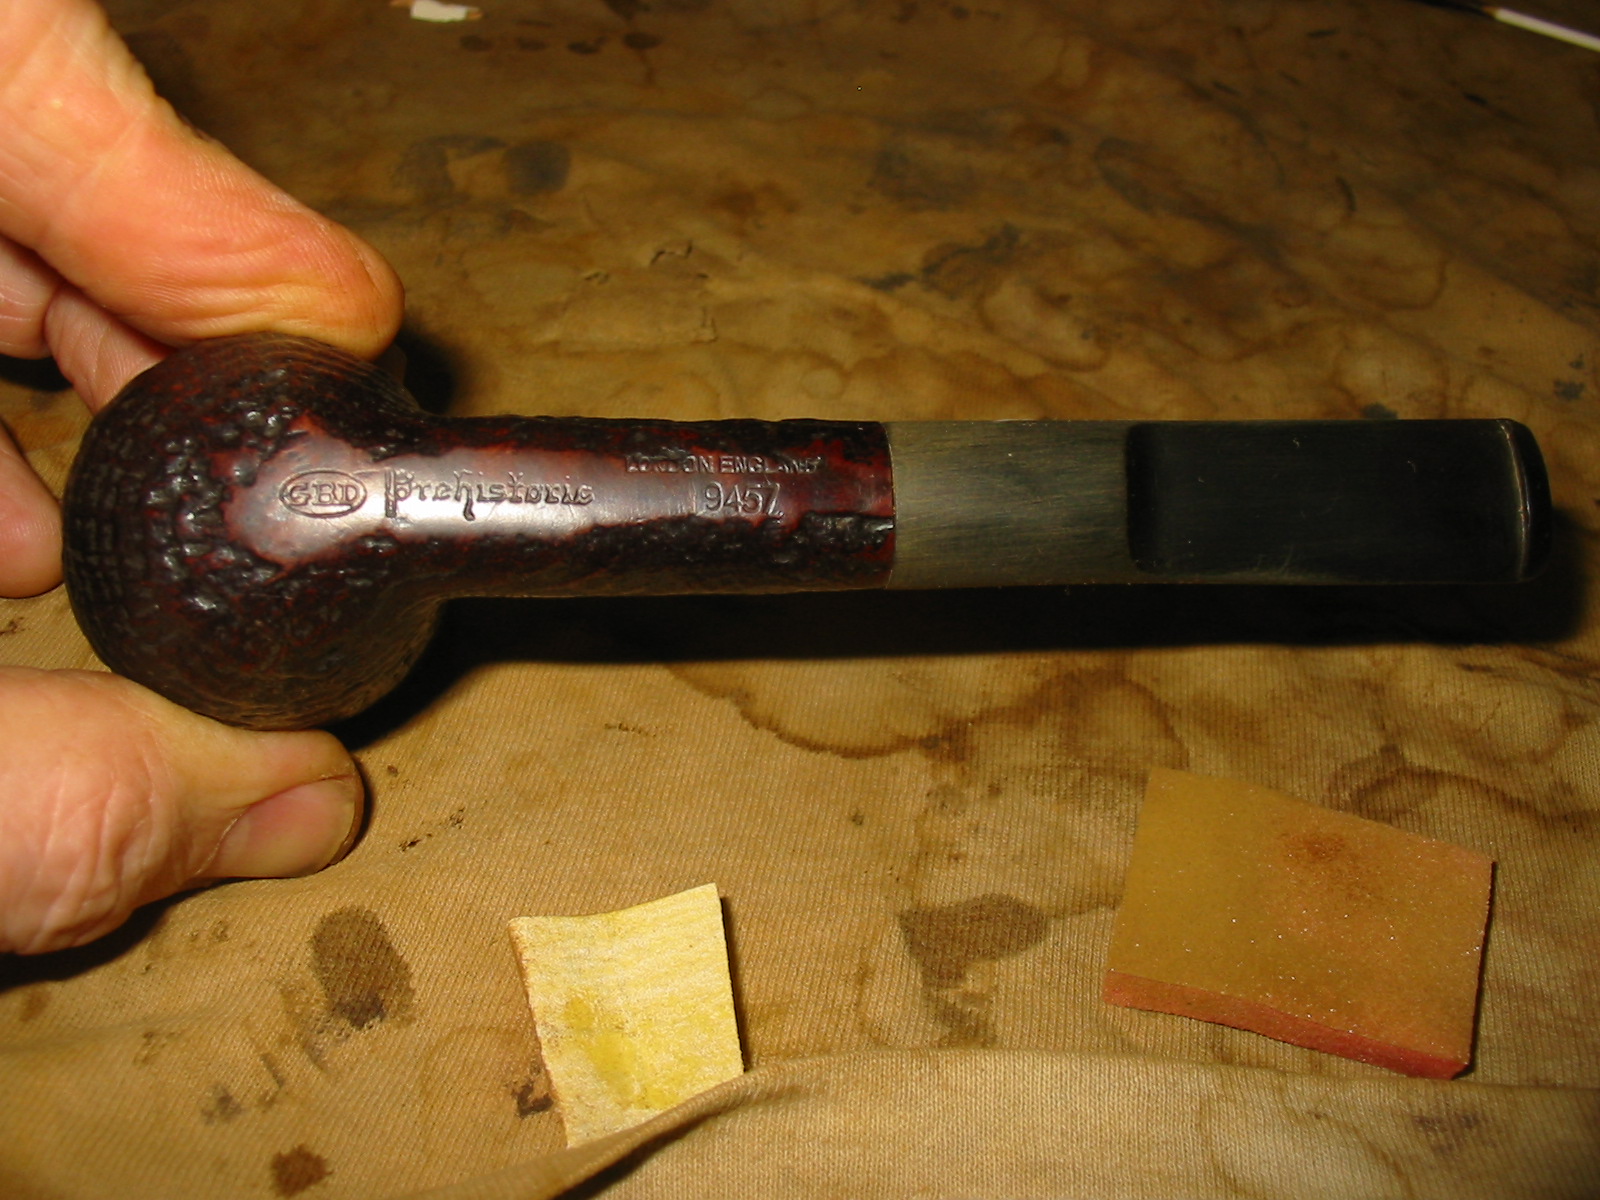
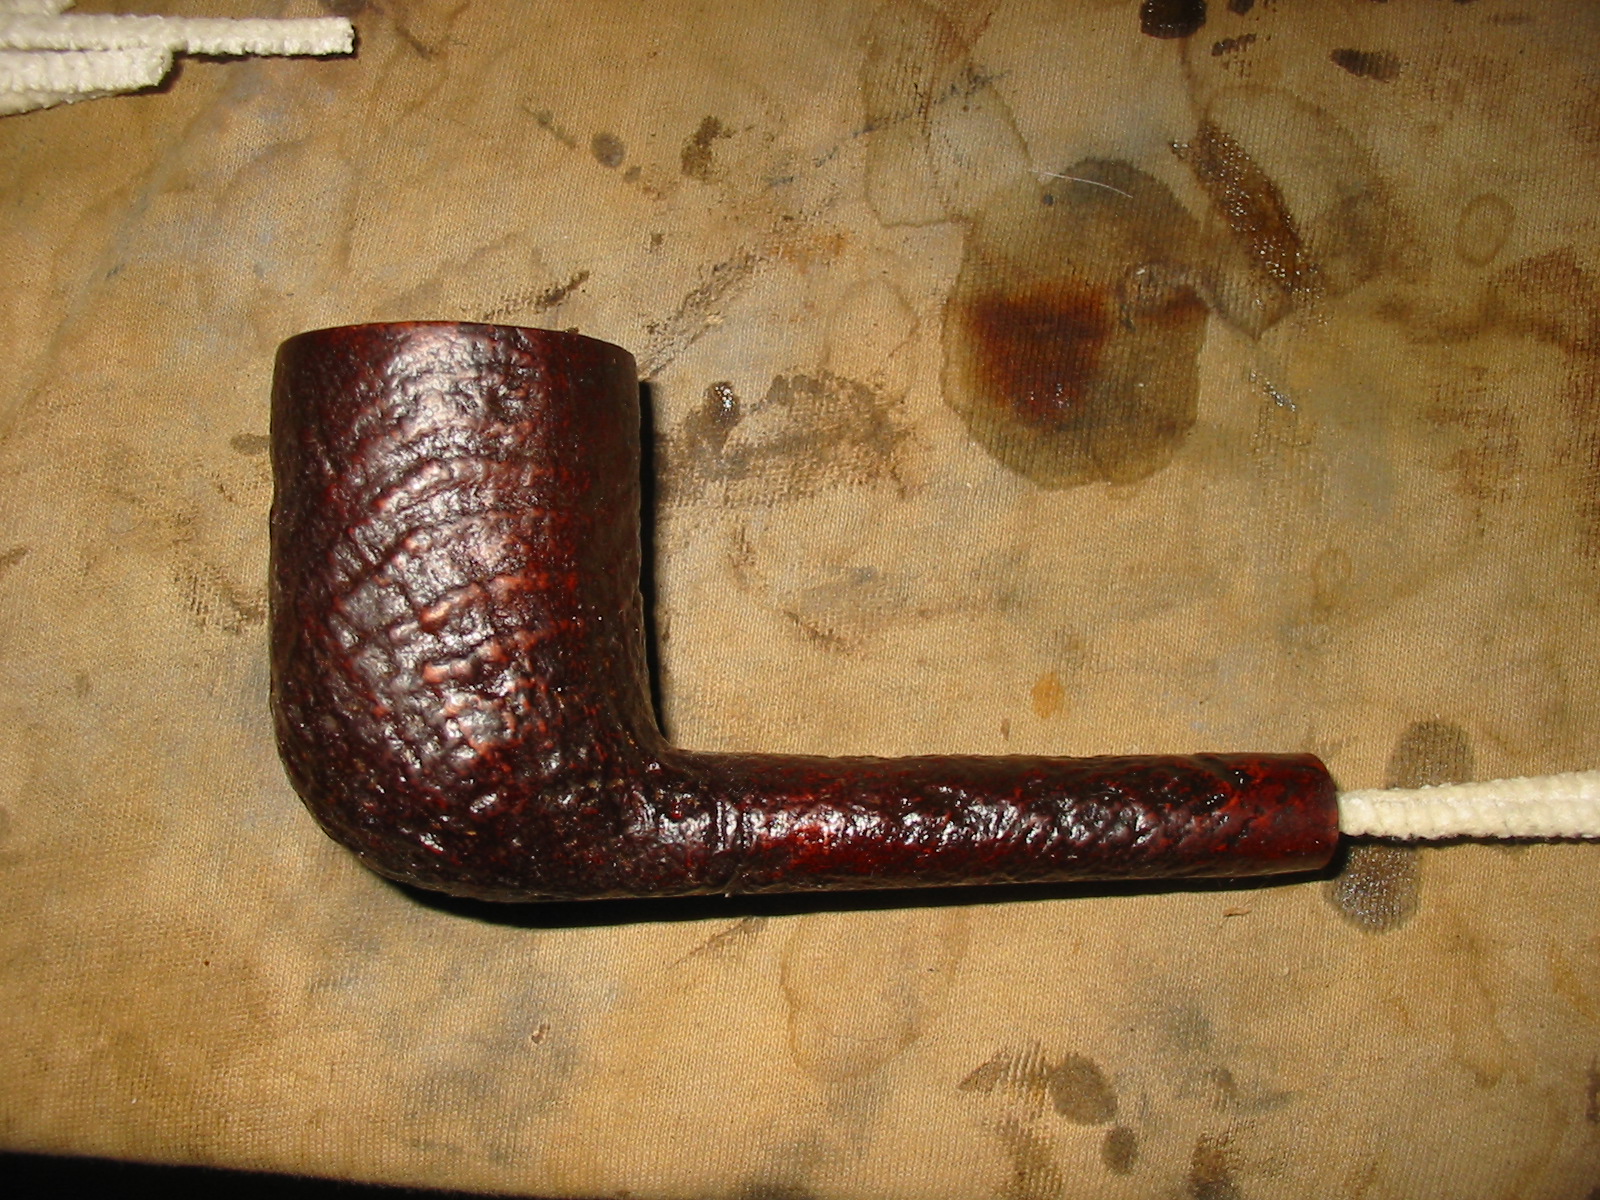
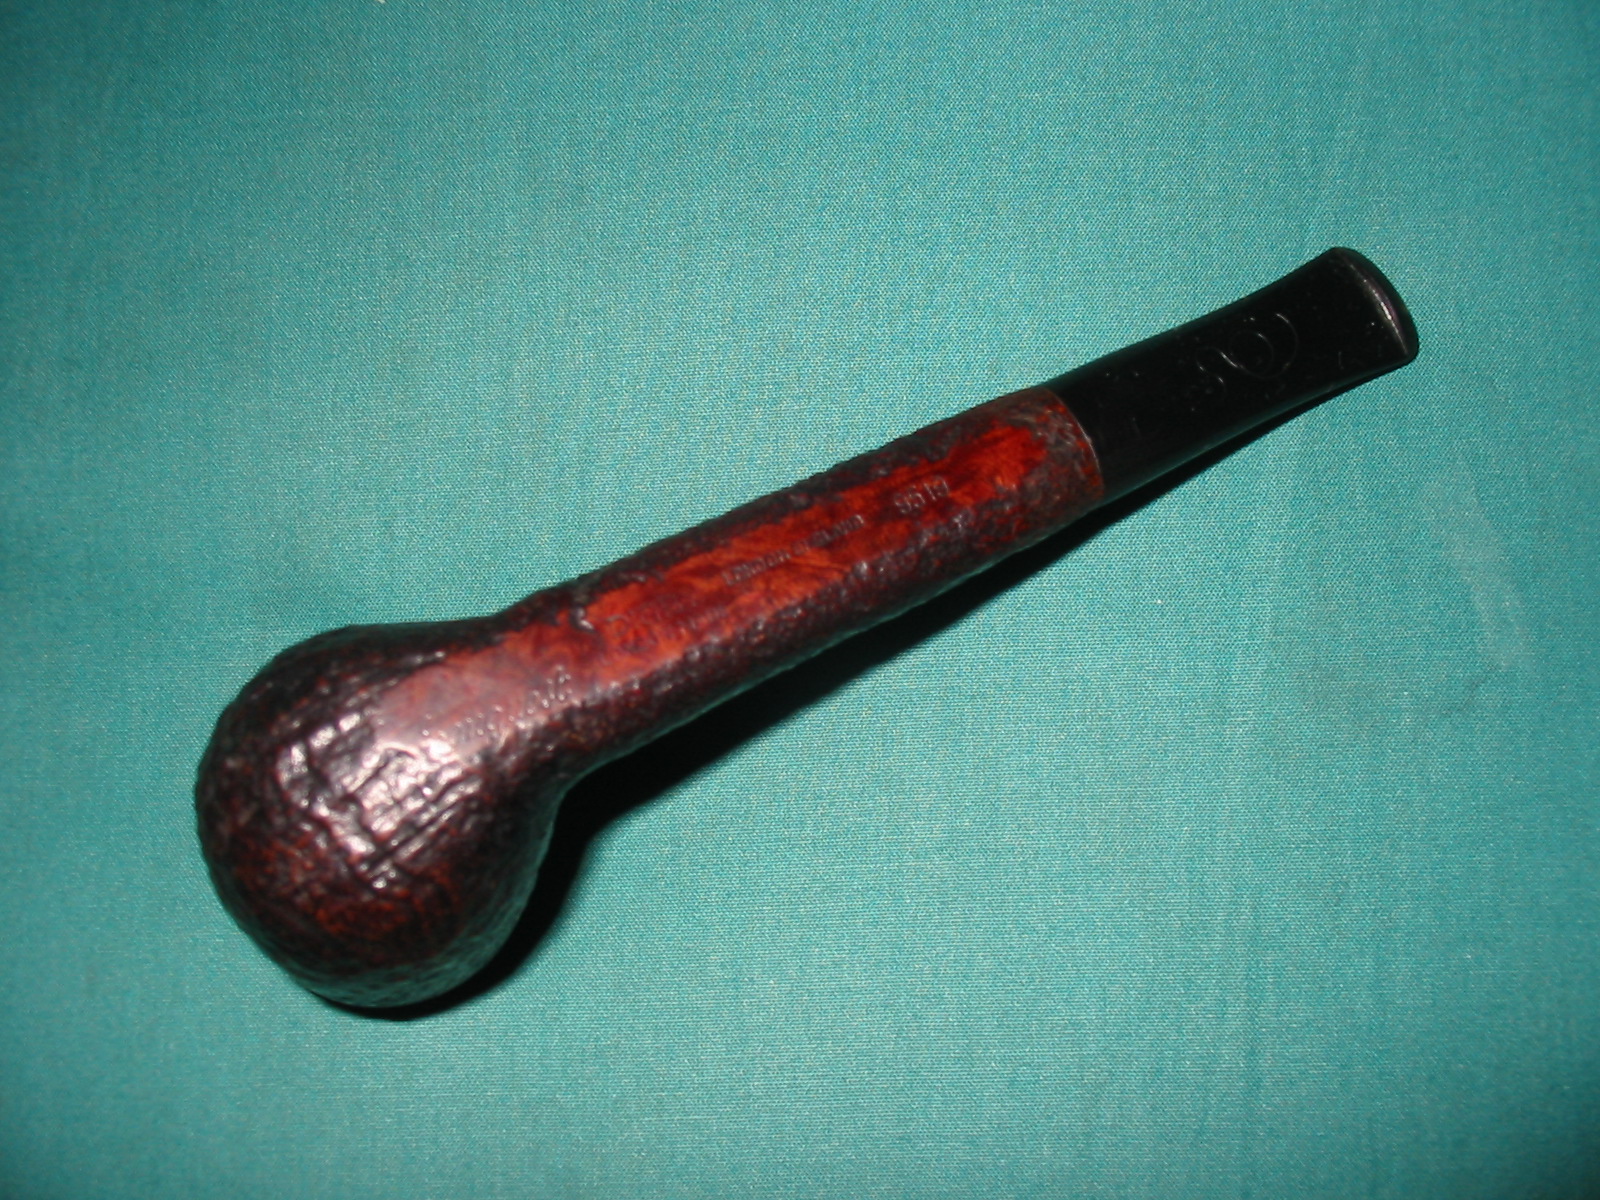
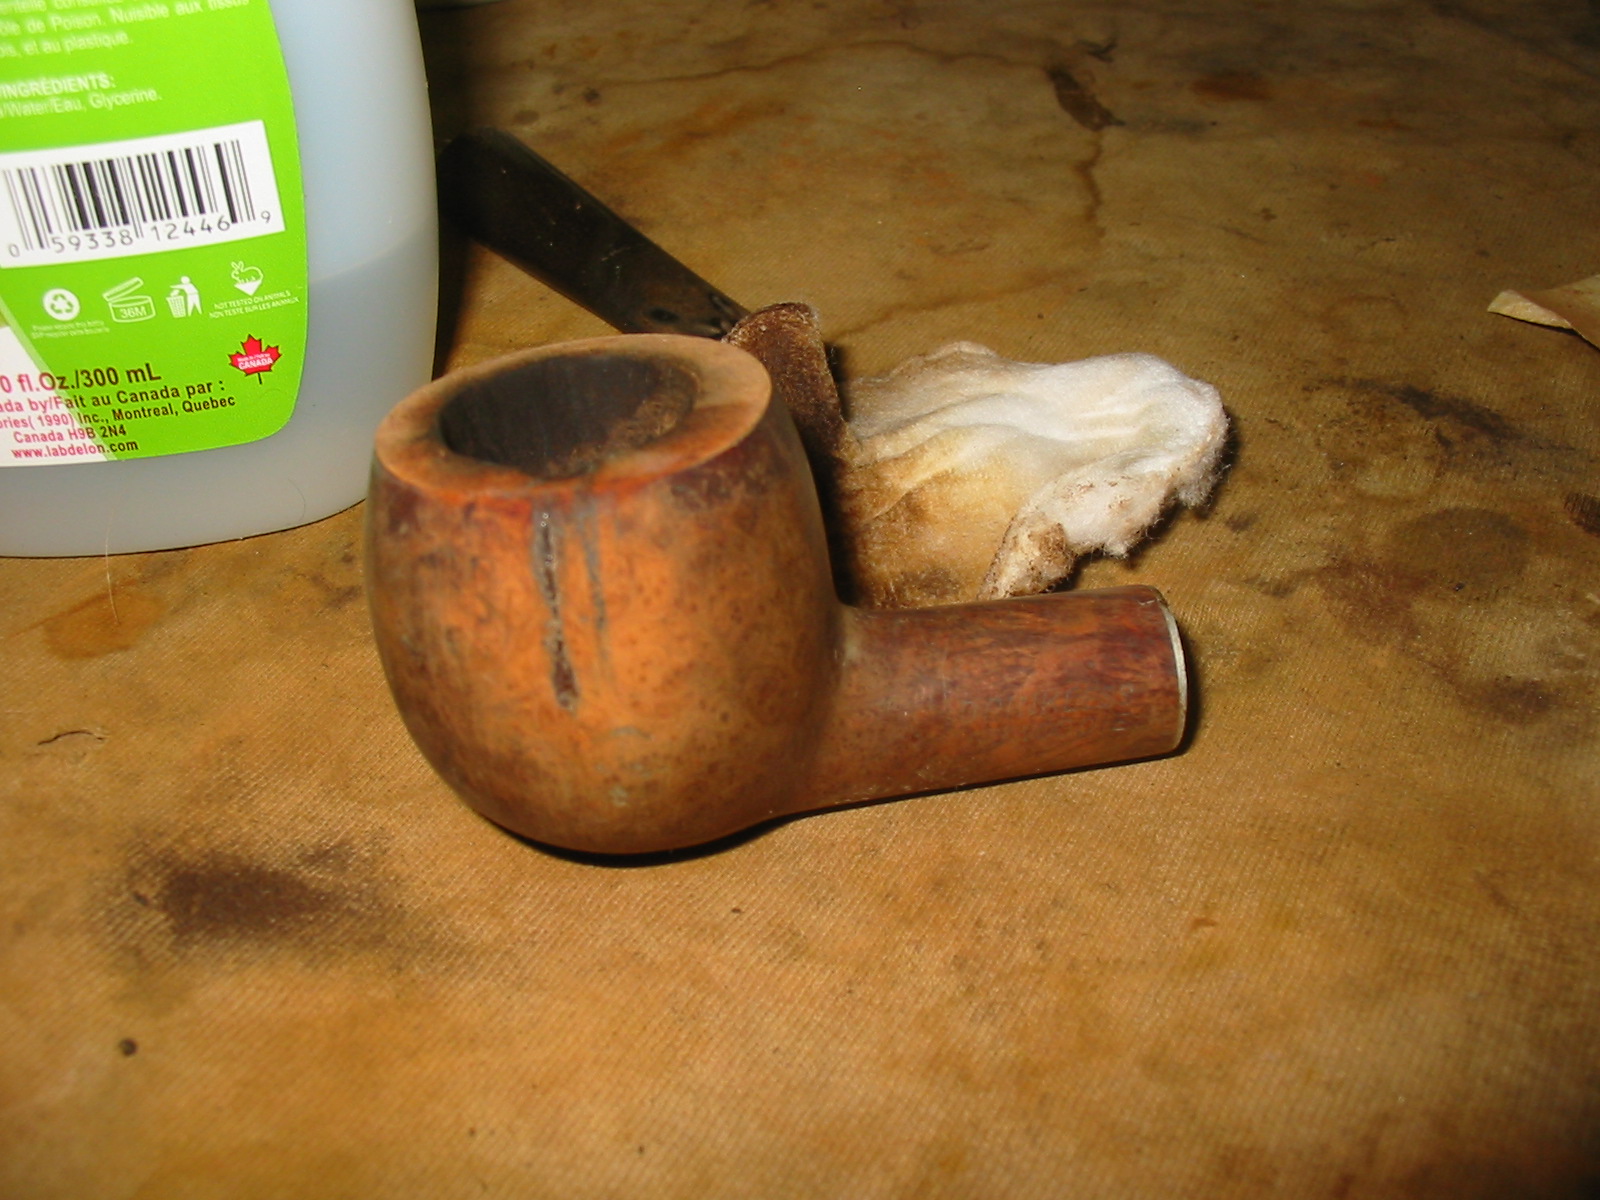
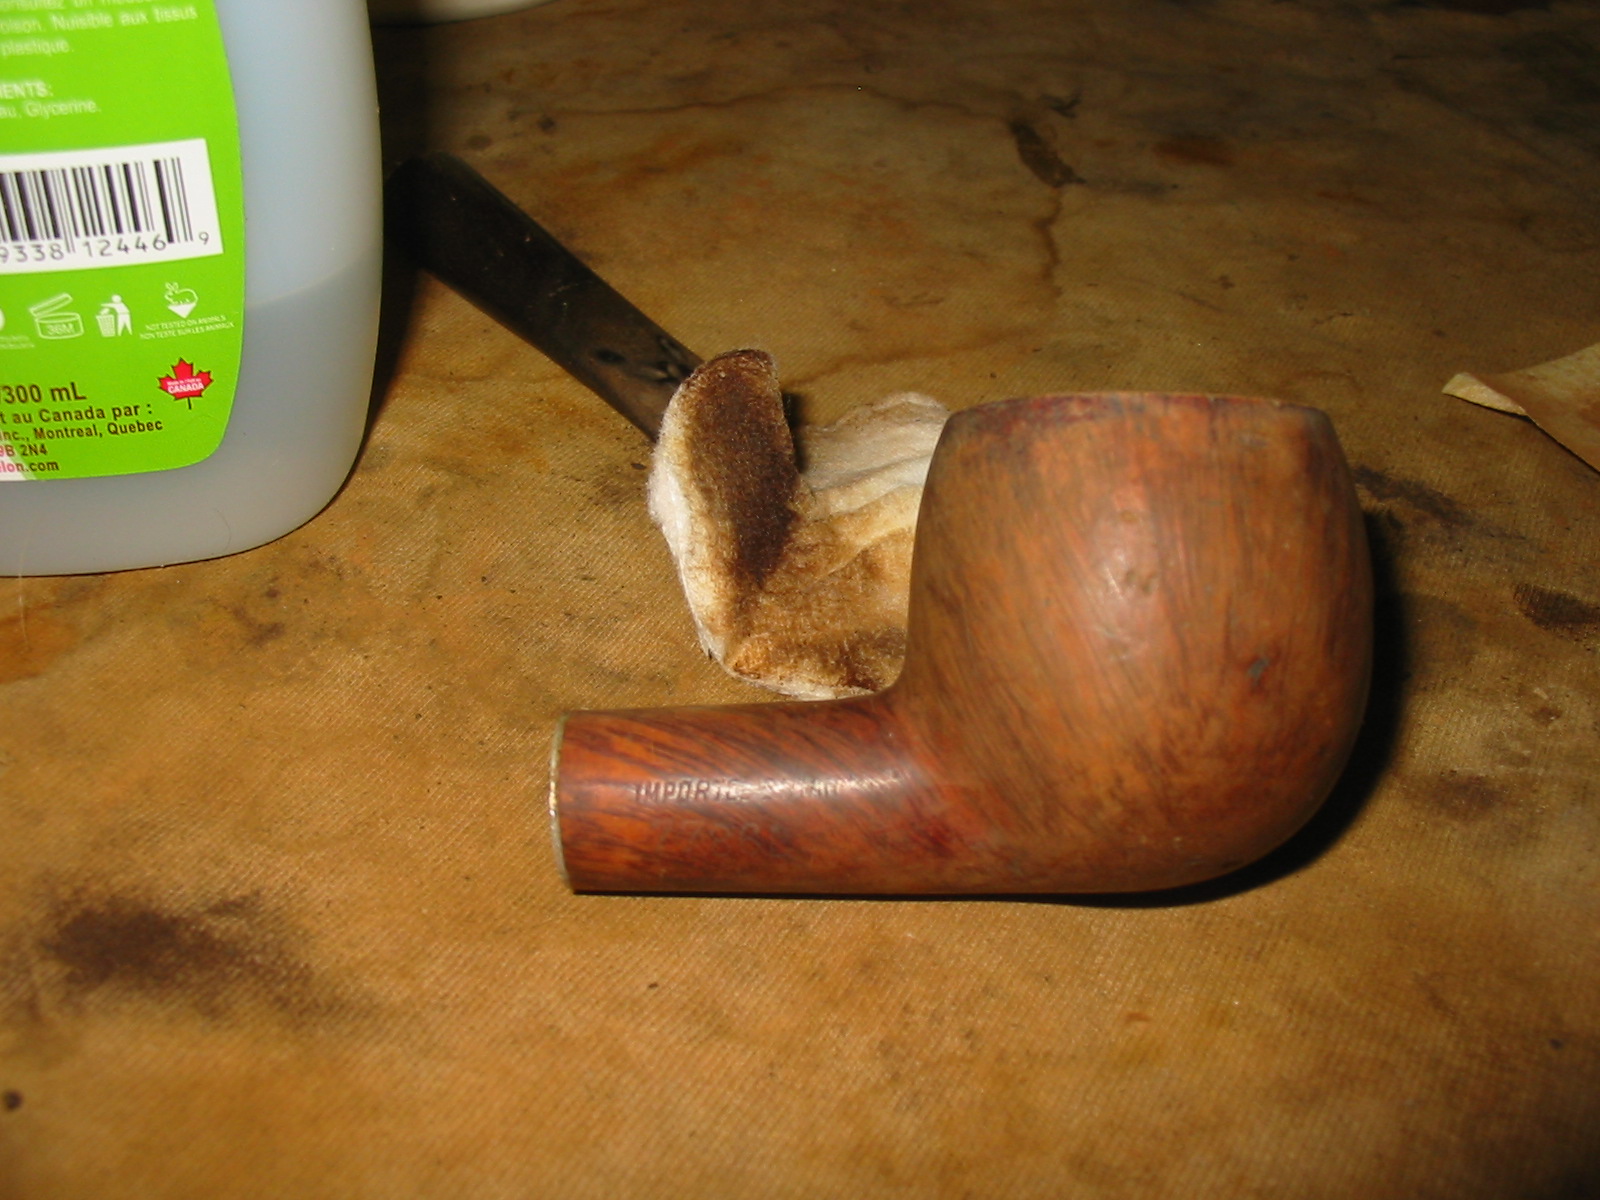
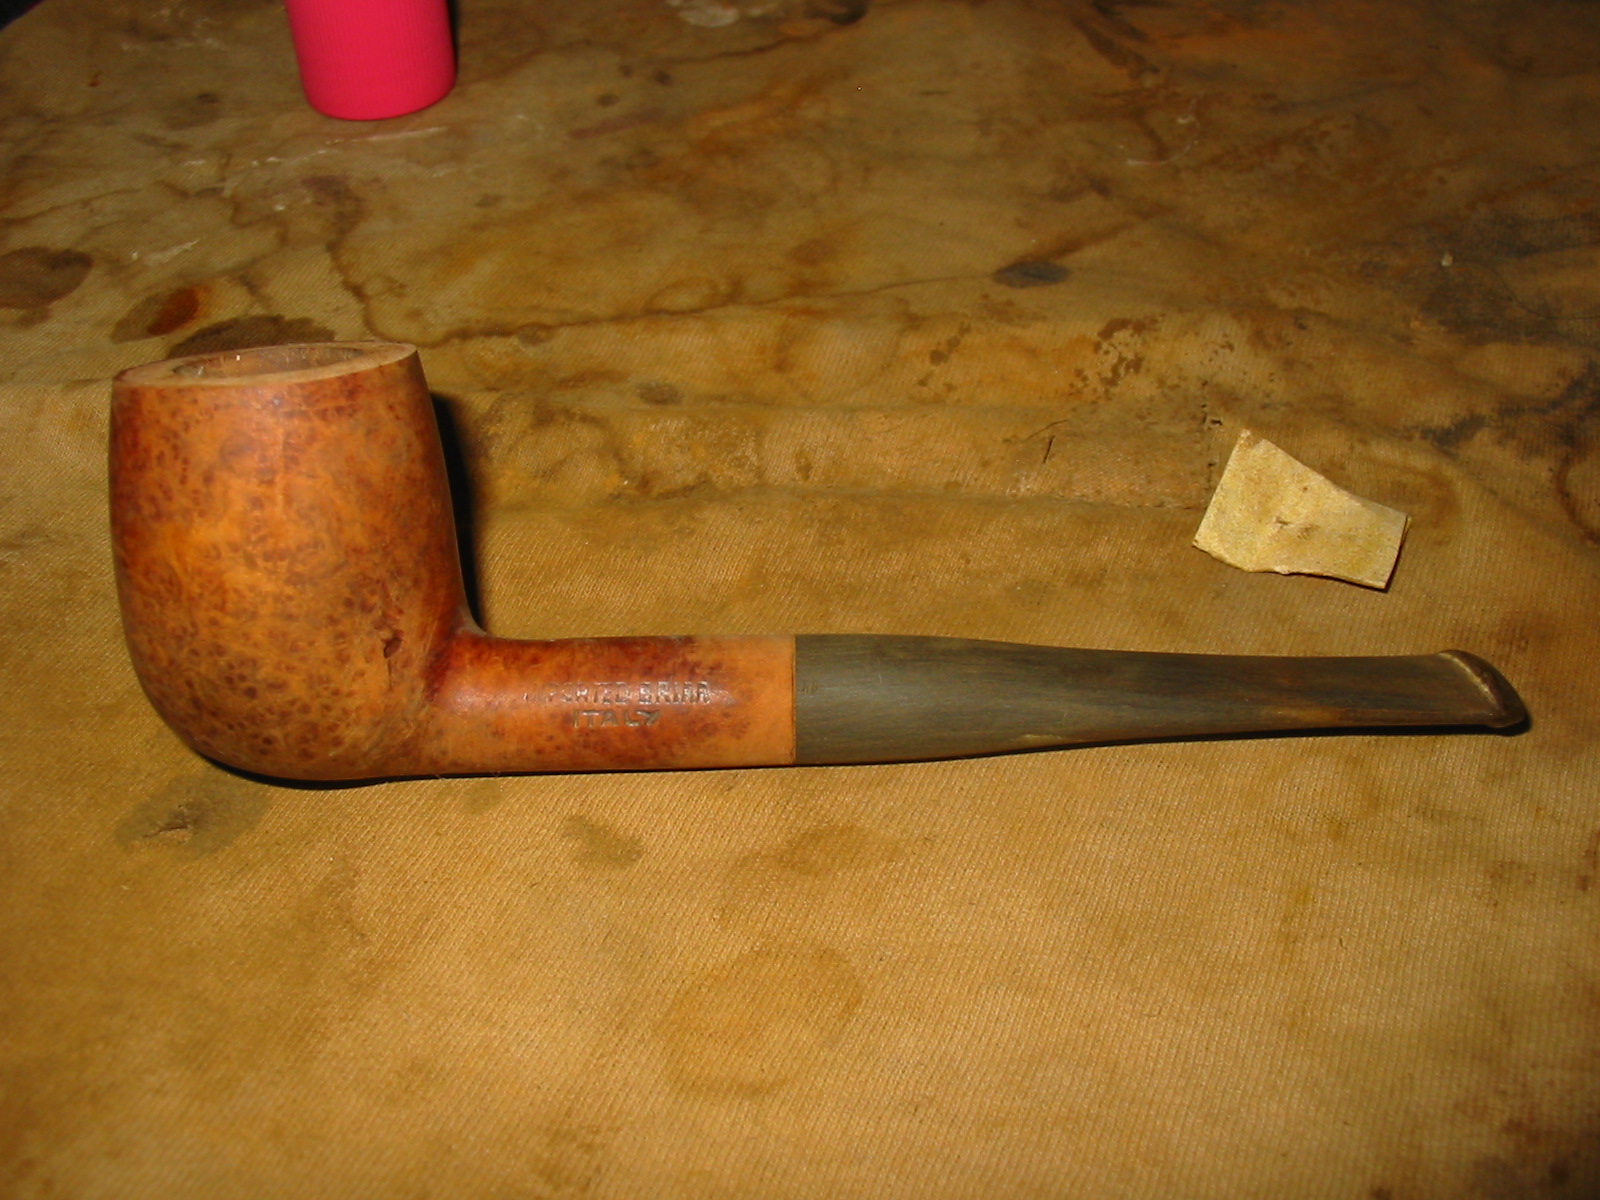
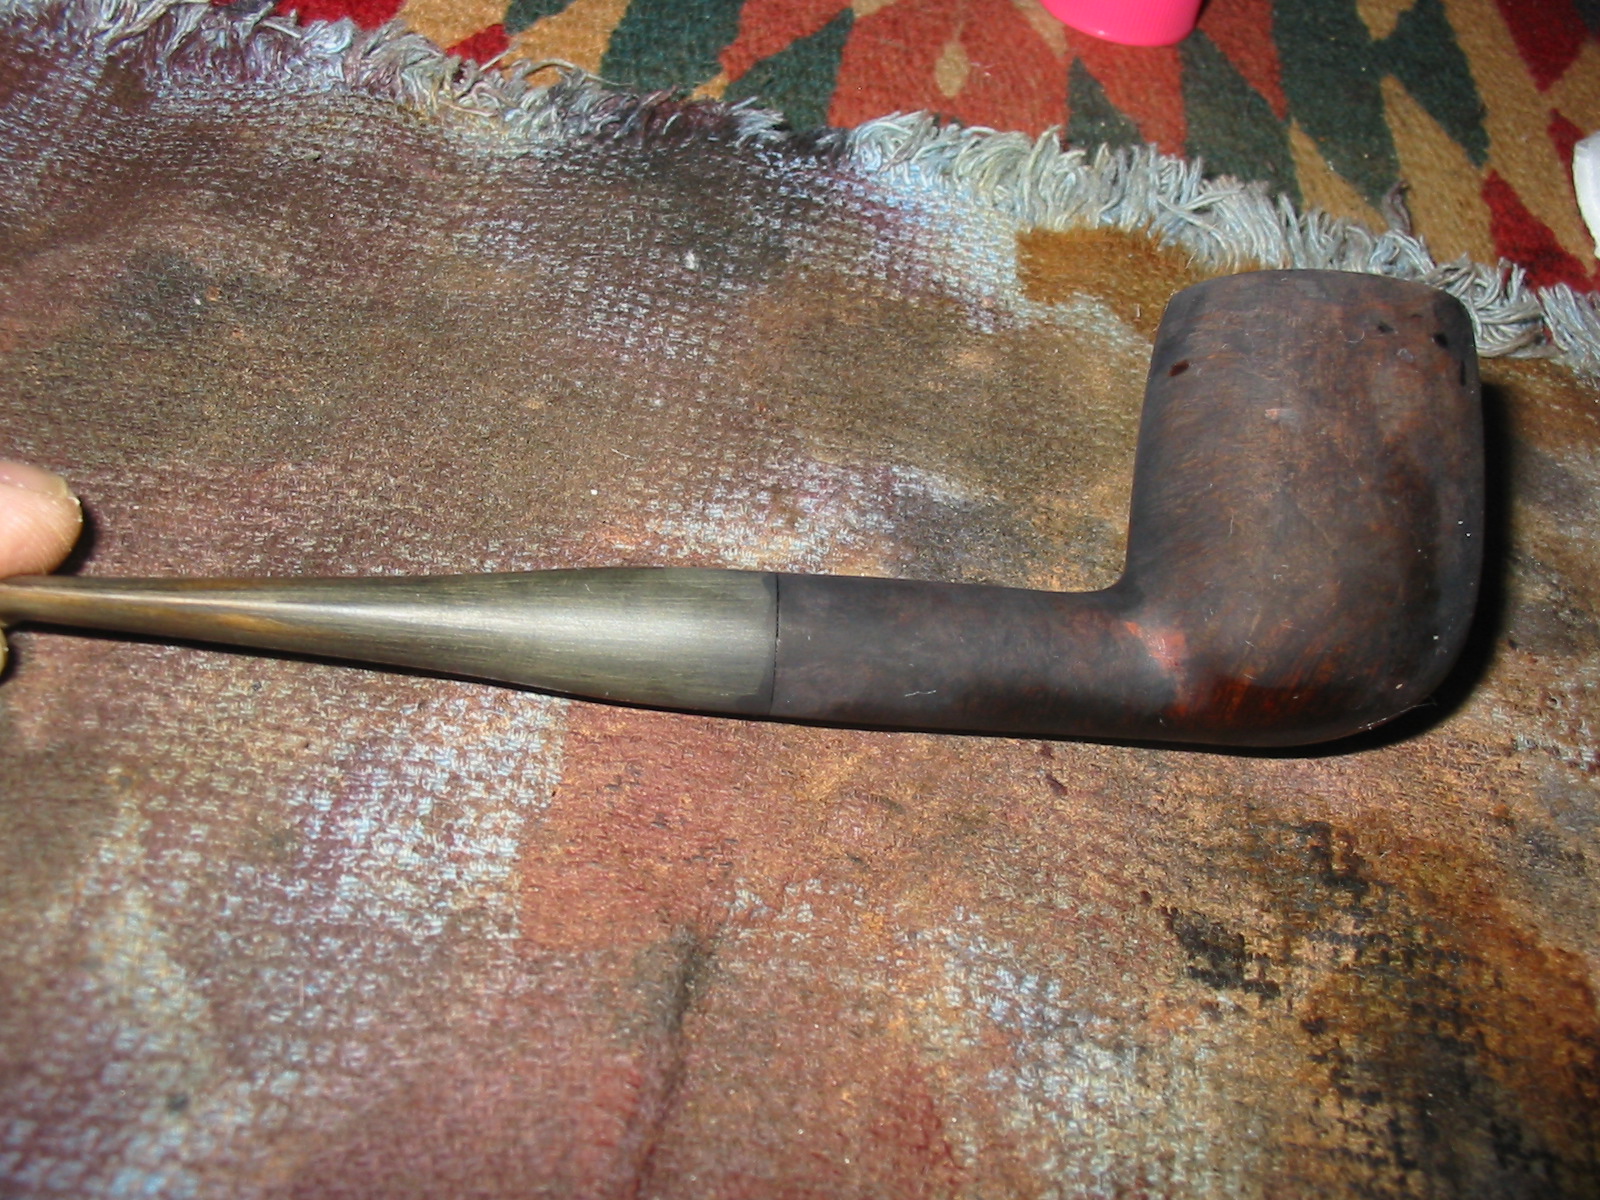
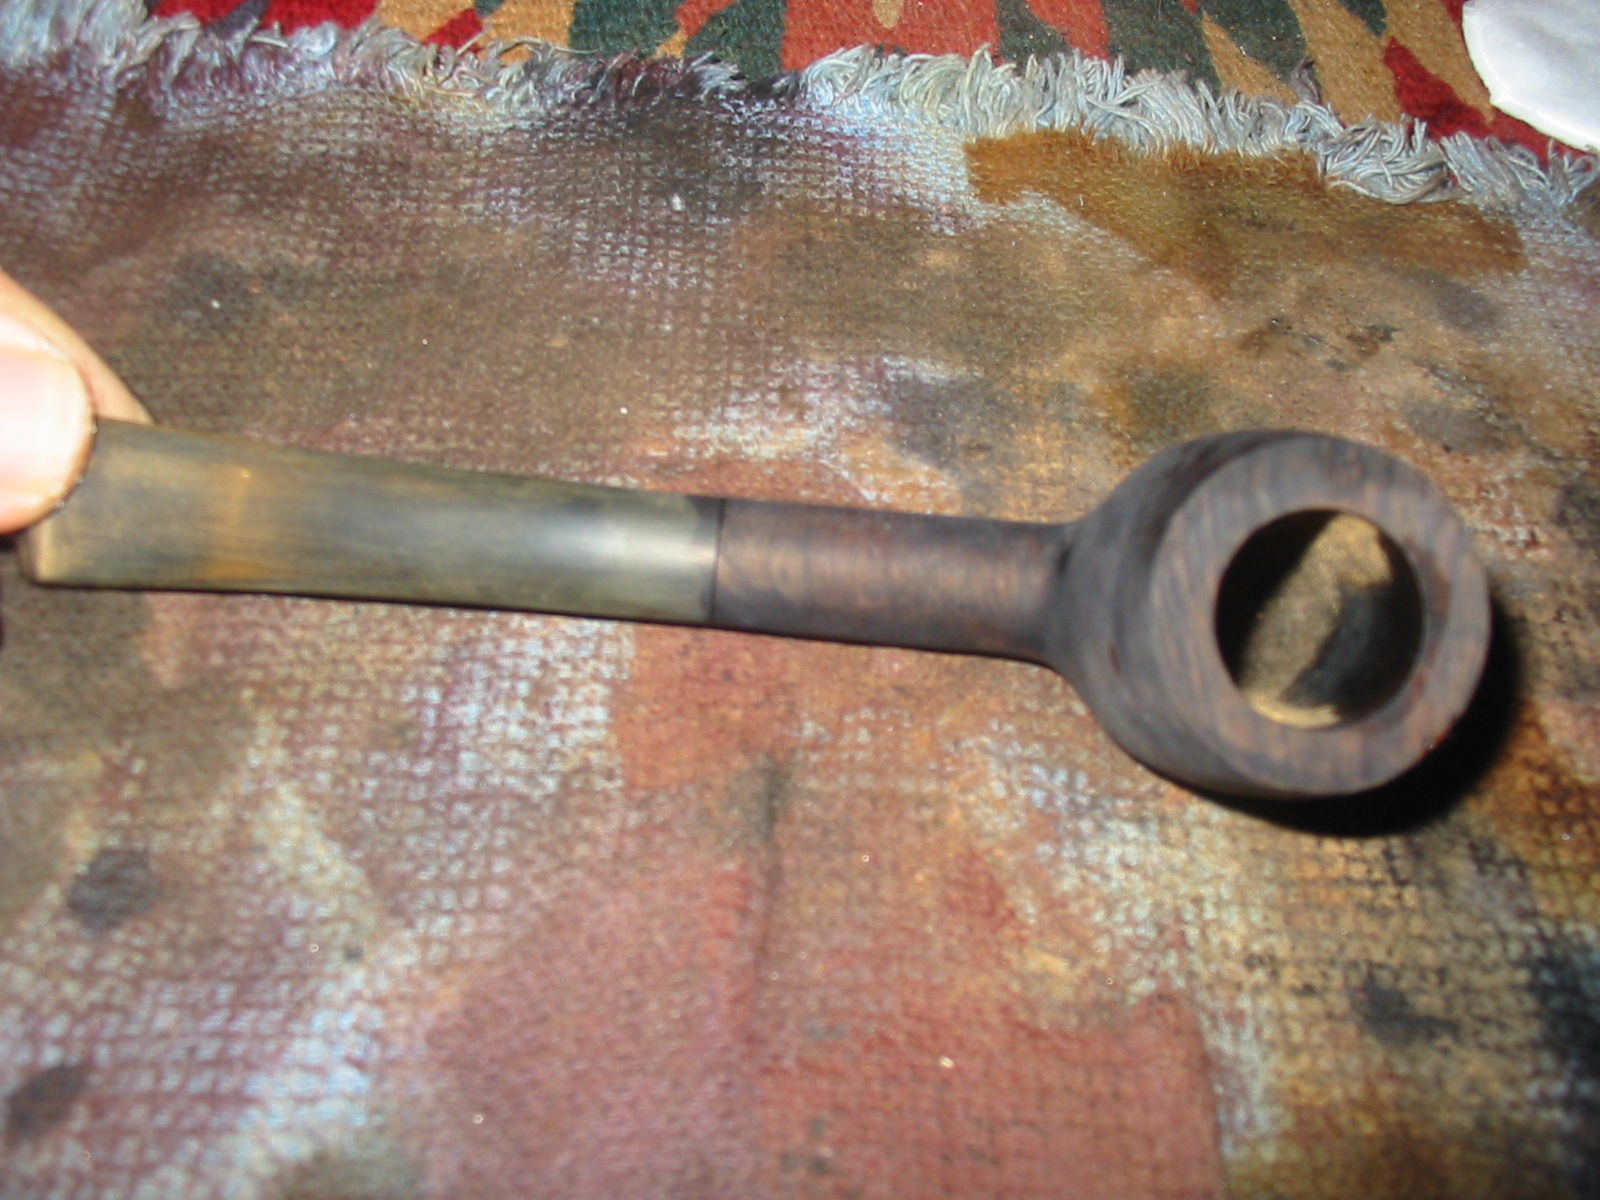
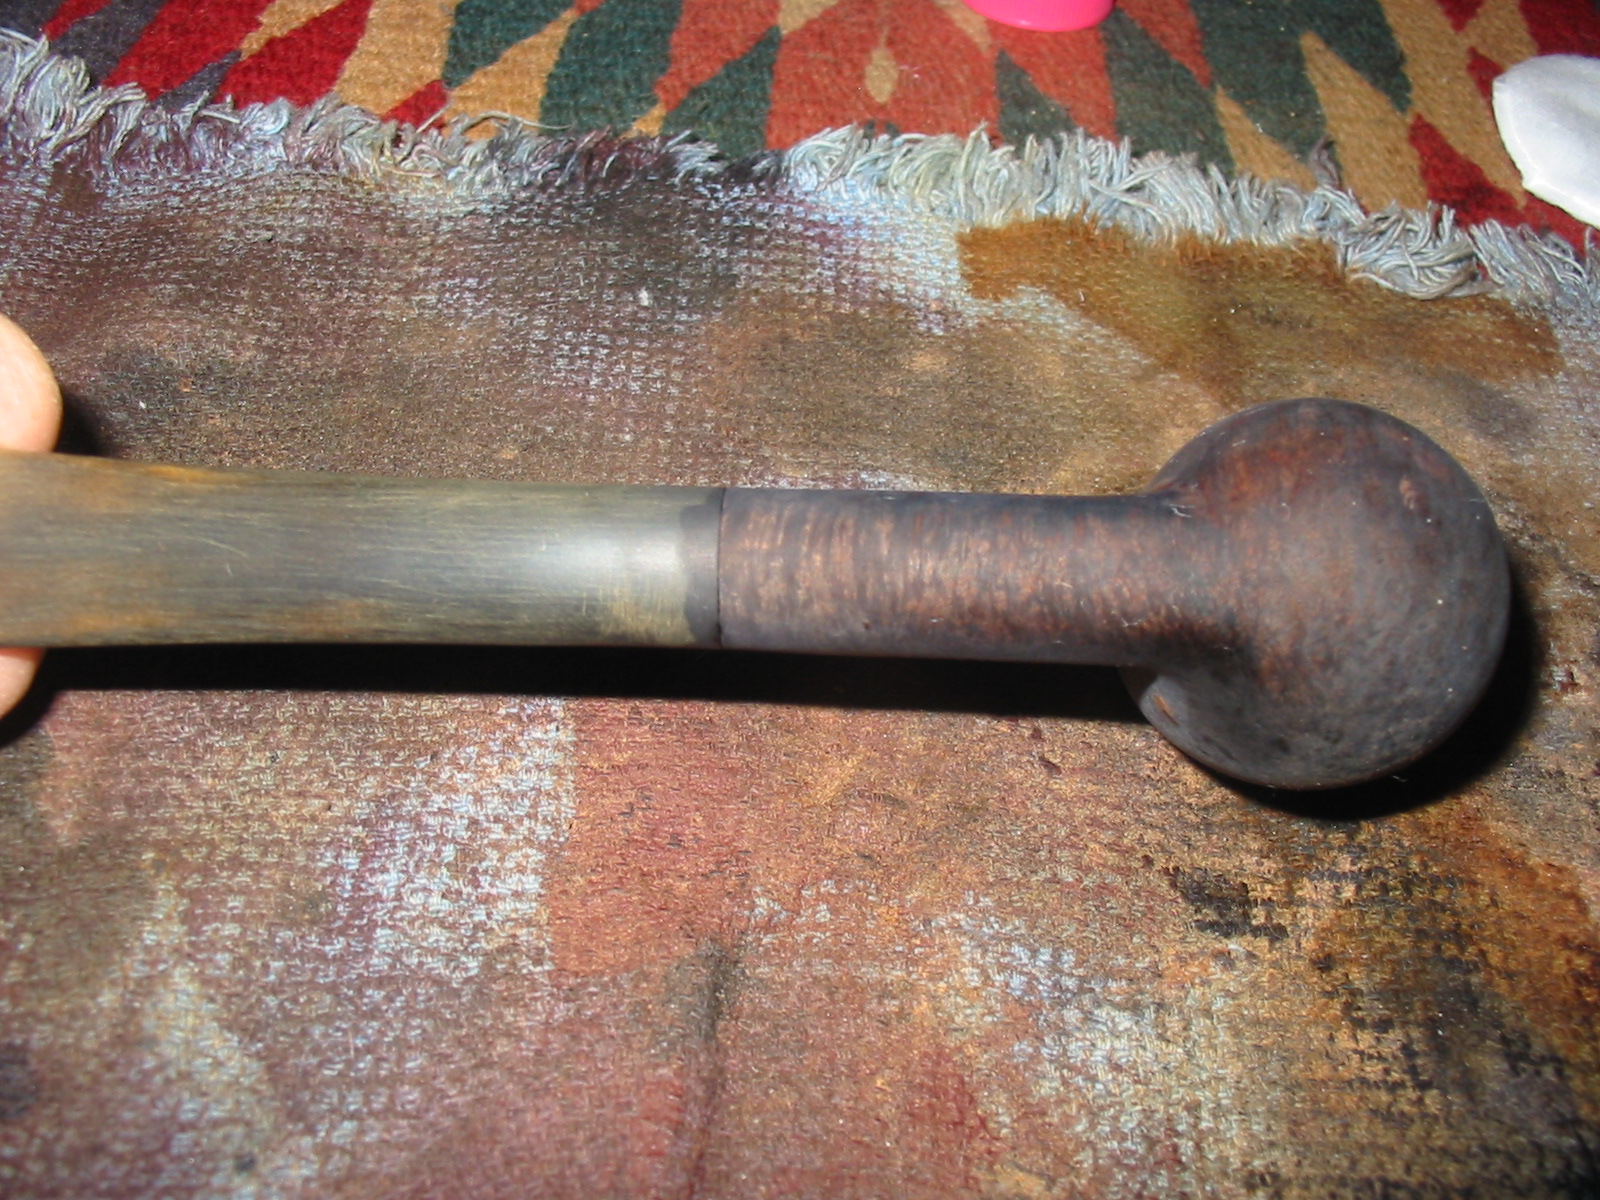
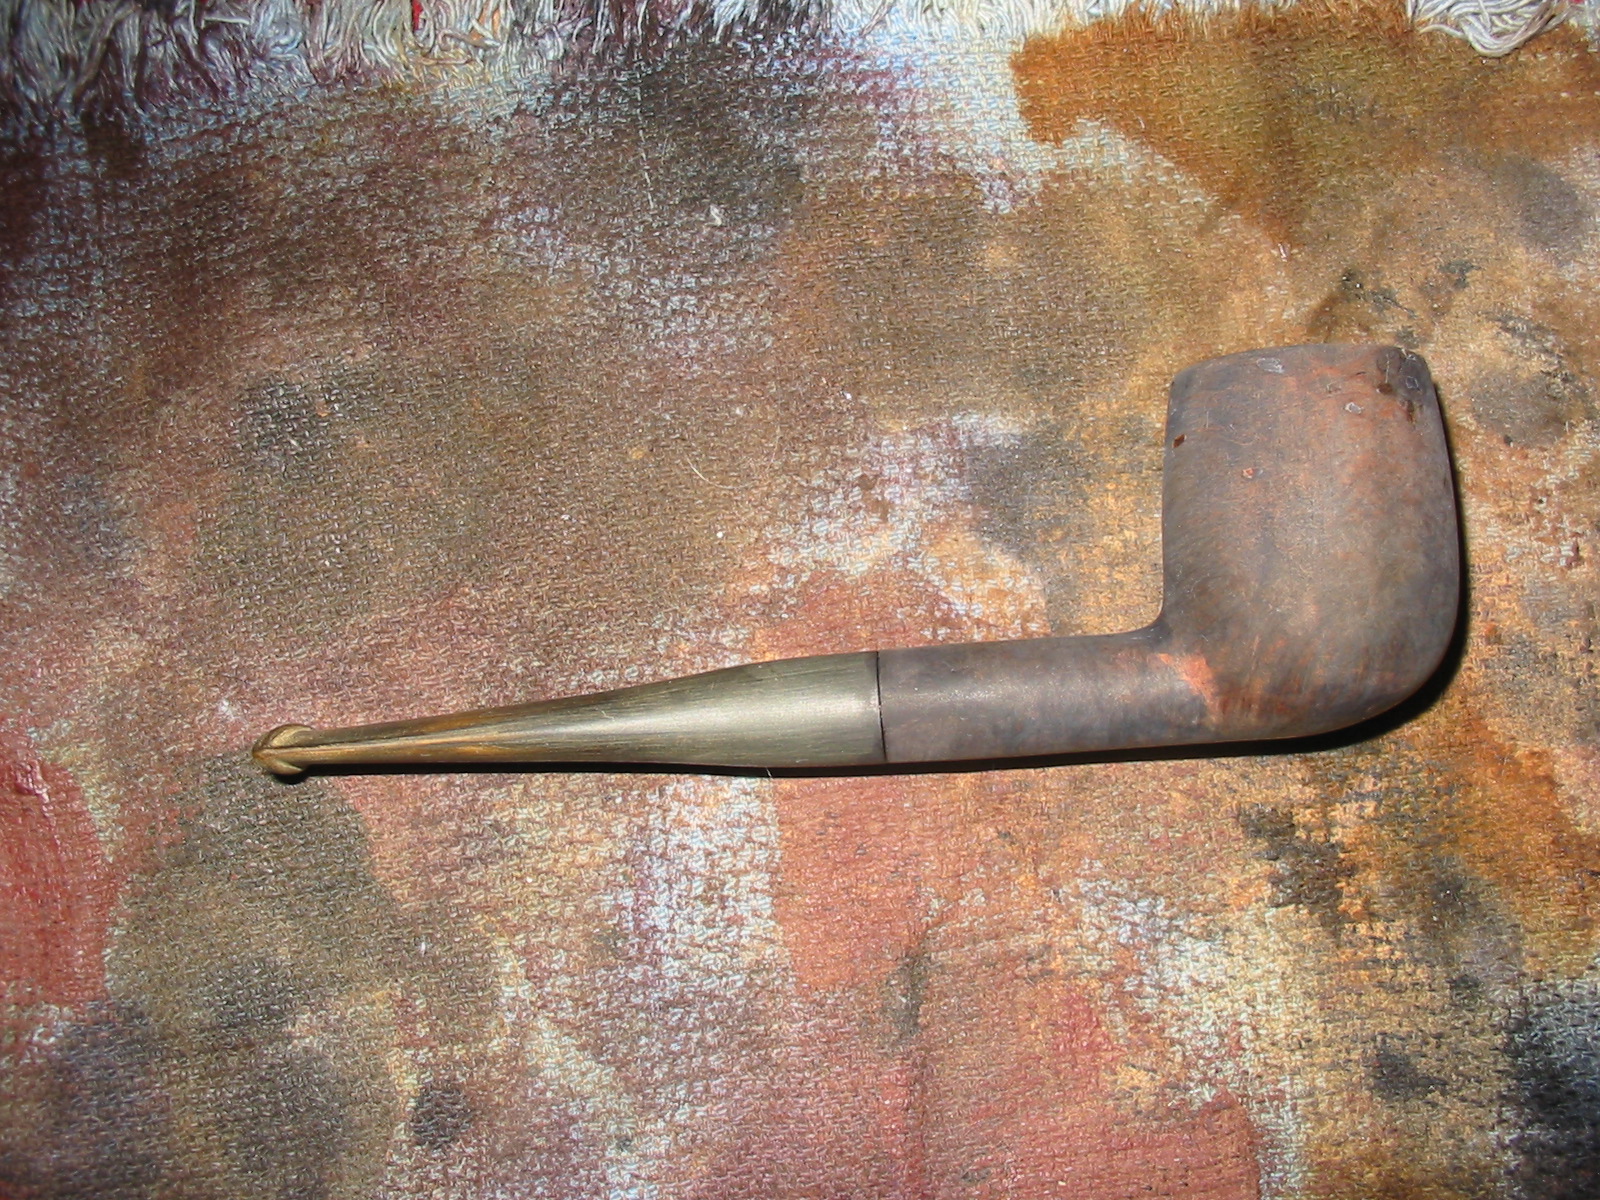
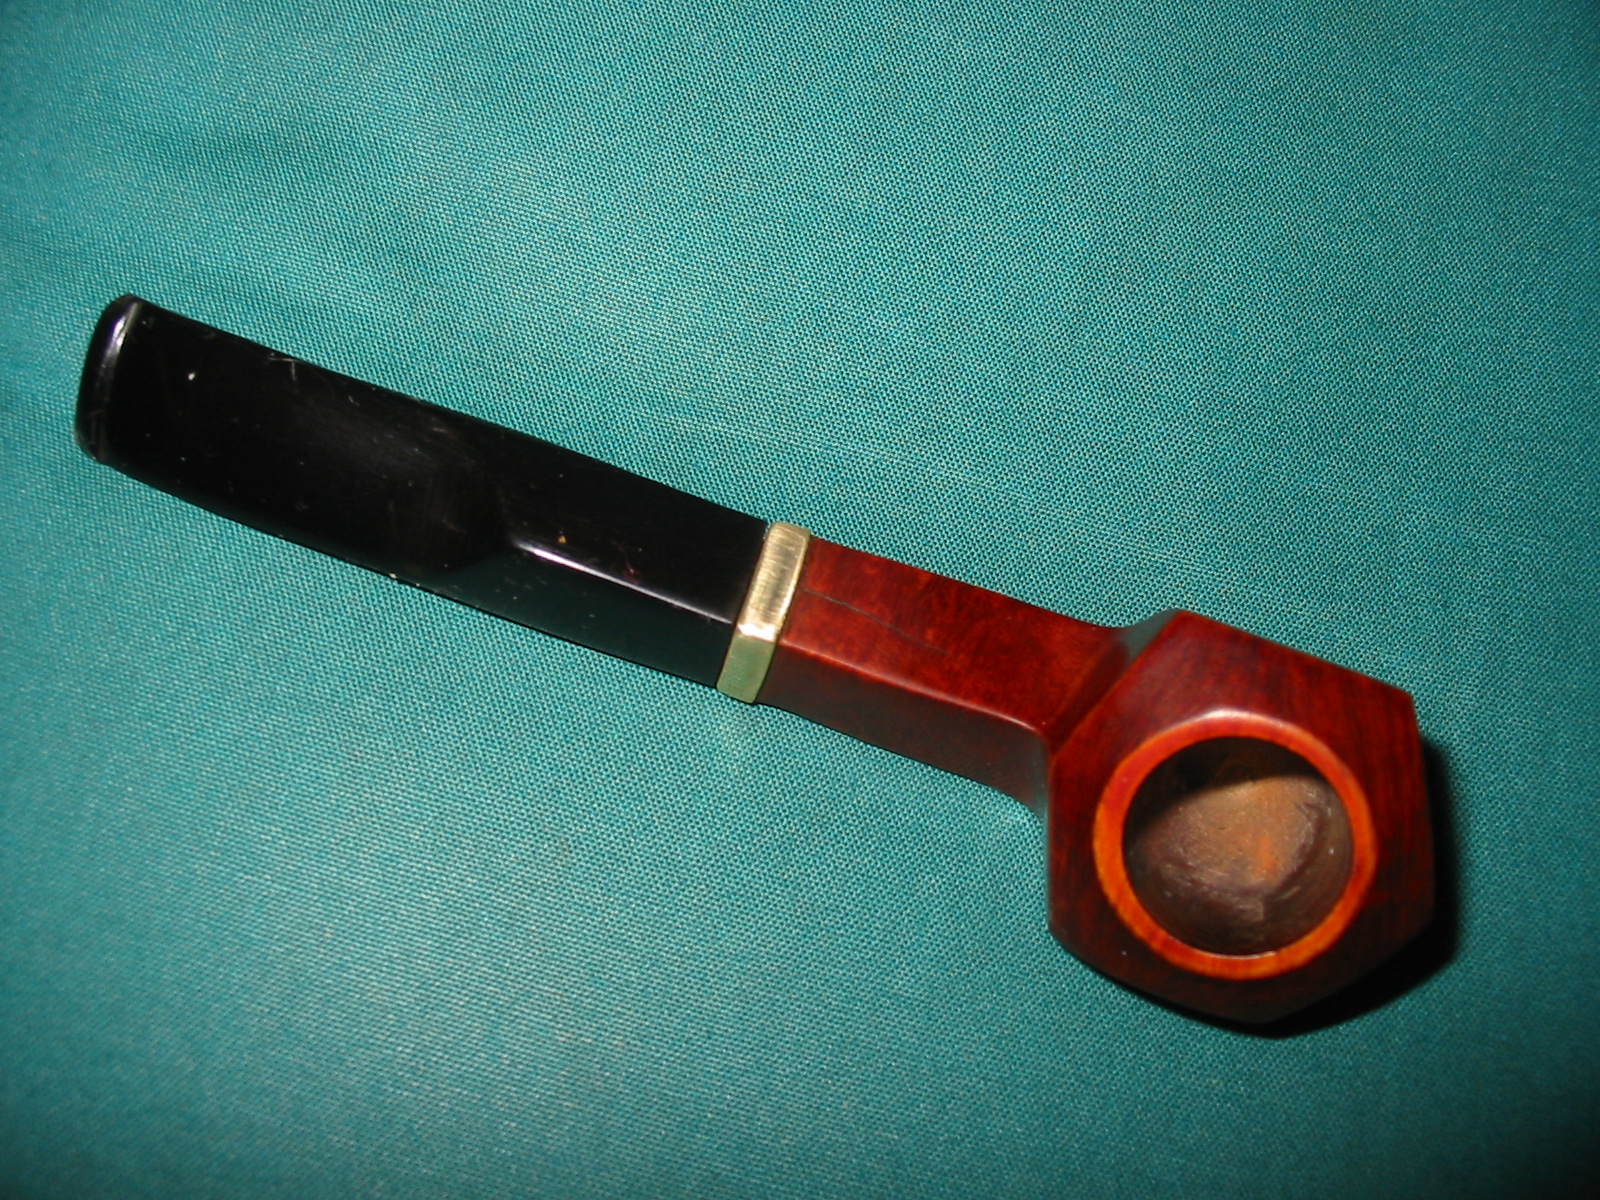
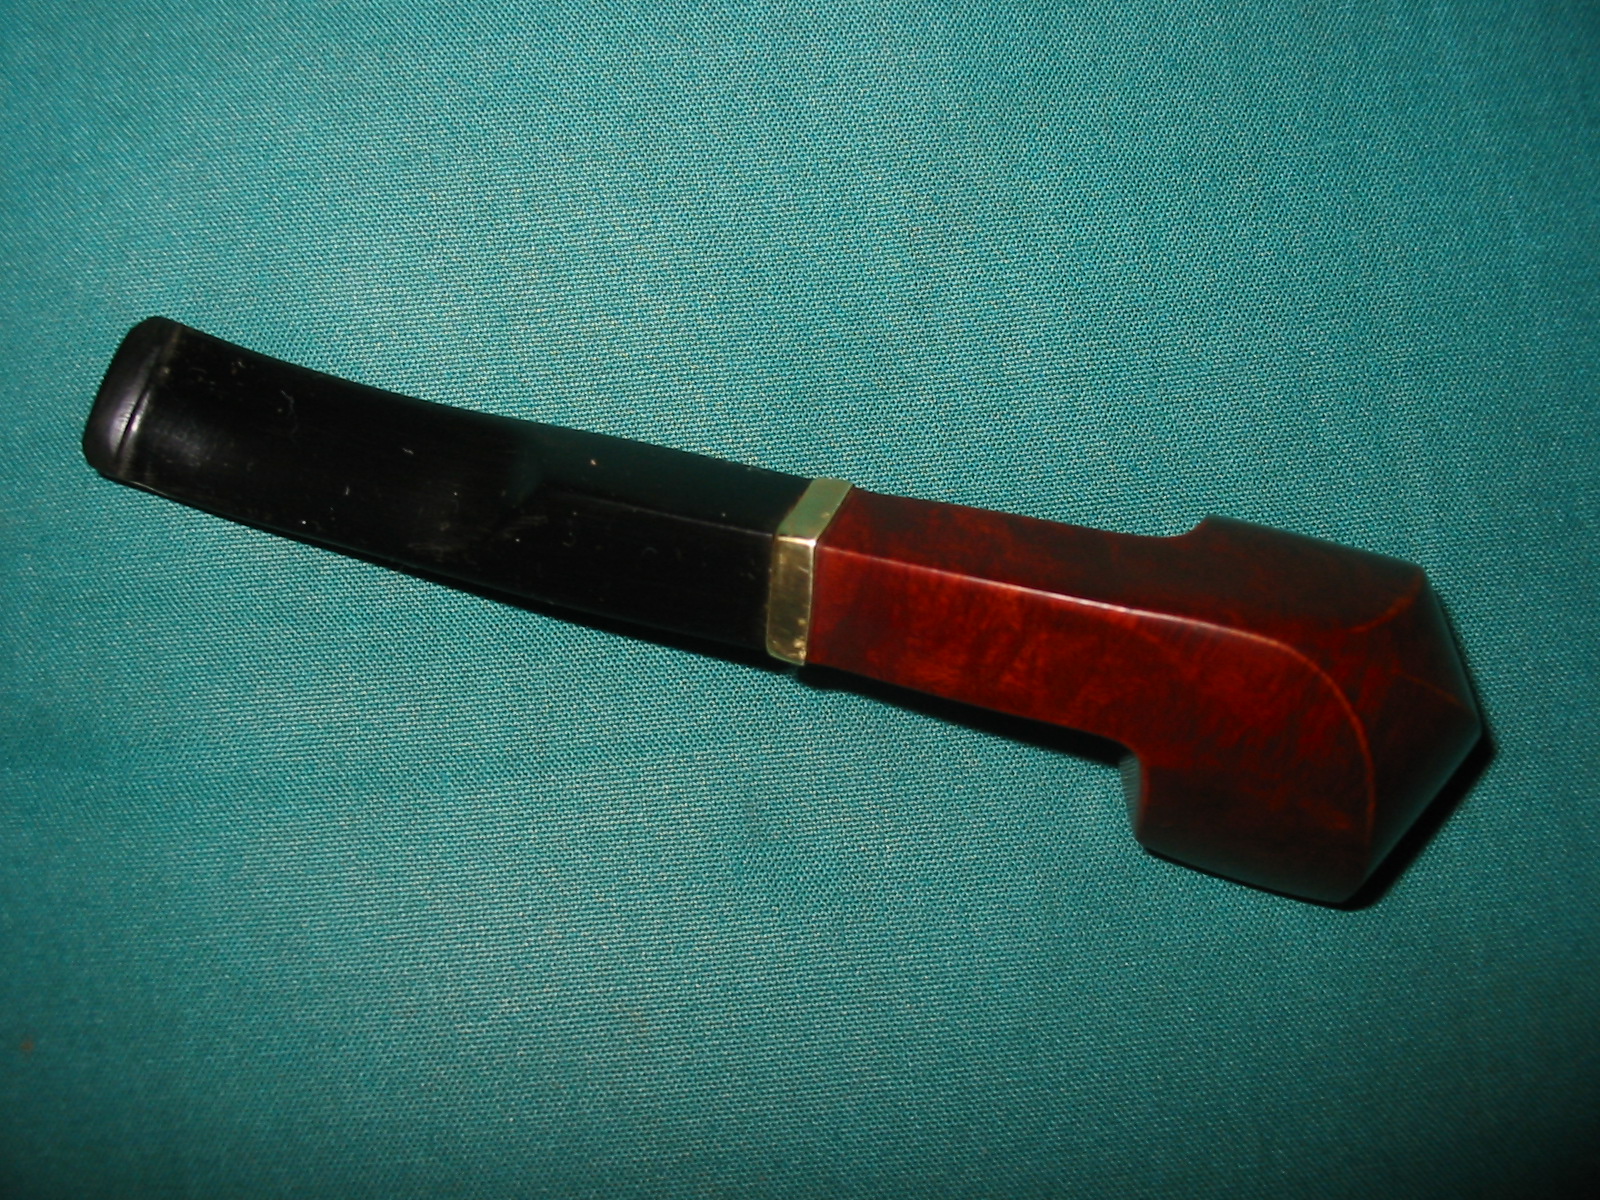
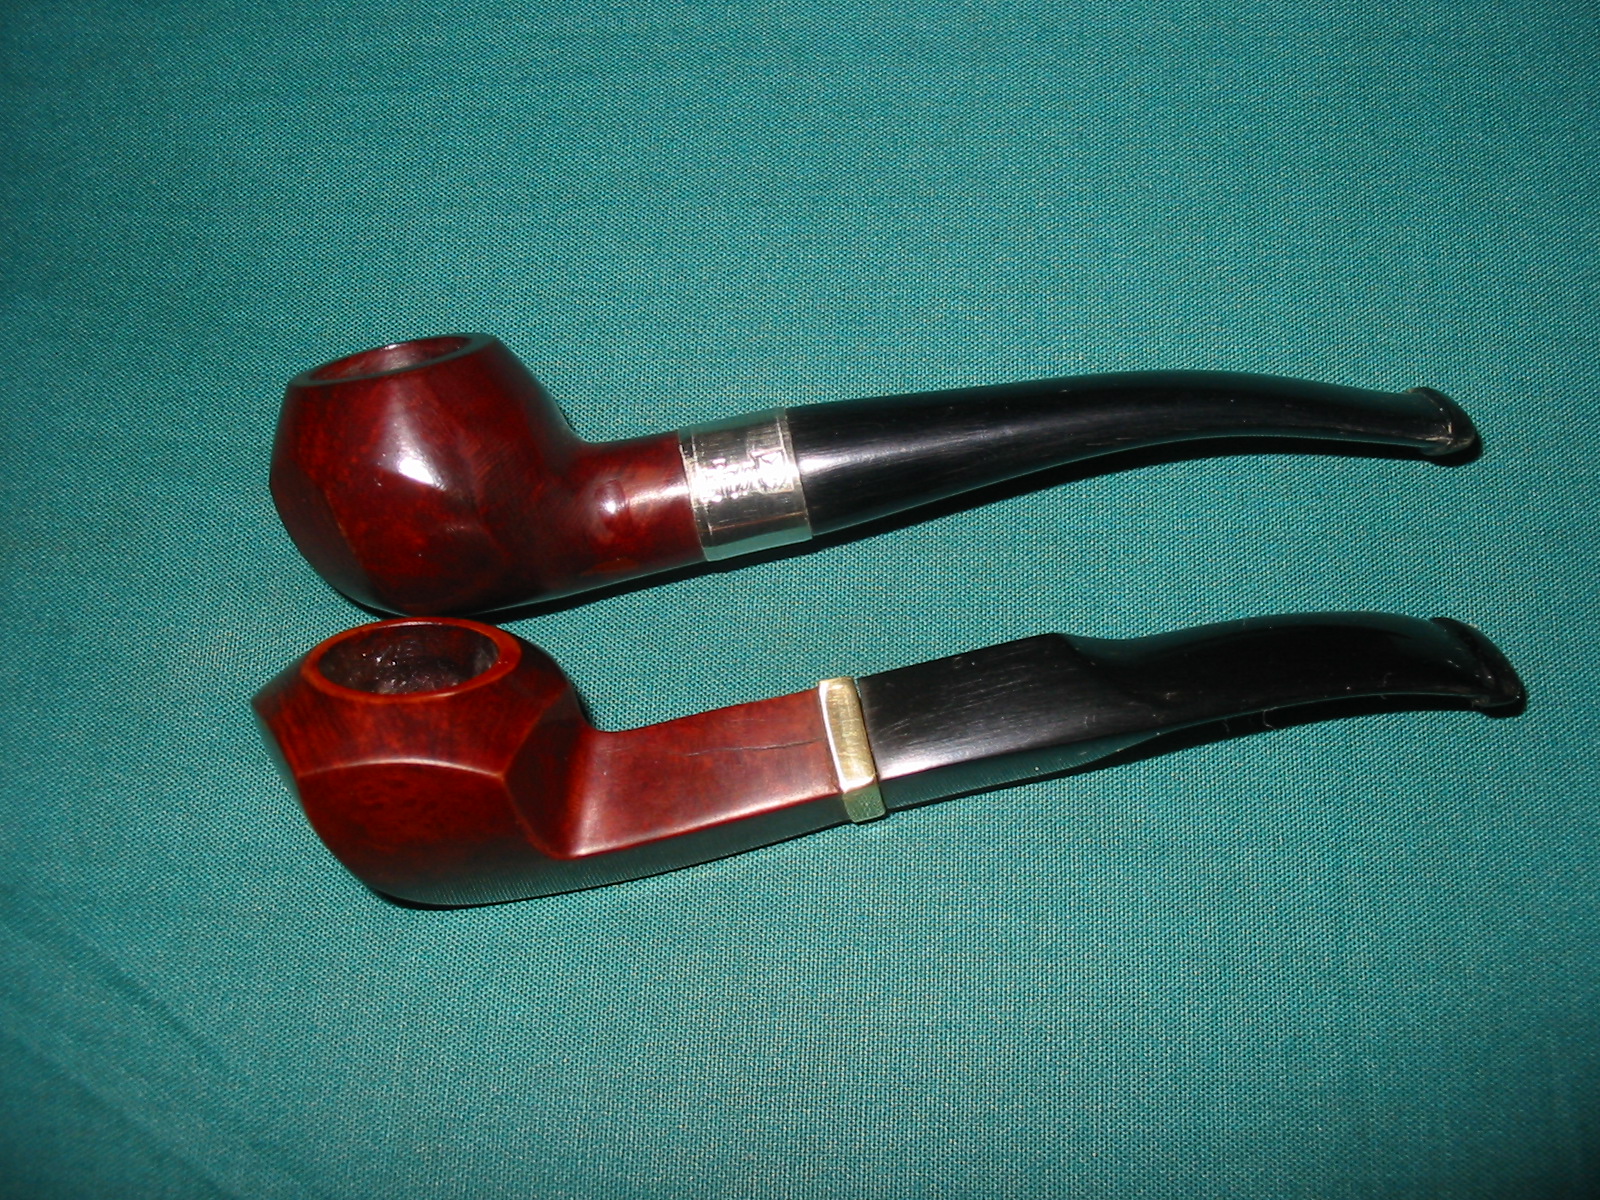
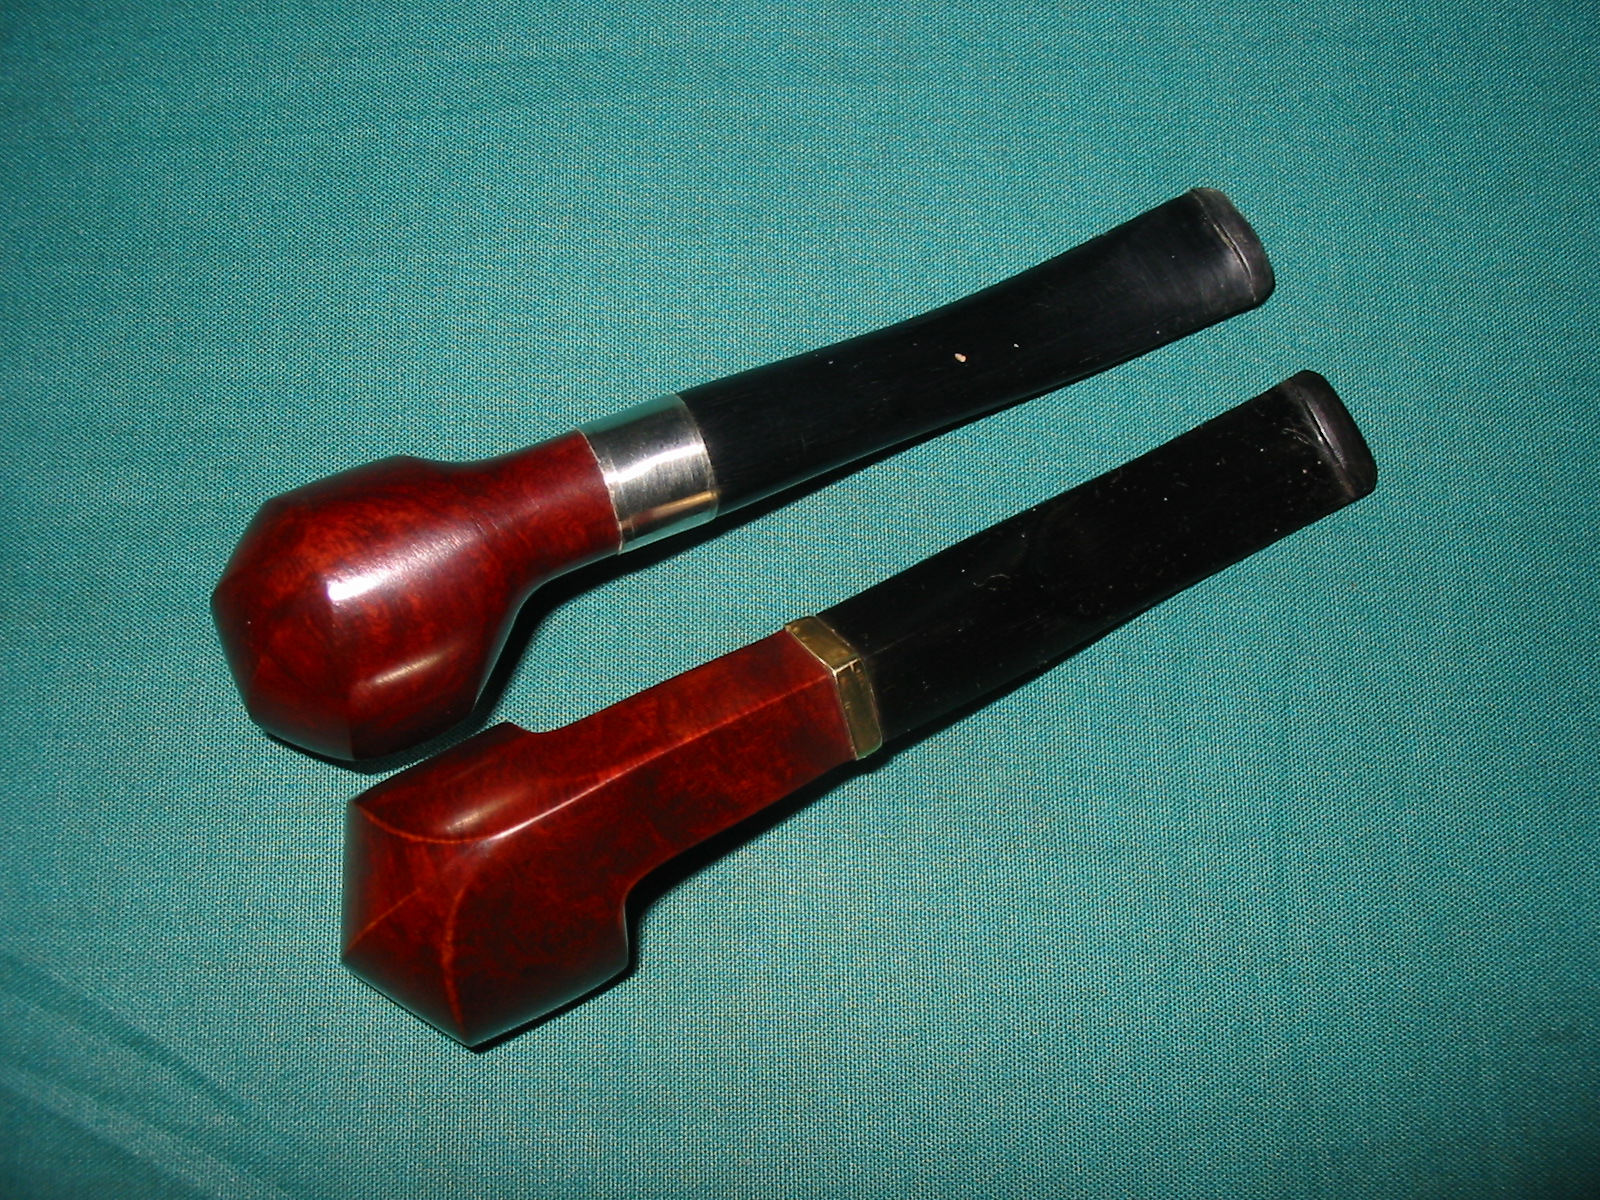
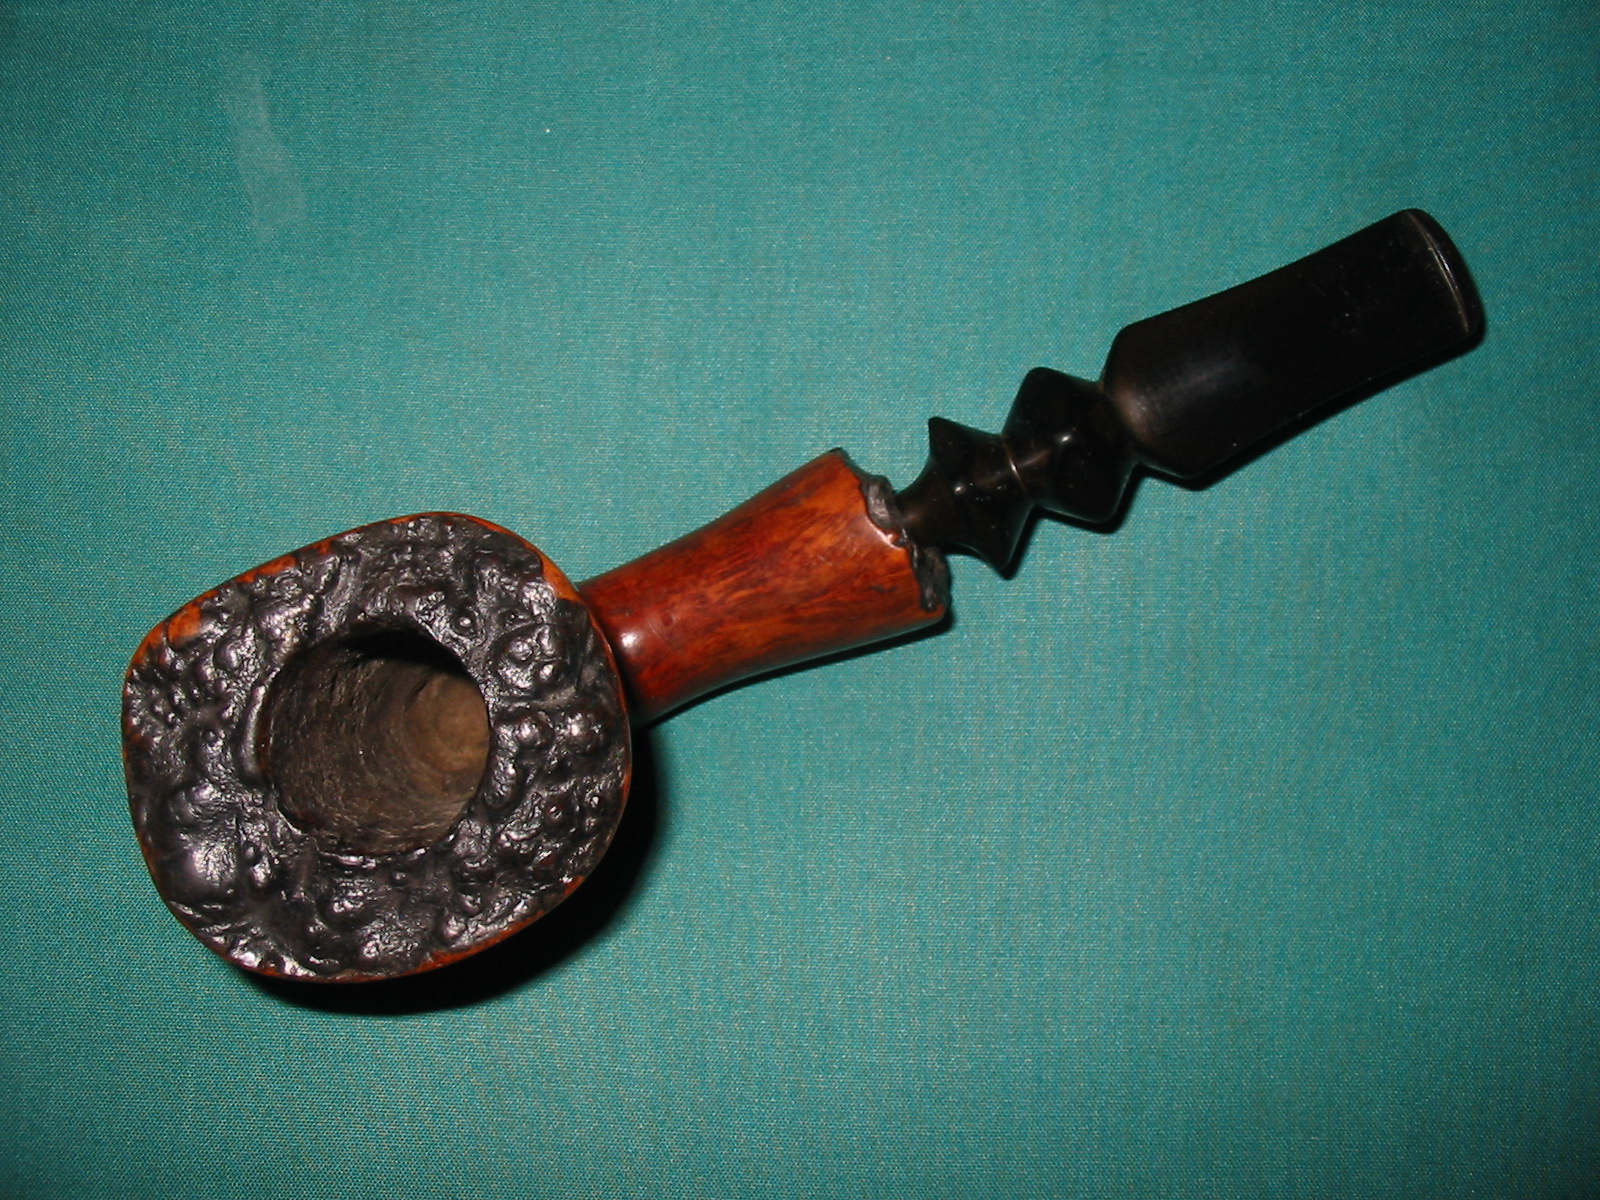
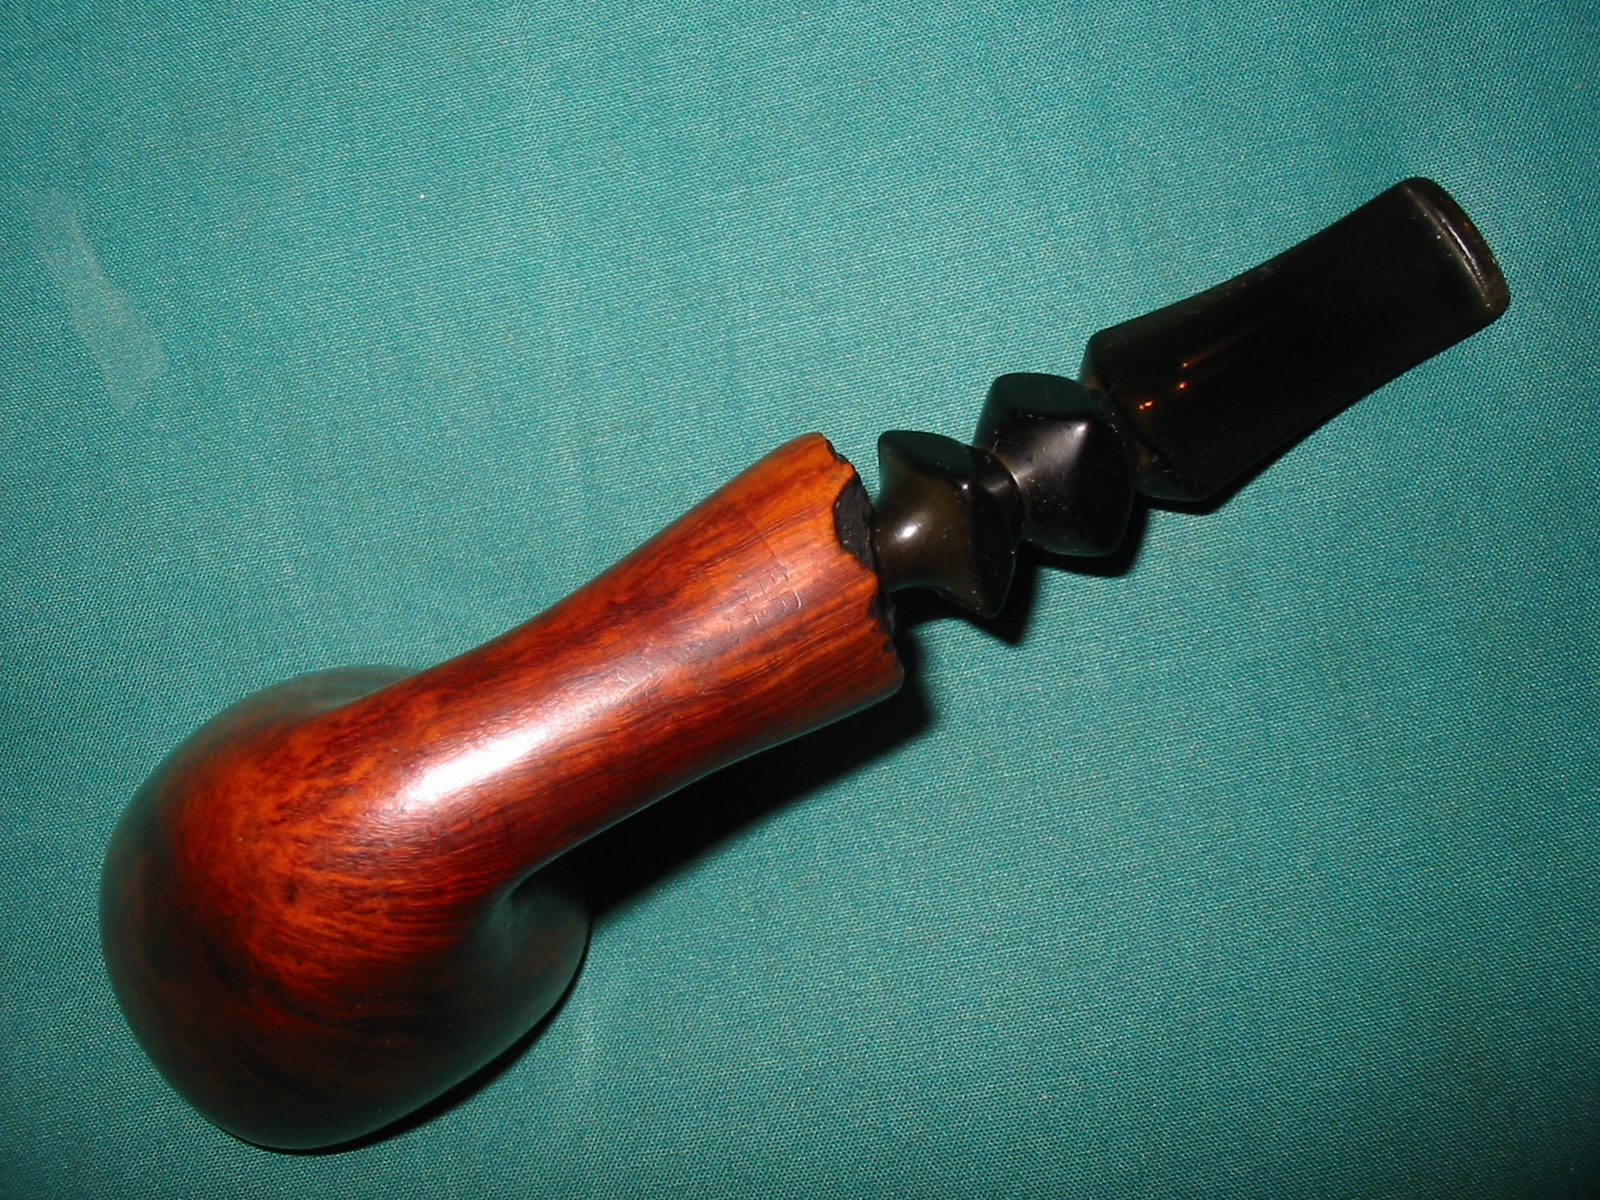
This is the fifth of the six pipes that I picked up recently. It is a GBD Prehistoric that has a great sandblast. The stamping on the pipe is on the underside of the shank and reads as follows: GBD in an oval followed by Prehistoric in Germanic script. Next to that is London England over 9457. While it looked like it was originally a billiard, I have learned that initial looks can be deceiving. I checked out the shape number on the web at http://www.perardua.net/pipes/GBDshape.html and found out that the shape was not a billiard at all but that it is supposed to be a Lovat.

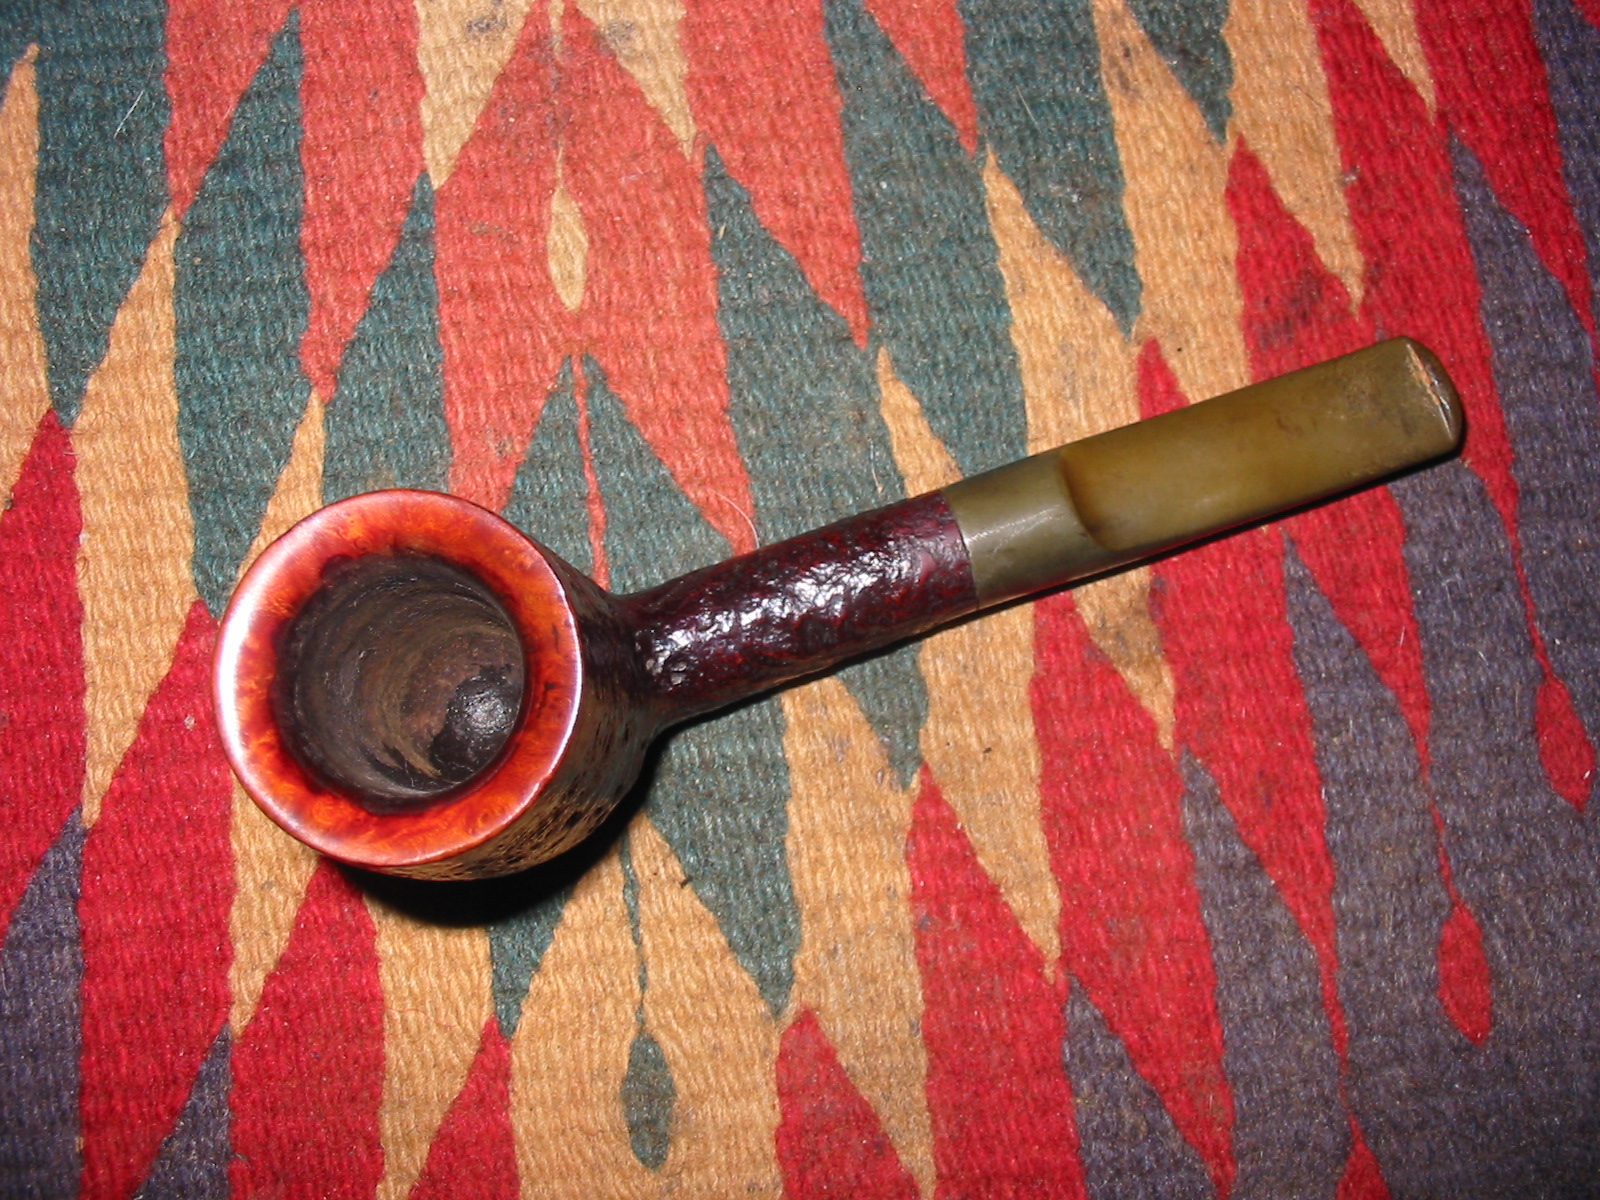
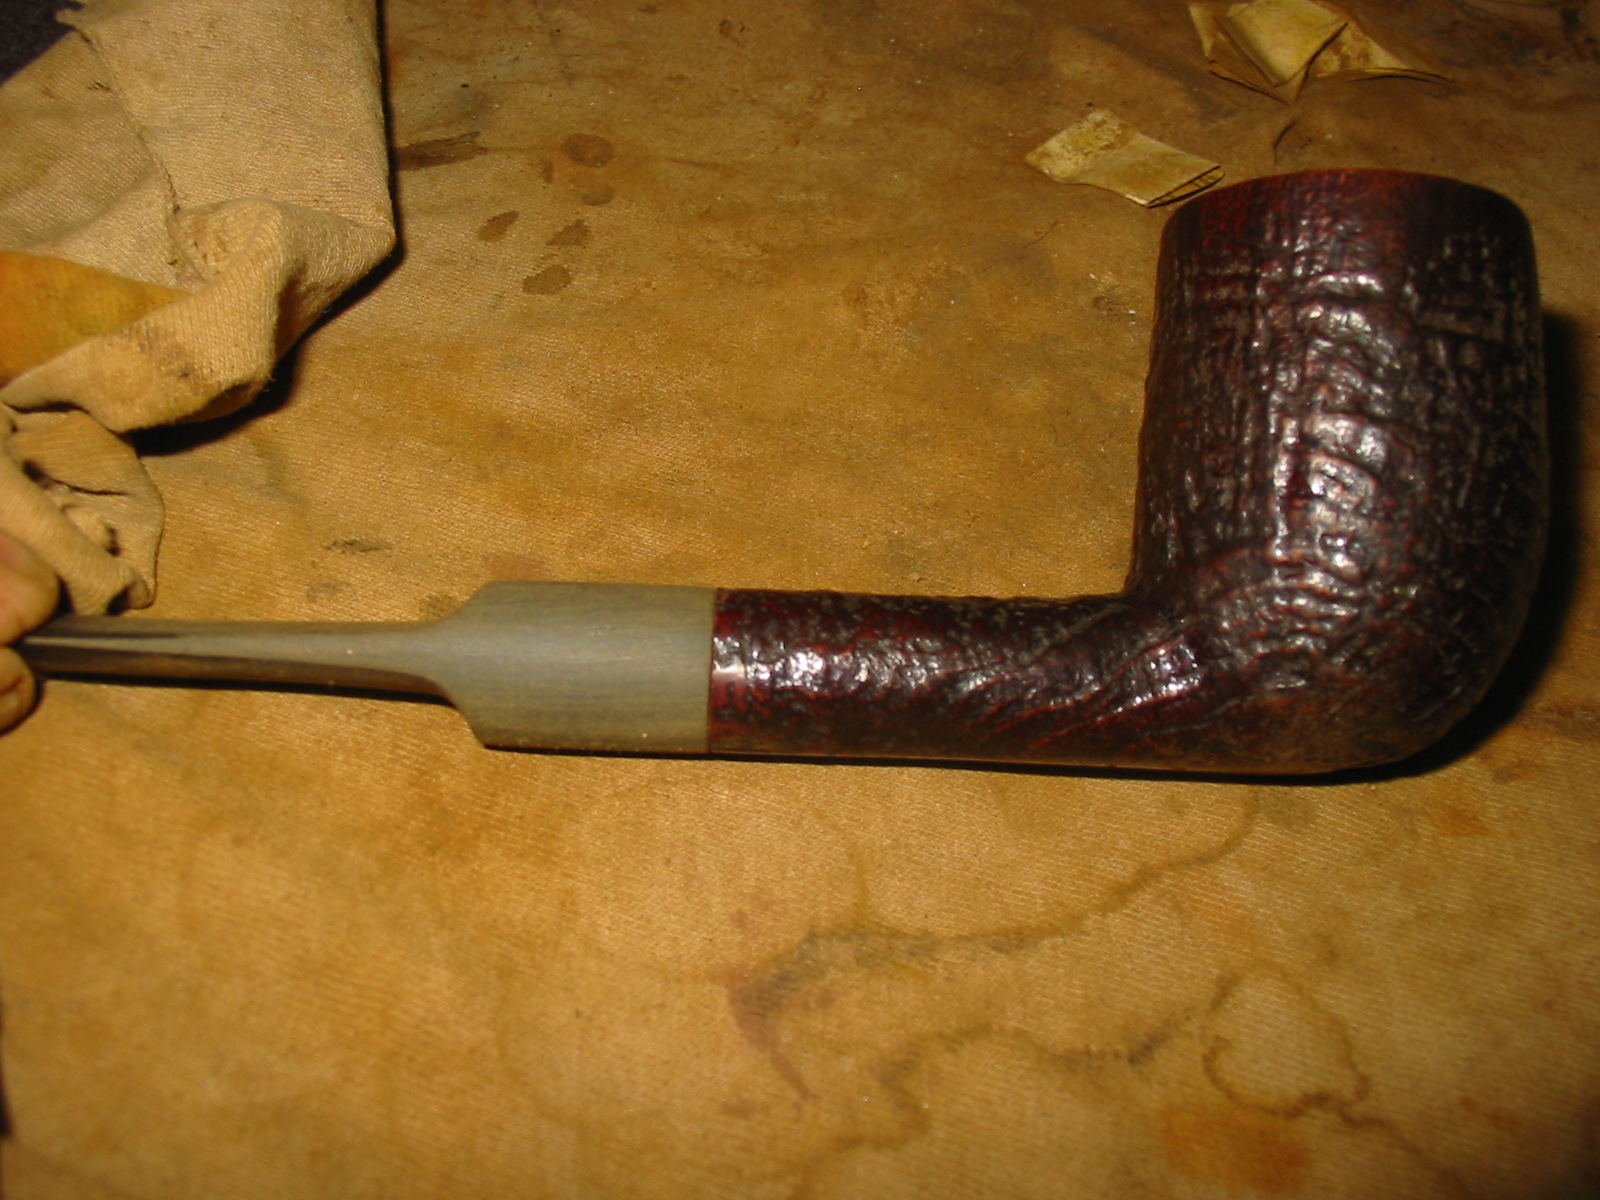
It truly was a quick and easy cleanup. The bowl was slightly caked and needed to be reamed. The beveled rim was dirty and had a thick tarry buildup on it. The finish was good but dusty. The stem was oxidized and had a bit of tooth chatter but was not hard to clean. The catch in this one is that the stem is a replacement. A common theme is coming through on this lot. I am pretty certain they all came from the same pipeman. The stems either have a large bite through on the underside or they have twin bore bite proof replacement stems. Two of the lot had twin bore stems and three had serious bite throughs. This one is a twin bore bite proof stem. I decided to clean it up for now while I am on the hunt for a GBD stem for it. I am also going to look through my stems and see if I can find a Lovat style stem that will work for the pipe.
IMG_3787

IMG_3788

IMG_3789

IMG_3790

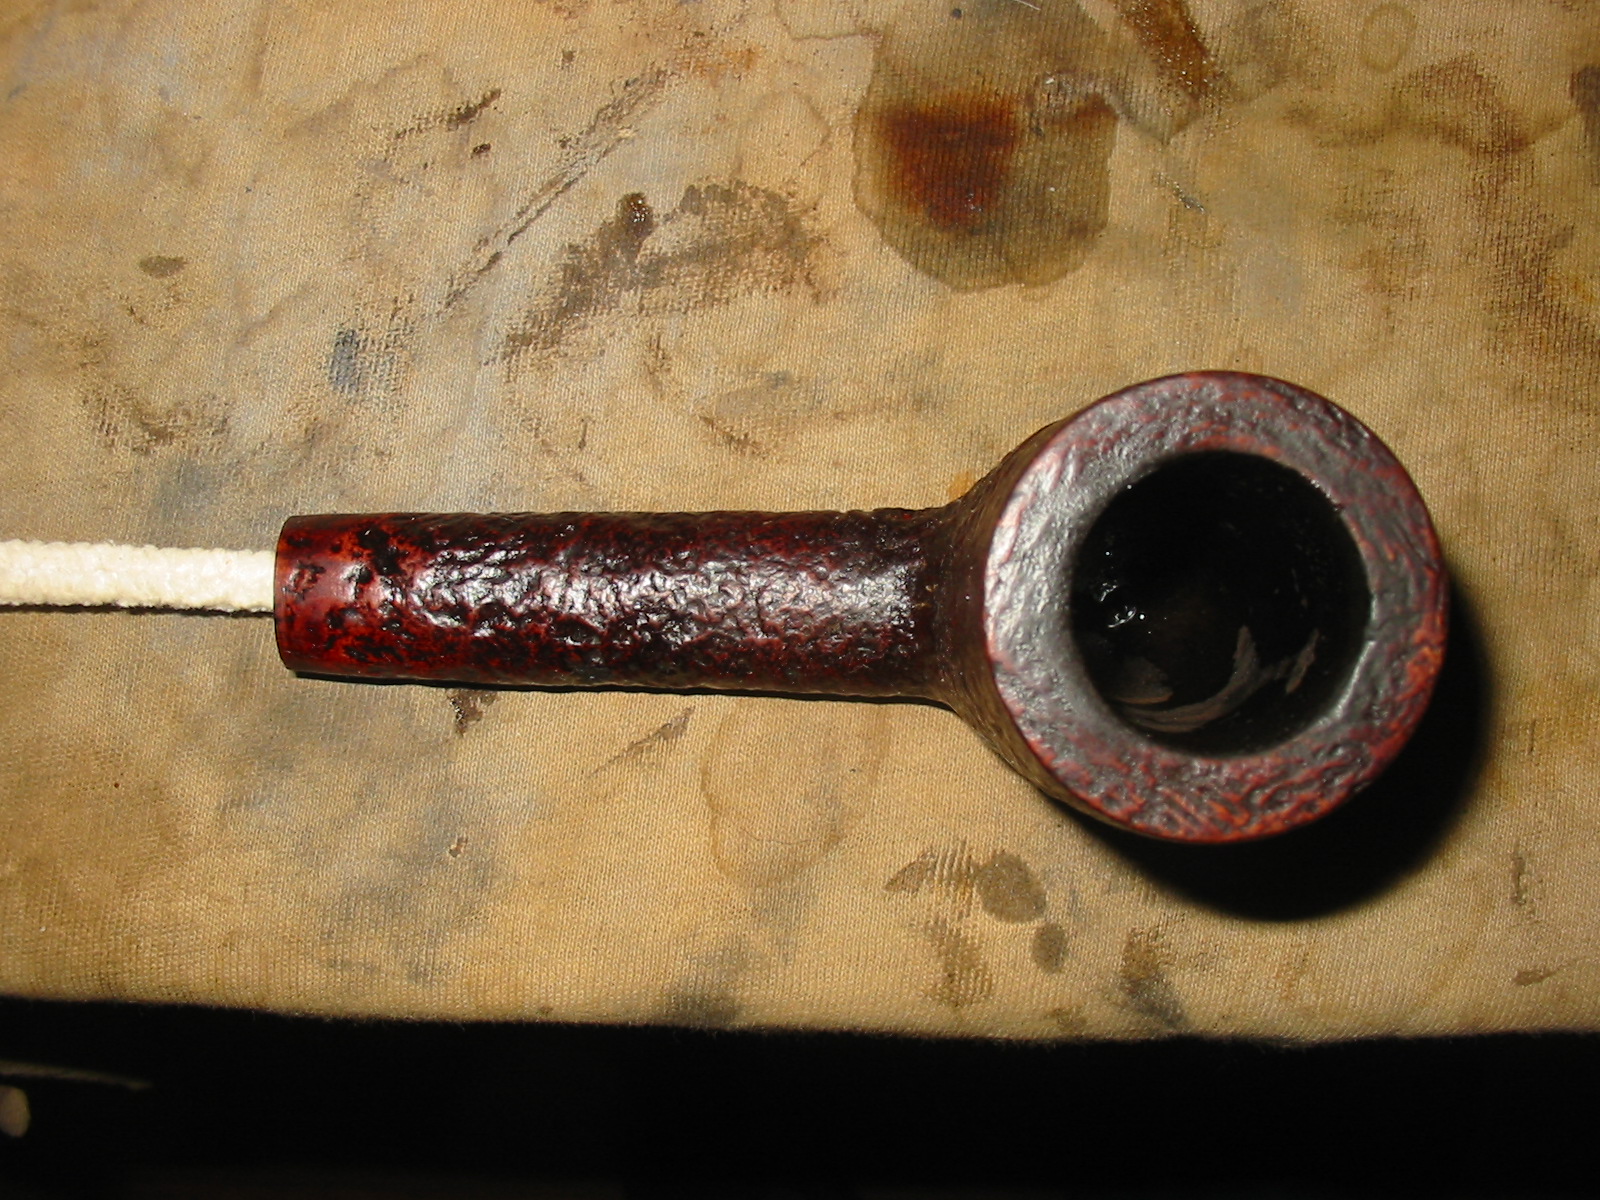
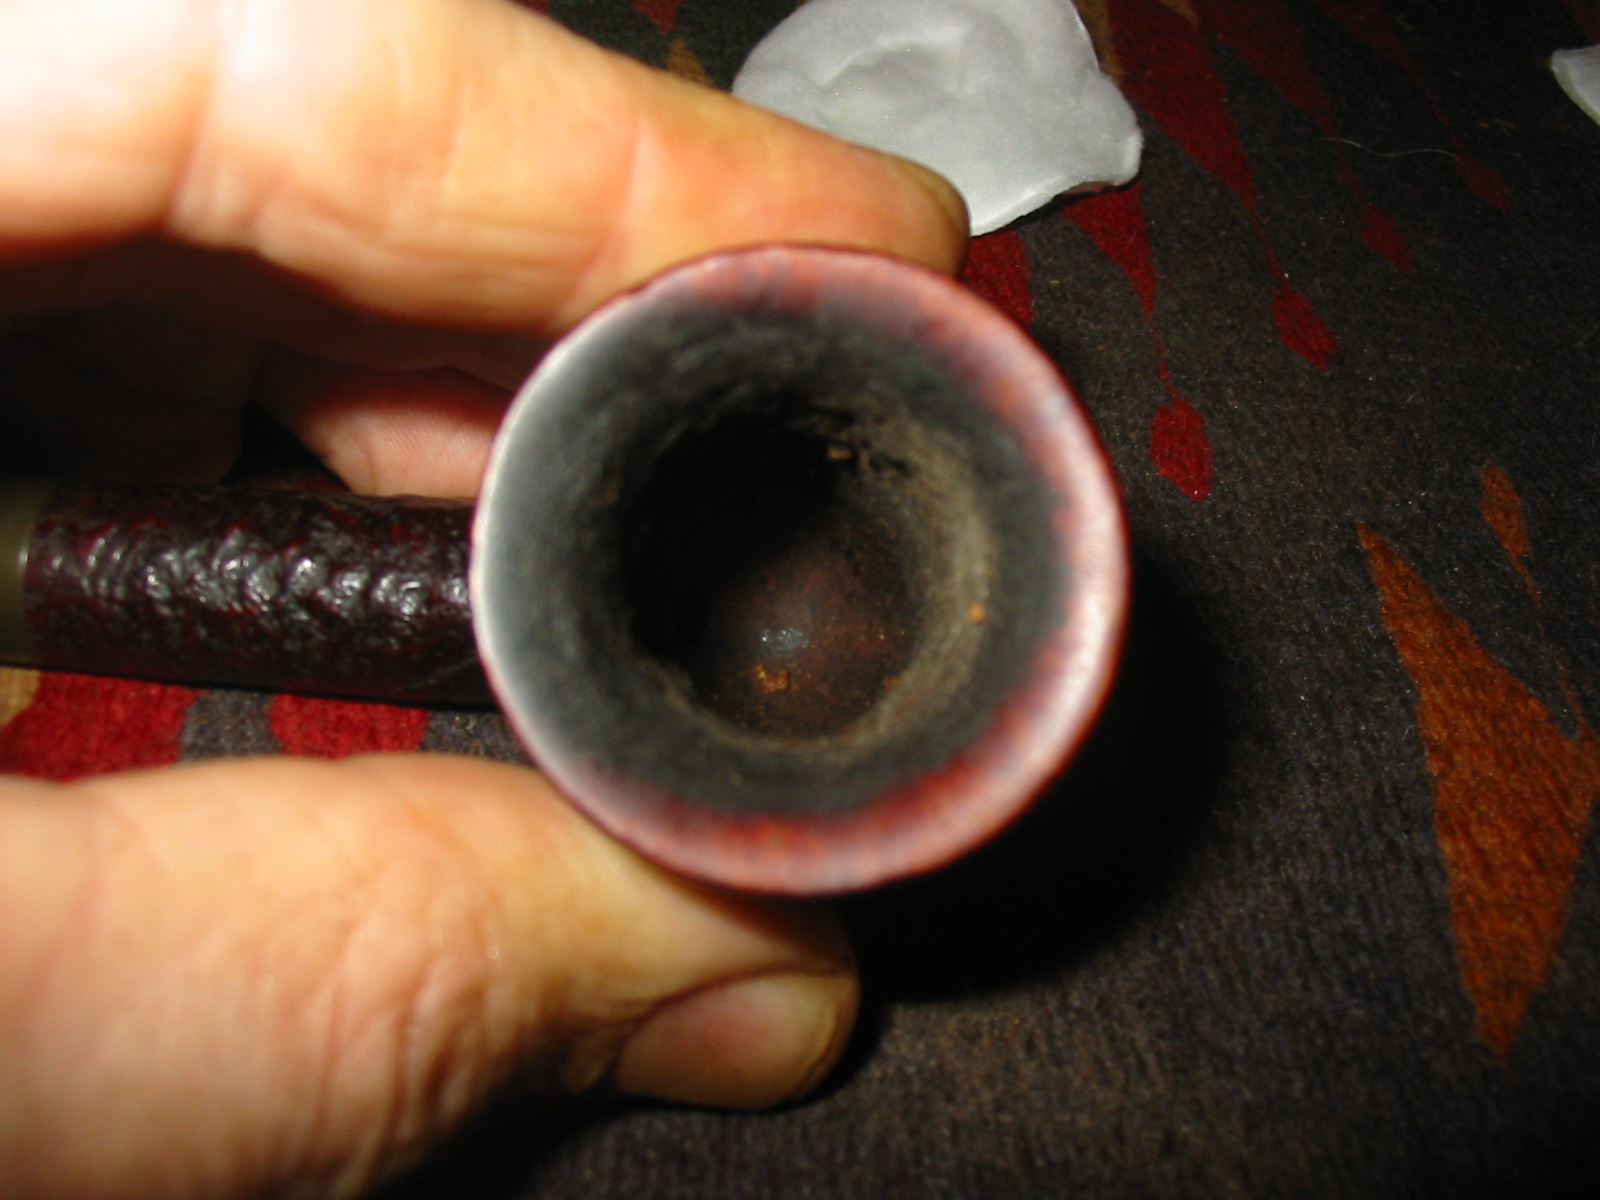
I have included the next photo to show the state of the rim and the bowl before I cleaned it.
IMG_3792

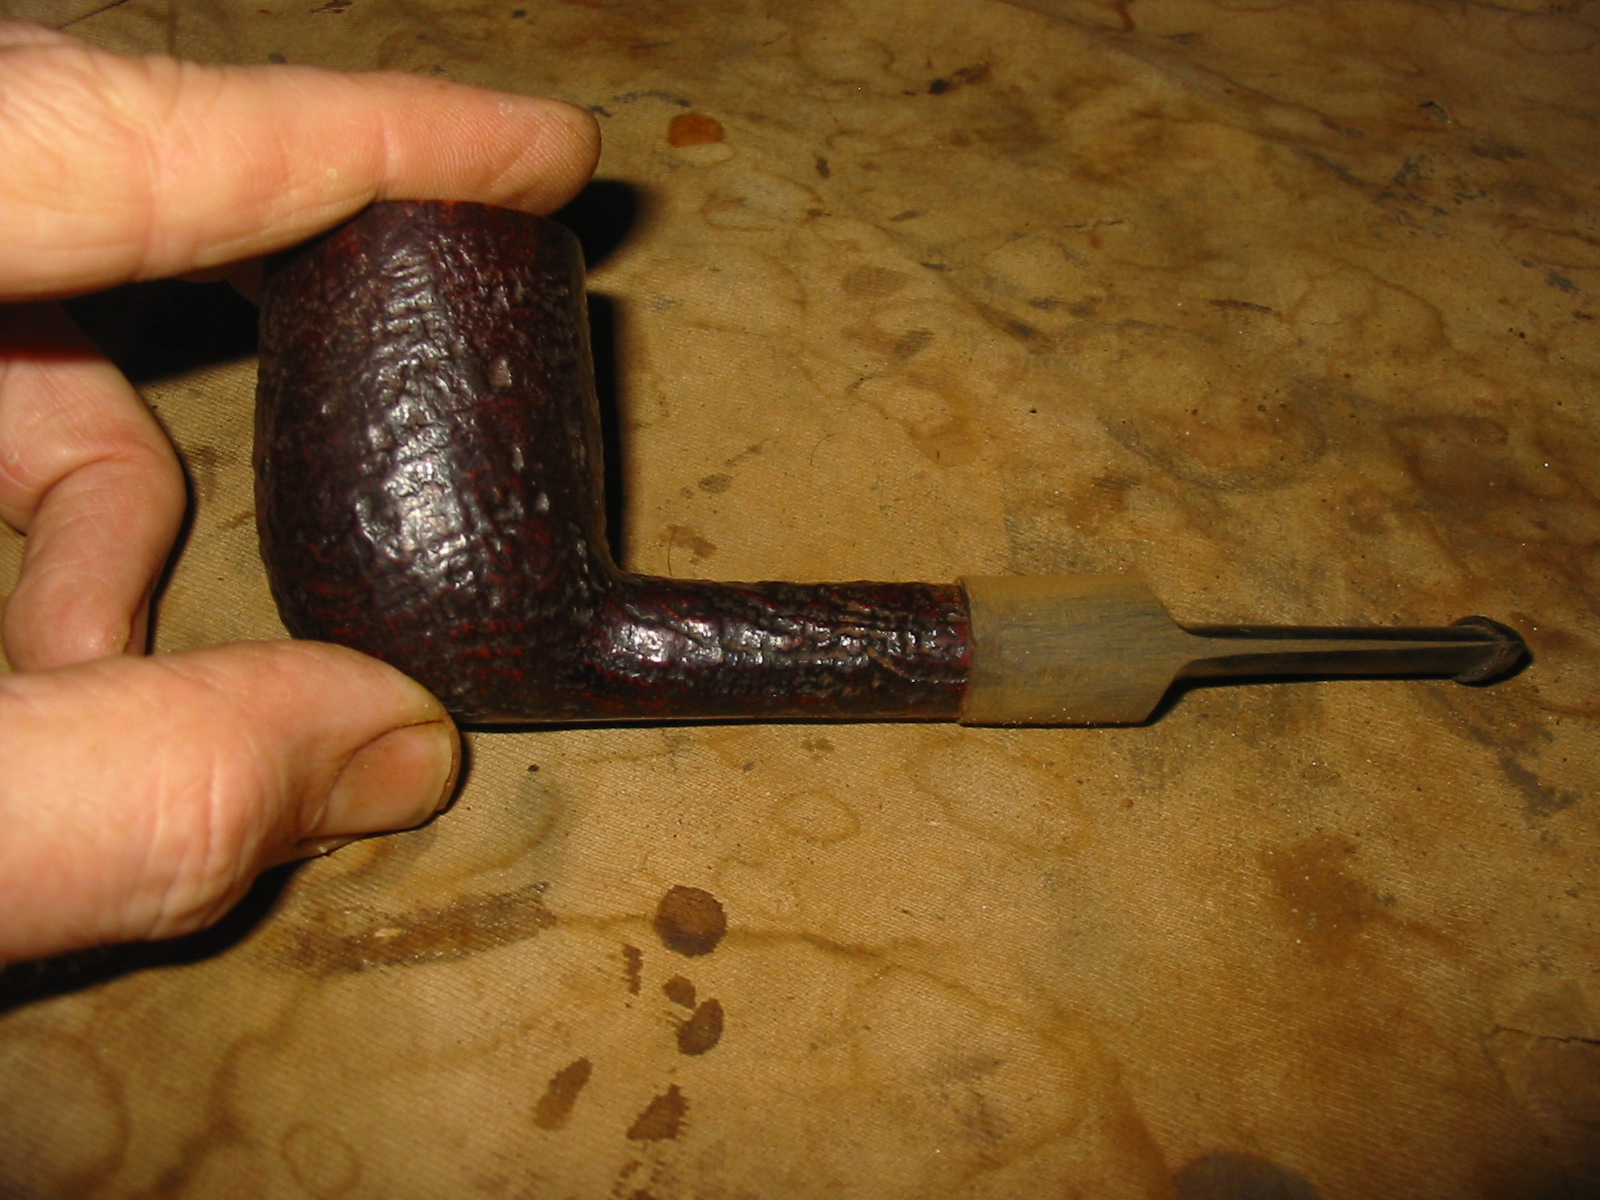
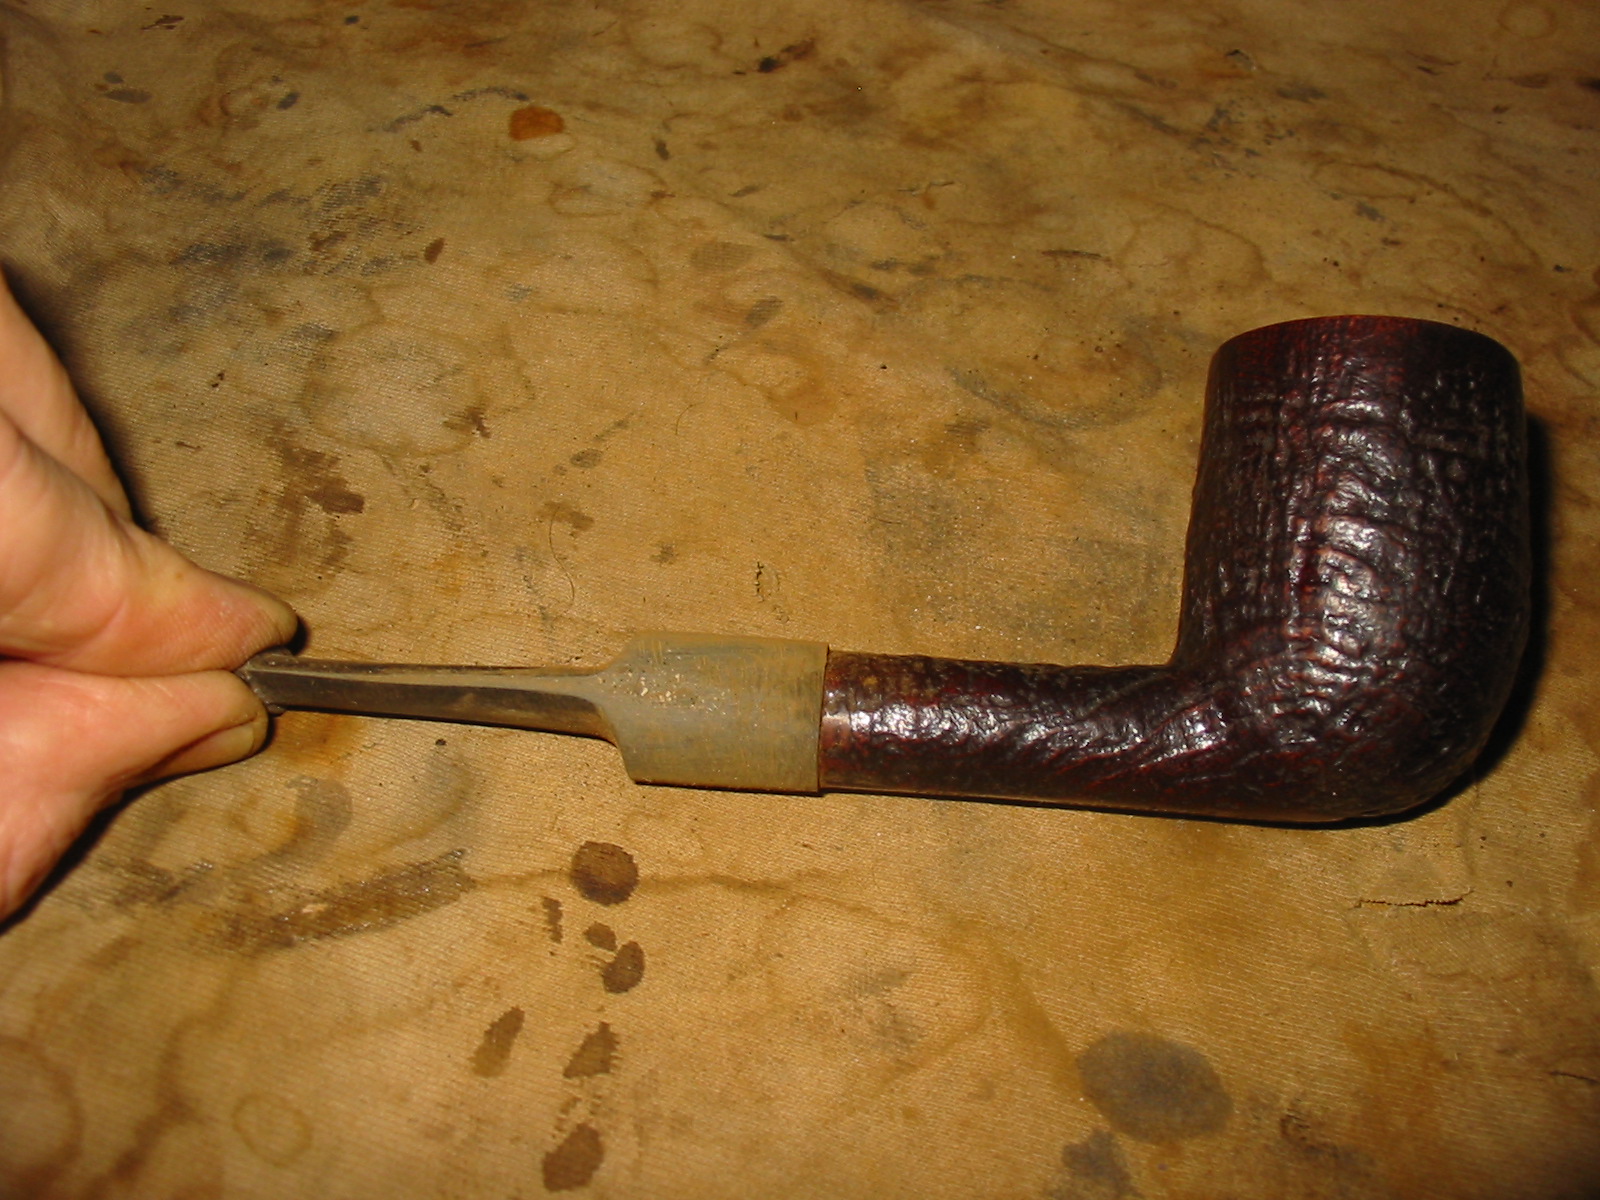
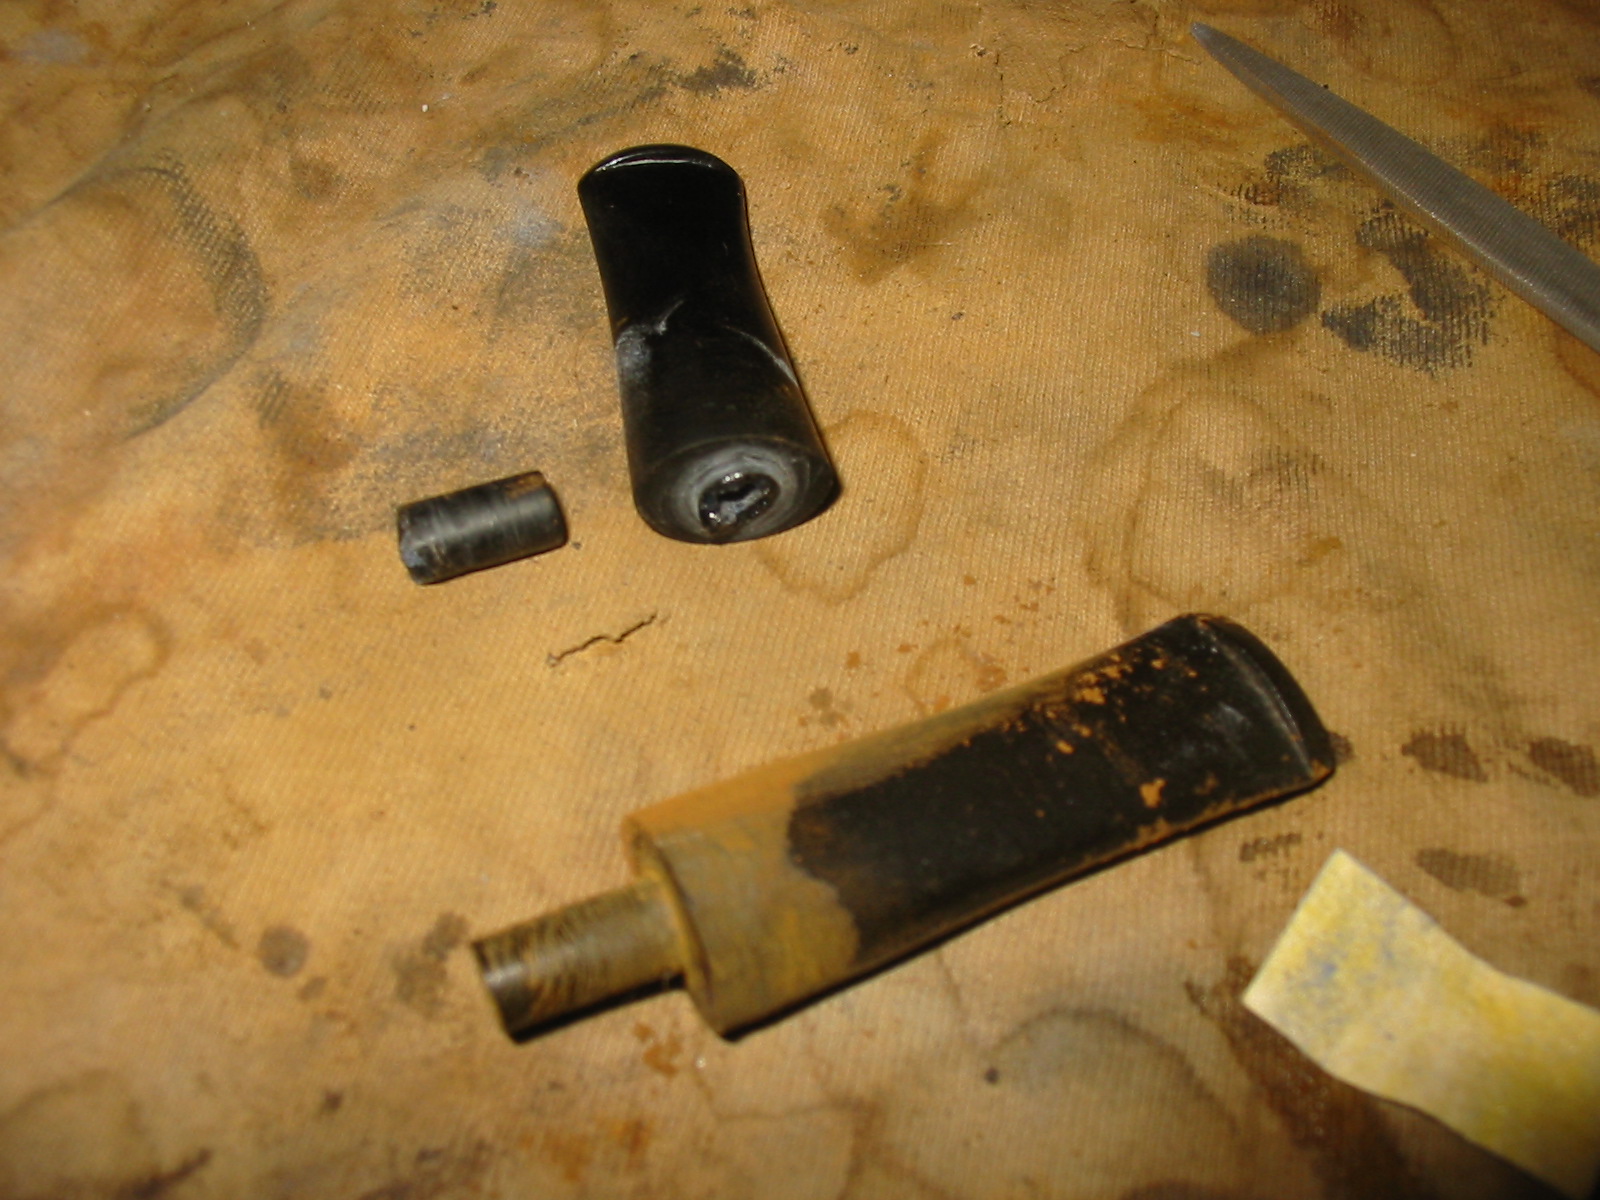
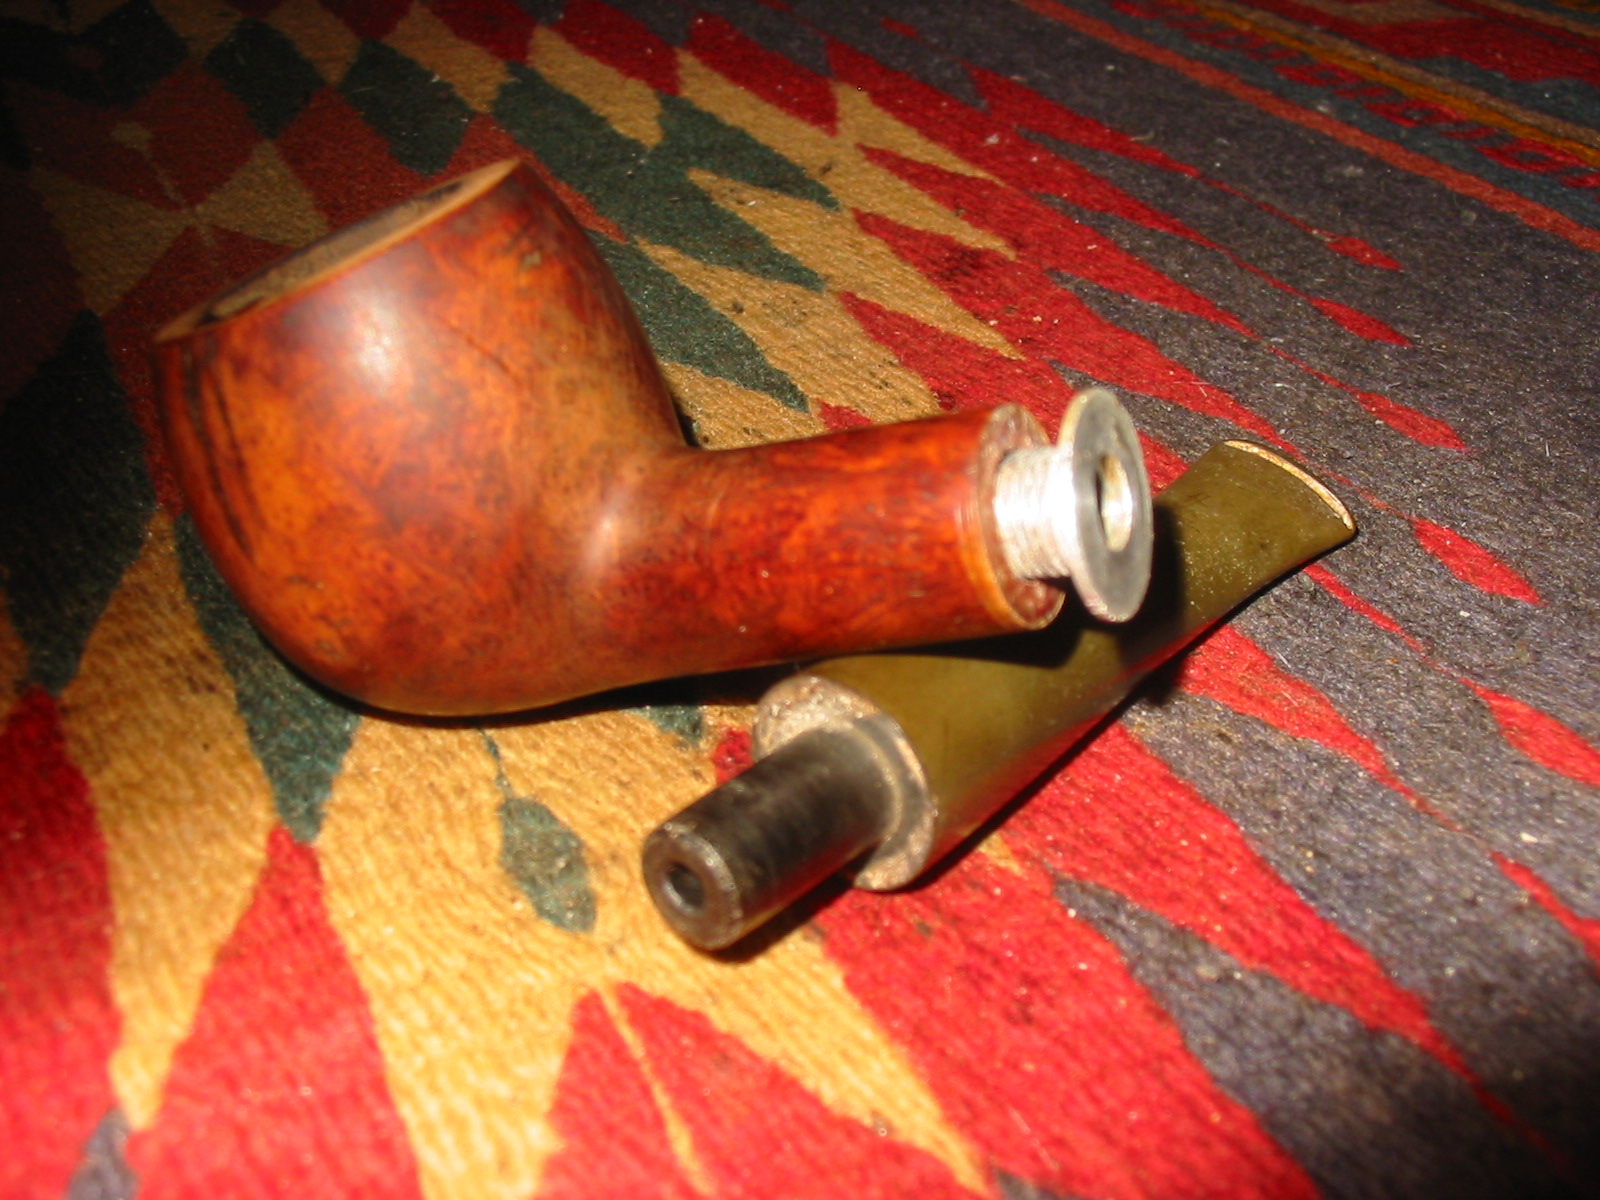
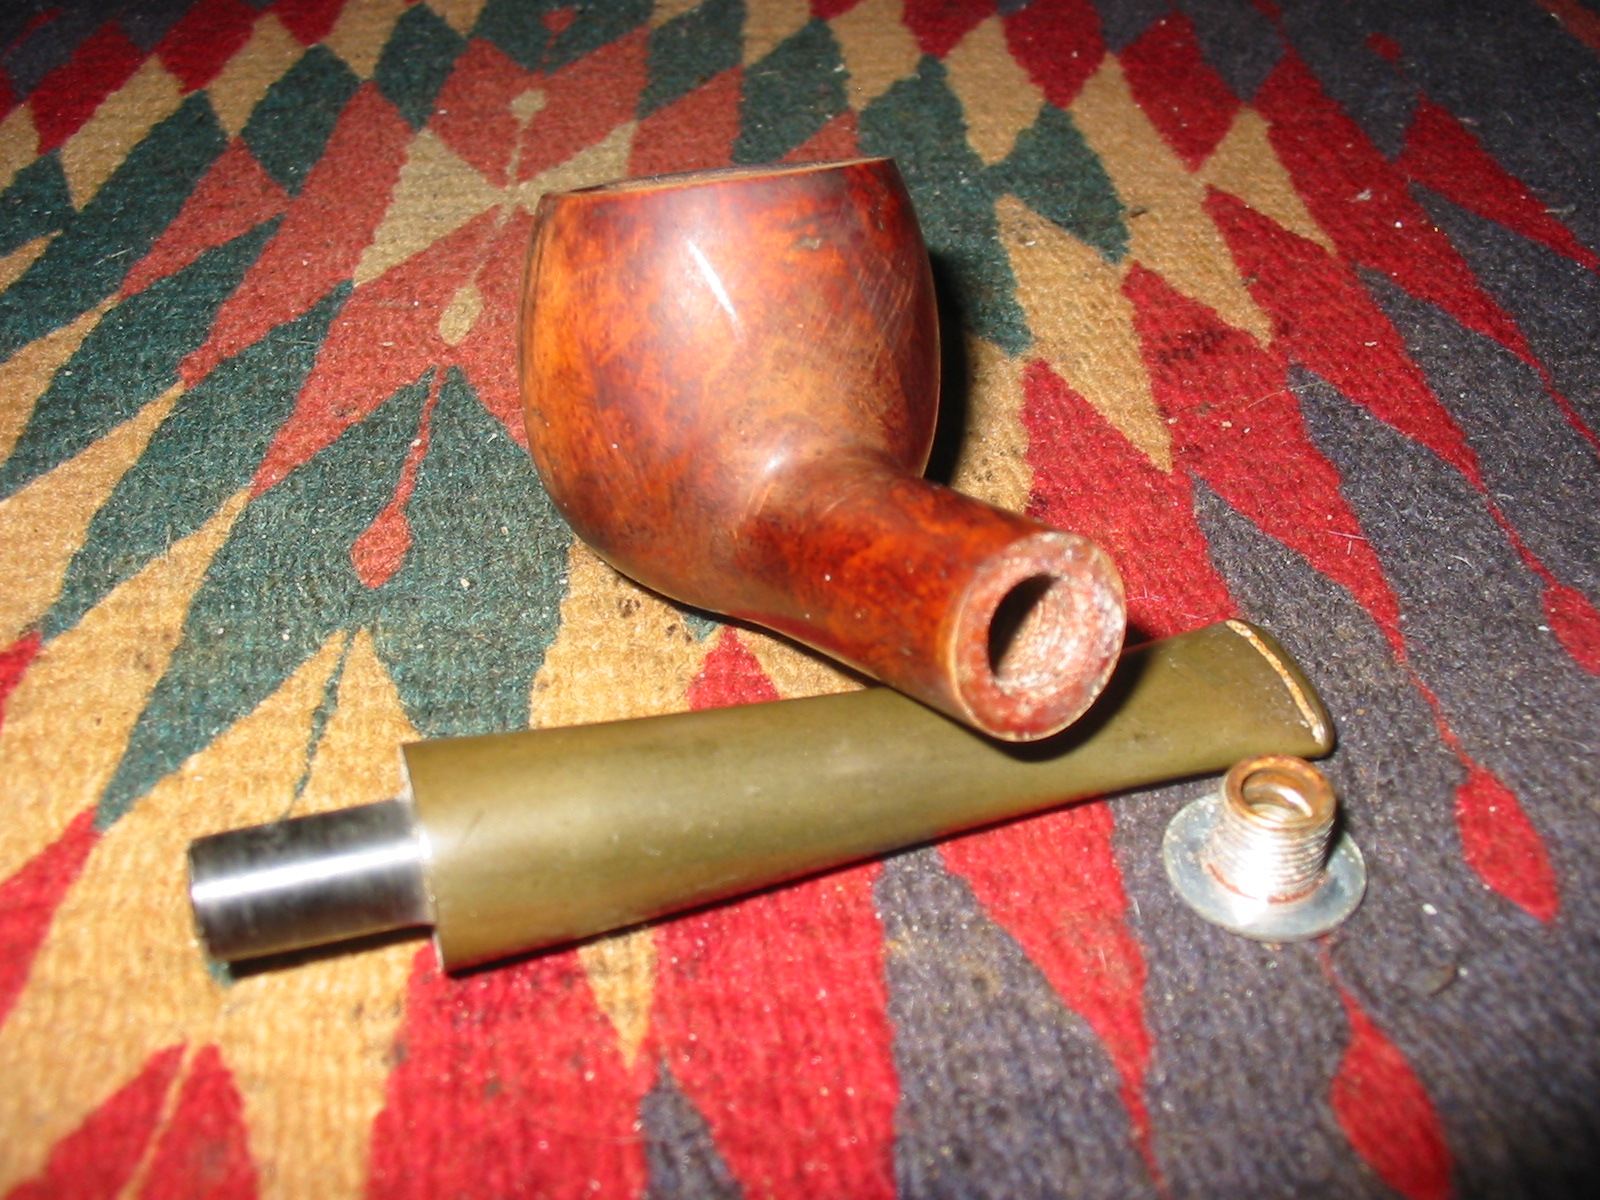
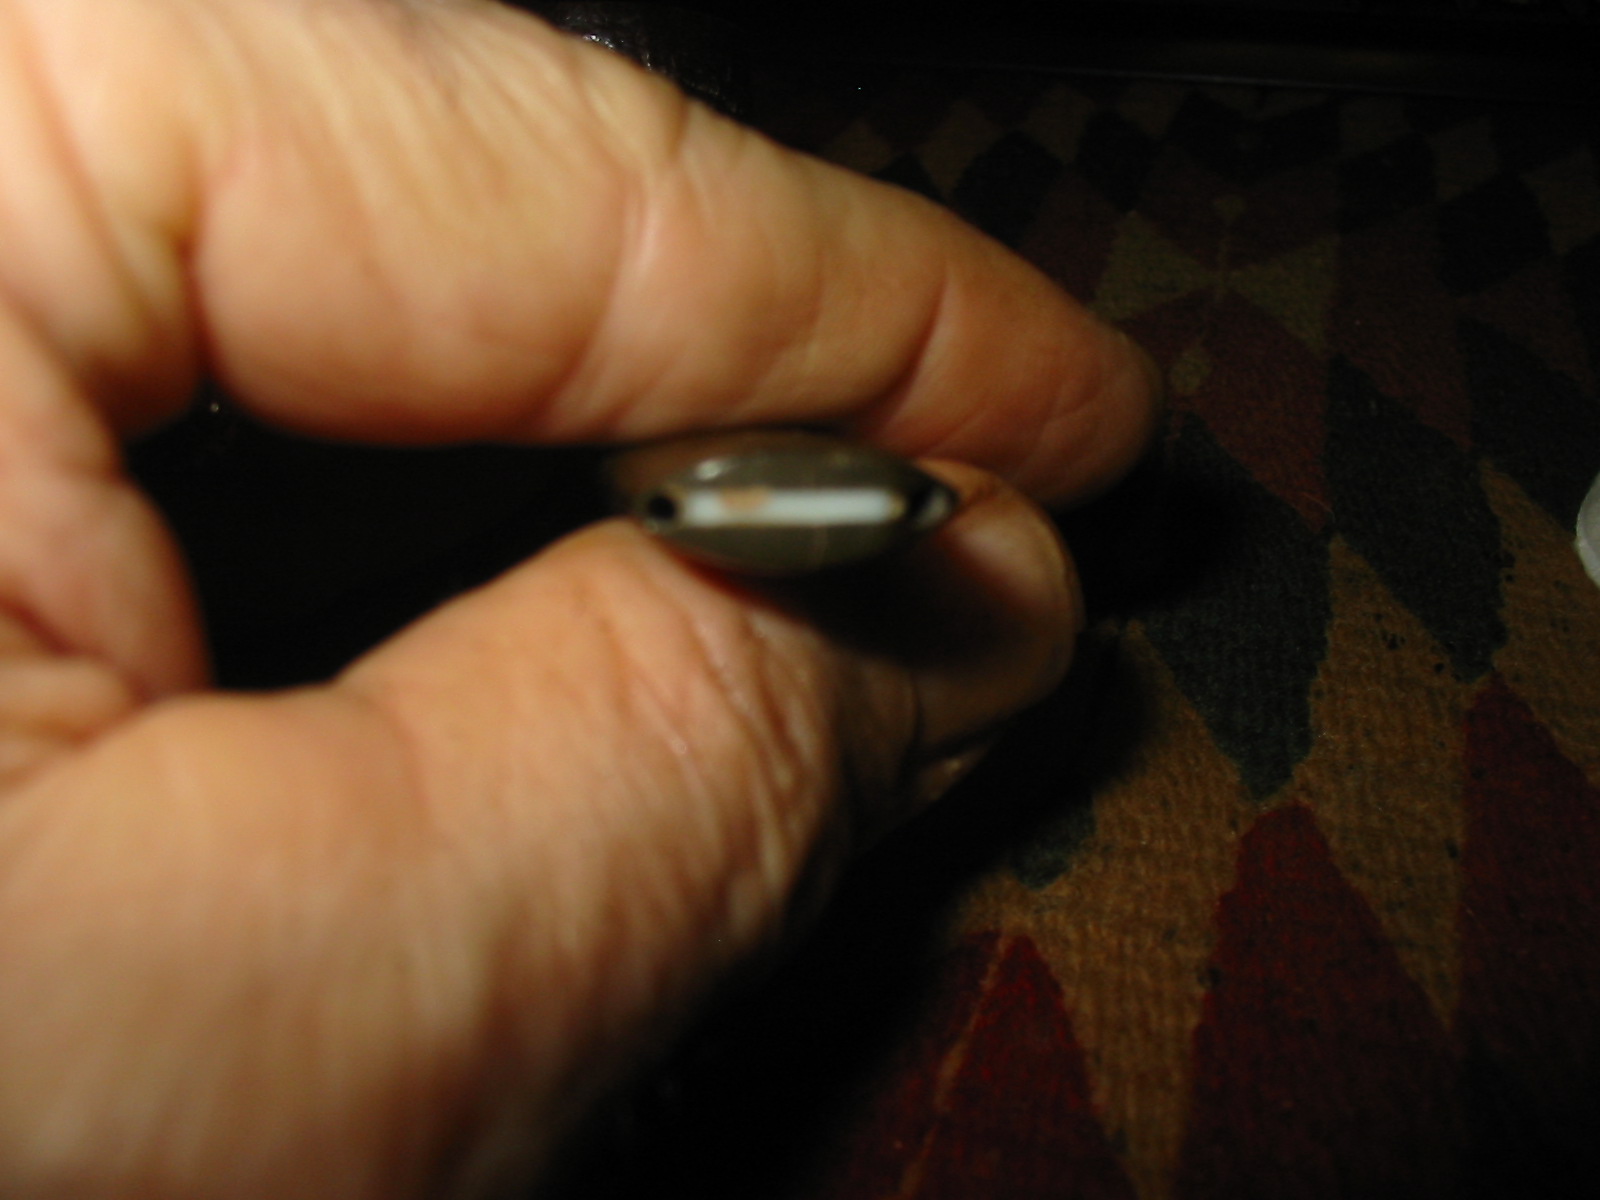
Next is a photo of the bite proof twin bore stem. It is a bit different from others I have seen in that it seems to have a white bar inserted between the two airholes in the button. It give the end view a striped appearance.
IMG_3795

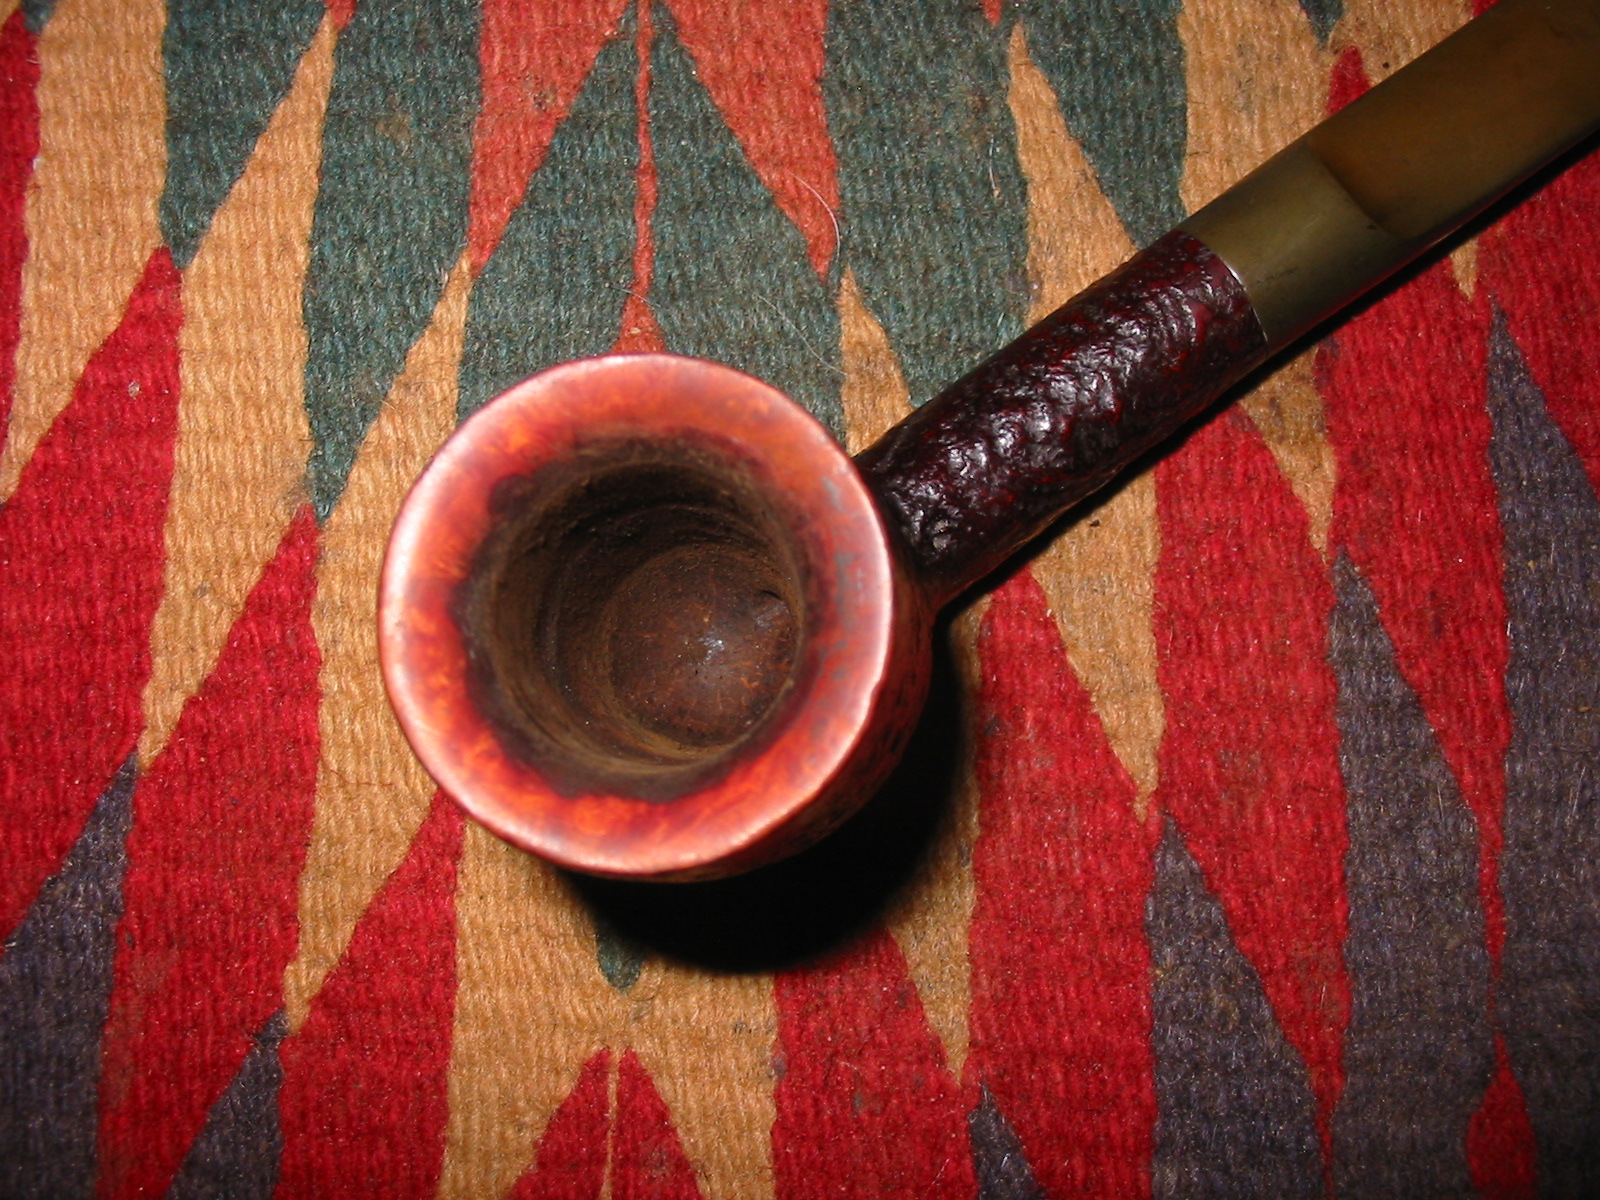
I scrubbed the rim with saliva and cotton pads until it was clean. It took a lot of scrubbing and scraping to remove the tarry buildup but eventually it came off without damaging the finish on the rim. I really like the inward bevel on some of these GBD Prehistoric pipes because of the nice contrast it adds to the dark finish on the blast of the rest of the pipe. Typically the rim and the underside of the shank match in terms of smoothness and colour.
IMG_3796

The rim is clean and ready to buff. In the first photo below the rim is shown after the scrubbing. In the second photo it is shown after I took it to the buffer and buffed it with White Diamond.
IMG_3797

IMG_3798

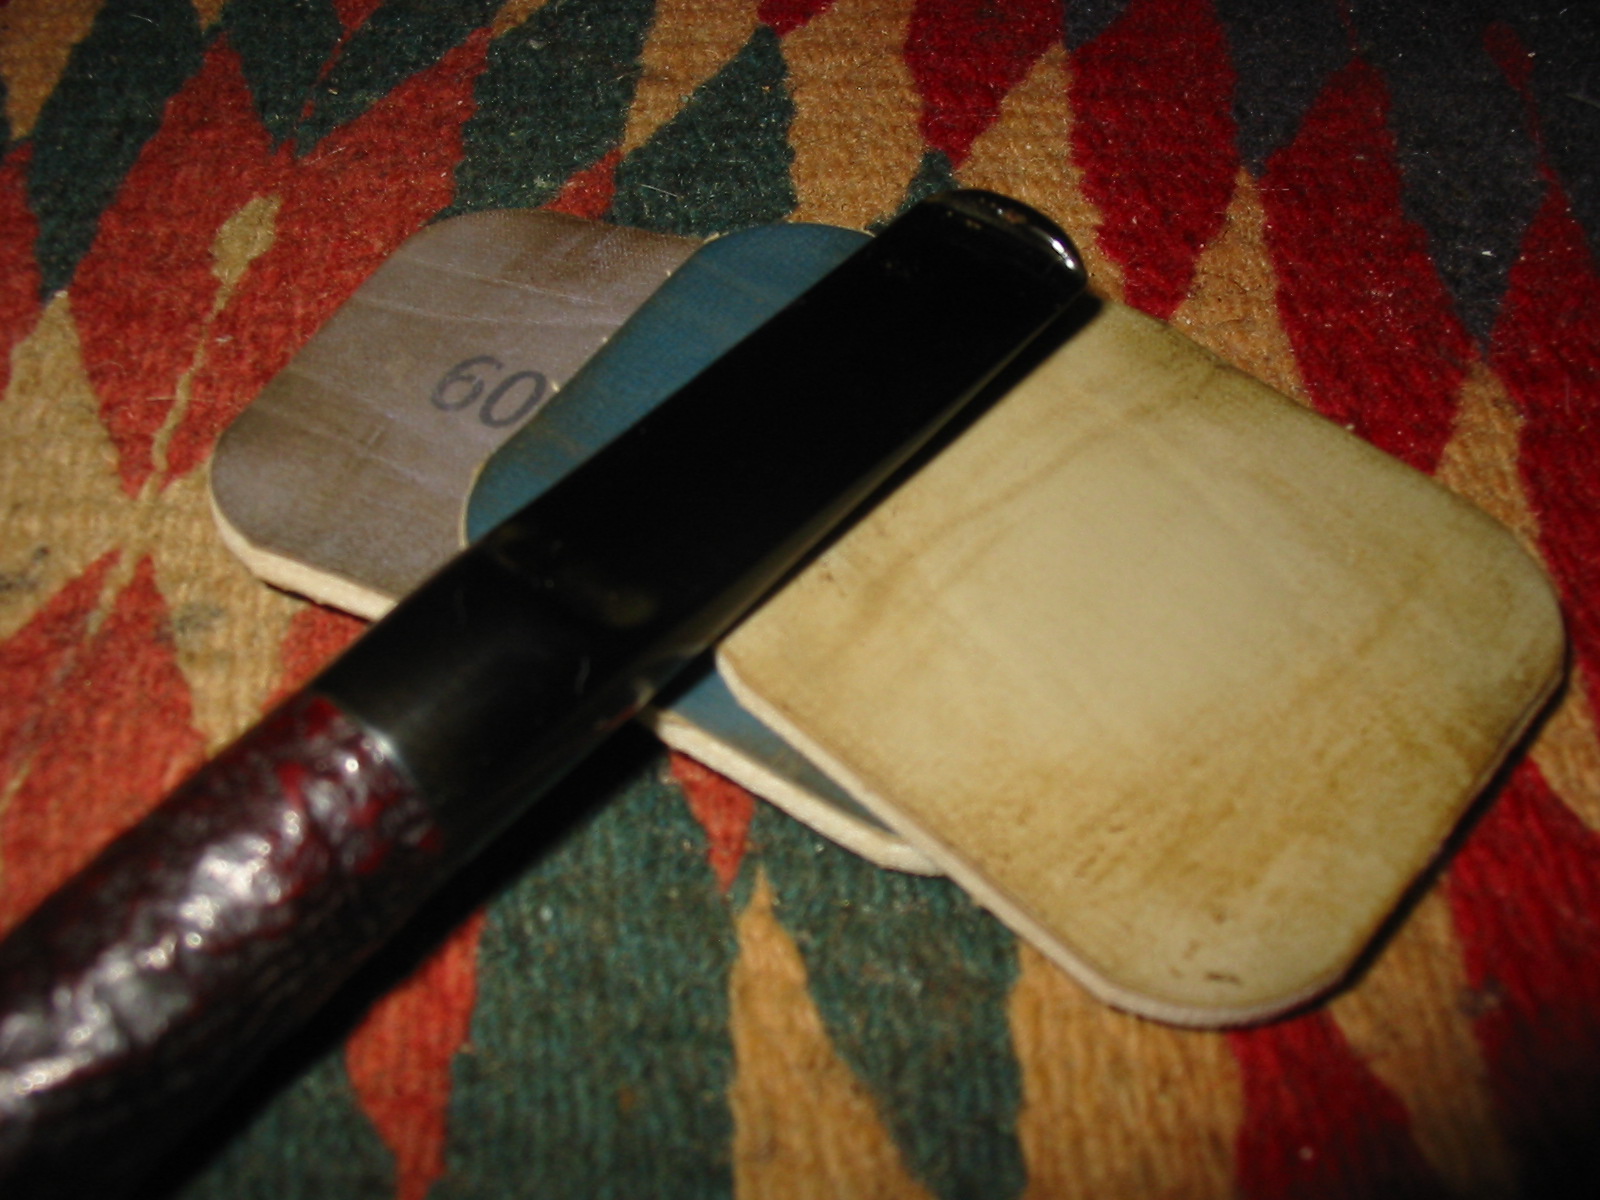
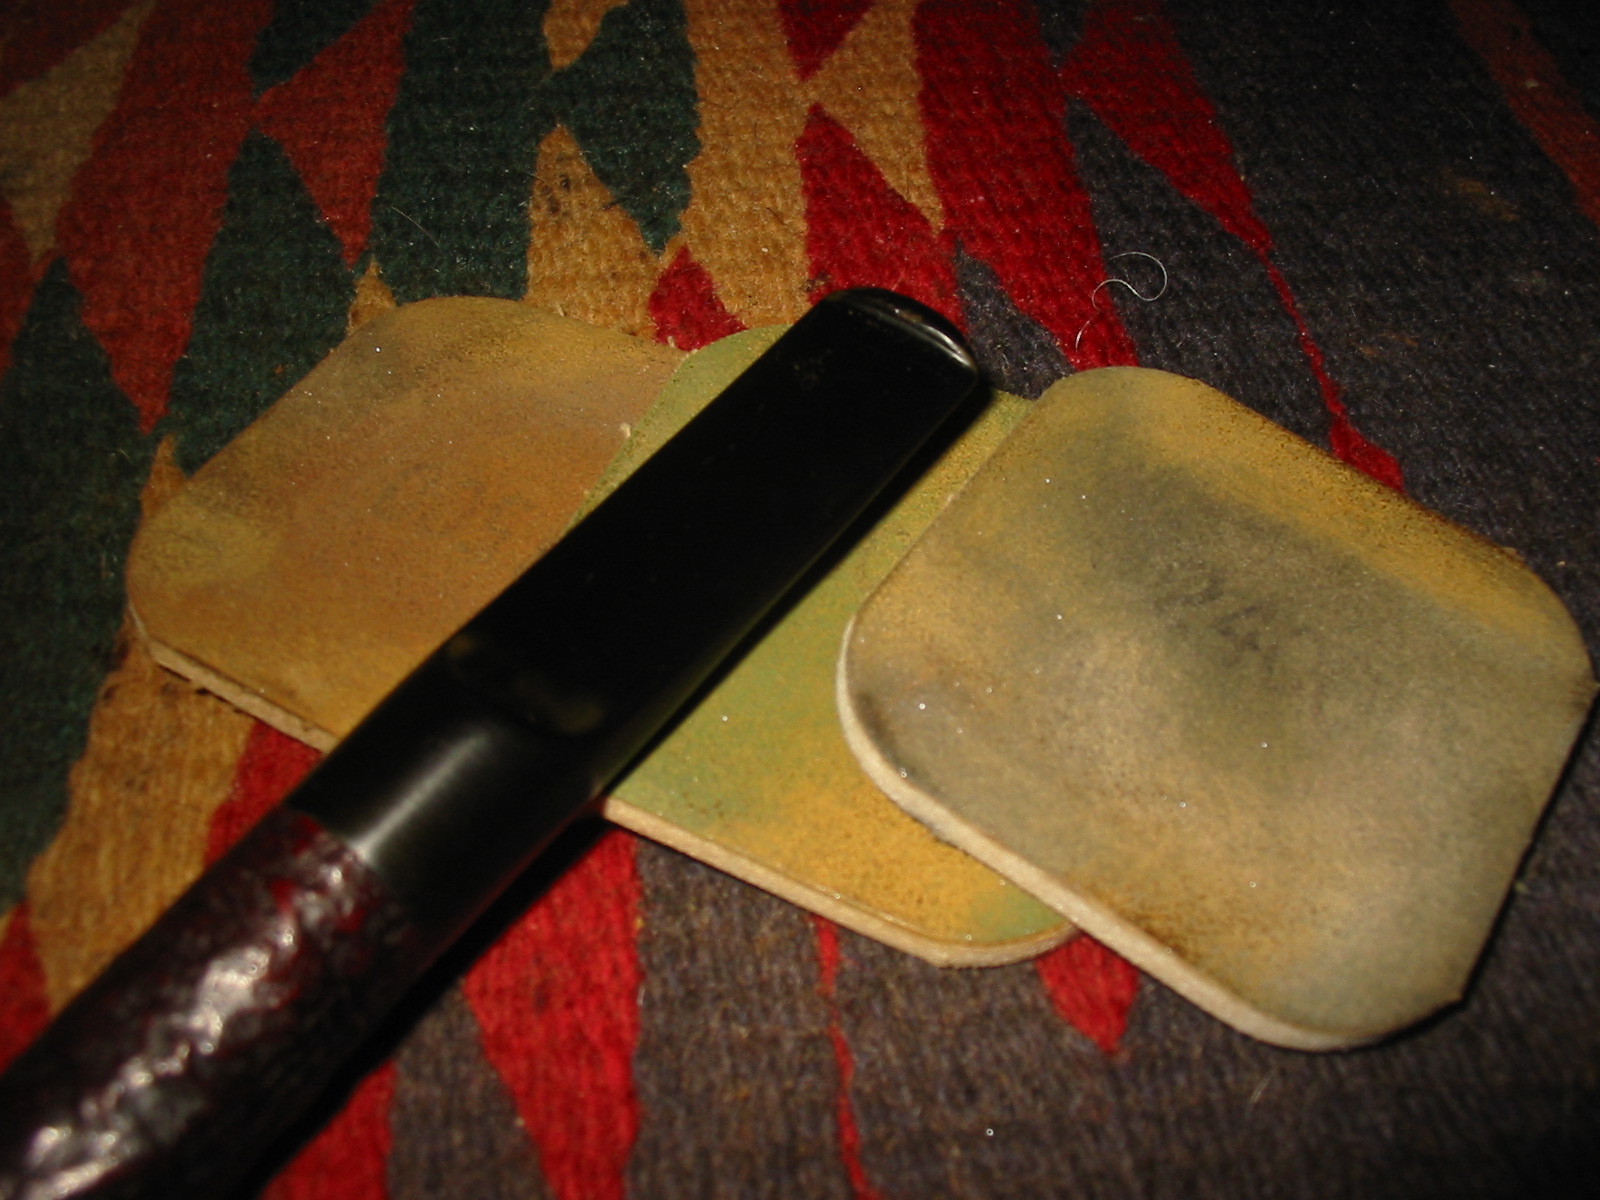
The stem was oxidized but I found that the oxidation was on the surface and not very deep into the vulcanite. I sanded it with 220 grit sandpaper to remove the oxidation and the tooth chatter on the top and bottom sides of the stem. I then gave it my usual regimen of micromesh sanding pads – wet sanding with 1500-2400 grit pads and dry sanding with 3200-12,000 grit pads. It did not take too long before the stem shone. Once I had finished with the pads I gave it a coat of Obsidian Oil and rubbed it into the stem.
IMG_3799

IMG_3800

IMG_3801

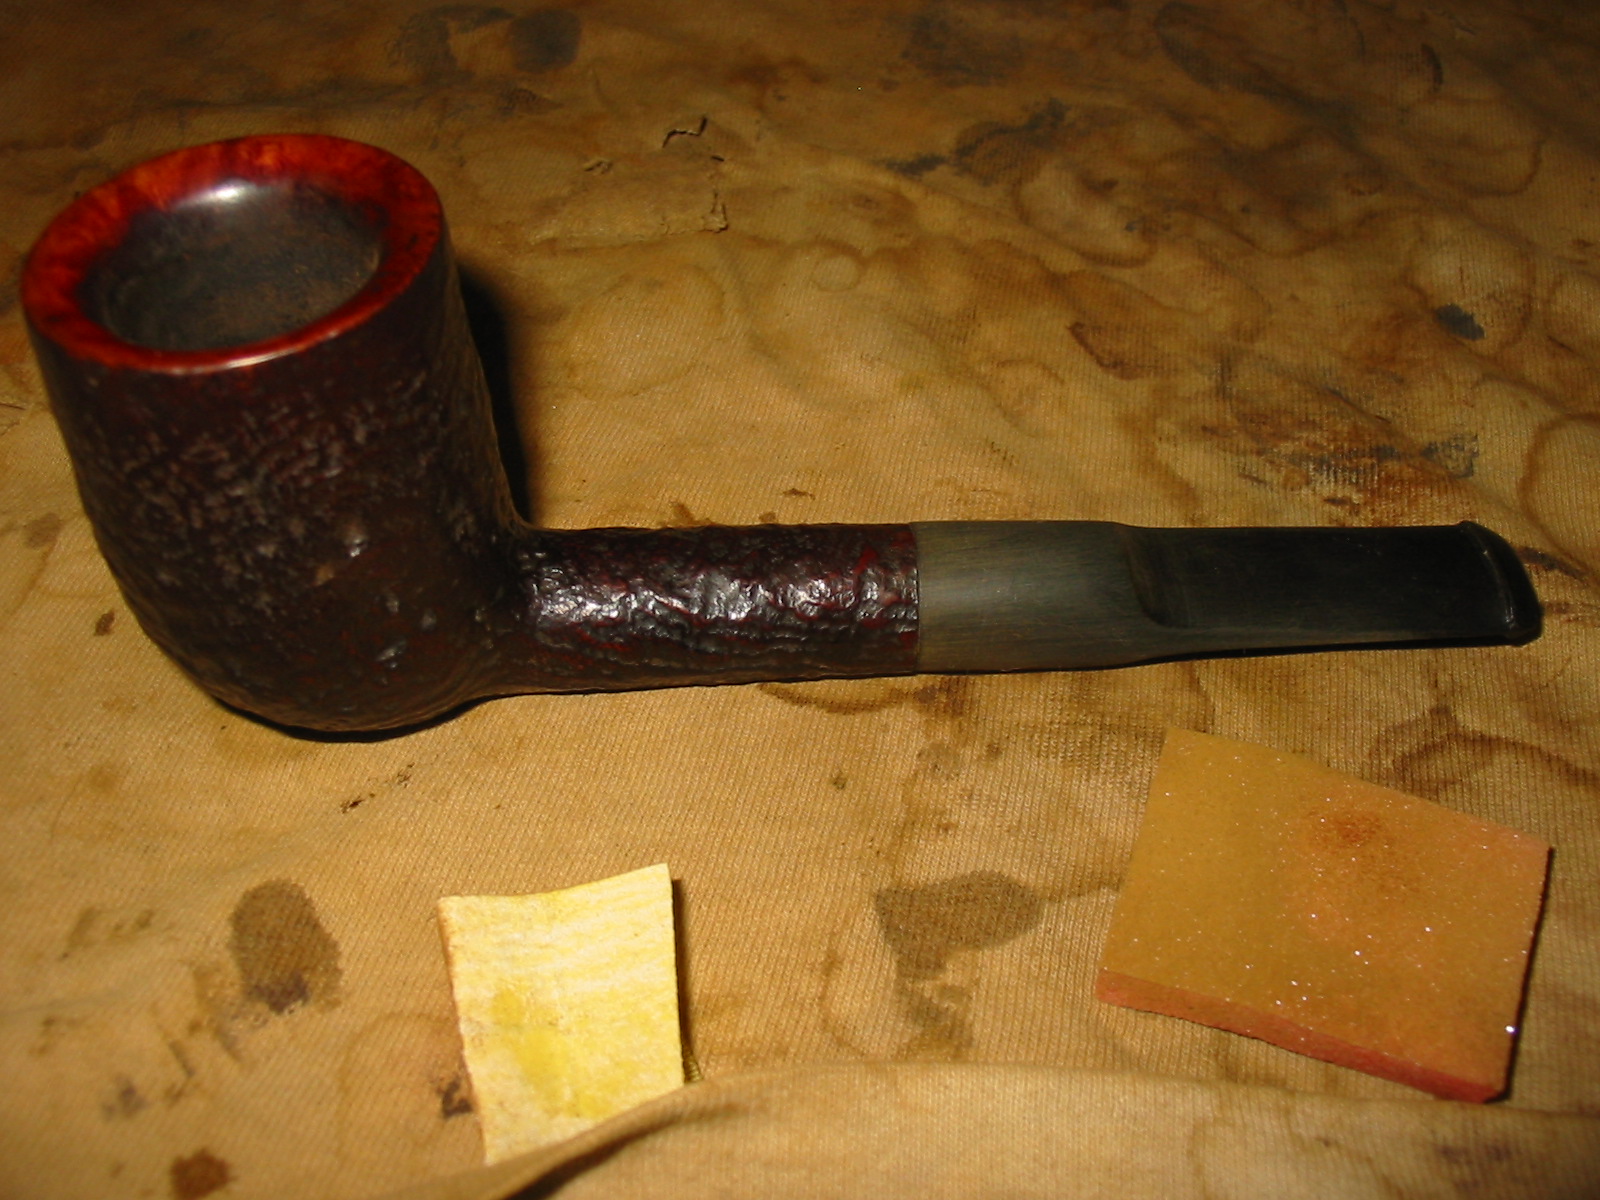
I scrubbed the bowl down with a soft bristle tooth brush and Murphy’s Oil soap and then rinsed it with warm water. I dried it and gave the bowl a coat of Halcyon II wax as I find it works well on these sandblast finishes. I took the pipe to the buffer and buffed the stem with White Diamond once again and gave it multiple coats of carnauba wax. I buffed the bowl and stem with a soft, flannel buff to give it a shine. The finished pipe is pictured below. It was finished by I still was not happy with the stem and the look of the pipe. It just was not quite right. A true GBD stem for a Lovat would be nice but I am going to try a couple of other tricks while I am waiting to find one. I set the pipe aside over night to think it through.

Anyone have an extra GBD stem kicking around? Do you want to sell or trade it? Drop me a note.
IMG_3802

IMG_3803

IMG_3804

IMG_3805

This morning when I got up I thought about using a Lovat stem on the pipe and looked through my can of stems for one. While doing that it occurred to me that rather than turn a tenon and refit a stem to the shank that I could just as easily cut back the existing stem – it already fit the shank. The majority of the cleanup work has been done and I could rid myself of the bite proof twin bore stem. I know from past experience that the twin bore is like a Y and when cut back it will end in a single airway in the shortened stem. I can then open that into a slot and cut a new button and I will be in business. I decided to take that tact.

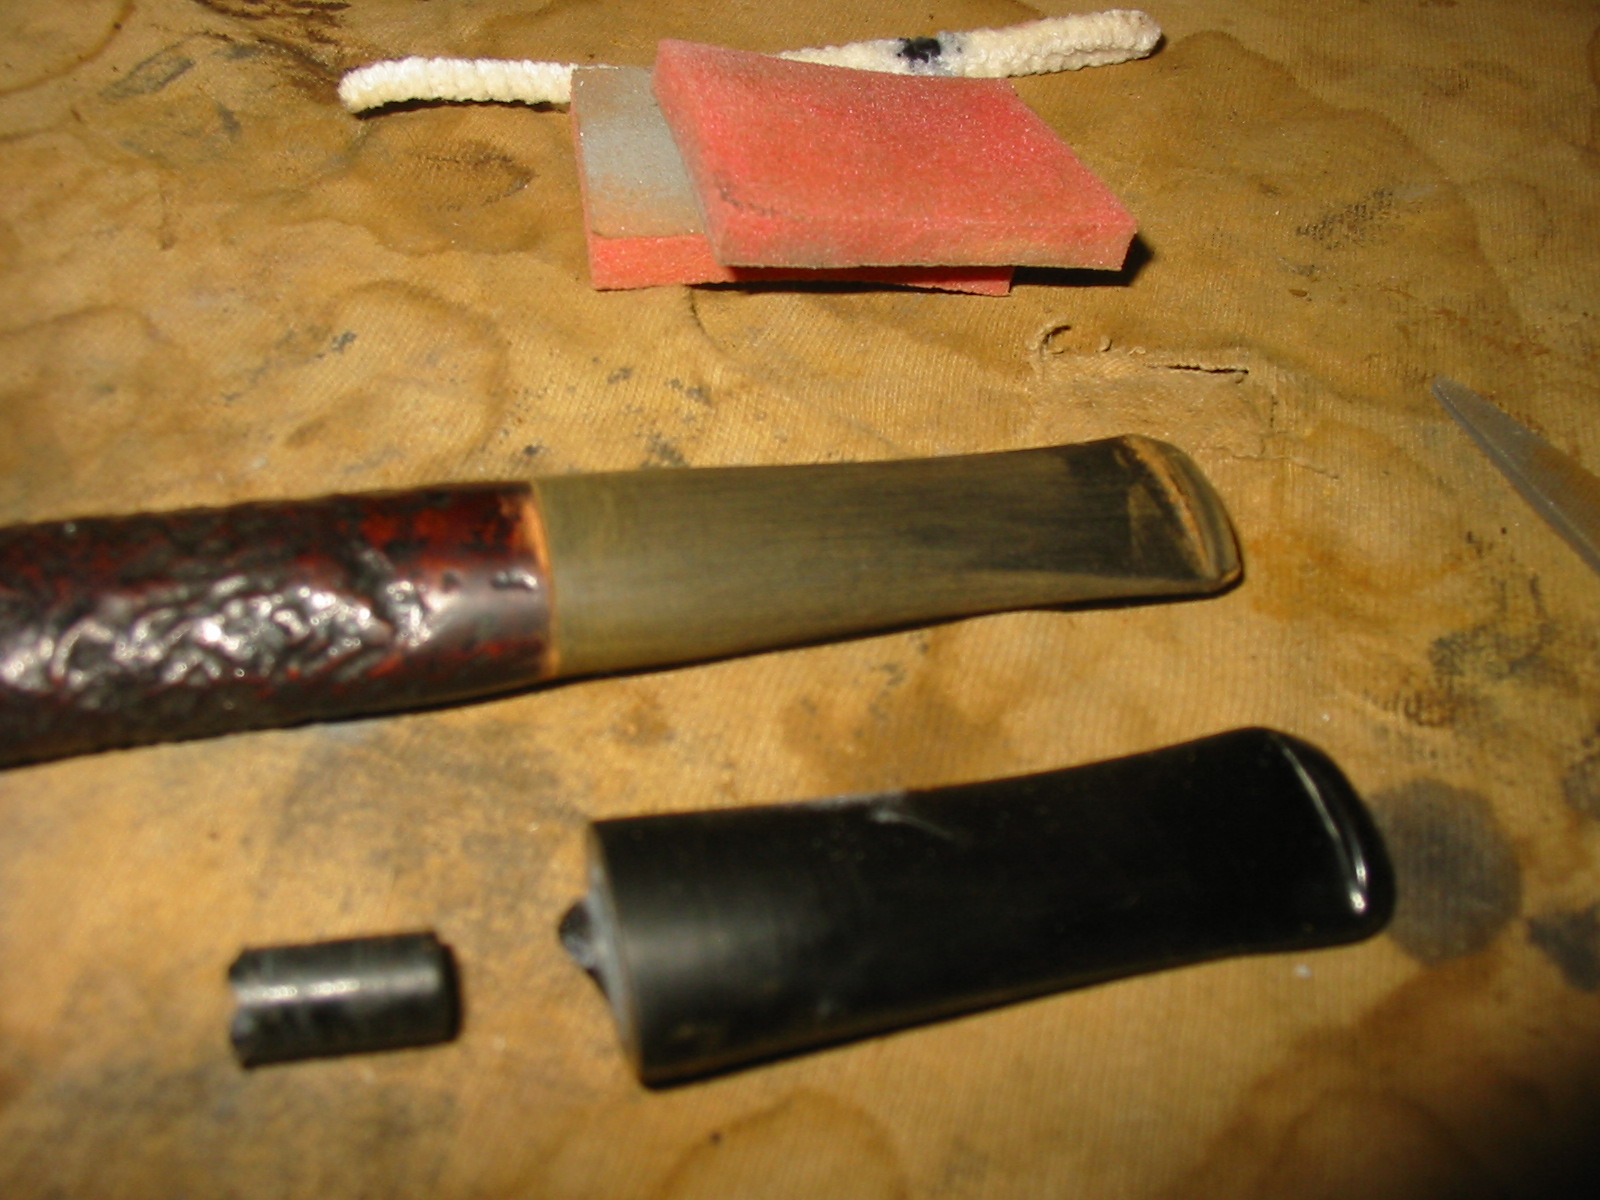
I trimmed the stem back until the two airways merged. I had to significantly shorten the stem to get to that point. I cut a new button and inserted it in the shank… problem – the stem was now too short for the look of the bowl. So… I have to cut a new stem for it. I have included a couple of photos of the short stem I cut so that you can see what I mean about the length being wrong.
IMG_3840

IMG_3841

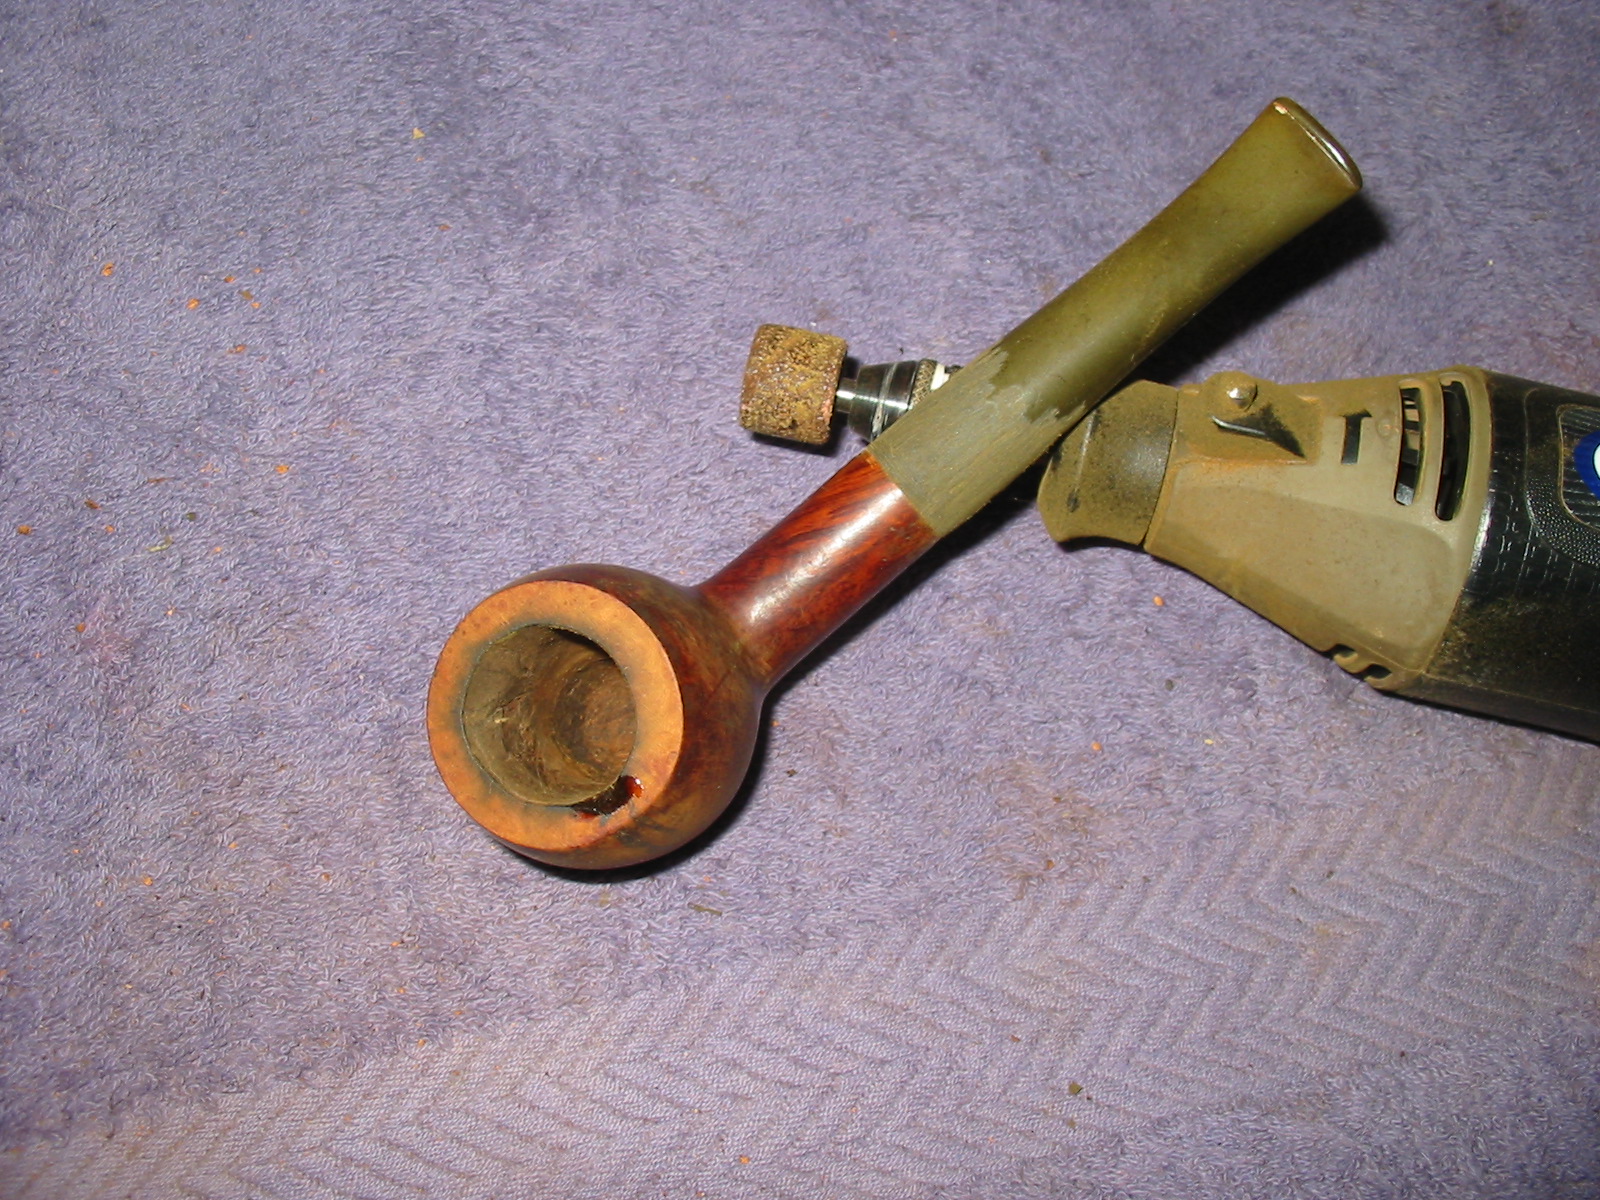
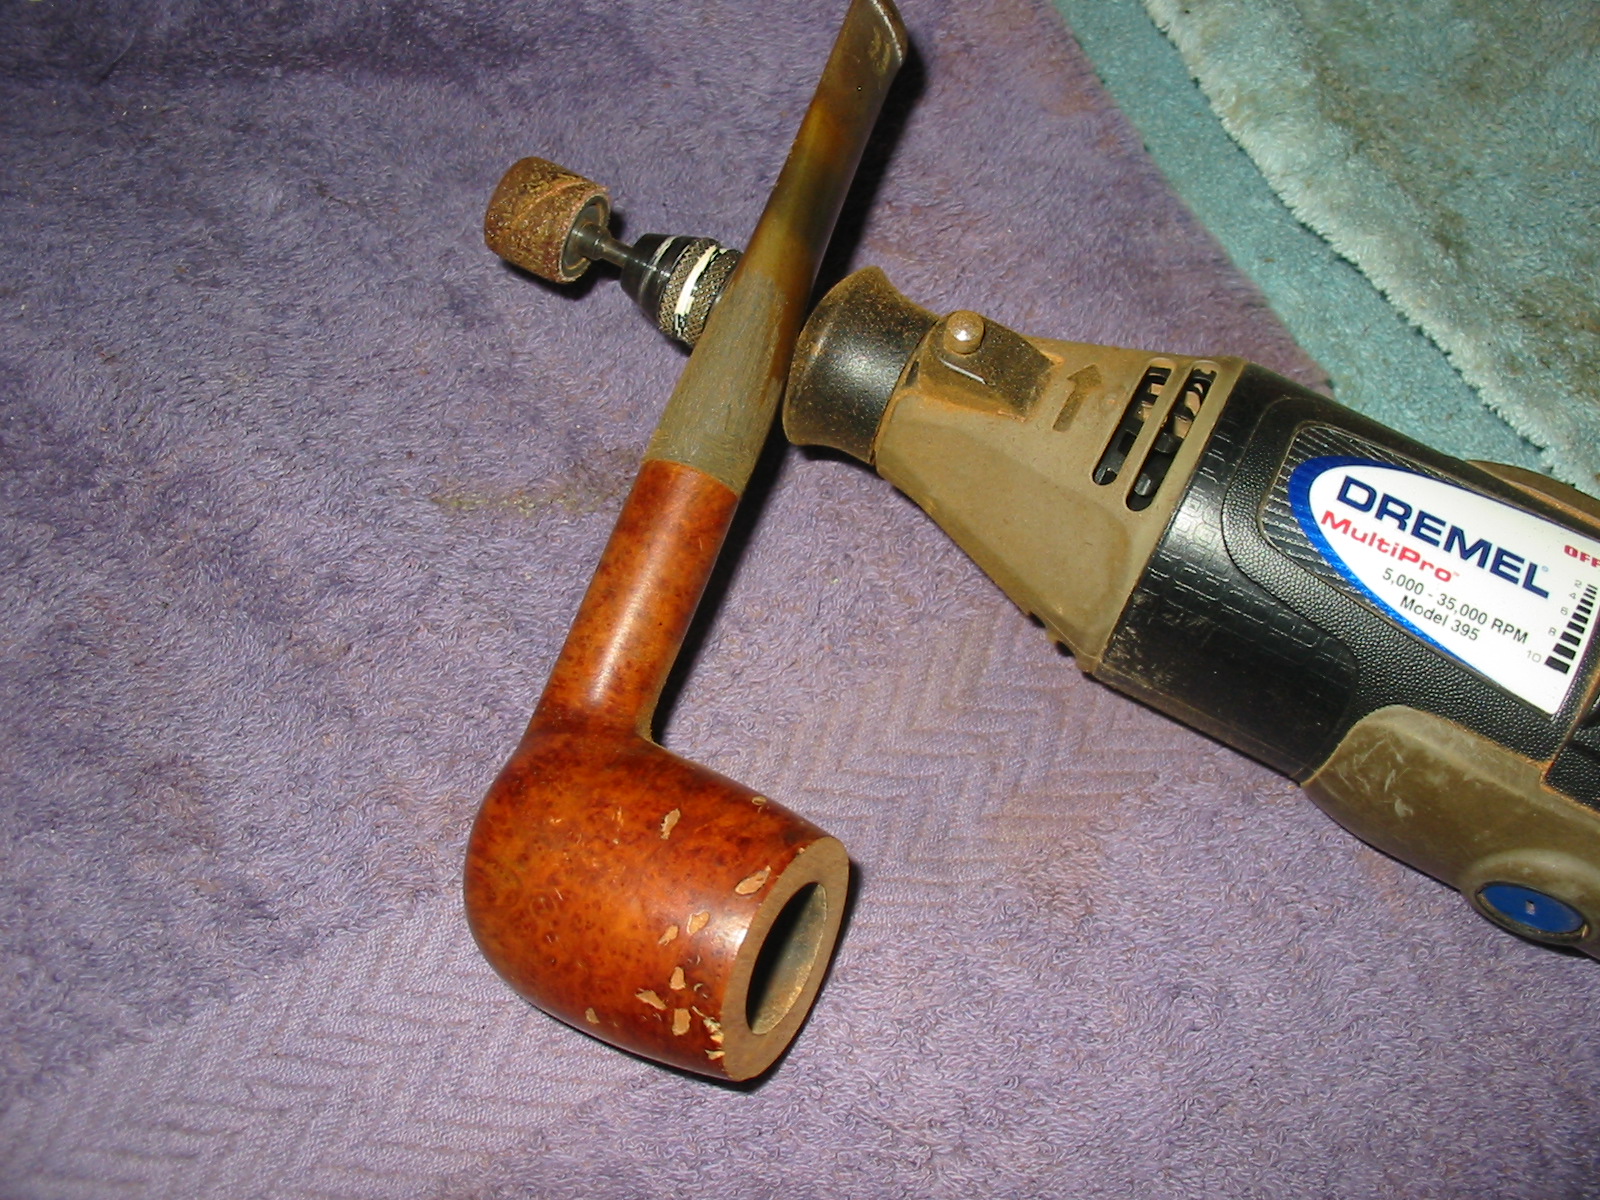
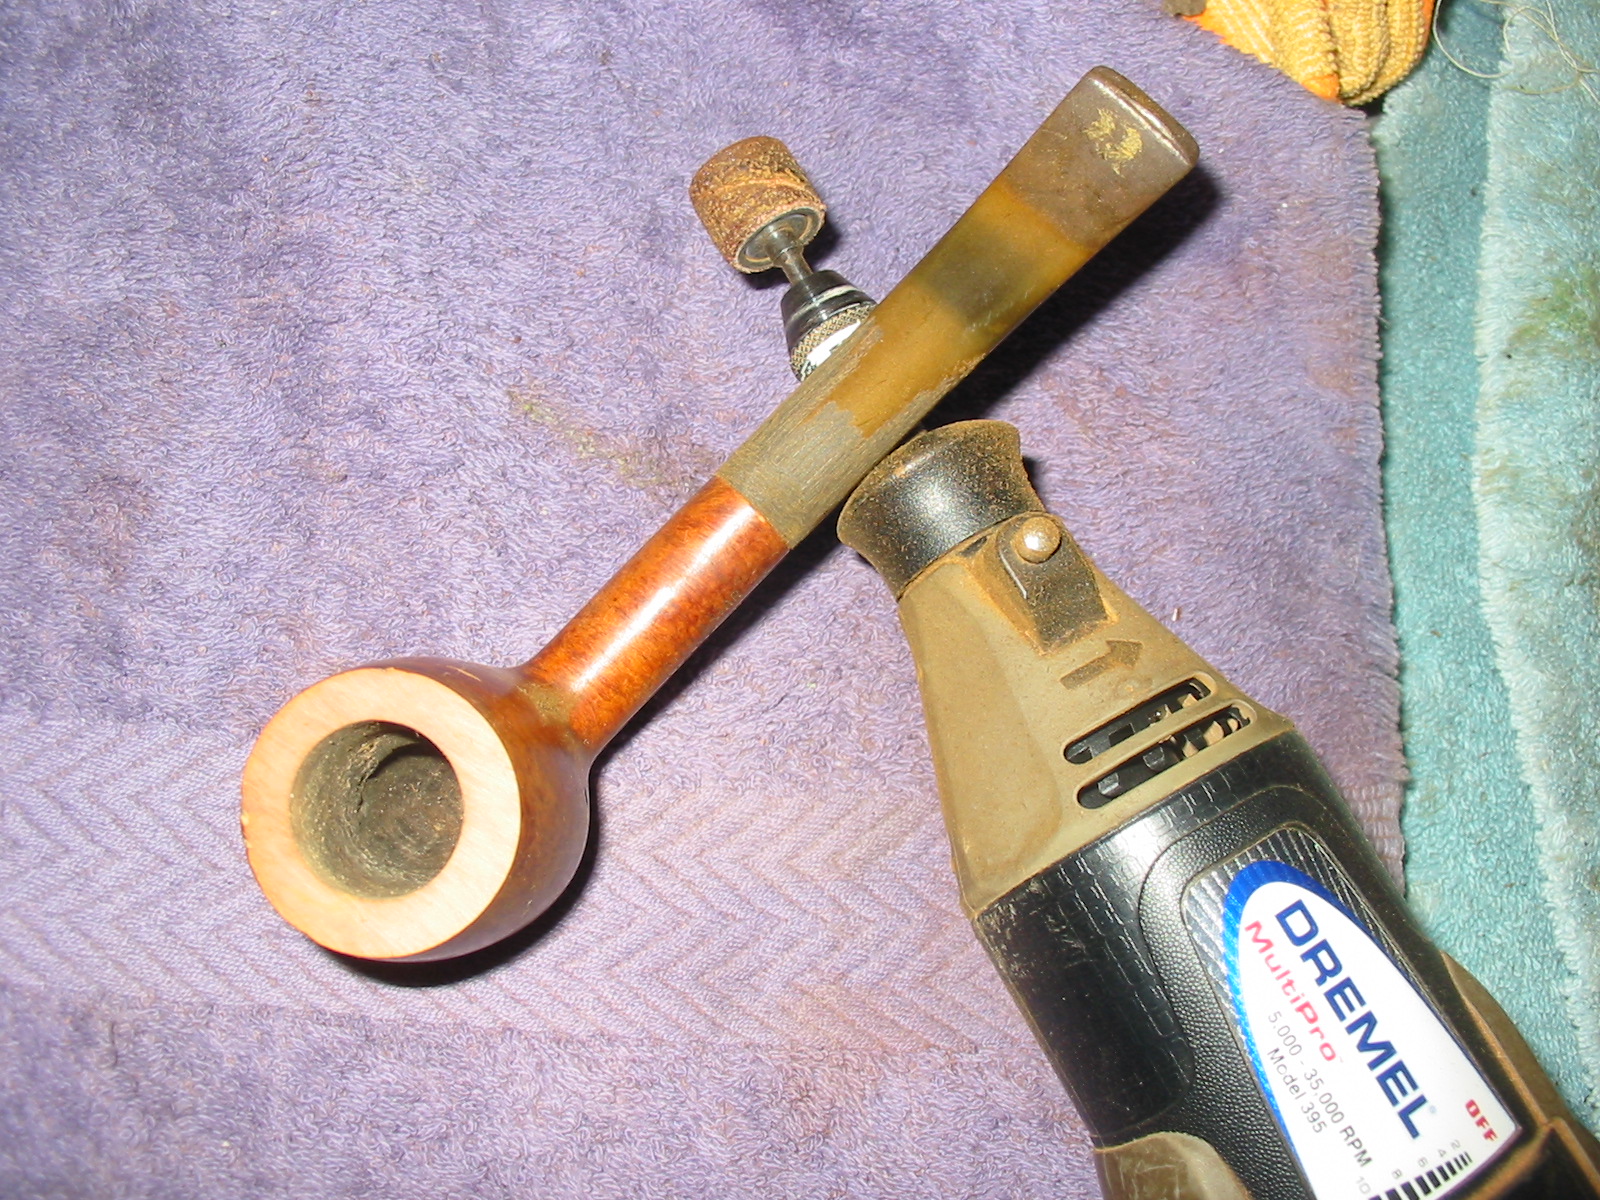
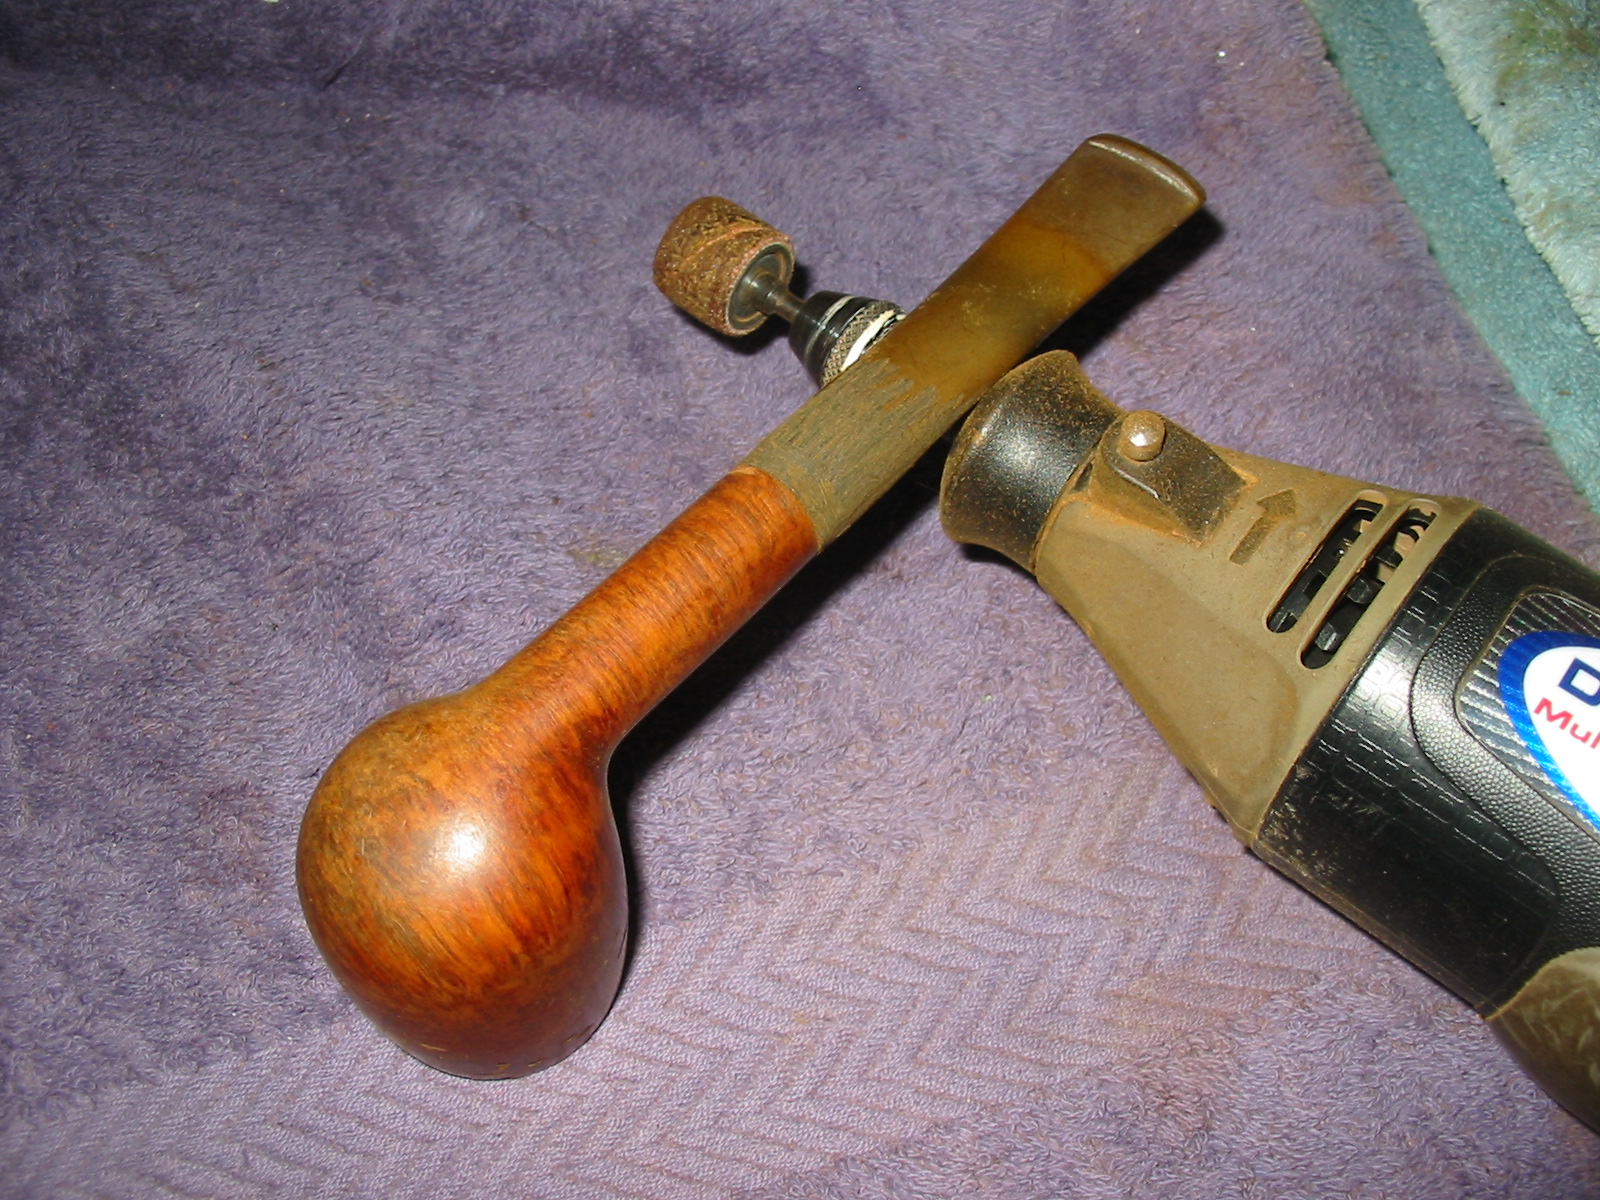
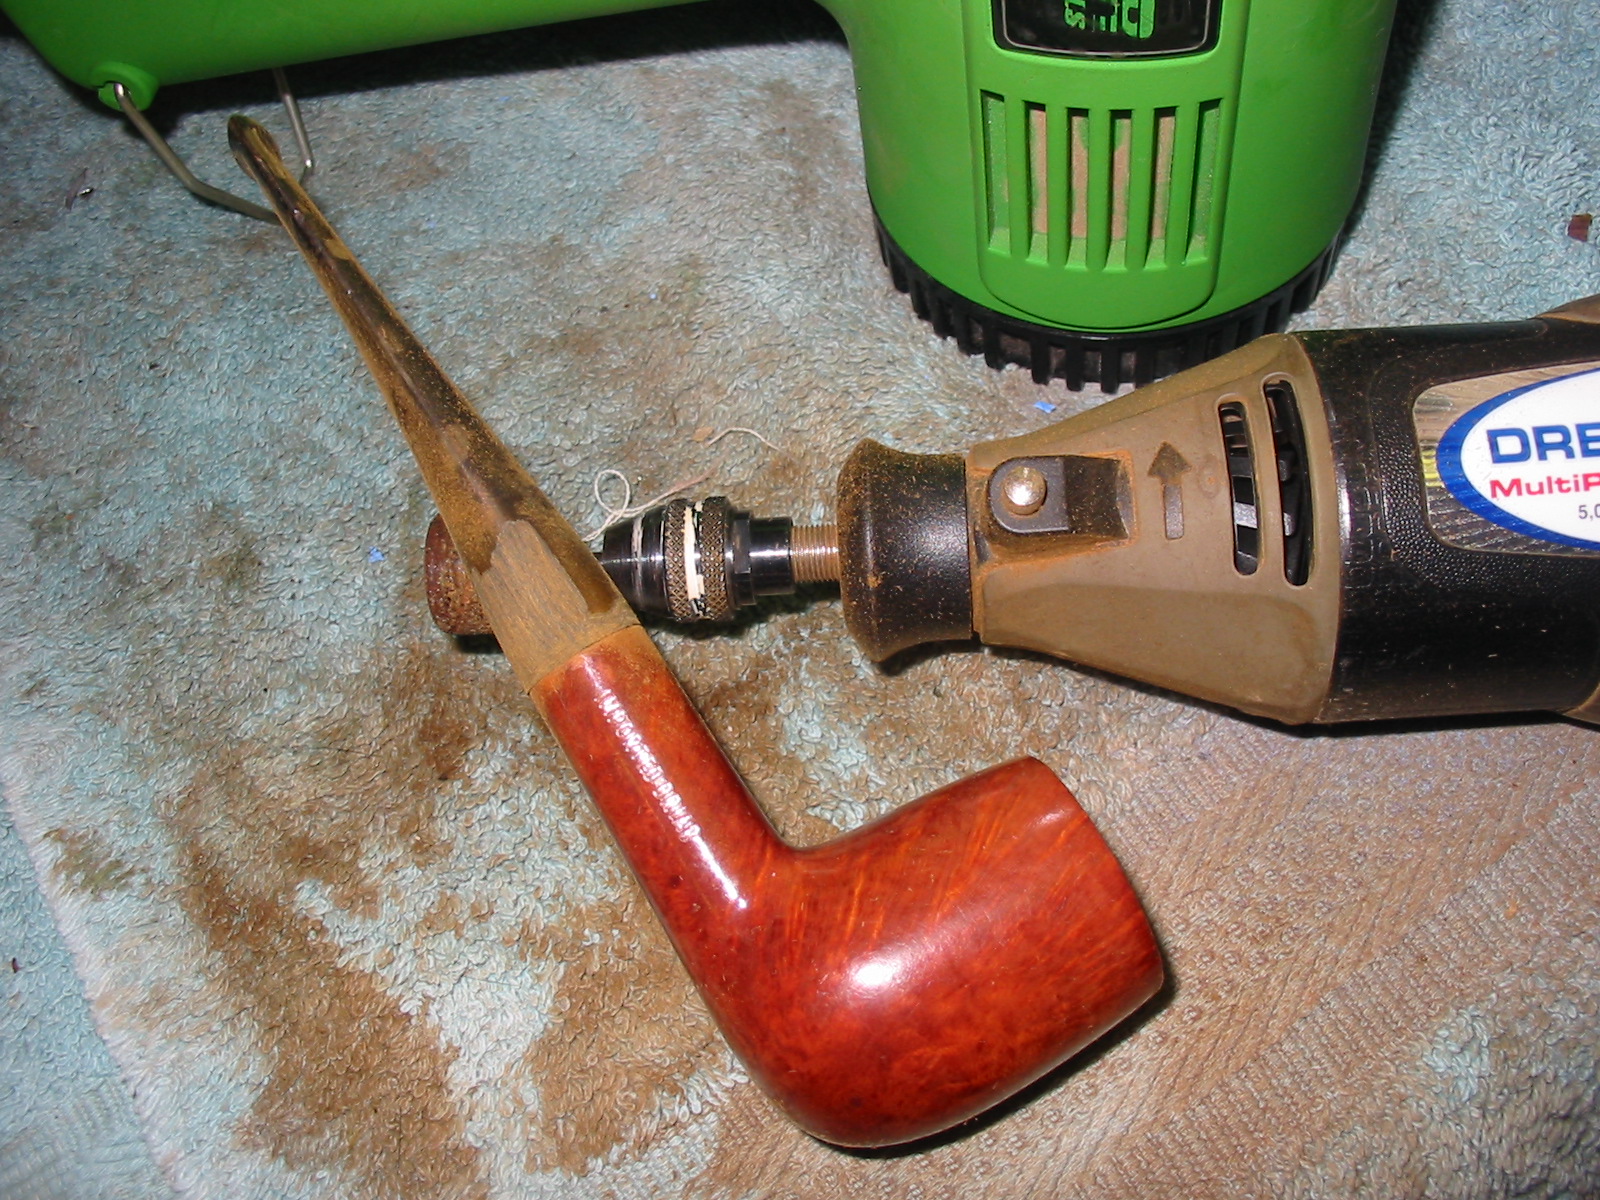
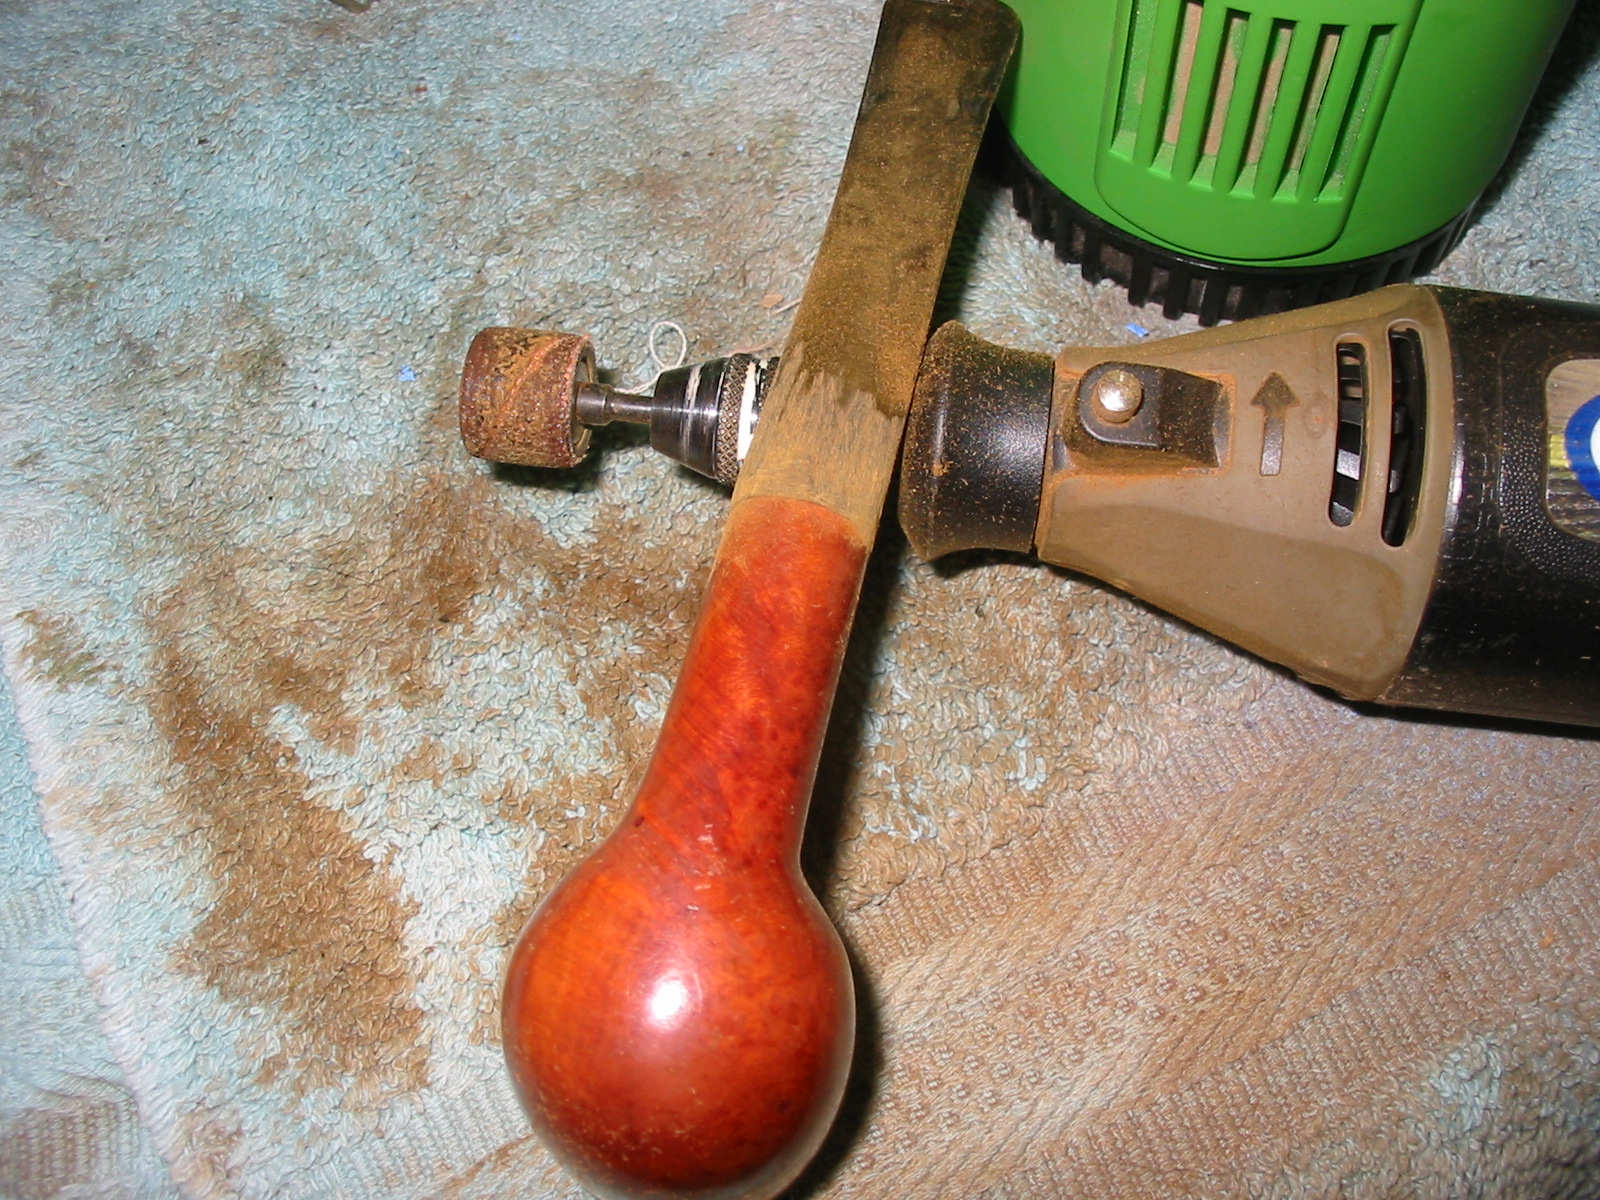
With the stem being too short I started over. I found another stem in my can – longer than the previous one and turned the tenon to fit the shank. I stair stepped the tenon to make a good snug fit in the shank. I used the Dremel and the sanding drum to take off the excess vulcanite and fit the stem to the diameter of the shank. I purposely chose a stem that was slightly larger than the shank diameter because the shank on the pipe was slightly out of round. I fit the stem as close as possible to the shank with the sanding drum and then took it back to the worktable to shape by hand.
IMG_3820

IMG_3821

IMG_3822

IMG_3823

I sanded the stem with 220 grit sandpaper to bring the shape into line with the shank. It took quite a bit of hand sanding. I also shaped the stem with the sandpaper flattening the blade of the stem and smoothing and thinning the edges as well. I wanted the diameter of the stem to match from the shank to the saddle and then have straight lines back to the tip. This was all done by hand sanding with the 220 grit paper.
IMG_3825

IMG_3826

IMG_3827

Once I had the lines straight from front to back I used a medium grit sanding sponge to smooth out the surface of the stem and reduce the scratches left by the sandpaper. I opened up the button with needle files to make it easier for a pipe cleaner to go in and out of the pipe.
IMG_3828

IMG_3829

IMG_3830

IMG_3831

I sanded the stem with my usual run of micromesh sanding pads – wetsanding with 1500-2400 grit and then dry sanding with 3200-12,000 grit pads. I buffed the stem with red tripoli between the wet and dry sanding and then when finished I buffed it with White Diamond. I rubbed the stem down with Obsidian Oil to protect it and when it was dry hand buffed it.
IMG_3832

IMG_3833

IMG_3834

When I finished with the stem I lightly buffed the whole pipe with White Diamond and then gave the stem multiple coats of carnauba wax. I used Halcyon II wax on the bowl as I had above and then hand buffed the bowl and shank with a shoe brush. The finished pipe is picture below. I think that the Lovat style stem is an improvement to the look of the pipe. The new stem is approximately ¾ of an inch shorter than the stem that came with the pipe. I also am much happier with a regular slotted stem in place of the twin bore that I pictured earlier.

This pipe is really quite symbolic of what can happen when refurbishing a pipe. In many ways it is a bit of the story of some of my pipe refurbishing. It sometimes takes two or three tries to get the pipe to where I want it to be. Thanks for hanging in there with me in the process of this refurb!
IMG_3835

IMG_3836

IMG_3837

IMG_3838

Reclaiming a Digby Conquest Canadian


Blog by Steve Laug

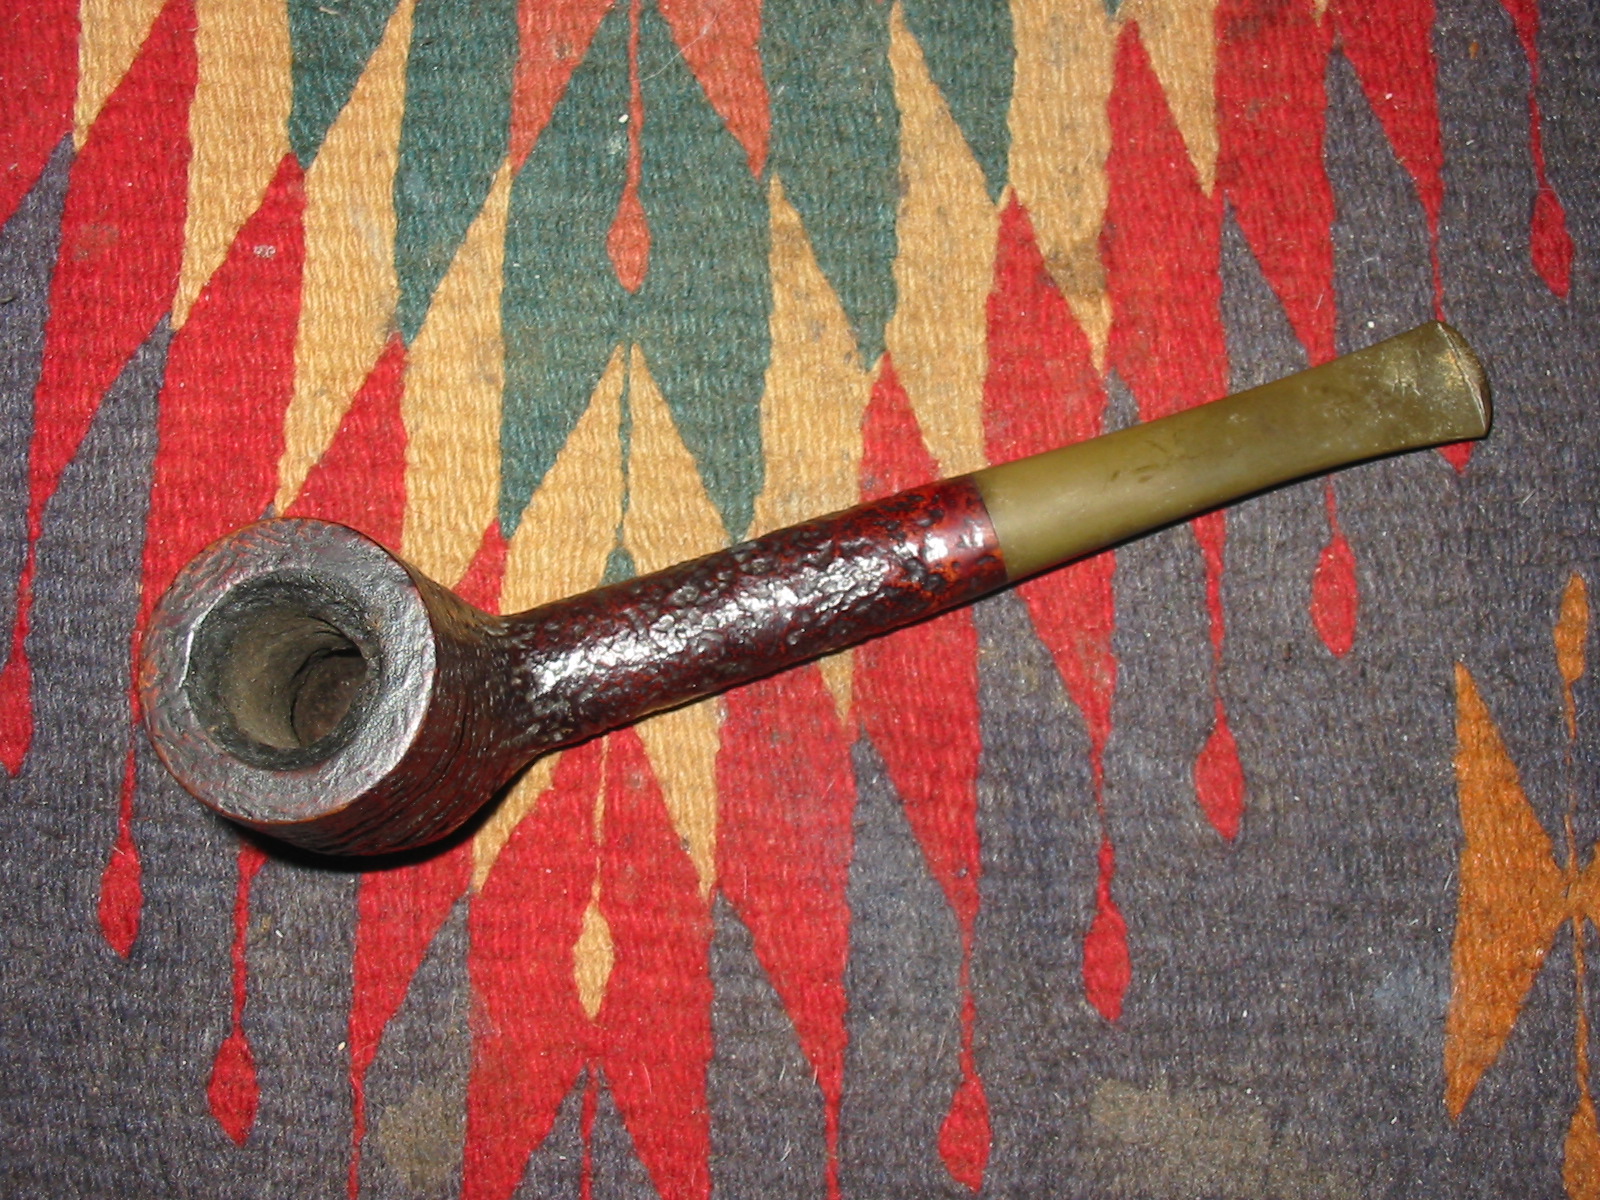
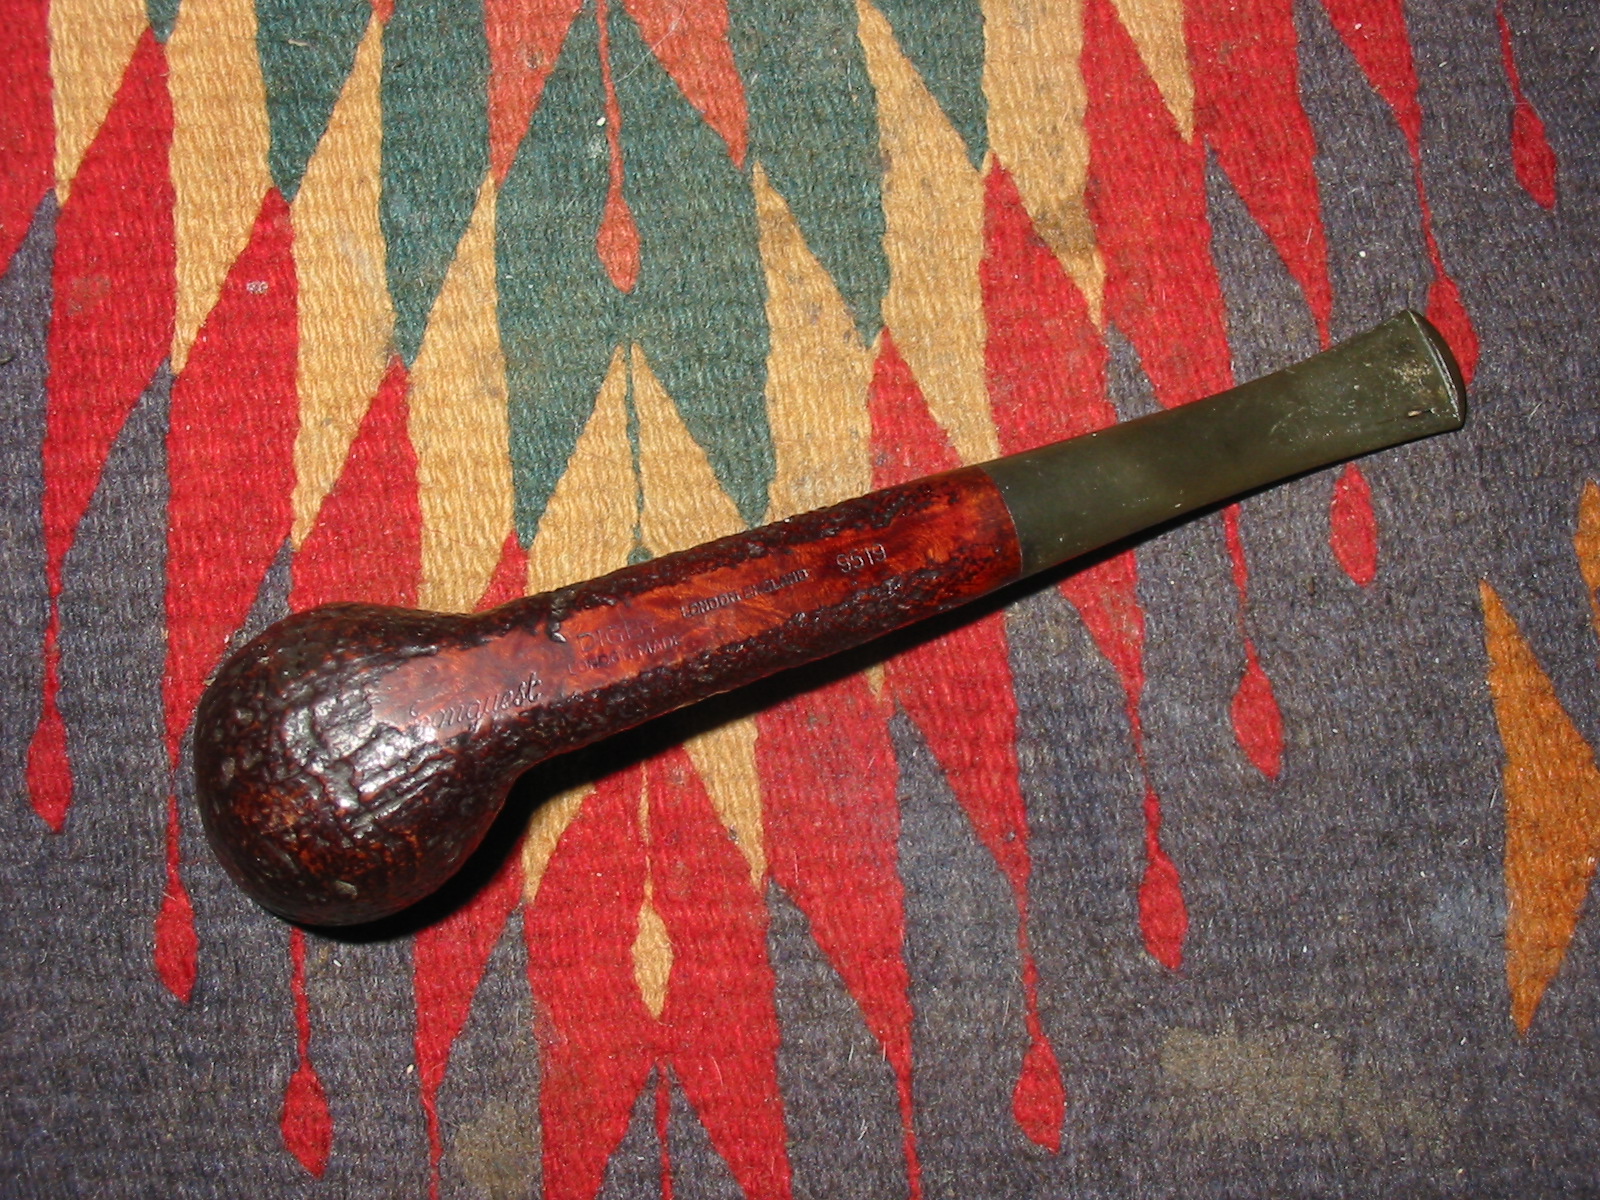
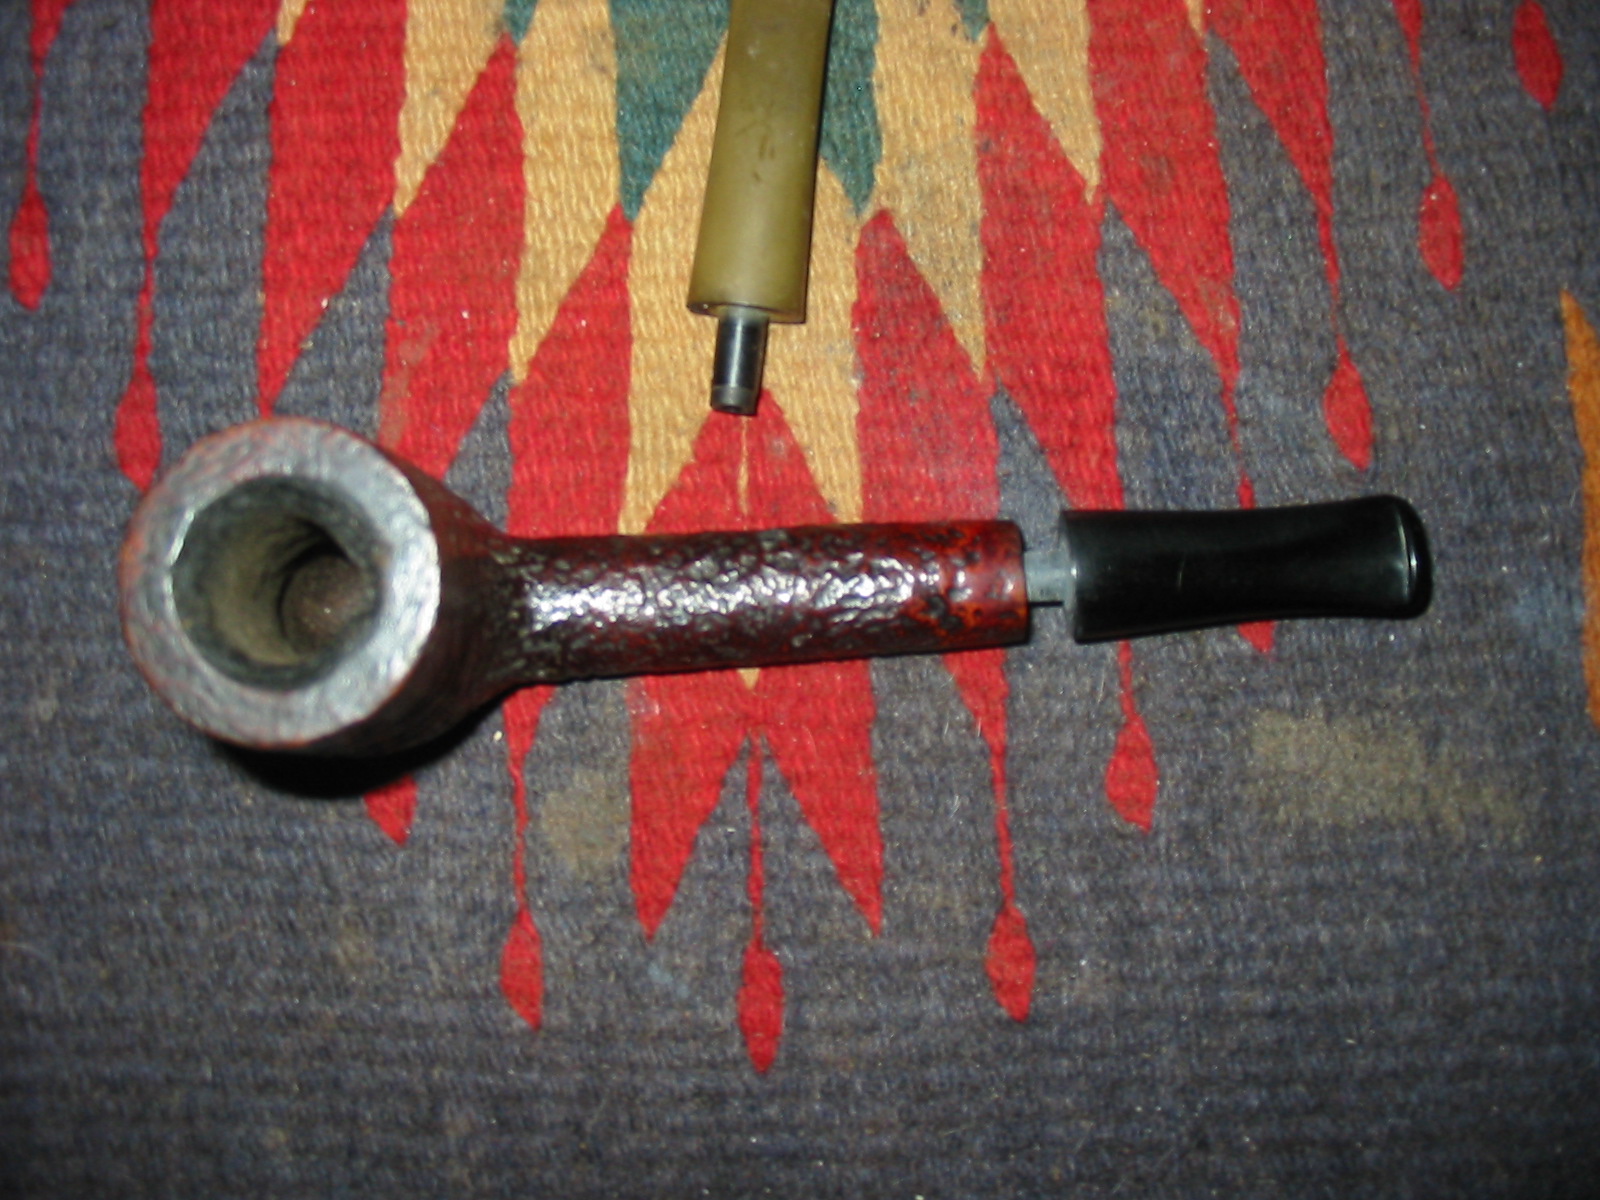
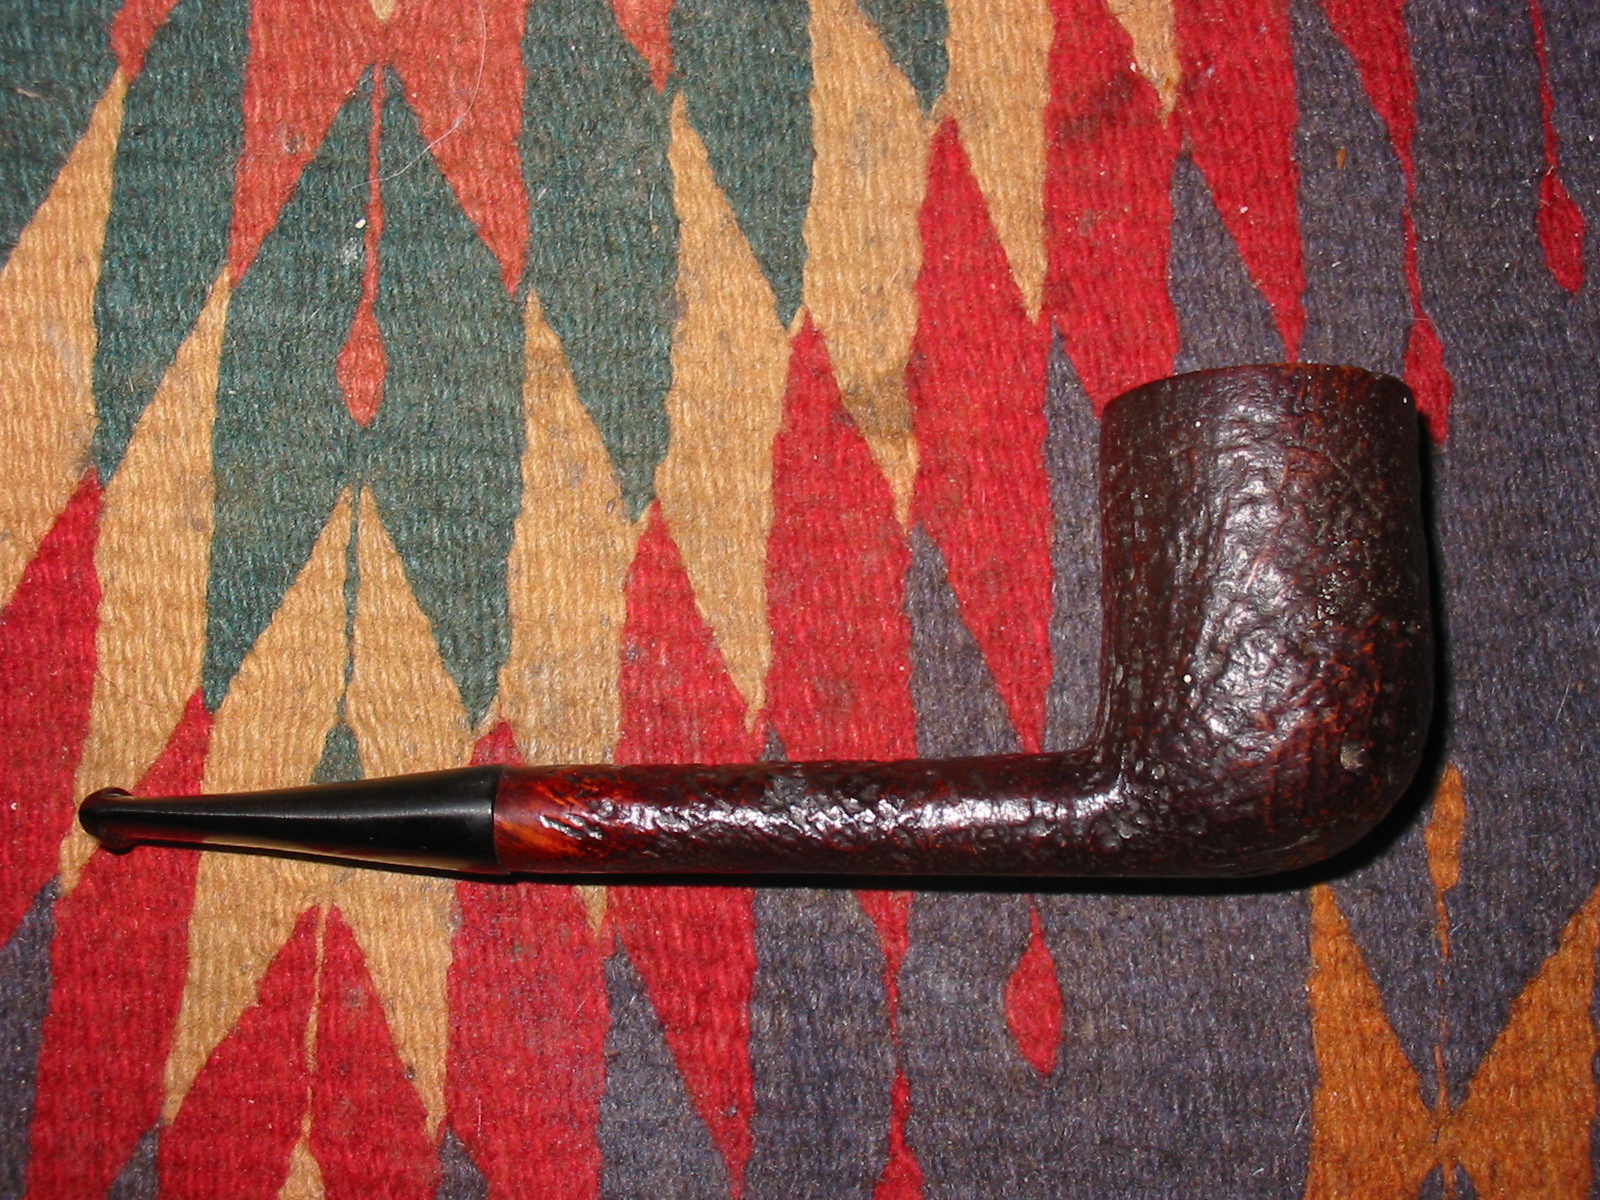
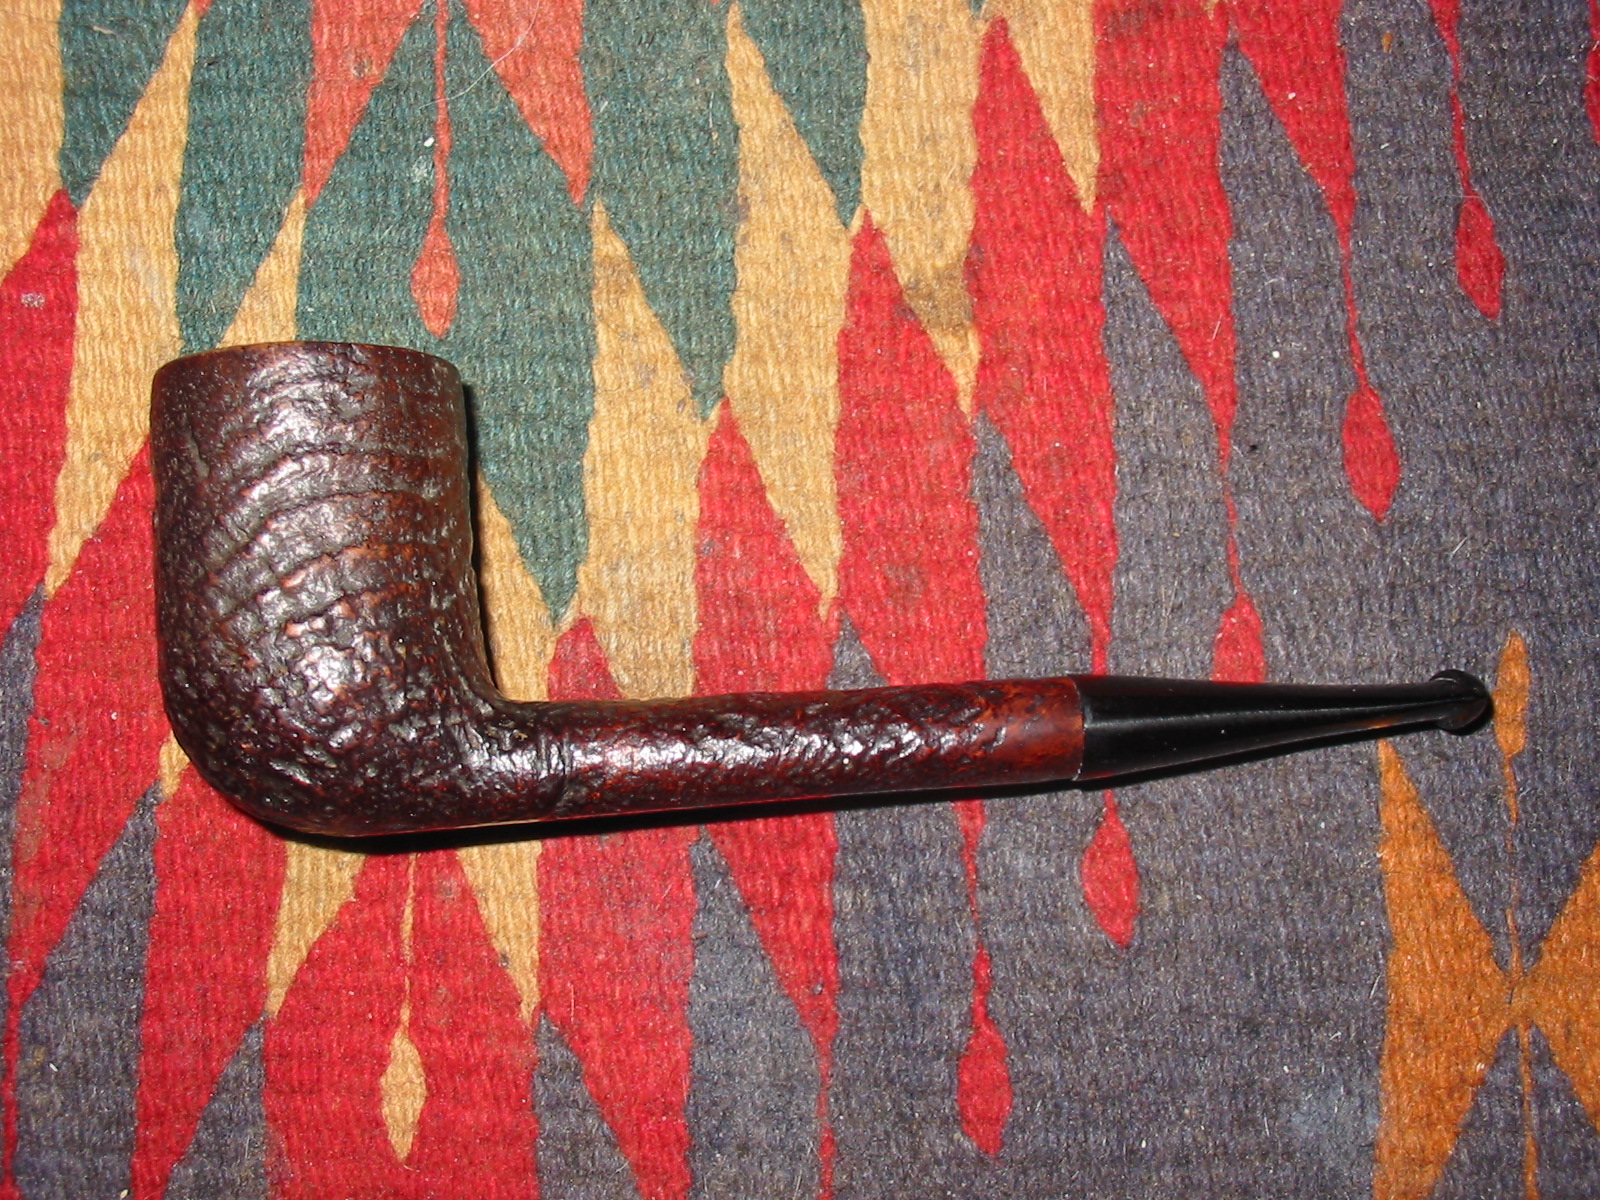
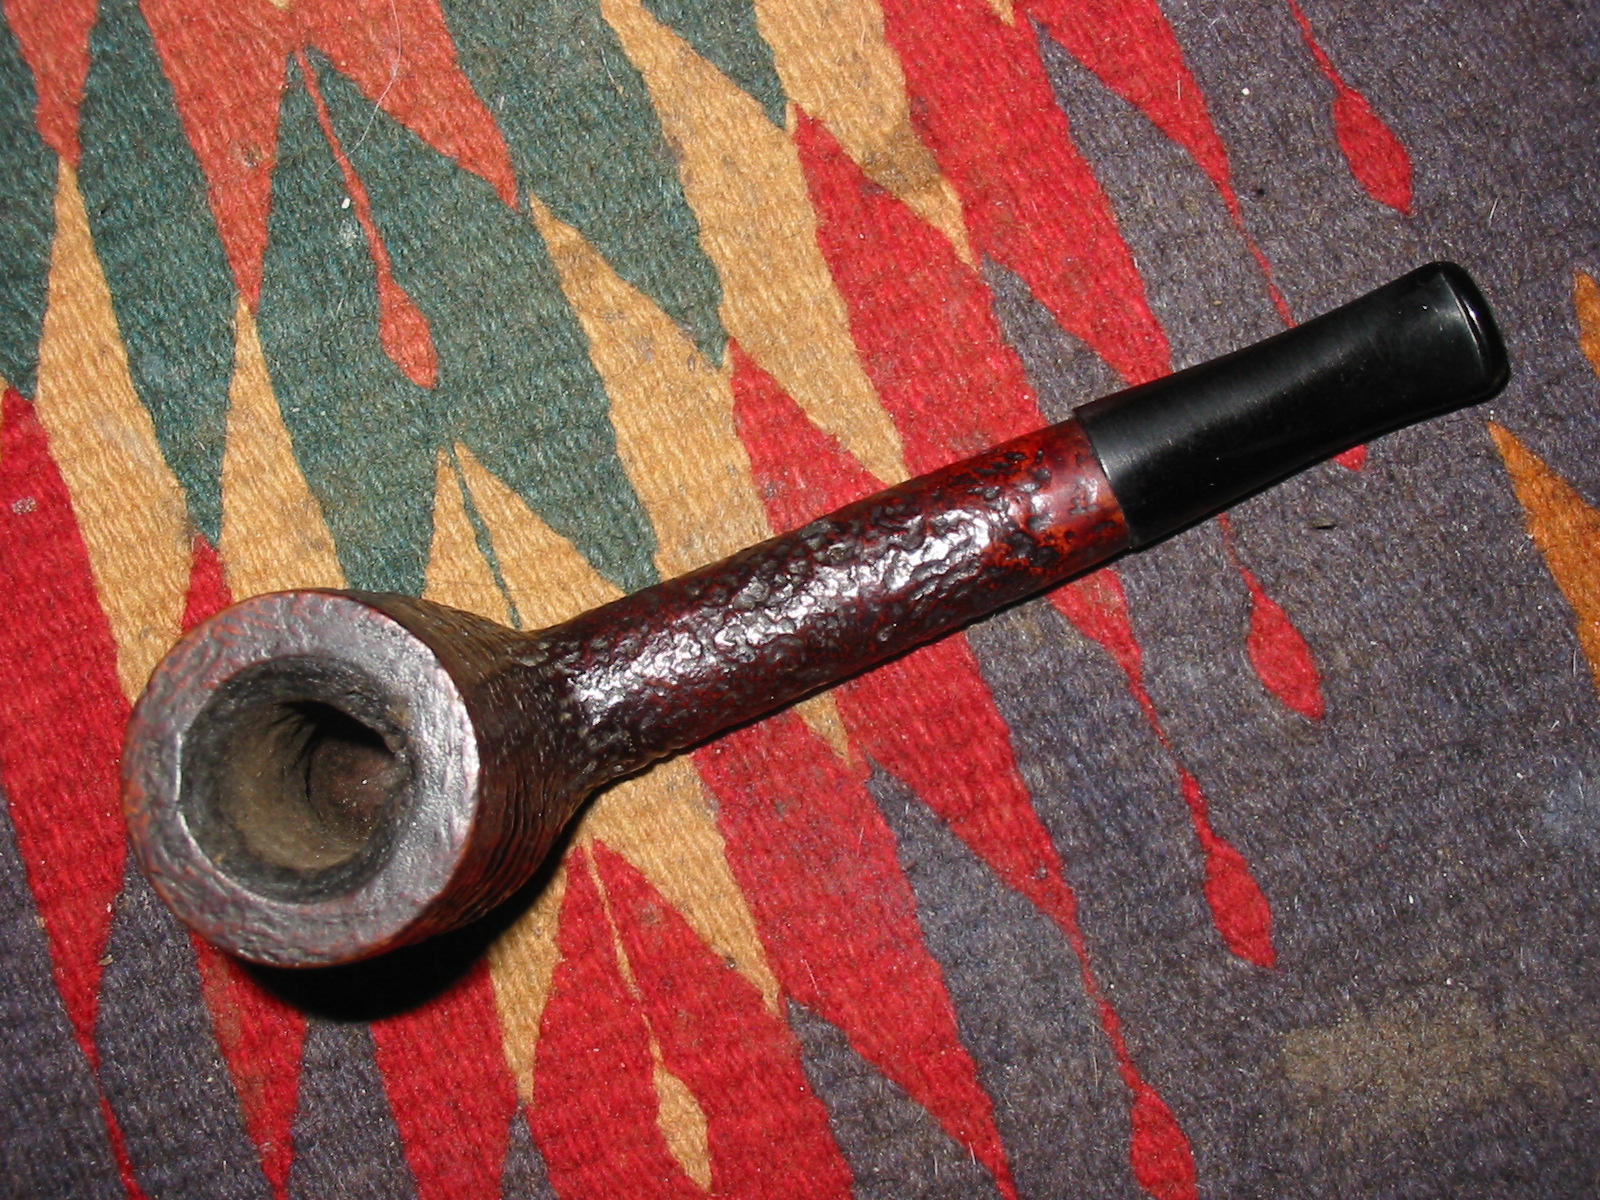
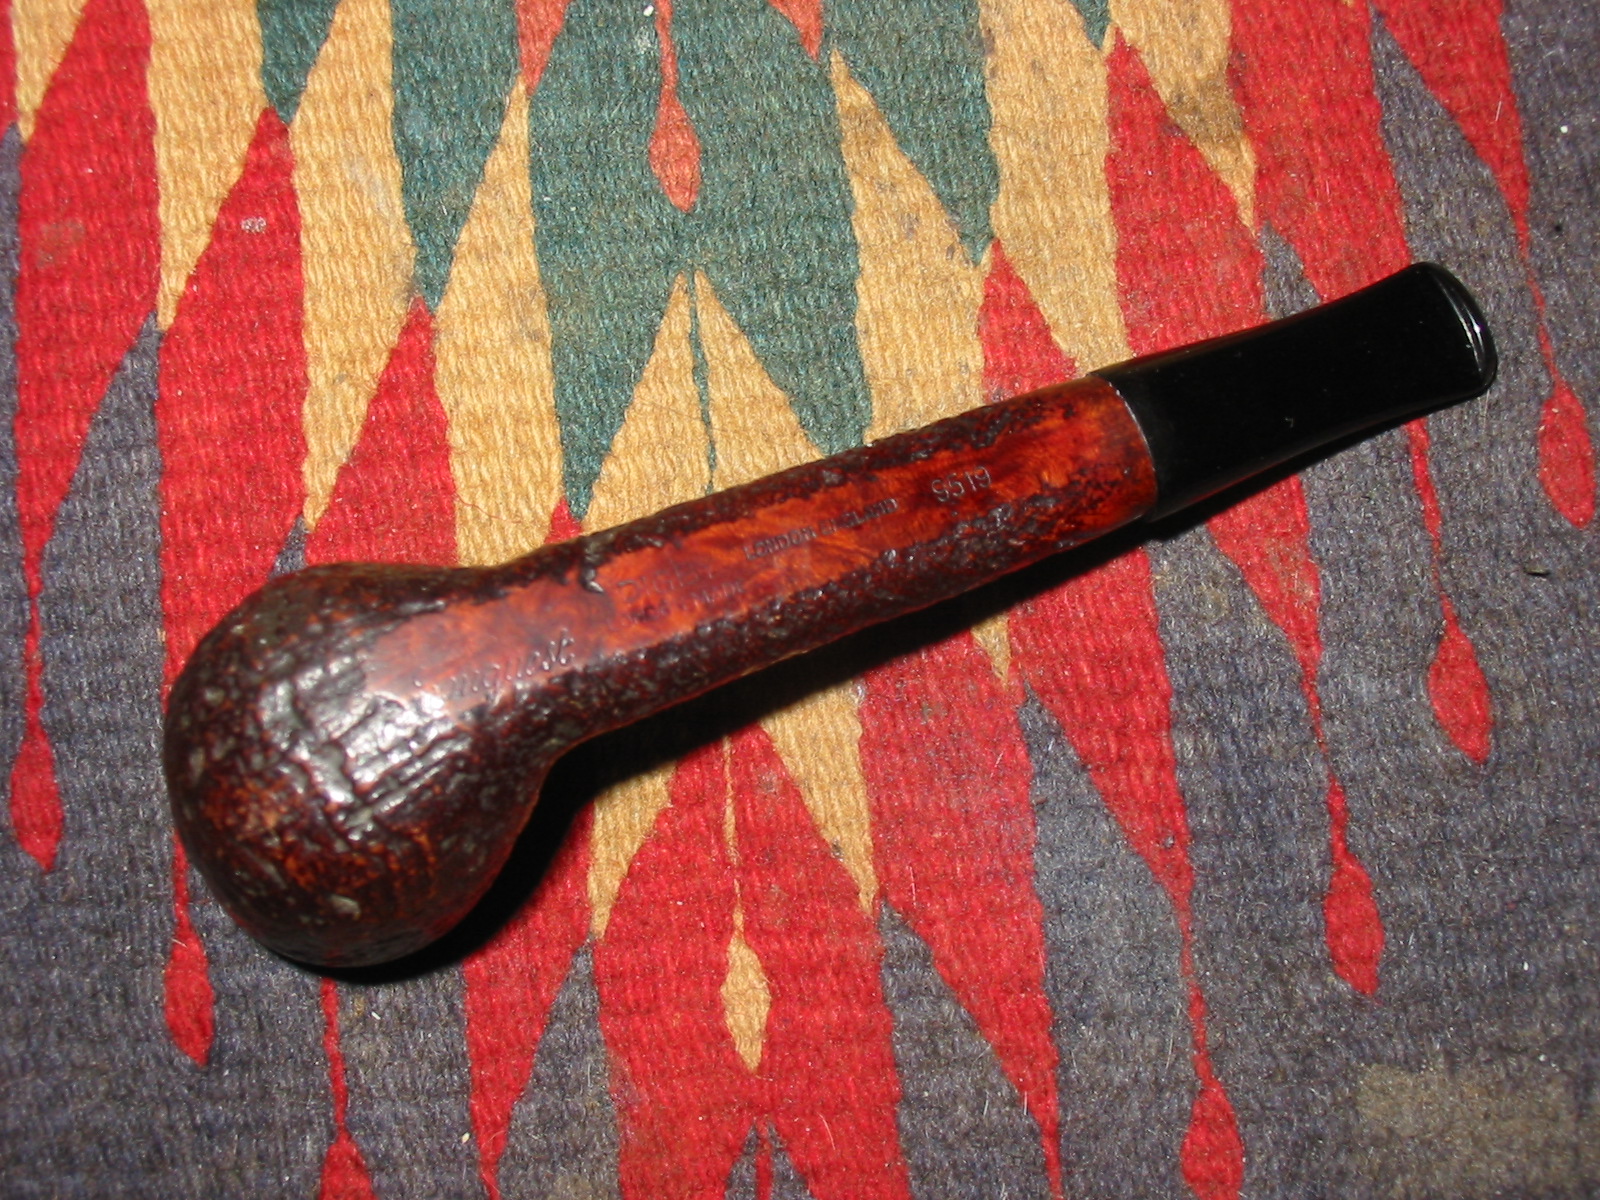
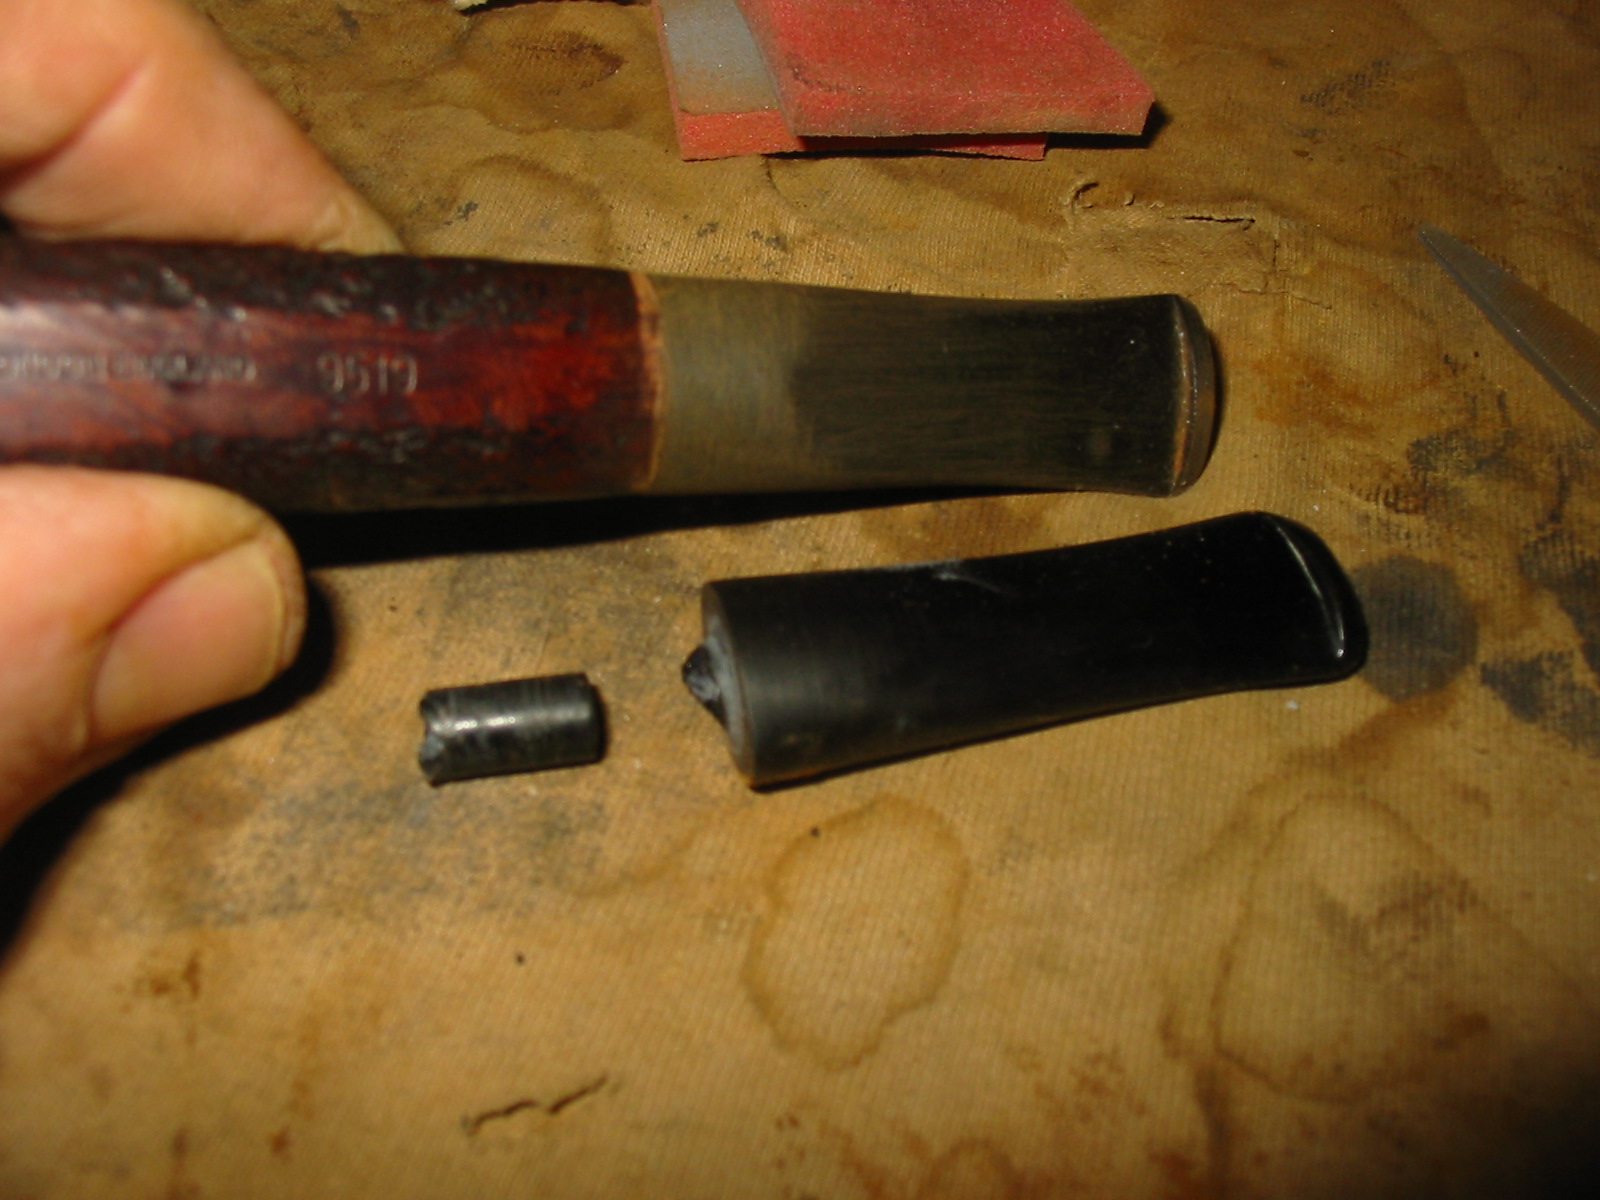
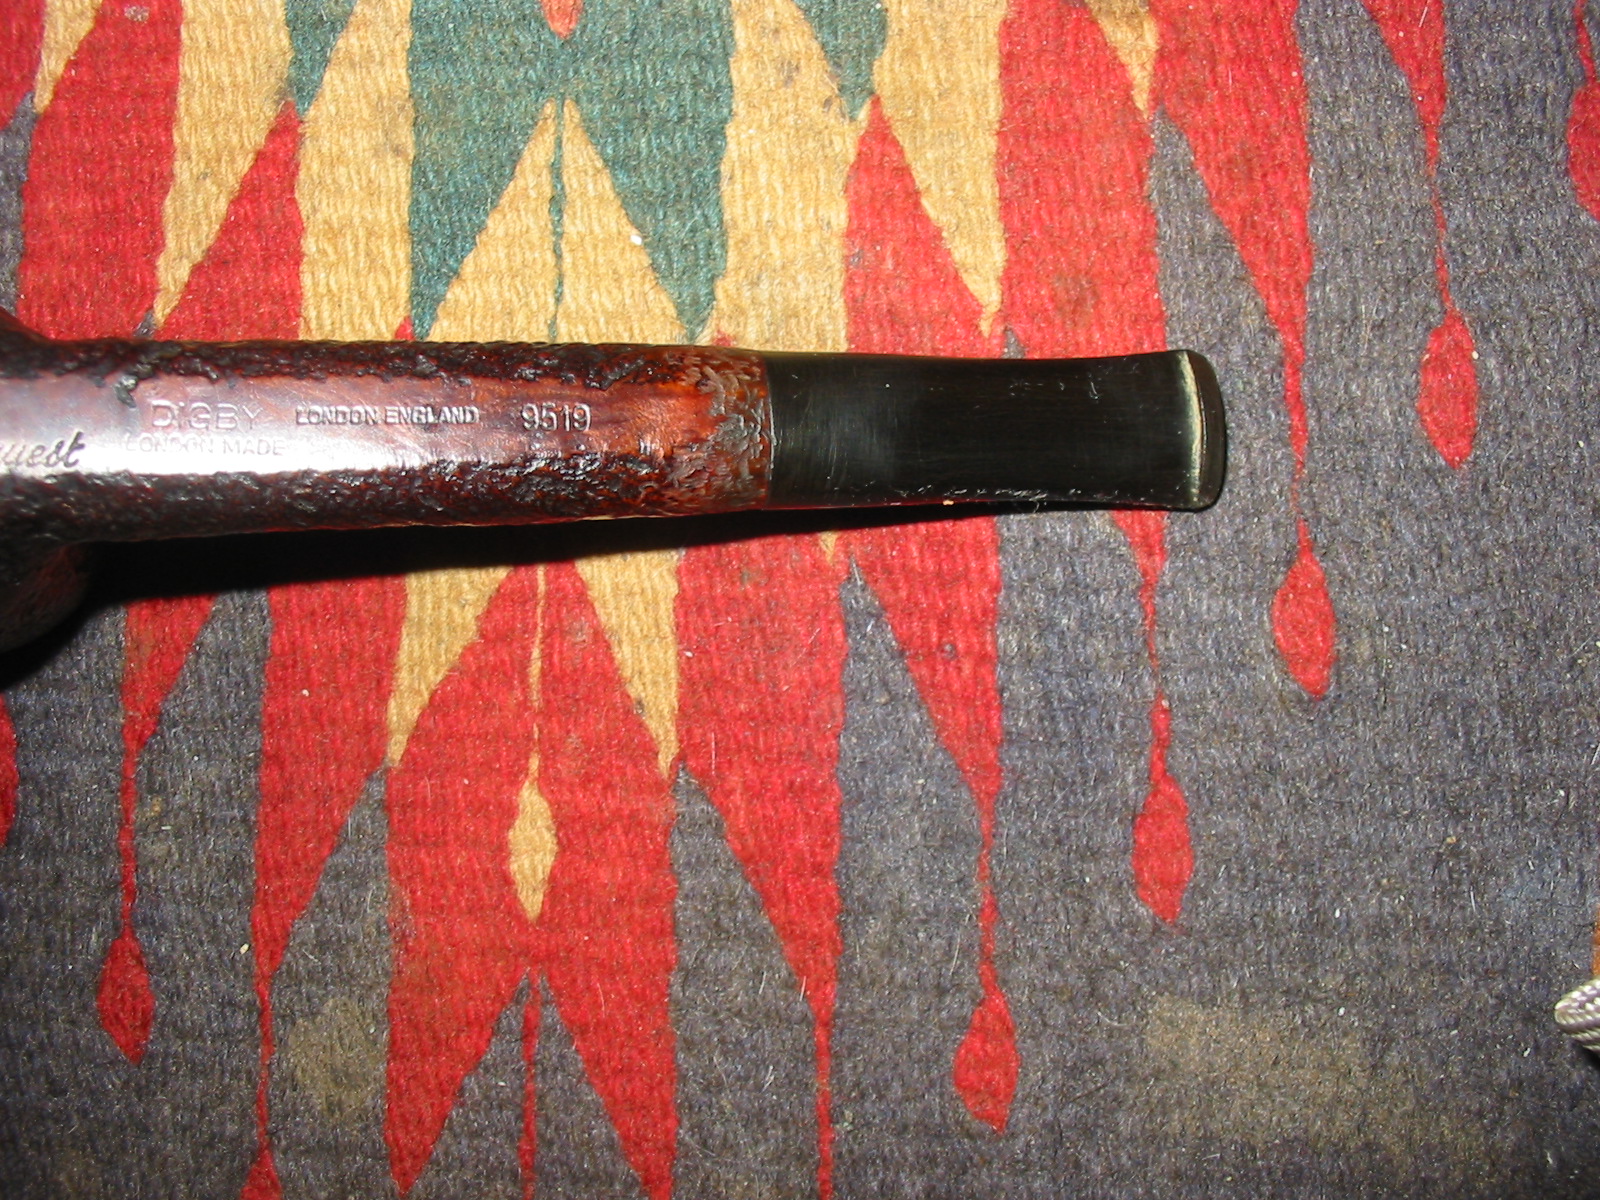
On the weekend I went pipe hunting to refill my box of pipes for refurbishing. I found some nice ones to add to the box. The first one that I took on was odd looking when I picked it up. The stem on it was an aftermarket replacement that proportionally was all wrong. The addition of the stem made the pipe over seven inches long. The stem was also a twin bore which was not standard on GBD line pipes. The stamping on the bottom of the shank is Conquest in script followed by Digby over London Made. That is followed by London England and the shape number 9519. Digby is a GBD second line. It has the same blast as a GBD Prehistoric which lends one more question mark to what makes a pipe a second. In checking the GBD shape numbers there is no shape #9519 listed on the GBD shape site. http://www.perardua.net/pipes/GBDshape.html

The blast on the bowl was quite nice while the shank was rusticated. The person who added the new stem to the pipe changed the shank to fit the new stem rather than the other way around. In doing so they sanded the shank and removed the blast/rustication on the end of the shank. They also tapered both sides and top and bottom to meet the new stem. While both of these “errors” in fitting a stem are a pain to deal with they are not irreparable. It just means that any new stem must follow the new lines of the pipe and that the rustication pattern needs to be repaired as well. The bowl itself was thickly caked and the rim dirty and with a slight buildup of tars. The finish was spotty and the reddish brown stain was worn.
IMG_3467

IMG_3468

IMG_3469

IMG_3470

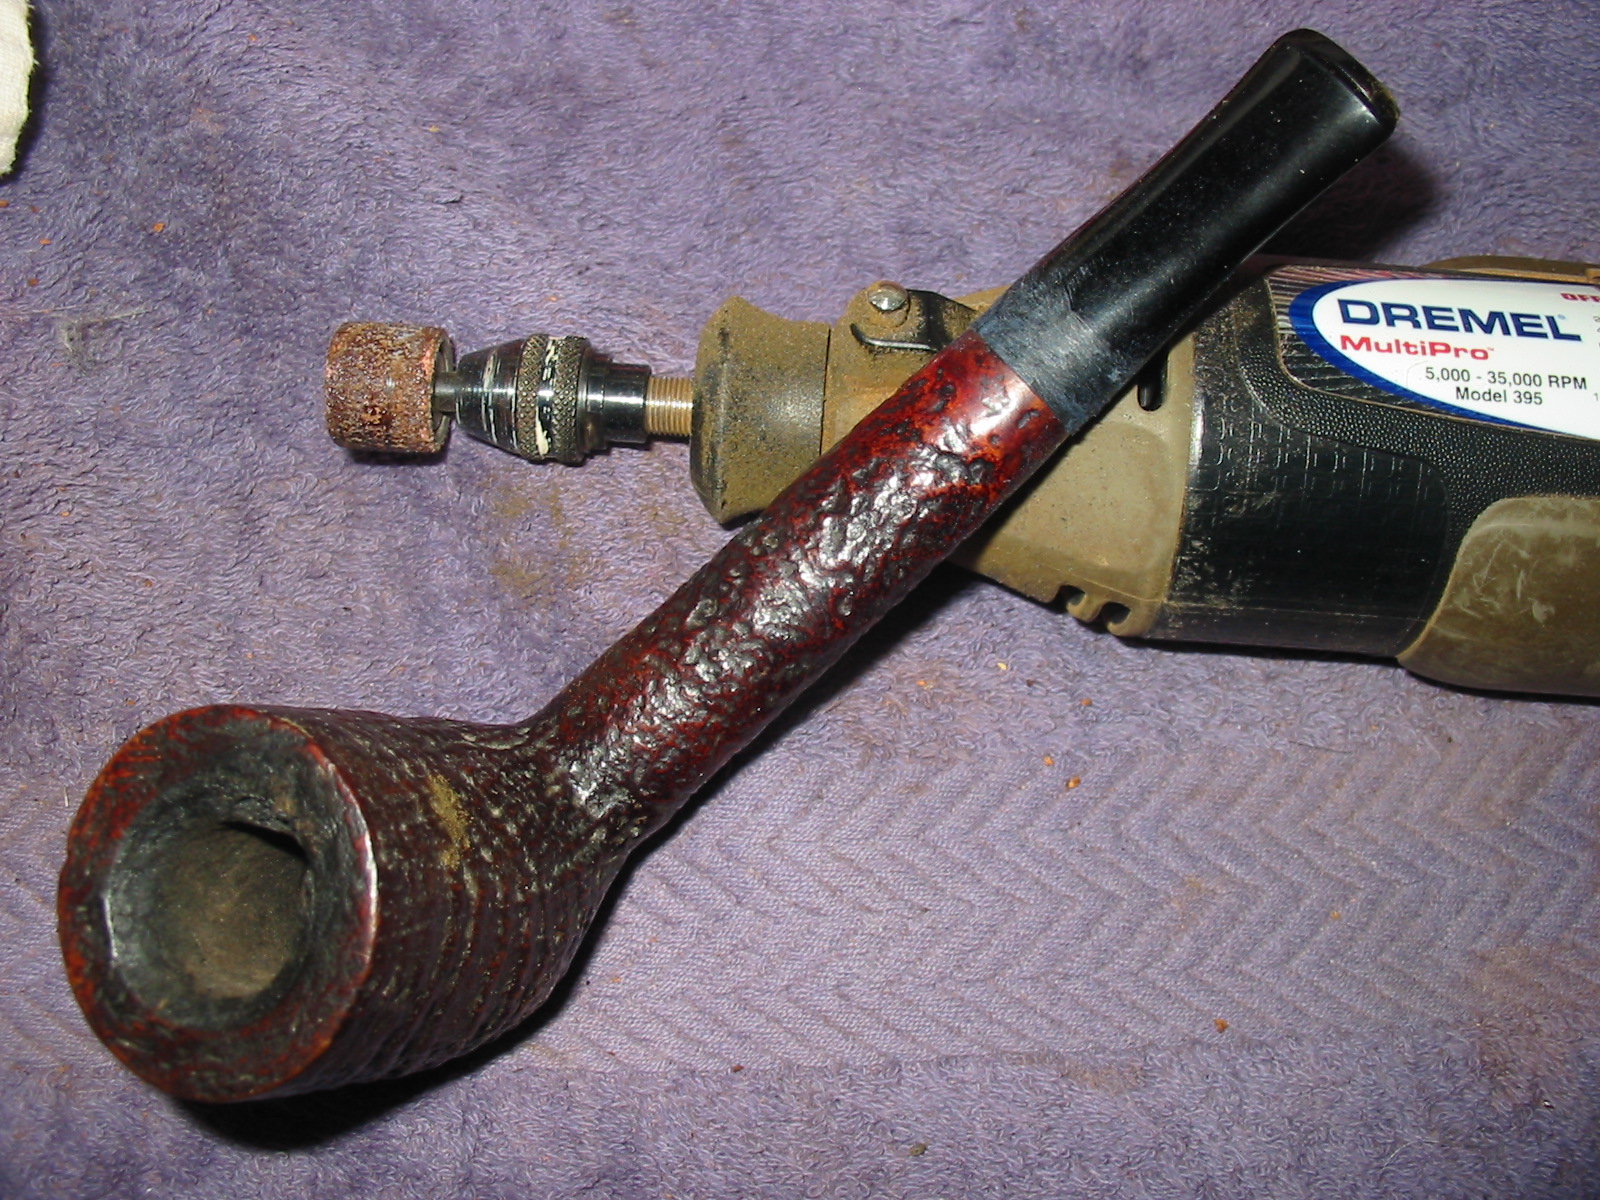
I went through my can of stems to find one that would properly fit a GBD style Canadian with an oval shank and found several. I chose the acrylic one in the photo below and used the PIMO Tenon Turning tool to reduce the diameter of the tenon. I also used the Dremel and sanding drum and hand sanding to further fit the tenon to the shank.
IMG_3471

IMG_3460

With the tenon fitting well, the overall diameter of the stem needed to be reduced to fit the shank diameter. It was just slightly bigger so the work on it would not be difficult. The excess is visible in the four photos below. Note also the smoothing of the shank that had been done in the previous repair.
IMG_3463

IMG_3464

IMG_3465

IMG_3466

I used a Dremel with a sanding drum to remove the excess acrylic material and bring the stem into line with the shank. I took care to not nick the shank even though I later planned to rework the rustication on it.
IMG_3472

IMG_3473

IMG_3474

IMG_3476

With the fit roughed in I took it back to the work table to hand sand the stem and make fit seamless. To begin the process I used 220 grit sandpaper to do the hand work. On the right side bottom of the shank I noted that the oval was slightly out of round with the stem removed and gave the new tapered stem a bulge in that area. I sanded the shank and the stem together at that point to correct the previous damage.
IMG_3477

IMG_3478

IMG_3479

IMG_3480

With the fit nearly finished on the stem I reamed the bowl of the pipe with a PipNet reaming set. I began with the smallest cutting head and then ended with the proper sized head for the bowl. I cut the cake back to bare wood.
IMG_3481

IMG_3482

IMG_3484

I worked some more on the stem shank junction with a fine grit sanding sponge to remove the scratches in the briar and the stem. I was more concerned with the briar as I wanted to give it a coat of stain.
IMG_3493

IMG_3494

IMG_3495

IMG_3496

Staining would be a complicated process of using a variety of stains to match the original stain colour on the prehistoric. For the first stain colour I used an oxblood aniline stain. I would use other stains later in the process to get the colour I was aiming for.
IMG_3504

IMG_3506

As I put the newly fitted stem in place so that I could lay it down to dry the tenon snapped on the new stem. As I examined it I could see the many small fractures in the acrylic. This is one of the frustrations of pipe repair. You get a pipe on its way to the finish line only to have something like this happen and have to begin again. I took another stem out of my can of stems. I once again had to go through the process of turning the tenon, using the Dremel and sanding drum and finally hand sanding to fit the tenon in the shank. I also had to trim back the diameter of the new stem to match the shank with the Dremel. One good thing is that doing it the second time everything is set up to do it again more quickly the second time.
IMG_3508

IMG_3509

IMG_3510

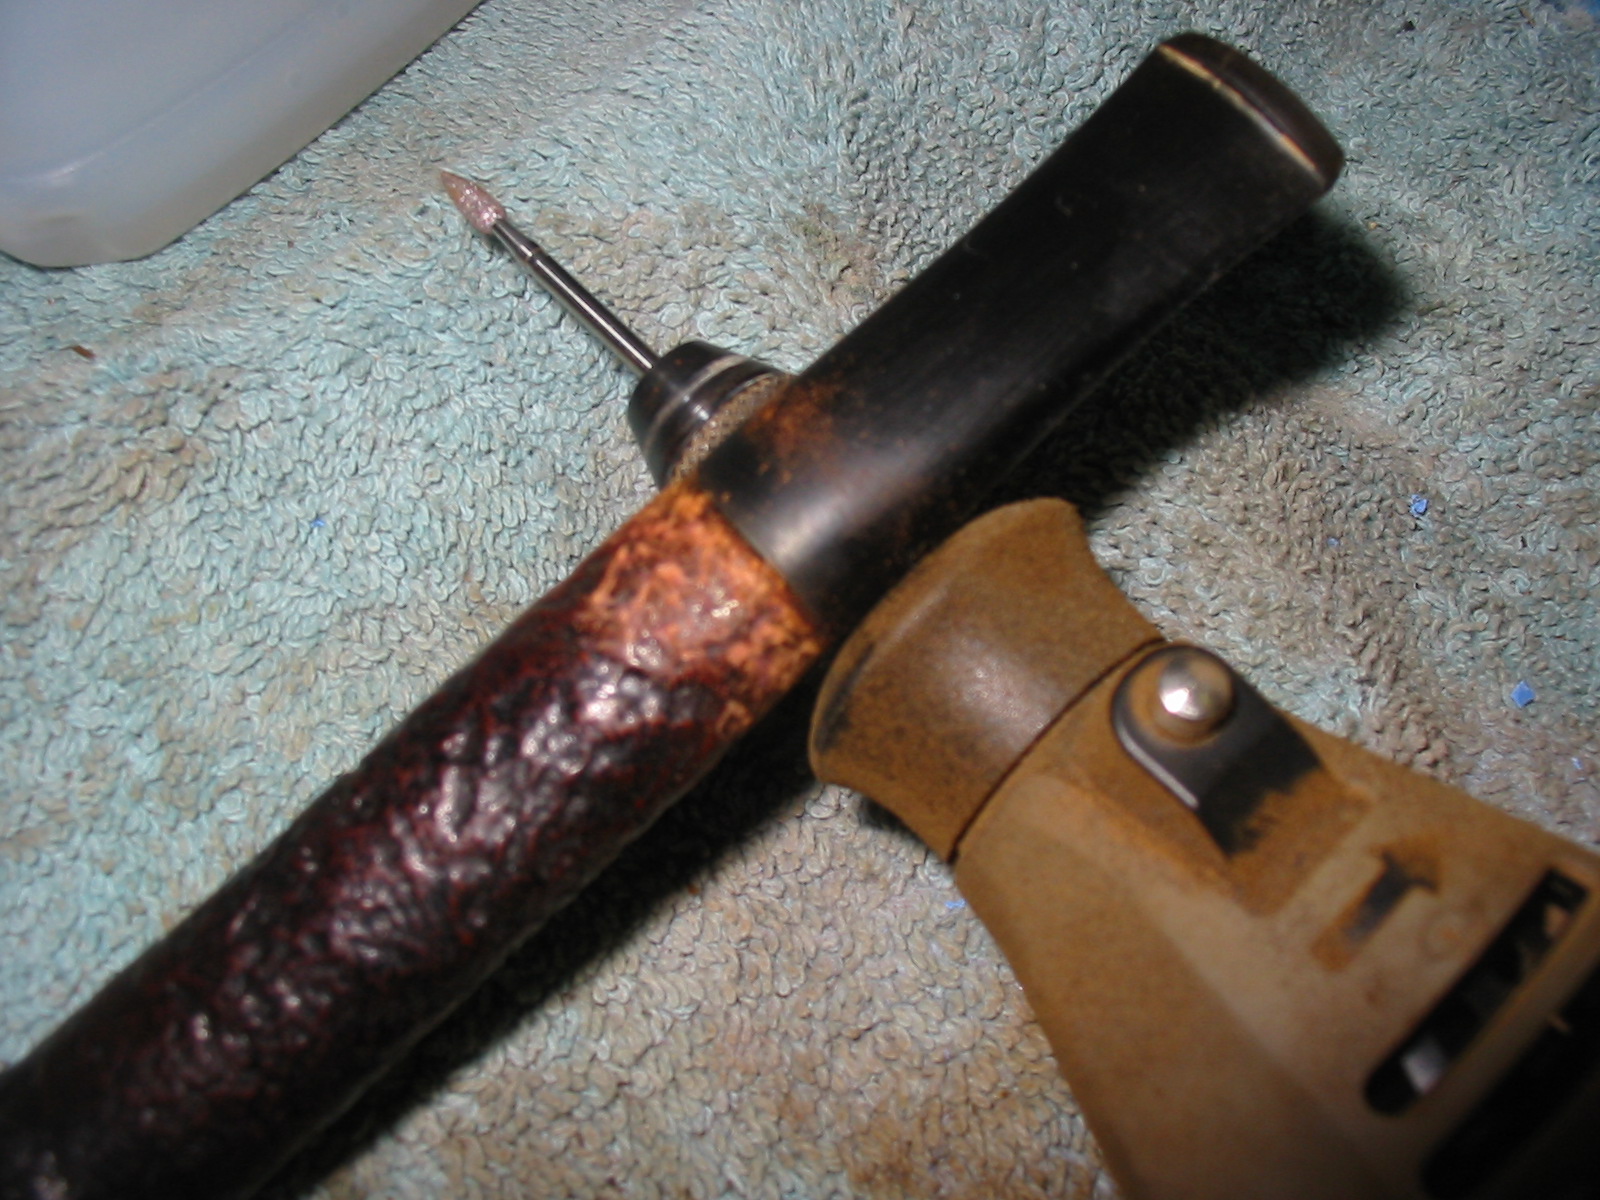
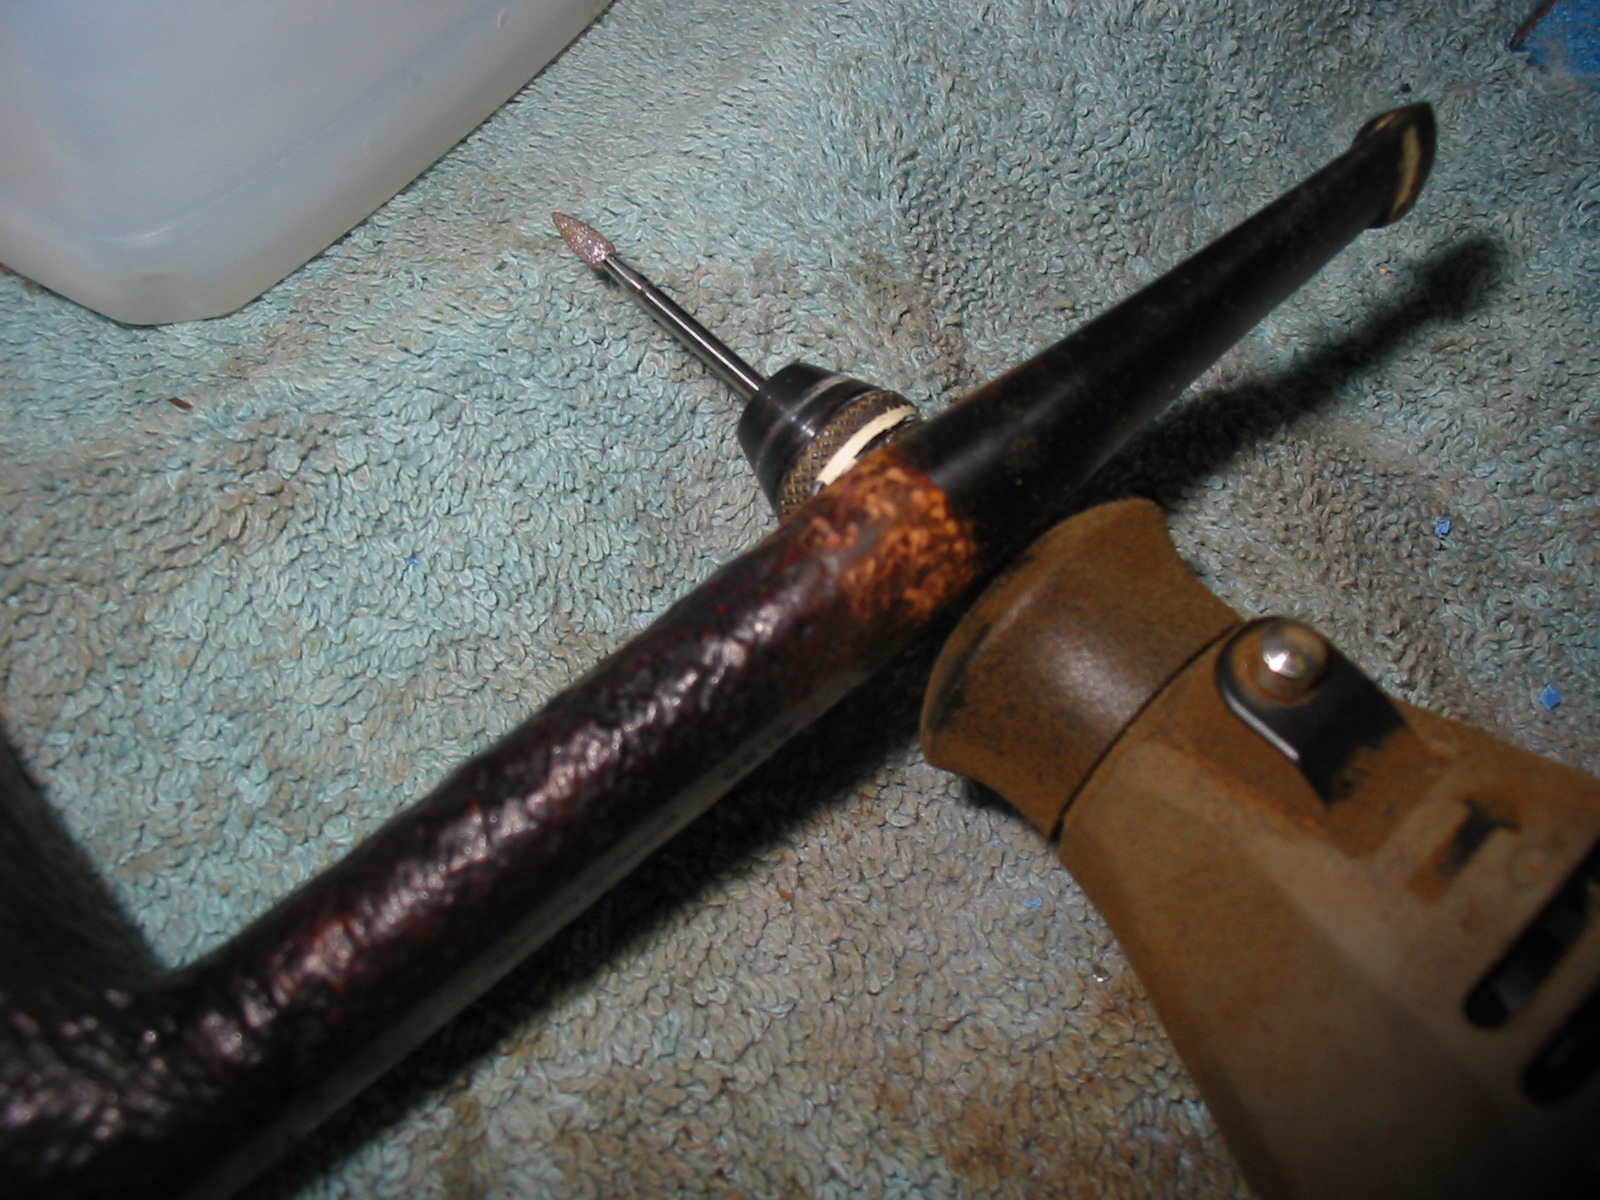
Once I had a good fit on the stem it was time to re-rusticate the shank using an etching head on the Dremel. In the next two photos the cutting tool is visible and the rustication of the shank is completed. I did both sides of the shank and the top to match the pattern on the upper portion of the shank. On the underside I brought the pattern around the flattened oval stamping area of the shank and matched the pattern around that area.
IMG_3511

IMG_3513

I stained the newly rusticated shank area with the oxblood stain. The stained rustication is visible in the next four photos. I am pleased with the match on the pattern of the rustication on the shank that I was able to achieve with the tool.
IMG_3515

IMG_3516

IMG_3517

IMG_3518

I still needed to use several more colours of stain to achieve a match to the bowl. I used aniline black and an aniline dark brown stain to approximate the mix of stains to blend the repaired portion with the remainder of the pipe. I would still need to do a top coat of oxblood to truly blend in the repair.
IMG_3519

I sanded the stem with the usual regimen of micromesh sanding pads. I wet sanded with 1500-2400 grit pads and dry sanded with 3200-12,000 grit pads.
IMG_3520

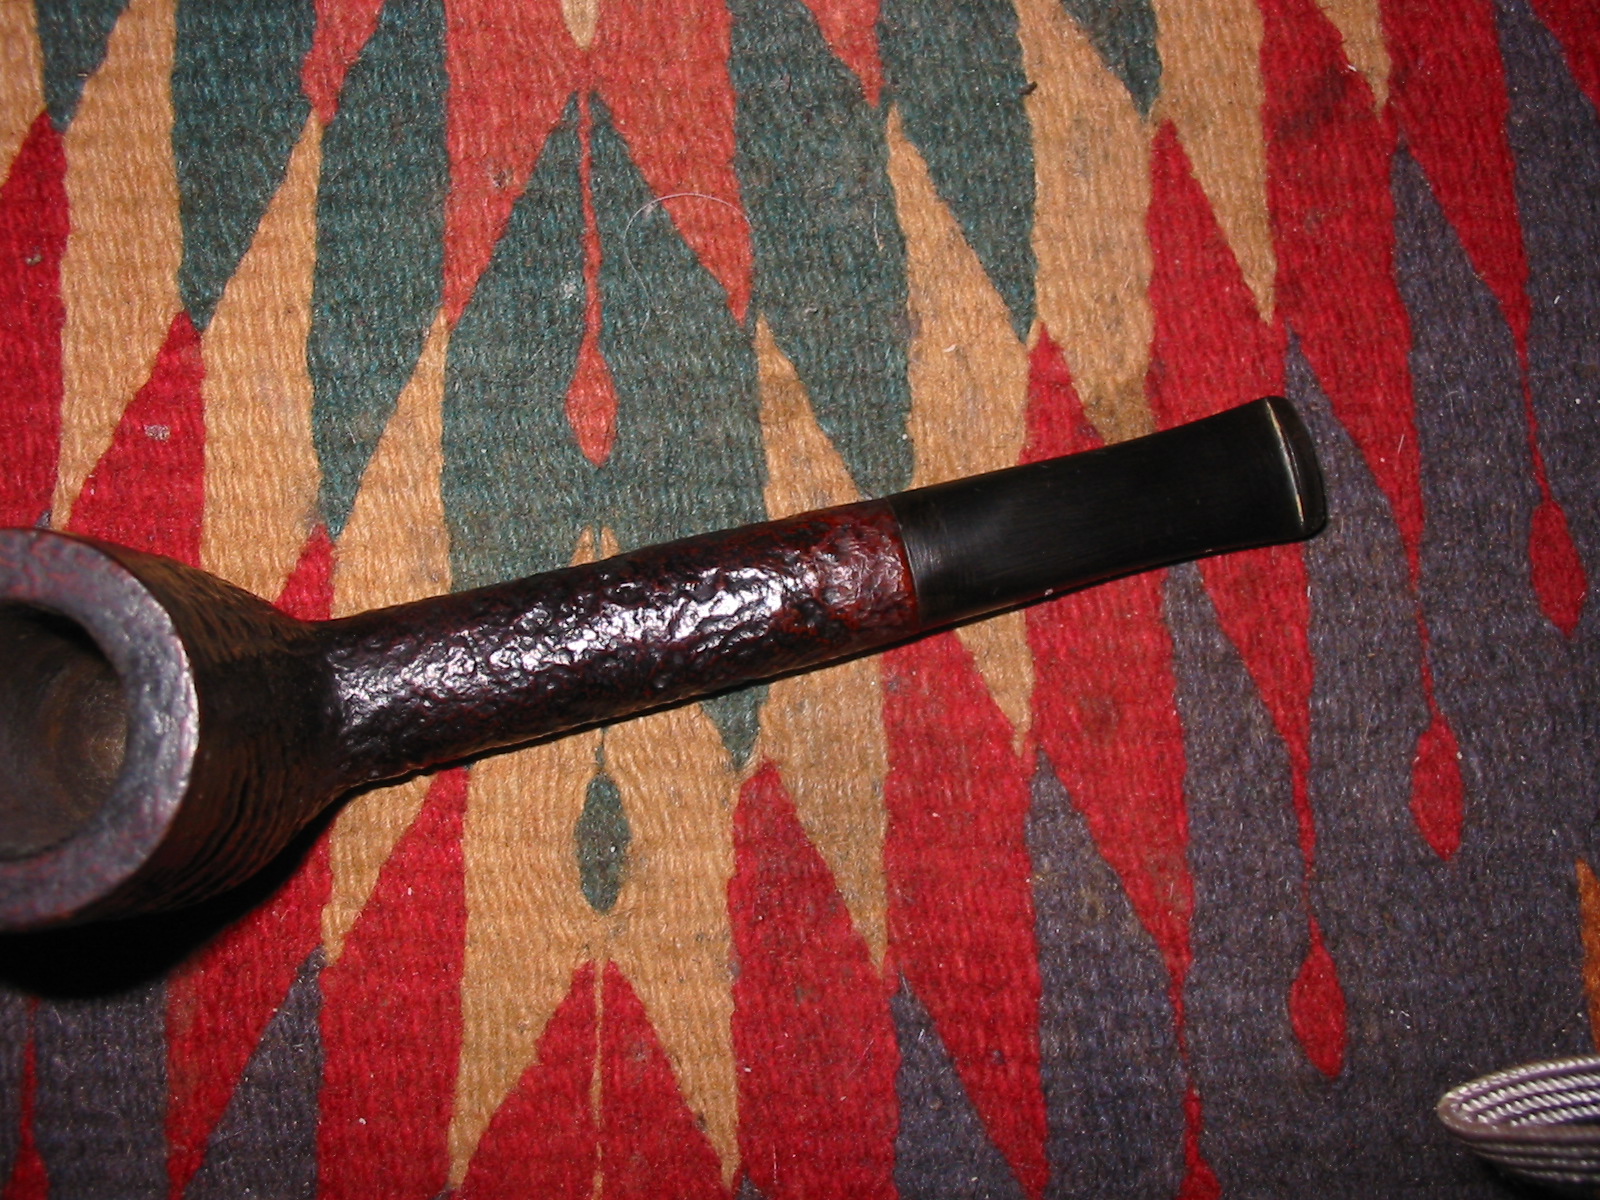
I gave the shank a final coat of the oxblood stain and lightly buffed the shank with White Diamond to blend the wear of the older portion with the new rustication. I rubbed down the stem with Obsidian Oil and then buffed the stem with White Diamond as well. Once the buffing was done I gave the stem multiple coats of carnauba on the wheel and then buffed it with a soft flannel buff. I rubbed in Halcyon II wax on the bowl and shank and then lightly buffed the bowl with a soft flannel buff. The “new” Digby Canadian is now ready for its inaugural smoke. It is shown below in the final four photos.
IMG_3540

IMG_3541

IMG_3542

IMG_3543

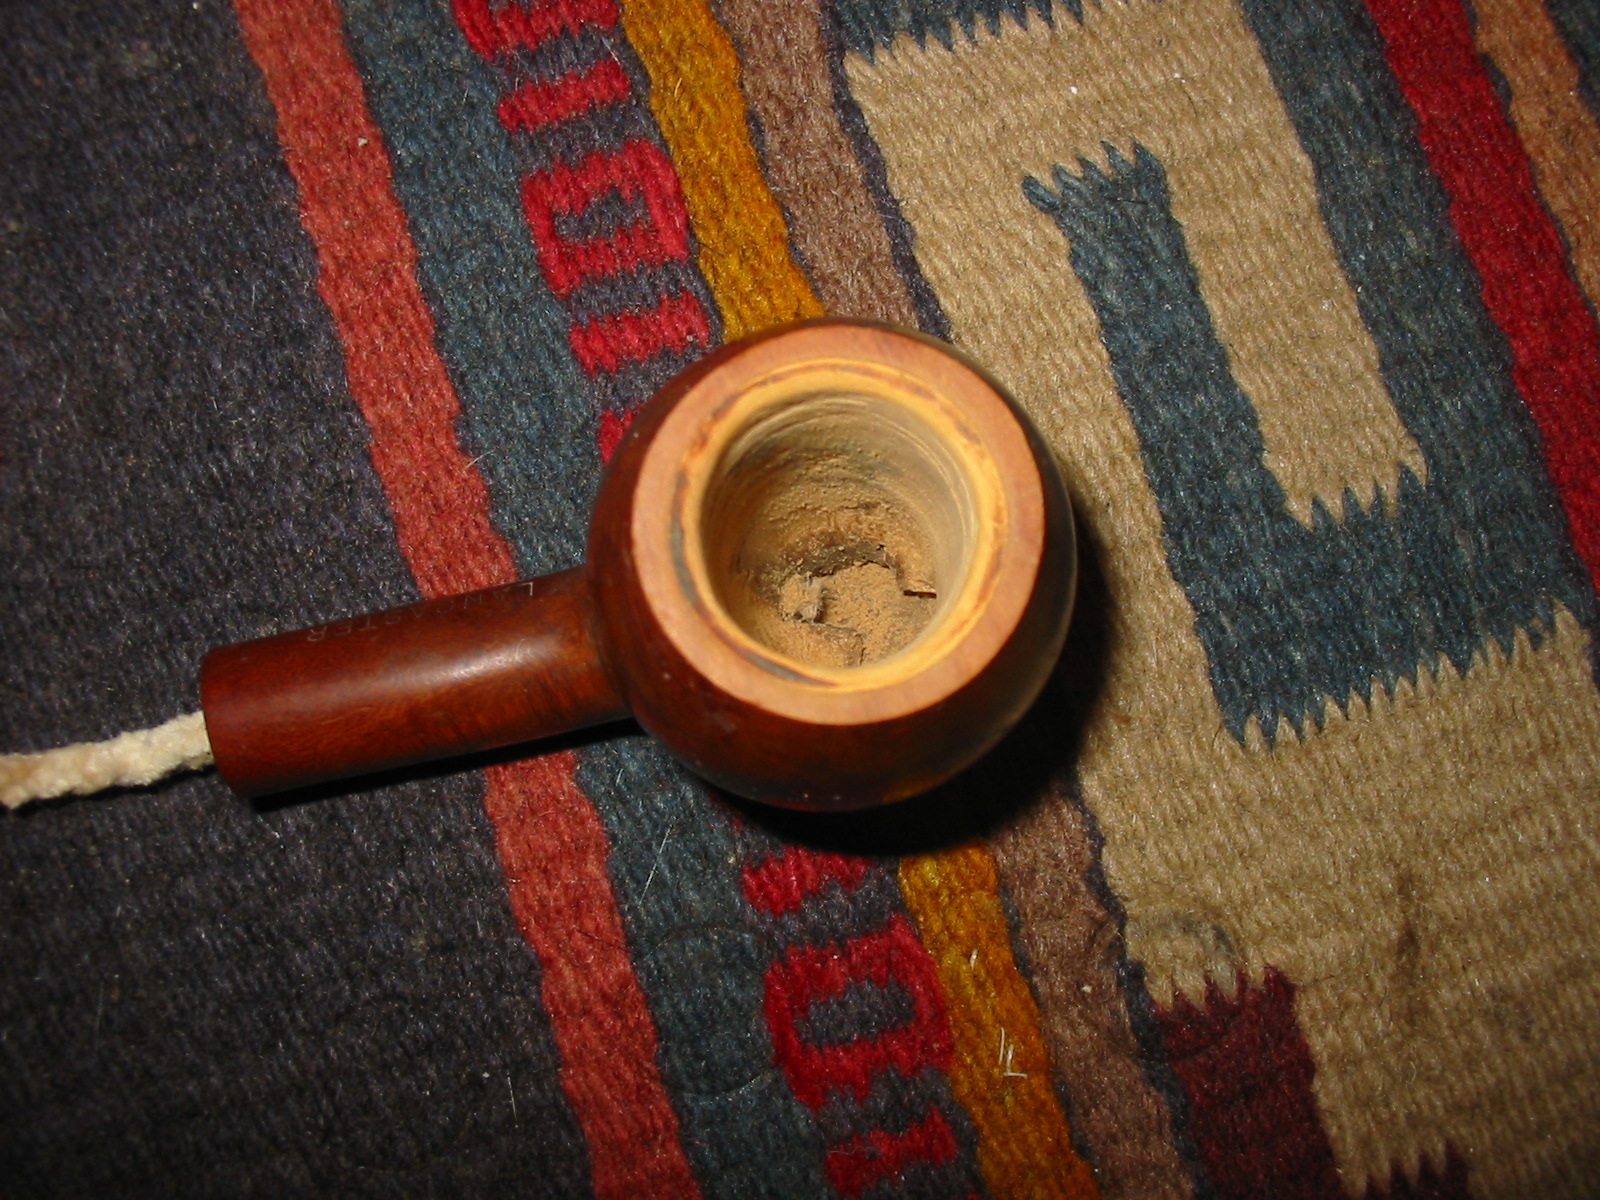
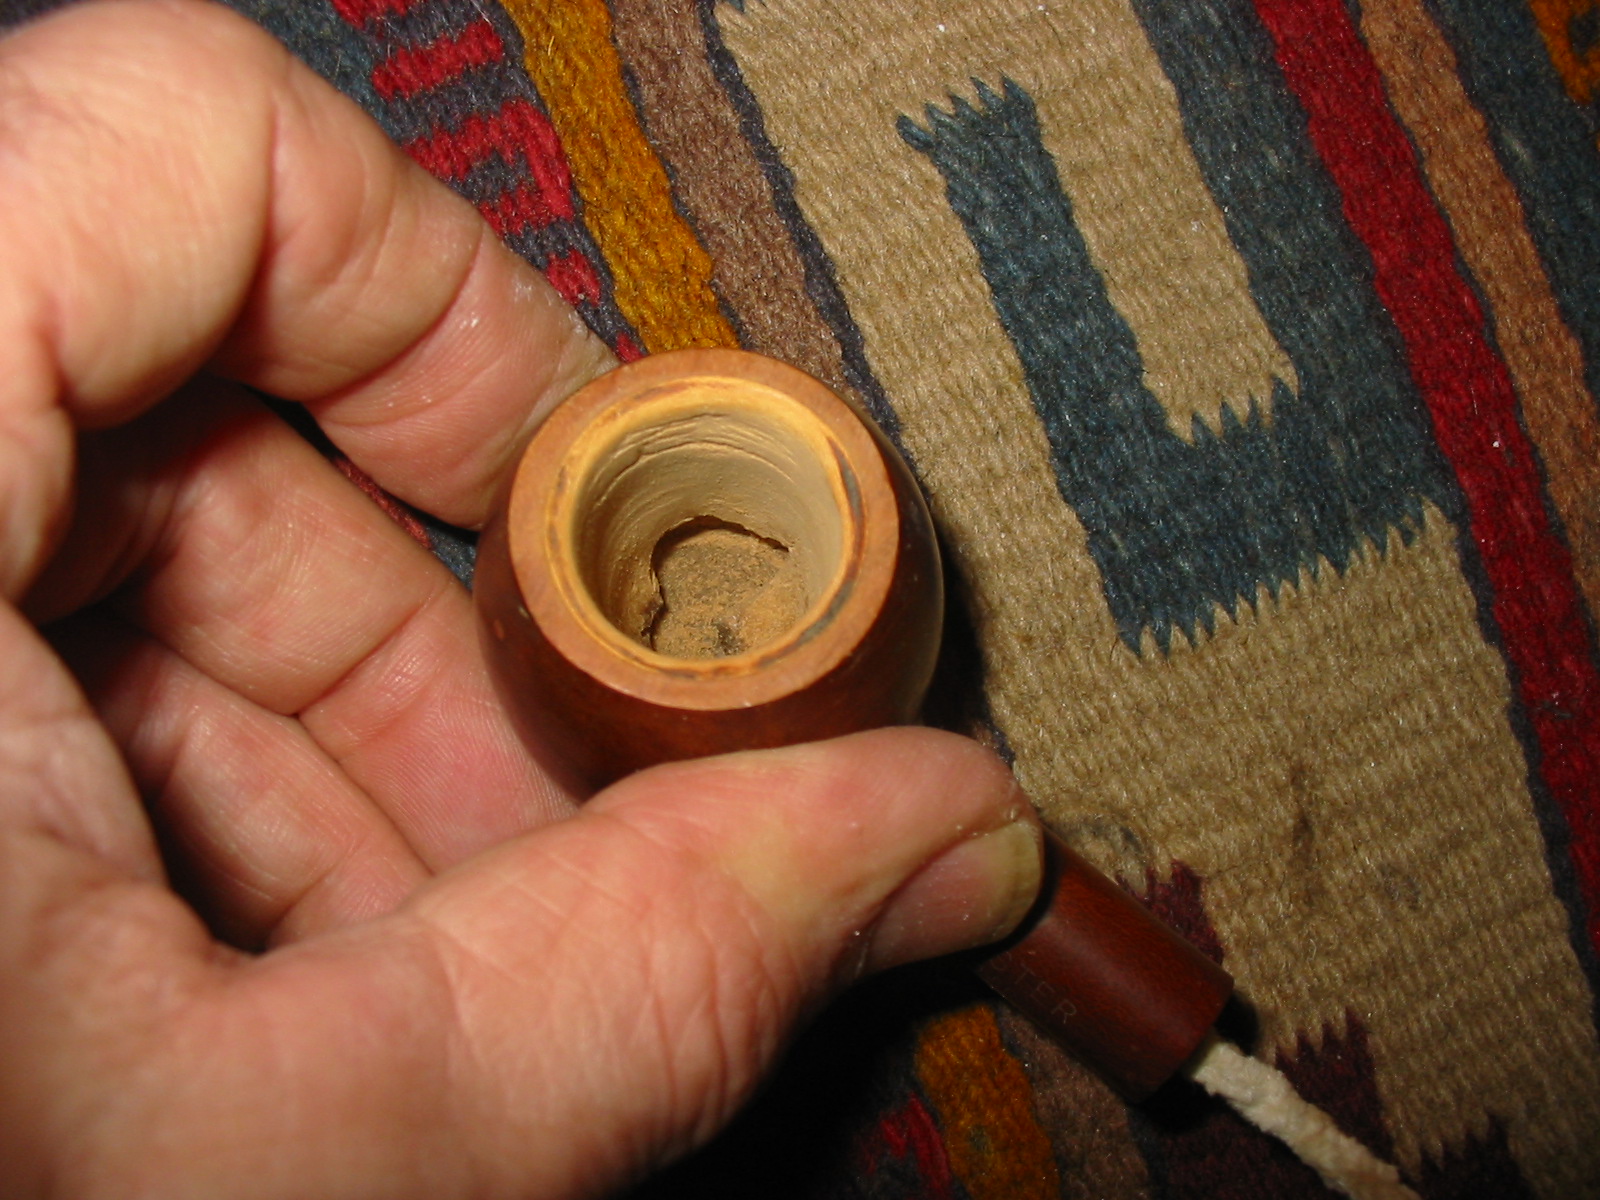
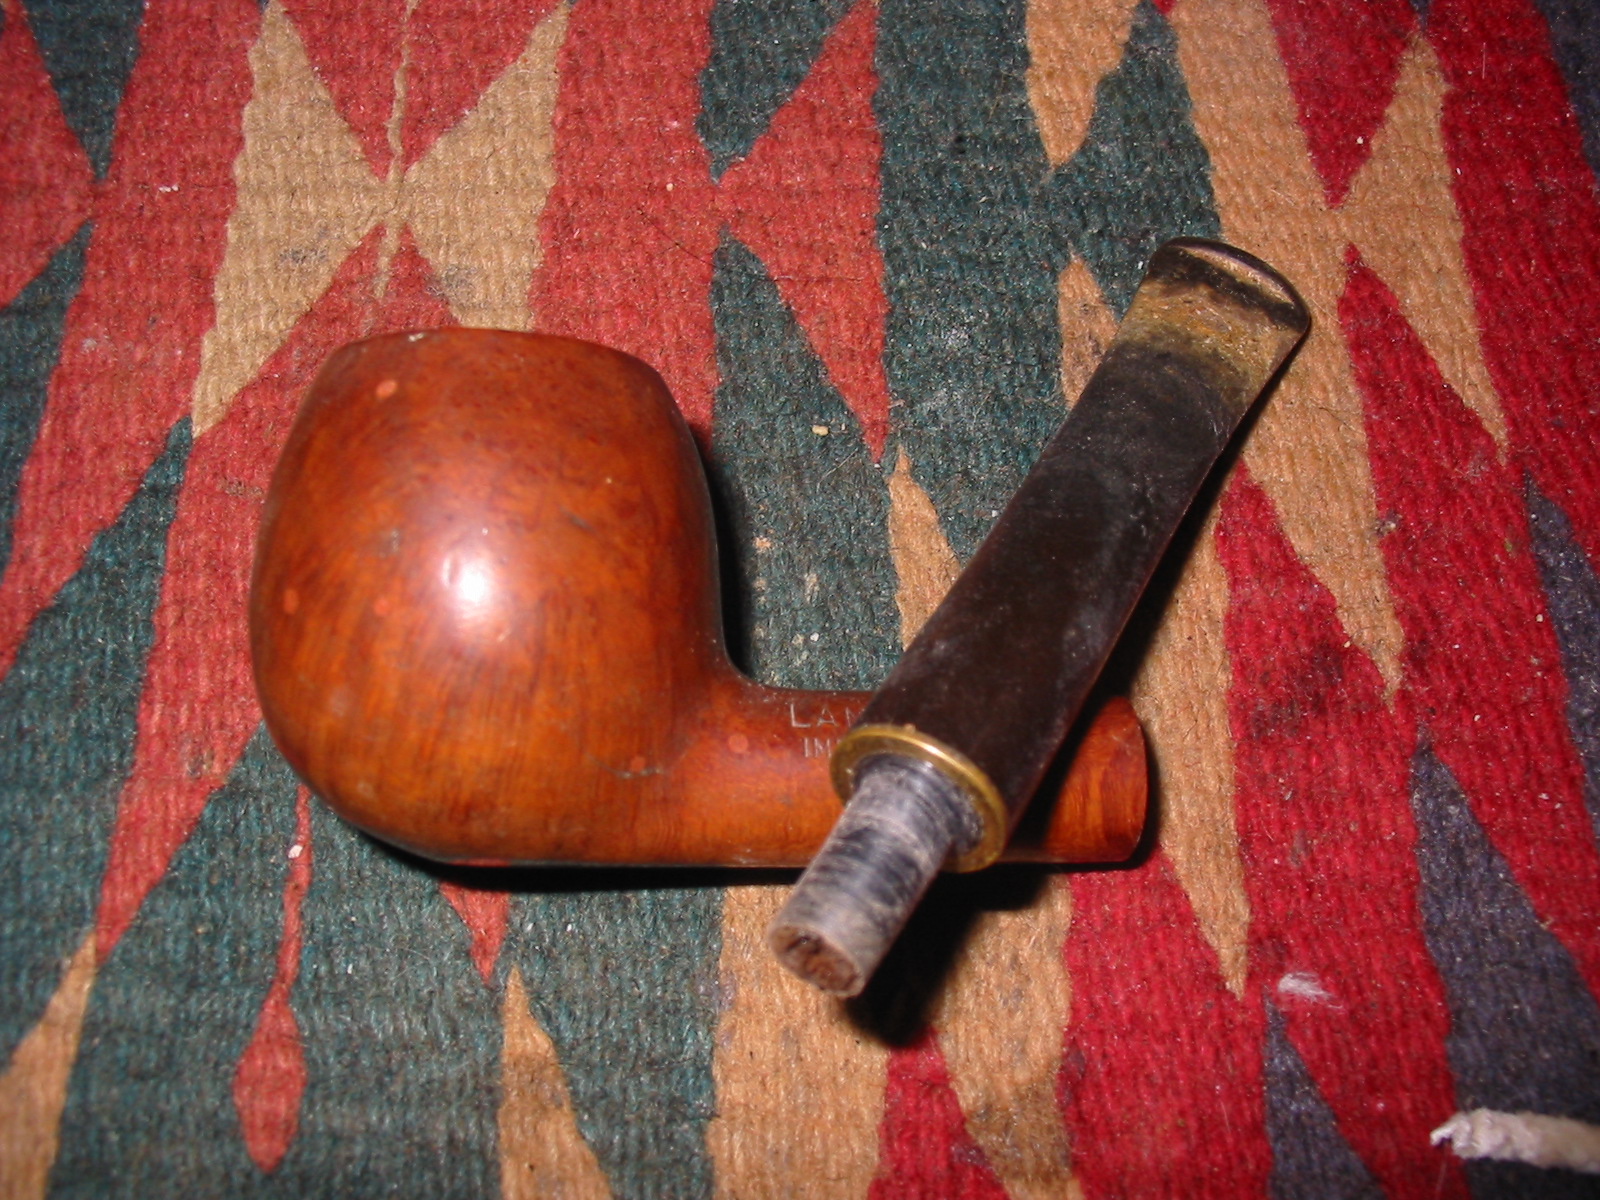
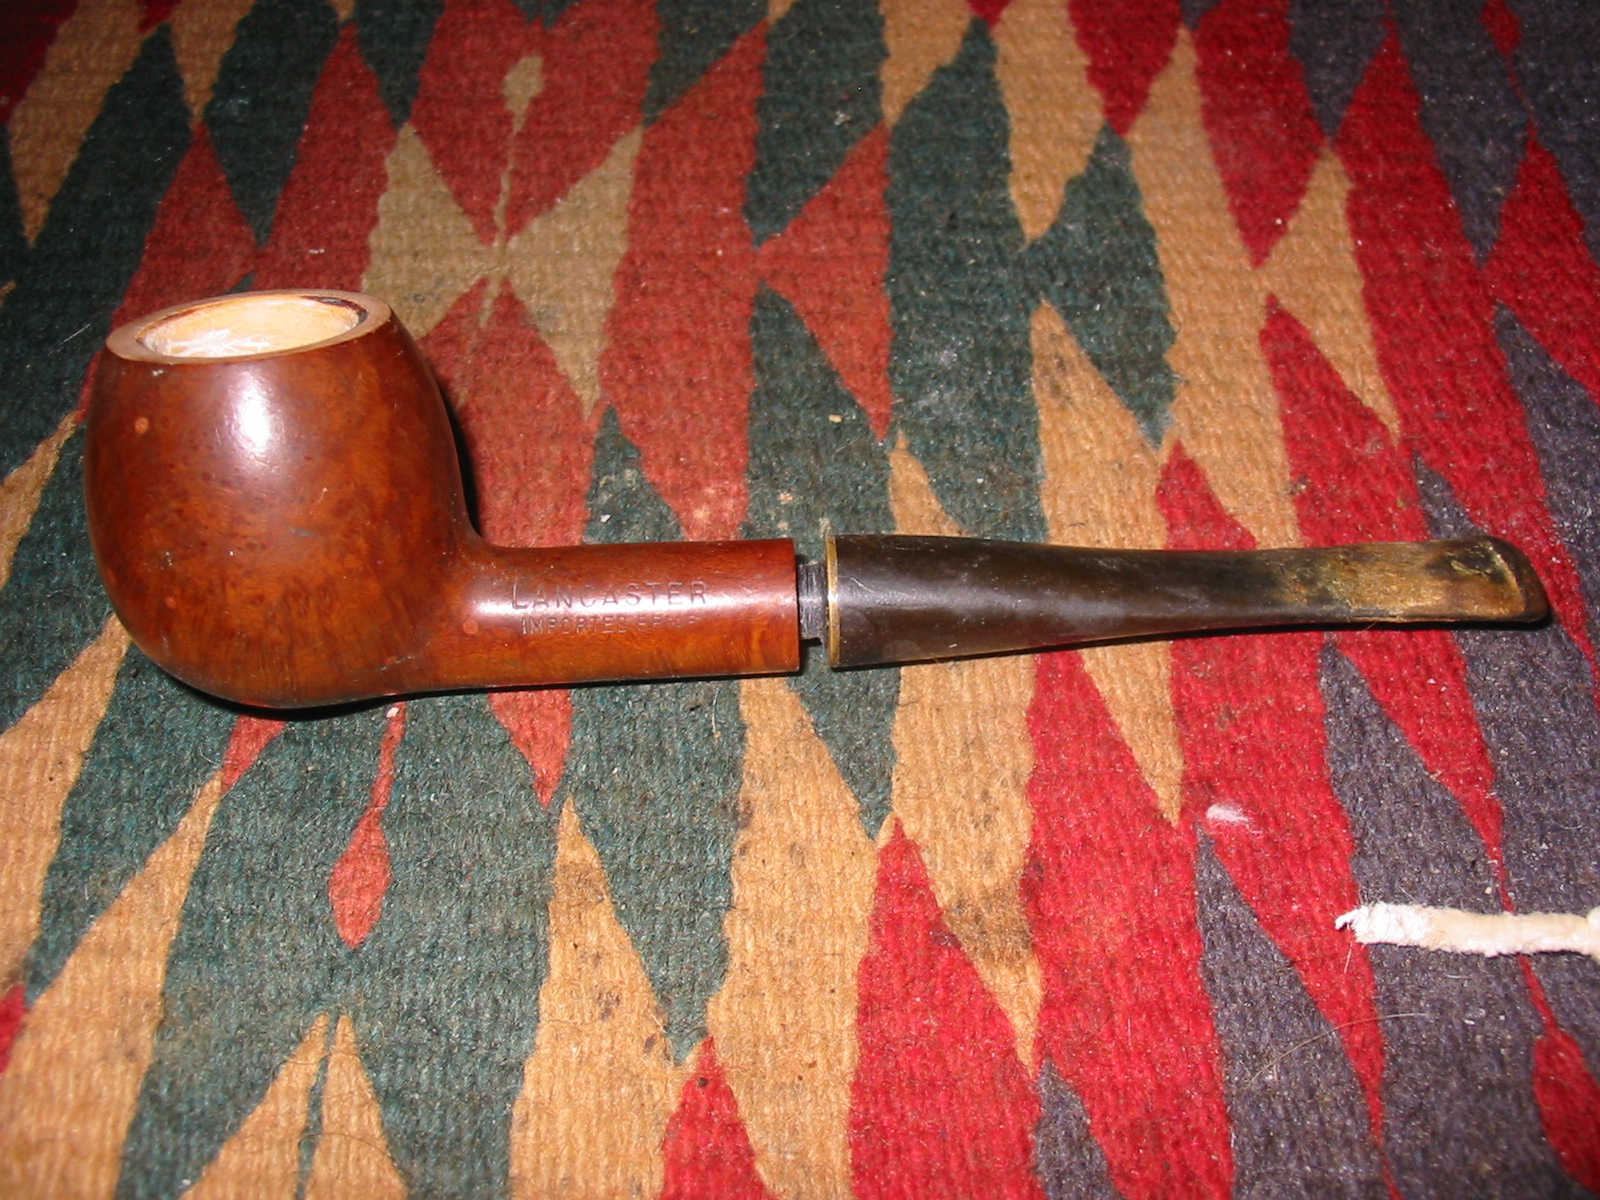
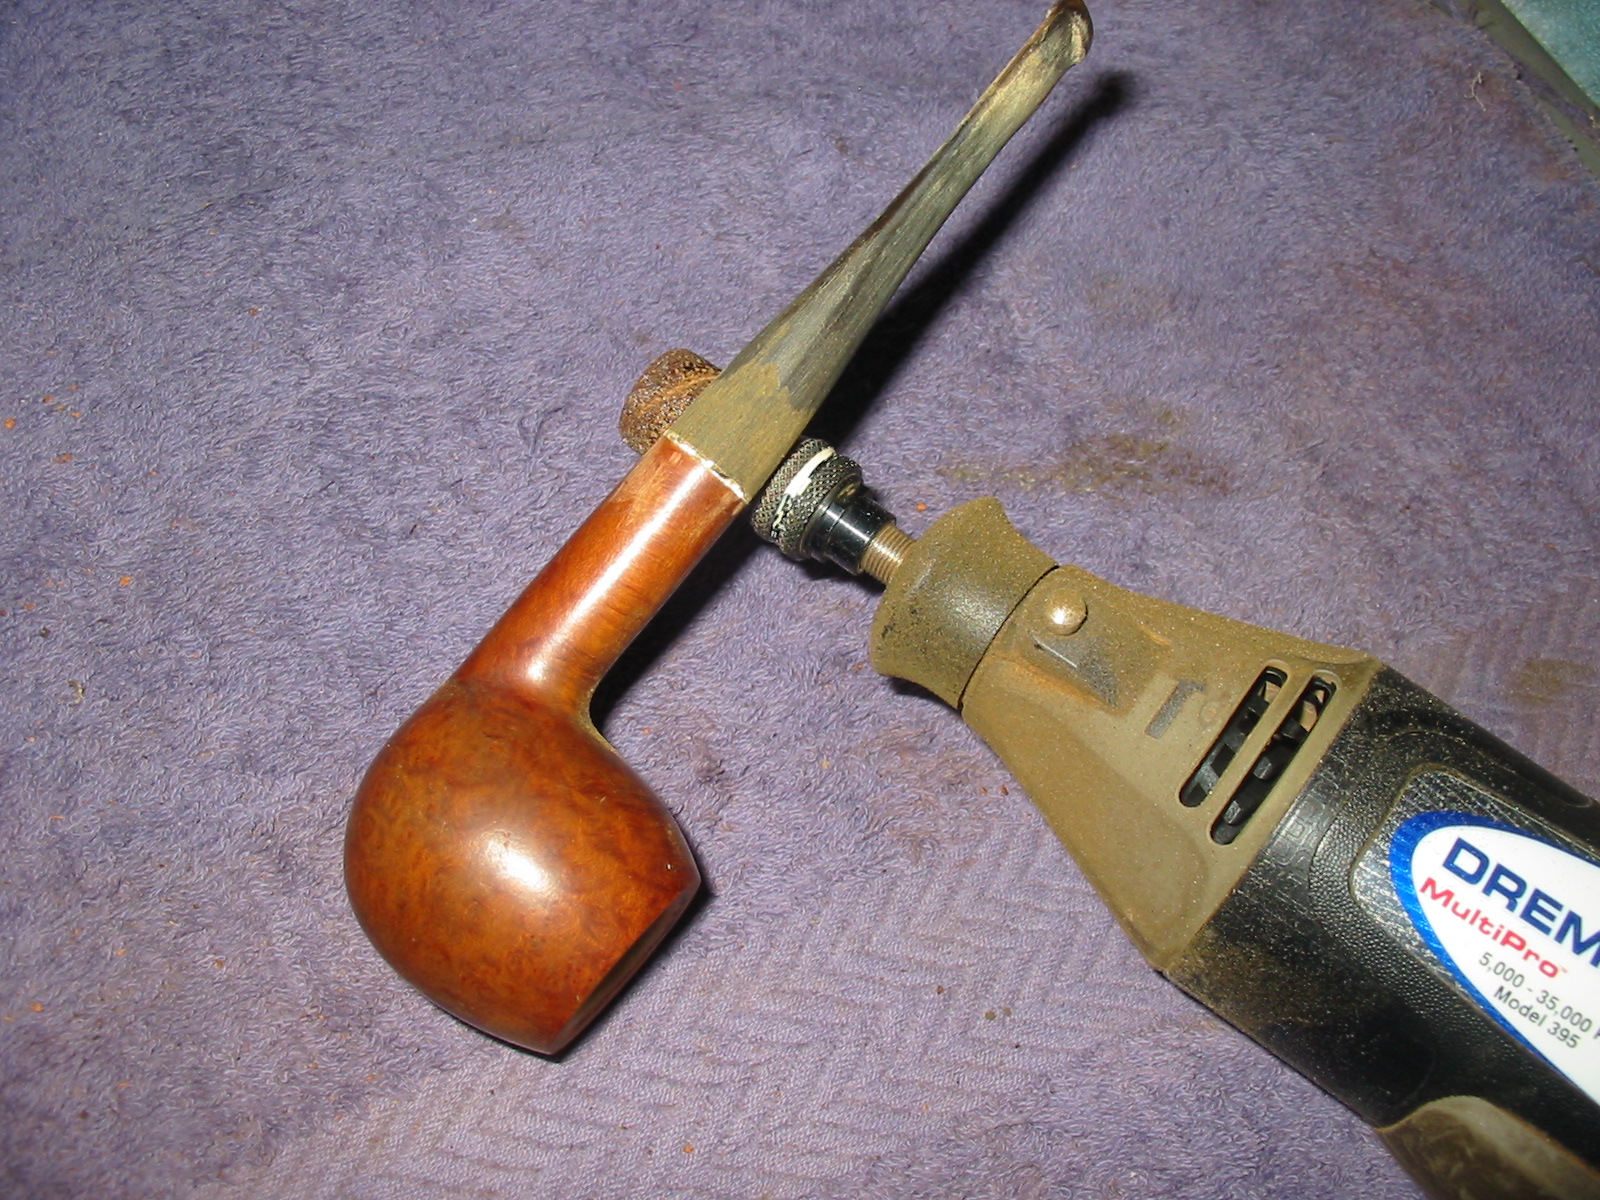
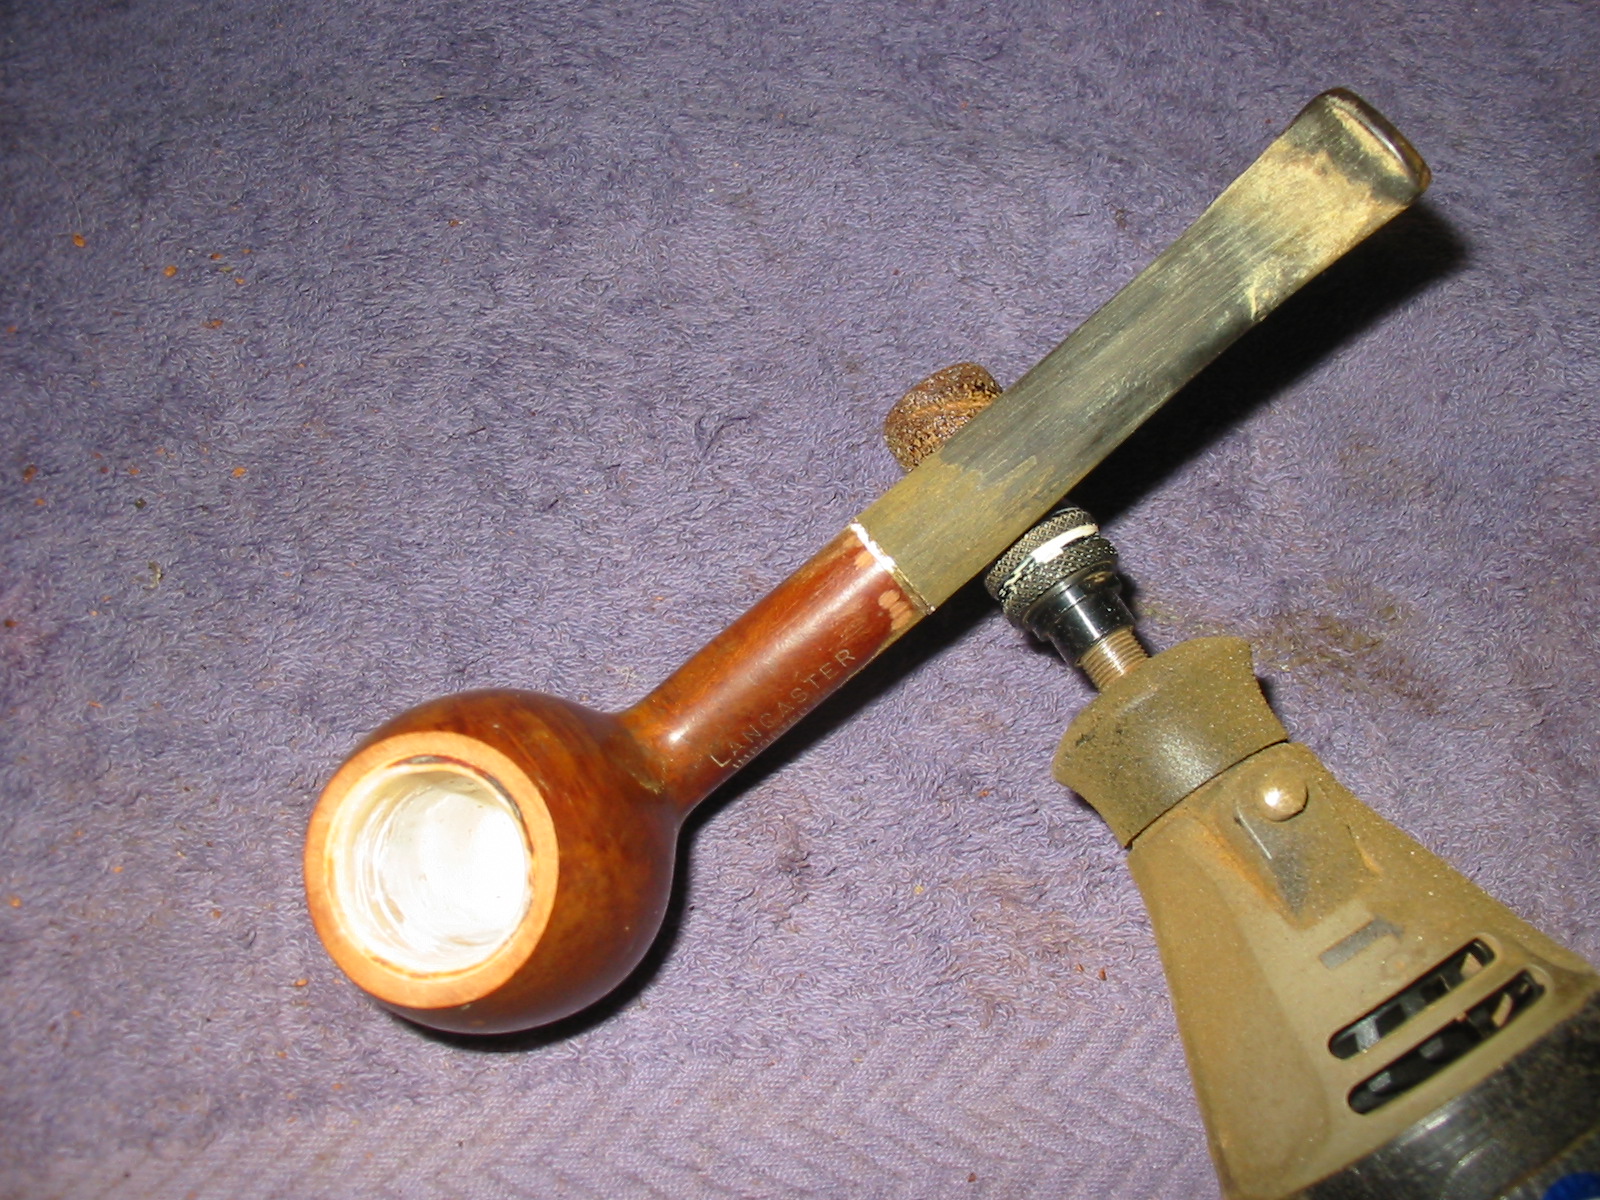
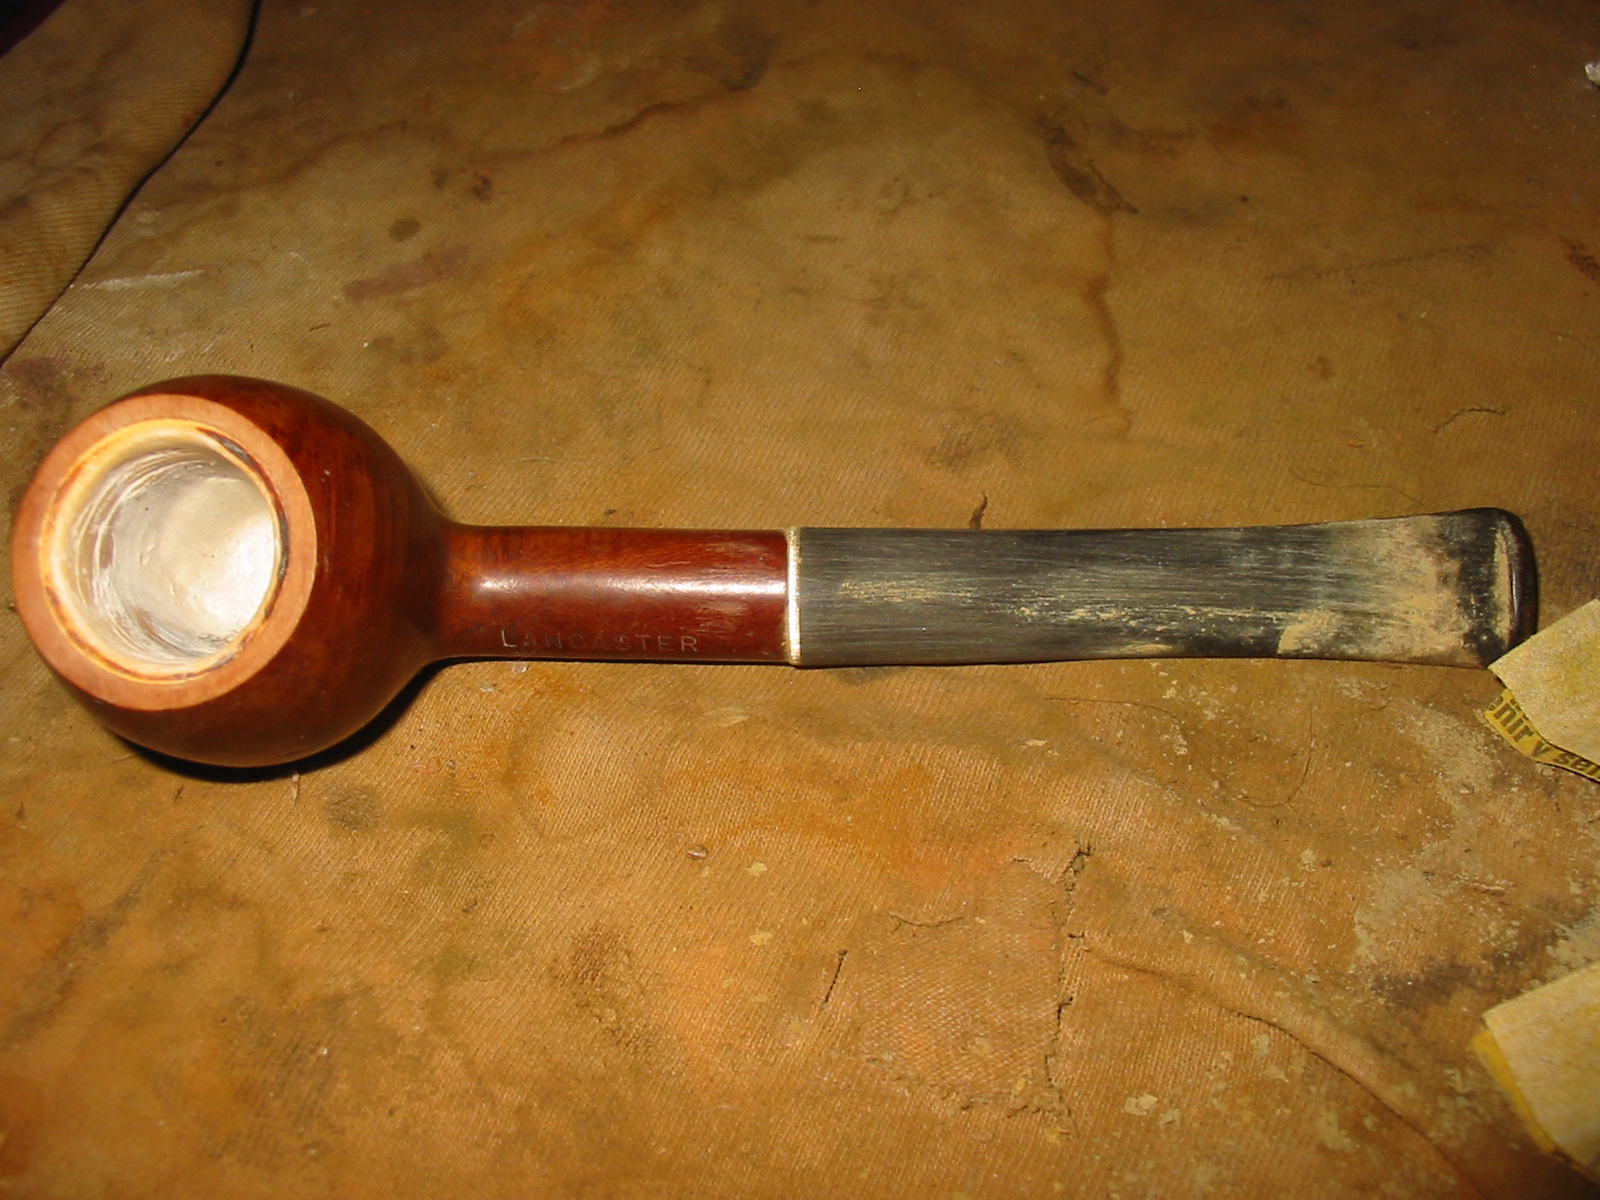
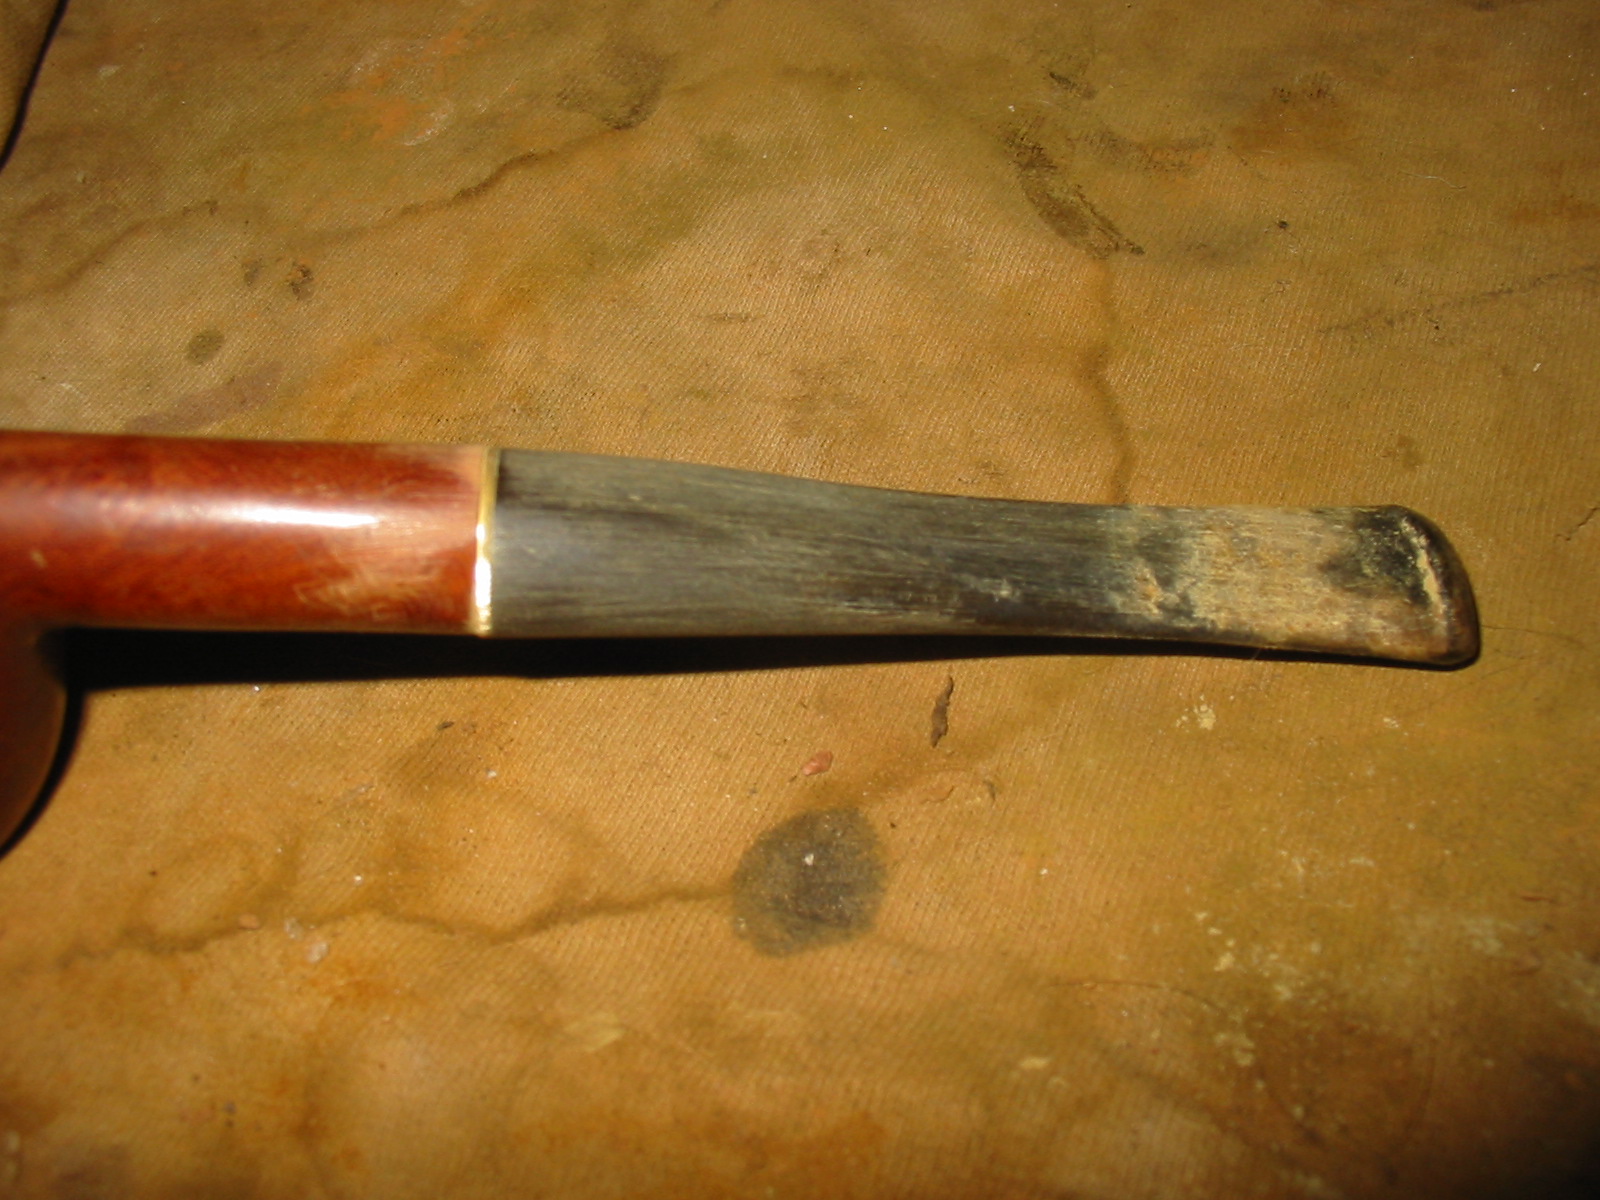
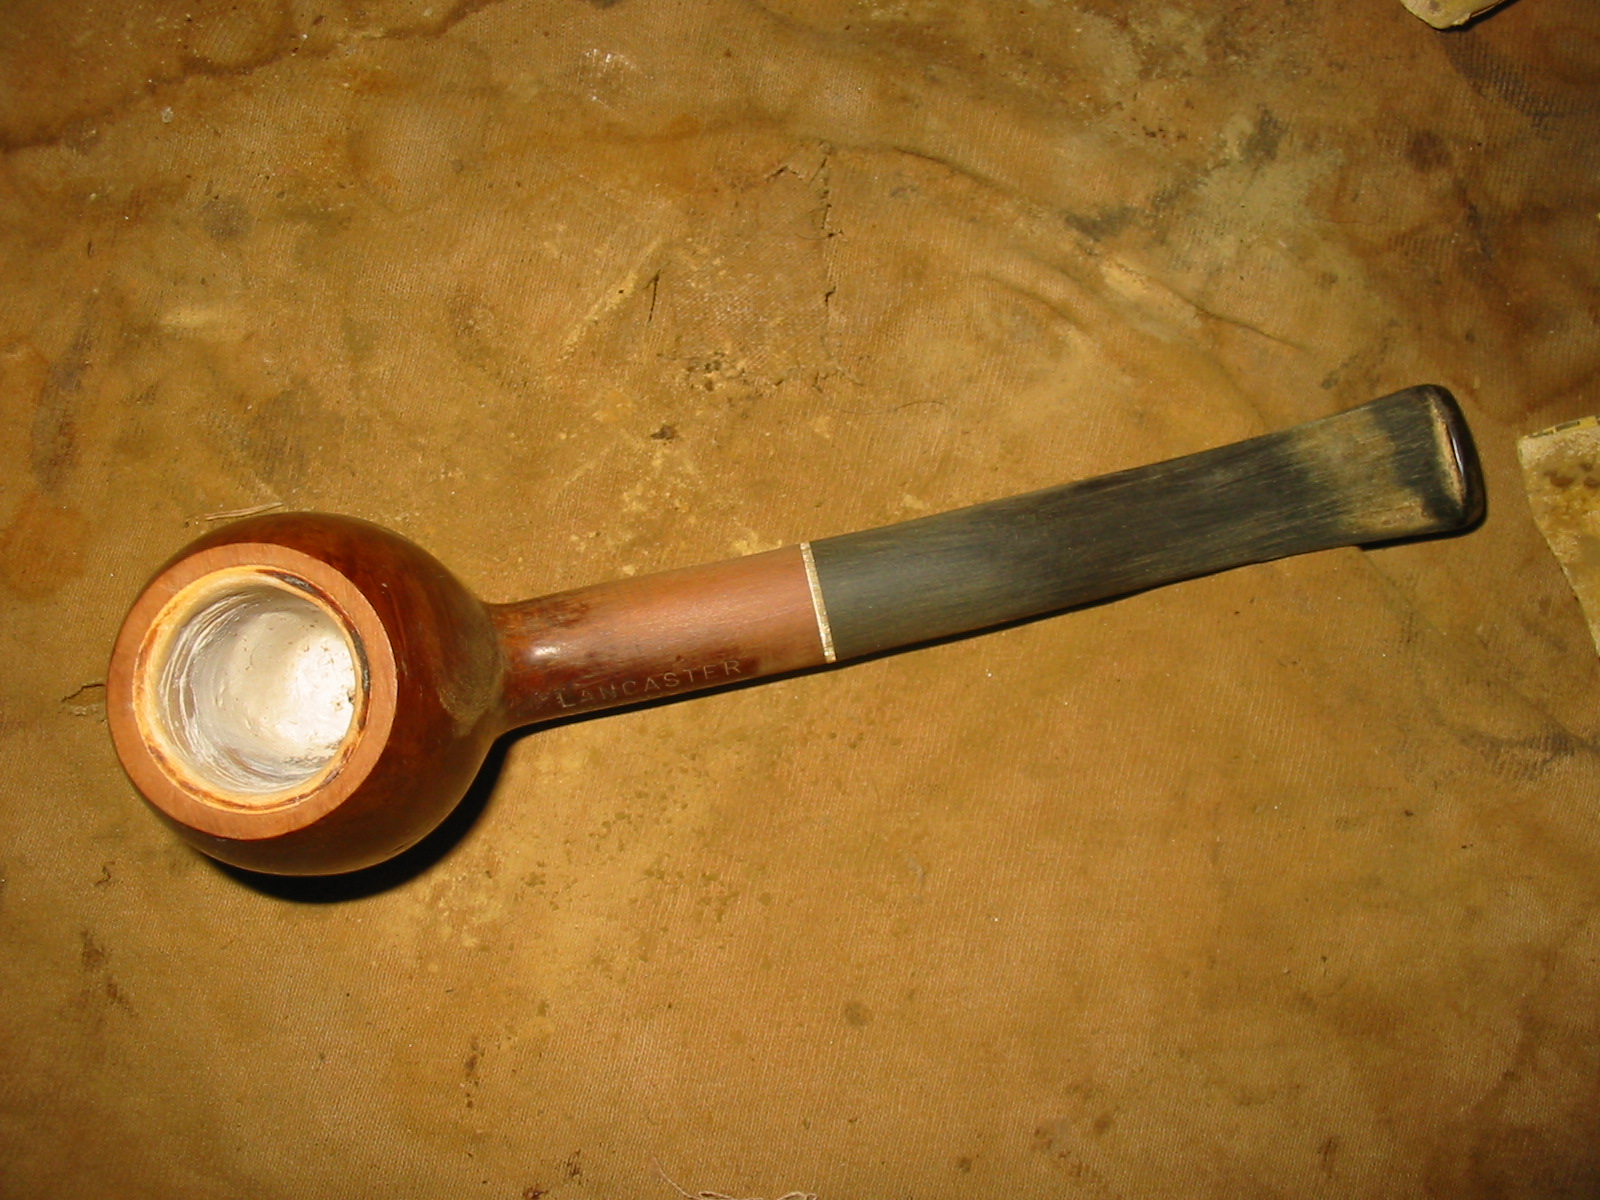
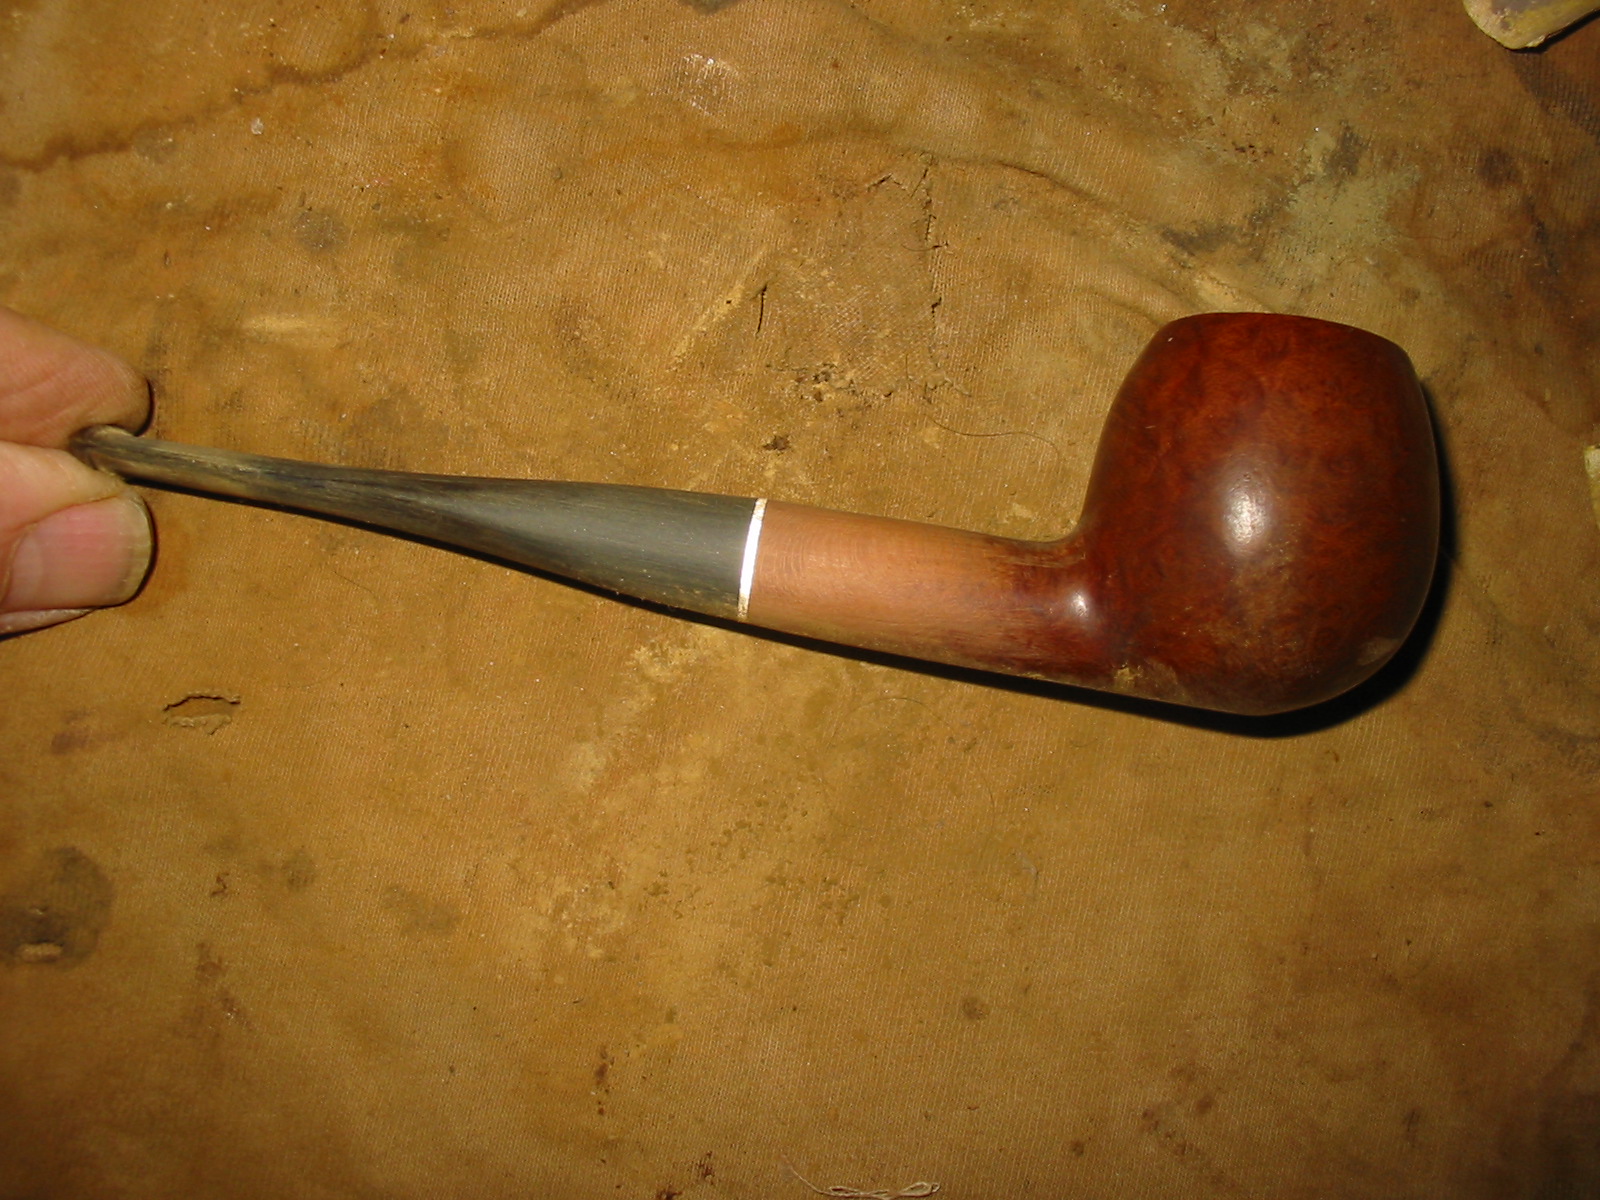
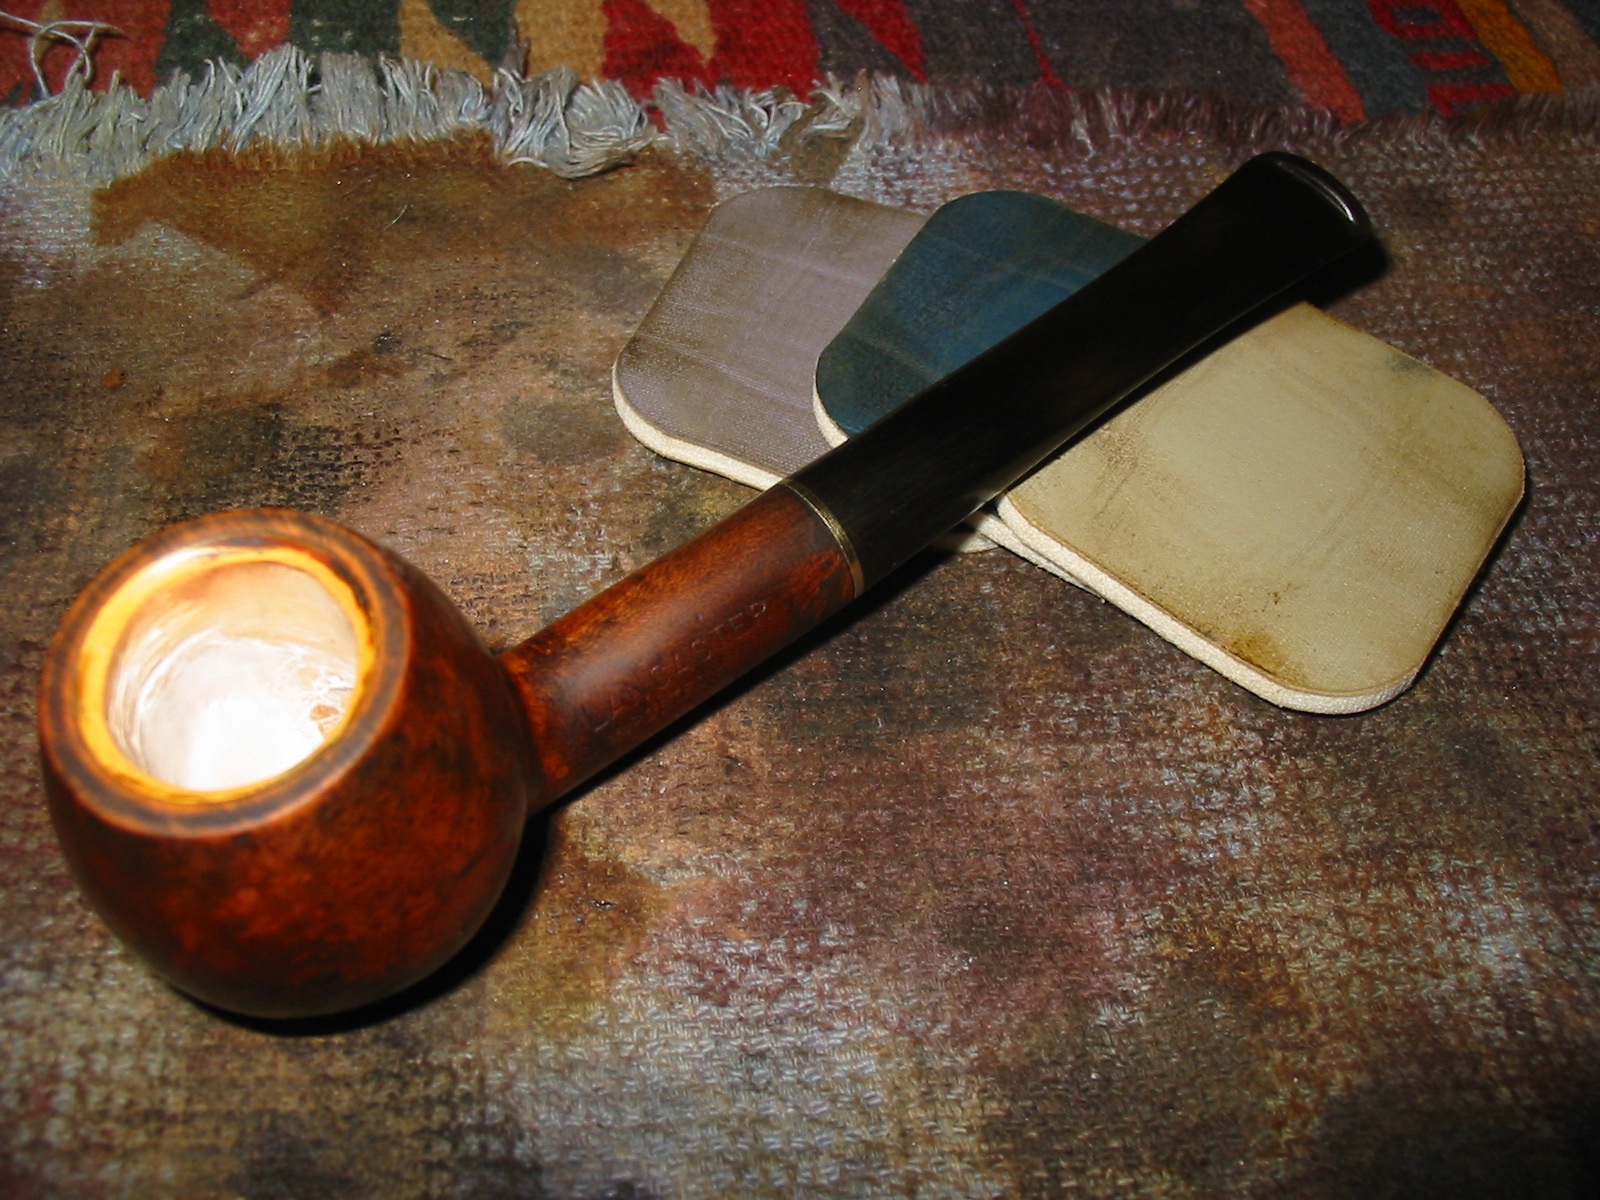
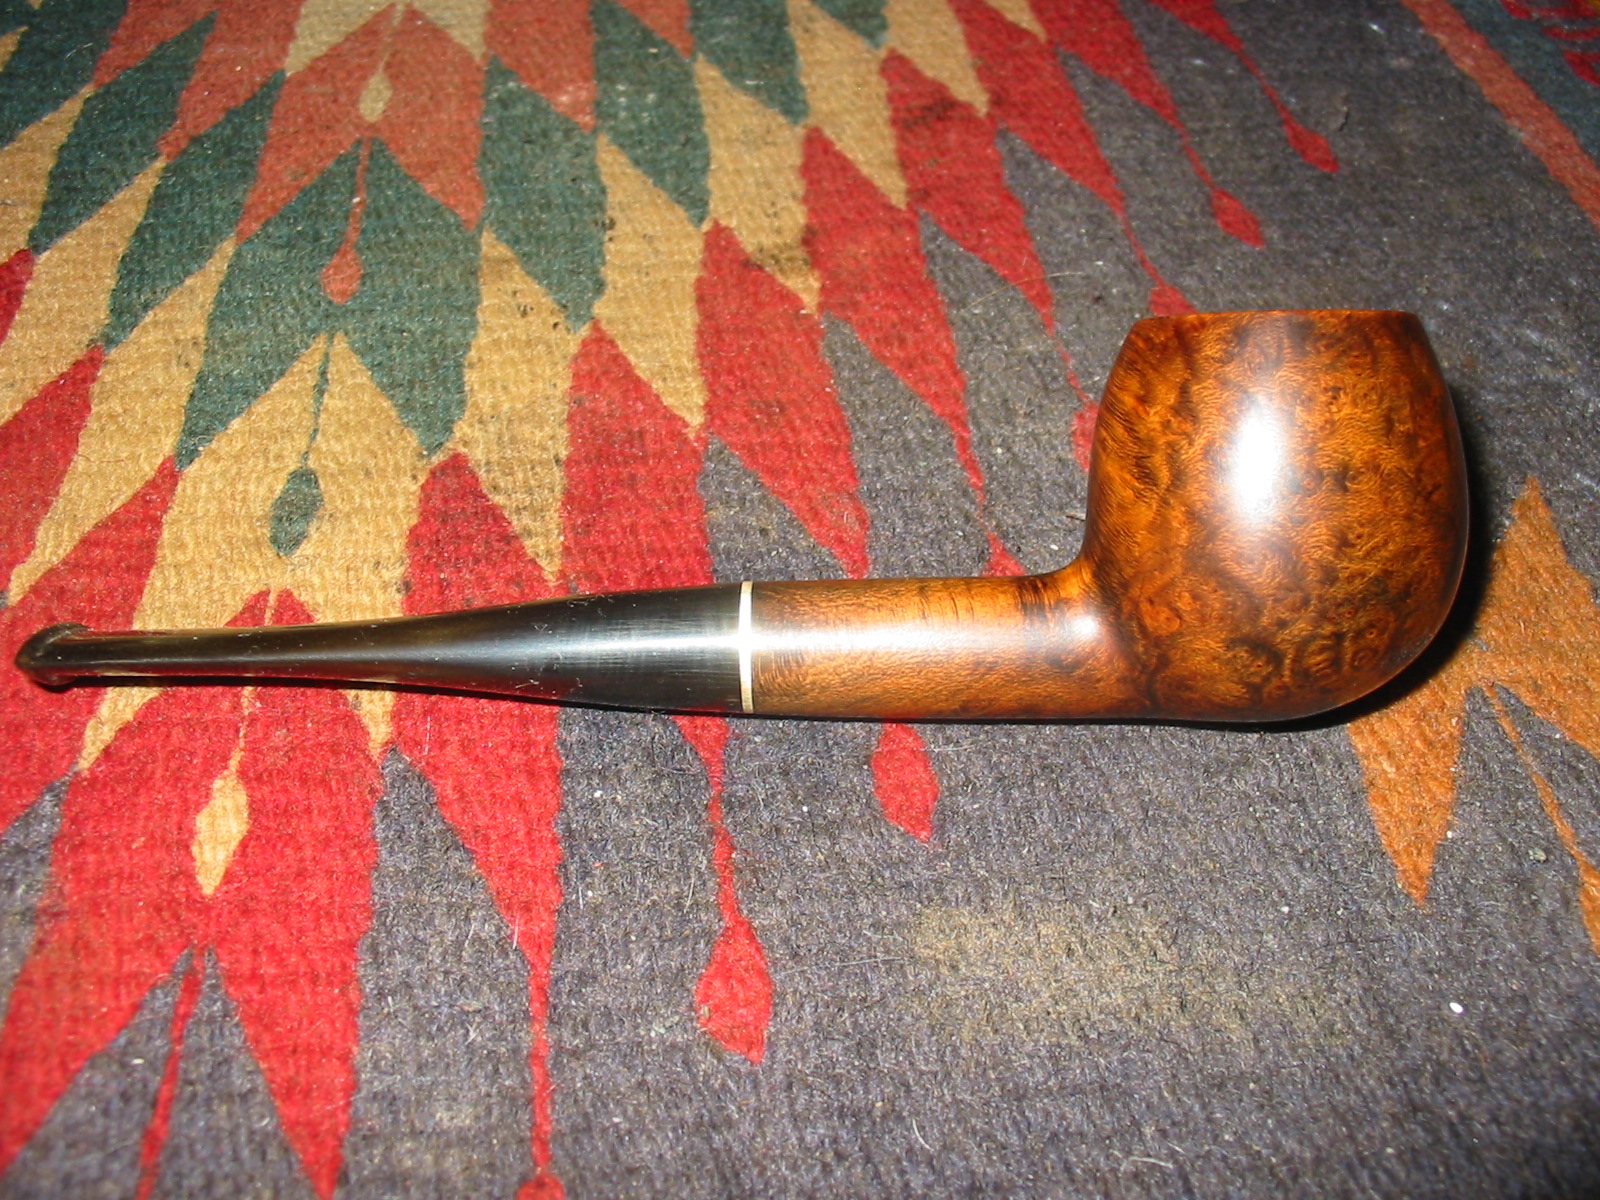
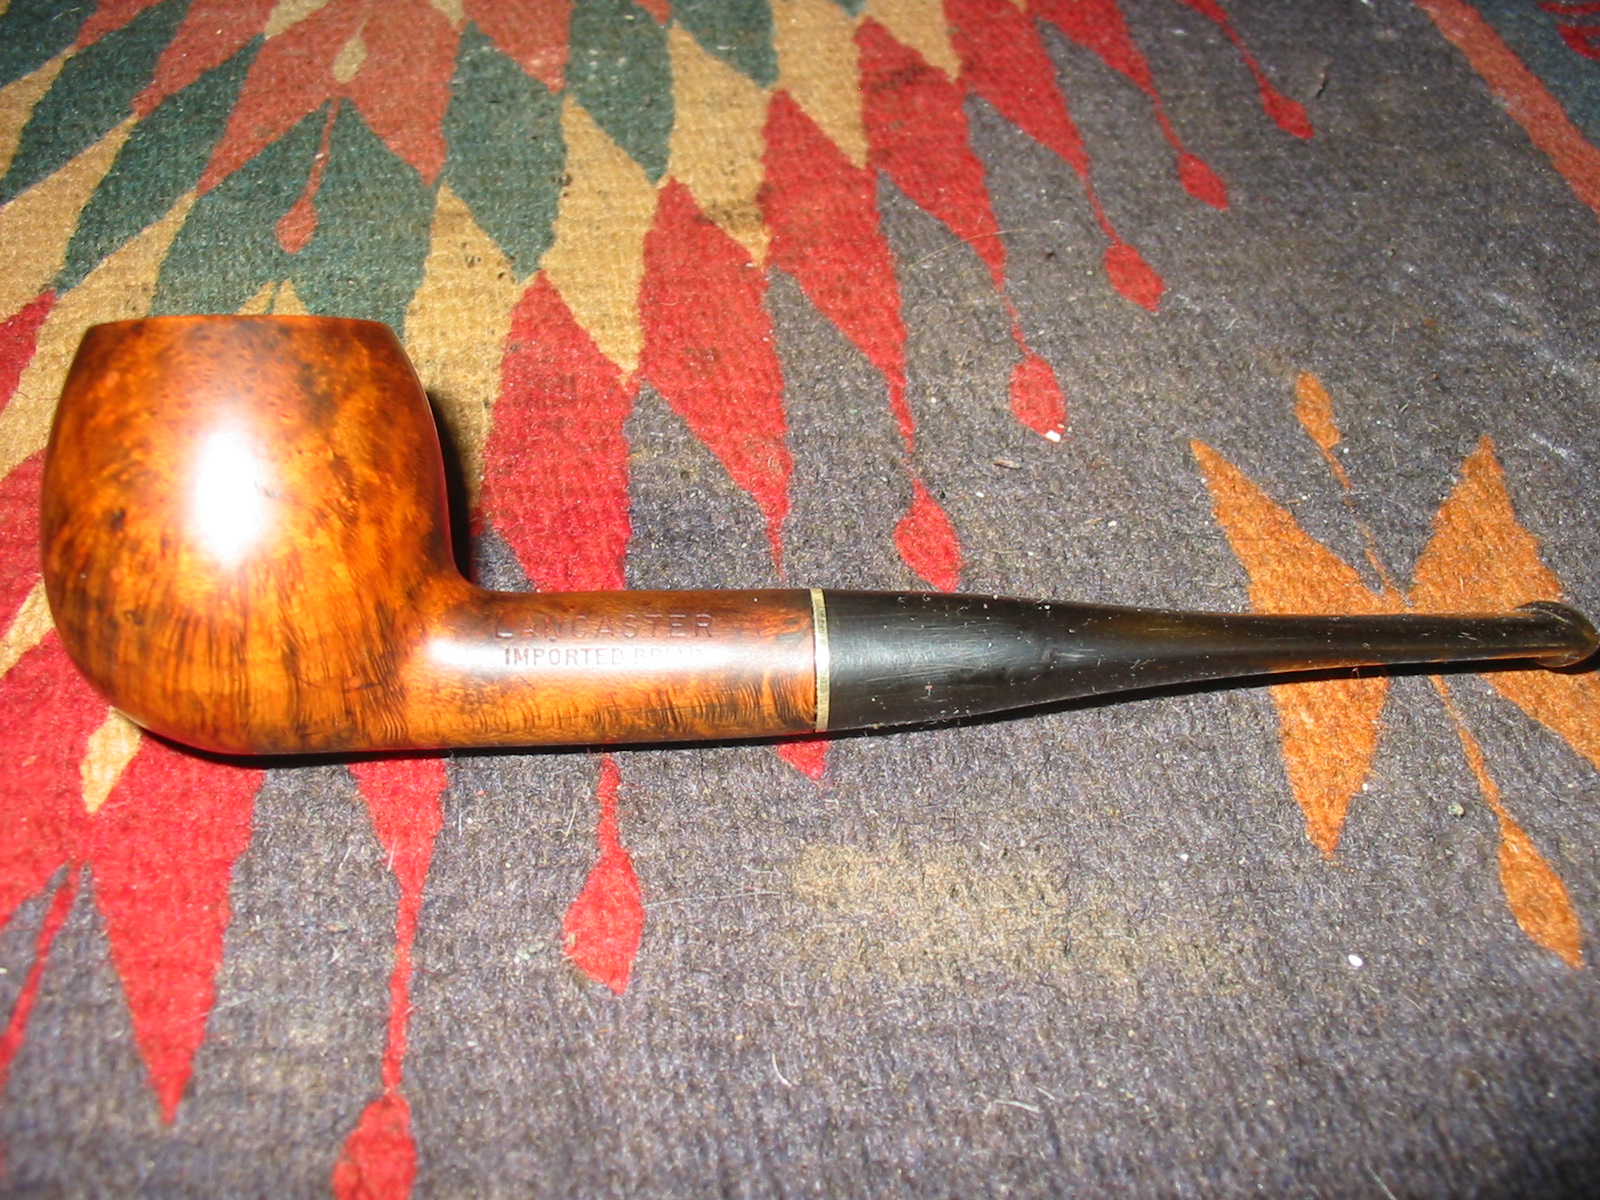
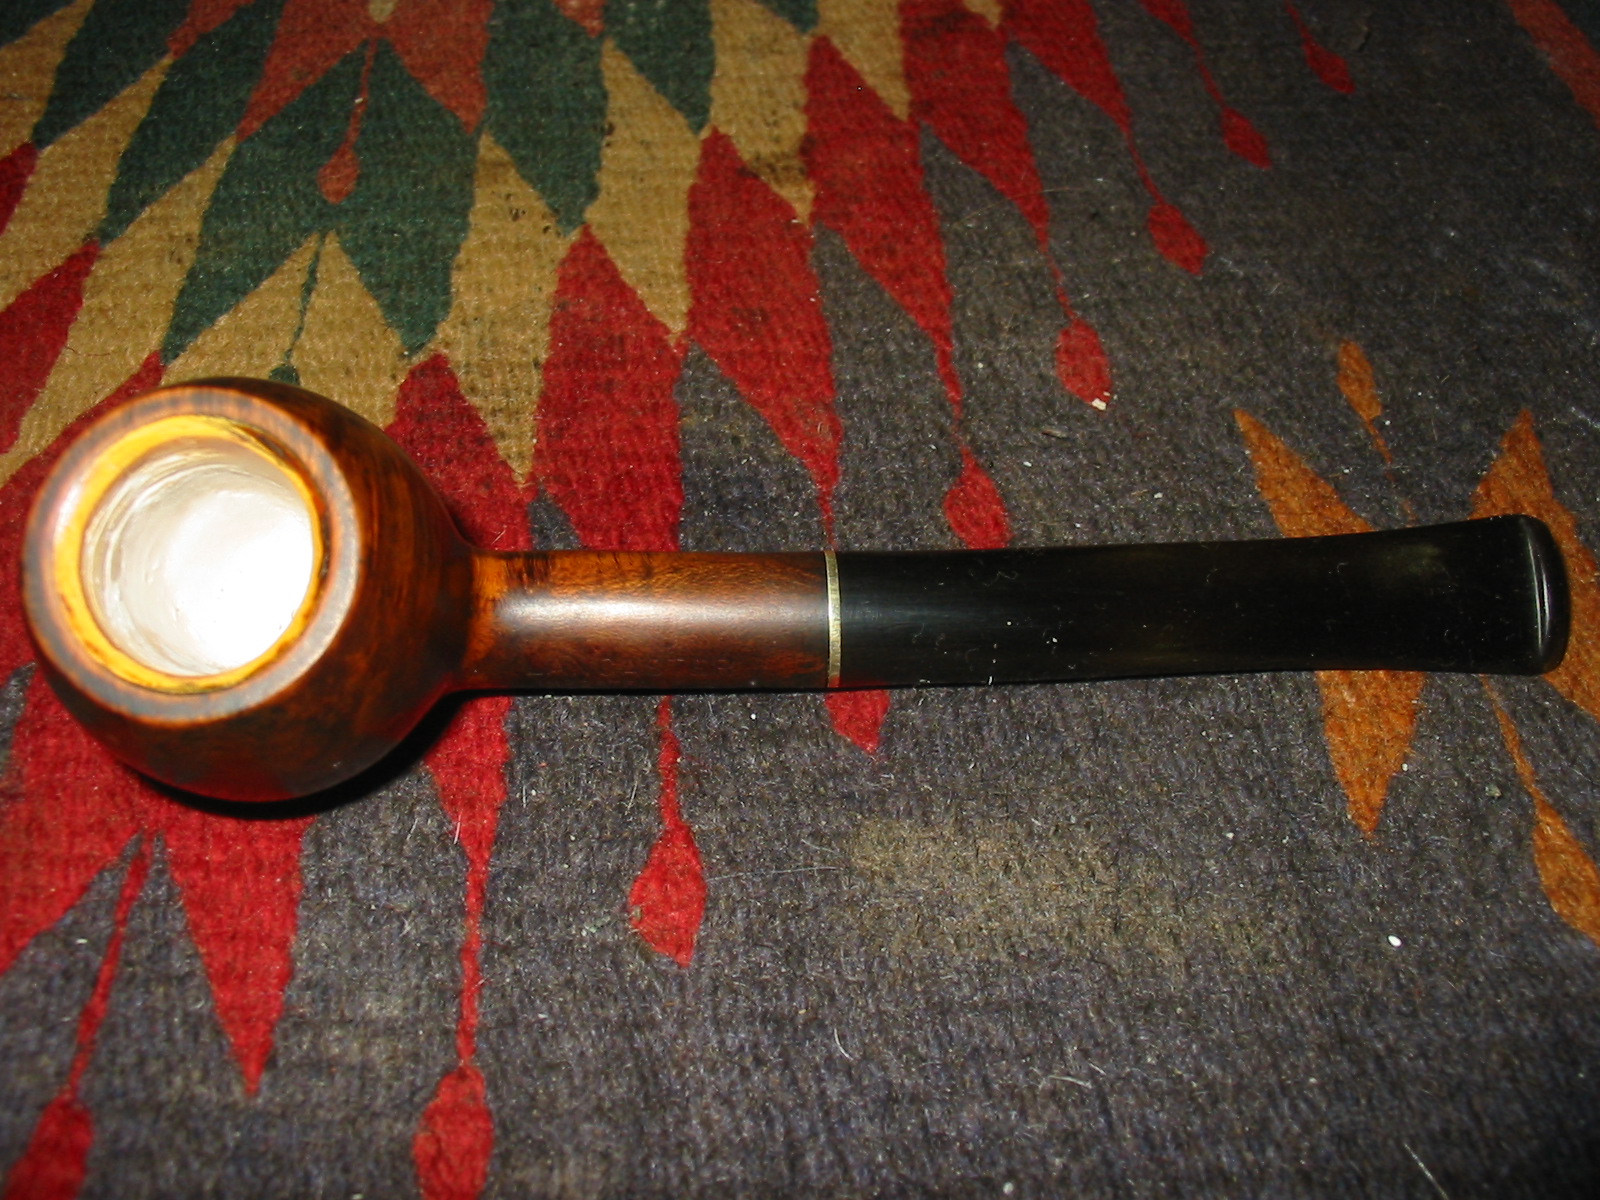
Restemming and Repairing a Meerschaum Lined Lancaster Billiard


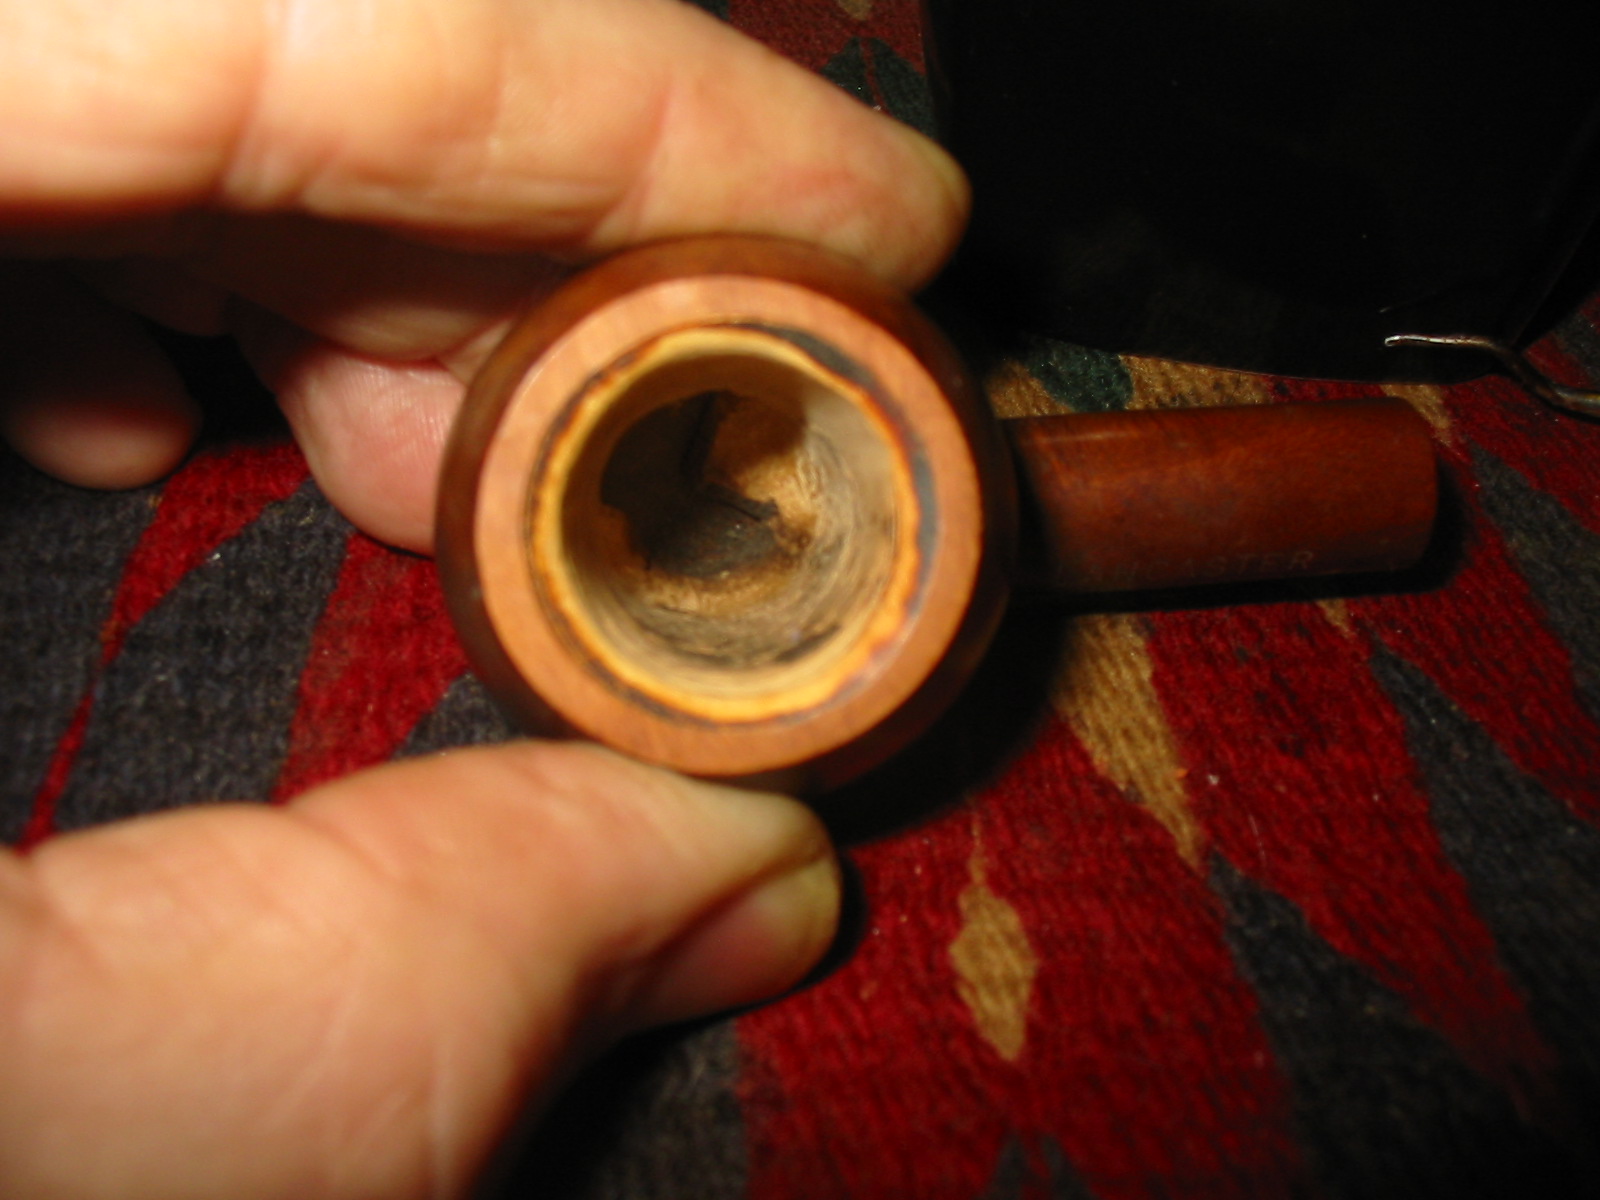
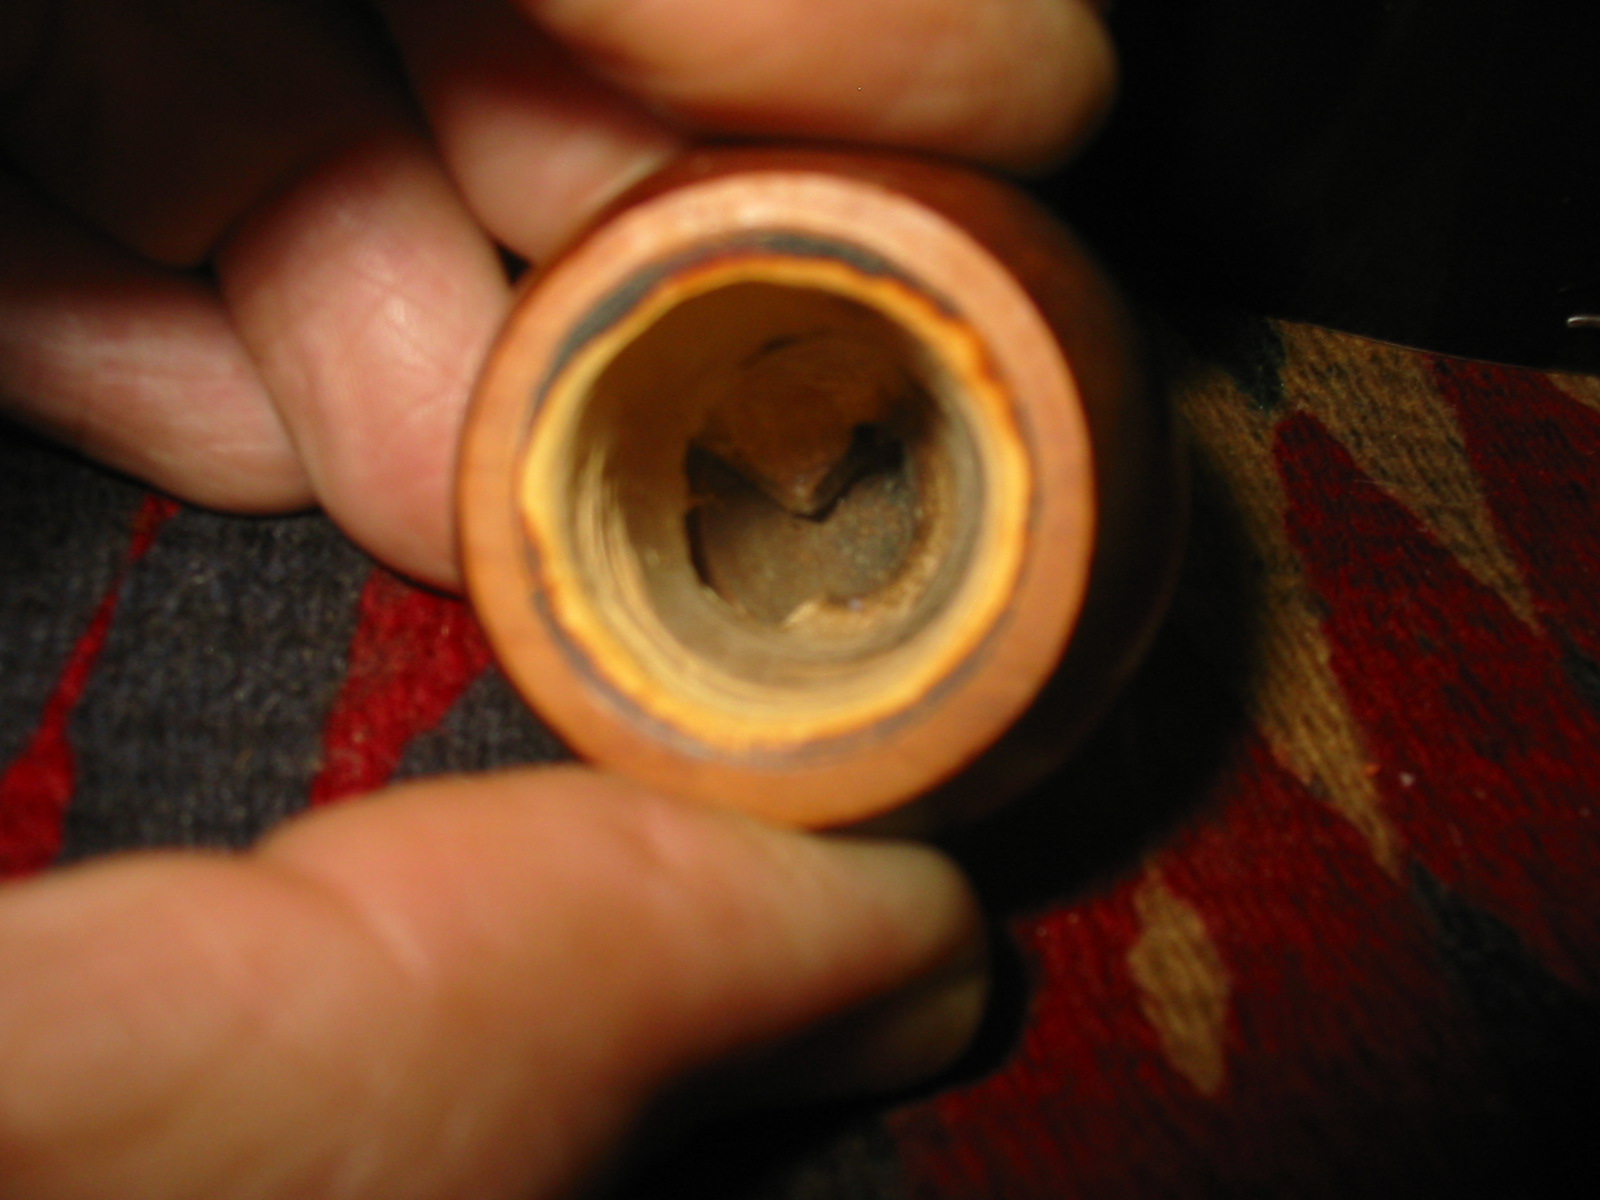
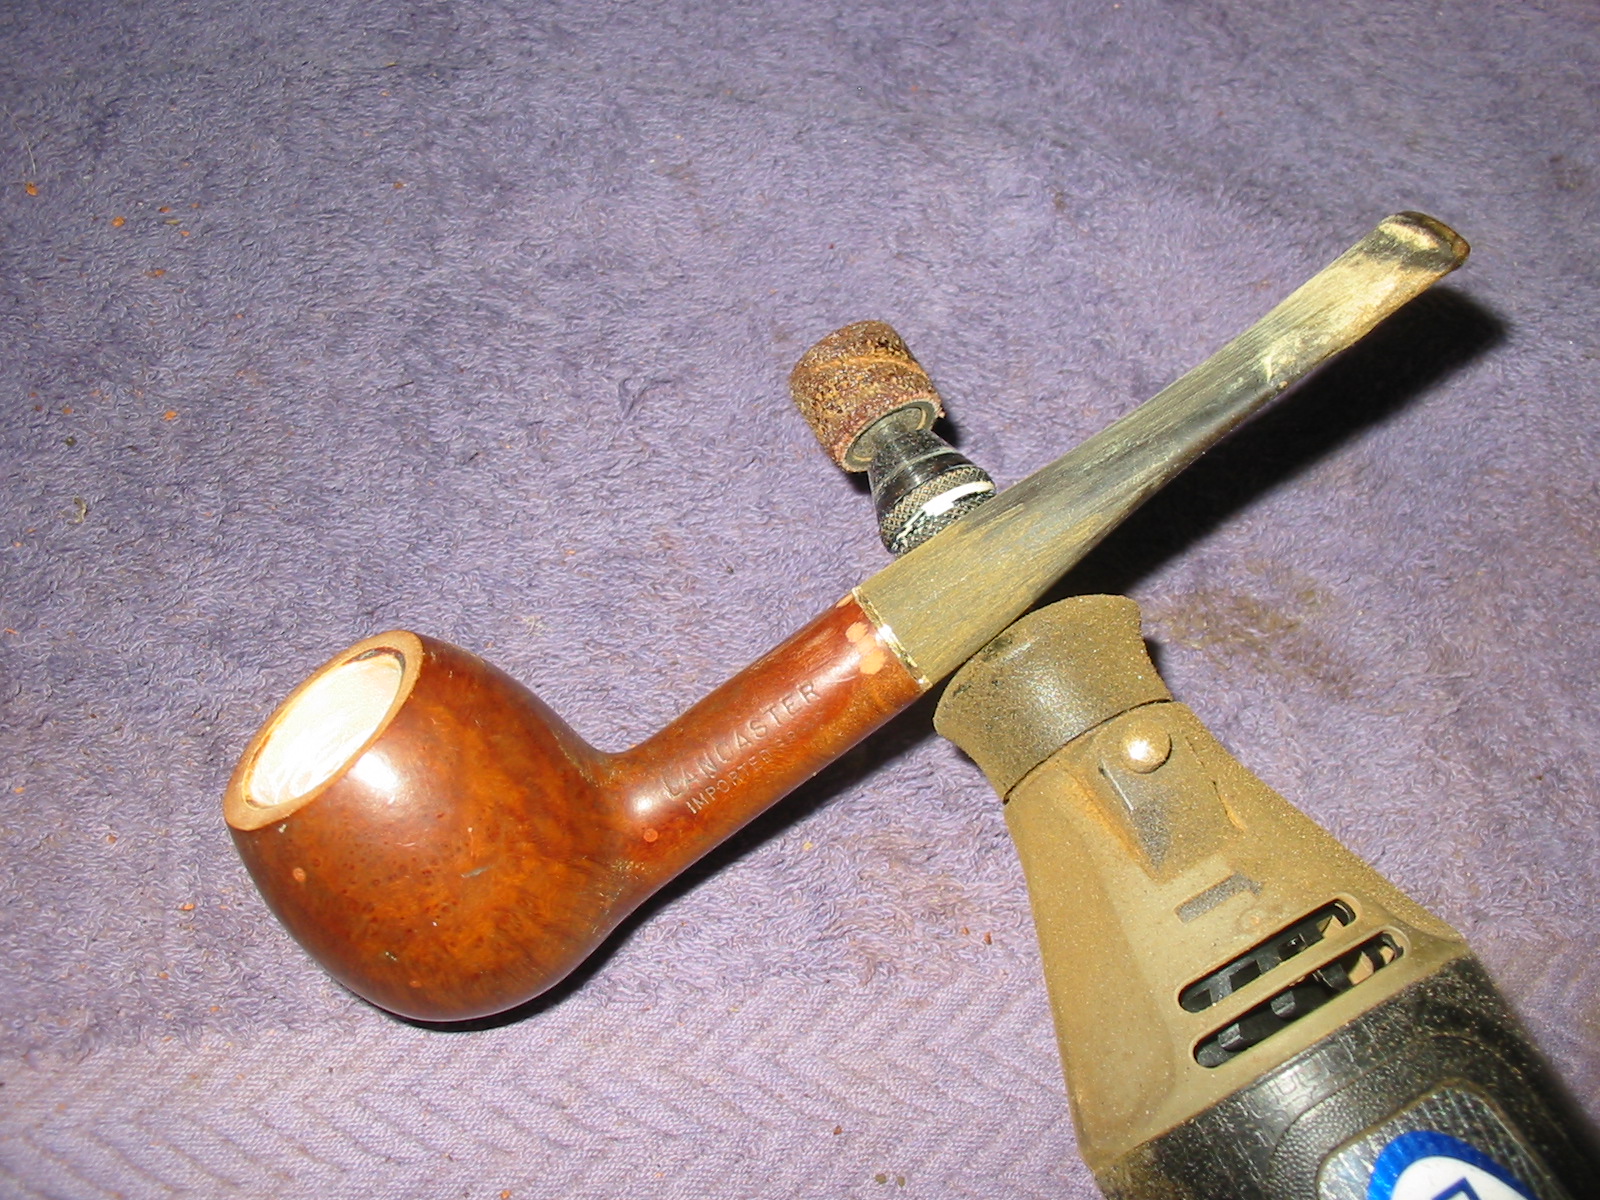
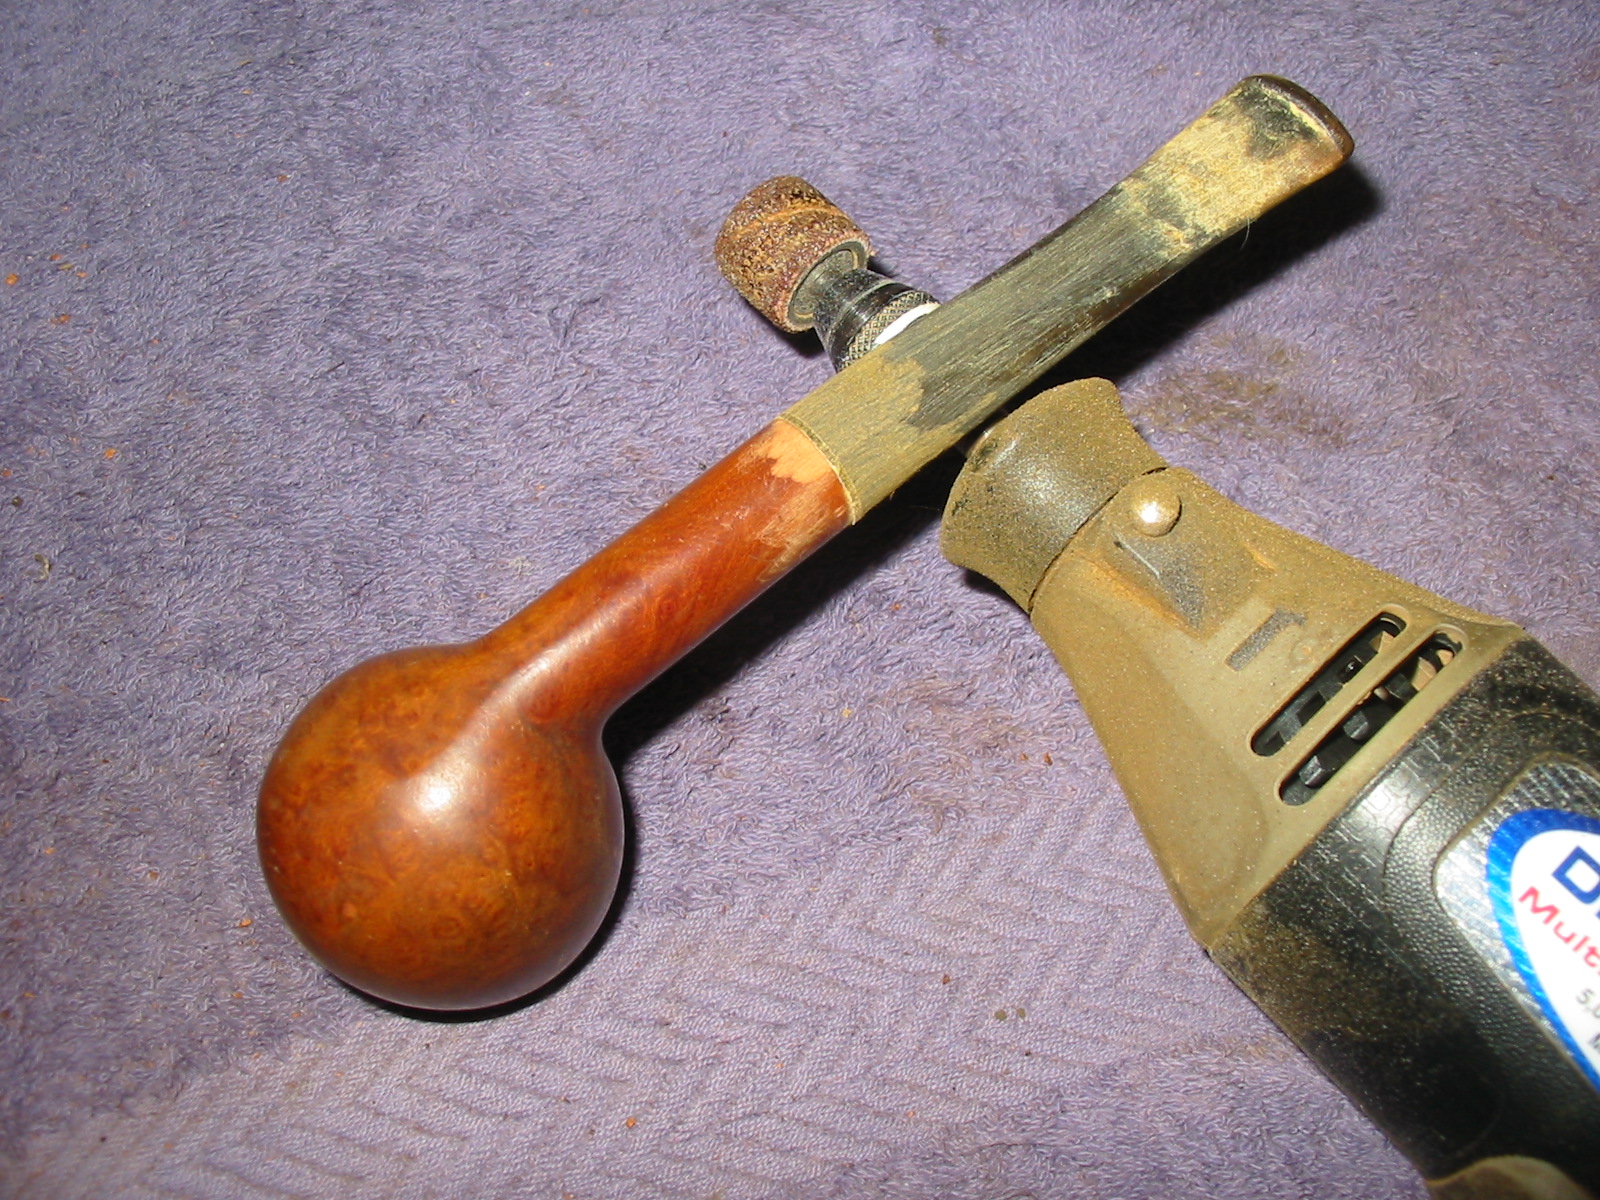
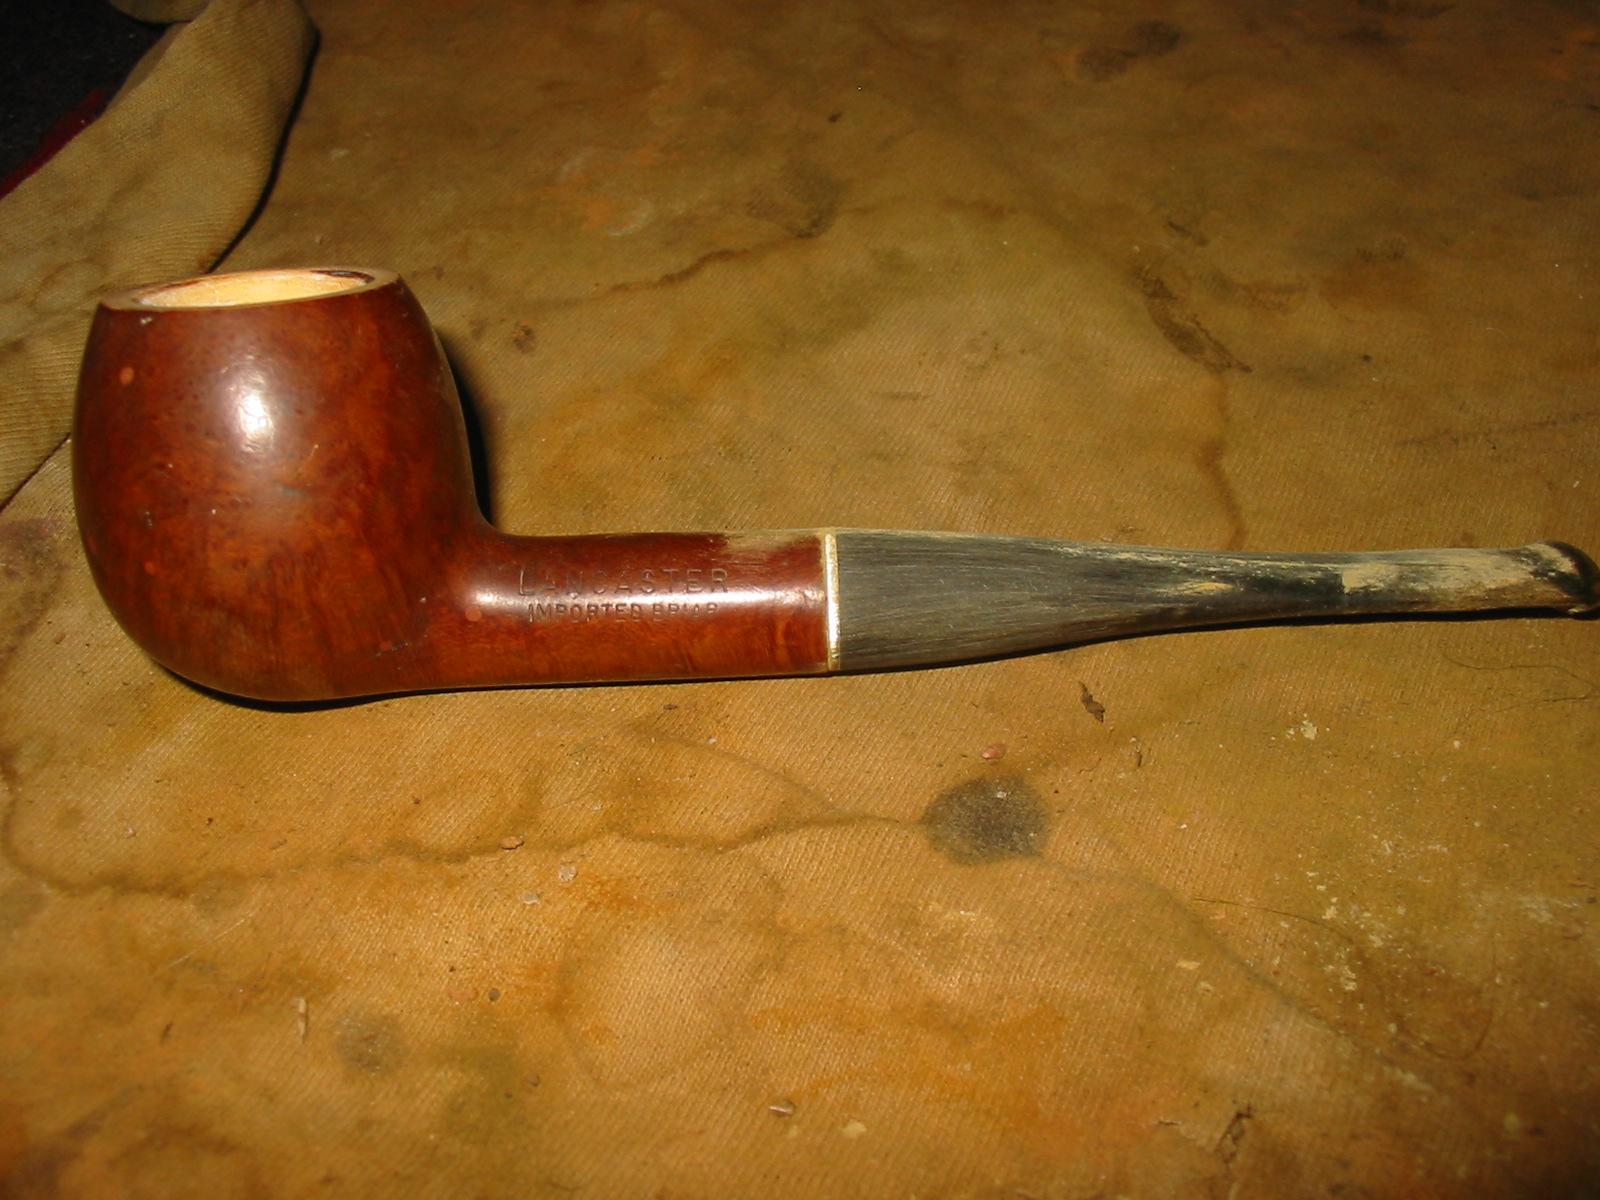
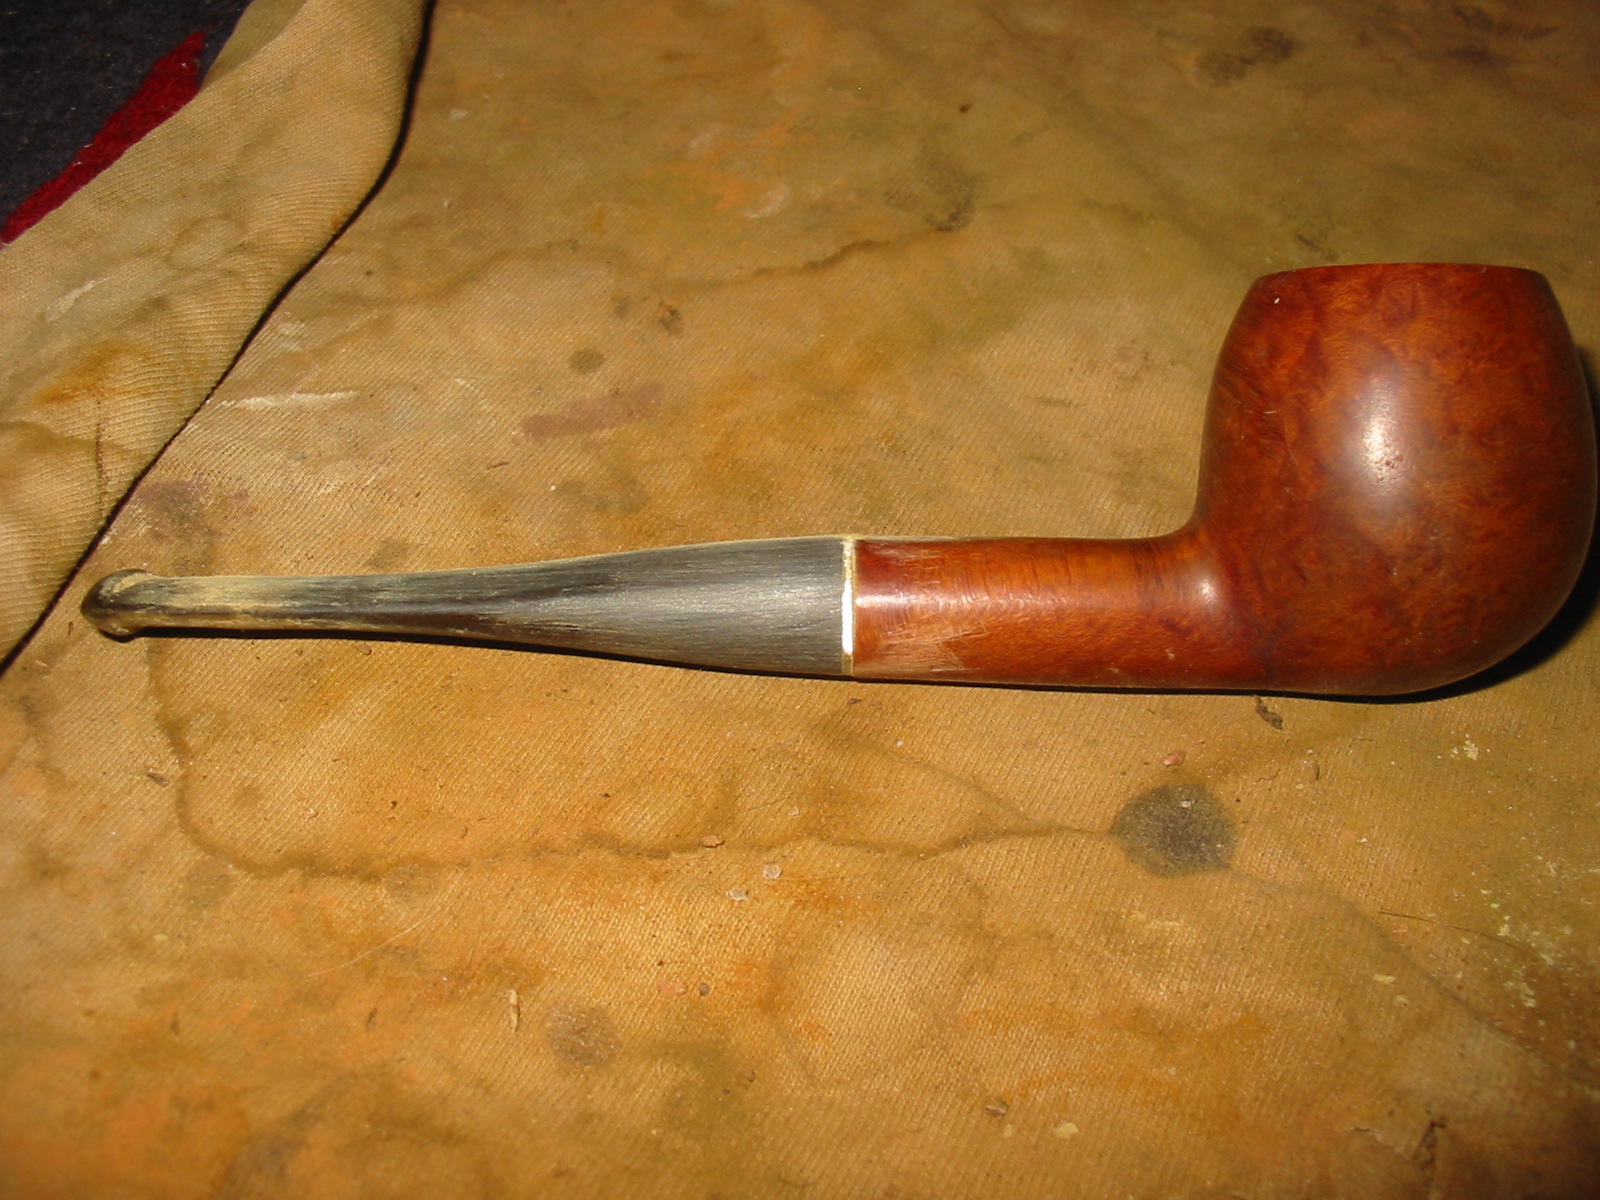
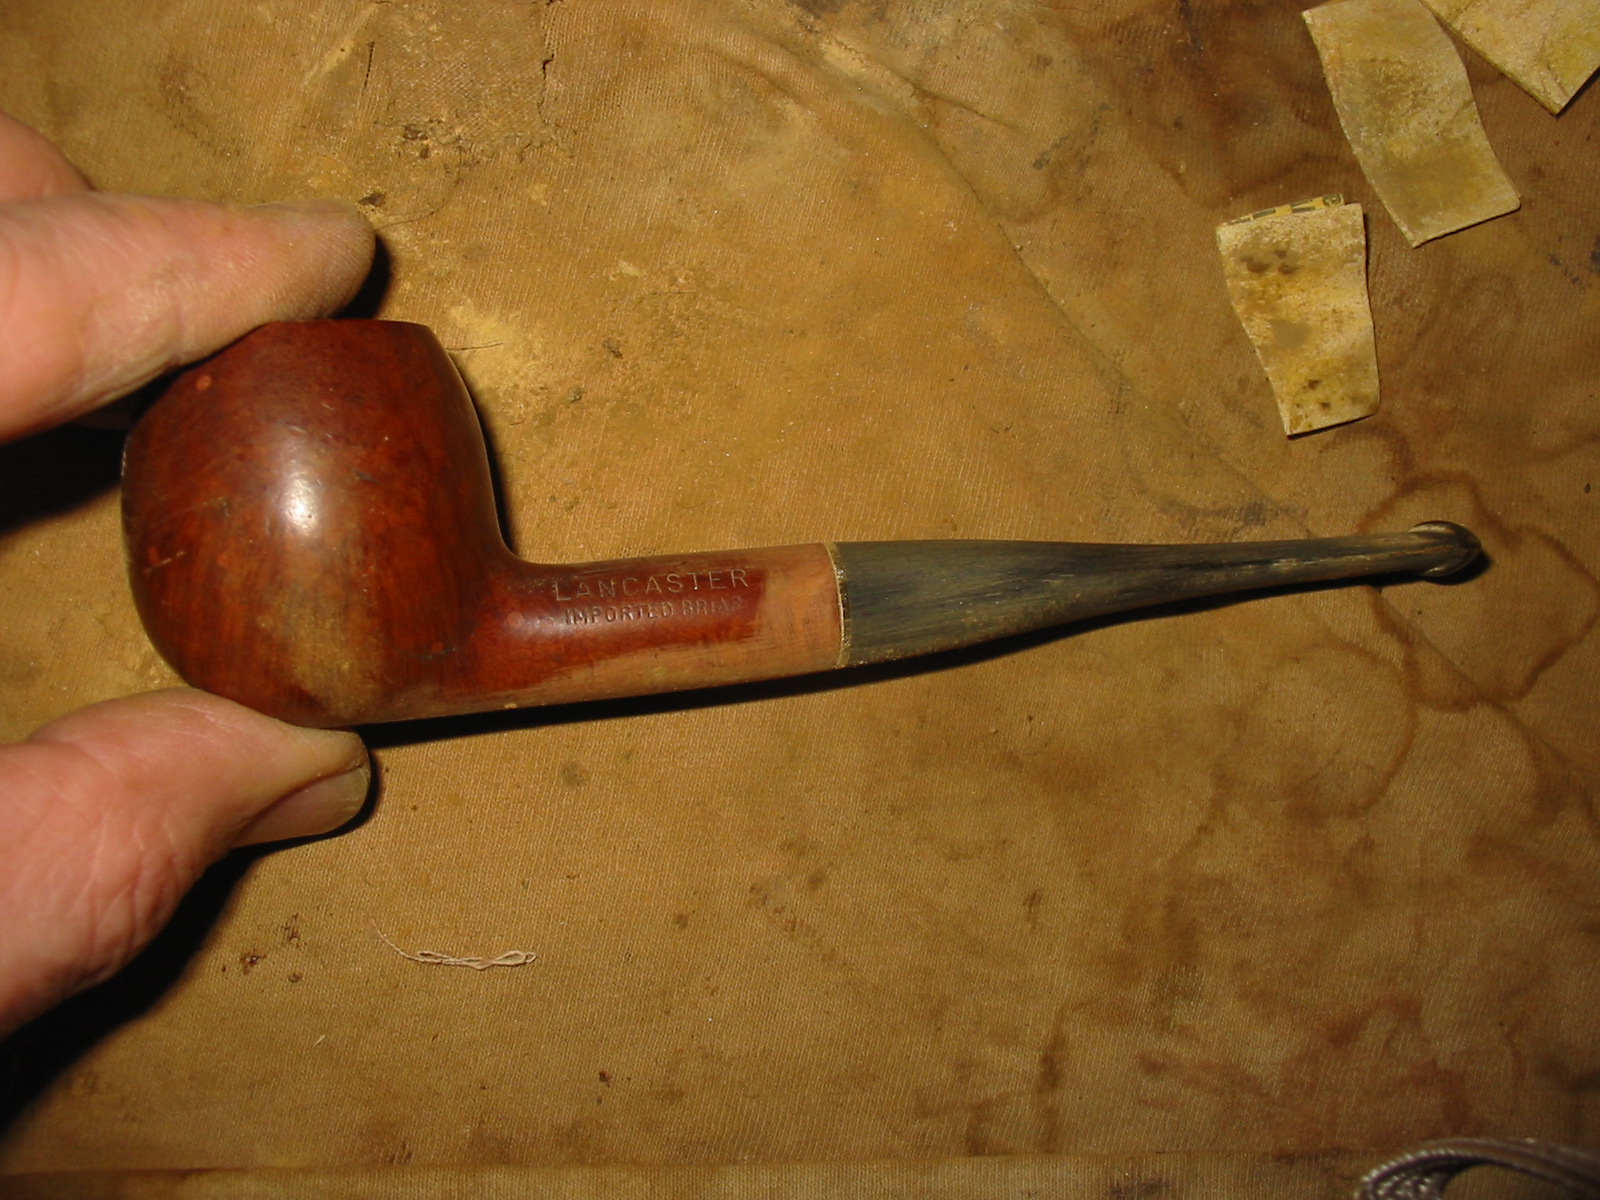
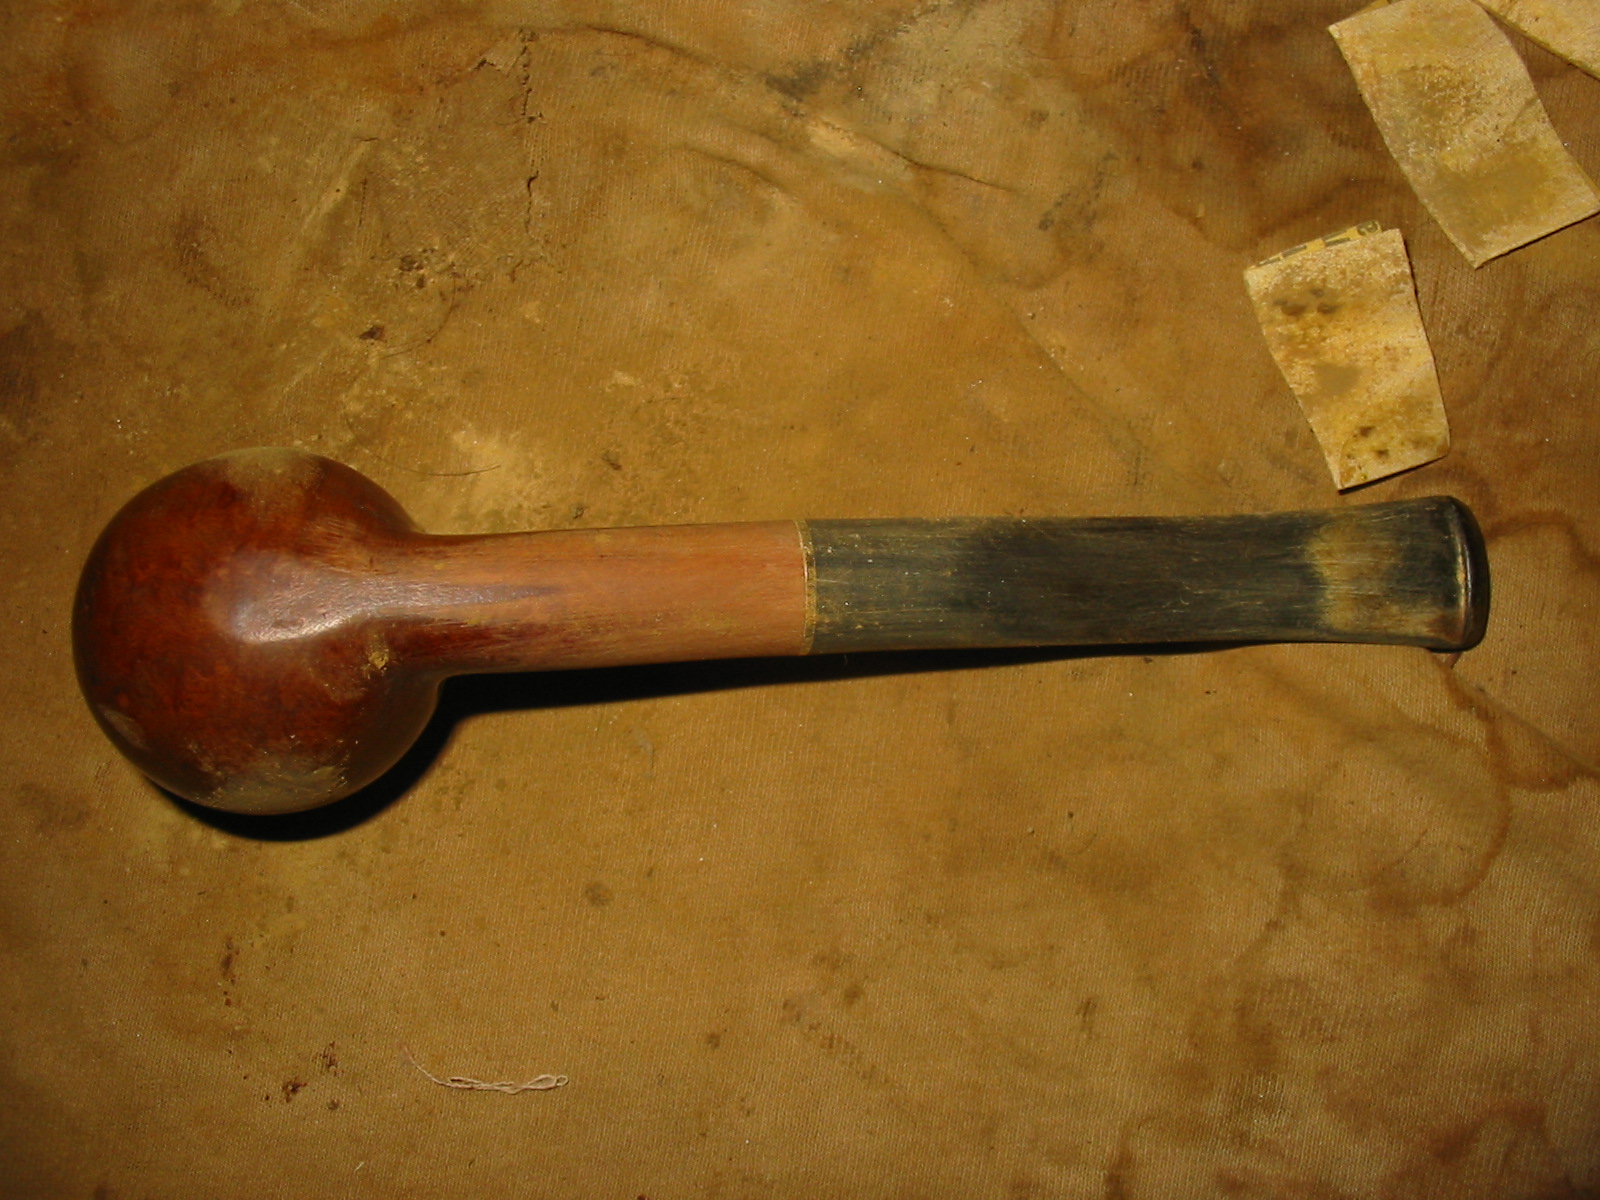
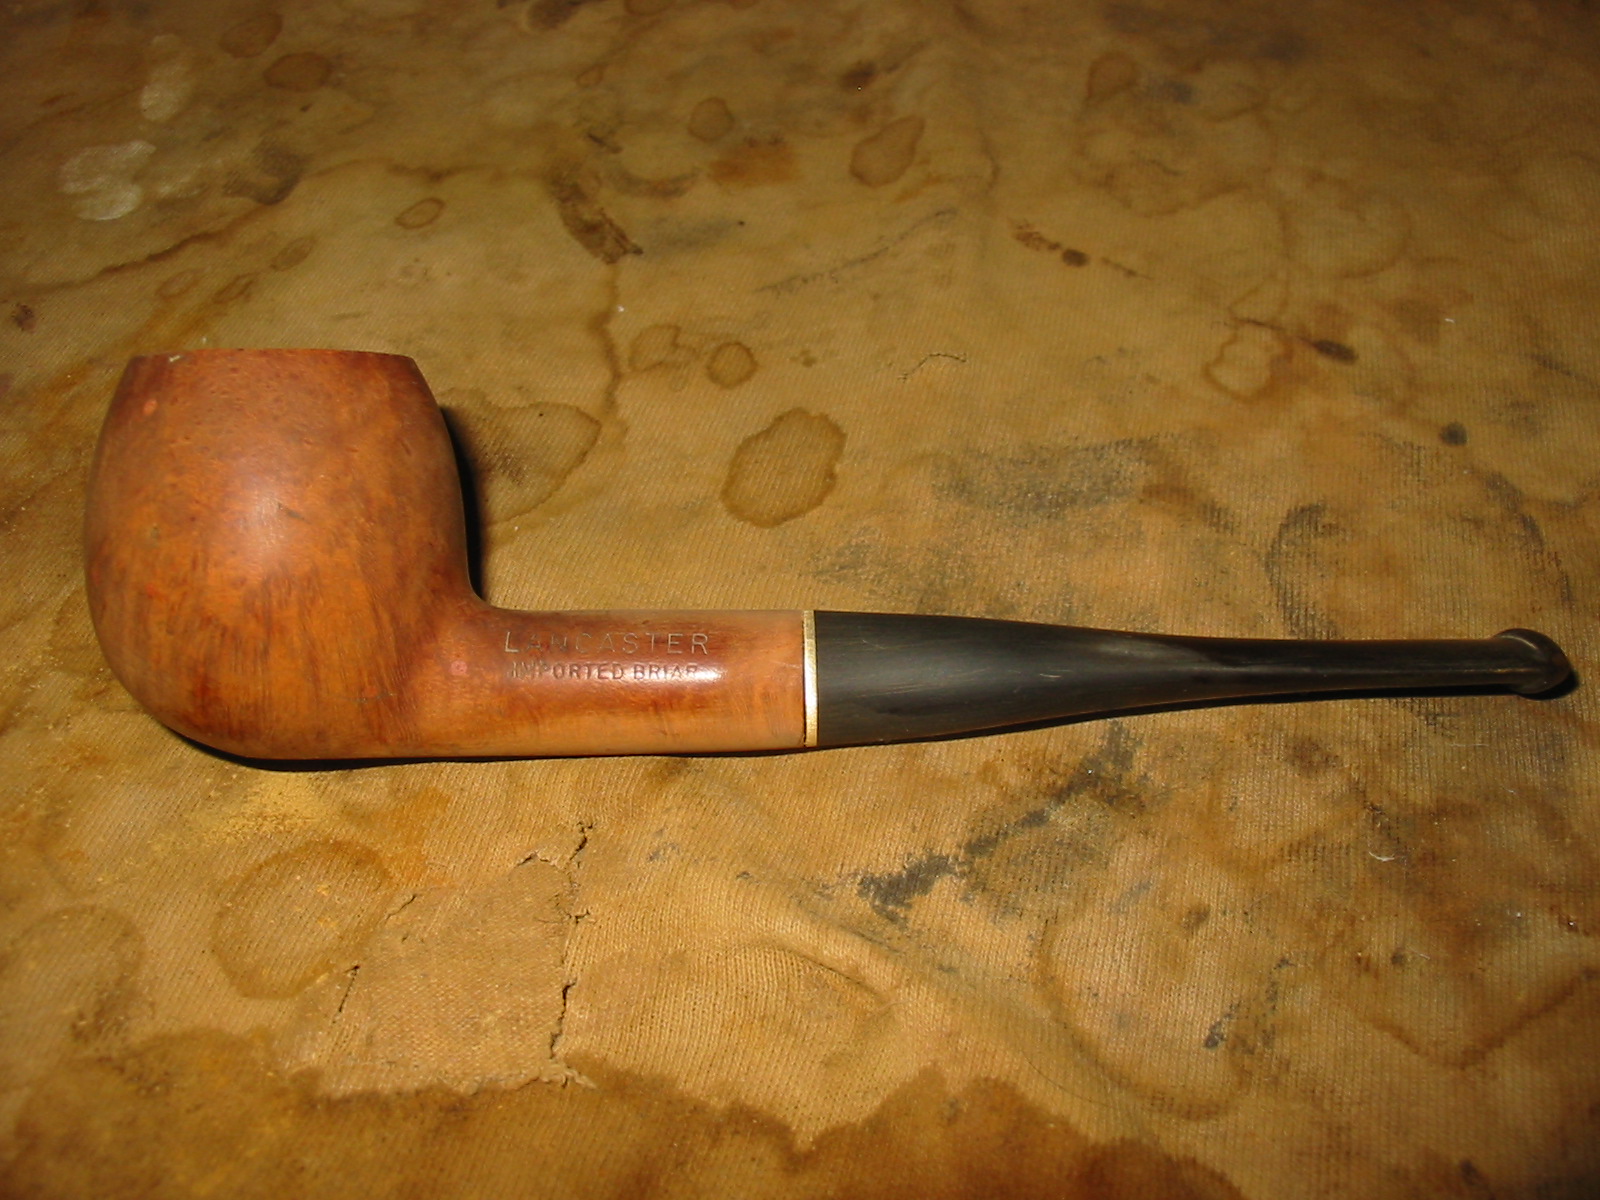
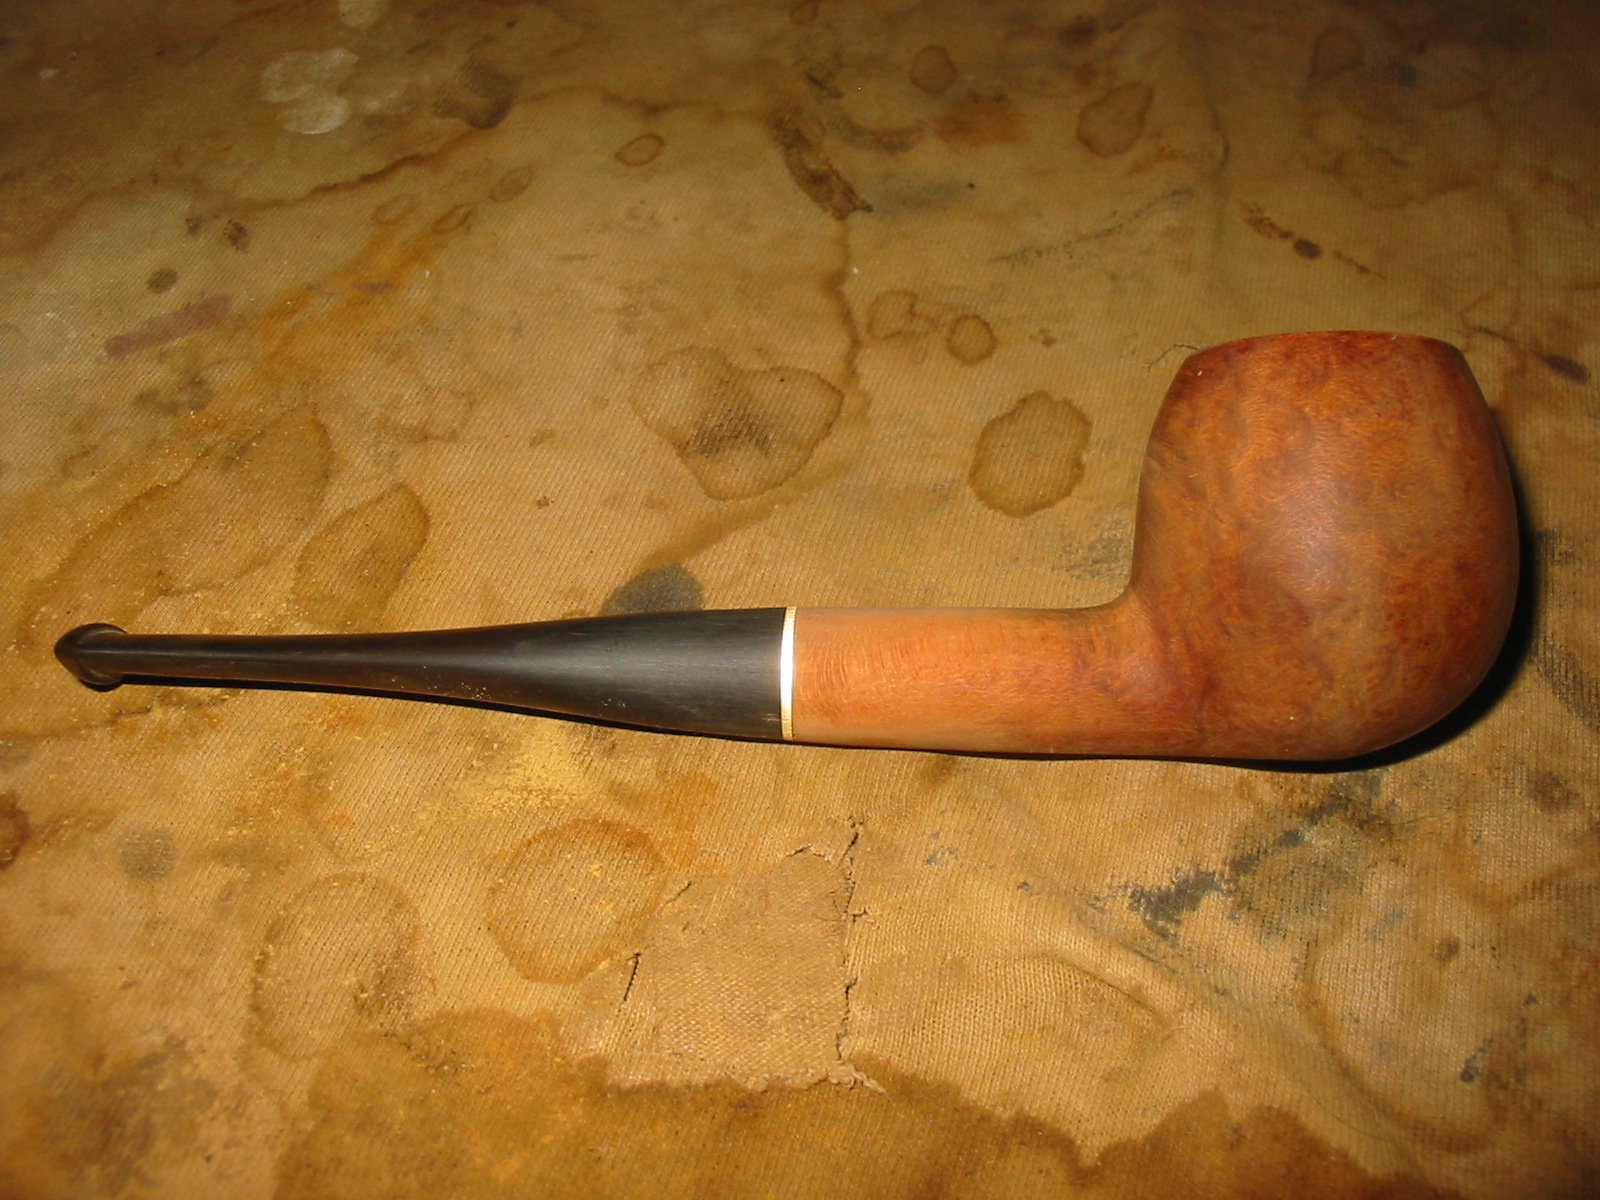
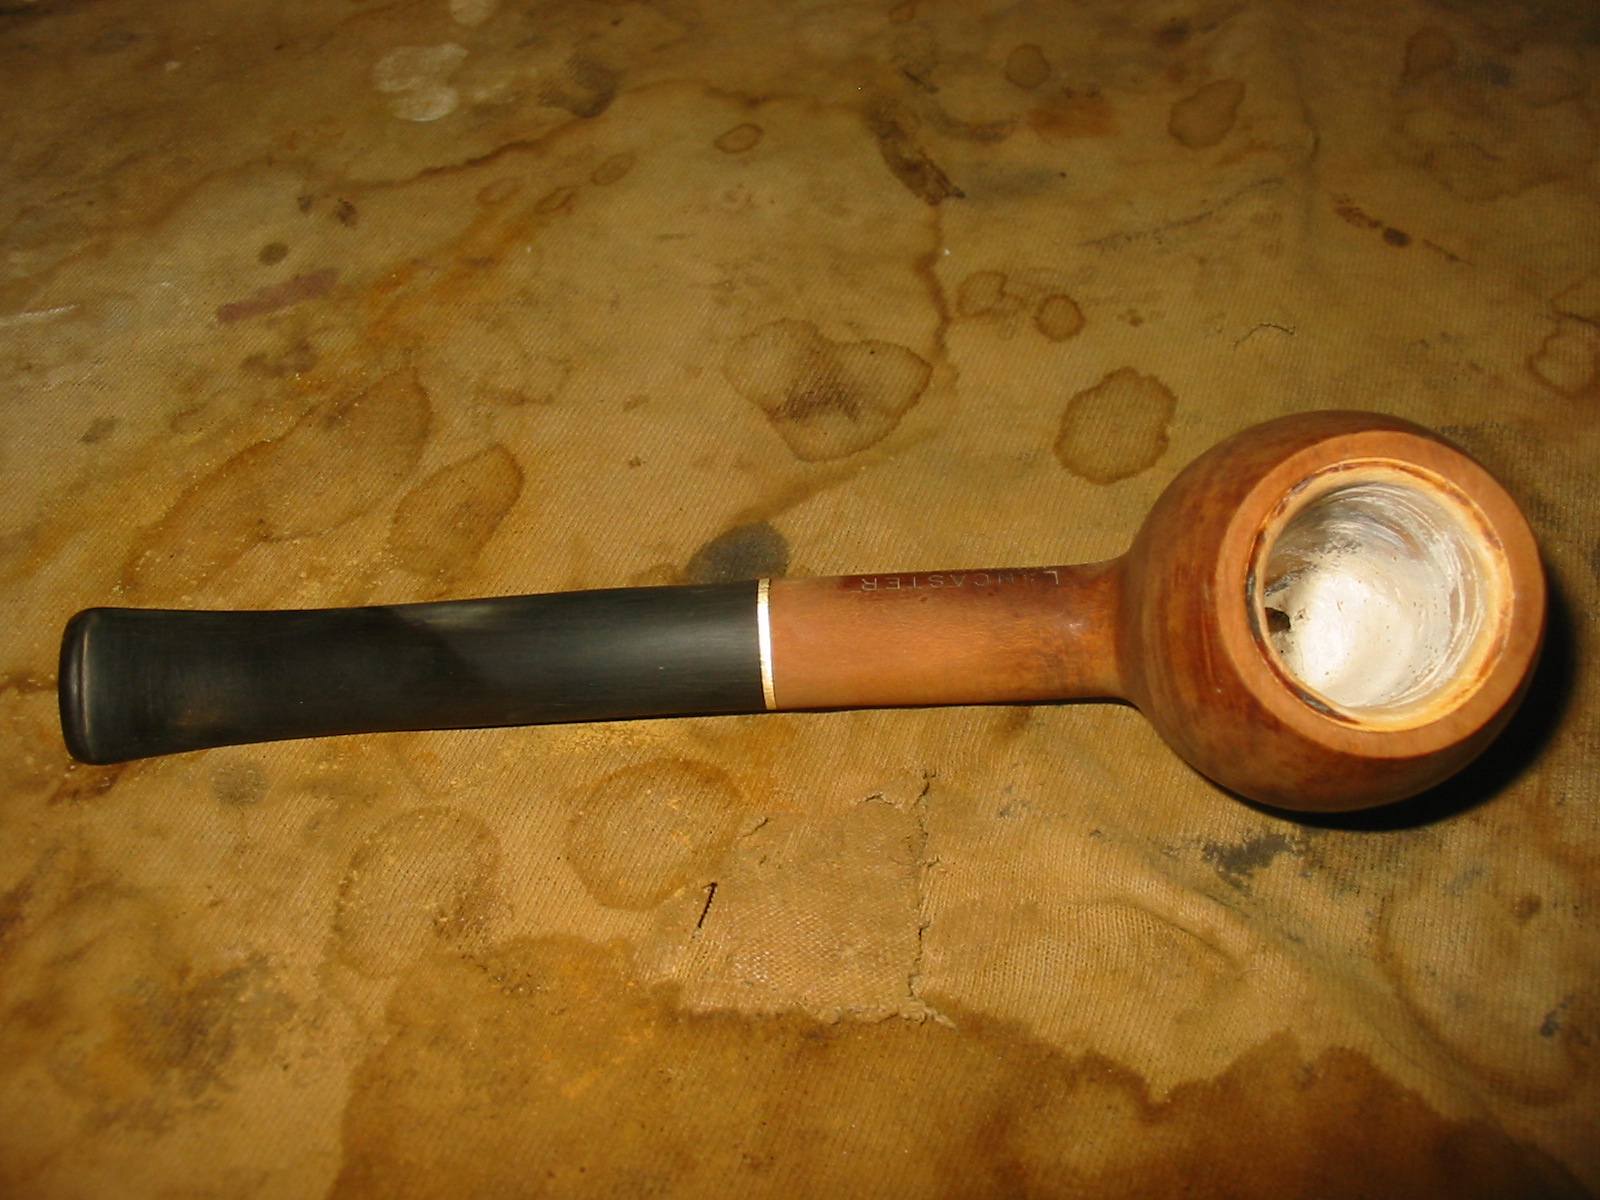
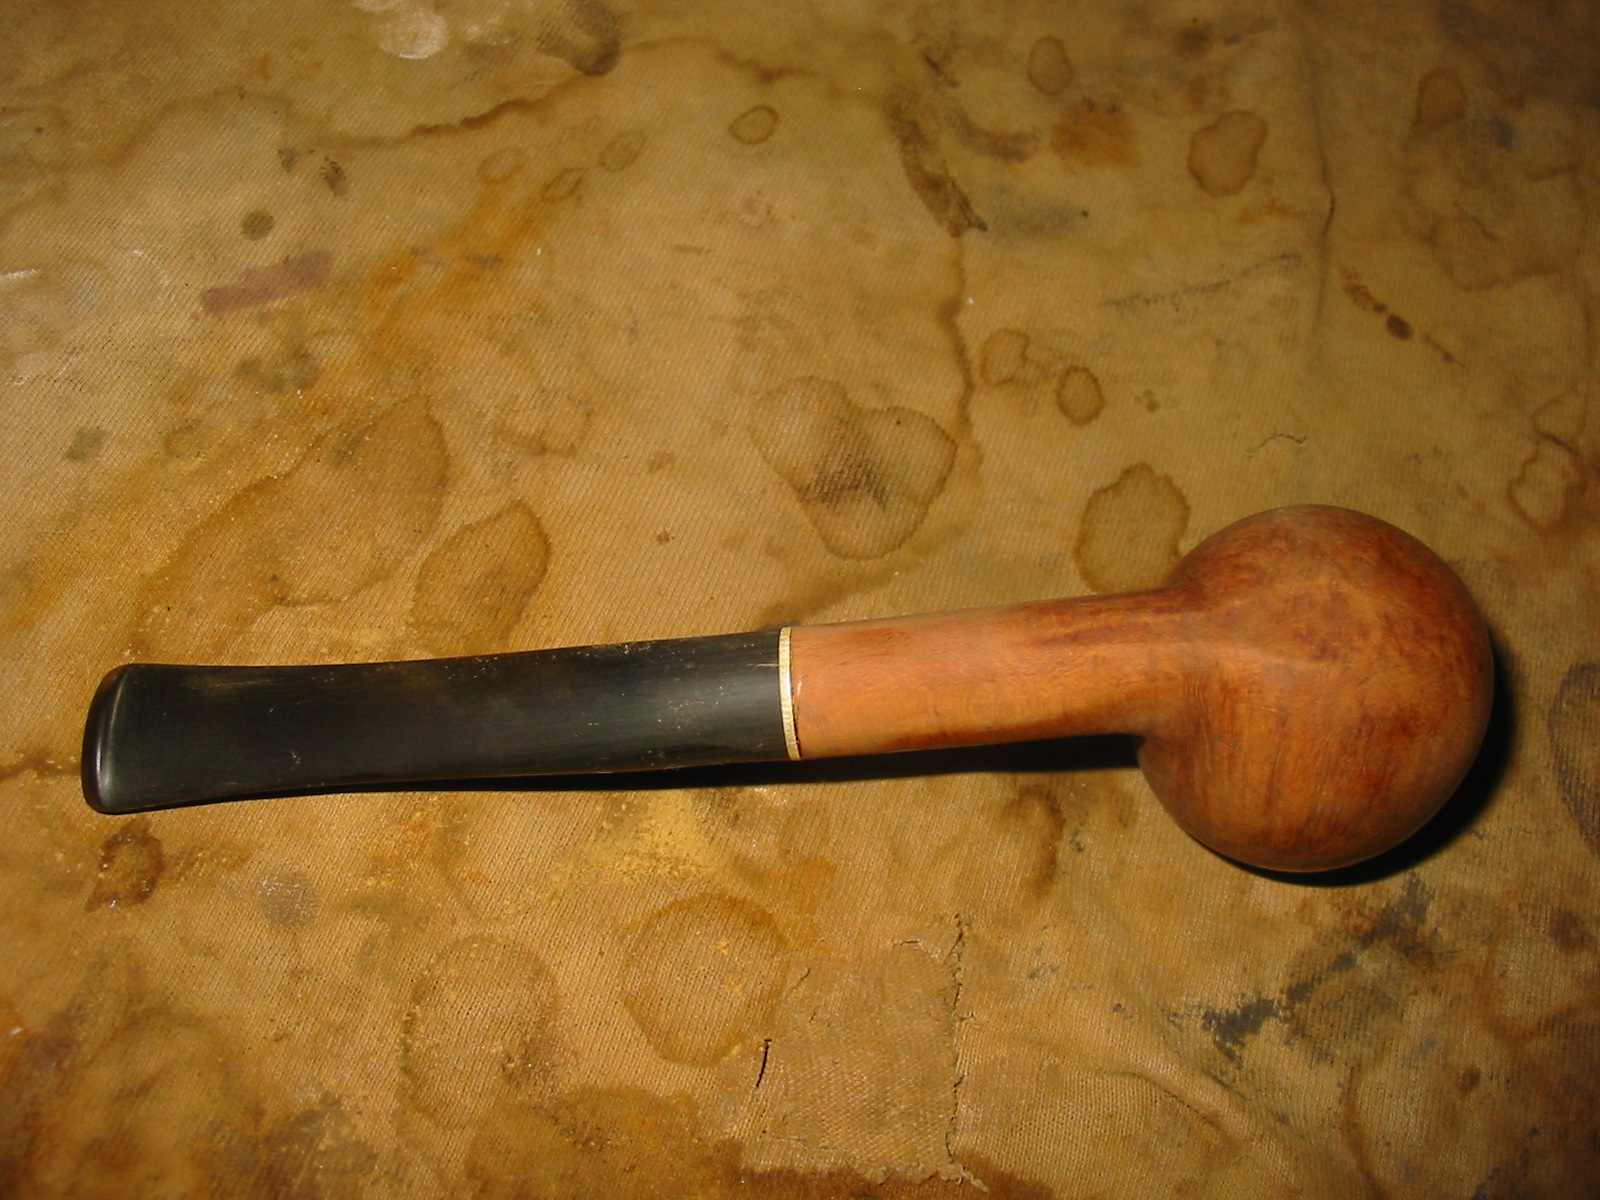
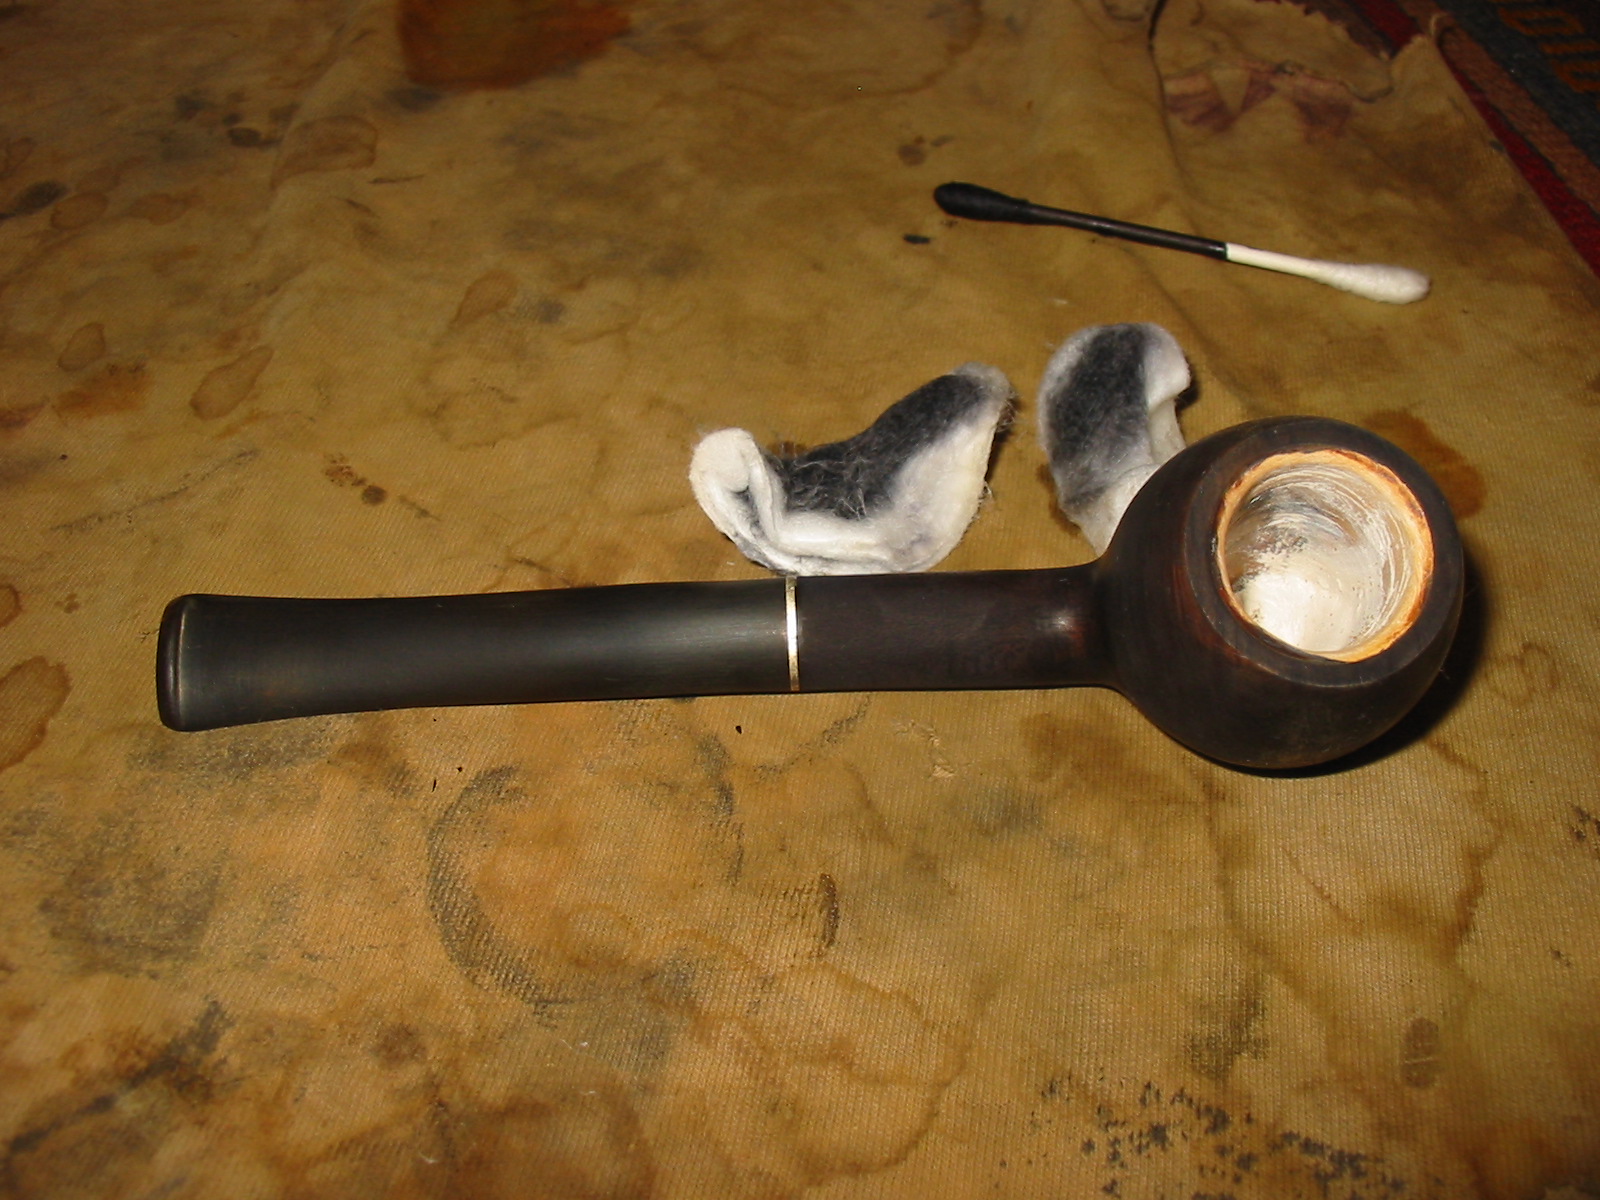
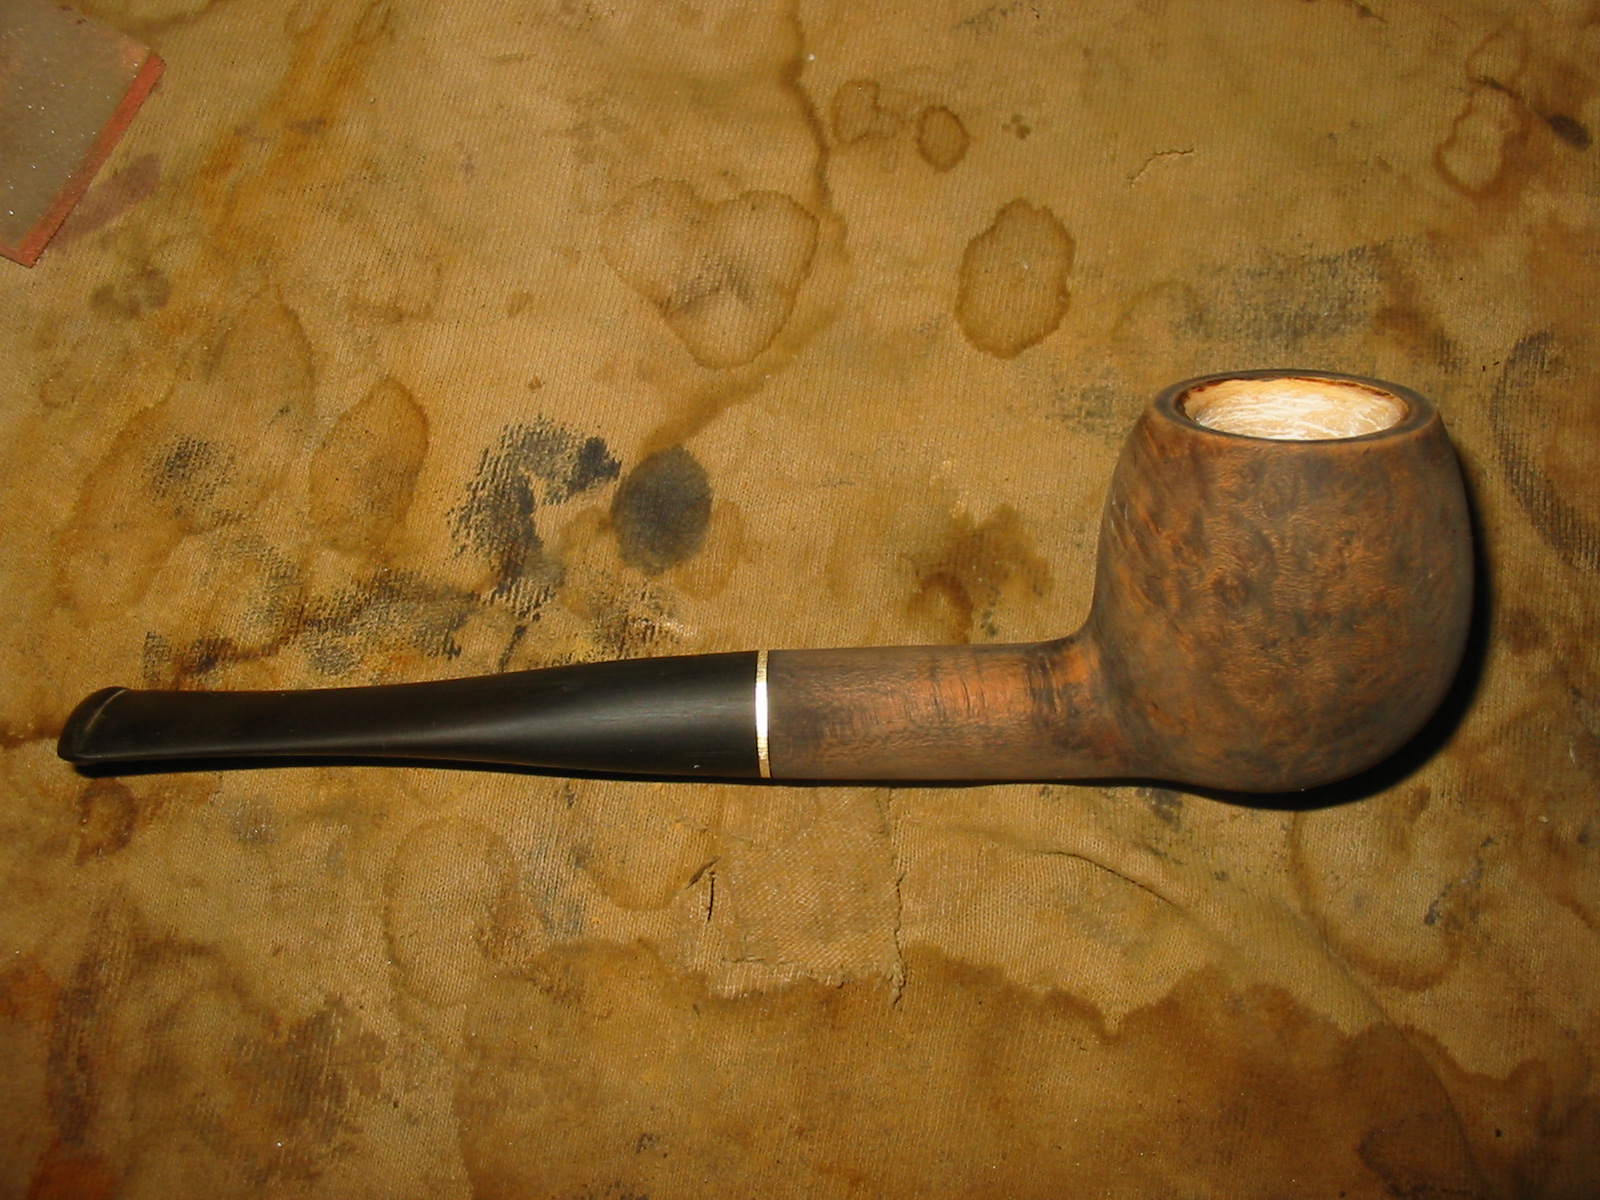
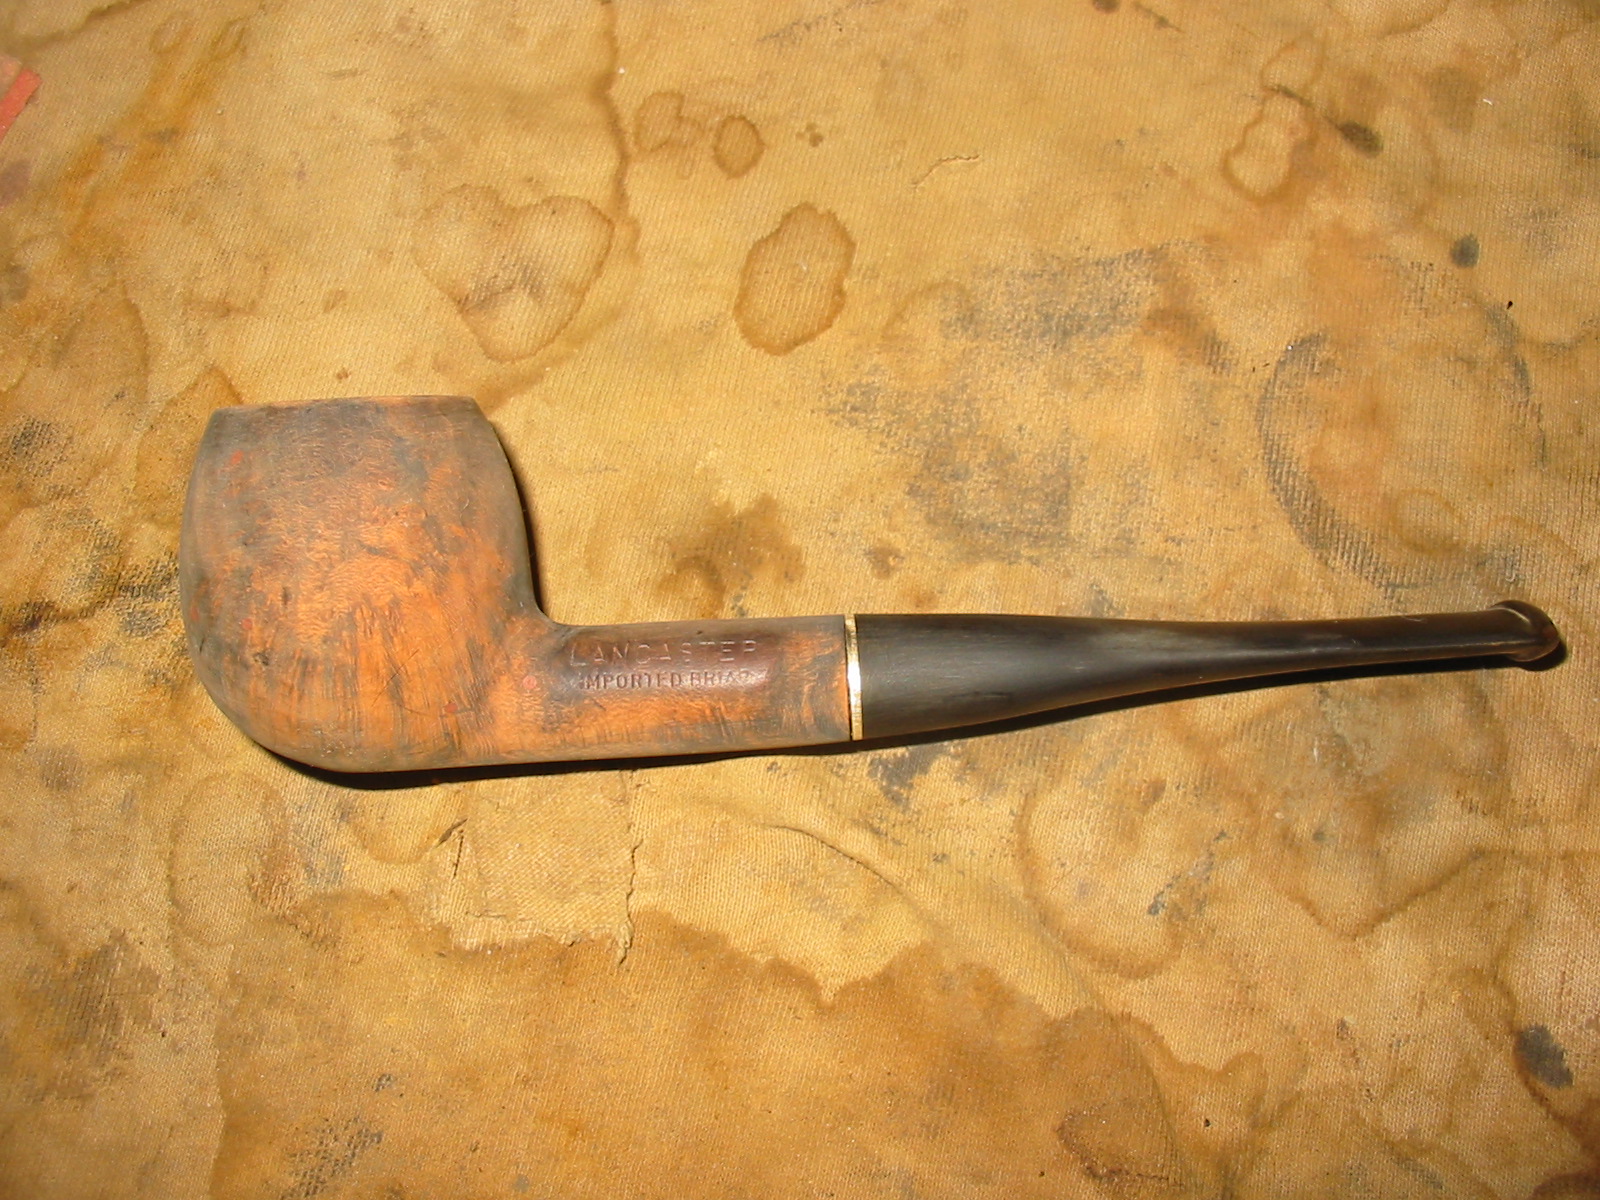
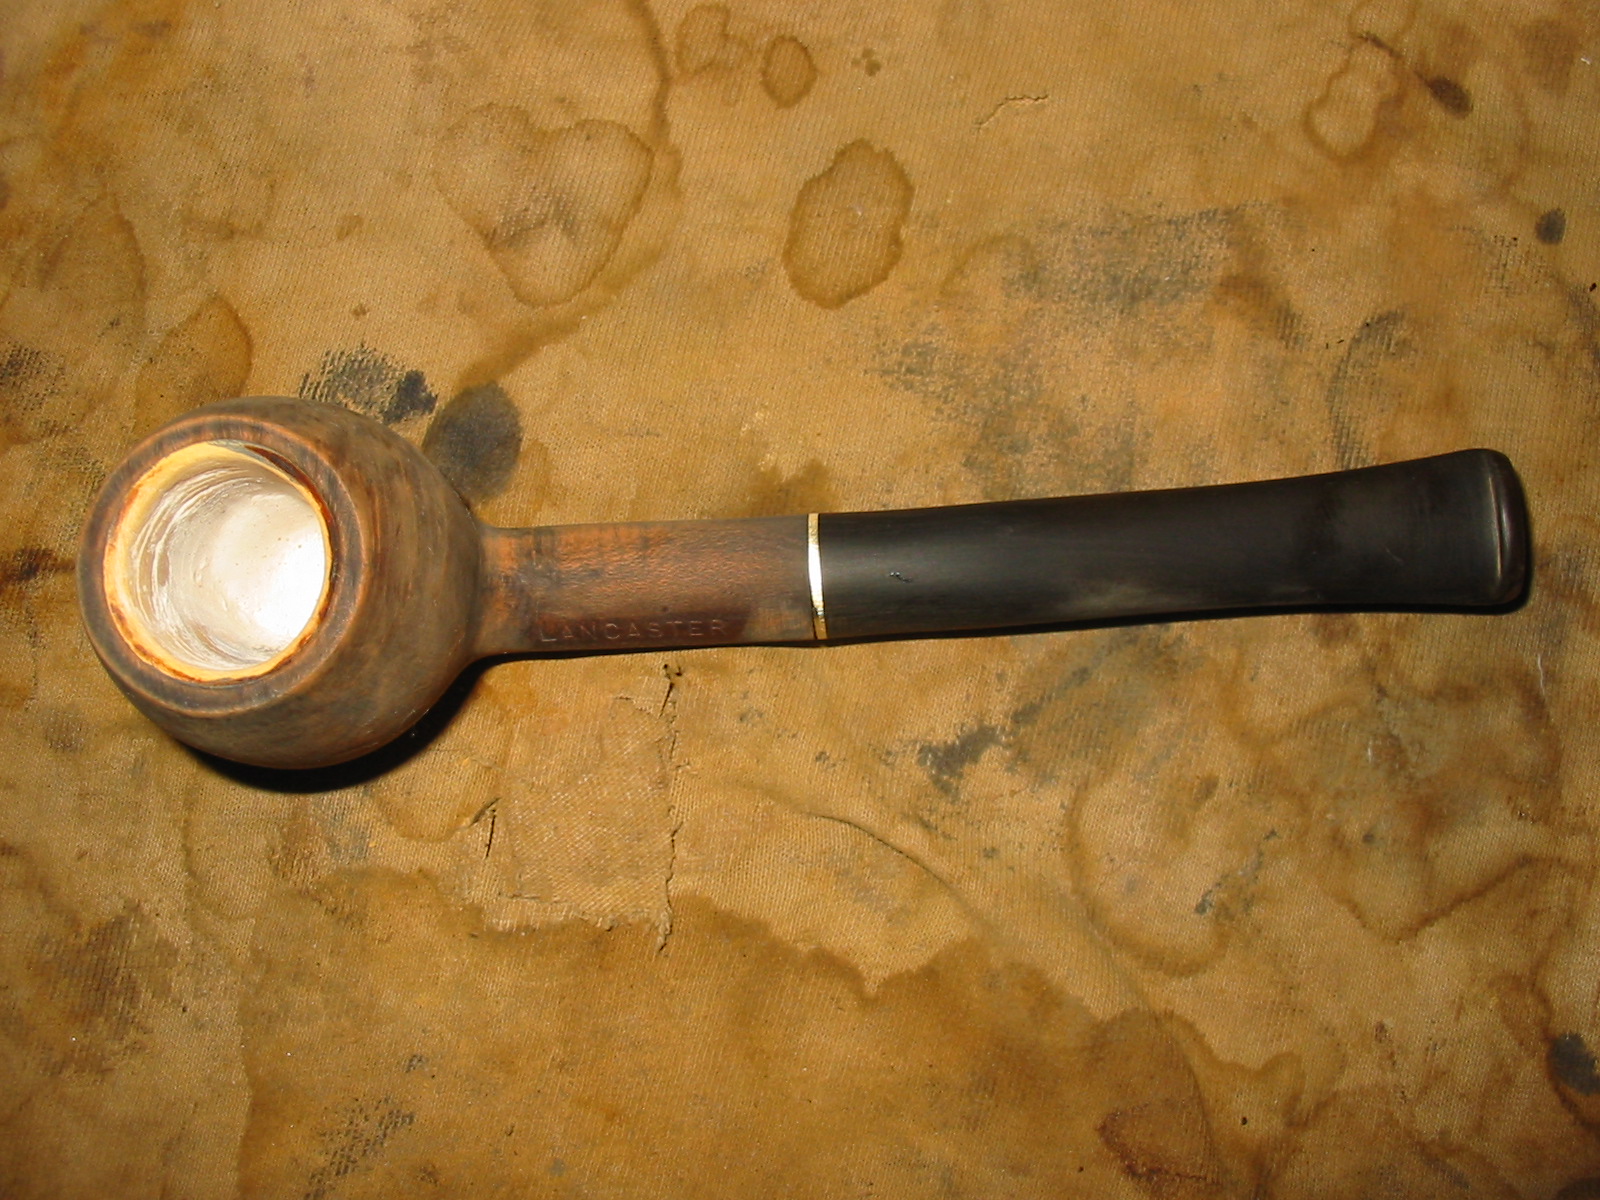
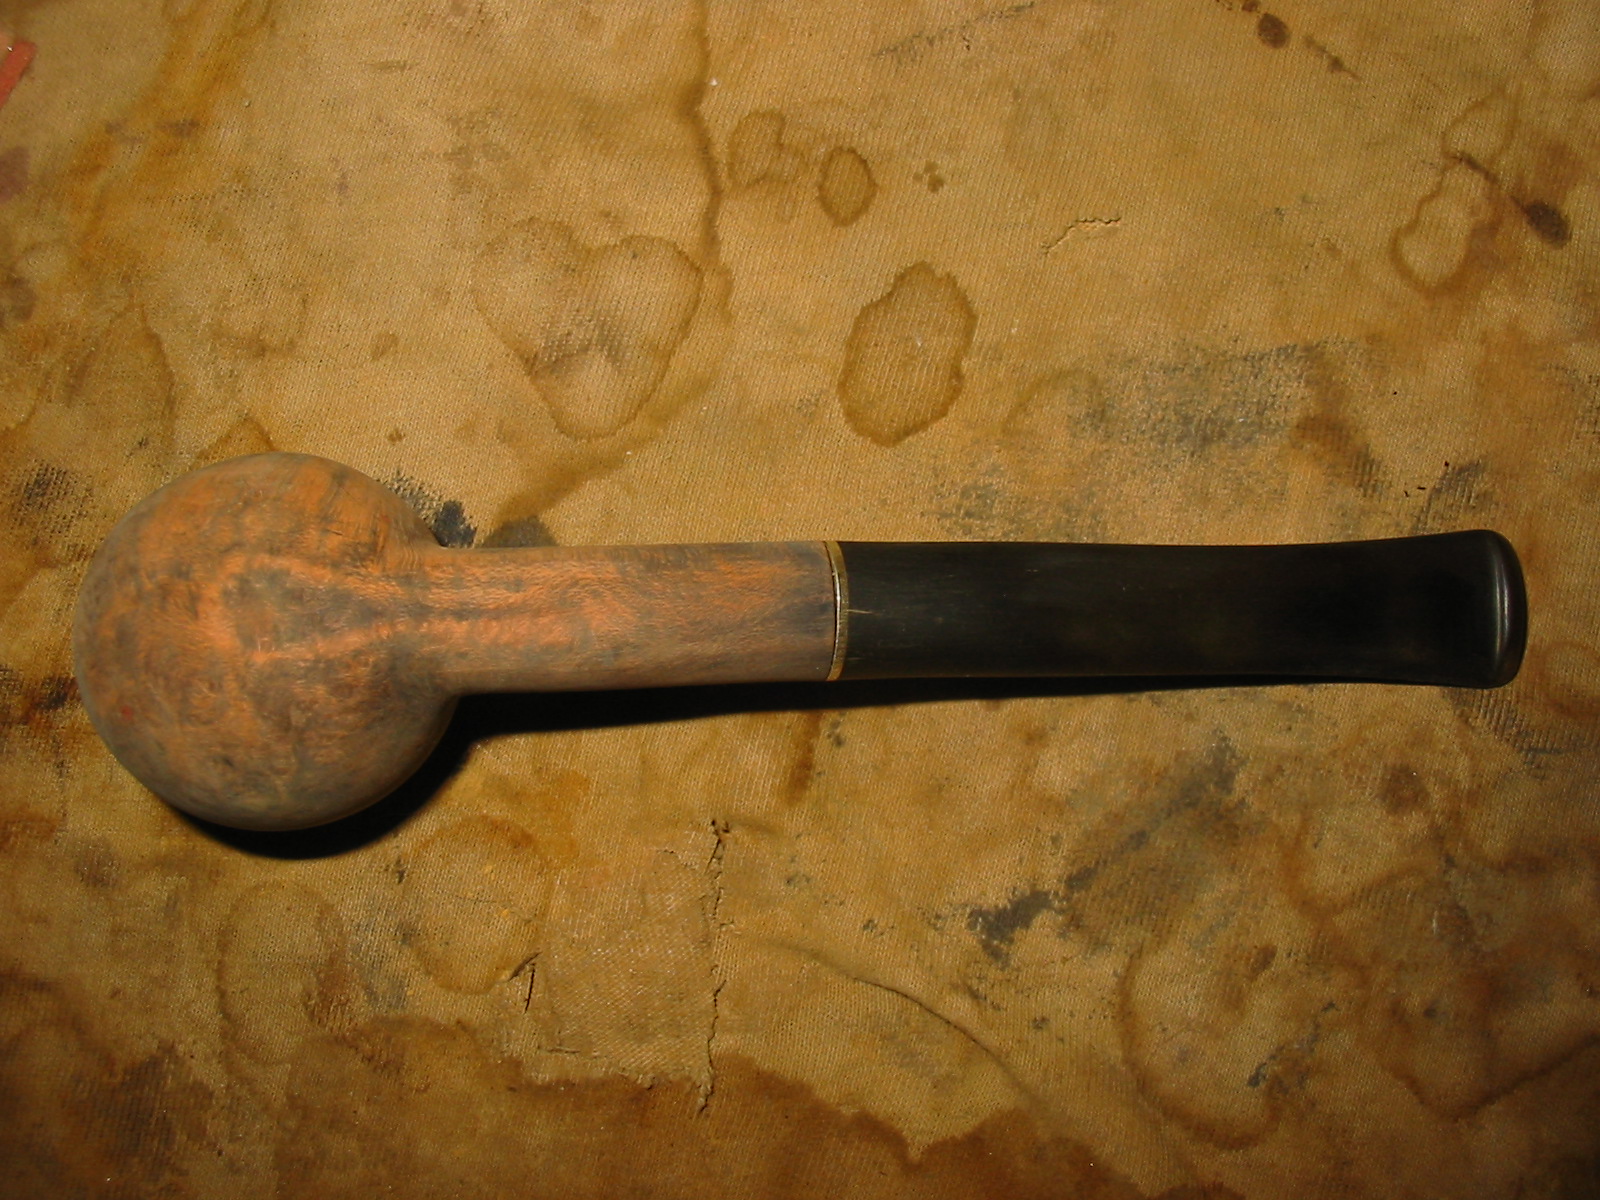
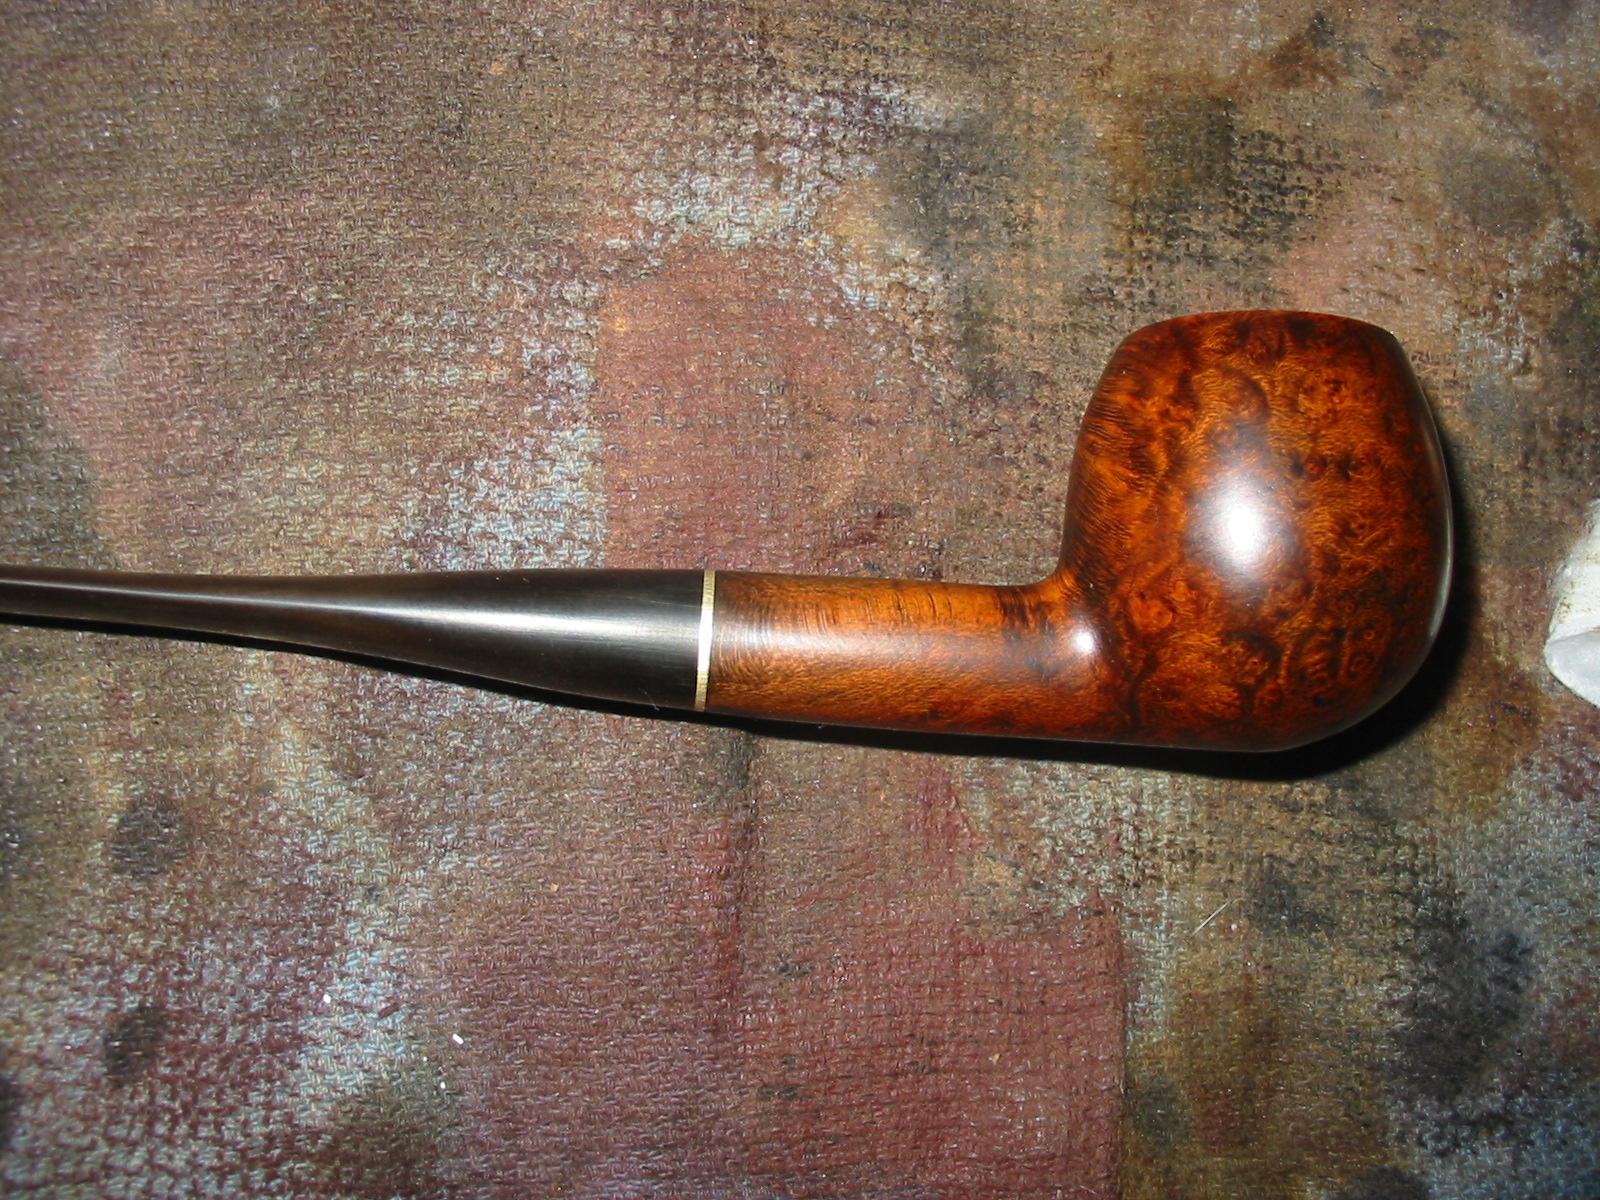
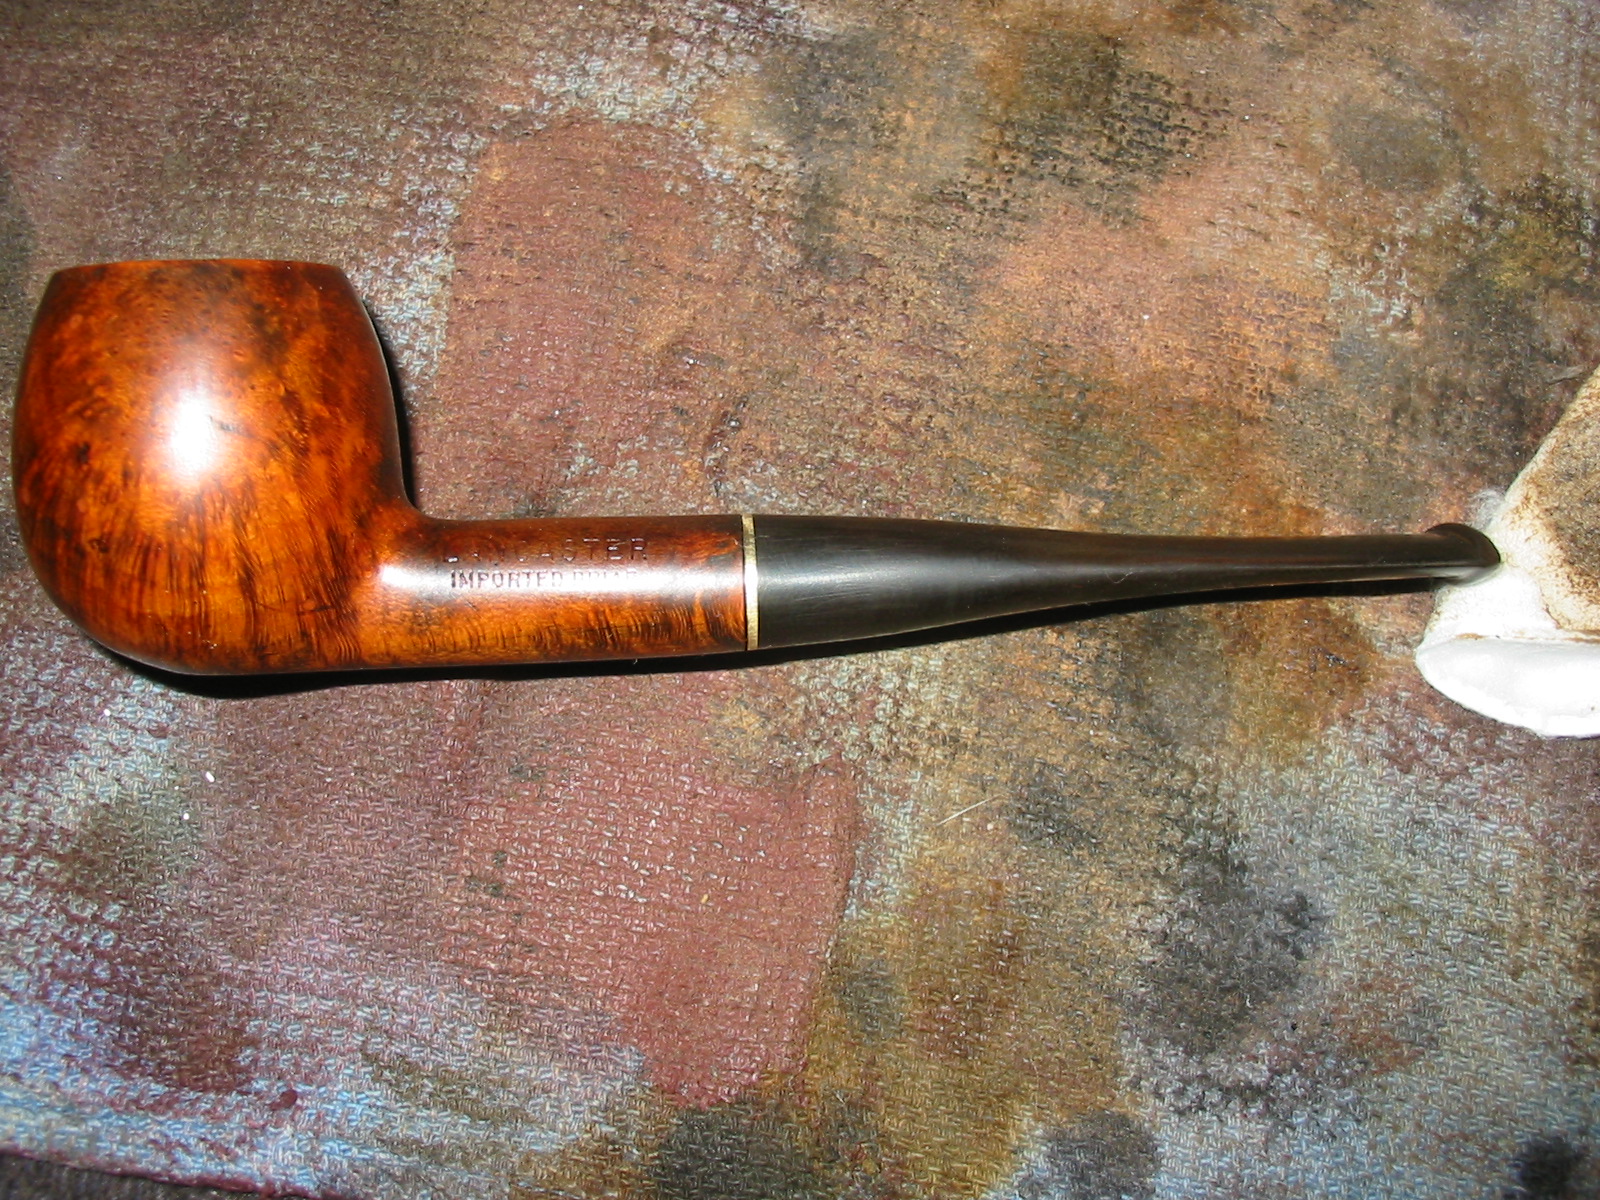
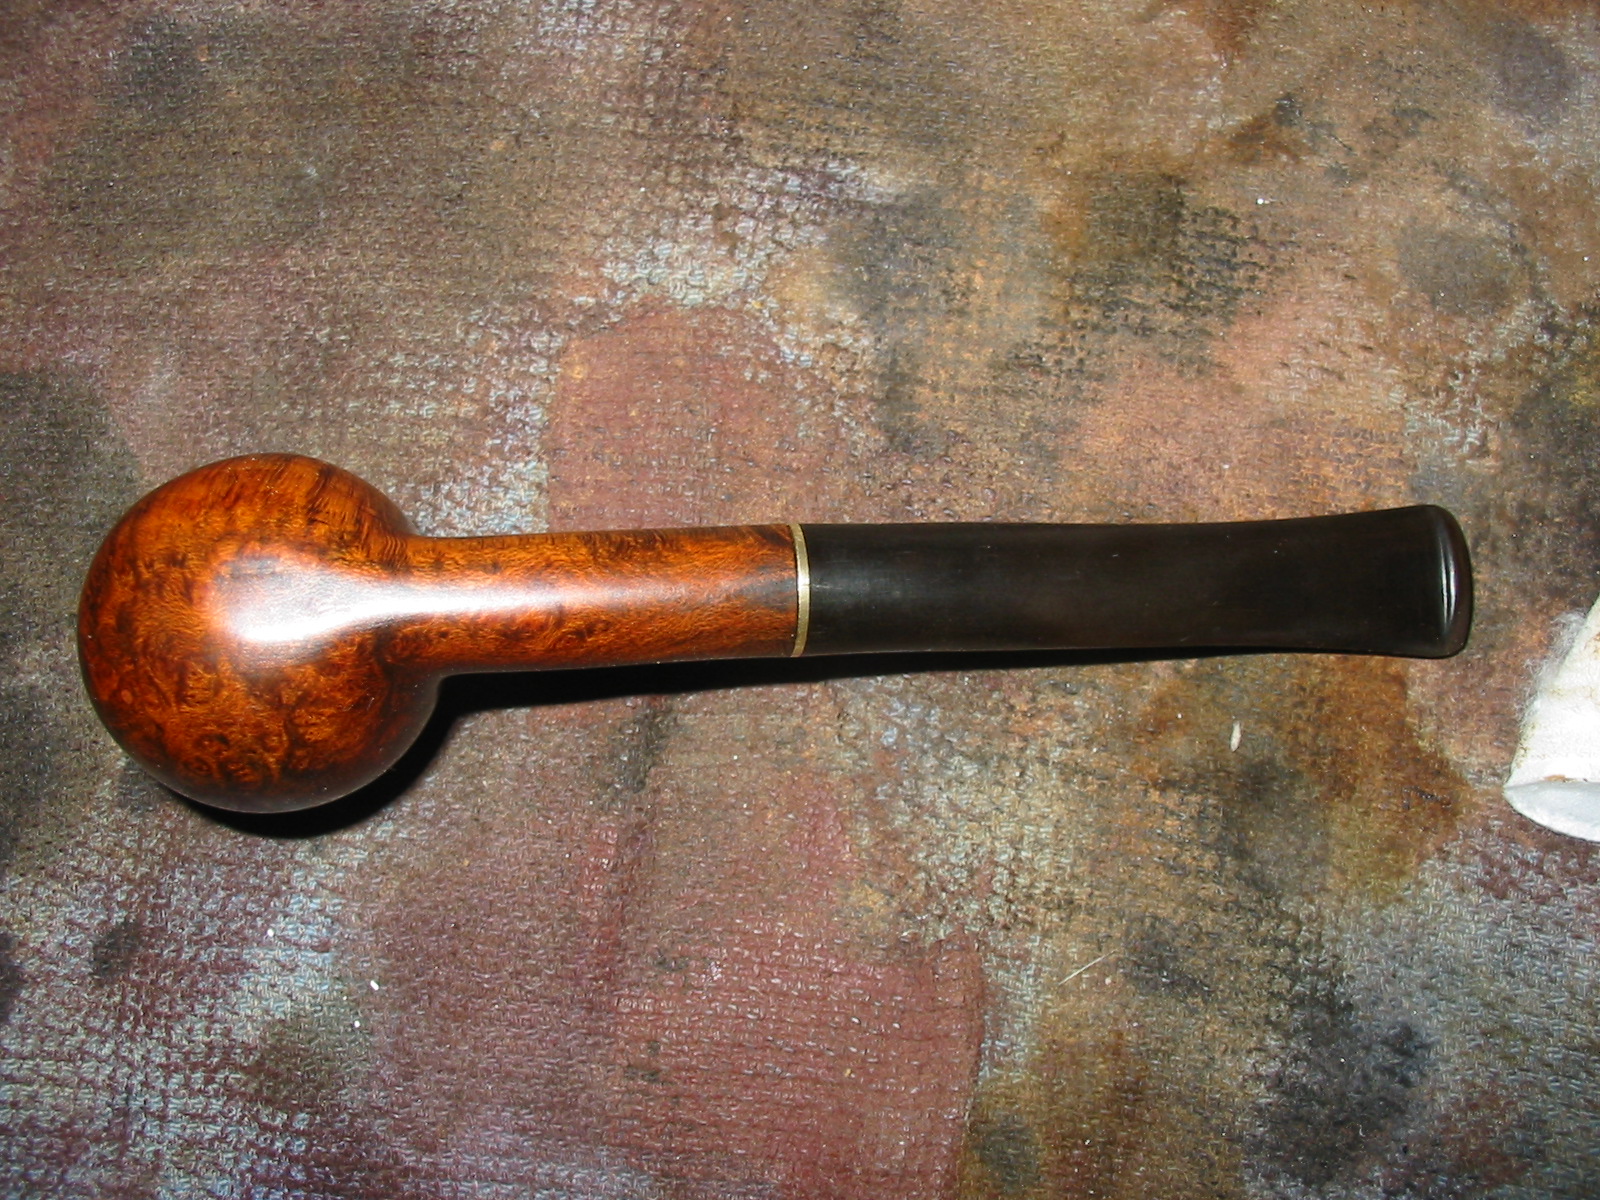
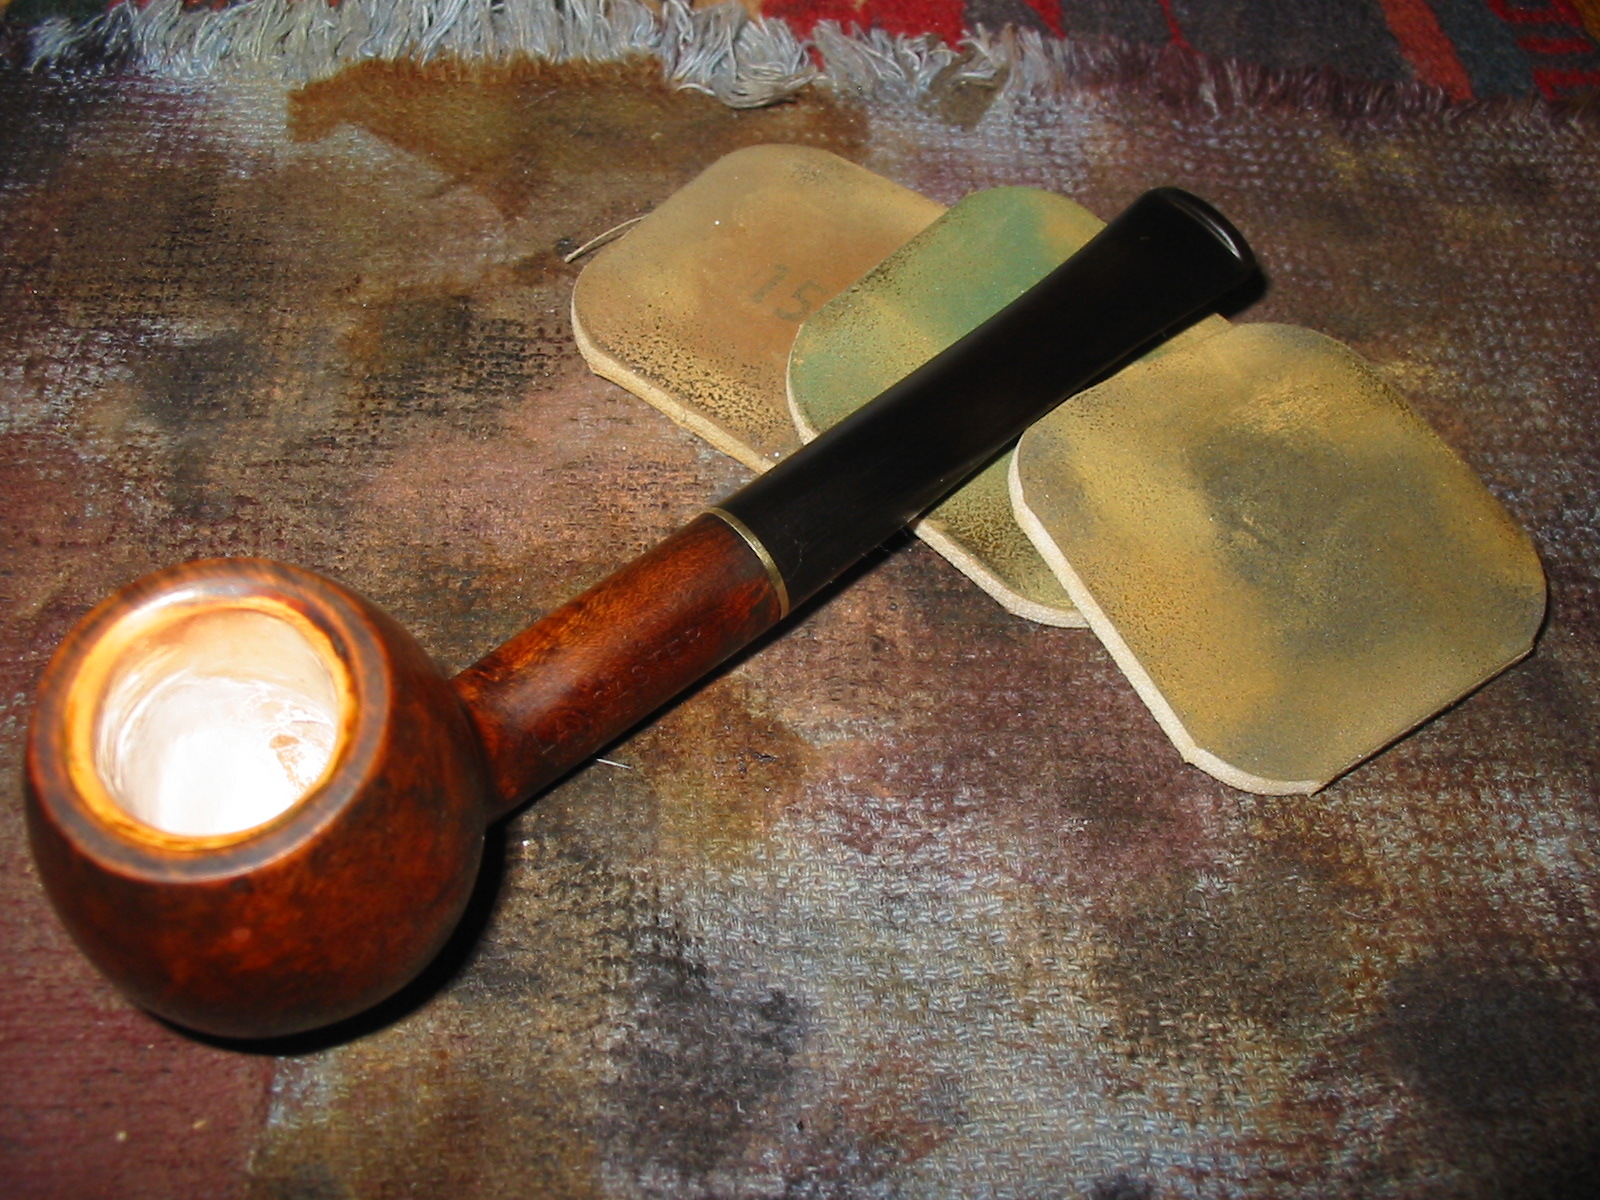
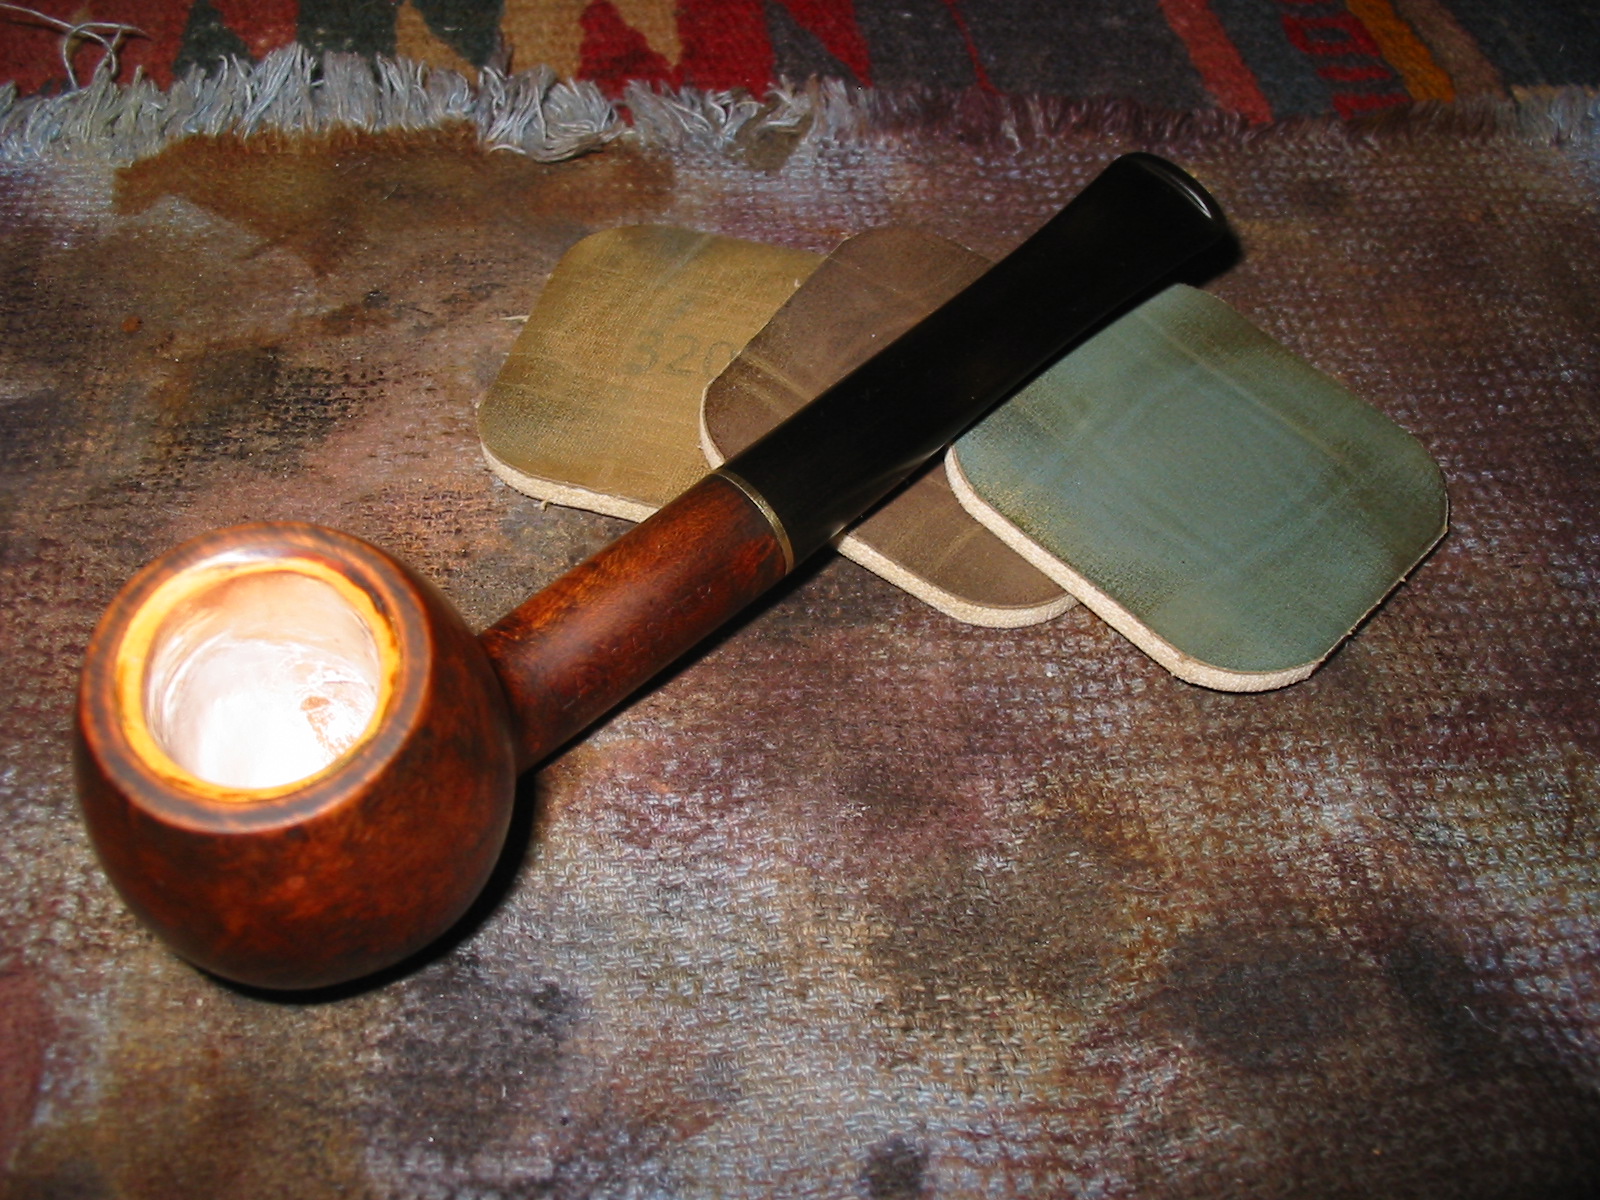
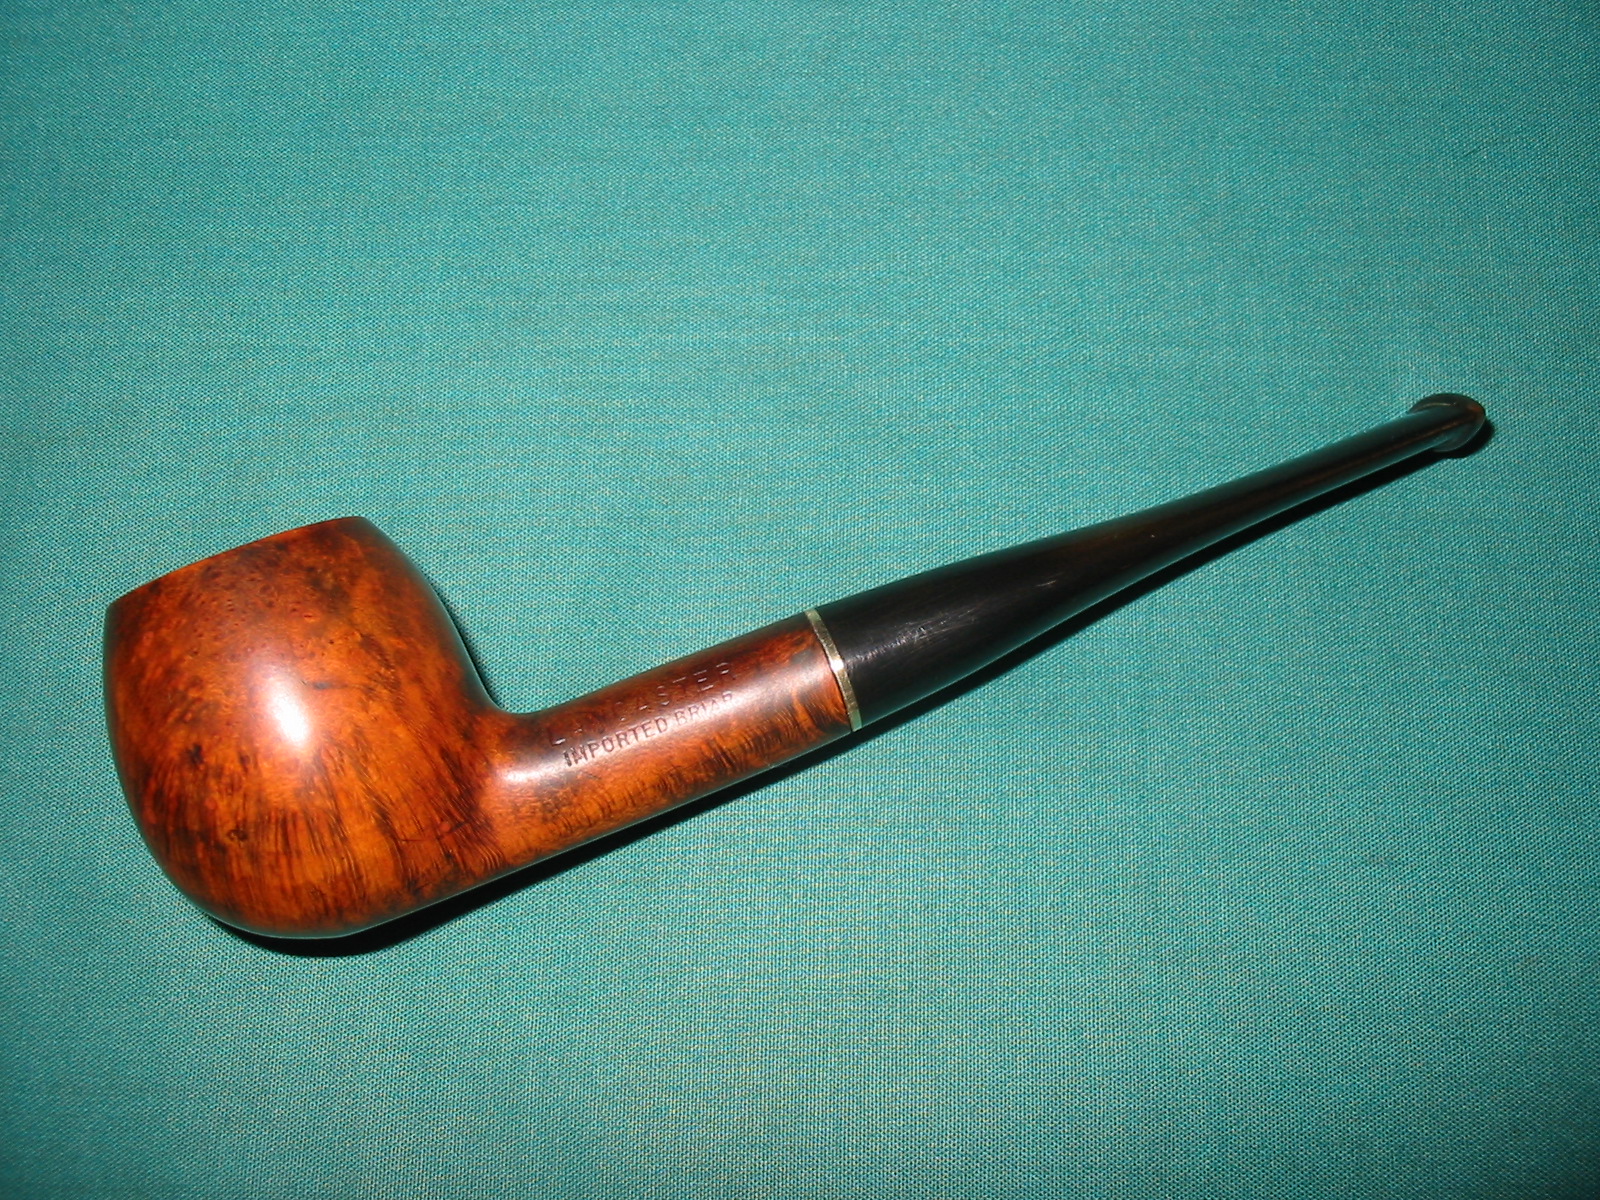
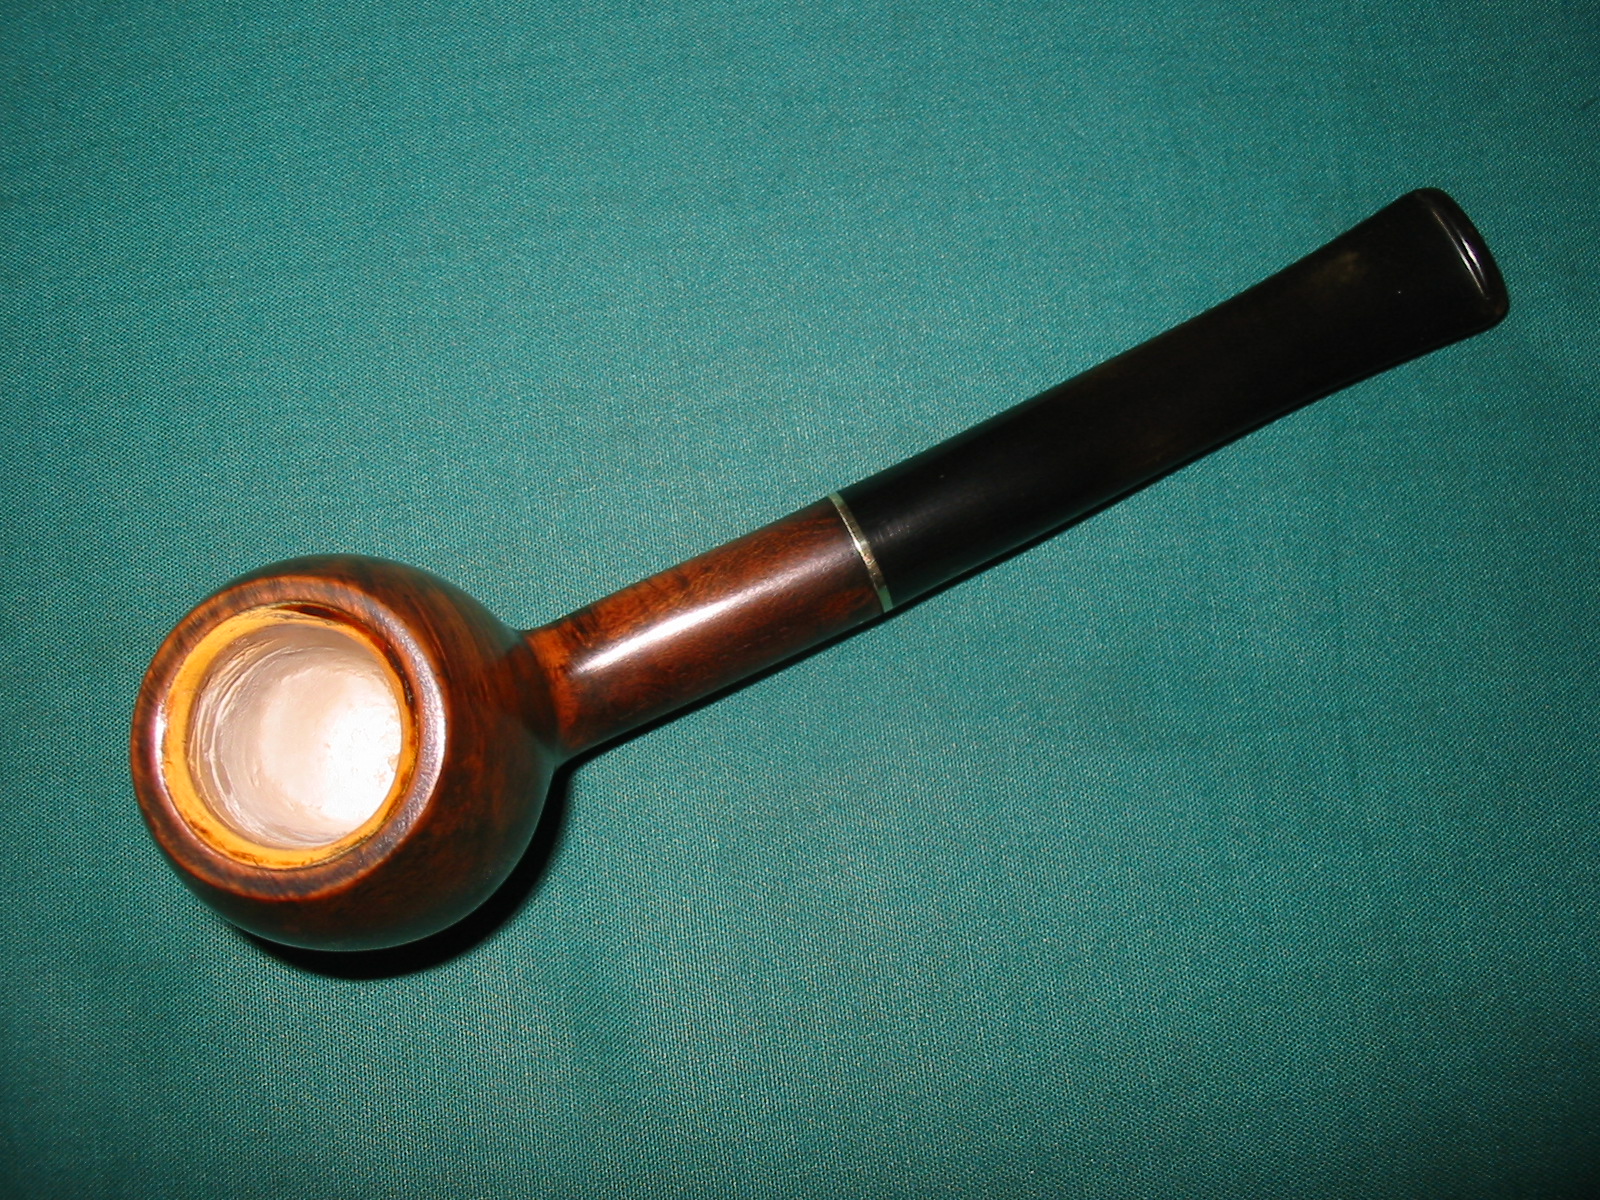
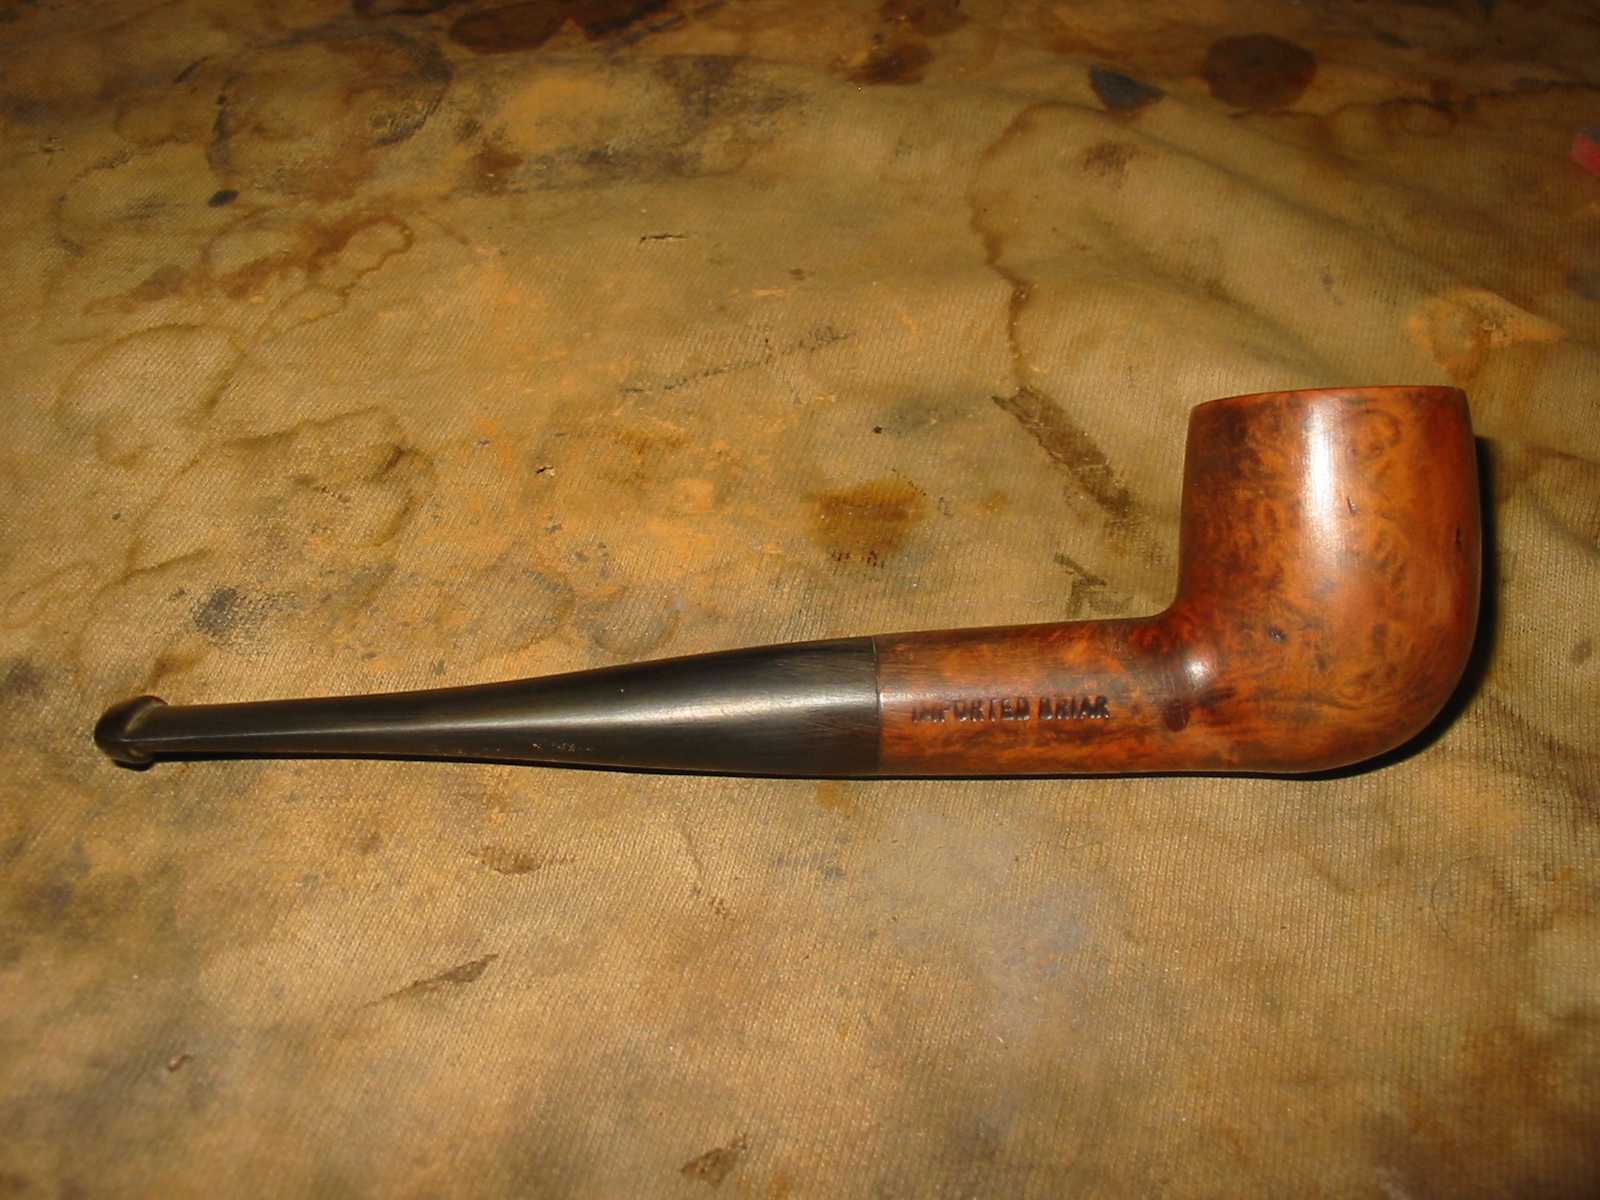
I have had this old meerschaum lined bowl for many years now. It has been sitting in a cupboard and should have rightly been pitched several times over. For some reason I could not bring myself to throw it away. I kind of figured that one day when I had nothing else to do I would experiment on a repair of the meerschaum lining. I had read of several repairs in the past and experimented with one of them previously. The two methods I had read of involved a non-acrylic tile grout without sand while the other one involved Plaster of Paris. I had used the tile grout on a pipe many years ago and still smoke it. The bowl has long since look repaired and you would be hard pressed to see where the repair was in the bowl. This old bowl had much the same damage as that one so I decided to experiment with the Plaster of Paris method. The pipe did not have a stem so I would also need to restem it once the patch was finished. The bowl is stamped Lancaster over Imported Briar on the left side of the shank and has no stamping on the right side. There were small fills present on the bowl – almost like small pin pricks that had been filled in the manufacture of the pipe. The finish on the bowl was virtually not present except for a few spots where the stain had held on stubbornly over the years.
IMG_3352

IMG_3353

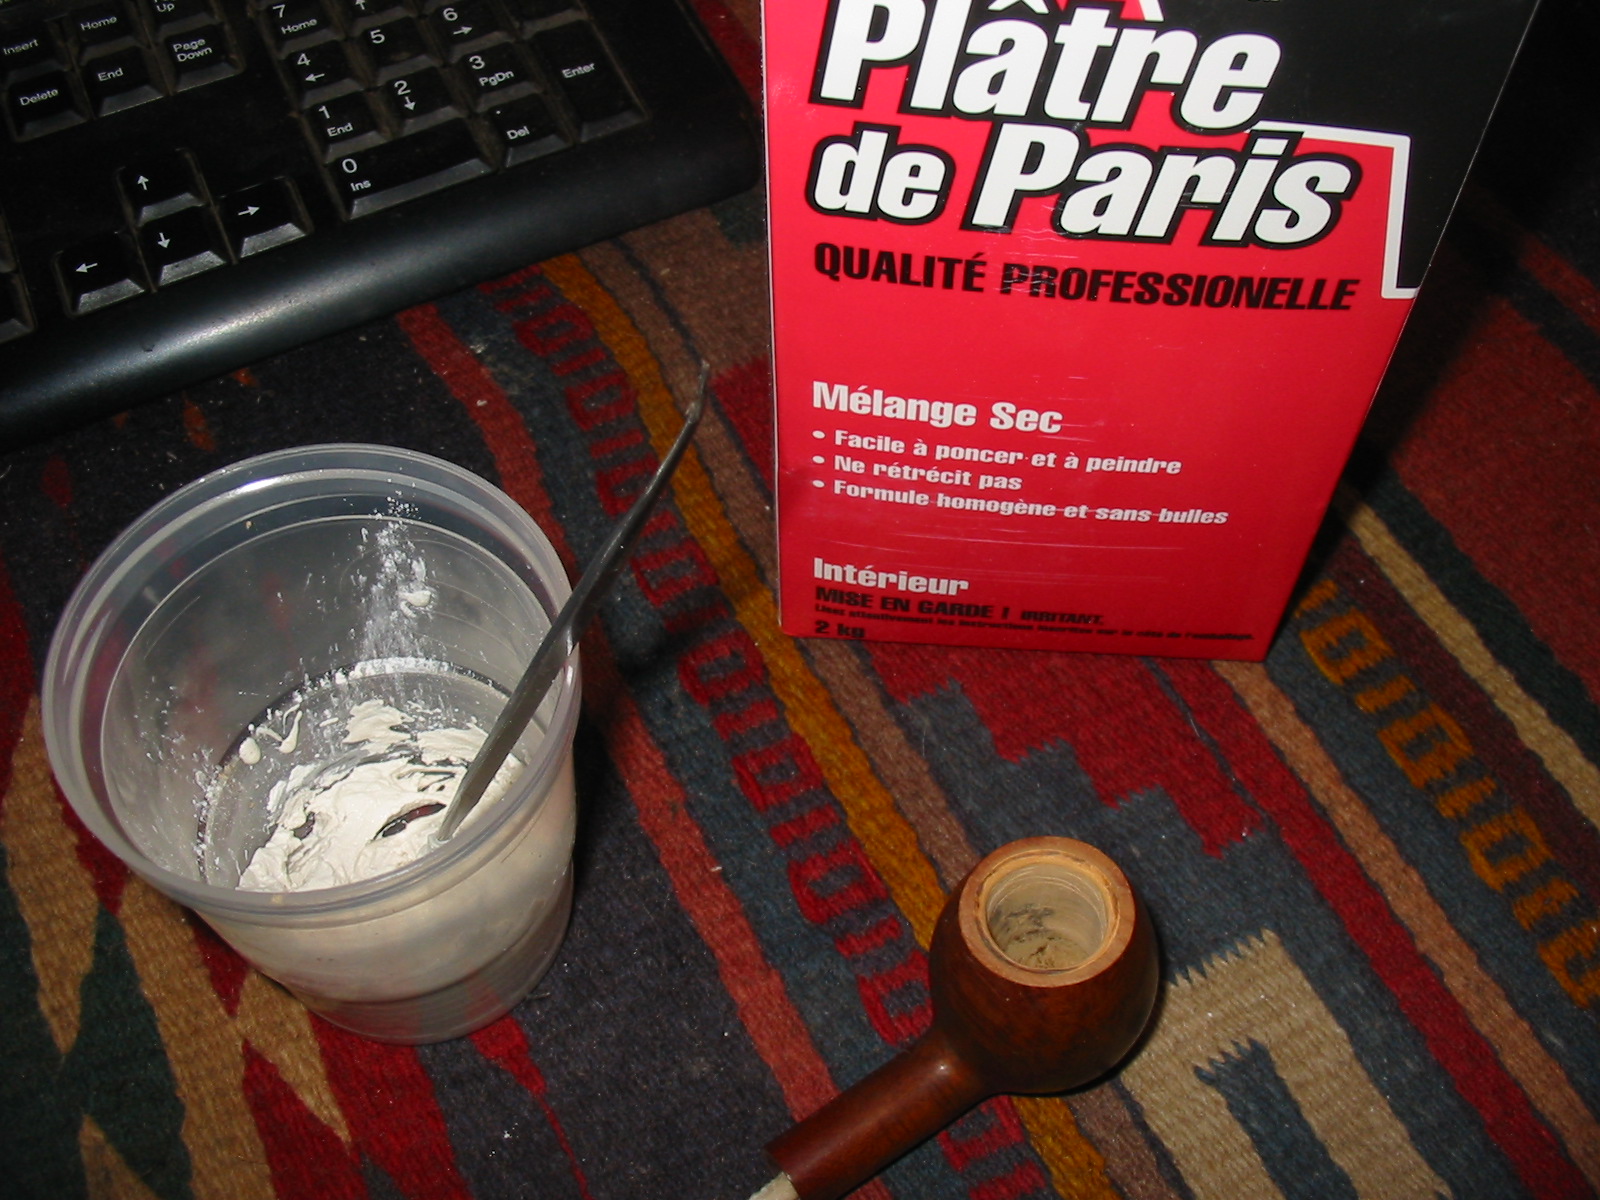
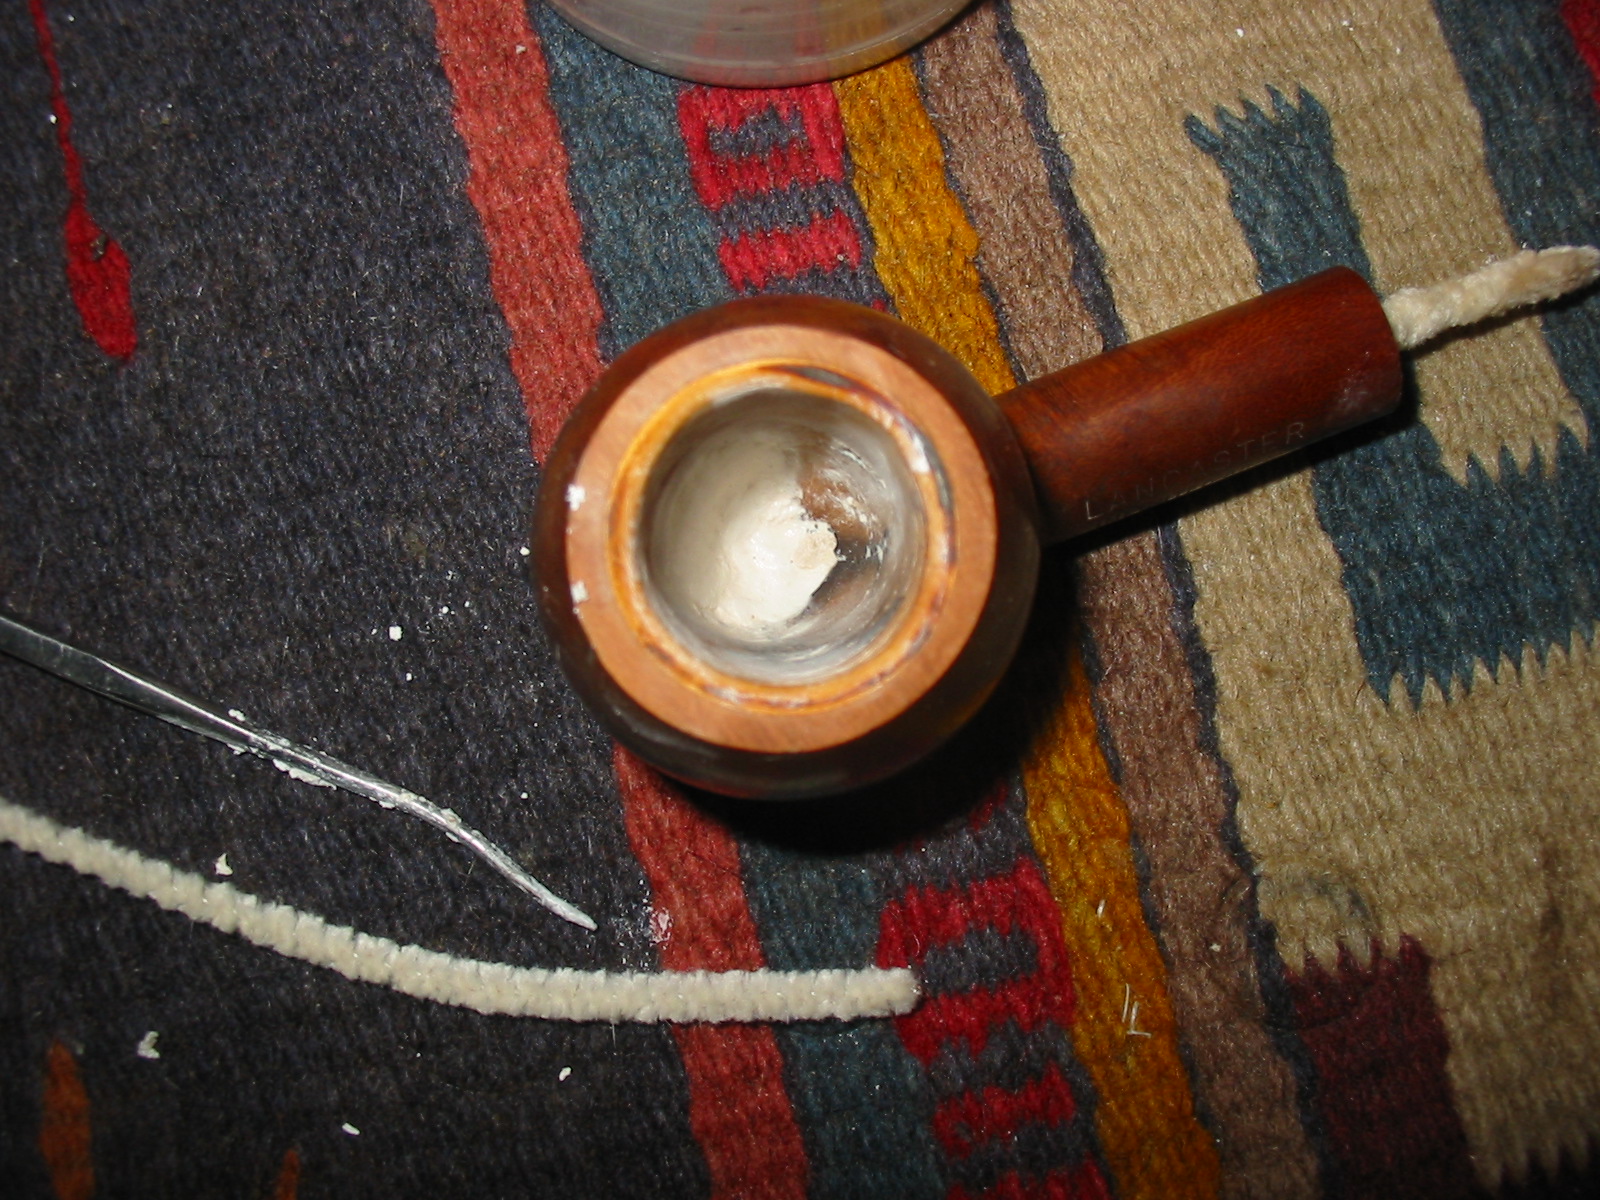
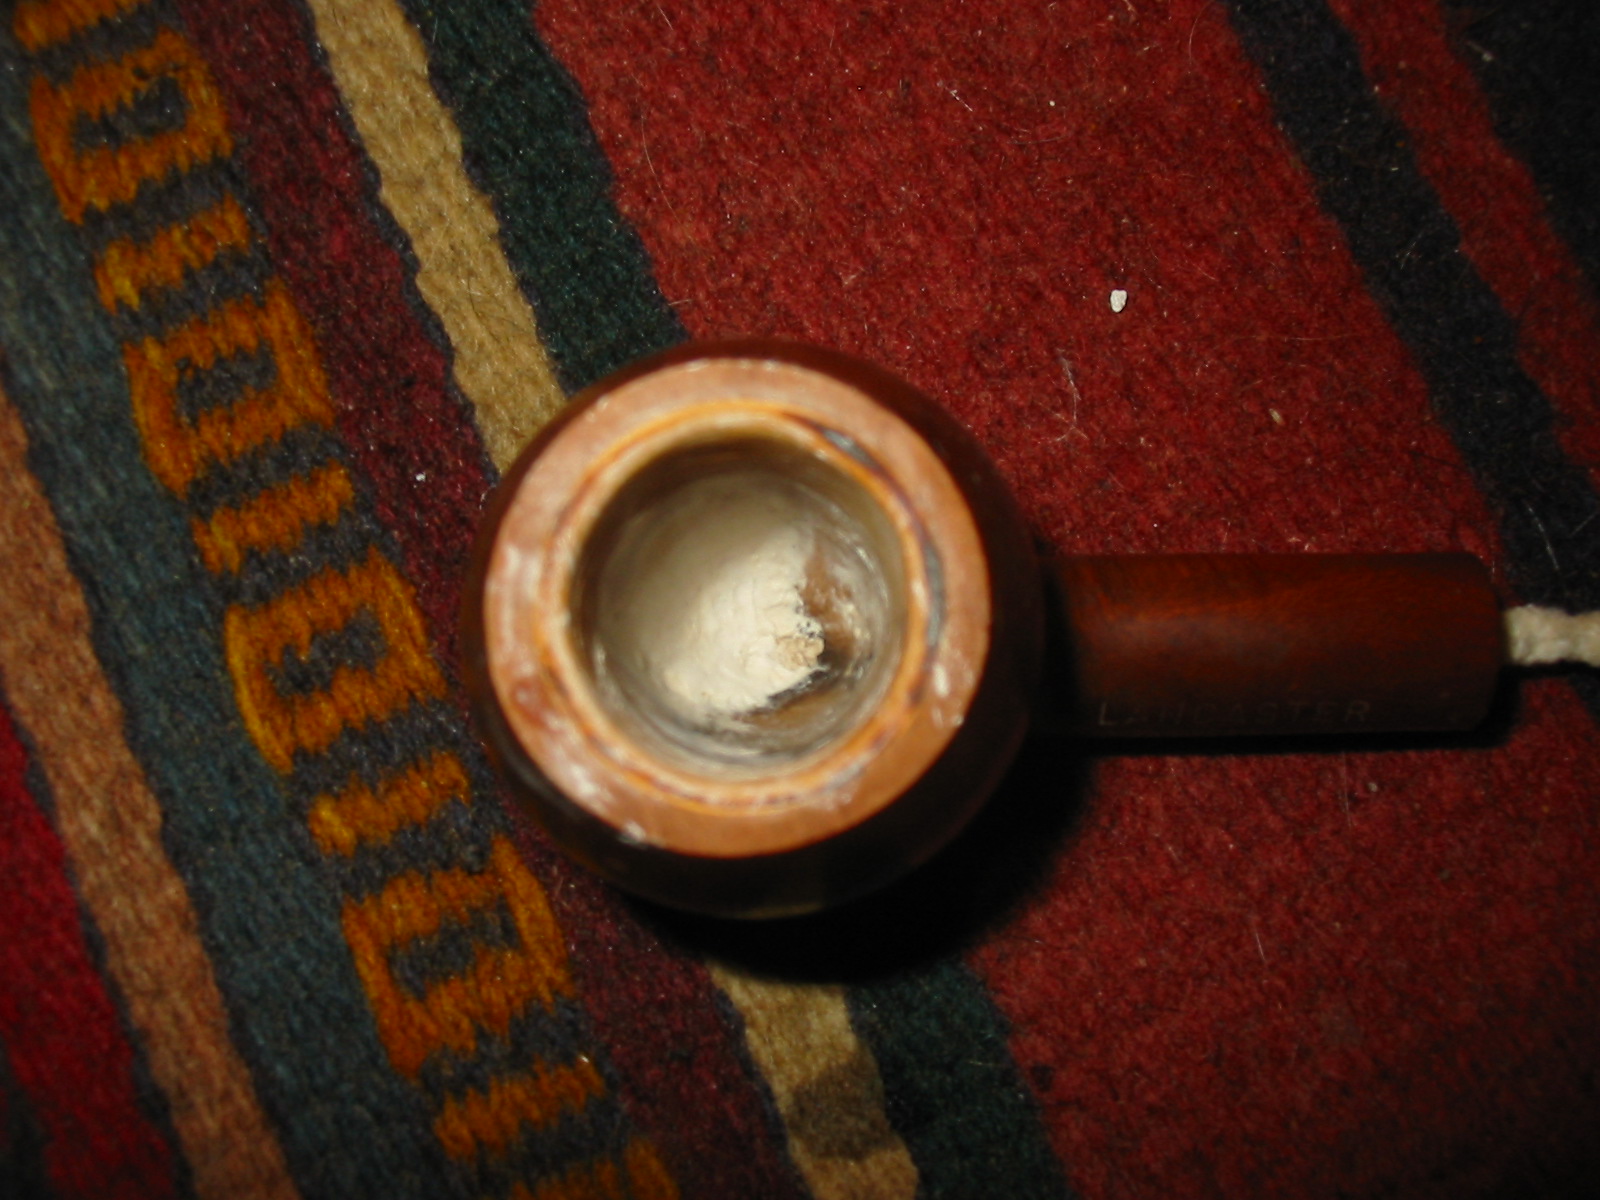
I mixed a small batch of Plaster of Paris and water and stirred it with a dental pick. I also had some sanding dust from a meer bowl that I had save so I mixed it in with the Plaster of Paris mixture. I inserted a pipe cleaner into the airway to keep it open when I packed in the mixture to the bowl bottom and side. Once I had a good paste mixed up I used the dental pick to put pieces of it into the bowl. I used the head of a tamper to pack the Plaster of Paris into the bowl bottom. I also pushed the Plaster mixture into the side of the bowl and used the spoon end of the tamper to push it into place. I used the dental pick to carve the airway open at the bottom of the bowl and then a wetted pipe cleaner to smooth out the bowl wall and shape the bottom of the bowl in a slight cup shape. Once that was completed I smoothed out the whole bowl with the wetted pipe cleaner and feathered the edges of the patch into the existing meerschaum material.
IMG_3402

IMG_3403

IMG_3404

IMG_3406

IMG_3407

IMG_3408

I cleaned up the top of the bowl and the tools and set the bowl aside to dry. After one hour the Plaster of Paris set and I removed the pipe cleaner from the shank. I used the dental pick to shape the airway after removing the pipe cleaner. The bowl was ready to restem. I went through my can of stems and found an old stem that was the right length and close to the correct diameter of the shank. It had a brass stem band that would look great on the old pipe bowl. When I cleaned it up I found that it had a Delrin tenon. I used the tenon tool to turn the tenon down enough to fit the shank snugly. When I cleaned out the end of the tenon after turning it I found that it was set up for a nine millimeter filter.
IMG_3409

IMG_3410

I fit it into the shank and used the Dremel with a sanding drum to sand down the diameter of the brass band and stem to fit the shank. I nicked the shank a couple of times lightly with the drum as I worked on the brass band. The nicks were not deep but merely surface so they would clean up when I sanded the stem and shank for a smooth transition.
IMG_3416

IMG_3417

IMG_3418

IMG_3419

I took the pipe back to the work table and sanded the stem and shank with 220 grit sandpaper to make a smooth transition between the shank and the stem. I also sanded off the calcification that had built up around the button at the same time.
IMG_3411

IMG_3412

IMG_3413

IMG_3415

IMG_3420

IMG_3421

IMG_3422

IMG_3423

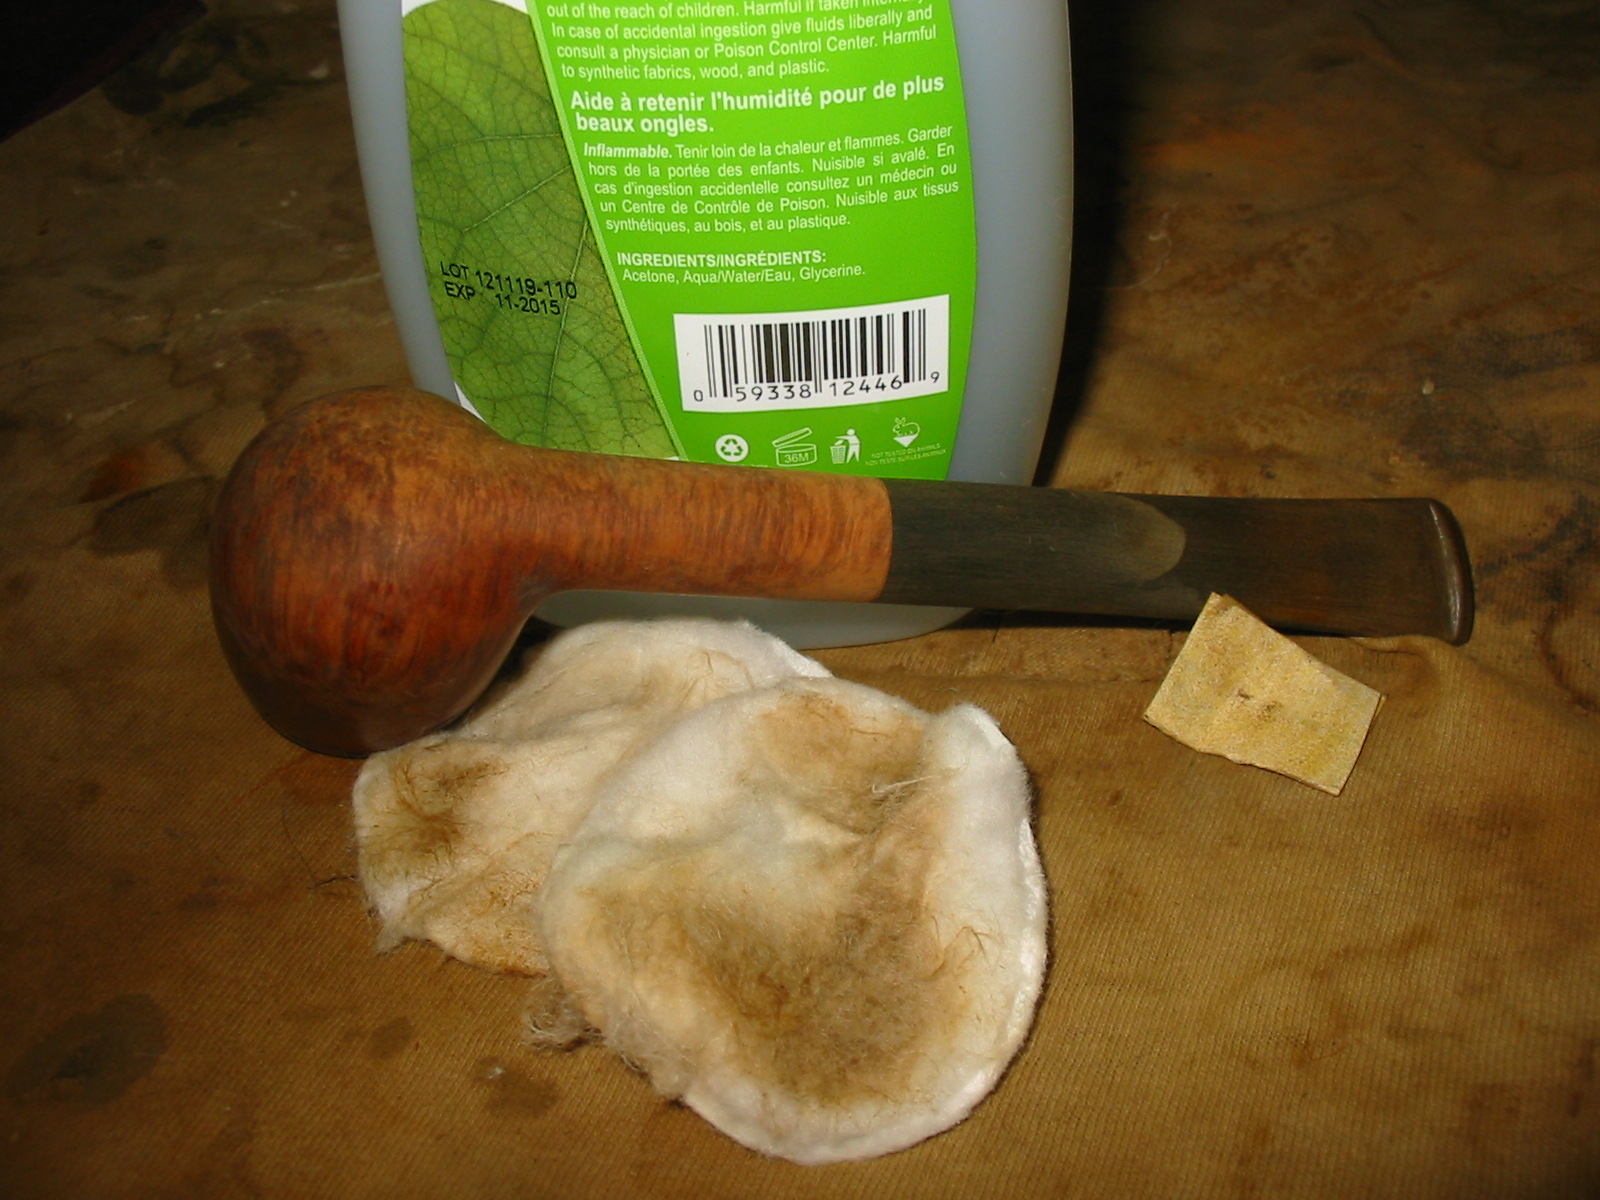
I sanded the bowl with the 220 grit sandpaper and then the stem and the bowl with a medium grit sanding sponge to smooth out the scratches left behind by the sandpaper. I wet sanded the bowl with 1500-2400 grit micromesh sanding pads to smooth out the finish before I stained it. I then wiped the bowl and shank down with acetone on a cotton pad to clean off the sanding dust.
IMG_3424

IMG_3425

IMG_3426

IMG_3427

I stained the bowl with a black aniline stain, flamed it and repeated the process until the coverage was even. I heated the bowl with a lighter to set the stain into the grain of the pipe. I wiped the freshly stained bowl with Everclear to remove the top coat of stain and reduce the black stain. The next series of three photos shows the bowl after the wash.
IMG_3428

IMG_3429

IMG_3430

I sanded the bowl with 220 grit sandpaper and then a medium grit sanding sponge to further remove the black stain. The next four photos show the pipe after I had sanded it and wiped it down with Everclear.
IMG_3432

IMG_3433

IMG_3434

IMG_3436

I dry sanded it again with 1500-2400 grit micromesh sanding pads and then stained it with a coat of Minwax red mahogany stain. I rubbed it on the bowl and rubbed off again to give a contrast look to the briar and to hide some of the fills that were present. I sanded it with 3200-4000 grit micromesh to polish the remaining scratches in the briar.
IMG_3437

IMG_3438

IMG_3439

IMG_3440

I wet sanded the stem with 1500-2400 grit micromesh and then dry sanded it with 3200-12,000 grit micromesh sanding pads.
IMG_3441

IMG_3442

IMG_3444

I finished the bowl by giving it a final coat of Minwax medium walnut stain. I rubbed it into the bowl and wiped it off and then hand buffed the pipe with a shoe brush. The rich red brown stain on the bowl turned out well with a variety of highlights.
IMG_3445

IMG_3446

IMG_3447

IMG_3448

I rubbed the stem down with Obsidian Oil and then buffed the whole pipe with White Diamond to polish it. I finished by giving it multiple coats of carnauba wax to build a shine and protect the finish. The completed pipe is visible in the next four photos.
IMG_3449

IMG_3450

IMG_3451

IMG_3452

I also sanded the top of the rim and the inner bevel of meerschaum with the 1500-2400 grit micromesh sanding pad to polish the meerschaum edge. I gave this top edge a final coat of carnauba wax and buffed it to a shine. The Plaster of Paris patch is drying and needs to cure for 24 hours before it is good to go. The box says that it does not shrink as it dries and so far it is good to its promise. I will have to see if it holds true tomorrow after it has cured a full 24 hours. If so, then it is time to fire it up and check out if it holds as well as the tile grout patch has held up over all these years.
IMG_3453

IMG_3454

Kaywoodie Drinkless Apple Repurposed and Refurbished


Blog by Steve Laug

I was gifted this old Kaywoodie Apple in an exchange recently. It is the last of the box of pipes that I have to refurbish. I left it to last as it had some serious problems. The stem was overturned and had deep tooth marks at the button. The bowl had some deep scoring on the left side of the bowl. Those issues might not seem too serious at first glance but they were more so than I had expected. I inspected the stinger apparatus and saw that it had been reglued in the stem. I heated the stinger with a heat gun and turned it back into the shank of the pipe. As I turned it carefully the stem fell off in my hand. I looked and saw that it was corroded through and the heat had softened the glue and the piece literally fell out of the stem. I tried to epoxy it back into the stem and connect the two pieces but it would not stay. Each time I put it back into the shank it fell out – no matter how much curing time I gave it. That was the first issue. In looking at the tooth marks they were repairable but with the broken stinger and threaded tenon I wondered whether it was worth fixing it. The grooves on the bowl and the dip in the rim above them could be repaired and would be a simple fix if I decided to keep the pipe. Those were the issues that caused me to lay the pipe aside for a bit and work on other pipes. That is why it is the last pipe in the bottom of the box.
IMG_3047

IMG_3048

IMG_3049

IMG_3050

Because of the extent of damage to this pipe it was unlikely that it would ever be truly collectible again. Though to some my next decisions will appear to have desecrated an older Kaywoodie I decided to use this pipe to experiment with a few repair ideas. I topped the bowl with my usual method to remove the rim damage. I removed the damaged portion of the bowl and flattened the rim against the sandpaper. When I was finished topping the bowl the rim was flat again however the inner edge of the rim needed to be repaired. It was missing a large chunk of briar.
IMG_3051

IMG_3052

IMG_3053

IMG_3054

The missing chunk matched the twin scoring marks on the outside of the bowl and made me wonder how the previous pipeman had caused that kind of damage to the bowl. The divot on the rim was not a burn mark but a divot that had been caused in the same moment the scoring occurred on the outside of the bowl. I sanded down the scored areas and cleaned the bowl with acetone. I then patched the score marks with superglue and briar dust. I also built up the top of the rim in the divot area with the same mixture. I kept the mix on the top of the rim as much as possible with very little of it on the inside edge. I did not want to use it inside the bowl.
IMG_3055

I sanded the bowl to remove the excess of the glue and briar dust mix and then wiped the entire bowl down with acetone on cotton pads. The three photos below show the state of the bowl and the repairs down with the briar dust and superglue. The third photo shows the top patch.
IMG_3056

IMG_3057

IMG_3058

Because the stem was not functional I had a decision to make. I could drill out the disintegrated end of the stinger and put a new replacement tenon in place or I could remove the metal shank insert and make a new push stem for the pipe. The faintness of the stamping on the shank and the extent of damage that I had repaired on the bowl made me take the second choice. I removed the metal shank insert from the shank. This is not as hard as it sounds. I have heard of others drilling it out and leaving it in place. I have opted to remove it. It is threaded and can be unscrewed from the shank with a small pair of needle nose pliers. The next two photos show the process. I sorted through my stem can and found a stem that could be repurposed to fit this shank and then be adapted to fit the diameter of the shank.
IMG_3355

IMG_3354

Before I could properly fit the tenon in the shank I needed to drill the mortise deeper. The current depth of the mortise was the same length as the threaded portion of the metal shank attachment in the photo. I wanted the tenon to be longer so I drilled out the mortise to double the length of the current depth. I would need to remove some of the tenon length on the stem to make a good fit but that is a simple task.
IMG_3356

With the drilling done, I used the PIMO Tenon Turning Tool to remove some of the excess diameter of the tenon and also shortened the tenon slightly to get a good tight fit in the shank and clean joint at the tenon shank union. The larger diameter of the stem is visible in the photo below.
IMG_3357

I used the Dremel with the sanding drum and carefully reduced the diameter of the stem while it was in place on the shank. I run the Dremel at a speed that allows me to carefully and steadily control it as I work close to the shank of the pipe.
IMG_3359

IMG_3360

IMG_3361

IMG_3362

IMG_3363

Once I had it roughed in to fit with the Dremel it was time to take it back to the work table and do the hand work with sandpaper to make the fit seamless. Since I was going to restain the pipe anyway I sanded the shank as I sanded the stem to make the transition smooth. In the first two photos the stamping is visible in the light of the flash. In real life it is quite a bit fainter and shallow. I also use some superglue and briar dust to repair some of the deeper dings and marks on the bowl to ready it for staining. I sanded it with 220 grit sandpaper and then with a medium grit sanding sponge to smooth out the surface and remove the scratches left behind by the sandpaper.
IMG_3364

IMG_3365

IMG_3366

IMG_3367

I wiped the bowl down with Everclear to remove the sanding dust and give it a last cleaning before I started giving it a new stain coat. I have also included two photos of the new stem with the older KW stem and broken parts for comparison sake. I really like the way the new stem fit the shank and the look of the pipe after the repairs.
IMG_3368

IMG_3369

IMG_3370

I wanted to continue to experiment with contrast staining so I gave the pipe a first coat of stain with black aniline stain. I applied the stain and flamed it and repeated the process until the coverage was even. I then heated the entire bowl by passing over it with the flame of a Bic lighter to warm the briar and set the stain.
IMG_3371

IMG_3372

IMG_3373

IMG_3374

The black aniline stain is transparent enough that the brown of the briar actually makes the stain appear to be a dark brown. It also covers the repairs on the bowl and blends them into the grain in way that makes them less visible. This was especially important with the repair I had made to the two deep scoring marks on the left side of the bowl. Once the stain dried I wiped it down with acetone to remove the top coat and leave only the grain darkened with the black. After doing that the bowl was still do dark for my liking. Though the grain patterns are very visible I wanted it to be lighter so that when I put the contrast stain coat on it would really pop to the surface.
IMG_3375

IMG_3376

IMG_3377

I sanded the bowl with 220 grit sandpaper and then with a medium grit sanding sponge to further remove the black stain. I finished the sanding by wet sanding the bowl with 1500-2400 grit micromesh sanding pads. Sanding with the micromesh pads removed the scratching left behind by the other sandpapers and prepared it for the next coat of stain that I wanted to give it. I stained the bowl a second time with a coat of Minwax Water based stain. I chose a red mahogany stain for this coat. I like the contrast the reddish colour of the mahogany with the black undercoat. I applied the stain and then wiped it off with a soft cotton cloth.
IMG_3378

IMG_3379

IMG_3380

IMG_3381

I finished the contrast staining with a third colour – a Minwax medium walnut stain for the finish coat. I applied the stain and wiped it down using a soft cotton cloth and then hand buffed it with a shoe shine brush. The next series of four photos show the finish after the application of the three stains and a hand buffing. I really like the contrast finish that the three stains gave the pipe.
IMG_3382

IMG_3383

IMG_3384

IMG_3385

I sanded the bowl and stem with micromesh sanding pads to bring out the shine. I wet sanded the stem with 1500-2400 grit pads and then dry sanded the bowl and stem with 3200- 4,000 grit pads. At that point I made a decision that some will like and others will hate.
IMG_3387

IMG_3388

I took out my box of nickel bands and found one that would fit the shank. I took the photo below with the band next to the pipe to symbolize the thinking process that went into this decision. I put the band against the shank and the stem next to it to see how it looked. I looked at the faint stamping and the fact that is was a non-collectible pipe anyway due to my stem modifications and decided to give it a go.
IMG_3389

I put the band on the end of the shank. For those banding a pipe shank pay attention to the diameter of the band – the end that goes on the shank is slightly larger than the end the faces the stem. I took the pipe and heated the band with a heat gun and then pressed it into place on the shank.
IMG_3390

IMG_3391

I took it back to the work table and finished sanding the stem and bowl with 6,000, 8,000 and 12,000 grit micromesh sanding pads. In the photo below the newly banded shank is visible. The band is solely cosmetic as the shank was not cracked and the fit of the stem was perfect. I liked the added bling on this pipe quite a bit.
IMG_3393

I wiped the stem down with Obsidian Oil and rubbed it into the surface of the vulcanite and then buffed the pipe with White Diamond. I avoid buffing the band as much as possible because it discolors the stem and the shank with the black residue caused by buffing the nickel. I then buffed the pipe with multiple coats of carnauba wax to protect and give a rich finish to the pipe. The finished pipe is shown below in the last four photos. The contrast stain worked well on this pipe. The flaws are there and visible but do not detract from the finish. The stem has a good glow with the lines of the pipe and the nickel band gives a nice polished look to the old pipe. Overall this experiment in repairs ended well. I like the finished look of the pipe and I learned a few new tricks along the way.
IMG_3398

IMG_3399

IMG_3400

IMG_3401

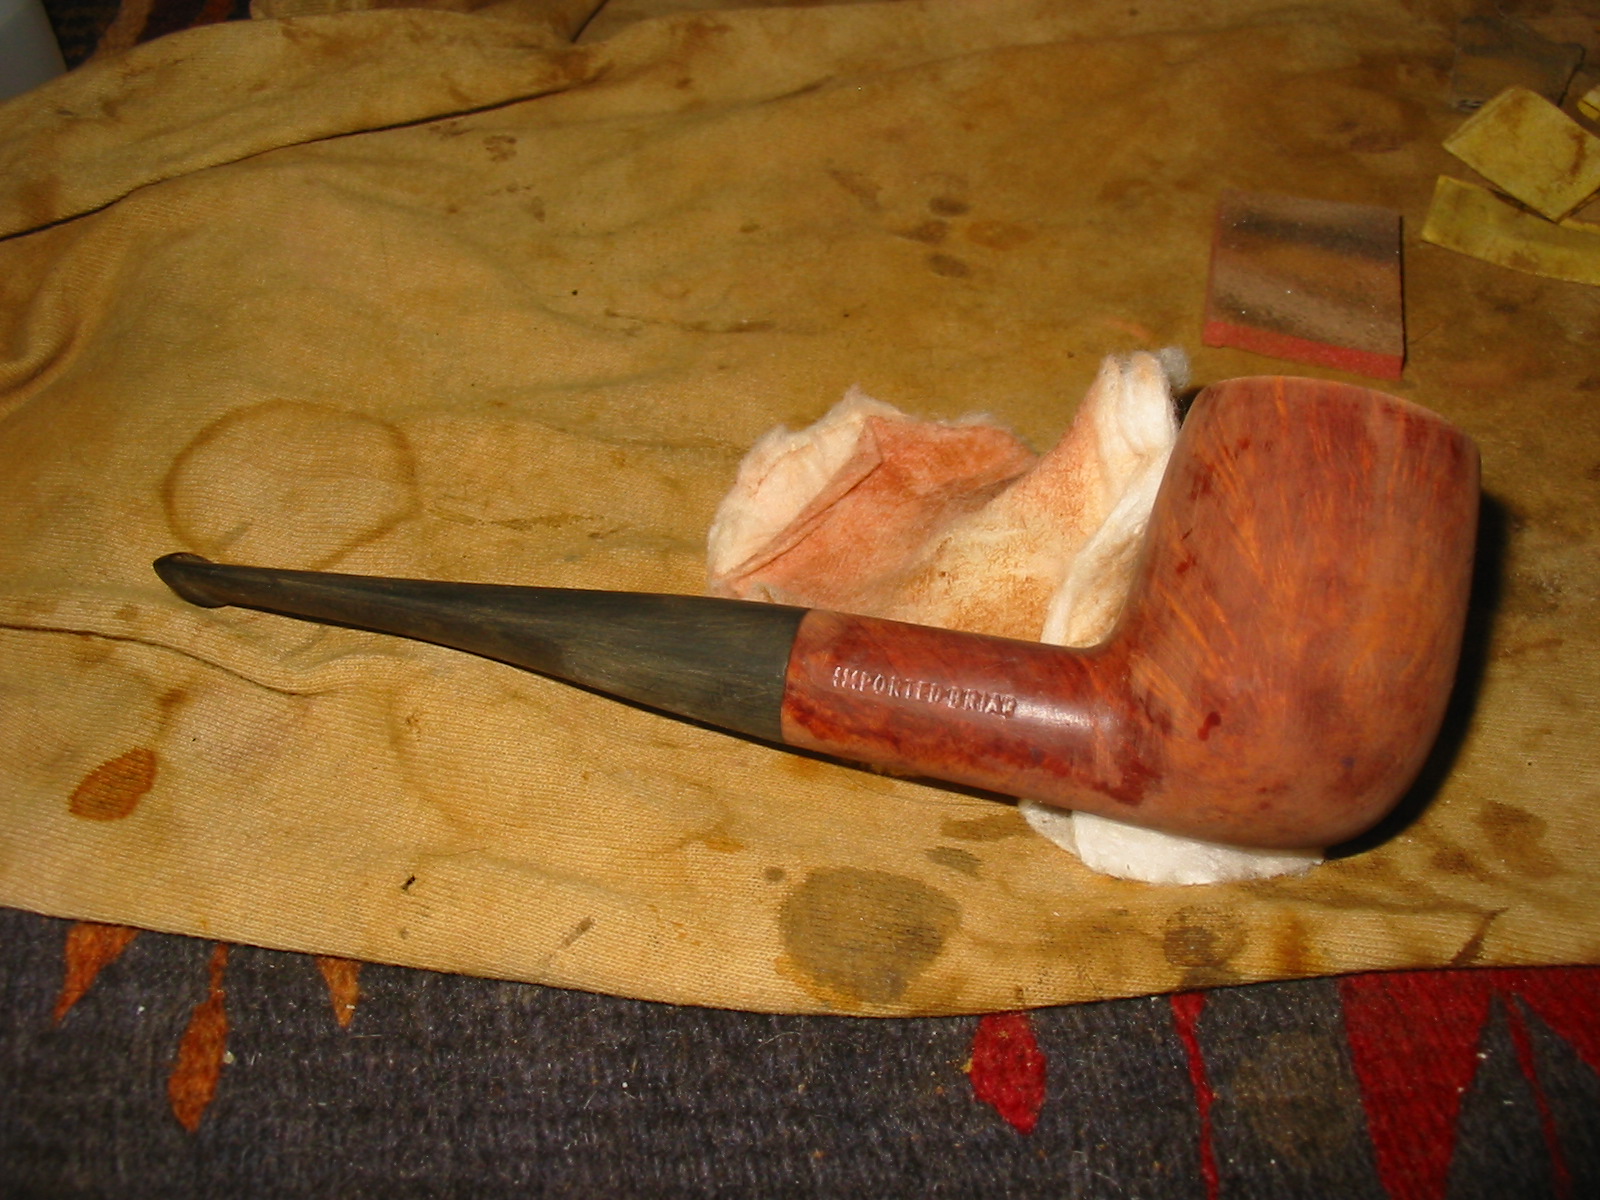
Reworking a No Name Brand Italian Billiard


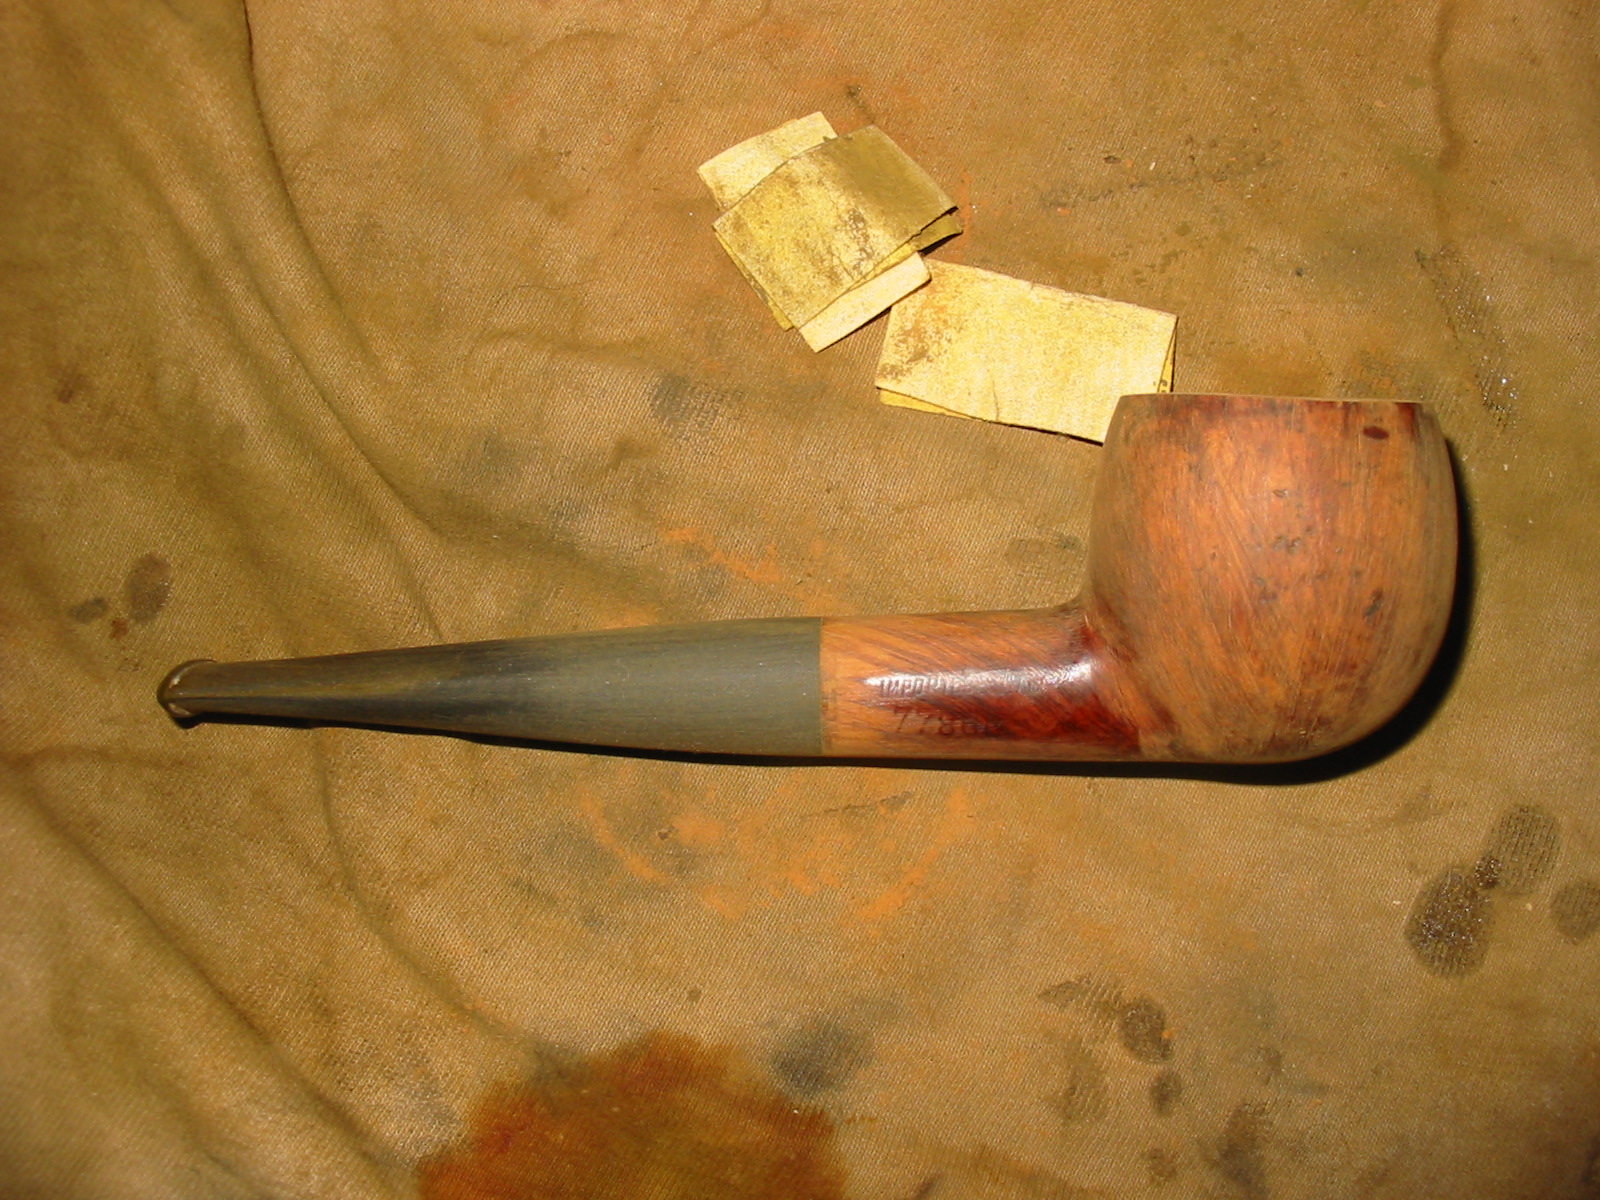
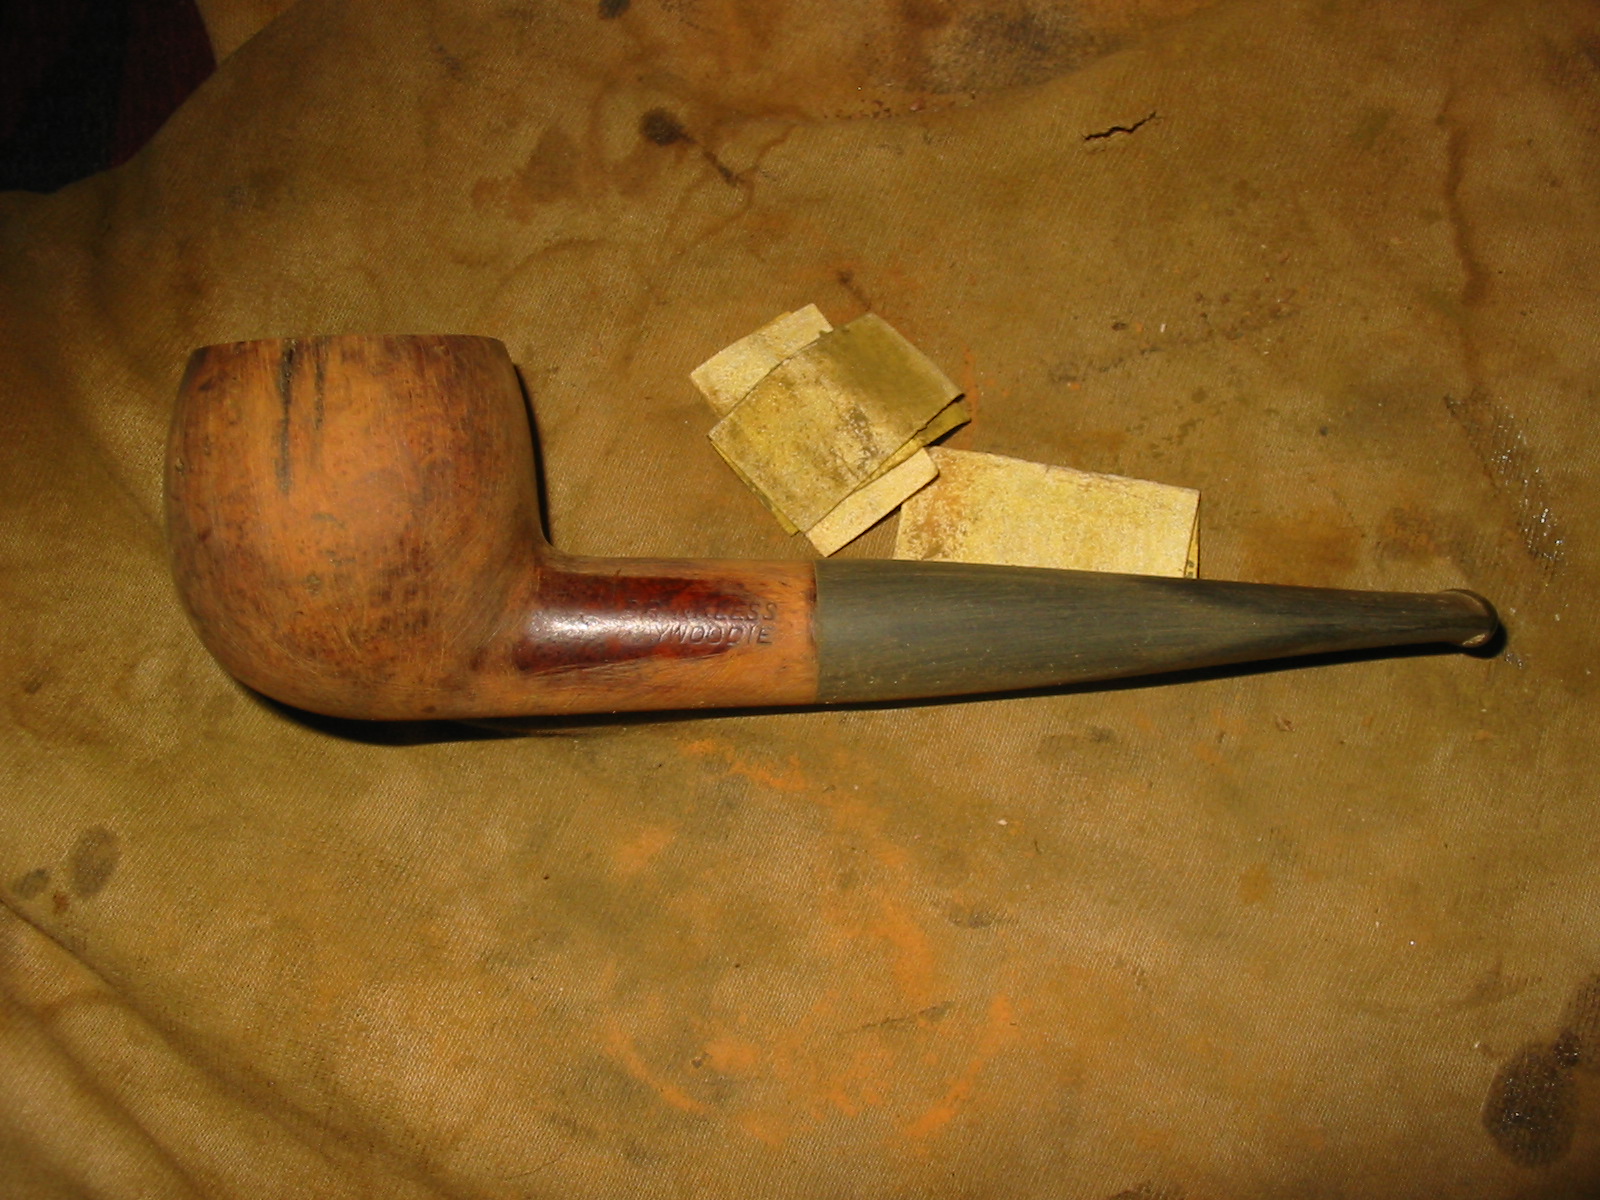
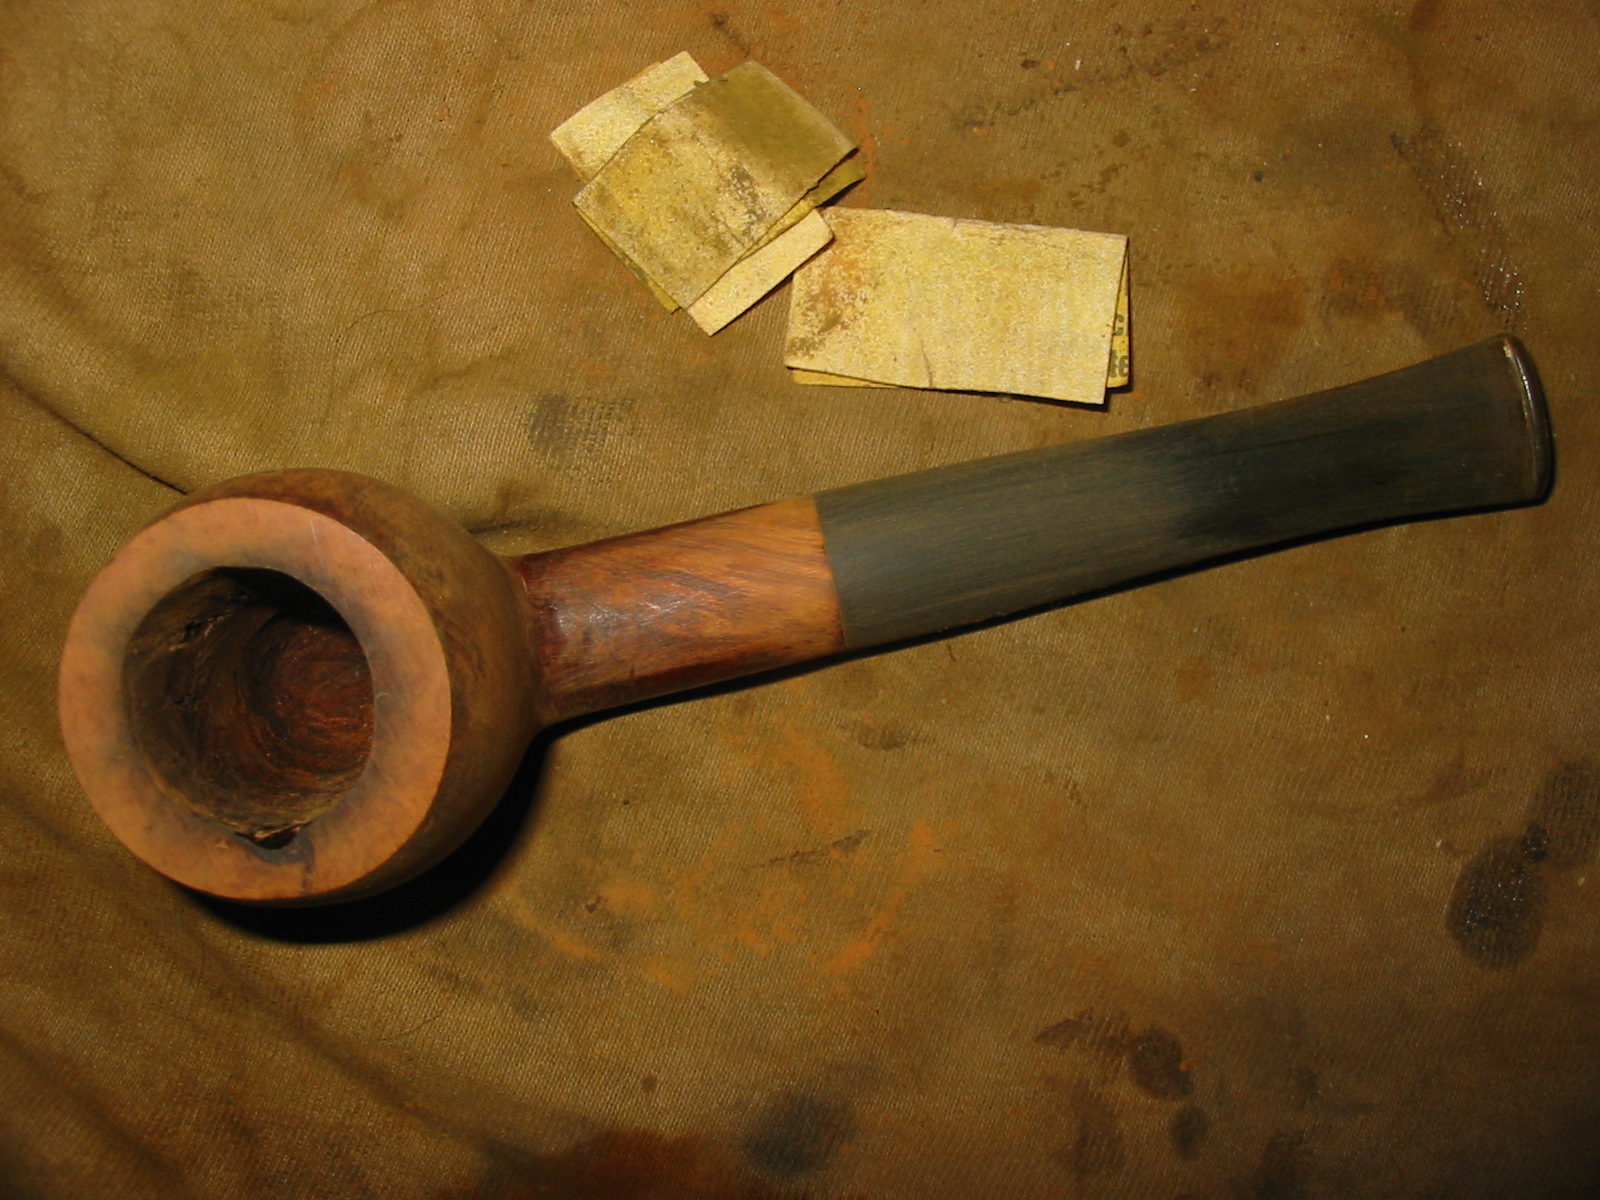
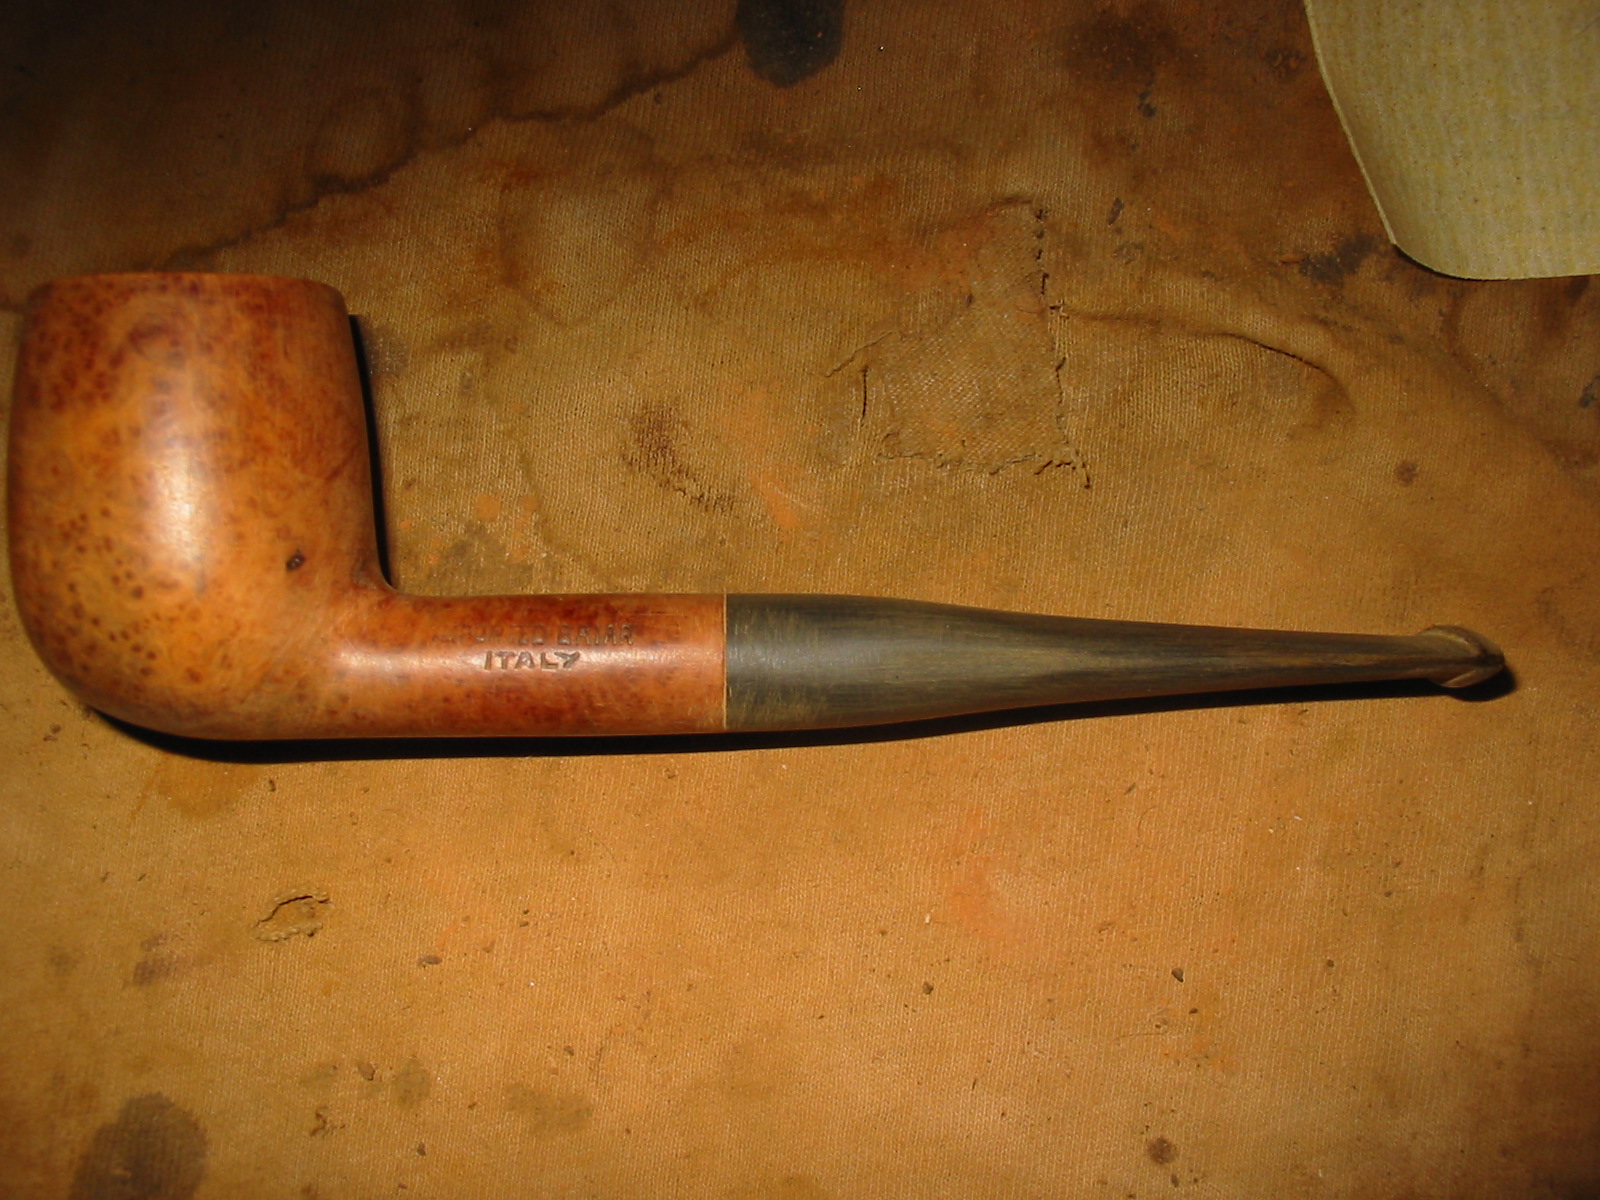
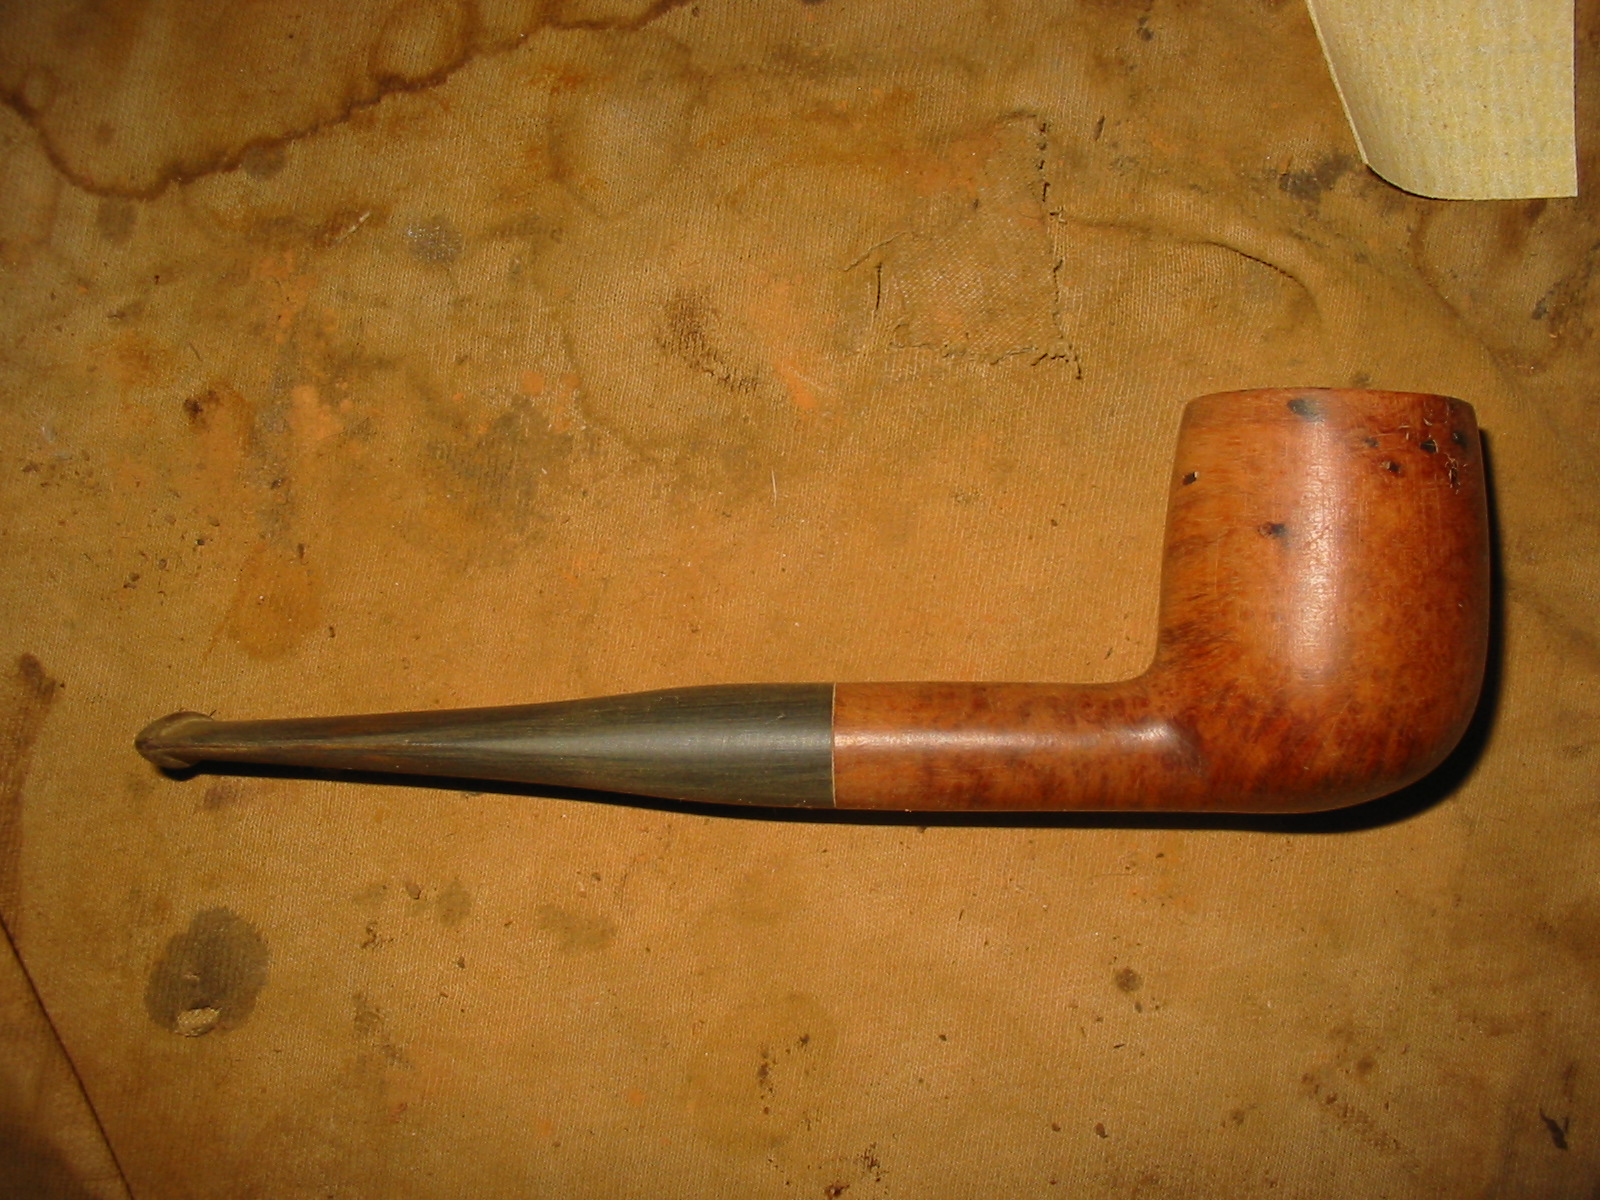
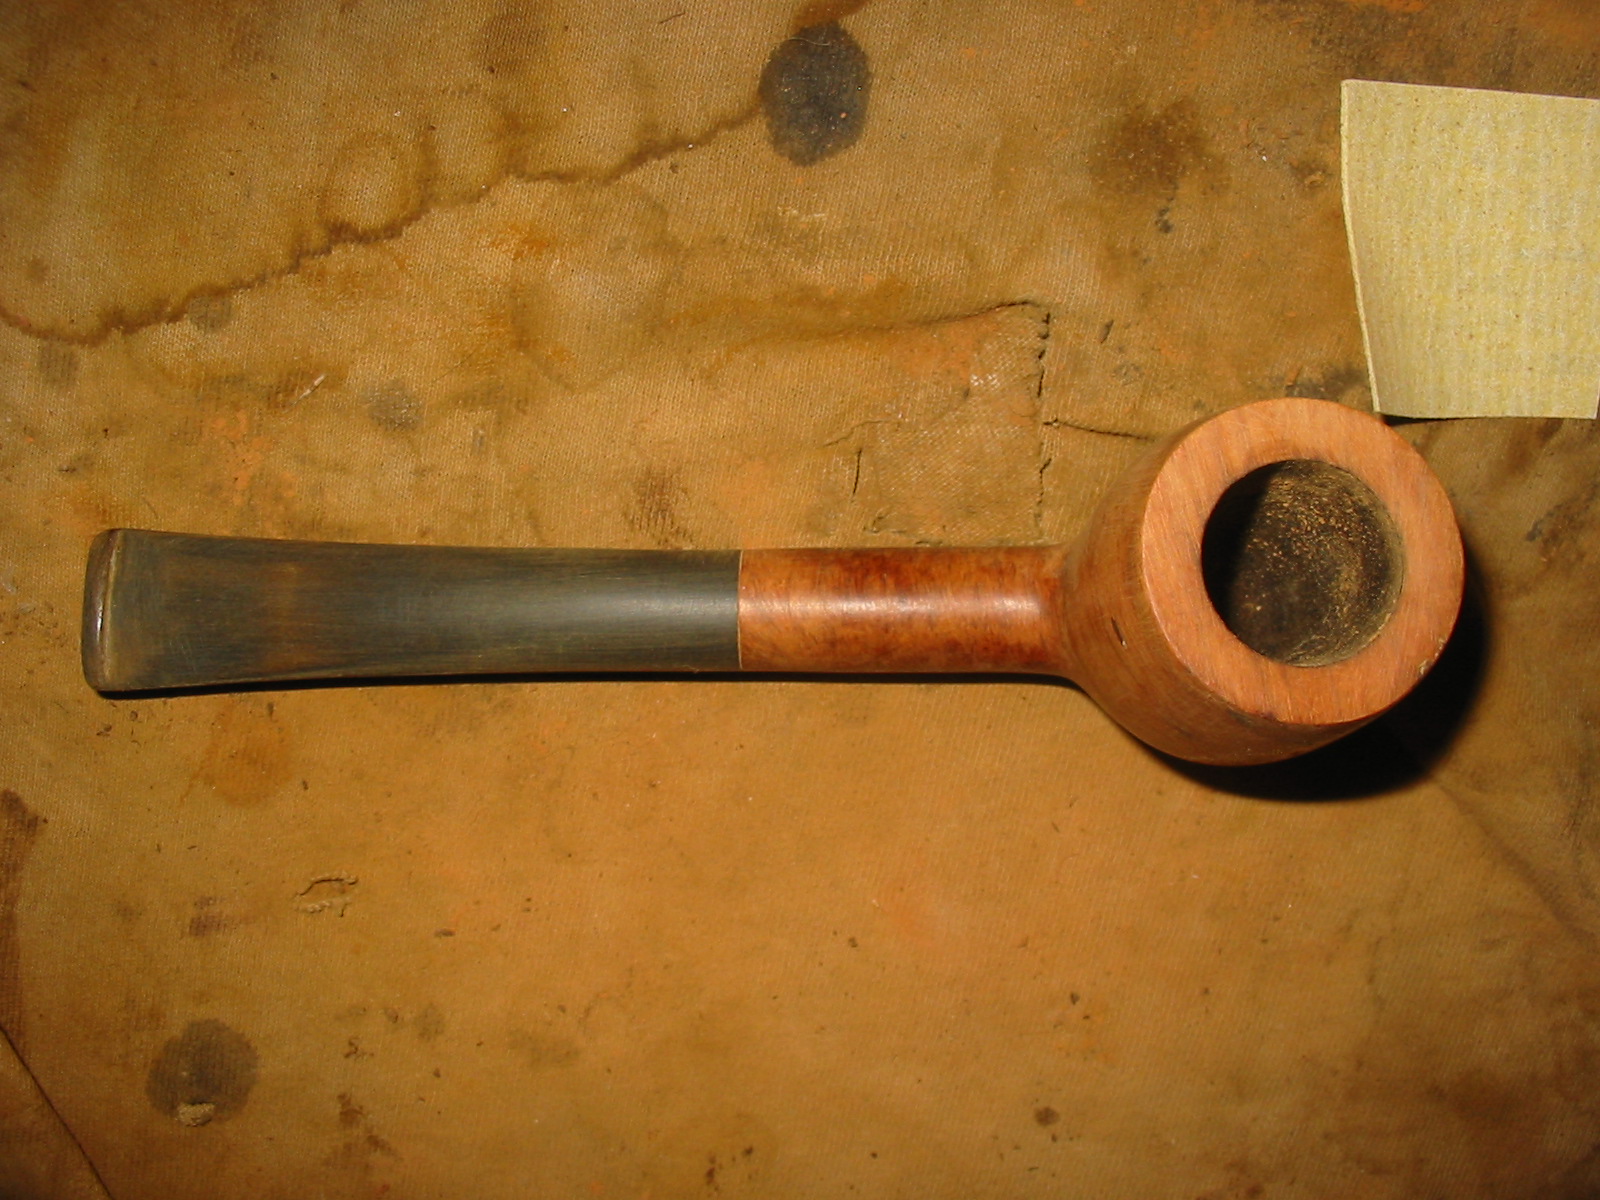
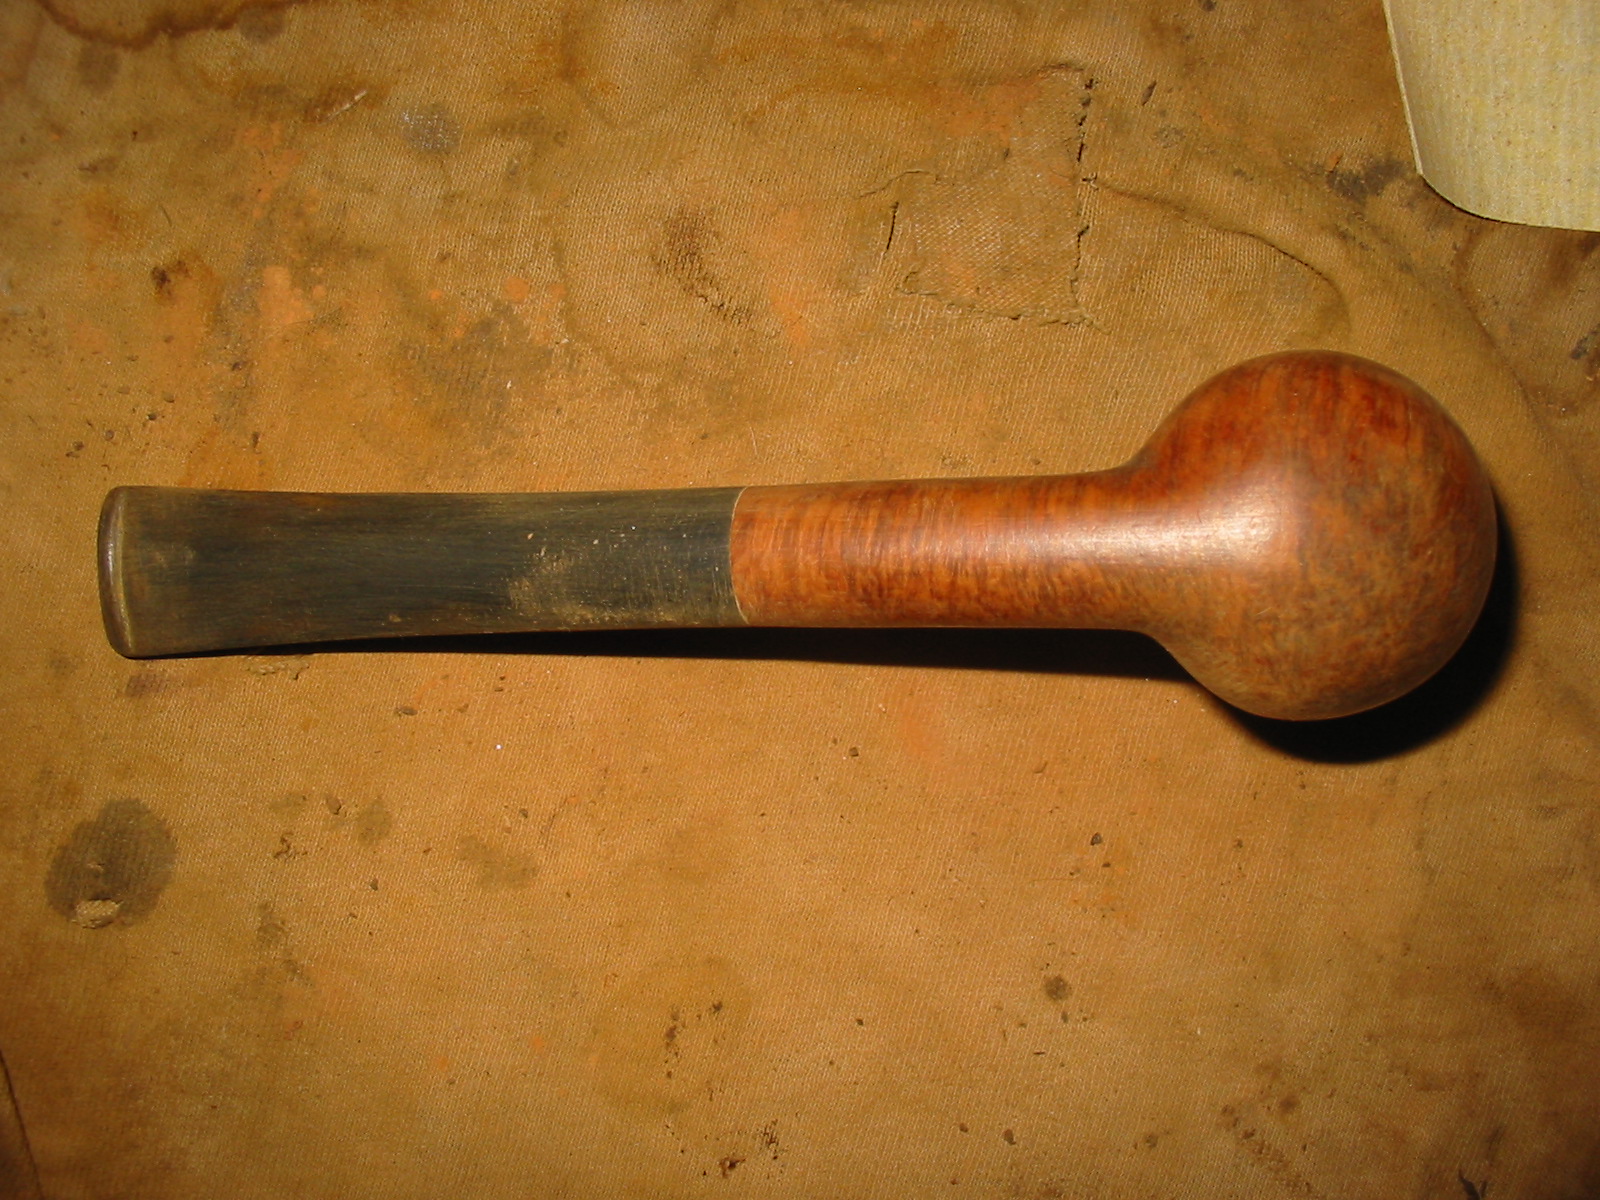
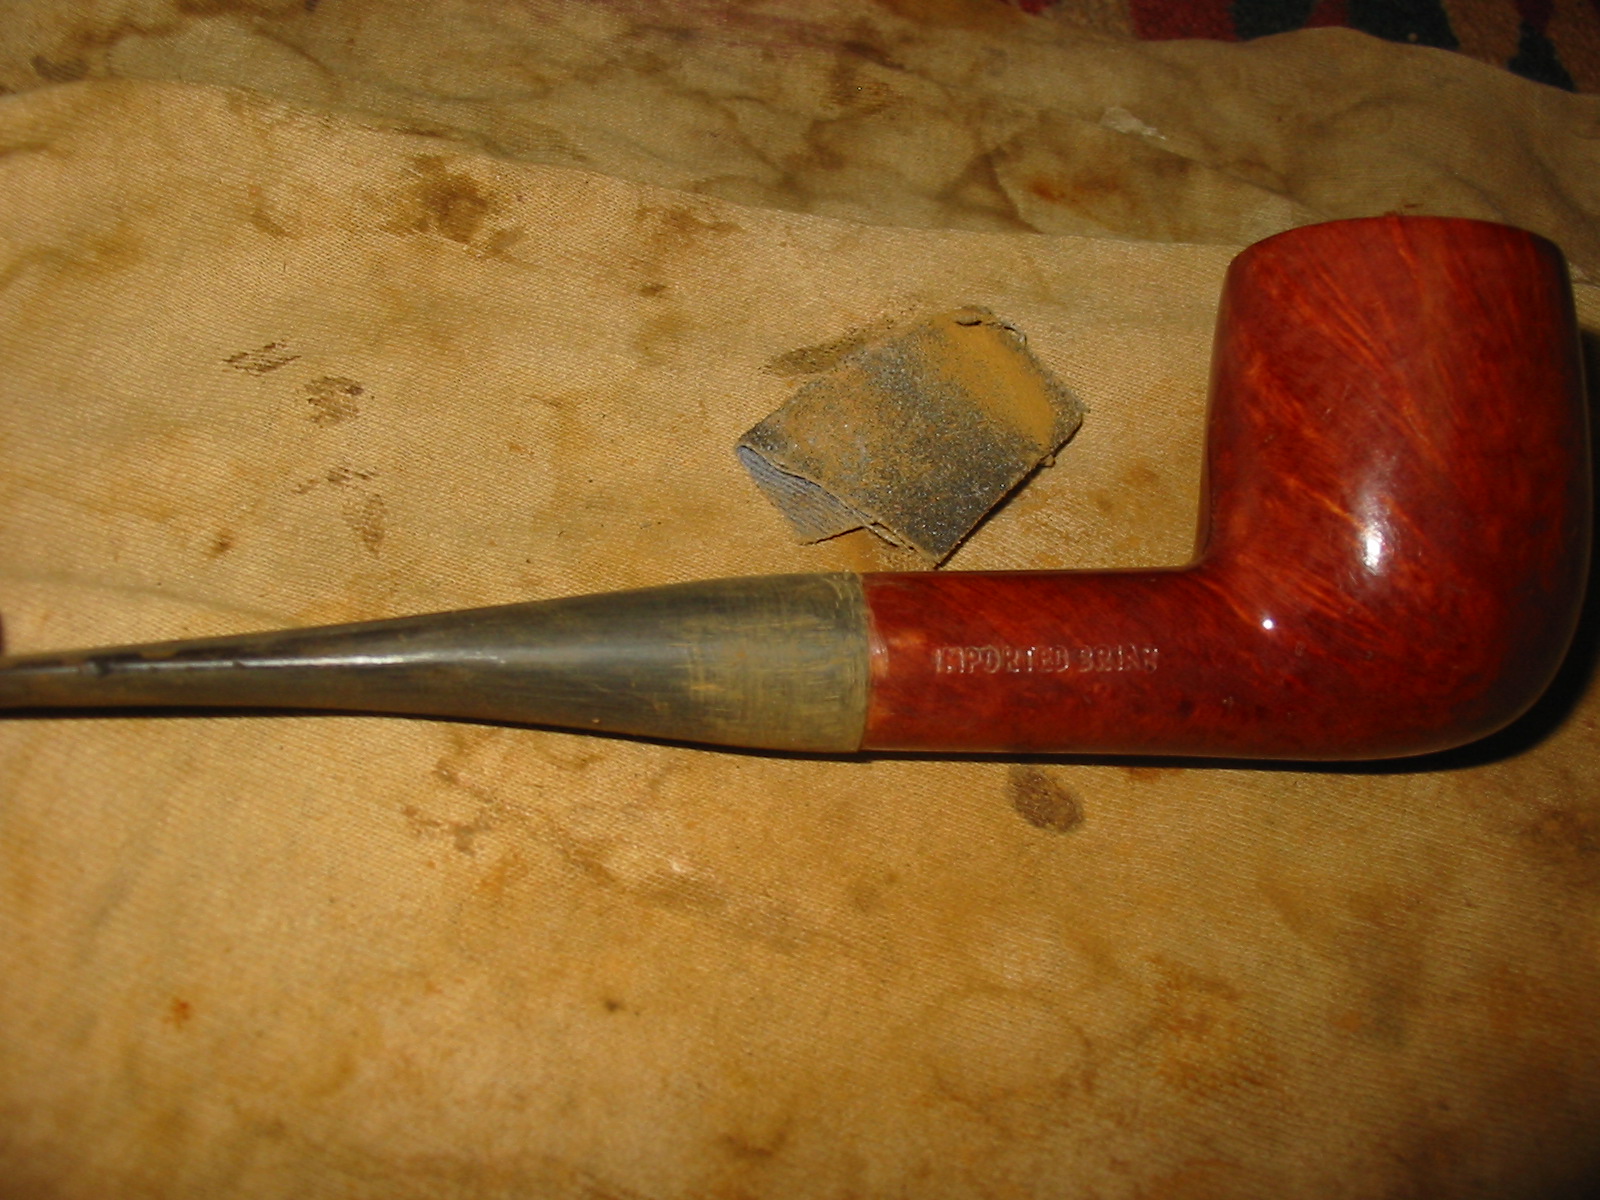
I am definitely getting to the bottom of the refurbishing box – this pipe and one other left before it is empty and I need to start hunting again for more. This old-timer is only stamped on the left side of the shank with IMPORTED BRIAR over ITALY. There is no other stamping on the right side of the shank. The bowl was in pretty decent shape – no real dents or scratches other than around the rim. The edges of the rim were rounded over. The left side showed some nice birdseye grain and the front and the back of the bowl were cross grain. The right side of the bowl was a mess. There were at least a dozen putty fills in various states of coming out of the briar. There were two on the rim that took a bite out of the outer edge of the rim. The finish was gone and the stain had faded. The bowl did not come with a stem so I hunted through my can of stems and found one that would do the trick. It took very little work to get the tenon to fit into the shank. It was a wide blade stem that previously had been on a George Jensen pipe at sometime in its life but that pipe bowl had long since disappeared. With some minor adjustments to the diameter of the stem it would make a great stem for the Italian billiard.
IMG_3288

IMG_3289

IMG_3290

IMG_3291

IMG_3292

I decided to top the bowl to clean up the rounded edges on the outer rim and to minimize the damage from the two fills on the right edge. I set up my sandpaper on the flat board and turned the bowl top into the sandpaper. I work at this slowly and turn and sand and then tip the briar dust into a container that I have saved for repairs to fills. The first photo below shows the set up as well as the condition of the rim before I worked on it.
IMG_3302

IMG_3303

IMG_3304

I took the top down until the outer edges of the rim were sharp and clean. The damage from the fills is still visible but I stopped before I changed the overall shape of the bowl. I used a Dremel with a sanding drum to reduce the diameter of the stem to match the shank. I take it down as far as possible with the Dremel and then do the finish shaping by hand with sandpaper.
IMG_3305

IMG_3306

IMG_3307

IMG_3308

I sanded the stem with 220 grit sandpaper to remove the oxidation and to finish shaping the area around the shank and stem junction.
IMG_3309

IMG_3310

IMG_3311

IMG_3312

I wiped down the bowl with acetone on a cotton pad to remove the remaining finish.
IMG_3313

IMG_3314

IMG_3315

IMG_3316

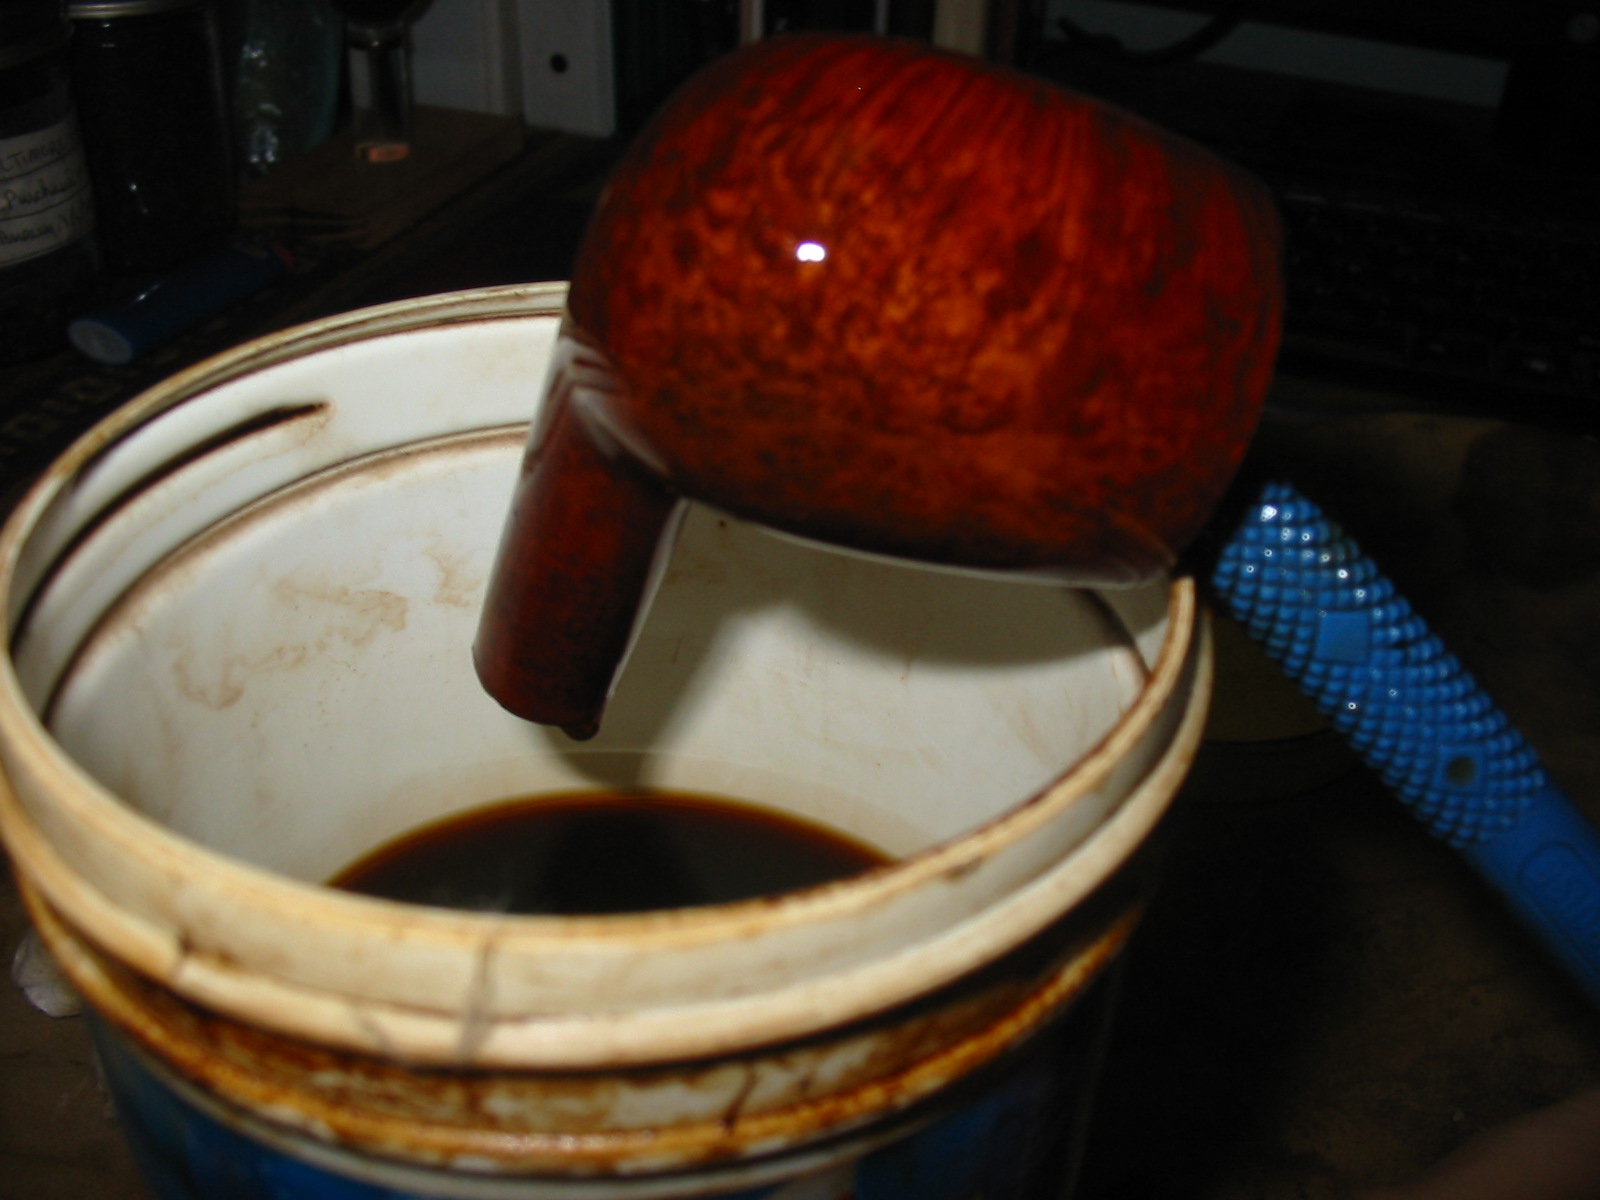
I dropped the bowl in an alcohol bath to soften the putty fills to make them easier to remove. It also removed the remaining finish to the bowl. The dark colour of the alcohol bath adds a patina to the bowl that is something that I appreciate. (I continue to use the bath and filter out the grit and grime from the alcohol every other month. The filtering removes the impurities but leaves the alcohol the colour of the stain that has been removed from the bowl. It is a uniform dark brown colour. I rarely change the bath, just refill it as the alcohol evaporates over time.)
IMG_3317

When I removed it from the bath I picked out the softened putty fills with a dental pick and lightly sanded the bowl and shank with a fine grit sanding sponge.
IMG_3318

IMG_3319

IMG_3320

IMG_3321

I am continuing to experiment with wood glue and briar dust combined to replace the fills. I am finding that the mixture gives virtually the same darkening of the fill as the mixture of briar dust and superglue so I am not convinced. The drawback to using the wood glue is the slow drying time. That probably is not an issue for some of you but if the result is the same I will opt for the quick results of the superglue. I packed in the briar dust, dribbled the glue into the fills and then added more dust to the mixture. When it dried I sanded it with 220 grit sandpaper to remove the buildup and smooth out the surface of the bowl. I then sanded the bowl with a fine grit sanding block to remove the scratches.
IMG_3322

IMG_3323

IMG_3324

IMG_3325

IMG_3326

IMG_3327

IMG_3328

IMG_3329

I am also continuing to experiment with the contrast staining process so I used it again on this bowl. I wanted to highlight the beautiful birdseye grain and cross grain on the bowl and hide the repaired fills as much as possible. I used a black aniline stain for the first coat of stain. I applied it and flamed it and repeated the process until I had good coverage on the bowl.
IMG_3330

IMG_3331

IMG_3332

I wiped down the bowl with Everclear on a cotton pad to remove the heavy black stain from the surface of the bowl while leaving it deep in the grain. I notice in the process that the stain did not soak into the areas around the fills where there was remnant of wood glue on the surface of the briar. It left a shiny spot of unstained briar. To remedy that I would need to sand those areas of the bowl before applying the second coat of stain.
IMG_3333

IMG_3334

IMG_3335

IMG_3336

I sanded the bowl with a fine grit sanding sponge and also with micromesh sanding pads from 1500-2400 grit. I wet sanded with these grits as they work well to remove scratches in the surface and also to remove the remaining glue on the surface. Once I had the bowl sanded smooth I wiped it down with a damp alcohol pad to remove surface dust and then restained the bowl with an oxblood aniline stain. The next series of photos show the freshly stained bowl before I flamed it. The undercoat of black comes through and highlights the grain very nicely. Once the bowl was dry I buffed it lightly with White Diamond.
IMG_3337

IMG_3338

IMG_3339

IMG_3340

I sanded the bowl and stem with micromesh sanding pads to polish it further. I wet sanded with 1500-2400 grit and then dry sanded with 3200-12,000 grit pads. I find that the higher grit pads add a deeper level of shine with each successive grit. The next three photos show the stem and bowl after polishing with three grits of micromesh. The first photo shows 1500, 1800 and 2400 grit pads. The second photo shows 3200, 3600 and 4000 grit pads. The third photo shows 6000, 8000 and 12,000 grit pads.
IMG_3341

IMG_3342

IMG_3343

I rubbed the stem down with Obsidian Oil and when it was dry I buffed the stem and bowl with White Diamond. I gave the pipe multiple coats of carnauba wax to protect the finish and give it a shine. The contrast stain worked well with this pipe. The birdseye grain really pops and the cross grain is also highlighted. The black undercoat also minimizes the eyesore of the fills on the right side of the bowl and the small one on the left side has virtually disappeared. The final four photos below show the finished pipe. I am happy with the way it turned out – far better than I expected when I took it out of the box to refurbish.
IMG_3348

IMG_3349

IMG_3350

IMG_3351

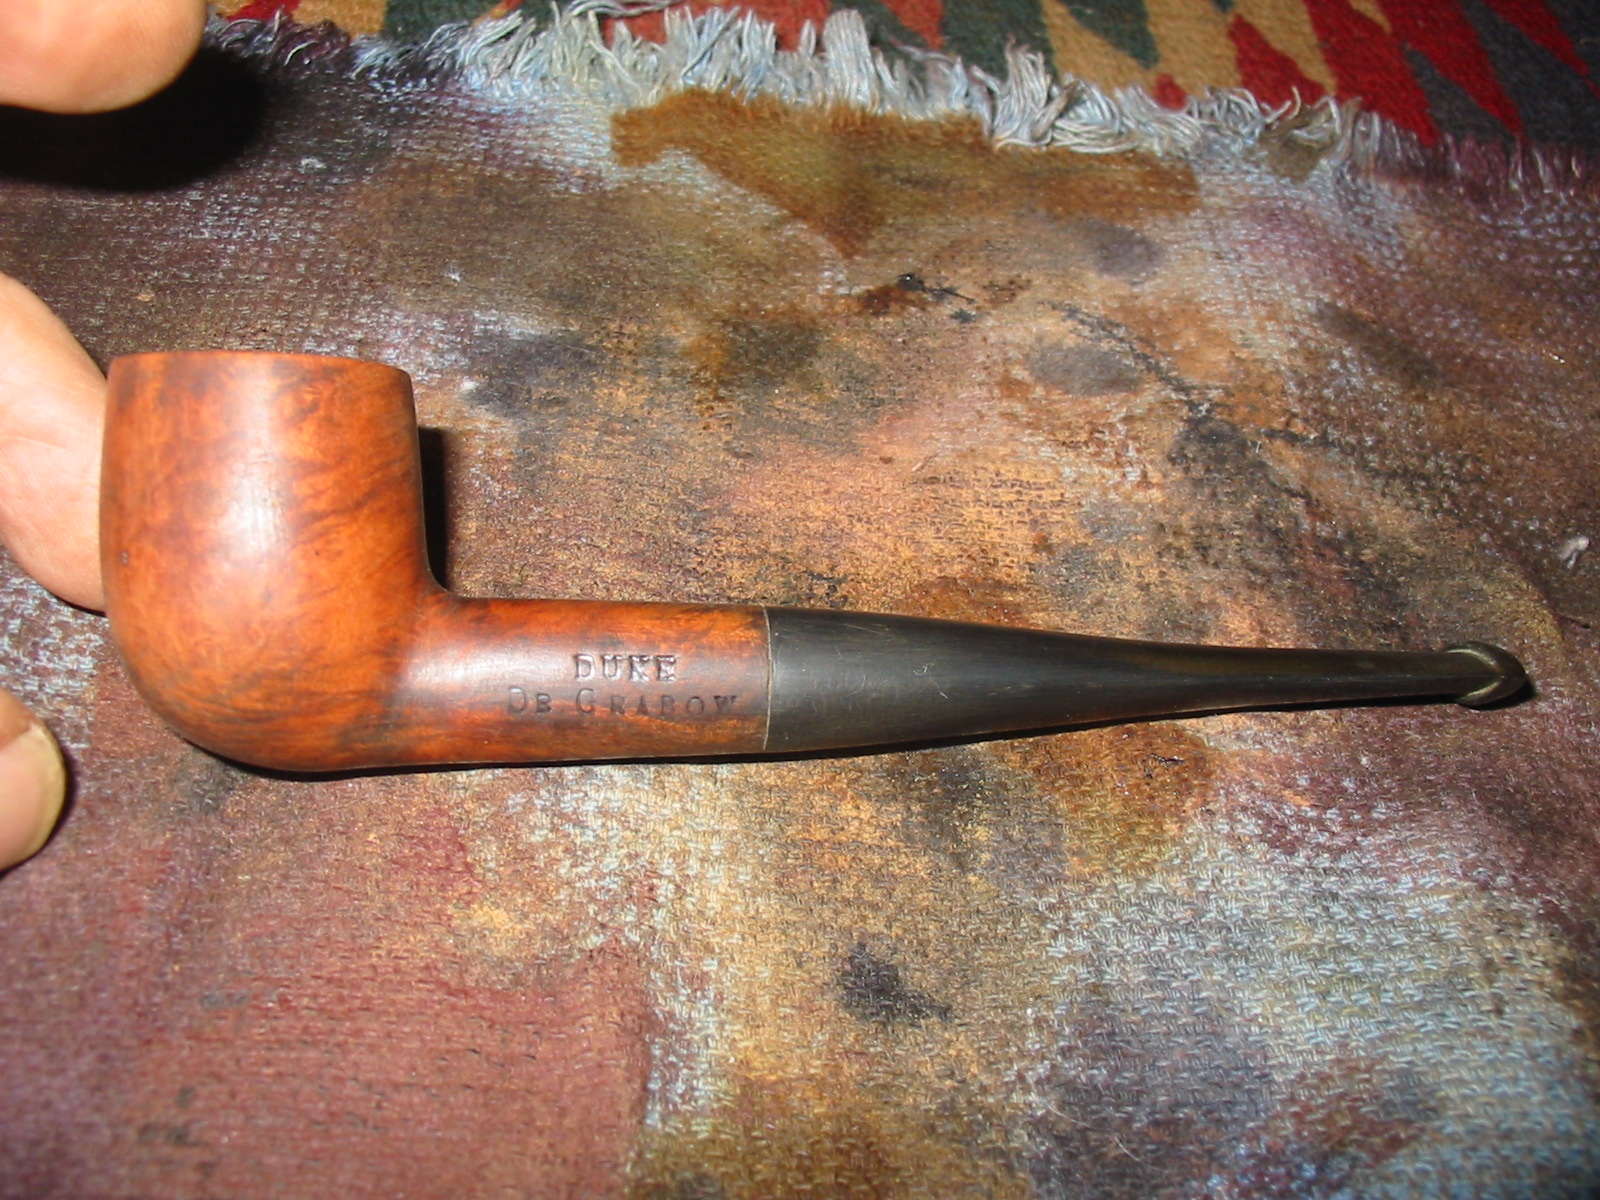
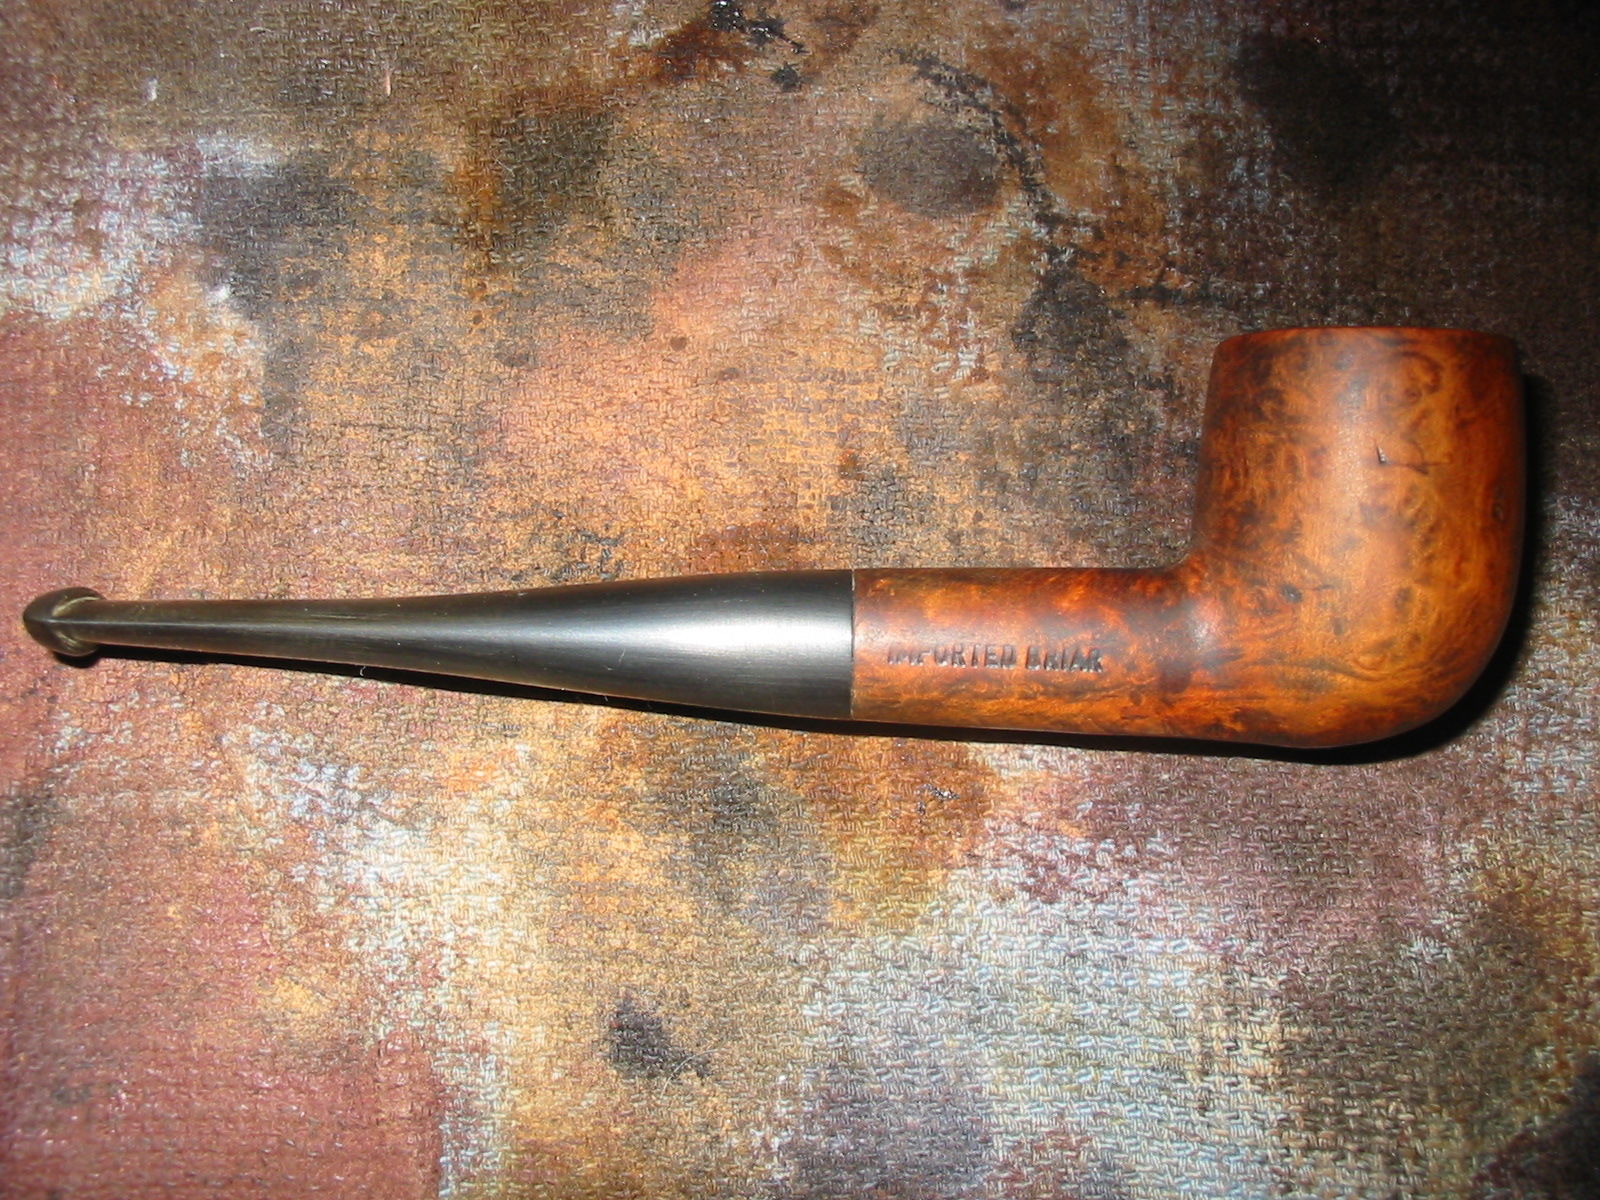
A Dr. Grabow Duke Billiard Reborn


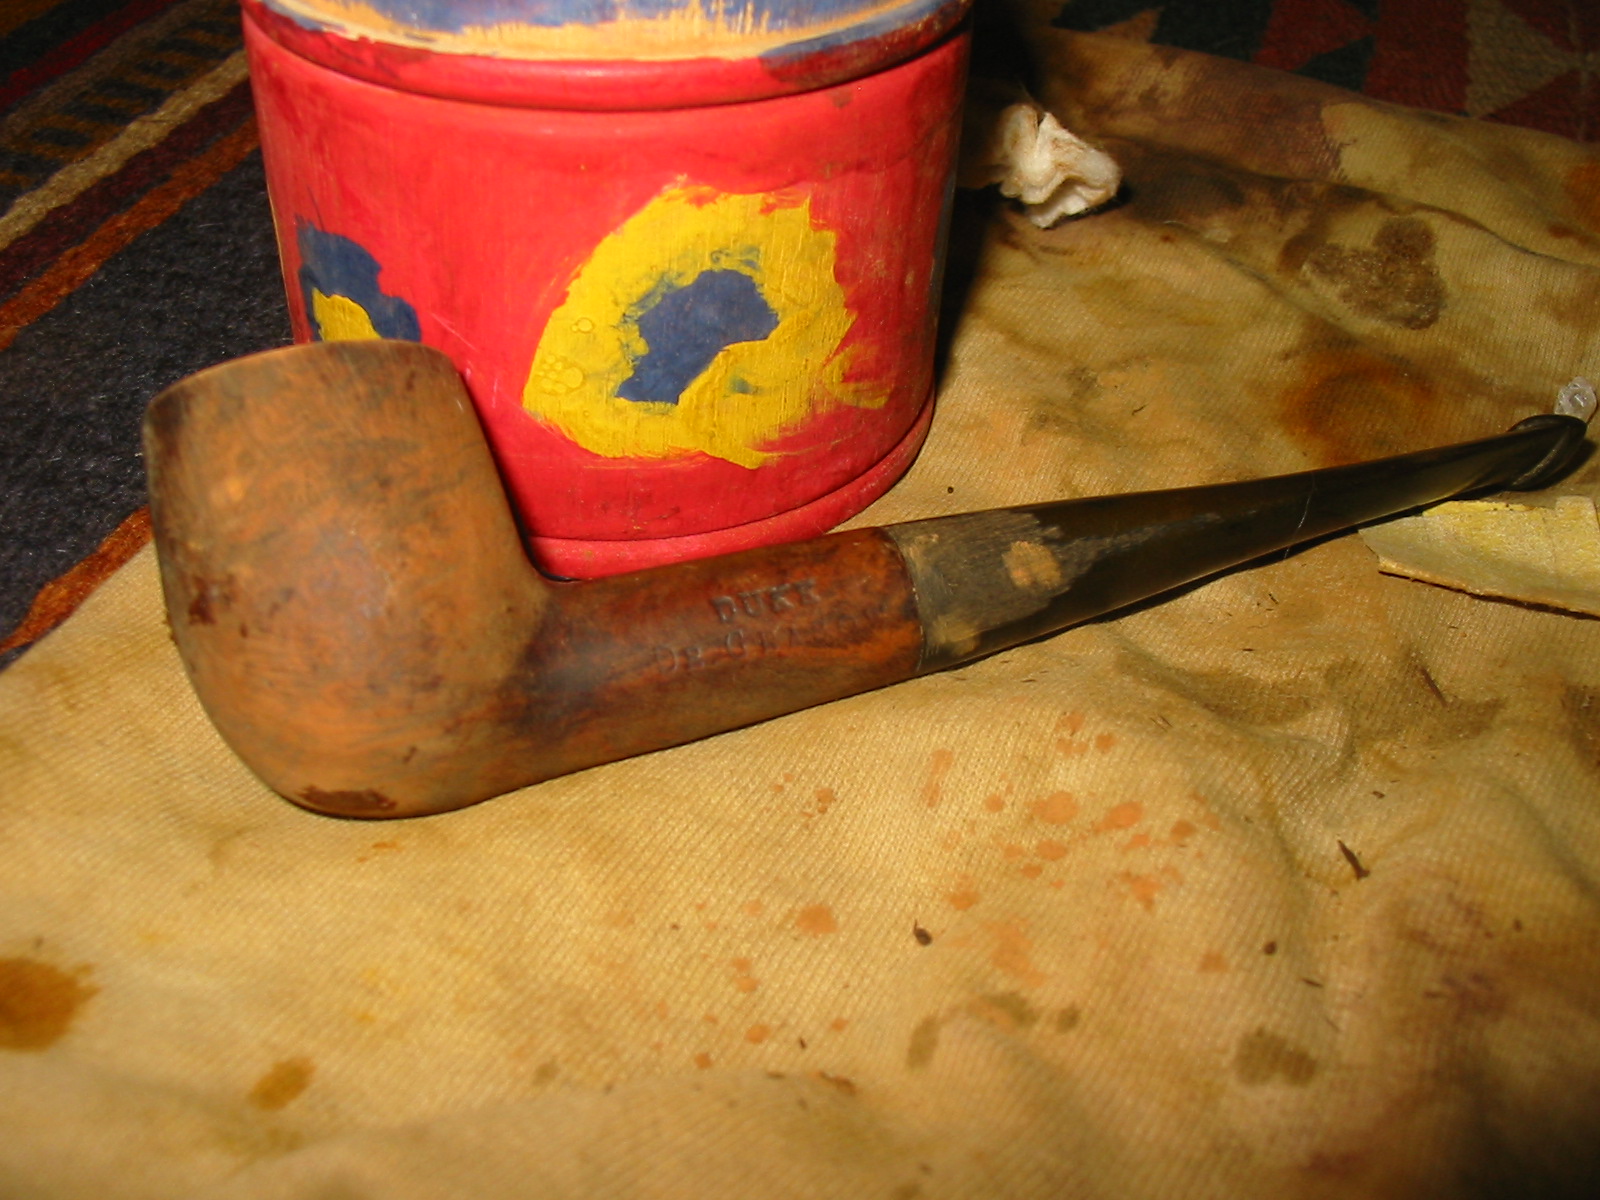
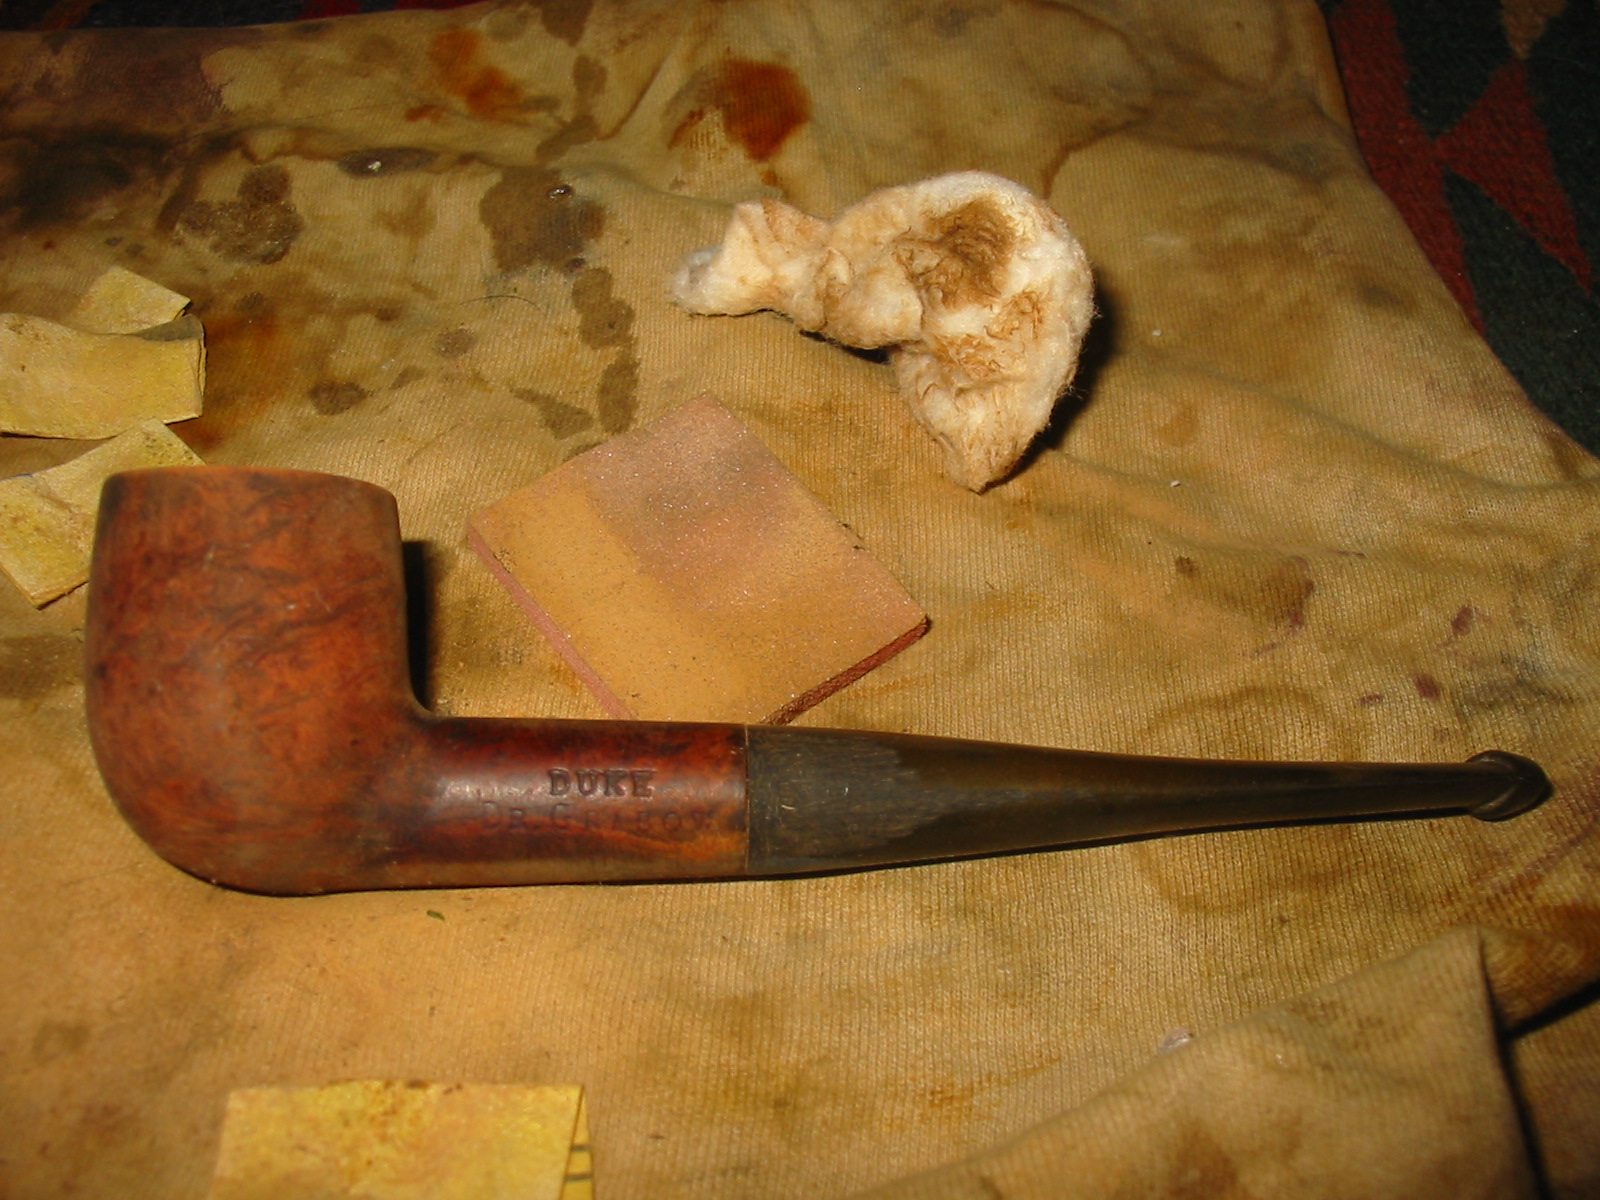
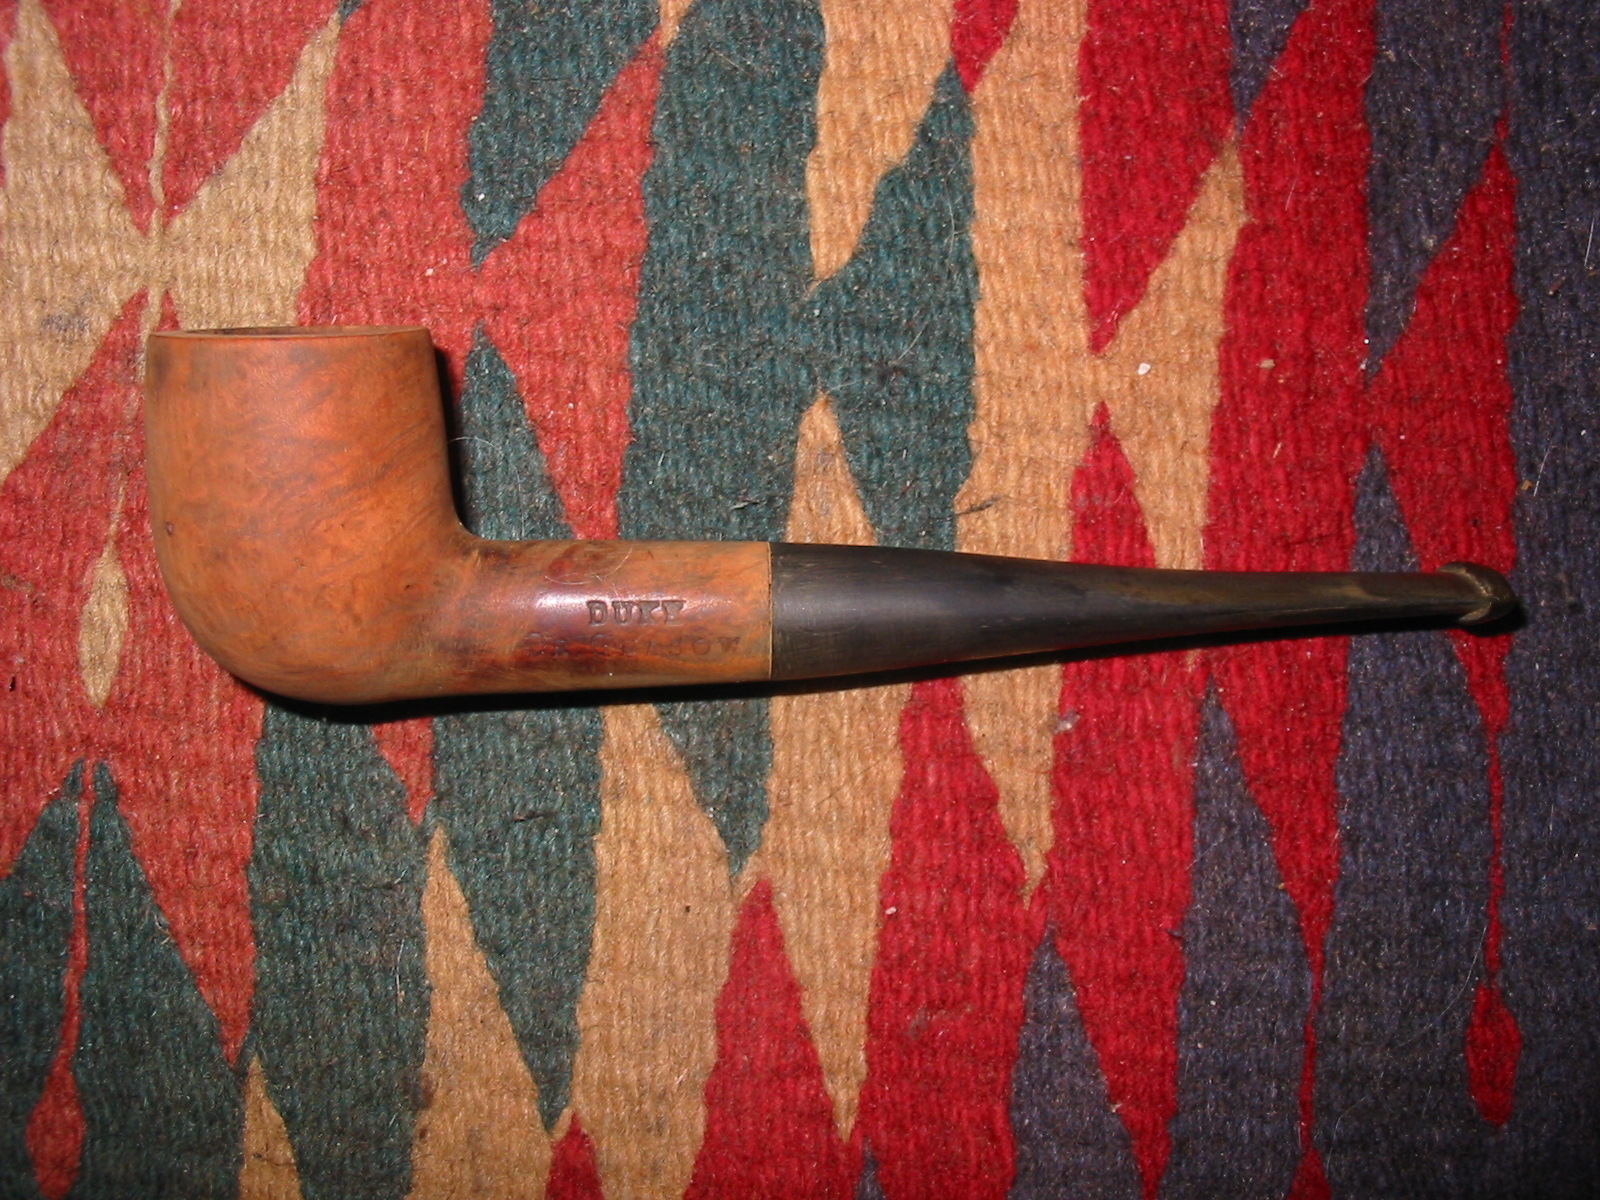
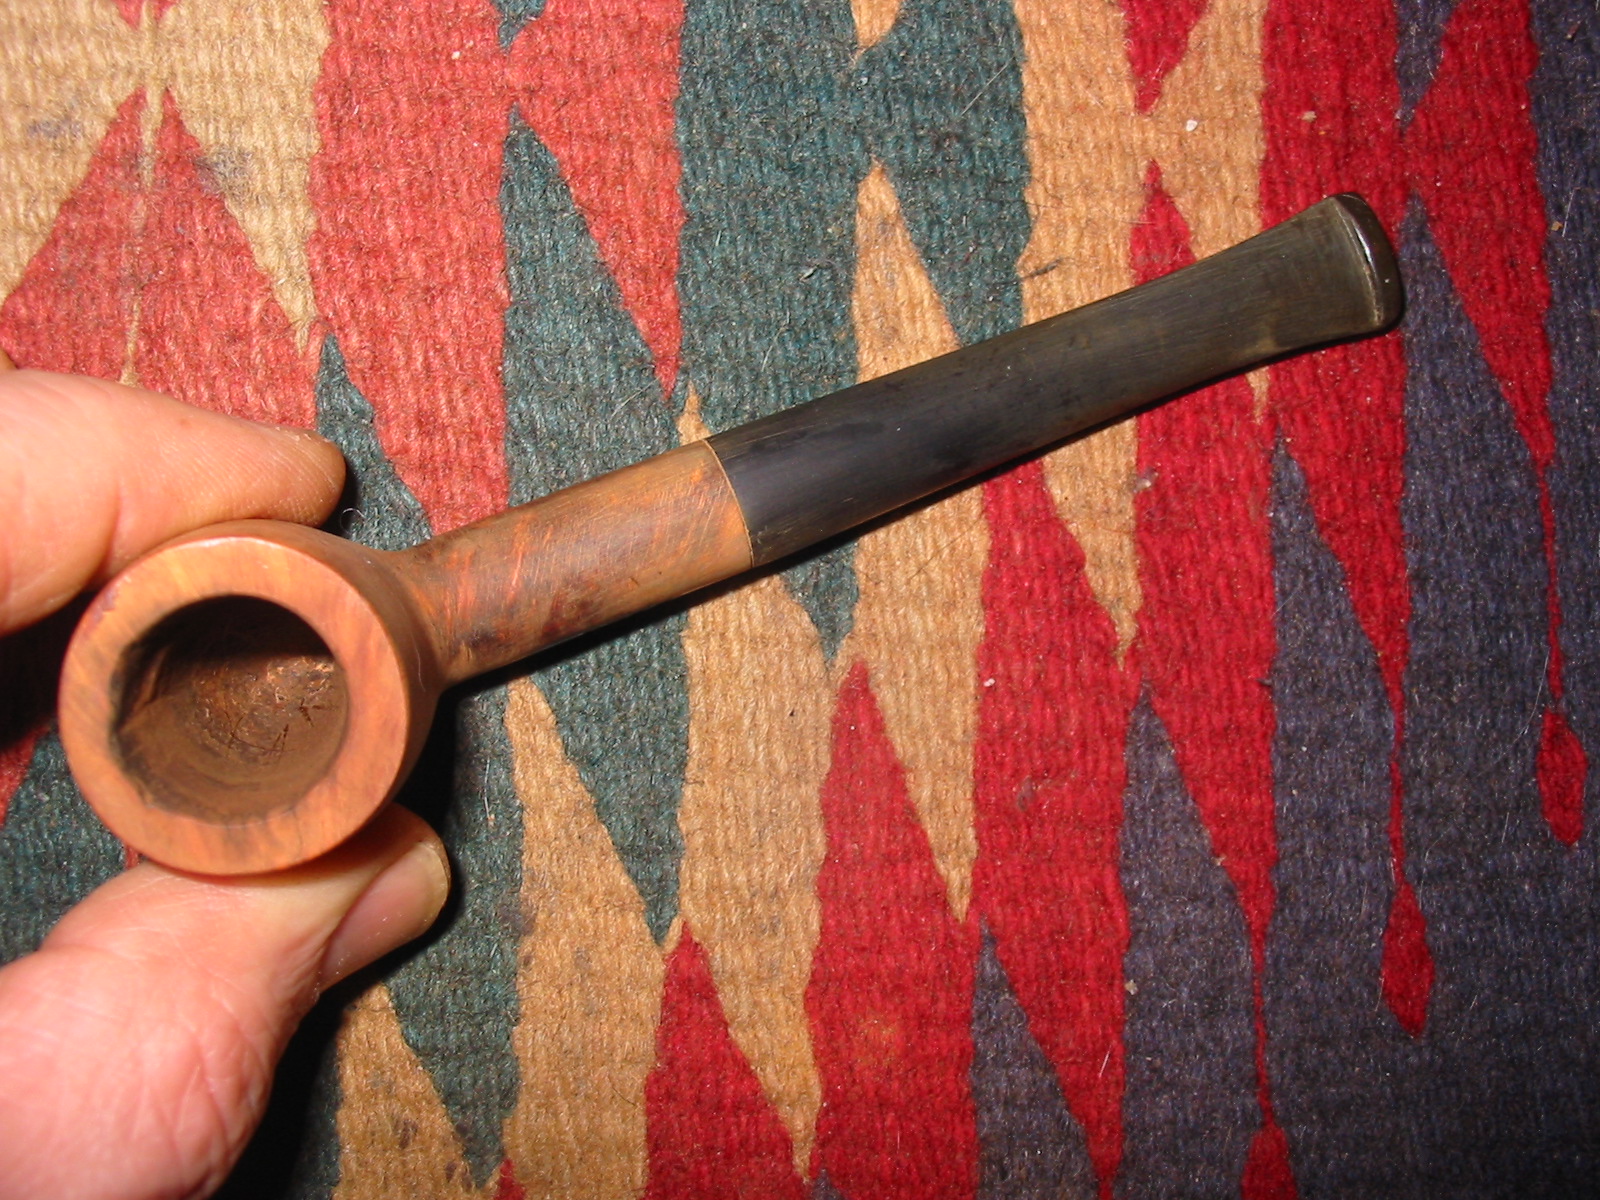
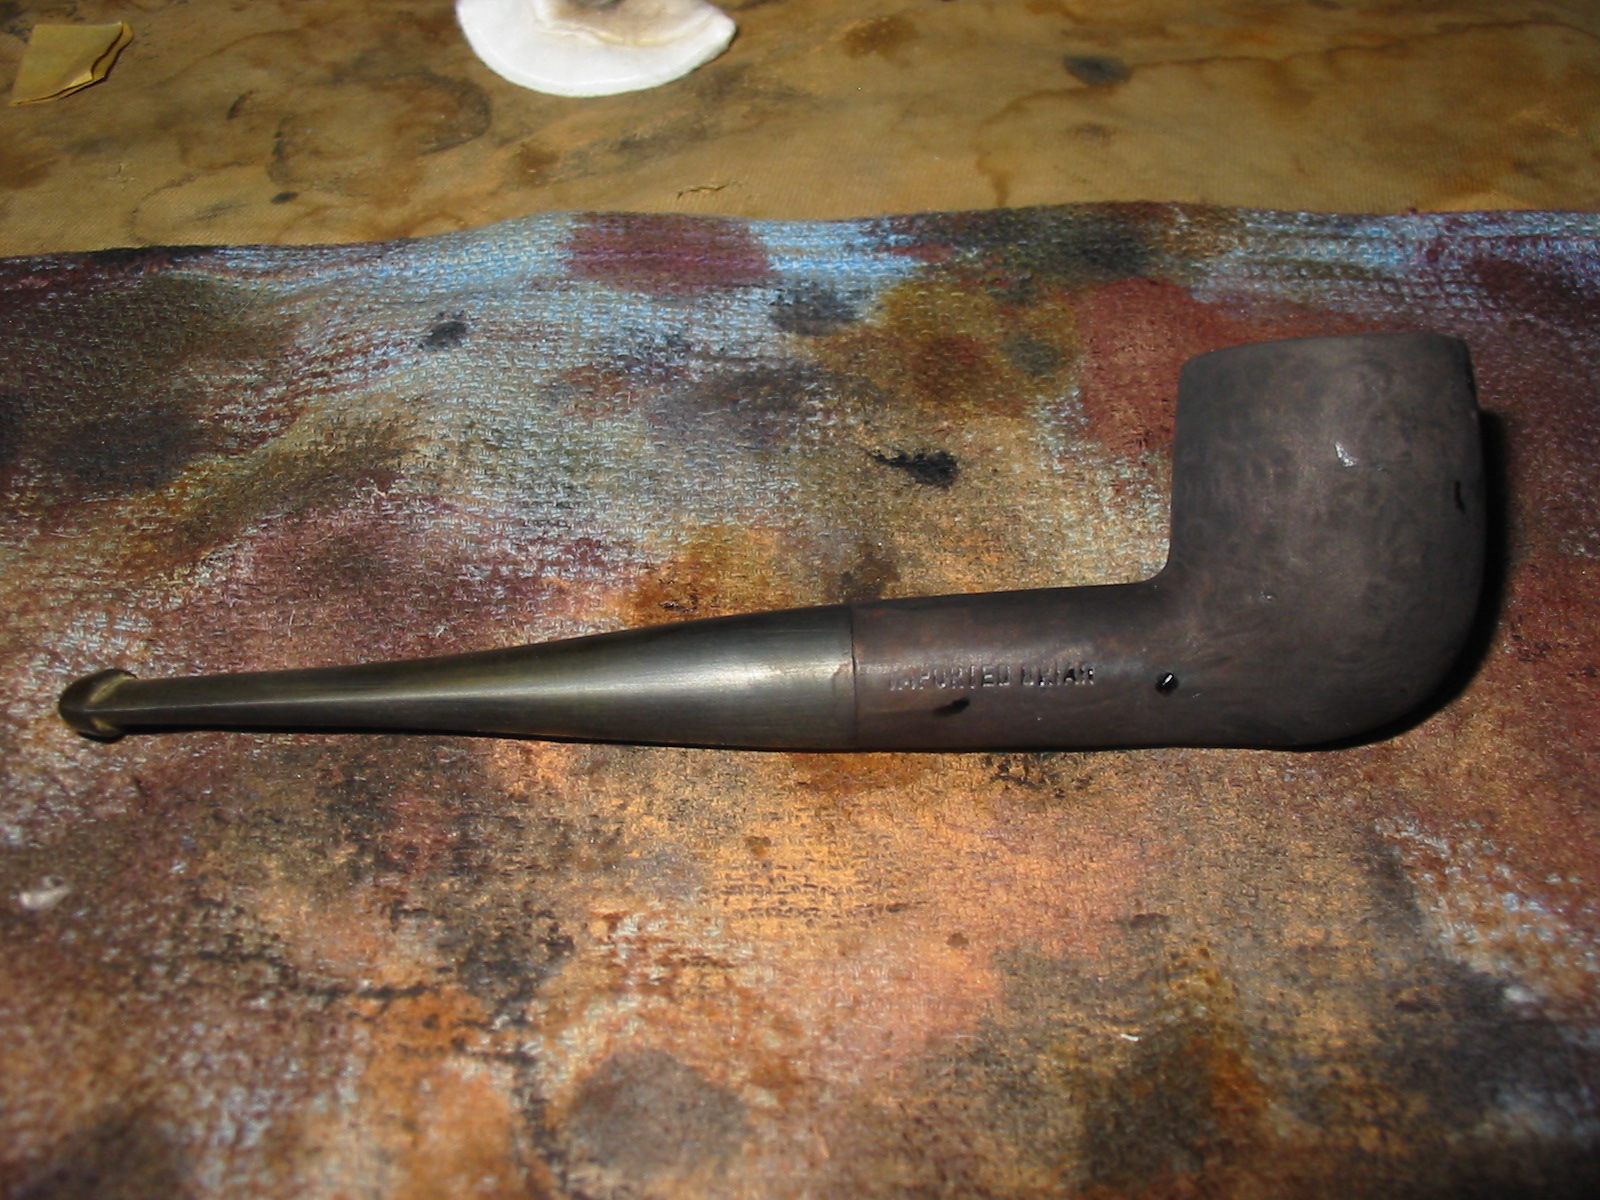
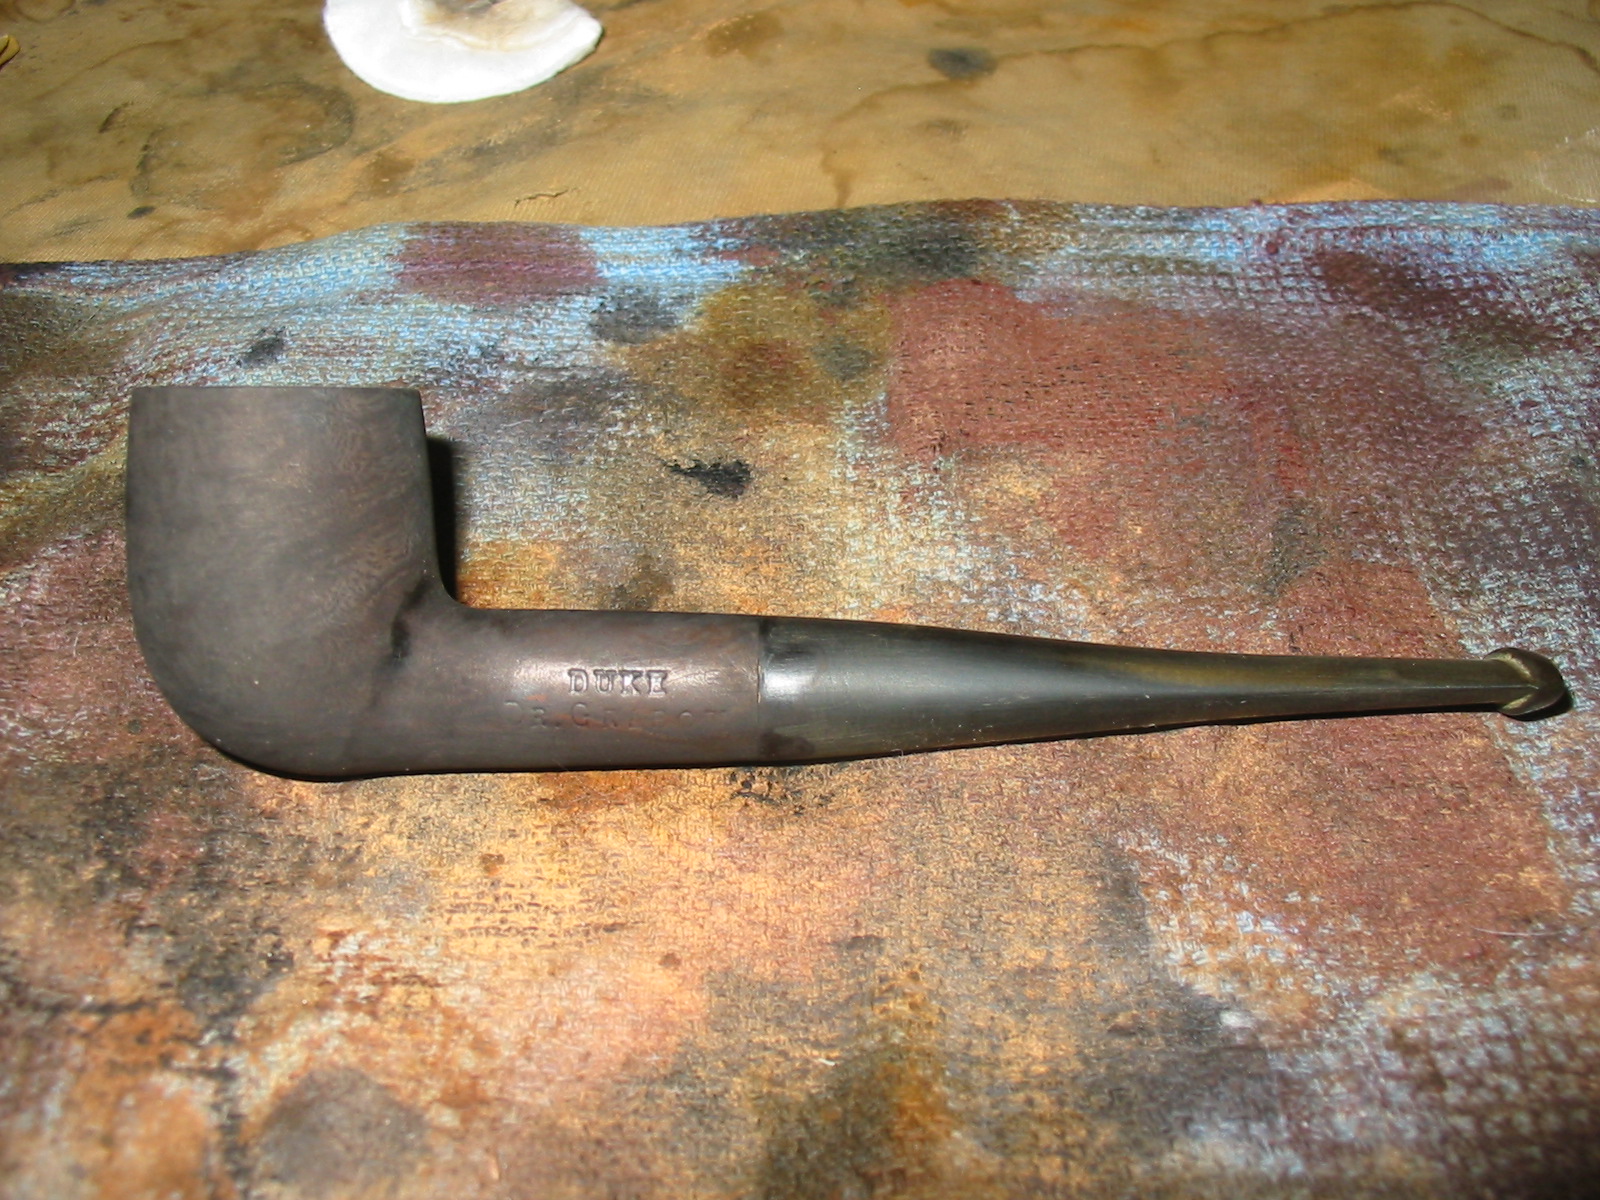
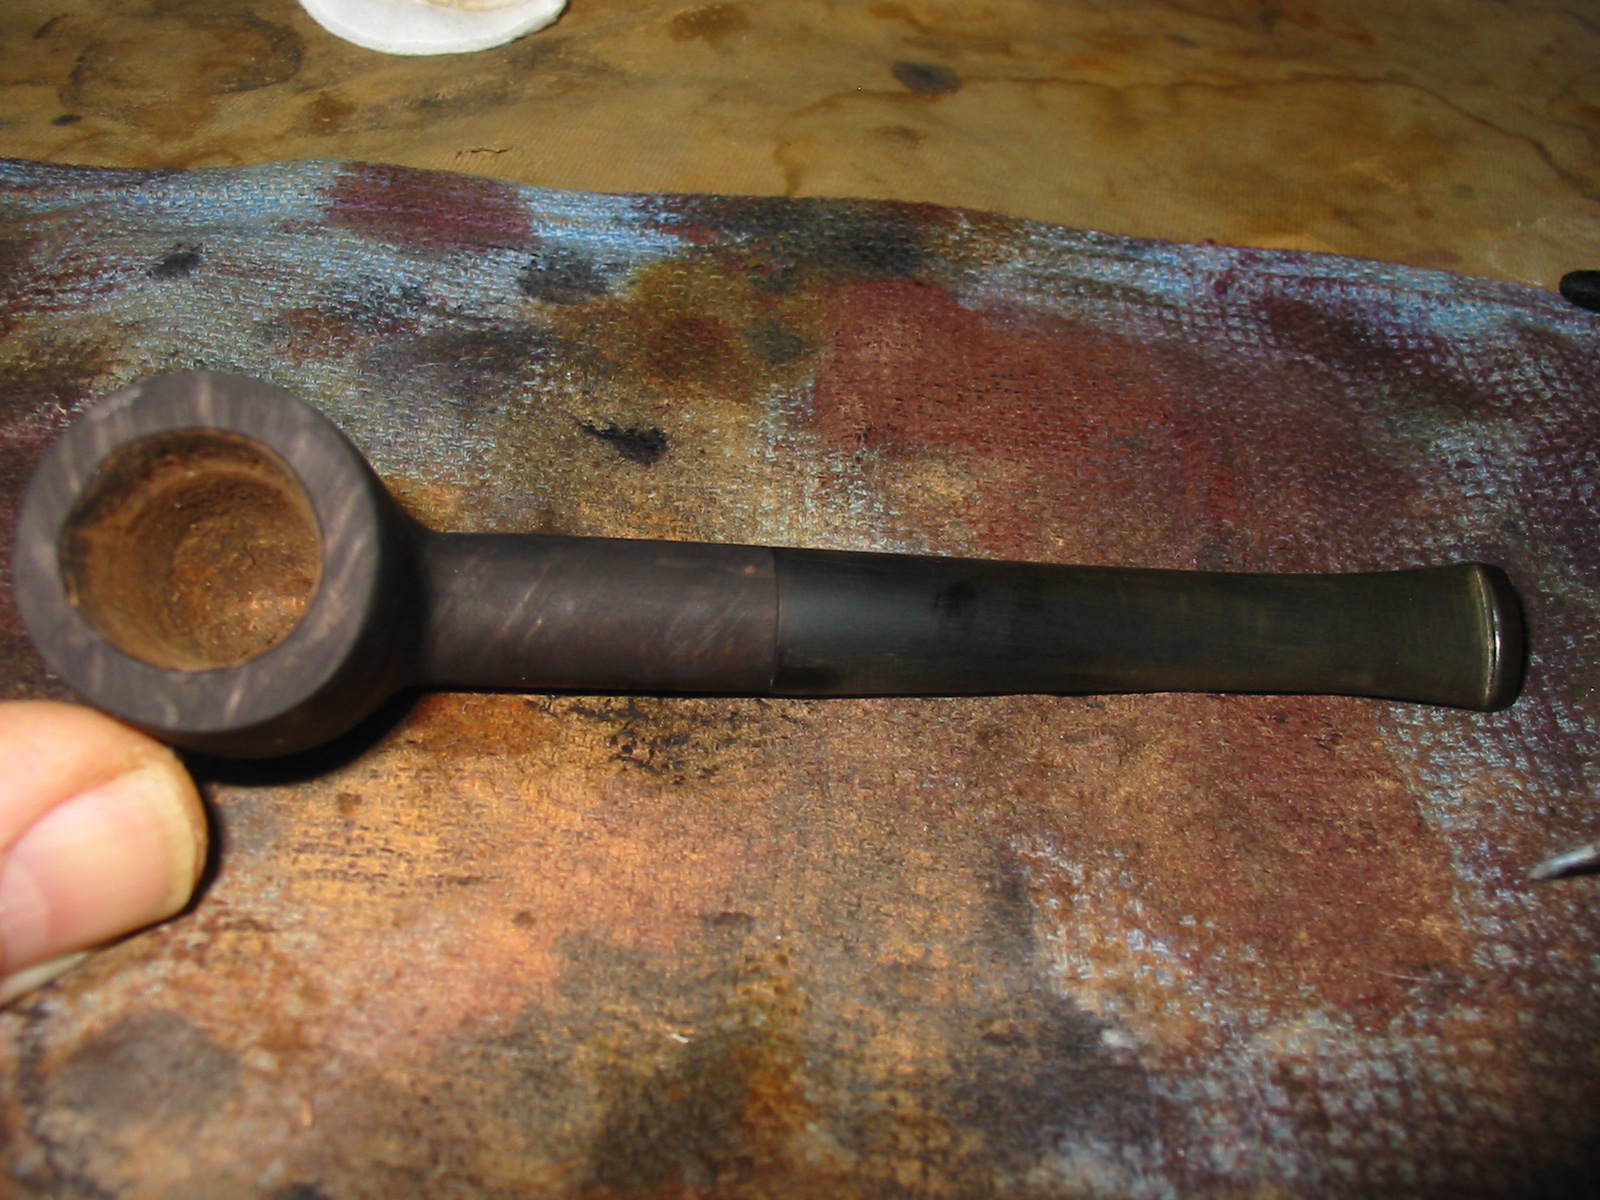
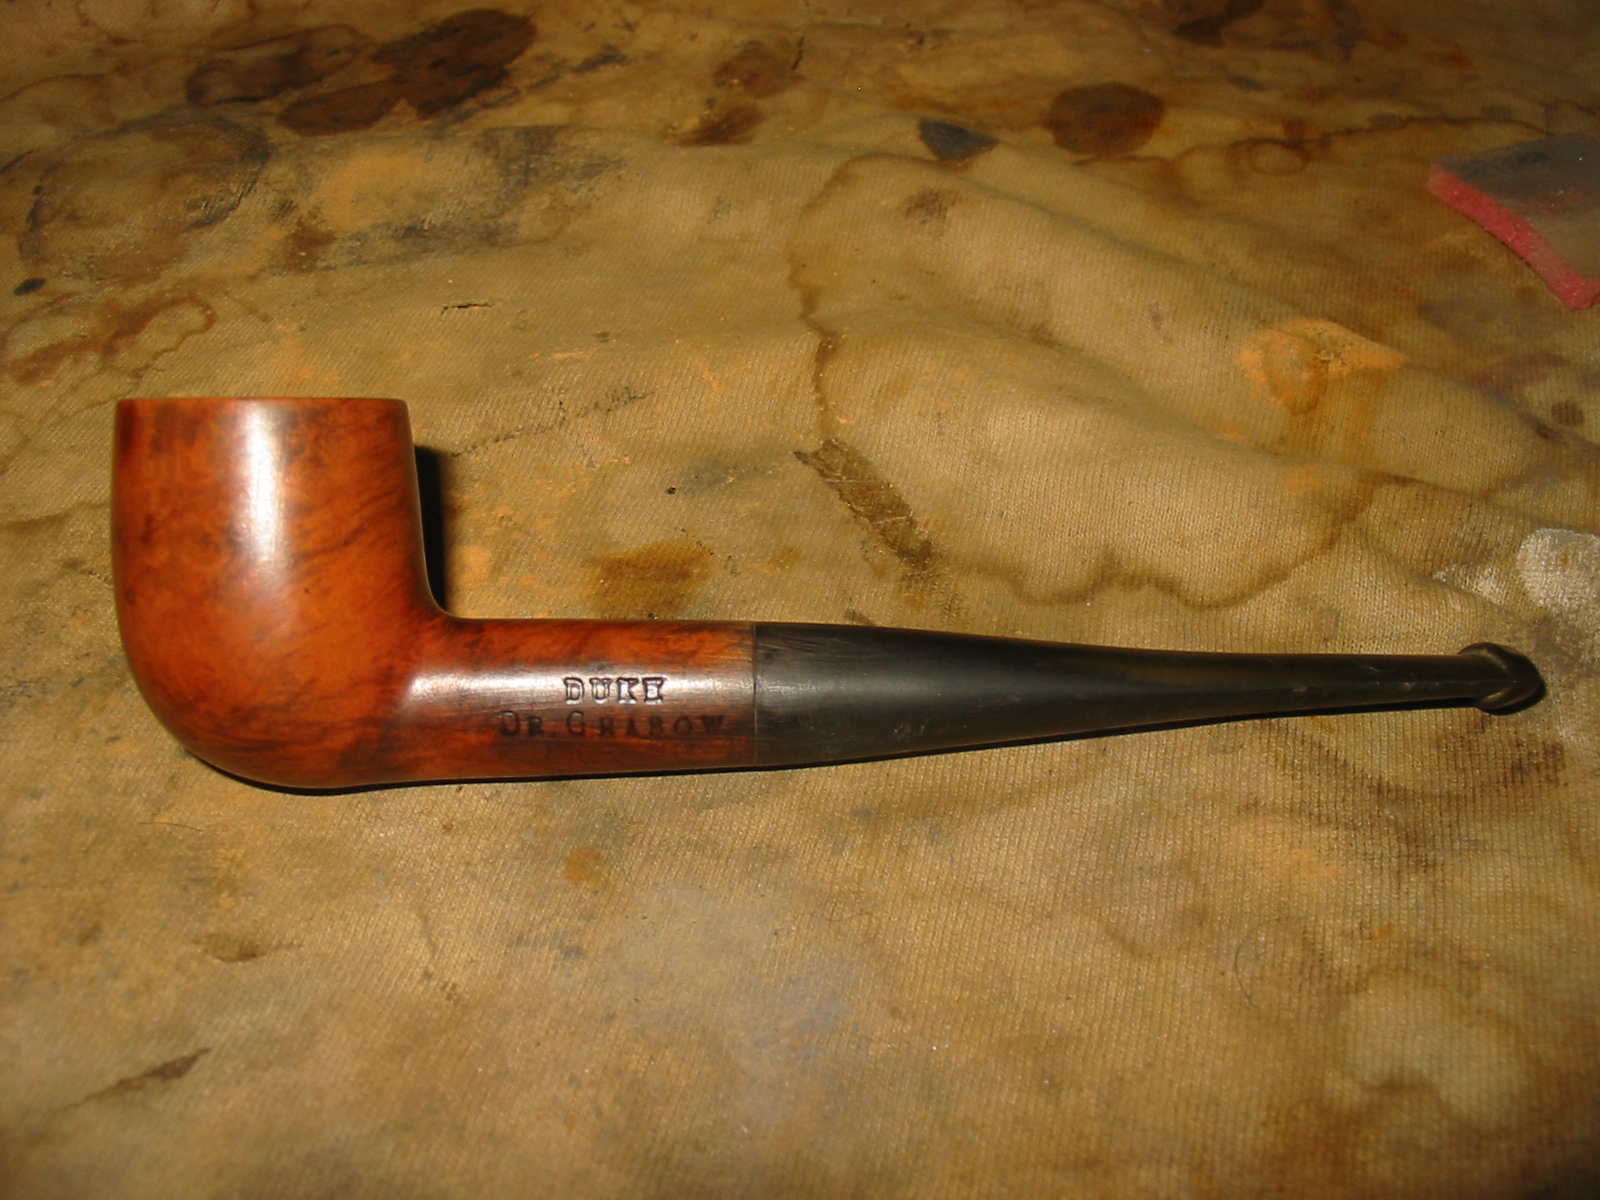
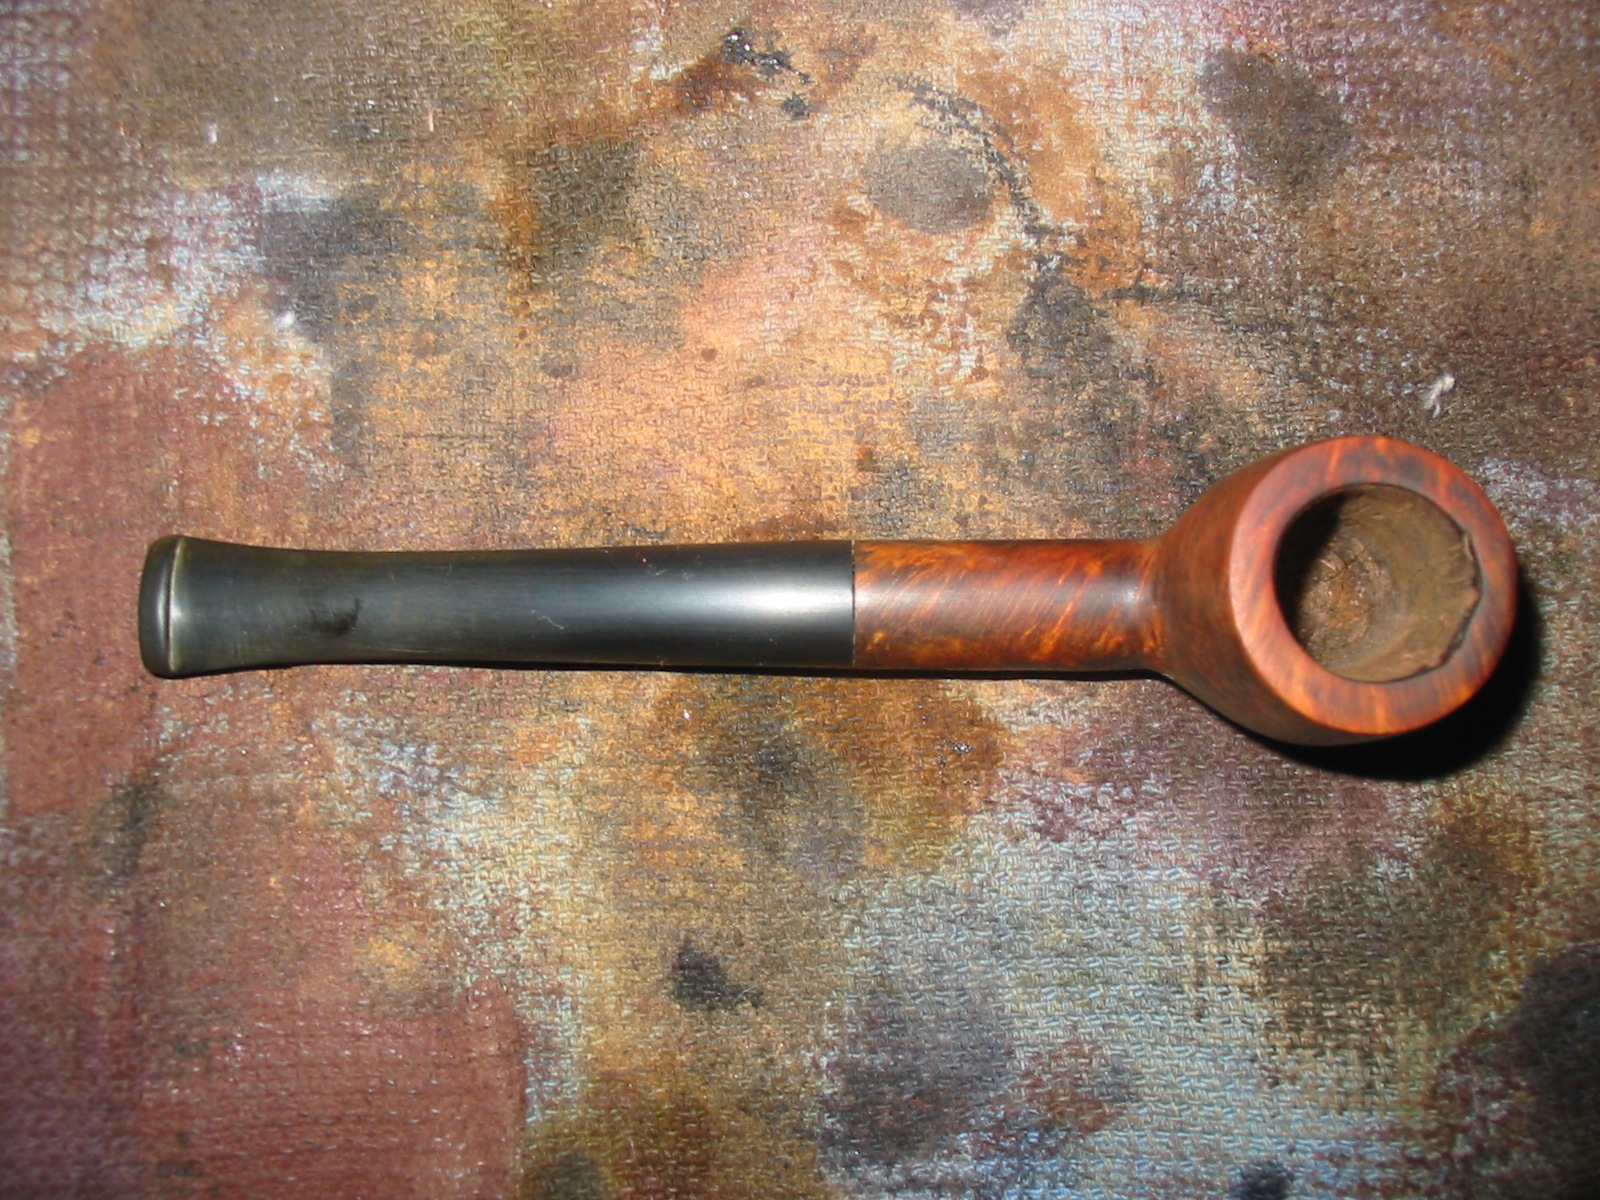
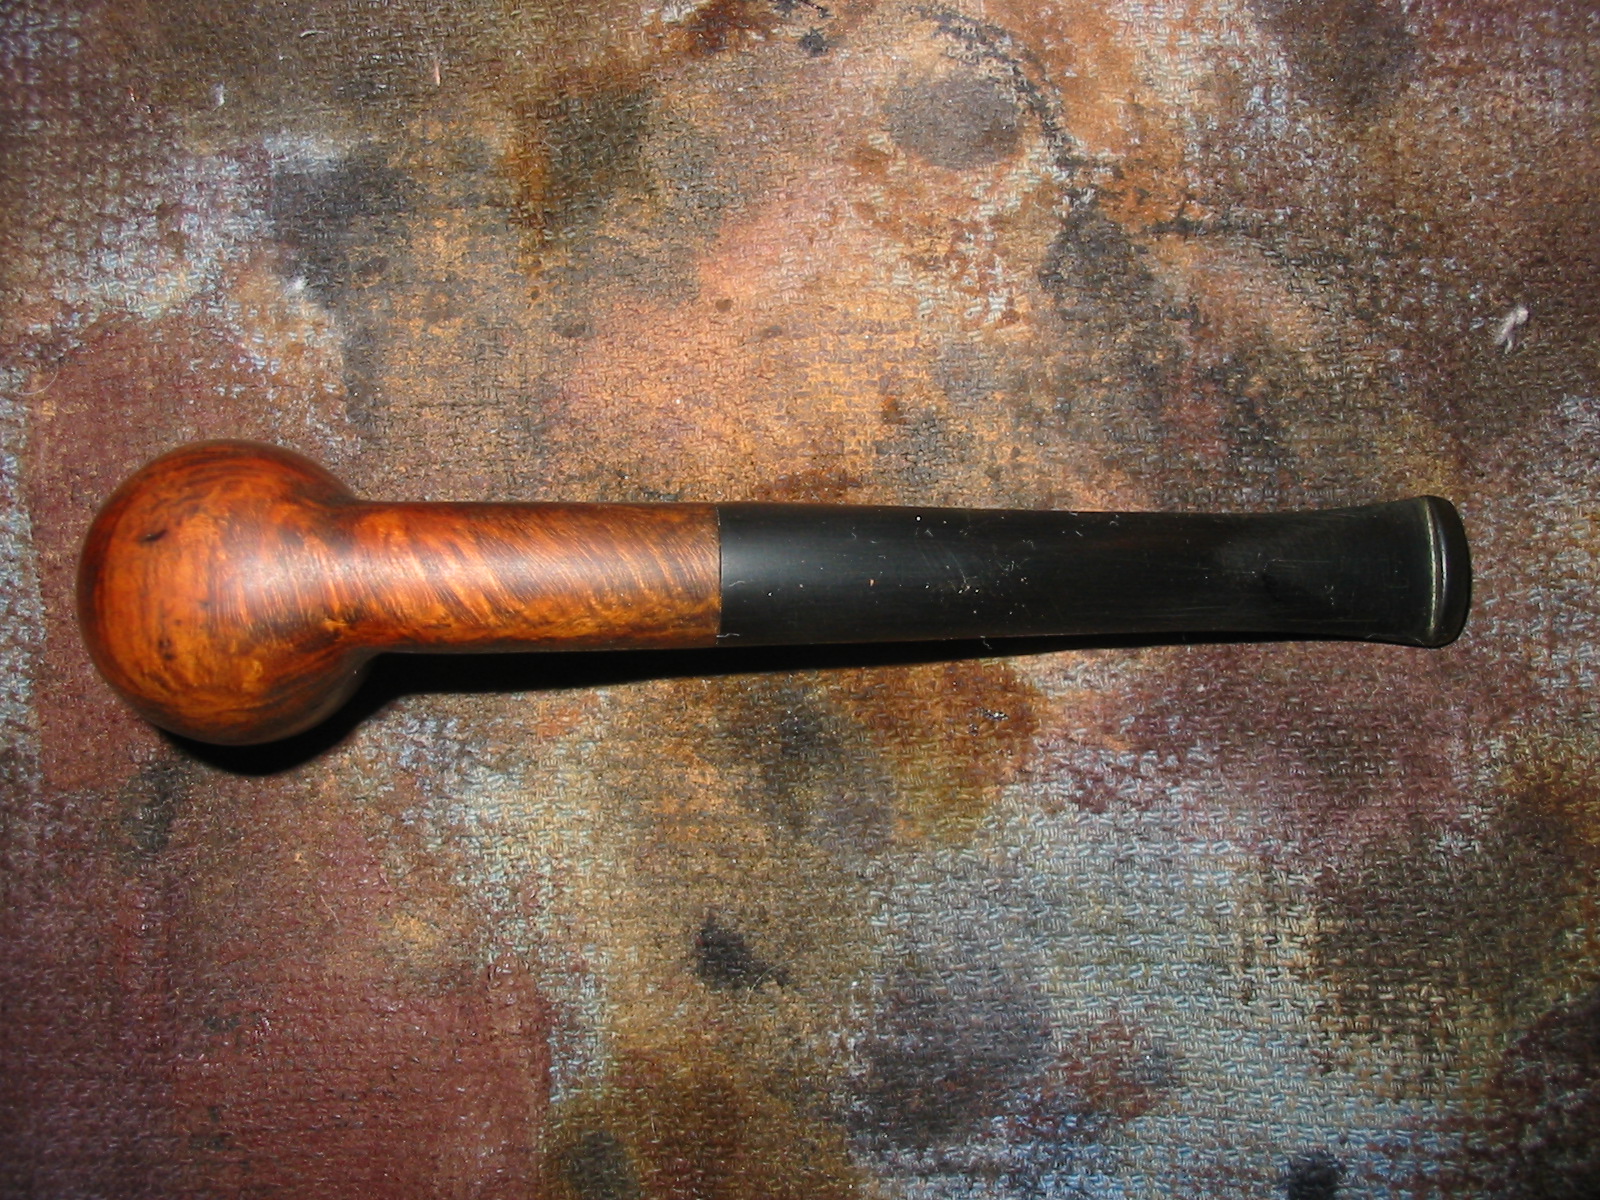
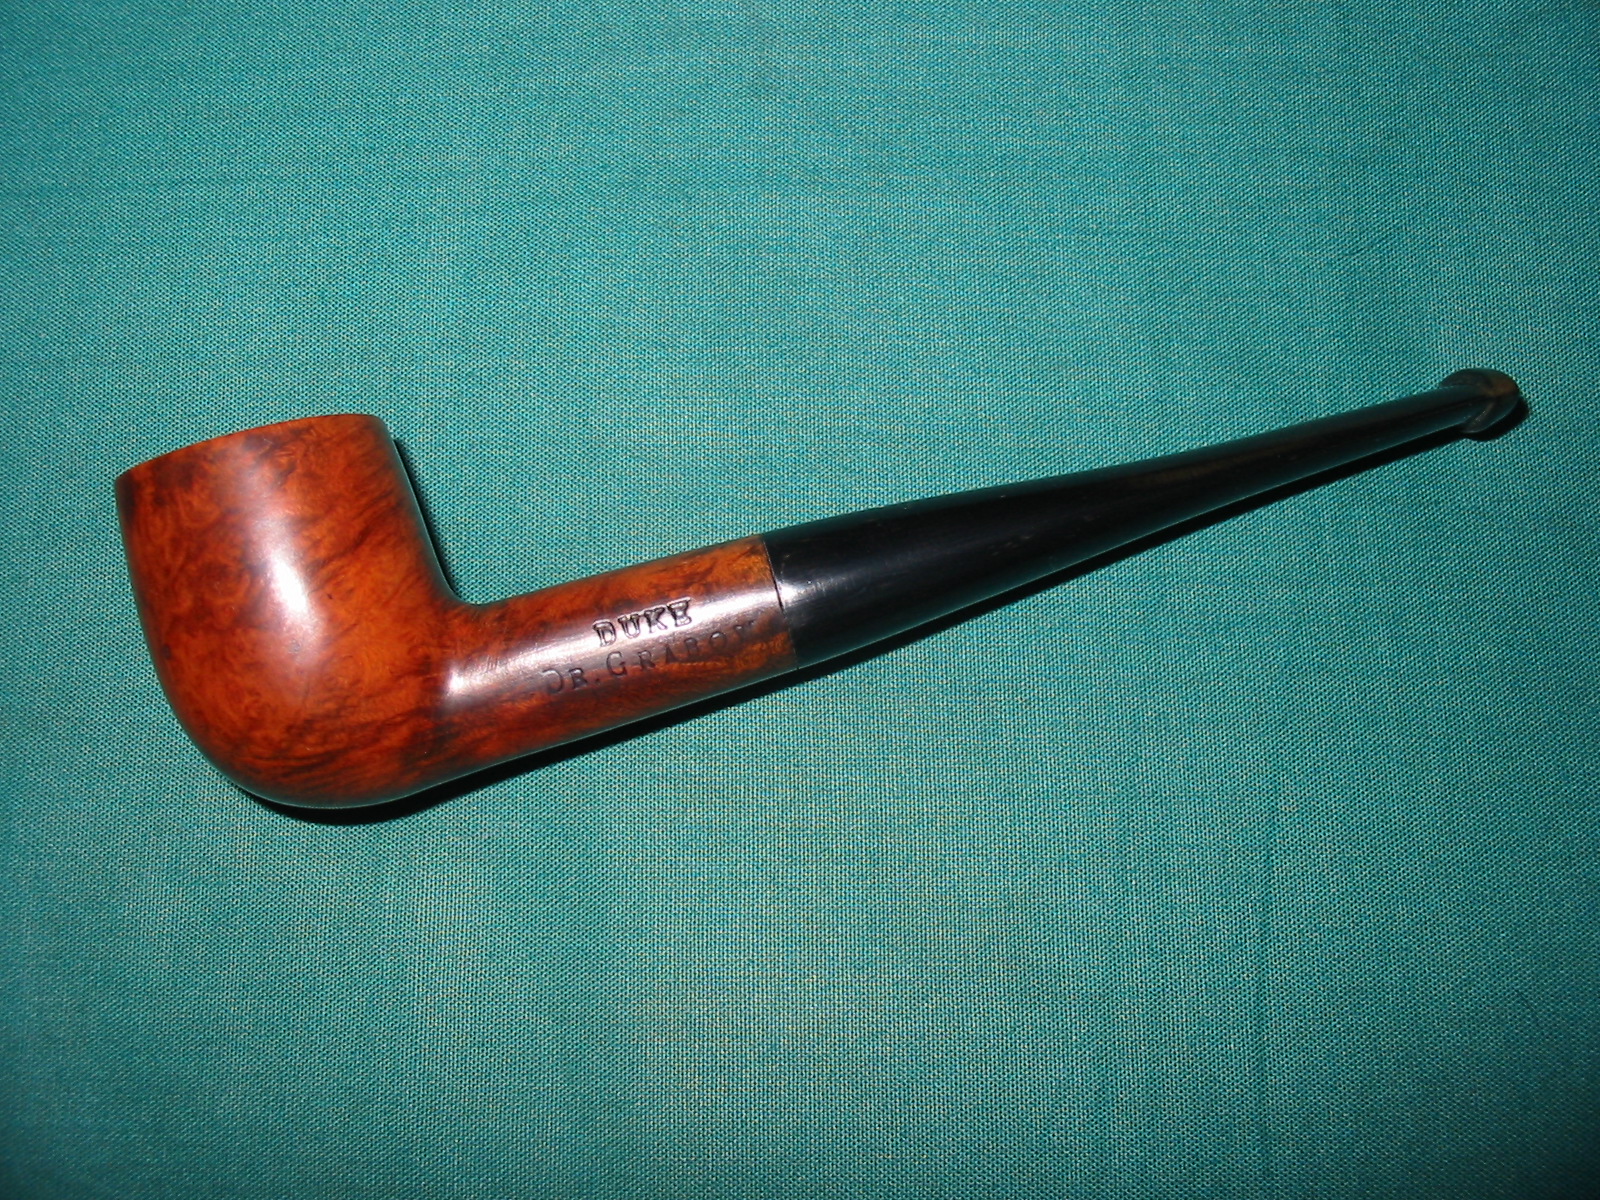
Two more pipes left in the box of pipes needing to be refurbished. The first is a Gr. Grabow billiard. It is stamped on the left side of the shank DUKE over Dr. Grabow and on the right side Imported Briar. It was a bowl without a stem. The bowl was in very rough shape. The top was no longer flat and had a large dip in the front where the bowl rim was burned down by a torch lighter or something like that. The finish was ruined and the fills on the left and right had fallen out of the briar. The bowl itself was caked heavily and appeared to be out of round. I sorted through my can of stems and found one that was close to the shank diameter. The oddity of this pipe was that the original shank was more oval than round so whatever stem I fit would have to be adjusted to fit the shape of the shank. I turned the tenon on this old stem and it fit quite well in the shank. I would need to adjust the diameter of the stem to the oval shape of the shank eventually.
IMG_3220

IMG_3221

IMG_3222

IMG_3223

IMG_3224

I adjusted the diameter of the stem to fit the shank with a Dremel and sanding drum. I was able to bring it very close to the shank size and then did the rest of the work in fitting the stem by hand sanding.
IMG_3225

The bowl rim was in rough shape. I debated whether to refurbish this pipe since I received it from a friend. I would take it out and look it over and then put it back in the box undecided. However, with the box almost empty I decided to give a go. The biggest area of damage was the front edge of the rim. The extent of damage to the rim is visible in the next two photos.
IMG_3226

IMG_3227

I reamed the bowl with a PipNet reamer to clean up the inside of the bowl and assess the damage to the inner rim on the front. The front edge of the rim had the most damage. I topped the bowl using my usual method of sandpaper on a flat surface. The sandpaper was 220 grit. I placed the bowl top flat against the sandpaper and turned it into the sandpaper to remove the damaged material. I worked the rim down until it was once again flat. I worked on the inner edge of the rim with a piece of sandpaper to smooth out the surface and restore as much of the roundness of the bowl as possible.
IMG_3228

IMG_3230

IMG_3231

I repaired the fills that had fallen out next. First I cleaned them with a dental pick to remove loose debris and the wipe them down with alcohol. I packed briar dust into the holes and mixed it with wood glue. I wanted to experiment with the wood glue to see if it would take stain better than the superglue patches that I have been using. Once the glue was dry I sanded the bowl smooth again with 220 grit sandpaper and also a medium grit sanding sponge.
IMG_3232

IMG_3235

I sanded the bowl smooth and then wiped it down with acetone on a cotton pad to remove the stain and the remaining finish.
IMG_3236

IMG_3237

After wiping it down with the acetone I sanded it with a fine grit sanding sponge to smooth out the remaining surface and prepare it for staining. (In the third photo below the reworked inner edge of the bowl is visible.)
IMG_3238

IMG_3239

IMG_3240

IMG_3241

I decided to use a two part staining process once again to give good coverage to the bowl and to bring out some of the grain on the pipe. I applied the first coat of stain – a black aniline stain – with a cotton swab, flamed it and reapplied and reflamed it until the coverage was good. I warmed the briar with the flame of the lighter to set the stain deep in the grain of the briar.
IMG_3249

IMG_3250

IMG_3251

IMG_3252

I wiped the bowl down with acetone again to remove the top coat of the black stain and bring the grain highlights to the surface. I continued to wipe it down until I removed as much as possible with the acetone.
IMG_3253

IMG_3254

IMG_3255

I sanded the bowl with the medium grit sanding sponge and then wiped it between sandings with cotton pads and Everclear. When I had the finish looking the way I was hoping it would I gave it a final wash with Everclear.
IMG_3256

IMG_3257

IMG_3258

I buffed the pipe and stem with red Tripoli to remove more of the stain and to see what the finish would look like with a buff. I knew that I would need to do more sanding to the bowl and shank to remove the scratches that remained before I gave it the second stain colour coat.
IMG_3259

IMG_3260

IMG_3261

IMG_3262

I sanded the bowl with 1500-2400 grit micromesh sanding pads and then stained it with a top stain of walnut brown aniline. I applied it, flamed it and repeated the process until I had a good even coat of stain.
IMG_3263

IMG_3264

IMG_3265

IMG_3266

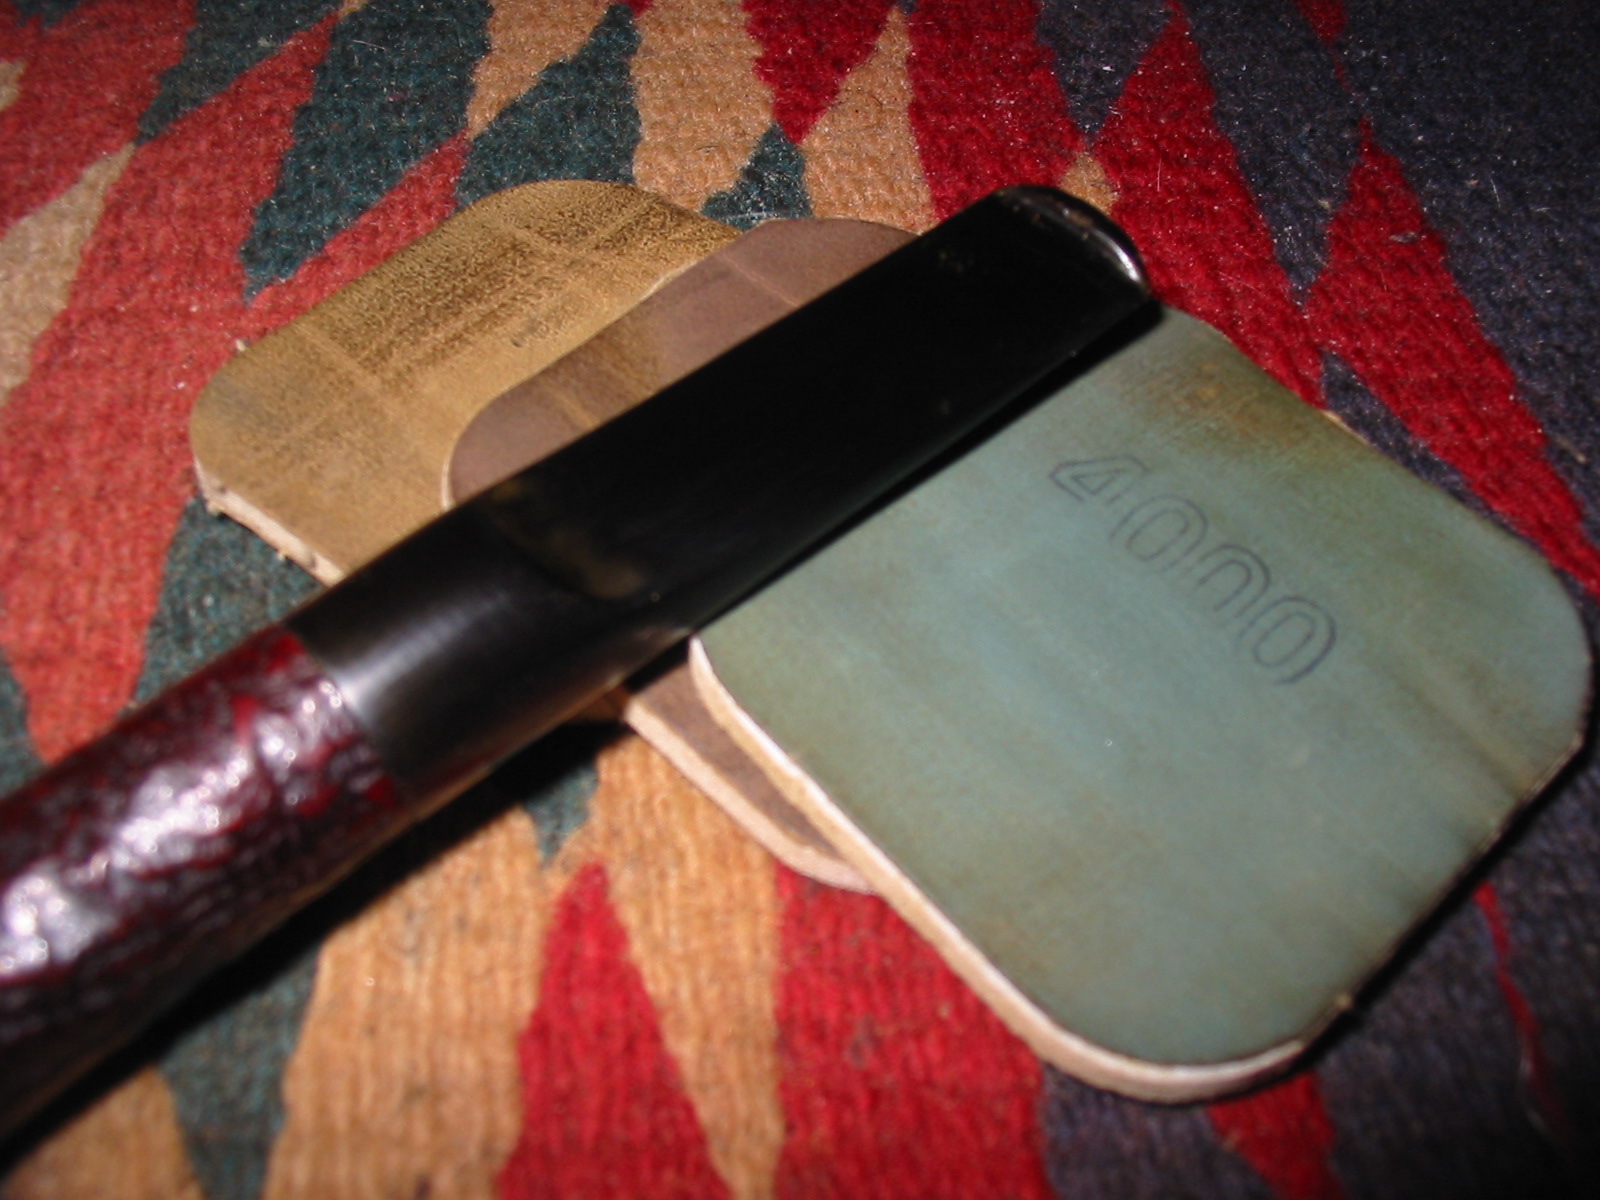
I sanded the bowl again and the stem as well with the micromesh sanding pads. I wet sanded with 1500-2400 grit and then dry sanded with the remaining grits from 3200-12,000. When I had finished sanding the stem I gave it a coat of Obsidian Oil and rubbed it into the stem.
IMG_3267

IMG_3268

IMG_3269

When it was dry I buffed the bowl and stem with White Diamond and then gave the entirety several coats of carnauba wax to protect and seal the stem against oxidation and to give some shine to the bowl of the pipe. The finished pipe is shown below. The finished look is far better than I expected when I started with the pipe. The rim looks better and the stain colour highlights the grain nicely. It should provide someone with a good smoking pipe for use in the yard or shop.
IMG_3270

IMG_3271

IMG_3272

IMG_3273

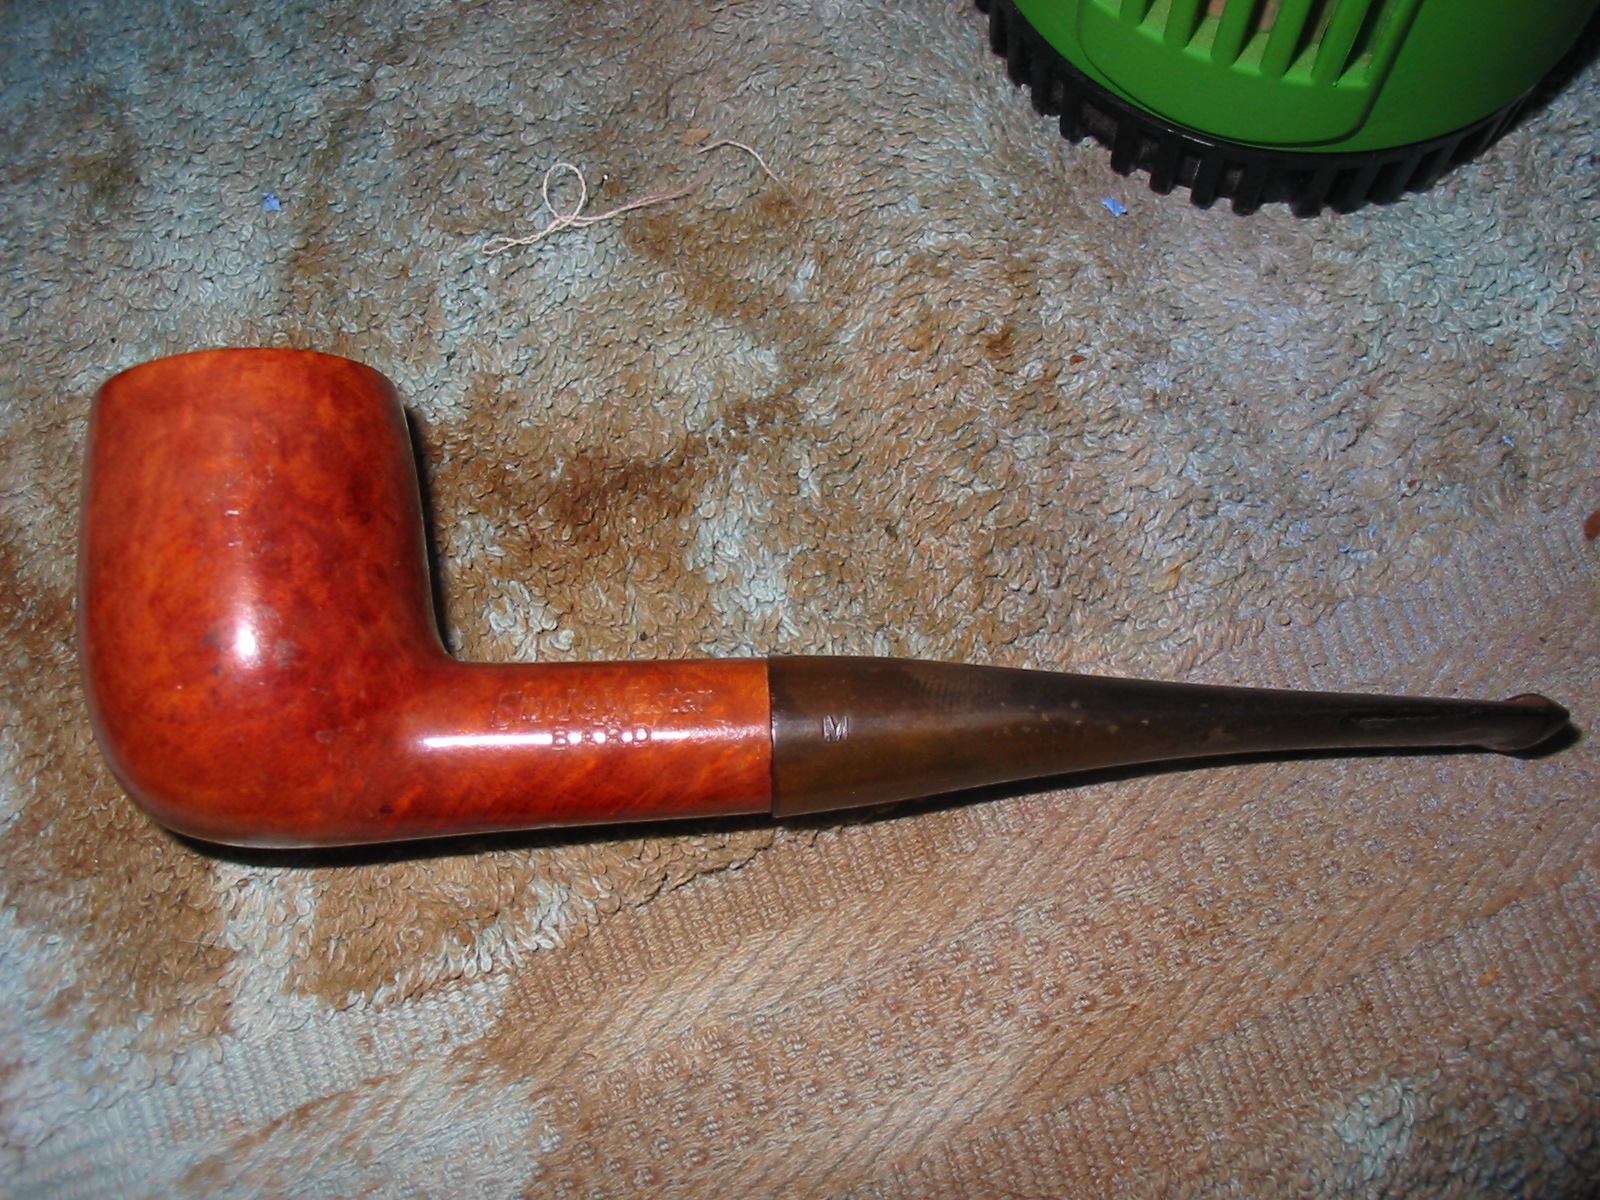
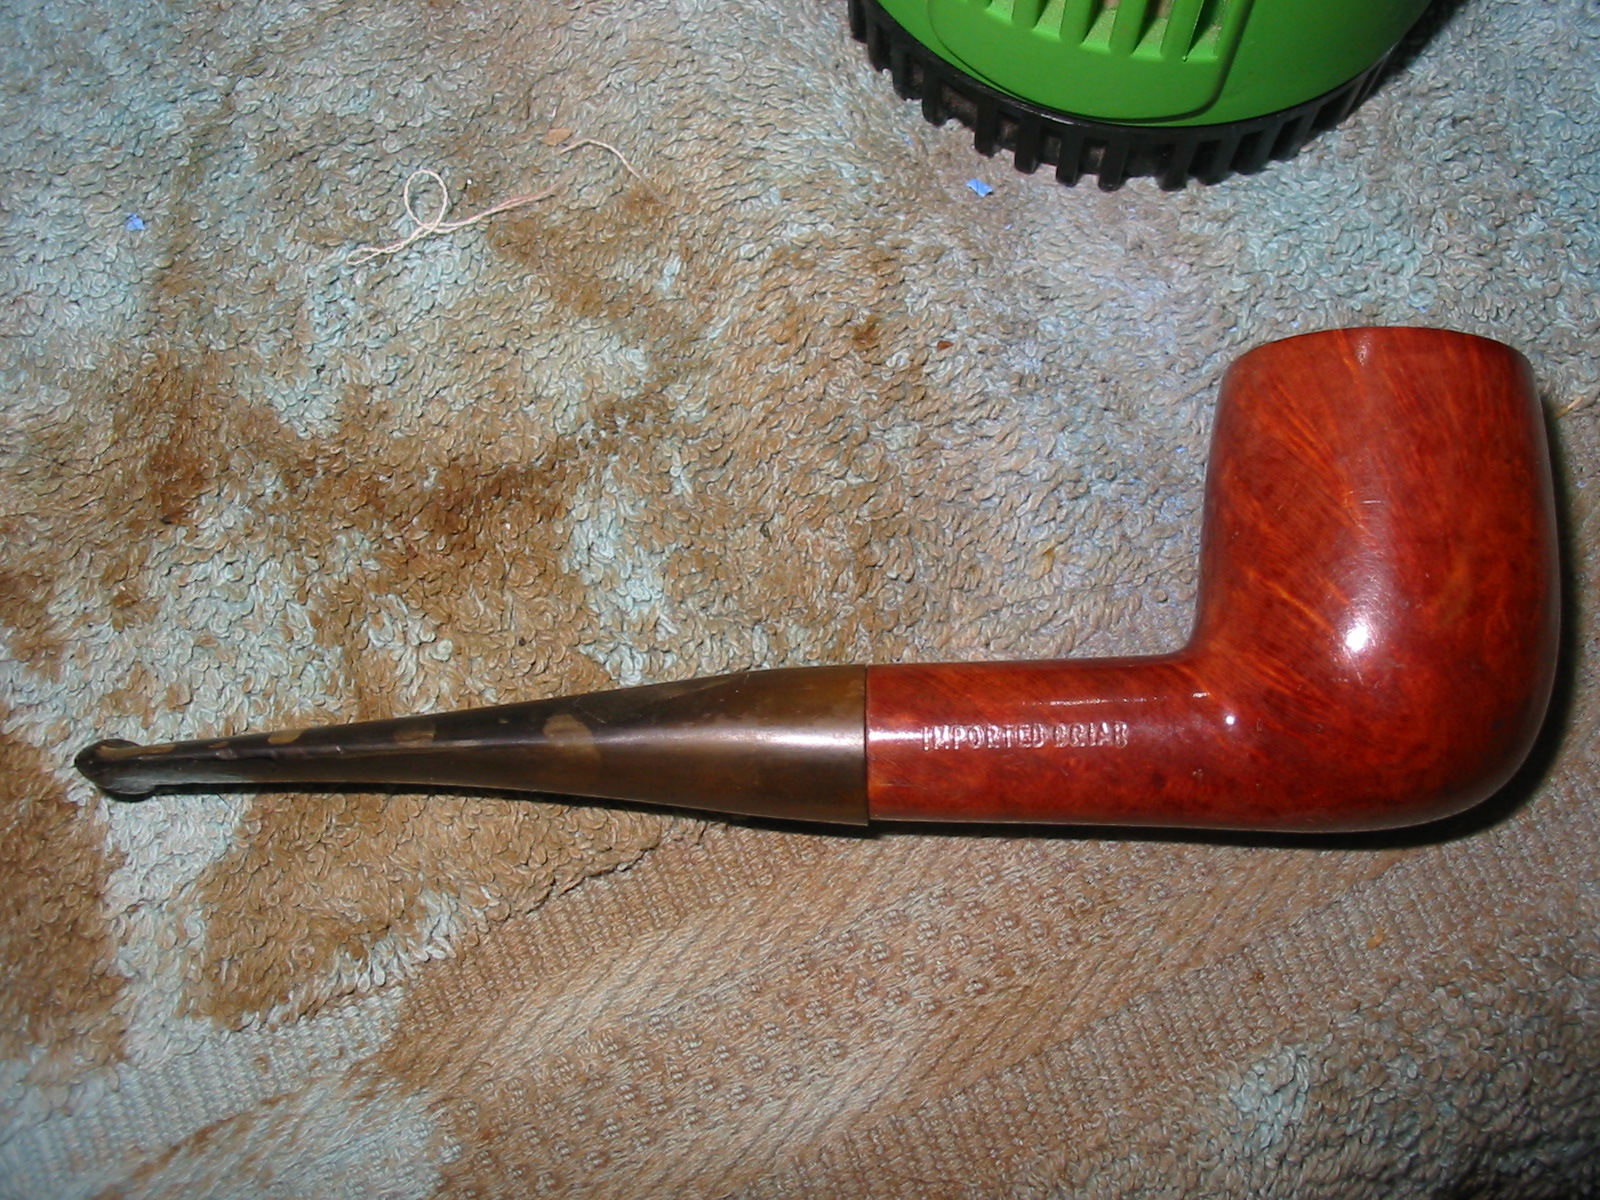
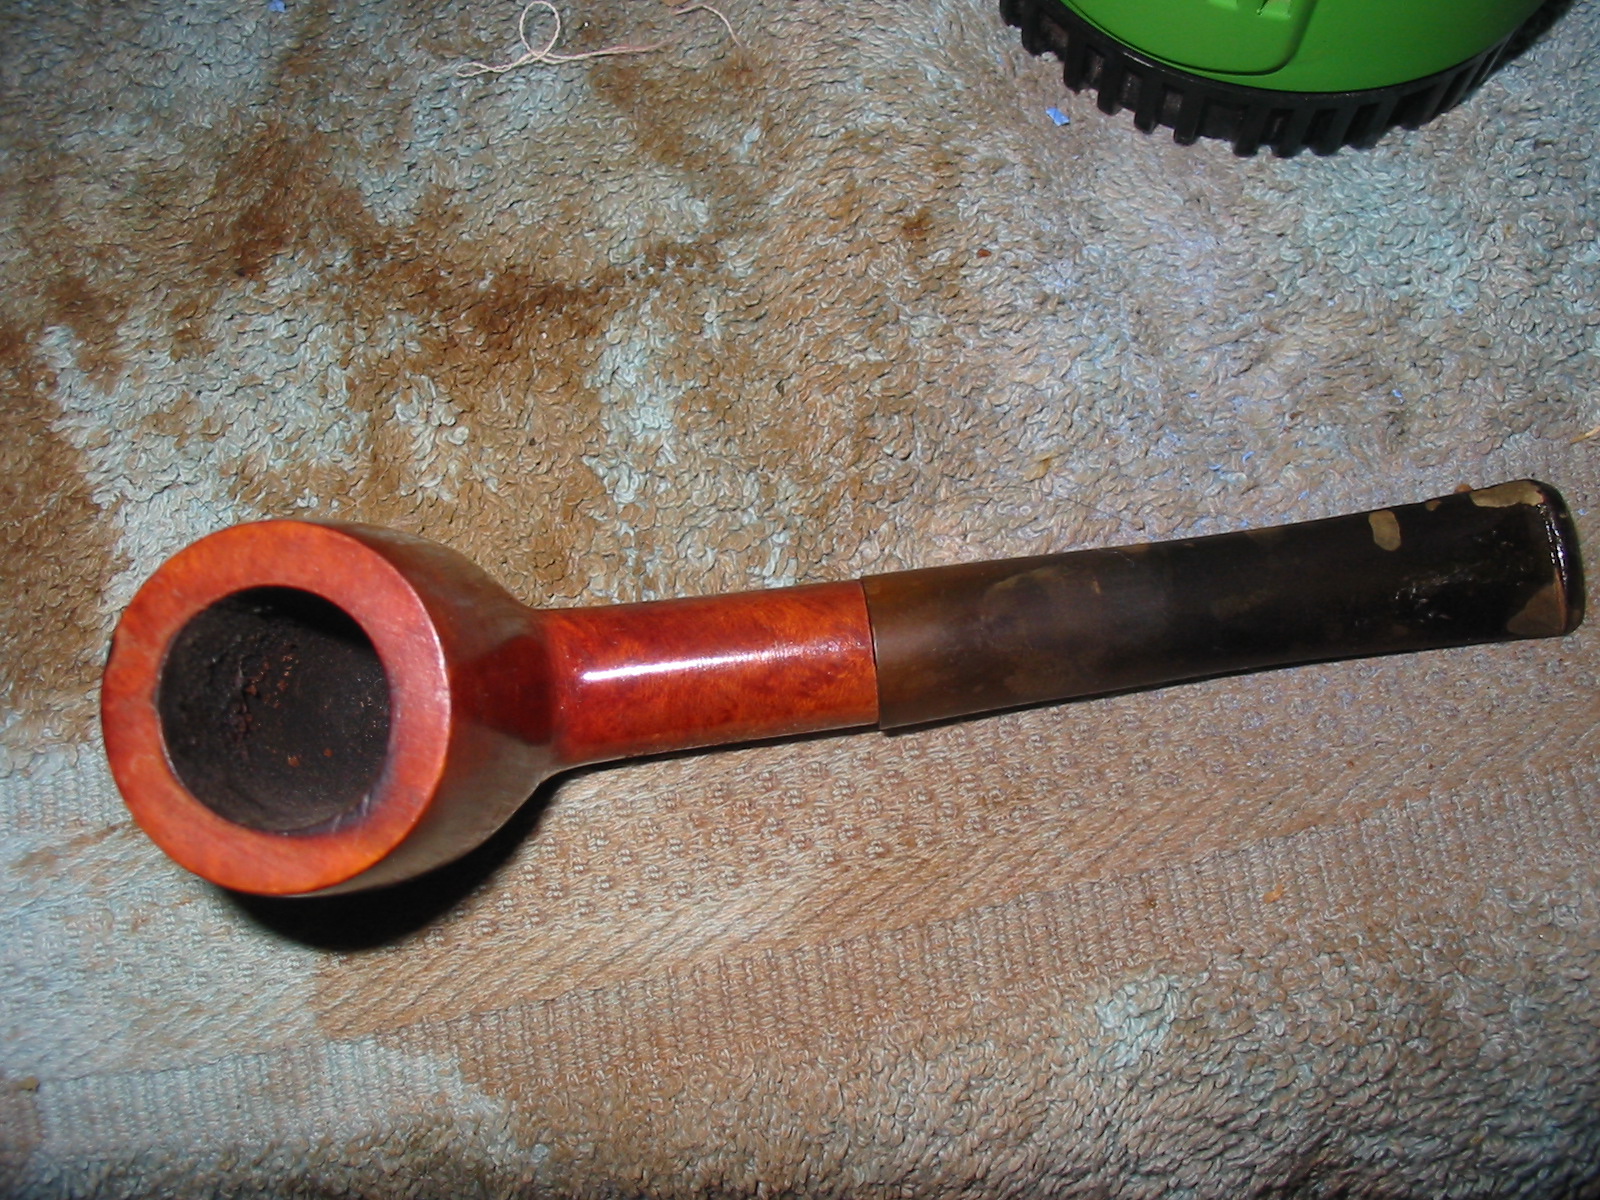
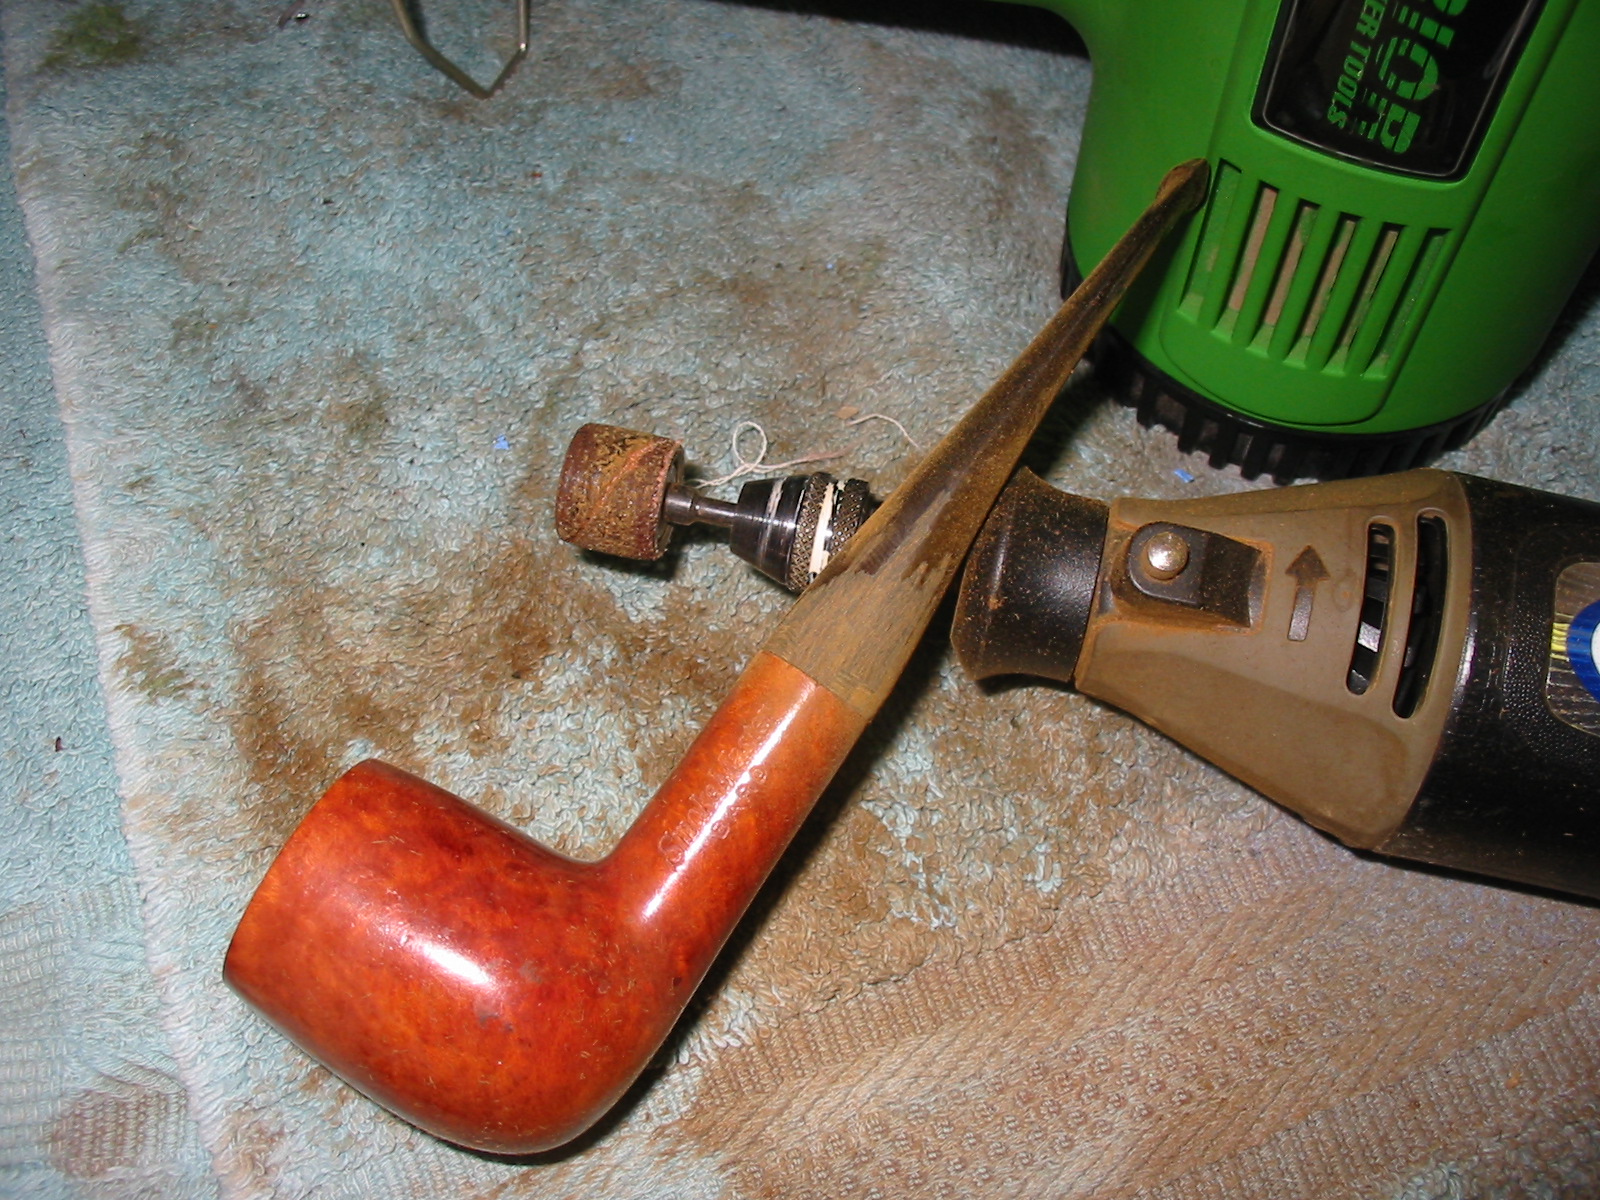
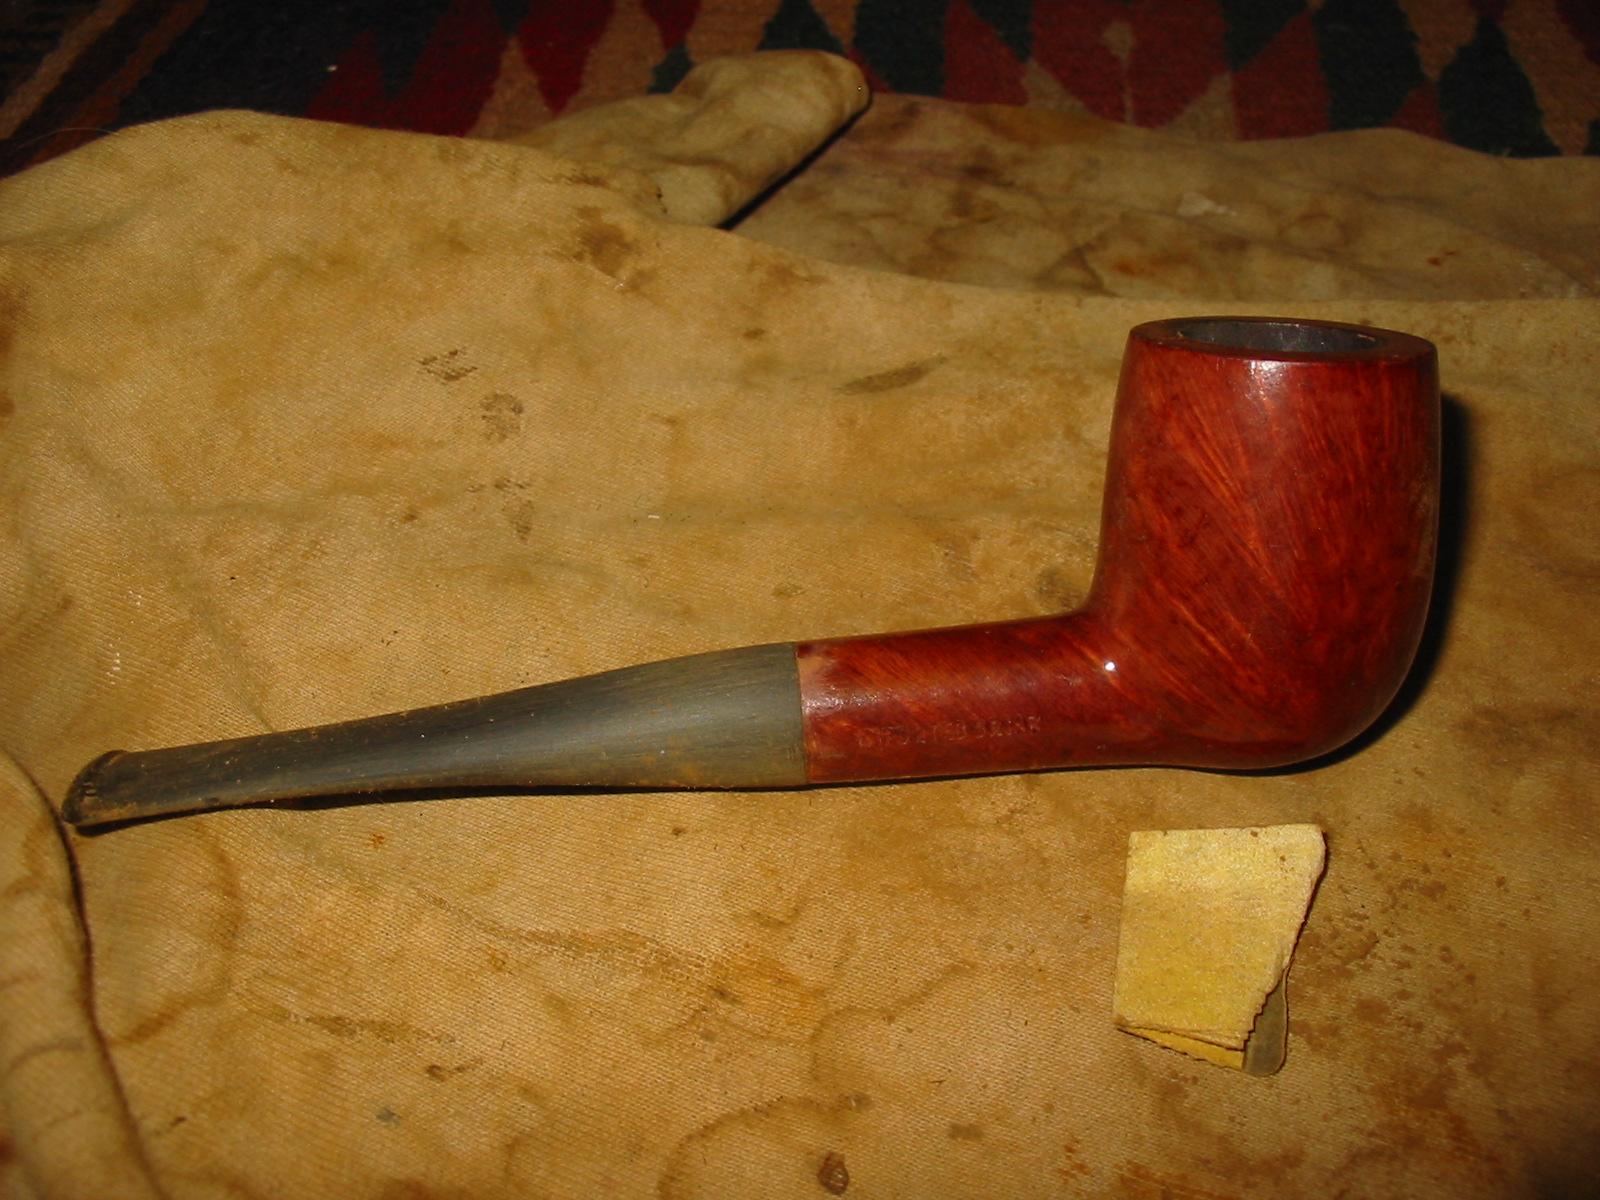
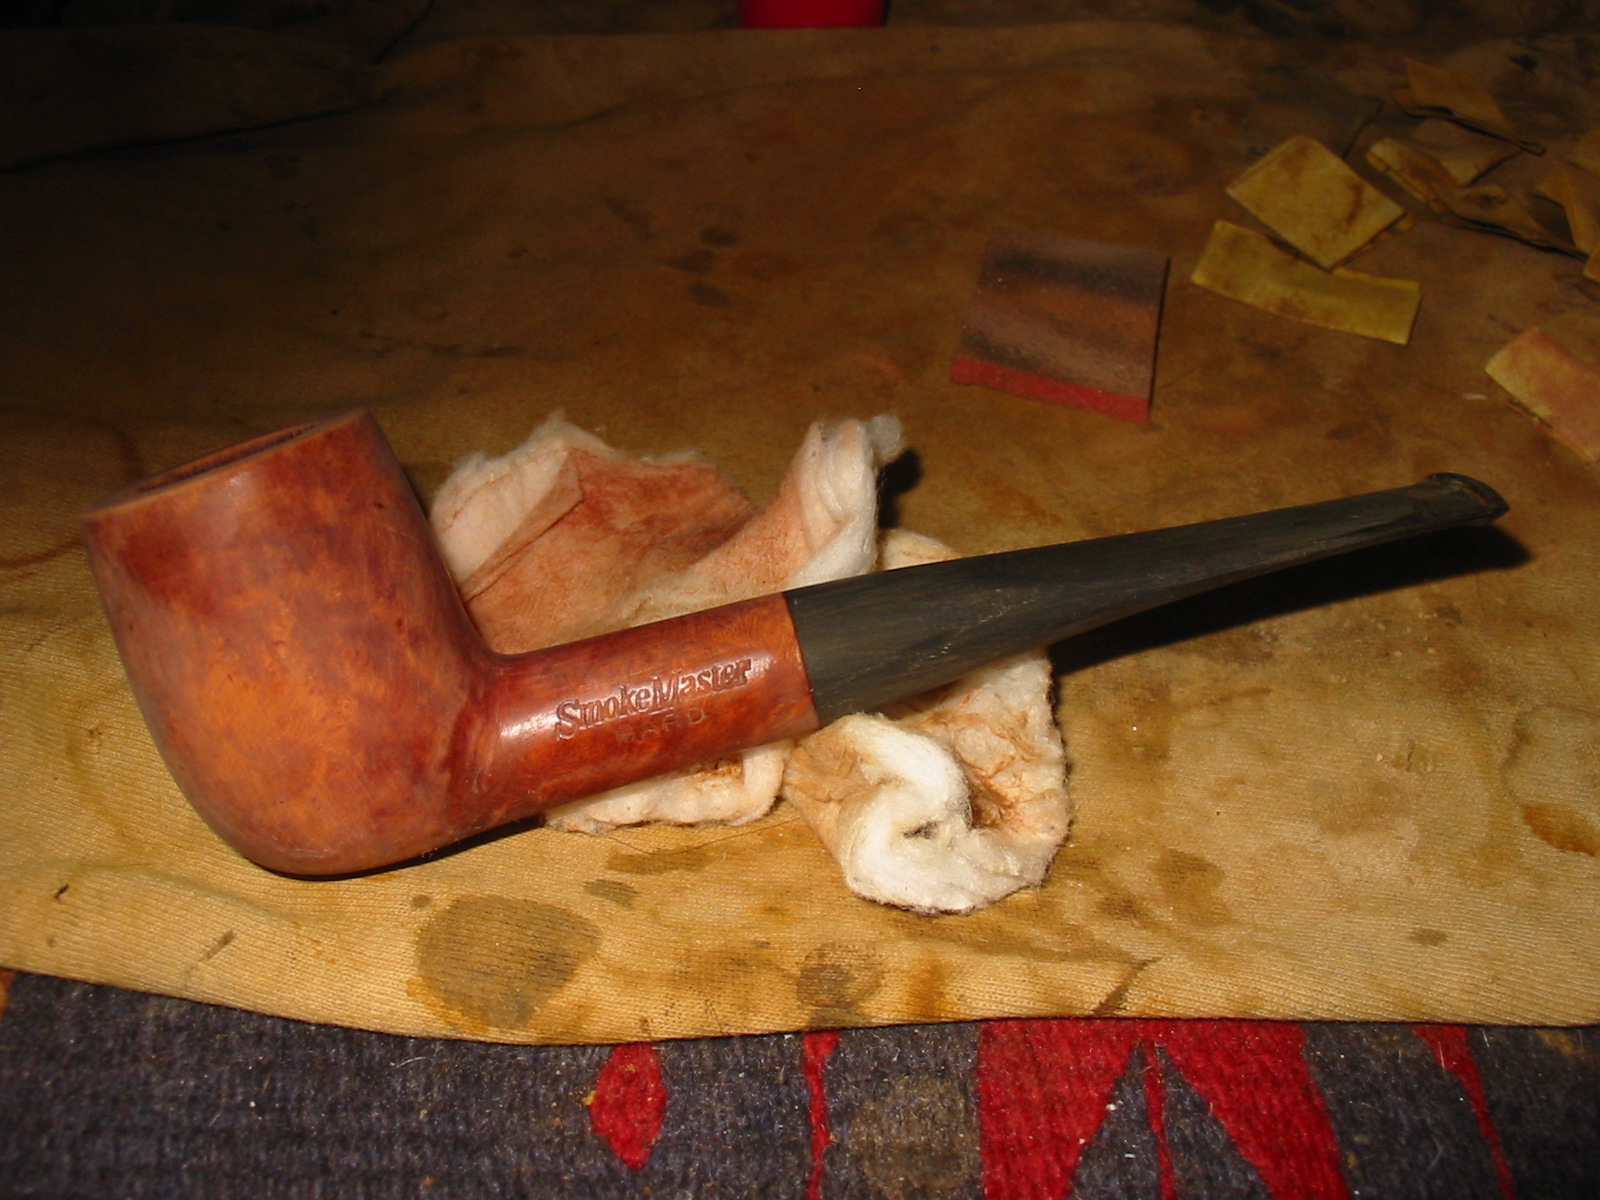
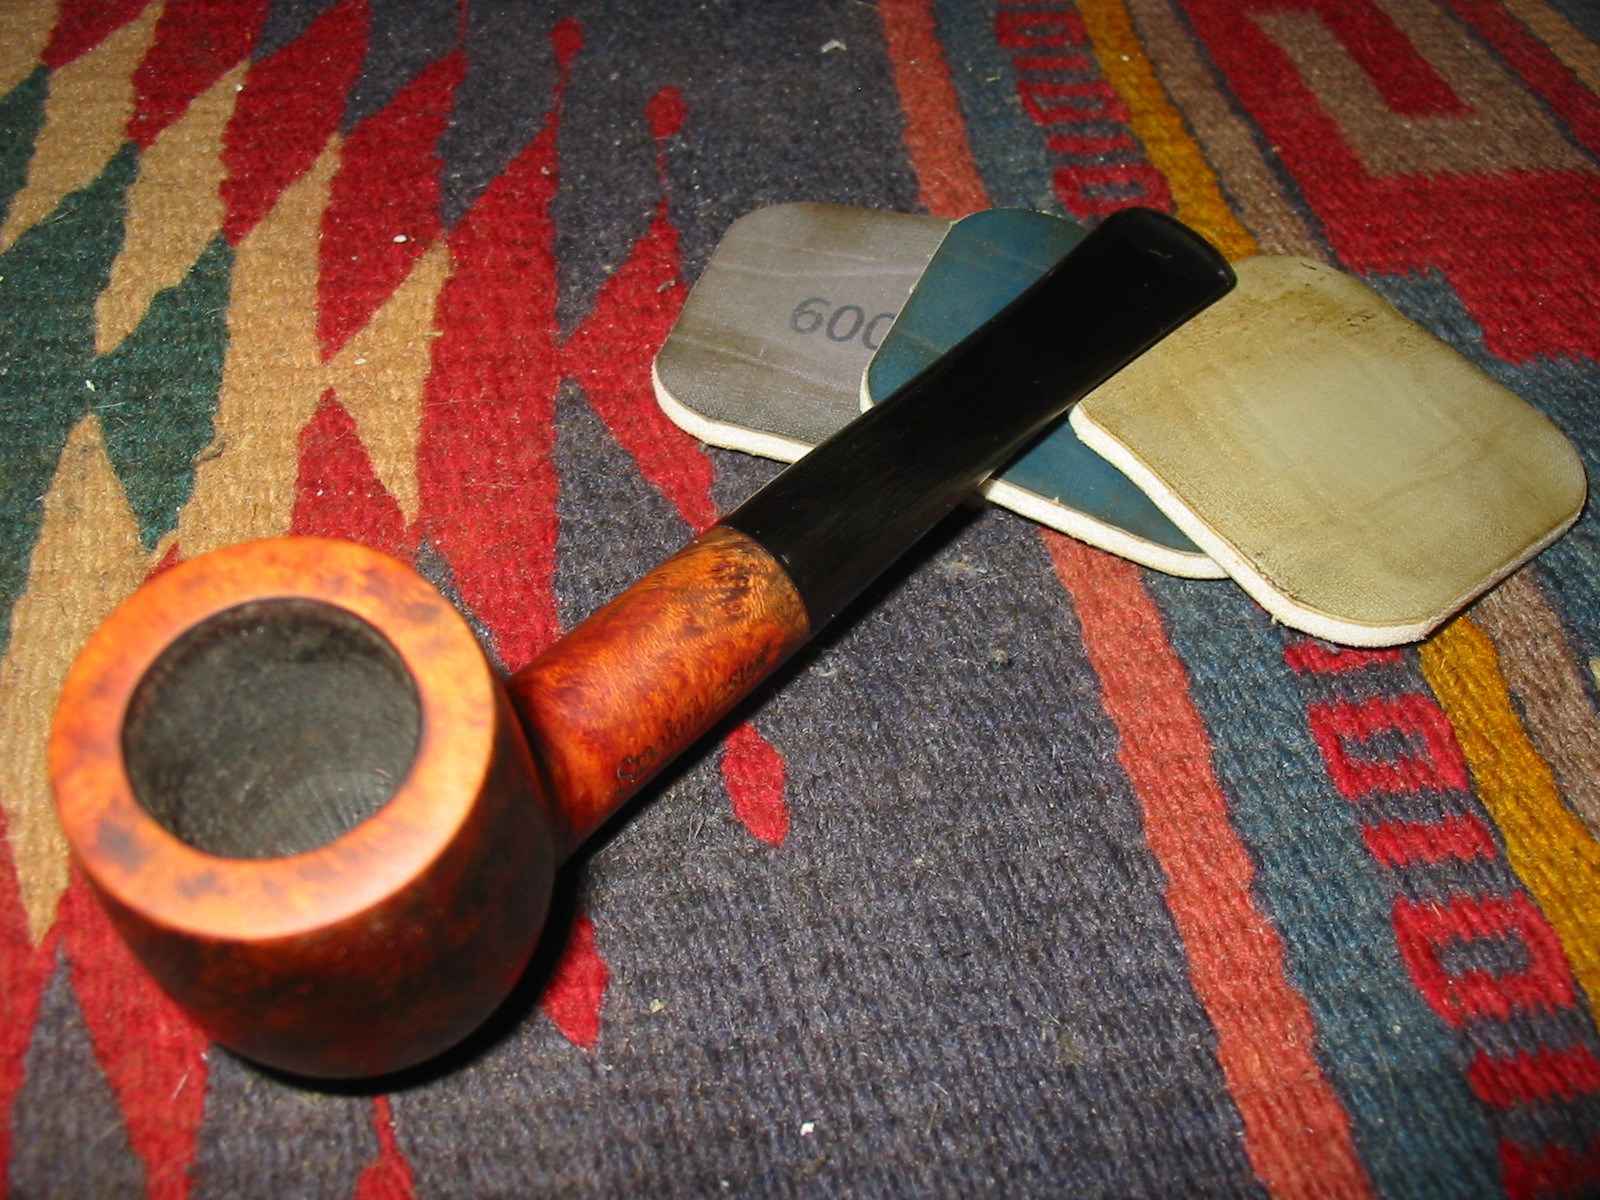
Giving a Smokemaster Bard Billiard a Facelift


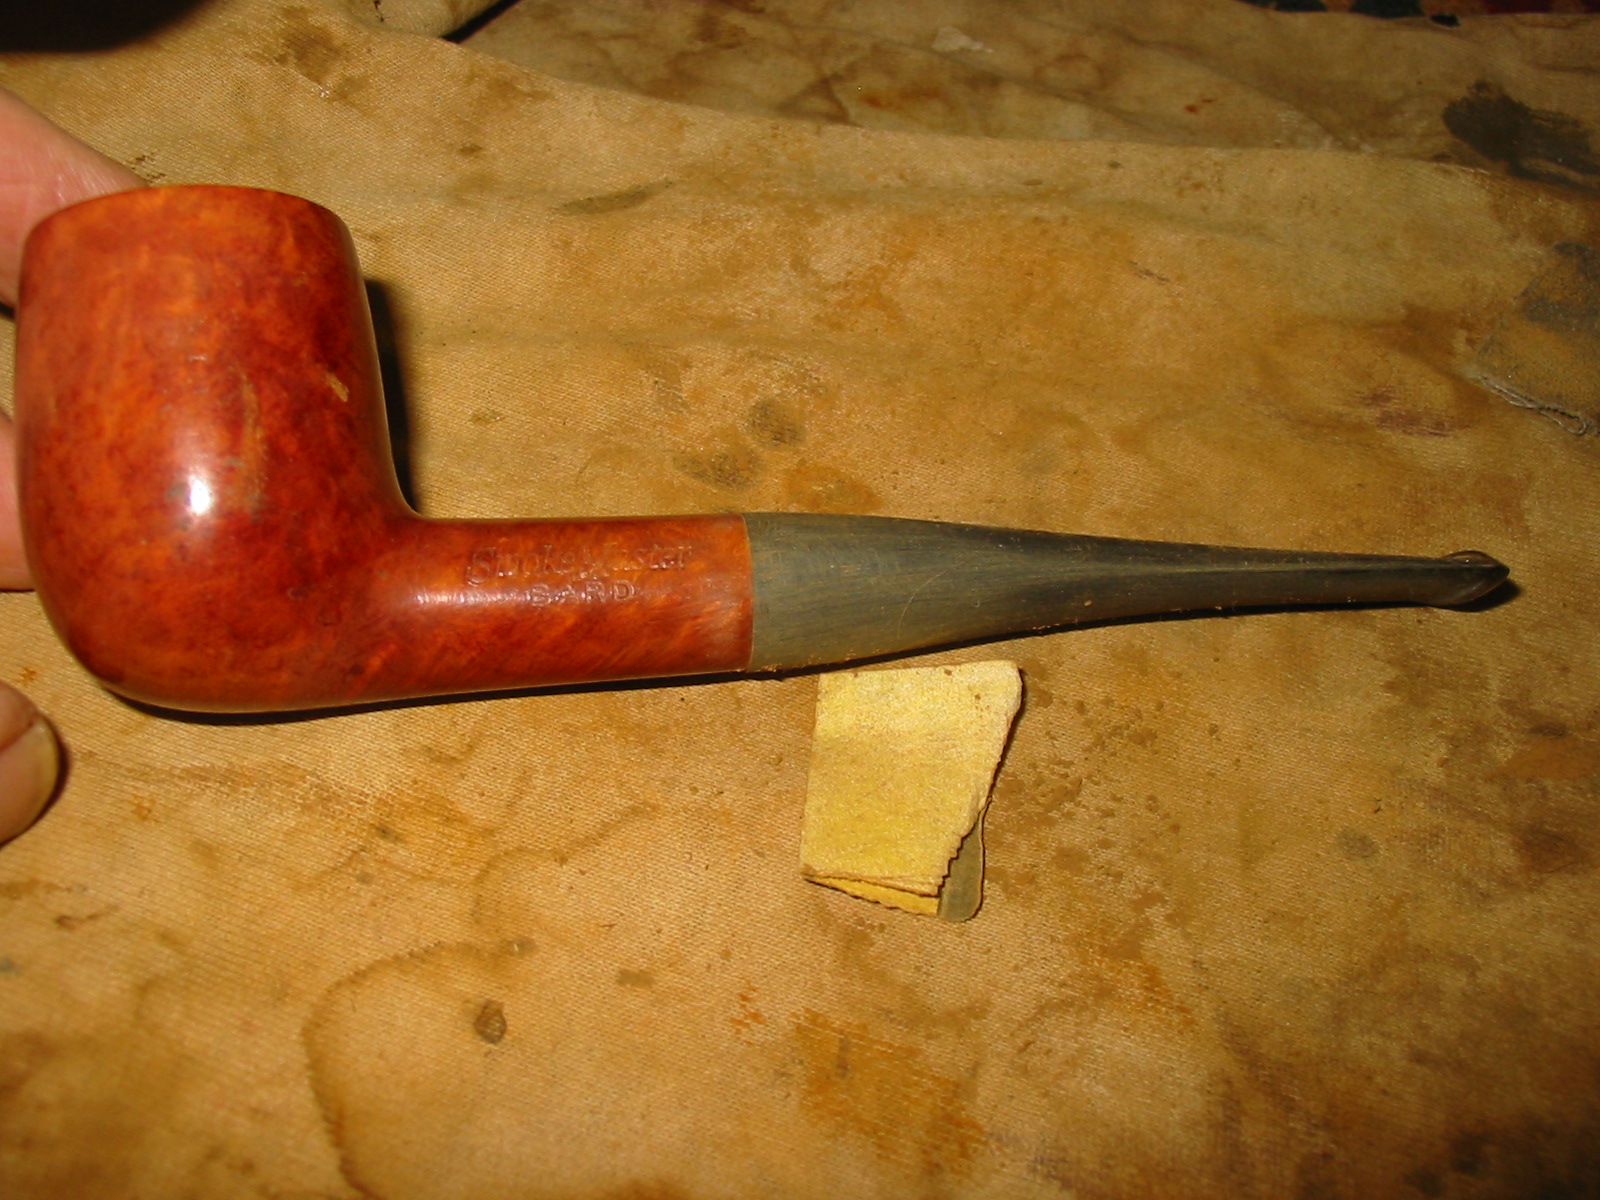
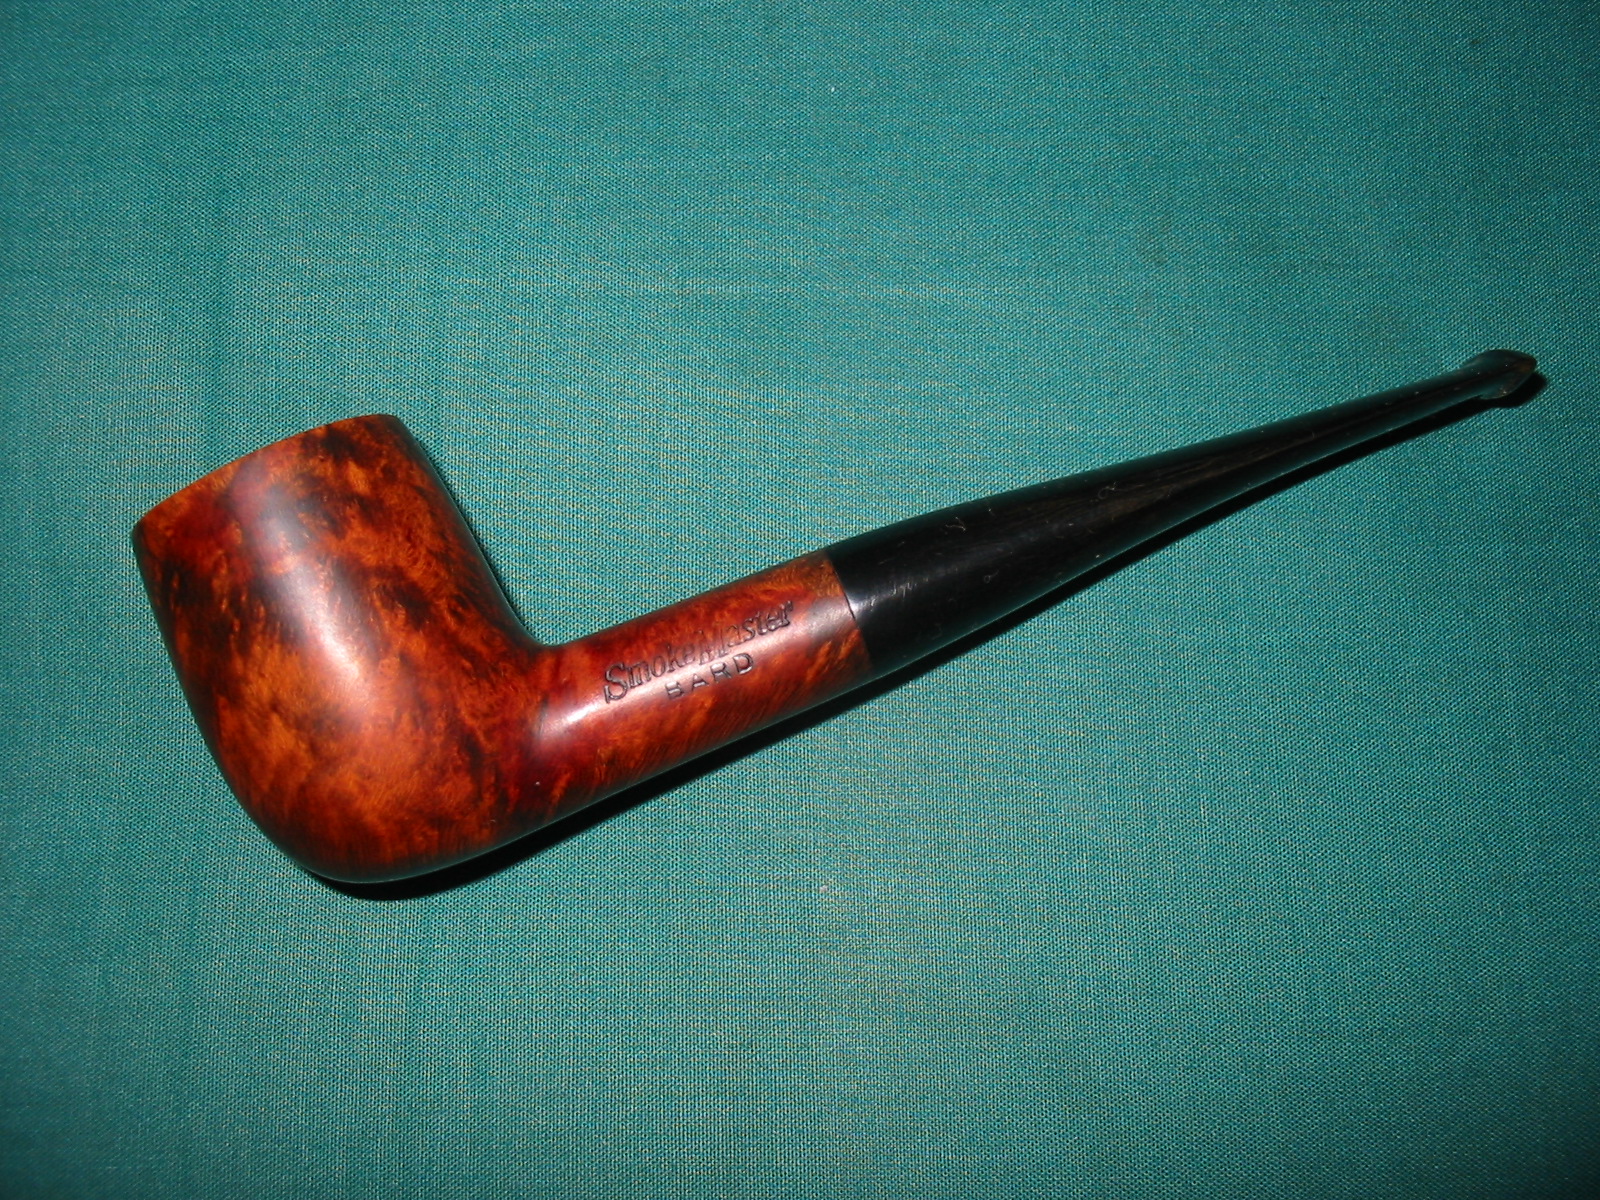
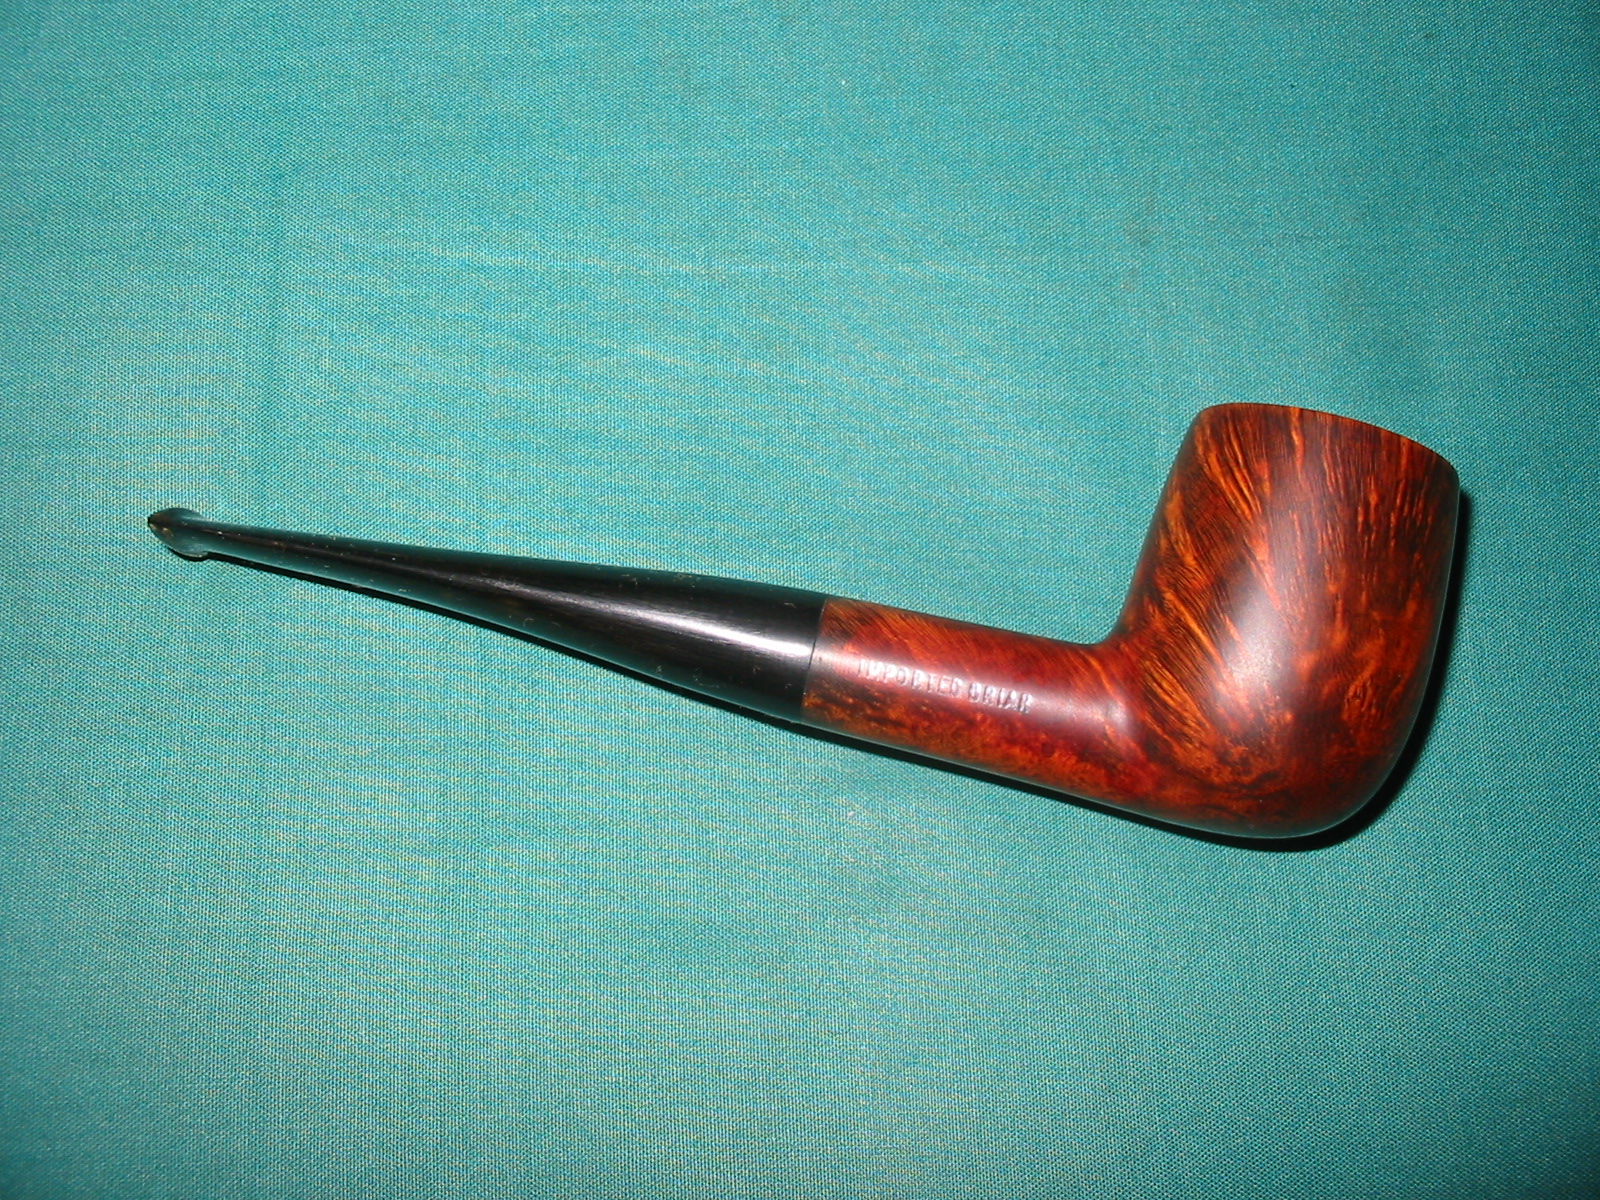
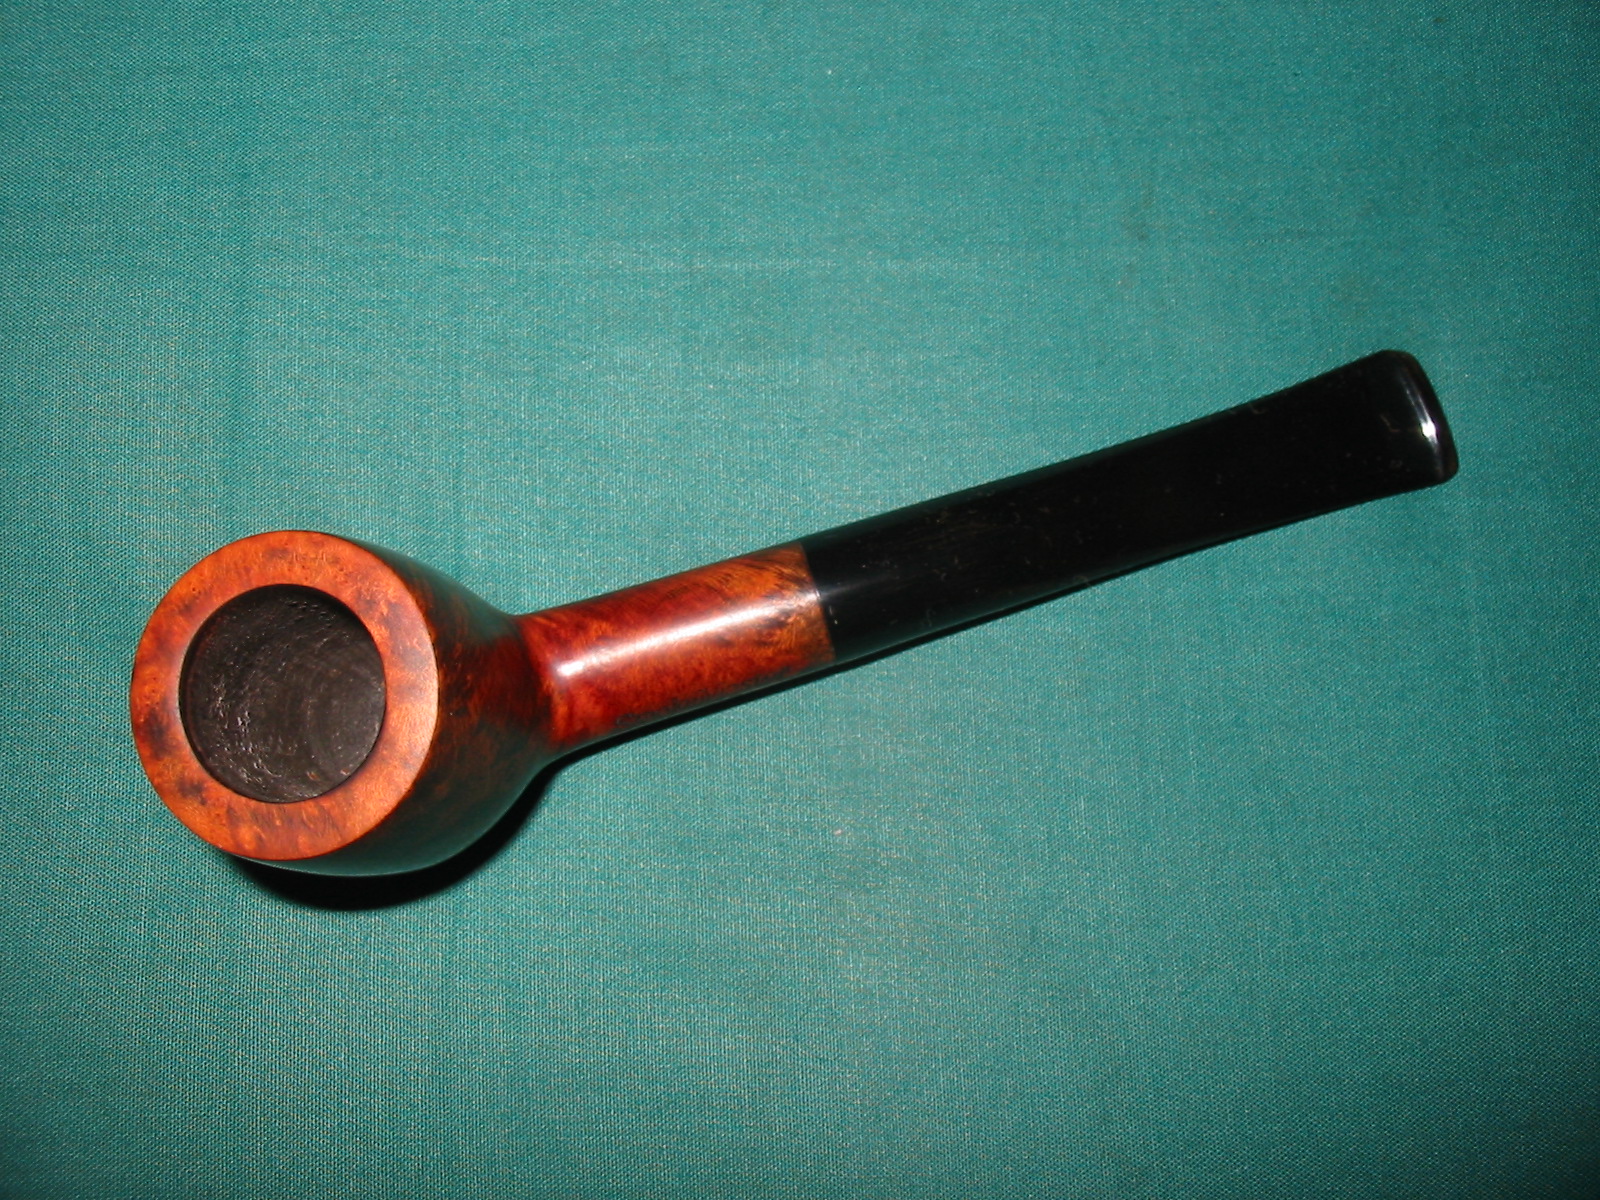
I am down to the bottom of my box of pipes to be refurbished. I have three left. In the bottom of my box was a pipe bowl stamped Smokemaster Bard on the left side of the shank and on the right side of the shank stamped Imported Briar. I found a stem in my can of stems that fit the shank after I adjusted the tenon. The diameter of the stem was slightly larger than the shank but that would be an easy adjustment. The bend would need to be straightened but that would be a simple process. The bowl was lightly smoked and the finish was a very shiny Varathane coating that made the bowl look like plastic. The shank was clean and took very little work to remove the dust that had built up in it.
IMG_3191

I knew nothing about Smokemaster pipes and had no idea who made them. The finish and shape reminded me a lot of Dr. Grabow pipes that I have reworked but that was not enough for me. As has become my habit with pipes I don’t know about, I did a bit of research on the web and found out that the pipe was made by the Briarcraft Pipe Company. The Company was very prosperous between 1920 and 1940. They produced both Briarcraft pipes and a line of seconds under the following names: Airo, Arcadian, Briarmeer, Smokemaster, Cavalcade, Hallmark, Sterling Hall, Filter Kleen and Wimbledon. They closed their doors in 1950. The pipe that I had was definitely not made pre-1950 and the stamping was wrong for it to be made by them. The original Briarcraft stamping was more stylized and had a Germanic script for the stamp. This one was italicized.

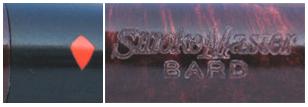
Further digging uncovered the fact that around 1967 Dr. Grabow acquired the name and system rights to the Smokemaster line, and was produced until the mid 1990’s. Thus my initial thought of it being a Grabow was correct. It turned out that Dr. Grabow made three series of Smokemaster pipes – the 100, 200, and 300. I have restored and restemmed several of these over the years but never found one that had the original stem intact. Dr. Grabow also made a line of Smokemaster pipes for L.L. Bean. Below are two photos – one of the stem logo which is a shield and the other is the stamping that is on the pipe that I refurbished.
smokemaster

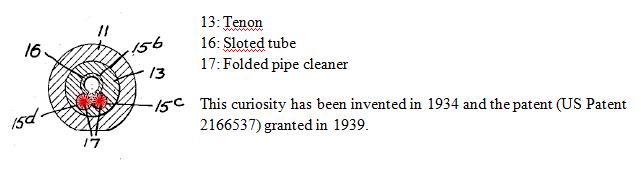
I found out that the Smokemaster had a very unique filter system and was distinct from other filter systems in that it did not include a stinger apparatus. Rather it used a slotted tube that had two special holes in it. A folded pipe cleaner was inserted into the two holes and extended the length of the shank. It collected the tars and moisture of the smoke and could be easily changed and replaced by the pipe smoker. The diagram below shows the design from the end of the tenon.
smokemaster1
I did a patent search and it gave me the following information. This includes both the original description by the inventor and also a diagram submitted at the time of the patent application. I found it at this site: https://www.google.com/patents/US2166537?dq=2166537&hl=en&sa=X&ei=r2u4UtPOHI_ZoAT9moHYCg&ved=0CEAQ6AEwAQ

Description
1939 – B. M. SHOEMAKER 2,166,537
TOBACCO PIPE Filed Oct. 12, 1934 crnar B.M. Shoemaker INVENTOR v ATTORNEY Patented July 18, 1939 UNITED STATES PATENT OFFICE 1 Claim.
My invention relates to tobacco pipes and more particularly to the type in which the bit and bowl portions are separately united to each other.
The principal object of my invention is to maintain the smoke passage in the pipe substantially free of solid deposits, making for general cleanliness in the interior of the pipe and sweet, cool smoking qualities.
I accomplish this object by arranging within the pipe a readily replaceable absorptive member which is designed to receive condensate and solid matter from the smoke as it passes through the pipe. The preferred form of such absorptive member is an ordinary pipe cleaner which, as is well known in the art, comprises a highly flexible metallic core portion carrying a large number of bristles extending there from.
One embodiment of the invention is illustratively exemplified in the accompanying drawing in which Fig. 1 is a longitudinal sectional view of a pipe; Fig. 2 is a transverse sectional view on the line 22 of Fig. 1; Fig. 3 is a transverse sectional view on the line 3-3 of Fig. 1; Fig. 4 is a broken elevation view of a metallic tube or liner constituting one of the pipe elements; Fig. 5 is an elevation view broken intermediate its ends, of the form of absorptive member used in the present construction.
Referring to the drawing, and more specifically to Figs. 1 to 3, denotes the pipe bowl, 1 the bowl stem, 2 the bit and 3 the tenon by which the bit and bowl stem are separately united. The bowl stem has the usual well l4 and the bit the usual smoke or draft passage 15. The bit 12 is further provided with three bores, 15b, c, d, and forming a continuation of the smoke passage 16. A metal tube 16 is provided which is longitudinally slotted at its lower portion and through the slot l8 the products of well be omitted. The tube l6 lies in the bore 15b. The pipe cleaner is doubled upon itself and the two legs or branches of the pipe cleaner enter the bores 15c and l5d and rest there during use of the pipe. The bores 15c and l5d parallel the bore 15b at opposite sides of its longitudinal centre. The embodiment of the invention described is a very desirable construction inasmuch as it receives a standard length pipe cleaner, which in its folded position in the passage 14 is offset from the axis thereof, and which when rotated or twisted with the tenon to seat the same the folded strands of the cleaner engage and brush or clean the wall of the bore.
The operation of the device is very simple. The pipe is sold complete with the pipe cleaner in position. After the pipe has been used for a length of time it will be found that the pipe cleaner is practically saturated with deposited matter. Thereupon the pipe cleaner is simply removed from the pipe and a new one inserted in its place. If desired, the cleaner may also be used in the ordinary manner, naturally before it has become fouled, by moving it back and forth once or twice through the draft passage l5 and/or tube.
What I claim is: In a tobacco pipe, a bowl portion having a stem provided with a central bore, and a bit portion for said stem, the bit having a centrally disposed smoke passage and grooves arranged in the bottom of said passage, a tubular liner mounted in the smoke passage and adapted to project into the bore of the stem, said liner having its underside provided with a longitudinal slot opening into the grooves and bottom of the central bore of the stem beyond the bit, and an absorptive member mounted in said grooves and arranged under the liner throughout its length to receive condensate from the liner and to wipe the wall of said bore when the bit is turned.
BERNARD M. SHOEMAKER.
Classifications

U.S. Classification 131/184.1, 131/203

International Classification A24F1/00

Cooperative Classification A24F1/00, A24F2700/03

European Classification A24F1/00

US2166537-0

I find that kind of information fascinating and am always intrigued by the designers urge to provide a cooler and cleaner smoke for the pipeman who uses his invention. I was not able to find out if Dr. Grabow continued to use the patented design when it took over the line from Briarcraft but I am assuming so until it is shown otherwise by information from those who read this or by a pristine stem that still has the apparatus intact on one of the Grabow Smokemaster pipes.

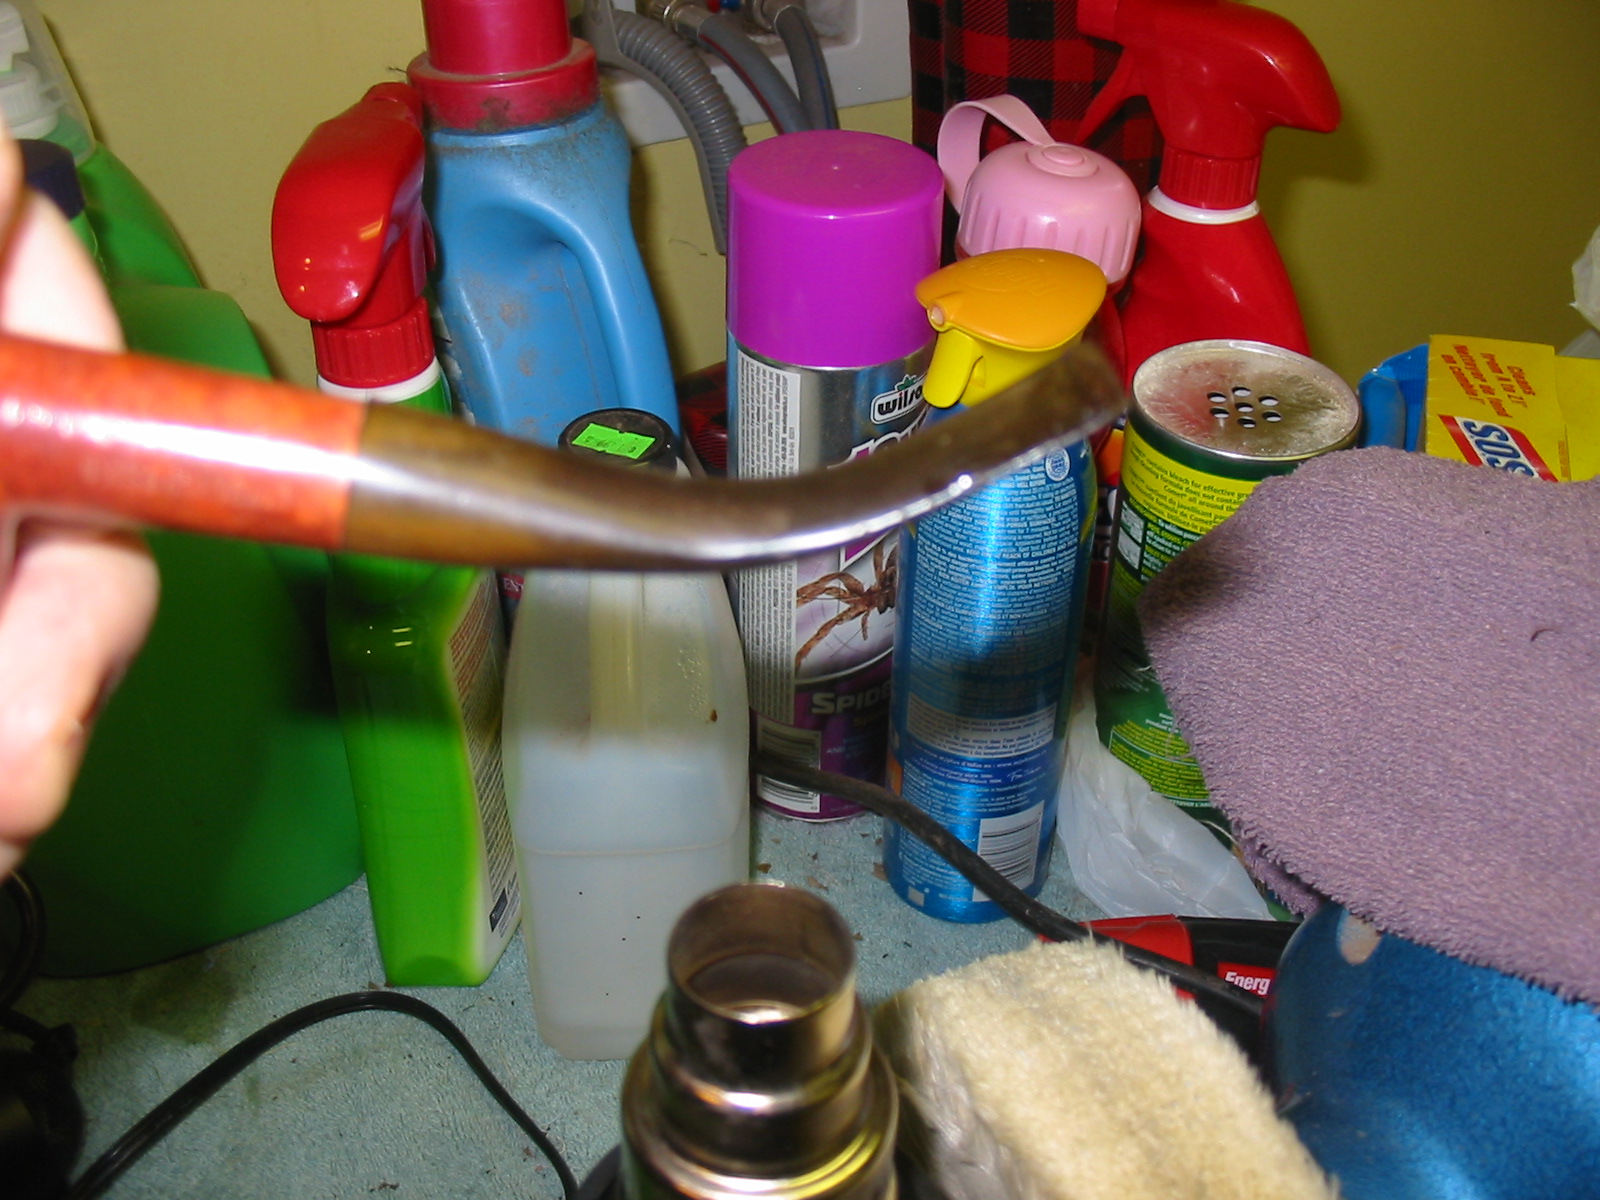
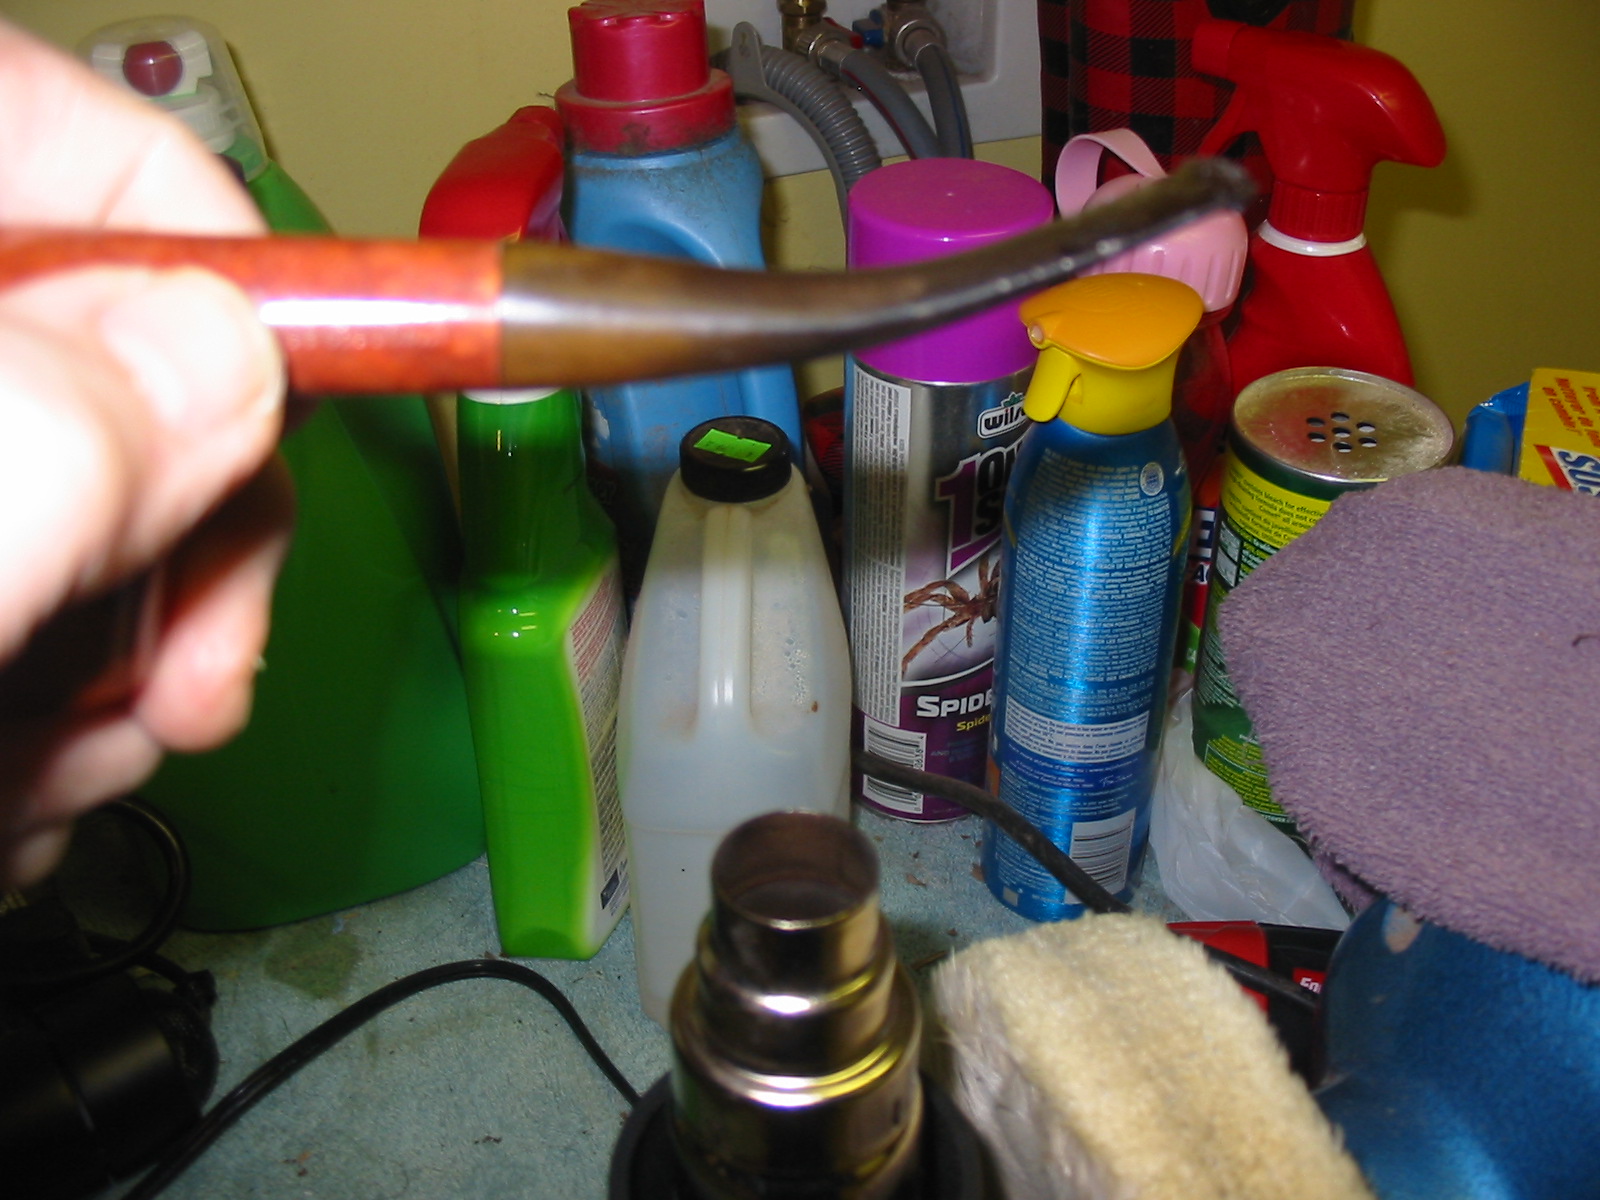
So armed with that information I went to work on the pipe. I began with the newly fitted stem and heated it with a heat gun to straighten the bend. Vulcanite has memory so with heat the stem returns to its original shape. I held the stem about 6 inches above the heat source, ran the gun on high and watched as the stem began to return to normal. It is important not to hold the vulcanite too close to the heat as it burns and to not rush the bend by helping it as it can snap if not properly heated.
IMG_3192

IMG_3193

The straightened stem is pictured below. It can also be seen in the next three photos that the diameter of the stem is slightly larger than the diameter of the shank. I also left a slight bend to the stem as I liked the look of it on this pipe.
IMG_3194

IMG_3195

IMG_3196

I used a Dremel with a sanding drum to reduce the diameter of the stem to match the shank. This has to be done slowly and with a steady hand so as not to nick the shank of the pipe. I move the Dremel slowly along the diameter of the stem and also backward toward the button to keep the lines accurate and not bulge after the sanded area. I sand it as close as possible to the correct diameter and then hand sand it to fit.
IMG_3197

IMG_3198

IMG_3199

I took it back to the work table and sanded the stem with medium grit emery cloth to smooth out the finish and fit of the stem. I then used 220 grit sandpaper and continued to sand until the stem fit was smooth. At this point I also began to use a sanding block to make the transition between the new stem and the shank smooth. I did not worry about sanding the stem as I intended to remove the plastic finish and rework the entire pipe with a new finish. I also sanded the top of the bowl to remove the two burn marks that were present on the inner edge of the rim. This is visible in the last of the series of photos below.
IMG_3200

IMG_3201

IMG_3202

IMG_3203

IMG_3204

I wiped down the bowl with acetone on a cotton pad to try to remove the plastic like finish that was on the pipe. The acetone succeeded in dulling the finish but not in removing it from the briar. I continued to wipe it down until I was through the finish coat. I sanded the bowl with a medium grit sanding sponge between the acetone washes. (I had previously tried the alcohol bath on pipes with this type of finish and found that they did not penetrate the finish.)
IMG_3205

IMG_3206

IMG_3207

Once the finish was removed I sanded the pipe with a fine grit sanding sponge to remove the scratches as much as possible. I was not overly worried at this point in removing them all as I intended to do a two part stain and sand between the stain coats. I stained the pipe with a black aniline stain, flamed and stained and flamed again. I also heated the bowl to drive the black stain deep into the grain of the pipe so that when I sanded it the grain would show well.
IMG_3208

IMG_3209

IMG_3210

I wiped the bowl down with Everclear on a cotton pad to remove the topcoat of the stain. I knew that the stain would have penetrated deep enough into the grain to leave the parts present that I wanted highlighted.
IMG_3211

IMG_3212

I buffed the pipe with red Tripoli to further remove the black stain. The next four photos show the bowl after buffing. I still wanted to remove more of the stain from the pipe to get the desired effect and differentiate the grain for the finished look of the pipe.
IMG_3213

IMG_3214

IMG_3215

IMG_3216

I wet sanded the bowl and the stem with 1500-2400 grit micromesh sanding pads to further remove the black stain from the surface of the bowl. The sanding also served to remove the scratches left behind by the fine grit sanding sponge before staining. The first four photos below show the finish after I had sanded the bowl with these grits of micromesh. I then dry sanded the bowl and stem with the remaining grits of micromesh pads from 3200-12,000. The state of the bowl and stem can be seen in the last two photos below.
IMG_3217

IMG_3218

IMG_3219

IMG_3242

IMG_3243

IMG_3244

Once I had removed as much of the black as I wanted I stained the pipe with the second stain – an oxblood aniline stain. I heated the bowl, applied the stain, flamed it and reapplied and reflamed it until the coverage was even around the bowl. Once it was dry I buffed the bowl and stem with White Diamond to polish the finish and the stem. I rubbed the stem down with Obsidian Oil to protect the vulcanite and when dry gave the bowl and the stem multiple coats of carnauba wax to polish and protect the pipe. The finished pipe is pictured below. I really like the contrast stain and the matte like finish on the pipe. The two step stain process highlighted the grain on the pipe and gives it a far more polished and finished look than the previous plastic coat had down. This piece of briar, though not stellar, did not have fills or flaws that are visible. It should make someone a great addition for their pipe rack.
IMG_3245

IMG_3246

IMG_3247

IMG_3248

NOTE: I was just reading on PSU and saw a post there that had this photo of the filtration system on these pipes. http://pipesmokerunlimited.com/showthread.php?4015-Smokemaster-Filter-Pipe Thanks to the poster, Hammerhead (Terry Swope???maybe) for posting the photo for us to see.
Smokemaster_zps5e85a518

Restemming and Refinishing a Tiny Bulldog


I had one more miniature pipe bowl in my box of pipes for refurbishing and I thought I would finish up the third of the lot. It needed a diamond shaped saddle stem to match the shank on this little bulldog. The bowl was coated with a thick coat of varathane or some kind of plastic coat. It had a small crack in the shank under the brass band. I also was without a stem. The trouble with these little pipes is being able to turn a tenon down far enough to fit the shank.
IMG_2993

I went through my box of stems and found a diamond shank saddle stem that would do the trick. I turned the tenon down as far as possible with the PIMO tenon turning tool and then used the sanding drum on the Dremel to get the tenon size close. I hand finished the fit with 220 grit sandpaper until I had a snug fit on the stem. The stem was a regular sized stem to fit a group 4 bulldog so it was about ¾ inch per side. I reduced the diameter a side at a time with the Dremel until the stem sides were roughly 3/8 inch per side. The Dremel and sanding drum took off the majority of the excess material and then I hand sanded it to fine tune and adjust the angles of the stem and sides.
IMG_2994

The band was loose so I removed it while I sanded the stem to match the shank. Since I planned on stripping the finish off the pipe and refinishing it I sanded both the shank and the stem in the process. Once I had a clean smooth fit I reglued the band in place on the shank with wood glue and pressed it into place.
IMG_2995

IMG_2996

IMG_2997

IMG_2998

IMG_2999

IMG_3000

I wiped down the bowl with acetone on a cotton pad to try and break through plastic finish on the pipe. It did very little to break down the finish. I sanded the bowl and rim with 220 grit sandpaper and then with 1500 grit micromesh to remove the finish. I repeated the acetone wash after sanding and found that it was more effective once the plastic coat was broken down.
IMG_3001

IMG_3002

IMG_3003

IMG_3004

IMG_3006

I restained the bowl with a dark brown aniline stain and flamed it to set the stain. I repeated the process until the coverage was what I was aiming for with the undercoat of dark brown stain. I then gave it a top coat of oxblood aniline stain to get better coverage for the sanded bowl. There were still problems with the stain coat but I set it aside for the time being and turned my attention to the stem.
IMG_3007

IMG_3008

The stem was too long in the photos above and gave the pipe an awkward disproportionate look rather than refined look of a miniature bulldog so I cut it down with a sanding drum on the Dremel. I removed slightly over one inch of the length – cutting the stem back to the end of the bend. I cut it straight and made sure that the line of the end of the stem was squared both vertically and horizontally.
IMG_3009

IMG_3010

IMG_3011

IMG_3012

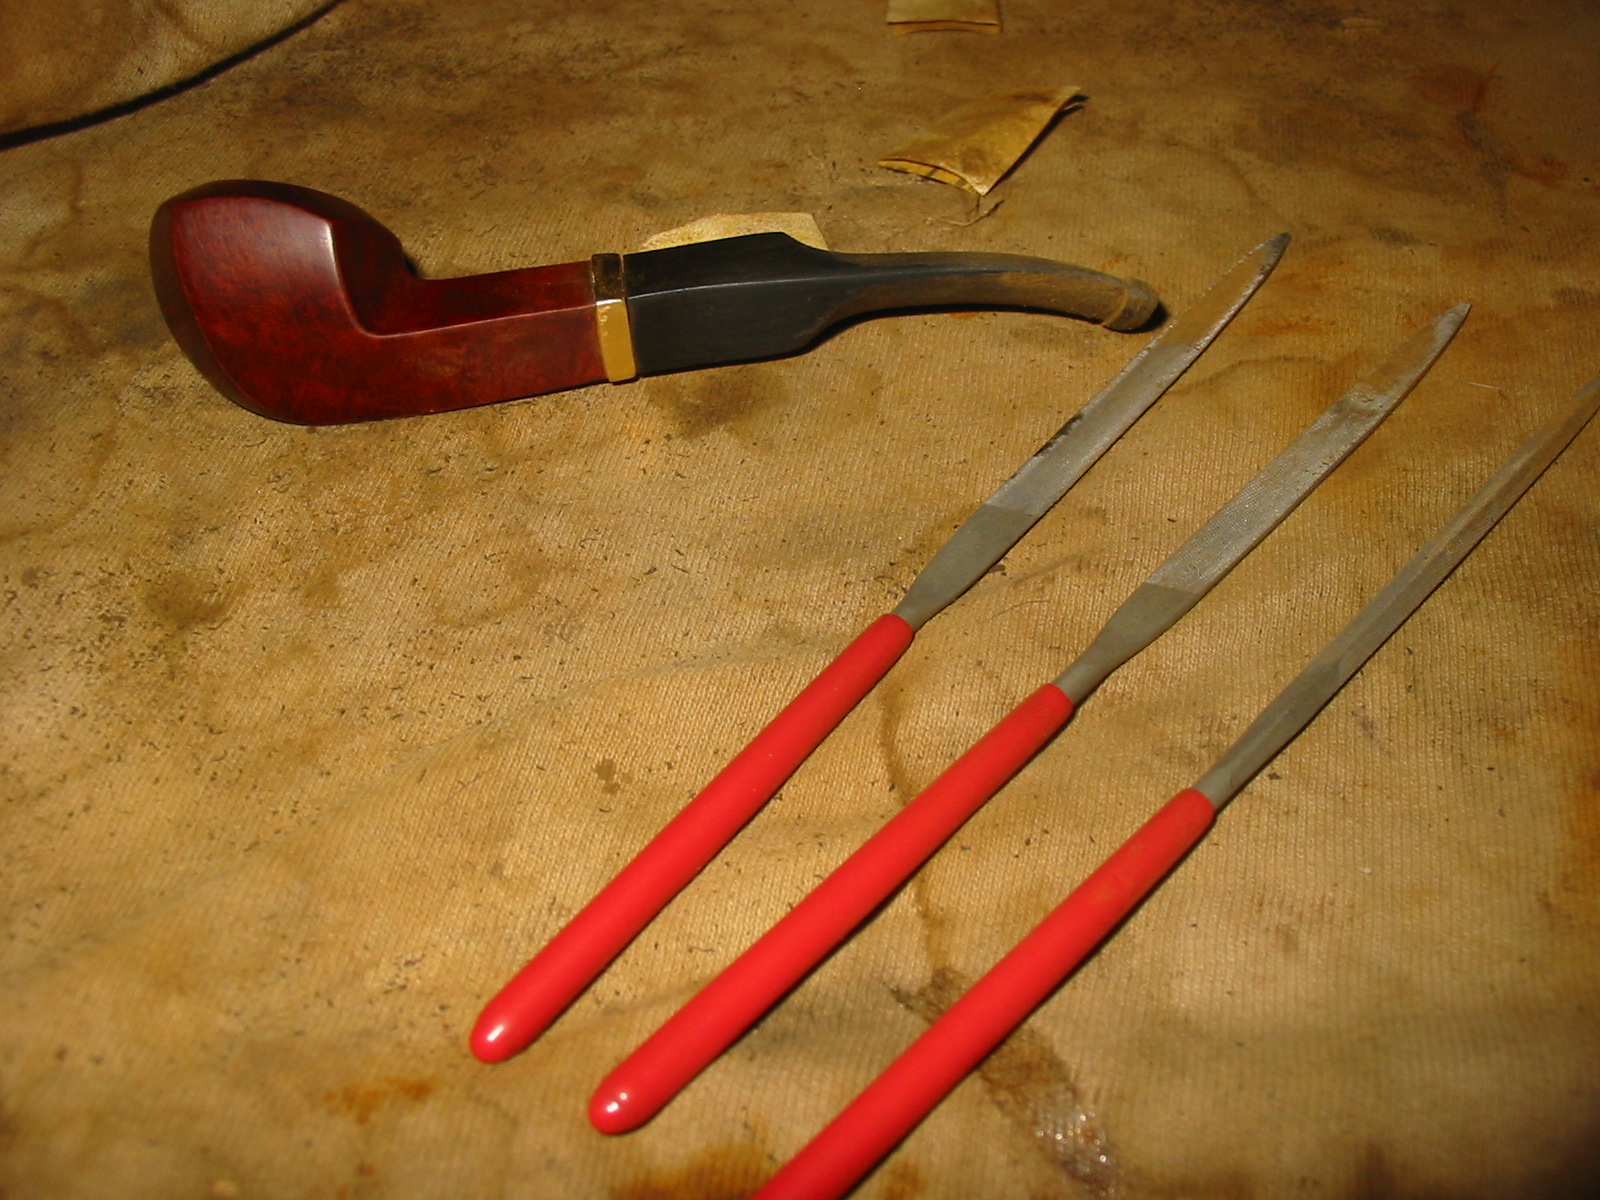
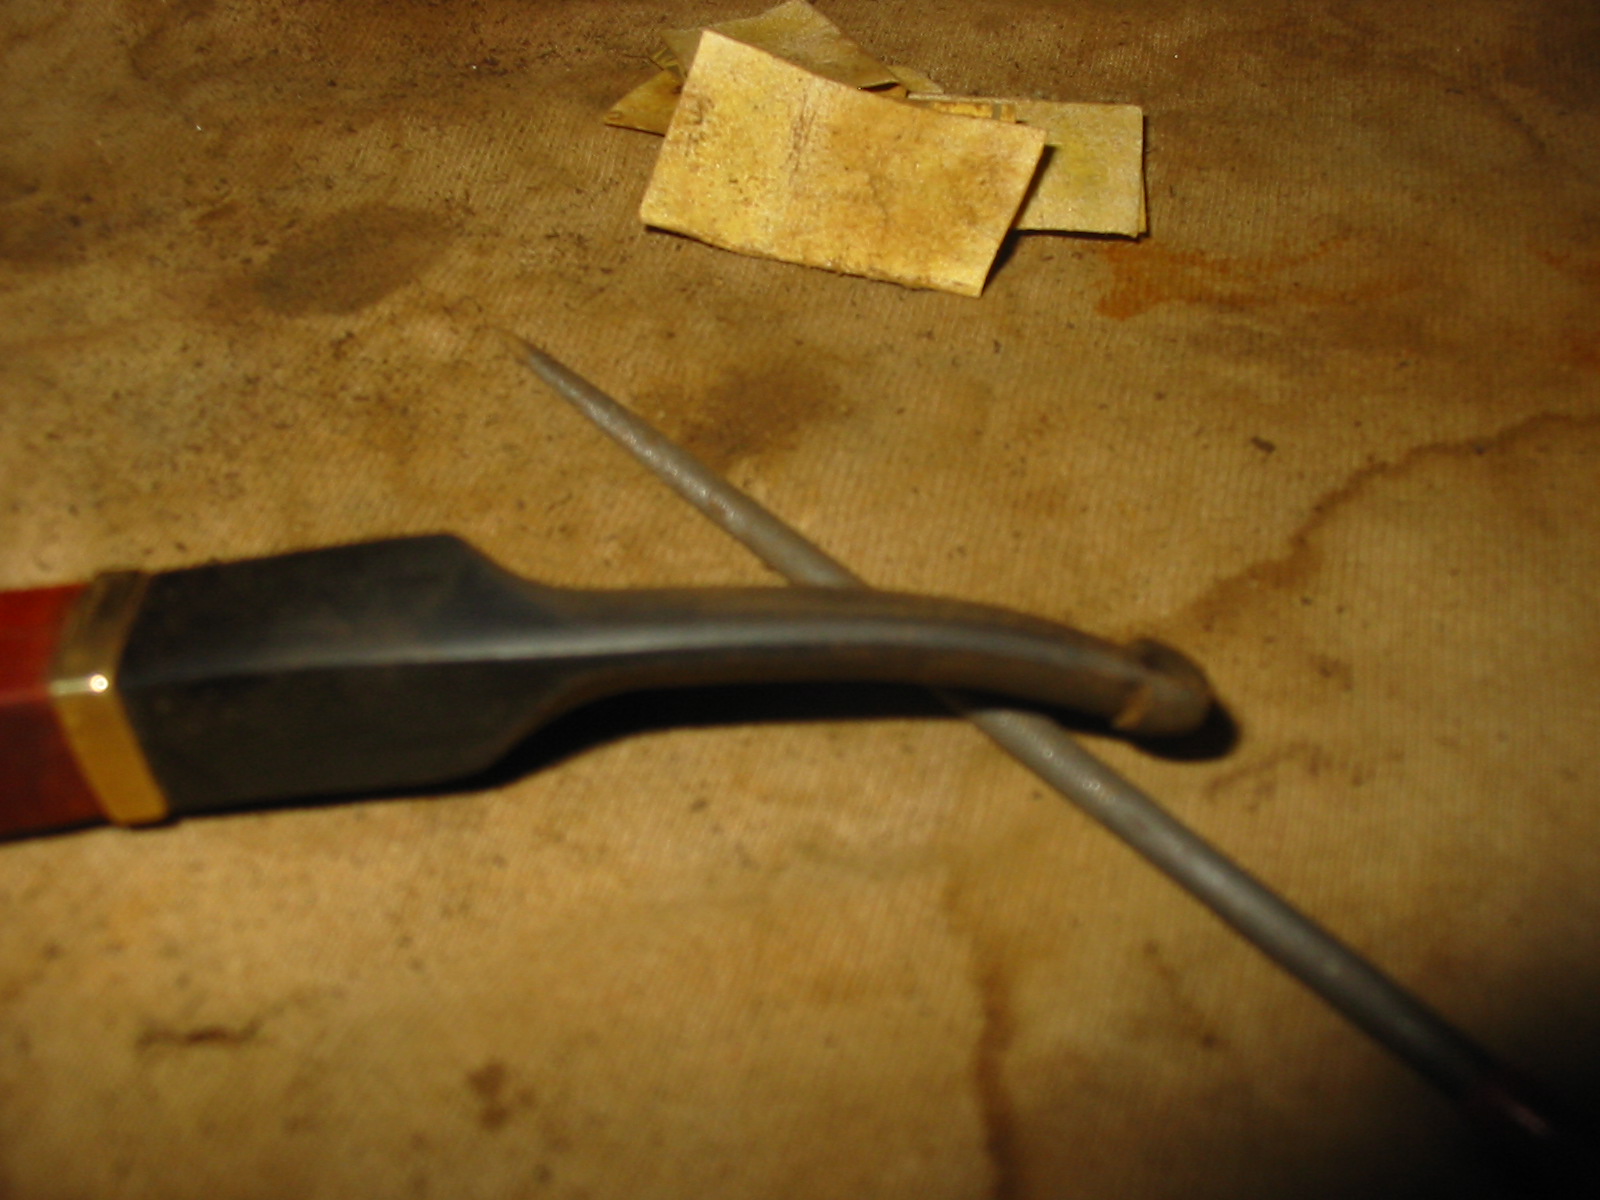
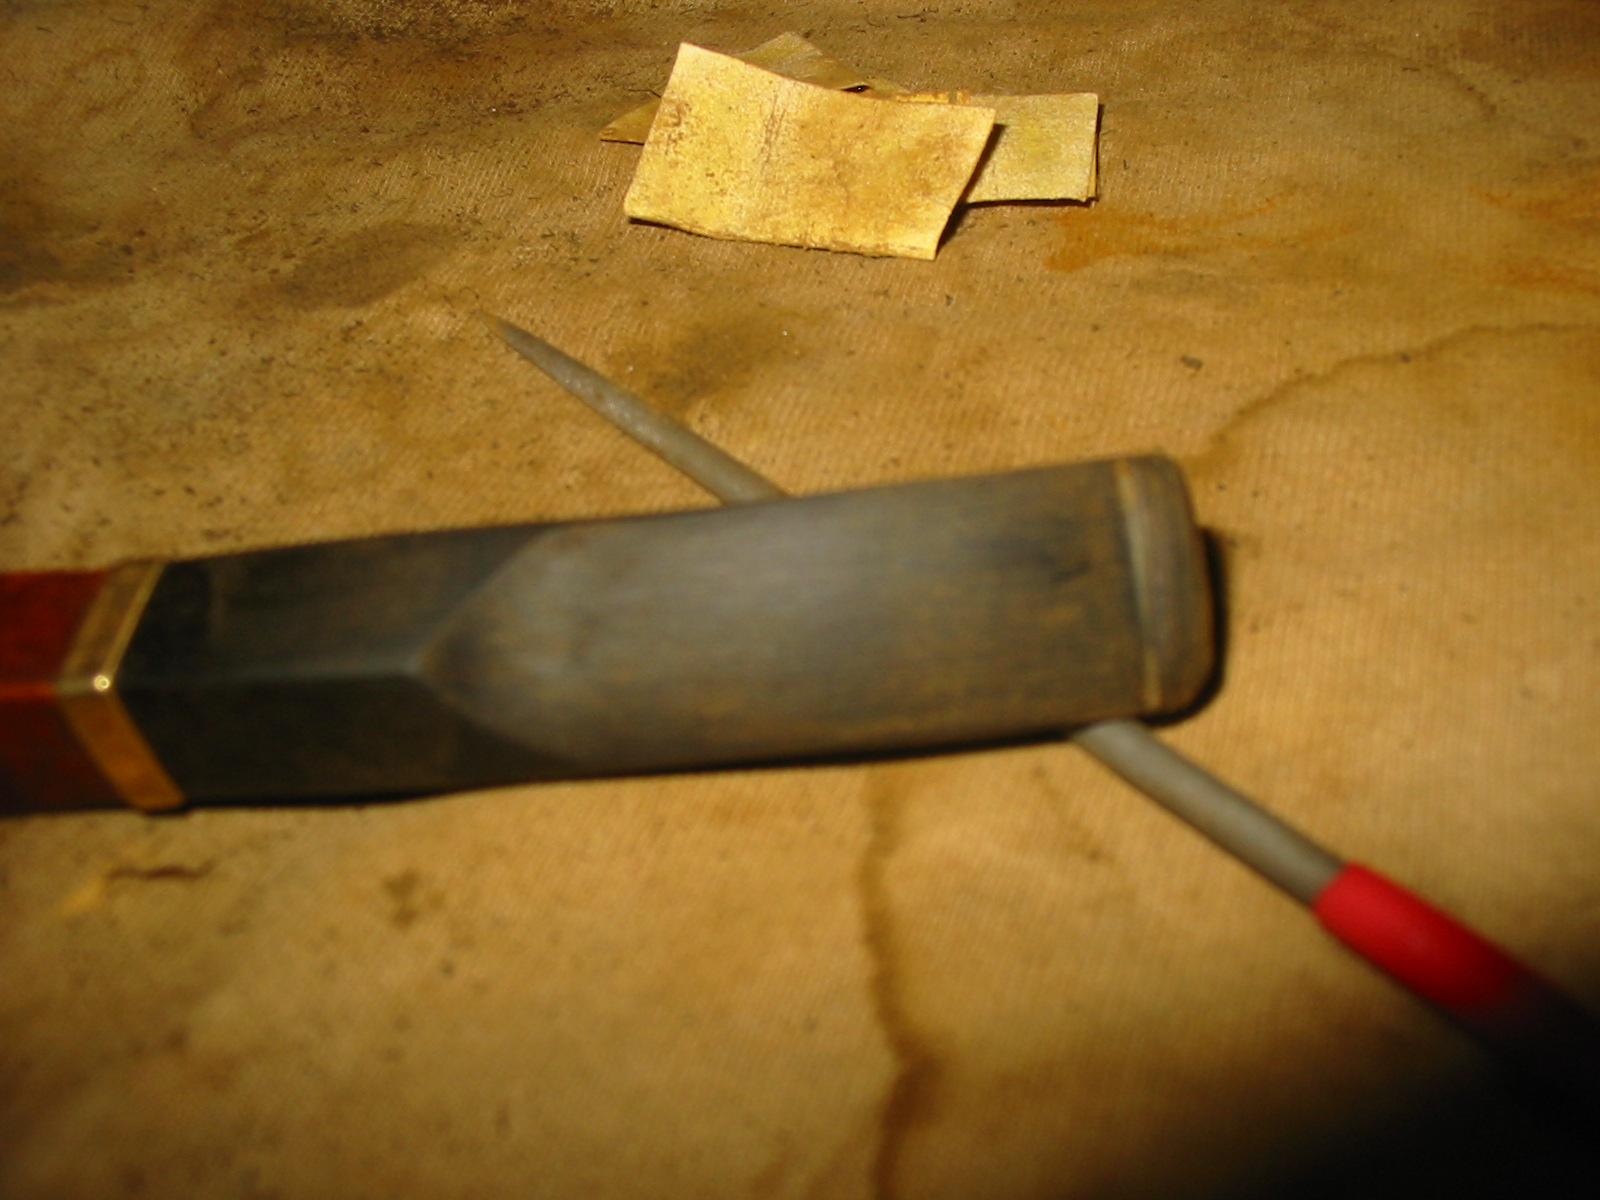
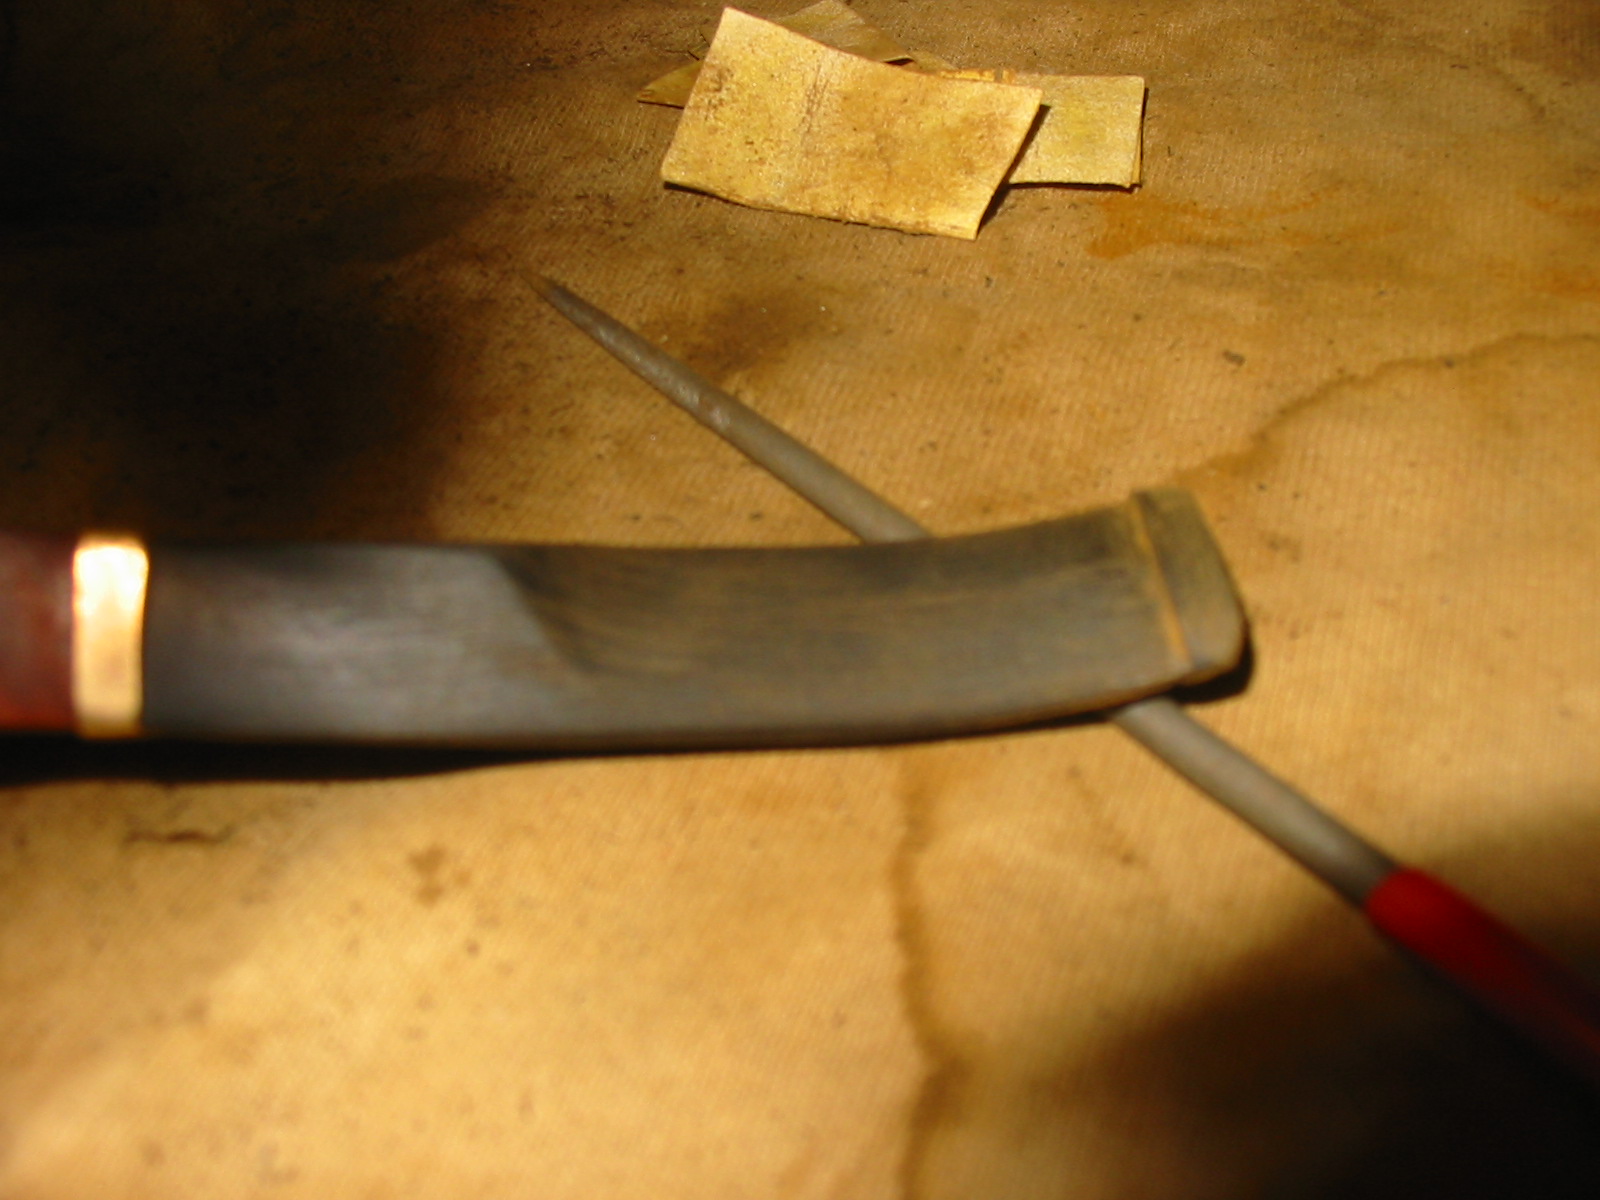
With the length cut back I then recut the button on the end of the stem with needle files. I began by cutting in the line of the button on the underside and the topside of the stem and then used the files to trim back the thickness of the stem from the saddle to the new line of the button. I used a rasp to thin down the thickness of the stem as well. I wanted a graceful flow to the taper of the blade of the stem so I worked it until it was thinner on both the top and bottom sides of the stem from the saddle to the button.
IMG_3013

IMG_3014

IMG_3015

The next series of seven photos show the gradual transformation of the thick and chunky stem after I had first cut the button to the sleeker look of the stem after the file work. I continue to shape the blade with the needle files until the flow looked right and the edges of the stem were tapered with the line of the diamond saddle.
IMG_3016

IMG_3017

IMG_3018

IMG_3020

IMG_3021

IMG_3022

IMG_3023

I reshaped the slot in the button with the needle files into an oval and opened up the airway into a funnel into the blade of the stem. I sanded the end of the button and the opened slot with a folded piece of sandpaper to smooth out the airway.
IMG_3019

IMG_3024

I sanded the stem with a fine grit sanding sponge to minimize the scratches left behind by the 220 grit sandpaper and to give shape and form to the button. The next series of four photos show the shortened and reshaped stem. The length now matches the proportion of the pipe and the angle of the bend and the shape of the button are finished. All that remains is to continue to sand and polish the stem.
IMG_3025

IMG_3026

IMG_3029

IMG_3030

I sanded the stem with micromesh sanding pads from 1500-12,000 grit to remove the scratches and fine tune the shape of the stem. Each grit of pad gave a more refined look to the newly formed stem and button.
IMG_3031

IMG_3032

IMG_3033

IMG_3034

IMG_3035

I sanded the bowl with the micromesh sanding pads at the same time as the stem and when finished I restained and flamed the bowl with the dark brown aniline stain until the coverage was better than previously. I buffed the pipe and the stem with White Diamond and then gave it multiple coats of carnauba wax. I buffed it with a soft flannel buffing wheel to bring up the finished shine. The final photos below show the finished pipe. It is finished and ready for its inaugural smoke.
IMG_3036

IMG_3037

IMG_3038

IMG_3039

I have included some pictures of the pair of tiny pipes that I restemmed – the little Rhodesian and now the little bulldog. They make a nice pair of little pipes.
IMG_3043

IMG_3044

IMG_3045

IMG_3046

Shaping a Stem with a Dremel and Sandpaper


Over the past three years I have been working and developing my own process of fitting stems to pipe bowls. I use both stem blanks and older recycled or reinvented stems that I have collected over the years. It is rare that either of them actually fit the diameter of a shank right from the stem bin. Sometimes I am able to get close to a good fit after turning the tenon and sometimes it is a bit more work. There have been times when I have had to shape a thin taper out of a saddle bit and times I have had to shape a saddle out of a large tapered stem. Doing this I have learned a few tricks that work for me.

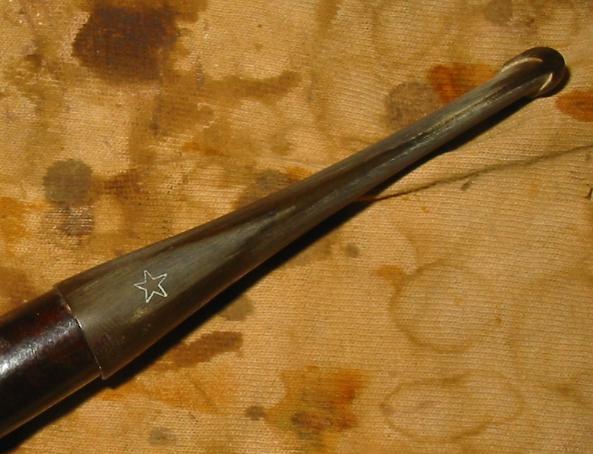
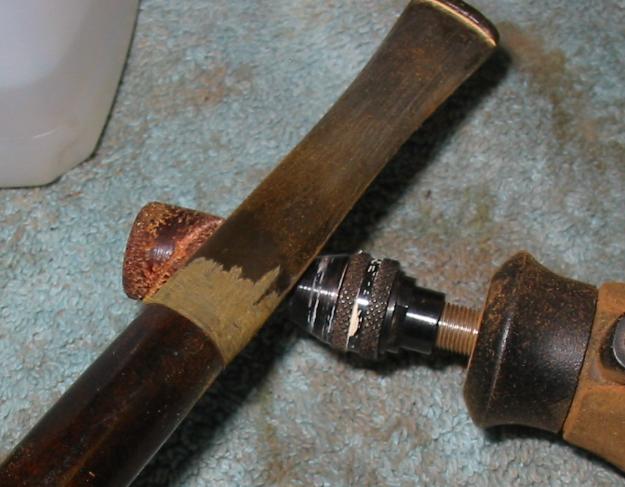
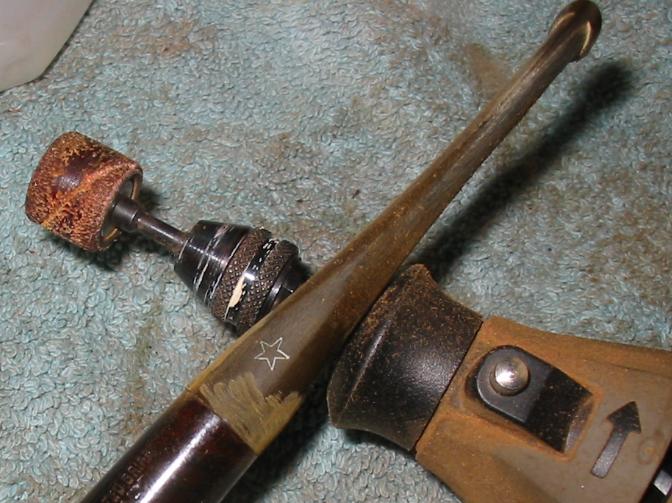
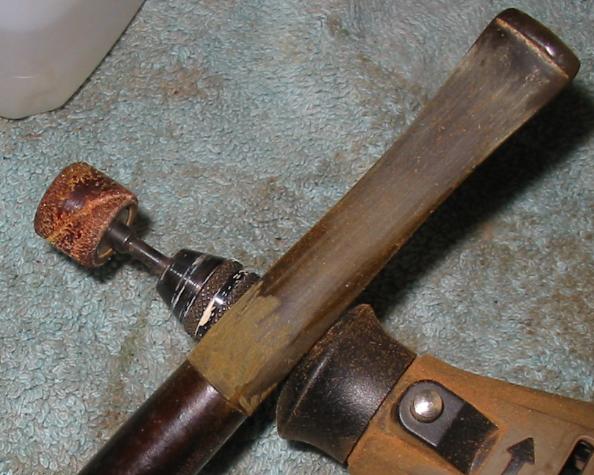
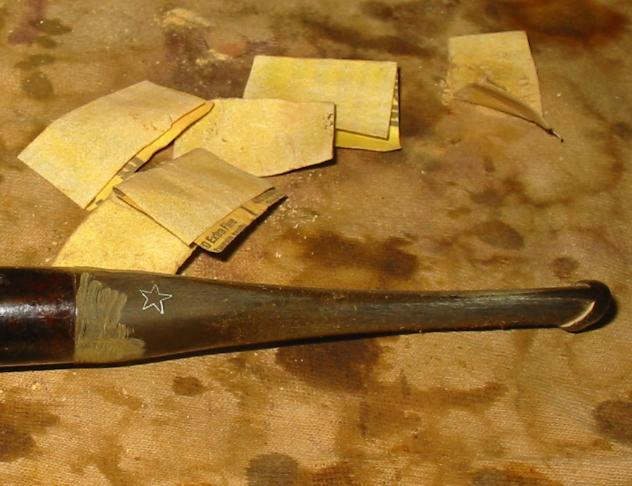
While I was restemming an old basket pipe from the bottom of my refurbishing box I thought I would document the process of shaping the stem using a Dremel and sandpaper. In the case of the stem below you will notice that I decided to sand the shank and restain the whole pipe. I don’t always do that and in fact it is rare that I do unless the pipe is one that I intend to totally rework anyway. The stem I chose was a recycled one probably from a City DeLuxe pipe or at least one that bore the five point star stamping. In this case I intended to sand out the stamping as the diameter of the stem was larger than that of the shank. The four photos below show the stem from top, bottom and left and right sides to give an idea of the size of the stem when I started.
Stem1

Stem2

Stem3

Stem4

I use a Dremel with a large sanding drum to remove the excess material from the stem at the shank stem junction. I am careful to not damage the shank in the process but push the end of the sanding drum as close to the shank as I can. The next series of four photos show the stem after the sanding drum has done its work. The diameter of the stem is very close to that of the shank at the end of this process.
Stem5

Stem6

Stem7

Stem8

The remainder of the fine tuning of the fit I do by hand with folded sandpaper to shape and match the stem and the shank. On this pipe the finish on the pipe was a heavy dark varnished stain that I was going to remove from the pipe for refinishing so I sanded the shank the same time I sanded the stem. The next five photos show the stem and shank after sanding with 220 grit sandpaper to match the two surfaces.
Stem9

Stem10

Stem11

Stem12

Stem13

I buffed the stem and shank with red Tripoli to remove some of the surface scratching before I went on to sand the stem with a medium grit sanding sponge. The next two photos show the stem after sanding with the sanding sponge. The stem and shank fit is very tight and smooth and the feel of the transition from briar to vulcanite is almost seamless.
Stem14

Stem15

On this pipe I decided to band the shank for cosmetic purposes so the remaining photos show the shank banded. You will note though from the above photos that the stem fit is actually very smooth and clean. I sanded the stem with micromesh sanding pads to remove the scratches and bring out the deep shine of the polished vulcanite. The final three photos show the fit of the stem after sanding with the micromesh sanding pads. From this point I wiped the stem down with Obsidian Oil and then buffed it with carnauba wax to finish the work.
Stem16

Stem17

Stem18

A Complete Reworking of a Zettervig Freehand


Blog by Steve Laug

I was chatting with a friend on one of the pipe forums that I frequent and he asked me about restemming an older 60’s vintage Zettervig freehand for him. I had a couple of stem possibilities sitting here so I figured why not. He sent the following pictures to show how the previous owner had pressed a Dr. Grabow metal mortise into the mortise of the Zettervig and then cut back a Grabow screw on tenon and added a metal washer as a spacer and screwed in the Grabow stem. He had reamed the pipe and done an internal cleaning before he sent it to me. But the externals looked pretty much the same as it does in the photos below. The plateau on the shank end was dirty and faded and the plateau on the rim was the same with a buildup tars that made the crevices and grooves in the plateau almost non-existent. It too was faded and worn looking.
Zettervig1 (1)

Zettervig1 (2)

Zettervig1 (3)

Zettervig1 (4)

I had no idea about the brand and not read anything about it. I did a bit of digging to see what I could learn about it. I am always curious about learning about brands that are unfamiliar to me. The following comes from Pipedia
“In the 1960’s and into the early 1970’s Ole Zettervig had a shop in Copenhagen, Denmark where he was carving high quality pipes equal to Stanwell, Larsen, Anne Julie, Thurmann, Bang and others. These early pipes were marked “Copenhagen” and are very collectible. He sold his shop at some point in the 70’s and moved to Kolding and continued to produce pipes as a hobby, but the quality of briar and workmanship is said to not equal the early production. The later pipes he now marked as Kobenhaven rather than Copenhagen, and these were sold by Ole at flea markets throughout Europe.” http://www.pipedia.org/wiki/Zettervig
When it arrived I drilled out the metal insert in the shank and cleaned up the shank with pipe cleaners and cotton swabs. I then sorted through my stems and found several possibilities. I sent him the following two photos of the stem options and he chose the one that is inserted in the pipe. It actually came from a Danish Freehand that I had here and restored. I like less chunky stems so this one went to the parts bin. He liked it so it was the stem that I would work on for this pipe.
IMG_2923

IMG_2924

IMG_2925

I gave the pipe a cleanup reaming with the PipNet reamer and cleaned out the shank one last time. I scrubbed the bowl and the plateau on the shank and rim with Murphy’s Oil Soap and a brass tire brush to break away the tarry buildup. I rinsed it under running water to remove the soap. I wiped the bowl down with acetone on a cotton pad to remove the remaining finish and then sanded the bowl and the shank with micromesh sanding pads 1500-2400 grit to polish the minute scratches that were present. I stained the plateau portions of the pipe with a black aniline stain and then wiped them down with a cotton pad wetted with Everclear to give the black a little transparency. I gave the rim and shank end a light buff with White Diamond. The newly stained plateau is visible in the photos below.
IMG_2927

IMG_2928

I also stained the bowl with an oxblood aniline stain. I applied and flamed it and reapplied and reflamed until I had the coverage that I wanted on this pipe. The photo below gives a side view of the pipe.
IMG_2926

I buffed the bowl and stem with White Diamond. I then took it back to the work bench and sanded the stem and the bowl with micromesh sanding pads from 1500-12,000 grit to give the finish on the stem and bowl a deep shine. Once I had finished that I took to the buffer and gave it multiple coats of carnauba wax to protect and shine it even more. The finished pipe is in the photos below. It is now on its way back to its owner.
IMG_2980

IMG_2981

IMG_2982

IMG_2983