
by Steve Laug
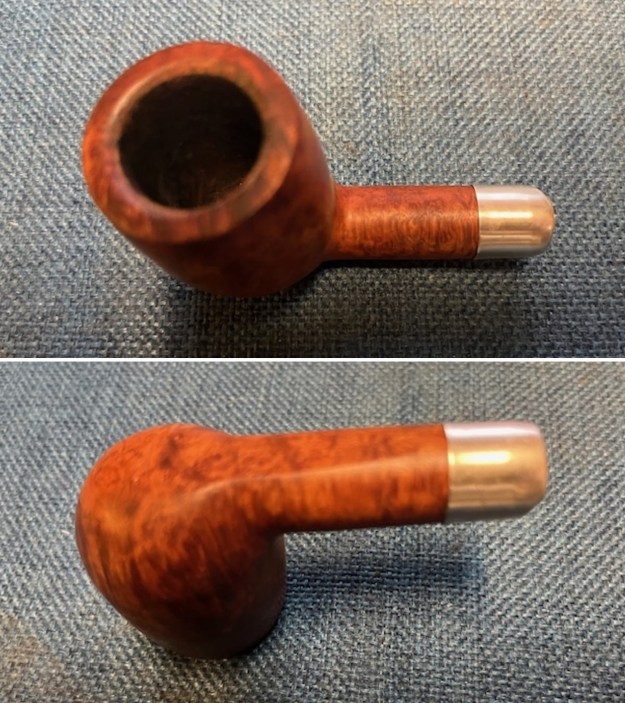
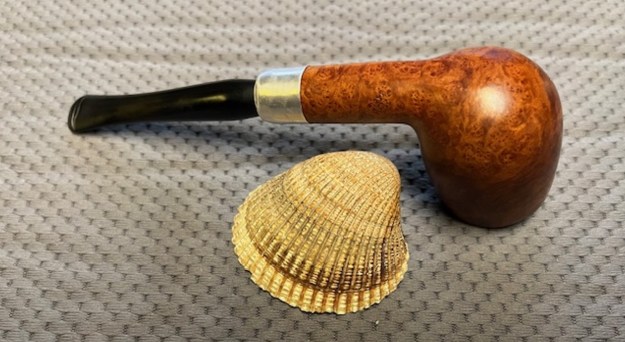
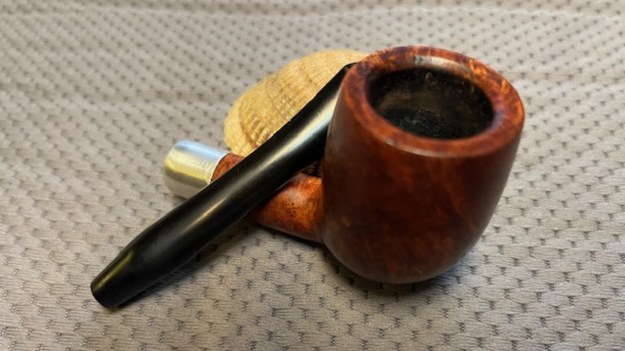
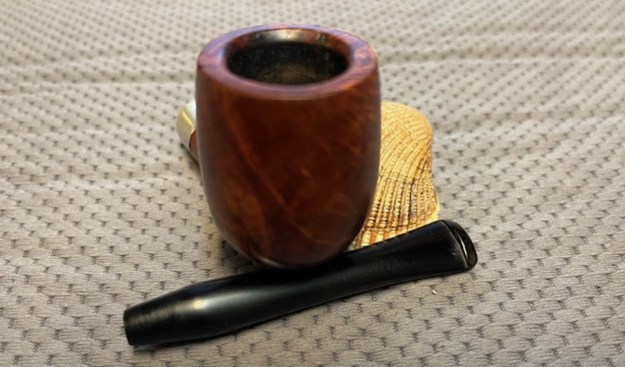
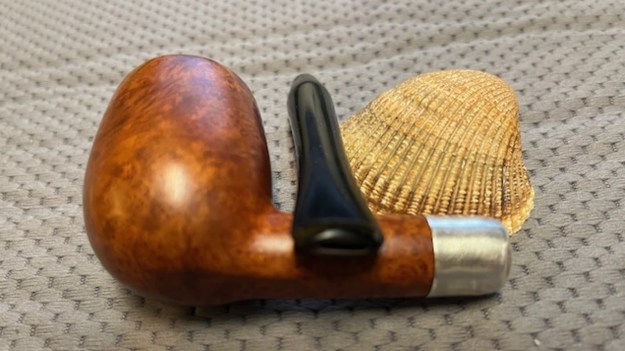
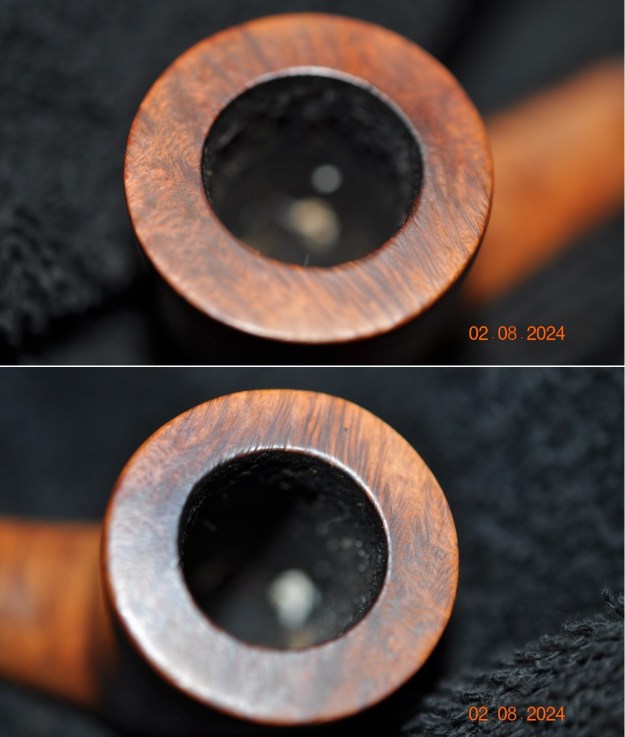
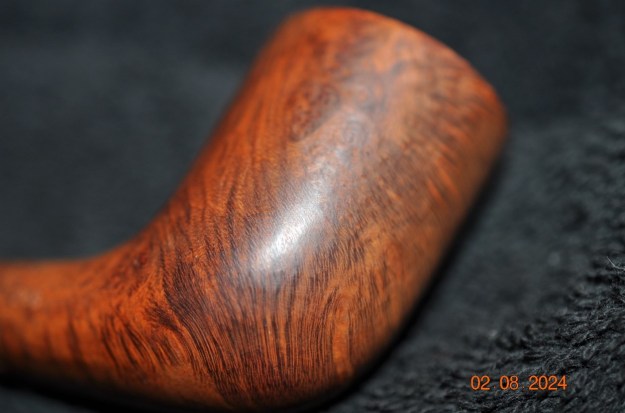
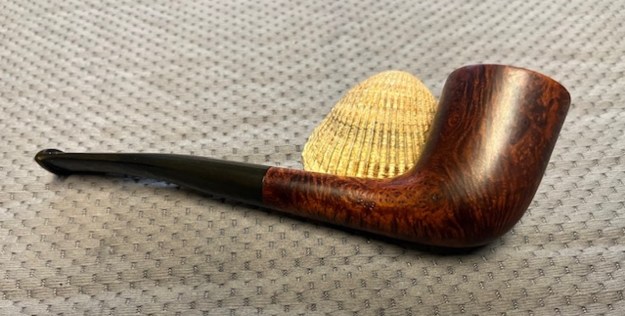
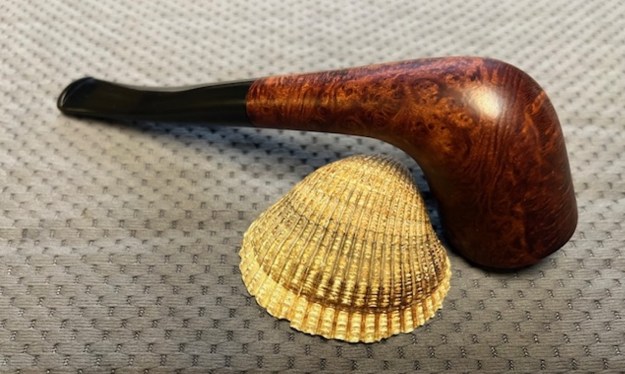
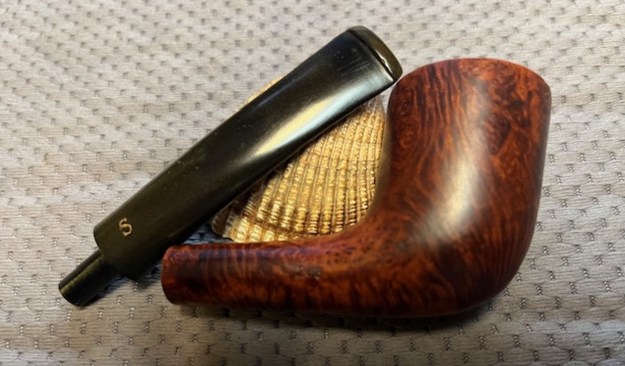
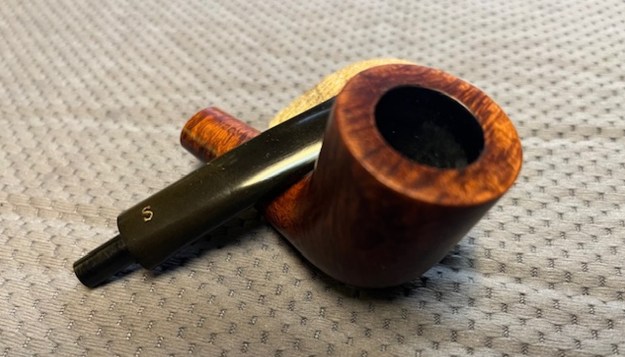
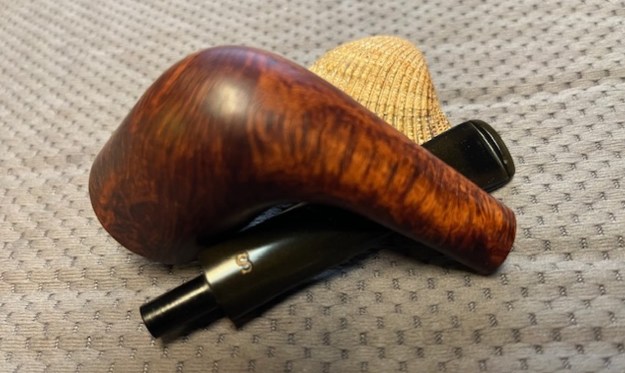
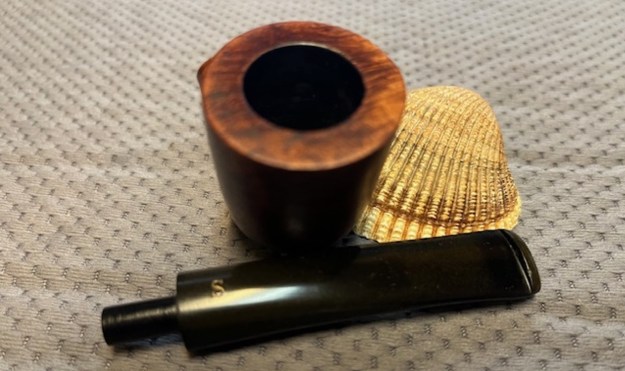
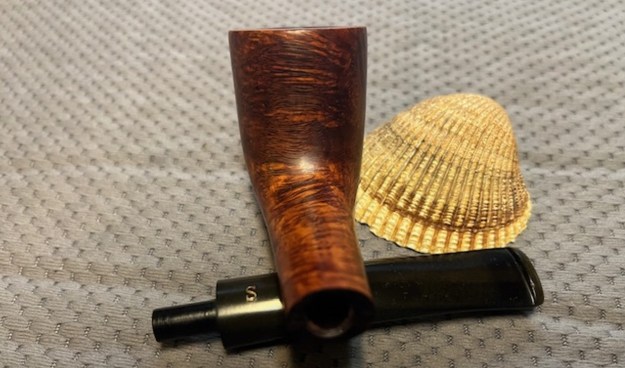
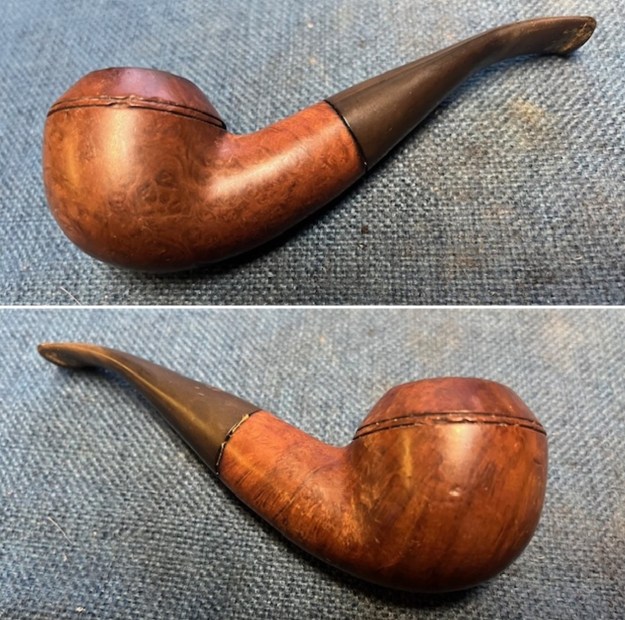
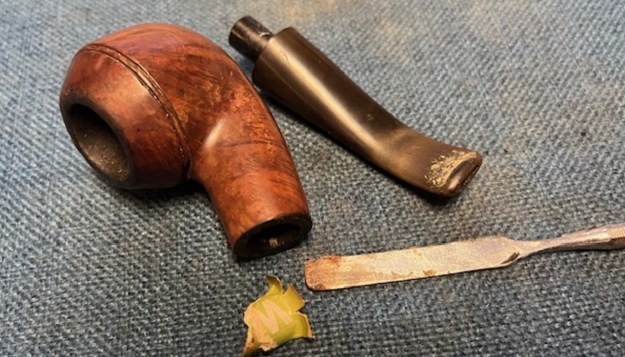
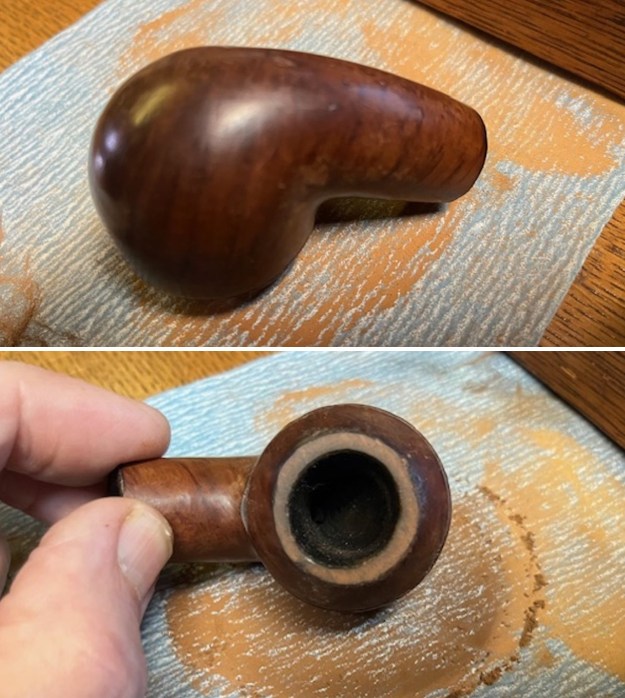
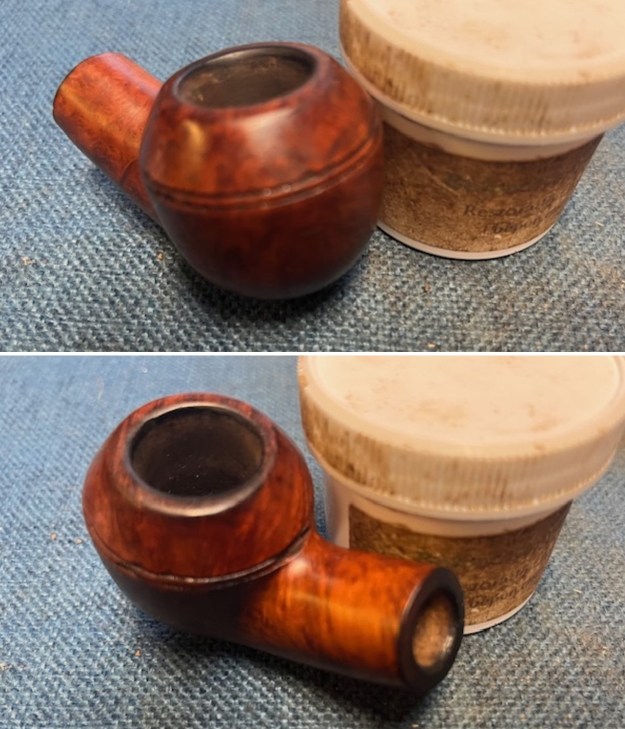
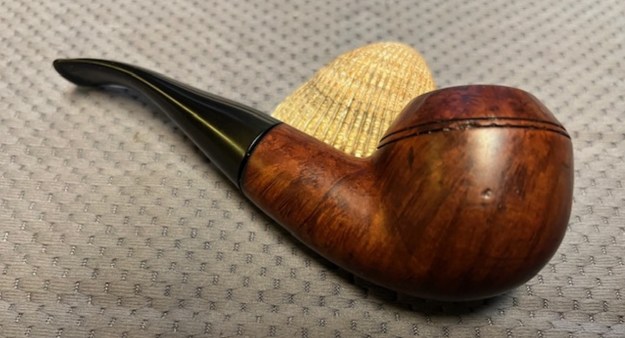
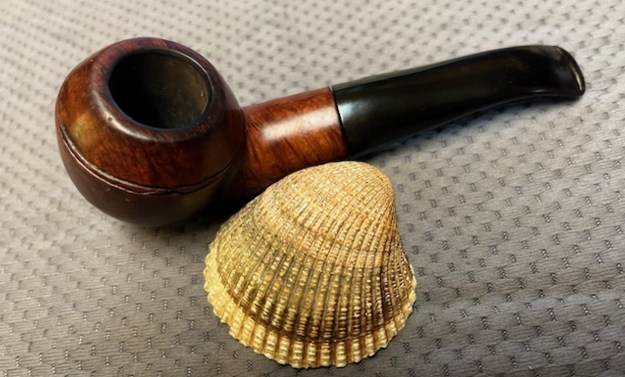
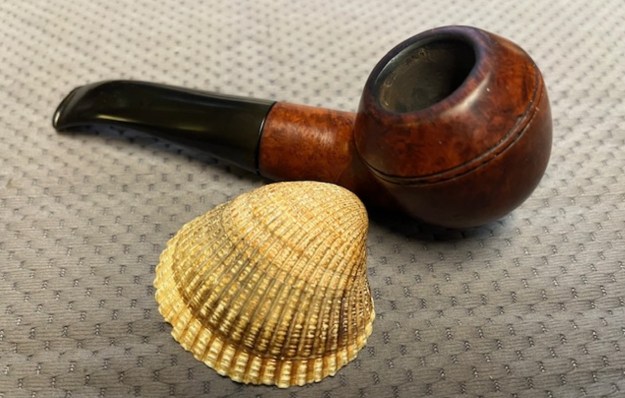
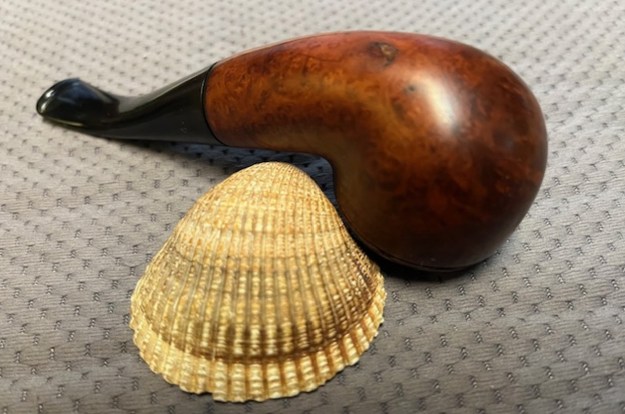
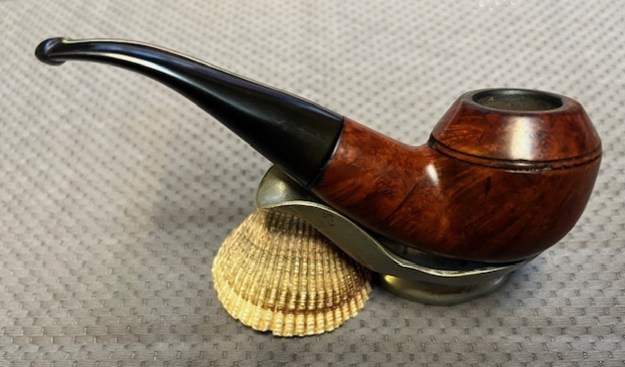
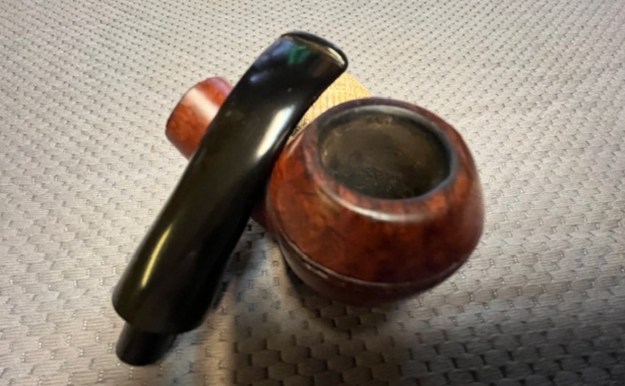
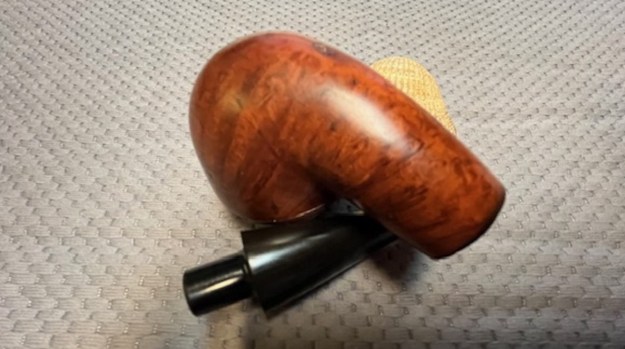
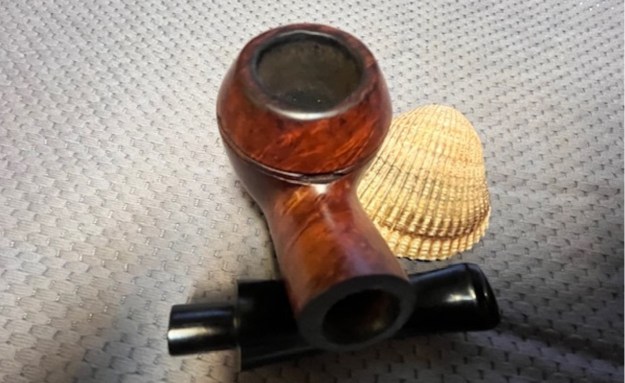
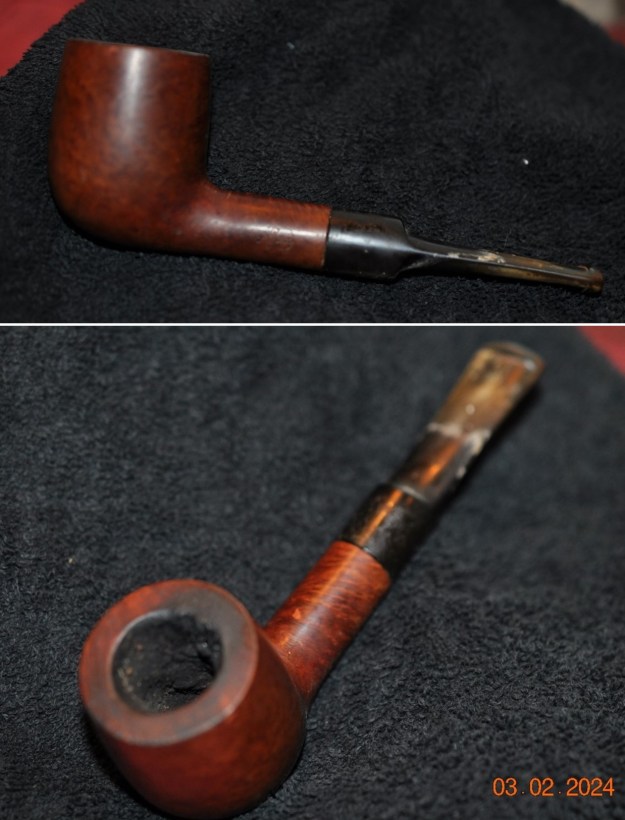
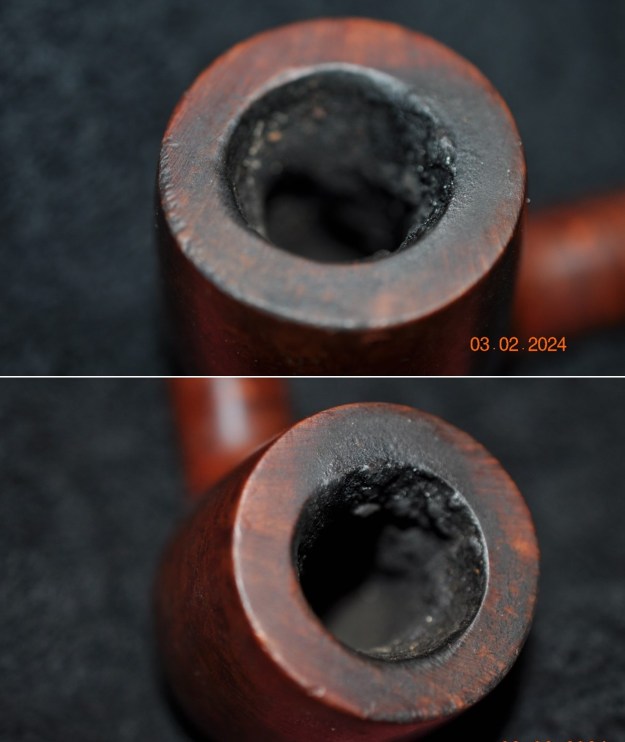
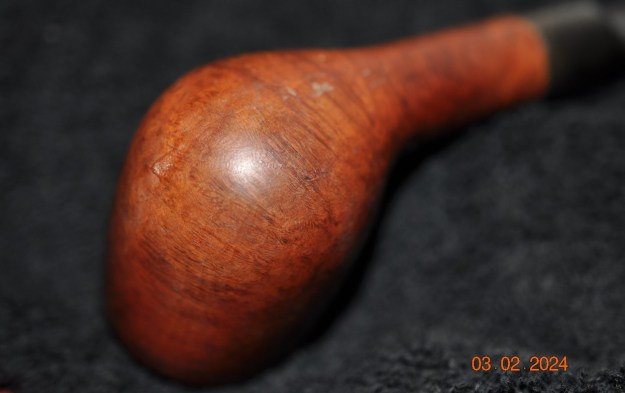
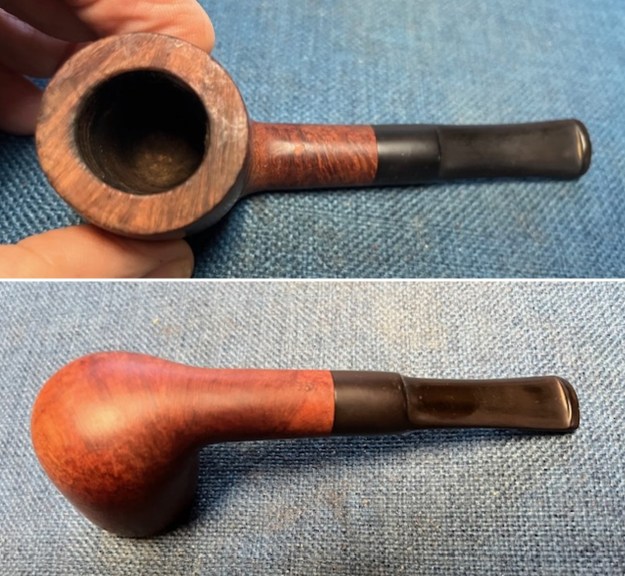
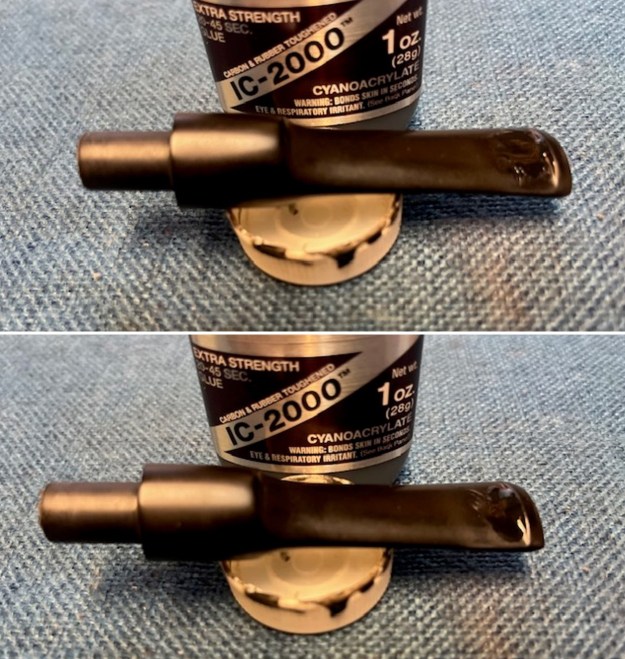
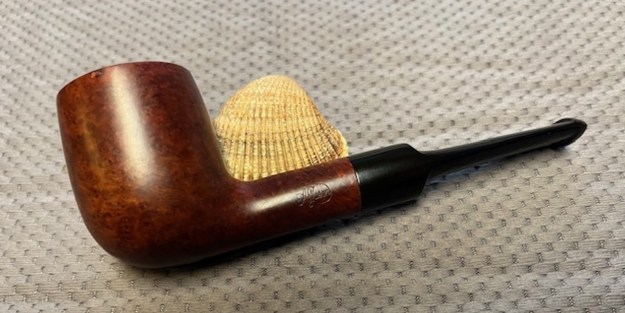
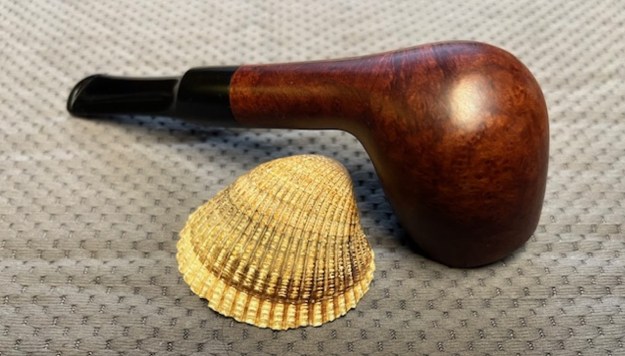
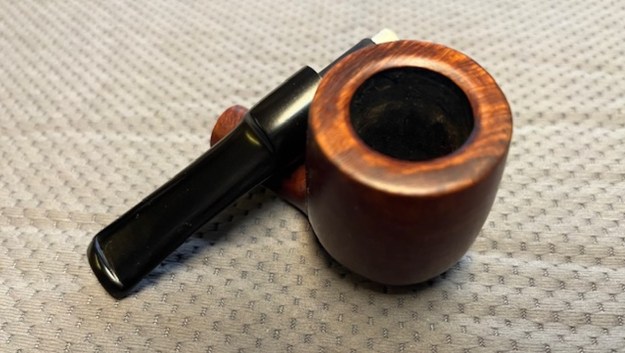
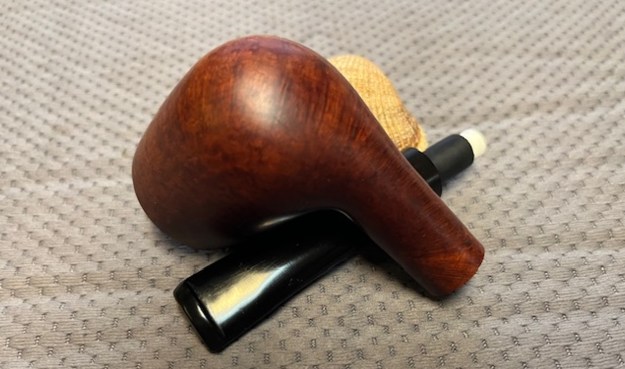
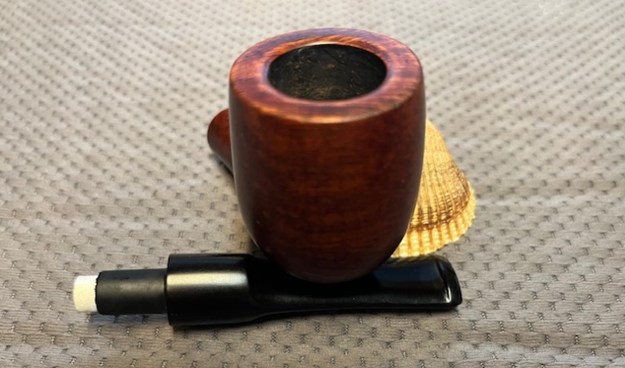
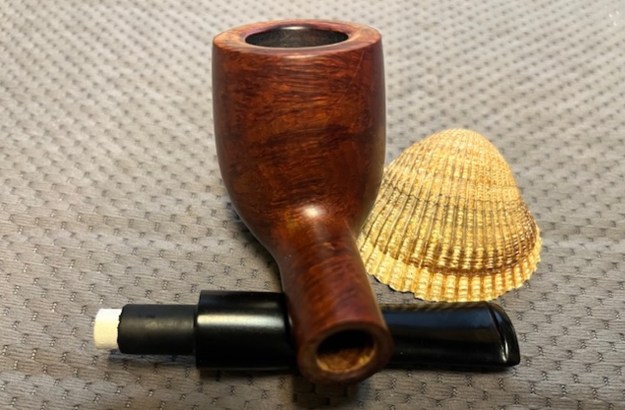
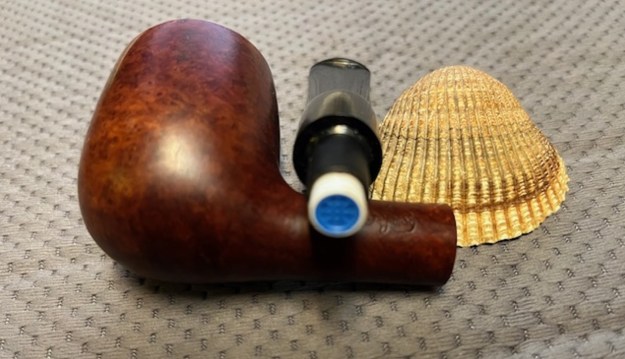
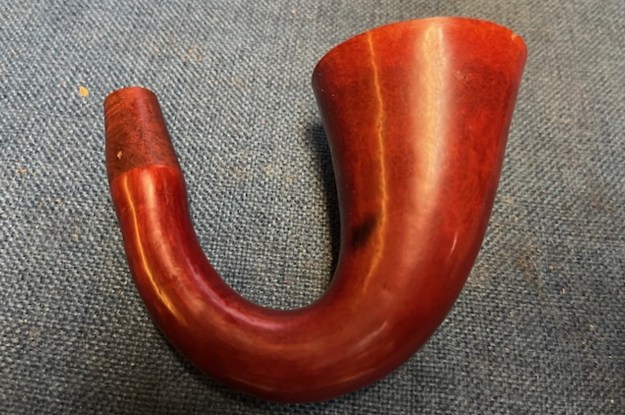
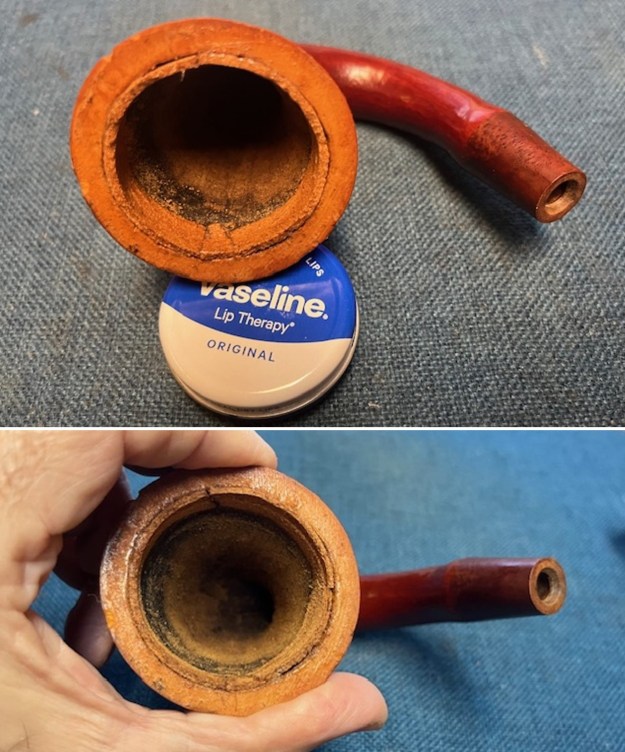
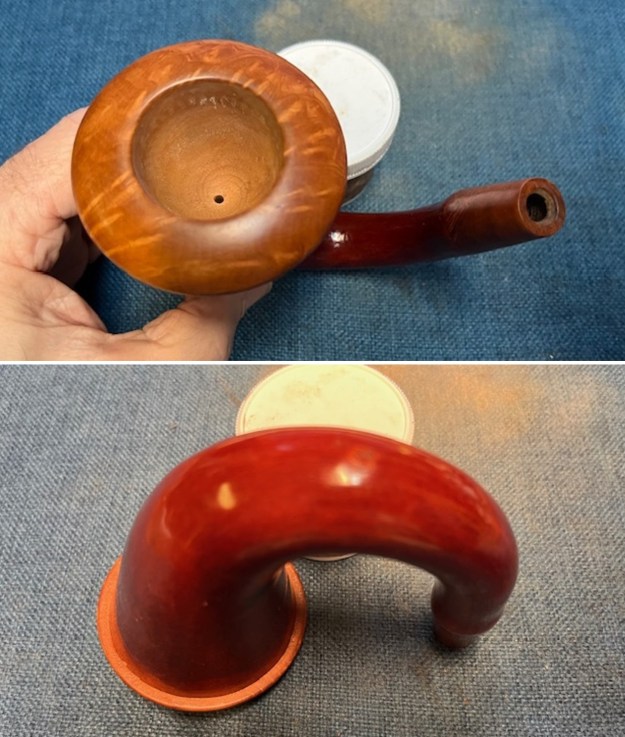
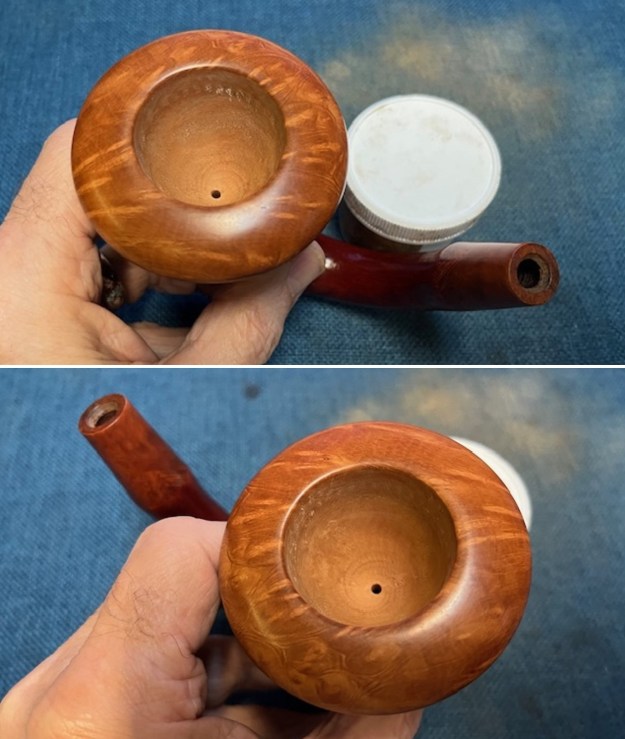
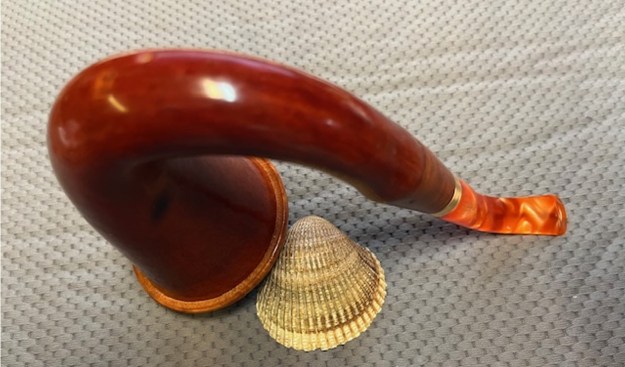
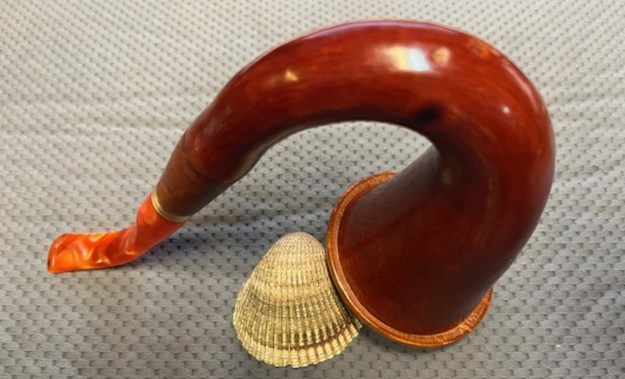
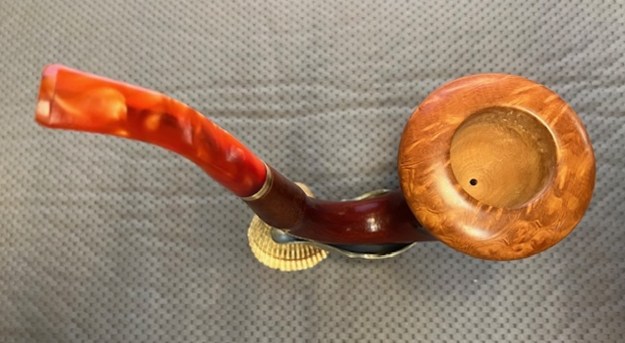
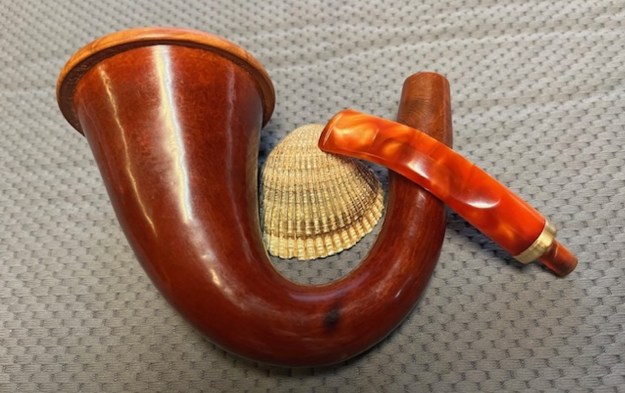
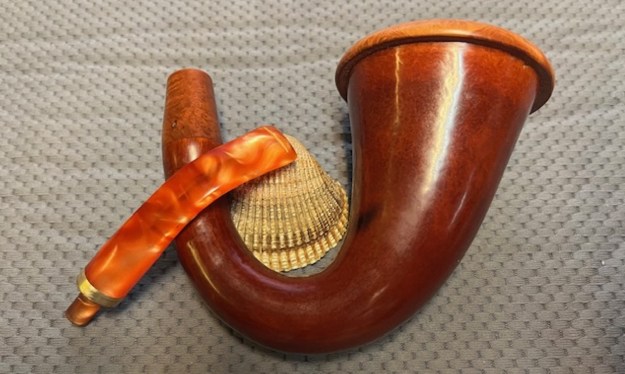
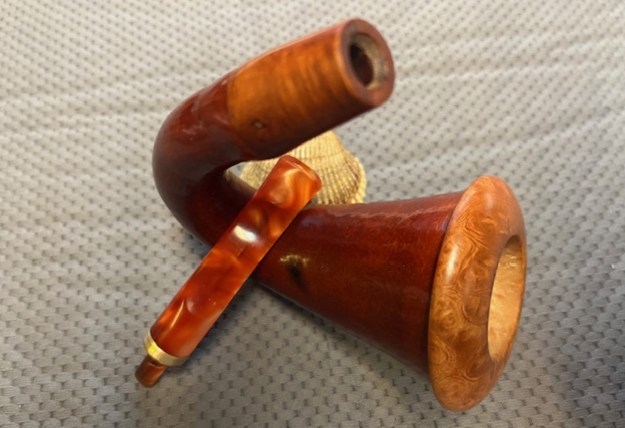
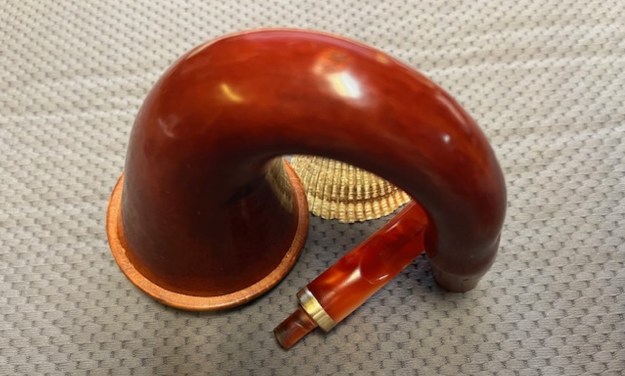
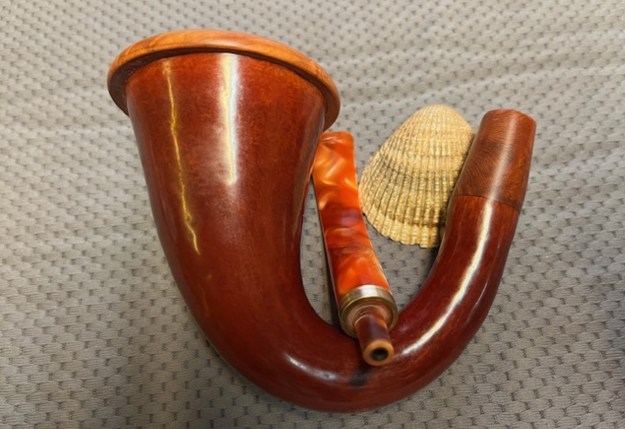
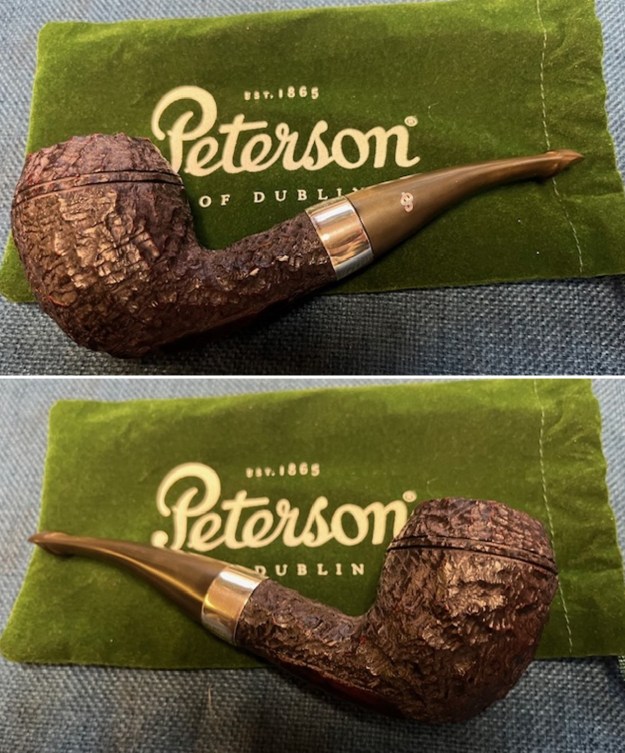
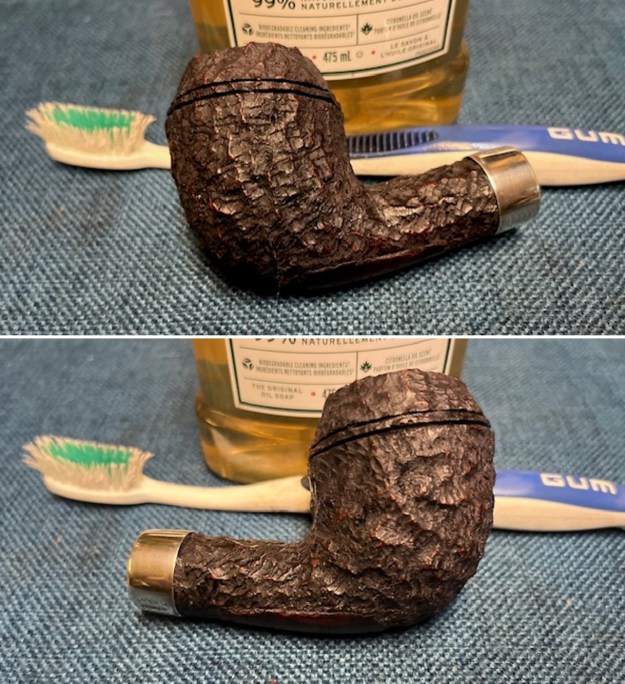
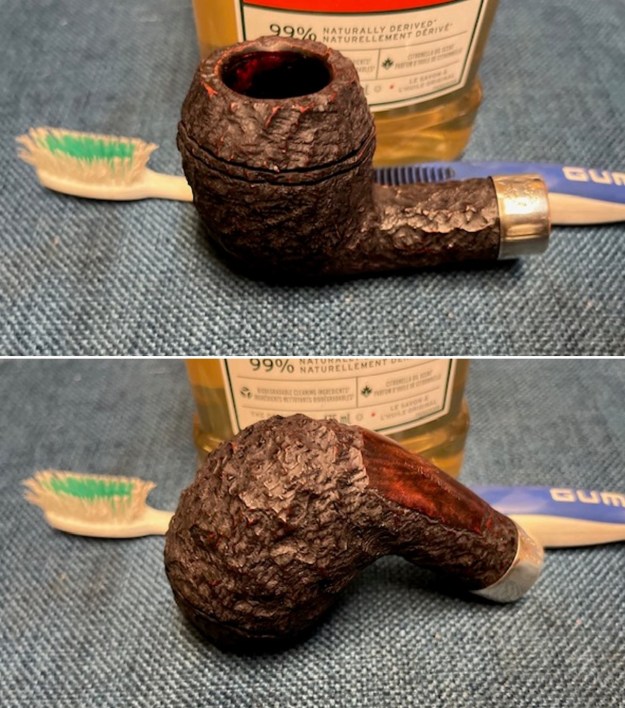
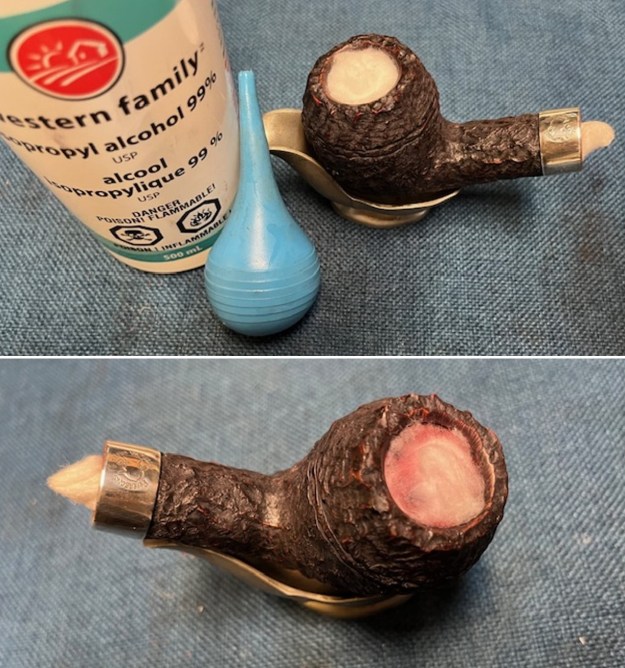
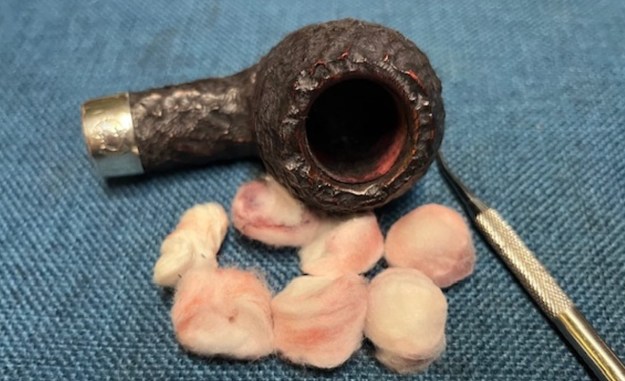
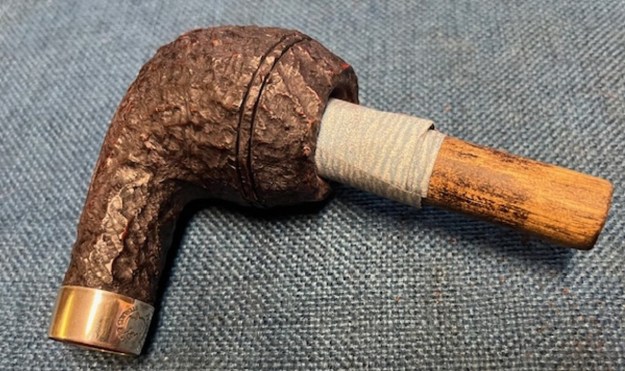
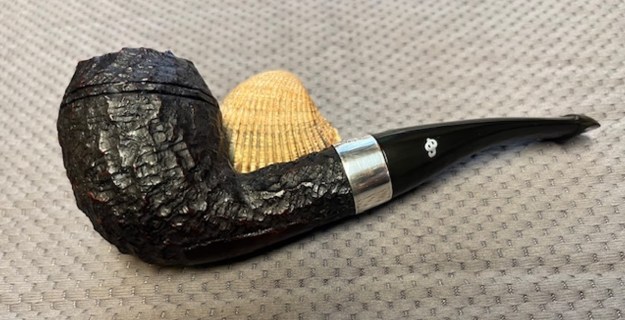
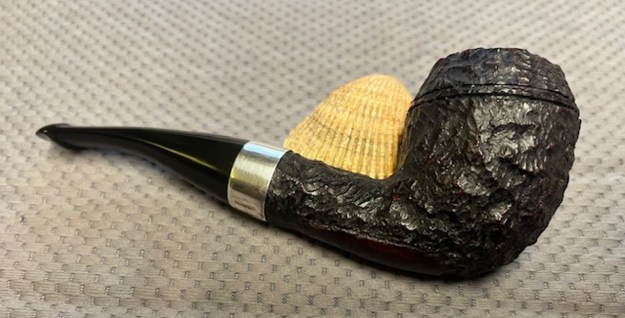
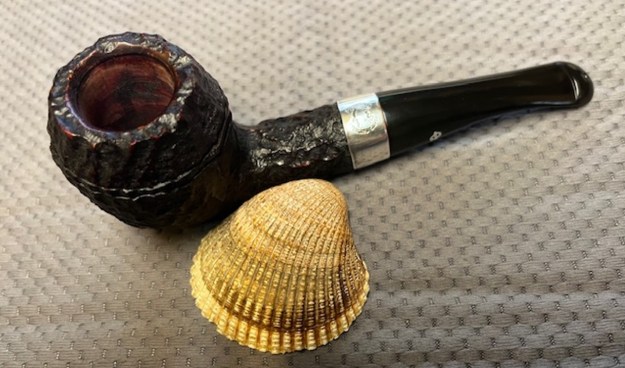
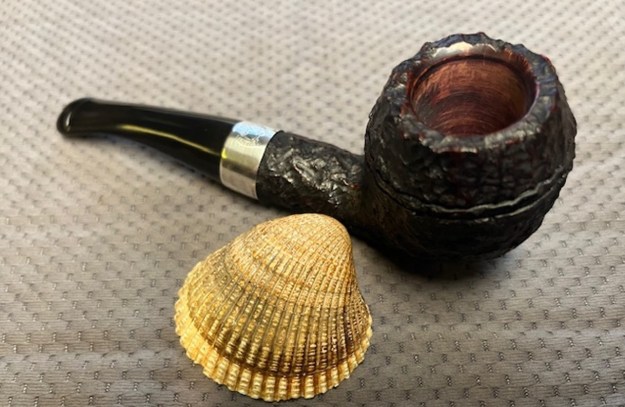
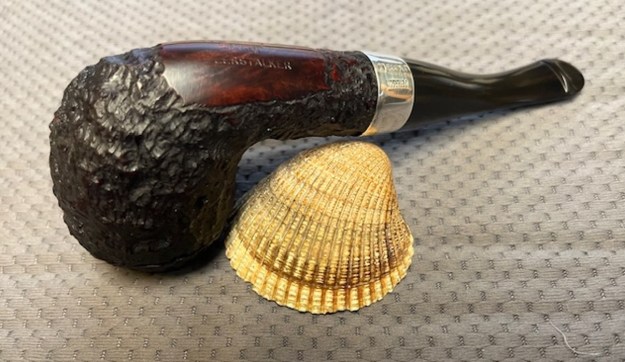
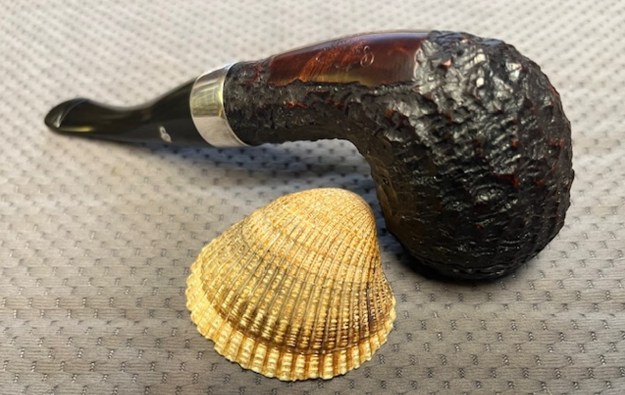
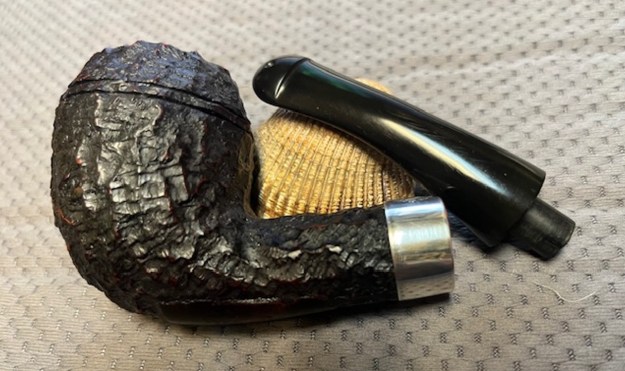
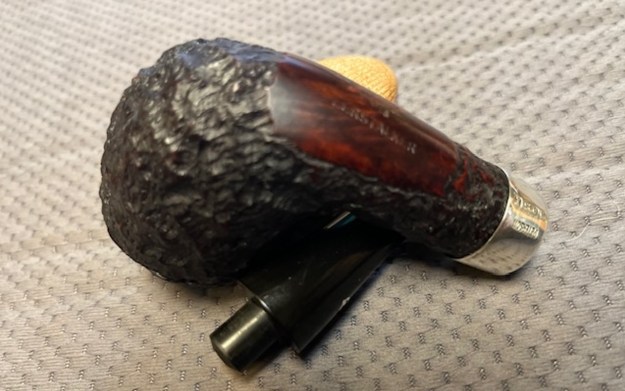
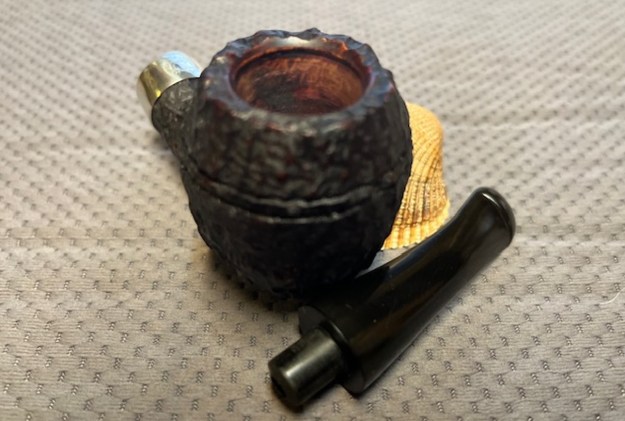
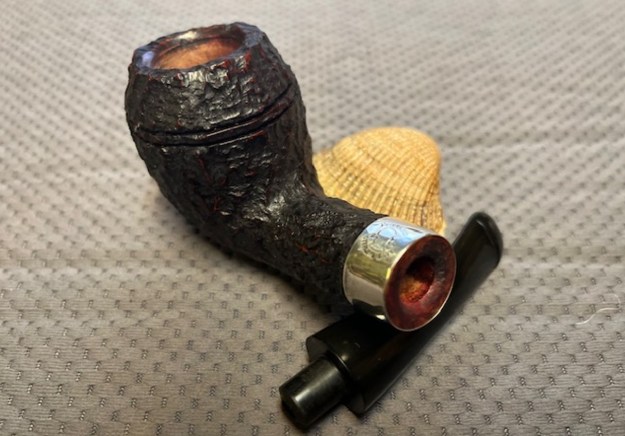
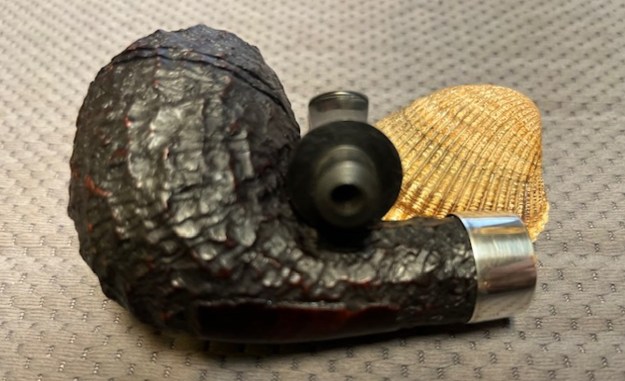
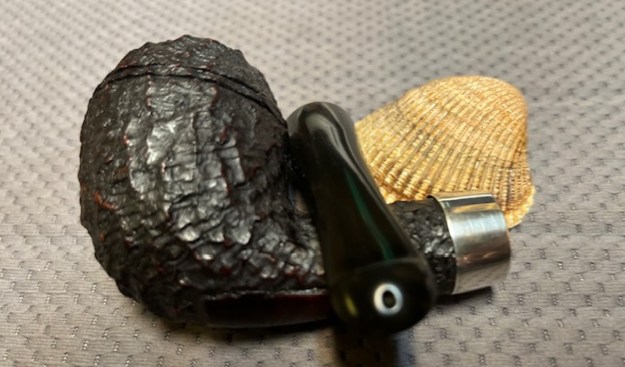
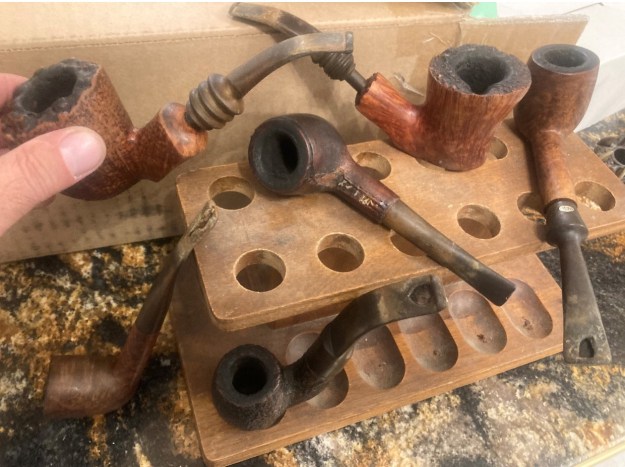
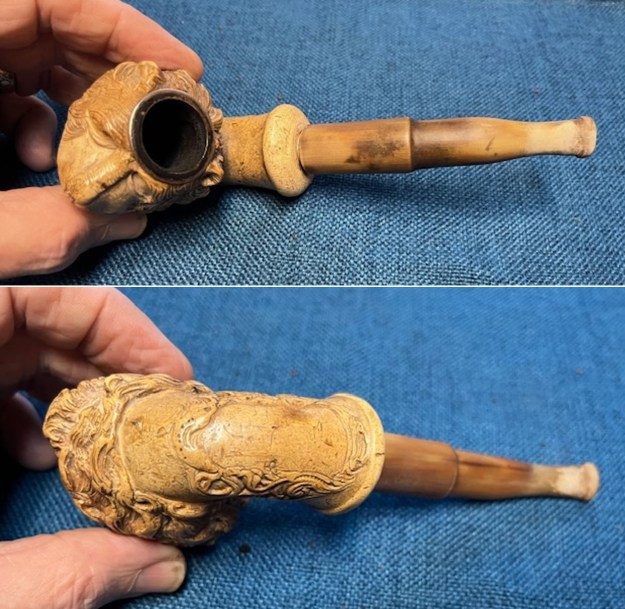
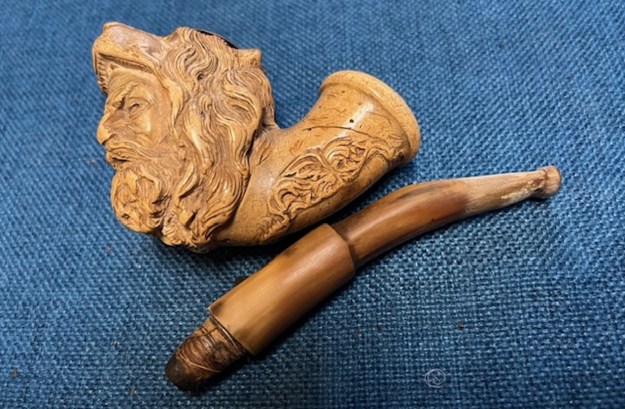
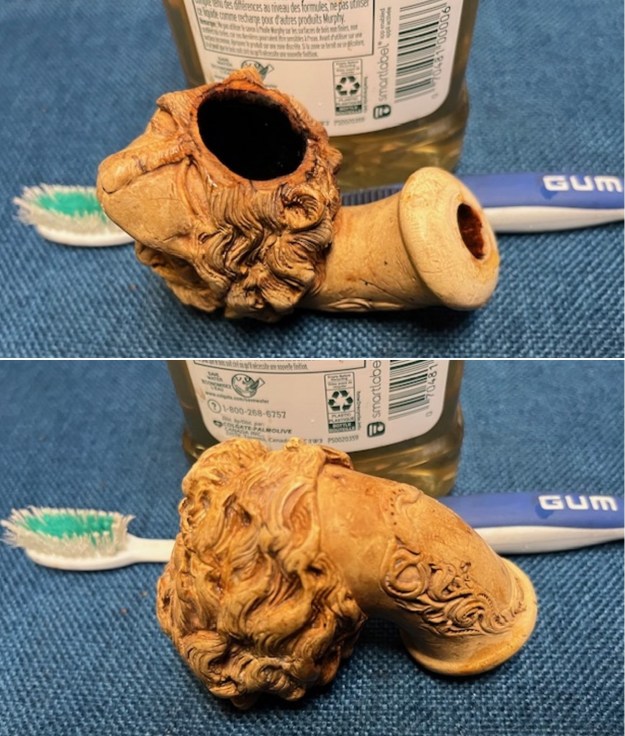
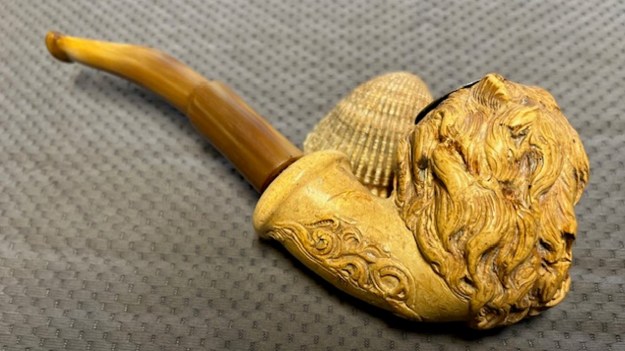
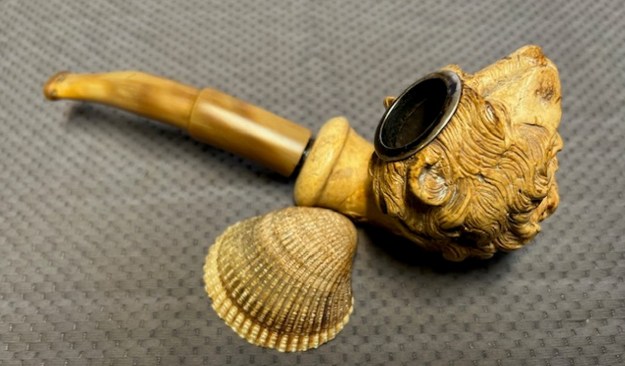
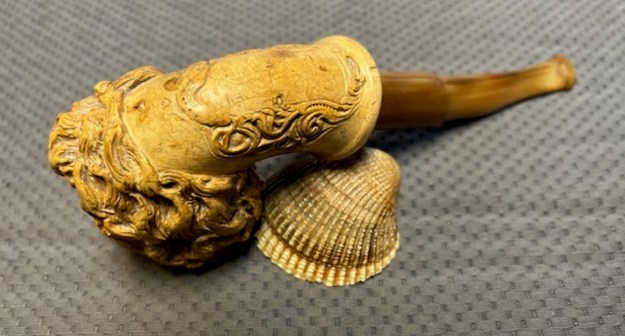
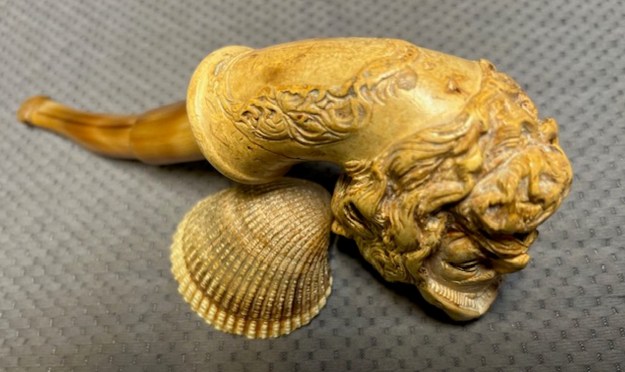
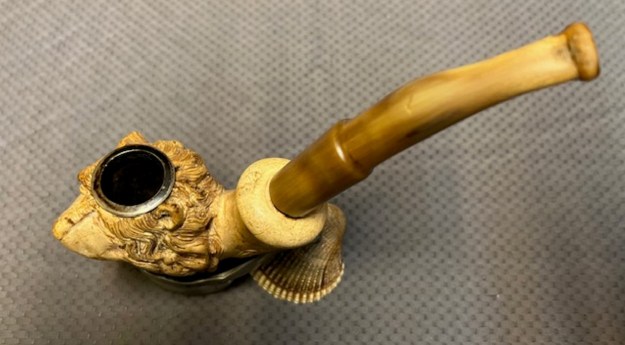
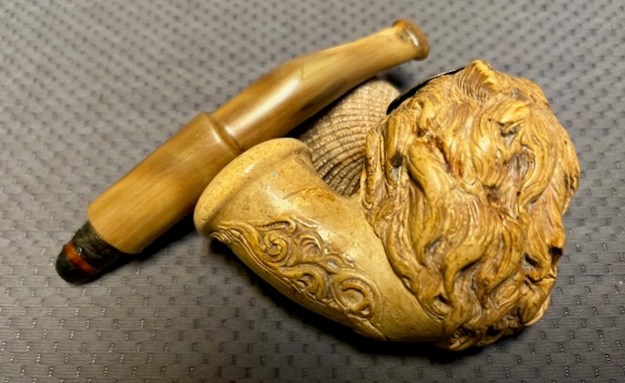
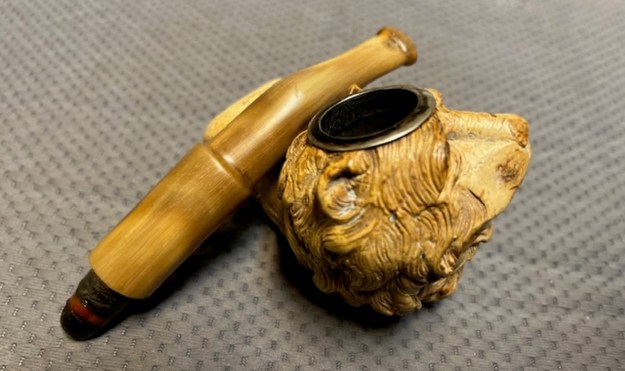
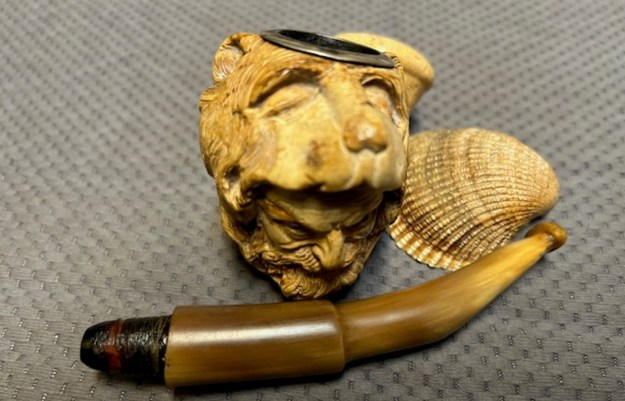
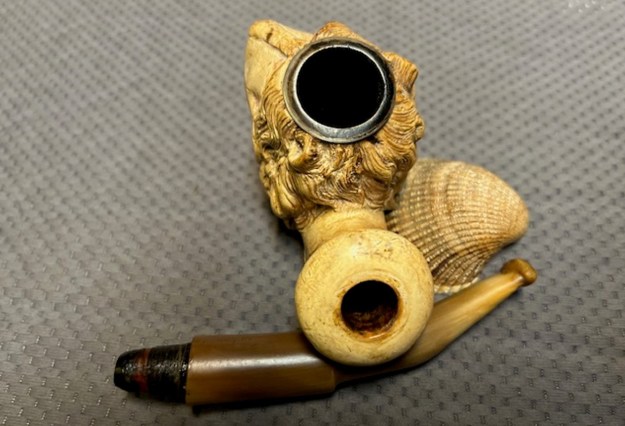
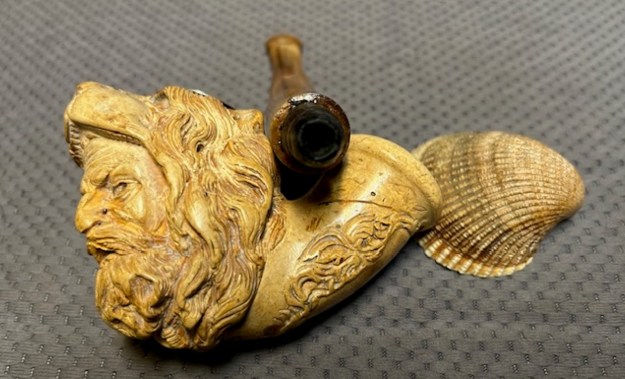
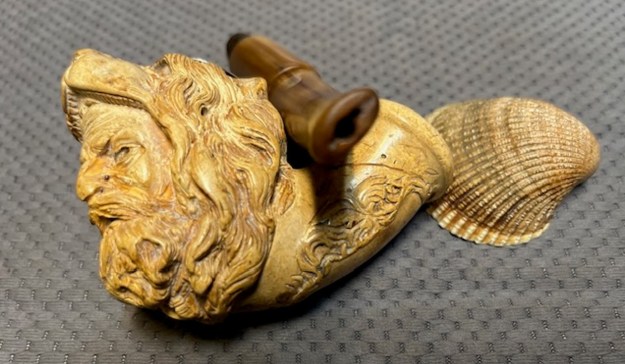
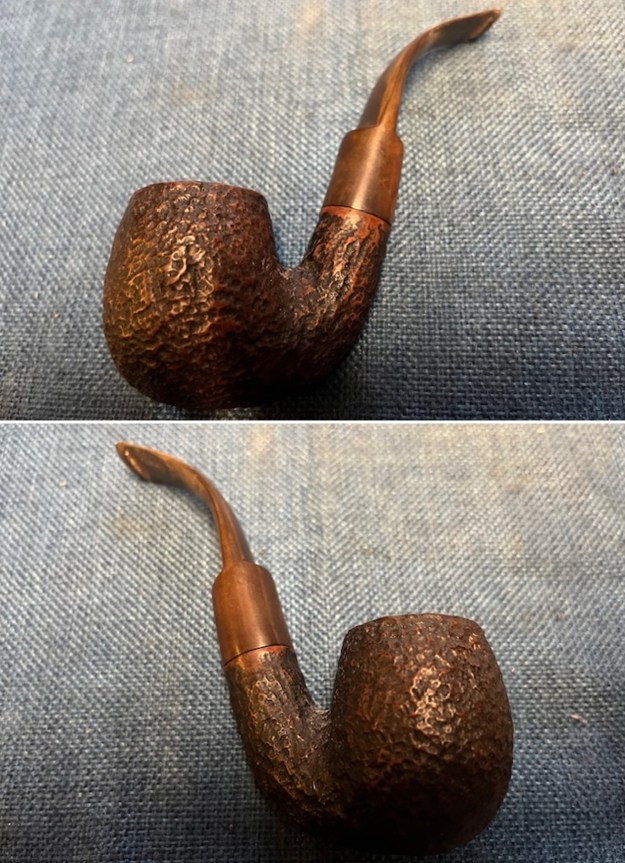
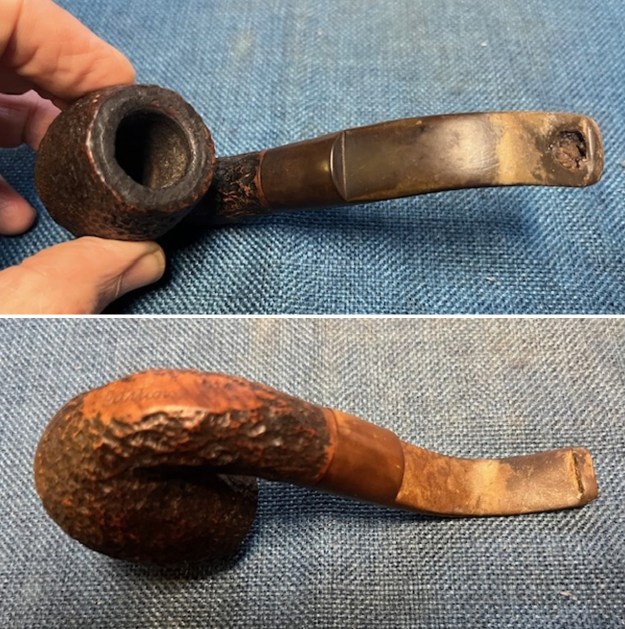
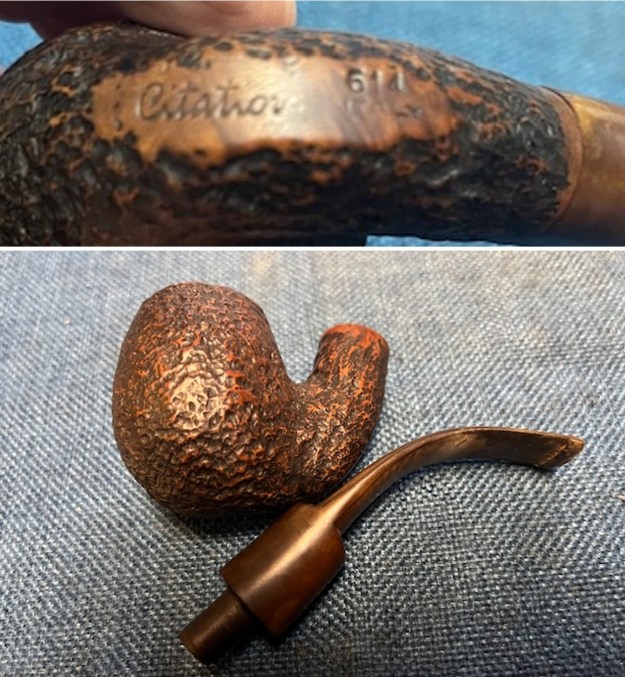
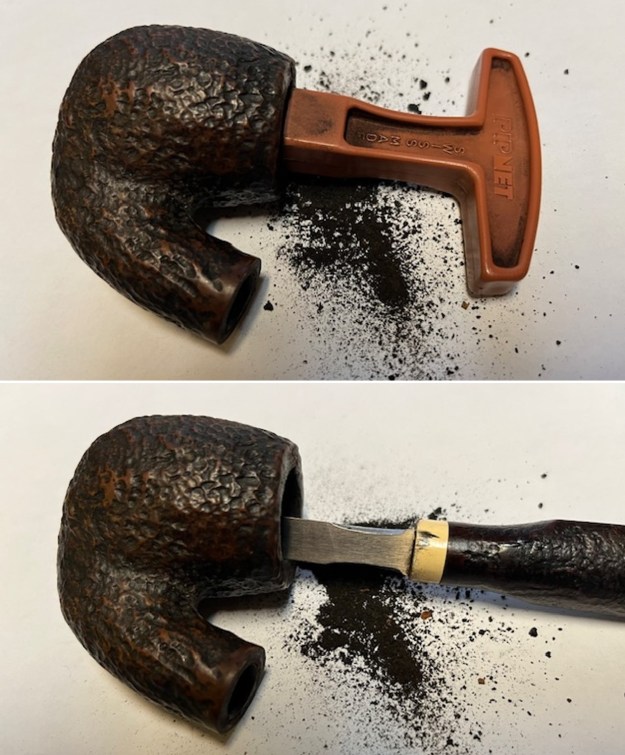
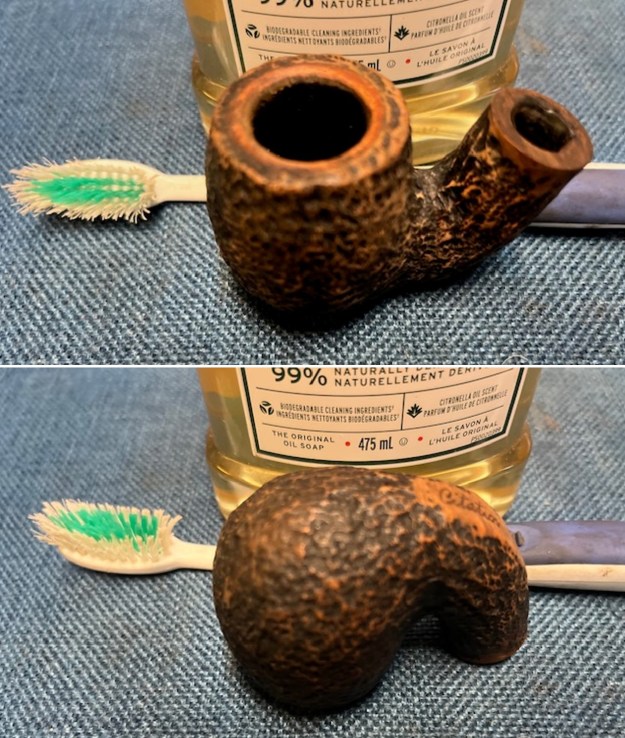
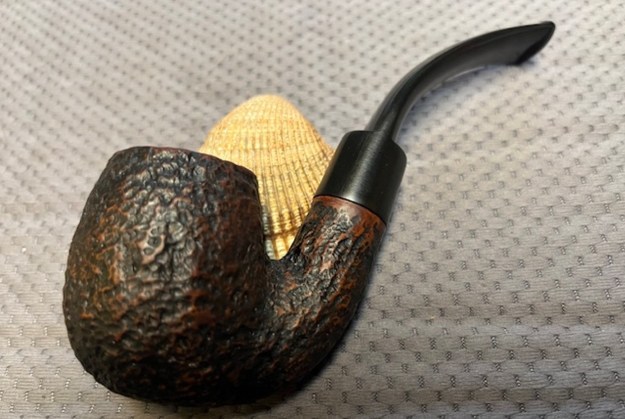
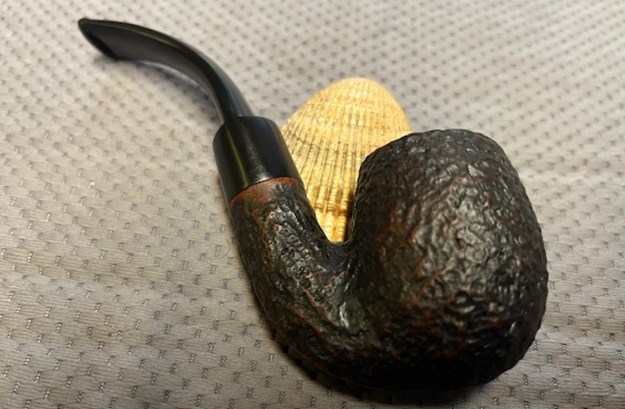
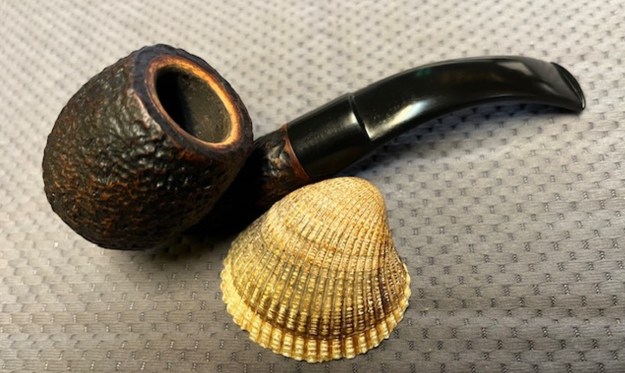
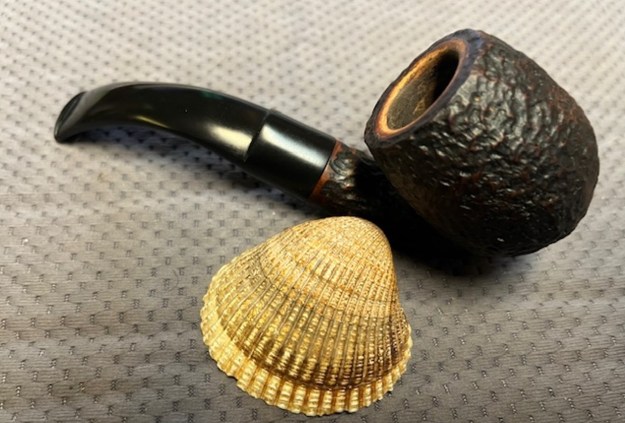
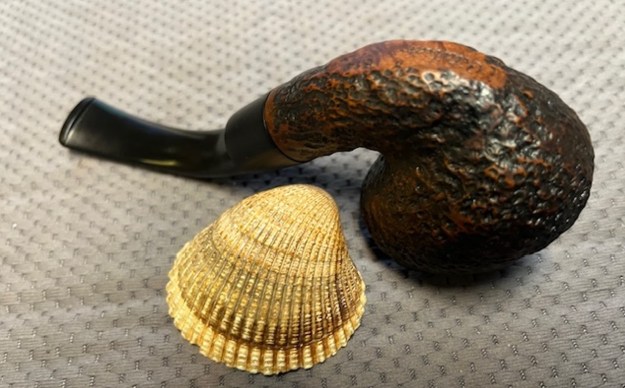
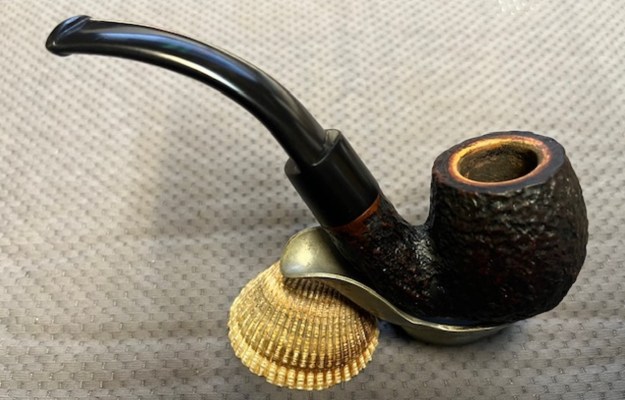
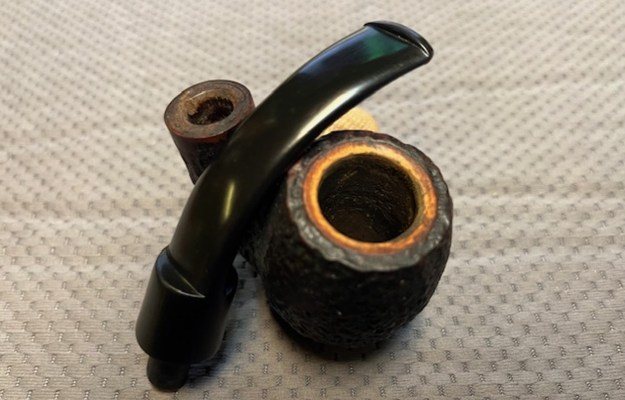
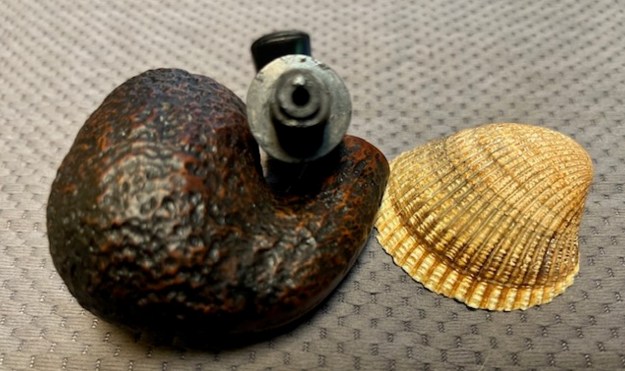
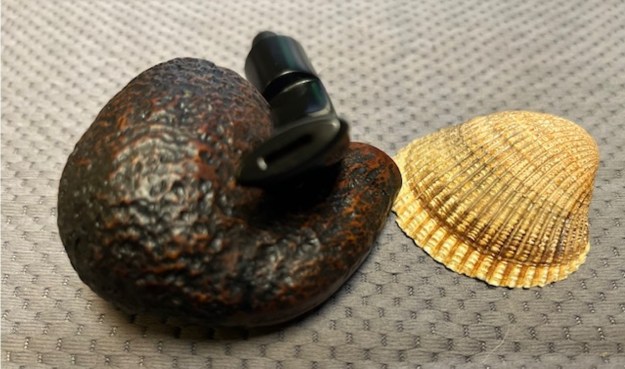
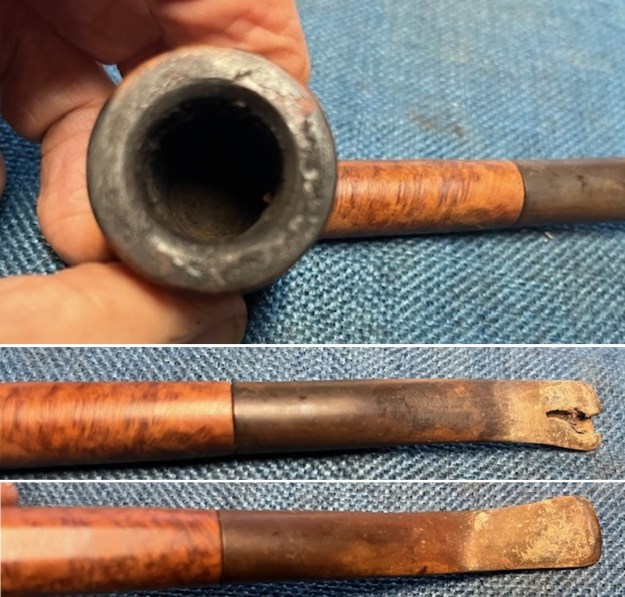
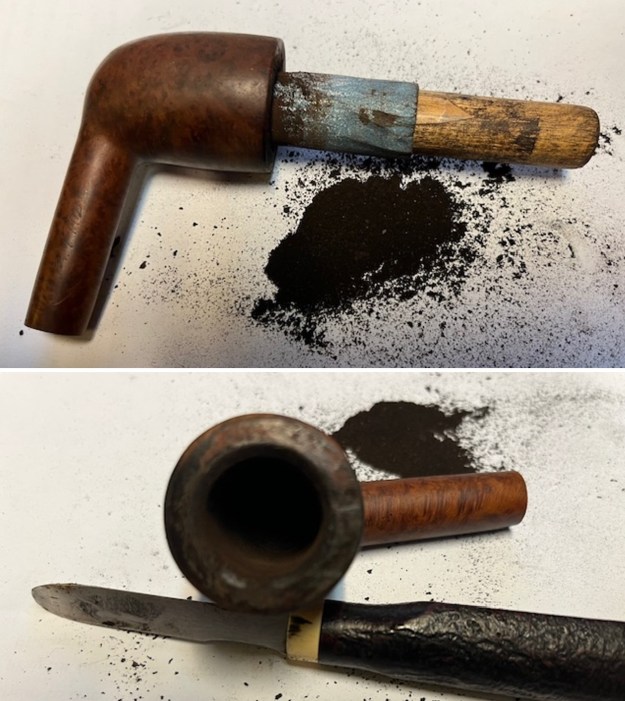
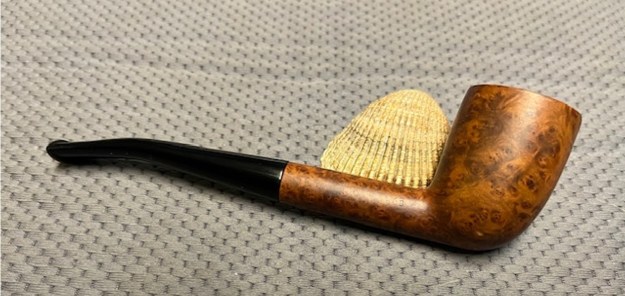
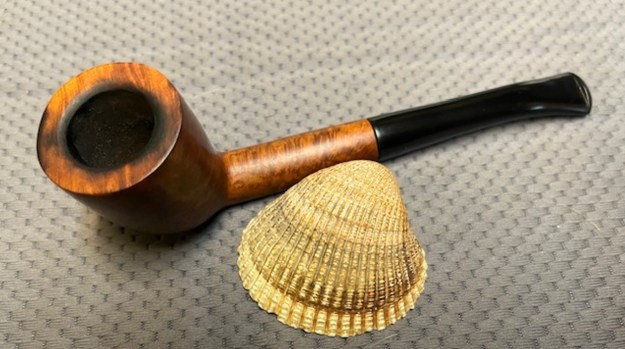
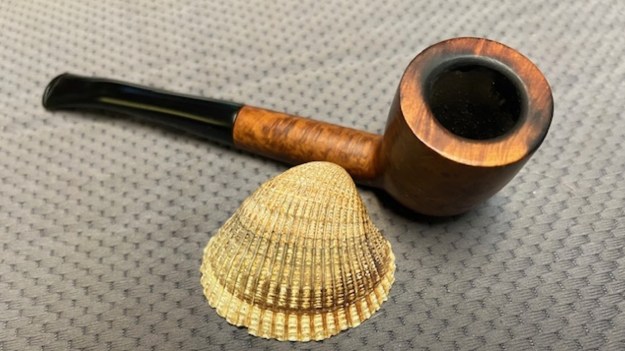
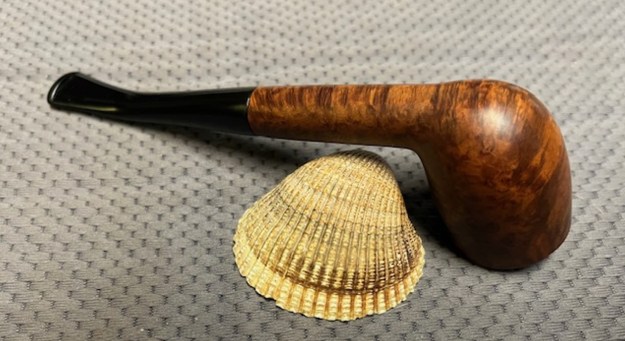
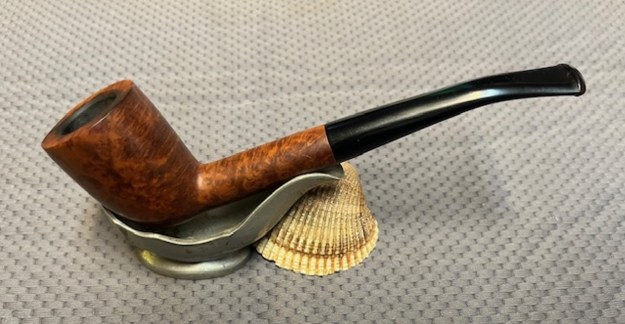
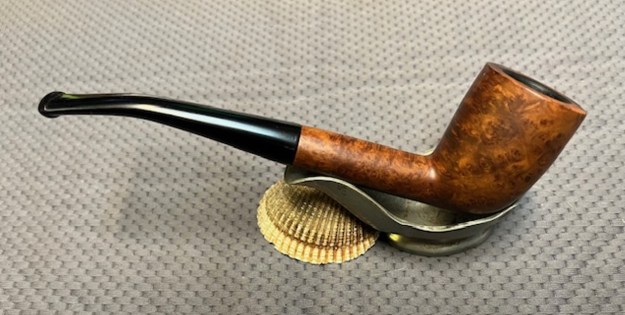
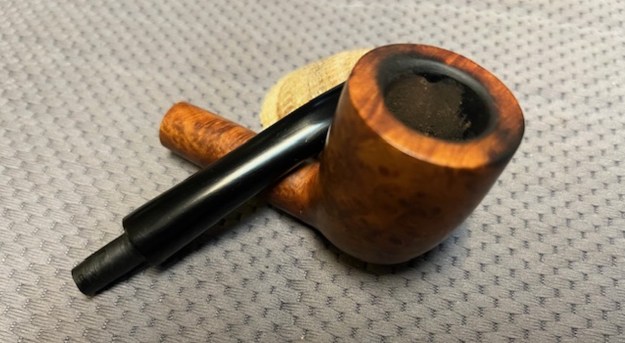
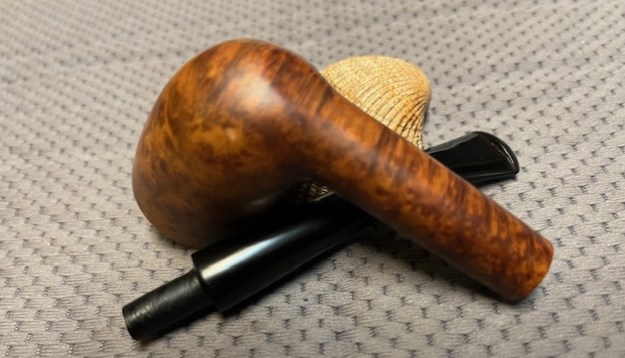
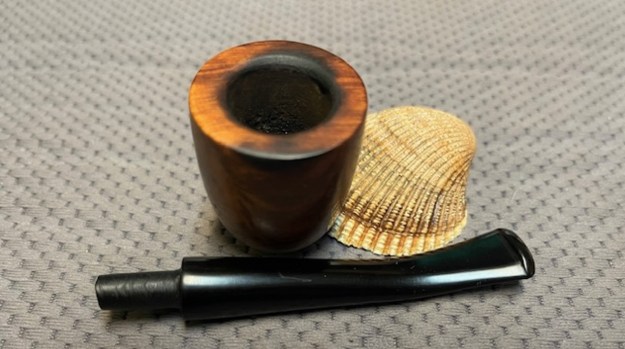
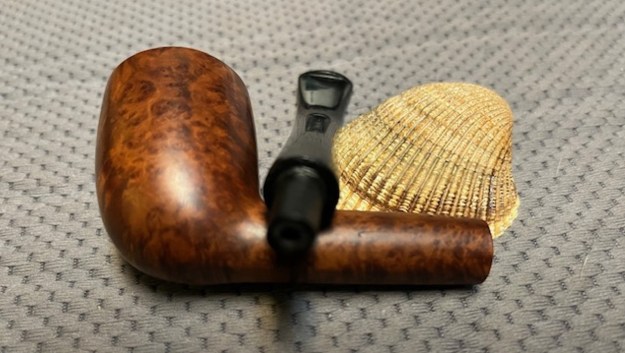
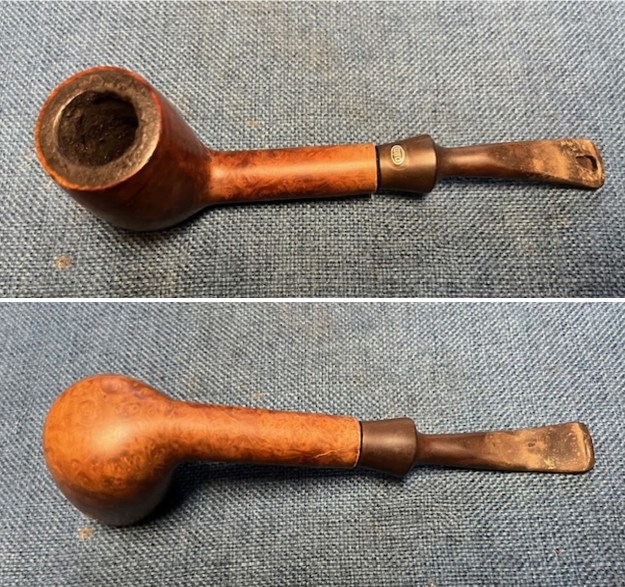
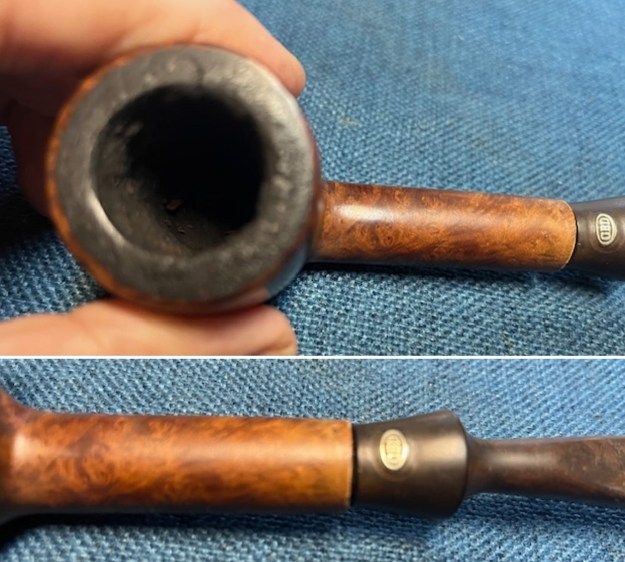
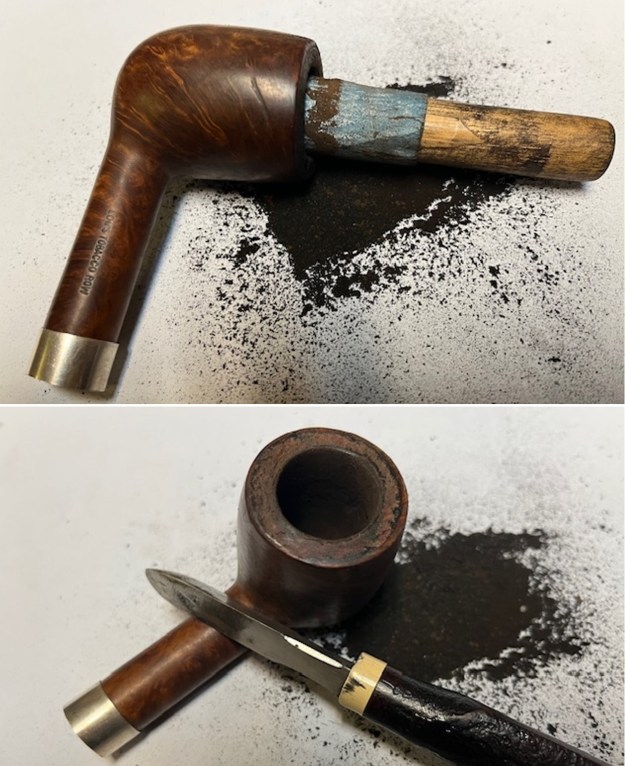
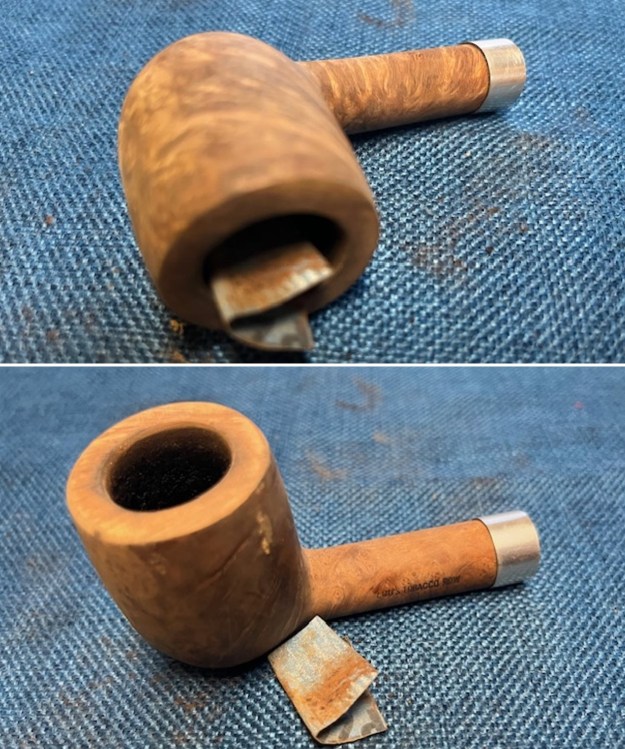
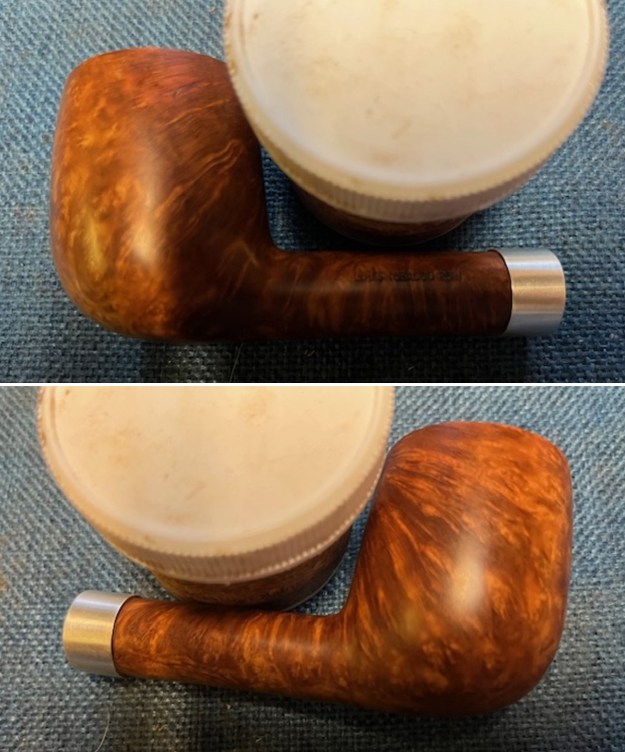
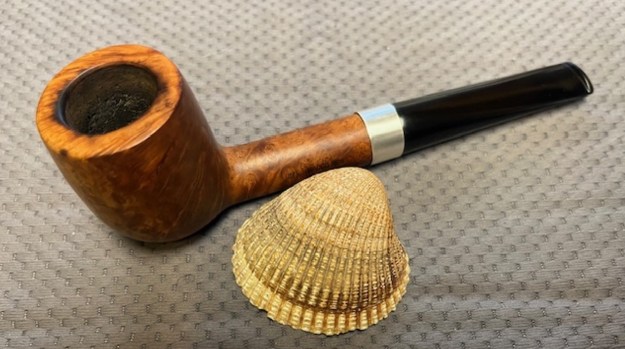
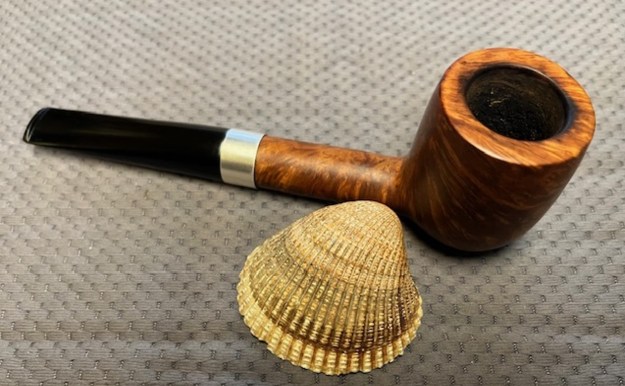
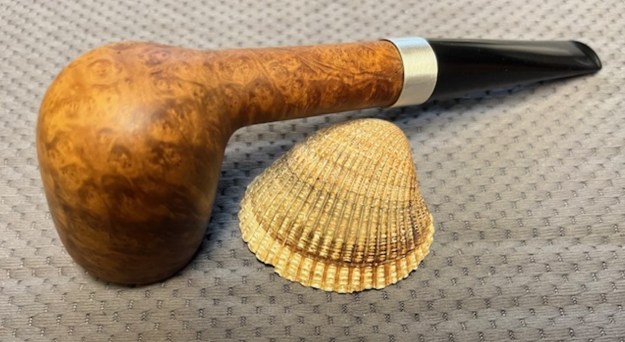
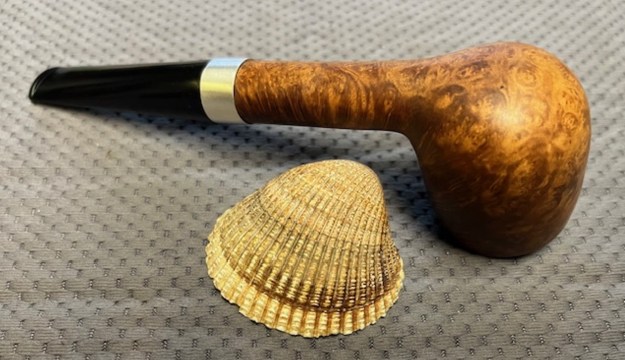
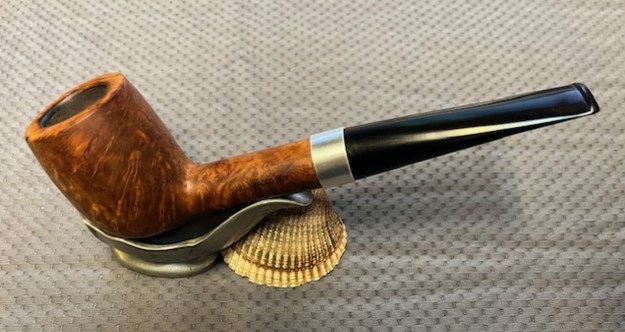
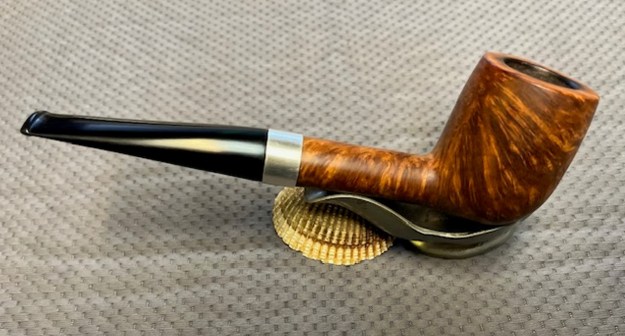
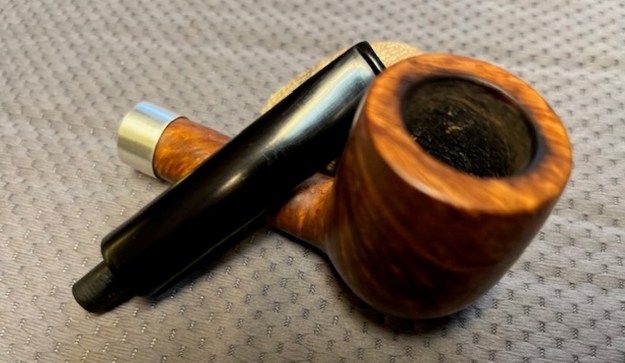
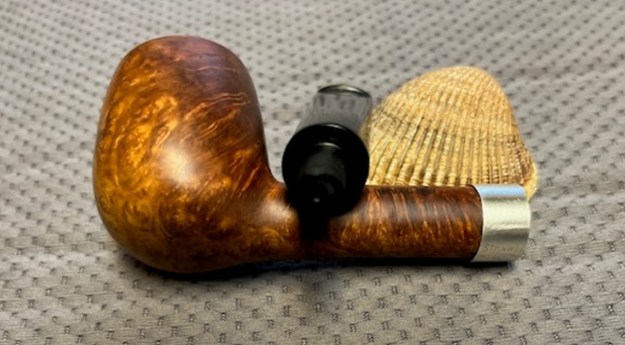
I decided to restem another bowl that I had here in the box. Jeff and I purchased on 11/23/2020 from a seller in Brazil, Indiana, USA. It is a nice bowl with a silver ferrule on the shank end. The left side of the shank is stamped at and angle and reads Town Hall [over] Made in England. The right side has the shape number 19 next to the bowl/shank junction. The ferrule is stamped with an arched Sterling Silver. The bowl is quite clean with no cake and no lava overflow on the rim top or the bevelled inner edge. The briar is dry but clean – just a bit lifeless looking but there is some great grain hidden by the dullness. The silver ferrule is not oxidized but there are some dents on the shank end on the underside. The ferrule is a bit ragged looking around the entrance to the mortise. I took some photos of the pipe before I started my work on restemming and restoring it back to its former glory.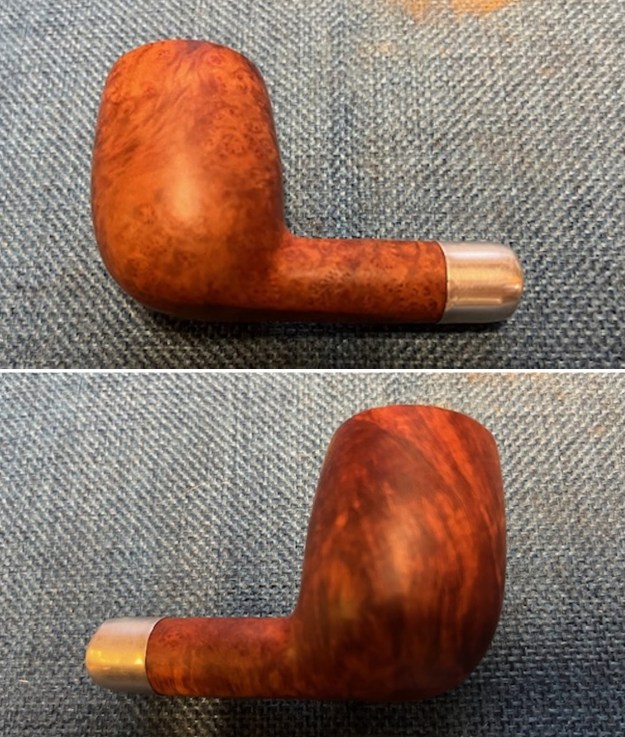
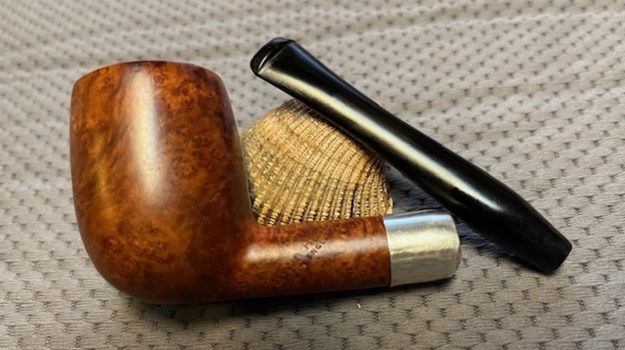
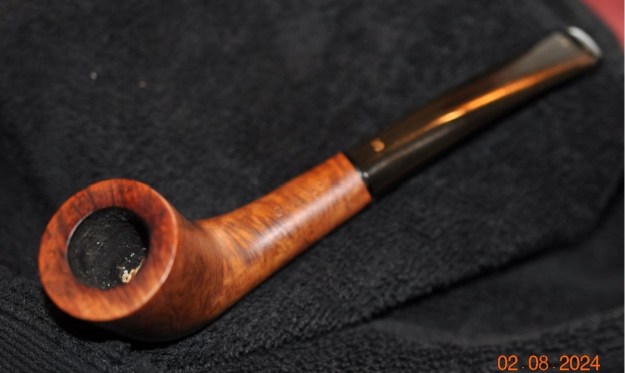
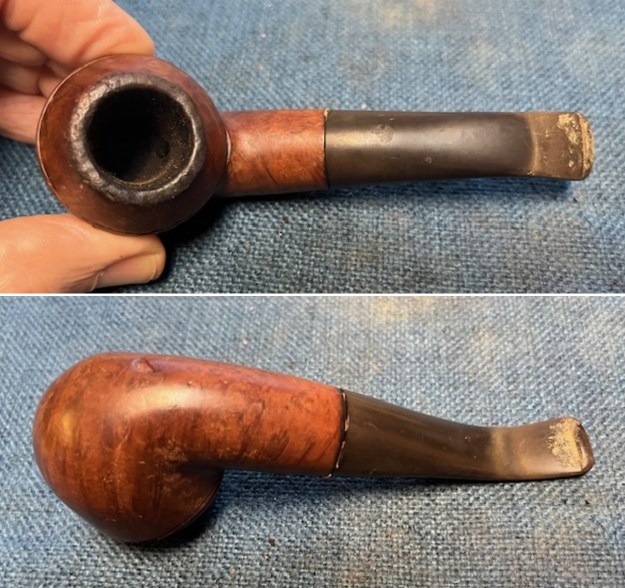
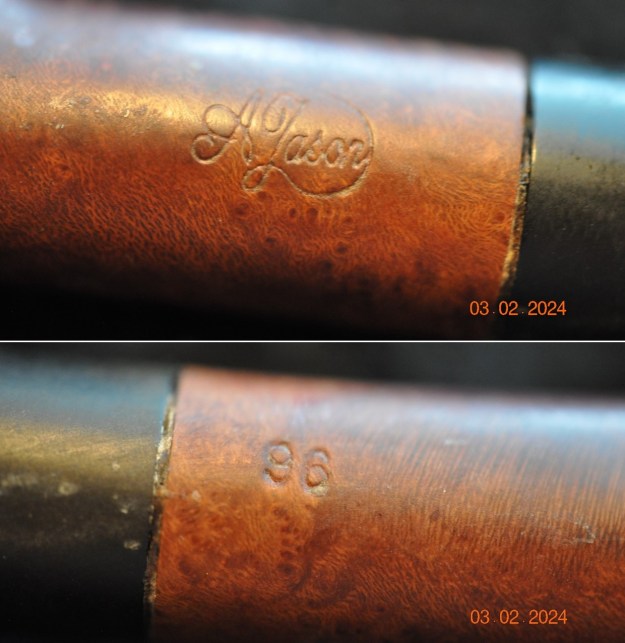
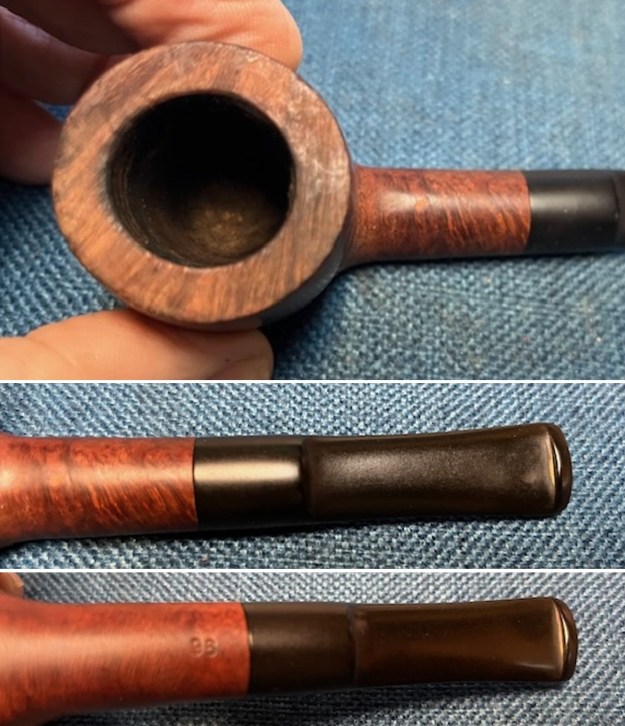
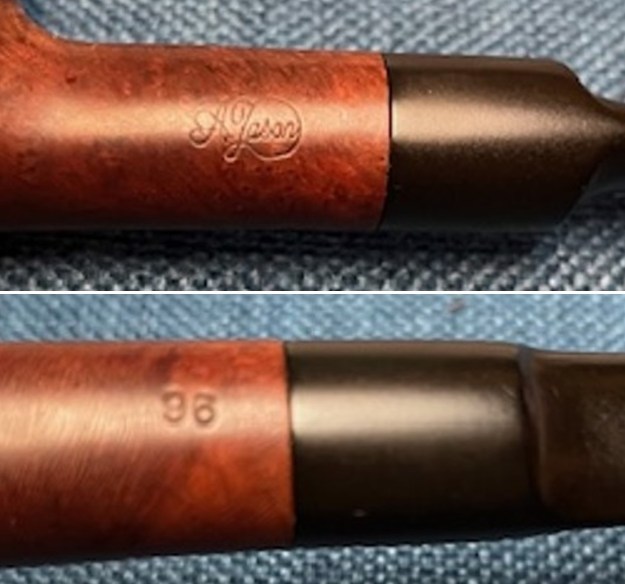
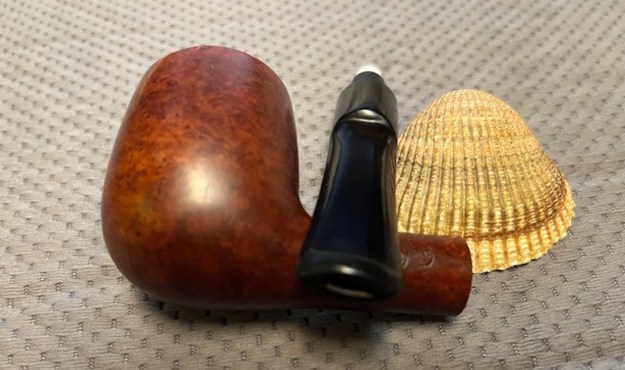
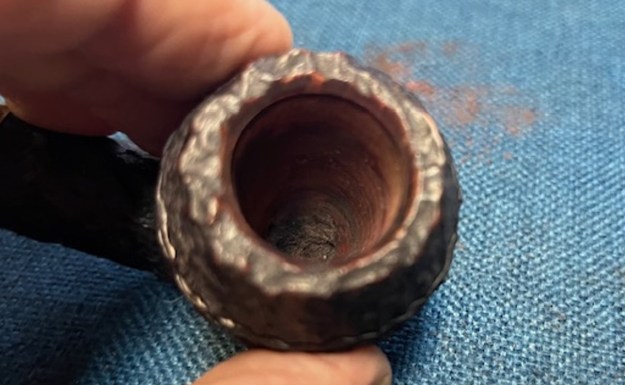
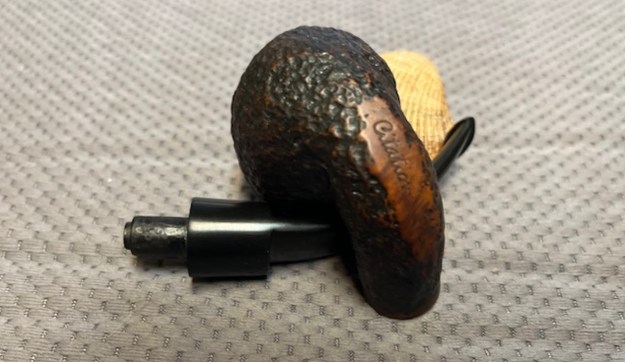
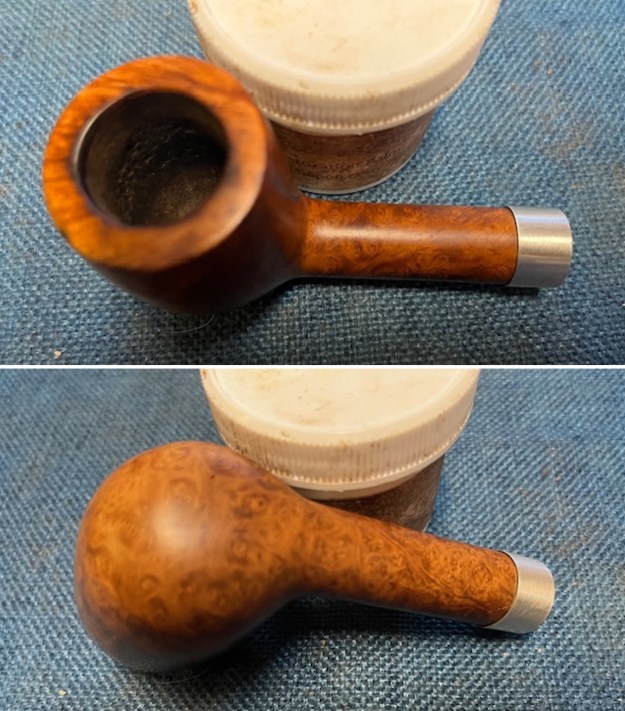
 I tried to capture the stamping on the shank sides. It is readable but faint in spots. It reads as noted above.
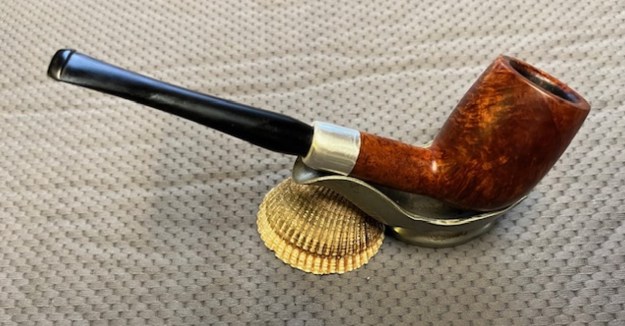
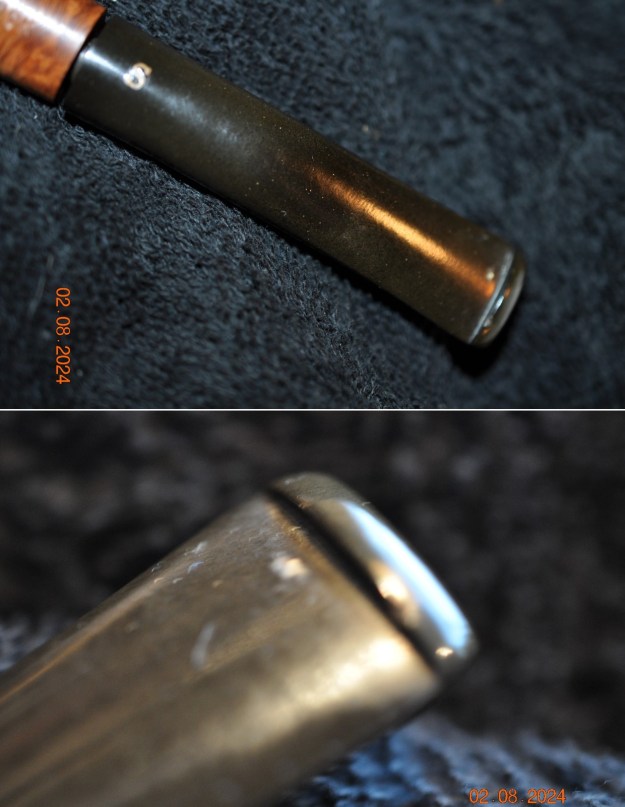
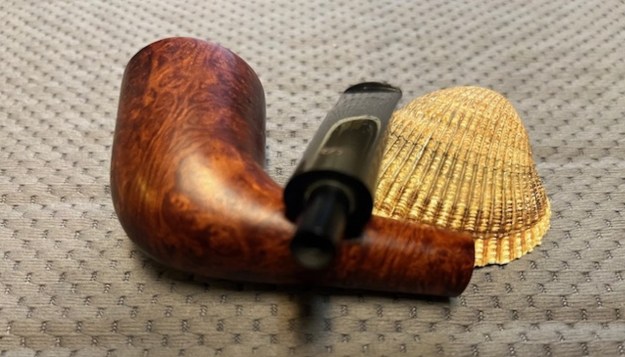
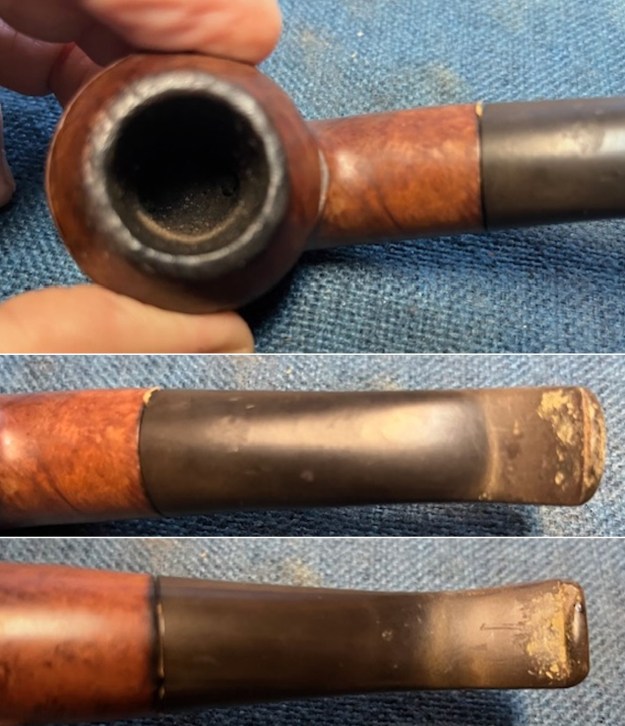
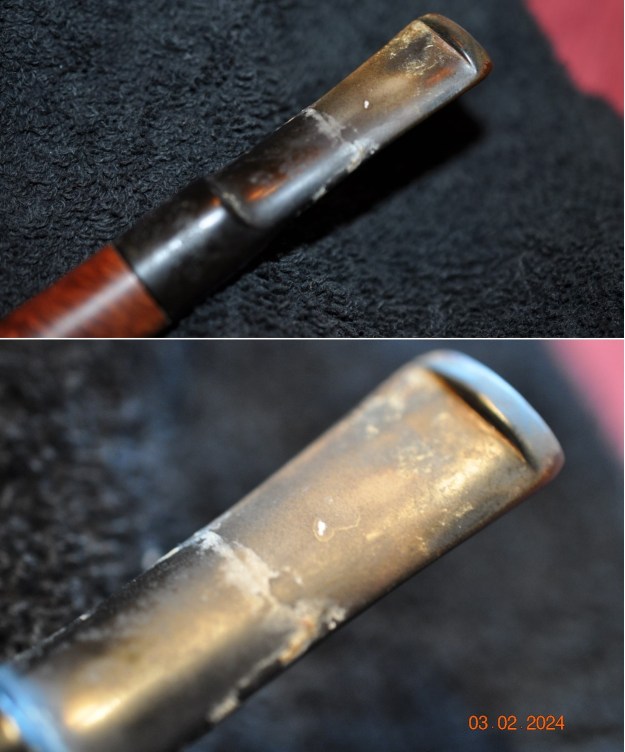
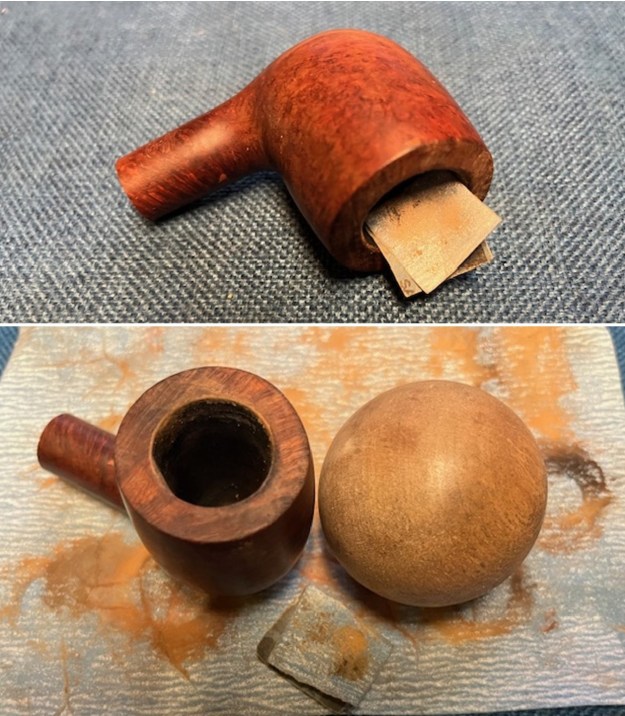
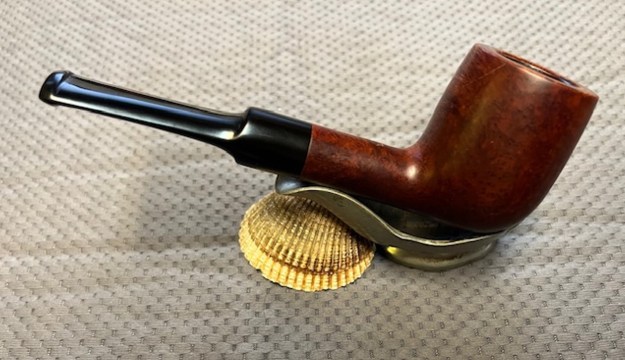
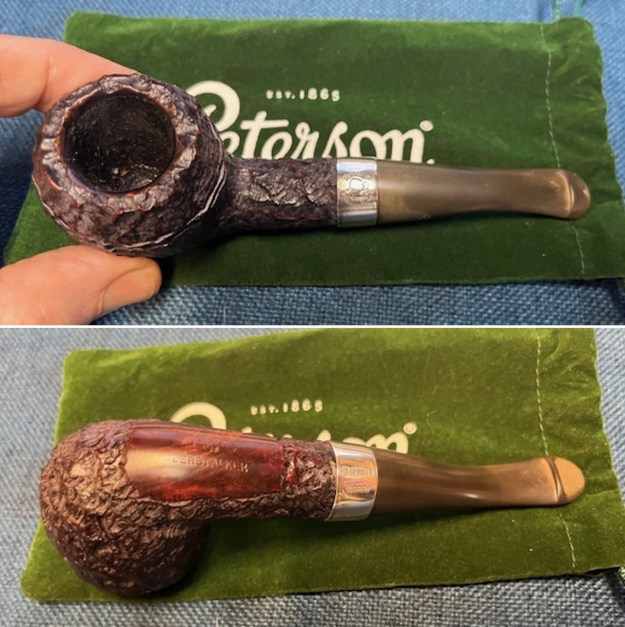
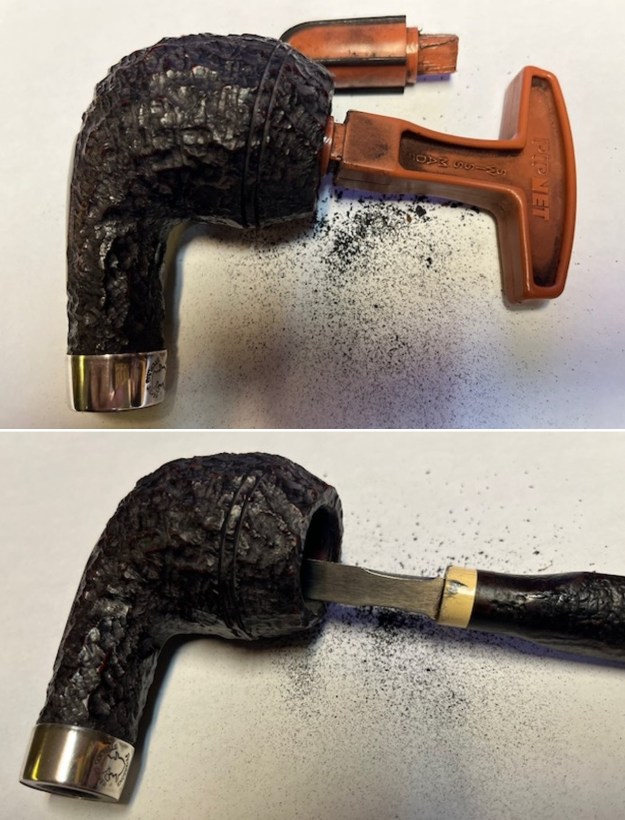
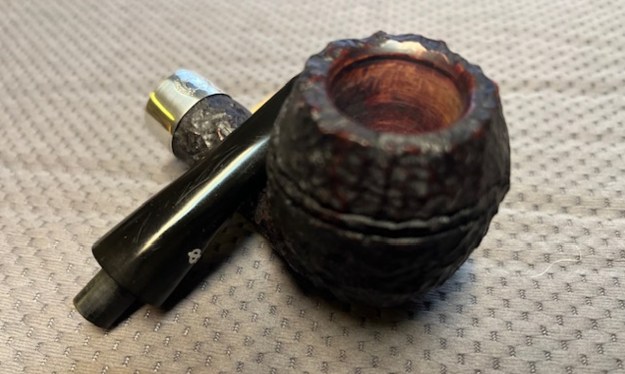
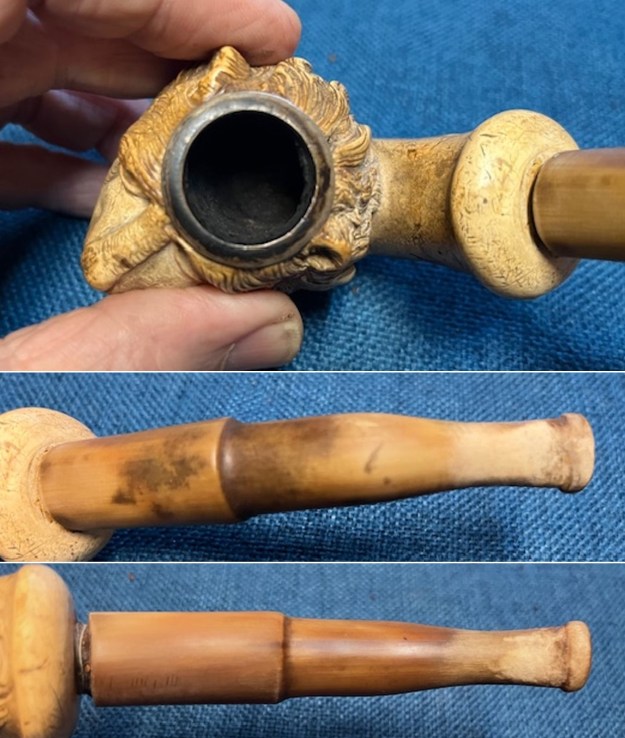
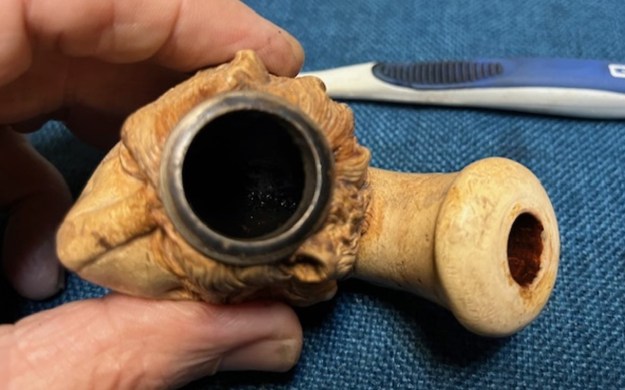
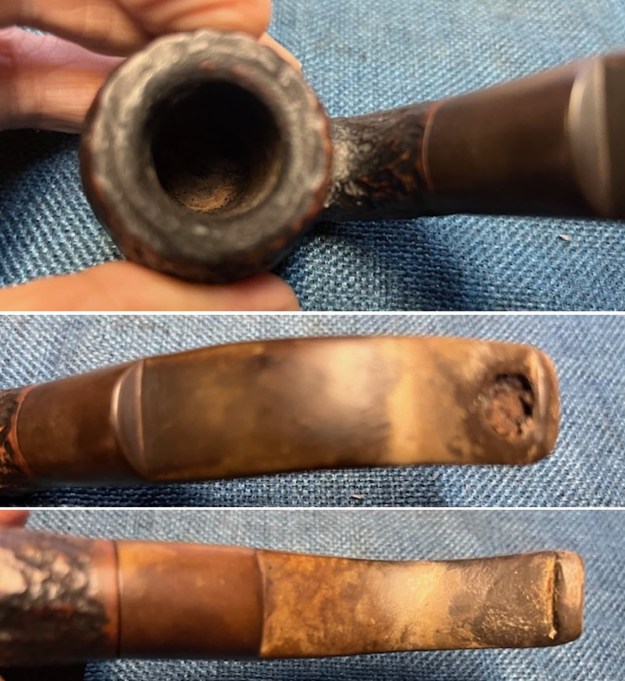
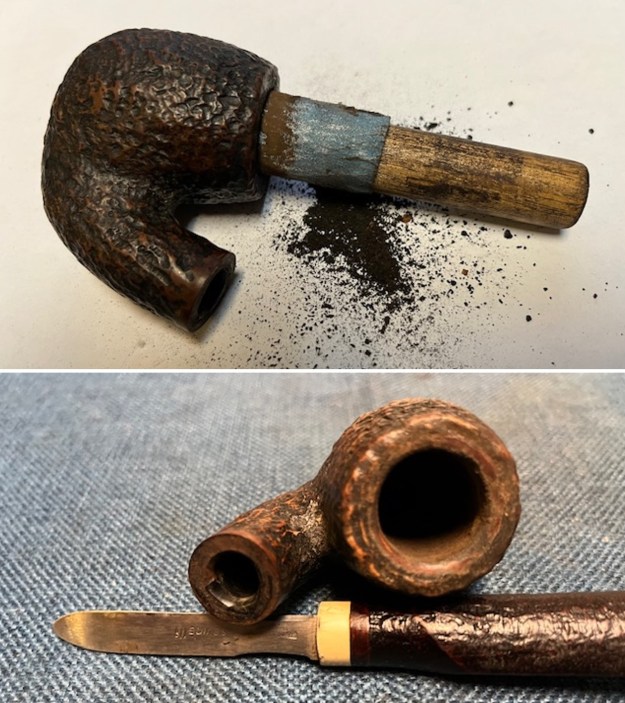
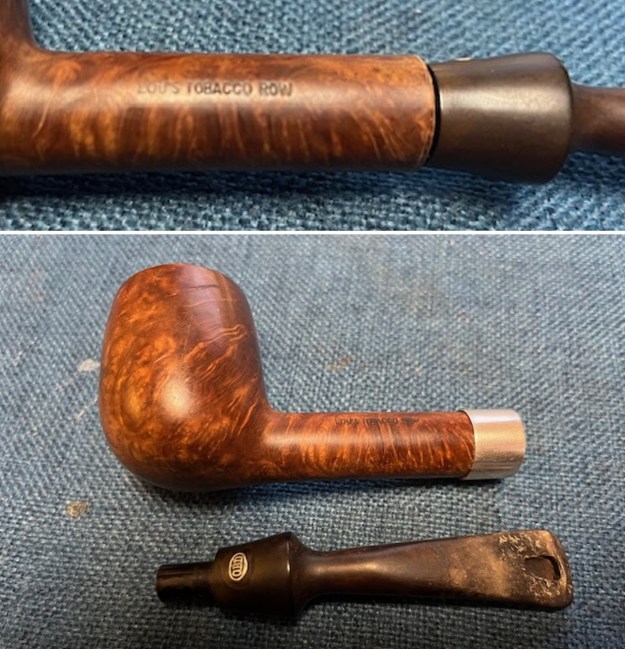
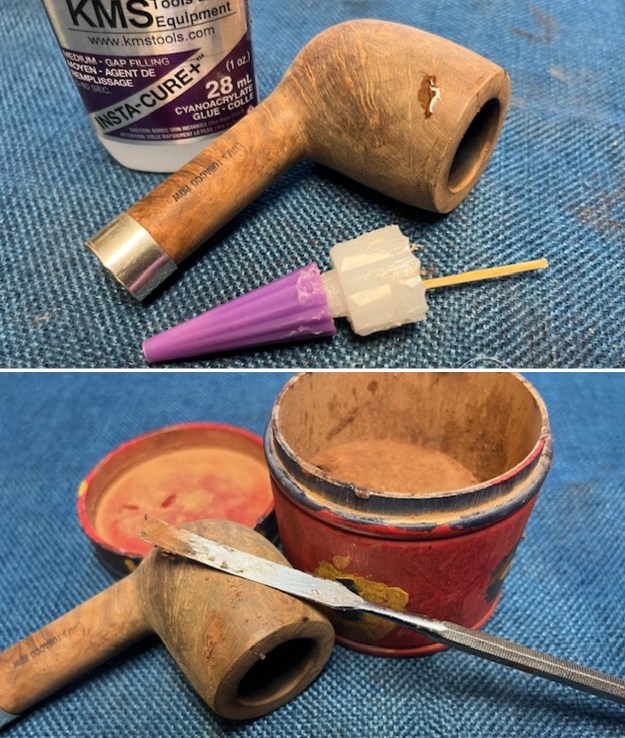
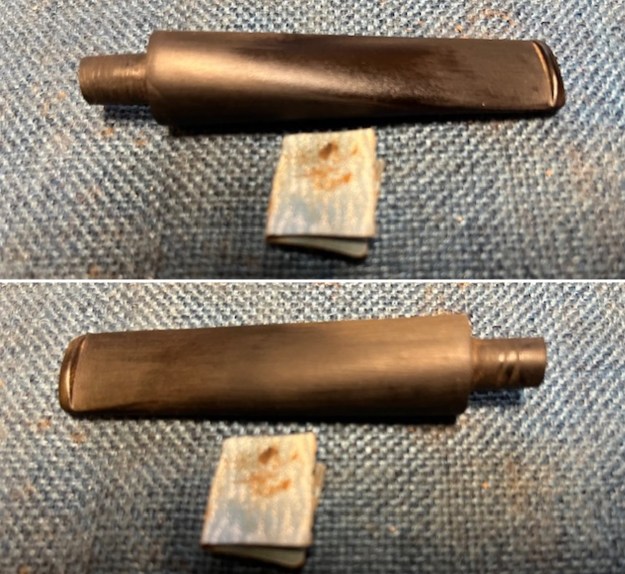
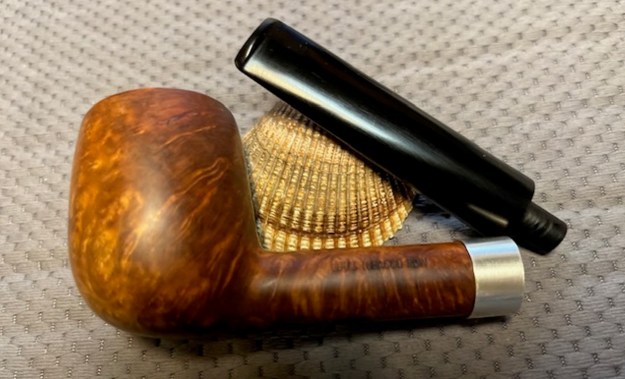
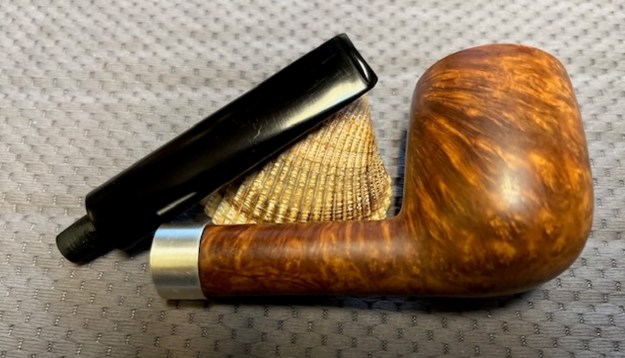
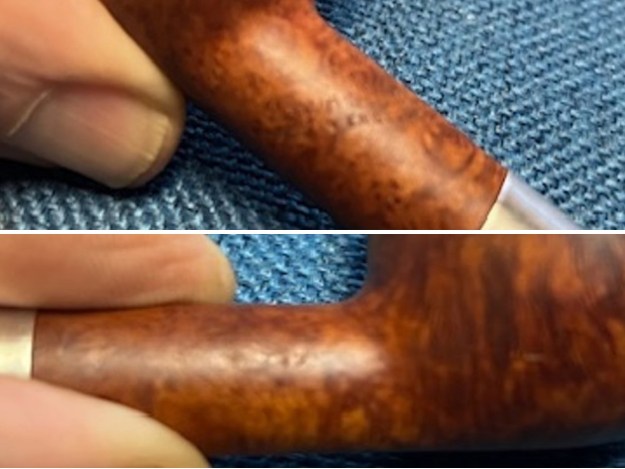 The ferrule was loose so I removed it and took a photo to show the dents and the condition of the opening on the ferrule end.
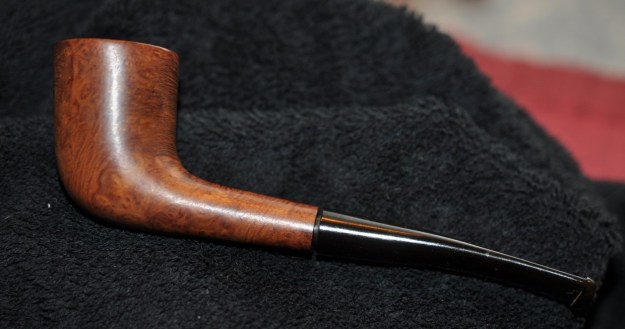
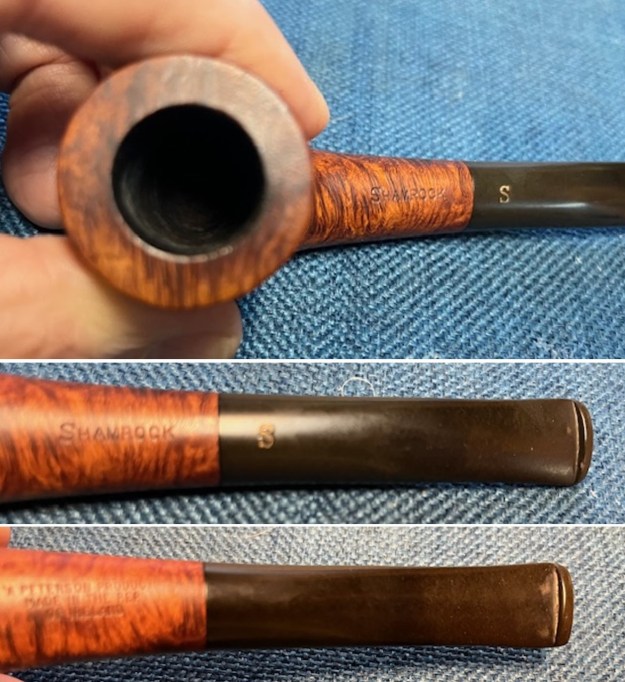
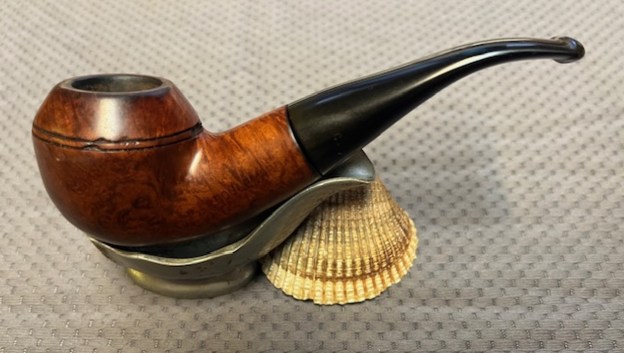
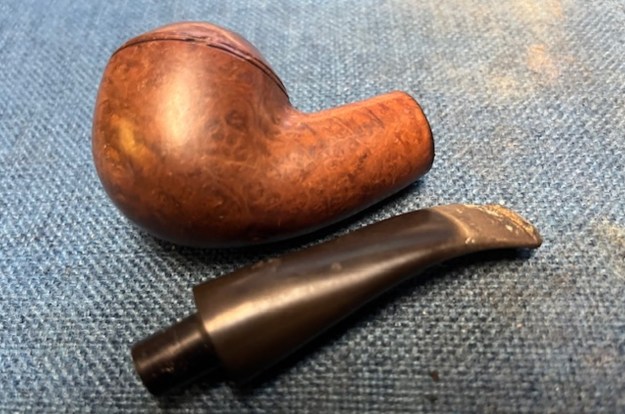
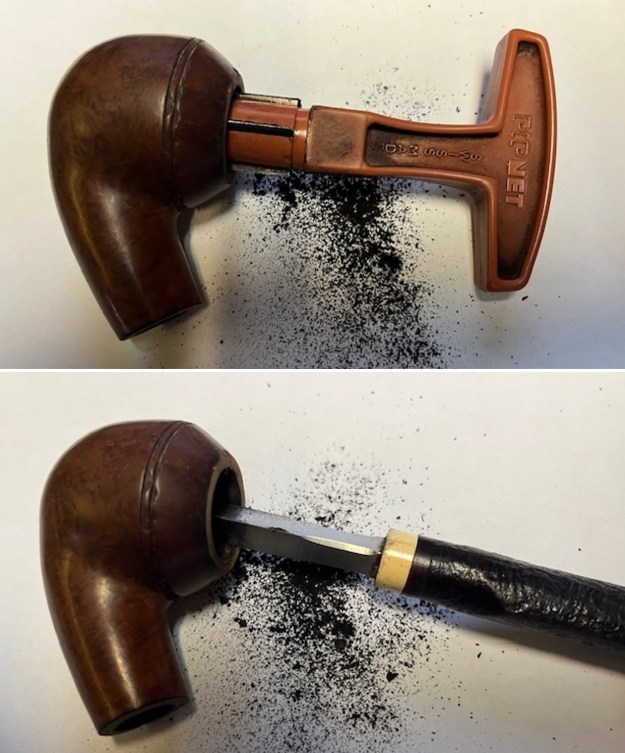
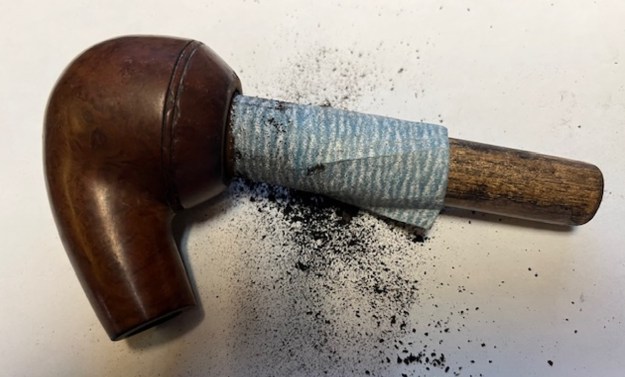
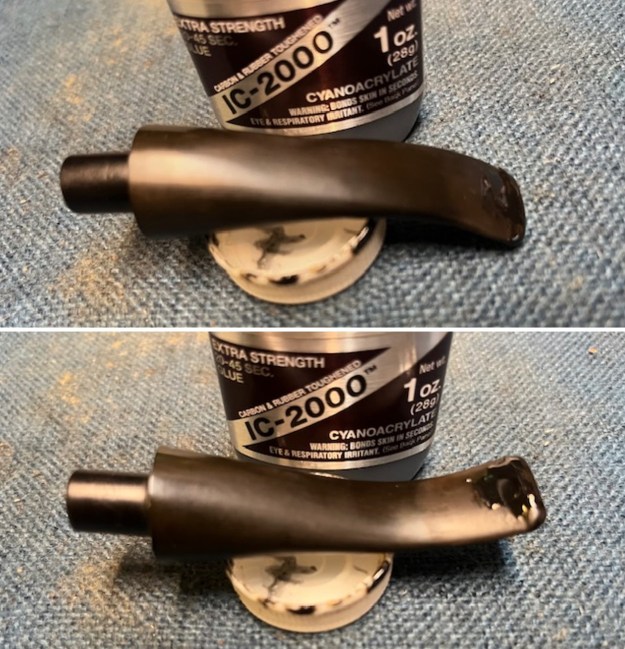
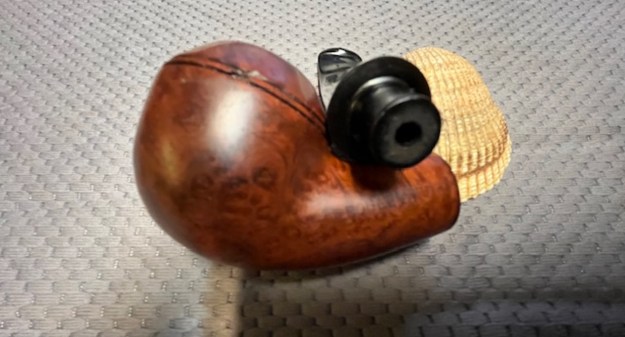
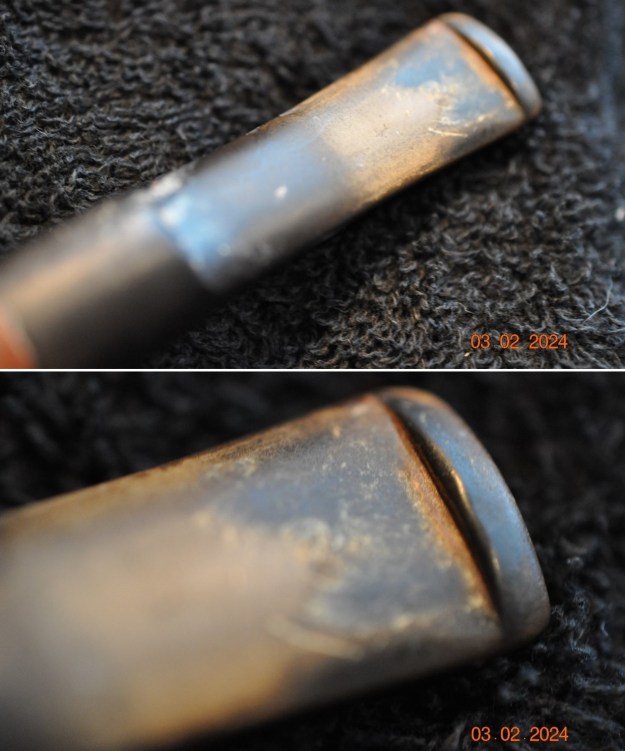
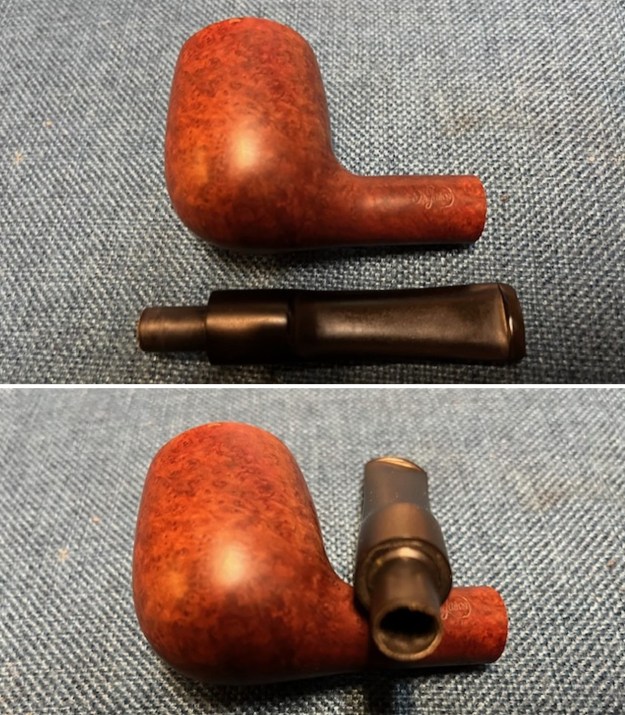
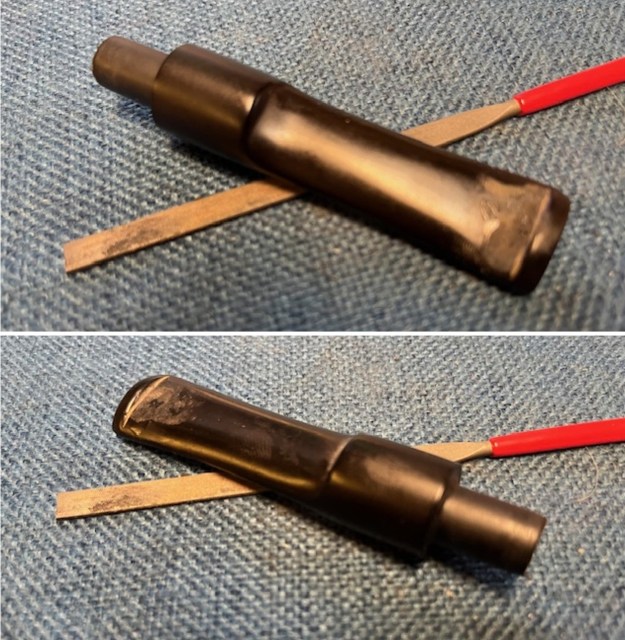
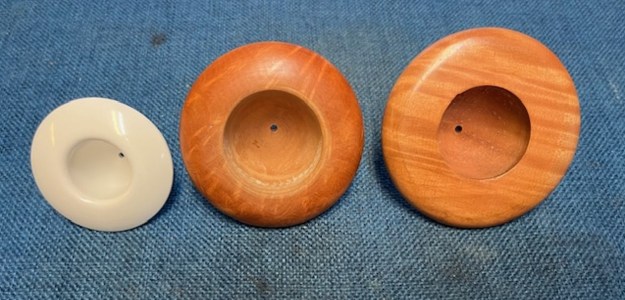
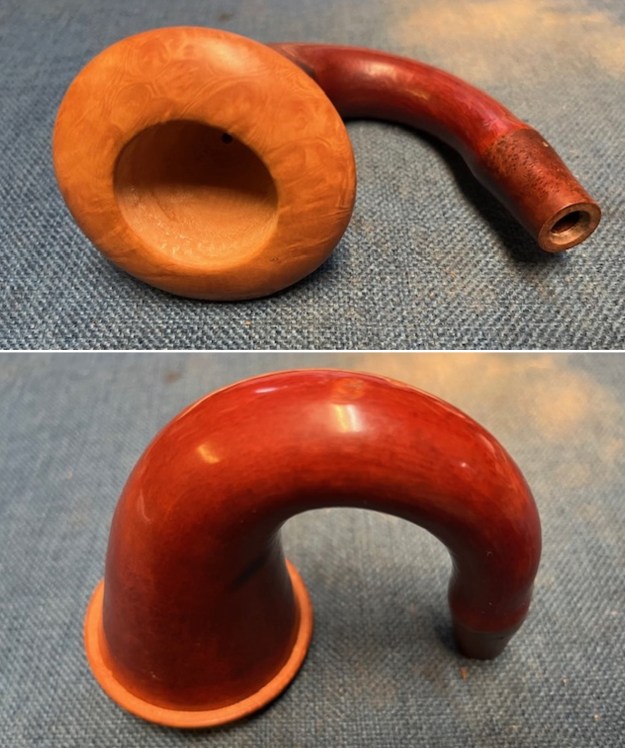
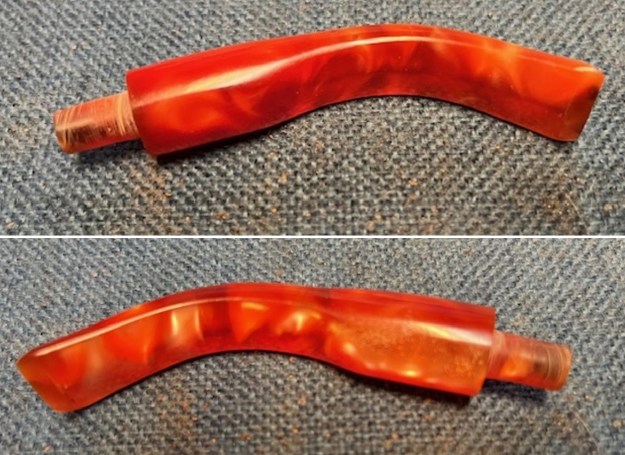
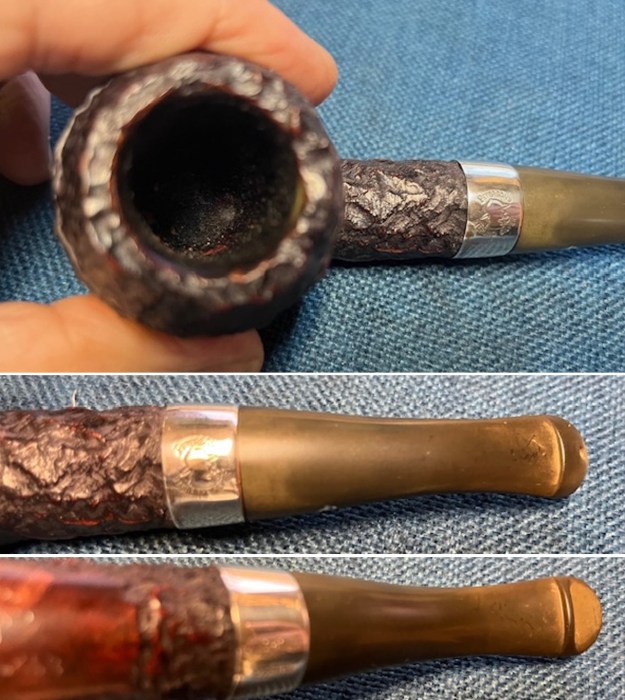
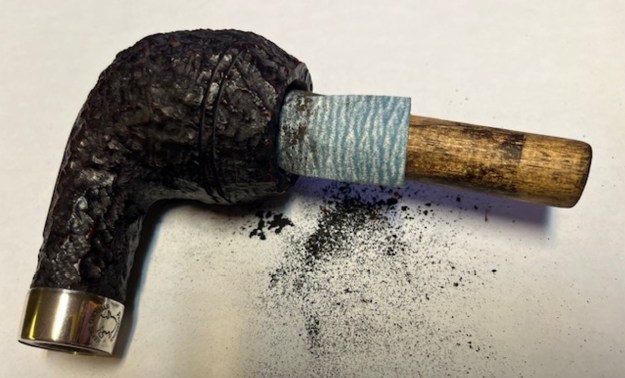
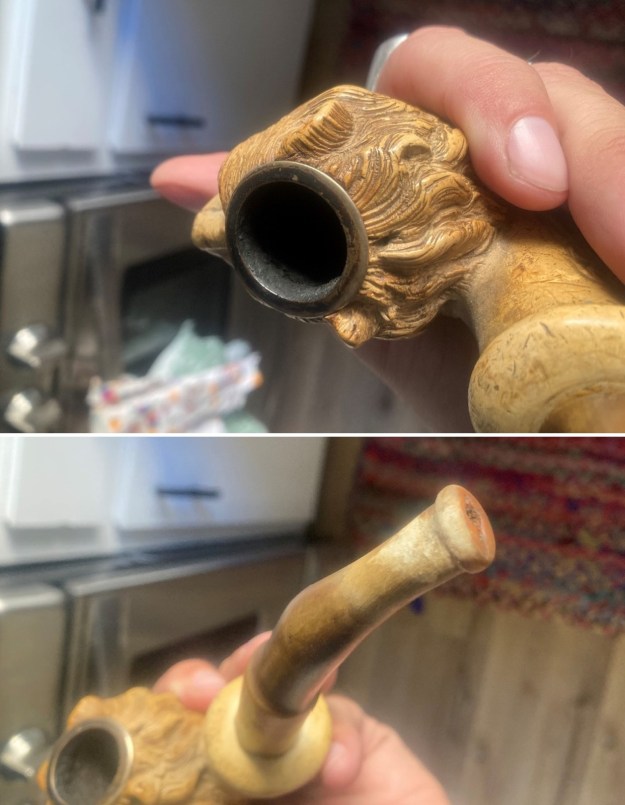
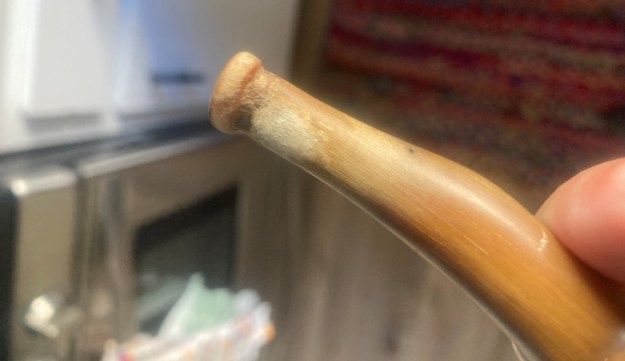
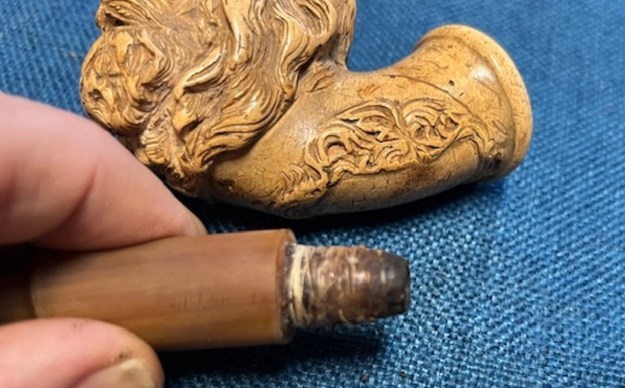
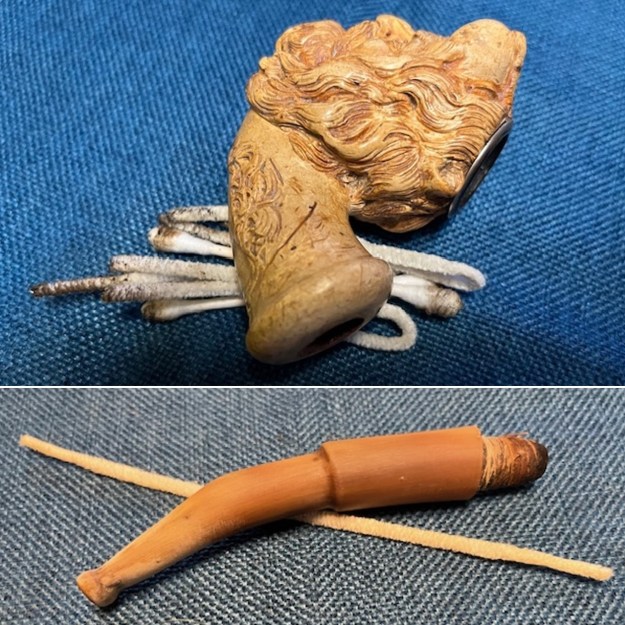
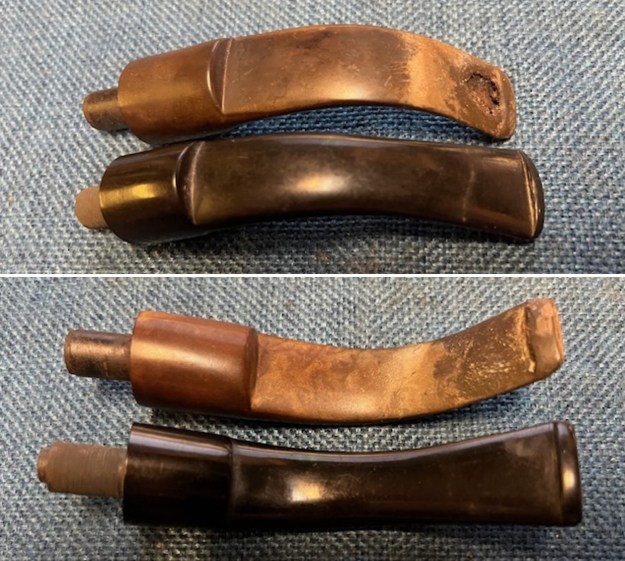
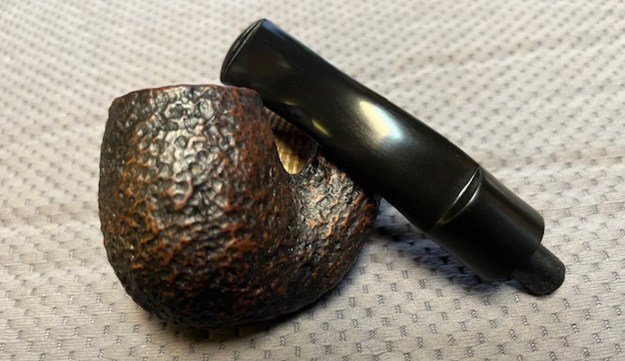
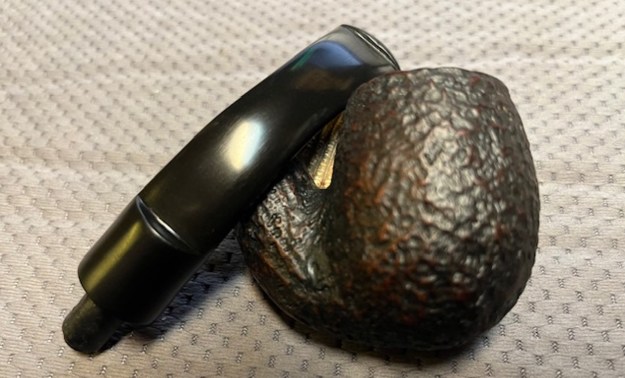
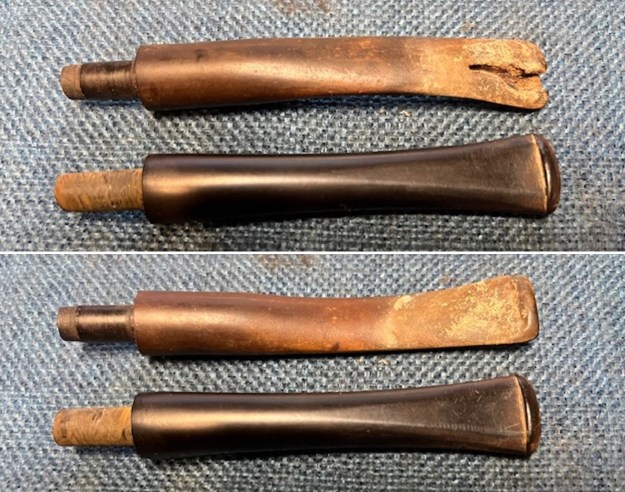
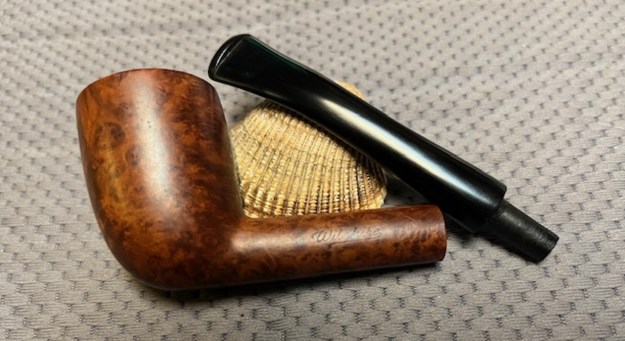
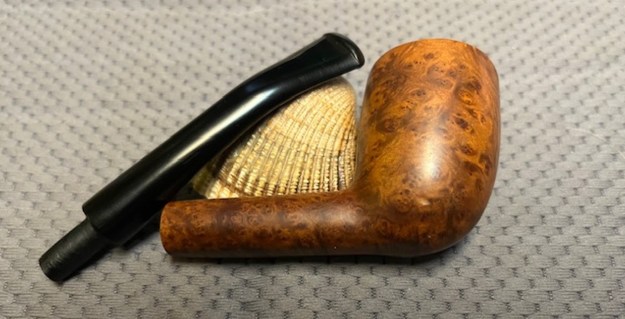
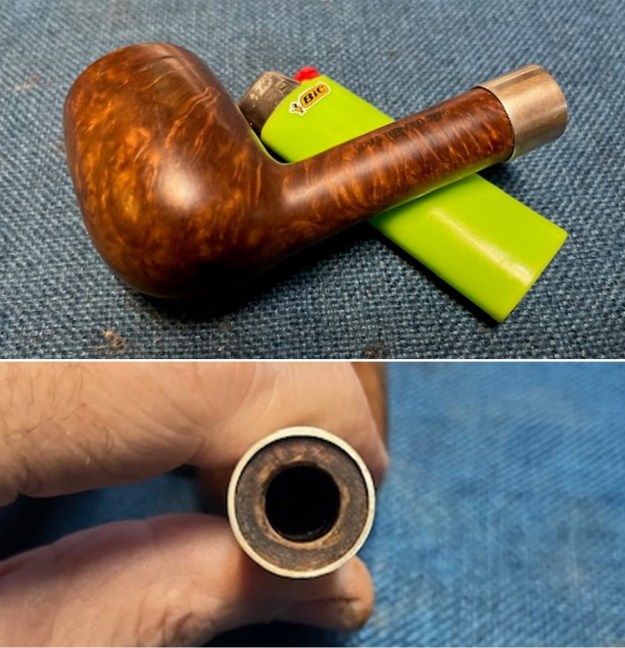
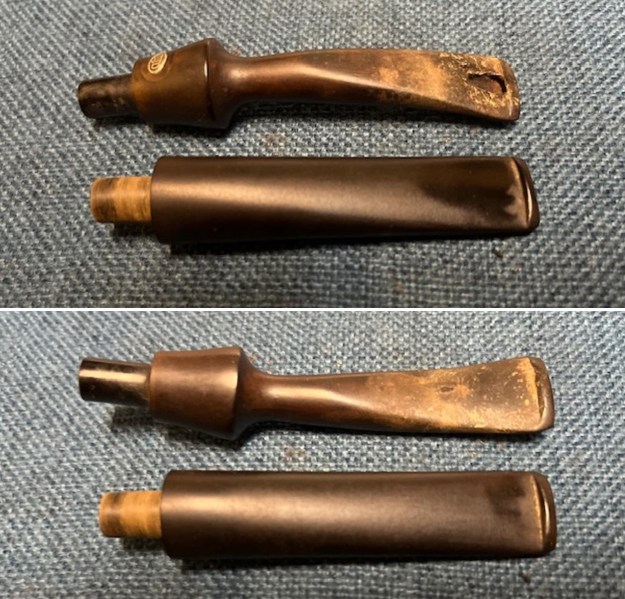
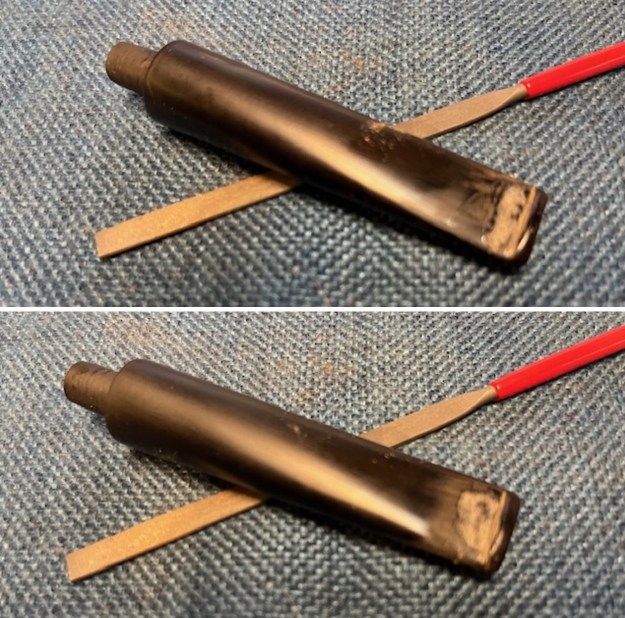
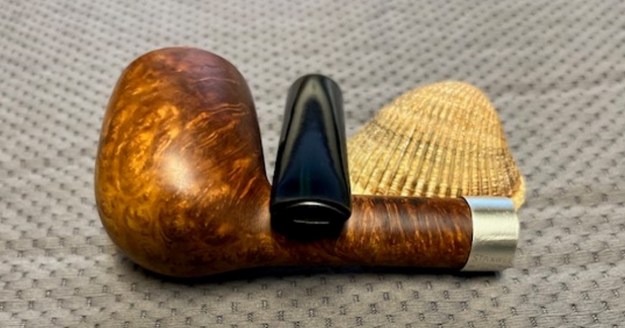
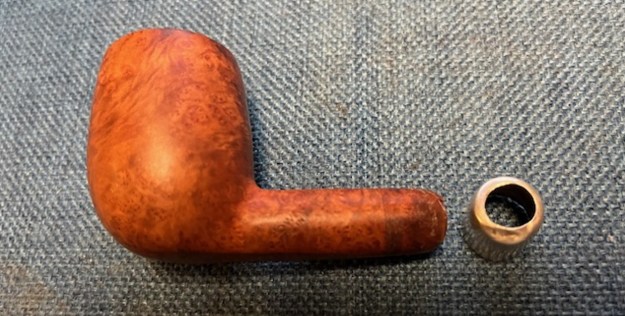 I went through my stems and found this partially shaped stem that would work quite well. It would need to be reduced in diameter and cleaned up. There were some gouges on both sides ahead of the button that looked like someone had started shaping a dental bit.
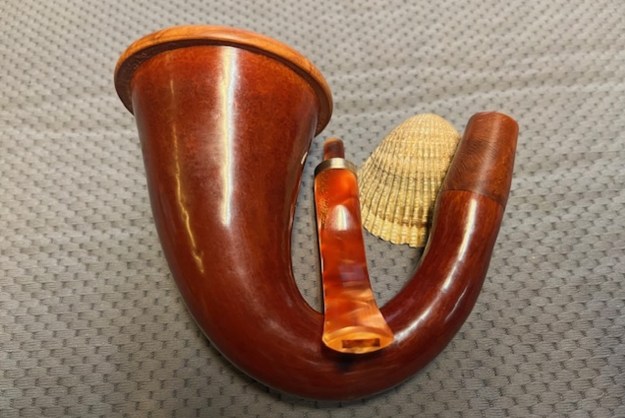
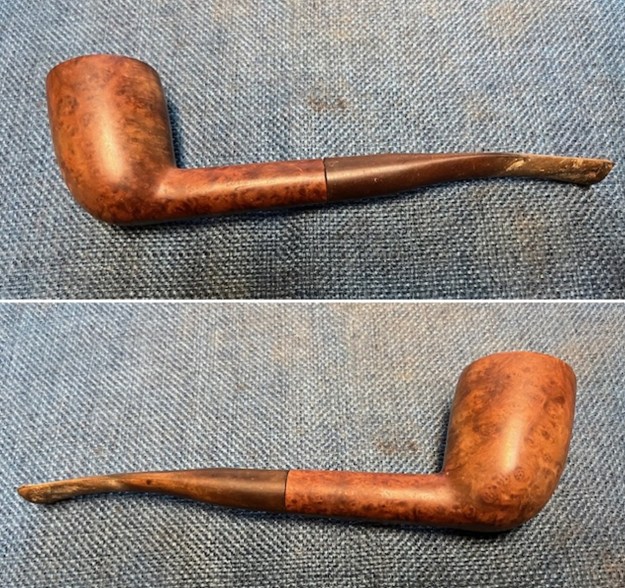
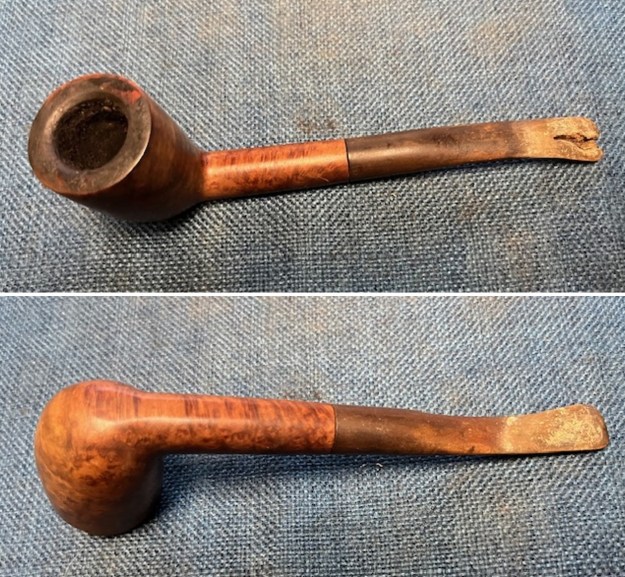
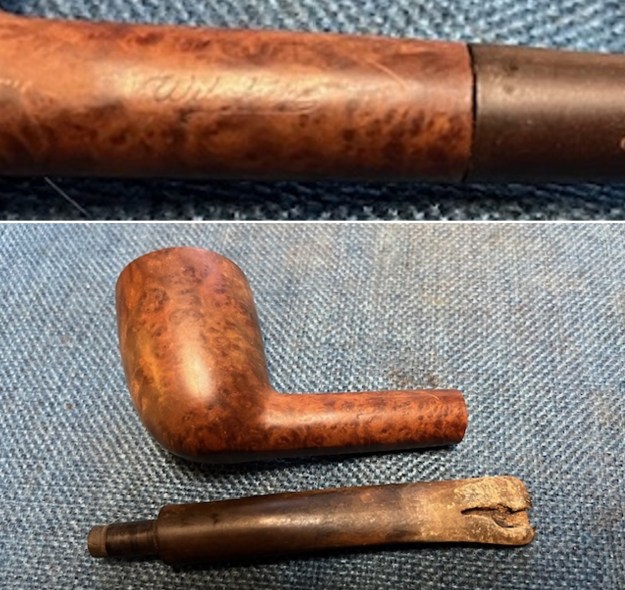
 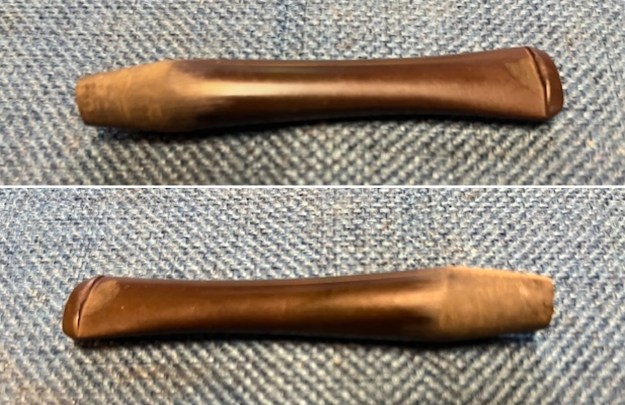 Before I started working on the pipe I wanted to get an idea of the maker of the Town Hall brand. Something about the shape and the number reminded me of the Guildhall by Comoy’s but I was not sure. I turned first to Pipephil’s site and found a link that gave a good summary of the information and confirmed the Comoy’s connection (http://www.pipephil.eu/logos/en/logo-t7.html) that I suspected. I have included a screen capture of the pertinent section and the side bar information below the photo.
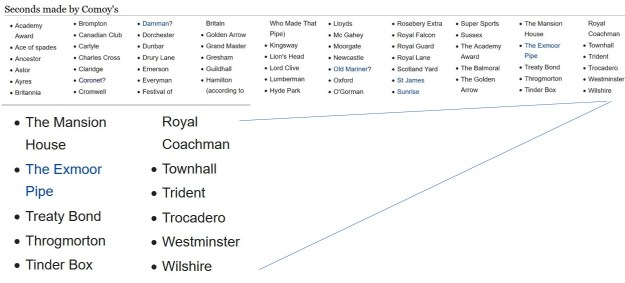
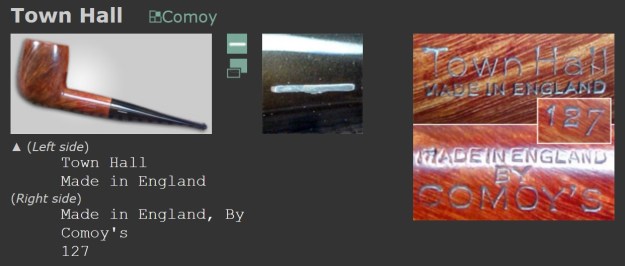 Other Comoy’s seconds with a one bar mouthpiece logo: Carlyle, Charles Cross, St James, The Golden Arrow, Trident,
I turned to Pipedia for more information (https://pipedia.org/wiki/Comoy%27s). Other than the great history of the brand there was a note in the section entitled “Seconds made by Comoy’s” that had a listing for Town Hall. I scrolled down the page and found some interesting photos that I have included below including an original box for the pipe. The second and third photos show similar stamping though horizontal on this pipe.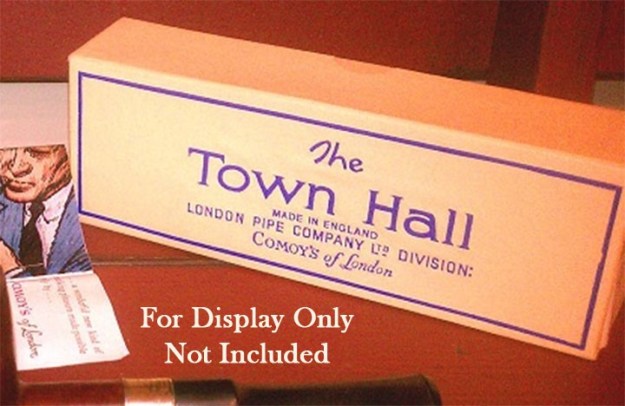
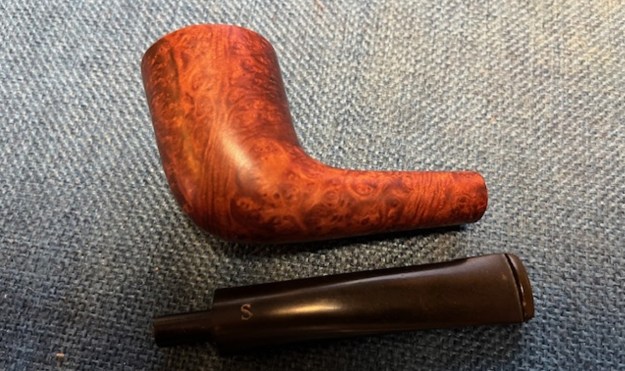
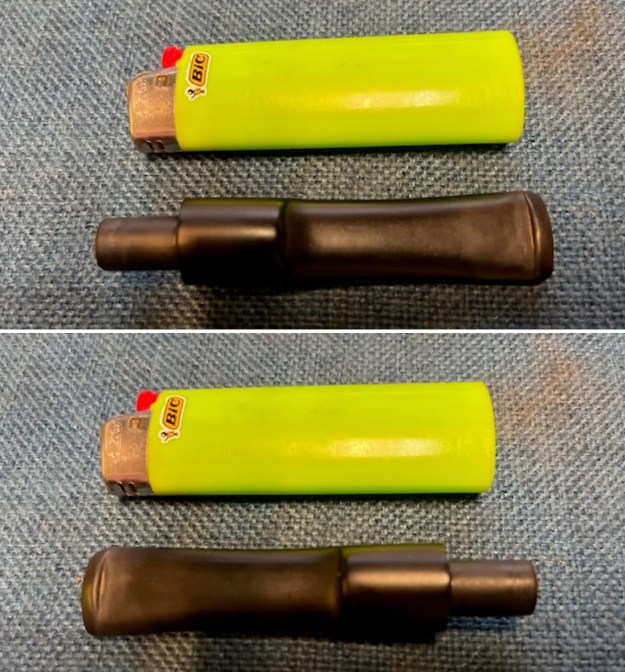
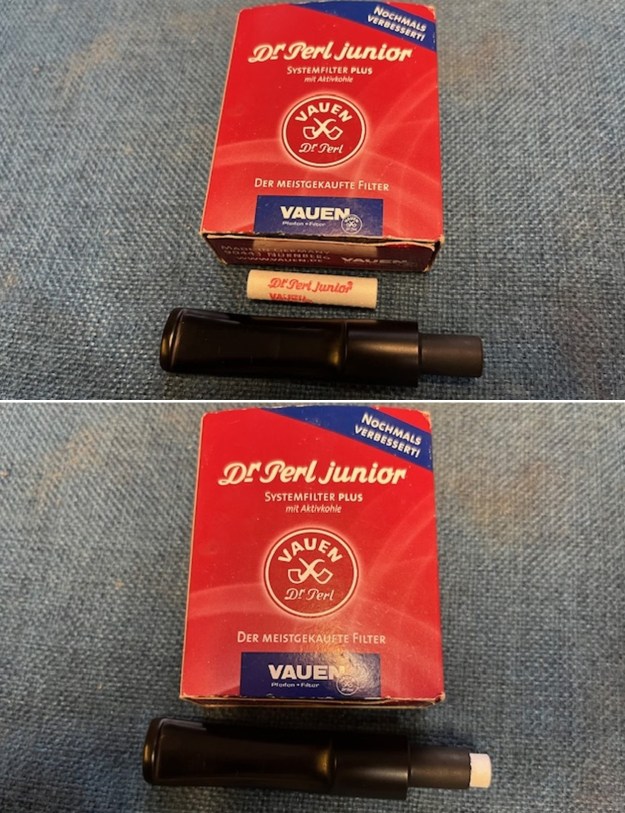
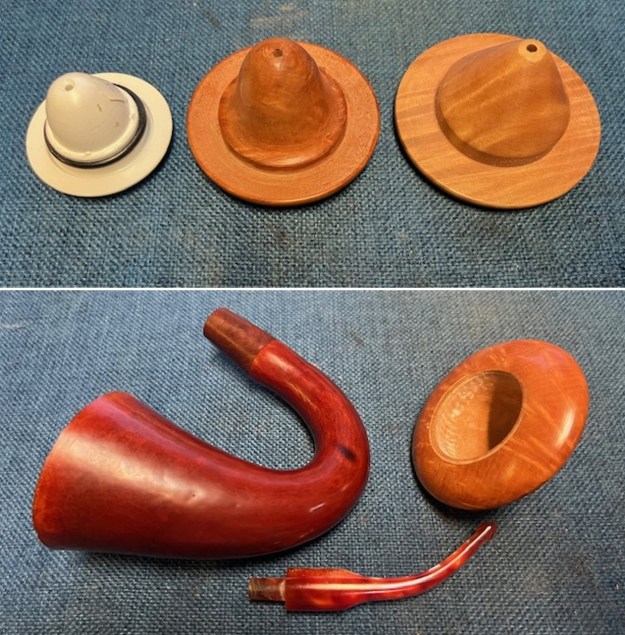
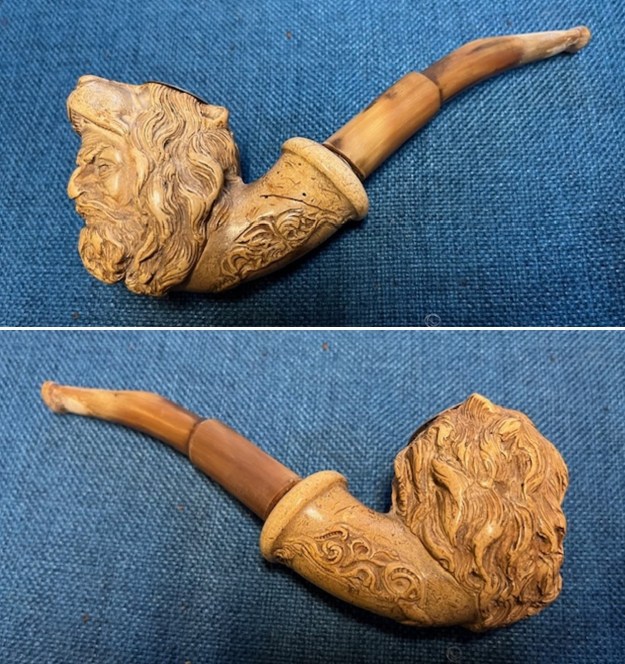
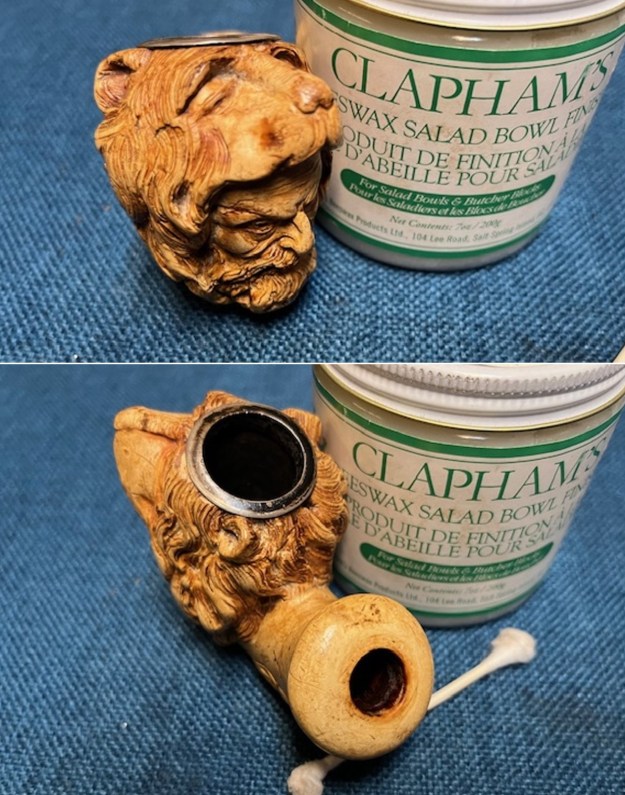
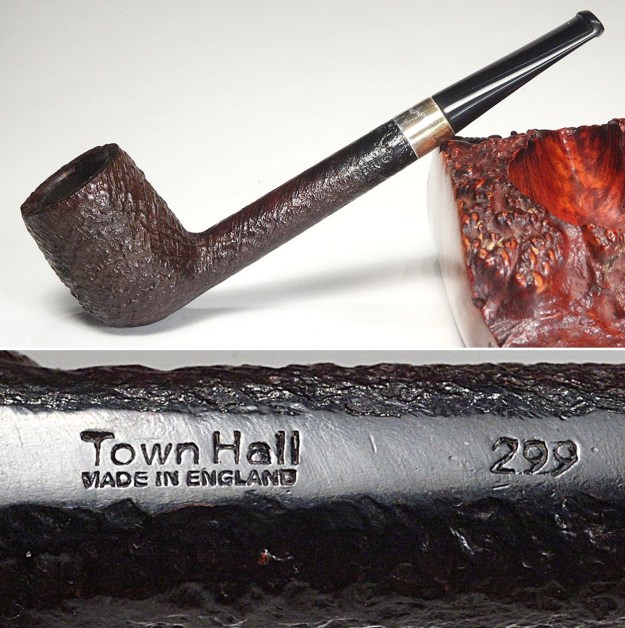 At the very bottom of the article I found perhaps to me, the most exciting connection – a Town Hall – same shape, same silver ferrule as the one I was working on. The stamping on it was clearly a Comoy’s Town Hall Pipe, Made in England. The thing I am glad for is that the photos show the type of stem I would need to fit on the pipe. The one I had chosen would work quite well with some shaping.
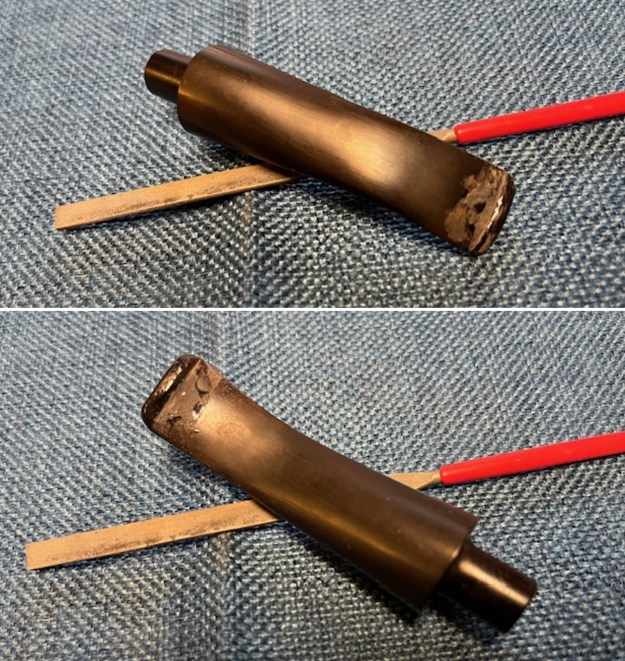
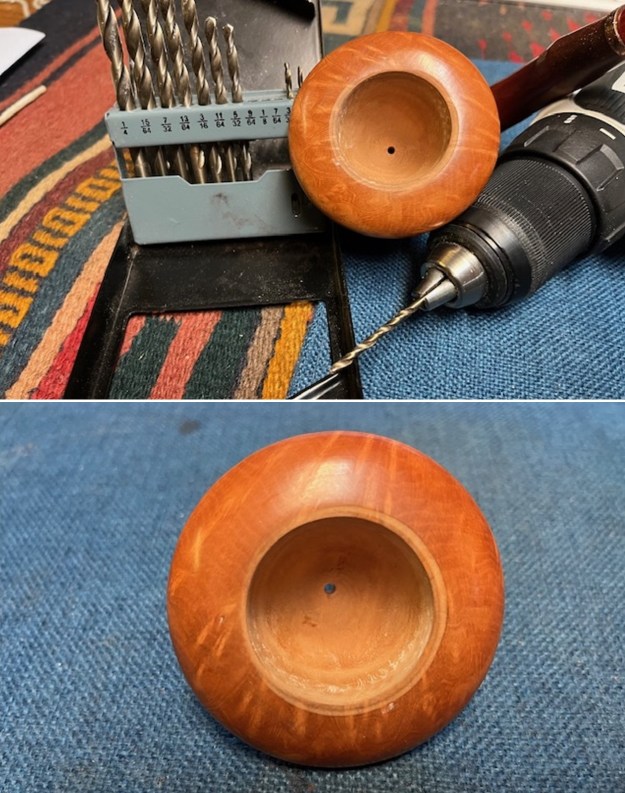
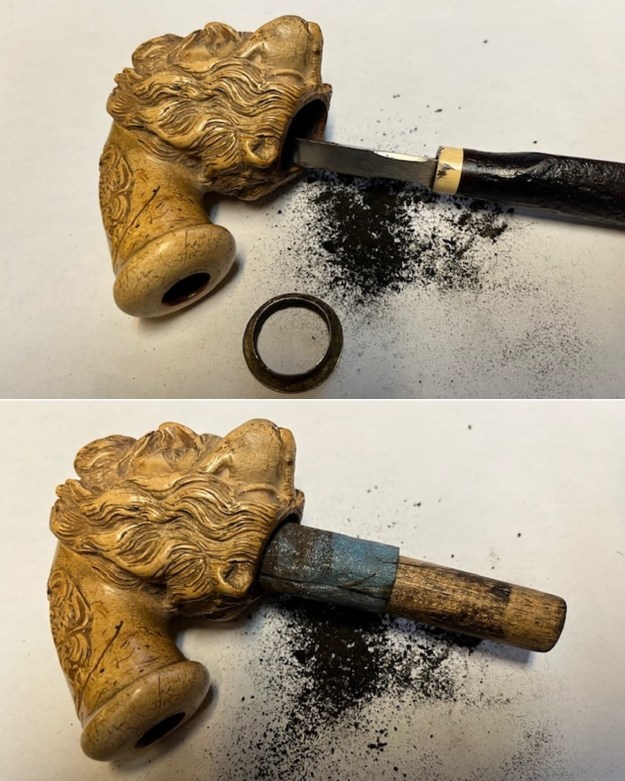
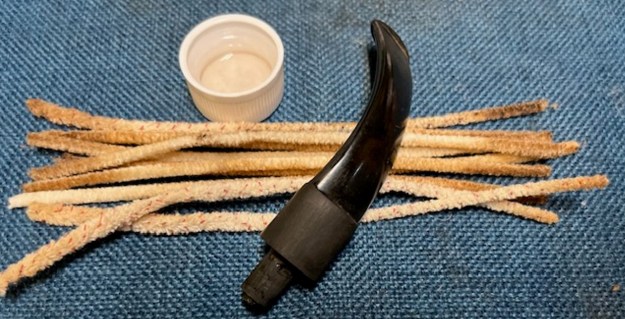
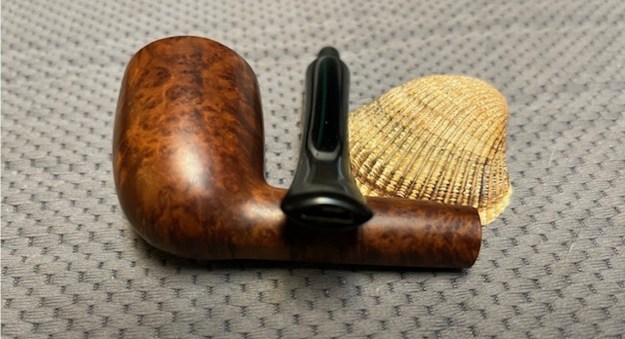
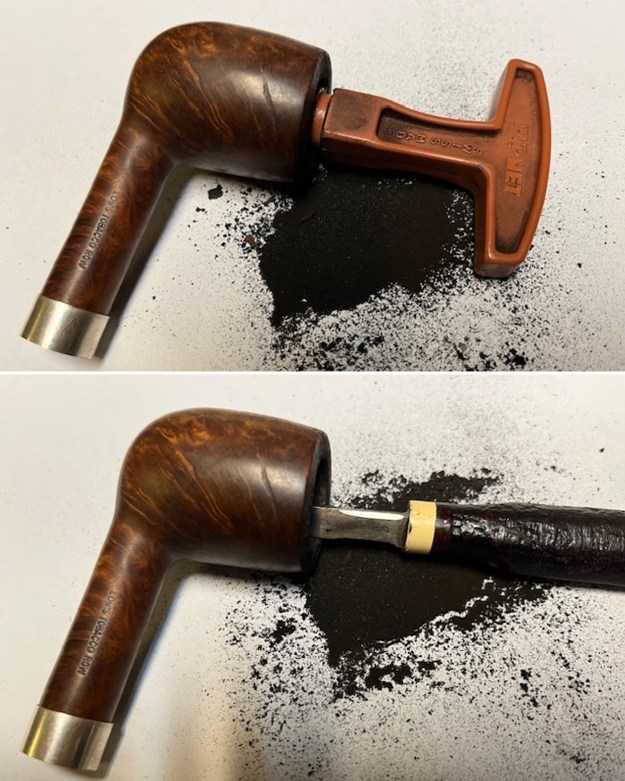
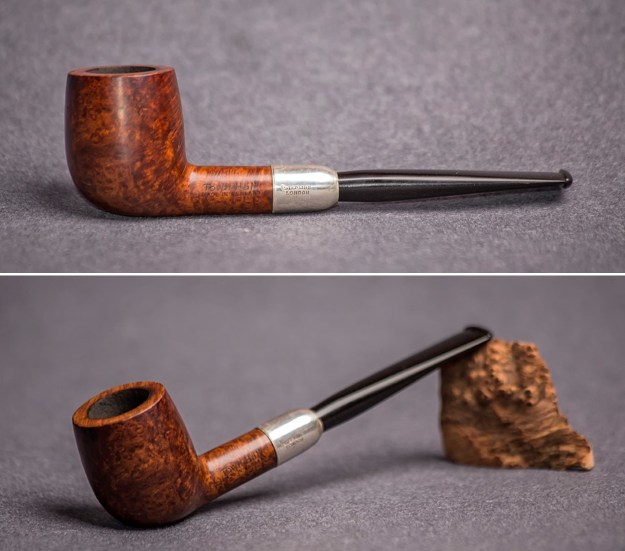 I started my work on this one by fitting the newly chosen stem first. If you have followed me you will note the departure from my normal pattern of working on the bowl first. But in this case, I really wanted to see if I could duplicate the stem shown above for this pipe. I shaped the conical end with my Dremel and a sanding drum to get it close to the look I was shooting for. The rough shape was done but I would need to fine tune it by hand.
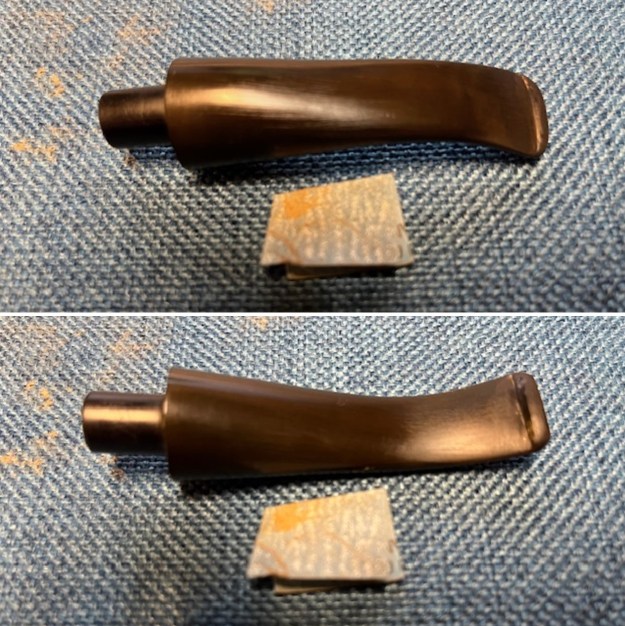
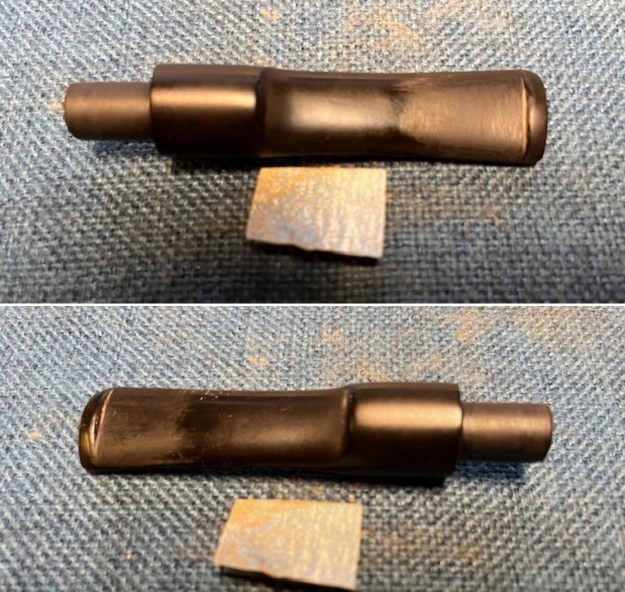
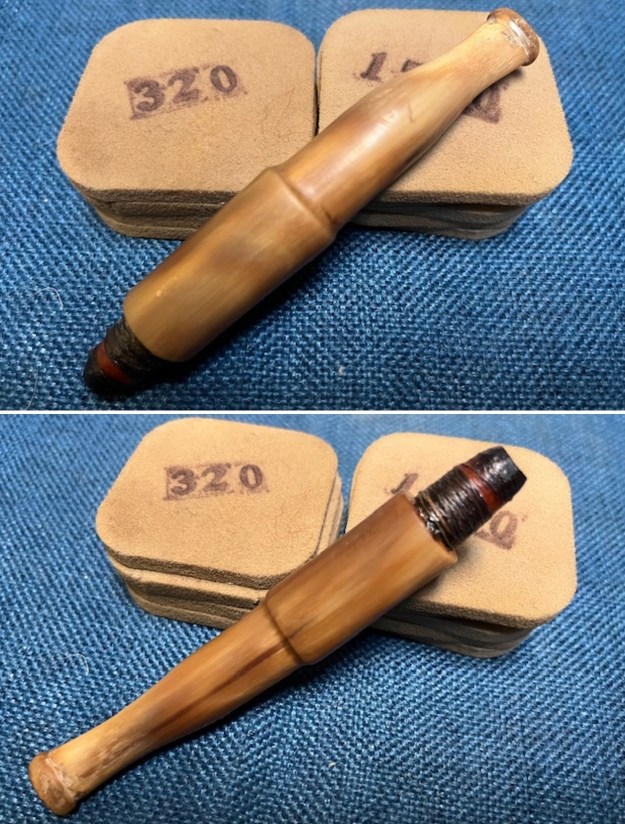
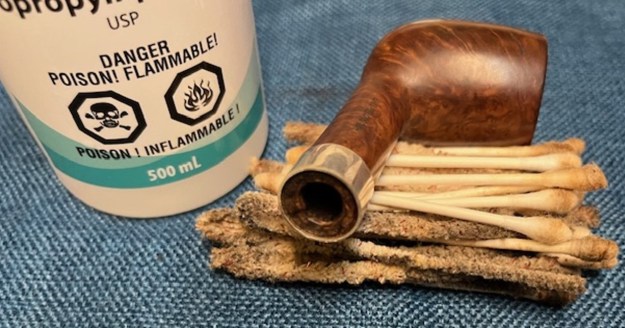
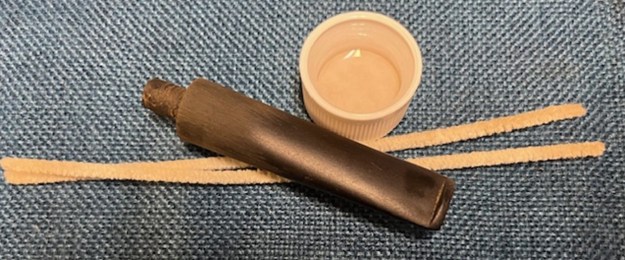
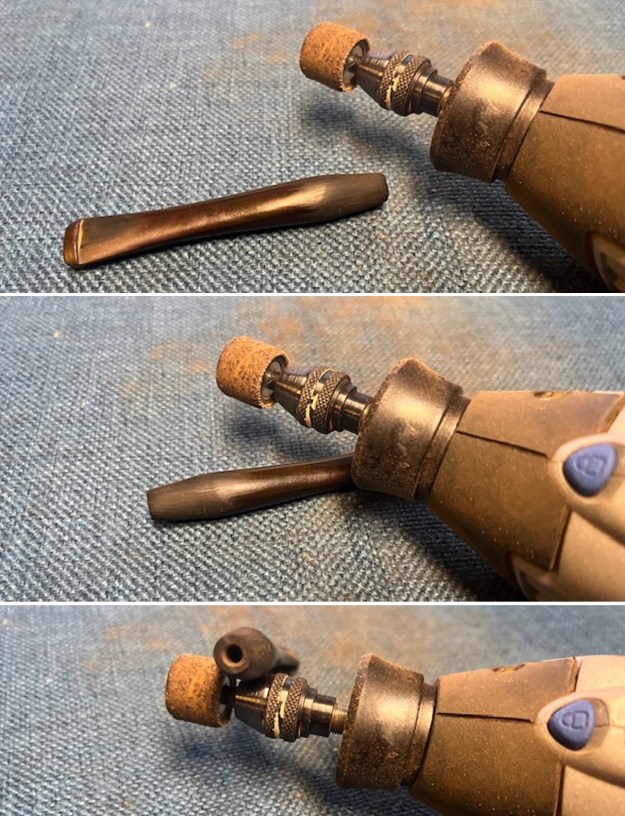 I carefully sanded the conical portion with a folded piece of 220 grit sandpaper and blended it into the rest of the stem. I reshaped it in the process and sanding out the gouges in the button end on both sides. I was able to remove the roughening left by the Dremel and the shape was beginning to look right.
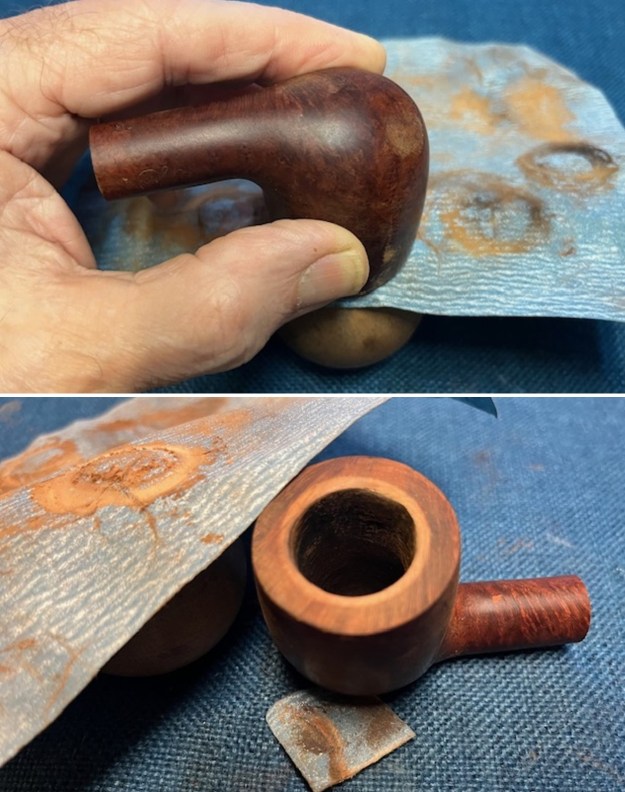
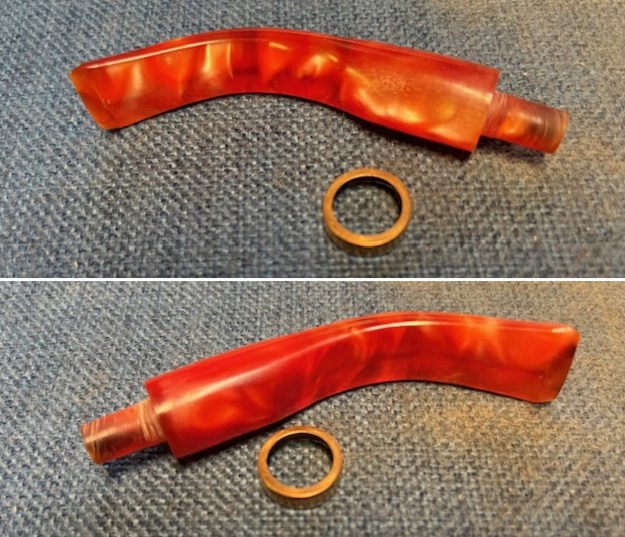
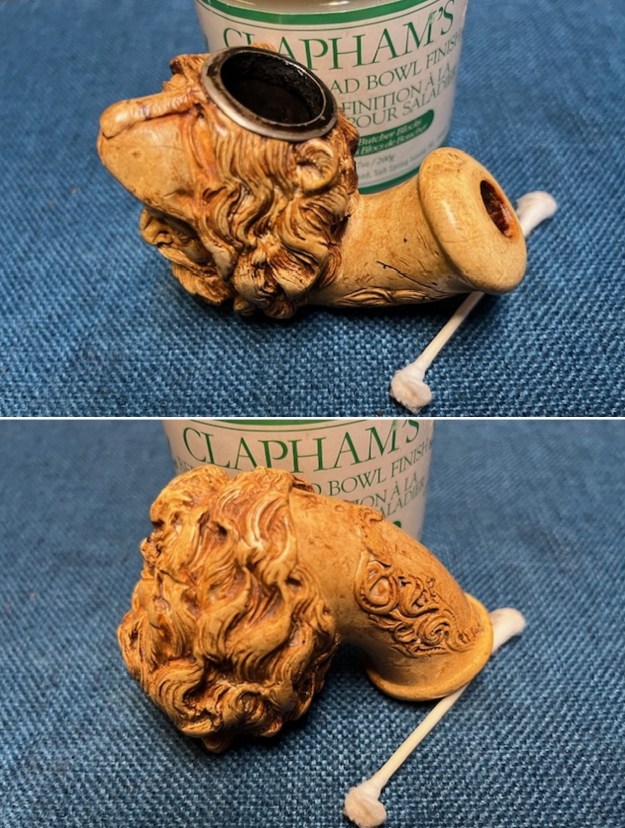
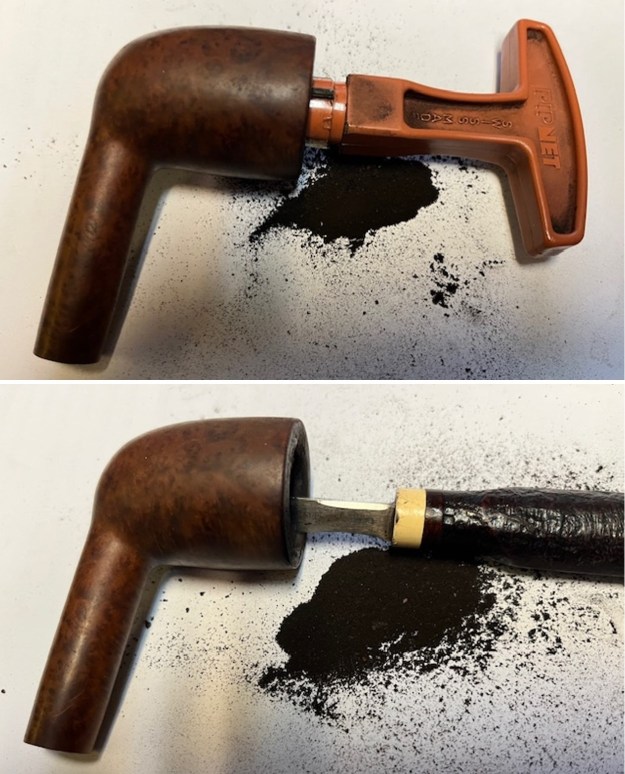
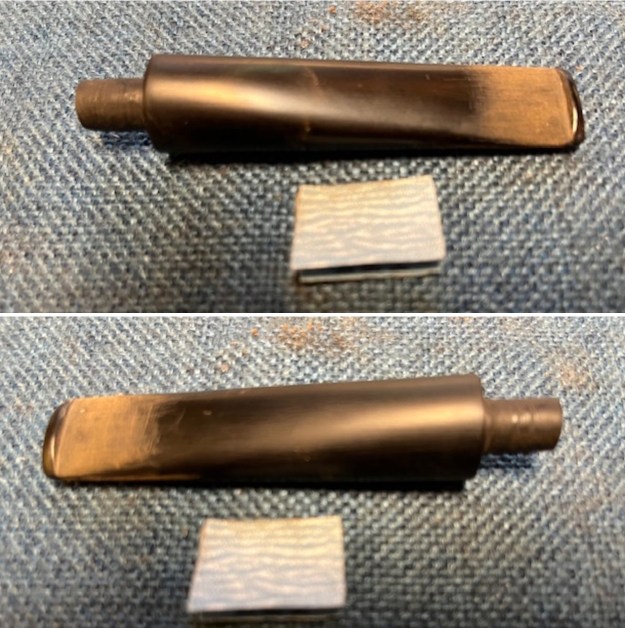
 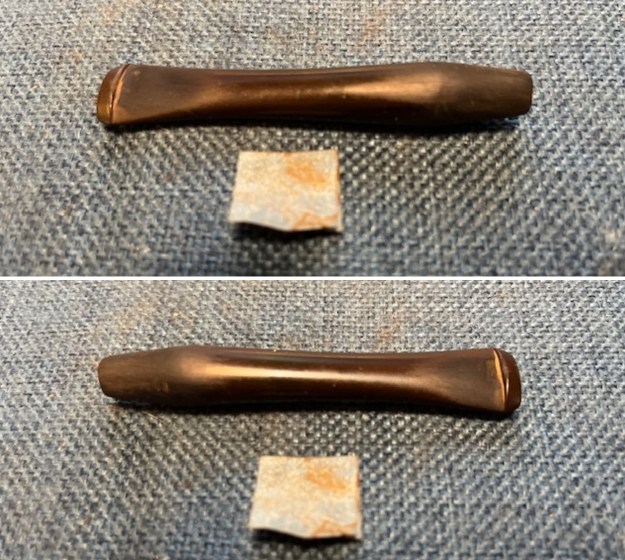 I worked on the silver ferrule to try to smooth out the dents and damage to the opening on the stem end. I was able to remove some of the dents and minimize the others. It looked better. I pressed it onto the shank and fit the stem.
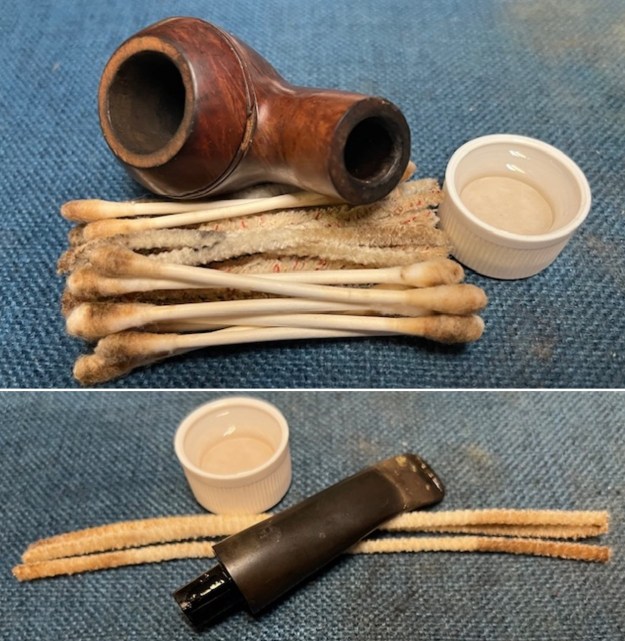
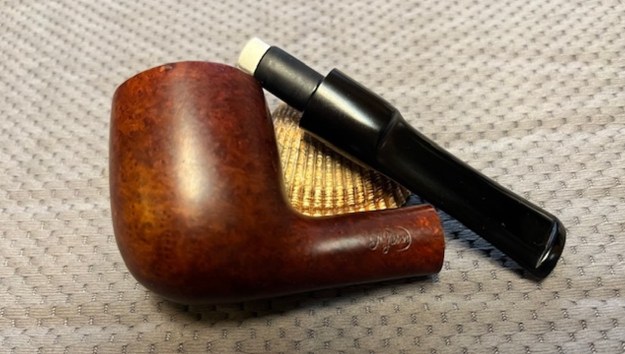
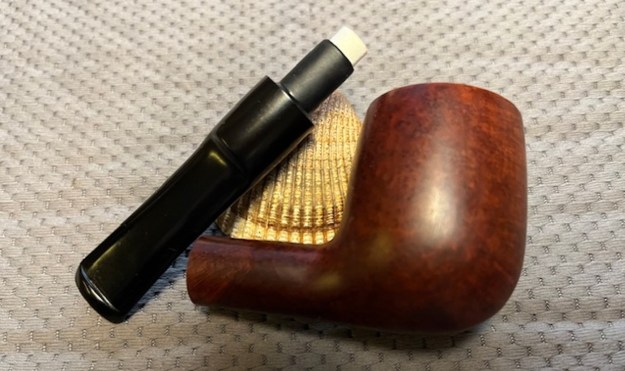
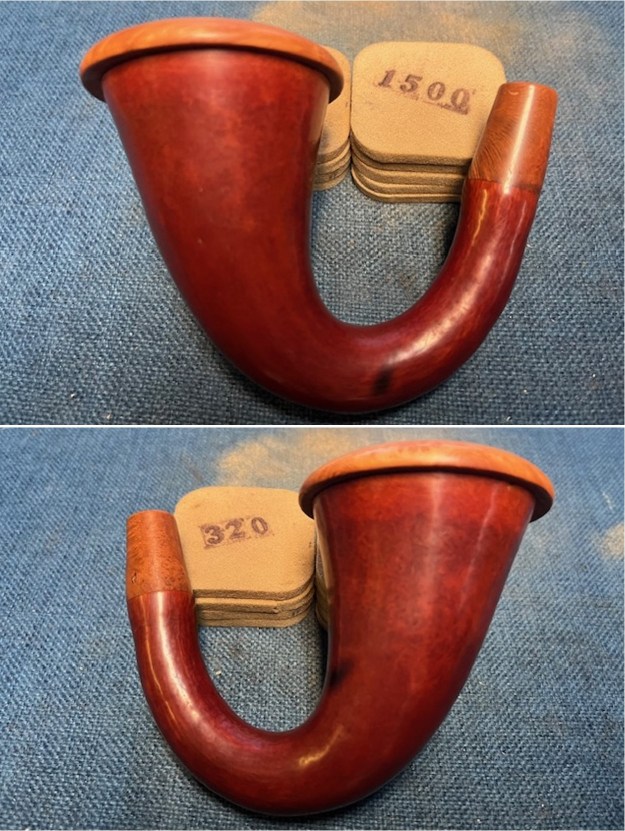
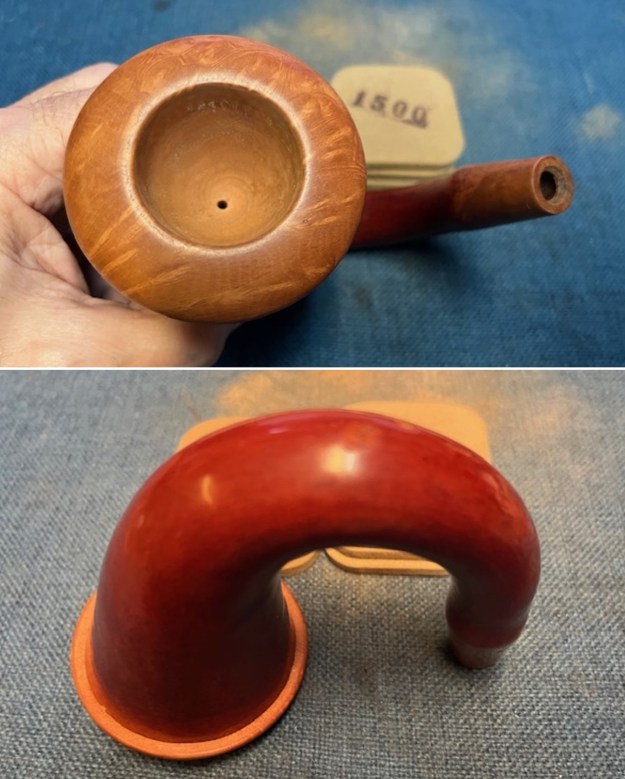
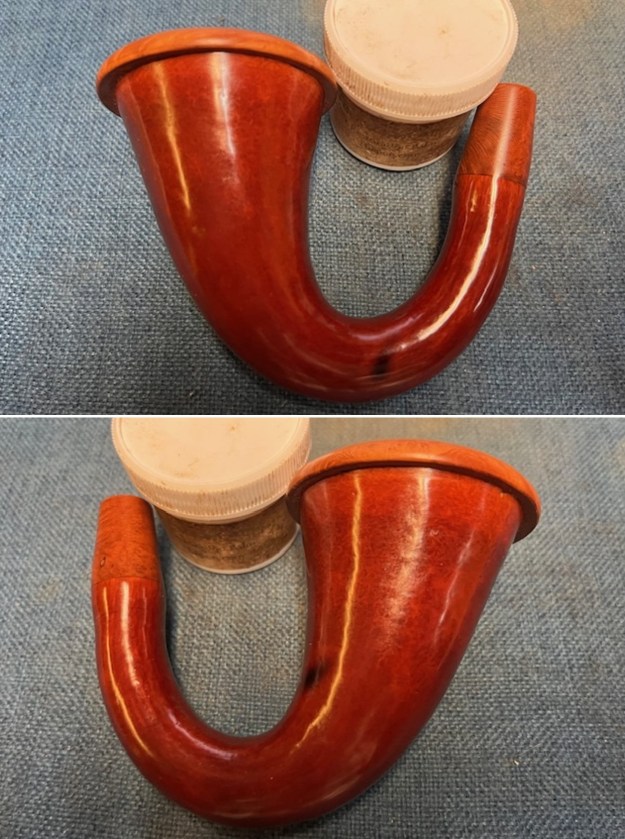
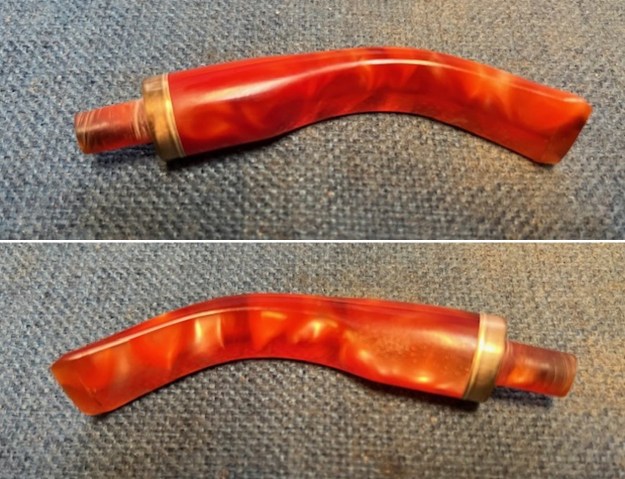
 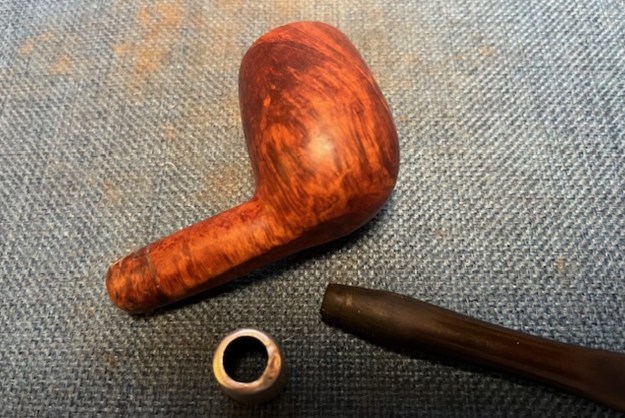 I took photos of the stem in place to give a sense of how it was beginning to look. The fit of the stem still needed adjusting and the scratches needed to be sanded out from the surface. It was beginning to look much better.
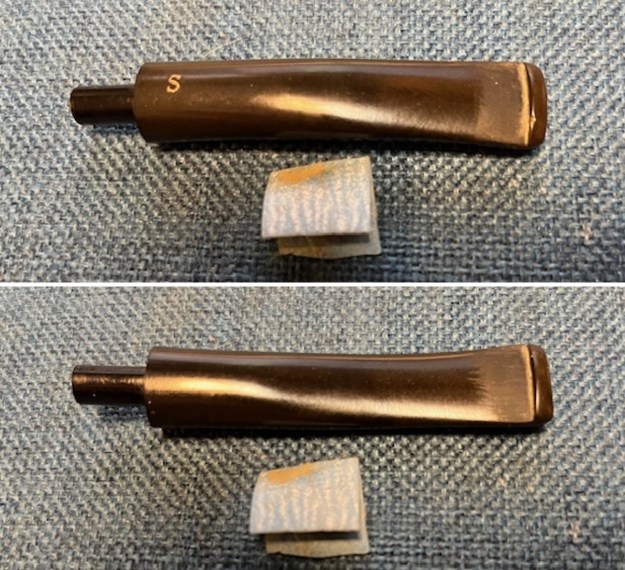
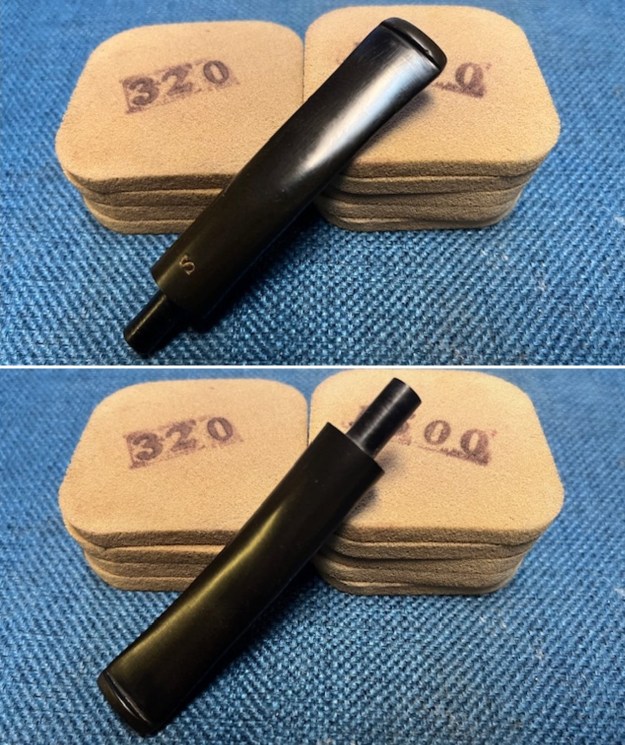
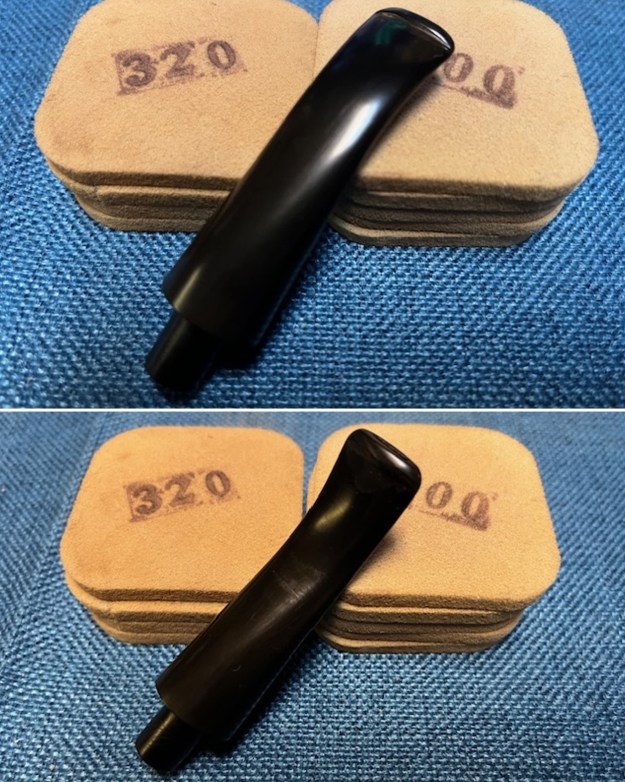
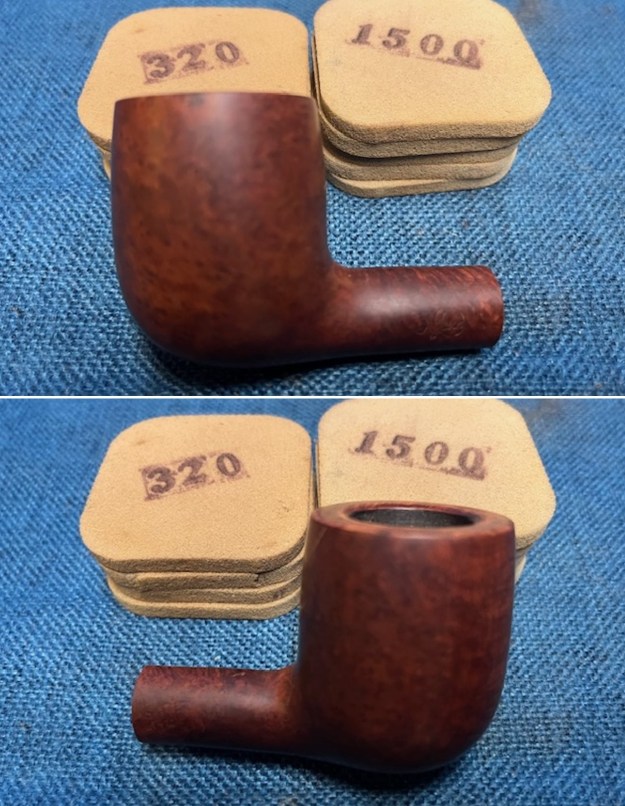
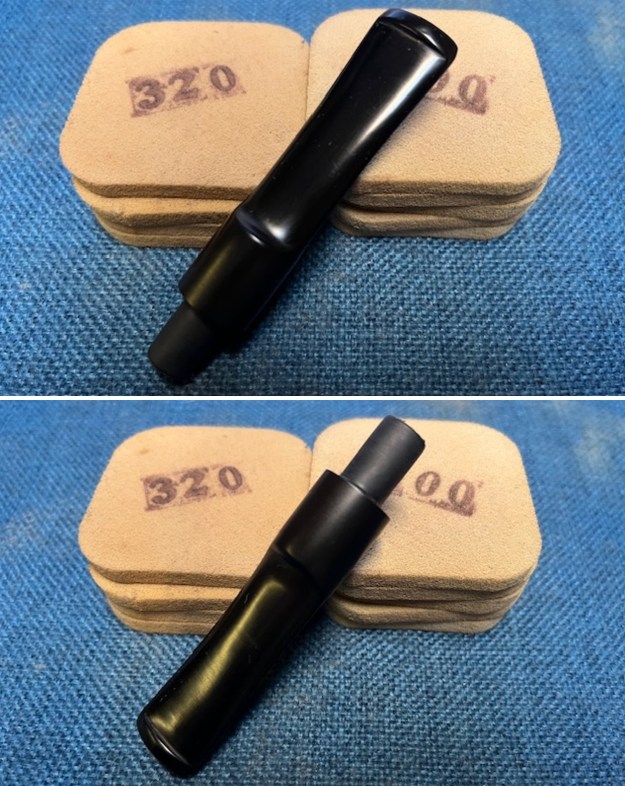
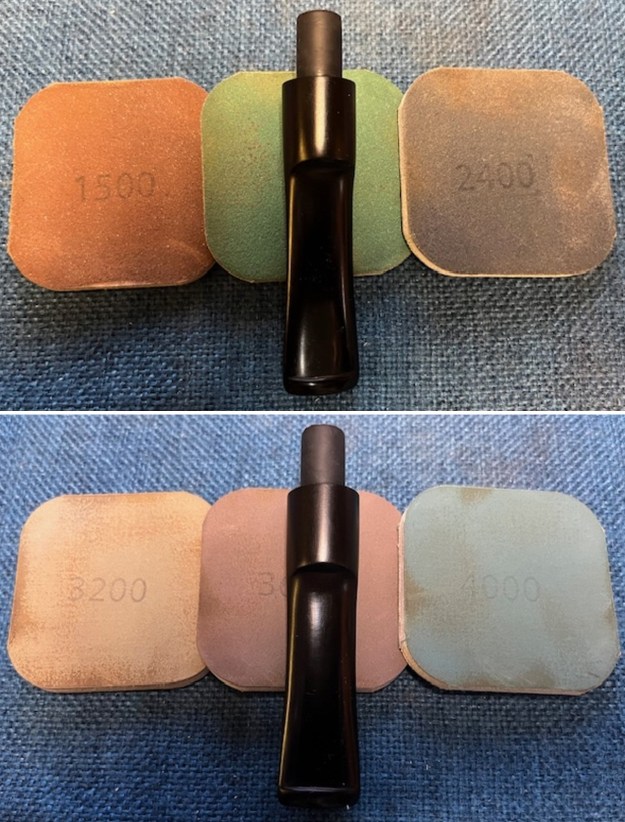
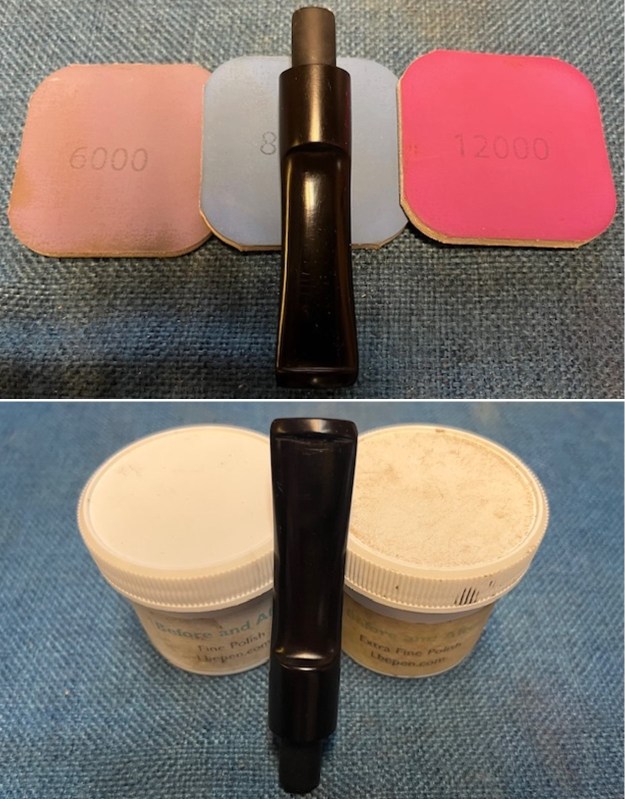
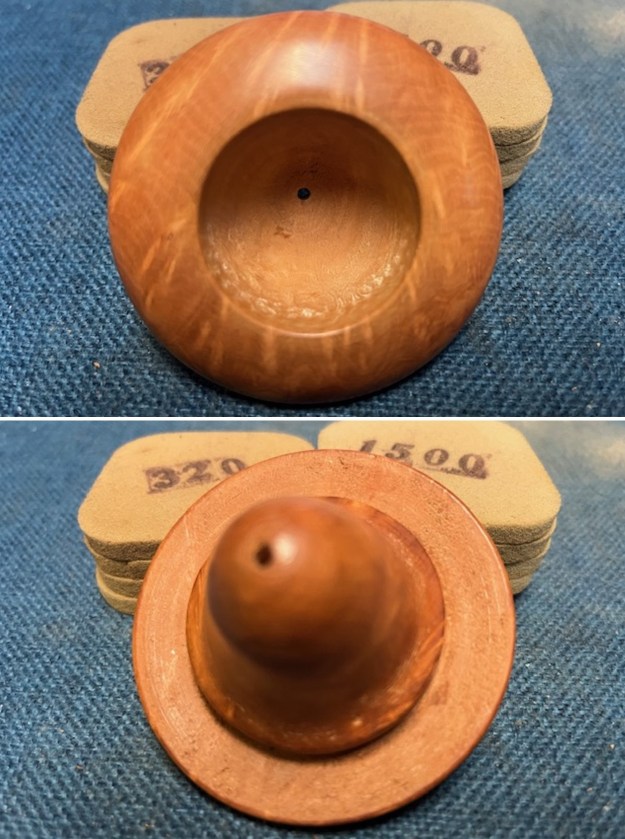
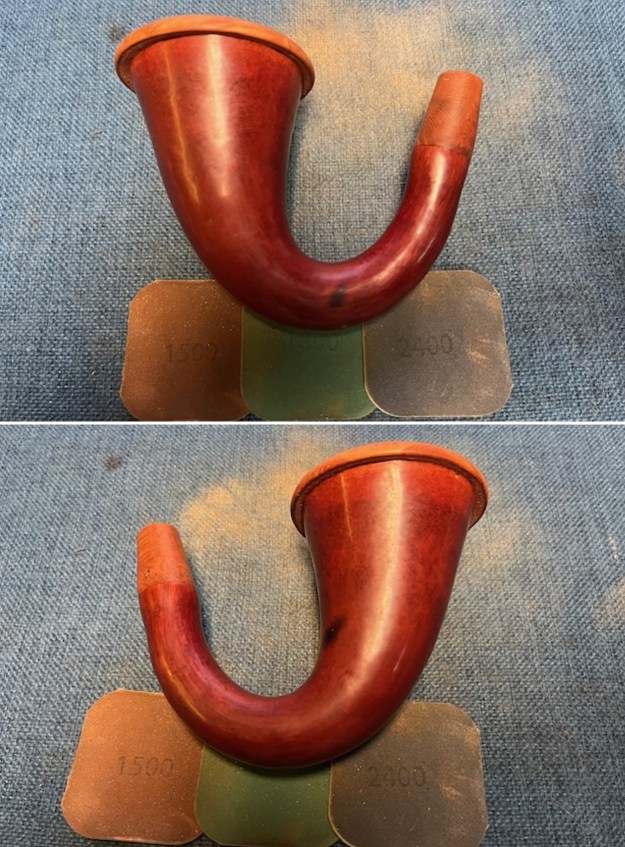
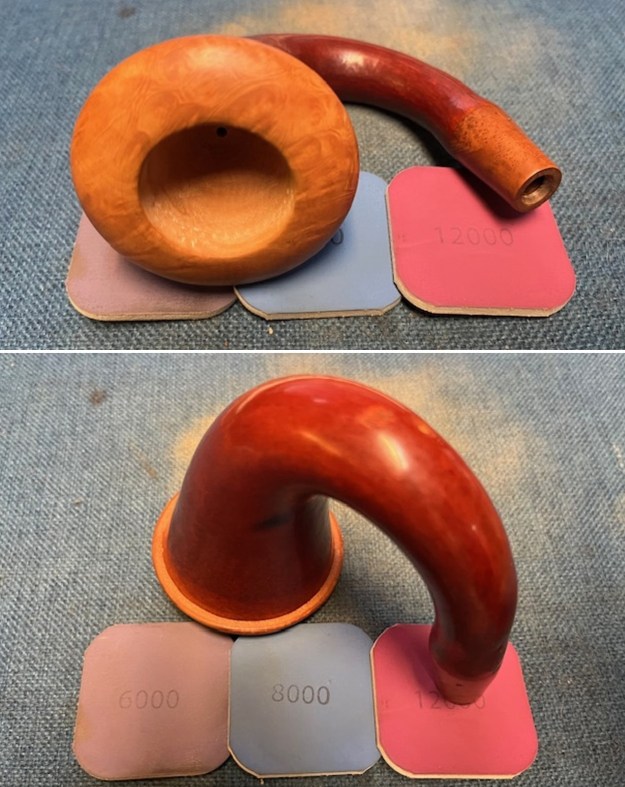
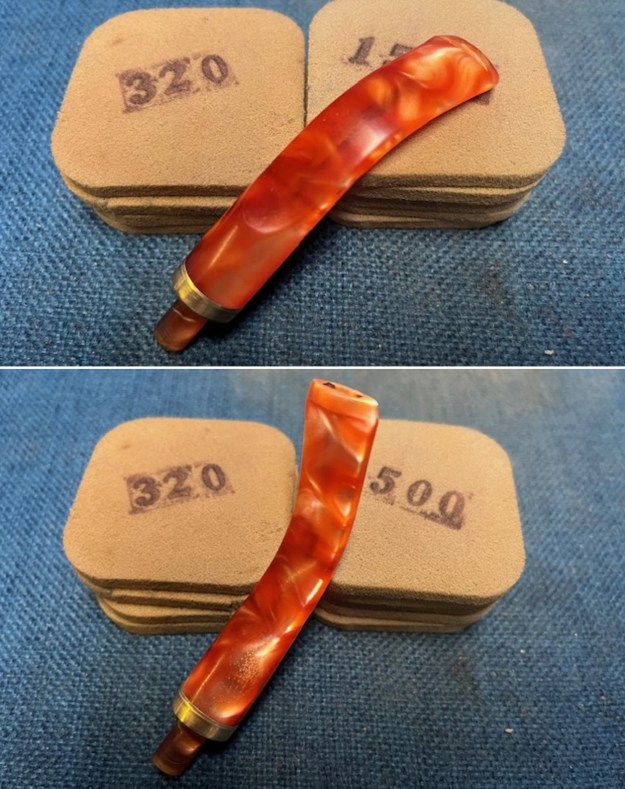
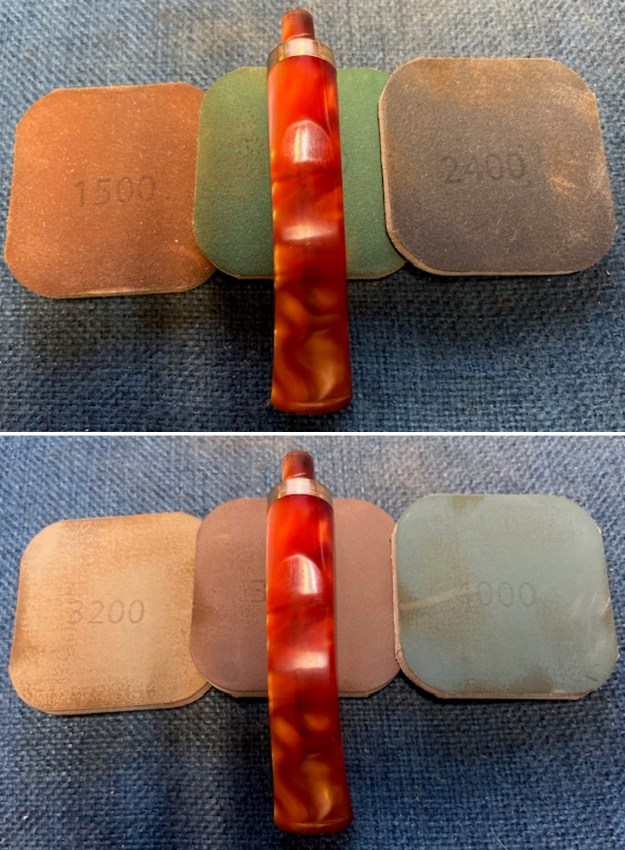
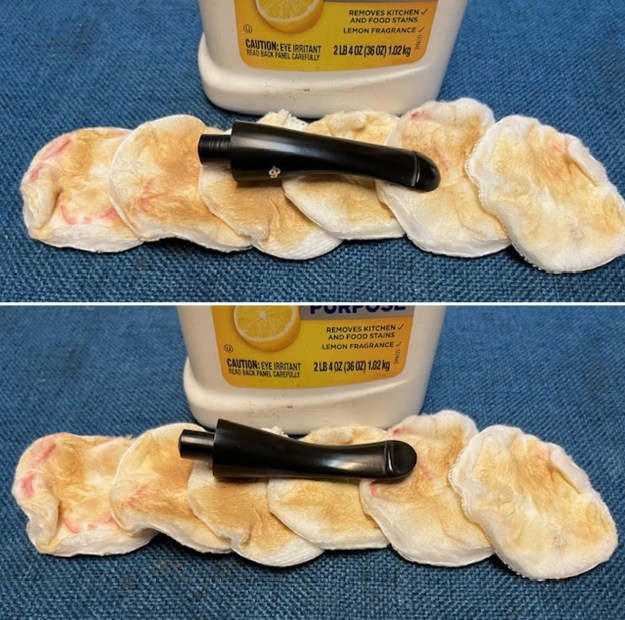
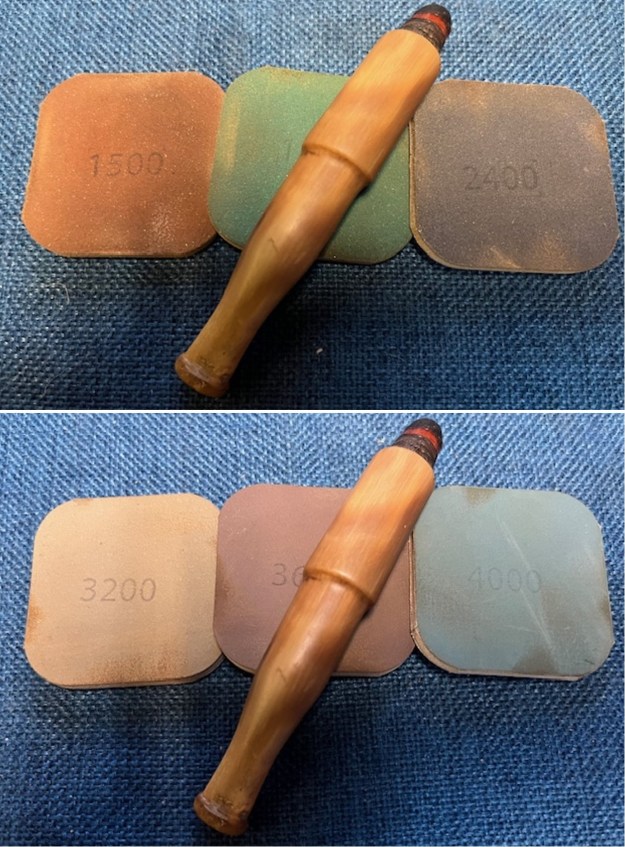
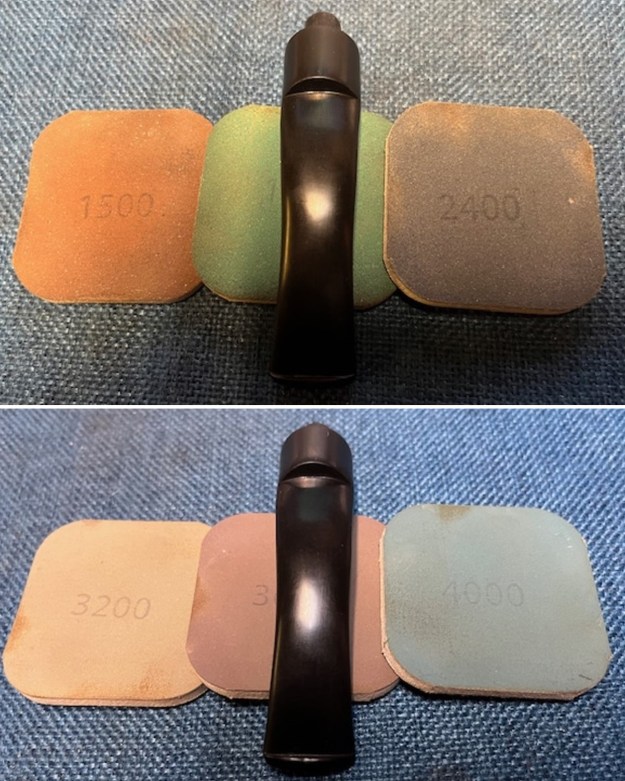
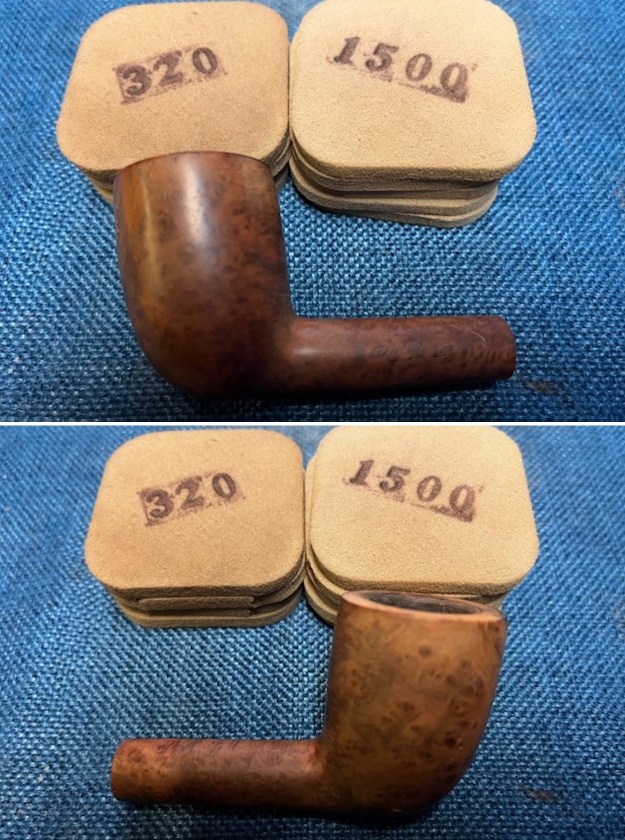
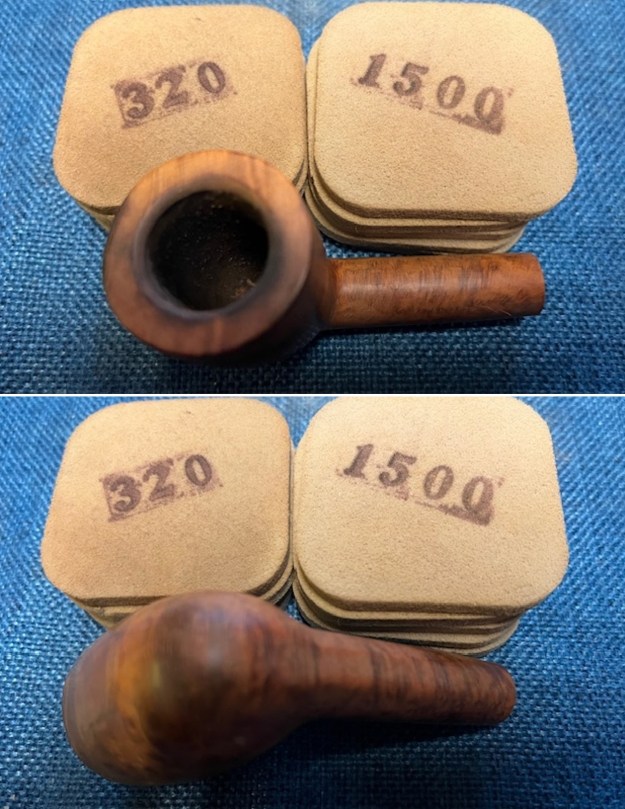
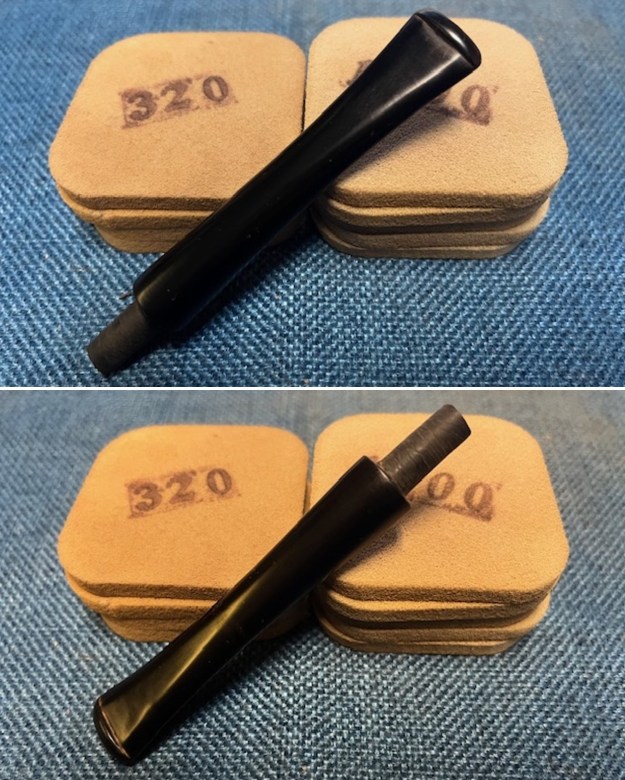
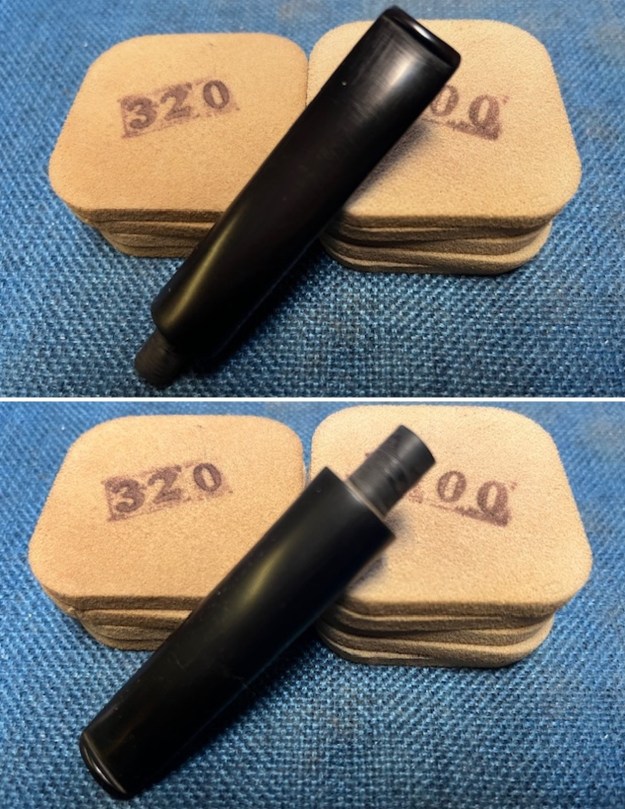
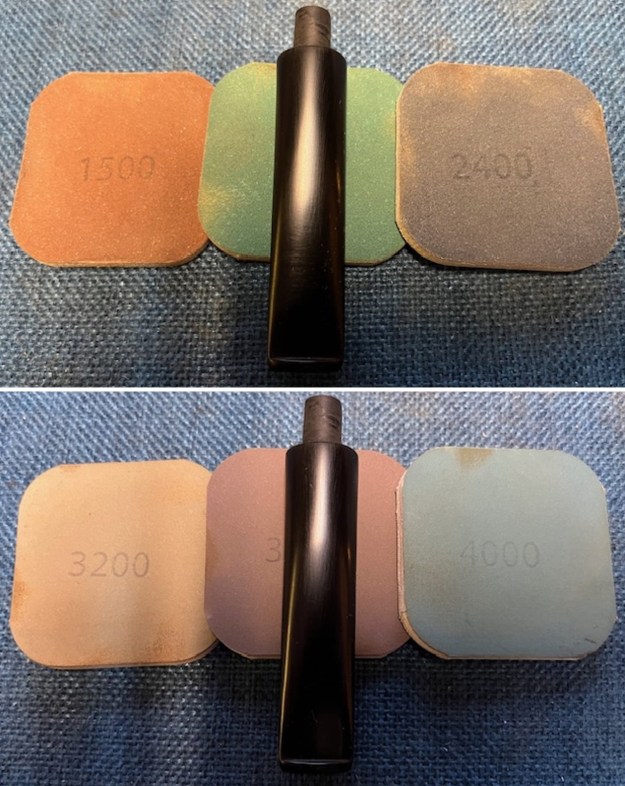
 I sanded the stem with 320-3500 grit sanding pads to polish out the scratches in the surface. I wiped the stem down after each sanding pad with a damp cloth to remove the dust and debris on the surface of the stem. It began to take shape and look better.
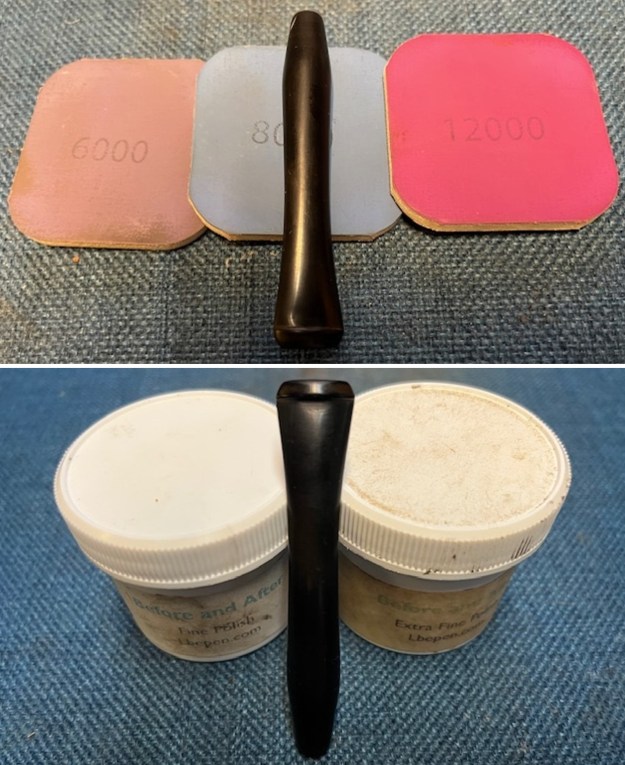
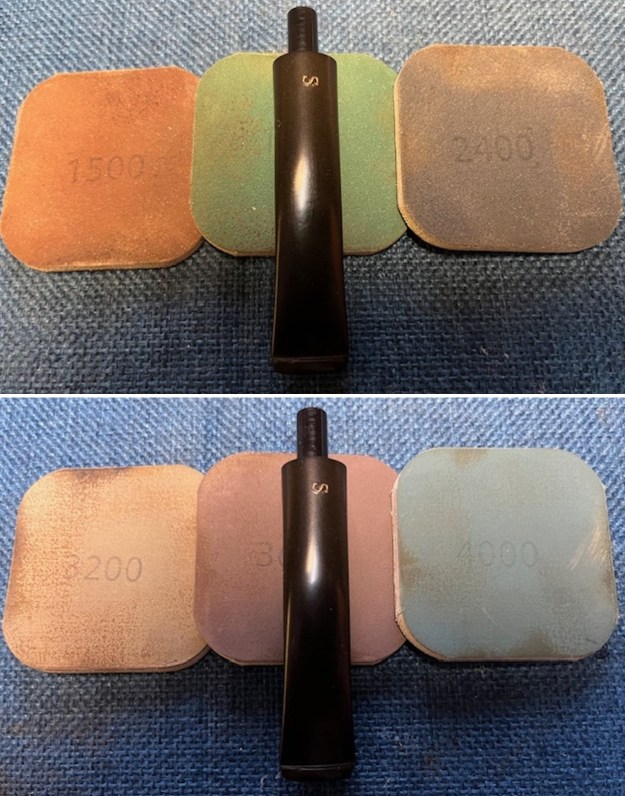
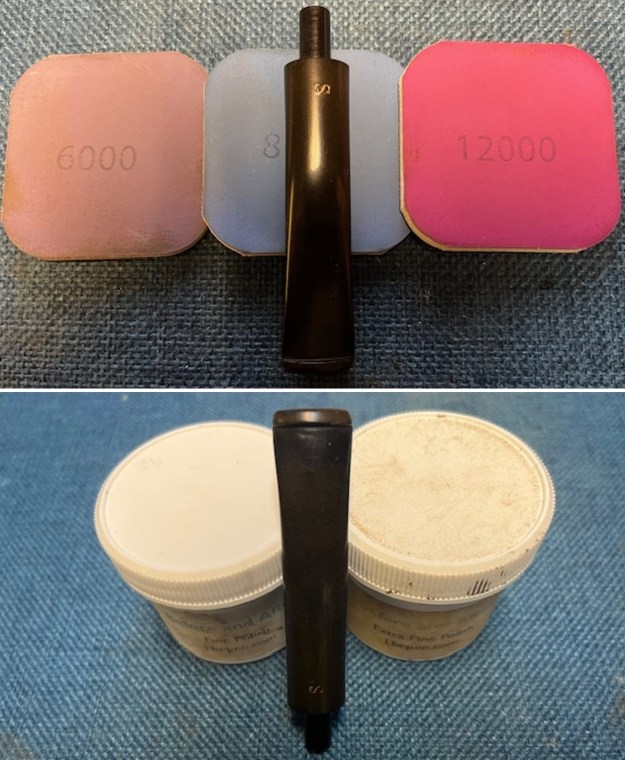
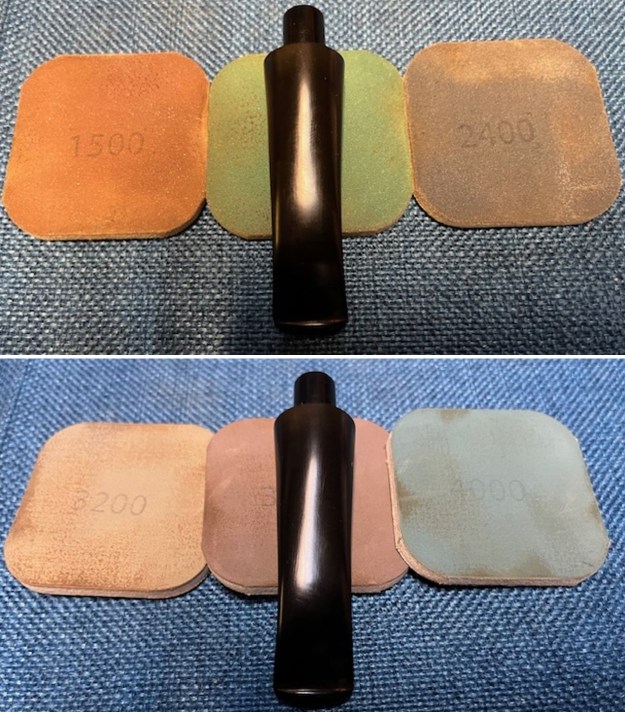
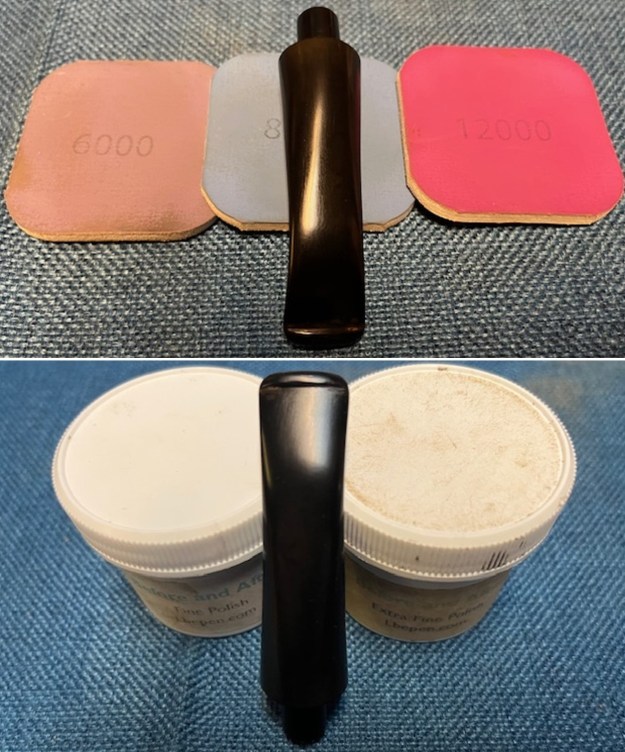
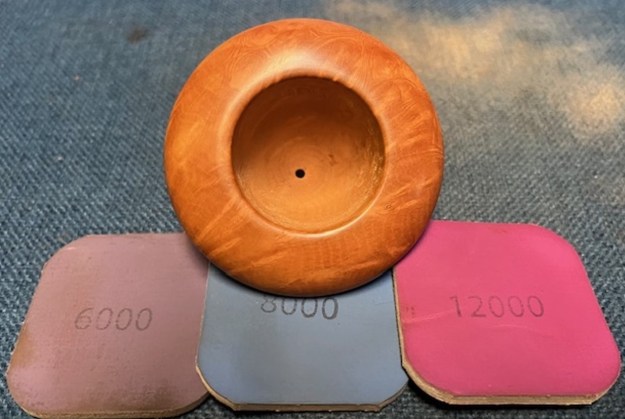
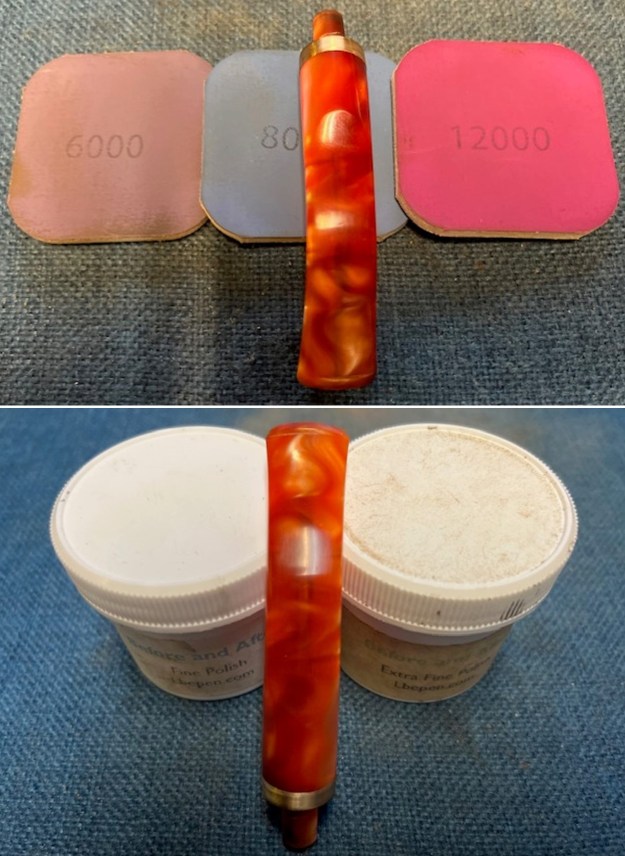
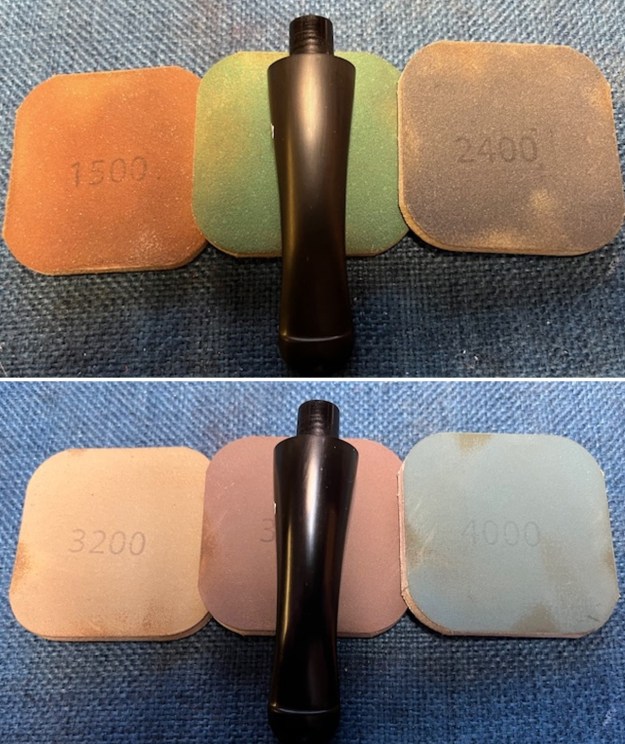
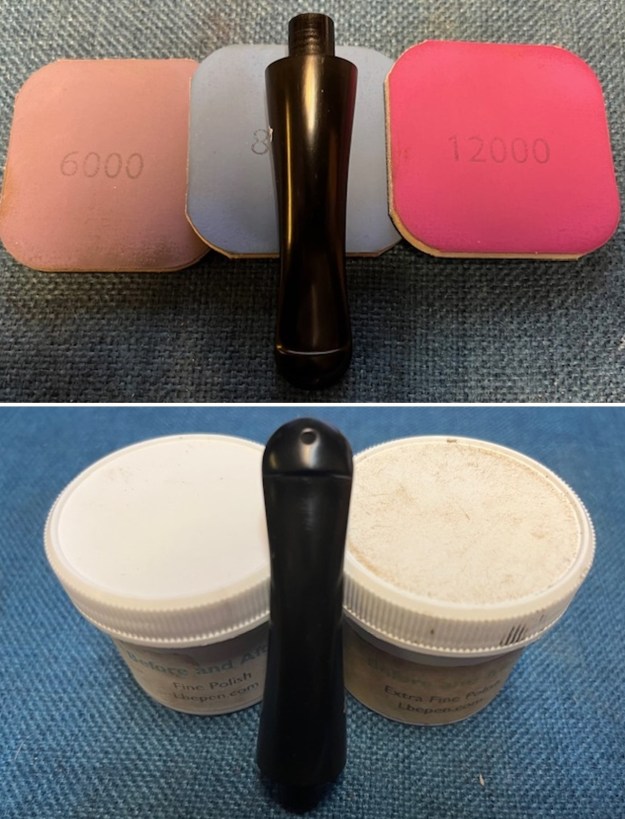
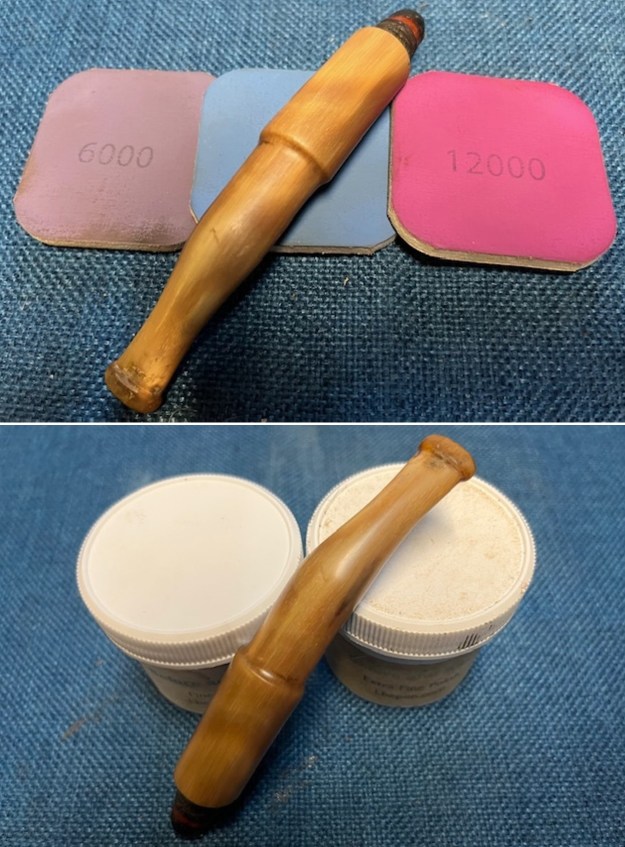
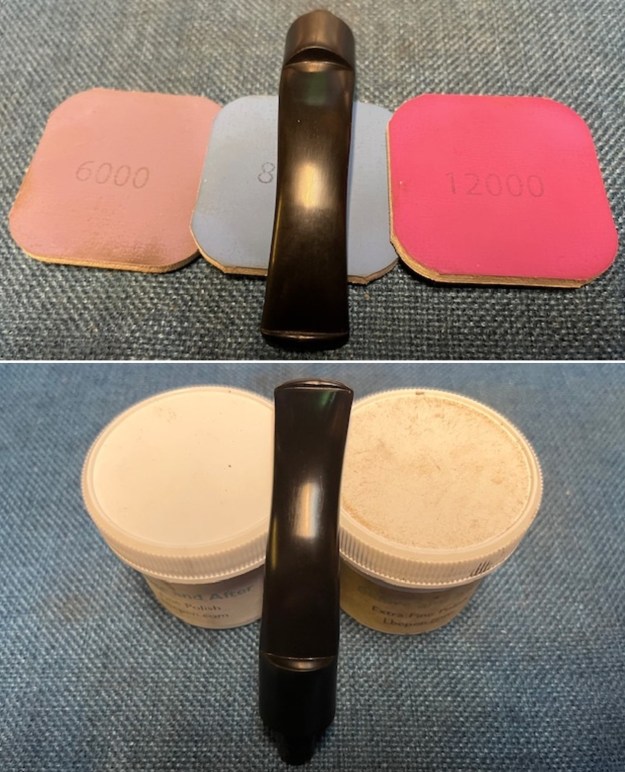
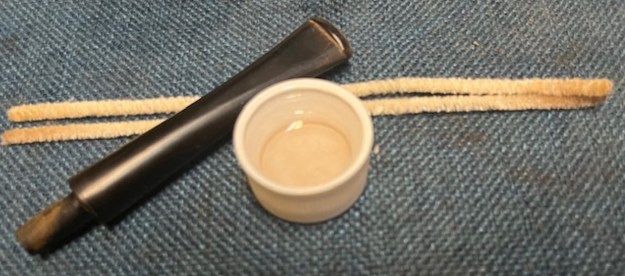
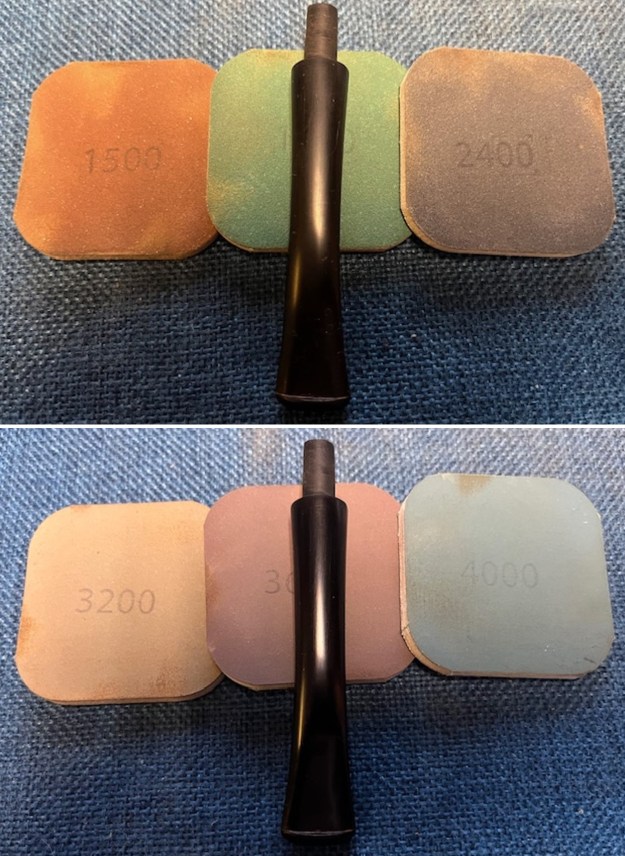
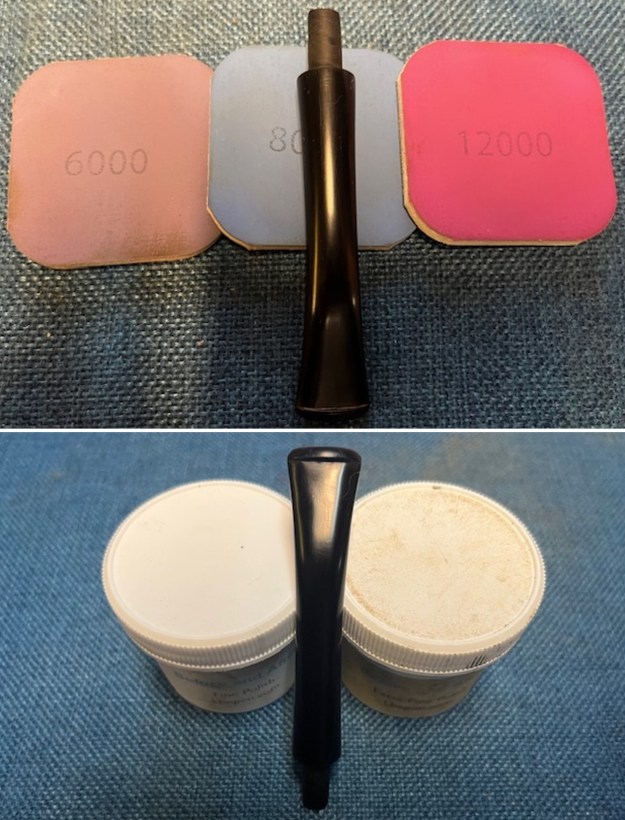
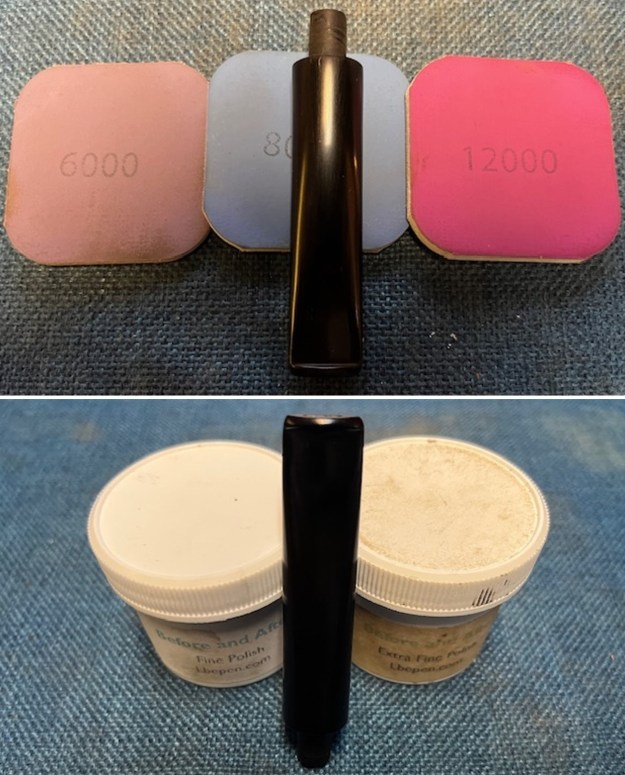
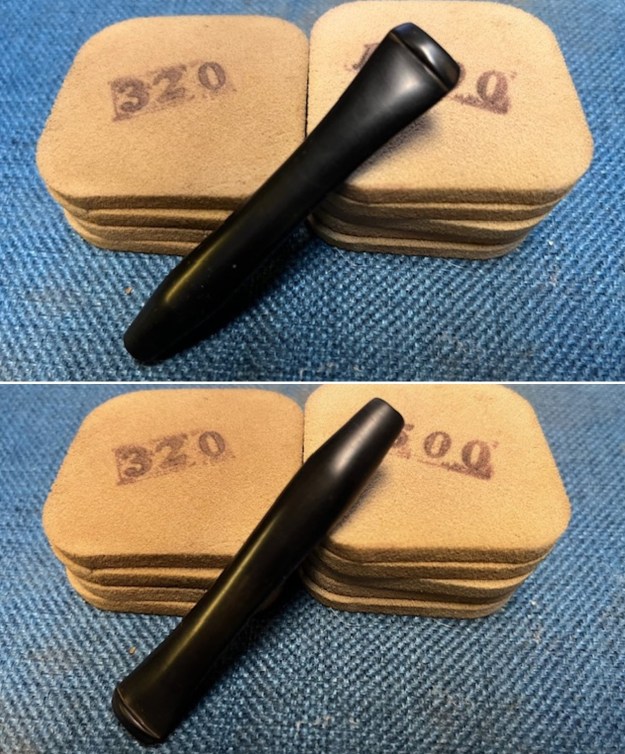 I polished the stem with micromesh sanding pads – dry sanding with 1500-12000 grit sanding pads. I wiped it down after each sanding pad with Obsidian Oil. I polished it with Before & After Pipe Stem Polish – both Fine and Extra Fine. I wiped down again with Obsidian Oil and set it aside while I worked on the stem.
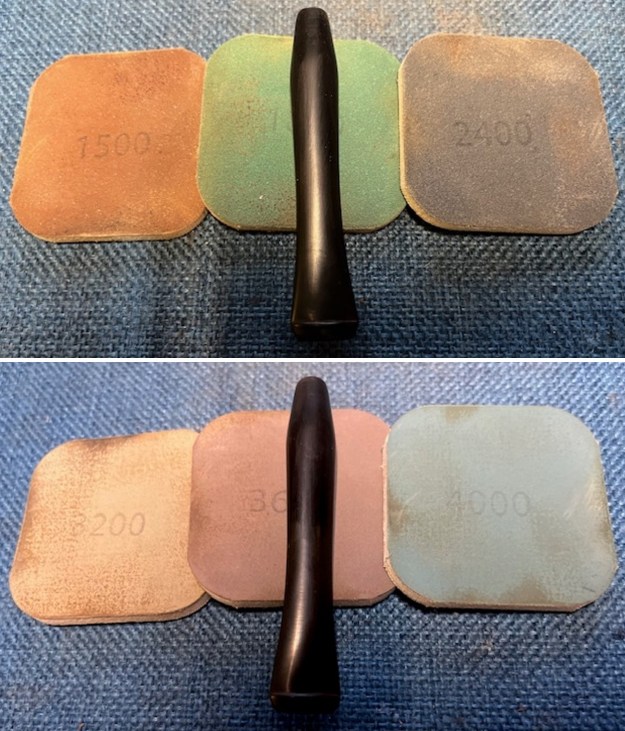
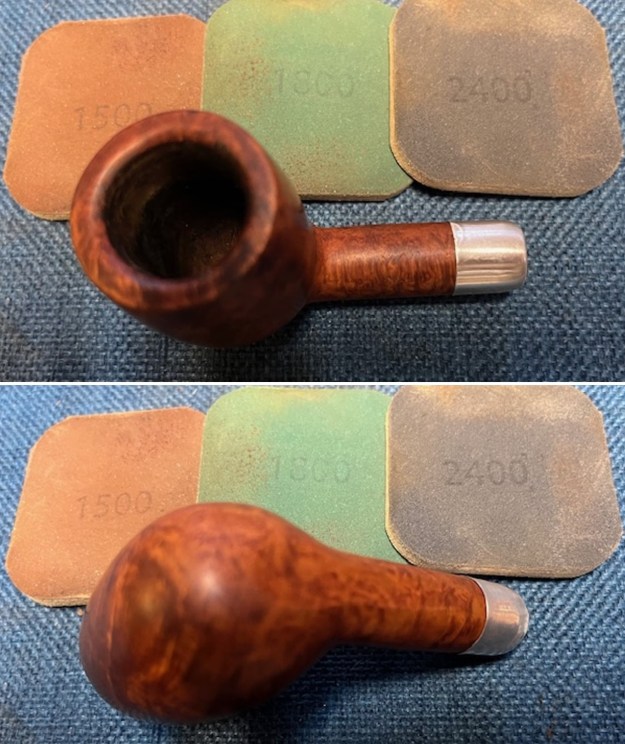
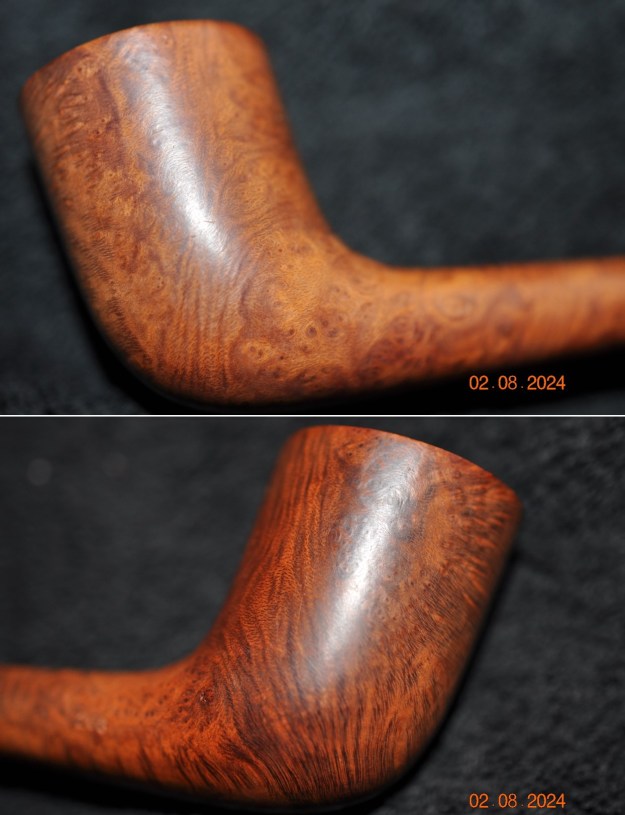
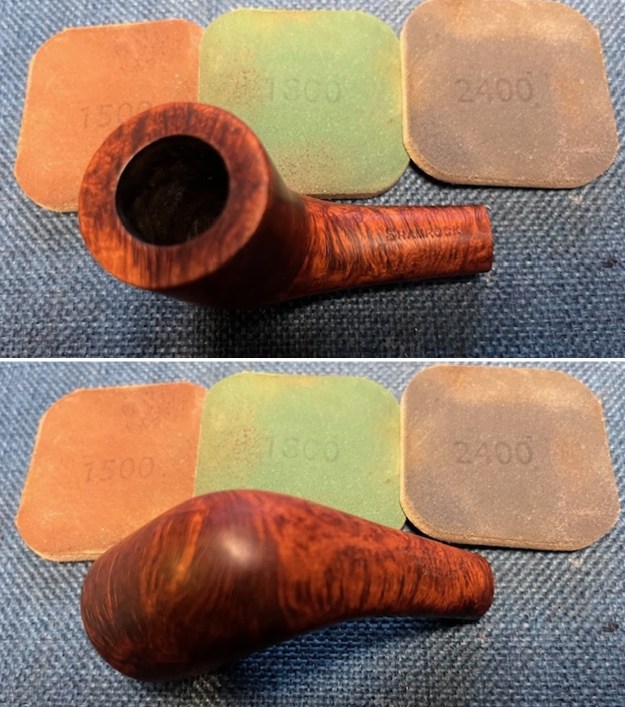
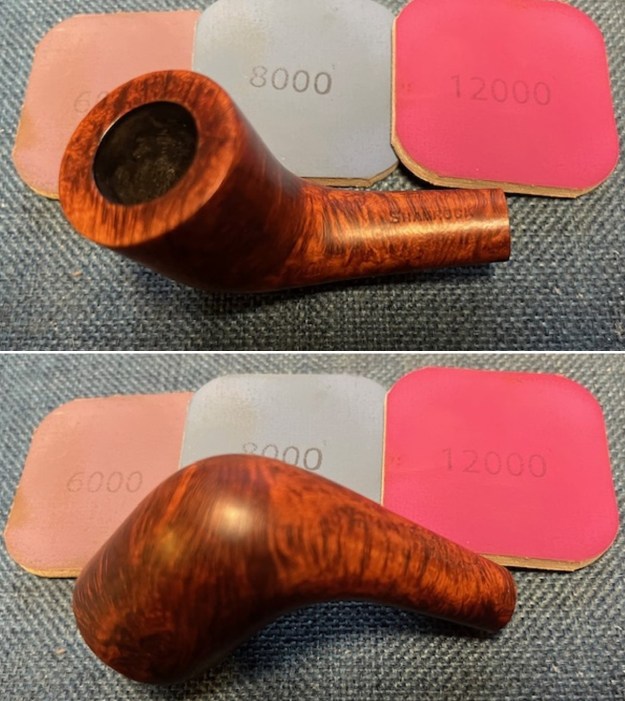
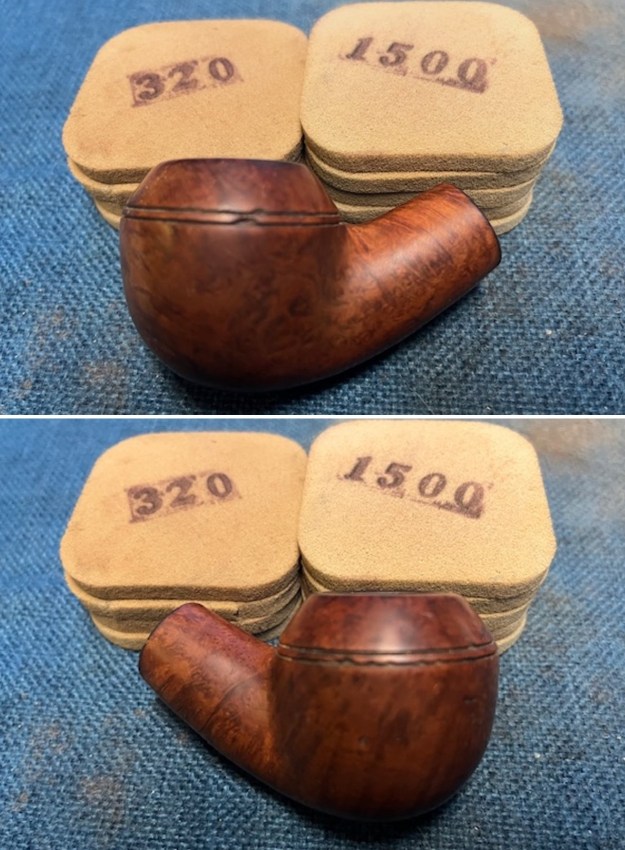
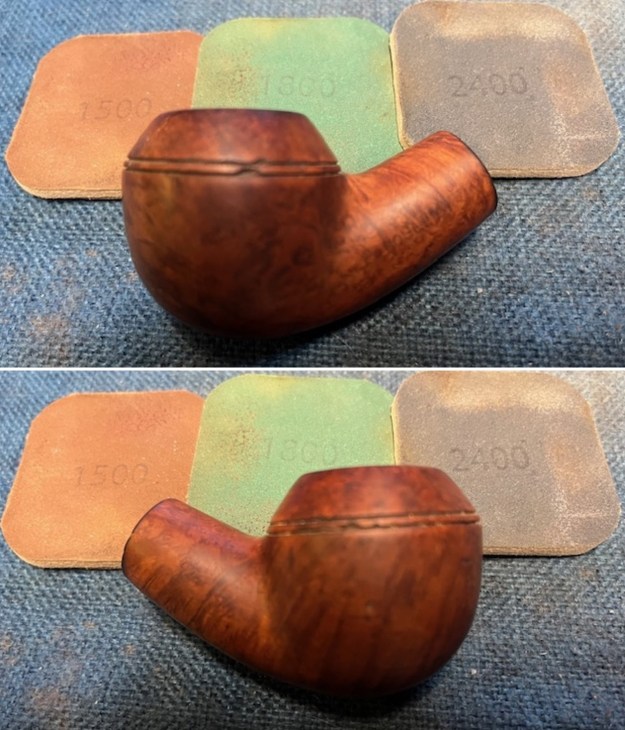
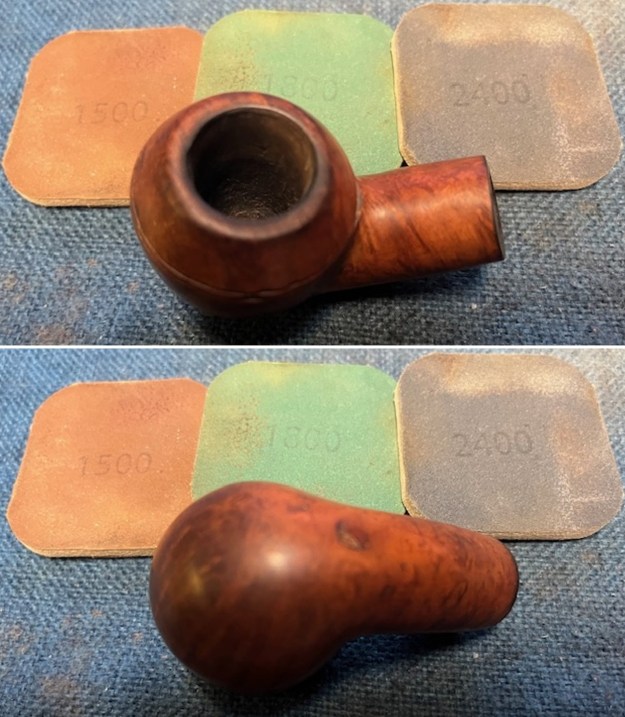
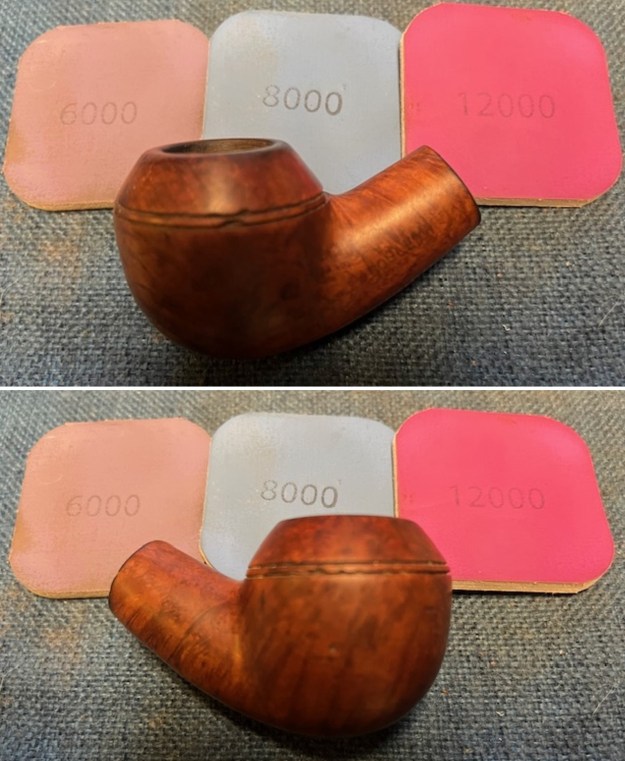
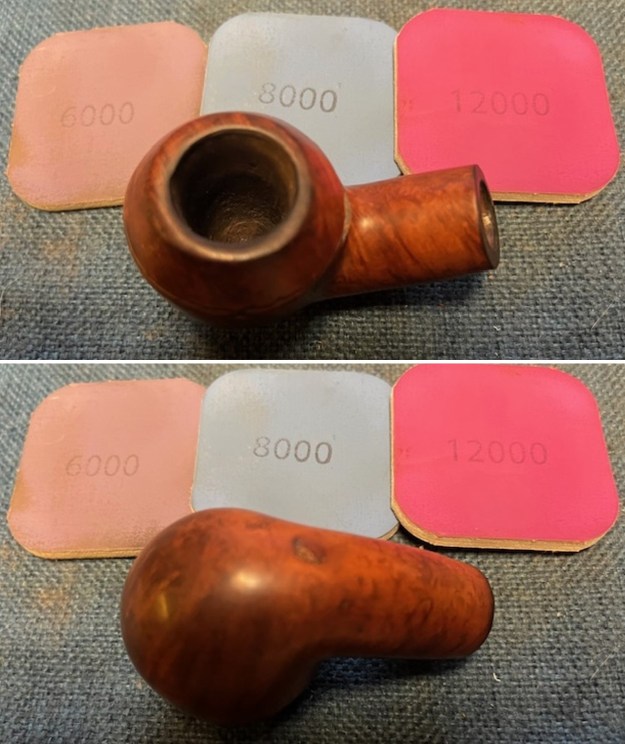
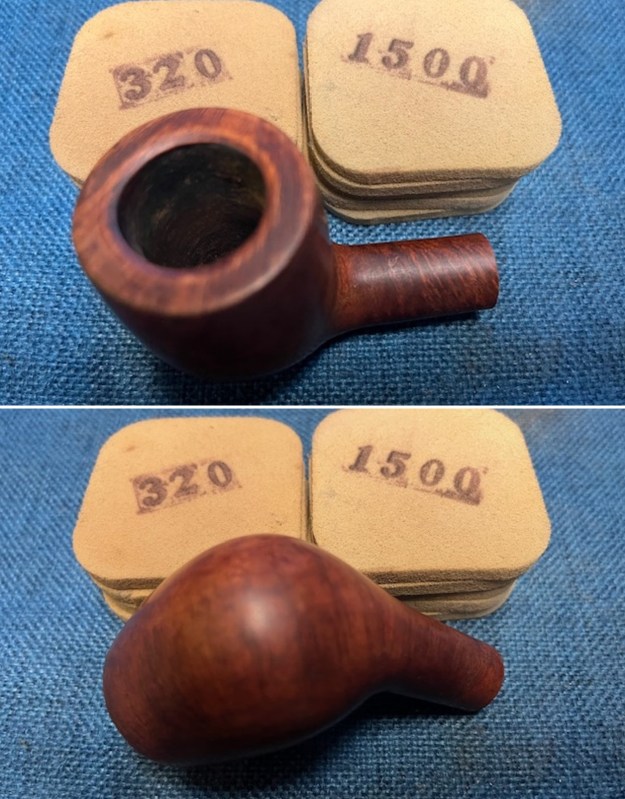
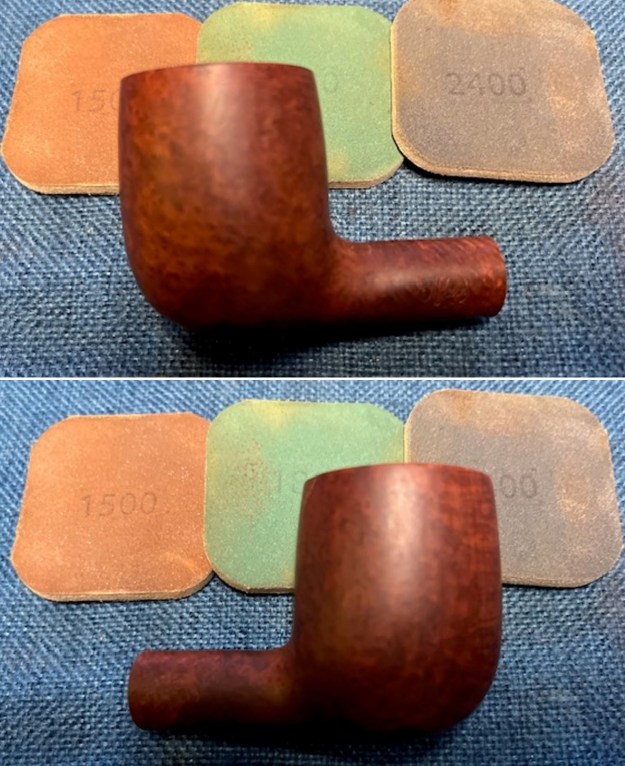
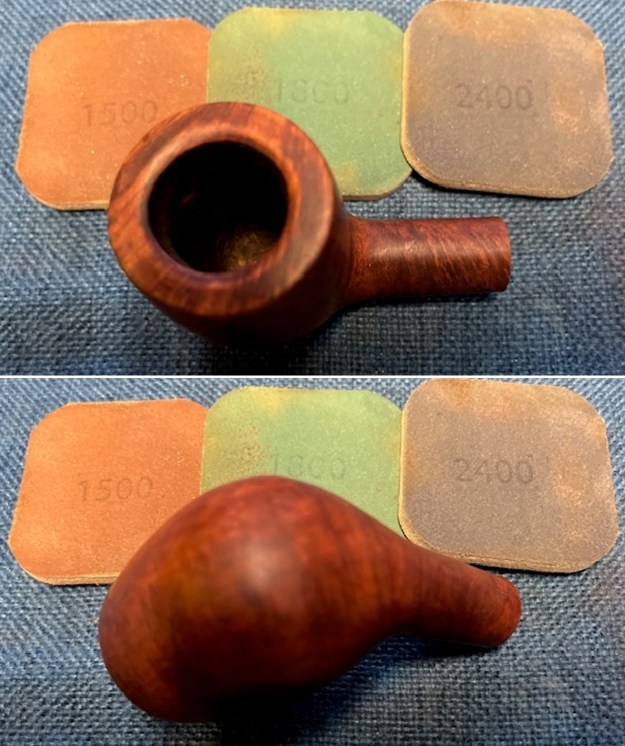
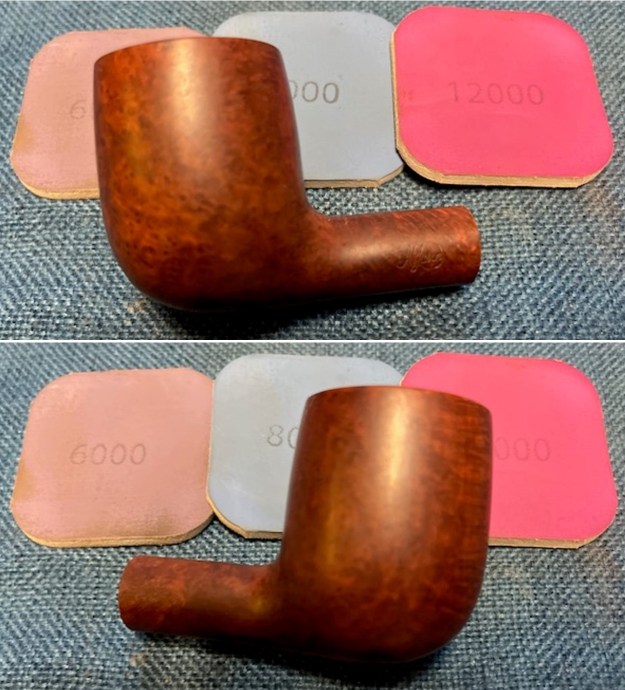
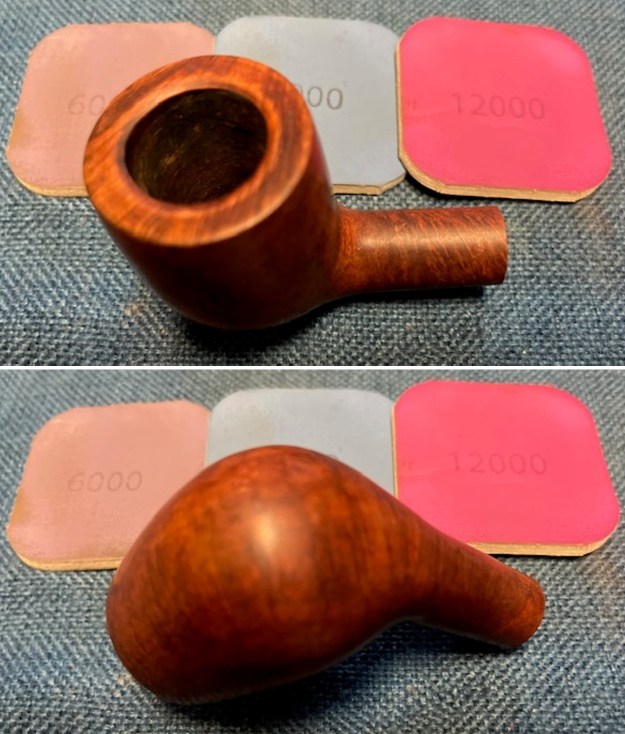
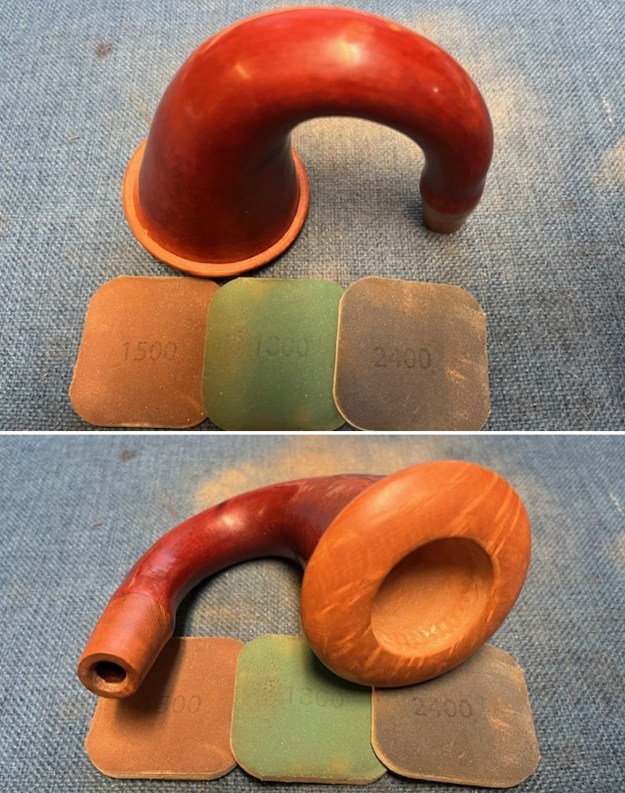
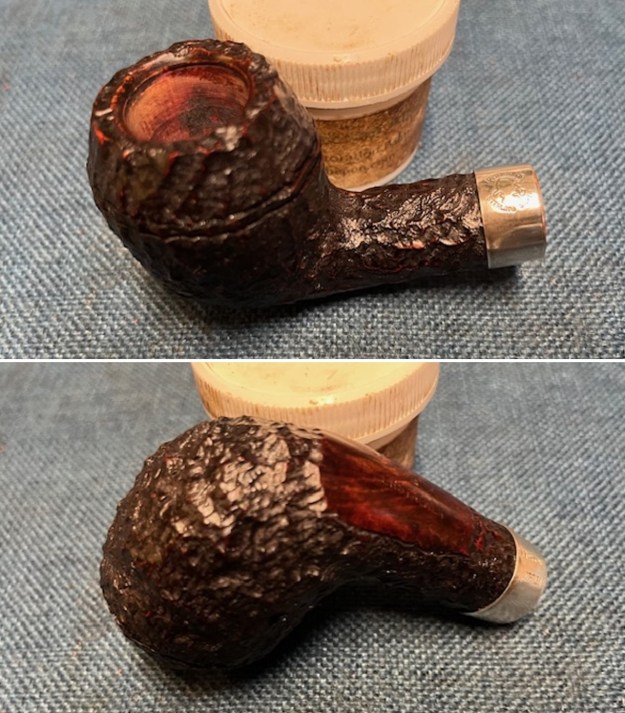
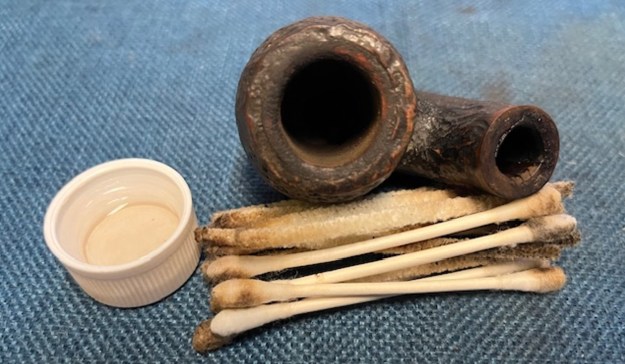
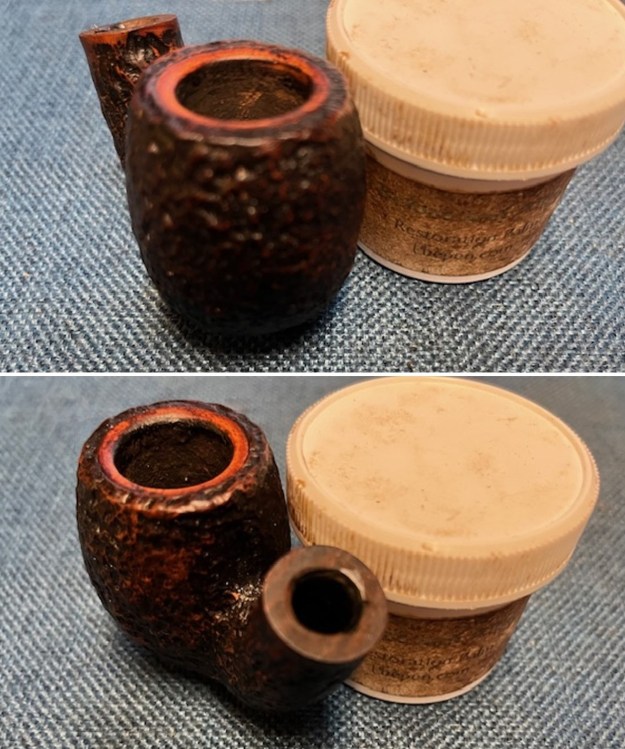
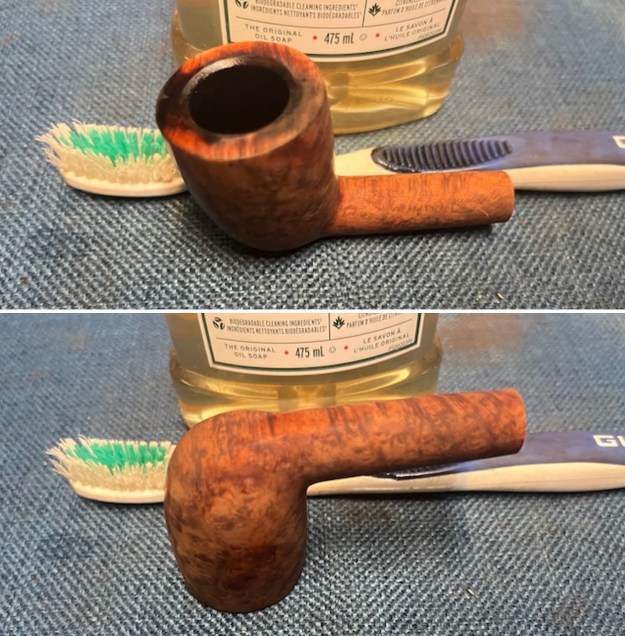
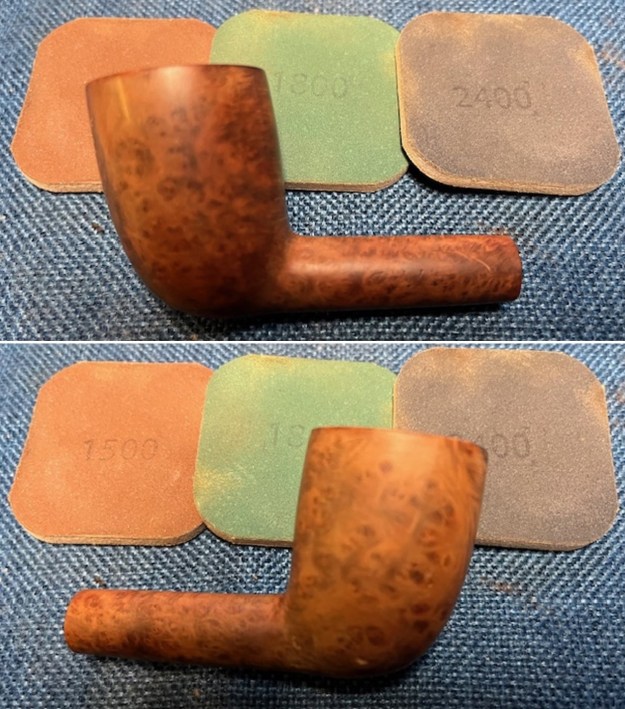
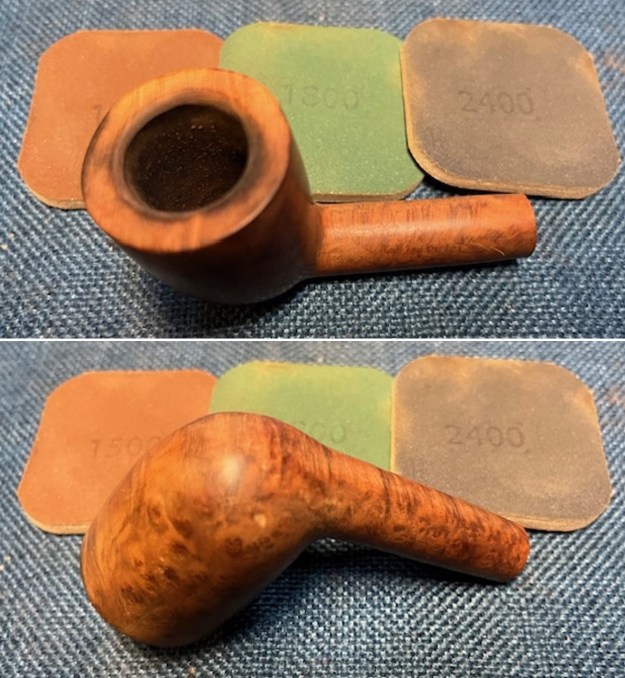
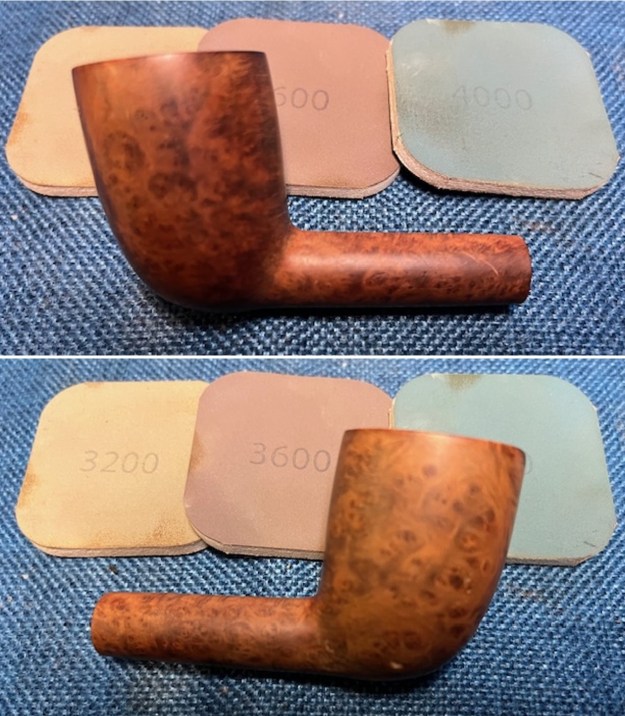
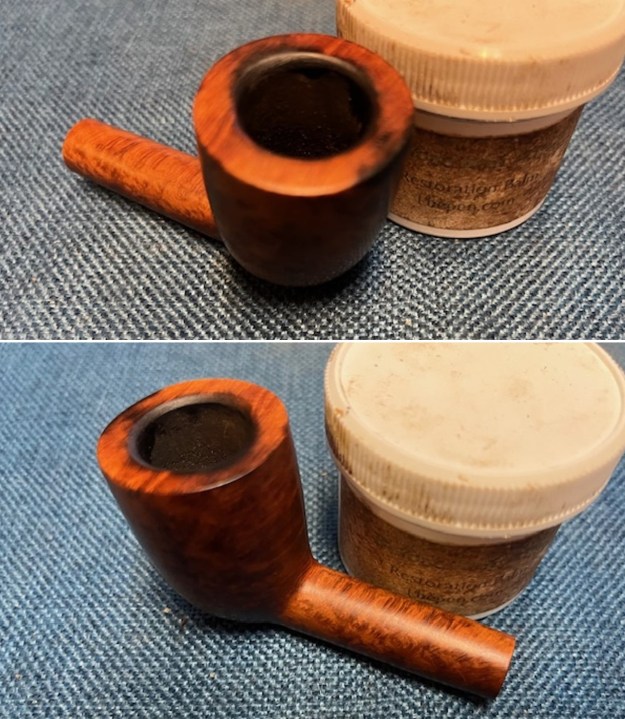
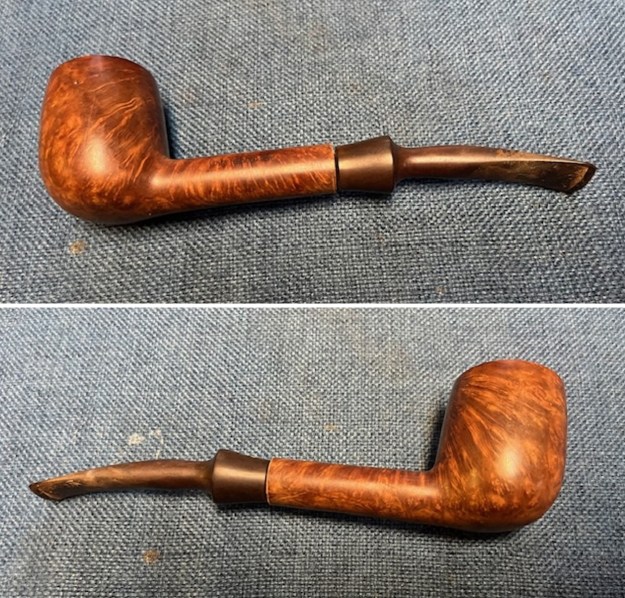
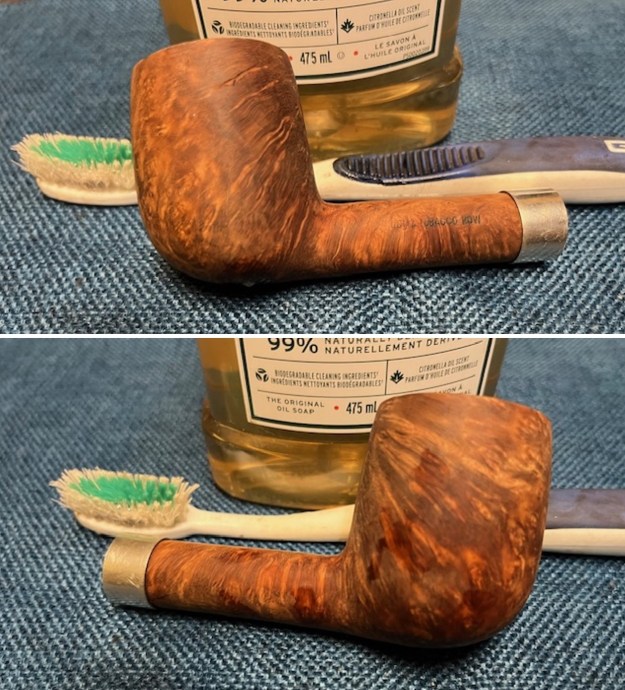
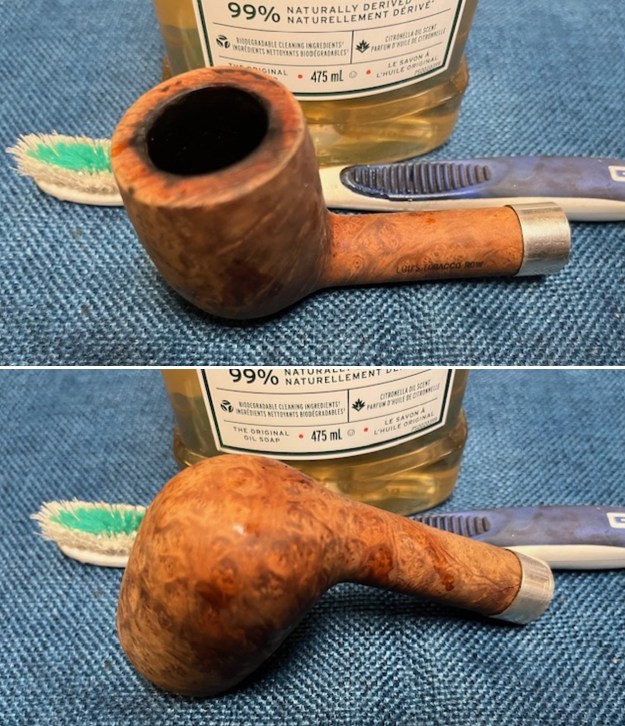
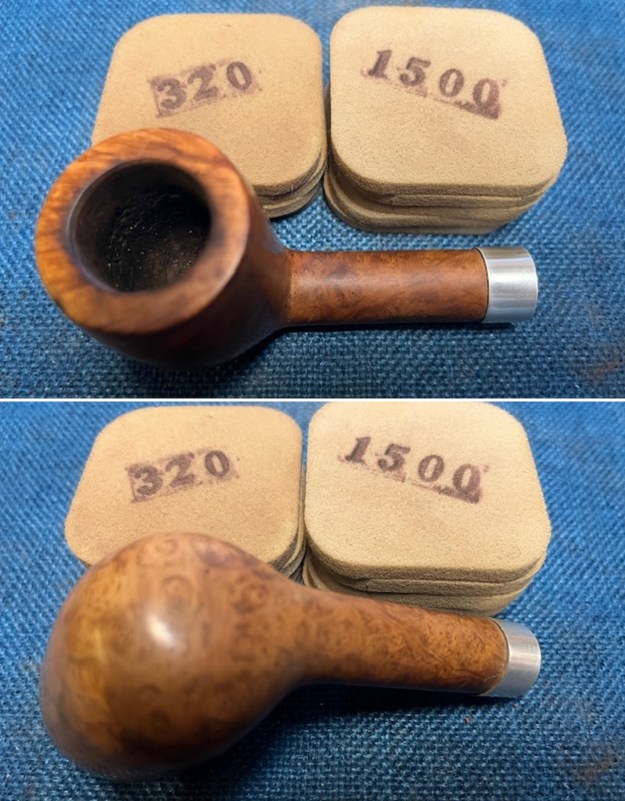
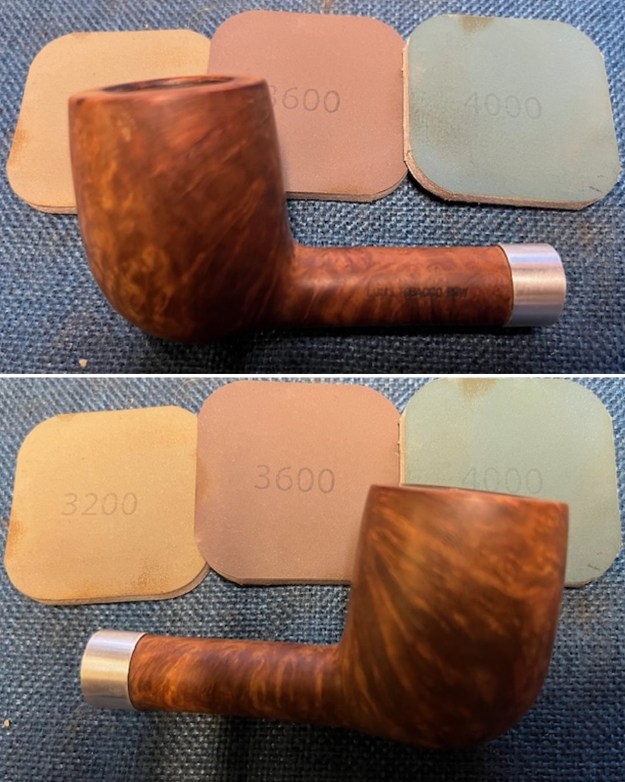
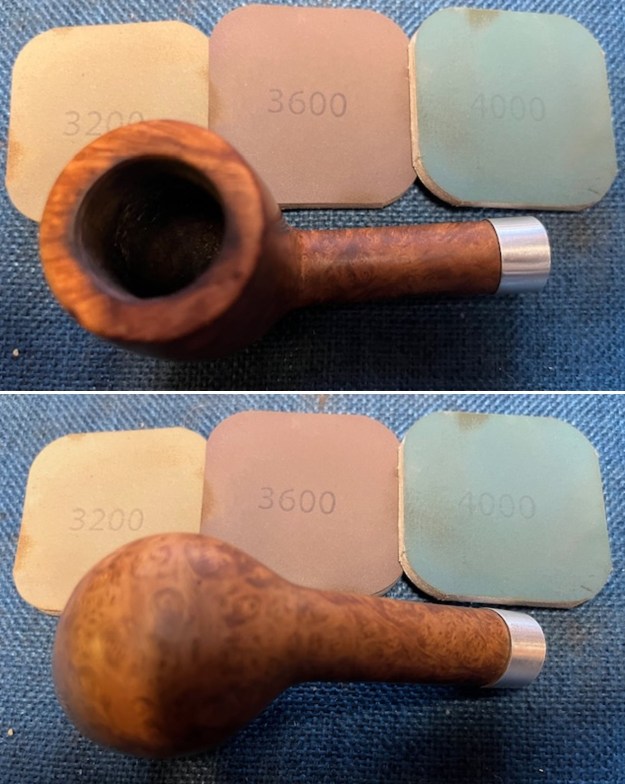
 I sanded the briar with 320-3500 grit sanding pads to remove the scratching and nicks in the rim edge and the side of the bowl. I wiped the bowl down with a damp cloth after each sanding pad to remove the sanding debris. It is starting to look very good at the end of the process.
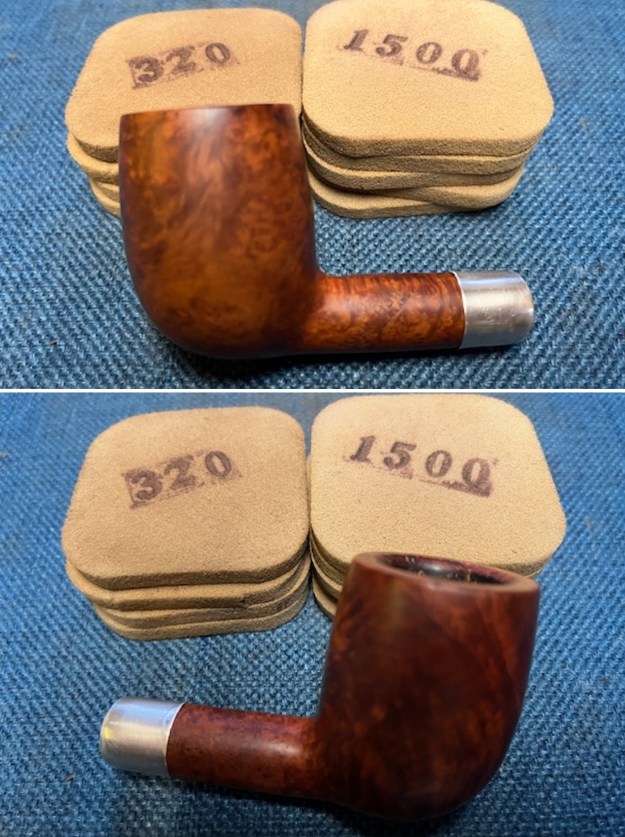
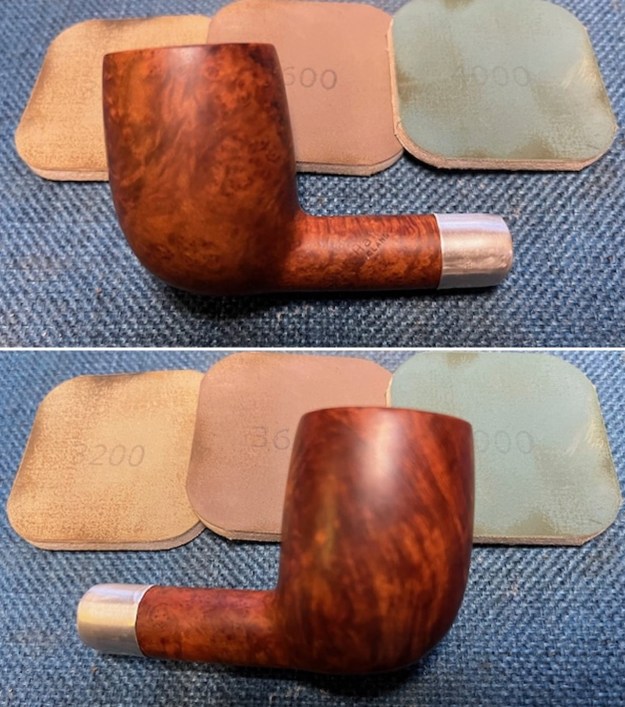
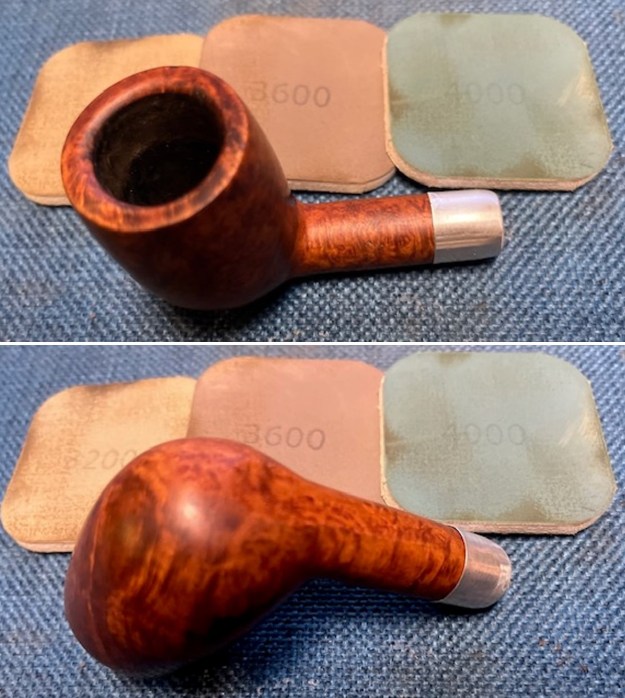
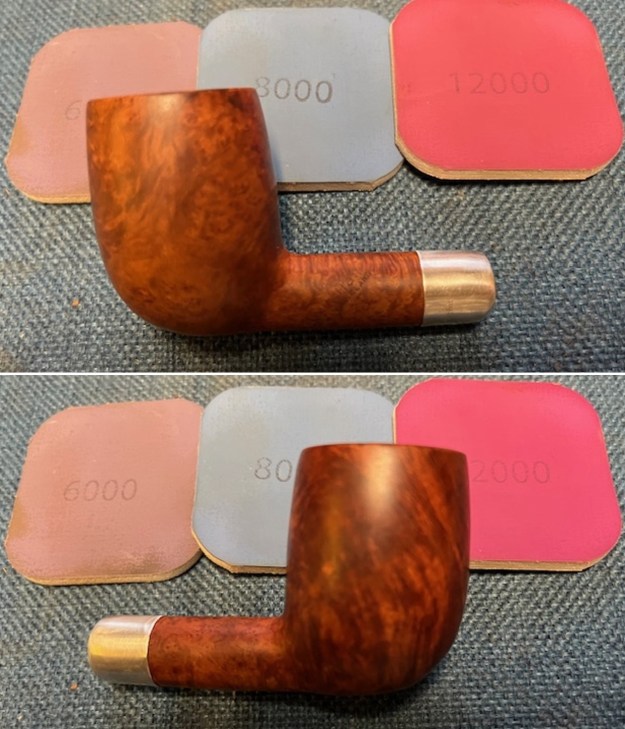
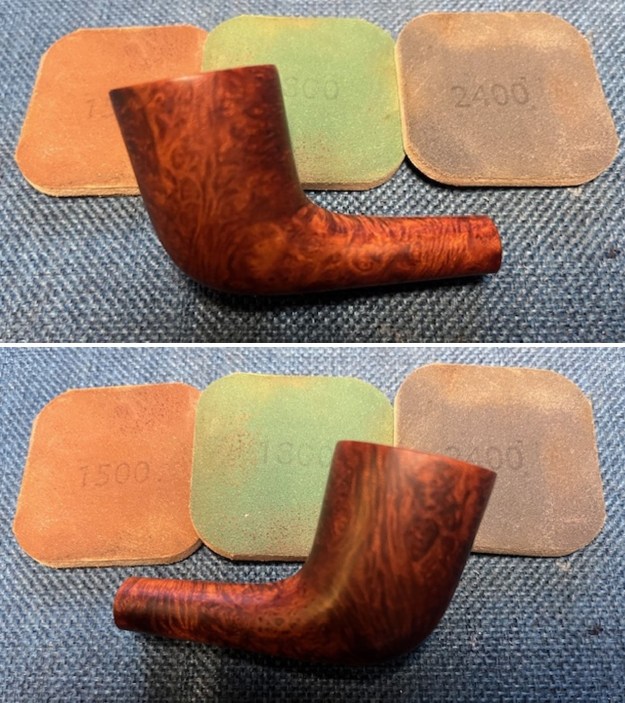
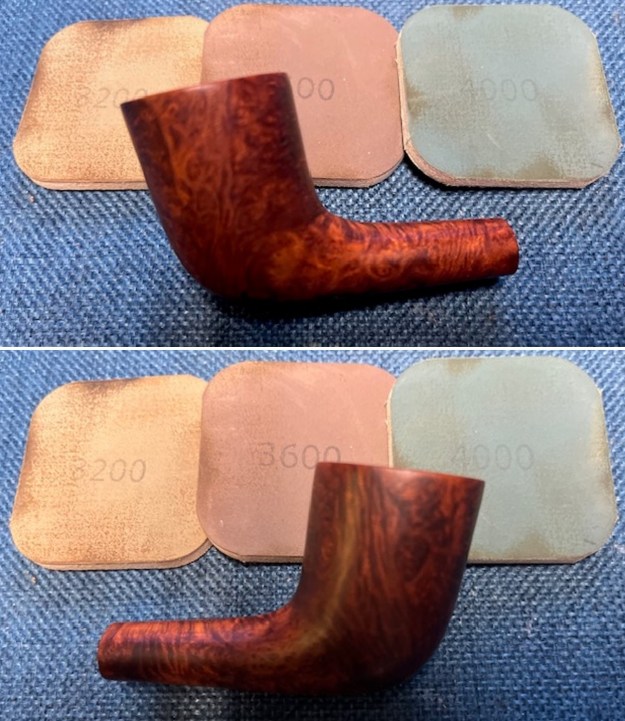
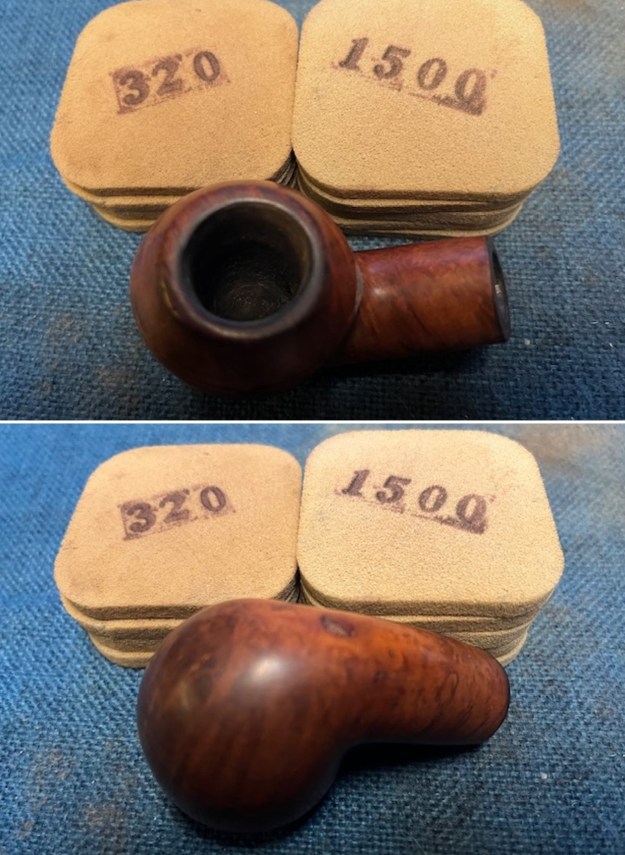
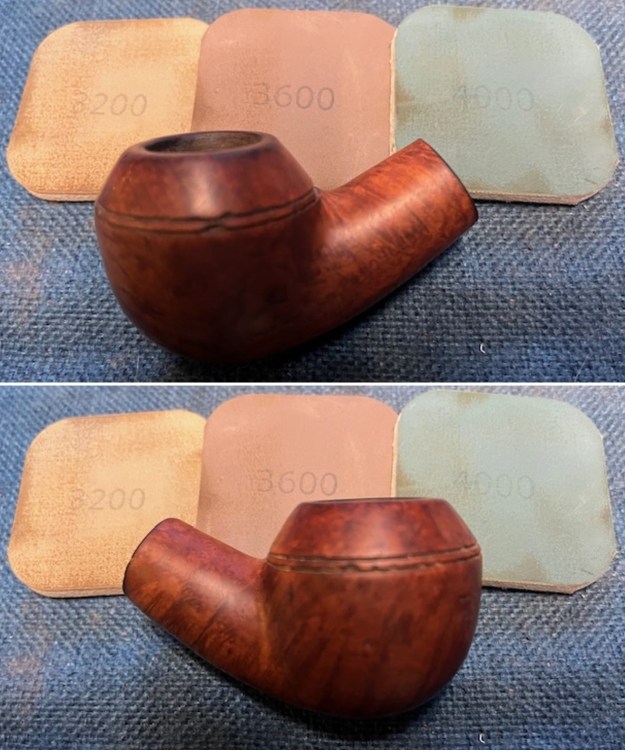
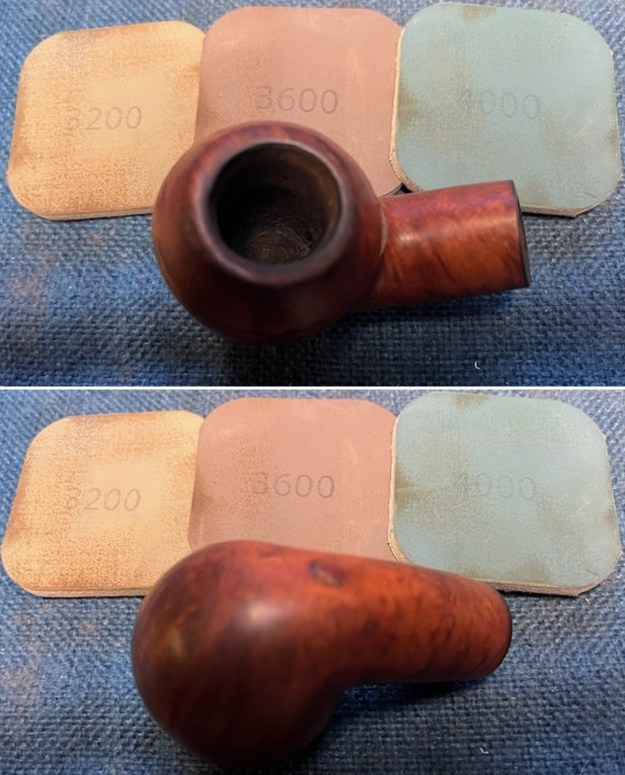
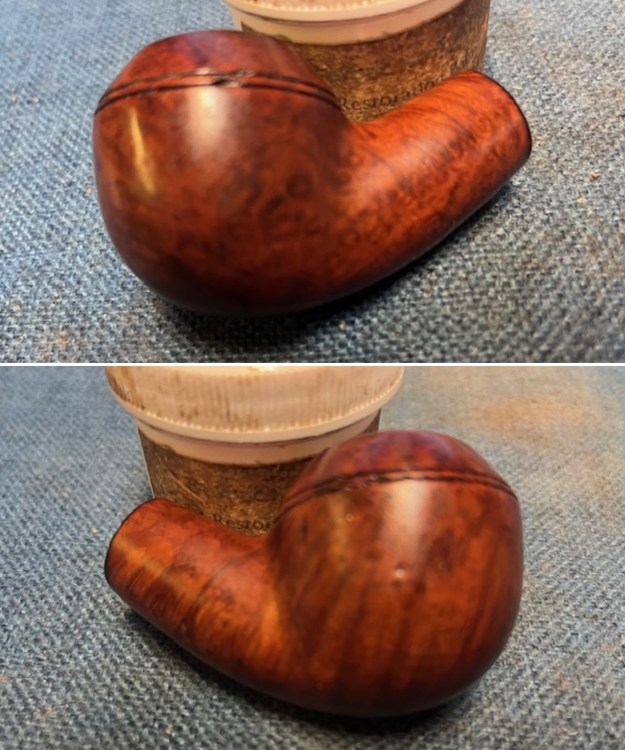
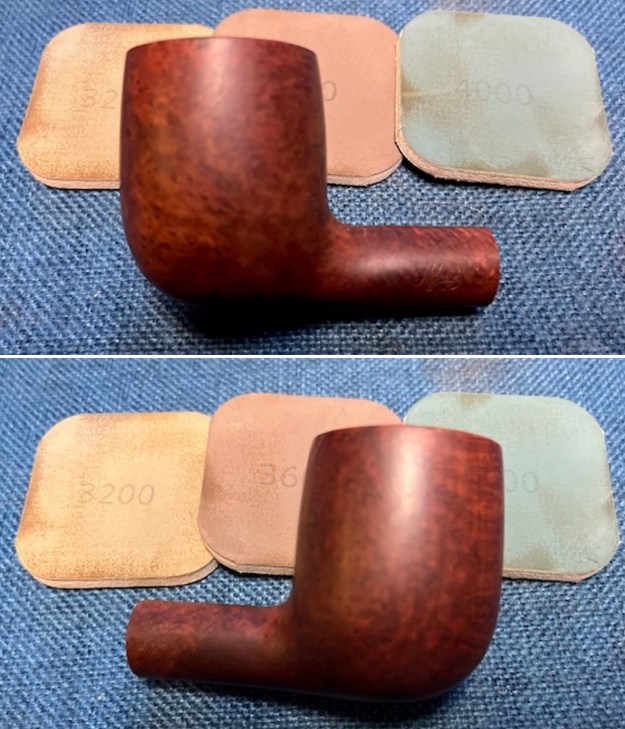
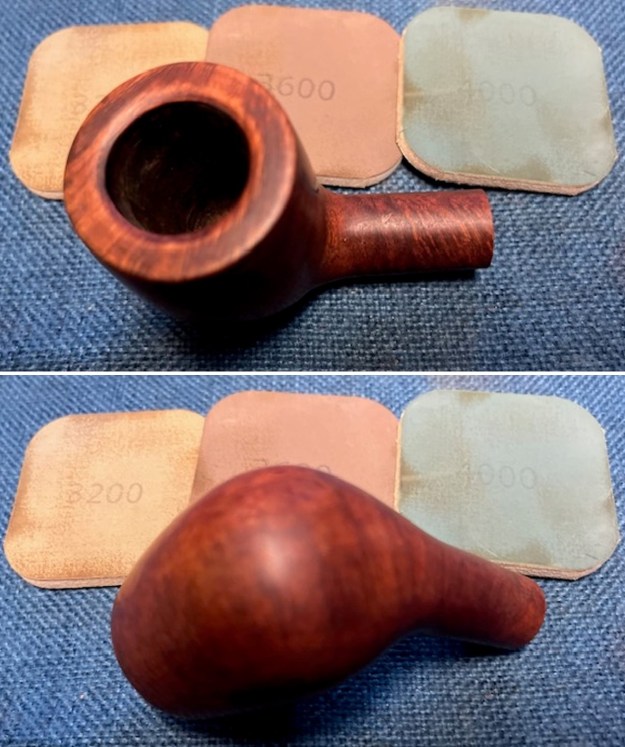
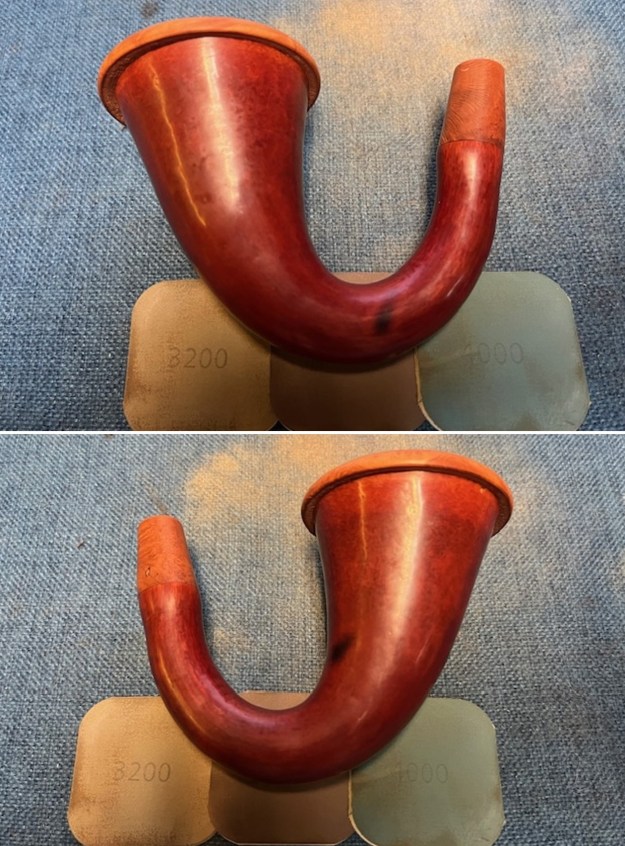
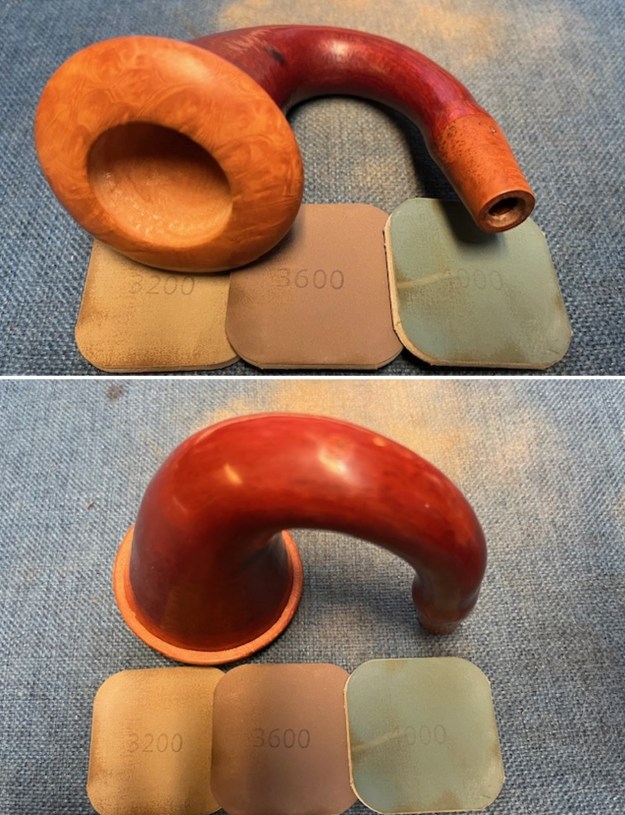
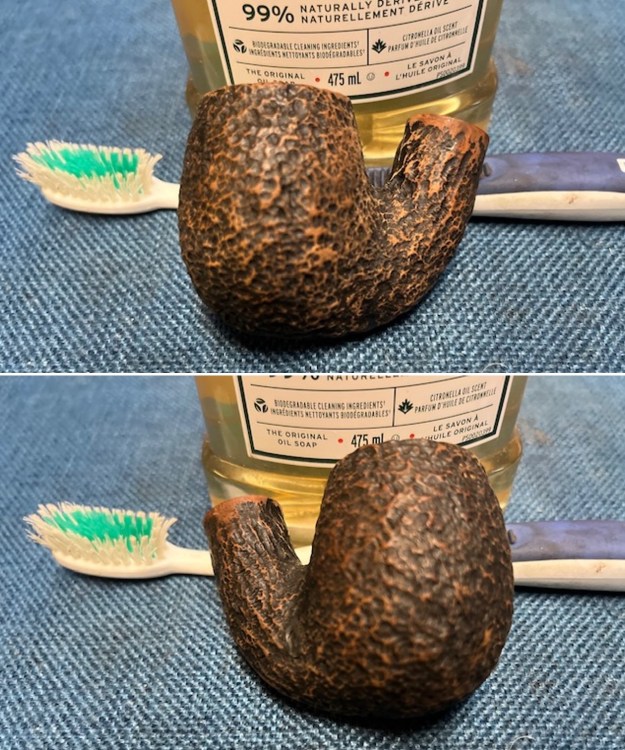
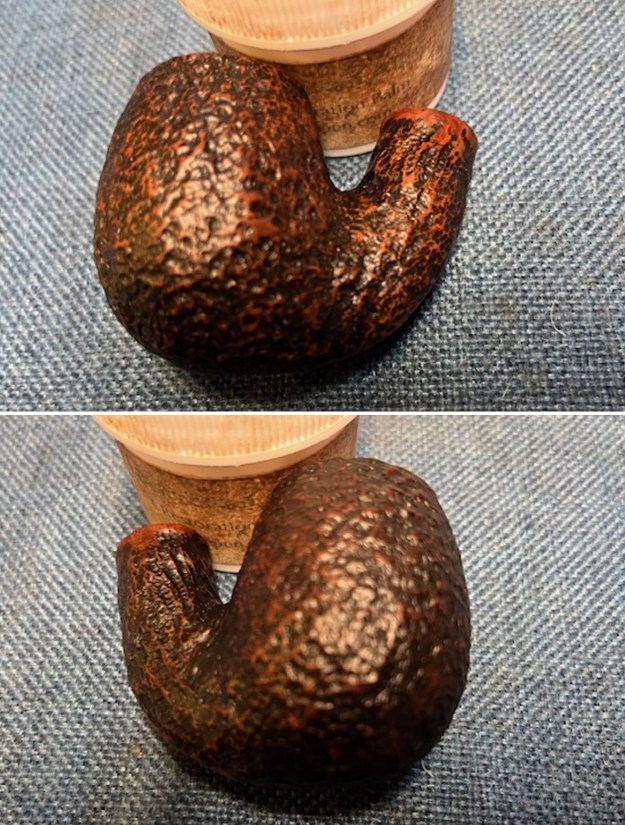
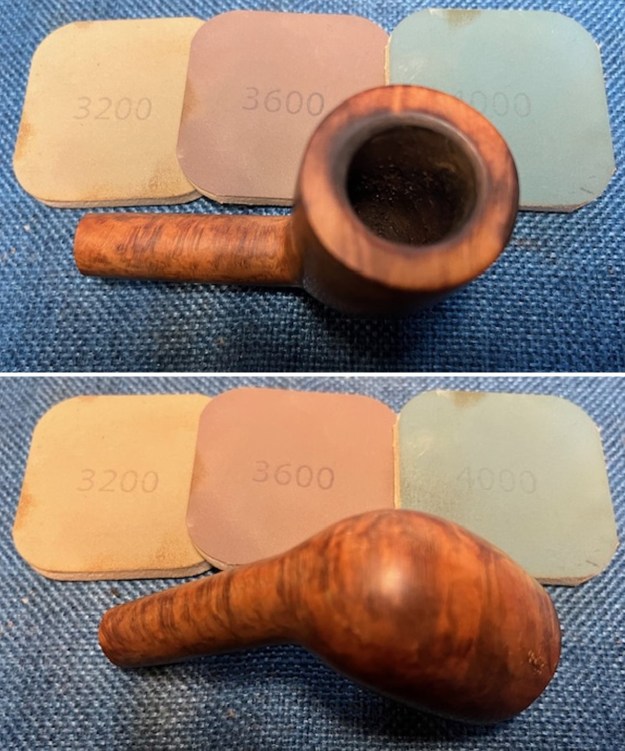
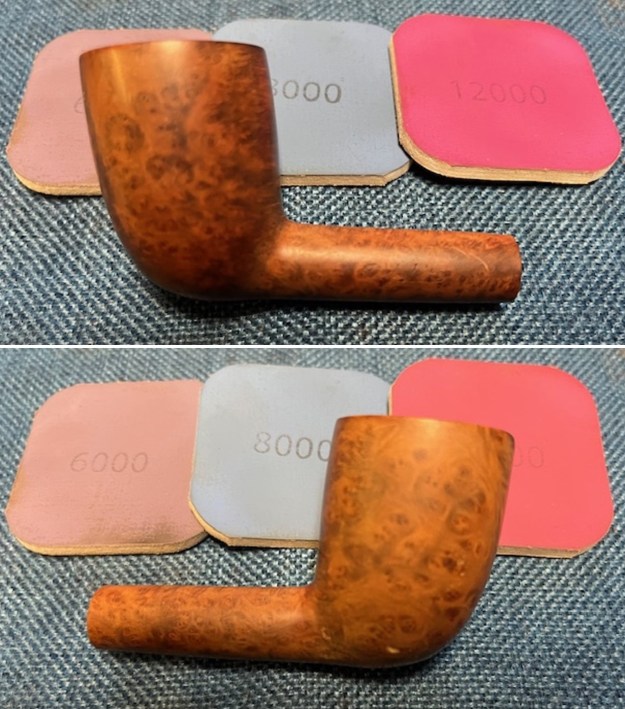
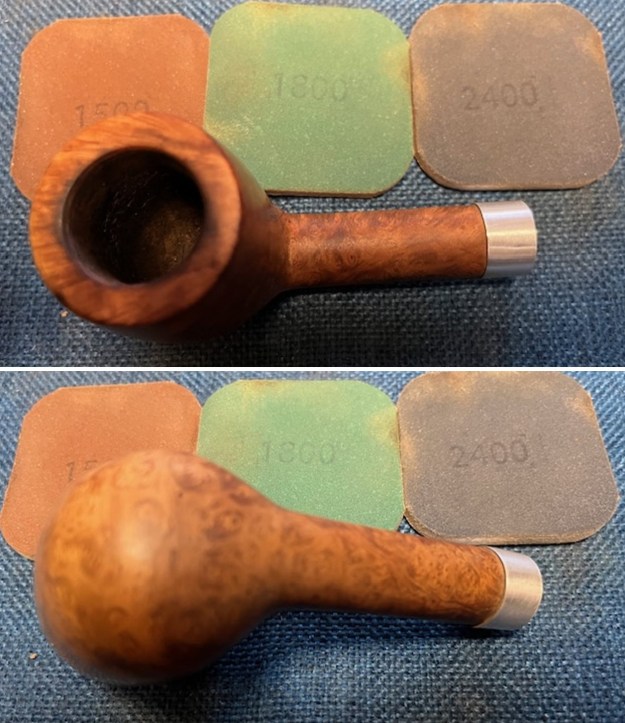
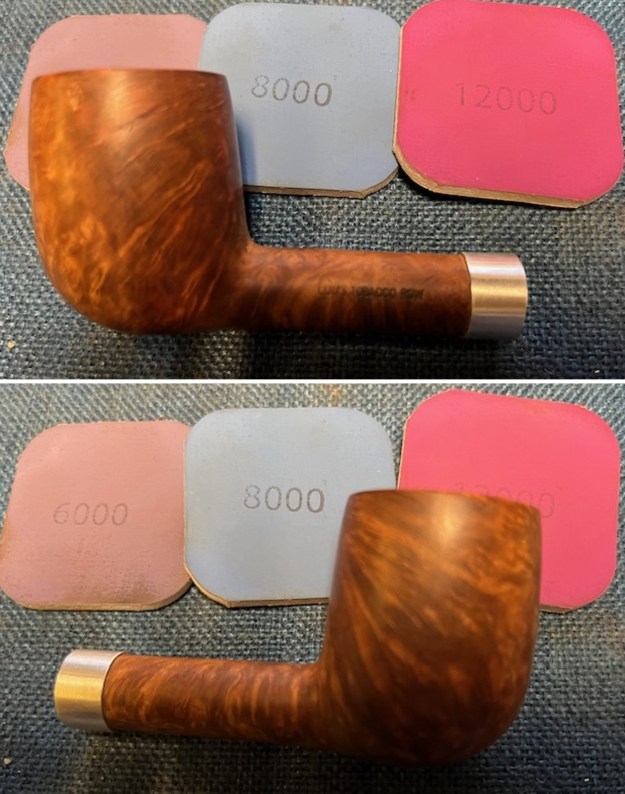
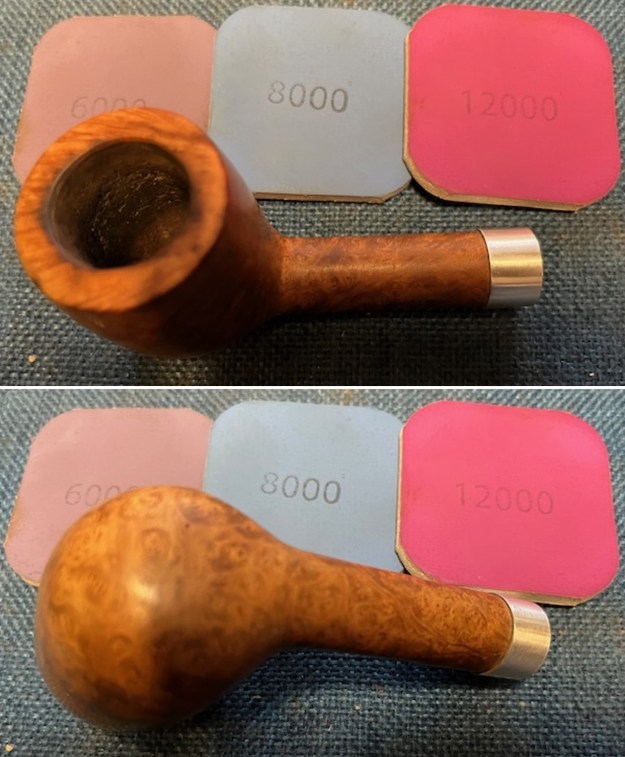
 I polished the briar with micromesh sanding pads – dry sanding with 1500-12000 grit sanding pads. I wiped the bowl down with a damp cloth after each sanding pad. The grain really began to sing.
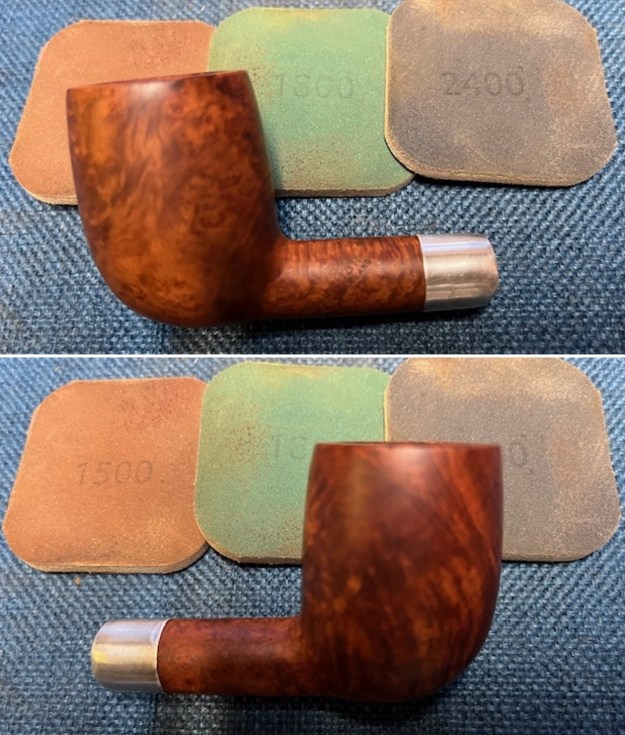
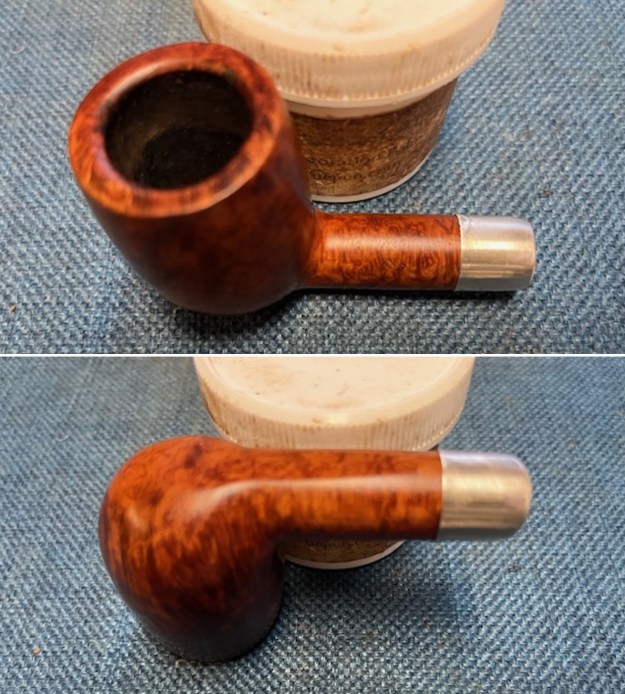
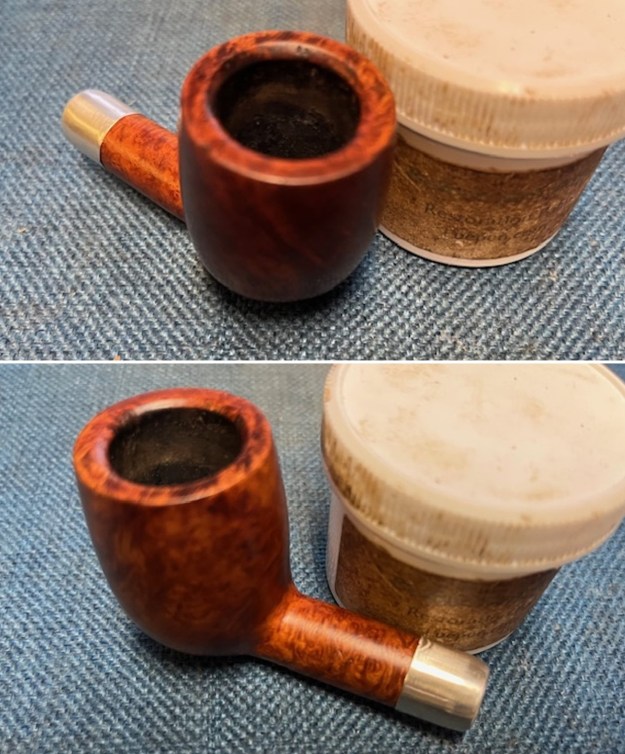
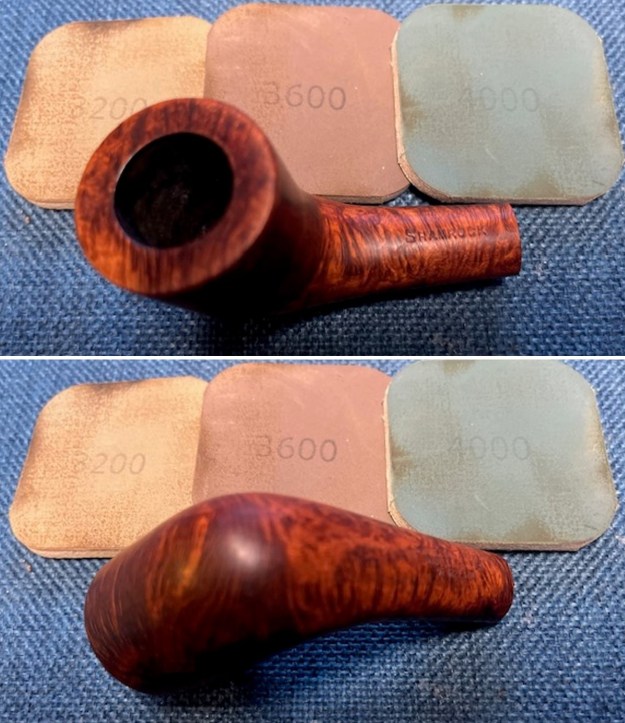
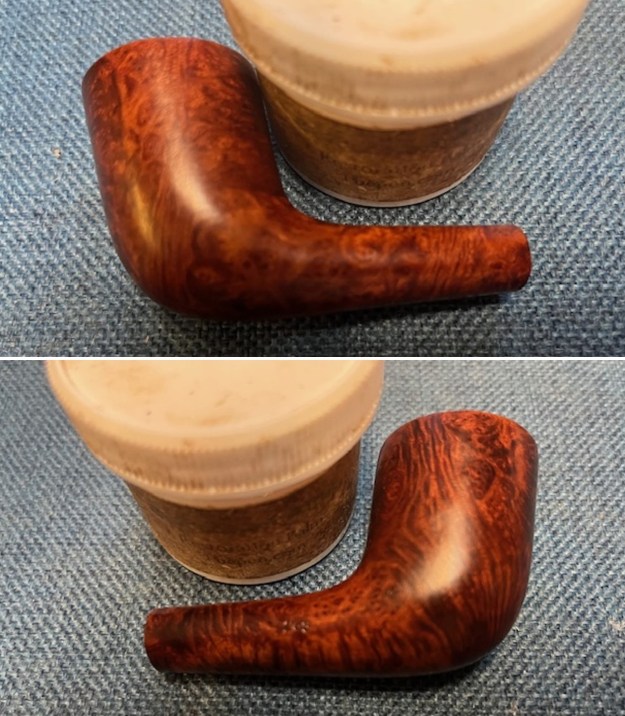
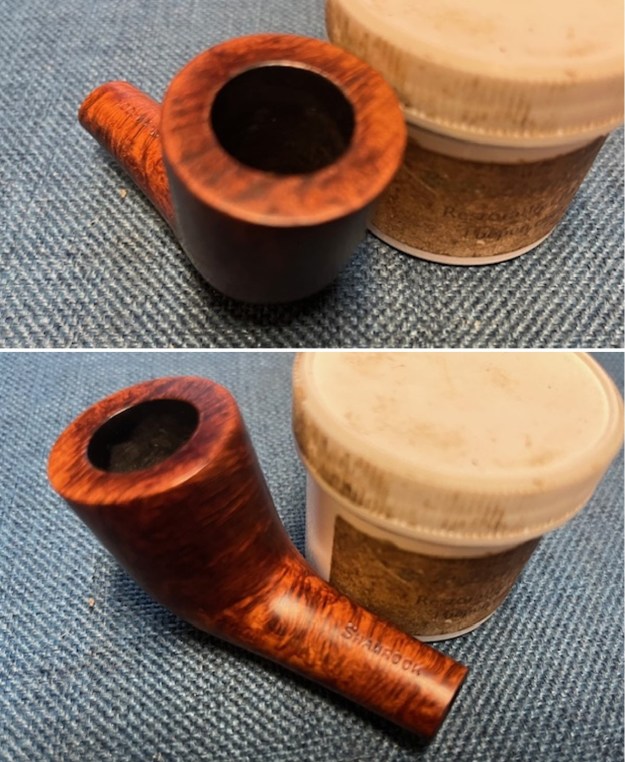
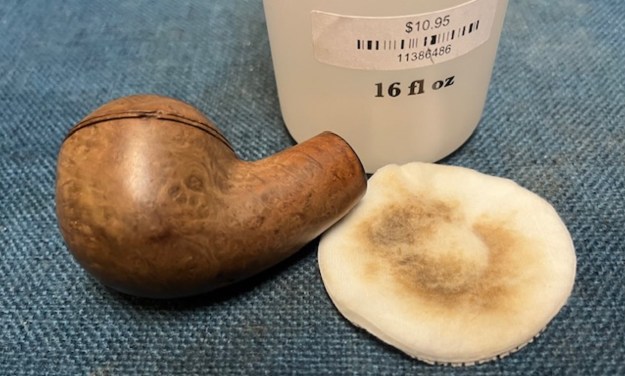
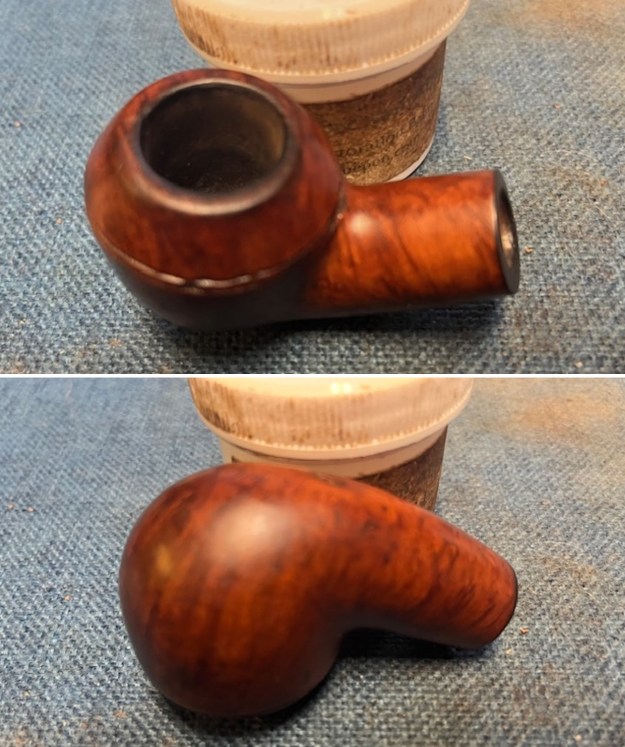
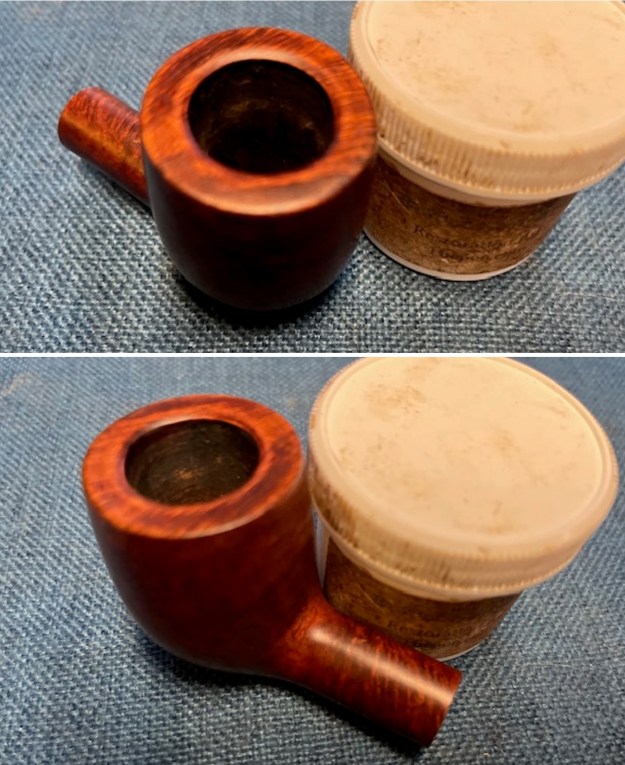
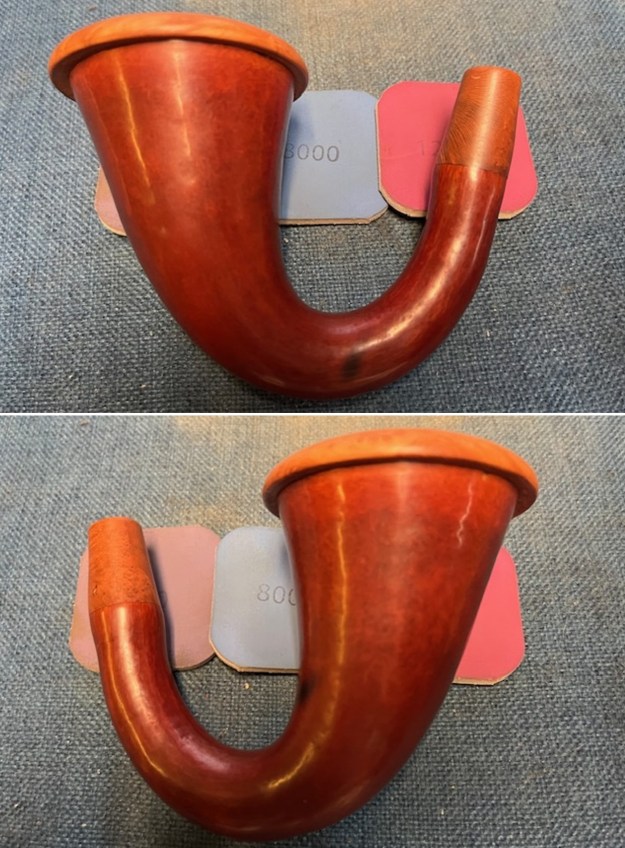
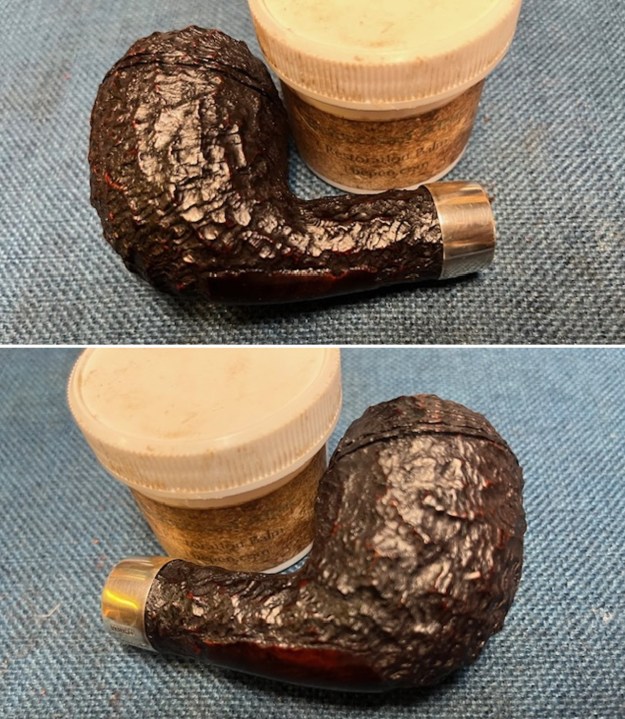
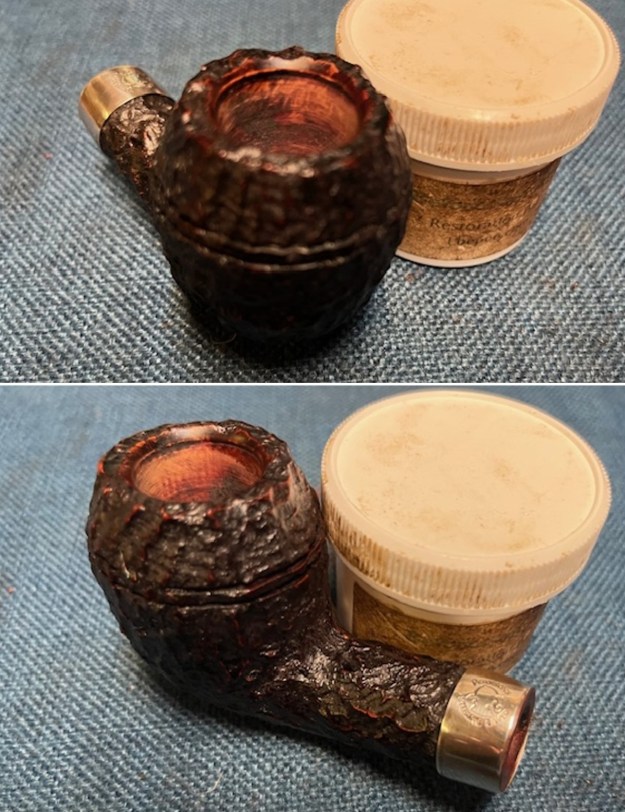
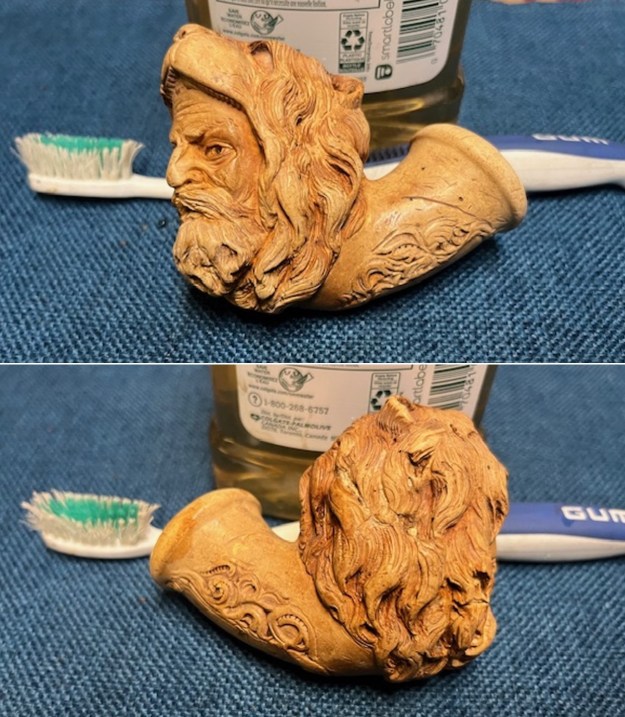
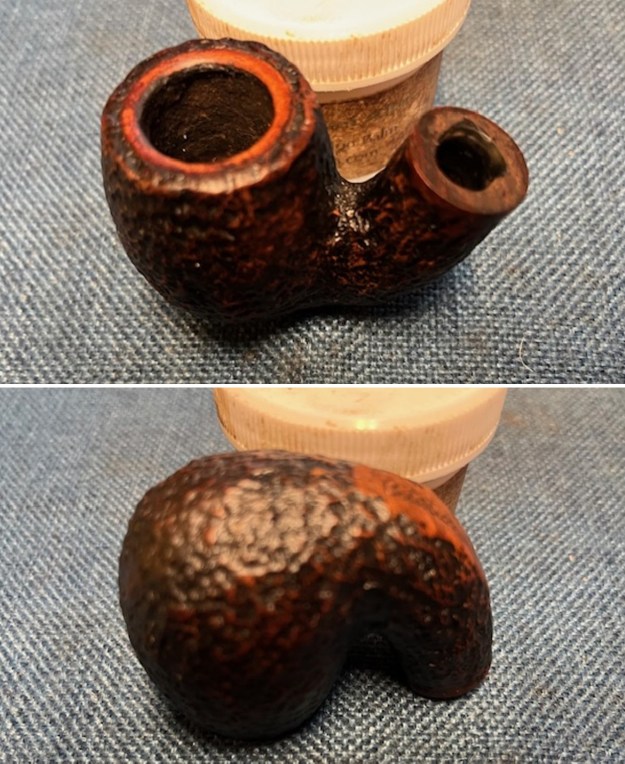
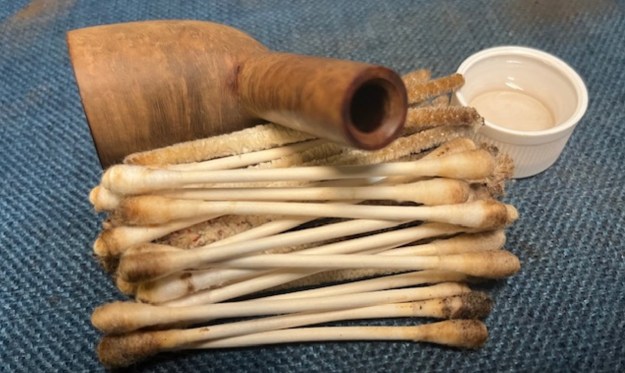
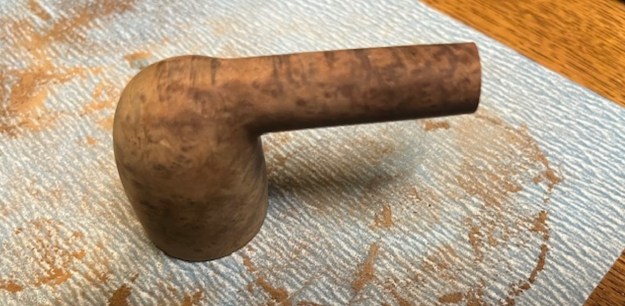
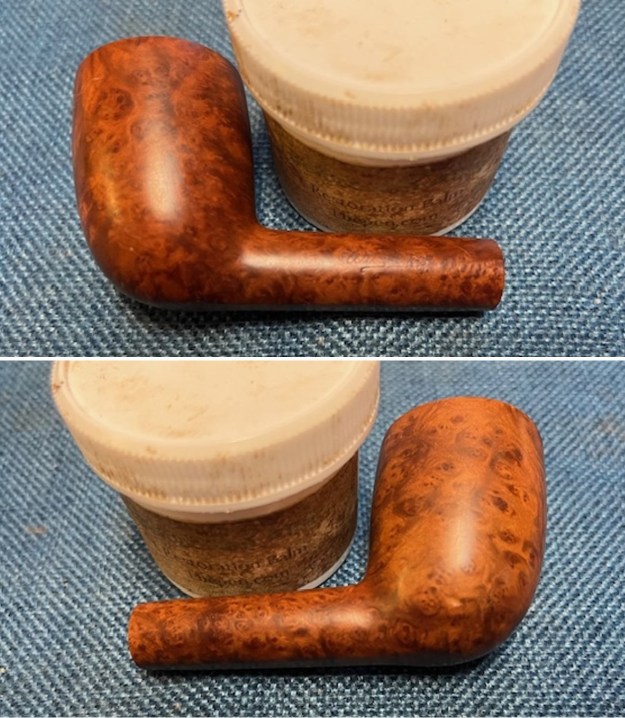
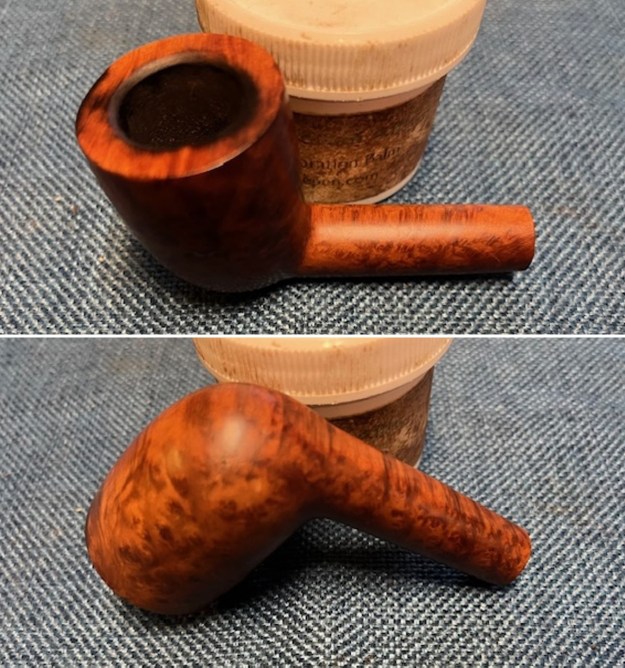
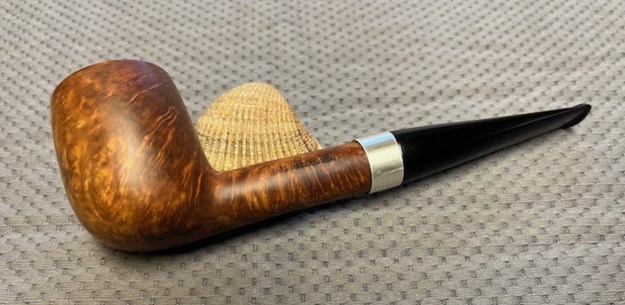
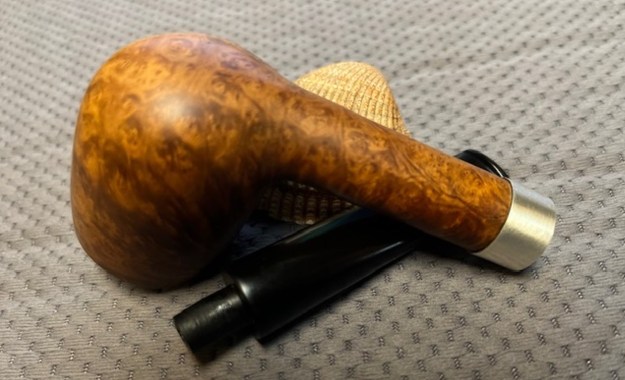
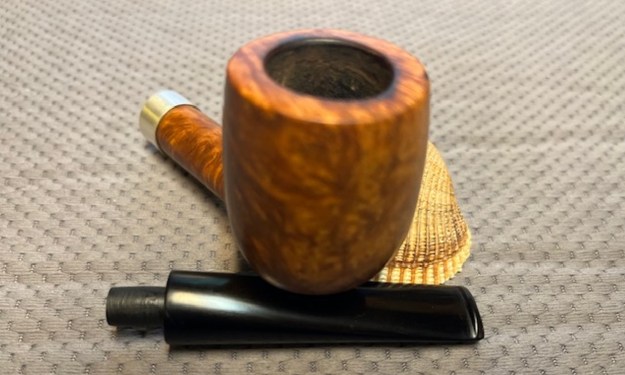
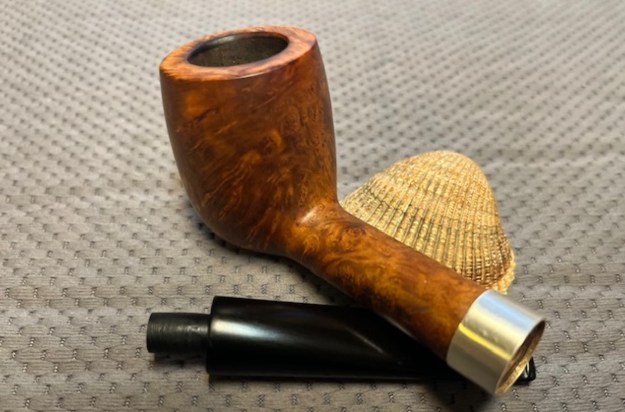
 I worked some Before & After Restoration Balm into the surface of the briar with my fingertips to clean, enliven and protect the briar. I let the balm sit for 15 minutes and then buffed with a cotton cloth to raise the shine. The photos show the bowl at this point in the restoration process.
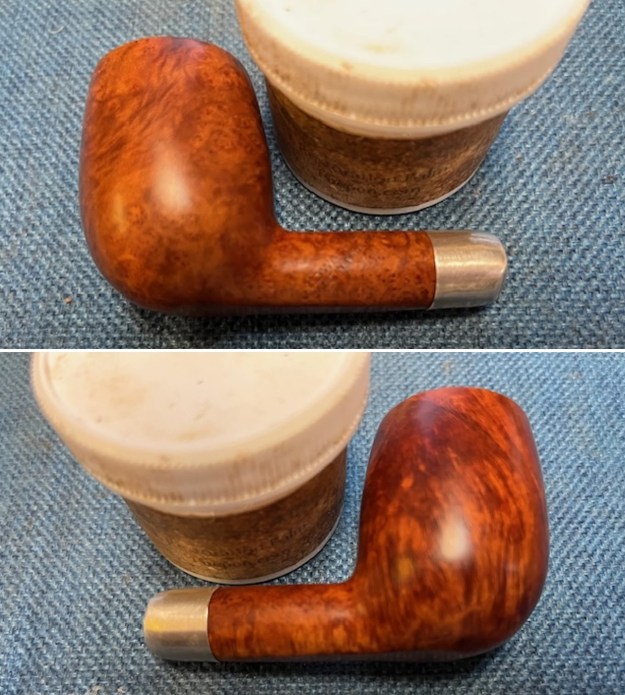
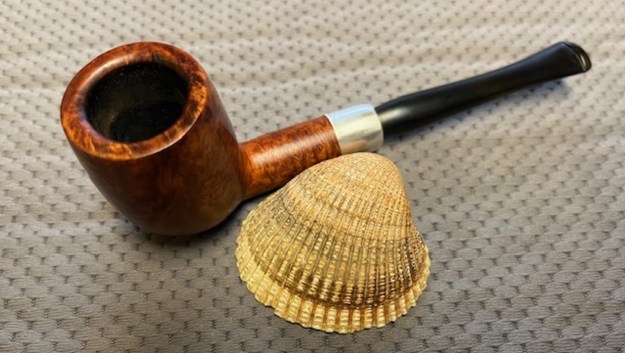
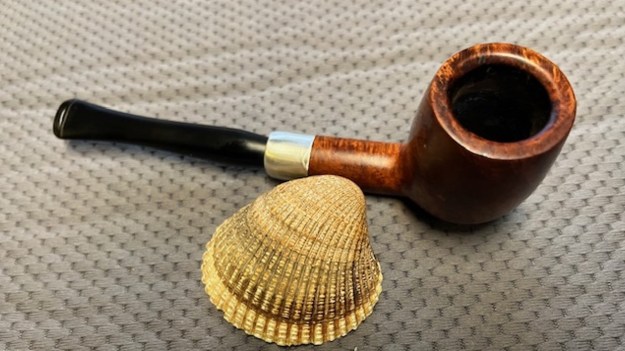
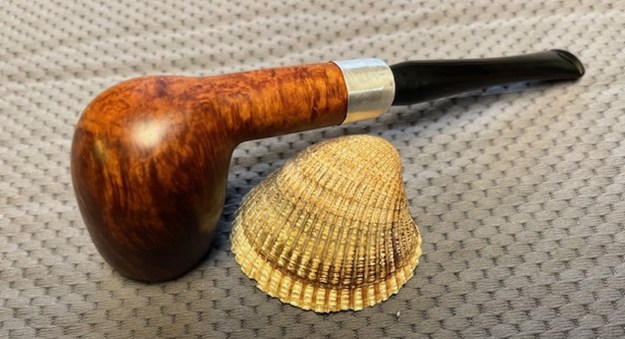
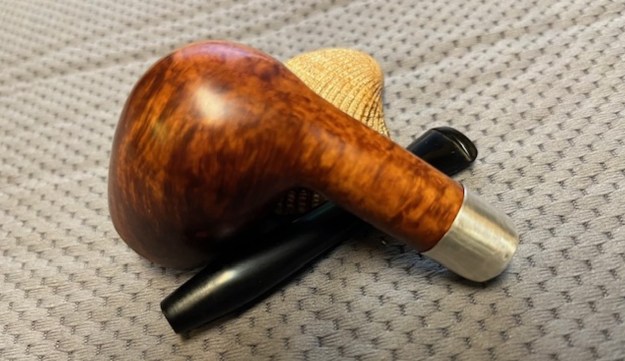
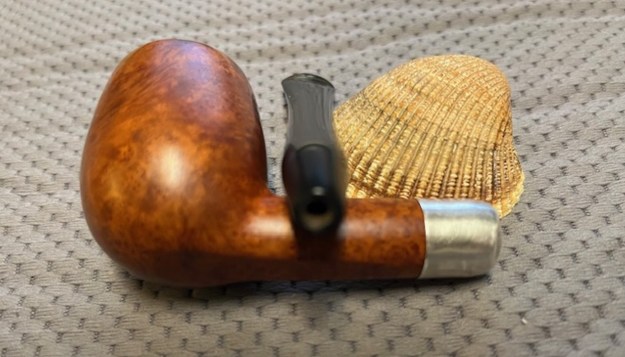
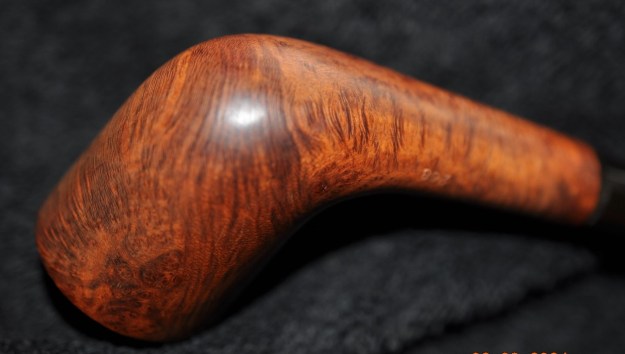
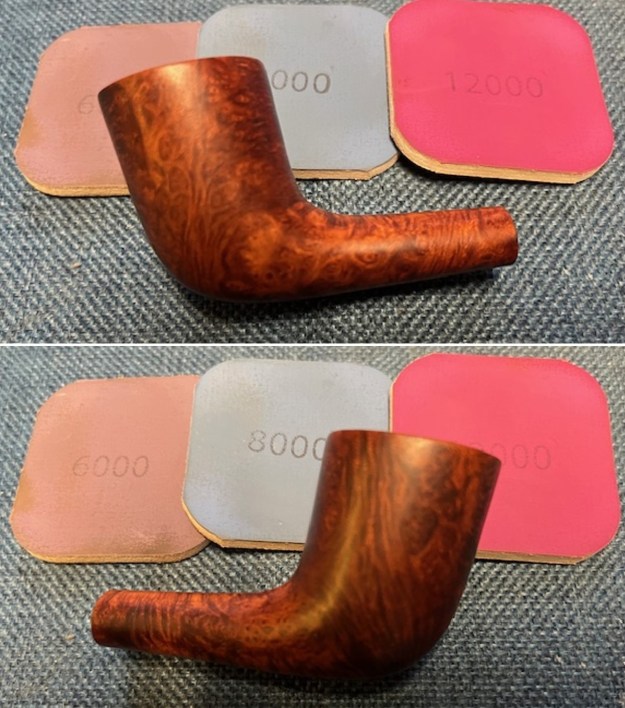
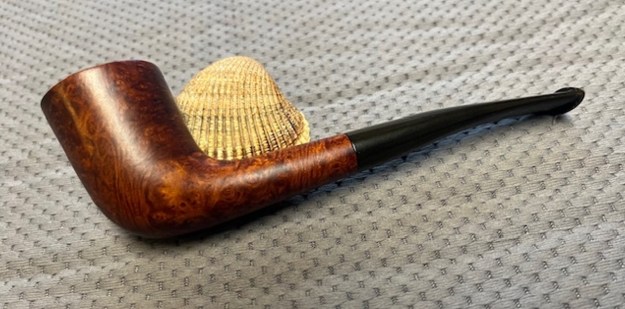
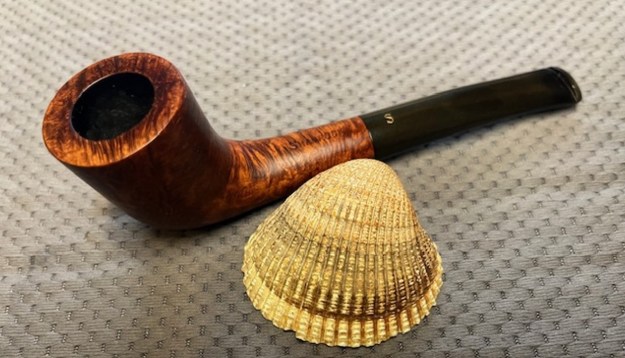
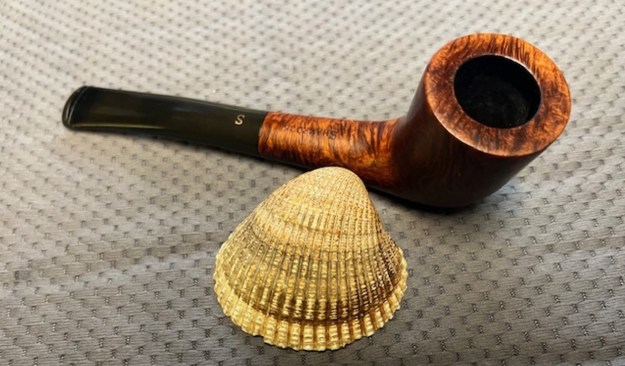
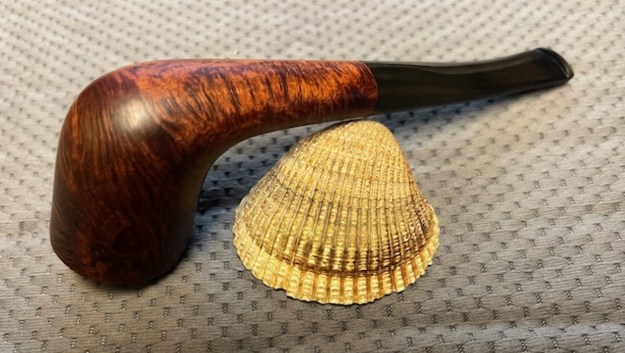
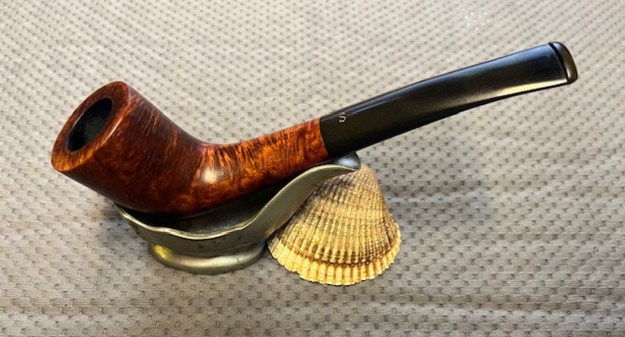
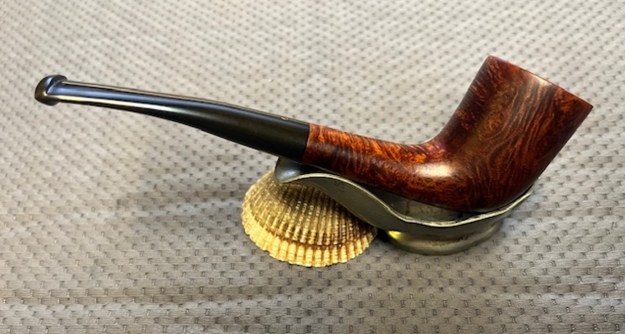
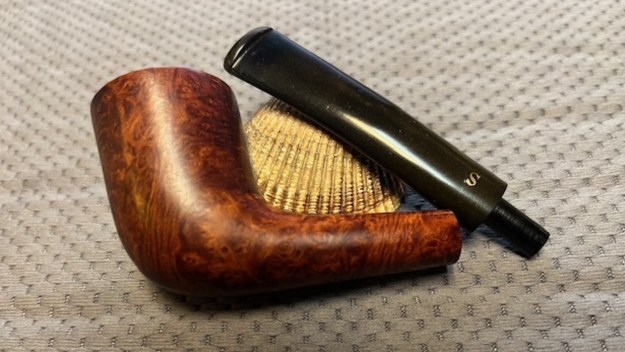
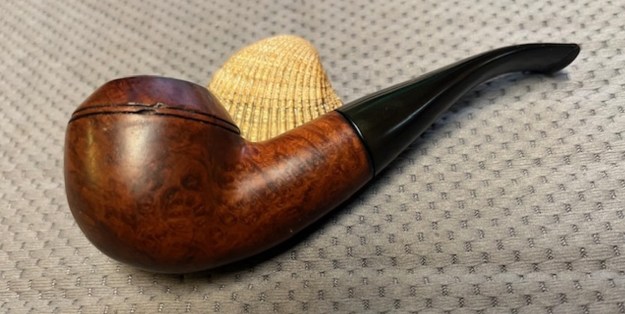
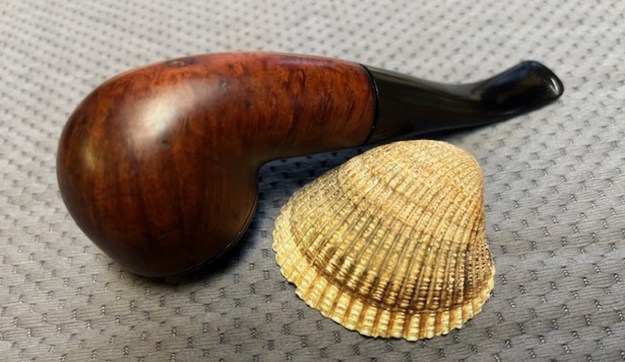
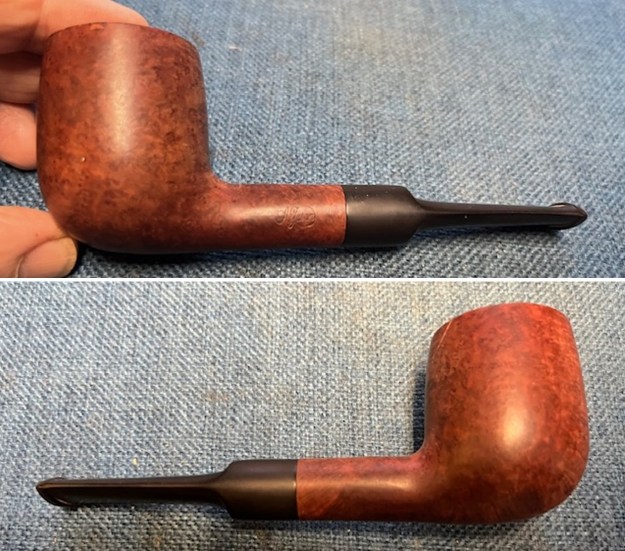
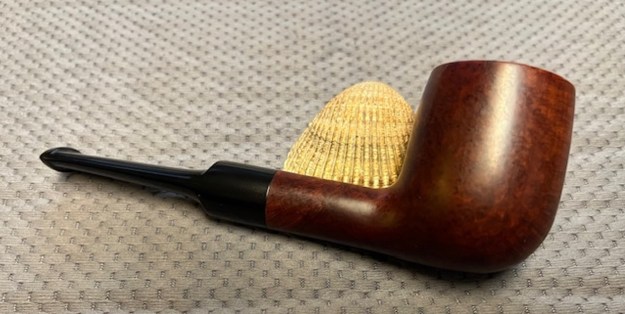
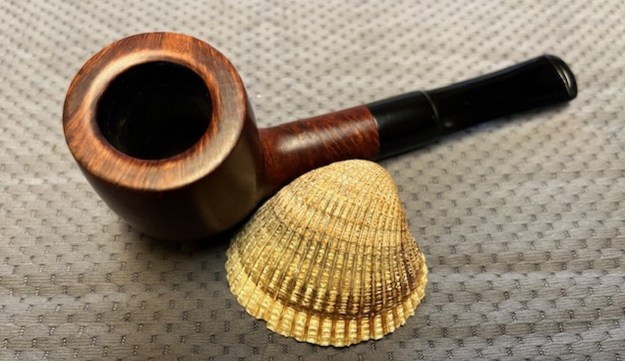
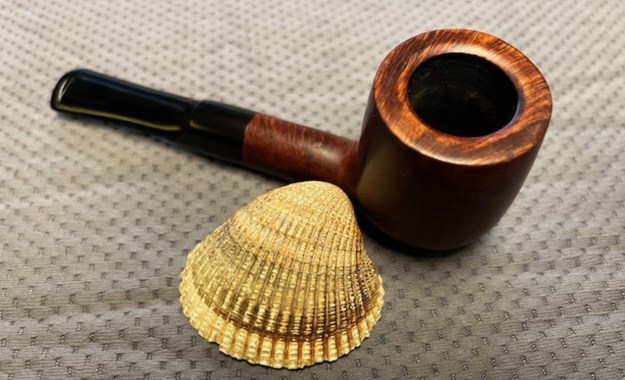
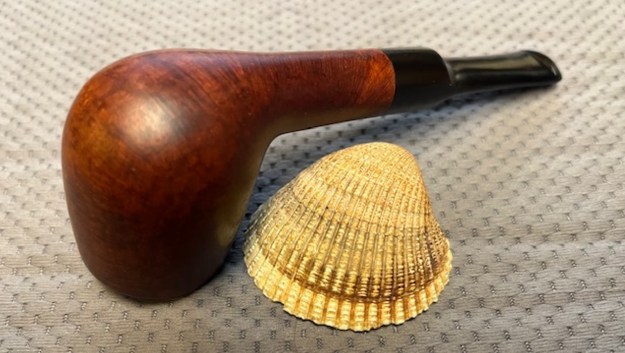
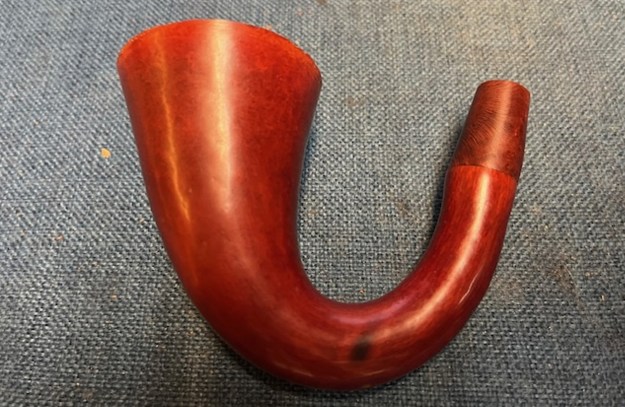
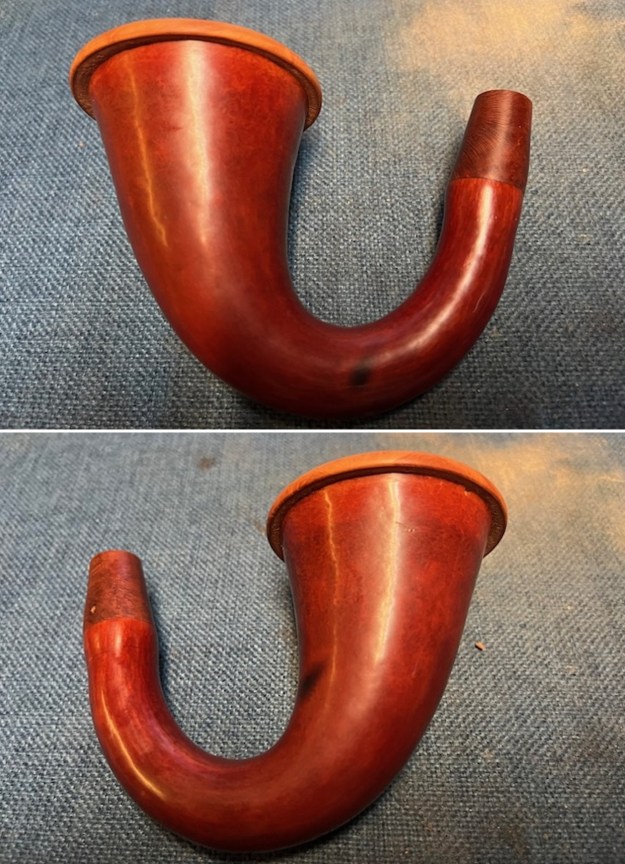
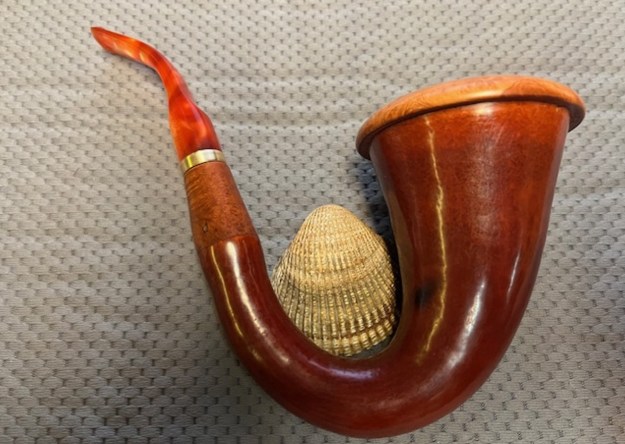
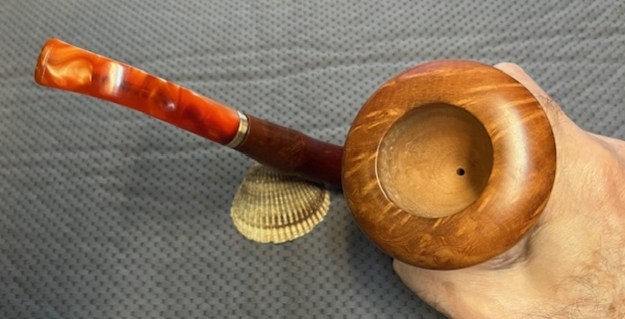
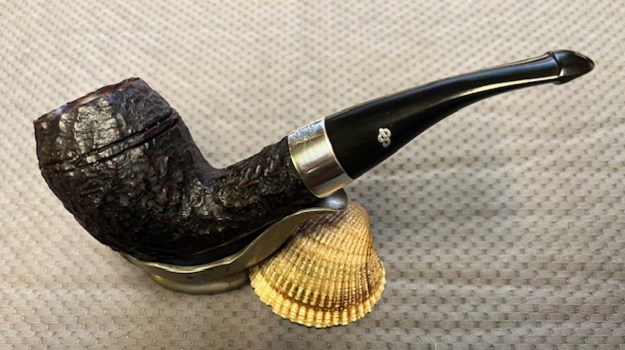
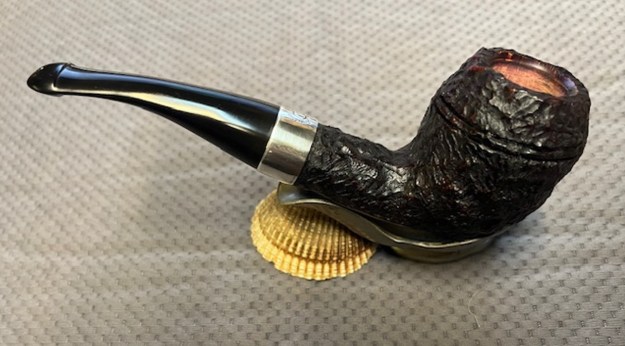
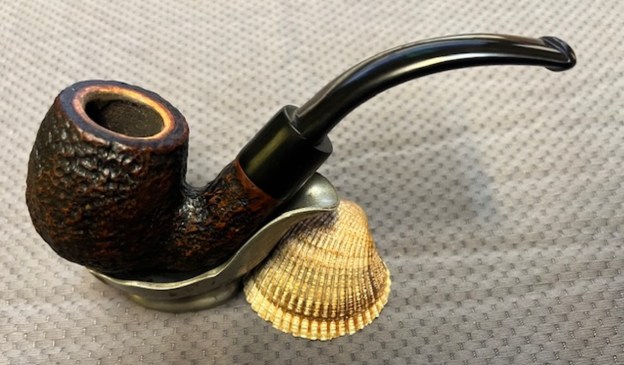
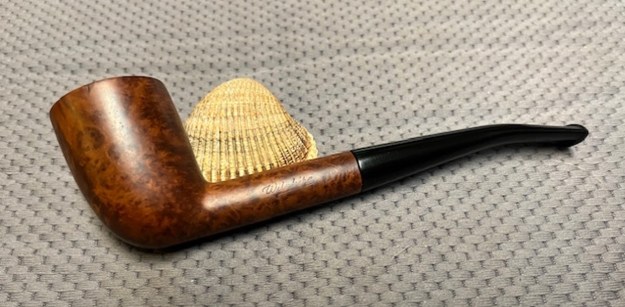
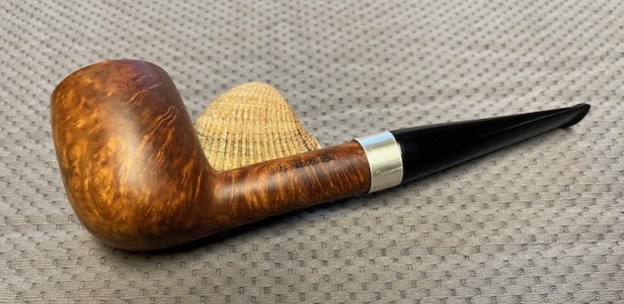
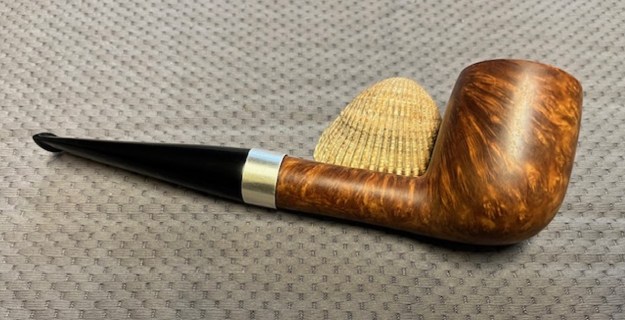
 This Comoy’s Made Town Hall 19 Military Bit Billiard was one I was looking forward to seeing come together. The brown stains highlight the grain around the bowl – sides, top and heel. The polished silver ferrule and the black vulcanite military bit that I fit to the shank works very well with the look of the pipe. I put the stem back on the bowl and carefully buffed the pipe with Blue Diamond on the buffing wheel. I gave the bowl and stem multiple coats of carnauba wax on the buffing wheel and followed that by buffing the entire pipe with a clean buffing pad. I hand buffed the pipe with a microfiber cloth to deepen the shine. I polished the silver band with a jeweller’s cloth. The finished Town Hall 19 Billiard is quite nice and feels great in the hand. Give the finished pipe a look in the photos below. The dimensions of the pipe are Length: 5 ¾ inches, Height: 1 ¾ inches, Outside diameter of the bowl: 1 ¼ inches, Chamber diameter: ¾ of an inch. The weight of the pipe is 1.20 ounces/34 grams. Thanks for walking through the restoration with me as I worked over another beautiful pipe. This pipe will be added to the British Pipe Makers Section of the rebornpipes store soon. If you want to add it to your collection send me an email or a message! Thanks for your time.
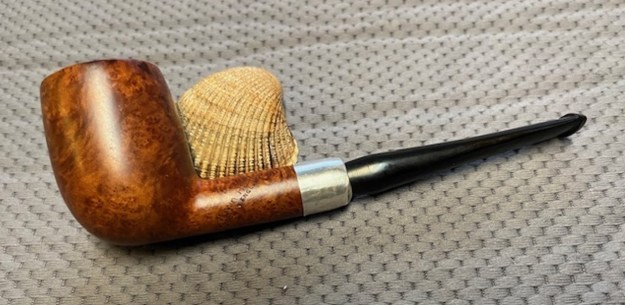


