by Steve Laug
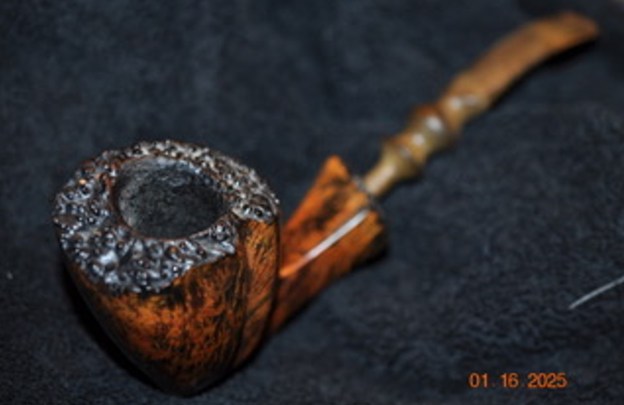
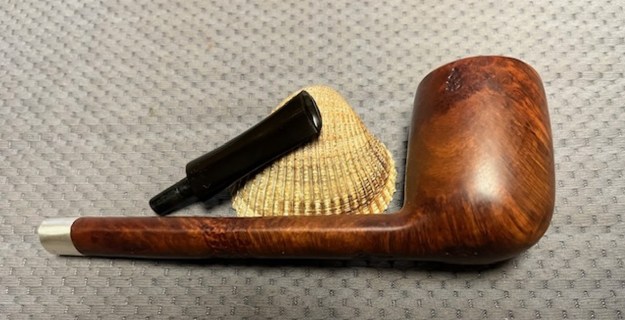
This particular Freehand pipe was purchased from a seller in Santa Cruz, California, USA on 05/28/2024. It really is a very Preben Holm style Freehand pipe that is Dublin like in its shape. It is carved in a way that chases the grain and a rounded shank extension. It is stamped on the underside of the shank and reads Preben Holm [over] Hand Cut [over] Hand Made [over]In [over] Denmark. On the left side of the shank it is stamped near the bowl with a 2 enclosed in a circle. The smooth Dublinish shaped pipe is dirty but the grime does not hide the beautiful looking combination around the bowl and shank. The stain is a black understain that brings out the grain highlighted by a top coat of walnut stain. The pipe had a thick cake in the bowl and a thick lava overflow on the plateau rim top and inner edge of the bowl. There was grime ground into the smooth finish. The shape of the rim is a narrow rectangle that is concave/bevelled into the bowl. It is smooth around the inner edge and plateau on the rest. The fancy vulcanite saddle stem is oxidized. Added to that the stem surface was also calcified and had light tooth marks and chatter on both sides near the button. The pipe must have been a great smoker judging from the condition it came it. Jeff took photos of the pipe before he started his work on it.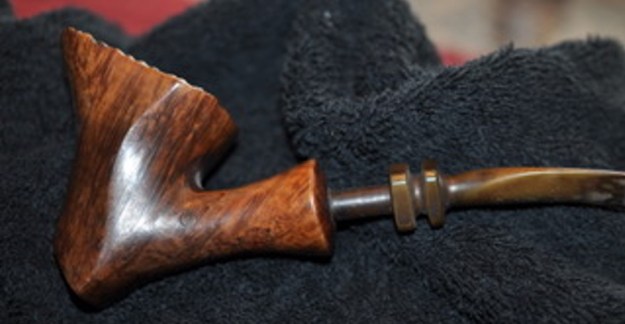
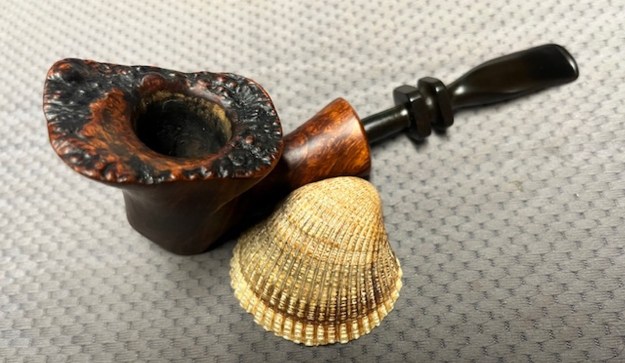
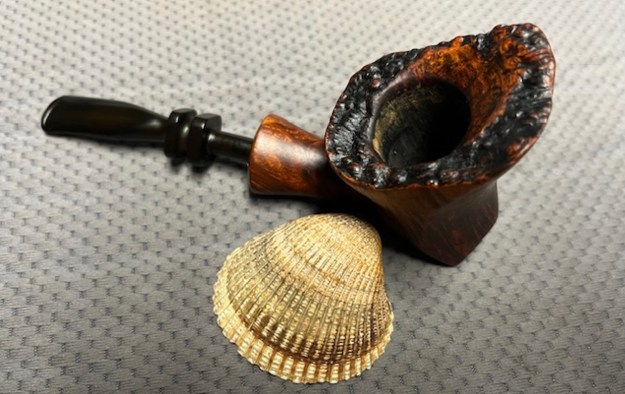
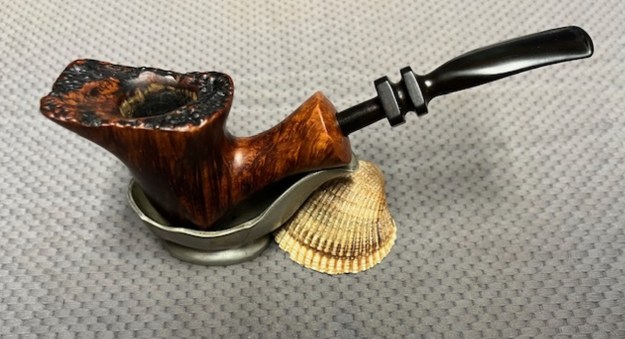
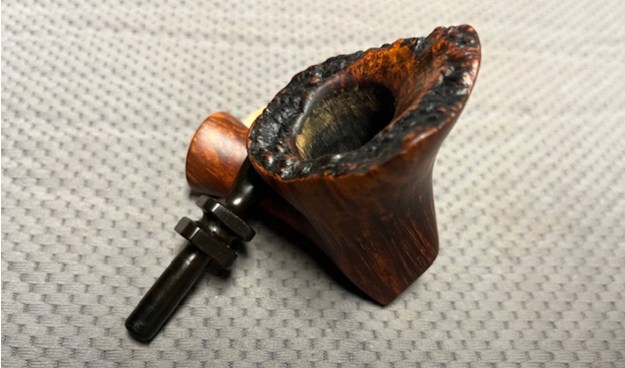
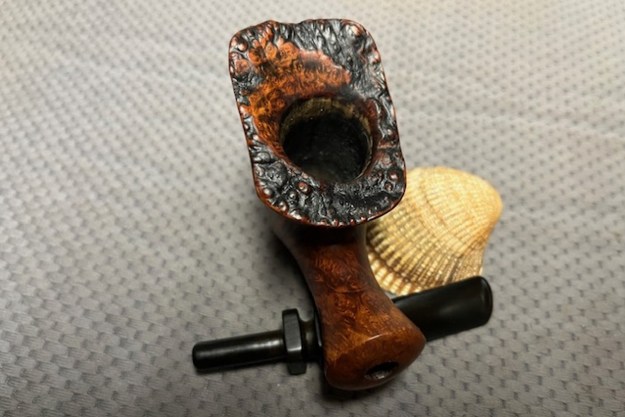
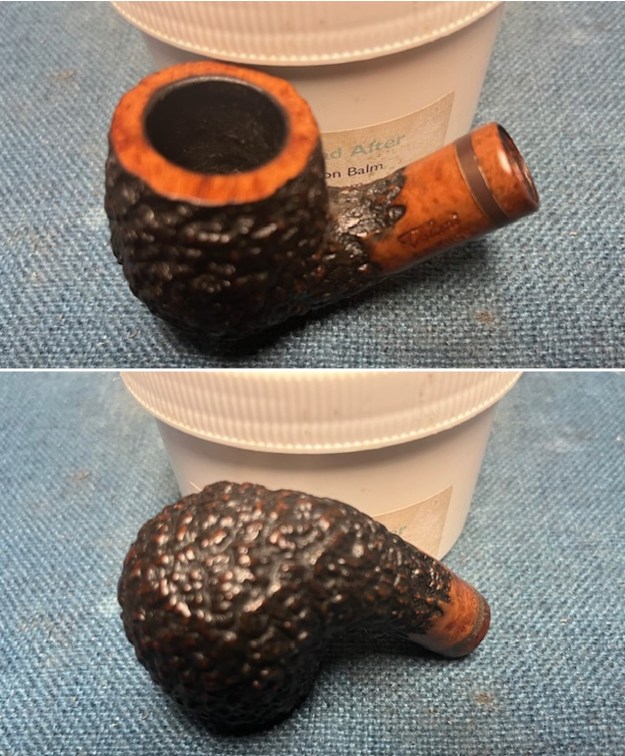
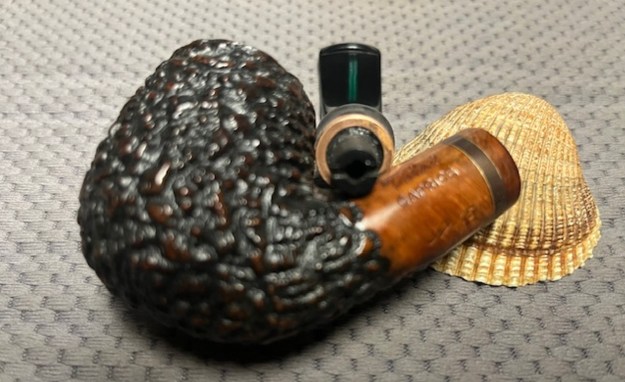
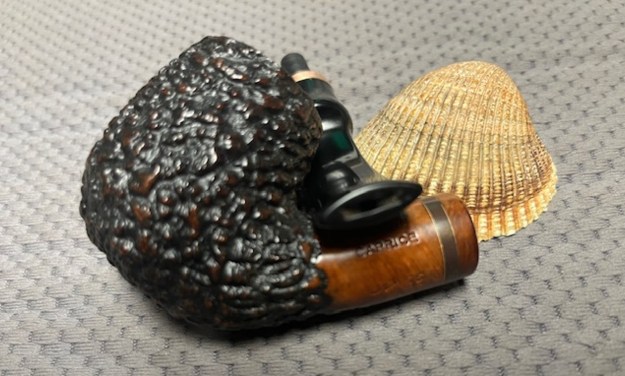
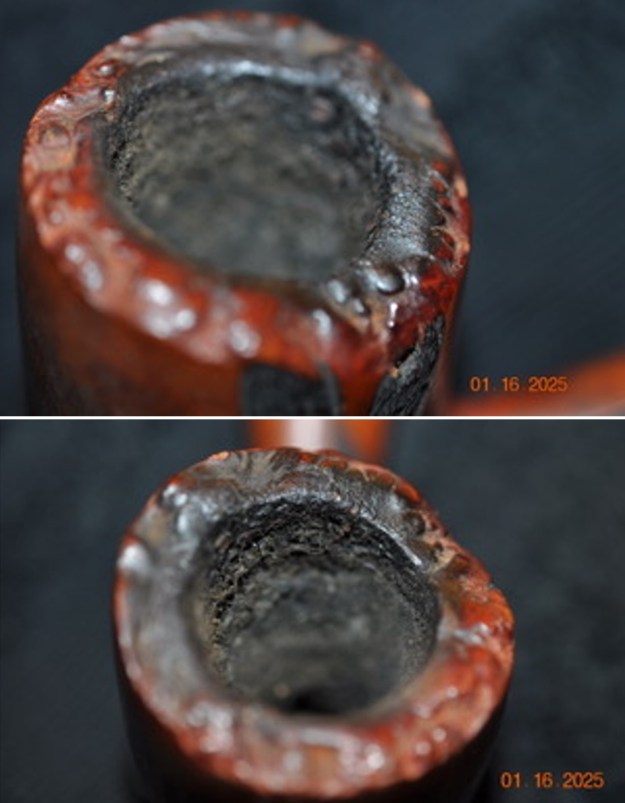
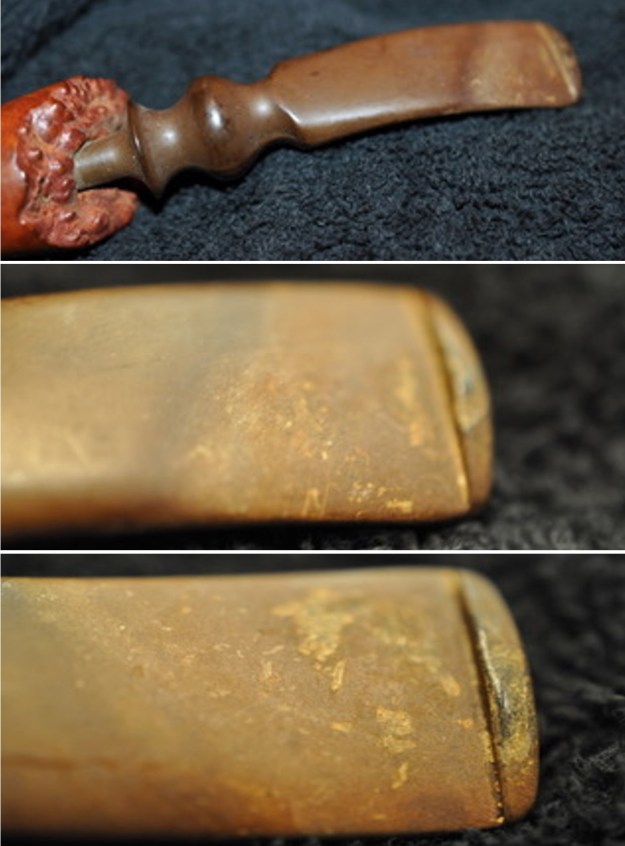
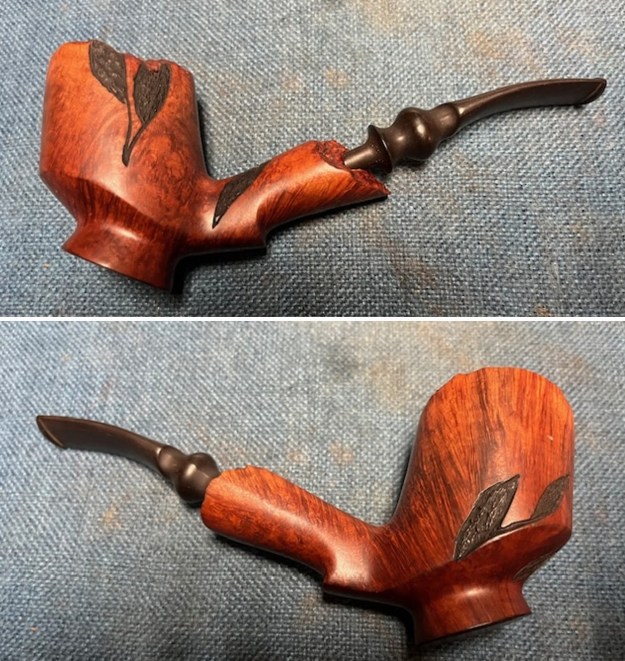
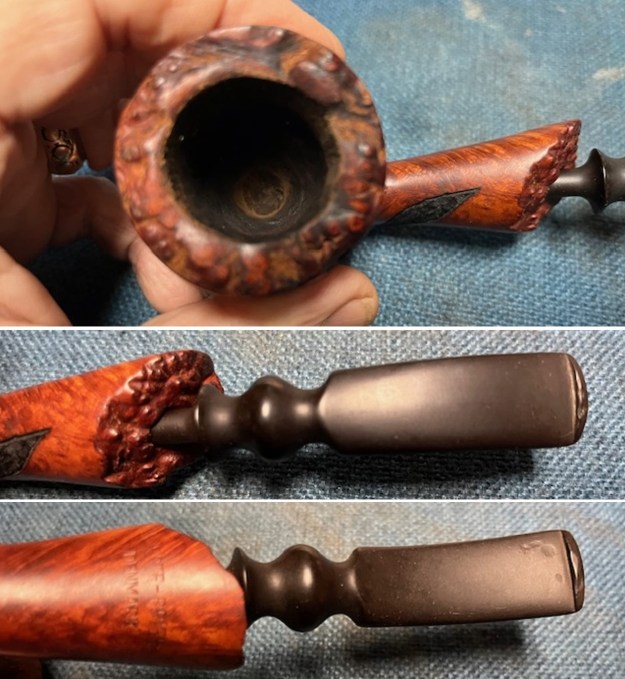
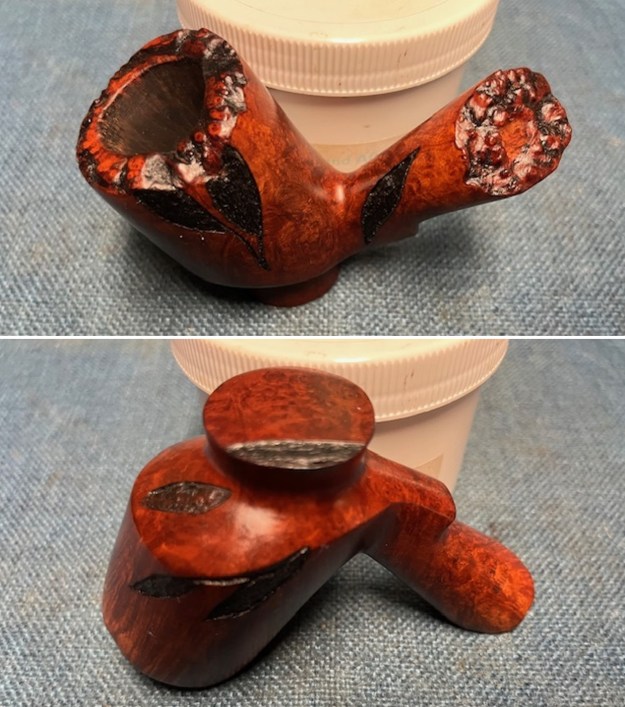
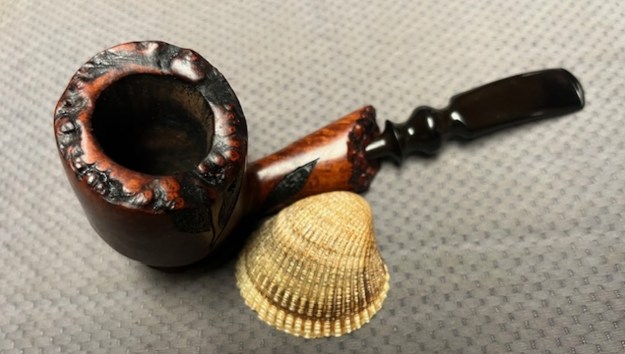
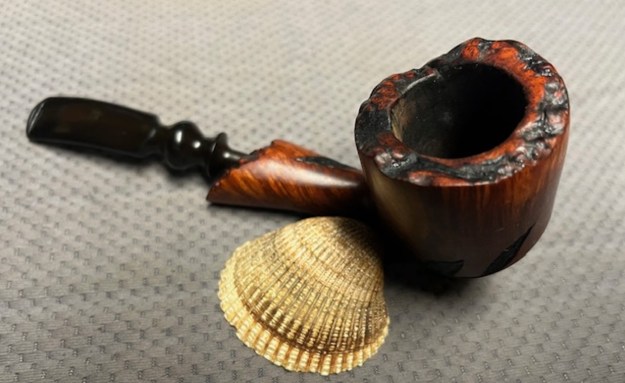
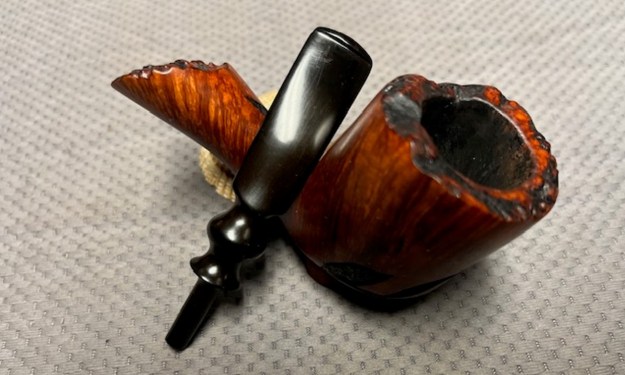
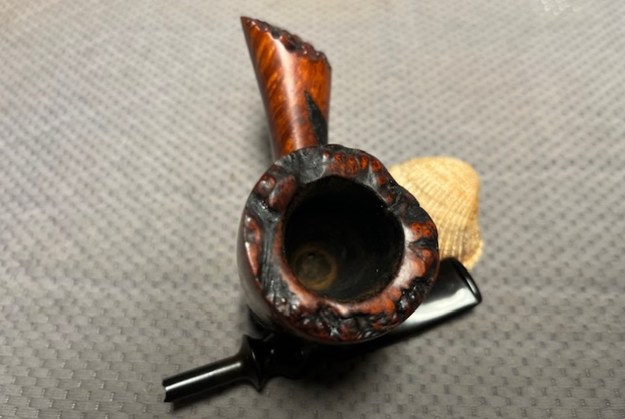
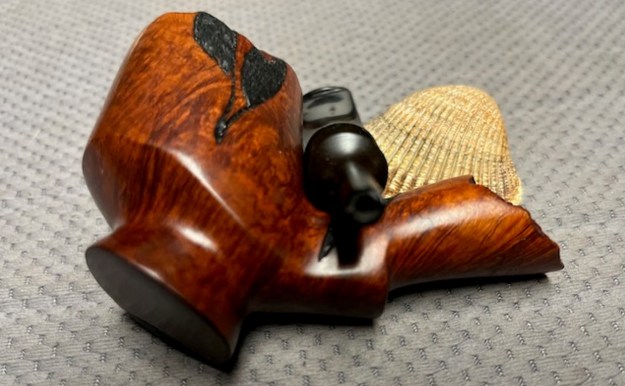
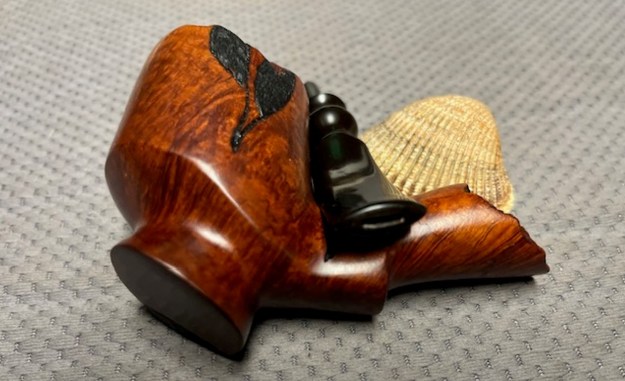
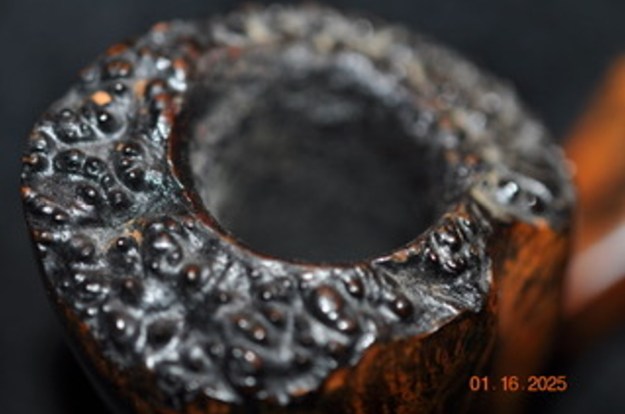
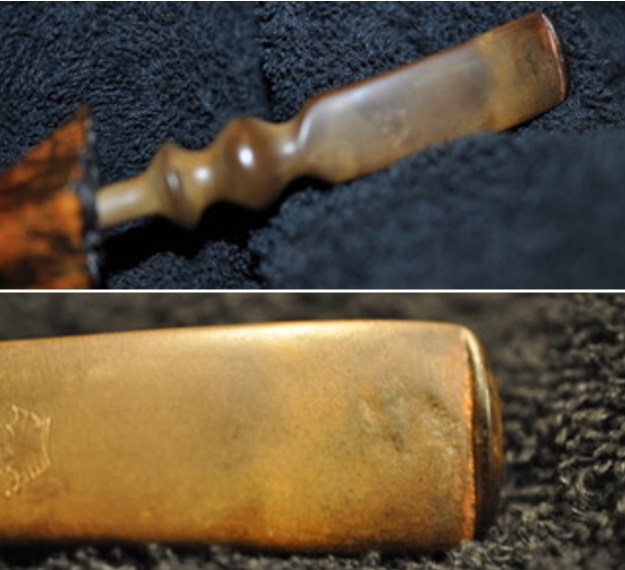
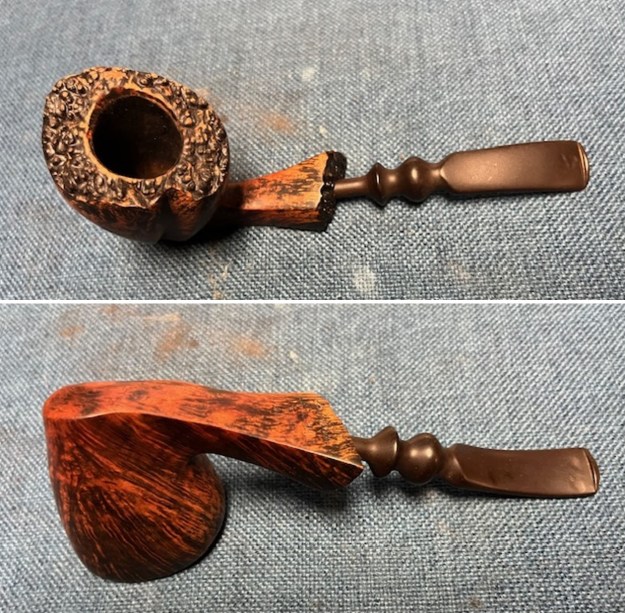
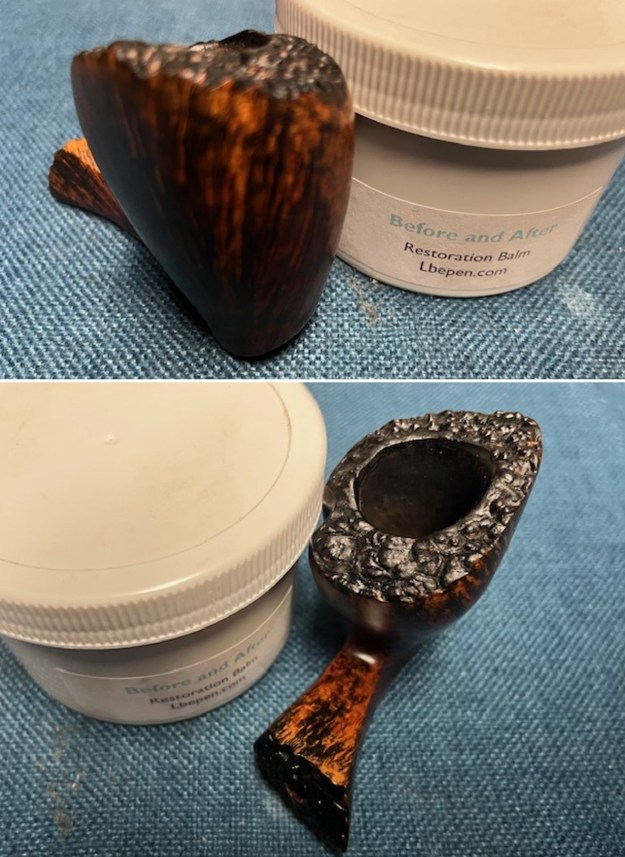
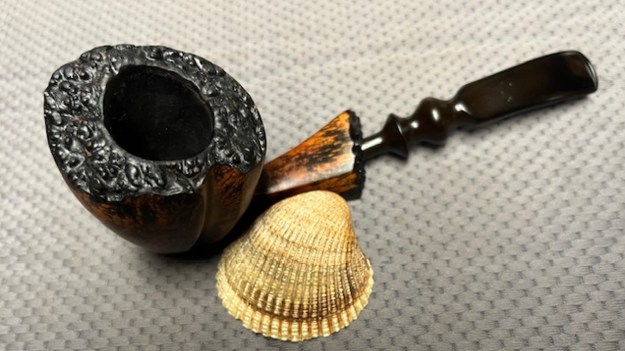
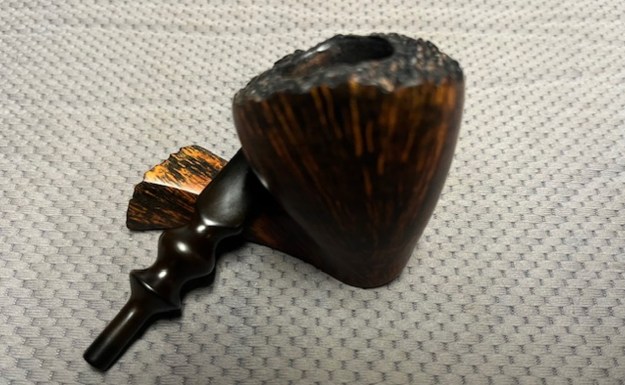
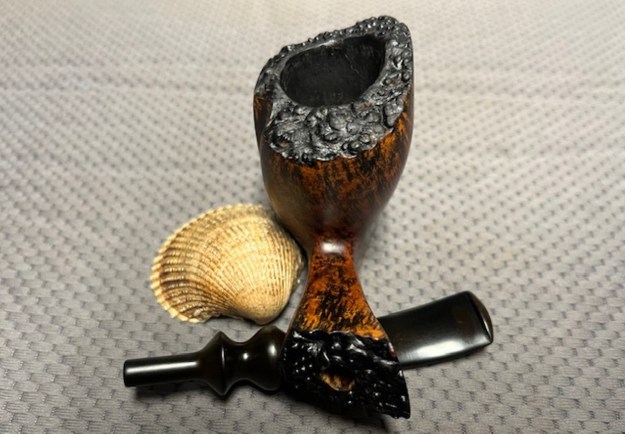
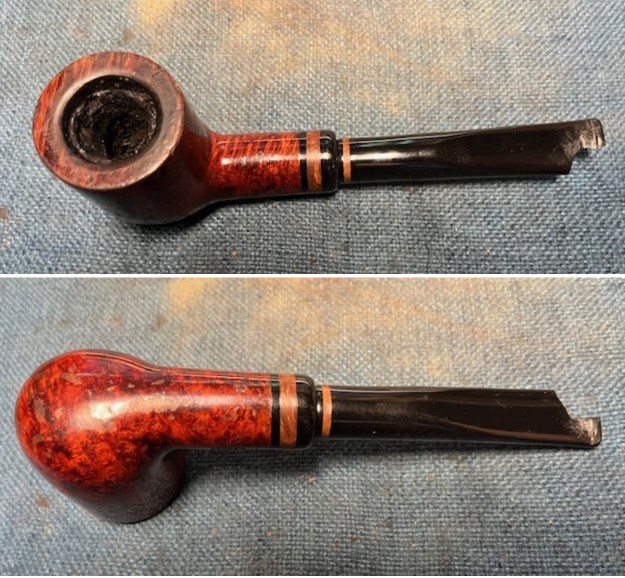
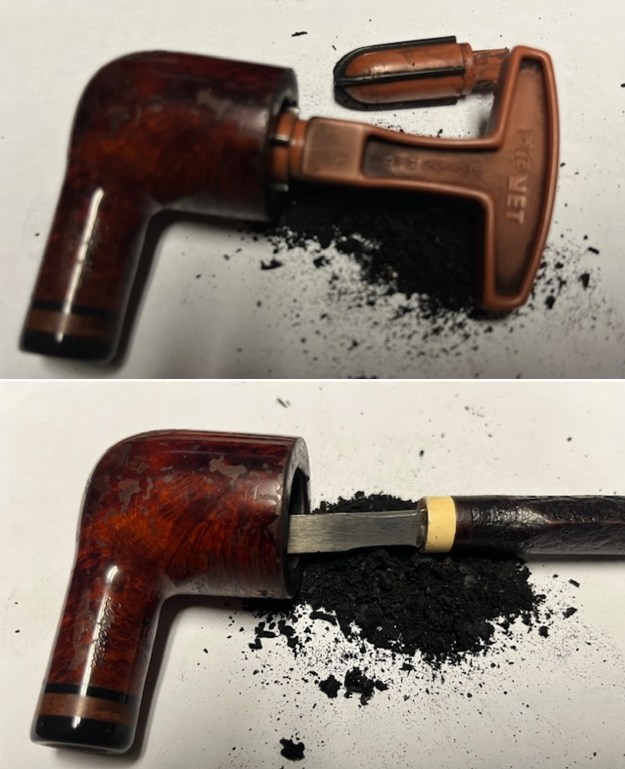
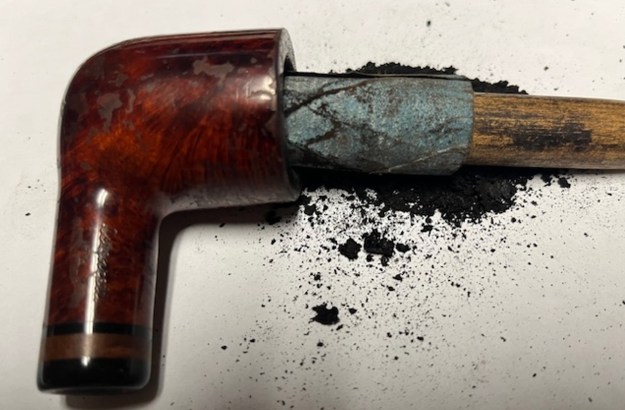
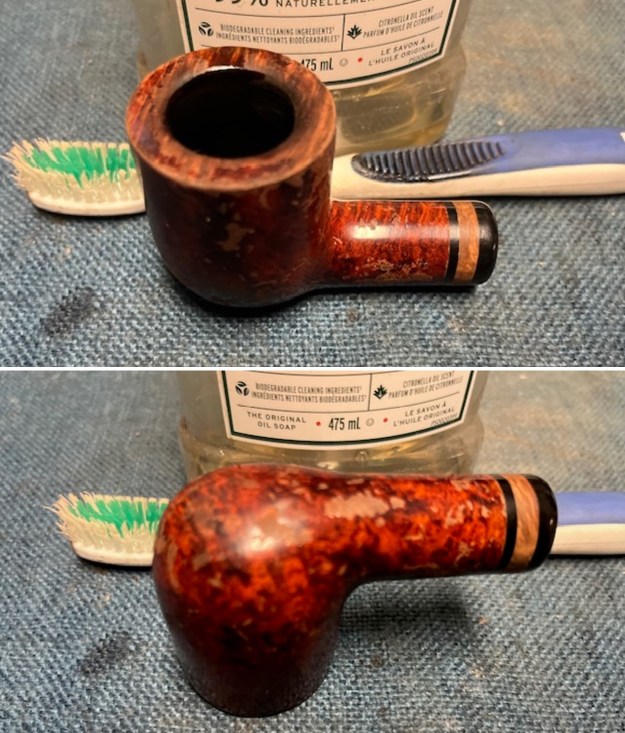
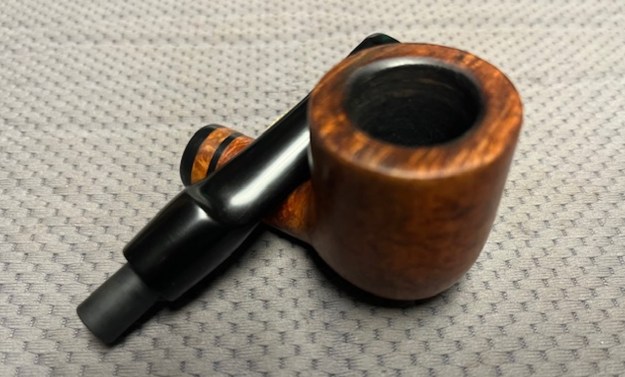
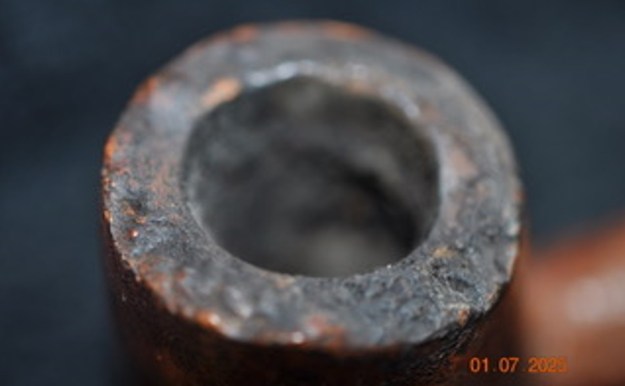
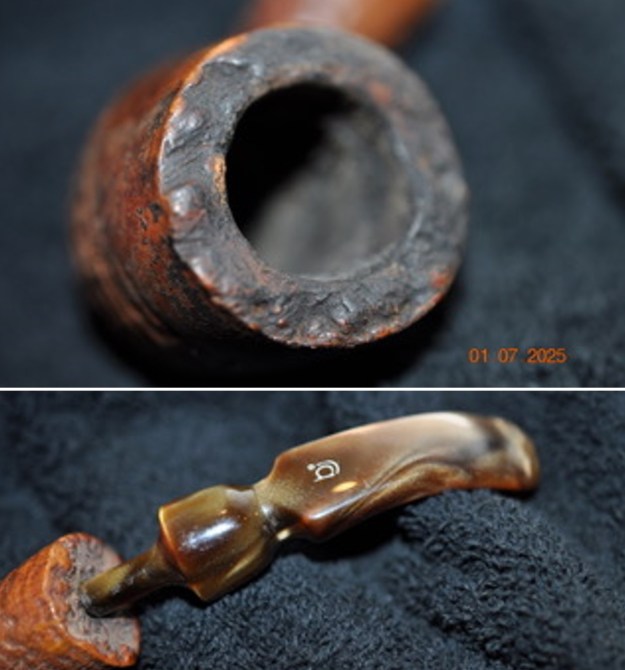
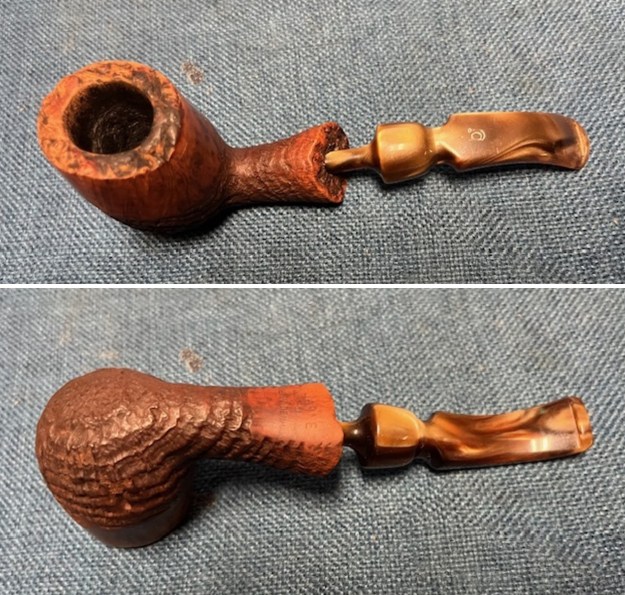
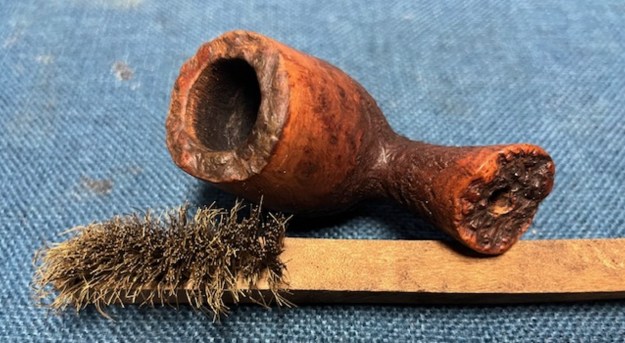
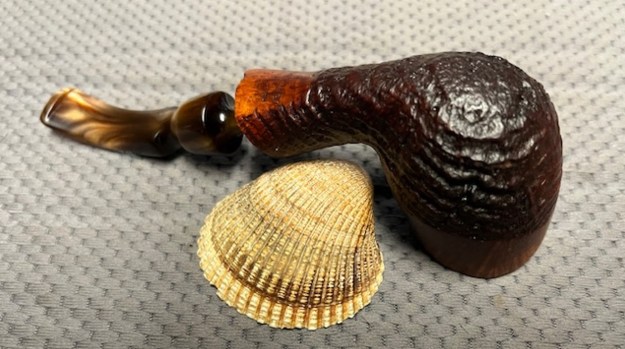
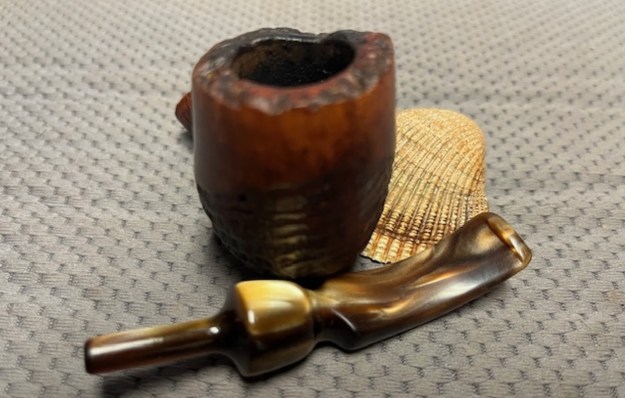
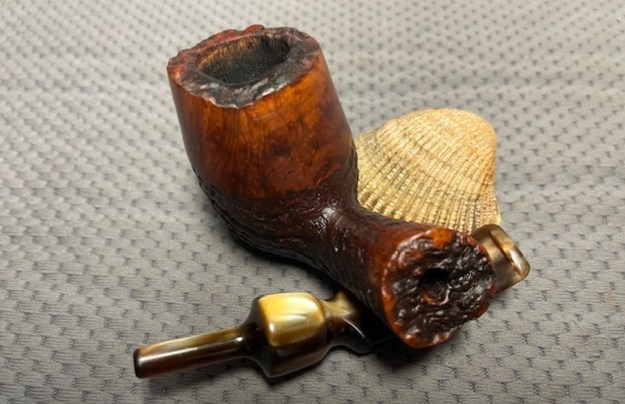
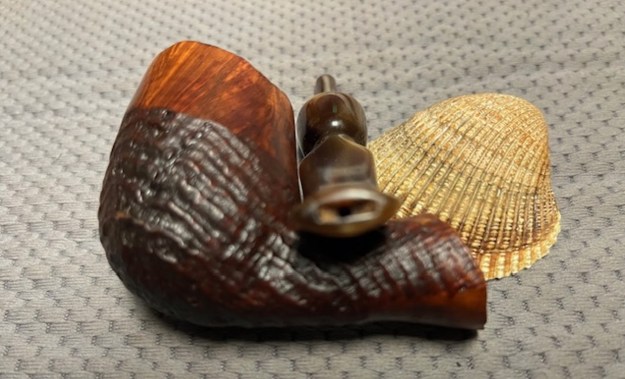
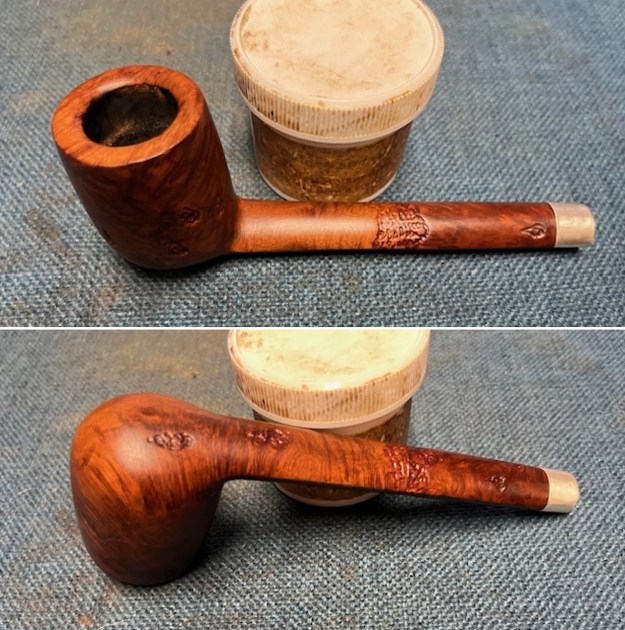
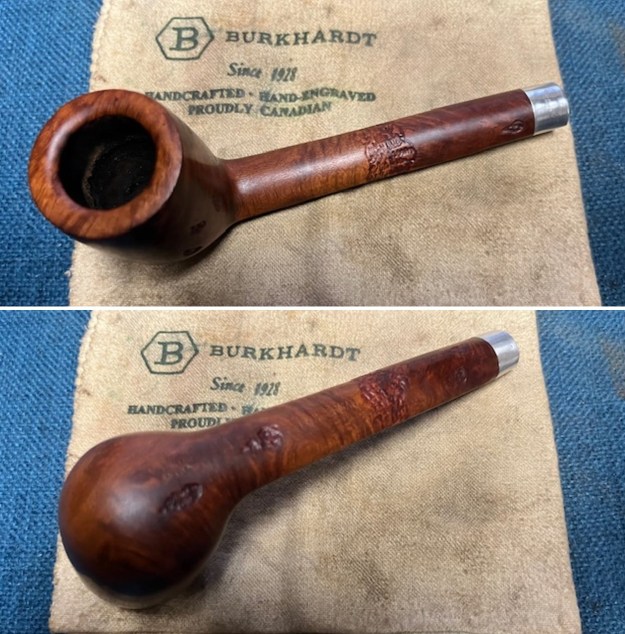
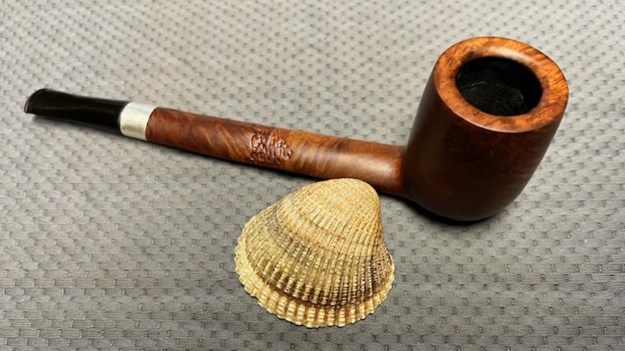
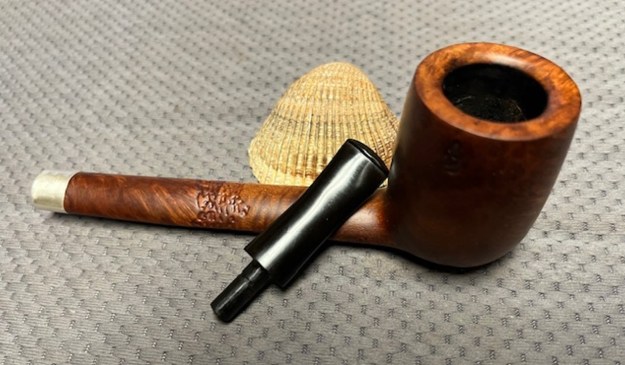
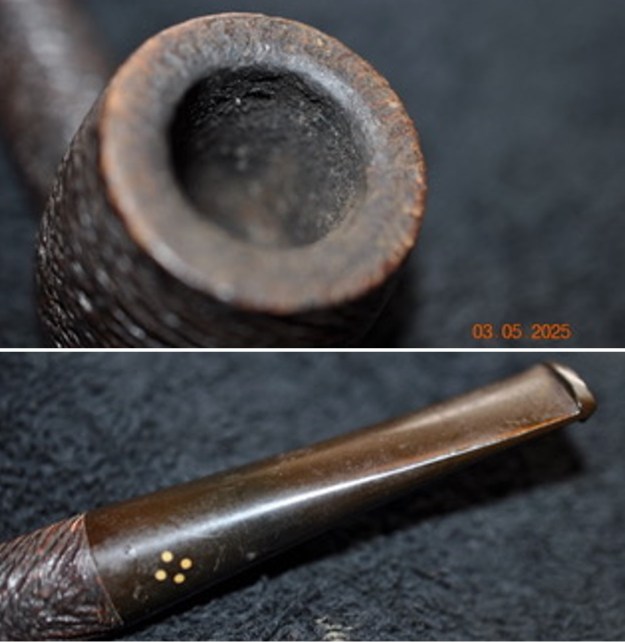
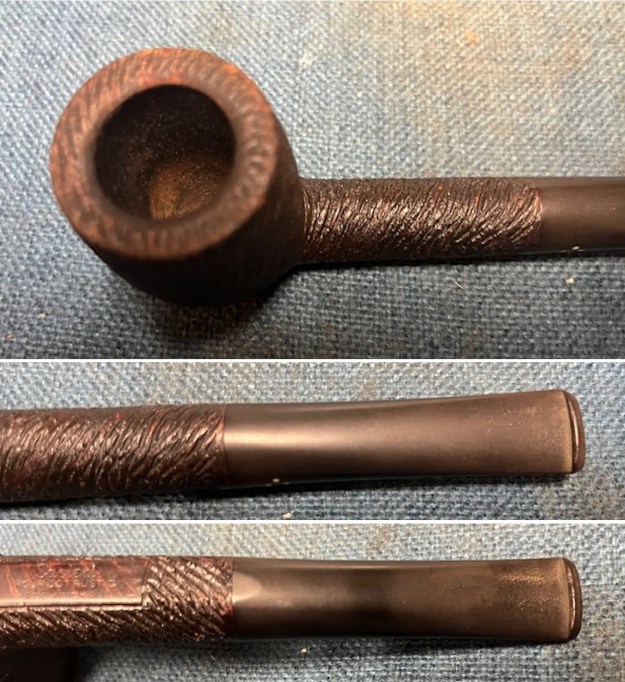
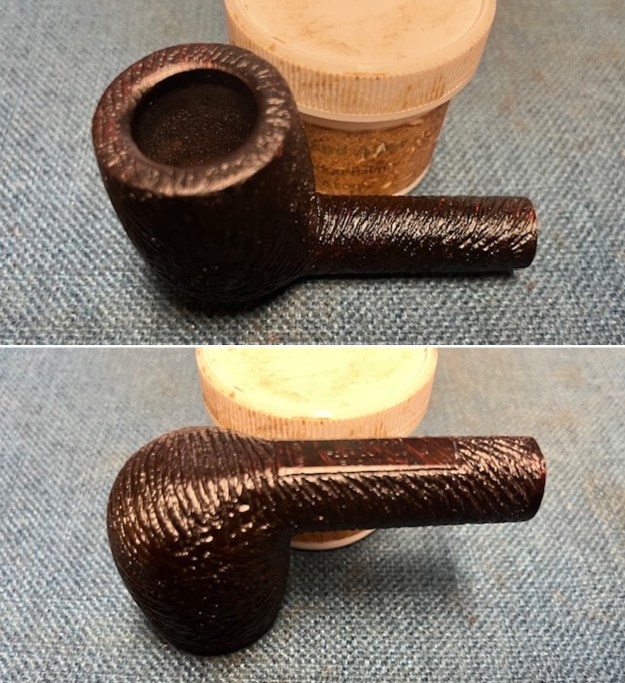
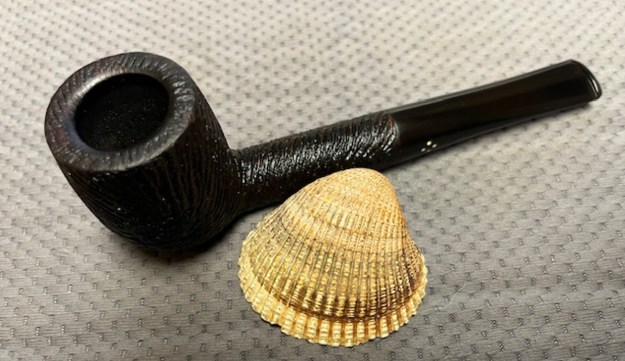
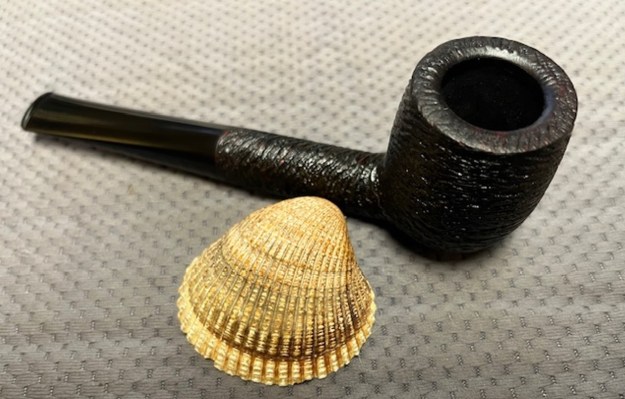
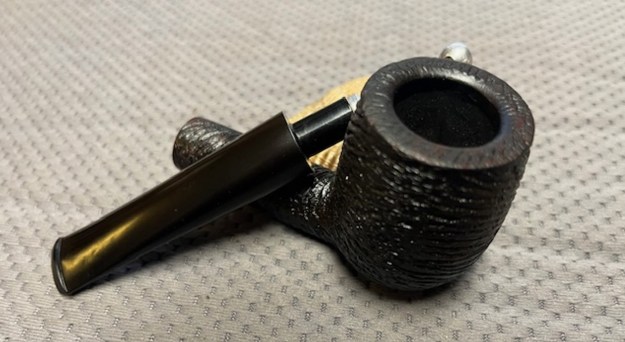
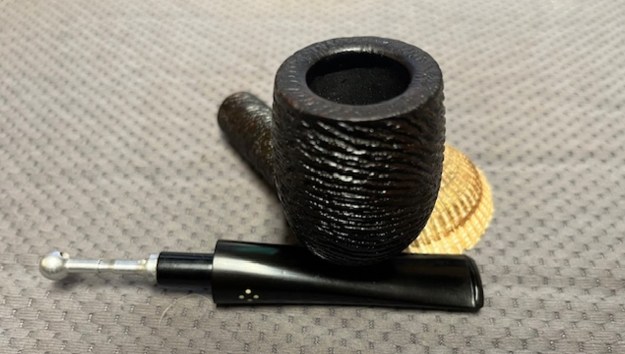
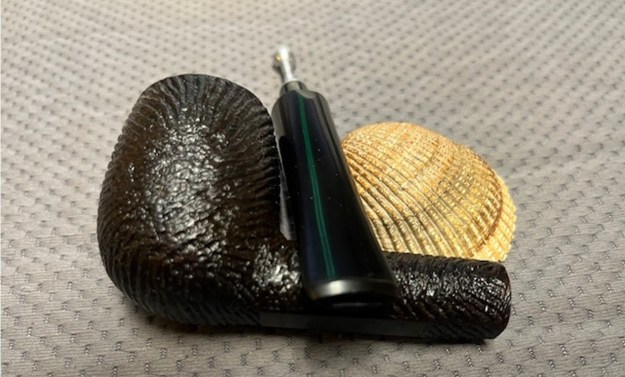
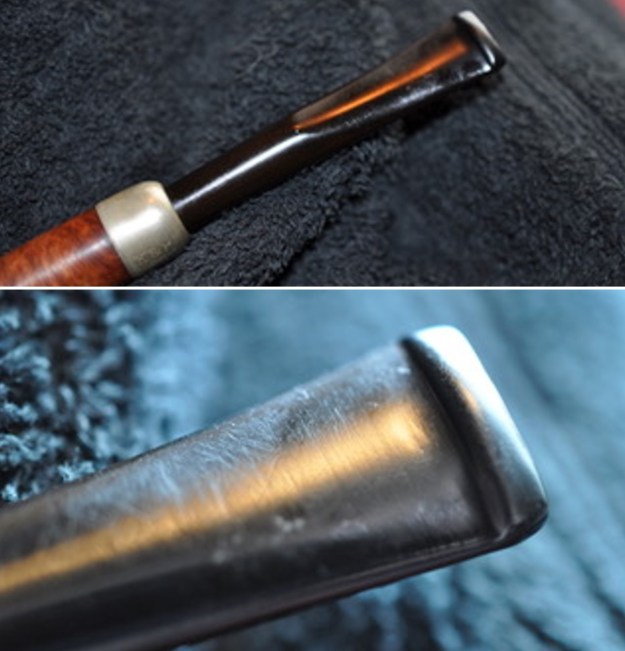
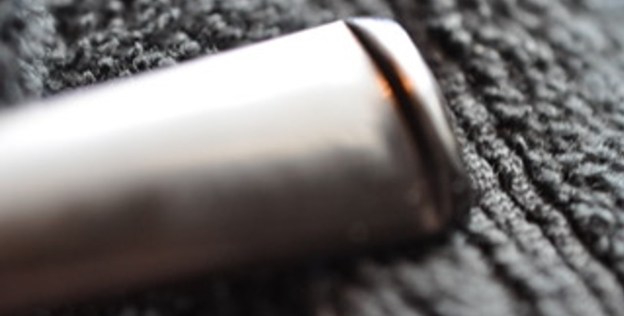
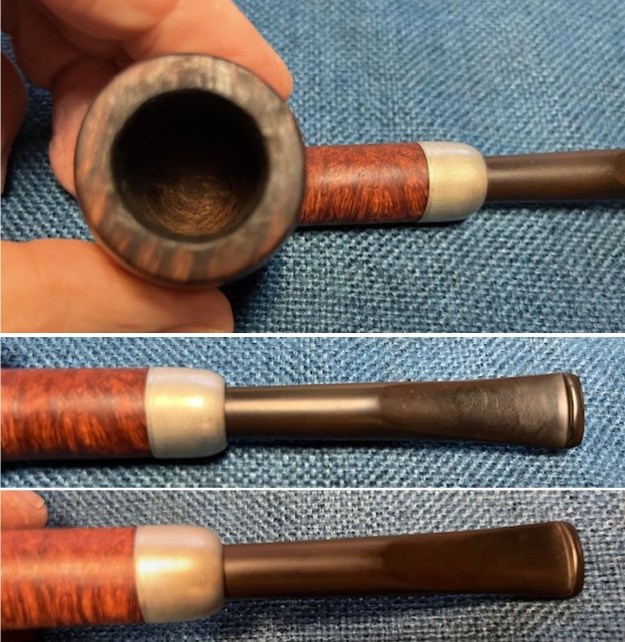
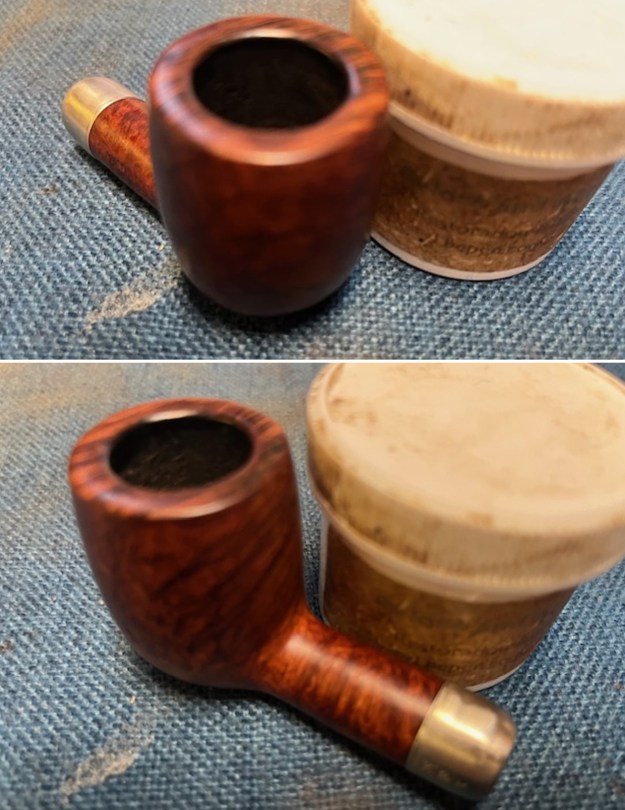
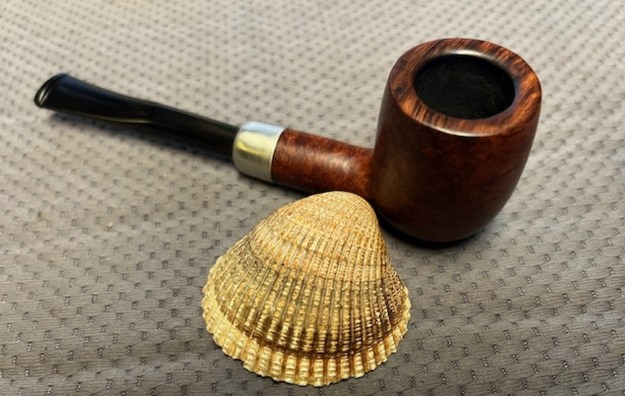
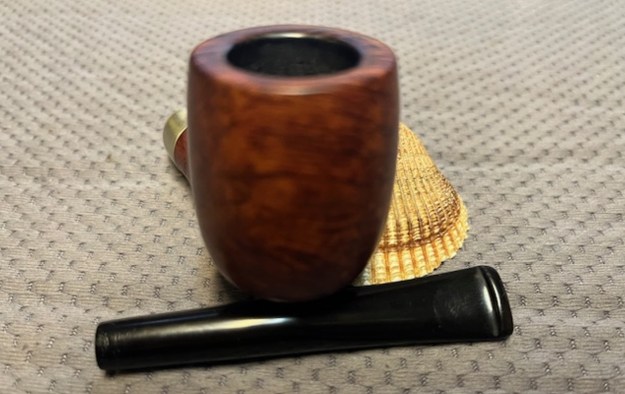
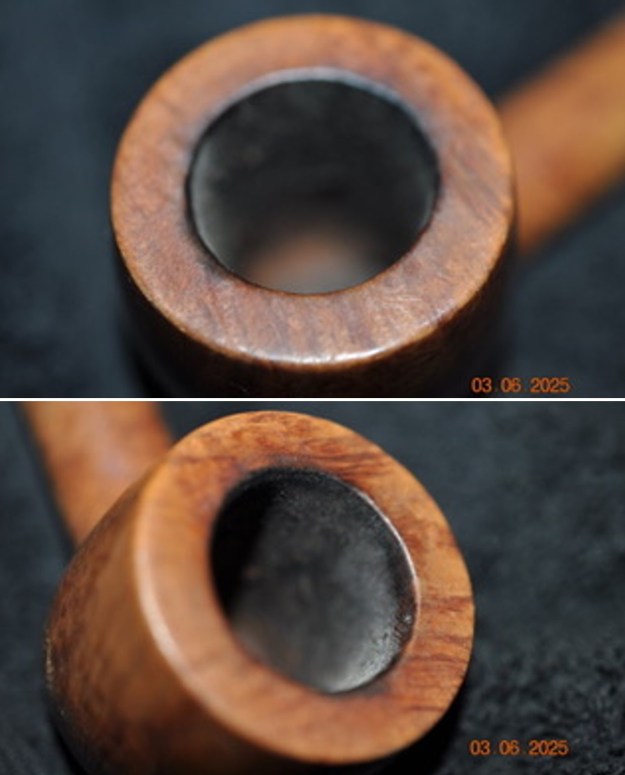
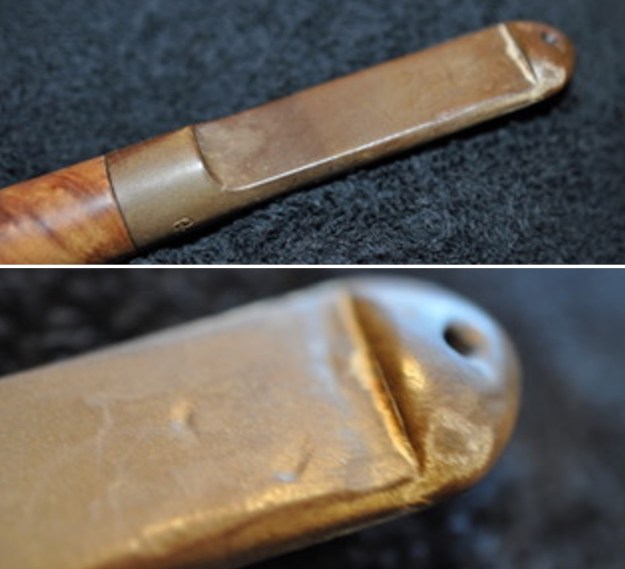
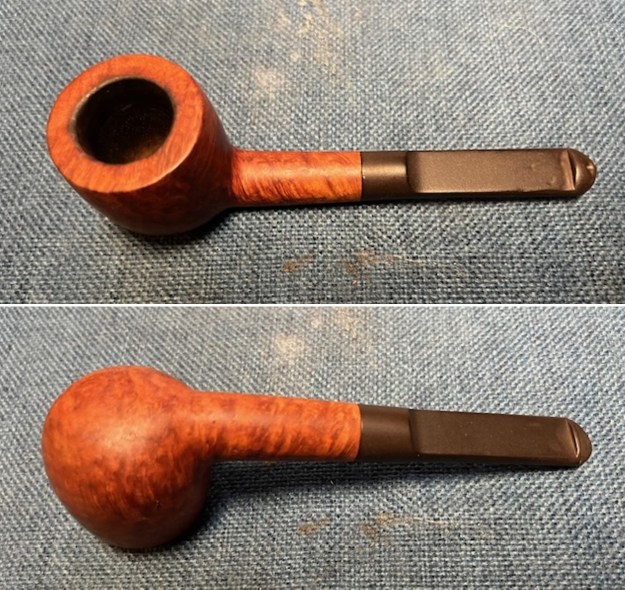
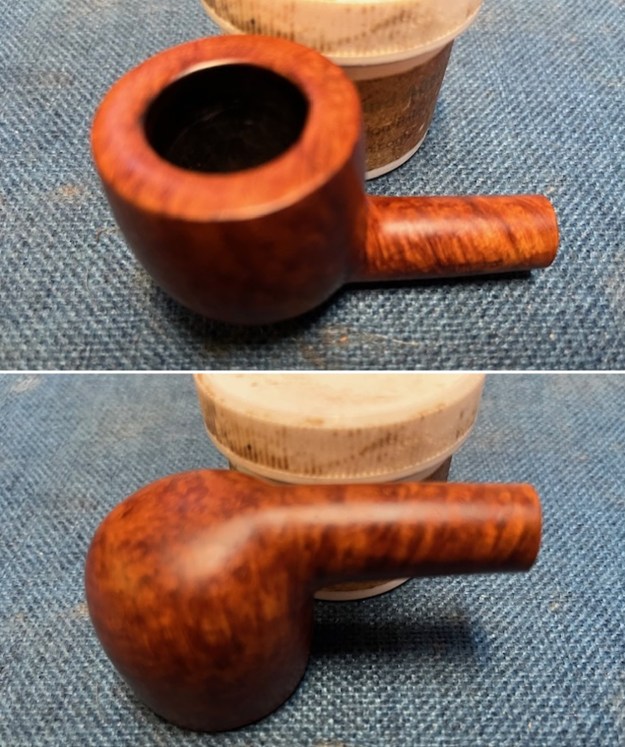
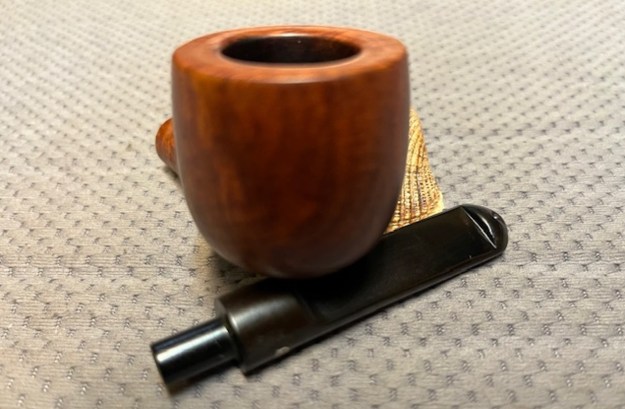
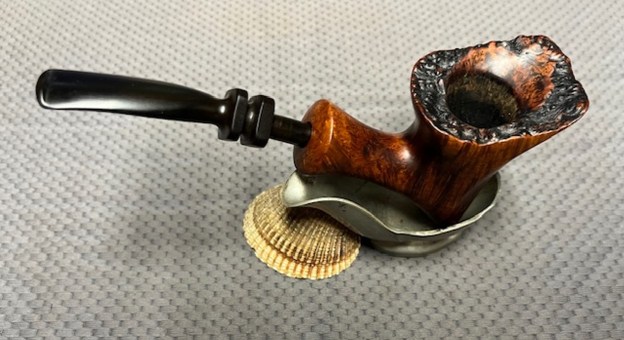
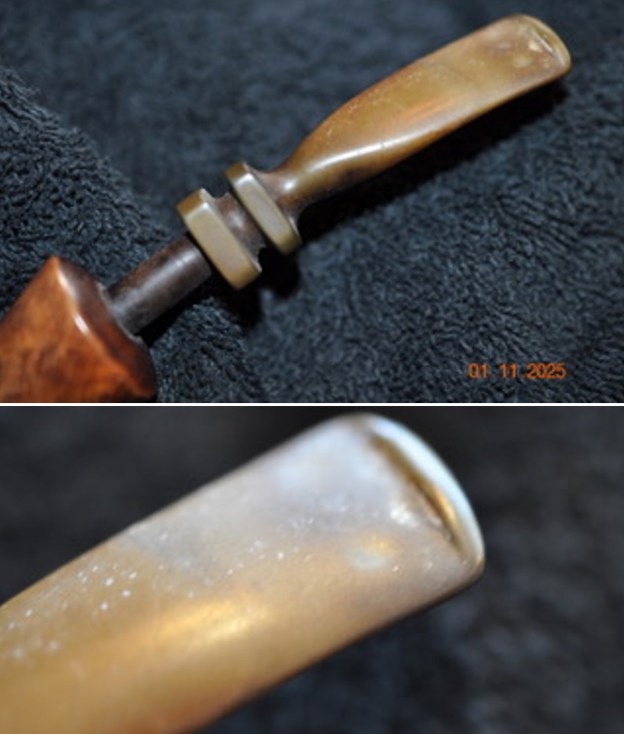
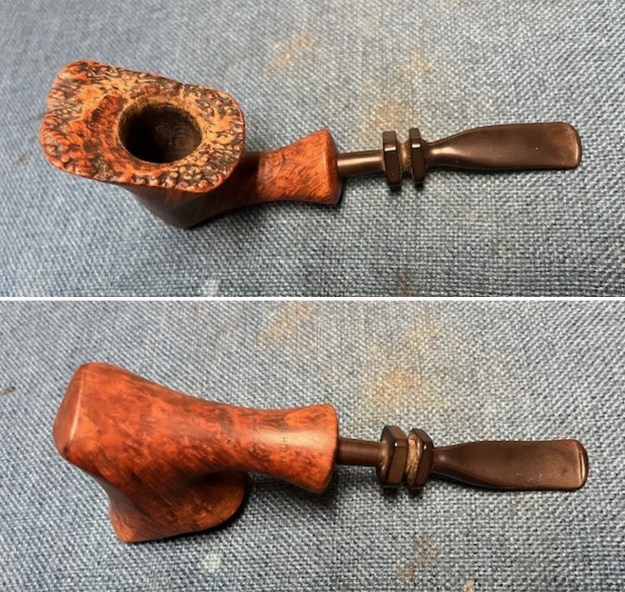
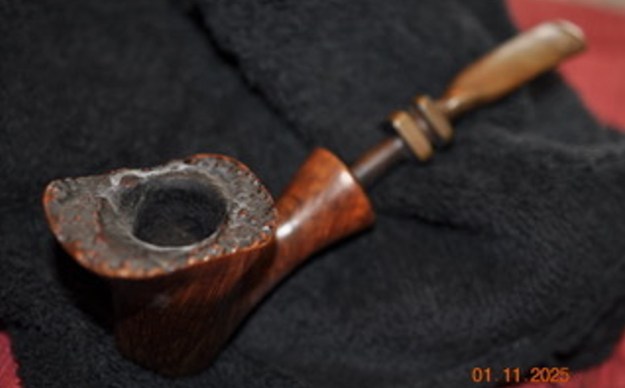 Jeff took photos of the plateau rim top and the stem to show the condition of the pipe when we received it. You can see the thick cake in the bowl and the lava on the plateau rim top and inner edge of the bowl. The turned vulcanite stem was dirty and had light chatter and tooth marks on both sides near the button.
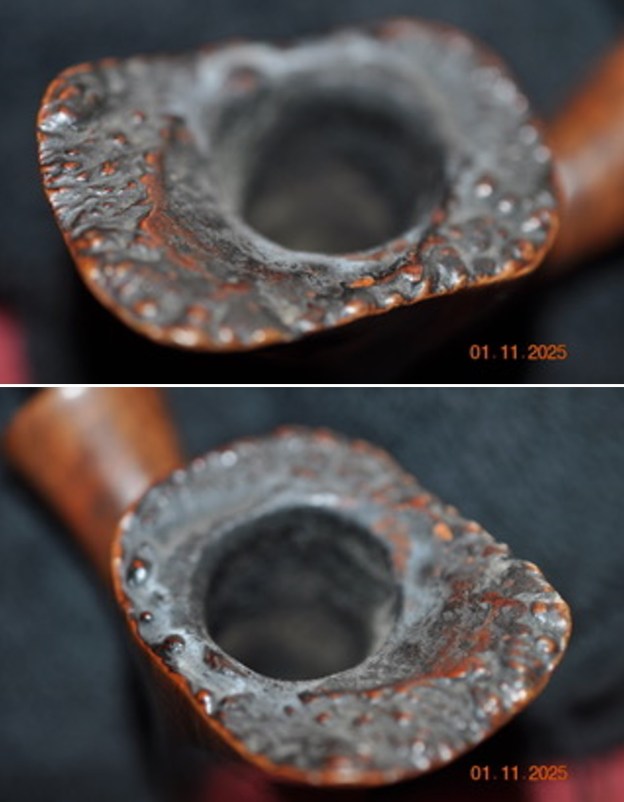
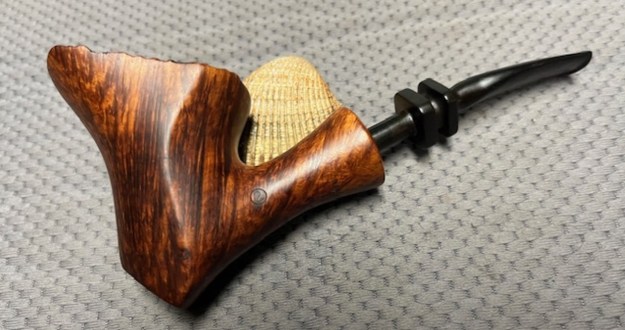
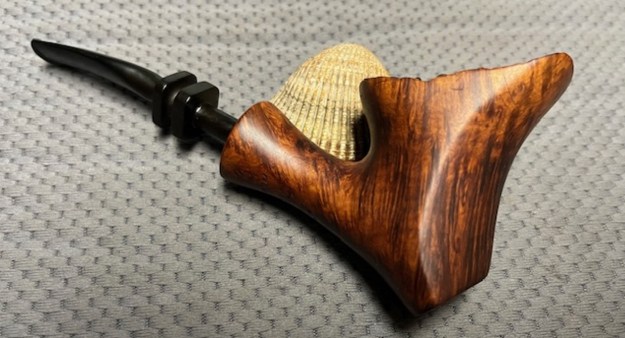
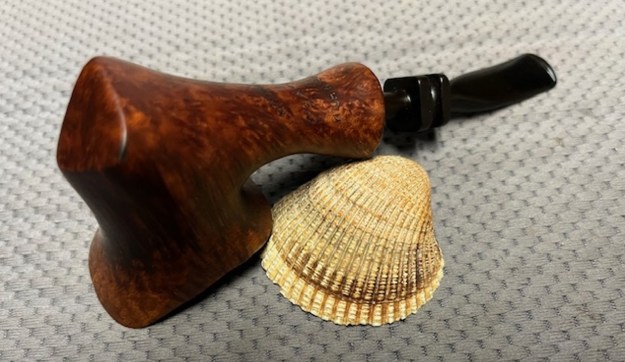
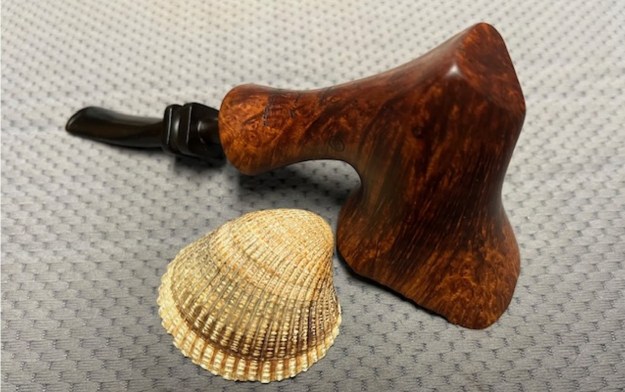
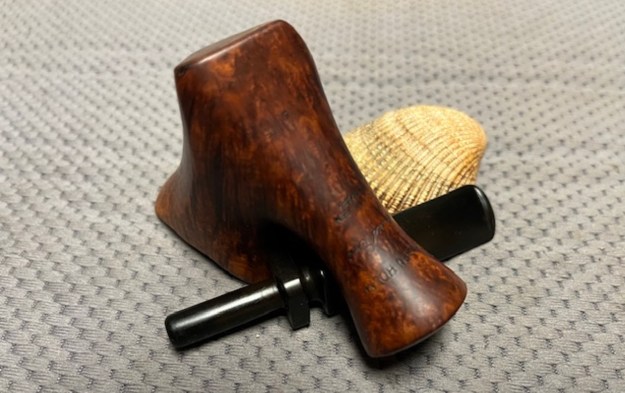
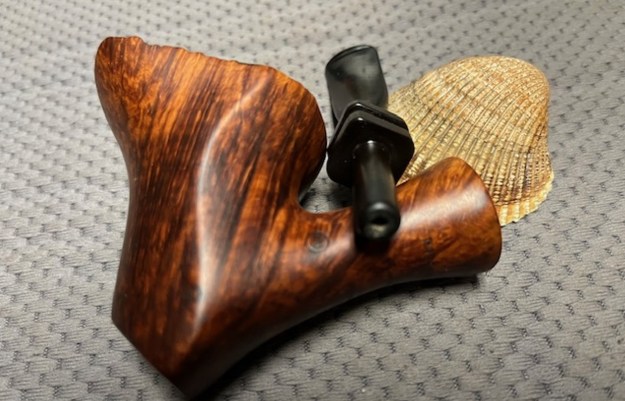
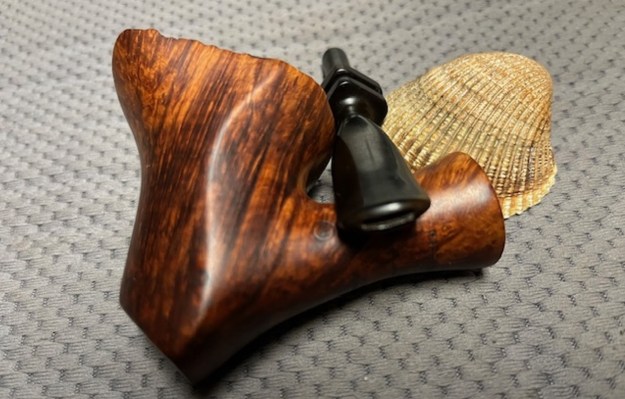
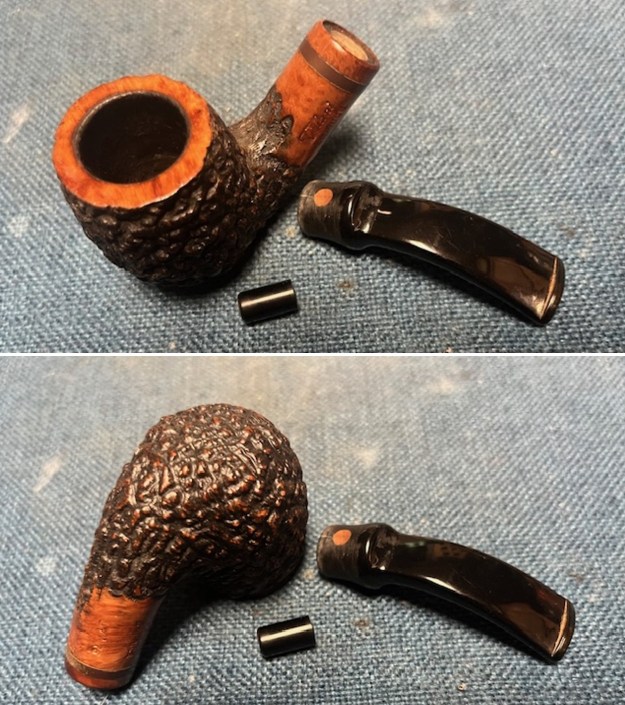
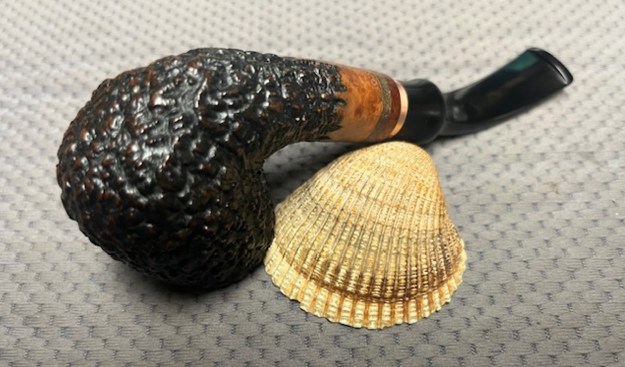
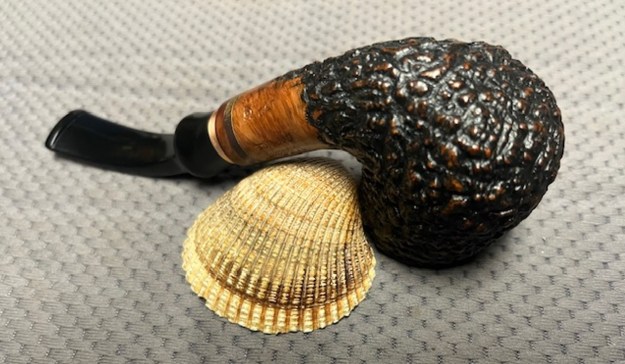
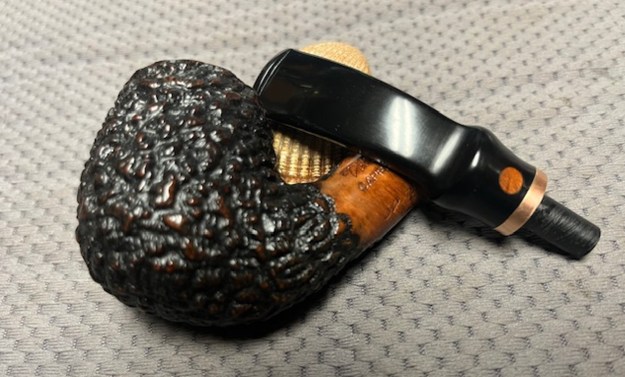
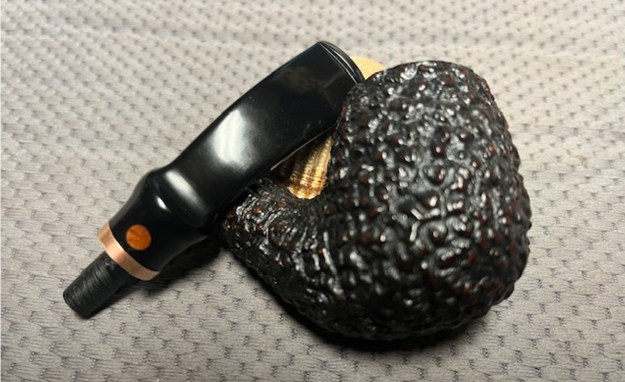
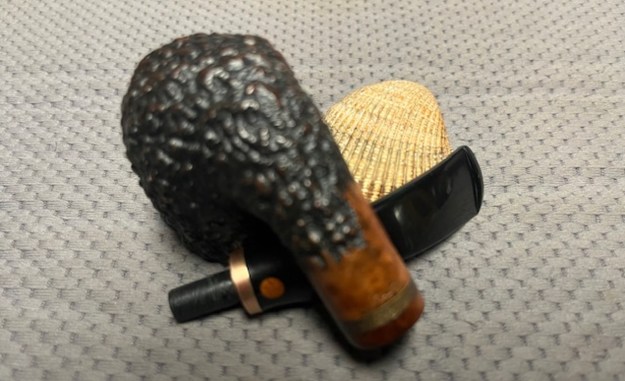
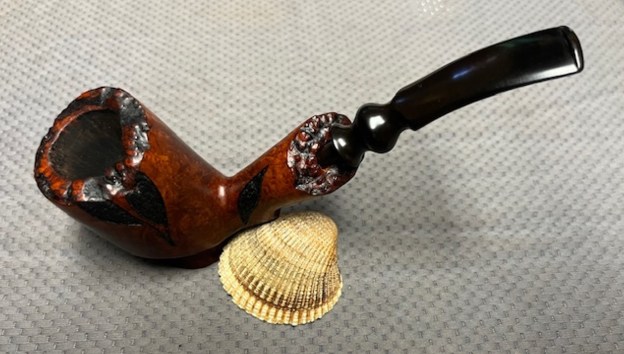
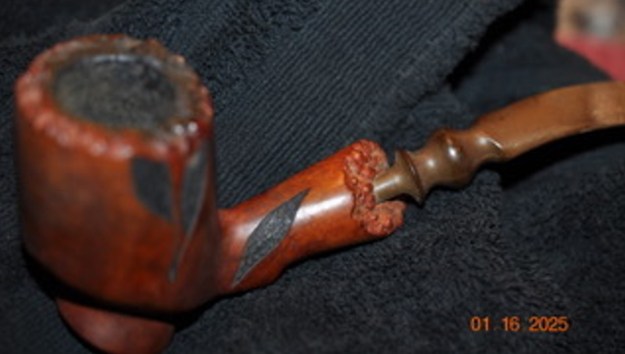
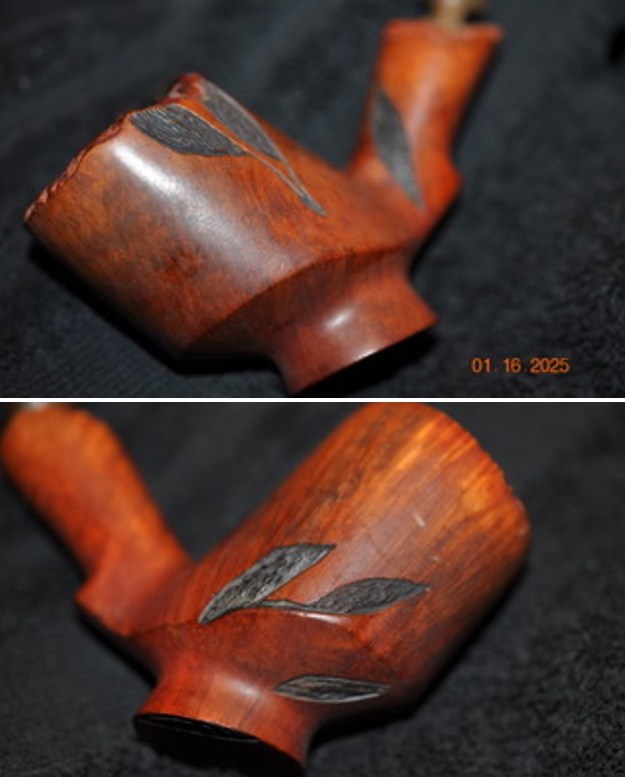
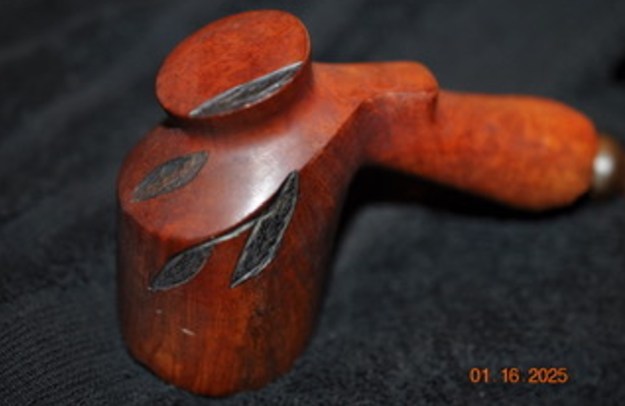
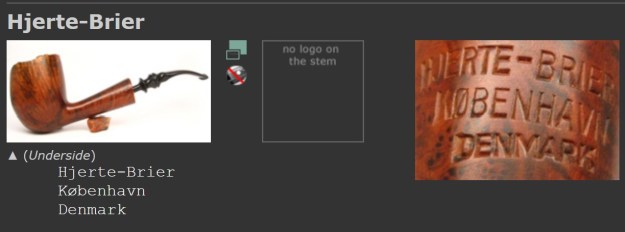
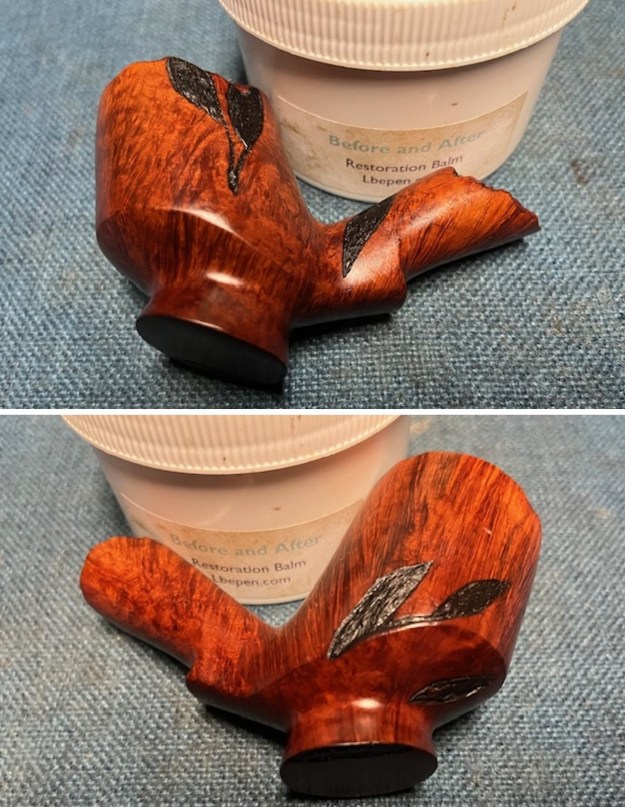
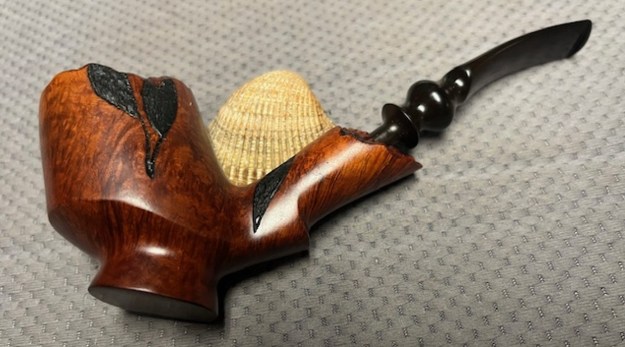
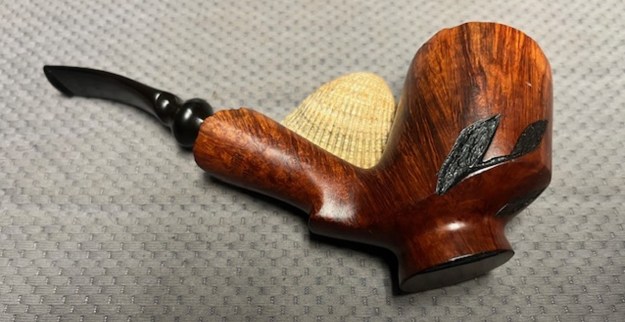
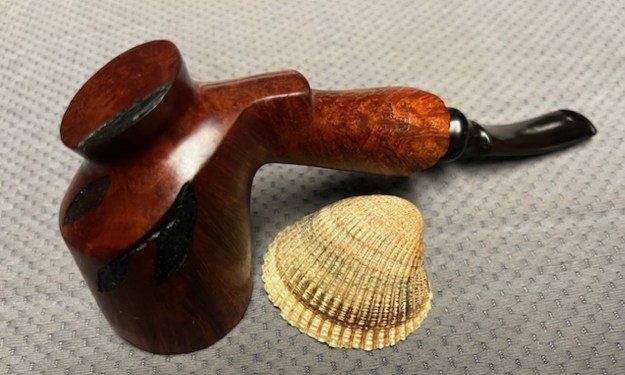
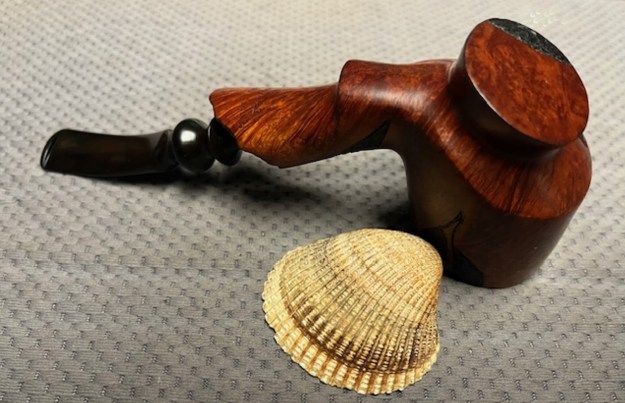
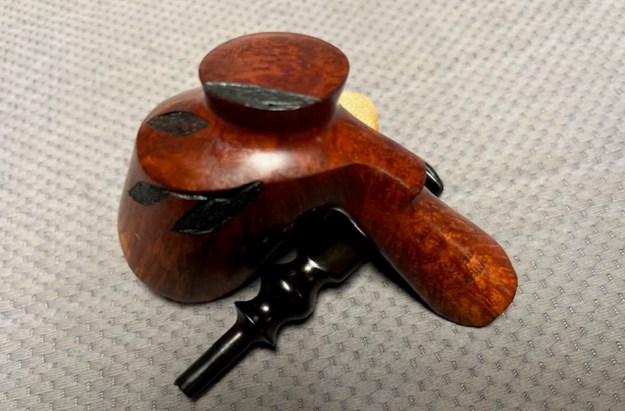
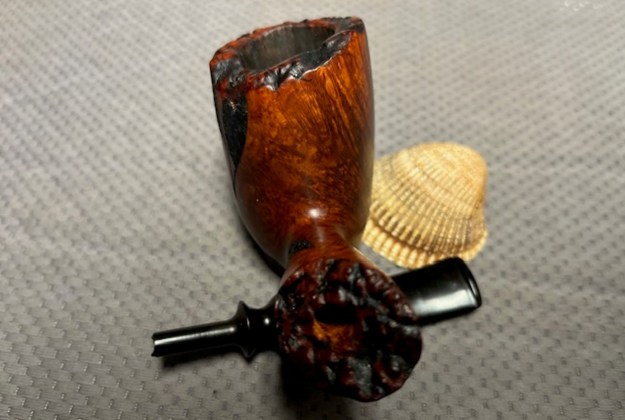
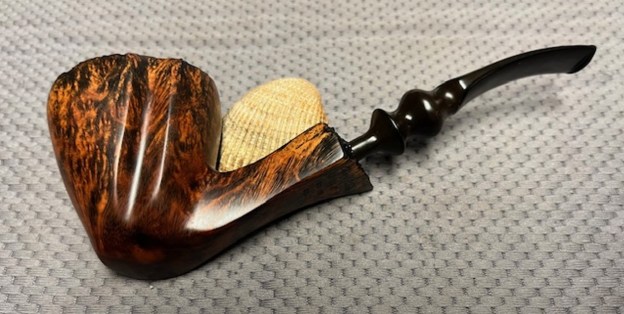
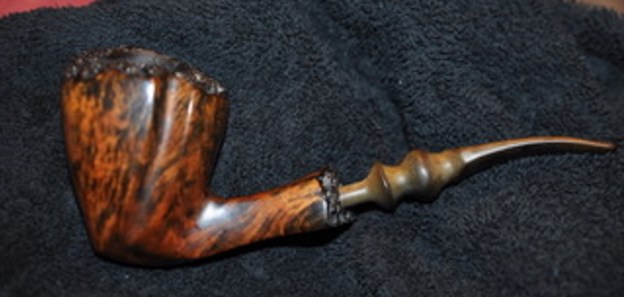
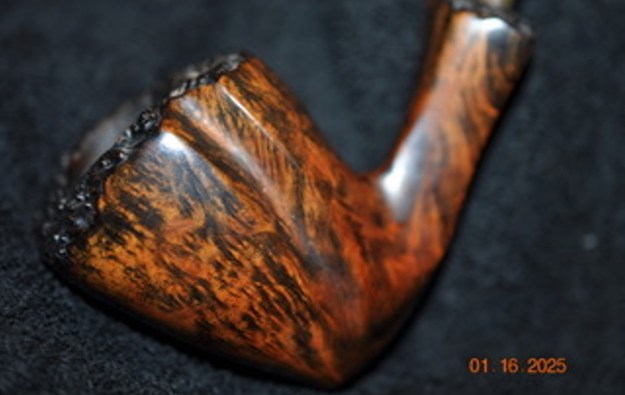
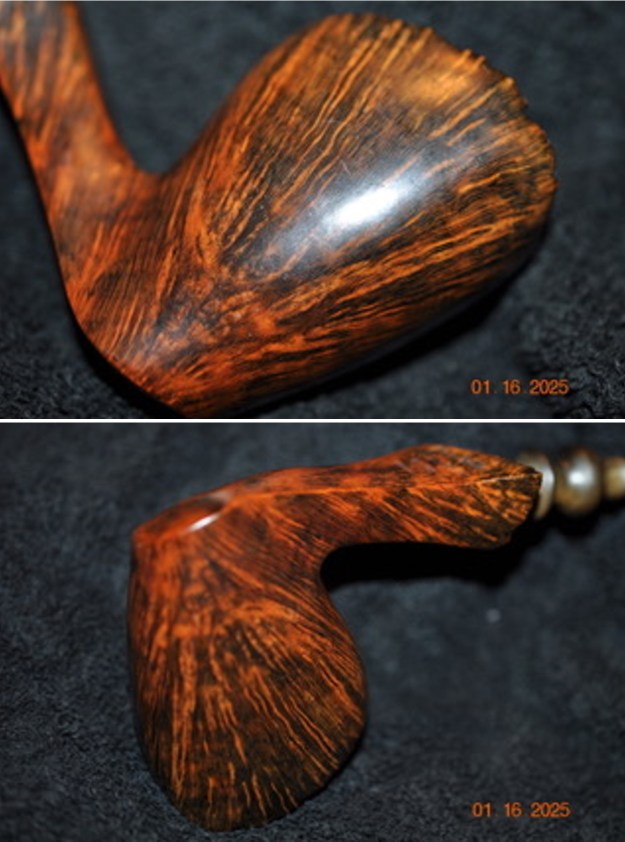
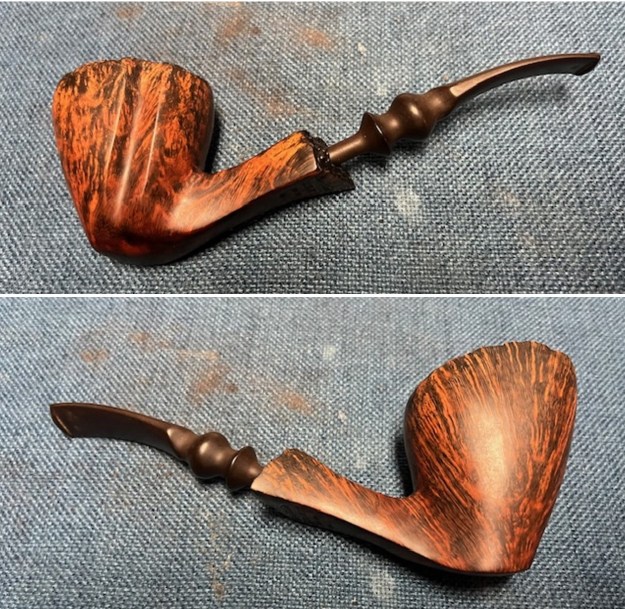
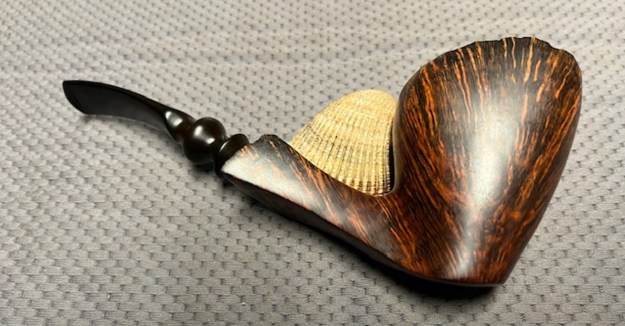
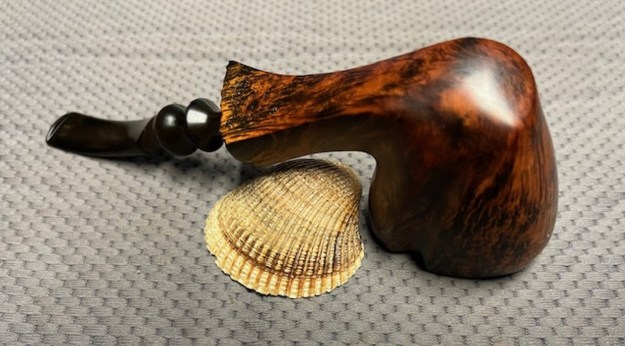
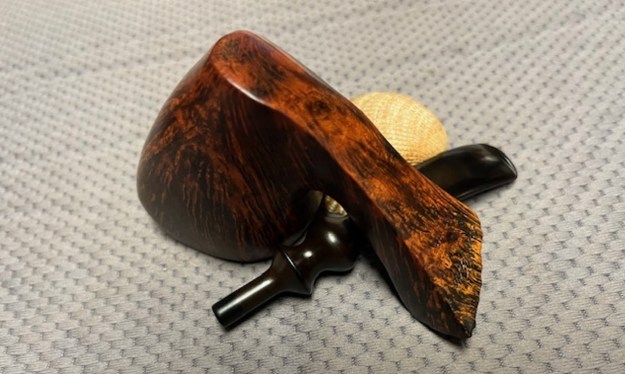
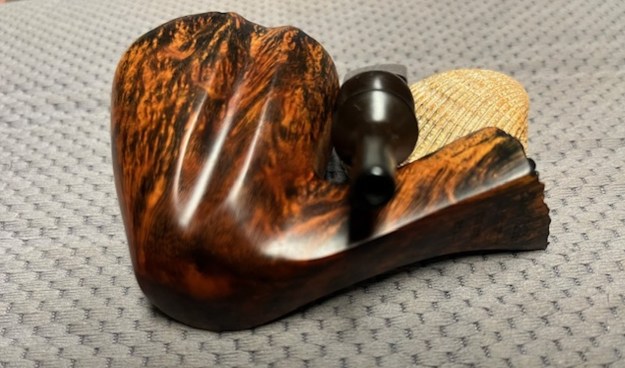
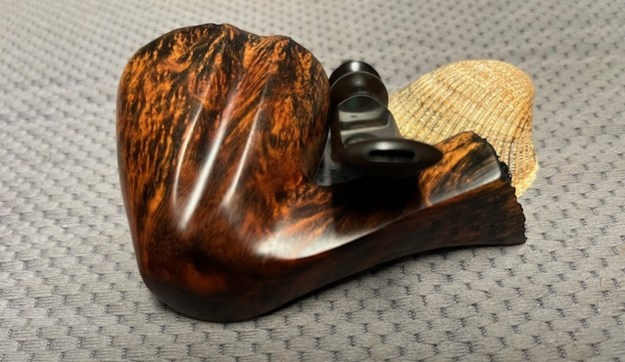
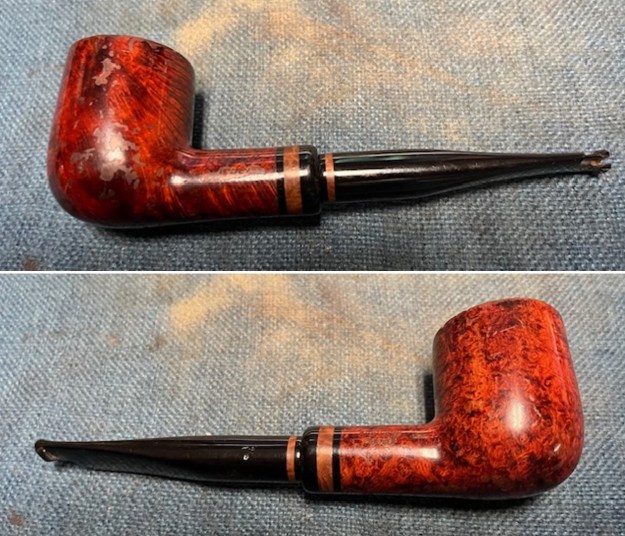
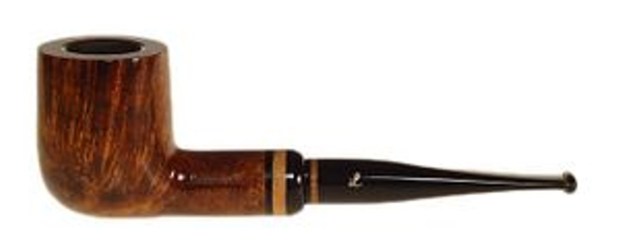
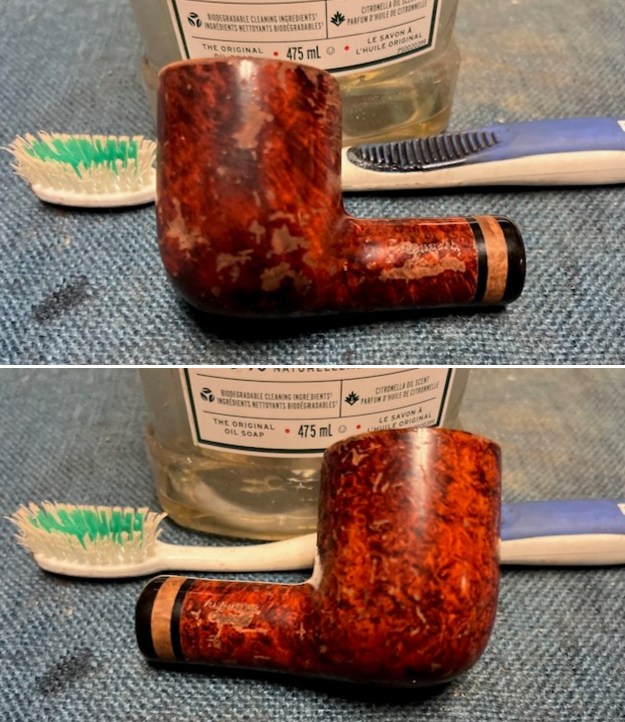
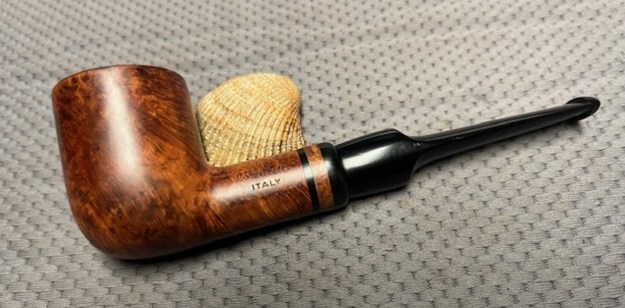
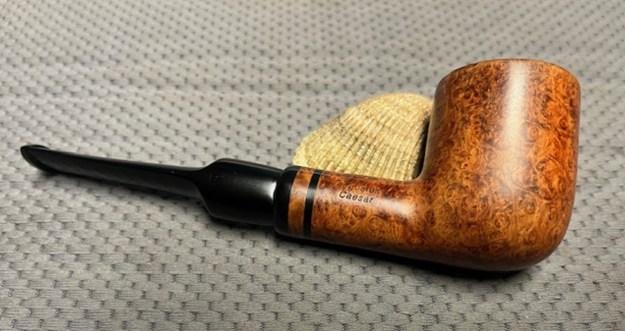
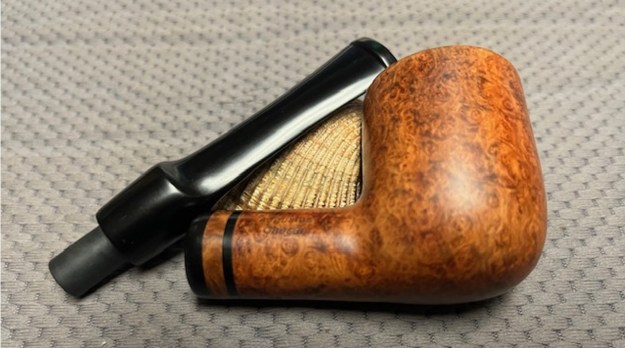
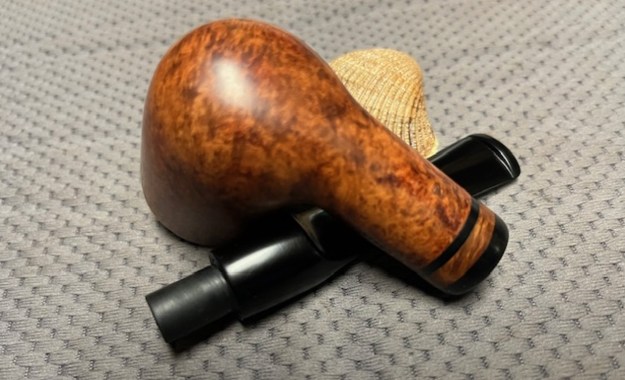
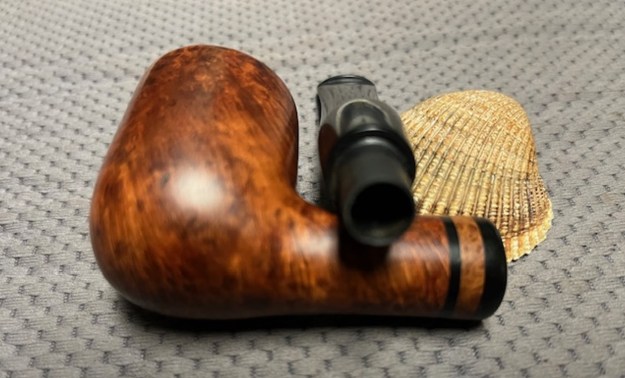
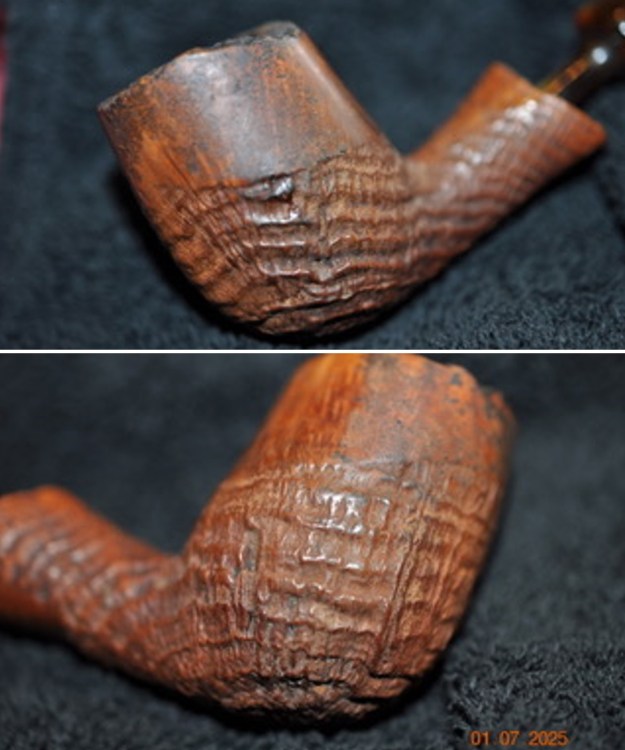
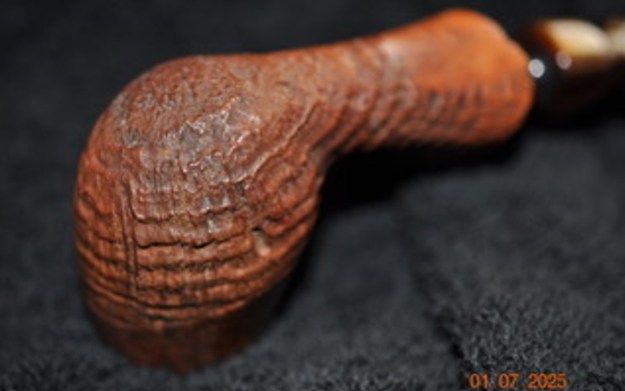
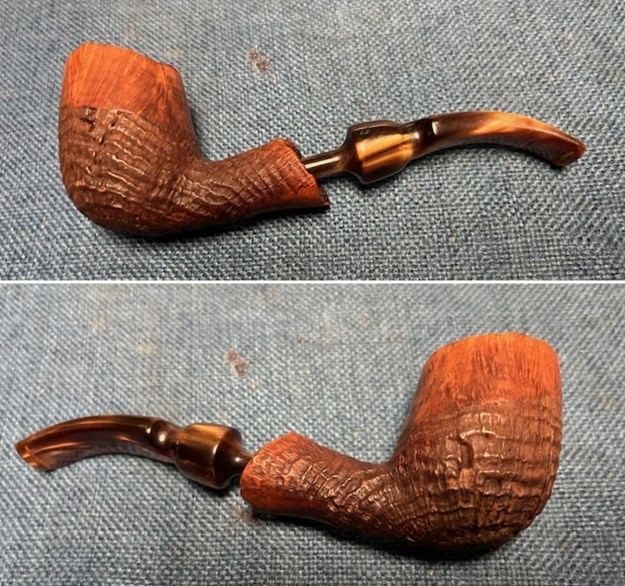
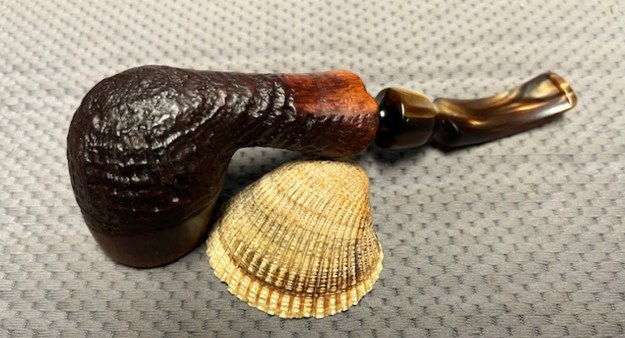
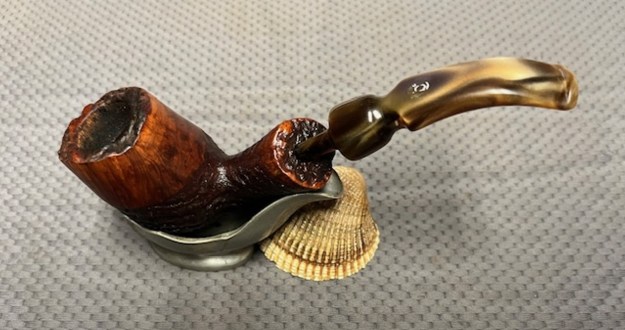
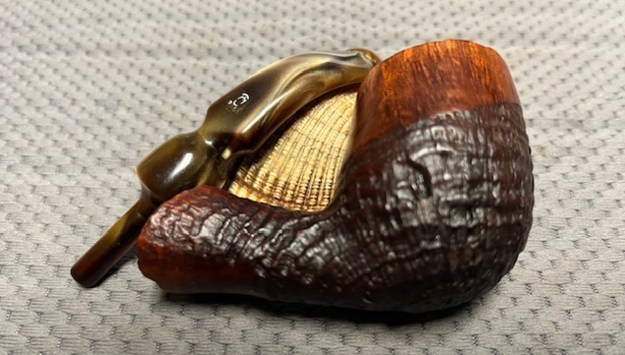
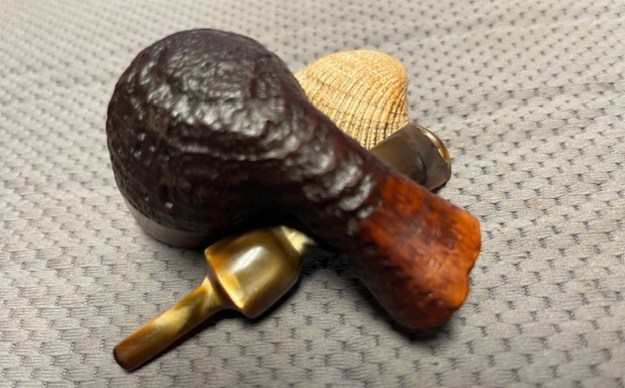
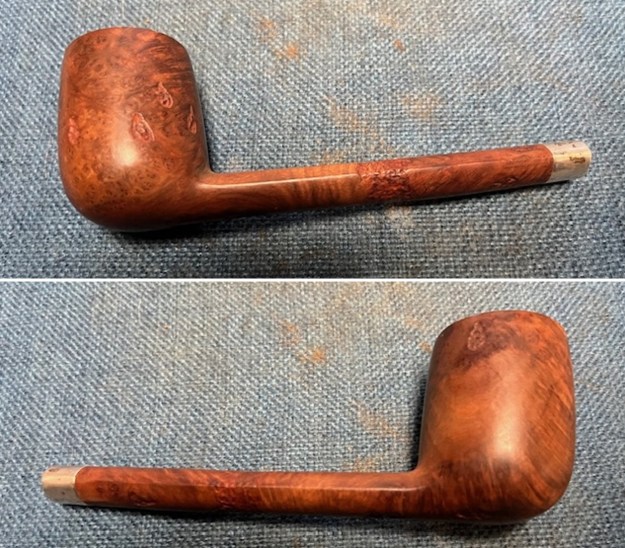
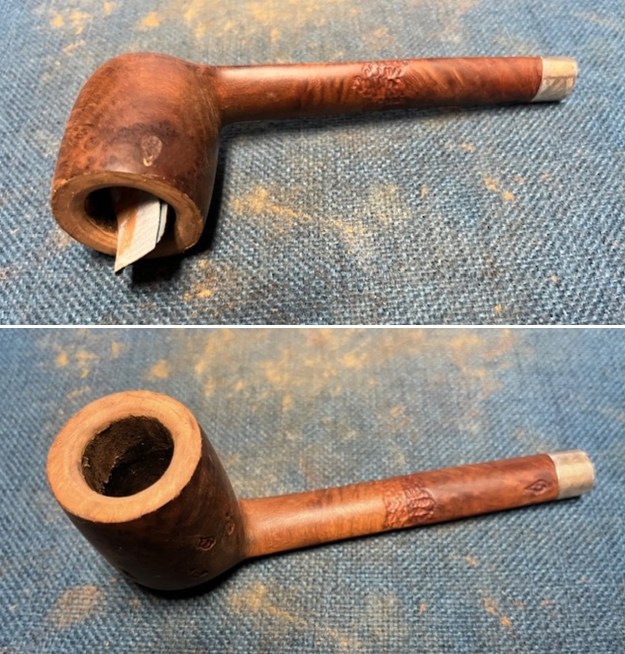
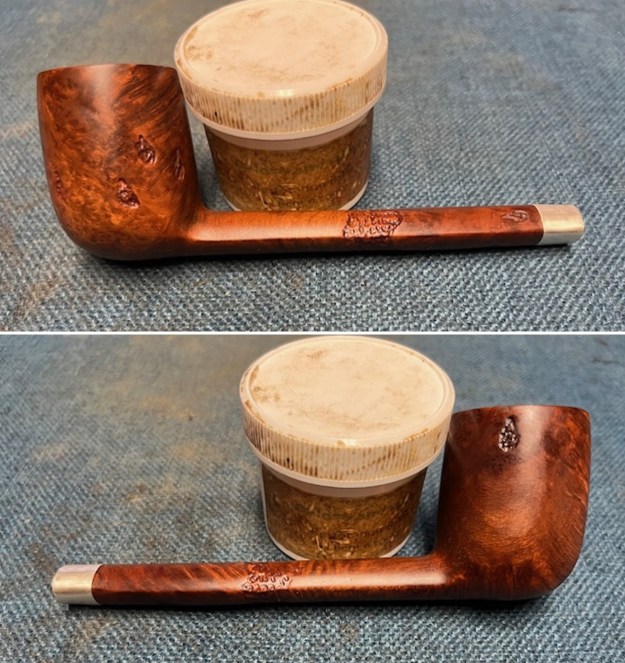
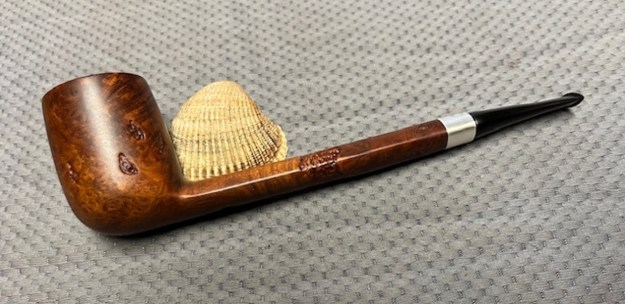
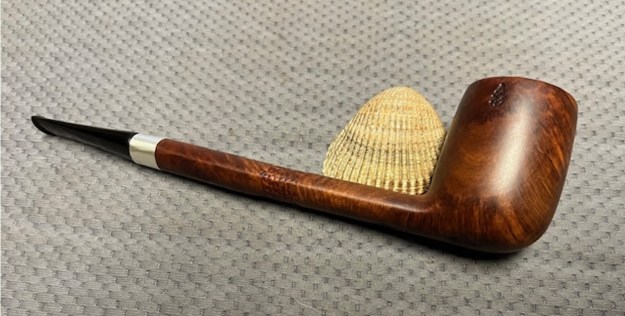
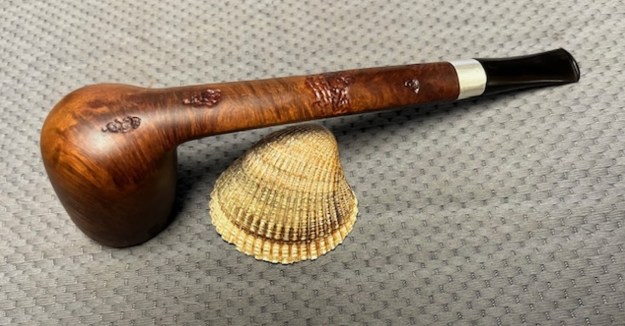
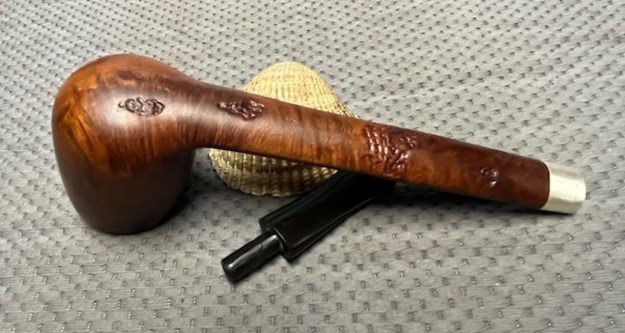
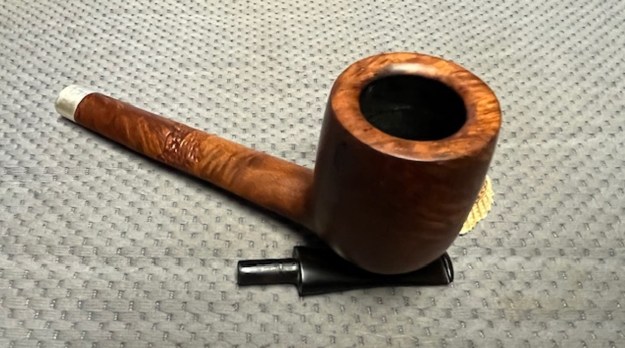
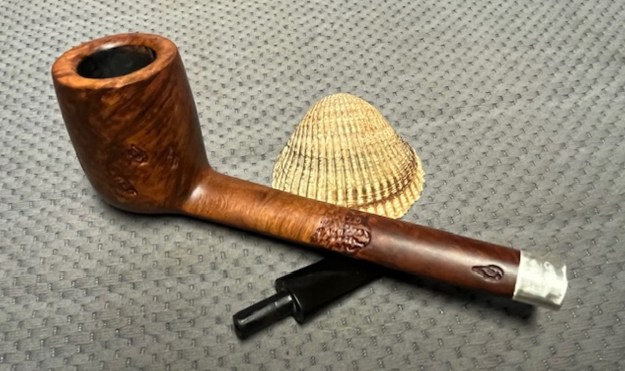
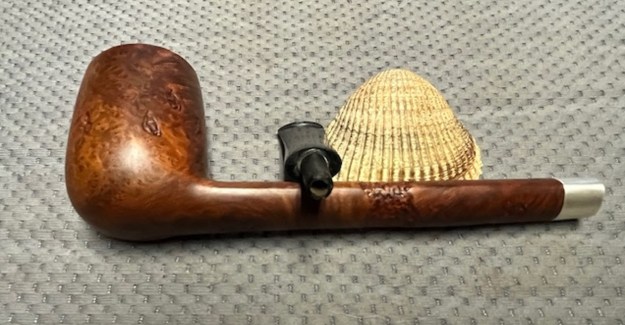
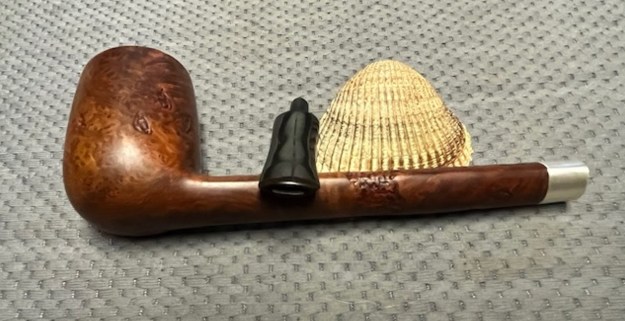
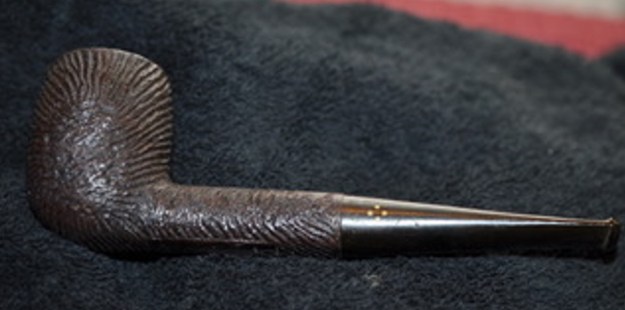
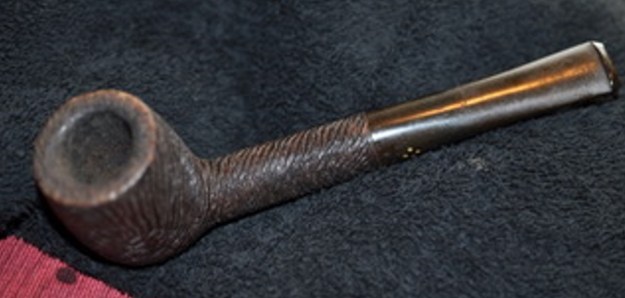
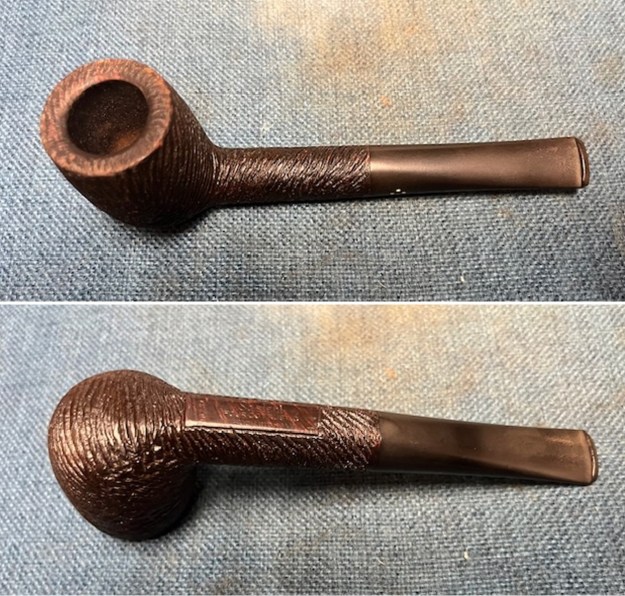
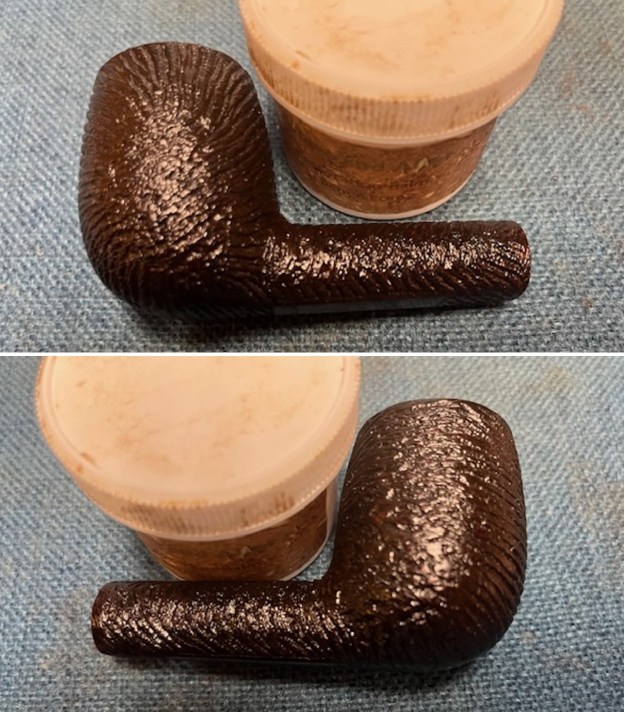
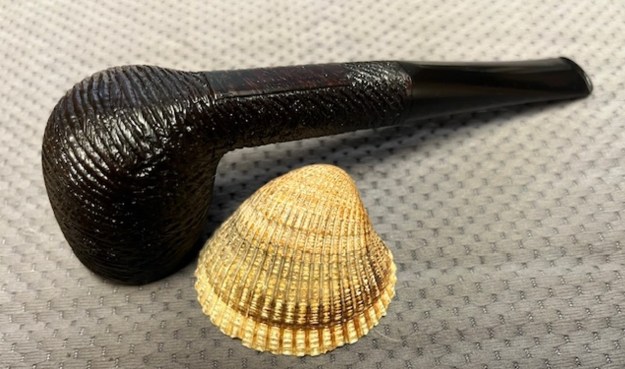
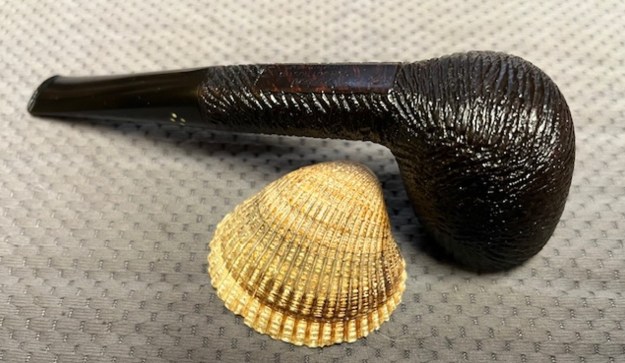
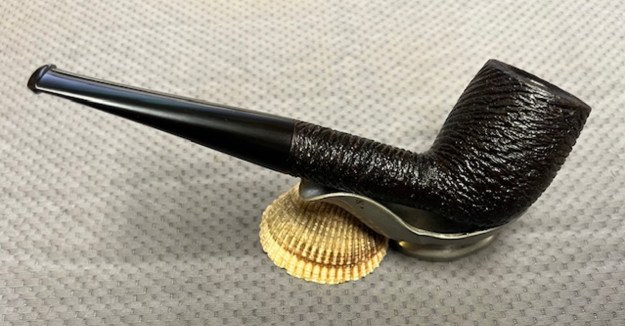
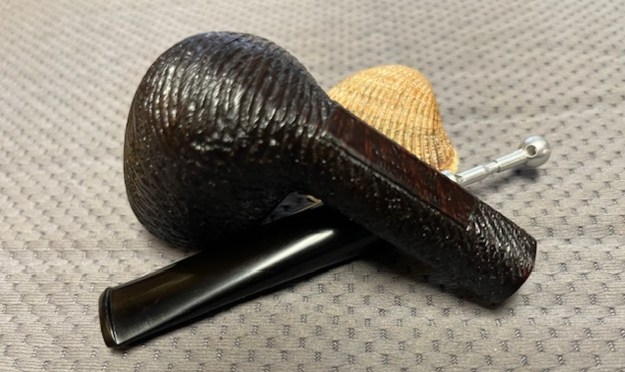
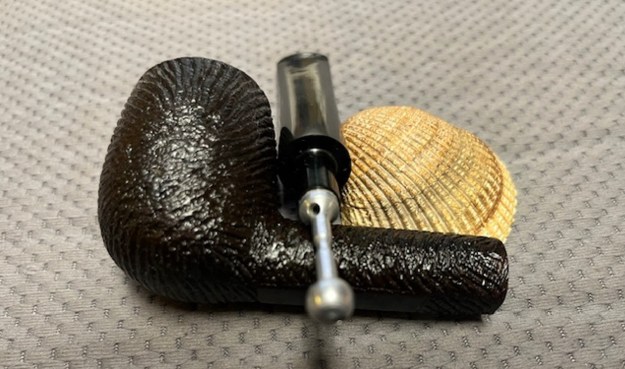
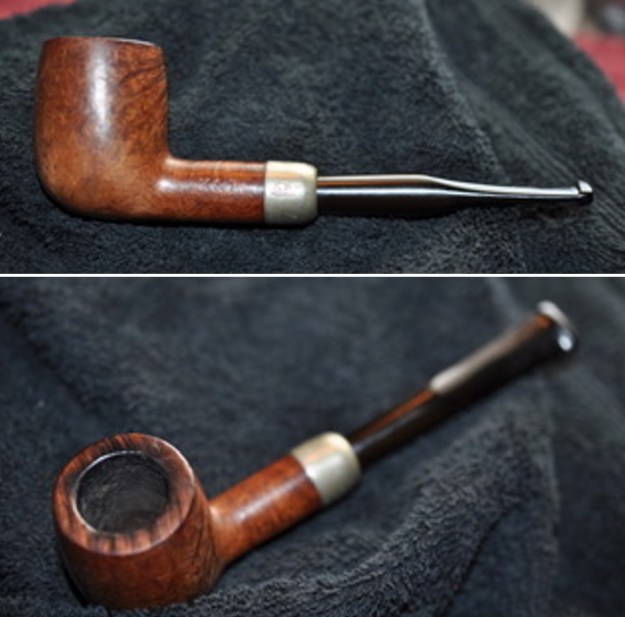
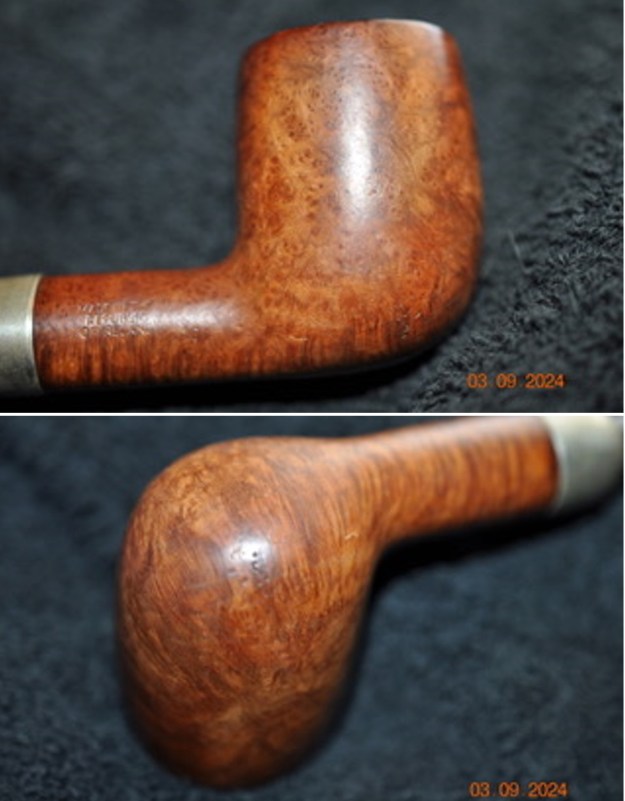
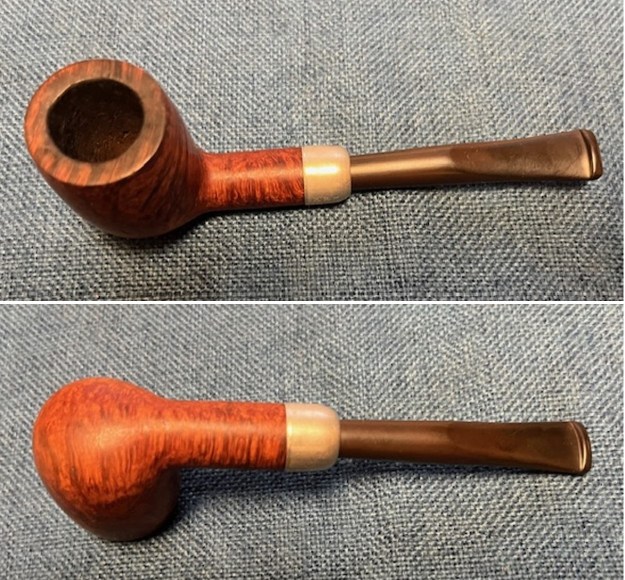
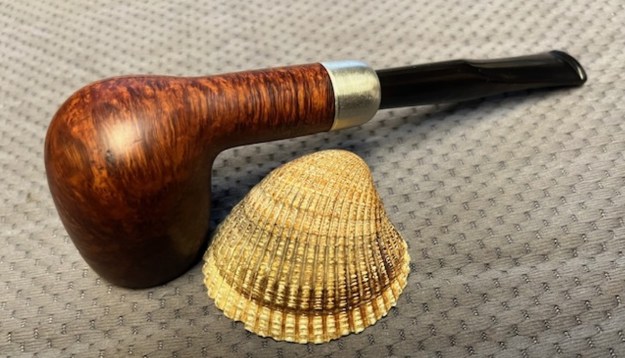
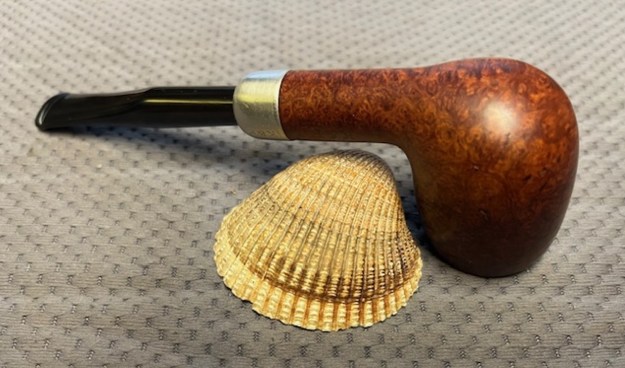
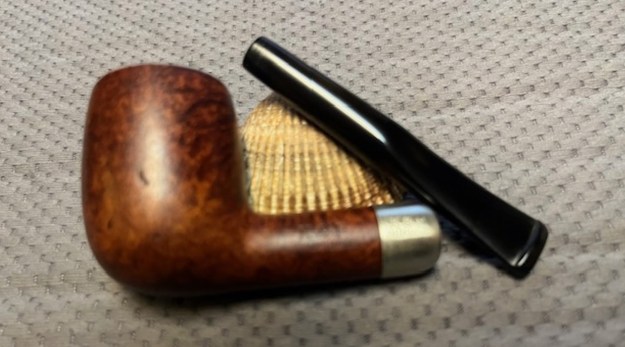
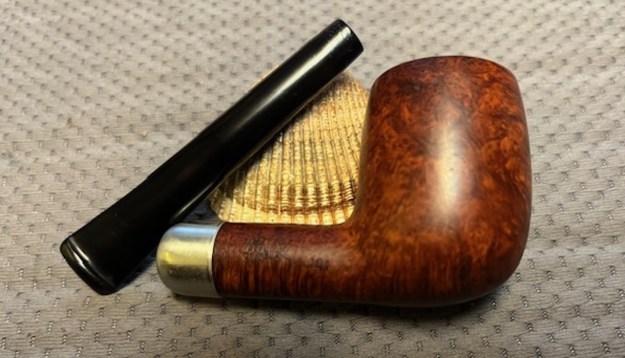
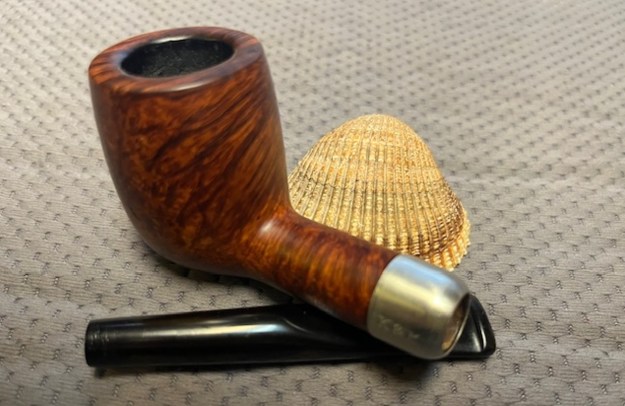
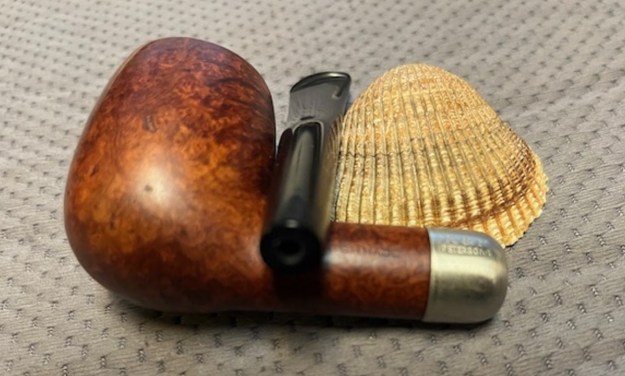
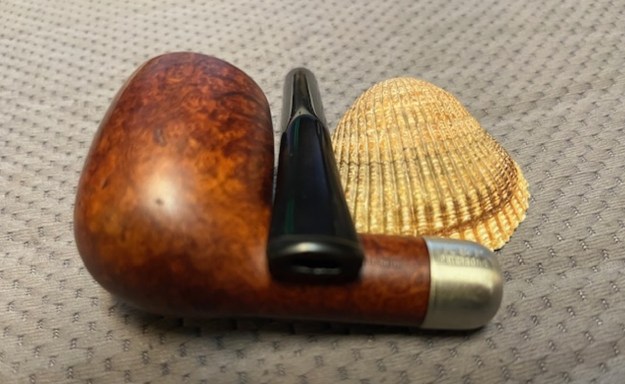
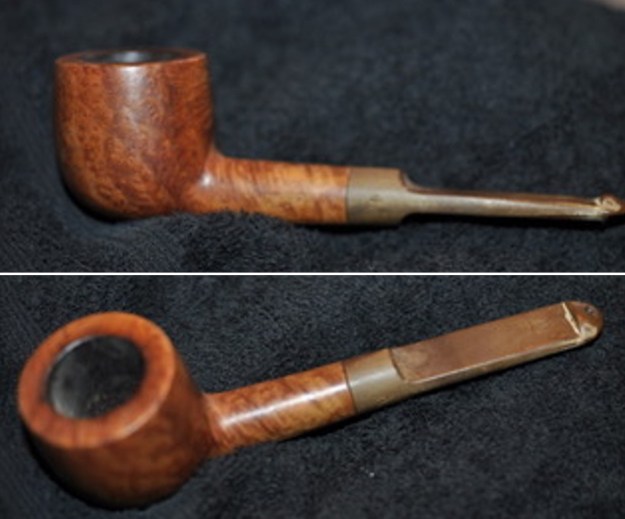
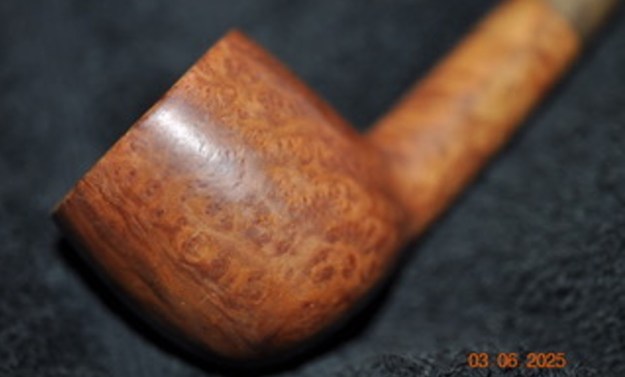
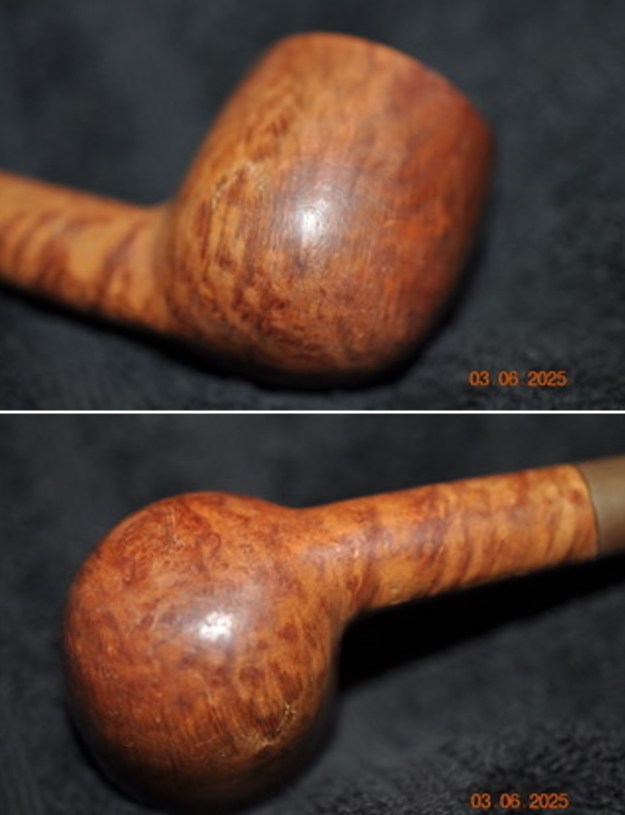
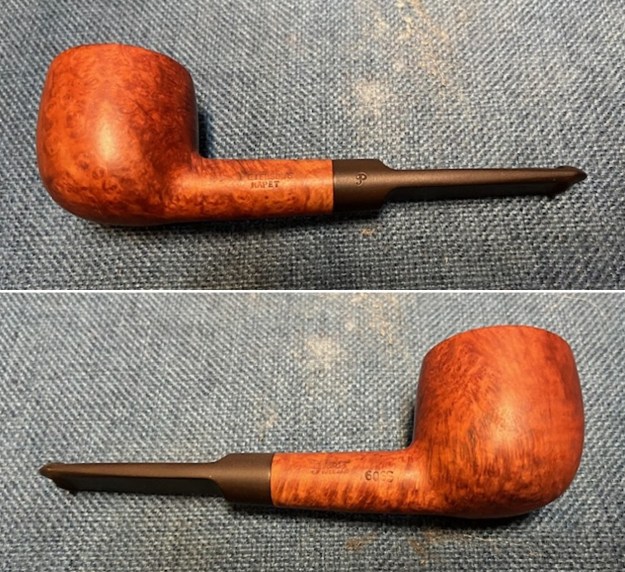
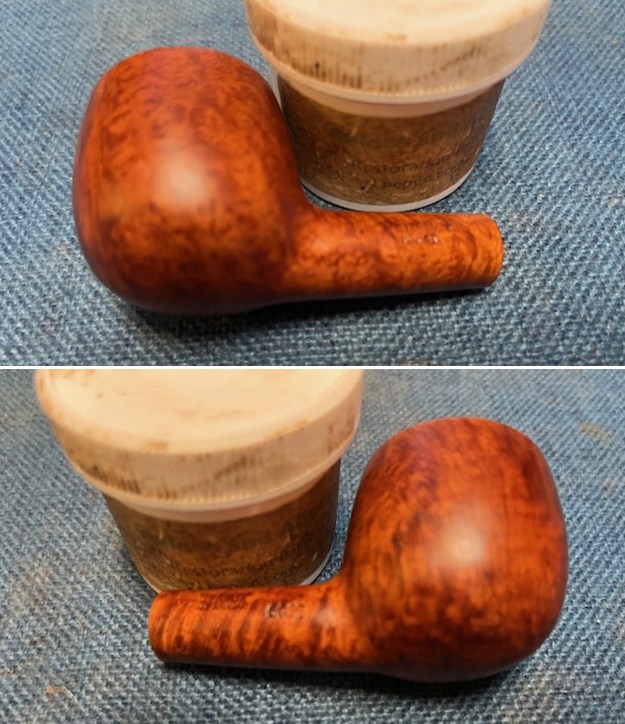
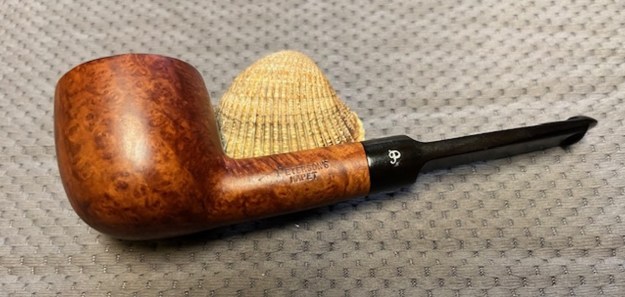
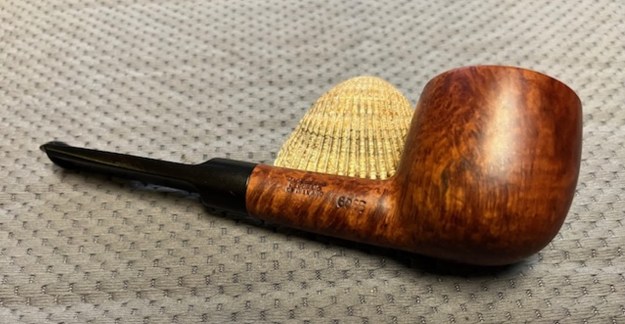
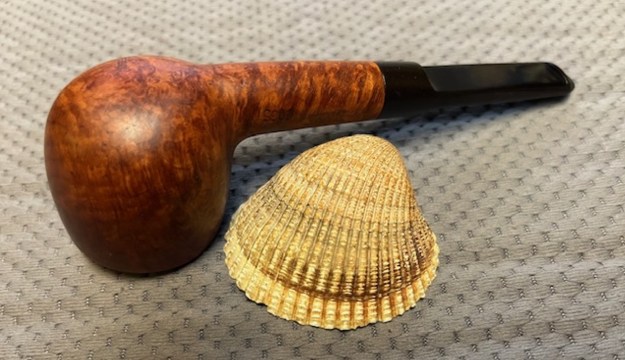
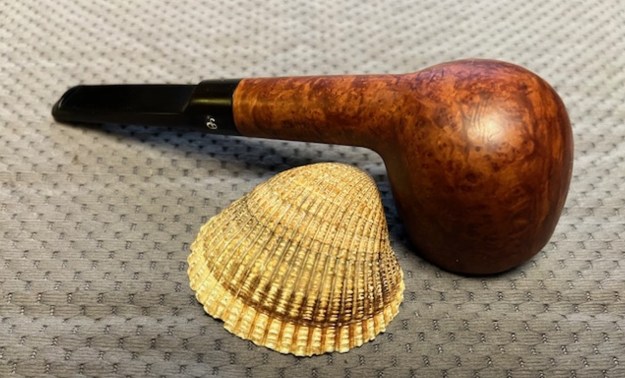
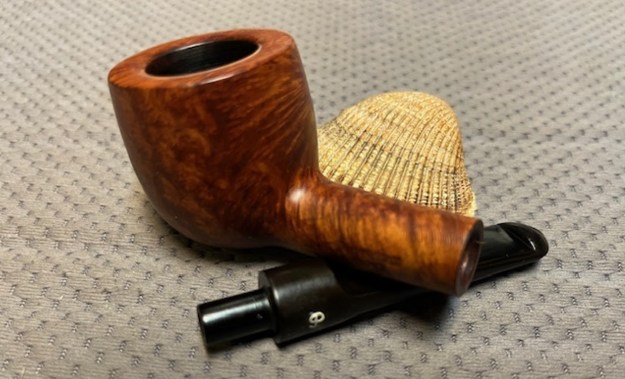
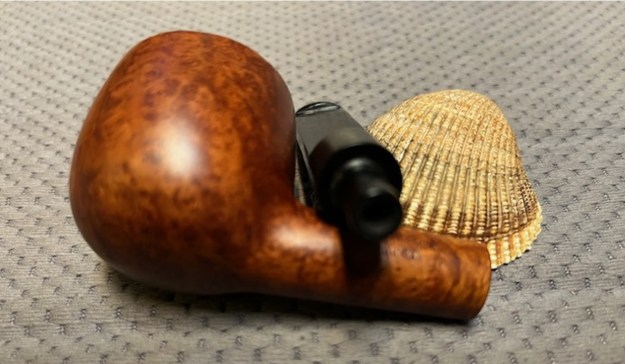
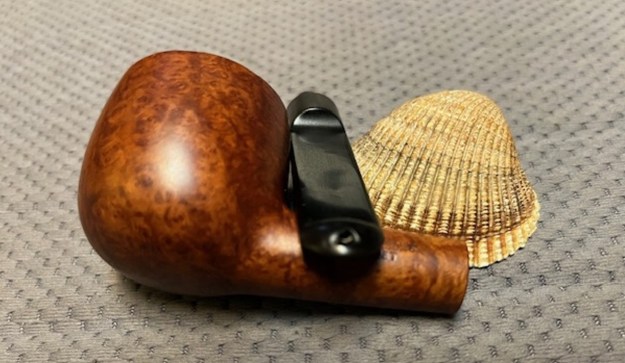
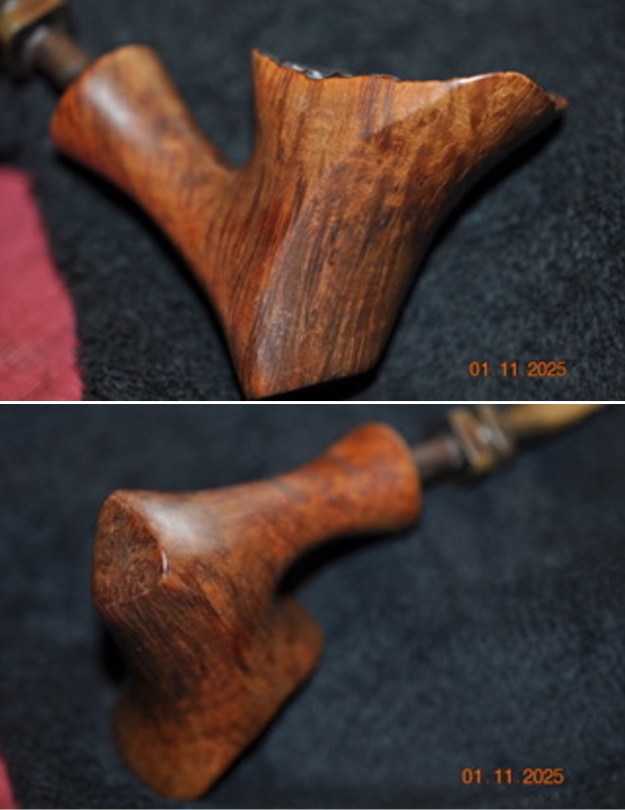
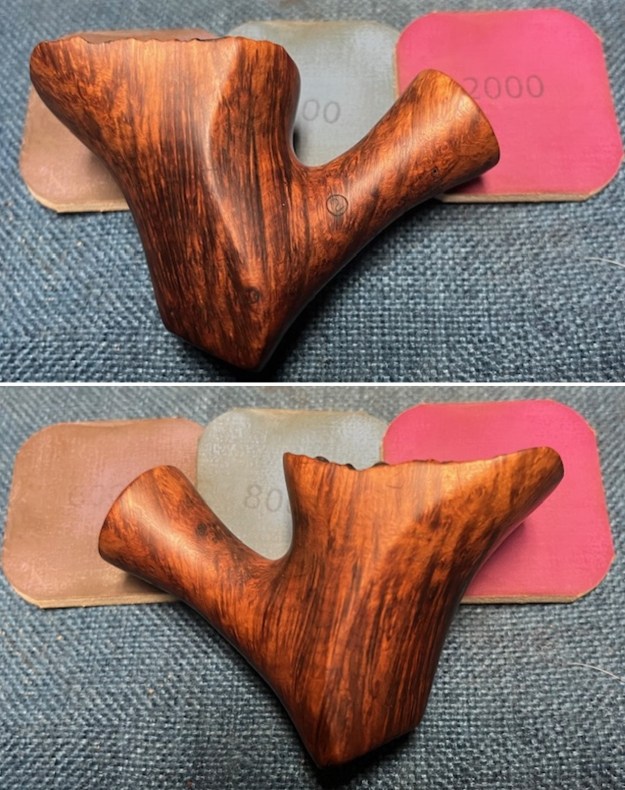
 He took photos of the sides of the bowl and the heel to give an idea of the shape and the condition of the briar around the bowl. It really is a nicely shaped pipe that has the classic look of a Freehand carved by Preben Holm.
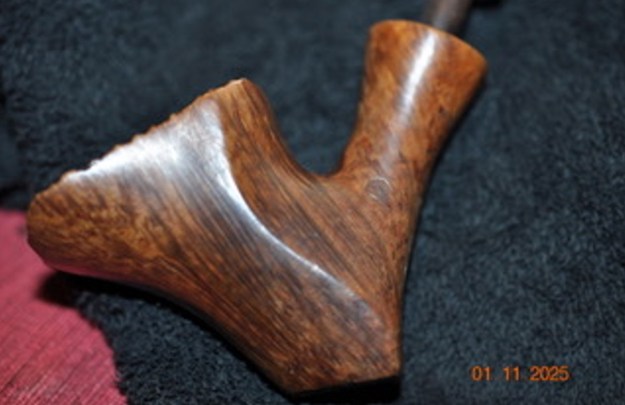
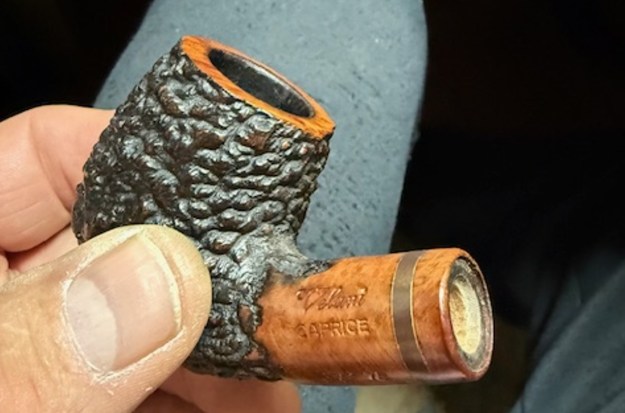
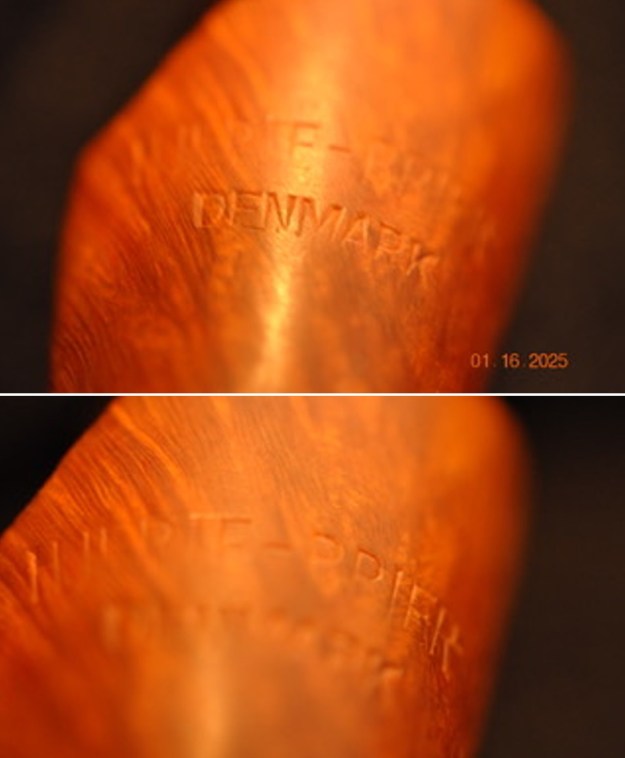
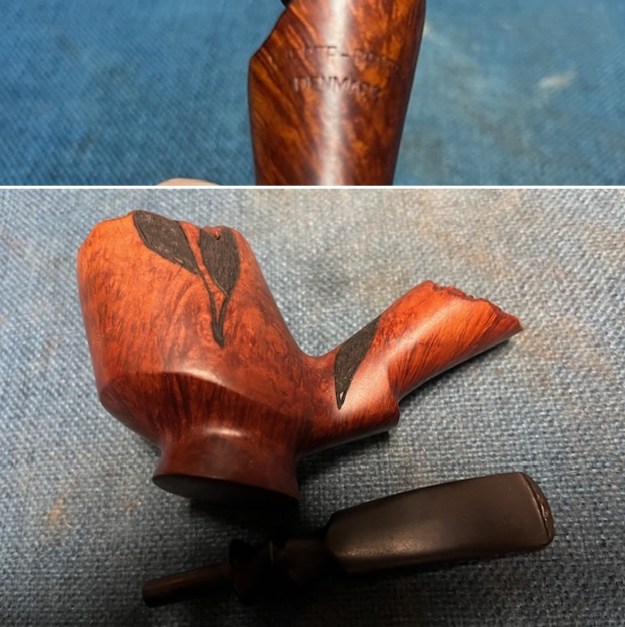
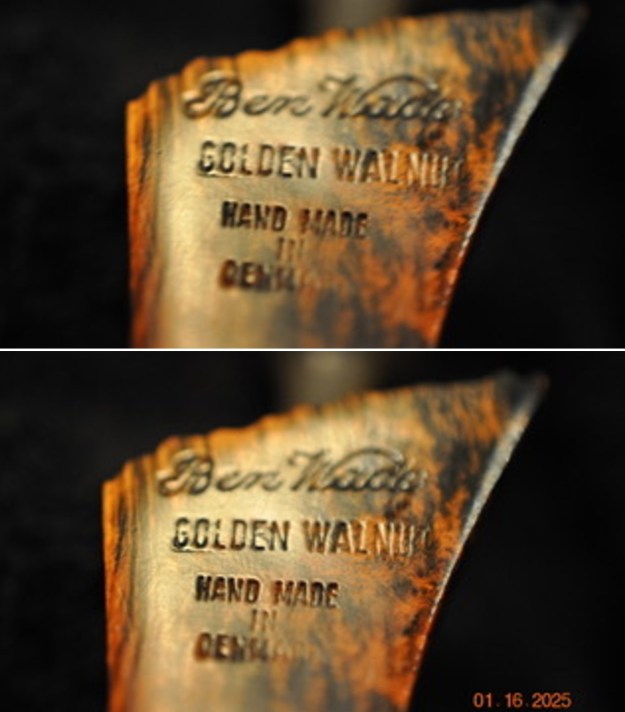
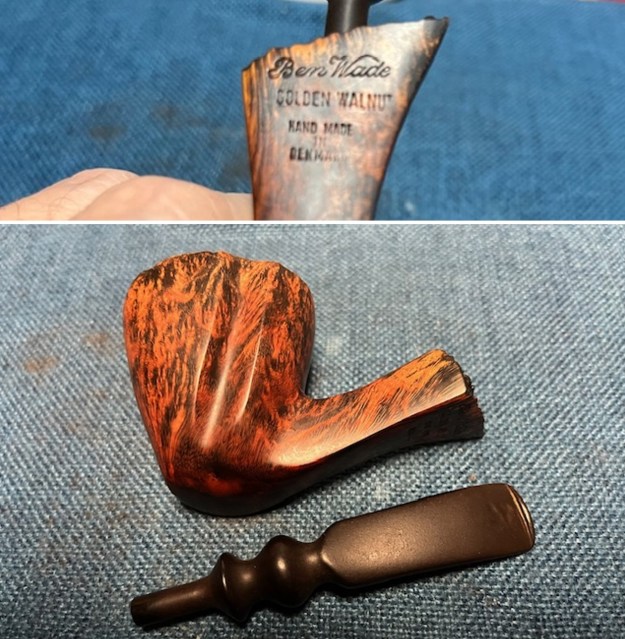
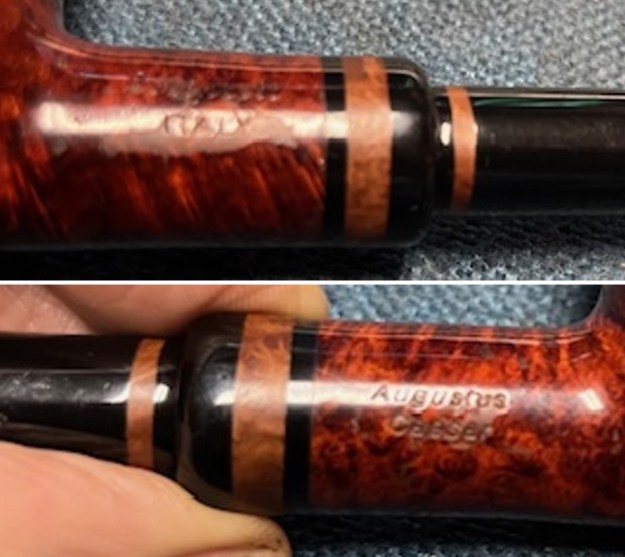
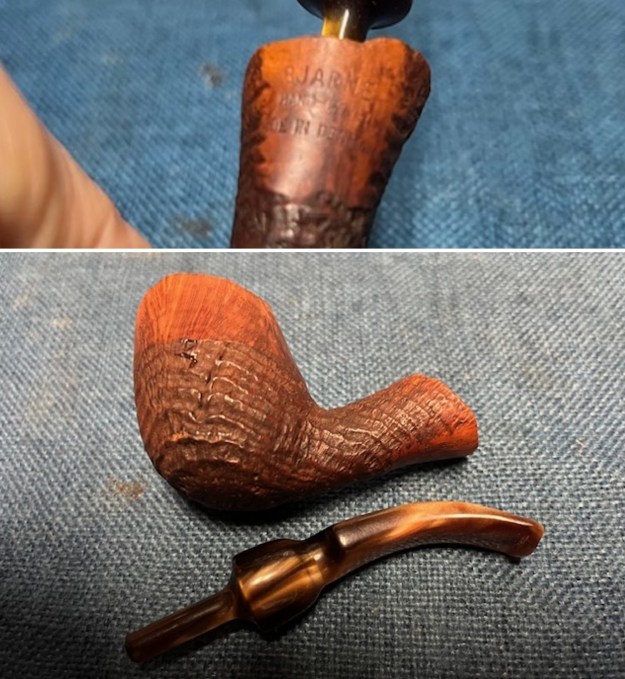
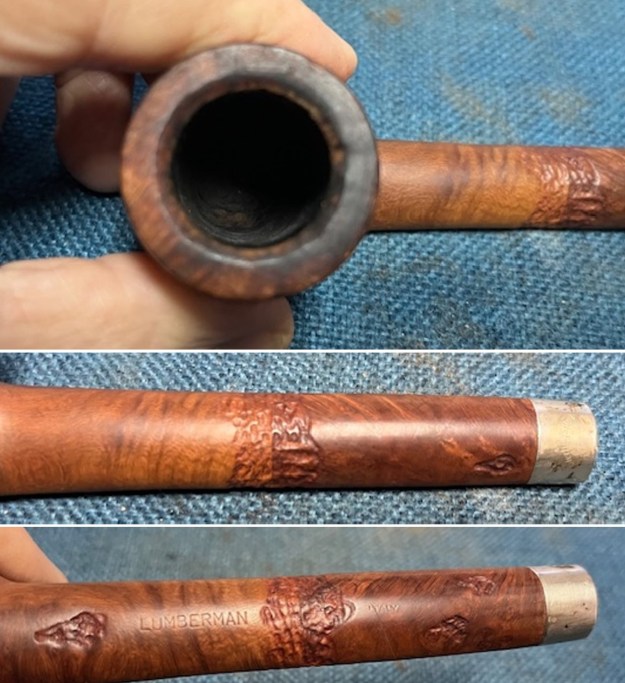
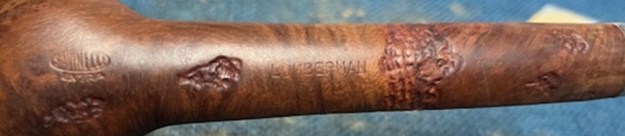
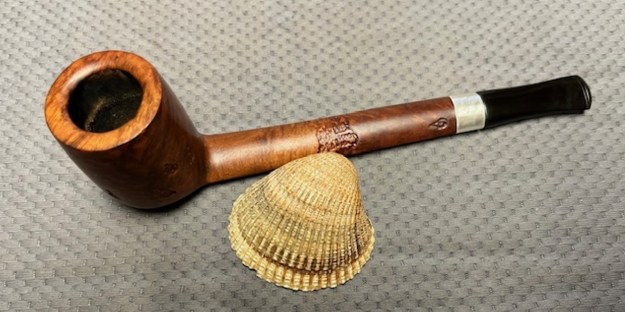
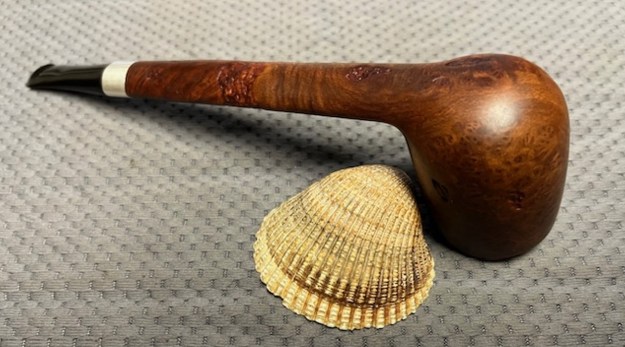
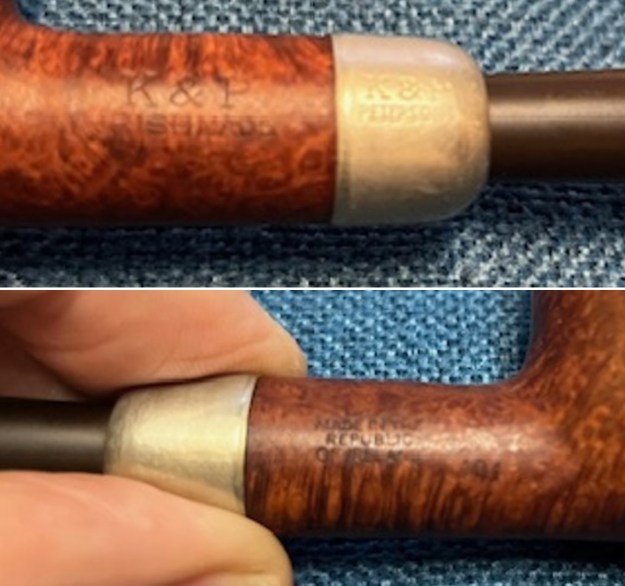
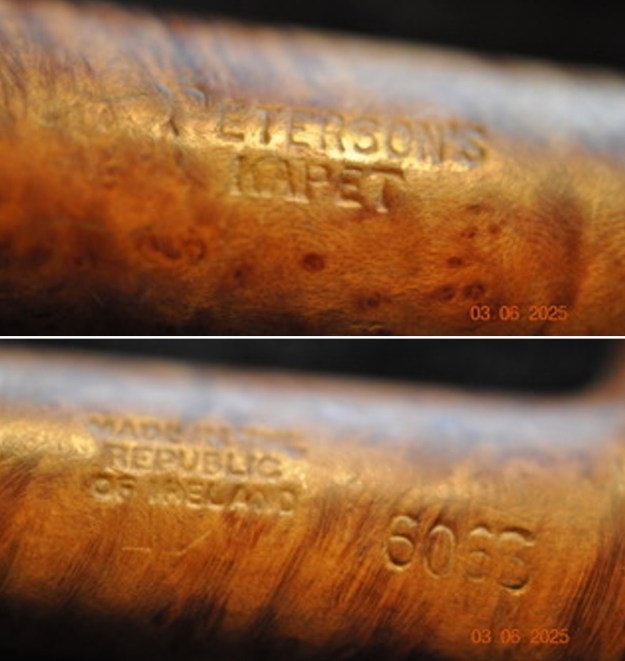
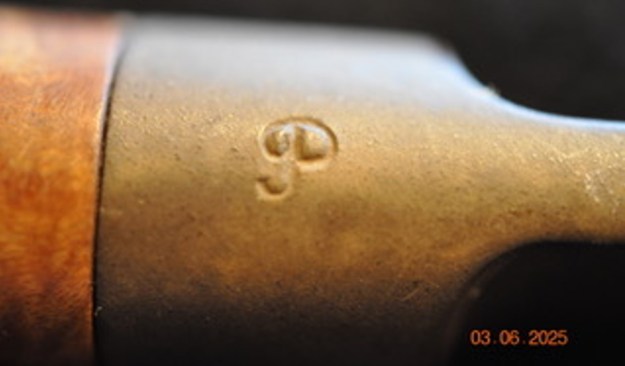
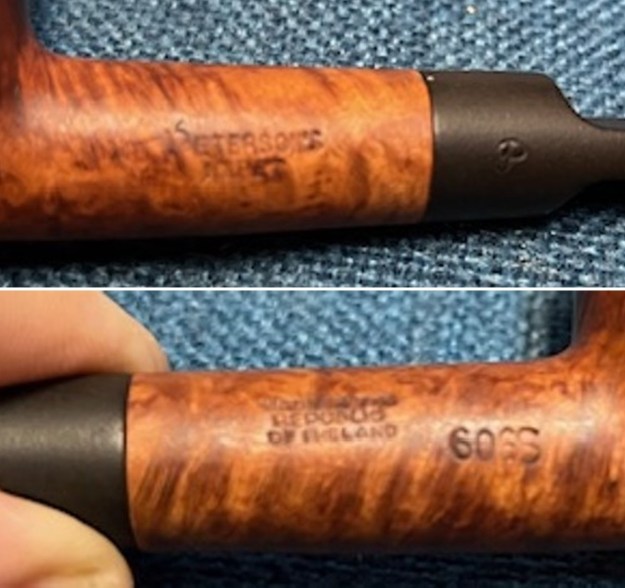
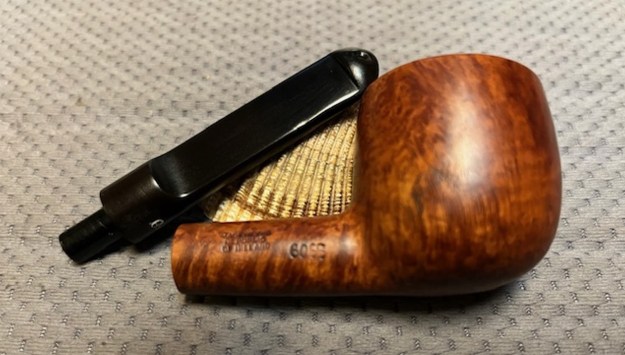
 The next photos Jeff took shows the stamping on the underside of the shank. It is clear and readable as noted above. He did not get a photo of the circle 2 stamp on the left shank side.
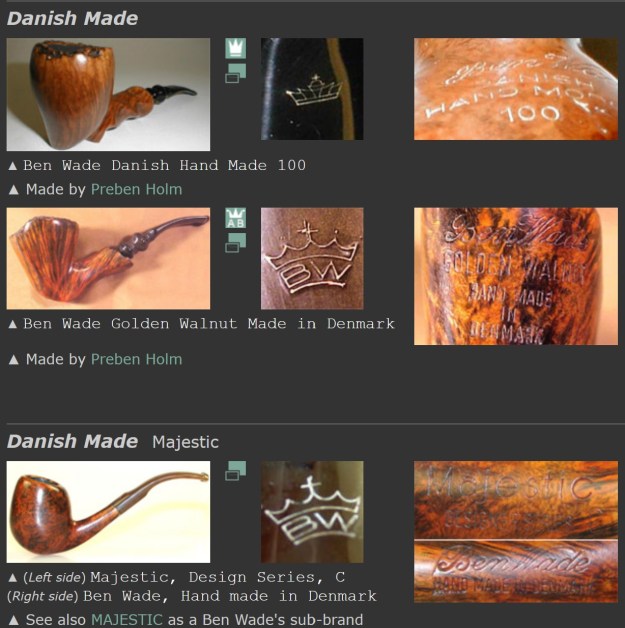
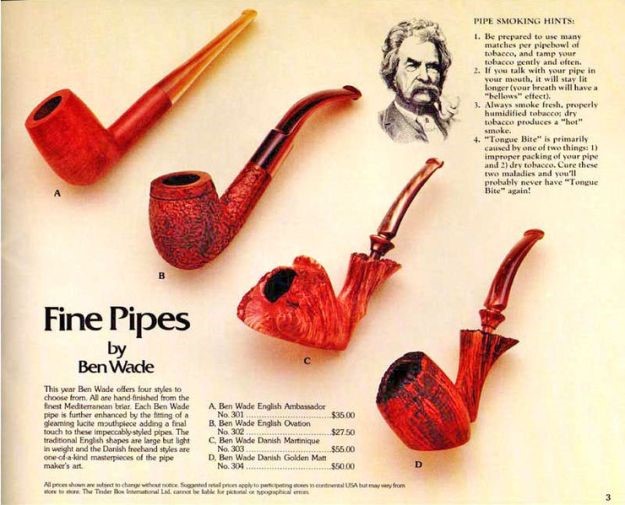
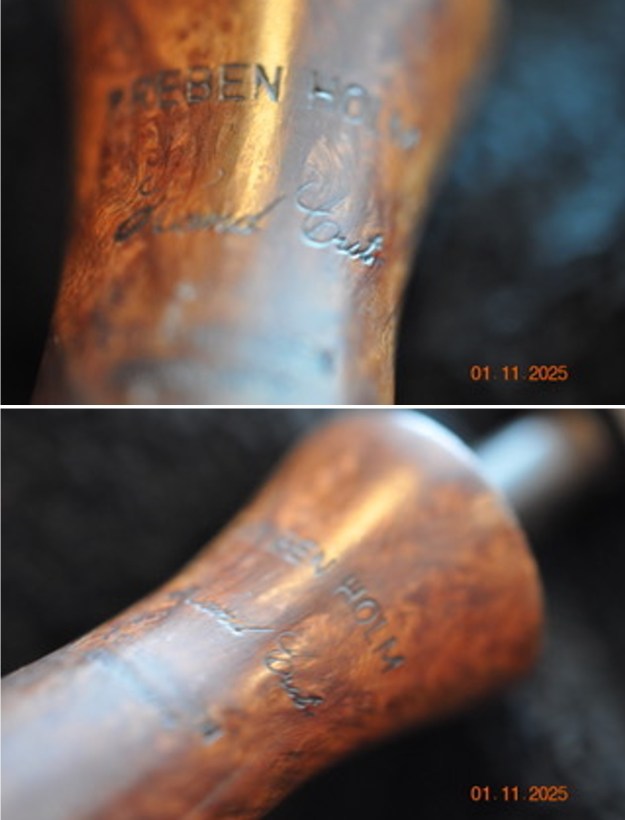 There is some great historical information on Pipedia regarding the Preben Holm carved pipes and the history of the brand and the maker (https://pipedia.org/wiki/Holm,_Preben). Take some time to give the article a read. There was nothing specific on the Hand Cut line like this one was stamped. But it is a great read.
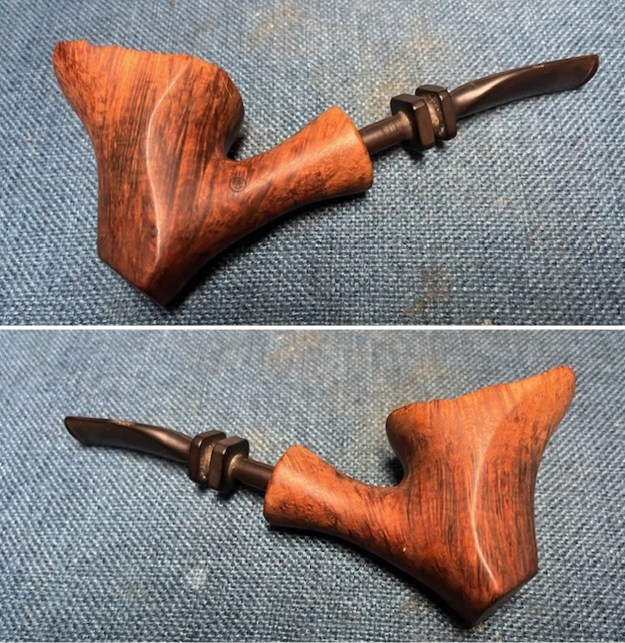
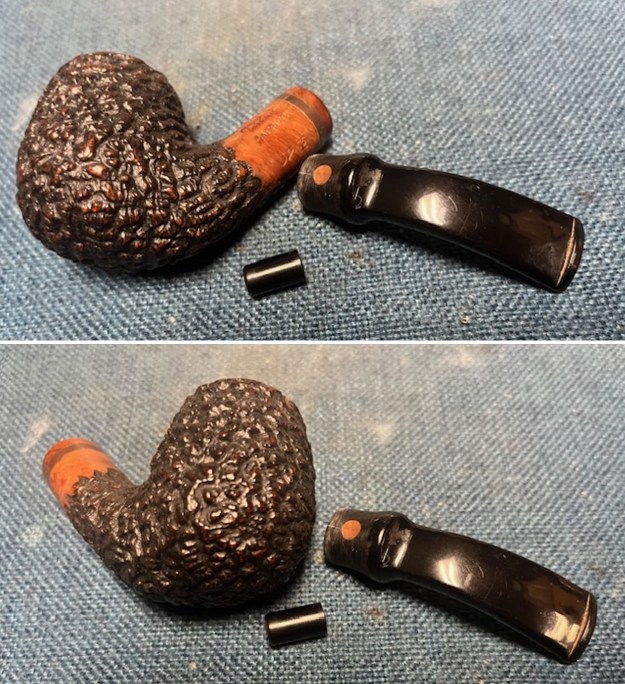
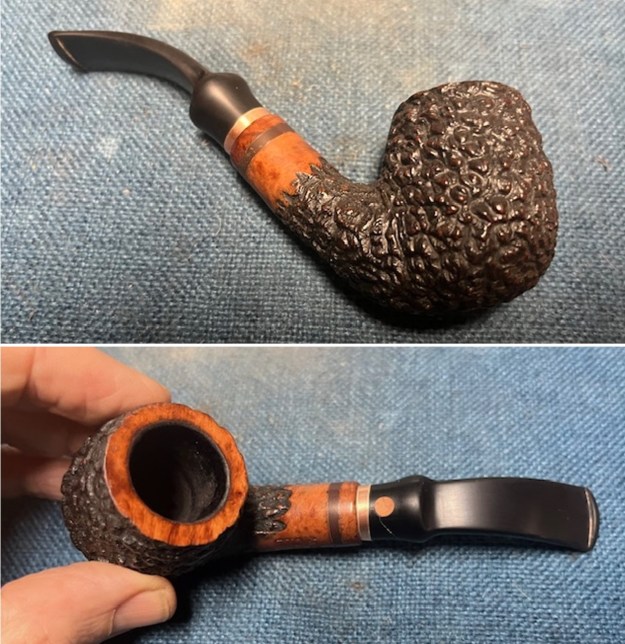
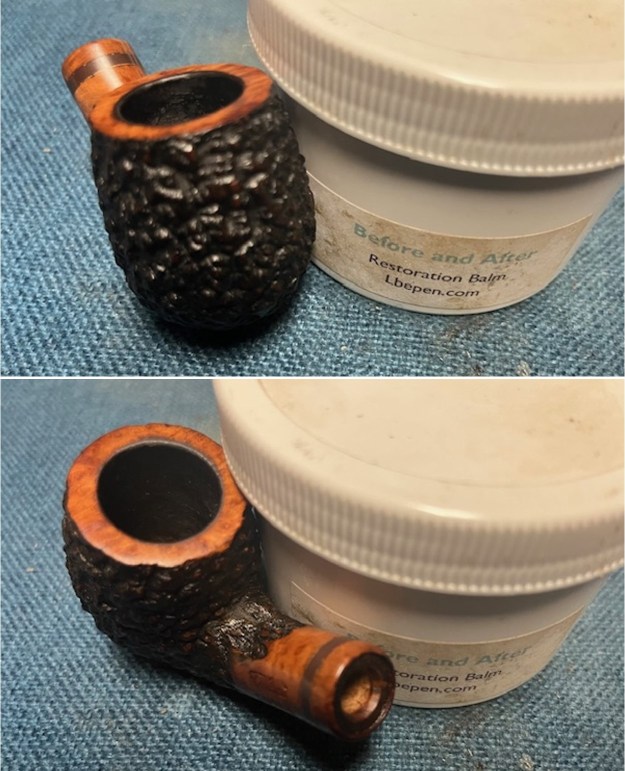
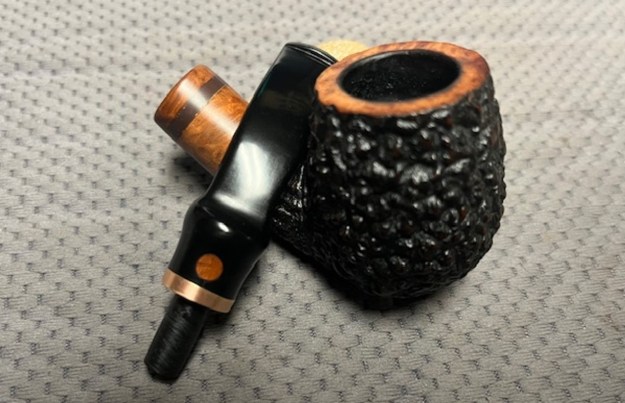
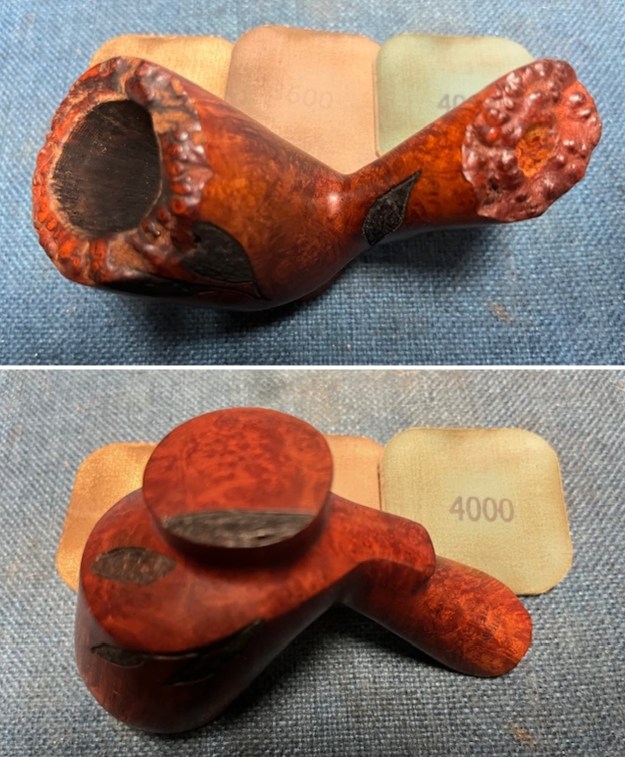
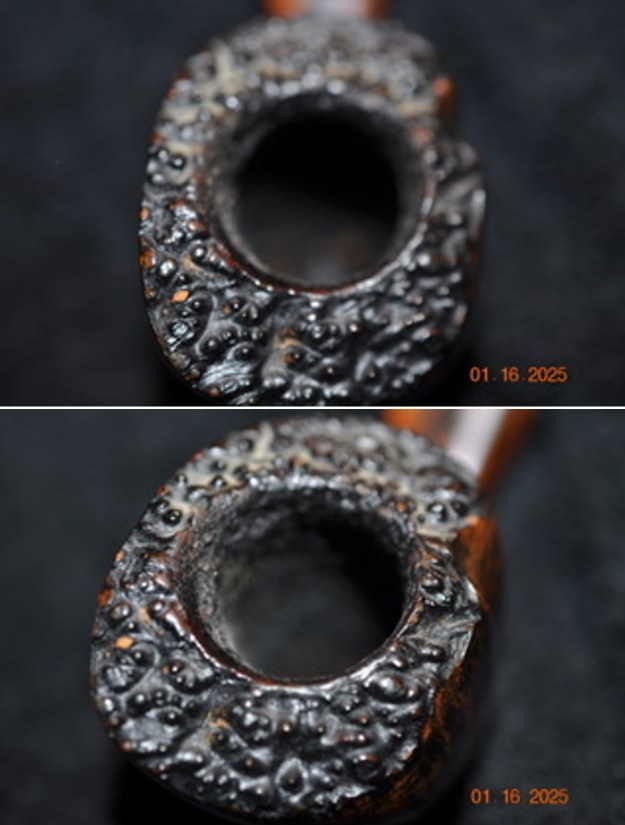
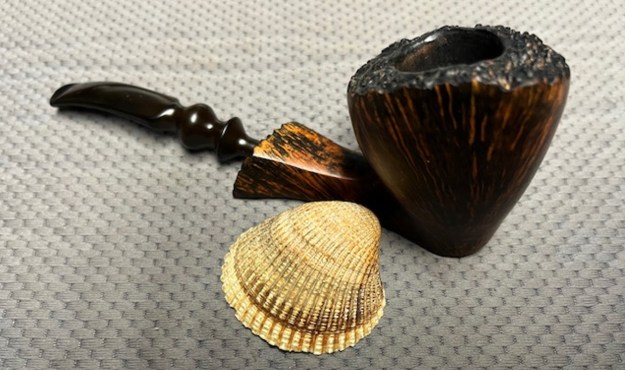
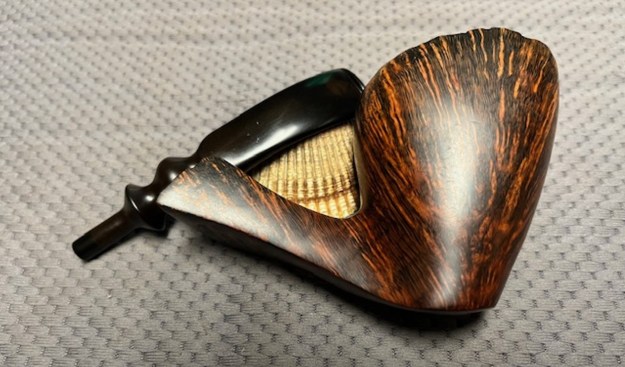
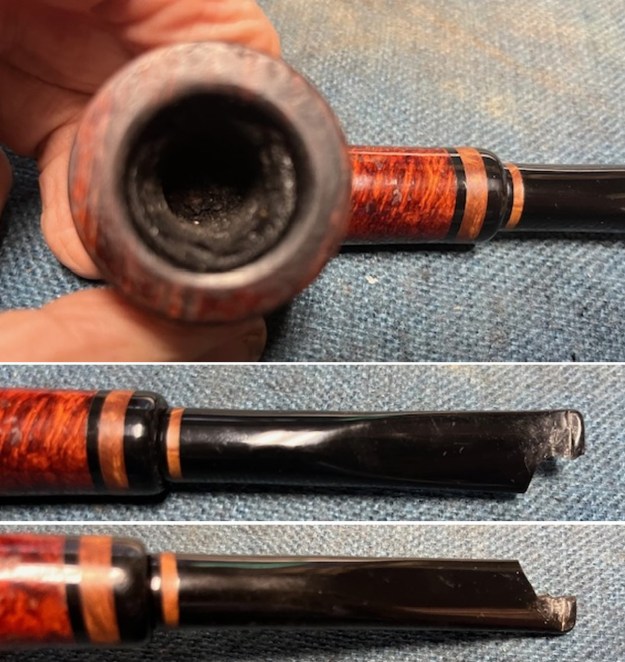
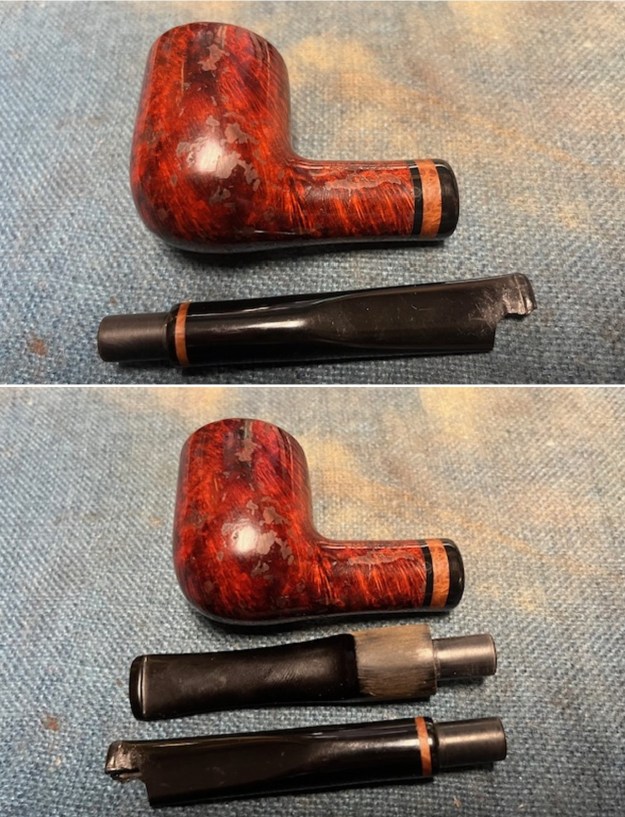
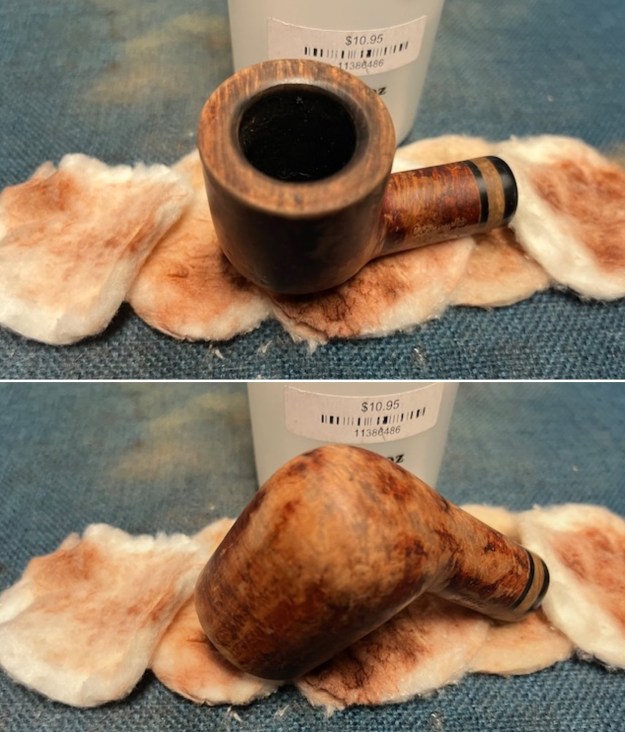
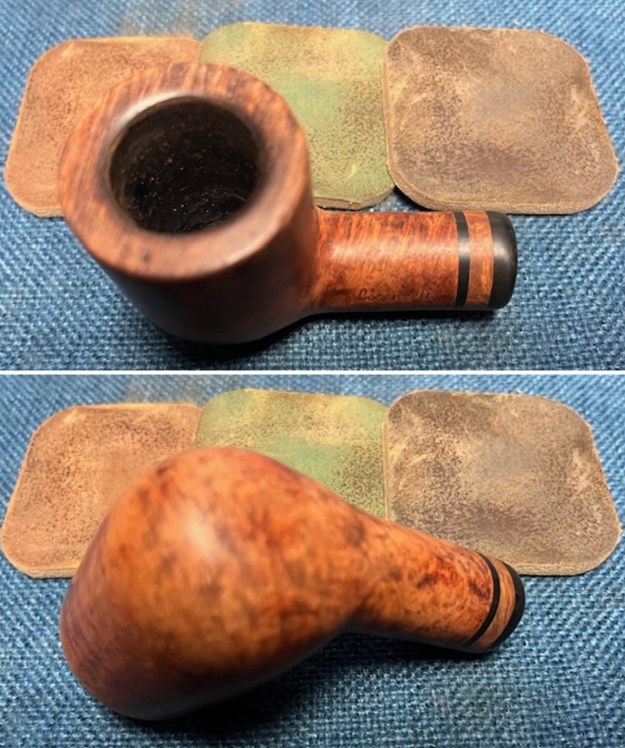
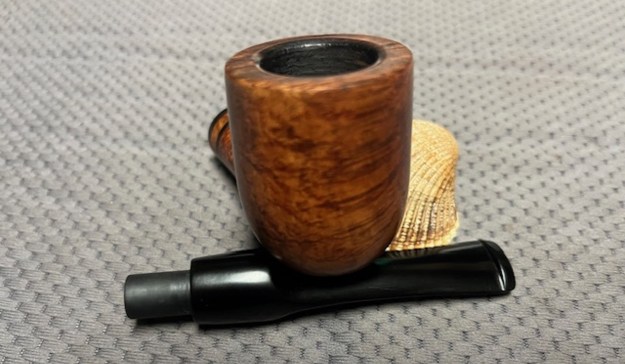
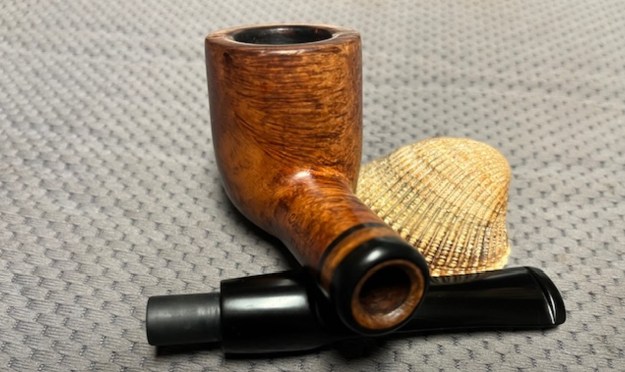
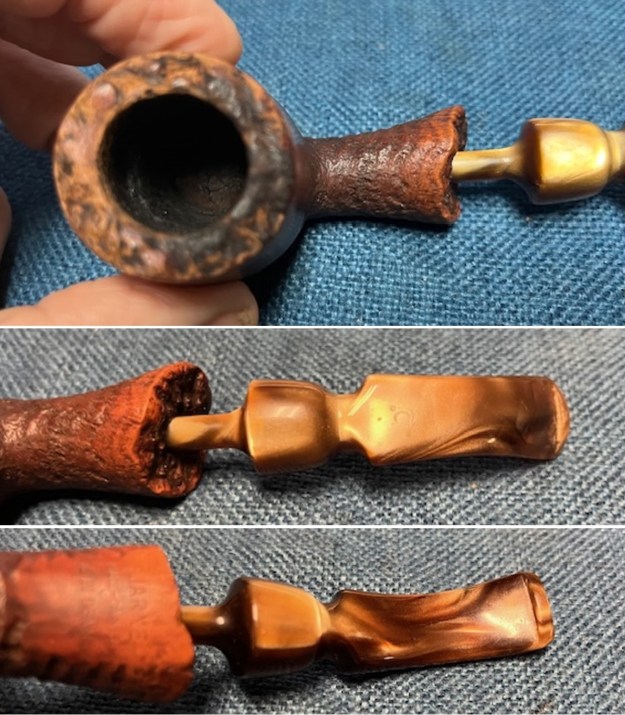
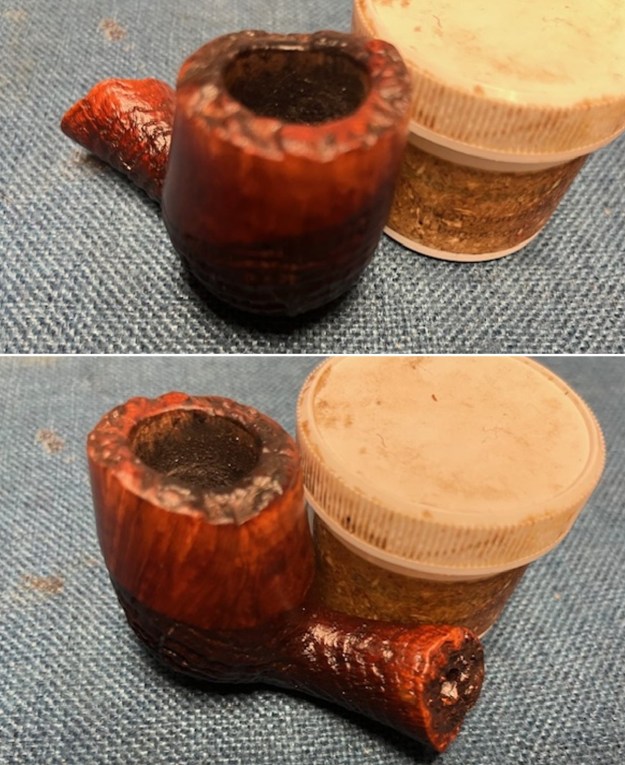
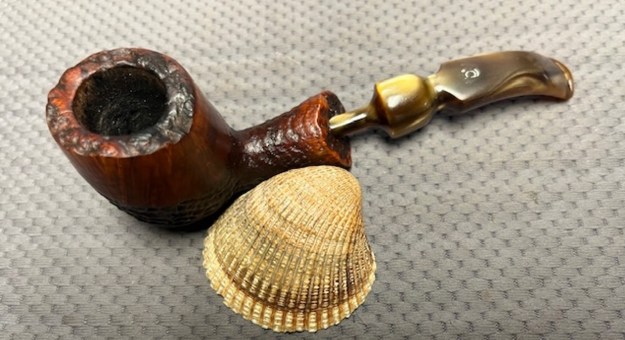
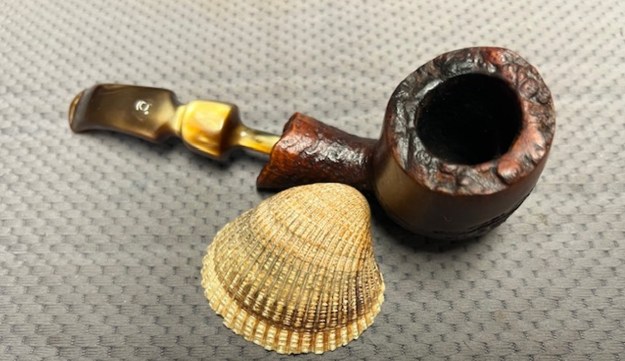
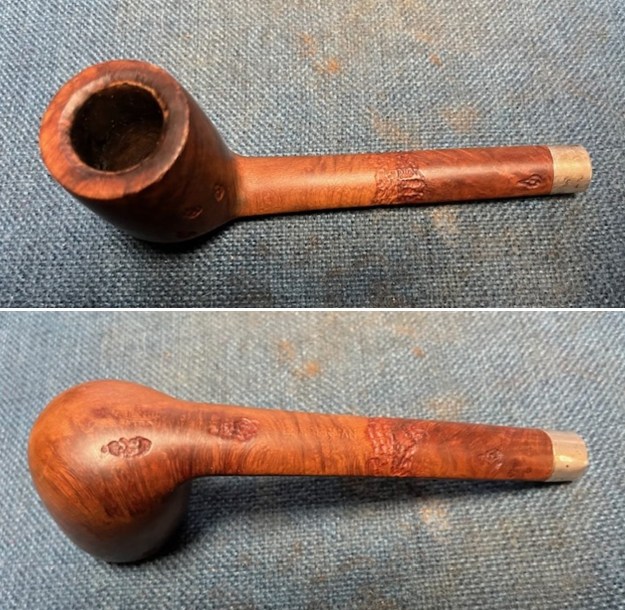
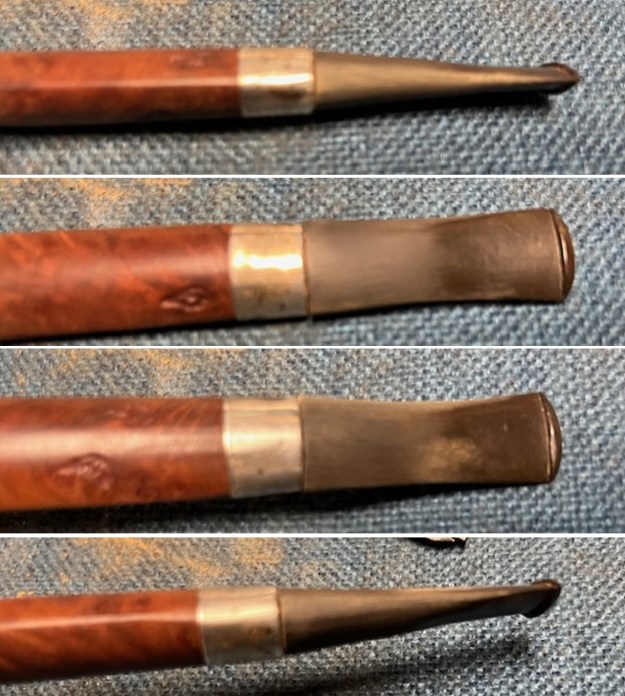
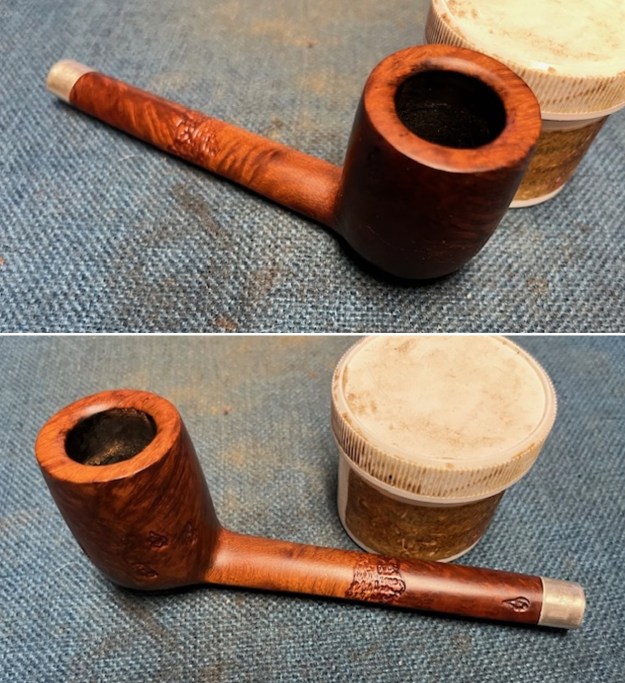
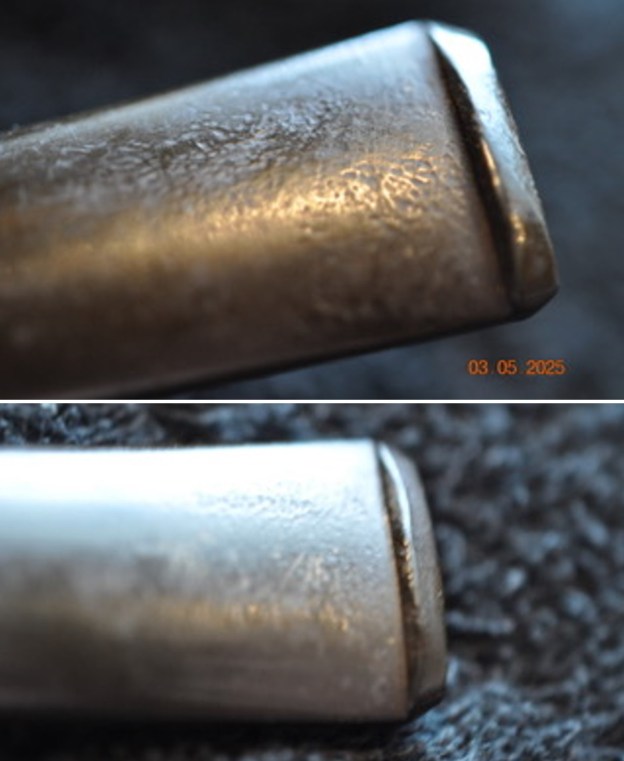
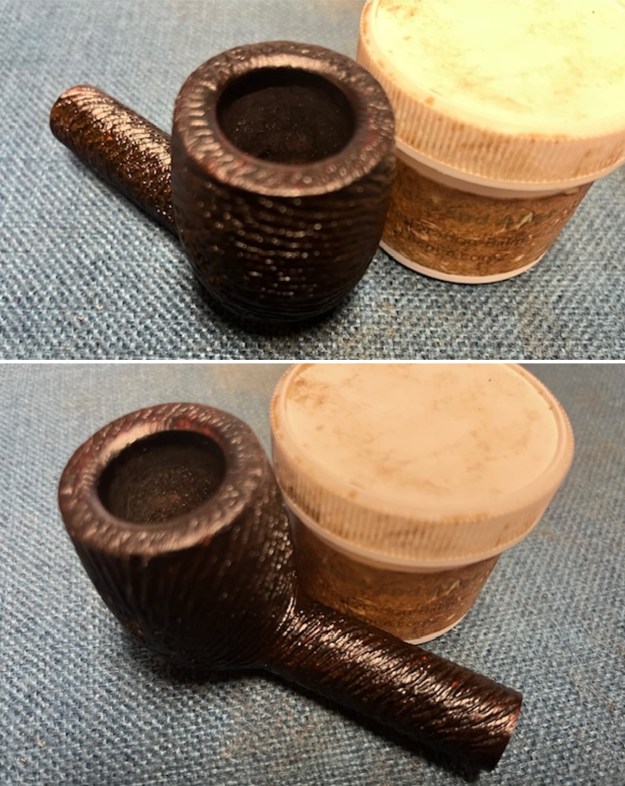
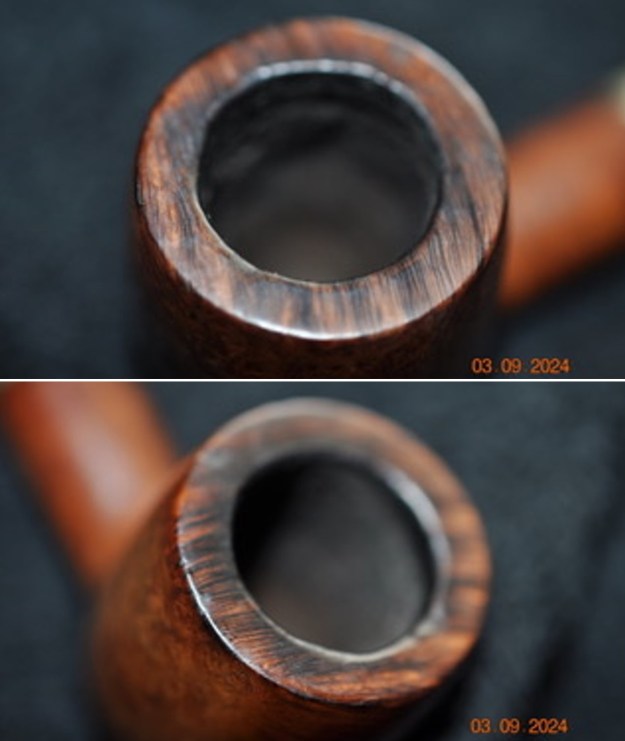
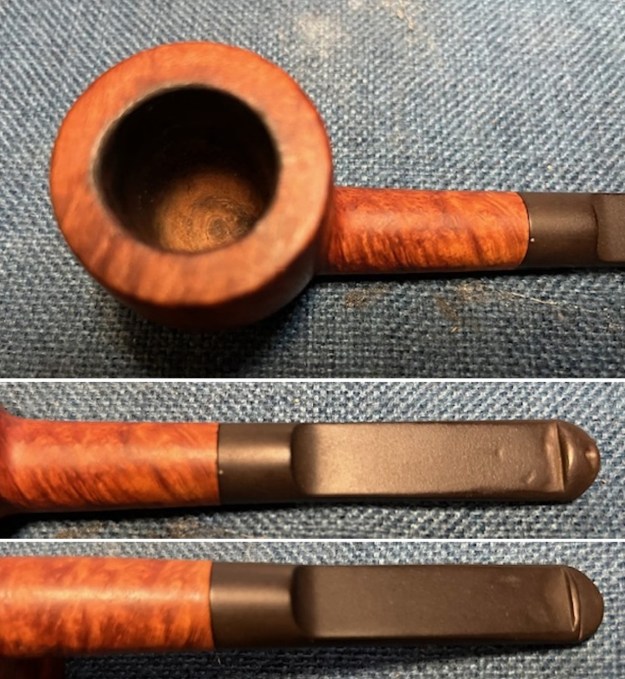
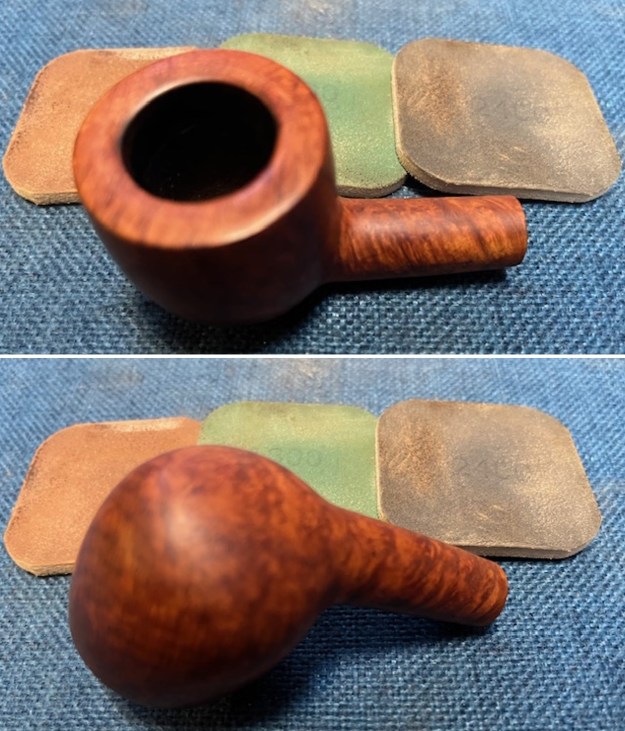
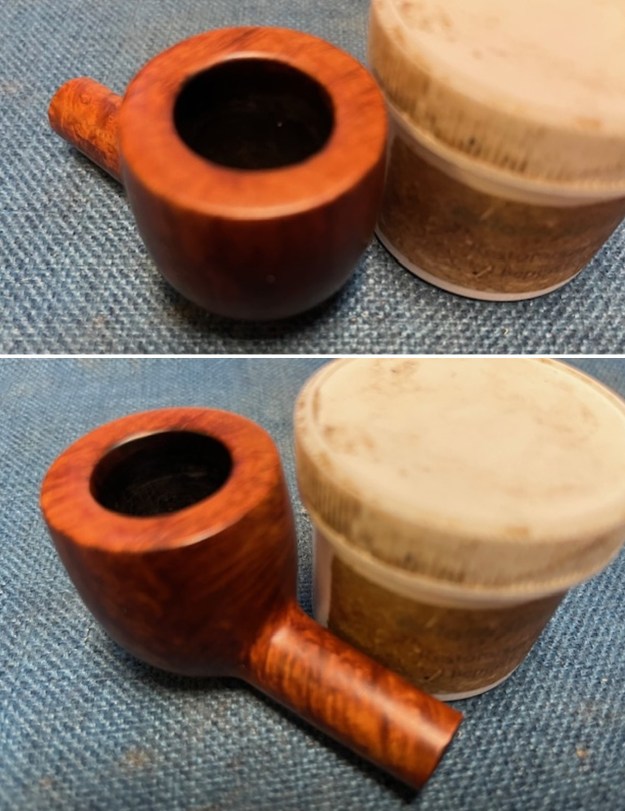
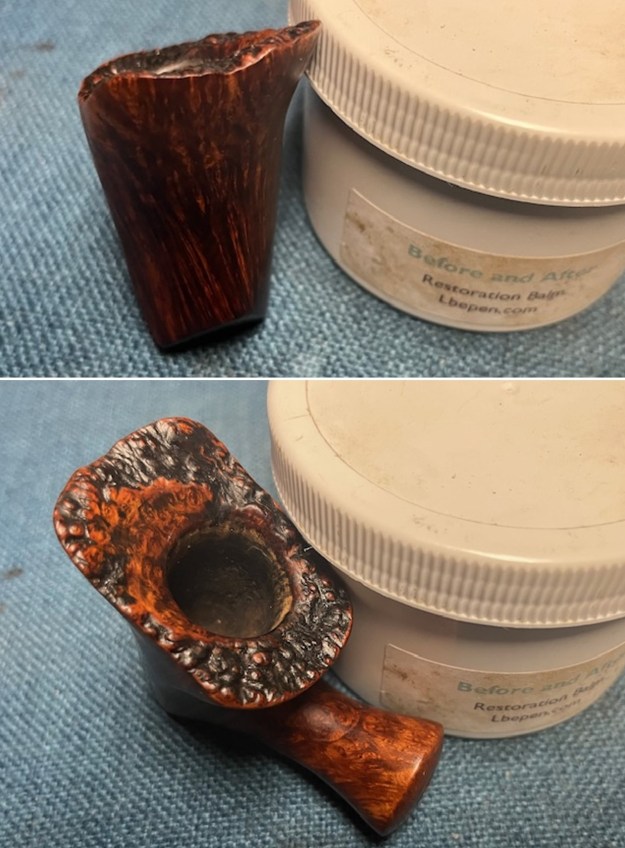
 I took close up photos of the stem and the rim top to show both how clean they were and what needed to be addressed with both. The rim top and bowl looked great and the valleys in the plateau were faded and washed out. The stem looked better and the tooth marks and chatter though light were still present. I would need to remove those to bring the stem back.
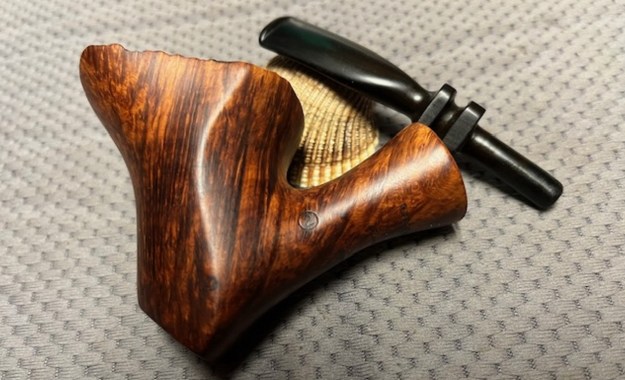
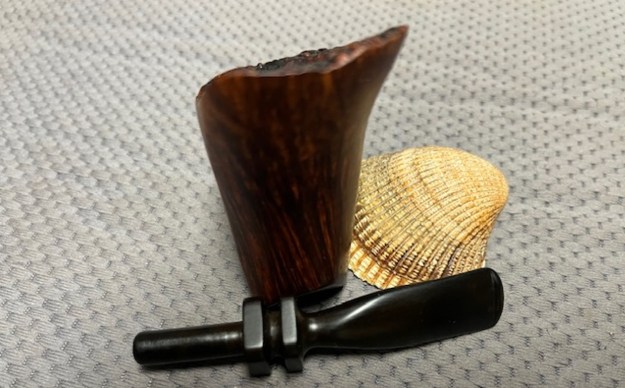
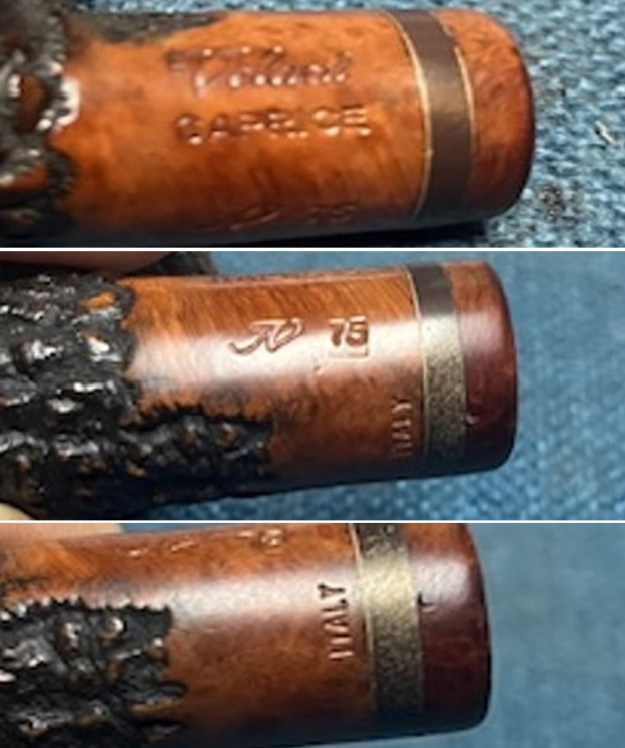
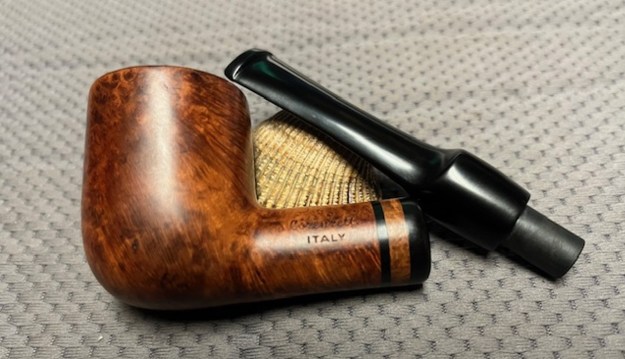
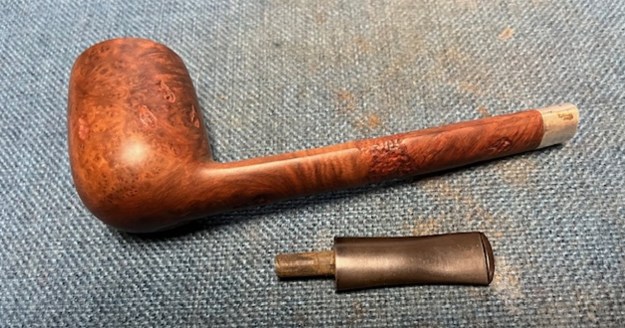
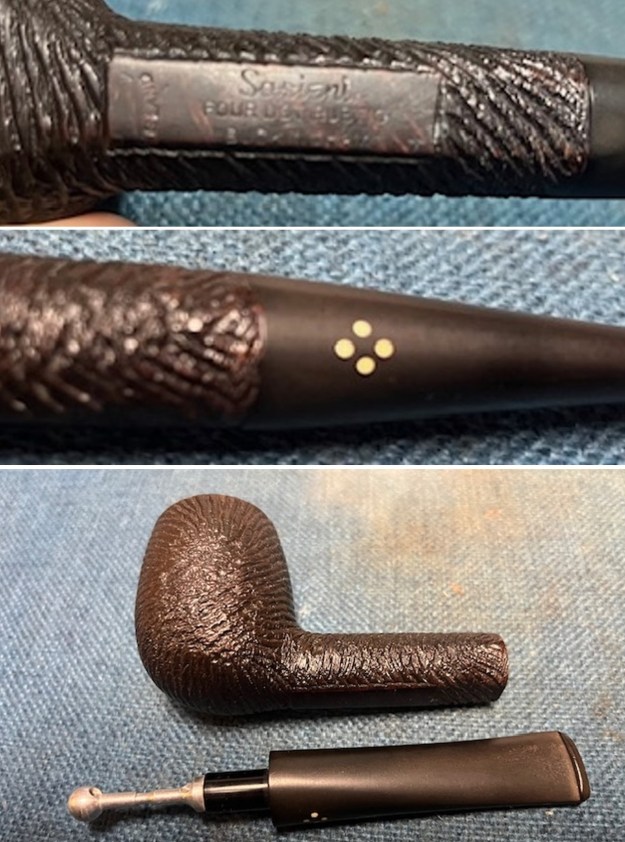
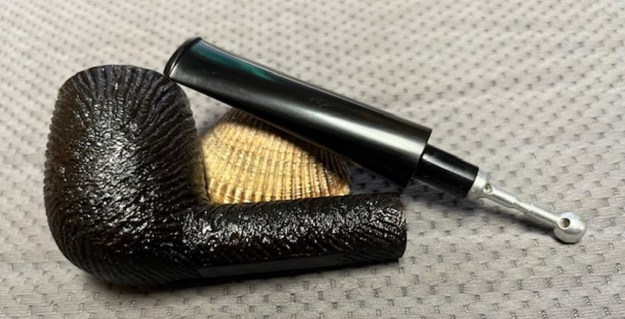
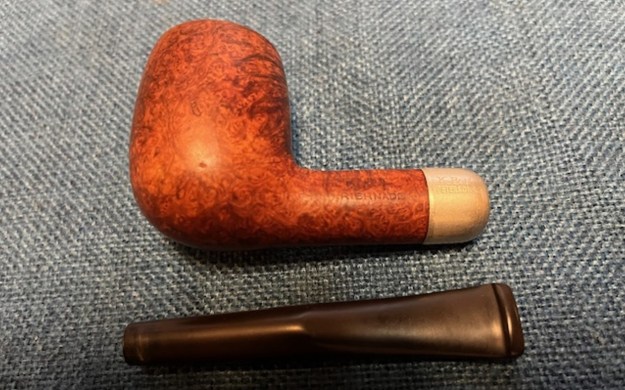
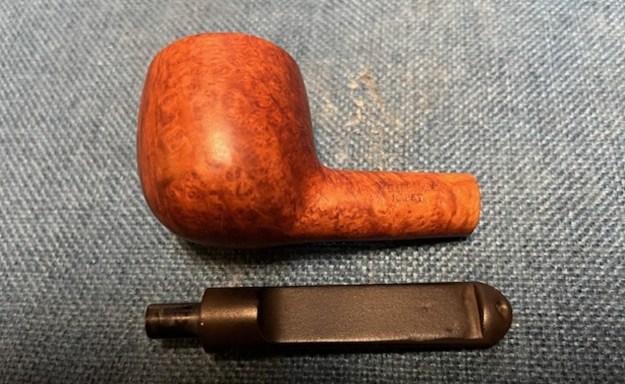
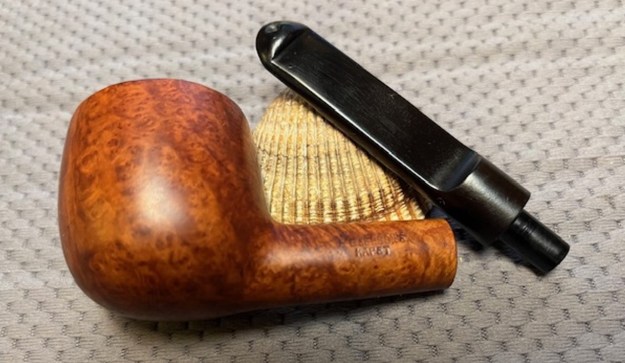
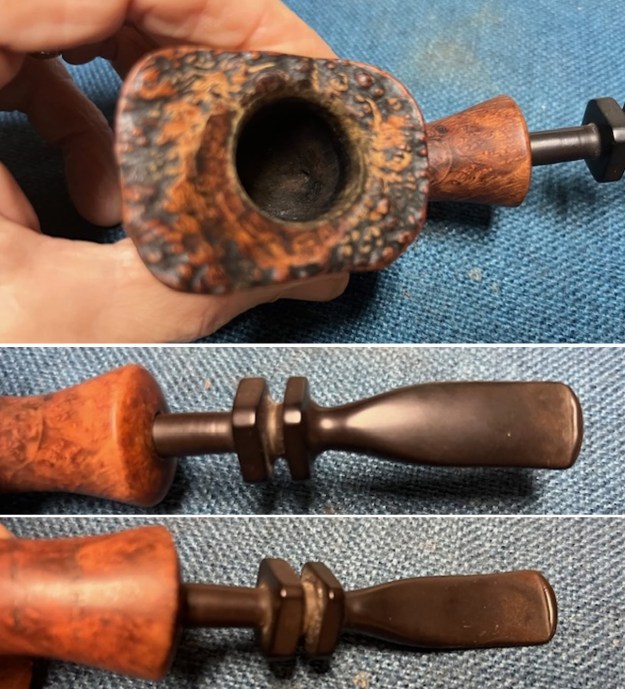 I took photos of the stamping on the underside of the shank and the left side ahead of the bowl. You can see from the photos that it is clear and readable. I removed the stem from the bowl and took a photo of the parts to give a sense of the beauty of the pipe.
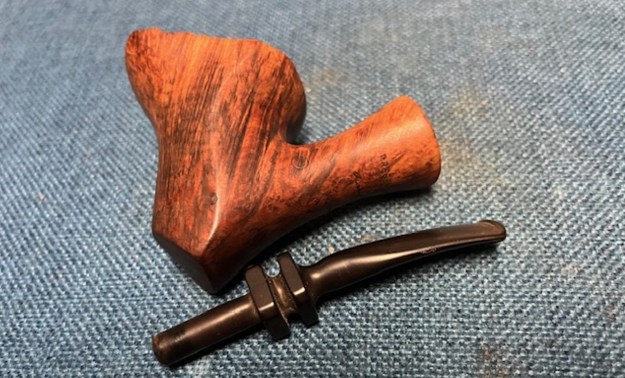
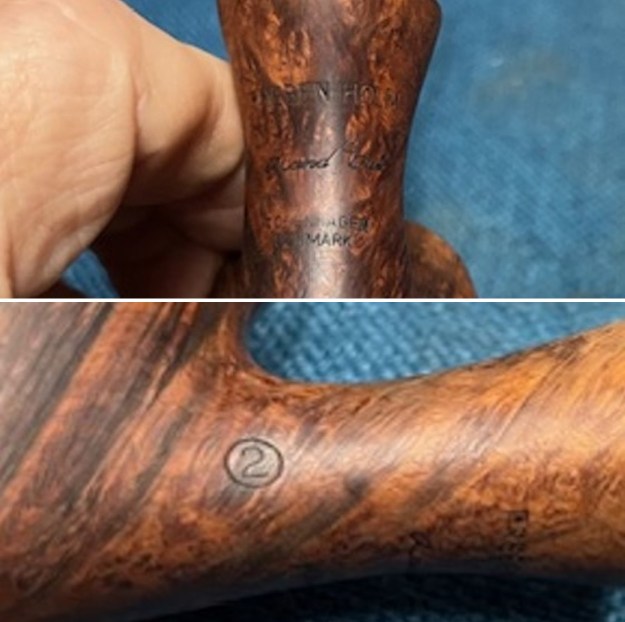
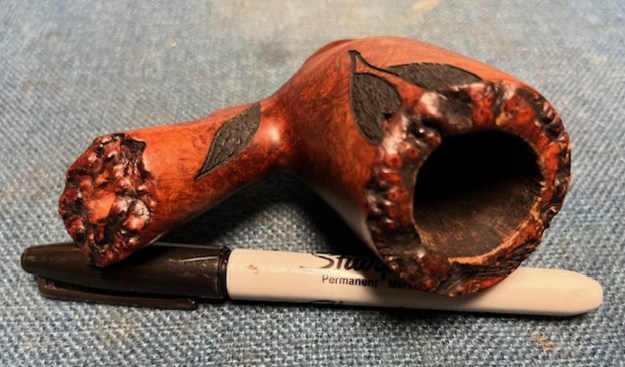
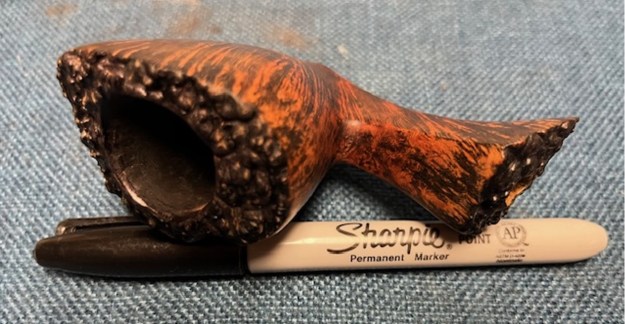
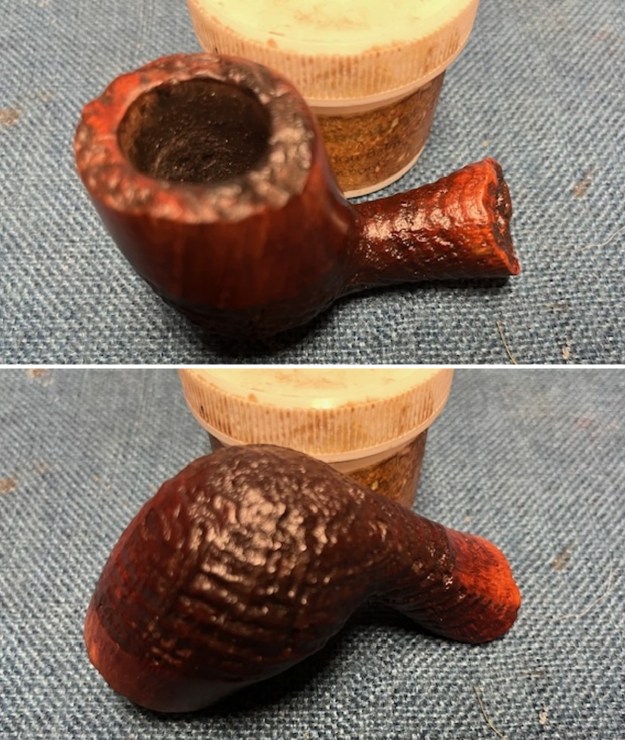
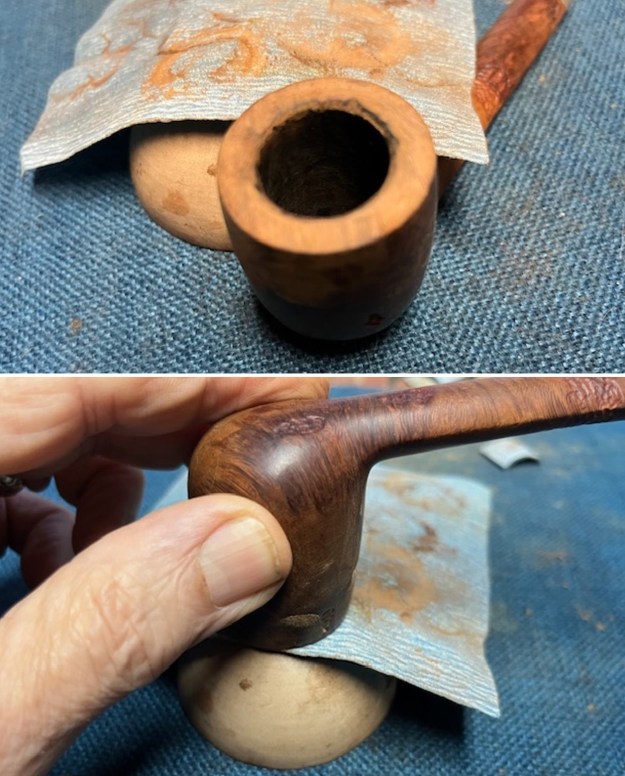
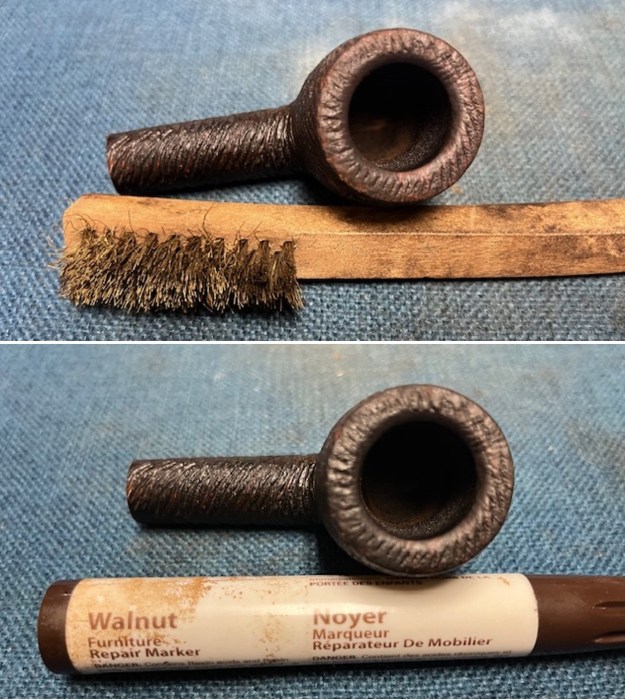
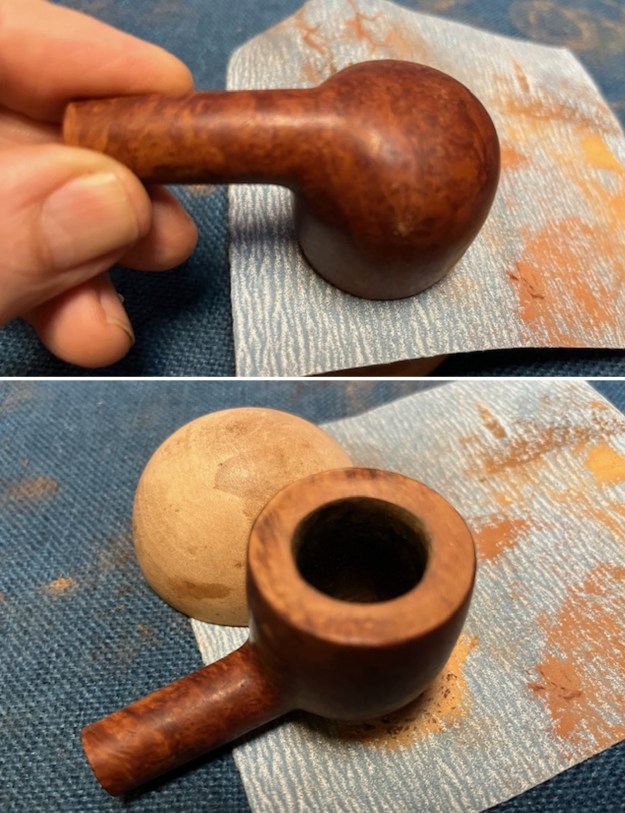
 I started my restoration work on this pipe by retaining the valleys and low spots on the plateau rim top with a black Sharpie pen. It really looked good.
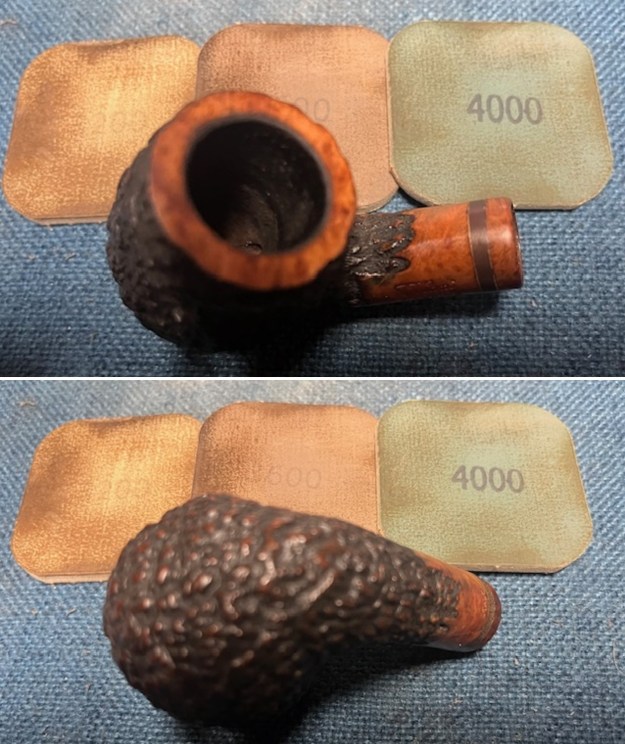
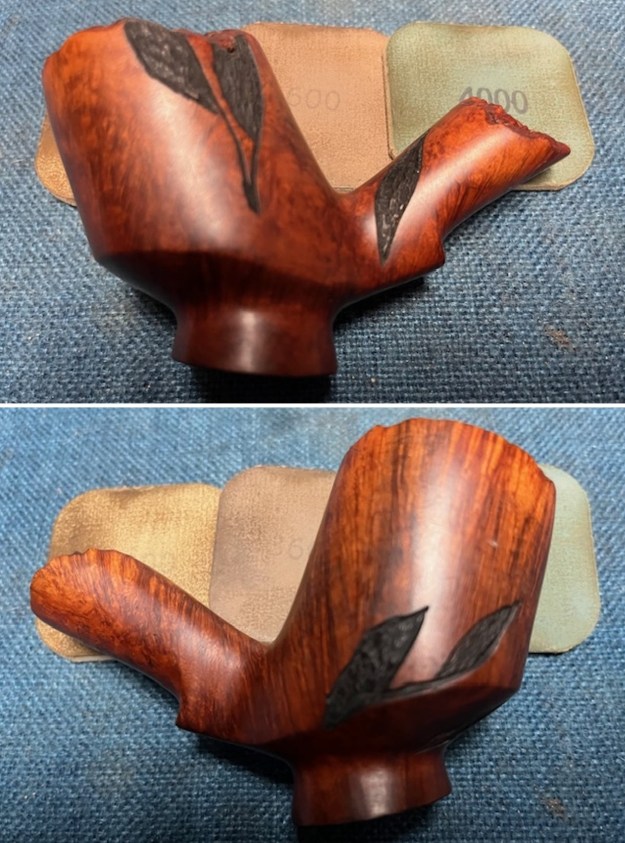
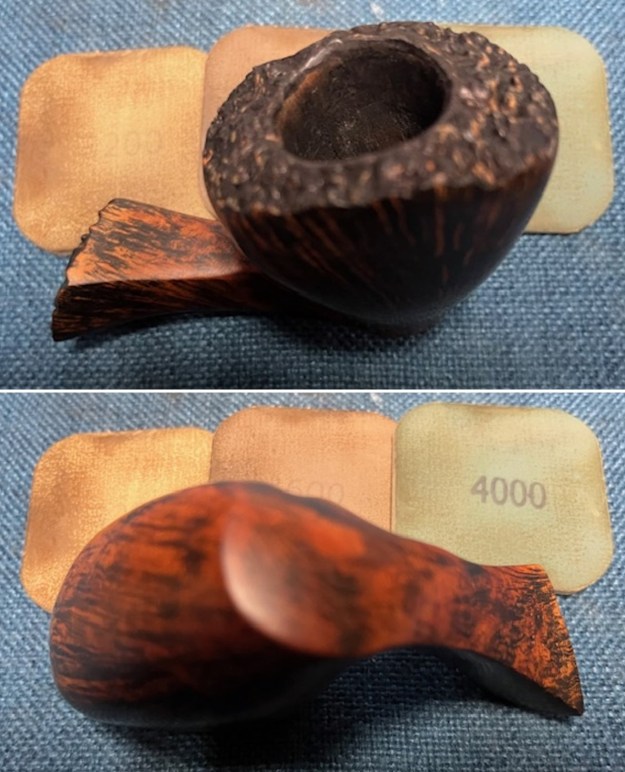
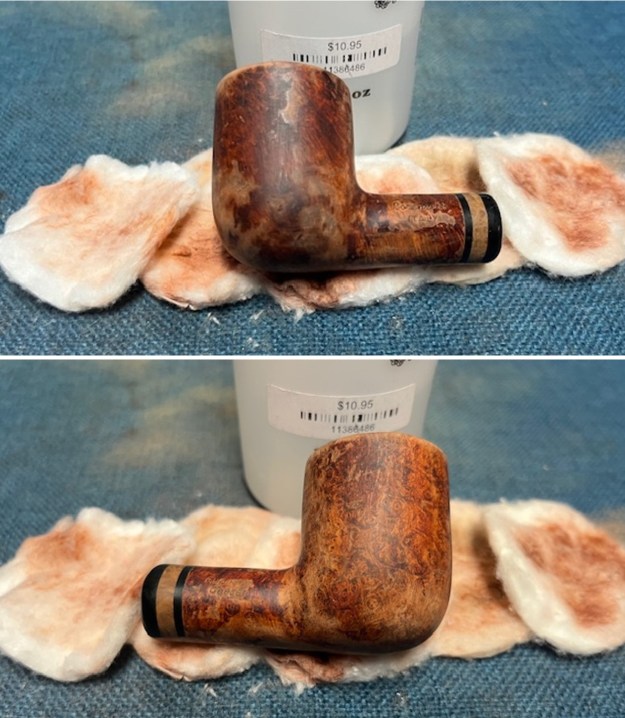
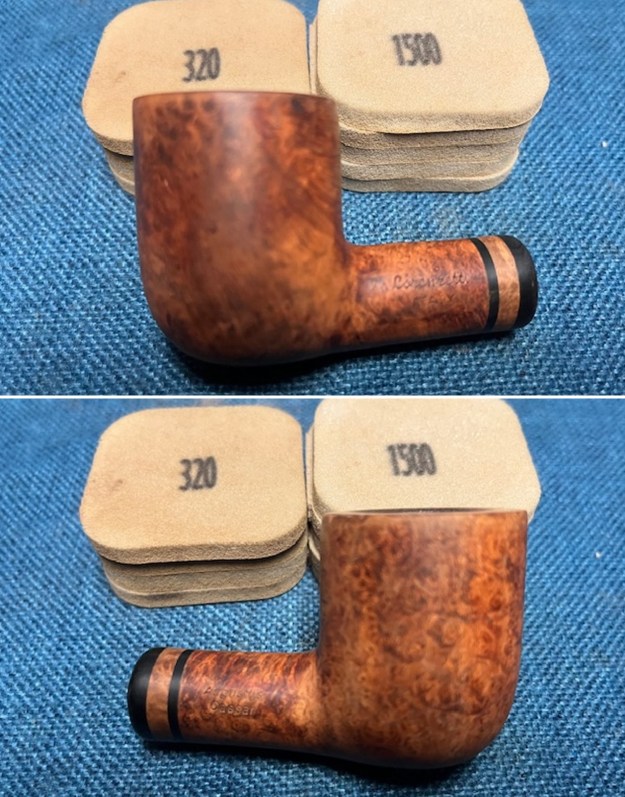
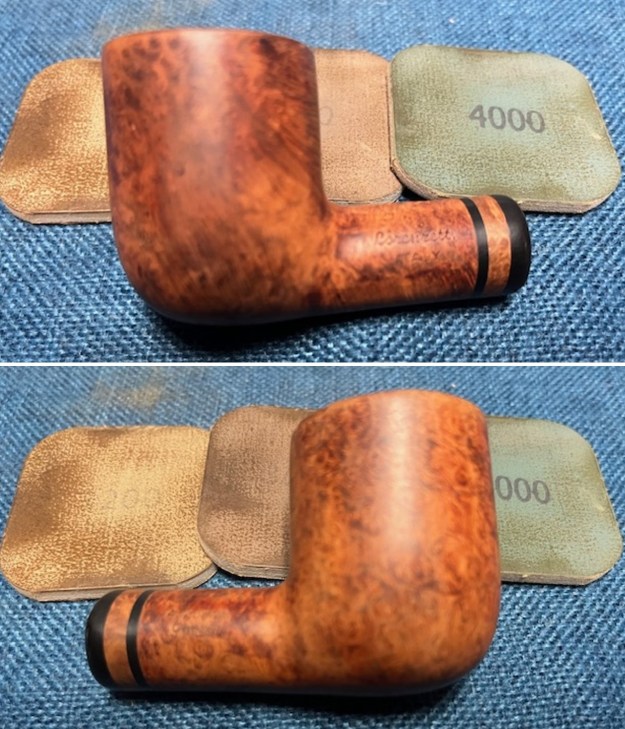
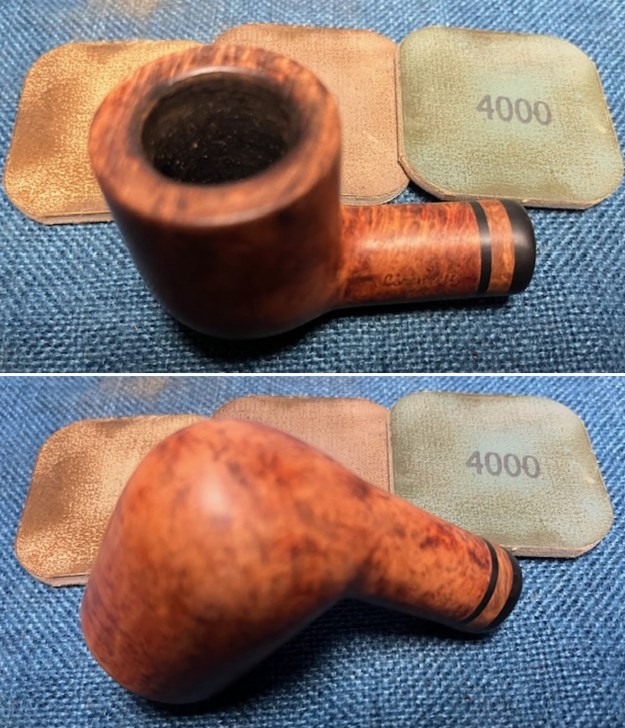
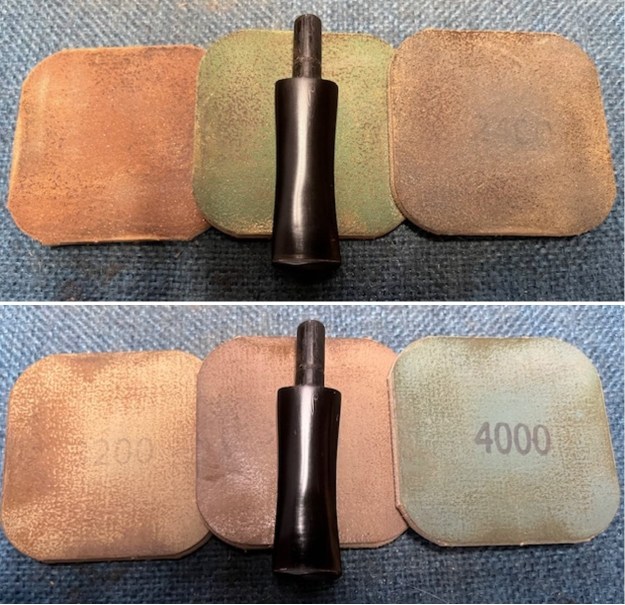
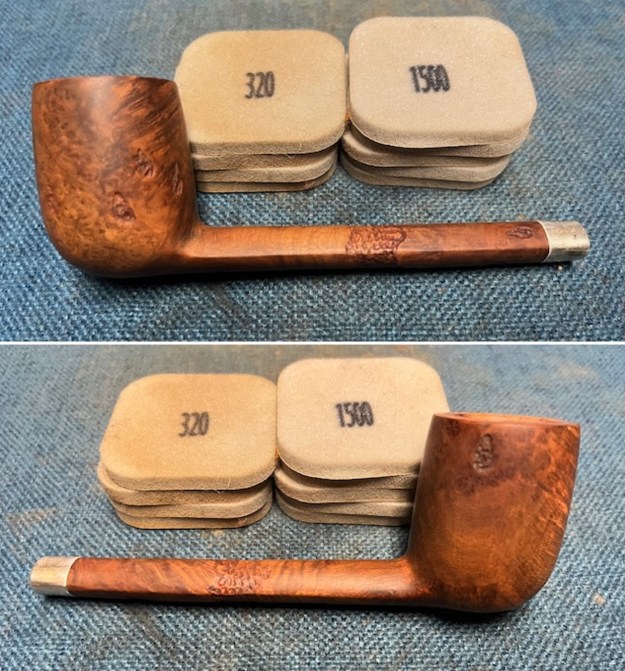
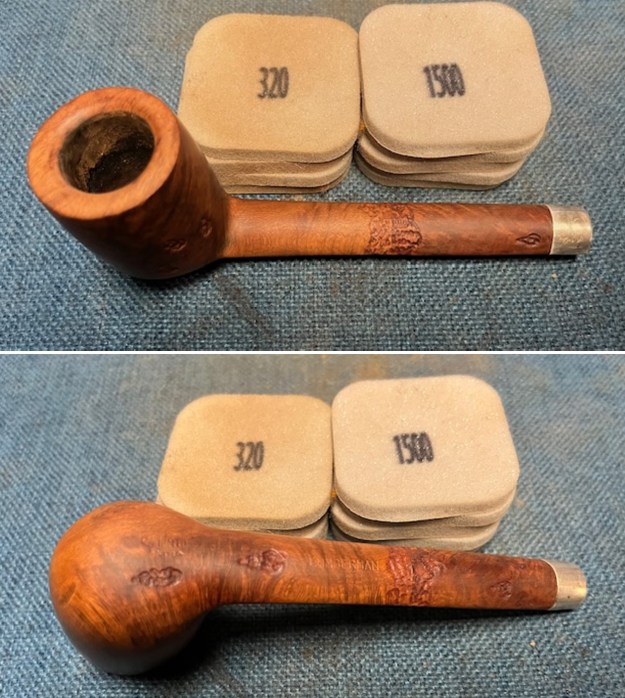
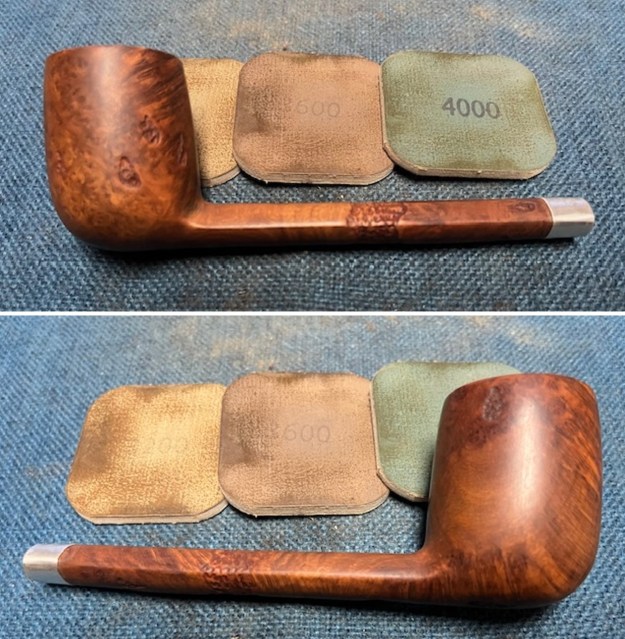
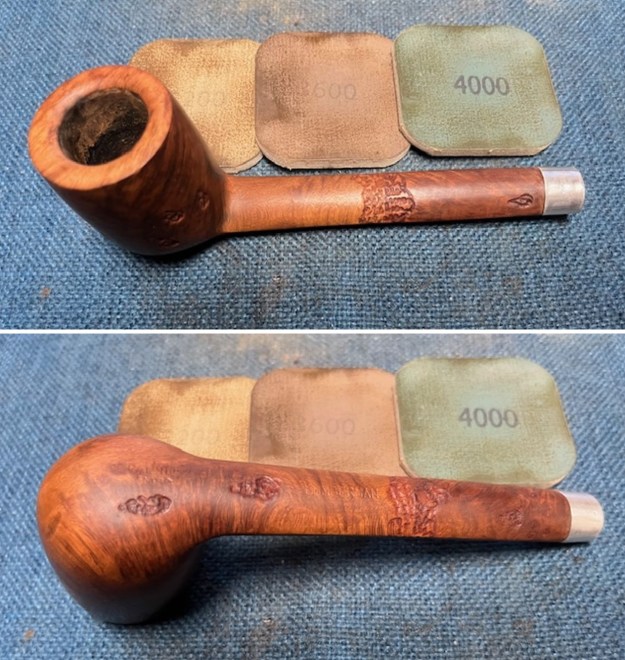
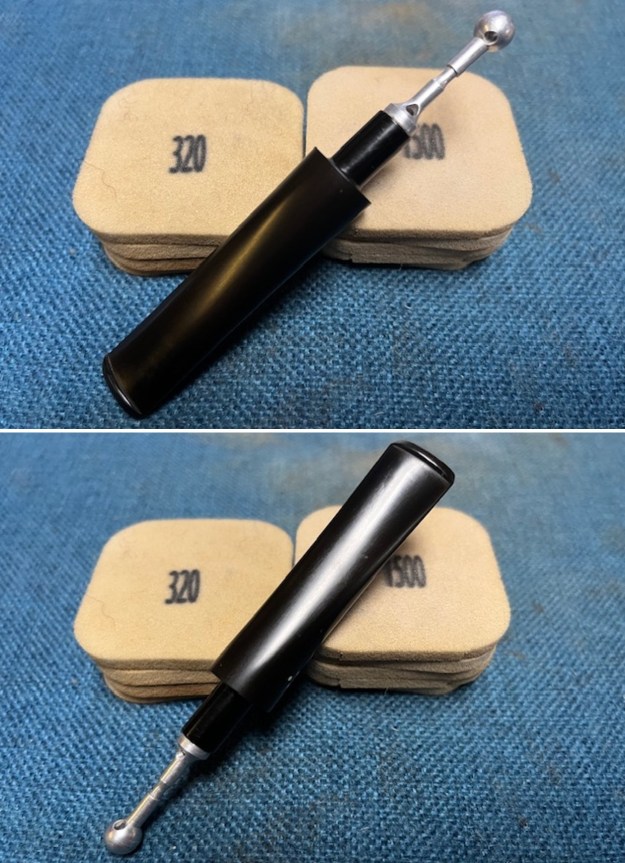
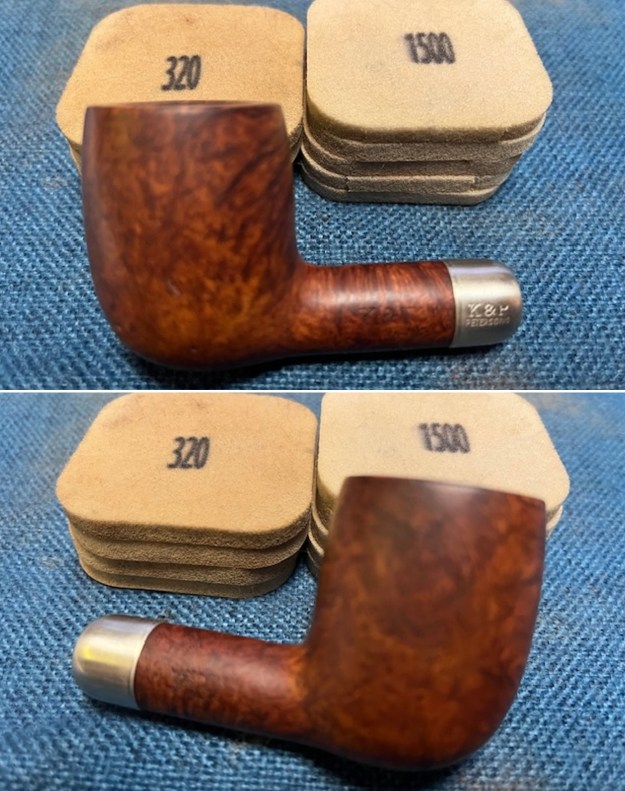
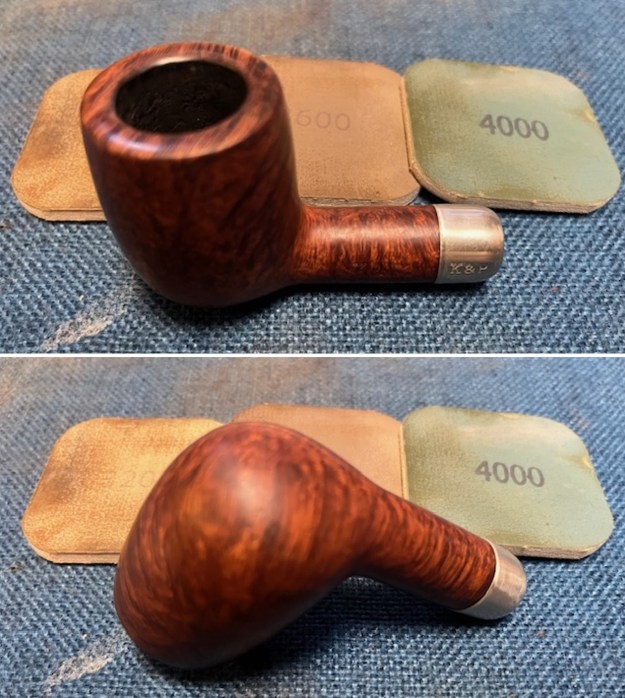
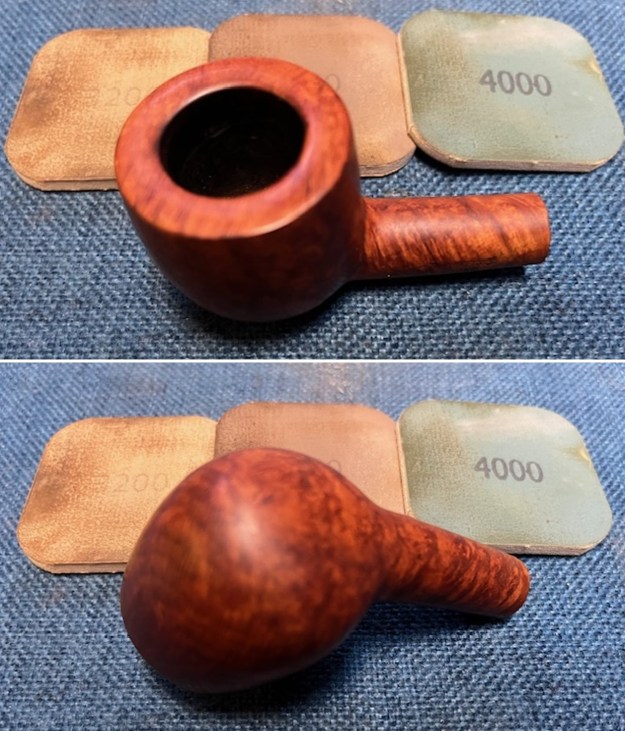
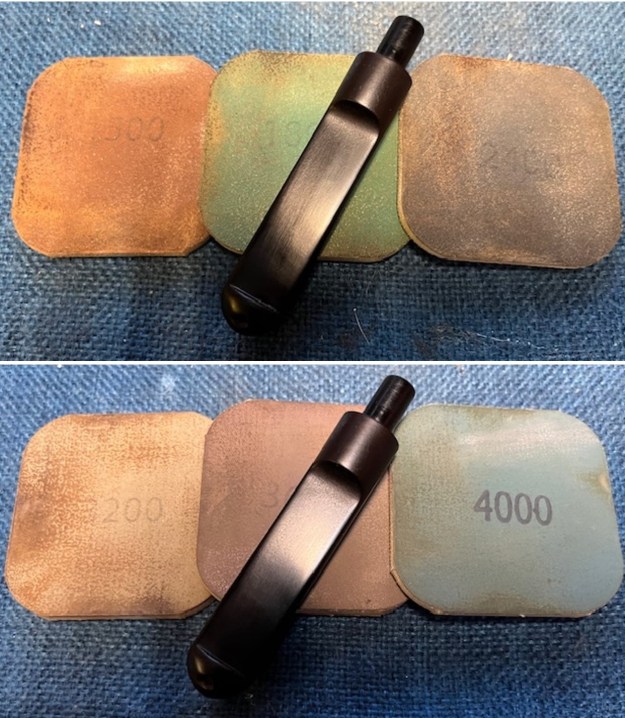
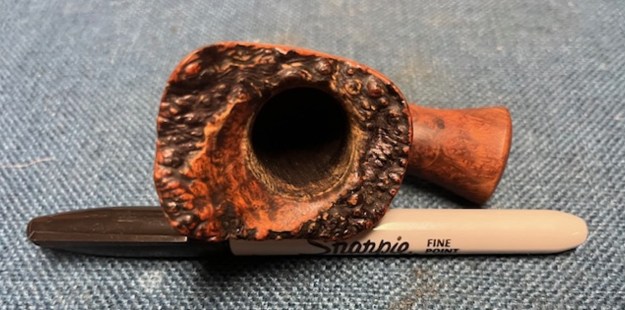 I sanded the smooth finish on the rim top and the sides of the bowl and shank with 320-3500 grit sanding pads. I also sanded the rounded shank end at the same time. It worked very well. I wiped the bowl down with a damp cloth after each pad to get a sense of the progress in the process.
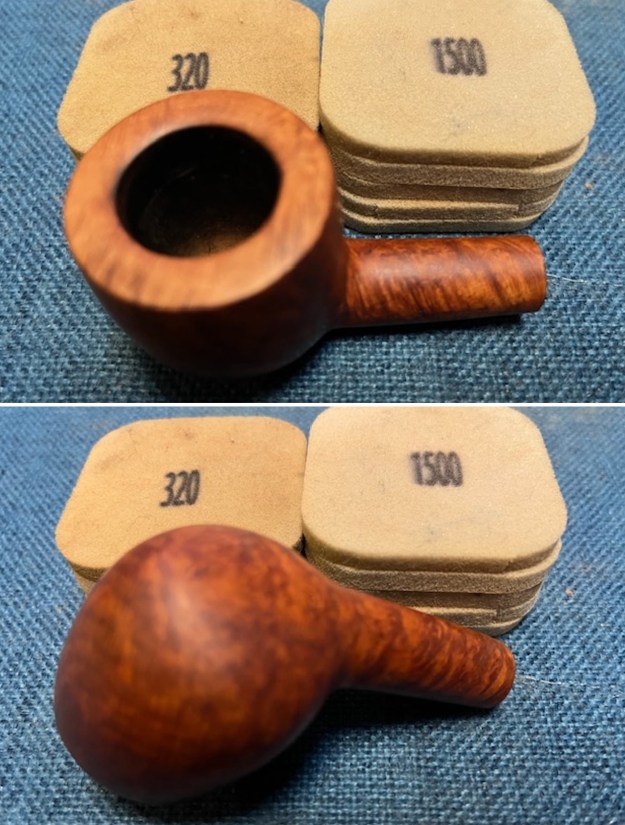
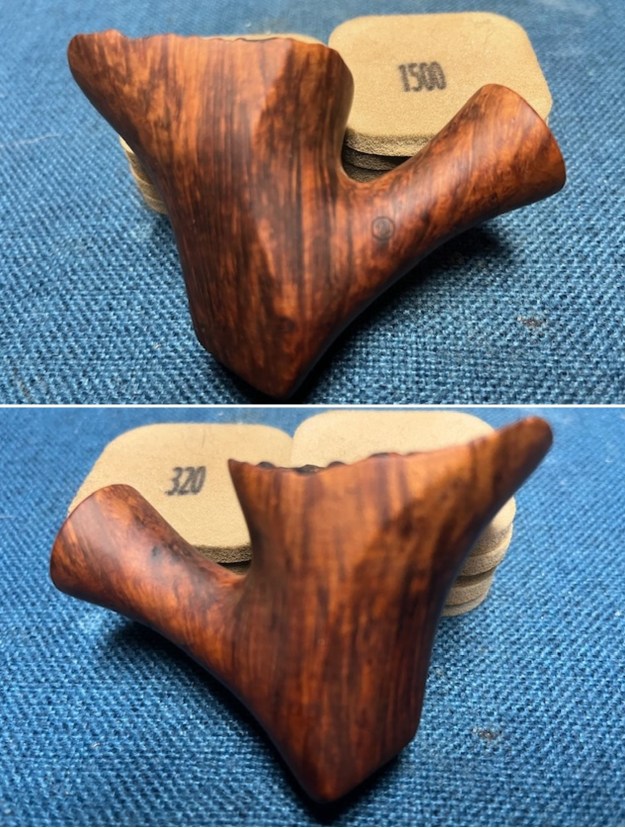
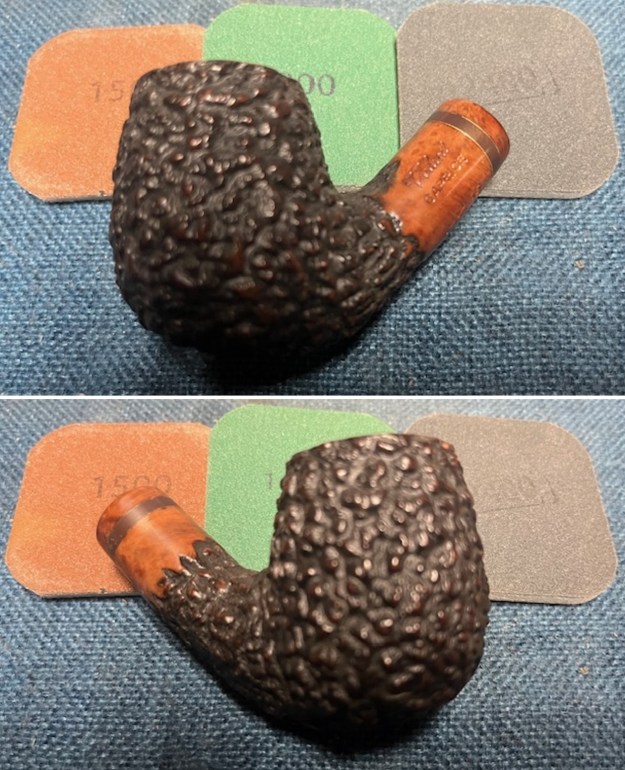
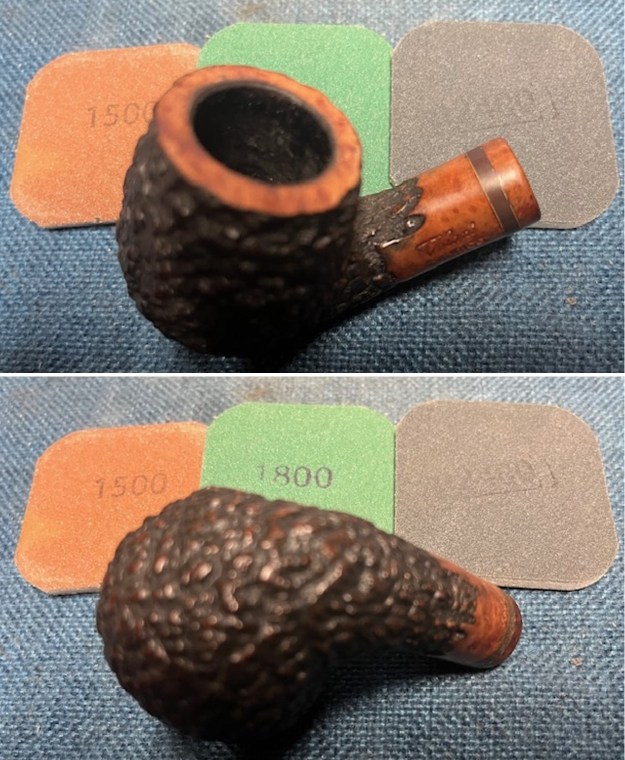
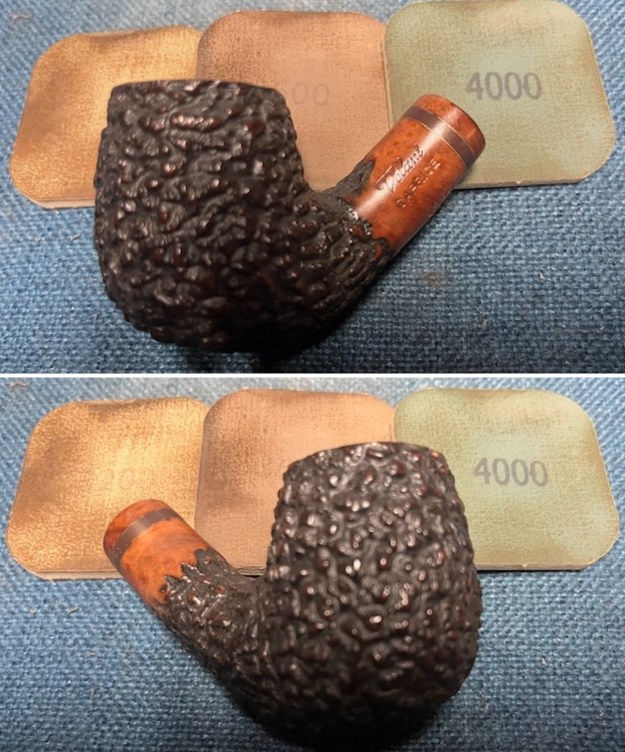
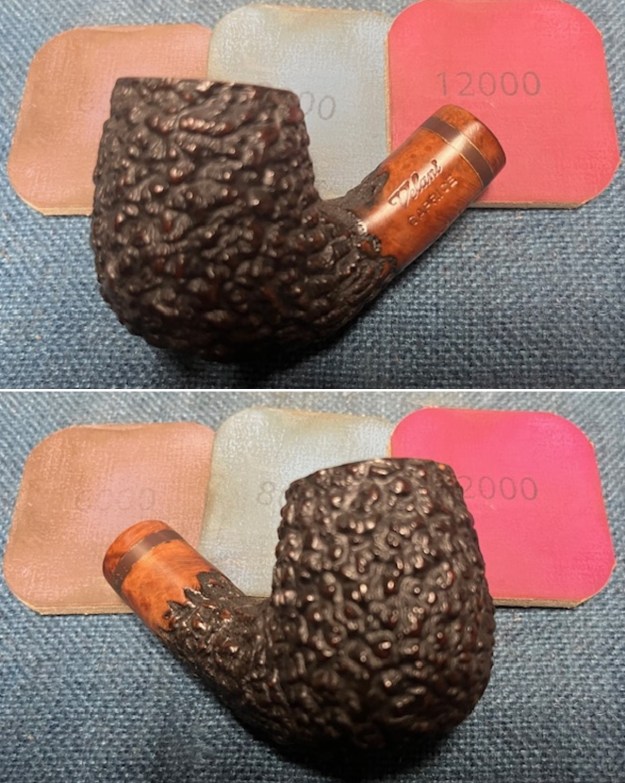
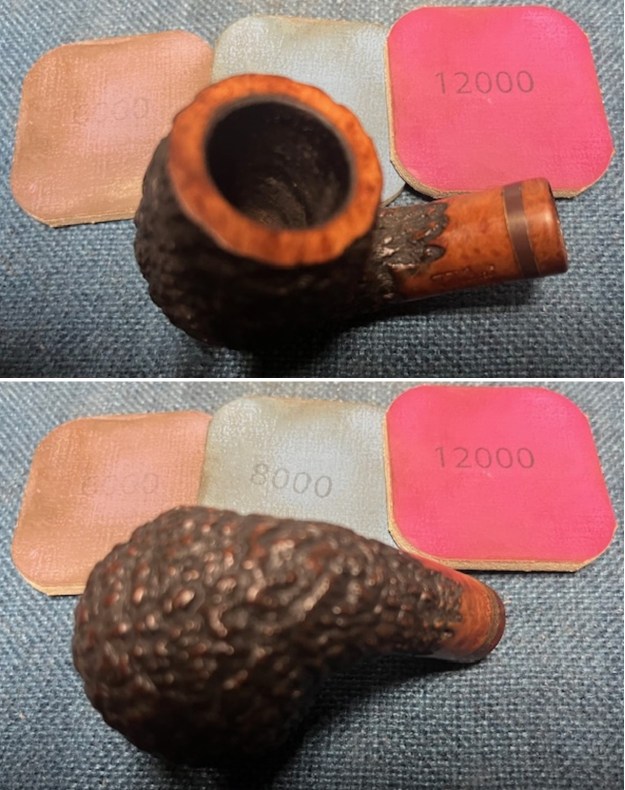
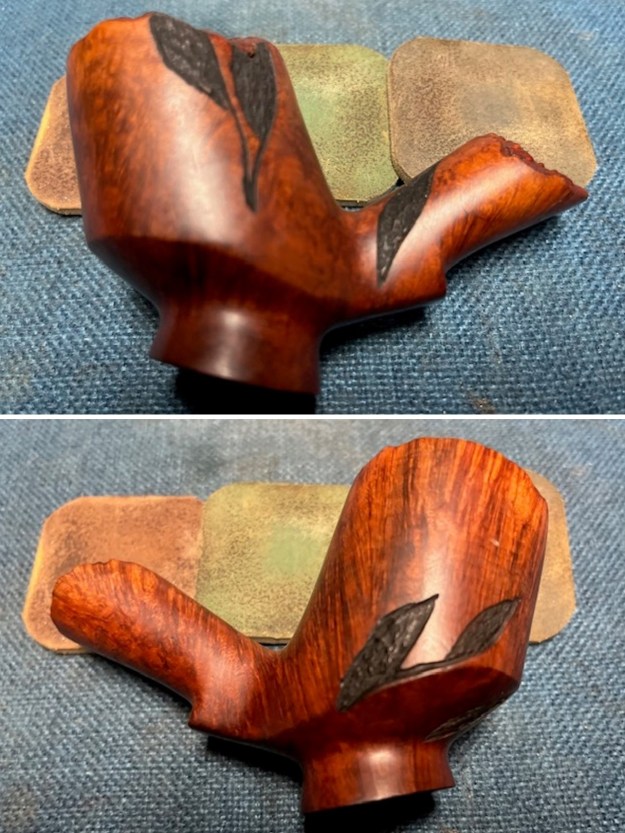
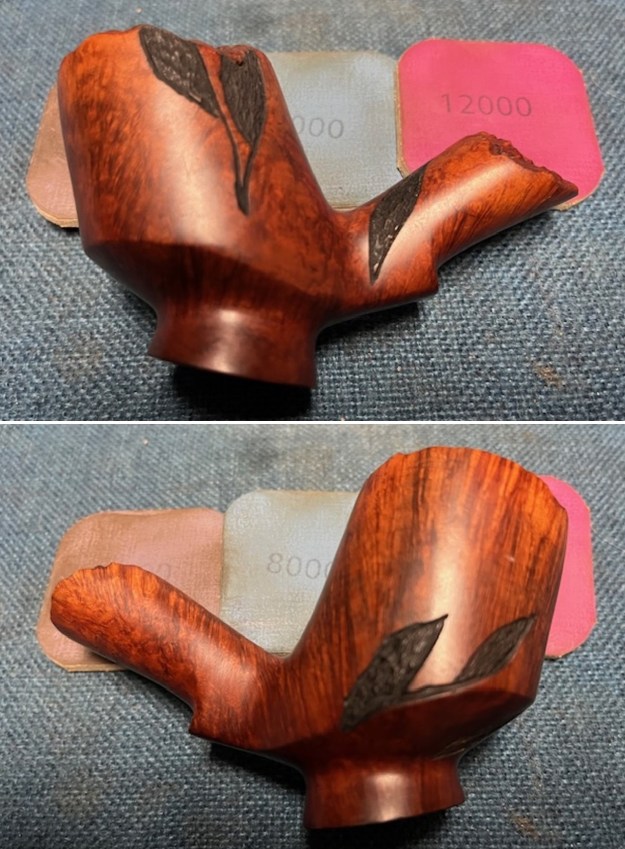
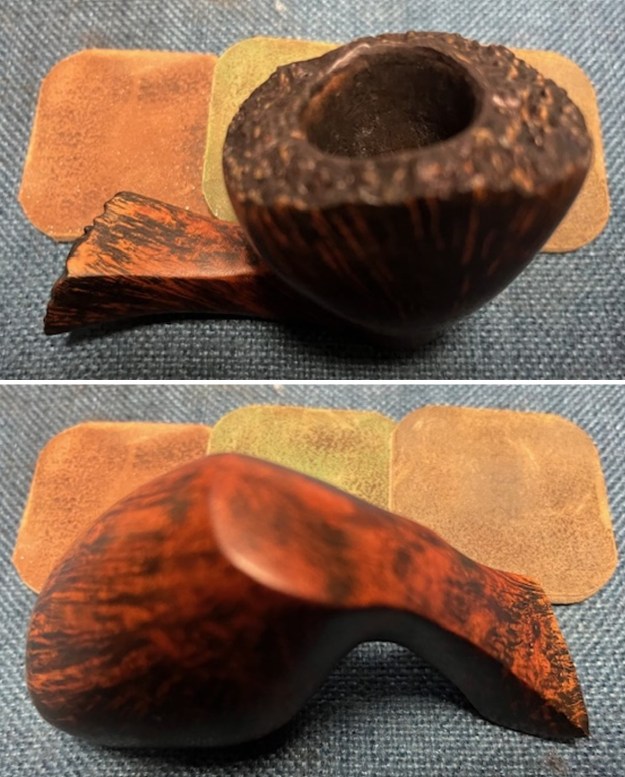
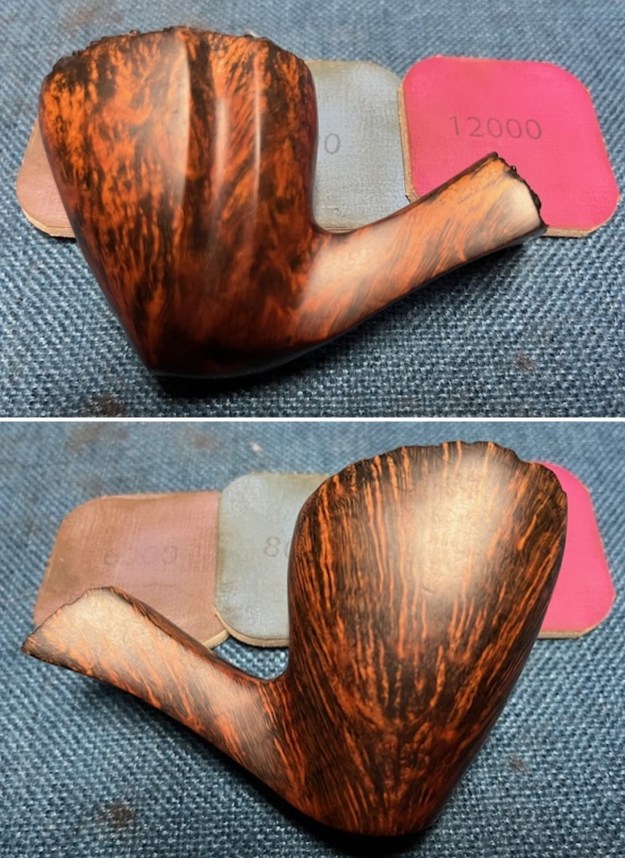
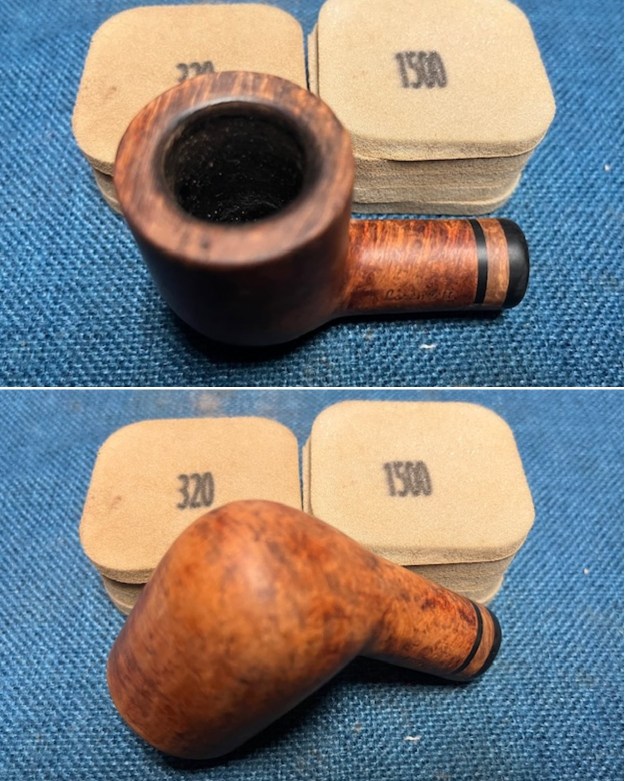
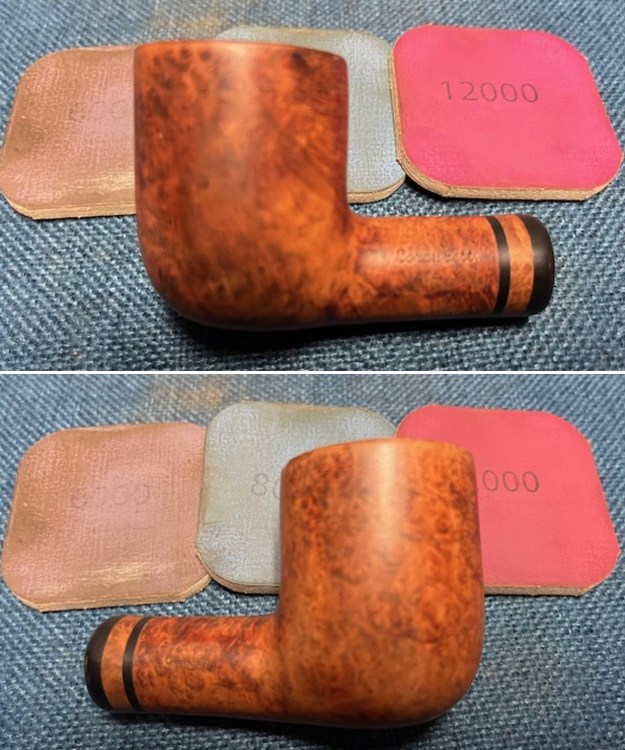
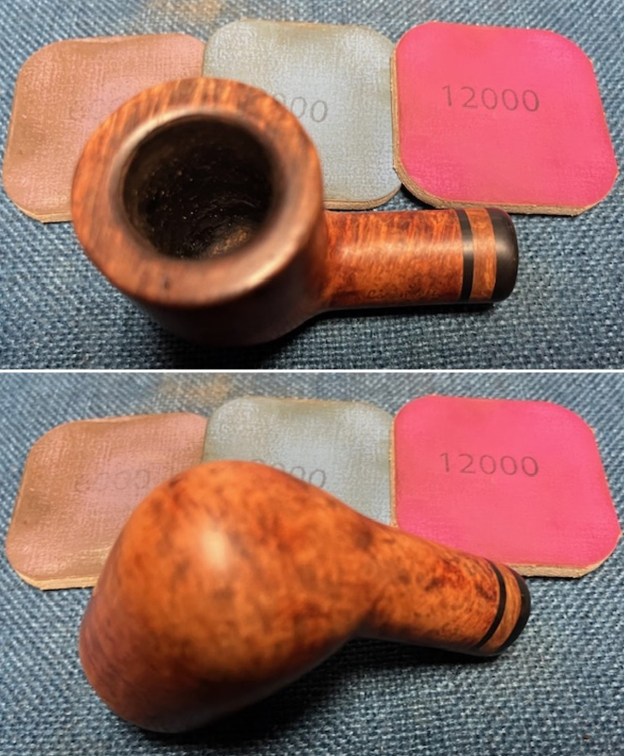
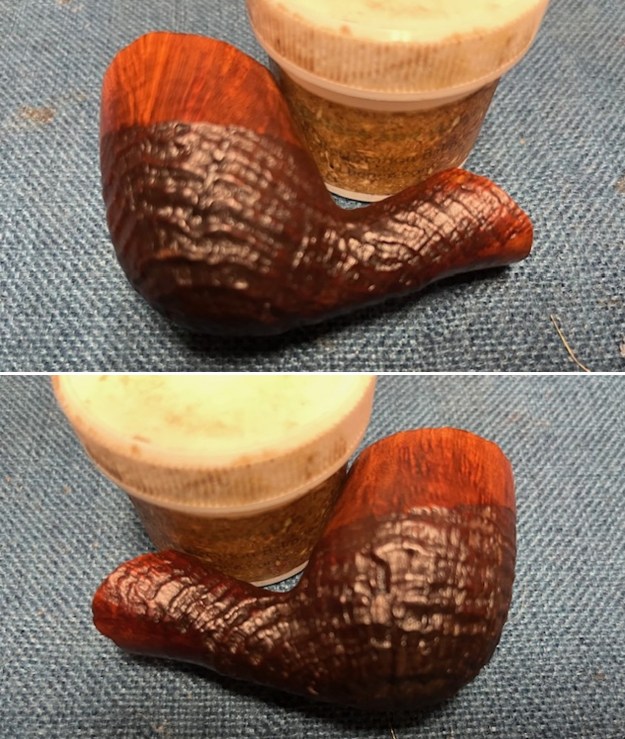
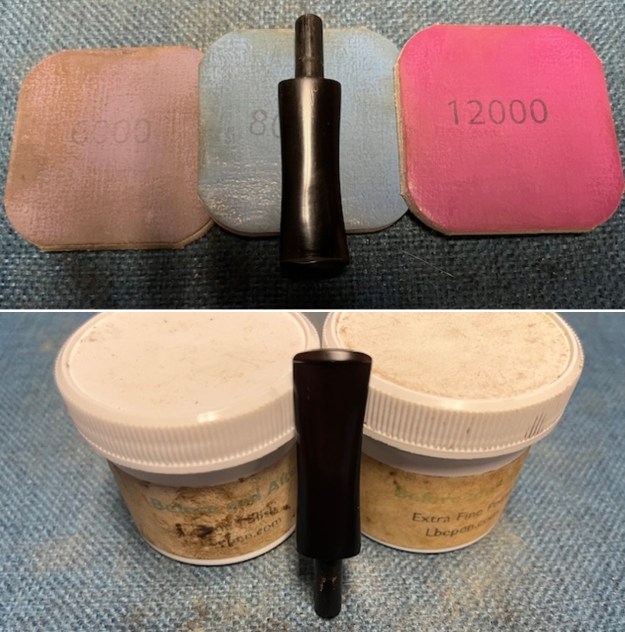
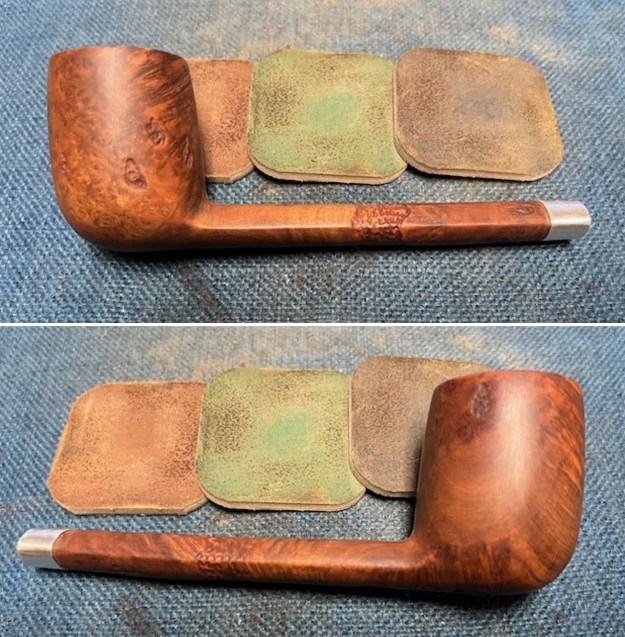
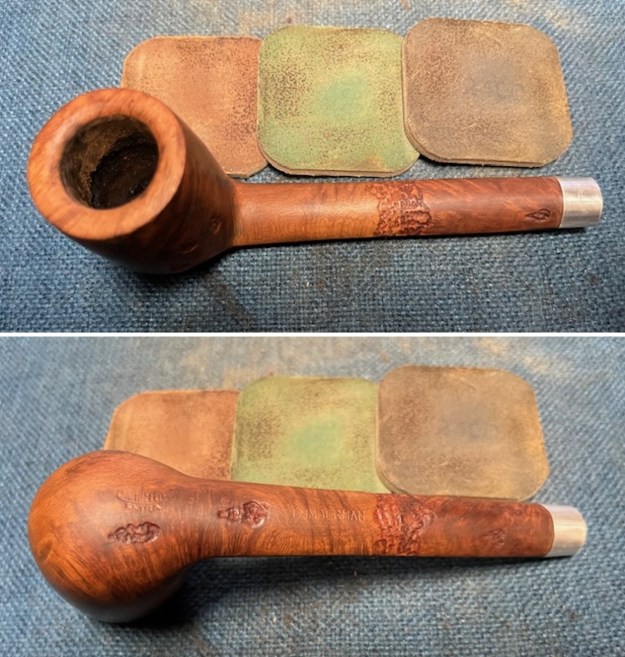
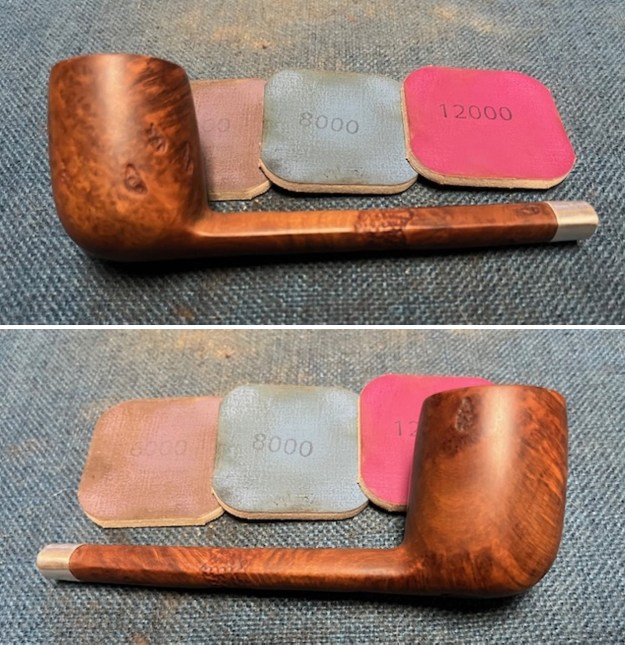
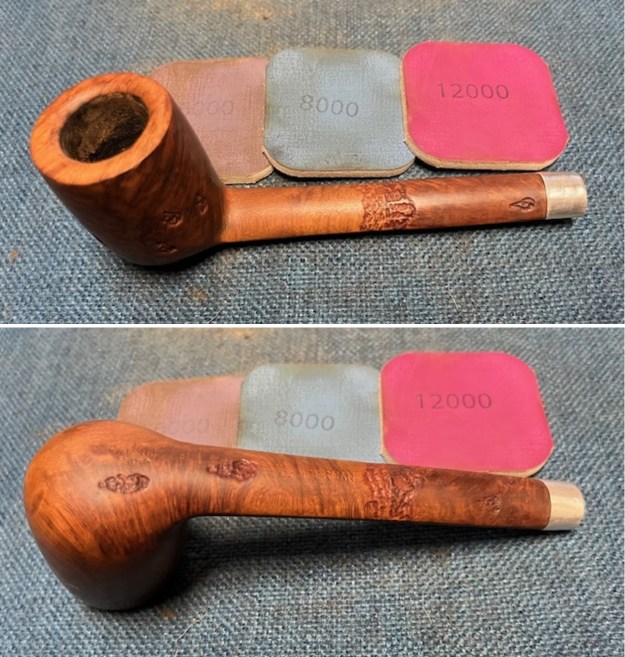
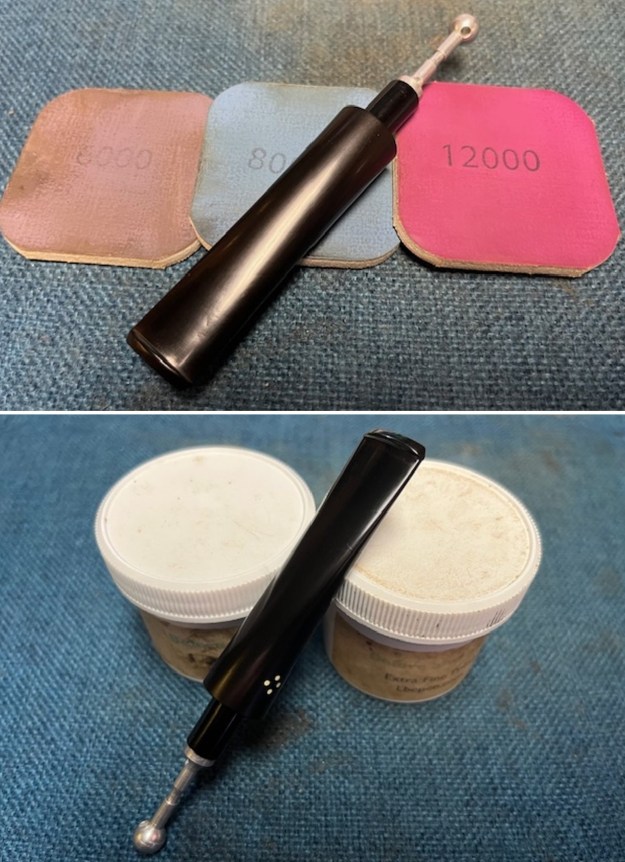
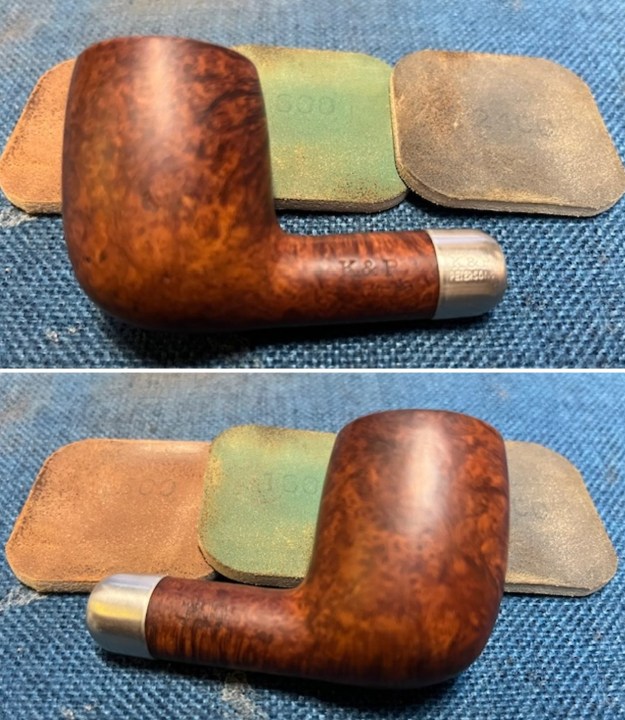
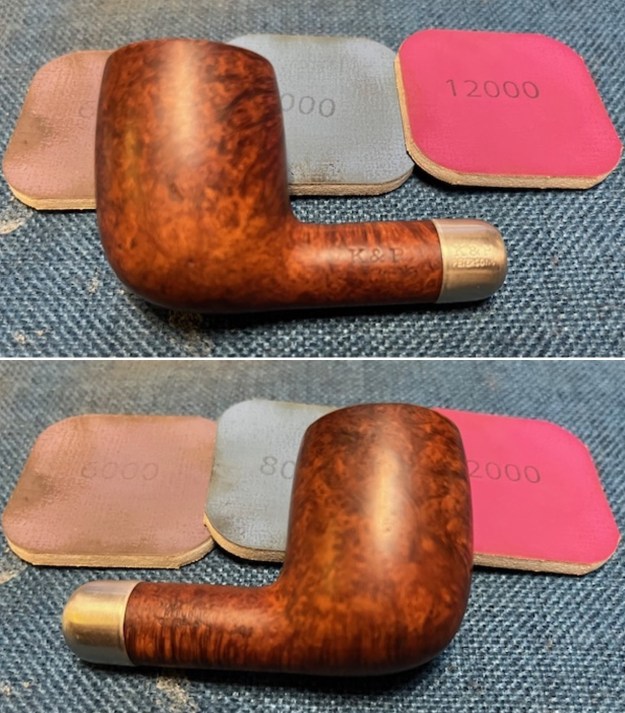
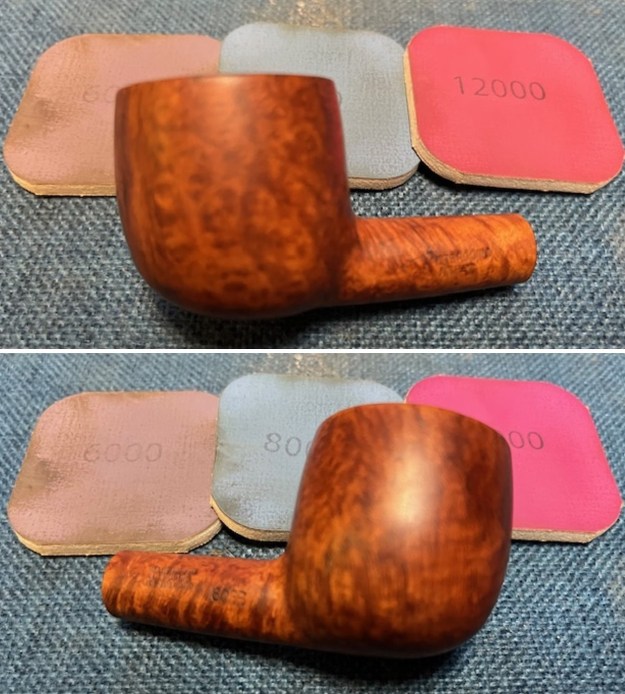
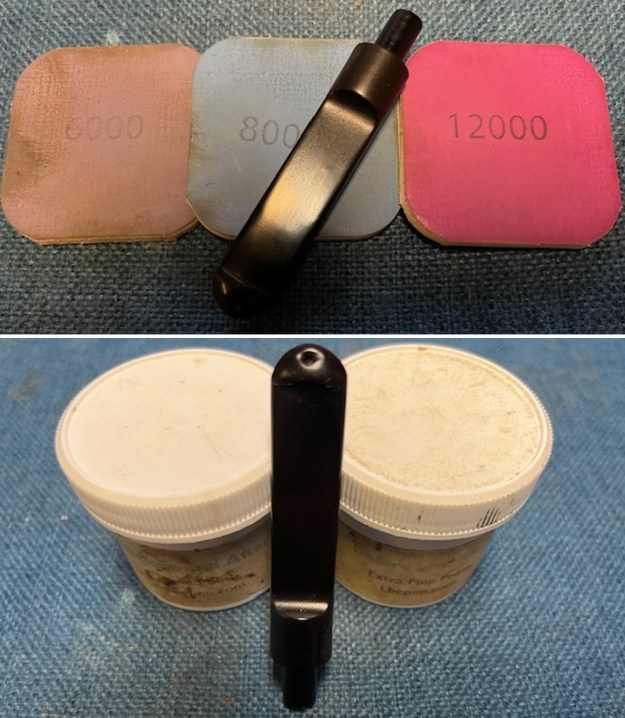
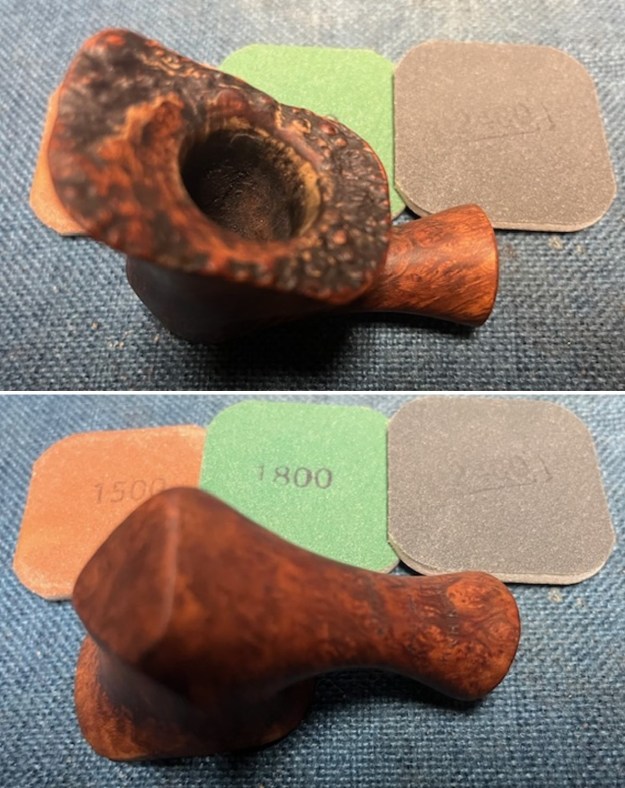
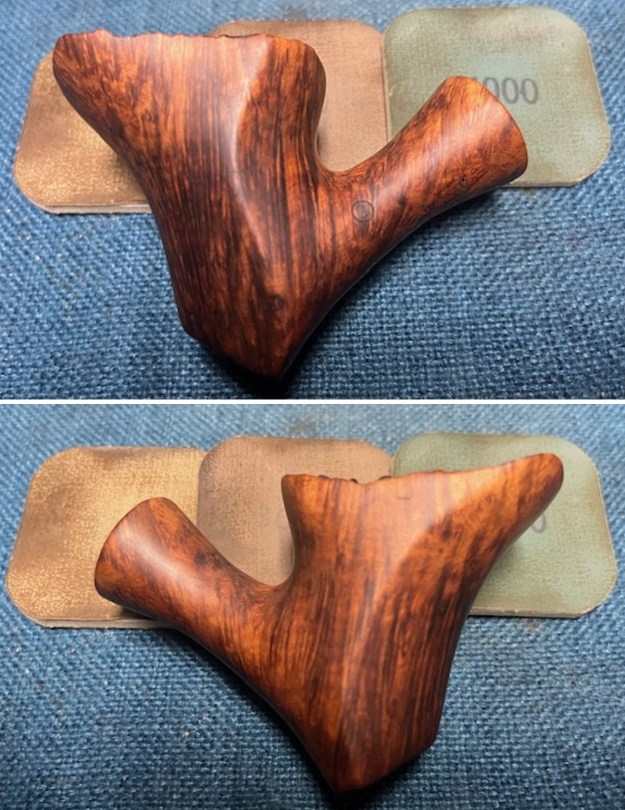
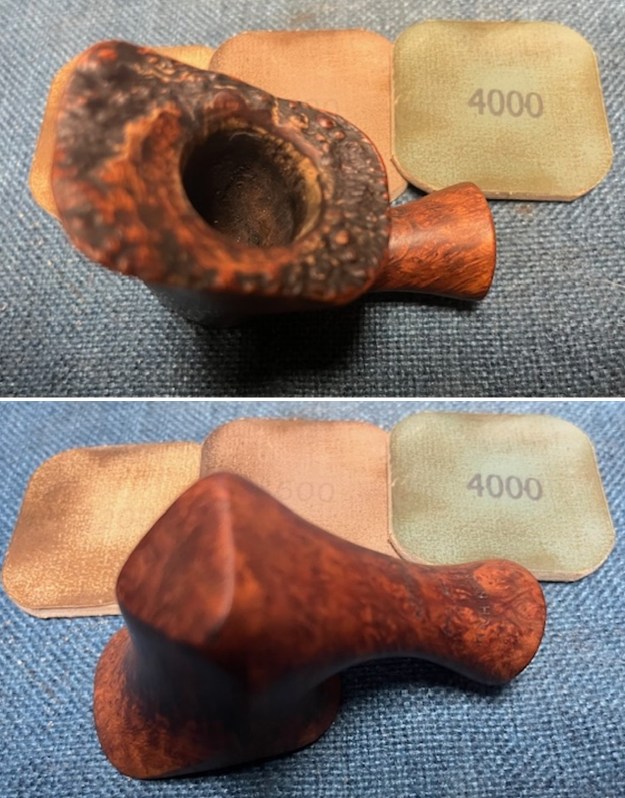
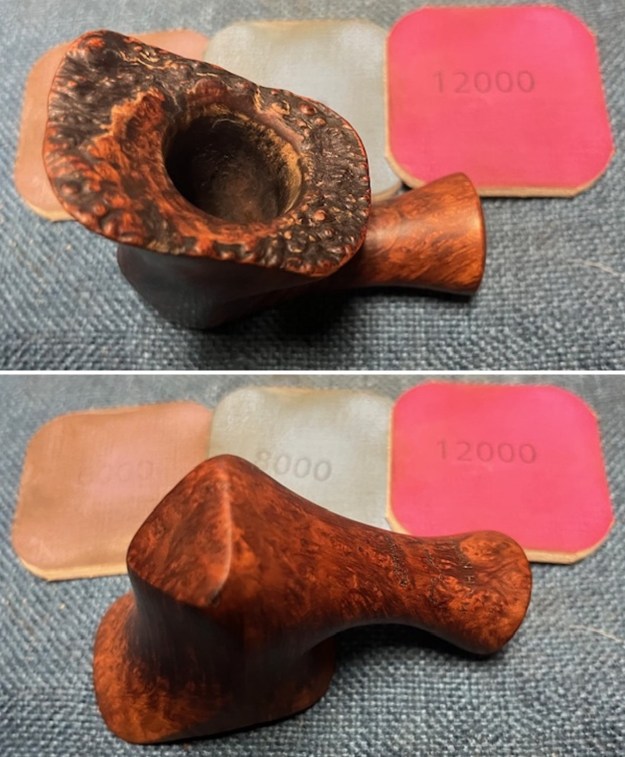
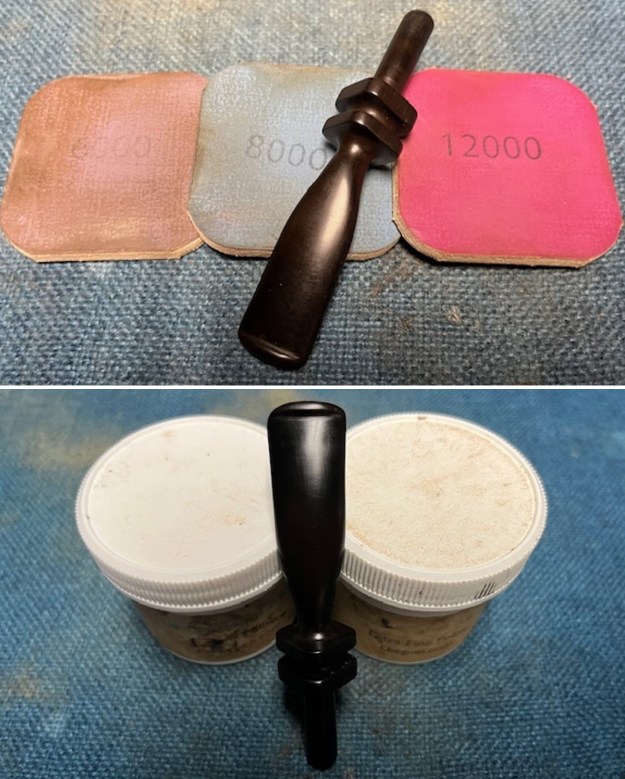
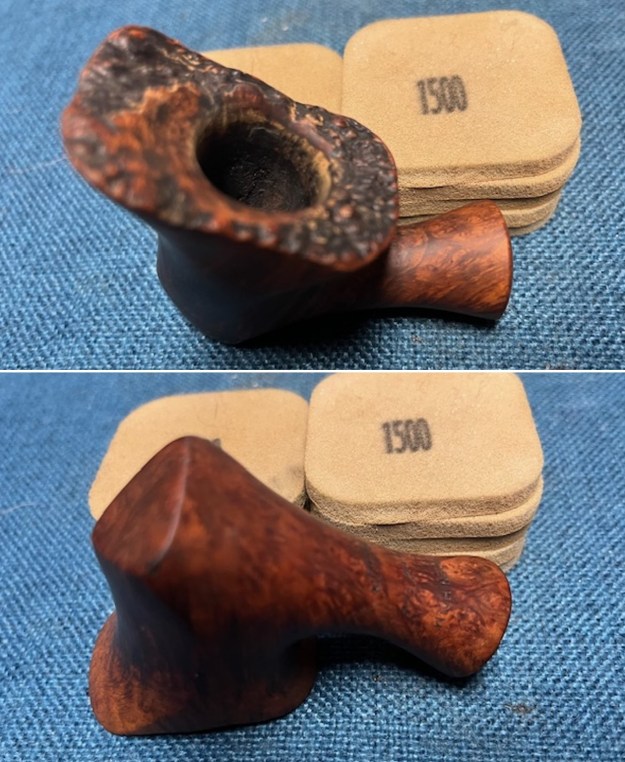 I sanded the smooth briar with micromesh sanding pads – dry sanding with 1500-12000 grit pads. I wiped it down after each pad with a damp cloth. It really began to take on a rich shine.
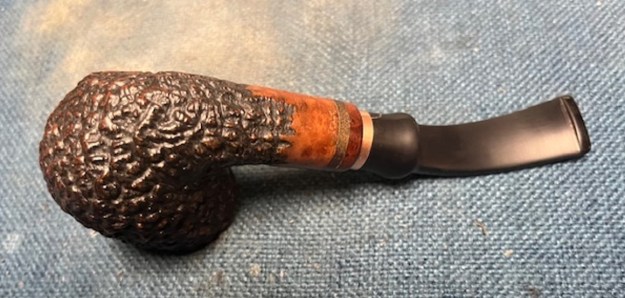
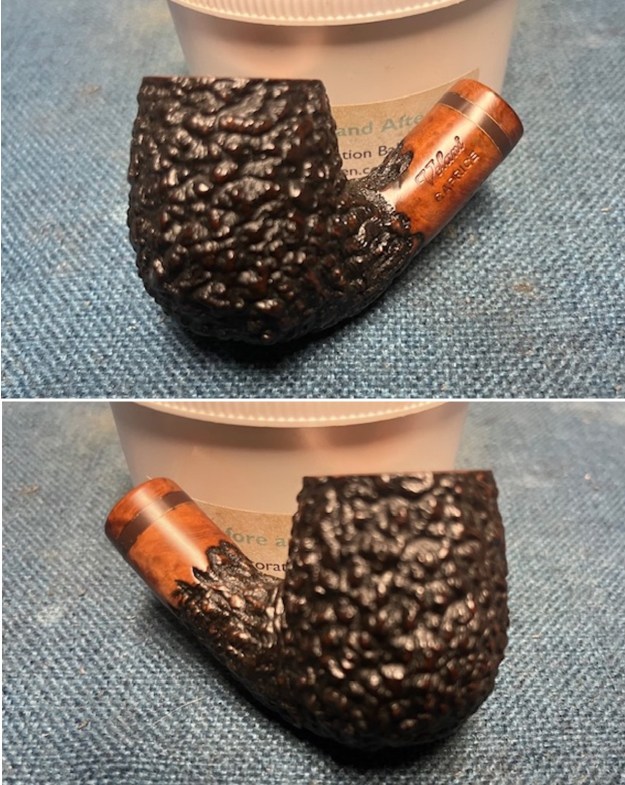
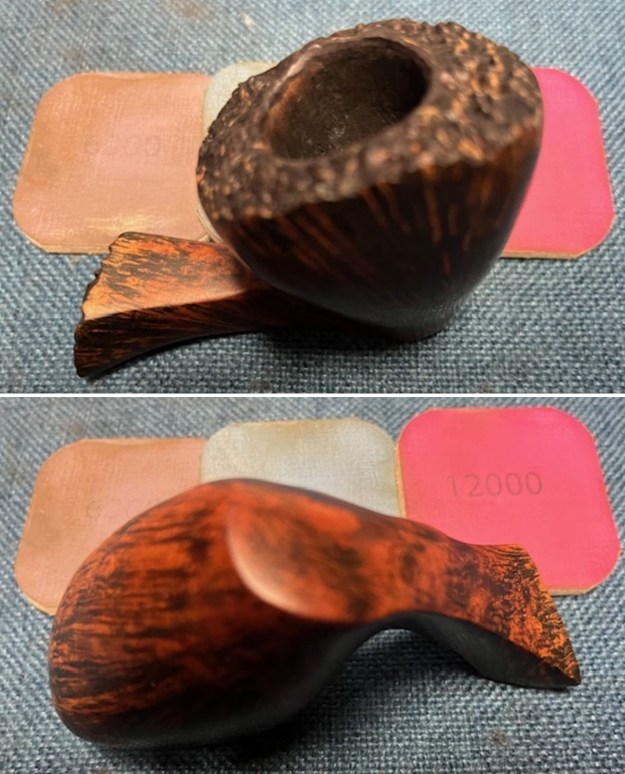
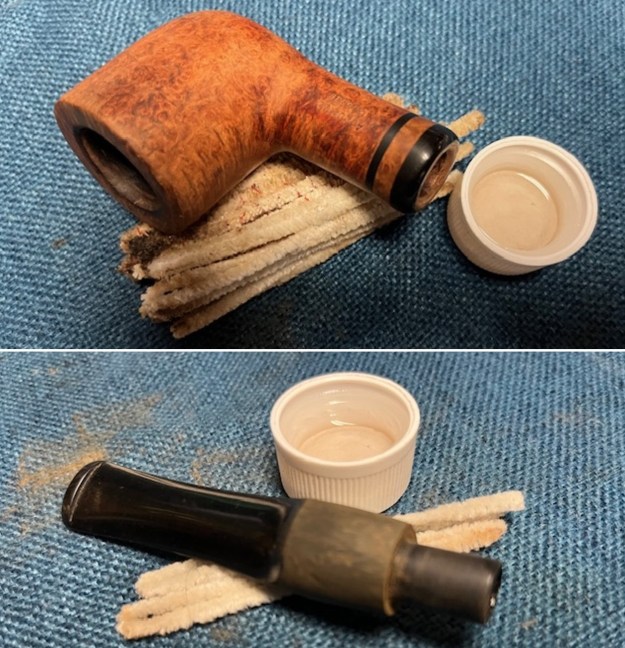
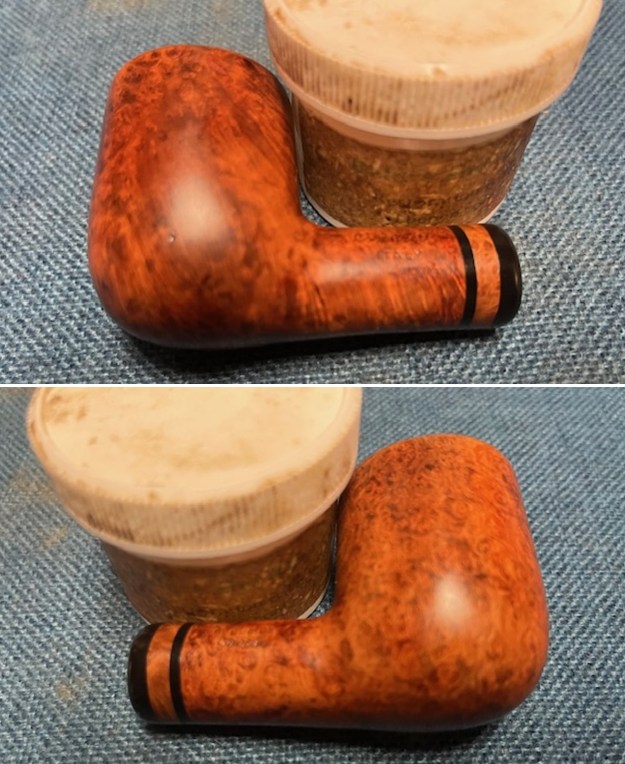
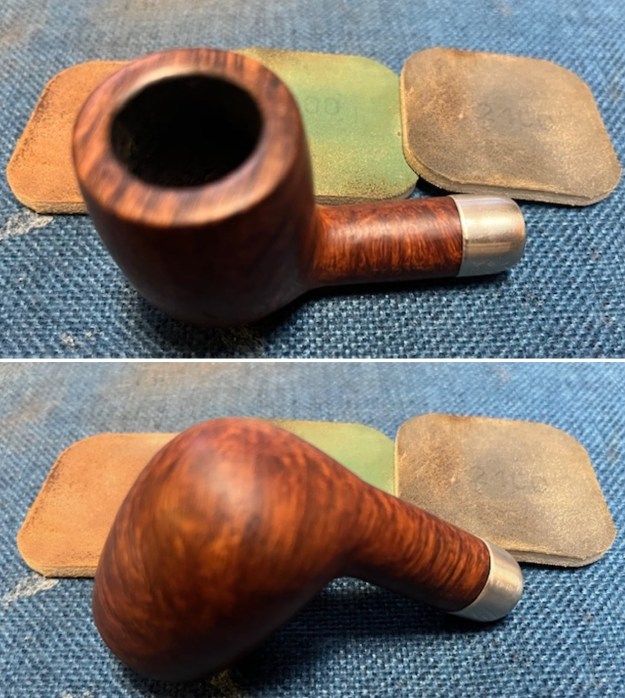
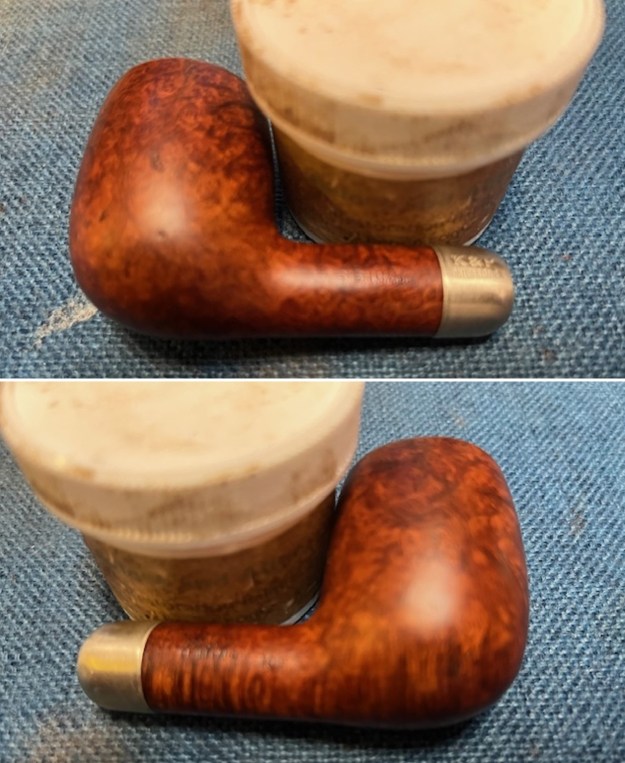
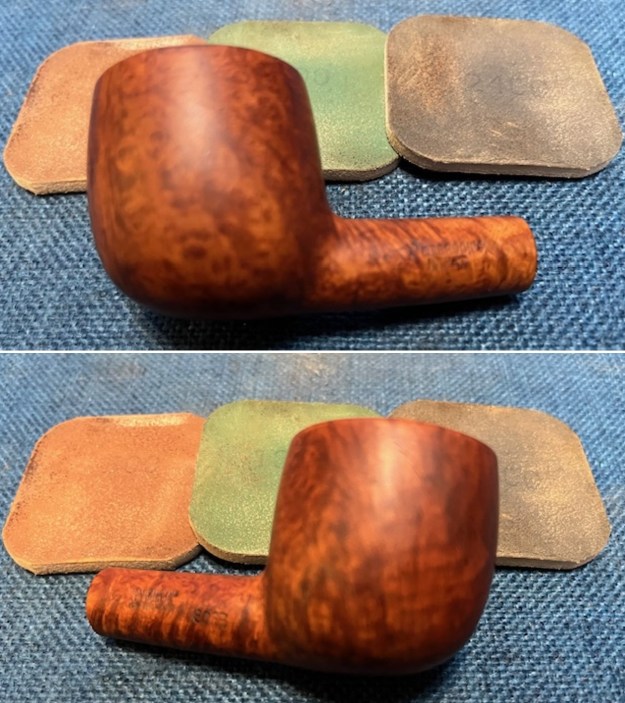
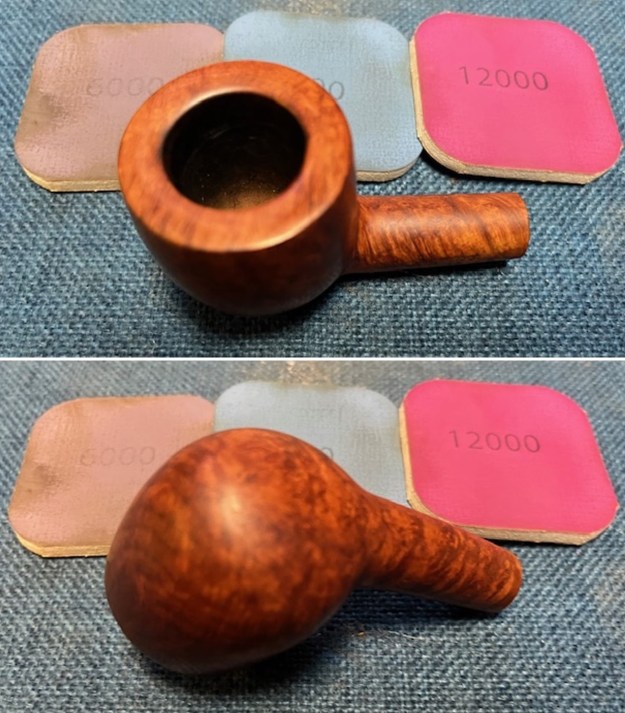
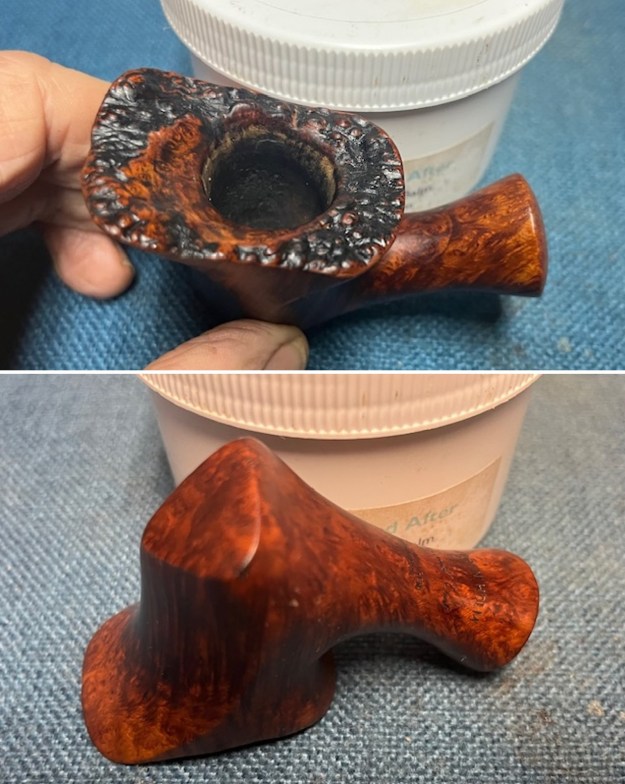
 I rubbed down the briar Before & After Restoration Balm. I worked it into the surface with my fingertips and into the plateau rim top with a shoe brush. The product works to clean, enliven and preserve the briar. I let it sit for 15 minutes then I buffed it with a cotton cloth to deepen the shine. The briar really comes alive with the balm.
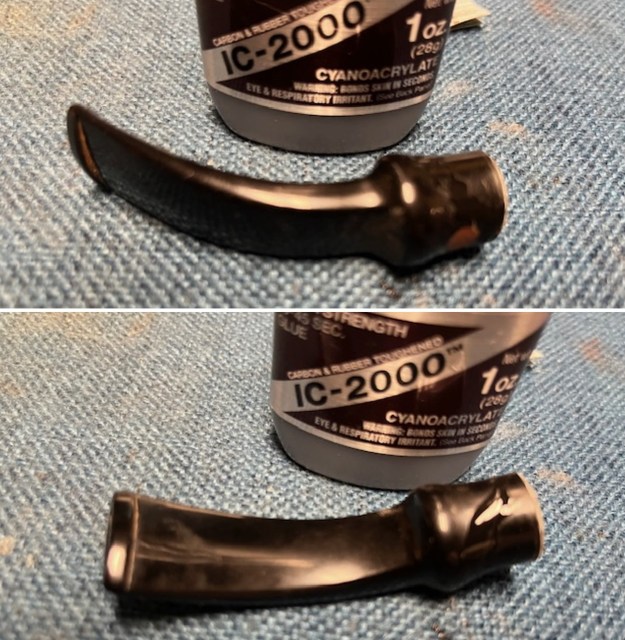
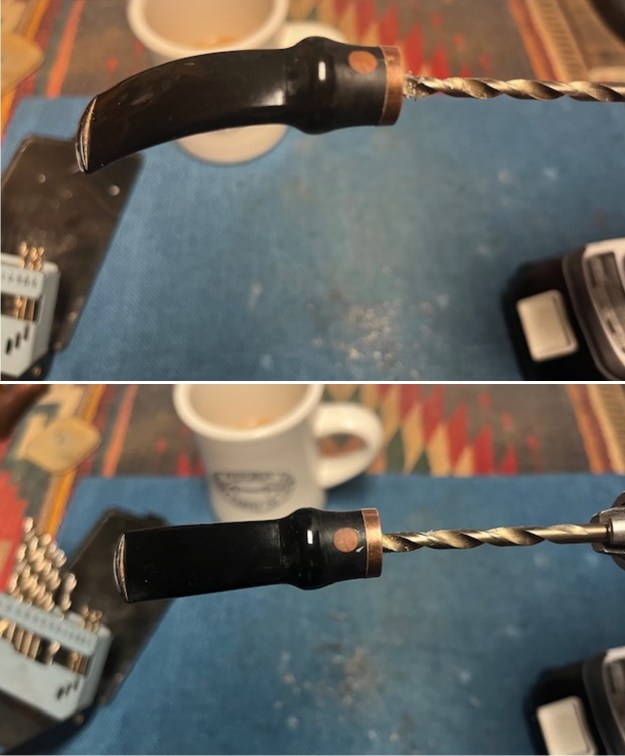
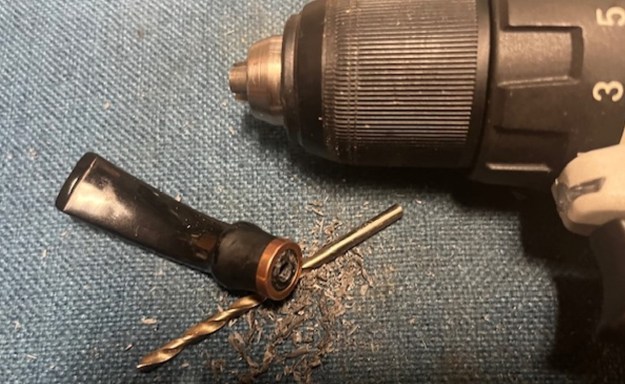
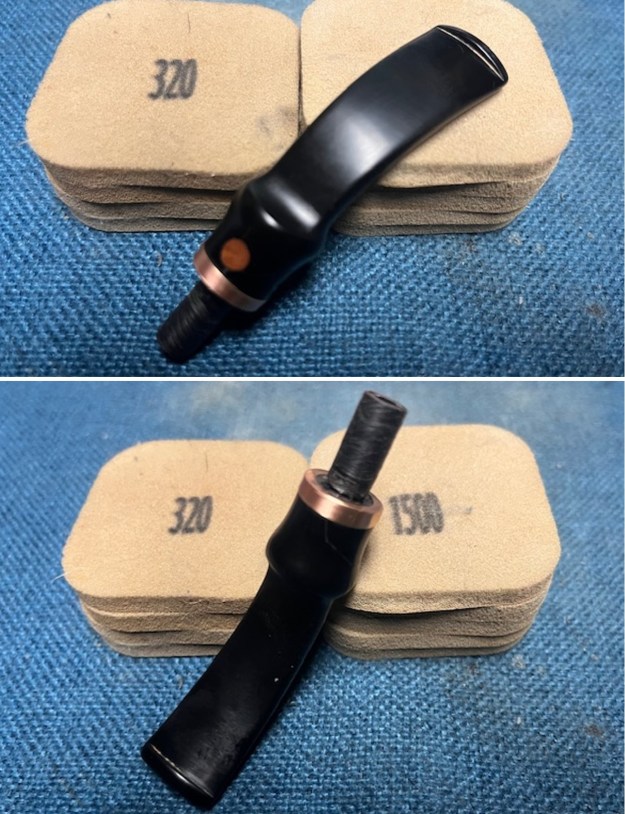
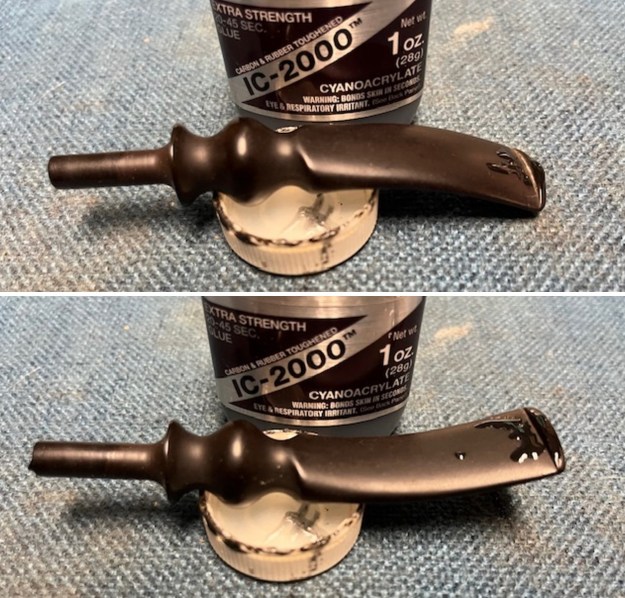
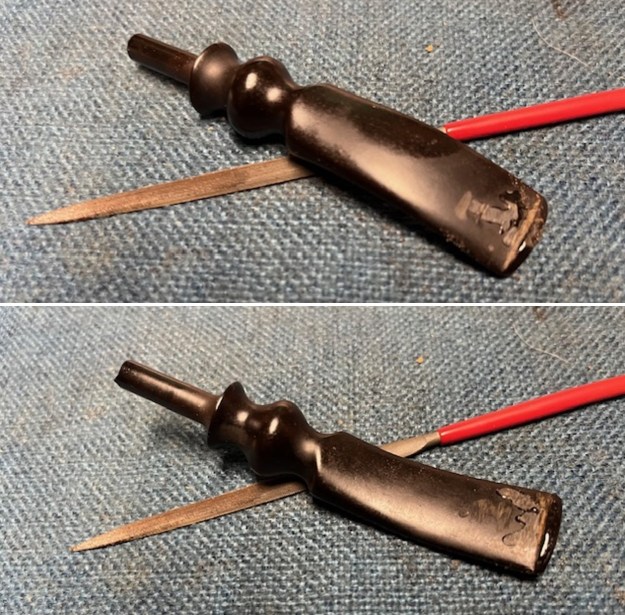
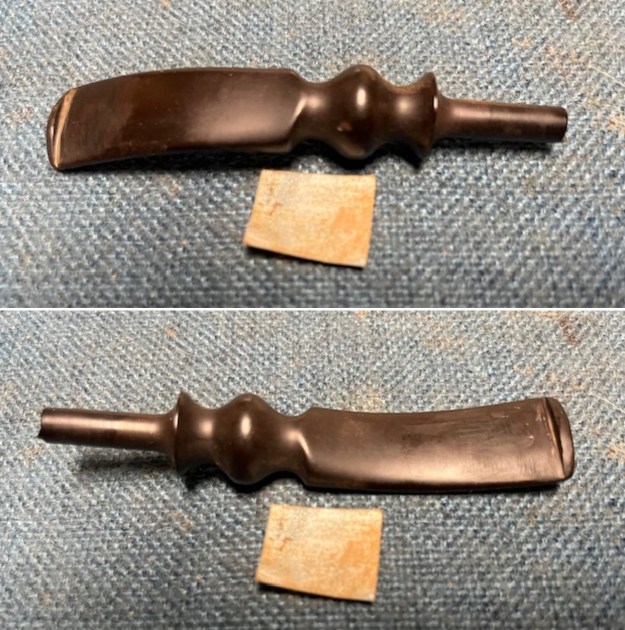
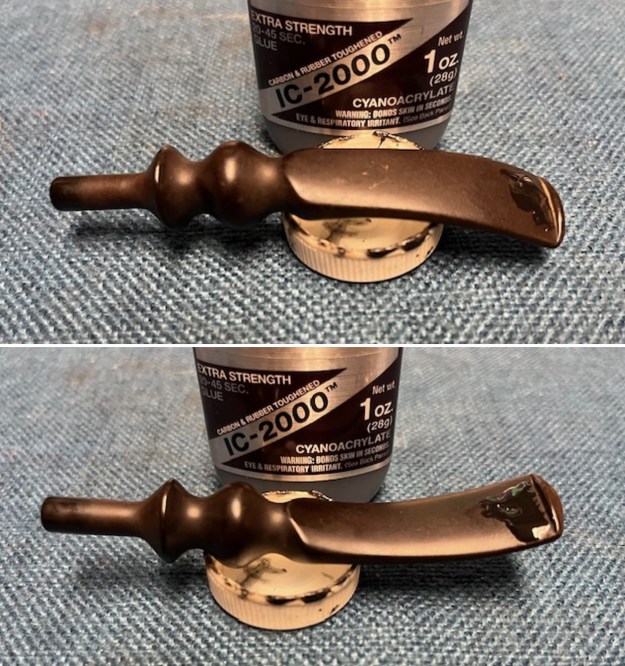
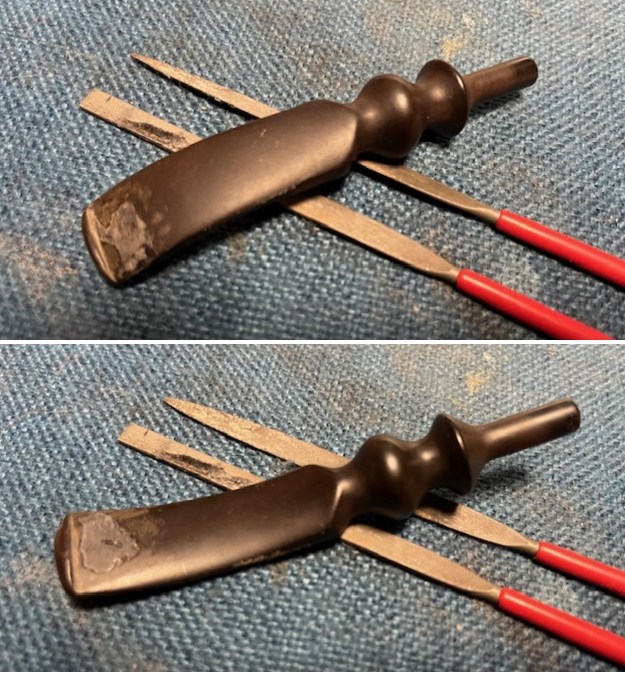
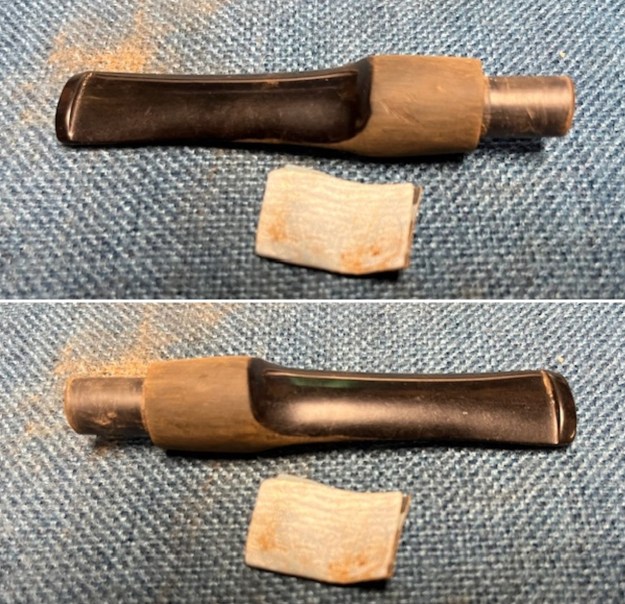
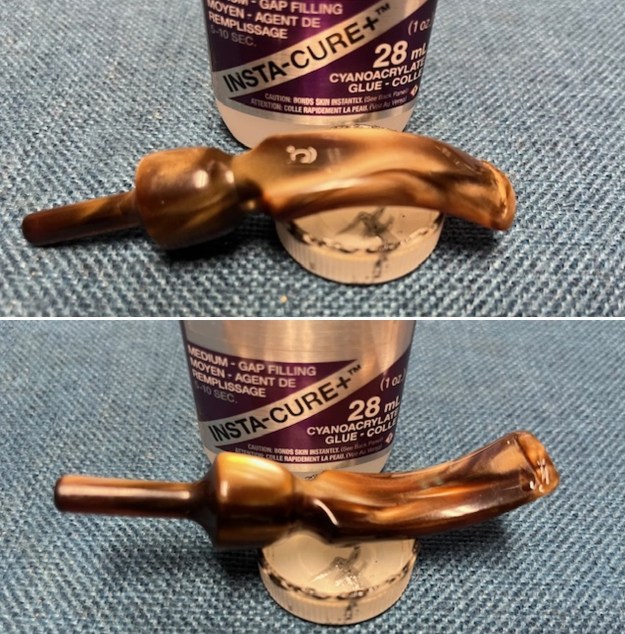
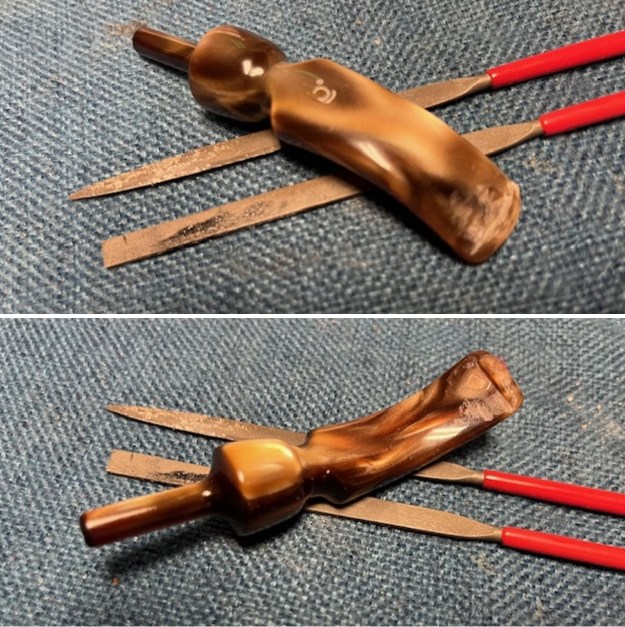
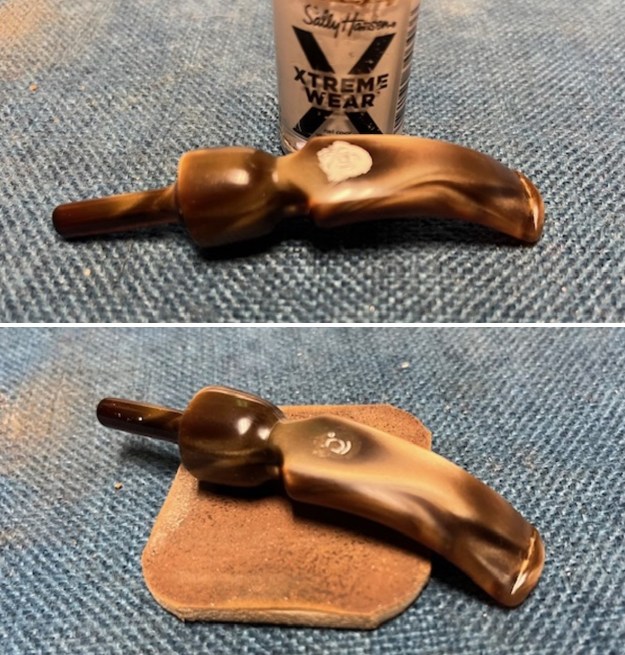
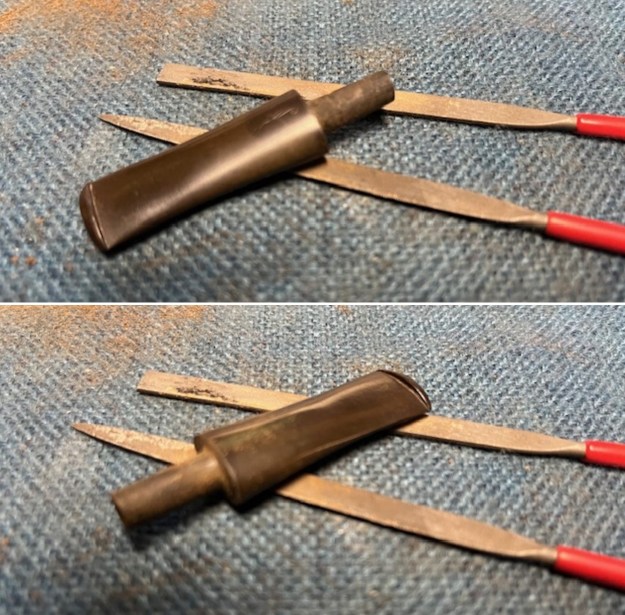
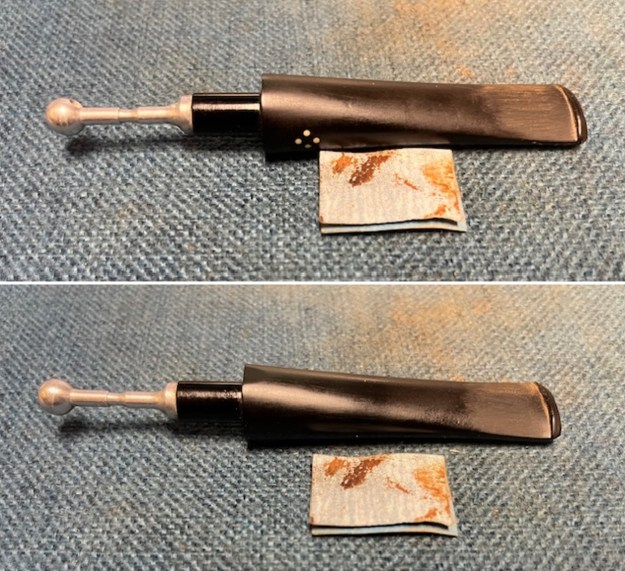
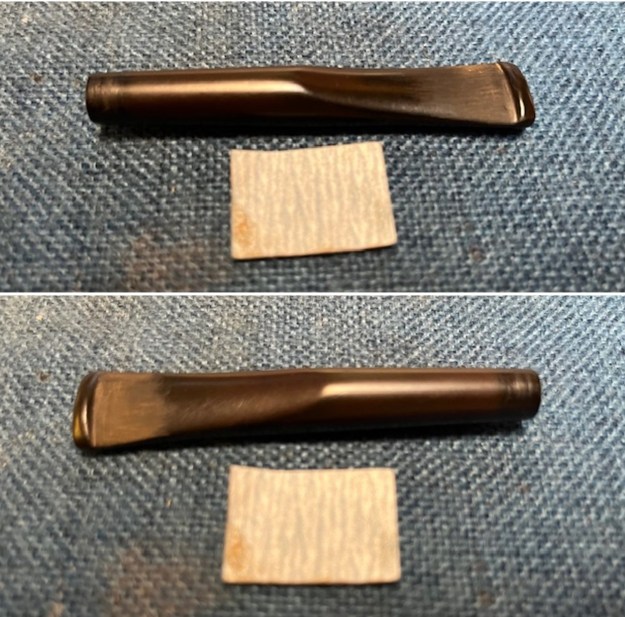
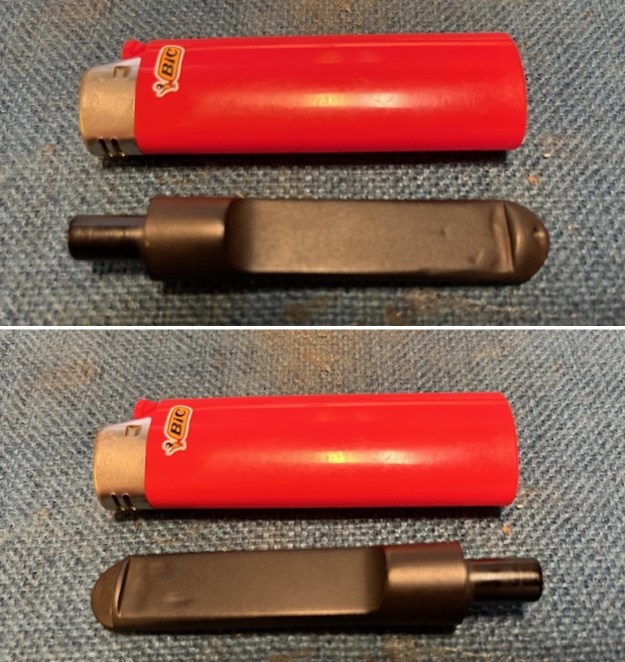
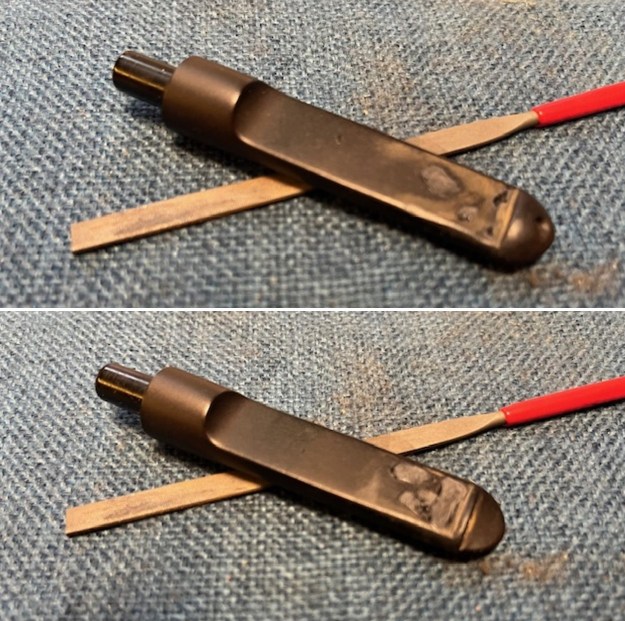
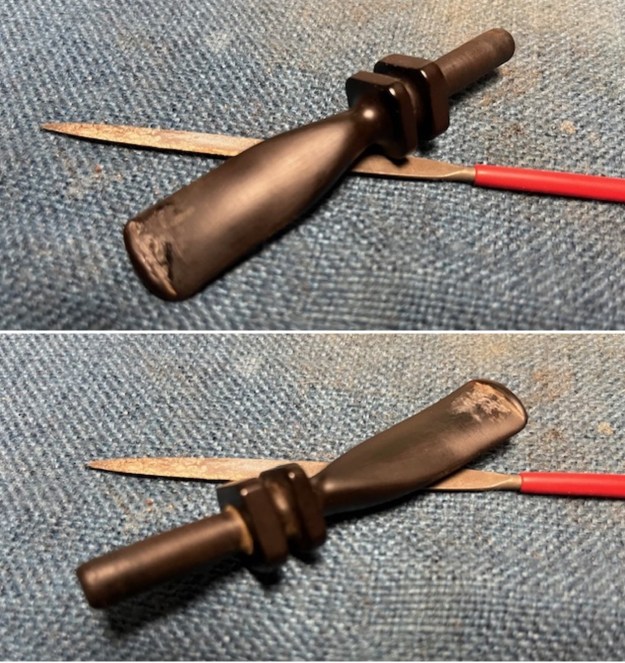
 I set the finished bowl aside and turned my attention to the stem. I filled in the few deeper tooth marks that showed on the stem with black CA glue. Once it cured I used a small flat file to recut the button edge and flatten the repairs. I sanded the repairs further with a folded piece of 220 grit sandpaper. I wiped the stem down with Obsidian Oil and took the following photos of the stem.
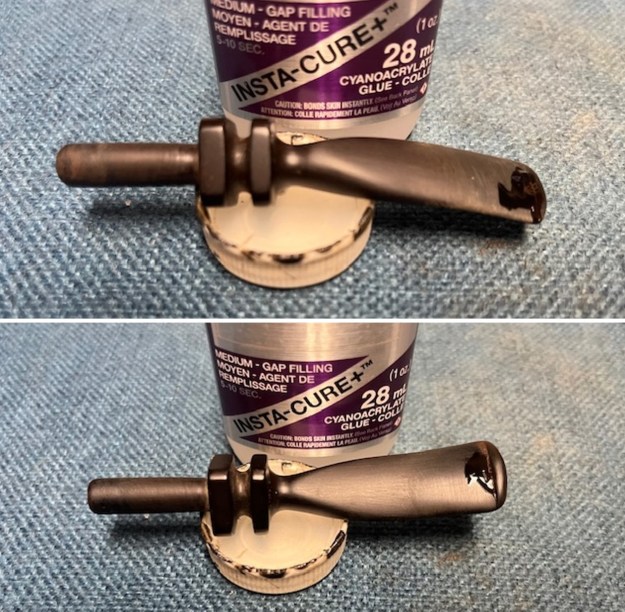
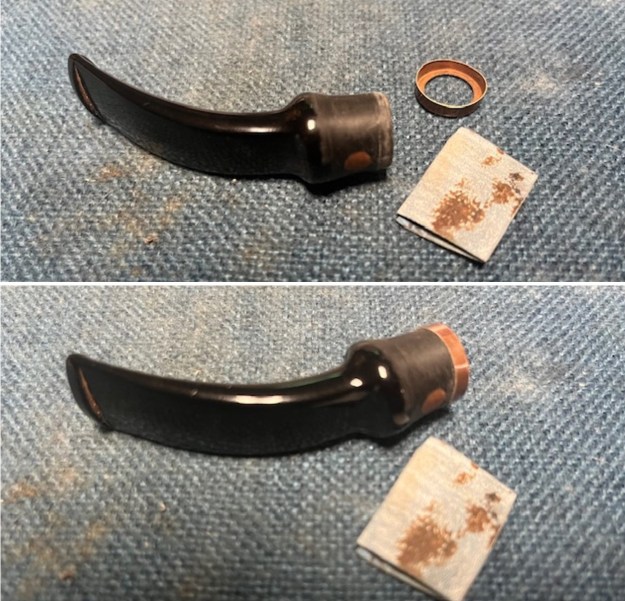
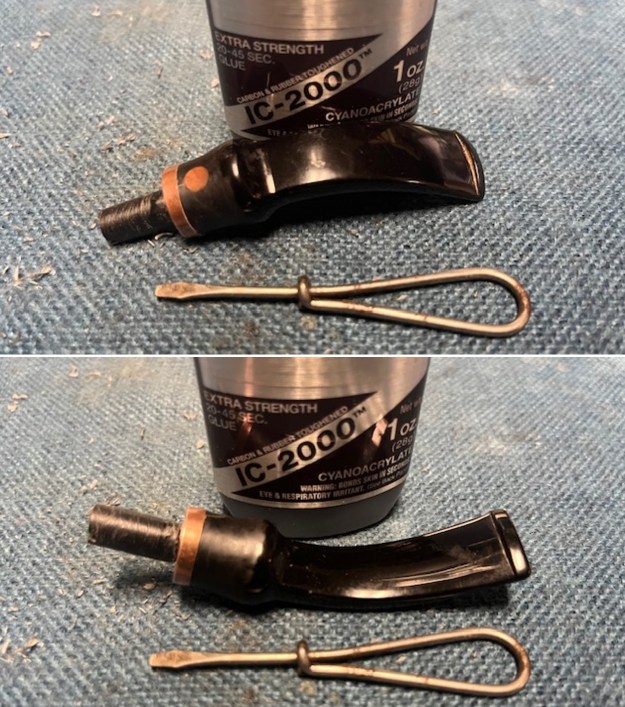
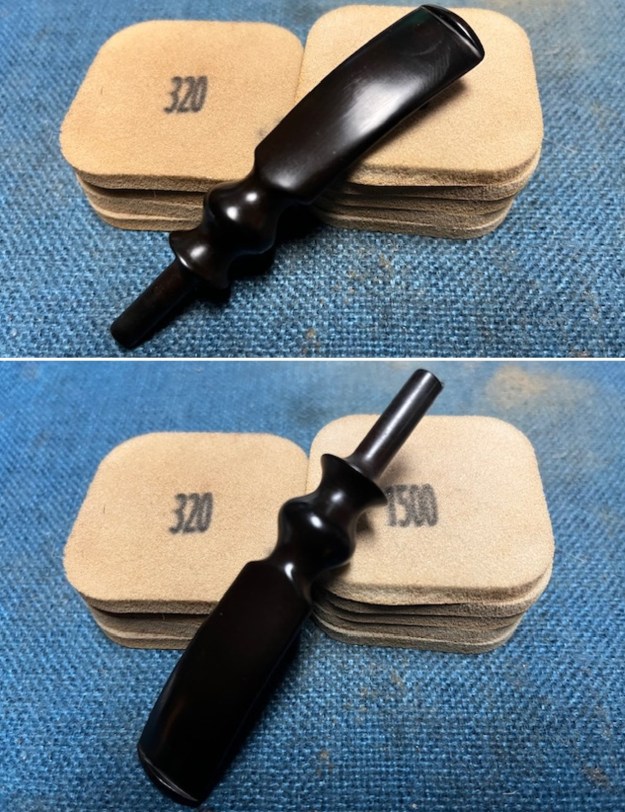
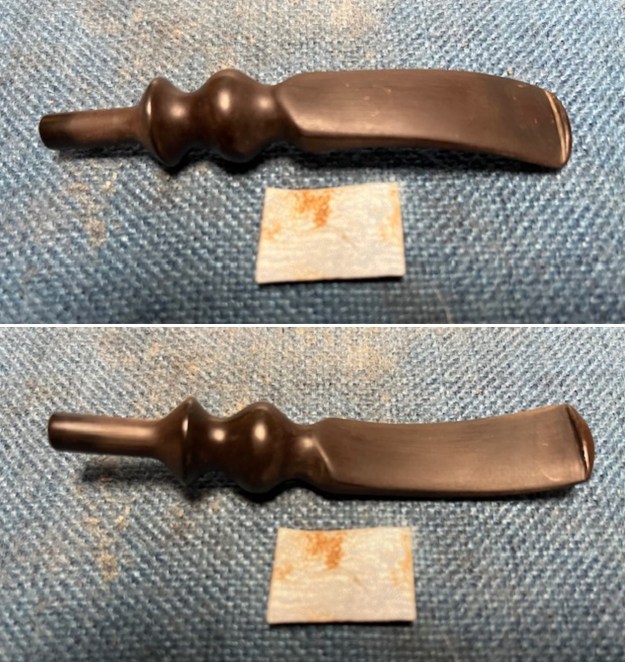
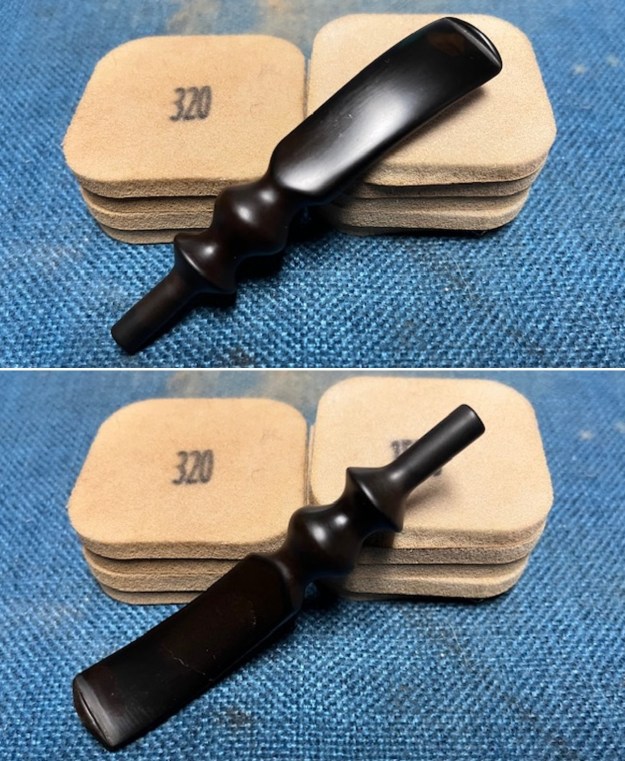
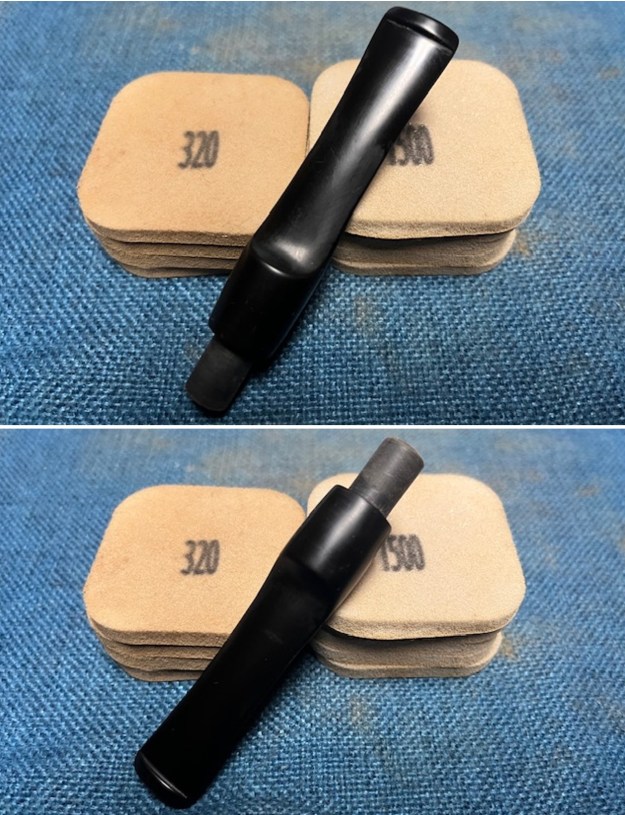
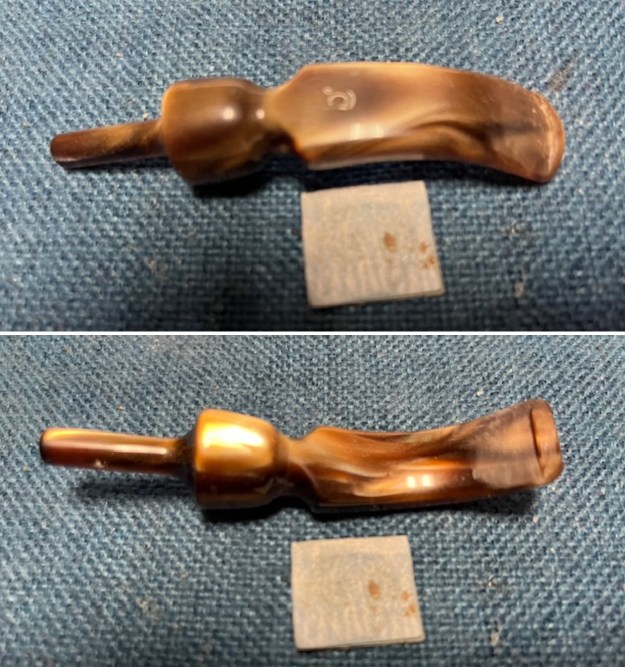
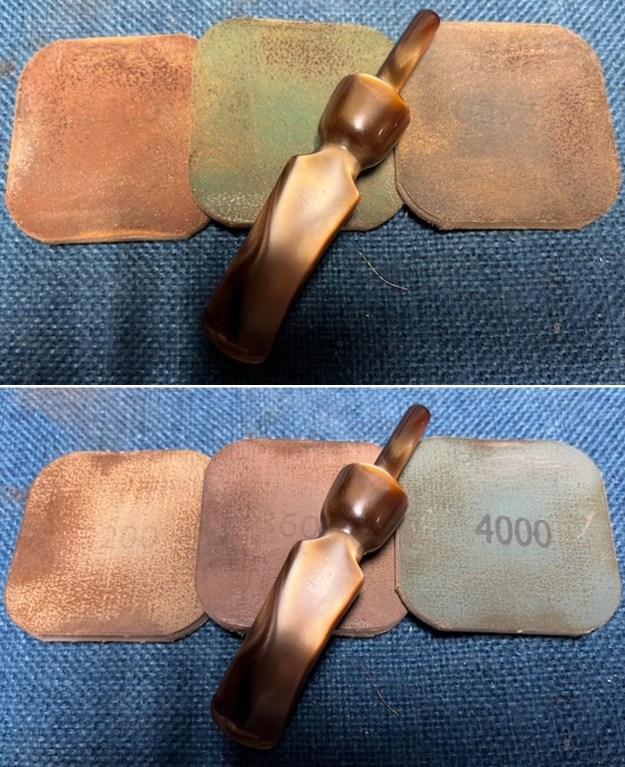
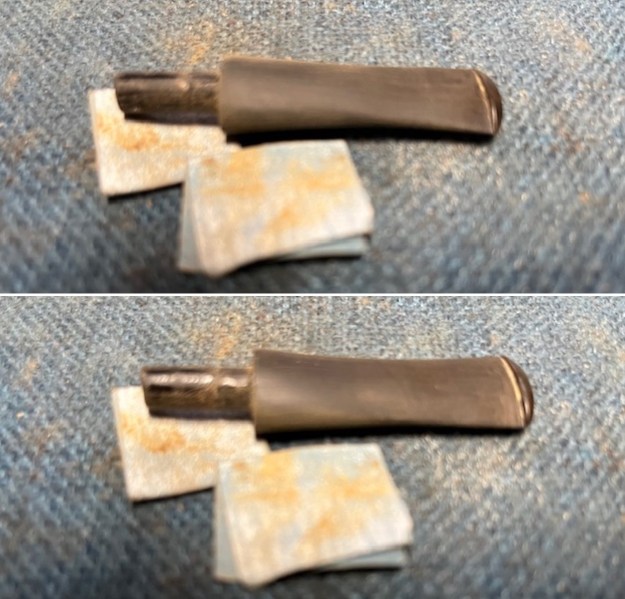
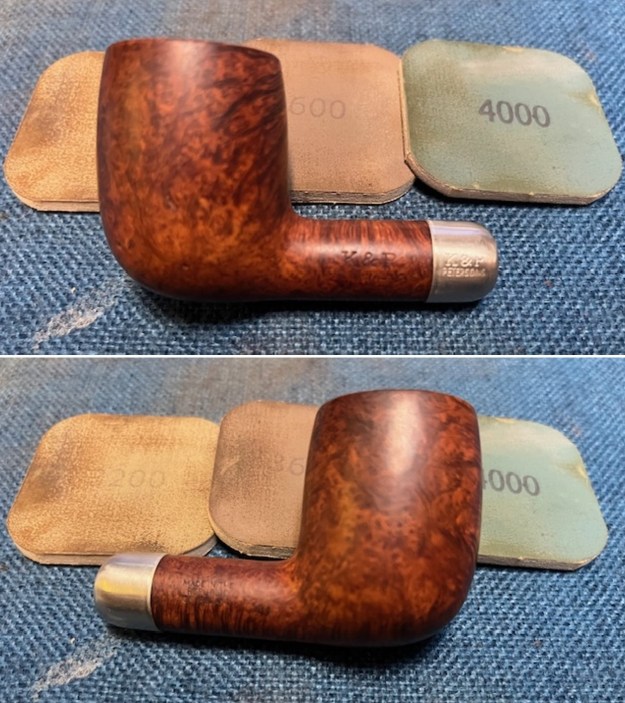
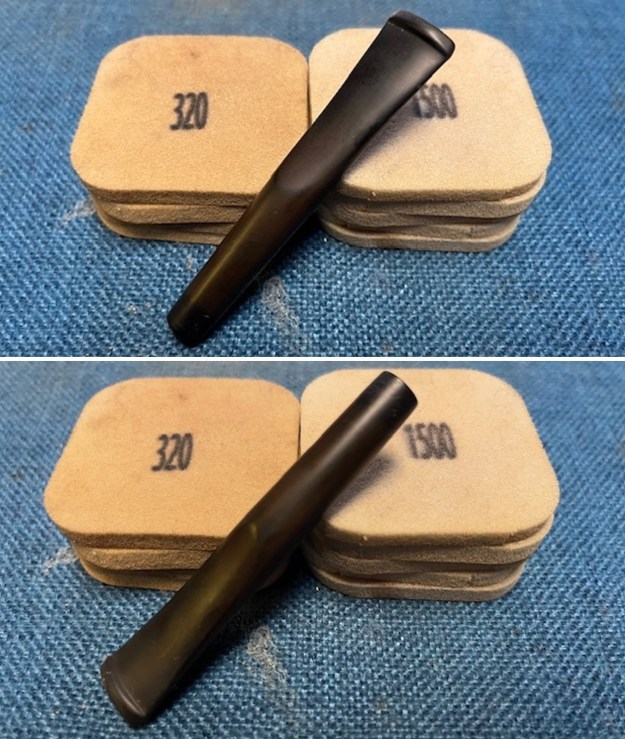
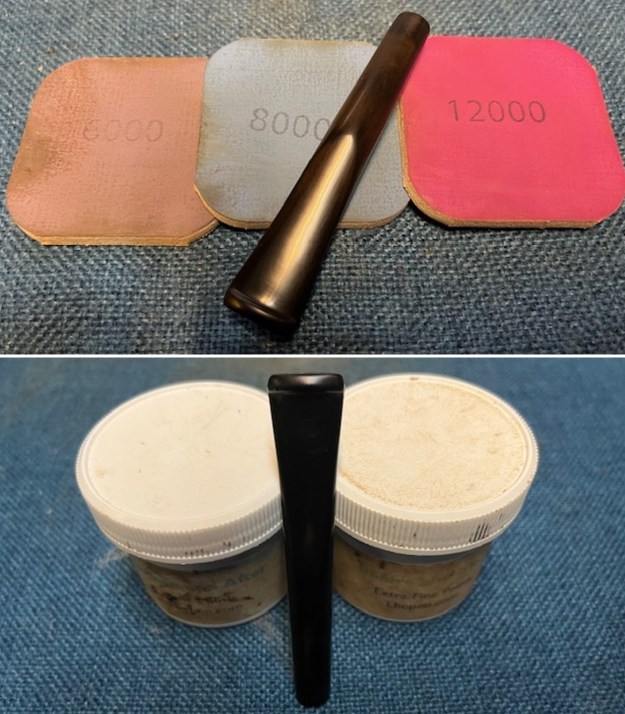
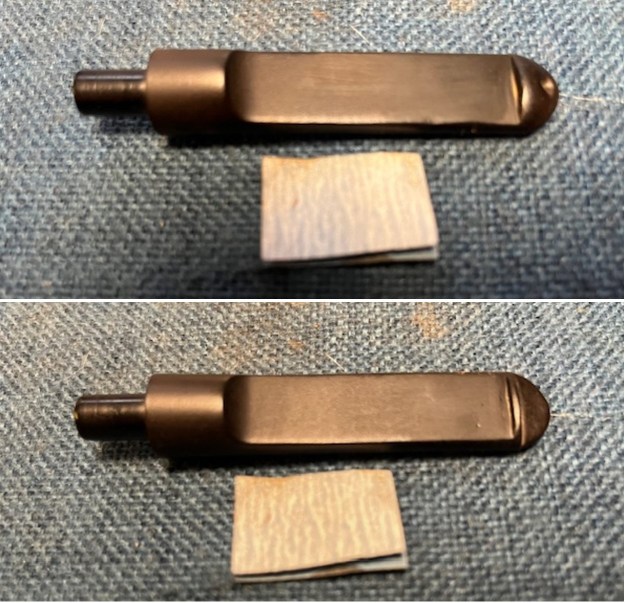
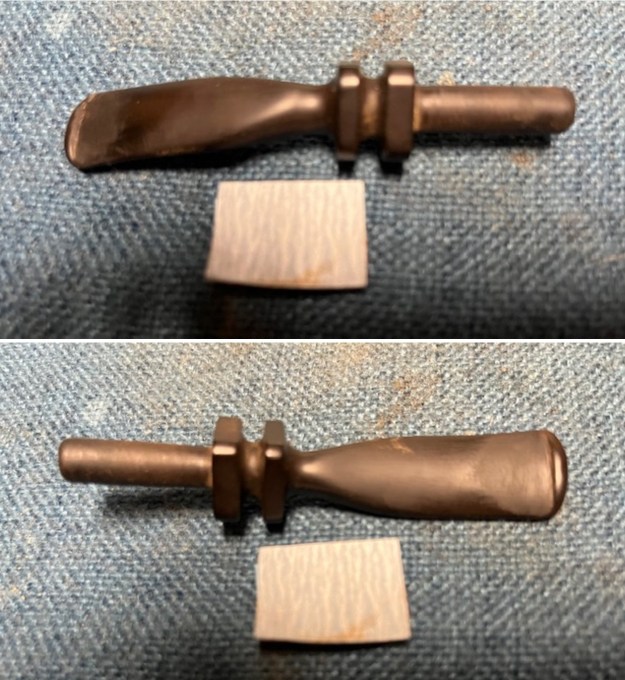 I sanded out the scratches in the vulcanite with 320-3500 grit sanding pads. I wiped the stem down after each sanding pad with a cloth impregnated with Obsidian Oil. It started to take on a deep shine.
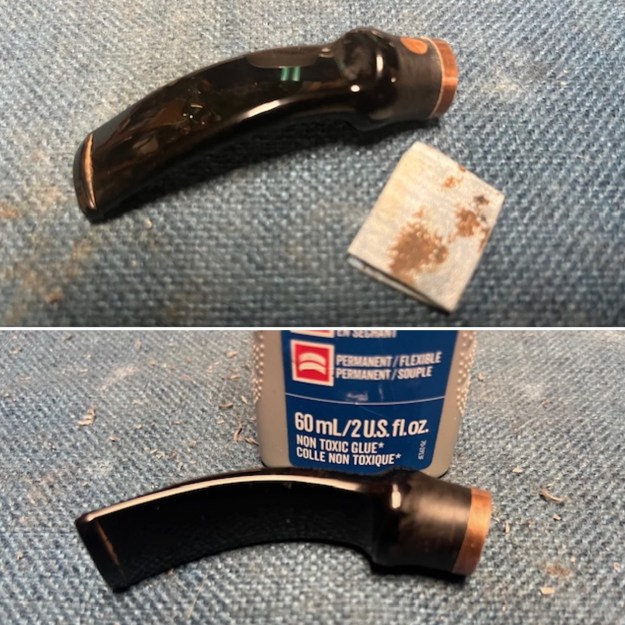
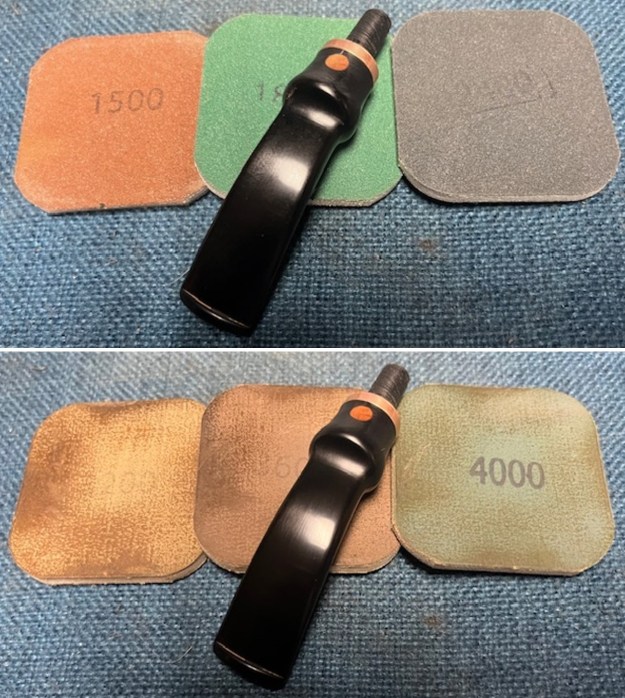
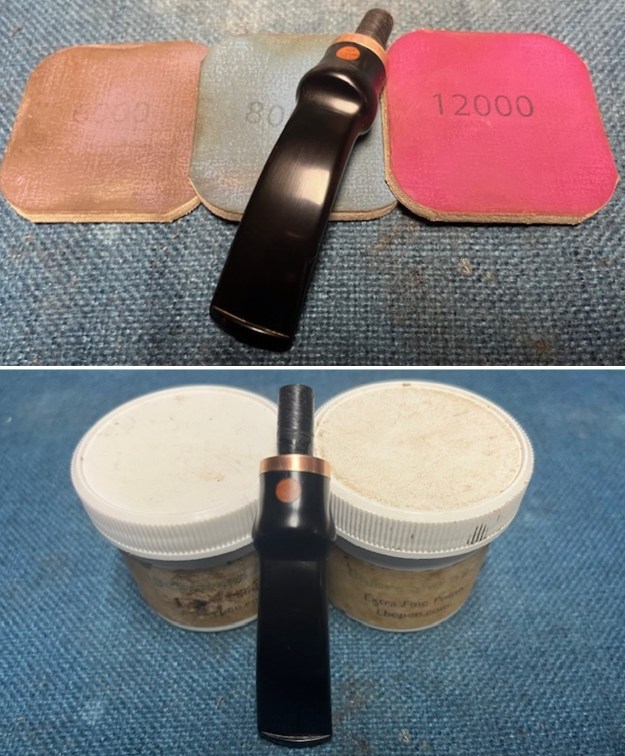
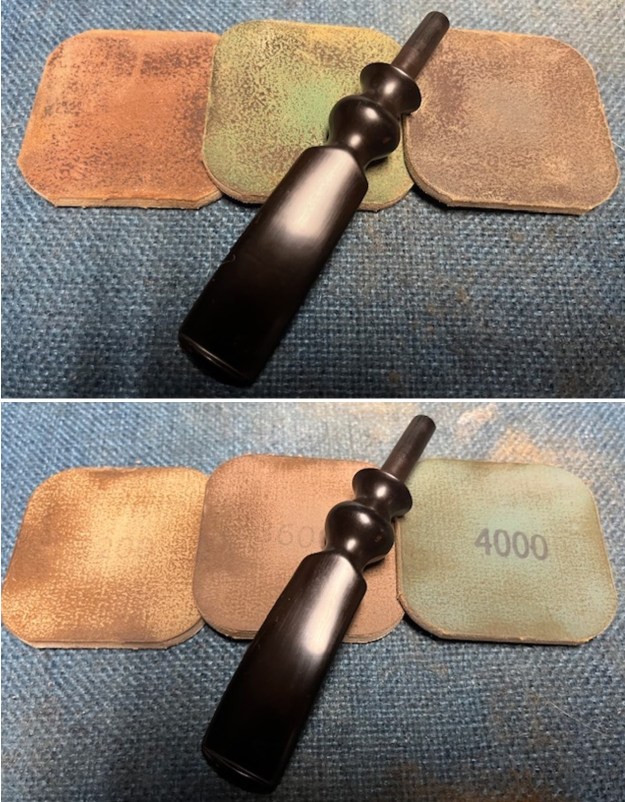
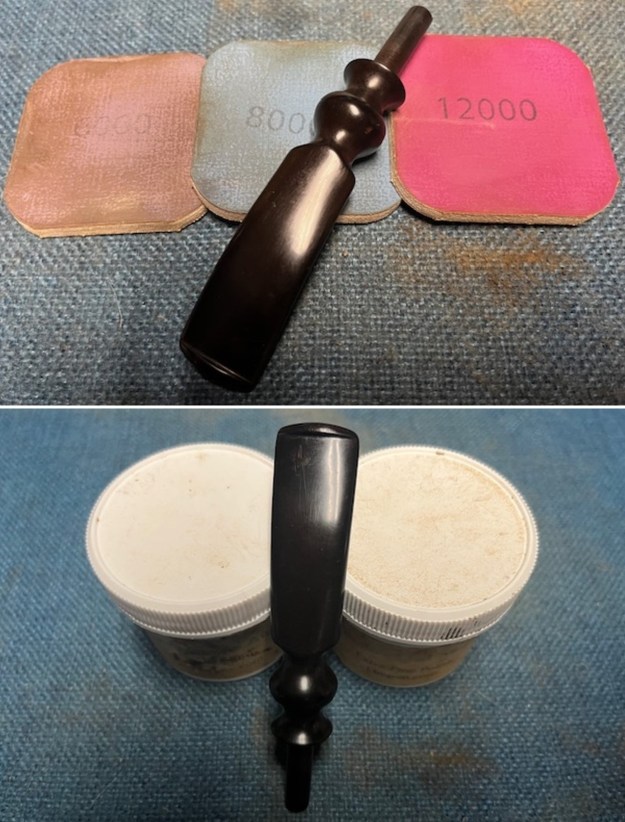
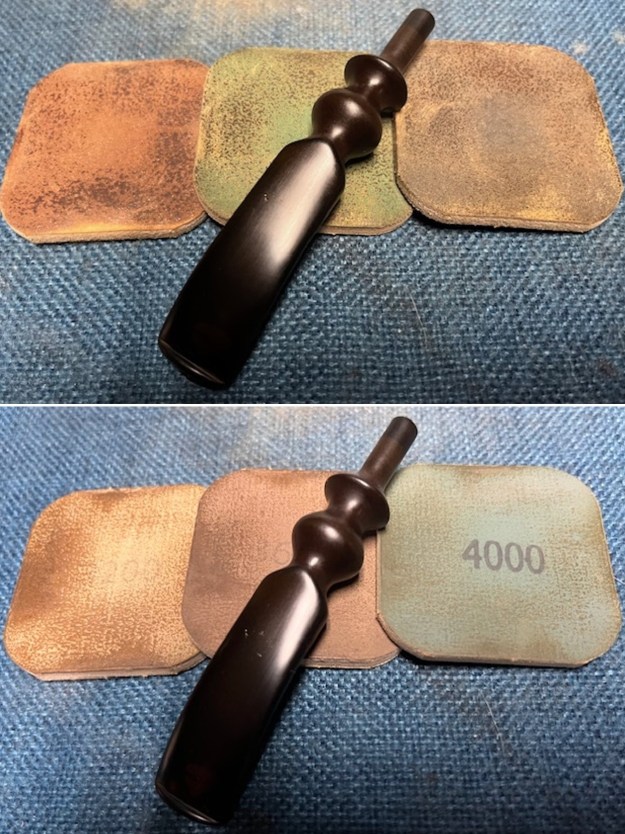
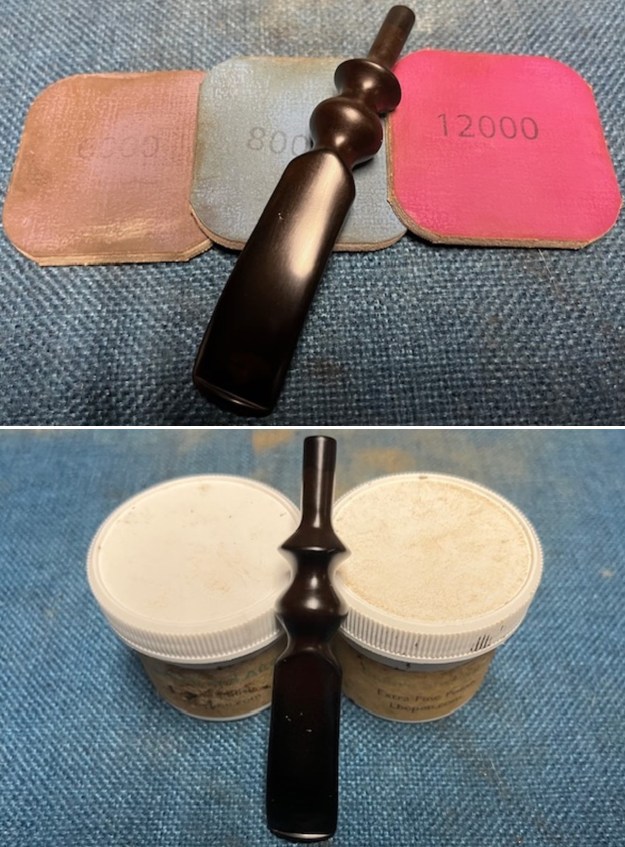
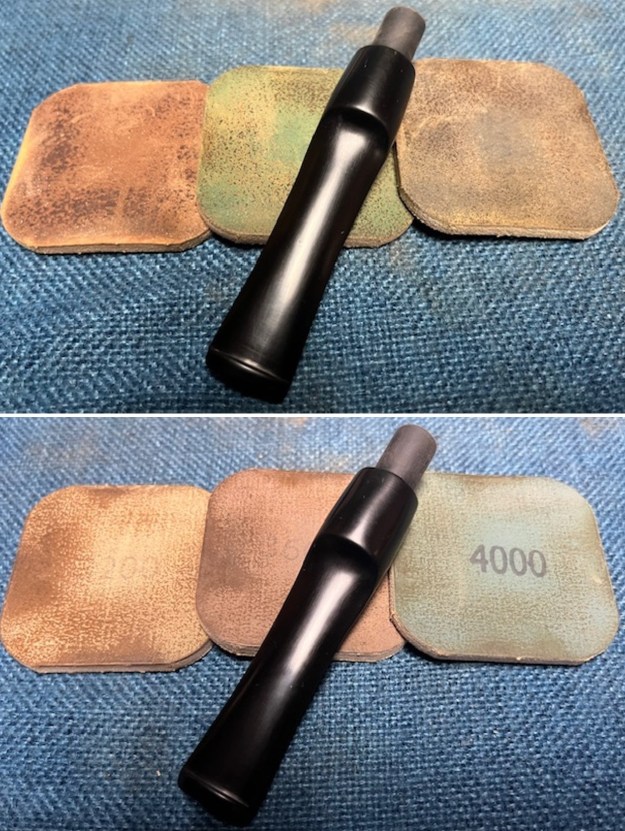
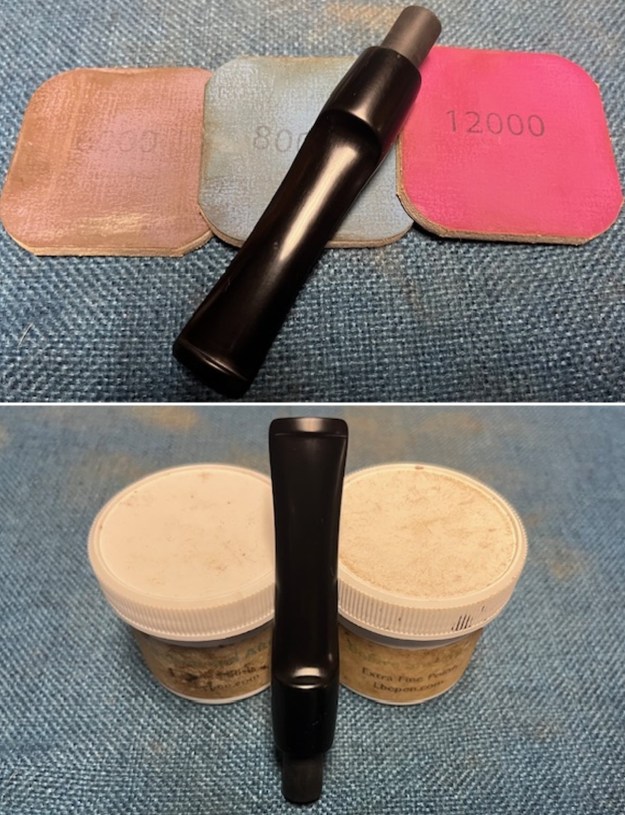
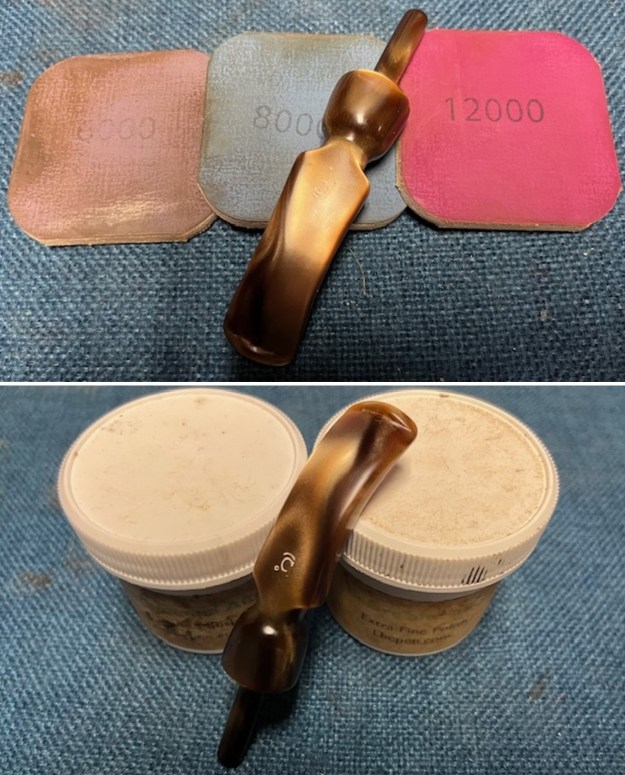
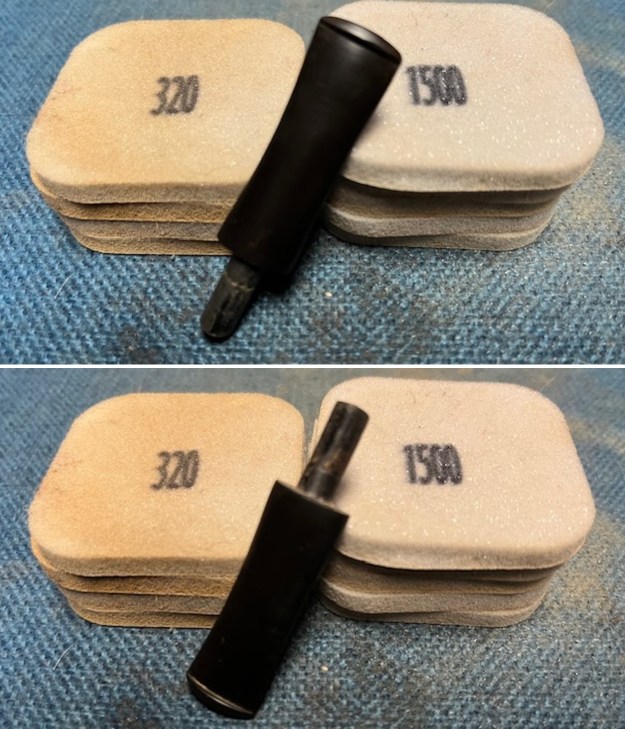
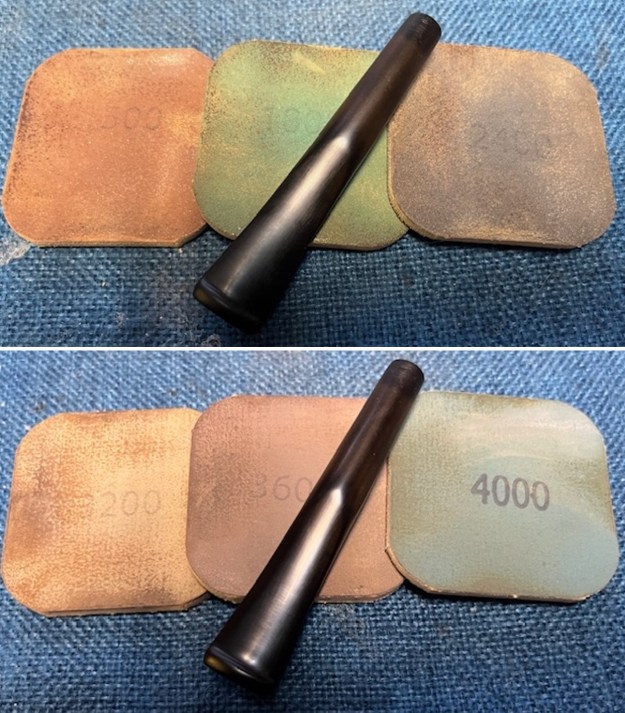
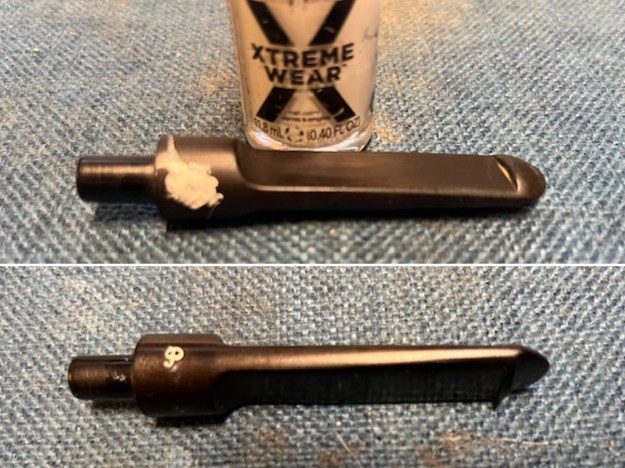
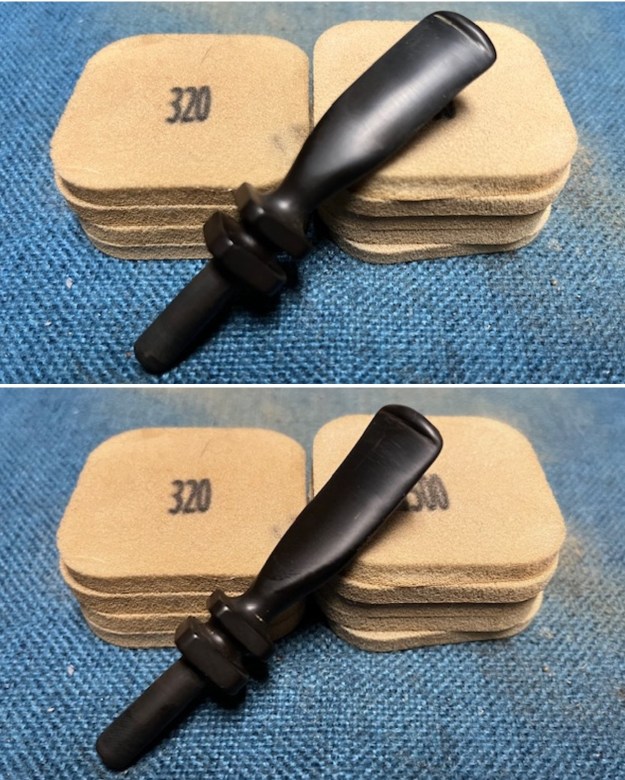 I polished the stem with micromesh sanding pads – 1500-12000 grit pads to remove them. I wiped the stem down with Obsidian Oil after each sanding pad. I used Before & After Pipe Polish – both Fine and Extra Fine to further polish the stem. I rubbed it down with a final coat of Obsidian Oil and let it dry.
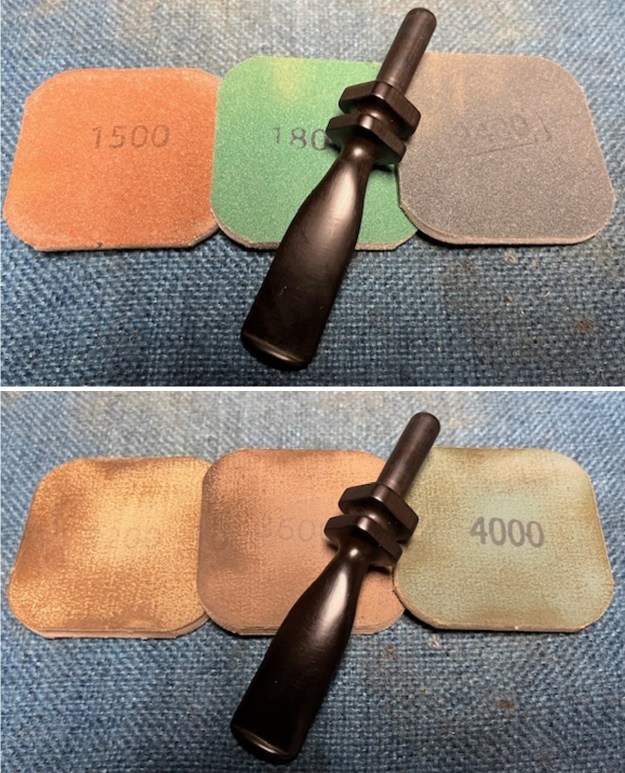
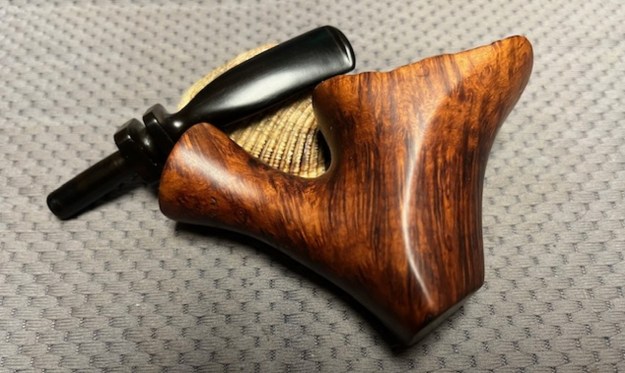
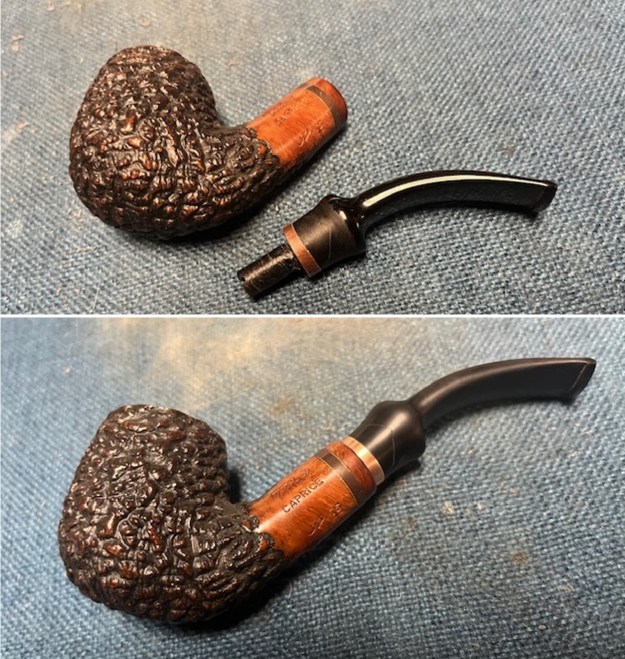
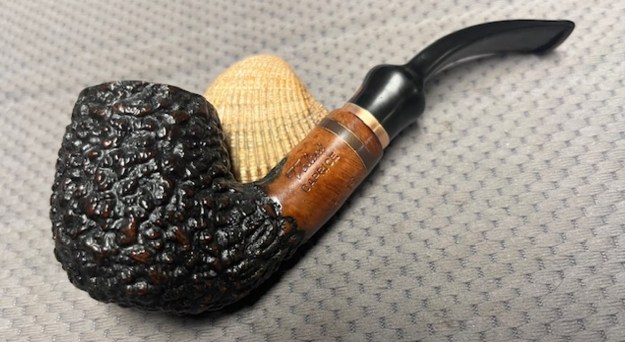
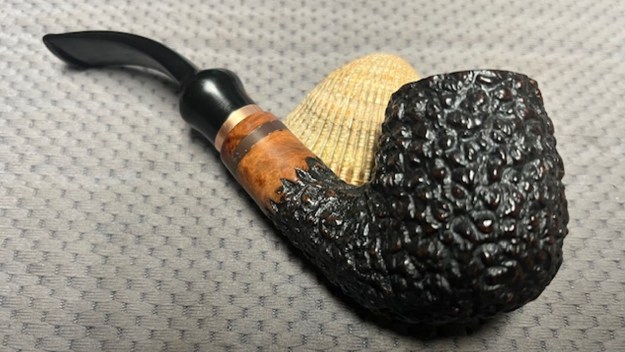
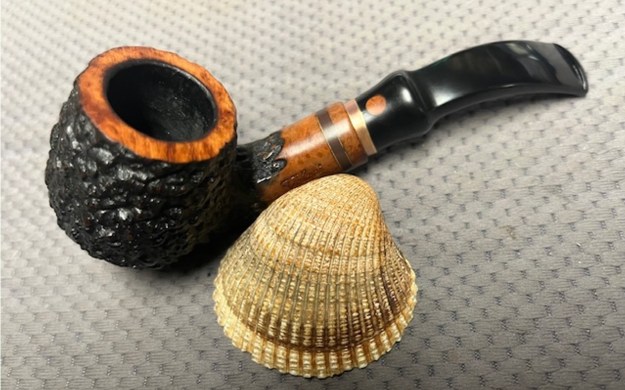
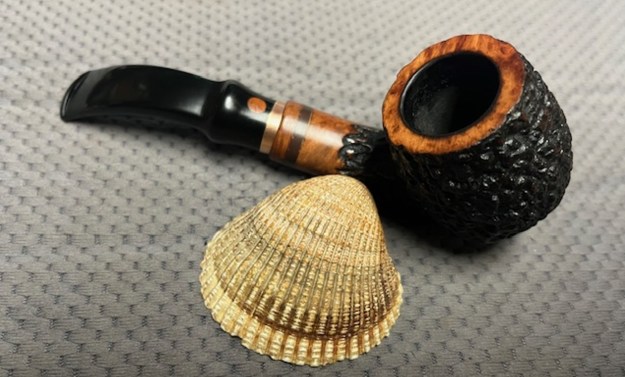
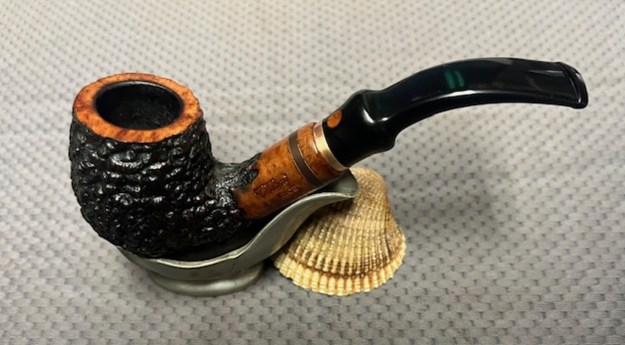
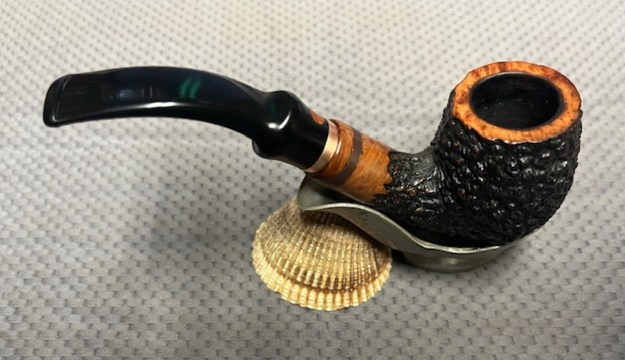
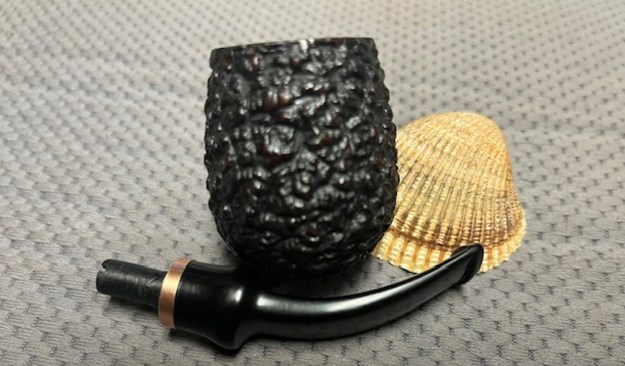
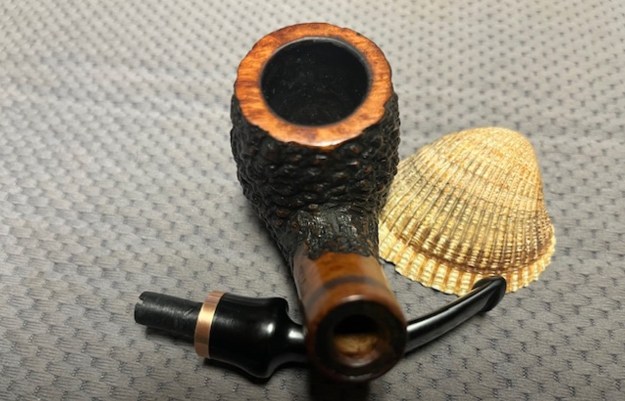
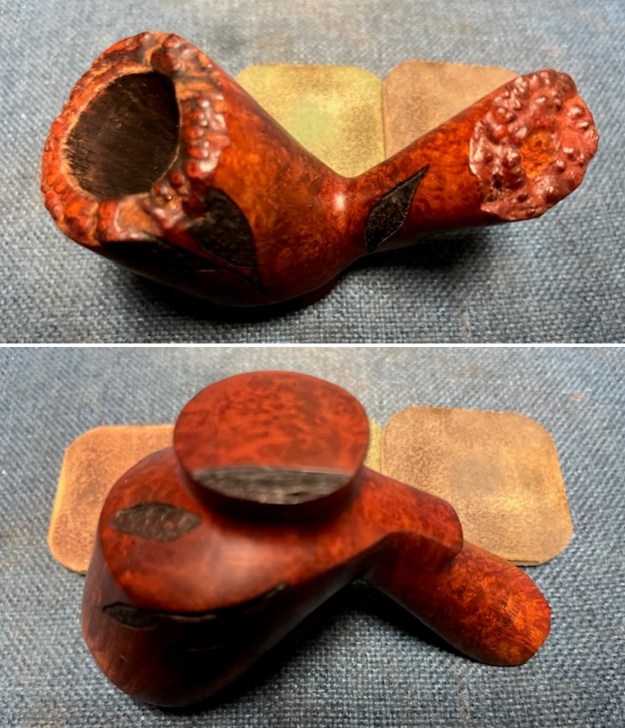
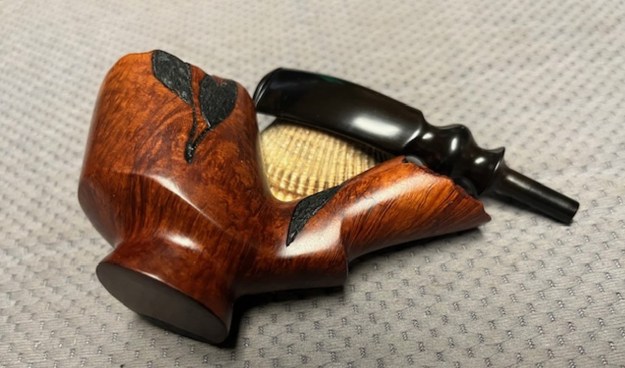
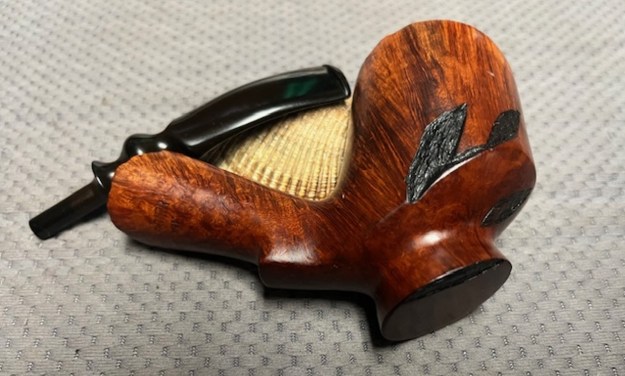
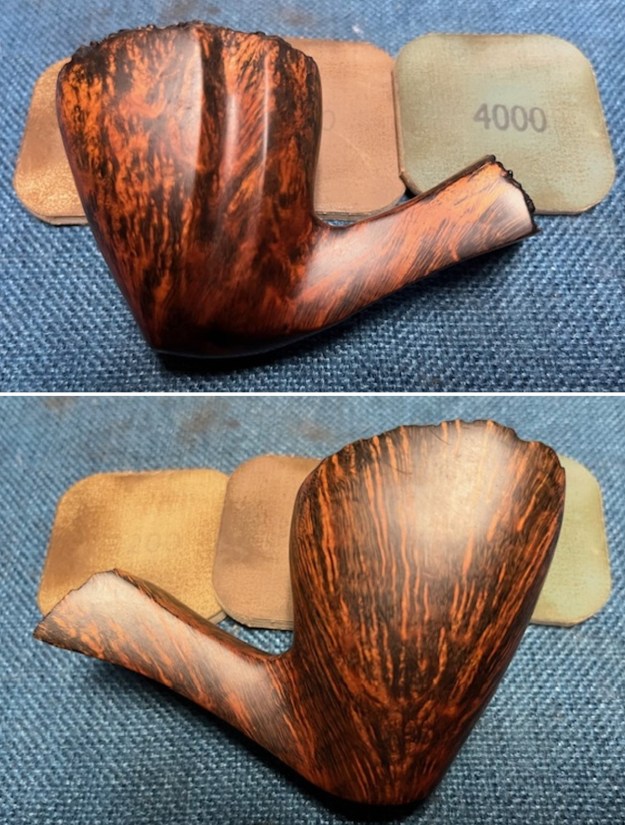
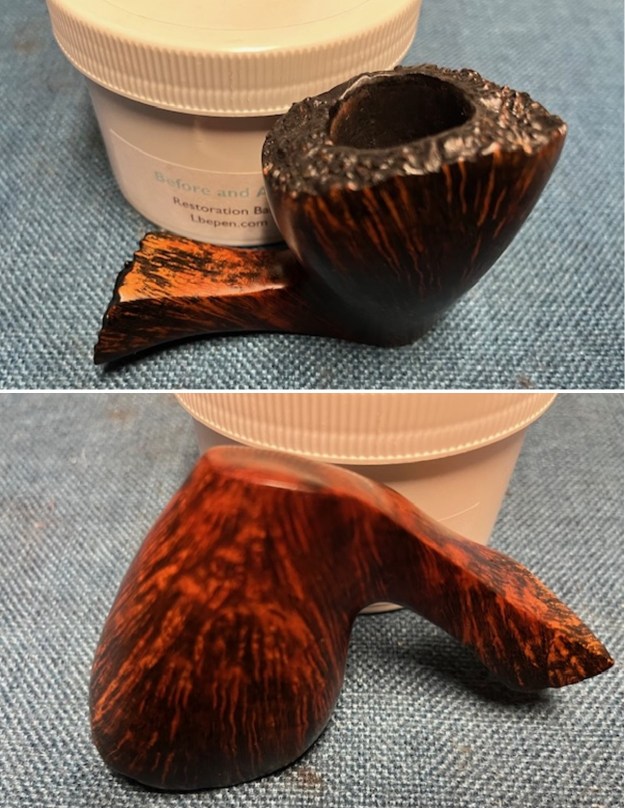
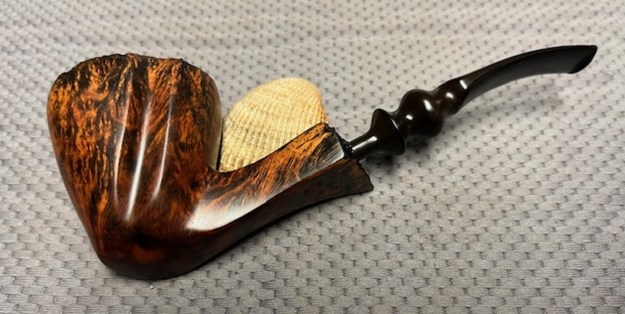
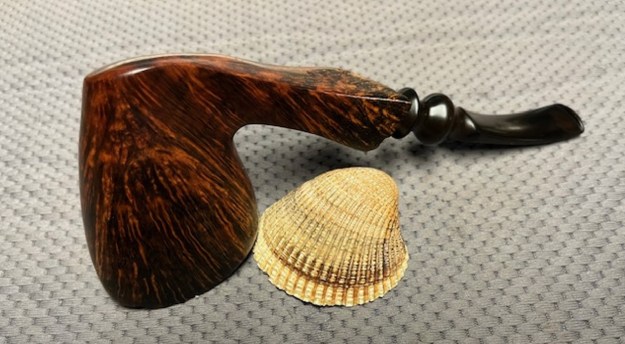
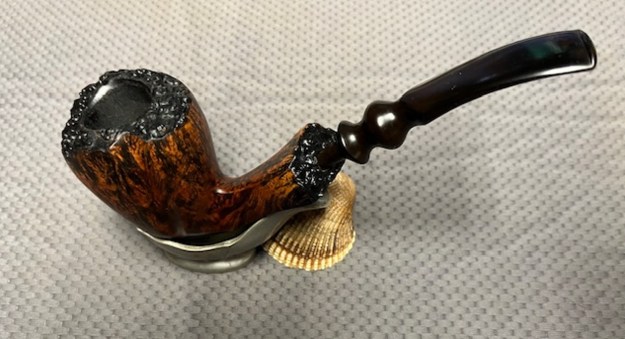
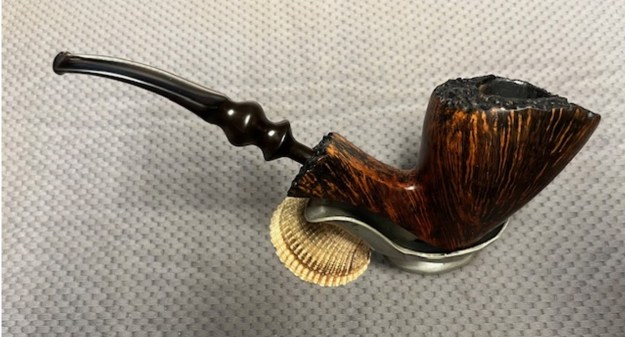
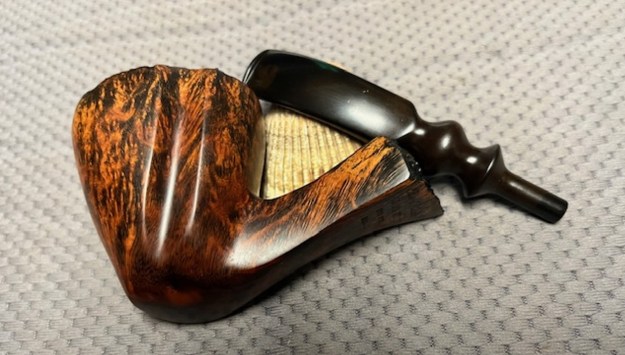
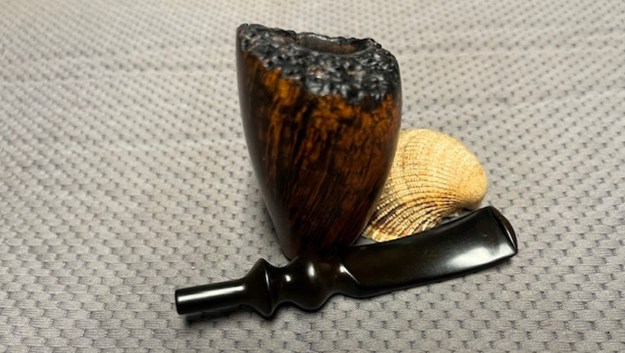
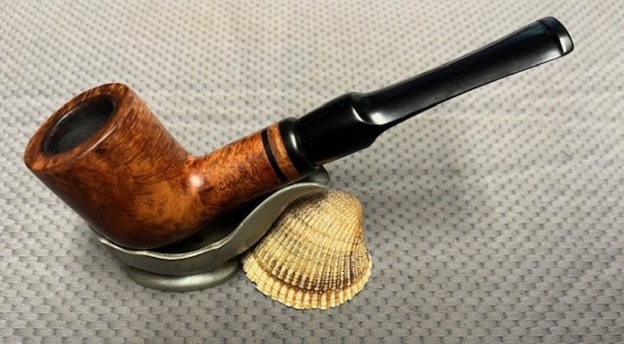
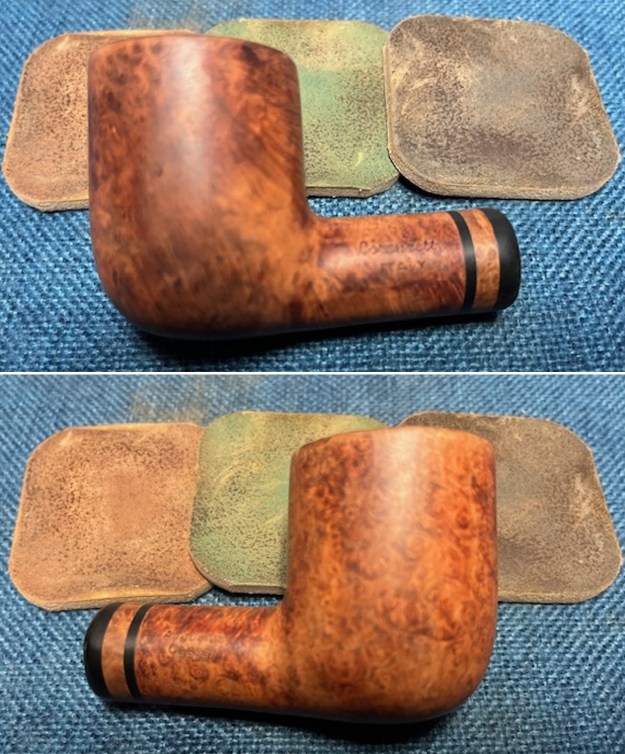
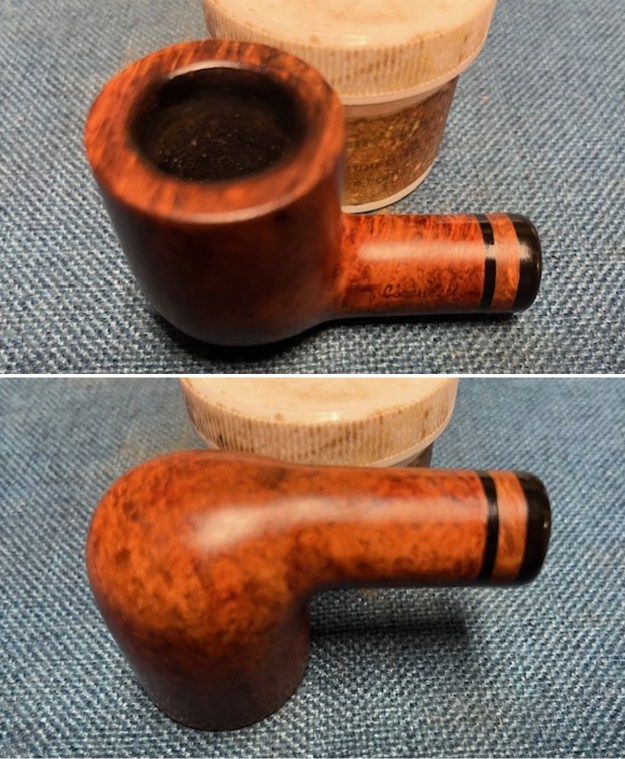
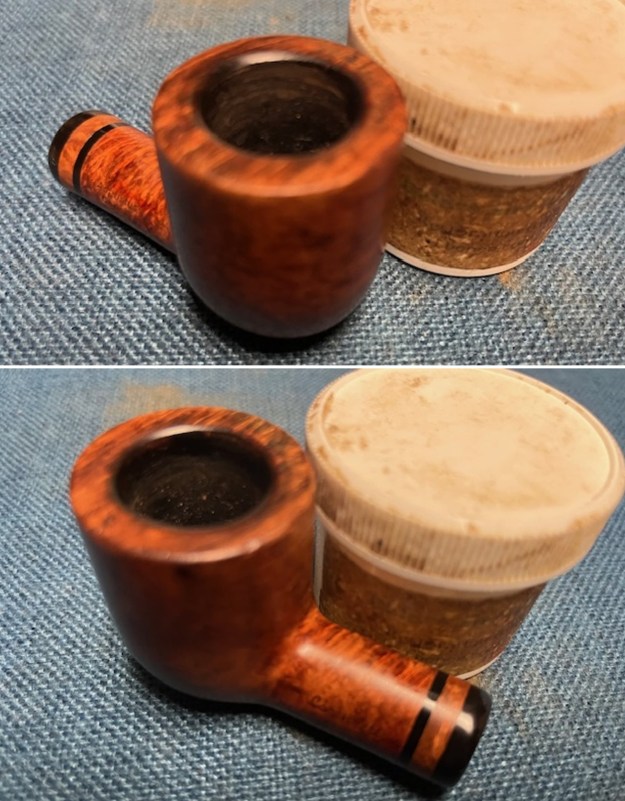
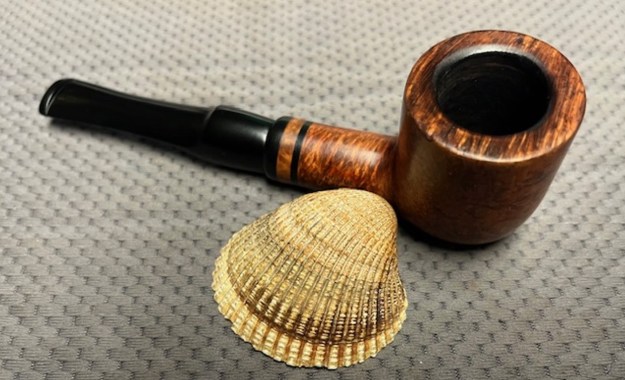
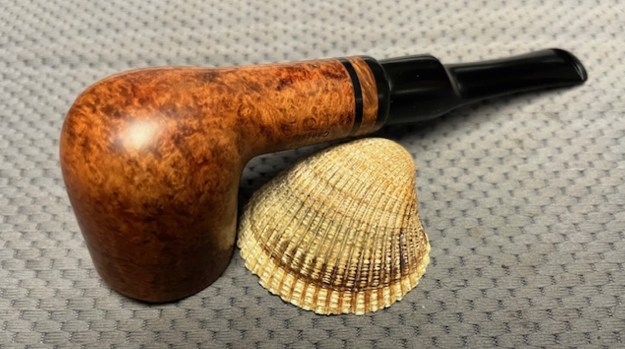
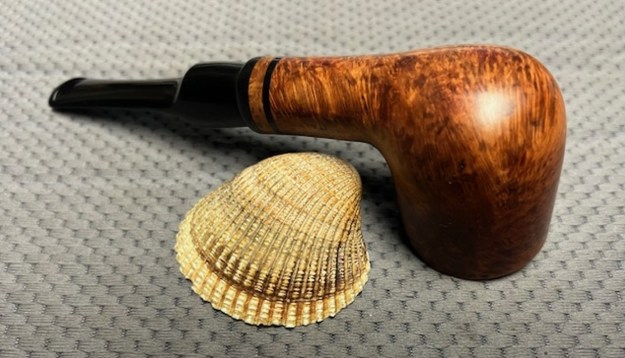
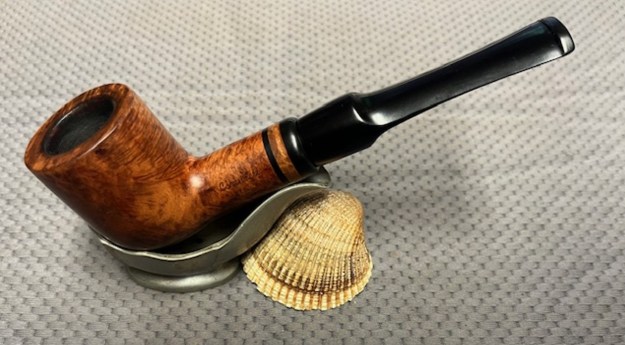
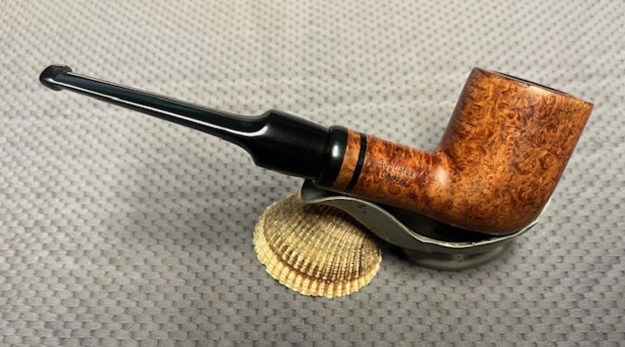
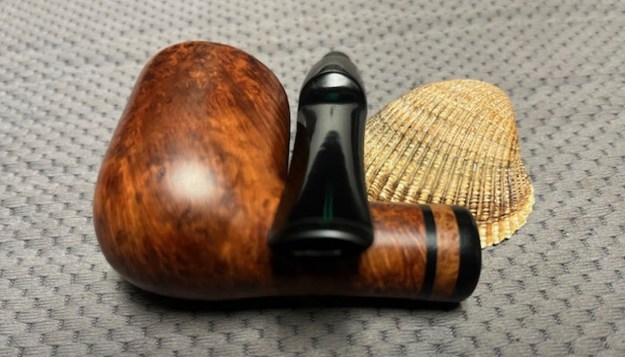
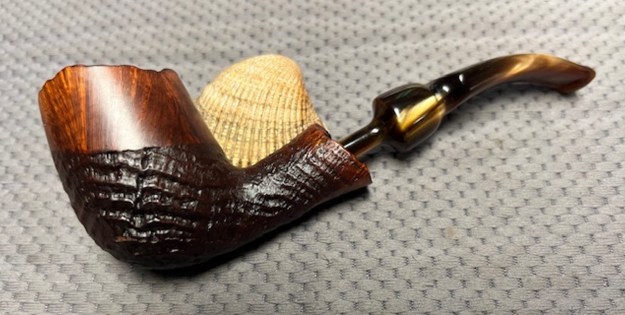
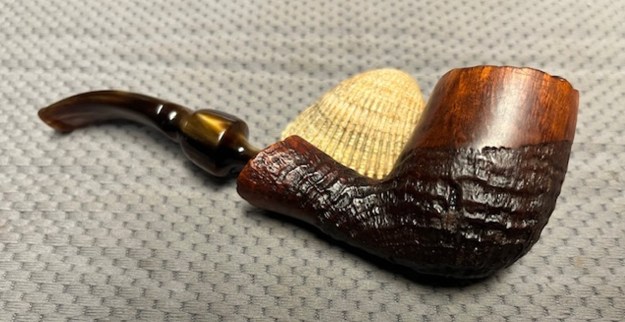
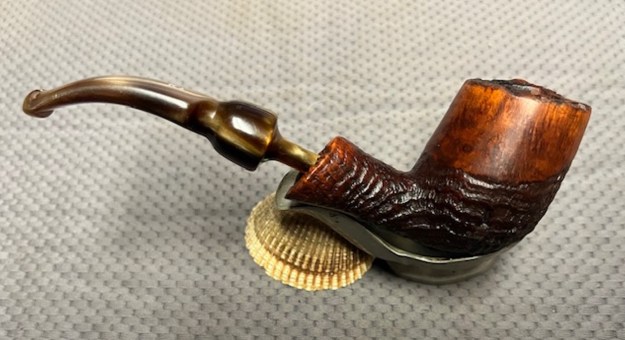
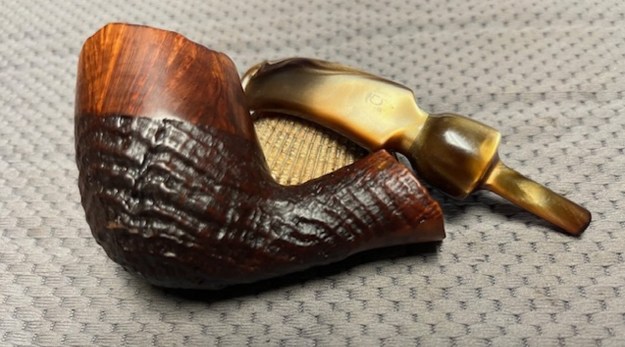
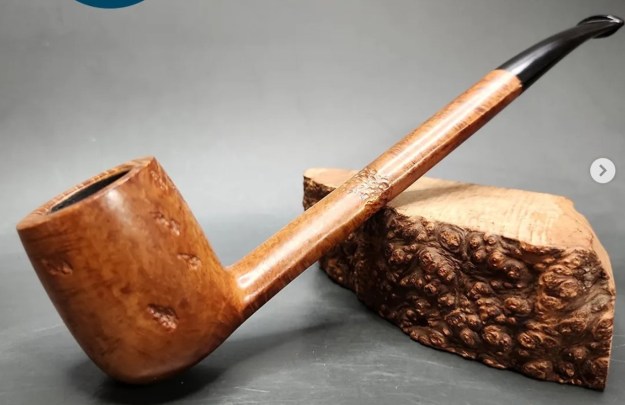
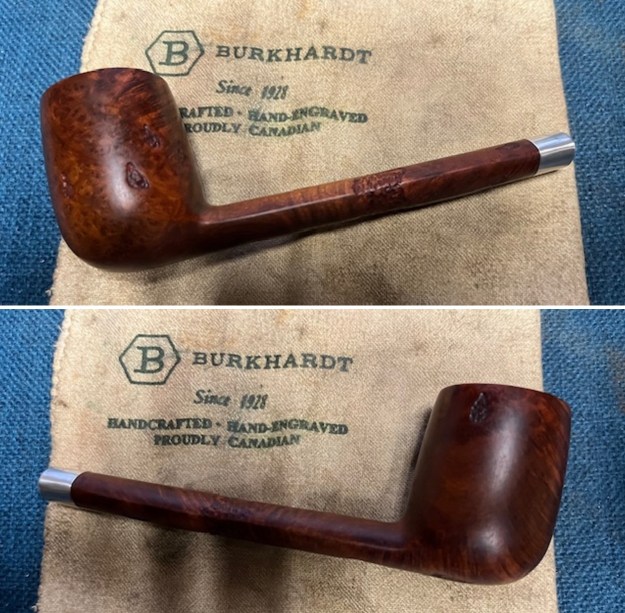
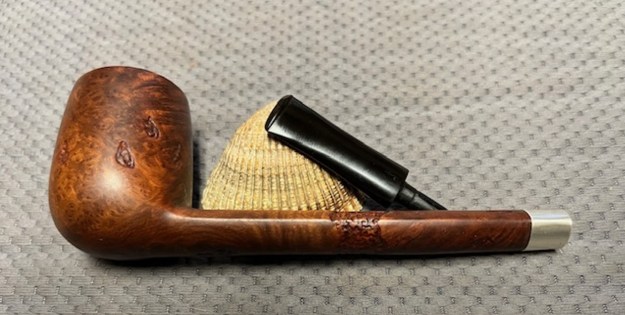
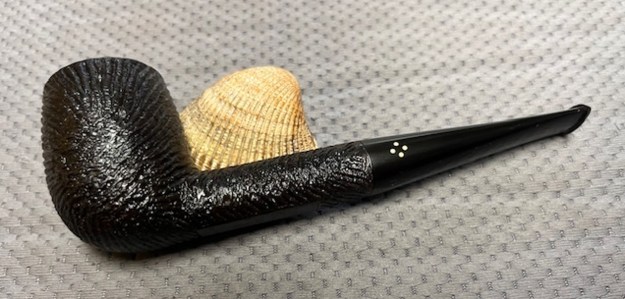
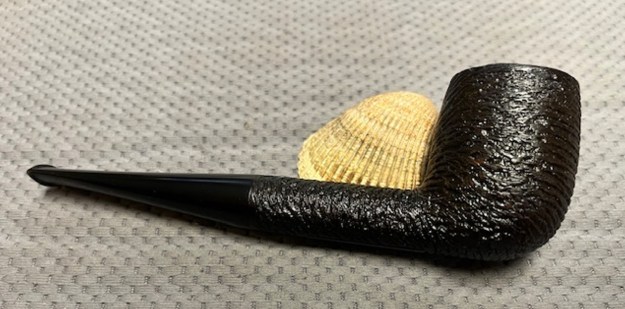
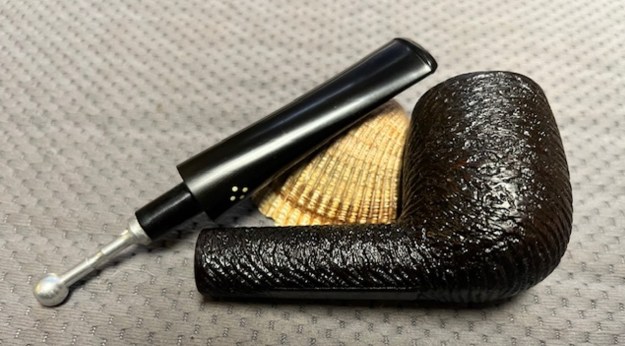
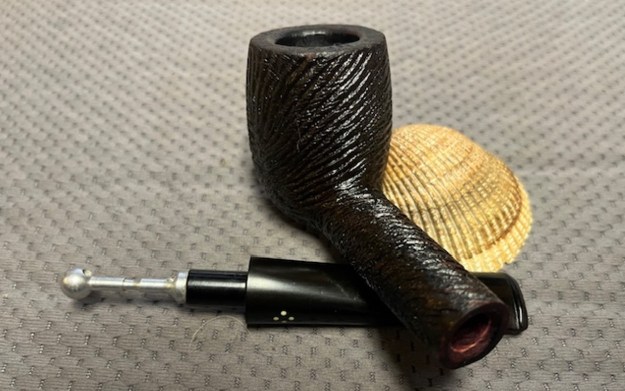
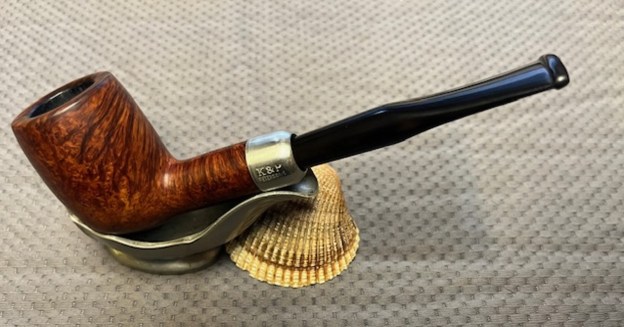
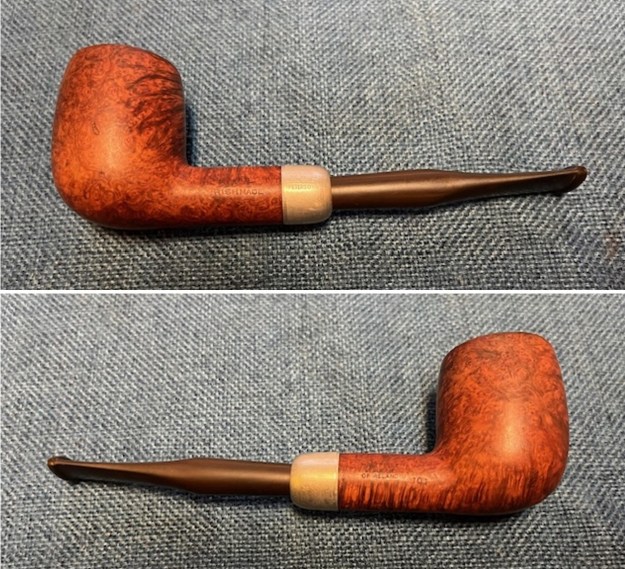
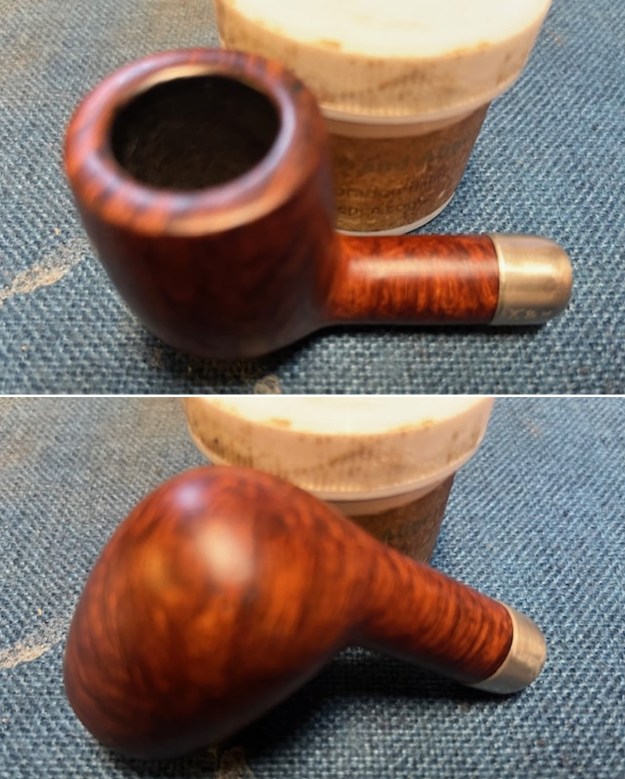
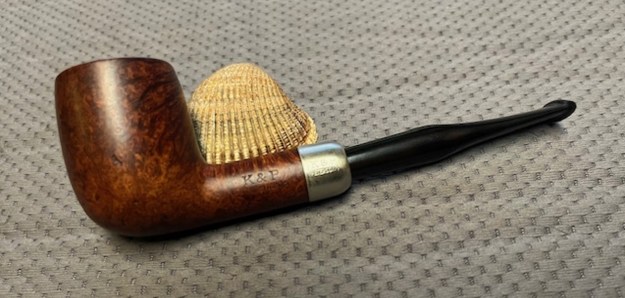
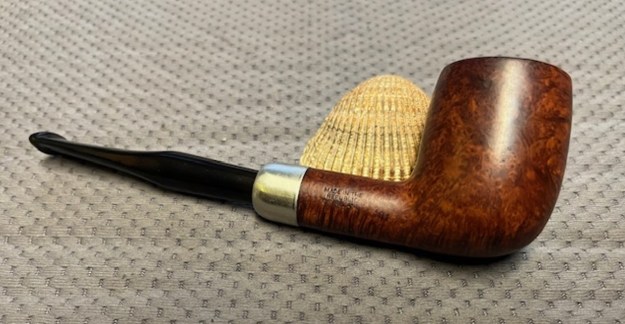
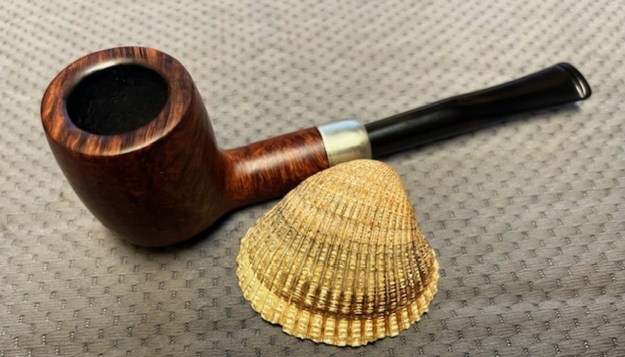
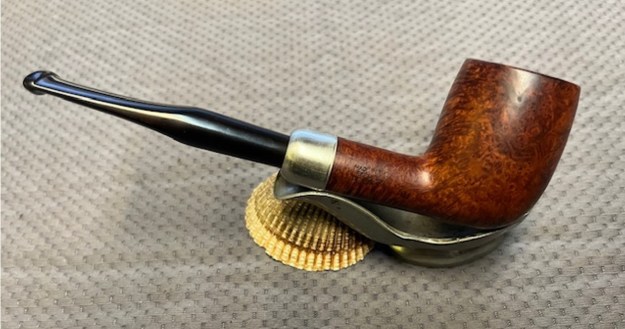
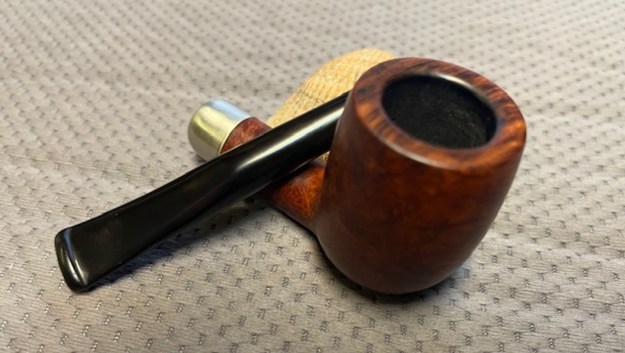
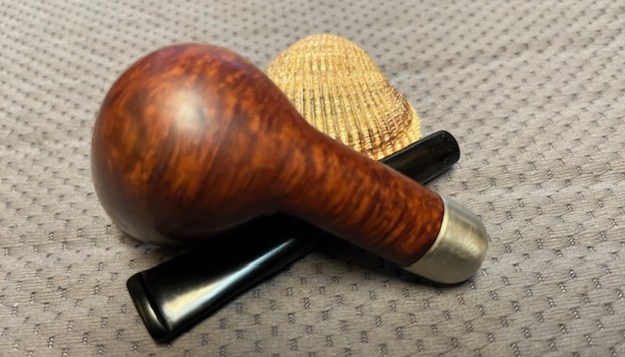
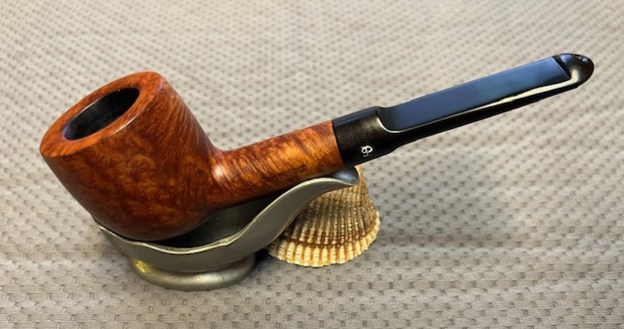
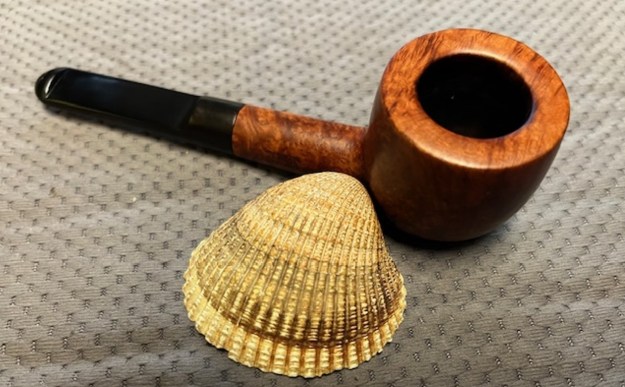
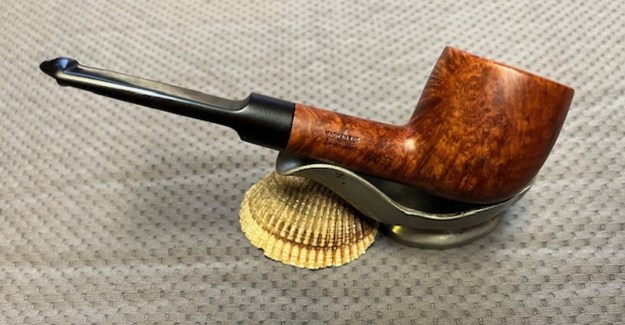
 I am really happy with the way that this Preben Holm Hand Cut Circle 2 Hand Made in Denmark Freehand turned out. It really is a beautiful looking pipe with a great shape and smooth finished bowl and smooth spots in the plateau of the rim top. The fancy original acrylic saddle stem is really nice. The black vulcanite colour of the stem works well with the briar. The briar really came alive with the buffing. The rich black and brown stains of the finish gave the pipe a sense of depth with the polishing and waxing. I gave the bowl and the stem multiple coats of carnauba wax on the buffing wheel. I buffed the pipe with a clean buffing pad to raise the shine. I hand buffed the pipe with a microfiber cloth to deepen the shine. The finished Preben Holm Hand Cut Circle 2 Freehand really is a beauty and feels great in the hand and looks very good. Give the finished pipe a look in the photos below. The dimensions of the pipe are Length: 6 inches, Height: 2 ½ inches, Outside diameter of the bowl: 2 inches long x 1 ½ inches wide, Chamber diameter: 7/8 of an inch. The weight of the pipe is 54 grams/1.90 ounces. I will be adding it to the rebornpipes store in the Danish Pipe Makers Section if you would like to add it to your collection. Thanks for reading this blog and my reflections on the pipe while I worked on it. It was a fun one to work on!