Blog by Steve Laug
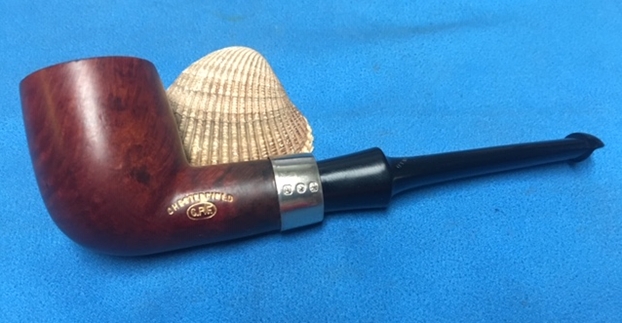
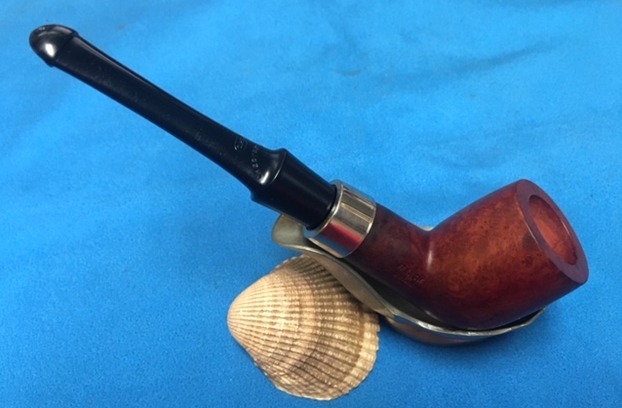
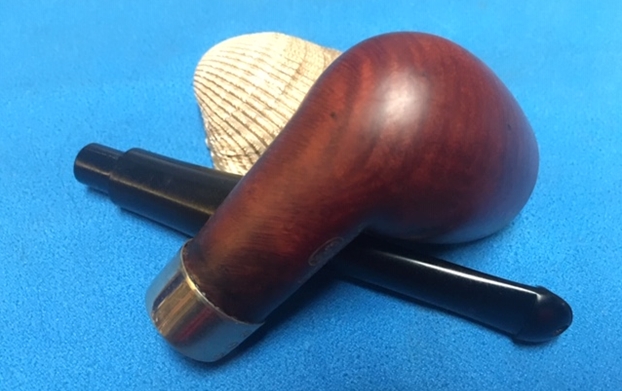
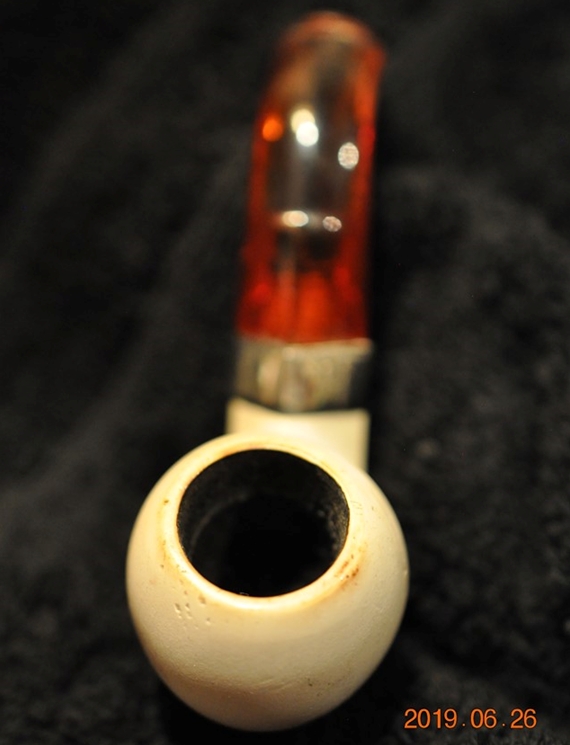
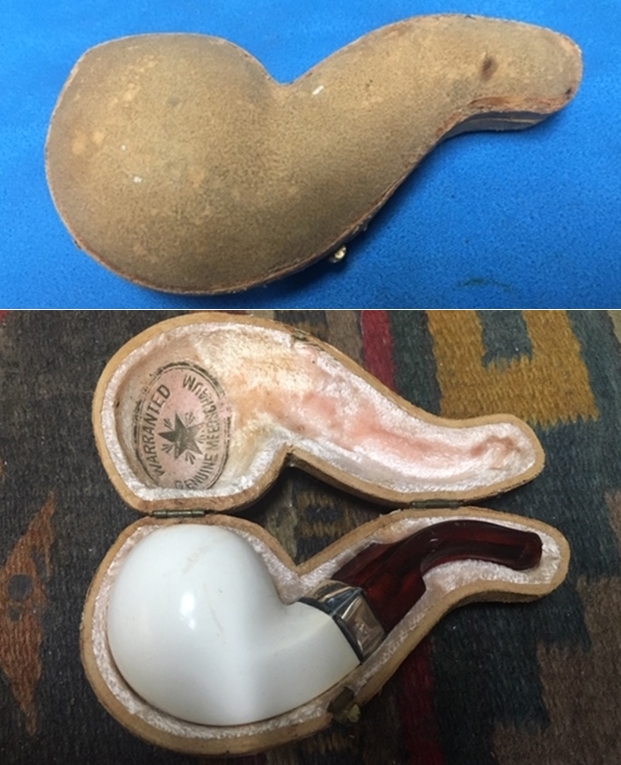
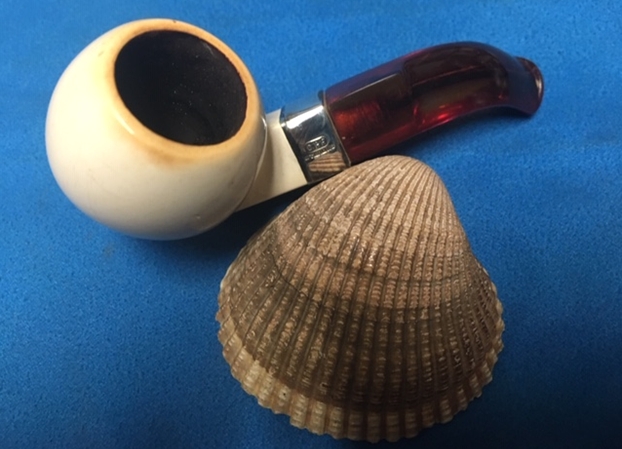
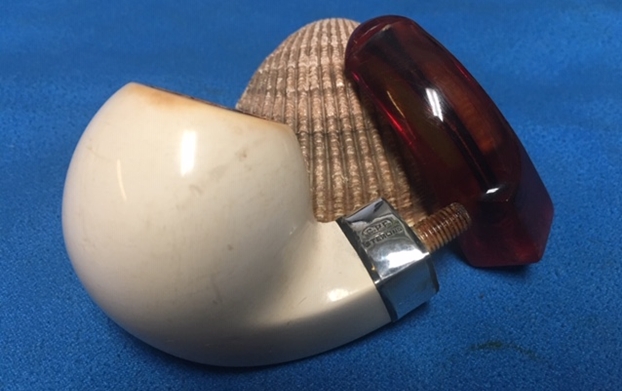
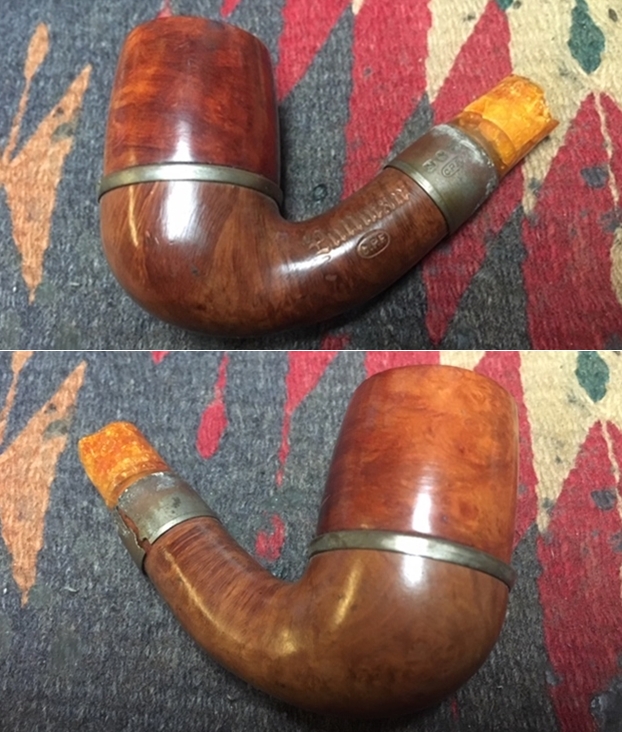
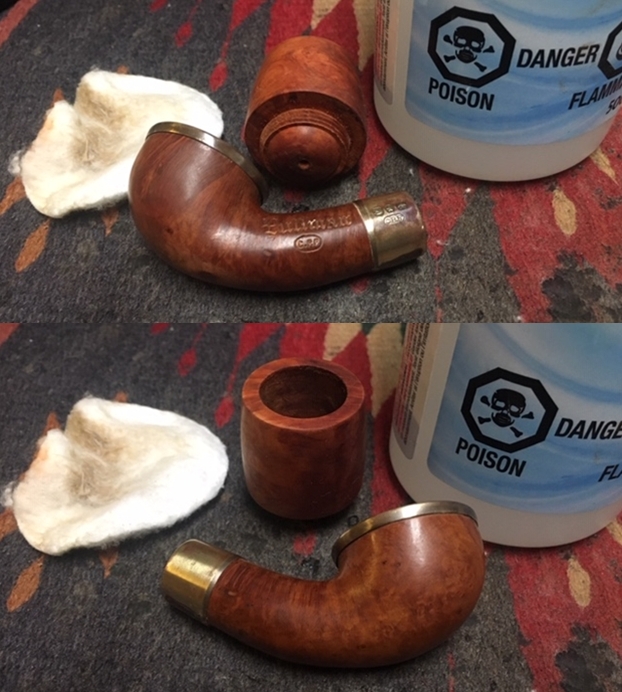
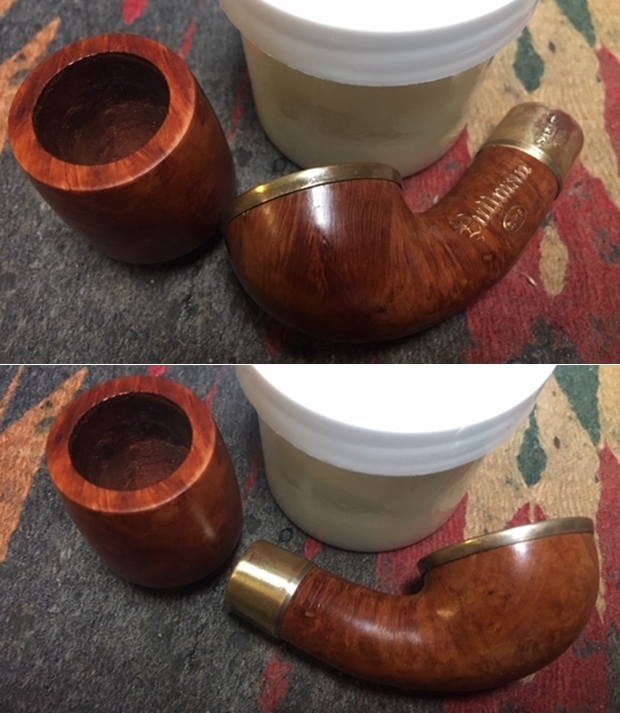
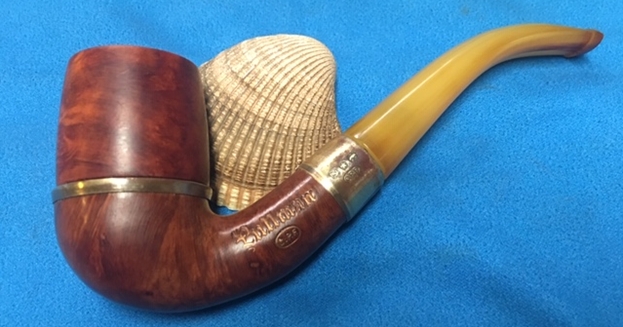
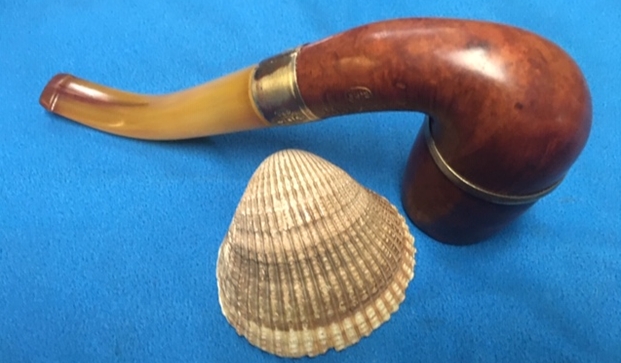
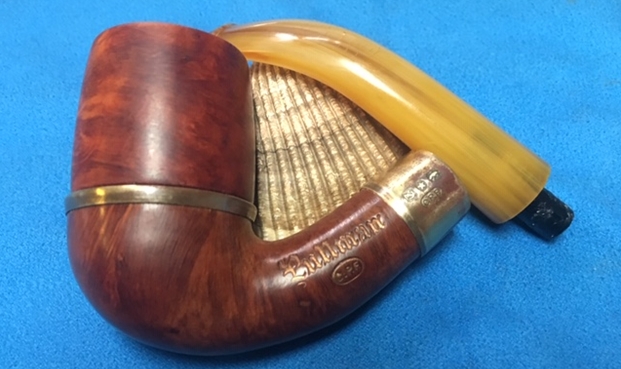
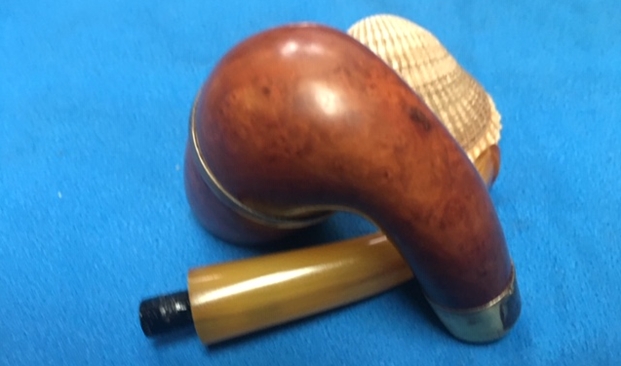
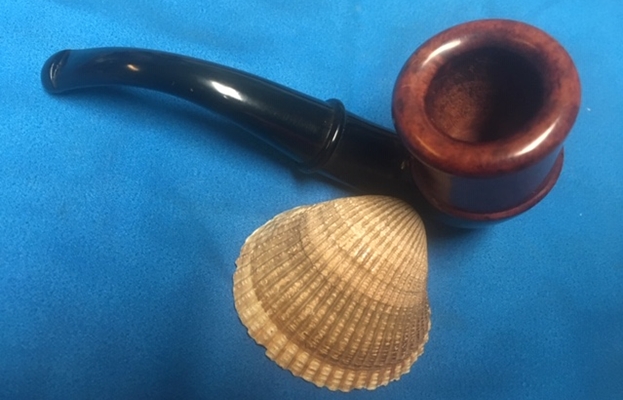
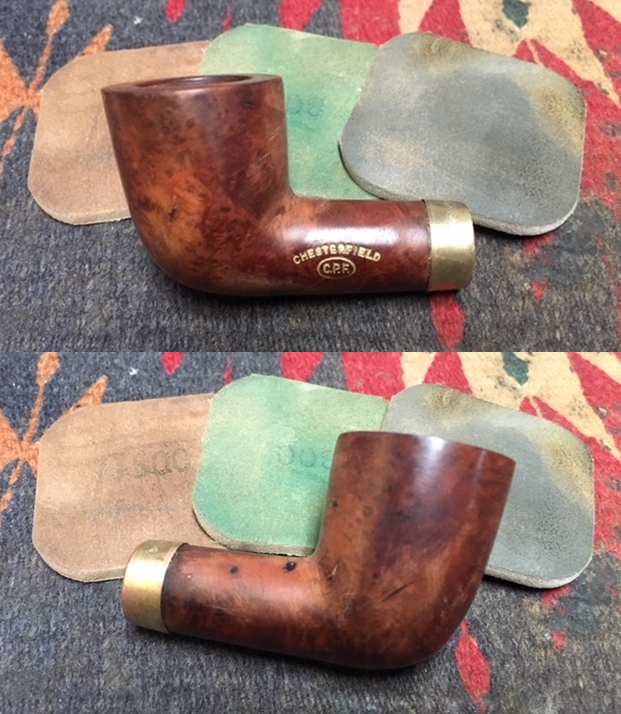
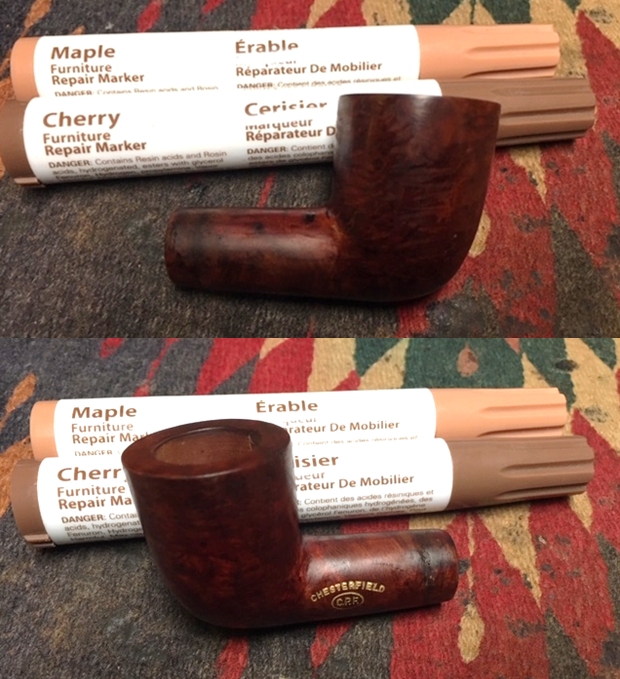
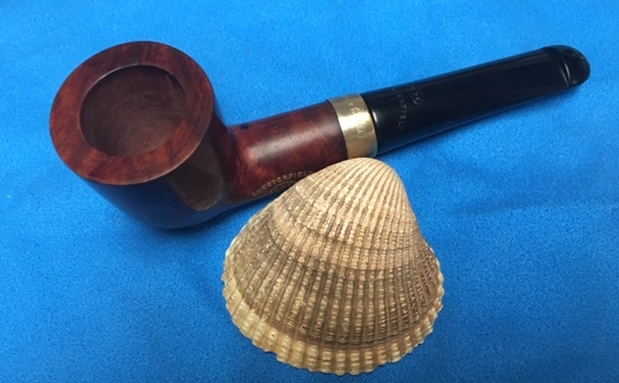
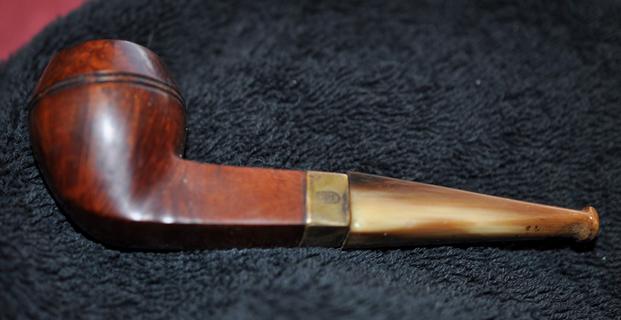
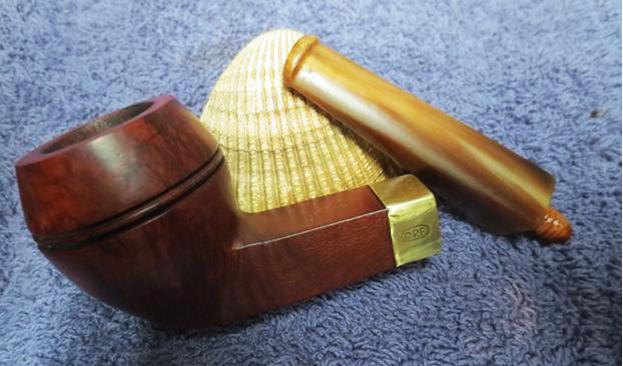
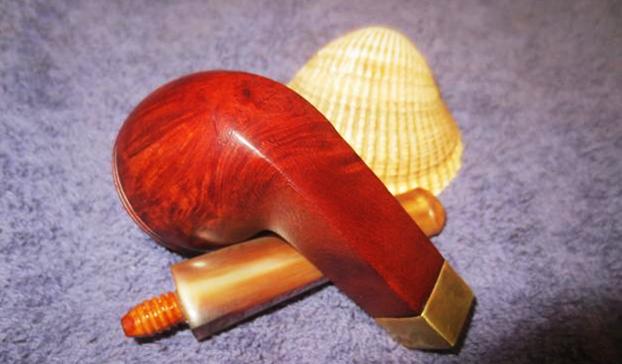
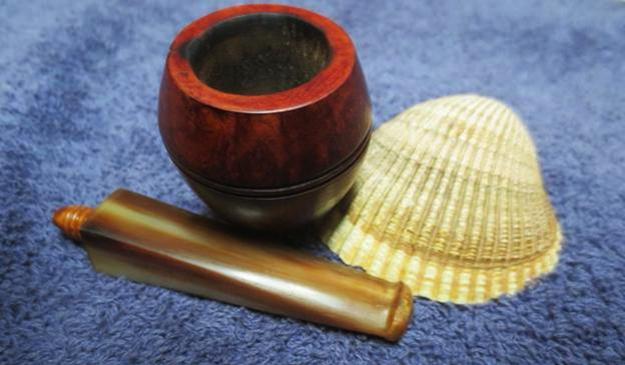
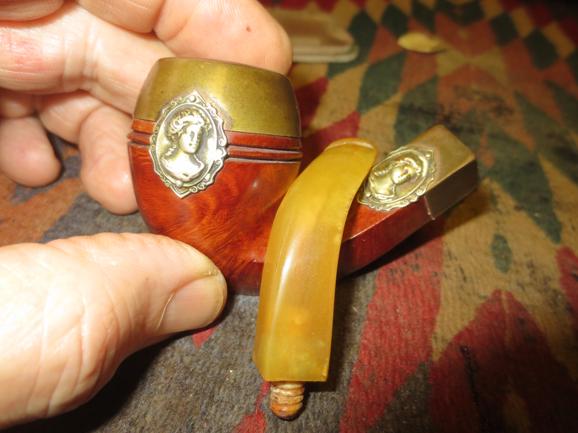
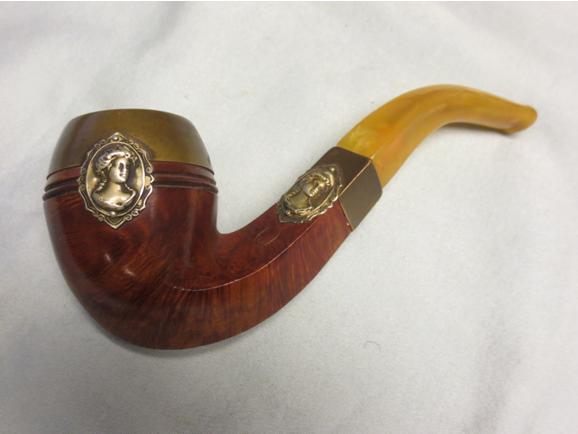
This afternoon I was going through my boxes of pipes hunting for a specific stem and came across this old, unsmoked C.P.F. Chesterfield Military Mount Billiard. What made it interesting to me was the fact that though it was unsmoked the brass ferrule was oxidized to the point of disintegration. If you have followed my blog for long you know that I love older C.P.F. pipes and I really am a sucker for them as I have a small collection of them. This one rang all the bells for me with the unsmoked bowl, the gold stamp on the shank, even the disintegrating brass band and the P-lip style stem. I am pretty sure from working on other C.P.F. pipes that the pipe was from the time period of the 1910s and before 1920, which also made it attractive to me. When I brought it to my work table this is what I saw (it did not disappoint). It was a bit shop worn from sitting – nicks and grime on the finish. The brass ferrule was loose and in rough condition. The stamping on the left side of the shank read Chesterfield in an arch over the C.P.F. in an oval logo. On the right side of the shank it read French Briar. The stem read Chesterfield over the C.P.F. oval logo on the topside of the taper. On the underside it read Solid Rubber. The bowl was raw briar and totally looked new and unused. You have to admit this is a beauty – I guess that is subjective but it is to me! I took photos of the pipe as it looked on the table. 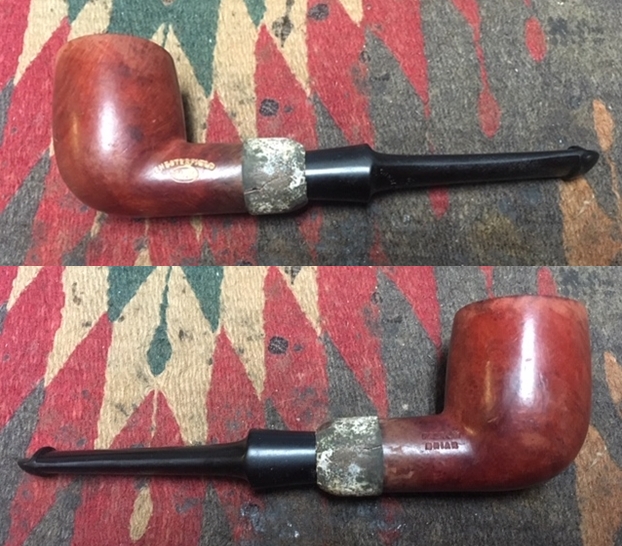
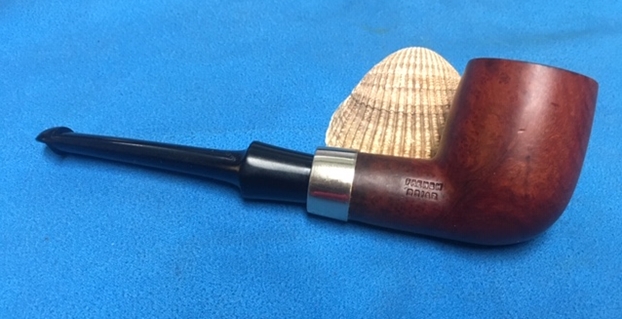
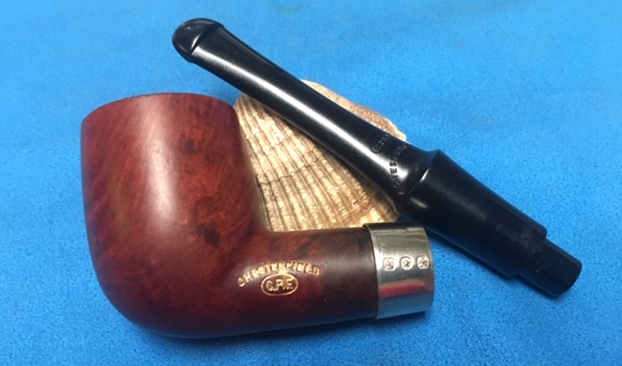
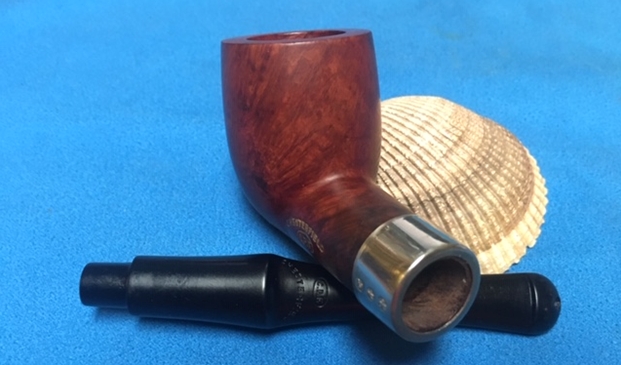
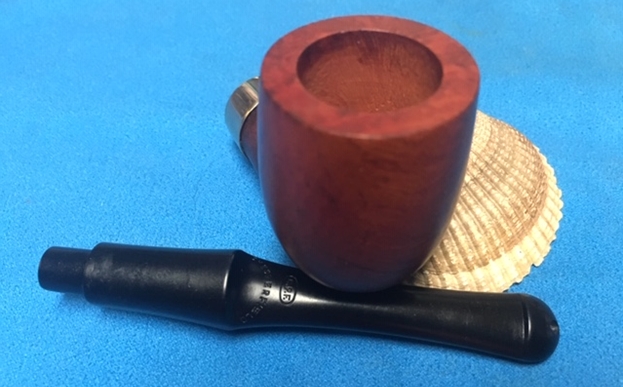
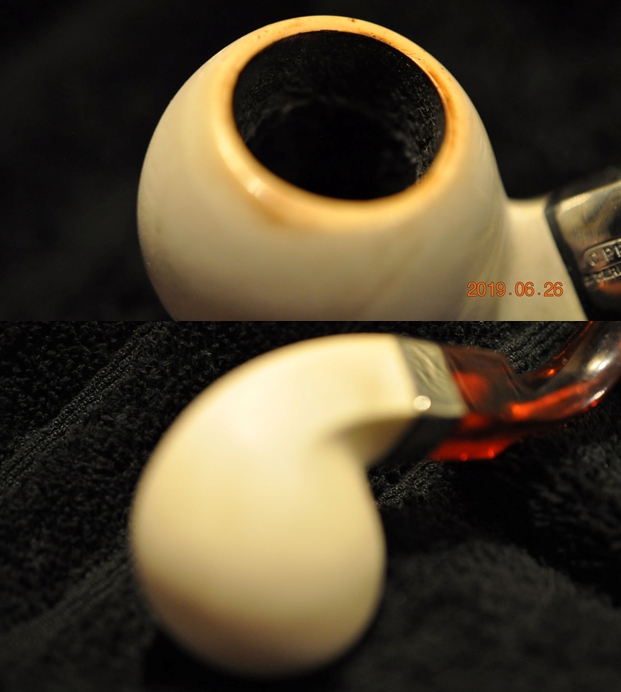
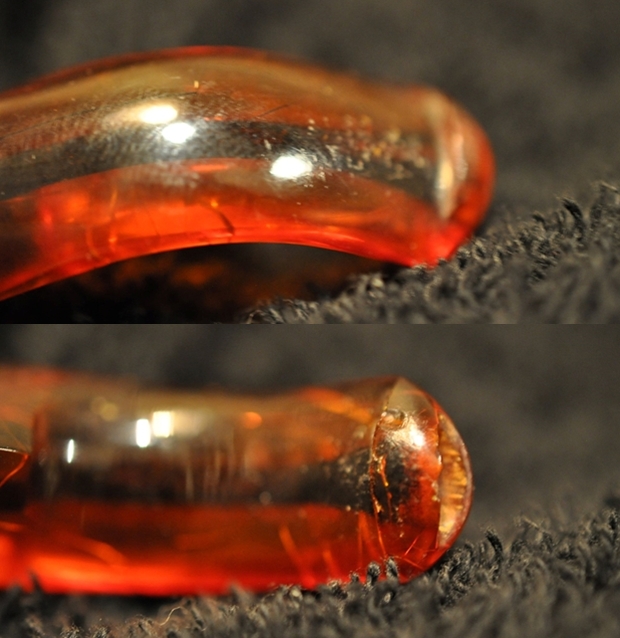
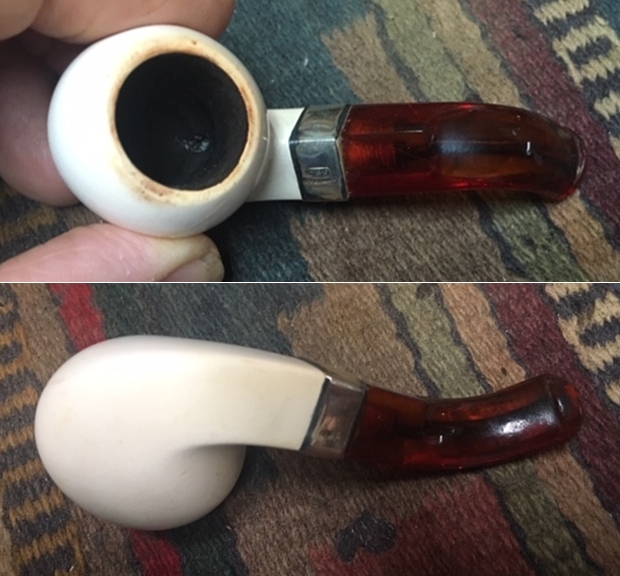
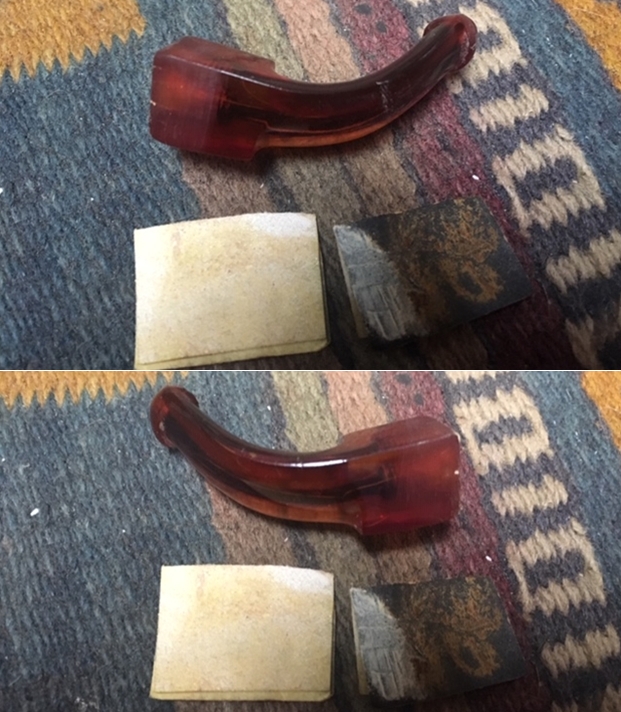
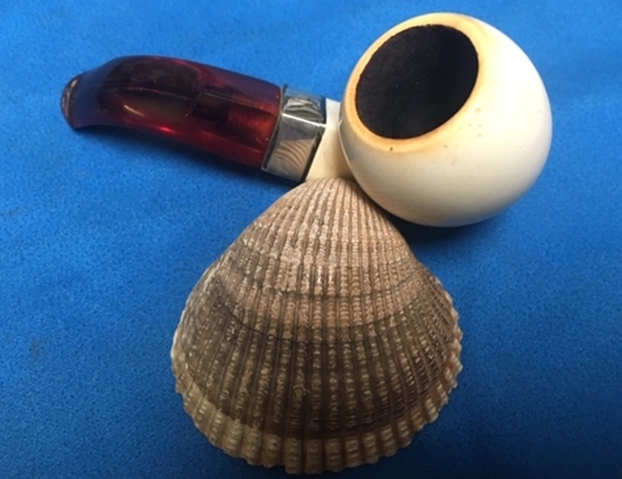
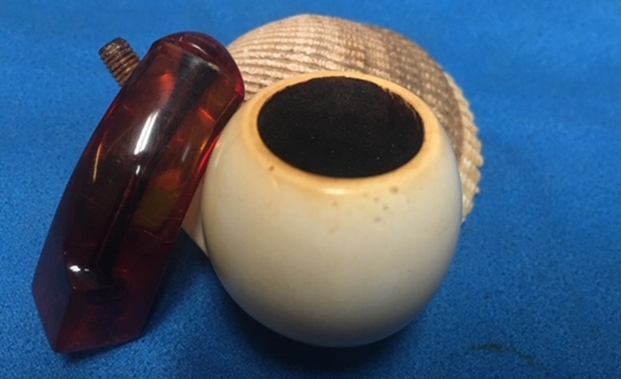
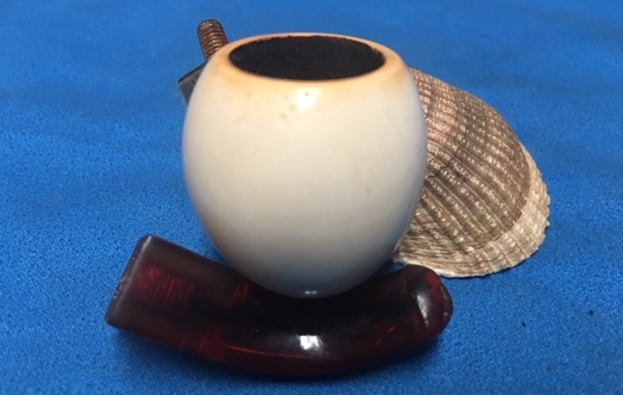
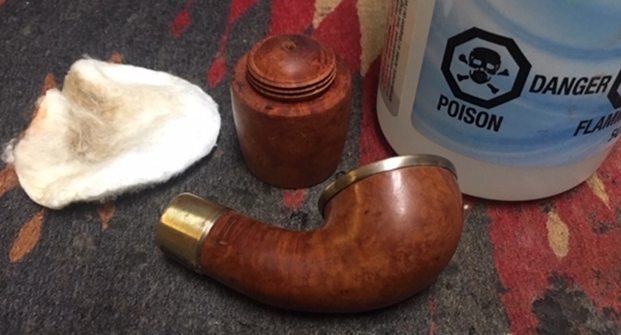
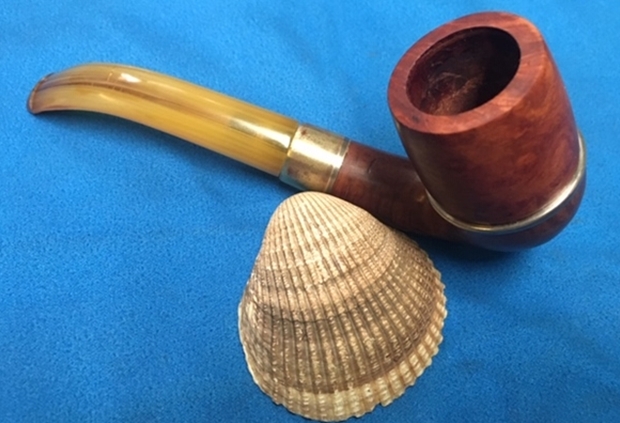
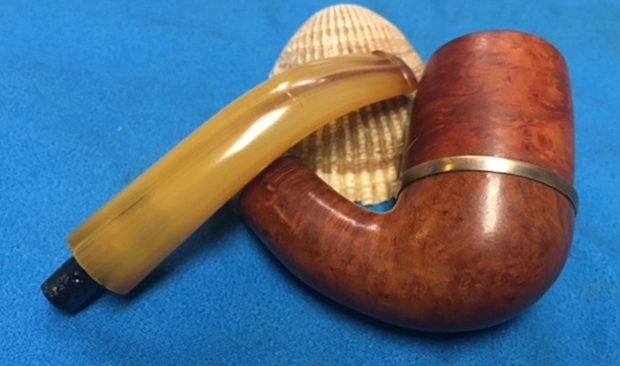
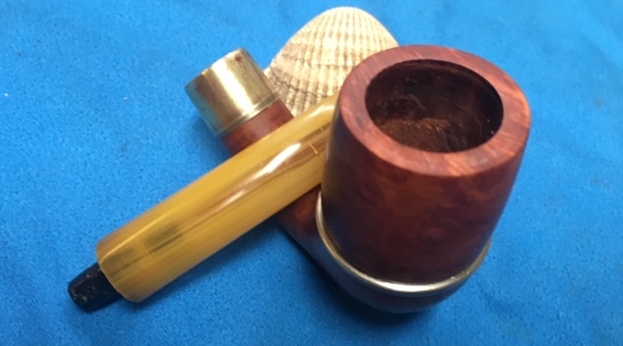
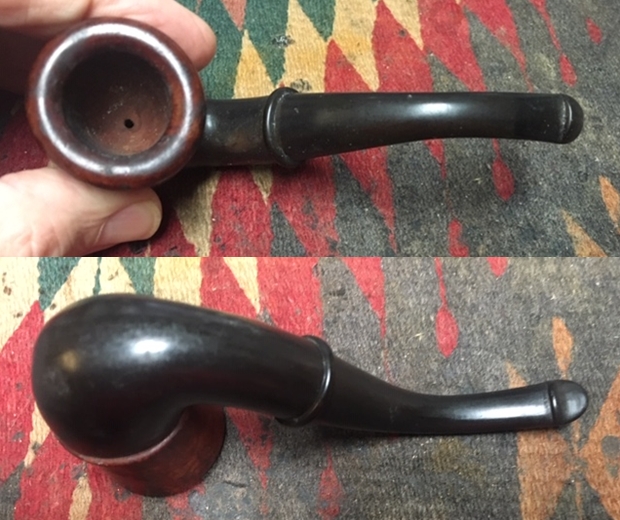
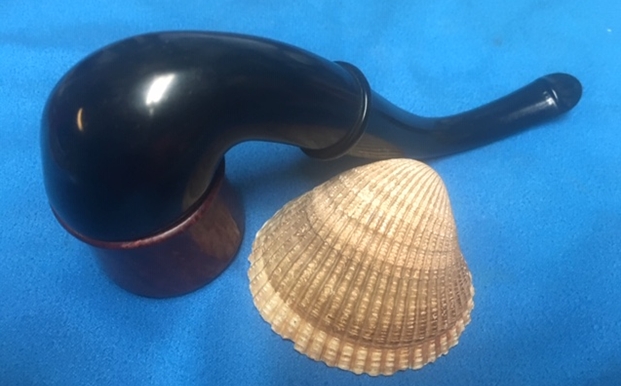
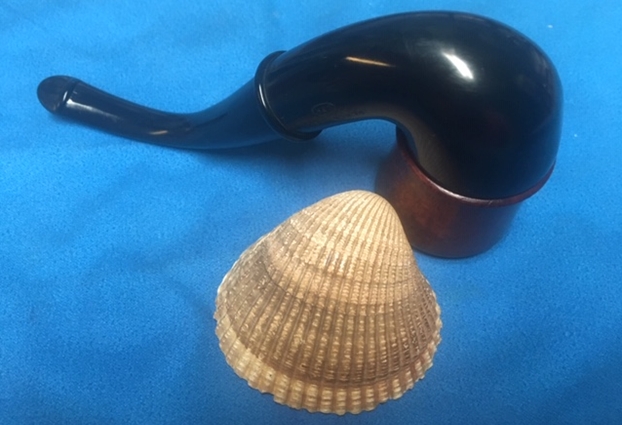
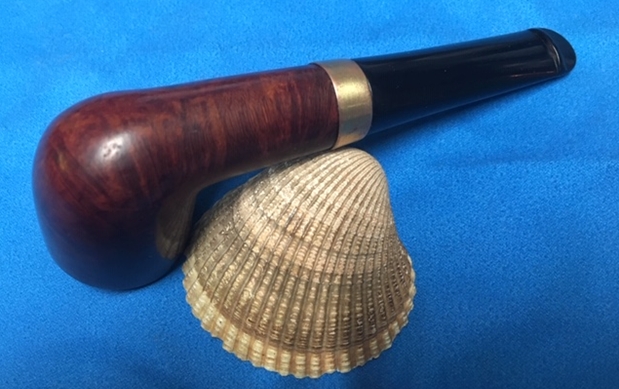
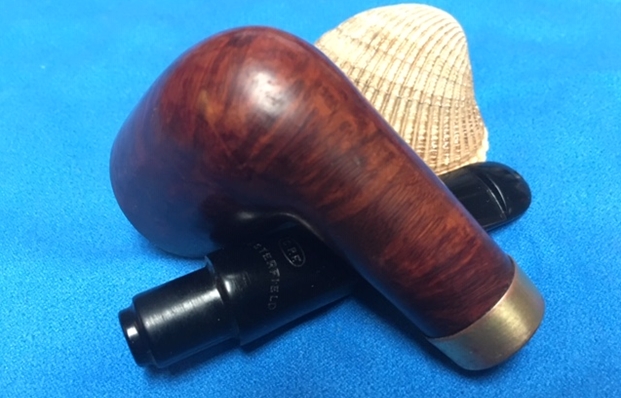
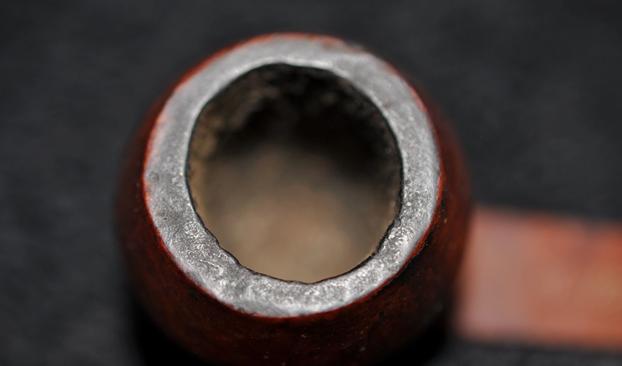
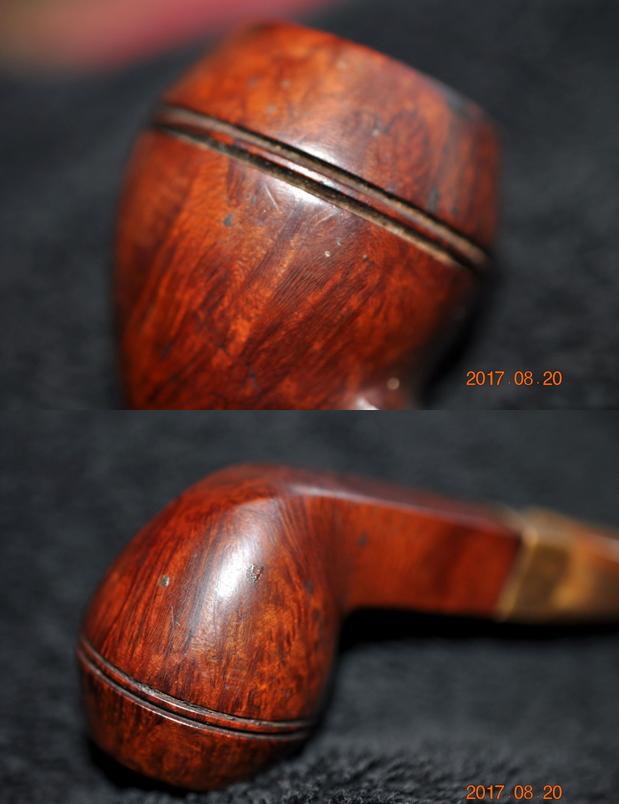
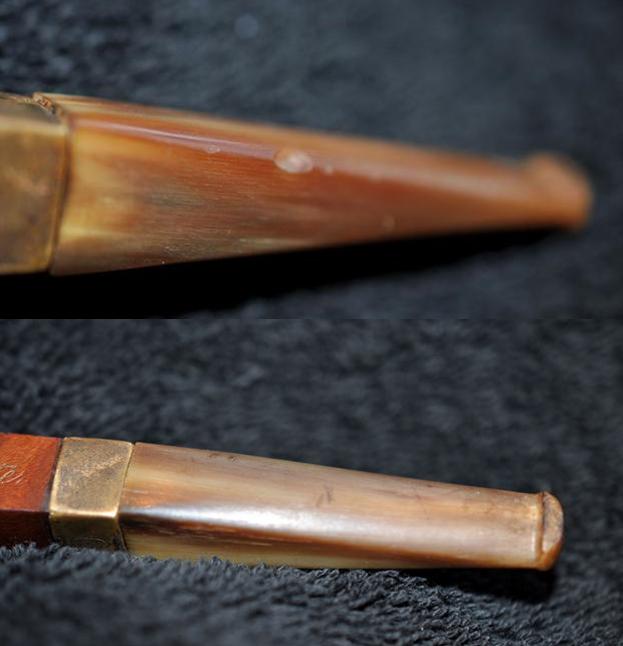
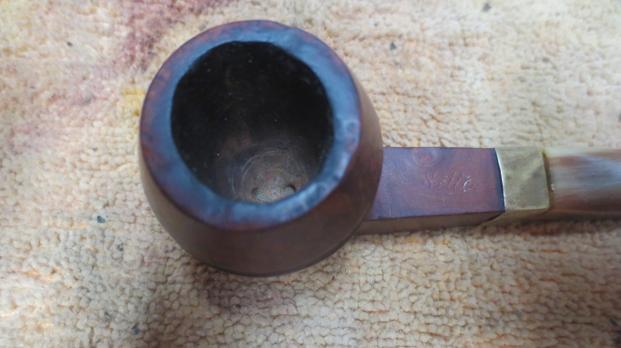
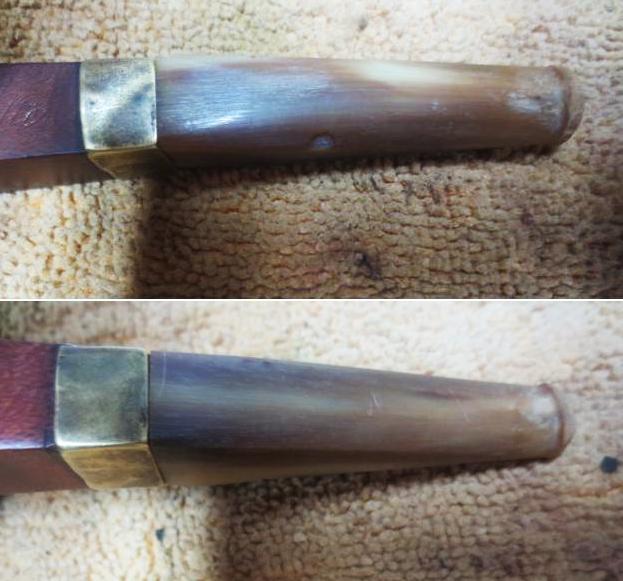
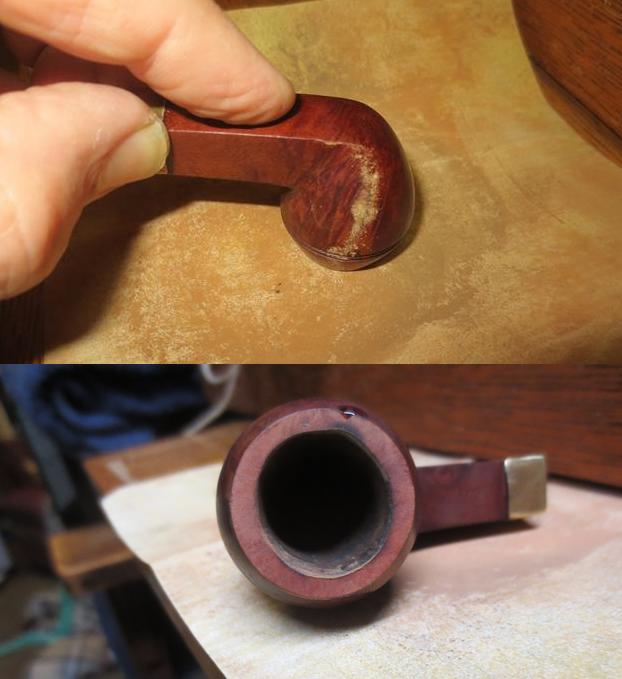
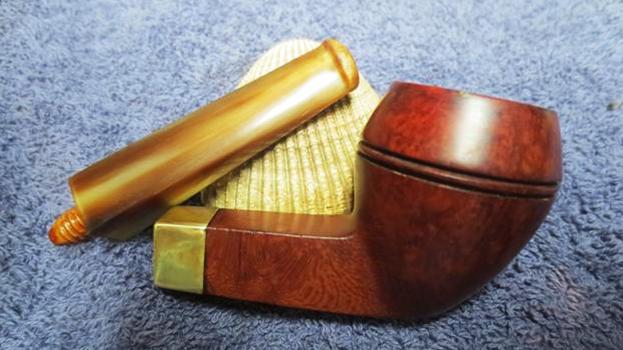
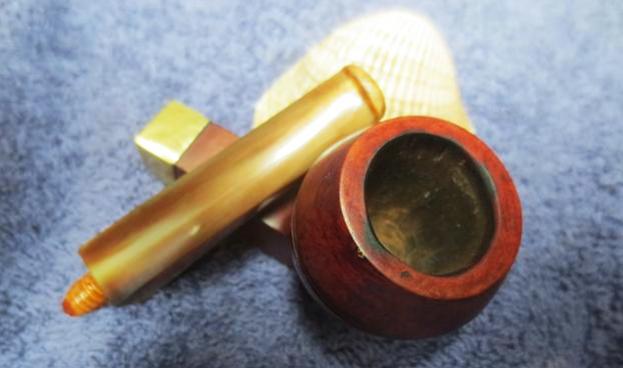
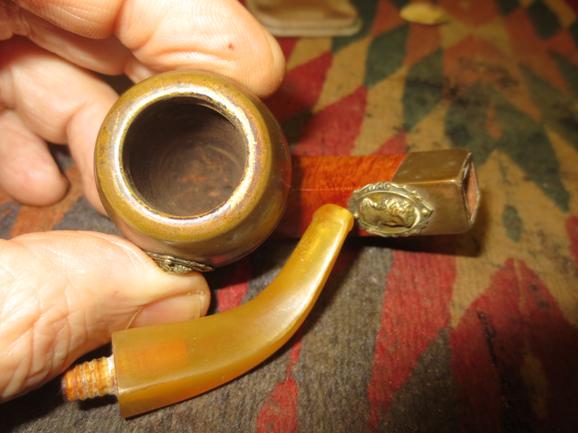
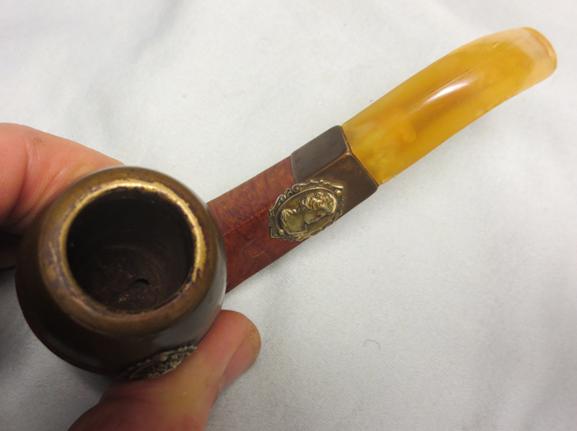
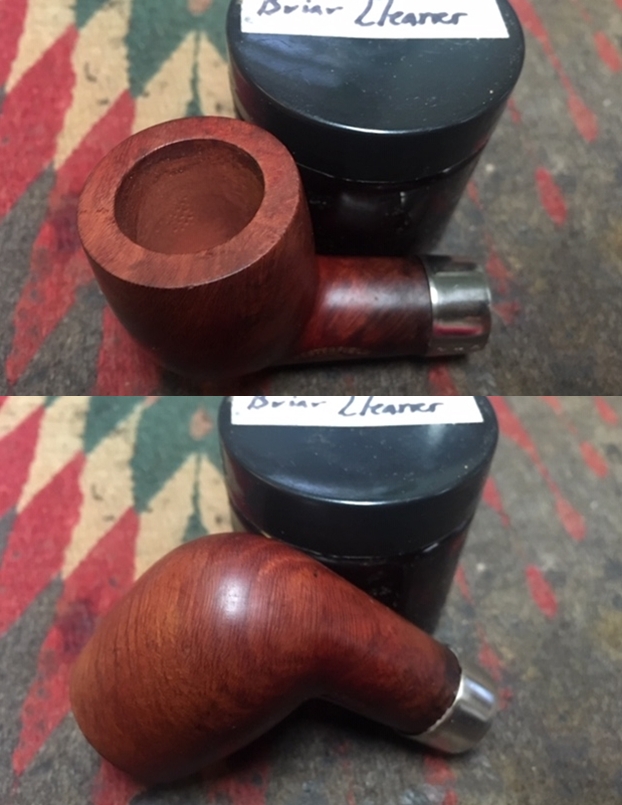
 I took close up photos of the bowl, rim top and stem to show the overall condition of the pipe. The bowl was pristine as noted above. The rim top was very clean and undamaged. There were a few small nicks on the inner edge. The shank ahead of the band was discoloured from the brass ferrule and the ferrule itself had a lot of cracks in surface all around. The stem was in excellent condition – no oxidation. There were a lot of minute scratches in the surface on both sides. The stamping on the stem top and underside was very readable.
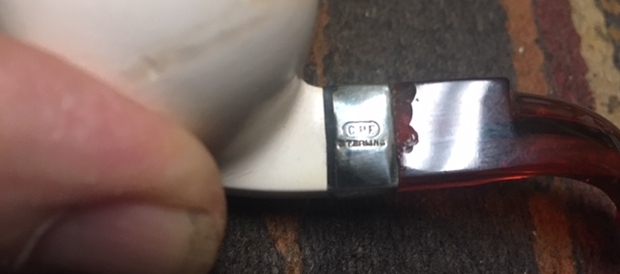
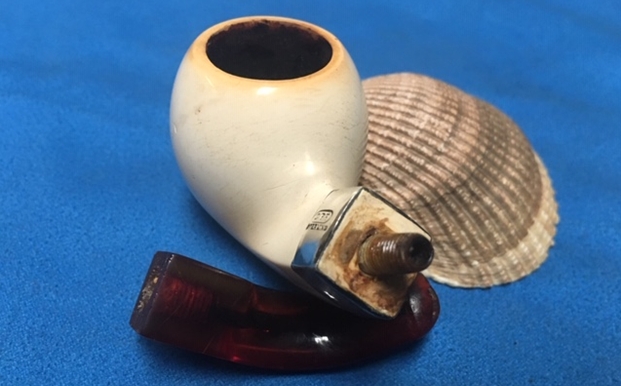
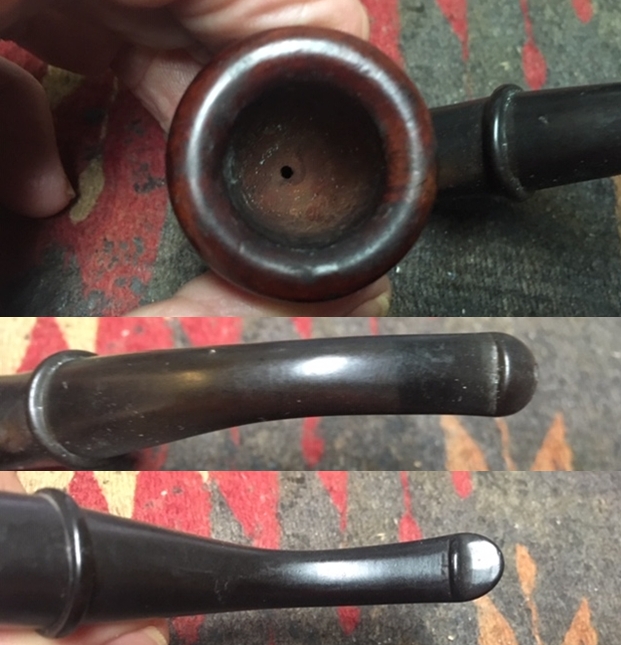
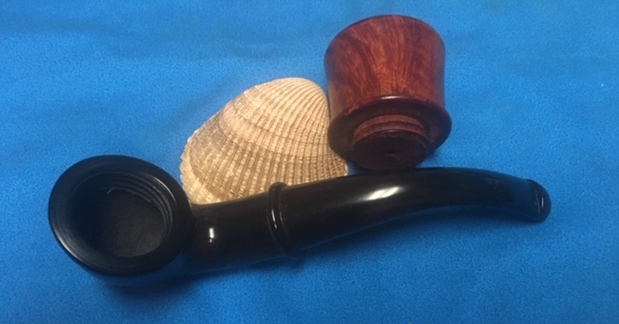
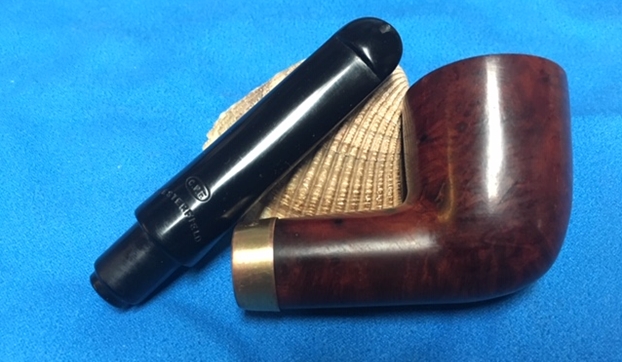
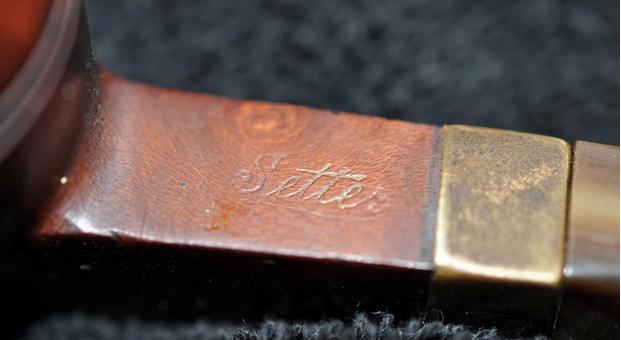
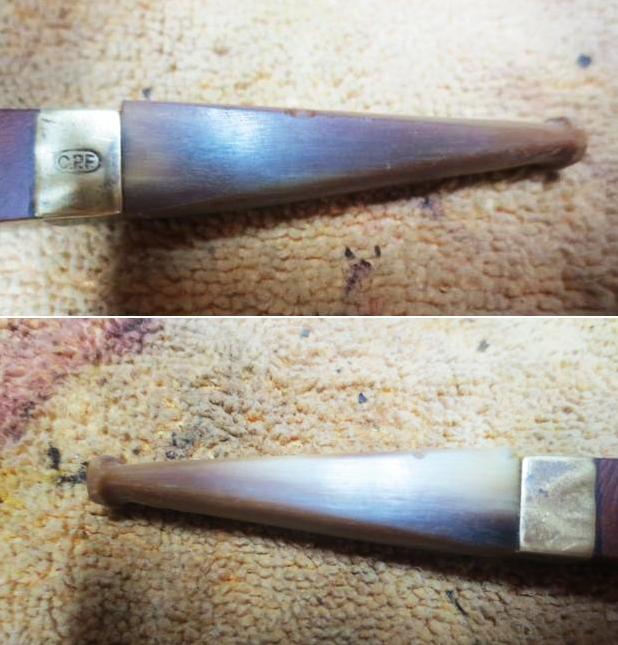
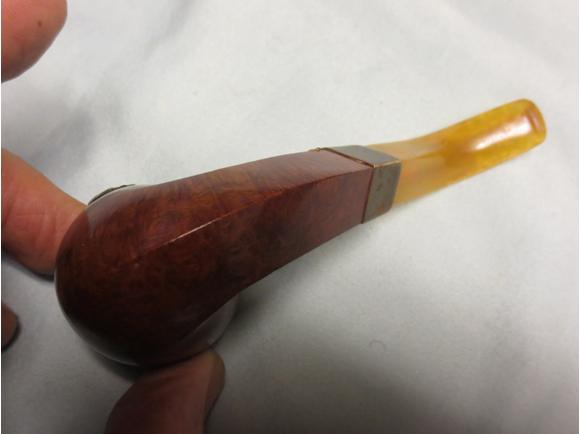
 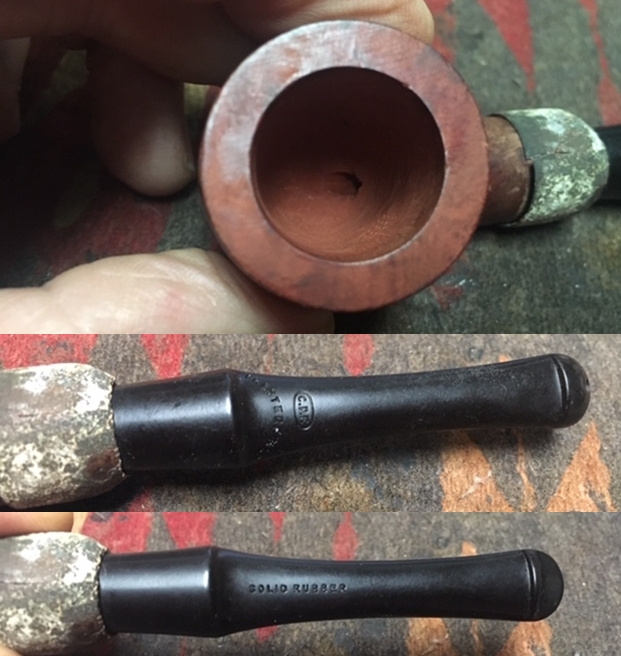 The next photos show the stamping on the shank. You can see that they are all quite clear.
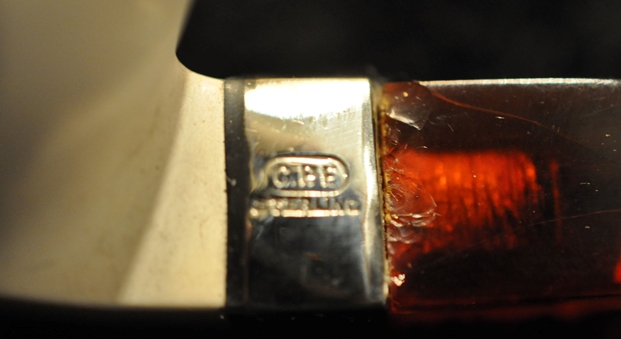
 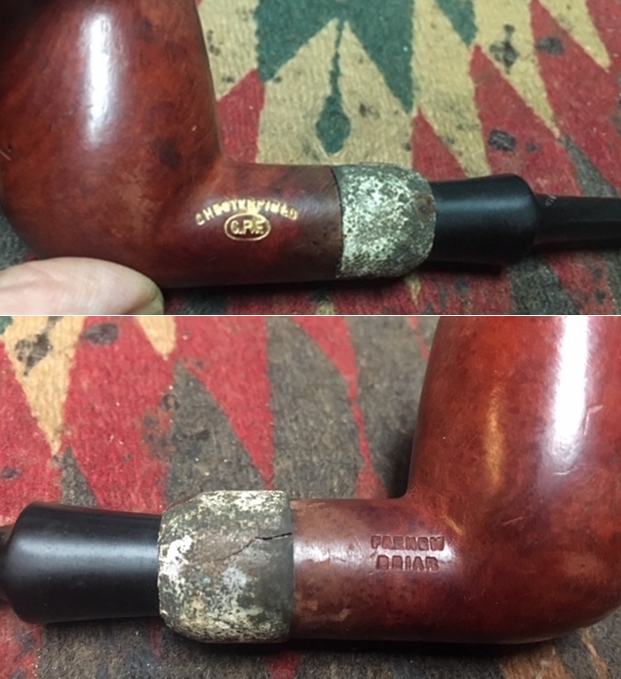 I wrote a piece on the background to the C.P.F. brand earlier on the blog and include the link to that here (https://rebornpipes.com/2013/04/14/some-reflection-on-the-historical-background-on-cpf-pipes/). I quote a pertinent part of the blog below:
From my reading and research it seems to me that C.P.F. brand was discontinued sometime in the 1910-1920 range. Again, turning to Bill Feuerbach I found that he notes the following, which pins down the time frame of the discontinuation of the brand more specifically, “I have a C.P.F. Chesterfield in our office display that has a nametag from way before my time that says 1900 C.P.F. Chesterfield. It looks like most other Chesterfields you’ve seen, including the military type push stem, except this stem is horn and not vulcanite. As far as I have gathered the C.P.F. brand was phased out sometime around 1915.” Interestingly, he noted that the Chesterfield name and style was later introduced in the KB&B, Kaywoodie and Yello-Bole lines. He says that the 1924 KB&B catalog shows KB&B Chesterfields…
… From my research I believe that we can definitively assert that the C.P.F. logo stands for Colossus Pipe Factory. The brand was purchased by KB&B sometime between 1884 and 1898 and that it continued until 1915. That time frame gives help in dating some of the older C.P.F. pipes you or I might find. It can be said that prior to the dual stamping it is fairly certain that the pipe is pre-1884 to 1898. After the dual stamping it can be placed post 1898 until the closure of the brand line in 1915. C.P.F. made beautiful pipes.
From that information I dated this pipe to the peroid metnioned above. I would further refine the 1910s period to a time between 1910-1915. At any rate it is an old pipe to remain unsmoked for this long. How this old timer has been around this long and is still unsmoked is a bit of a mystery to me.
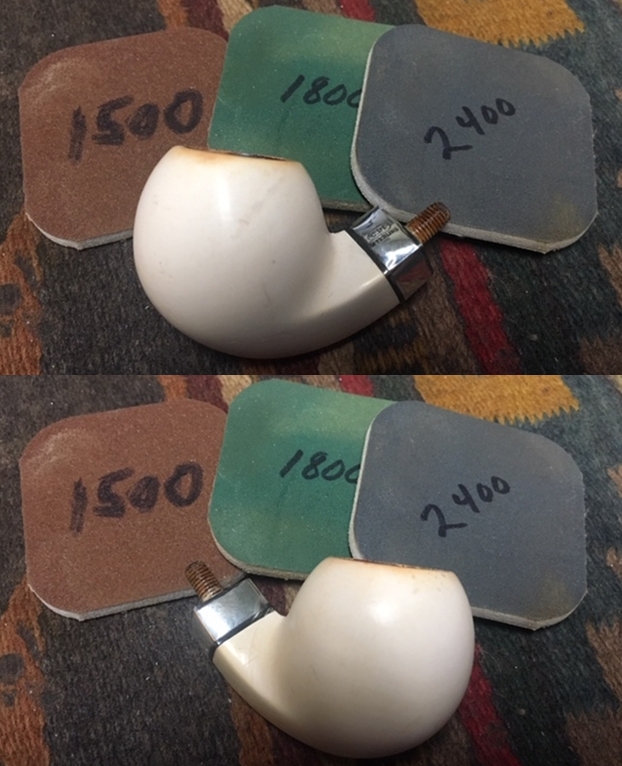
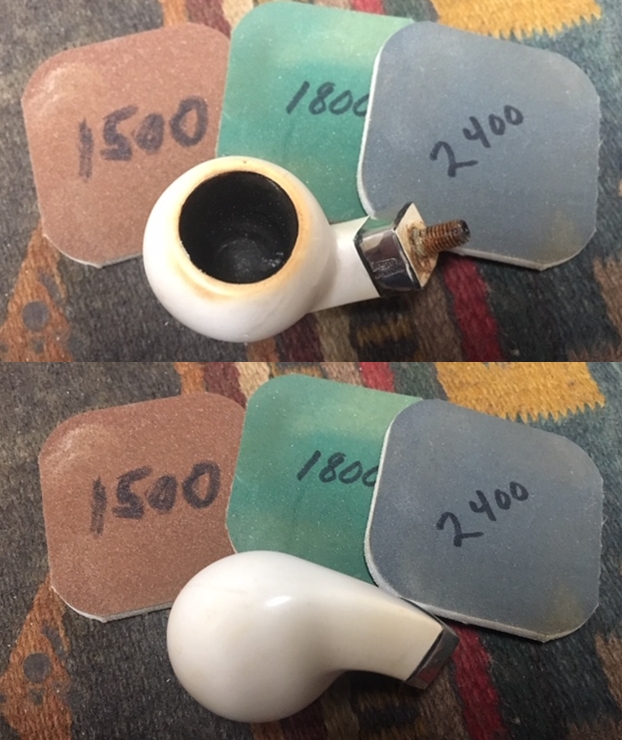
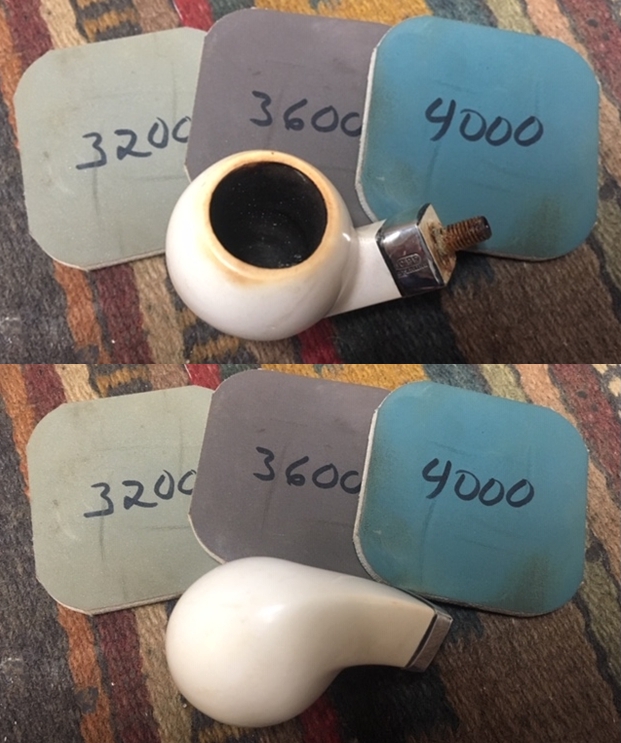
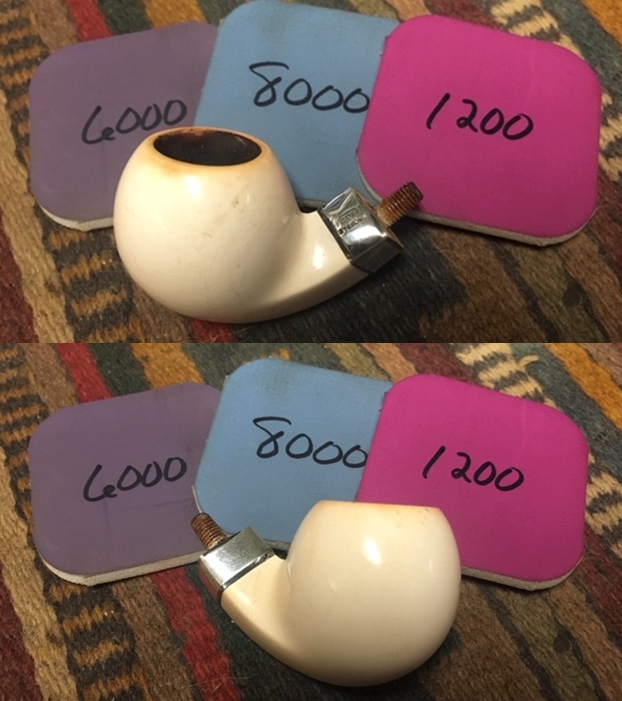
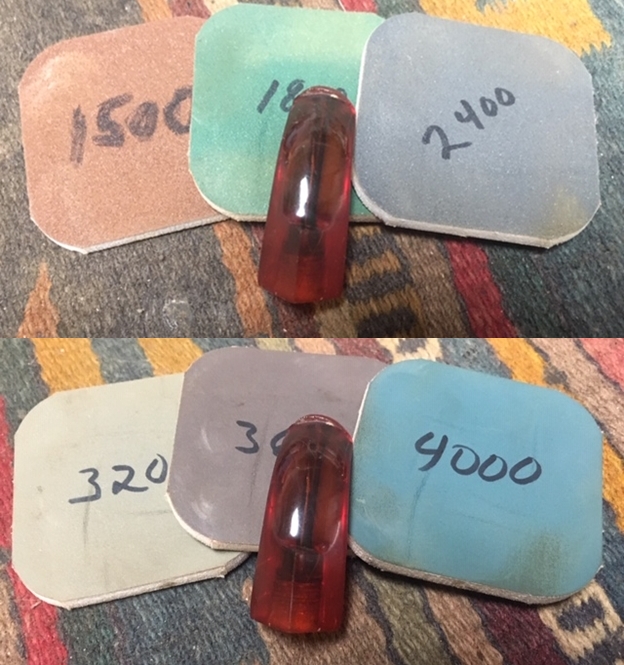
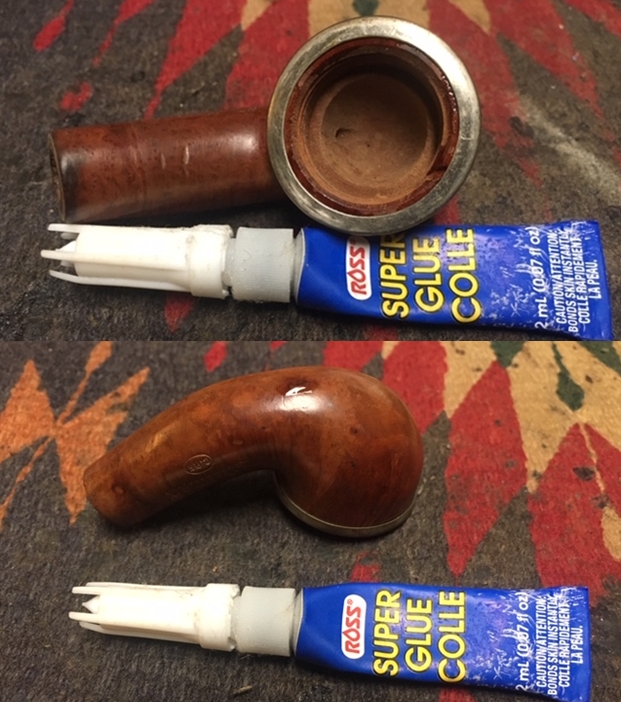
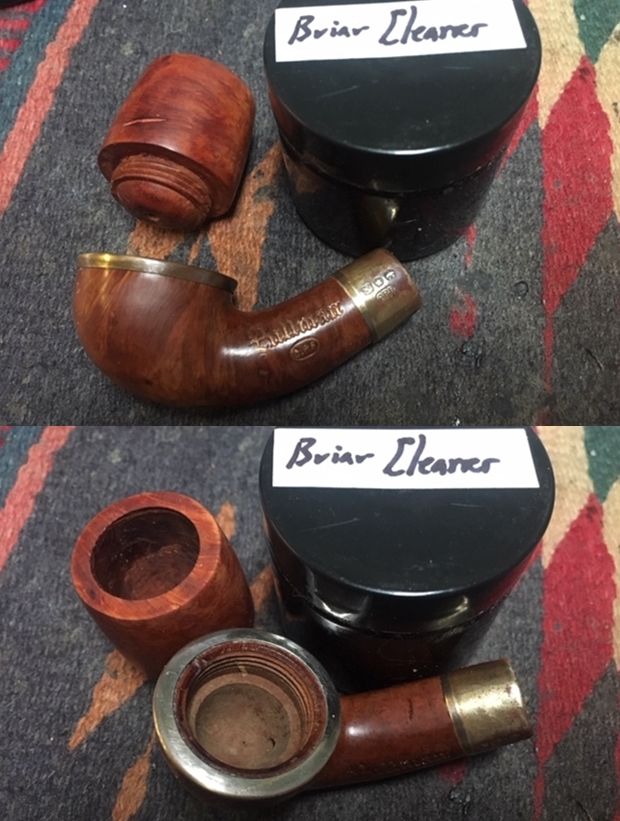
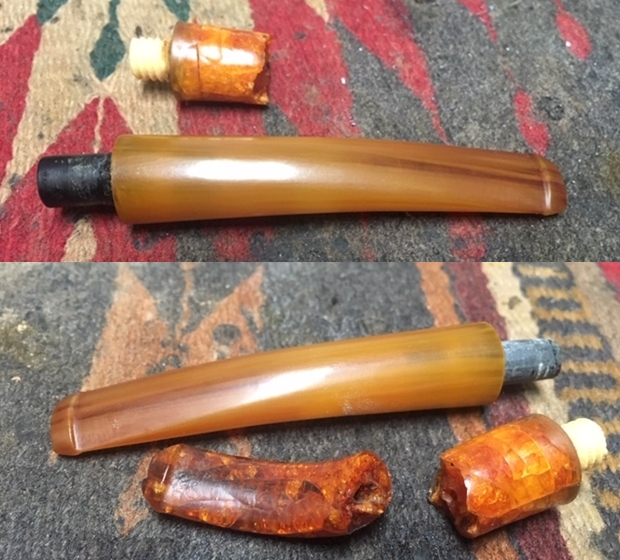
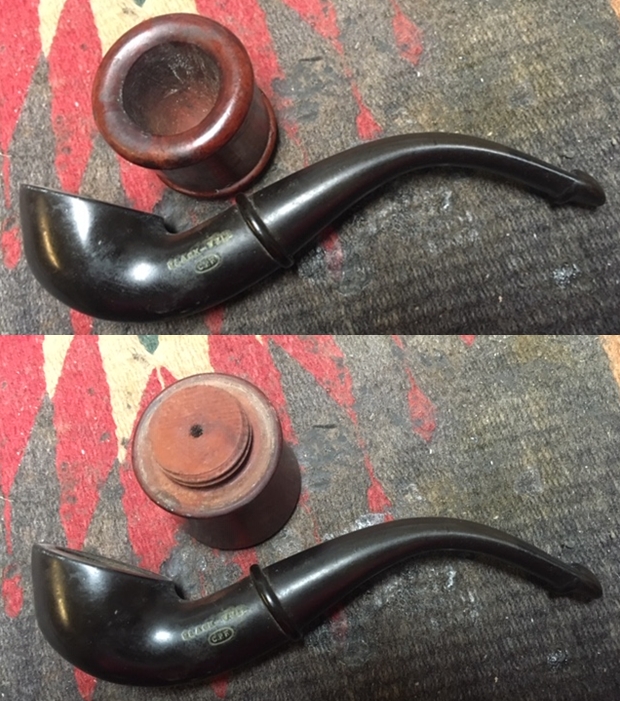
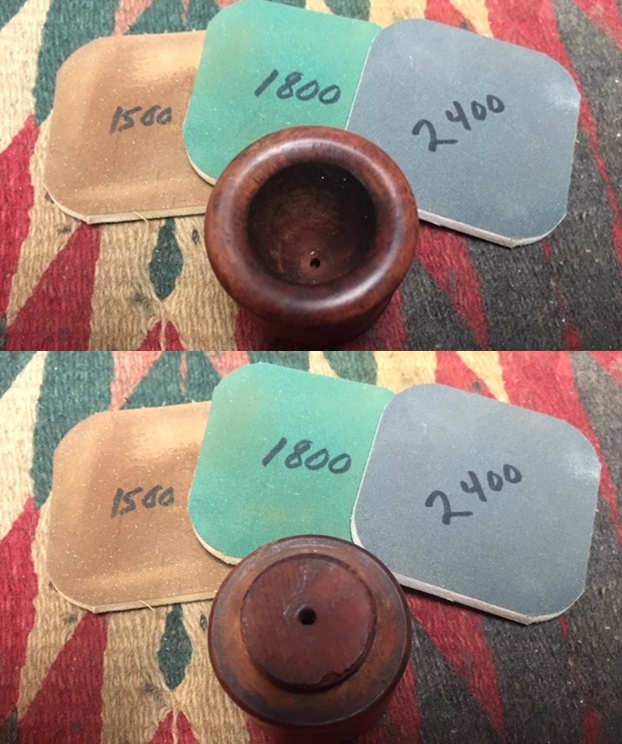
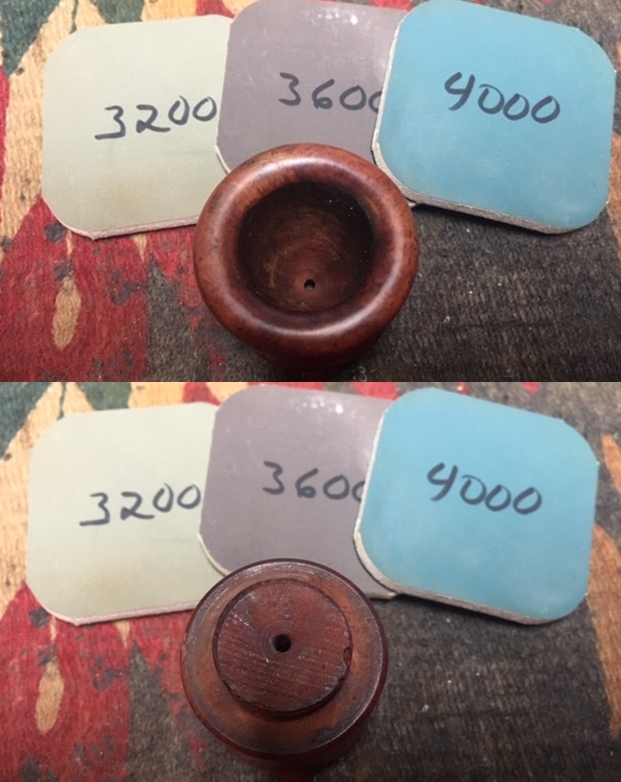
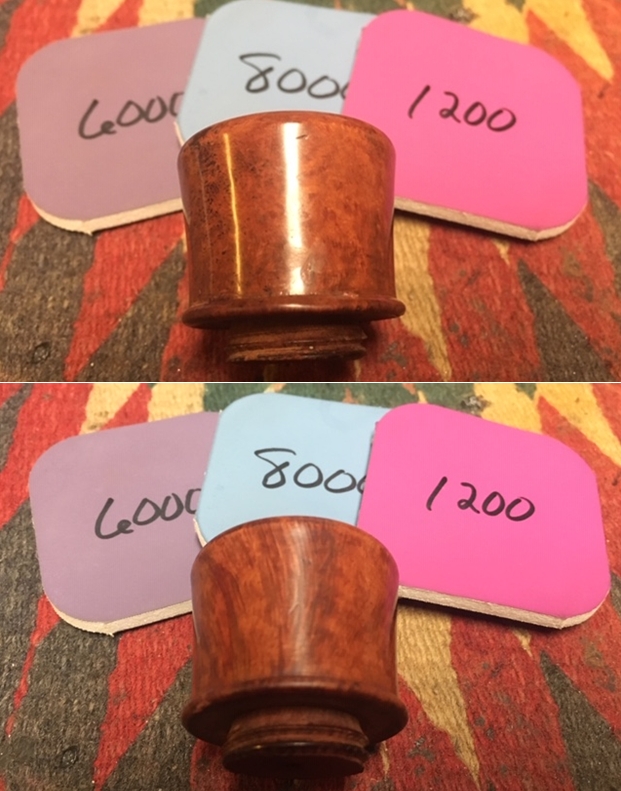
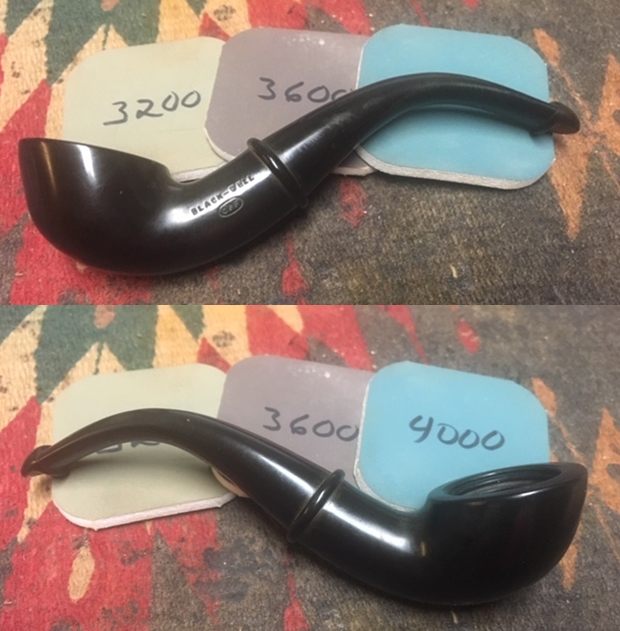
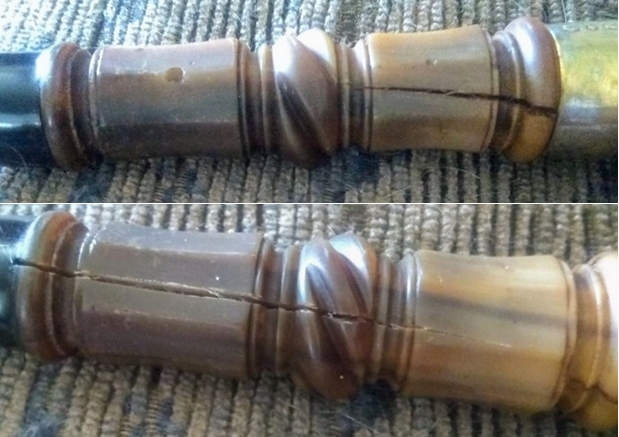
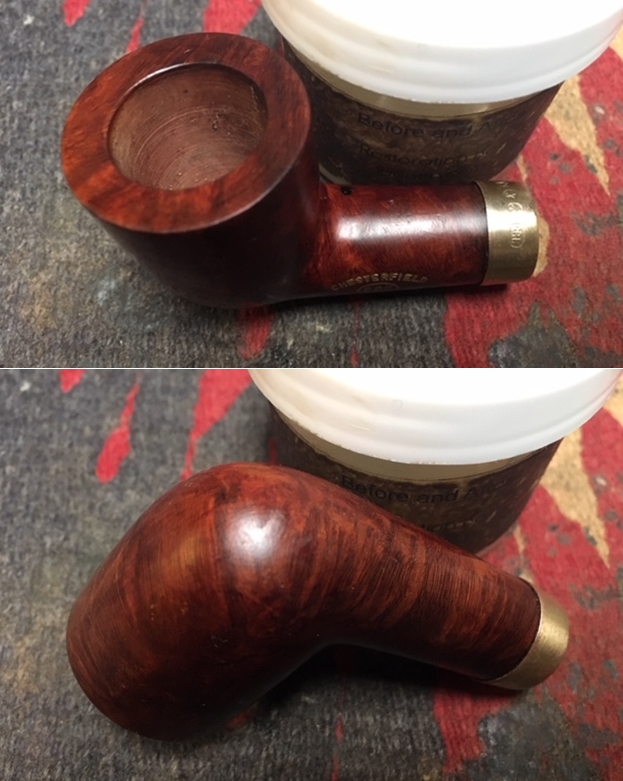
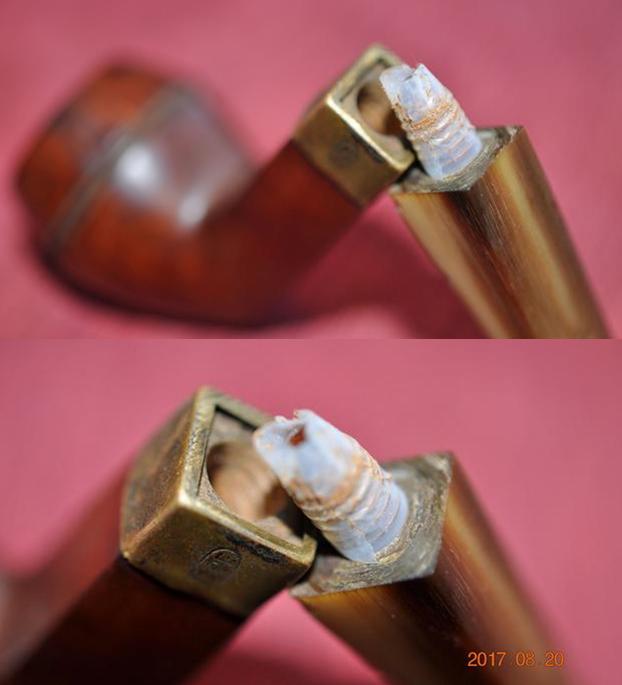
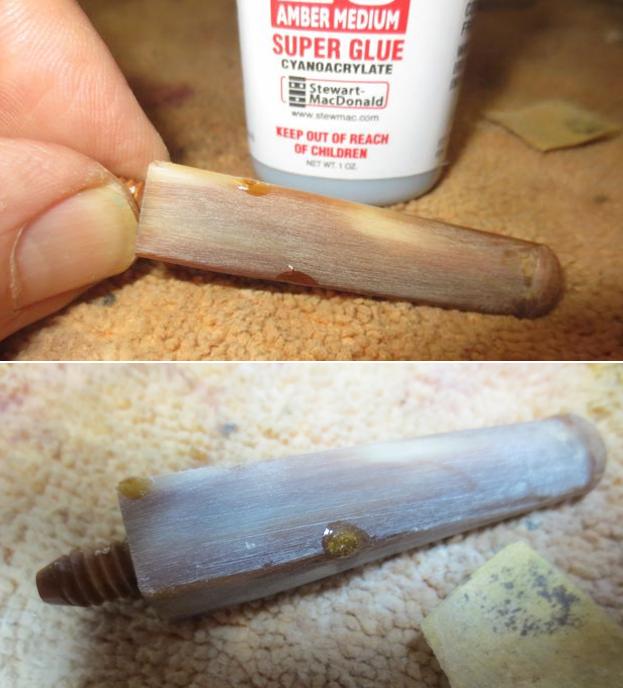
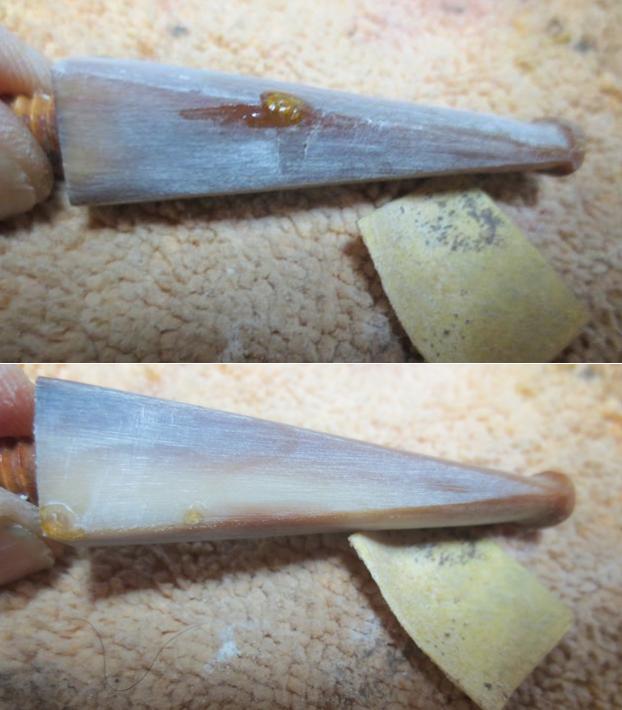
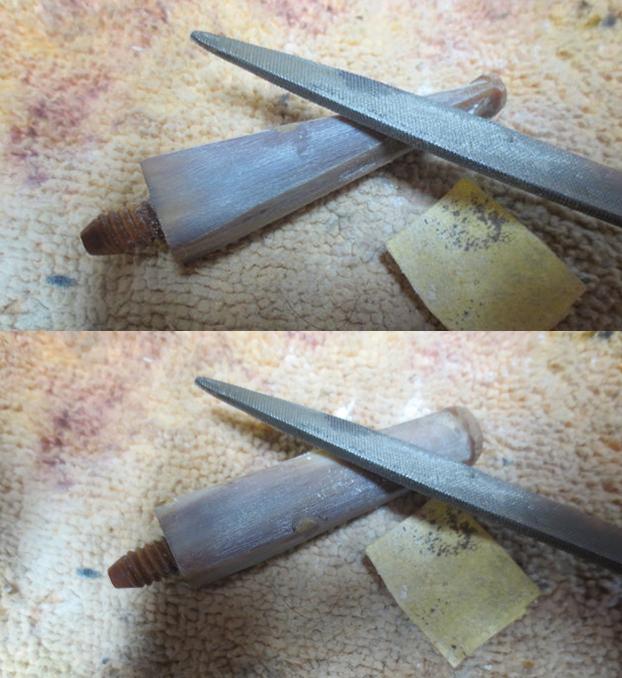
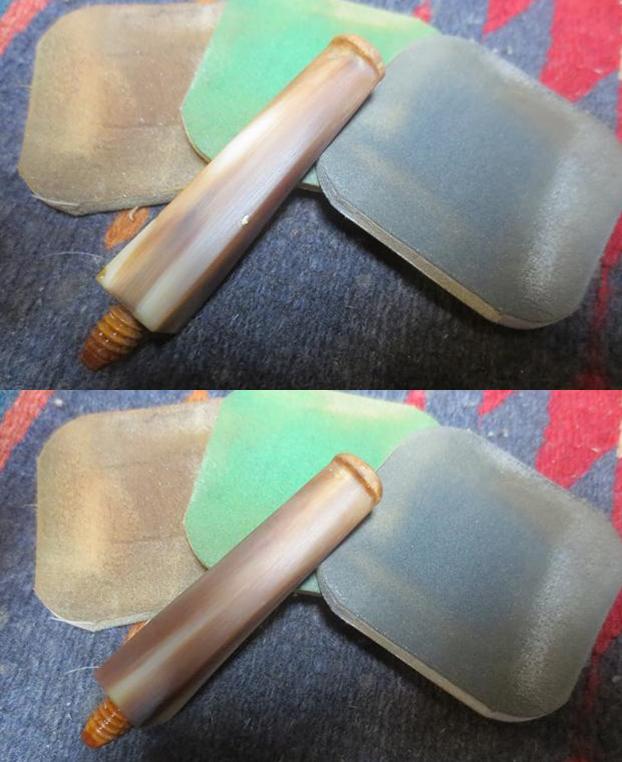
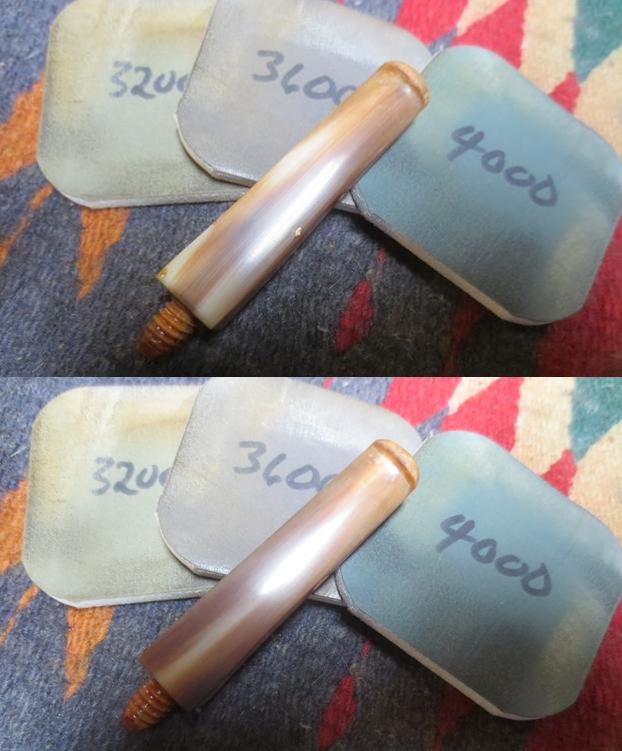
I tried to remove the ferrule and as I touched it the metal disintegrated into a pipe of very fragile pieces of metal. The metal was whitened on the outside and inside. The oxidation had made the metal very brittle. I wiped the bowl down with acetone on a cotton pad to remove the spotty varnish coat and break down the remnants of glue left behind by the crumbled ferrule. I sanded the shank end with 220 grit sandpaper to remove the heavy spots. I polished it with 1500-2400 grit micromesh sanding pads.
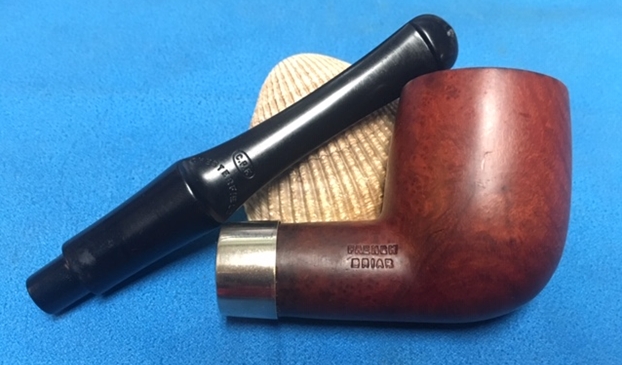
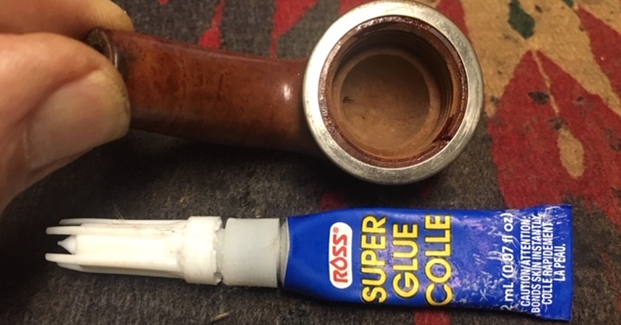
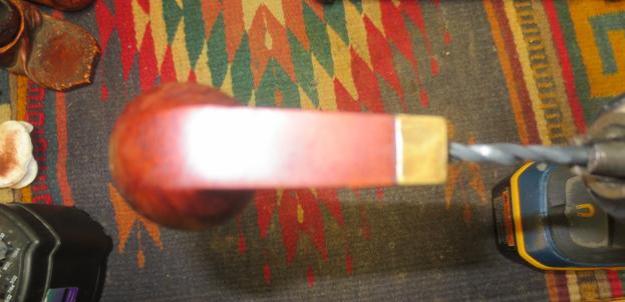
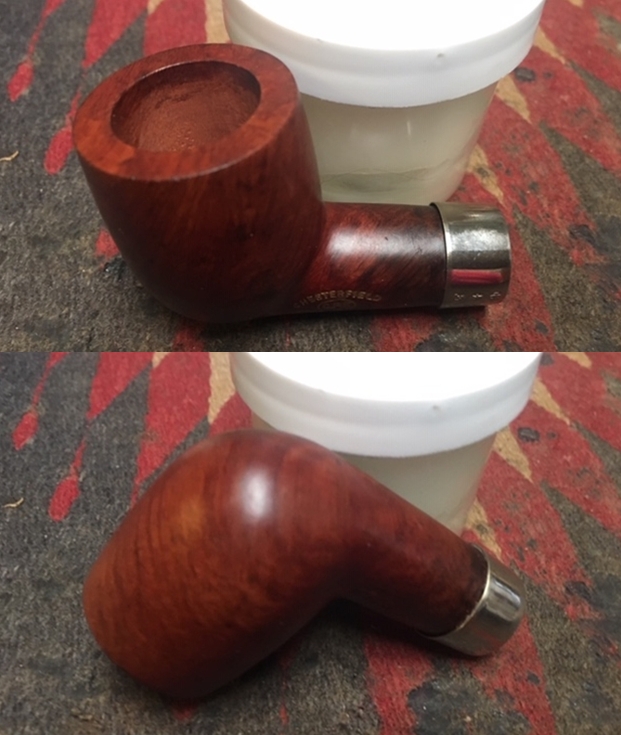
 I went through my box of bands and ferrules and found a nickel ferrule that was a good fit on the shank end. I put some Weldbond white glue around the shank end and pressed the band onto the shank. I aligned the “hallmarks” with the gold stamping on the left side of the shank.
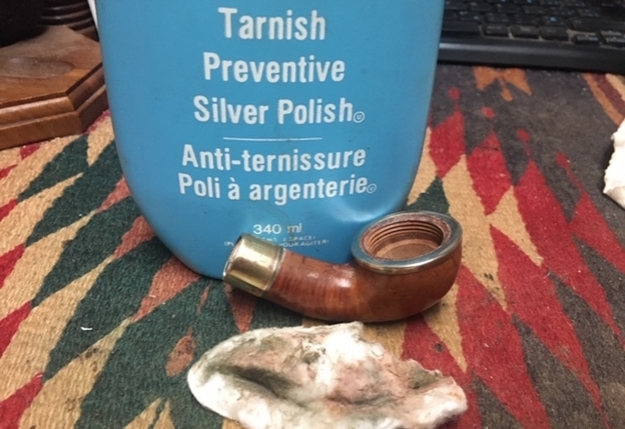
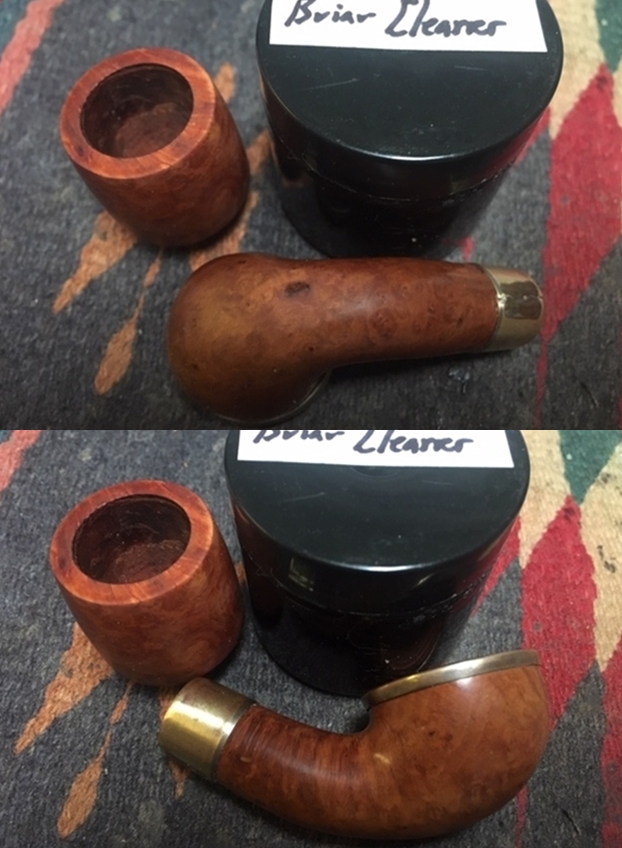
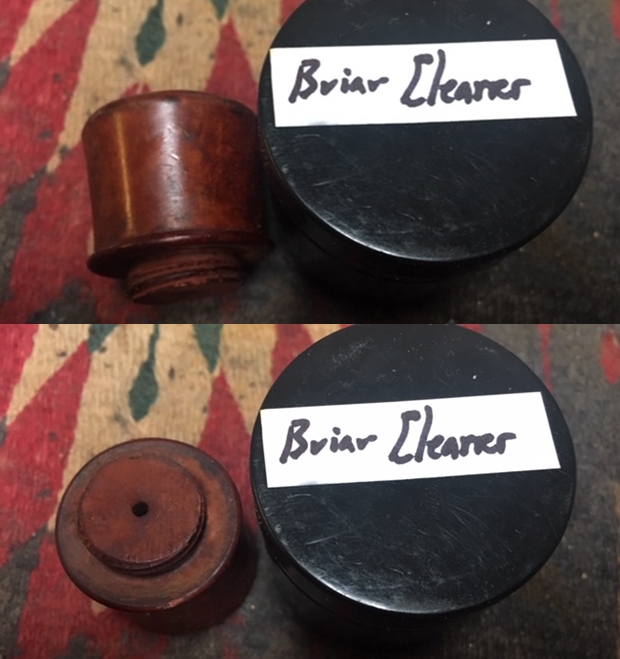
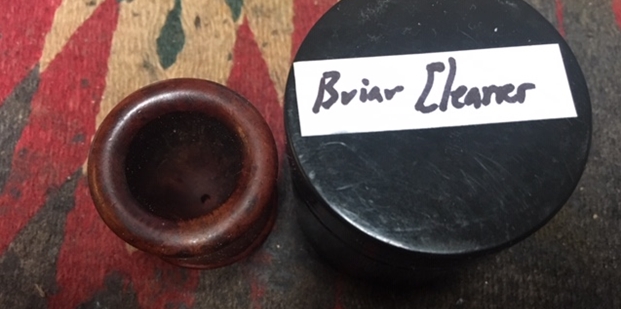
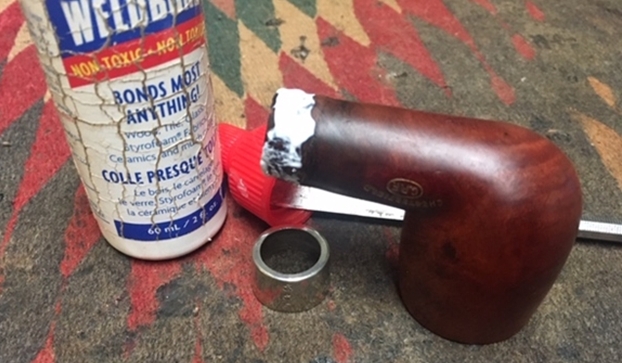 I scrubbed the briar with Before & After Briar Cleaner. I rubbed it into the surface of the briar ahead of the ferrule and around the shank and bowl. I let the cleaner sit on the briar for 10-15 minutes and then rinsed it off to remove the cleaner and the grime that it had picked up. I took photos of the pipe after I had dried it off.
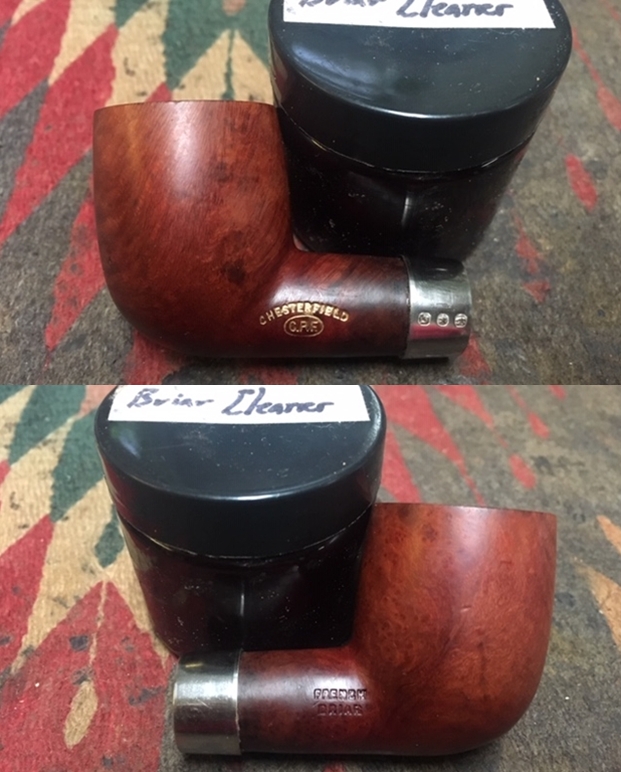
 I rubbed the bowl down with Before & After Restoration Balm. I worked it into the surface of the briar with my fingertips to clean, enliven and protect it. I let the balm sit for a little while and then buffed with a cotton cloth to raise the shine. Mark Hoover’s Balm is a product that I have come to appreciate and one I use on every pipe I have been working on.
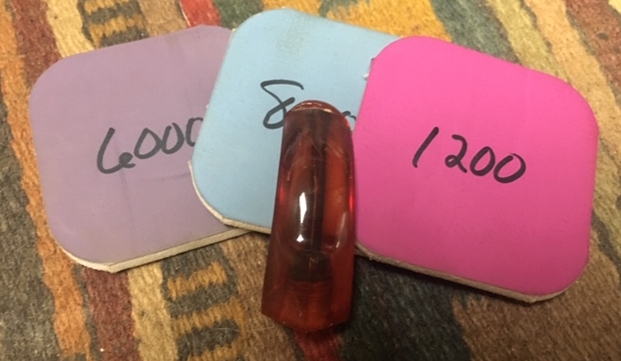
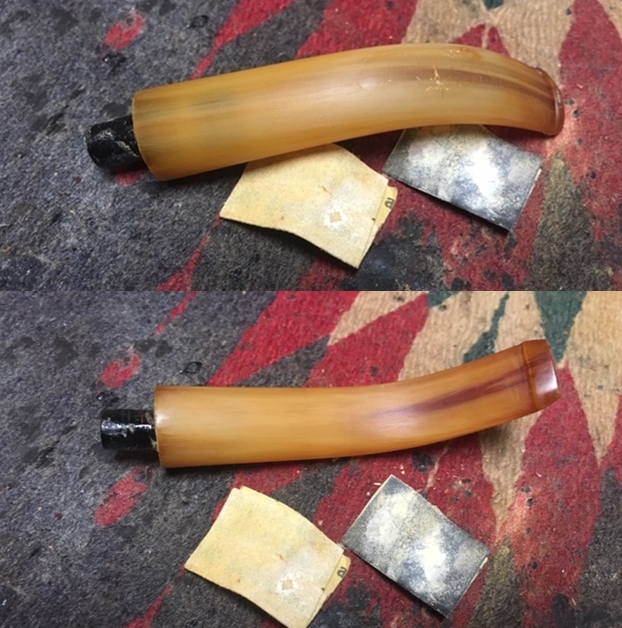
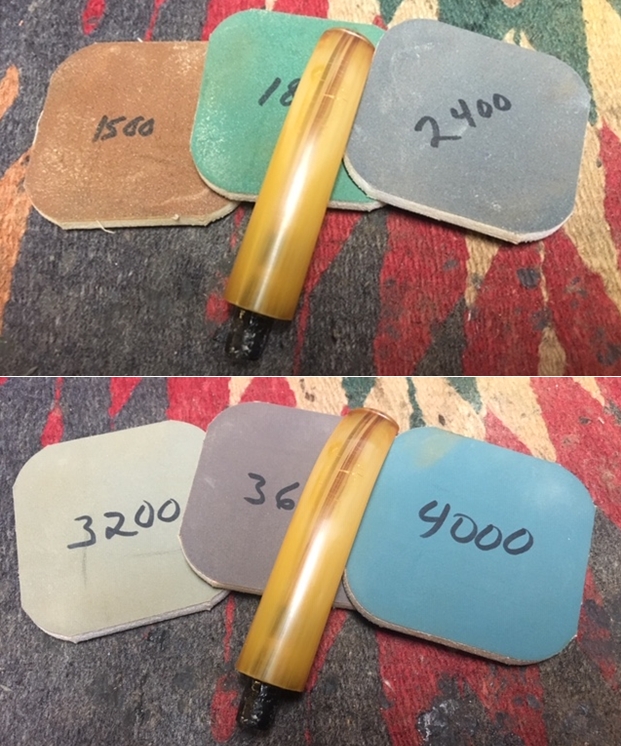
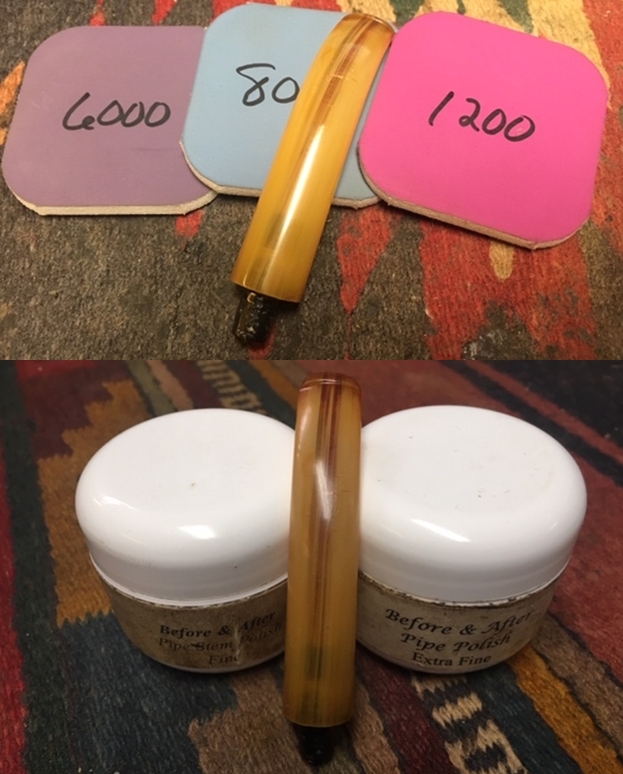
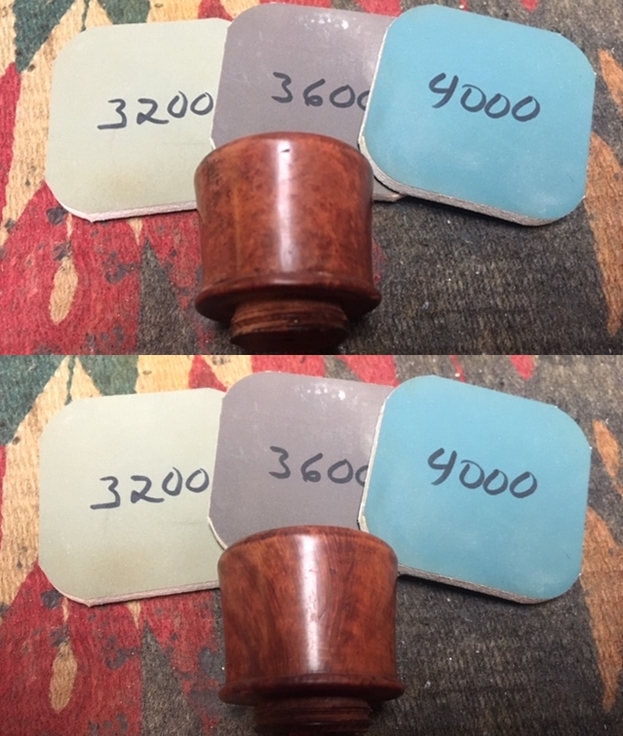
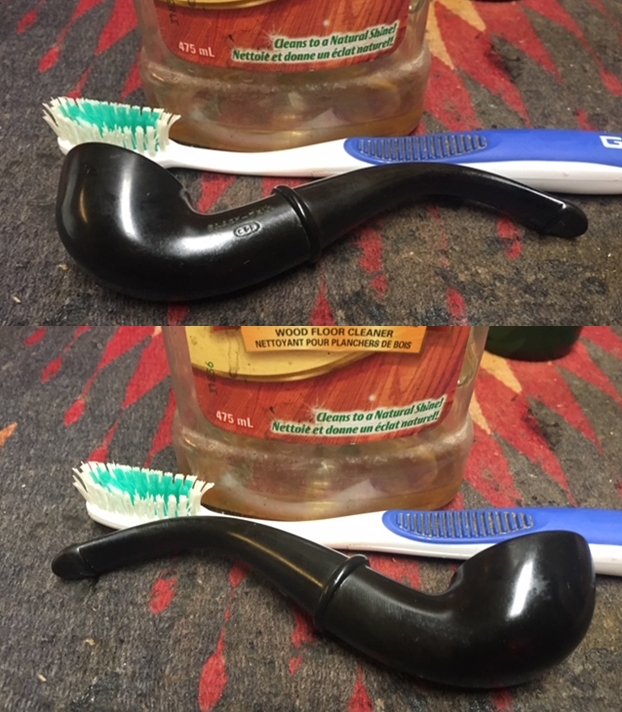
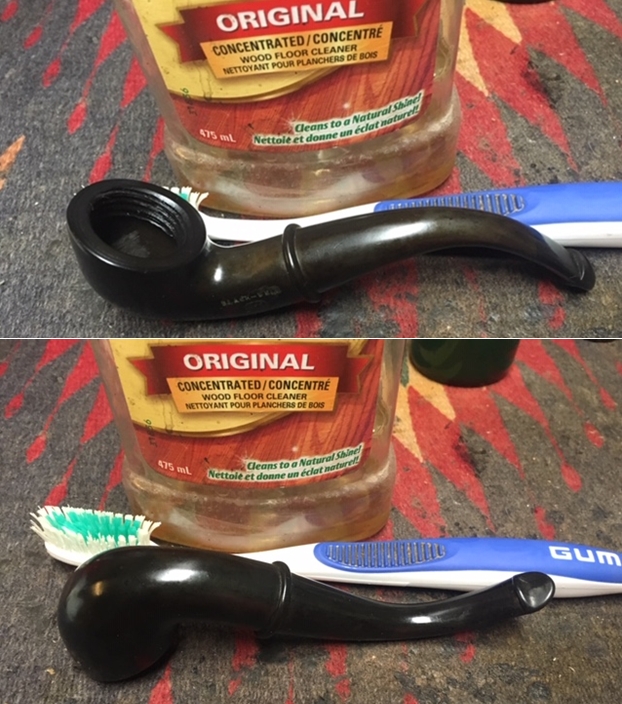
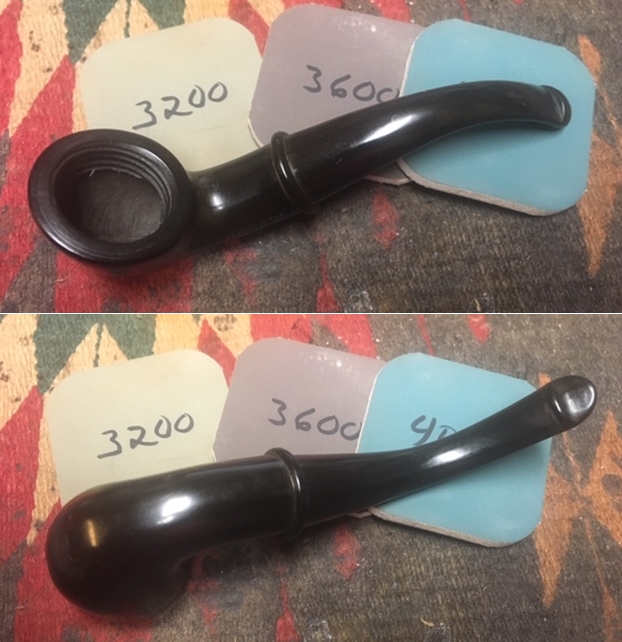
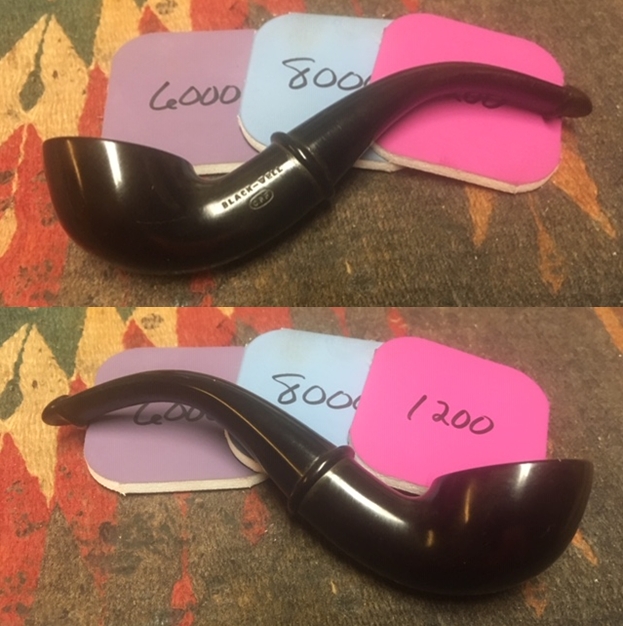
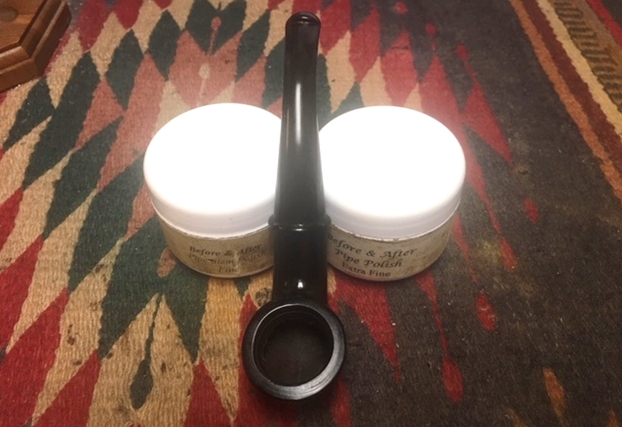
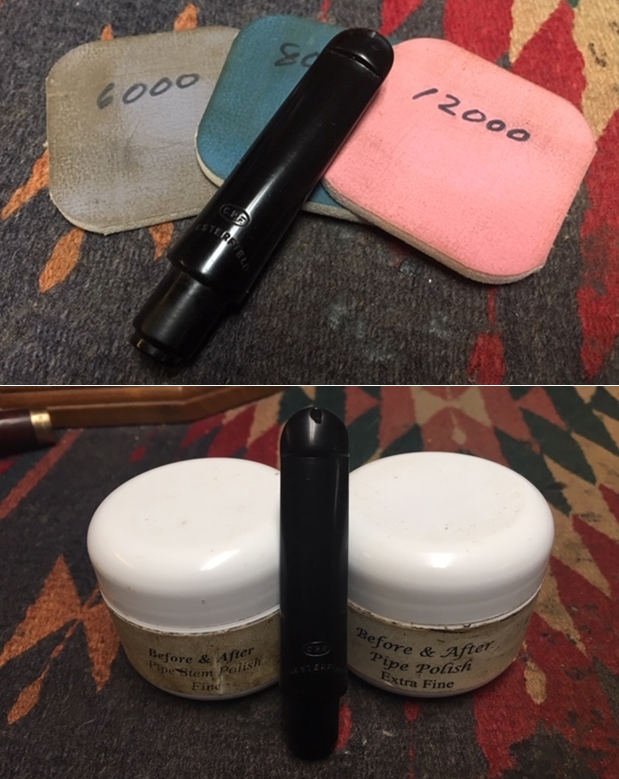
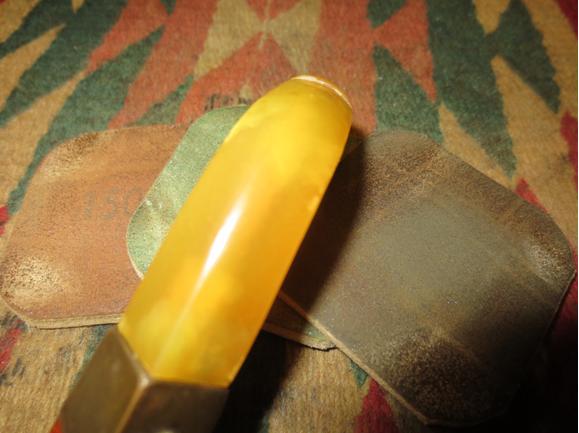
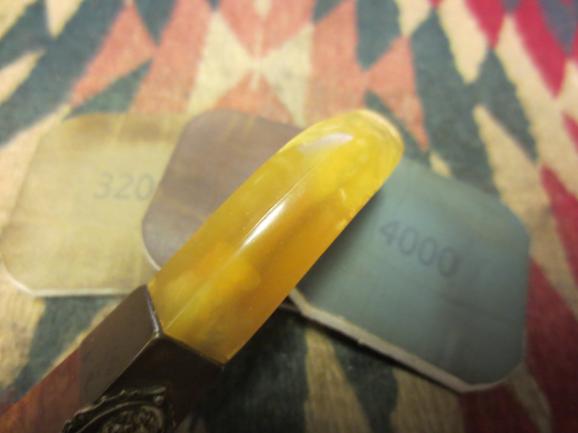
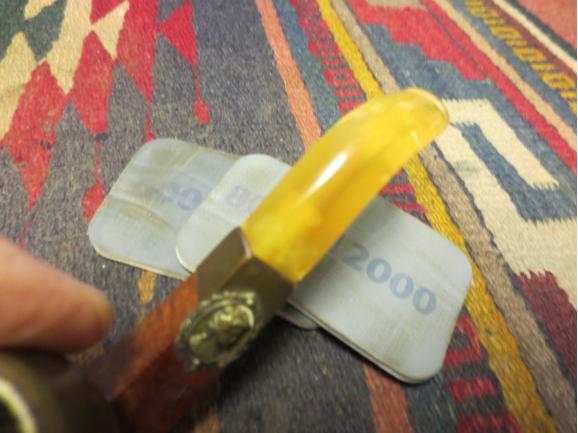
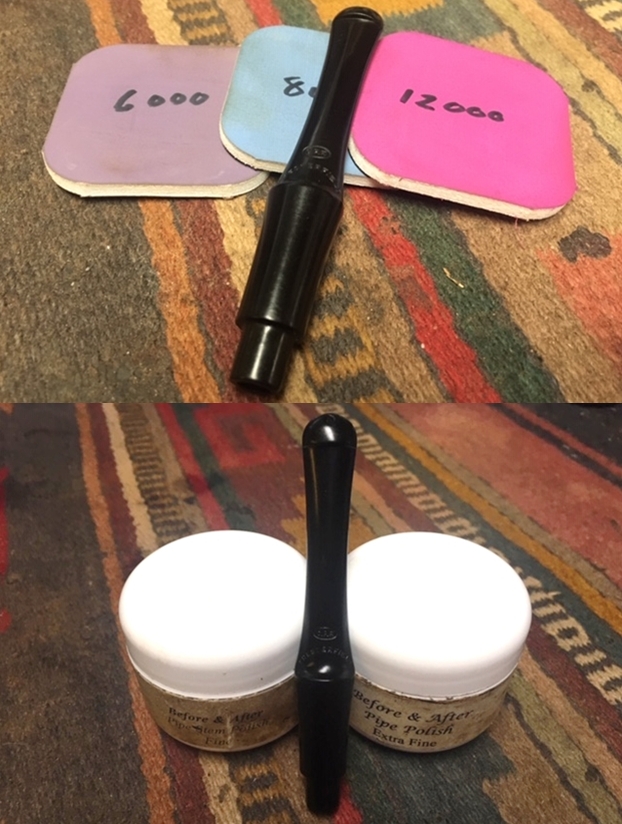
 I polished the stem with micromesh sanding pads – wet sanding with 1500-12000 grit pads. I wiped the stem down after each sanding pad with Obsidian Oil. I polished it with Before & After Pipe Stem Polish – both Fine and Extra Fine. Once I had finished the polishing I gave it final coat of oil and set it aside to dry.
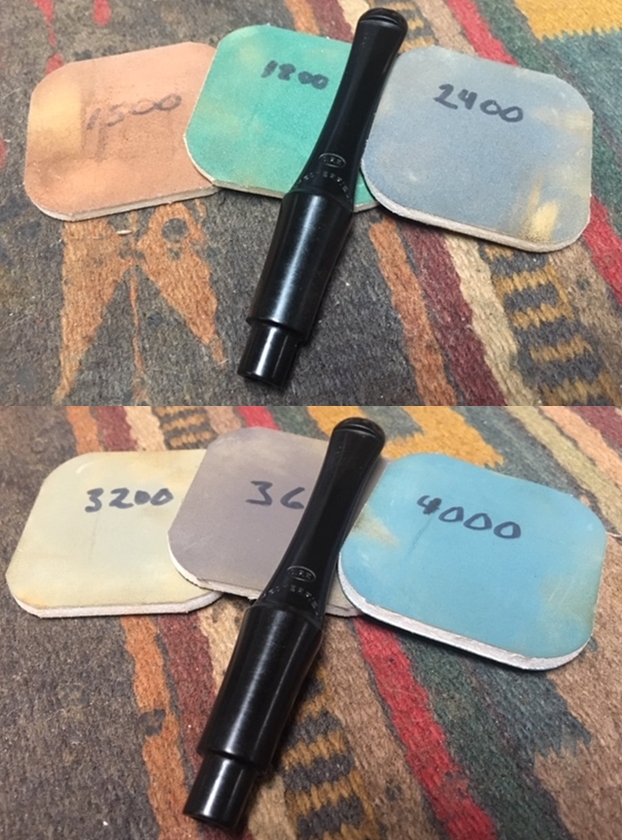
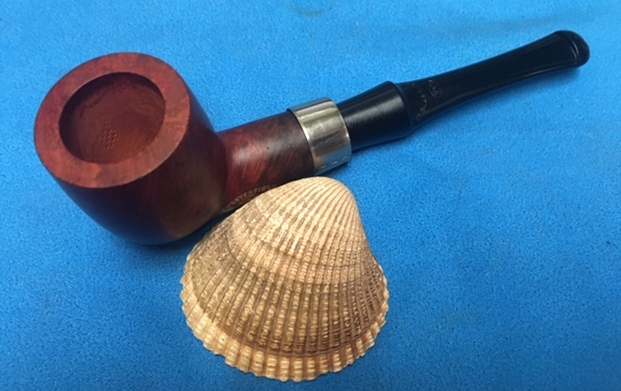
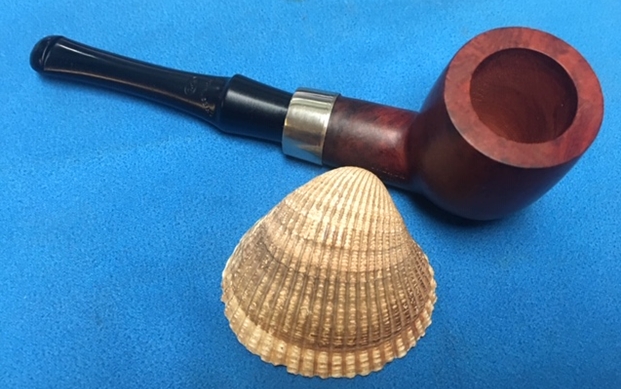
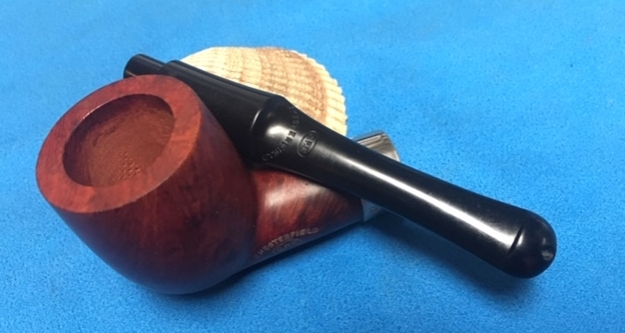
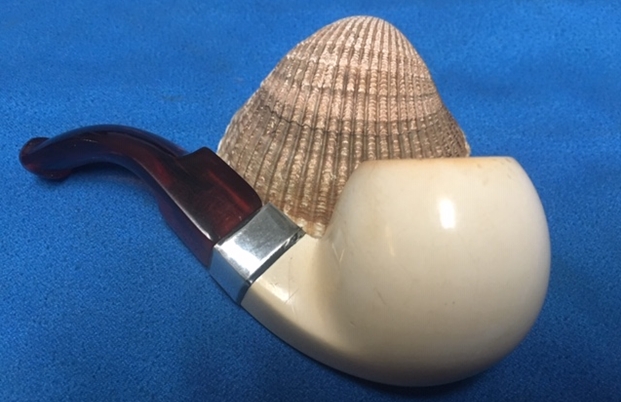
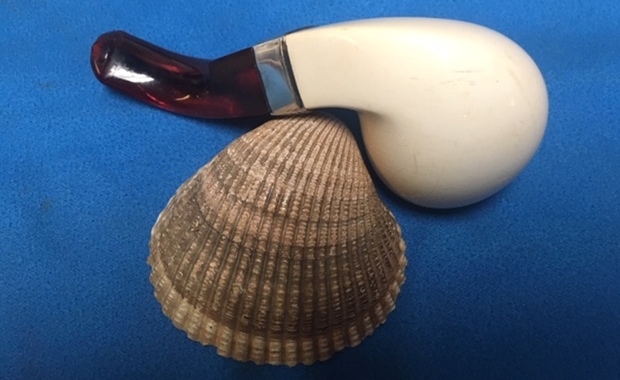
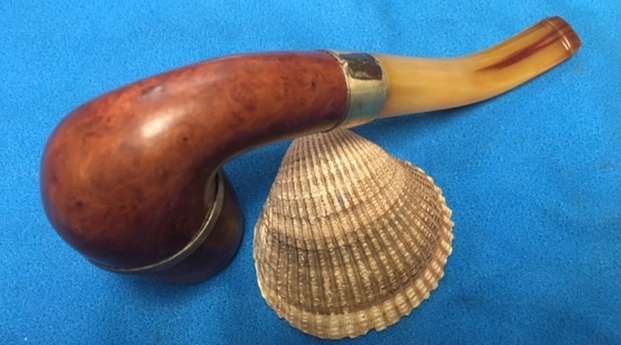
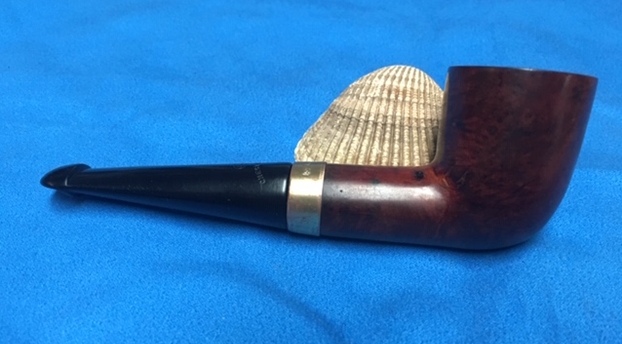
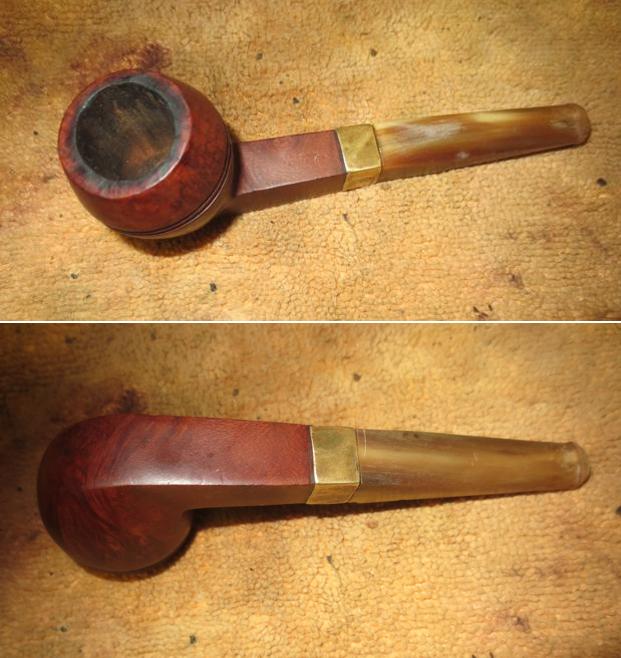
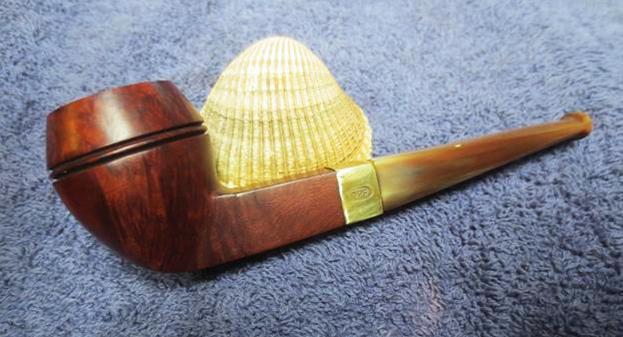
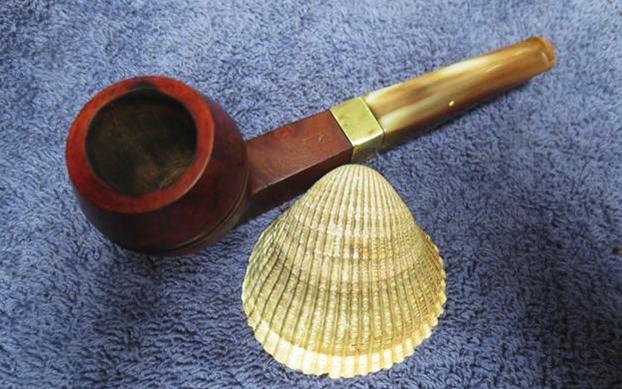
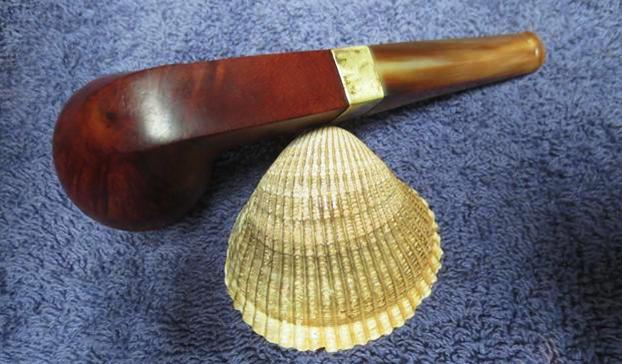
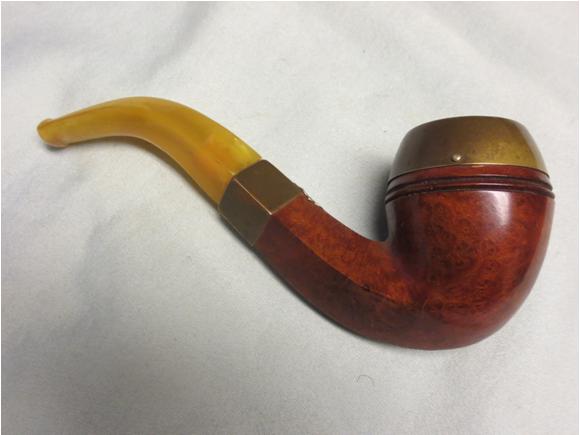
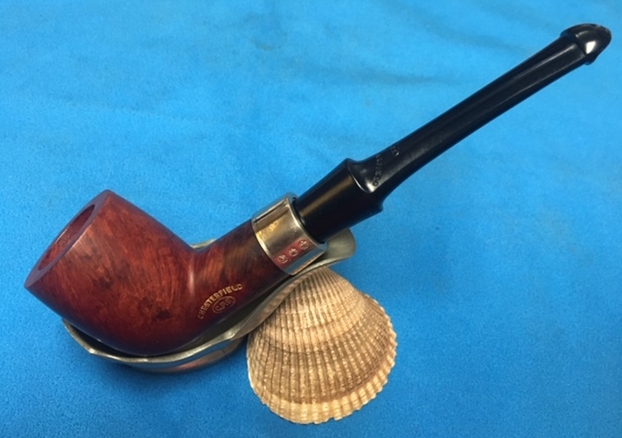
 I love these old C.P.F. pipes. There is some serious thought that they were carved by European trained craftsman who were skilled pipemakers. They were brought to the US by the C.P.F. Company to make pipes. Many of the shapes, bands and stems have the kind of workmanship involved that I really think there is truth to this story. This is little chubby billiard with a classic shape that reminds me of some of the older Peterson’s Sraight billiards that I have restored. The stem is a Peterson style P-lip with the airway on the top of the stem. I polished stem and the bowl with Blue Diamond polish on the buffing wheel carefully avoiding the stamping on the shank. I gave the bowl and the stem multiple coats of carnauba wax. I buffed the pipe with a clean buffing pad to raise the shine. I hand buffed it with a microfiber cloth to deepen the shine. The pipe polished up pretty nicely. The contrasting grain really began to stand out; it seemed to take on life with the buffing. The rich contrasting brown colour works well with the silver ferrule and the polished black vulcanite stem. The finished pipe has a rich look that is quite catching. Have a look at it with the photos below. The shape, finish and flow of the pipe and stem are very well done. The dimensions are Length: 5 ½ inches, Height: 1 ¾ inches, Outside diameter of the bowl: 1 1/4 inches, Chamber diameter: ¾ of an inch. This one will be joining my collection as it fits in the C.P.F. niche group that I have been building. The shape and feel in the hand is perfect. Now I have to make a hard decision – do I leave it unsmoked or do I load it up with some aged Virginia and break it in. Thanks for walking through the restoration with me as I restored and reworked this old billiard from 1910-1915. It is always a treat for me to work on a piece of pipe history especially when I have learned a bit of the story behind it.