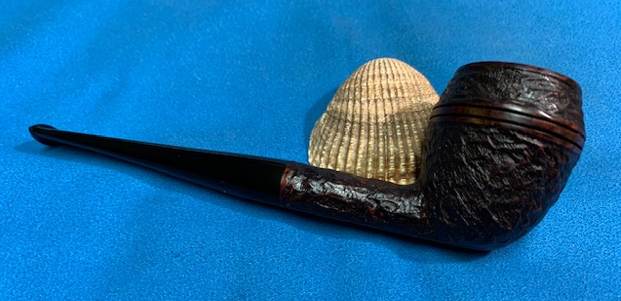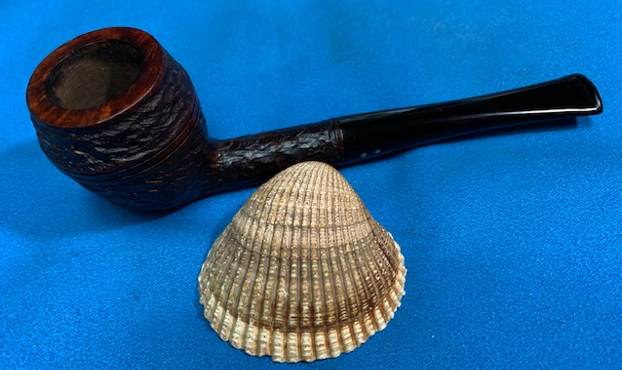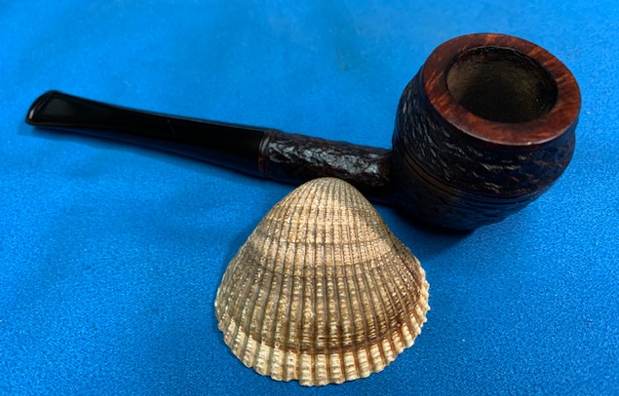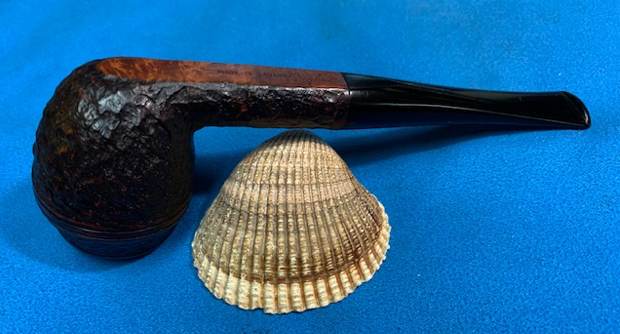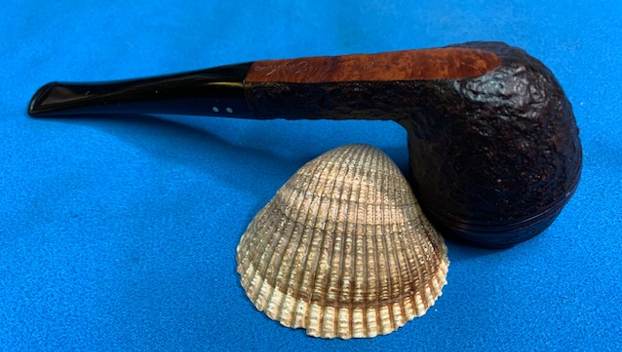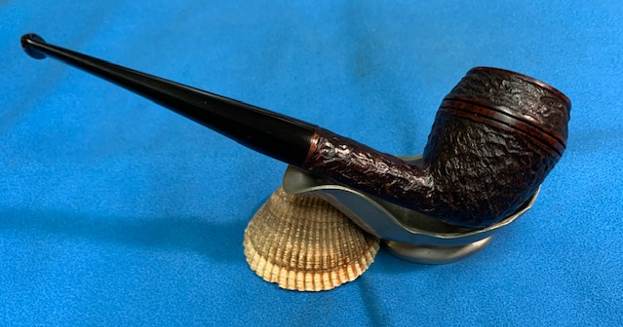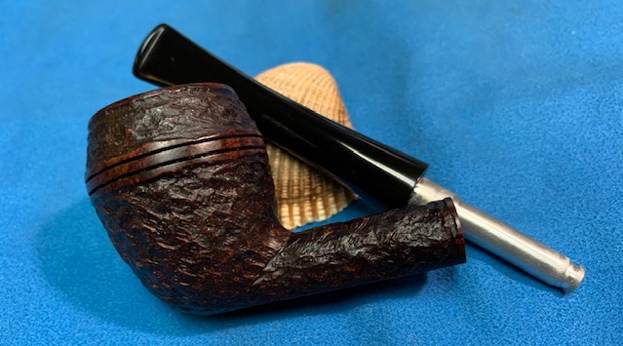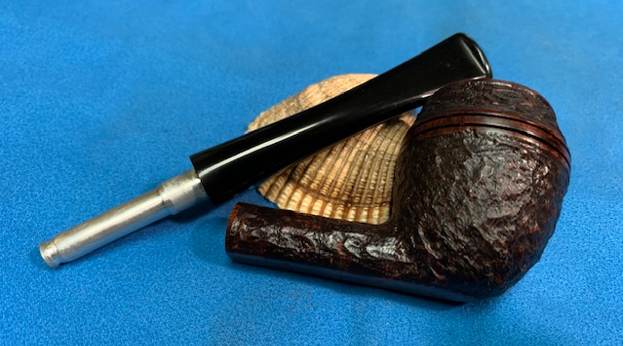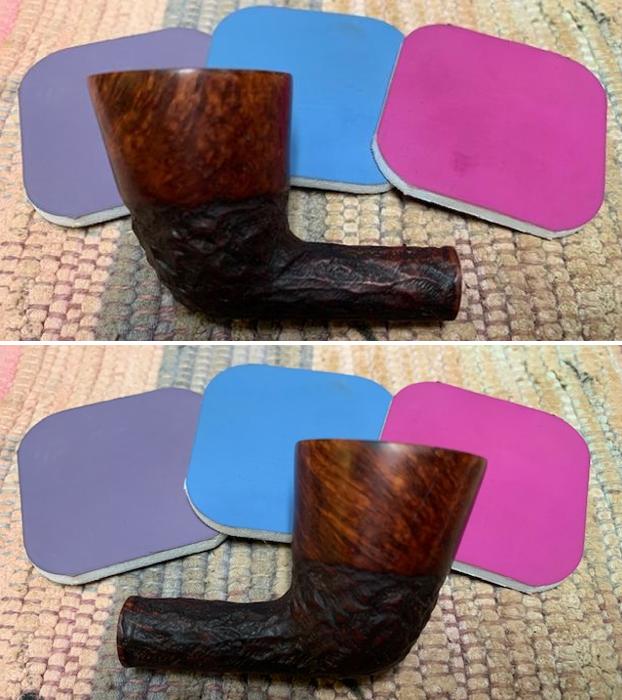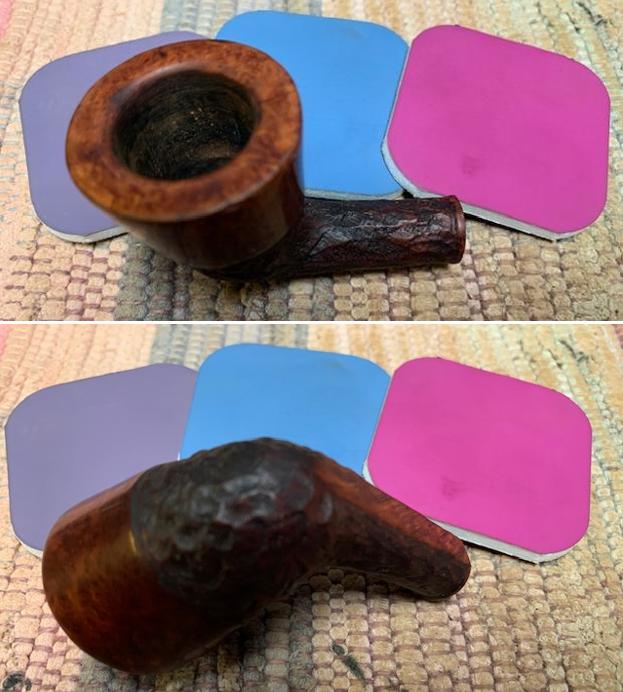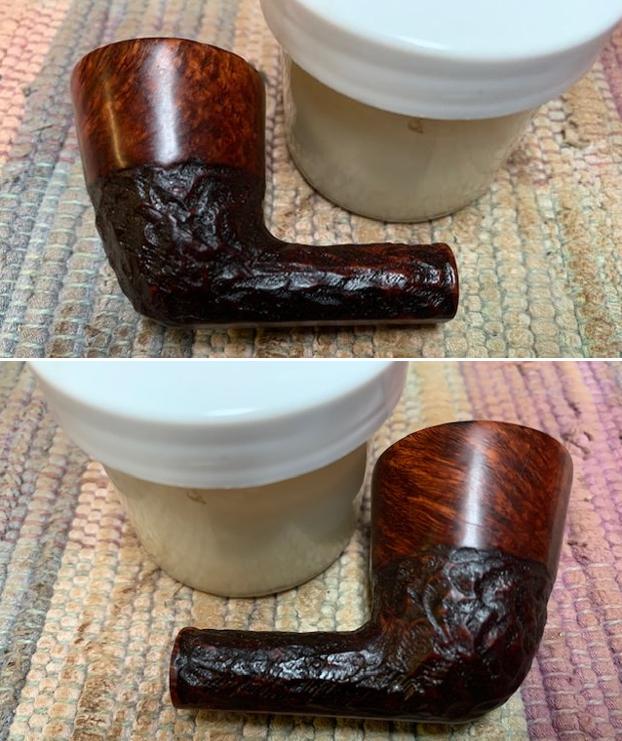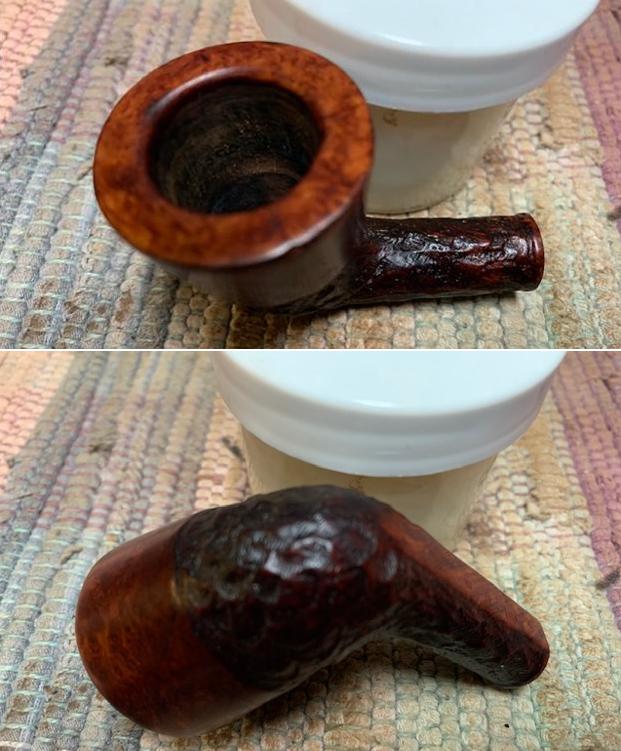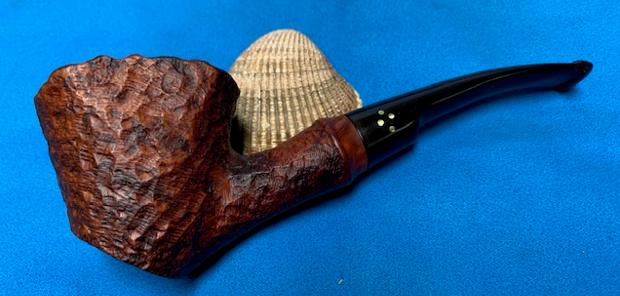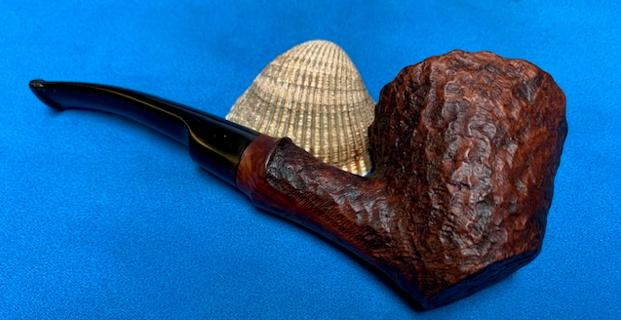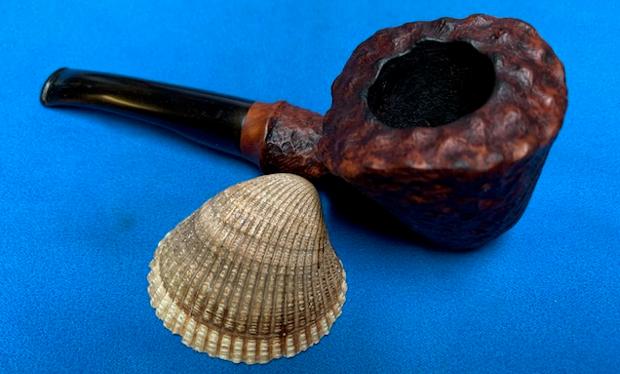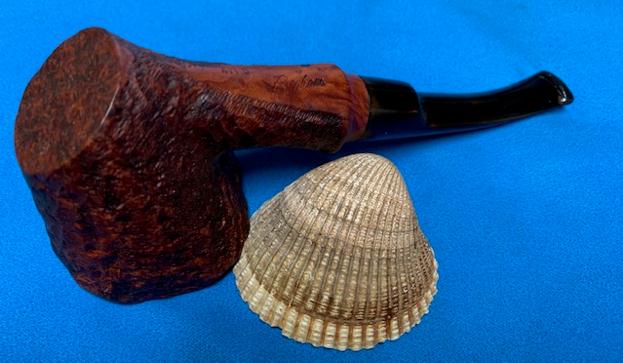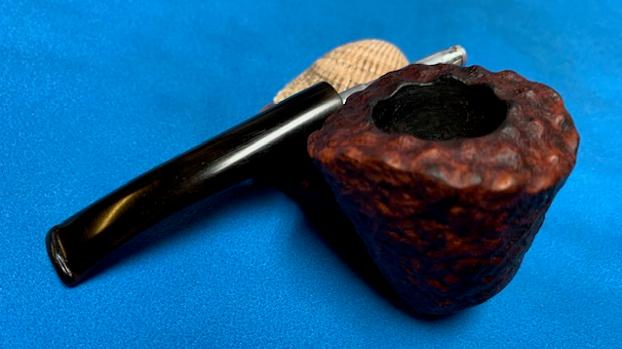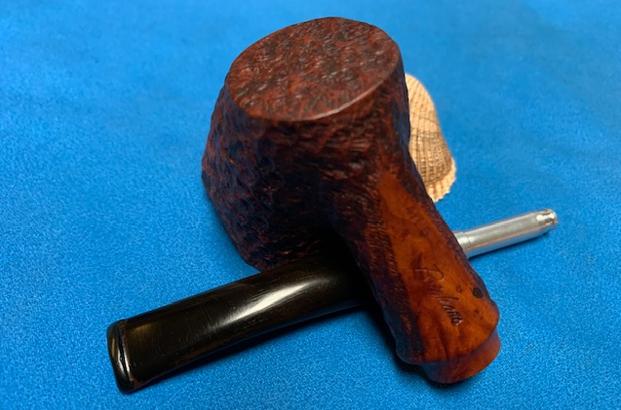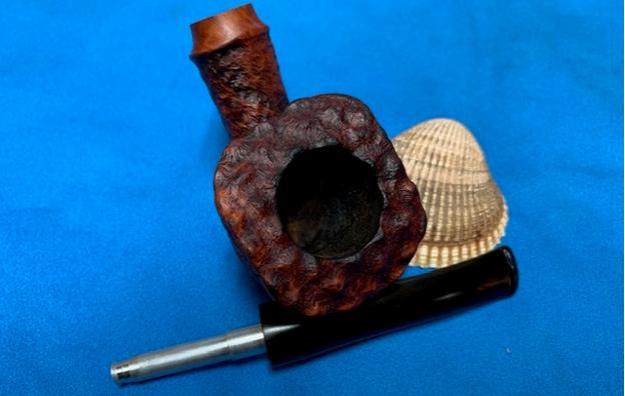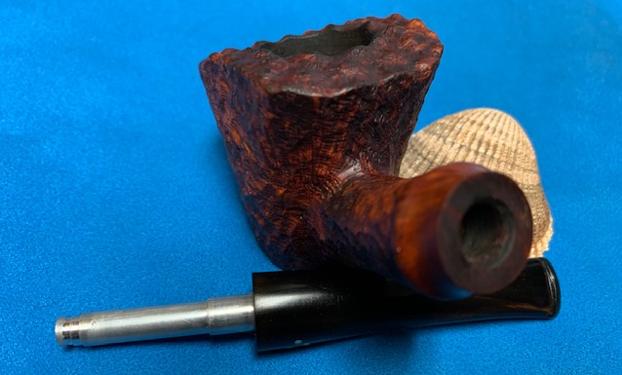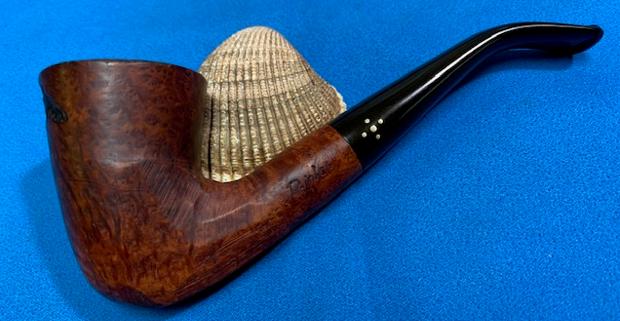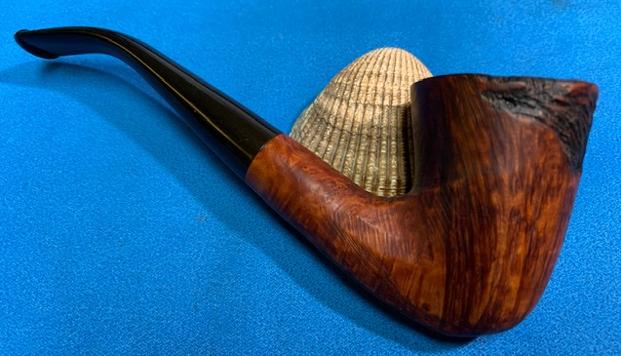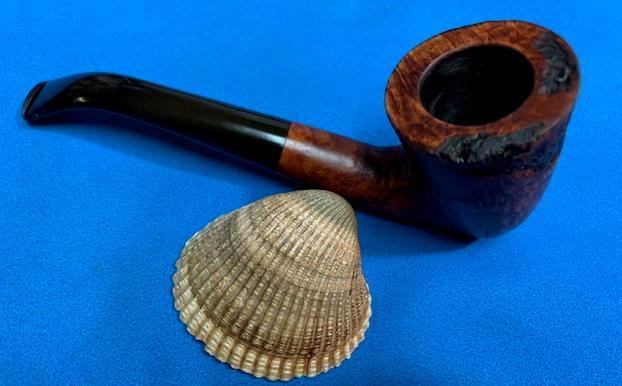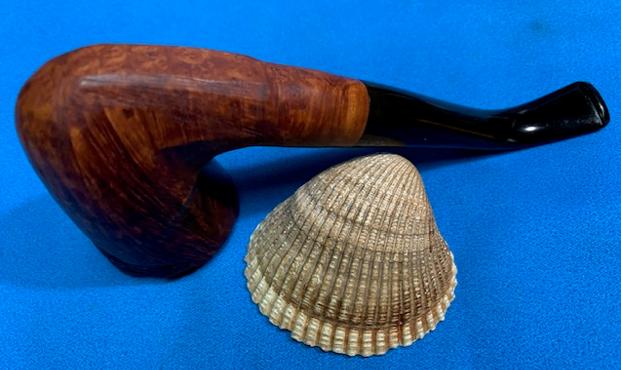
Tag Archives: Brigham Pipes

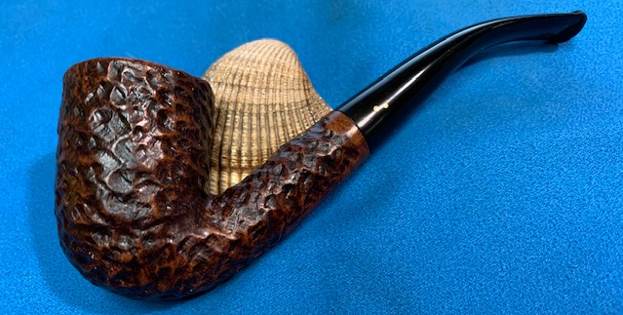
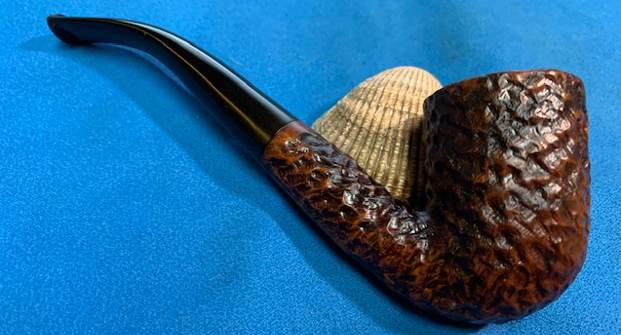
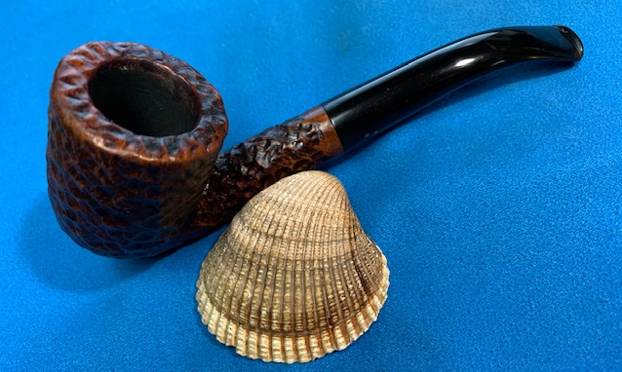
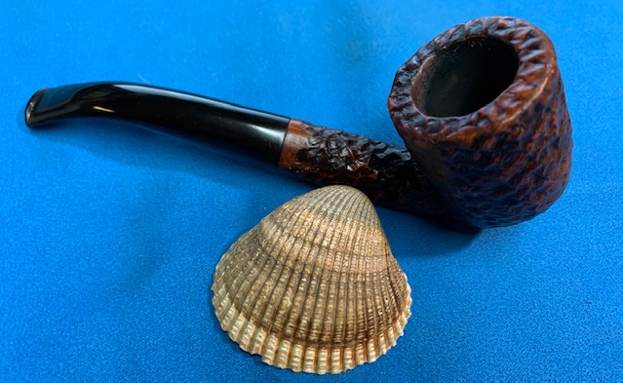
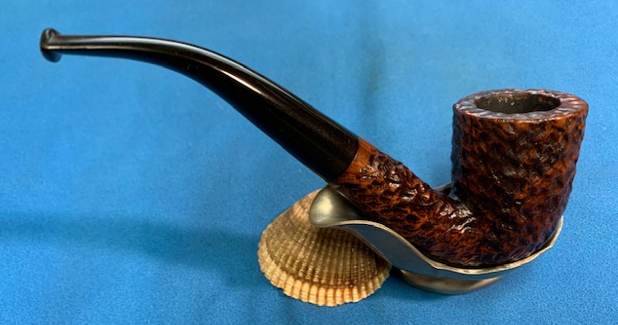
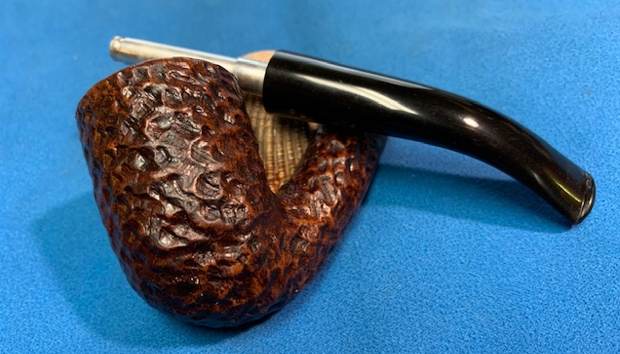
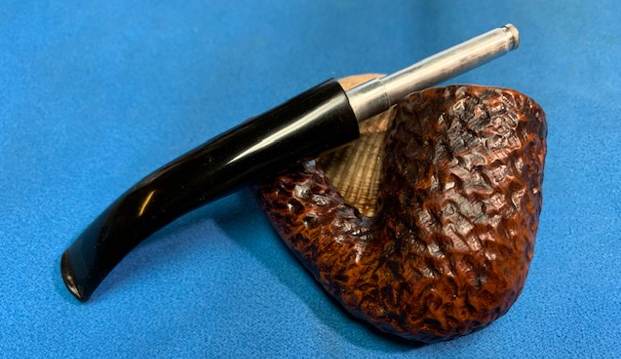
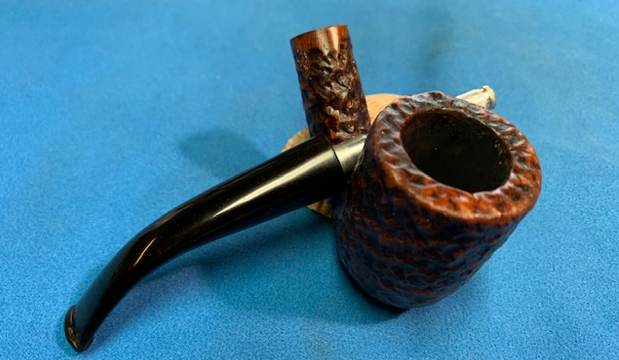
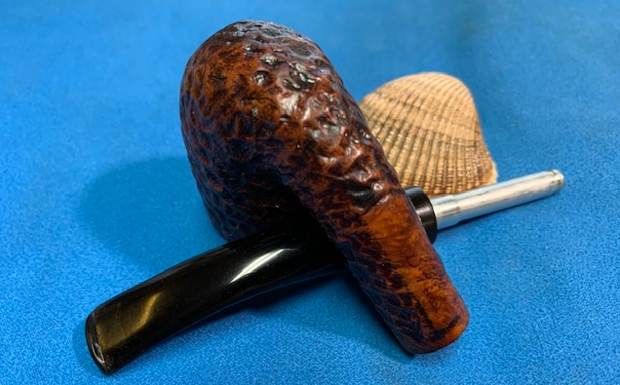
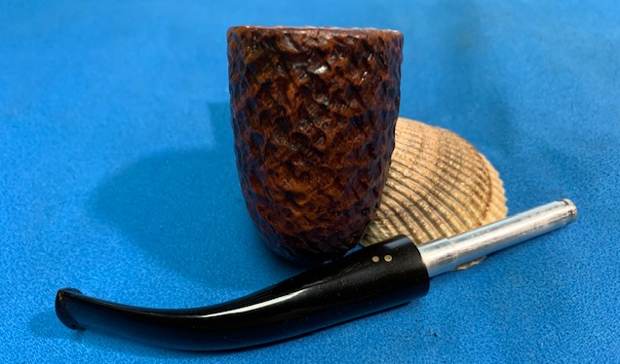
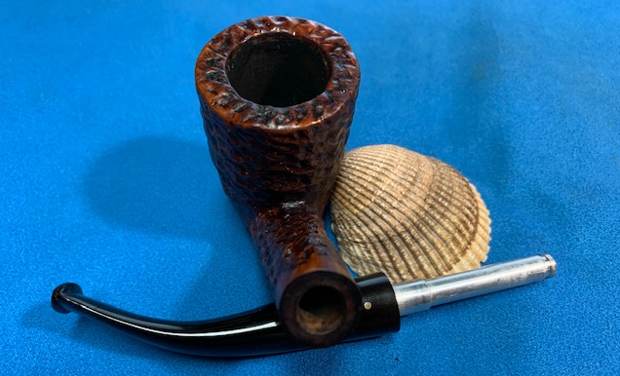
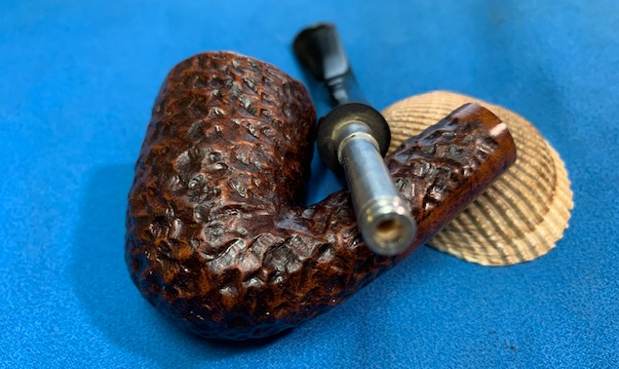
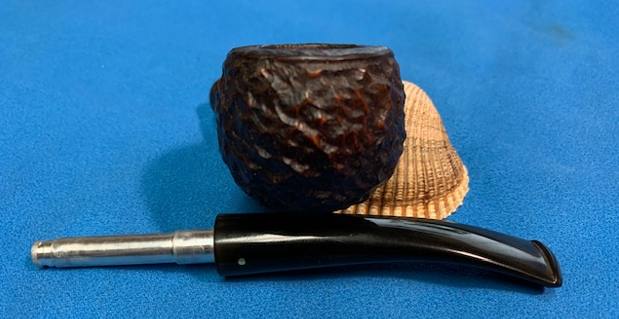
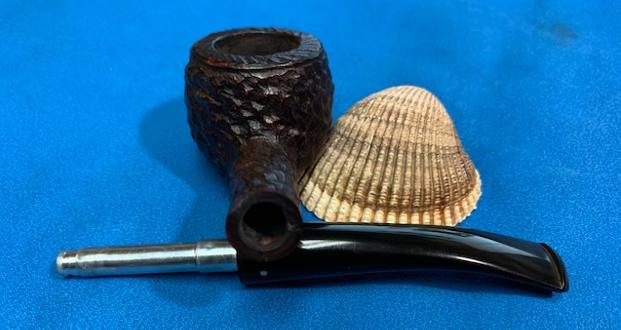
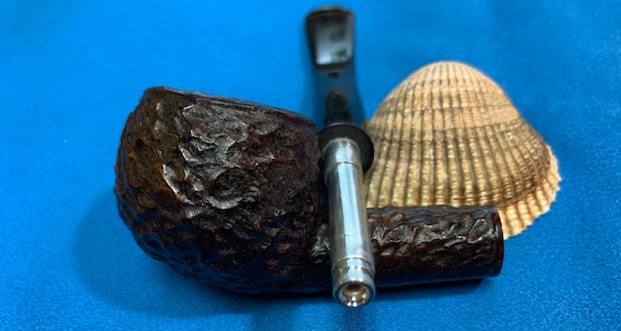
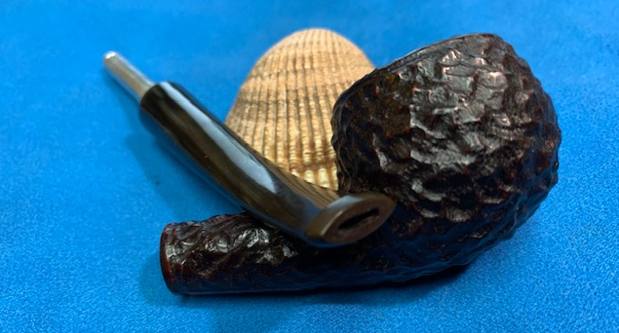
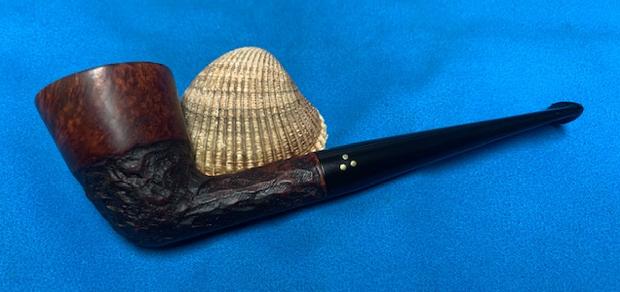
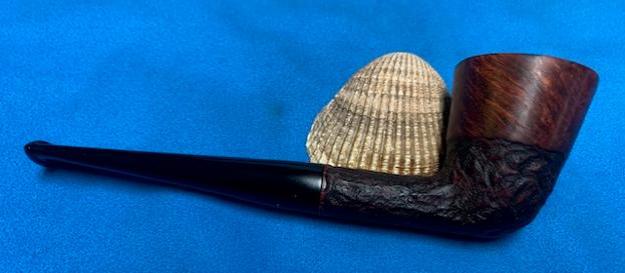
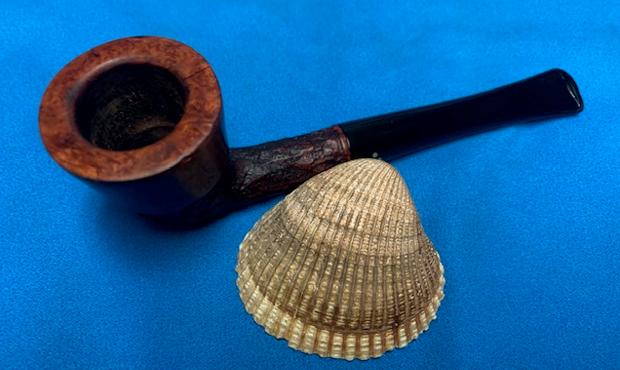
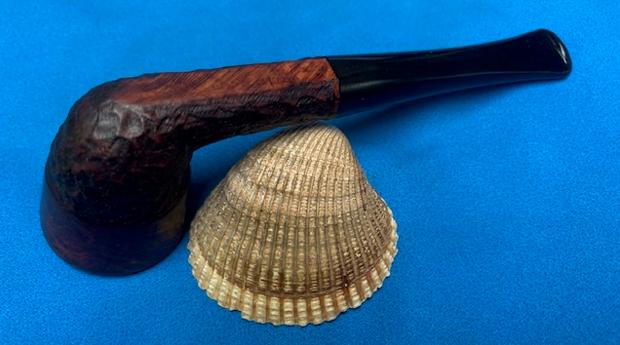
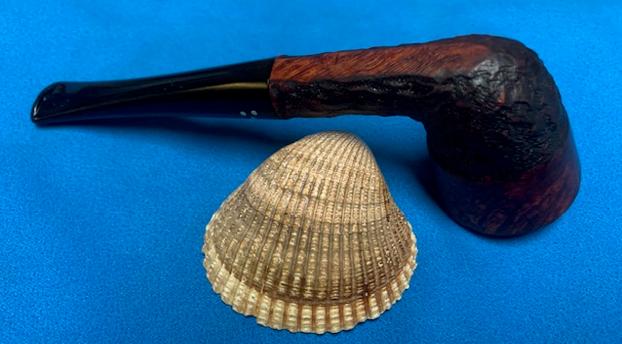
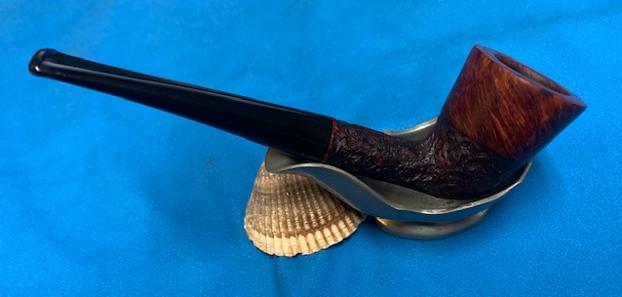
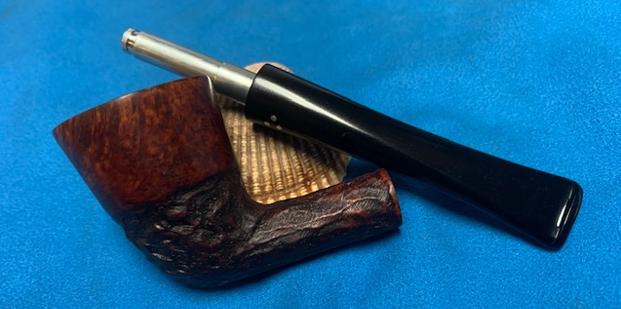
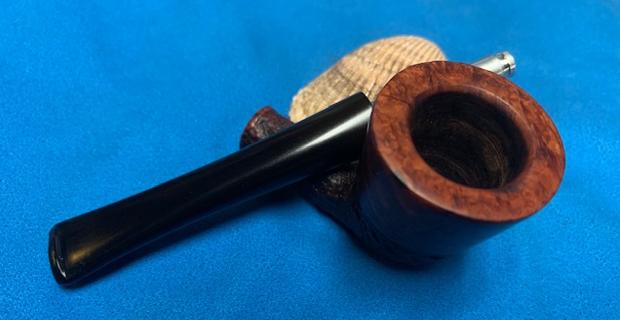
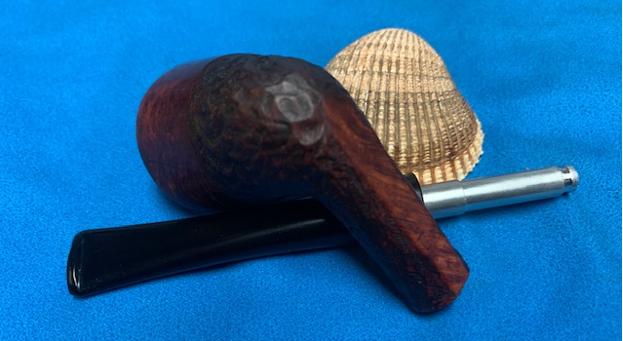
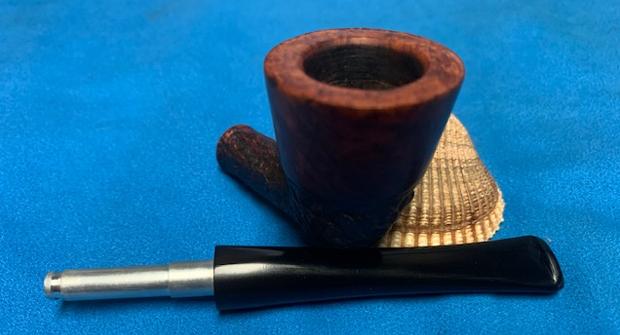
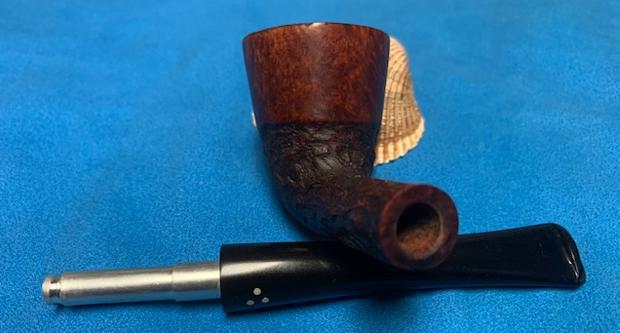
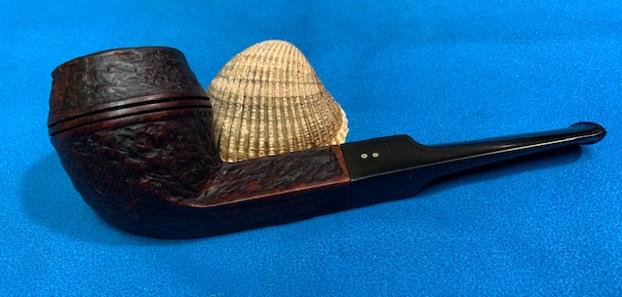
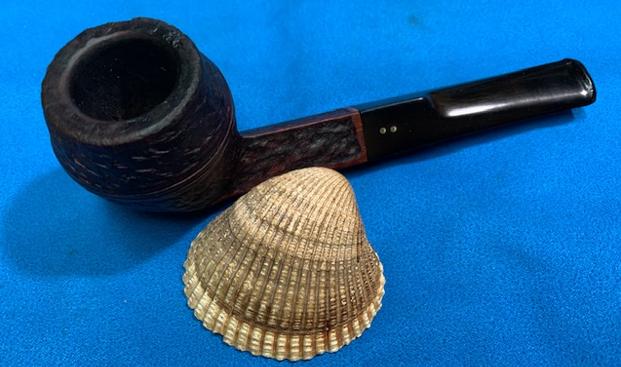
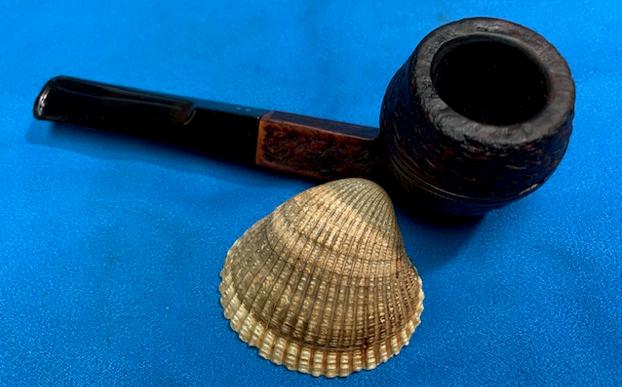
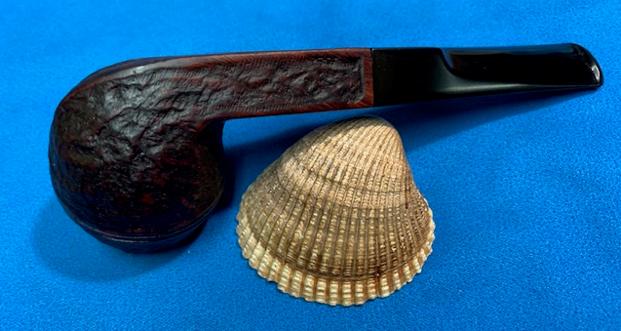
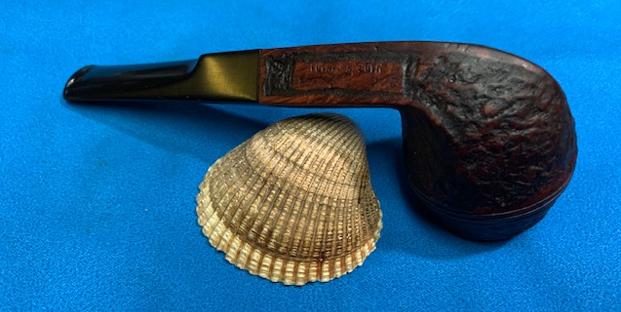
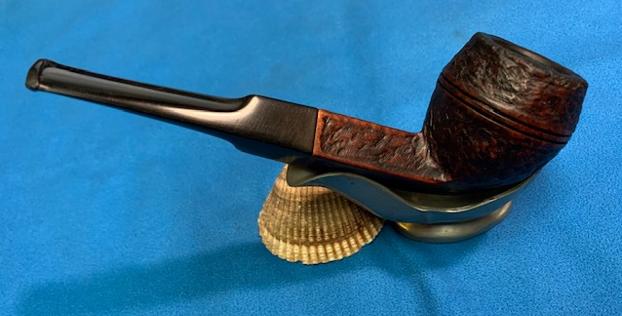
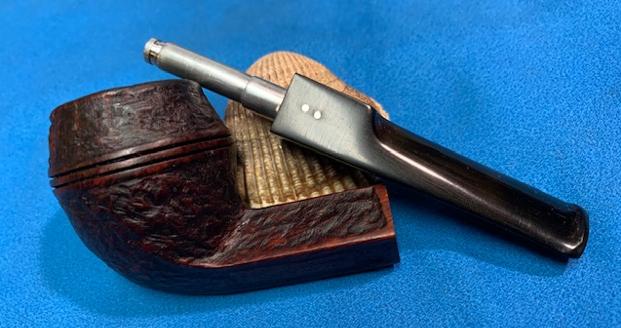
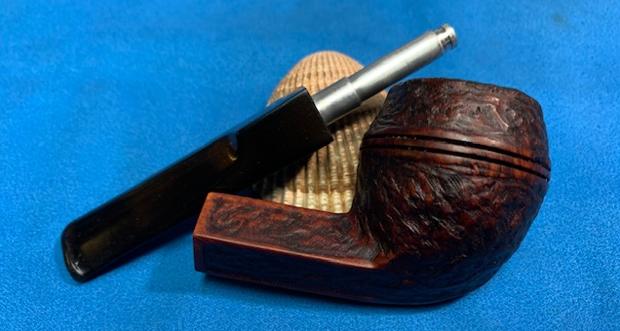
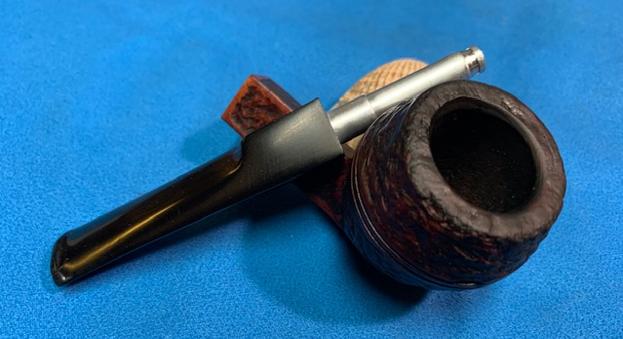
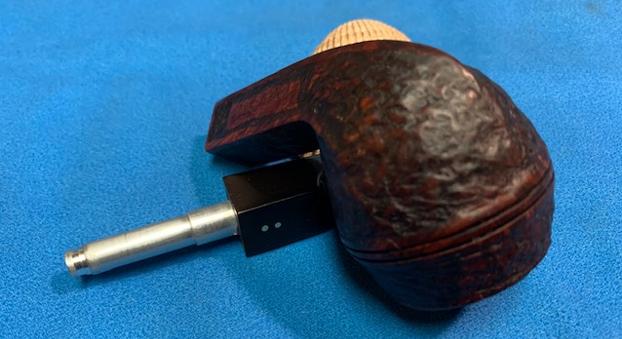
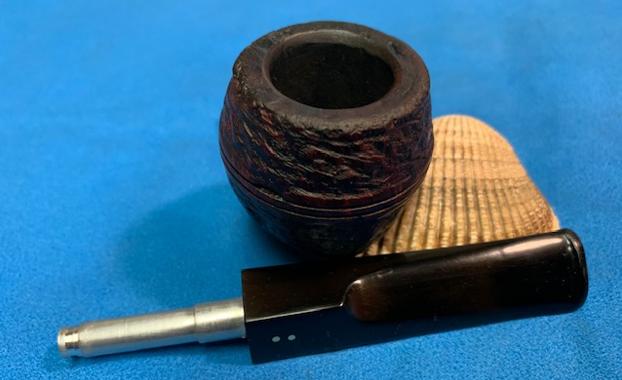
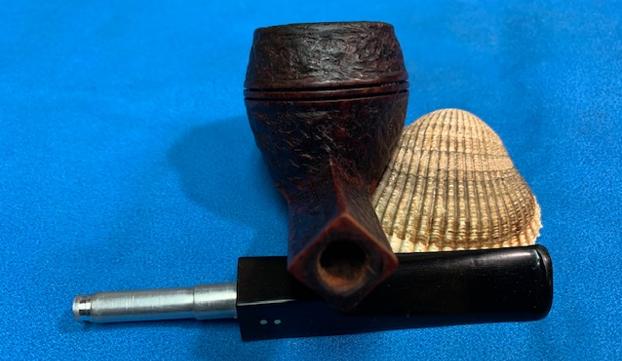
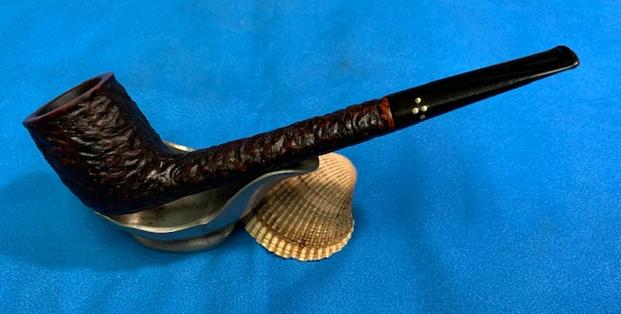
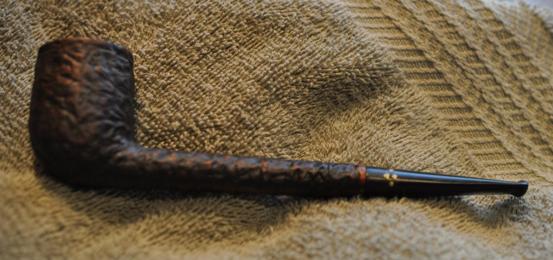
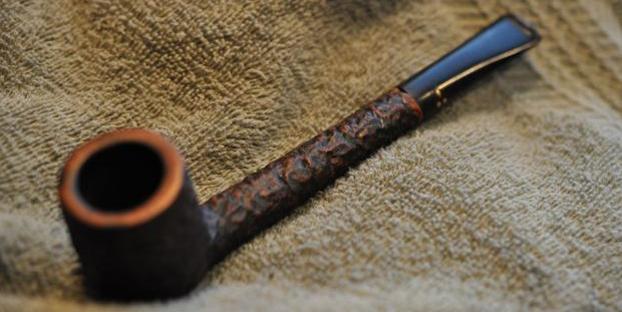
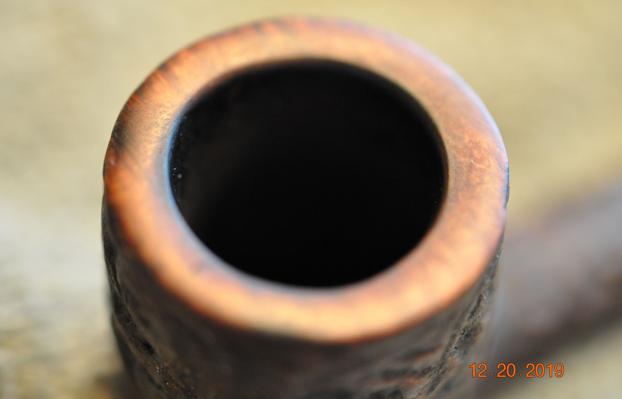
Refreshing a Late Canadian Era Brigham Canada Rusticated 2 Dot Bent Billiard


Blog by Steve Laug

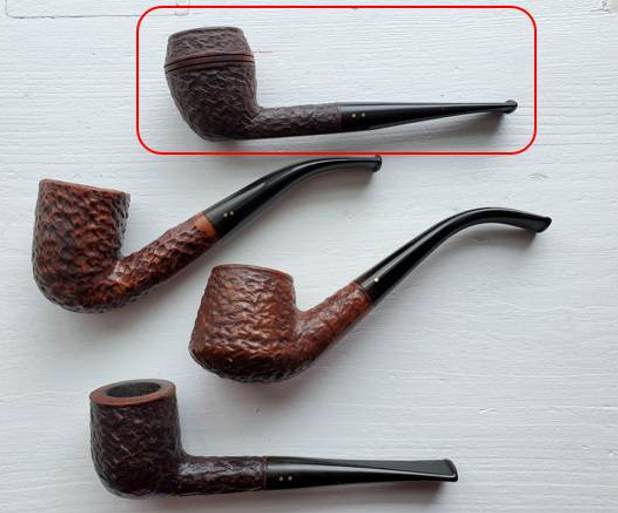
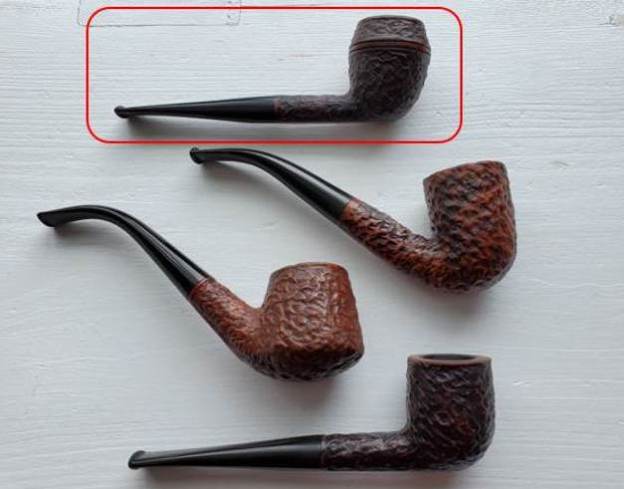
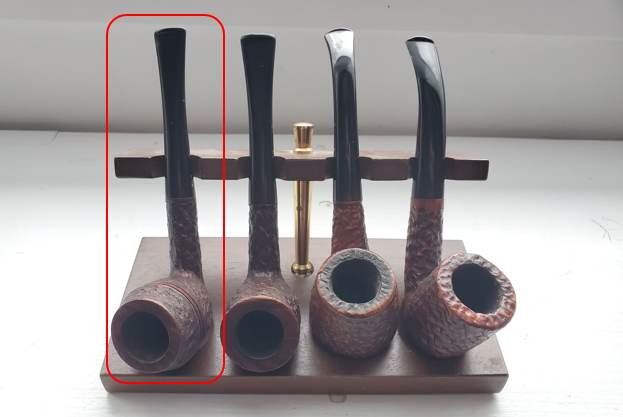
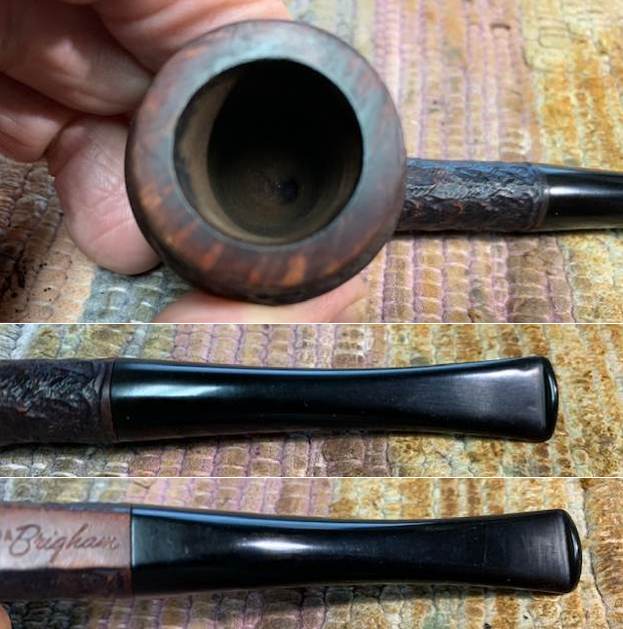
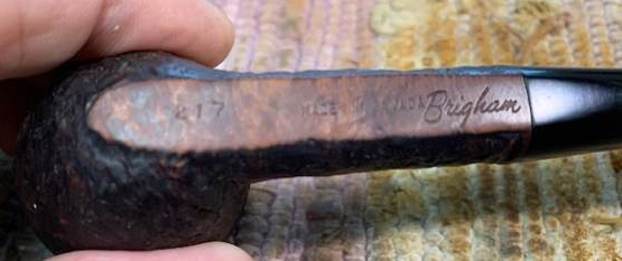
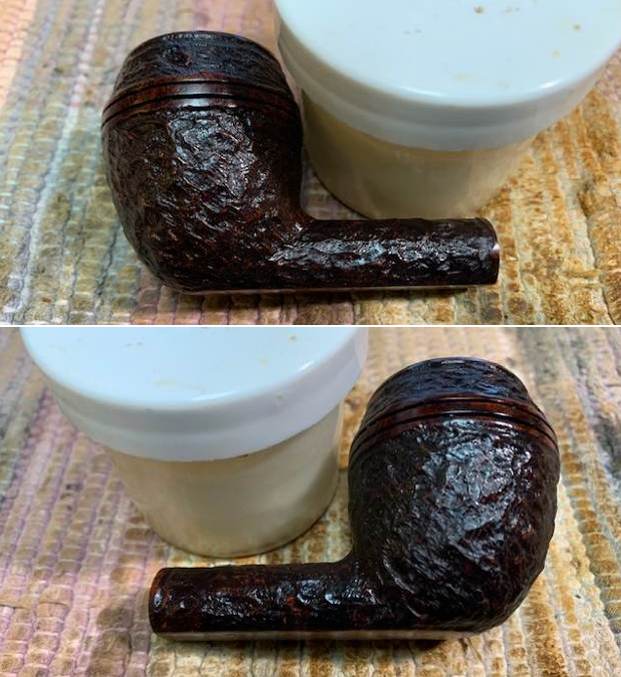
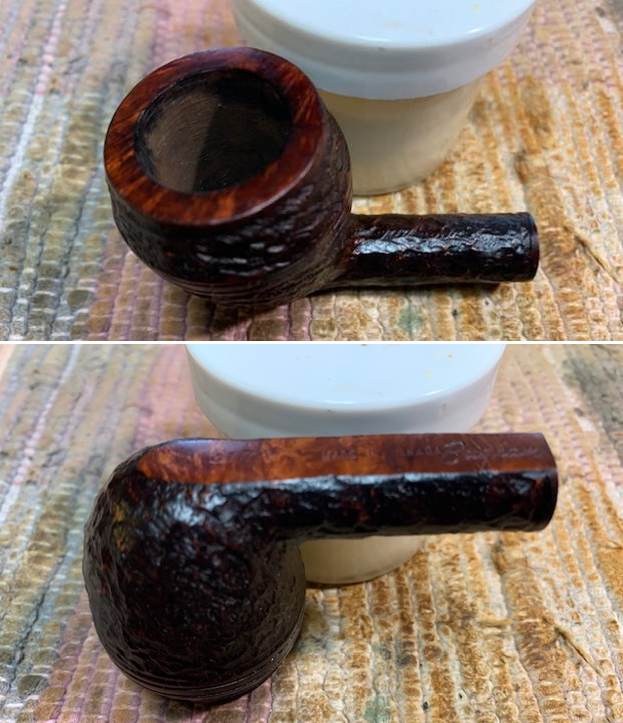
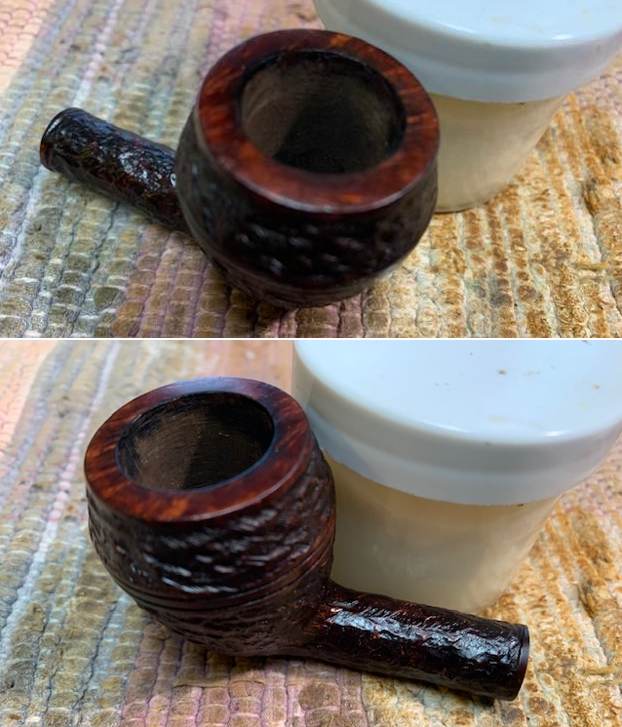
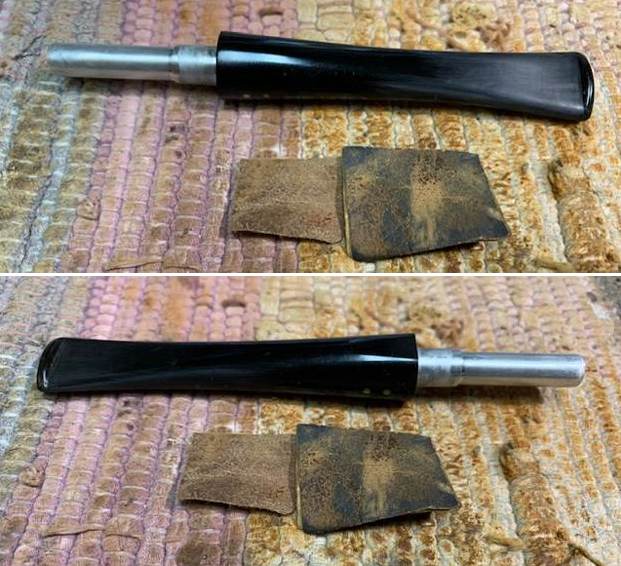
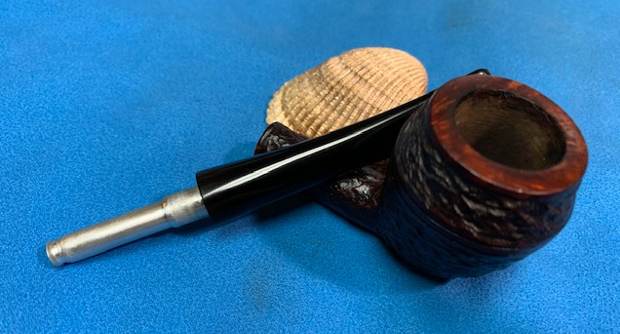
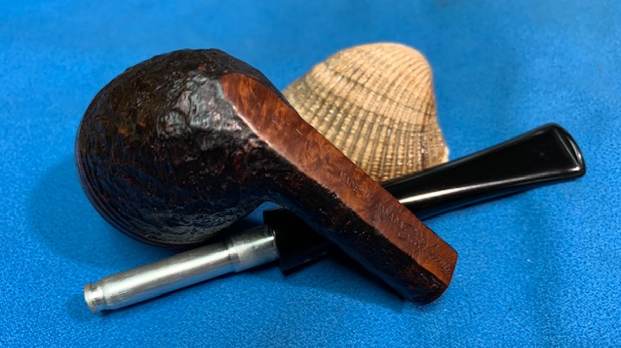
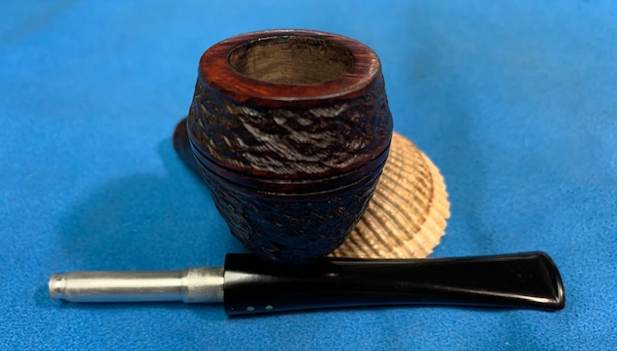
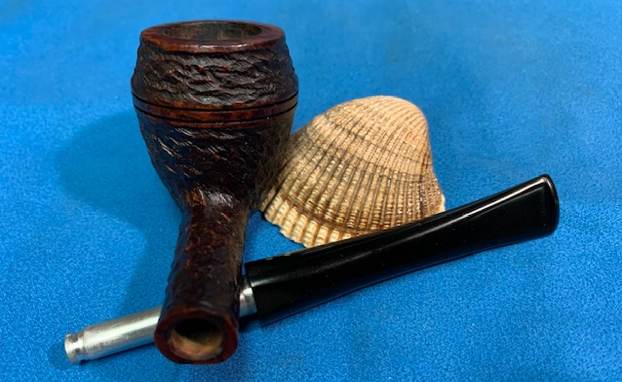
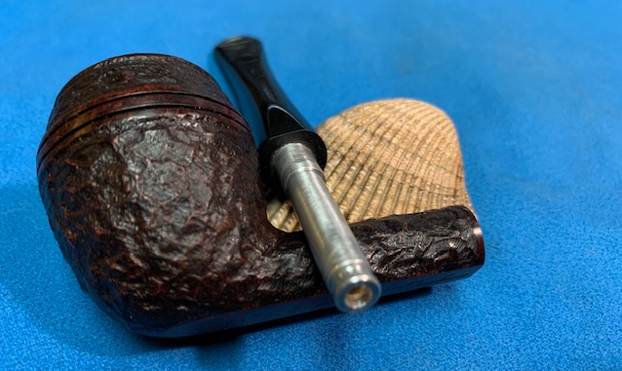
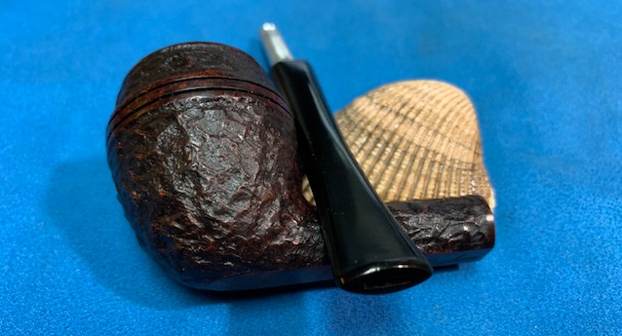
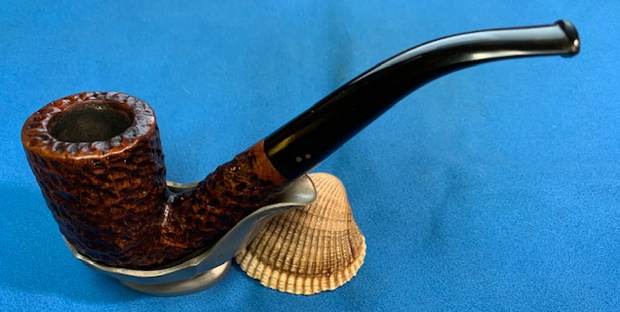
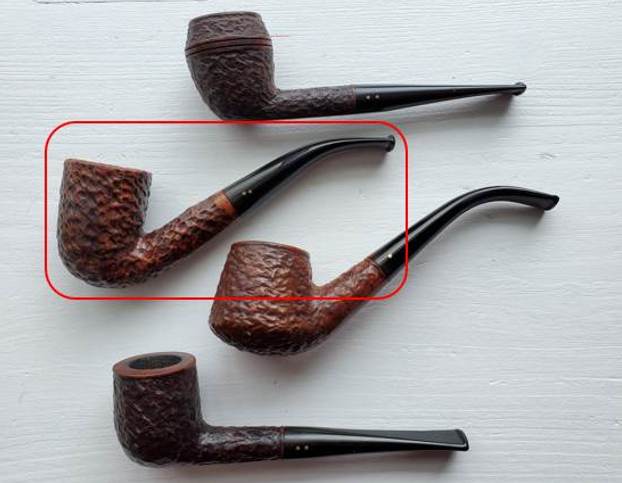
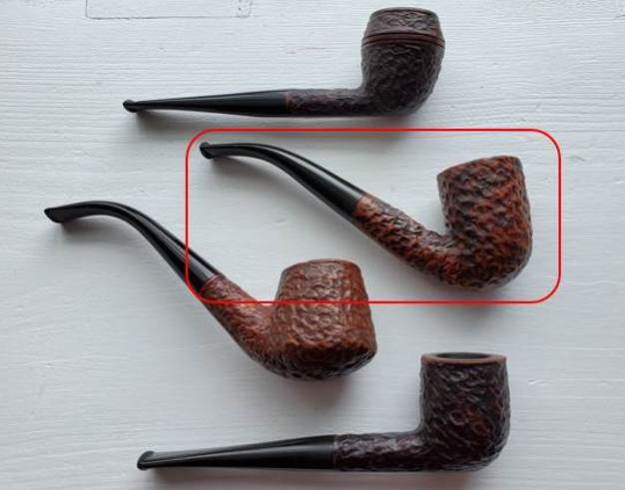
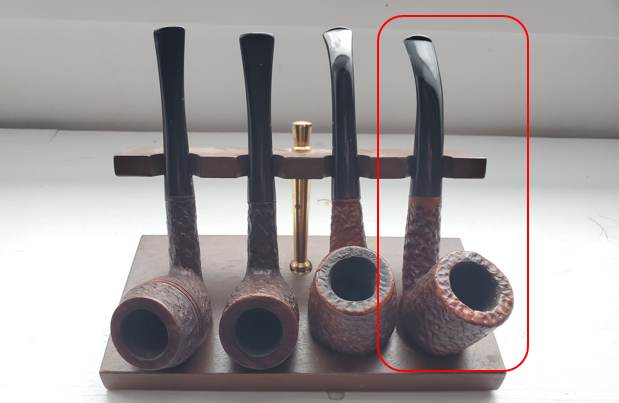
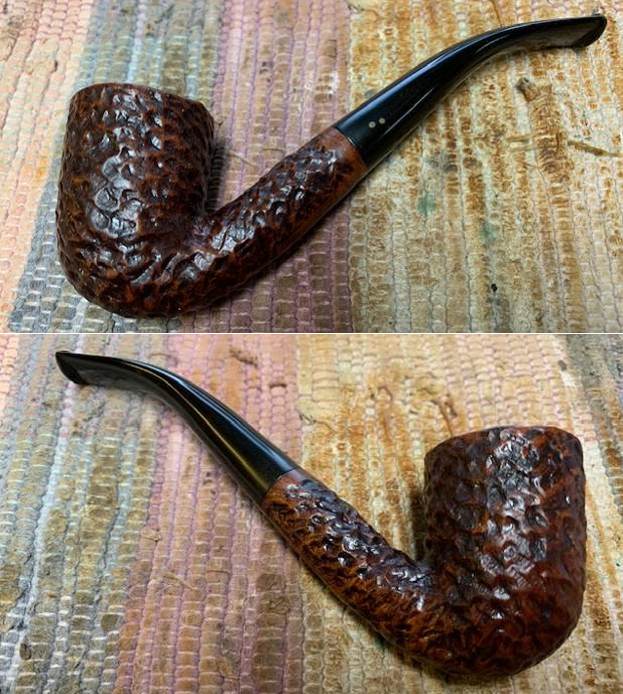
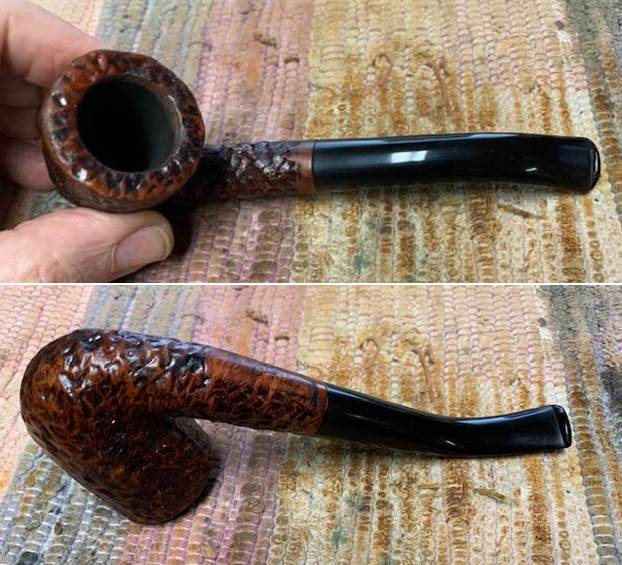
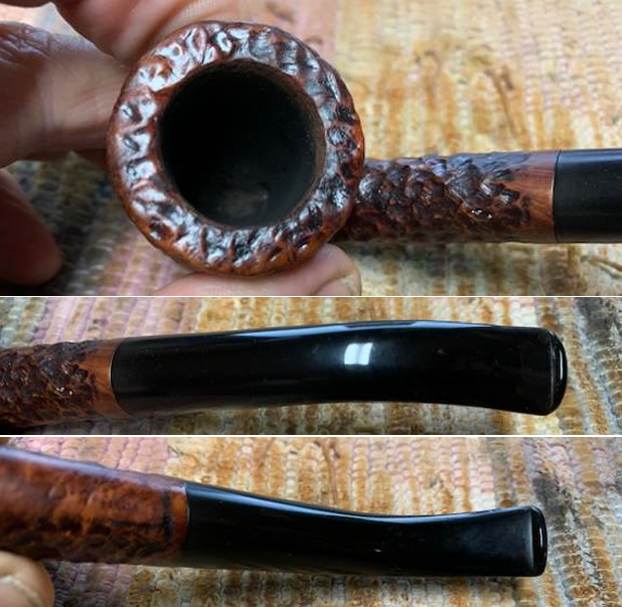
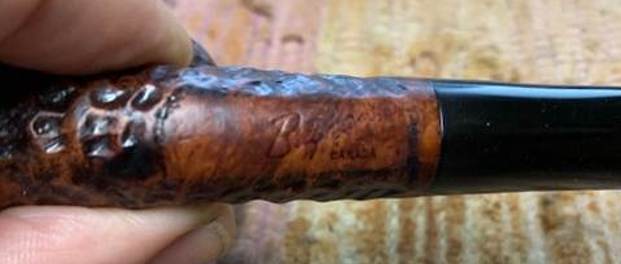
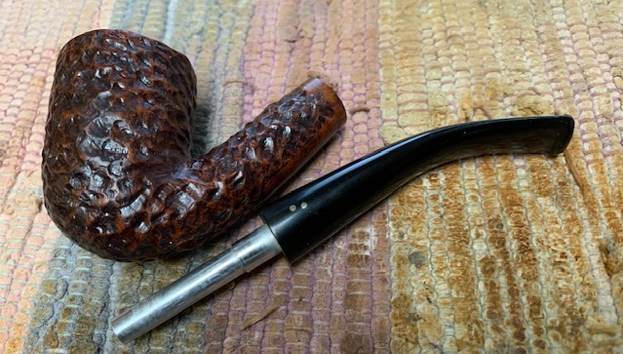
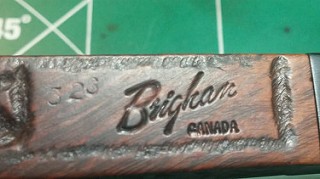
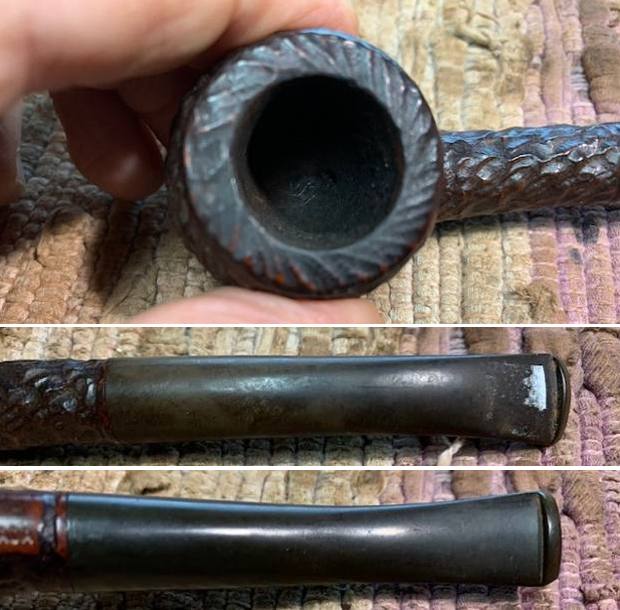
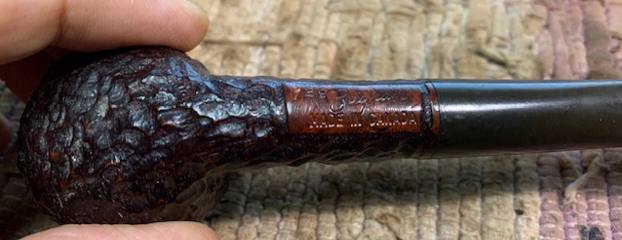
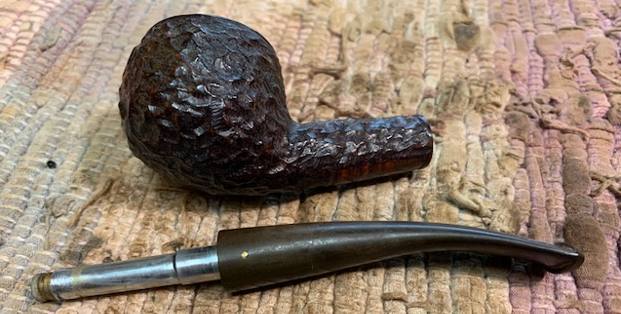
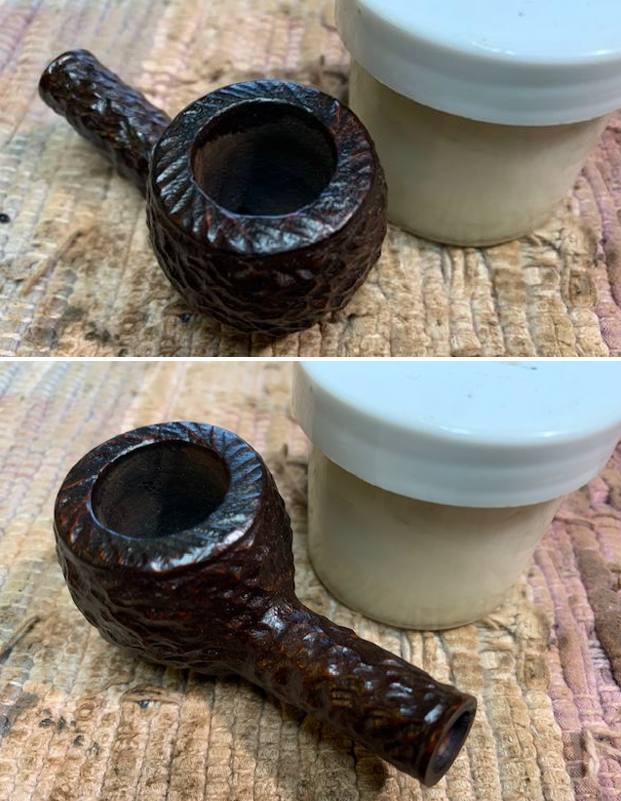
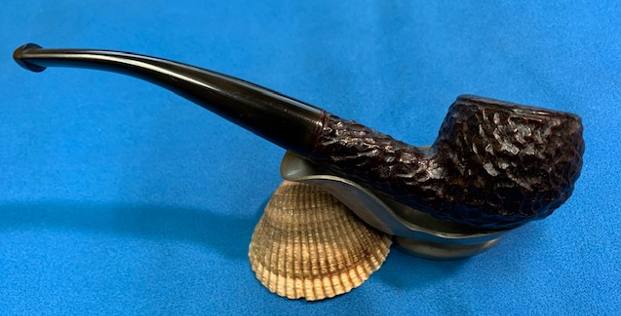
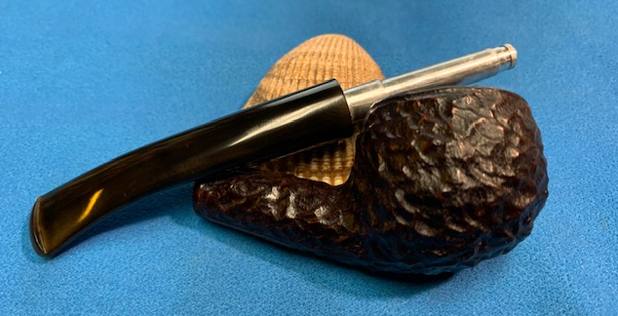
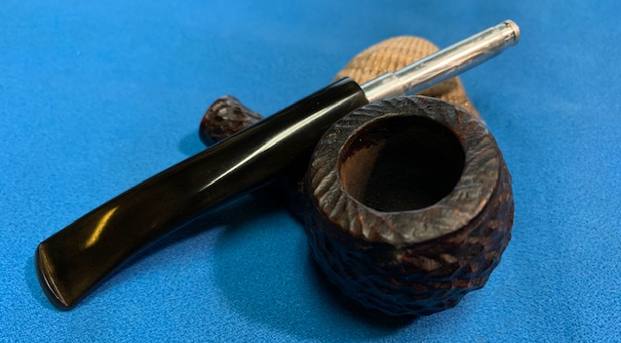
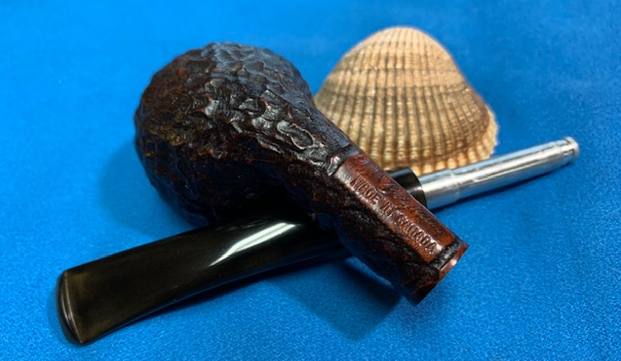
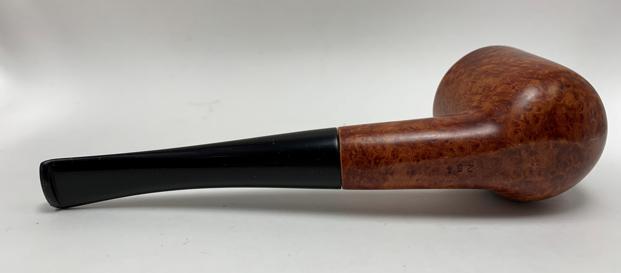
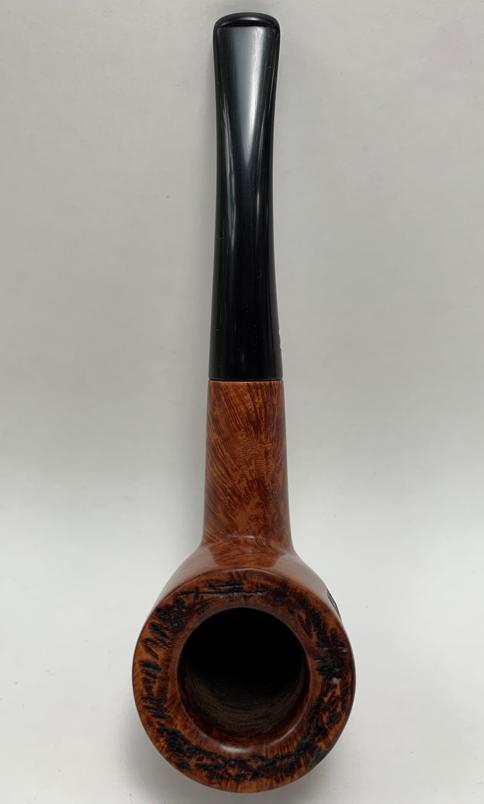
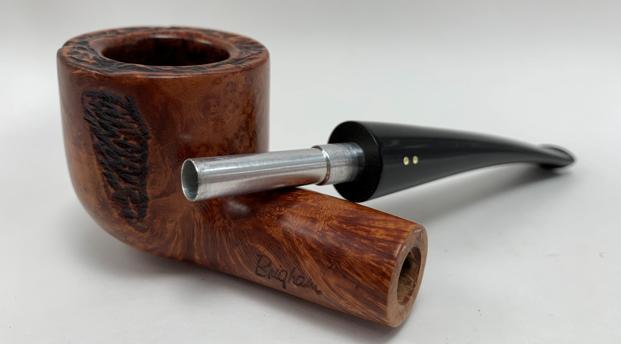
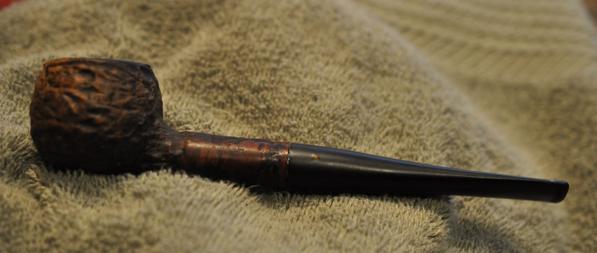
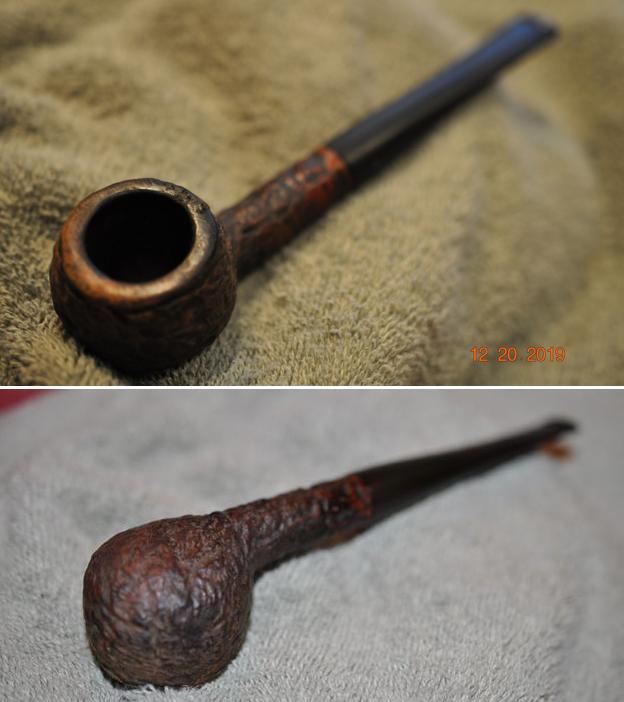
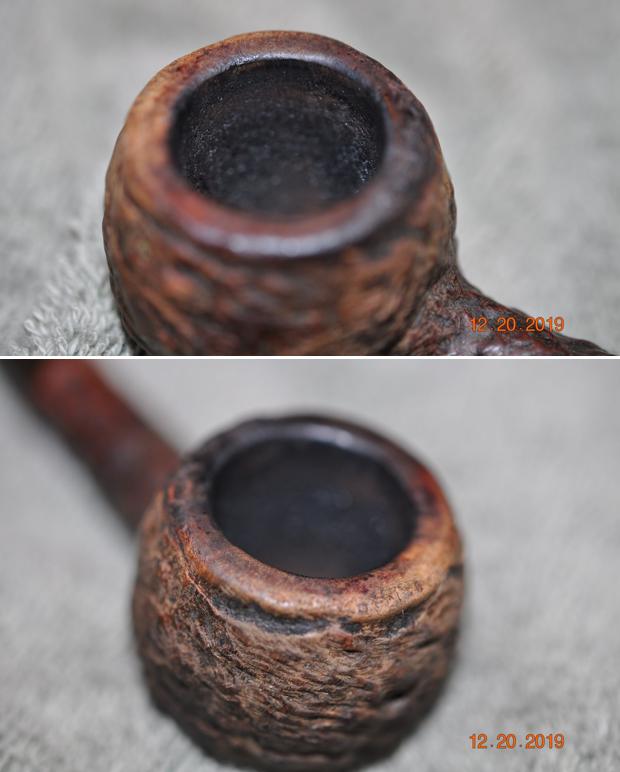
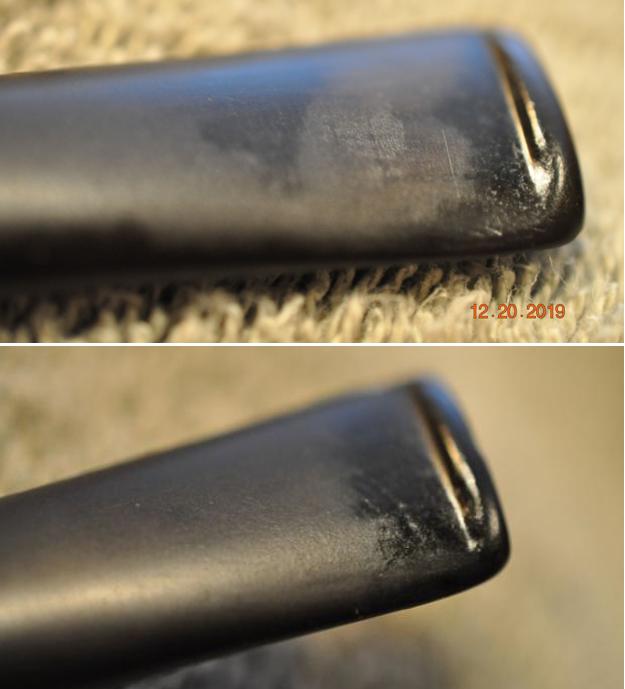
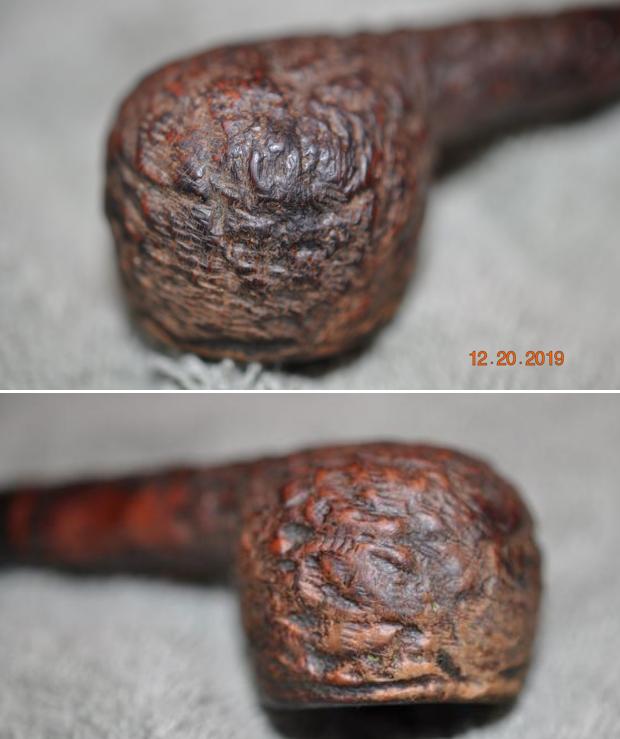
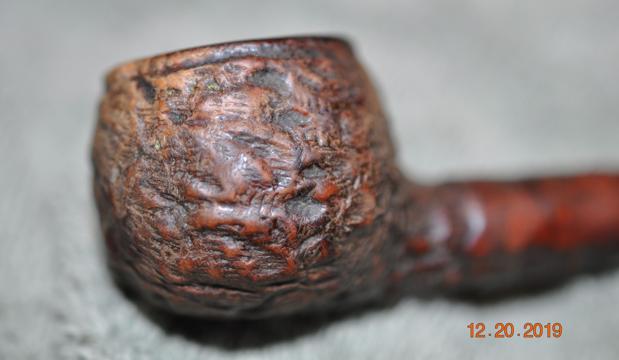
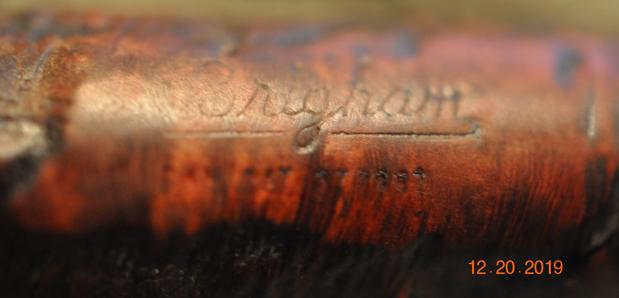
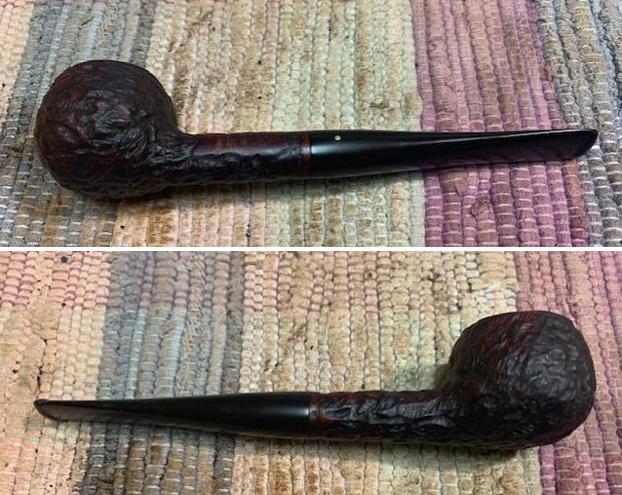
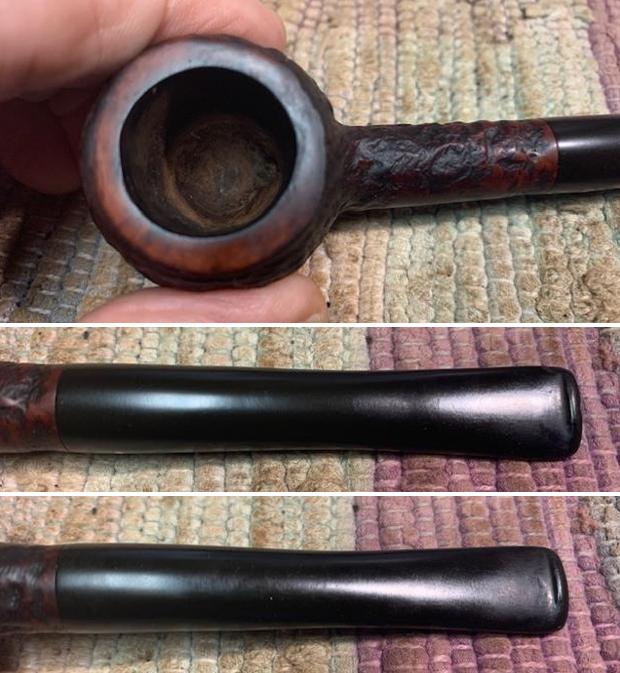
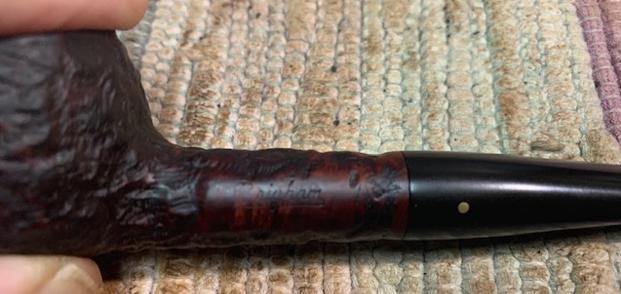
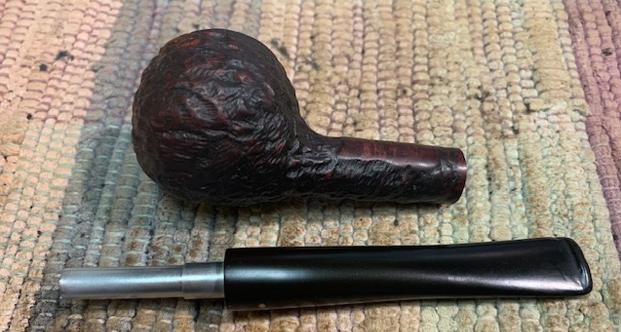
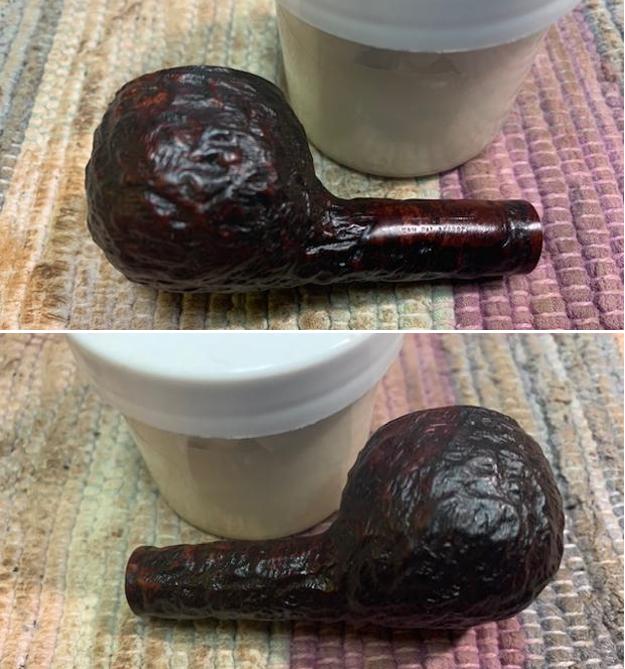
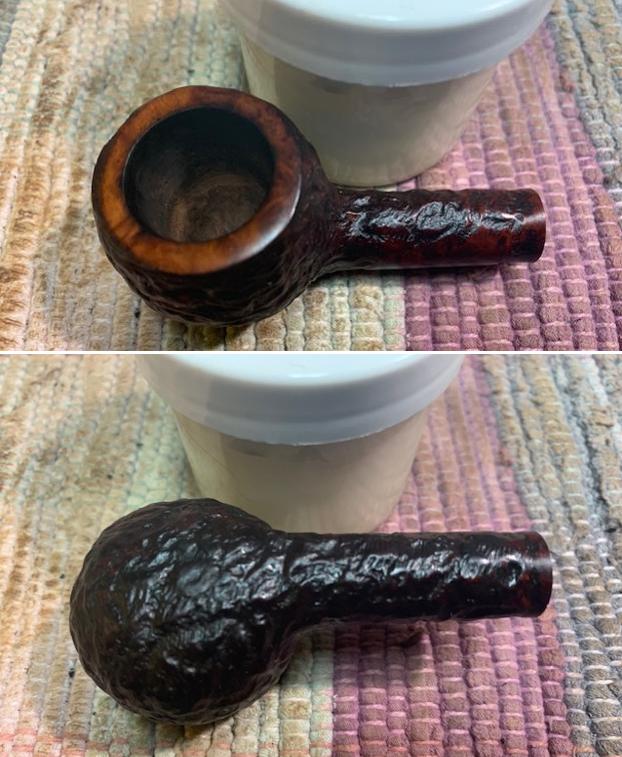
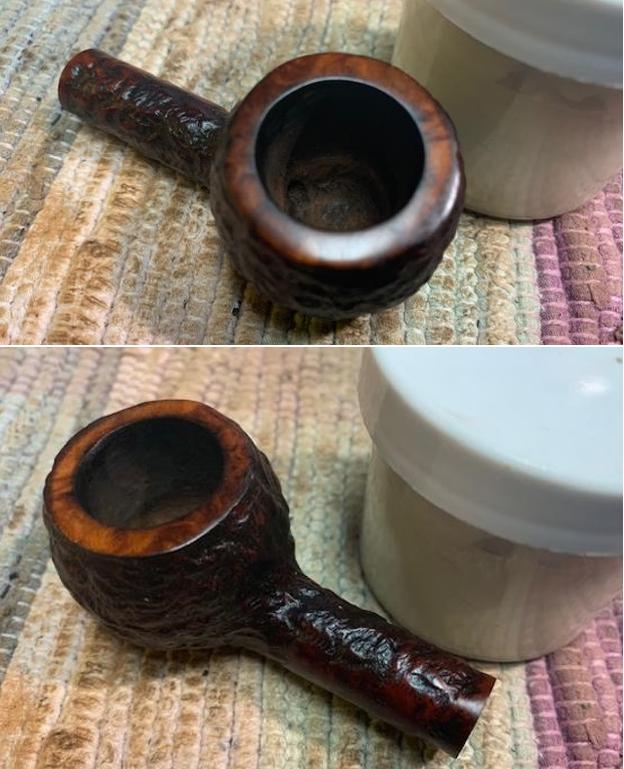
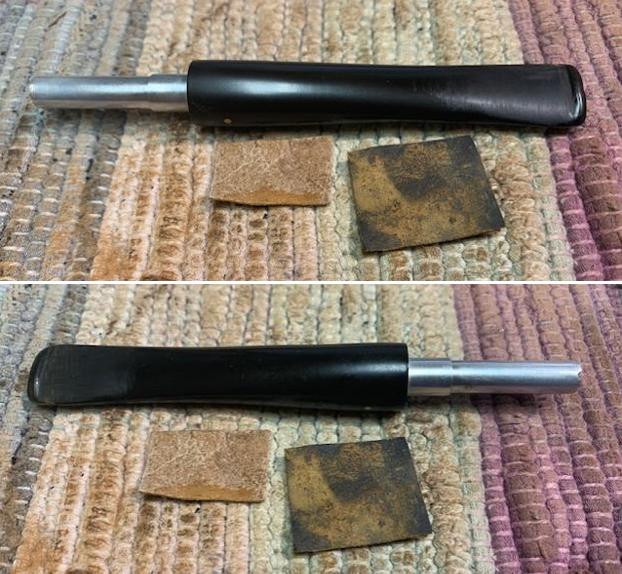
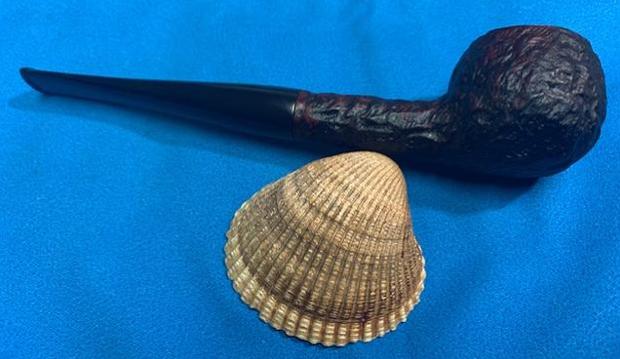
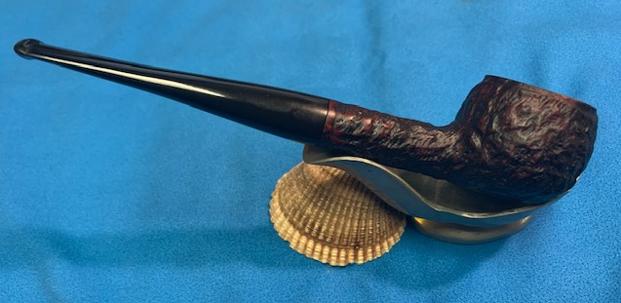
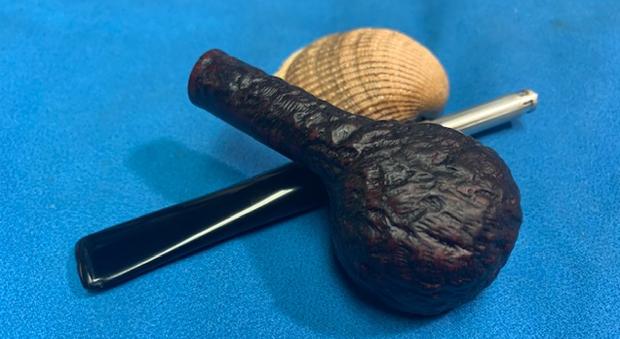
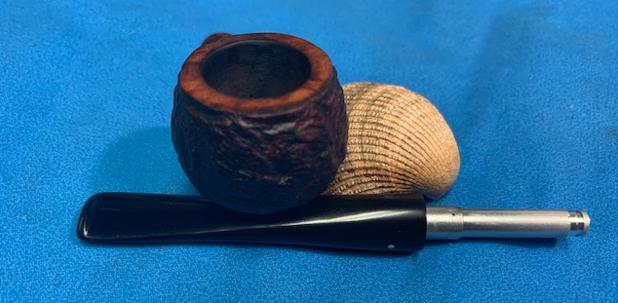
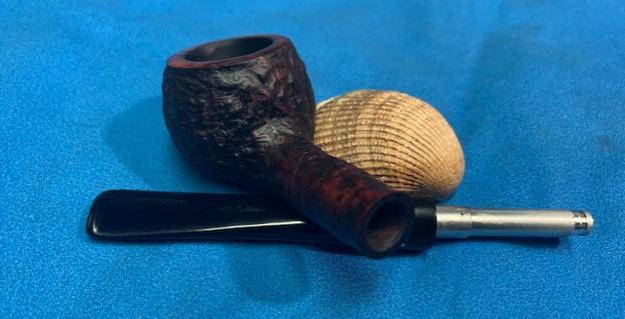
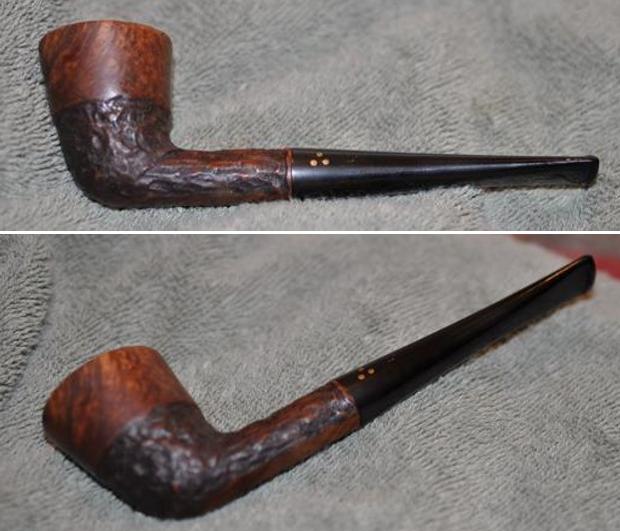
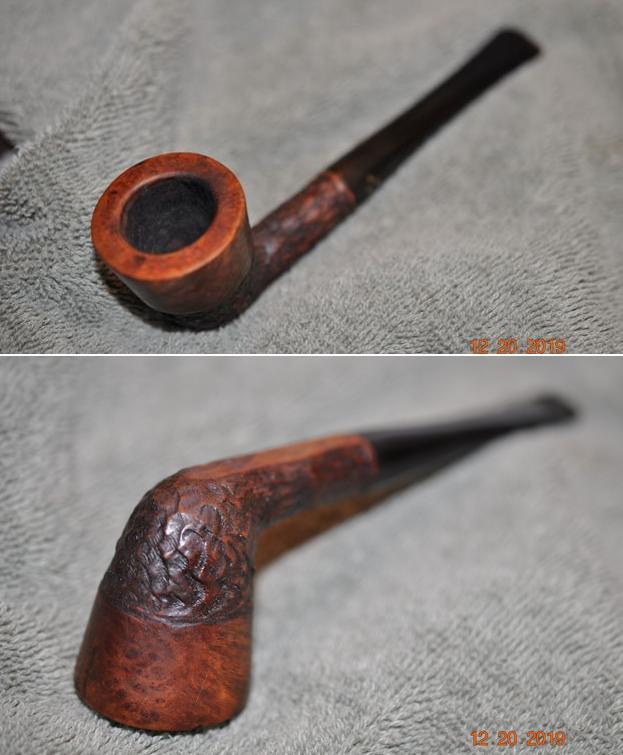
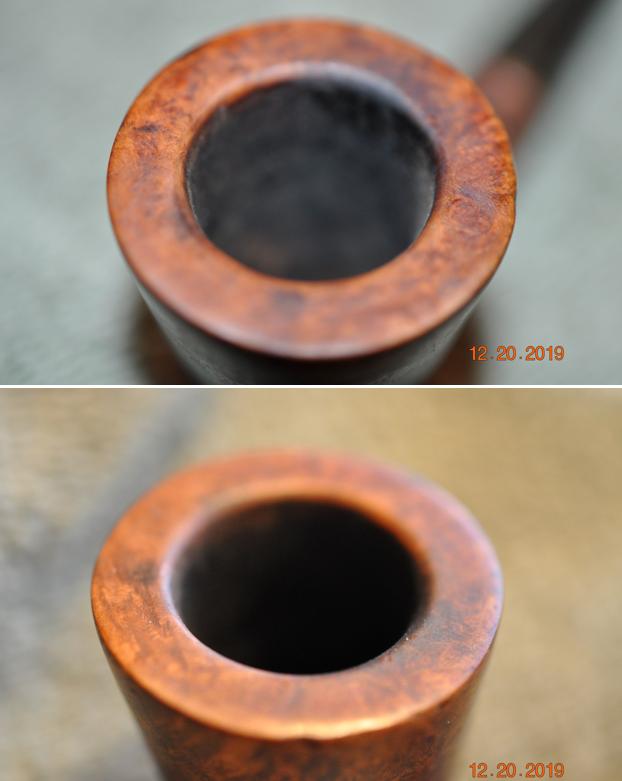
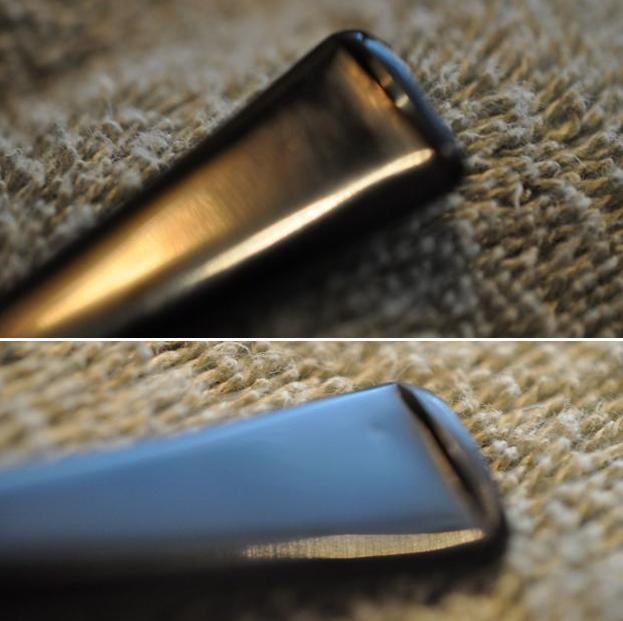
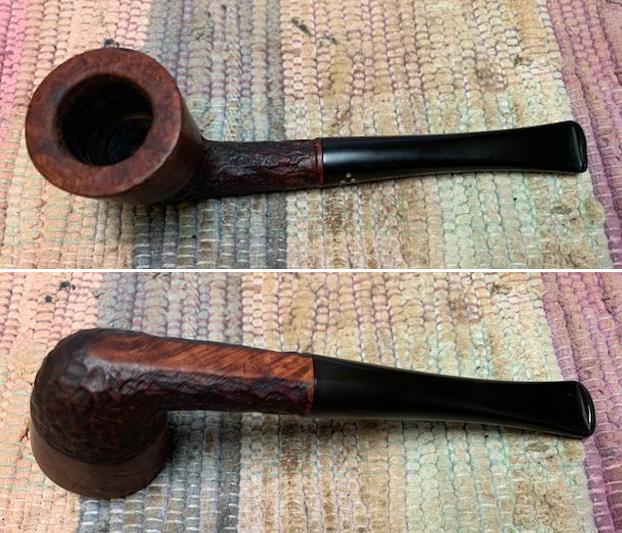
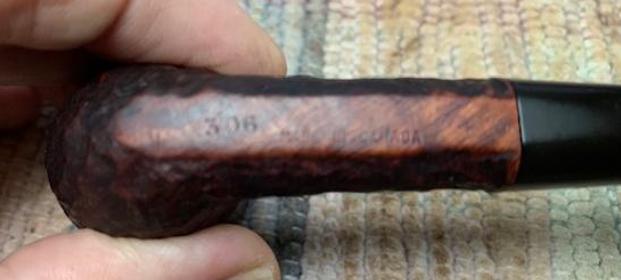
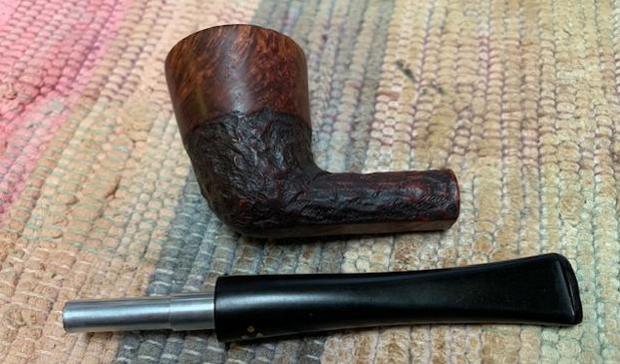
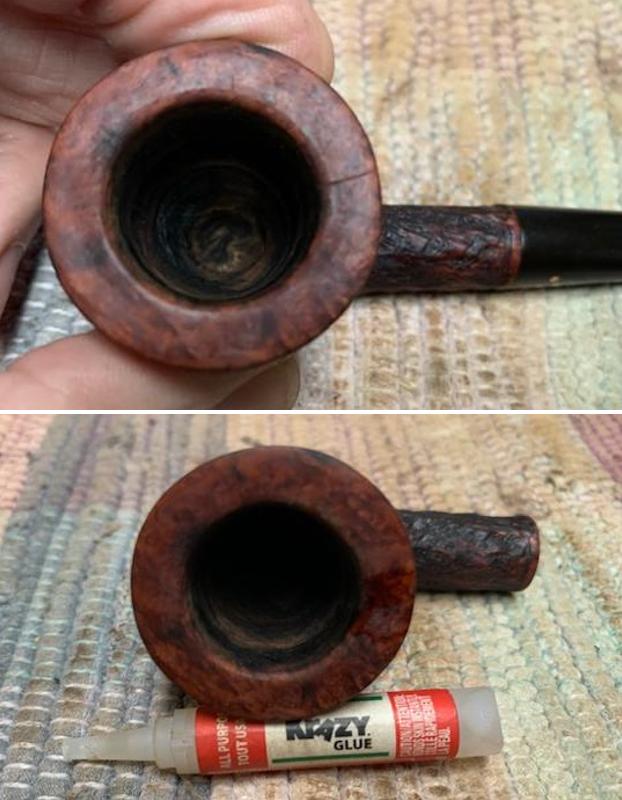
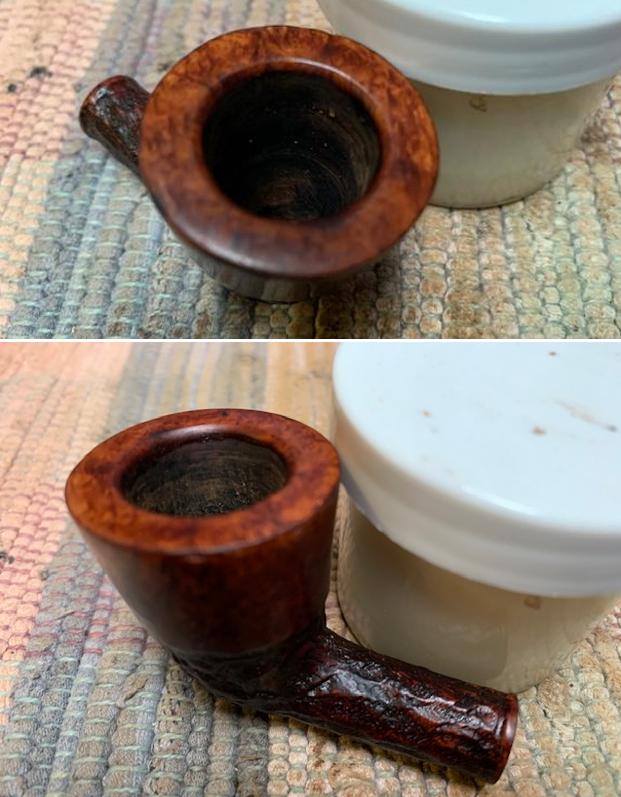
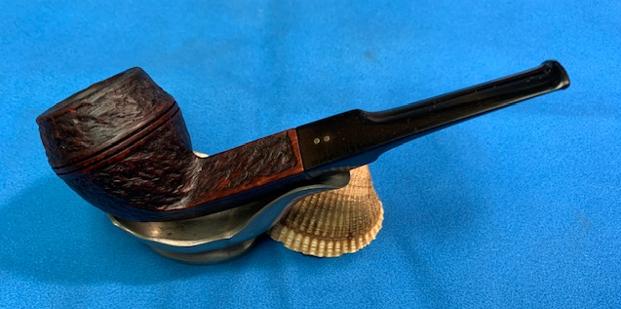
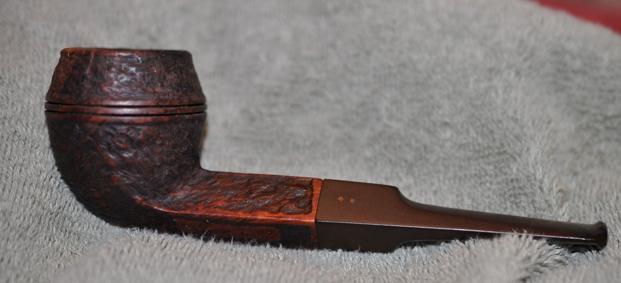
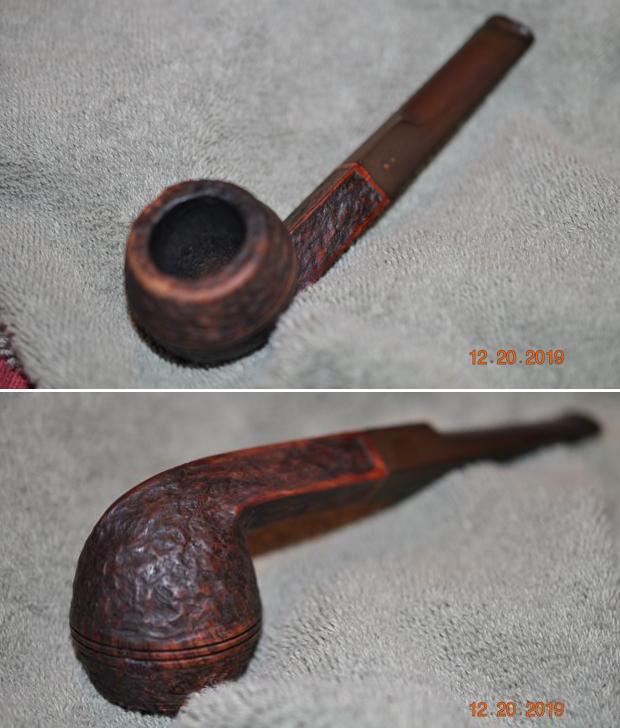
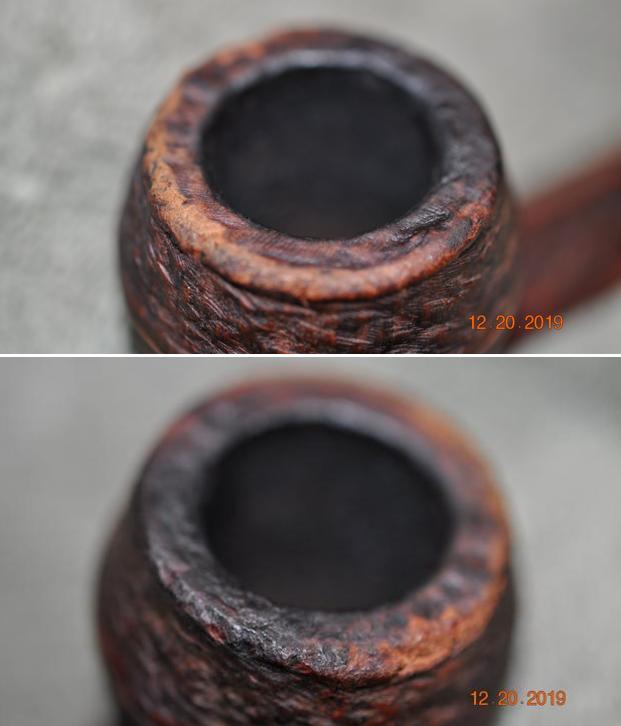
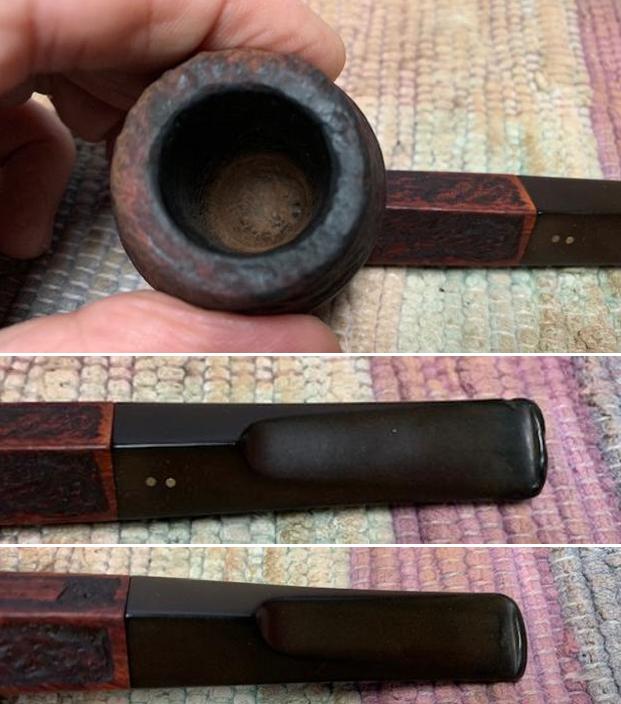
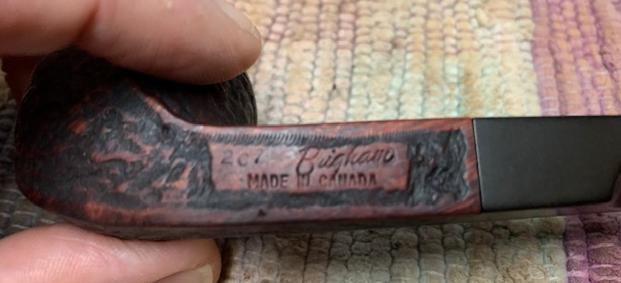
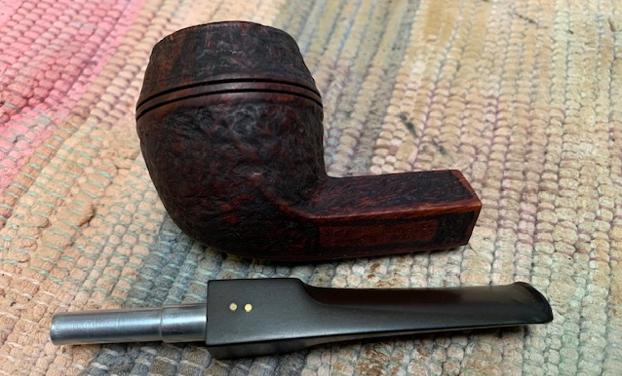
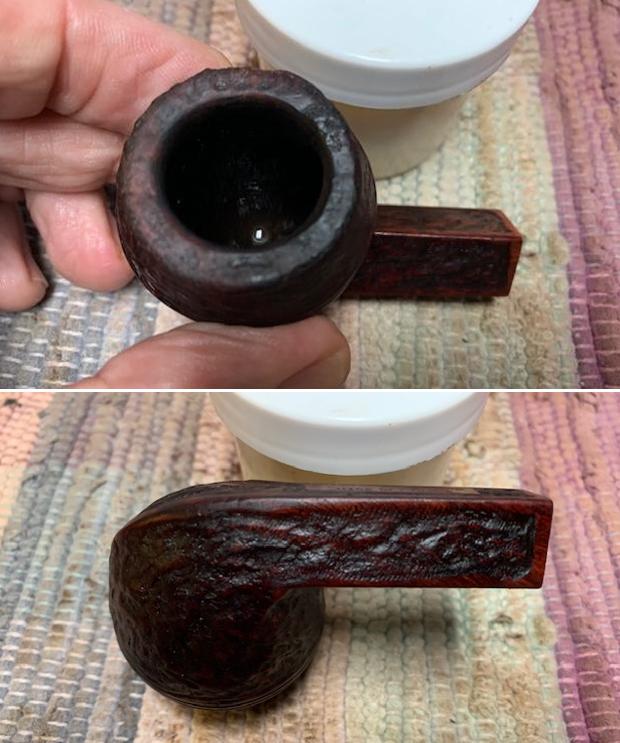
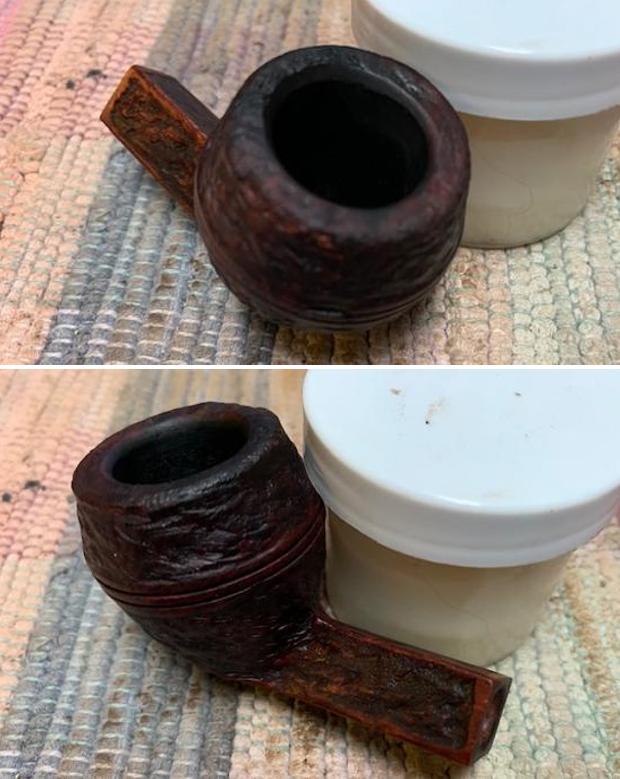
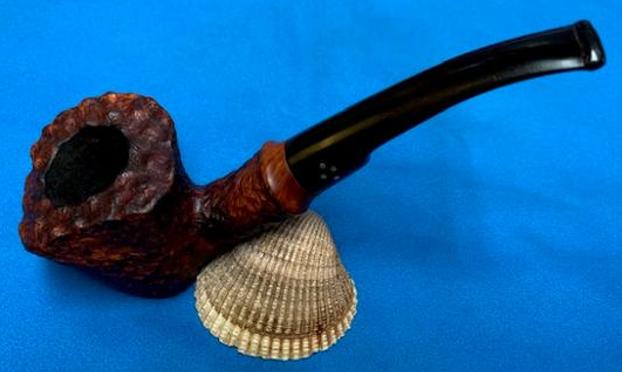
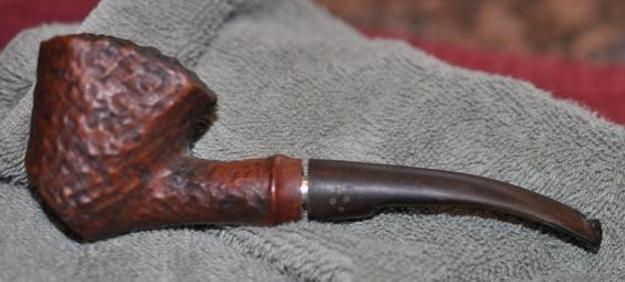
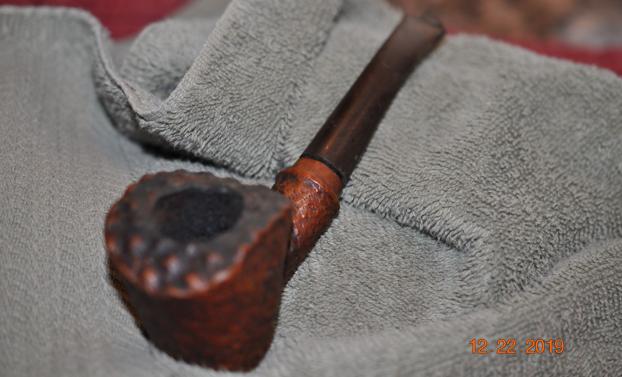
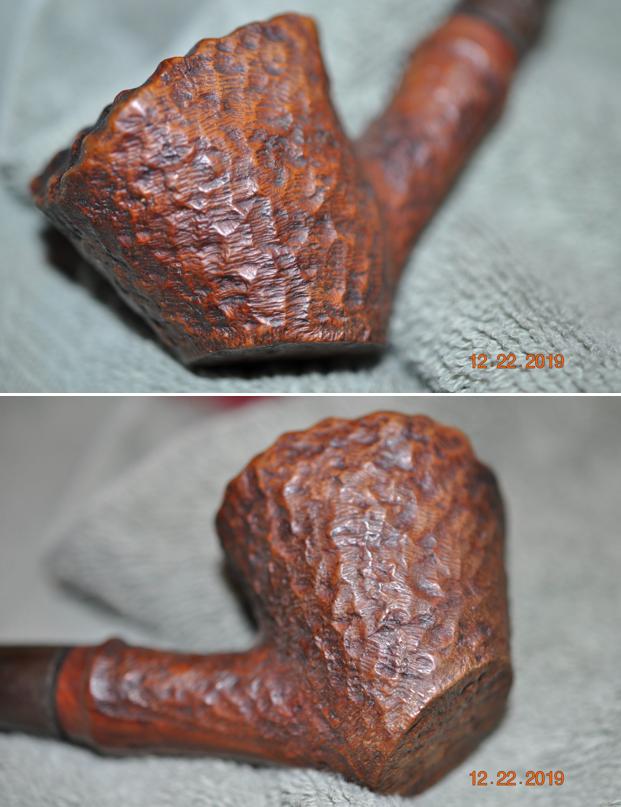
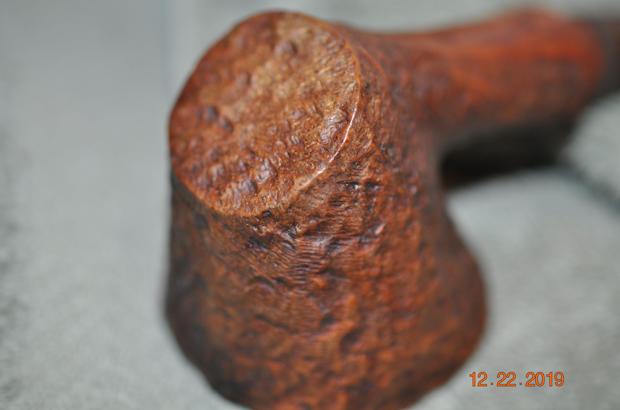
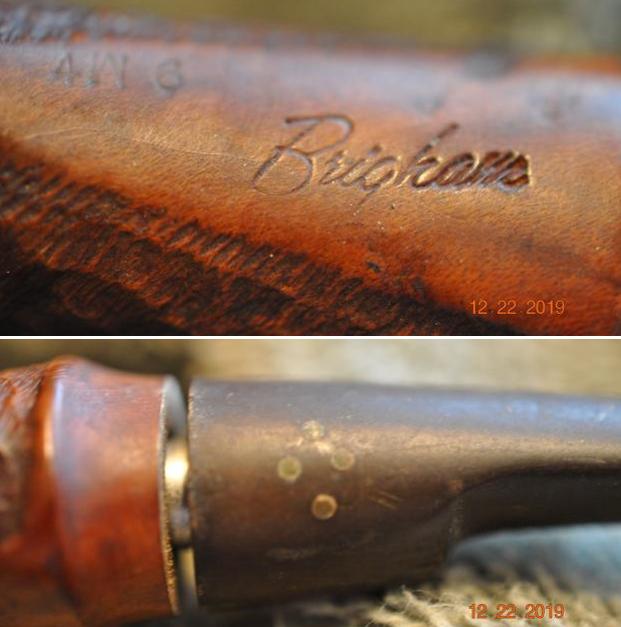
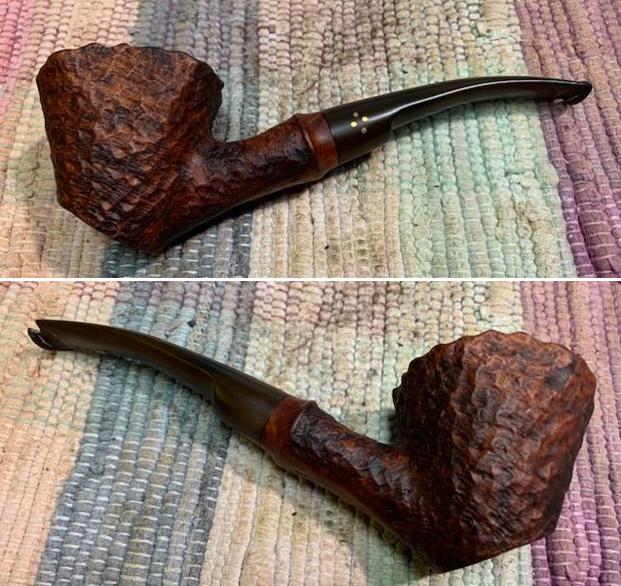
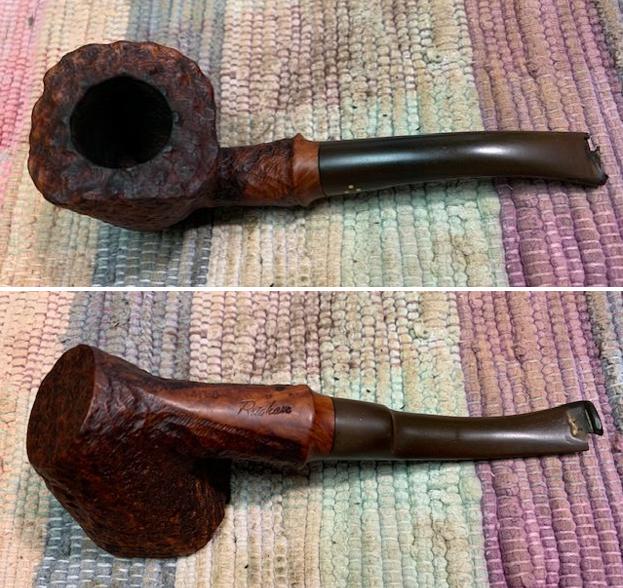
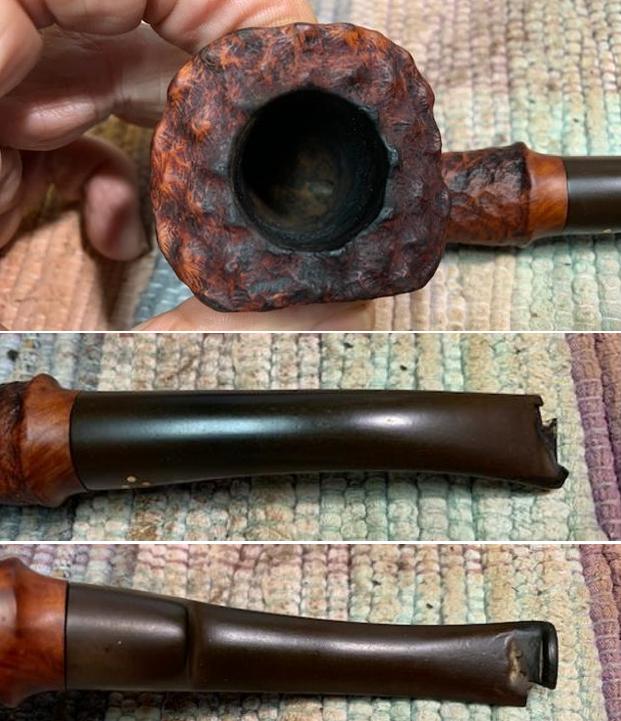
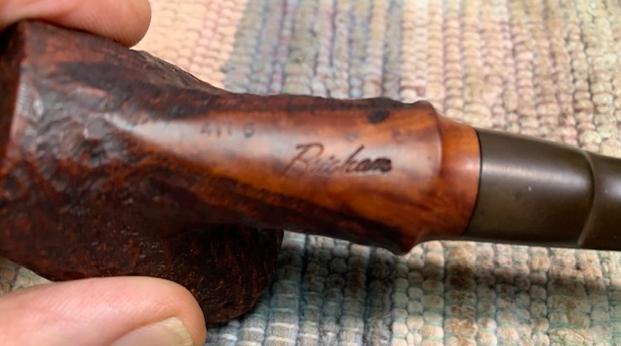
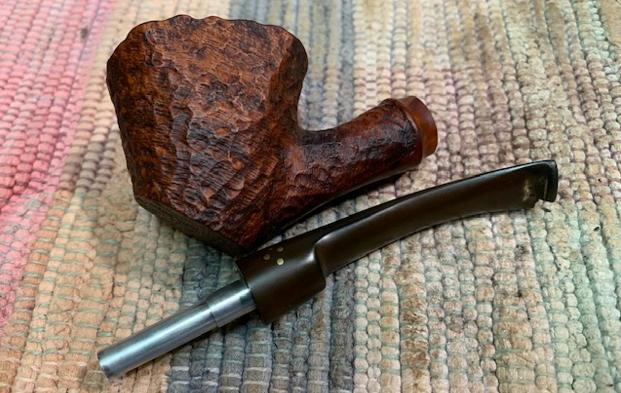
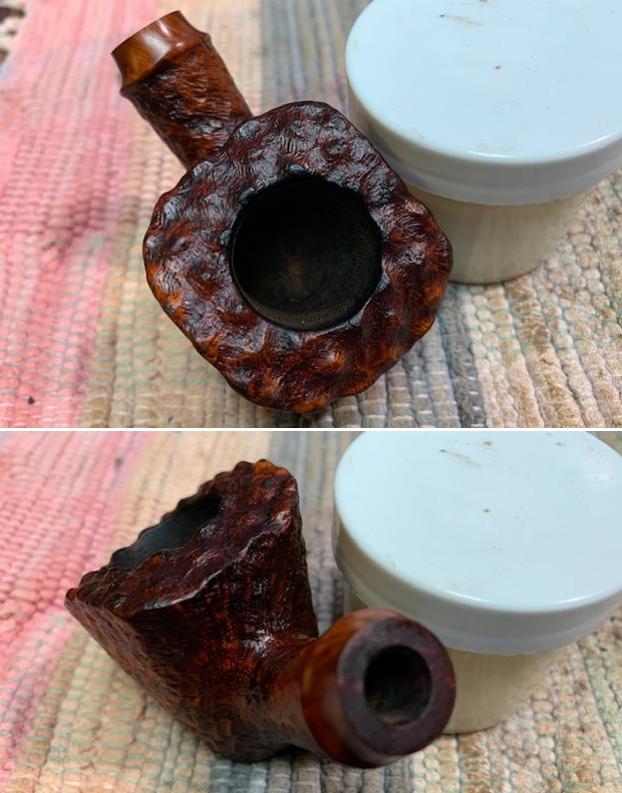
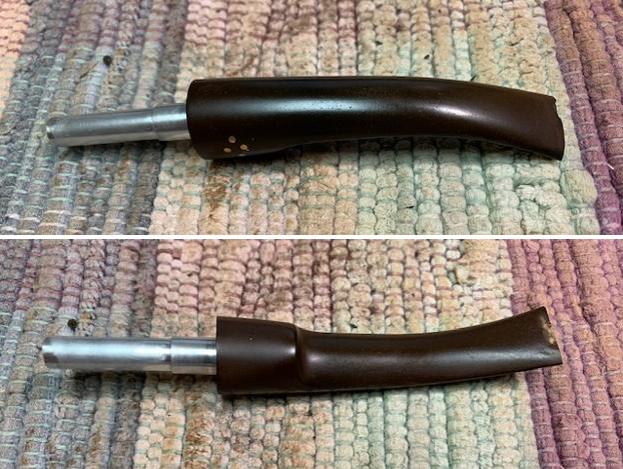
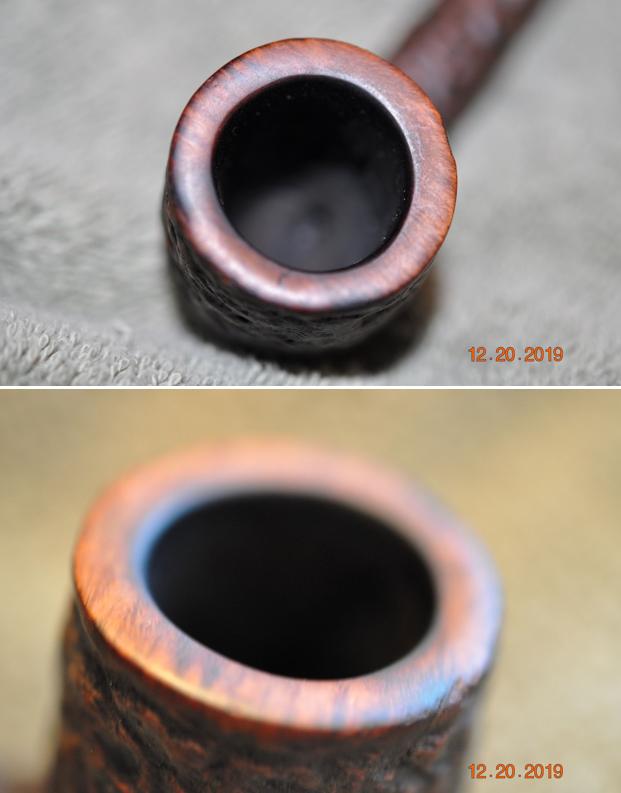
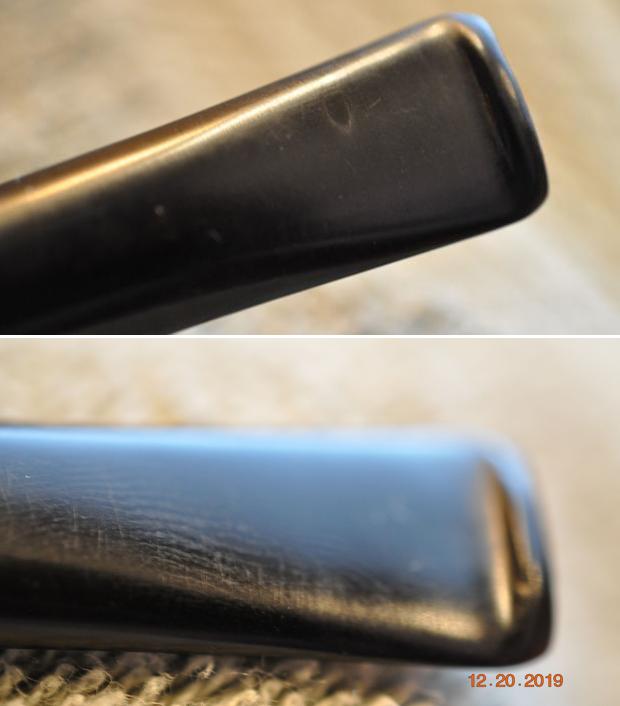
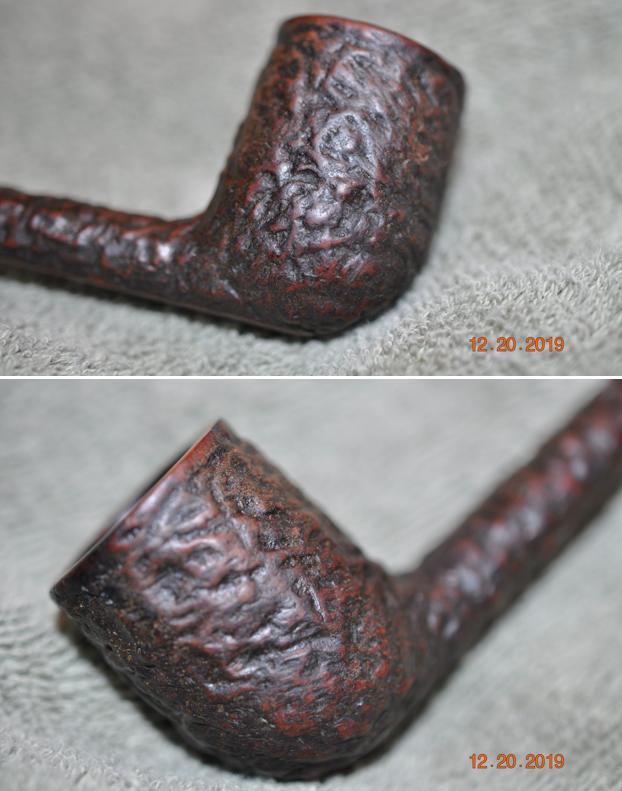
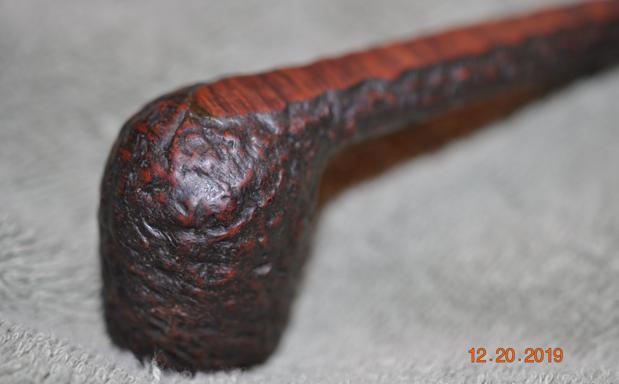
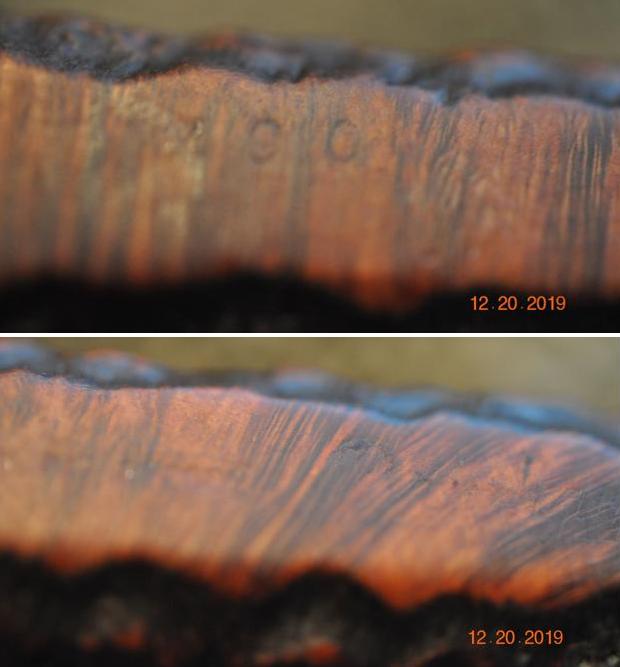
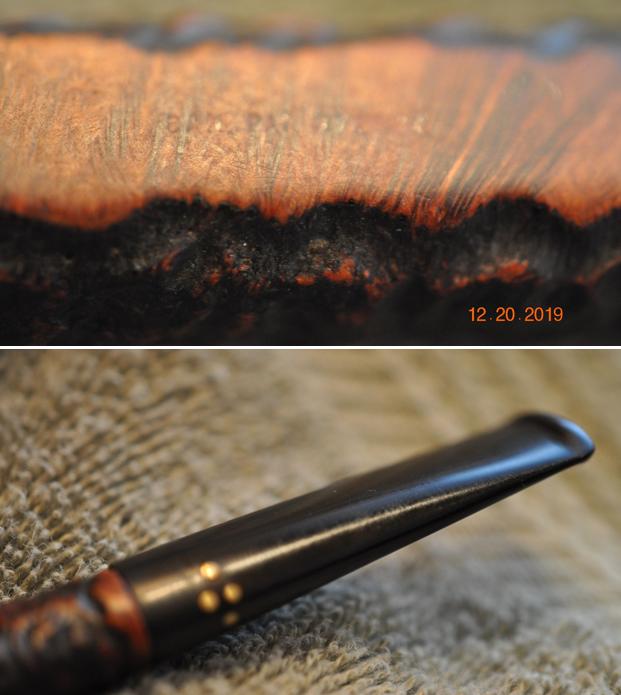
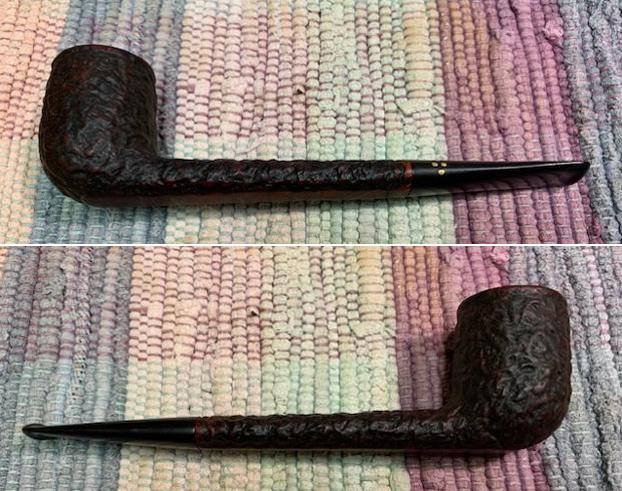
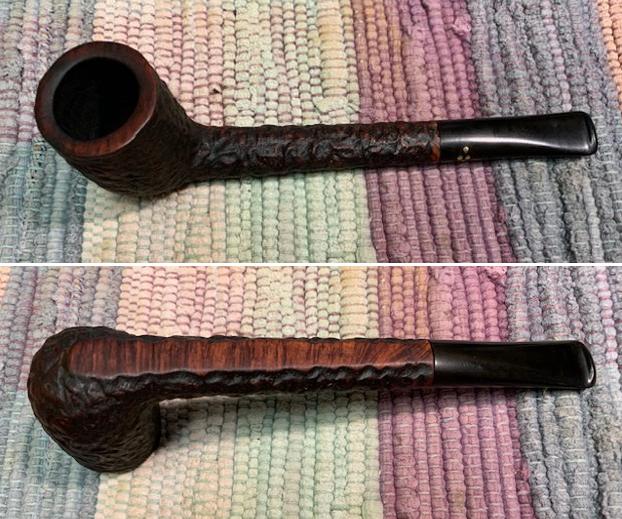
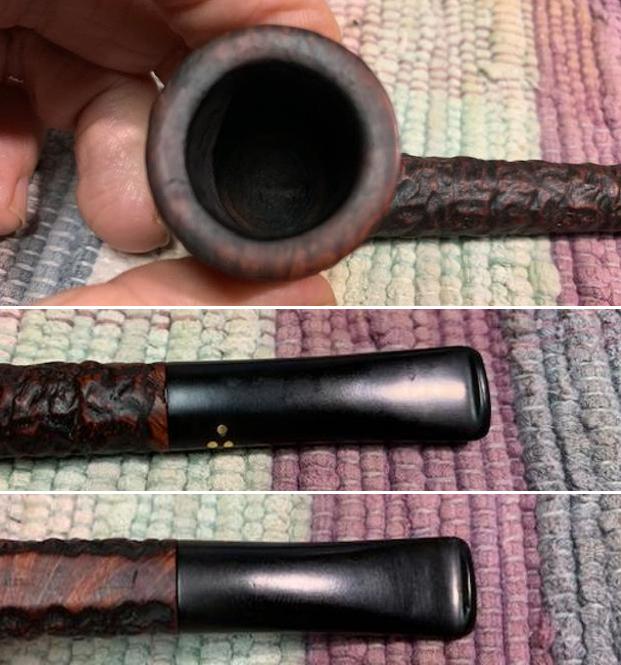
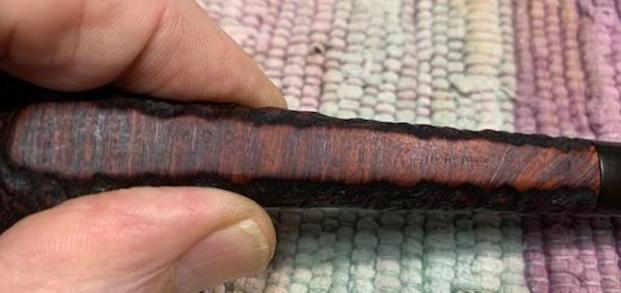
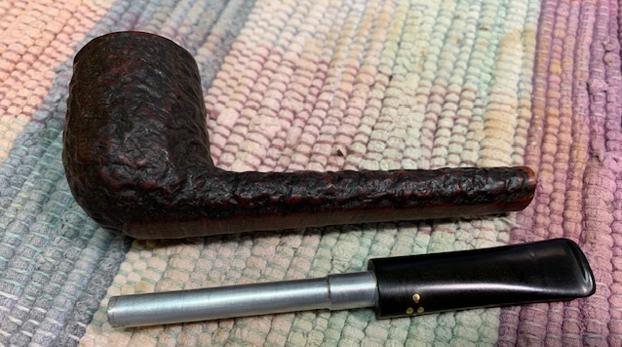
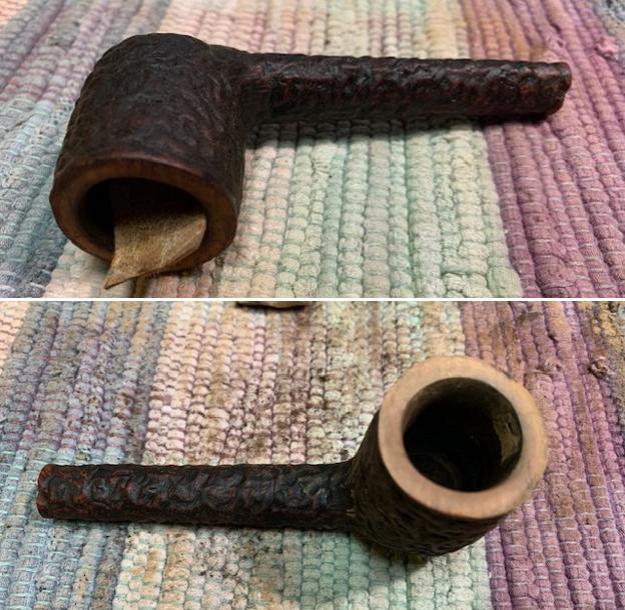
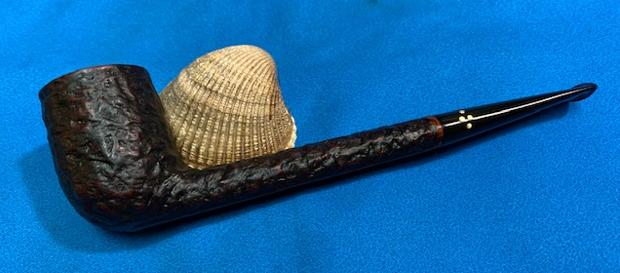
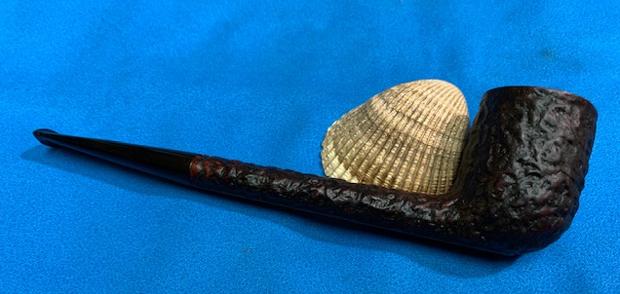
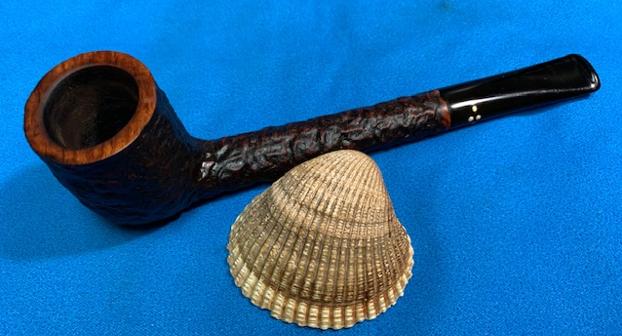
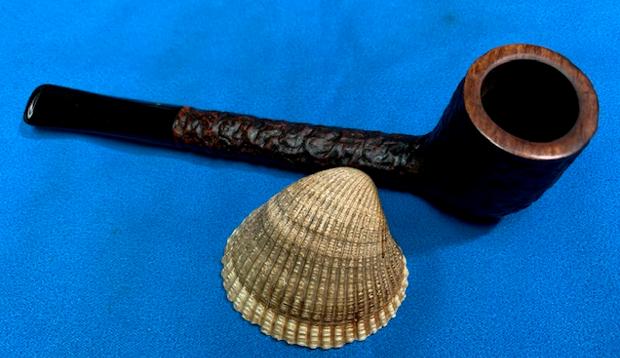
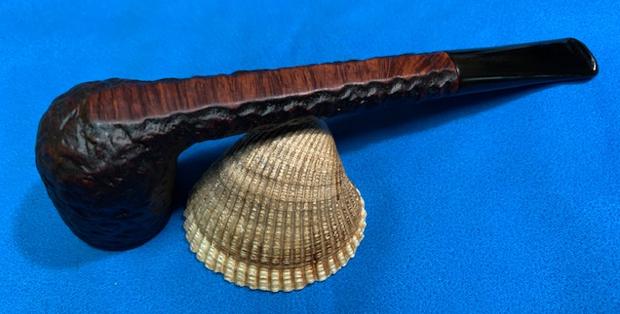
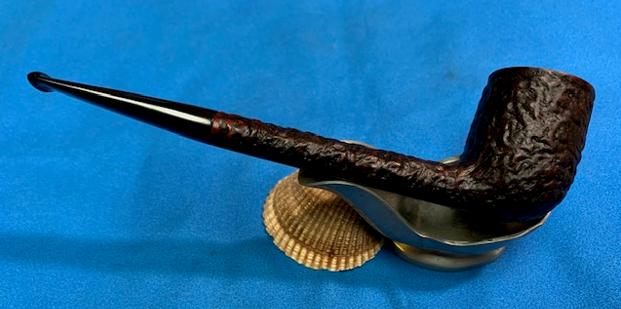
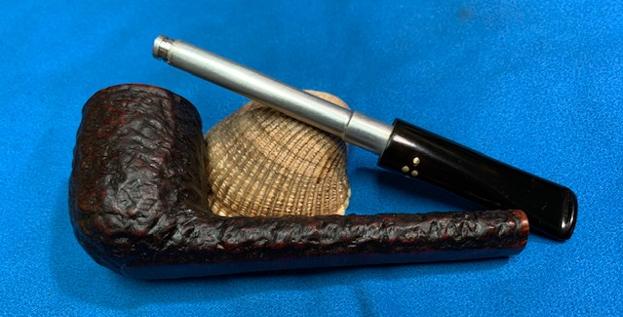
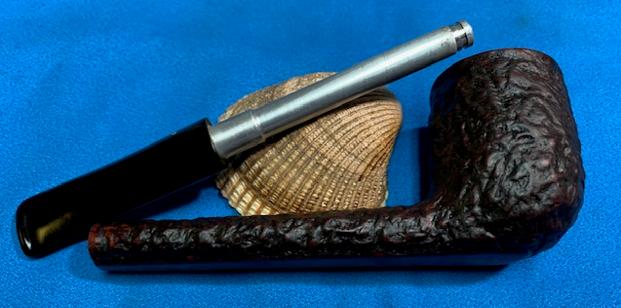
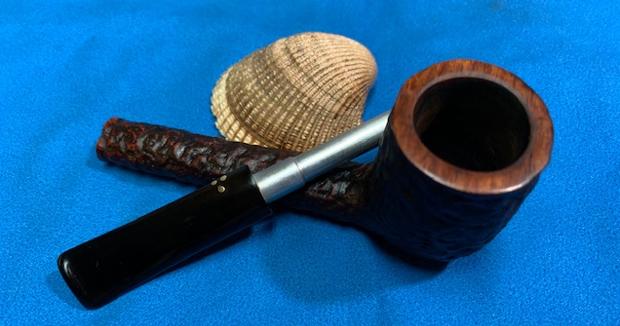
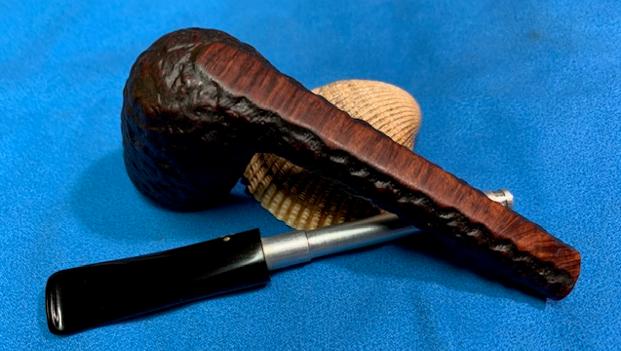
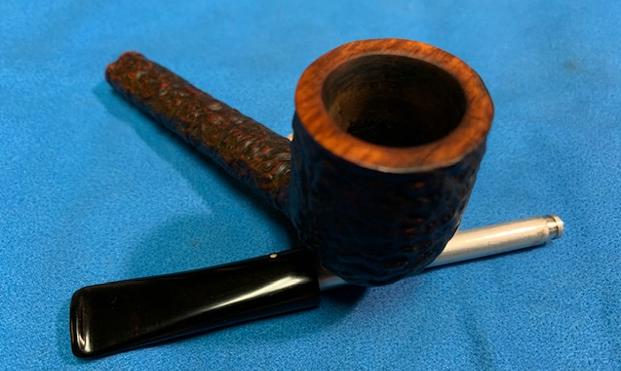
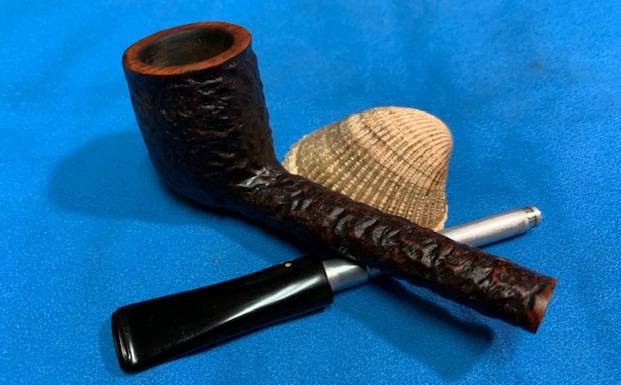
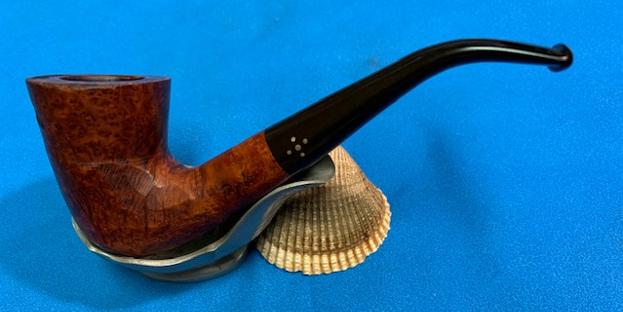
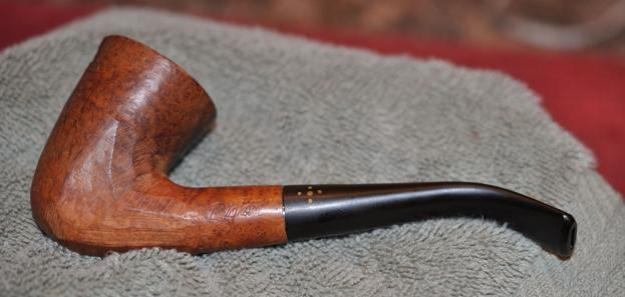
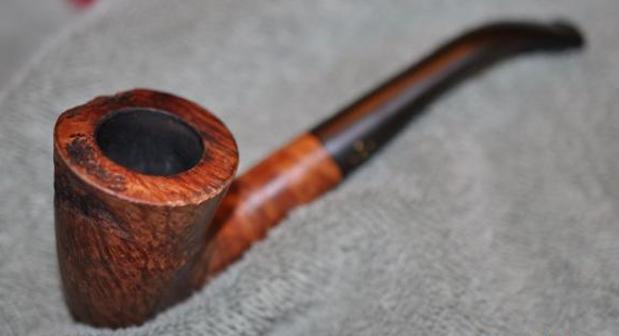
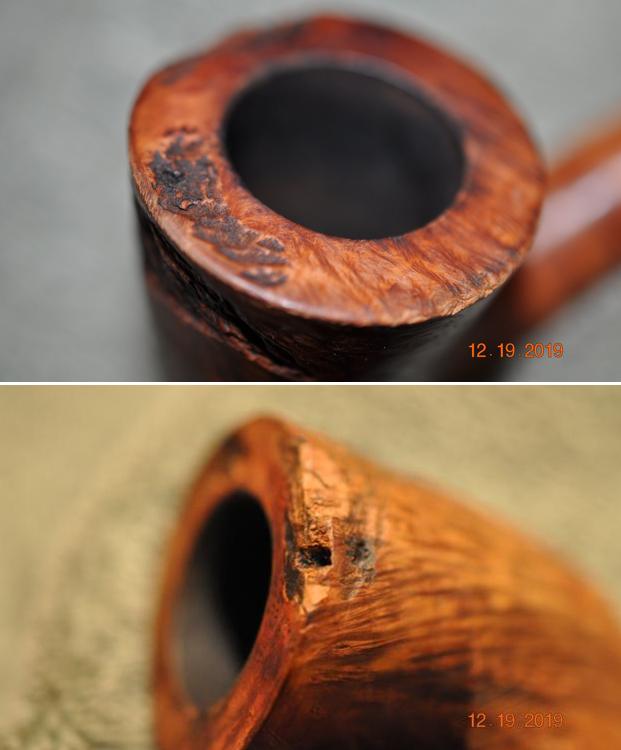
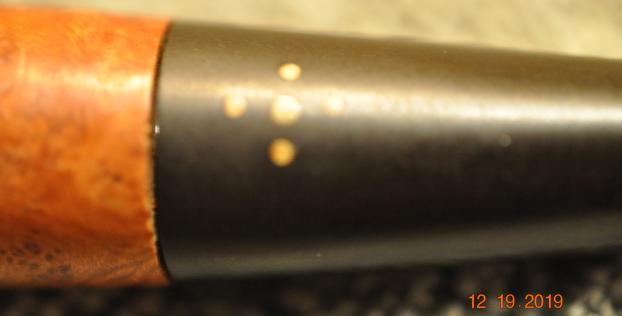
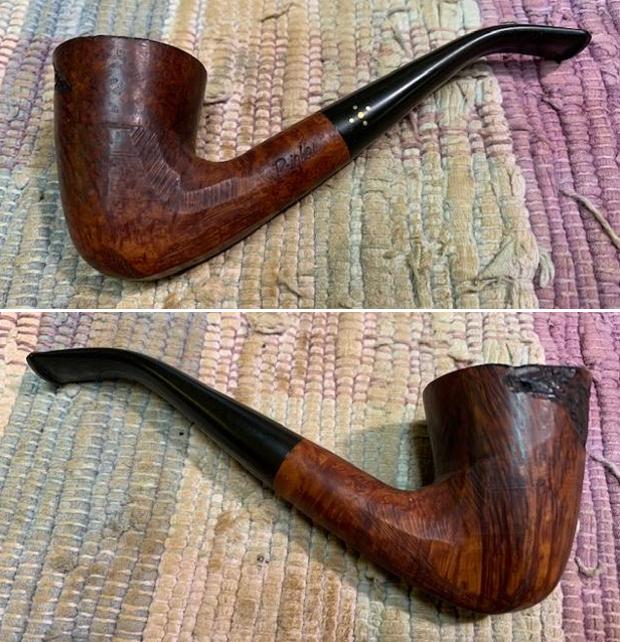
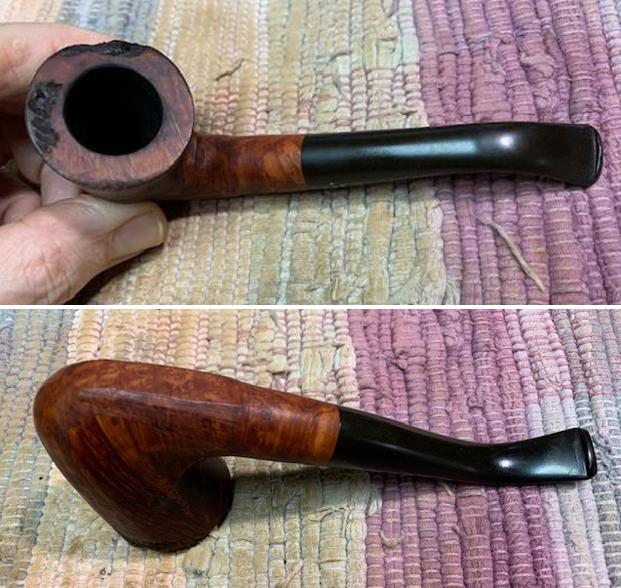
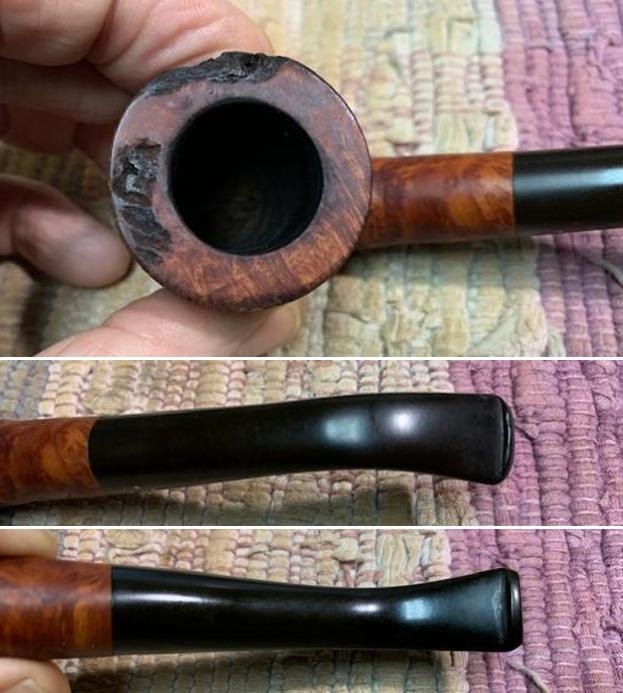
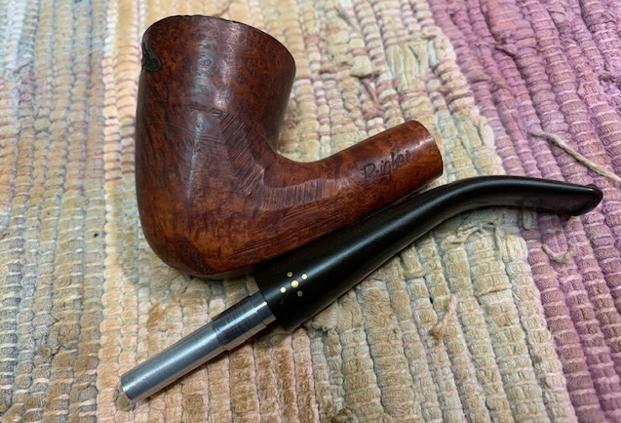
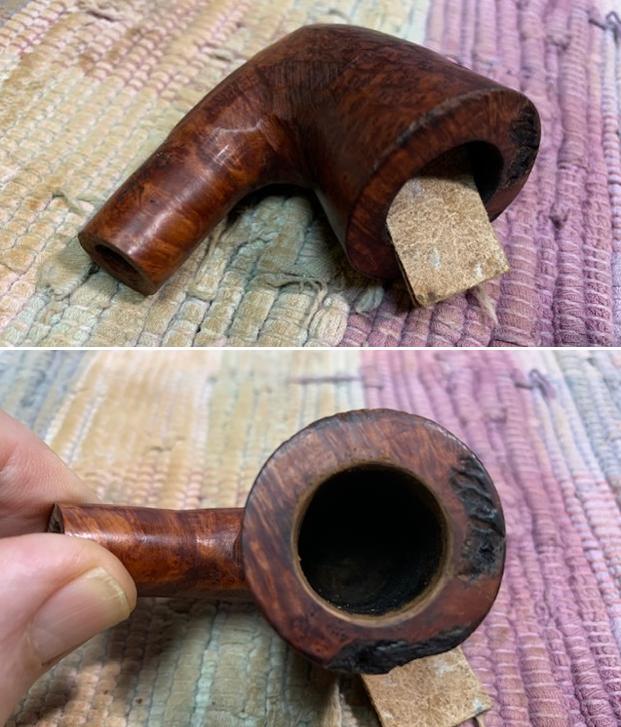
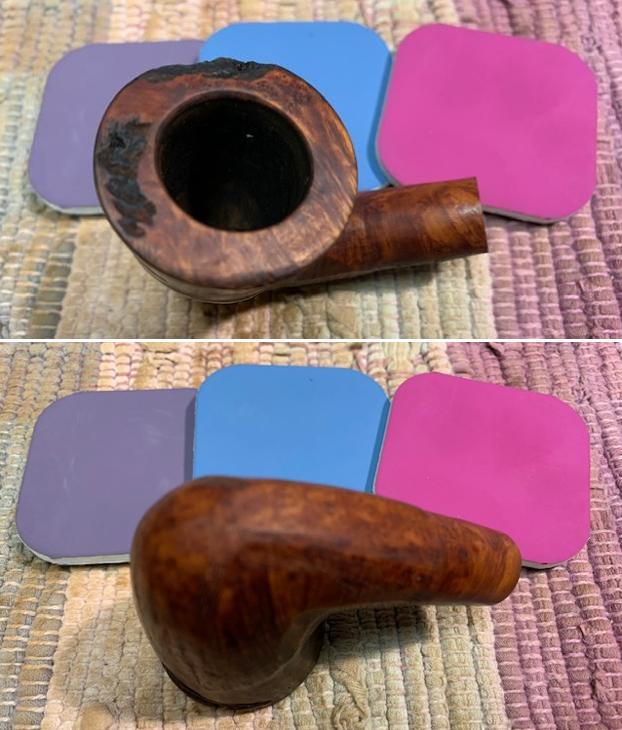
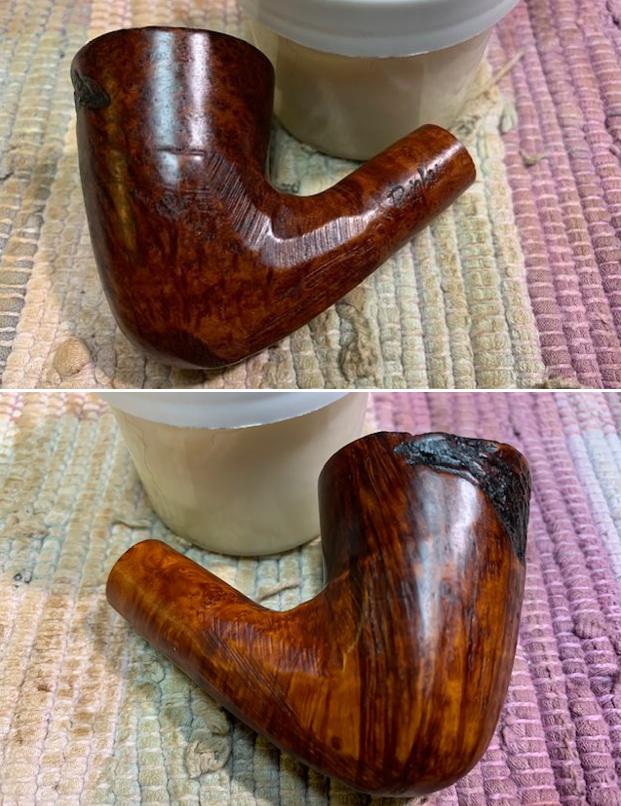
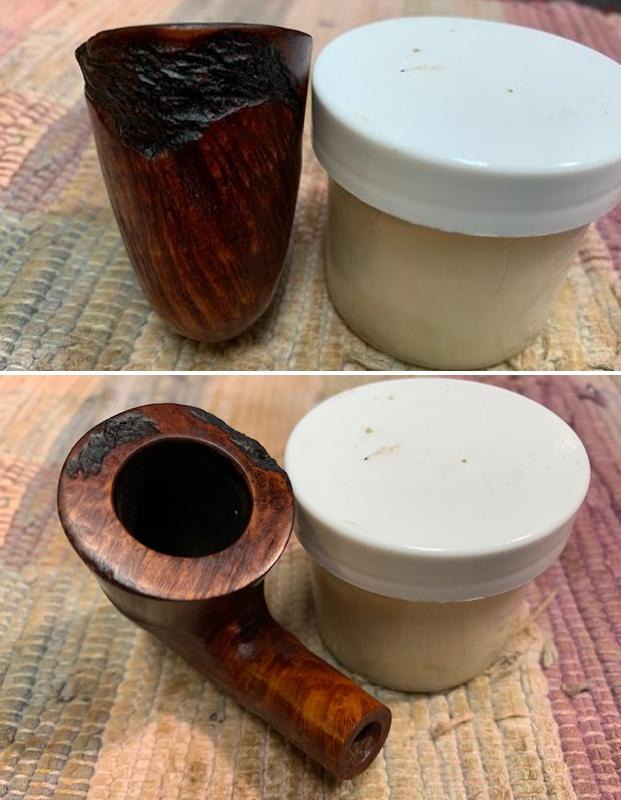
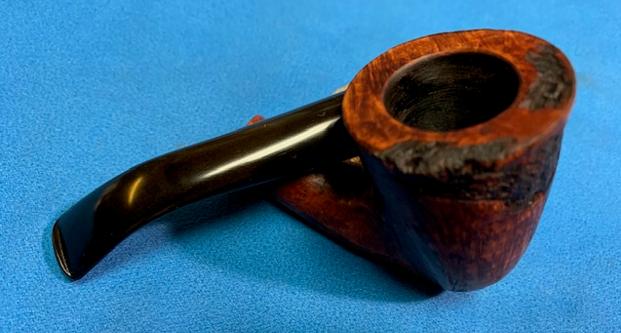
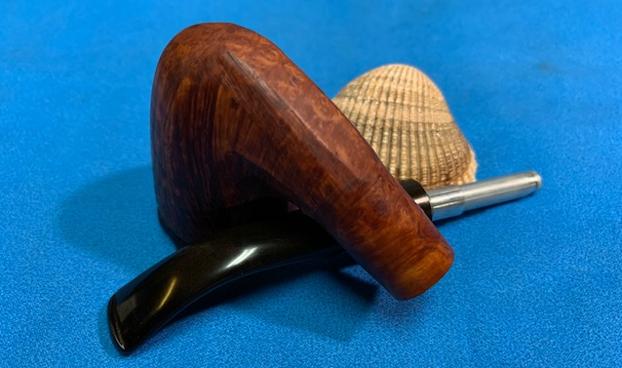
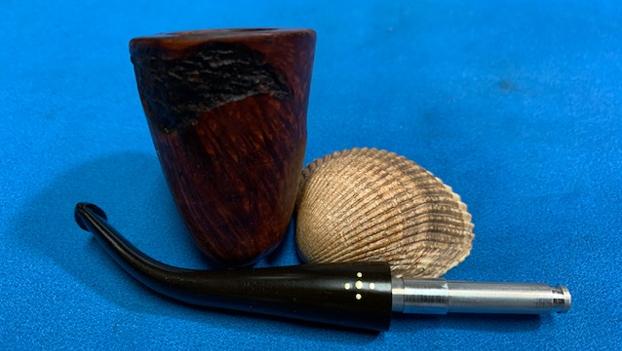
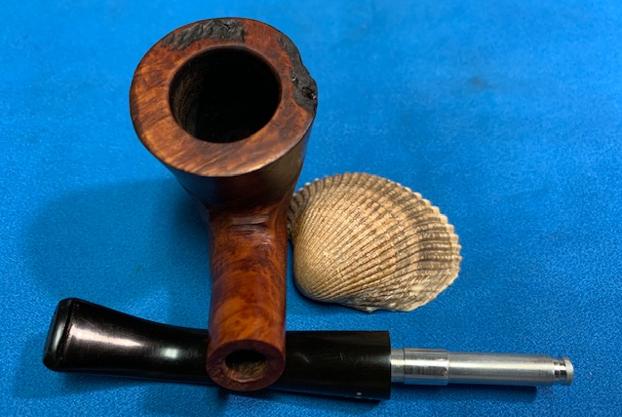
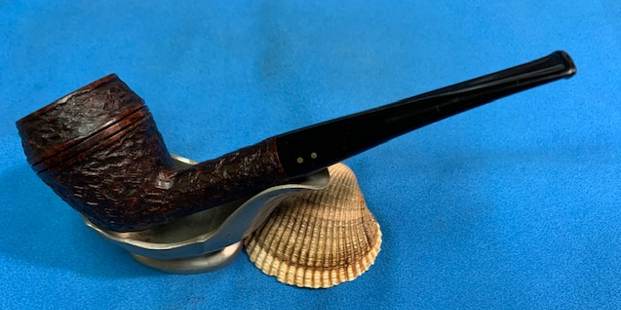
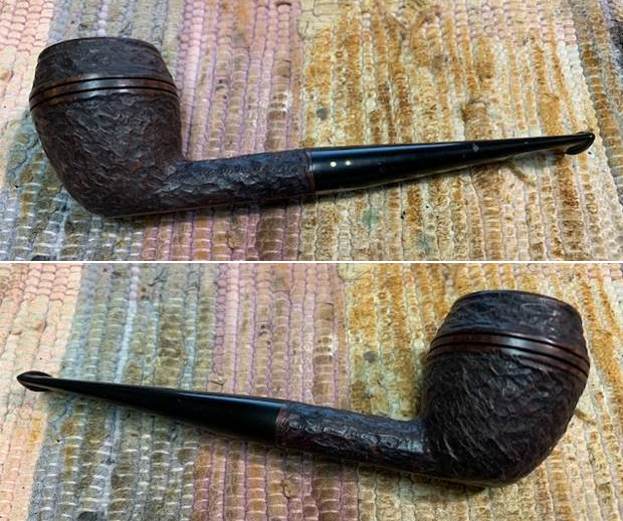
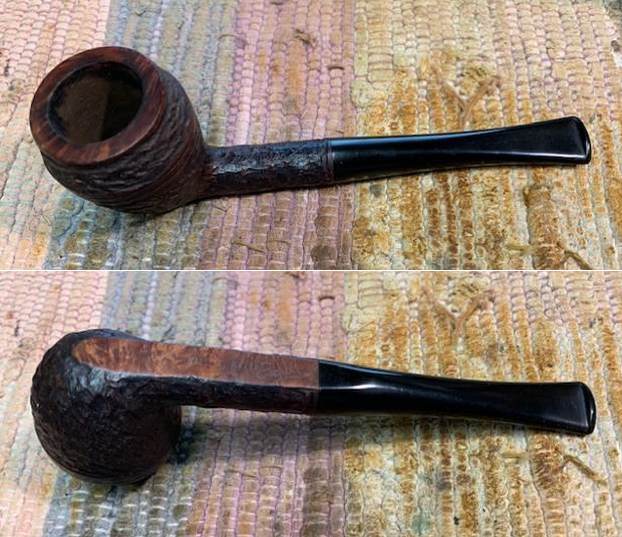
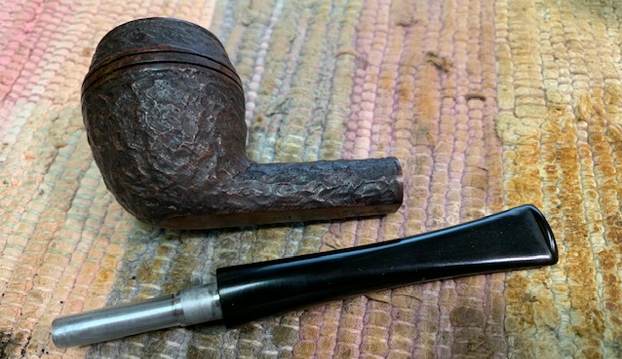
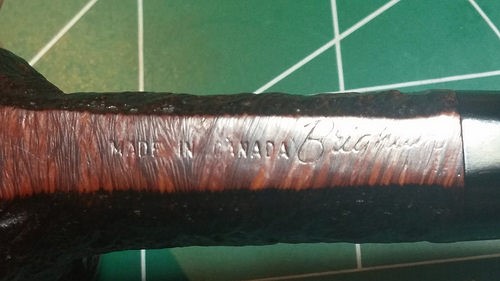
Not too long ago a fellow in Eastern Canada was selling a foursome of Brigham rusticated pipes on Facebook. Jeff contacted him and we became the new owners of the pipes. It did not take long for them to arrive here in Vancouver. When they did I was amazed at how good they looked. Two of them were relatively clean and two were used. The top two pipes in the photo were clean and the bottom two were still dirty with cake and debris in the bowls. I decided I would work on them next. I started with the Bent Billiard – the second one down in the photos below as marked by the red box outlining it. Stamped on the underside with the number 2 on the heel of the bowl followed further down the shank by Brigham [over] Canada. He sent us photos of the pipes we bought. I took photos of the pipe when it arrived. It was clean other than some ash in the bowl and in the airway. The finish was quite clean and the aluminum tenon also is clean. It did not have the Hard Rock Maple filter in the shank but it appeared to be very clean. The stem was very clean and shiny with no tooth marks on the top or underside of the stem. The button was very clean as well with no damage. Overall the pipe looked very good. I took photos of the rim top and the bowl to show the condition. I also took photos of both sides of the stem to show how clean it looked. Over all the pipe was in good condition. I would need to run pipe cleaners through to remove the carbon in the bowl.I took a photo of the stamping on the underside of the shank. It is faint but it reads as noted above in the photos.I took a photo of the pipe with the stem removed to give an overall picture of the pipe. It really is quite beautiful.For historical background for those unfamiliar with the brand I am including the information from Pipedia on Brigham pipes. It is a great read in terms of the history and background on the pipes (https://pipedia.org/wiki/Brigham_Pipes). Charles Lemon (Dadspipes) is currently working on a book on the history of the brand. Until that is complete this article is a good summary. I have included it below.
Roy Brigham, after serving an apprenticeship under an Austrian pipesmith, started his own pipe repair shop in Toronto, in 1906. By 1918 the business had grown to include five other craftsmen and had developed a reputation across Canada for the high quality of workmanship. After repairing many different brands of pipes over the years, Roy noted certain recurring complaints by pipe smokers, the most common referred to as “tongue bite”. Tongue bite is a burning sensation on the smoker’s tongue, previously thought to be due to the heat of the smoke (i.e. a “hot smoking pipe”).

He soon began manufacturing his own pipes, which were lightweight, yet featured a more rugged construction, strengthening the weak points observed in other pipes. The problem of tongue bite intrigued him, and he decided to make overcoming it a future goal.

About 1938, Roy’s son Herb joined him to assist in the business. The business barely survived the great depression because pipes were considered to be a luxury, not a necessity, and selling pipes was difficult indeed. In approximately 1937 [1], after some experimentation, Roy and Herb discovered that tongue bite was in fact a form of mild chemical burn to the tongue, caused by tars and acids in the smoke. They found that by filtering the smoke, it was possible to retain the flavour of the tobacco and yet remove these impurities and thereby stop the tongue bite.

Just as Thomas Edison had searched far and wide for the perfect material from which to make the first electric light bulb filaments, Roy & Herb began experimenting with many materials, both common and exotic, in the quest for the perfect pipe filter. Results varied wildly. Most of the materials didn’t work at all and some actually imparted their own flavour into the smoke. They eventually found just two materials that were satisfactory in pipes: bamboo and rock maple. As bamboo was obviously not as readily available, rock maple then became the logical choice.

They were able to manufacture a replaceable hollow wooden tube made from rock maple dowelling, which when inserted into a specially made pipe, caused absolutely no restriction to the draw of the pipe, yet extracted many of the impurities which had caused tongue bite. The result was indeed a truly better smoking pipe…

Charles Lemon has also written a great article on the stampings and marking on the Brigham pipes that fit into a time line that he has drafted. It is well worth a read and is fascinating. (https://pipedia.org/wiki/Brigham_Pipes_%E2%80%93_A_Closer_Look_at_Dots,_Dates_and_Markings). I quote from the pertinent section on the time frame for this pipe.
I have dubbed the decades between 1980 and 2000 the Late Canadian Era, a period that saw several changes at Brigham that are of note to the collector. First, the traditional 8-grade pinning system (the famous Brigham “Dots” which denoted the quality of the pipe) was changed to a 7-grade system to simplify pinning (more on this below), and the Norsemen and Valhalla series were merged to form the President Series, which represented the very finest pipes coming out of the Toronto factory. Early pipes from this era (left, below) are stamped with a shape number and “Brigham” over “Canada”; later pipes (late 1980s+, on right below) are stamped simply with a shape number and the Brigham logo.

This solidly places the pipe I am working on in the period of Brigham production that Charles calls the Late Canadian Era (1980-2000). It is a great looking pipe with a slightly different rustication pattern than some of the early Brighams I have worked on.

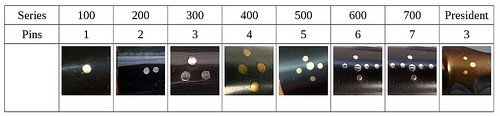
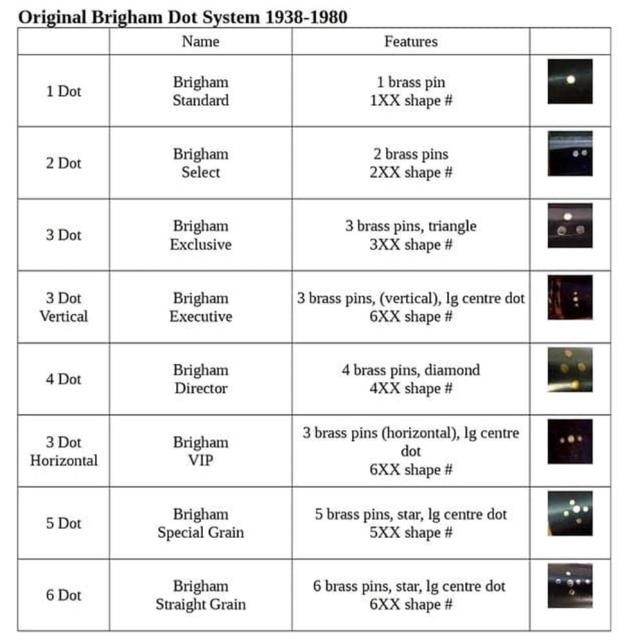
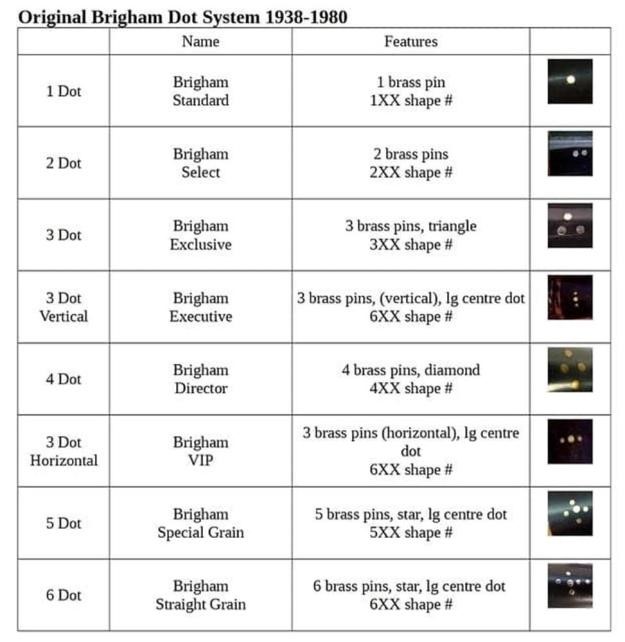
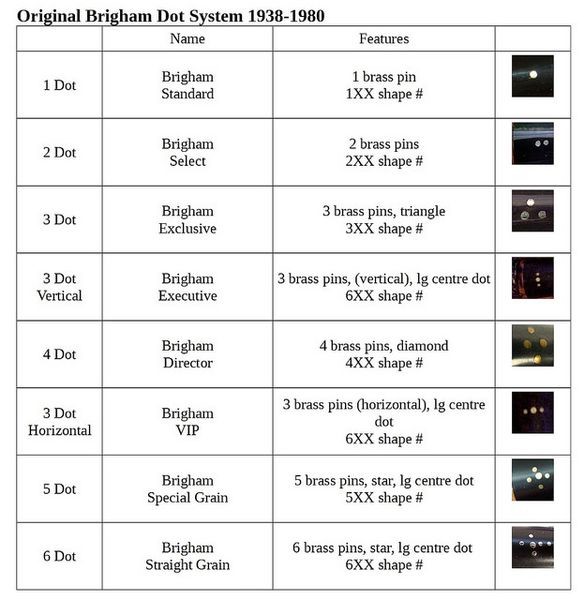
Charles also put together a chart that helps the restorer to understand the Brigham dot system. I quote from the same link on Pipedia as noted above.

The Original Brigham Dot System 1938 – 1980

Brigham pipes are renown in the pipe world for their famous “Brigham Dots”, a system of brass pins inset in the stem to denote the grade of each pipe. The original 8-grade pinning system, used for 42 years between 1938 and 1978 (spanning the Patent, Post-Patent and Canadian Eras) looked like this:

Revised Dot System 1980 Brigham changed the Dot system in 1980, adding a 7 Dot at the top of the line, dropping the names of each series and eliminating the confusing vertical and horizontal 3 Dot configurations. The Norsemen and Valhalla series were combined to form the President series of freehand pipes, which adopted a 3 Dot pattern with a larger dot on the right as shown below. The 7- grade pinning system stayed in place from 1980 to 2001. I knew that I was dealing with a pipe made between 1980 and 2000 from the Late Canadian Era. It sports 2 dots making it a Series 200 pipe. Now to do a bit of spiffing with the pipe itself.

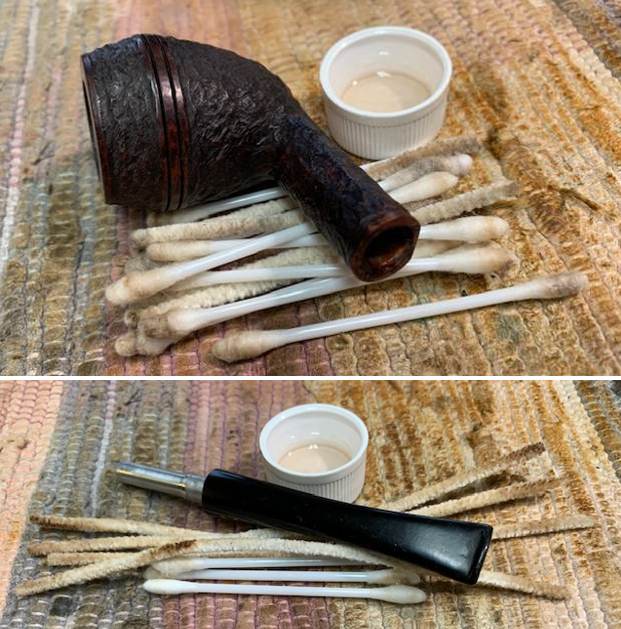
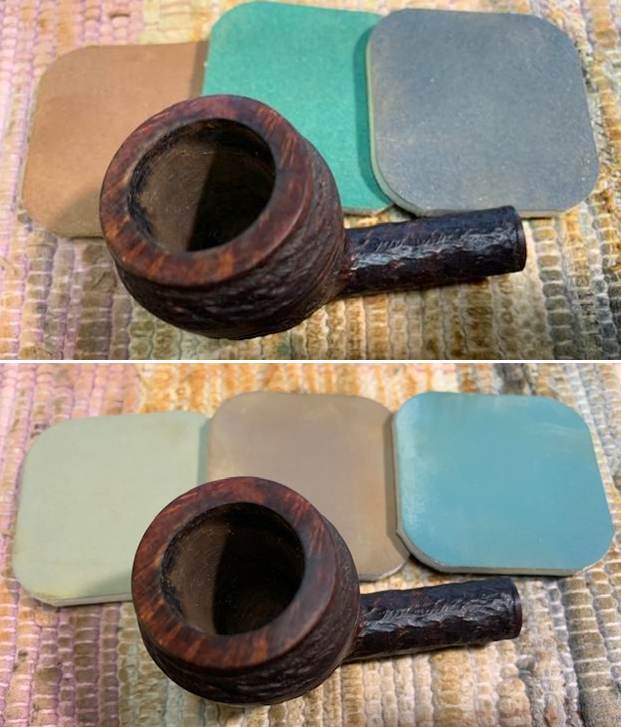
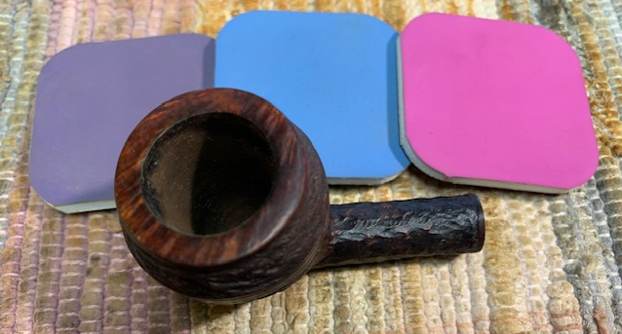
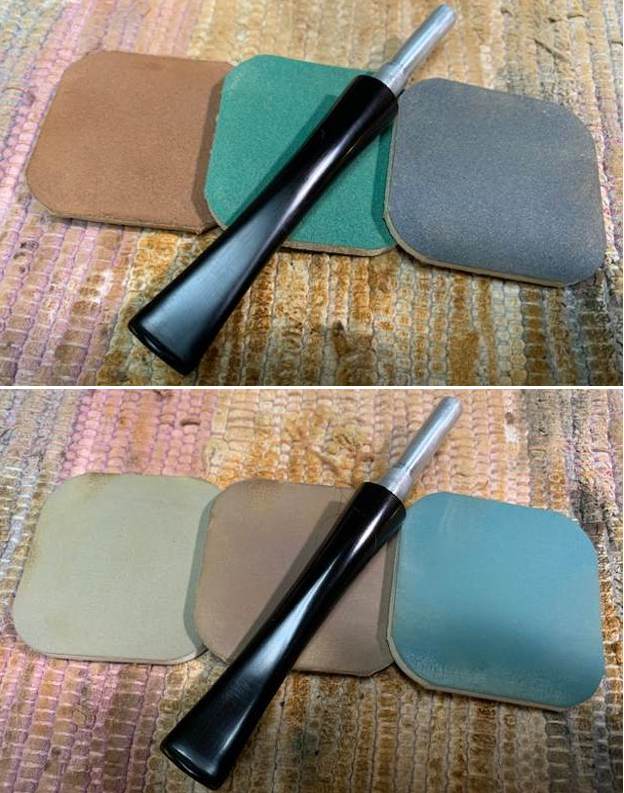
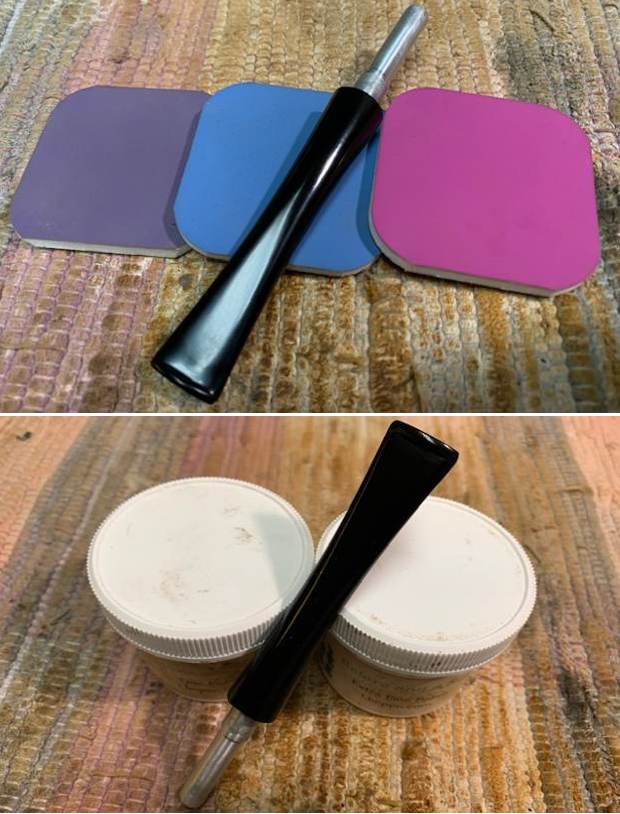
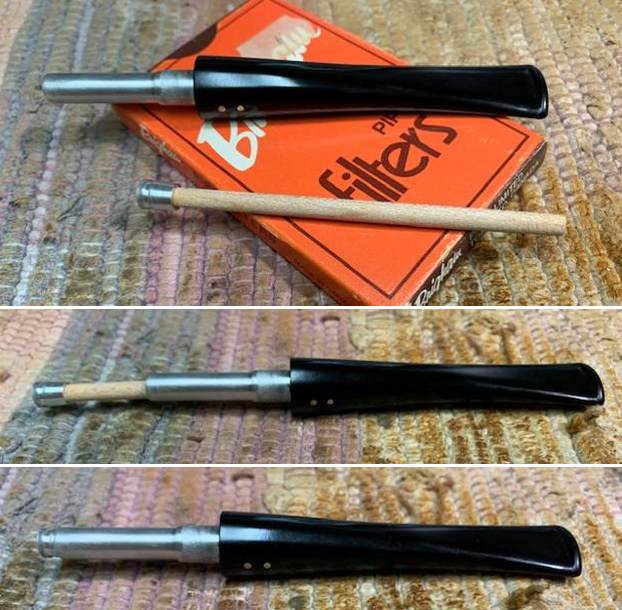
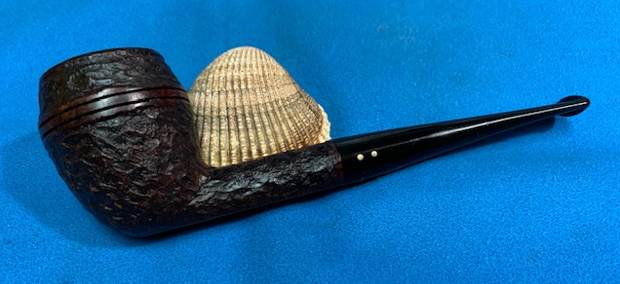
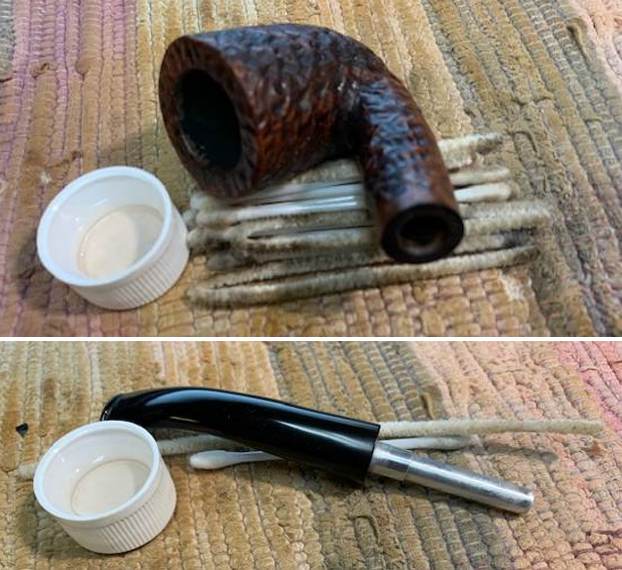
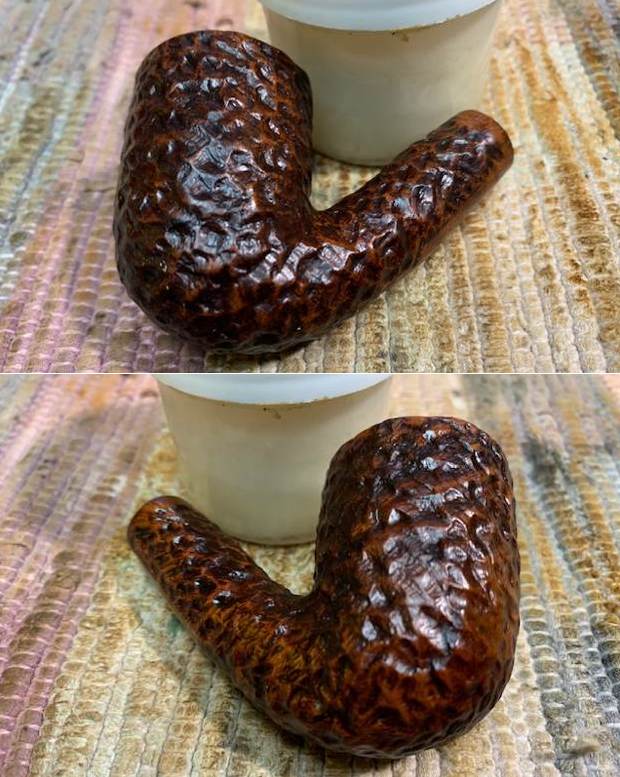
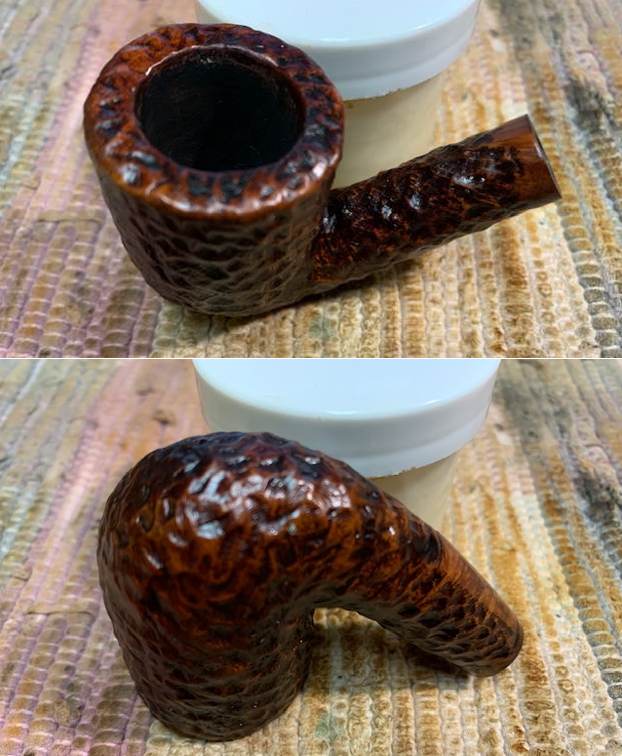
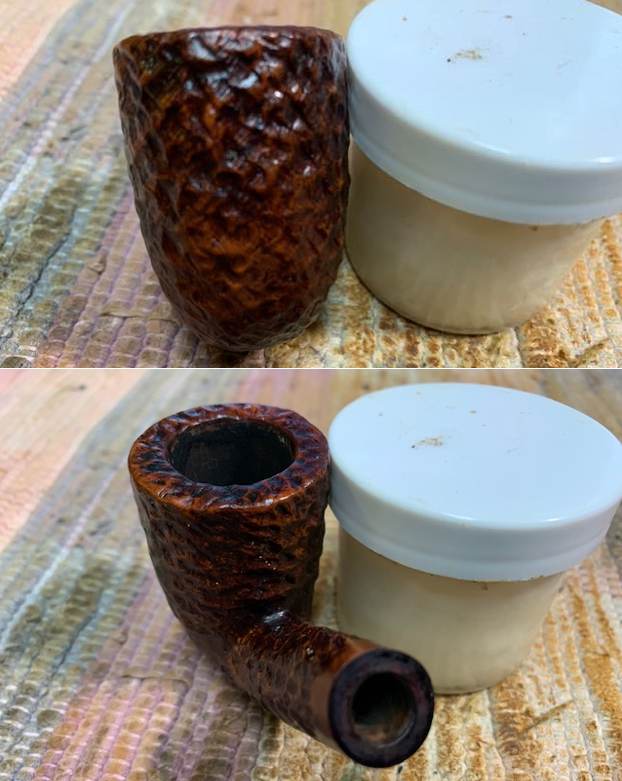
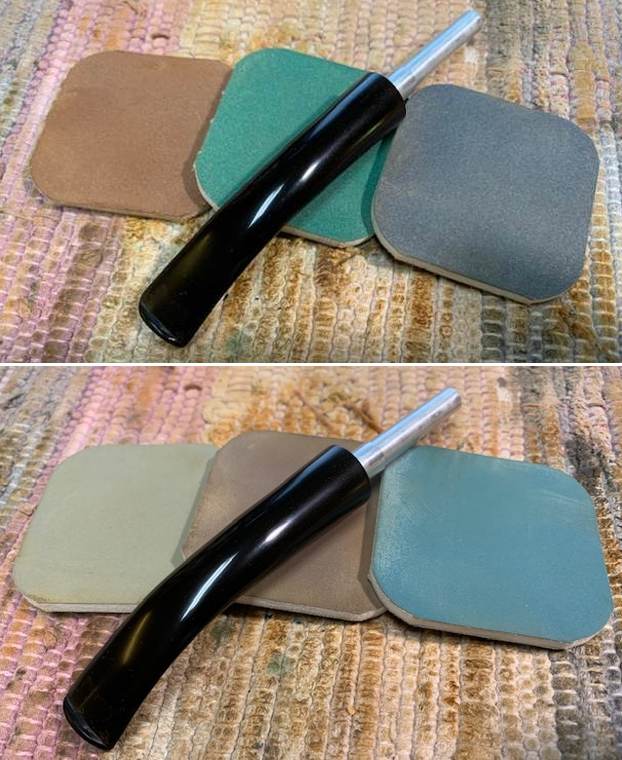
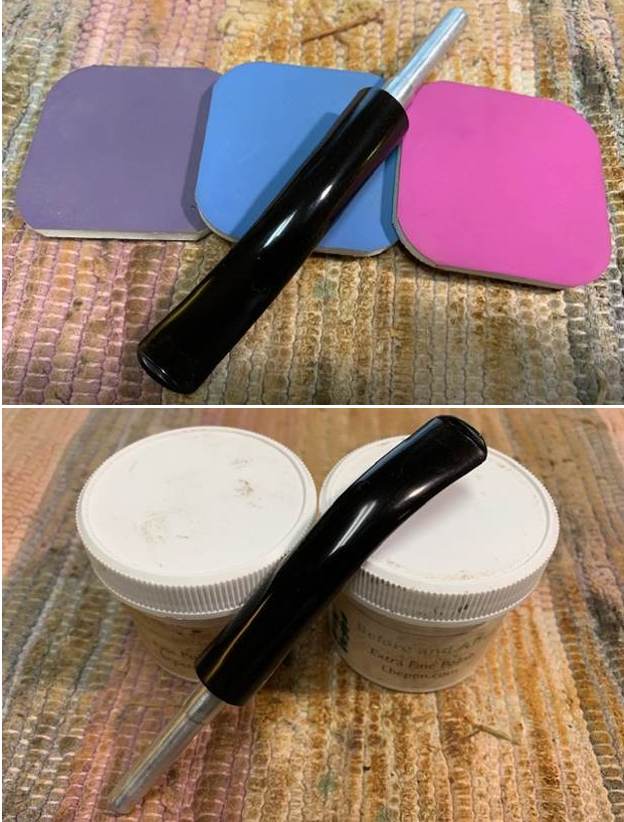
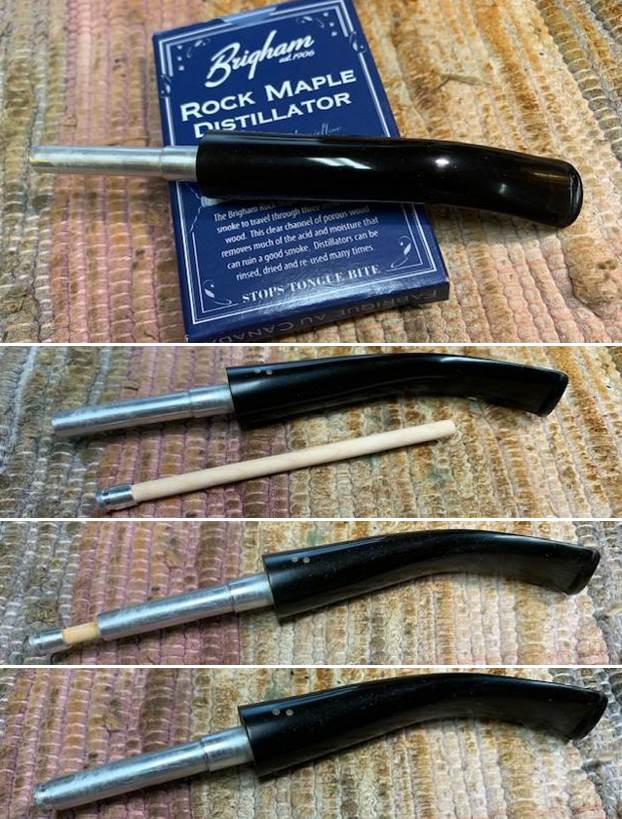
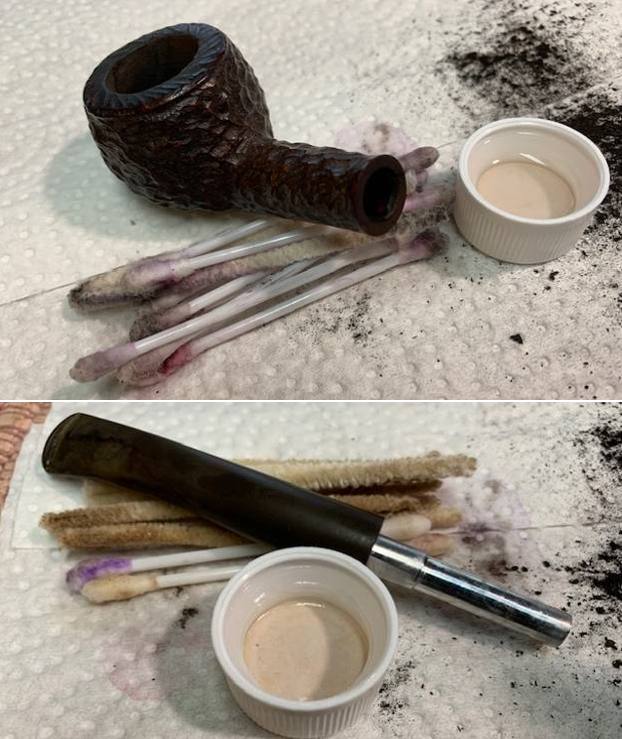
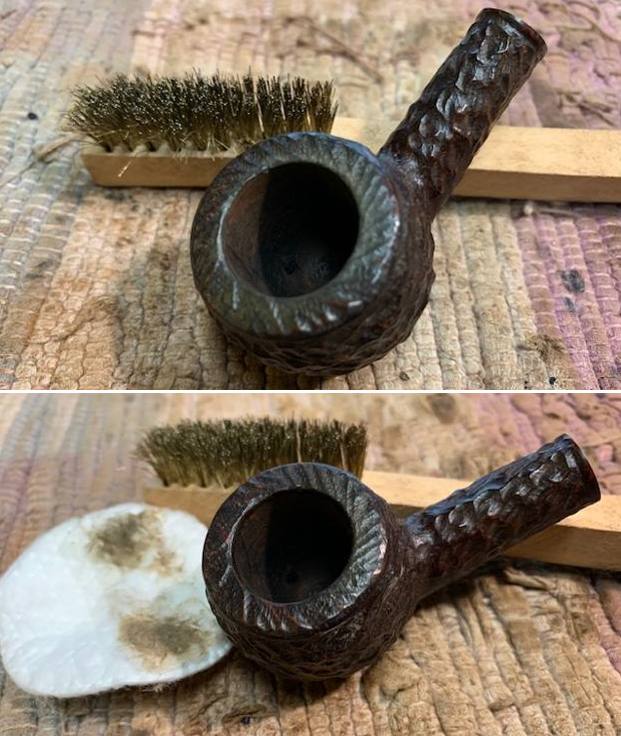
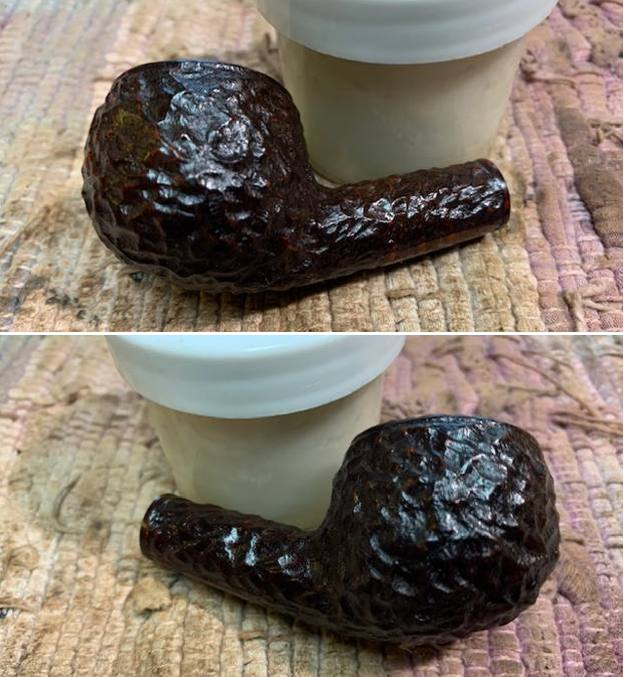
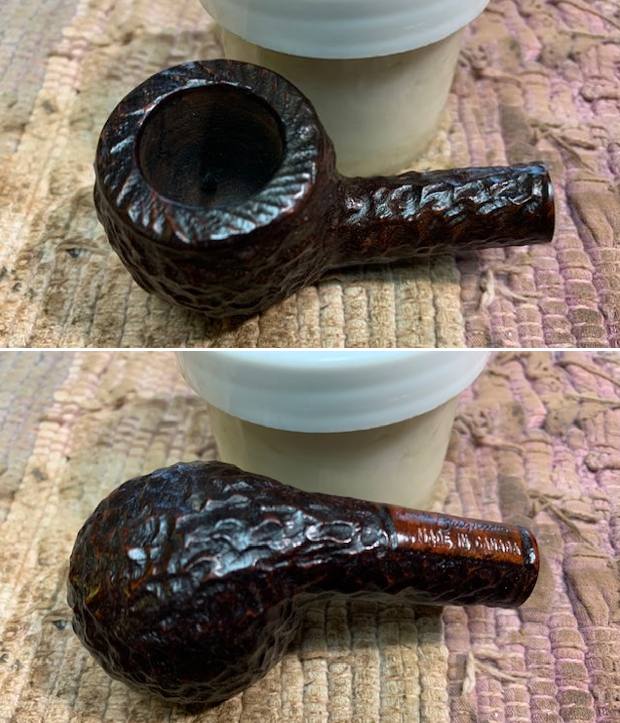
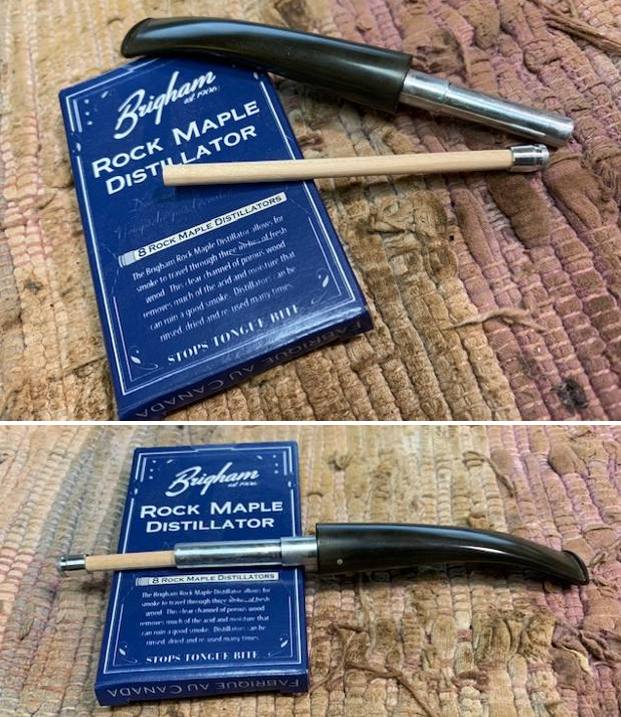
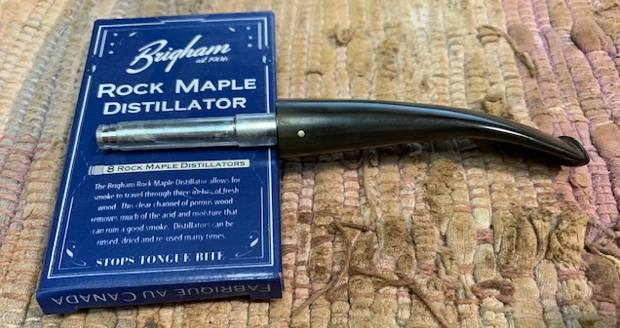
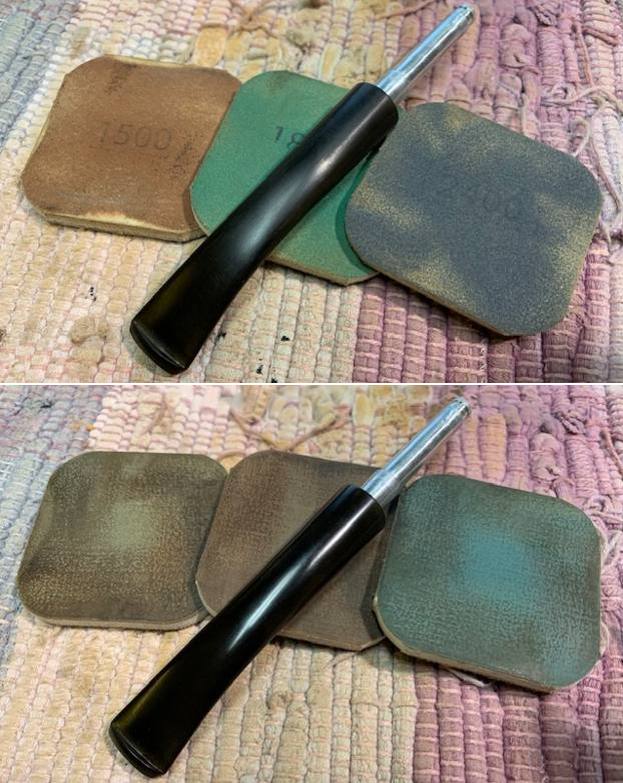
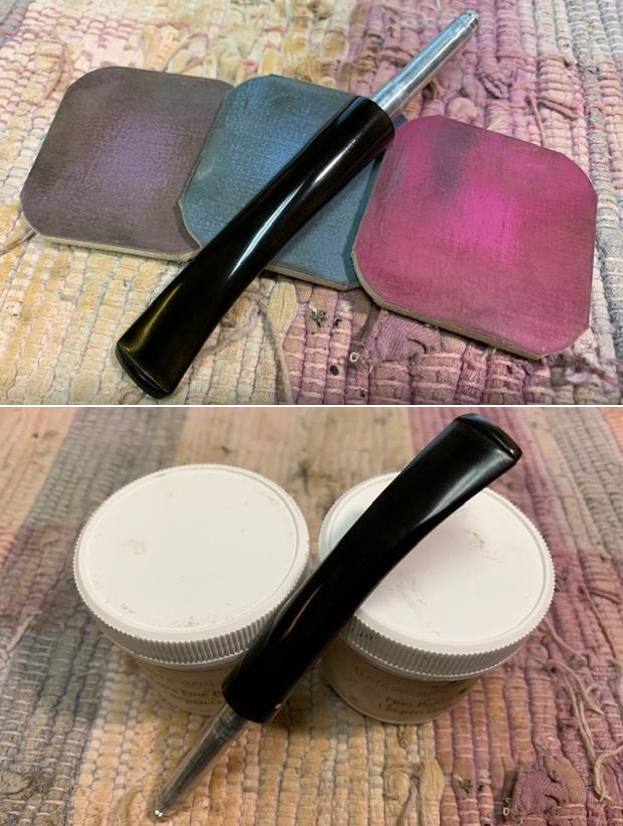
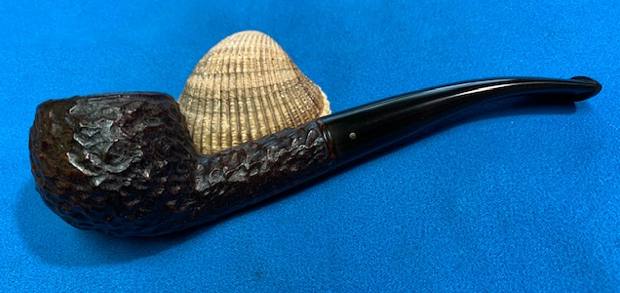
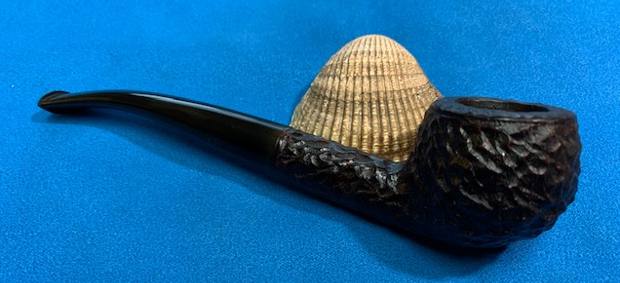
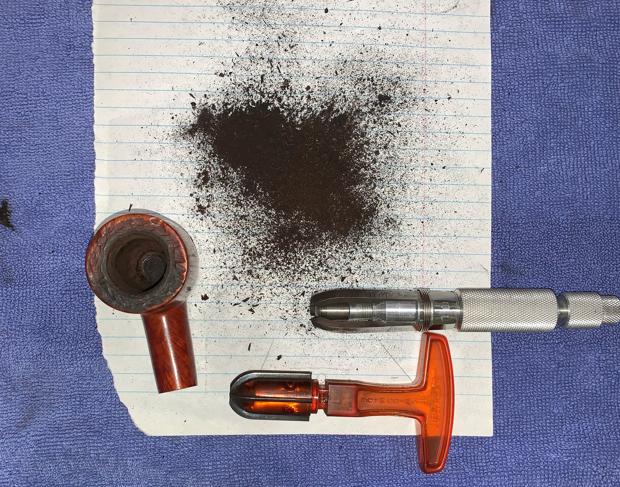
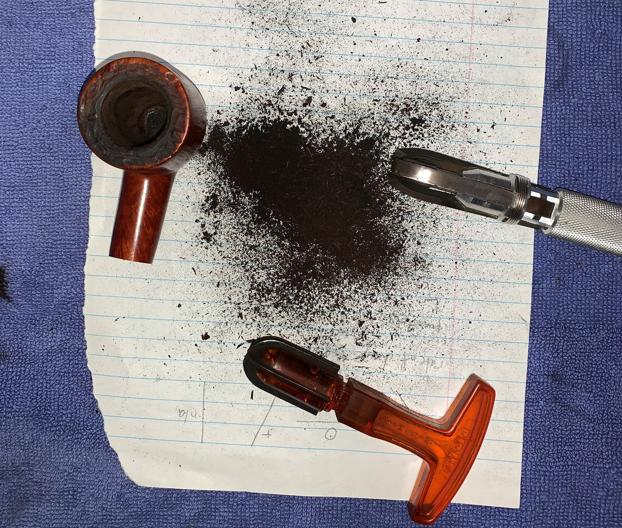
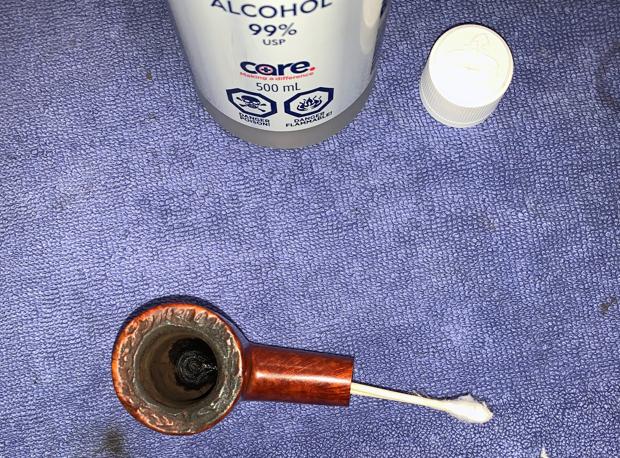
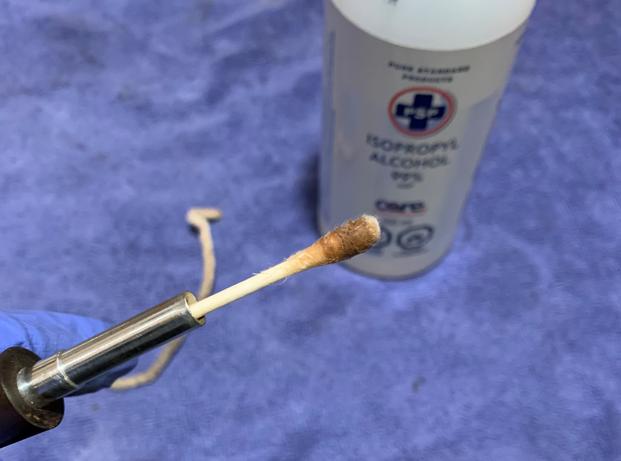
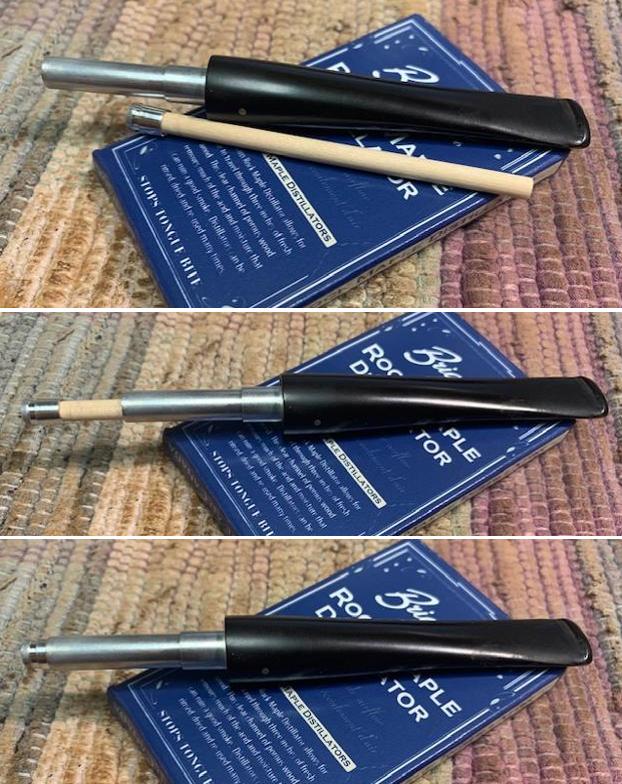
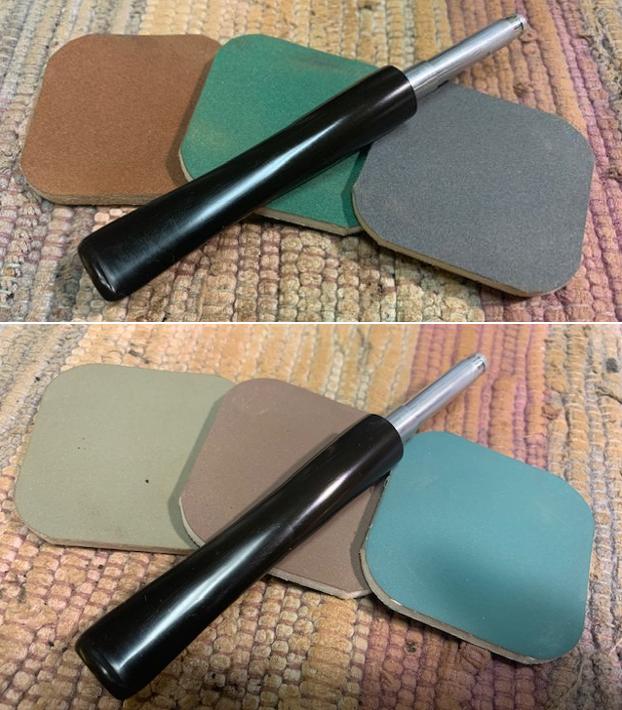
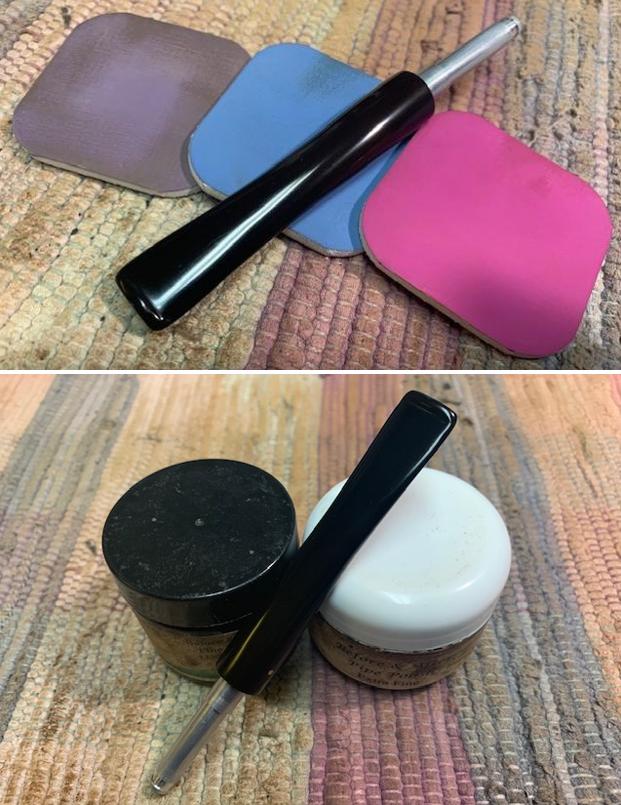
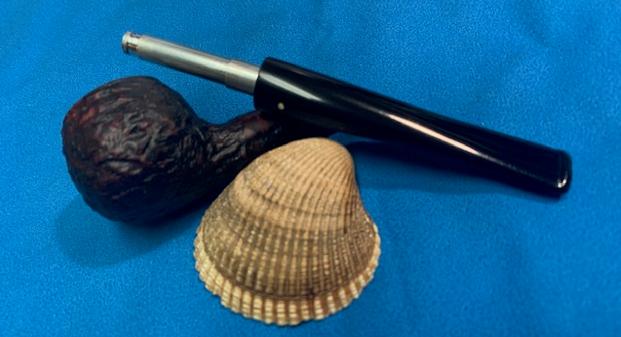
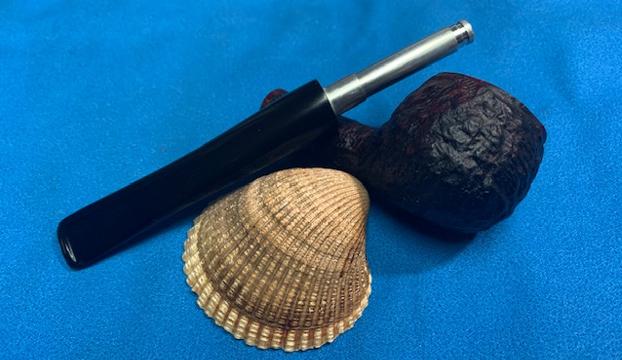
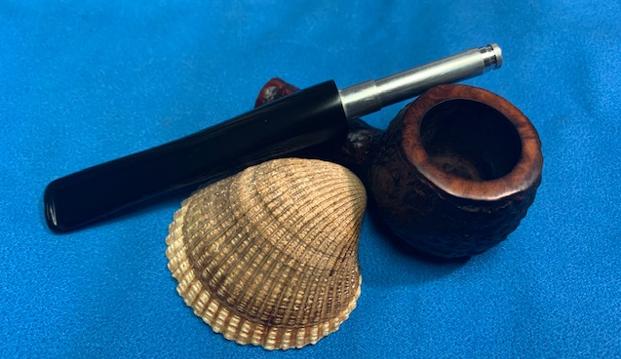
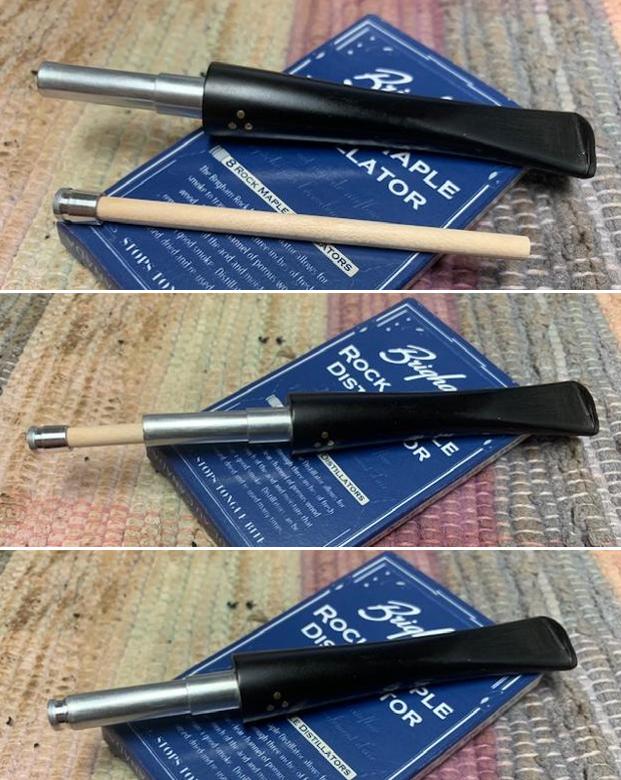
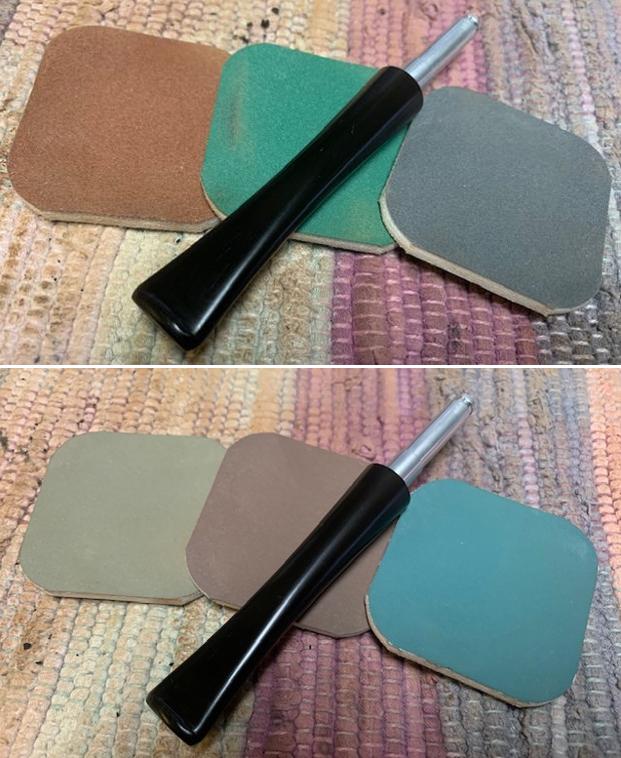
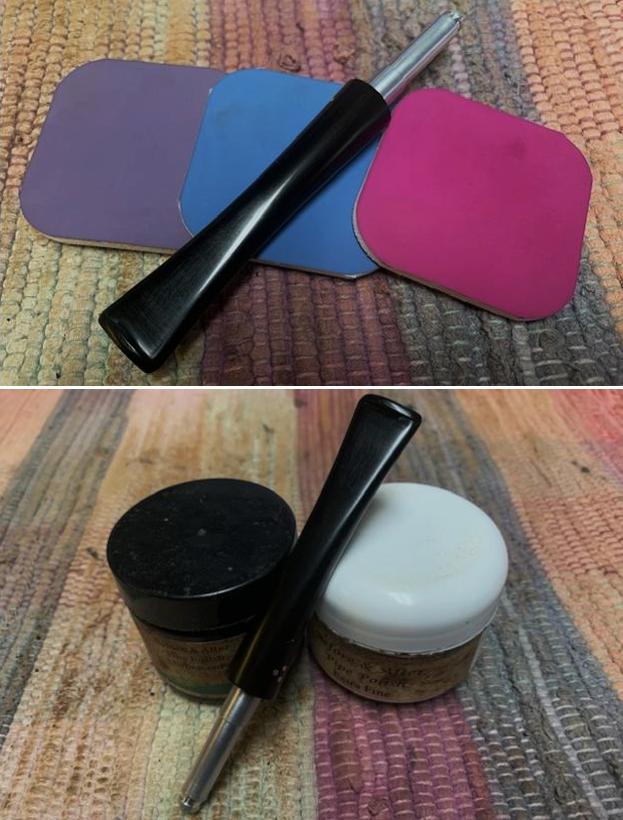
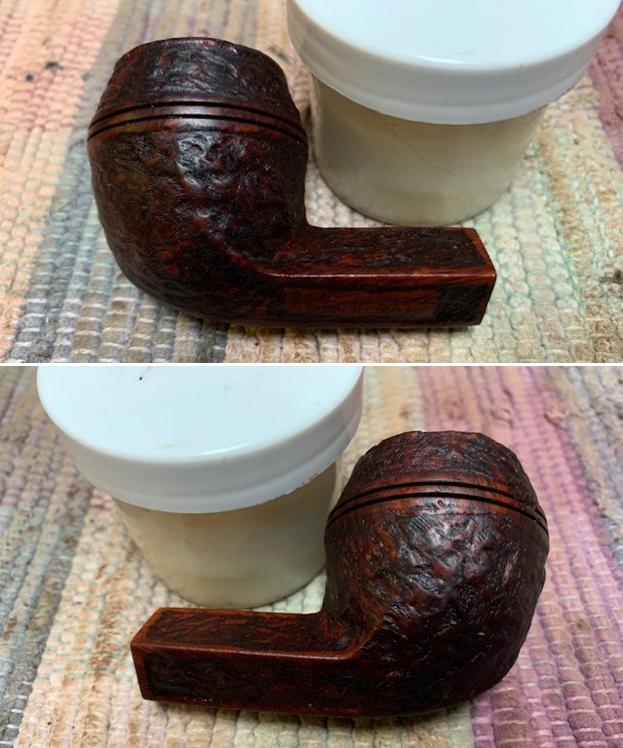
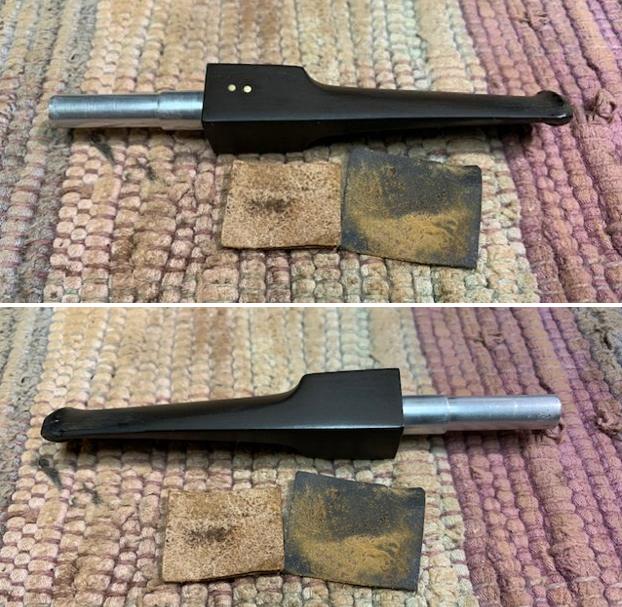
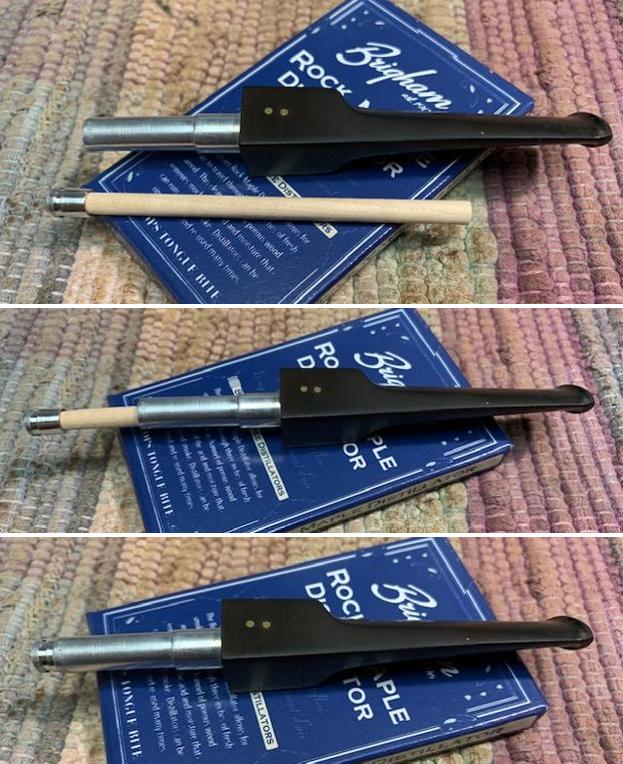
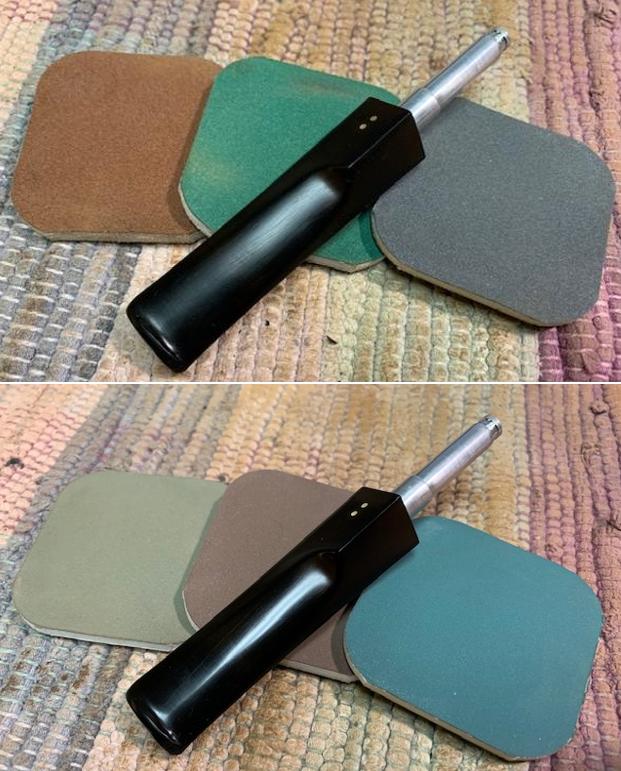
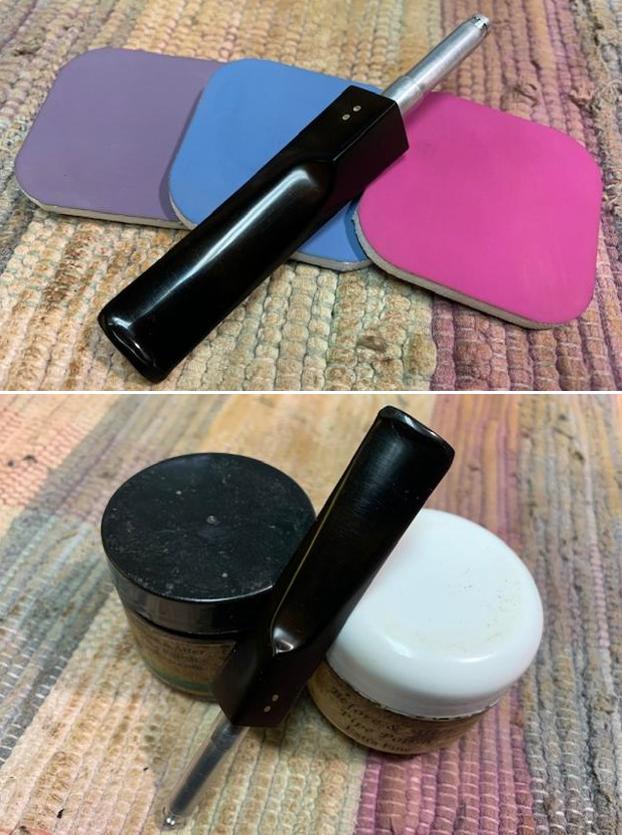
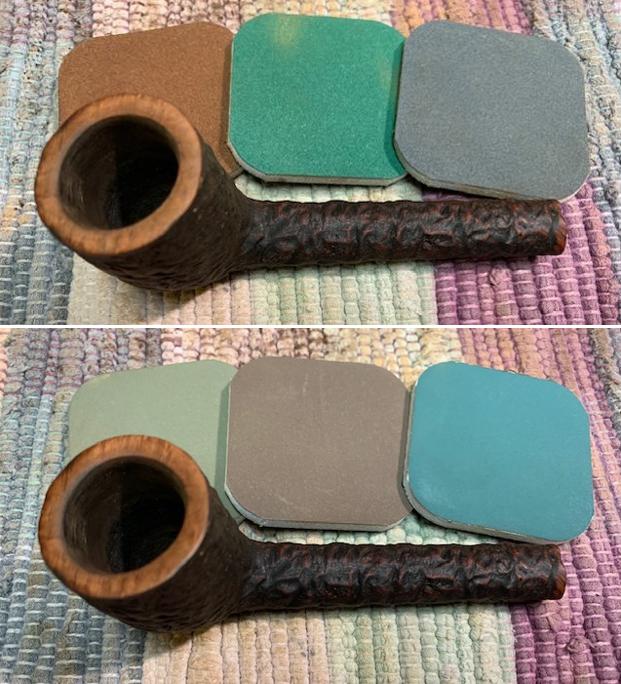
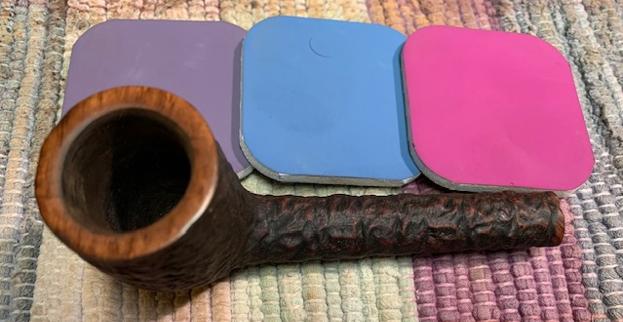
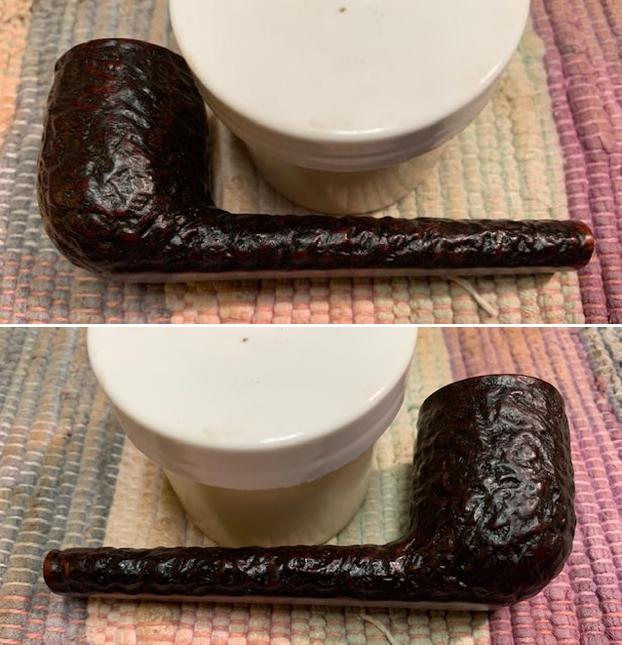
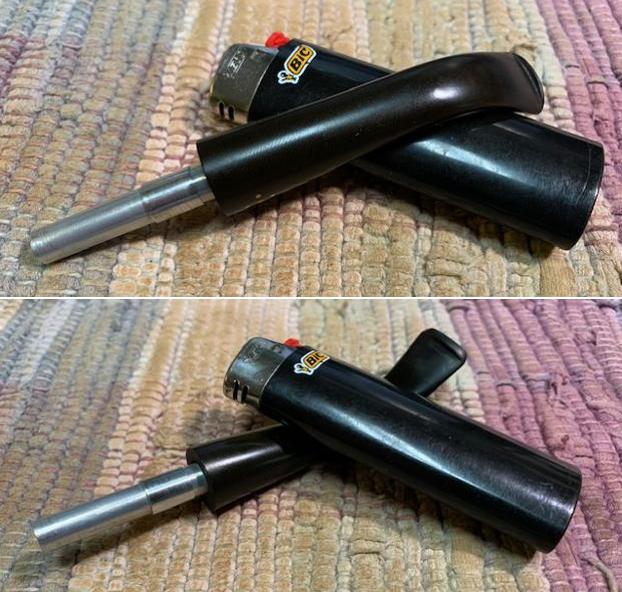
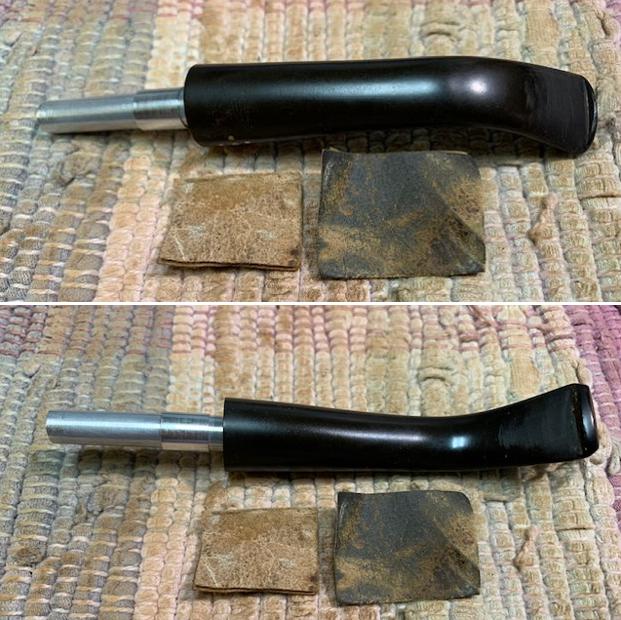
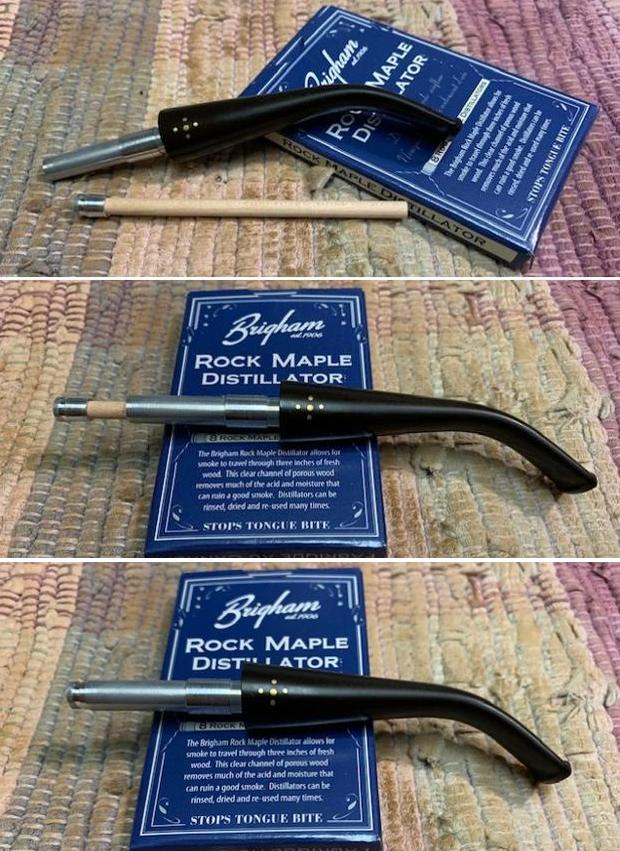
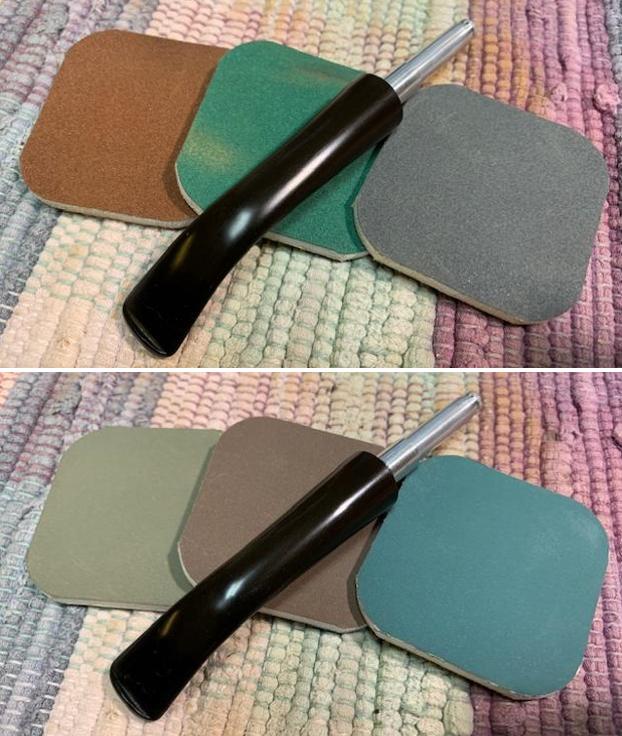
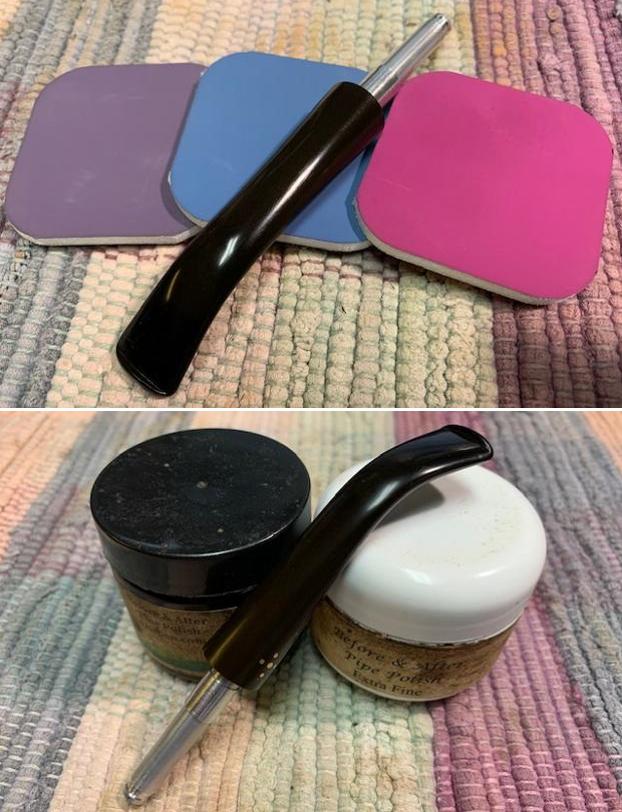
I cleaned out the internals with alcohol, cotton swabs and pipe cleaners to remove the debris and the oils from the shank and tenon as well as the airway into the stem and bowl. I also wiped down the inside of the bowl with a paper towel. to remove the carbon dust that was there.I rubbed the bowl down with some Before & After Restoration Balm. I worked it into the briar with my fingertips and a horse hair shoe brush. The product works to clean, renew and protect briar. I let it do its work for 15 minutes then buffed it off with a soft cloth. The pipe is really quite a beauty. I polished out the light tooth scratches in the surface of the stem ahead of the button on both sides using micromesh sanding pads. I dry sanded the stem and them wiped it down with a cloth impregnated with Obsidian Oil. I finished polishing it with Before & After stem polish – both Fine and Extra Fine. I gave it a final coat of Obsidian Oil and set it aside to dry. I fit the clean and polished stem with the Brigham Rock Maple Distillator and took photos to show what it looked like. This is in essence a hollow Maple wood tube that serves to filter out the moisture and deliver a clean and flavourful smoke. I am excited to finish this Brigham 2 Bent Billiard. I put the pipe back together and buffed it with Blue Diamond on the buffing wheel. I gave the bowl multiple coats of Conservator’s Wax and the stem multiple coats of carnauba wax. I buffed the pipe with a clean buffing pad to raise the shine and hand buffed it with microfiber cloth to deepen the shine. It is fun to see what the polished bowl looks like with the rusticated finish. Added to that the polished black vulcanite stem with the shining brass pins was beautiful. This mixed grain on the rusticated Brigham 2 Dot Bent Billiard is nice looking and the pipe feels great in my hand. It is light and well balanced. Have a look at it with the photos below. The dimensions are Length: 5 ½ inches, Height: 2 inches, Outside diameter of the bowl: 1 ½ inches, Chamber diameter: ¾ of an inch. The weight of the pipe is 1.66 ounces/47 grams. It is a beautiful pipe and one that will be on the rebornpipes store soon. If you are interested in adding it to your collection let me know. Thanks for walking through the cleanup with me as I worked over this pipe. Thanks to each of you who are reading this blog. Remember we are not pipe owners; we are pipemen and women who hold our pipes in trust until they pass on into the trust of those who follow us.

Breathing Life into a Brigham Standard (1-Dot) 129 Bent Apple


Blog by Steve Laug

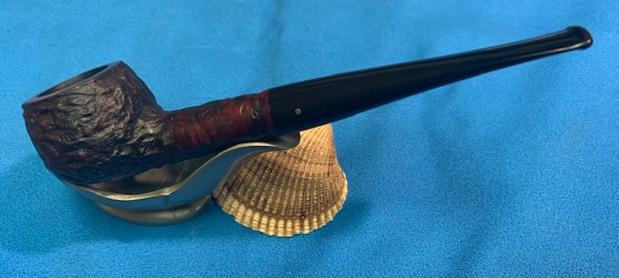
The next pipe on the table is a rusticated Bent Apple/Prince that I took in on a trade or else found on one of my long ago pipe hunts. I cannot remember to be honest with you all. Sometimes I just put the pipes in a box to work on at a later date and forget about them. Strange I know but it is the truth. The pipe is stamped on a smooth panel on the underside of the shank and reads 129 [shape number] followed by Brigham in script. Underneath it is stamped Made in Canada. There was a thick cake in the bowl with remnants of tobacco stuck on the walls. There was a light lava overflow on the rusticated rim top. The edges of the bowl were in good condition. The rusticated finish is dirty and dusty. The stem was lightly oxidized and had part of a price sticker on the top side. The stem did not have tooth marks or chatter. There was a single brass dot on the left side of the taper stem. I took photos of the pipe before I started my cleanup work on it. I took a close up photo of the bowl and rim top to show the cake in the bowl. The rusticated rim top showed some lava in the grooves of the rustication but the inner and outer edges of the bowl looked good. I took photos of the top and underside of the stem surface and button to show its general condition. It looked very good under the light oxidation. The stamping is clear and readable as noted above. I removed the stem from the shank and was not surprised to see the Brigham Hard Maple filter stuck in the metal tenon. You can see the single brass dot on the left side of the stem in the photo below.For historical background for those unfamiliar with the brand I am including the information from Pipedia on Brigham pipes. It is a great read in terms of the history and background on the pipes (https://pipedia.org/wiki/Brigham_Pipes). Charles Lemon (Dadspipes) is currently working on a book on the history of the brand. Until that is complete this article is a good summary. I have included it below.

Roy Brigham, after serving an apprenticeship under an Austrian pipesmith, started his own pipe repair shop in Toronto, in 1906. By 1918 the business had grown to include five other craftsmen and had developed a reputation across Canada for the high quality of workmanship. After repairing many different brands of pipes over the years, Roy noted certain recurring complaints by pipe smokers, the most common referred to as “tongue bite”. Tongue bite is a burning sensation on the smoker’s tongue, previously thought to be due to the heat of the smoke (i.e. a “hot smoking pipe”).

He soon began manufacturing his own pipes, which were lightweight, yet featured a more rugged construction, strengthening the weak points observed in other pipes. The problem of tongue bite intrigued him, and he decided to make overcoming it a future goal.

About 1938, Roy’s son Herb joined him to assist in the business. The business barely survived the great depression because pipes were considered to be a luxury, not a necessity, and selling pipes was difficult indeed. In approximately 1937 [1], after some experimentation, Roy and Herb discovered that tongue bite was in fact a form of mild chemical burn to the tongue, caused by tars and acids in the smoke. They found that by filtering the smoke, it was possible to retain the flavour of the tobacco and yet remove these impurities and thereby stop the tongue bite.

Just as Thomas Edison had searched far and wide for the perfect material from which to make the first electric light bulb filaments, Roy & Herb began experimenting with many materials, both common and exotic, in the quest for the perfect pipe filter. Results varied wildly. Most of the materials didn’t work at all and some actually imparted their own flavour into the smoke. They eventually found just two materials that were satisfactory in pipes: bamboo and rock maple. As bamboo was obviously not as readily available, rock maple then became the logical choice.

They were able to manufacture a replaceable hollow wooden tube made from rock maple dowelling, which when inserted into a specially made pipe, caused absolutely no restriction to the draw of the pipe, yet extracted many of the impurities which had caused tongue bite. The result was indeed a truly better smoking pipe…

Charles Lemon has also written a great article on the stamping and marking on the Brigham pipes that fit into a time line that he has drafted. It is well worth a read and is fascinating. (https://pipedia.org/wiki/Brigham_Pipes_%E2%80%93_A_Closer_Look_at_Dots,_Dates_and_Markings). I quote from the pertinent section on the time frame for this pipe.

Around the late 1960s or early 1970s, at the beginning of what I’ve called the Canadian Era (roughly 1970 – 1980), the stampings changed again as Brigham moved to modernize its logo. Pipes are stamped with the 3-digit shape number and “Brigham” over “Made in Canada”.

This solidly places the pipe I am working on in the period of Brigham production that Charles calls the Canadian Era (1970-80). It is a great looking pipe with a slightly different rustication pattern than some of the early Brighams I have worked on.

Charles also put together a chart that helps the restorer to understand the Brigham dot system. I quote from the same link on Pipedia as noted above.

The Original Brigham Dot System 1938 – 1980

Brigham pipes are reknown in the pipe world for their famous “Brigham Dots”, a system of brass pins inset in the stem to denote the grade of each pipe. The original 8-grade pinning system, used for 42 years between 1938 and 1978 (spanning the Patent, Post-Patent and Canadian Eras) looked like this: With the information from Charles’ article and the chart above I knew what I was dealing with in terms of the stamping and the age of this pipe. The pipe was made between in 1978 because of the style of the stamping noted above. The 1 dot on the pipe told me that it was a Brigham Standard. Now it was time to work on the pipe.
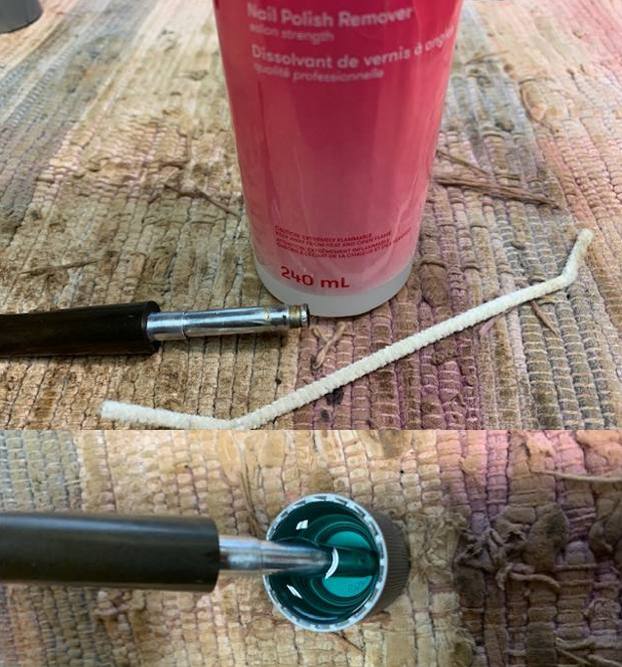
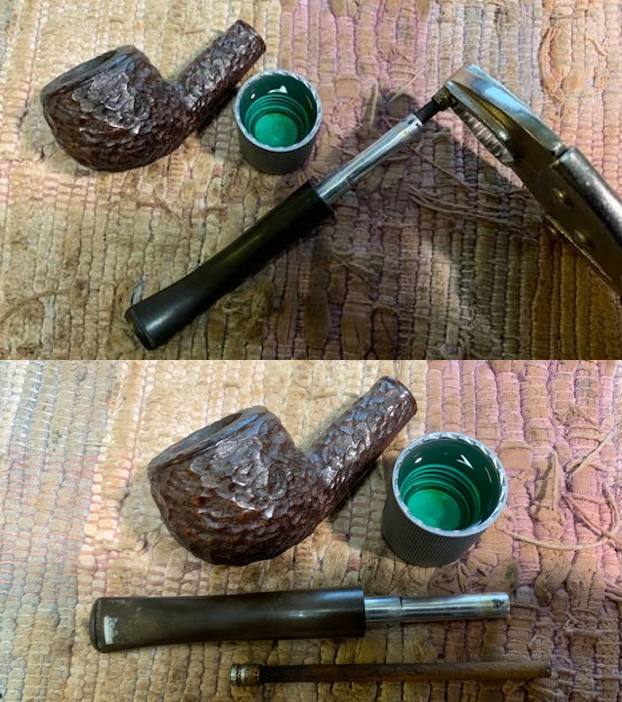
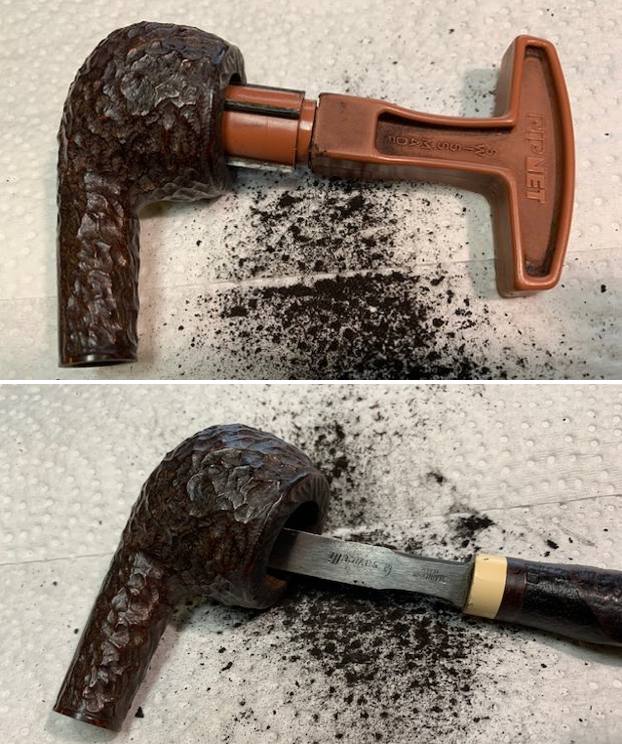
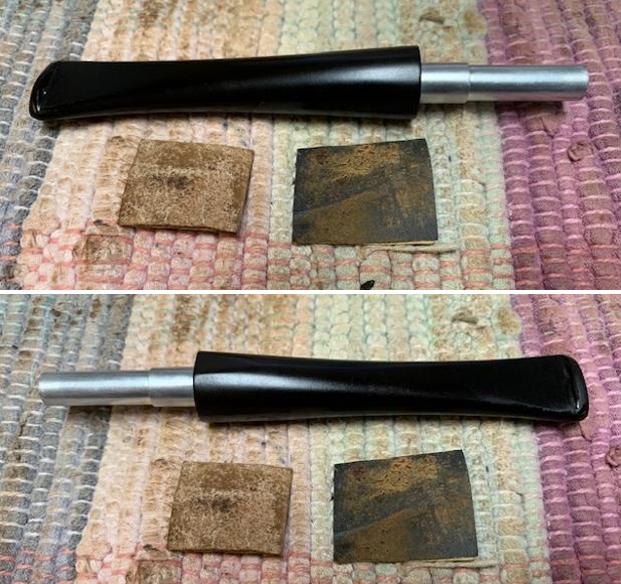
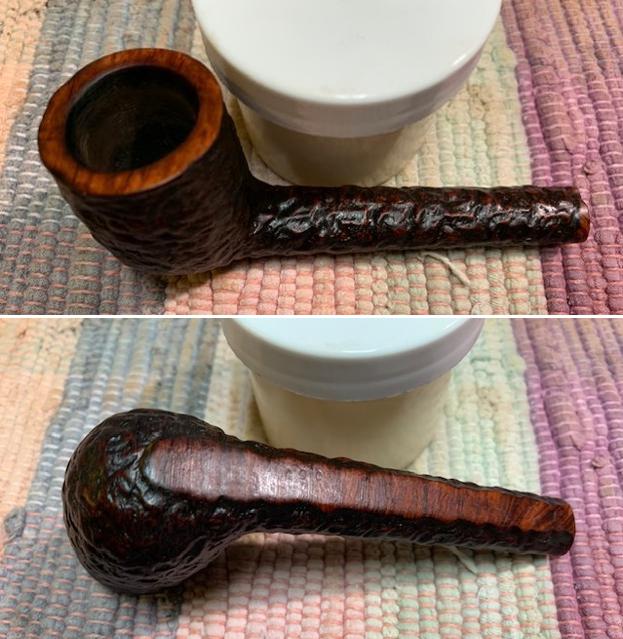
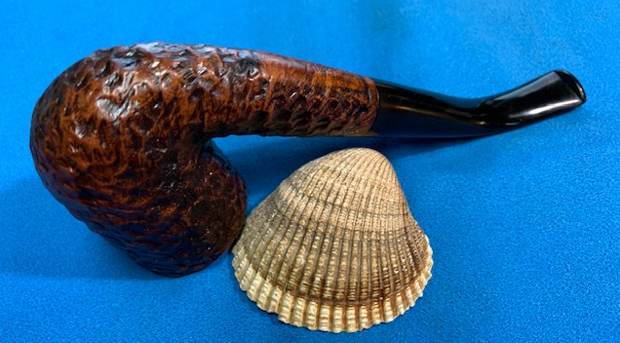
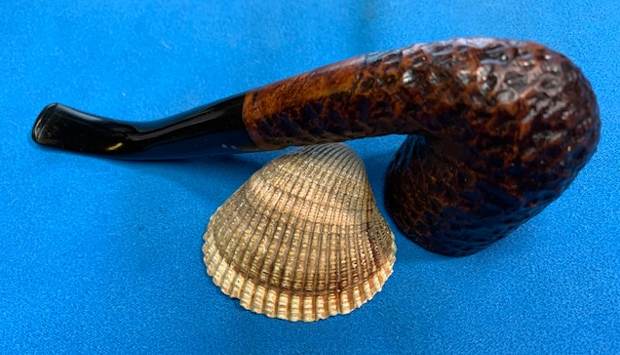
I began my work by dealing with the Hard Rock Maple filter that was stuck in the tenon. The gunk (technical term) had hardened and I could not even remove it with pliers. I painted the joint with some acetone on a pipe cleaner and tried once again with no success. I then let the tenon sit in a cap of acetone for a few moments to see if the filter would loosen. After a few minutes I locked a pair of vise grips on the filter and it turned quite easily and I was able to remove the filthy filter. The maple was absolutely black inside and out. I set the stem aside and turned my attention to the bowl. I reamed it with a PipNet pipe reamer using the third cutting head to take the cake back to bare briar. I cleaned up the reaming with a Savinelli Fitsall Pipe Knife. I scrubbed out the internals with 99% isopropyl alcohol, pipe cleaners and cotton swabs until the shank and the airway into the bowl and the stem were clean. You will notice that there was some red stain that came out of the inside of the shank with the cleaning.I used a brass bristle brush to scrub off the rim top rustication. It loosened the grit. I wiped the rim top down with some undiluted Murphy’s Oil Soap on a cotton pad and used the brush again. The rim top looked very good at this point.I worked some Before & After Restoration Balm into the surface of the briar with my fingertips and a horsehair shoe brush to clean, enliven and protect the briar. I let the balm sit for 15 minutes and then buffed with a cotton cloth to raise the shine. The photos show the bowl at this point in the restoration process. With that done the bowl was finished other than the final buffing. I set it aside and turned my attention to the stem. I scrubbed the surface of the stem with Soft Scrub to remove the oxidation on the surface of the vulcanite. It came out looking much better. Before polishing the stem further I decided to fit the clean stem with a new Rock Maple Distillator.  I polished the stem with micromesh sanding pads – wet sanding with 1500-12000 grit sanding pads. I wiped it down after each sanding pad with Obsidian Oil. I polished it with Before & After Pipe Stem Polish – both Fine and Extra Fine. This Brigham Standard Rusticated 129 Bent Apple is a really nice looking pipe. The classic Brigham rustication gives a lot of dimensionality to the pipe. I put it back together and buffed it with Blue Diamond on the buffing wheel. I gave the bowl and the stem multiple coats of carnauba wax. I buffed the pipe with a clean buffing pad on the wheel to raise the shine and hand buffed it with a microfiber cloth to deepen the shine. It is fun to see what the polished rusticated bowl looks like with the polished black vulcanite stem with a shining brass pin. The pipe really is beautiful. This rusticated Brigham Standard (1 Dot) Bent Apple is nice looking and the pipe feels great in my hand. It is light and well balanced. Have a look at it with the photos below. The dimensions are Length: 5 ¾ inches, Height: 1 ¼ inches, Outside diameter of the bowl: 1 ¼ inches, Chamber diameter: ¾ of an inch. The weight of the pipe is 33 grams/1.16 ounces. It is a beautiful pipe and one that will soon be on the rebornpipes store in the Canadian Pipemakers section. If you are interested in adding it to your collection let me know. Thanks for walking through the restoration with me as I worked over this pipe. Please we are not pipe owners; we hold our pipes in trust until they pass on into the trust of the next in line. 
The Volkswagen Beetle of Pipes


Blog by Kenneth Lieblich

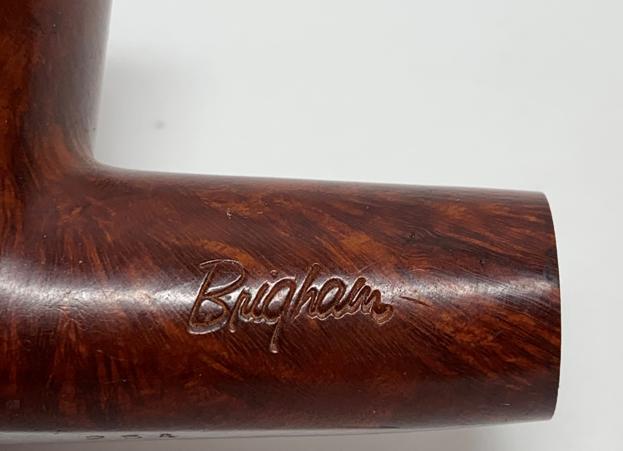
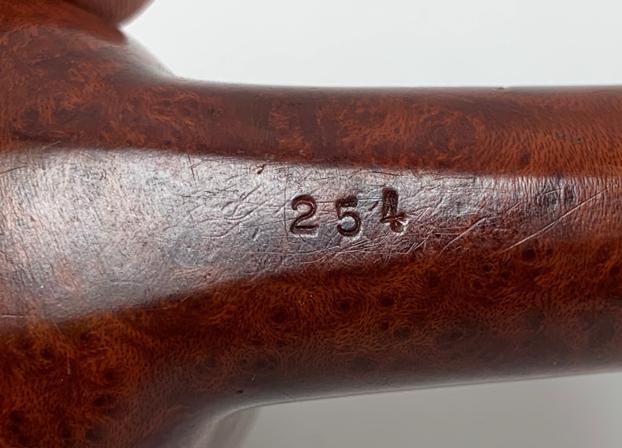
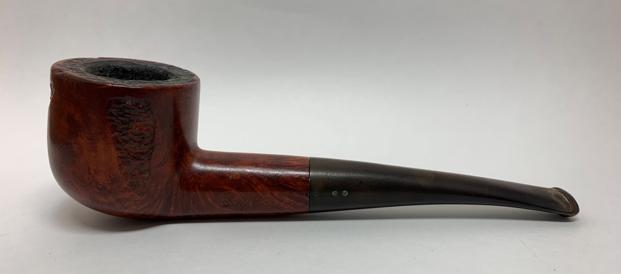
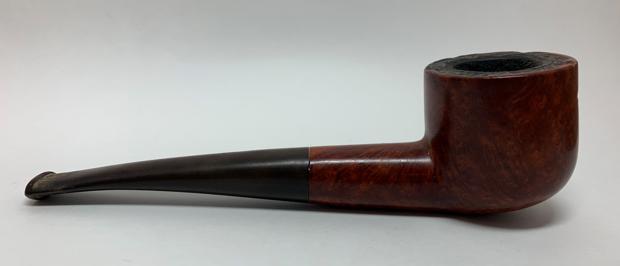
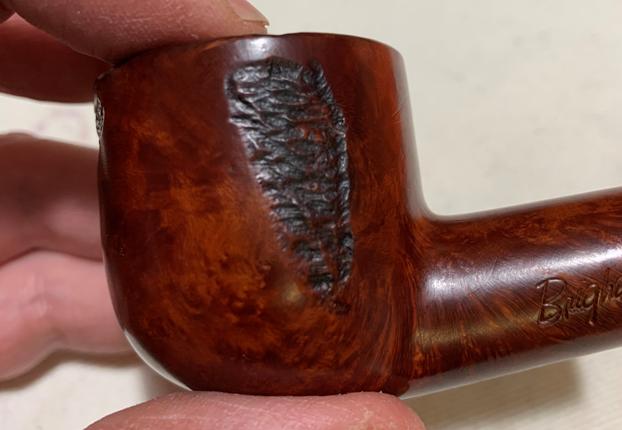
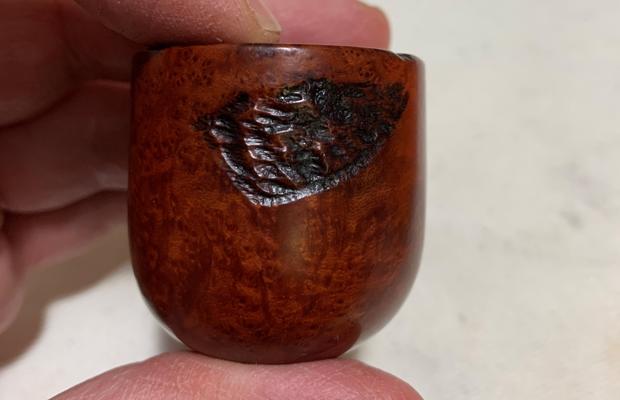
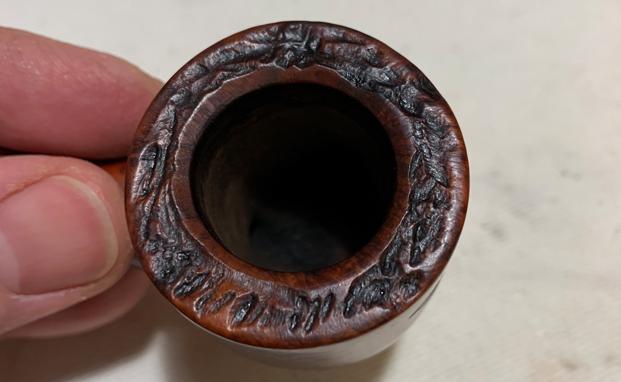
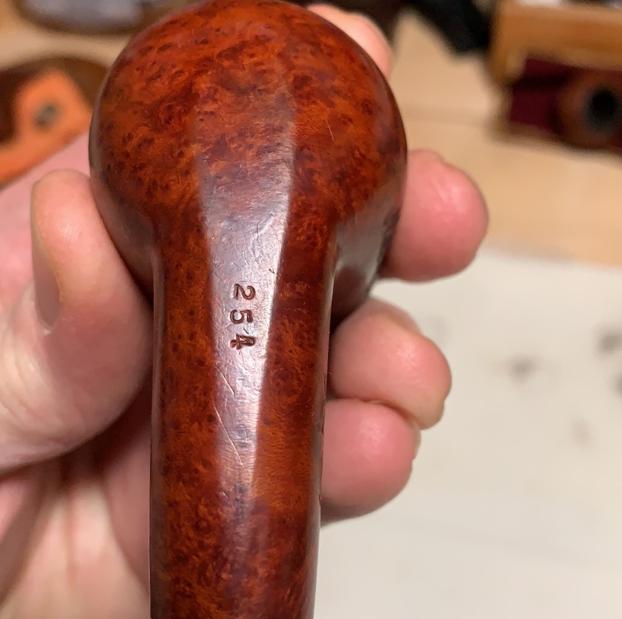
I was very flattered by all the attention that the first restoration of my grandfather’s Dunhill received on this blog. Your kind words gave me the encouragement to carry on publishing the stories of my pipe restorations. Indeed, I will be posting restorations of my grandfather’s other pipes in the weeks ahead. Today’s pipe is not from my grandfather, but from eBay. This Brigham Two-Dot Algonquin (254) is a straight-stemmed pot billiard. It is much more modest than my grandfather’s Dunhill, but it is a charming pipe with its own story to tell. As usual, Steve’s advice was invaluable and – also as usual – any compliments on this restoration are for him; any criticisms are for me. I gave this story the title that I did because this pipe reminds me of the old Volkswagen Beetle: solid, hard-working, reliable, practical – but not very pretty. The very first lot of pipes that I purchased on eBay came from Sudbury, Ontario – the nickel capital of the world. This group of pipes had a little bit of everything in it (you will see some others in the coming weeks), but the one thing these pipes had in common was their filth. Perhaps they all sat at the bottom of a nickel mine and accumulated this filth over the years. Who knows? I started with this pipe because it was the least dirty and least blemished of the bunch. I figured this might be a relatively straightforward restoration – and so it was. The pictures you see here do not do justice to the filth. I may have wiped this pipe down a bit before starting, so you will just have to take my word for it. Fortunately, there were no major structural problems with this pipe. There were scratches on the stummel, some lava on the rim, plenty of cake in the bowl, lots of tooth marks on the stem, and an overall sense of fatigue. The pipe just felt lethargic somehow. By the way, I apologize for the lack of variety of photographs on this pipe. It was being restored while my mind was on other things and I did not snap the pictures quite as often as I should have.

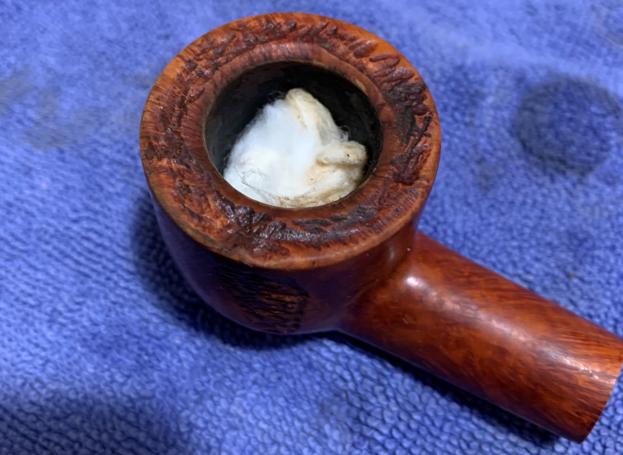
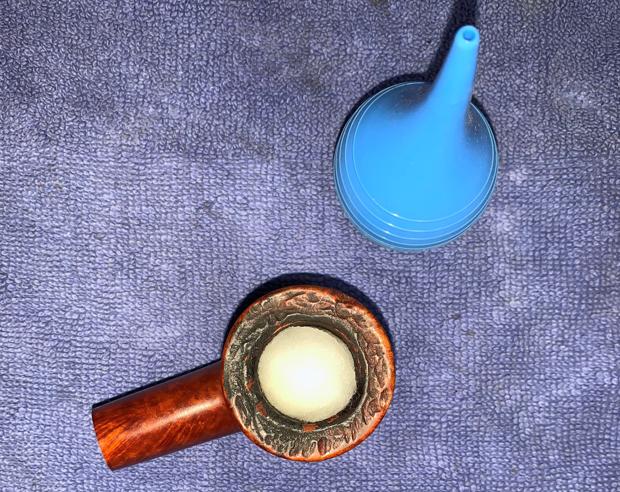
Anyway, to work! Naturally, the first steps involved reaming out the pipe. This pipe has quite a wide bowl and it required both the PipNet Reamer and the KleenReem. I took it down to bare briar, as I wanted to ensure there were no hidden flaws in the walls of the bowl. Fortunately, there were none. I then proceeded to clean out the insides of both the shank and stem with Q-tips, pipe cleaners, and a lemon-infused isopropyl alcohol. Now, I know that sounds more like something you would find in a ladies’ beauty salon, but, in fact, it is a pretty impressive cleaner (more about that perhaps in a future post). I took a BIC lighter and (to quote Steve) ‘painted’ the stem with its flame. This was fairly successful in raising some of the dents. One dent remained, but I dealt with that later. Once this process was done, the stem went for an overnight soak in the Before & After Hard Rubber Deoxidizer. I then moved on to cleaning the outside of the stummel with Murphy’s Oil Soap and an old toothbrush. My father is a dentist, so I know I have a good place from which to source my dental supplies! Actually, that cleaning with the brush tipped the balance of this pipe from a sorry, Sudbury sojourner to a pipe with character and purpose. I followed that up with a smear of Before & After Restoration Balm. That always makes everything look better – even a Volkswagen Beetle pipe. Perhaps applying some on my ugly mug would help, but I digress… The time had come to deal with this pipe’s biggest problem – a problem that pictures will not convey: the stench. The previous owner had clearly enjoyed a very floral, perfumy aromatic tobacco. How shall I put this delicately? It was not to my taste. It took four (or maybe even five) de-ghosting sessions to rid this pipe of the aromatic fetor. This de-ghosting consisted of thrusting cotton balls in the bowl and the shank, and saturating them with 99% isopropyl alcohol. This causes the tars and dreadful smells to leech out into the cotton. Finally, a relatively clean and fresh-smelling bowl emerged. I went back to the stem and cleaned all of the de-oxidizing goop (technical term) off with alcohol, pipe cleaners, et cetera. The oxidation had migrated to the surface and would be fairly easy to remove. Following in the footsteps of Steve the Master, I used 220, 400, and 600 grit sandpapers to address this issue. Before I moved on to the Micromesh pads, I filled the remaining tooth dent in the stem with cyanoacrylate adhesive, let it fully cure, and then sanded it down to meld seamlessly into the stem. Once complete, I used all nine Micromesh pads (1,500 through 12,000 grit) to bring out the lovely lustre on the stem. Naturally, I used Obsidian Pipe Stem Oil in between each pad. I was particularly pleased with how nicely the two Brigham dots gleamed after the Micromesh pads. Back to the stummel. The three patches of rustication (on the rim and the outside) needed a little attention. They did not look quite like Brigham rustication would have looked. I took some stain and applied it to the crevasses of the rustication, carefully avoiding the high spots wherever possible. I also applied some Before & After Restoration Balm to help blend everything together. This looked a lot better and restored a real ‘Brigham’ look to the stummel. The Before & After Restoration Balm had really brought out the best of the wood, but the little nicks and scratches that occur over time had removed some of the charm from this pipe. Lazy Me was hoping that I could get away with just buffing the thing and leaving it at that, but Perfectionist Me knew that that was not going to happen. So, I pulled out all nine Micromesh pads again and went from proverbial stem to stern over the stummel to try and coax some beauty out of this Volkswagen Beetle. It worked! Some beauty was found! I applied more Before & After Restoration Balm and Paragon II Wax. I polished it by hand with a microfibre cloth (deliberately avoiding an electric buffer) and voilà! I now have a Brigham pipe of my very own. This Algonquin Two-Dot pot billiard is never going to win a swimsuit competition, but that does not matter. It is a good, solid pipe that does what it is supposed to do. What more can you ask for? The dimensions of the pipe are as follows: length 6 inches (15.5 cm); height 1¾ inches (4.2 cm); bowl diameter 1½ inches (4 cm); chamber diameter: ⅞ of an inch (2.3 cm). The weight of the pipe is 1⅝ ounces (or 48 grams of mass).

Thank you very much for reading and, once again, I welcome and encourage your comments.

Breathing Life into a Patented Brigham Standard (1-Dot) Prince


Blog by Steve Laug

With this Canadian Made Brigham on the table I am finishing the last of the Brigham pipes I had waiting for me to complete. This one is a rusticated Prince, stamped on a smooth panel on the left side of the shank with faint stamping visible with a lens under light. It reads Can. Pat. 372982 followed by Brigham underlined and in script. There is no shape number stamped on the pipe. There was a thick cake in the bowl with remnants of tobacco stuck on the walls. There was a lava overflow on the rim. The smooth rim top and edges appear to have some damage. There is damage all the way around the outside edges of the bowl. The finish is tired and dried out looking and the rustication lacks the look of dimensionality that Brigham rustications seem to capture so well. Once again, I am hoping at this point that there was a beautiful pipe underneath all of the buildup of years of use. The stem was oxidized and calcified toward the end with some tooth chatter. There were also some tooth marks on both sides of the stem ahead of the button and on the button surface itself. There was a single brass dot on the left side of the taper stem. Jeff took photos of the pipe before he started his cleanup work on it. Jeff took photos of the bowl and rim top to show the cake in the bowl. The smooth rim top showed some darkening and damage as did the inner and outer edges of the bowl. He took photos of the top and underside of the stem showing the tooth chatter, scratching and oxidation on the stem surface and wear on the edges of the button. Jeff took a photo of the side and heel of the bowl to show the condition of the finish. You can see the well done and rugged rustication that is typical of Brigham pipes. Even under the dirt and debris of the years it looked very good. The stamping is faint but readable as noted above. He included a pic of the one brass dot on the stem. For historical background for those unfamiliar with the brand I am including the information from Pipedia on Brigham pipes. It is a great read in terms of the history and background on the pipes (https://pipedia.org/wiki/Brigham_Pipes). Charles Lemon (Dadspipes) is currently working on a book on the history of the brand. Until that is complete this article is a good summary. I have included it below.

Roy Brigham, after serving an apprenticeship under an Austrian pipesmith, started his own pipe repair shop in Toronto, in 1906. By 1918 the business had grown to include five other craftsmen and had developed a reputation across Canada for the high quality of workmanship. After repairing many different brands of pipes over the years, Roy noted certain recurring complaints by pipe smokers, the most common referred to as “tongue bite”. Tongue bite is a burning sensation on the smoker’s tongue, previously thought to be due to the heat of the smoke (i.e. a “hot smoking pipe”).

He soon began manufacturing his own pipes, which were lightweight, yet featured a more rugged construction, strengthening the weak points observed in other pipes. The problem of tongue bite intrigued him, and he decided to make overcoming it a future goal.

About 1938, Roy’s son Herb joined him to assist in the business. The business barely survived the great depression because pipes were considered to be a luxury, not a necessity, and selling pipes was difficult indeed. In approximately 1937 [1], after some experimentation, Roy and Herb discovered that tongue bite was in fact a form of mild chemical burn to the tongue, caused by tars and acids in the smoke. They found that by filtering the smoke, it was possible to retain the flavour of the tobacco and yet remove these impurities and thereby stop the tongue bite.

Just as Thomas Edison had searched far and wide for the perfect material from which to make the first electric light bulb filaments, Roy & Herb began experimenting with many materials, both common and exotic, in the quest for the perfect pipe filter. Results varied wildly. Most of the materials didn’t work at all and some actually imparted their own flavour into the smoke. They eventually found just two materials that were satisfactory in pipes: bamboo and rock maple. As bamboo was obviously not as readily available, rock maple then became the logical choice.

They were able to manufacture a replaceable hollow wooden tube made from rock maple dowelling, which when inserted into a specially made pipe, caused absolutely no restriction to the draw of the pipe, yet extracted many of the impurities which had caused tongue bite. The result was indeed a truly better smoking pipe…

I have written to Charles Lemon (Dadspipes) previously about Patent Number pipes and since this was another one, I referred to a previous blog I had written about the stamping on a 2199 Lovat shaped pipe. He responded with information that I am including in part below.

Hey Steve! Good to hear from you.

Shape 2199 is what most would call a Lovat. Brigham called it a Club for whatever reason- just to be different, perhaps!…As these are all Patent pipes, it’s more accurate to refer to their grade by name (the post 1980 grading scheme refers to Dots). Here is the original scheme: I also wrote Charles about this specific pipe and he sent me the reply below. It is fascinating information regarding this older Canadian made pipe.

Patent Prince – the Straight Prince is a Shape 13. I can’t tell from the pic how many Dots it has on the stem (1?). Dating will again be 1938-55.

With the information from Charles’ message and the chart above that he included I knew what I was dealing with in terms of the stamping and the age of this pipe. The pipe was made between 1938-1955 because of the Patent number and also that the 1 dot pipe was a Brigham Standard. Now it was time to work on the pipe.

I am really happy to have Jeff’s help on cleaning up the pipes that we pick up along the way. He cleaned this filthy pipe with his usual penchant for thoroughness that I really appreciate. This one was a real mess and I did not know what to expect when I unwrapped it from his box. He reamed it with a PipNet pipe reamer and cleaned up the reaming with a Savinelli Fitsall Pipe Knife. He scrubbed out the internals with alcohol, pipe cleaners and cotton swabs until the pipe was clean. He scrubbed the exterior of the bowl with Murphy’s Oil Soap and a tooth brush to remove the grime and grit on the briar and the lava on the rim top. The finish looks much better and the great rustication on the bowl and shank had greatly improved. The rim top still was a mess. Jeff soaked the stem in Before & After Deoxidizer to remove the oxidation on the rubber. He scrubbed it with Soft Scrub All Purpose Cleaner to remove the majority of the oxidation. When the pipe arrived here in Vancouver for the second stop of its restoration tour I was amazed it looked so good. (This was the last pipe I worked on late last evening and I honestly forgot to take some before photos!! Must have been tired. I did a fair bit of work on the pipe and the this morning took the “before” photos. Sorry about that.)  I took some close up photos of the rim top and the stem surface. I had already started working on the rim top last evening. I lightly topped it and gave it a coat of stain to see the look. Lots more work to do on it but it is getting there. I took close up photos of the stem to show the condition of the surface and button. I took a photo of the stamping on the left side of the shank. You can see that it is stamped as noted above. It is faint but readable.I took the pipe apart and took a photo of the pipe. It is a good looking pipe and has some great looking rustication on the bowl and shank. I decided to start my restoration work on this one by dealing with the damaged rim top and edges. I topped the bowl on a topping board with 220 grit sandpaper to remove the darkening and damage. I worked over the inner edge of the bowl with a folded piece of 220 grit sandpaper. The rim top and edges looked much better at this point. I polished the smooth rim top with micromesh sanding pads – wet sanding it with 1500-12000 grit pads. After each pad I wiped the briar down with a damp cloth. I worked some Before & After Restoration Balm into the surface of the briar with my fingertips and a horsehair shoe brush to clean, enliven and protect the briar. I let the balm sit for 15 minutes and then buffed with a cotton cloth to raise the shine. The photos show the bowl at this point in the restoration process. With that done the bowl was finished other than the final buffing. I set it aside and turned my attention to the stem. I sanded out the tooth marks with 220 grit sandpaper and started the polishing with 400 grit wet dry sandpaper.   Before polishing the stem further I decided to fit the clean stem with a new Rock Maple Distillator.I polished the stem with micromesh sanding pads – wet sanding with 1500-12000 grit sanding pads. I wiped it down after each sanding pad with Obsidian Oil. I polished it with Before & After Pipe Stem Polish – both Fine and Extra Fine. I am excited to finish this Brigham Prince as it is the last of the lot that I have been restoring of this brand. It turned out to be a nice looking Standard 13 Rusticated Prince. It has a combined finish with a smooth rim top and the rest of the bowl and shank rusticated with the normal Brigham rustication. I put the pipe back together and buffed it with Blue Diamond on the buffing wheel. I gave the bowl and the stem multiple coats of carnauba wax. I hand buffed the pipe with a clean buffing pad to raise the shine. It is fun to see what the polished bowl looks like with the grain popping through on the rim top and the rustication on the rest of the bowl and shank. Added to that the polished black vulcanite stem with four shining brass pins was beautiful. This rusticated Brigham Standard (1 Dot) Prince is nice looking and the pipe feels great in my hand. It is light and well balanced. Have a look at it with the photos below. The dimensions are Length: 6 inches, Height: 1 ¼ inches, Outside diameter of the bowl: 1 ¼ inches, Chamber diameter: ¾ of an inch. The weight of the pipe is 32grams/1.13ounces. It is a beautiful pipe and one that will be on the rebornpipes store soon. If you are interested in adding it to your collection let me know. Thanks for walking through the restoration with me as I worked over this pipe. Thanks to each of you who are reading this blog. Remember we are not pipe owners; we are pipemen and women who hold our pipes in trust until they pass on into the trust of the next pipeman or woman. 

A Lovely Brigham Exclusive 306 Medium Straight Dublin


Blog by Steve Laug

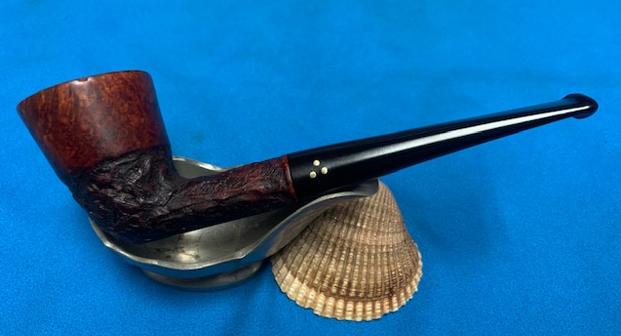
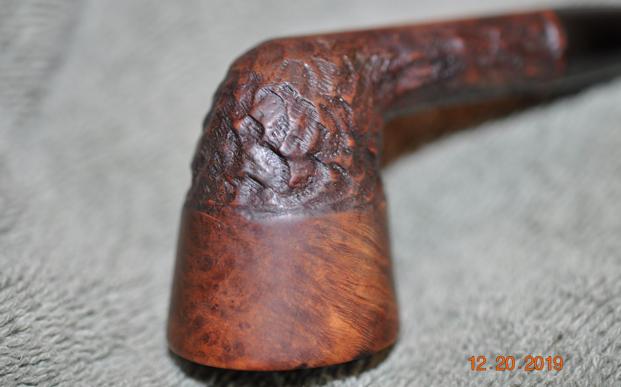
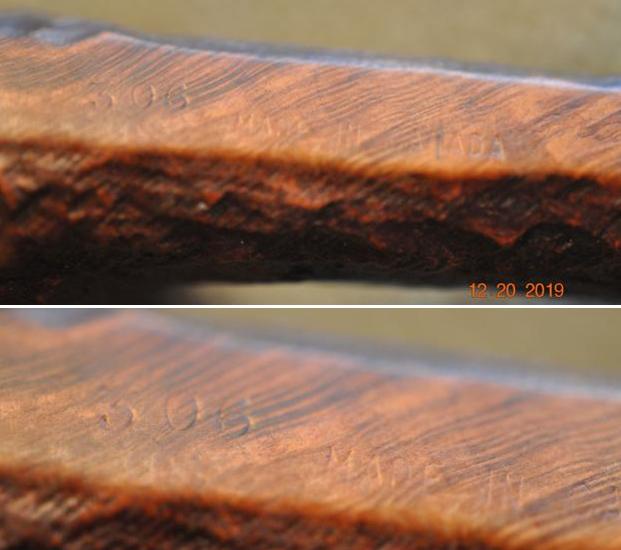
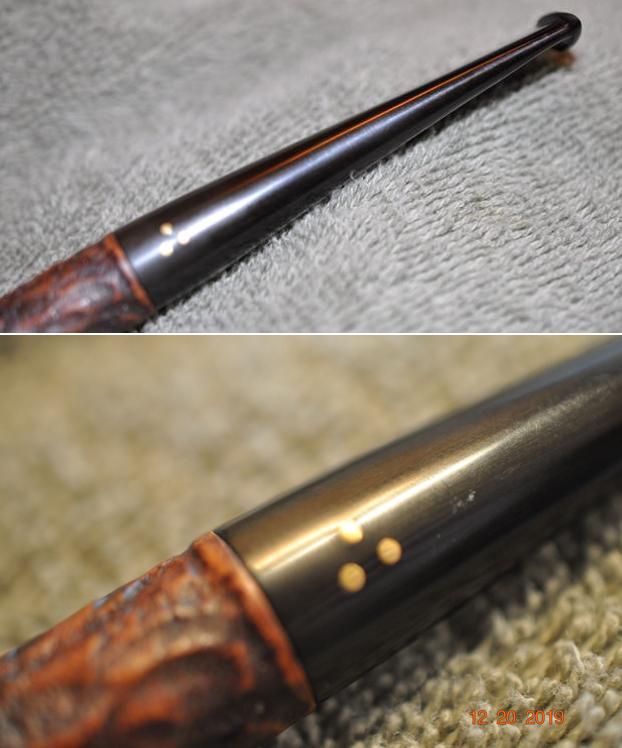
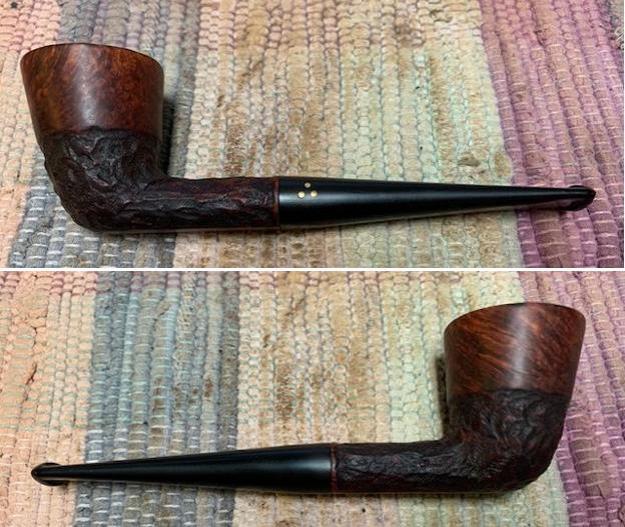
I have two more Brighams left to restore so I chose to work on the Dublin shaped 306 next. The pipe is a medium sized straight Dublin with a taper stem. It is a neat looking pipe with real character. The upper half of the bowl is smooth and highlights some nice grain. The rest of the bowl and shank bear the classic Brigham rustication pattern. It is stamped Brigham over and to the right of MADE IN CANADA on the underside of the shank and has the shape number 306 stamped to the left of that. The stem has three brass pins on the left side of the taper. There was a moderate cake in the bowl and a spattering of lave on the rim top and edges. The rim top is scratched but otherwise clear. The inner and outer edges of the bowl look very good. There is a small burn mark on the outer edge on the right side near the top. There was a beautiful pipe underneath all of the buildup of years of use. The stem was oxidized and had light tooth marks and chatter both sides ahead of the button and on the button surface itself. Jeff took photos of the pipe before he started his cleanup work on it. Jeff took photos of the bowl and rim top to show the condition of the bowl with the thick cake in the bowl and the damage and darkening on the rim top. He took photos of the top and underside of the stem showing the condition of the stem.    Jeff took a photo of the side and heel of the bowl to show the smooth/rustic style of the rustication. Even under the dirt and debris of the years it looked very good.The stamping is faint but reads as noted above. He included pics of the 2 brass dots on the stem.   For the needed background I am including the information from Pipedia on Brigham pipes. It is a great read in terms of the history of the brand (https://pipedia.org/wiki/Brigham_Pipes). Charles Lemon (Dadspipes) is currently working on a book on the history of the brand. Until that is complete this article is a good summary. I have included it below.

Roy Brigham, after serving an apprenticeship under an Austrian pipesmith, started his own pipe repair shop in Toronto, in 1906. By 1918 the business had grown to include five other craftsmen and had developed a reputation across Canada for the high quality of workmanship. After repairing many different brands of pipes over the years, Roy noted certain recurring complaints by pipe smokers, the most common referred to as “tongue bite”. Tongue bite is a burning sensation on the smoker’s tongue, previously thought to be due to the heat of the smoke (i.e. a “hot smoking pipe”).

He soon began manufacturing his own pipes, which were lightweight, yet featured a more rugged construction, strengthening the weak points observed in other pipes. The problem of tongue bite intrigued him, and he decided to make overcoming it a future goal.

About 1938, Roy’s son Herb joined him to assist in the business. The business barely survived the great depression because pipes were considered to be a luxury, not a necessity, and selling pipes was difficult indeed. In approximately 1937 [1], after some experimentation, Roy and Herb discovered that tongue bite was in fact a form of mild chemical burn to the tongue, caused by tars and acids in the smoke. They found that by filtering the smoke, it was possible to retain the flavour of the tobacco and yet remove these impurities and thereby stop the tongue bite.

Just as Thomas Edison had searched far and wide for the perfect material from which to make the first electric light bulb filaments, Roy & Herb began experimenting with many materials, both common and exotic, in the quest for the perfect pipe filter. Results varied wildly. Most of the materials didn’t work at all and some actually imparted their own flavour into the smoke. They eventually found just two materials that were satisfactory in pipes: bamboo and rock maple. As bamboo was obviously not as readily available, rock maple then became the logical choice.

They were able to manufacture a replaceable hollow wooden tube made from rock maple dowelling, which when inserted into a specially made pipe, caused absolutely no restriction to the draw of the pipe, yet extracted many of the impurities which had caused tongue bite. The result was indeed a truly better smoking pipe…

I sent Charles a quick email asking him about this pipe and sent along a photo of the Dublin pipe. I have included his response below.

306 Dublin – there were three sizes of Straight Dublin pipes in the original Brigham lineup -Shapes 5, 6 and 7, with 5 being the smallest and 7 the largest. Your 306, then, is a Medium Straight Dublin in what was then called the “Exclusive” grade. If the “Made in Canada” stamp is block letters in a single line separate from the Brigham logo, the pipe dates from between 1955 to about 1970. If the COM stamp is smaller and positioned under the Brigham logo, it will be a later production, made sometime in the 1970s. The Brigham lineup expanded to 6 grades from the mid-1950s to the early 1960s, and again to 8 grades by the mid-1960s. 

With the information from Charles I knew what I was dealing with in terms of the stamping and the age of this pipe. I learned that the pipe was originally made between 1955 and 1970 (approximately) because of the stamping on the shank. Now it was time to work on the pipe.

I am really happy to have Jeff’s help on cleaning up the pipes that we pick up along the way. He cleaned this filthy pipe with his usual penchant for thoroughness that I really appreciate. This one was a real mess and I did not know what to expect when I unwrapped it from his box. He reamed it with a PipNet pipe reamer and cleaned up the reaming with a Savinelli Fitsall Pipe Knife. He scrubbed out the internals with alcohol, pipe cleaners and cotton swabs until the pipe was clean. He scrubbed the exterior of the bowl with Murphy’s Oil Soap and a tooth brush to remove the grime and grit on the briar and the lava on the rim top. The finish looks very good with the combined smooth bowl top half and the great looking rustication on the rest of the bowl and shank. Jeff soaked the stem in Before & After Deoxidizer to remove the oxidation on the rubber. He scrubbed it with Soft Scrub All Purpose Cleaner to remove the majority of the oxidation. When the pipe arrived here in Vancouver it looked very good. I took some close up photos of the pipe before I started my part of the restoration. I took photos of the bowl and rim top as well as both sides of the stem to show its condition. The rim top and edges looked good. There was a large scratch on the rim top just to the right of the rear of the bowl. It looks like a crack but it is actually a scratch I the surface. I took close up photos of the stem to show the tooth marks on the top and underside ahead of the button and on the top edge of the button as well.I took a photo of the stamping on the smooth underside of the shank. You can see that it is stamped as noted above. It is faint but readable.I took the pipe apart and took a photo of the pipe. It is an interesting pipe that you can see the smooth  portion of the bowl and the rustic finish on in the photo below. The combination of finishes makes this a beautiful pipe.I decided to start my restoration work on this one by cleaning up the rim top and edges of the bowl. I filled in the deep scratch on the rim top with clear CA. Once the repair cured I sanded it smooth to blend it into the rest of the rim top. I sanded the inner edge with a folded piece of 220 grit sandpaper and gave it a slight bevel to take care of the burn marks on the edge. The bowl looks much better once I had finished.    I polished the rim top and smooth portions on the bowl with micromesh sanding pads. I dry sanded it with 1500-12000 grit sanding pads. I wiped the finish down after each sanding pad with a damp cloth to remove the debris from sanding. The bowl started to really take on a shine as I worked it over. I worked some Before & After Restoration Balm into the surface of the briar with my fingertips and a horse hair shoe brush to clean, enliven and protect the briar. I let the balm sit for 15 minutes and then buffed with a cotton cloth to raise the shine. The photos show the bowl at this point in the restoration process. With that done the bowl was finished other than the final buffing. I filled the small marks in with CA and set the stem aside to cure. Once the repairs cured I sanded them with 220 grit sand paper to blend them into the rest of the stem surface. I started to polish it with a folded piece of 400 wet dry sandpaper.  Before I finished the polishing stem I fit the clean stem with a new Rock Maple Distillator.    I polished the stem with micromesh sanding pads – wet sanding with 1500-12000 grit sanding pads. I wiped it down after each sanding pad with Obsidian Oil. I polished it with Before & After Pipe Stem Polish – both Fine and Extra Fine. I am glad to finish this Brigham Exclusive Dublin 306 – a substantial feeling pipe that Brigham made in a large line of various shapes and sizes of Dublin’s. It has a unique Brigham look that is different from any other pipe making company. In this case it adds the touch of smooth top half of the bowl and the rustication on the rest of the bowl and shank. I put the pipe back together and buffed it with Blue Diamond on the buffing wheel. I gave the bowl and the stem multiple coats of carnauba wax. I buffed it with a clean buffing pad to raise the shine. I hand buffed the pipe with a microfiber cloth to deepen it. It is fun to see what the polished bowl looks like with the mix of smooth lines and hard rustication around the bowl and shank. Added to that the polished, rebuilt black, vulcanite saddle stem with two shining brass pins was beautiful. This Brigham Exclusive Dublin 306 is nice looking and the pipe feels great in my hand. It is light and well balanced. Have a look at it with the photos below. The dimensions are Length: 5 ½ inches, Height: 1 ¾ inches, Outside diameter of the bowl: 1 ¼ inches, Chamber diameter: ¾ of an inch. The weight of the pipe is 27grams/.95ounces. It is a beautiful pipe and one that will be on the rebornpipes store soon. If you are interested in adding it to your collection let me know. Thanks for walking through the restoration with me as I worked over this pipe. Thanks to each of you who are reading this blog.


New Life for a Brigham 267 Tall Saddle Stem Bulldog


Blog by Steve Laug

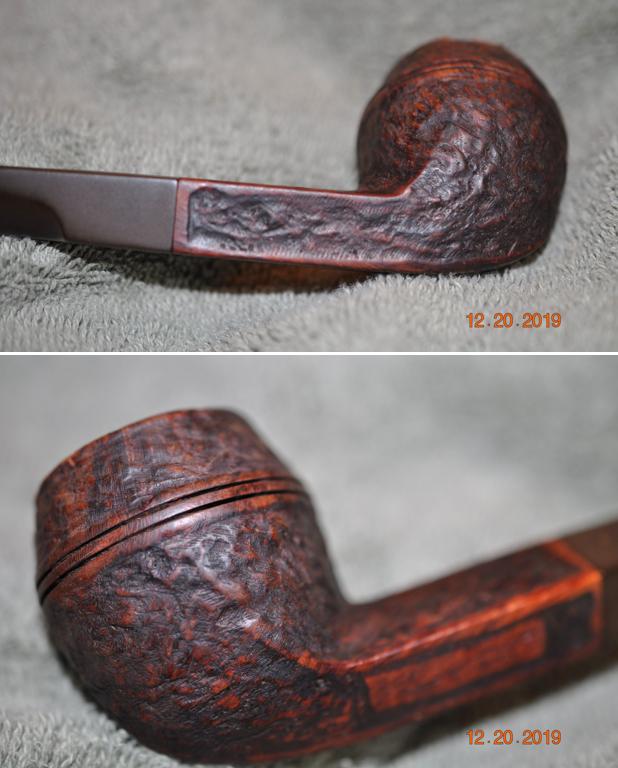
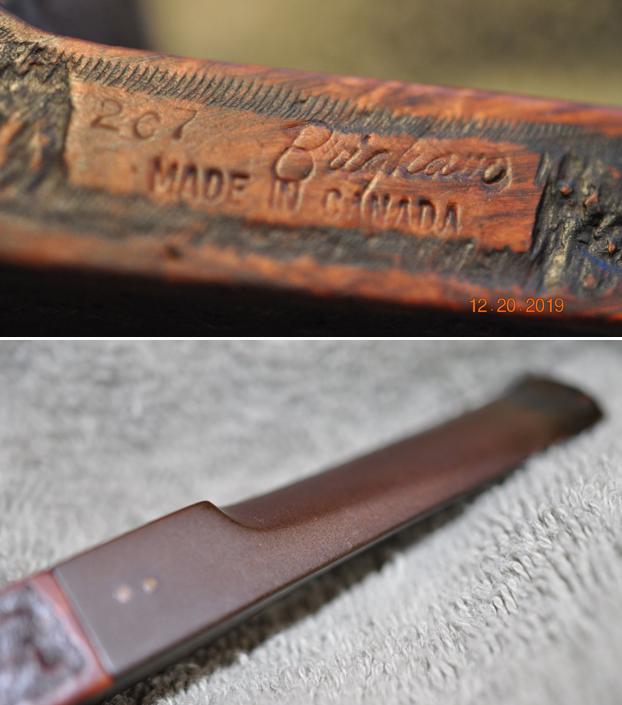
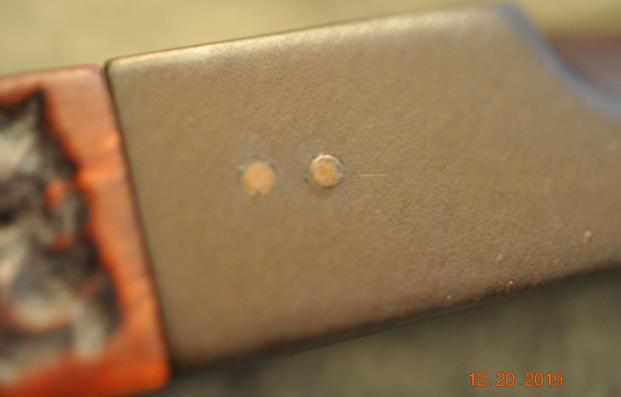
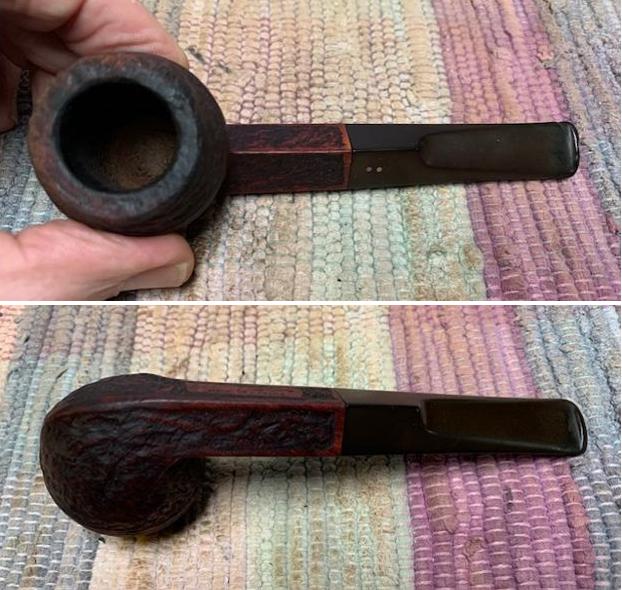
I chose to work another Canadian Made Brigham to work on next. The pipe is a large straight Bulldog with a saddle stem. It is a neat looking pipe with real character. It is stamped Brigham over MADE IN CANADA on the left underside of the shank and has the shape number 267 stamped to the left of that. The stem has two brass pins on the top left side of the saddle. There was a heavy cake in the bowl and darkening on the rim top and edges. The rim top has a classic Brigham rustication matching that around the bowl and shank. There is some damage on the front and right outer edge of the bowl. I think that there was a beautiful pipe underneath all of the buildup of years of use. The stem was oxidized and had tooth marks and chatter both sides ahead of the button and on the button surface itself. Jeff took photos of the pipe before he started his cleanup work on it. Jeff took photos of the bowl and rim top to show the condition of the bowl with the thick cake in the bowl and the damage and darkening on the rim top. He took photos of the top and underside of the stem showing the condition of the stem.     Jeff took photos of the sides and heel of the bowl to show the rustic condition of the finish. The rustication is well done and rugged in the spots on the bowl and rim. Even under the dirt and debris of the years it looked very good.     The stamping is very clear and reads as noted above. He included pics of the 2 brass dots on the stem. For the needed background I am including the information from Pipedia on Brigham pipes. It is a great read in terms of the history of the brand (https://pipedia.org/wiki/Brigham_Pipes). Charles Lemon (Dadspipes) is currently working on a book on the history of the brand. Until that is complete this article is a good summary. I have included it below.

Roy Brigham, after serving an apprenticeship under an Austrian pipesmith, started his own pipe repair shop in Toronto, in 1906. By 1918 the business had grown to include five other craftsmen and had developed a reputation across Canada for the high quality of workmanship. After repairing many different brands of pipes over the years, Roy noted certain recurring complaints by pipe smokers, the most common referred to as “tongue bite”. Tongue bite is a burning sensation on the smoker’s tongue, previously thought to be due to the heat of the smoke (i.e. a “hot smoking pipe”).

He soon began manufacturing his own pipes, which were lightweight, yet featured a more rugged construction, strengthening the weak points observed in other pipes. The problem of tongue bite intrigued him, and he decided to make overcoming it a future goal.

About 1938, Roy’s son Herb joined him to assist in the business. The business barely survived the great depression because pipes were considered to be a luxury, not a necessity, and selling pipes was difficult indeed. In approximately 1937 [1], after some experimentation, Roy and Herb discovered that tongue bite was in fact a form of mild chemical burn to the tongue, caused by tars and acids in the smoke. They found that by filtering the smoke, it was possible to retain the flavour of the tobacco and yet remove these impurities and thereby stop the tongue bite.

Just as Thomas Edison had searched far and wide for the perfect material from which to make the first electric light bulb filaments, Roy & Herb began experimenting with many materials, both common and exotic, in the quest for the perfect pipe filter. Results varied wildly. Most of the materials didn’t work at all and some actually imparted their own flavour into the smoke. They eventually found just two materials that were satisfactory in pipes: bamboo and rock maple. As bamboo was obviously not as readily available, rock maple then became the logical choice.

They were able to manufacture a replaceable hollow wooden tube made from rock maple dowelling, which when inserted into a specially made pipe, caused absolutely no restriction to the draw of the pipe, yet extracted many of the impurities which had caused tongue bite. The result was indeed a truly better smoking pipe…

I sent Charles a quick email asking him about this pipe and sent along a photo of the Bulldog pipe. I have included his response below.

267 Bulldog – this is a “Tall Bulldog”, one of 4 or 5 Bulldog shapes from the original Brigham lineup. The 267 came with a diamond saddle stem (from what I can tell, Shape 66 was also a Bulldog but with a taper stem). Dating will be similar to the 306 Dublin… If the “Made in Canada” stamp is block letters in a single line separate from the Brigham logo, the pipe dates from between 1955 to about 1970…

With the information from Charles’ I knew what I was dealing with in terms of the stamping and the age of this pipe. I learned that the pipe was originally made between 1955 and 1970 (approximately) because of the stamping on the shank. Now it was time to work on the pipe.

I am really happy to have Jeff’s help on cleaning up the pipes that we pick up along the way. He cleaned this filthy pipe with his usual penchant for thoroughness that I really appreciate. This one was a real mess and I did not know what to expect when I unwrapped it from his box. He reamed it with a PipNet pipe reamer and cleaned up the reaming with a Savinelli Fitsall Pipe Knife. He scrubbed out the internals with alcohol, pipe cleaners and cotton swabs until the pipe was clean. He scrubbed the exterior of the bowl with Murphy’s Oil Soap and a tooth brush to remove the grime and grit on the briar and the lava on the rim top. The finish looks very good with great looking rustication on the bowl and shank. Jeff soaked the stem in Before & After Deoxidizer to remove the oxidation on the rubber. He scrubbed it with Soft Scrub All Purpose Cleaner to remove the majority of the oxidation. When the pipe arrived here in Vancouver it looked very good. I took some close up photos of the pipe before I started my part of the restoration.   I took photos of the bowl and rim top as well as both sides of the stem to show its condition. The rim top and edges show a darkening and the damage on the inner edge. The roughening to the outer edge on the front and the right side seemed to have been minimized during the scrub and the briar swelled with the wetting of the bowl and it looked very good.  I took close up photos of the stem to show the tooth marks on the top and underside ahead of the button and on the top edge of the button as well.    I took a photo of the stamping on the left underside of the shank. You can see that it is stamped as noted above. It is clear and readable. I took the pipe apart and took a photo of the pipe. It is an interesting pipe that you can see the rustic finish on in the photo below. The twin rings around the bowl cap and the sharp angles of the pipe are smooth and give the pipe a nice look.I decided to start my restoration work on this one by cleaning up the rim top and edges of the bowl. I sanded the inner edge with a folded piece of 220 grit sandpaper and gave it a slight bevel to take care of the burn marks and roughness of the edge. The bowl looks much better once I had finished.I worked some Before & After Restoration Balm into the surface of the briar with my fingertips and a horse hair shoe brush to clean, enliven and protect the briar. I let the balm sit for 15 minutes and then buffed with a cotton cloth to raise the shine. The photos show the bowl at this point in the restoration process. With that done the bowl was finished other than the final buffing. I set it aside and turned my attention to the stem. I “painted” the tooth marks on the stem surface with the flame of a lighter to raise them. I was able to lift many of the marks other than those you can see in the photos below. I filled those marks in with CA and set the stem aside to cure. Once the repairs cured I sanded them with 220 grit sand paper to blend them into the rest of the stem surface. I started to polish it with a folded piece of 400 wet dry sandpaper.  Before I finished the polishing stem I fit the clean stem with a new Rock Maple Distillator.     I polished the stem with micromesh sanding pads – wet sanding with 1500-12000 grit sanding pads. I wiped it down after each sanding pad with Obsidian Oil. I polished it with Before & After Pipe Stem Polish – both Fine and Extra Fine.    I am glad to finish this Brigham 267 Tall Bulldog – an substantial feeling pipe that Brigham made in a large line of various shapes and sizes of Bulldogs. It is the first one of this style that I have worked on. It has a unique Brigham look that is different from any other pipe making company. In this case it adds the touch of smooth twin rings around the bowl cap and on all of the sharp edges of the diamond shank. I put the pipe back together and buffed it with Blue Diamond on the buffing wheel. I gave the bowl and the stem multiple coats of carnauba wax. I buffed it with a clean buffing pad to raise the shine. I hand buffed the pipe with a microfiber cloth to deepen it. It is fun to see what the polished bowl looks like with the mix of smooth lines and hard rustication around the bowl and shank. Added to that the polished, rebuilt black, vulcanite saddle stem with two shining brass pins was beautiful. This Brigham Tall Bulldog 267 is nice looking and the pipe feels great in my hand. It is light and well balanced. Have a look at it with the photos below. The dimensions are Length: 5 ½ inches, Height: 2 inches, Outside diameter of the bowl: 1 ½ inches, Chamber diameter: 7/8 of an inch. The weight of the pipe is 24grams/.99ounces. It is a beautiful pipe and one that will be on the rebornpipes store soon. If you are interested in adding it to your collection let me know. Thanks for walking through the restoration with me as I worked over this pipe. Thanks to each of you who are reading this blog.

Breathing Life into a Brigham 4W6 Freehand


Blog by Steve Laug

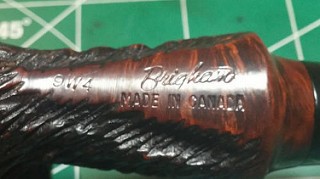
I chose to work another Canadian Made Brigham to work on next. The pipe is a paneled sitter with a rustication finish and a faux plateau rim top. It is a neat looking pipe with real character. The shape of the bowl reminded me of the Norseman Line from Brigham but I would know more once I did the research on it. It is stamped Brigham on the underside of the shank and has the shape number 4W6 stamped to the left of that. The stem has four brass pins on the left side of the half saddle. There was a heavy cake in the bowl and a lot of lava overflow on the rim top and edges. The rustication on the rim top is a faux plateau look and it has the classic Brigham rustication around the bowl and shank. I think that there was a beautiful pipe underneath all of the buildup of years of use. The stem was oxidized and had almost half of the button broken off on the right side. It was a mess. Jeff took photos of the pipe before he started his cleanup work on it. Jeff took photos of the bowl and rim top to show the condition of the bowl with the thick cake in the bowl and a thick overflow of lava on the rim top. He took photos of the top and underside of the stem showing the broken portion of the stem on the right side.   Jeff took photos of the sides and heel of the bowl to show the rustic condition of the finish. The rustication is well done and rugged in the spots on the bowl and rim. Even under the dirt and debris of the years it looked very good. The stamping is very clear and reads as noted above. He included a pic of the 4 brass dots on the stem. For the needed background I am including the information from Pipedia on Brigham pipes. It is a great read in terms of the history of the brand (https://pipedia.org/wiki/Brigham_Pipes). Charles Lemon (Dadspipes) is currently working on a book on the history of the brand. Until that is complete this article is a good summary. I have included it below.

Roy Brigham, after serving an apprenticeship under an Austrian pipesmith, started his own pipe repair shop in Toronto, in 1906. By 1918 the business had grown to include five other craftsmen and had developed a reputation across Canada for the high quality of workmanship. After repairing many different brands of pipes over the years, Roy noted certain recurring complaints by pipe smokers, the most common referred to as “tongue bite”. Tongue bite is a burning sensation on the smoker’s tongue, previously thought to be due to the heat of the smoke (i.e. a “hot smoking pipe”).

He soon began manufacturing his own pipes, which were lightweight, yet featured a more rugged construction, strengthening the weak points observed in other pipes. The problem of tongue bite intrigued him, and he decided to make overcoming it a future goal.

About 1938, Roy’s son Herb joined him to assist in the business. The business barely survived the great depression because pipes were considered to be a luxury, not a necessity, and selling pipes was difficult indeed. In approximately 1937 [1], after some experimentation, Roy and Herb discovered that tongue bite was in fact a form of mild chemical burn to the tongue, caused by tars and acids in the smoke. They found that by filtering the smoke, it was possible to retain the flavour of the tobacco and yet remove these impurities and thereby stop the tongue bite.

Just as Thomas Edison had searched far and wide for the perfect material from which to make the first electric light bulb filaments, Roy & Herb began experimenting with many materials, both common and exotic, in the quest for the perfect pipe filter. Results varied wildly. Most of the materials didn’t work at all and some actually imparted their own flavour into the smoke. They eventually found just two materials that were satisfactory in pipes: bamboo and rock maple. As bamboo was obviously not as readily available, rock maple then became the logical choice.

They were able to manufacture a replaceable hollow wooden tube made from rock maple dowelling, which when inserted into a specially made pipe, caused absolutely no restriction to the draw of the pipe, yet extracted many of the impurities which had caused tongue bite. The result was indeed a truly better smoking pipe…

I sent Charles a quick email asking him about this pipe and sent along a photo of the pipe. I have included his response below.

Brigham Freehand 4W6 – this is an example of a pipe made from surplus stummels left over when the Norseman and Valhalla lines were discontinued in about 1980, using a variation on the Norseman shape stamp. In this case, “4W6” indicates a 4-Dot grade in a Norseman shape 6, which was a sort of a Bent Dublin-ish sitter. Many were fitted with a standard taper stem or a half-saddle stem like your pipe and pinned as 4 Dot or 5-Dot pipes. These pipes were not really part of the standard Brigham products at the time. but were an effective way to move old stock. My guess is that it is stamped with either “Brigham” over “Canada” (indicating a roughly 1980s production)  or simply “Brigham” (used in the 1990s).

With the information from Charles’ I knew what I was dealing with in terms of the stamping and the age of this pipe. I learned that the pipe was originally carved from surplus stummels left over from the Norseman and Valhalla lines. It was made in the 1990s because of the stamping on the shank. Now it was time to work on the pipe.

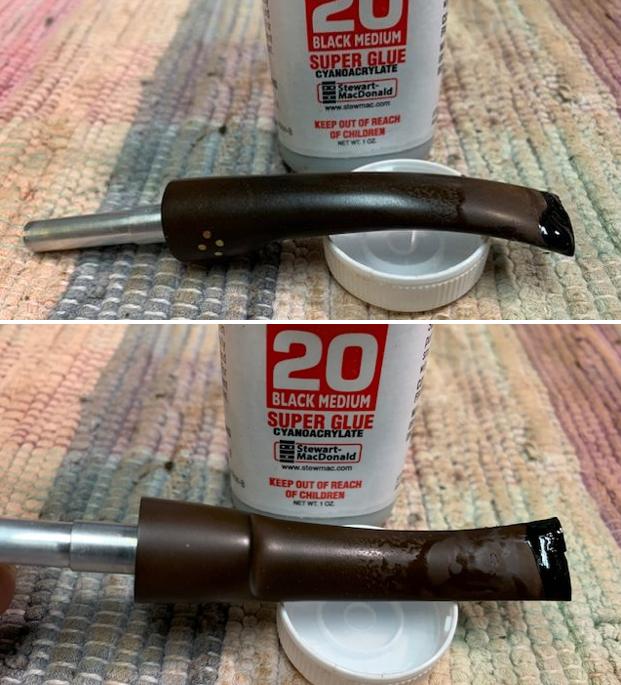
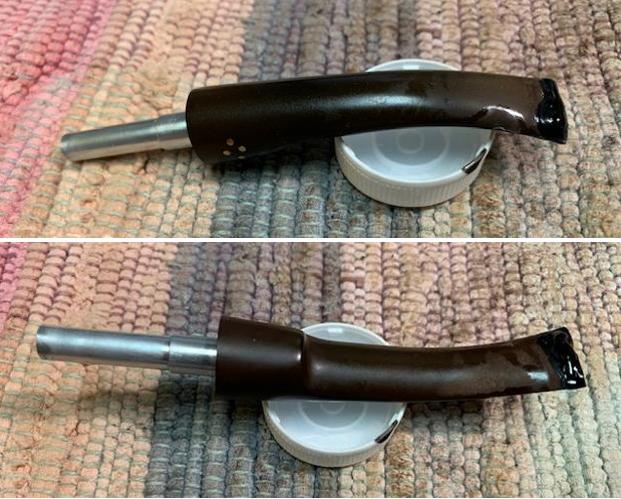
I am really happy to have Jeff’s help on cleaning up the pipes that we pick up along the way. He cleaned this filthy pipe with his usual penchant for thoroughness that I really appreciate. This one was a real mess and I did not know what to expect when I unwrapped it from his box. He reamed it with a PipNet pipe reamer and cleaned up the reaming with a Savinelli Fitsall Pipe Knife. He scrubbed out the internals with alcohol, pipe cleaners and cotton swabs until the pipe was clean. He scrubbed the exterior of the bowl with Murphy’s Oil Soap and a tooth brush to remove the grime and grit on the briar and the lava on the rim top. The finish looks very good with great looking grain around the top half of the bowl and great rustication on the rest of the bowl and shank. Jeff soaked the stem in Before & After Deoxidizer to remove the oxidation on the rubber. He scrubbed it with Soft Scrub All Purpose Cleaner to remove the majority of the oxidation. When the pipe arrived here in Vancouver it looked very good. I took some close up photos of the pipe before I started my part of the restoration. I took photos of the bowl and rim top as well as both sides of the stem to show its condition. The rim top and edges show a darkening and the damage on the inner edge. I took close up photos of the stem to show the damage on the right side of the button top and bottom.   I took a photo of the stamping on the underside of the shank. You can see that it is stamped as noted above. It is messy but still readable.I took the pipe apart and took a photo of the pipe. It is an interesting pipe that you can see the rustic finish on in the photo below. I decided to start my restoration work on this one by cleaning up the rim top and edges of the bowl with a brass bristle wire brush. I scrubbed it to remove more of the debris and darkening. When I had finished it looked much better.   I worked some Before & After Restoration Balm into the surface of the briar with my fingertips and a horse hair shoe brush to clean, enliven and protect the briar. I let the balm sit for 15 minutes and then buffed with a cotton cloth to raise the shine. The photos show the bowl at this point in the restoration process.    With that done the bowl was finished other than the final buffing. I set it aside and turned my attention to the stem. The extent of the damage to the stem surface and button was equivalent of over half of it missing. I decided to remove the damage and start over. I cut off the damaged portion of the stem with a Dremel and sanding drum. I cut off a little less than a ¼ inch to get to the solid vulcanite.   I rebuilt the button with black super glue. I started with Stewart MacDonald Black but it was too brittle and it quickly chipped as I was shaping it. So I reworked it with Loctite 380 which is a CA glue mixed with rubber to make it more flexible and stronger. I should have started with that in the first place but live and learn. I have often rebuilt the button with charcoal powder and super glue but have found that this extensive of a repair often dries brittle and chips easily. I have also found the air bubbles in the repair tedious to deal with and clean up. Thus I am experimenting with the rubberized CA. Once the repair cured I reshaped the slot with a small clay saw and a needle file. I would need to do some more work on it but it was workable. I also recut the edge of the button and flatten the end of the button with a file.   I shaped the button and slot edges with 220 grit sandpaper to give it clear definition. I started the polishing of the stem with 400 grit wet dry sandpaper. The button is taking shape. More work to do but it is looking quite good.   Before I finished the polishing stem I fit the clean stem with a new Rock Maple Distillator.I polished the stem with micromesh sanding pads – wet sanding with 1500-12000 grit sanding pads. I wiped it down after each sanding pad with Obsidian Oil. I polished it with Before & After Pipe Stem Polish – both Fine and Extra Fine. I am excited to finish this Brigham 4W6 – an interesting looking pipe that was on the market as a means of using up extra stummels from the Norseman and Vahalla lines that Brigham made. It has a unique Brigham look that is different from any other pipe making company. I put the pipe back together and buffed it with Blue Diamond on the buffing wheel. I gave the bowl and the stem multiple coats of carnauba wax. I buffed it with a clean buffing pad to raise the shine. I hand buffed the pipe with a microfiber cloth to deepen it. It is fun to see what the polished bowl looks like with the grain popping through on the bowl and shank. Added to that the polished, rebuilt black vulcanite stem with four shining brass pins was beautiful. This Brigham 4W6 Freehand Sitter is nice looking and the pipe feels great in my hand. It is light and well balanced. Have a look at it with the photos below. The dimensions are Length: 6 inches, Height: 2 inches, Outside diameter of the bowl: 1 ¾ inches wide x 2 inches long, Chamber diameter: 7/8 of an inch. The weight of the pipe is 64grams/2.26ounces. It is a beautiful pipe and one that will be on the rebornpipes store soon. If you are interested in adding it to your collection let me know. Thanks for walking through the restoration with me as I worked over this pipe. Thanks to each of you who are reading this blog.

New Life for a Beautiful Brigham (4-Dot) Director 490 Canadian


Blog by Steve Laug

I have been working on Peterson’s pipes from my friend’s estate for the last little while and I needed a break from them for a while. I chose to work another Canadian Made Brigham to continue the change of pace. This one is a rusticated Canadian, stamped on the underside of the shank with faint stamping visible with a lens under light. It reads Can. Pat. 372982 followed by Brigham underlined and in script. On the heel of the bowl it was stamped with the shape number 490. There was a thick cake in the bowl with remnants of tobacco stuck on the walls. There was a lava overflow on the rim. The top and edges of the rim appear to have some damage. There is damage all the way around the outside edges of the bowl. The grain on the smooth portion of the bowl was a combination of grains. Once again, I think that there was a beautiful pipe underneath all of the buildup of years of use. The stem was oxidized and calcified toward the end with some tooth chatter. There were also some tooth marks on both sides of the stem ahead of the button and on the button surface itself. There was a pattern of four brass dots on the left side of the saddle stem. Jeff took photos of the pipe before he started his cleanup work on it. Jeff took photos of the bowl and rim top to show the cake in the bowl. The rim top looked to be in good condition with some darkening and damage around the inner and outer edges. He took photos of the top and underside of the stem showing the tooth chatter, scratching and oxidation on the stem surface and wear on the edges of the button. Jeff took a photo of the side and heel of the bowl to show the condition of the finish. You can see the well done and rugged rustication that is typical of Brigham pipes. Even under the dirt and debris of the years it looked very good. The stamping is very faint and cannot be captured very well even with a flash. What you can see reads as noted above. He included a pic of the four brass dots on the stem. For the needed background I am including the information from Pipedia on Brigham pipes. It is a great read in terms of the history of the brand (https://pipedia.org/wiki/Brigham_Pipes). Charles Lemon (Dadspipes) is currently working on a book on the history of the brand. Until that is complete this article is a good summary. I have included it below.

Roy Brigham, after serving an apprenticeship under an Austrian pipesmith, started his own pipe repair shop in Toronto, in 1906. By 1918 the business had grown to include five other craftsmen and had developed a reputation across Canada for the high quality of workmanship. After repairing many different brands of pipes over the years, Roy noted certain recurring complaints by pipe smokers, the most common referred to as “tongue bite”. Tongue bite is a burning sensation on the smoker’s tongue, previously thought to be due to the heat of the smoke (i.e. a “hot smoking pipe”).

He soon began manufacturing his own pipes, which were lightweight, yet featured a more rugged construction, strengthening the weak points observed in other pipes. The problem of tongue bite intrigued him, and he decided to make overcoming it a future goal.

About 1938, Roy’s son Herb joined him to assist in the business. The business barely survived the great depression because pipes were considered to be a luxury, not a necessity, and selling pipes was difficult indeed. In approximately 1937 [1], after some experimentation, Roy and Herb discovered that tongue bite was in fact a form of mild chemical burn to the tongue, caused by tars and acids in the smoke. They found that by filtering the smoke, it was possible to retain the flavour of the tobacco and yet remove these impurities and thereby stop the tongue bite.

Just as Thomas Edison had searched far and wide for the perfect material from which to make the first electric light bulb filaments, Roy & Herb began experimenting with many materials, both common and exotic, in the quest for the perfect pipe filter. Results varied wildly. Most of the materials didn’t work at all and some actually imparted their own flavour into the smoke. They eventually found just two materials that were satisfactory in pipes: bamboo and rock maple. As bamboo was obviously not as readily available, rock maple then became the logical choice.

They were able to manufacture a replaceable hollow wooden tube made from rock maple dowelling, which when inserted into a specially made pipe, caused absolutely no restriction to the draw of the pipe, yet extracted many of the impurities which had caused tongue bite. The result was indeed a truly better smoking pipe…

I have written to Charles Lemon (Dadspipes) previously about Patent Number pipes and since this was another one I referred to a previous blog I had written about the stamping on a 2199 Lovat shaped pipe. He responded with information that I am including in part below.

Hey Steve! Good to hear from you.  

…As these are all Patent pipes, it’s more accurate to refer to their grade by name (the post 1980 grading scheme refers to Dots). Here is the original scheme: I also wrote Charles about this specific pipe and he sent me the reply below. It is fascinating information regarding this older Canadian.

490 Canadian – as with the 299, the patent number means the pipe was made between 1938 and 1955. I have two of these pipes, both 3-Dot grades. Lovely, long oval shanks on these! As a 4-Dot “Straight Grain”, this pipe was the best you could buy from Brigham at the time. They offered all pipes in rusticated, smooth or a mix of both finishes. I would have left it smooth, but the original buyer went with rustic. Is the grain visible at all through the finish?

With the information from Charles’ message and the chart above that he included I knew what I was dealing with in terms of the stamping and the age of this pipe. I learned that this Patent Era 490 (the 4XX shape number) is a Brigham Director (4-Dot) Canadian. It was made between 1938 and 1955. Now it was time to work on the pipe.

I am really happy to have Jeff’s help on cleaning up the pipes that we pick up along the way. He cleaned this filthy pipe with his usual penchant for thoroughness that I really appreciate. This one was a real mess and I did not know what to expect when I unwrapped it from his box. He reamed it with a PipNet pipe reamer and cleaned up the reaming with a Savinelli Fitsall Pipe Knife. He scrubbed out the internals with alcohol, pipe cleaners and cotton swabs until the pipe was clean. He scrubbed the exterior of the bowl with Murphy’s Oil Soap and a tooth brush to remove the grime and grit on the briar and the lava on the rim top. The finish looks very good with great looking grain around the top half of the bowl and great rustication on the rest of the bowl and shank. Jeff soaked the stem in Before & After Deoxidizer to remove the oxidation on the rubber. He scrubbed it with Soft Scrub All Purpose Cleaner to remove the majority of the oxidation. When the pipe arrived here in Vancouver for the second stop of its restoration tour I was amazed it looked so good. I took some close up photos of the rim top and the stem surface. I wanted to show how well it had cleaned up. The rim top and edges show a darkening and the damage on the inner edges of the rim. I took close up photos of the stem to show the condition of the surface and button.     I took a photo of the stamping on the underside of the shank. You can see that it is stamped as noted above. It is faint but readable.I took the pipe apart and took a photo of the pipe. It is a good looking pipe and has some great grain around the bowl and shank.I decided to start my restoration work on this one by dealing with the damaged rim top and edges. I topped the bowl on a topping board with 220 grit sandpaper to remove the darkening and damage. I worked over the inner edge of the bowl with a folded piece of 220 grit sandpaper. The rim top and edges looked much better at this point.I polished the smooth rim top with micromesh sanding pads – wet sanding it with 1500-12000 grit pads. After each pad I wiped the briar down with a damp cloth. I worked some Before & After Restoration Balm into the surface of the briar with my fingertips and a horsehair shoe brush to clean, enliven and protect the briar. I let the balm sit for 15 minutes and then buffed with a cotton cloth to raise the shine. The photos show the bowl at this point in the restoration process. With that done the bowl was finished other than the final buffing. I set it aside and turned my attention to the stem. Before polishing the stem I decided to fit the clean stem with a new Rock Maple Distillator. I polished the stem with micromesh sanding pads – wet sanding with 1500-12000 grit sanding pads. I wiped it down after each sanding pad with Obsidian Oil. I polished it with Before & After Pipe Stem Polish – both Fine and Extra Fine. I am excited to finish another of the Brighams that I have on the table – a nice looking Director 490 Rusticated Canadian. It has a combined finish with a smooth rim top of the bowl and the rest of the bowl and shank were rusticated with the normal Brigham rustication. I put the pipe back together and buffed it with Blue Diamond on the buffing wheel. I gave the bowl and the stem multiple coats of carnauba wax. I hand buffed the pipe with a clean buffing pad to raise the shine. It is fun to see what the polished bowl looks like with the grain popping through on the rim top and the rustication on the rest of the bowl and shank. Added to that the polished black vulcanite stem with four shining brass pins was beautiful. This rusticated Brigham Director (4 Dot) Canadian is nice looking and the pipe feels great in my hand. It is light and well balanced. Have a look at it with the photos below. The dimensions are Length: 6 inches, Height: 1 ¾ inches, Outside diameter of the bowl: 1 ¼ inches, Chamber diameter: ¾ of an inch. The weight of the pipe is 33grams/1.16ounces. It is a beautiful pipe and one that will be on the rebornpipes store soon. If you are interested in adding it to your collection let me know. Thanks for walking through the restoration with me as I worked over this pipe. Thanks to each of you who are reading this blog. Remember we are not pipe owners; we are pipemen and women who hold our pipes in trust until they pass on into the trust of the next pipeman or woman. 

New Life for a Rustic Brigham Sportsman 5 Bent Dublin


Blog by Steve Laug

I have been working on Peterson’s pipes from my friend’s estate for the last little while and I needed a break from them for a while. I chose to work another Canadian Made Brigham for a change of pace. The pipe was never sanded out and the finish was very rustic with file marks and carving marks in the briar around bowl and shank. It was very roughly carved and shaped. The semi-finished briar is a Brigham Sportsman circa 1980s. It is stamped only with “Brigham”. There is a number 5 stamped on the underside of the shank and five brass pins on the stem side.. There was a moderate cake in the bowl and some light lava overflow on the inner edge of the rim. The top and edges of the rim have some rustication to cover what appears to be flaws in the briar. The grain on the smooth portions of the bowl was very nice straight and flame grain. There was a rusticated patch on the front of the bowl that wrapped around to the right side near the top. I think that there was a beautiful pipe underneath all of the buildup of years of use. The stem was lightly oxidized and had some tooth chatter near the button. There was a pattern of five brass dots on the left side of the taper stem. Jeff took photos of the pipe before he started his cleanup work on it. Jeff took photos of the bowl and rim top to show the condition of the bowl with the light cake in the bow and on the rim edges. The rim top had some interesting rusticated patterns on the top and on the right outer edge of the bowl. The rest of the outer edge was rough matching the carving, or lack of it on the sides below. The second photo below shows the side rustication and the flaw in the briar at that point on the block. He took photos of the top and underside of the stem showing the tooth marks, chatter and oxidation on the stem surface.   Jeff took photos of the sides and heel of the bowl to show the rustic condition of the finish. You can see the beautiful grain around the smooth portions on the top half of the bowl. The rustication is well done and rugged in the spots on the bowl and rim. Even under the dirt and debris of the years it looked very good. The stamping is double and triple stamped and hard to capture well even with a flash. What you can see reads as noted above. He included a pic of the 5 brass dots on the stem.   For the needed background I am including the information from Pipedia on Brigham pipes. It is a great read in terms of the history of the brand (https://pipedia.org/wiki/Brigham_Pipes). Charles Lemon (Dadspipes) is currently working on a book on the history of the brand. Until that is complete this article is a good summary. I have included it below.

Roy Brigham, after serving an apprenticeship under an Austrian pipesmith, started his own pipe repair shop in Toronto, in 1906. By 1918 the business had grown to include five other craftsmen and had developed a reputation across Canada for the high quality of workmanship. After repairing many different brands of pipes over the years, Roy noted certain recurring complaints by pipe smokers, the most common referred to as “tongue bite”. Tongue bite is a burning sensation on the smoker’s tongue, previously thought to be due to the heat of the smoke (i.e. a “hot smoking pipe”).

He soon began manufacturing his own pipes, which were lightweight, yet featured a more rugged construction, strengthening the weak points observed in other pipes. The problem of tongue bite intrigued him, and he decided to make overcoming it a future goal.

About 1938, Roy’s son Herb joined him to assist in the business. The business barely survived the great depression because pipes were considered to be a luxury, not a necessity, and selling pipes was difficult indeed. In approximately 1937 [1], after some experimentation, Roy and Herb discovered that tongue bite was in fact a form of mild chemical burn to the tongue, caused by tars and acids in the smoke. They found that by filtering the smoke, it was possible to retain the flavour of the tobacco and yet remove these impurities and thereby stop the tongue bite.

Just as Thomas Edison had searched far and wide for the perfect material from which to make the first electric light bulb filaments, Roy & Herb began experimenting with many materials, both common and exotic, in the quest for the perfect pipe filter. Results varied wildly. Most of the materials didn’t work at all and some actually imparted their own flavour into the smoke. They eventually found just two materials that were satisfactory in pipes: bamboo and rock maple. As bamboo was obviously not as readily available, rock maple then became the logical choice.

They were able to manufacture a replaceable hollow wooden tube made from rock maple dowelling, which when inserted into a specially made pipe, caused absolutely no restriction to the draw of the pipe, yet extracted many of the impurities which had caused tongue bite. The result was indeed a truly better smoking pipe…

I turned to Dadspipes, Charles Lemon’s blog, to see what he had on the Sportsman pipe line from Brigham and was not disappointed (https://dadspipes.com/2016/10/24/re-stemming-an-unsmoked-1980s-brigham-sportsman-author/). I quote the section below that Charles picked up on the Brighampipes.com website.

Brigham describes the Sportsman series on their website as follows:

“Regular Brigham (filtered) pipes were taken from production prior to the final sanding, staining and finishing processes to create what we called “Semi-finished” or “Sportsman” pipes. They were originally created for the Ontario Sportsman show in Toronto where we used to sell a significant number of pipes. Times have changed, and the show is no longer a viable marketing tool for a pipe company, but the “Sportsman” designation remains….

The Brigham “Sportsman” pipe is ideal for situations where getting a little “knocked-around” is anticipated because you won’t need to worry about scratching the finish….there isn’t one!”

 – BrighamPipes.com

I sent Charles a quick email asking him about this pipe and sent along a photo of the pipe. I have included his response below.

Rough Cut 5-Dot is a Sportsman model, probably Shape 47 (Calabriar). The Sportsman series was made specifically for sale at the Toronto Sportsmen’s Show, starting in the early 1950s and continuing to the late 1990s when domestic pipe production wound down. In the beginning, you could only buy one at the show, but by the late 70s or early 80s (I’m still trying to track down a date), a small number of Sportsman pipes were distributed each Spring to retail stores. Your 5-Dot (a rare grade for this series) is from the 1990s, based on the stamping. The series was reintroduced in 2011 using European-made pipes.

With the information from Charles’ I knew what I was dealing with in terms of the stamping and the age of this pipe. I learned that Sportsman pipe was originally carved for the Ontario Sportsman Show. It was made in the 1990s because of the stamping on the shank. It is interesting to not that the 5-Dot is a rare grade for this series. Now it was time to work on the pipe.

I am really happy to have Jeff’s help on cleaning up the pipes that we pick up along the way. He cleaned this filthy pipe with his usual penchant for thoroughness that I really appreciate. This one was a real mess and I did not know what to expect when I unwrapped it from his box. He reamed it with a PipNet pipe reamer and cleaned up the reaming with a Savinelli Fitsall Pipe Knife. He scrubbed out the internals with alcohol, pipe cleaners and cotton swabs until the pipe was clean. He scrubbed the exterior of the bowl with Murphy’s Oil Soap and a tooth brush to remove the grime and grit on the briar and the lava on the rim top. The finish looks very good with great looking grain around the top half of the bowl and great rustication on the rest of the bowl and shank. Jeff soaked the stem in Before & After Deoxidizer to remove the oxidation on the rubber. He scrubbed it with Soft Scrub All Purpose Cleaner to remove the majority of the oxidation. When the pipe arrived here in Vancouver it looked very good. I took some close up photos of the pipe before I started my part of the restoration.    I took photos of the bowl and rim top as well as both sides of the stem to show its condition. The rim top and edges show a darkening and the damage on the inner edge of the rim at the front of the bowl. I took close up photos of the stem to show the tooth marks on the surface and on the button.   I took a photo of the stamping on the side and underside of the shank. You can see that it is stamped as noted above. It is messy but still readable.I took the pipe apart and took a photo of the pipe. It is an interesting pipe that you can see the rustic finish on in the photo below.I decided to start my restoration work on this one by dealing with the damage to the inner edges. I worked over the inner edge of the bowl with a folded piece of 220 grit sandpaper. When I had finished it looked much better.I touched up the dark stain on the rustication around the front of the bowl and the rim top with a back Sharpie pen.    I polished the smooth portions of the bowl and the rim top with micromesh sanding pads – wet sanding it with 1500-12000 grit pads. After each pad I wiped the briar down with a damp cloth. I worked some Before & After Restoration Balm into the surface of the briar with my fingertips to clean, enliven and protect the briar. I let the balm sit for 15 minutes and then buffed with a cotton cloth to raise the shine. The photos show the bowl at this point in the restoration process.   With that done the bowl was finished other than the final buffing. I set it aside and turned my attention to the stem. I “painted” the tooth marks on the stem surface with the flame of a lighter to raise them. It worked very well and only the tooth mark on the underside that was close to the button and a small mark on the right topside near the button remained. I filled it in with CA and set it aside to cure. Once the repairs cured I used a file to smooth them out and recut the edge of the button. I sanded them with 220 grit sand paper to blend them into the rest of the stem surface. I started to polish it with a folded piece of 400 wet dry sandpaper. Before I finished the polishing stem I fit the clean stem with a new Rock Maple Distillator.   I polished the stem with micromesh sanding pads – wet sanding with 1500-12000 grit sanding pads. I wiped it down after each sanding pad with Obsidian Oil. I polished it with Before & After Pipe Stem Polish – both Fine and Extra Fine. I am excited to finish this Brigham 5-Dot Sportsman – an interesting looking pipe that was on the market . It has a unique Brigham “partially finished” look that is different from any other pipe making company. I put the pipe back together and buffed it with Blue Diamond on the buffing wheel. I gave the bowl and the stem multiple coats of carnauba wax. I buffed it with a clean buffing pad to raise the shine. I hand buffed the pipe with a microfiber cloth to deepen it. It is fun to see what the polished bowl looks like with the grain popping through on the bowl and shank. Added to that the polished black vulcanite stem with five shining brass pins was beautiful. This Brigham 5-Dot Sportsman is nice looking and the pipe feels great in my hand. It is light and well balanced. Have a look at it with the photos below. The dimensions are Length: 5 ½ inches, Height: 2 inches, Outside diameter of the bowl: 1 ½ inches, Chamber diameter: 7/8 of an inch. The weight of the pipe is 41grams/1.45ounces. It is a beautiful pipe and one that will be on the rebornpipes store soon. If you are interested in adding it to your collection let me know. Thanks for walking through the restoration with me as I worked over this pipe. Thanks to each of you who are reading this blog.

New Life for a Brigham Can. Pat. 372982 Select Club (Lovat) 299


Blog by Steve Laug

I have been working on Peterson’s pipes from my friend’s estate for the last little while and I needed a break from them for a while. I chose to work a Canadian Made Brigham Mixed Grain Lovat for a change of pace. The Lovat was stamped on the underside of the shank with faint stamping visible with a lens under light. It reads Can. Pat. 372982 followed by Brigham underlined and in script. On the heel of the bowl it was stamped with the shape number 299. There was a thick cake in the bowl with remnants of tobacco stuck on the walls. There was a lava overflow on the rim. The top and edges of the rim appear to have some damage. There is damage all the way around the outside edges of the bowl. The grain on the smooth portion of the bowl was a combination of grains. Once again, I think that there was a beautiful pipe underneath all of the buildup of years of use. The stem was oxidized and calcified toward the end with some tooth chatter. There were also some tooth marks on both sides of the stem ahead of the button and on the button surface itself. There was a pattern of two brass dots on the left side of the saddle stem. Jeff took photos of the pipe before he started his cleanup work on it. Jeff took photos of the bowl and rim top to show the thick, hard cake in the bowl with remnants of tobacco stuck on the walls of the bowl. There was a lava build up on the top of the rim and the edges of the bowl. The rim top had a lot of scratching and damage on the top and around the inner and outer edges. It looked like it had been used for a hammer. He took photos of the top and underside of the stem showing the tooth chatter, scratching and oxidation on the stem surface and wear on the edges of the button. Jeff took a photo of the side and heel of the bowl to show the condition of the finish. You can see the beautiful grain around the smooth portions on the top half of the bowl. The rustication is well done and rugged. Even under the dirt and debris of the years it looked very good. The stamping is very faint and cannot be captured very well even with a flash. What you can see reads as noted above. He included a pic of the two brass dots on the stem. For the needed background I am including the information from Pipedia on Brigham pipes. It is a great read in terms of the history of the brand (https://pipedia.org/wiki/Brigham_Pipes). Charles Lemon (Dadspipes) is currently working on a book on the history of the brand. Until that is complete this article is a good summary. I have included it below.

Roy Brigham, after serving an apprenticeship under an Austrian pipesmith, started his own pipe repair shop in Toronto, in 1906. By 1918 the business had grown to include five other craftsmen and had developed a reputation across Canada for the high quality of workmanship. After repairing many different brands of pipes over the years, Roy noted certain recurring complaints by pipe smokers, the most common referred to as “tongue bite”. Tongue bite is a burning sensation on the smoker’s tongue, previously thought to be due to the heat of the smoke (i.e. a “hot smoking pipe”).

He soon began manufacturing his own pipes, which were lightweight, yet featured a more rugged construction, strengthening the weak points observed in other pipes. The problem of tongue bite intrigued him, and he decided to make overcoming it a future goal.

About 1938, Roy’s son Herb joined him to assist in the business. The business barely survived the great depression because pipes were considered to be a luxury, not a necessity, and selling pipes was difficult indeed. In approximately 1937 [1], after some experimentation, Roy and Herb discovered that tongue bite was in fact a form of mild chemical burn to the tongue, caused by tars and acids in the smoke. They found that by filtering the smoke, it was possible to retain the flavour of the tobacco and yet remove these impurities and thereby stop the tongue bite.

Just as Thomas Edison had searched far and wide for the perfect material from which to make the first electric light bulb filaments, Roy & Herb began experimenting with many materials, both common and exotic, in the quest for the perfect pipe filter. Results varied wildly. Most of the materials didn’t work at all and some actually imparted their own flavour into the smoke. They eventually found just two materials that were satisfactory in pipes: bamboo and rock maple. As bamboo was obviously not as readily available, rock maple then became the logical choice.

They were able to manufacture a replaceable hollow wooden tube made from rock maple dowelling, which when inserted into a specially made pipe, caused absolutely no restriction to the draw of the pipe, yet extracted many of the impurities which had caused tongue bite. The result was indeed a truly better smoking pipe…

I have written to Charles Lemon (Dadspipes) previously about Patent Number pipes and since this was another one I referred to a previous blog I had written about the stamping on a 2199 Lovat shaped pipe. He responded with information that I am including in part below.

Hey Steve! Good to hear from you.

Shape 2199 is what most would call a Lovat. Brigham called it a Club for whatever reason- just to be different, perhaps!…As these are all Patent pipes, it’s more accurate to refer to their grade by name (the post 1980 grading scheme refers to Dots). Here is the original scheme: With the information from Charles’ message and the chart above that he included I knew what I was dealing with in terms of the stamping and the age of this pipe. I learned that this Patent Era 299 (the 2XX shape number) is a Brigham Select (2-Dot) Lovat or what they call a Club. It was made between 1938 and 1955. Now it was time to work on the pipe.

I am really happy to have Jeff’s help on cleaning up the pipes that we pick up along the way. He cleaned this filthy pipe with his usual penchant for thoroughness that I really appreciate. This one was a real mess and I did not know what to expect when I unwrapped it from his box. He reamed it with a PipNet pipe reamer and cleaned up the reaming with a Savinelli Fitsall Pipe Knife. He scrubbed out the internals with alcohol, pipe cleaners and cotton swabs until the pipe was clean. He scrubbed the exterior of the bowl with Murphy’s Oil Soap and a tooth brush to remove the grime and grit on the briar and the lava on the rim top. The finish looks very good with great looking grain around the top half of the bowl and great rustication on the rest of the bowl and shank. Jeff soaked the stem in Before & After Deoxidizer to remove the oxidation on the rubber. He scrubbed it with Soft Scrub All Purpose Cleaner to remove the majority of the oxidation. When the pipe arrived here in Vancouver for the second stop of its restoration tour I was amazed it looked so good. I took some close up photos of the rim top and the stem surface. I wanted to show how well it had cleaned up. The rim top and edges show a darkening and the damage on the inner and outer edges of the rim. I took close up photos of the stem to show the tooth marks on the surface and on the button.   I took a photo of the stamping on the underside of the shank. You can see that it is stamped as noted above. It is faint but readable. I took the pipe apart and took a photo of the pipe. It is a good looking pipe and has some great grain around the bowl and shank.I decided to start my restoration work on this one by dealing with the damaged rim top and edges. I topped the bowl on a topping board with 220 grit sandpaper to remove the darkening and damage. I worked over the inner edge of the bowl with a folded piece of 220 grit sandpaper. The rim top and edges looked much better at this point.I polished the smooth portions of the bowl and the rim top with micromesh sanding pads – wet sanding it with 1500-12000 grit pads. After each pad I wiped the briar down with a damp cloth. I worked some Before & After Restoration Balm into the surface of the briar with my fingertips and a horsehair shoe brush to clean, enliven and protect the briar. I let the balm sit for 15 minutes and then buffed with a cotton cloth to raise the shine. The photos show the bowl at this point in the restoration process. With that done the bowl was finished other than the final buffing. I set it aside and turned my attention to the stem. I filled in the tooth damage with CA glue and rebuilt the button edge on the topside. Once the repairs had cured I used a file to recut the button edge and flatten out the repaired spots. I sanded out the repaired tooth marks and chatter with 220 grit sand paper to blend them into the rest of the stem surface. I started to polish it with a folded piece of 400 wet dry sandpaper. Once it was finished it had begun to shine.  Before I finished the polishing stem I decided to fit the clean stem with a new Rock Maple Distillator.  I polished the stem with micromesh sanding pads – wet sanding with 1500-12000 grit sanding pads. I wiped it down after each sanding pad with Obsidian Oil. I polished it with Before & After Pipe Stem Polish – both Fine and Extra Fine. I am excited to finish this first of the Brighams that I have on the table – a nice looking Lovat, or as Brigham calls it a Club. It has a combined finish with a smooth top half of the bowl and the rest of the bowl and shank were rusticated with the normal Brigham rustication. I put the pipe back together and buffed it with Blue Diamond on the buffing wheel. I gave the bowl and the stem multiple coats of carnauba wax. I hand buffed the pipe with a clean buffing pad to raise the shine. It is fun to see what the polished bowl looks like with the grain popping through on the top half of the bowl and the rustication on the rest of the bowl and shank. Added to that the polished black vulcanite stem with two shining brass pins was beautiful. This mixed grain finish Brigham 2 Dot Lovat/Club is nice looking and the pipe feels great in my hand. It is light and well balanced. Have a look at it with the photos below. The dimensions are Length: 5 ¼ inches, Height: 1 ¾ inches, Outside diameter of the bowl: 1 ¼ inches, Chamber diameter: ¾ of an inch. The weight of the pipe is 43grams/1.52ounces. It is a beautiful pipe and one that will be on the rebornpipes store soon. If you are interested in adding it to your collection let me know. Thanks for walking through the restoration with me as I worked over this pipe. Thanks to each of you who are reading this blog. Remember we are not pipe owners; we are pipemen and women who hold our pipes in trust until they pass on into the trust of the next pipeman or woman.