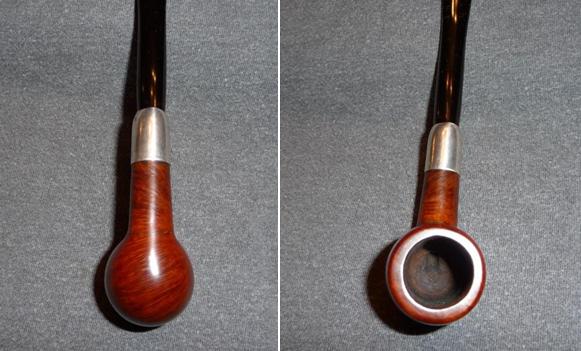
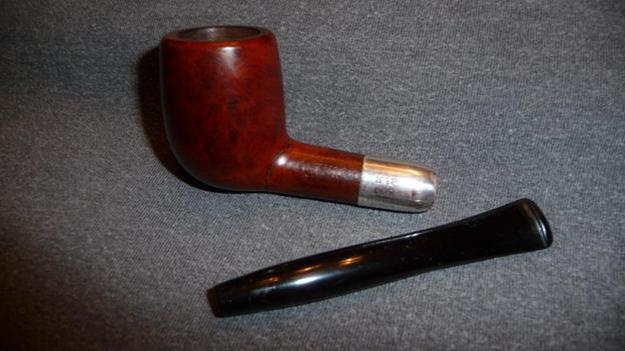
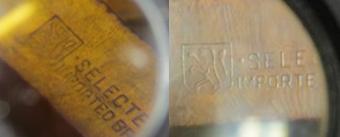
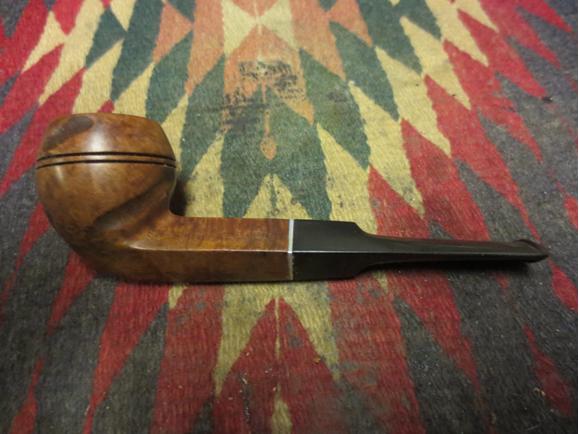
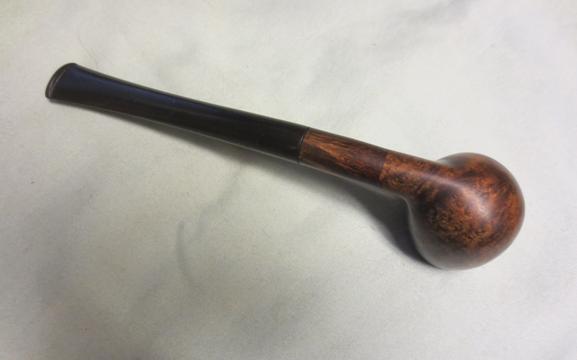
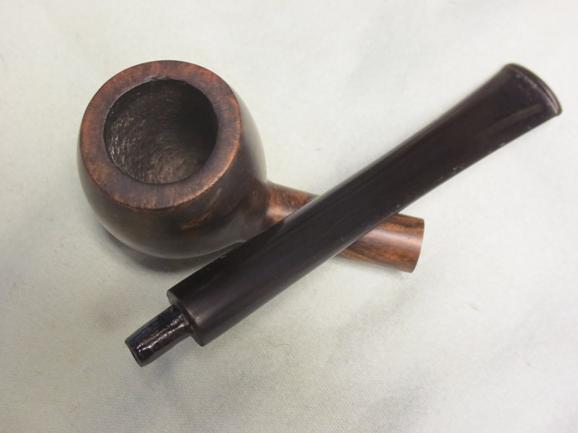
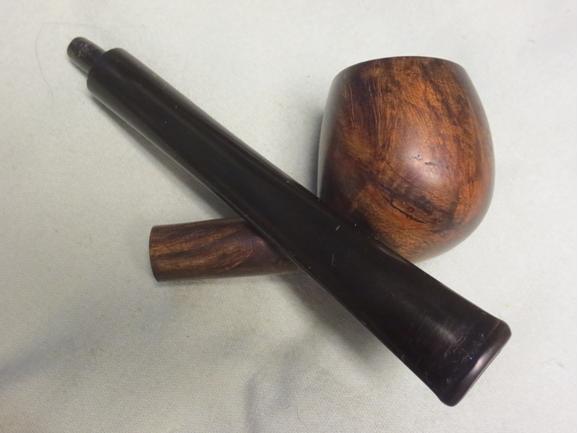
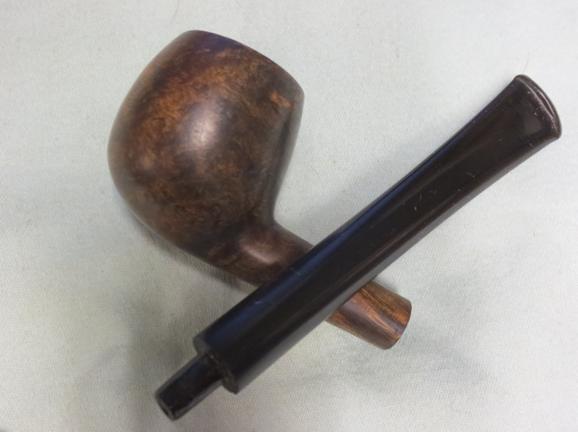
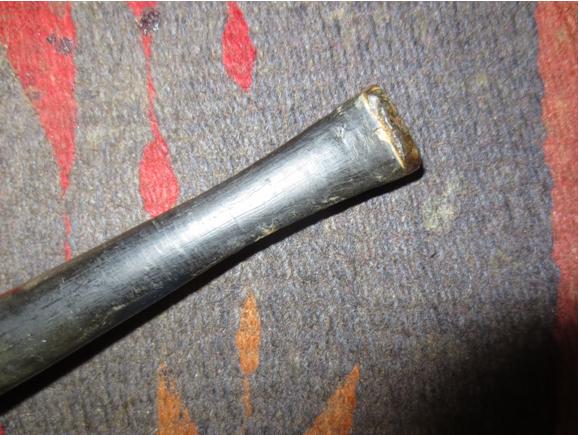
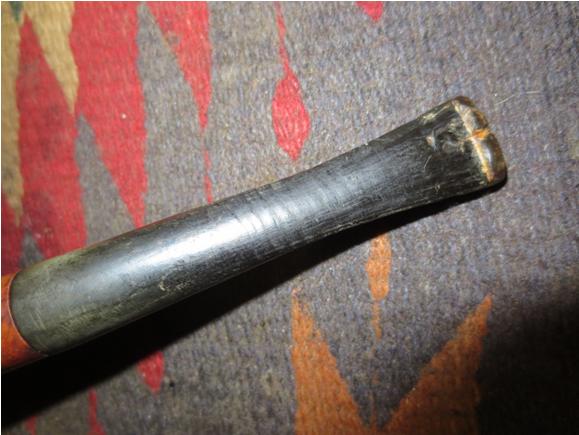
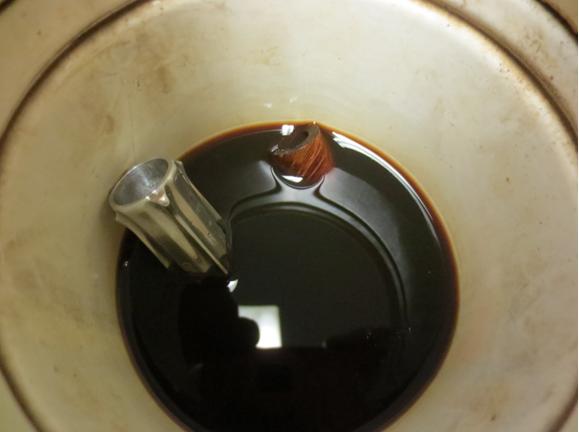
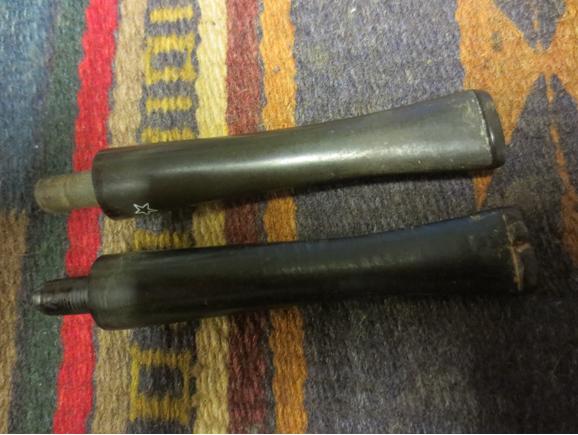
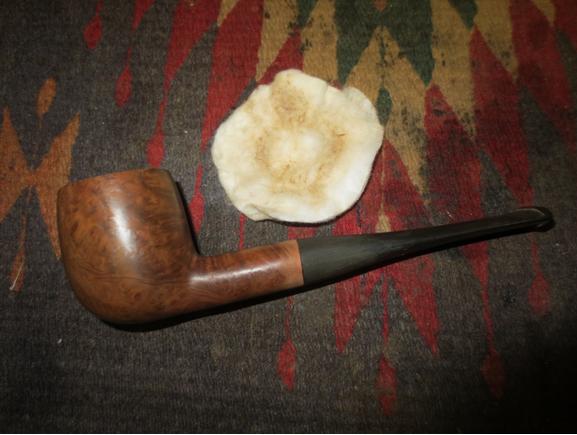
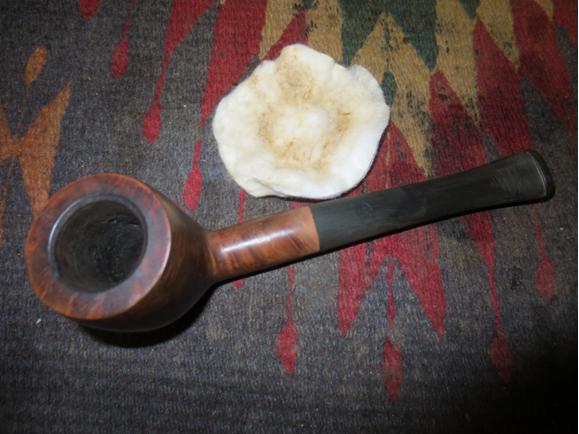
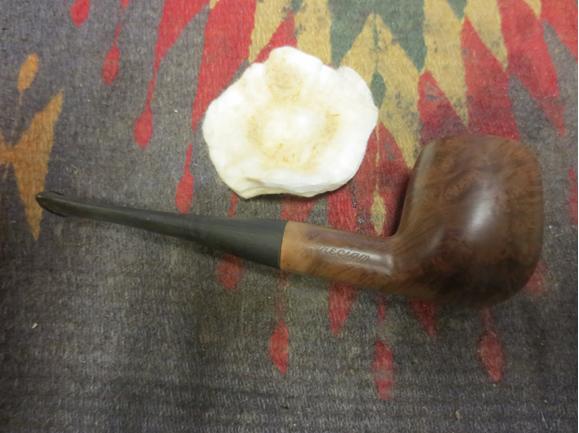
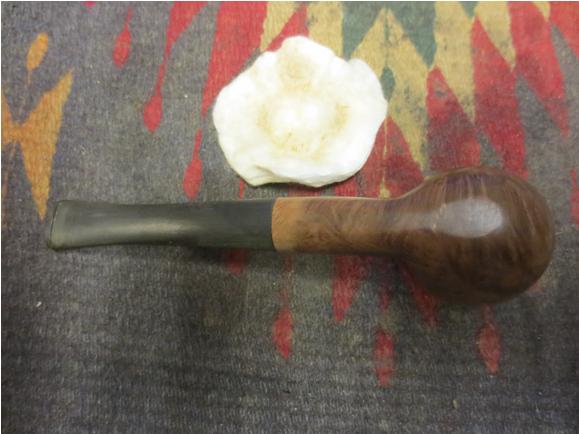
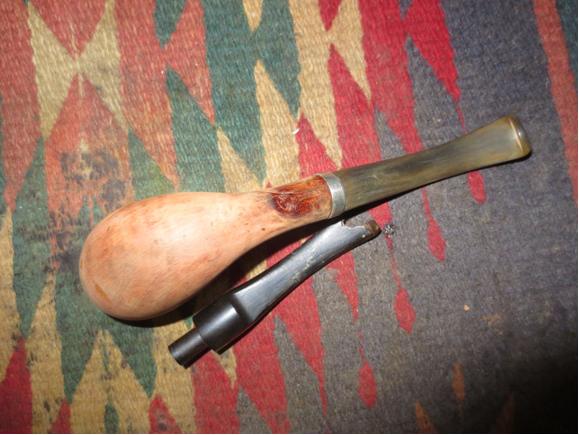
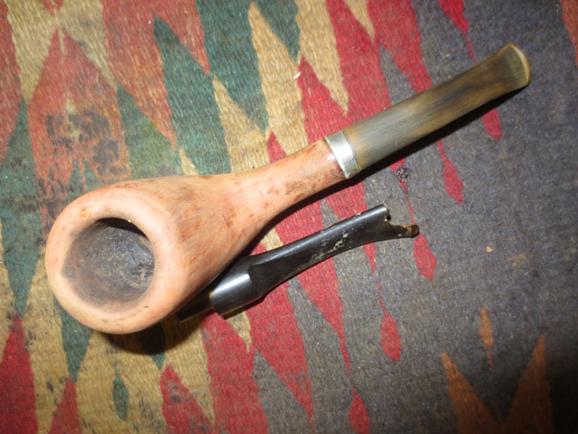
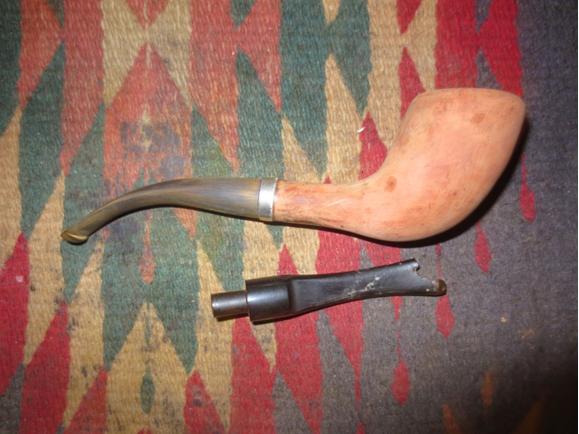
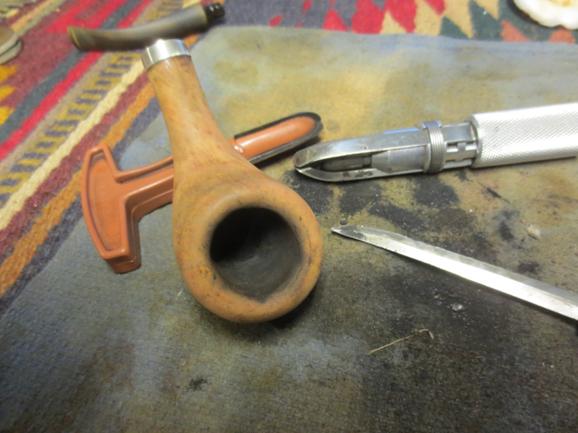
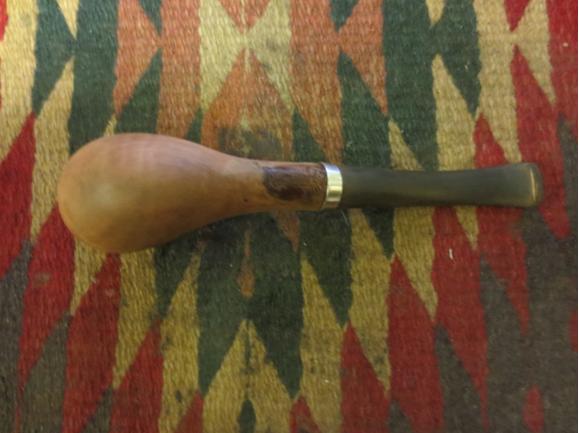
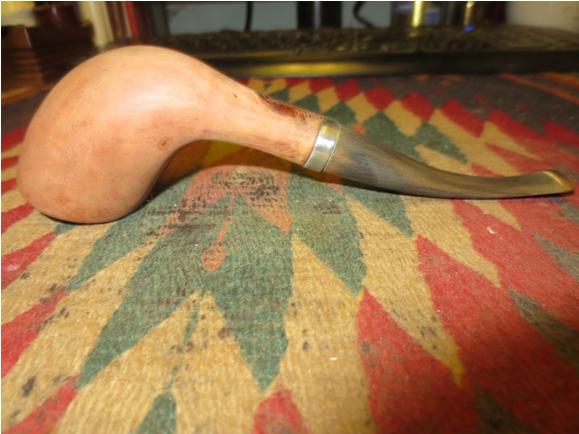
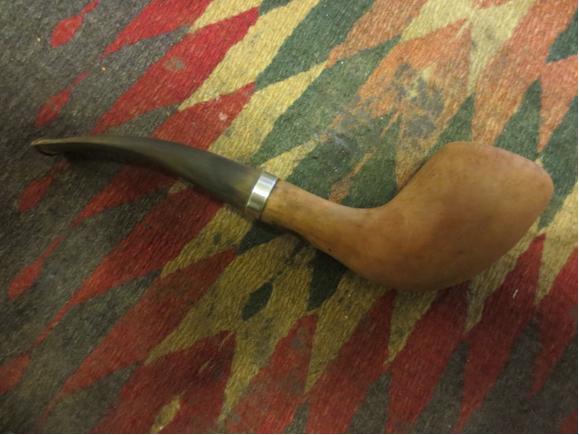
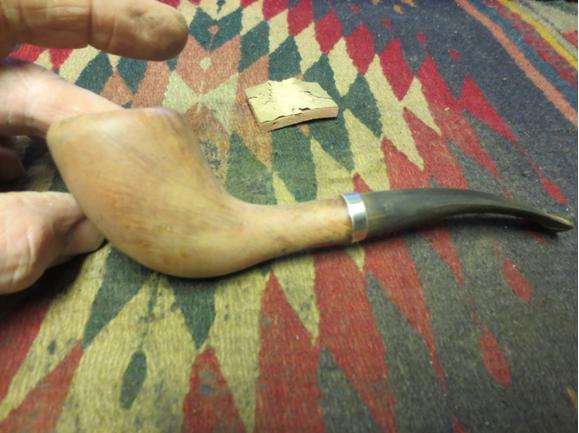
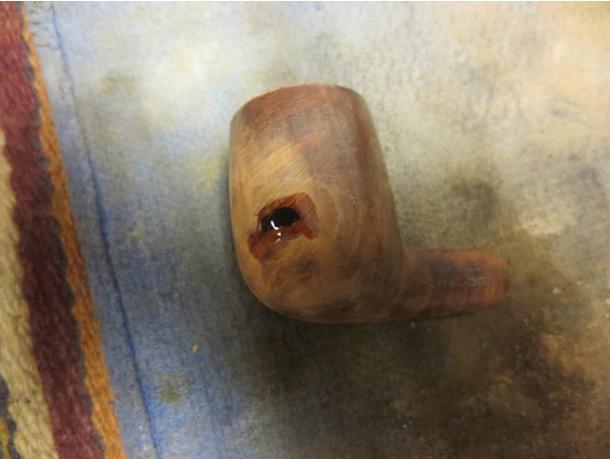
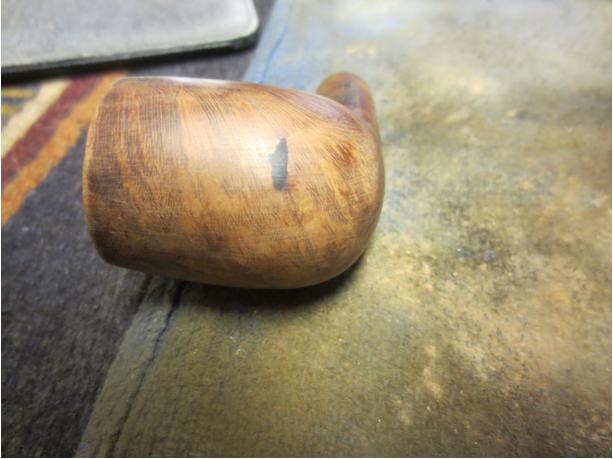
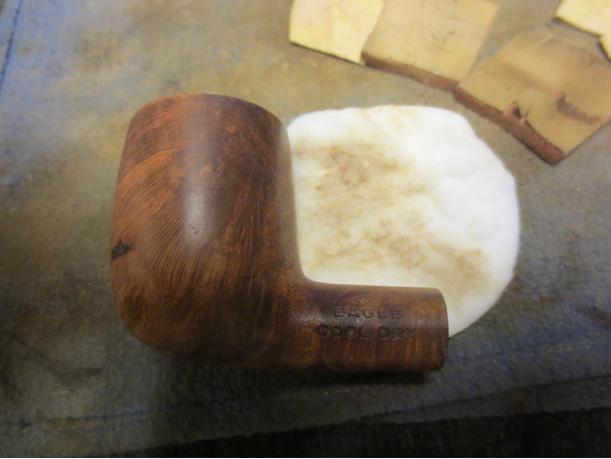
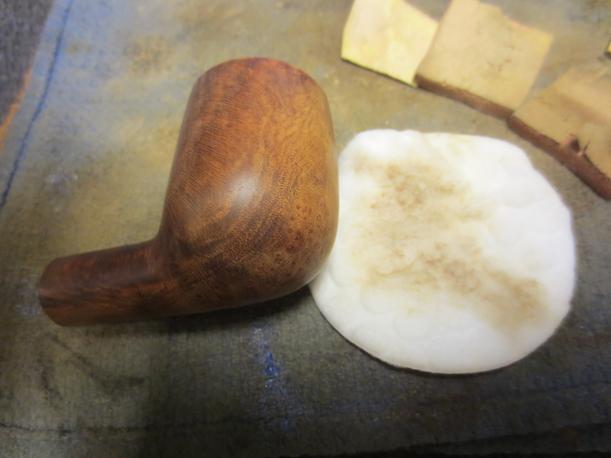
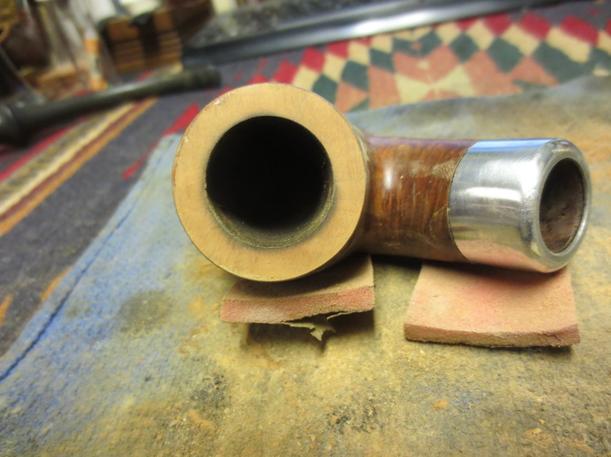
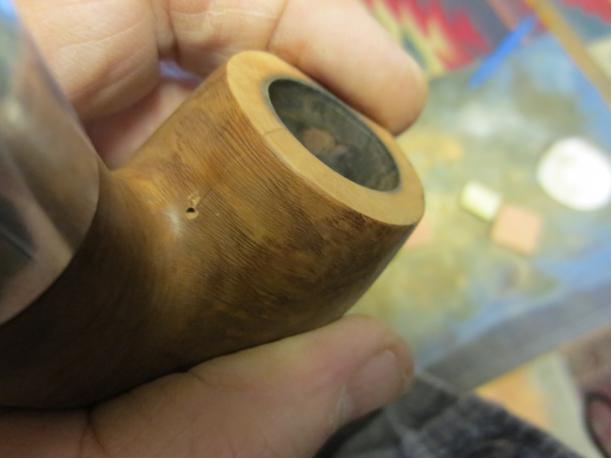
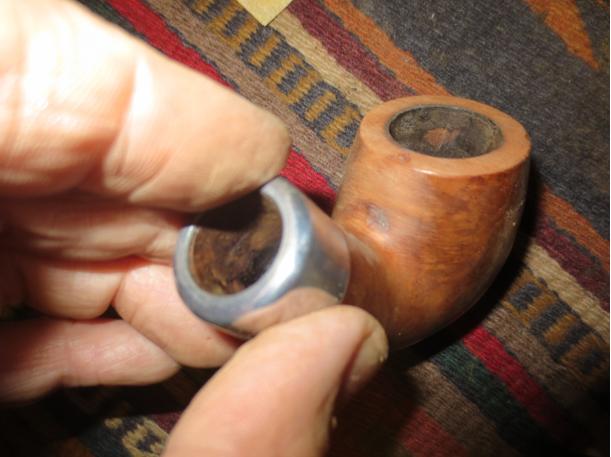
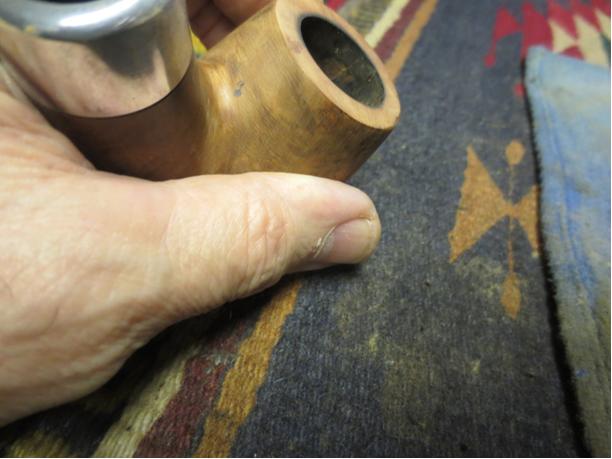
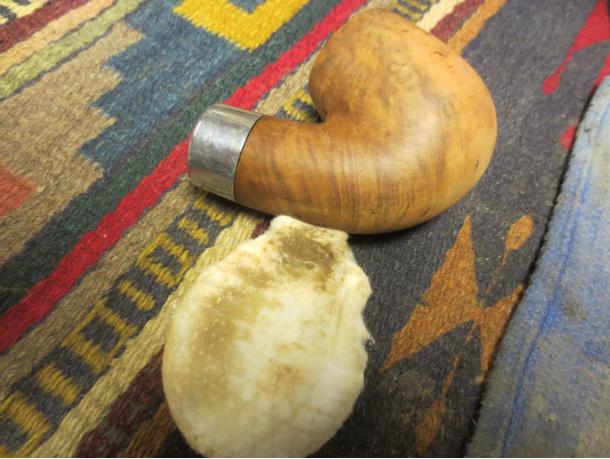
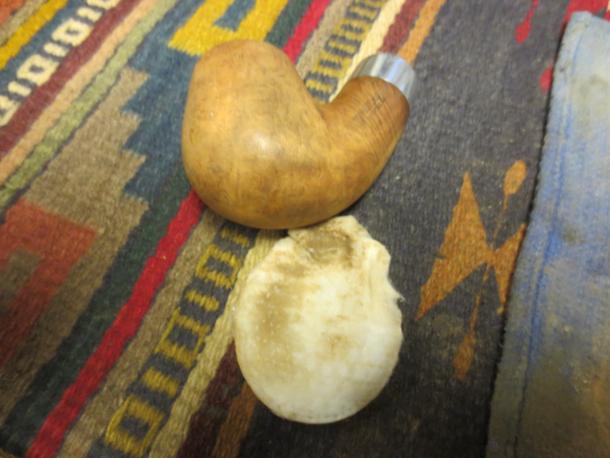
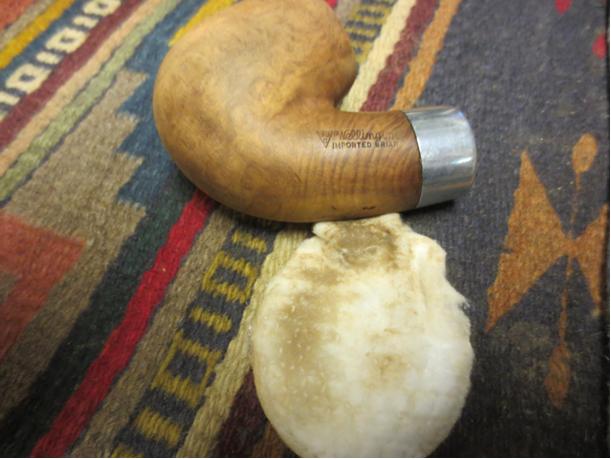
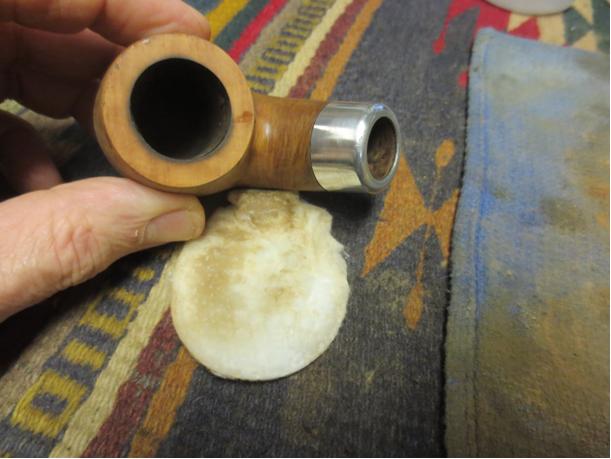
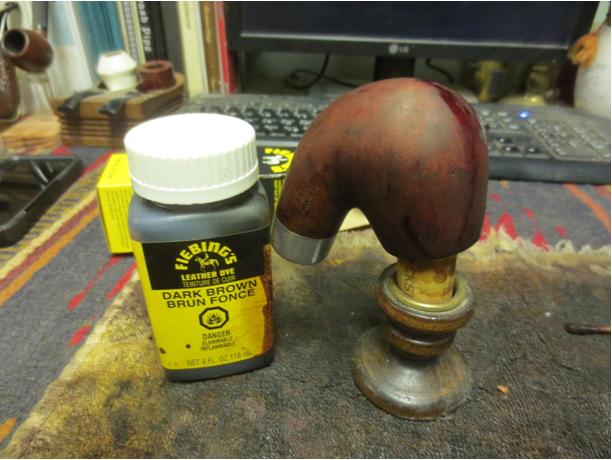
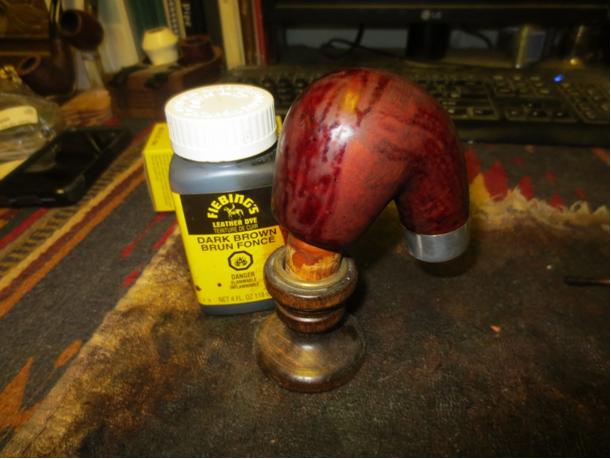
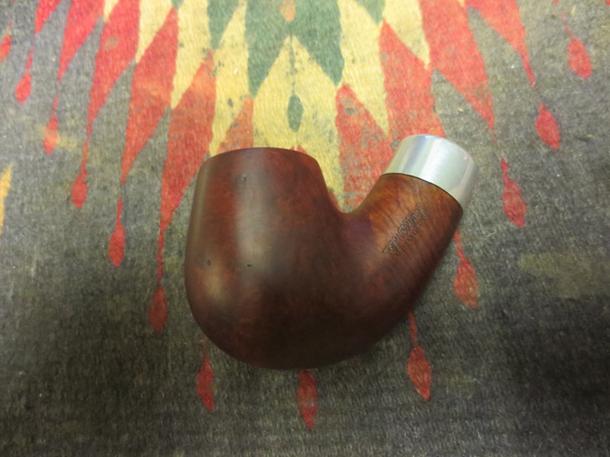
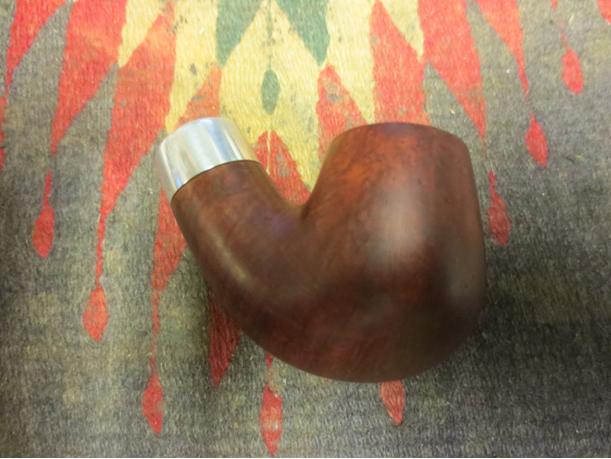
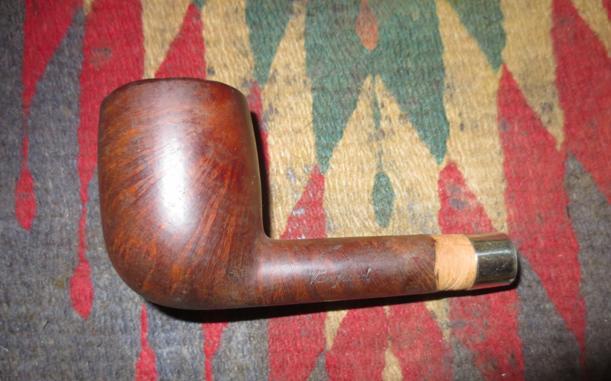
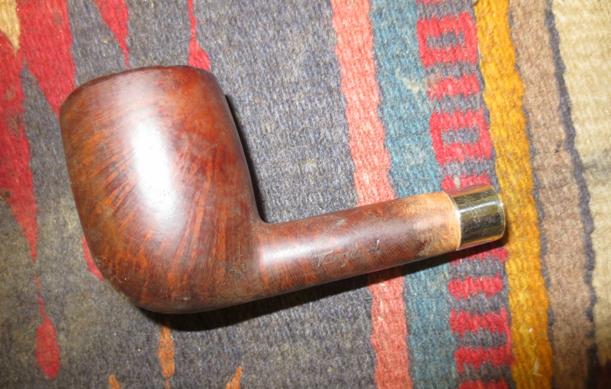
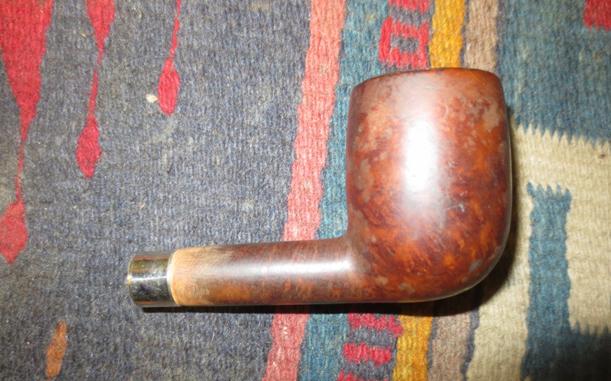
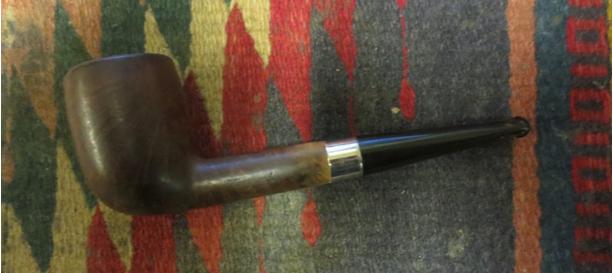
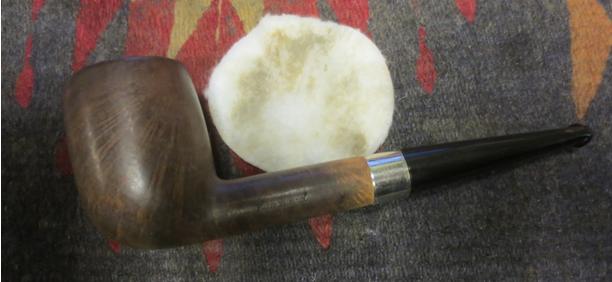
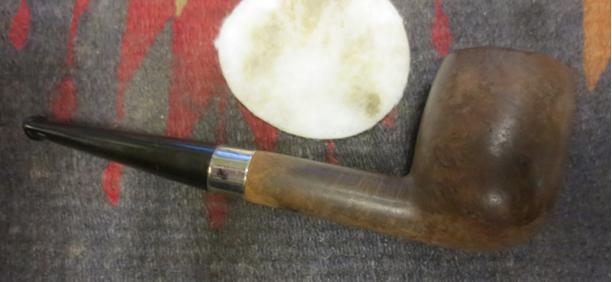
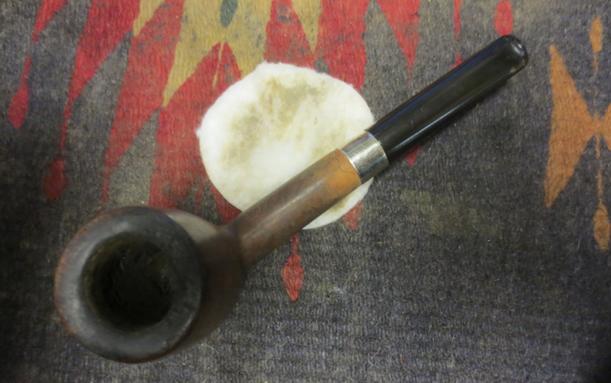
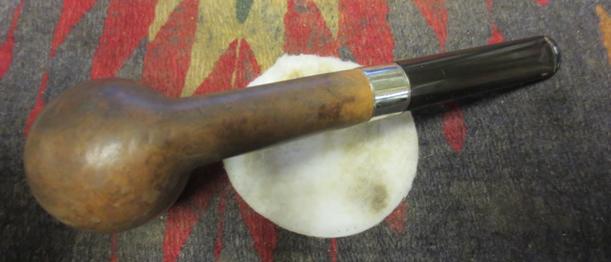
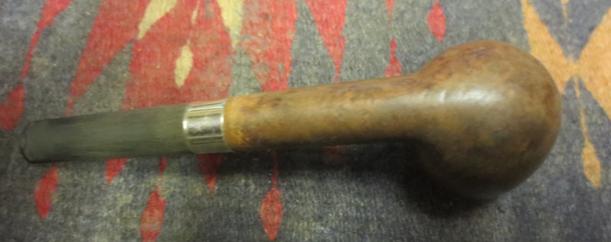
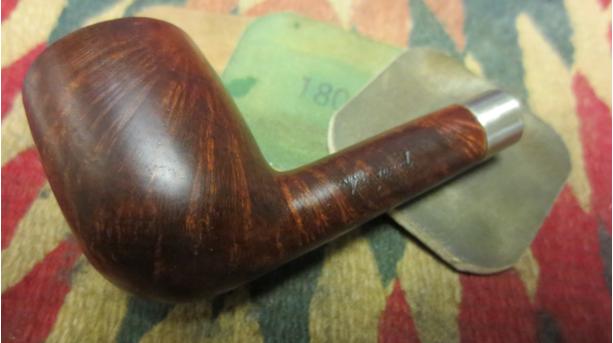
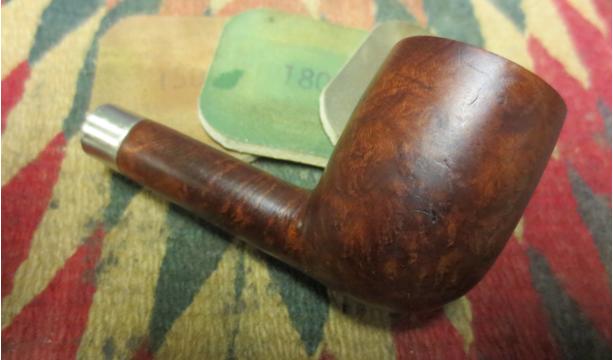
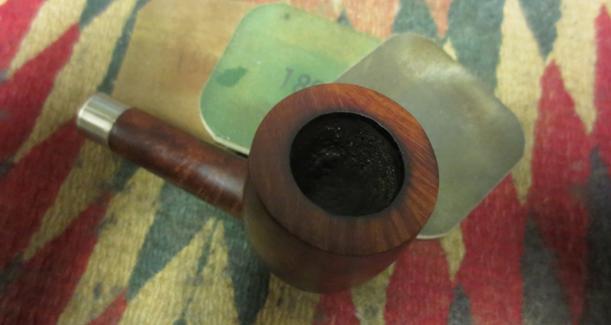
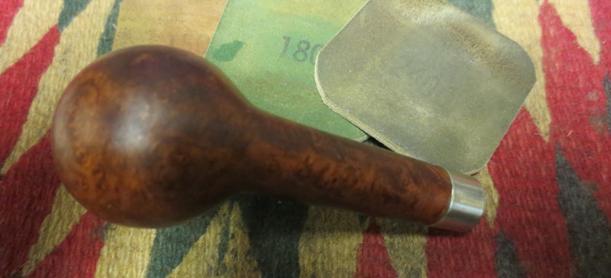
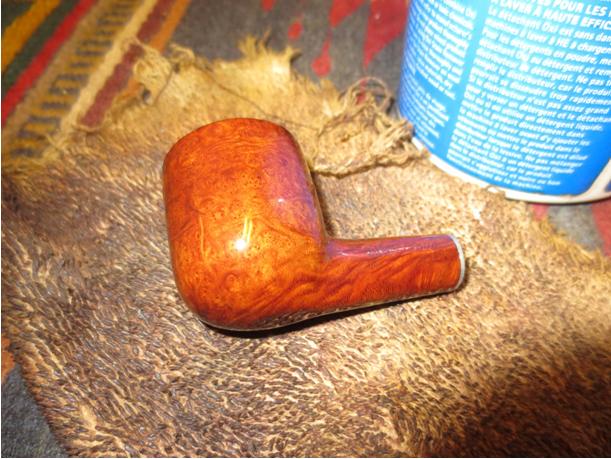
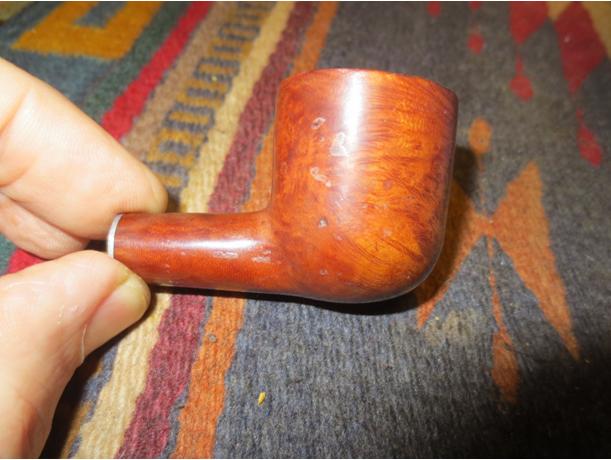
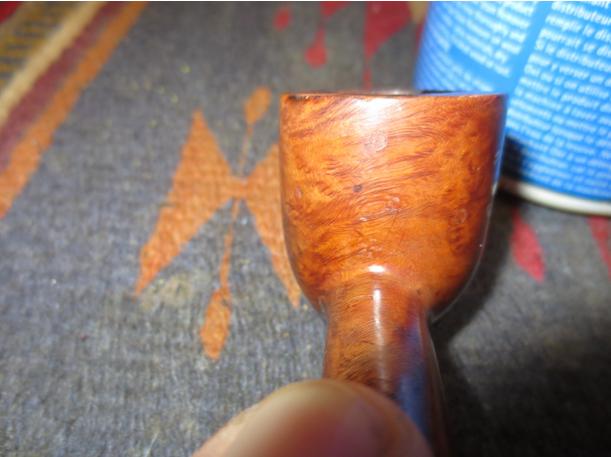
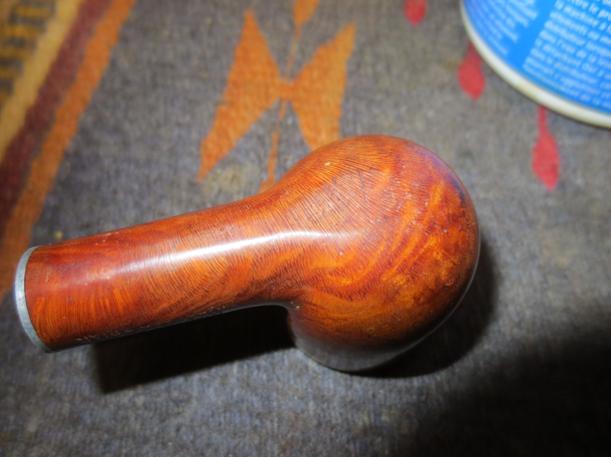
Tag Archives: Bowls – refinishing

Cleaning an American Made Selected Bulldog


Blog by Steve Laug

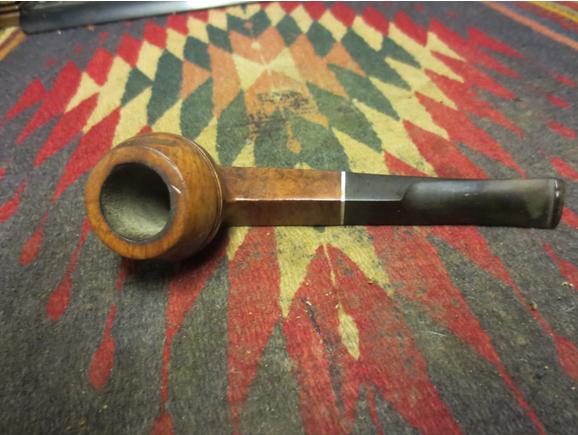
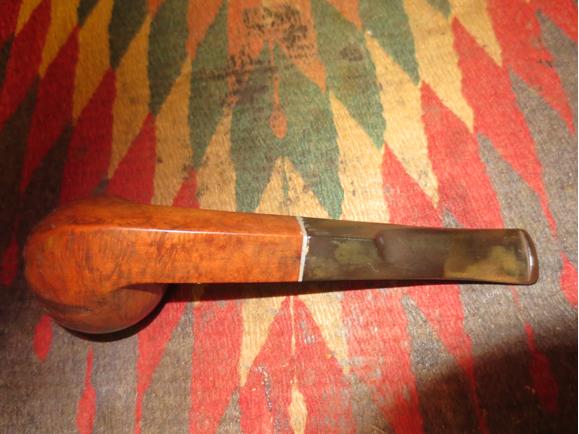
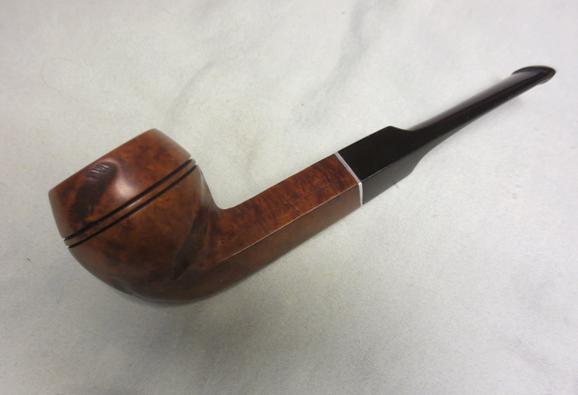
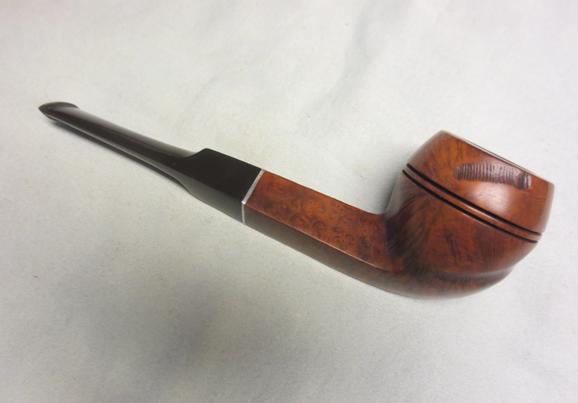
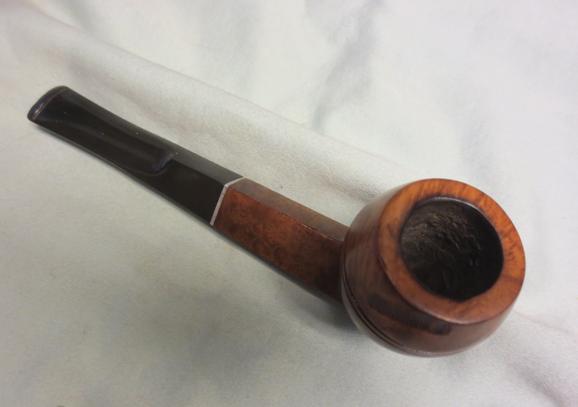
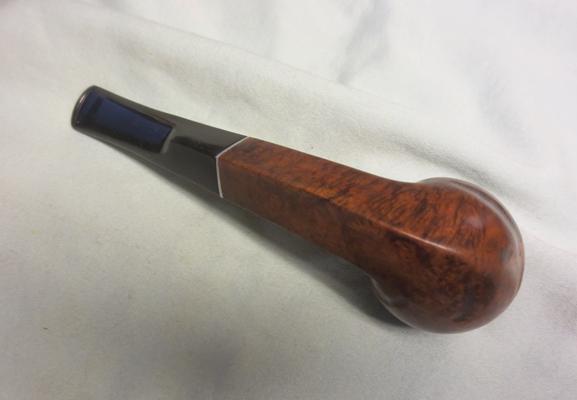
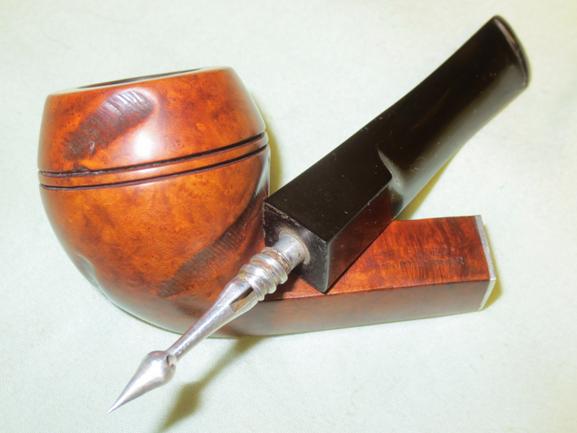
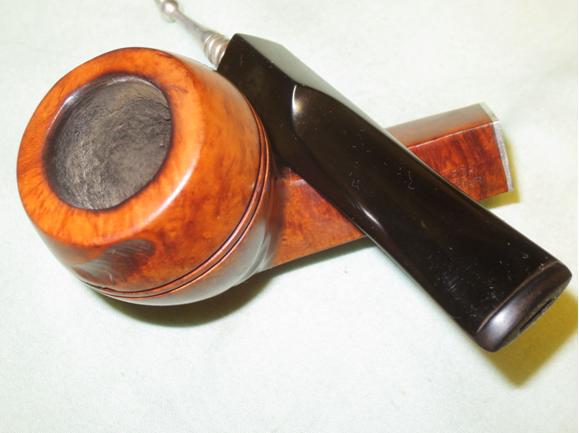
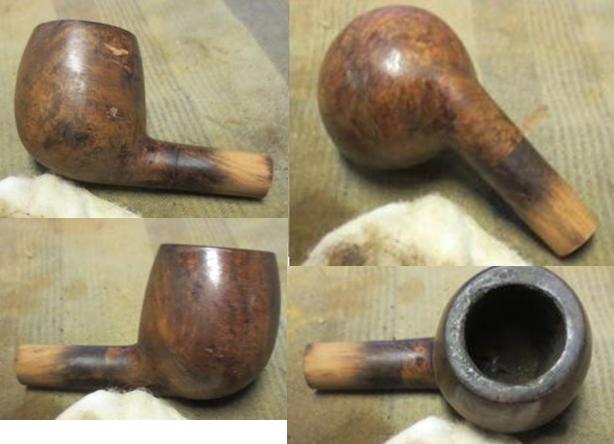
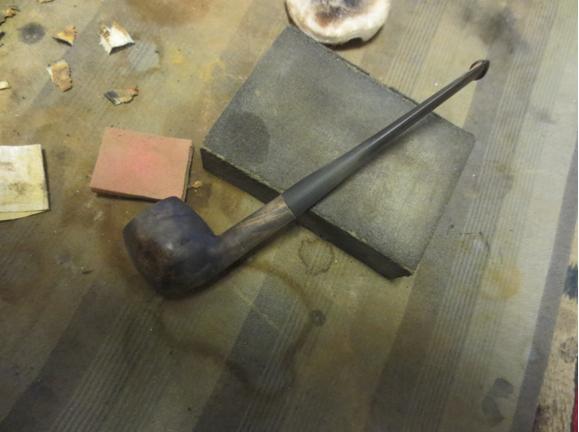
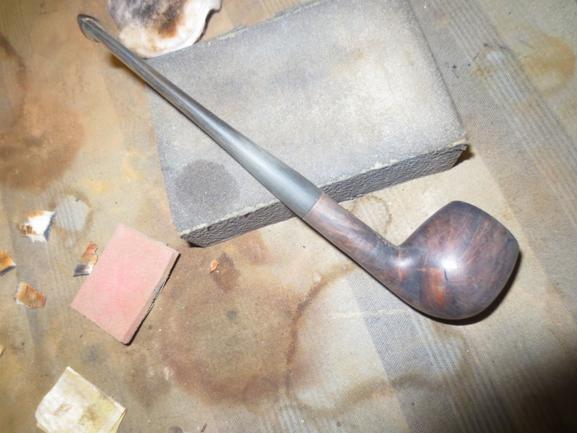
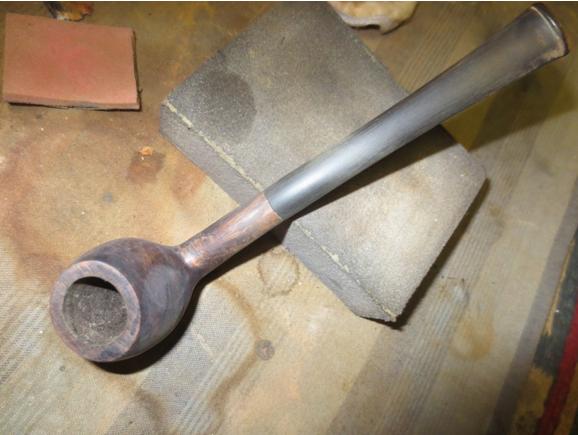
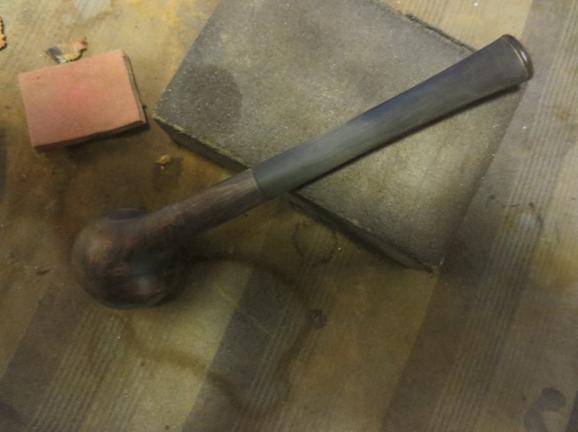
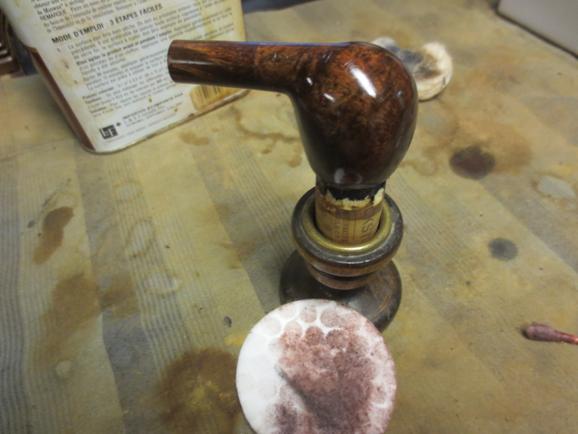
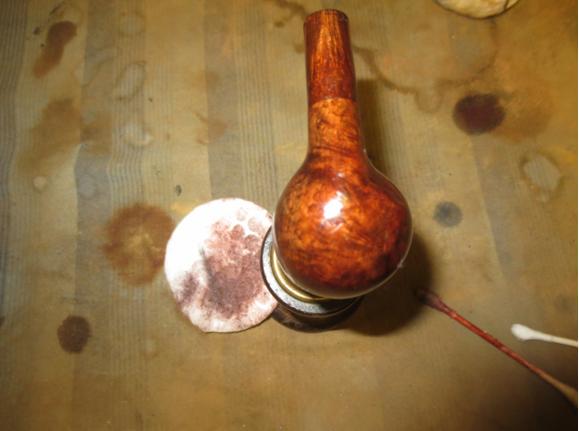
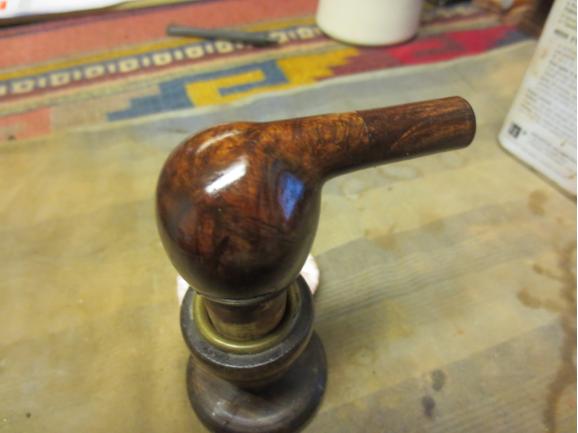
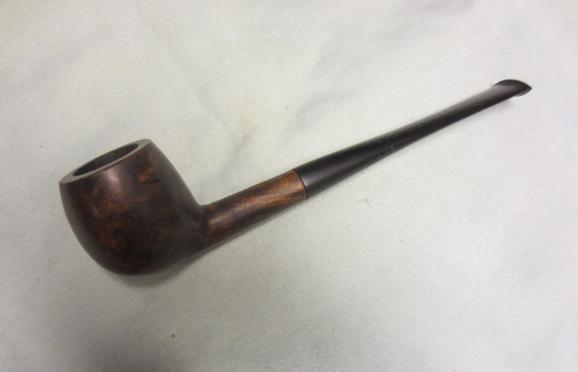
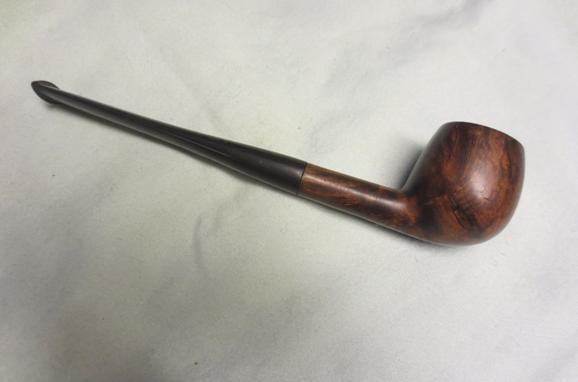
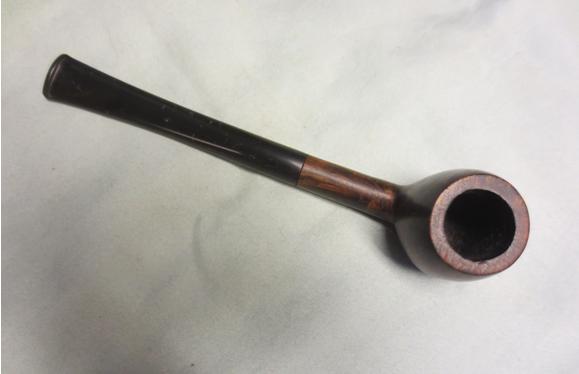
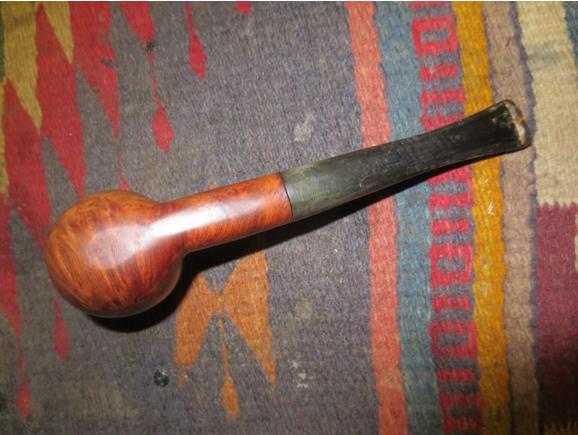
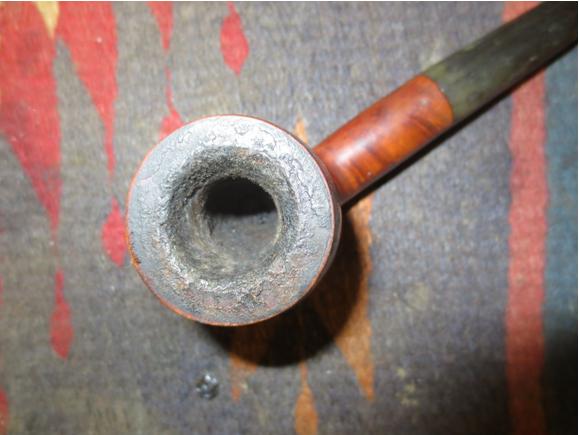
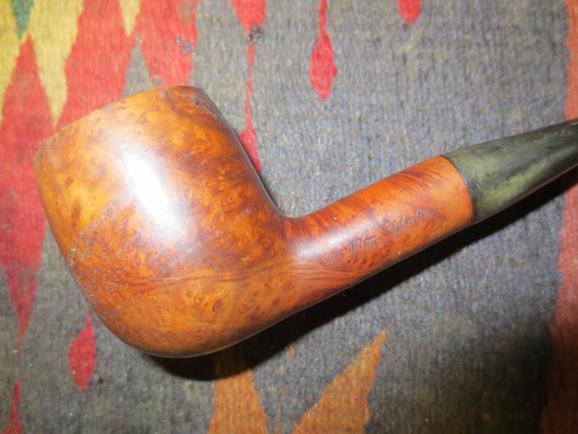
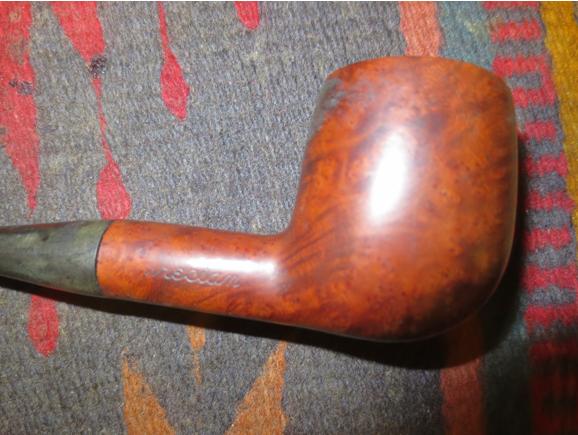
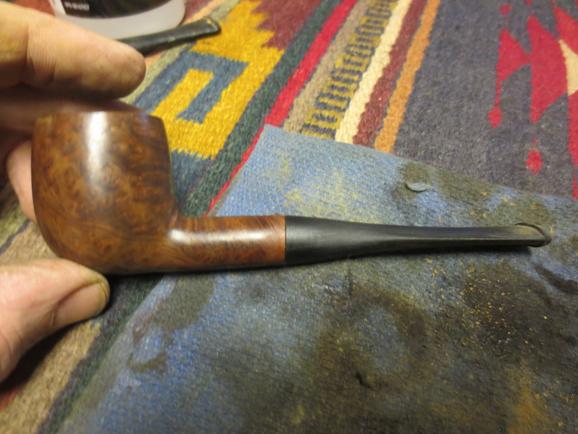
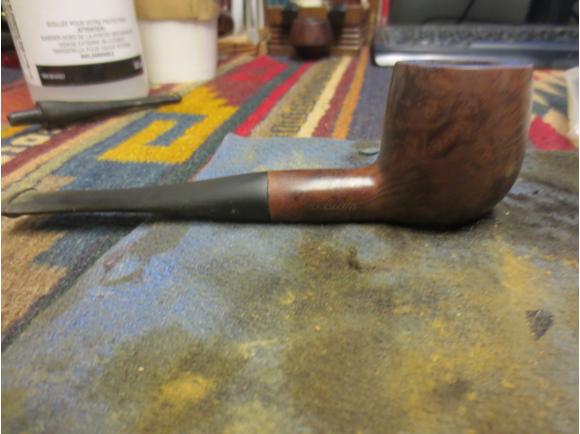
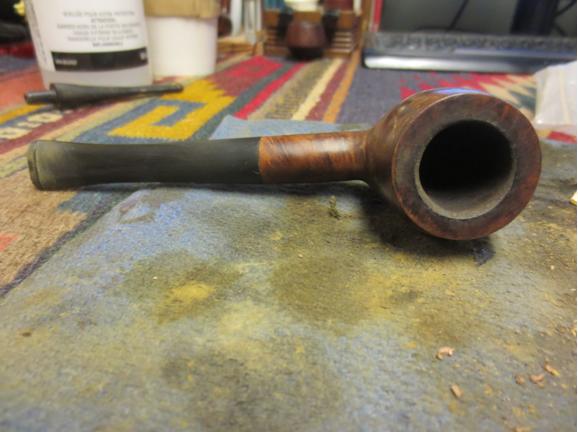
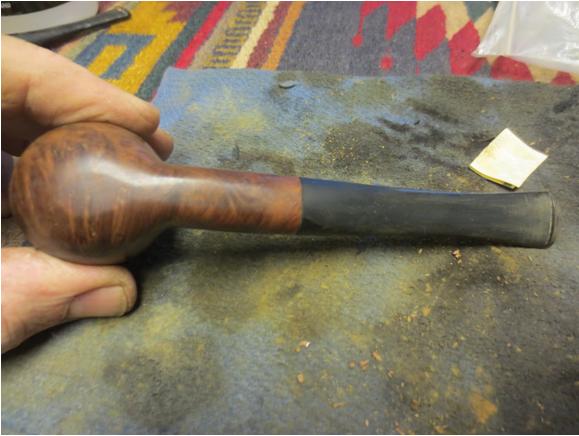
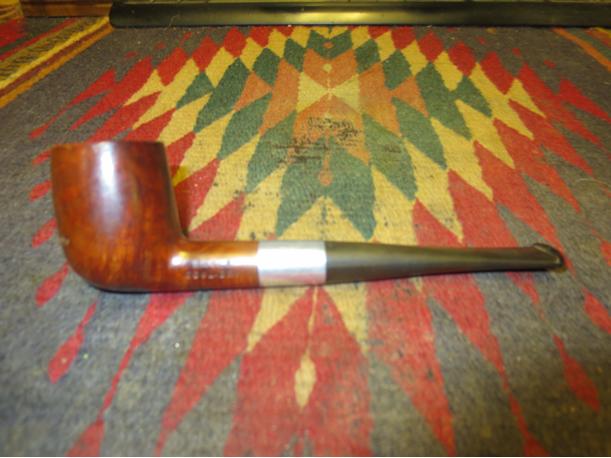
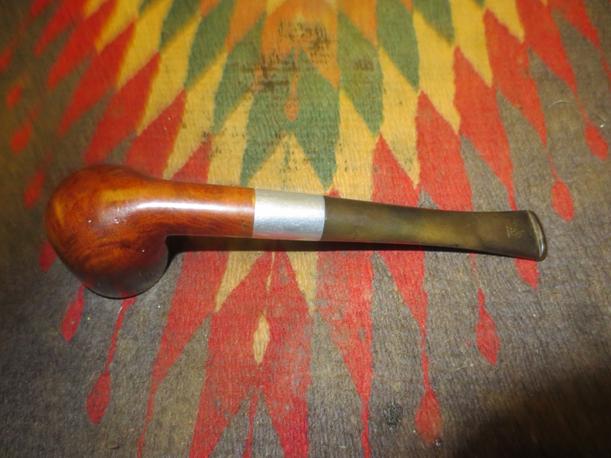
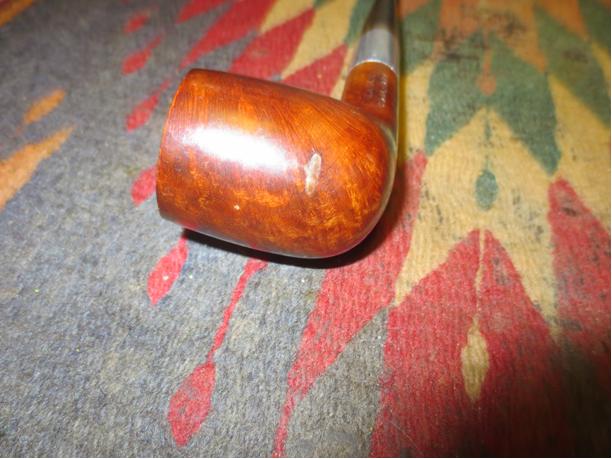
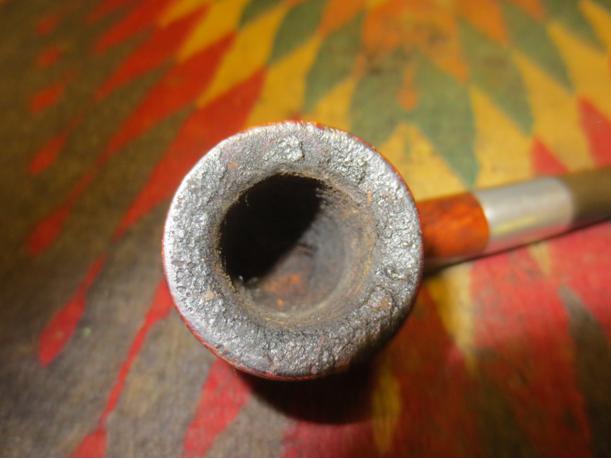
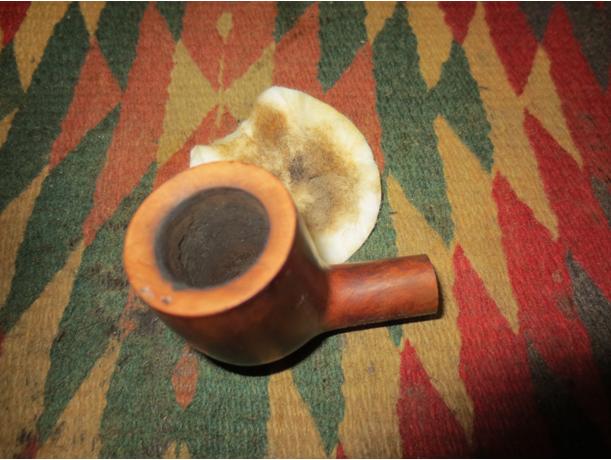
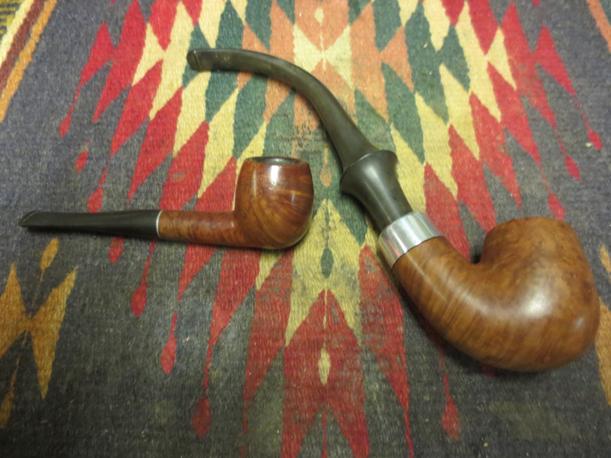
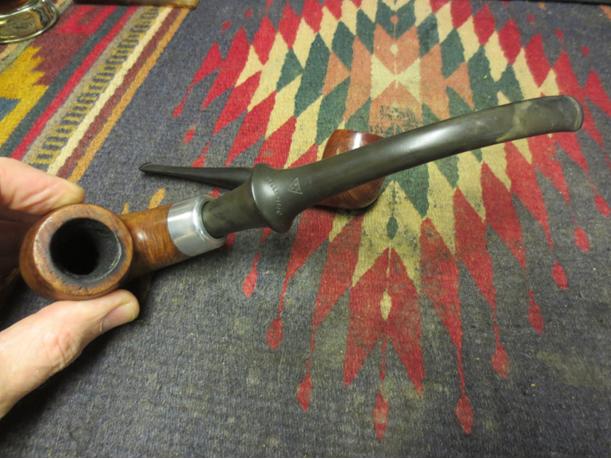
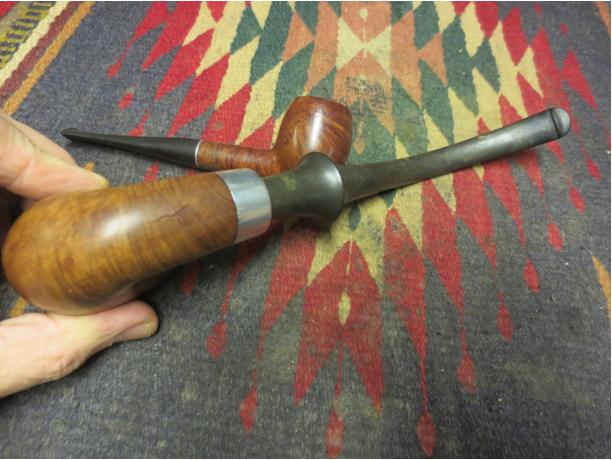
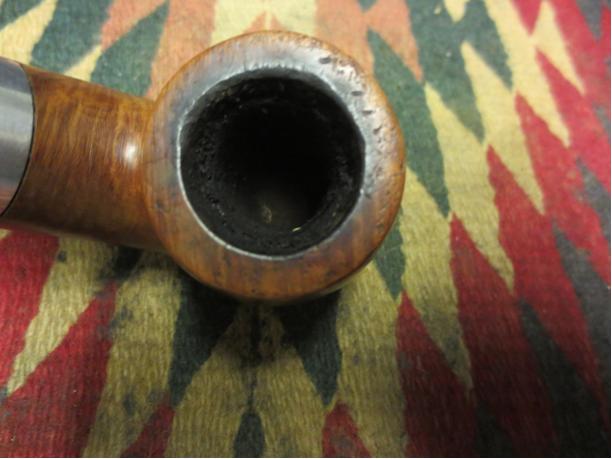
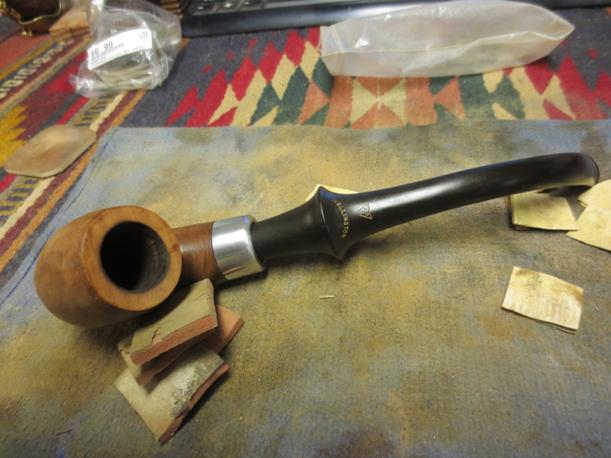
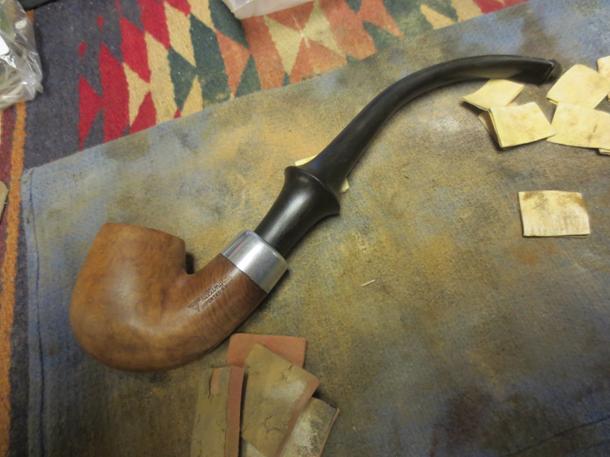
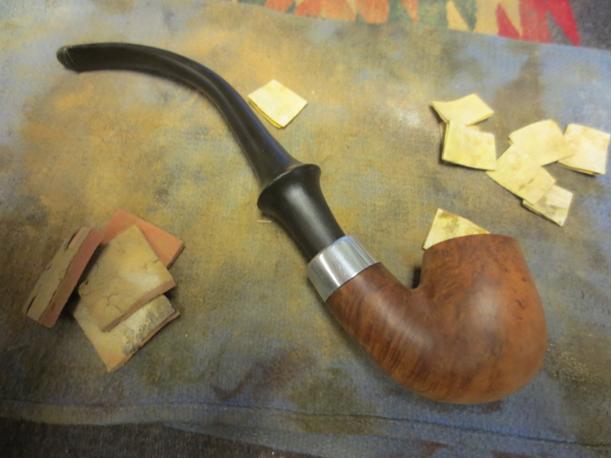
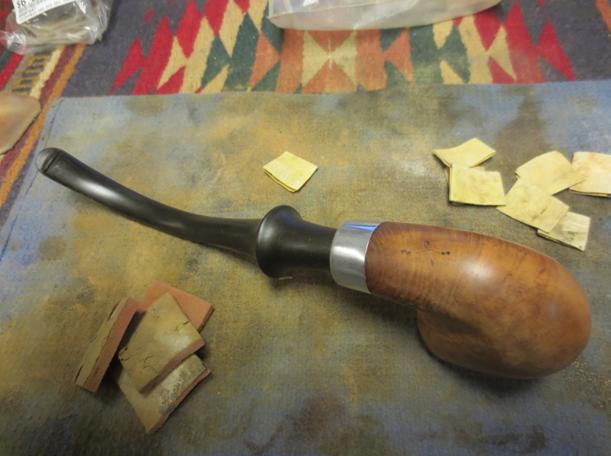
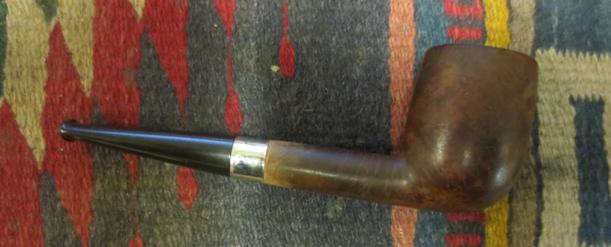
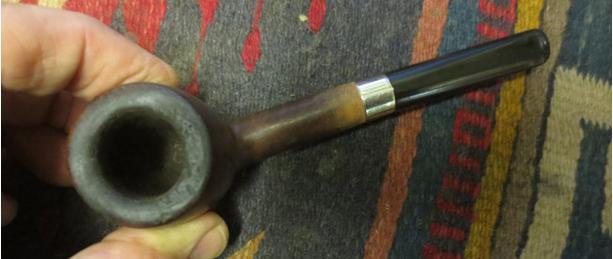
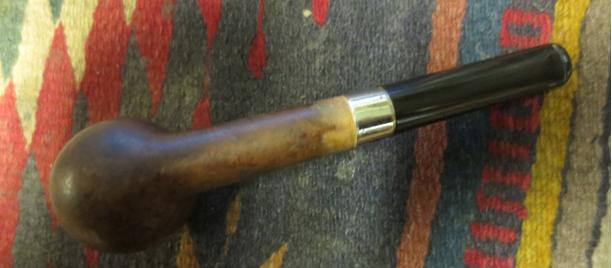
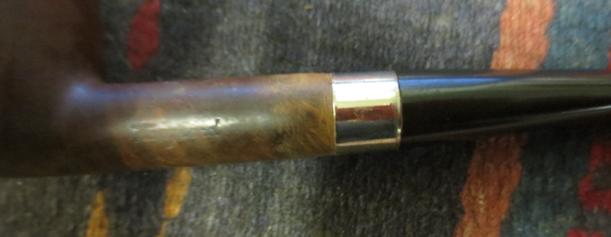
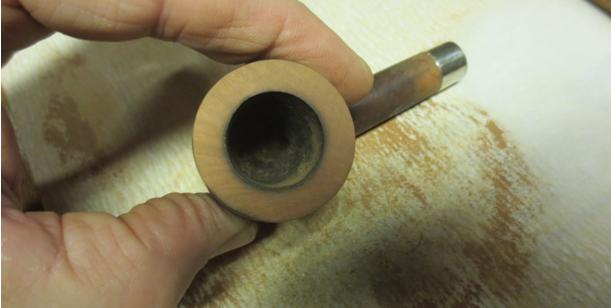
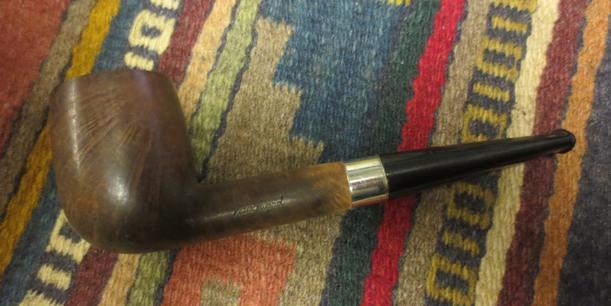
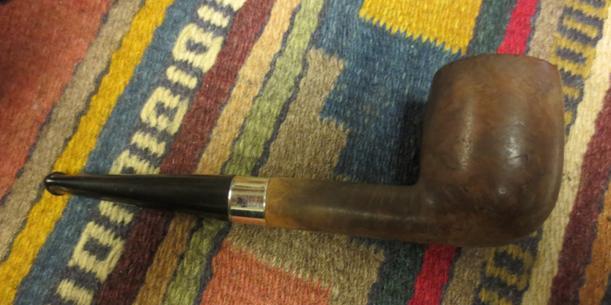
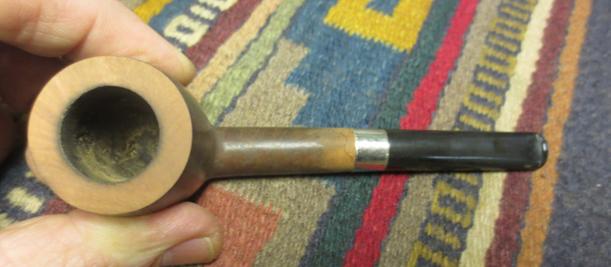
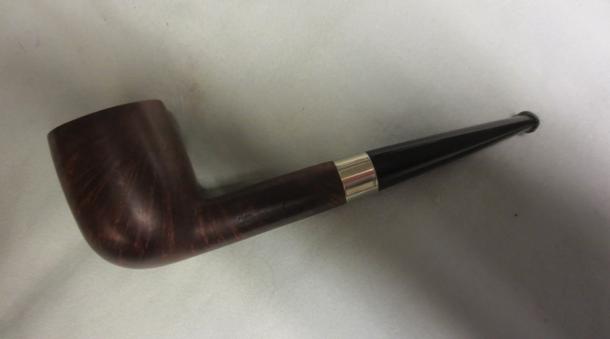
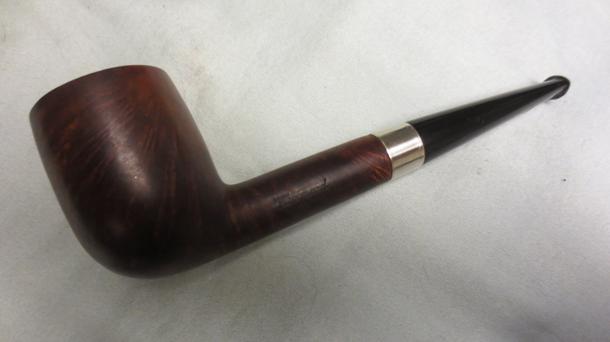
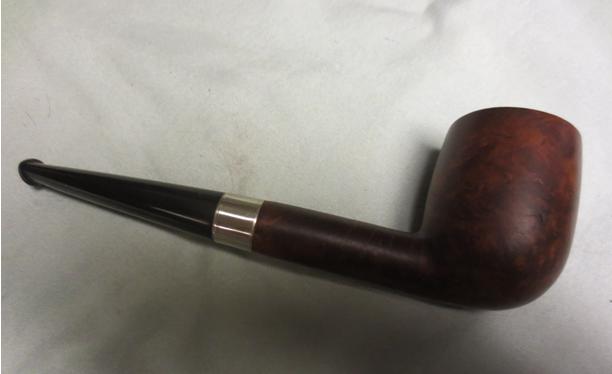
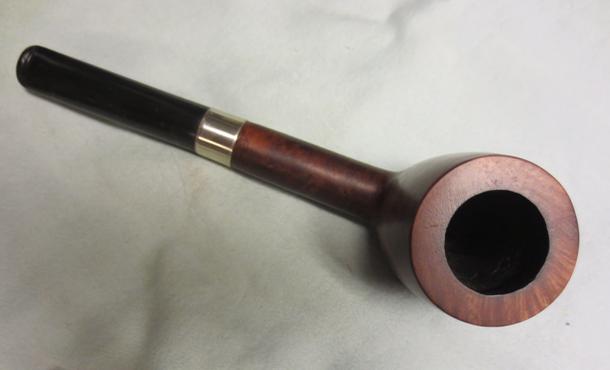
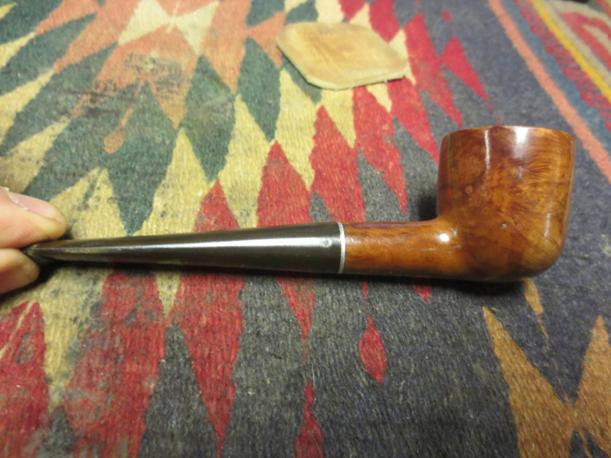
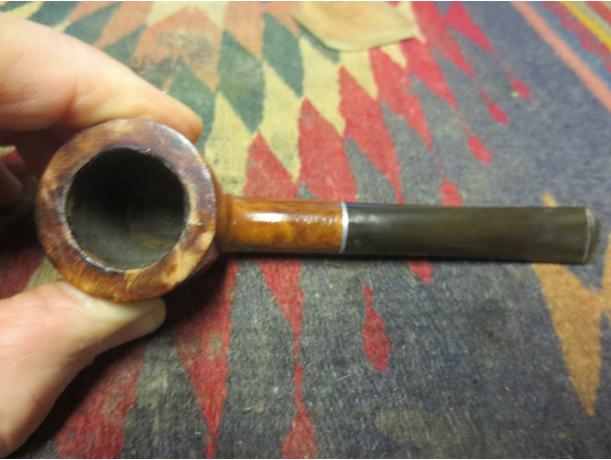
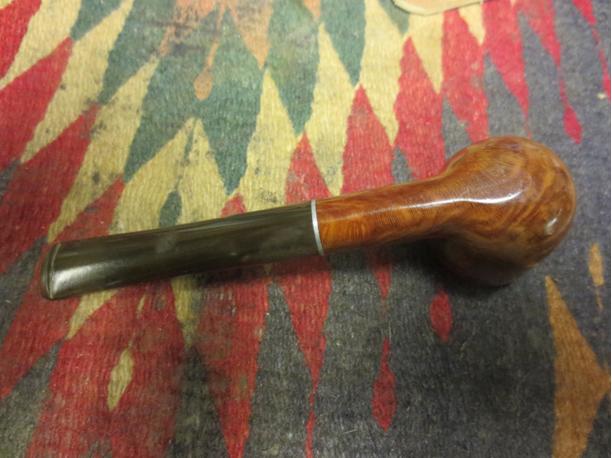
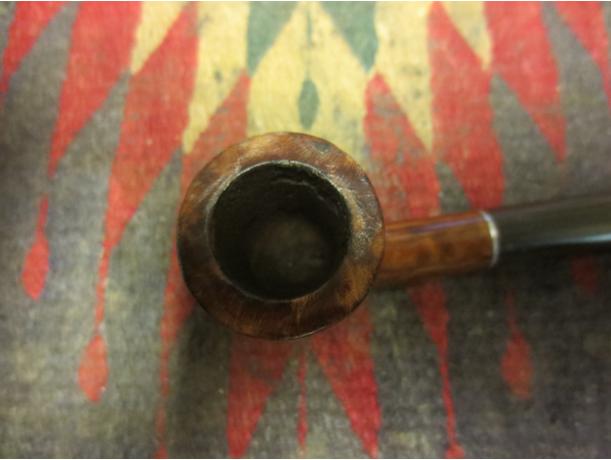
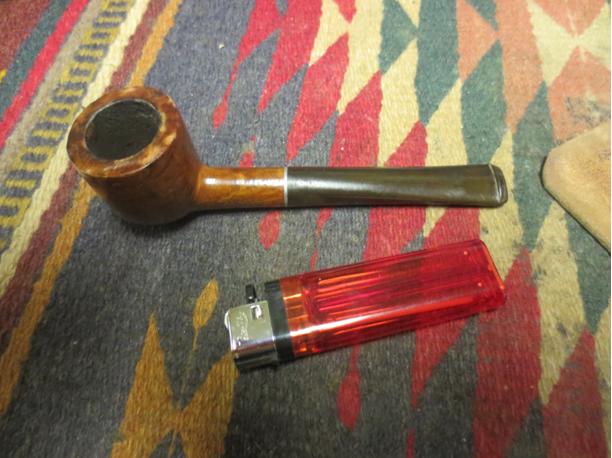
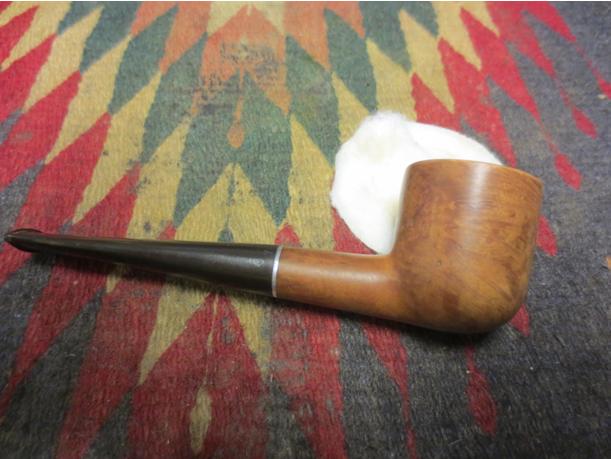
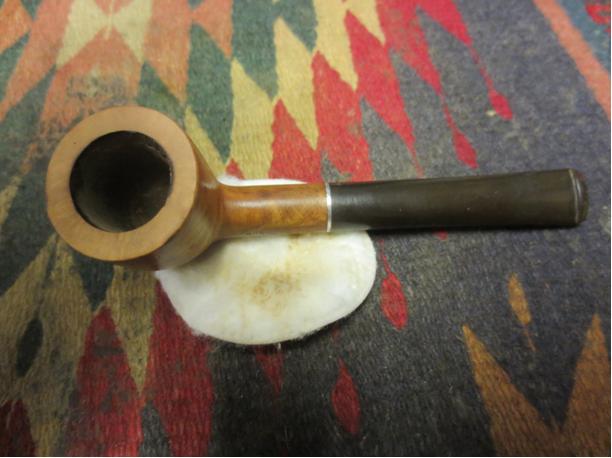
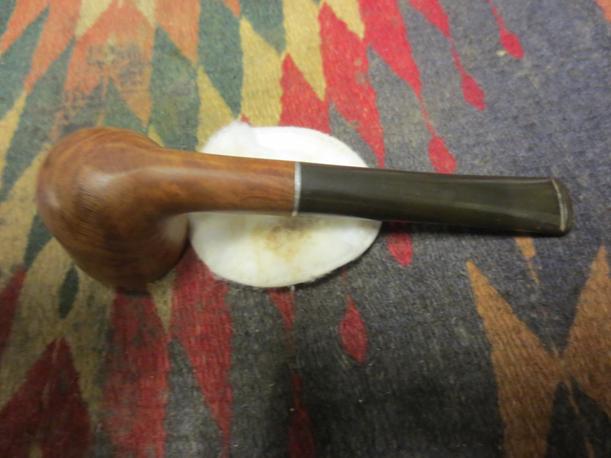
I have had a straight bulldog in the refurbishing box for a long time now. It is an interesting older pipe that has the characteristic worm trail rustication on the sides of the bowl and cap but total only 5 trails. The rest of the bowl is a nice piece of briar. The shank is smooth with no rustication. It appears to be unstained and natural or if stained a light tan colour. The trails on the bowl sides and cap are slightly darker in colour. The bowl was lightly smoked and the bottom half still clean briar. There was no cake in the bowl. There was some burning on the inner edge of the rim on the back left side of the bowl. The stamping on the shank of this bulldog is standing lion inside of a shield and next to that – SELECTED – over Imported Briar. I have searched on the web and in my books for this logo and cannot find it or the company it refers to. Any help would be appreciated. select1 The stem was in good shape with a little oxidation but no teeth marks except for two on top of the button itself. There was an internal stinger apparatus and a metal threaded tenon. The tenon screwed into a metal insert in the shank. The airway from the mortise to the back of the bowl was quite open to give room for the stinger apparatus. I took the following photos of the pipe when I brought it to the work table this morning.Select2

Select3

Select4

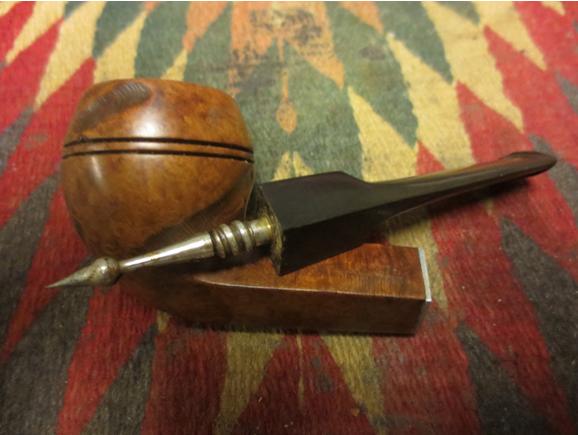
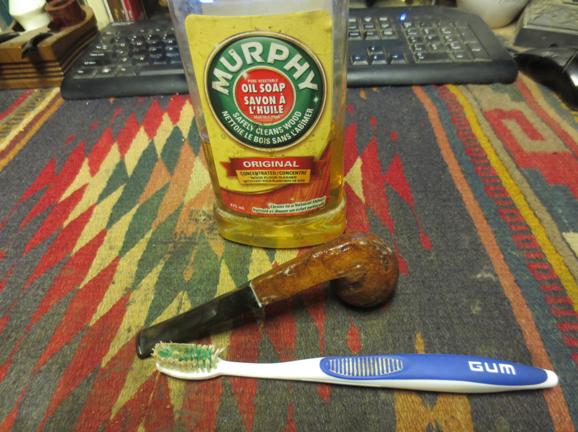
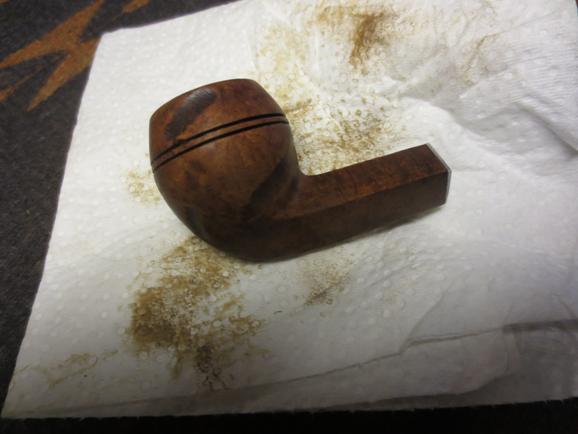
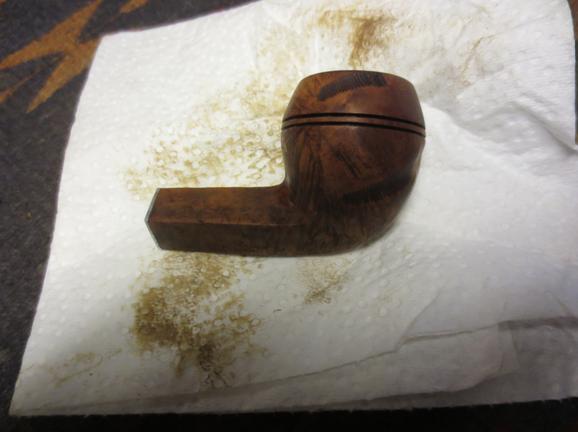
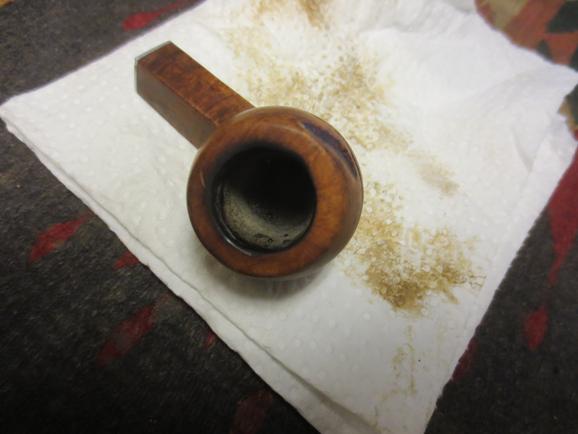
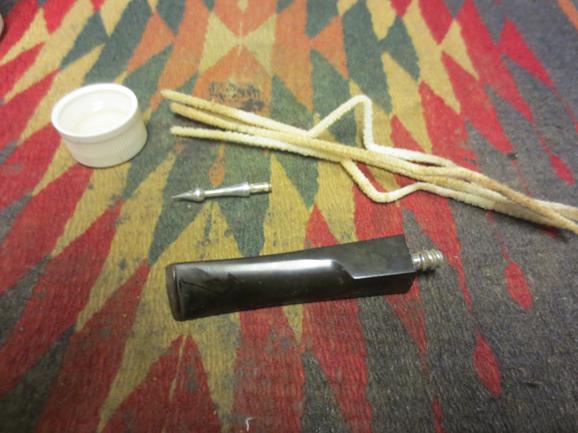
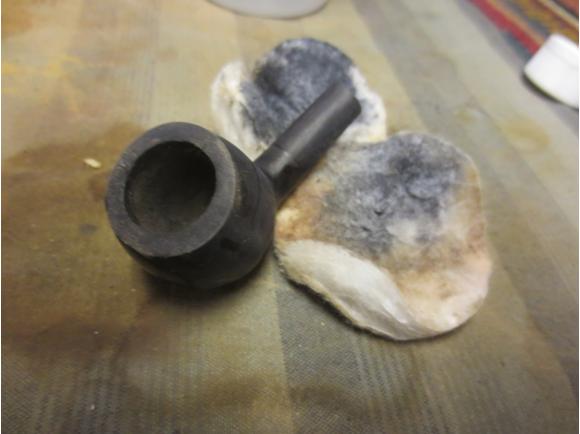
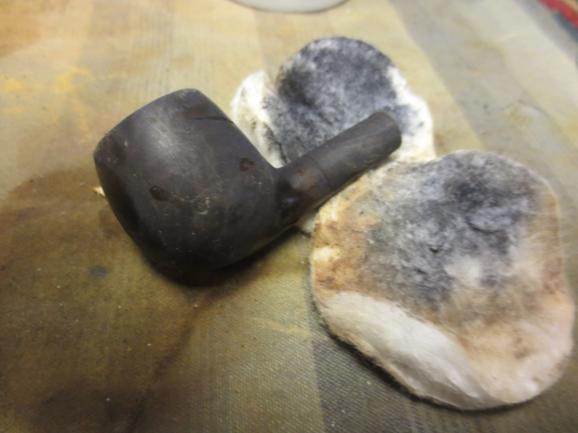
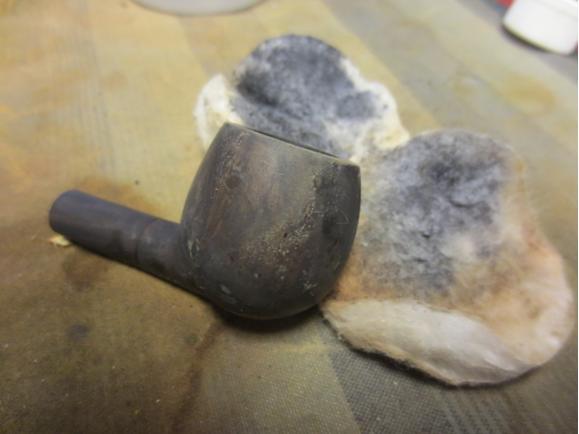
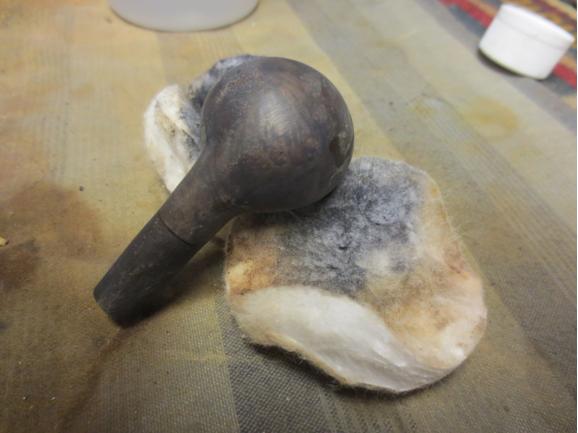
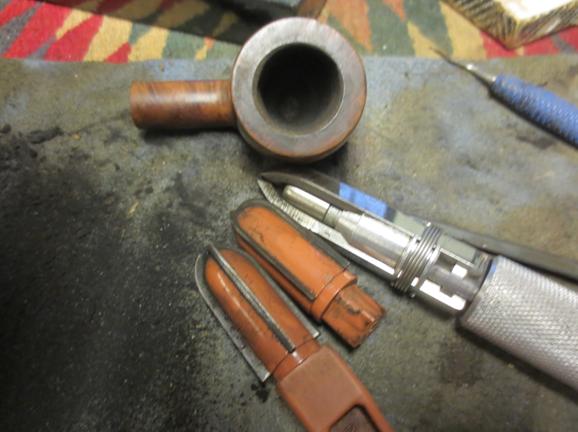
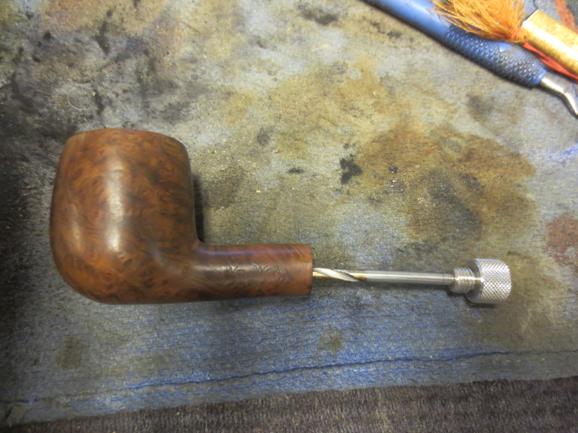
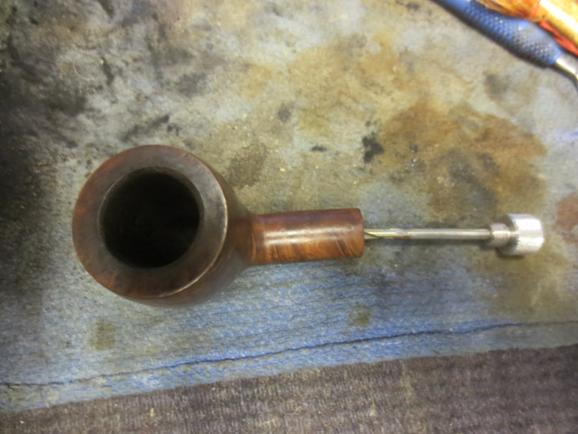
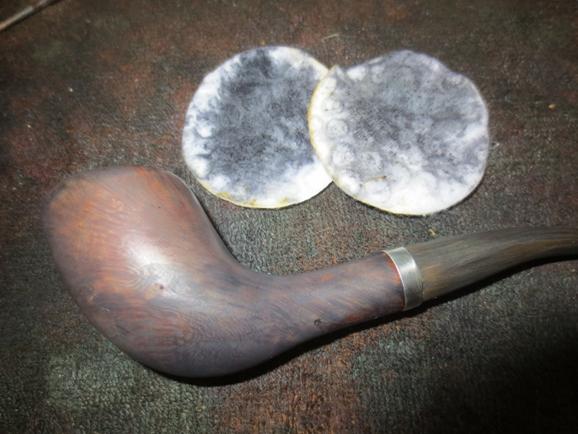
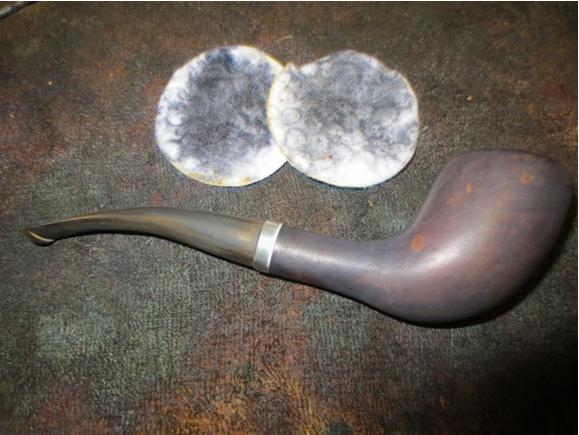
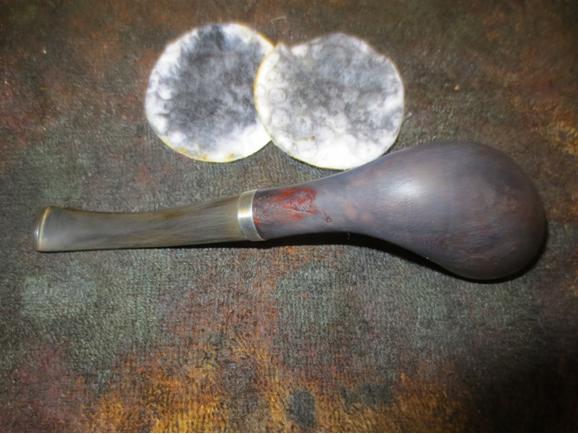
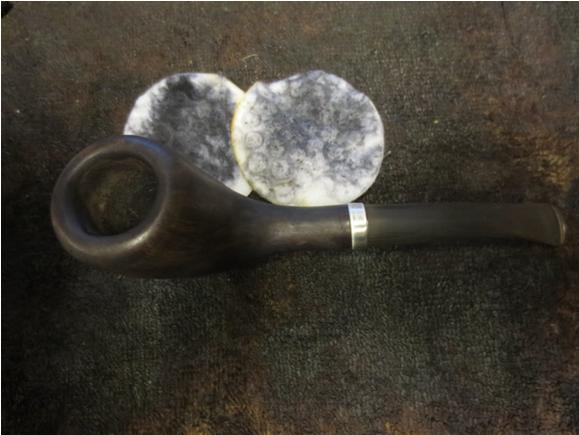
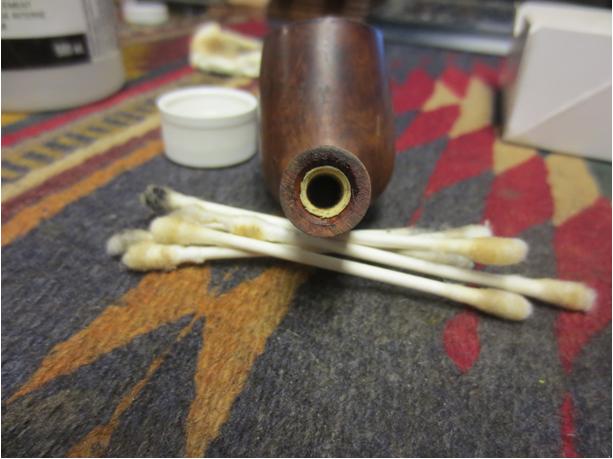
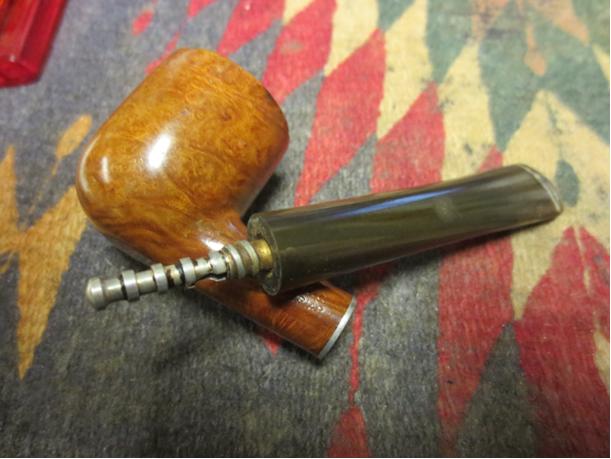
Select5 I took the pipe apart to show the inner apparatus on the stinger. It is unusual in terms of shape. The spear end is very sharp! It is pressure fit into the stem so it should come out for a thorough cleaning of the stem.Select6 The briar was dirty and had what appeared to be the gum from a price tag stuck to it in several places. I scrubbed the bowl and rim with a tooth brush and Murphy’s Oil Soap to clean off the grime.Select7 I wiped it down with a paper towel. A lot of grit and grime came off. I rinsed it with warm running water and dried it off with a towel. The photos below show the grime on the paper towel and the clean bowl.Select8

Select9

Select10

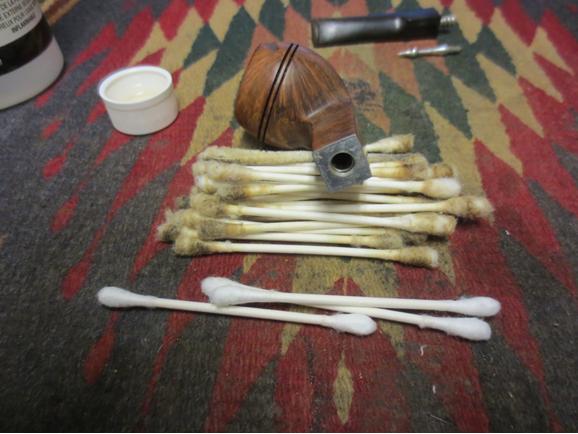
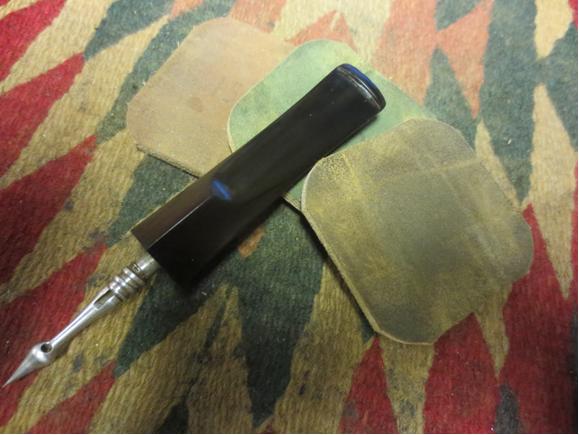
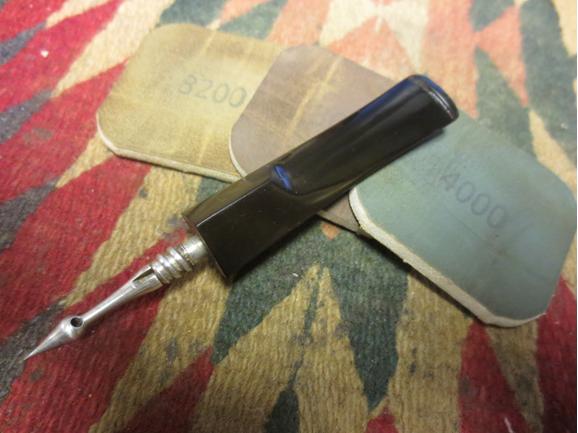
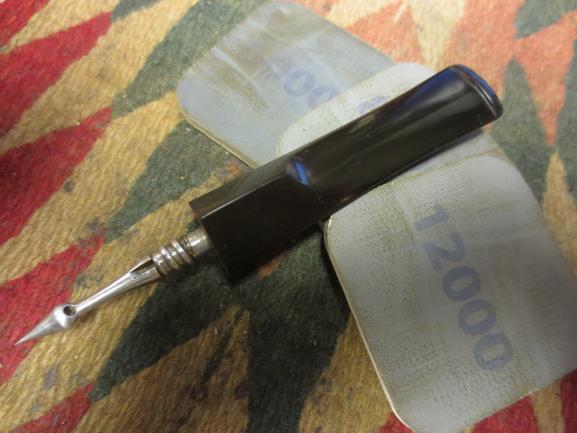
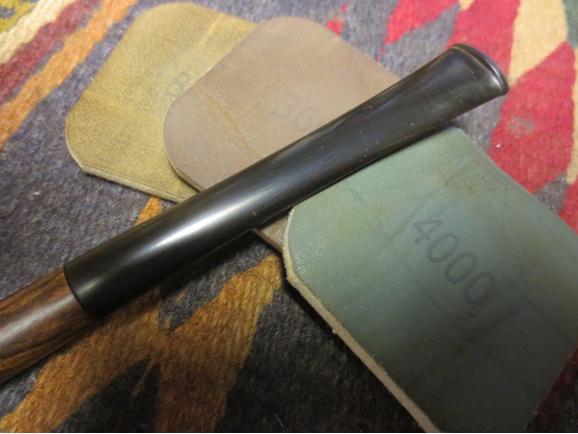
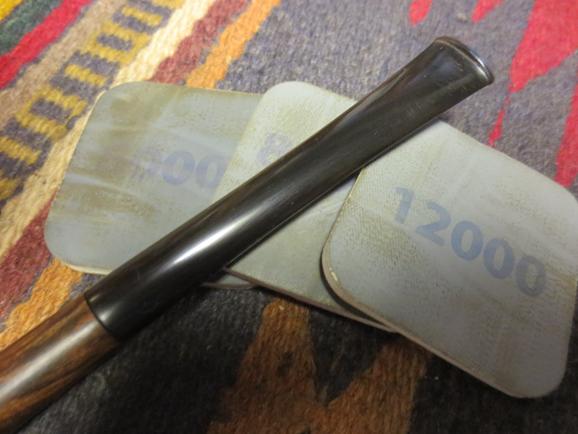
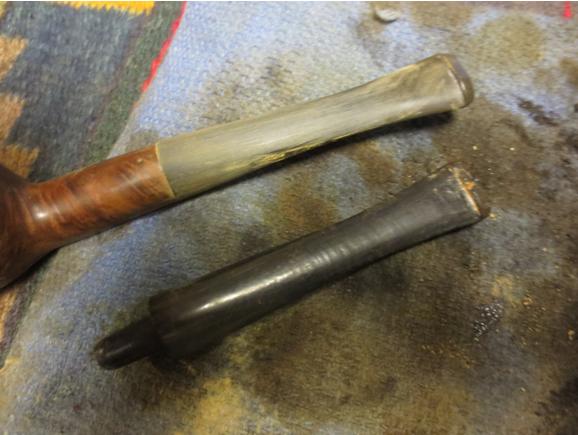
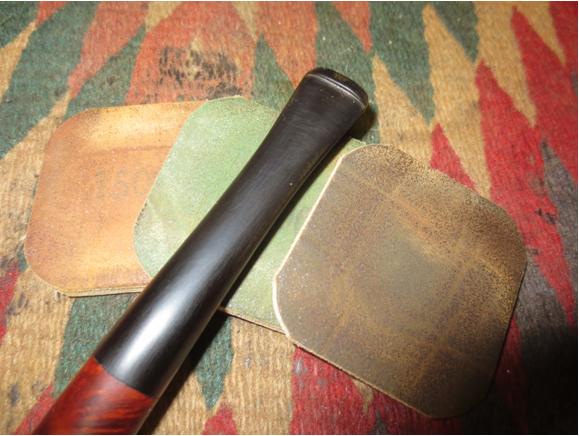
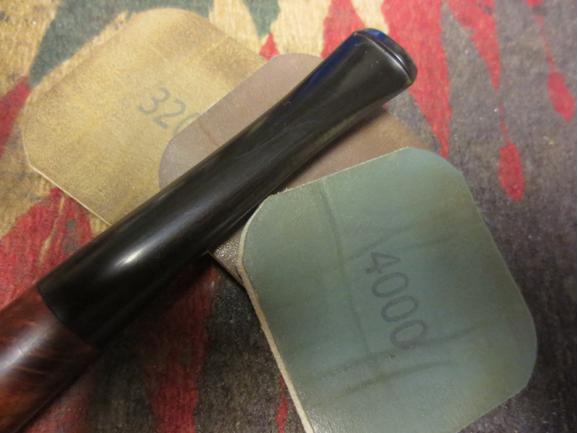
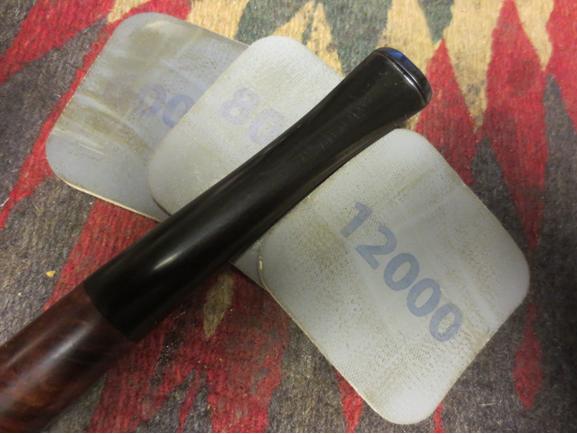
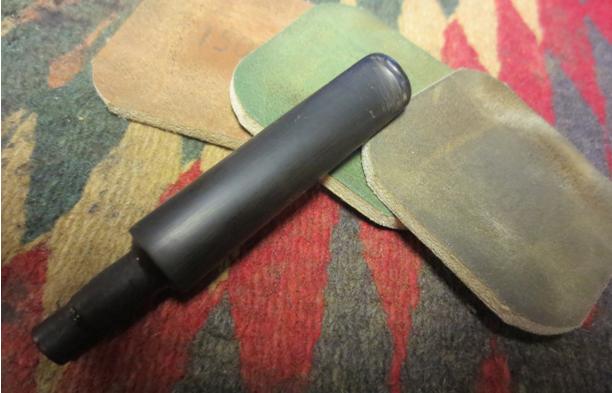
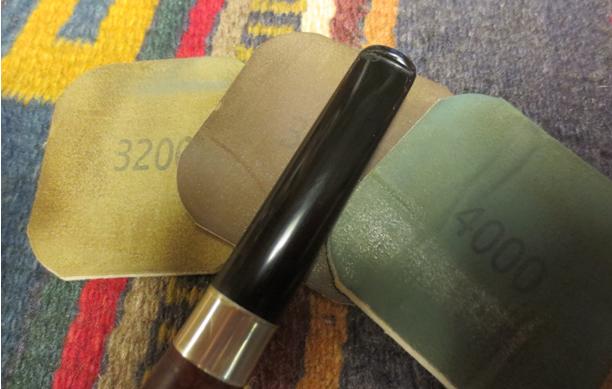
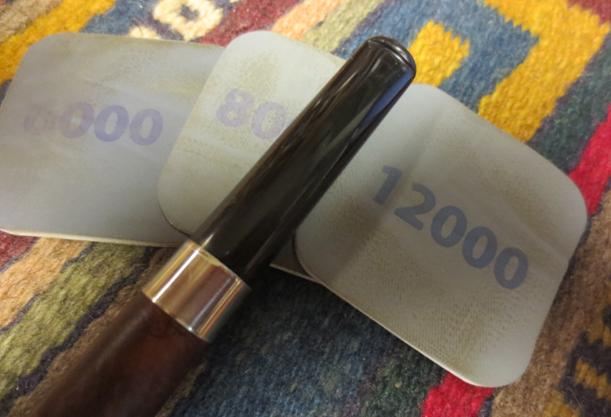
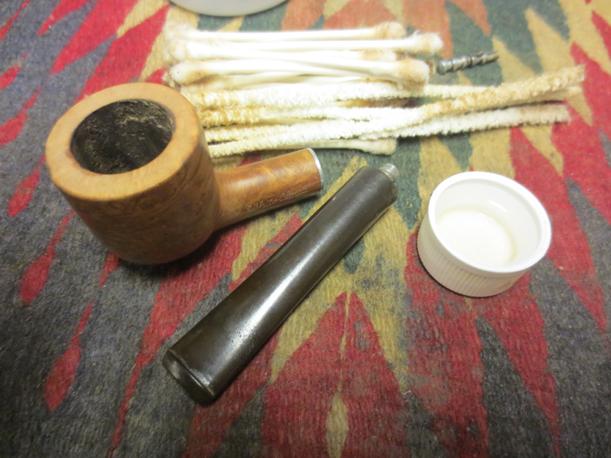
Select11 I heated the stinger with a lighter to soften the tars that held it in the threaded tenon. Once it was warmed I wiggled the stinger free and was able to clean it and the tenon.Select12 I scrubbed the inside of the tenon and the airway in the stem with pipe cleaners and alcohol. I used a brass bristle brush to clean the stinger and the threads on the tenon.Select13 The inside of the shank was wide open and served as a chamber for the stinger. It worked like a condensation chamber to collect the moisture before the smoke move through the holes and slot in the stinger and up the stem. Because of that it was very dirty. I cleaned the bowl and the shank with pipe cleaners, cotton swabs and alcohol until no more grime would come out. The photo below shows the first batch of swabs. There were about that many more used before it was clean.Select14 I lightly sanded the stem with 220 grit sandpaper to break up the oxidation and then with a medium and a fine grit sanding sponge. I wet sanded it with 1500-2400 grit micromesh sanding pads and then gave it a coat of Obsidian Oil. I dry sanded the stem with 3200-4000 grit micromesh pads and then gave it another coat of oil. I finished sanding with 6000-12000 grit pads and gave it a final coat of Obsidian Oil. I set it aside to dry.Select15

Select16

Select17 I put the pipe back together and buffed it on the wheel with Blue Diamond and gave it several coats of carnauba wax. I buffed it with a clean flannel buff to give it a shine. I brought it back to the work table and hand buffed it with a microfibre cloth. The finished pipe is shown below. Thanks for looking.Select18

Select19

Select20

Select21

Select22

Select23

A Tiny Apple Reborn – new stem and new finish


Blog by Steve Laug

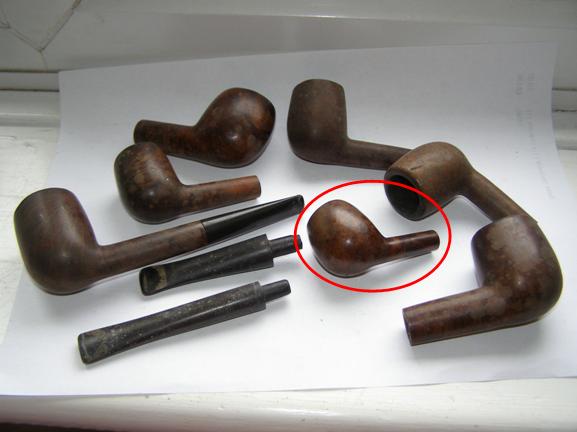
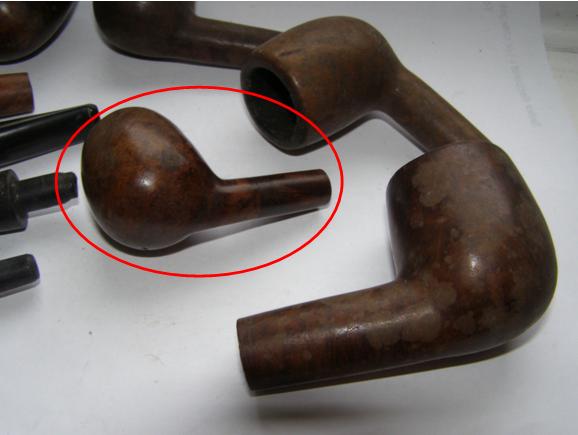
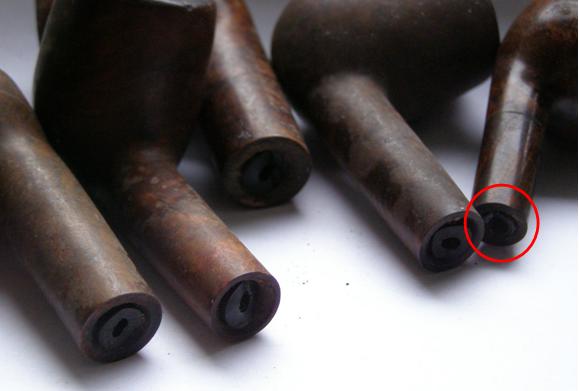
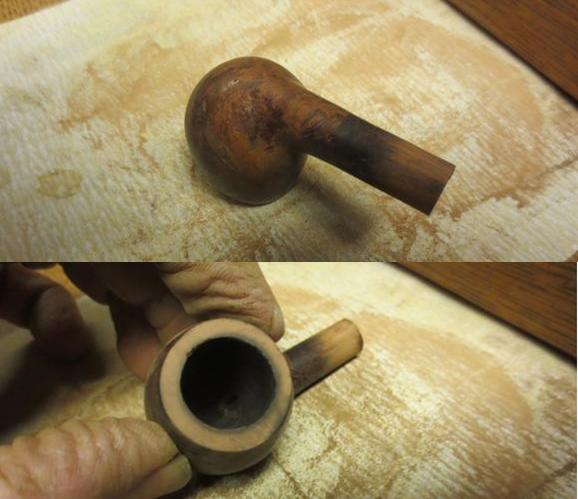
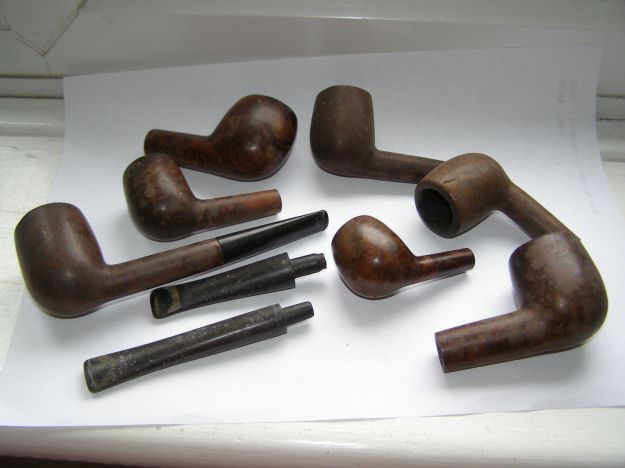
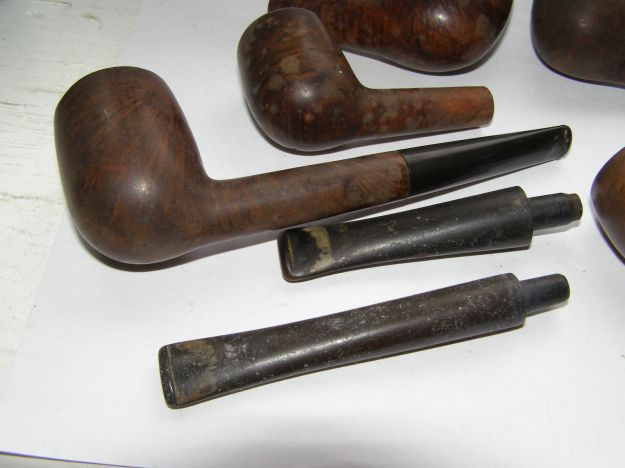
This morning I decided to work on an interesting little pipe that I picked up in an eBay batch from England. All of the bowls in that batch had broken tenons stuck in the shank. All were no name bowls or so worn that the name had long since worn off. This one was the smallest pipe in the batch. The bowl and shank are 2 ½ inches long and 1 ½ inches tall. The bowl is drilled at 5/8 inches and I can insert my little finger. The shank was spliced somewhere along the way and done quite well. It is a smooth splice. I wonder if it was a repair or if it came out that way when briar was scarce during the war. The finish was spotty – varnish was peeling from the bowl and shank. The tenon appears to have had a metal tube in the middle of the vulcanite and both had snapped off when they broke. I have circled this bowl in red in the next three photos. The first shows the batch of pipes that I picked up. The second is an enlargement of the bowl itself and the third photo shows the snapped tenon in the shank.Apple1
Apple2
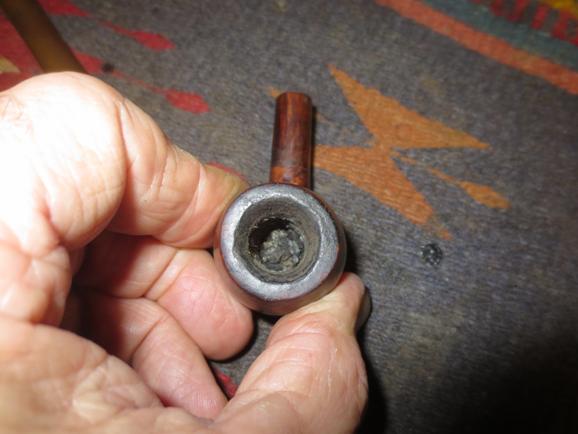
Apple3 The photos above came from the seller. I took the next series of photos before I worked on the pipe this morning. The rough finish is visible in the photos as are the fills on both sides of the bowl. They were shrunken and hard so they would have to be repaired. You can also see the splice in the shank about 2/3 of the way up the shank to the bowl. The bowl had a thick cake that was crumbly and rough. The bowl still was half full of tobacco that had been stuffed into it evidently before the stem broke. The rim had lava overflow and some damage to the inside edge and the top of the rim.Apple4
Apple5
apple6
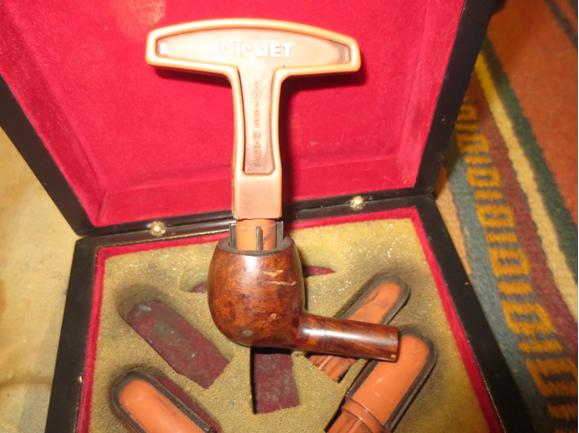
apple7 For a stem for this pipe I turned to my stem can and found a long narrow stem that needed a little adjustment to the tenon and the diameter of the stem at the shank before it would fit. I turned the tenon with a Dremel and sanding drum and finished by sanding it by hand.Apple8 The photos below show the stem in the pipe. The diameter of the shank and the diameter of the stem do not match.Apple9 I used the Dremel and sanding drum to reduce the stem diameter to match the diameter of the shank. I always rough in the fit with the Dremel and then fine tune the fit by hand sanding.Apple10 I reamed the bowl with a PipNet pipe reamer and took the cake back to bare wood. I wanted to look at the inside of the bowl and rim to see what needed to be done at those points.Apple11
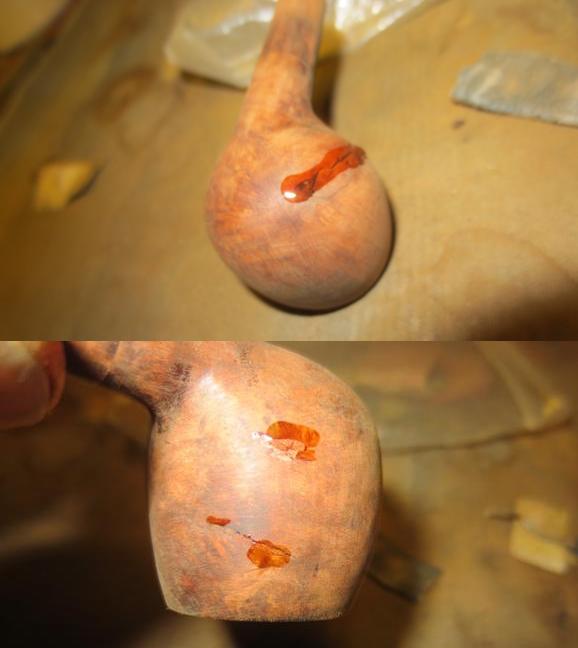
Apple12 I stripped the finish off the bowl with acetone on cotton pads. With all of the fills and dents in the no name bowl it was another candidate for sanding and refinishing. Looking down the shank with a light it appears that the splice of shank was done with a metal tube in the shank. The bowl and the added shank also appear to be different wood.Apple13 I topped the bowl to remove the rim damaged and to clean up the edges of the rim.Apple14 I tried to pick out the fills on the bowl but they were tight and were rock hard. I cleaned up around them and filled in the shrinkage with clear superglue.Apple15 I sanded the repaired areas and the rest of the bowl and shank with 220 grit sandpaper. I sanded the repairs smooth and followed up by sanding with a fine grit sanding sponge.Apple16
Apple17 I gave the bowl a black under stain to help hide the fills and the splice. They would always show but the dark under stain would blend them into the finish better. I applied the stain and flamed the bowl and repeated the process to get good coverage.Apple18
Apple19 I wiped down the bowl with alcohol and cotton pads to remove the black from the surface of the briar and leave it in the grain patterns.Apple20
Apple21
Apple22
Apple23 I sanded the bowl with a fine grit sanding block and the stem with the fine grit sanding sponge and fit it in the shank to get a feel for the new look. I took the next series of photos to see how the pipe was developing. I liked what I saw. The black stain had done a good job covering the fills and the splice. I used a black permanent marker to fill in some light spots and drew in some grain lines in the bald spots.Apple24
Apple25
Apple26
Apple27 I gave the bowl a top coat of Danish Oil with Cherry stain and then again used the permanent marker to fill blank spots and darken the fills. I wiped the Cherry stain over the bowl several times until the coverage was good and then set the bowl aside to dry.Apple28
Apple29
Apple30 While it dried I worked on the stem with micromesh sanding pads. I wet sanded it with 1500-2400 grit pads and gave it a coat of Obsidian Oil. I dry sanded with 3200-4000 grit pads and gave it another coat of oil. I finished with 6000-12000 grit pads, gave it a final coat of Obsidian Oil and let it dry.Apple31
apple32
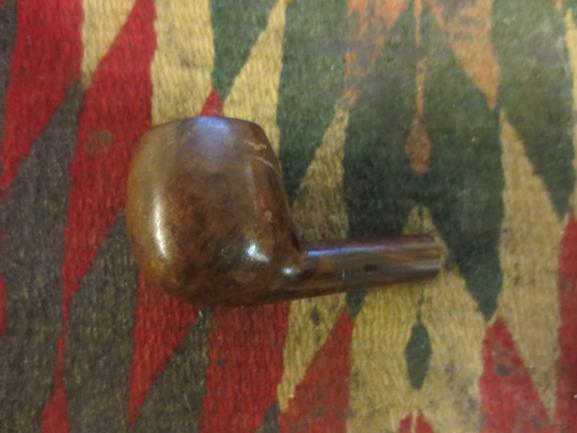
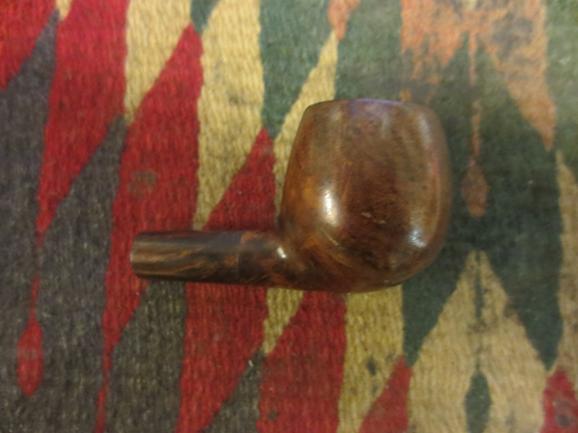
Apple33 I buffed the pipe with Blue Diamond on the wheel and then gave it multiple coats of carnauba wax. I buffed it with a clean flannel buff and then by hand with a microfibre cloth to deepen the shine. The finished pipe is shown in the photos below. I like the looks of it with a long thin stem. It is a like a pencil shank Bing with an apple shaped bowl. Thanks for looking.Apple34
Apple35
Apple36
Apple37
Apple38
Apple39
Apple40

Wm Wales Billiard Restemmed and Restored


Blog by Steve Laug

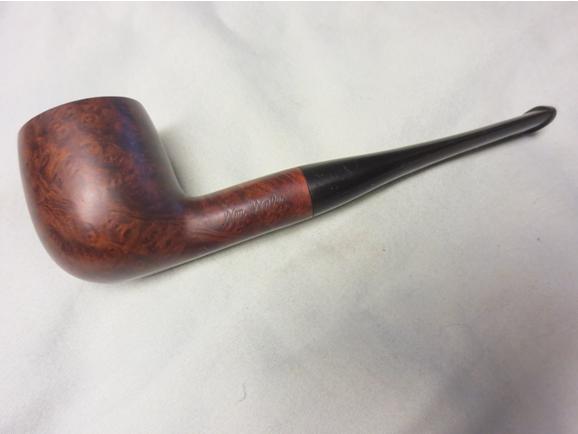
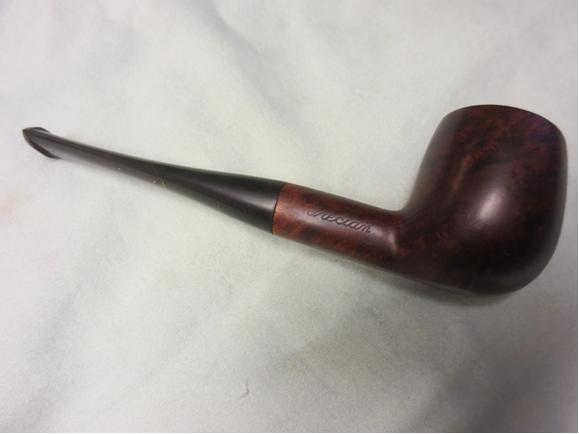
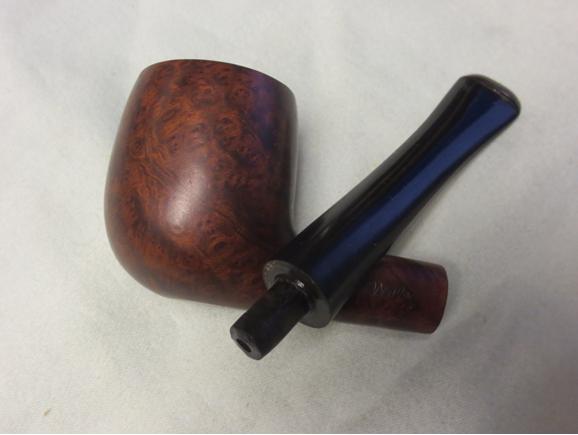
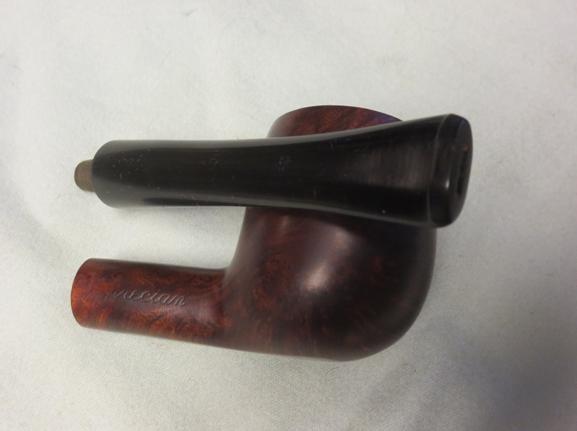
Wm1This is yet another pipe that my brother Jeff picked up in Montana and sent my way. It is stamped Wm Wales on the left side of the shank and on the right side it is stamped Grecian in script. The stamping though a different script than that found on the Carey Magic Inch pipes is similar in the way it is stamped and the stamping of Grecian on the right side of the shank. I did some digging on the internet and found nothing about the brand other than several pipes with the same stamping for sale. There is nothing about the brand on the various pipe information websites. There is nothing about the brand on Who Made That Pipe or in Lopes book so I am left with a bit of a mystery.

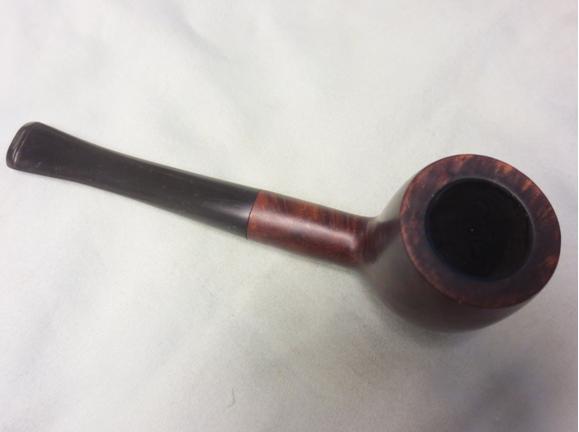
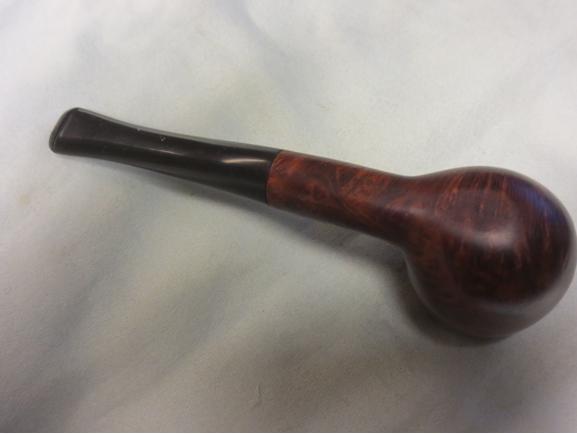
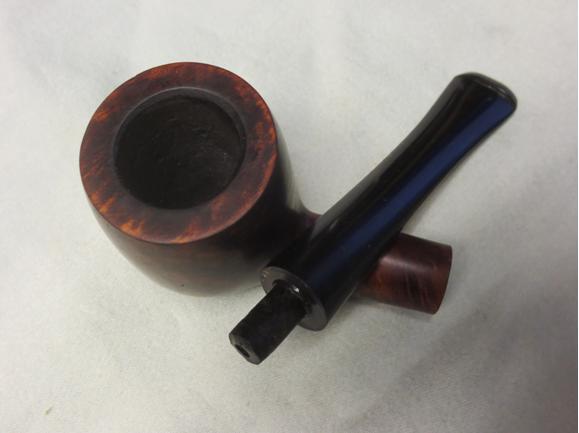
The pipe has some pretty decent grain on it. The sides of the bowl have some interesting birdseye grain and the front and the back of the bowl have cross grain on them. The stem is a mix of grains. The finish was worn and dirty. The rim had a cake of tar and grit on the top of the bowl. The inside of the bowl had a hard, thick cake that almost filled the bowl. The rim itself was undamaged and showed no burn marks or damage to either the outside edge of the rim or the inside bevel of the rim. The stem was at first glance workable but upon examination it had a crack in the centre of the button on both the top and bottom sides. There were also tooth marks that were deep and one split the button. The surface of the stem was wavy and rippled from the way it had been buffed. The slot in the stem was clogged and no air would go through the airway.

In the photo above to the left the pipe is the second one down from the top. The next set of four photos show the pipe as was when it arrived at my work table.Wm2

Wm3

Wm4

Wm5 I took a close up photo of the bowl and rim to give a clear picture of what I started with in my clean up. The two photos following that give a good view of the stamping on the shank.Wm6

Wm7

Wm8 The next two photos show the damage to the stem. The more I looked at the damage the more I realized that a replacement stem would be less work than fiddling around with repairing the damage on that one.Wm9

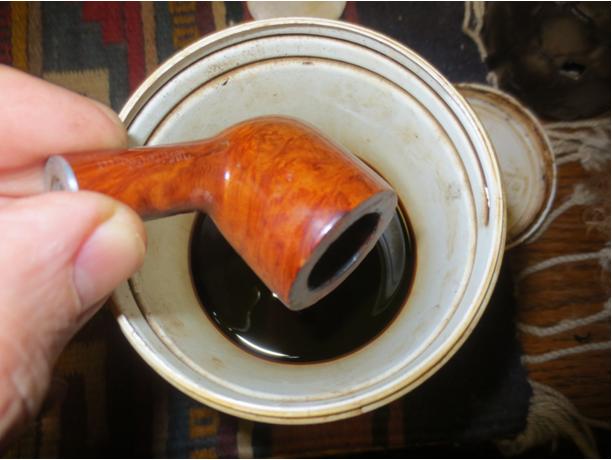
Wm10 I tried to ream the bowl with a PipNet reamer and found that the cake was so hard that reamer did not even cut into the surface of the cake. I tried a KLEENREEM reamer and made no headway either so I dropped the bowl in an alcohol bath to soak. It would soften the cake and clean up the grime on the finish of the rim and bowl as a bonus.Wm11 While it soaked I looked for a new stem in my can of stems and found one that would work quite well. It was a little larger in diameter but once I fit it to the stem some sanding and shaping would take care of that.Wm12 In the morning I took the bowl out of the alcohol bath and worked on it to ream it. I used the PipNet and the KLEENREEM reamer on the bowl. I also used a pen knife to work at cutting away the hard cake. In the process of reaming I found that the bowl was conical in shape rather than U shaped. I used the drill bit from the KLEENREEM tool to open the airway in the shank.Wm13

Wm14

Wm15 Once I had cleaned out the shank and the bowl with alcohol, pipe cleaners and cotton swabs I fit the new stem to the shank. I sanded it with 220 grit sandpaper to clean up the tooth chatter and the oxidation. I sanded it with a medium and a fine grit sanding sponge to further remove the scratching and oxidation. I wiped the stem down with Obsidian Oil.Wm16

Wm17

Wm18

Wm19

Wm20 I scrubbed the briar with acetone on cotton pads to remove the finish and the remaining grime on the rim and bowl.Wm21

Wm22

Wm23

Wm24 I sanded the stem with micromesh sanding pads – wet sanding with 1500-2400 grit pads on the briar and the stem and then rubbed down the stem with Obsidian Oil. I dry sanded with 3200-4000 grit pads and gave it another coat of oil. I finished by dry sanding the stem with 6000-12000 grit pads and gave it a final coat of Obsidian Oil.Wm25

Wm26

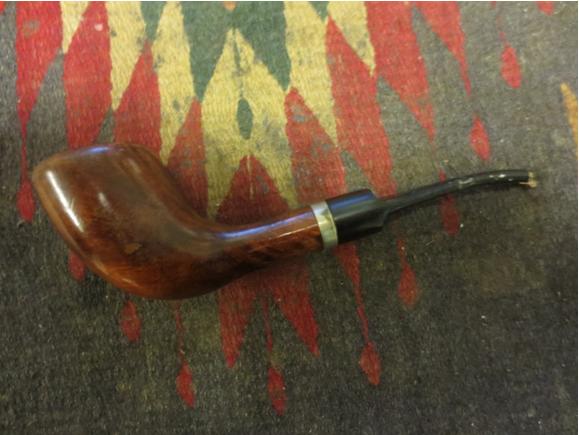
Wm27 I buffed the bowl and stem with Blue Diamond polish on the wheel and then gave it multiple coats of carnauba wax. I buffed it with a clean flannel buff to raise the shine. The finished pipe is shown in the photos below. The grain really shines through in the photos. It is a beautiful piece of briar. I would love to know more about the history of the brand to give more depth to my understanding of the pipe.Wm28

Wm29

Wm30

Wm31 I took a few close-up photos of the stem and the bowl showing the grain of the briar and the shape and look of the stem. Thanks for looking.Wm32

Wm33

Wm34

Rescuing a Tinderbox Monza Horn – Restemming and Refinishing


Blog by Steve Laug

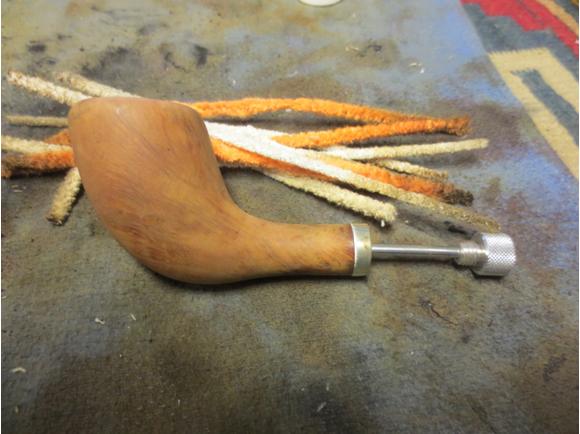
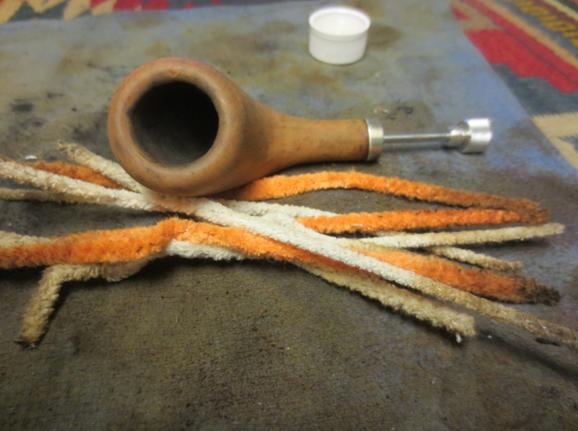
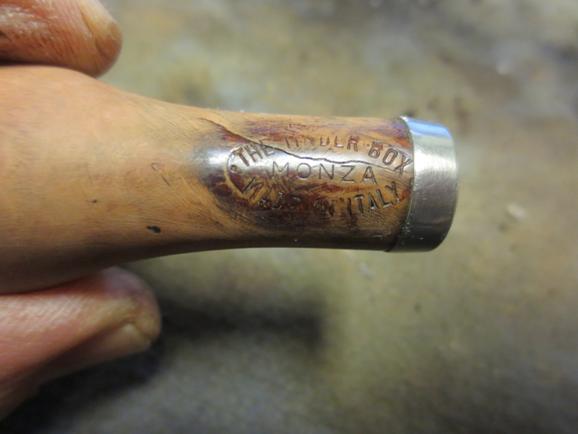
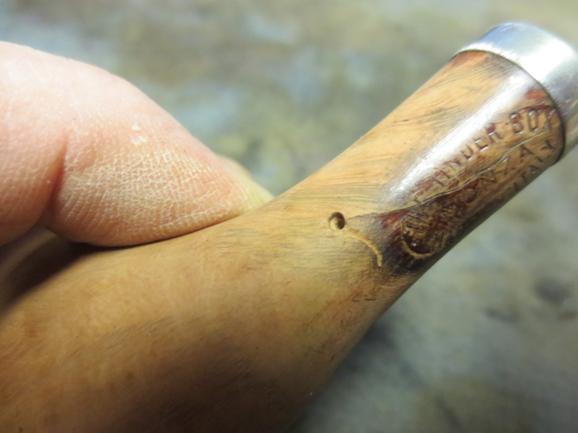
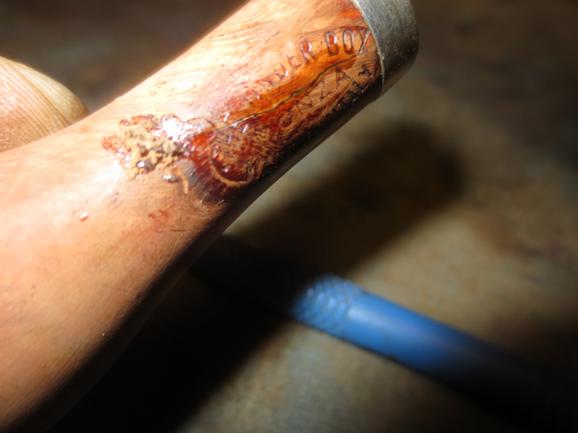
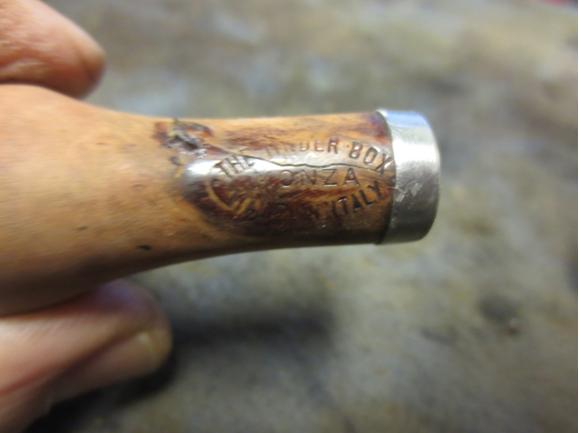
Monza1Another of the pipes that my brother Jeff sent me was a horn shaped pipe that was stamped Tinderbox Made in Italy in a circle with Monza in the centre of the circle. It is stamped on the underside of the shank. The shape is quite unique. The bowl had around 10-12 fills in it that went from tiny spots to huge plugs in the briar. The finish was a heavy urethane coat that made the pipe very shiny and really highlighted the fills around the bowl and the shank.

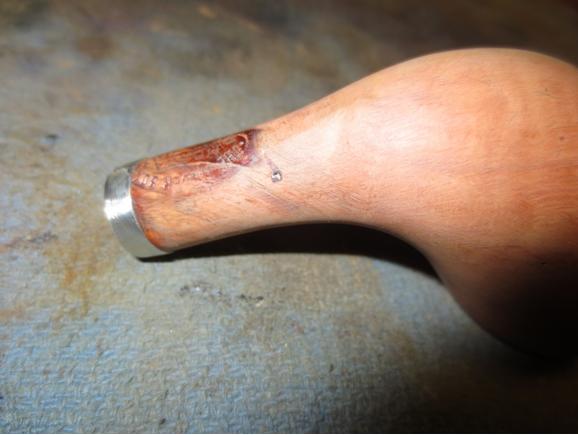
The shank had a split in the underside of the shank that went from under the band up the shank for one inch on the bottom side. It had just turned slightly upward and if left alone would have continued to the bowl. The rim was heavily damaged and there was a thick hard cake in the bowl that hurt my hand when I pushed the various reamers that I had trying to remove it. The bowl looked like it was conical in shape but was so thick that there was very little room in the bowl for tobacco. The stem was a replacement, like many of them in the pipes my brother sent me. It was a saddle stem and was missing a huge chunk on the left side of the button and up the stem about ½ inch. The person who had made the replacement had cut an angled end on the tenon which in my opinion was careless and not necessary. The airway into the bowl from the shank was plugged and when I blew into the end of the shank I could not get any air through it.

The next four photos show the pipe as it appeared when it arrived in the box from my brother.Monza2

Monza5

Monza4

Monza3 I took a close up photo of the bowl and rim to show the damage and the cake in the bowl. The second photo below shows the broken stem. The stem was pretty much a throw away as it is very narrow after the broken button.Monza6

Monza7 I started to ream the bowl with a PipNet reamer. I started with a small cutting head and soon gave up. I used the largest head that would fit the diameter of the bowl and still found the cake too hard to cut through with the reamer. I dropped it in an alcohol bath to soak to soften the cake and to soften the urethane coat on the bowl. After it had been soaking an hour I took it out of the bath.Monza8

Monza9 In my can of stems I had one with the same diameter as the shank and a tenon that would work with some adjustments. The tenon was too long so I would need to trim it back and also adjust the diameter to get a snug fit in the shank.Monza10 The alcohol bath did not even make a dent in the finish. As I expected the only way to remove a urethane finish is to sand it off. I did not mind as it was covering a lot of damage to the rounded rim and the sides of the bowl. I fit the new stem in the shank and took a few photos to get an idea of the look. The stem was a little too bent to my liking so that would need adjusting but the taper worked well with the horn shape. The last photo of the underside of the shank shows a dark area. That is where the stamping is present and also the crack in the shank.Monza11

Monza14

Monza13

Monza12 I put the stem aside and used a pen knife, a KleenReam and a PipNet reamer to work on the hard cake. It was still rock hard but I was able to chip away at it until I had removed it from the bowl.Monza15 I used the drill bit from the handle of the KleenReem to open up the airway into the bowl.Monza16

Monza17 I sanded the bowl some more with some medium and fine grit sanding sponges. I wanted to clean up the cracked area on the shank bottom so that I could repair it. I took the photo below to show the crack in the shank.Monza18 I used a micro drill bit on my Dremel to drill a small hole at the end of the crack to stop it from spreading further up the shank.MOnza19

Monza20 I packed some briar dust into the hole and then dripped super glue on top of that and then more briar dust and some more glue. I ran a dental pick along the crack to open it slightly and then put some glue along the crack to the band as to preserve that as well.Monza21

Monza22 I sanded the repair to smooth it out and blend it into the shank and avoided the area inside the stamping.Monza23 I heated the stem with a heat gun to take a bit of the bend out of it. Once it was pliable I bent it to match the flow of the curve of the horn. I wanted it to sit with the rim and the bend in the stem flat on the table when laid down. That angle would make it sit correctly in the mouth when it was smoked.Monza24

Monza25

Monza26

Monza27 I worked on the curve of the rim and top with sandpaper and sanding sponges to get the flow of the rolled rim even all the way around the bowl. I worked on the inner edge of the rim as well to make it flow into the bowl rather than be an abrupt edge.Monza28 I sanded the bowl with medium grit sanding sponges and fine grit sanding blocks to remove the scratches from the briar and to work on the oxidation on the stem. The grain was beginning to show through. I wiped it down with a tack cloth to remove the sanding dust in preparation for staining the bowl.Monza29 The bowl had a lot of fills so I decided to try a contrast stain to both hide the fills and to bring out the grain. I started with a black aniline stain and finished with a brown.Monza30 I stained the bowl with the black and flamed the stain to set it in the grain. I reapplied and reflamed it until the coverage was even.Monza31 I wiped the bowl down with alcohol and cotton pads to remove the excess black and leave it only in the grain of the briar. I wanted it to show the grain and highlight the beauty. I also wanted to mask the fills to some degree.MOnza32

Monza33

Monza34

Monza35 I used a black Sharpie permanent marker to draw grain lines through the huge fills on the bowl to further blend them into the briar.Monza36

Monza37

Monza38 With that preparation done I gave it a top coat of dark brown aniline stain. I applied it and flamed it and repeated until I was happy with the coverage.Monza39

Monza40

MOnza41 I hand buffed the bowl to check out the coverage of the brown and the contrast of the black and the black Sharpie marks. By and large I liked what I saw. There were some spots that needed some more work but it was looking good.Monza42

Monza43

Monza44 I worked the stem over with micromesh sanding pads – wet sanding with 1500-2400 grit pads and then giving it a coat of Obsidian Oil. I dry sanded with 3200-4000 grit pads and gave it another coat of oil. I finished sanding with 6000-12000 grit pads and then gave it a final coat of Obsidian Oil and let it dry.Monza45

Monza46

Monza47 I buffed the pipe with Blue Diamond and then gave it multiple coats of carnauba wax. I buffed it with a clean flannel buff to raise the shine and then with a microfibre cloth to add depth to the shine. The finished pipe is shown in the photos below. It exceeds my expectations when I began the reclamation work on it. The fills on the sides, shank and back of the bowl have all but disappeared in the blend of stains and Sharpie pen. The large ones on the bowl front look better but are still somewhat visible. Overall I am happy with the results. Thanks for looking.Monza48

Monza49

MOnza50

Monza51

Monza52

Monza53

Monza54

Monza55

Monza56

Restoring An Eagle Cool-Dry Billiard


Blog by Steve Laug

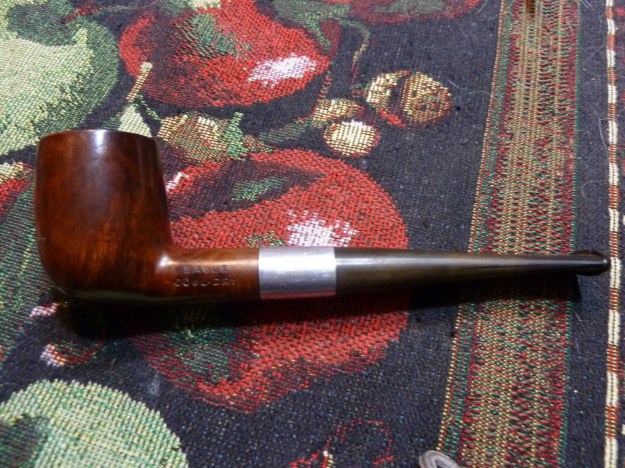
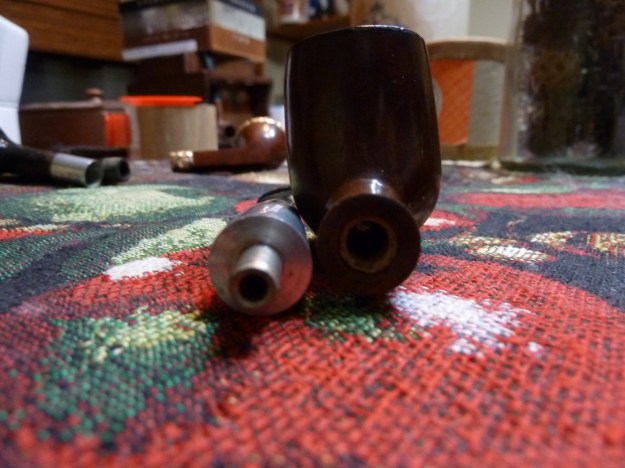
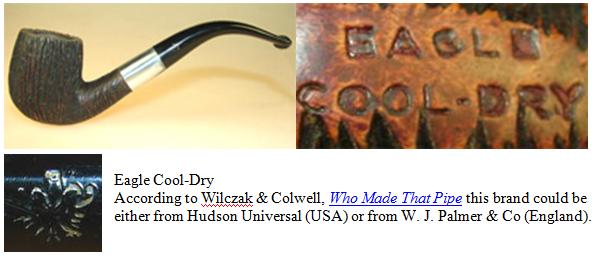
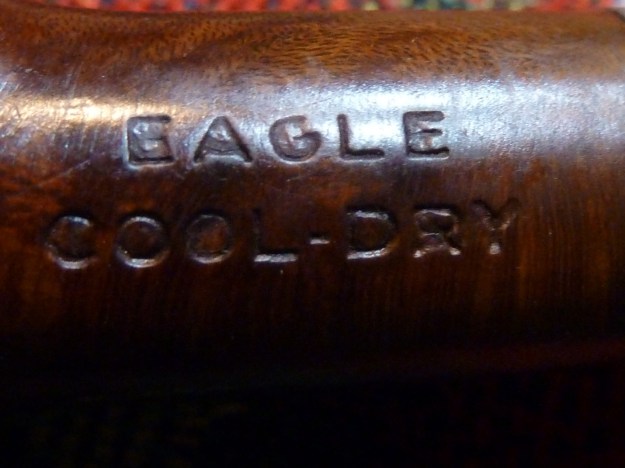
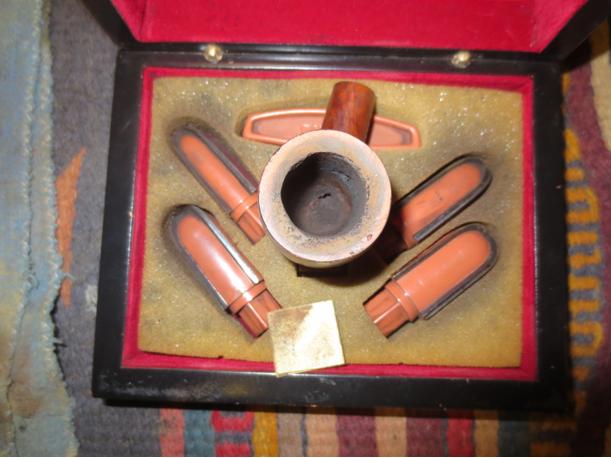
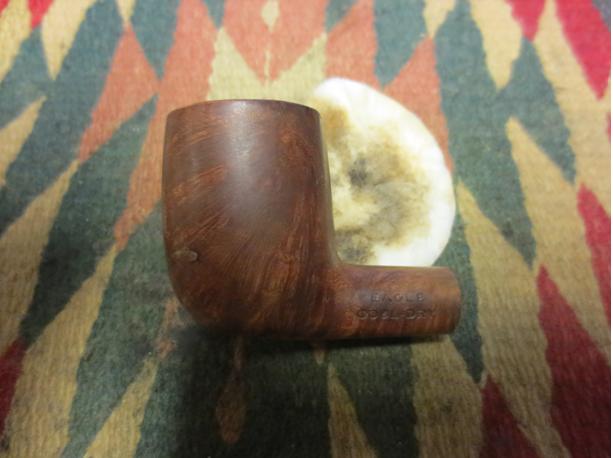
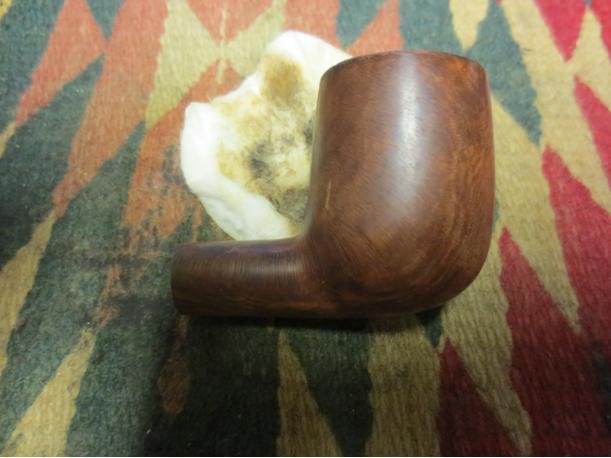
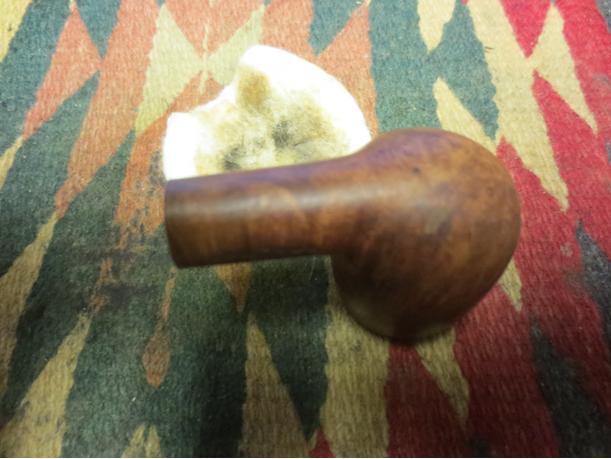
The pipe was another gift pipe sent to me by Pam. It is in decent shape. The stem is oxidized and has some tooth marks on the top and bottom side of the stem near the button. The tooth mark is like a vertical slit on the top and bottom side about ½ inch up the stem from the button. There is also a small tooth dent near the button. The metal part of the stem and tenon were integrated into the stem rather than in the shank of the pipe. The finish on the pipe was shiny and showed that the lacquer or varnish that had been used was peeling in spots on the front of the bowl. The stamping was deep and readable. There were quite a few fills on the bottom of the bowl. The largest was on the bottom front edge of the bowl. It had shrunken and was a large pit that ran across the front of the bowl. The bowl was heavily caked and the buildup on the beveled rim was hard and chipped looking. There were some nicks on the outer edges of the rim from when the bowl had been tapped out. The shank was not too dirty and the mortise appeared to be lined with a white tube of some sort.Eagle1 The Eagle Cool-Dry has some unique plumbing in terms of system pipes. It is different from any of the other pipes like this in my collection. The rest of the ones that externally look like this one, the Keyser Hygienic and the Millard Perfect Pipe are actually very different in terms of design. They have a metal insert at the end of the shank that acts as a condenser area with a tube extending from the airway into the condensation chamber. The stem also has a metal tube insert and no tenon but is a military mount stem that inserts into the chamber. The two tubes either meet in the chamber or sit in the chamber. The Eagle is very different in terms of design from the other two mentioned above. The shank is lined with either clay or meerschaum – hard to tell by just looking. My tendency is to assume it is clay. The porous tube is inserted into the shank forming the mortise of the pipe and extending to the end of the shank (see photo below). The metal tenon integrated into the vulcanite stem sits snuggly into the lined mortise. Once I clean it up I may be more certain what the material that makes up the mortise lining.Eagle3 As I worked on cleaning up the pipe I took a little time to see if I could ferret out any information on the brand and the manufacturer of the pipe. I looked for Cool-Dry pipes and found a metal Falcon like pipe that uses the same threaded bowls as Dr. Grabow Vikings. I looked for Eagle Pipes and found a clay pipe manufacturer in Montreal, Quebec in the late 1890s but nothing on a briar pipe maker of that name. I searched for patent information on the internals of the pipe under both the Eagle and the Cool-Dry name and found nothing specific on the system in this pipe. The one thing I did find was that the pipe was made by the Hudson Universal Pipe Co. who also made the brands Excelsior, Harrington Park, and Hilex. This information came out through some notes I found while Googling the brand.

Having that information in hand I looked for the pipe on the Pipephil Stampings and Logos website and interestingly found the following picture and short information. The brief notes under the picture confirm that Hudson Universal Pipe Co. was one of the makers of the pipe. The pipe I received has the same stamping as the one pictured below. The one I have does not have the stem logo but rather is stamped ITALIA on the underside of the stem next to the metal portion of the stem.Eagle2a

Eagle2 When I brought the pipe to my work table I took the following photos to give an idea of the condition it was in when I started. I have spoken of the finish and the general worn condition of the bowl. The rim and cake issues have also been mentioned. The photos show the oxidized stem and aluminum. The bowl has an attractive shape and there is something about the old pipe that drew me to it.Eagle4

Eagle5

Eagle6

Eagle7 The next two photos are close up shots. The first shows the large shrunken fill on the bottom front part of the bowl. The second shows the thickness of the build up on the rim and the cake in the bowl.Eagle8

Eagle9 I took the pipe apart to show the nature of the tenon and stem apparatus.Eagle10 I sanded the stem with 220 grit sandpaper to remove the oxidation on the stem and to prepare it for the repairs that needed to be done to the tooth marks on both sides of the stem. I sanded it and removed much of the oxidation and minimized the tooth chatter. I then scrubbed the stem with alcohol to remove the dust and debris in the tooth marks. I filled them with a bubble of clear super glue – both the two spots next to the button (1 on top and 1 on the underside) and the two vertical cuts or marks (one on each side). I set the stem aside to let the glue cure.Eagle11

Eagle12 While the glue dried I worked on the bowl. I sanded the top of the rim with 220 grit sandpaper to remove the cake that had built up on that surface. I would need to continue to reshape the rim. I reamed it back to bare wood with a PipNet reamer.Eagle13

Eagle14 I continued to sand the rim and also sanded the inside edge of the rim with the 220 grit sandpaper.Eagle15 I scrubbed the bowl with acetone on a cotton pad to remove the varnish coat and the grime that collected on the briar through the years.Eagle16

Eagle17

Eagle18

Eagle19 The next photo shows the clay/meerschaum insert in the shank that lined the mortise on the pipe. I cleaned it with cotton swabs, pipe cleaners and alcohol.Eagle20 I picked out the large fill on the front of the bowl with a dental pick until the sandpit was clear of the white putty. I wiped the bowl down with alcohol on a cotton swab to clean out any remaining debris. I used the dental pick to press briar dust into the sandpit and packed it in. I dripped a couple of drops of glue into the dust. Unfortunately the glue ran down the face of the bowl. I am using a new kind of glue and it is very thin and dries slowly. I sanded the surface of the bowl to remove the heavy overdone patch until it was smooth with the surface of the bowl. I then added a little more briar dust to the patch and used the tip of the pick to put some more glue on the repair.Eagle21

Eagle22

Eagle23 When the glue dried I sanded the patch until it was smooth. I sanded the entire bowl with a medium and fine grit sanding sponge to remove the scratches. I wet sanded the bowl with 400 grit wet dry sandpaper and then with 1500-2400 grit micromesh sanding pads. I wiped the bowl down with alcohol and cotton pads to remove the sanding dust in preparation for restaining the pipe.Eagle24

Eagle25

Eagle26

Eagle27 I gave the bowl a coat of dark brown aniline stain and flamed it with a lighter. I gave the pipe several more coats of stain and flamed each one.Eagle28 When the stain had dried I hand buffed it with a cloth and then gave it a light buff on the wheel with White Diamond. The first two side view photos of the bowl show it with a red tint that really is not as prevalent as it appears. The photo of the bottom of the bowl is more accurate in terms of the colour of the pipe.Eagle29

Eagle30

Eagle31

Eagle32 I sanded the repaired stem with 220 grit sandpaper to blend the repair into the surface of the stem. I sanded it with a medium and a fine grit sanding sponge to remove the scratches in the surface of the stem.Eagle33

Eagle34

Eagle35

Eagle36 The stem was quite clean on the inside so it took only one pipe cleaner to take out the sanding dust that had collected inside.Eagle37 I wet sanded the stem with 1500-2400 grit micromesh sanding pads and then rubbed it down with Obsidian Oil. I dry sanded with 3200-4000 grit pads and then gave it another coat of oil. I finished sanding it with 6000-12000 grit pads. I gave it a final coat of Obsidian Oil and let it dry.Eagle38

Eagle39

Eagle40 I buffed the pipe and stem on the wheel with Blue Diamond. I gave the aluminum a light buff so as not to darken the buffing pad and carry the metallic colour onto the vulcanite or the briar. I gave the bowl and stem multiple coats of carnauba wax and then buffed the pipe with a clean flannel buff. I finished by buffing it by hand with a microfibre cloth. The finished pipe is shown in the photos below. The glow of the briar and the vulcanite are really set off by the burnished aluminum portion of the stem. It is truly a beautiful pipe. Thanks for the pipe Pam it is a keeper. Thanks also to each of you who are reading this blog.Eagle41

Eagle42

Eagle43

Eagle44

Eagle45

Eagle46

Repairing Cracks in a Large WDC Wellington Bent


Blog by Steve Laug

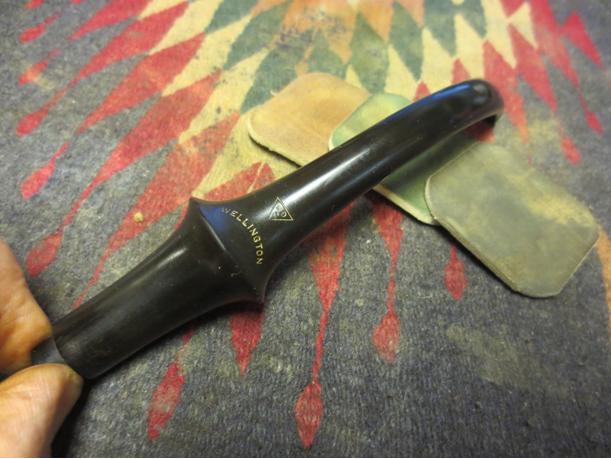
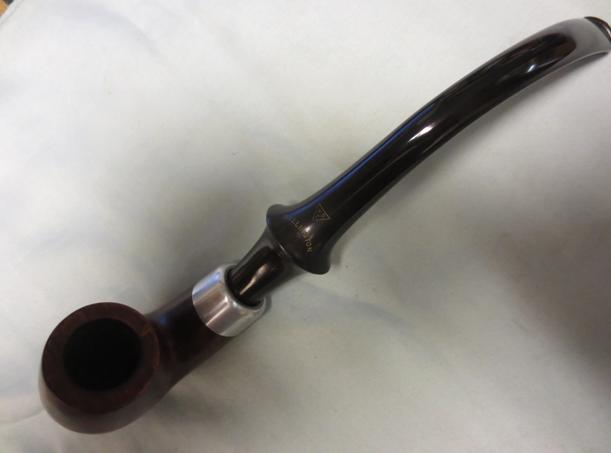
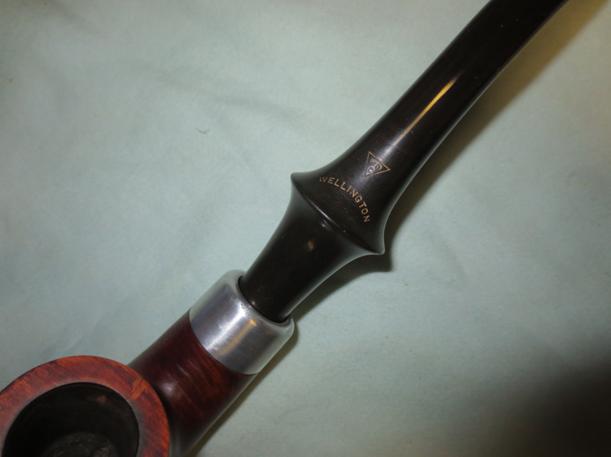
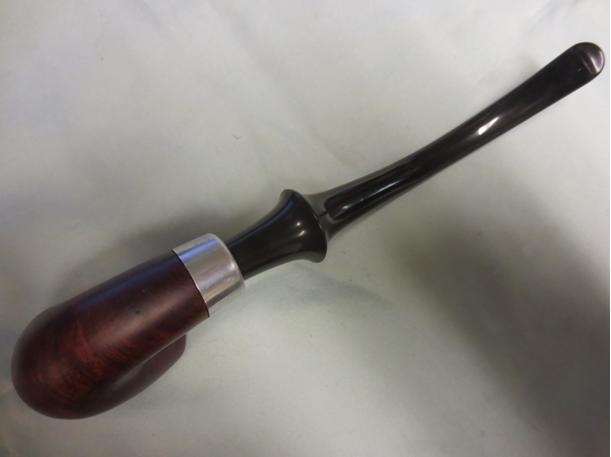
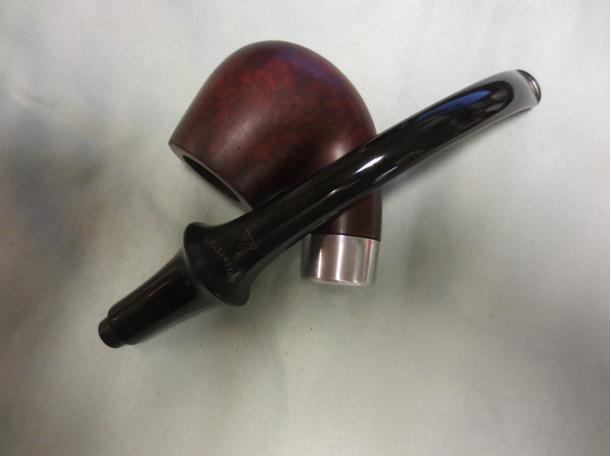
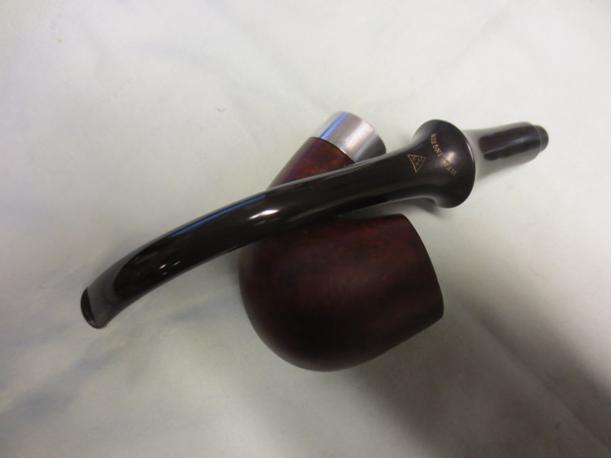
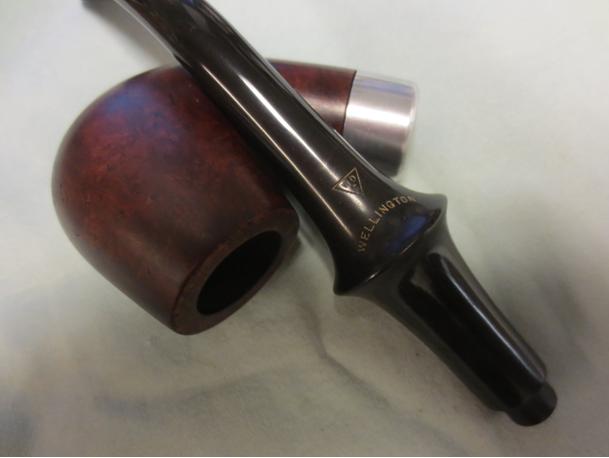
Through Facebook I connected with a new friend Warren. He wrote me about how to repair a crack in a pipe that he was reworking for a friend of his. As I described the process he asked if he could send it to me to work on. At that point my refurbishing box was getting low as I had repaired and moved out a lot of the pipes that had been there. So I agreed. Last week it arrived here. A funny side note is that I have a stem for the same pipe and have been looking for a bowl for the stem for a while now. Now I get the opportunity to work on a pipe with the same stem. It is stamped WDC in a triangle on the stem with Wellington arced below the triangle. It is also stamped on the left side of the shank with the WDC triangle and Wellington in script to the right of the triangle. Underneath the script it reads Imported Briar. There is no other stamping on the pipe. It is a large pipe with a length of over 10 inches and a bowl height of 2 inches. The diameter of the bowl is 7/8 inches. The third picture below shows a comparison of a 5 ½ inch long pipe and average bowl so you can see how big this pipe truly is.Wellington1

Wellington2

Wellington3 The briar had some attractive grain in it but there were some issues as well. It had a lot of fills on the front left, front right and bowl front. There was some damage to the surface of the rim that looked as if the pipe had been dropped on concrete. The outer edge of the rim on the front had some damage and was rounded over and the inner back edge of the rim had burn damage that made that portion out of round. Fortunately it was not a deep burn and would be relatively easy to address. There was also a ¾ inch crack on the underside of the shank that had one ¼ inch branch going toward the left side of the shank.Wellington4

Wellington5 I took a series of close up photos to show the damaged areas of the pipe. The first shows the damage to the rim surface and edges. The second shows the crack in the shank. The third photo shows the missing fills and divots in the bowl sides.Wellington6

Wellington7

Wellington8 I decided to address the crack in the bottom of the shank first. I used a micro drill bit on my Dremel to drill some small holes at the end of the crack and the branches of the crack to stop the damage from spreading further. The bit is very tiny as can be seen from the holes that are left behind after drilling. I drill two holes on each end because after the first hole I examined it with a lens and could see that extended slightly beyond my first hole. I picked out the damaged putty fills with a dental pick and wiped the bowl down so that I could repair the crack and the fills. I used a clear super glue and fine briar dust to replace the fills and to fill in the drill holes on the shank bottom. In each case I over filled the holes so that as the glue and dust were sanded I would not need to repeat the process due to shrinkage.Wellington9

Wellington10

Wellington11

Wellington12 My intention was to restain the entire bowl so I sanded the bowl and the repairs with 220 grit sandpaper to smooth out the repairs. I followed that by sanding the bowl and repairs with a medium and a fine grit sanding sponge.Wellington13

Wellington14

Wellington15 I reamed the bowl with a PipNet reamer starting with the head that would fit and working up a head that took the cake back to bare briar. In looking at the back side of the bowl I could see a small hairline crack and I wanted to know if it went all the way through.wellington16

Wellington17 I topped the bowl with the topping board and took off all of the damage to the inside and outside rim as well as the rim surface. I sanded it with the medium and fine grit sanding sponge as well to smooth out the scratches.Wellington18

Wellington19 After sanding and topping the bowl I could see that indeed there was a hairline crack that went across the rim at 5 o’clock and went down the back side of the bowl about ¾ of an inch. It was small and did not separate. It looked like it went all the way through to the inside of the bowl but upon examination appeared to only extend about 1/16th of an inch into the bowl. I topped it a little bit more to take care of the internal crack. I drilled the back side of the bowl at the bottom of the crack to stop it from going further down the bowl.Wellington20 I wiped down the bowl side and then picked out the crack with a dental pick. I filled it with super glue and briar dust and sanded it down with 220 grit sandpaper and the medium and fine grit sanding sponges until it blended into the surface of the bowl. I picked out the rim crack as well and filled it with the same mix. I sanded it with the topping board once again and then with the medium and fine grit sanding sponge.Wellington21

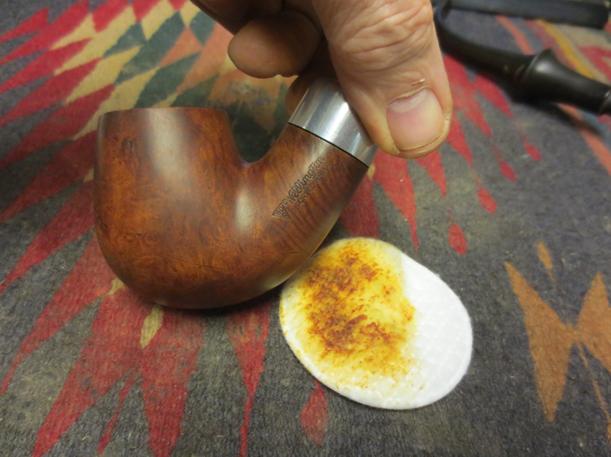
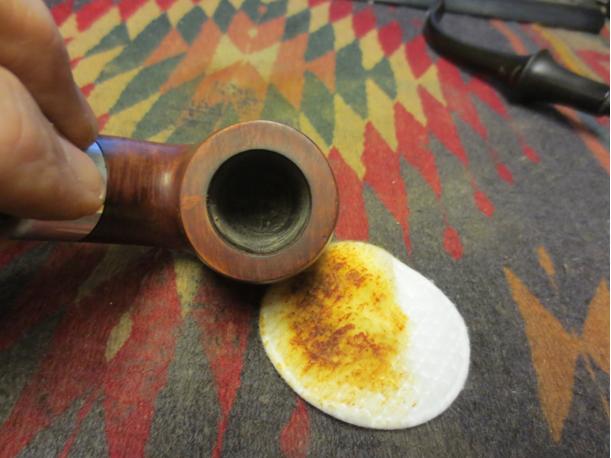
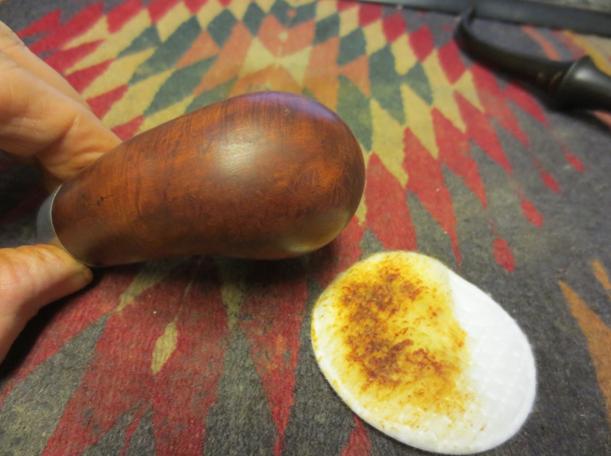
Wellington22 I scrubbed the bowl with acetone on cotton pads to remove the remaining finish on the briar and to clean up the dust from all of the sanding of the fills. There was some beautiful grain that was showing through. The patches and fills actually looked much better.Wellington23

Wellington24

Wellington25

Wellington26

Wellington27 I cleaned out the shank, bowl and airway in the shank and stem with alcohol, cotton swabs and pipe cleaners.Wellington28

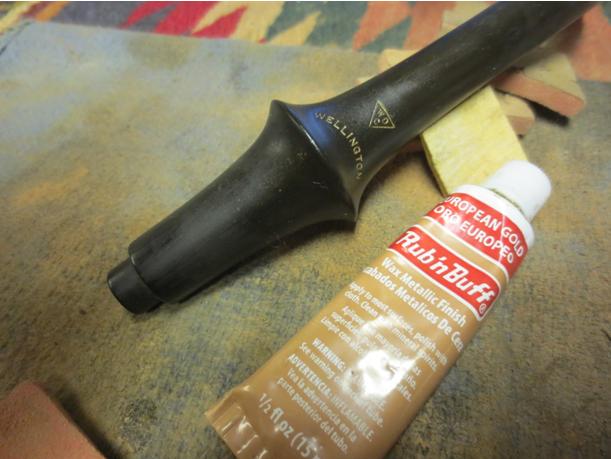
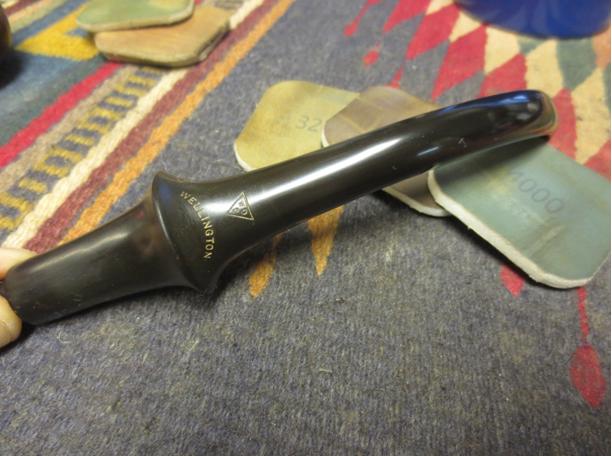
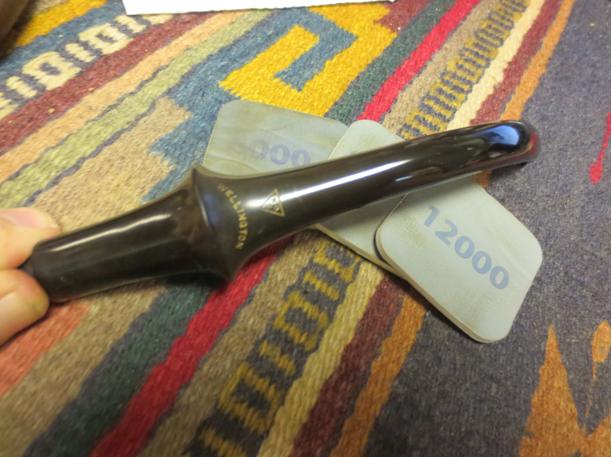
Wellington29 I sanded the stem with 220 grit sandpaper and a medium and fine grit sanding sponge being careful not to damage the stamping. I went over that area with a 1500 grit micromesh pad. I then use an antique gold oil based product called Rub and Buff to fill in the stamping. The next photo shows the finished rework of the gold in the stem stamp.Wellington30 I put the stem in place on the bowl to get an idea of the improvement that the repairs, fills and stem work had done. I wanted to see what the pipe would look like as I finished.Wellington31

Wellington32

Wellington33

Wellington34 I wiped the bowl down with a final wash of isopropyl alcohol and then heated it so that I could give it a stain coat. I stained it with a dark brown aniline stain thinned by 50% with isopropyl alcohol. I applied it and flamed it. I reapplied the stain and flamed it again and then set it aside to dry.Wellington35

Wellington36 When it had dried I gave it a light buff with a microfibre cloth to see what the colour looked like. It was still a bit dark to my liking but the coverage was good. The repairs and fills while visible looked far better than when I started.Wellington37

Wellington38

Wellington39

Wellington40

Wellington41 I wiped the bowl down with alcohol on a cotton pad to make it a bit more transparent and make the grain shine through. It did not take much to coax the grain to the surface and highlight the beauty of the pipe.Wellington42

Wellington43

Wellington44

Wellington45 I worked on the long stem. To clean it thoroughly I had to wrap pipe cleaners together to extend the length of the stem. I wet sanded it with 1500-2400 grit micromesh sanding pads to clean up the oxidation and scratches in the stem. I rubbed it down with Obsidian Oil afterwards and then dry sanded with 3200-4000 grit micromesh pads. I gave it another coat of oil and then finished sanding it with 6000-12000 grit pads. I gave it a final coat of the wax and set aside to dry.Wellington46

Wellington47

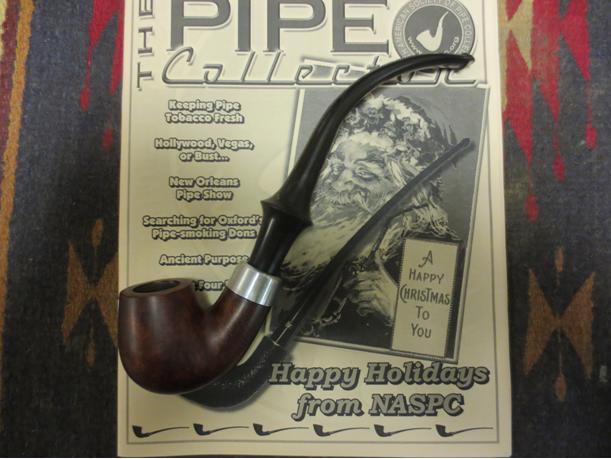
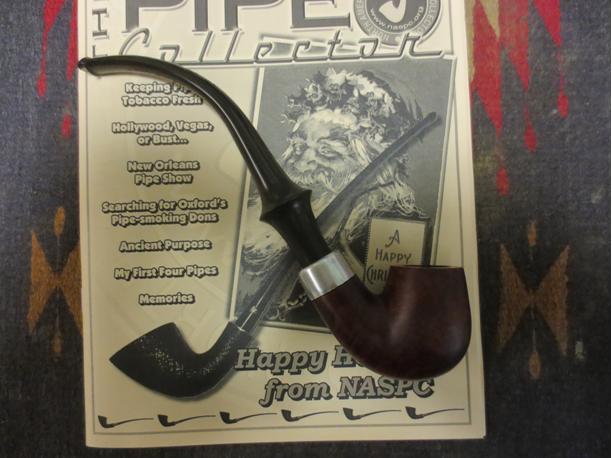
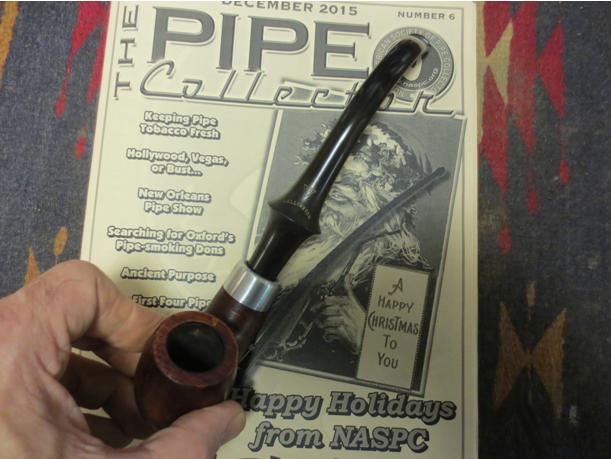
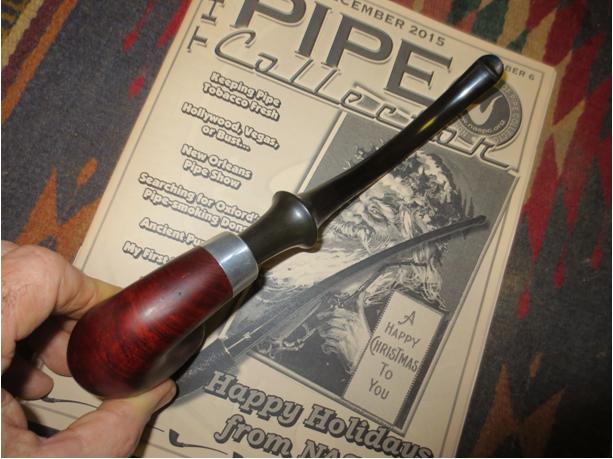
Wellington48 At this point I laid the pipe on top of the current issue of the Pipe Collector and took a series of photos to show it before I buffed it.Wellington49

Wellington50

Wellington51

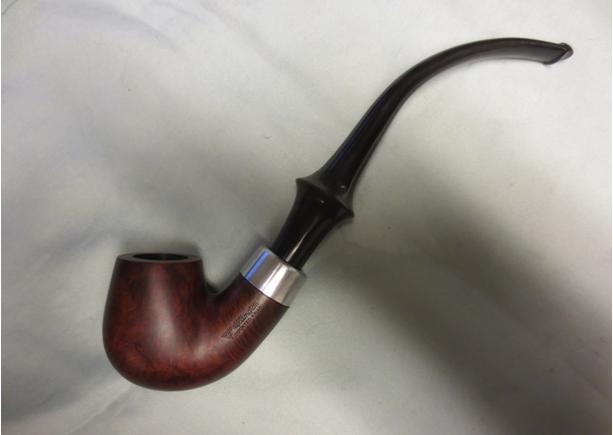
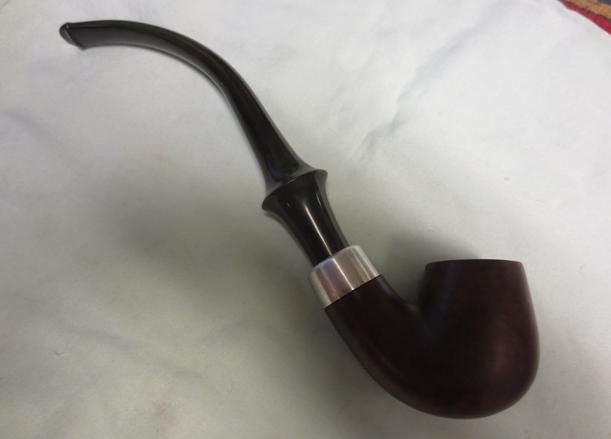
Wellington52 I polished the nickel ferrule with a silver polishing cloth and gave it and the bowl several coats of carnauba wax. A light touch is imperative on the nickel as it will darken the buffing pad and then transfer to the bowl. I hand buffed the bowl and ferrule with a microfibre cloth. I buffed the stem with Blue Diamond polish on the wheel and then gave it several coats of carnauba as well. I buffed the stem with a clean flannel buff and then with the cloth as well. The finished pipe is shown below. It is repaired and serviceable for many years to come. Thanks for looking. Thanks for the challenge Warren.Wellington53

Wellington54

Wellington55

Wellington56

Wellington57

Wellington58

Wellington59

Wellington60

What a Mess – A Vanguard Reg’d. Lumberman with a Bit of History


Blog by Steve Laug

I recently came across an EBay lot of bowls without stems and broken tenons still in the shanks. In the lot was one that intrigued me. It was the only one with a stem. The stem was short and tapered. It was very narrow and the button and slot made me think that it was old. The lot had the look of older English pipes but there was no information on the stamping. When the lot arrived in Vancouver, the stemmed pipe was stamped Vanguard over Reg’d on the left side of the shank. All other stamping, if there had been any, was lost.lot1 The bowls finish was gone. The colour was almost grey and there were spots all over this bowl and the others as can be seen in the photo below.lot3 From the third and fourth photo provided by the seller I could see that the shank was cracked and would need to be addressed. The rim appeared to be very thickly covered with lava and the outer edge had been damaged and rounded.Lot5 The next photo shows the large crack that was present in the shank of the pipe. It had started to open and the edge of the shank where it met the stem had some nicks.lot8 When the box arrived the pipe was actually in worse shape than the photos had shown. The bowl rim was not all that was caked with tars. The bowl itself was almost 1/3 full of half burned tobacco, dottle that was rock hard and filled the bottom of the bowl. The cake on the rest of the bowl was not thick but was very hard. The finish was not only grey and spotty but was dented and rough to the touch. I could feel the ridge where the sides of the crack in the shank had separated. The rim edges were not only damaged and rounded but were also rough from banging out the burnt tobacco against something hard. The stem had tooth marks and chatter on both sides of the stem at the button. The button and slot were intact. The stem appeared to be as old as or older than I first thought. This was going to be a challenge to bring back to life but the age of it made it something I could not wait to tackle.Van5

Van6

Van7

Van8 I took some close up photos of the state of the rim and cracked shank once the pipe arrived. It was a mess that is for sure. The rim and bowl were in bad shape and smelled awful. The shank crack was worse than I had imagined. The first photo of the cracked shank is from the top and the second photo is from the side.Van9

Van10 I looked up the Vanguard name in Who Made That Pipe and found that there were two makers. There was a French maker and an English maker. The French pipe was made by Marchal, Rouchon 1907 and the English one was made by A. Oppenheimer/Bernhardt & Meyers. Given that I cannot be definitive as to which maker crafted this pipe. But the interesting thing is that the Marchal & Rouchon Cie which later became GBD France came under control of Oppenheimer in Great Britain. So you can see that though I may not know which one ultimately made the pipe the fact is that the two brands came together in 1902 when Marchal & Rouchon Cie sold out to Oppenheimer. I now have in my collection a pipe which may well have bridged the union of the two companies. The Vanguard thus could easily bear both the French and the English stamping. The lack of a “Made in…” stamp may well signify the years that the companies joined. That in itself made cleaning up and restoring this old-timer interesting for me.

I decided to start the clean up by reaming back the cake and cleaning out the dottle from the bowl. I used a PipNet reamer and started with the smallest head and worked up to the one that fit the bowl. I took the cake back to bare wood to check for damage to the inside walls of the bowl. With a pipe this worn I find that this is extremely necessary. I do not want any surprises after I have cleaned it up.Van11

Van12 To repair the damaged shank I opened the crack as much as possible without making it worse and used a dental pick to push super glue into the crack. I pressed it together until it dried. I then used the sanding drum on the Dremel to take down the shank slightly so that a band would fit snugly on the shank and hold the crack tightly together. I pressed the band onto the end of the shank and took the picture below before I heated the band and pressed it into place.Van13 I heated the band with a heat gun and then pressed it against a flat surface until the band was in place on the shank. I pressed it onto the shank and then used a folded piece of sandpaper to clean up the edge of the band and shank. I left about 1/8th of an inch of the band extending past the shank to deal with the chipped and damage shank end. The stem would not have had a clean fit against the shank because of the damage. When the stem was in place it fit inside of the band against he shank and looked great.Van14

Van15

Van16 With the band in place the shank was repaired and the tenon would no longer fit in the mortise. The contraction of the briar by the band cleaned up the crack and tightened up the loose fitting stem. I lightly sanded the tenon with a sanding drum on the Dremel and then by hand to get a snug fit in the shank.Van17

Van18

VaN19

Van20

Van21 I scrubbed the surface of the briar with acetone and cotton pads to remove the grime, spotting and remaining finish. There was some interesting grain under the grime.Van22

Van23

Van24

Van25 The damaged rim surface and outer edge required that the bowl be topped. I used the topping board and 220 grit sandpaper to remove the damaged surface and sharpen the edge of the bowl.Van26

Van27 I scrubbed the surface of the bowl down again with acetone and cotton pads to remove the dust and grime from topping.Van28

Van29

Van30 I cleaned the inside of the shank and the stem with alcohol, cotton swabs and pipe cleaners. I used the drill bit from the Kleen Reem pipe reamer to clean out the airway from the mortise to the bowl. When I was finished I swabbed out the bowl with cotton swabs and alcohol and was pleased to find that the rank smell was gone.Van31 I sanded the bowl and stem with 220 grit sandpaper and a medium and fine grit sanding sponge to remove the tooth marks on the stem and scratches in the briar. I steamed the dents in the briar with a knife blade and wet cloth.Van32

Van33

Van34

Van35 I sanded the stem with micromesh sanding pads – wet sanding with 1500-2400 grit pads and dry sanding with 3200-12000 grit pads. I rubbed the stem down with Obsidian Oil between each grit and then continued sanding until I had worked through the lot of pads.Van36

Van37

Van38 I wiped the bowl down with a light coat of olive oil and then sanded it with 1500-2400 grit micromesh pads and then continued through the rest of the grits of pads. I continued to polish the bowl with the remaining grits of micromesh.Van39

Van40

Van41

Van42 I buffed the pipe with Blue Diamond polish on the wheel and then gave it several coats of carnauba wax. I buffed it with a clean flannel buff and then hand buffed it with a microfibre cloth. The finished pipe is shown in the photos below. It came out well for a pipe that potentially was made 108 years ago. Thanks for looking.Van43

Van44

Van45

Van46

Van47

Van48

Van49

Van50

Procrastination & Restoration


Blog by James Gilliam of JSEC Pipes

What can I say, I really enjoy making pipes. The time I’m afforded for sitting in front of a sanding wheel, at the lathe and sitting at my desk doing detailed work are some of my most relaxing moments. The creative juices are flowing and at times I feel as if I’m breaking new ground with Shape X or Following Line Y, all the while the end goal is just to create a pipe that will become a cherished object of relaxation by its owner.

And here we are, writing up a little story for Steve’s Blog. It isn’t often that I venture down the restoration path, and when I get stumped I end up asking Steve a question or two. So, on to my story……. Our neighbor’s husband recently passed away and soon after the funeral she come over and gave me his pipes. I was elated that she even considered that and wanted to do them justice by addressing some minor cosmetic issues the pipes had.

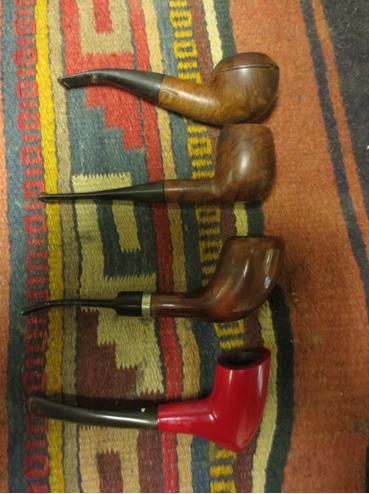
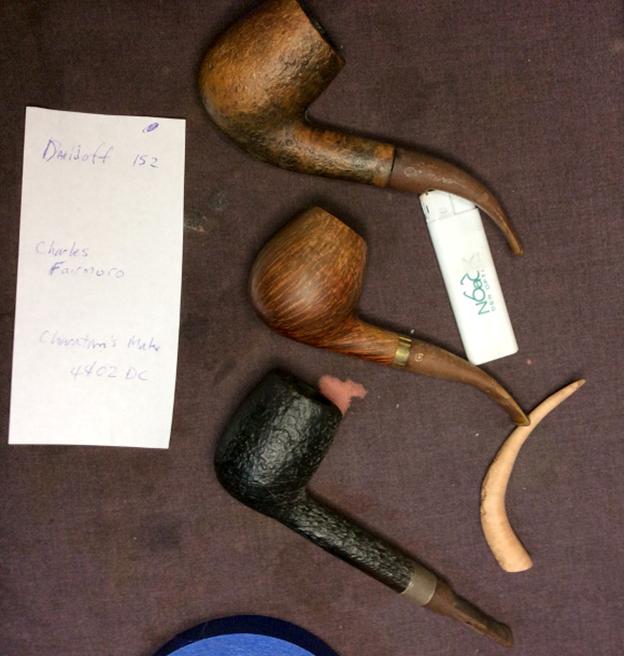
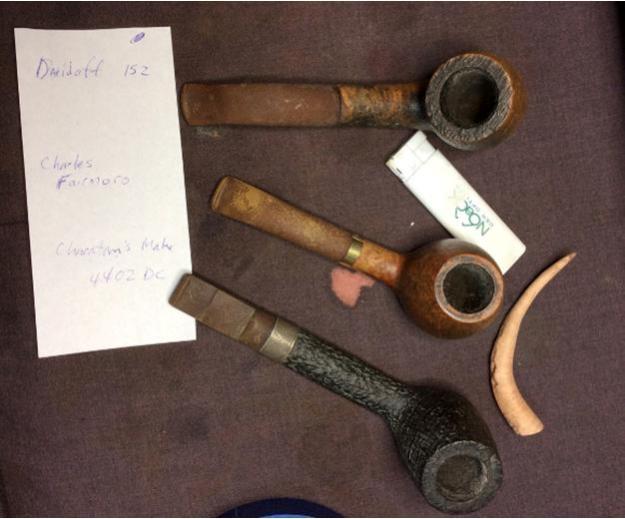
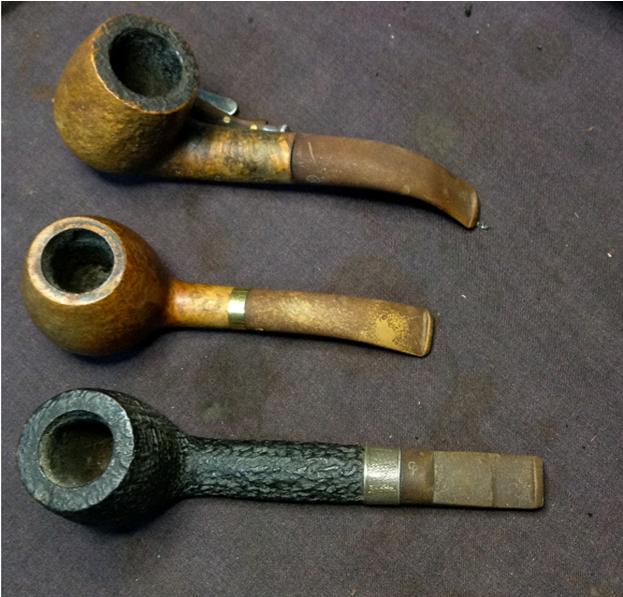
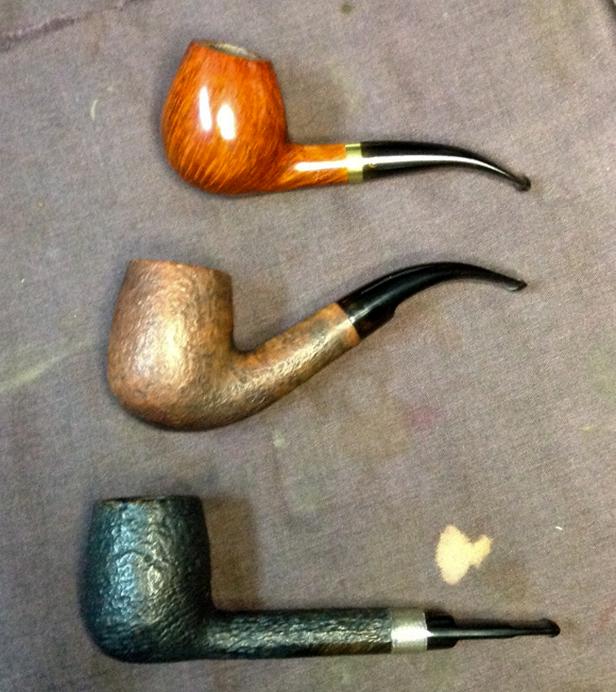
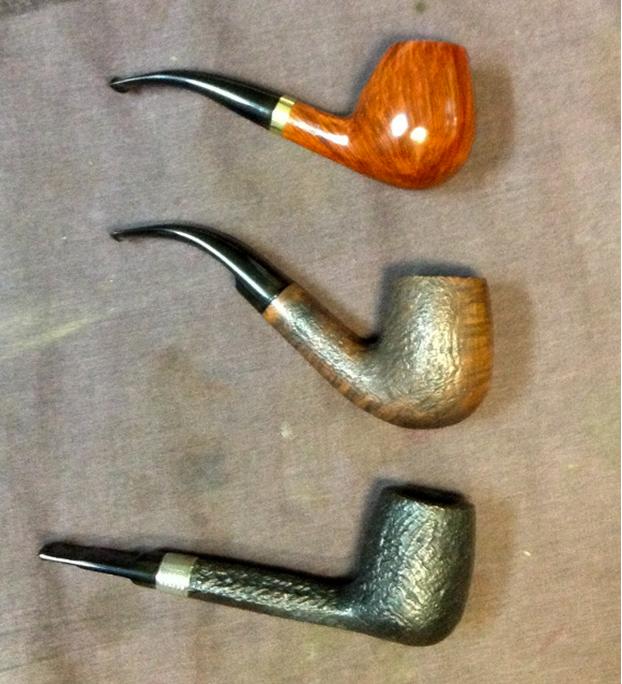
The trio consisted of (from top to bottom): a Davidoff 152 Sandblasted Bent Billiard, a Charles Fairmorn – Made in Denmark Bent Egg, and a Charatans Make 4402DC Silver Banded Lovat. And as you can see by the first picture, they were enjoyed by their previous owner. They all had been taken care of but It had been a few years since they had been smoked. They were lovingly displayed in his corner of the living room. A remembrance, I guess, for those days when he did smoke his pipes. He still enjoyed them, just didn’t smoke them anymore.James1

James2 The first order of business was addressing the oxidation on the stems. And I was stumped, as I’ve never seen oxidation this bad before. So after reading through the rebornpipes blog posts and contacting Steve I found what I needed to give the stems a little bath. I’m glad I sent Steve the email, as the bath that was enjoyed by all the stems made my efforts for oxidation removal rather easy. The best part is “most” of the stamping on the stems was savable, albeit on some a little fainter and not so pronounced as before. Had I just sanded the oxidation off, as I was inclined, there would be nothing else there. The oxidation really took its toll on the Davidoff stem, and about 1mm of diameter was no longer there after it was removed with a light sanding….. and I personally don’t find the new stem-shank junction off putting even though it was no longer flush.James3

James4

James5

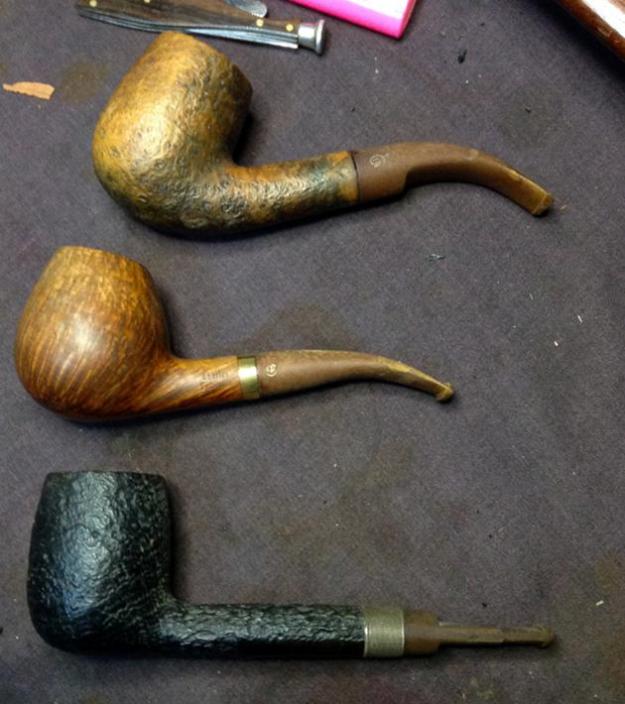
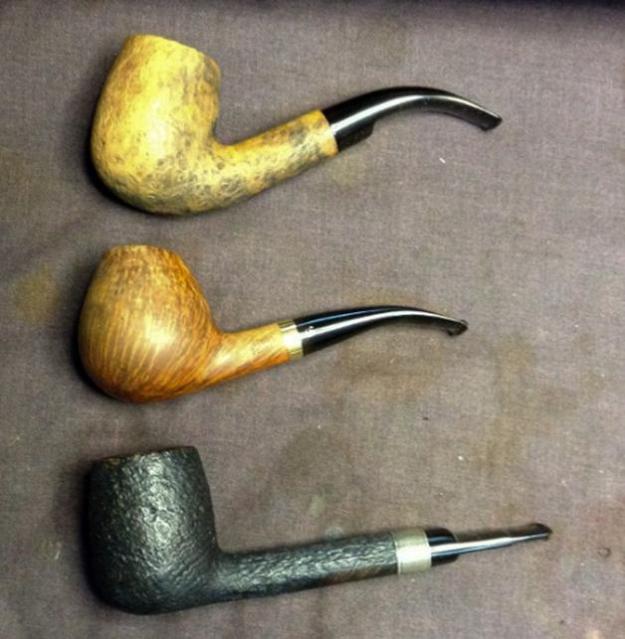
James6 The next issue to tackle was outer appearance. The Fairmorn Egg and the Charatan Lovat were the easiest to address as they simply needed an alcohol bath and scrubbing to remove some dirt and grime. A light sanding was in order for the Fairmorn Egg and that was followed by restaining. The best part was the Charaton retained it’s original color. A buffing with various pastes made them shine.

The Davidoff Bent Billard was a different story. Color wise It is, in my opinion, one of the ugliest pipes I’d seen. I scrubbed and scrubbed and scrubbed with alcohol to remove the underlying stain as best I could, to no avail. So I just decided to restain it a light brown….. and am glad that I did as the result came out rather nice…. At least I think so.James7

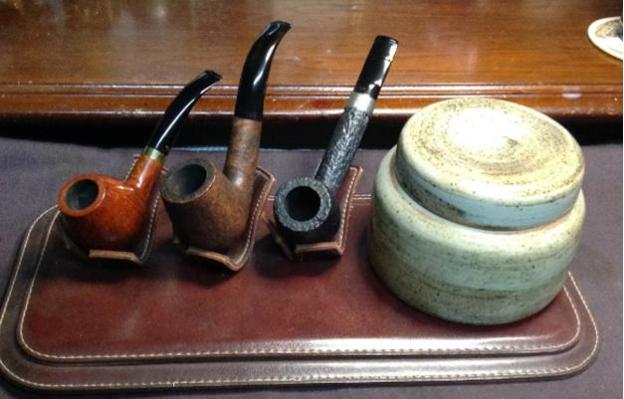
James8 All in all, I’d say the pipes cleaned up rather well. Below is a picture of the complete set that I was gifted. My neighbor was more than elated to see them returned to their previous luster, and I was pleased that I could restore something from someone who meant so much to her.

The leather pipe stand still needs a foot/let on the rear left side, as the original fell off at some time in the past and the tobacco jar needs cork reapplied inside the top of the lid. It’ll get done, as the tobacco jar is the cat’s meow…..

Sorry it took so long to write up the story Steve and may you all have a joyful Christmas Season. Surround yourself with those you love, enjoy the time you are able to spend with them, and smoke a bowl in remembrance of those that were close to you and your family. Oh yea, and overlook Uncle Rufus this year… just chuckle and relight.

Merry Christmas and Happy New Year
JamesJames9

Restoring a White Cloud Imported Briar Pot


Blog by Steve Laug

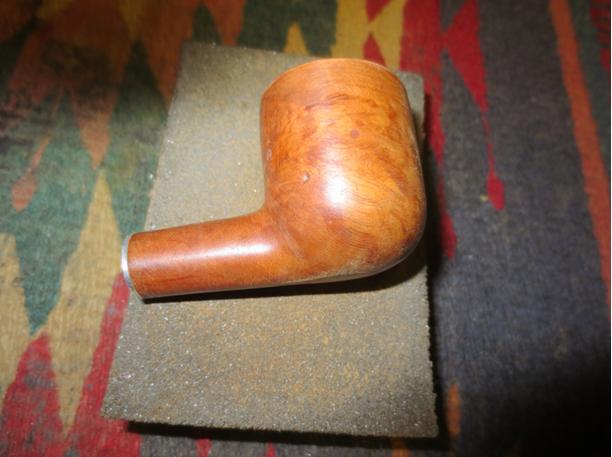
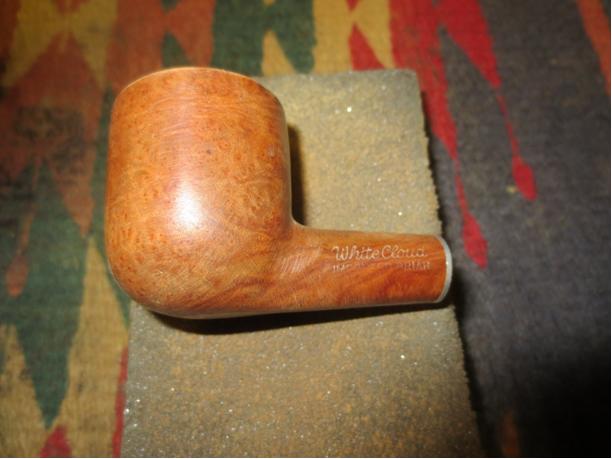
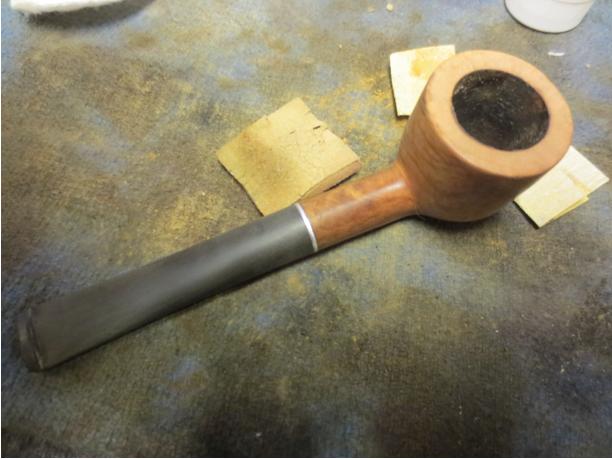
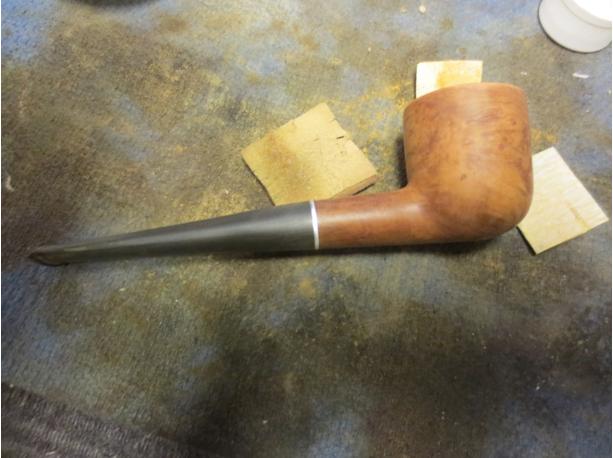
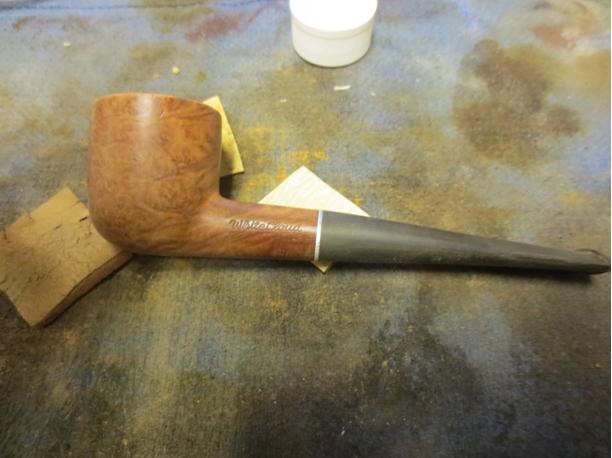
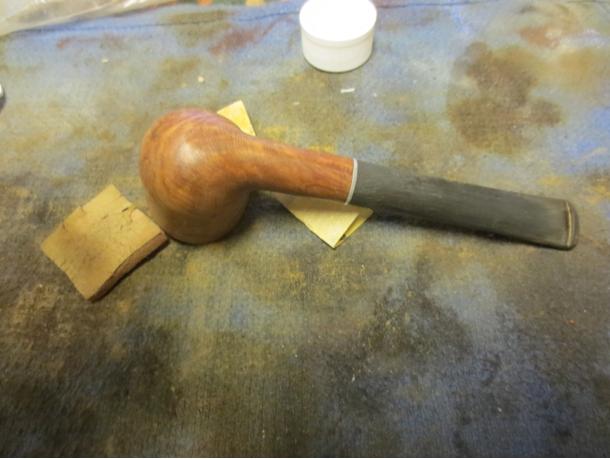
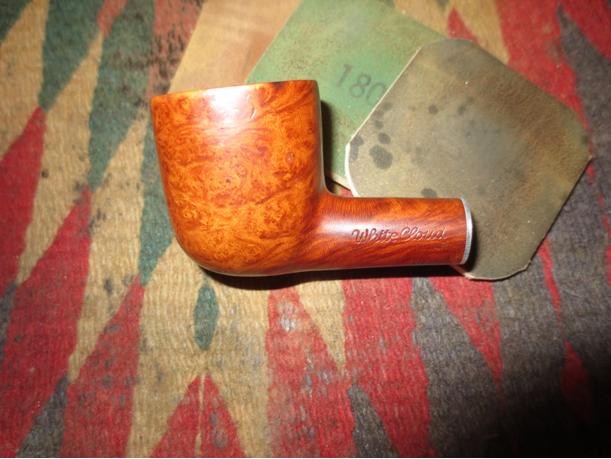
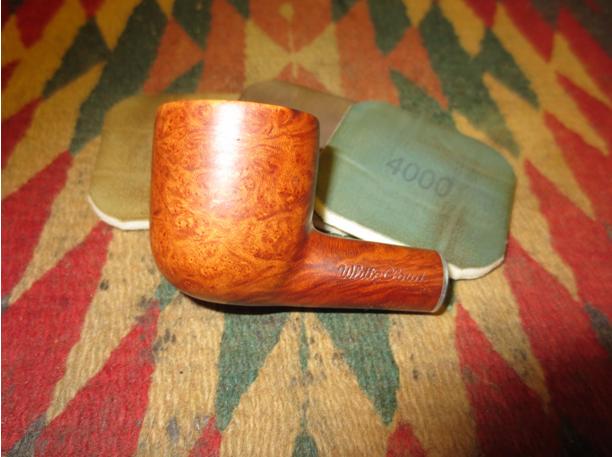
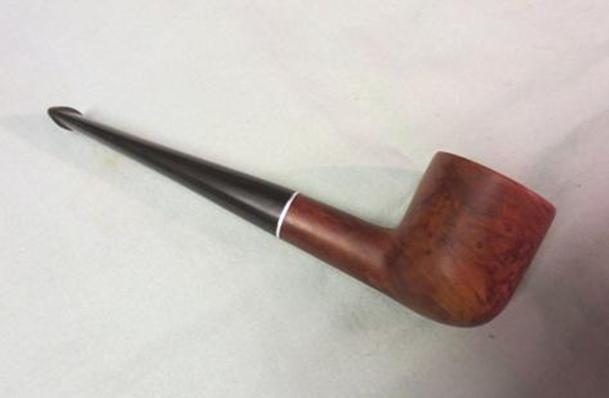
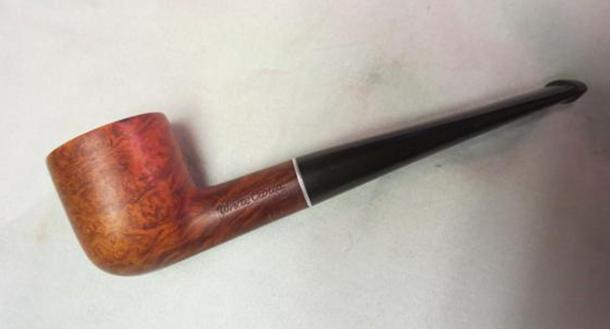
The next pipe up for refurbishing is a small pot shaped pipe. It is stamped on the left side of the shank with the words White Cloud over Imported Briar. There are no other stampings on the right side and underside of the shank. I have looked for the brand in WMTP and found the name but that it is an unknown maker from the US. I also on PipePhil’s site and found no additional information. I also did some searching on the web for information and found absolutely no information on the brand. Do any of you know anything about it? Any information would be greatly appreciated. Thank you.

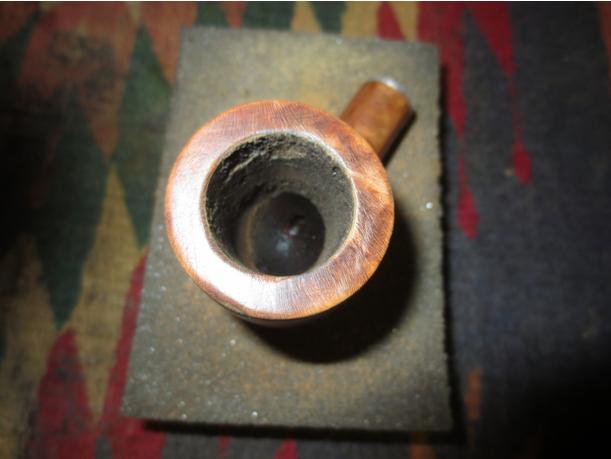
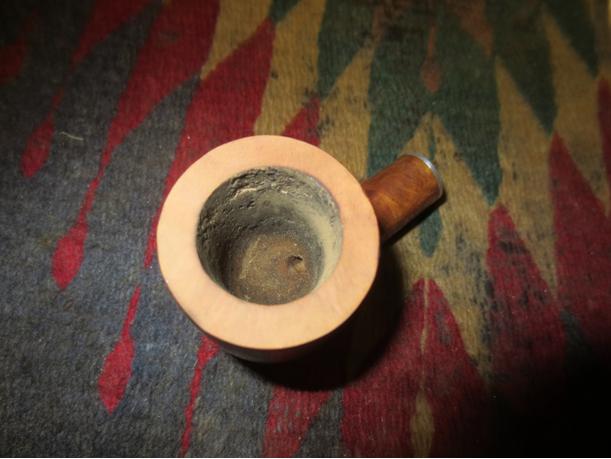
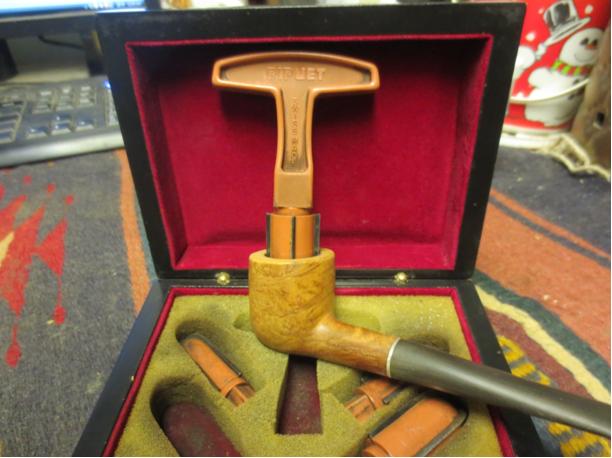
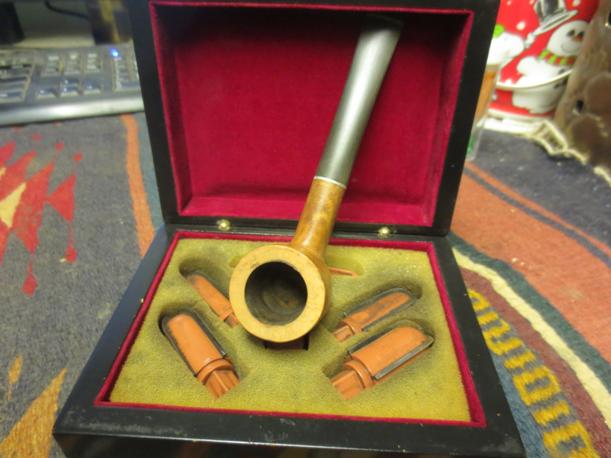
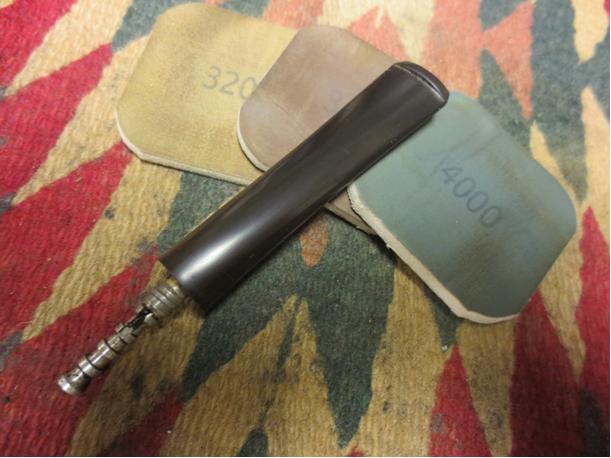
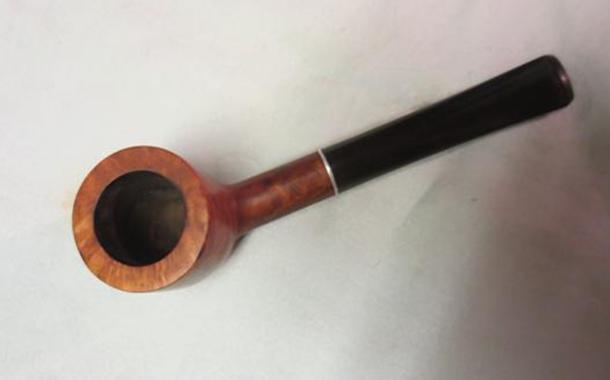
The pipe was in good shape underneath the thick coat of varnish. The stem was oxidized and dirty. The varnish on the rim was peeling and bubbling. There was damage to the rim in terms of darkening and potential burn. The bowl had some cake but it was bare wood at the bottom third of the bowl. The stamping was very clean and readable. There were some dings and fills on the bowl sides but nothing huge. They would clean up adequately. The metal tenon and stinger were a very interesting looking piece of plumbing. They were dirty and tarred. The inside of the shank and stem also had a lot of grime. The stinger was stuck in the tenon so it would need to be heated to be able to clean the airway in the stem thoroughly.Cloud1

Cloud2

cloud3 I took the close up photo of the rim and bowl to show the damage to the rim surface and the cake that was present.cloud4 The next photo shows the stinger apparatus. It is a unique set up that is different from the collection of other stingers that I have here.cloud5 The stem was slightly underclocked so I heated the tenon with a lighter and corrected the fit of the stem in the shank.Cloud6 I removed the stem and dropped the bowl in an alcohol bath to soak overnight. I wanted to loosen the varnish on the bowl and knew that while the alcohol would not remove it, it would soften it and make it easier to sand off.cloud7 In the morning I removed the bowl from the bath and dried it off. The shiny coat of varnish was unscathed by the alcohol but I knew that it would be easier to remove. You can see the interesting grain on the bowl sides in the photos that follow. You can also see the nicks and fills that would need to be dealt with in the restoration.cloud7

cloud8

cloud9

cloud10

cloud11 I sanded the rim and the bowl with a medium grit sanding sponge to begin the process of removing the varnish. It worked well to break the seal on the varnish coat. Once that is done it comes off quite easily with acetone.cloud12

cloud13

cloud14

cloud15 I needed to lightly top the rim to remove the burn mark and rounding on the front outer edge of the rim. It did not take much to clean up the rounded edge and give the rim a crisp profile.cloud16

cloud17 I wiped the bowl down with acetone on a cotton pad and was able to completely remove the varnish coat. The alcohol had softened it and it came off very easily.cloud18

cloud19

cloud20

cloud21 I heated the stinger in the tenon until I was able to wiggle it free of the airway. One side of the two prongs that held in place in the tenon was cracked so I repaired it and set it aside to dry. I cleaned out the shank and the stem with pipe cleaners, cotton swabs and alcohol.cloud22 I sanded the stem with 220 grit sandpaper to remove some of the wavy marks from previous repairs to tooth damage. I sanded until the stem was smooth and then sanded it with a medium and a fine grit sanding sponge. I also sanded the bowl with the same sanding papers and sponges to minimize the dents and scratches in the finish.cloud23

cloud24

cloud25

cloud26

cloud27 I reamed the bowl with a PipNet reamer to remove the cake on the upper portion of the bowl.cloud28

cloud29 I sanded the bowl and rim with micromesh sanding pads- wet sanding with 1500-2400 grit pads. I wiped the bowl down with a light coat of olive oil before proceeding to sand with 3200-4000 grit pads. I rubbed it down a second time and then sanded it with 6000-12000 grit pads. I buffed it by hand to see what the finish looked like at this point.cloud30

cloud31

cloud32

cloud33

cloud34

cloud35

cloud36

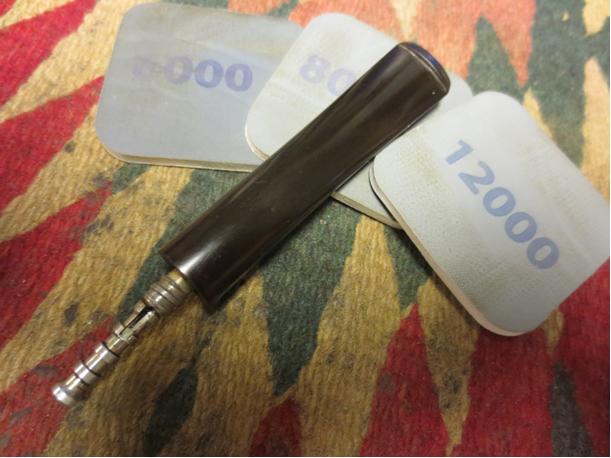
cloud37 I sanded the stem with micromesh sanding pads – wet sanding with 1500-2400 grit pads and then rubbed it down with Obsidian Oil. I dry sanded with 3200-4000 grit pads and gave it another coat of the oil. I checked the stinger and for some reason there was some dark grime that appeared in the slot in the stinger. I cleaned it again with pipe cleaners before sanding some more with 6000-12000 grit pads. I gave the stem a final coat of Obsidian Oil and set the pipe aside to dry.cloud38

cloud39

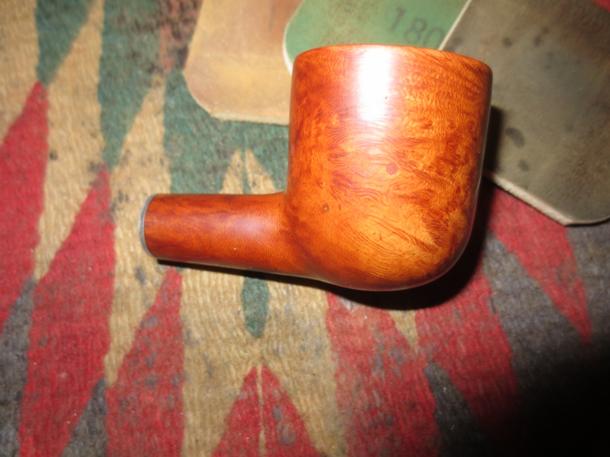
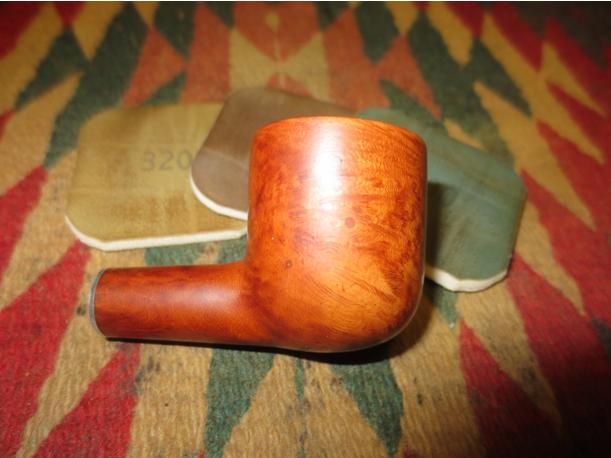
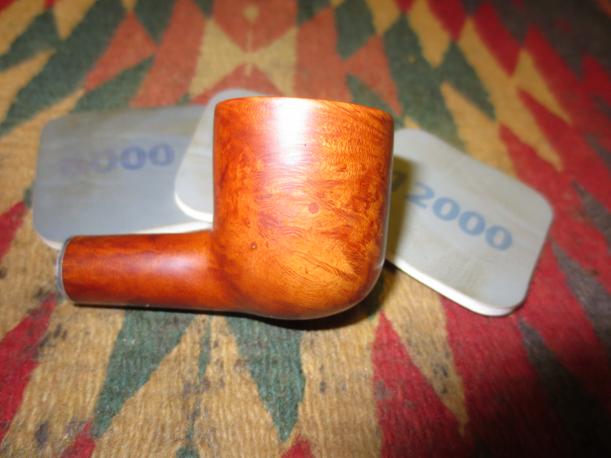
cloud40 I buffed the pipe with Blue Diamond on the buffing wheel and then gave the bowl and stem multiple coats of carnauba wax. I buffed it to a shine with a clean flannel buffing wheel. When I finished buffing it on the wheel I took it back to the work table and buffed it by hand with a microfibre cloth. The finished pipe is shown in the photos below. It should deliver a good smoke to whoever adds it to their rack. The briar is certainly interesting to look at now that the finish has been stripped and the bowl polished. Thanks for looking.cloud41cloud42cloud43cloud44


Repairing and Restoring a1929 Irish Free State Billiard


Blog by Aaron Henson – 11/29/15

I think the thrill of the hunt is part of what makes this hobby so enjoyable. Going into a new store or happening upon a pipe in an unlikely place, never knowing just exactly what you are going to find and always keeping a lookout for that forgotten gem.

This past summer I was on vacation with my family in Seaside, Oregon. Between Seaside and Astoria I visited 14 different antique stores and only two had any pipes at all. And of those, they were all on the pricy side; too rich for me.

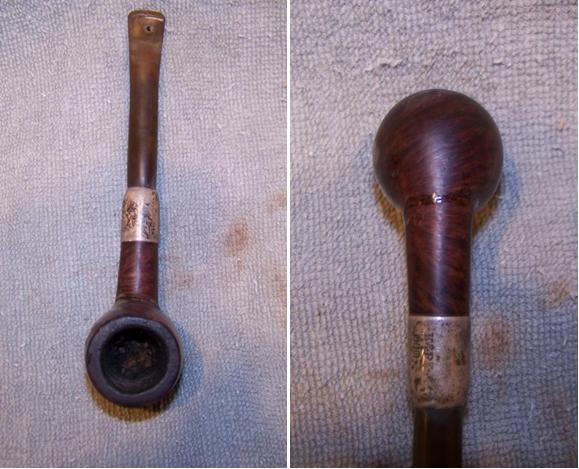
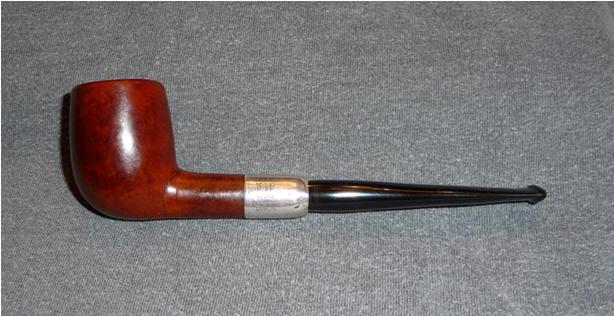
Partly on a whim and partly out of desperation, I went into a second-hand store that I had passed by several times. It was more “junk” than “antique” and of course that is where I made my score although I didn’t think so at first. Three pipes: the first was a non-briar volcano with “Italy” stamped on the bottom, the second was a Medico that was in such bad shape it could only be used for parts but the third was intriguing with a silver band. I could not read the markings for all the filth on the pipe. I negotiated with guy behind the counter and walked out will all three for $15.Aaron1 It was clear that this had been a very nice pipe in its day. The wood grain that could be seen through the grime was beautiful and the Army Style push stem I thought gave the pipe a classy feel. When I got it back to the house and looked it over in better light, I noticed that the band had been rotated on the shank so the writing was upside down and in the dim light of the store I could not read it. Now I could see that it clearly said “Peterson” and “Dublin” stamped in the silver band.
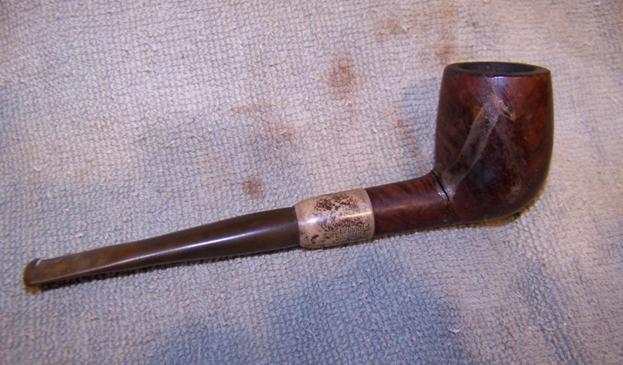
A Peterson, my heart skipped a beat. I was well aware of Peterson’s long history of making quality pipes and now I had picked up an early model for 5-bucks!Aaron2
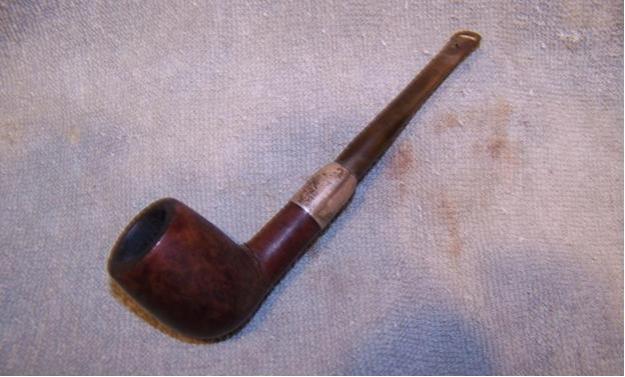
Aaron3 The bowl had a good build up of cake and a fair amount of unburned tobacco in the bottom. Some build up of tars on the rim but otherwise seemed to be in good condition. The shank had clearly been broken, however and the glue used for the repair was spread all over one side of the bowl. The stamping on the band, as stated before, were worn and not very readable. The stem was oxidized and had a hole in the top near the button. This must have been a favorite pipe of the previous owner.

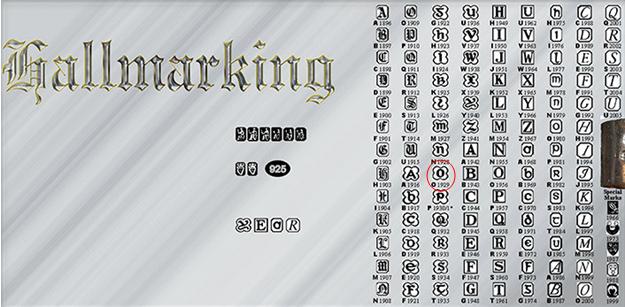
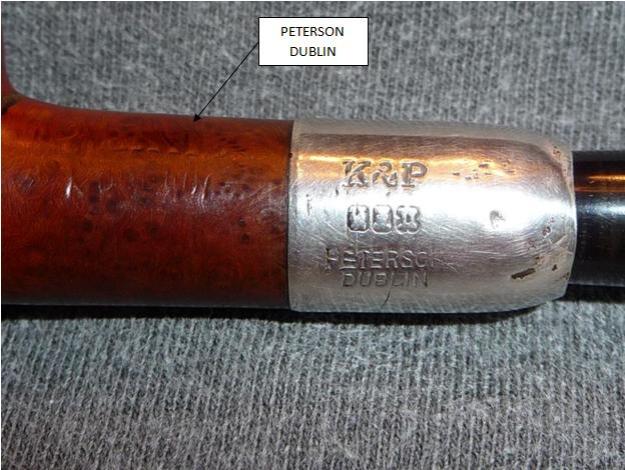
When I got home from vacation, I tried to understand the symbolic hallmarks on the band. Not being familiar with Peterson marking I sent a picture to Steve Laug to ask his opinion. Steve very graciously referred me to his Peterson expert, Mark Irwin. With Mark’s help I was able to understand Peterson’s hallmarking and dated the pipe as 1929 – placing it in the Irish Free State era: 1922 – 1937. At least, that was my interpretation of the third hallmark, an “O”.Aaron4
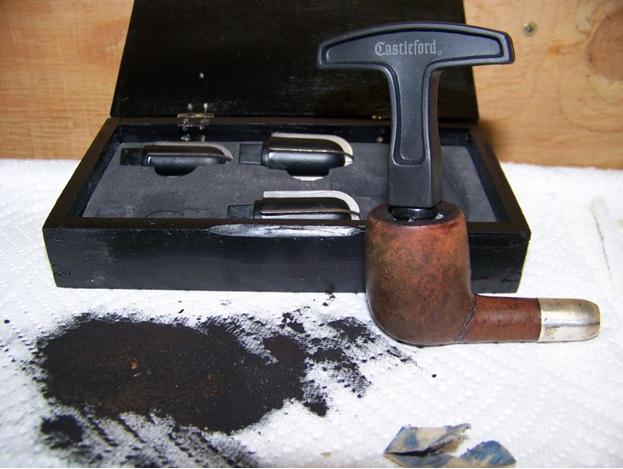
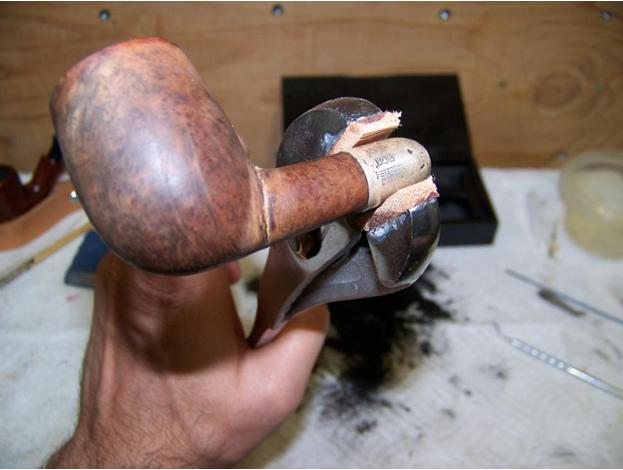
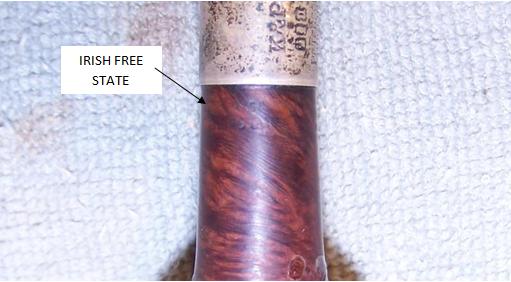
Aaron5 I began by reaming out the cake with a Castleford reamer and took the interior back to bare wood. There were some burn marks under the tar on the rim so I elected to top the bowl with some 220 grit paper laid on the flat work bench.Aaron6 Next I heated the band with a flame and then using leather jawed pliers and carefully rotated the band back into correct alignment.Aaron7 The outside of the bowl I wiped down with a cotton pad soaked in acetone. This removed the grime and the glue. I had been worried that the glue was covering a crack in the bowl but it turned out that the person doing the shank repair had just been sloppy. The glue came away and revealed pristine briar underneath. In just the right light, I also could see a very faint IRISH FREE STATE stamped into the bottom side of the shank – Confirmation!Aaron8 The break between the bowl and the shank had been complete. I could see the seam all the way around the shank but it had been a clean break. There were no gaps, rounded edges nor missing pieces; so far, so good.
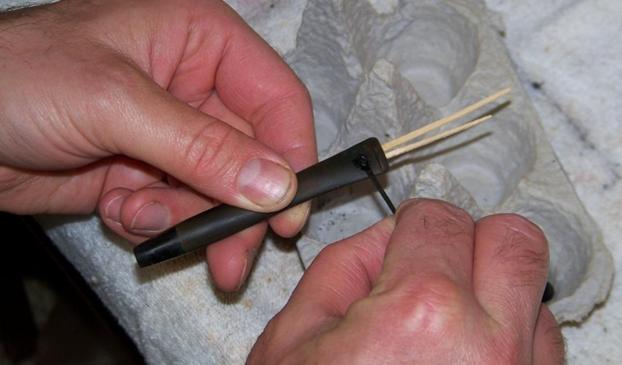
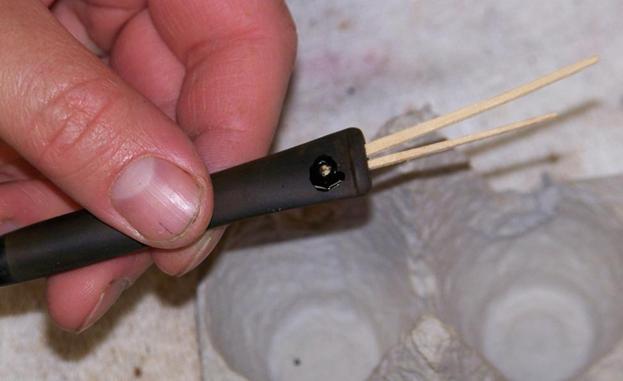
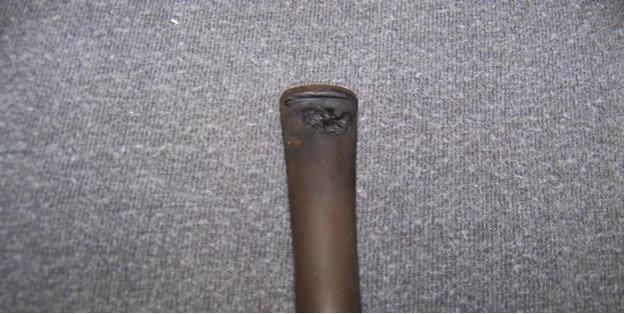
At this point I turned my attention to the stem. I put the stem to soak in a mild chlorine bath to raise the oxidation. A light sanding with some worn 400 grit paper removed the oxidation completely. I picked the loose material out of the hole, made backing plug out of toothpicks and slipped it into the airway. This would hold my patching material in place. Next I mixed up some StewMac black super glue with some activated charcoal powder and worked it into the hole with another tooth pick. I set the stem aside to cure over night.Aaron9
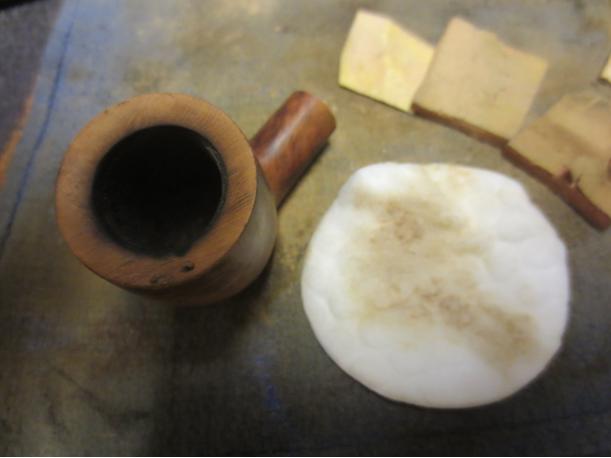
Aaron10 When I came back to the stem I sanded down the fill with 220 grit paper. The plug blended nicely and I proceeded to polish the stem with 1500 – 12000 micromesh pads. Cleaning the inside of the stem was quite simple, four of alcohol soaked pipe cleaners (2 bristled and 2 soft) took care of the insides and the stem was done.Aaron11 Returning to the stummel, I began to work the bowl-shank joint back and forth with ever increasing force. I caught myself holding my breath, afraid of breaking the pipe beyond repair but dismissed that thought as fear of the unknown and pushed on. Eventually the crack began to open up and the shank and bowl were separated. I was surprised to see that the original repair had included two small brads – or pins – set on either side of the air hole to strengthen the break. Since the brads were already in proper alignment I decided to reuse them in my repair.Aaron12 After some research, I settled on the J-B Kwik Weld as my epoxy of choice. Its resistant temperature is less than that of original J-B Weld (300 vs 550 degrees); however, I do not think the shank should reach 300 degrees during a smoke. But the real advantage in my minds was that the set time is only 6 minutes compared to 4-6 hours. I didn’t want to have to come up with a way to hold the two parts together for several hours and risk the parts slipping.
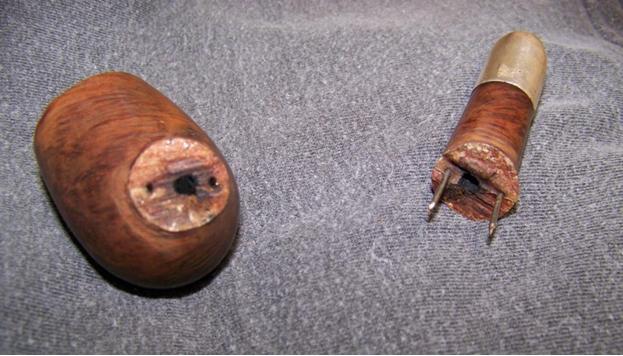
In order to keep the airway clear during the repair, I pushed a pipe cleaner through the airway before smearing the epoxy on the both surfaces with a tooth pick. With the clock running on the set time, I pushed to the two parts together using the old brads as alignment pins. Looking back I think it would have been better if I had only used one of the pins. The fit was tight and I was fighting against the pins to get the two parts tight together when the time ran out on the epoxy. I was left with a larger gap between the pieces than I thought was right; I had been hoping for a flush fit. Before setting the pipe aside to cure I wiped off the excess epoxy and removed the pipe cleaner.Aaron13 I let the pipe sit overnight and the next day I used a dental pick to remove some of the epoxy from the gap between the stummel and bowl. The gap was very small, less than a 1/32 of an inch on top and near flush on the bottom. When the crack was as clean as I could get it, I filled it with briar dust and placed drops of clear super glue on top to hold the dust in place. When the super glue dried I smoothed out the repair with 220 grit sand paper.Aaron14 There were some minor dents in the bowl and I decided to steam them out by wrapping the bowl with a damp terry cloth rag and going over the rag with a clothes iron set on high. If you used this method I would advise keeping your figures well clear of the iron. Speaking from personal experience, you don’t have to be very close to the iron get burned by the steam. Fortunately, I did not drop bowl!
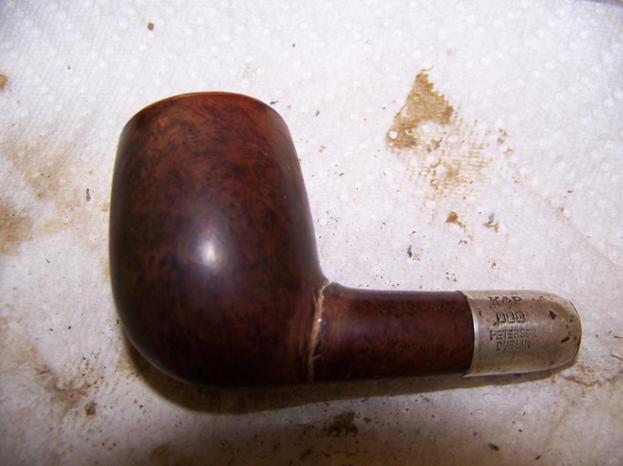
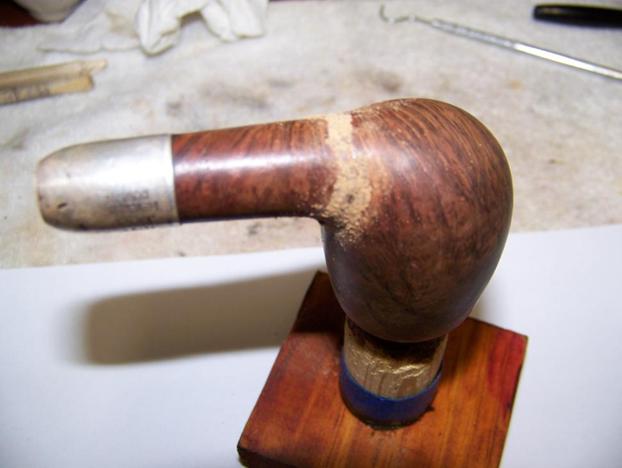
I sanded the entire bowl with 400 – 2000 grit paper to remove all the dents and scratches but being sure to stay clear of the marking on the shank. The markings were faint but I wanted to preserve as much of them as I could.

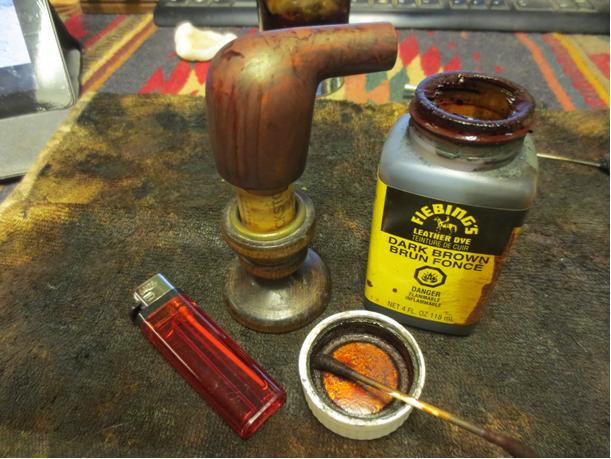
The bowl had beautiful grain and I wanted to use a light brown stain to highlight it. I used one part Fiebing’s light brown mixed with 2 parts isopropyl alcohol applied with a cotton swab in layers until the color looked just right. I flaming each layer and wiped off the excess with a cotton pad moistened with alcohol.

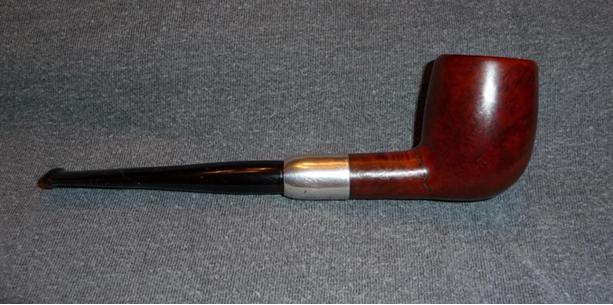
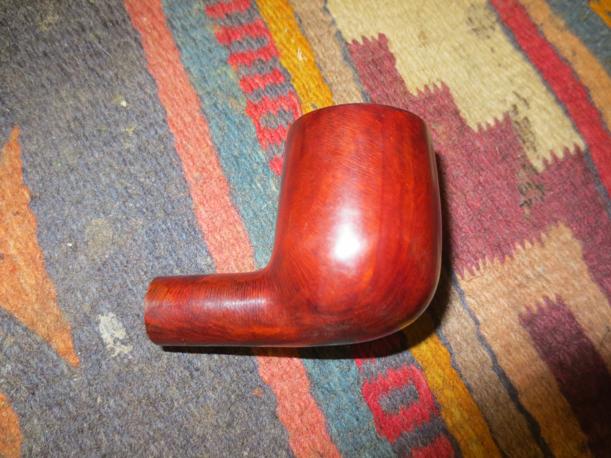
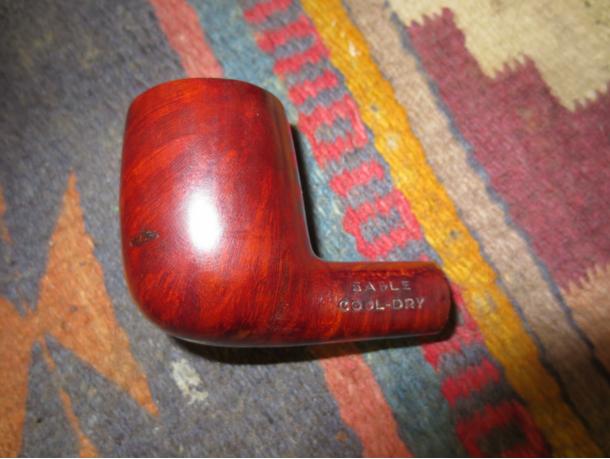
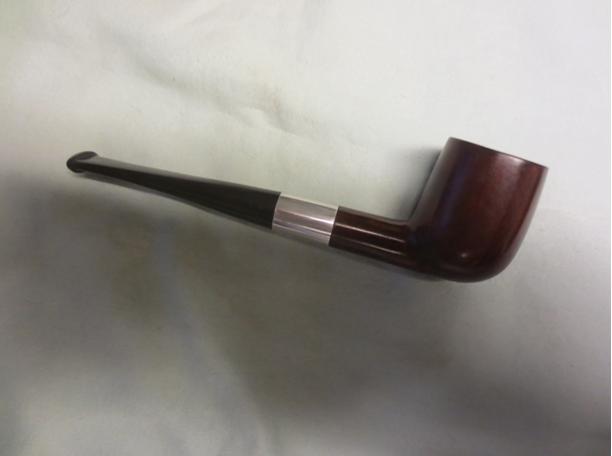
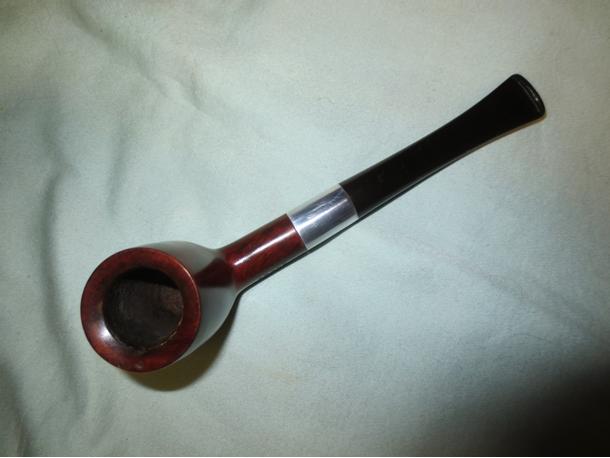
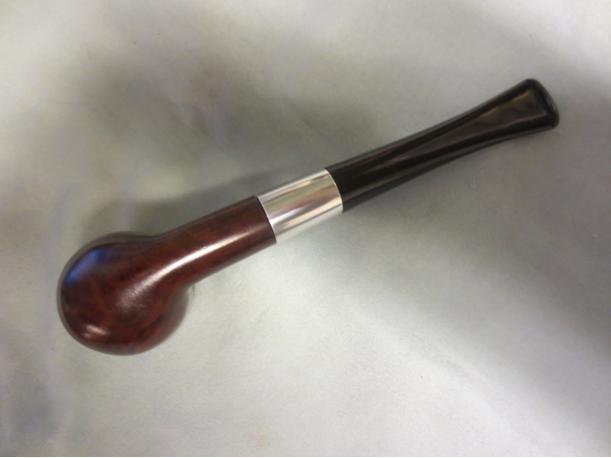
The next to last step was to polish the sterling silver band. For this I tried a new technique that I had recently learned on this blog using a small amount of cigar ash and saliva. I was careful not to polish too much – or at all – around the hallmarks. The final step was a trip to the buffer for three coats of carnauba wax on the briar and stem. I hand applied a light coat of Walker Briar Works carnauba wax sealer on the silver band and I buffed the pipe with a micro fiber cloth to bring up the shine.Aaron15
Aaron16

Aaron17

Aaron18