Blog by Dal Stanton
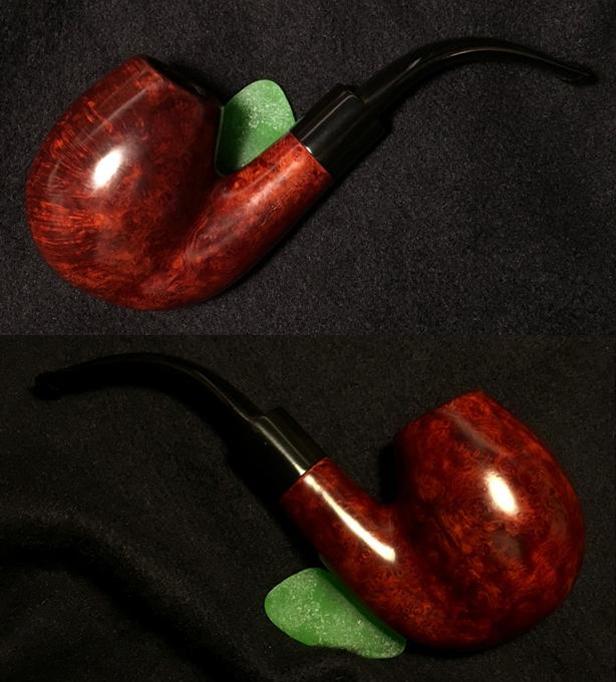
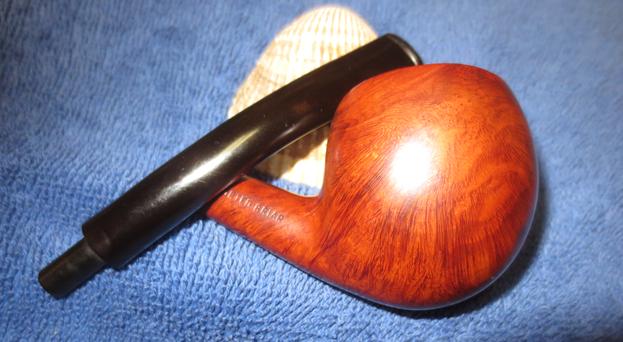
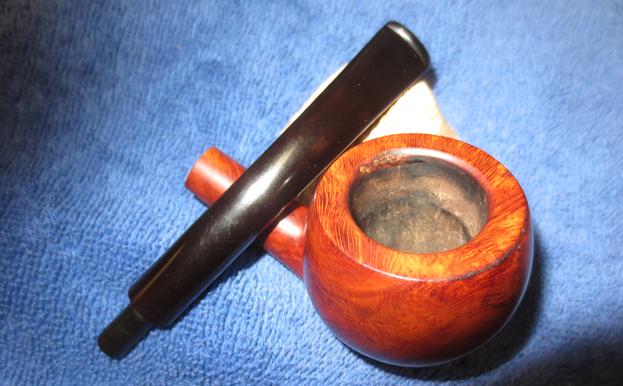
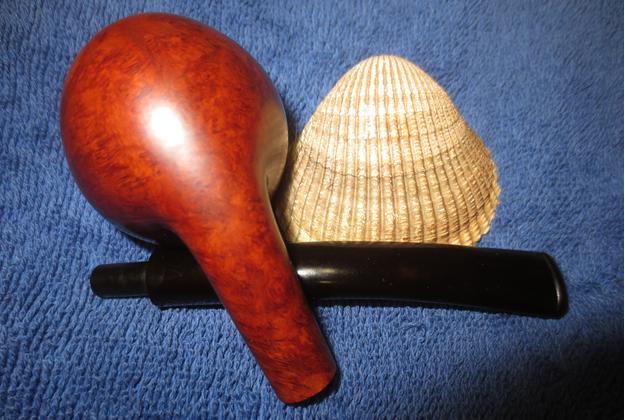
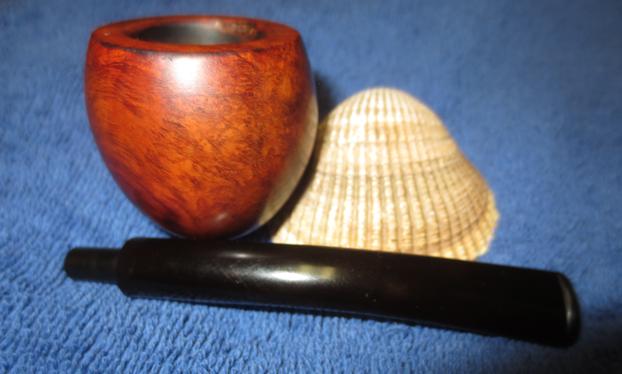
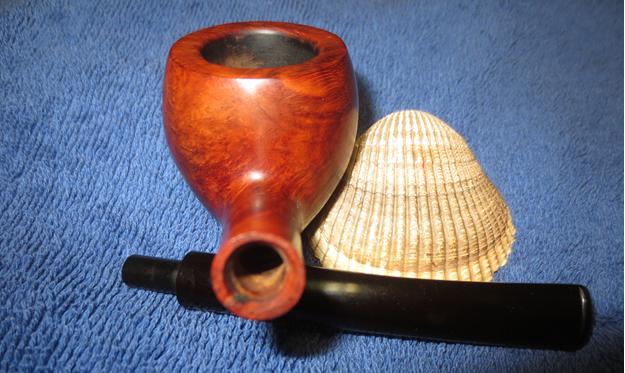
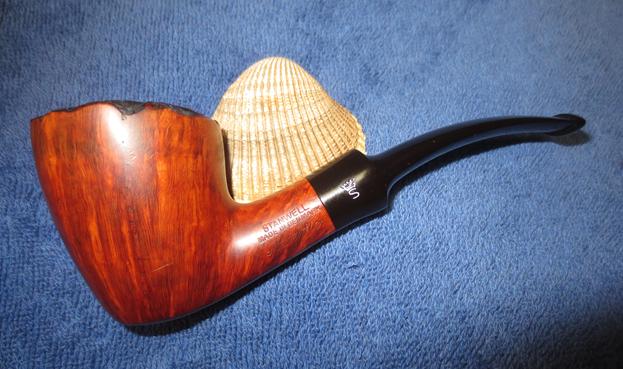
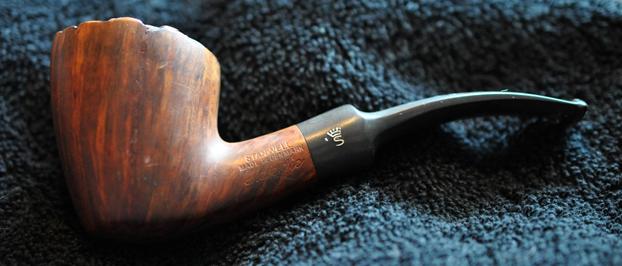
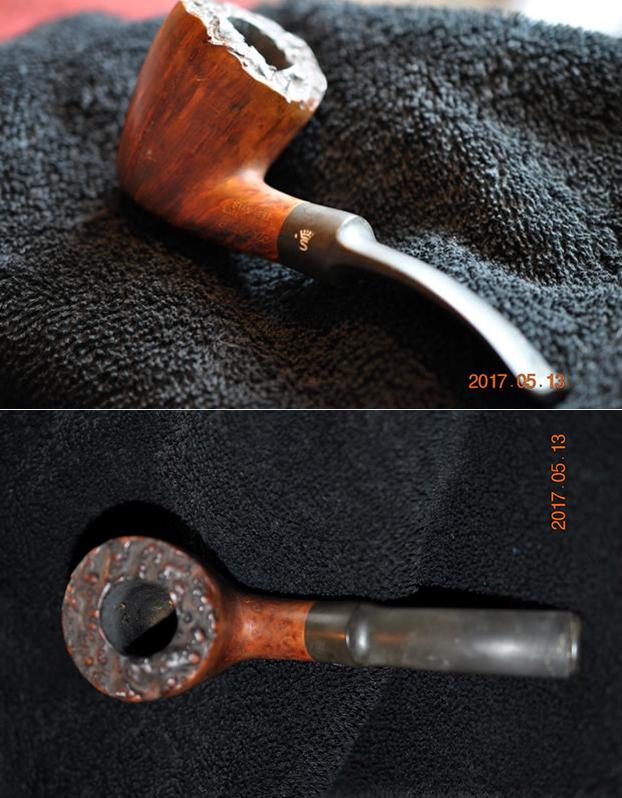
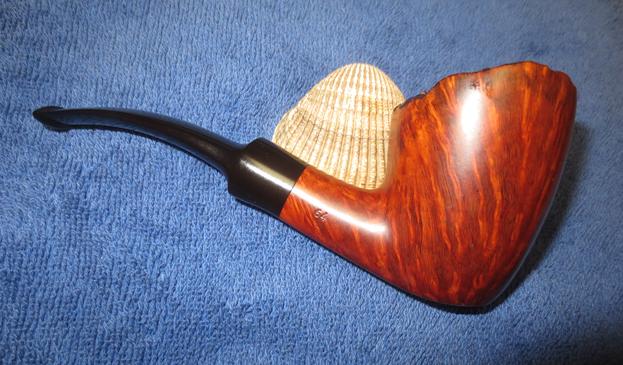
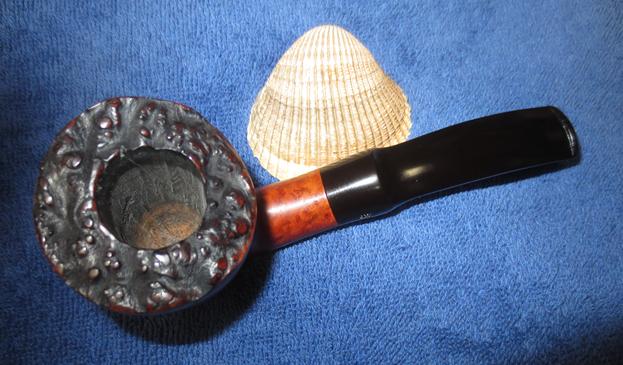
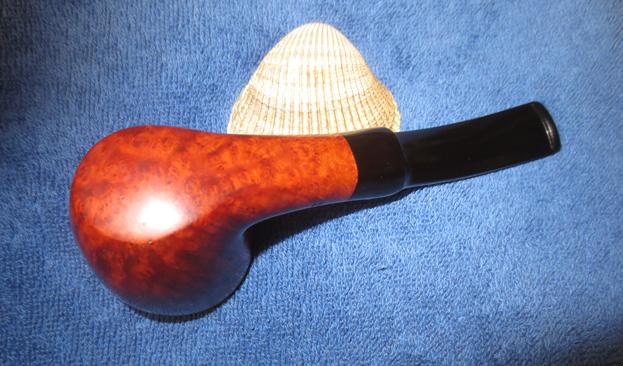
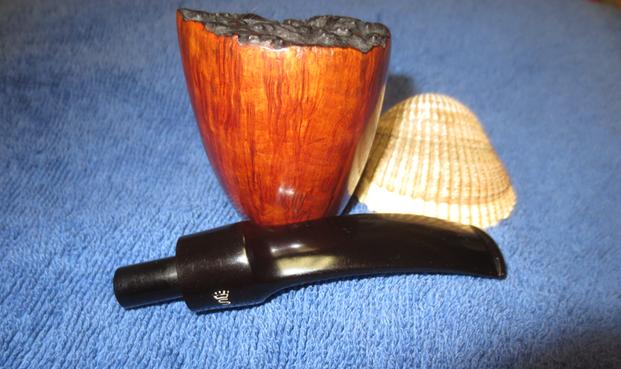
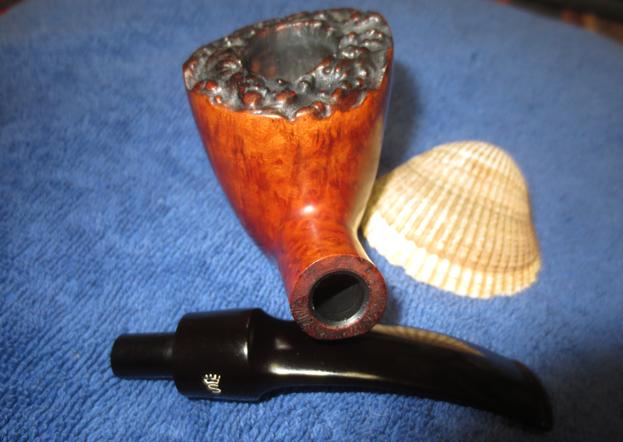
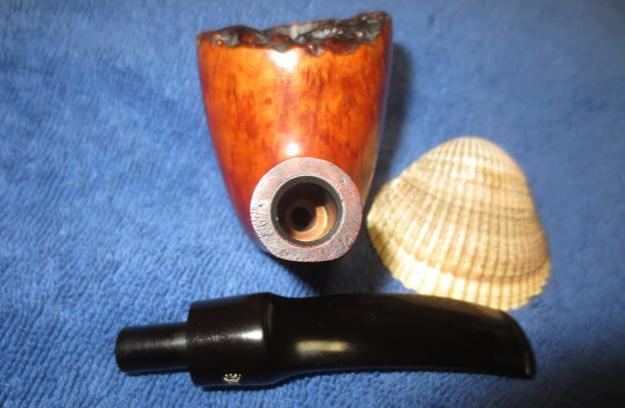
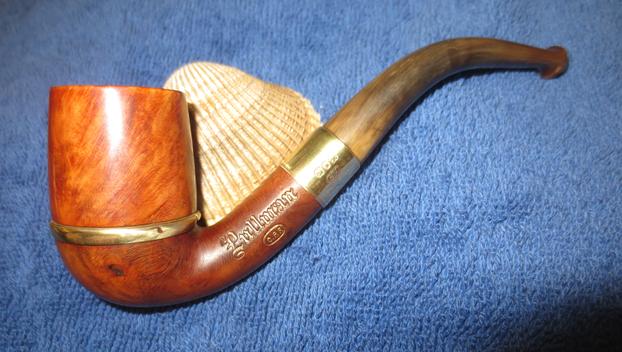
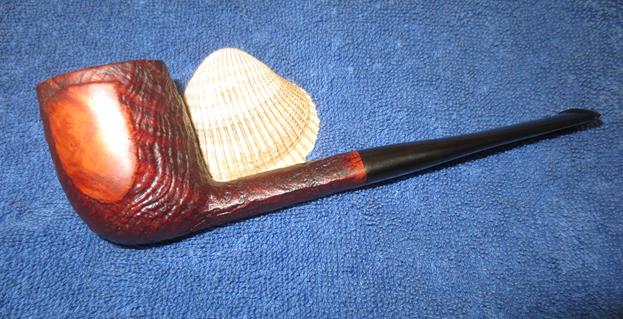
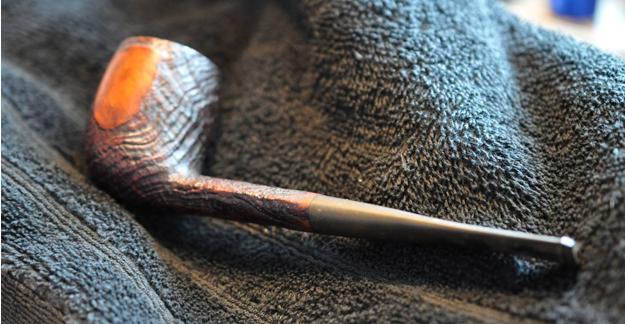
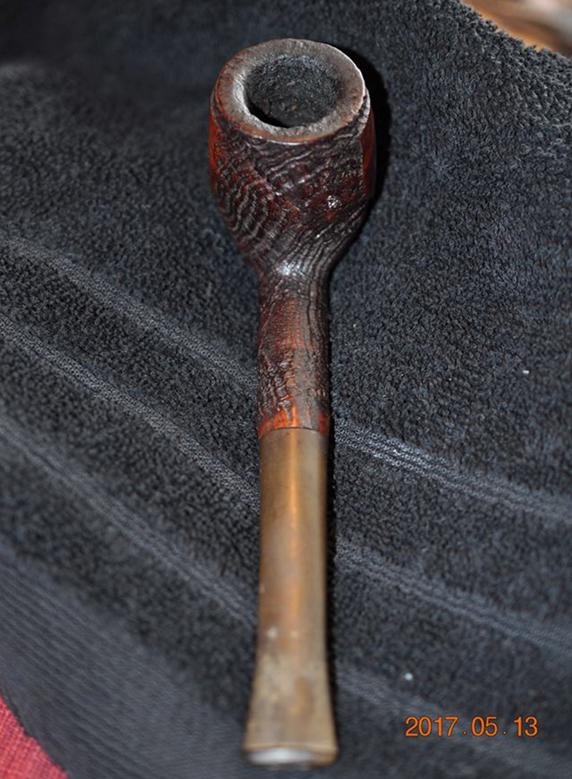
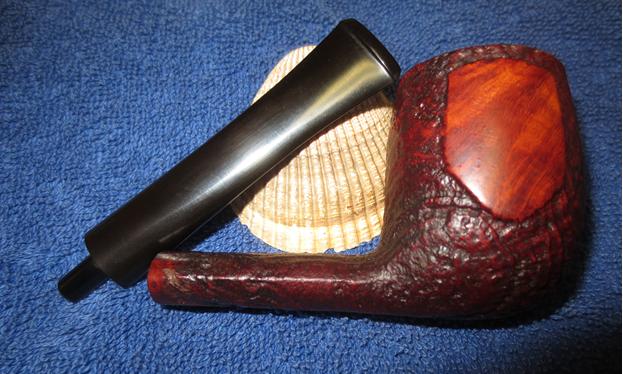
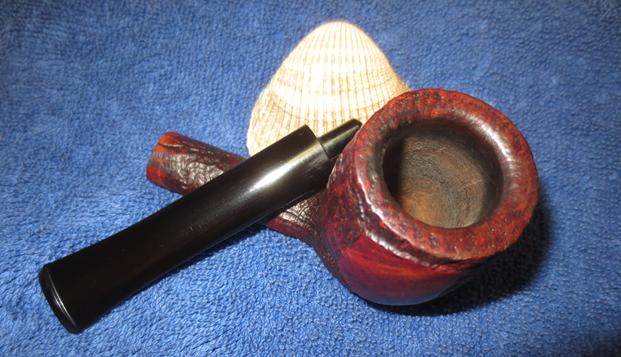
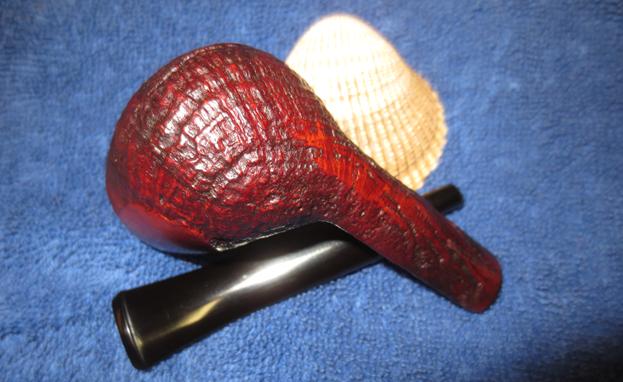
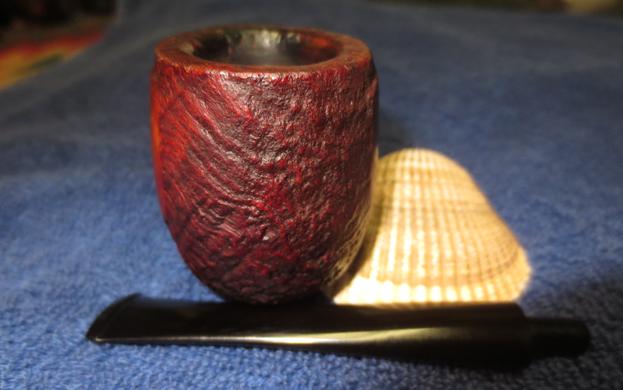
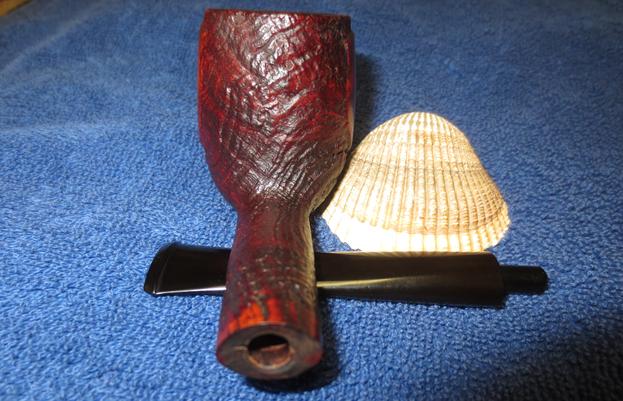
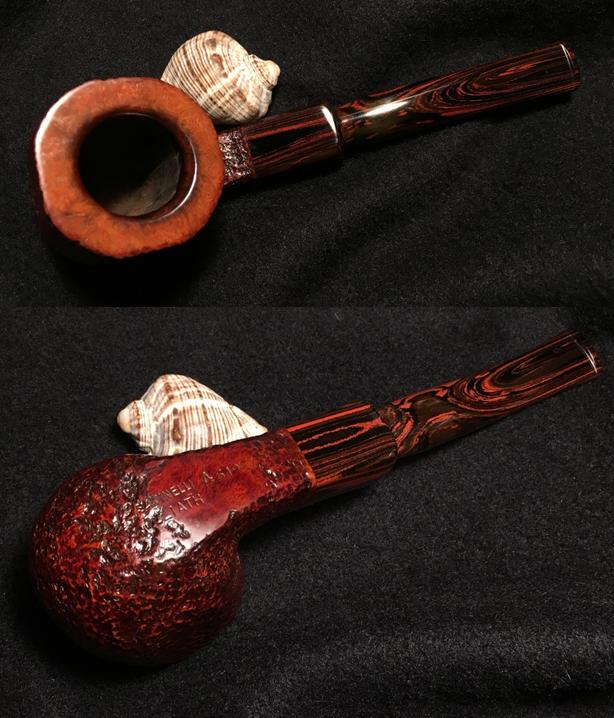
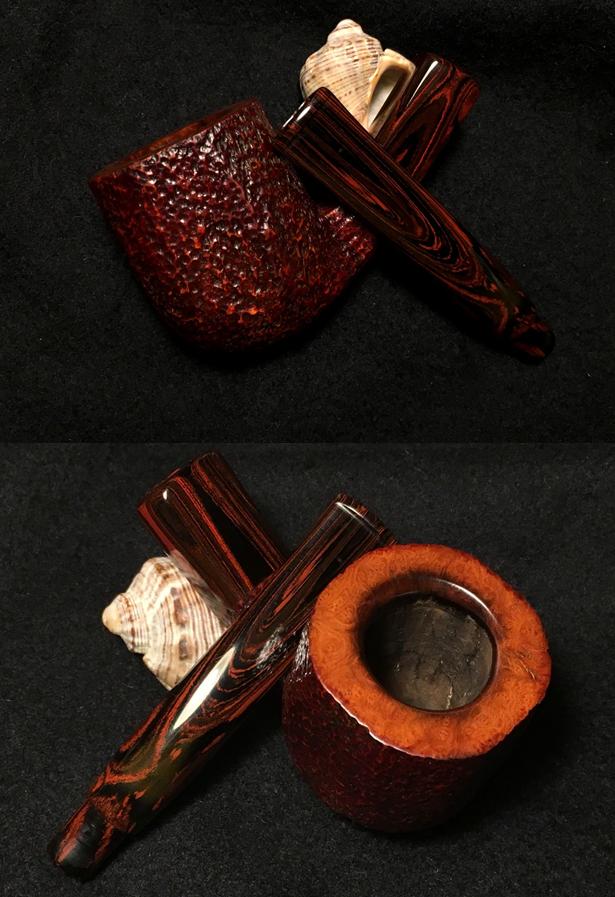
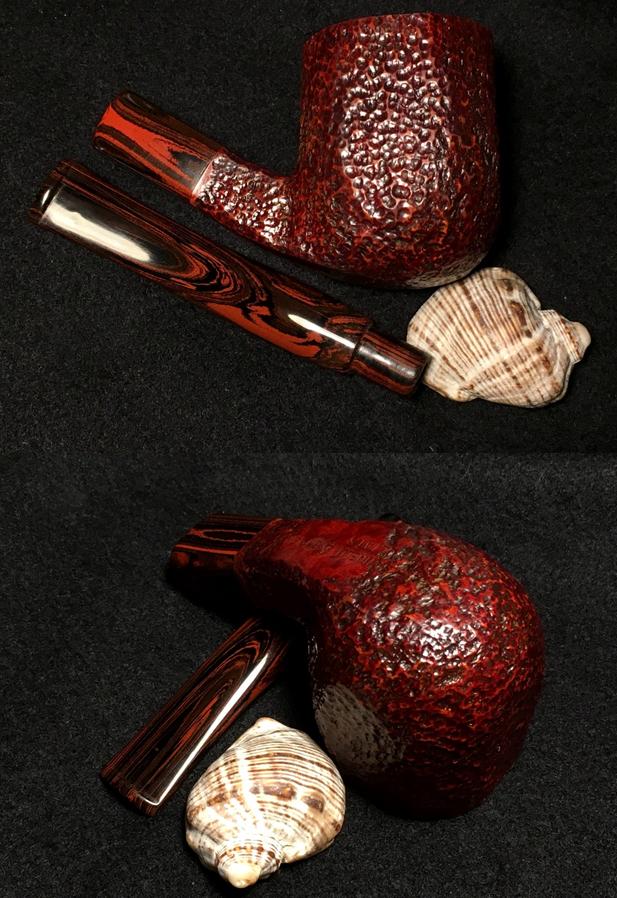
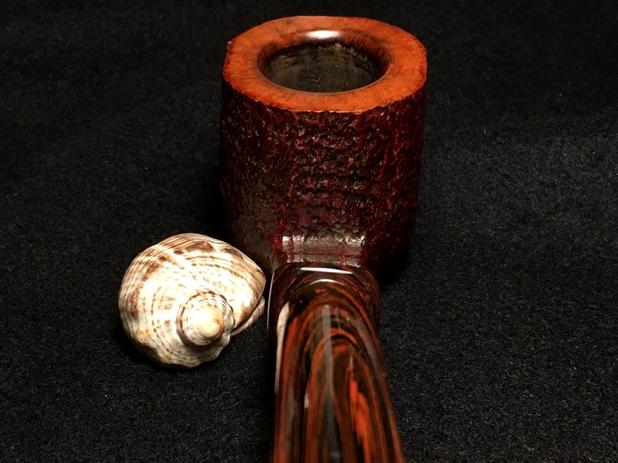
Have you ever trolled through the 1000s of “Vintage Estate Pipe” offerings on eBay’s auction block and then, one pipe seizes your attention, and you know that you will be bringing it home? When I saw the Savinelli Goliath, I saw the pipe – not the Savinelli name, nor the condition information offered by the seller. I could tell it was a huge pipe – I like big pipes not just sitting in my palm, but occupying it. I also saw the rustification beautifully textured across the paneled (octagon shaped) Billiard landscape. Lastly, but not with waning attention, I saw the Cumberland vulcanite swirl – not just the stem but also the shank extension. The Cumberland display was like frosting on the cake. Here are a few pictures I saw from the seller in California.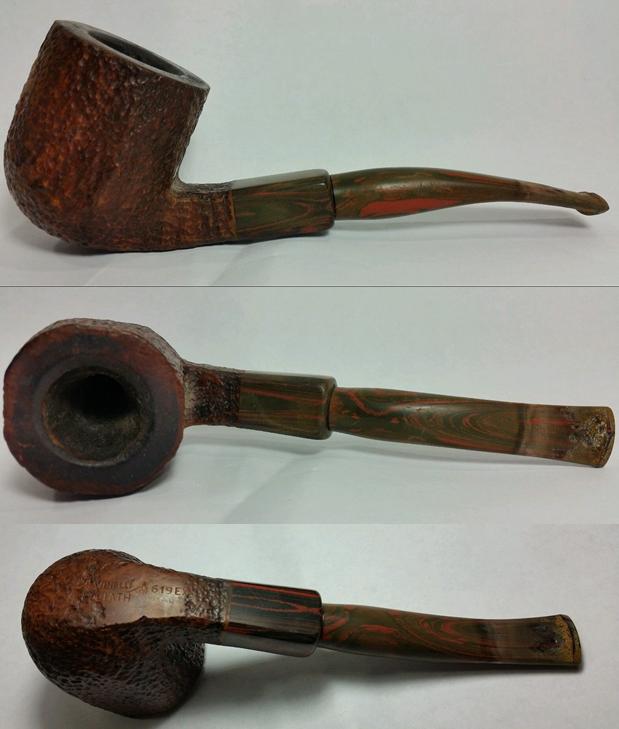 This Savinelli Goliath 619EX of Italy may represent my last restoration for several months as my wife and I return to the US from Bulgaria to reconnect with family and friends. Our organization here in Bulgaria, is a ‘not-for-profit’ so we also spend time reconnecting with the generous, dedicated people who provide their resources to enable our efforts in Bulgaria to happen. Before my wife and I head to the US, we will spend one last bit of time on the Black Sea coast enjoying the sun and sand, and I wanted to restore a pipe from my own personal collection’s “Help Me!” basket. So, this big boy will not be going into The Pipe Steward’s Store Front for a new steward to adopt and hence, benefiting the Daughters of Bulgaria, one of our important activities, helping women and girls who have been sexually exploited and often trafficked.
The Savinelli name needs almost no introduction as one of the most well-known Italian pipe houses and whose pipes are highly sought after (See the TobaccoPipes Link for Savinelli’s History). The Goliath line is no longer produced by Savinelli. Eric Squires, from SmokingPipes.com, observes,
I’ve only seen a few Savinelli Goliaths, but between the name and the fact that those few I’ve seen have all been “EX” sized pipes, I would presume the entire series was all-EX. Finish-wise they look much like the Hercules line, with the significant difference being the presence of Cumberland ferrules and stems.
The Savinelli Hercules line is still produced and examples of the differences between the former Goliaths and current Hercules offerings can be seen in the Hercules shape 619EX also from Smoking Pipes. It looks like my Goliath without the Cumberland stem and shank extension.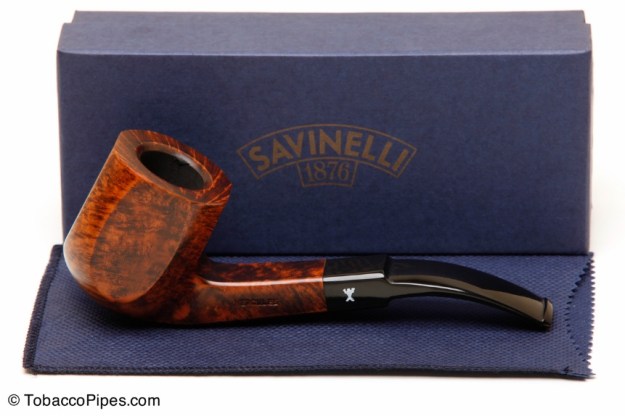 The following now defunct Smoking Pipes ad for the Savinelli Goliath 619EX does all the work for me regarding description of this massive pipe. I find Andrew Wike’s description spot on.
Savinelli’s Goliath line is aptly named, presented some of their classic shapes in extra-large, EX proportions and topped them with Cumberland mounts and stems. Here we see the “619” bent Foursquare rendered positively massive. It’s finished in a crisp, uniform rustication, offering plenty of texture in hand, without compromising the paneled shape’s clean lines. 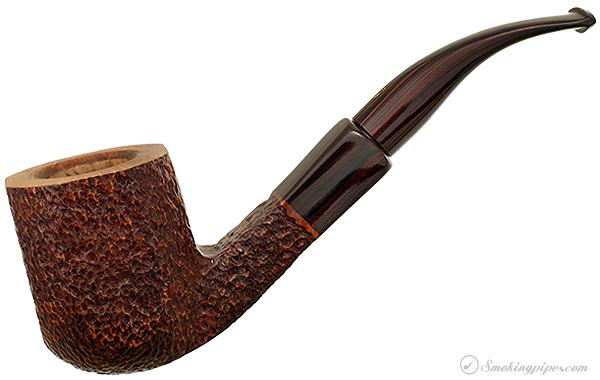 Length: 6.19 in./157.23 mm.
Weight: 2.50 oz./70.87 g.
Bowl Height: 2.12 in./53.85 mm.
Chamber Depth: 1.80 in./45.72 mm.
Chamber Diameter: 0.89 in./22.61 mm.
Outside Diameter: 1.65 in./41.91 mm.
Stem Material: Vulcanite
Filter: 9mm
Shape: Panel
Finish: Rusticated
Material: Briar
Country: Italy
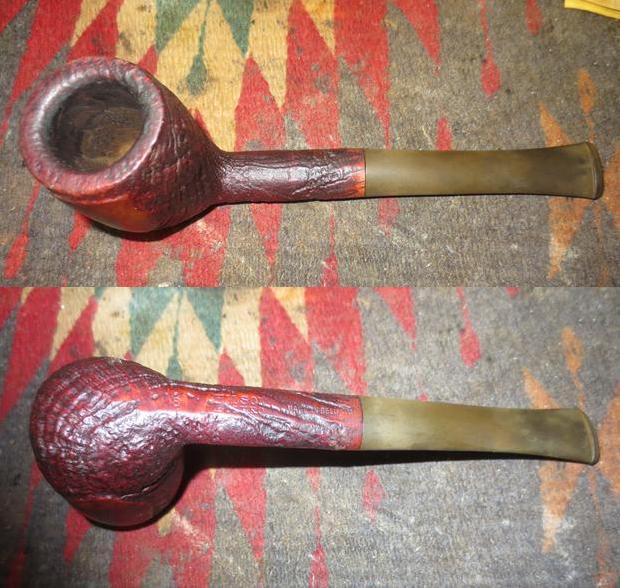
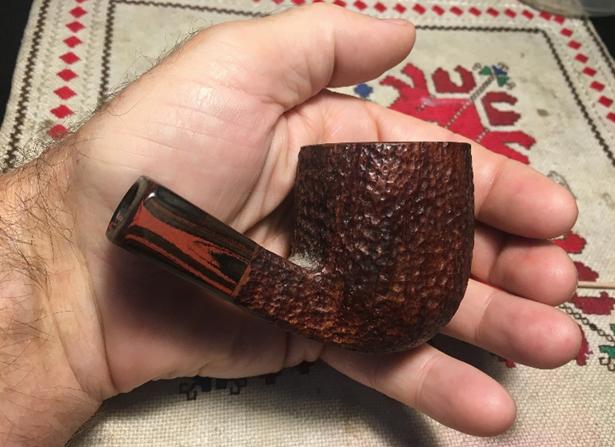
These pictures that I take of the Savinelli Goliath 619EX from the worktable here in Sofia, Bulgaria, form the starting planks of rebuilding the bridge from where this massive pipe is now and the pristine picture depicted above. I don’t have huge hands, but just to give a sense of the size of the stummel, I conclude with a ‘palm shot’ where I’m imagining this Goliath in my rotation!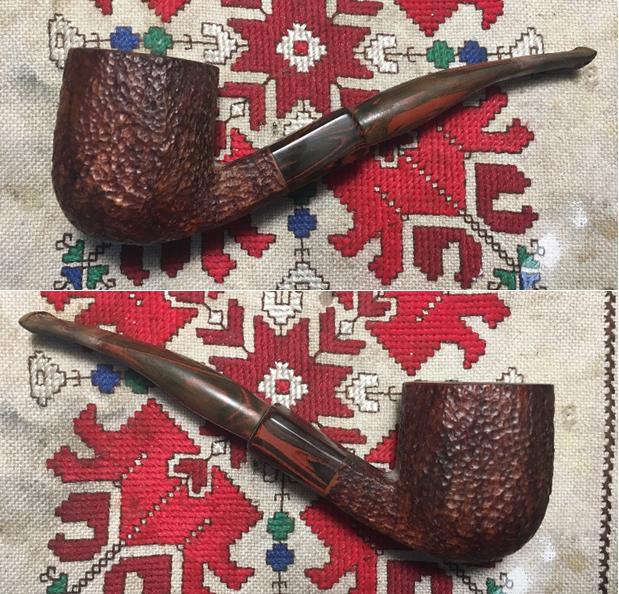
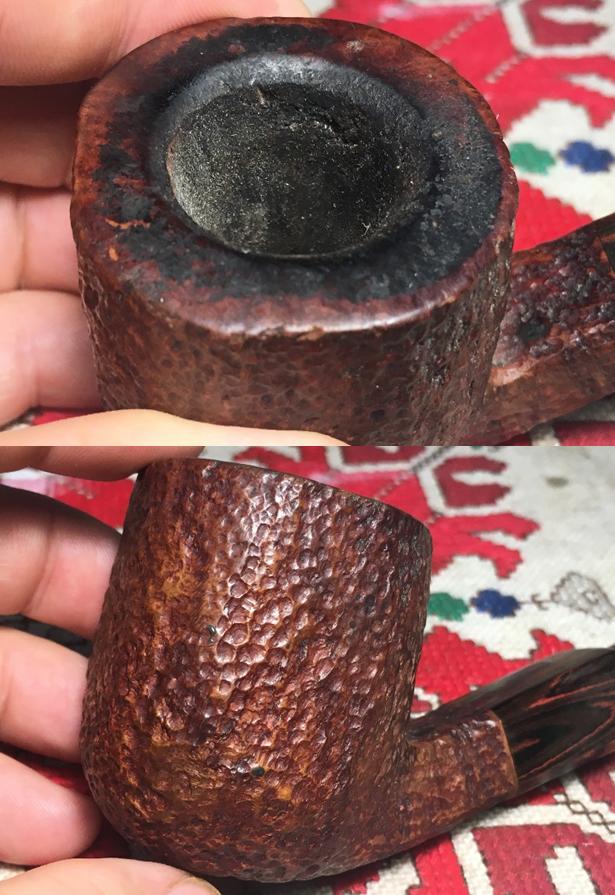
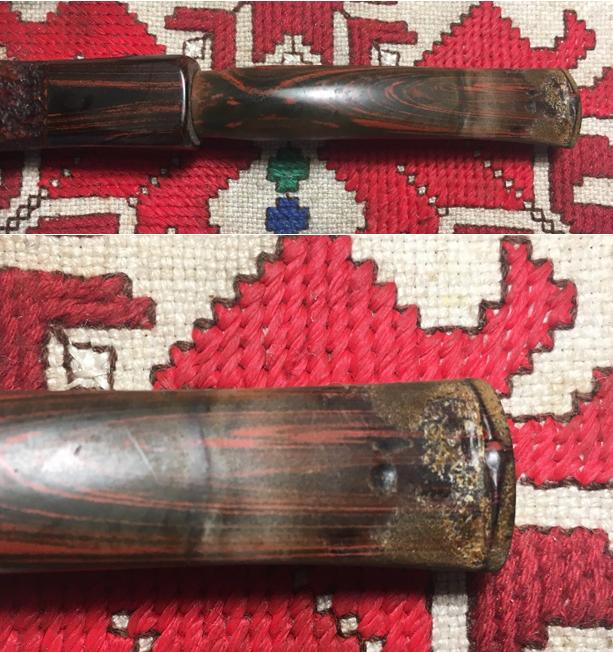


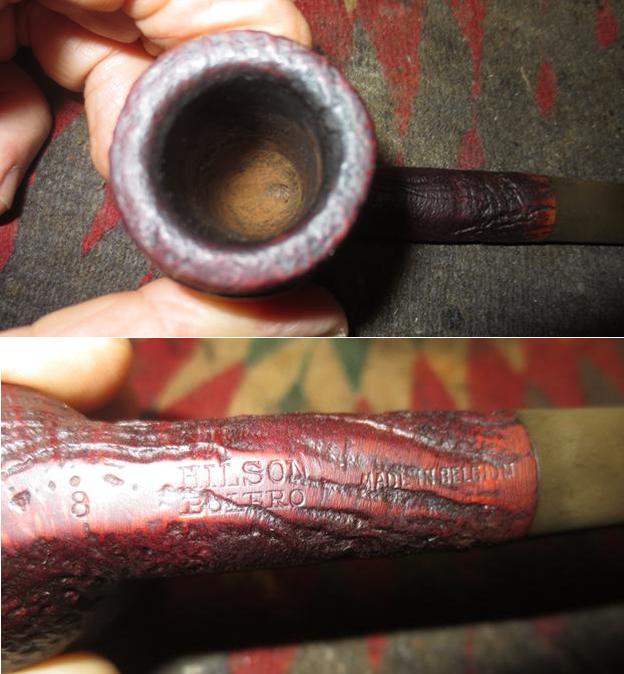
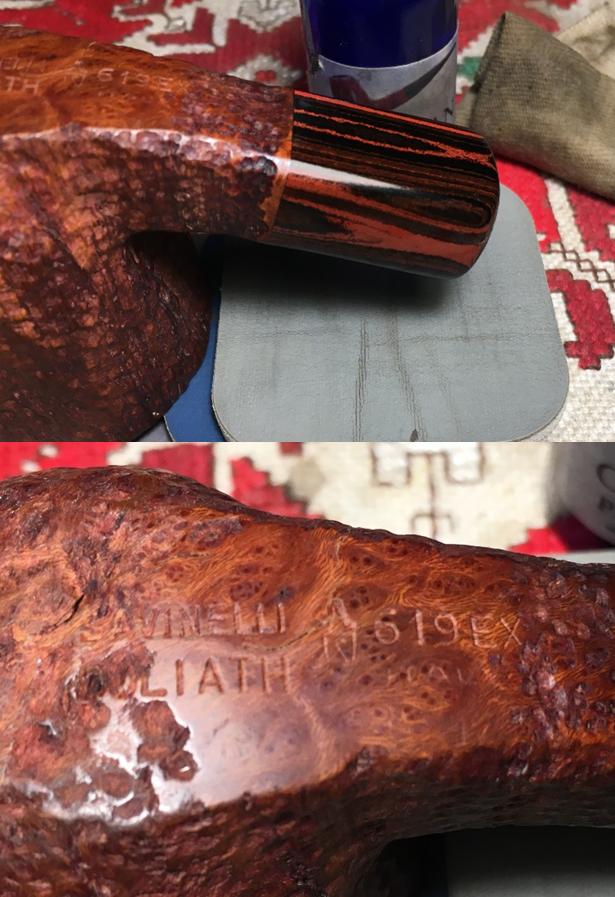
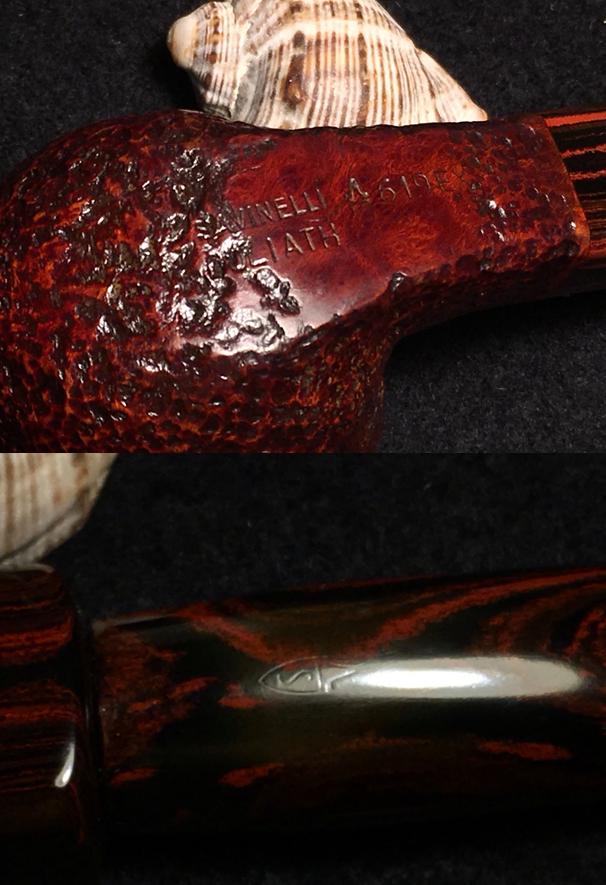
 The nomenclature is located on the underside of the shank. To the left is stamped ‘SAVINELLI’ [over] GOLIATH. To the right of this, is stamped the Savinelli logo followed by ‘619EX’. Without success, I look through several catalogues featuring Savinelli lines and I am unable to unearth the Goliath to try to date the production history. I sent the question to Savinelli’s current ‘Contact’ page in their website to see if someone might fill in those details – I’m not holding my breath. I find this nice example of a Goliath, slightly different shape, at Chris’ Pipe Pages and I discover something that I had totally overlooked.
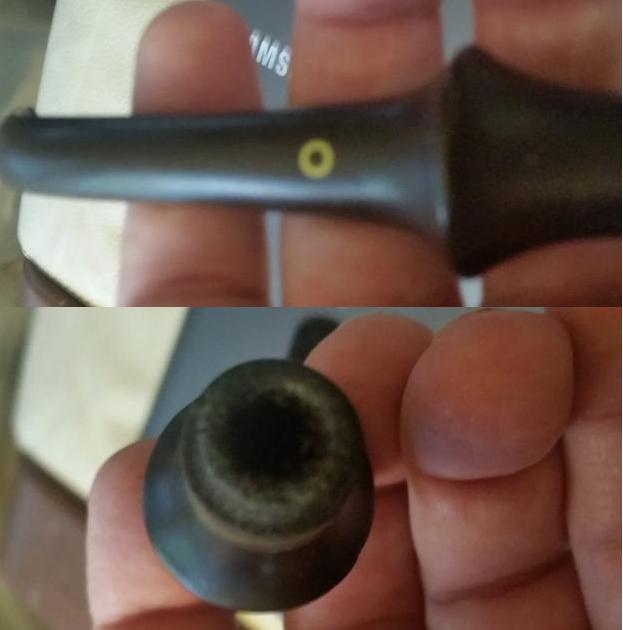
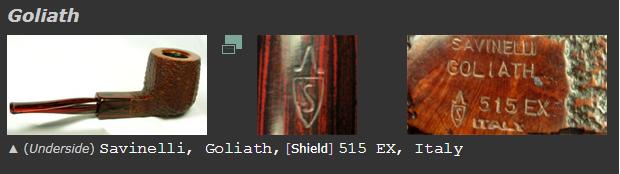 This example provides pictures of a stem stamping on the topside of the Cumberland stem! Looking more closely at my Goliath’s stem, I discover the faintest shadows of the stamping. Now that I know it’s there, I’ll do my utmost to protect it! I take a picture of the phantom.
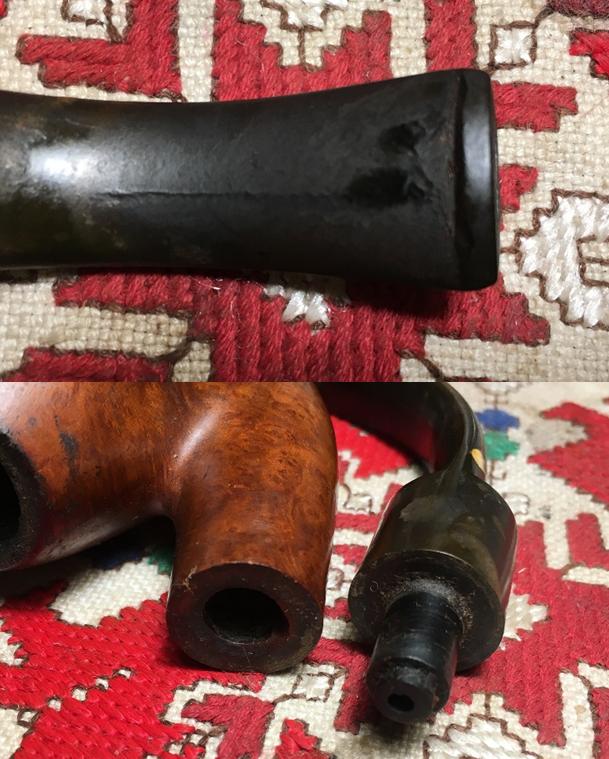
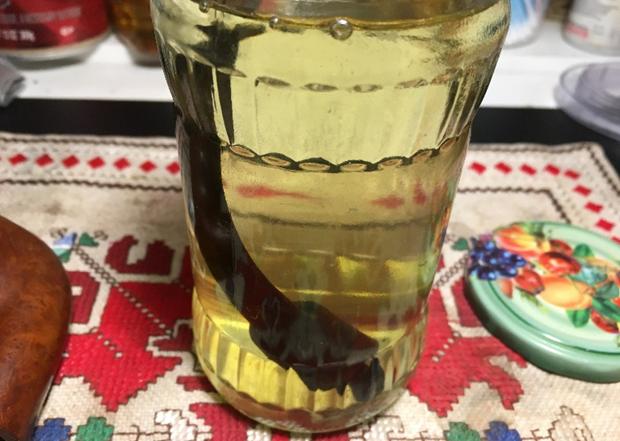
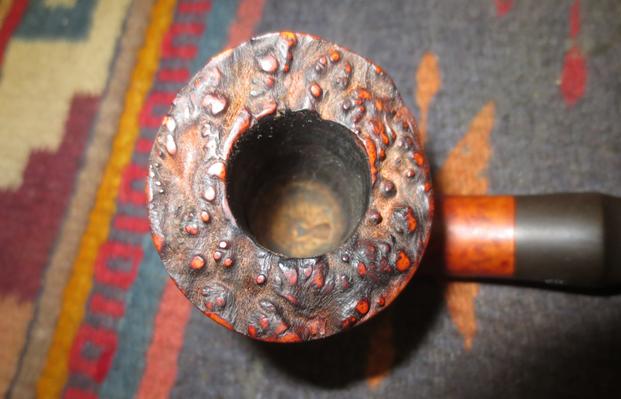
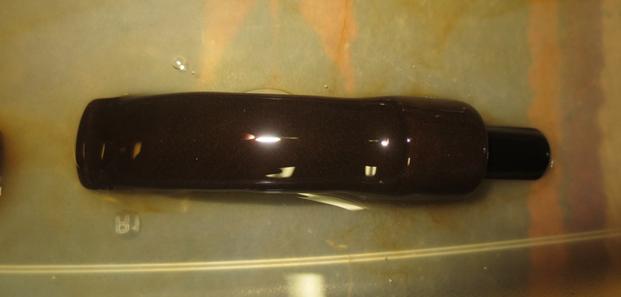
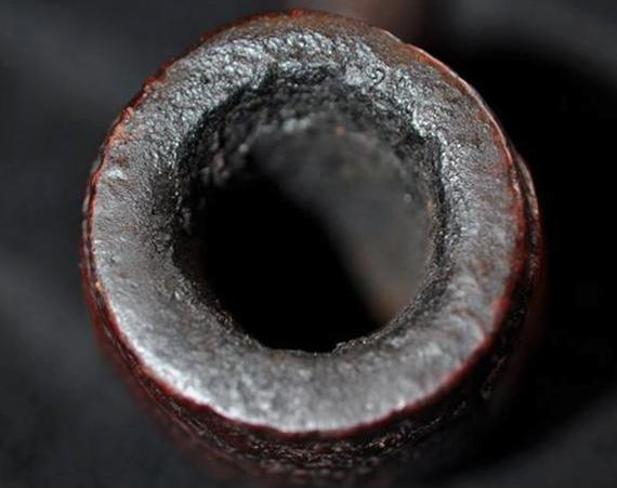
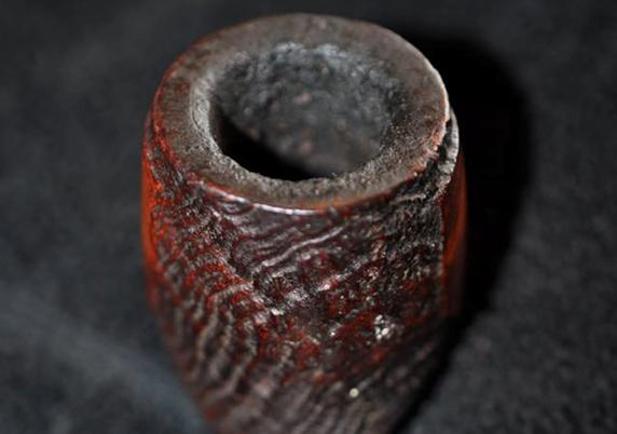
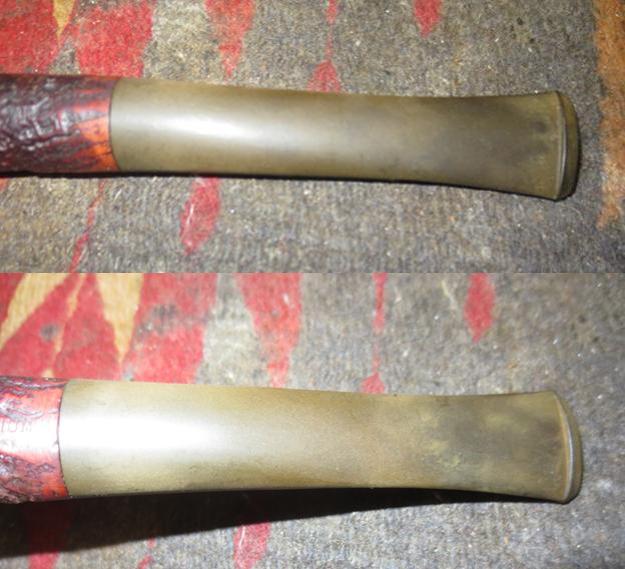
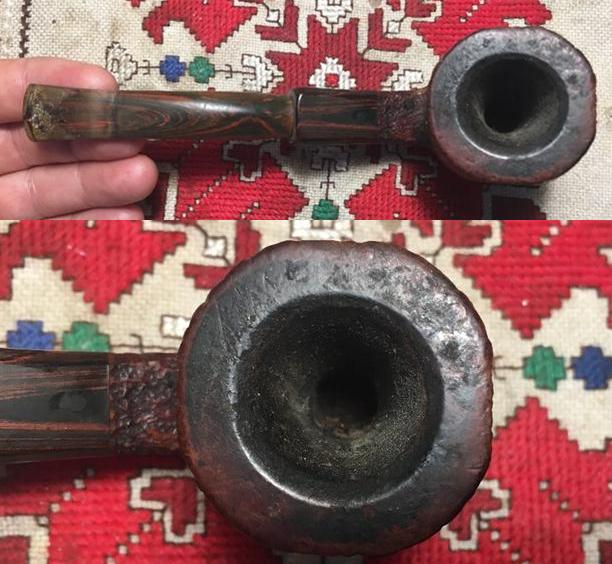
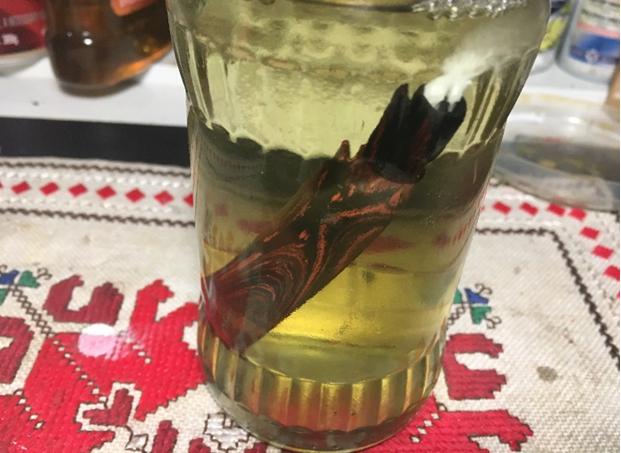
 I’m anxious to recommission this Savinelli Goliath and introduce him to the other pipes in my rotation! He needs some work. The stummel has plenty of grime in the rustified surface. The cake in the chamber is thick and it needs to be removed to expose fresh briar. The rim has lava flow and crusting. The Cumberland stem has heavy oxidation and the former steward of this Goliath was a definite clencher – the bit/button area is pocketed with chatter and dents. The button lip also has damage. We have some goliath challenges, but I’m glad to start the restoration. The first thing I do is cover the phantom stem mark with petroleum jelly and put the Cumberland stem in the OxiClean bath to soak and to raise the oxidation.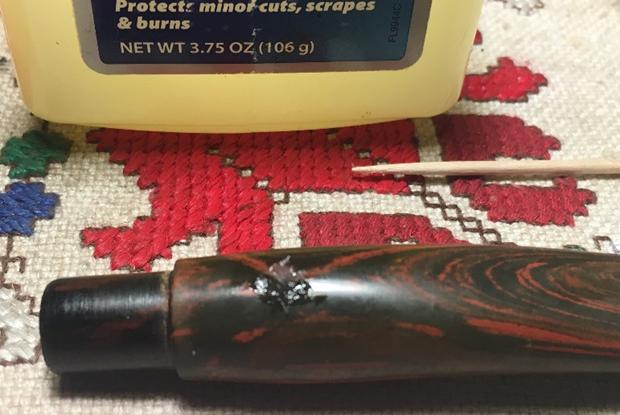
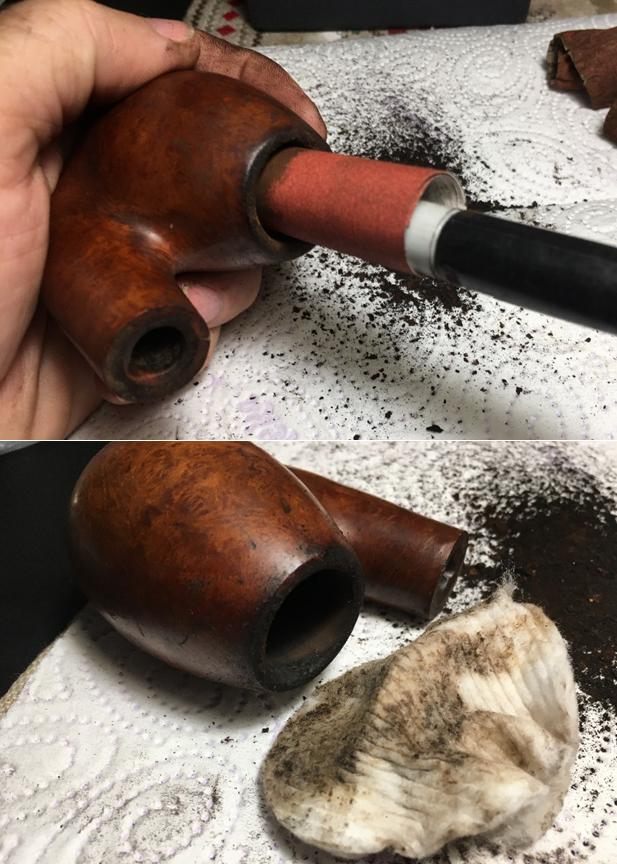
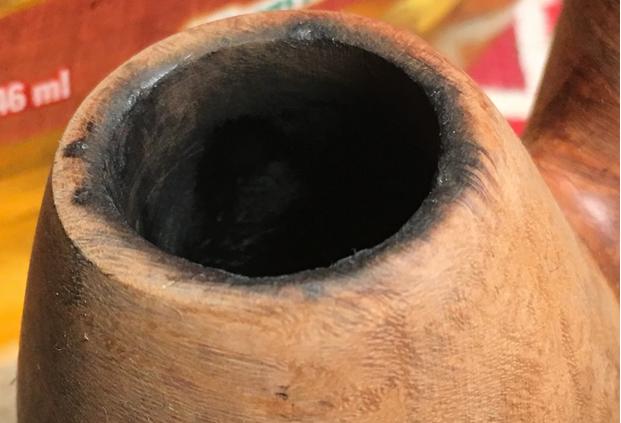
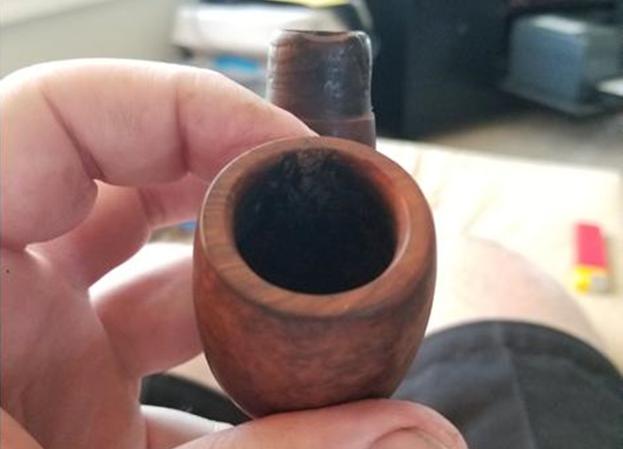
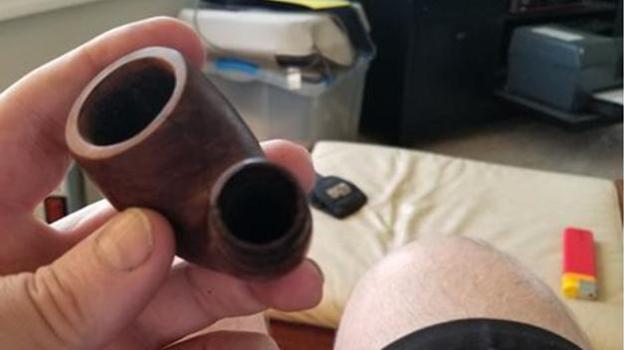
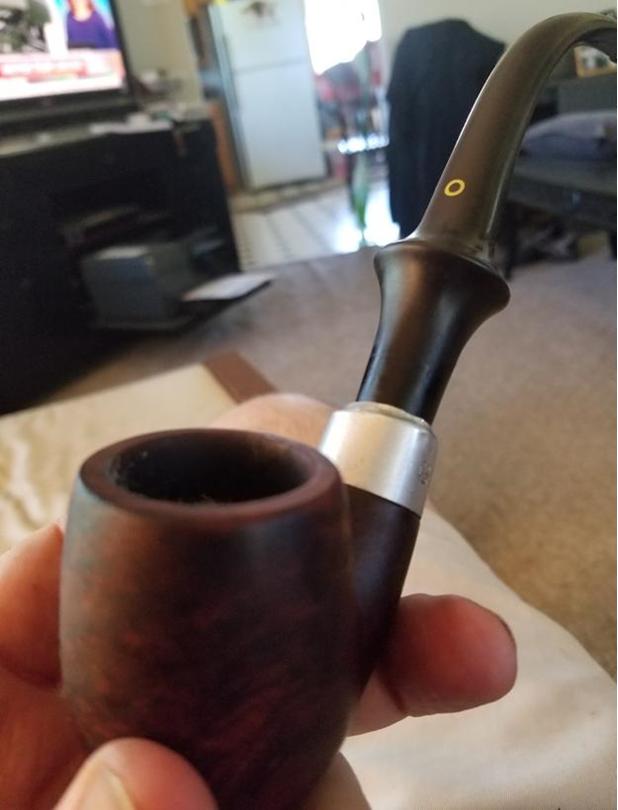
 With stummel in hand, the first thing is to ream the ample chamber removing the thick accumulation of cake on the chamber wall. Using the Pipnet Reaming Kit, I use the full array of 4 blades available to me, starting with the smallest blade. After putting paper towel down to minimize clean up I go to work. The cake is hard as a brick and it takes more effort than normal. I wonder if this bowl has ever seen the likes of a reaming blade before. As I continue to work with the first, smallest blade, images of oil drilling come to my mind…. I’ve never taken a progress picture of a reaming project before, but I do drilling down into the deep recesses of this Goliath. The first picture shows the starting point. The second picture shows the shape of the smaller blade as it makes progress down the throat of the carbon cake – maybe just past the halfway point. The cavern beyond is visible. The last picture shows the break-through to the floor of the chamber.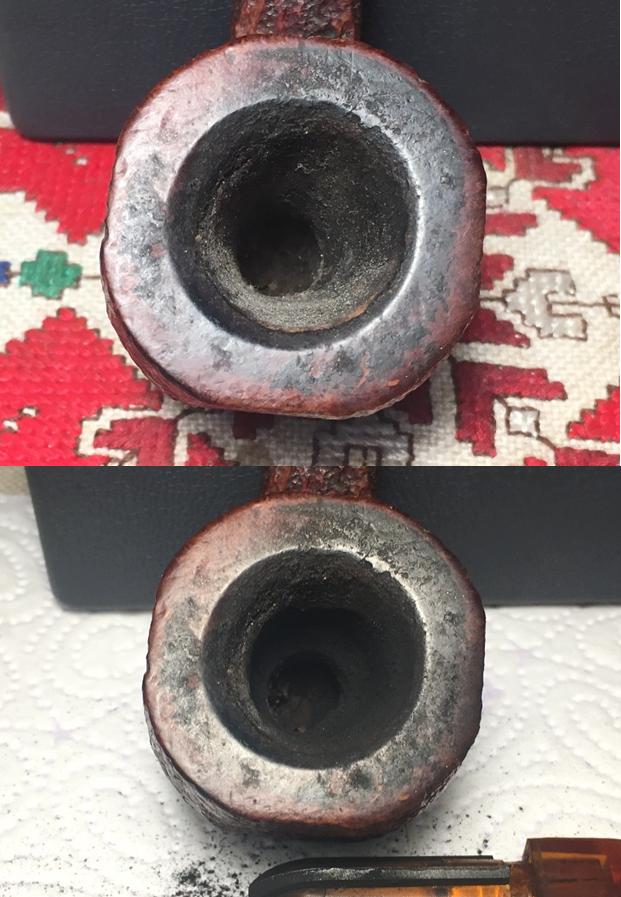
 Now, the next larger blade, blade number 2. That blade worked through to the floor and then to blade #3, the next larger. I was just thinking that I seldom worked on a pipe requiring blade #3, let alone #4. I was also just thinking, “Let the blade do the work, and don’t put a lot of torque on it. The Pipnet system is made of heavy duty plastic. Not long after those fleeting thoughts, blade #3 had a major failure and the extending blade part broke off from the insert part, stuck in the hand turning tool. Ugh! I gently coax the parts out of the stummel and tool, and put them aside for potential repair! Unyielding, I mount blade #4 and coax it gently down the chamber, overtaking the short-comings of blade #3. I record the completion of the Pipnet progress, clean the carbon dust which is much. The chamber looks good, but I’ve yet to finish.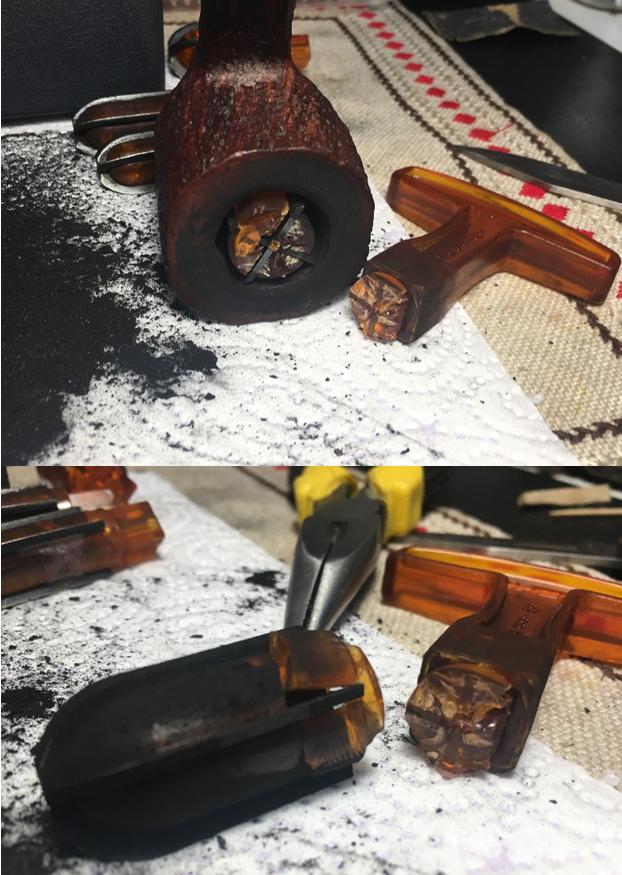
 I finish up the reaming, which is no perfunctory job this time, using the Savinelli Pipe Knife, which more accurately is the Savinelli Fitsall Pipe Reamer (See: Savinelli site). I found it on eBay sometime back after Steve bragged so much about his during many of his restorations on Reborn Pipes! It did not come cheap, but I have enjoyed its talent to finetune a reaming project. After using the Fitsall Pipe Reamer to remove more carbon in hard to reach places, I take 240 grit paper, wrap it around a Sharpie Pen and sand the chamber wall clearing out the last remaining deposits of carbon cake and presenting fresh briar for a new start. To finish the internal cleanup, I use cotton swabs and pipe cleaners wetted with alcohol to clean the mortise. I also employ the long, wired bristle brushes for the cleaning. The mortise is cleaning up well. Later, I will give the bowl a Kosher Salt/alcohol soak to clean further and freshen it.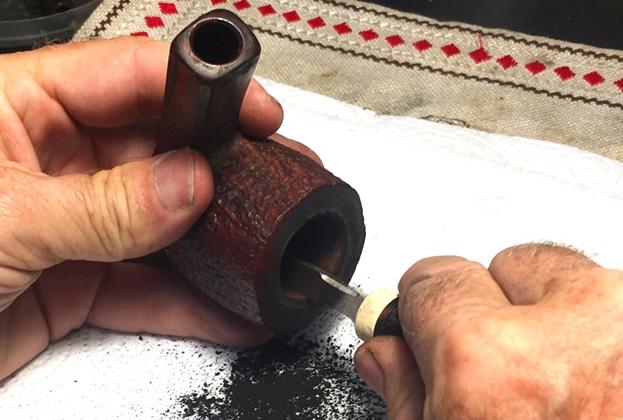
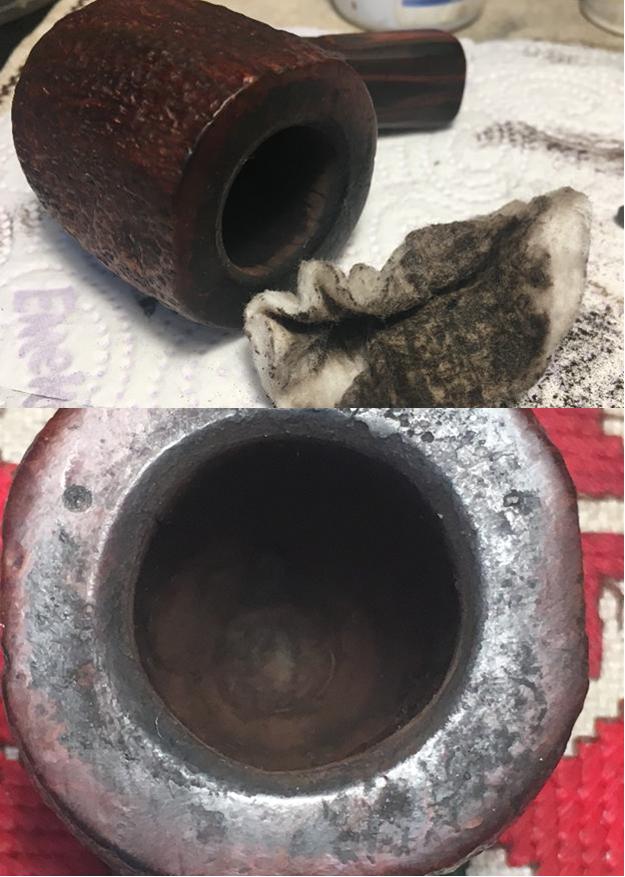
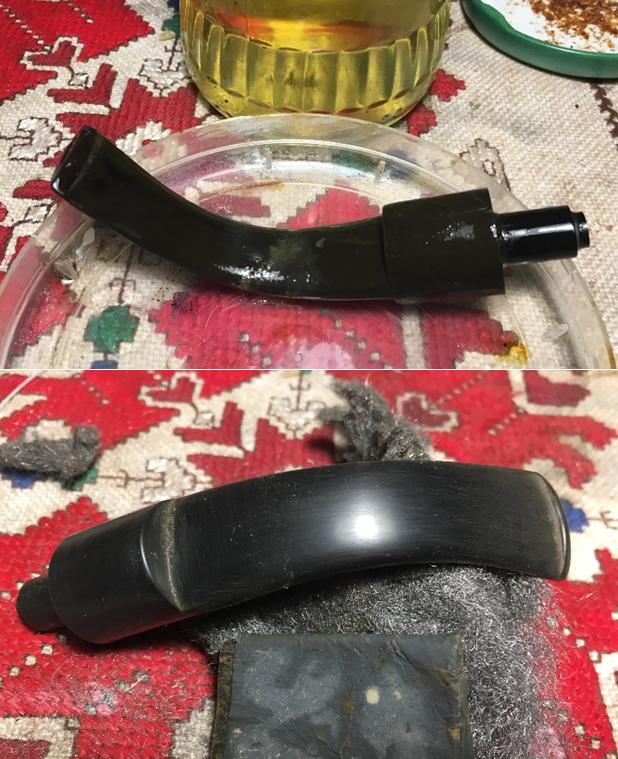
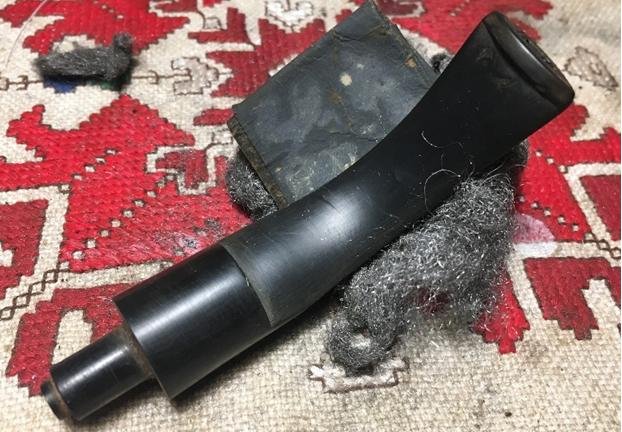
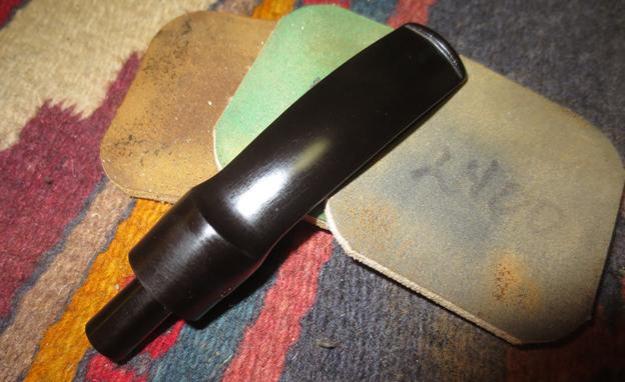
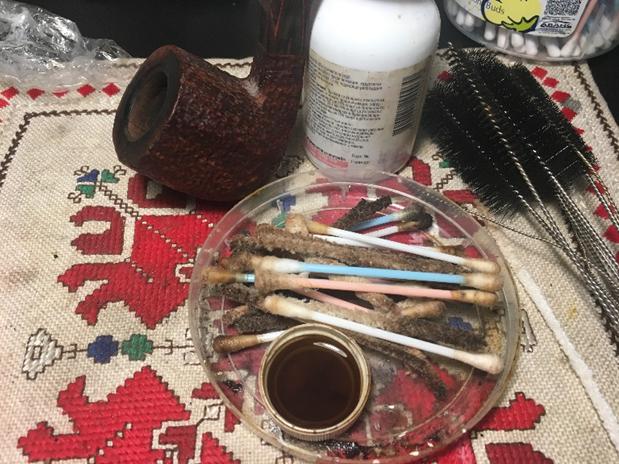 I let the stem soak overnight in the OxiClean bath. I take it out and with thumb firmly over the phantom stem stamp, I work on removing the oxidation by wet sanding with 600 grit paper then with a buffing with 0000 grade steel wool.
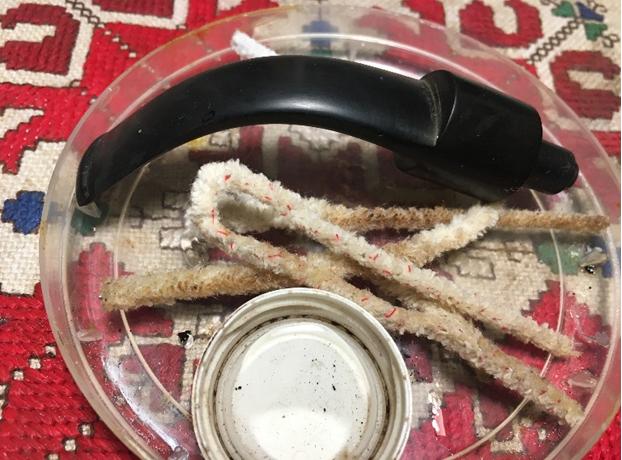
 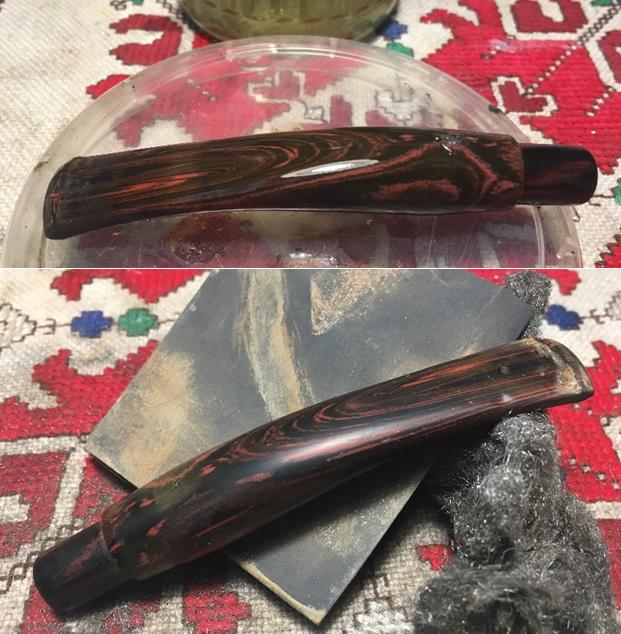 I like working on clean stems. I use pipe cleaners dipped in isopropyl 95% to work on the internal airway of the stem. I use cotton swabs to clean the filter bay. With the condition of the chamber, bit and grime on the stummel, I expected some gunk deposits in the stem and filter bay. I was not disappointed, but after several courses of pipe cleaners and cotton swabs and alcohol, the gunk gave way to a state of cleanliness.
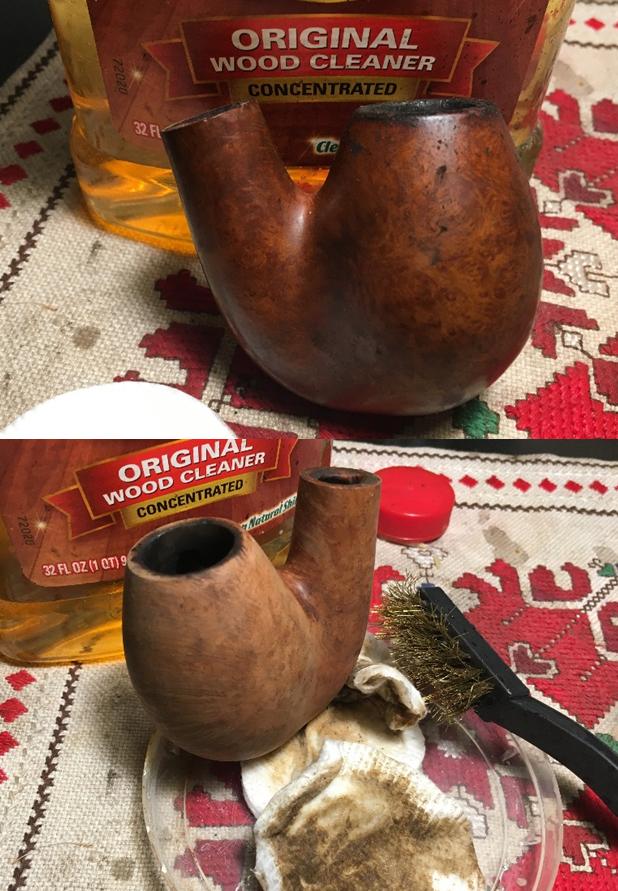
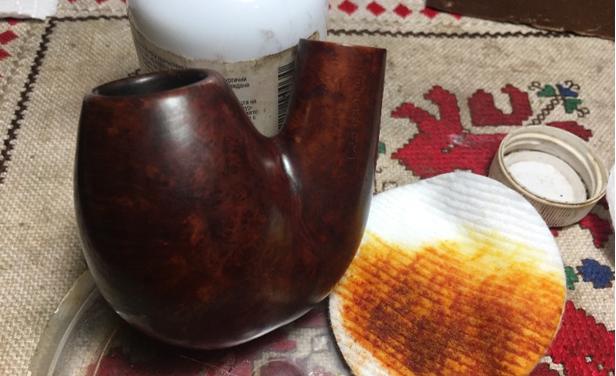
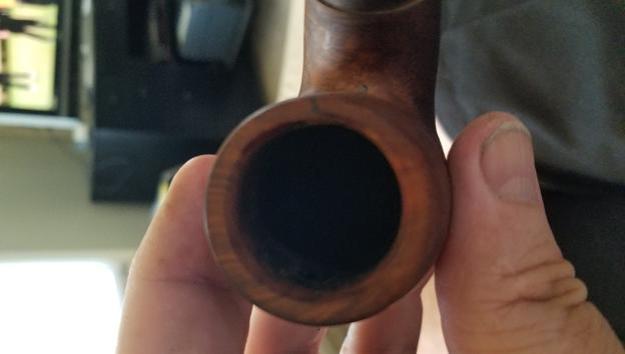
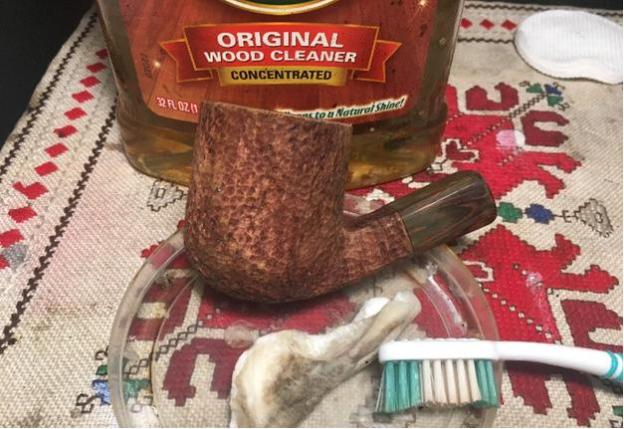
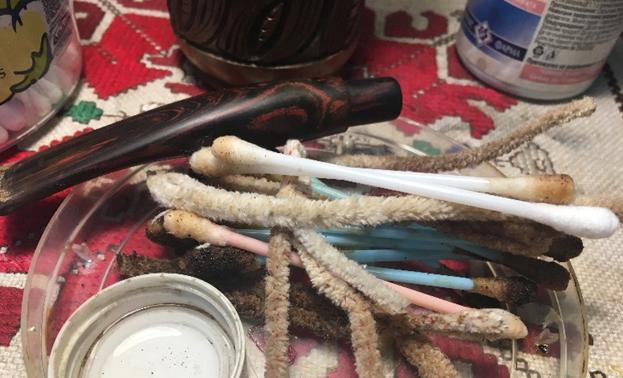 Turning now to the rustified surface of the Goliath, I use undiluted Murphy’s Oil Soap with cotton pads and a bristled tooth brush to scrub the grime off the surface as well as the rim. After scrubbing, I rinse the stummel with warm tap water without flooding the inside with water. The grime has come off, but the finish has as well for the most part. The rim is still a bit dark, but that’s not a problem. I want to reestablish a very smooth and perhaps a bit lightened rim, as I’ve seen exemplified with newer Goliaths and the Hercules series.
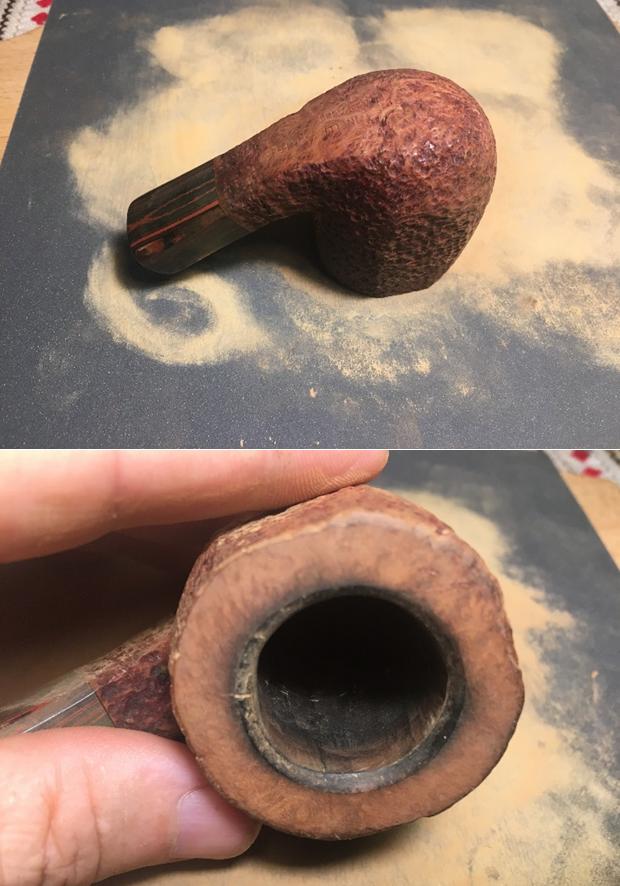
  To reestablish a crisp rim and remove the dings, scratches and darkened briar, I will lightly top it. There is already an internal rim bevel which will be re-sharpened as well. With the chopping block serving as my topping board, I put a sheet of 240 grit paper on it and rotate the stummel in circles over the paper. I don’t need to remove much – my goal is cleaning and crisper lines and to remove the scorched briar on the internal ring. After the 240 grit paper, I put 600 grit paper down and repeat the process. The rim plateau looks good, but the black ring is now more distinct.

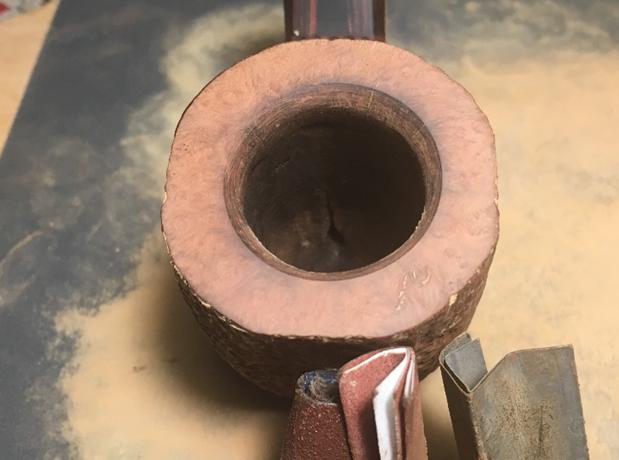
 To address the blackened ring, I use a piece of rolled 120 grit paper and recut the bevel. After this, I smooth the bevel more with 240 grit paper rolled tightly and then with 600 grit paper. After the beveling, I again put the stummel on the topping board with 600 grit paper to give a finishing touch to the bevel lines. I still see a hint of the dark ring but I’m satisfied with where the rim is.
 Switching from the rim, I now want to work on the Cumberland shank extension. To break up oxidation and remove scratching, I lightly sand the surface with 240 grit sanding paper. I follow this using 600 grit paper then 0000 grade steel wool. The Cumberland shank extension looks good.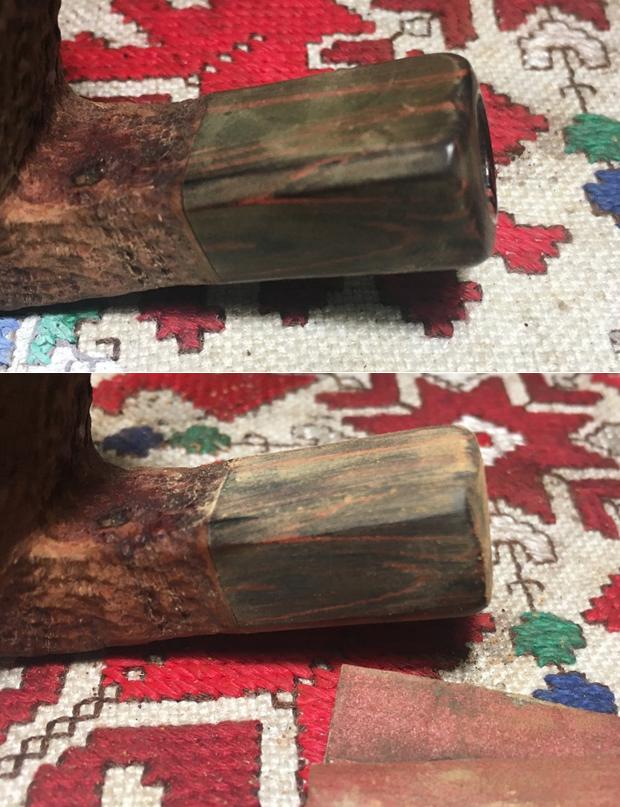
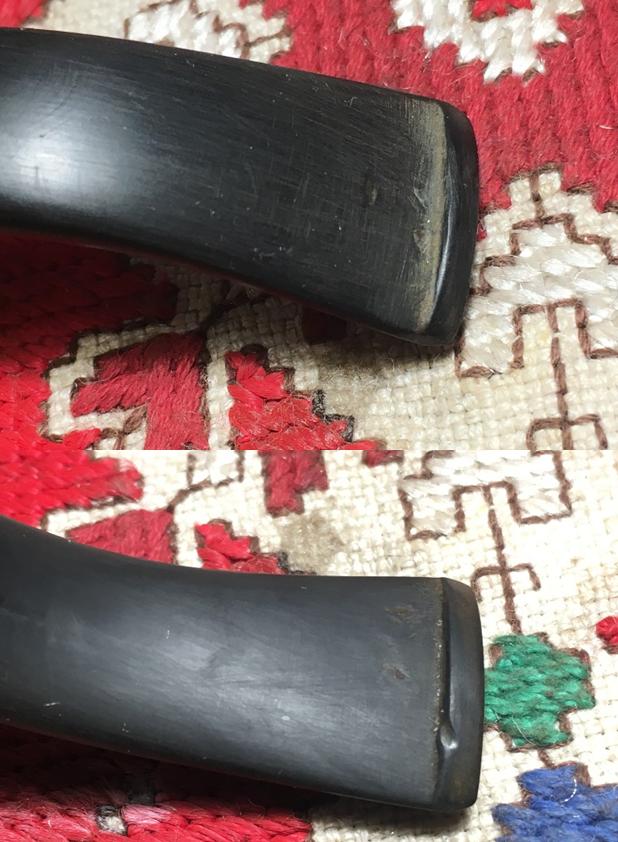
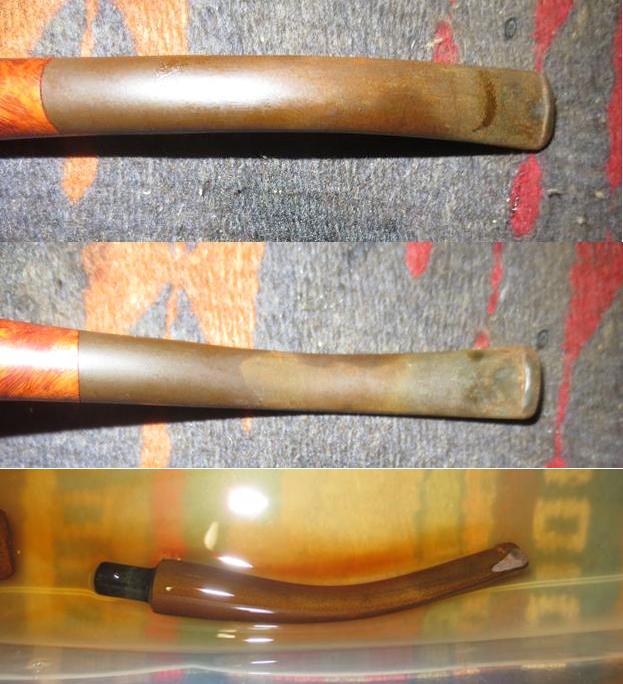
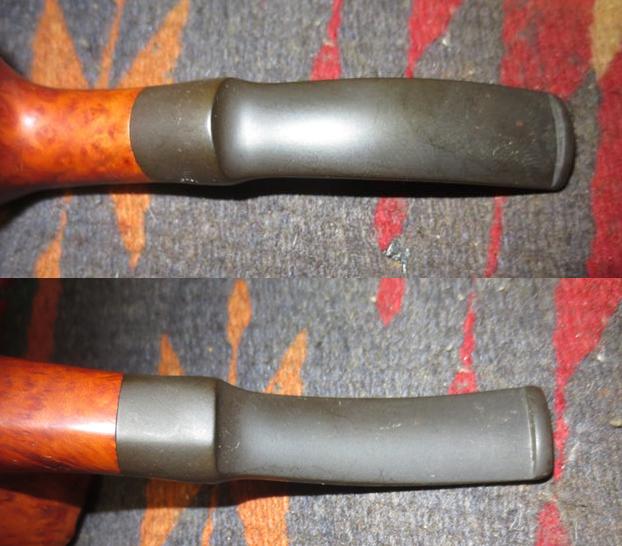
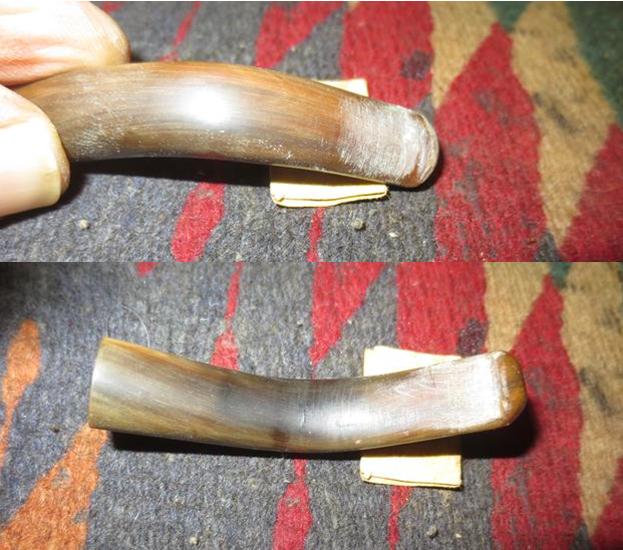
 Now, back to the stem and to address the bit repairs needed. Up to this point, I’ve only dealt with the oxidation in the stem. Next, I will use the heating method to expand the vulcanite to minimize the dents on the upper and lower bit. There are dent compressions on the button lips as well. I take fresh pictures of the upper and lower bit area to mark the starting point. It is apparent, based upon how far forward the tooth dents are on the stem, the former steward smoked the Goliath without hands at times. To counter the weight of the stummel, one would have to clench the stem toward the center.
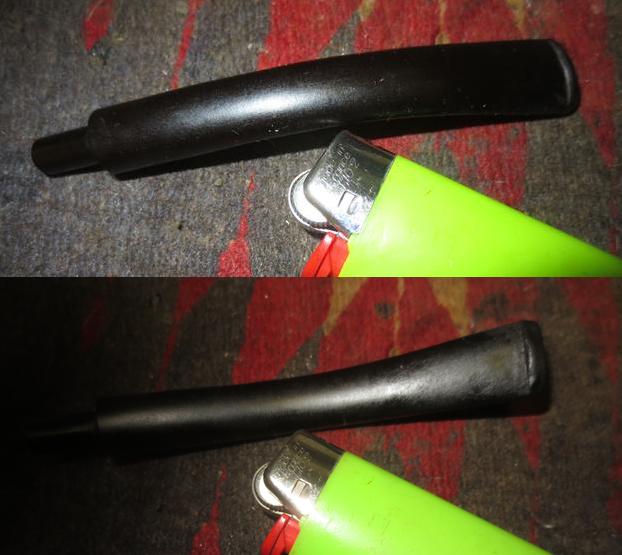
 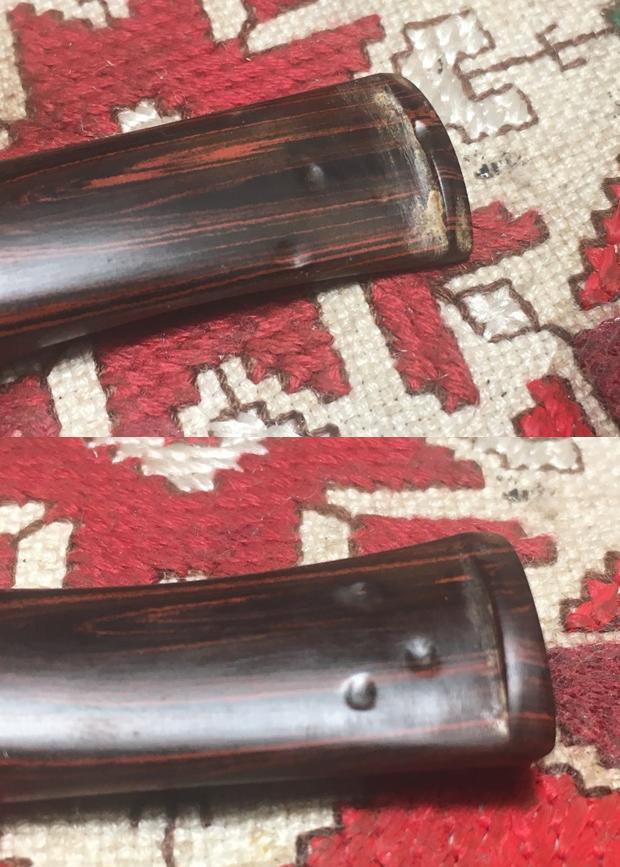 Using a butane lighter, I pass the stem through the flame, ‘painting’ the damaged areas with the heat. I do this several times until it appears that I’ve reached maximum benefit of the heating method. The deepest dents and compression points remain, but are tighter and more defined by the expansion of the vulcanite.
 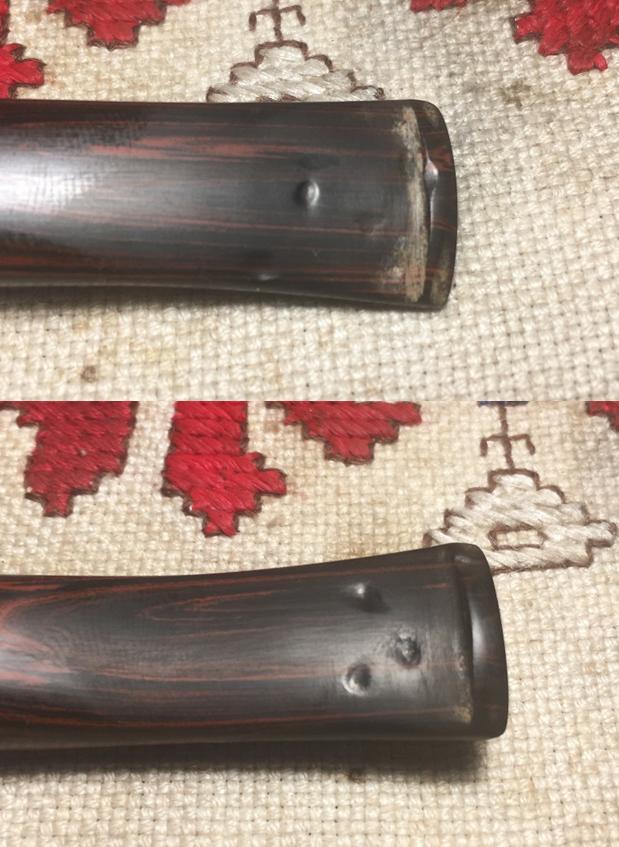 Now, I use 240 grit paper and a flat needle file to sand down the area more. I work primarily on the lower button lip area with the flat needle file to redefine the edge of the lip. After sanding and filing, I’m left with the areas needing patching.
  I wipe and clean the bit, upper and lower, with a cotton pad and alcohol to prepare it for the drop-filling with CA Glue. I use transparent Hot Stuff Special ‘T’ to do the filling, by applying it with a toothpick. For the deep fills on the lower bit, I allow ample glue to fill the area. I spray the patches with an accelerator to shorten the curing time.
 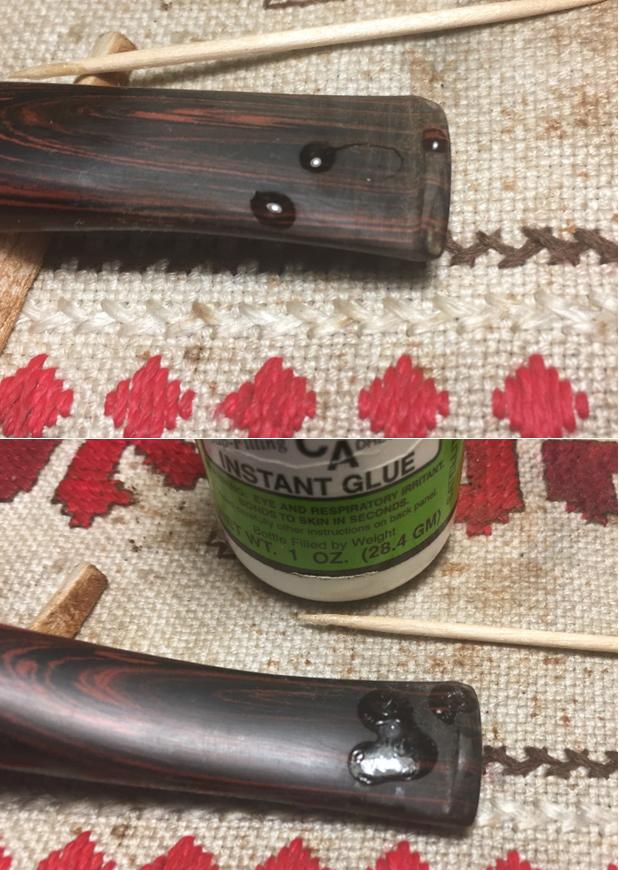 Starting with a flat needle file I remove the excess CA glue to bring the mounds down close to the stem surface as well as shape the buttons working off the excess glue.
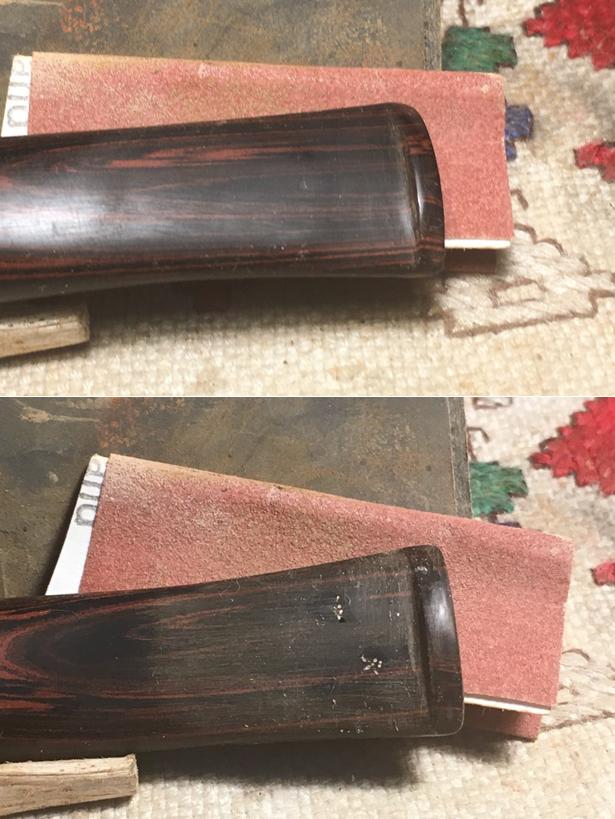
  After the file, I use 240 grit paper to sand the patch mounds down to the vulcanite surface, removing the excess CA and blending as much as 240 paper allows. Then, I follow the 240 with 600 grit paper which fine tunes the patch surfaces and blends further. At this point, I used a method for the first time. Note the first picture below – this is the upper bit and what transpired which I didn’t picture, I’ve pictured in the second picture, of the lower bit. As often is the case, CA glue patches after curing will have air pockets which are addressed by painting the patch area with thin CA glue which fills the small pocket holes and after dried, removing the film of excess glue with sanding. I notice that the patch areas, where the air pockets emerge, were whiteish. Often this is vulcanite dust lodged in the pockets. I wipe off the patch areas with a cotton pad and alcohol but pockets remained white as in the second picture. The white is the cured CA glue itself which I’ve seen before. What I also have seen before is that if you paint the white again with CA to fill the air pockets, the white spot is also sealed by the transparent CA glue and will show.
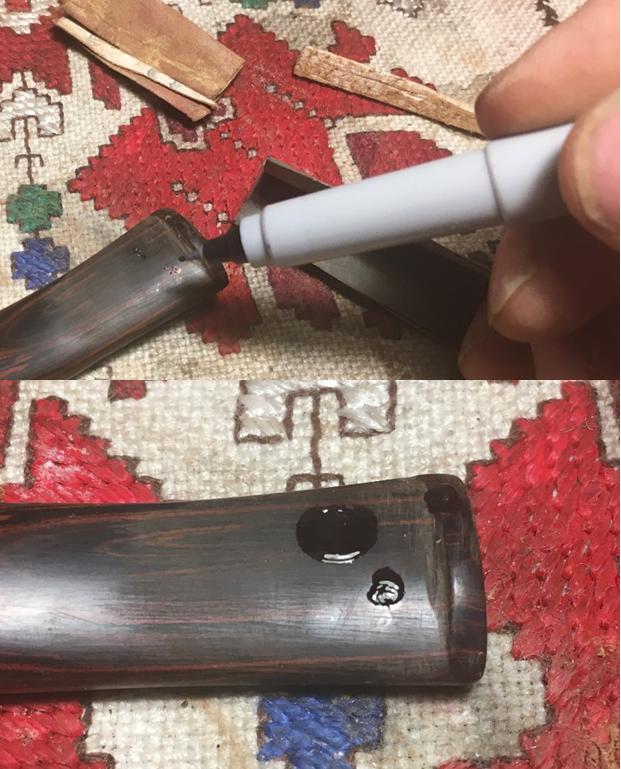
  What I do, for both the upper (which is not shown above) and the lower bit (which is shown below) is to darken the whitened patch material using a black fine point Sharpie Pen. After this, I paint with the thin CA glue to fill the pockets. Black blends much better than white does on vulcanite – or in this case, a black/red swirl of a Cumberland stem. After the CA glue cures, I will file/sand it down in the same manner as the upper bit.
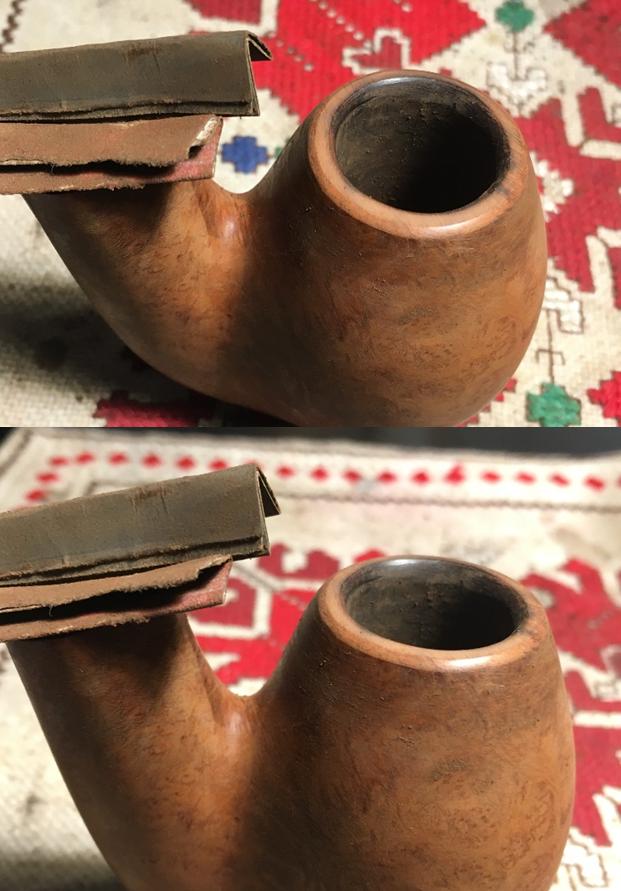
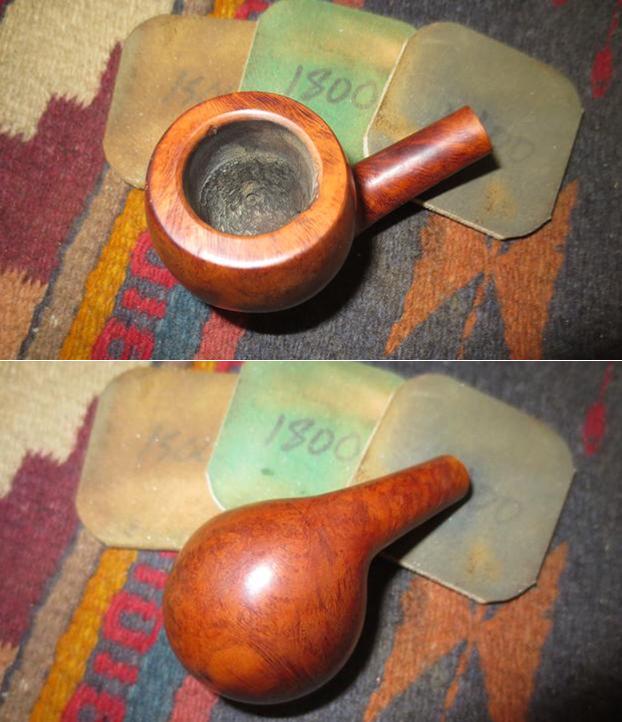
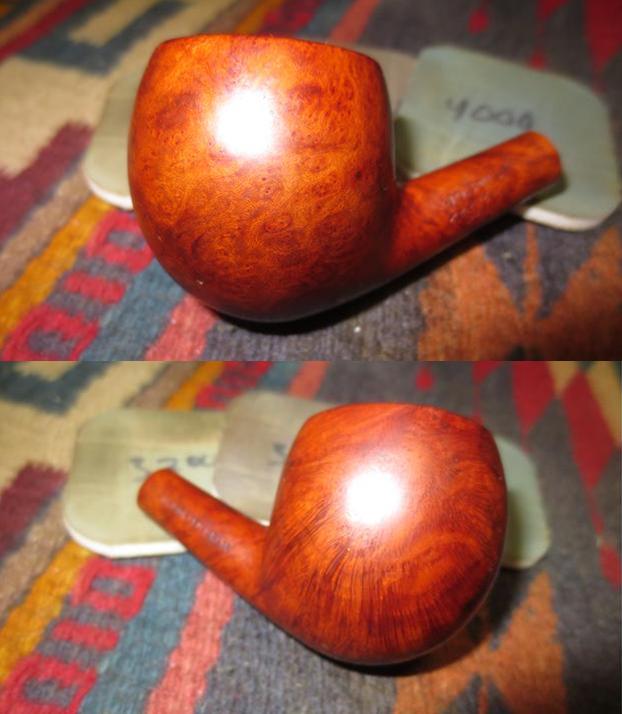
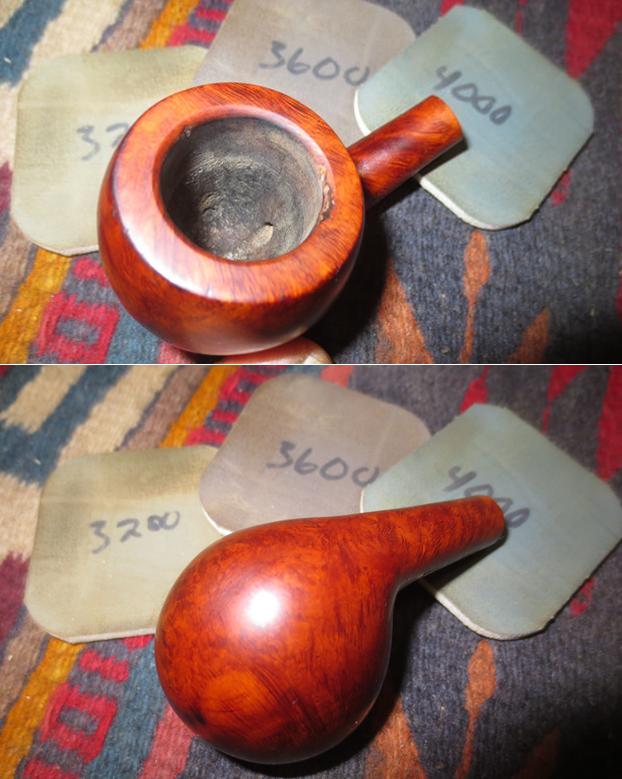
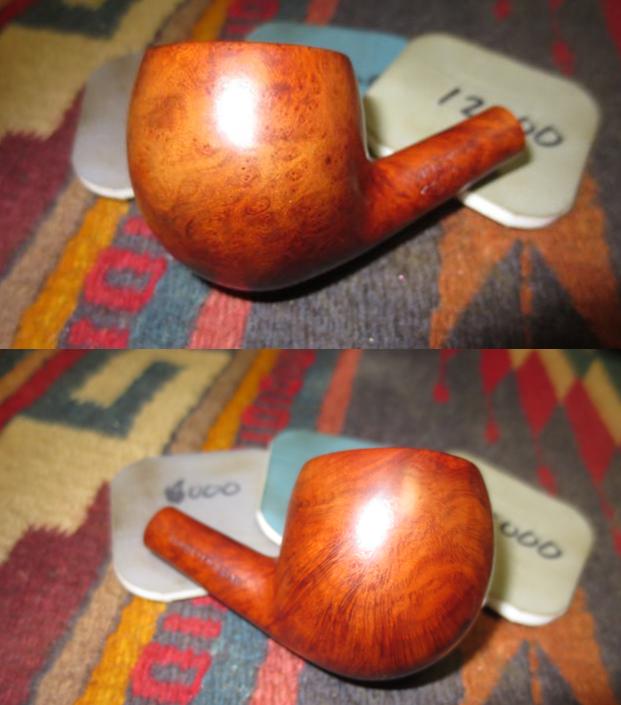
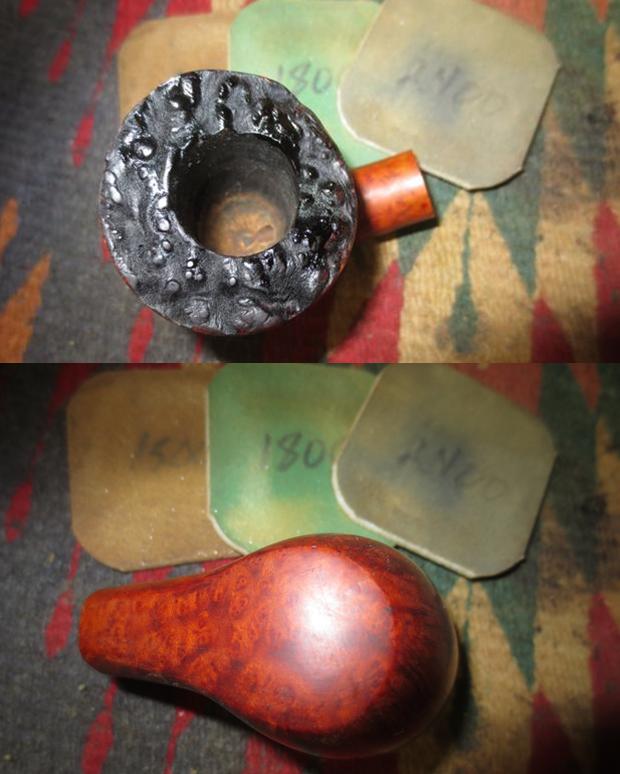
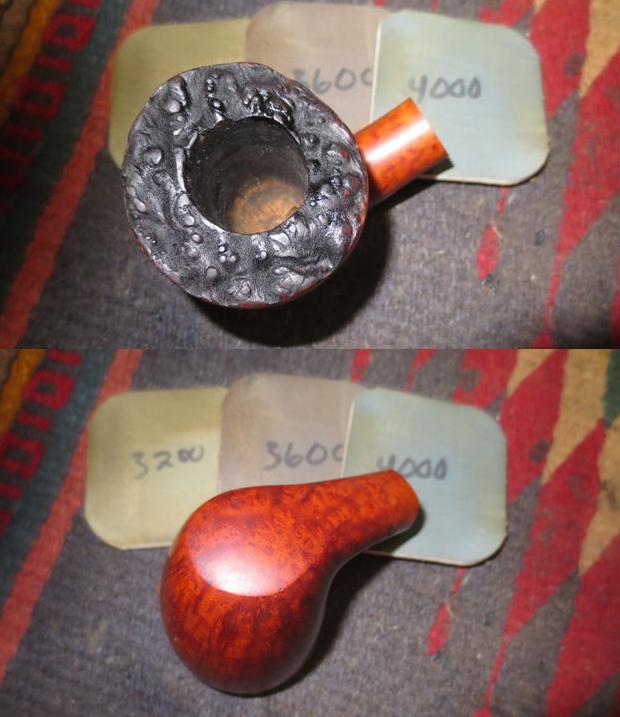
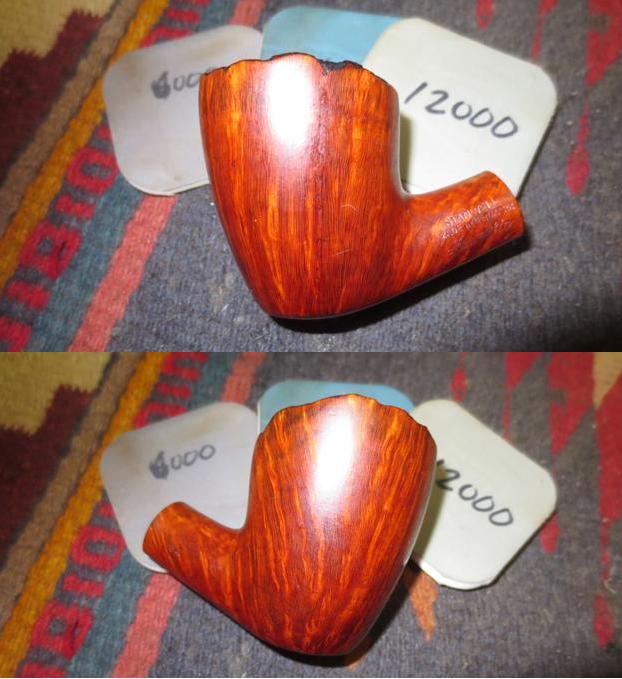
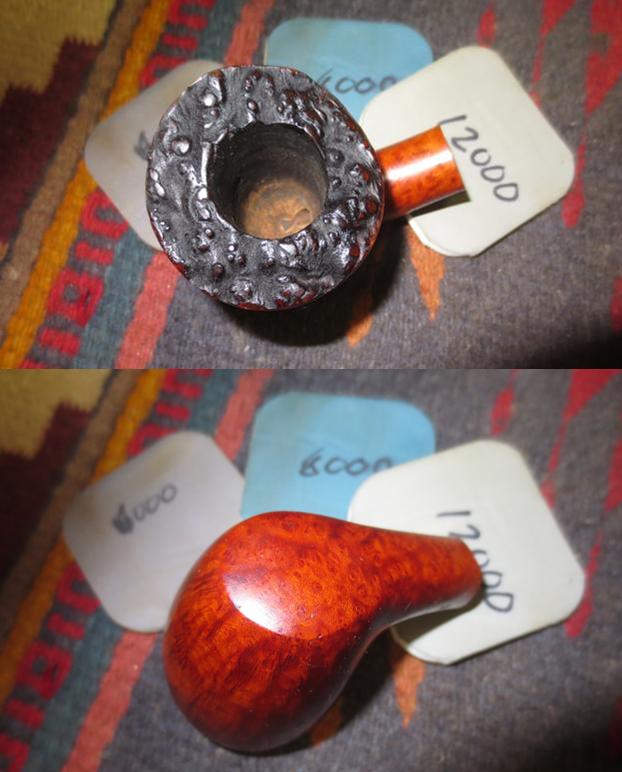
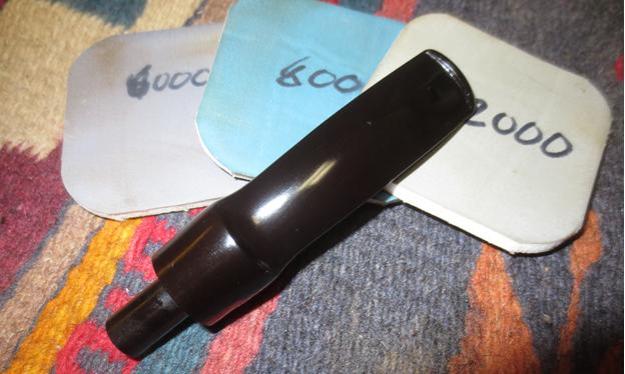
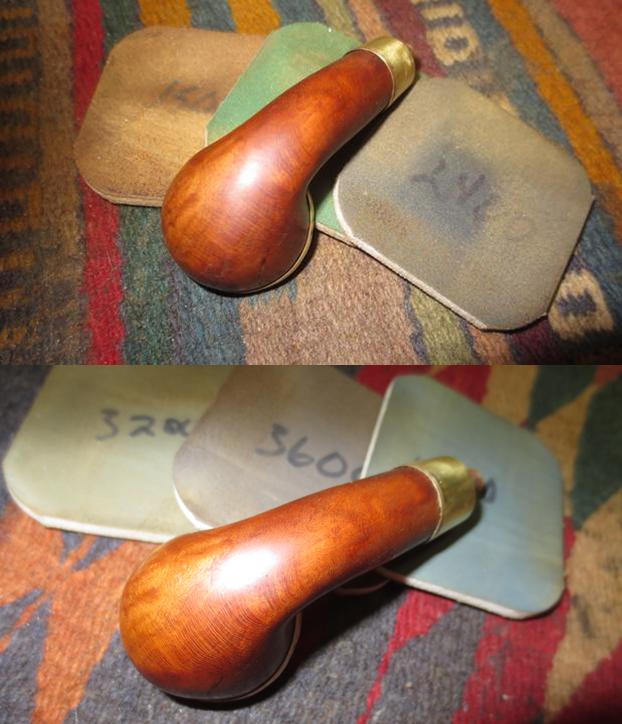
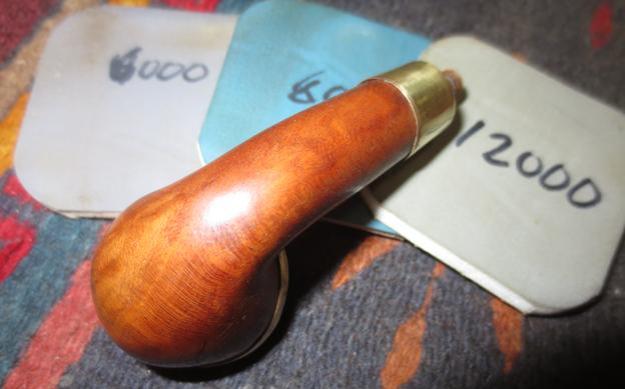
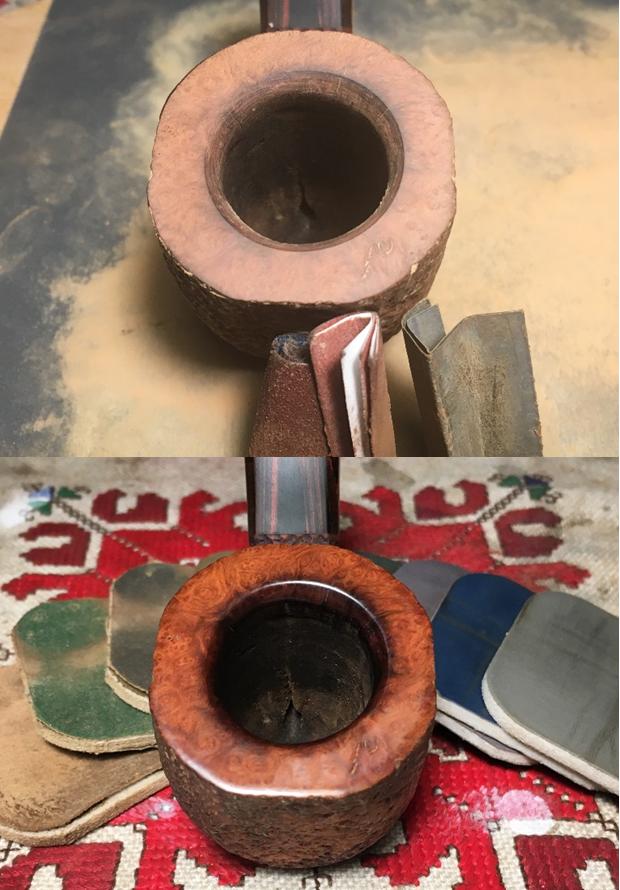
 Turning again to the stummel, before I stain the stummel, I continue sanding the rim plateau with the full array (9) of micromesh pads 1500 to 12000. Since I forgot to take a start picture, I brought this picture forward again for comparison.
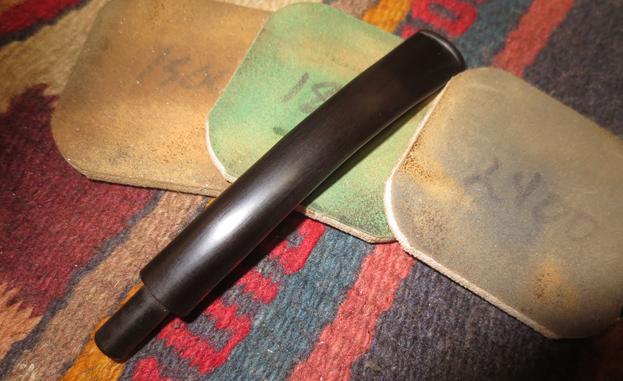
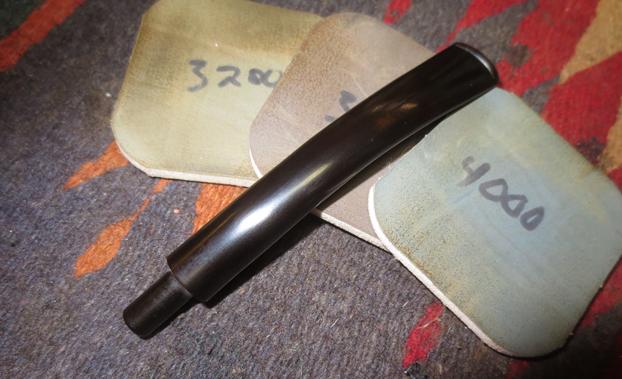
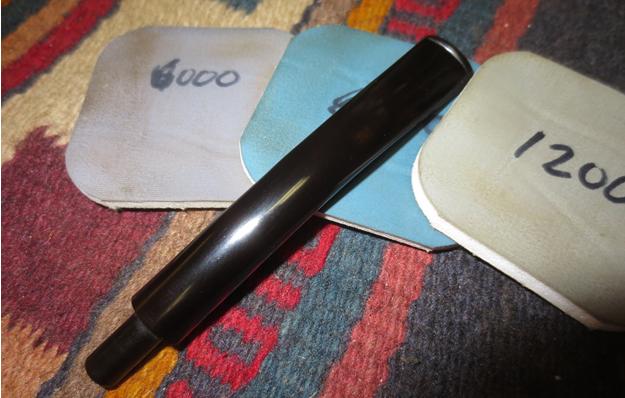
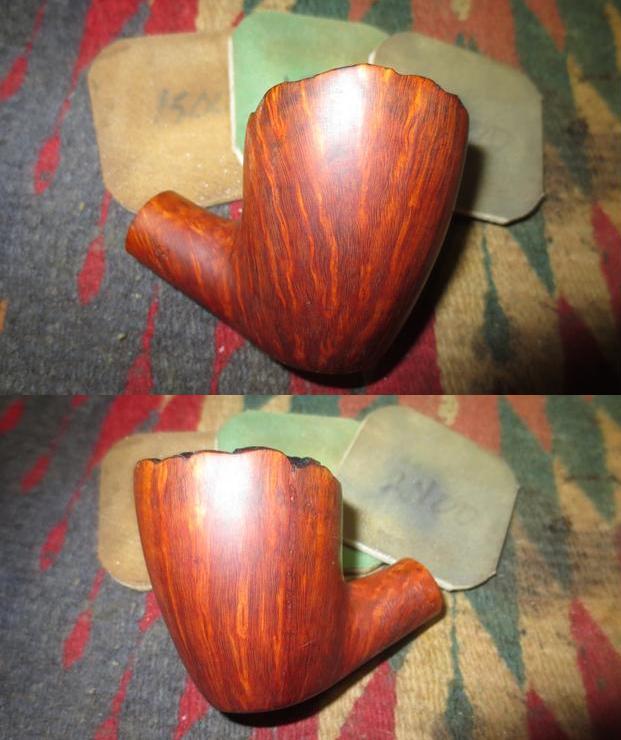
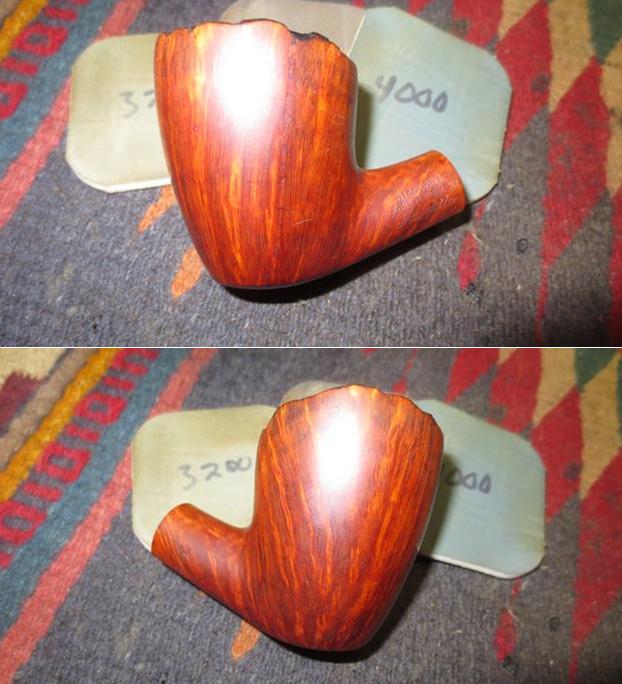
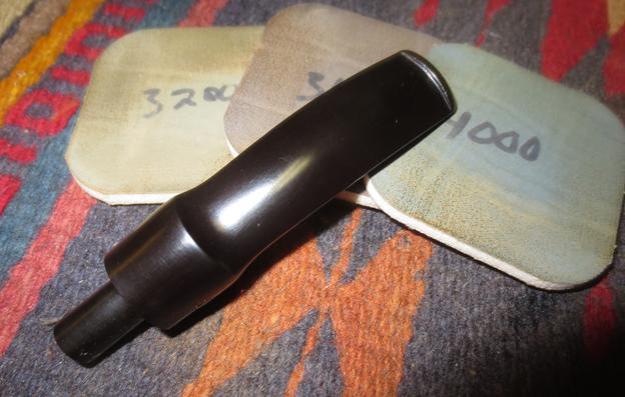
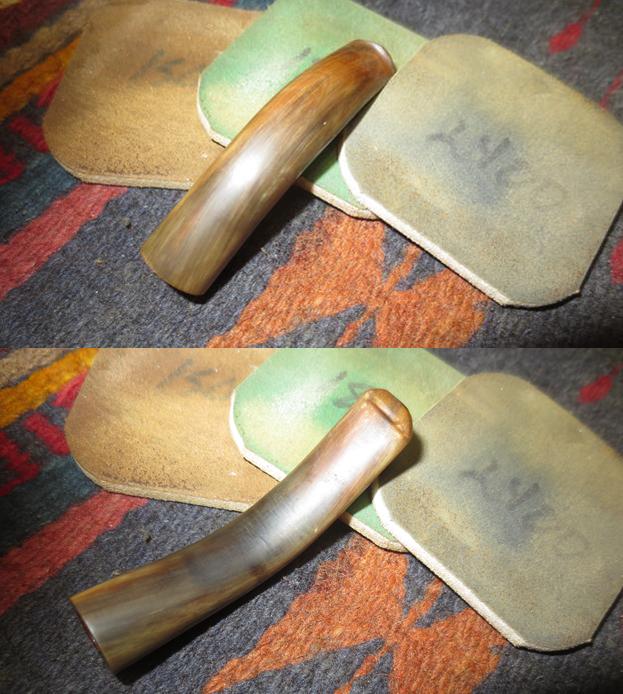
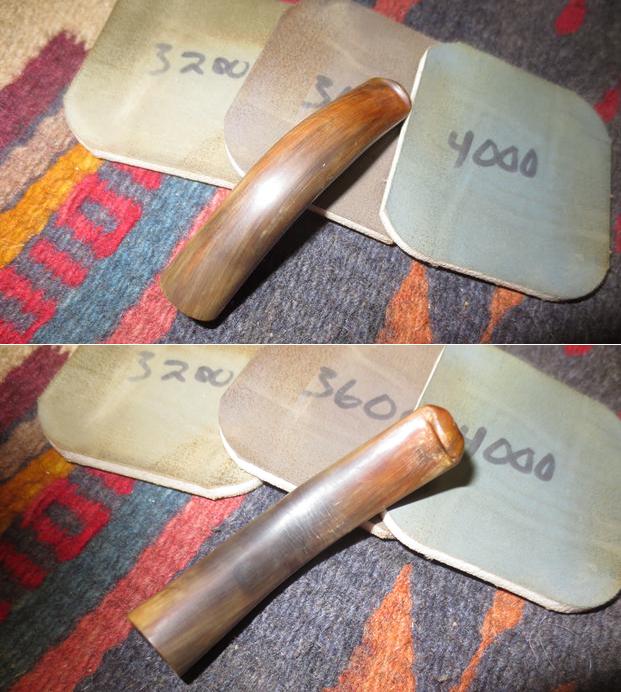
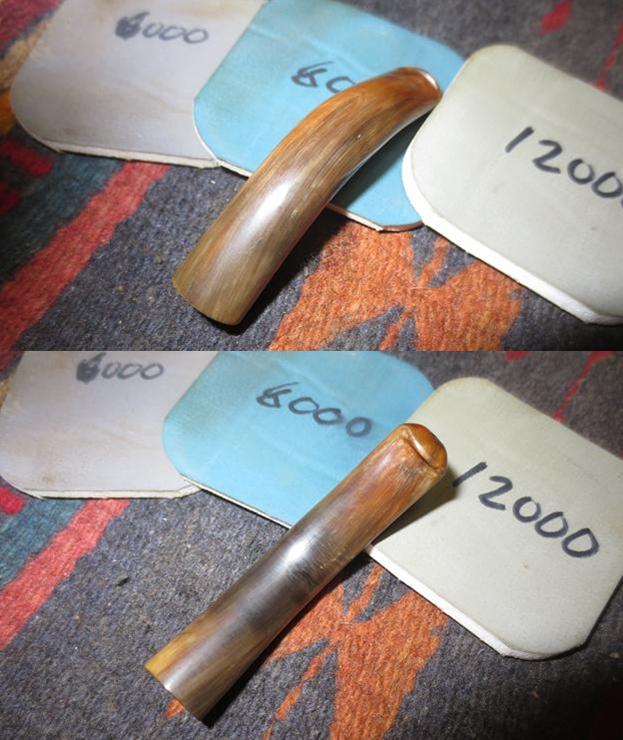
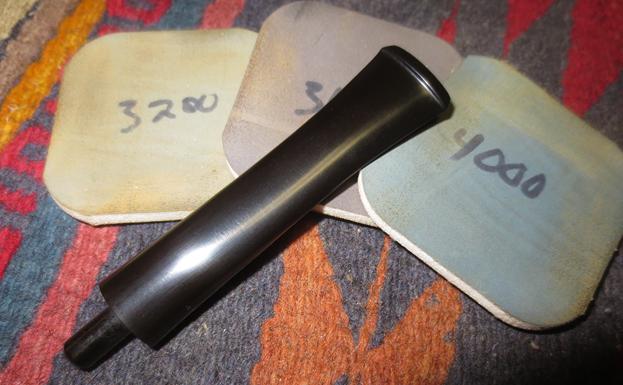
 Now, also using the micromesh pads, I work on the Cumberland shank extension first using pads 1500 to 2400, then 3200 to 4000, then finally, 6000 to 12000. After each set of 3, I apply Obsidian Oil to the shank to revitalize the vulcanite. What can I say? I love Cumberland vulcanite! With each iteration of micromesh pads and Obsidian Oil, my anticipation of recommissioning this Savinelli Goliath with a bowl full of my favorite blend, Lane BC, is growing! For the last 6 micromesh pads, I also polished the smooth briar on the lower shank that holds the Savinelli nomenclature – pictured below.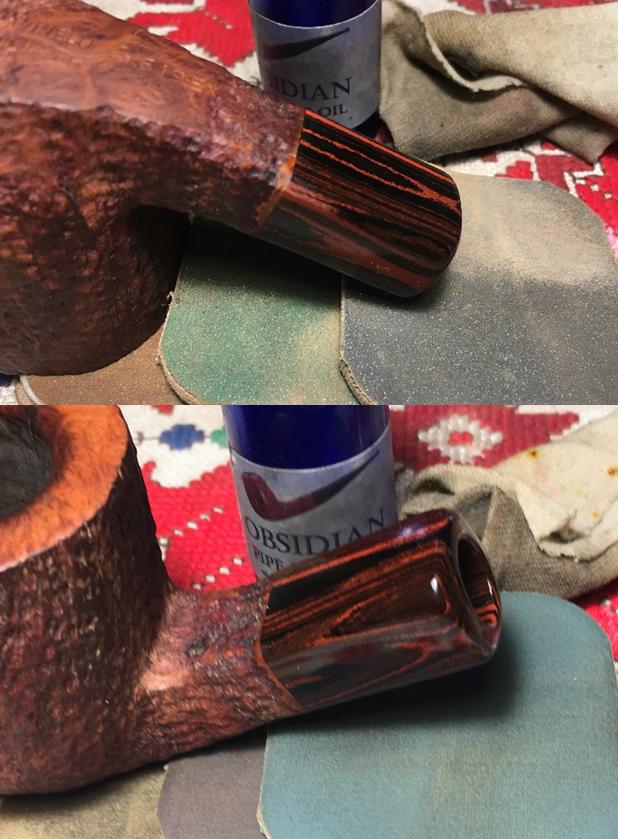
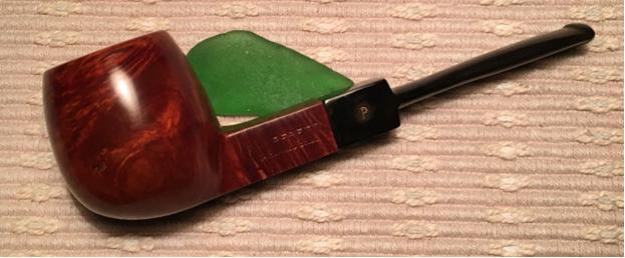
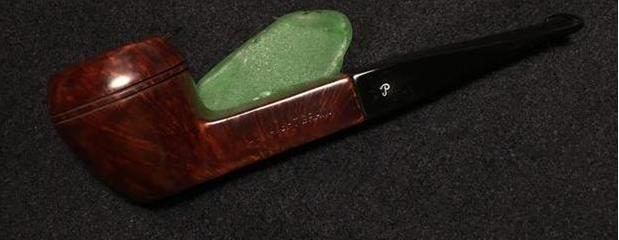
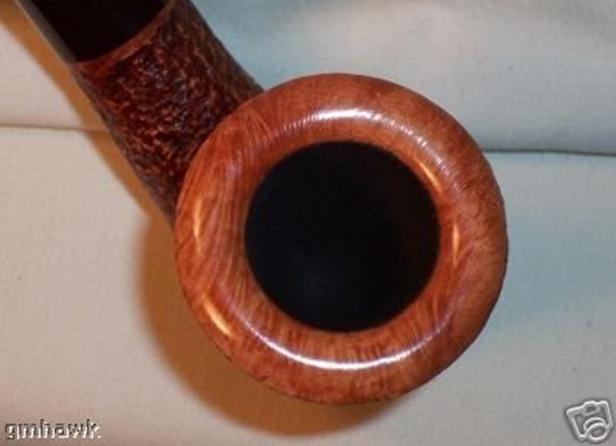
 Since I cleaned the stummel with Murphy’s Oil Soap (a few days ago!) and the finish dulled significantly, I have been thinking about how to finish this Savinelli Goliath keeping it within the original Savinelli framework when it was initially commissioned. For a ‘tenderfoot’ (former Boy Scouts will understand) restorer, here are the questions that come to my mind. The color – there is a subtle reddish lean to the rustified surface. How do I emulate it? The rustification – the texture of the rustification in the picture below shows the rising and falling definition of the color tones over the contoured rustified landscape. How do I emulate this so that the stummel color doesn’t turn out one dimensional? And finally, the Rim Plateau. I call it a plateau – it’s too massive simply to be a rim! Goliath’s Plateau! I’ve seen pictures of Goliaths and the cousin series, Hercules, that leave the rim ‘plateau’ lighter or perhaps, left natural – leaving a striking relief between stummel and rim. An example from Worth Point in pictures 2 and 3 below – though the rounded rim is not wanted for the Goliath. Should I stain the plateau or leave it as is? Questions.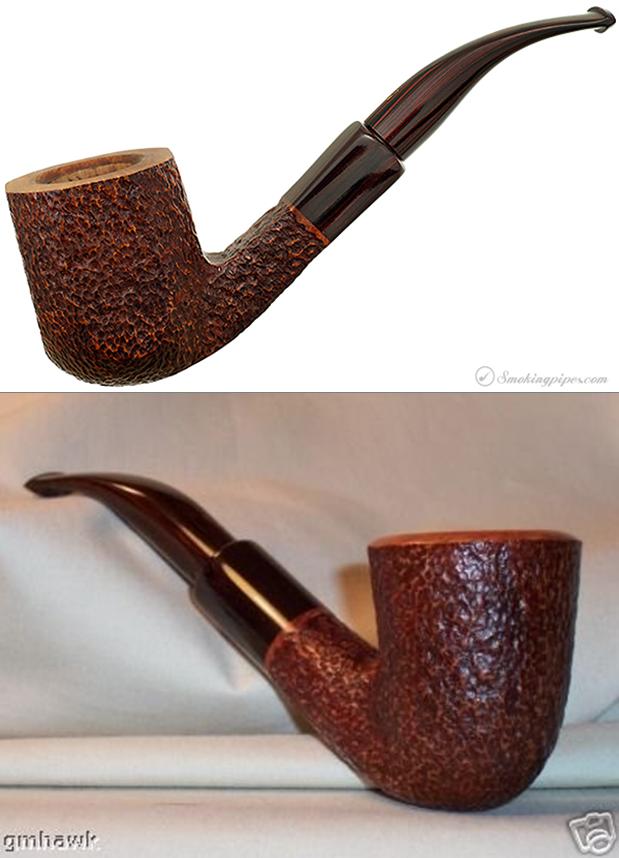
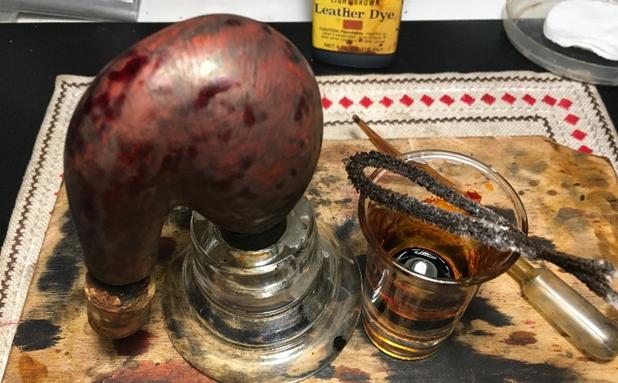
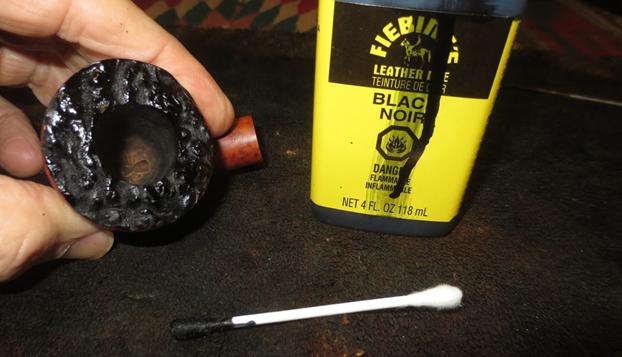
 Question 1 – Color of stain. After consulting with my wife, and a lot of going back and forth, I’ve settled on a dye mixture of 3 to 1 – 3-parts Fiebing’s Light Brown Leather Dye to 1-part Fiebing’s Oxblood. Question 2 – Rustification contouring. After I apply the stain and unwrap it after firing, I will experiment with lightly applying a 1500 grit micromesh pad to the ‘peaks’ of the rustification which creates the different tones in the color – peaks and valleys. I did this once before when I restored another Italian – a rustified Lorenzo Rialto full bent Egg. And, question 3: Goliath’s Plateau. I’ve decided to leave as is initially but TRYING to avoid applying dye to the rim. I’ll look at the results and then decide whether to go ahead and apply the dye afterwards. Thinking done – time for action!
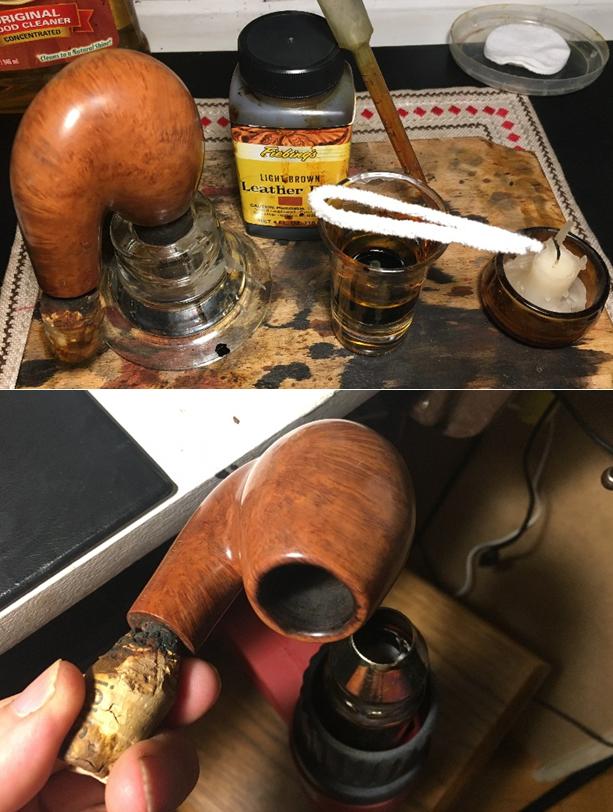
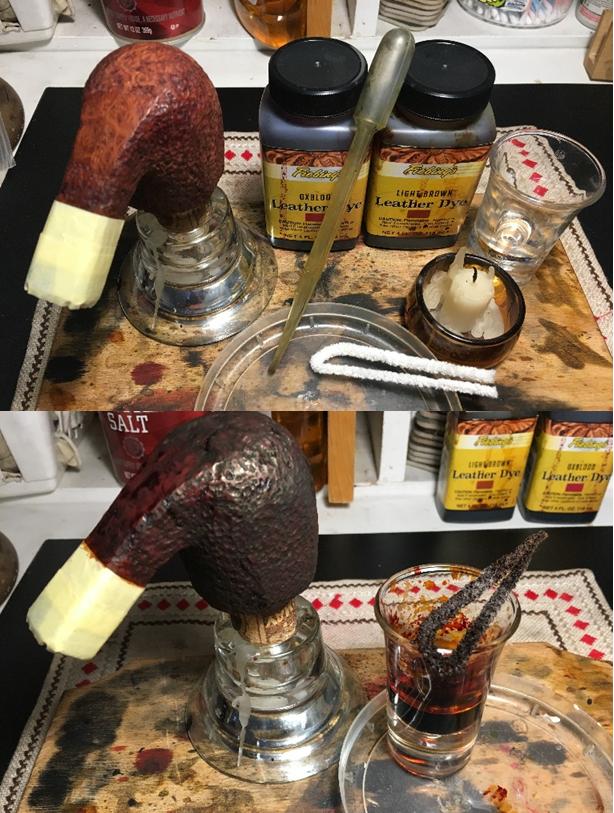
The first thing I do to prepare the stummel is to clean it thoroughly with isopropyl 95% and a cotton pad. Then, to protect the vulcanite Cumberland shank extension from the dye, I tape off the shank with masking tape. I mix the dyes, 1-part Oxblood to 3-parts Light Brown. I use a large eye dropper to do the mixing. At the last minute, before I added the Oxblood to the Light Brown, I decide to add a small bit of alcohol to the Light Brown – to lighten it. We’ll see how that works! Using the hot air gun, I warm the stummel to expand the briar to help its receptivity to the dye. After warmed, I use a folded over pipe cleaner to apply the dye mixture. Instead of covering the whole stummel and then firing it, I did a portion of the stummel at a time – panel by panel, firing it, and moving on. This seems to have worked well for this large stummel and for the fact that the rustified surface was absorbing the dye quickly. After applying 2 coats of dye, I set the stummel aside to rest. The pictures show the progress.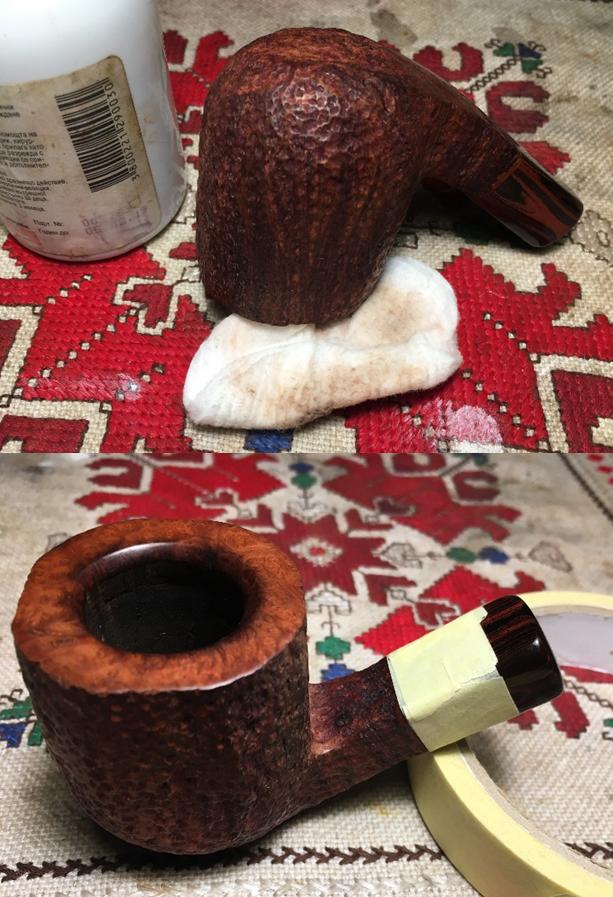
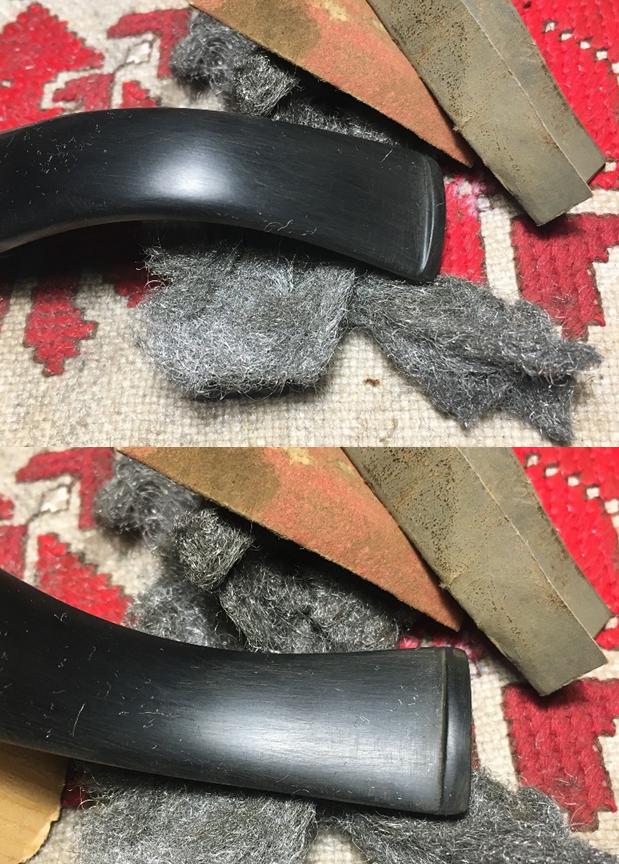
 With the stummel resting, I finish the repairs to the Cumberland stem. Now on the lower bit, I file down the patch mounds with a flat needle file, further sanding with 240 grit paper to bring the patch flush with the vulcanite surface. Then finally, I finish the sanding and blending with 600 grit paper and 0000 grade steel wool over the entire surface (but protecting the Savinelli stem logo). The patches on the lower bit are still visible to the informed eye, but I’m hoping that micromesh process will continue to blend and hide the patches. I finish by cleaning up the slot with 600 grit paper.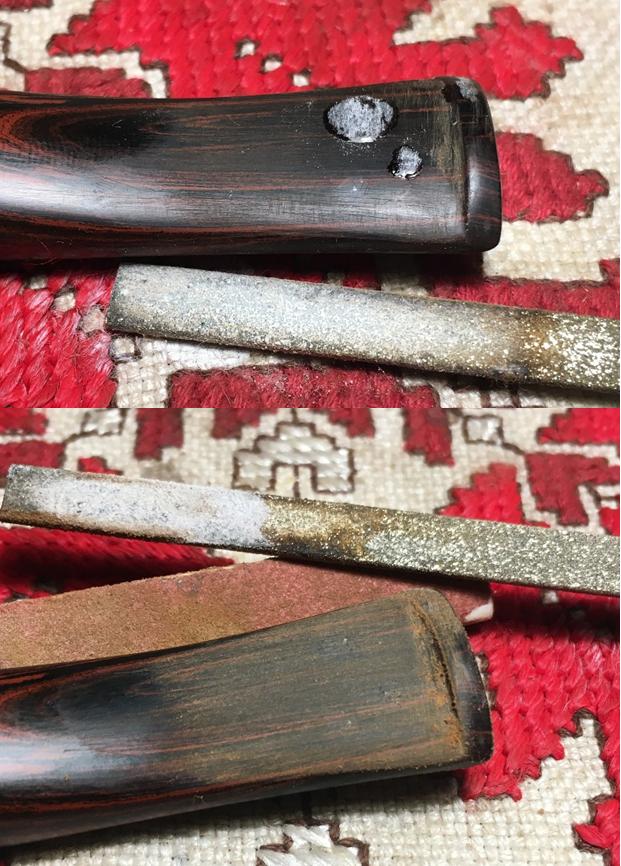
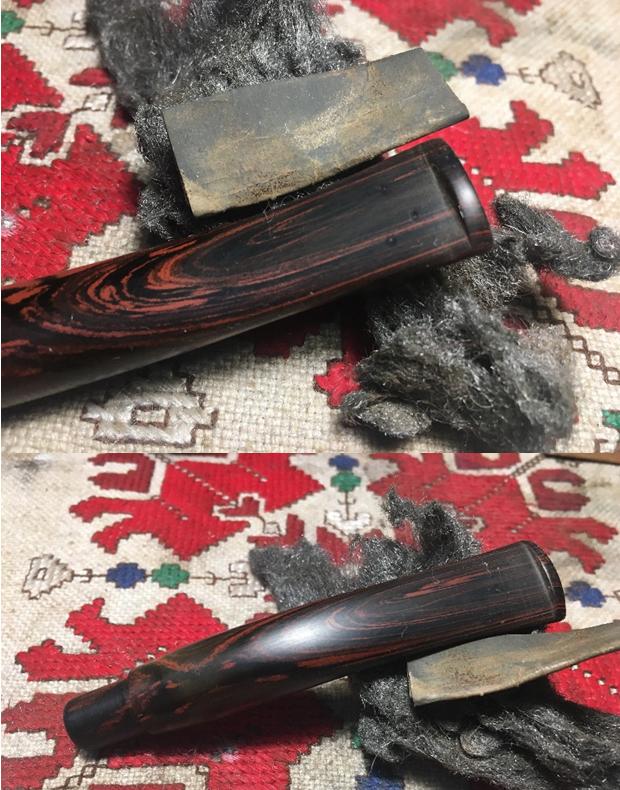
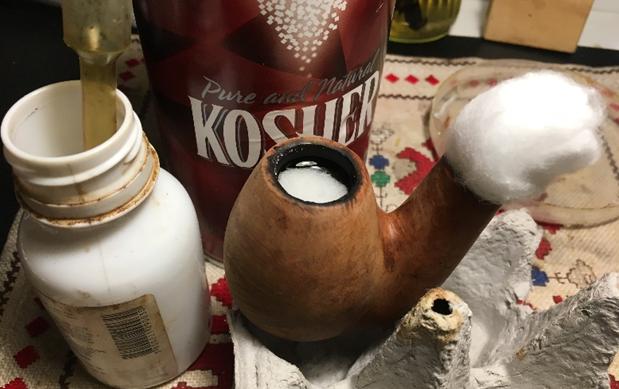
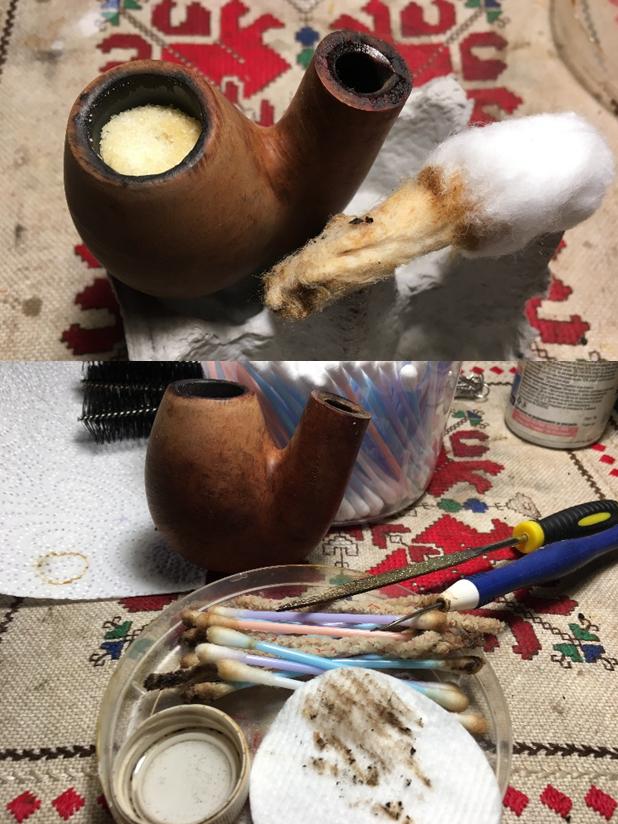
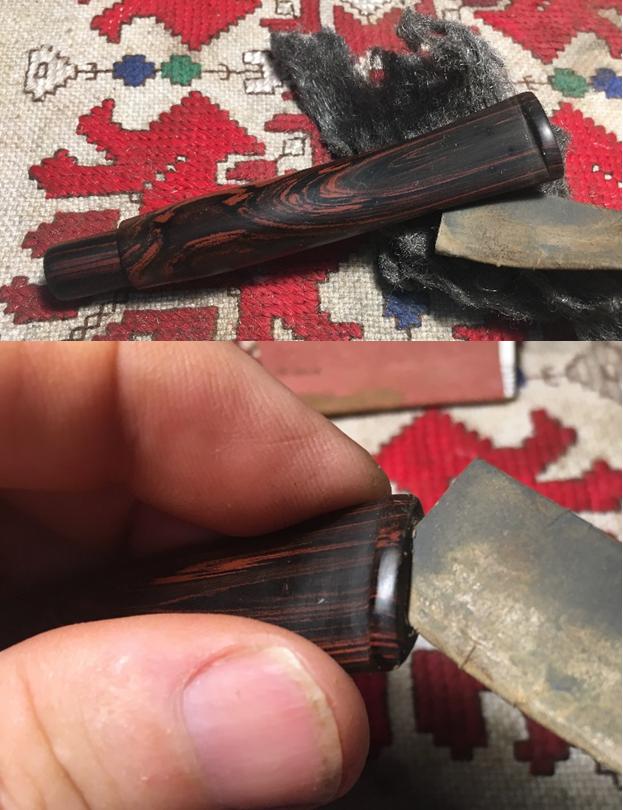 With my day closing, while the stummel is resting, I’ll give it a bath, or rather a kosher salt and alcohol soak. The work order of this soak is not ideal with the new stain, but I’m careful to pour the salt into the bowl, and insert into the shank a stretched and twisted cotton ball to act as a wick to draw the oils out of the mortise. I then add isopropyl 95% to the bowl with a large eye dropper until it surfaces over the kosher salt. I then put the stummel aside to continue its rest and soak for several hours. Again, careful not to disturb the externals, the next morning, I dump the expended salt and wick which had darkened somewhat, and finish cleaning the mortise with cotton swabs and pipe cleaners dipped in alcohol. The internals are now declared cleansed!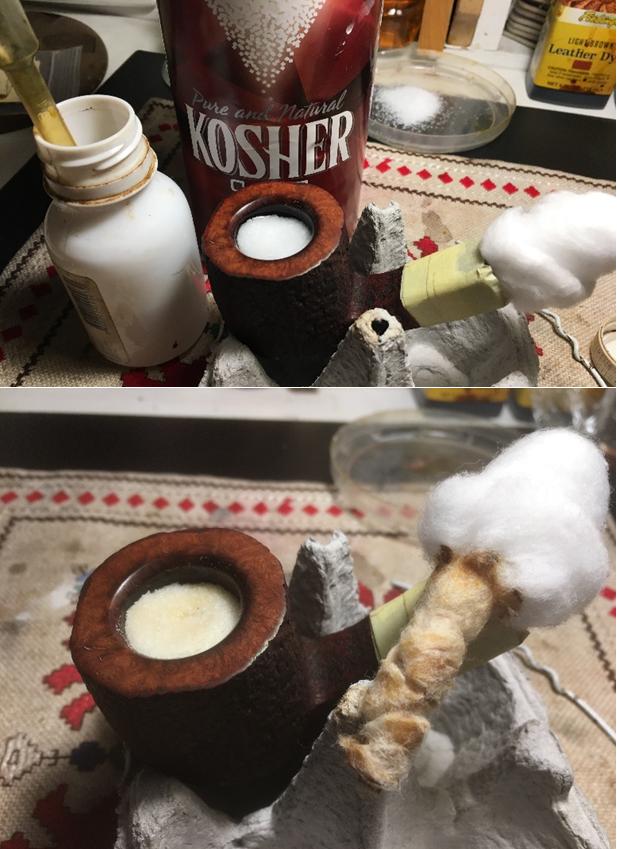
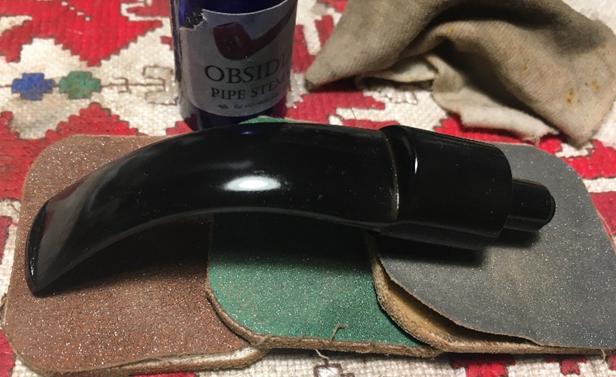
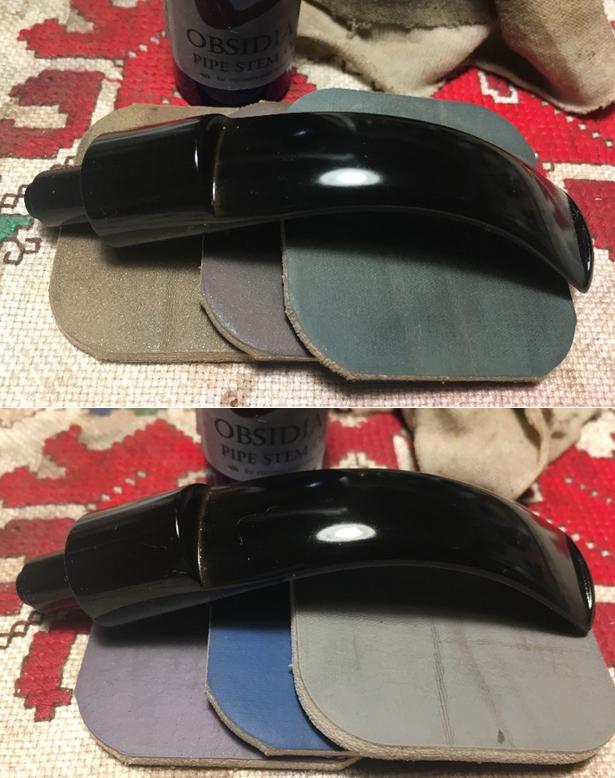
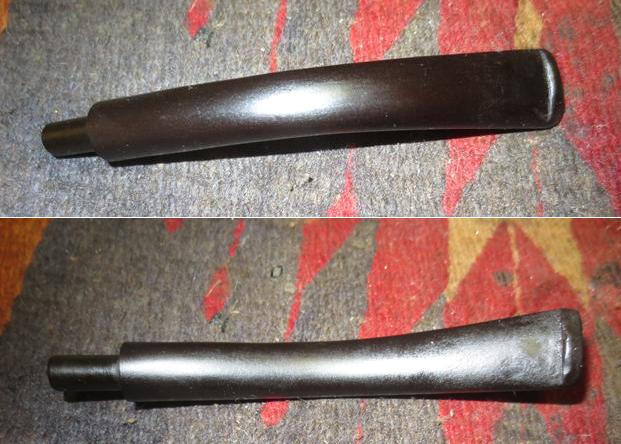
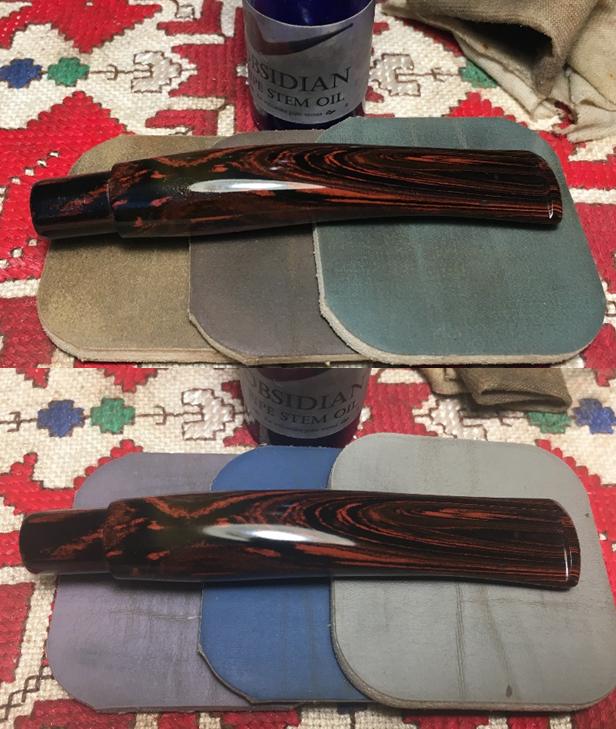
 Time to continue work on the Cumberland stem. I begin by wet sanding using micromesh pads 1500 to 2400, then dry sand with pads 3200 to 4000 and 6000 to 12000. After each set of 3 I apply Obsidian Oil which revitalizes the vulcanite. The swirling colors of the Cumberland stem are revitalized! I’m liking what I see!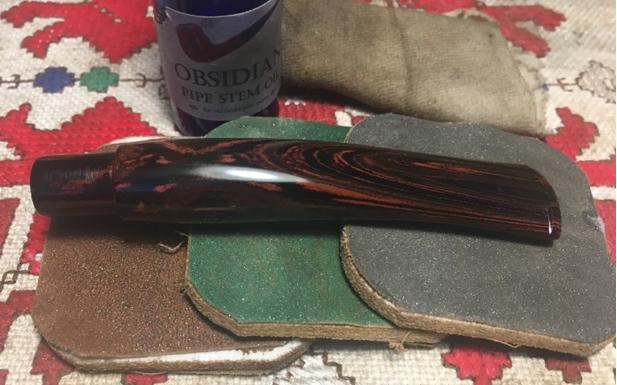
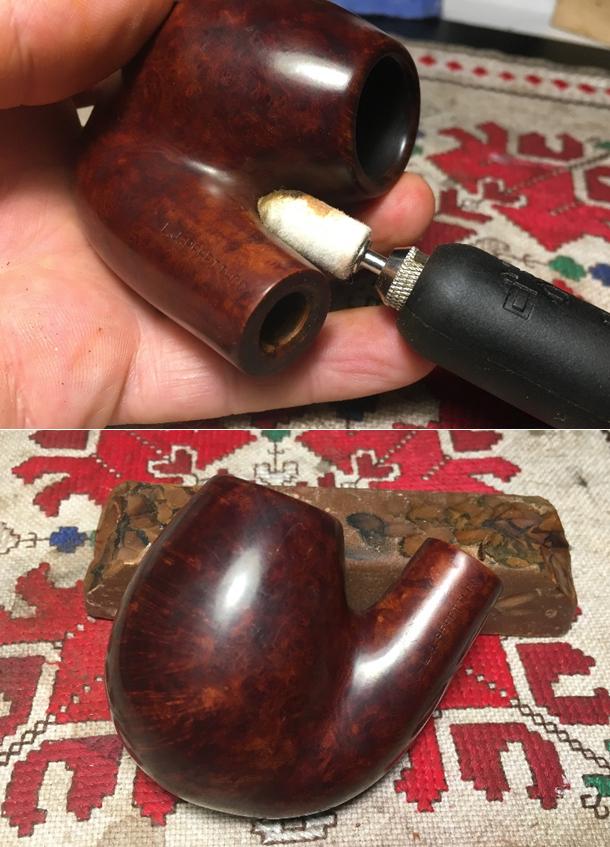
 I’m now ready to unwrap the fired crust on the rustified stummel to see what we have. I mount a cotton cloth buffing wheel on the Dremel, speed set at 40%, and apply Tripoli compound, a more abrasive compound, to the surface. The cotton cloth buffing wheel is better able to work the crevices of the rustification than the felt wheel, which I use for smooth briar during the Tripoli phase.
 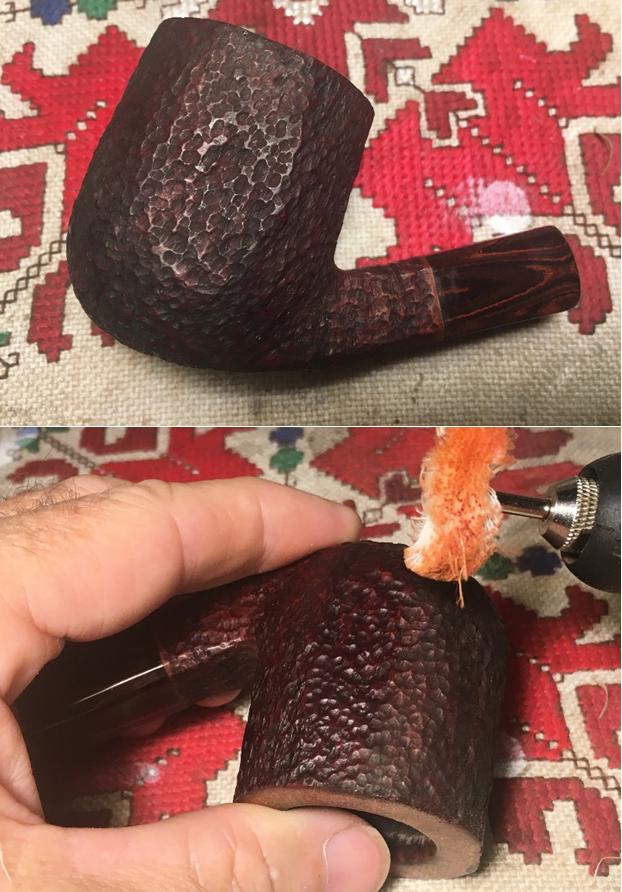 After unwrapping the stummel with the Tripoli compound, I want to lighten the stain some so I use a cotton pad and alcohol and wipe it down. After wiping the stummel with alcohol, I load another cotton cloth buffing wheel on the Dremel, at the same speed, and apply Blue Diamond compound not only to the stummel, but to the Cumberland shank extension and stem. I attempt to rejoin the stem but discover that during the restoration process, the stem loosened up a bit and I’ll need to tighten the fit with the mortise. After I complete the application of the Blue Diamond compound, I give the stummel, stem and shank extension a buffing with a felt cloth to remove the compound dust from it.
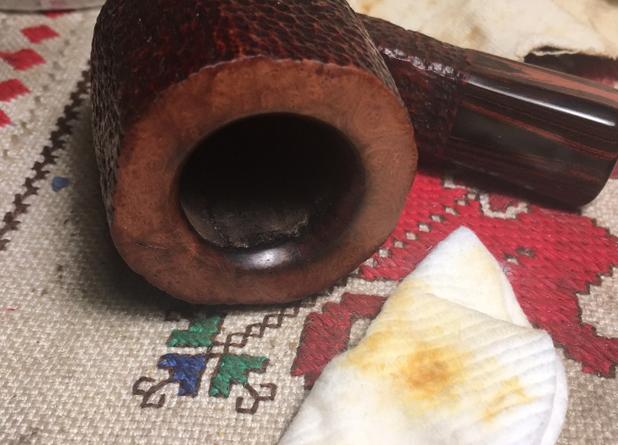
 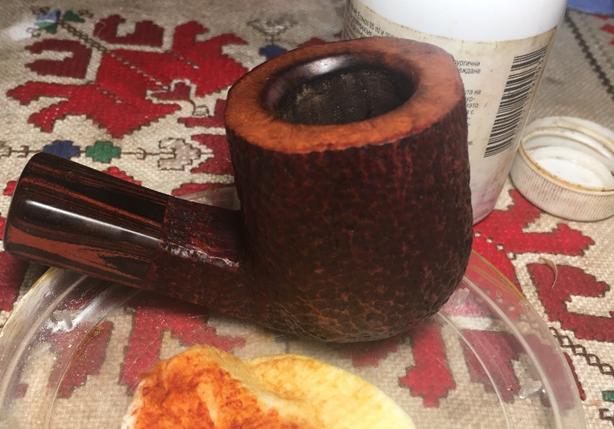 At this point, as I mentioned before, I hope to create more color texture in the rustified surface. I do this by using a 1500 grit micromesh pad and rubbing it gently over the surface of the rustification – aiming to nip the peaks of the contoured rustified briar. This will remove the finish on the peaks and lighten them. After I do a few runs at gently applying the micromesh pad to the peaks, I then do a follow-up buffing with the Blue Diamond wheel on the Dremel. I am very pleased with what I’m seeing emerge. I’m seeing the color texturing but what I didn’t anticipate, but has happened, is that the lightened peaks are tying in the unstained rim – I had decided to leave the rim plateau the bare, natural briar to form (I had hoped) an appealing, eye catching, contrast with the rustified stummel. With the smooth grain-showing rim plateau and the rustified bowl – the best of both worlds is captured. I’m liking the decision not to stain the rim so I will leave it the natural briar.
  As I look at the rim, I notice just a few places where the staining did veer a very small bit onto the rim plateau. I remedy this by wetting a cotton pad with acetone and carefully wiping the rim and removing the stain. It looks good – no, looks great!
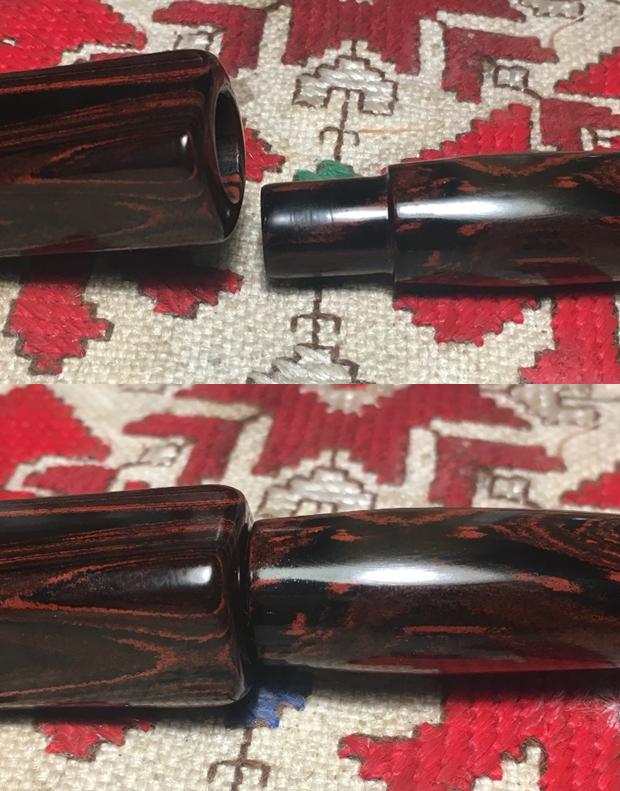
 My day is coming to an end, but I want to do one more thing. To tighten the tenon insert in the Cumberland shank extension, I paint the tenon/filter sleeve with thick CA glue applying it around the base of the tenon with a manicure brush. I let it cure overnight and I will see how it fits tomorrow. Tomorrow arrived and I work further on fitting the stem. I sand the CA glue that I painted around the base of the tenon with 240 grit paper. I follow with 600 to smooth and blend it. I try the fit several times, sanding slowly – not wanting to sand too much. With patience, the stem is fitting much more snugly and the repair is invisible!
 For the final push, I mount a cotton cloth buffing wheel on the Dremel dedicated to carnauba wax and I apply several coats of the wax to the rustified stummel, rim plateau, Cumberland shank extension and stem. After applying the wax, I give the entire pipe a rigorous hand buffing with a microfiber cloth to bring out the shine even more.
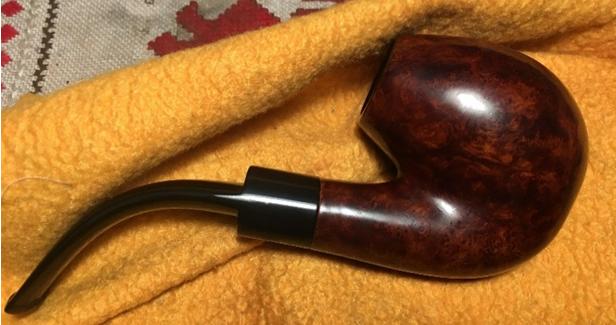
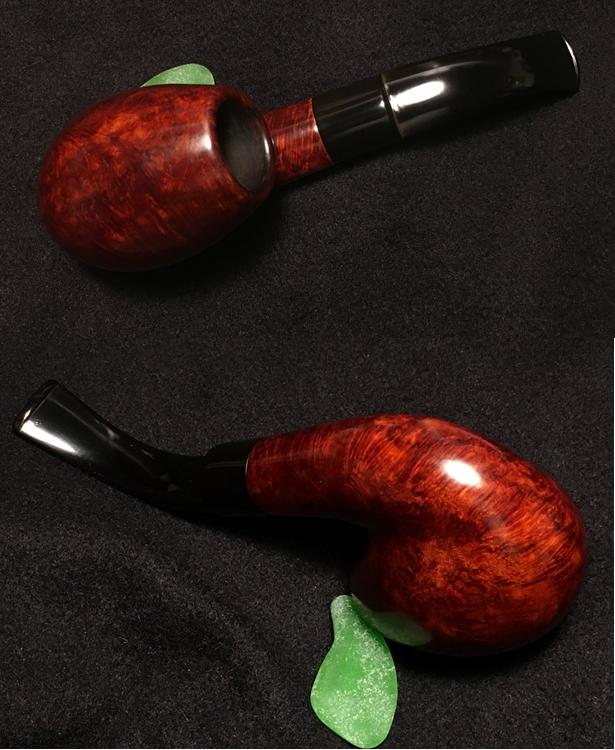
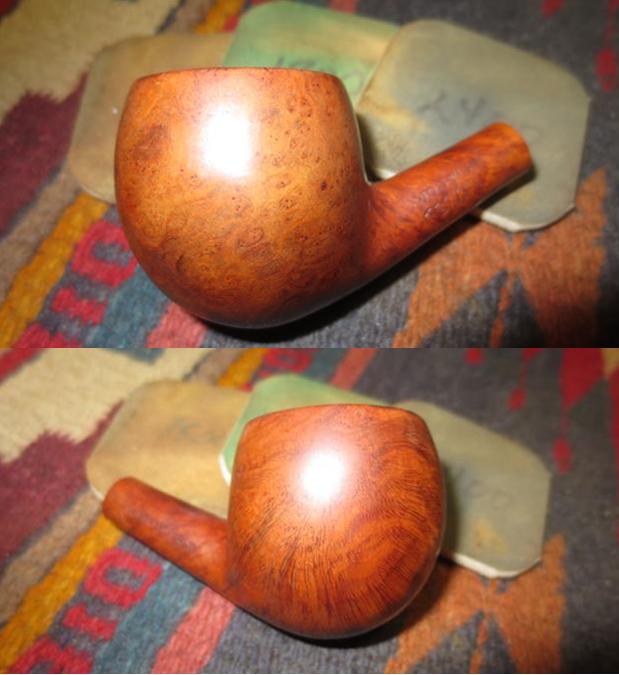
What can I say? I am proud of the results of this Savinelli Goliath 619EX. The interplay of the natural briar of the rim plateau with the rustification flecks on the peaks and the deep red tones of the briar pulling at the swirls in the Cumberland shank extension and stem – all coalescing together are striking. Then, when one adds the staggering size and presence of the bowl…. Oh my. I can say that this Pipe Steward is happy that this Sav is going to the Black Sea coast in a few weeks to enjoy the sand, surf and yes, a few bowls of my favorite blend! Even though this Savinelli Goliath will be joining my personal collection, check out my blog, The Pipe Steward for other pipes available in the store. These pipes benefit the Daughters of Bulgaria, our work with women and girls who have been sexually exploited and trafficked. Thanks for joining me! 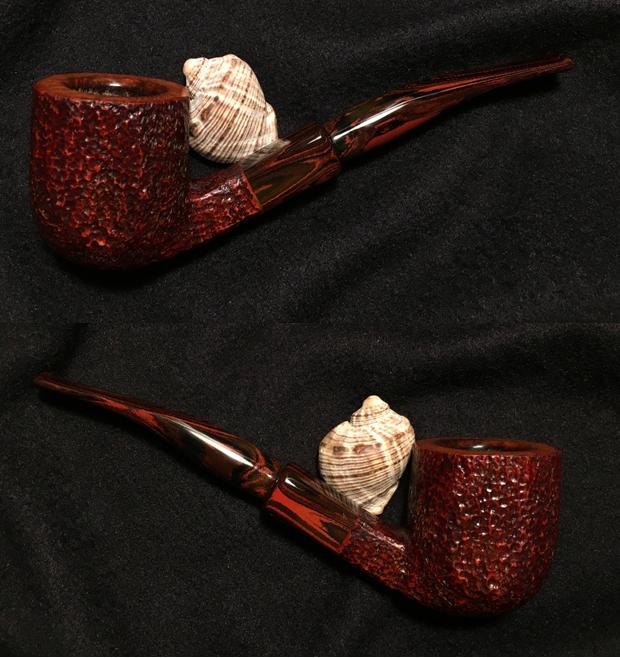


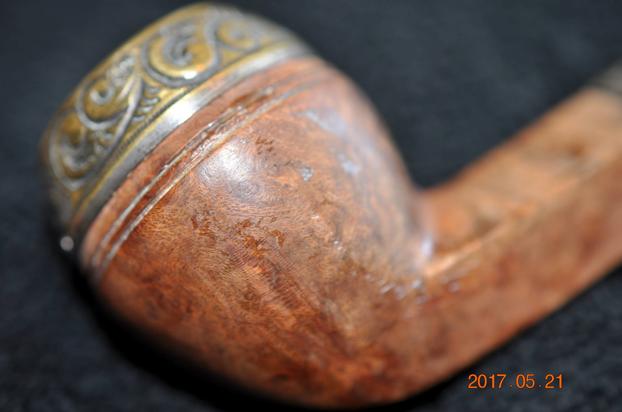
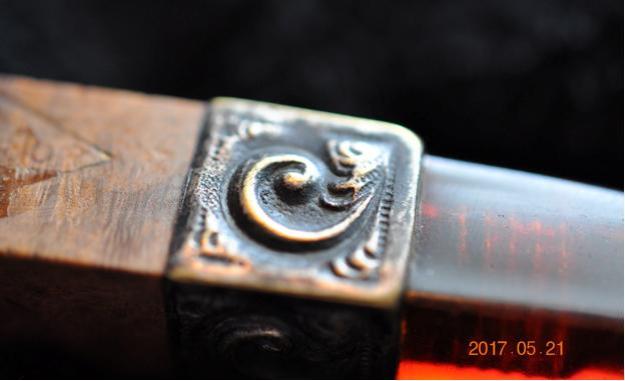
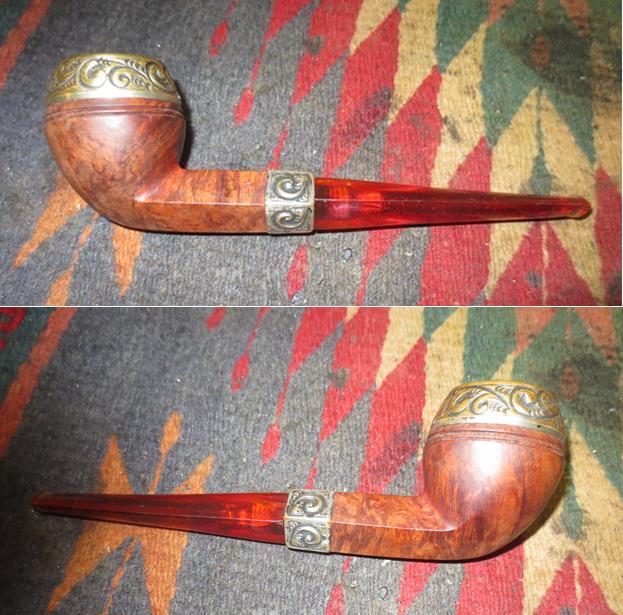
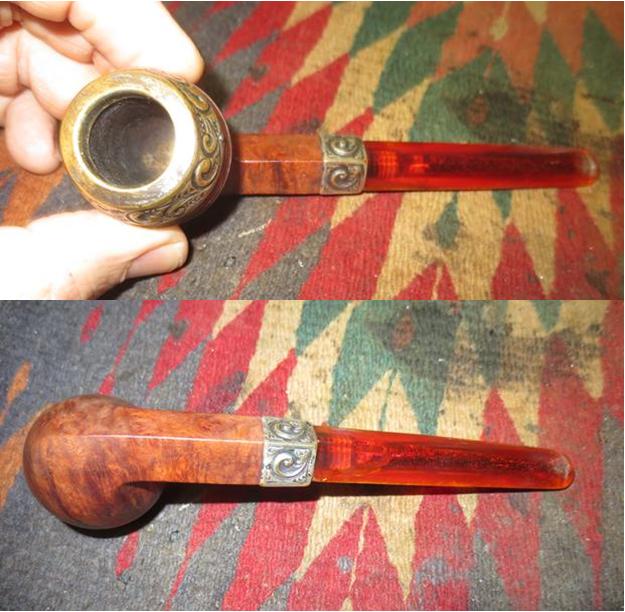
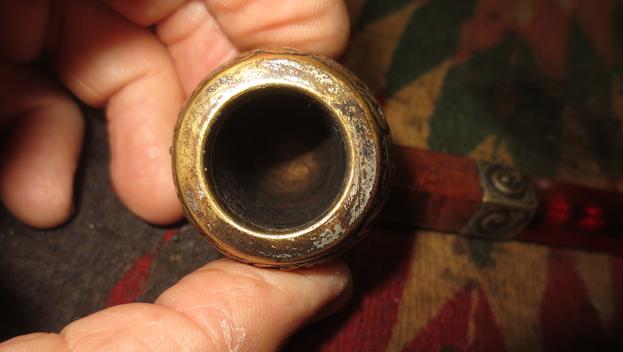
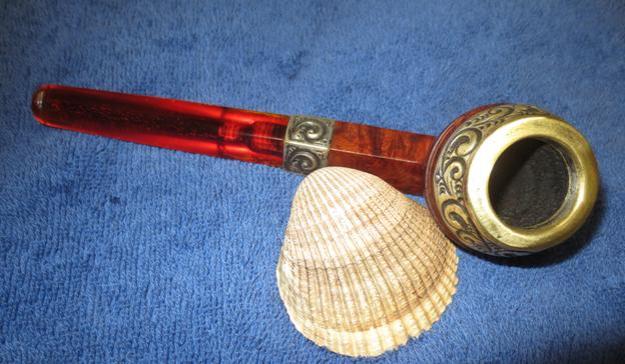
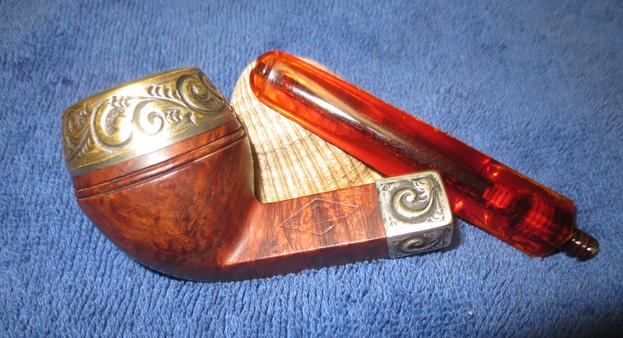
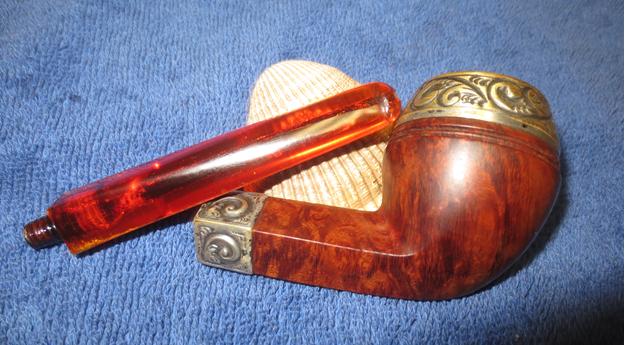
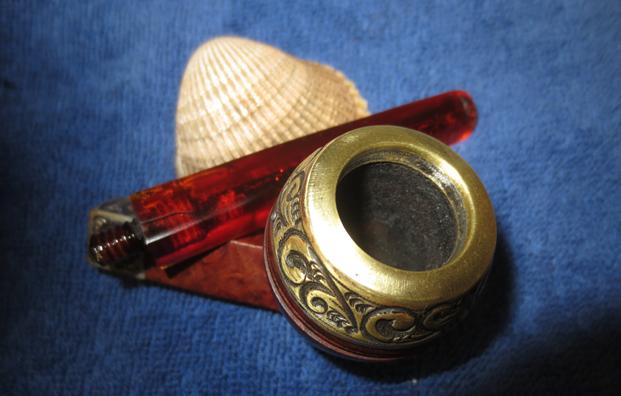
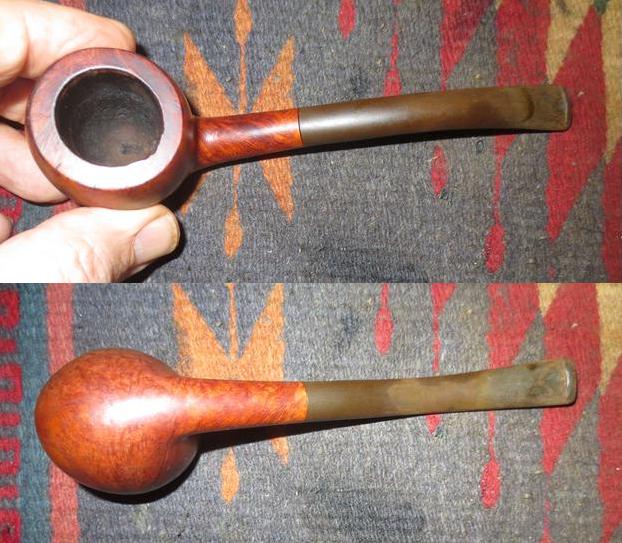
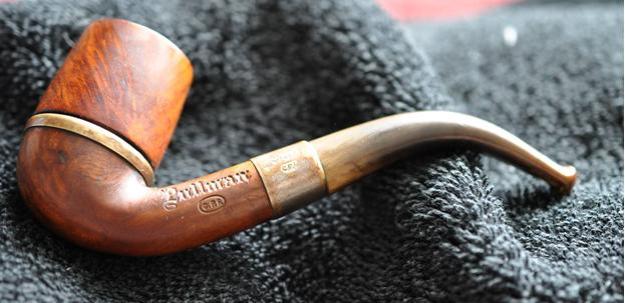
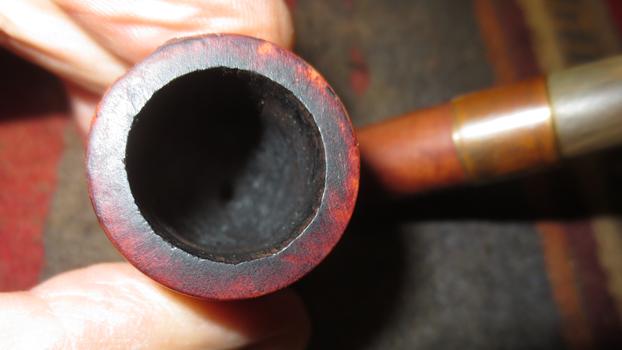
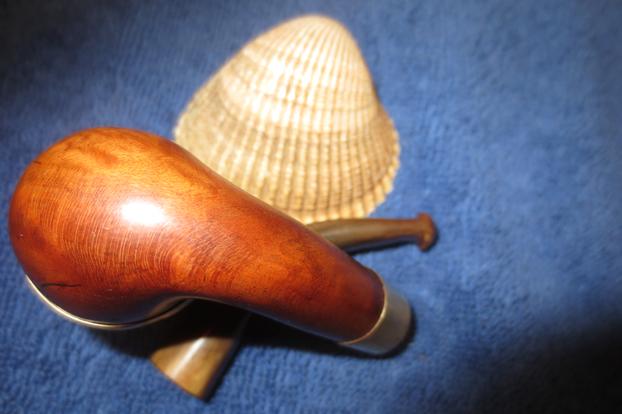
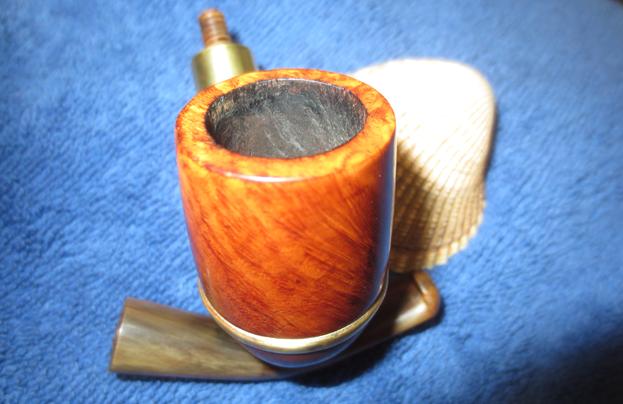
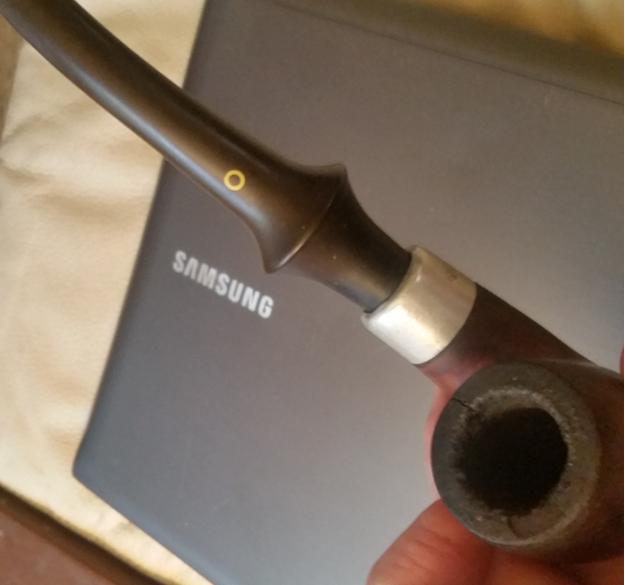
 The pipe was in really rough shape. The finish was worn and spotted with paint specks, grime and nicks in the briar. The stem was split and worn. The bone tenon looked good but the band on the shank was loose and spun around the shank. The wear and tear on the brass band and the tarnish left is a mottled mess. The bowl had been reamed somewhere in the process so the cake was not thick. The lava on the rim was light. The inner and outer edge of the bowl was undamaged.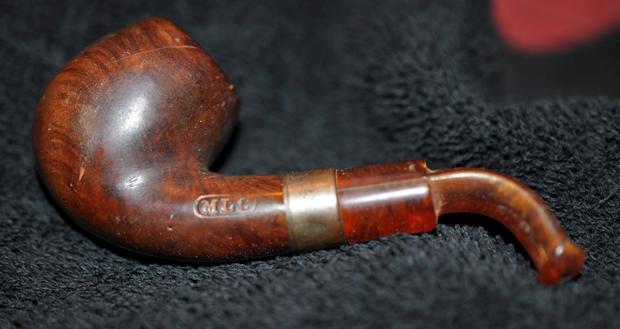
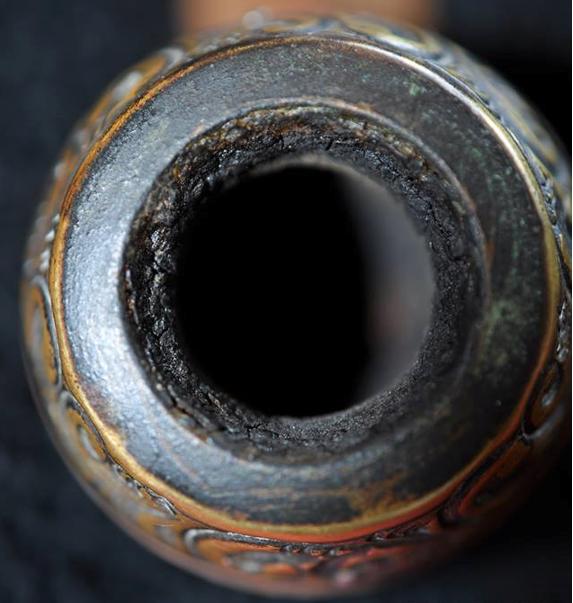
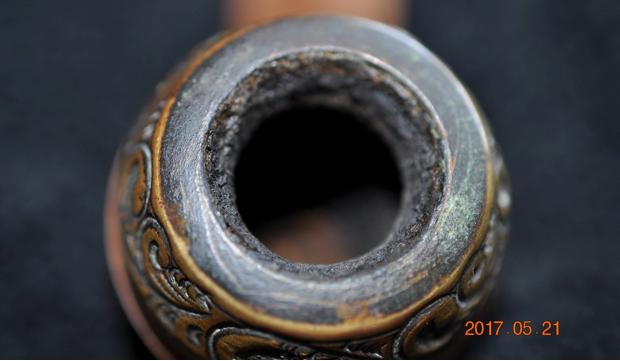
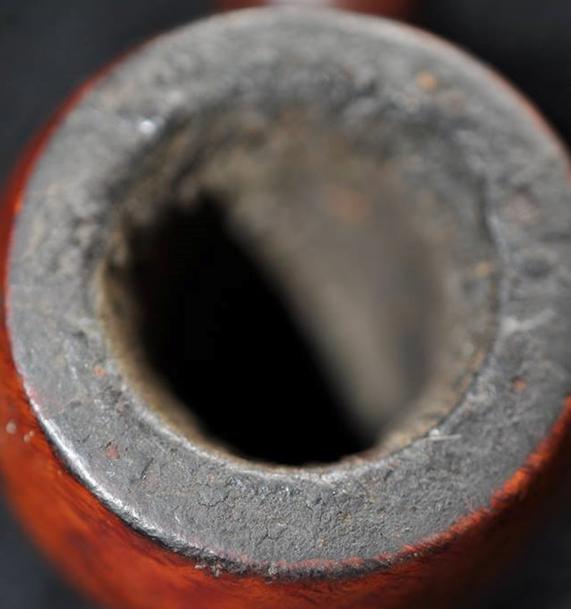
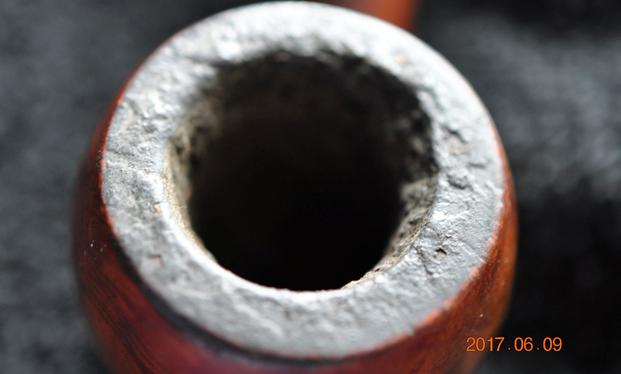
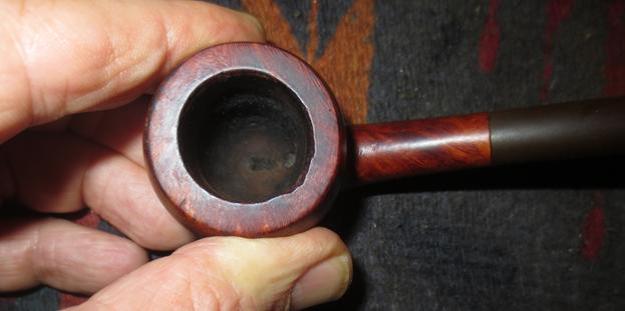
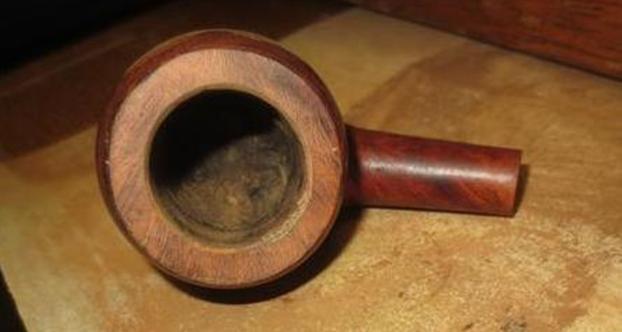
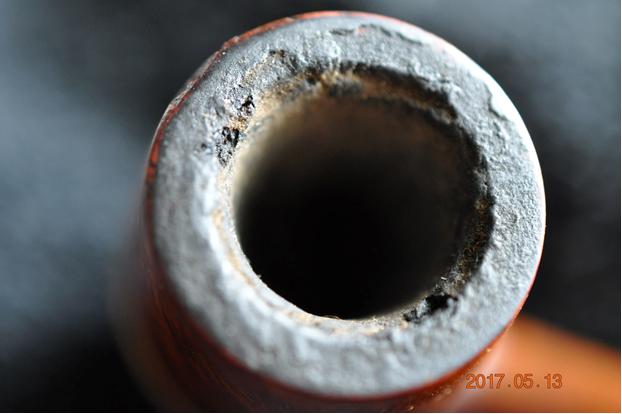
 The rim close up shows the cake and the peeling lava on the surface of the bowl.
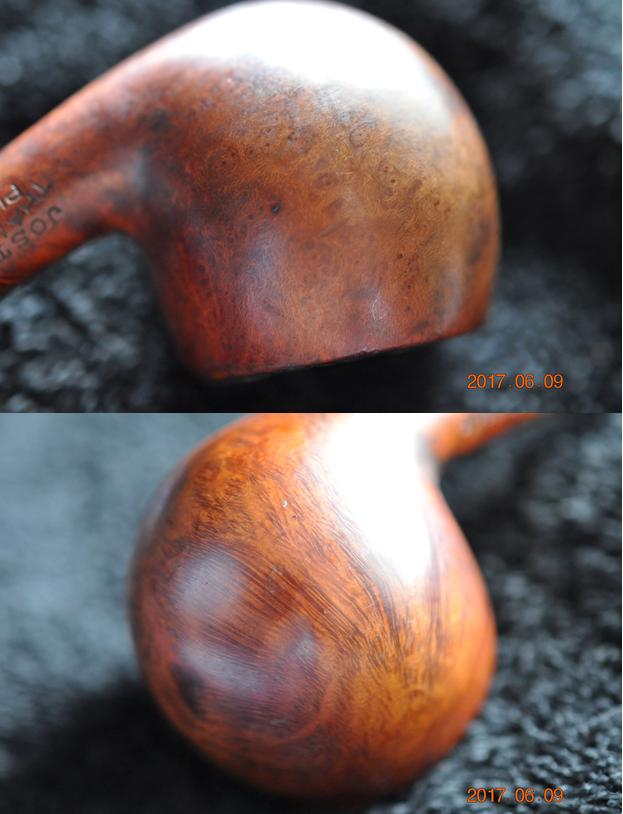
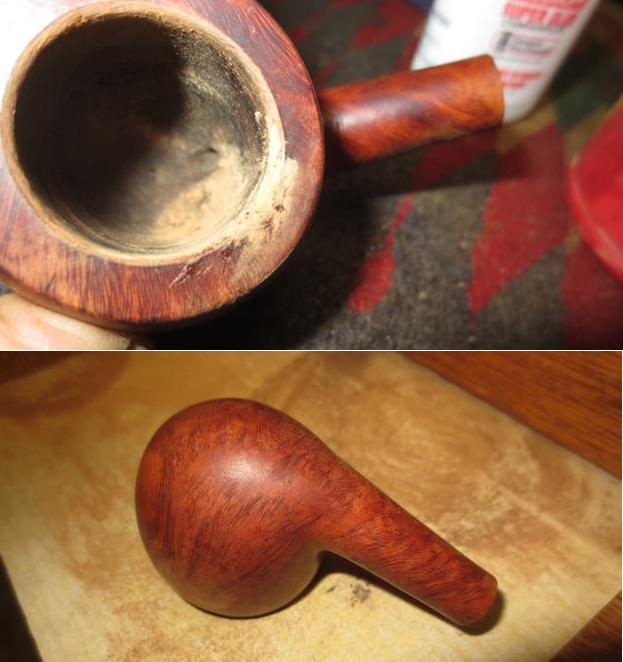
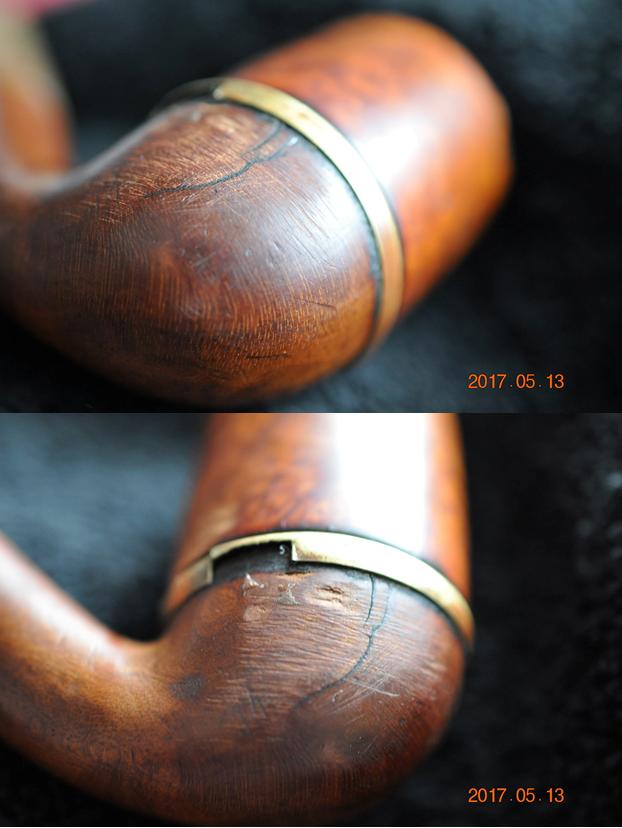
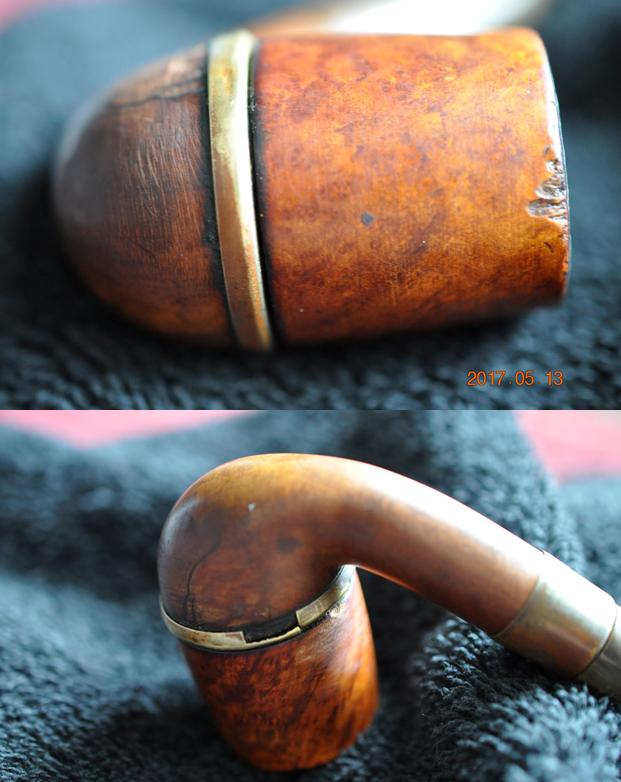
 Jeff took photos of the sides of the bowl and the bottom side to show the wear and tear on the finish. There were some deep gouges in the briar and a lot of paint speckles on the briar.
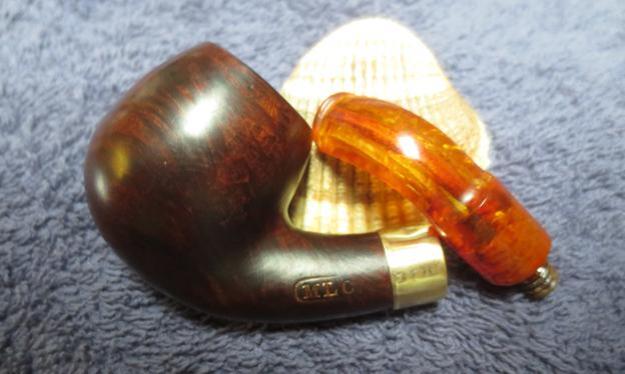
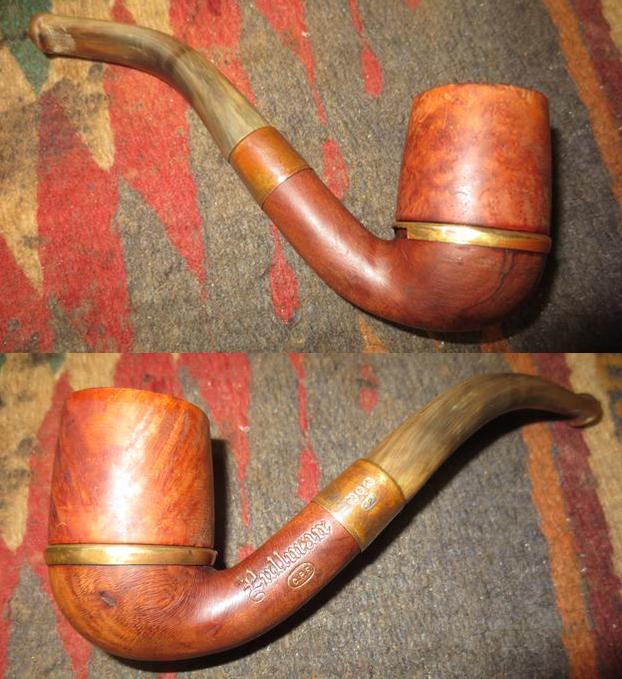
 The stamping on the left side of the shank is quite clear – MLC in an oval. It had originally been gold leaf but it was worn. The stamping on right side of the oval was lighter than the rest of the stamping.
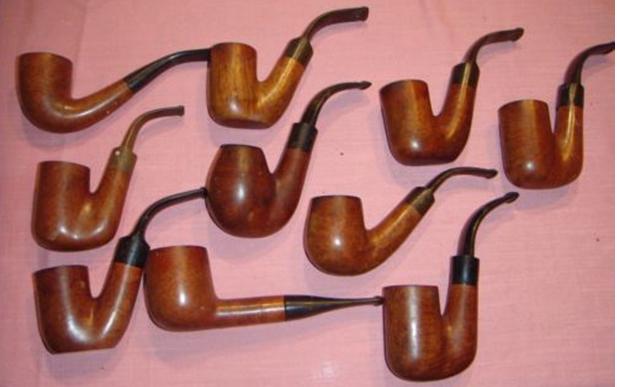
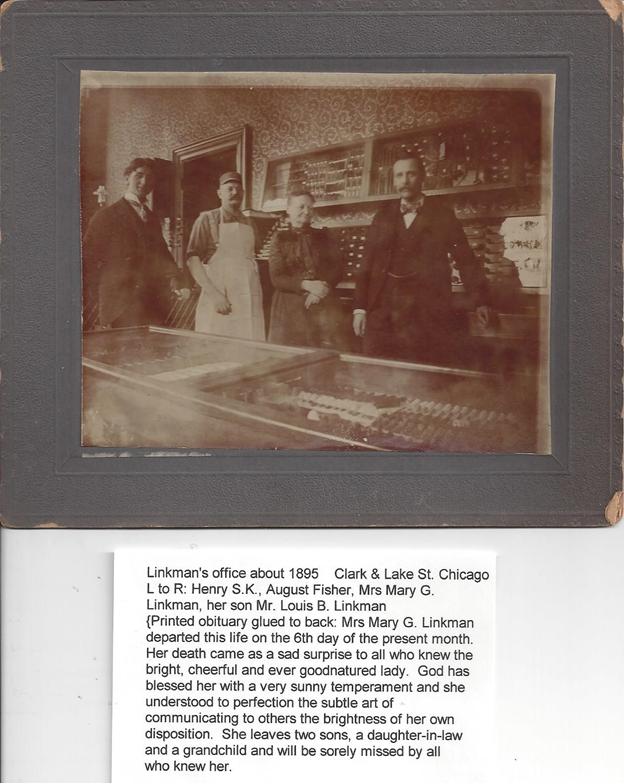
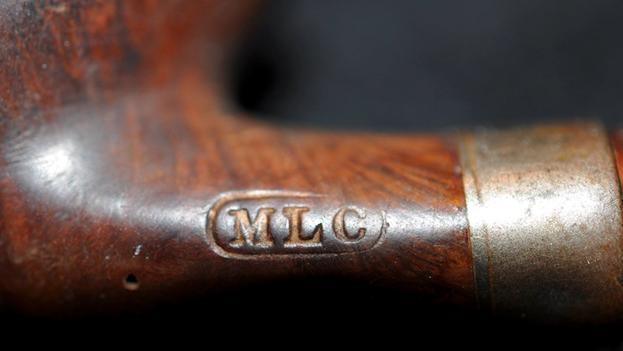 I did some digging on the net to see what I could find out about the MLC brand. I knew that it was a Linkman pipe but could not remember much about it. I turned to my go to site for quick information – Pipedia (https://pipedia.org/wiki/M._Linkman_%26_Co). The information did not add much to my understanding other than pin down the date to the late 1890s or early 1900s. Included in the article was a photo of Mary Linkman, her son Louis and August Fisher at their Chicago Office. The photo is from Mary’s obituary and is a fascinating piece of history. The scan of the photo and obituary are courtesy of August Fisher’s granddaughter.
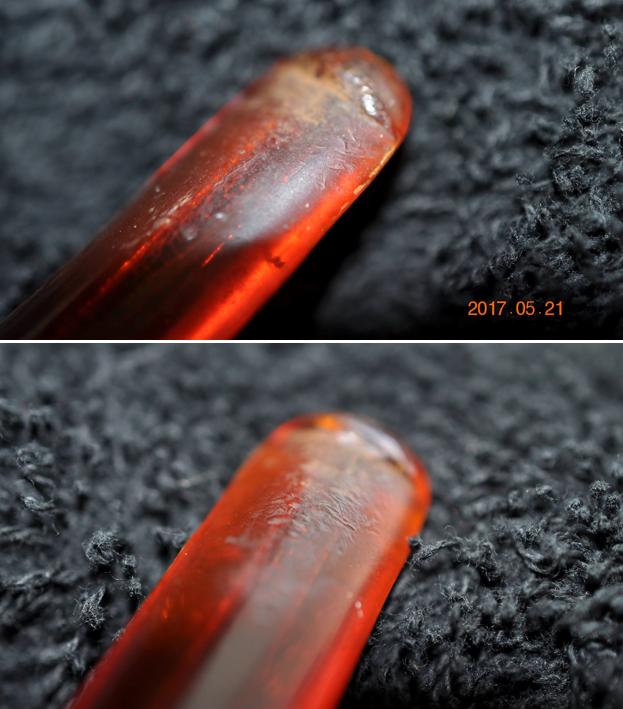
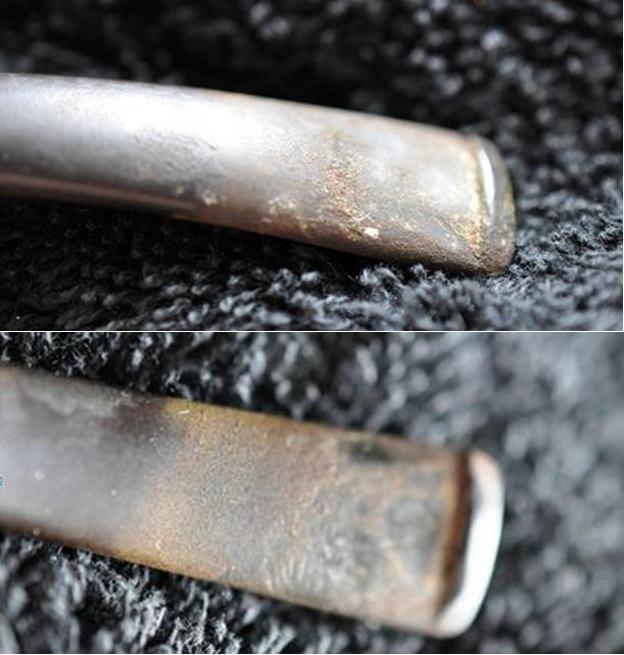
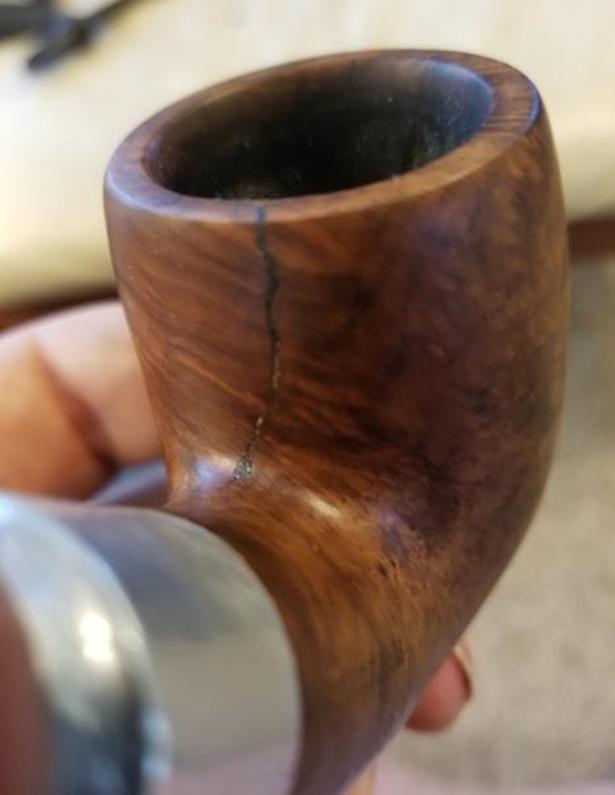
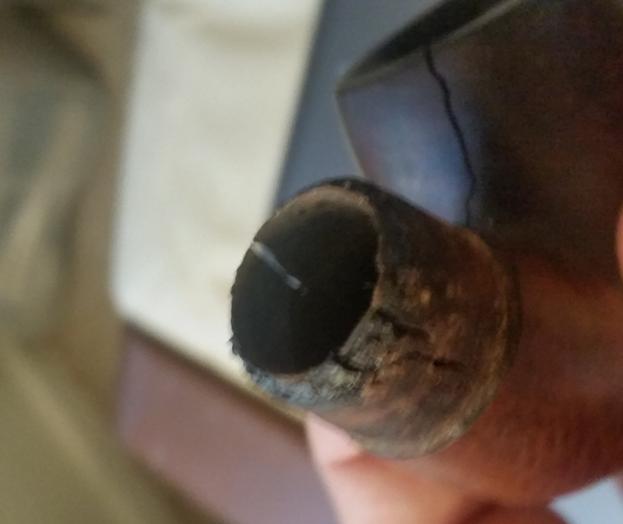
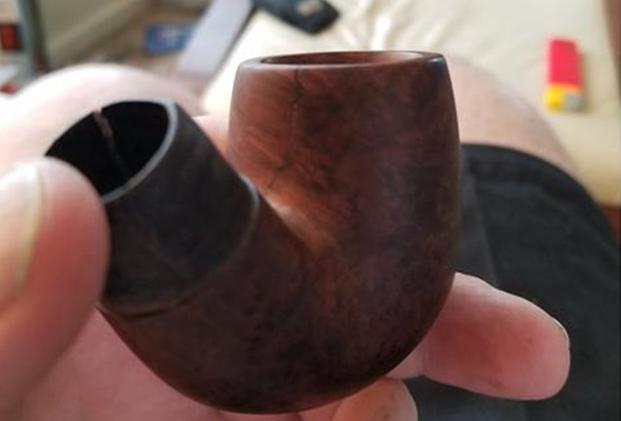
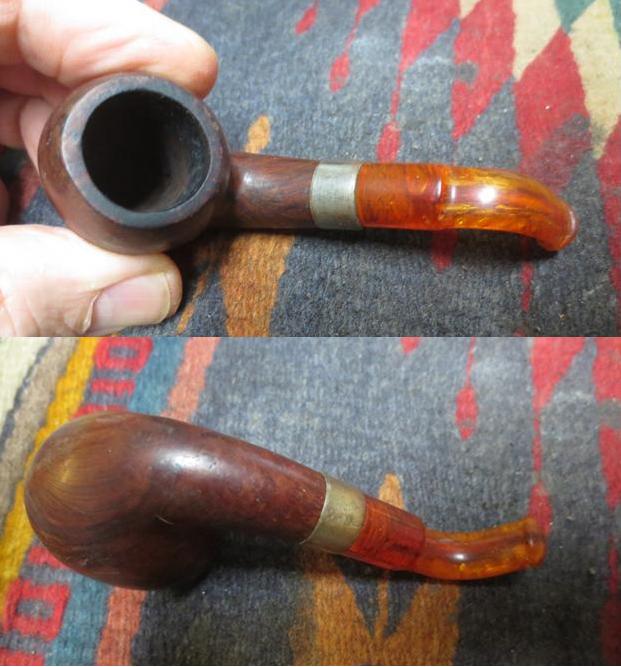
 Jeff took some photos of the stem. The right side of the saddle stem was split from the end up to the transition to the blade of the stem. The right side also had a crack. It looked to me that someone had turned the bone tenon too deep into the stem and split the saddle. The flat surfaces of the top and bottom of the stem were filled with a series of small spidering cracks. The stem, like the bowl was covered with paint flecks or spray. You can see from the first photo that the band has been turned all the way around so that the worn faux hallmarks are upside down and on the wrong side.

 Jeff cleaned the exterior of the pipe with some Murphy’s Oil Soap and a tooth brush and rinsed it off under running water. He dried it off with a soft cloth and the soap had removed the paint flecks and the deeply ground in grime on the finish. He ran pipe cleaners and alcohol through the mortise and the airway in the shank and stem to remove dust and debris that had collected there. He carefully scrubbed out the cracks and splits in the sides of the saddle stem using a tooth brush and rinsing it in water. Once the pipe was clean, he packed it up and sent it my way for the repair and restoration work. I took photos of the pipe when I unwrapped it on my worktable. It is an intriguing little pipe that caught my attention.
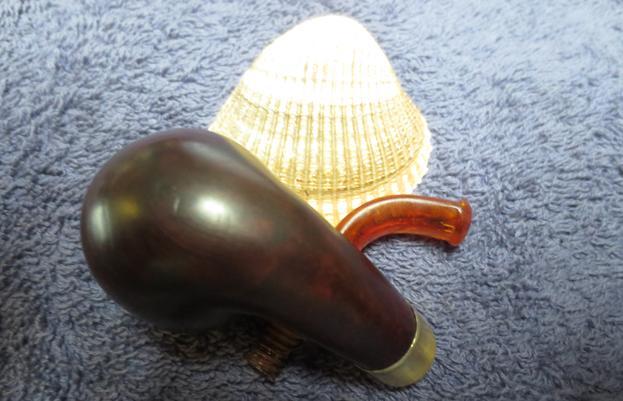
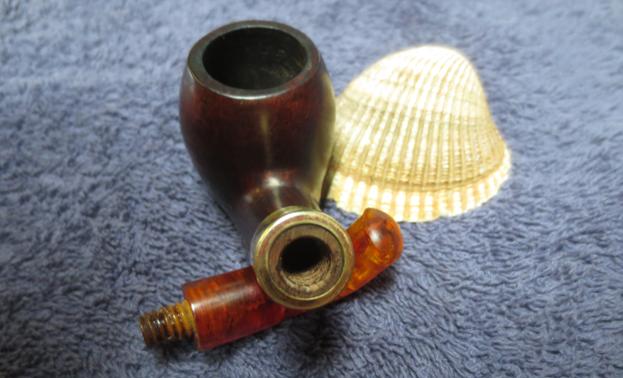
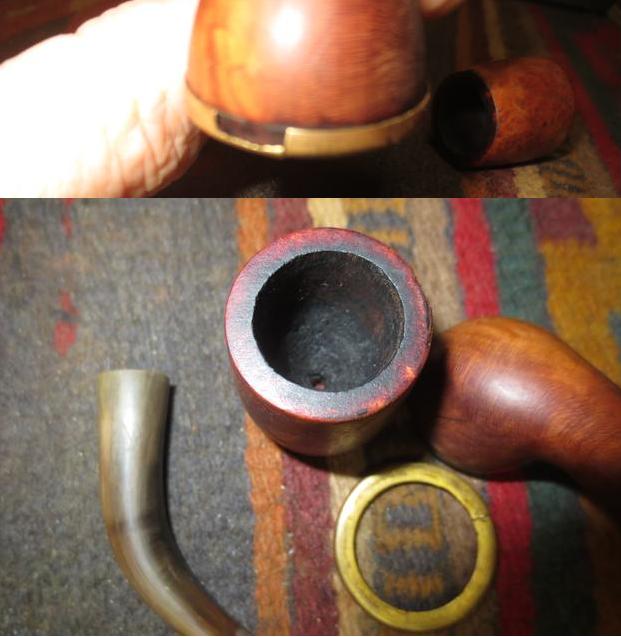
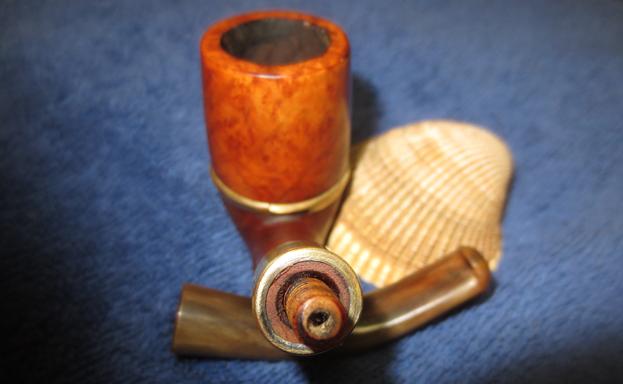
 When I unscrewed the stem the ferrule fell off in my hand. I laid out the parts of the pipe and took the following photo. It shows the nicks, dents, sandpits and flaws in the briar. The band looked as if it was never glued to the shank. The briar is clean and the inside of the ferrule had no remnants of glue. It was clean.
 I took some close up photos of the stem to show the cracks and splits in the saddle portion. The stem was worn and battered. The bone tenon was darkened from tobacco smoke and tars. The edges on the tenon were worn down and when the stem was on the pipe it was over turned or over clocked.
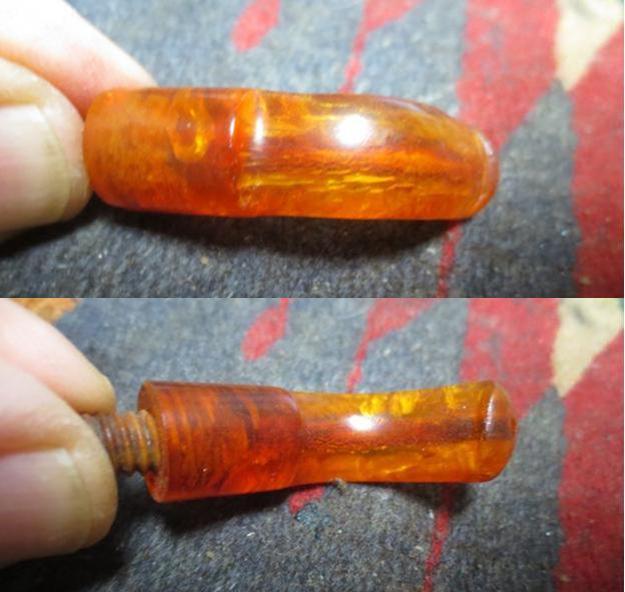 I cleaned out the cracks in the side of the saddle stem with a dental pick and a damp cotton swab until the inside of the crack was clear of debris that would cause the stem repair to be very visible. I dried the stem off with a cotton pad. I filled in the cracks on both sides of the stem with amber super glue and set the stem aside to dry.
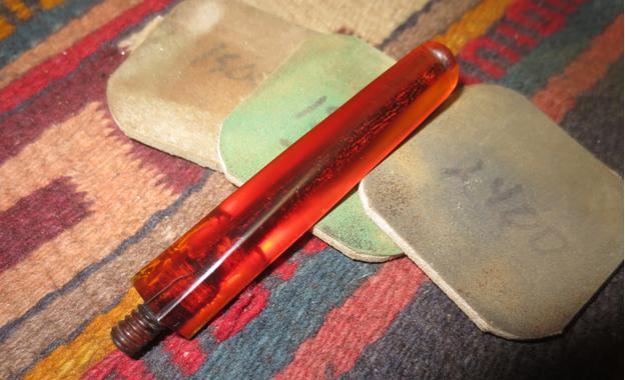
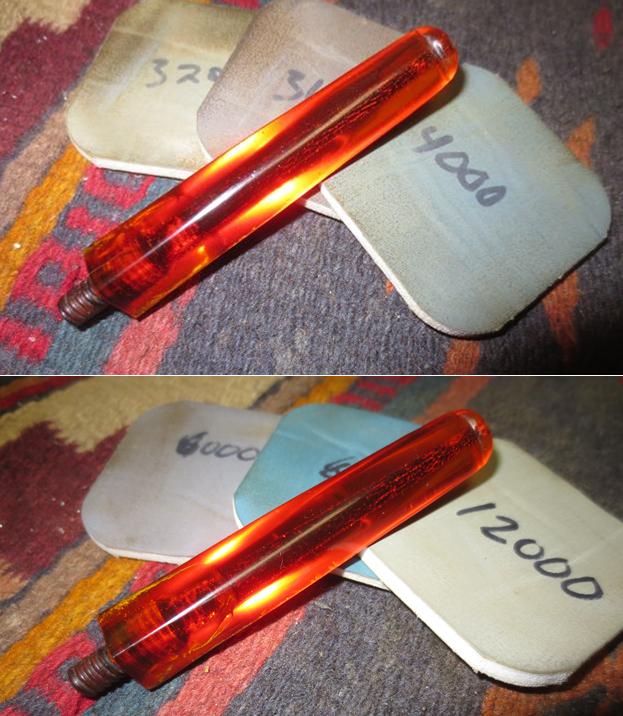
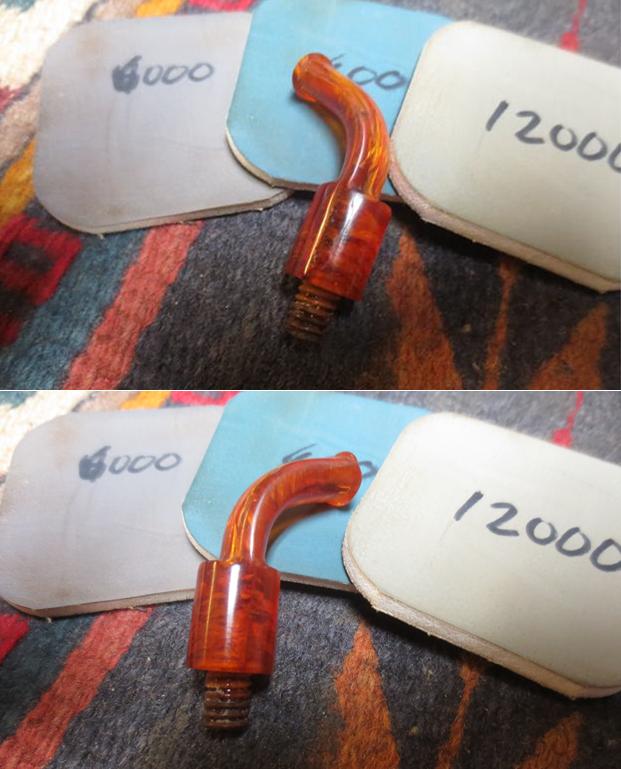
 When the repair had cured I sanded it smooth to blend it into the rest of the stem with 220 grit sandpaper. I sanded all of tooth chatter and marks out of the surface of the stem as well to smooth out all of the damage. I wanted it to disappear into the amber Bakelite. After I had smoothed out the repair I polished it with micromesh sanding pads – wet sanding with 1500-2400 grit pads and dry sanding with 3200-12000 grit pads. I wiped the stem down after each pad with Obsidian Oil and set the stem aside to dry.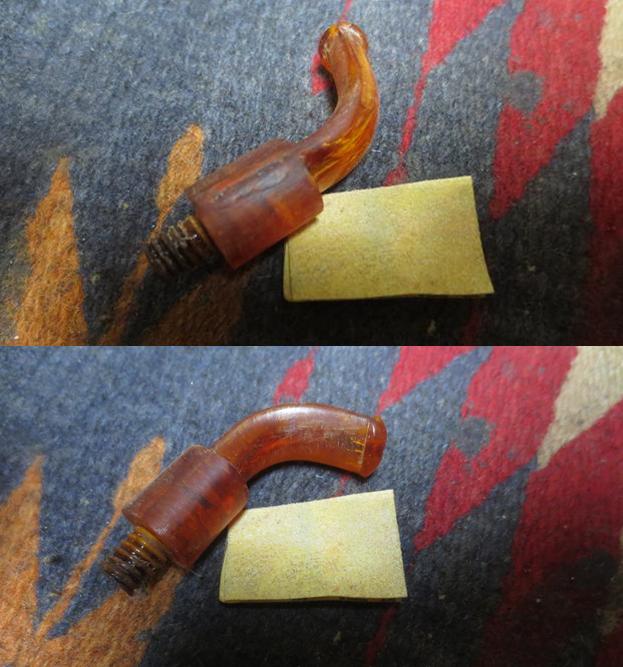
 (I almost forgot to add this piece of information. Just before I polished the stem I painted the threads on the tenon with clear fingernail polish to build them up so the stem would align properly when I put it in place.)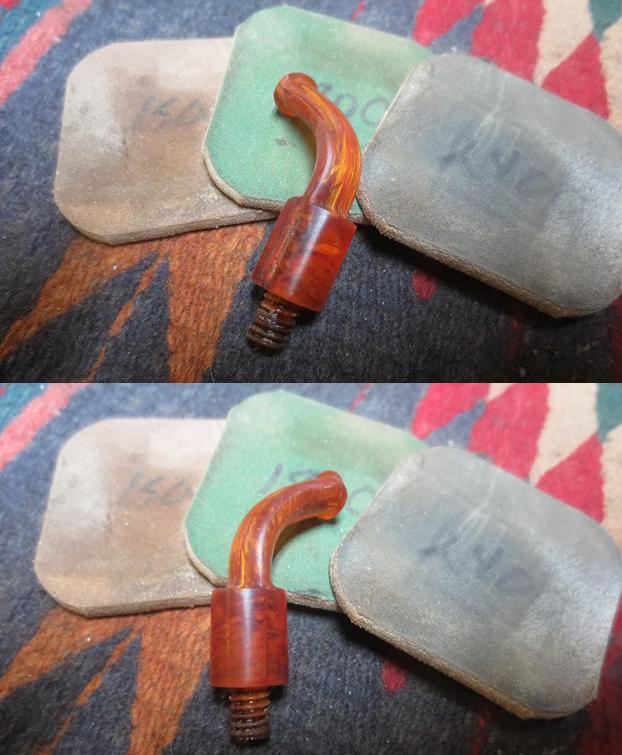

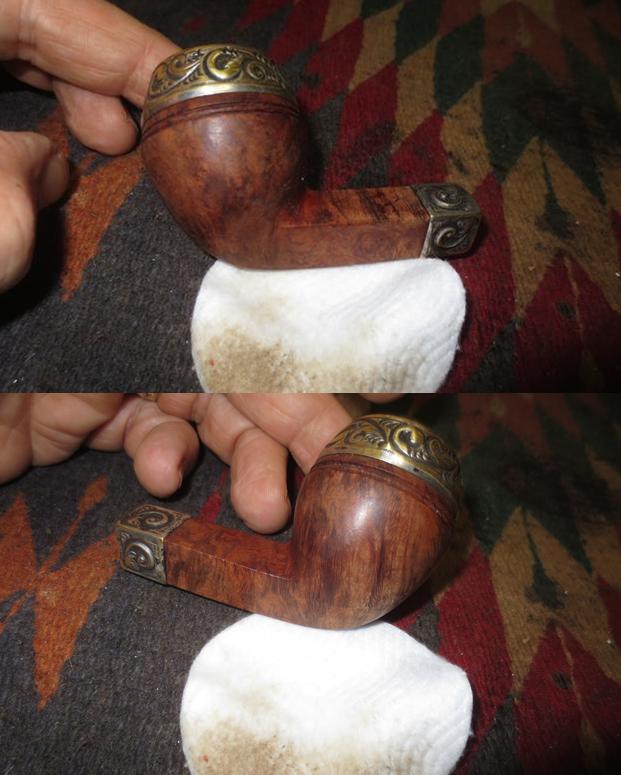
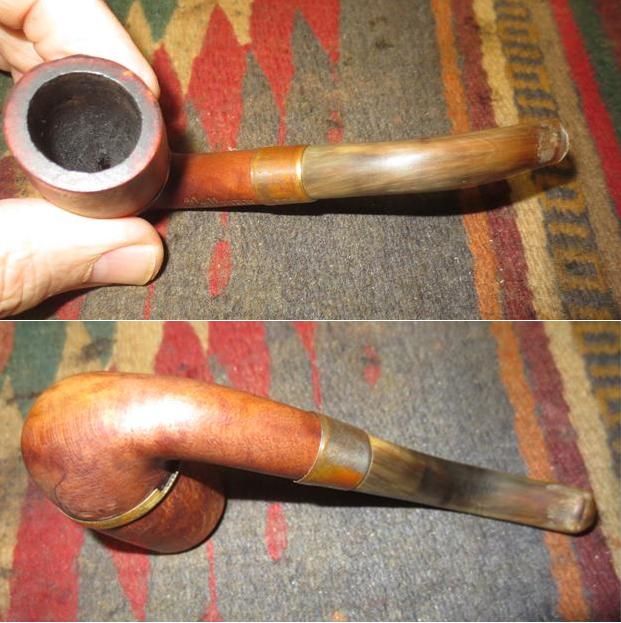
 The bowl needed a lot of work. I wiped the bowl down with acetone and filled in the nicks, dents, flaws and sandpits in the briar with clear super glue. I sanded the fills smooth with 220 grit sandpaper until they blended into the surface of the briar. I wiped the bowl down again with alcohol on a cotton pad to remove the sanding debris. I gave the shank end a coat of white all-purpose glue and put the ferrule in place with the faux hallmarks aligned with the stamping on the shank side. I left it to dry and worked on another pipe for a while. Once the glue had set I sanded the bowl and the ferrule with a medium and a fine grit sanding sponge to smooth out the scratches left behind from sanding with the 220 grit paper. The photos below show the bowl at this point in the process of the restoration.
 I stained the bowl with a dark brown aniline stain and flamed it to set it in the grain. I figured that the dark brown stain would hide the repairs and give the bowl the original rich colour. I set it aside to cure while I went to work for the day.
 I buffed the bowl with red Tripoli on the buffing wheel to remove some of the heavy coat of stain. I sanded the bowl with 2400-6000 grit micromesh sanding pads to make the finish more translucent so the grain would stand out when it was polished. I gave the bowl multiple coats of Conservator’s Wax and set it aside to dry.
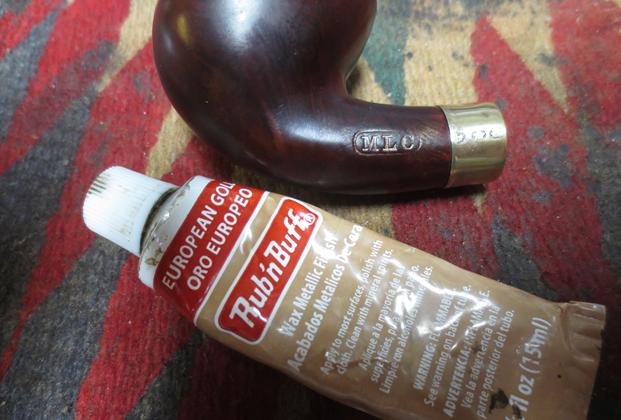
 I touched up the gold filled MLC Oval with Rub’n Buff European Gold. I applied it with a cotton swab and hand buffed the excess off with a cotton pad.
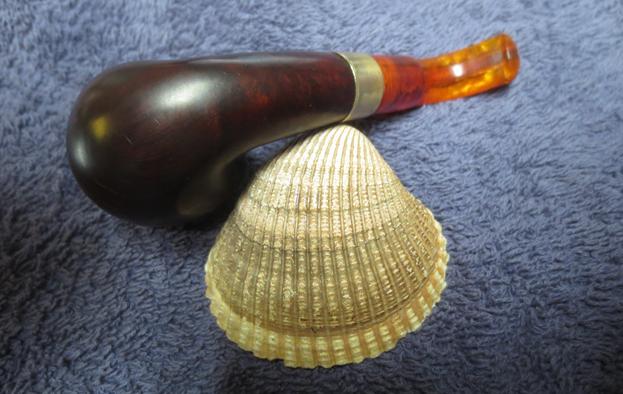
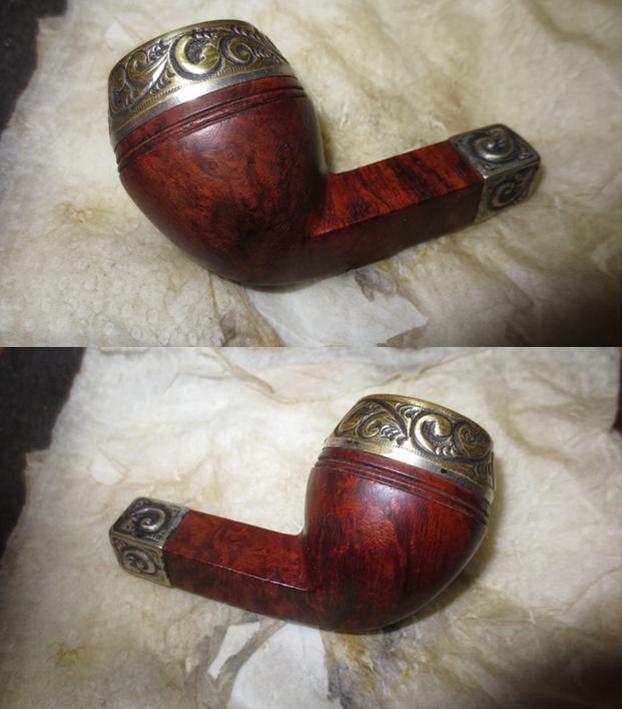
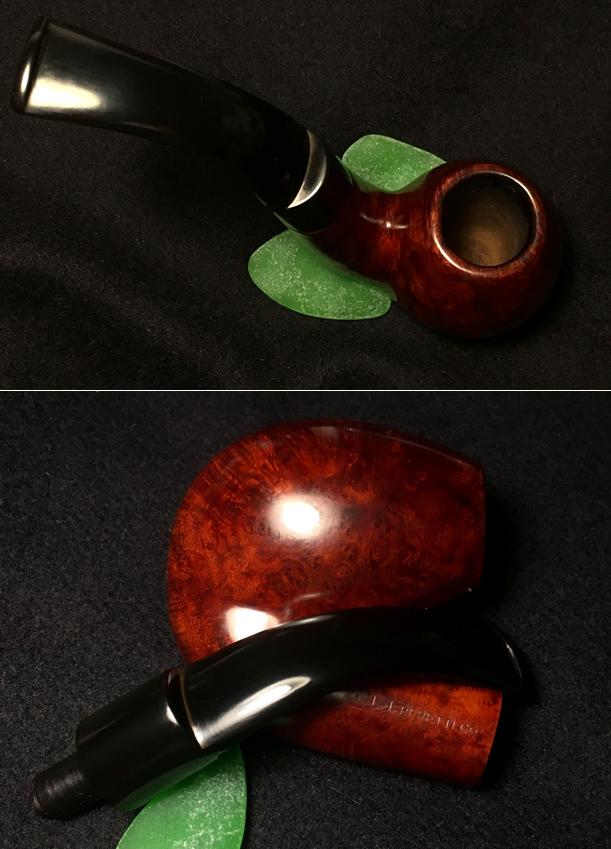
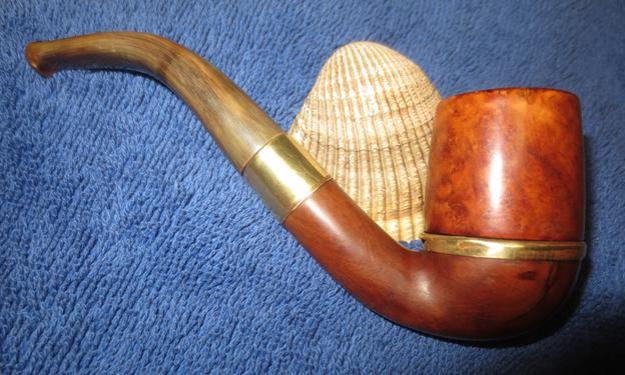
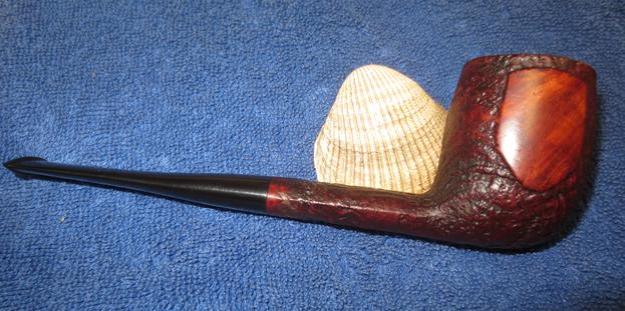
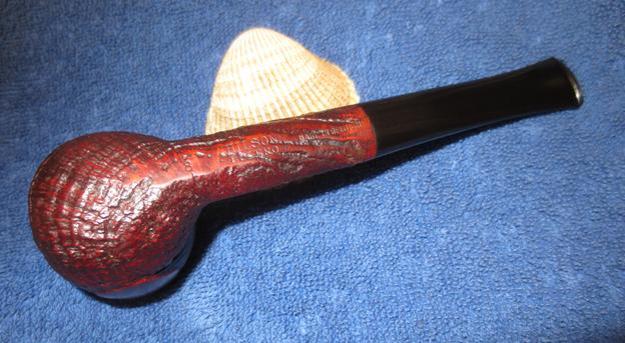
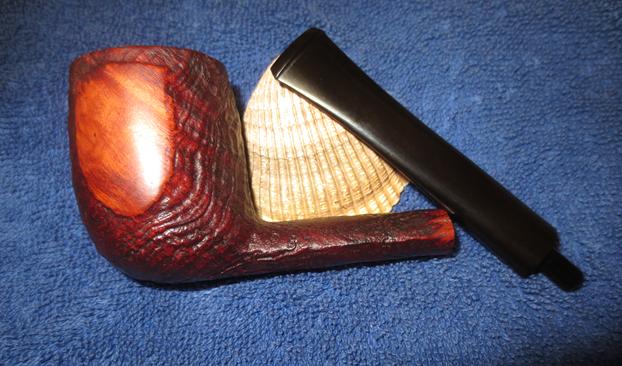
 I carefully buffed the bowl and stem with Blue Diamond on the buffing wheel. I gave the bowl and stem multiple coats of carnauba wax and buffed the pipe with a clean buffing pad to raise the shine. I hand buffed it with a microfiber cloth to deepen the shine. The photos of the finished pipe are shown below. It has come a long way from what it looked like when I started. It turned out to be a beautiful pipe that has served pipe men well for well over 100 years. Thanks for looking.