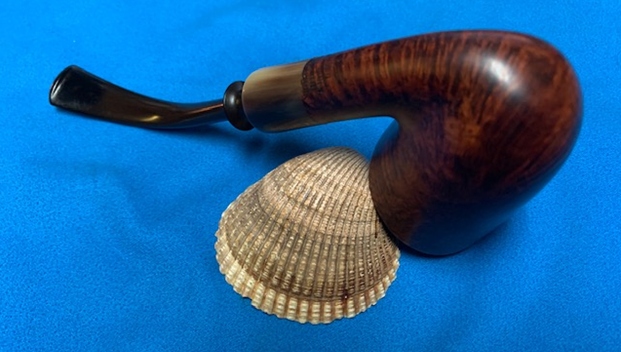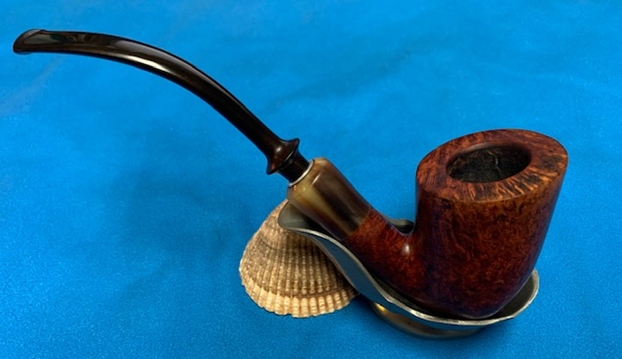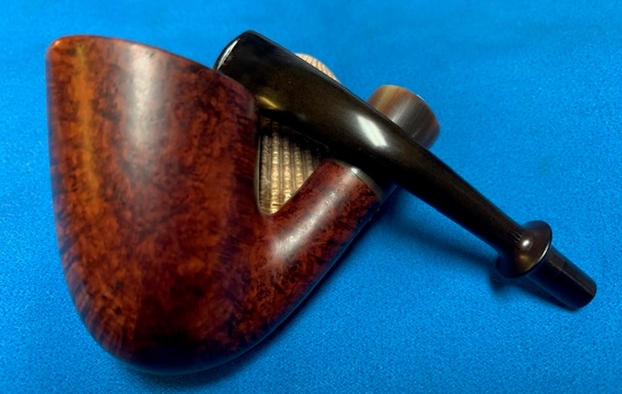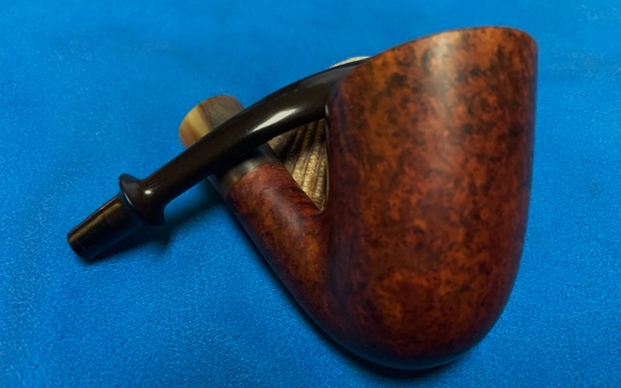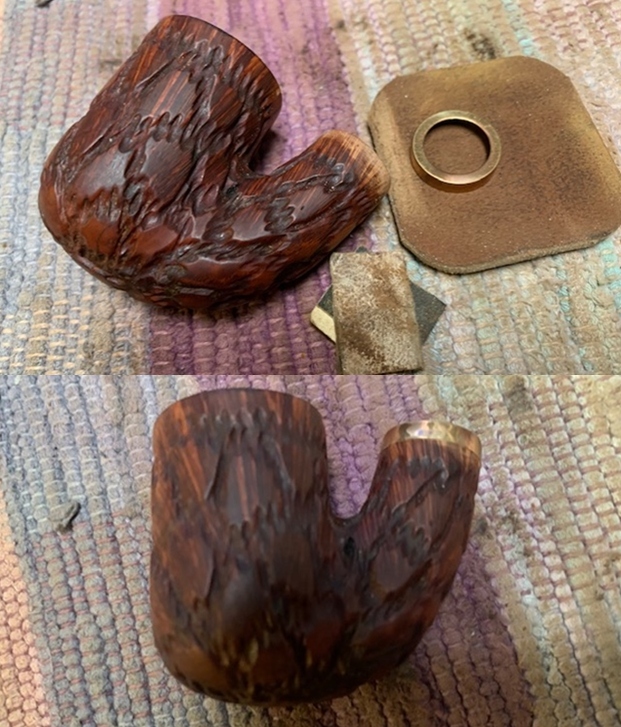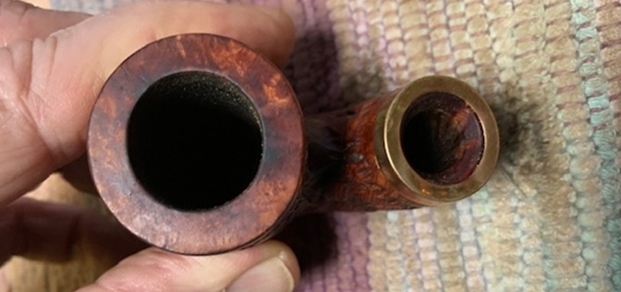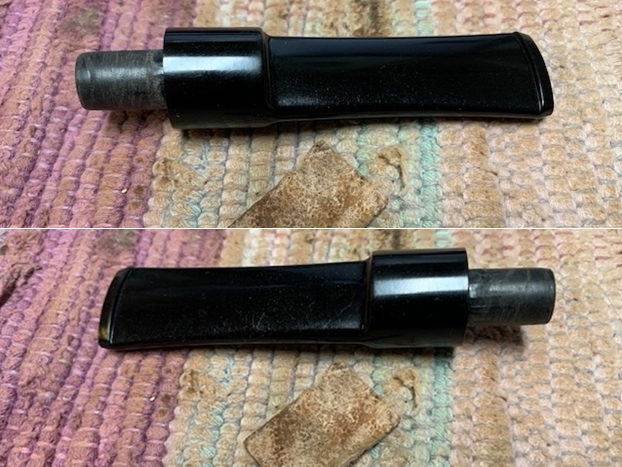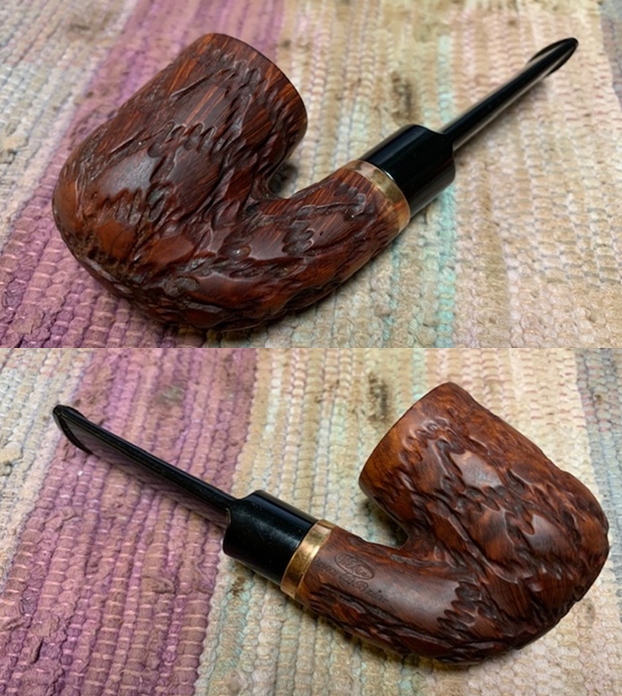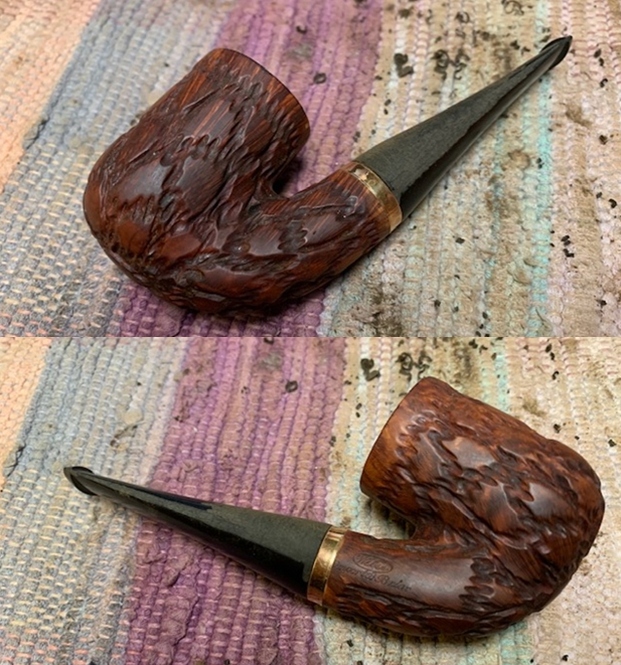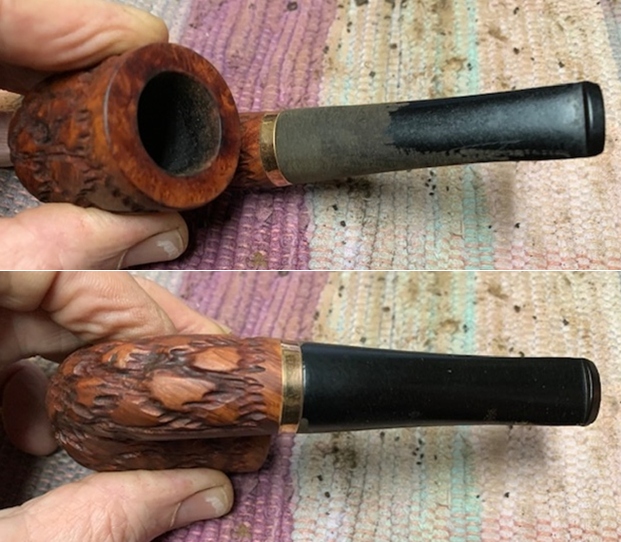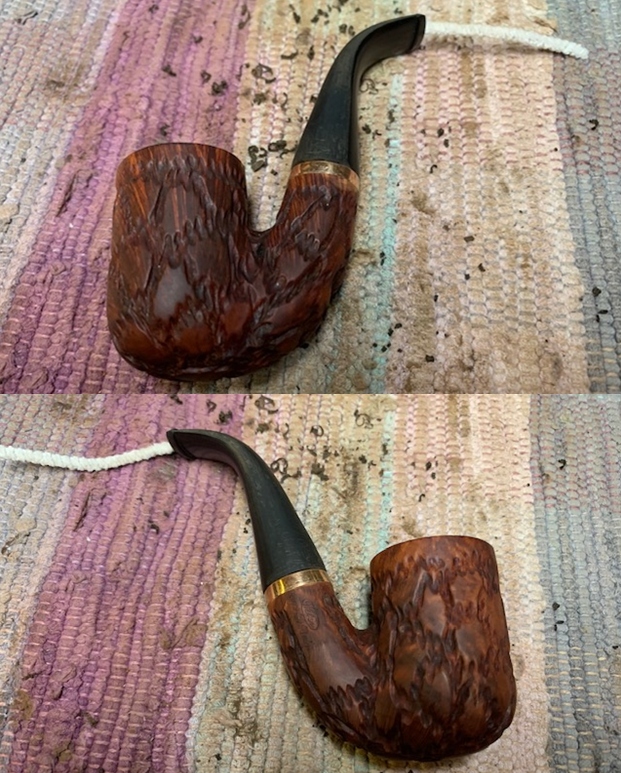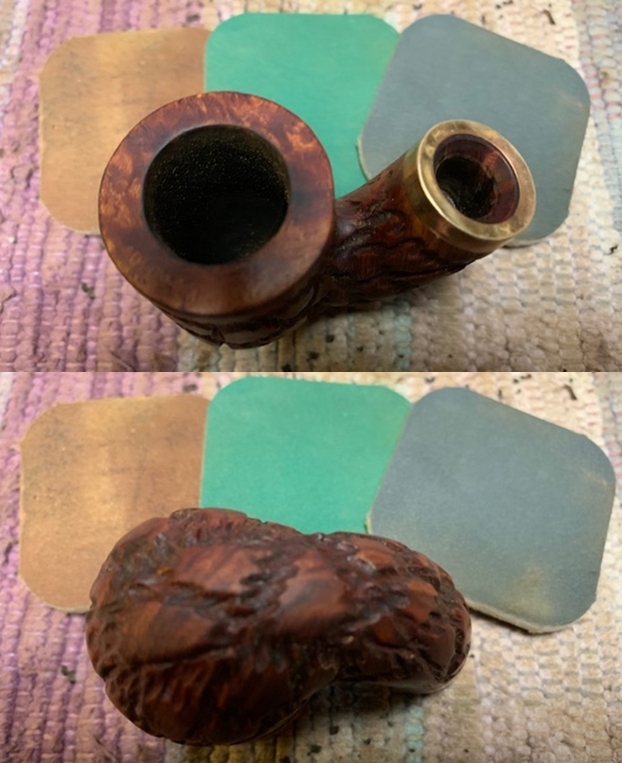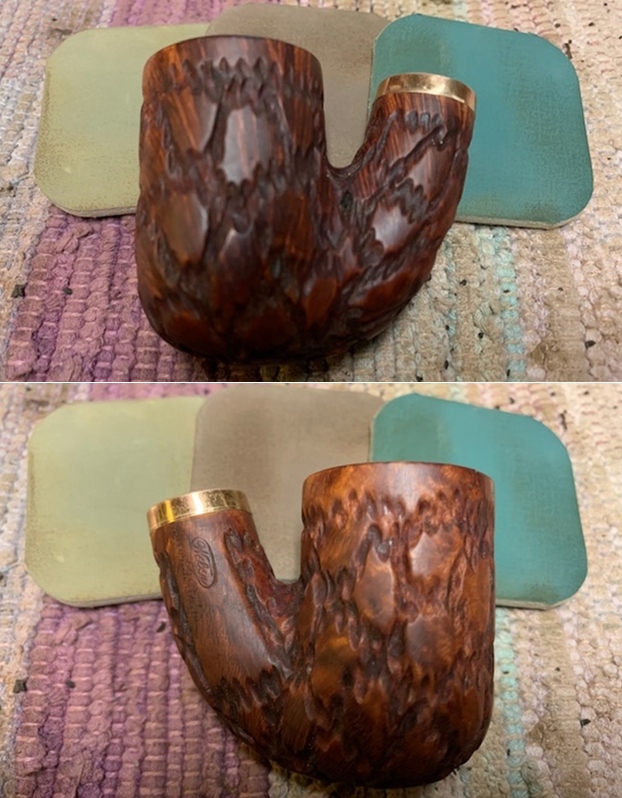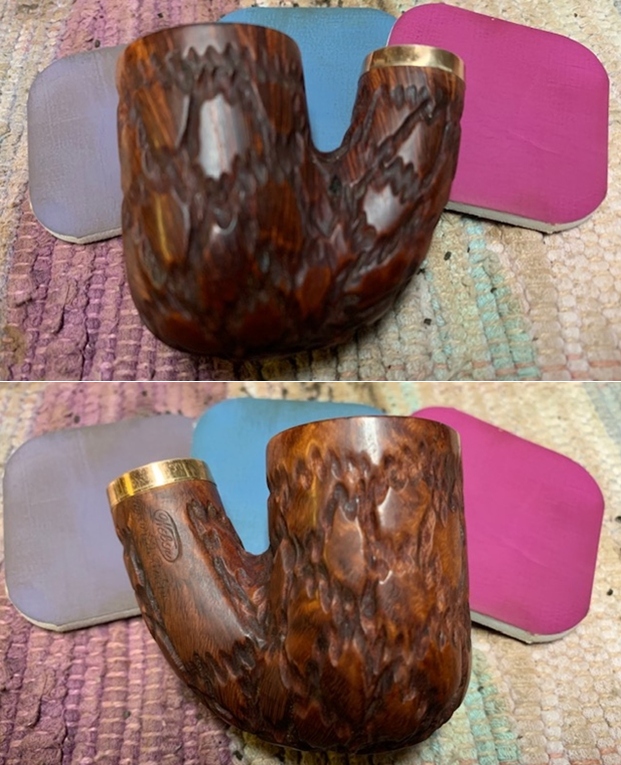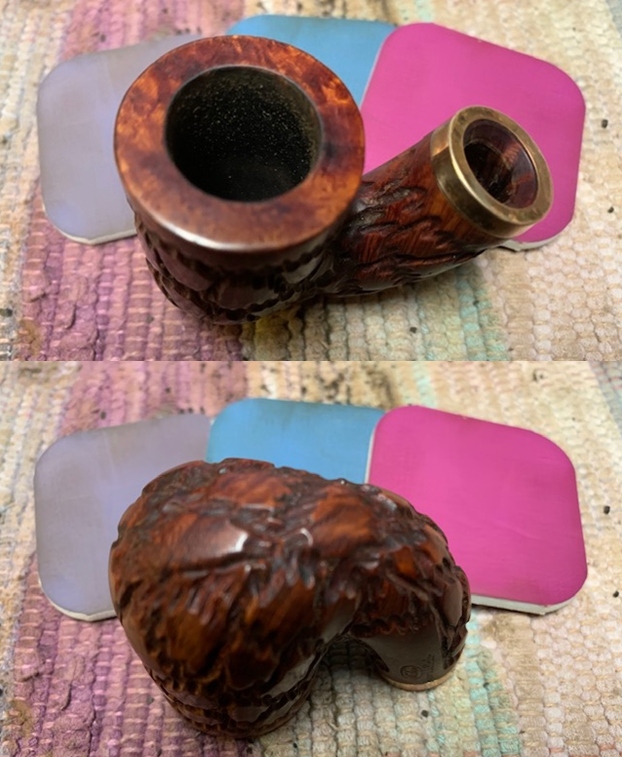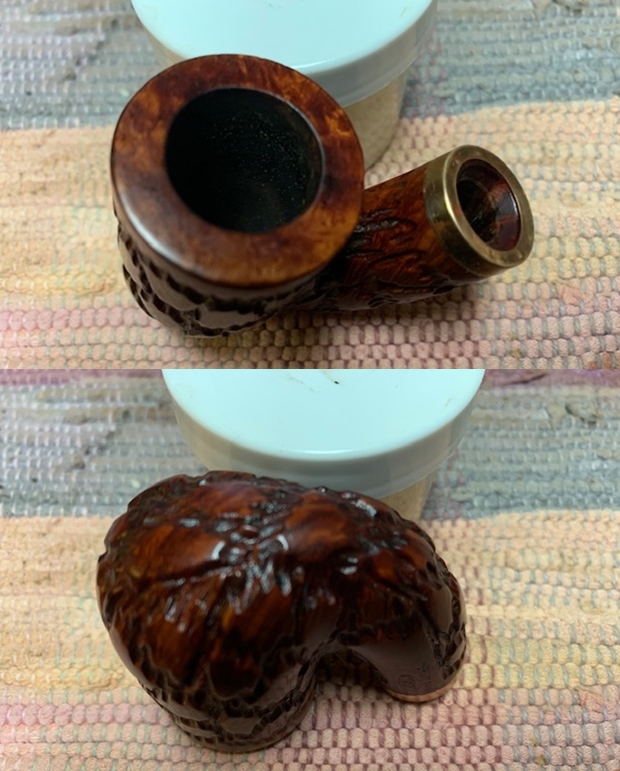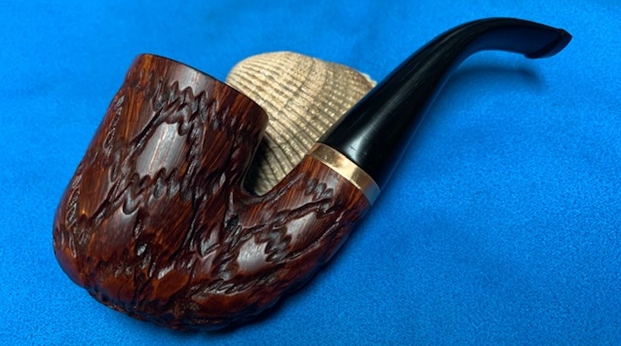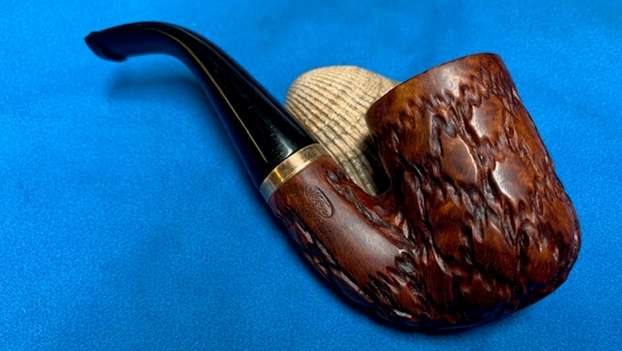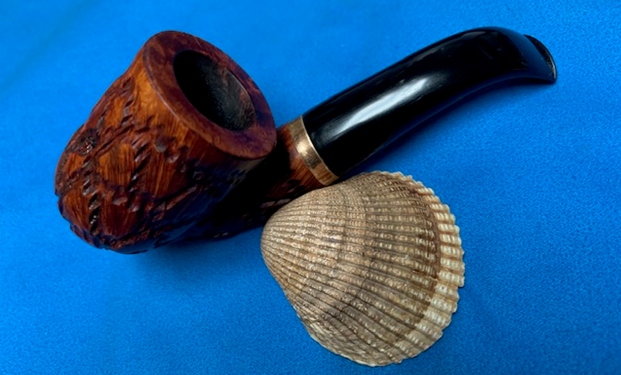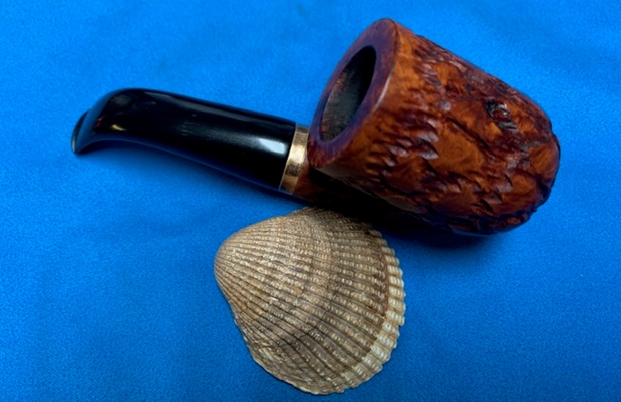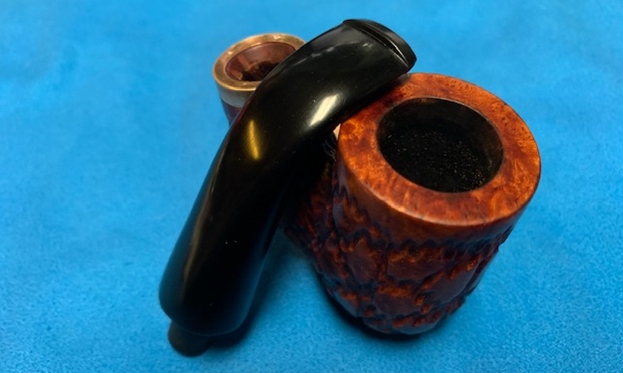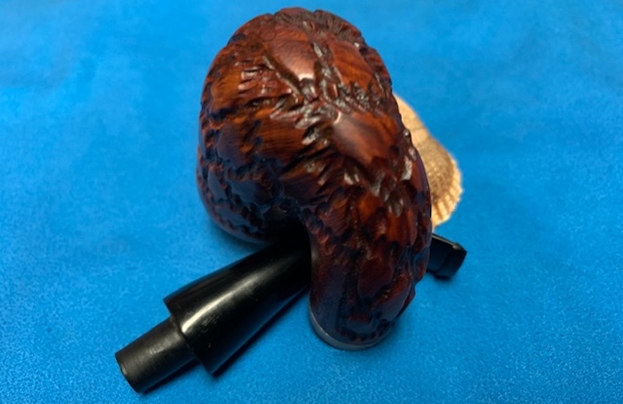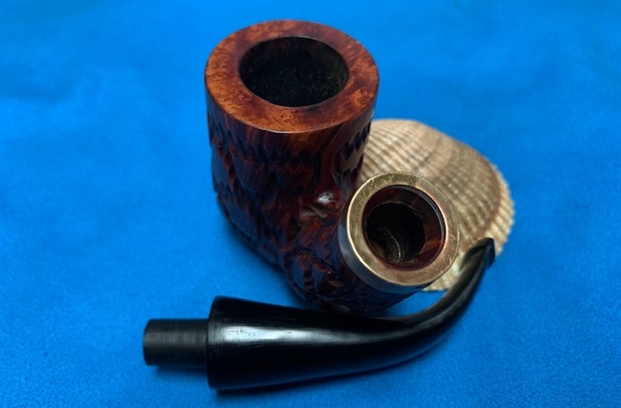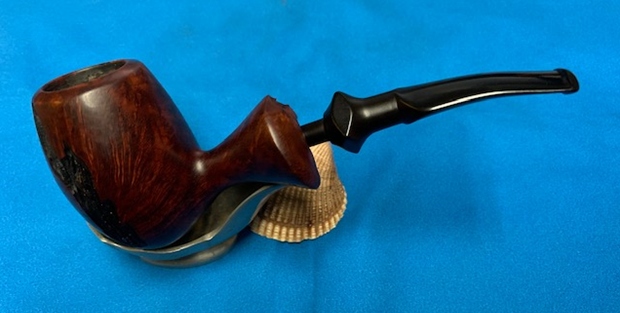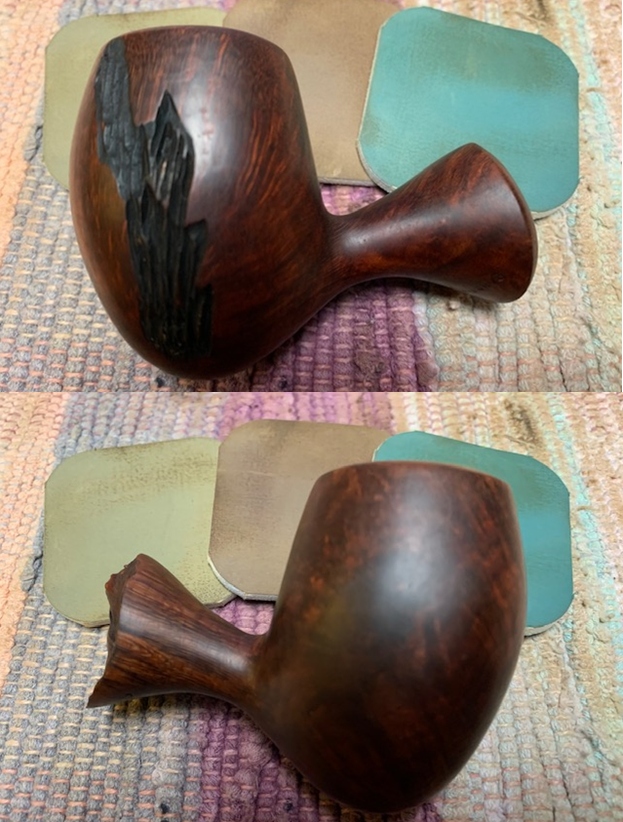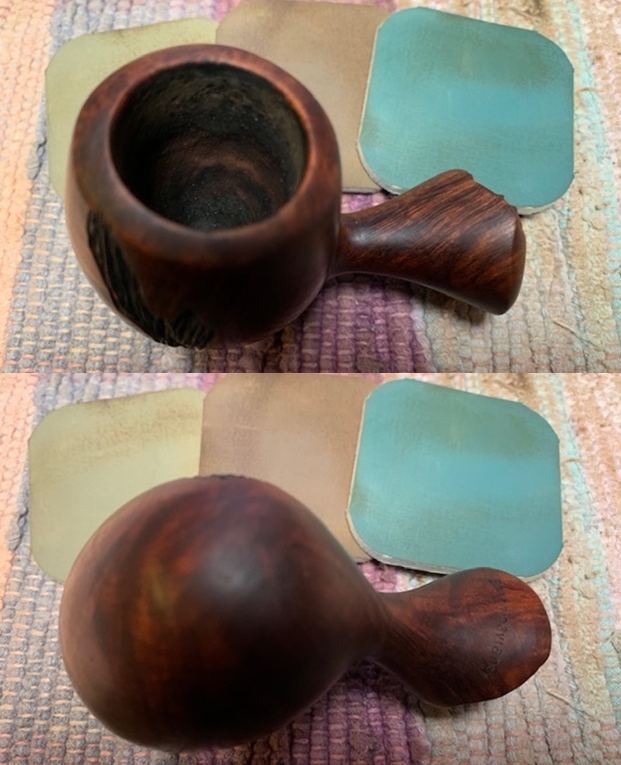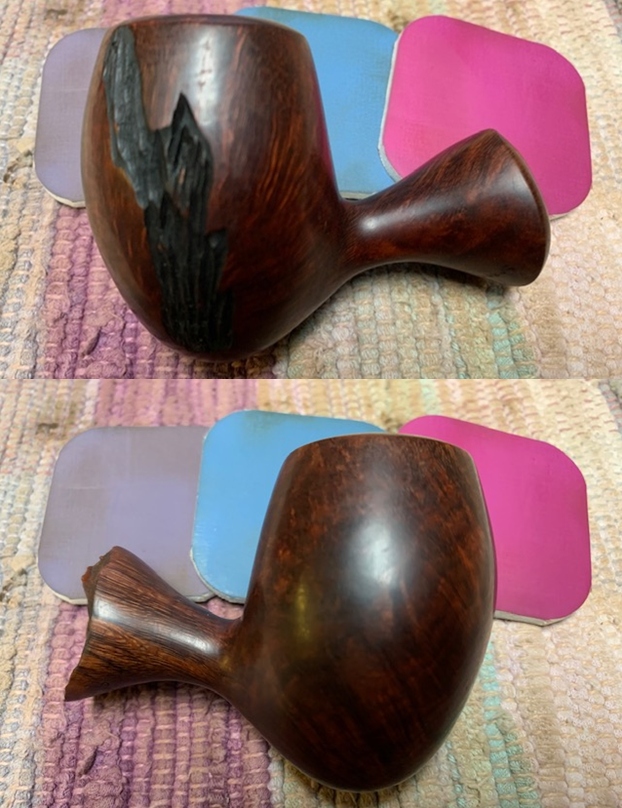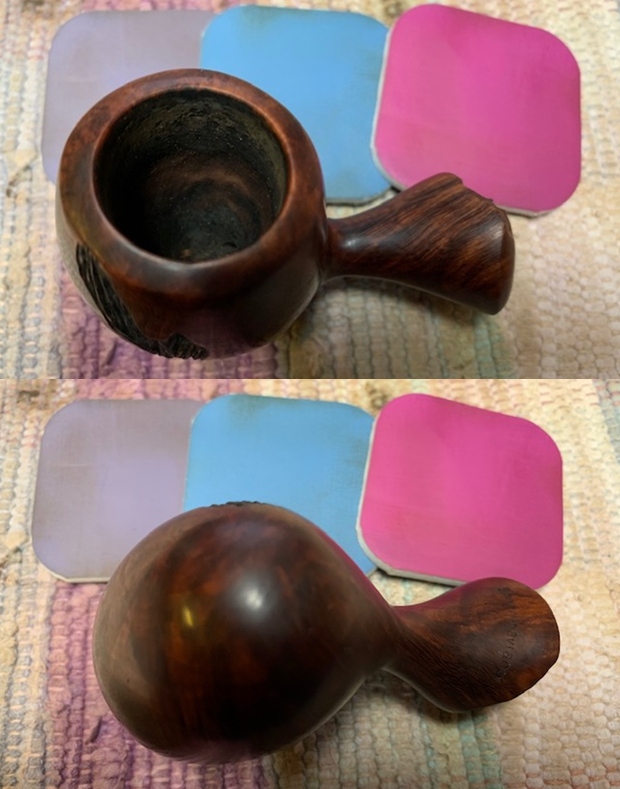
Tag Archives: Bowls – refinishing

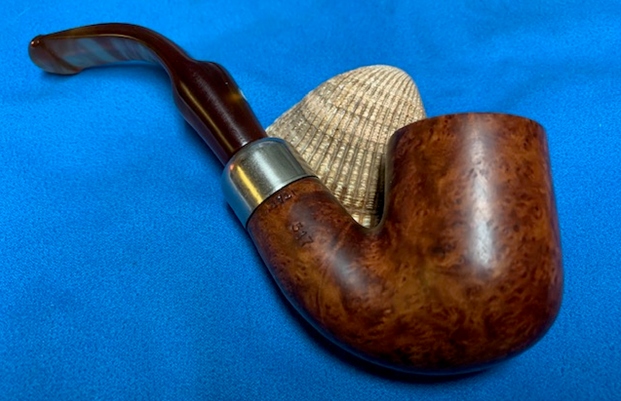
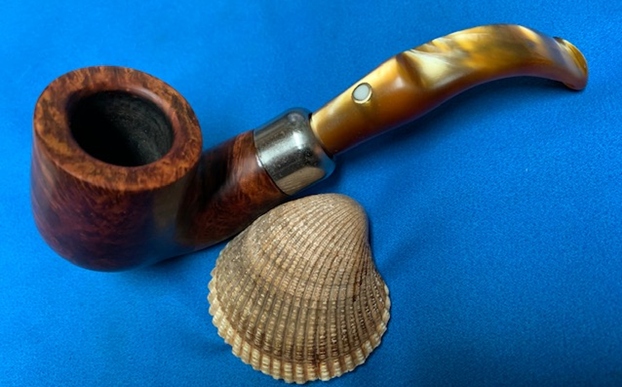
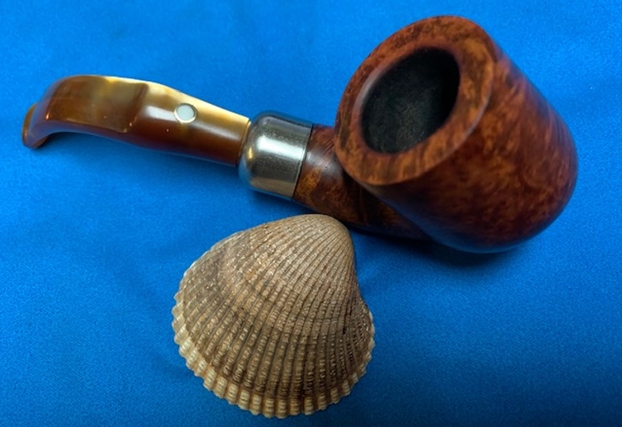
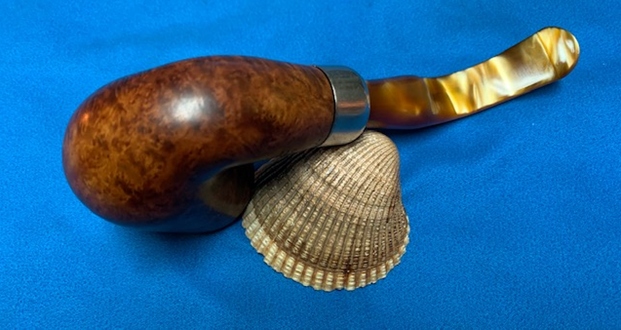
A Simple Restoration on a Republic Era Peterson’s “Dunmore” 77 Bent Billiard


Blog by Steve Laug

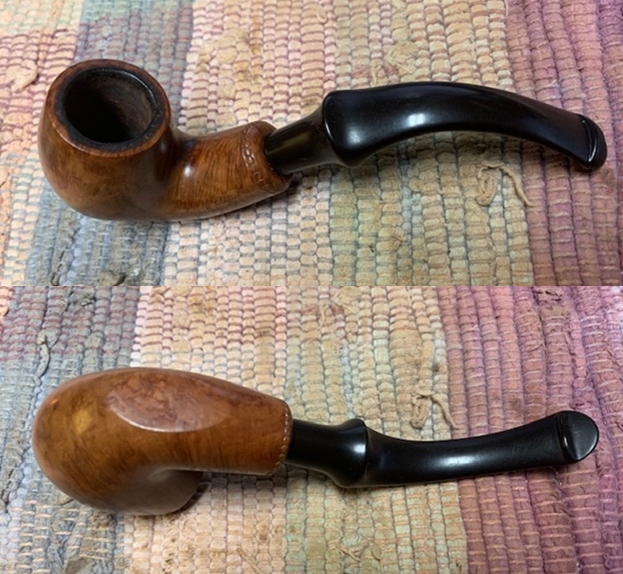
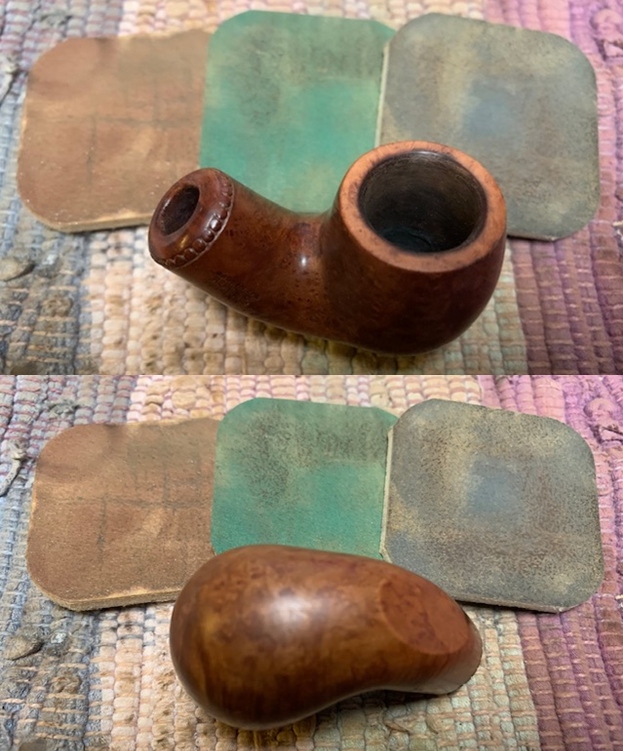
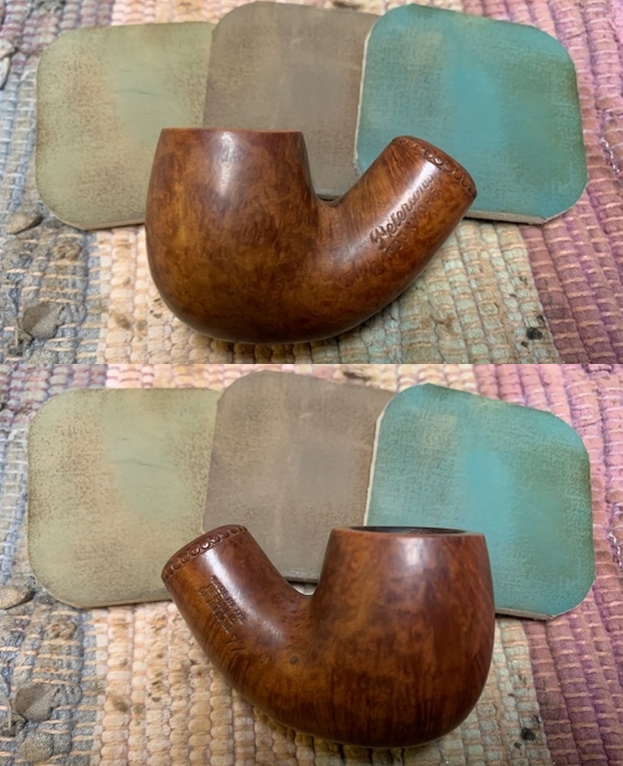
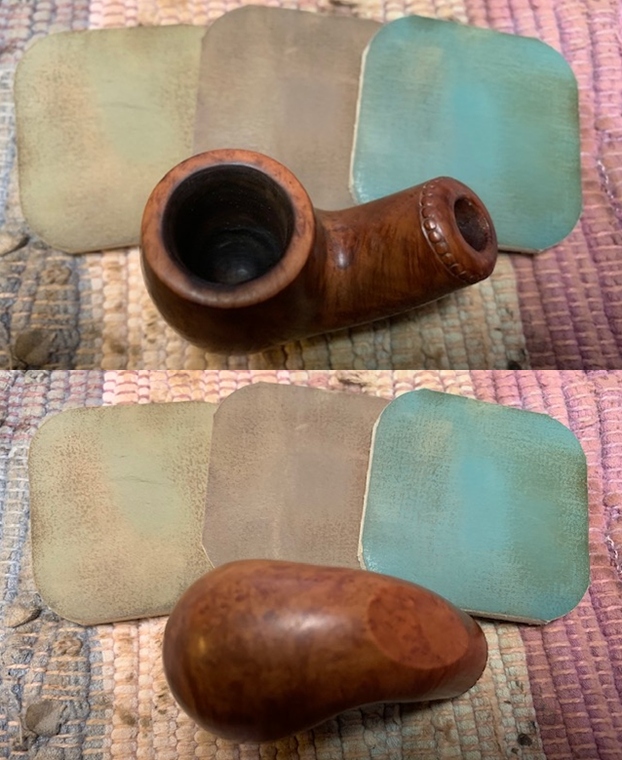
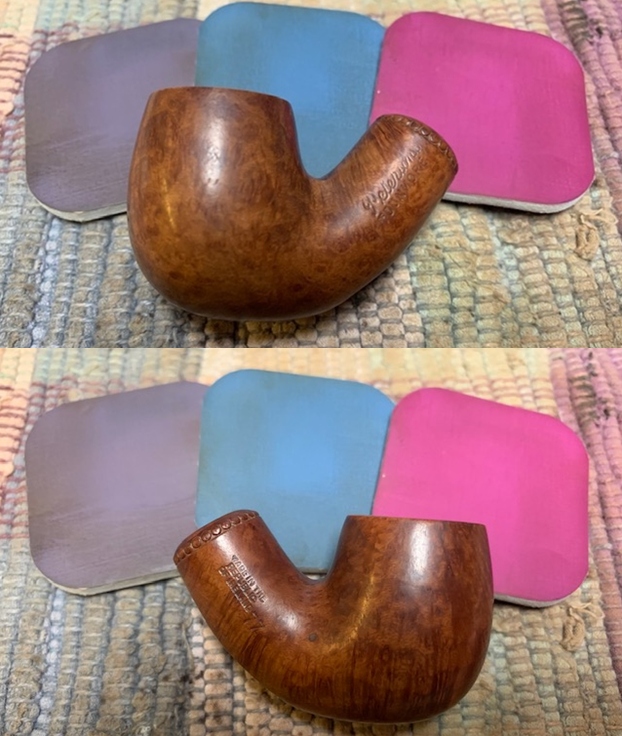
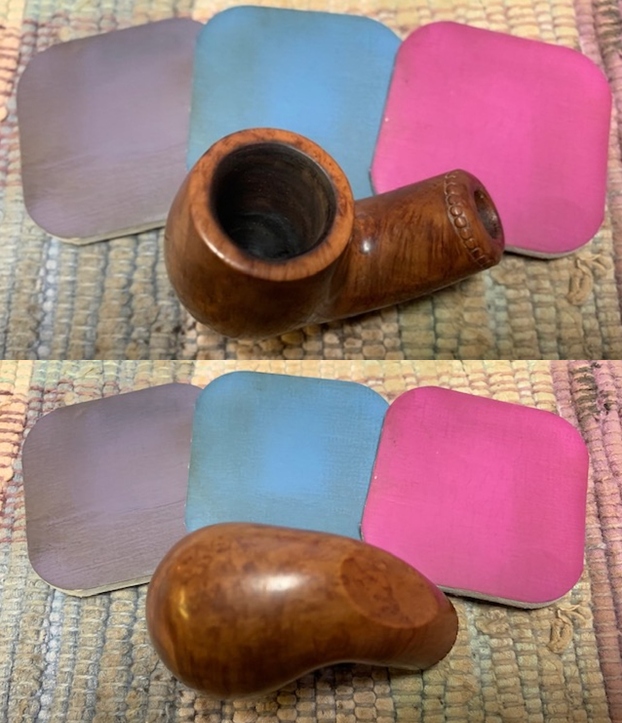
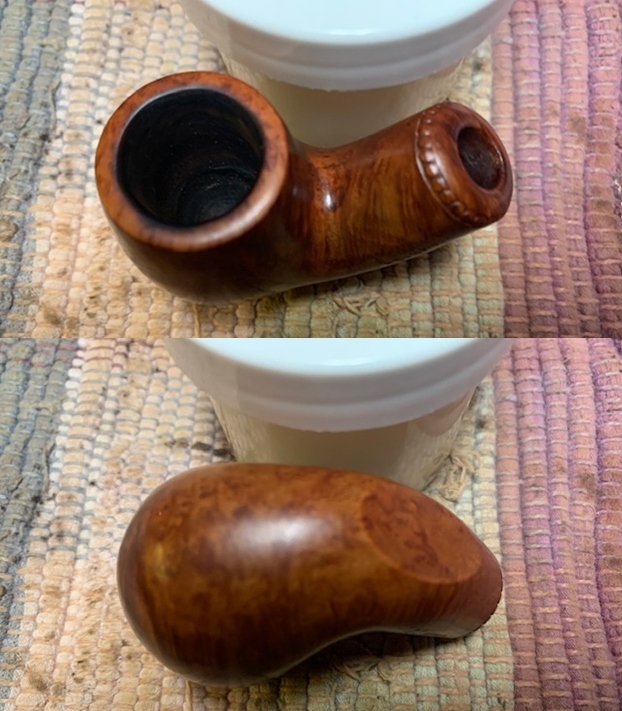
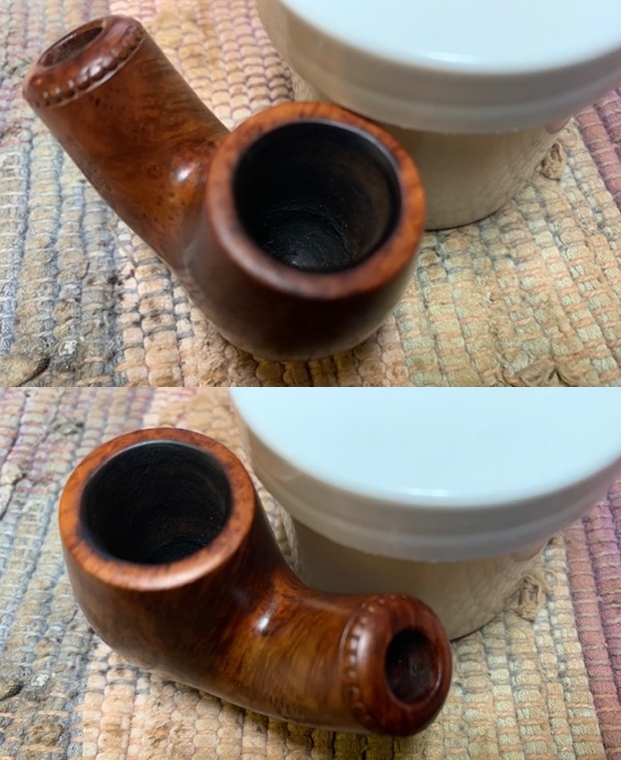
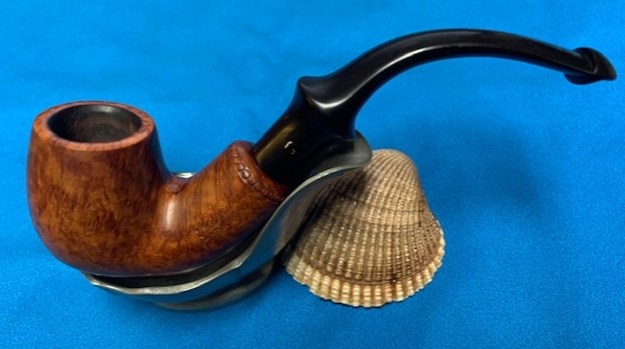
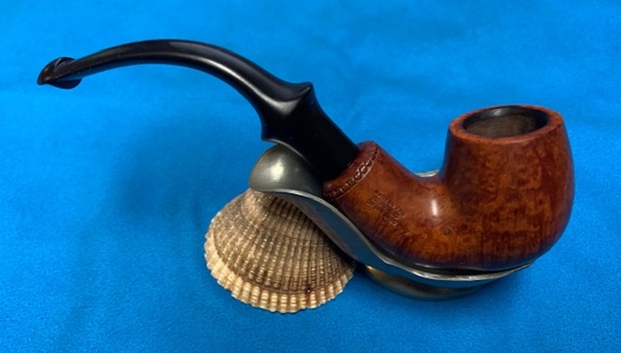
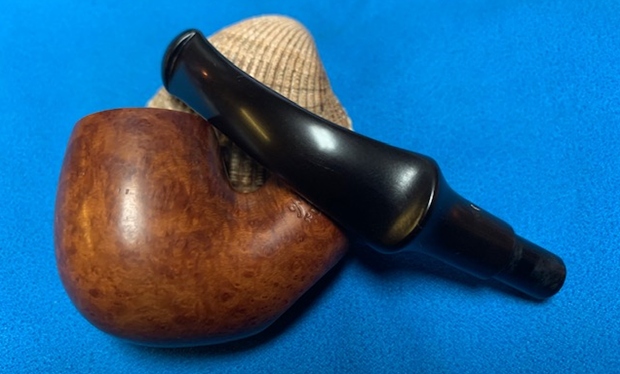
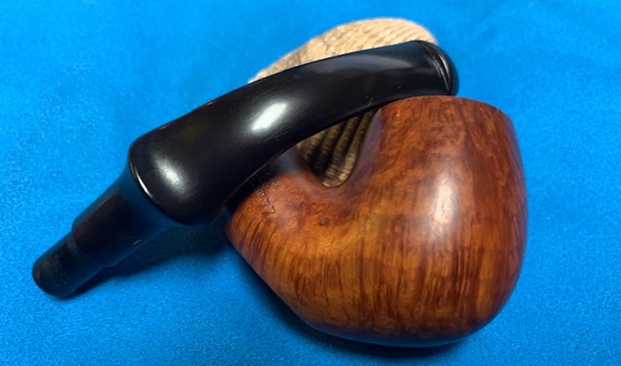
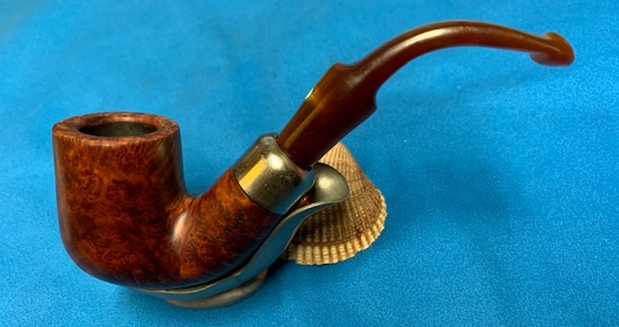
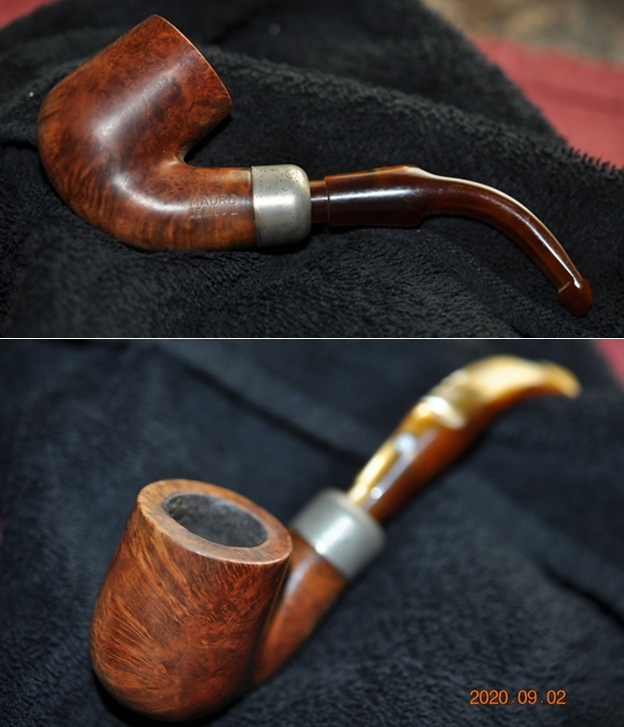
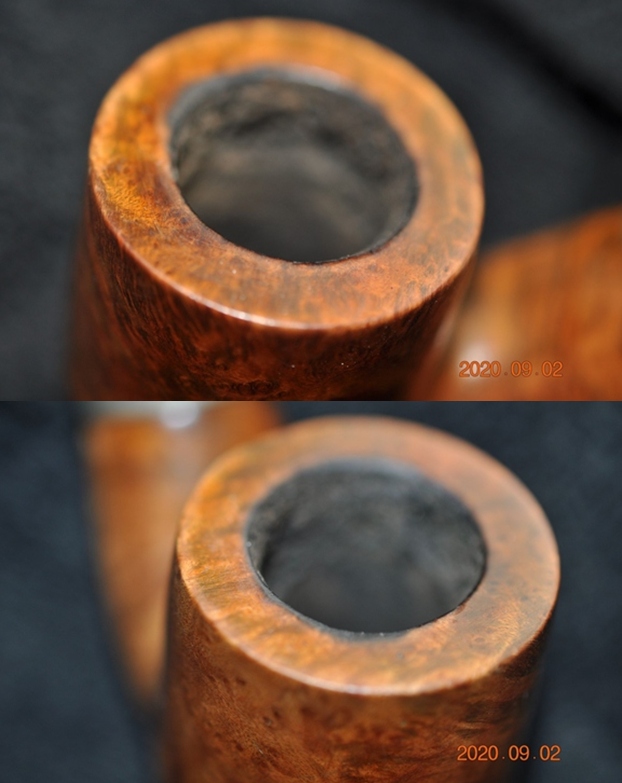
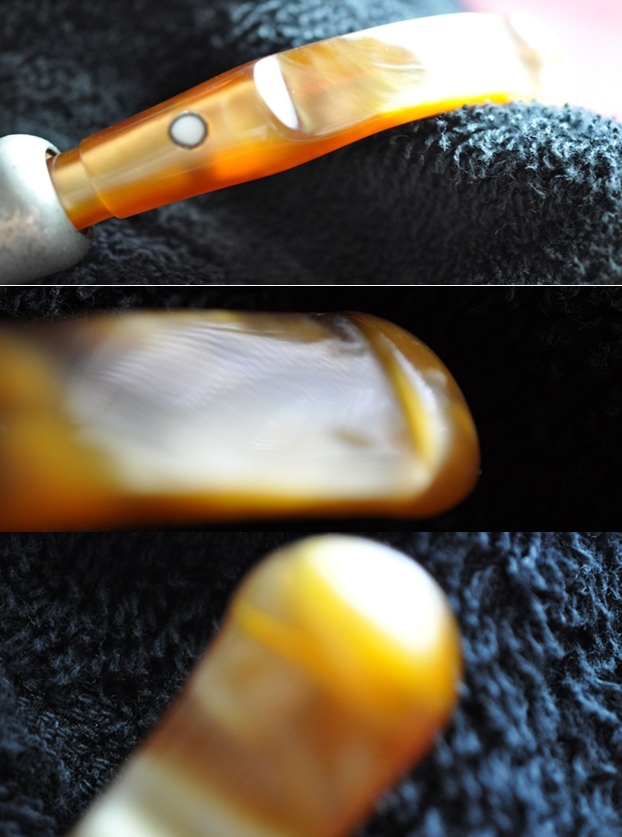
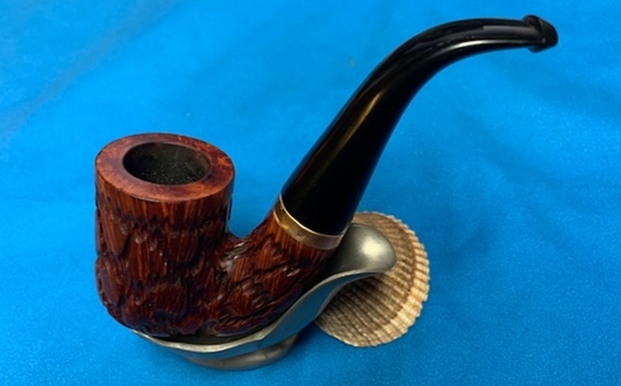
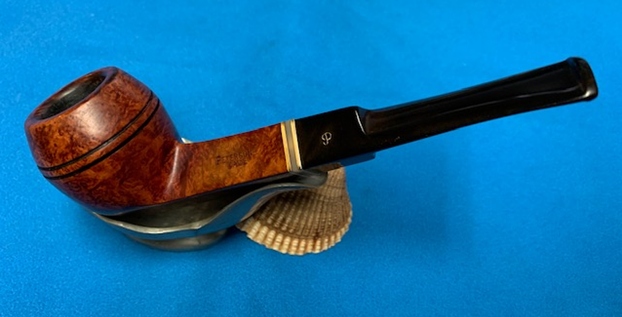
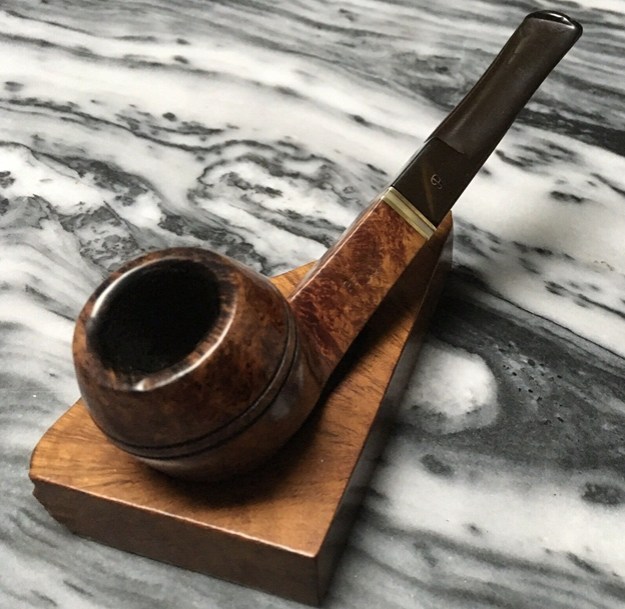
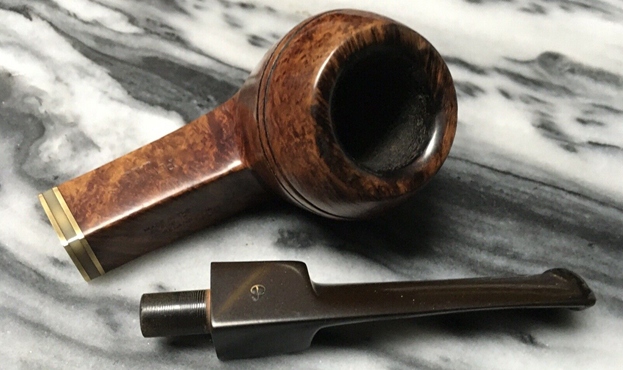
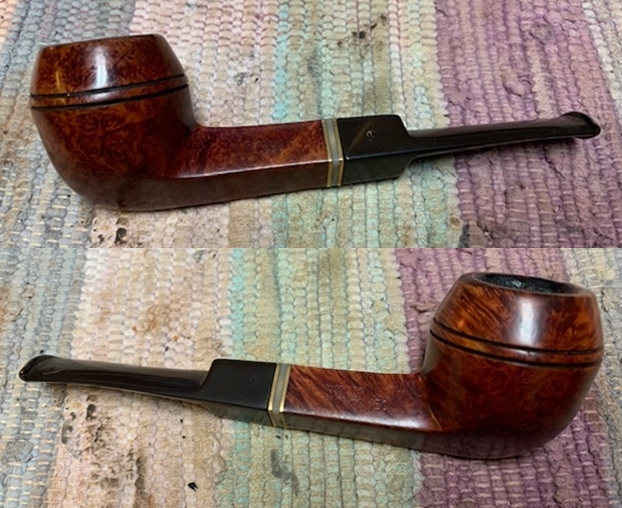
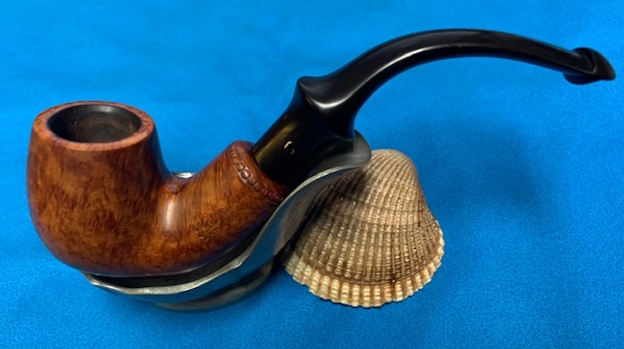
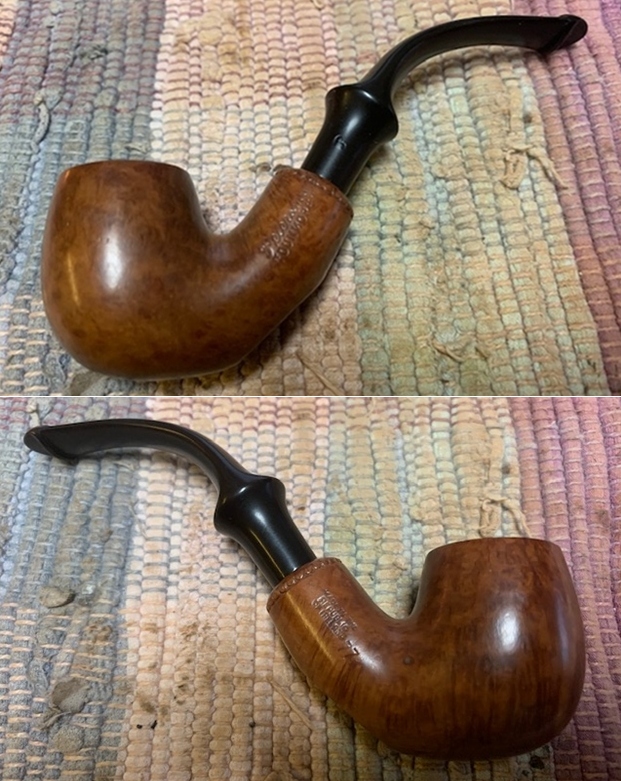
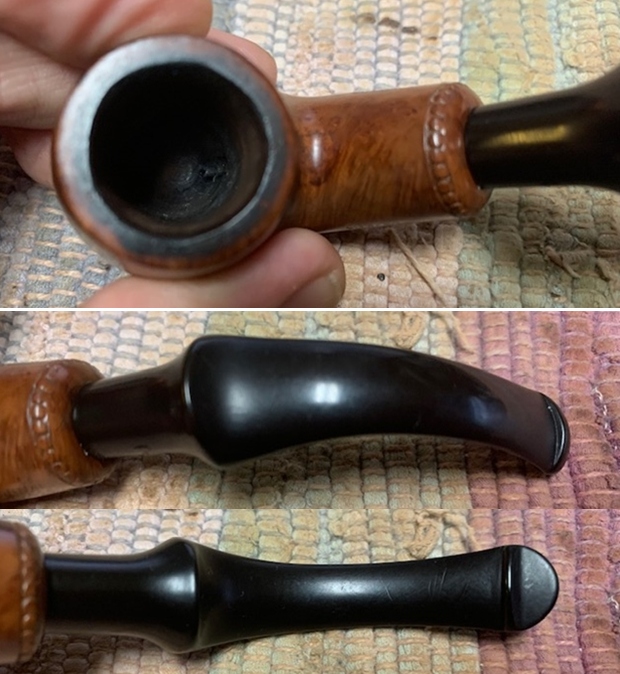
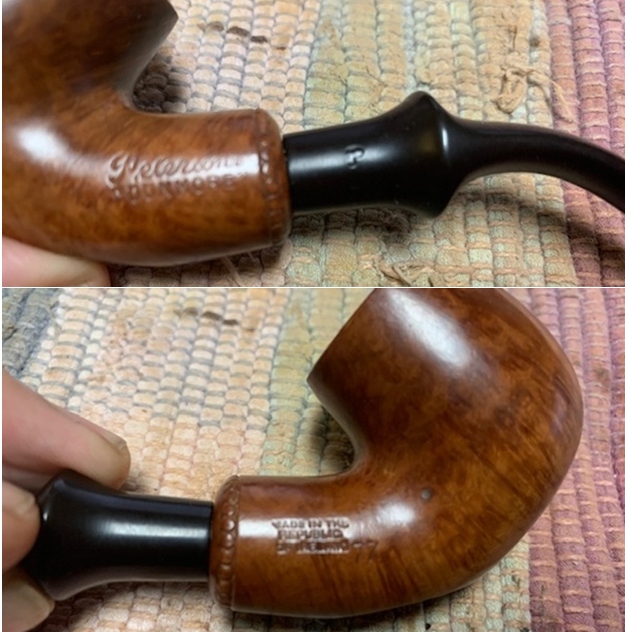
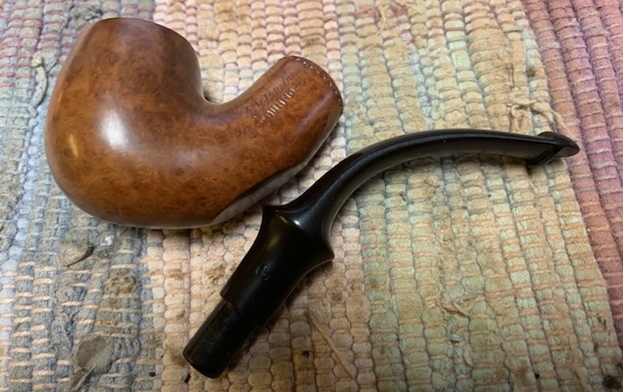
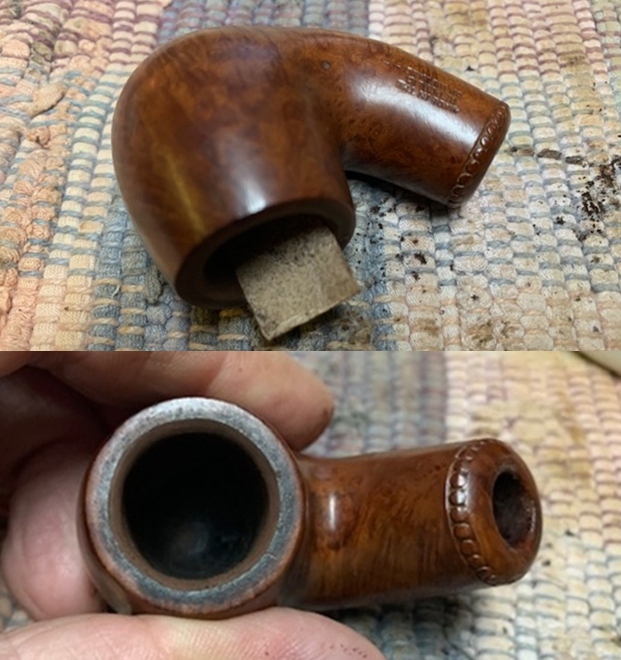
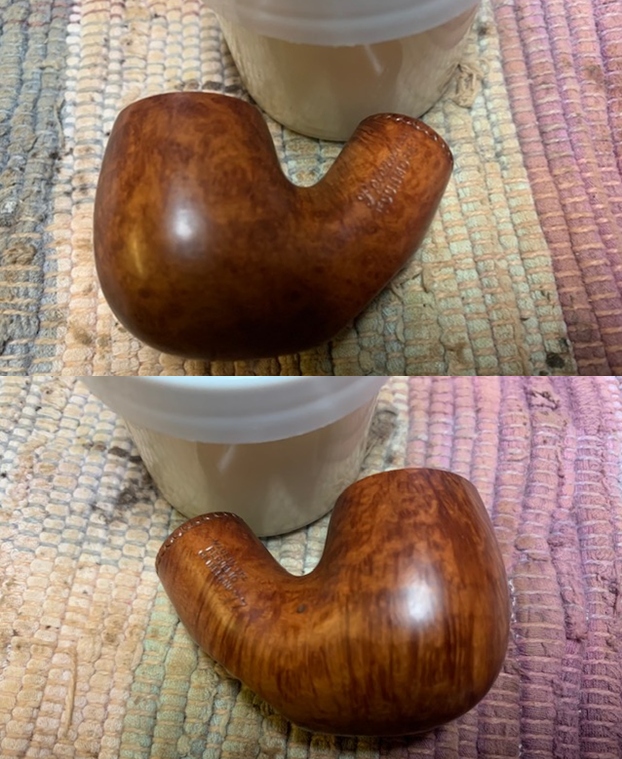
The next pipe on the table was gifted to me by Ray, a reader in Australia. It is a petite Peterson’s “Dunmore” pipe. He had read a restoration of Bob Kerr’s Estate Peterson’s “Dunmore” and thought I would enjoy working what he called “that pipe’s l’il brother”. It is about a Group 2 by Dunhill standards bowl that he had picked up in the 1970s. It is stamped on the left side of the shank and reads Peterson’s [over] “Dunmore”. On the right side it is stamped Made in the Republic of Ireland followed by the shape number 77.  Ray had done the lion’s share of the clean up on the pipe. It had been reamed, cleaned and buffed. It was in great condition. There was some rim top darkening and damage on the inner edge of the bowl but nothing too difficult. The beaded decoration on the shank end is in excellent condition. Like other Dunmore’s I have worked on it had a flattened shank and the pipe functioned as a sitter. The stem was in excellent condition with some very light tooth chatter on both sides ahead of the p-lip. The “P” stamp on the left side of the stem was clear and just needed to be touched up otherwise it looked good. I took photos of the pipe when I finally brought it to my work table. The next photos show the bowl and rim top as well as the stem condition. The bowl was clean and ready to fire up. The rim edge was out of round and showed some damage and darkening. The rim top also had some darkening. The stem looked very good with some light tooth chatter and scratches.  The stamping on the shank sides was very readable and read as noted above. It had been buffed but was not overly damaged.   I took the stem off and took a photo of the parts of the pipe to give a perspective on the size and proportions of this little pipe.After rereading Ray’s email about the pipe and the previous blog on the Dunmore I had worked on I went back and reread the blog (https://rebornpipes.com/2019/08/18/restoring-a-petersons-dunmore-70-bent-apple-sitter-from-bob-kerrs-estate/). I quote from the blog on the Dunmore line below.
I then turned to the book I should have consulted first, The Peterson Pipe, by Mark Irwin and Gary Malmberg. On page 298 there is an entry for Dunmore pipes. It reads as follows:

Dunmore (1971-c.1984 2006-10). Appeared first as Iwan Ries & Co. exclusive line “Dunmoor,” a Premier-grade in light-brown smooth or rustic red in all System shapes, with beading at the shank. Documented in the Associated Imports Catalog from 1973. Classic Range Dunmore shapes from ’78. A third Dunmore line (’06-10) featured standard and some B shapes, with beading around bowl instead of at shank-face, produced for European market.

On page 165 there were also photos of pages from a catalogue with the  description: The unmounted Dunmore Premier debuted in both System and Classic Range shapes circa 1973 with a final appearance in the 1981 catalogue.

The information blurb on each page read: “Dunmore Briars.” Beautifully grained best quality briar in light-brown, matt or rustic finish. Often described as “Petersons Unmounted System” has all the advantages of the system range. Ten models each fitted with the Peterson Lip mouthpiece.

With that information in hand I knew what I was dealing with in terms of the stamping on the pipe. It is a Late Republic era pipe. It showed up in Peterson Catalogue in 1973 which fits Ray’s memory of when he bought the pipe. Now it was time to work on the pipe.

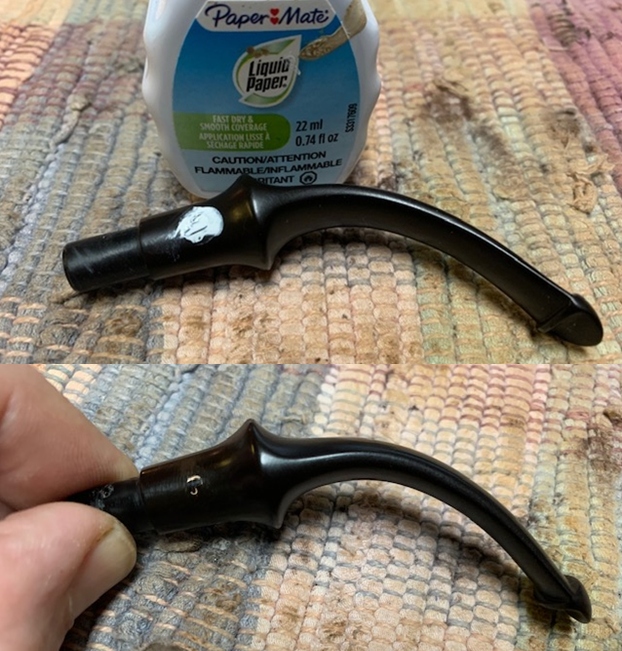
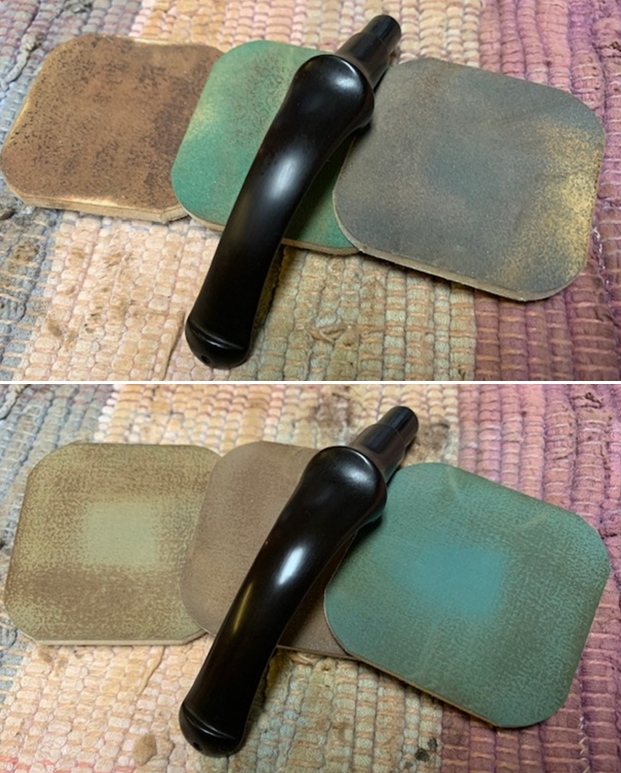
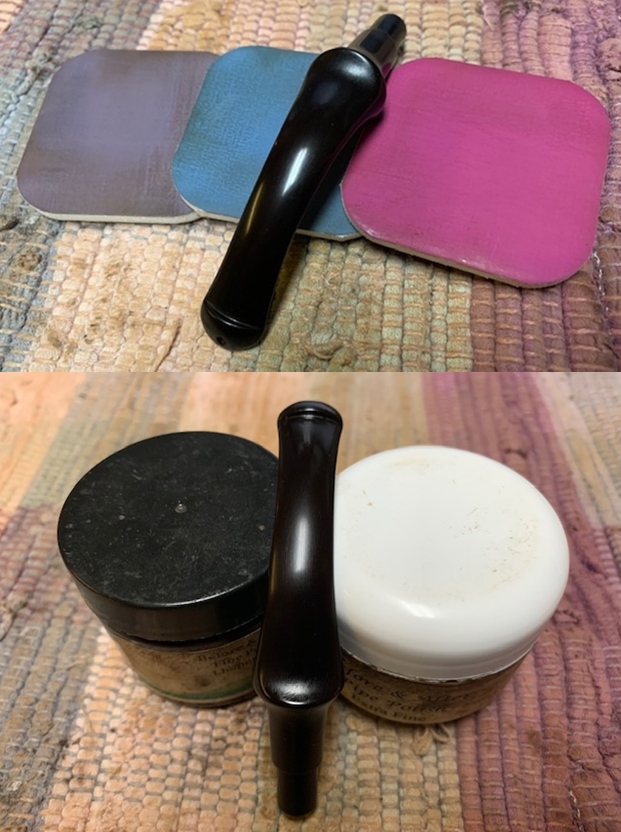
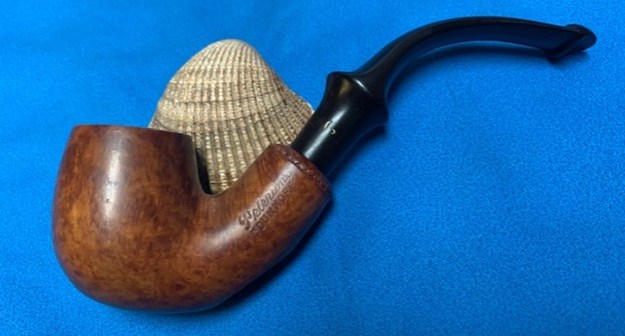
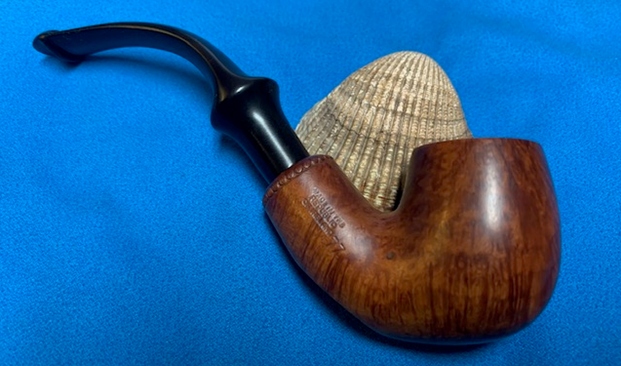
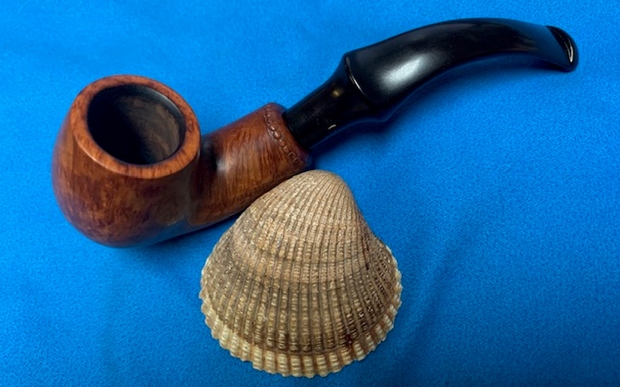
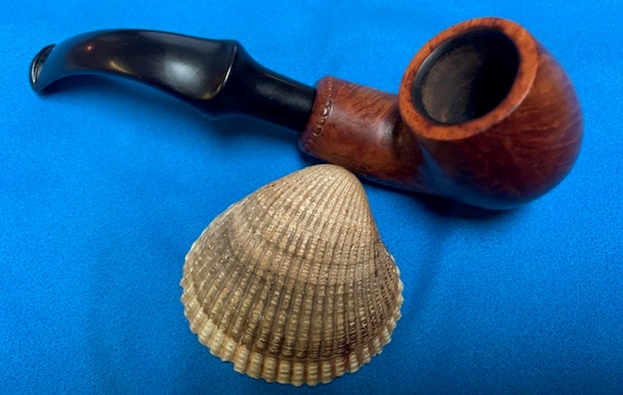
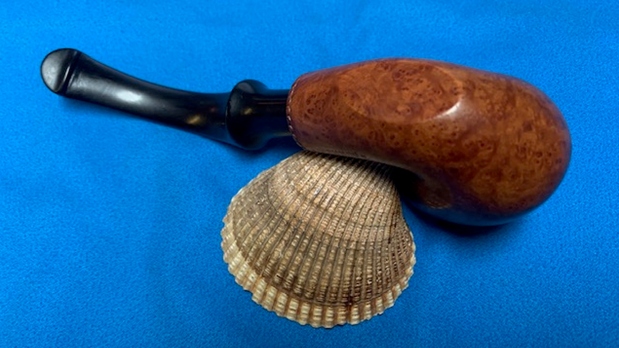
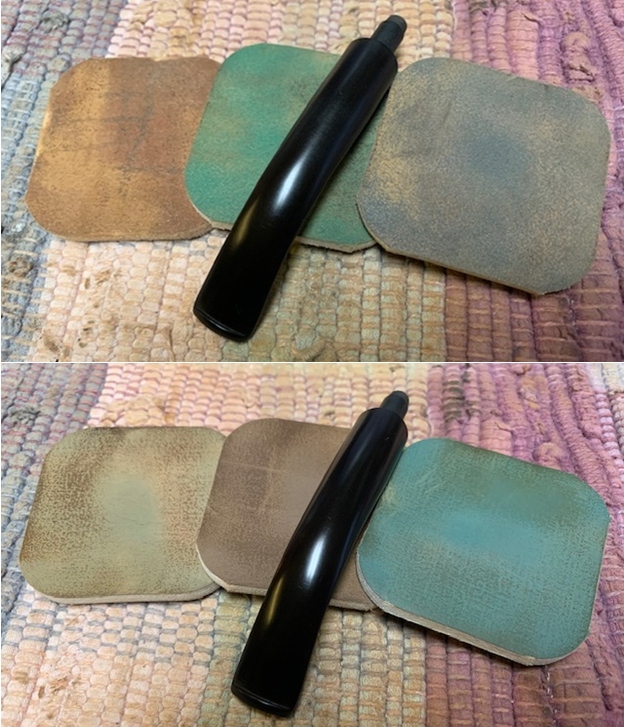
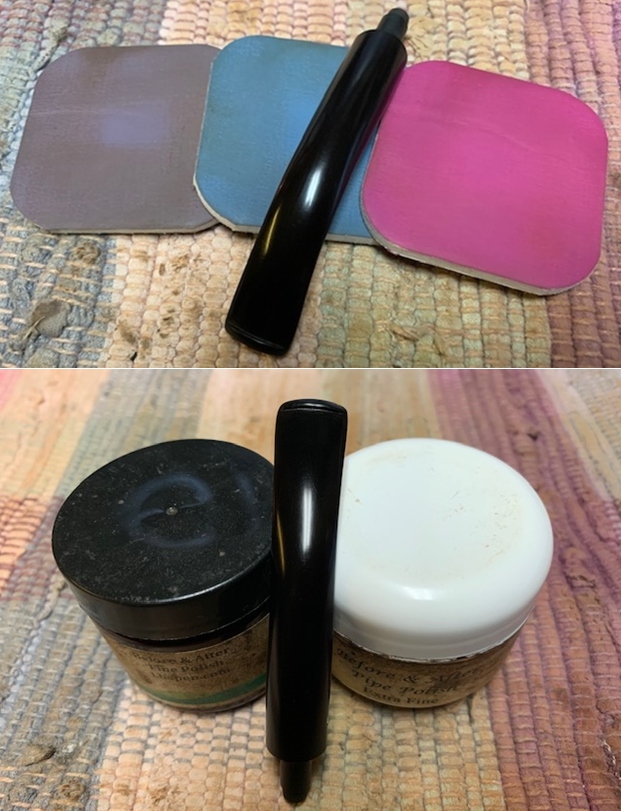
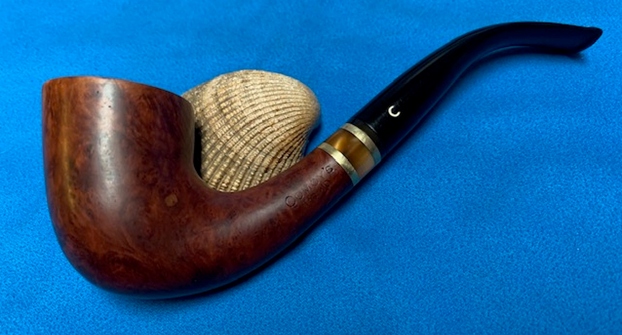
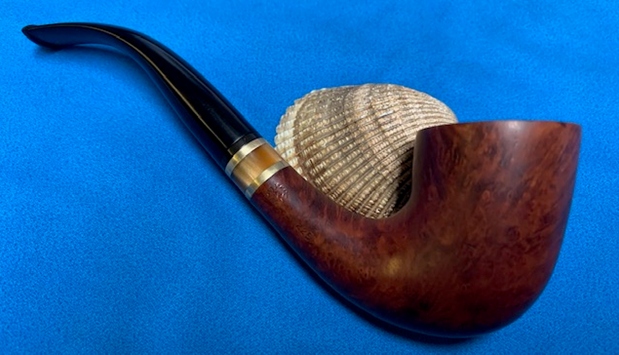
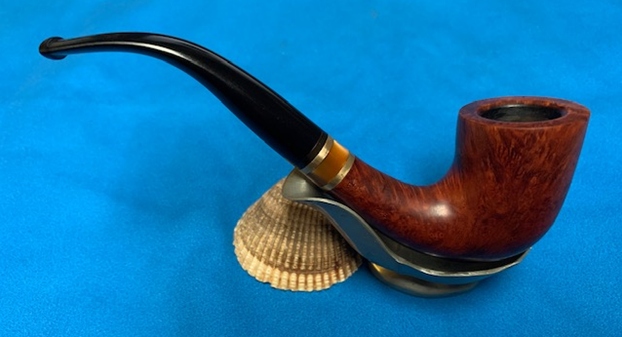
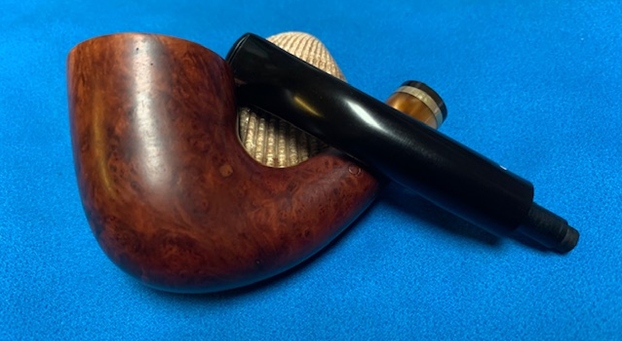
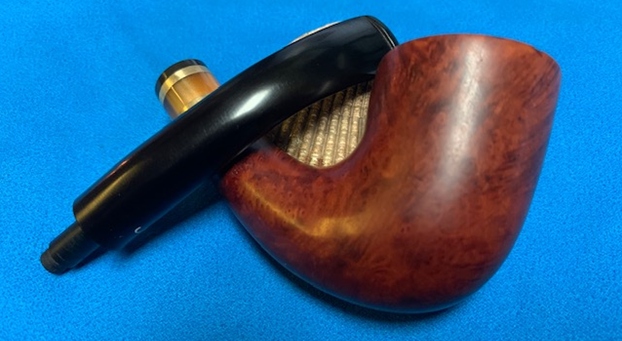
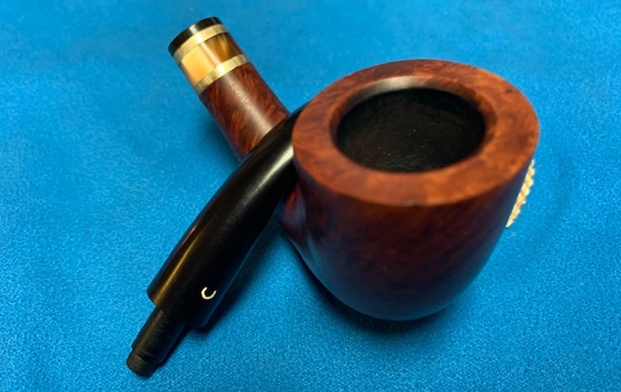
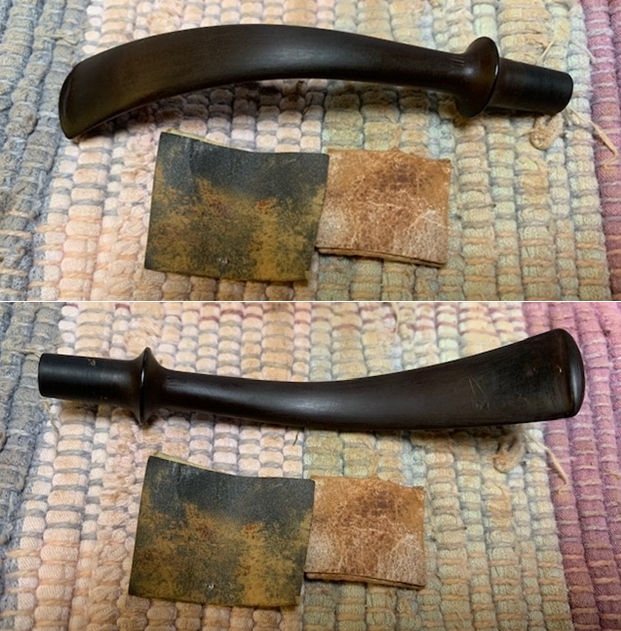
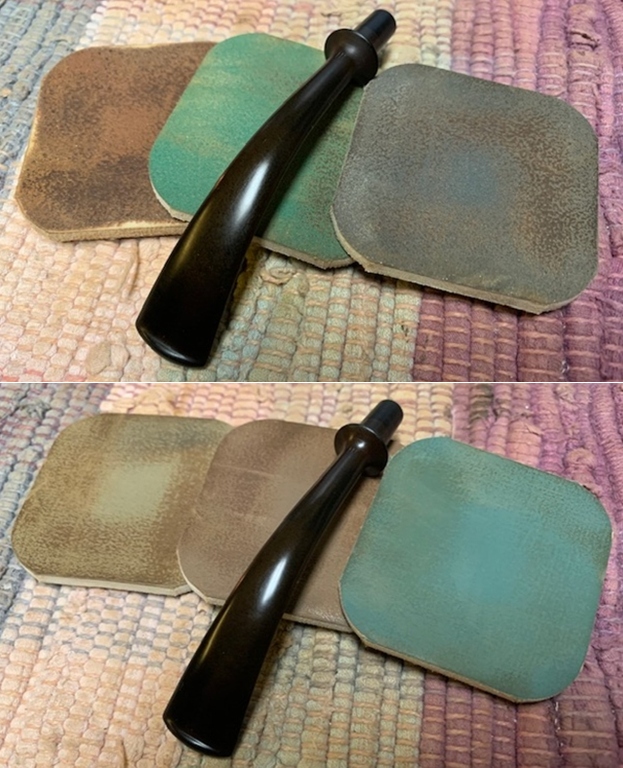
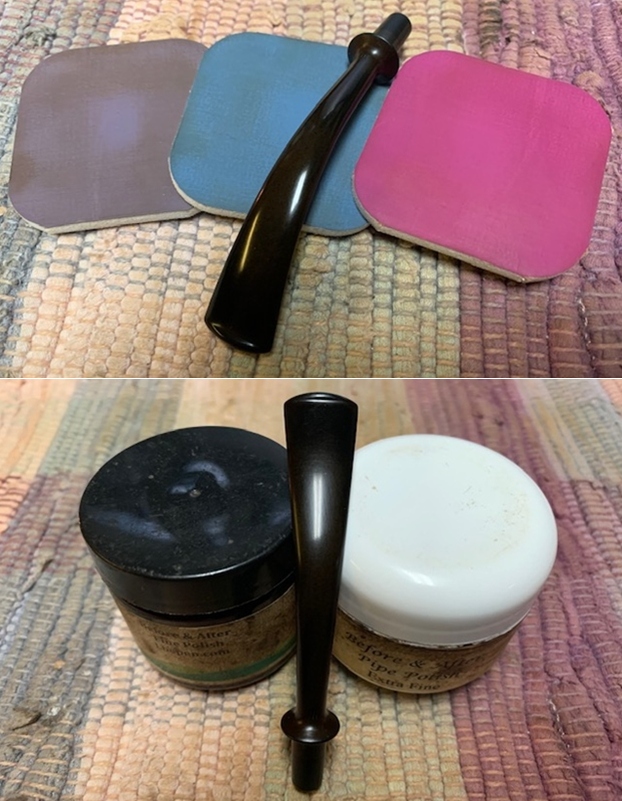
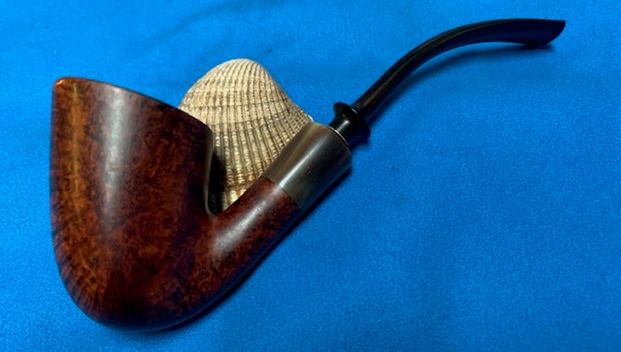
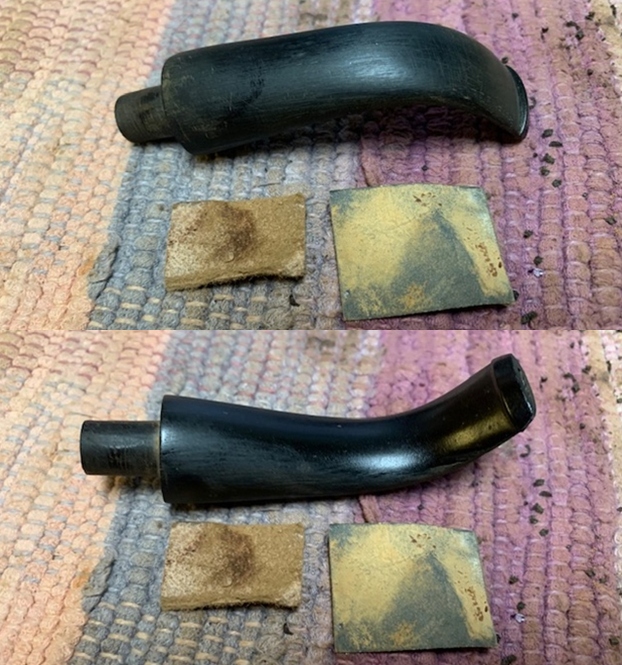
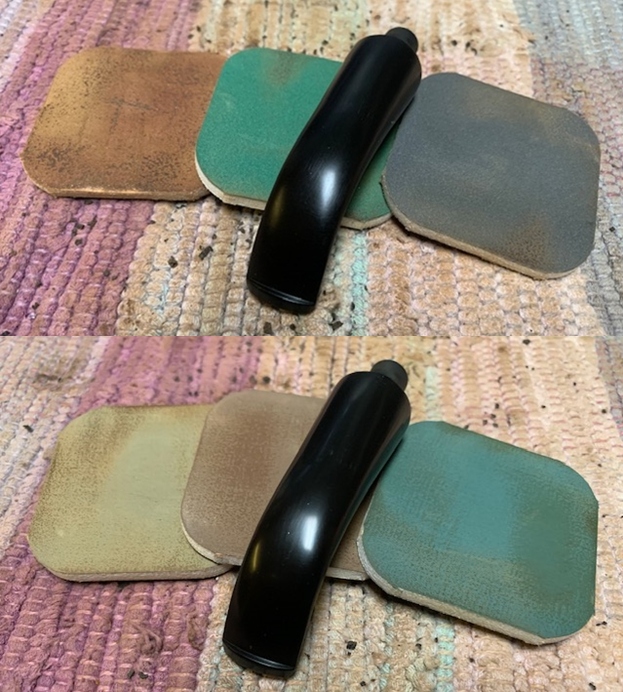
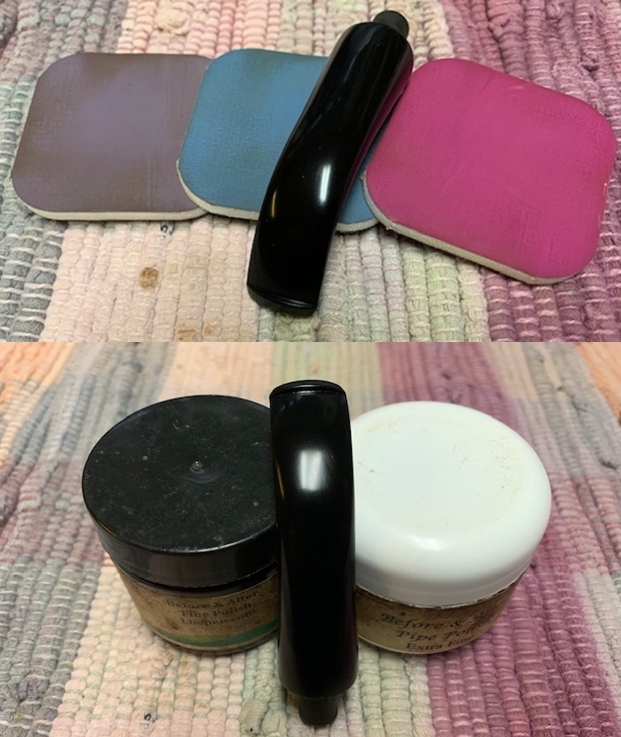
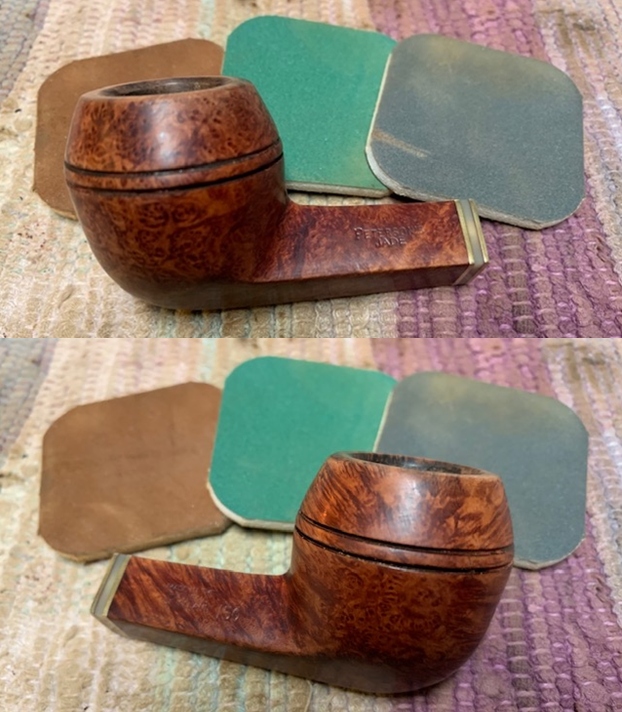
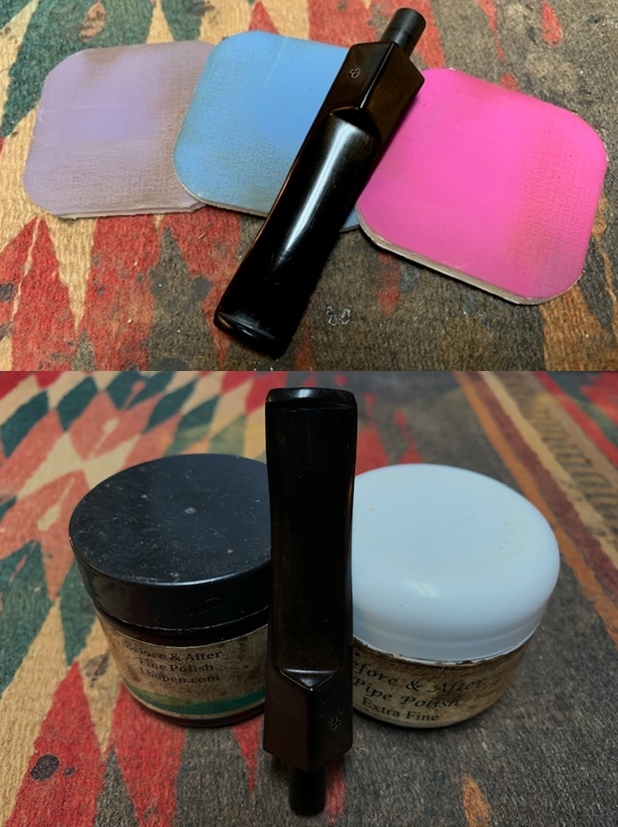
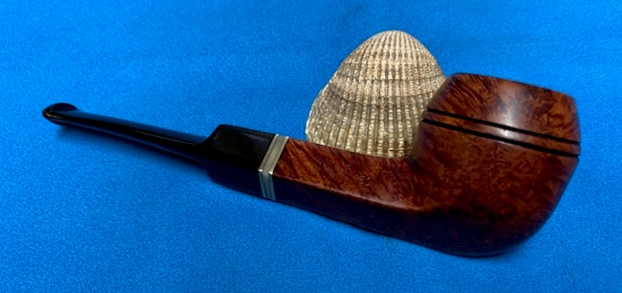
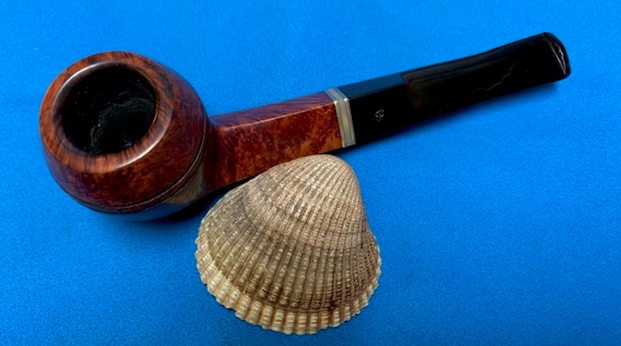
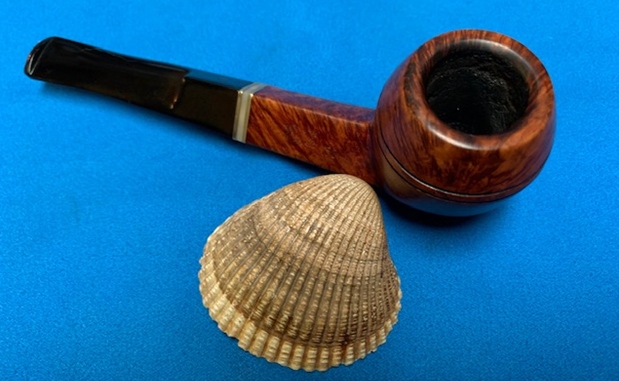
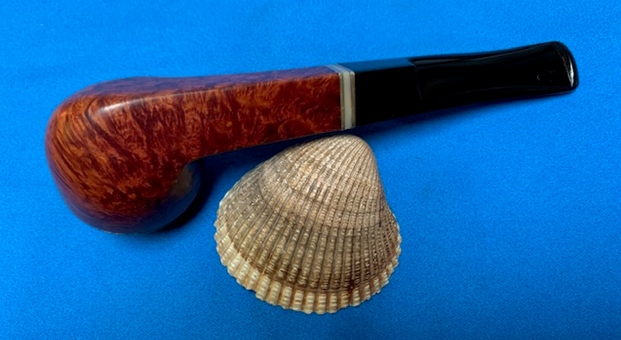
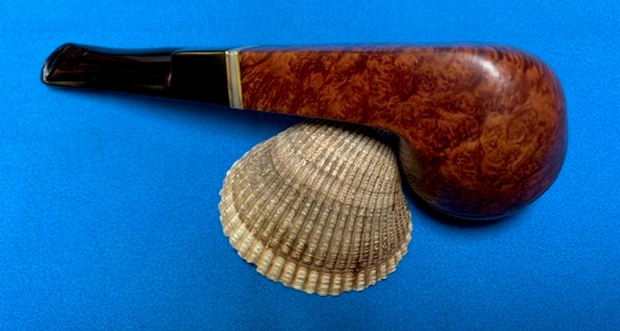
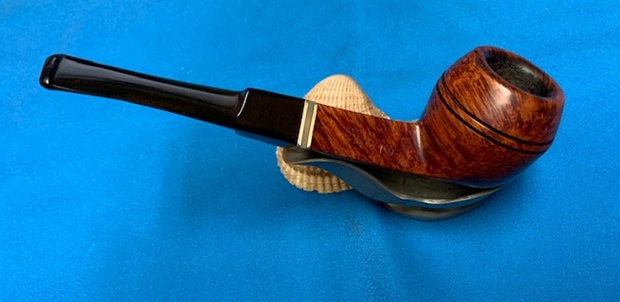
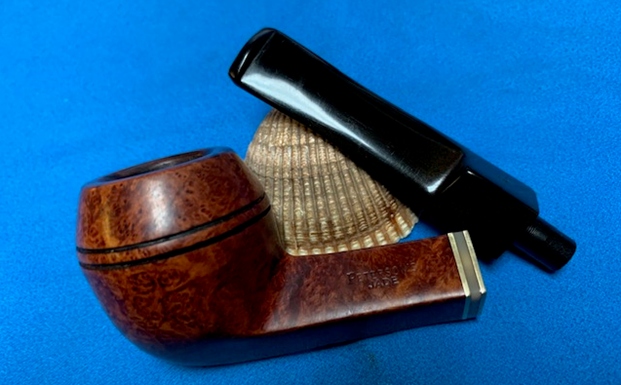
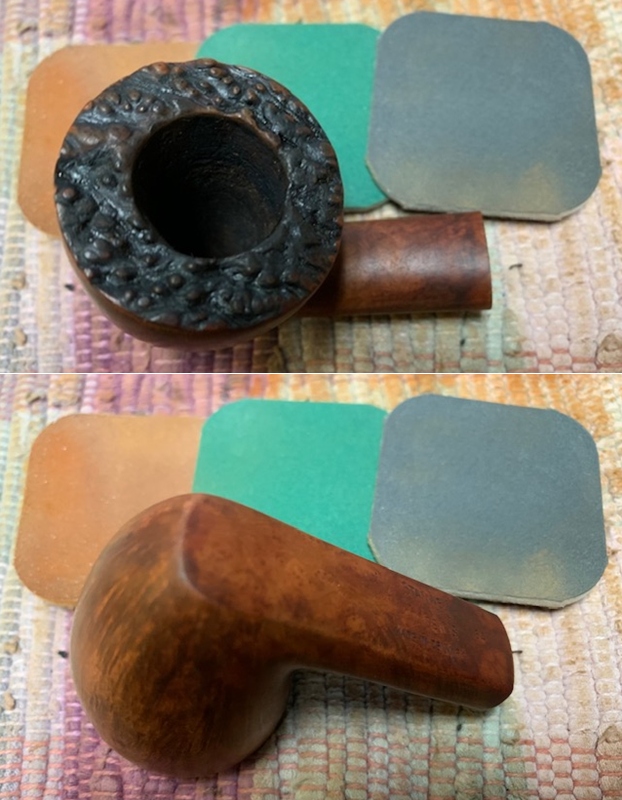
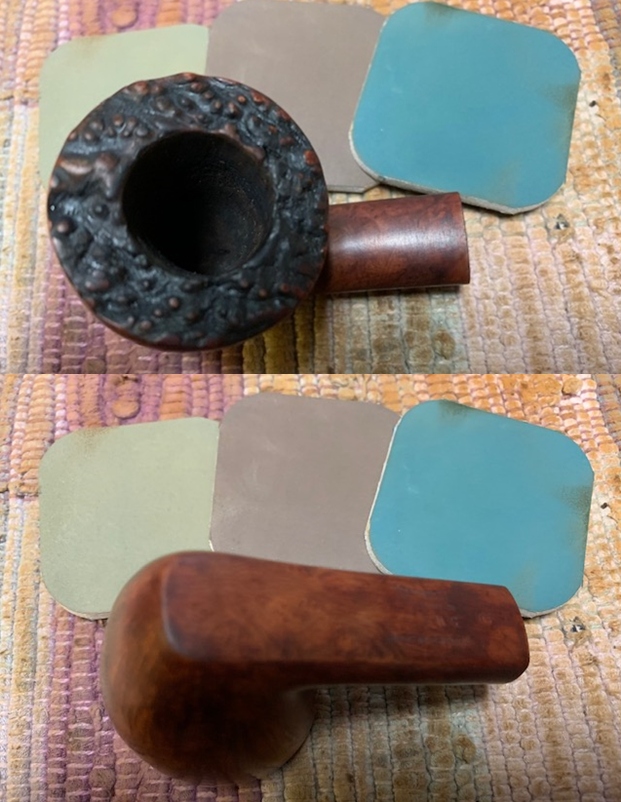
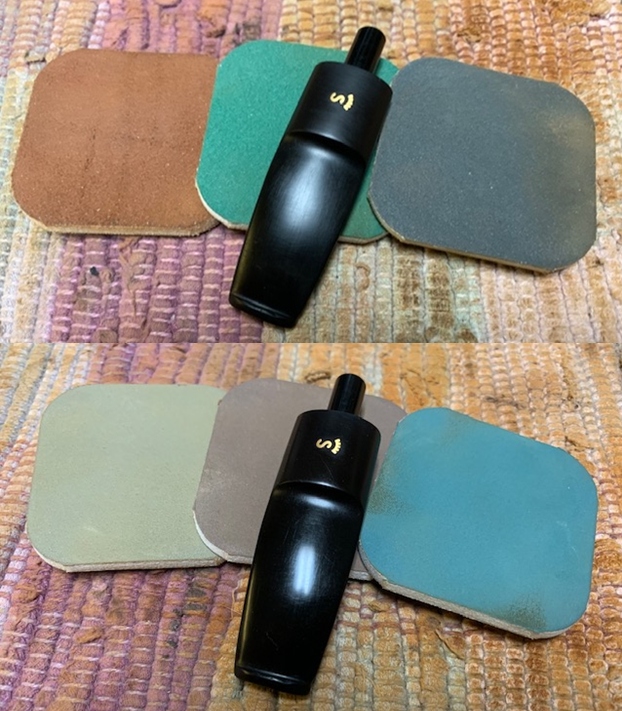
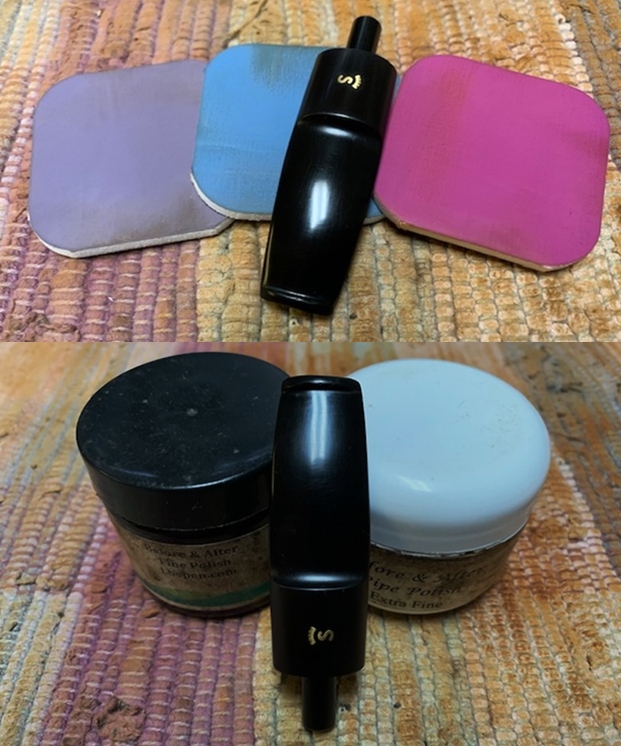
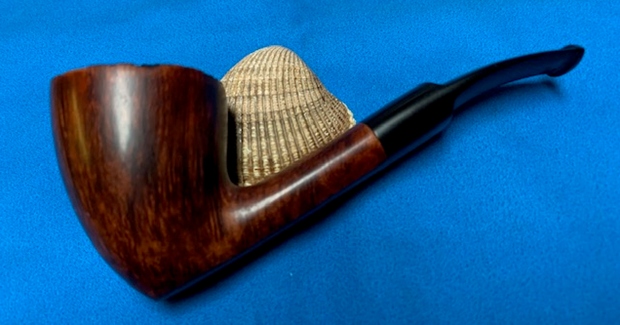
I decided to start my work on this one by reworking the inner edge of the rim with a folded piece of 220 grit sandpaper. I wanted to try and bring it back into round and smooth out the jagged condition.I polished the briar and worked over the rim top with micromesh sanding pads – 1500-12000 grit pads. I wiped the bowl down after each pad with a damp cloth. Once the finish was removed the fills in the briar became very evident.  I rubbed the bowl and shank down with Before & After Restoration Balm. I worked it into the surface of the bowl sides and shank with my fingertips to clean, enliven and protect the briar. I let the balm sit for a little while and then buffed with a cotton cloth to raise the shine.   I touched up the stamp on the left side of the saddle with liquid paper. I applied it and worked it into the stamp with a tooth pick. Once it cured I scraped off the excess. It is definitely better though the stamp is faint in some spots.  I polished the vulcanite stem with micromesh sanding pads – 1500-12000 grit pads. I wiped it down with a damp cloth after each sanding pad. I used Before & After Pipe Polish – both Fine and Extra Fine to further polish the stem.  This nice looking Peterson’s Dunmore 77 Bent Billiard and a classic Peterson’s P-lip vulcanite stem looks much better now that it has been restored. The rim top and edges cleaned up very well. The rich brown stains on the bowl came alive with the polishing and waxing. I put the stem back on the bowl and carefully buffed the pipe with Blue Diamond on the buffing wheel using a light touch on the briar. I gave the bowl and the stem multiple coats of carnauba wax on the buffing wheel and followed that by buffing the entire pipe with a clean buffing pad. I hand buffed the pipe with a microfiber cloth to deepen the shine. The finished Peterson’s Dunmore is a petite beauty and fits nicely in the hand and looks very good. Give the finished pipe a look in the photos below. The dimensions of the pipe are Length: 5 inches, Height: 1 ½ inches, Outside diameter of the bowl: 1 inch, Chamber diameter: ¾ of an inch. If you are interested in adding this pipe to your collection send me a message or an email. Thanks for reading this blog and my reflections on the pipe while I worked on it. There are many more to come!
Breathing New Life into a Comoy’s Trend Bent Calabash 225


Blog by Steve Laug

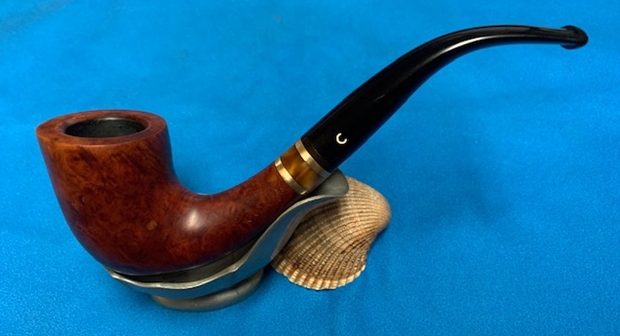
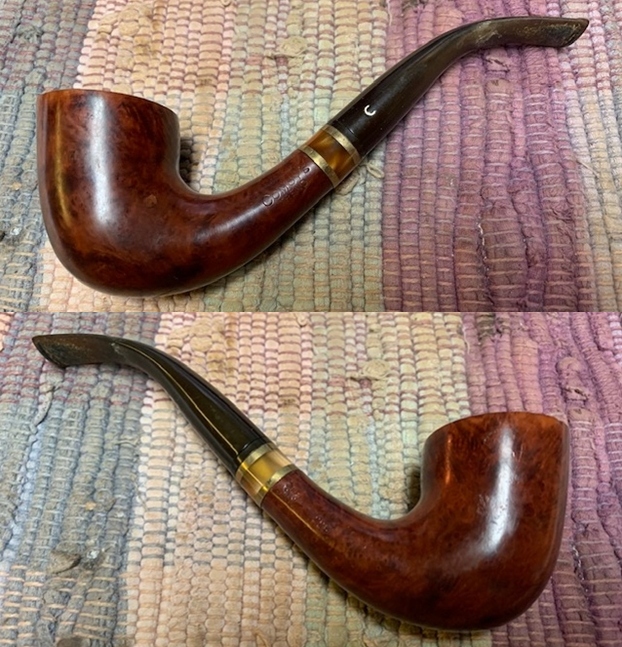
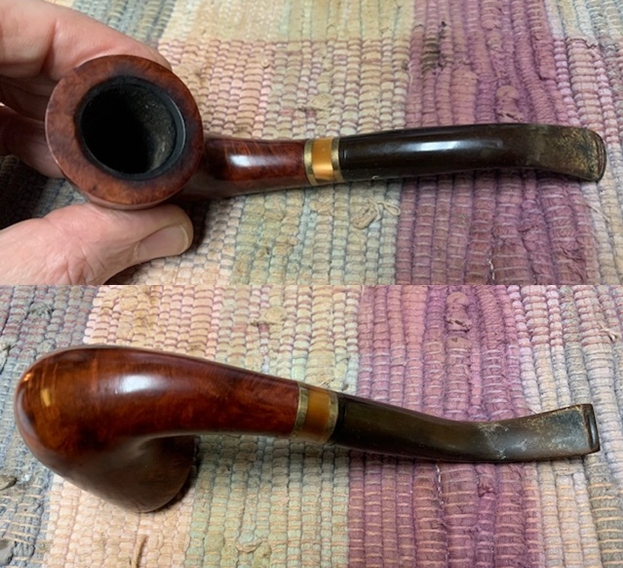
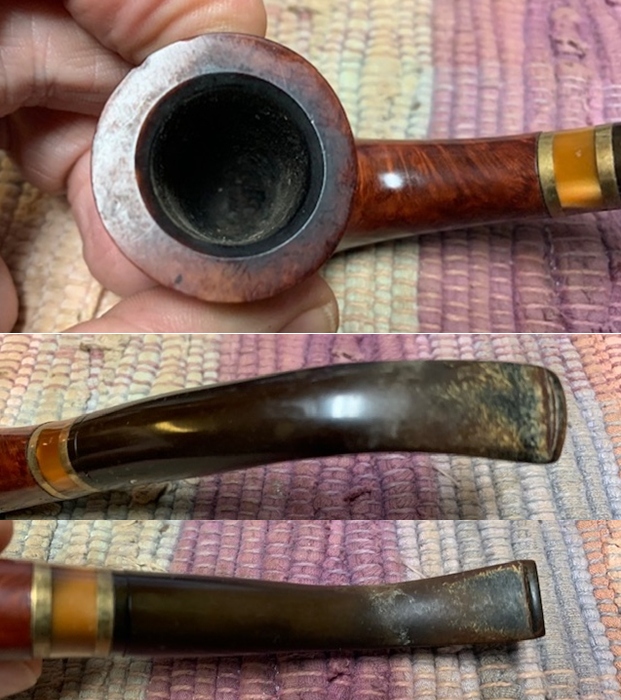
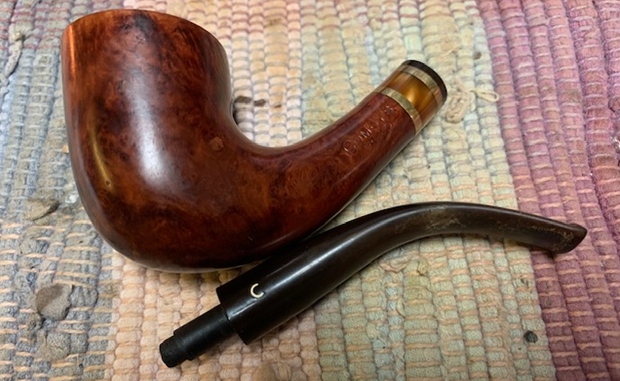
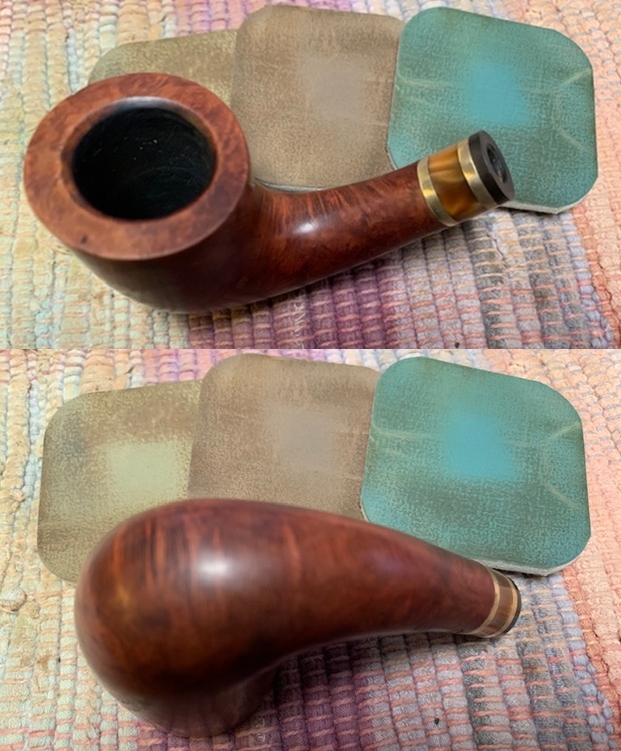
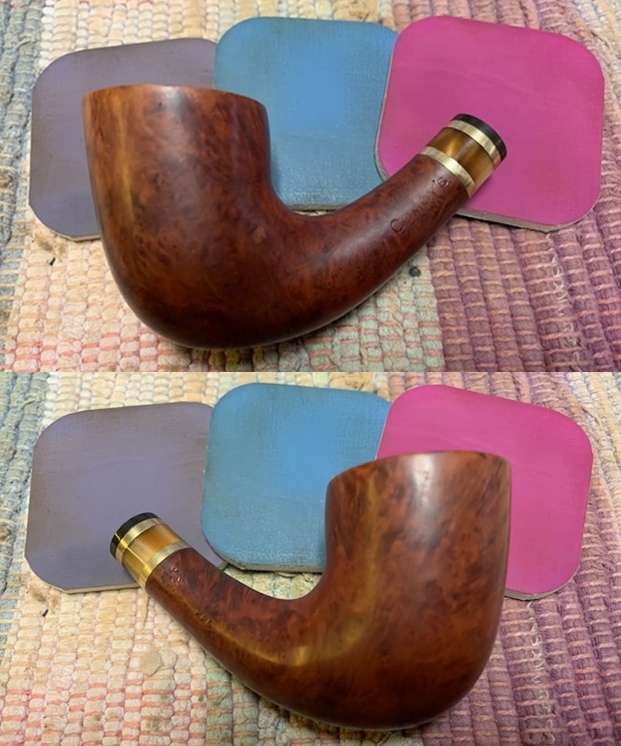
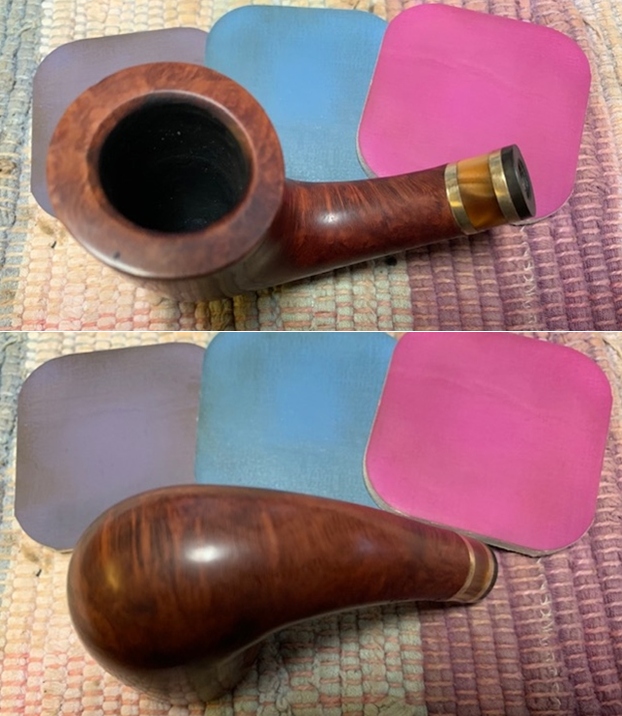
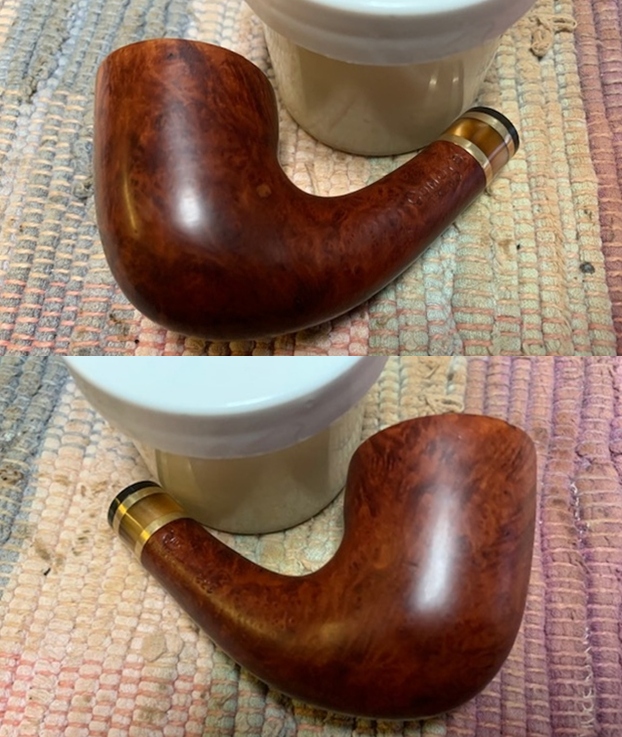
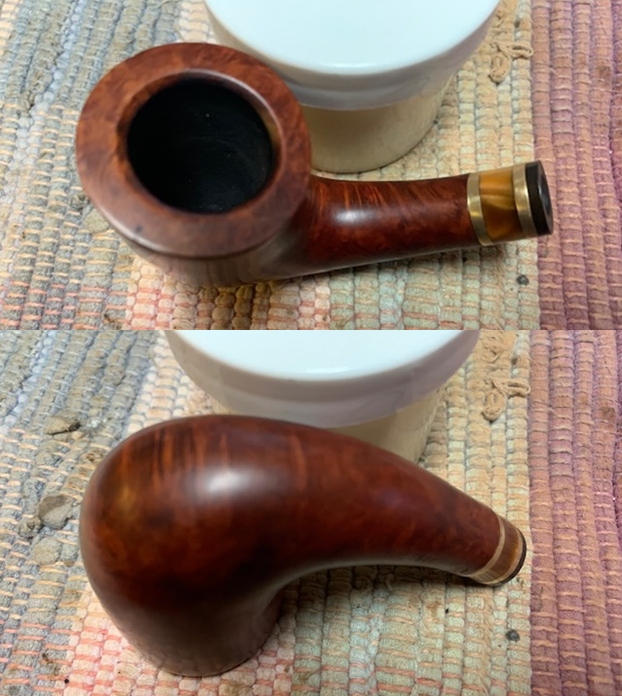
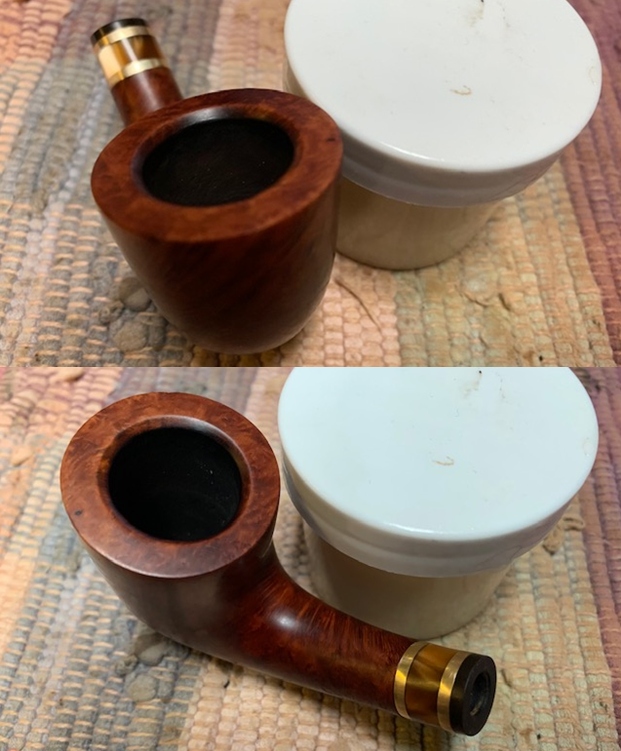
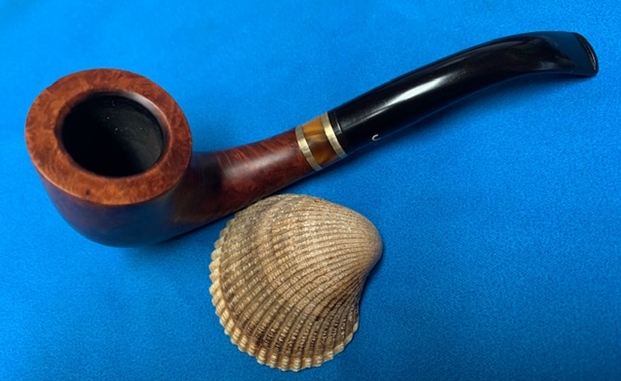
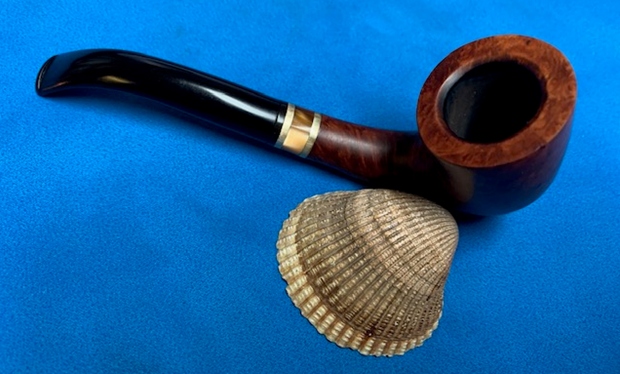
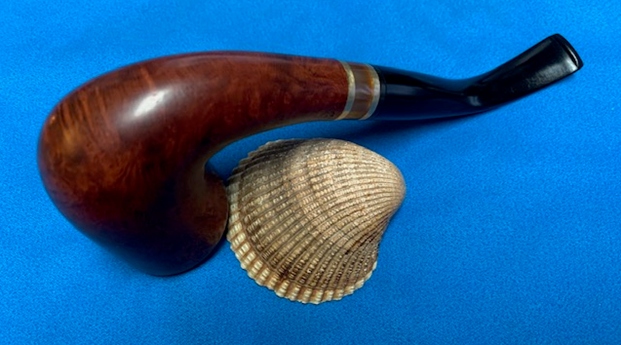
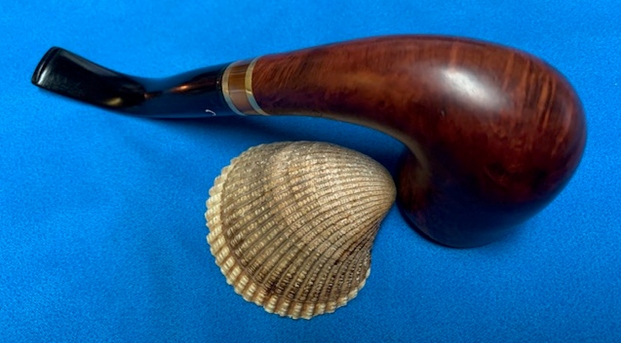
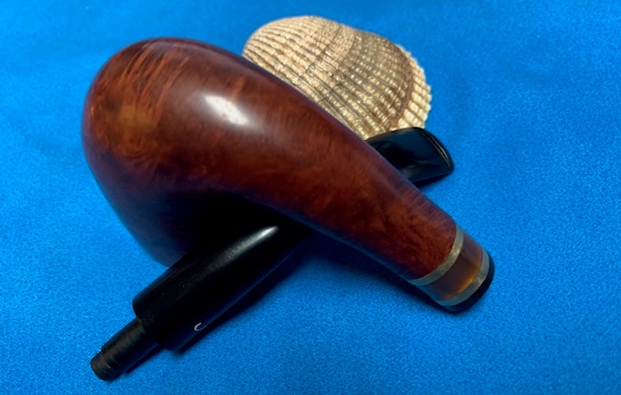
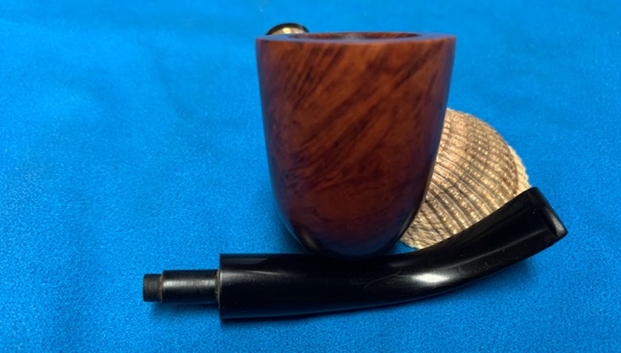
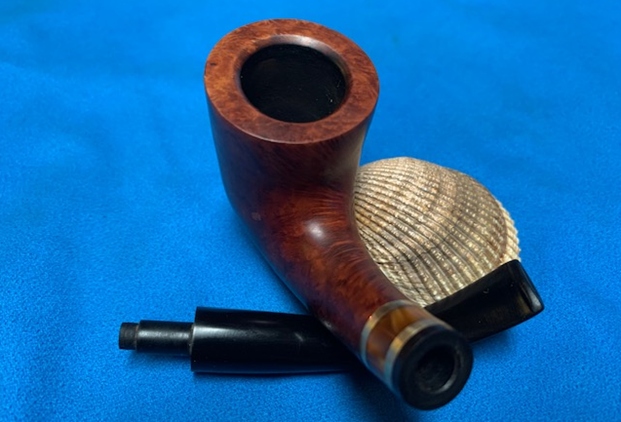
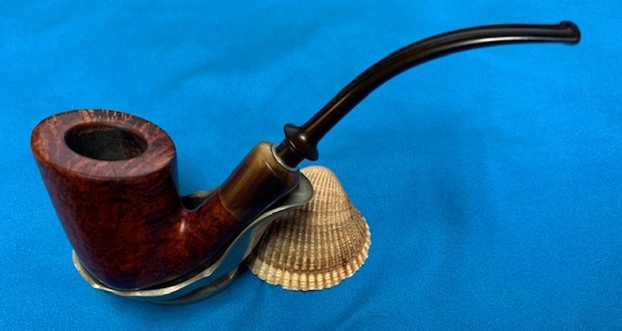
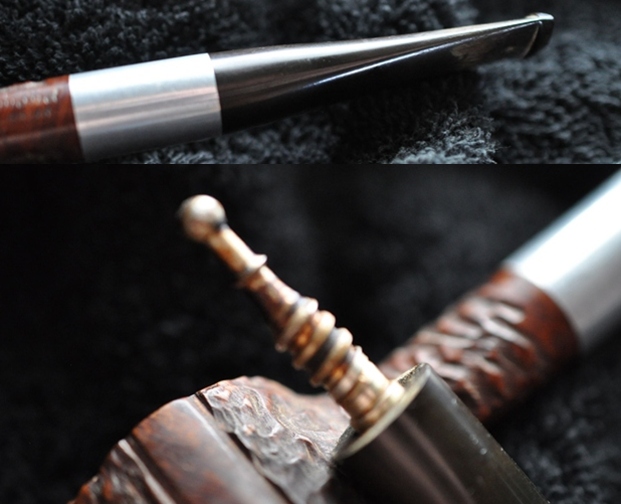
The next pipe on the work table came to me from either a trade I made (pipes for labour) or a find on one of my pipe hunts. I honestly don’t remember where it came from. It has been around for a while waiting to be worked on. It is an interesting new Comoy’s Bent Calabash that really looks quite nice. The stamping is clear and readable. It is stamped on the left side of the shank and reads Comoy’s [over] Trend. On the right side of the shank it has the shape number 225 and a COM stamp to the left of that. It read Made in London in a circle over London. The pipe had a varnish coat and a lot of grime ground into the smooth finish on the bowl and some darkening around the sides of the bowl. The bowl was heavily caked and had an overflow of thick lava on beveled inner edge of the rim top. It was hard to know what the rim top and inner edge of the bowl looked like under the grime. There was a shank adornment/band on the shank end. It was a stack of two brass rings with a golden/orange/brown acrylic spacer between the brass rings and a black spacer on the end before the stem. The stem was calcified, oxidized and had light tooth chatter and marks on the top and underside and the top surface of the button had a tooth mark. There an inset C on the left side of the taper stem. The pipe had promise but it was very dirty. I took photos of the pipe before he started his cleanup work.    I took photos of the rim top and bowl to give a clear picture of the thickness of the cake and the overflow of lava on the rim top and inner edge of the bowl. It is hard to know for sure if there is damage to the inner edge of the bowl because of the thickness of the lava coat. I also took photos of the top and underside of the stem to show the oxidation, calcification, light chatter and tooth marks.     I took a photo of the stamping on the sides of the shank. It reads as noted above and is clear and readable. There is a white C logo on the left side of the taper stem.    I removed the stem from the shank to take a photo of the pipe as a whole. It is has some nice looking grain around the bowl and the flow of the bowl and stem is elegant.I looked on Pipephil’s site (http://www.pipephil.eu/logos/en/logo-comoy.html) and Pipedia (https://pipedia.org/wiki/Comoy%27s) and read the articles on the Comoy’s brand. It is a great read and worth the time to read them. There was nothing on this newer Comoy’s Trend line.

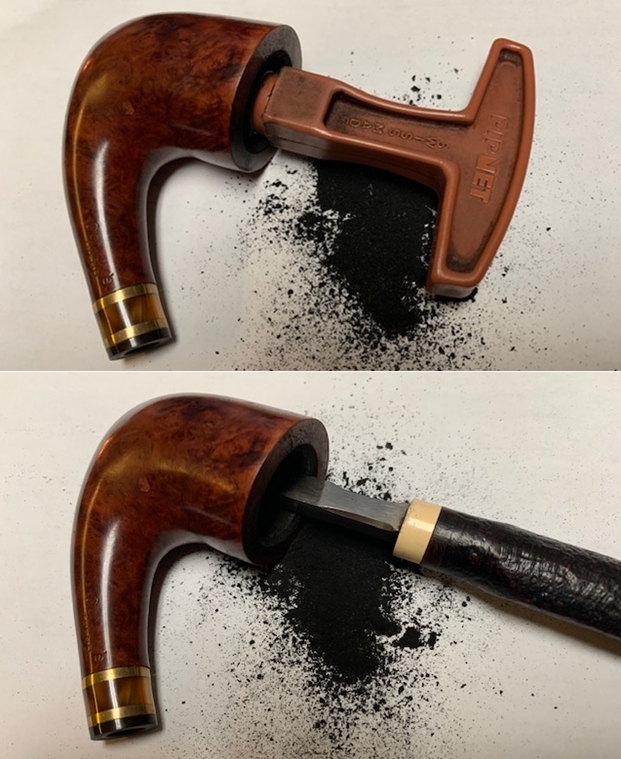
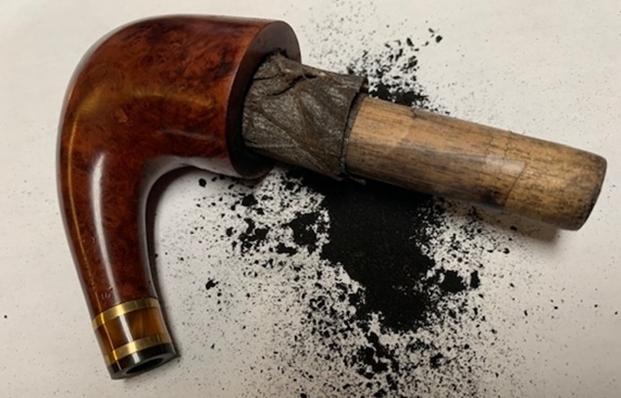
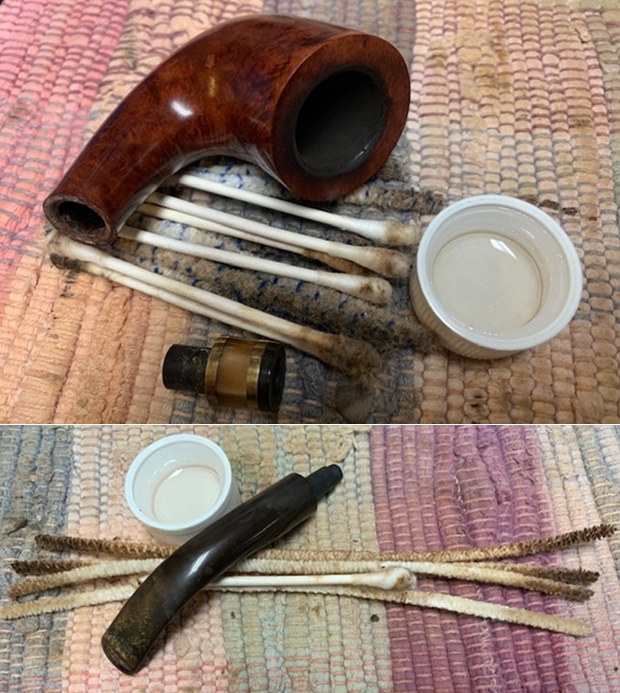
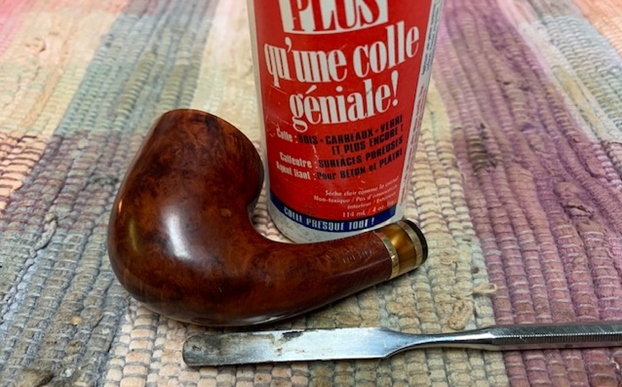
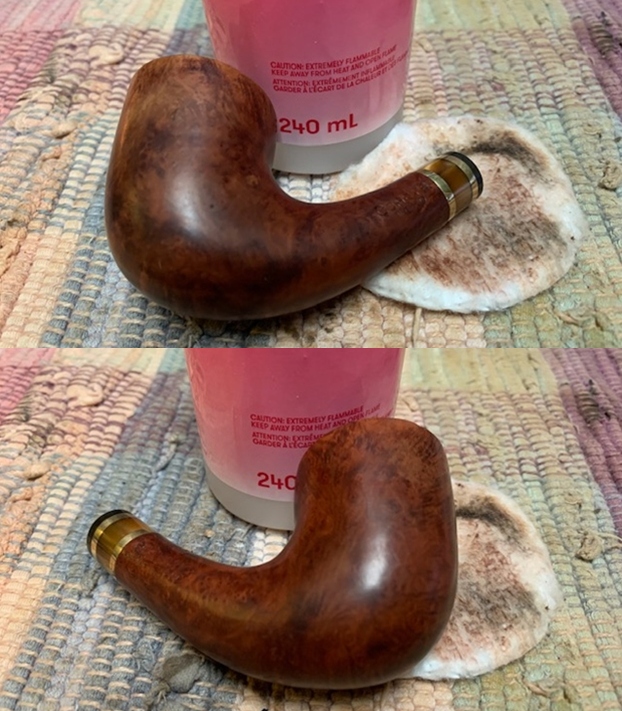
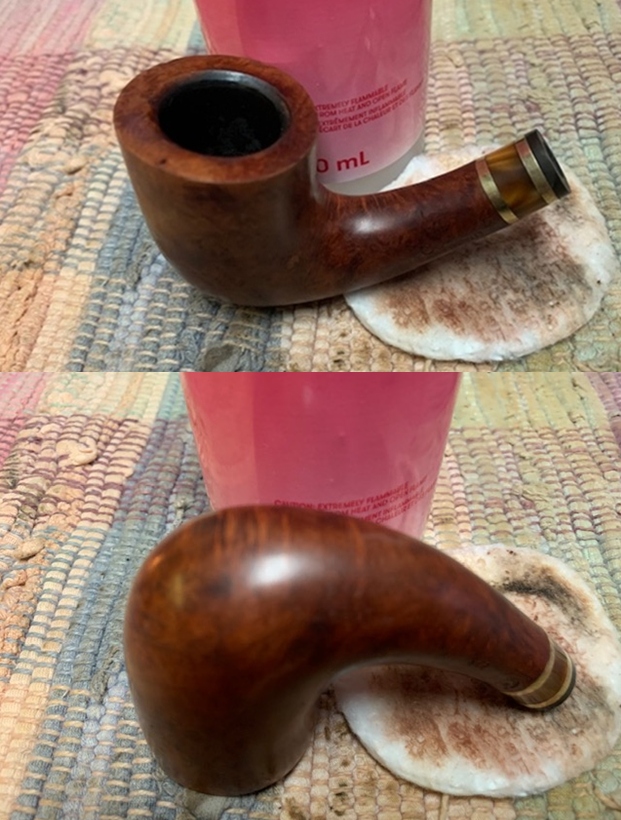
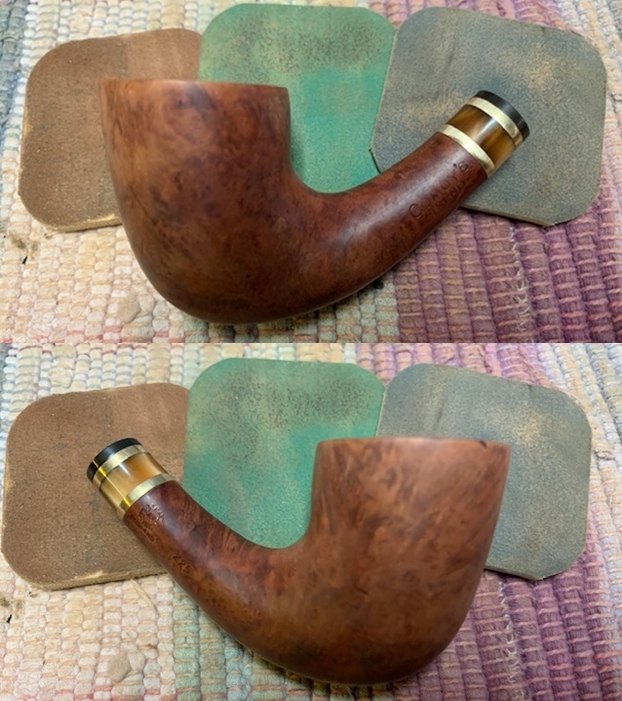
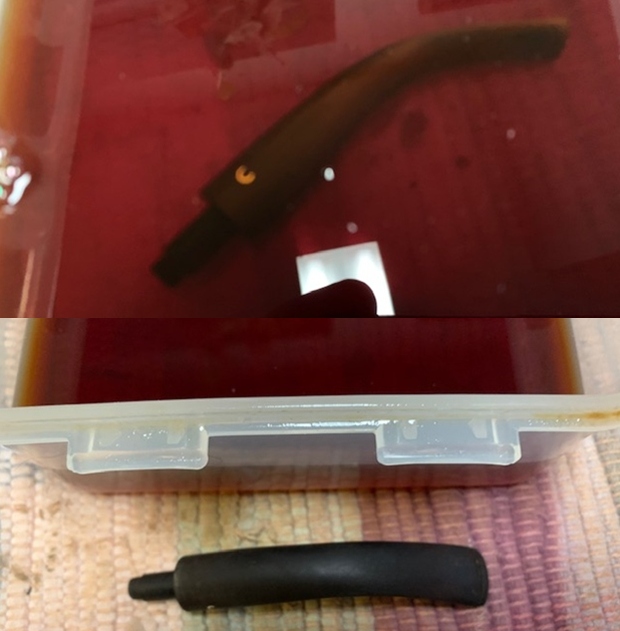
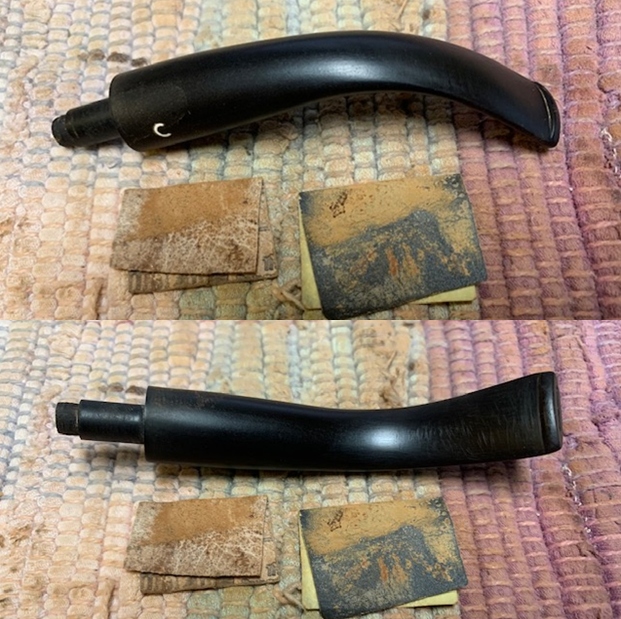
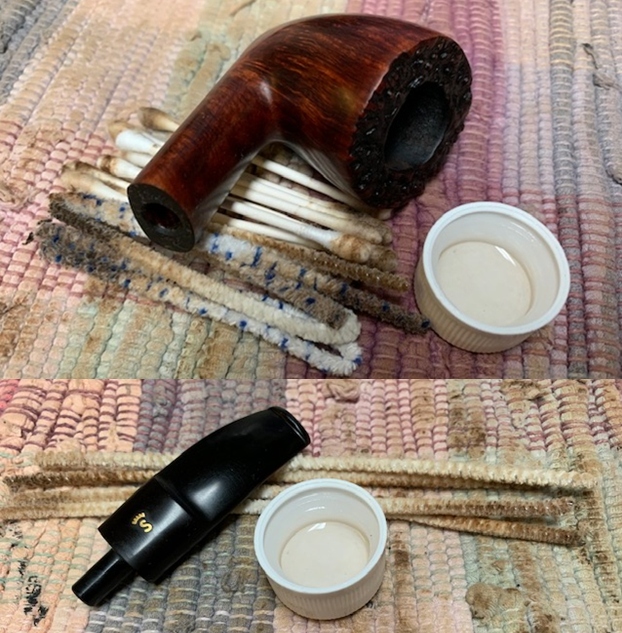
Now it was time to work on the pipe. I have to say it once again that I am really spoiled having Jeff clean up the pipes for me. Having to start with them in this condition adds time. I reamed the bowl with a PipNet pipe reamer using the first two cutting heads. I followed up by scraping the remaining cake with a Savinelli Fitsall Pipe Knife. I finished cleaning up the cake in the bowl with a piece of dowel wrapped in 220 grit sandpaper to smooth out the walls of the bowl.  I cleaned the shank with alcohol, cotton swabs and pipe cleaners until the pipe smelled and looked clean.  While the cleaning was being done on the shank the shank extension came off in my hand. The glue had dried out and when I cleaned the shank it came off in my hand. I would need to reglue it. I cleaned out the airway in the stem with alcohol and pipe cleaners.I coated the Delrin connector between the shank extension and the end of the shank with all purpose glue and twisted it into the shank and aligned the fit. I set it aside and let the glue dry.I scrubbed the exterior of the bowl and rim top with a cotton pad and acetone to remove the grime and the varnish coat on the briar. I wiped the bowl down with clean cloth to get a feel for the finish. The pipe looks far better than it did with the varnish coat.   I polished the briar with micromesh sanding pads – 1500-12000 grit pads. I wiped the bowl down after each pad with a damp cloth. Once the finish was removed the fills in the briar became very evident. I rubbed the bowl and shank down with Before & After Restoration Balm. I worked it into the surface of the bowl sides and shank with my fingertips to clean, enliven and protect the briar. I let the balm sit for a little while and then buffed with a cotton cloth to raise the shine.   While I was working on the bowl the stem was soaking in Briarville Pipe Repair’s – Pipe Stem Oxidation Remover. The stem sat in the mixture for 2 ½ -3 hours. I removed the stem from the bath, scrubbed lightly with a tooth brush and dried if off with a paper towel. I was surprised that it was quite clean. Just some light tooth marks on the button and underside of the stem near the button.   I sanded the stem with 220 grit sandpaper to smooth out the tooth chatter remove the remaining oxidation and started polishing it with 400 grit wet dry sandpaper.    I polished the vulcanite stem with micromesh sanding pads – 1500-12000 grit pads. I wiped it down with a damp cloth after each sanding pad. I used Before & After Pipe Polish – both Fine and Extra Fine to further polish the stem. This nice looking Comoy’s Trend 225 Bent Calabsh with a fancy shank extension and a taper vulcanite stem looks much better now that it has been restored. The rich browns and blacks of the contrasting stains on the bowl came alive with the polishing and waxing. I put the stem back on the bowl and carefully buffed the pipe with Blue Diamond on the buffing wheel using a light touch on the briar. I gave the bowl and the stem multiple coats of carnauba wax on the buffing wheel and followed that by buffing the entire pipe with a clean buffing pad. I hand buffed the pipe with a microfiber cloth to deepen the shine. The finished Comoy’s Trend Calabash is a beauty and fits nicely in the hand and looks very good. Give the finished pipe a look in the photos below. The dimensions of the pipe are Length: 6 inches, Height: 2 inches, Outside diameter of the bowl: 1 ½ inches, Chamber diameter: ¾ of an inch. If you are interested in adding this pipe to your collection send me a message or an email. Thanks for reading this blog and my reflections on the pipe while I worked on it. There are many more to come!

Restoring a Larsen 77 Bent Dublin Freehand


Blog by Steve Laug

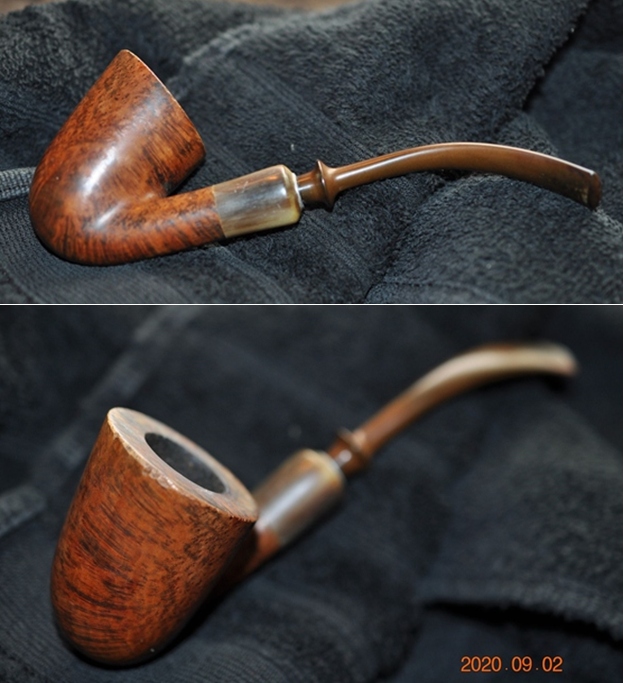
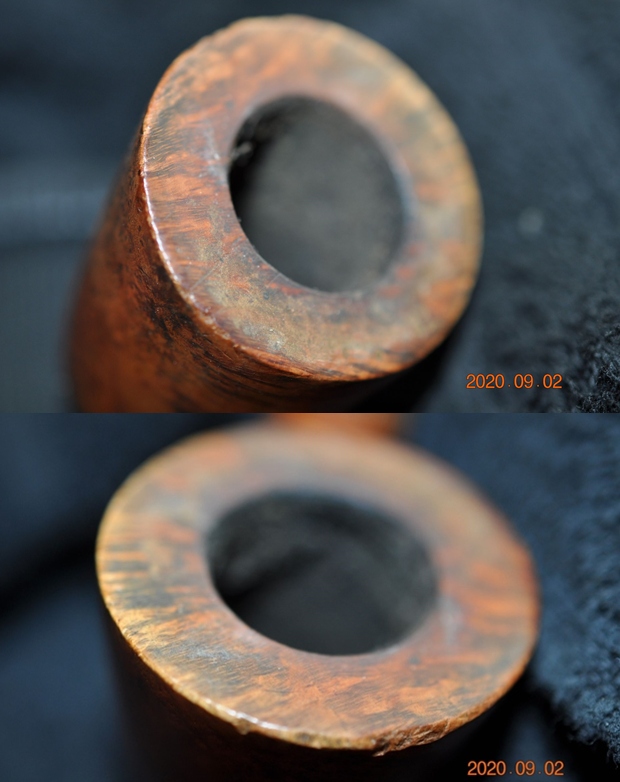
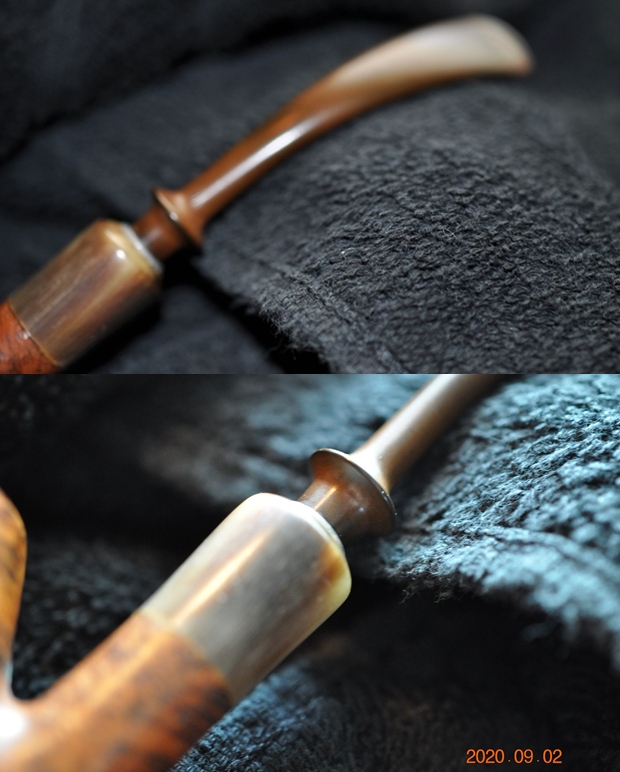
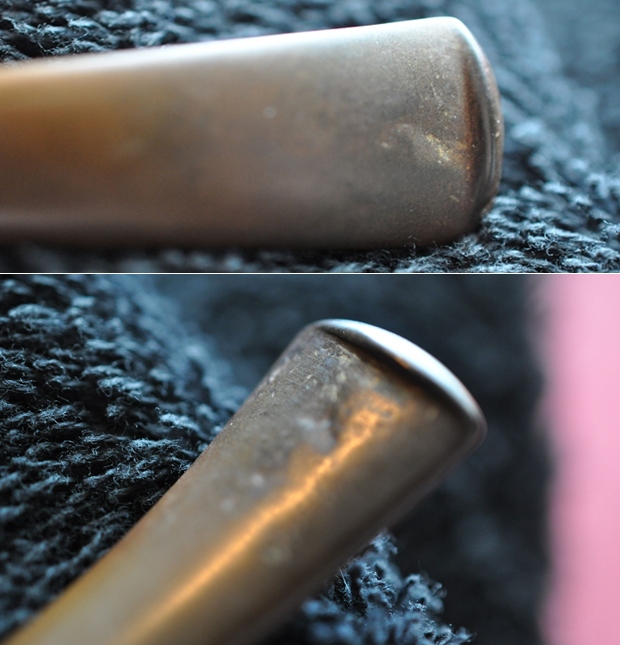
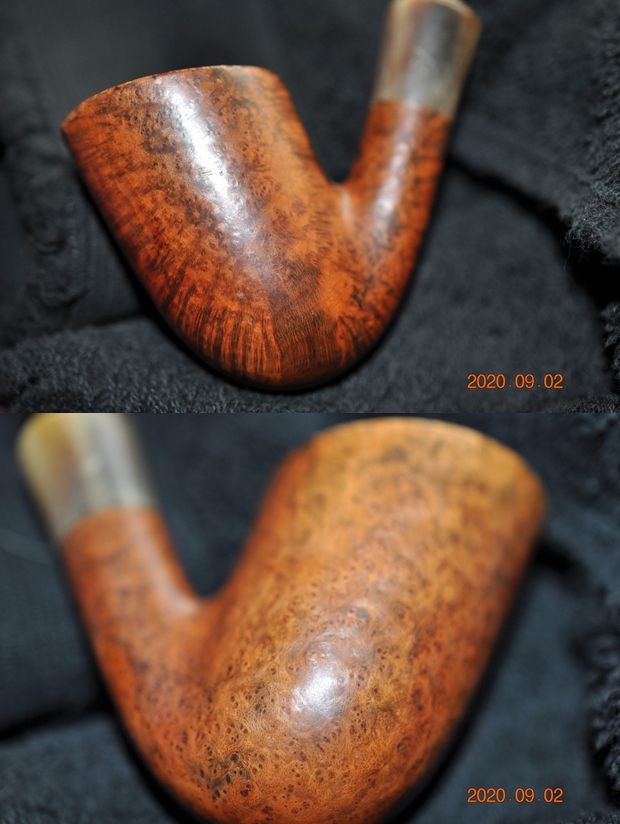
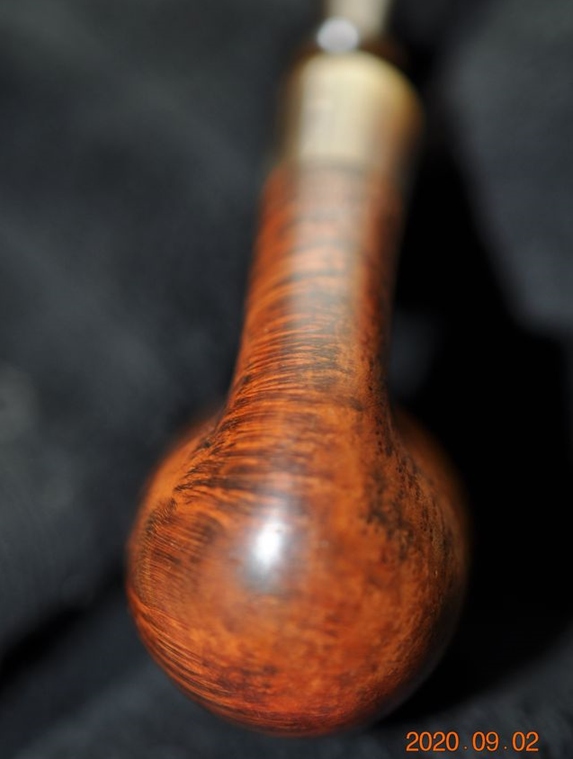
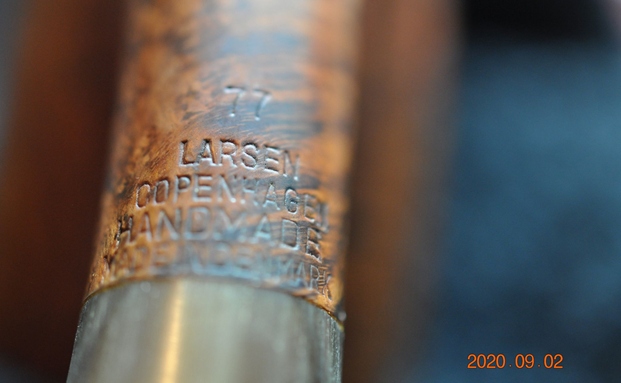
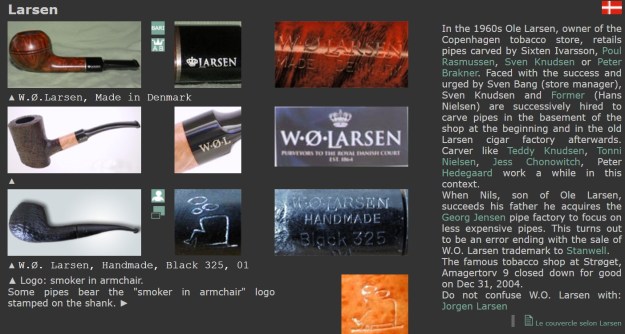
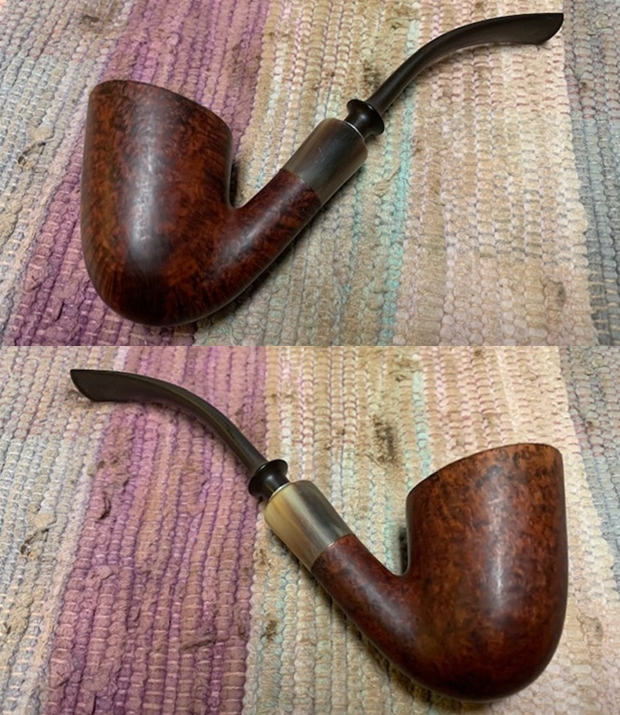
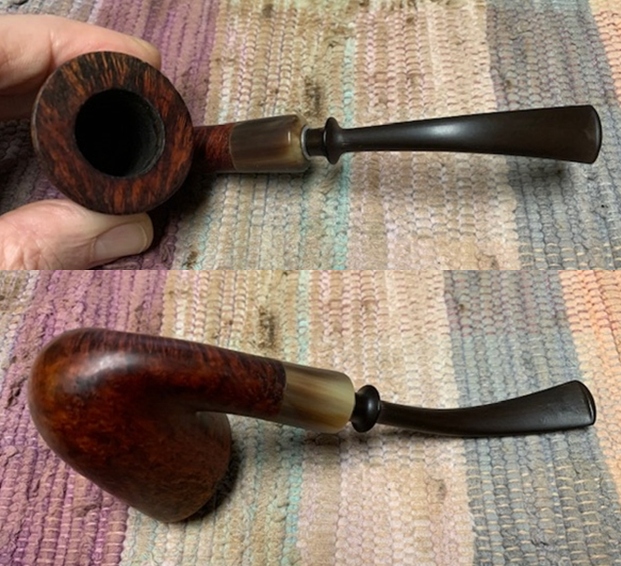
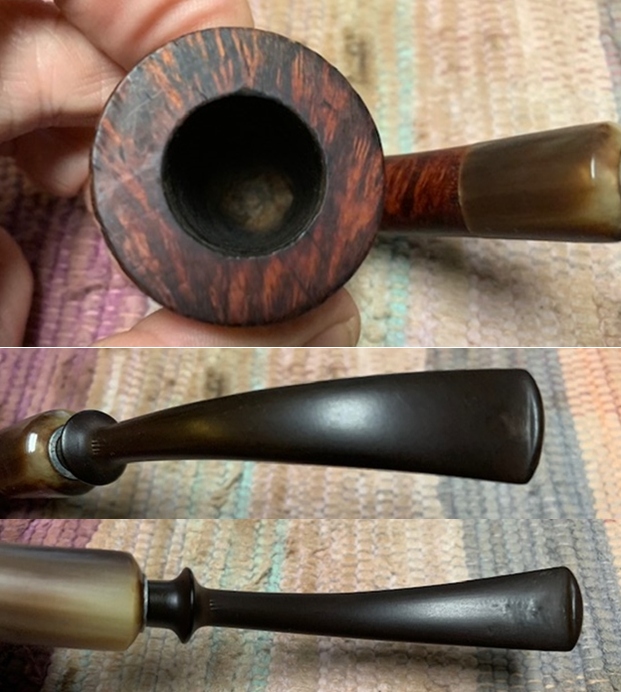
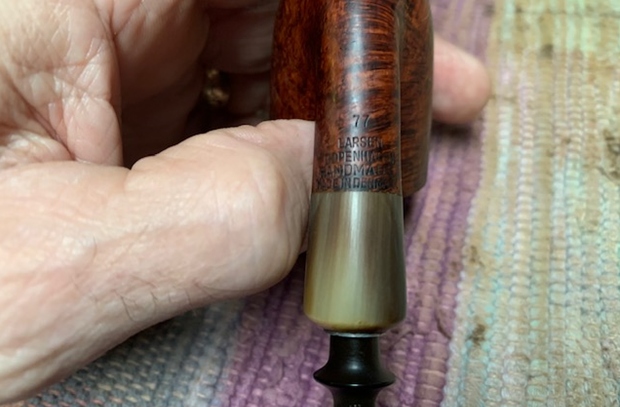
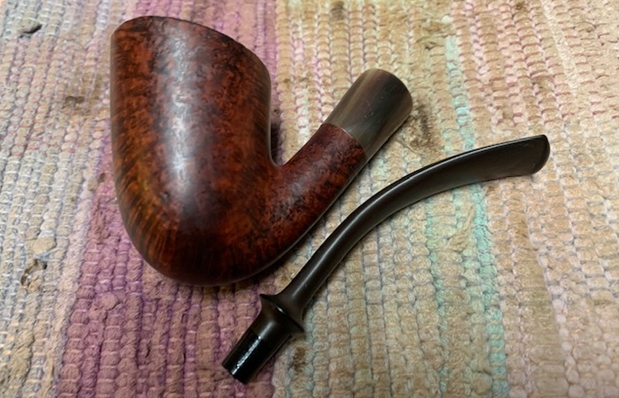
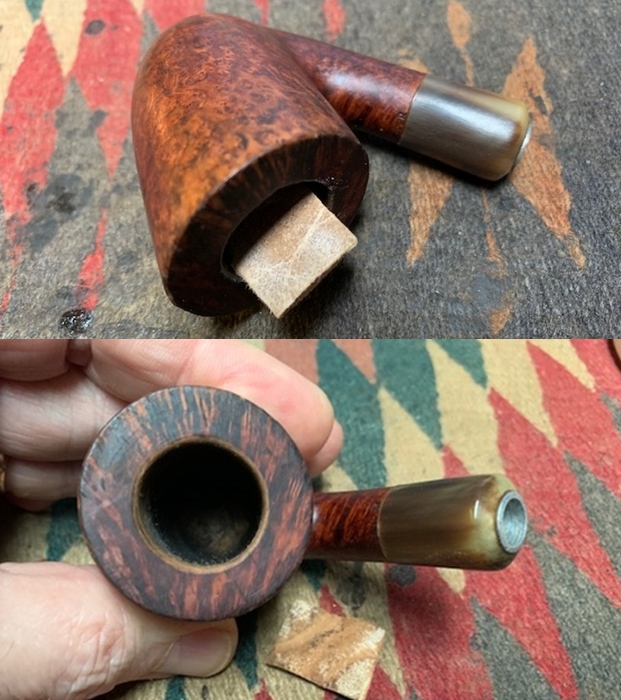
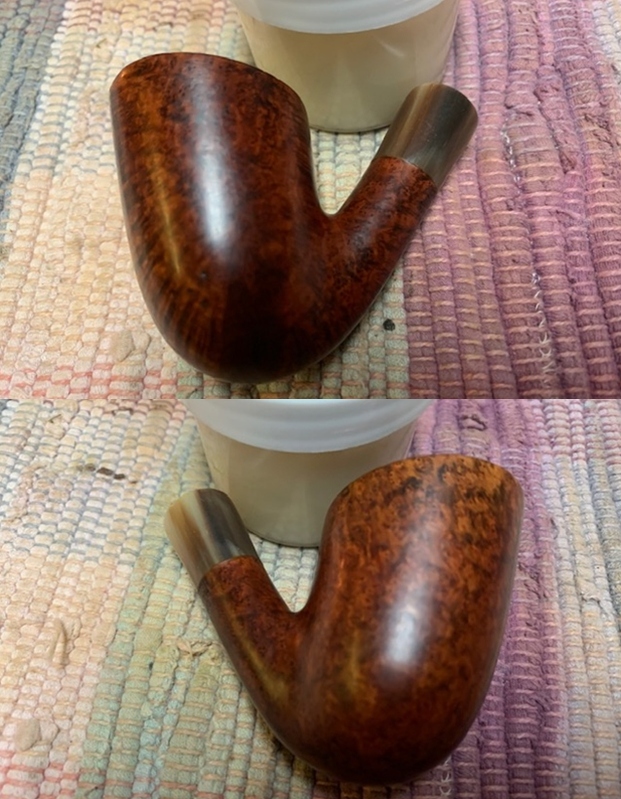
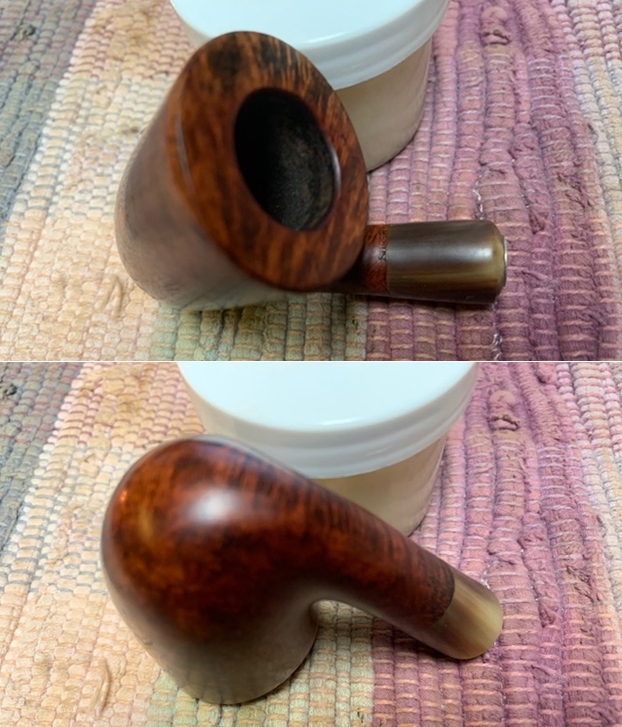
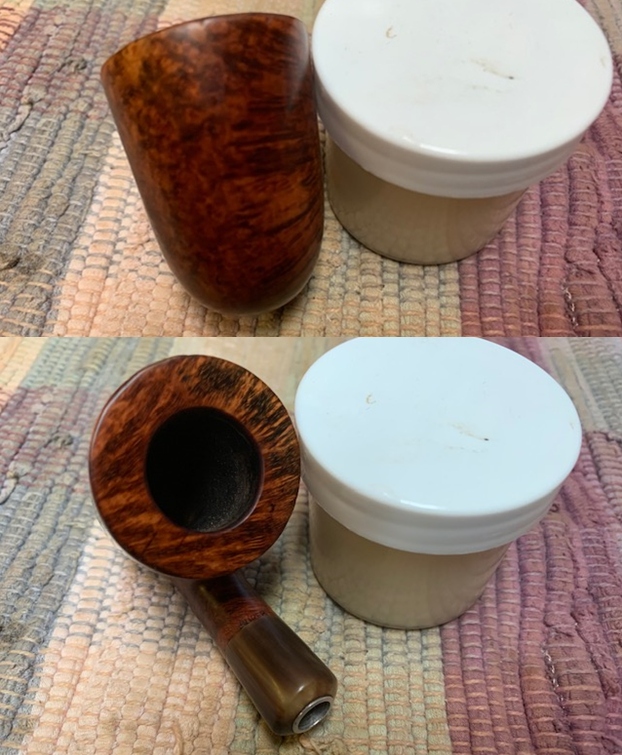
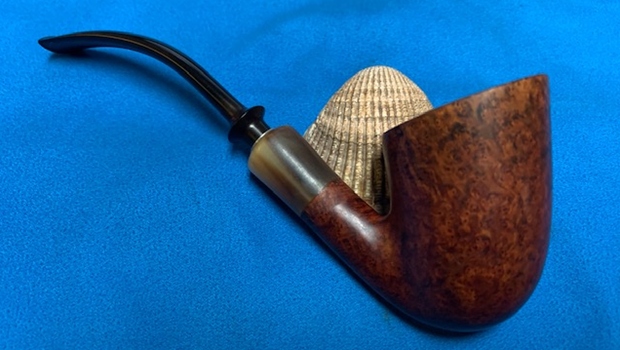
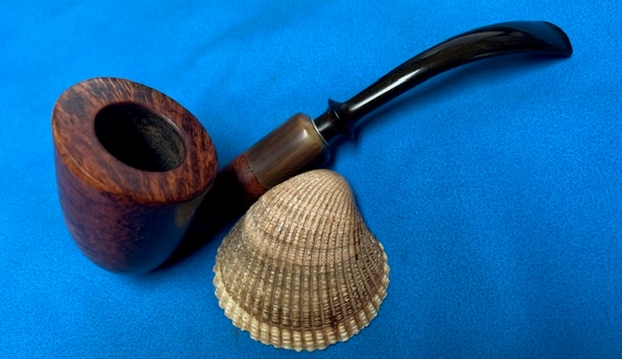
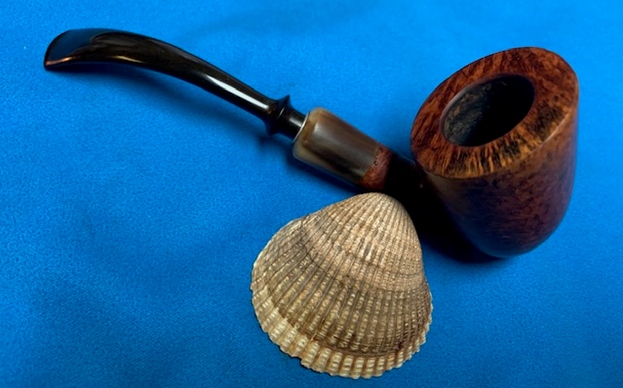
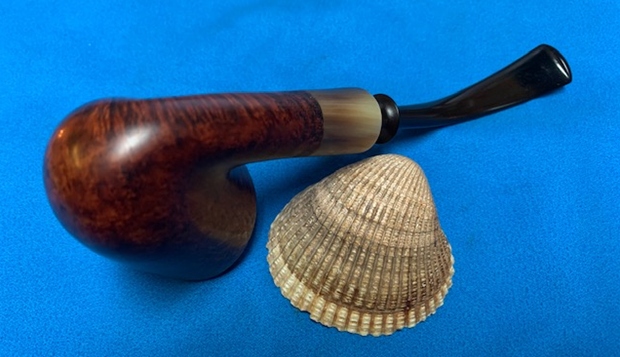
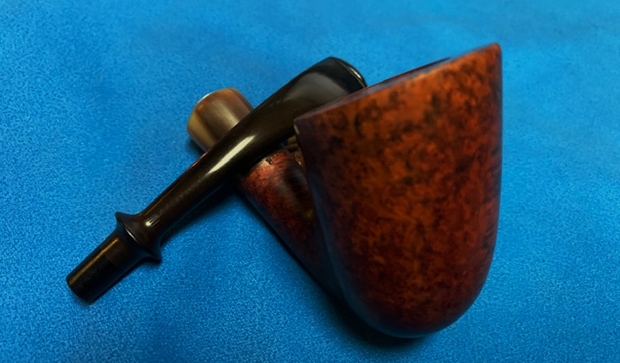
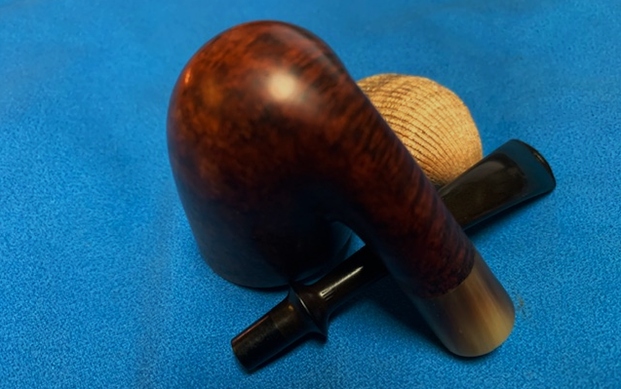
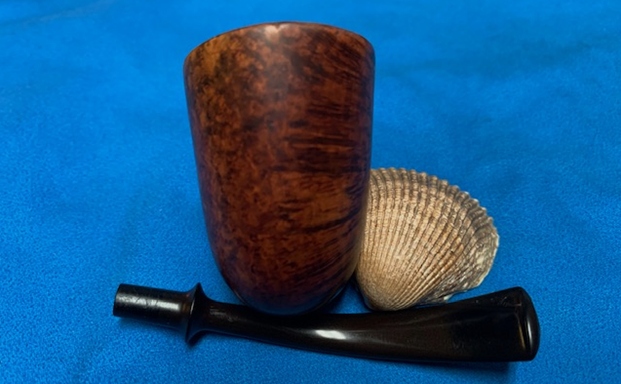
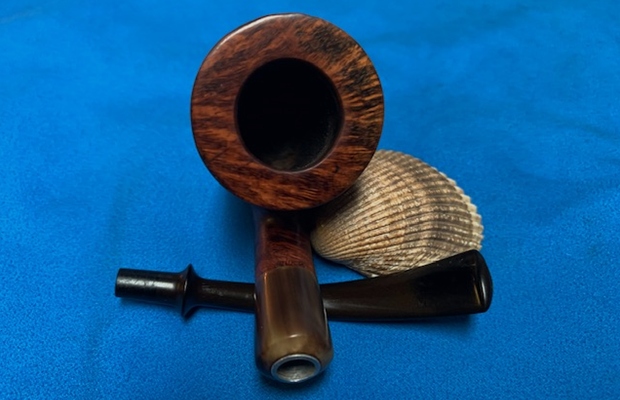
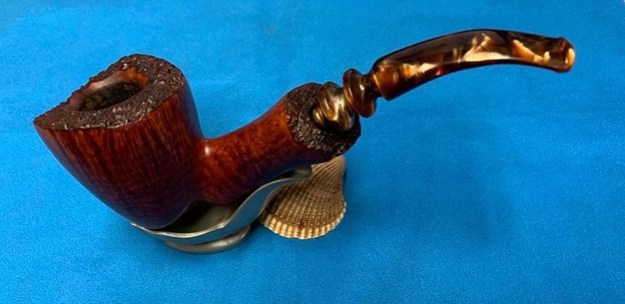
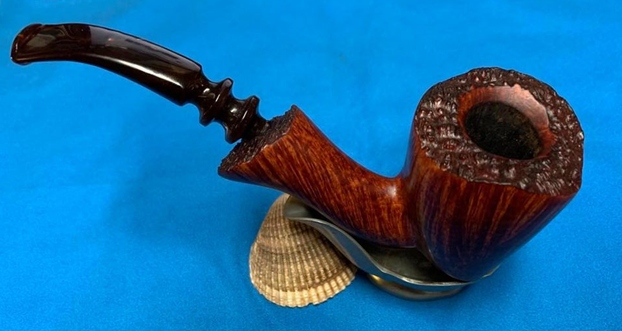
The next pipe on the work table came to us from a pipe hunt that Jeff and his wife recently did in Utah, USA. The pipe is an interesting Danish looking pipe with a horn shank extension that has a metal cup in the shank to stabilize the horn. The pipe is well shaped and has nice grain around the bowl. The pipe is stamped on the underside of the shank and reads 77 (shape number) [over] Larsen [over] Copenhagen [over] Handmade [over] Made in Denmark. There was a lot of grime ground into the smooth and finish on the briar. The bowl was heavily caked with a light overflow of lava on the top and inner edge of the rim. The inside edge looks like it may have burn damage on the front right. The outer edge has a lot of nicks and chips. The horn shank extension was lifeless looking and the metal insert seems to have lifted some from the shank. The fancy vulcanite stem had tooth chatter and marks on the top and underside near the button and on the button edge. It had promise but it was very dirty. Jeff took some photos of the pipe before he started his cleanup work. He took photos of the rim top and bowl to give a clear picture of the thickness of the cake and tobacco debris as well as the lava on the inner edge of the rim. The photos also shoe the nicks and damage on the outer edge of the bowl. He also took photos of the top and underside of the stem as well as the horn shank extension. The photos show the overall condition of the stem. Jeff took photos of the sides and heel of the bowl to give a picture of what the briar looked like. It truly has some nice grain – birdseye and cross grain around the bowl and shank. The horn shank extension is dull and lifeless looking.     The stamping on the underside of the shank is clear and readable and read as noted above. I turned to Pipephil (http://www.pipephil.eu/logos/en/logo-l2.html) to get a quick view of the brand once again. I did a screen capture of the site’s information and have included that below. From what I can figure out the pipe I am working on is a WO Larsen as it is stamped similarly to the ones in the photos though it does not have the WO in front of the Larsen. It also has the Copenhagen stamping on the shank and the Handmade stamp that is the same. Nothing definitive here but that is what I surmise.

I turned to Pipedia (https://pipedia.org/wiki/W.%C3%98._Larsen) for a quick read. The site is worth reading the history of the shop and the brand and its influence on Danish pipe carving.

I wonder if it could also be a pipe from the Larsen and Stigart pipe shop in Copeonhagen though the stamping does not include the Stigart part (https://pipedia.org/wiki/Larsen_%26_Stigart). I quote below.

Larsen & Stigart was a Copenhagen pipe shop which at point sold pipes stamped with their shop name and made by Karl Erik Ottendahl, including the Champ of Denmark line. They also employeed their own in house carvers, including Søren Eric Andersen, for approximately a decade. Among others they are said to have supplied Danish shapes to Dunhill.

What I learned from the research is that in all likelihood the pipe is a WO Larsen made pipe. I am uncertain as the stamping does not include the WO stamp. It is a beauty though.

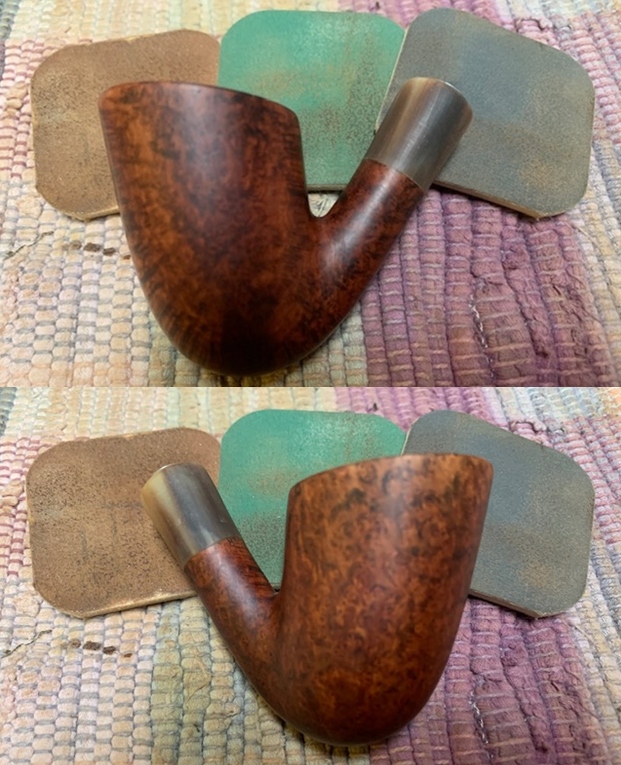
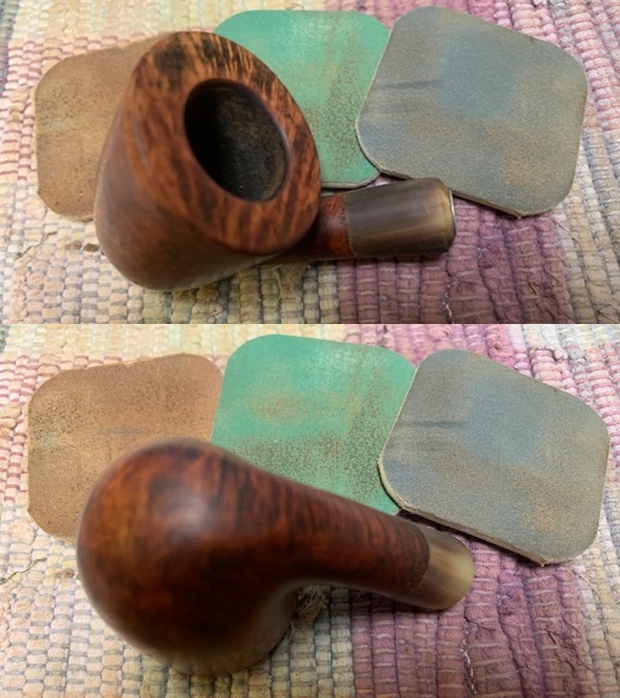
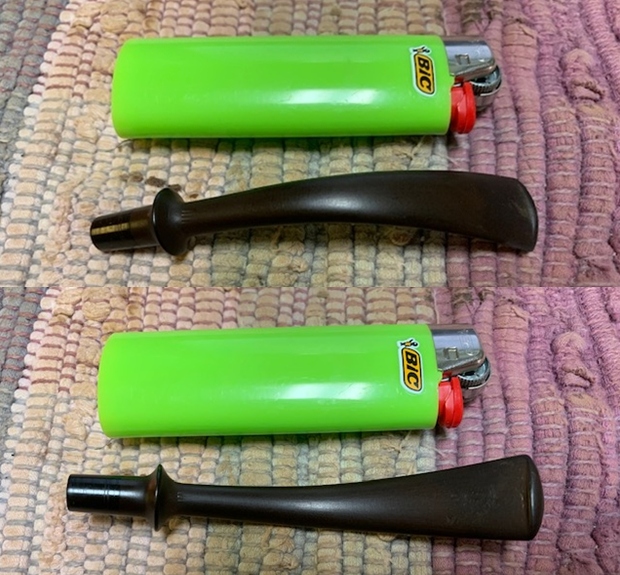
Armed with that information I turned to work on the pipe itself.  Jeff had cleaned up the pipe with his usual penchant for thoroughness. He reamed the pipe with a PipNet pipe reamer and removed the rest of it with a Savinelli Fitsall Pipe Knife.  He scrubbed the bowl with undiluted Murphy’s Oil Soap with a tooth brush. He rinsed it under running warm water to remove the soap and grime. He cleaned out the inside of the shank and the airway in the stem with alcohol, cotton swabs and pipe cleaners. He soaked the stem in a Before & After Deoxidizer bath and rinsed it off with warm water. I took photos of the pipe before I started my part of the restoration work.  The rim top cleaned up really well. The rim top, inner and outer edge of the bowl show some damage. The stem surface looked very good with a few tooth marks and chatter on both sides near the button.   The stamping on the shank sides is clear and readable. It is stamped as noted above.  I removed the stem and took a photo of the pipe to give a sense of the whole. The fancy thin saddle stem is nice and the photo gives a sense of what the pipe looks like. I turned my attention to the damage on the inner edge of the rim. I used a folded piece of 220 grit sandpaper to give the inner edge a slight bevel to minimize the burn damage.  I polished the briar and horn shank extension with micromesh sanding pads – 1500-12000 grit pads. I wiped the bowl down after each pad with a damp cloth.    I rubbed the bowl and shank down with Before & After Restoration Balm. I worked it into the surface of the bowl sides and shank with my fingertips to clean, enliven and protect the briar. I let the balm sit for about 10-15 minutes and buffed with a cotton cloth to raise the shine. The grain came alive and the fills while visible look better than when I began.     I set the bowl aside and turned to work on the stem. I “painted” the stem surface with the flame of a lighter and was able to lift out all of the tooth marks and chatter on the surface. The little that remained I sanded out with 220 grit sandpaper. I started polishing it with 400 grit wet dry sandpaper.   I polished the vulcanite stem with micromesh sanding pads – 1500-12000 grit pads. I wiped it down with Obsidian Oil after each sanding pad. I used Before & After Pipe Polish – both Fine and Extra Fine to further polish the stem.    This Larsen Handmade Danish 77 Dublin Freehand is a great looking pipe now that it has been restored. The shape is elegant and flowing with a thin turned vulcanite stem. The horn shank extension has a metal insert in the shank end to keep it from splitting. I put the stem back on the bowl and carefully buffed the pipe with Blue Diamond on the buffing wheel using a light touch on the briar. I gave the bowl and the stem multiple coats of carnauba wax on the buffing wheel and followed that by buffing the entire pipe with a clean buffing pad. I hand buffed the pipe with a microfiber cloth to deepen the shine. The finished Larsen77 Bent Dublin fits nicely in the hand and feels great. Give the finished pipe a look in the photos below. The dimensions of the pipe are Length: 6 inches, Height: 2 inches, Outside diameter of the bowl: 1 ½ inches, Chamber diameter: ¾ of an inch. I will be putting it on the rebornpipes store shortly. If you are interested in adding this pipe to your collection send me a message or an email. Thanks for reading this blog and my reflections on the pipe while I worked on it. There are many more to come!

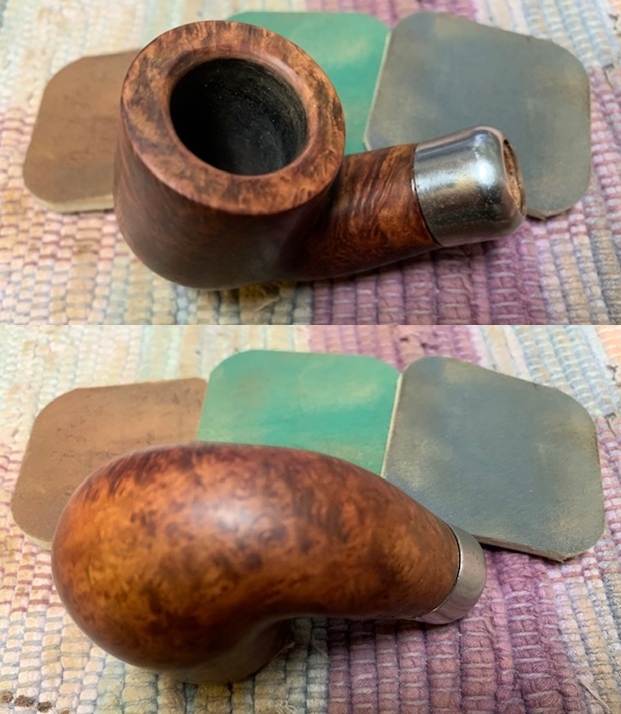
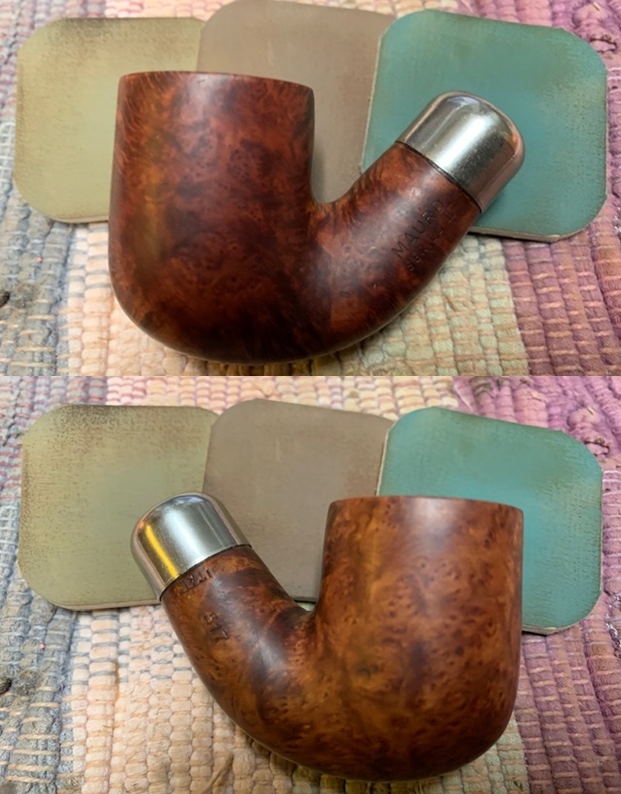
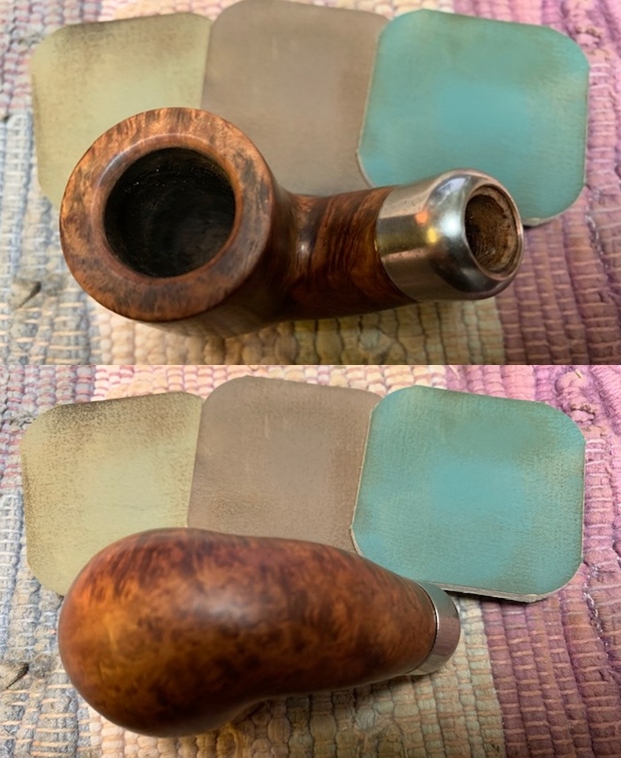
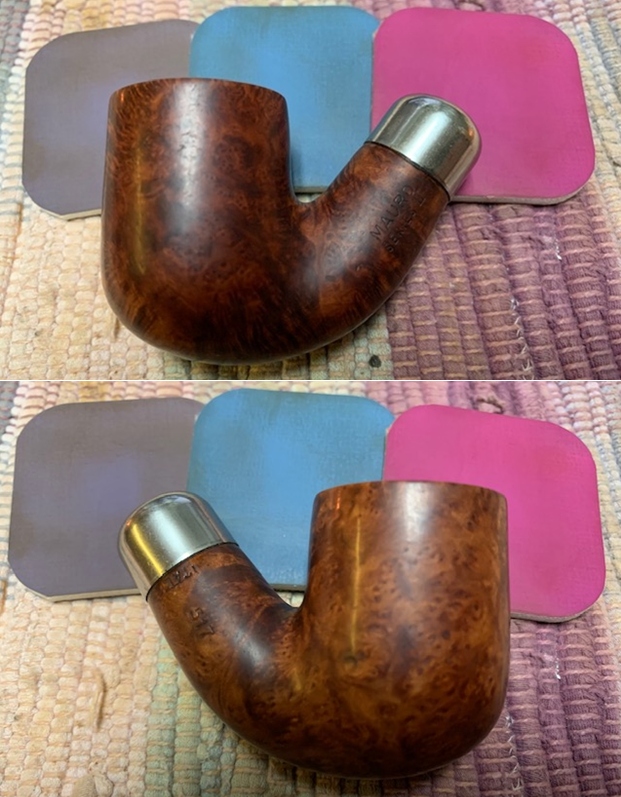
Restoring a Mauro Series II Bent 517 System Style Pipe


Blog by Steve Laug

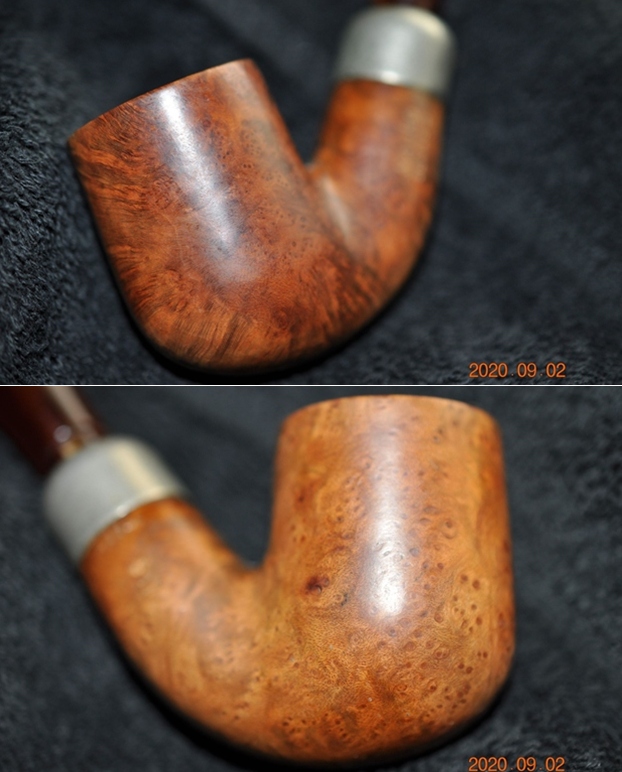
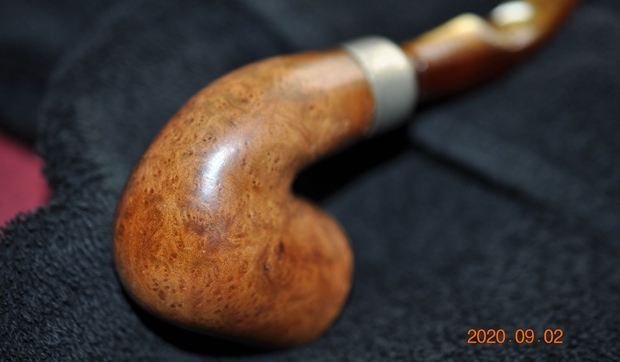
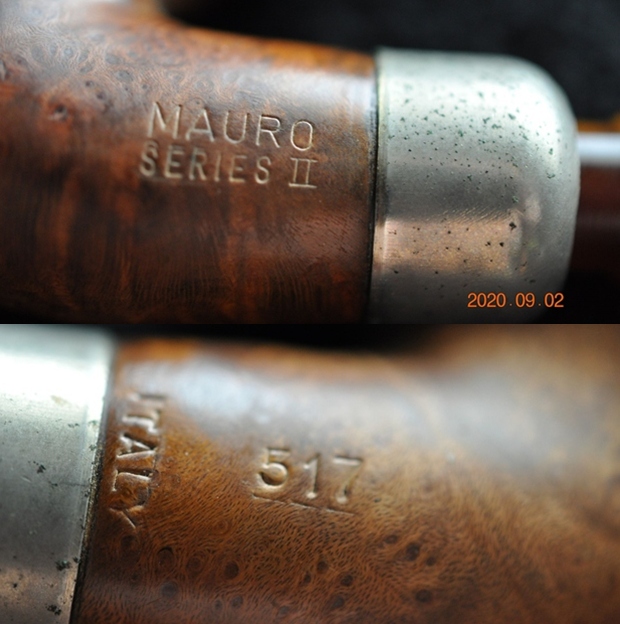
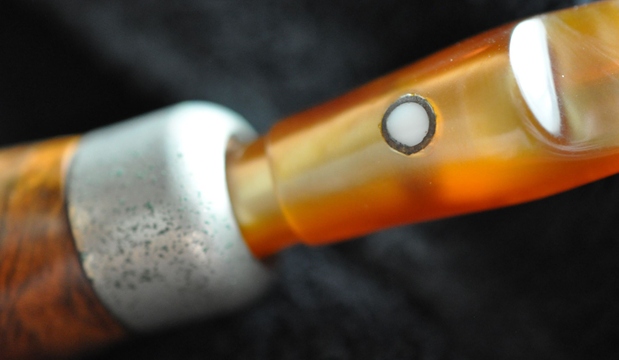
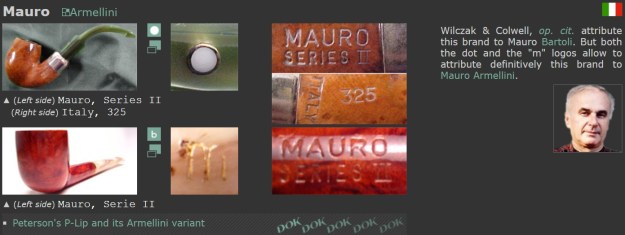
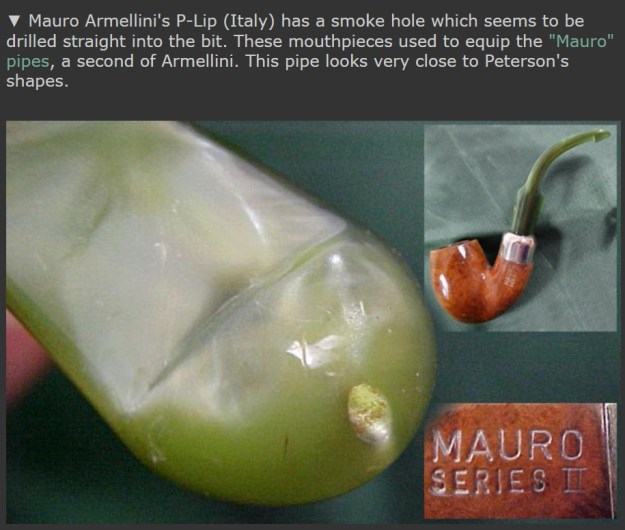
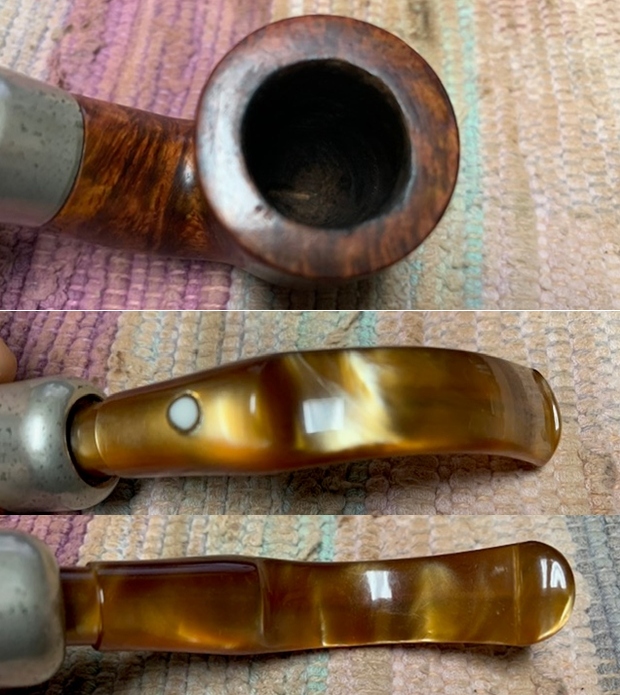
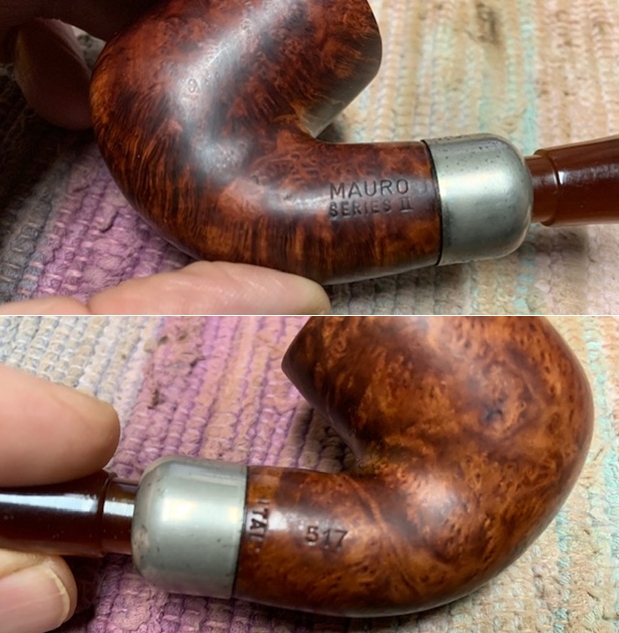
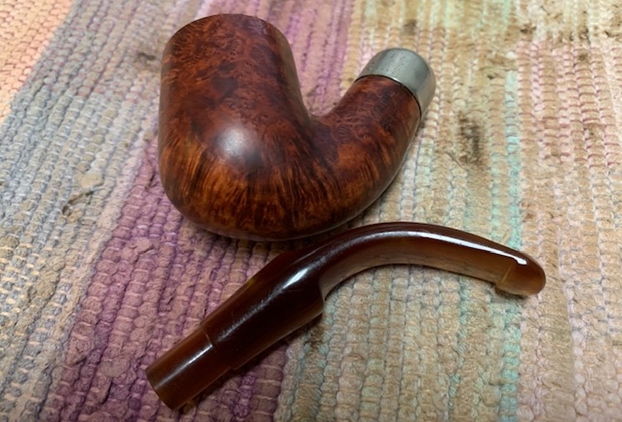
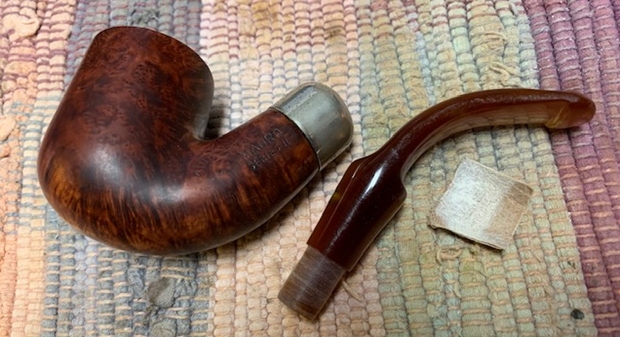
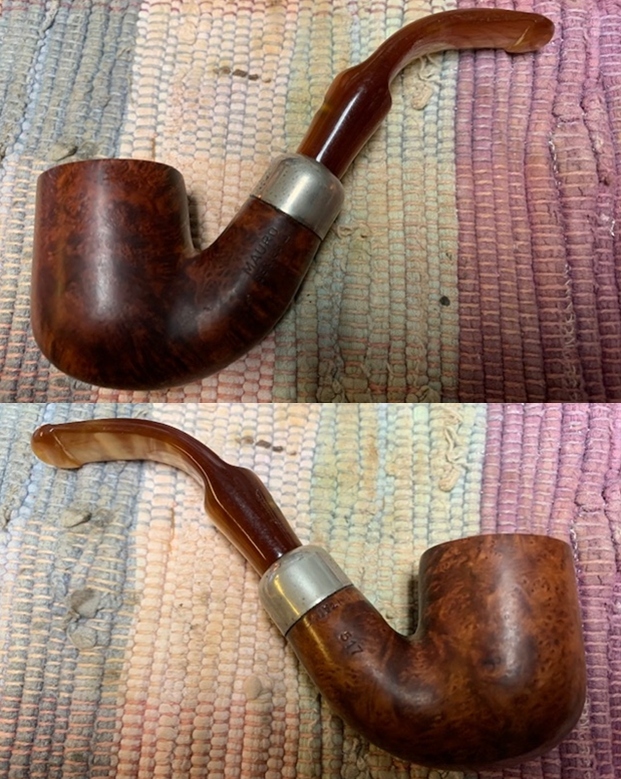
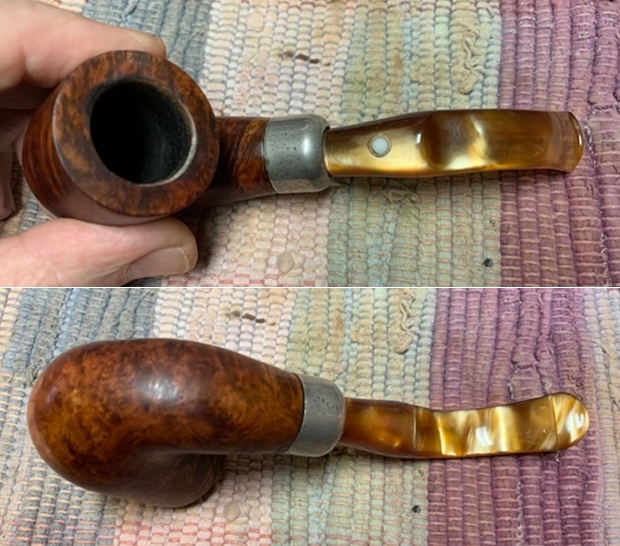
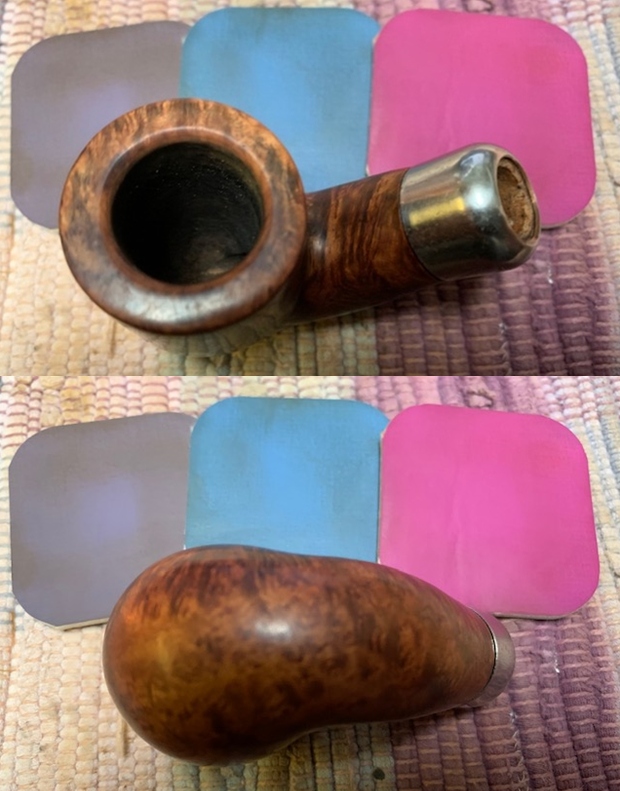
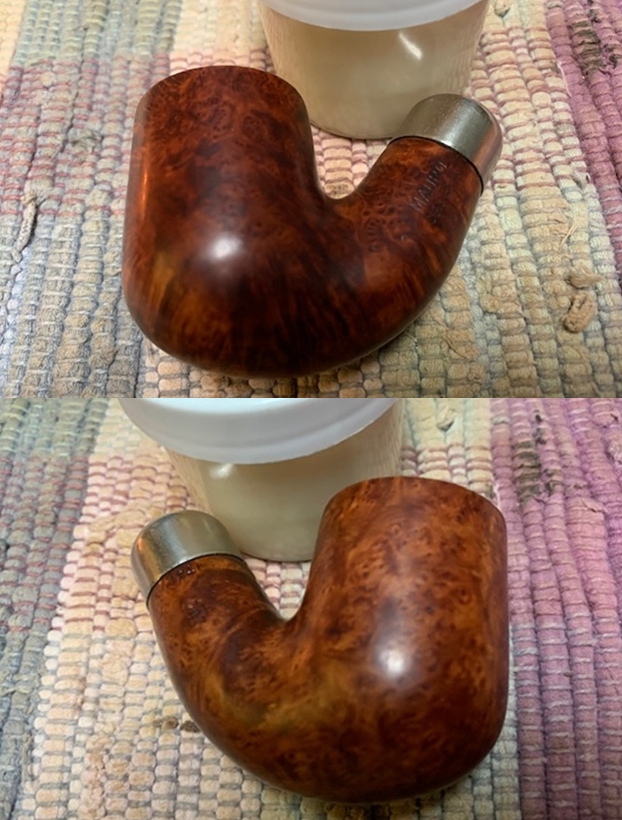
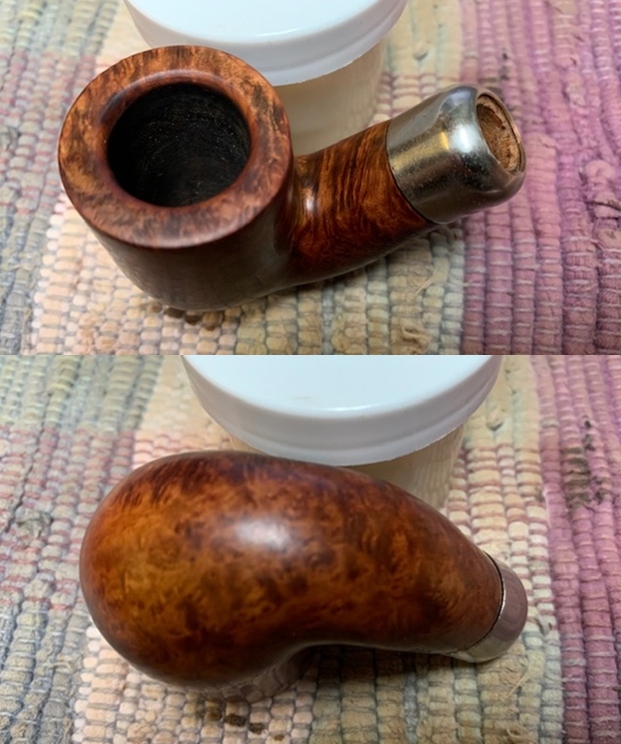
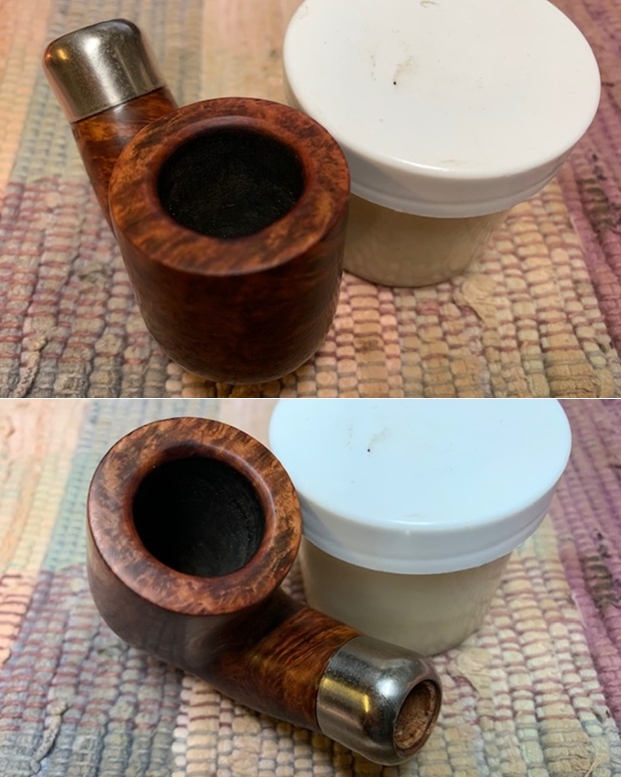
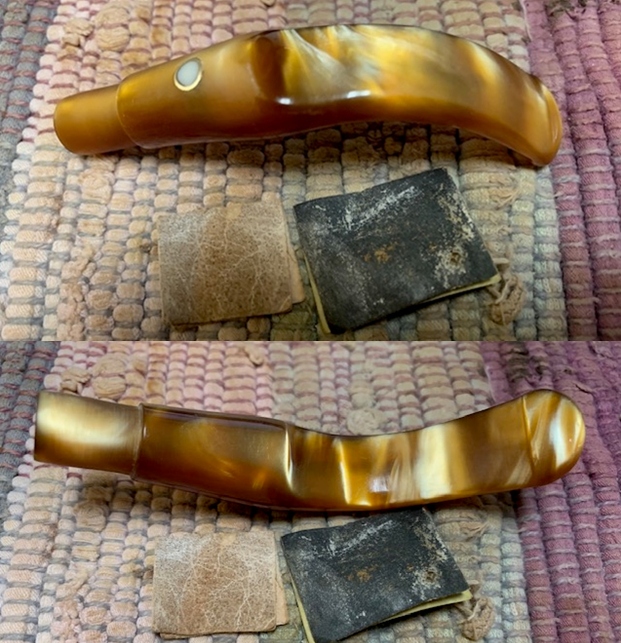
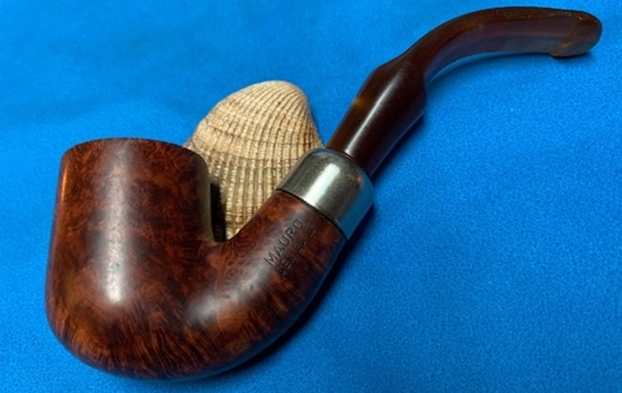
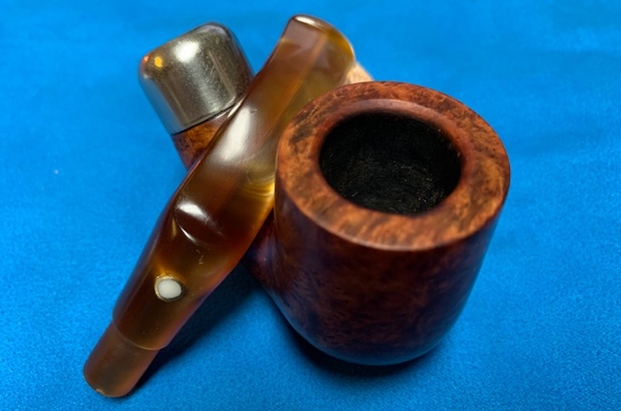
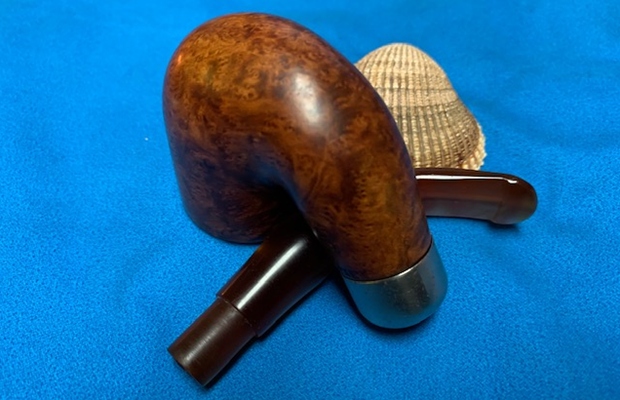
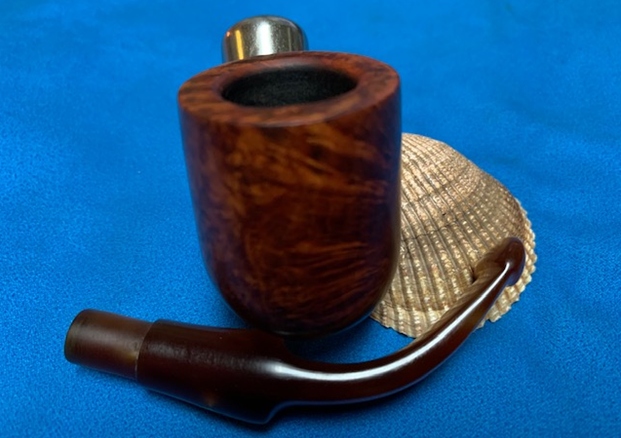
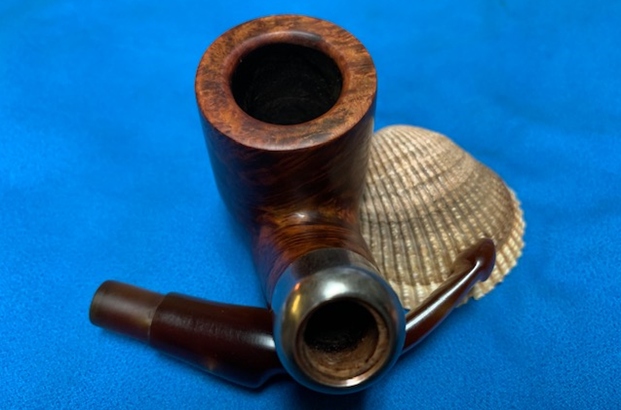
The next pipe on the work table came to us from a pipe hunt that Jeff and his wife recently did in Utah, USA. The pipe is an interesting pipe that looks like an Italian take on a Peterson’s System pipe. The pipe is well shaped and has nice grain around the bowl. The pipe is stamped on the left side of the shank and reads Mauro [over] Series II. On the right side it reads Italy along the ferrule edge and the shape number 517. There was a lot of grime ground into the smooth and finish on the briar. The bowl was heavily caked with a light overflow of lava on the top and inner edge of the rim. The inside edges looks like it may have burn damage on the front right. The variegated brown/gold/yellow acrylic stem had tooth chatter and marks on the top and underside near the button and on the button edge. There was a circle on the topside of the saddle stem that had a brass outer ring and an inner white acrylic insert. The stem did not seat all the way in the shank and would need to be addressed. It had promise but it was very dirty. Jeff took some photos of the pipe before he started his cleanup work. He took photos of the rim top and bowl to give a clear picture of the thickness of the cake and tobacco debris as well as the lava on the inner edge of the rim. He also took photos of the top and underside of the stem to show the chatter and tooth marks.   Jeff took photos of the sides and heel of the bowl to give a picture of what the briar looked like. It truly has some nice grain – birdseye and cross grain around the bowl and shank. The nickel ferrule is oxidized and dull.   The stamping on the shank sides is clear and readable and read as noted above. I turned to Pipephil (http://www.pipephil.eu/logos/en/logo-m4.html) to get a quick view of the brand once again. The site definitively links the brand to Mauro Armellini. The screen capture I included below shows a brief history of the brand. There was a link on the section to a page comparing the Peterson P-lip with its Armellini variant (http://www.pipephil.eu/logos/en/infos/p-lip-en.html). I included the section on the pipe stem below as a screen capture. It is fascinating to compare the stem to the many Peterson’s System pipes that I have worked on.I turned to Pipedia (https://pipedia.org/wiki/Armellini) for a quick read. The site referred me automatically from the Italian Makers list to Mauro Armellini. The write up is very well done and gives a great amount of history. It is worth a read.

What I learned from the research is that the Mauro pipe was Mauro Armellini’s second line and in many ways was his take on a Peterson’s System pipe.

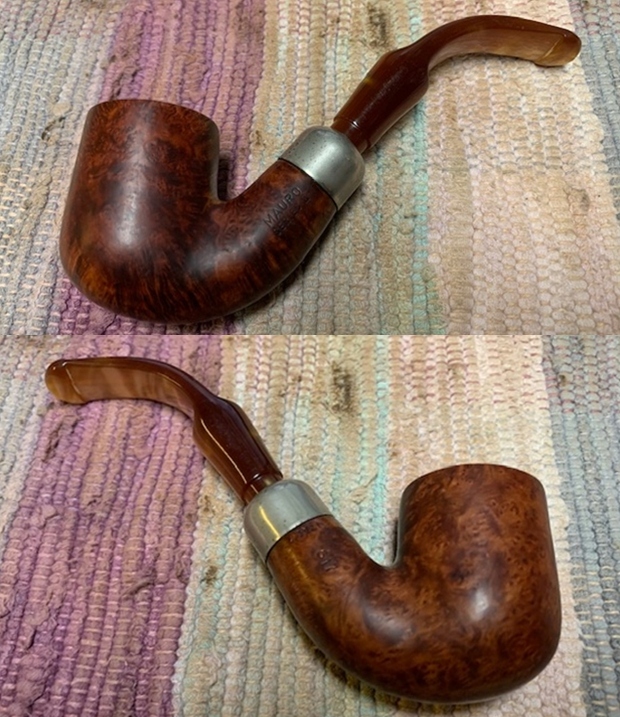
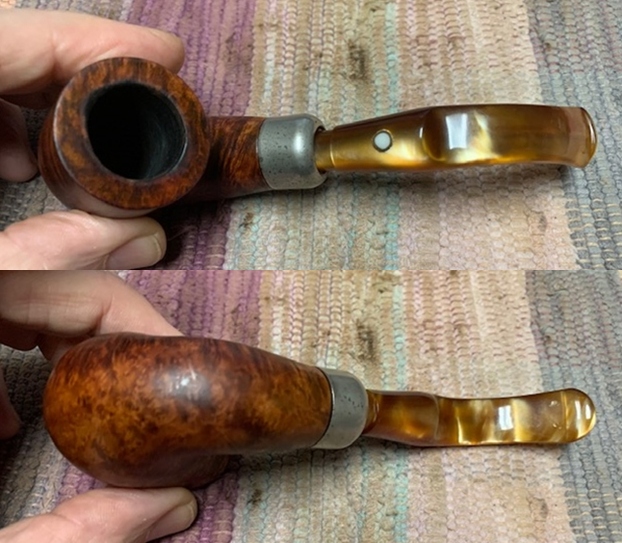
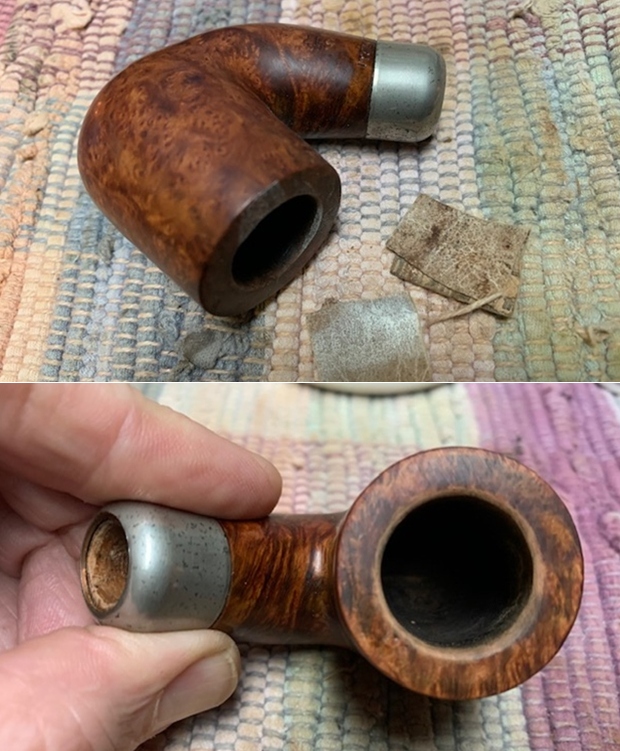
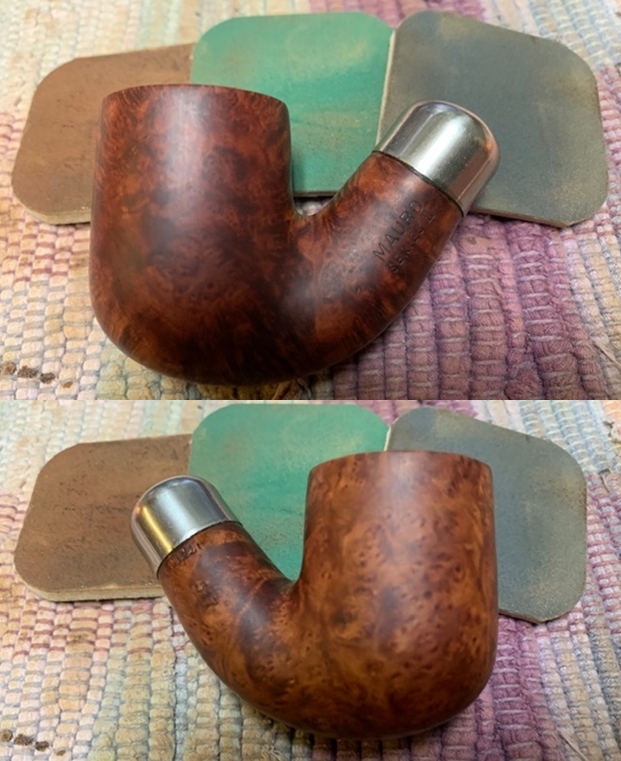
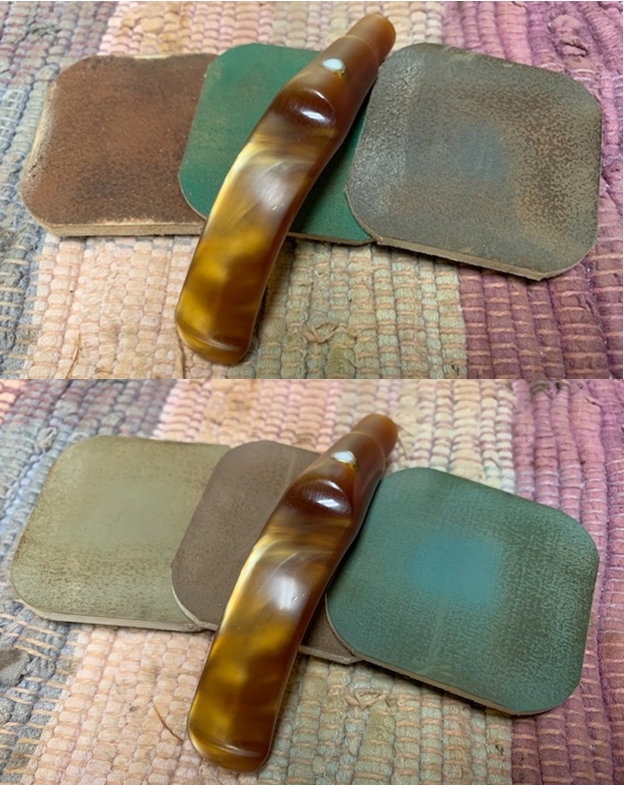
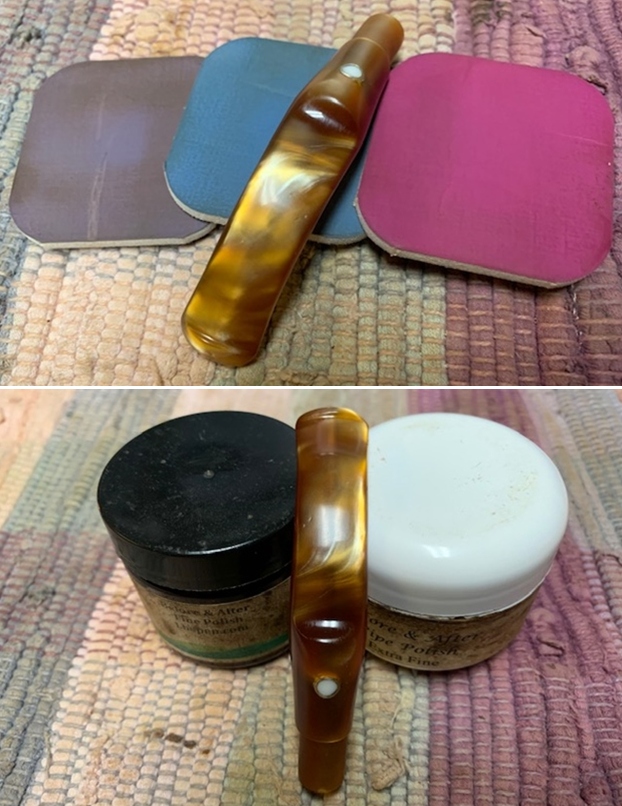
Armed with that information I turned to work on the pipe itself.  Jeff had cleaned up the pipe with his usual penchant for thoroughness. He reamed the pipe with a PipNet pipe reamer and removed the rest of it with a Savinelli Fitsall Pipe Knife.  He scrubbed the bowl with undiluted Murphy’s Oil Soap with a tooth brush. He rinsed it under running warm water to remove the soap and grime. He cleaned out the inside of the shank and the airway in the stem with alcohol, cotton swabs and pipe cleaners. He scrubbed the stem with Soft Scrub cleanser and rinsed it off with warm water. I took photos of the pipe before I started my part of the restoration work. The rim top cleaned up really well. The rim top and inner edge of the bowl show some damage. The stem surface looked very good with a few tooth marks and chatter on both sides near the button.     The stamping on the shank sides is clear and readable. It is stamped as noted above.  I removed the stem and took a photo of the pipe to give a sense of the whole. The saddle stem is nice and the photo gives a sense of what the pipe looks like. The fit of the stem in the shank was impeded by the thickness of the tenon on the stem. I used a piece of folded 220 grit sandpaper to reduce the diameter of the tenon. I polished the tenon with 400 grit wet dry sandpaper. I put the stem in the shank and took photos of the fit in the shank. Now that the stem fit I turned my attention to the damage on the inner edge of the rim. I used a folded piece of 220 grit sandpaper to give the inner edge a slight bevel to minimize the burn damage.  I polished the briar and the nickel ferrule with micromesh sanding pads – 1500-12000 grit pads. I wiped the bowl down after each pad with a damp cloth.  I rubbed the bowl and shank down with Before & After Restoration Balm. I worked it into the surface of the bowl sides and shank with my fingertips to clean, enliven and protect the briar. I let the balm sit for about 10-15 minutes and buffed with a cotton cloth to raise the shine. The grain came alive and the fills while visible look better than when I began.   I set the bowl aside and turned to work on the stem. I sanded out the tooth chatter and marks on both sides with 220 grit sandpaper. I started polishing it with 400 grit wet dry sandpaper.   I polished the acrylic stem with micromesh sanding pads – 1500-12000 grit pads. I wiped it down with Obsidian Oil after each sanding pad. I used Before & After Pipe Polish – both Fine and Extra Fine to further polish the stem.    This Mauro Series II 517 Bent System Style Billiard is a great looking pipe now that it has been restored. The shape is a lot like a Peterson’s System pipe with the nickel ferrule and the P-lip style acrylic stem. I put the stem back on the bowl and carefully buffed the pipe with Blue Diamond on the buffing wheel using a light touch on the briar. I gave the bowl and the stem multiple coats of carnauba wax on the buffing wheel and followed that by buffing the entire pipe with a clean buffing pad. I hand buffed the pipe with a microfiber cloth to deepen the shine. The finished Mauro Series II pipe fits nicely in the hand and feels great. Give the finished pipe a look in the photos below. The dimensions of the pipe are Length: 5 ½ inches, Height: 1 ¾ inches, Outside diameter of the bowl: 1 ¼ inches, Chamber diameter: ¾ of an inch. I will be putting it on the rebornpipes store shortly. If you are interested in adding this pipe to your collection send me a message or an email. Thanks for reading this blog and my reflections on the pipe while I worked on it. There are many more to come!

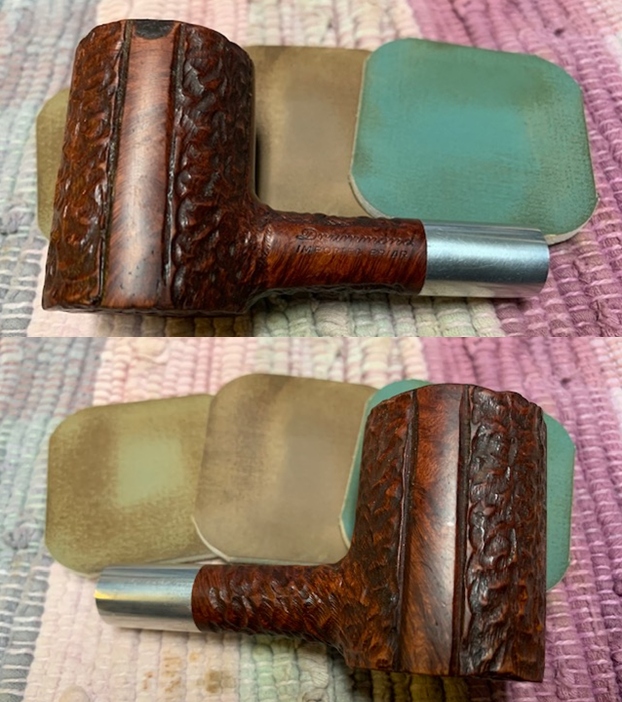
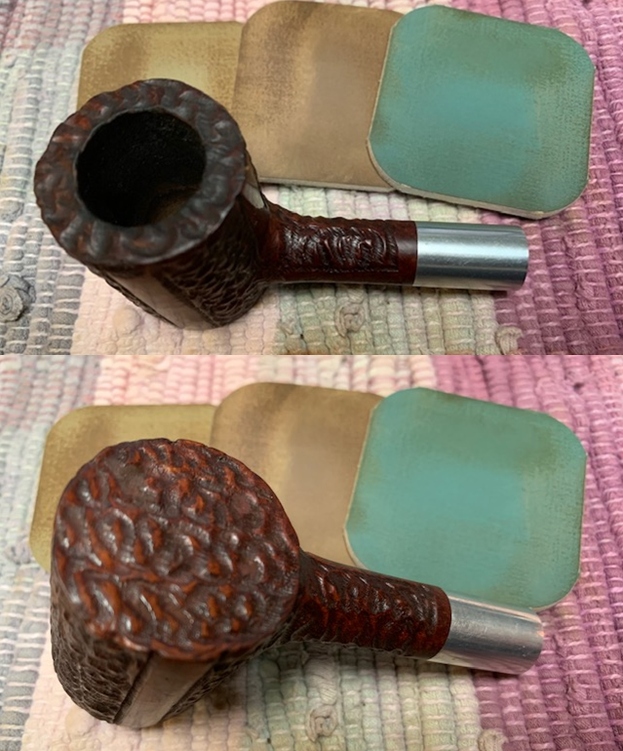
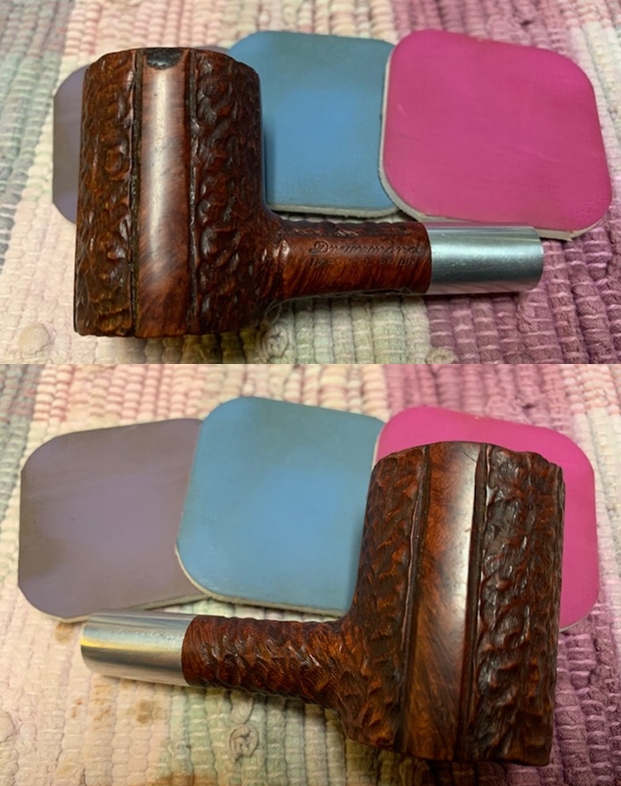
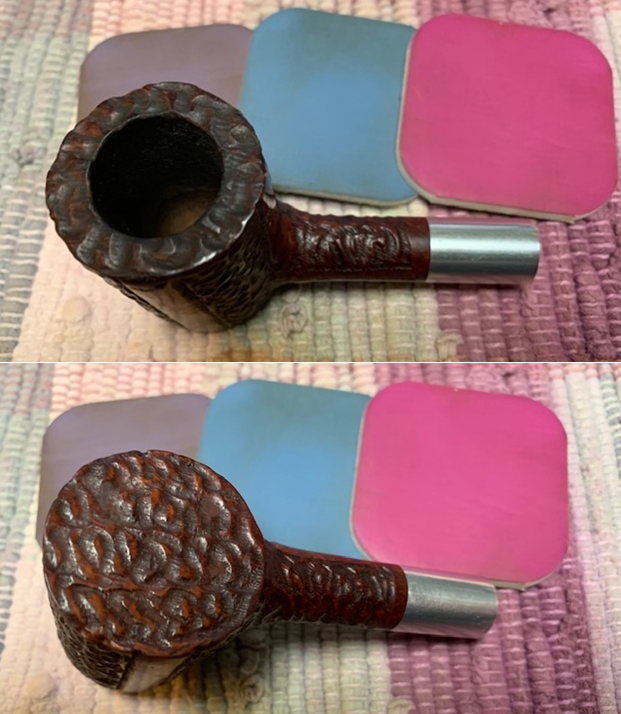
New Life a Drummond Imported Briar Poker


Blog by Steve Laug

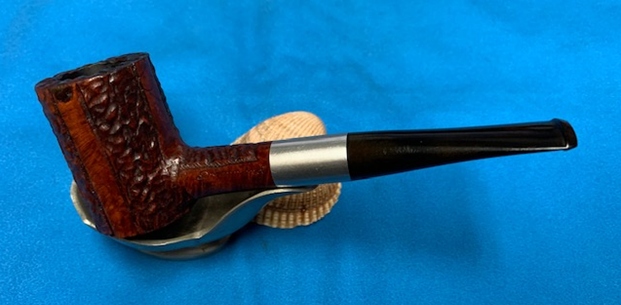
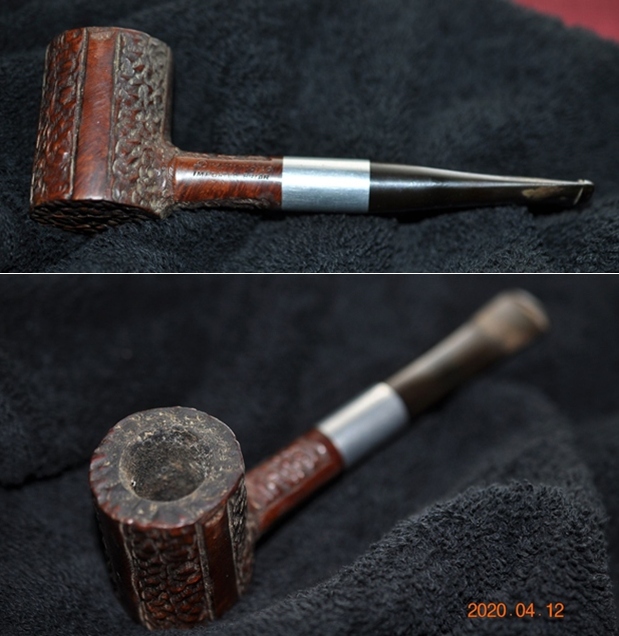
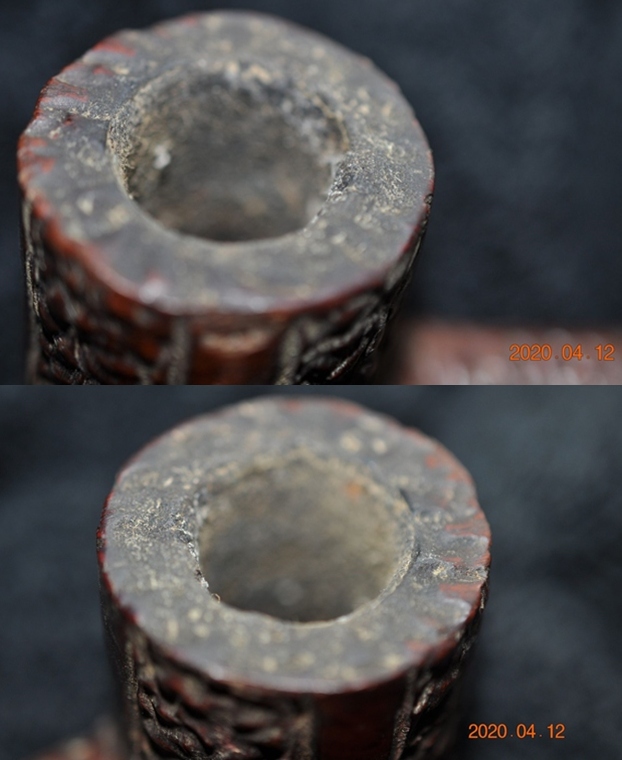
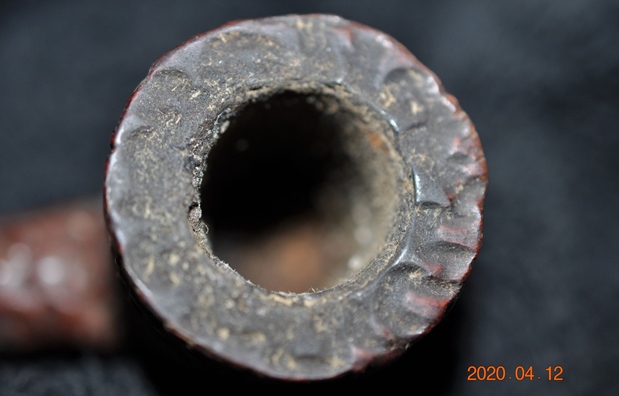
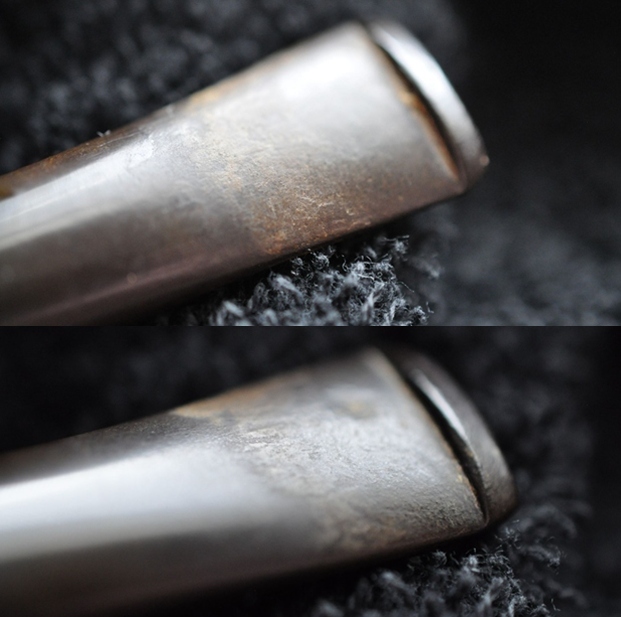
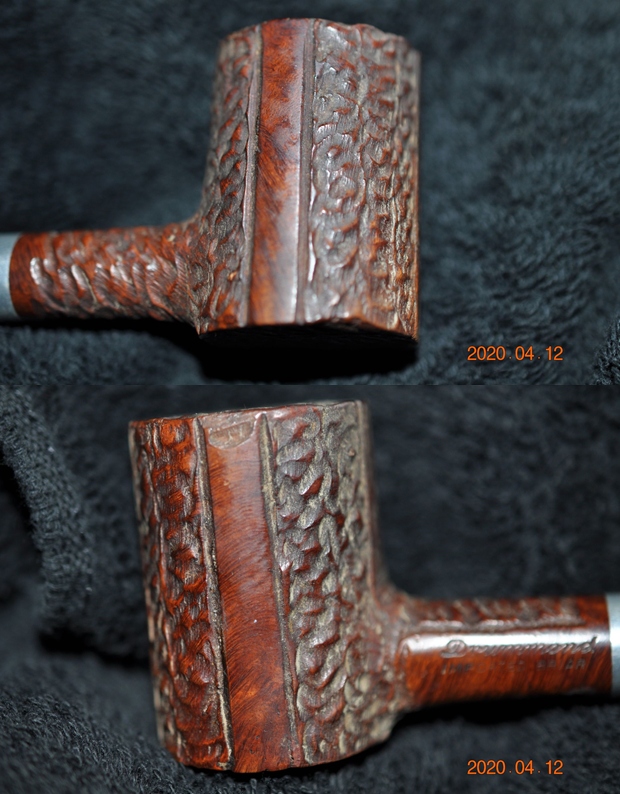
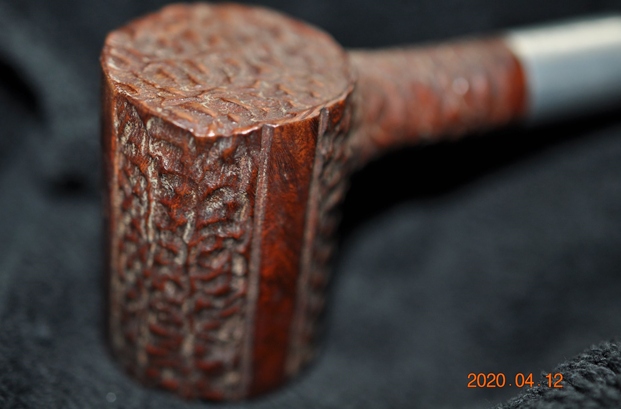
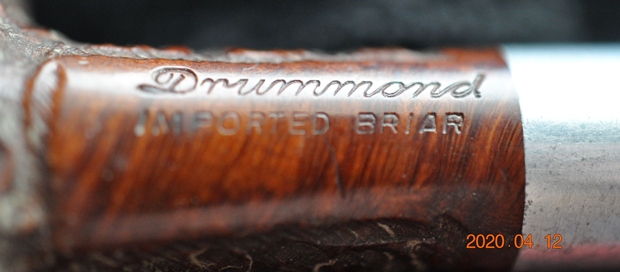
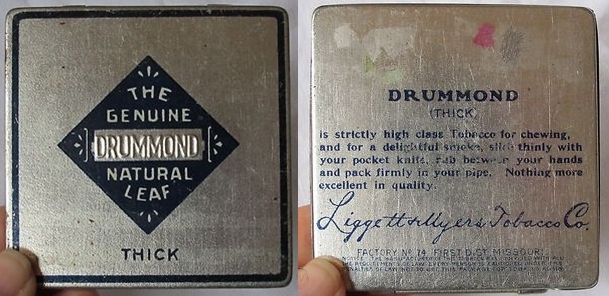
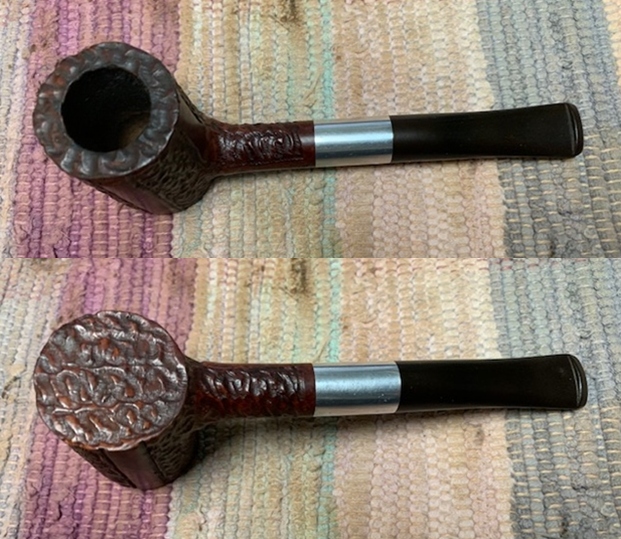
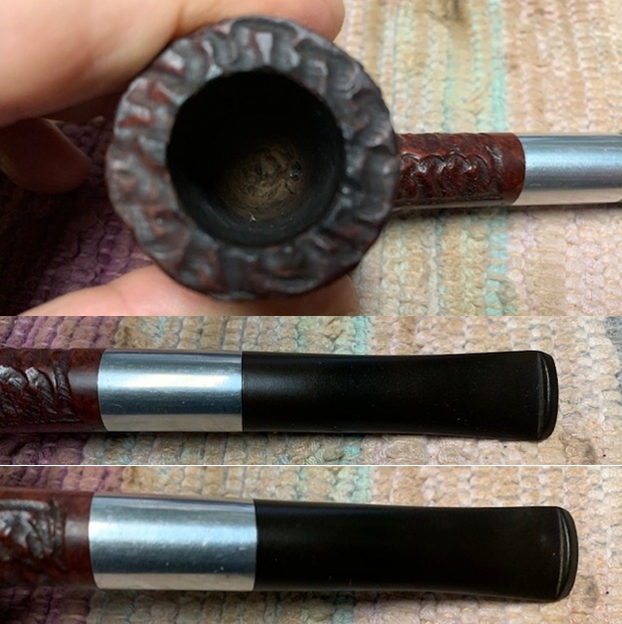
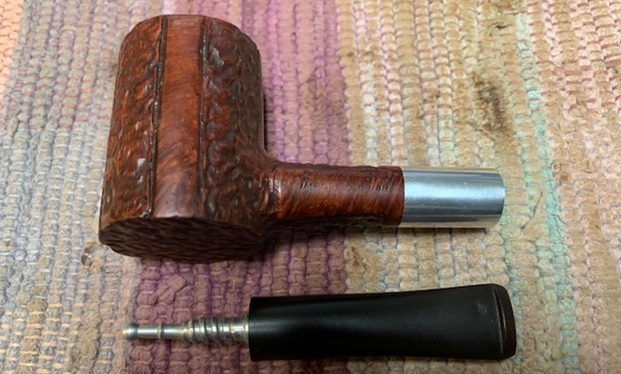
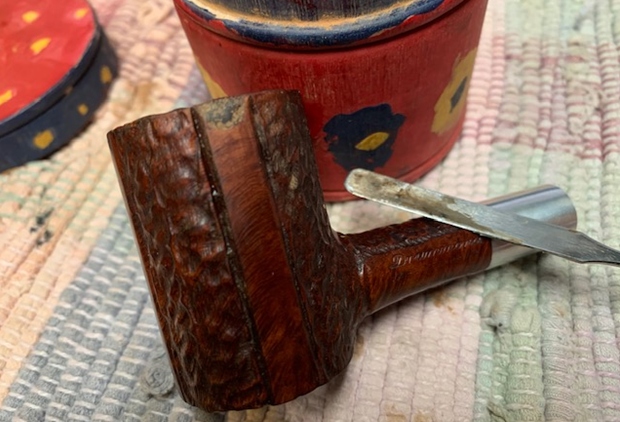
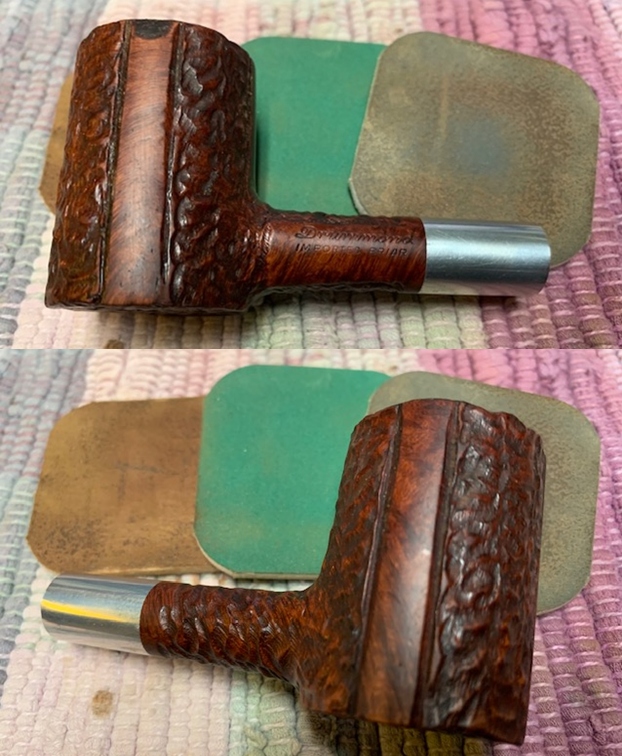
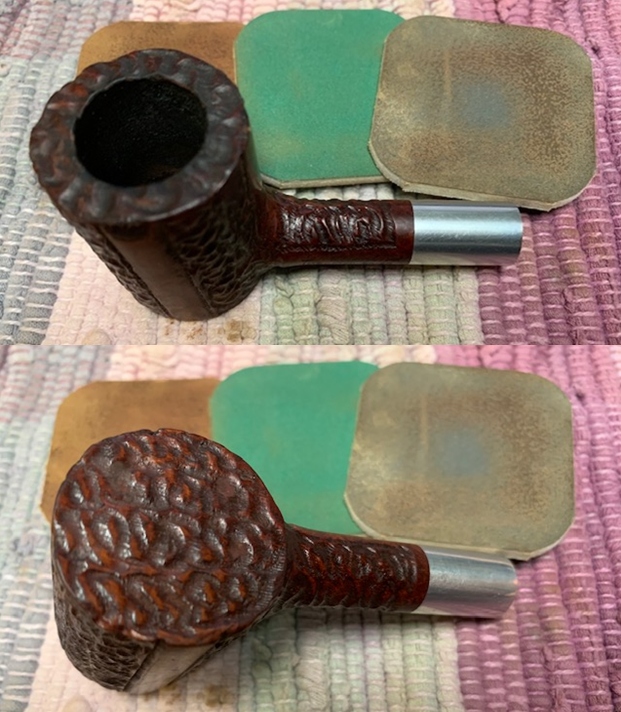
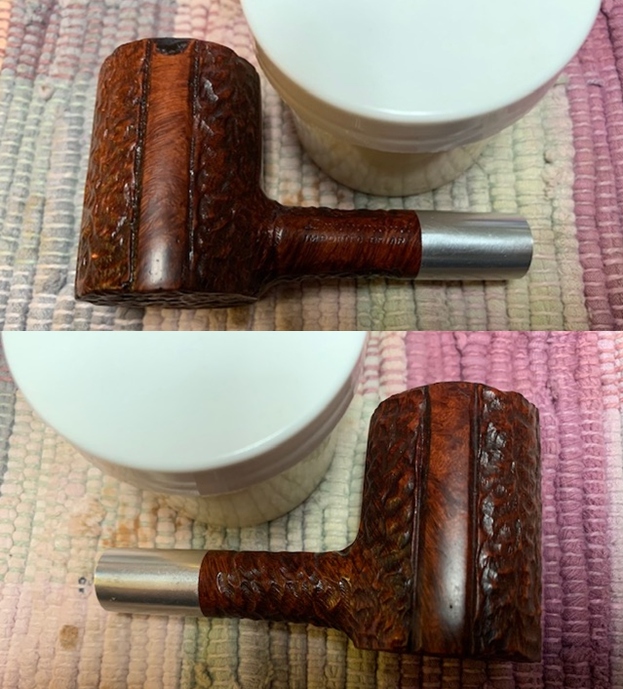
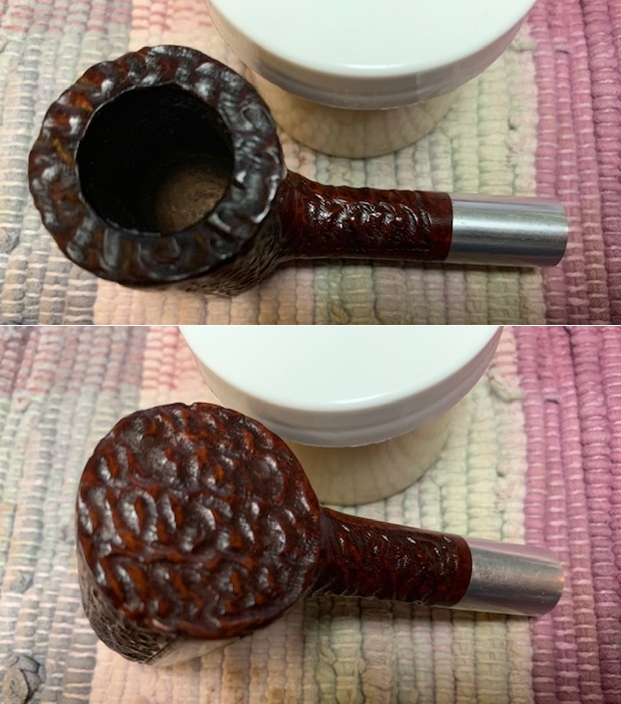
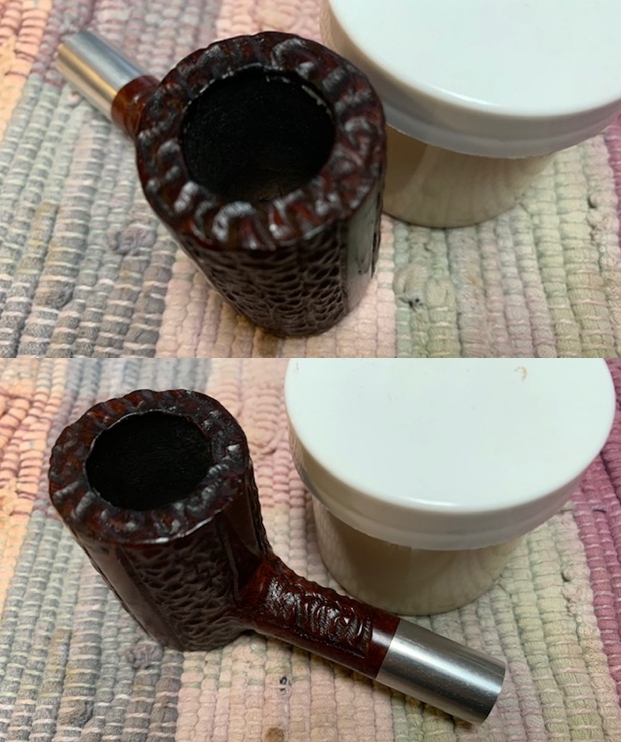
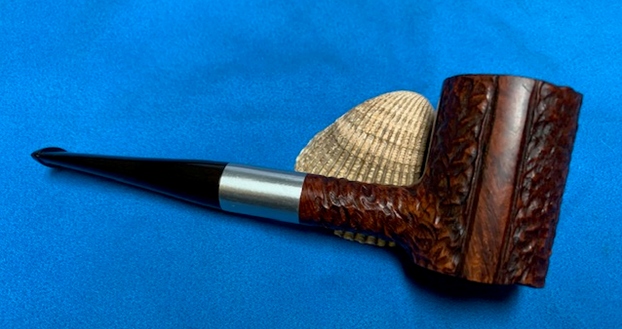
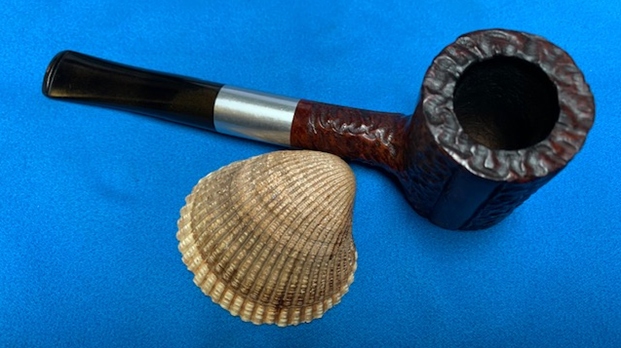
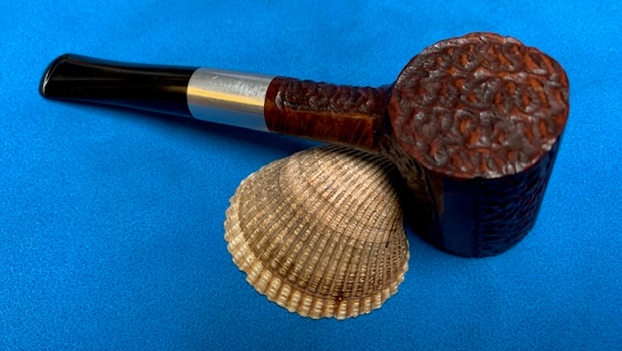
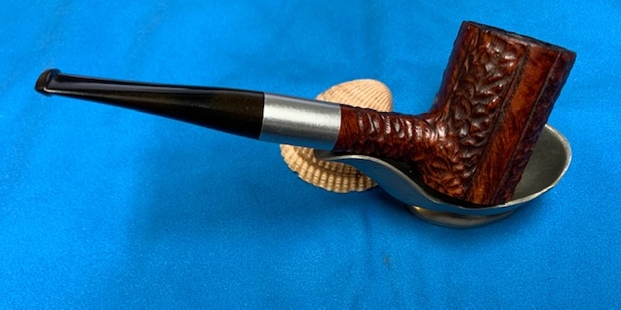
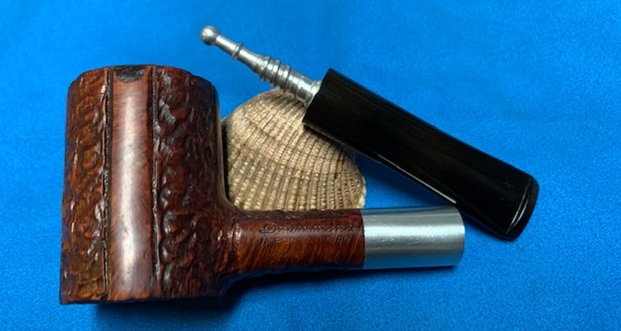
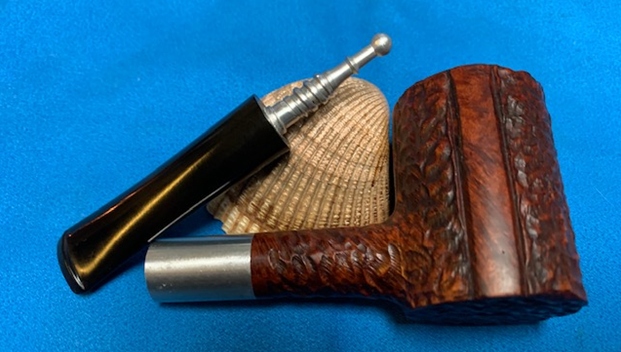
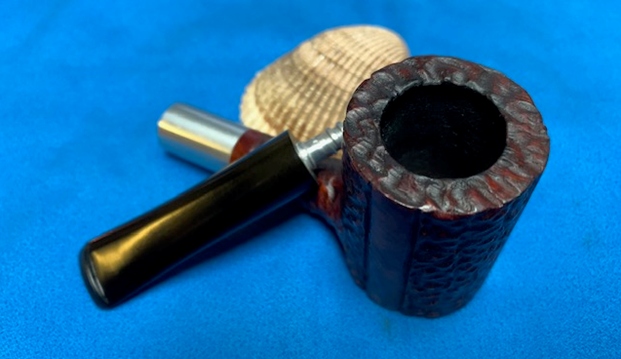
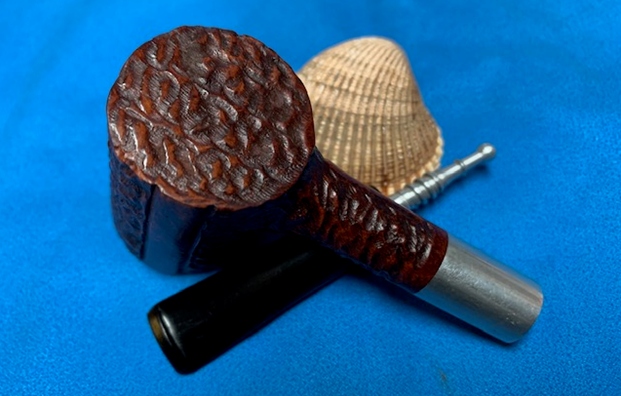
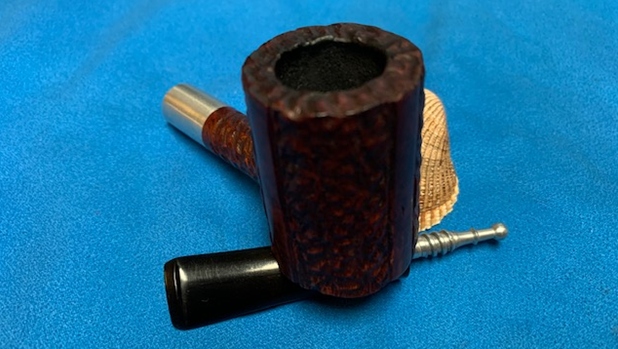
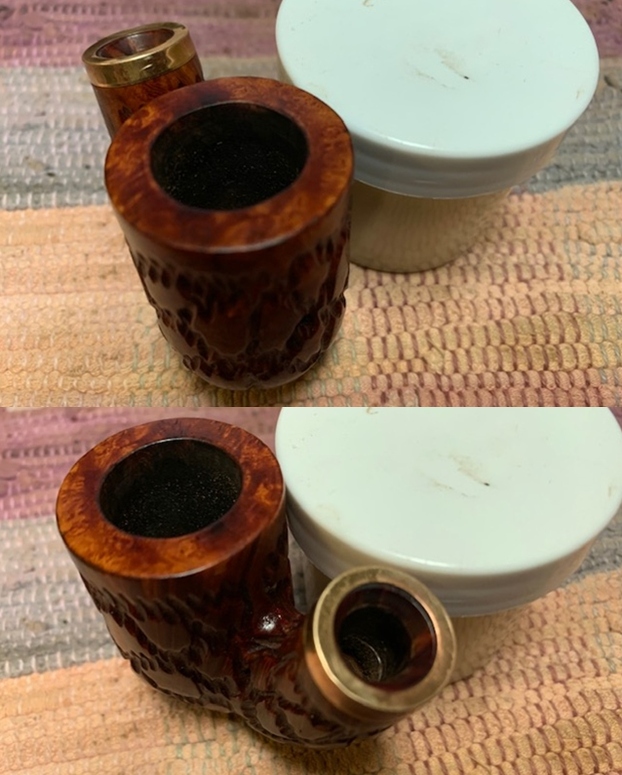
The next pipe on the work table came to us from an online auction from Columbus, Mississippi, USA. The pipe is an interesting looking piece – a mixed finish Poker shaped pipe with some nice grain around the bowl. The finish is rusticated in vertical stripes separated by smooth stripes. The pipe is stamped on the left side of the shank and reads Drummond in script [over] Imported Briar. There was a lot of grime ground into the smooth and rusticated portions of the finish on the briar. The bowl was heavily caked with an overflowing lava coat on the top of the rim. The inside edges looked to be in good condition. There was a large nick in the briar on the left side top outer edge of the rim. The metal shank end is a threaded system for the threaded tenon that is screwed into the shank. The stem was oxidized, calcified and had tooth chatter and marks on the top and underside near the button. There were not markings or a logo on the taper stem. It had promise but it was very dirty. Jeff took some photos of the pipe before he started his cleanup work. He took photos of the rim top and bowl to give a clear picture of the thickness of the cake and tobacco debris as well as the lava filling in the rustication on the rim top. He also took photos of the top and underside of the stem to show the oxidation and the chatter and tooth marks. Jeff took photos of the sides and heel of the bowl to give a picture of what the briar looked like. There is some nice grain on the smooth stripes and the rustication is unique around the sides.  The stamping on the left side of the shank is clear and readable and read as noted above. I could find nothing listed on either Pipedia or Pipephil’s site on the Drummond Brand. I did a quick search of the name and came across quite a few photos of tins of tobacco and pouches of tobacco made by Liggett & Myers. It is labeled as Antique Pipe Chewing Tobacco Tin that is called The Genuine Drummond Natural Leaf Thick. Have a look at the photos I have included below (https://www.worthpoint.com/worthopedia/antique-pipe-chewing-tobacco-tin-253303793).

Antique Pipe Chewing Tobacco Tin Genuine Drummond Natural Leaf Liggett & MyersI am pretty certain that the pipe was a Tobacco Company Coupon pipe possibly that was earned by tobacco coupons. I cannot prove that but that appears to be what is happening with this mystery brand. Now on to working on the pipe.

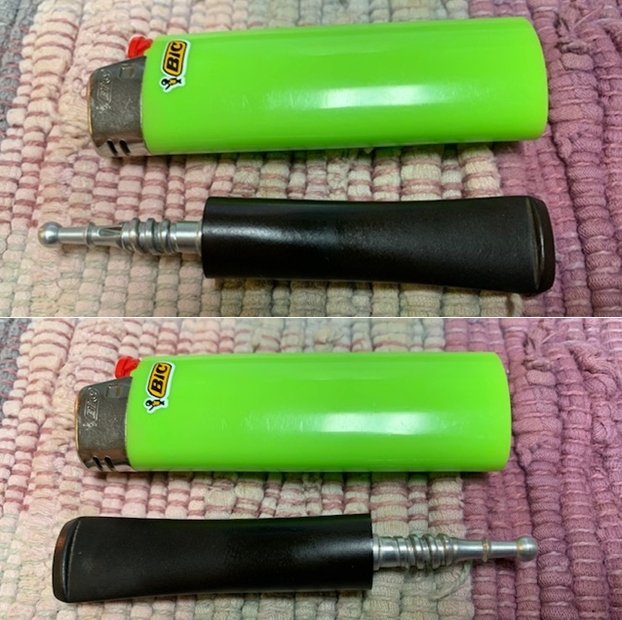
Jeff had cleaned up the pipe with his usual penchant for thoroughness. He reamed the pipe with a PipNet pipe reamer and removed the rest of it with a Savinelli Fitsall Pipe Knife.  He scrubbed the bowl with undiluted Murphy’s Oil Soap with a tooth brush. He rinsed it under running warm water to remove the soap and grime. He cleaned out the inside of the shank and the airway in the stem with alcohol, cotton swabs and pipe cleaners. He soaked the stem in Before & After Deoxidizer and rinsed it off with warm water. I took photos of the pipe once I received it.  The rim top cleaned up really well. The rim top and outer edge of the bowl show some damage. The stem surface looked very good with a few small tooth marks and chatter on both sides near the button.   The stamping on left side of the shank is clear and readable. It is stamped as noted above.    I removed the stem and took a photo of the pipe to give a sense of the whole. The stem is tapered and narrow. Now it was time to do my work on the pipe. I filled in a large chip on the top left edge of the bowl. I used super glue and briar dust to build up the chipped area. Once it cured I smoothed it out with 220 grit sandpaper until it was even with the surrounding briar.I polished the repaired area and the rest of the briar with micromesh sanding pads – wet sanding with 1500-12000 grit pads and wiping it down after each pad with a damp cloth. I rubbed the bowl and shank down with Before & After Restoration Balm. I worked it into the surface of the bowl sides and shank with my fingertips to clean, enliven and protect the briar. I let the balm sit for a little while and then buffed with a cotton cloth to raise the shine. The grain came alive and the fills while visible look better than when I began. I set the bowl aside and turned to work on the stem. I “painted” the surface on both sides of the stem with the flame of a lighter to lift the tooth marks. I was able to lift them completely on the top side of the stem. One deeper tooth mark remained on the underside.  I filled in the one remaining tooth mark on the underside of the stem. Once the repair cured I sanded them smooth to blend them into the surface of the vulcanite. I started polishing it with 400 grit wet dry sandpaper. I polished the vulcanite stem with micromesh sanding pads – 1500-12000 grit pads. I wiped it down with Obsidian Oil after each sanding pad. I used Before & After Pipe Polish – both Fine and Extra Fine to further polish the stem.  This Drummond Imported Briar Poker is a great looking pipe now that it has been restored. The mix of rusticated and smooth finishes around the bowl is quite beautiful and highlights the grain and works well with the polished vulcanite taper stem. The repaired chip on the left topside of the bowl looks much better and is smooth to touch. I put the stem back on the bowl and carefully buffed the pipe with Blue Diamond on the buffing wheel using a light touch on the briar. I gave the bowl and the stem multiple coats of carnauba wax on the buffing wheel and followed that by buffing the entire pipe with a clean buffing pad. I hand buffed the pipe with a microfiber cloth to deepen the shine. The finished Drummond Poker fits nicely in the hand and feels great. Give the finished pipe a look in the photos below. The dimensions of the pipe are Length: 5 ½ inches, Height: 1 7/8 inches, Outside diameter of the bowl: 1 ¼ inches, Chamber diameter: ¾ of an inch. I will be putting it on the rebornpipes store shortly. If you are interested in adding this pipe to your collection send me a message or an email. Thanks for reading this blog and my reflections on the pipe while I worked on it. There are many more to come!
Restemming and Restoring a Weber Rusticated Oom Paul


Blog by Steve Laug

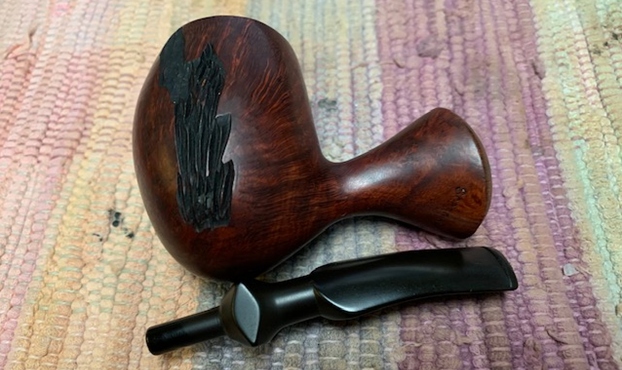
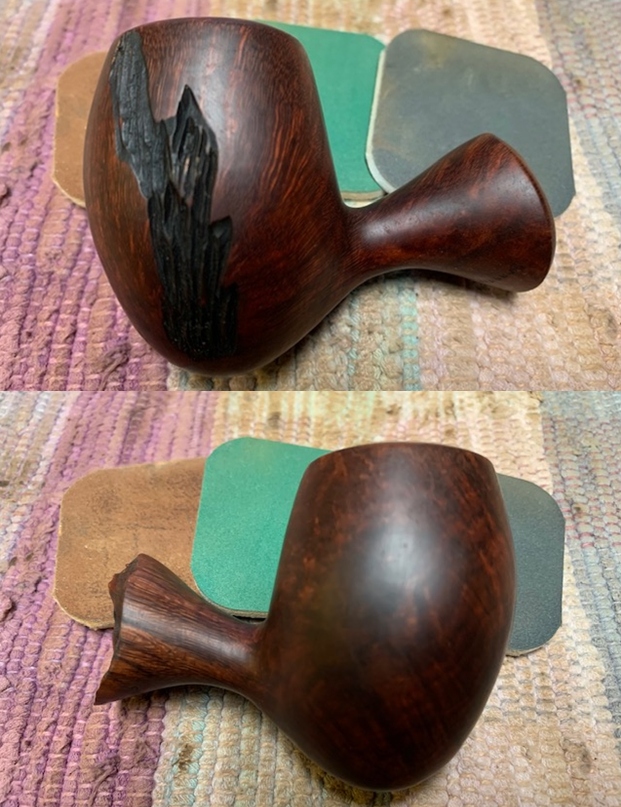
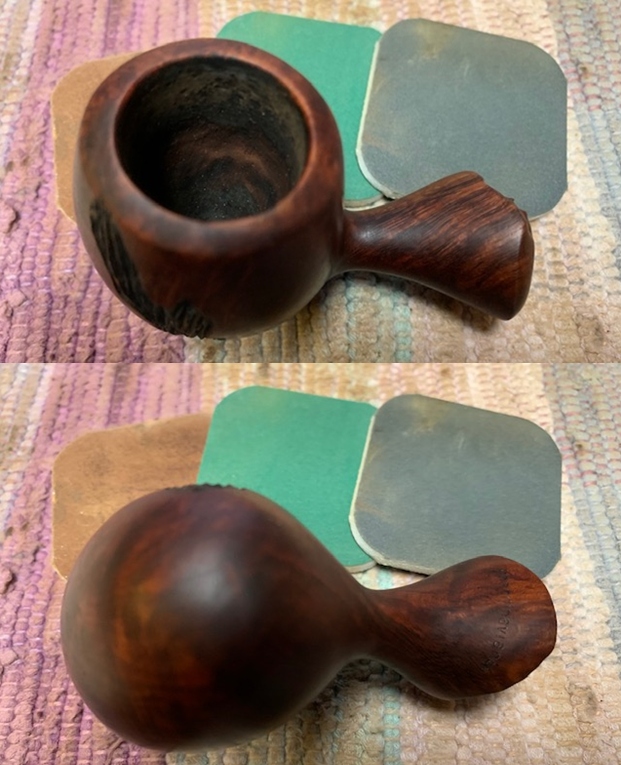
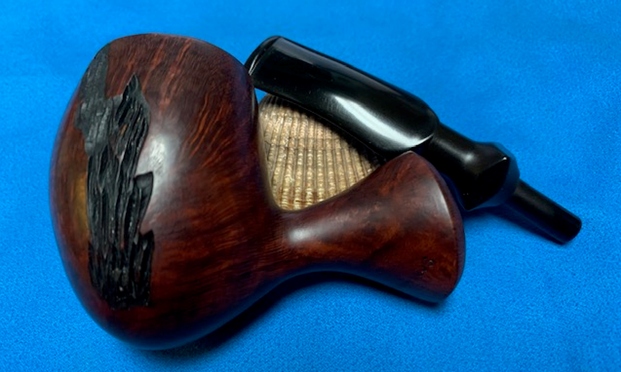
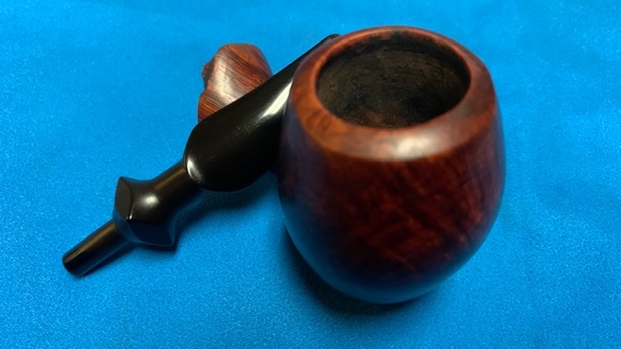
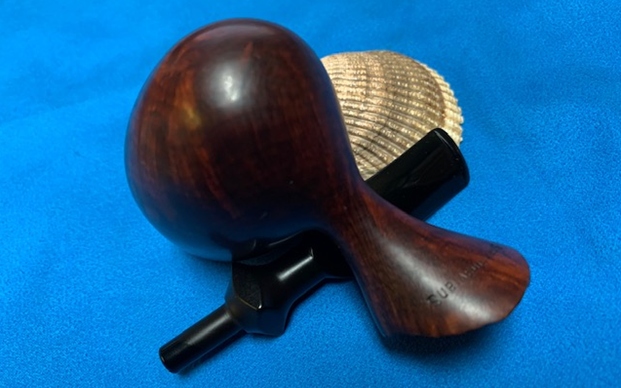
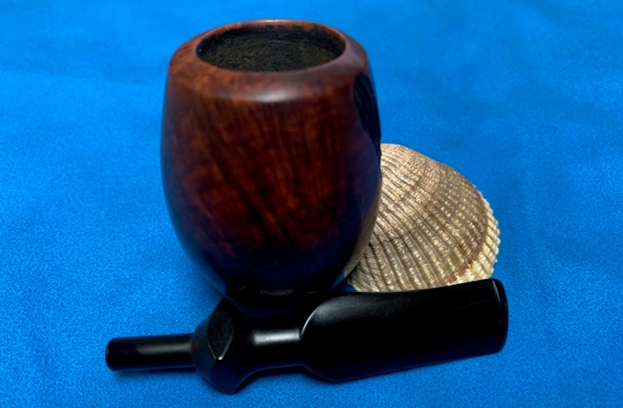
The next pipe on the table came to us from a pipe hunt Jeff and I did in Washington earlier this year. We picked this Weber Imported Briar Bowl sans stem at an Antique Mall along the way of the hunt. The rusticated finish was unique and allowed some nice flame and straight grain to come through in the smooth portions of the bowl. On the right side of the shank it was clearly stamped with the Weber oval logo [over] Imported Briar. The finish is smooth other than the rusticated or carved portion on the left side of the bowl toward the front. The rim top and first ¼ inch of the bowl side below the rim top is smooth as is the shank end. The pipe bowl was filthy with grime and oil ground into the briar of the bowl and shank sides. There was a lot of dust in the carvings on the bowl sides. The bowl had a thick cake and a thick overflow of lava on the rim top.  The rim edges – both outer and inner – looked very good. Jeff took some photos of the bowl to show its overall condition and shape before he started his cleanup work. He took photos of the rim top and bowl to give a clear picture of the thickness of the cake and the lava on the rim top. He took photos of the stamping on the shank. It reads as noted above and is clear and readable.   I turned to Pipedia to see if I could figure out the stamping on the pipe and found a good article on the history of the brand (https://pipedia.org/wiki/Weber_Pipe_Co.). I quote from that article below.

Carl B. Weber was a German from Bavaria. Aged 21 he emigrated to the USA in 1911. In 1938 he established Weber Briars Inc. in Jersey City, New Jersey. Later renamed in Weber Pipe Co..

The firm grew to be one of the giants of American pipe industry focusing itself in the middle price and quality zone. Trademark: “Weber” in an oval. Beside that Weber – especially in the years after 1950 – was a most important supplier for private label pipes that went to an immense number of pipe shops. Alone in New York, exactly the same pipes were found at Wilke’s, Barclay Rex, Trinity East, Joe Strano’s Northampton Tobacconist in Ridgewood, Queens, Don-Lou in Bensonhurst, Brooklyn… Nearly all pipes for Wilke were unstained and many models, for example the “Wilke Danish Bent”, could hardly deny originating of Weber.

Among others well reputed pipemaker Anthony Passante¹ worked for Weber.

Weber Pipe Co. owned and manufactured Jobey pipes – when mainly sold in the USA by The Tinder Box from 1970’s – 80’s. In addition Jobey / Weber bought Danish freehands from Karl Erik (Ottendahl). These pipes were offered as Jobey Dansk. Ottendahl discontinued exports to the United States in 1987 and in the very same year – obviously only as a ghost brand – Jobey was transferred to Saint-Claude, France to be manufactured by Butz-Choquin.

Carl B. Weber is the author of the famous book “Weber’s Guide to Pipes and Pipe Smoking”.

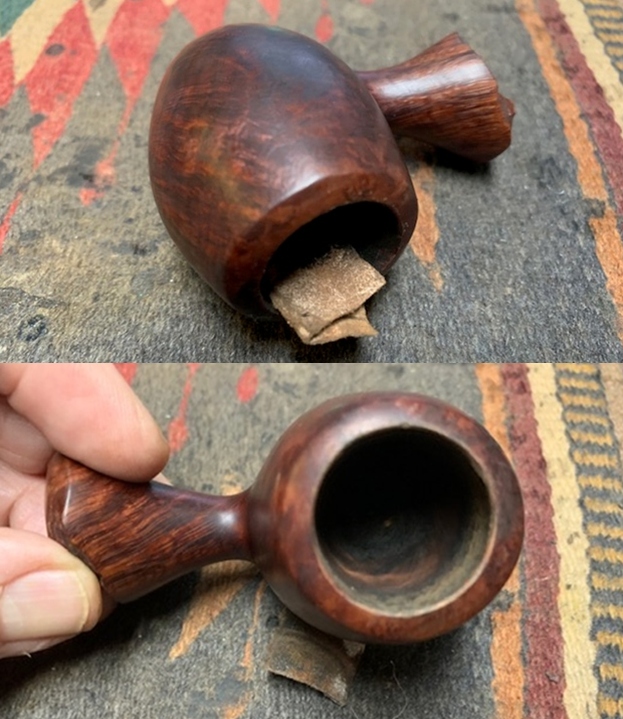
It was time to work on the pipe. Jeff had cleaned up the pipe with his usual penchant for thoroughness. He reamed the pipe with a PipNet Pipe Reamer and cleaned up the remnants with a Savinelli Fitsall Pipe Knife.  He scrubbed the bowl with undiluted Murphy’s Oil Soap with a tooth brush. He rinsed it under running warm water to remove the soap and grime. He cleaned out the inside of the shank with alcohol, cotton swabs and pipe cleaners. I took photos of the pipe bowl once I received it.  I decided to put a brass shank band on the pipe because I really like the look of a thin band between the wood and the bent stem on an Oom Paul. I just sold and English made one that I had done that with and really liked the looks. It is purely cosmetic as there are no cracks. I smoothed out the shank end with 220 grit sandpaper and polished it lightly with a 1500 grit micromesh pad. I pressed the band in place on the shank end and took some photos to show how it looked.   I went through my stem and chose two stems that would work with the pipe. The first one was a saddle stem. I had been drilled for a filter and was quite shiny. I was not sure if it was rubber or if it was plastic. I sanded the tenon down so that it would fit the pipe.I put it on the pipe and took photos. It was slightly smaller in diameter than the band on the shank but it did not look too band. I liked the overall look of the pipe with this stem. I set up my heat gun to bend the stem. I inserted a pipe cleaner in the airway and started heating the stem surface. I checked it regularly and found that the surface of the stem had split the length of the underside on the airway. I pitched the stem and went back to the work table to fit the second stem. This time I would use a rubber cast stem that had a taper rather than a saddle. It was also virtually the same diameter as the shank end with the band. I put it on my PIMO tenon turning tool and took the tenon down to where it almost fit the shanks and sanded it by hand for the snug fit I was looking for. I sanded the casting marks on the sides of the stem with my Dremel and sanding drum to smooth them out. I put the stem on the bowl and took photos. I would need to remove some of the vulcanite on the top of the stem to match the diameter of the shank. I liked the overall look of the new stem.  I used the Dremel and sanding drum to remove the excess vulcanite from the top part of the stem to match the shank.   I put a pipe cleaner in the stem and heated it with the heat gun until the vulcanite was flexible.  I bent it so that the pipe would sit comfortably in the mouth and hang nicely. I removed the new stem and turned my attention to the bowl for a while. I would come back to polishing the stem shortly. I polished the briar with micromesh sanding pads – 1500-12000 grit pads. I wiped the bowl down after each pad with a damp cloth. I rubbed the bowl and shank down with Before & After Restoration Balm. I worked it into the surface of the bowl sides and shank with my fingertips and into the carvings around the bowl with a horsehair shoe brush. The product works to clean, enliven and protect the briar. I let the balm sit for 10 minutes and then buffed with a cotton cloth to raise the shine.    I set the bowl aside and turned to work on the stem. I sanded the stem surface to remove the scratches, Dremel marks and casting marks and blend them into the surface of the vulcanite with 220 grit sandpaper and started the polishing of the stem with 400 grit wet dry sandpaper.   I polished the vulcanite stem with micromesh sanding pads – 1500-12000 grit pads. I wiped it down with a damp cloth after each sanding pad. I used Before & After Pipe Polish – both Fine and Extra Fine to further polish the stem.  This Weber Imported Briar Rusticated Oom Paul came out really well with the brass band and the new stem. The briar and vulcanite stem taper make for a great looking pipe now that it has been restored and restemmed. I put the stem back on the bowl and carefully buffed the pipe with Blue Diamond on the buffing wheel using a light touch on the briar. I gave the bowl and the stem multiple coats of carnauba wax on the buffing wheel and followed that by buffing the entire pipe with a clean buffing pad. I hand buffed the pipe with a microfiber cloth to deepen the shine. The finished Weber Oom Paul fits nicely in the hand and hangs well in the mouth. Once it is packed with tobacco and fired up I am sure that it will feel great. Give the finished pipe a look in the photos below. The dimensions of the pipe are Length: 5 inches, Height: 2 inches, Outside diameter of the bowl: 1 ¼ inches, Chamber diameter: ¾ of an inch. If you are interested in adding this pipe to your collection send me a message or an email. Thanks for reading this blog and my reflections on the pipe while I worked on it. There are many more to come!

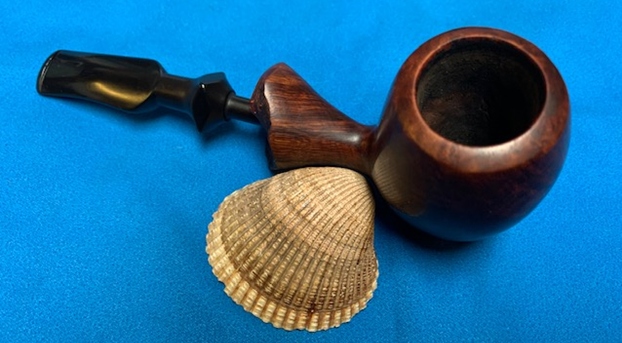
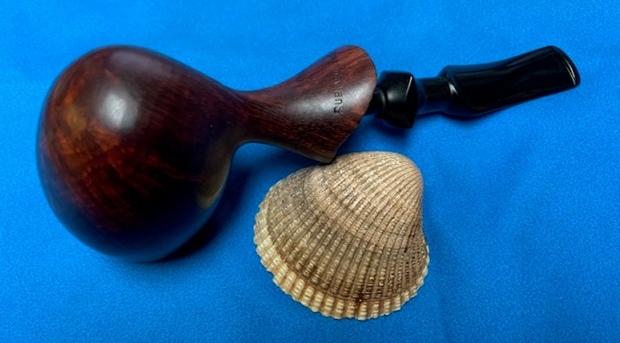
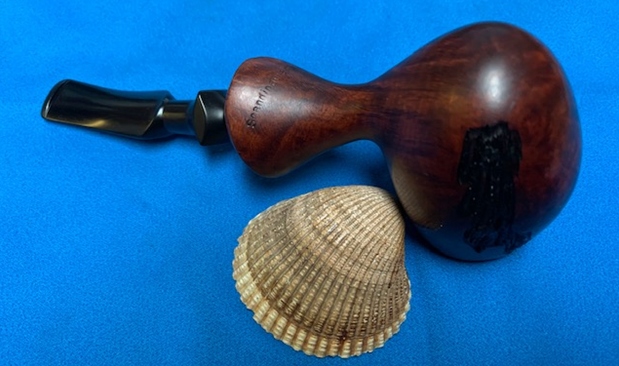
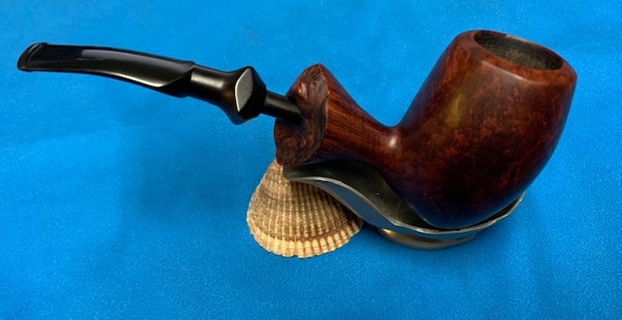
Restoring a Scandinavian S Freehand Egg


Blog by Steve Laug

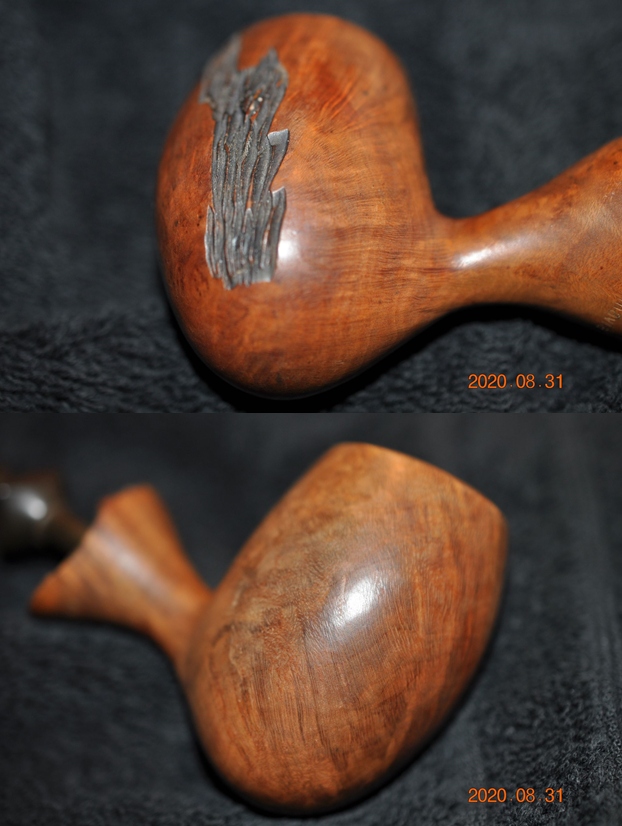
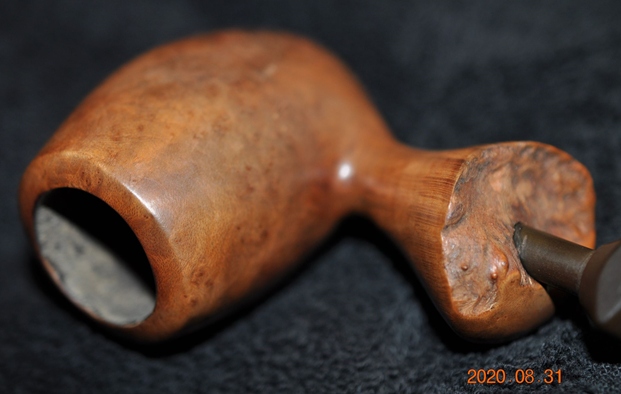
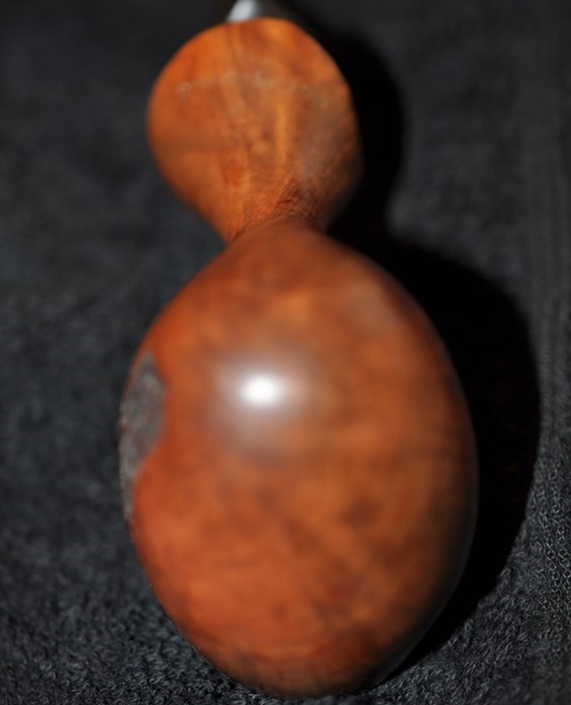
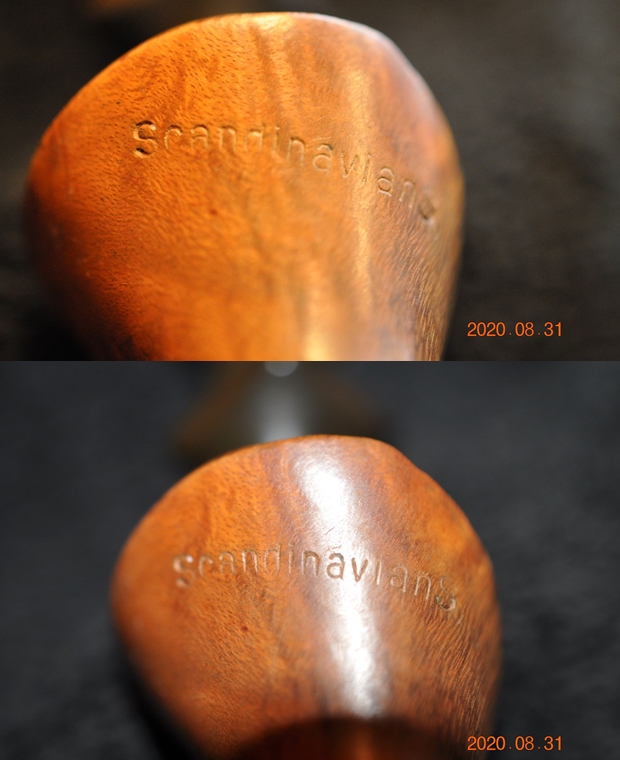
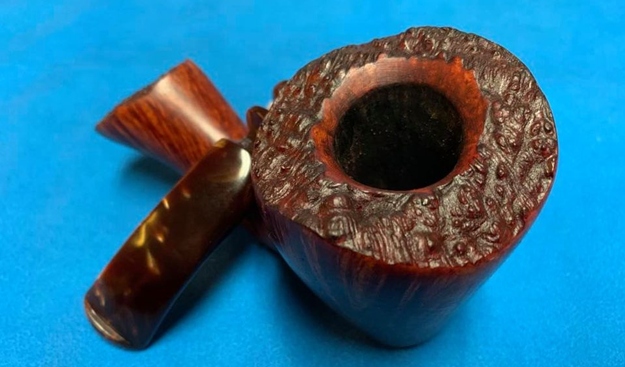
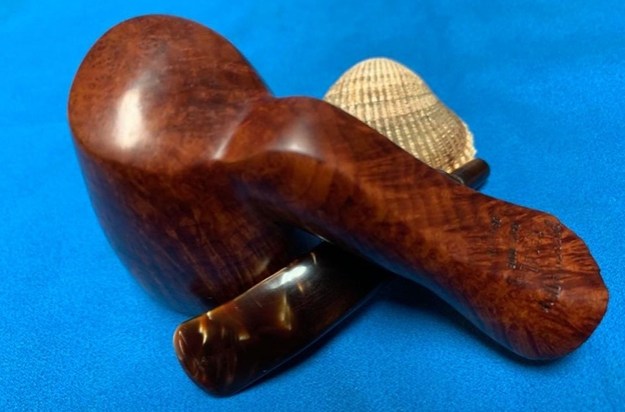
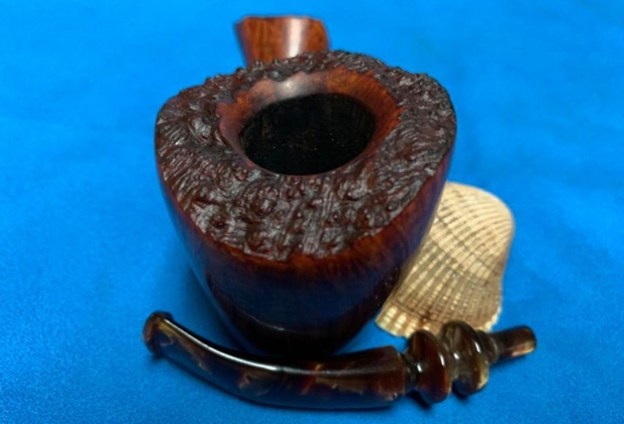
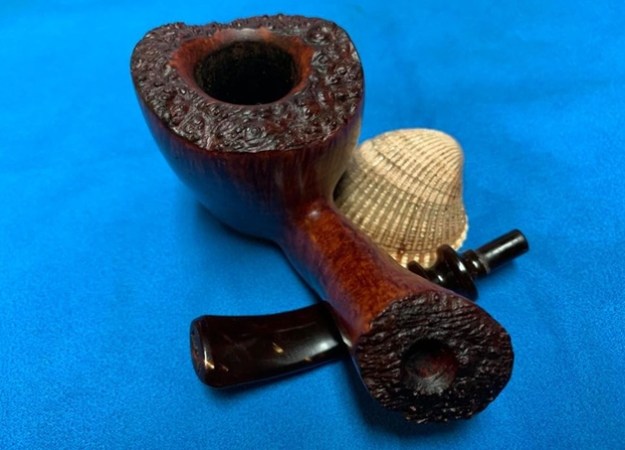
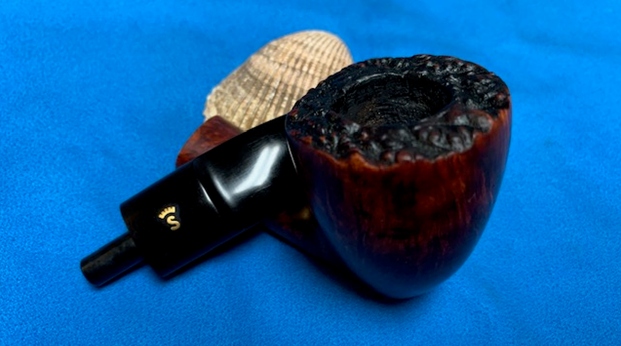
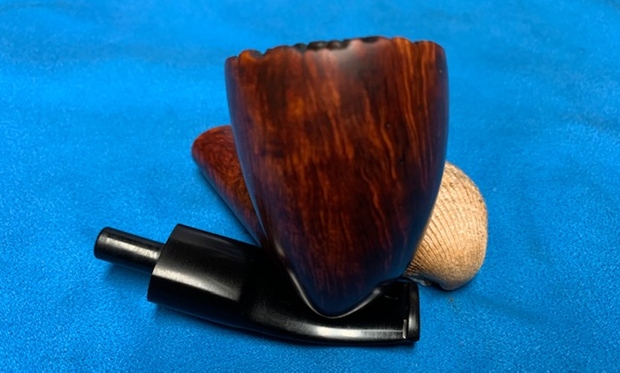
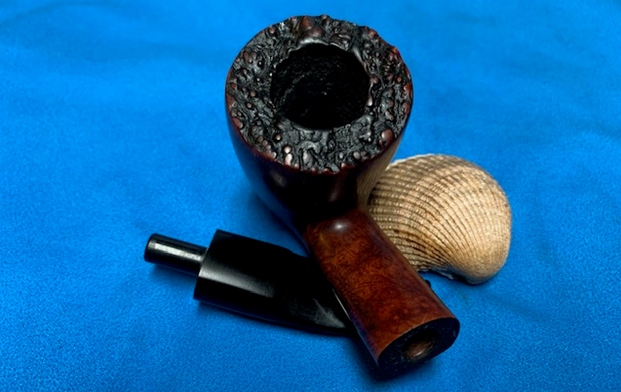
The next pipe on the table came to us from a recent pipe hunt Jeff and his wife Sherry did in Utah. They picked this beauty up at an Antique Mall along the way of the hunt. Even though the finish was dull and lifeless there was some nice looking grain under the grit and grime of the years. On the underside of the shank it was clearly stamped Scandinavian S at an angle from the shank end to the side of the shank. The finish is smooth other than the rusticated or carved portion on the left side of the bowl toward the front. The shank end incorporated some plateau to give a freehand look to the pipe. The pipe was filthy with grime and oil ground into the smooth briar of the bowl and shank sides. There was a lot of dust in the carvings on the bowl side. The bowl had a thick cake but surprisingly there was little lava over flow. The vulcanite stem was oxidized and had some tooth marks and chatter on both sides ahead of the button. Jeff took some photos of the pipe to show its overall condition before he started his cleanup work.He took photos of the rim top and bowl to give a clear picture of the thickness of the cake and the cleanness of the rim top. He also took photos of the top and underside of the stem to show the chatter and tooth marks.   Jeff took photos of the sides and heel of the bowl to give a picture of what the briar around the pipe looked like. There is some stunning grain under the grime. He took photos of the stamping on the shank. It reads as noted above and is clear and readable. I turned Pipephil and Pipedia to see if I could figure out the stamping on the pipe but neither site had any information so the pipe is a bit of a mystery. It was time to work on the pipe.

Jeff had cleaned up the pipe with his usual penchant for thoroughness. He reamed the pipe with a PipNet Pipe Reamer and cleaned up the remnants with a Savinelli Fitsall Pipe Knife.  He scrubbed the bowl with undiluted Murphy’s Oil Soap with a tooth brush. He rinsed it under running warm water to remove the soap and grime. He cleaned out the inside of the shank and the airway in the stem with alcohol, cotton swabs and pipe cleaners. He scrubbed the stem with Soft Scrub and cotton pads to remove the debris and oils on the stem. He rinsed it with warm water and dried it off. I took photos of the pipe once I received it.  The rim top looked good though there was some damage to the inner edge of the rim. The stem surface looked very good with a few small tooth marks and chatter on both sides near the button.  I took a photo of the stamping on the underside of the shank. It read clearly as noted above. I removed the stem and took a photo of the pipe to give a sense of the whole. The stem is turned fancy vulcanite. I started my work on the pipe by cleaning up the inner edge rim top with a folded piece of 220 grit sandpaper.  I polished the bowl and the rim top, sides and shank with micromesh sanding pads – wet sanding with 1500-12000 grit pads and wiping it down after each pad with a damp cloth.  I rubbed the bowl and shank down with Before & After Restoration Balm. I worked it into the surface of the bowl sides and shank with my fingertips and into the carved left side and shank end with a horsehair shoe brush. The product works to clean, enliven and protect the briar. I let the balm sit for 10 minutes and then buffed with a cotton cloth to raise the shine. I set the bowl aside and turned to work on the stem. Since there were no deep marks on the stem surface I sanded the tooth chatter and marks to blend them into the surface of the vulcanite with 220 grit sandpaper and started the polishing of the stem with 400 grit wet dry sandpaper.   I polished the vulcanite stem with micromesh sanding pads – 1500-12000 grit pads. I wiped it down with a damp cloth after each sanding pad. I used Before & After Pipe Polish – both Fine and Extra Fine to further polish the stem.  This Scandinavian S Freehand Egg with a fancy, turned vulcanite stem is a great looking pipe now that it has been restored. I put the stem back on the bowl and carefully buffed the pipe with Blue Diamond on the buffing wheel using a light touch on the briar. I gave the bowl and the stem multiple coats of carnauba wax on the buffing wheel and followed that by buffing the entire pipe with a clean buffing pad. I hand buffed the pipe with a microfiber cloth to deepen the shine. The finished Scandinavian S Egg fits nicely in the hand and feels great. Give the finished pipe a look in the photos below. The dimensions of the pipe are Length: 6 inches, Height: 2 ½ inches, Outside diameter of the bowl: 1 ½ inches, Chamber diameter: 7/8 of an inch. If you are interested in adding this pipe to your collection send me a message or an email. Thanks for reading this blog and my reflections on the pipe while I worked on it. There are many more to come! 

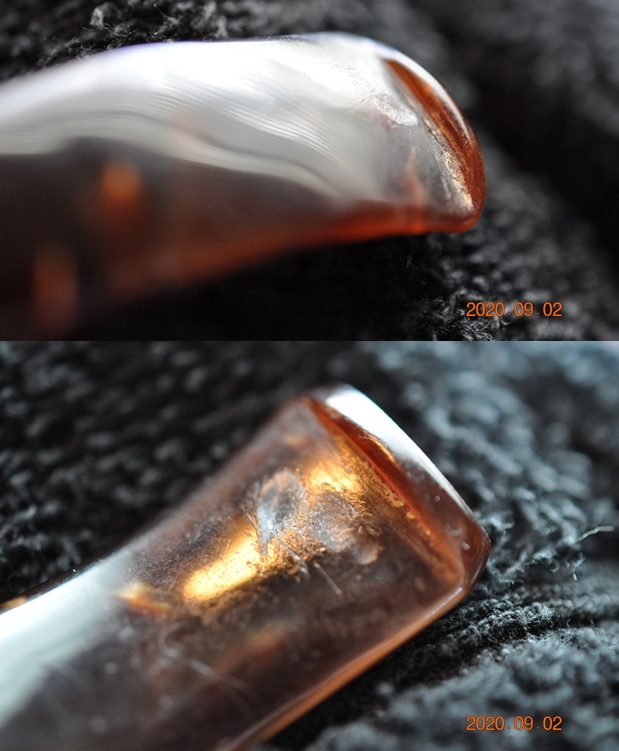
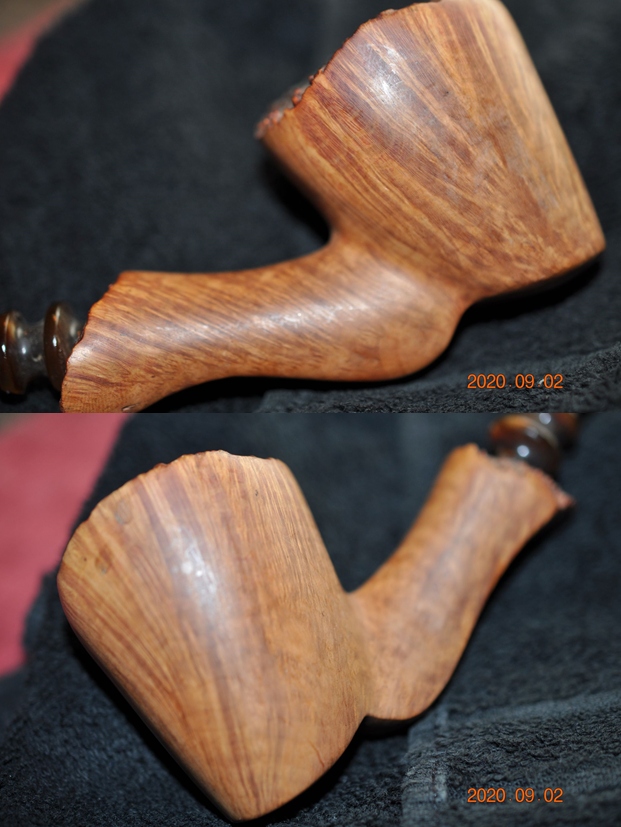
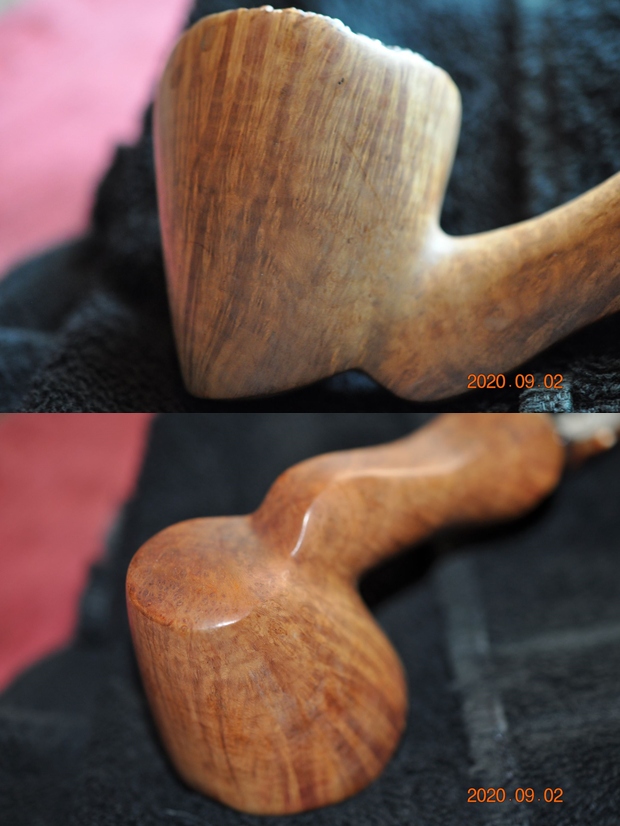
Restoring a Large Preben Holm Regal Freehand Sitter


Blog by Steve Laug

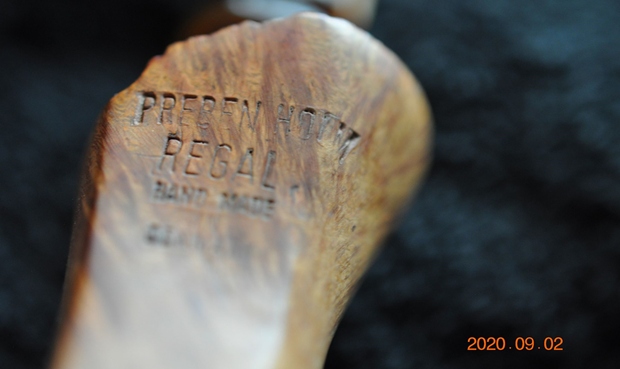
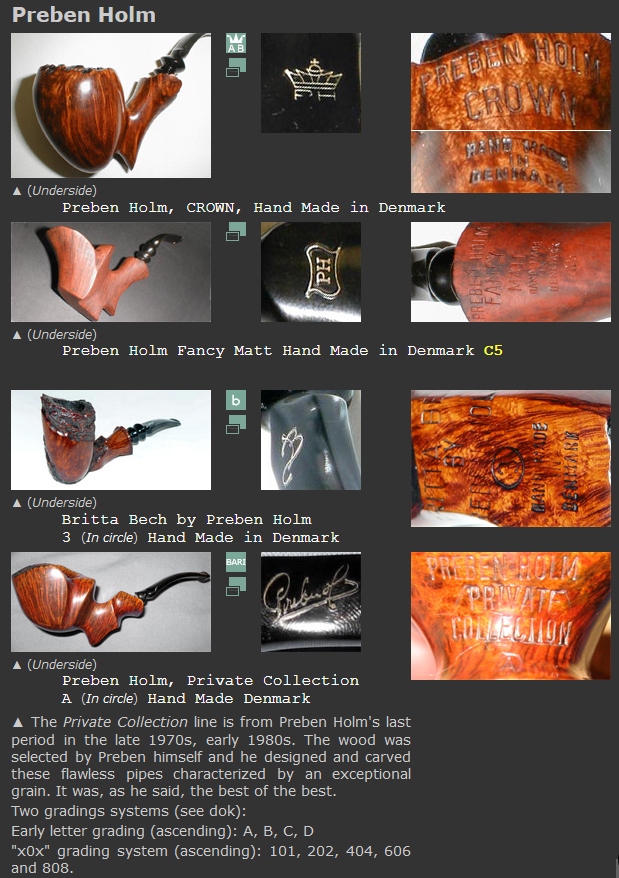
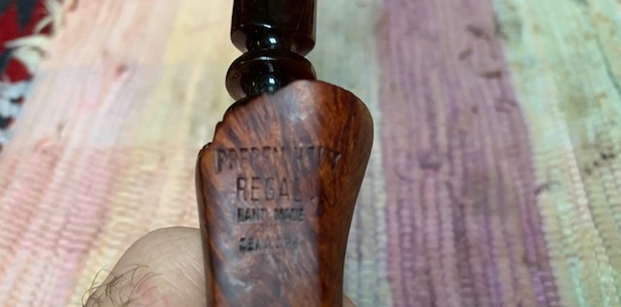
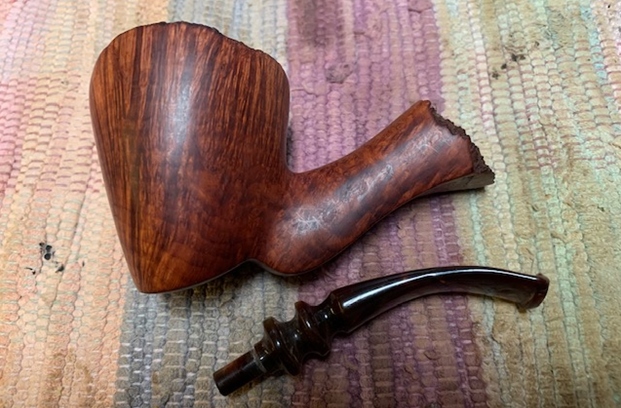
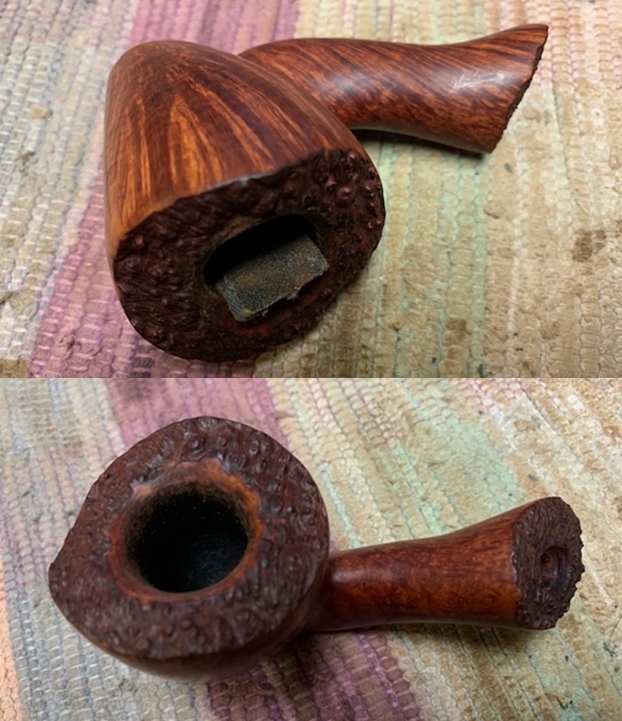
The next pipe on the table came to us from a recent pipe hunt Jeff and his wife Sherry did in Utah. They picked this beauty up at an Antique Mall along the way of the hunt. Even though the finish was dull and lifeless it showed promise under the grit and grime of the years. On the underside of the shank it was clearly stamped Ben Wade in script [over] Martinique [over] Hand Made [over] In [over] Denmark. The finish is filthy with grime and oil ground into the smooth briar of the bowl and shank sides. There were flecks of white paint on the sides as well. The bowl had a thick cake that overflowed in lava on the plateau rim top filling in the grooves and valleys of the finish. The acrylic stem was dirty and had some tooth marks and chatter on both sides ahead of the button. Jeff took some photos of the pipe to show its overall condition before he started his cleanup work.He took photos of the rim top and bowl to give a clear picture of the thickness of the cake and the lava on the plateau finish of the rim top. There is dust and debris stuck to the walls of the bowl clearly visible in the photos. He also took photos of the top and underside of the stem to show the chatter and tooth marks.   Jeff took photos of the sides and heel of the bowl to give a picture of what the briar around the pipe looked like. There is some stunning grain under the grime.    He took photos of the stamping on the shank. It reads as noted above and is clear and readable. I turned Pipephil’s section on Preben Holm pipes and found the brand listed there with and an example of the stamping on the underside of the shank and the stem. The stamping matches the one that I am working on (http://www.pipephil.eu/logos/en/logo-p5.html). It is like the stamping and logo that is shown in the second pipe below.I turned to the article on Preben Holm pipes on Pipedia (https://pipedia.org/wiki/Holm,_Preben). The article is worth a read in the detailed history of the brand written by Preben Holm himself. Give it a read. I quote the introductory portion of the article that summarizes the Danish period of the history of the brand:

Preben Holm (1947 – 1989) has set some marks in pipe history. Just before his 16th birthday in 1963 he sold pipes to the legendary Pipe-Dan shop and at the age of only 22 he headed 45 employees. He was among the first Danish artisans who made “Danish pipe design” famous in the USA in the 1960’s. More than that he was one of the very first carvers who exceeded this moderate Danish design which based on the classical shapes. “Chasing the grain” they turned out wild and dramatic fancy pipes. Combining smooth with blasted surfaces, showing big areas of the original bark at the top of the bowl and at the end of the stem, these pipes were quite shocking to many elder and more conservative pipesmokers.

With that information my initial thoughts were confirmed. This pipe was a Preben Holm made Freehand distributed in the US by Lane Ltd. The freehand rage occurred in the late 70s and the pipes were made until Preben’s death in 1989. My guess would be that this pipe was made sometime during that time period and potentially in the late 70s.

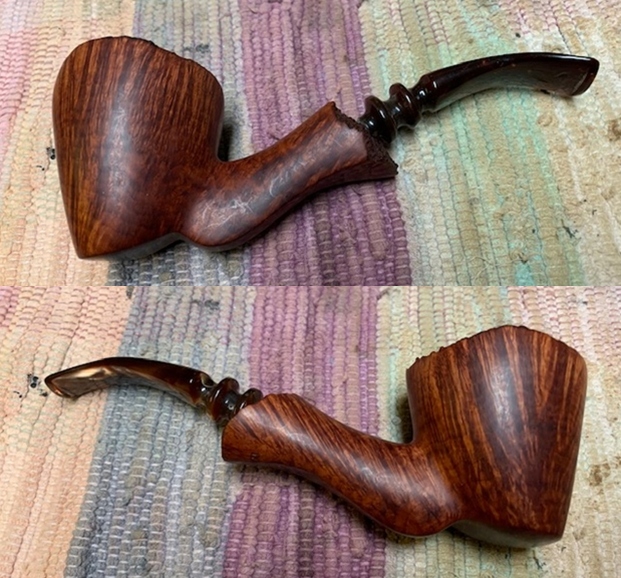
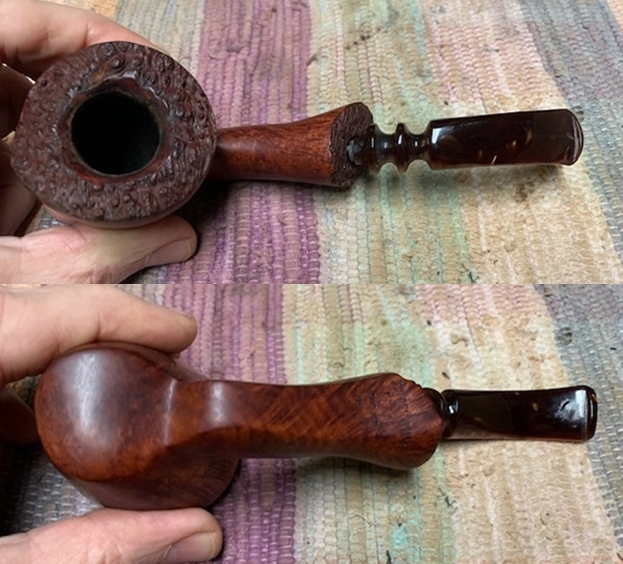
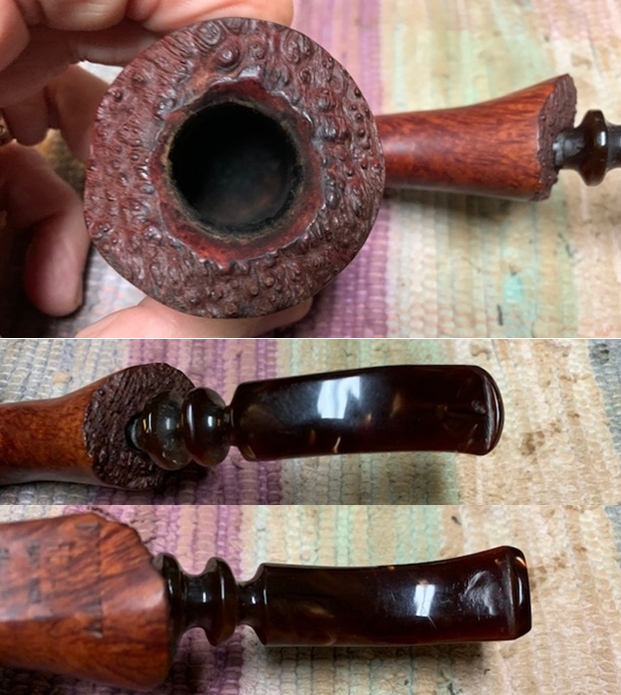
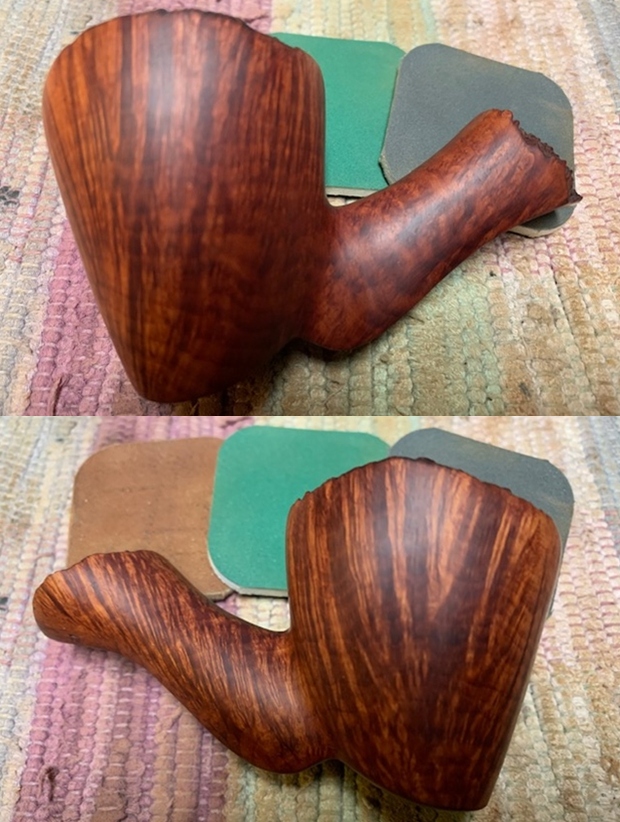
Jeff had cleaned up the pipe with his usual penchant for thoroughness. He reamed the pipe with a PipNet Pipe Reamer and cleaned up the remnants with a Savinelli Fitsall Pipe Knife.  He scrubbed the bowl with undiluted Murphy’s Oil Soap with a tooth brush. He rinsed it under running warm water to remove the soap and grime. He cleaned out the inside of the shank and the airway in the stem with alcohol, cotton swabs and pipe cleaners. He scrubbed the stem with Soft Scrub and cotton pads to remove the debris and oils on the stem. He rinsed it with warm water and dried it off. I took photos of the pipe once I received it.    The rim top had some darkening on the back of the bowl. The beveled inner edge of the rim looked very good with some darkening. The stem surface looked very good with a few small tooth marks and chatter on both sides near the button. I took a photo of the stamping on the underside of the shank. It read clearly as noted above.  I removed the stem and took a photo of the pipe to give a sense of the whole. The stem is turned fancy acrylic. I started my work on the pipe by cleaning up the darkening on the inner bevel of the plateau rim top with a folded piece of 220 grit sandpaper. I was able to remove the darkening and I like the looks of the rim top.  I polished the bowl and the rim top, sides and shank with micromesh sanding pads – wet sanding with 1500-12000 grit pads and wiping it down after each pad with a damp cloth.    I rubbed the bowl and shank down with Before & After Restoration Balm. I worked it into the surface of the bowl sides and shank with my fingertips and into the plateau rim top and shank end with a horsehair shoe brush. The product works to clean, enliven and protect the briar. I let the balm sit for 10 minutes and then buffed with a cotton cloth to raise the shine. I set the bowl aside and turned to work on the stem. I filled in the deep tooth marks on both sides of the stem with clear super glue. Once the repairs cured I sanded the repairs to blend them into the surface of the acrylic with 220 grit sandpaper and started the polishing of the stem with 400 grit wet dry sandpaper.     I polished the vulcanite stem with micromesh sanding pads – 1500-12000 grit pads. I wiped it down with a damp cloth after each sanding pad. I used Before & After Pipe Polish – both Fine and Extra Fine to further polish the stem.      This Preben Holm Regal Hand Made Freehand Sitter with a fancy, turned acrylic stem is a great looking pipe now that it has been restored. I put the stem back on the bowl and carefully buffed the pipe with Blue Diamond on the buffing wheel using a light touch on the briar. I gave the bowl and the stem multiple coats of carnauba wax on the buffing wheel and followed that by buffing the entire pipe with a clean buffing pad. I hand buffed the pipe with a microfiber cloth to deepen the shine. The finished Preben Holm Regal Freehand fits nicely in the hand and feels great. Give the finished pipe a look in the photos below. The dimensions of the pipe are Length: 6 ¾ inches, Height: 2 ½ inches, Outside diameter of the bowl: 2 inches, Chamber diameter: 1 inch. If you are interested in adding this pipe to your collection send me a message or an email. Thanks for reading this blog and my reflections on the pipe while I worked on it. There are many more to come!

New Life for a Republic Era Peterson’s Jade 150 Bulldog


Blog by Steve Laug

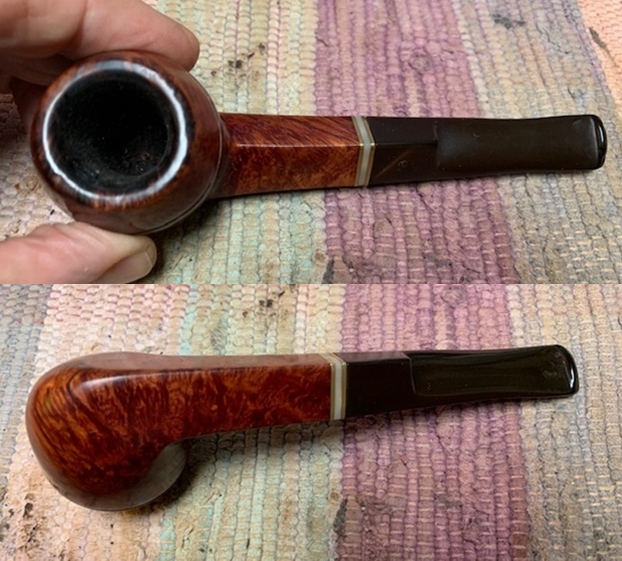
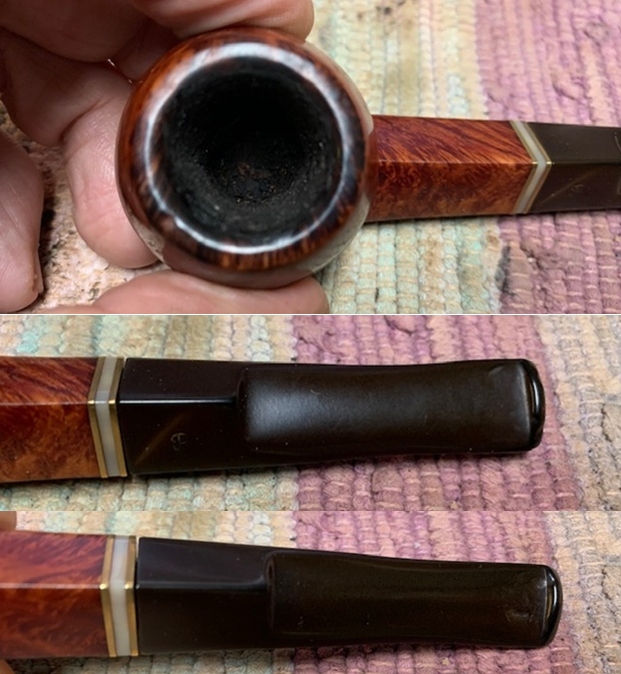
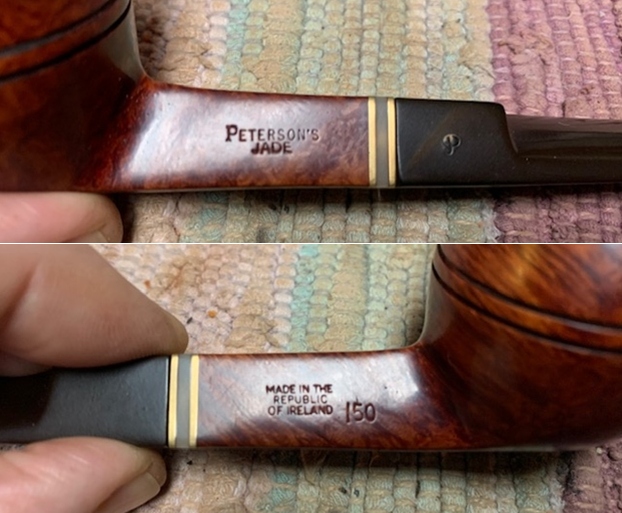
The next pipe I am working on came from a friend, Lee who lives in the US. It is a Peterson’s Straight Bulldog. It is stamped on the left side of the shank and reads Peterson’s [over] Jade. On the right side it is stamped Made in the [over] Republic [over] of Ireland followed by the shape number 150. He sent me an email detailing what he saw in the pipe and gave his assessment as well as several pictures of the pipe. He wrote:

The Peterson Bulldog is hardly in horrible shape, but would like you to go at this thing to bring to ‘showcase’ quality if possible. Of course, you’ll have to see the pipe first before expectations are set. He had picked it up on eBay. Would like you to take this to the best it could be – will leave it to you to assess, but will mention that the ‘jewel’ fastening between bowl and stem fascinates me as something for differentiate the pipe from the rest of my collection. Whatever you can do…

Here are the photos he included. The pipe arrived and I went over it to see what I thought of it before I started my work on it. Here is what I sent to Lee.

Peterson’s Republic Era Jade Bulldog.

  1. Bowl exterior is dirty with a few dings and dents in the ring and on the sharp diamond edges of the shank… particularly on the sides.
  2. Rim top is a bit of a mess. There are a lot of nicks and dings in the briar, some darkening and lava on the inner beveled edge of the bowl. The inner edge looks ok under the lava as far as I can see. Outer edge has some nicks and dings. Worn spots.
  3. Bowl internals show a heavy cake that greatly reduces the bowl capacity. Needs to be reamed and cleaned. Strong Latakia smell.
  4. Stem is scratched and lightly oxidized. There are deep tooth marks on both sides and a lot of tooth chatter marking the stem surface ahead of the button.

Overall in moderately good condition

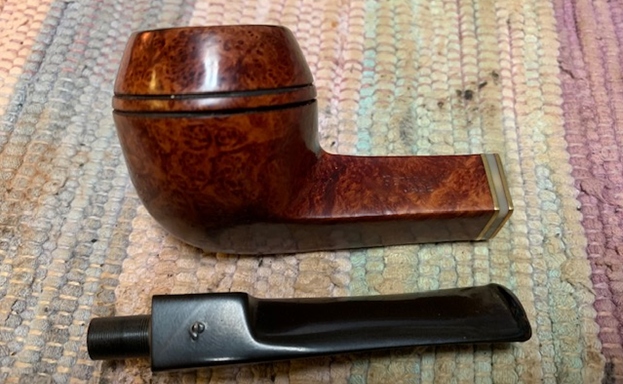
I took photos of the pipe before I started my cleanup work. They tell the story of what I have noted above in short form. They also give a glimpse of the promise that Lee saw in this pipe.  I took photos of the rim top and stem to show the condition of the bowl and stem. The interior the bowl had a heavy cake that overflowed like lava onto the rim top. There are dings and dents in the rim top and some darkening on the inner edge. The stem is oxidized, calcified and has deep tooth marks and chatter on the top and underside near the button.  The stylized P stamp on the top left side of the saddle is faded but present. I took photos of the sides of the shank to show the stamping. The stamping is readable in the photos below and is as noted above. The decorative band on the shank end is twin brass plates separated by a pearlized acrylic.       I took the stem off the shank and took a photo. It is a nice looking pipe and the shank end decorative piece looks very good.I am including the information from Pipedia’s article on Peterson pipes. It is a great read in terms of the history of the brand (https://pipedia.org/wiki/Peterson). I have included a bit of the pertinent history here.

1950 – 1989 The Republic Era – From 1950 to the present time, the stamp for this era is “Made in the Republic of Ireland” in a block format generally in three lines but two lines have been used with or without Republic being abbreviated.

During the 1950’s and 60’s the Kapp & Peterson Company was still in the ownership of the Kapp family. However 1964 saw the retiral of the company Managing Director Frederick Henry(Harry) Kapp.

I knew that I was dealing with a Republic Era pipe made between 1950-1989. It was a nice looking straight Bulldog with a unique shank end decoration. The finish was stained with a medium brown stain. Now it was time to work on the pipe.

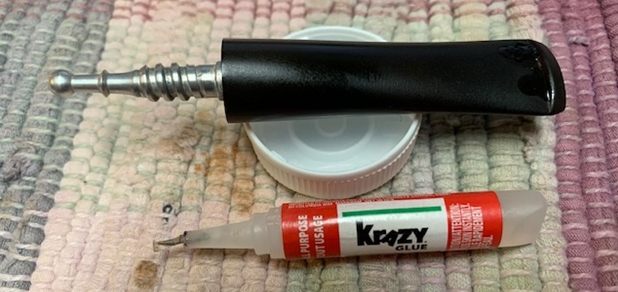
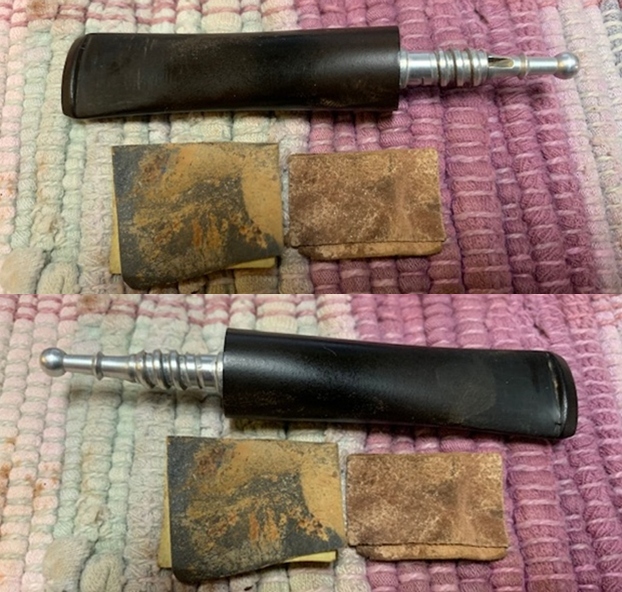
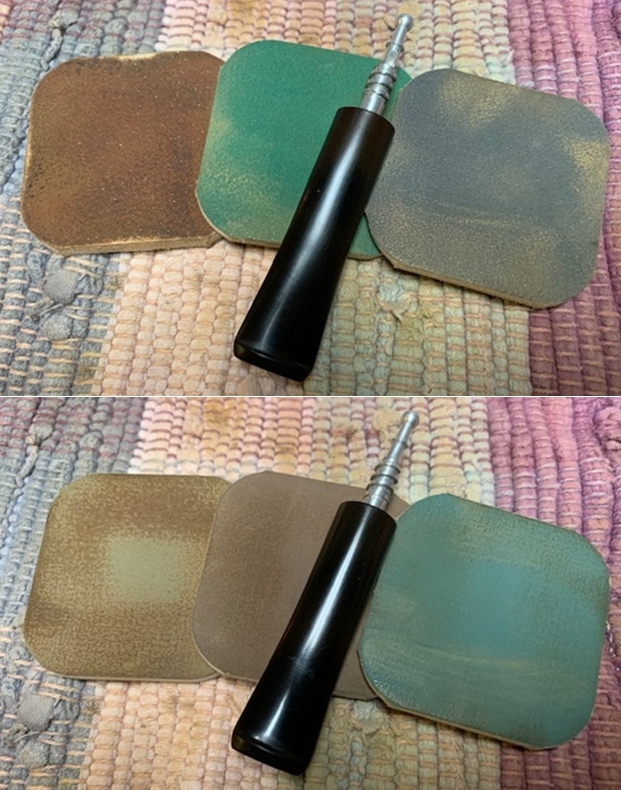
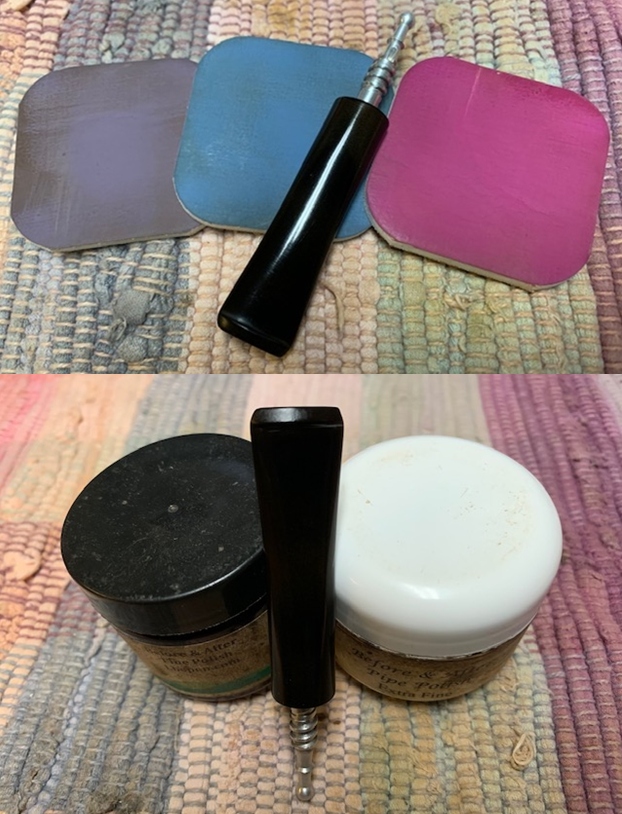
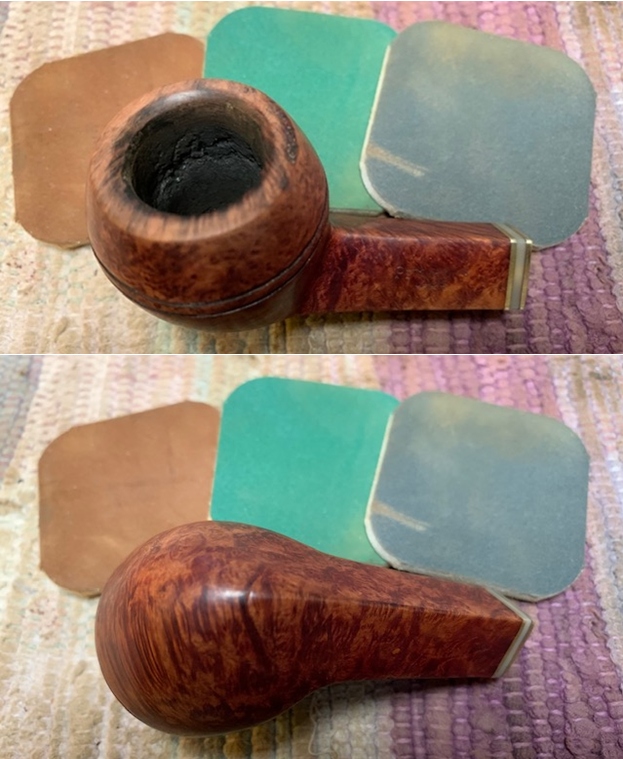
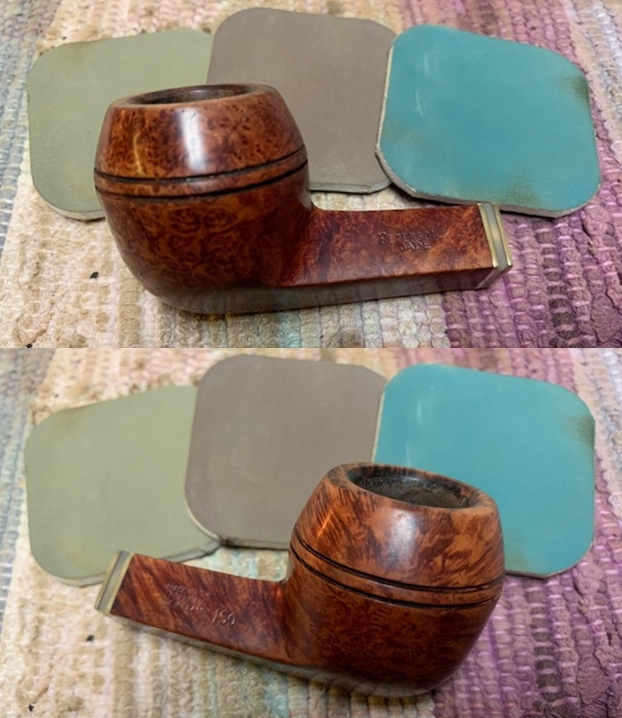
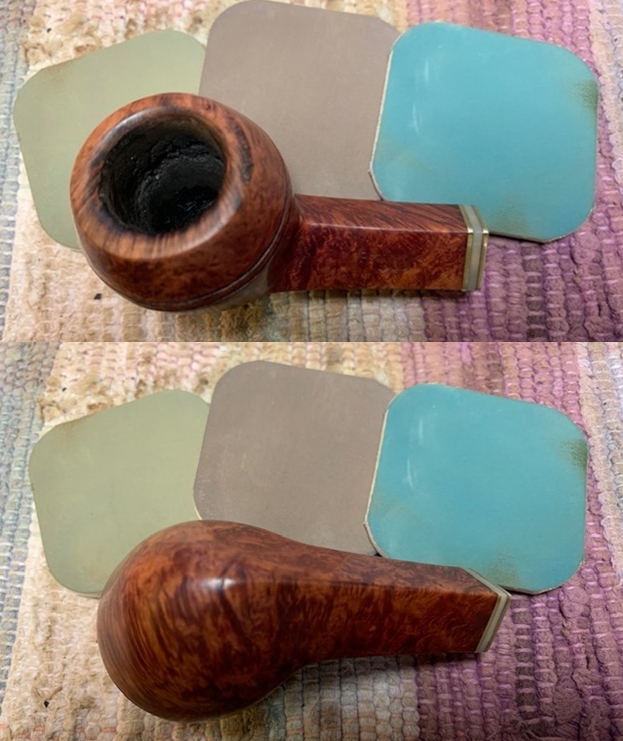
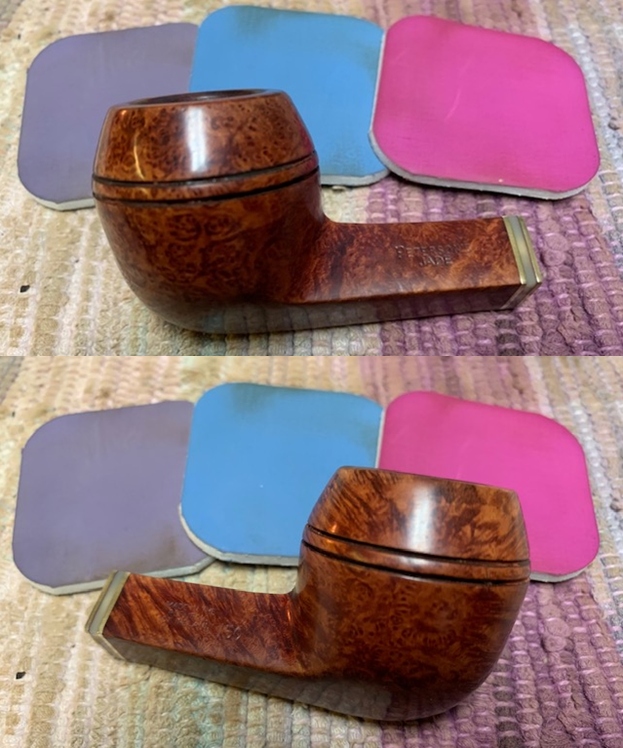
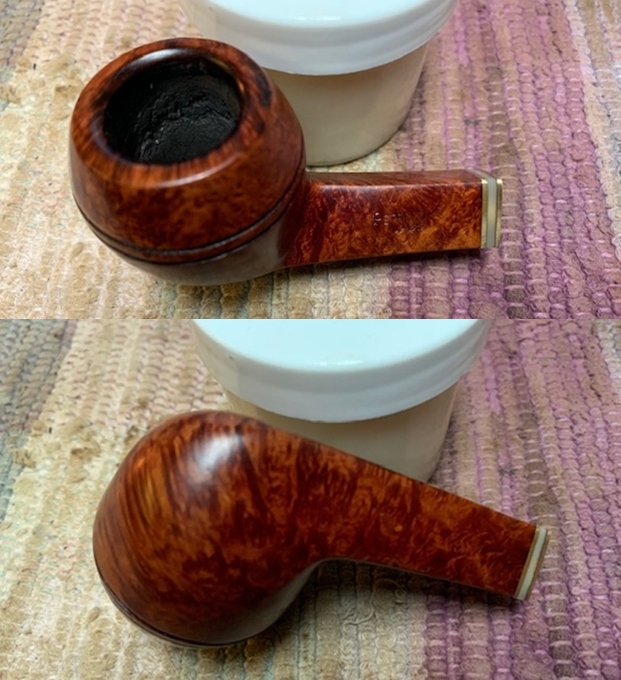
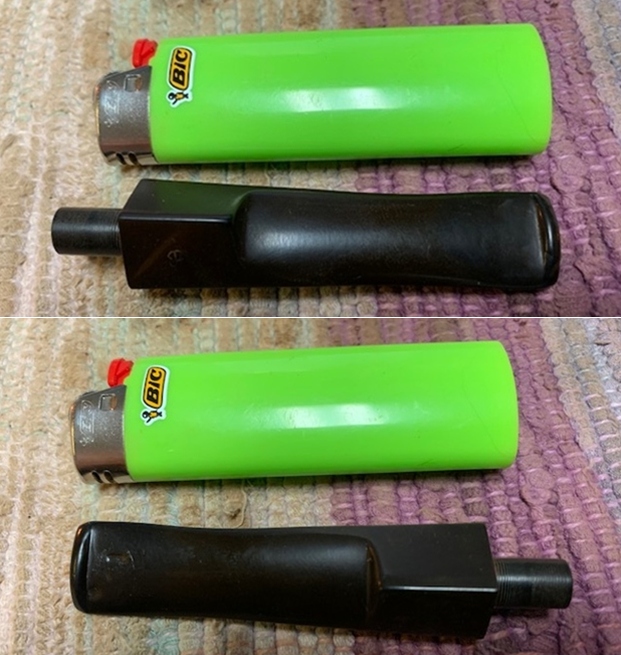
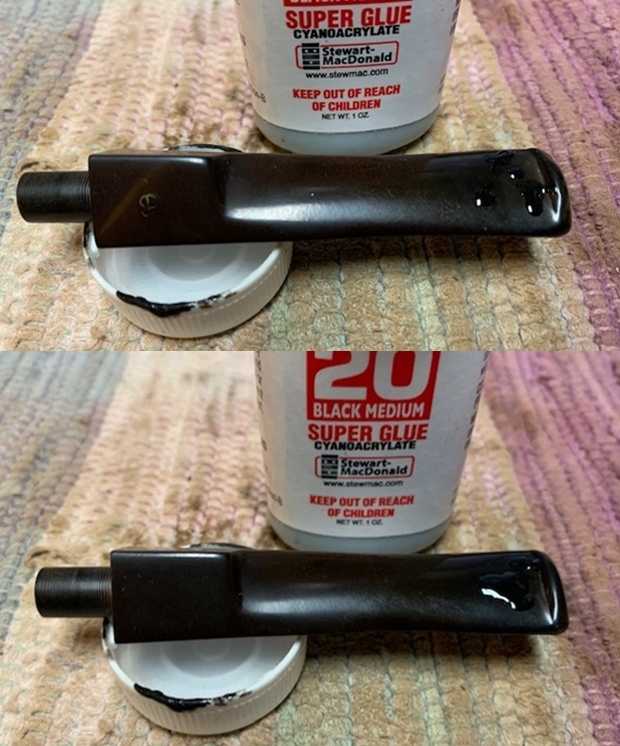
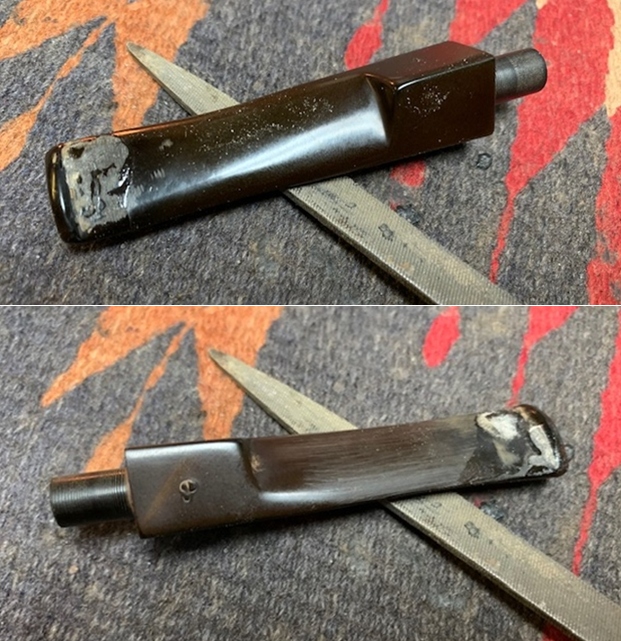
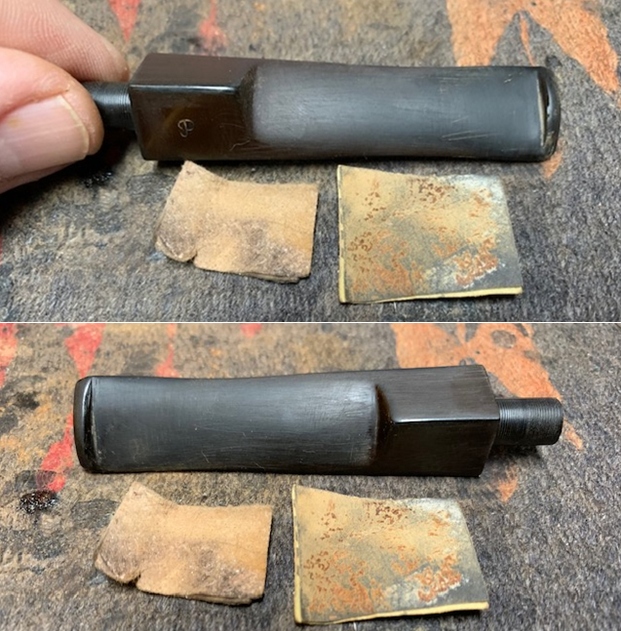
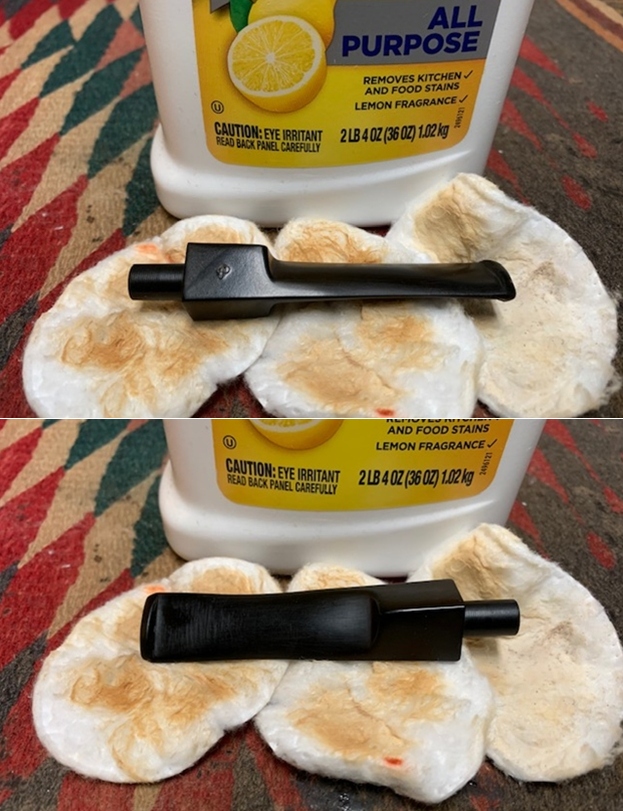
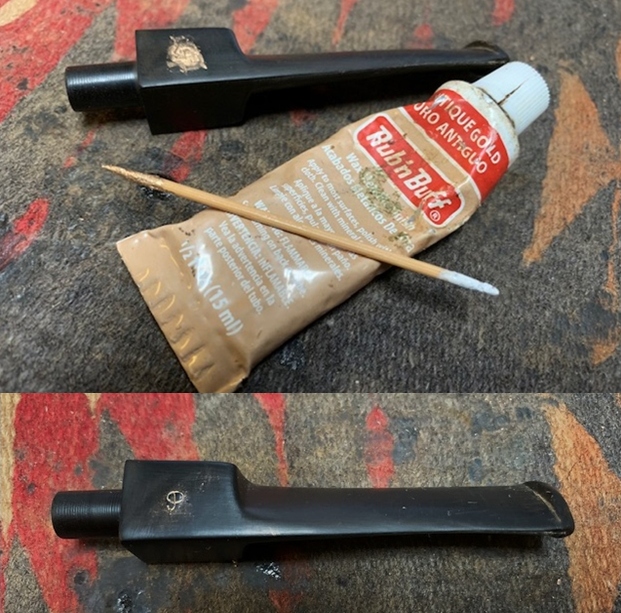
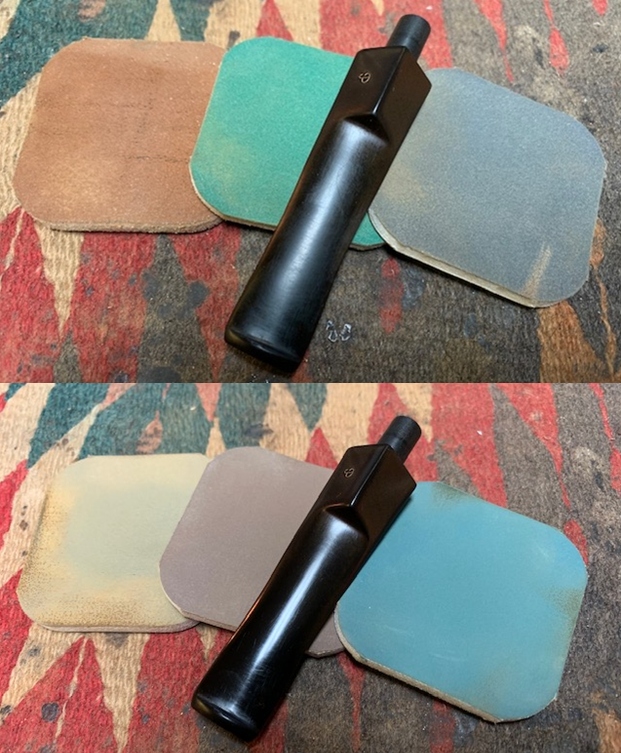
I decided to start my restoration work on this one by starting my cleanup of the bowl. I reamed the thick cake back with a PipNet pipe reamer using the smallest cutting head on this petite pipe. The cake was thick and crumbly and came out easily. I followed that by cleaning up the remnants of cake with a Savinelli Fitsall Pipe Knife and finish with a piece of dowel wrapped in 220 grit sandpaper. I decided to deal with the damaged rim top next. I lightly topped the bowl to remove the significant dents and damage to the top and outer edge. It did not take too much work to remove it. I used a folded piece of 220 grit sandpaper to smooth out the bevel on the inner edge of the bowl and remove the burn damage there. It came out looking much better. Once it is polished it will look very good and match the finish on the bowl quite well.I wiped off the exterior of the bowl with a damp cloth to remove the sanding dust and grime. Once it was clean it was time to deal with the interior. I scrubbed out the shank and the airway in the stem with pipe cleaners, cotton swabs and alcohol to remove the tars and oils. There was also some brown stain that came out of the inside of the shank  and the end of the stem.  I polished the rim top and bowl with micromesh sanding pads – wet sanding with 1500-12000 grit pads. I wiped the briar down after each pad with a damp cloth. The photos tell the story of the progress of the rim and bowl.   I worked some Before & After Restoration Balm into the surface of the briar with my fingertips and a horsehair shoe brush to clean, enliven and protect the briar. I let the balm sit for about 15-20 minutes and then buffed it with a cotton cloth to raise the shine. The photos show the bowl at this point in the restoration process. With that done the bowl was finished other than a final buffing.  I set it aside and turned my attention to the stem. I “painted” the surface of the stem to lift the tooth marks and dents I was able to lift many of them but several remained on the top and underside near the button. I filled them in with black superglue and set them aside to cure. Once they had cured I smoothed them out with a file to start to blend them into the surface of the stem. I sanded the repaired areas with 220 grit sandpaper to smooth out the repairs. I started the polishing with 400 grit wet dry sandpaper.   I scrubbed the surface of the stem to remove the remaining oxidation with Soft Scrub all Purpose cleanser. I rubbed it on and off with a cotton pad and was able to remove a lot of oxidation.    I touched up the P stamp on the left side of the saddle with Rub’n Buff Antique Gold. I applied it to the stamping with a tooth pick. I buffed it off with a paper towel and was pleased by the gold left behind in the stamp.  I polished the stem with micromesh sanding pads – wet sanding with 1500-12000 grit sanding pads. I wiped it down after each sanding pad with Obsidian Oil. I polished it with Before & After Pipe Stem Polish – both Fine and Extra Fine.     I am excited to finish this Republic Era Peterson’s Jade 150 Bulldog. I put the pipe back together and buffed it with Blue Diamond on the buffing wheel. I gave the bowl and the stem multiple coats of carnauba wax. I buffed it with a clean buffing pad to raise the shine and followed that with a quick hand buff with a microfibre cloth to deepen the shine. It is fun to see what the polished bowl looks like with the polished shank decoration on the end and the black vulcanite stem is a great contrast of colour. This Peterson’s Jade Bulldog is a great looking pipe and it feels great in my hand. It is light and well balanced. Have a look at it with the photos below. The dimensions are Length: 5 ¾ inches, Height: 1 ¾ inches, Outside diameter of the bowl: 1 ¼ inches, Chamber diameter: ¾ of an inch. It is a beautiful pipe. Thanks for walking through the restoration with me as I worked over this pipe. I am looking forward to seeing what my friend Lee thinks of the pipe after the restoration. One more of his to restore then I will mail them back to them. Thanks to each of you who are reading this blog. Remember we are not pipe owners; we are pipemen and women who hold our pipes in trust until they pass on into the trust of the next pipeman or woman.

Breathing New Life into a Stanwell Golden S Dublin 64


Blog by Steve Laug

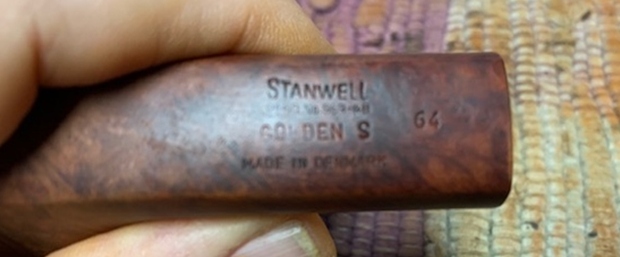
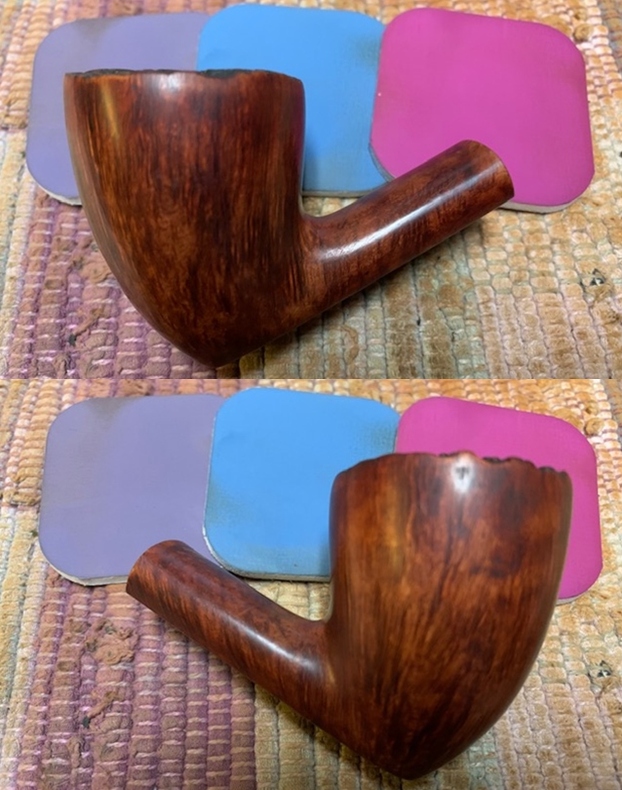
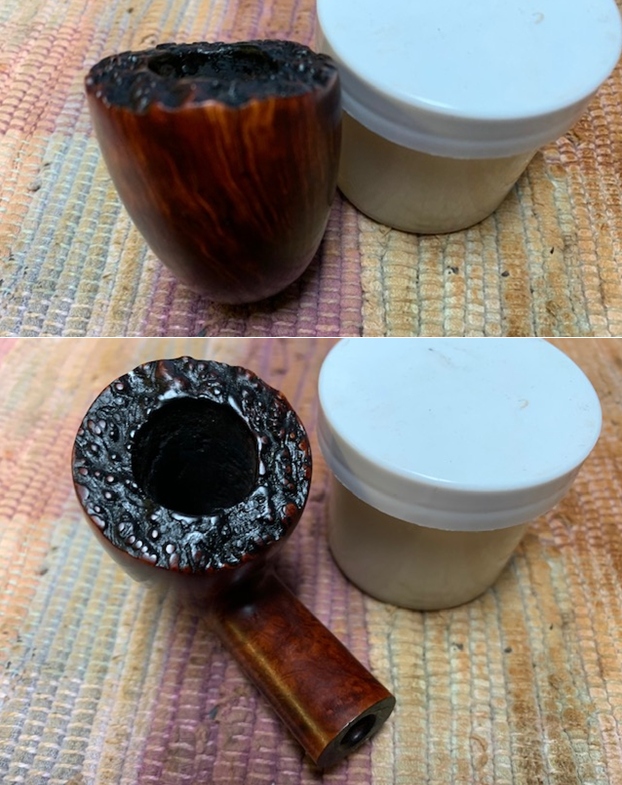
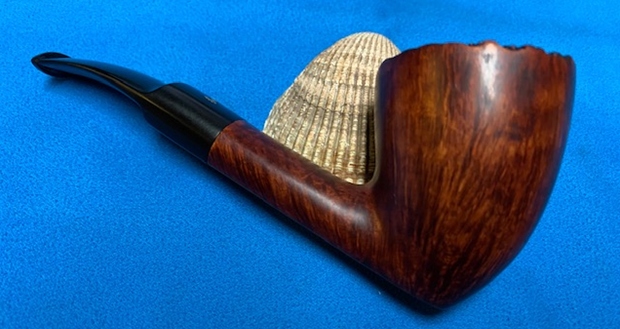
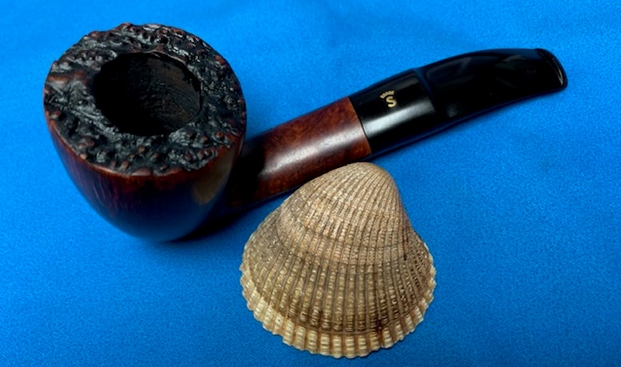
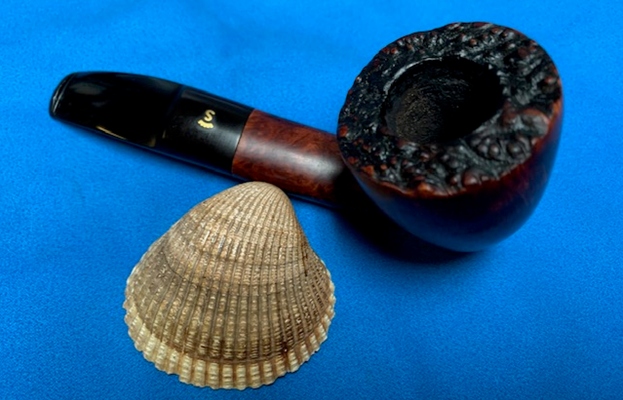
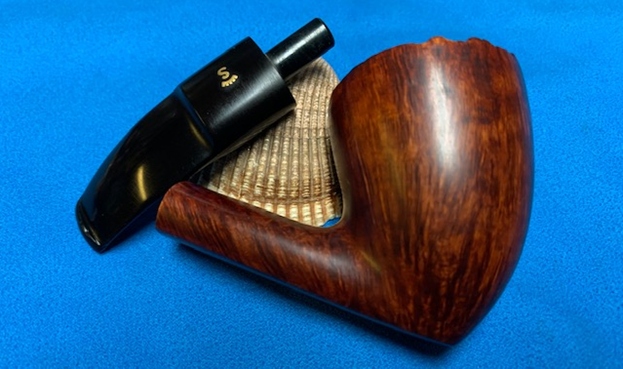
The next pipe on the work table came to me from either a trade I made (pipes for labour) or a find on one of my pipe hunts. I honestly don’t remember where it came from. It has been around for a while waiting to be worked on. It is a beautifully grained Stanwell Golden S Dublin that really looks quite nice. The stamping is clear and readable. It is stamped on the underside of the shank and reads Stanwell [over] Regd. No. 969-48 [over] Golden S [over] Made in Denmark. To the right of that stamping is the shape number 64. The pipe had a lot of grime ground into the smooth finish on the bowl and some darkening around the sides of the bowl. The bowl was heavily caked and had an overflow of thick lava on the plateau rim top. It was hard to know what the rim top and inner edge of the bowl looked like under the grime. The stem was calcified, oxidized and had light tooth chatter and marks on the top and underside and the top surface of the button had a tooth mark. There an inset golden Crowned S on the top of the saddle stem. The pipe had promise but it was very dirty. I took photos of the pipe before he started his cleanup work. I took photos of the rim top and bowl to give a clear picture of the thickness of the cake and the overflow of lava on the rim top. It is hard to know for sure if there is damage to the inner edge of the bowl because of the thickness of the lava coat. I also took photos of the top and underside of the stem to show the oxidation, calcification, light chatter and tooth marks.     I took a photo of the stamping on the underside of the shank. It reads as noted above and is clear and readable. There is a gold Crown S logo on the top of the saddle stem.I looked on Pipephil’s site for information on the Stanwell Regd. No. 969-48 Golden S line and found the following information (http://www.pipephil.eu/logos/en/logo-stanwell.html). I found one piece of information on the Regd. No. that was helpful to me. I quote:

The “Regd. No.” stamping discontinued in late 1960s to very early 1970s

I also went to Pipedia and read the article on the Stanwell brand. It is a great read and worth the time to read it (https://pipedia.org/wiki/Stanwell). There was a note toward the end of the article on the Golden S series. I quote that note below:

Golden S: This series was last produced in the mid to late 1970s. Its distinguishing mark was an 18 carat gold Stanwell logo, crown and “S”, on the mouthpiece.

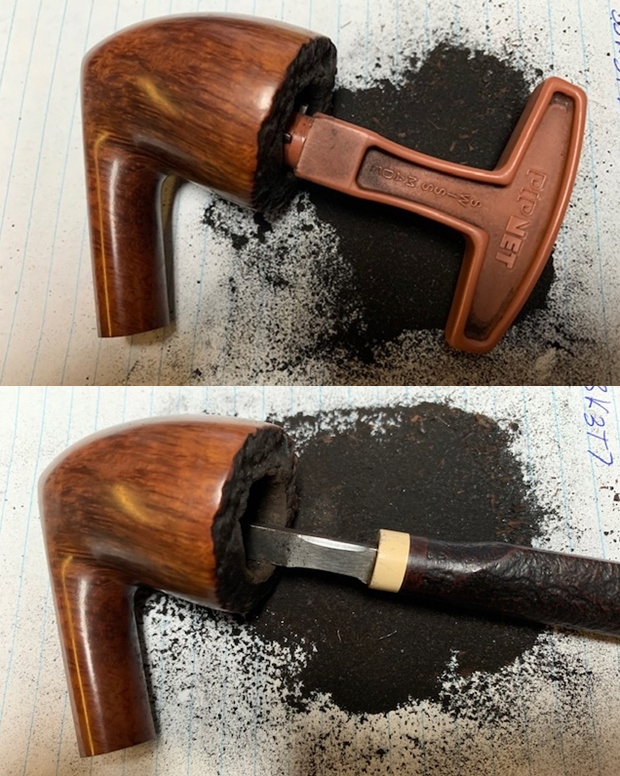
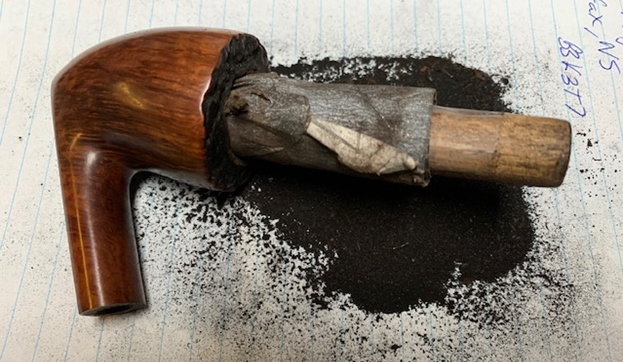
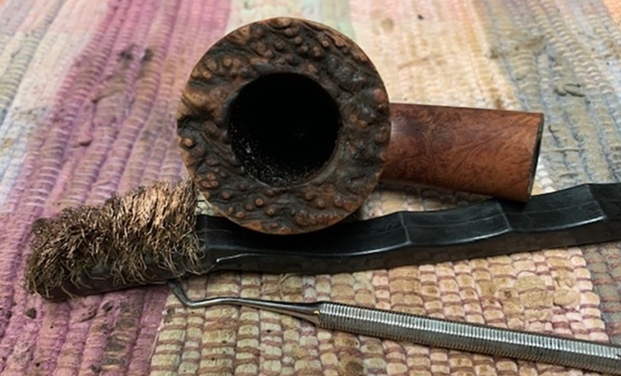
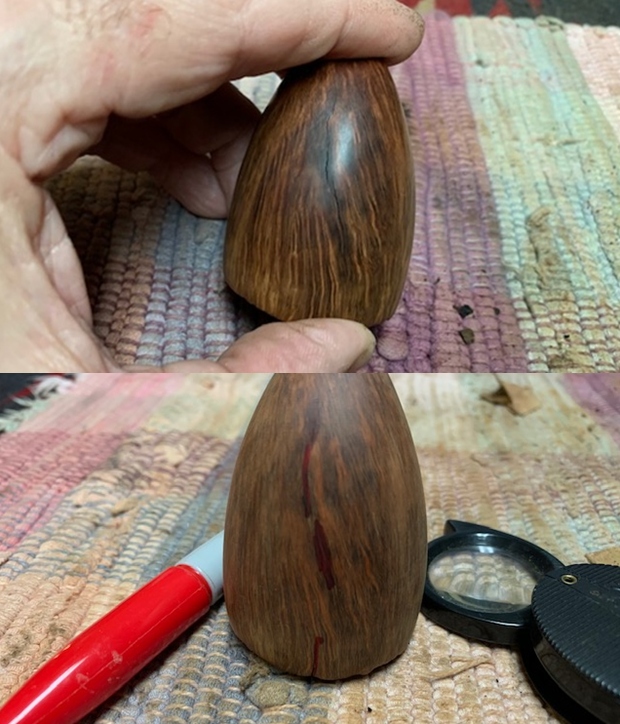
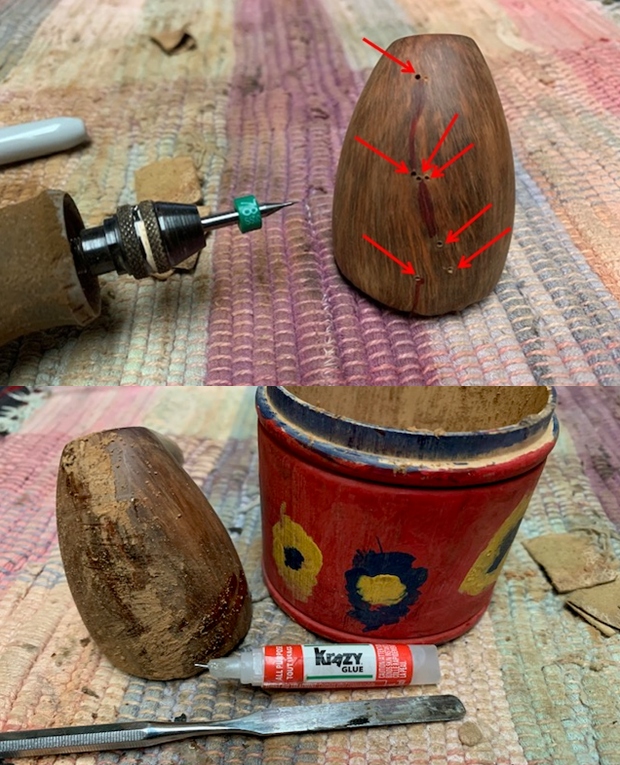
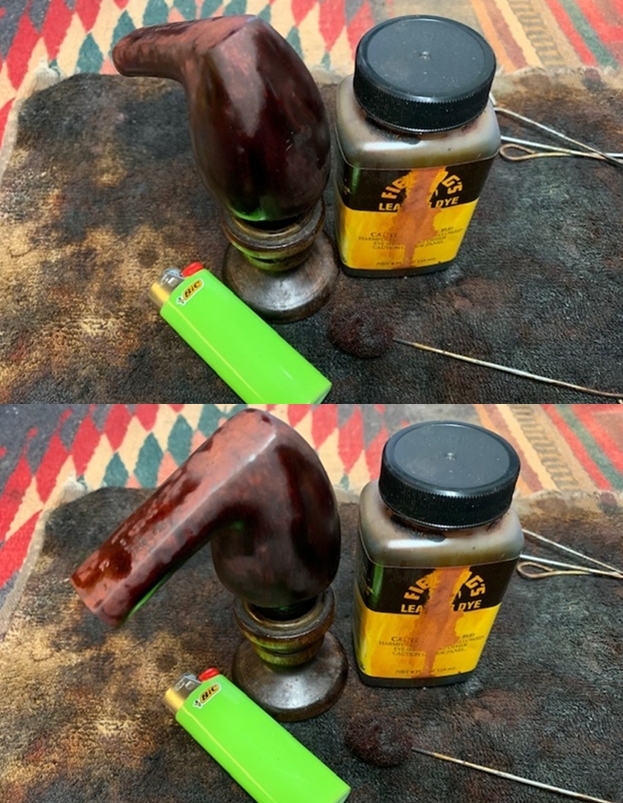
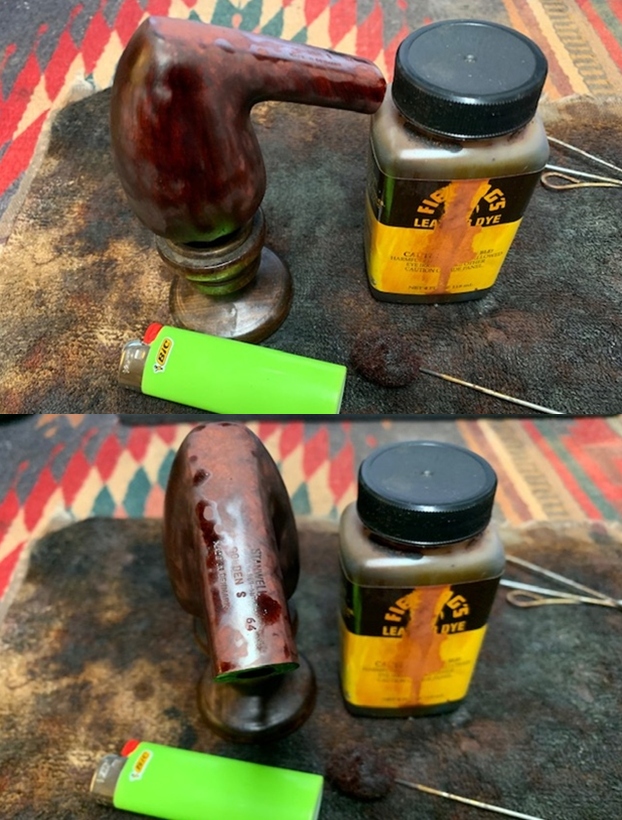
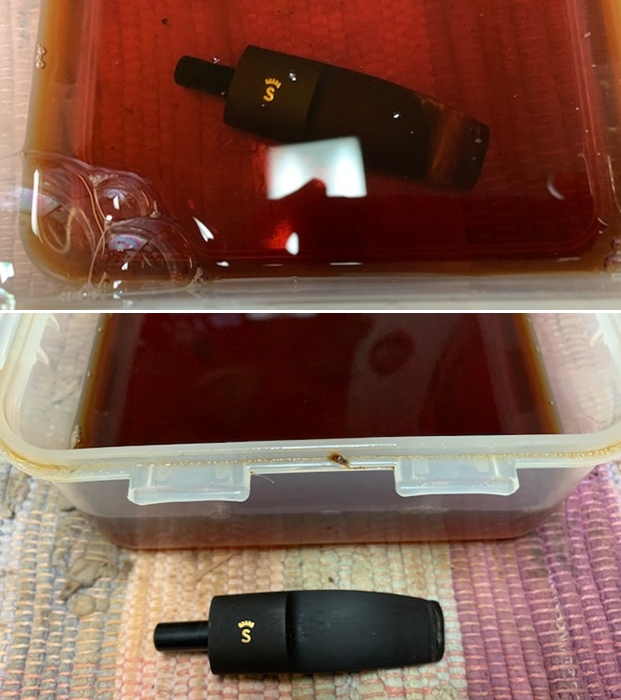
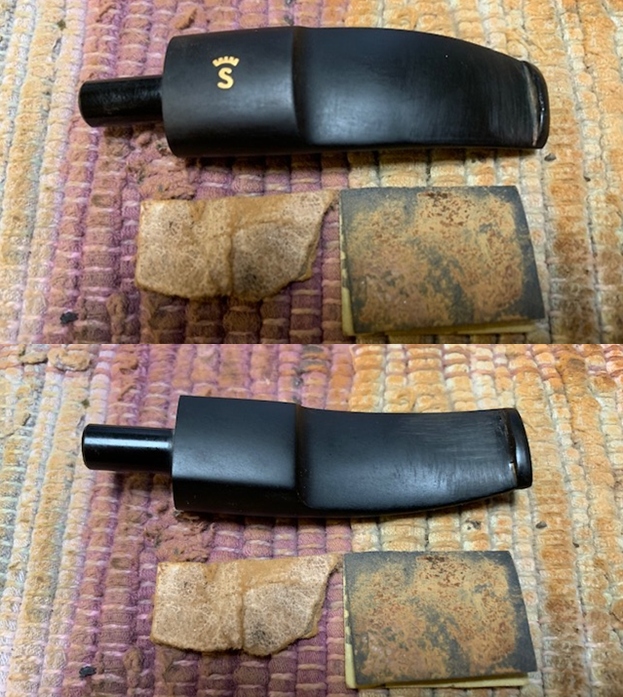
Now it was time to work on the pipe. I have to say it once again that I am really spoiled having Jeff clean up the pipes for me. Having to start with them in this condition adds time. I reamed the bowl with a PipNet pipe reamer using the first two cutting heads. I followed up by scraping the remaining cake with a Savinelli Fitsall Pipe Knife. I finished cleaning up the cake in the bowl with a piece of dowel wrapped in 220 grit sandpaper to smooth out the walls of the bowl.  I used a dental pick to pick out the lava in the plateau finish on the rim top. I used a brass bristle wire brush to remove the debris from the finish. The rim top cleaned up really well with the lava coat removed. I scrubbed the exterior of the bowl and rim top with a tooth brush and undiluted Murphy’s Oil Soap to remove the debris from the finish. I rinsed the bowl with warm water to remove the grime and soap and dried it off with a soft towel. While I was scrubbing the bowl I felt a rough spot on the front of the bowl. I examined it and found cracks on the front. There was a short one at the top from the rim down about ½ inch and below that were two further cracks extending down the height of the bowl. None of them go through to the inside of the bowl and are quite shallow. In the second photo below I showed the line of the crack with red ink. I used a microdrill bit on the Dremel to drill pin holes at the ends of each crack. You will see 7 pin holes in the photo below. I filled in the drill holes and the cracks with briar dust and clear super glue. Once the repair cured I sanded it smooth with 220 grit sandpaper and followed that with 1500-2400 grit micromesh sanding pads.  I stained the bowl with a dark brown aniline stain and flamed it with a Bic lighter to set it in the grain. I repeated the process until the coverage of the briar was even and the repaired areas were hidden.  I stained the plateau rim top with a black stain pen to highlight the grooves in the finish. I wiped the bowl down with alcohol on a paper towel to remove the excess stain and bring the grain to the surface. I polished the bowl and the rim top, sides and shank with micromesh sanding pads –sanding with 1500-12000 grit pads and wiping it down after each pad with a damp cloth. I rubbed the bowl and shank down with Before & After Restoration Balm. I worked it into the surface of the bowl sides and shank with my fingertips to clean, enliven and protect the briar. I let the balm sit for a little while and then buffed with a cotton cloth to raise the shine.   While I was working on the bowl the stem was soaking in Briarville Pipe Repair’s – Pipe Stem Oxidation Remover. The stem sat in the mixture for 2 ½ -3 hours. I removed the stem from the bath, scrubbed lightly with a tooth brush and dried if off with a paper towel. I was surprised that it was quite clean. Just some light tooth marks on the button and underside of the stem near the button.   I filled in the small tooth marks on the surface of the stem on both sides with clear super glue. Once the repairs cured I sanded the stem with 220 grit sandpaper and started polishing it with 400 grit wet dry sandpaper.  I polished the vulcanite stem with micromesh sanding pads – 1500-12000 grit pads. I wiped it down with a damp cloth after each sanding pad. I used Before & After Pipe Polish – both Fine and Extra Fine to further polish the stem. At this point it dawned on me that I had not cleaned the inside of the shank or stem… boy I am rusty at this and have to tick off the steps! I cleaned the shank and the airway in the stem with alcohol, cotton swabs and pipe cleaners until the pipe smelled and looked clean.  This beautiful Stanwell Golden S shape 64 Dublin with a vulcanite saddle stem is a great looking pipe now that it has been restored. The rich browns and blacks of the contrasting stains on the bowl and the plateau rim top came alive with the polishing and waxing. The repairs to the cosmetic cracks on the front of the bowl blended in very well. I put the stem back on the bowl and carefully buffed the pipe with Blue Diamond on the buffing wheel using a light touch on the briar. I gave the bowl and the stem multiple coats of carnauba wax on the buffing wheel and followed that by buffing the entire pipe with a clean buffing pad. I hand buffed the pipe with a microfiber cloth to deepen the shine. The finished Stanwell Golden S Dublin is a beauty and fits nicely in the hand and looks very good. Give the finished pipe a look in the photos below. The dimensions of the pipe are Length: 5 ½ inches, Height: 2 inches, Outside diameter of the bowl: 1 ½ inches, Chamber diameter: ¾ of an inch. If you are interested in adding this pipe to your collection send me a message or an email. Thanks for reading this blog and my reflections on the pipe while I worked on it. There are many more to come!