
Blog by Dal Stanton
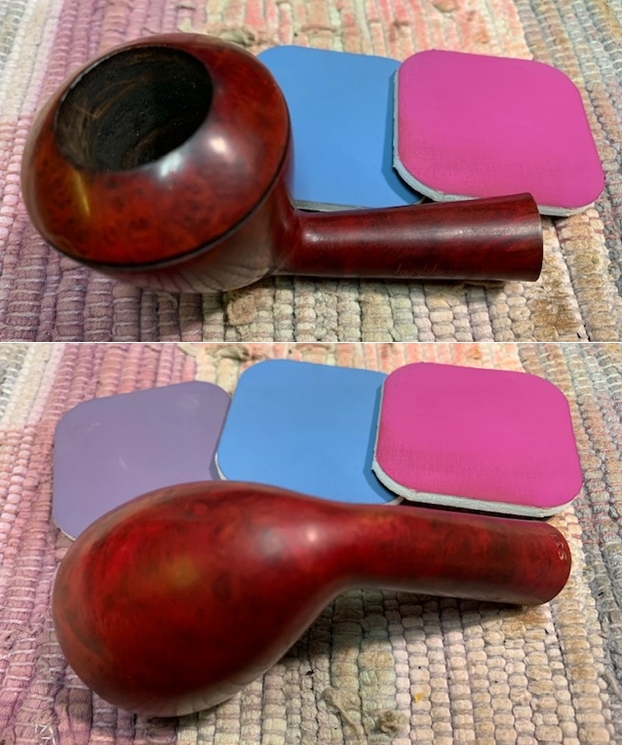
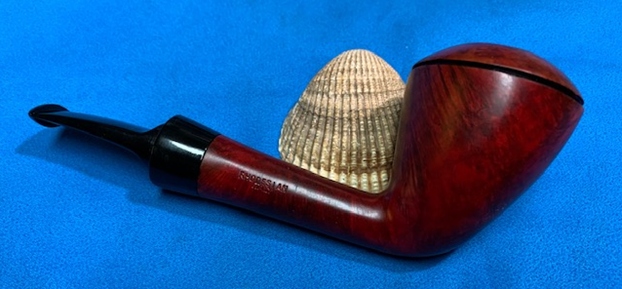
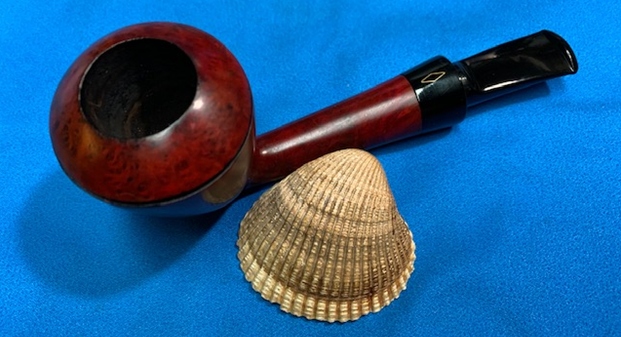
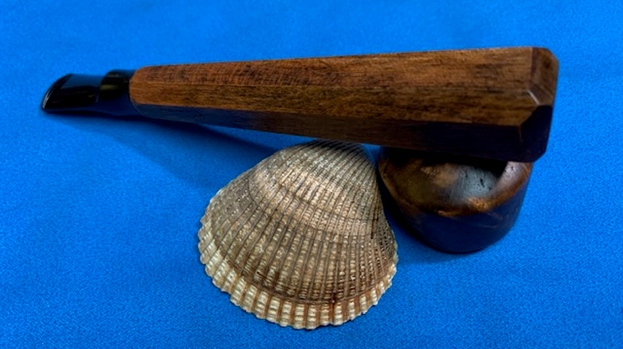
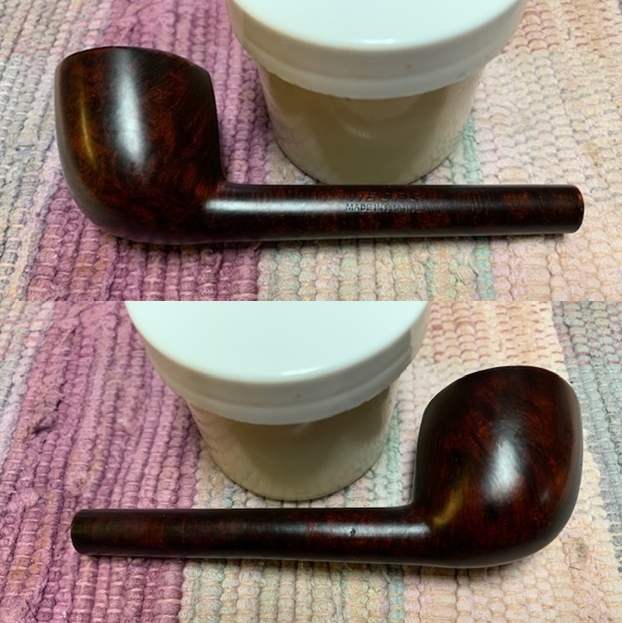
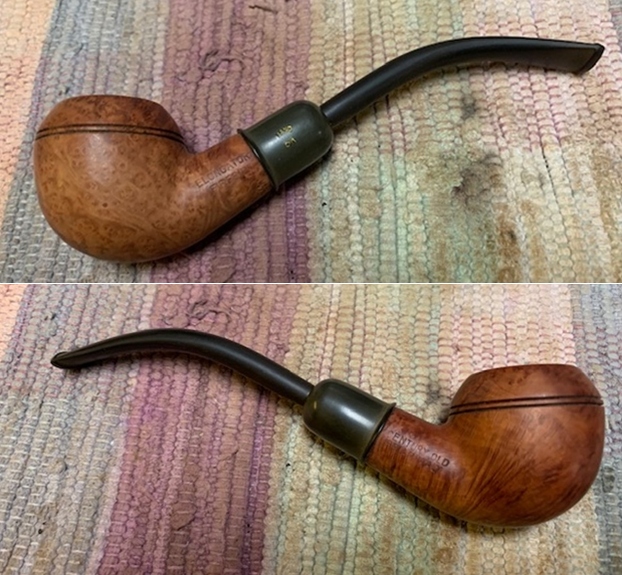
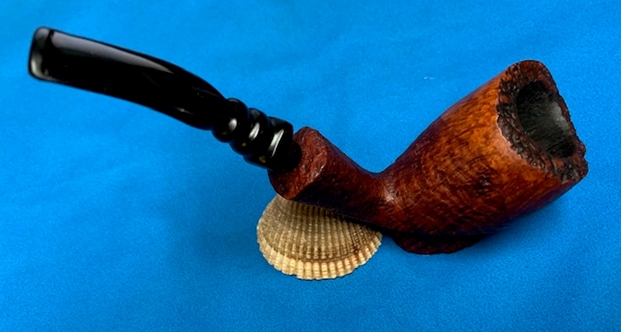
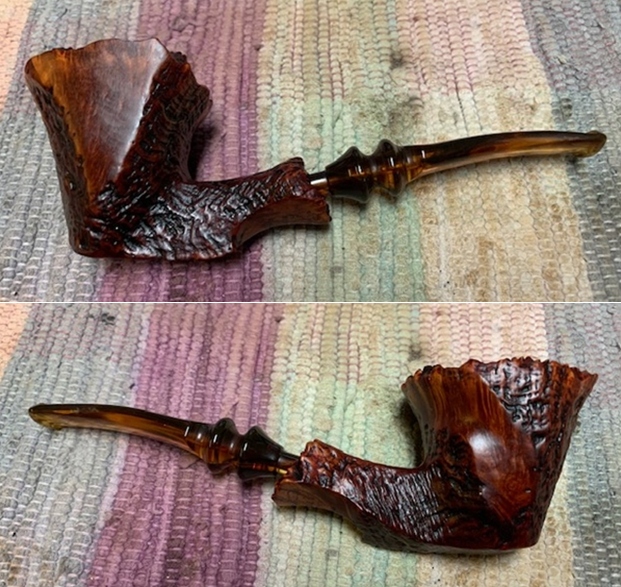
The Aldo Velani Trio Classic Billiard now on the worktable represents the 6th of 7 pipes Daniel commissioned from the For “Pipe Dreamers” Only! collection. It also represents the second Aldo Velani Trio Daniel included in his trove of 7. I acquired 4 Aldo Velani Trios in 2018 in what I have called the St. Louis Lot of 26 that my son, Josiah, found in an antique shop. The original 4 Velanis are pictured below. The Bent Apple and Rusticated Volcano have already found homes with new stewards. The Pot on the bottom is waiting for the Billiard to be completed to join Daniel’s commissioned pipes all which benefit the Daughters of Bulgaria – women and girls who have been trafficked and sexually exploited. This is a classy line up of pipes! Looking at their current restored states:
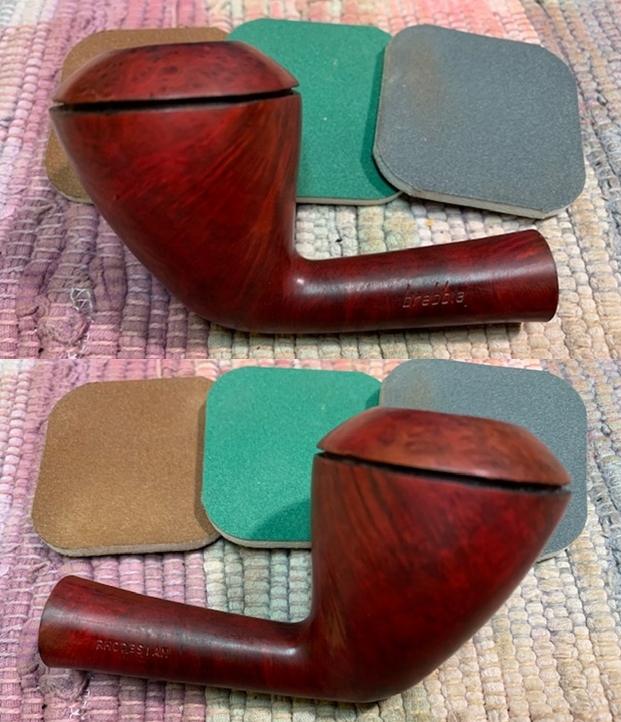
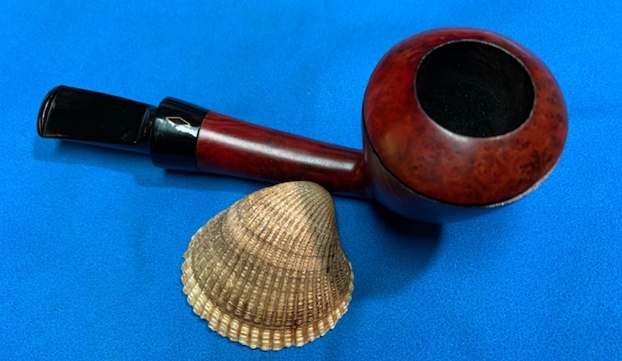
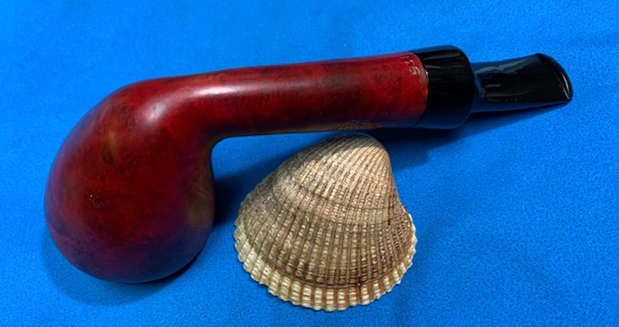
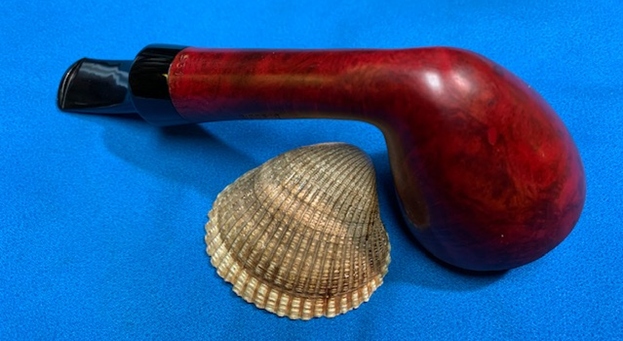
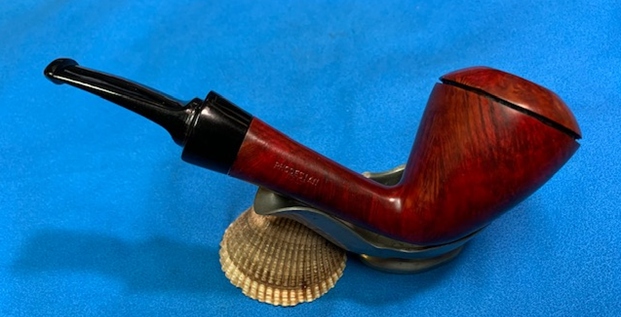
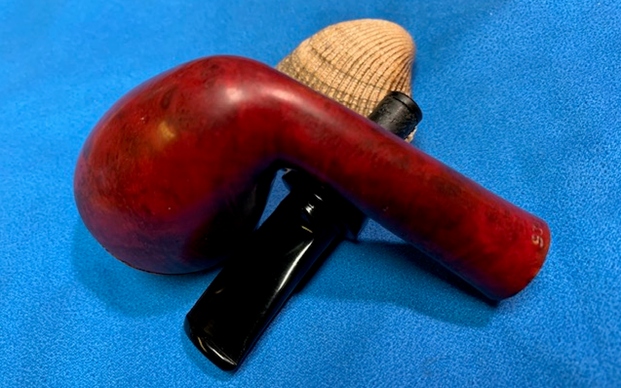
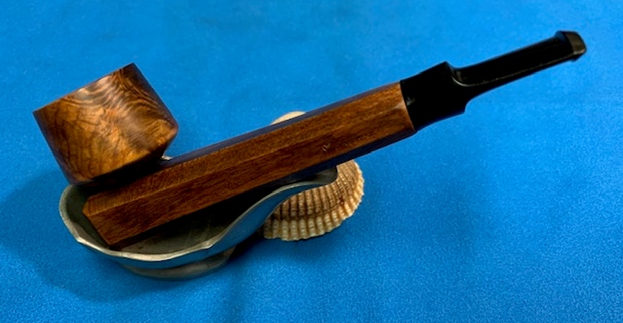
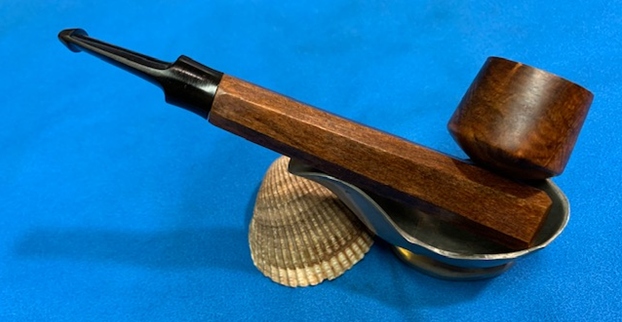
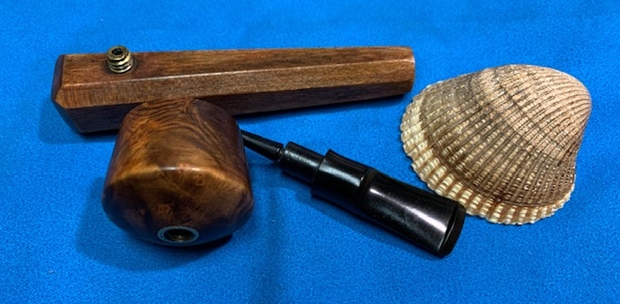
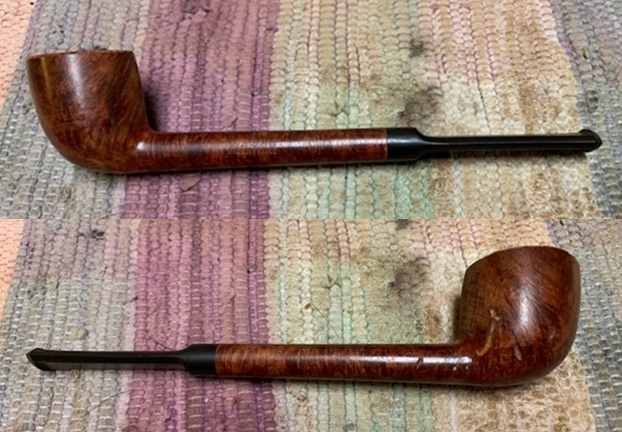
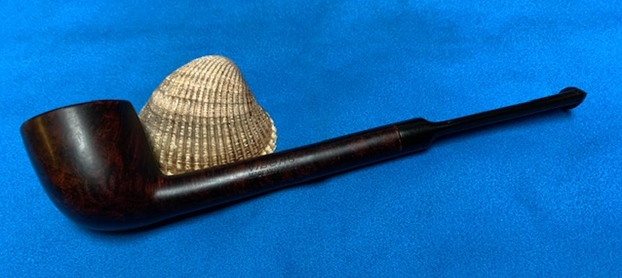
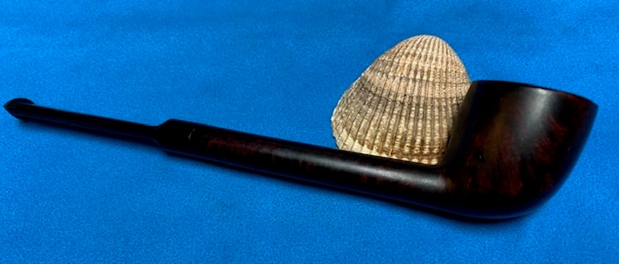
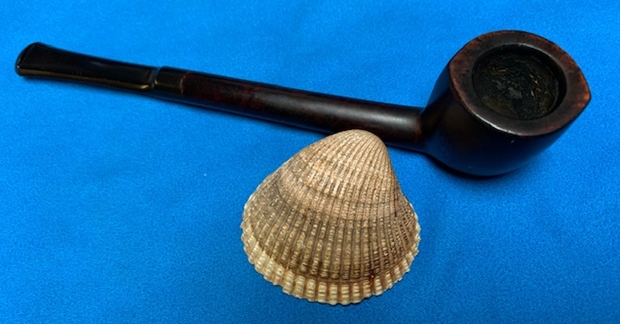
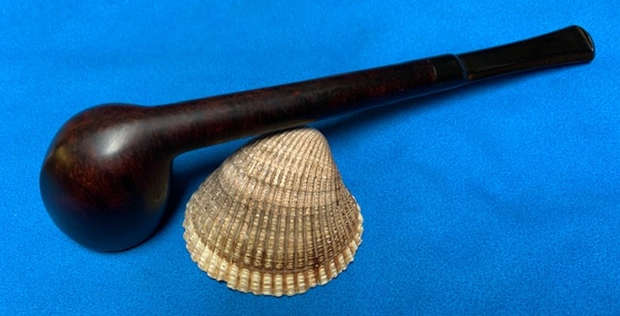
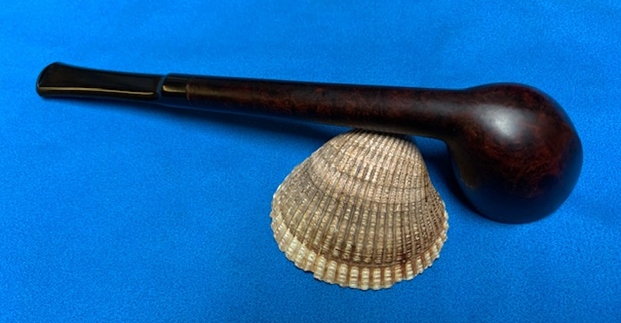
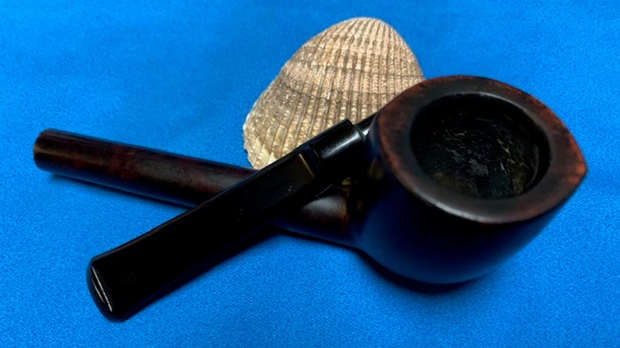
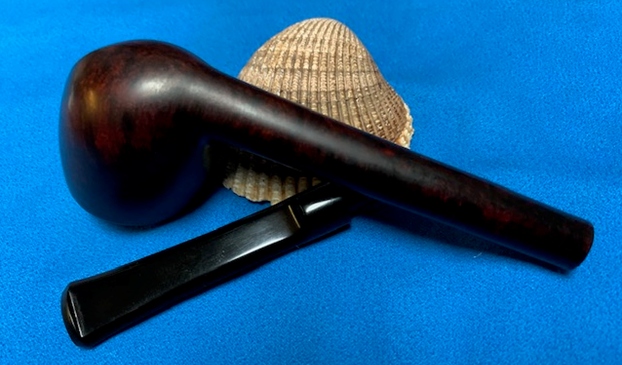
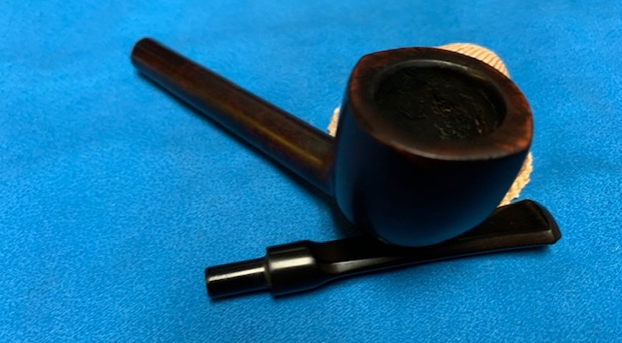
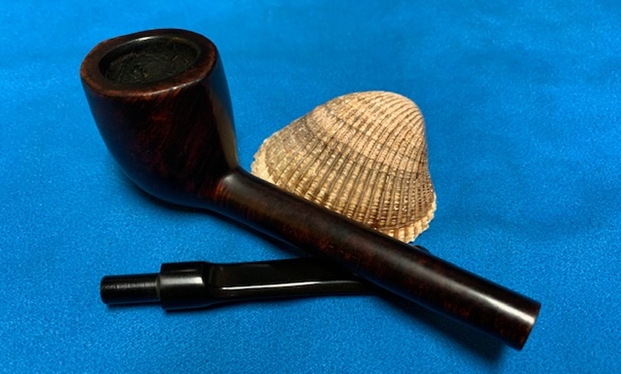
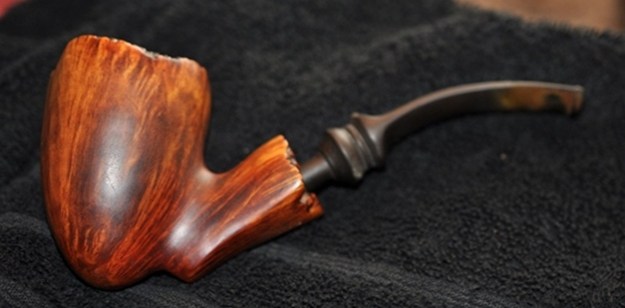
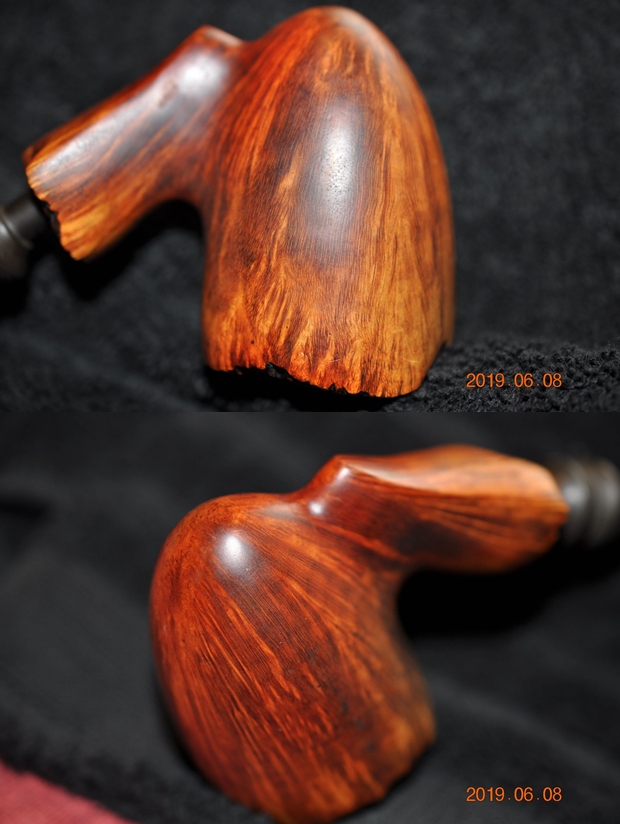
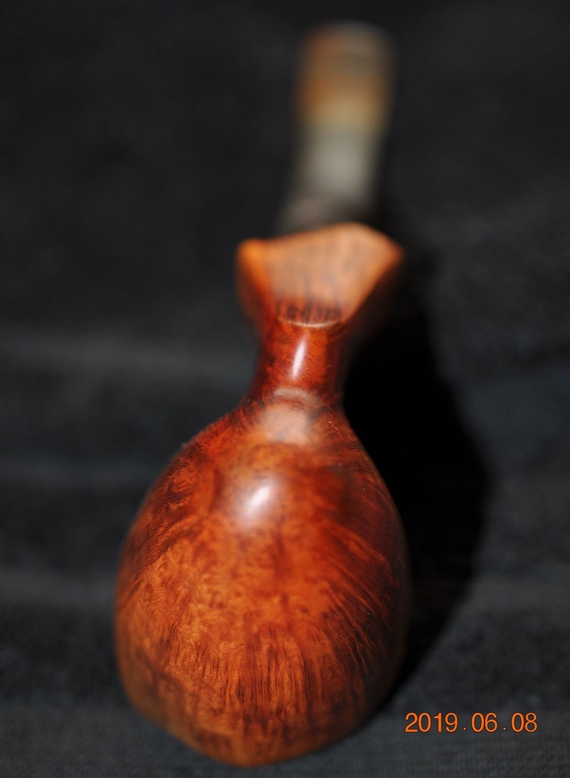
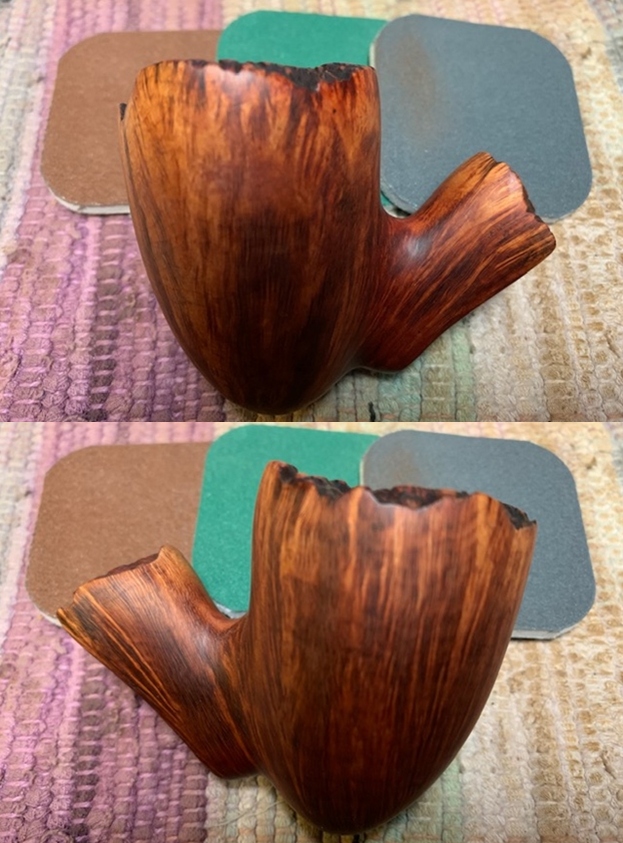
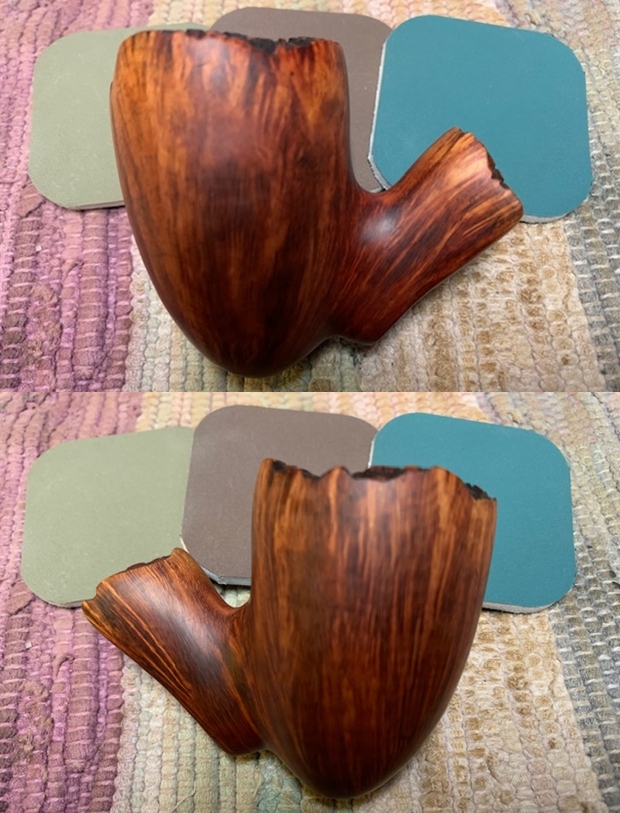
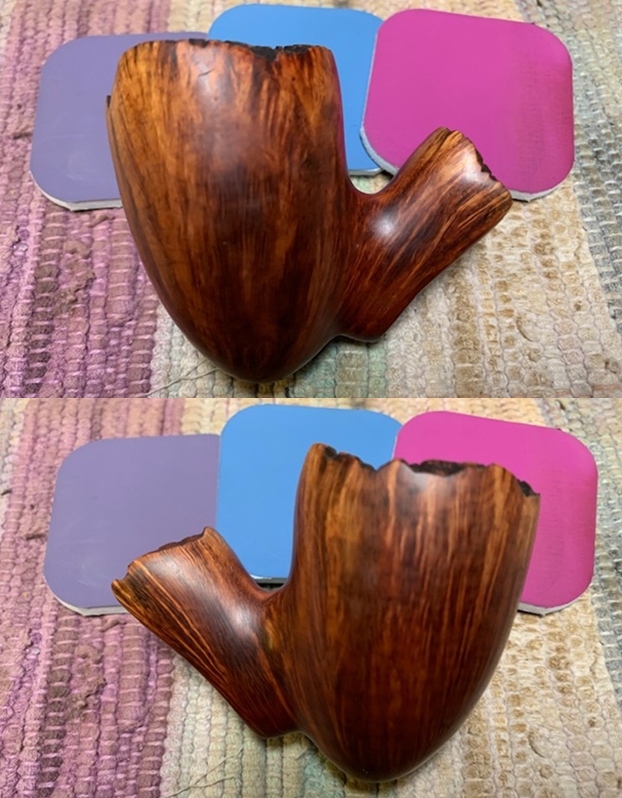
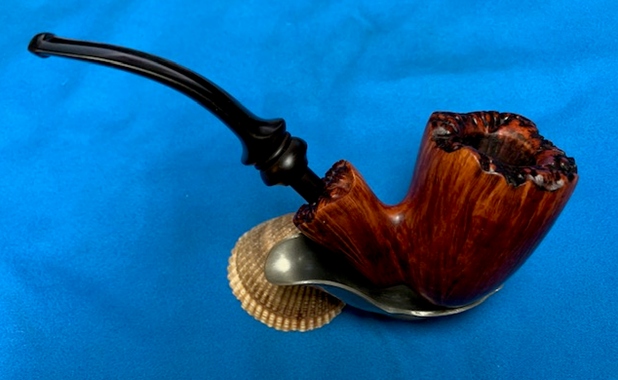
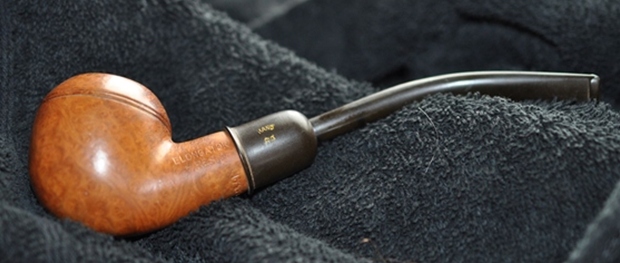
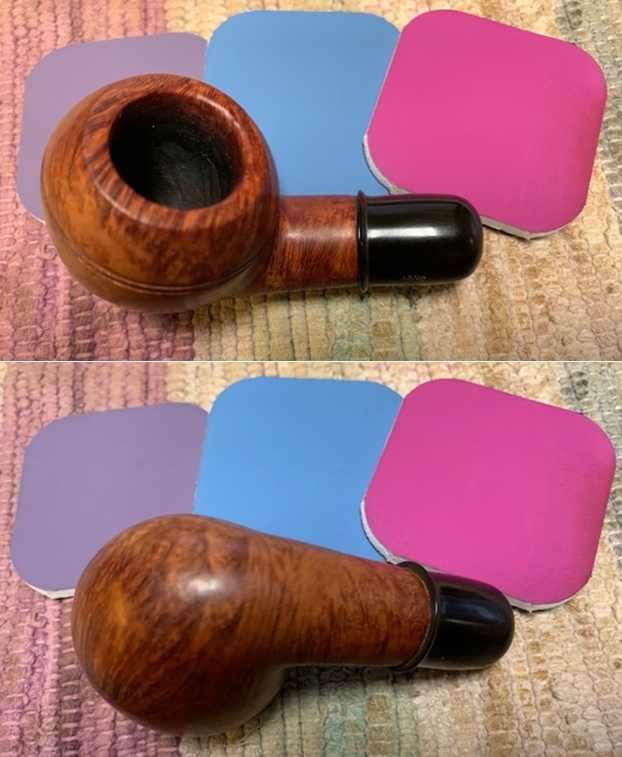
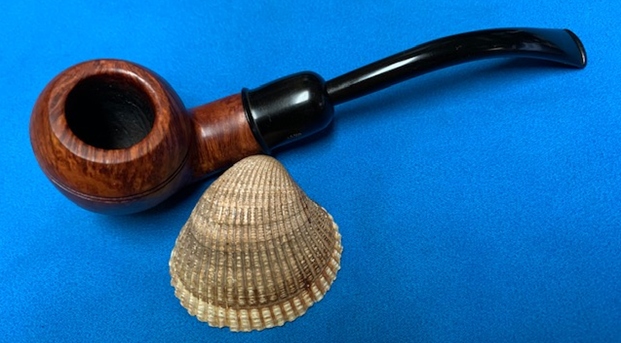
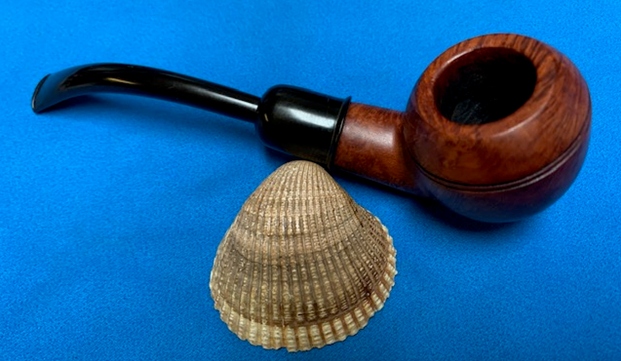
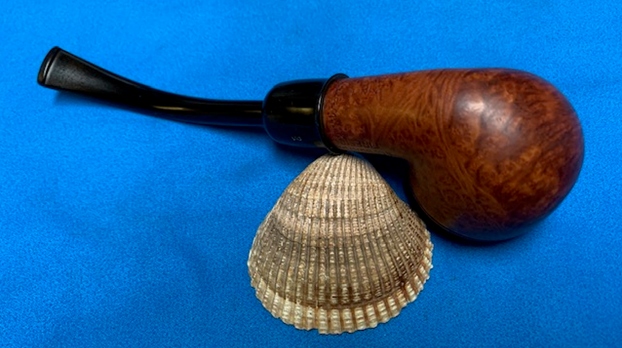
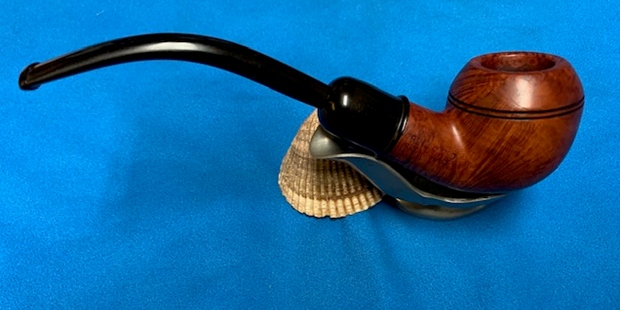
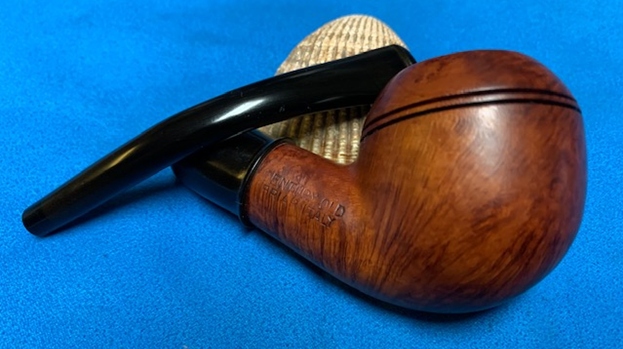
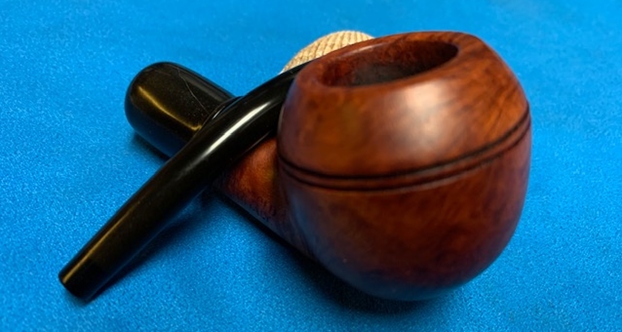
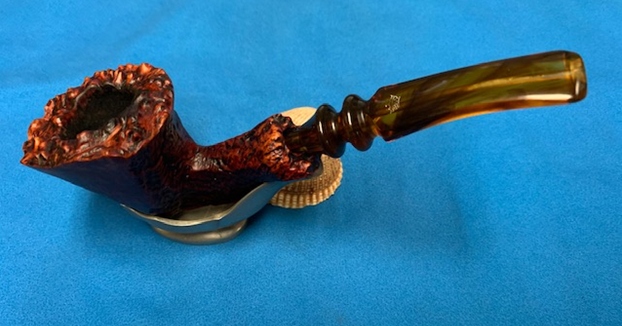
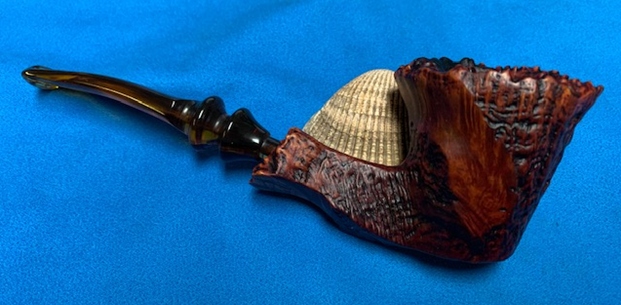
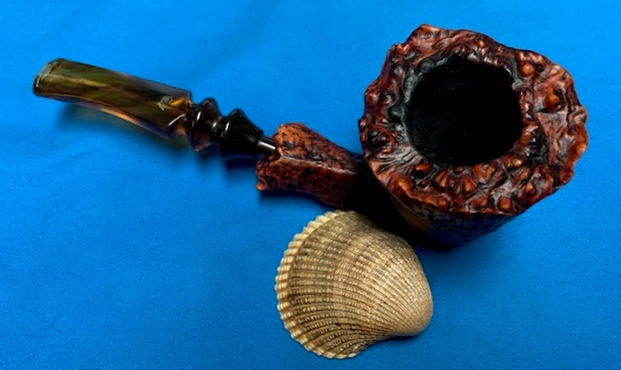
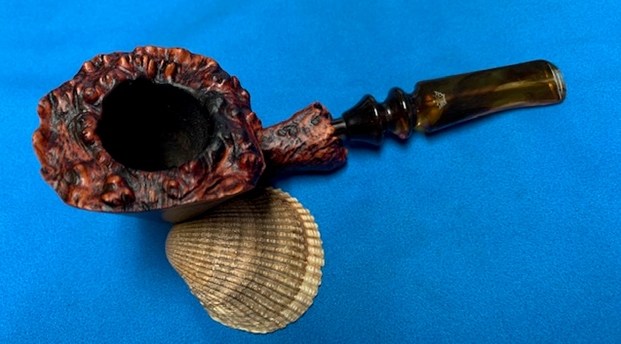
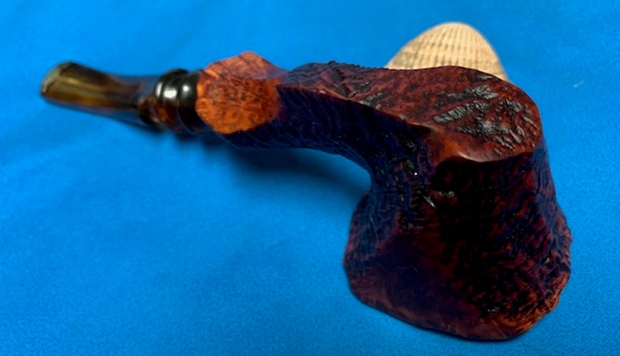
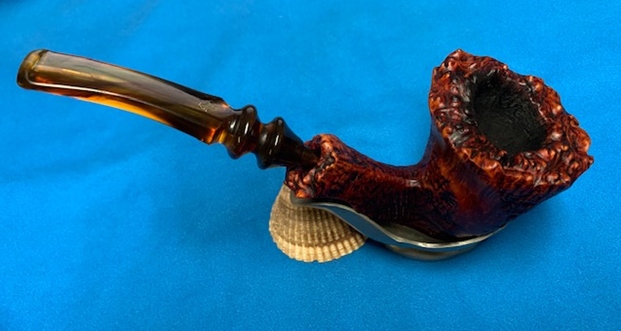
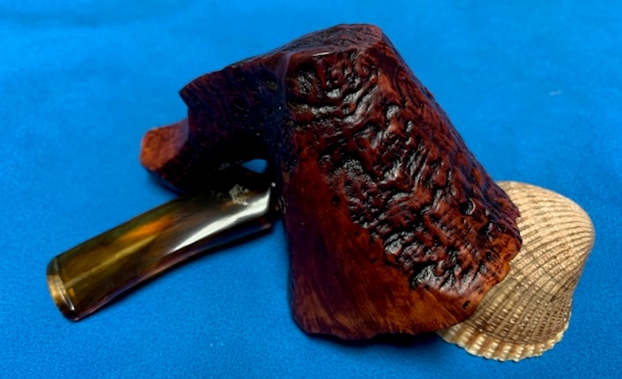
  With the Classic Billiard next, some pictures provide a closer look.
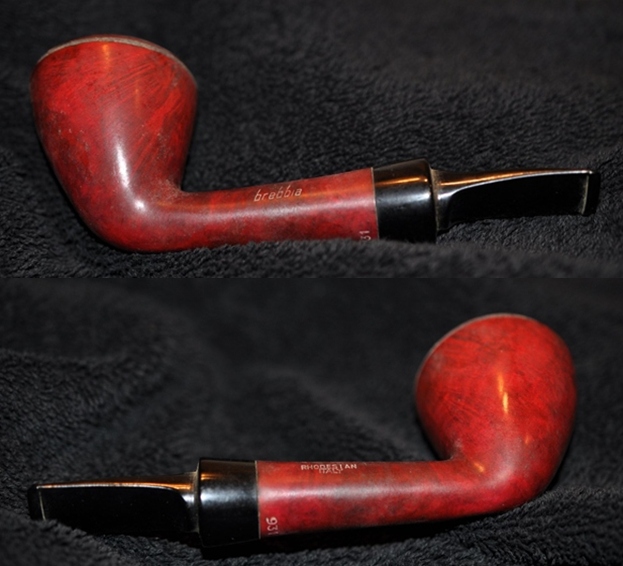
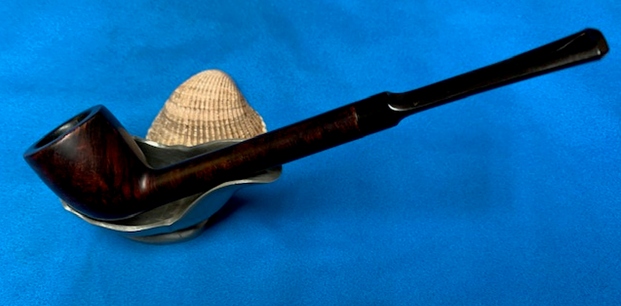
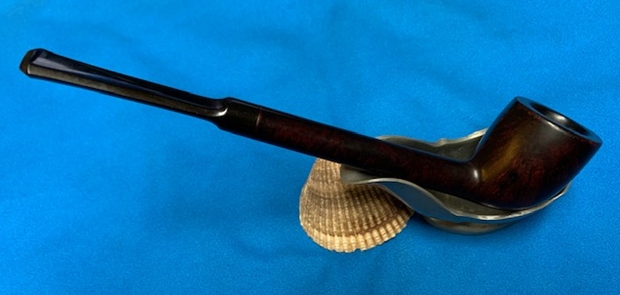
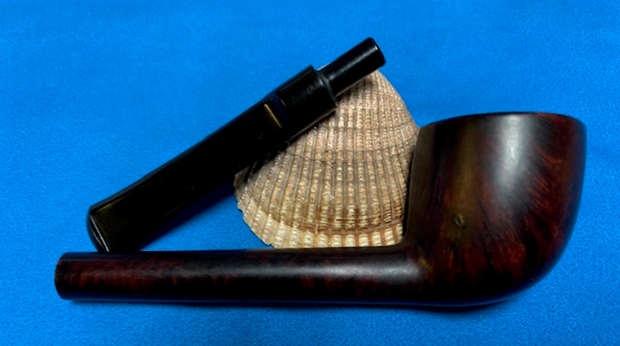
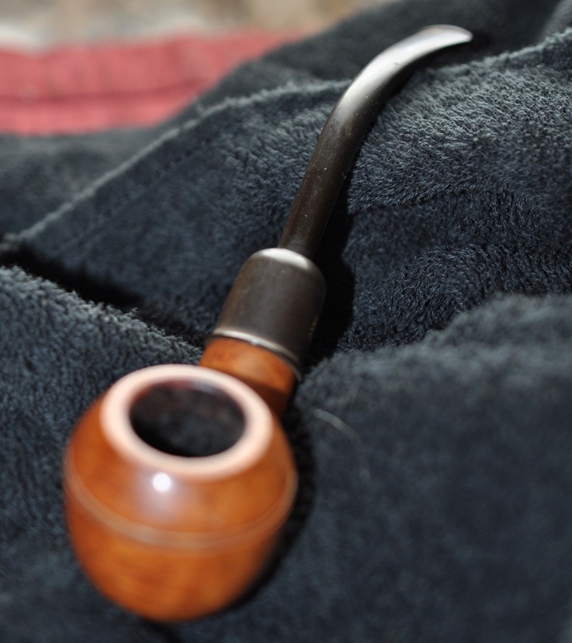
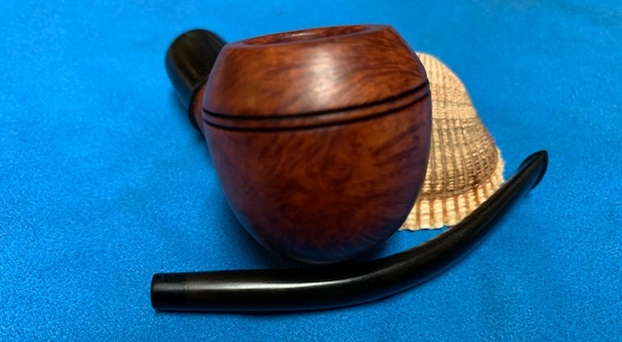
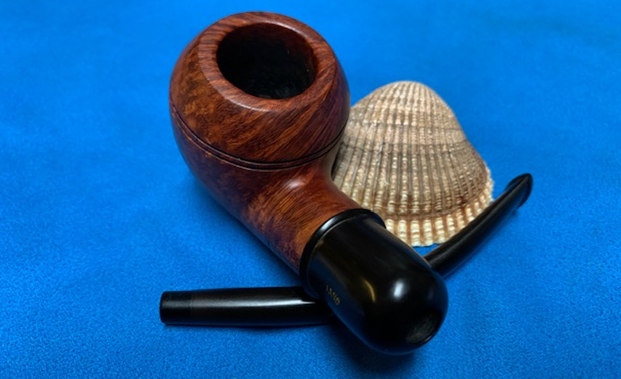
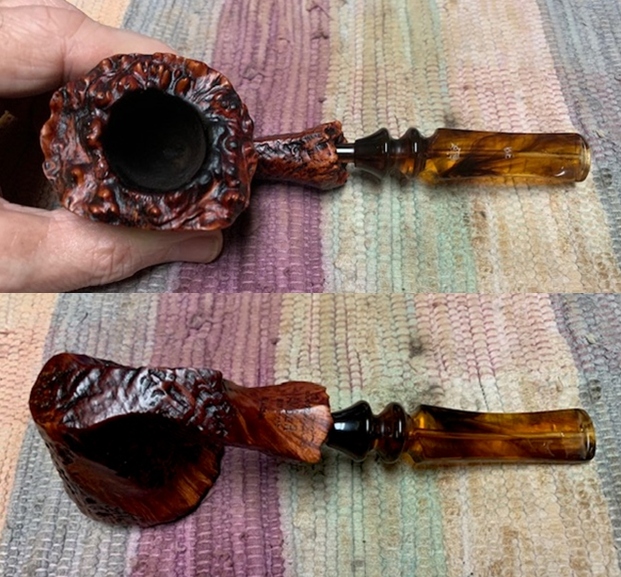
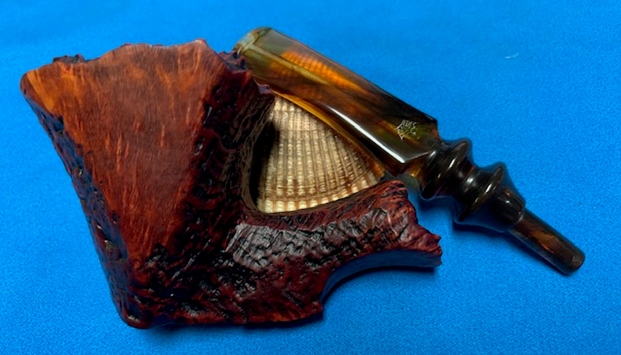
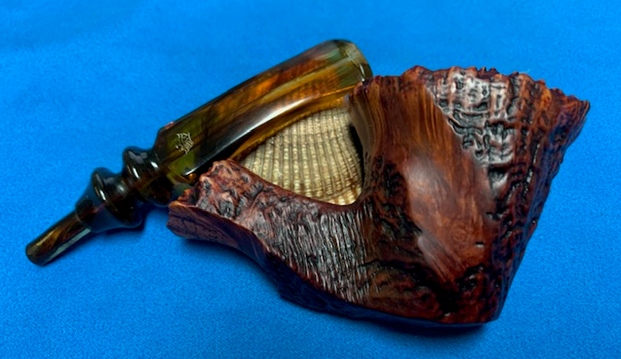

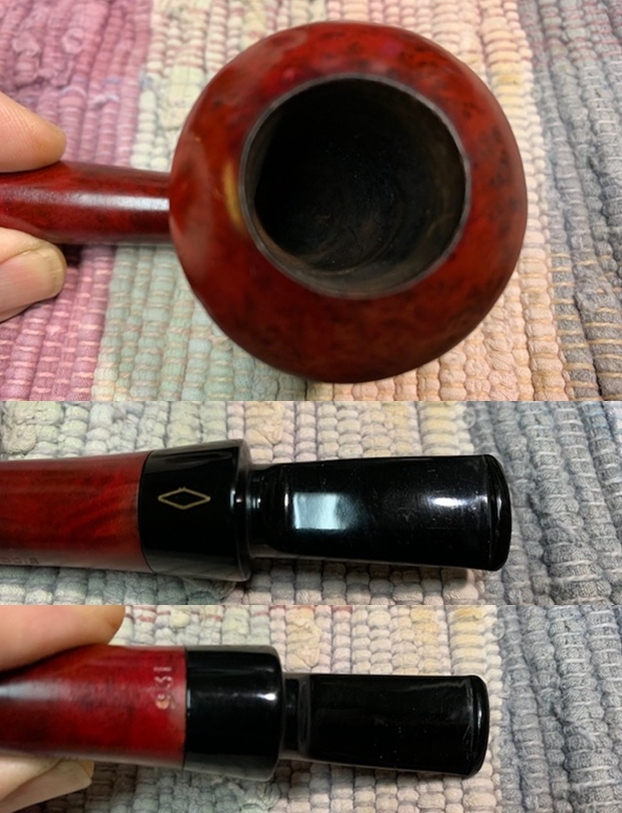
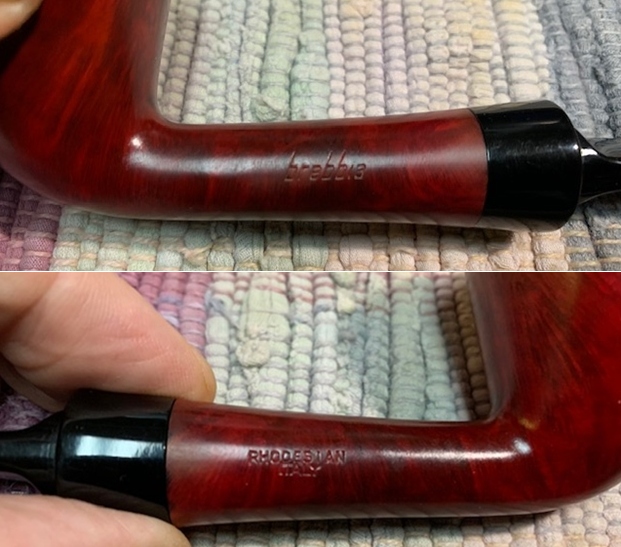
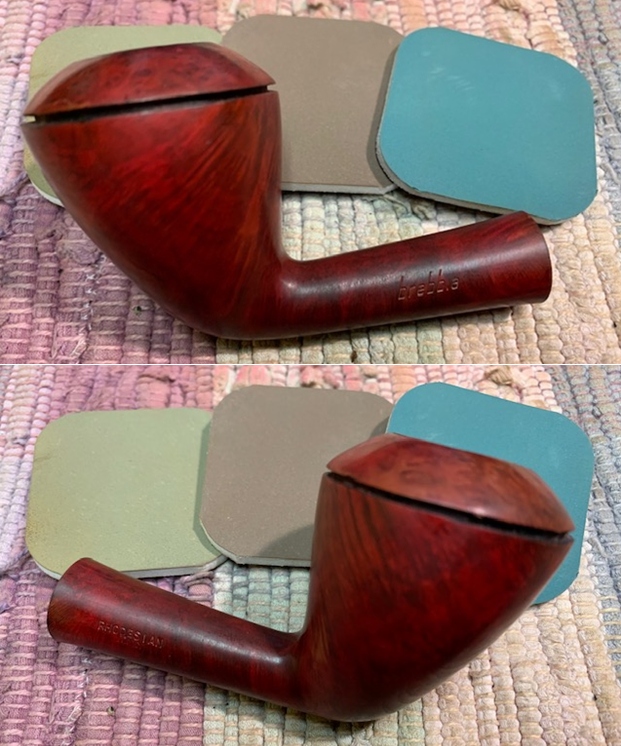
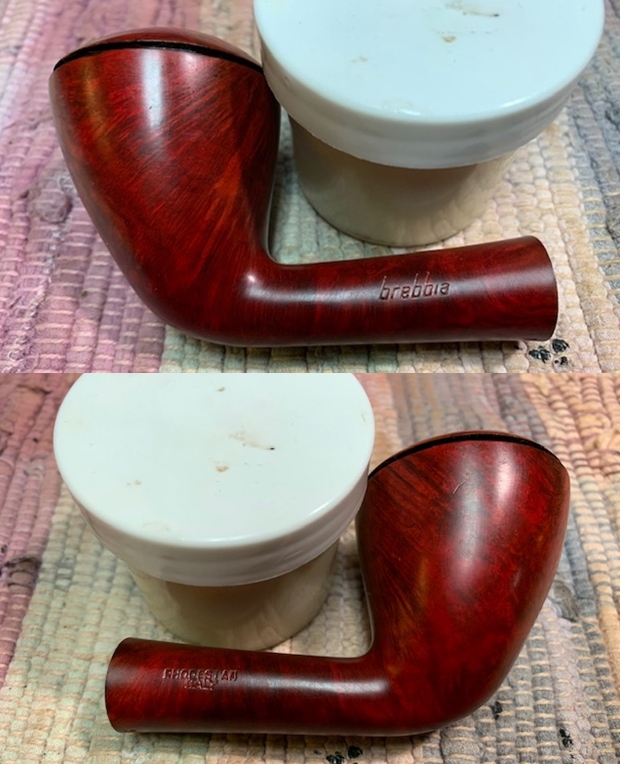
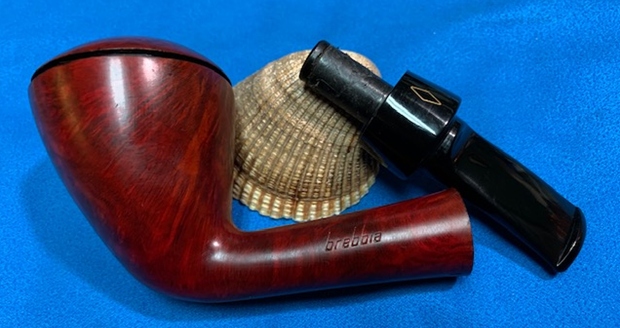
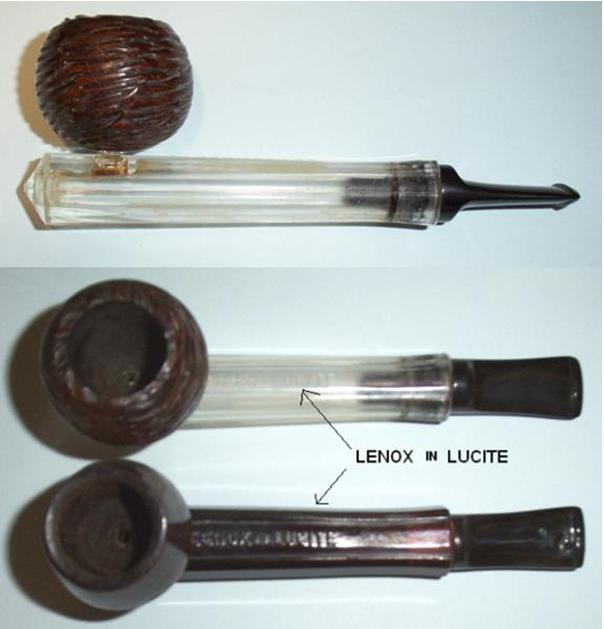
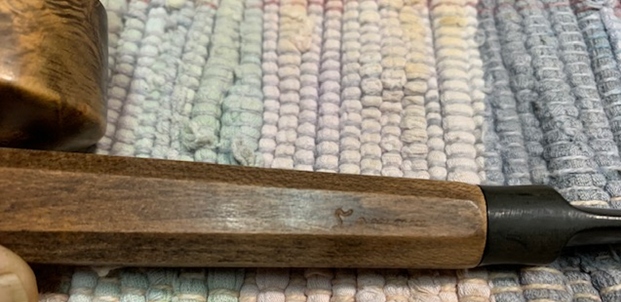
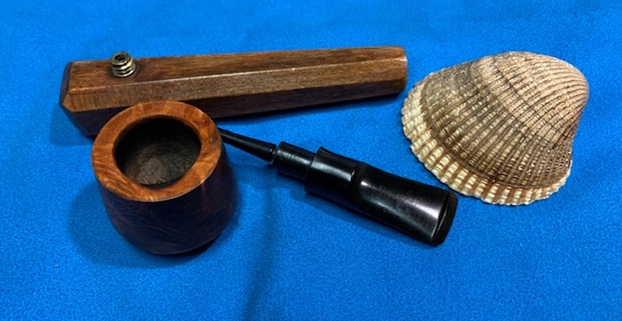
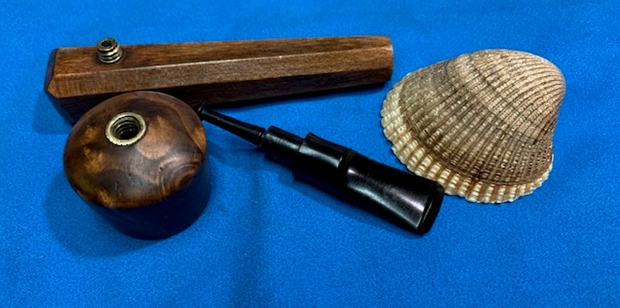
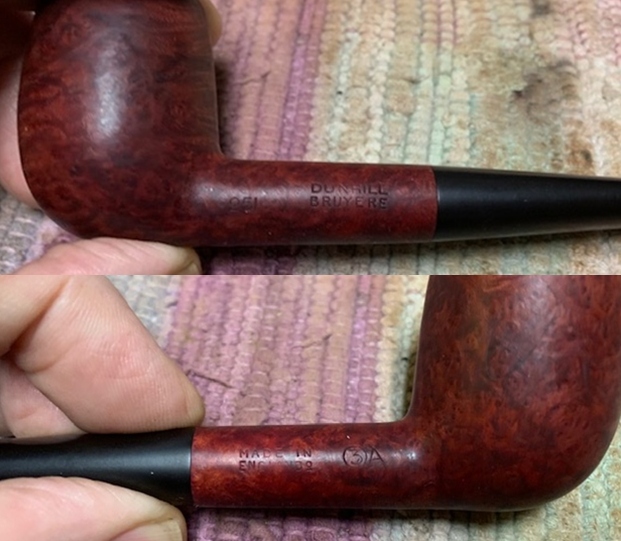
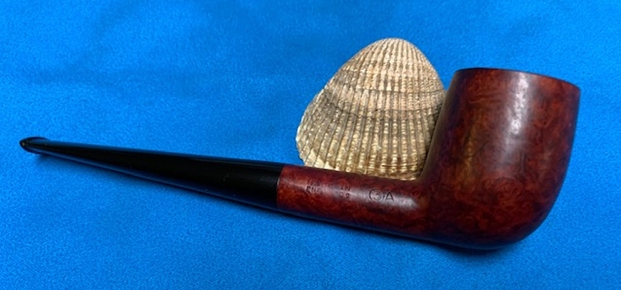
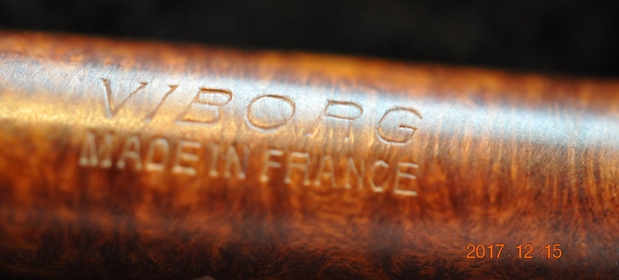
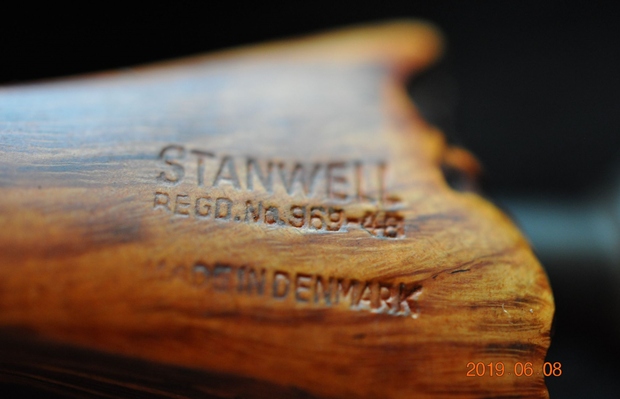
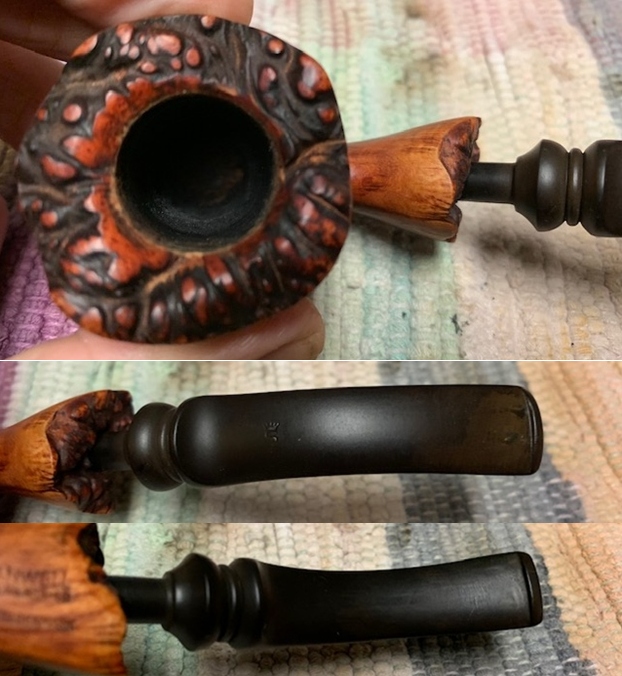
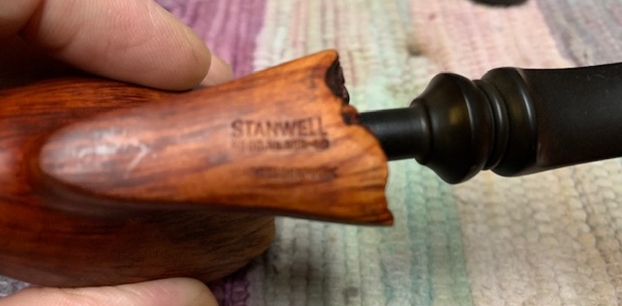
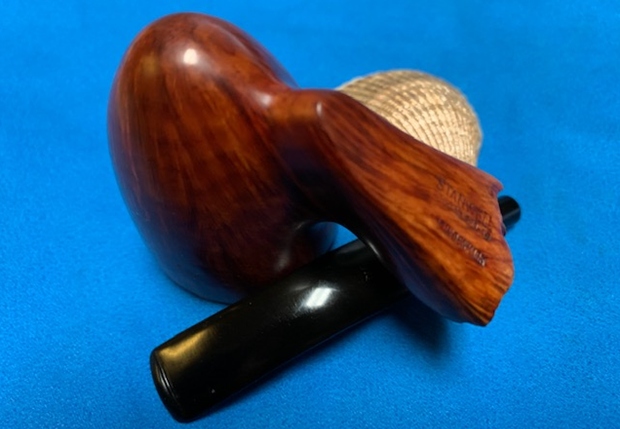
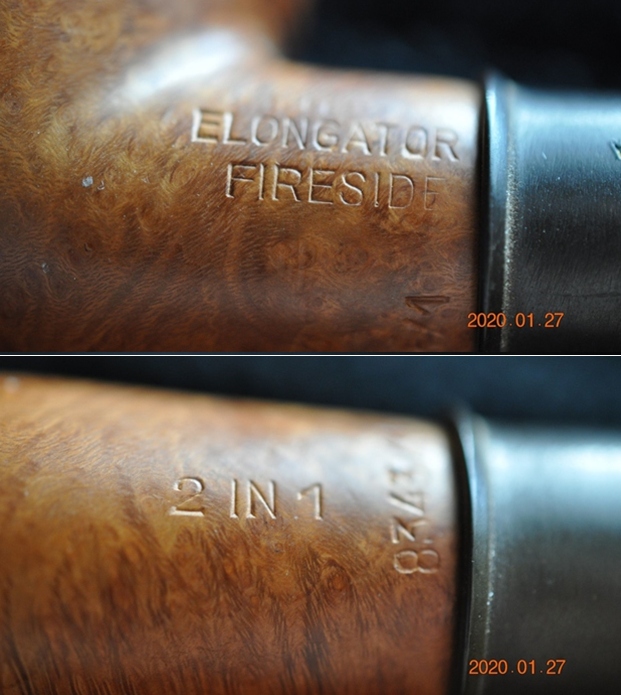
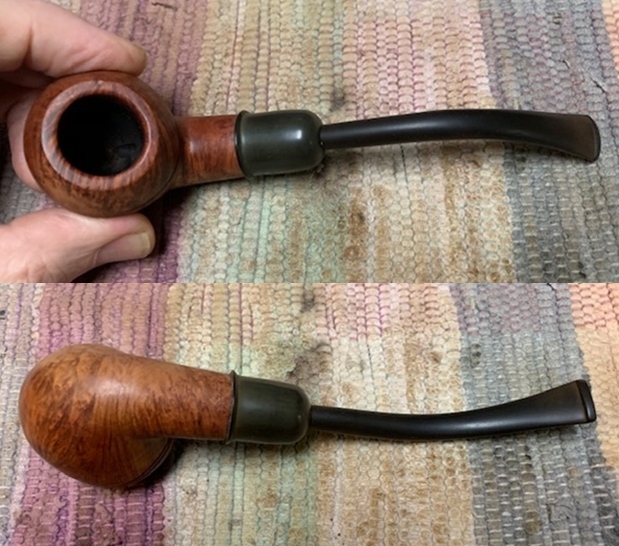
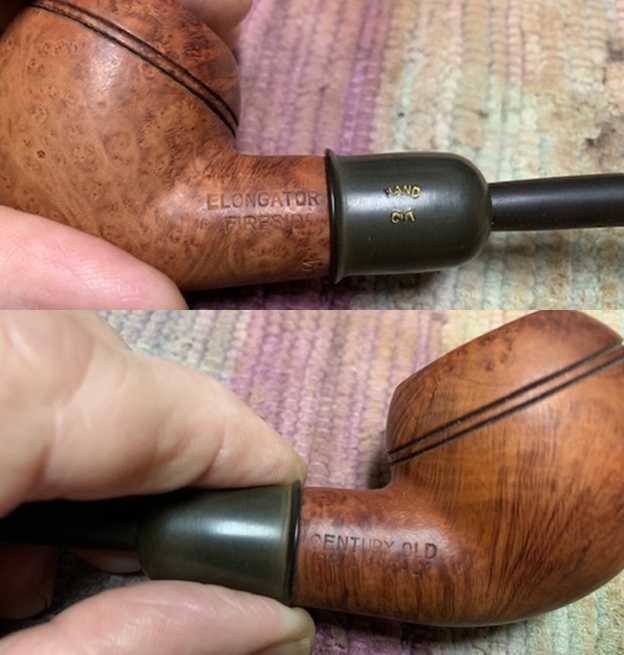
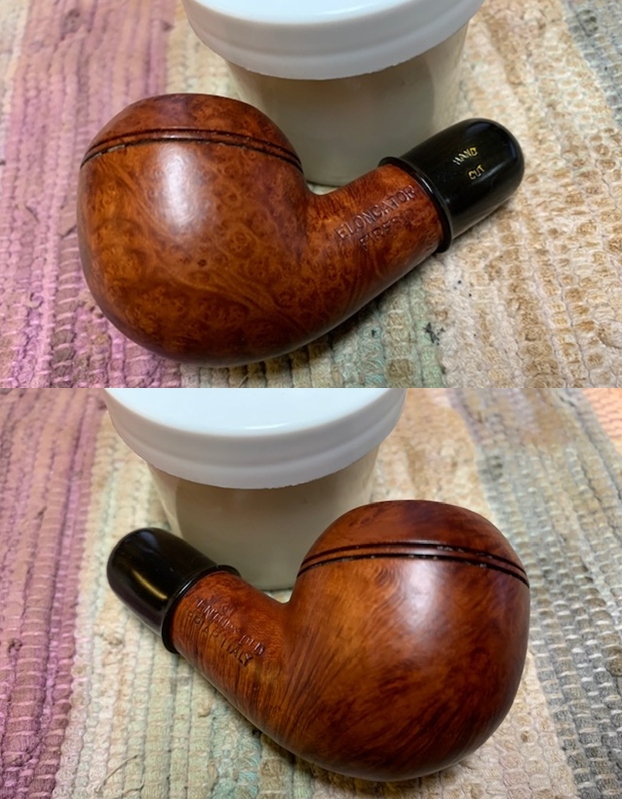
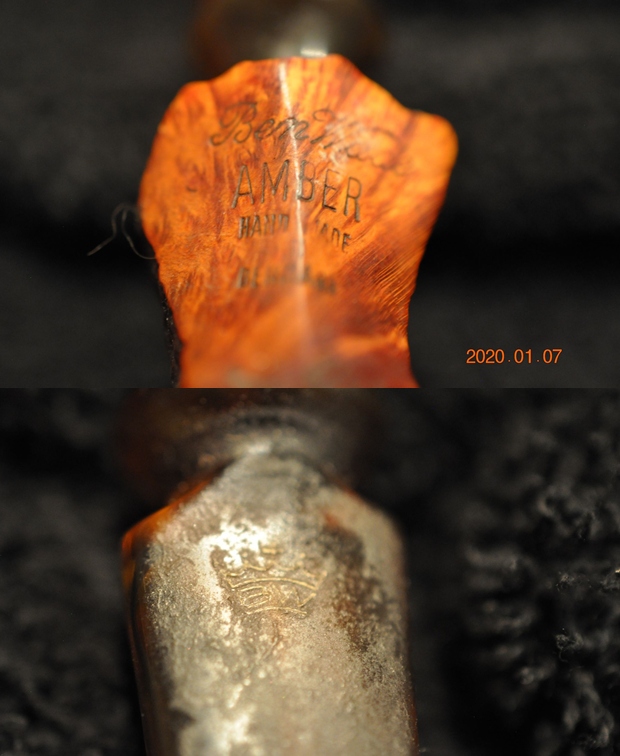
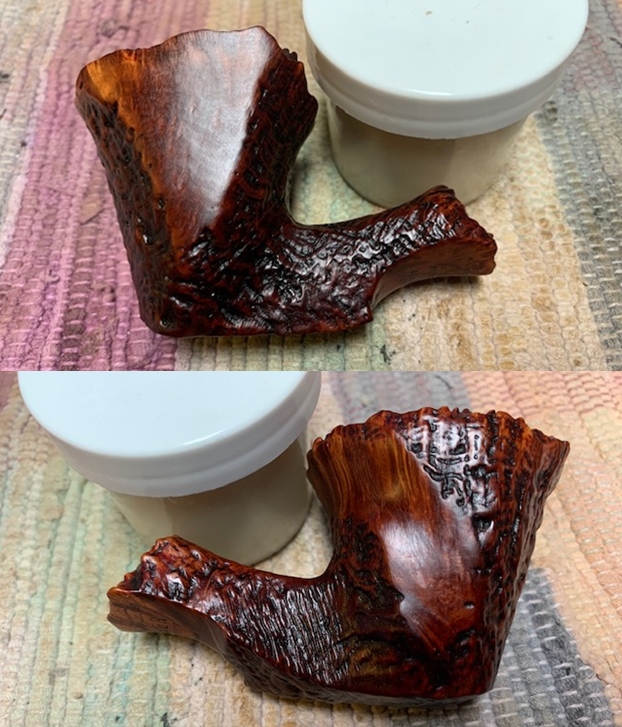
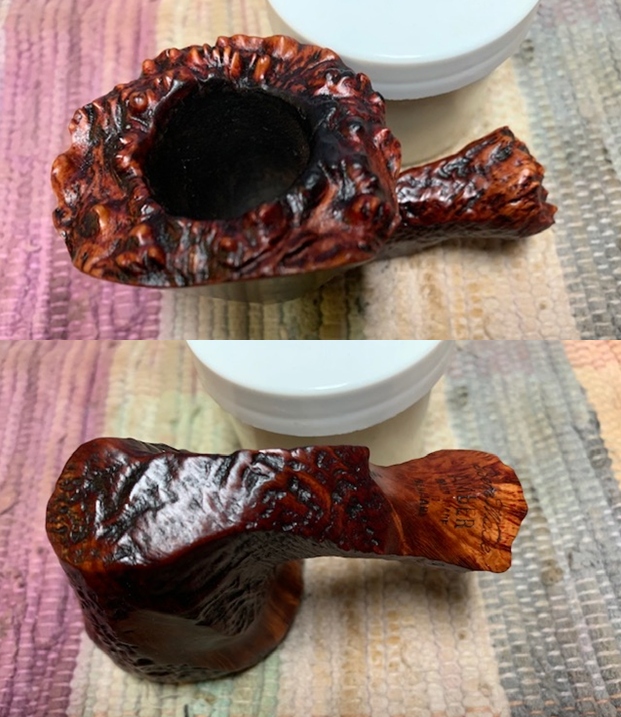
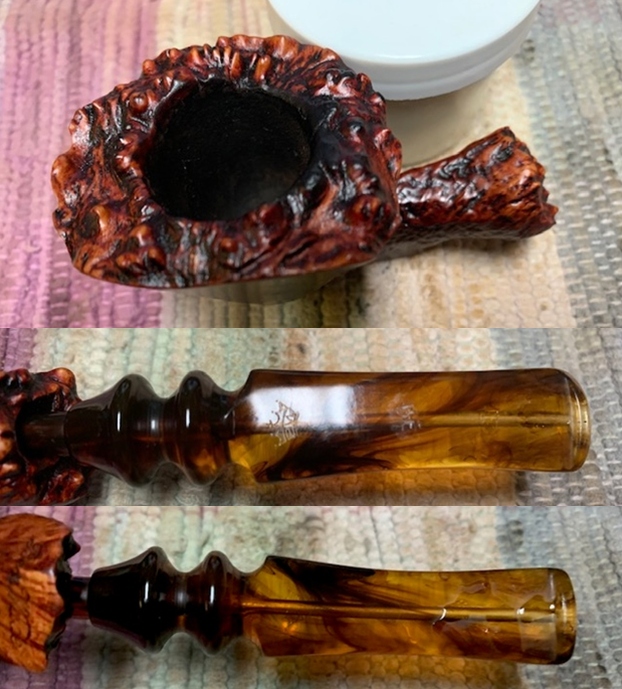
 The nomenclature on the left shank side is cursive script, ‘Aldo Velani’ [over] ‘TRIO’. On the shank underside, the COM, ‘ITALY’ is followed by the shape number ‘52’.
  As I noted with the Pot, when I first looked at the logo it was difficult to figure out but found in Pipedia’s Aldo Velani article, an example and details of the stamping on an original Aldo Velani box (courtesy of Doug Valitchka). The stamp depicts a pipe as the front leg of the ‘A’ for Aldo and the back leg of the ‘A’ forms the front riser of the ‘V’ of Velani.
  Again, I repeat the previous research here: The article cited from Pipedia provides helpful information understanding the provenance of the Aldo Velani Trio line:
Most Aldo Velani pipes are made in Livorno, Italy, for the USA market by Cesare Barontini. They were previously imported by Lane Limited. Lane spokesman Frank Blews once described Velani’s stylish, intrinsically Italian designs as “Billiards with more ball, bulldogs with more jaw.” The name “Aldo Velani” is actually fictional.
Another Barontini 2nd is named “Cesare”.
I learn two interesting things from this information. First, Aldo Velani is a faux name that does not describe an Italian pipe house but a specific line of pipes. Secondly, the Aldo Velani is made by the Casare Barontini name based in Livorno, Italy. Further information is available cross referencing to Casare Barontini in Pipedia:
In 1890 Turildo Barontini opened a factory for the production of briar. In 1925 his son Bruno began to produce the first pipes. Cesare Barontini, son of Bruno, started direction of the factory in 1955, and still runs it together with his daughters Barbara and Silvia.
Sub-brands & Seconds: Aldo Velani. Cesare, L’artigiana, Stuart, Cortina
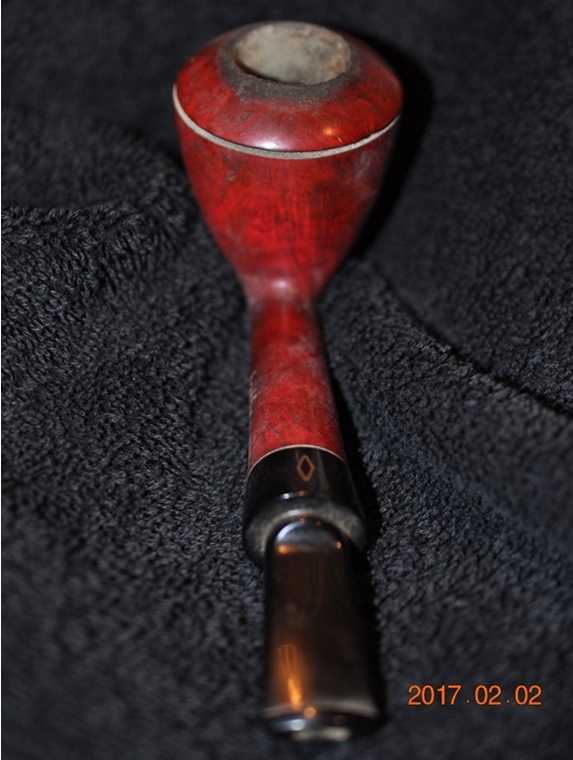
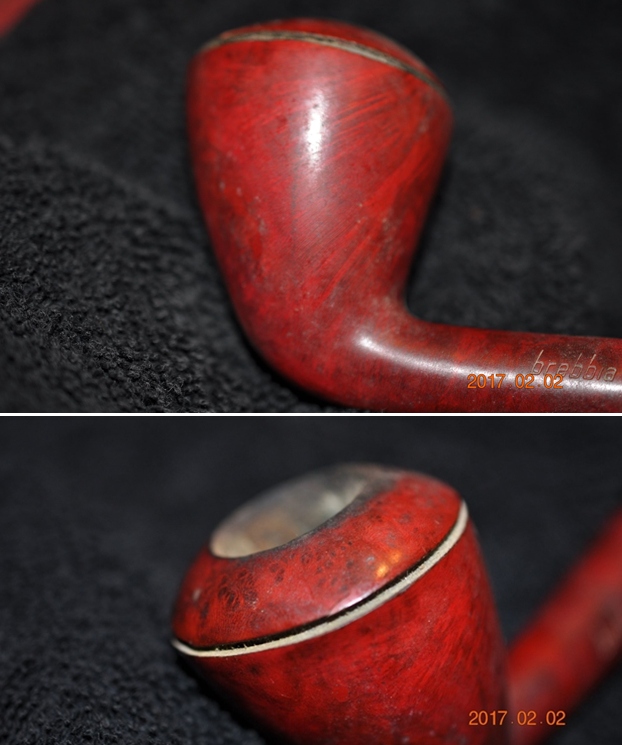
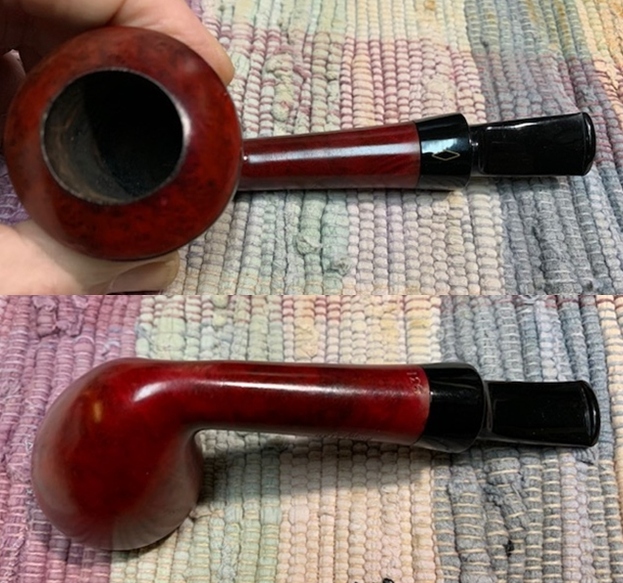
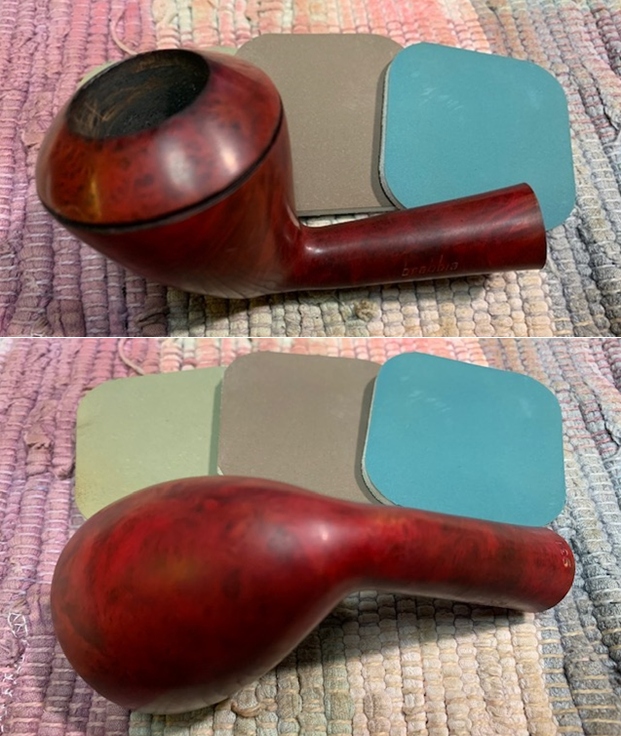
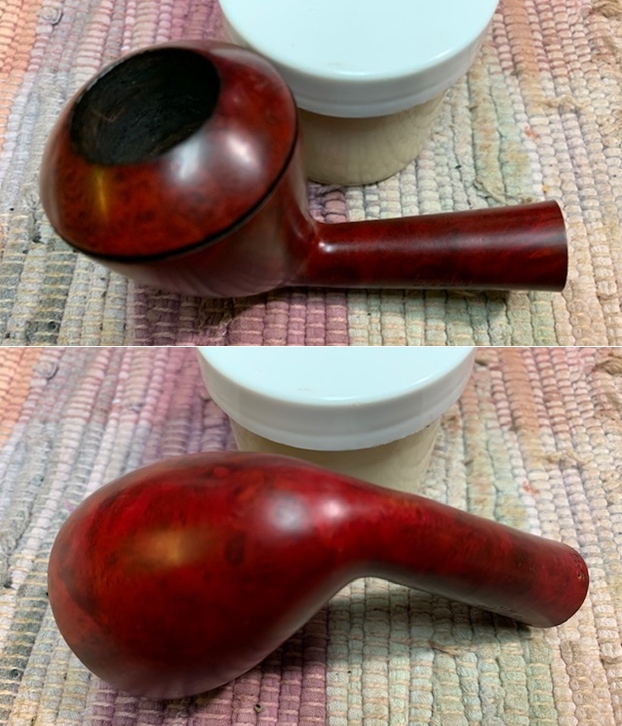
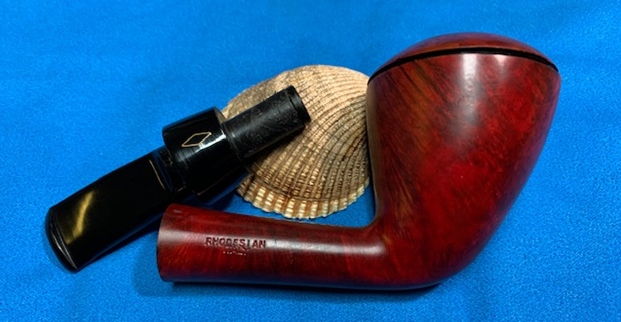
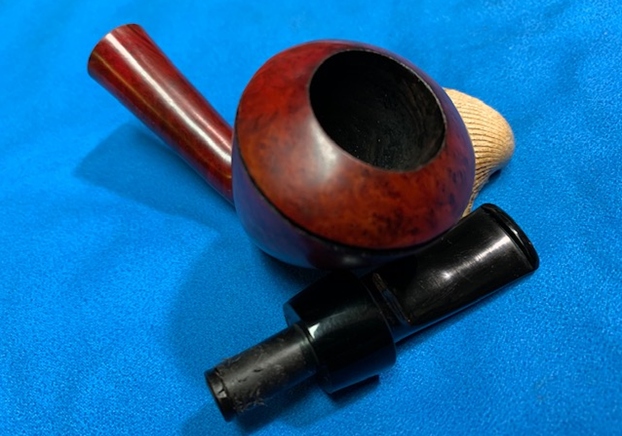
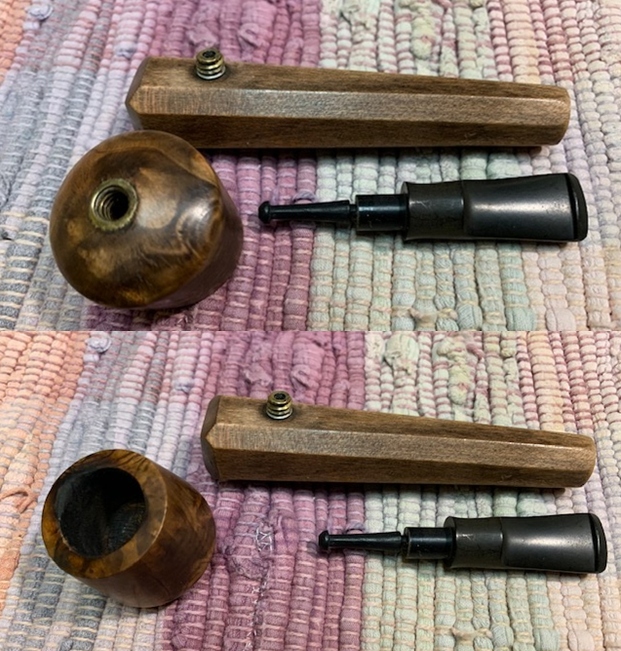
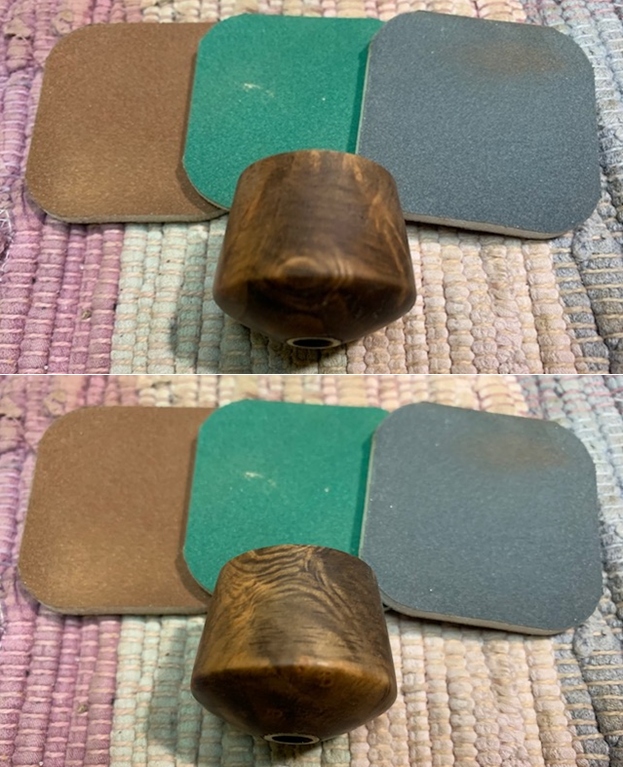
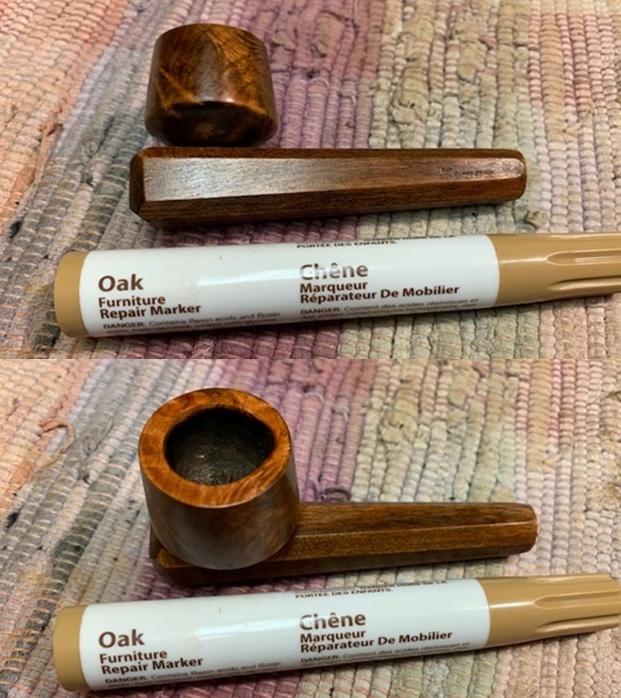
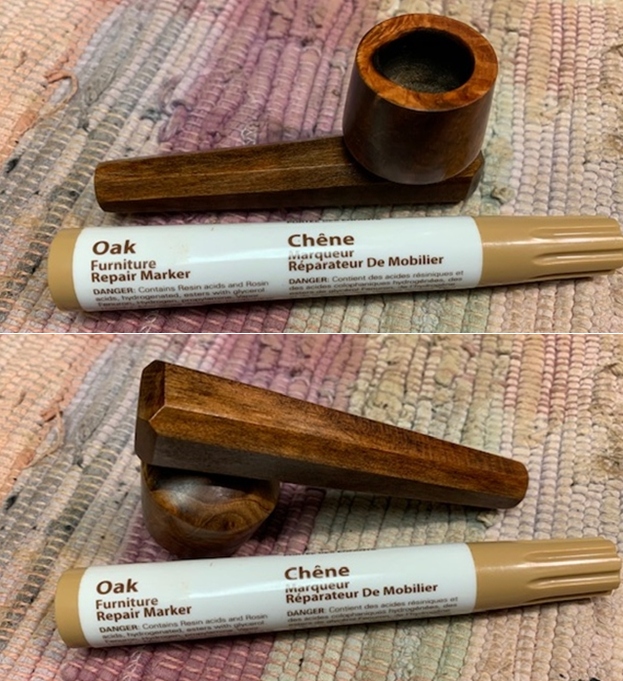
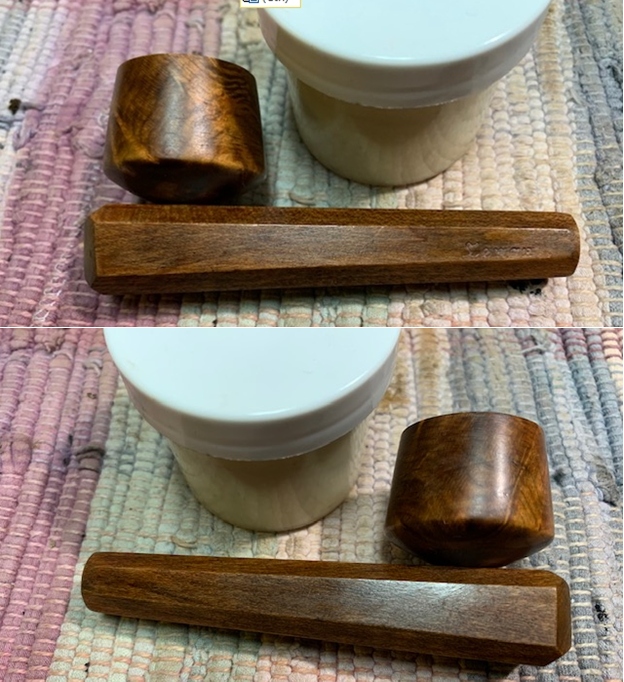
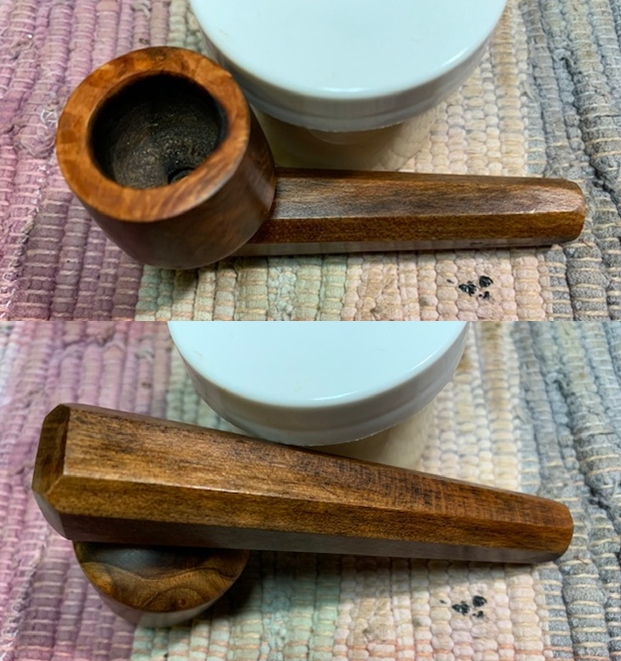
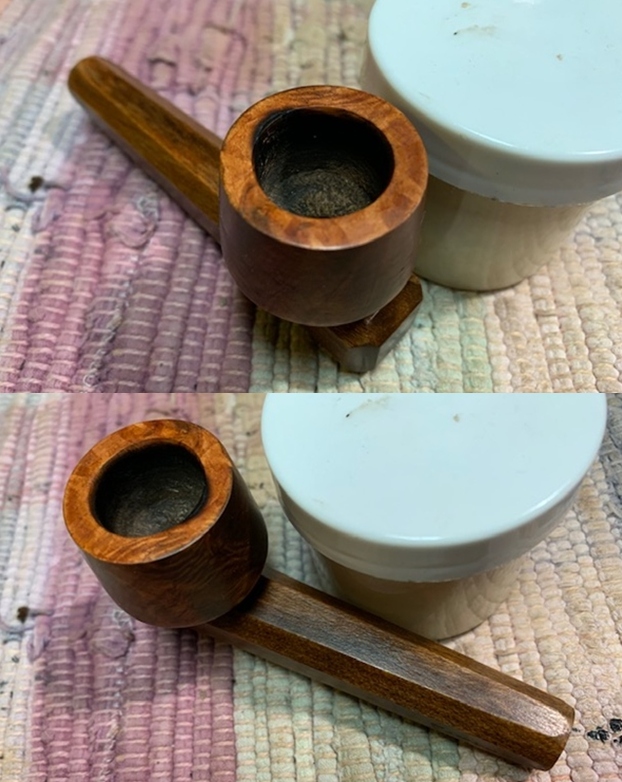
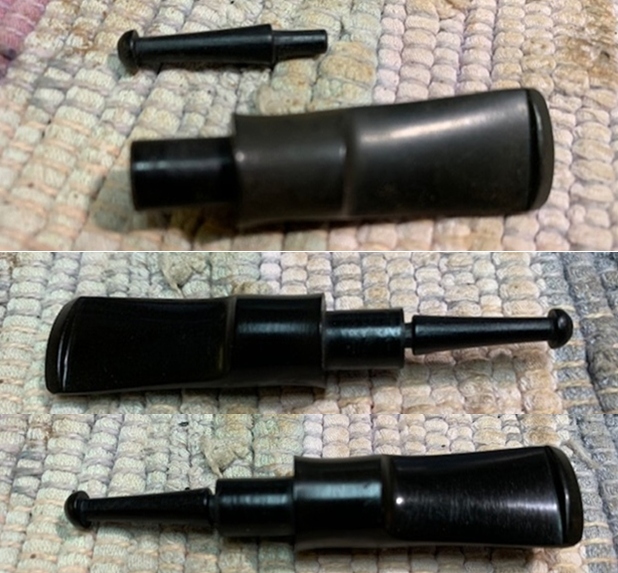
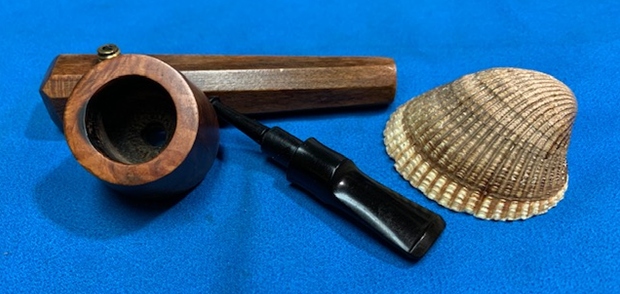
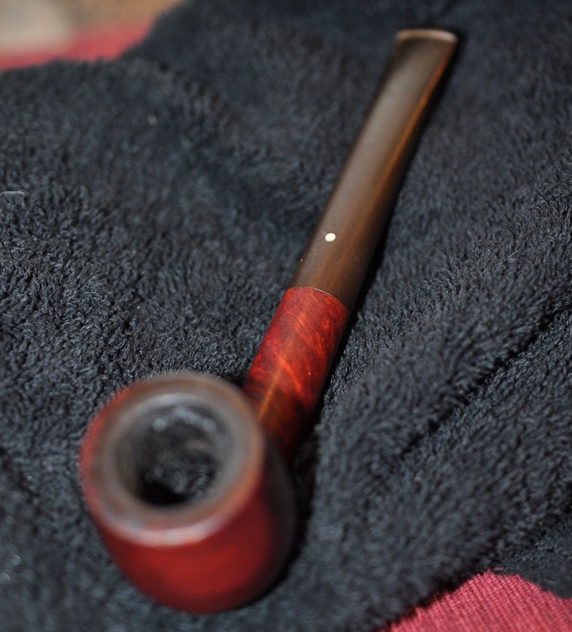
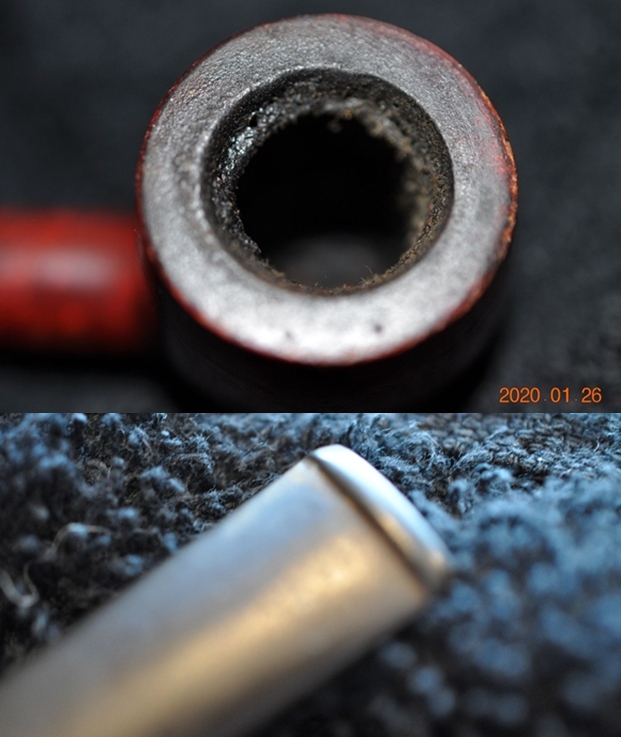
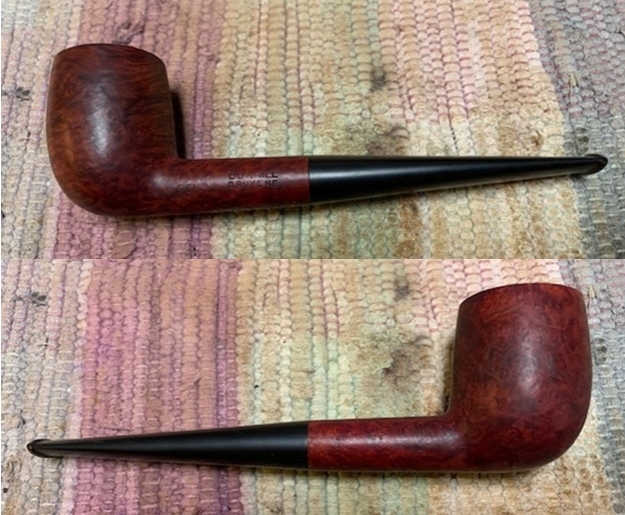
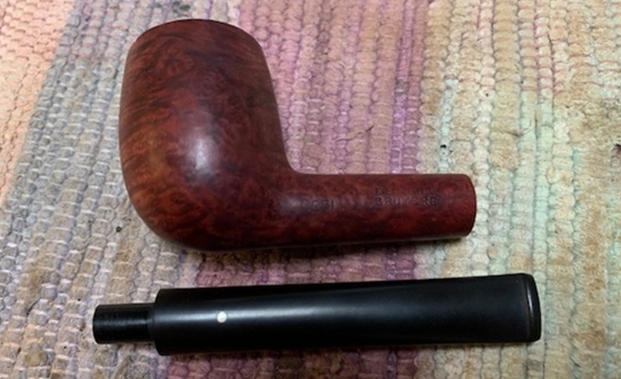
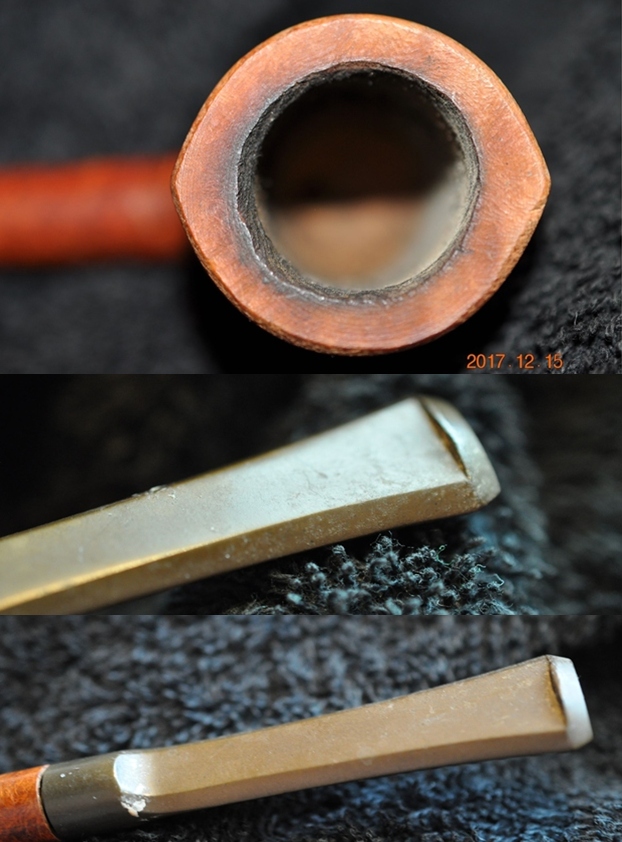
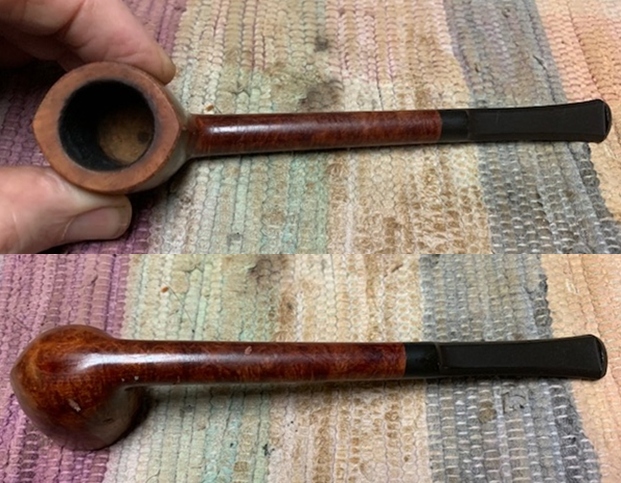
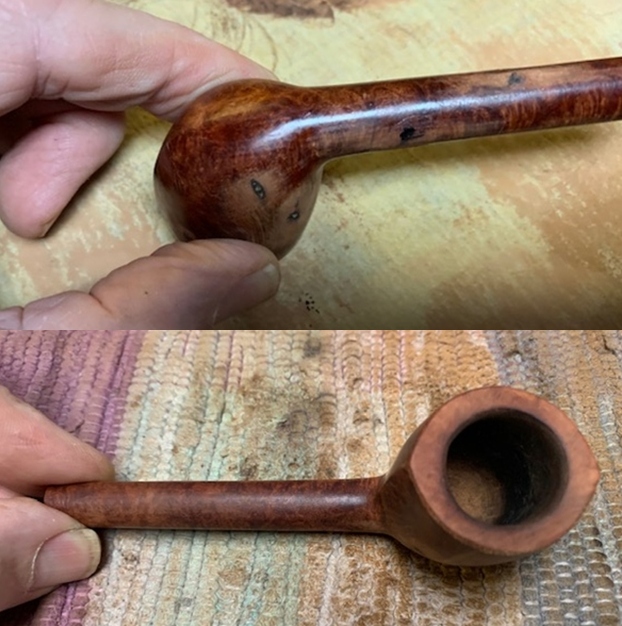
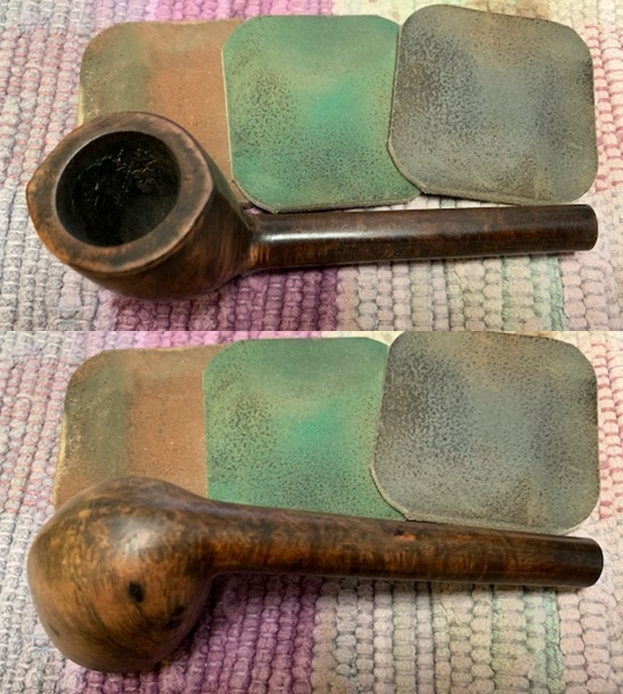
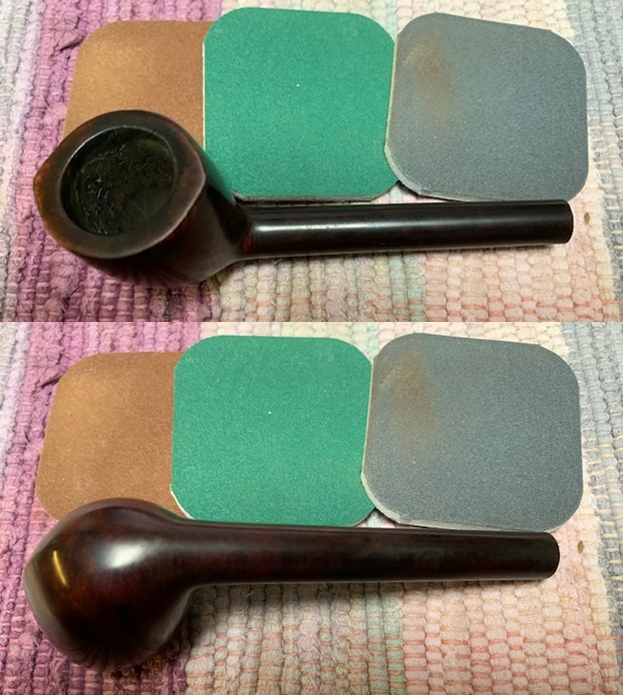
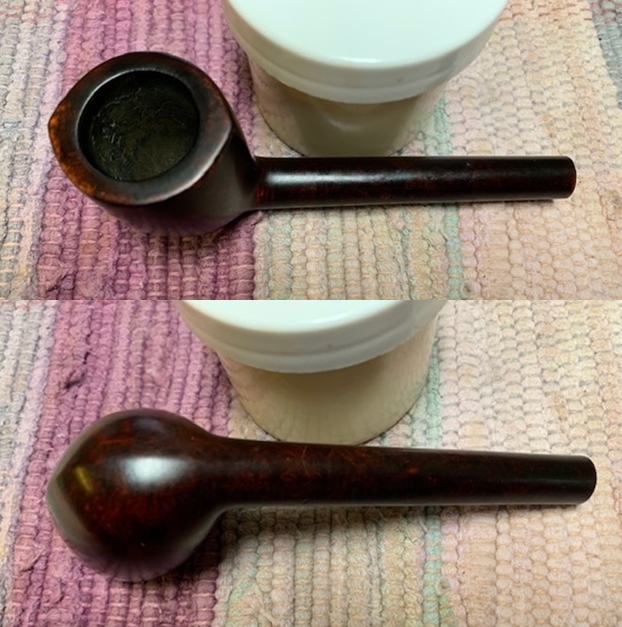
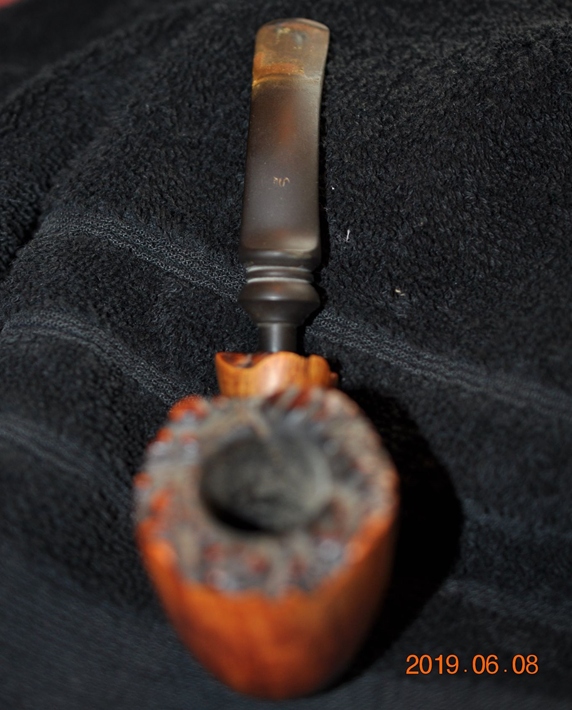
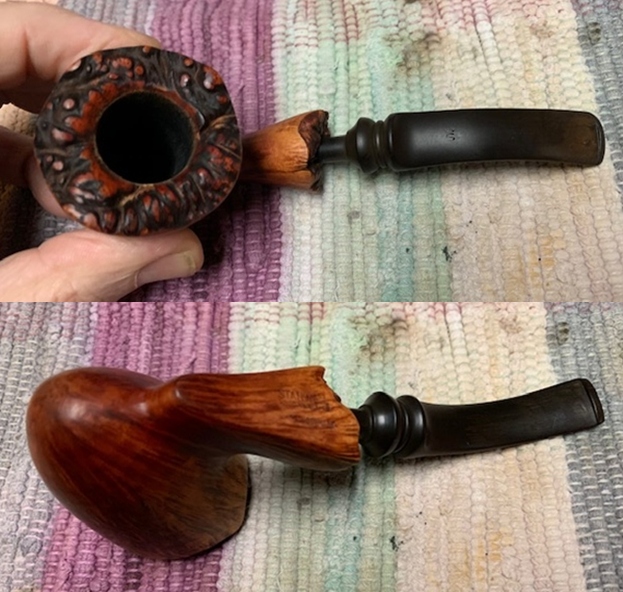
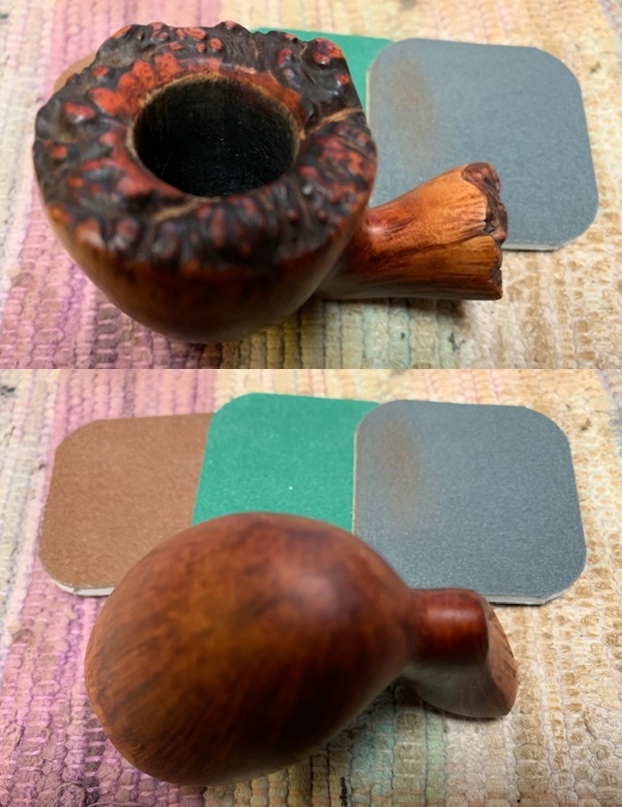
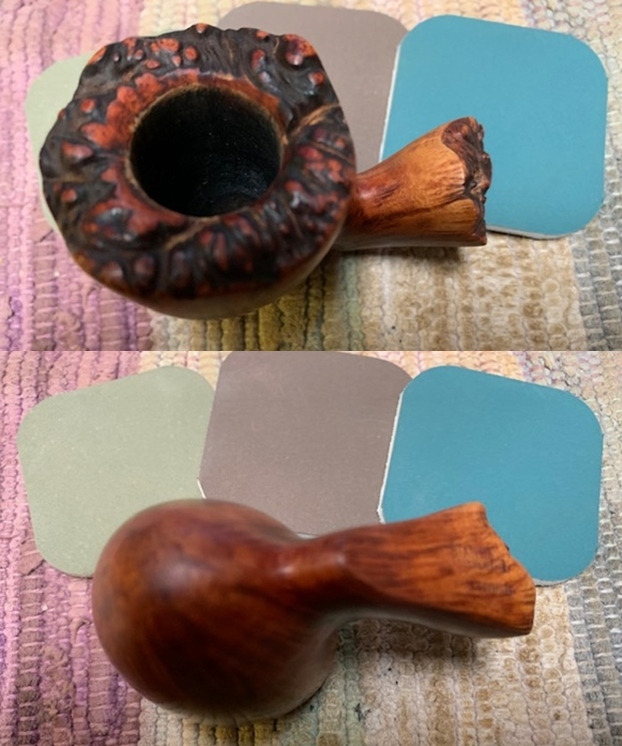
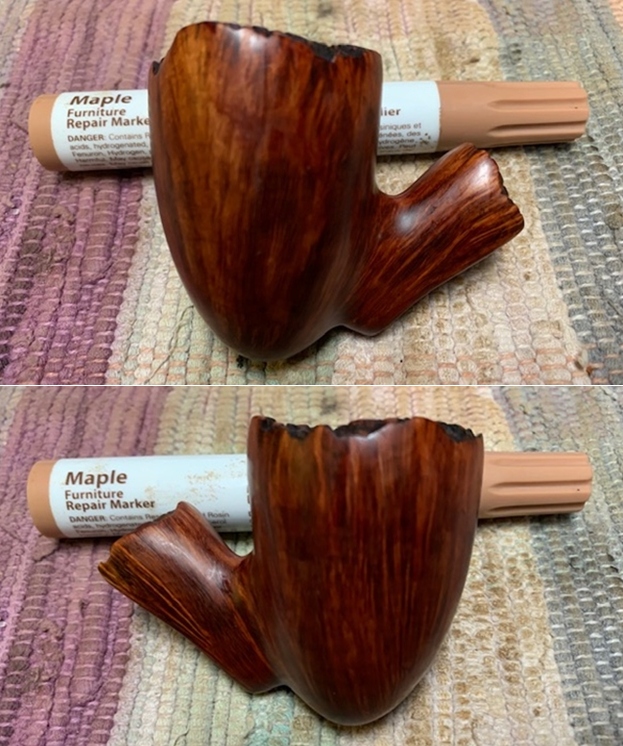
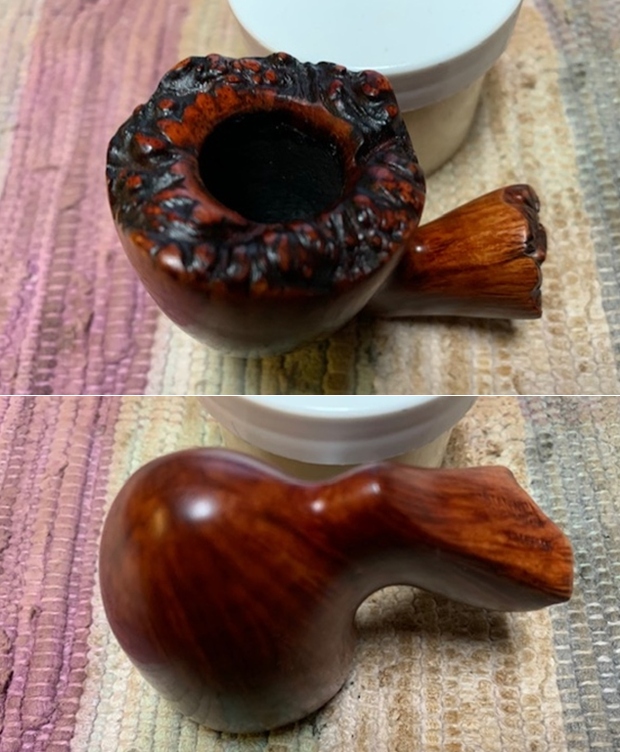
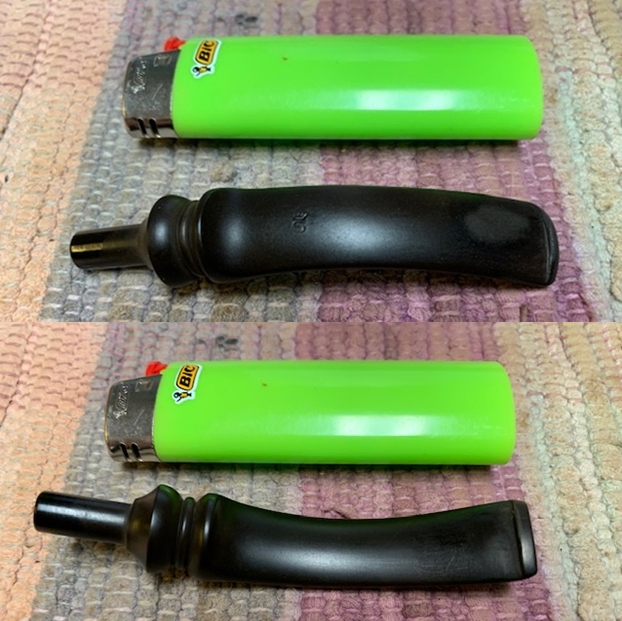
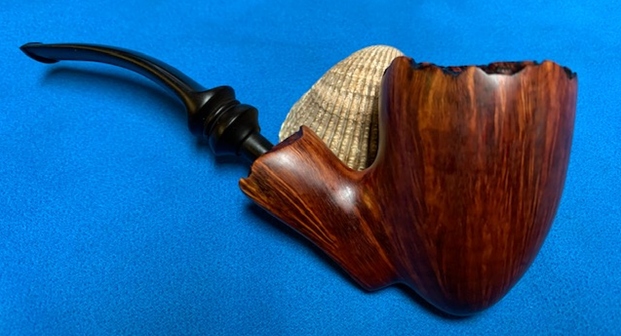
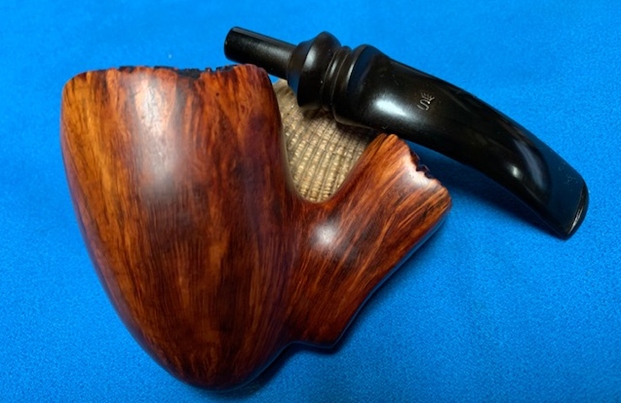
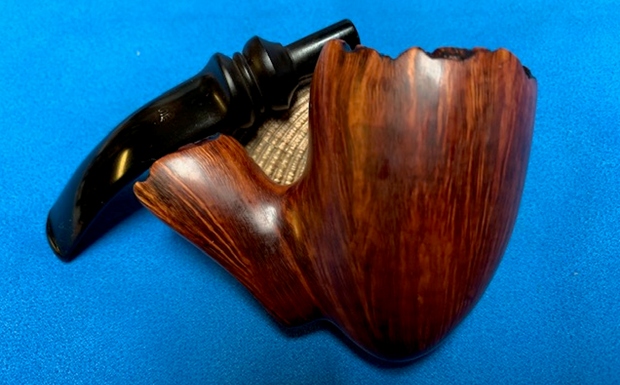
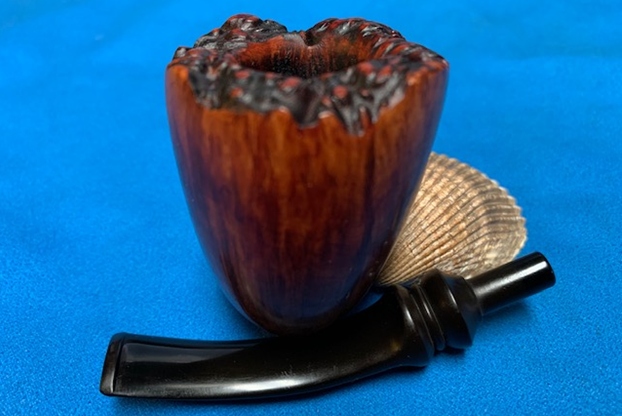
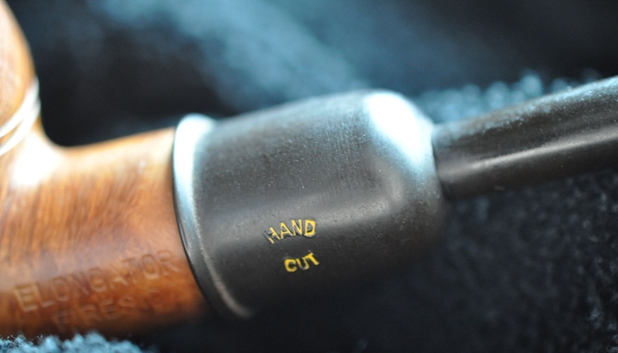
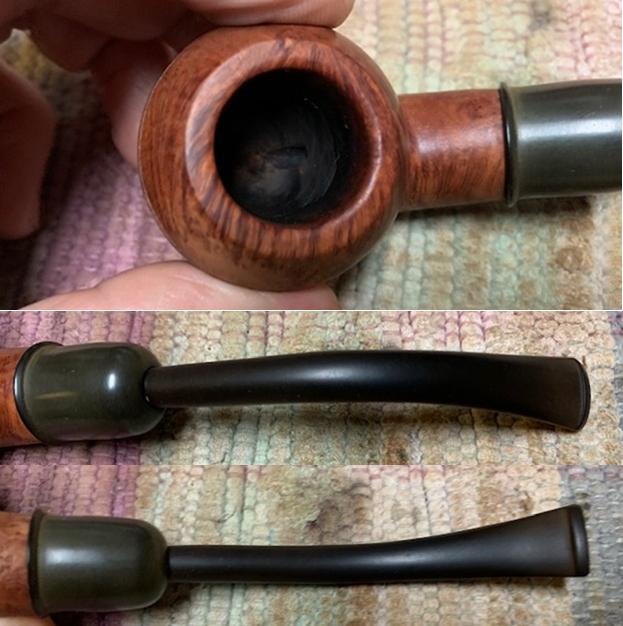
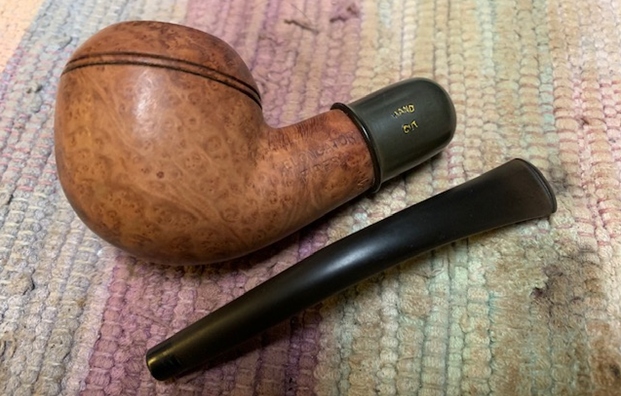
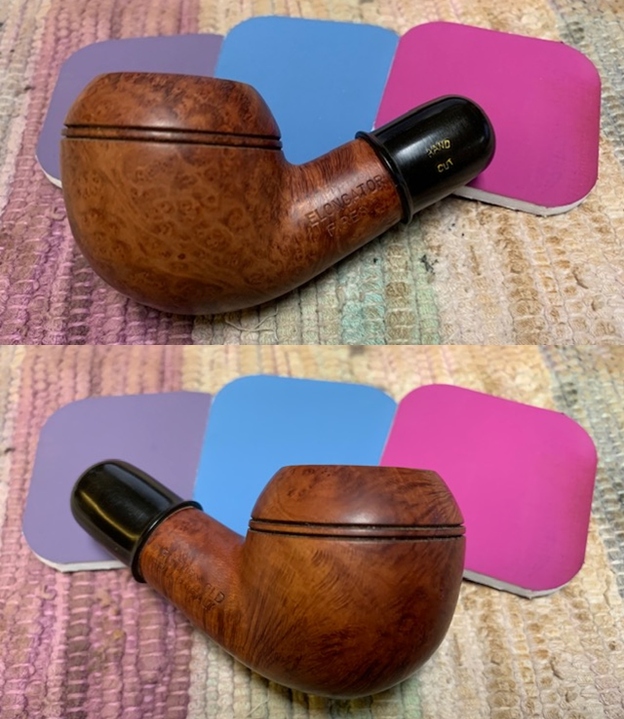
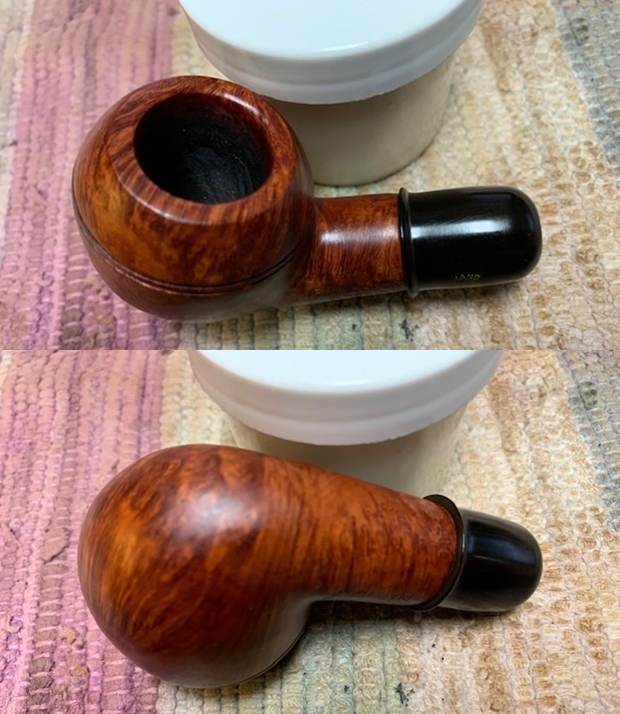
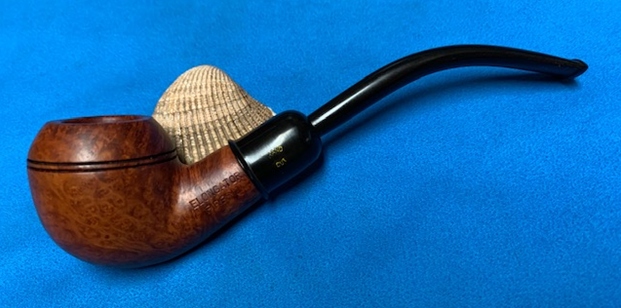
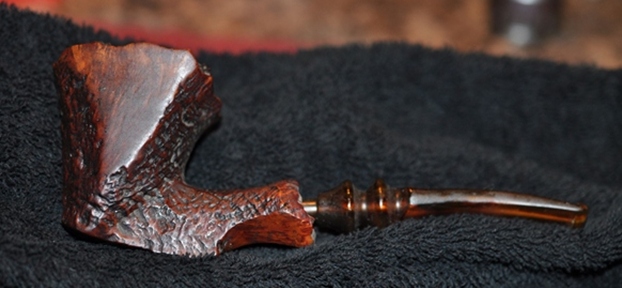
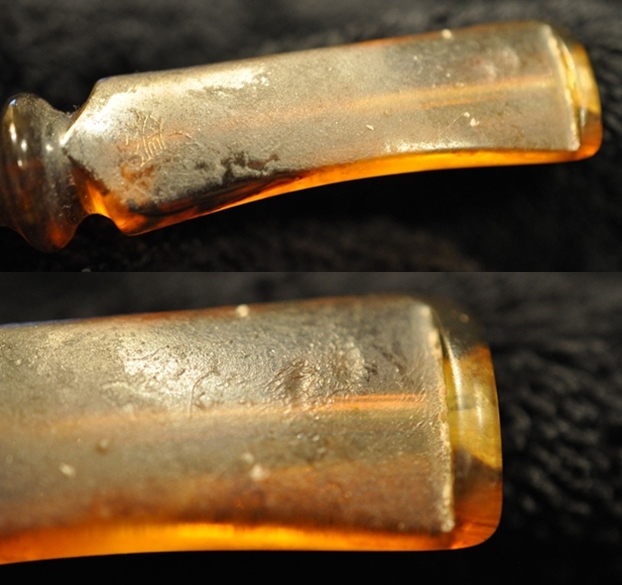
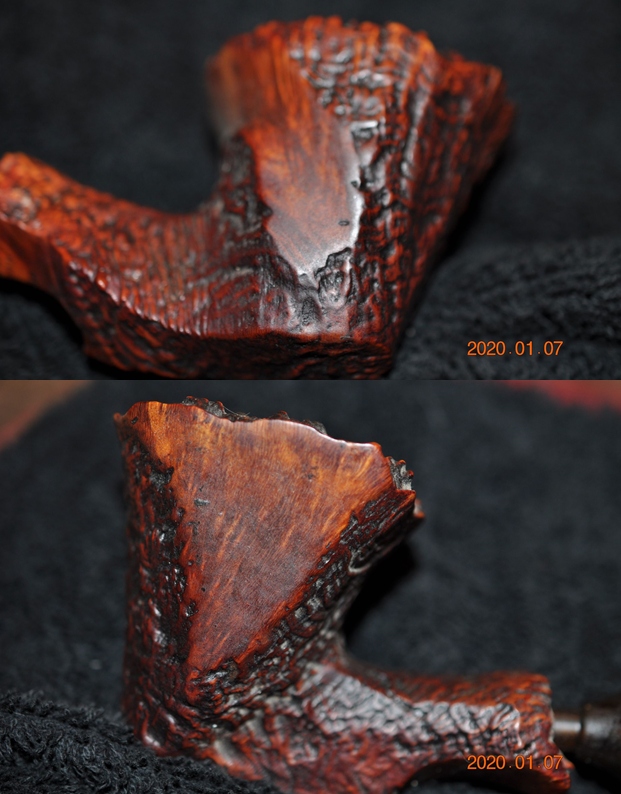
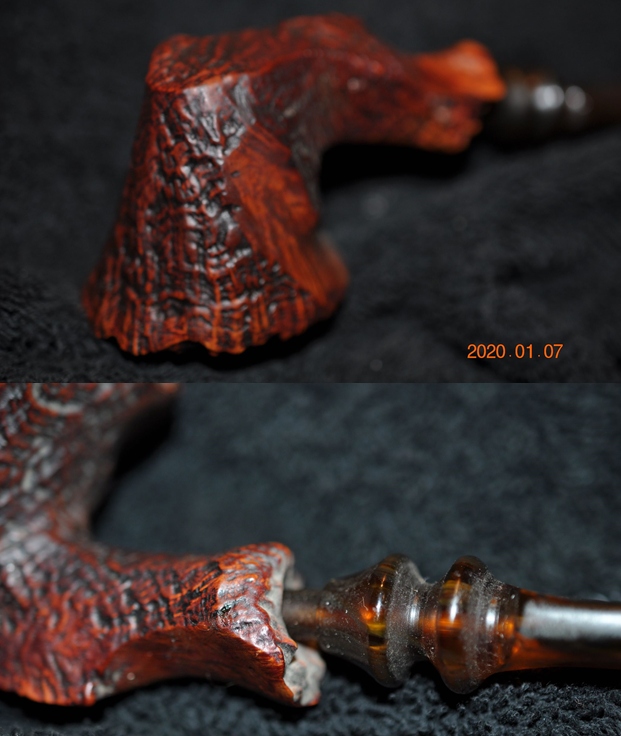
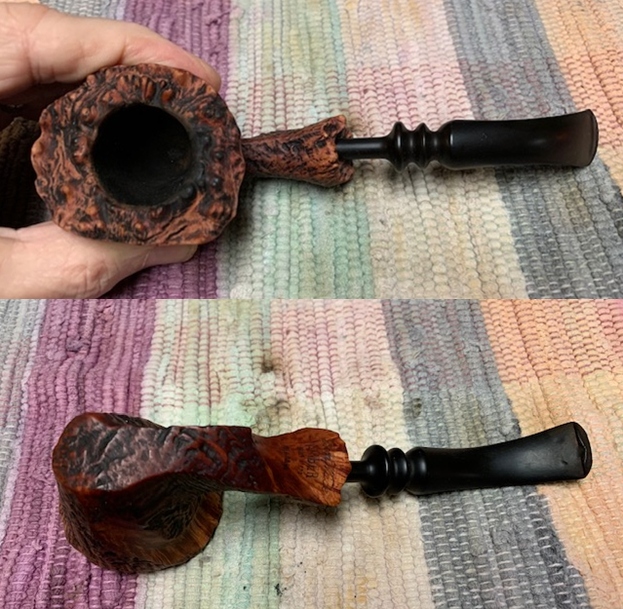
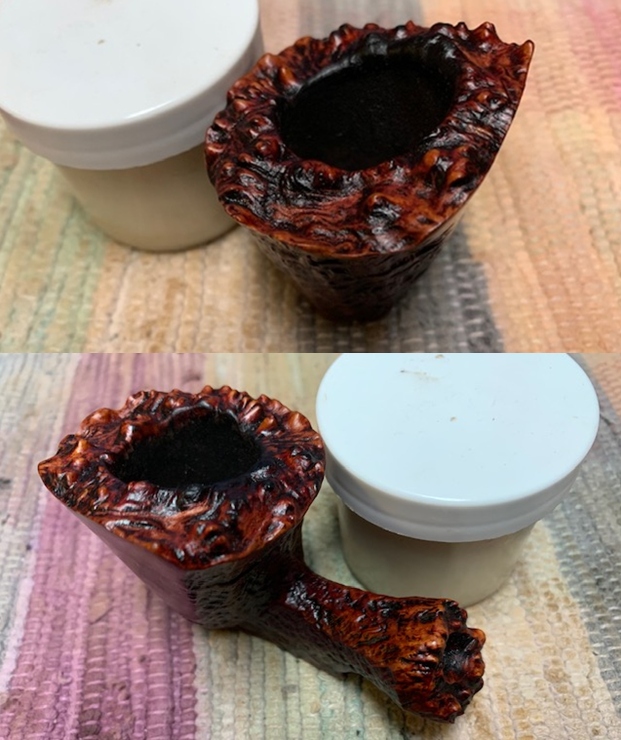
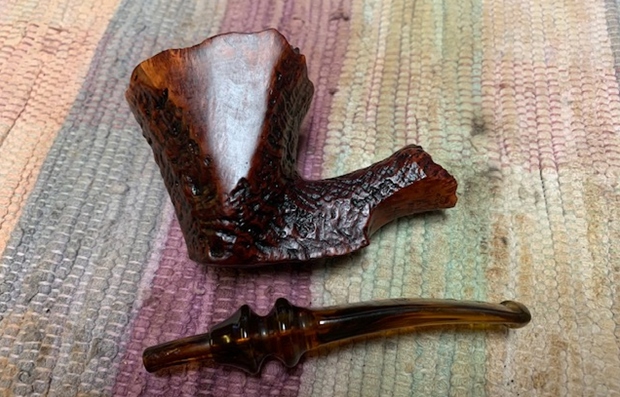
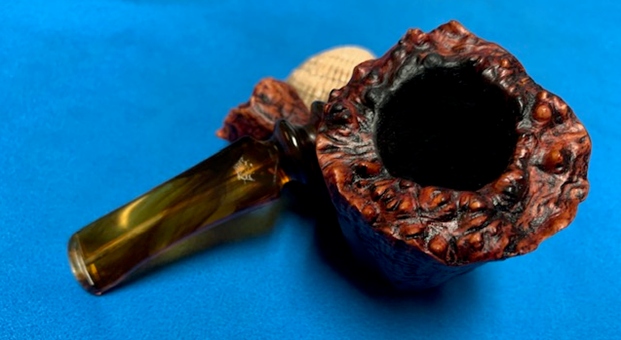
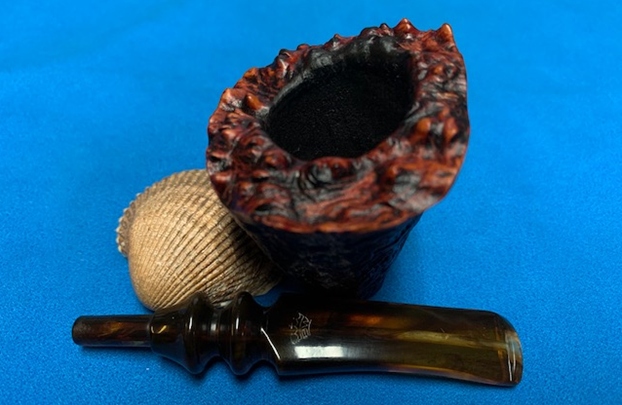
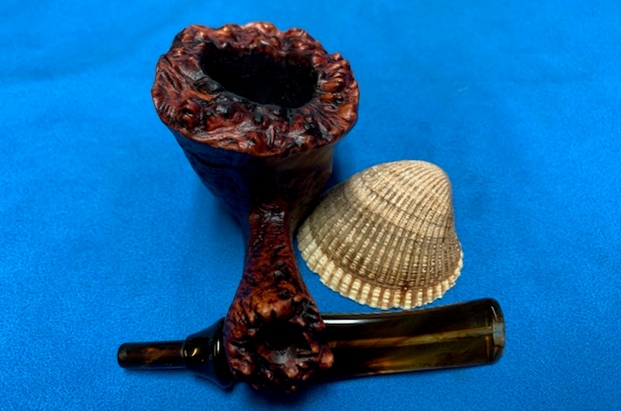
Additional information is found in Pipephil’s site. Aldo Velani line was produced primarily for export. The stem stamping on the Aldo Velani line had different variations provided by Pipephil: Looking now to the condition of the Aldo Velani Trio Billiard, much like his Apple and Pot brothers, the chamber has a thick cake which needs cleaning. The lava crusted on the rim too, is thick. This will need cleaning. The stummel with the ruby/burgundy is soiled and generally in good shape. I’m hopeful of keeping the hues consistent between the Pot and Billiard now on the table. The clear acrylic stem, like the Aldo Velani Trio Apple, is soiled and has some tooth chatter. There is one tooth compression on the lower bit which was the same on the other Aldo Velani Trio pipes – forensics pointing to a sole steward passing these pipes on. The clear acrylic always gives a pause to ask the question about whether it is the earlier acrylic known as Perspex, on older GBD pipes. This stem is not Perspex and therefore alcohol may be used to clean without concerns of the material crazing. The airway does have a burgundy coloring, so after cleaning, it should still be burgundy but more translucent. I take a picture of the starting point of the clear acrylic stem.
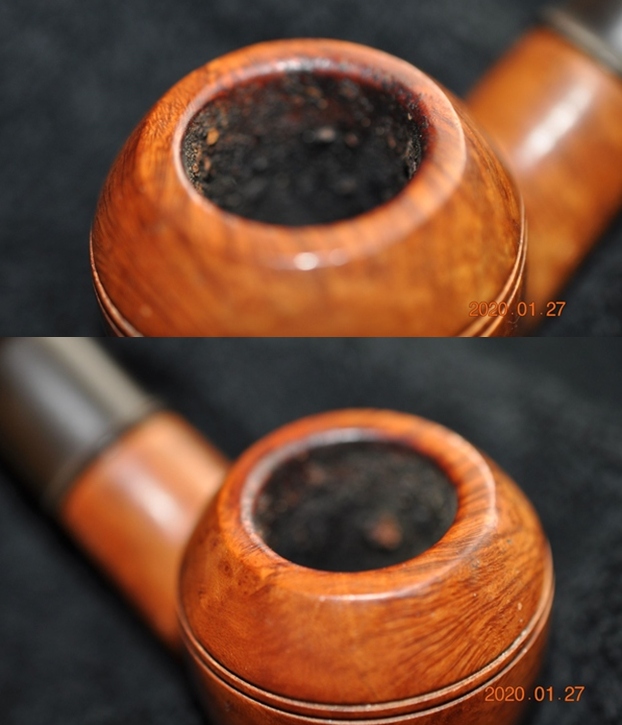
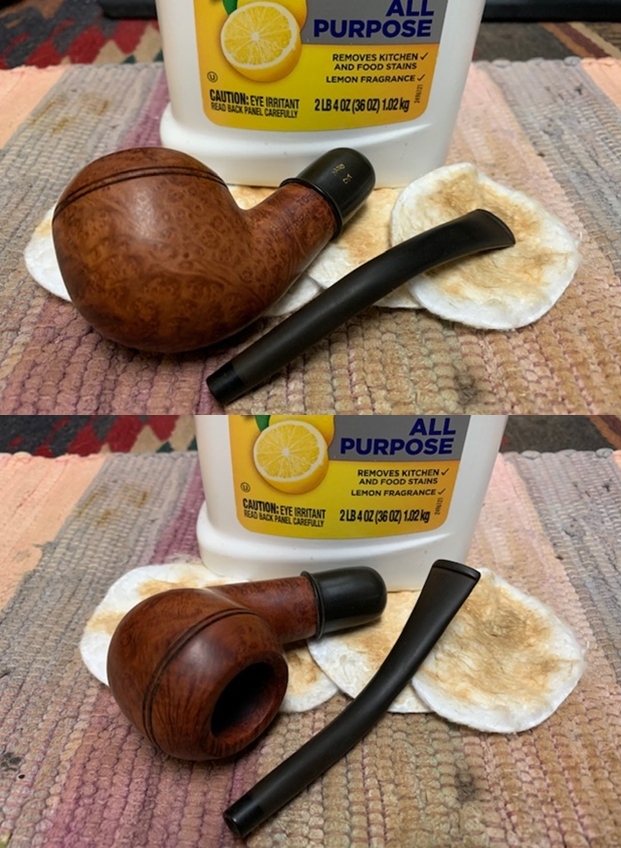
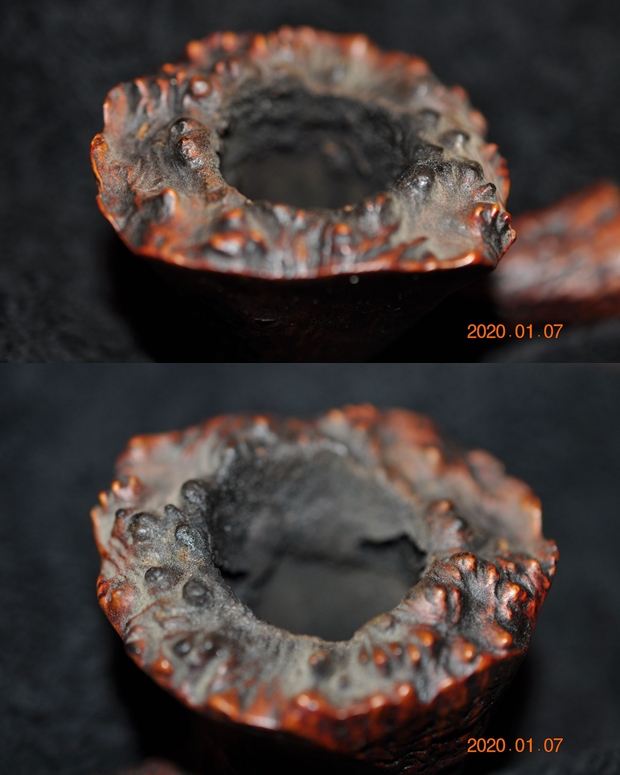
  To start the airway’s cleaning process, I put the entire stem into a soak of lemon juice to help soften the oils in the airway. As a natural acidic cleaning agent, I use lemon juice when working on Perspex stems. I decide to experiment to see how it works on the Aldo Velani stem. I assure you; the stem is in the lemon juice!
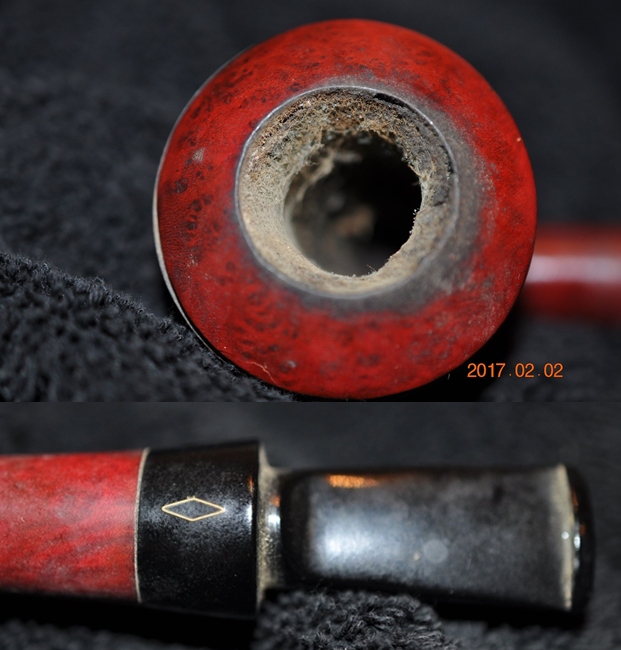
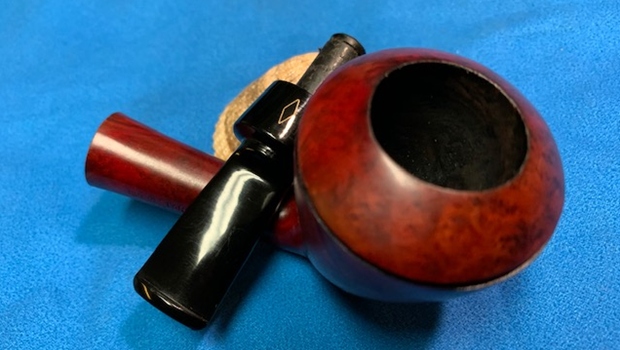
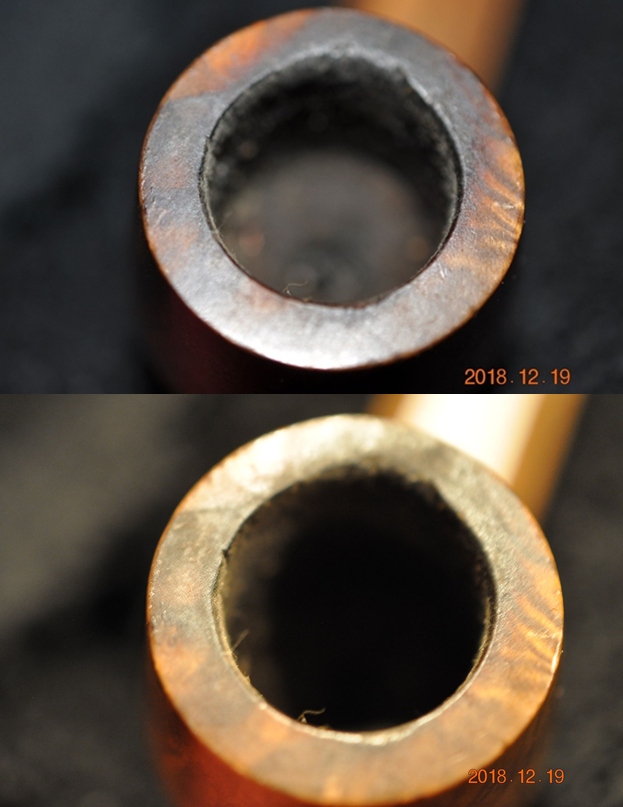
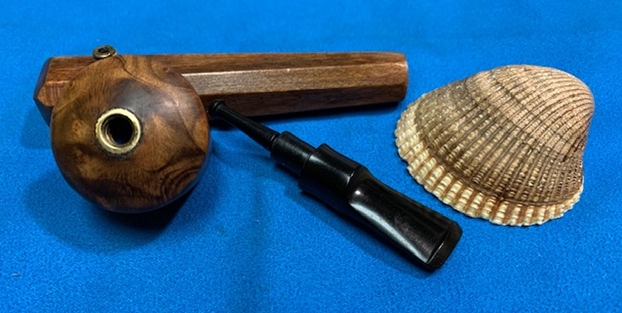
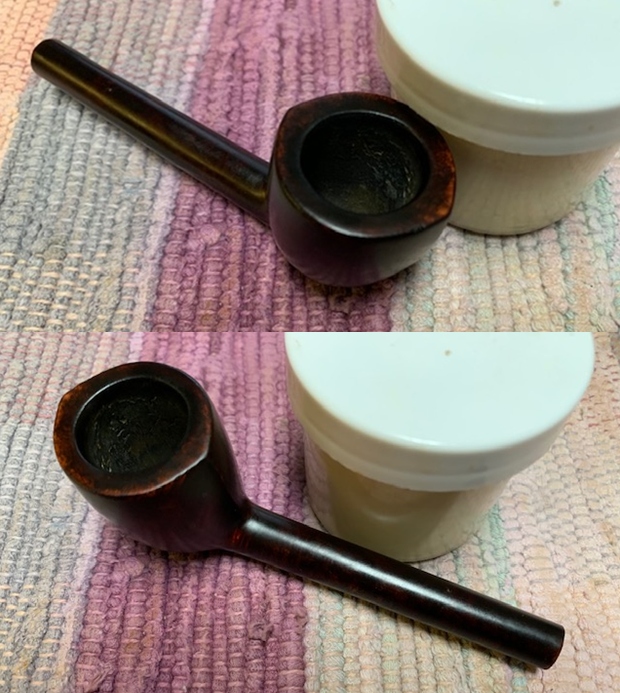
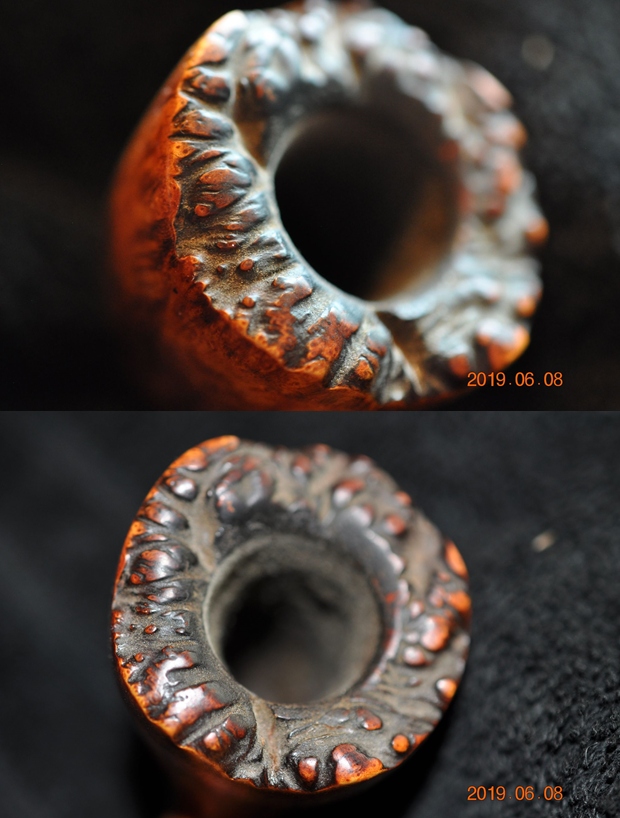
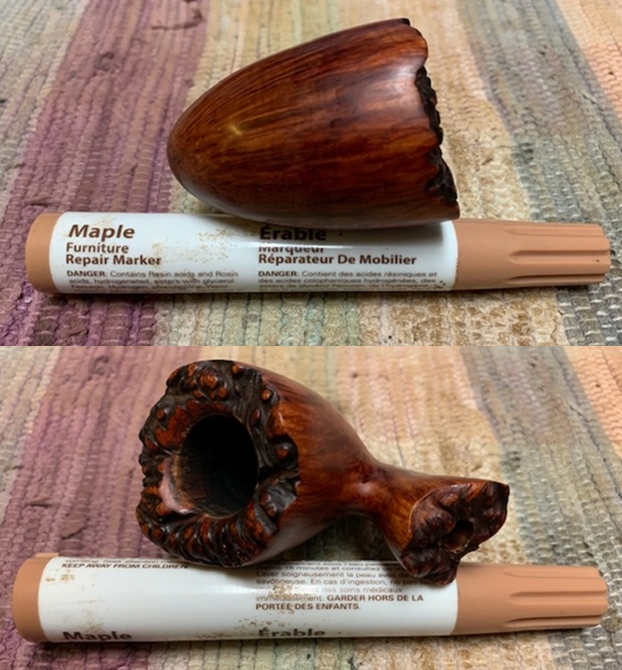
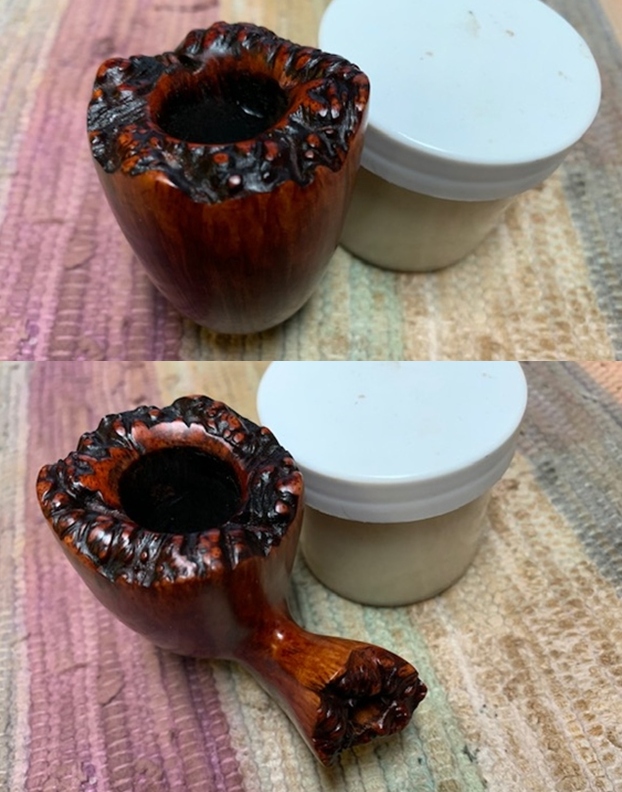
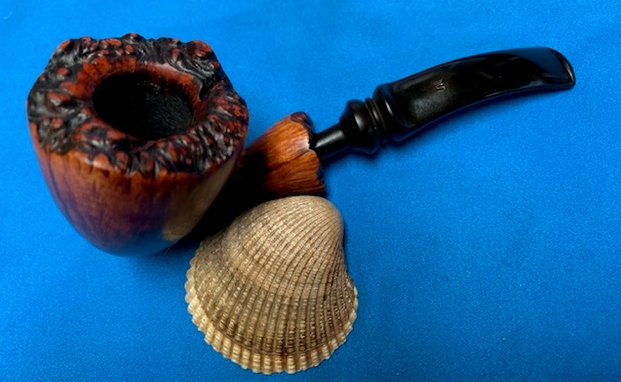
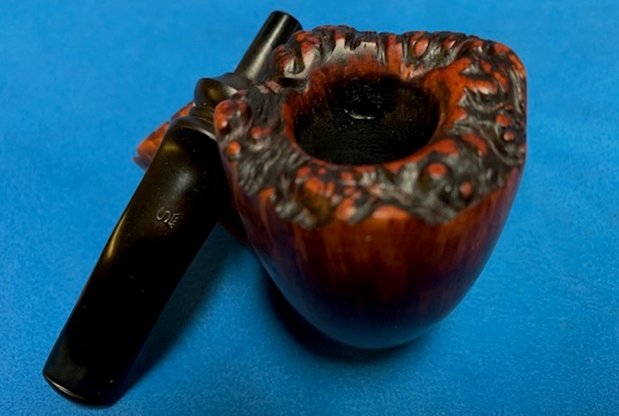
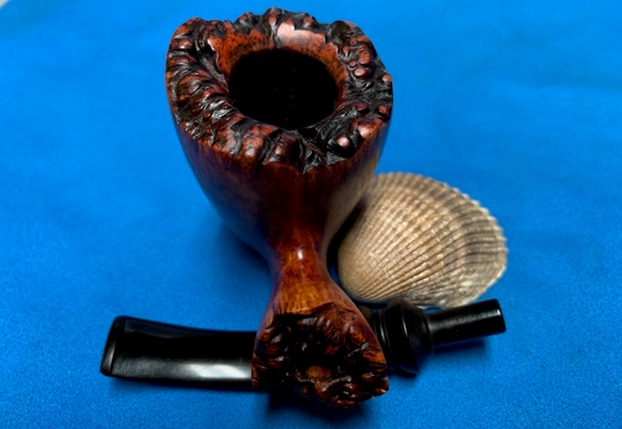
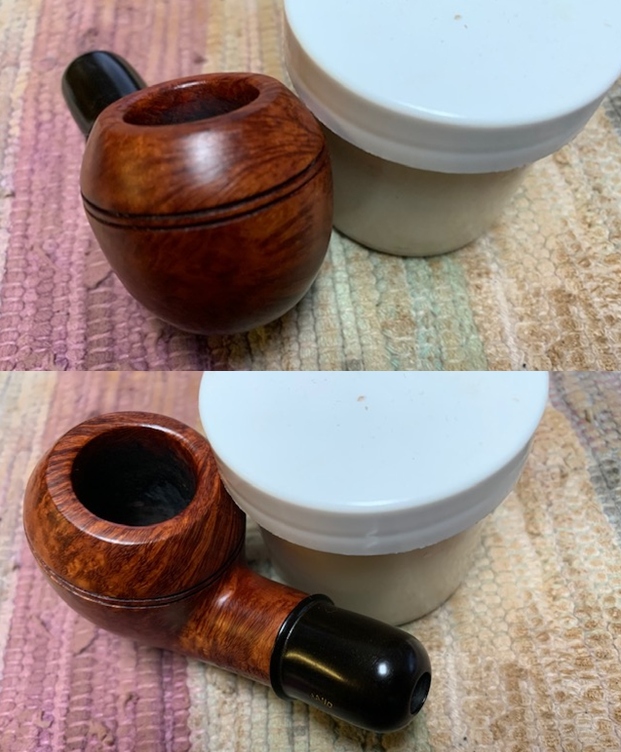
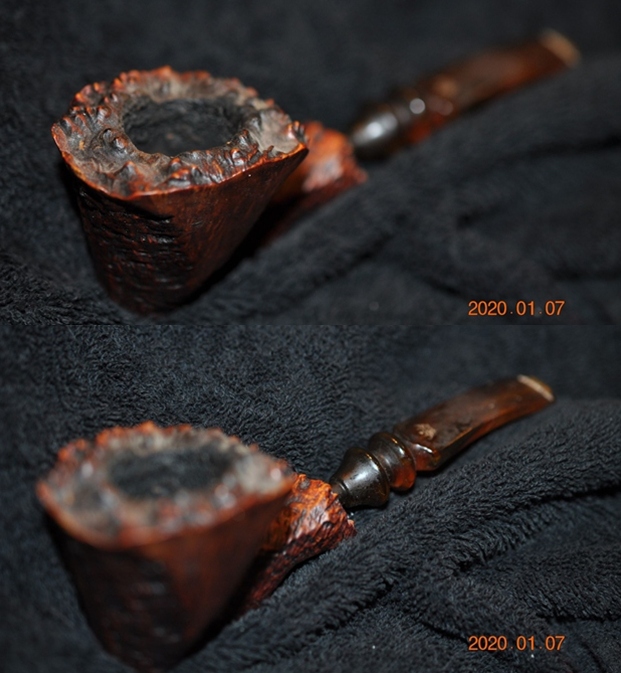
 While the stem is soaking in the juice, I begin the cleaning process of the chamber and rim. I’m hopeful that there will be no heating issues with this Aldo Velani Billiard as was the case with his brother, the Pot. The rim is capped with a thick lava flow crust. The cake in the chamber is thick and I take a picture to show the starting point.
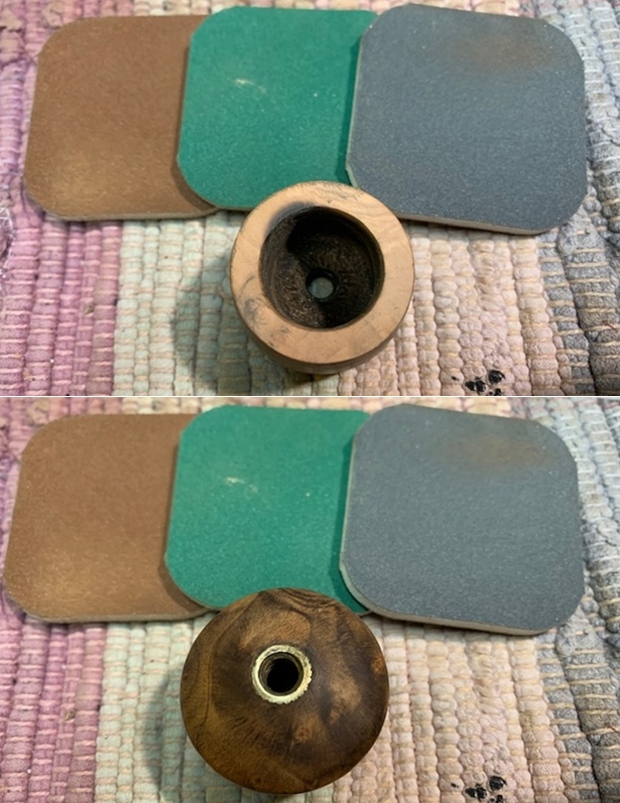
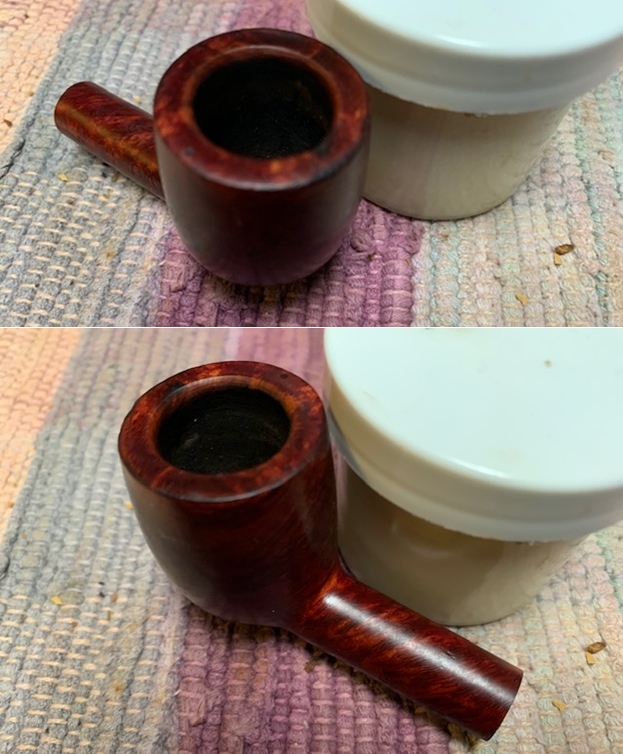
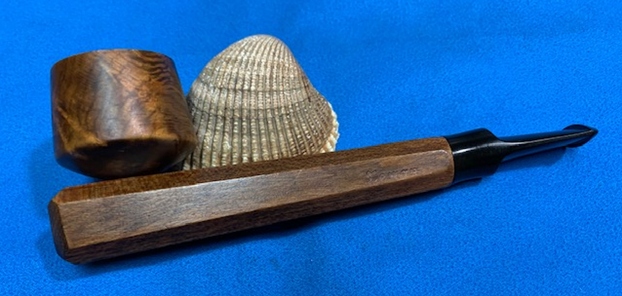
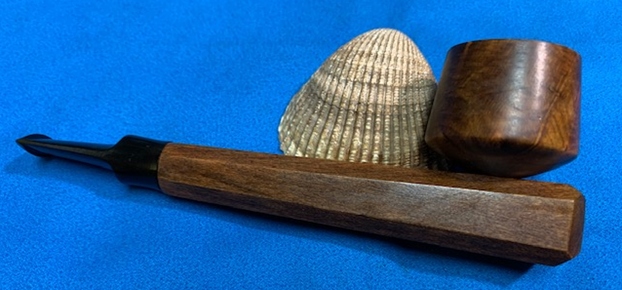
 To begin the reaming of the chamber, starting with the smallest of 4 blade heads provided by the Pipnet Reaming Kit, I use 2 blade heads. Next, I transition to scraping the chamber wall using the Savinelli Fitsall tool and finish by sanding the chamber with 240 grade sanding paper wrapped around a Sharpie Pen.
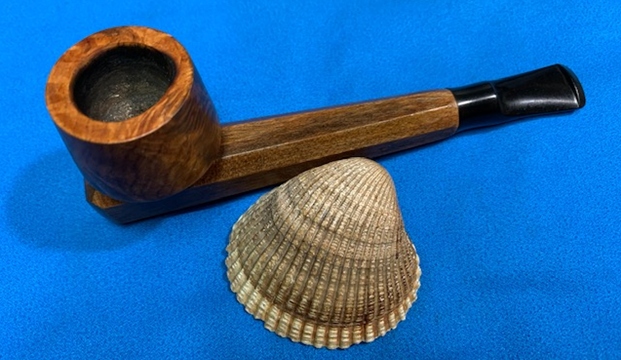
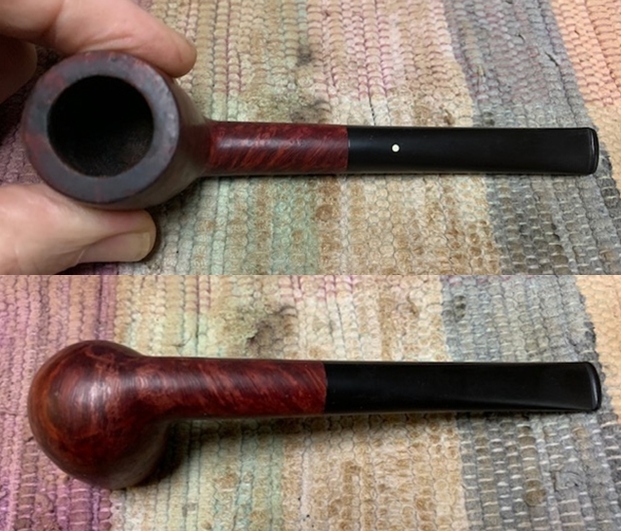
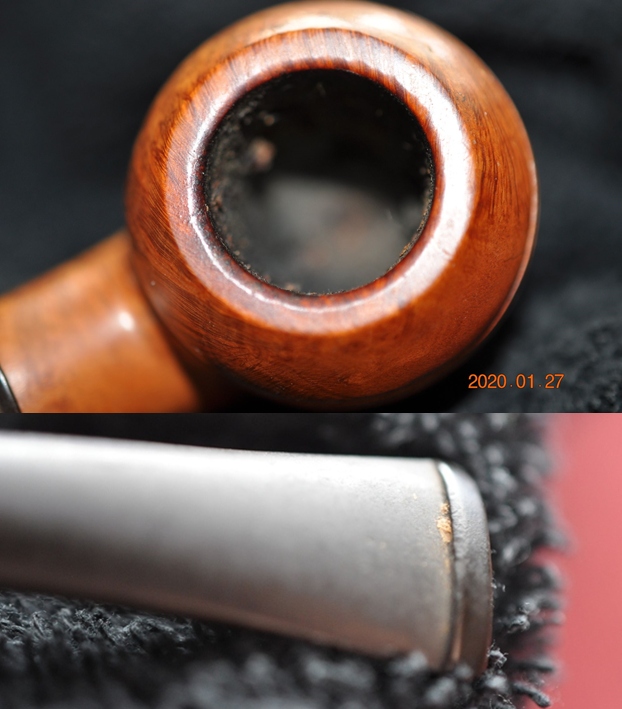
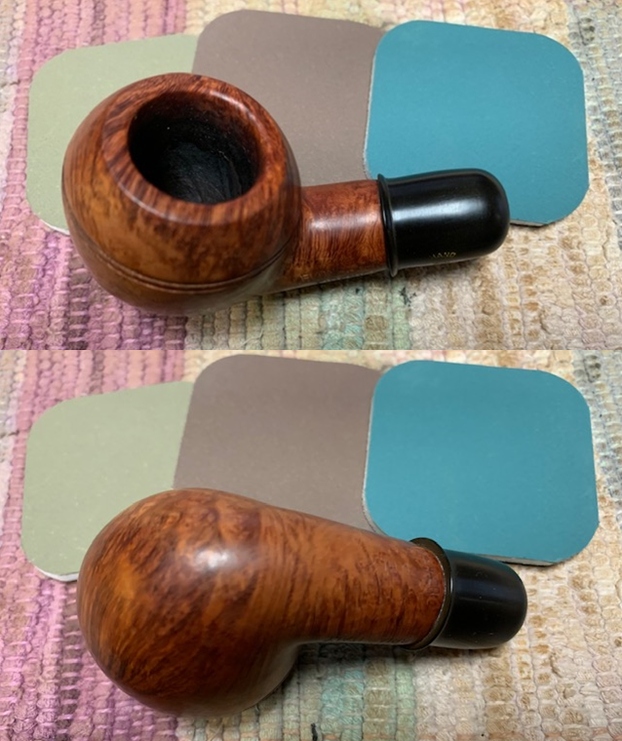
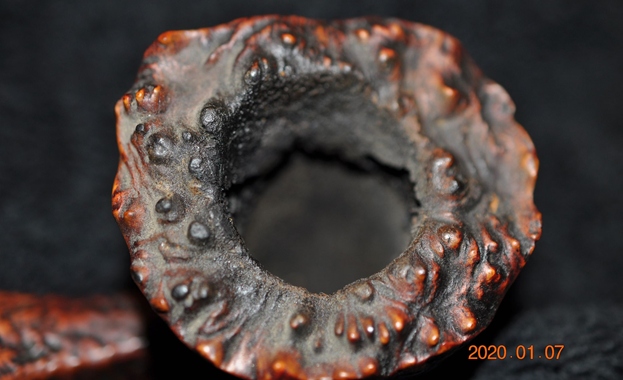
 After wiping the chamber with a cotton pad to remove carbon dust residue, an inspection of the chamber reveals healthy briar ready to go again.
  Looking to the rim, using the edge of my Winchester pocketknife, I carefully scrape the crusted carbon. I avoid gouging the briar by pulling the edge over the surface rather than pushing the blade.
  Next, using undiluted Murphy’s Oil Soap and starting with a cotton pad, the ruby/burgundy external surface is scrubbed. I also employ a brass wire brush to work on the rim.
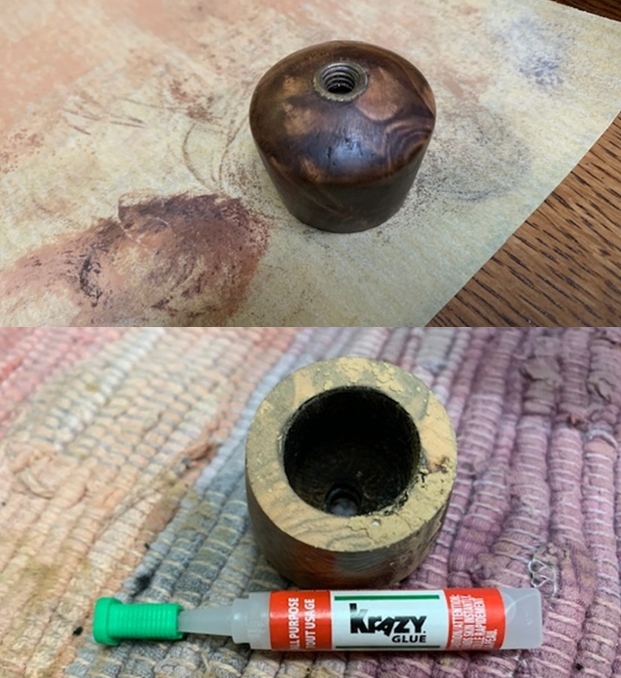
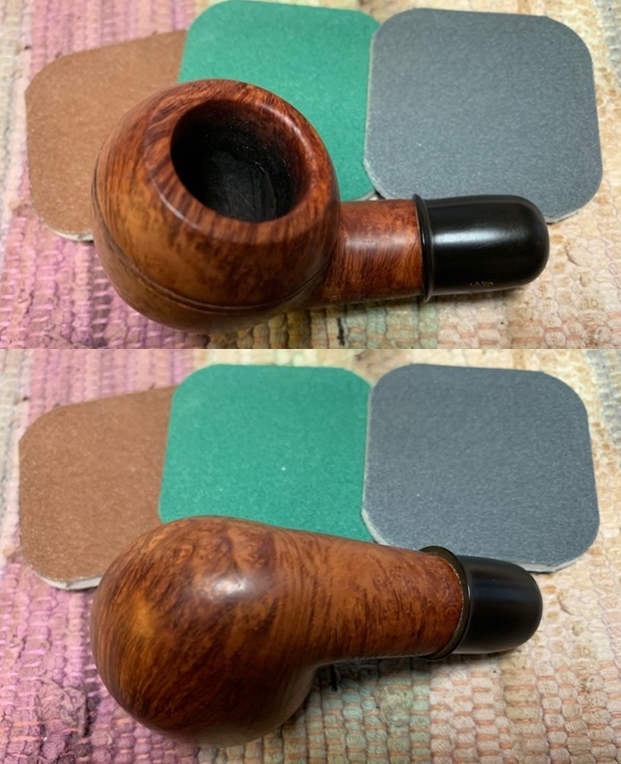
 After scrubbing the bowl and rim, I take the stummel to the sink and continue the cleaning using warm water to rinse the Murphy’s Soap. Using shank brushes, I then work on the internal mortise chamber with anti-oil liquid dishwashing soap. This helps to break down the tars and oils which have built up through use. After a thorough rinsing, the stummel is transitioned back to the worktable.
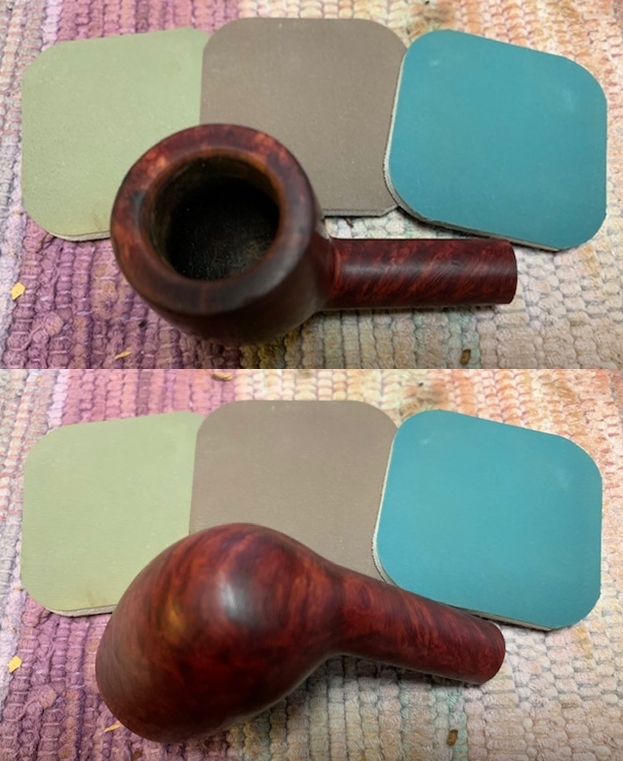
  After the cleaning, the rim shows some bald spots where raw briar is exposed. I’ll need to address these, but the challenge will be to match and blend the stummel ruby/burgundy and the rim contour so that it doesn’t draw attention.
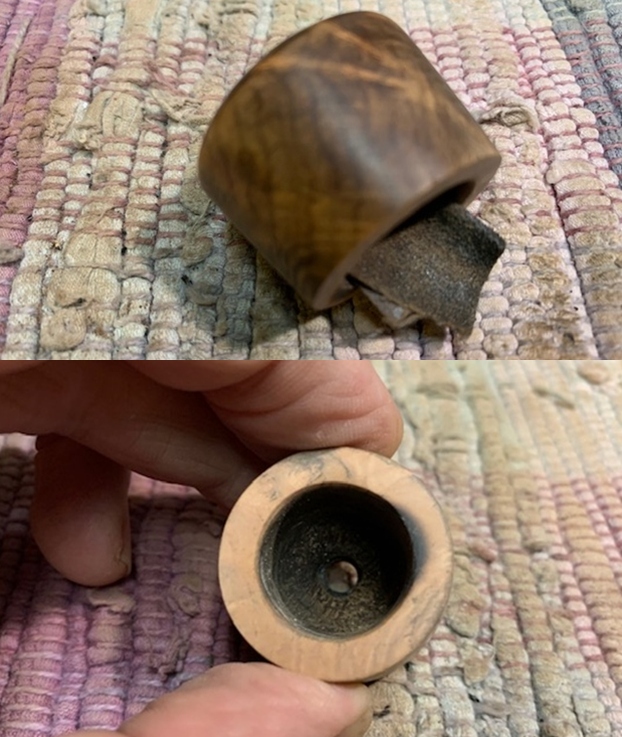
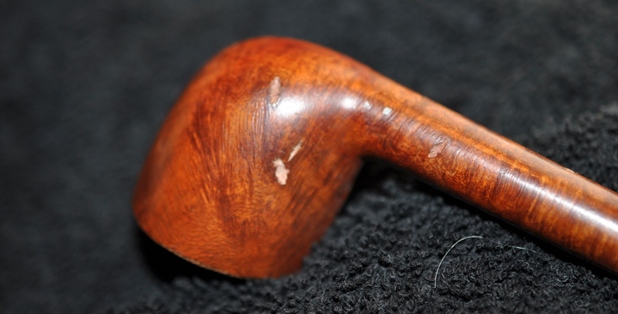
 I also find a small fill needing attention in the crook of the bowl and shank. It is not too noticeable.
 The cleaning continues with the internals using cotton buds and pipe cleaners dipped in isopropyl 99%. After some effort, the cleaners and buds emerge lighter. The job is done, and I move on.
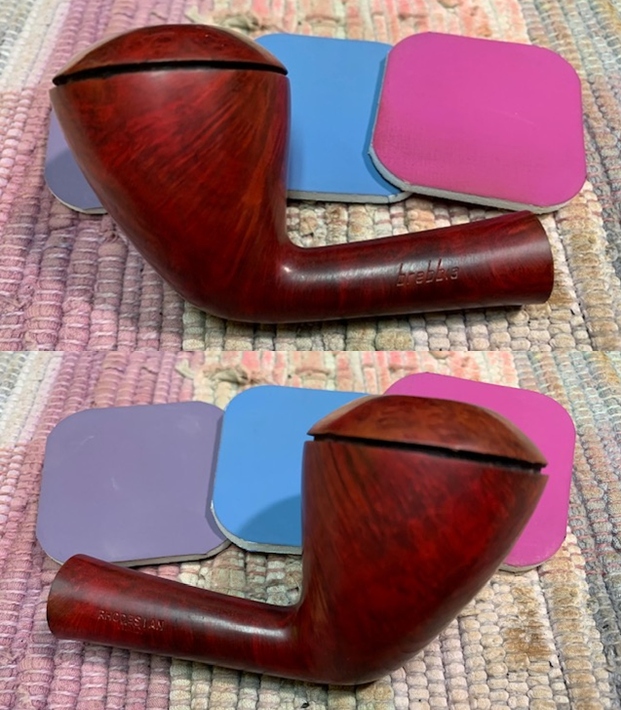
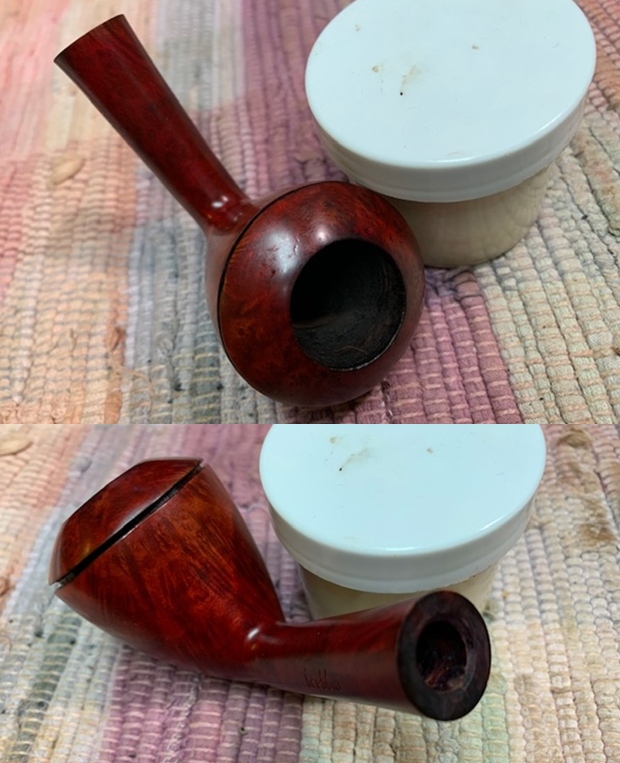
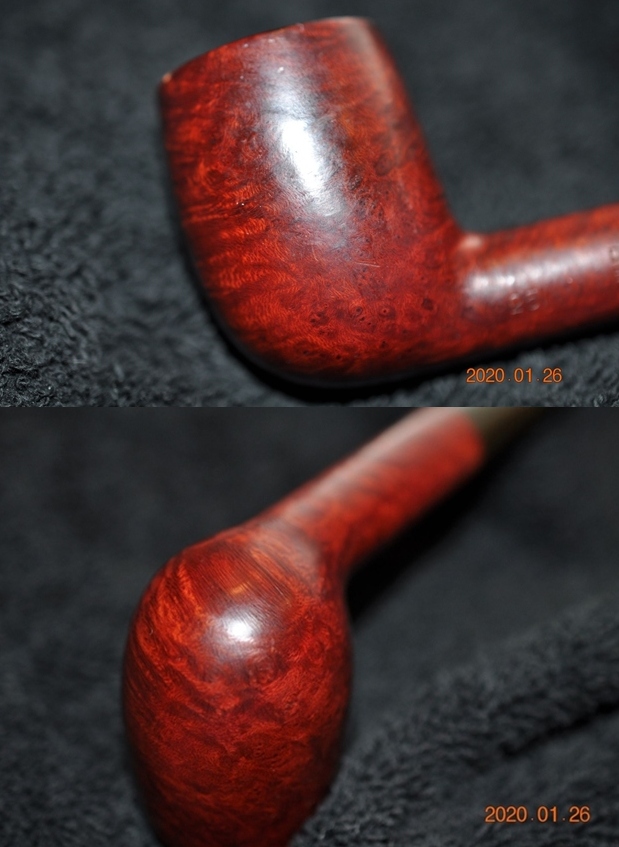
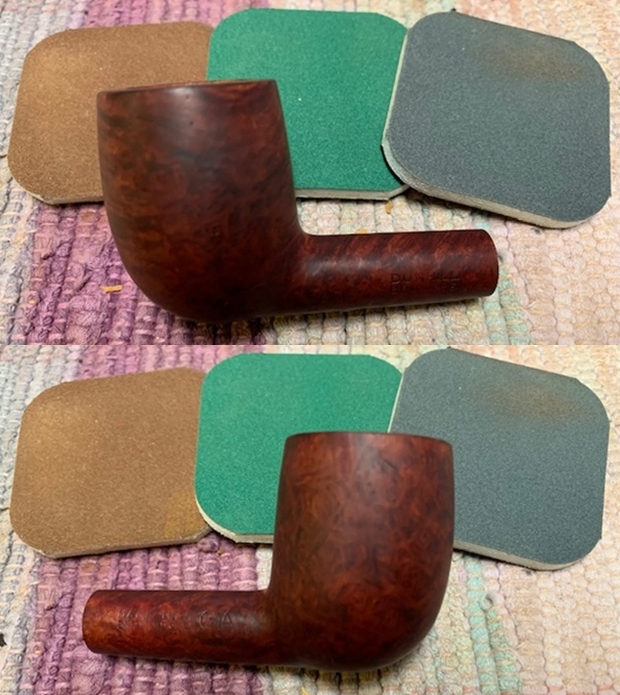
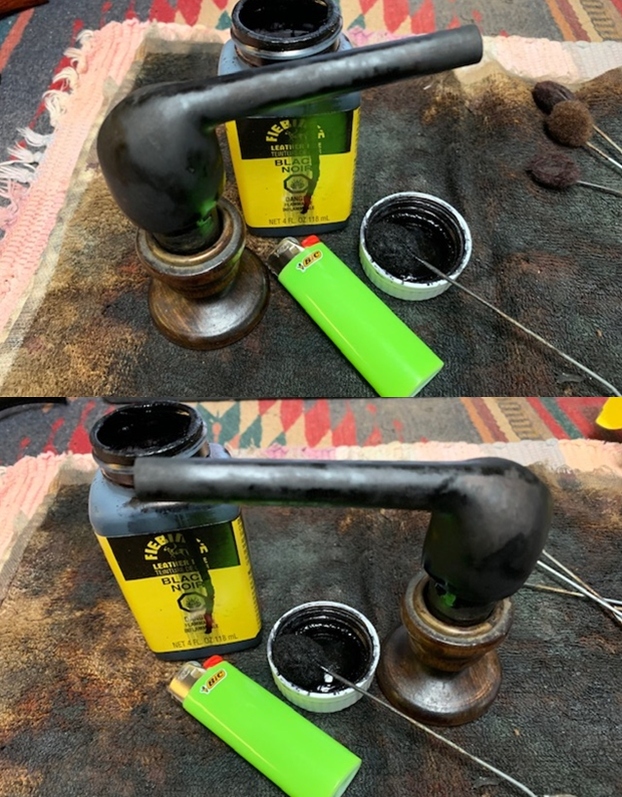
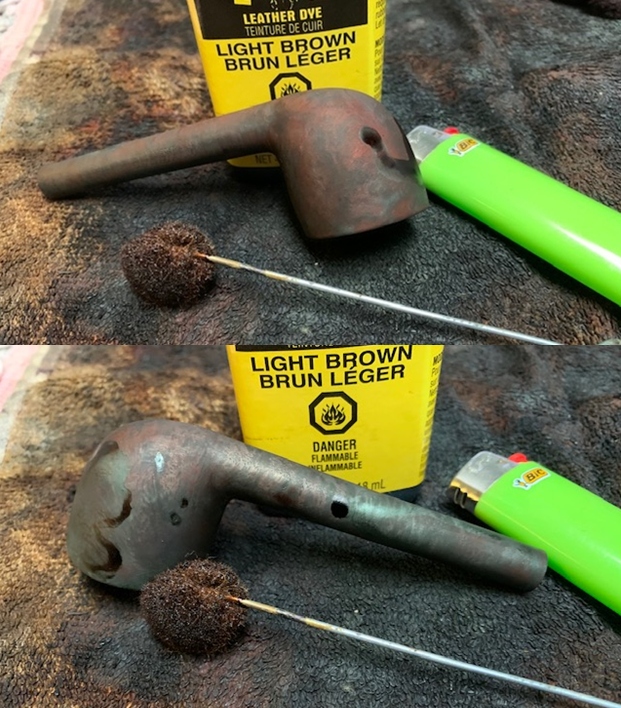
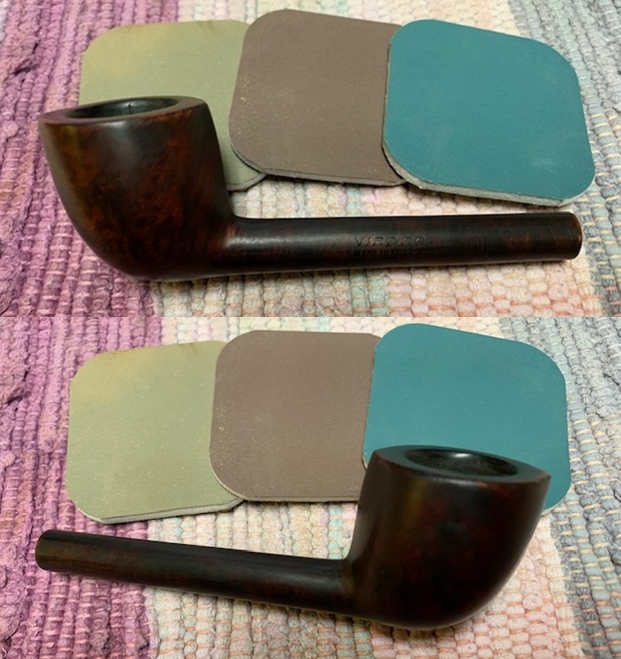
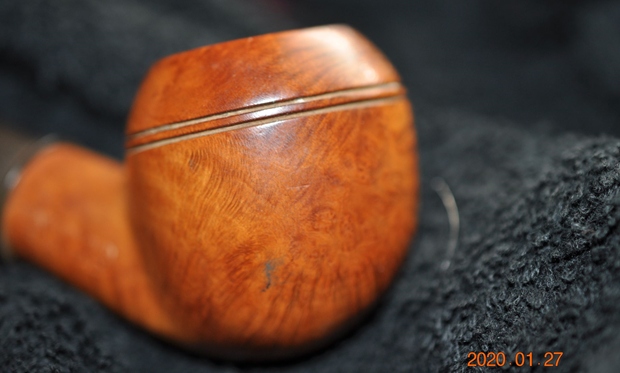
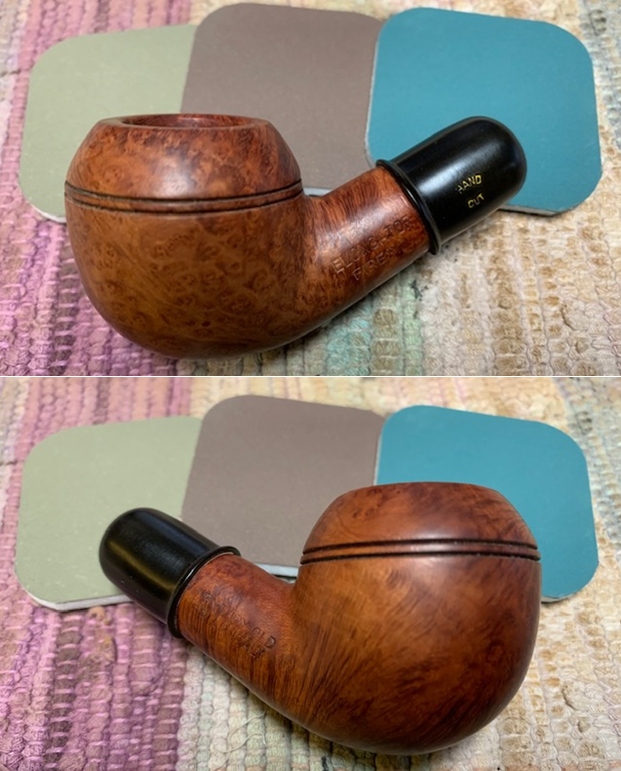
 I continue with the stummel and take another look at the rim. I had to do some work on rim of the Aldo Velani Trio Pot that I just completed. I saved the dye mixture I used to color the rim and I’ll use that dye mixture on the Billiard’s rim. The hue will be consistent between the two restorations of the same colored pipes. I take another picture of the Billiard’s rim, which is not in bad of shape as was the Pot’s, but the finish on the rim is thin at places and uneven.
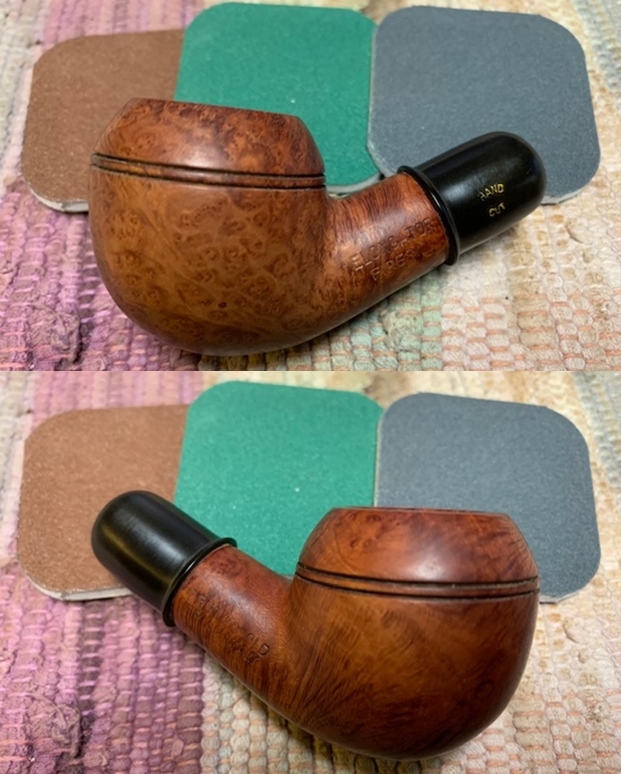
  First, I apply the 1500 grade micromesh pad to clean the rim.
 This is followed by applying the full battery of micromesh pads to smooth the rim surface.
 As I mentioned above, I saved the dye mixture that I used to restore the Aldo Velani Pot, in my last restoration project. After testing and some experimentation, I used a mixture with the base of Fiebing’s Oxblood Leather Dye with a few drops of Fiebing’s Black Leather Dye to deepen the hue. It worked well on the Pot so I’m hopeful the Billiard will be just as happy!
  I apply several applications of the dye mixture with a cotton bud until the rim seems to be fully colored.
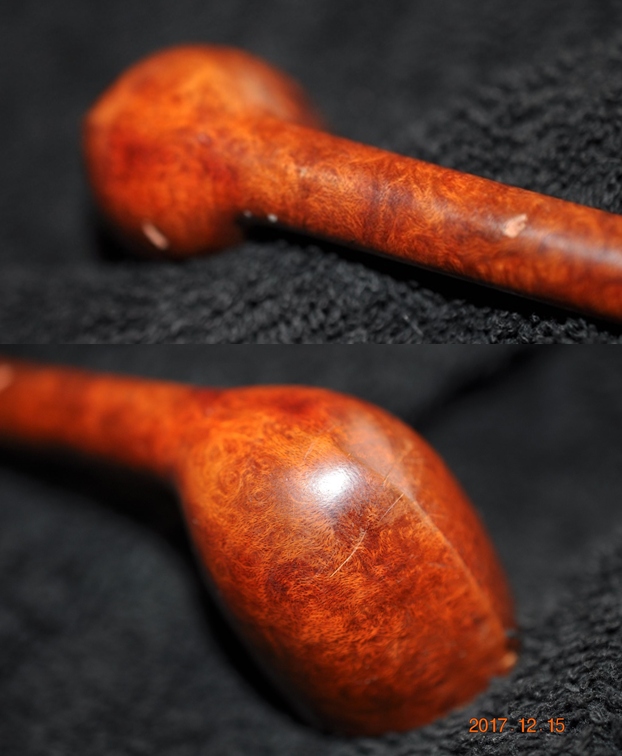
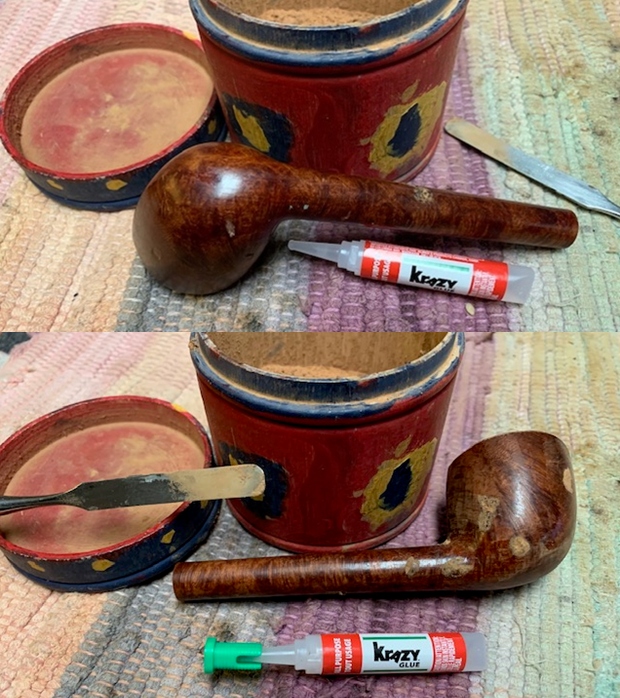
 I take another look at the fill I found earlier at the crook of the shank/bowl union. While I have the dye on the worktable, I apply some of the mixture on the fill to see if it would help camouflage the area. Unfortunately, it didn’t.
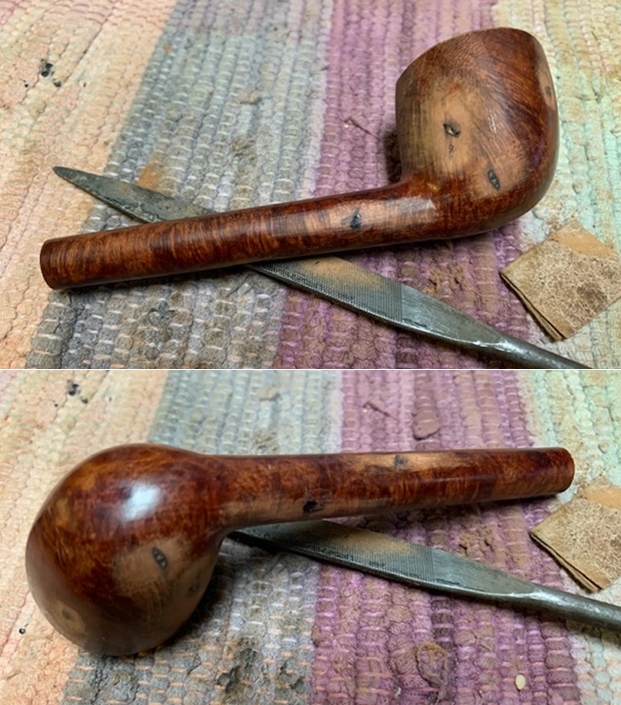
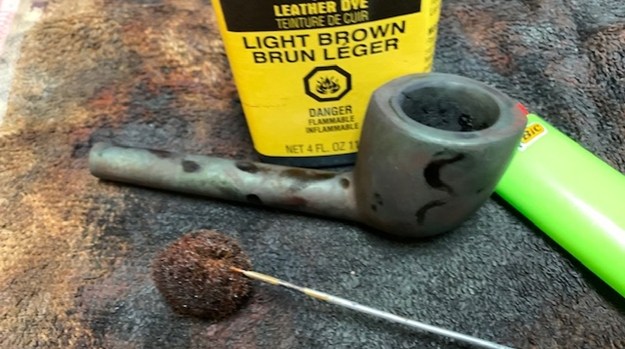
  Next, a red Sharpie Pen is used to attempt to blend the fill in. After touching up the fill, the Sharpie has helped somewhat but the fill is still somewhat visible. The reality of the challenge of this seemingly small repair is that to remove fully it would require refinishing the entire stummel. Yet, desiring to preserve the original ruby/burgundy finish so that it matches the Aldo Velani Pot also in Daniel’s Trove of 7 commissioned pipes, creates the necessity of leaving small imperfections in the original finish. If I attempt a spot repair by sanding and then refinishing, I’m afraid the result would be to draw even more attention to it! I’ll be satisfied at this point with the Sharpie repair.
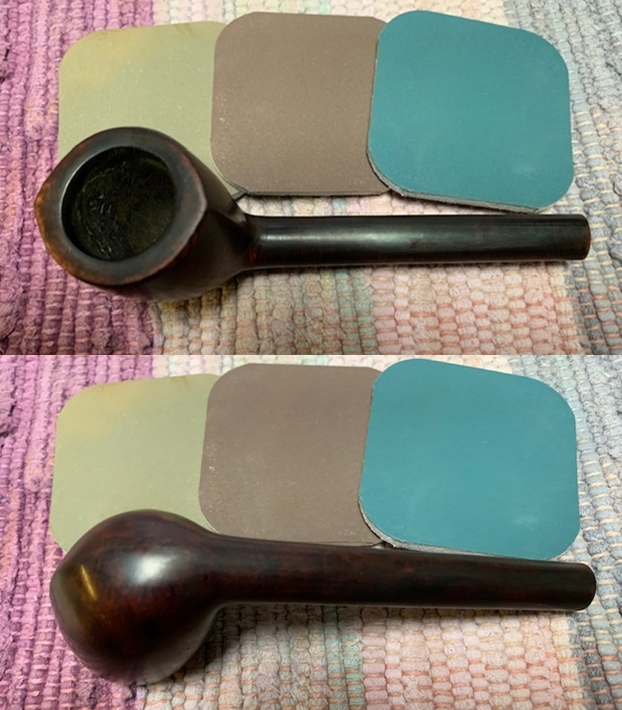
 Putting the stummel aside and turning now to the clear acrylic stem, the stem has been waiting in a lemon juice soak. Using lemon juice allowed the natural acidic hopefully to help clean the airway of staining. The original stem airway has a burgundy coloring. I fish the stem out of the lemon juice. The airway continues to be darkened. We’ll see if the lemon soak had any benefit.
 Using bristled and smooth pipe cleaners, I use isopropyl 99% to clean the airway. Using smaller diameter shank brushes also helped to clear the staining from the airway.
  As I work, I can see the cloudiness dissipate and more of a translucent airway emerges. It looks much better now, and I move on!
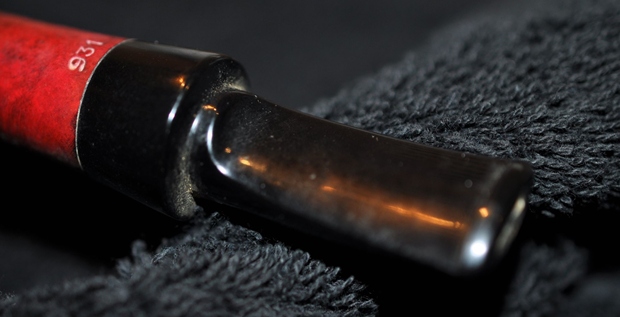
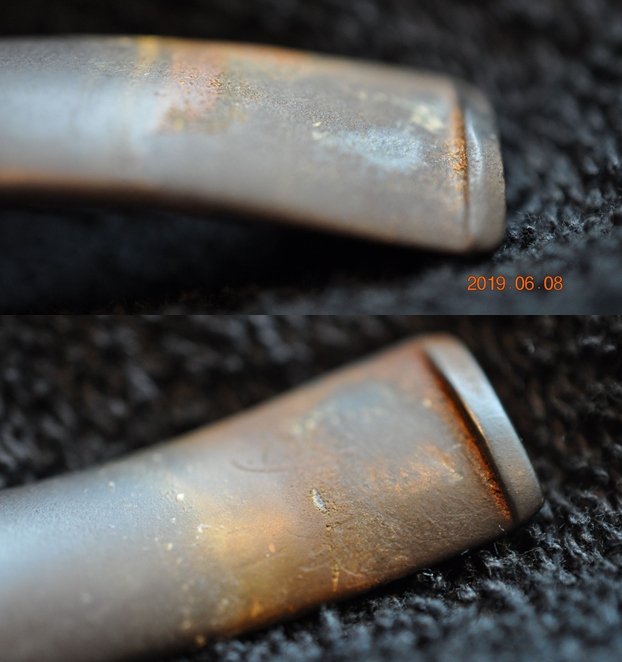
 Looking now more closely at the upper and lower bit, there is tooth chatter on both and the lower also has a small tooth compression.
  Using 240 sanding paper, the tooth chatter and tooth compression are easily sanded and dispatched.
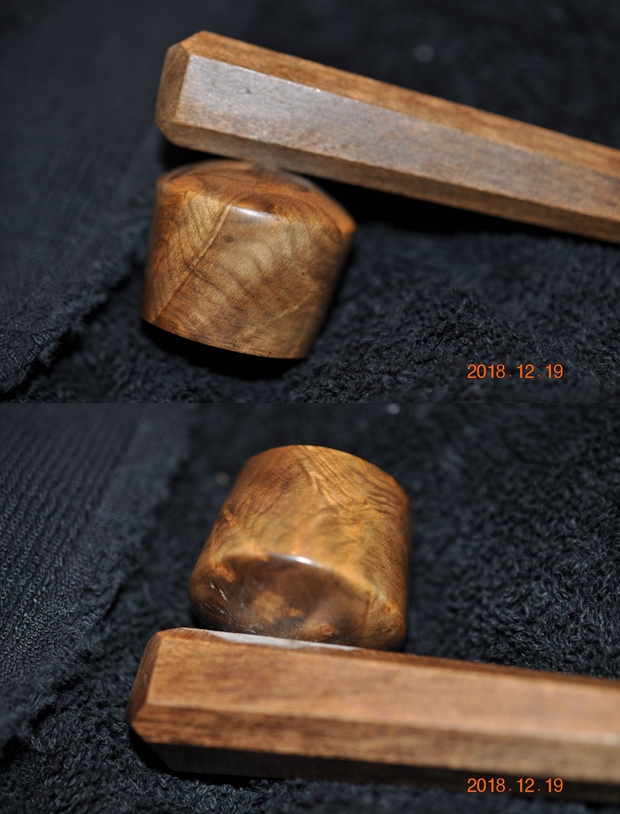
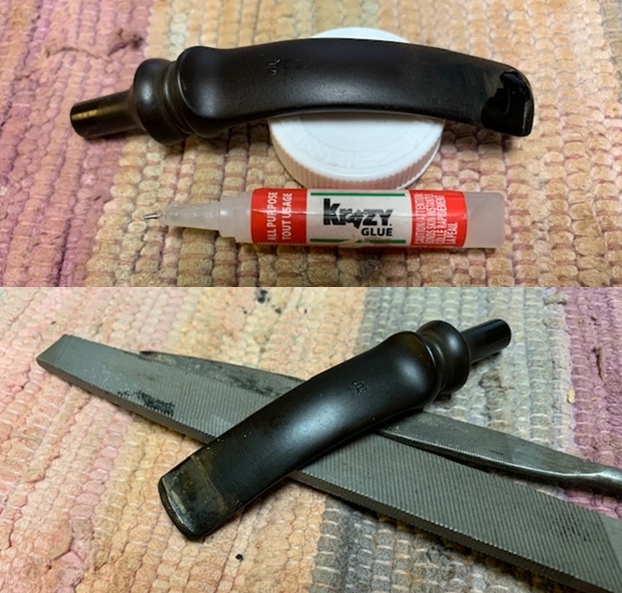
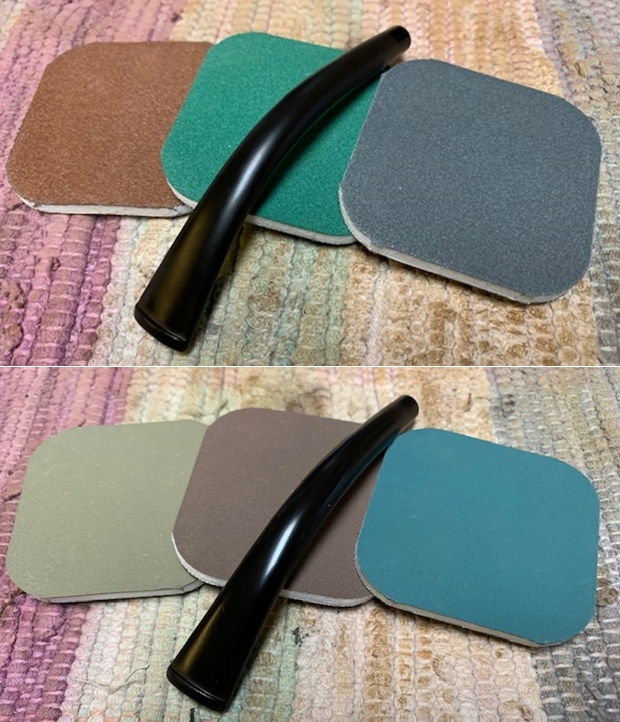
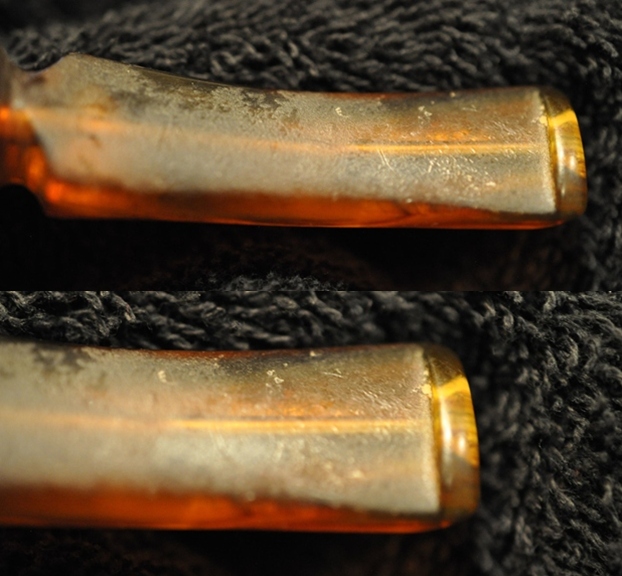
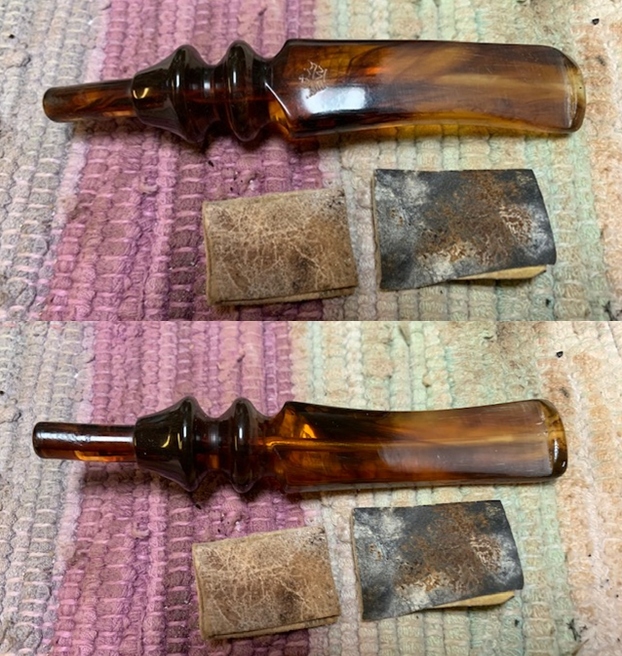
  After inspecting the entire stem, I can find no scratching in the acrylic stem other than the bit sanding to repair the tooth chatter. With most of the stem in pristine condition, there is no need to sand the entire stem. I will focus the sanding with 600 grade paper on the bit and then apply 0000 grade steel wool to the entire stem. Therefore, using 600 grade paper the bit area is wet sanded. Following this I apply 0000 steel wool to entire stem.
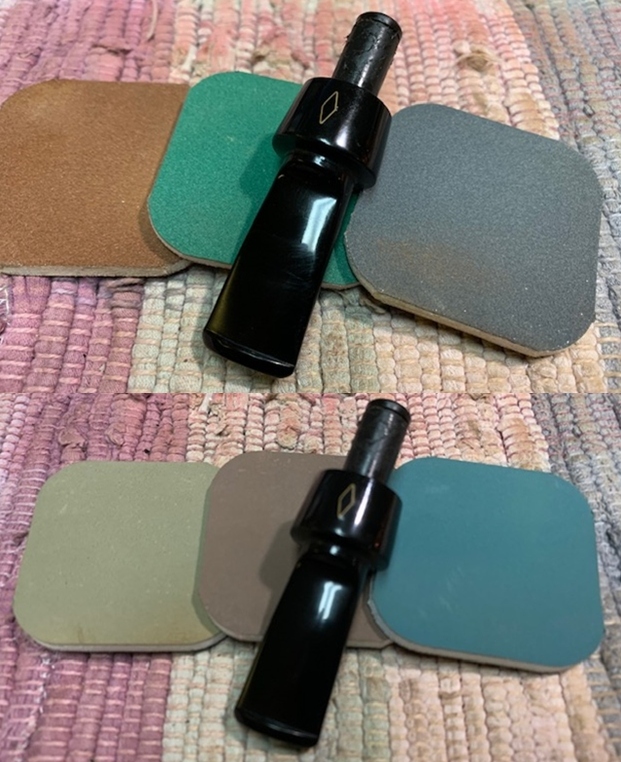
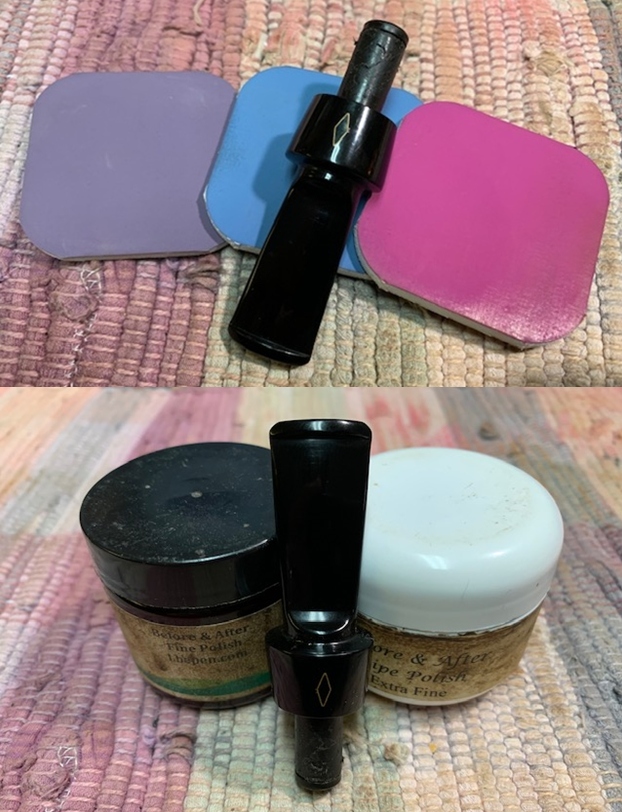
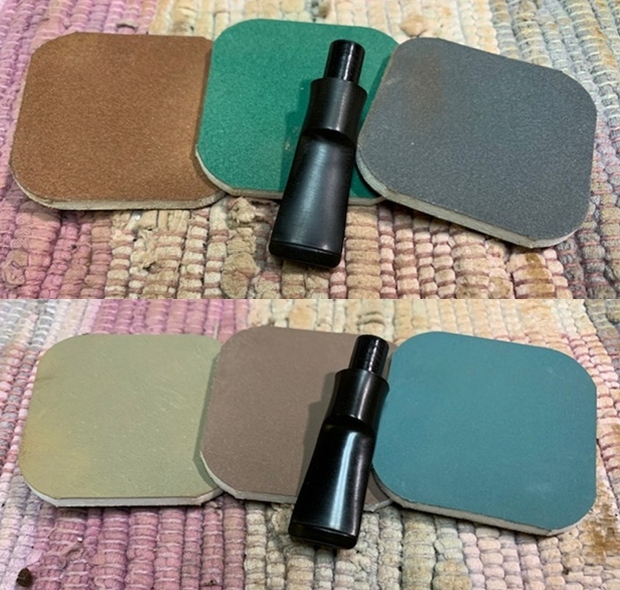
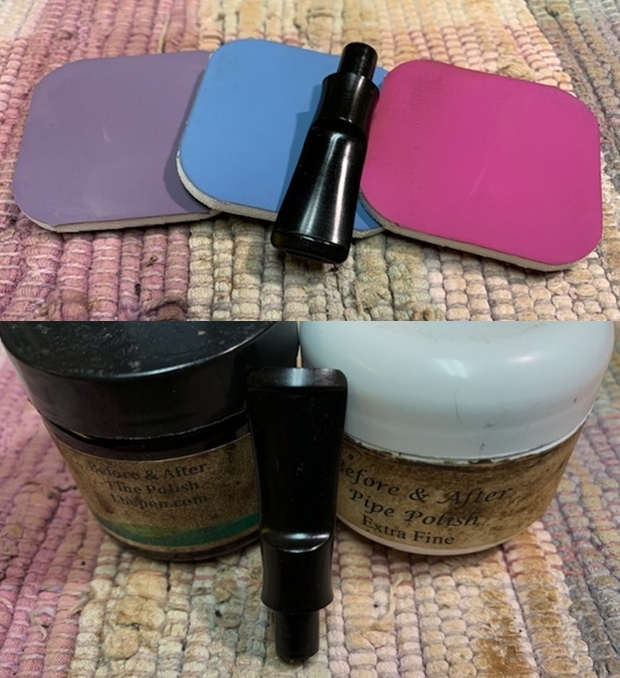
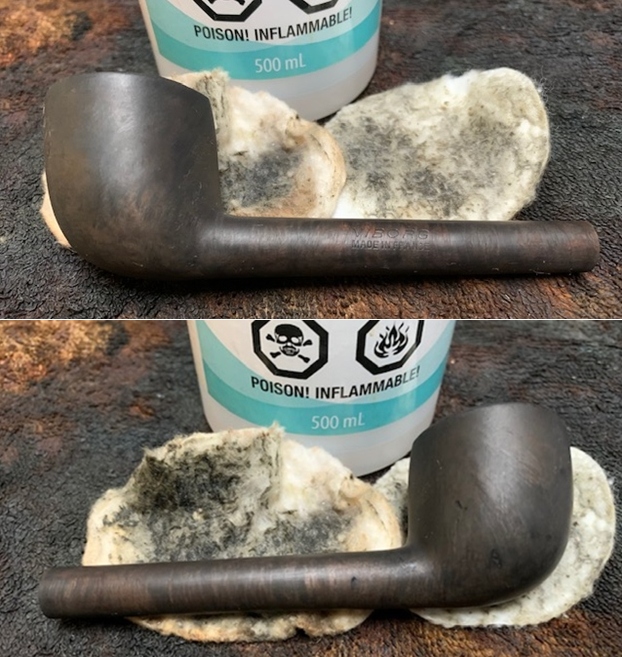
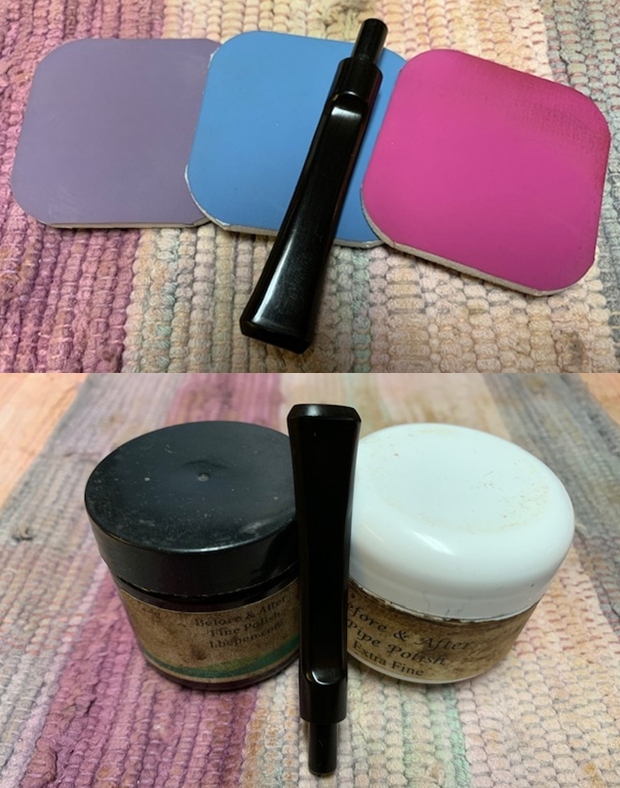
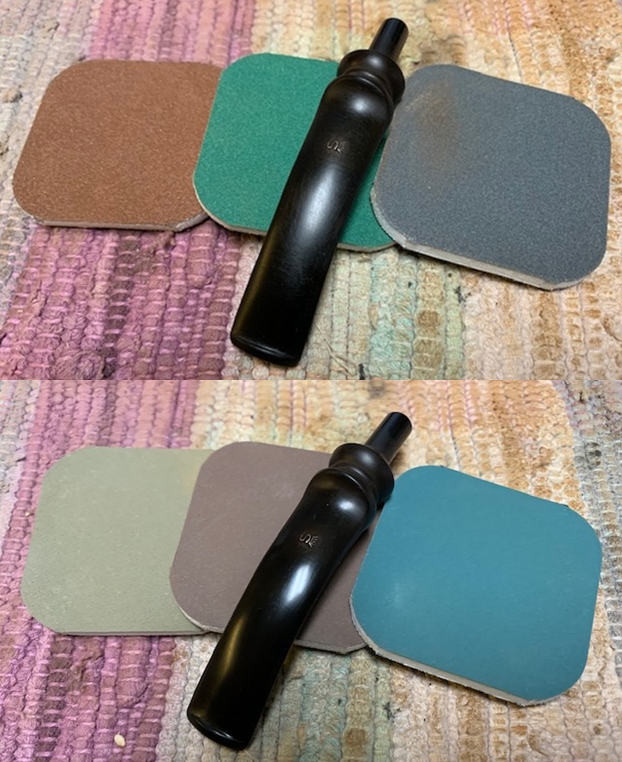
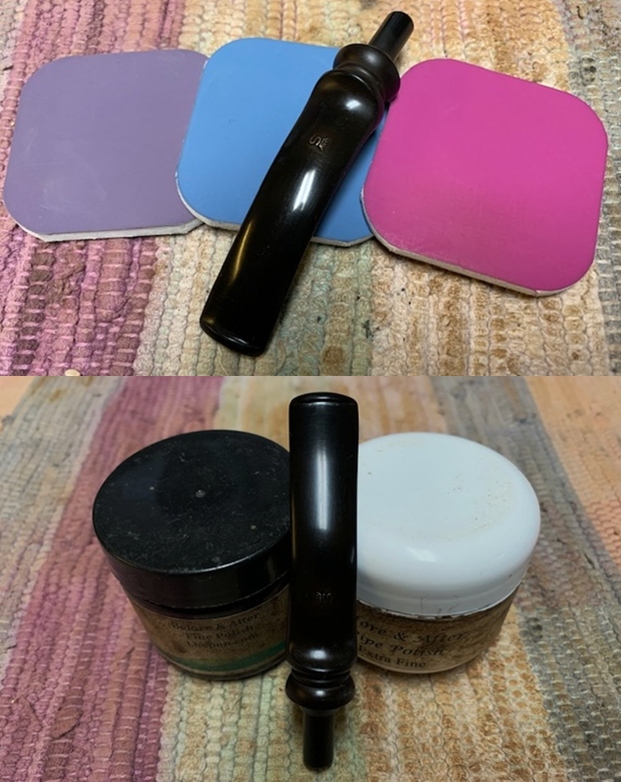
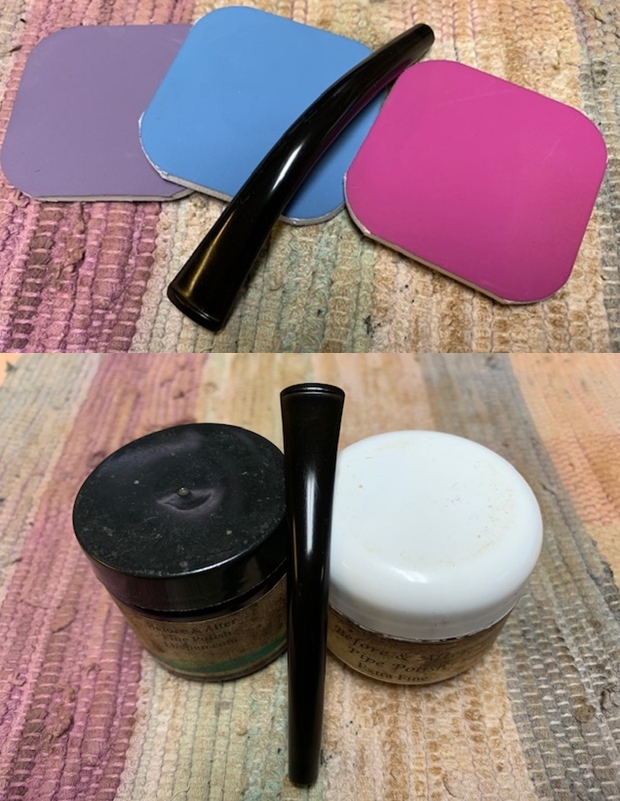
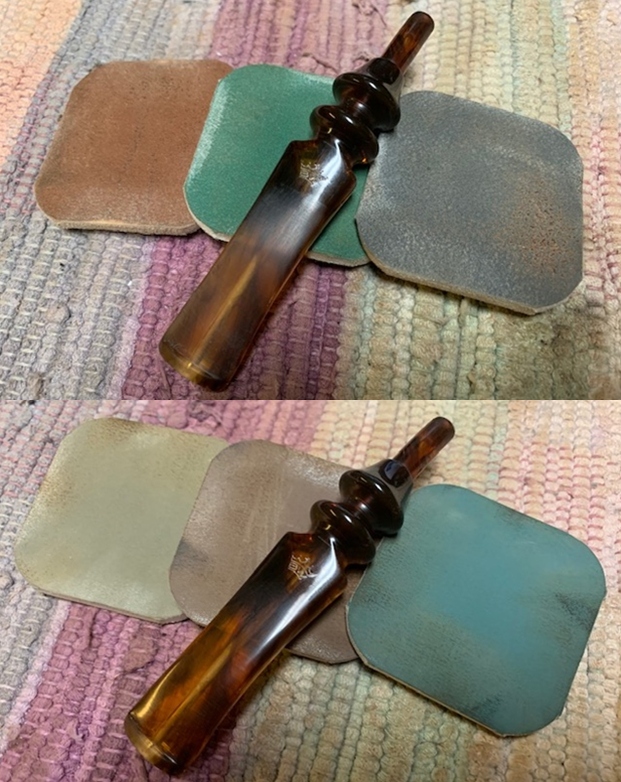
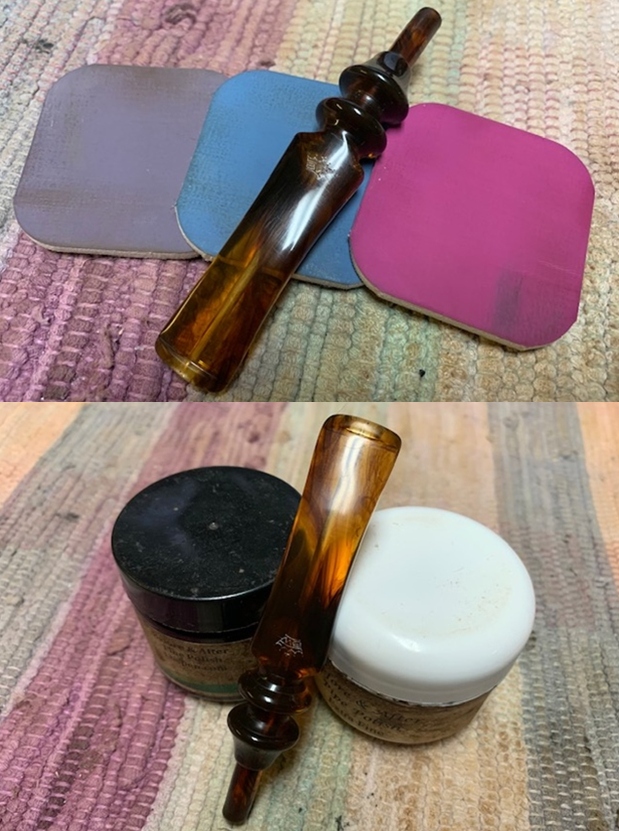
 Transitioning now to micromesh pads, the stem is wet sanded with pads 1500 to 2400 followed by dry sanding with pads 3200 to 4000 and 6000 to 12000. Even though it really doesn’t protect the acrylic stem from oxidation, I like applying Obsidian Oil to condition it. The stem looks great.
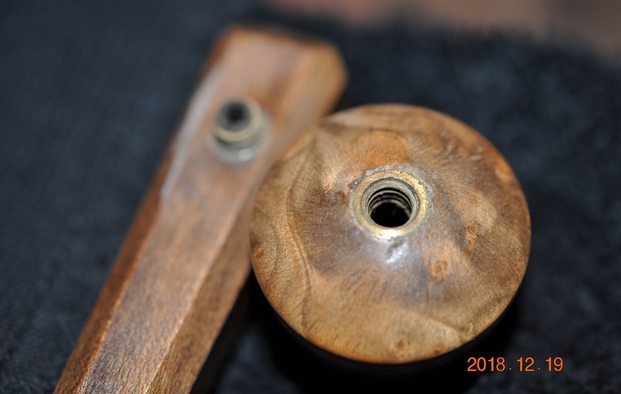
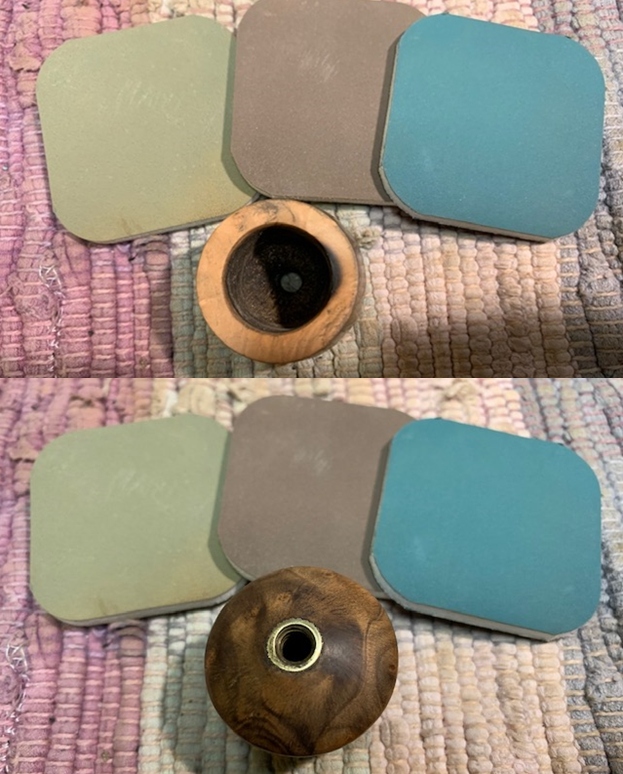
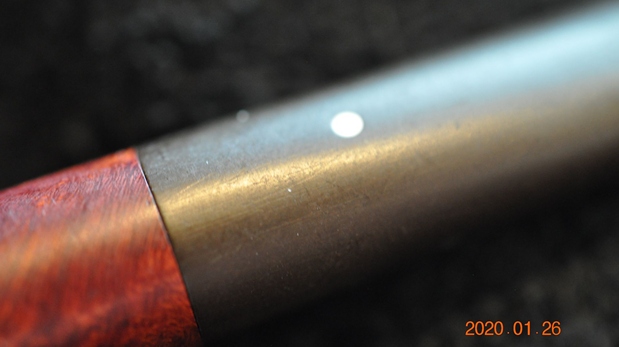
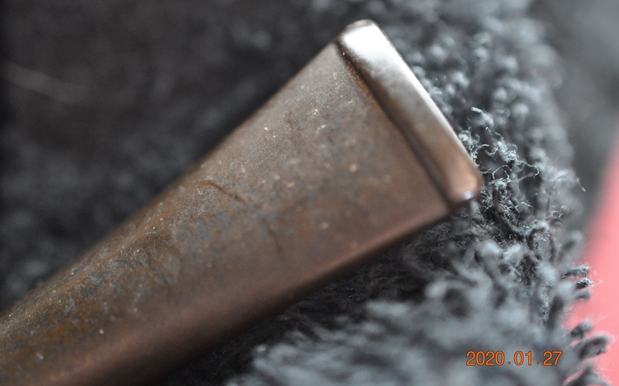
 To shine the gold nickel shank ring, I use Tarn-X Tarnish Remover which gives the metal a new spark of life.
  I apply some of the Tarn-X to a cotton pad and rub it into the ring, making sure I get it into the crevasse between the two ring risers. I also am careful to keep the cleaner off the briar which would probably leech the dye.
  After applying the Tarnish Remover, I wipe/rinse the fluid off with a cotton pad wet with water. I then buff up the ring with a cotton cloth. It looks great – the bling factor is increased with the ring!
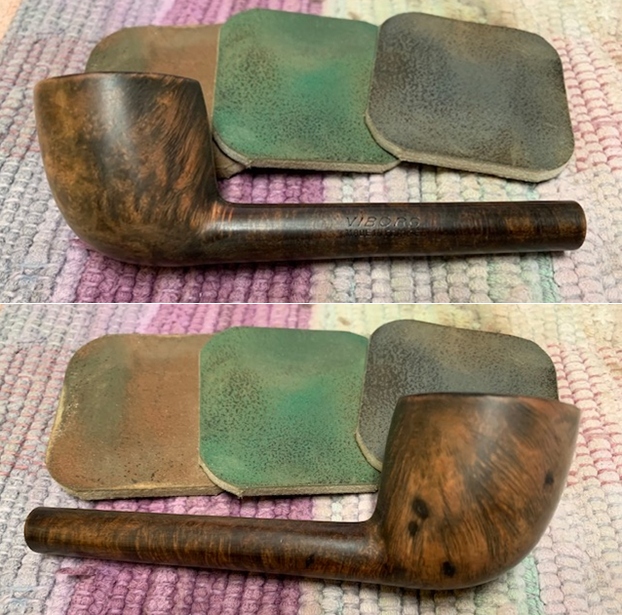
 Next, after reuniting stem and stummel, a cotton buffing wheel is mounted on the Dremel and the speed is set to about 40% full power. I then apply Blue Diamond to the pipe avoiding the ring – this would create a black gunk that could stain the briar surface. After applying the Blue Diamond over the entire pipe, the pipe is given a buffing with a felt cloth to remove the residual compound dust before applying the wax.
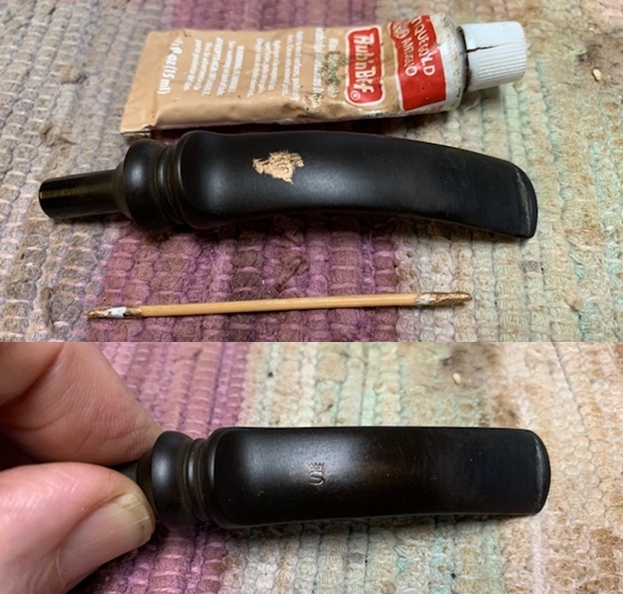
 The unique Aldo Velani stem stamping needs refreshing to augment the classy look of this Billiard.
 Using European Gold Rub ‘n Buff metallic paint, I use a pointed cotton bud to paint over the stem stamping. Once thoroughly covered, I wait only a few moments because the paint sets up very quickly. I then use the side of the pointed cotton bud to scrape excess paint.
  I then flip the bud to the clean end and wipe/buff up the remaining excess to sharpen the stamping. The results are nice – it looks great!
 Next, another cotton cloth buffing wheel is mounted onto the Dremel. Remaining at the same speed, carnauba wax is applied to the stem and stummel. After applying the carnauba, the pipe is given a rigorous hand buffing to remove excess wax and to raise the shine.
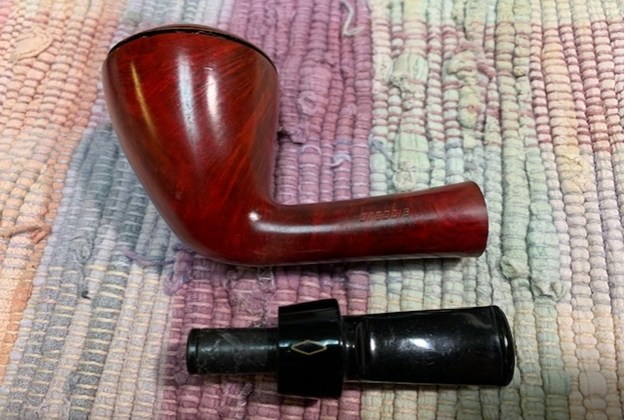
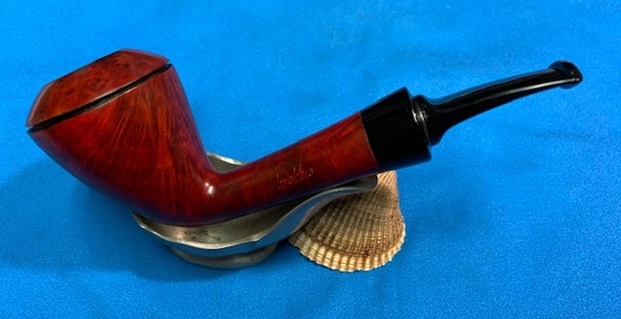
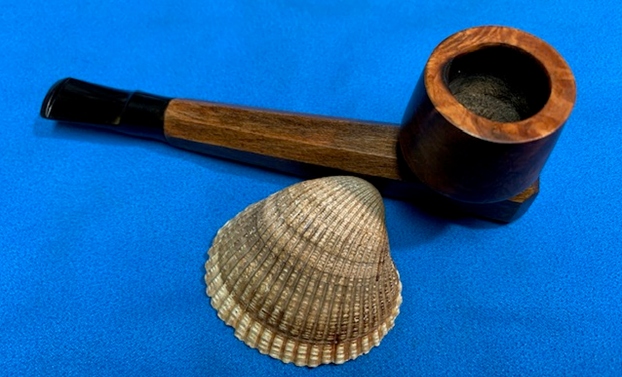
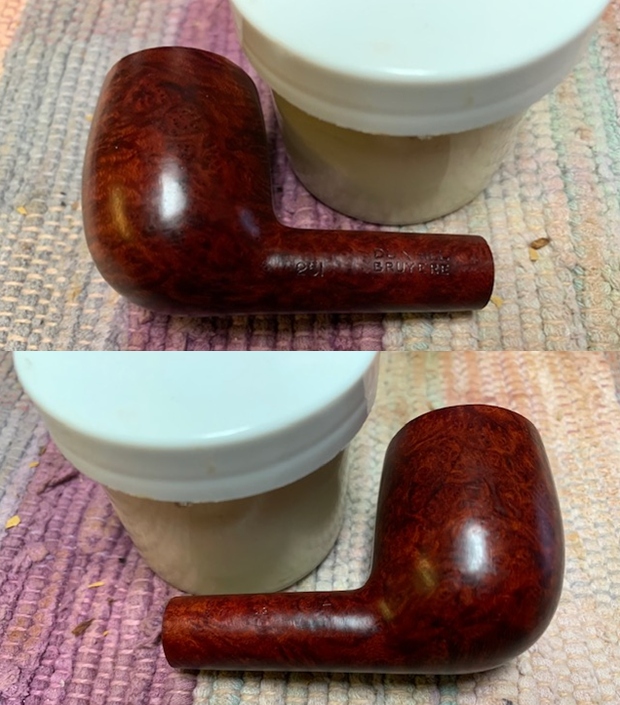
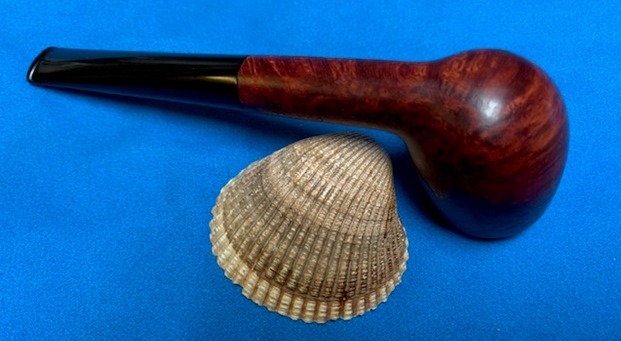
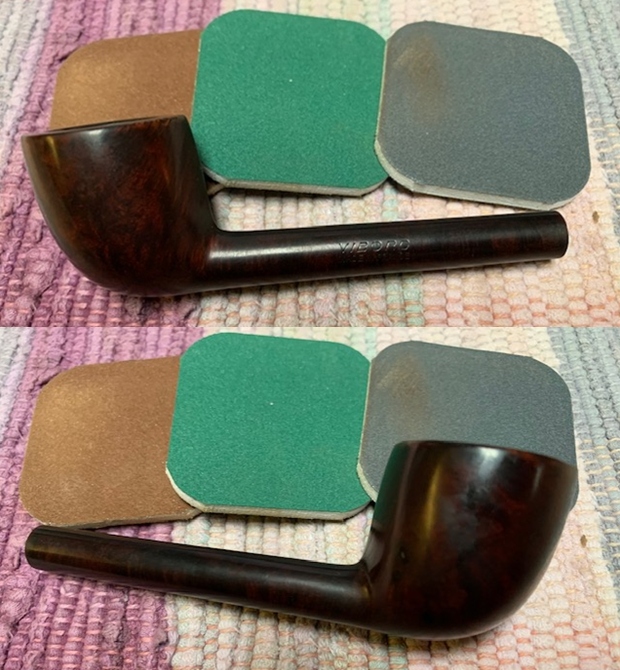
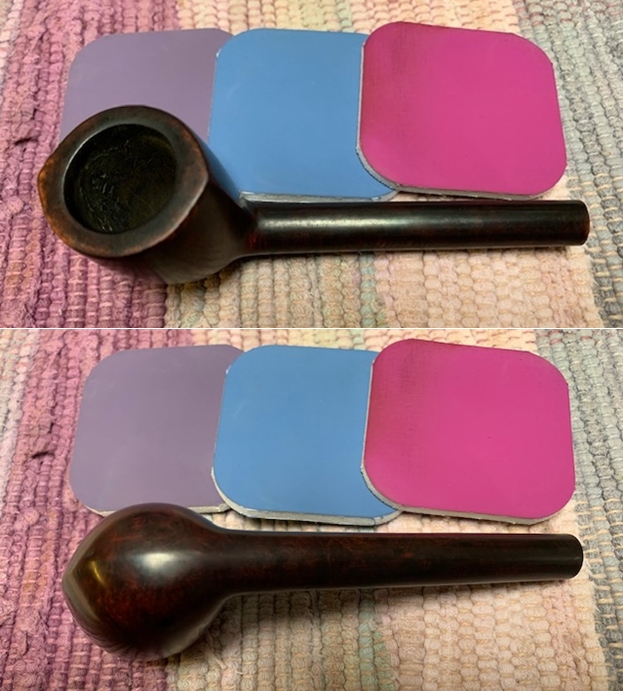
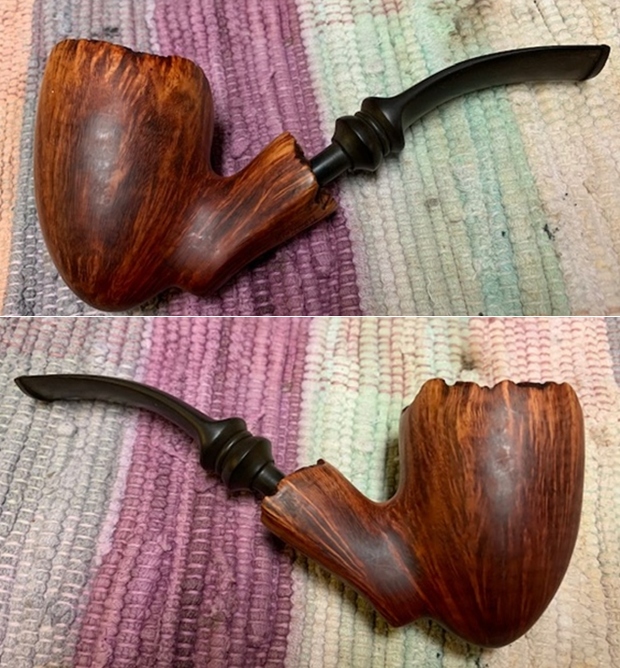
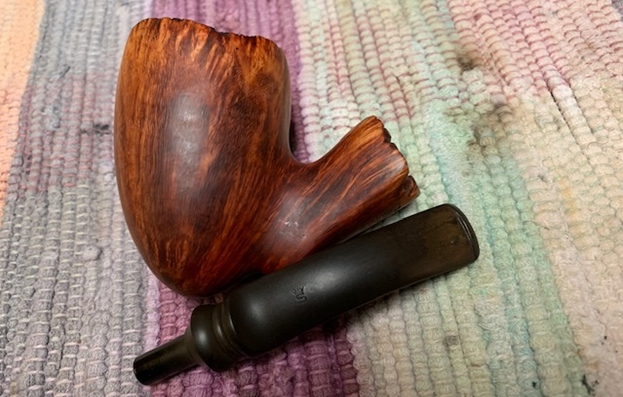
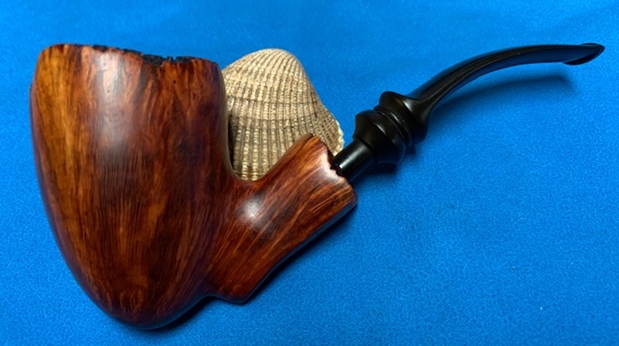
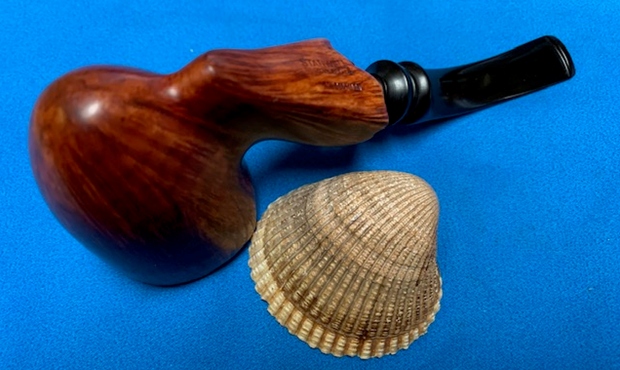
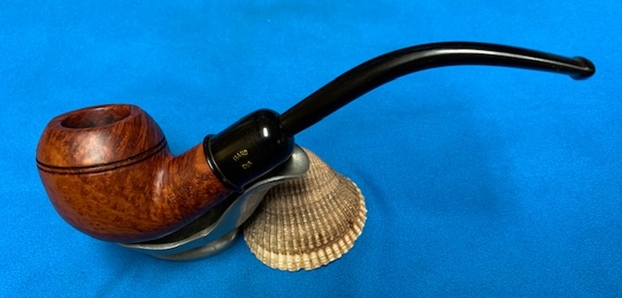
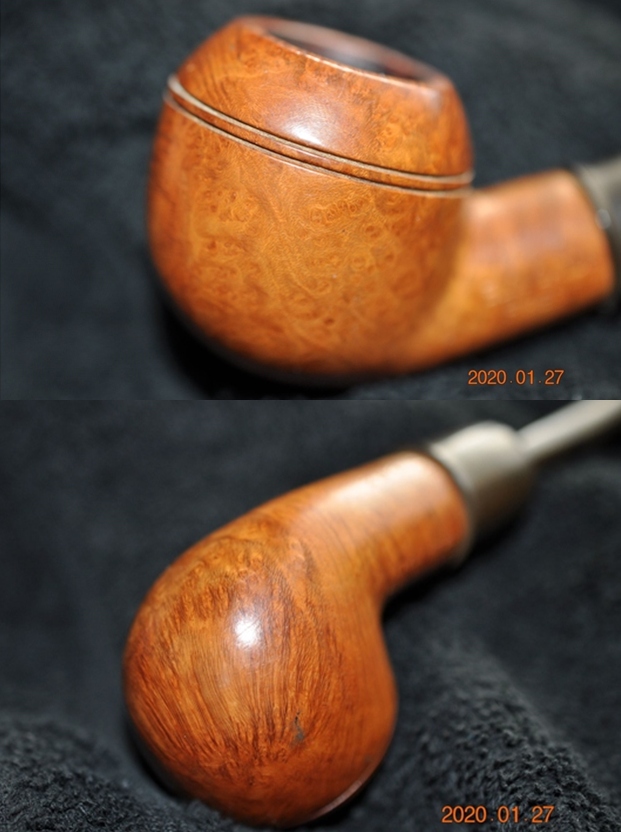
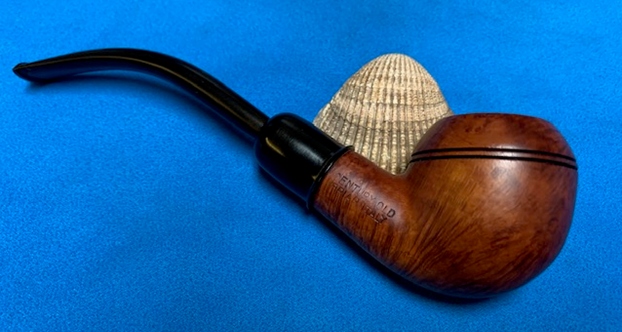
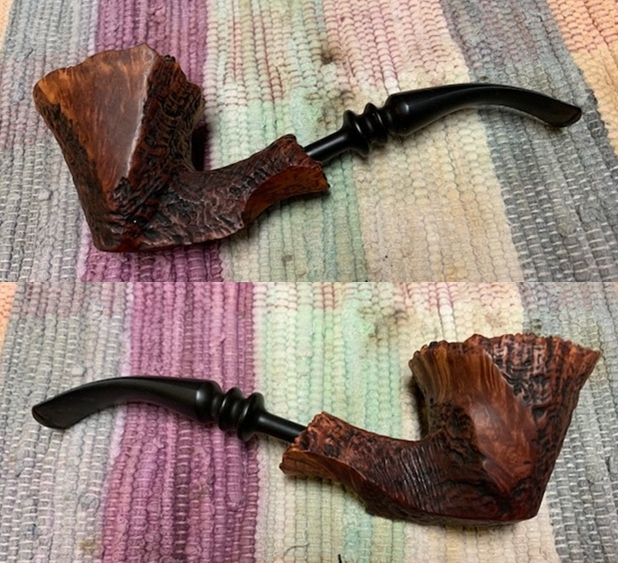
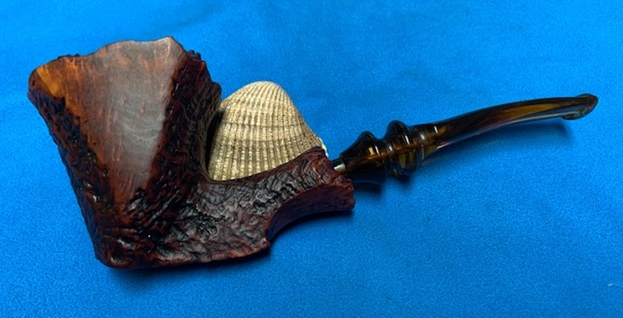
 I’m pleased with the results of this second of the Aldo Velani Trio pipes that Daniel commissioned. The ruby-burgundy finish initially draws one’s attention and then the clear, glass-like acrylic stem. Finishing the ensemble is the golden double-bumped shank ring joining stem and stummel to present this classic Billiard after-dinner pipe. Both Aldo Velani brothers that Daniel commissioned, this Billiard and the Pot, will provide great fellowship with one’s favorite blend and adult beverage. Daniel has the first opportunity to claim the Aldo Velani Trio Billiard in The Pipe Steward Store which benefits the Daughters of Bulgaria. Thank you for joining me!


