by Steve Laug
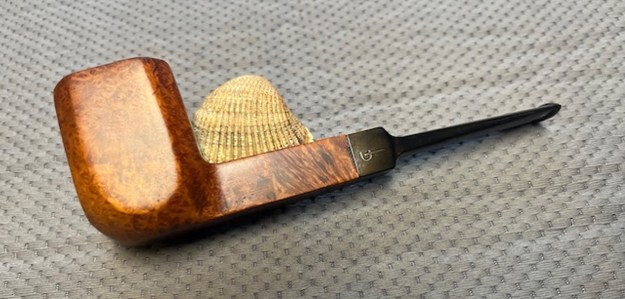
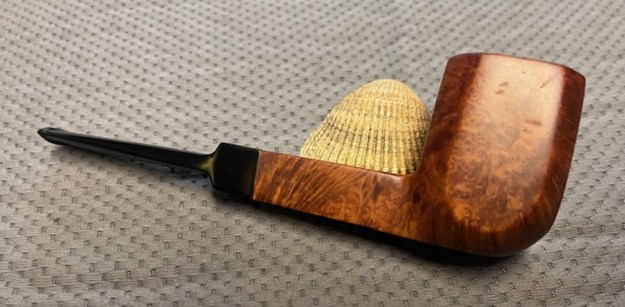
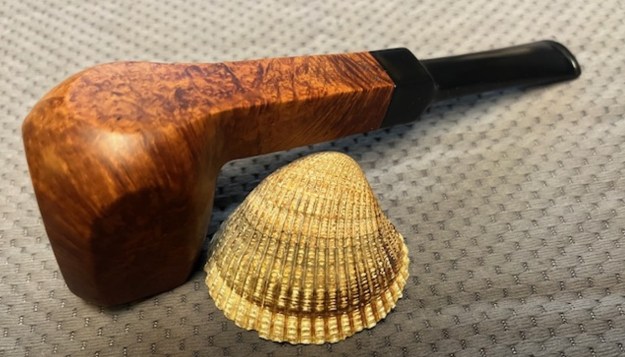
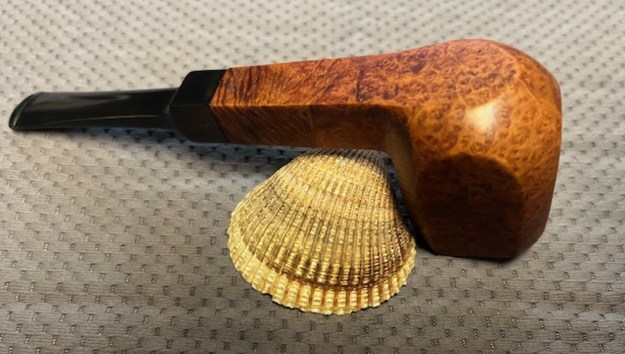
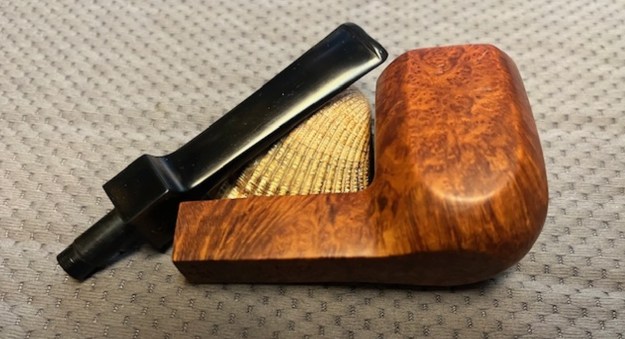
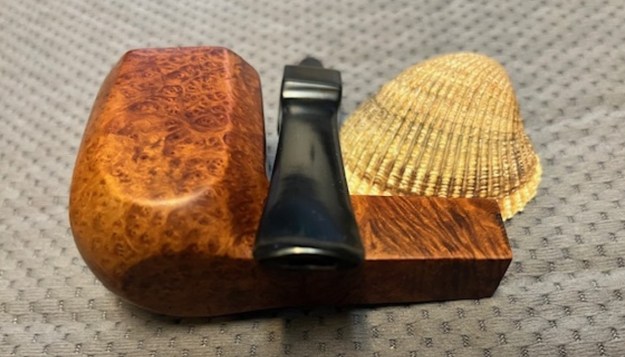
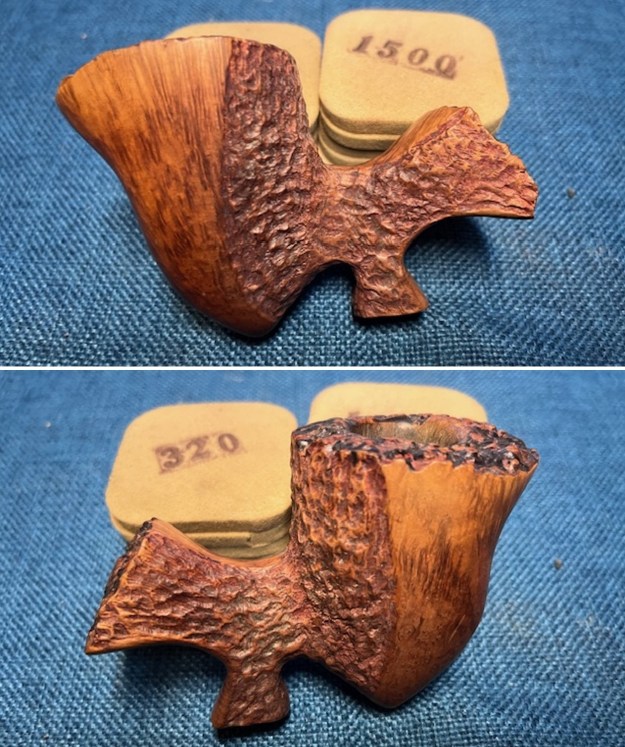
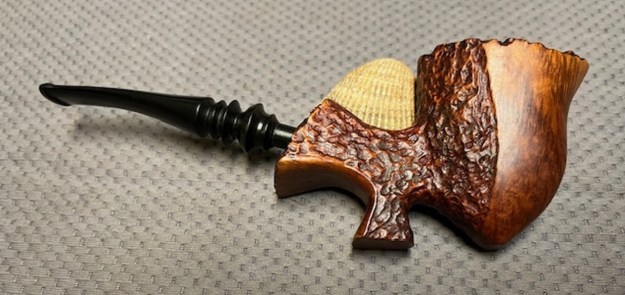
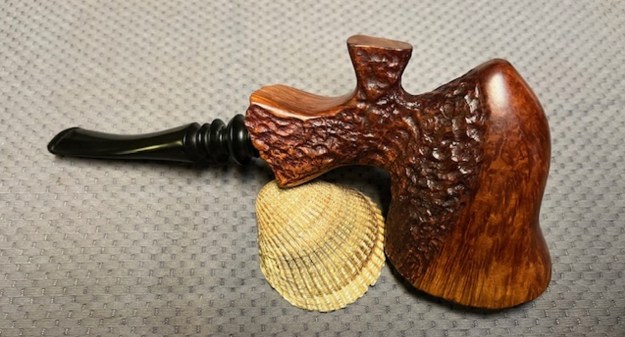
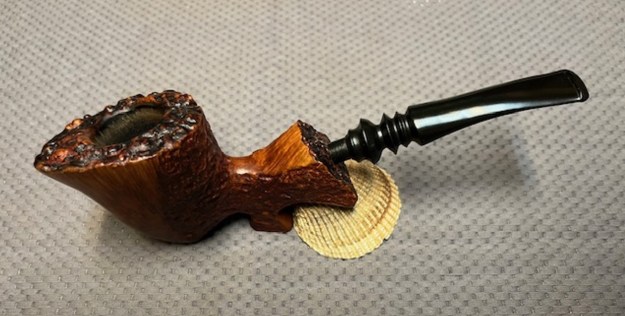
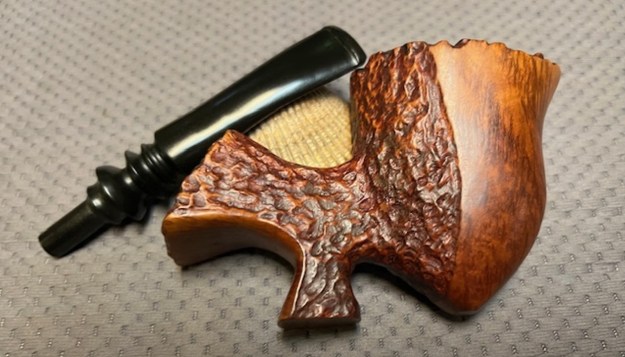
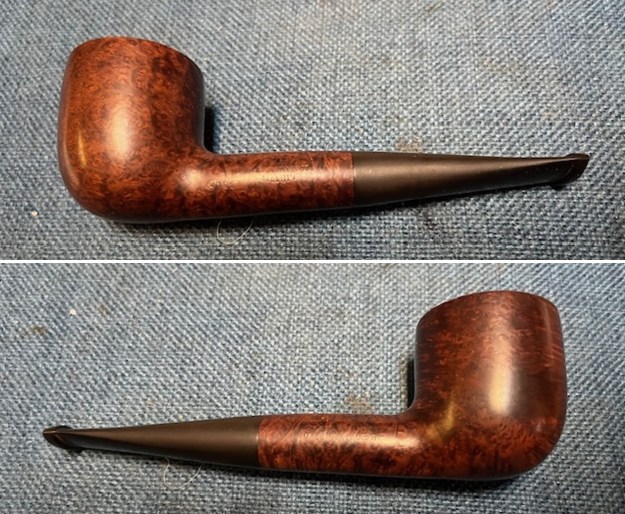
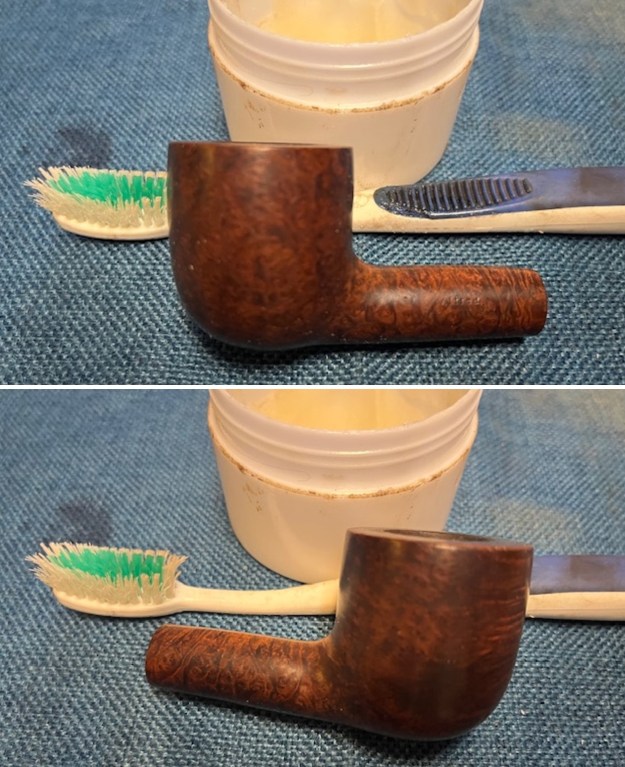
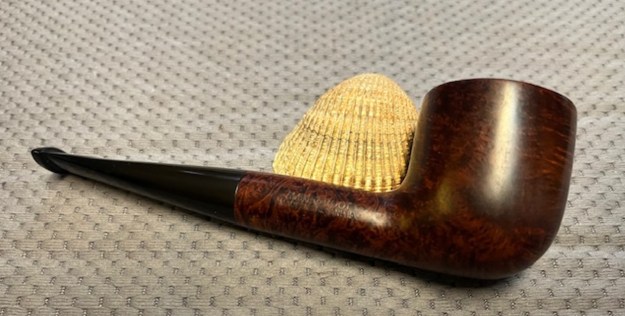
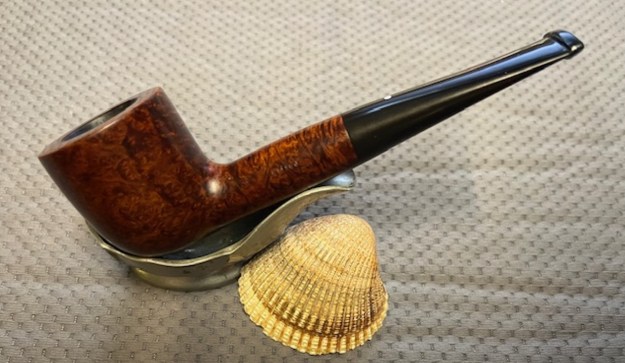
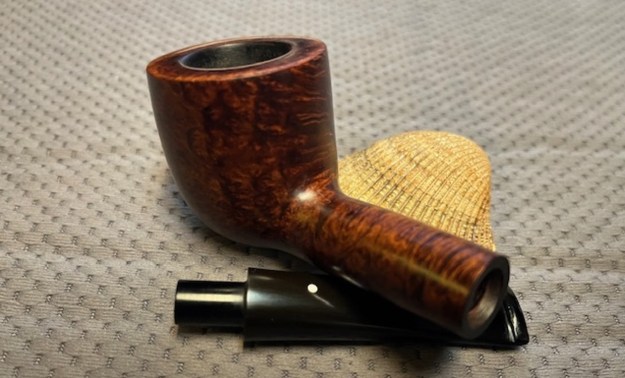
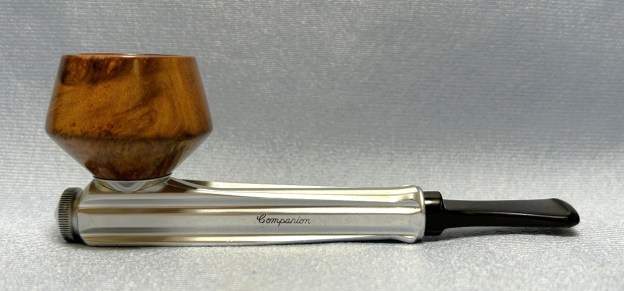
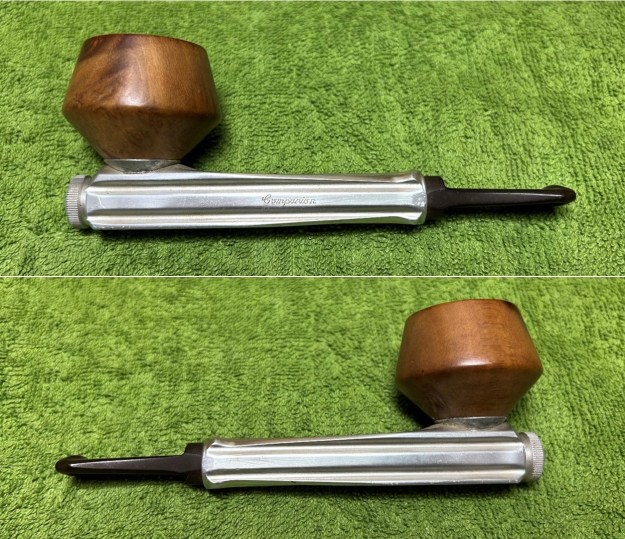
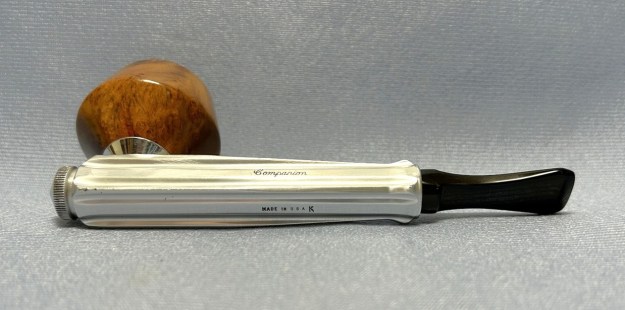
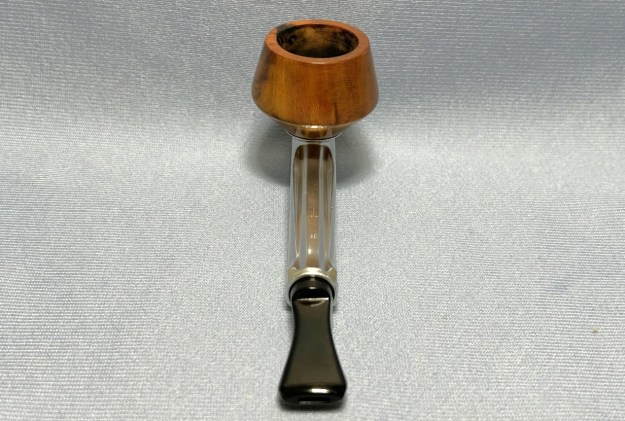
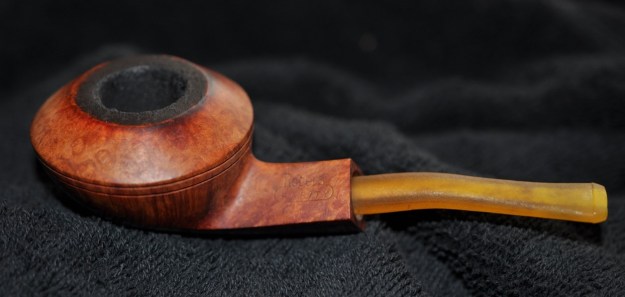
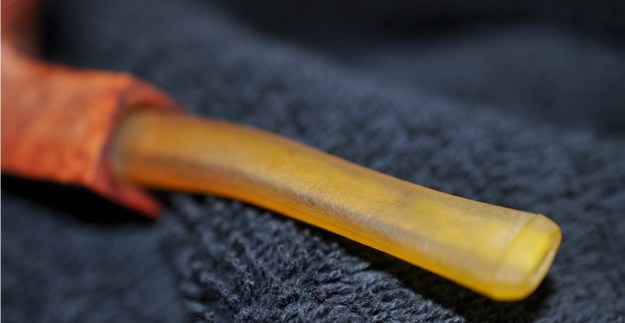
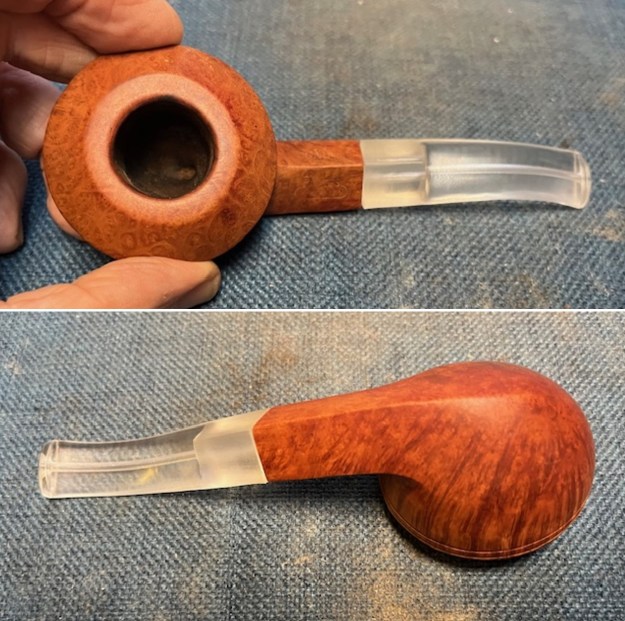
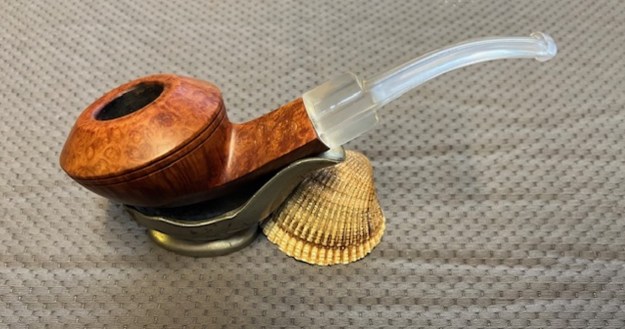
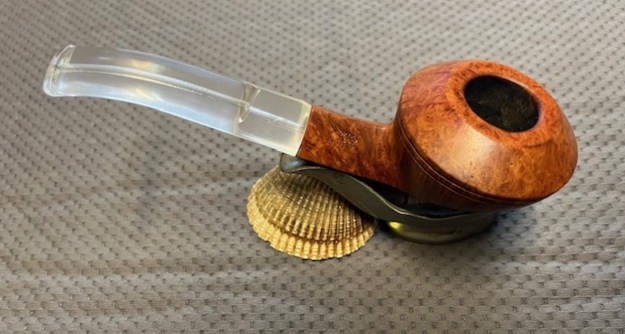
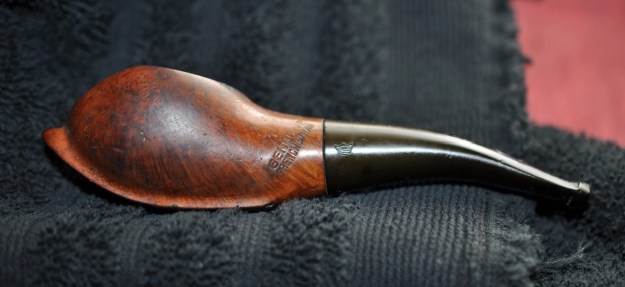
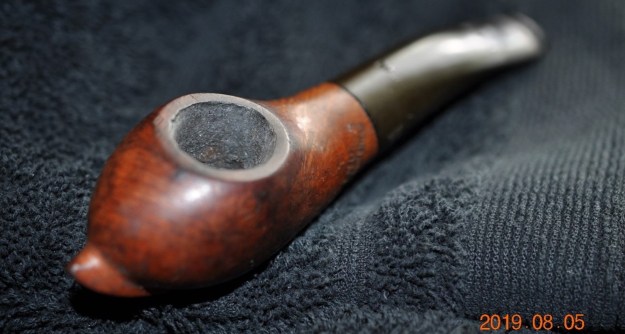
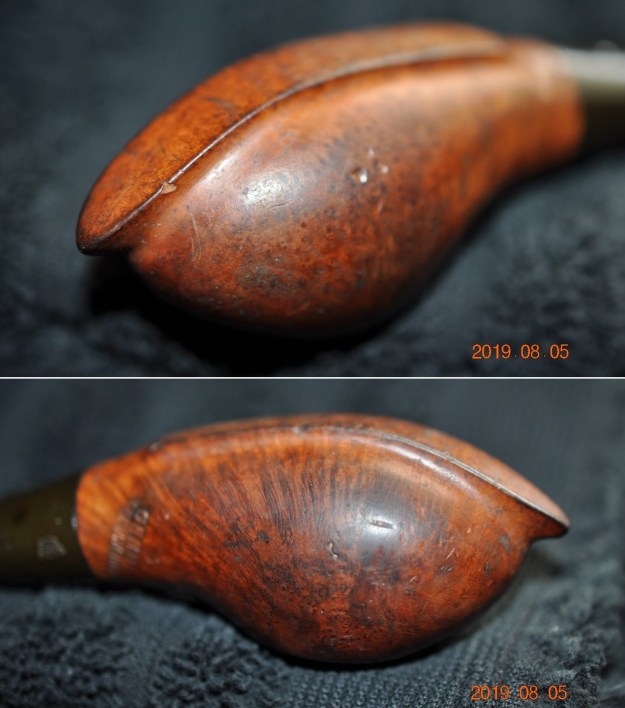
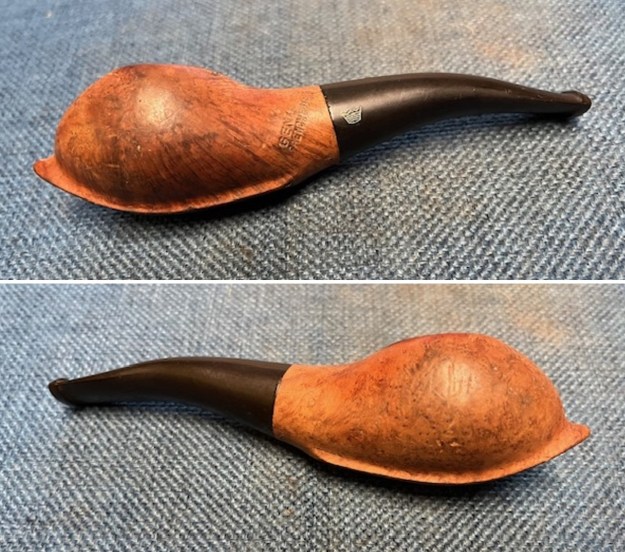
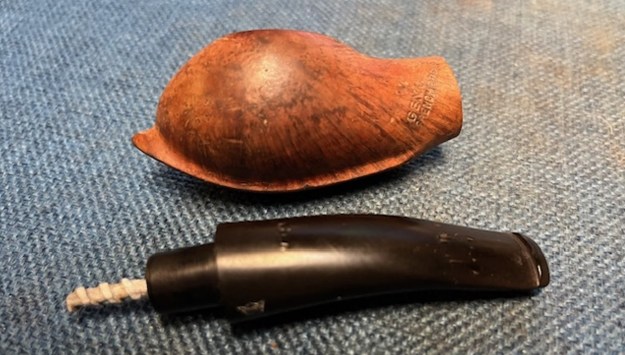
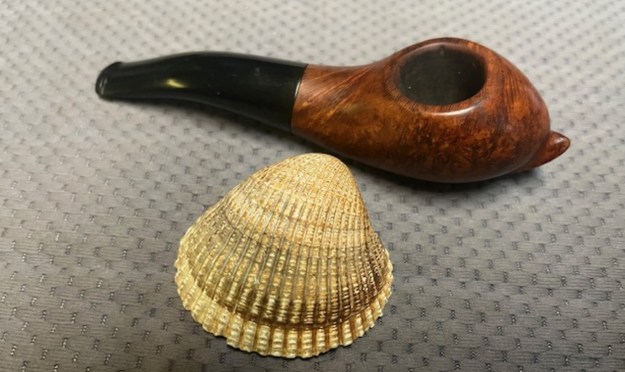
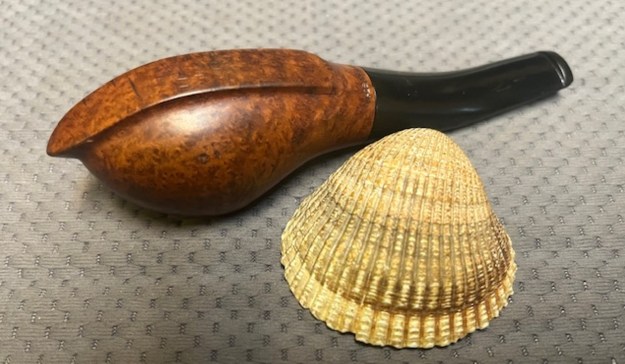
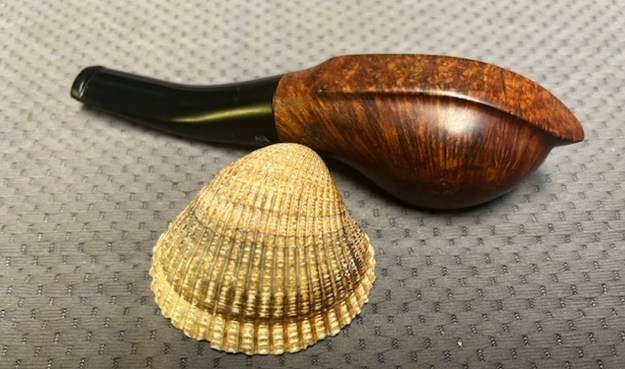
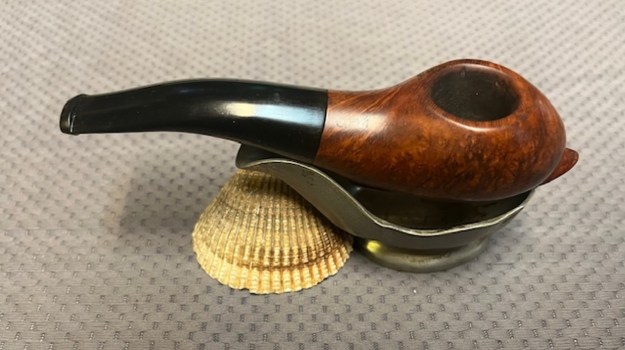
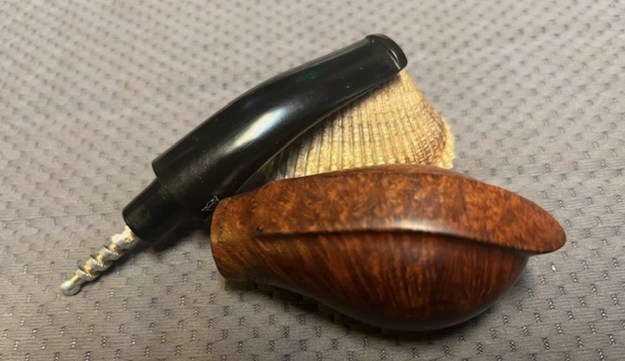
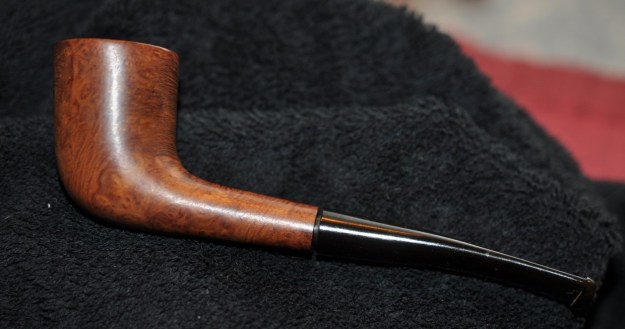
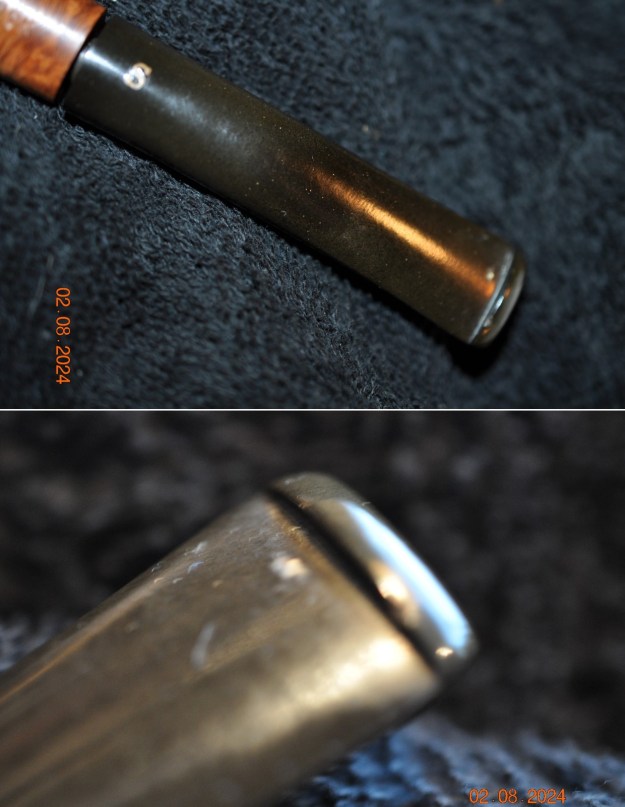
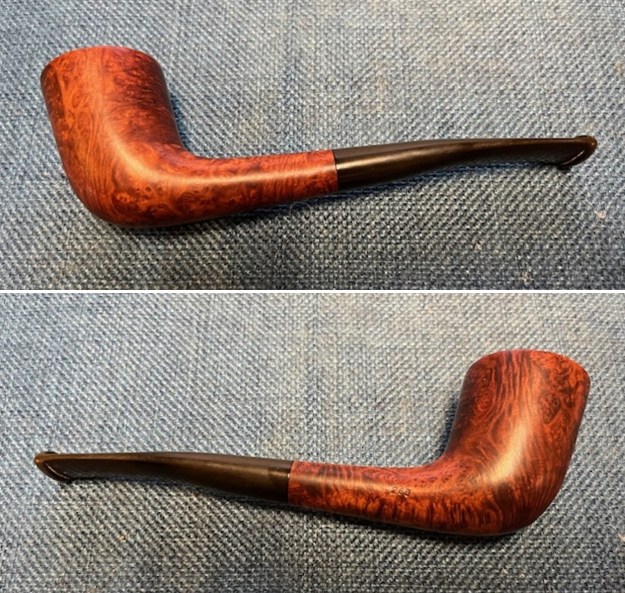
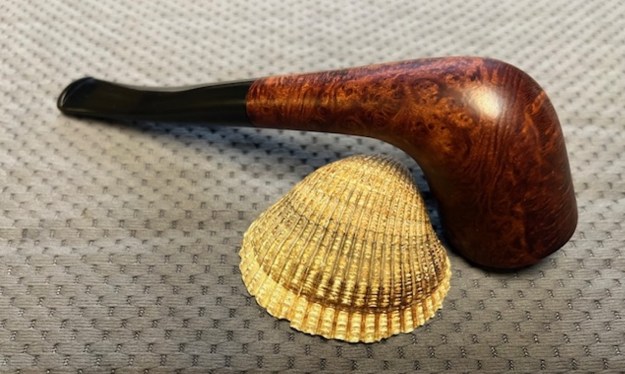
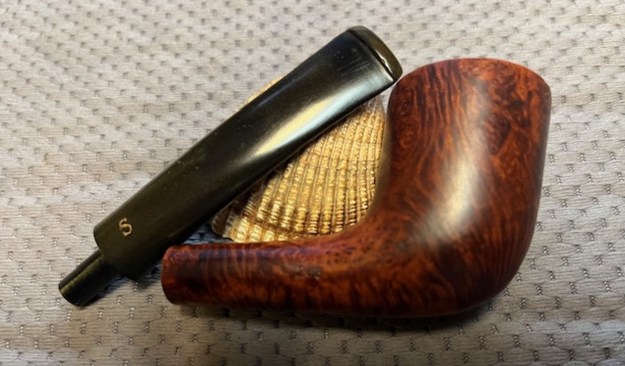
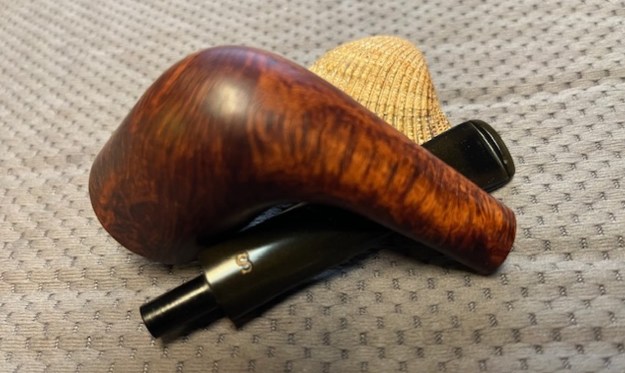
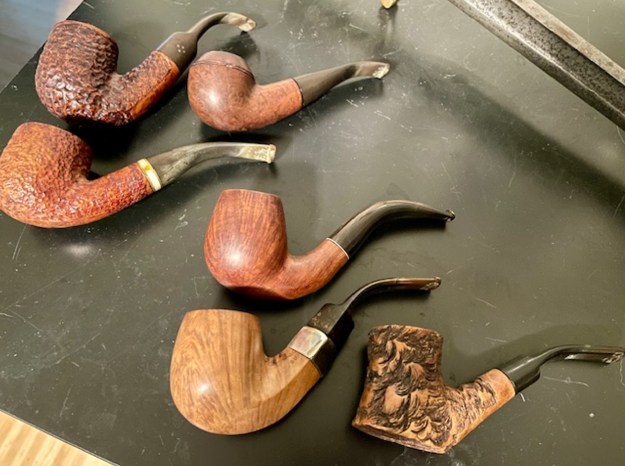
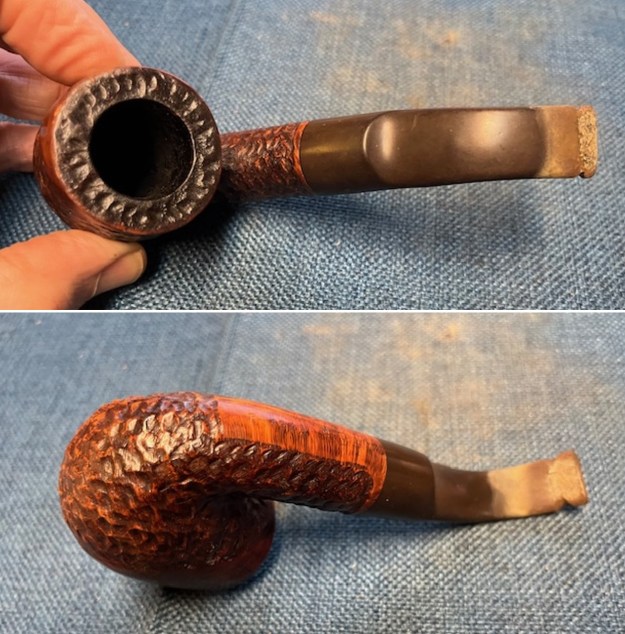
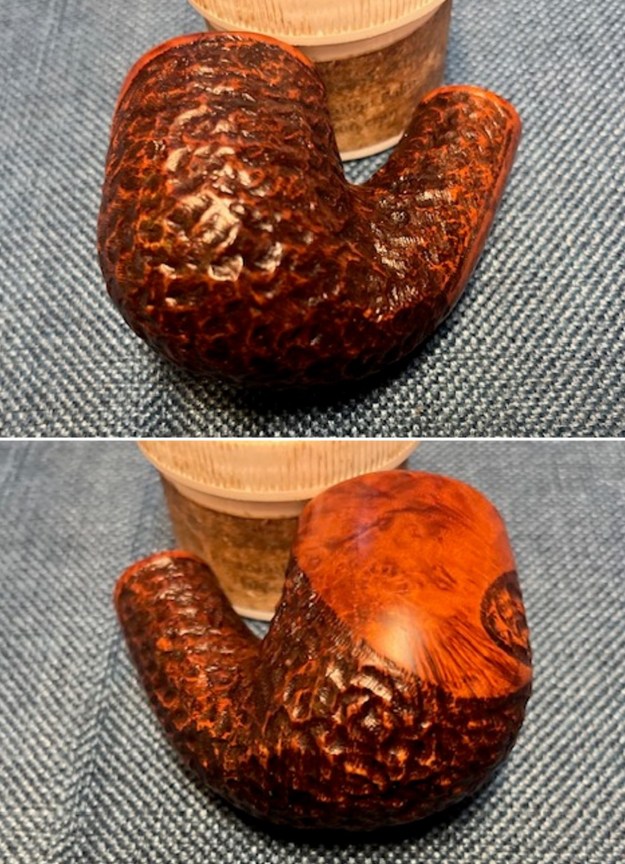
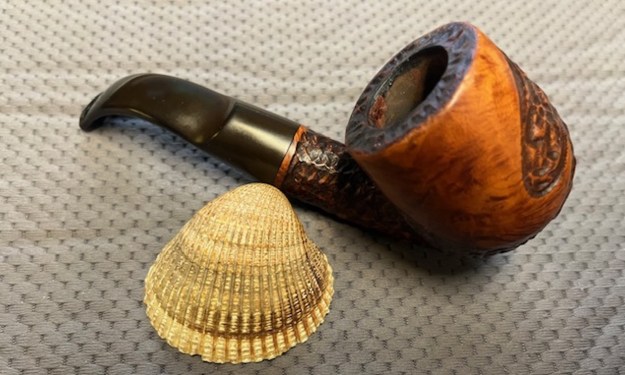
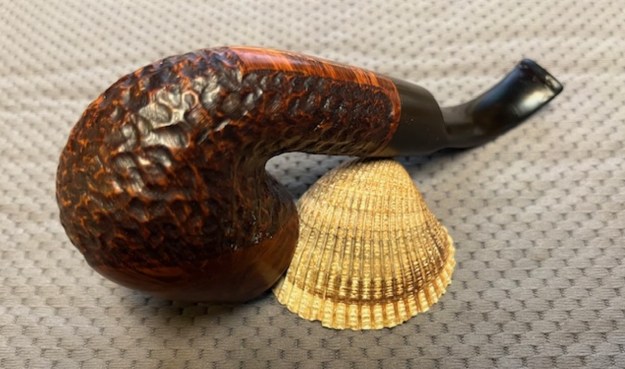
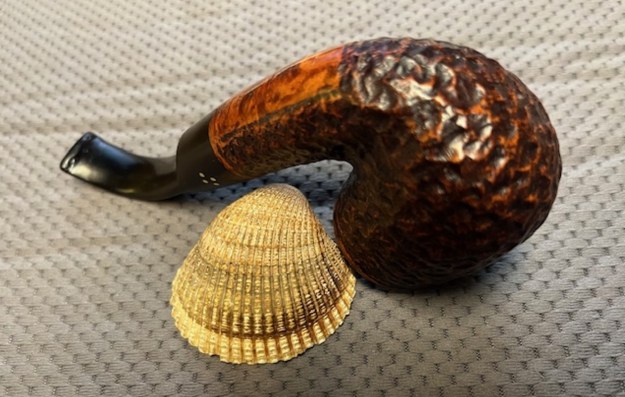
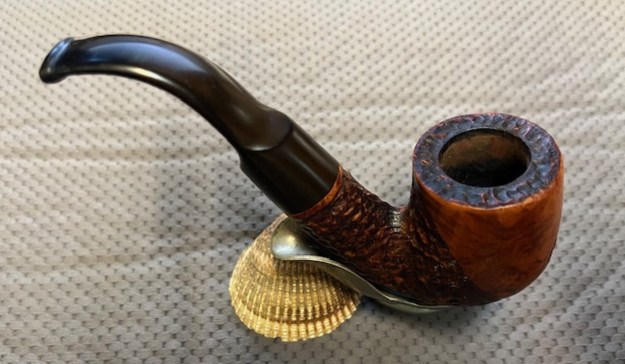
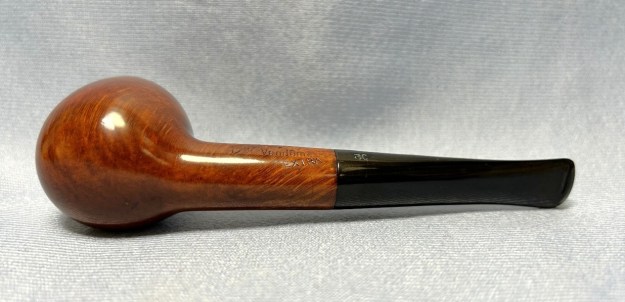
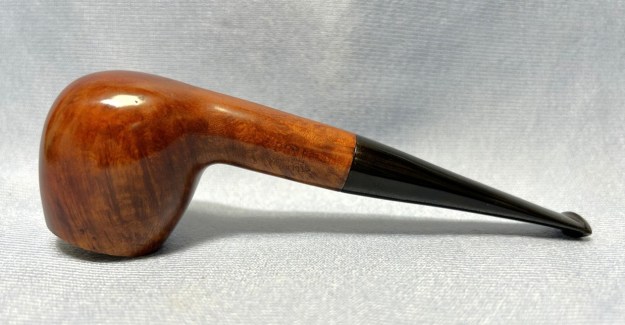
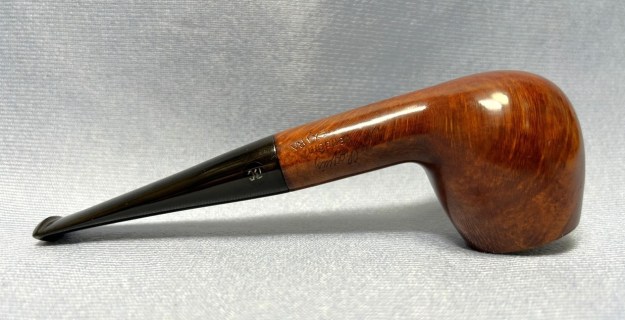
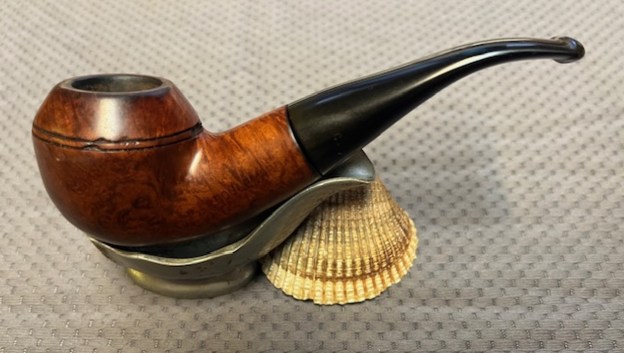
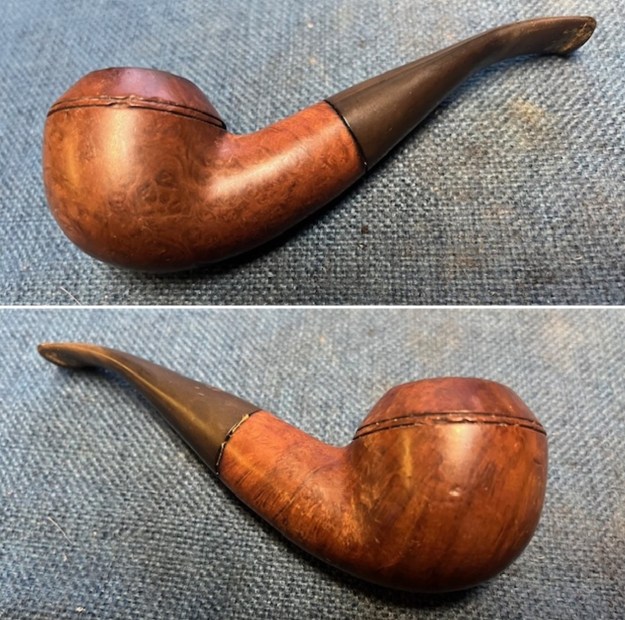
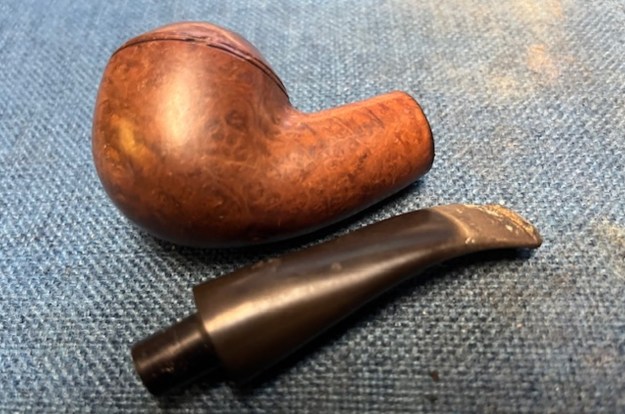
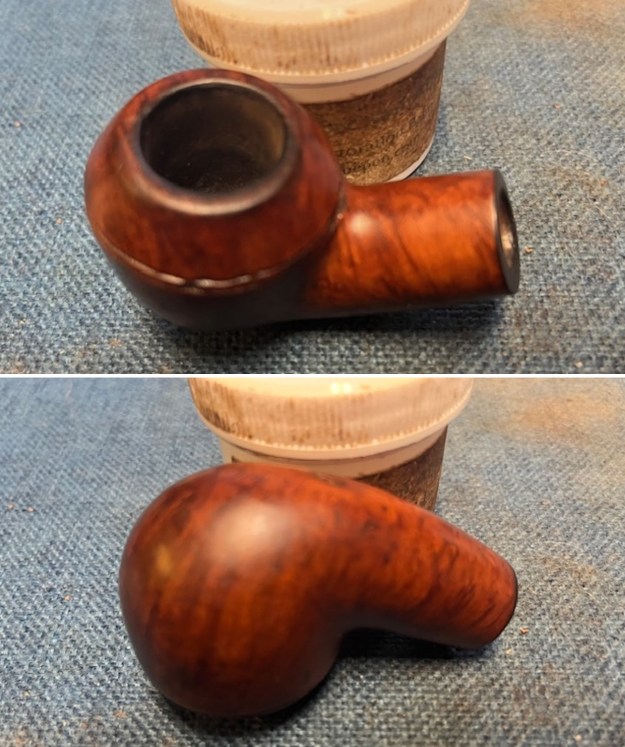
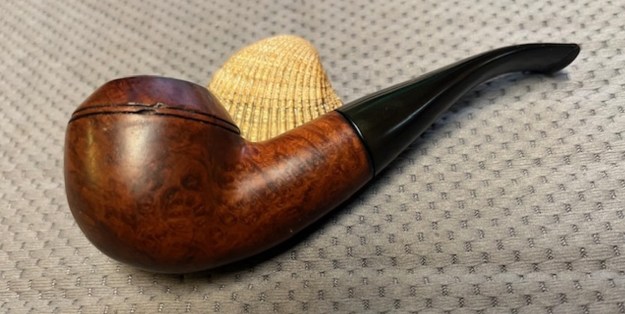
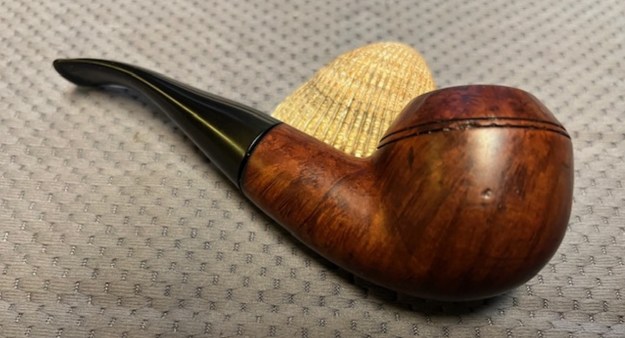
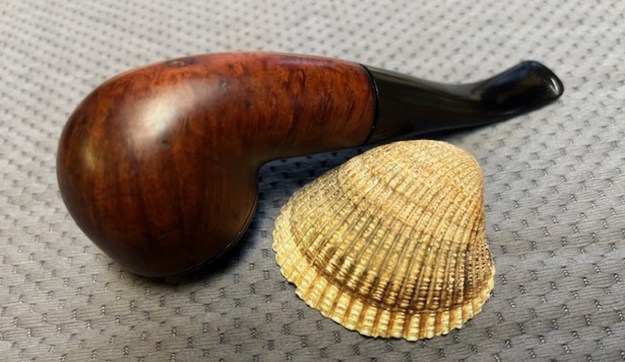
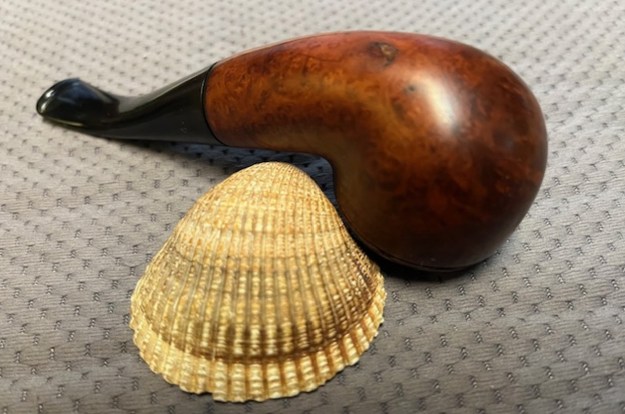
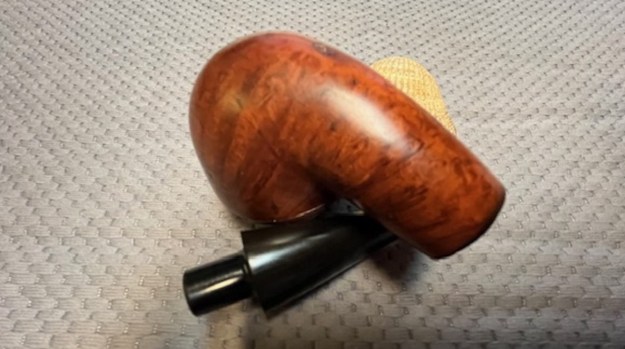
Back in January I received an email from Robert with a group 12 pipes that needed to be restored in various ways from cleanup to restemming. I chose to work on the large Panel Billiard with a saddle stem. The bowl and shank were very dirty with oils and tars on the surface of the smooth finish. The bowl had a thick cake in it that overflowed in lava onto the rim top. The lava was thick and there as darkening on the inner edge. The pipe was stamped on the underside of the shank and read GEFAPIP [over] Giant [over] France. On the shank end running horizontally it is stamped with the shape number 4-SM. This one came with the original stem in place on the shank. It was oxidized and calcified on the button end. There were light tooth marks on the top and underside of the stem near the button. The surface of the button is also tooth marked. It had the Gefapip logo the left side of the saddle stem. I took some photos of the pipe to show its condition before I started my work on it.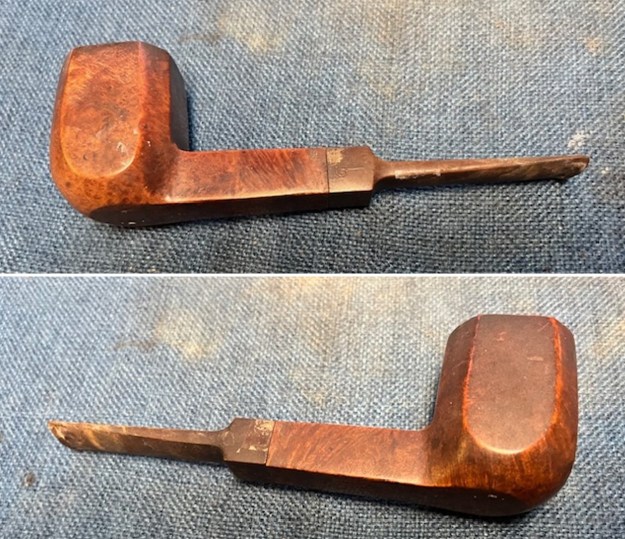
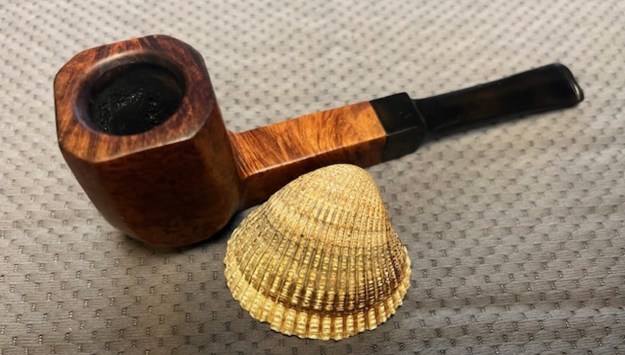
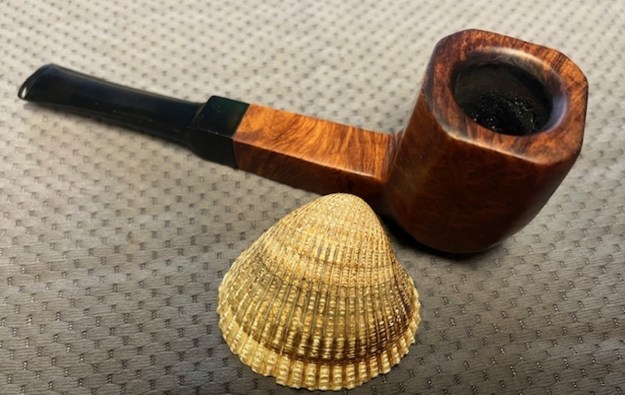
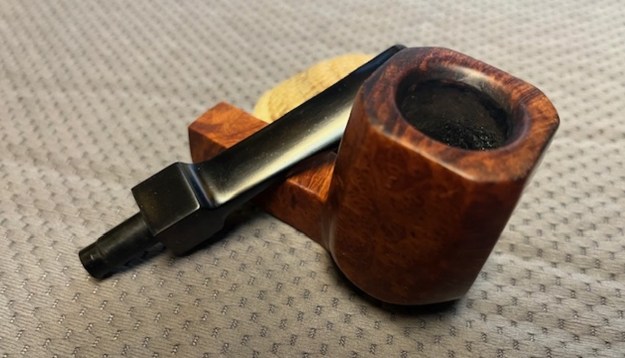
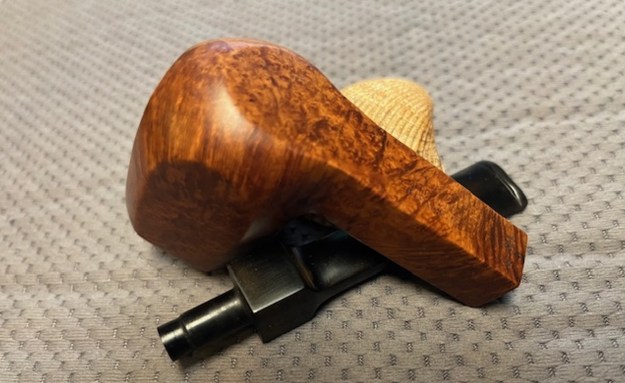
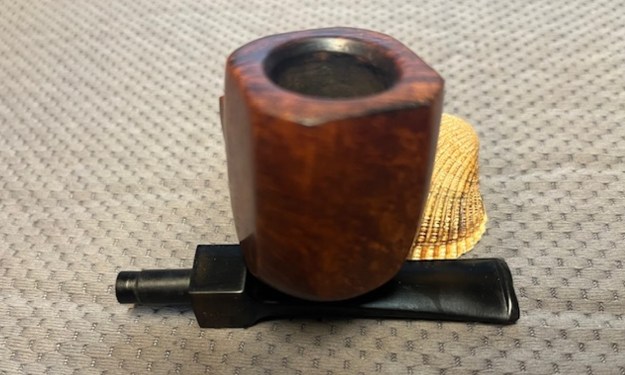
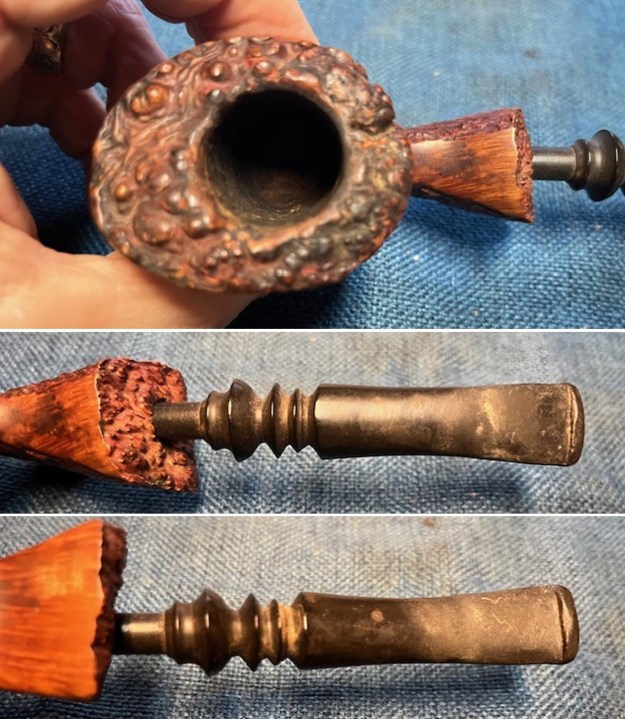
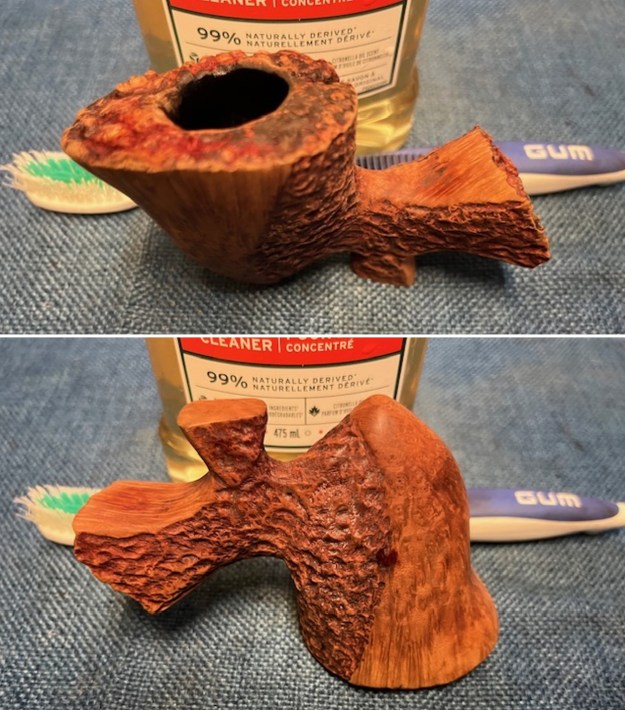
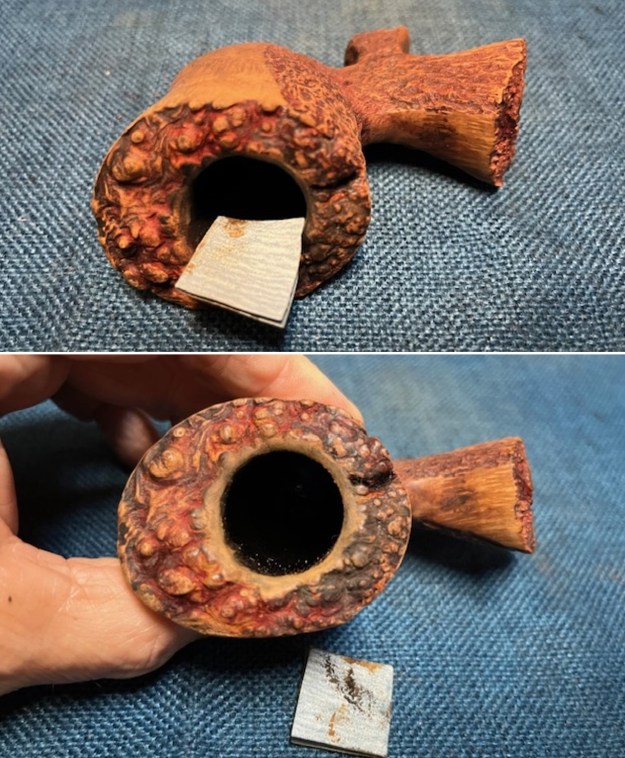
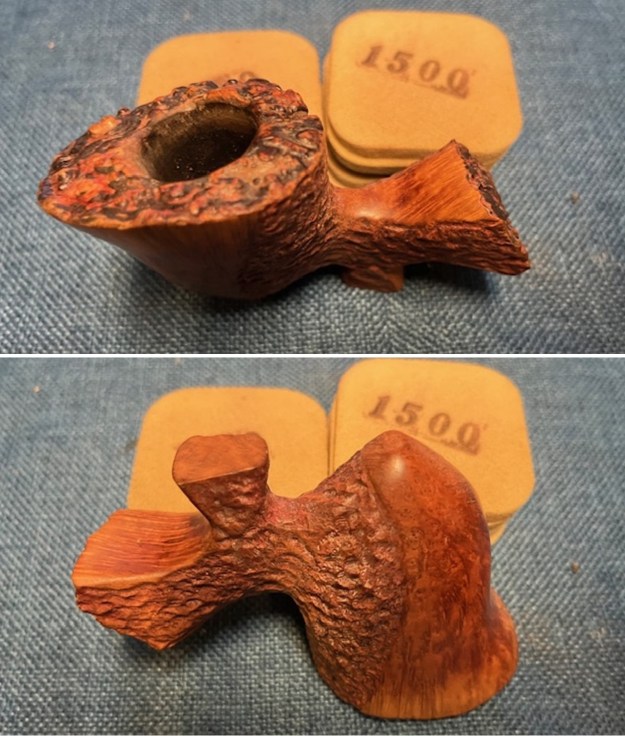
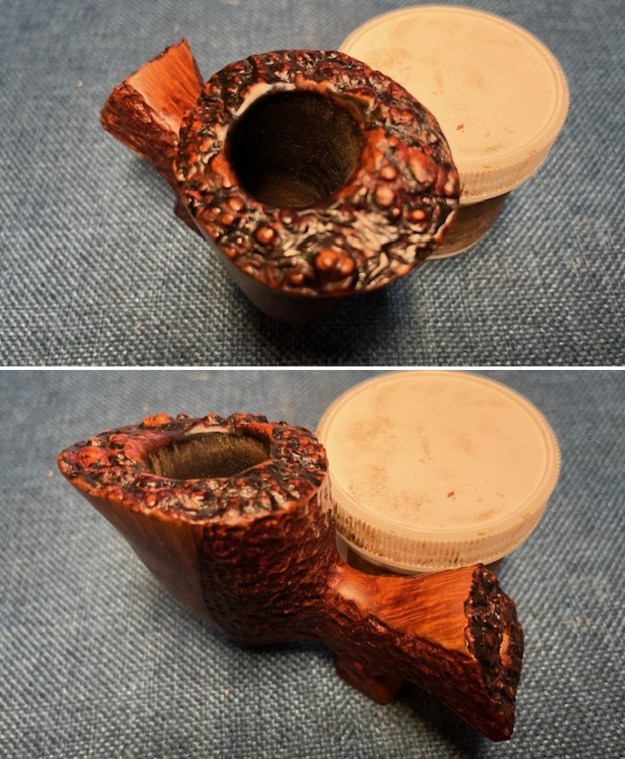
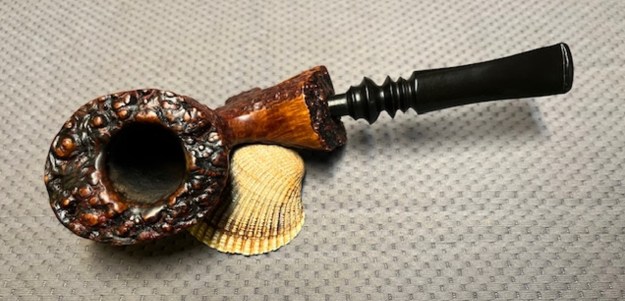
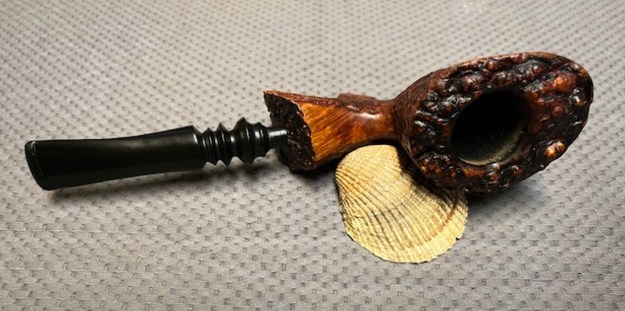
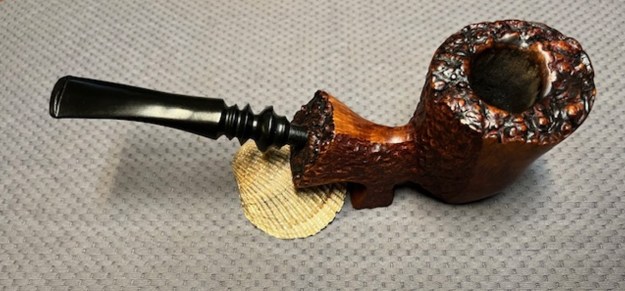
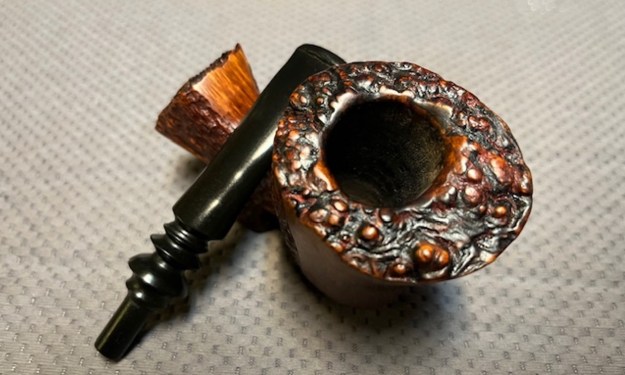
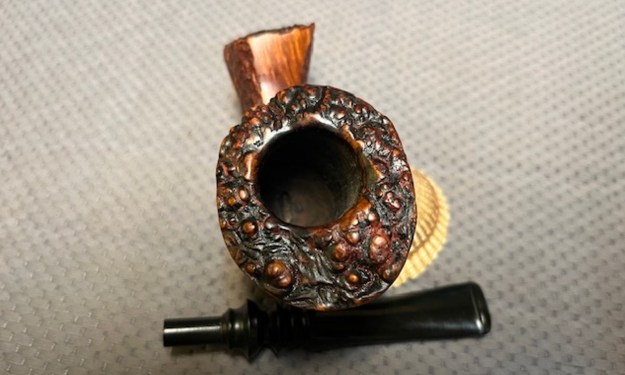
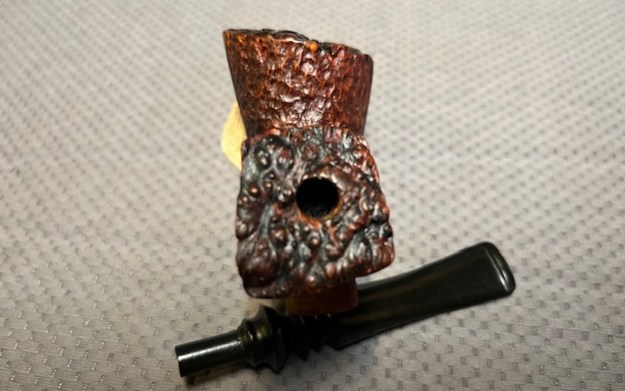
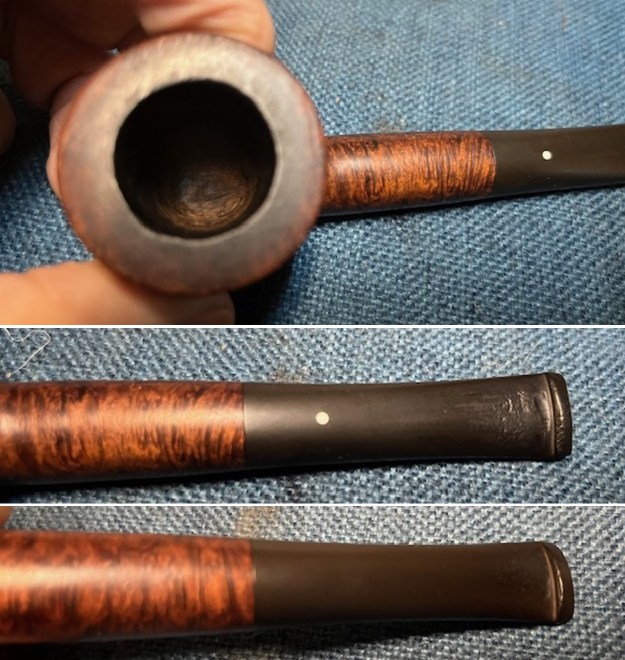
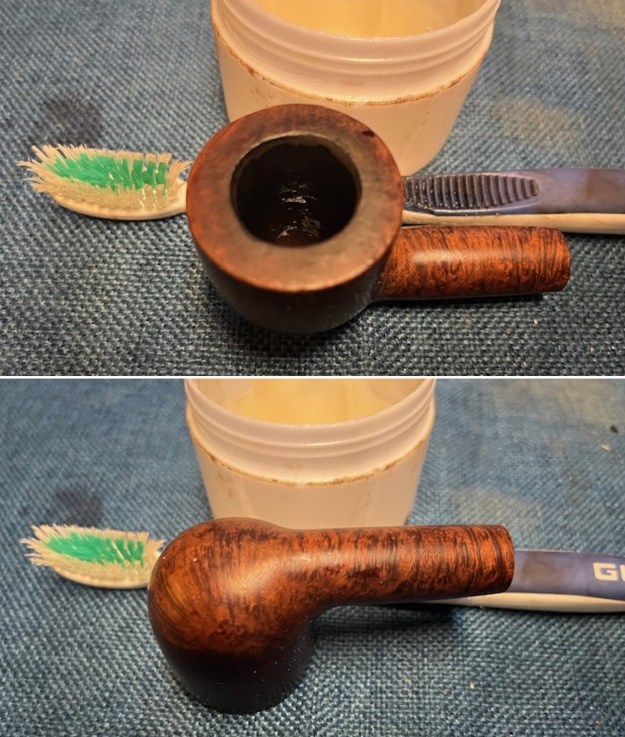
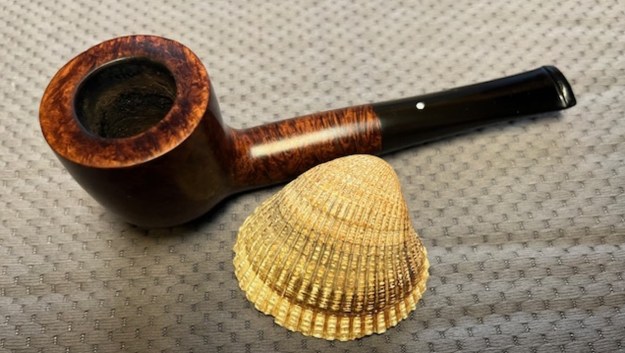
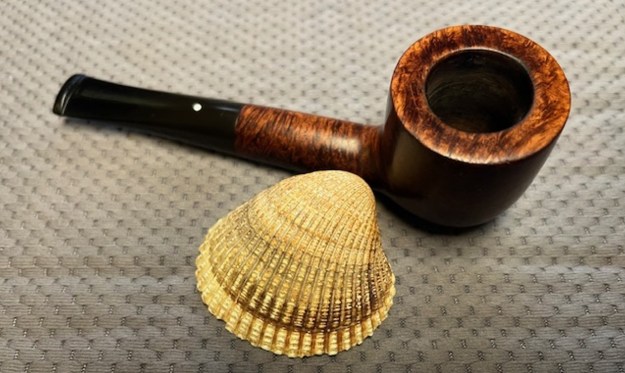
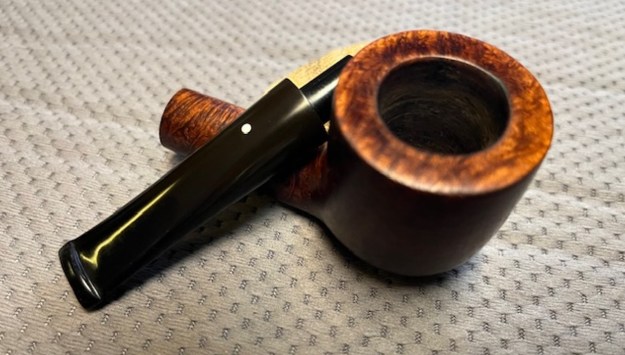
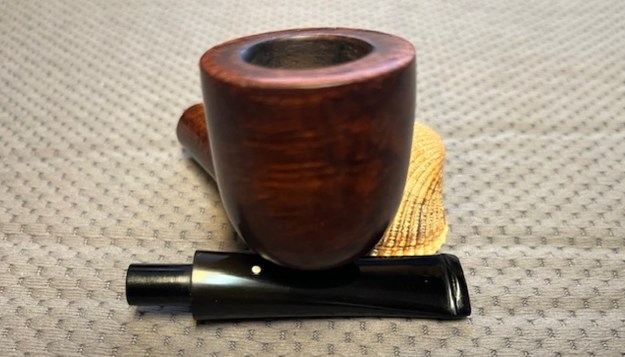
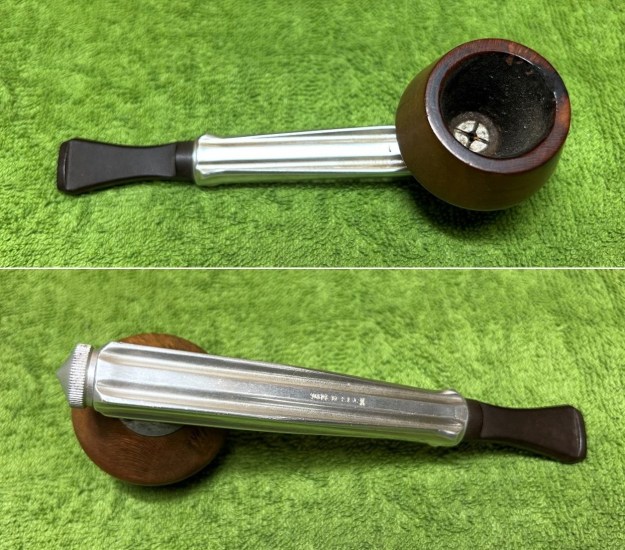
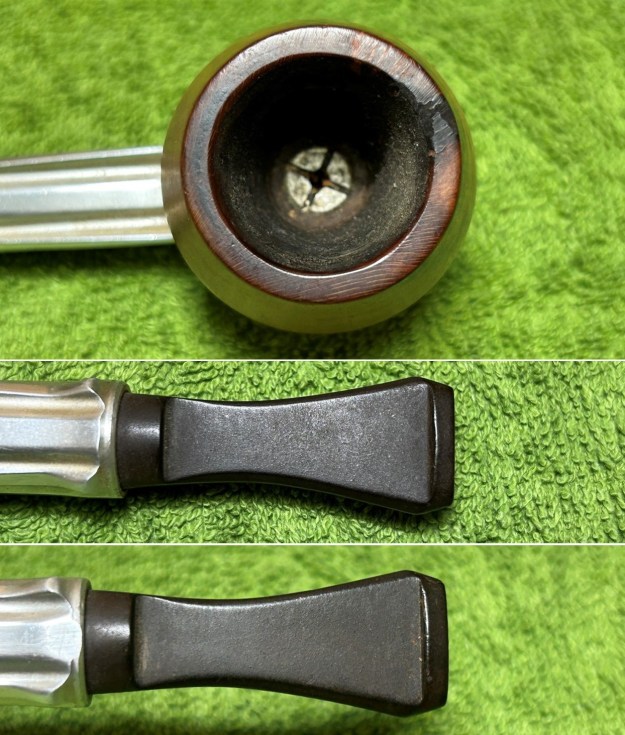
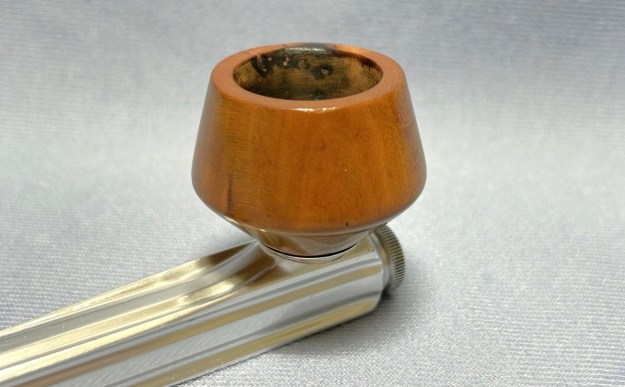
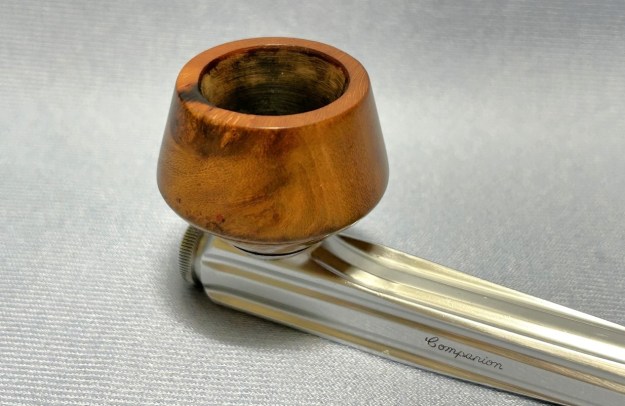
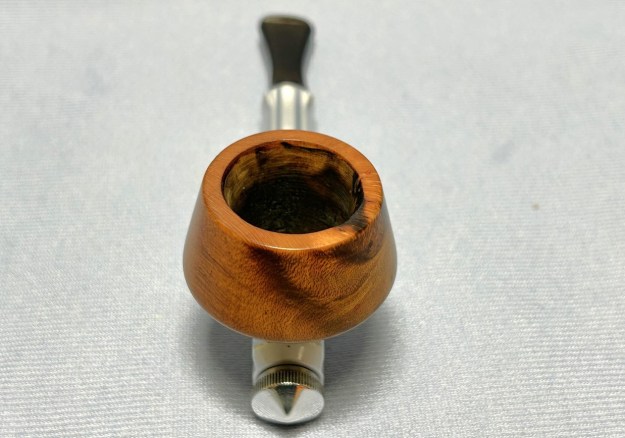
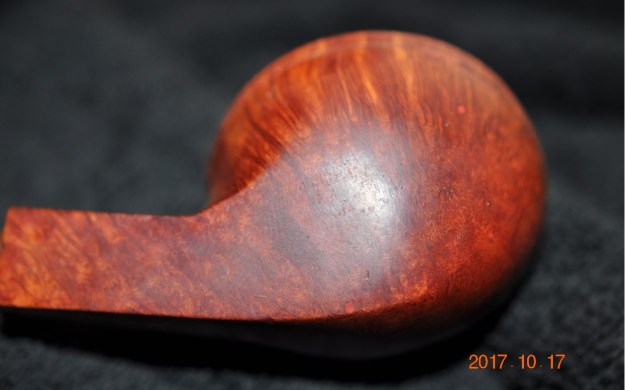
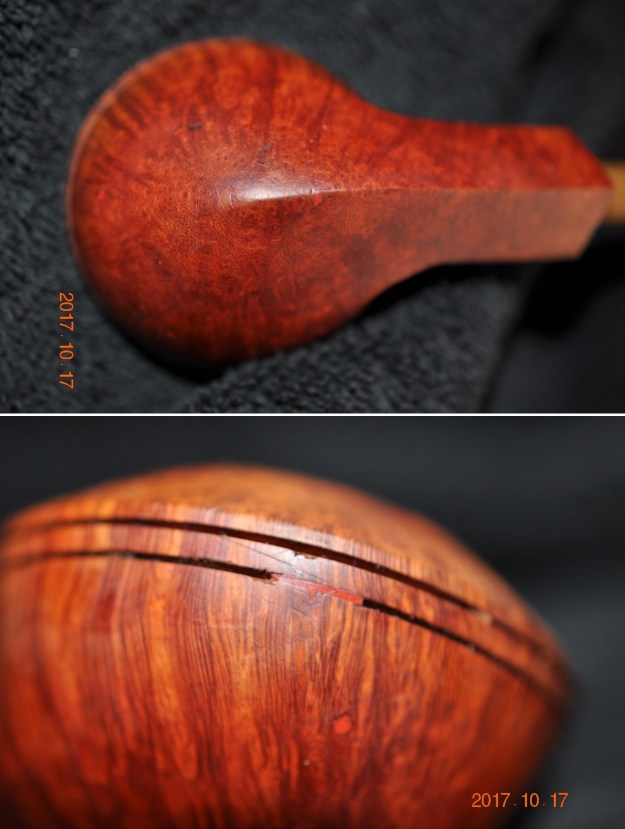
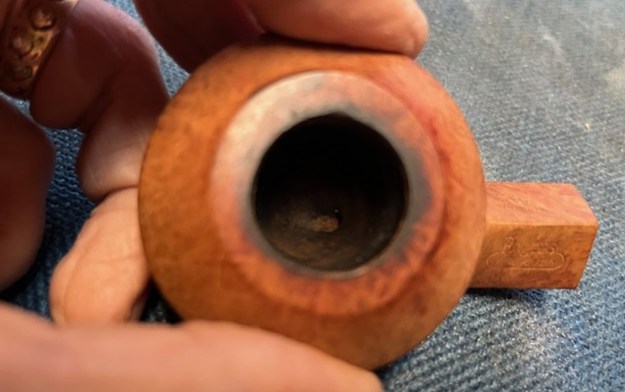
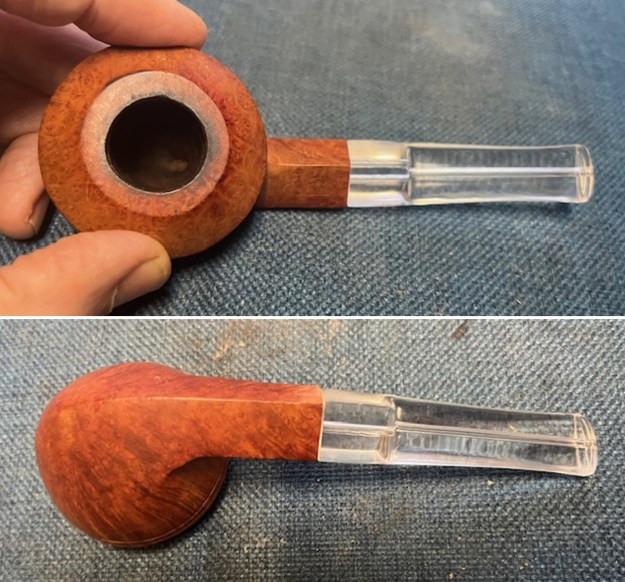
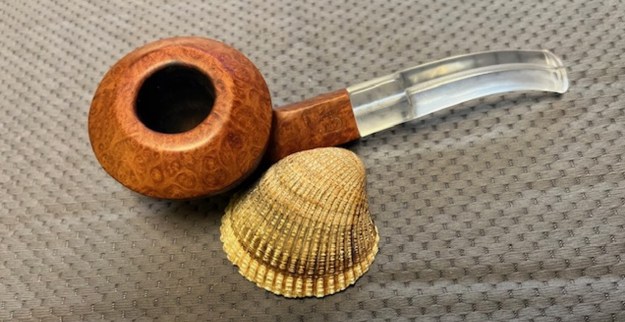
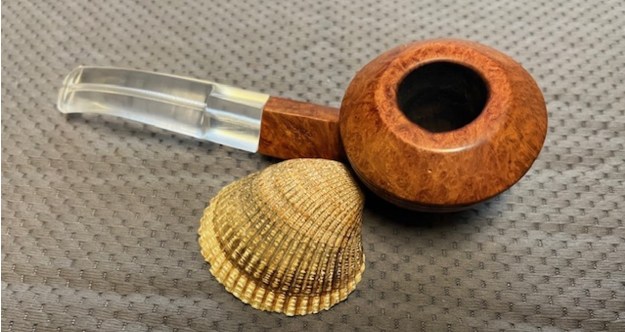
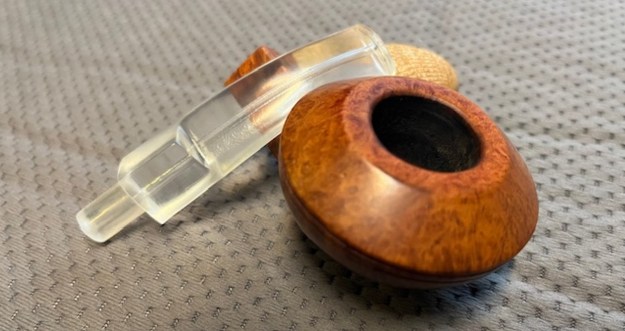
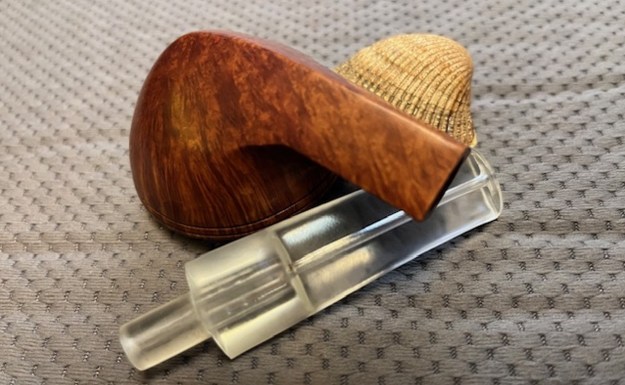
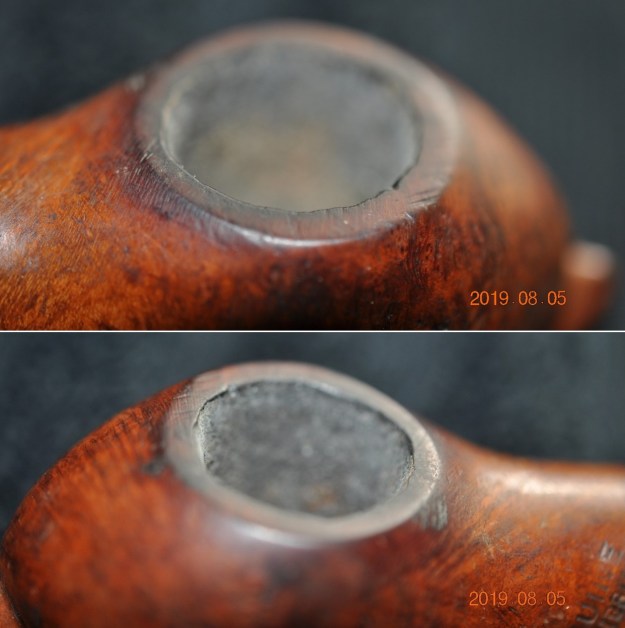
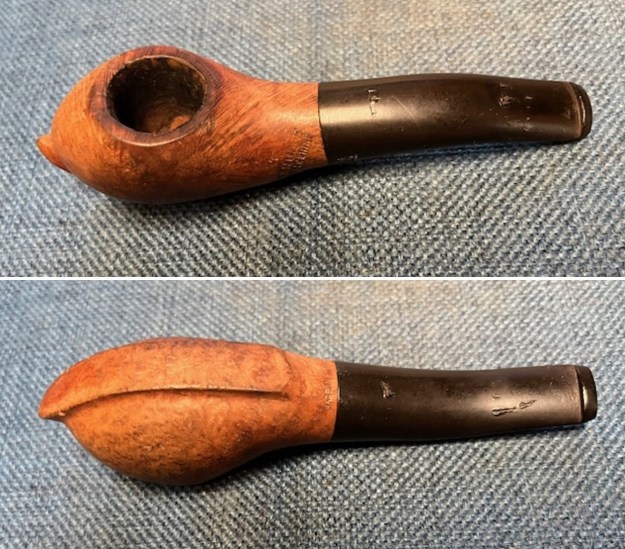
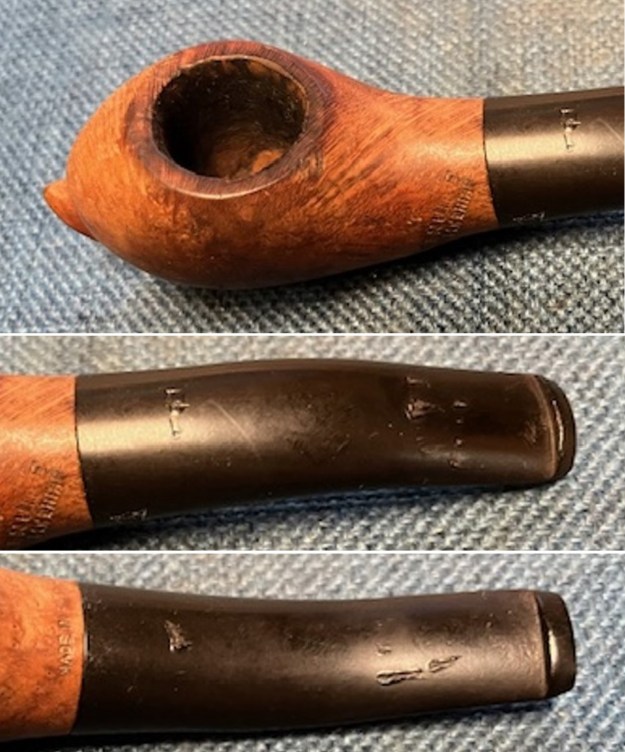
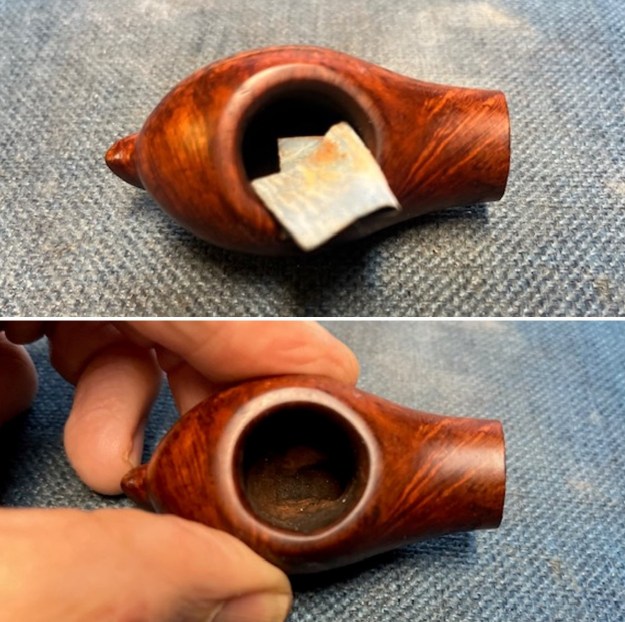
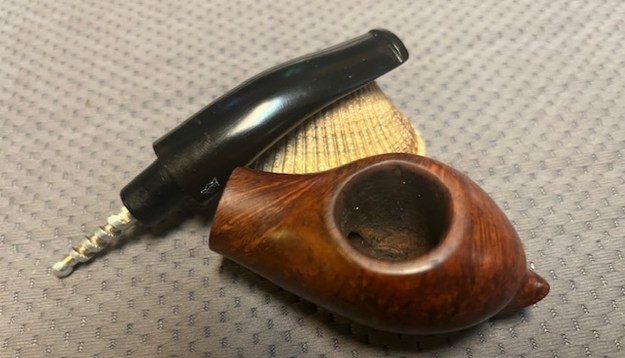
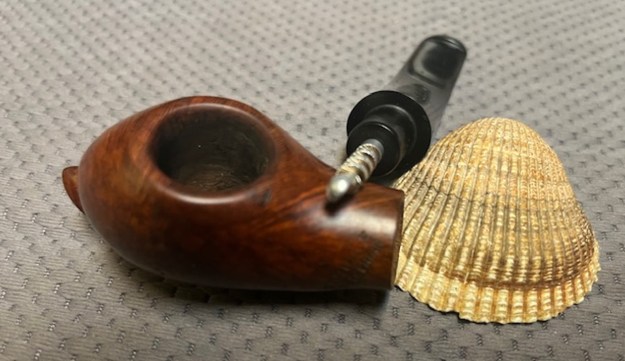
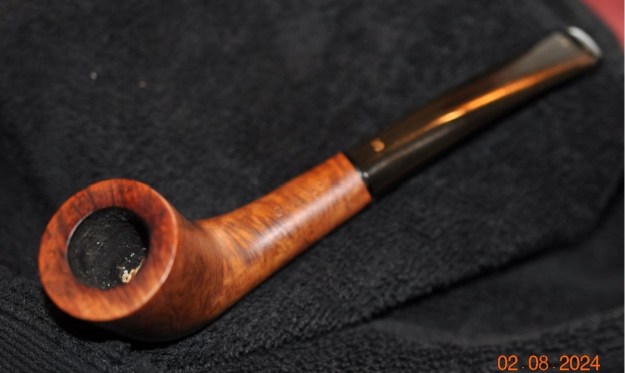
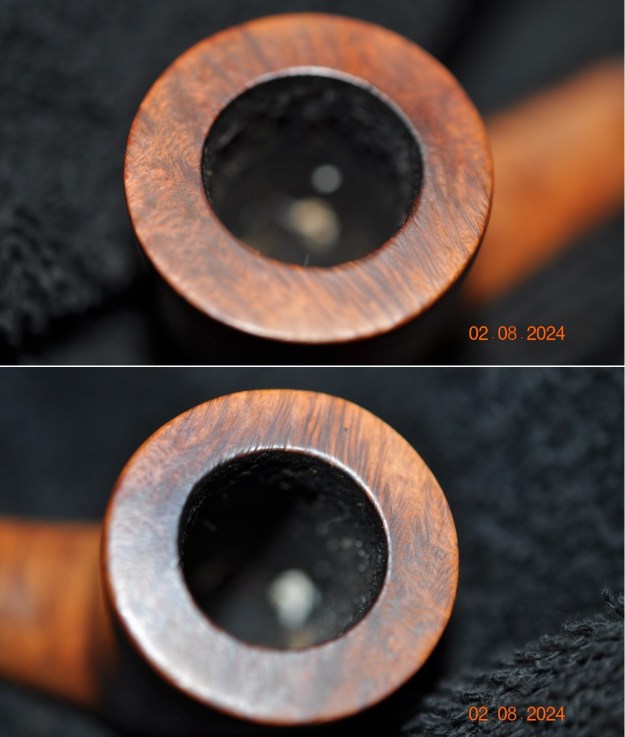
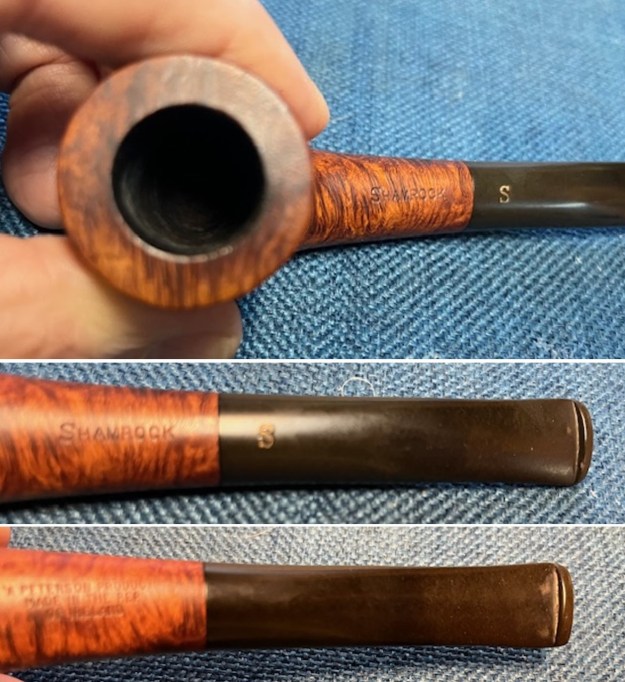
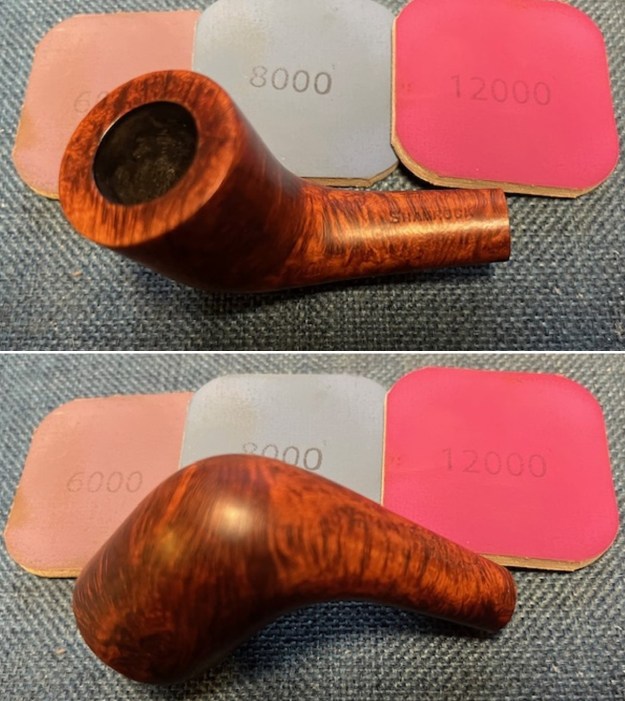
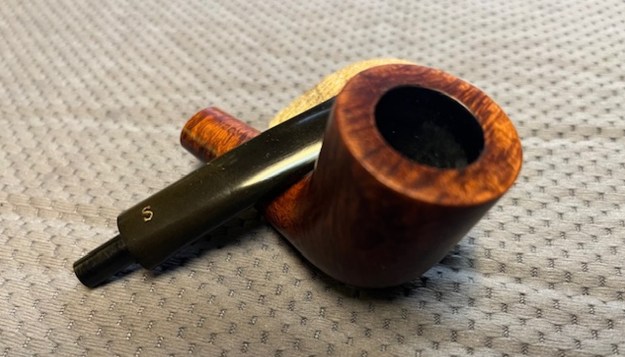
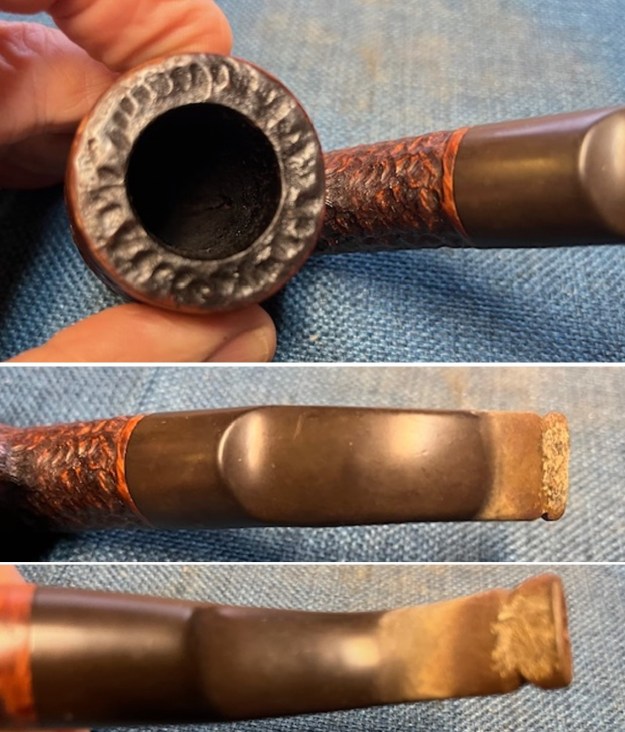
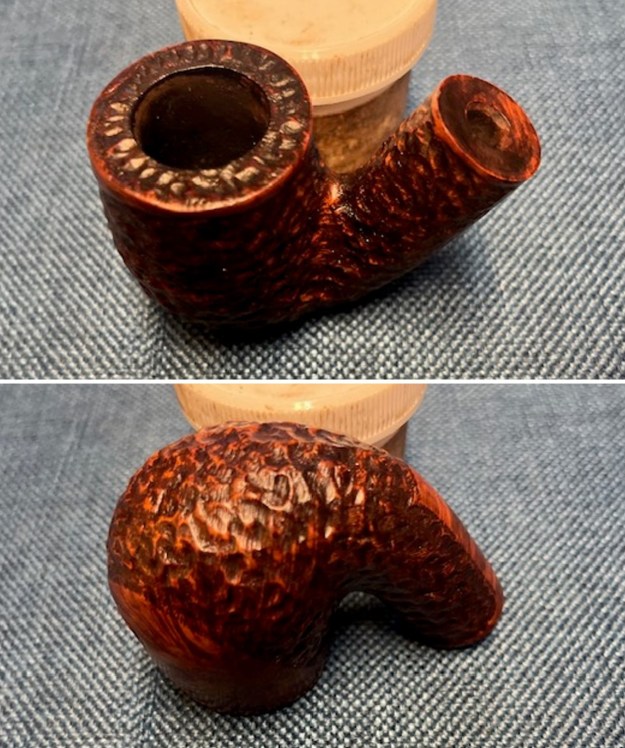
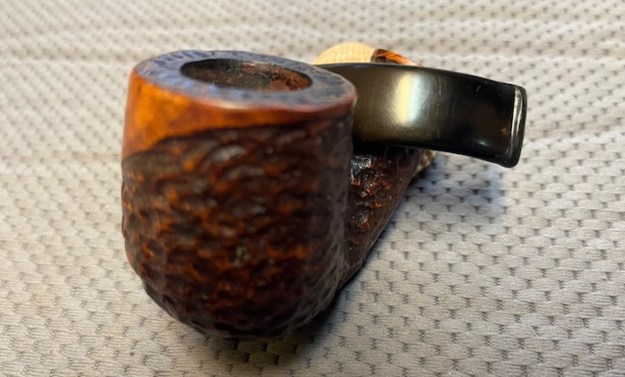
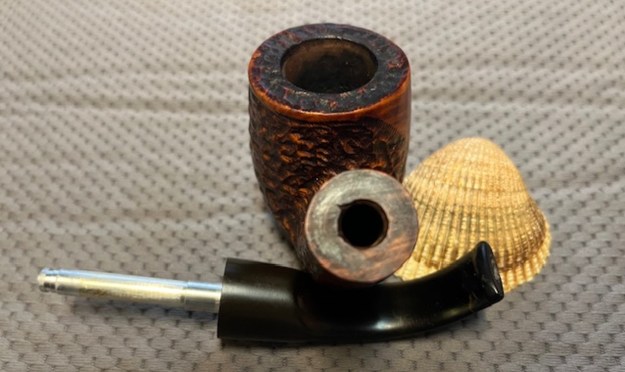
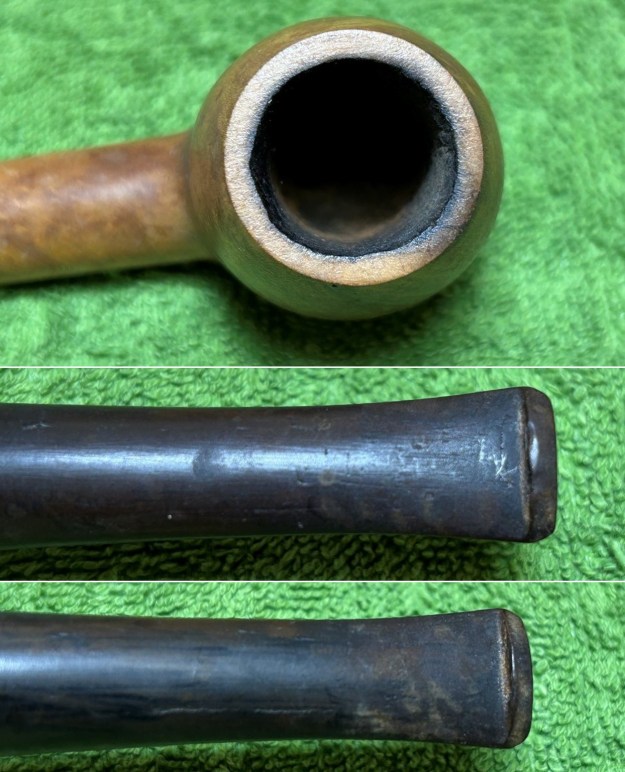
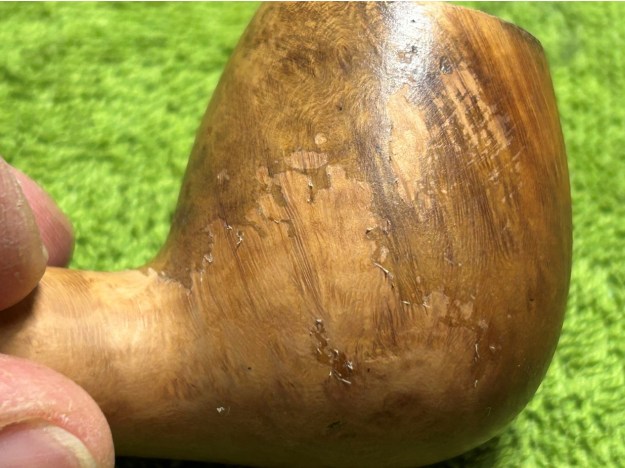
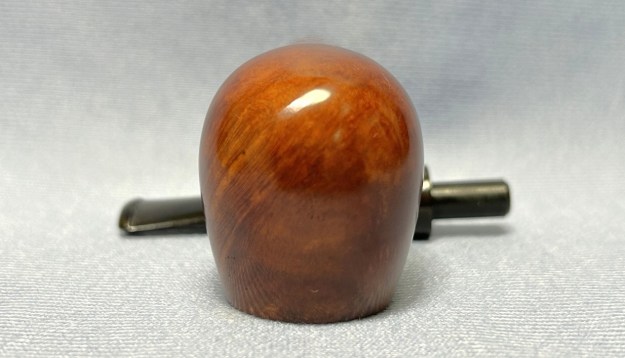
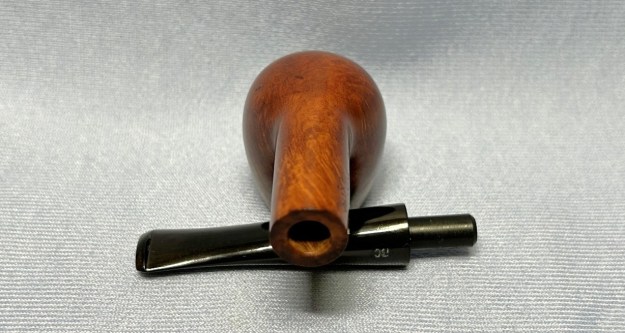
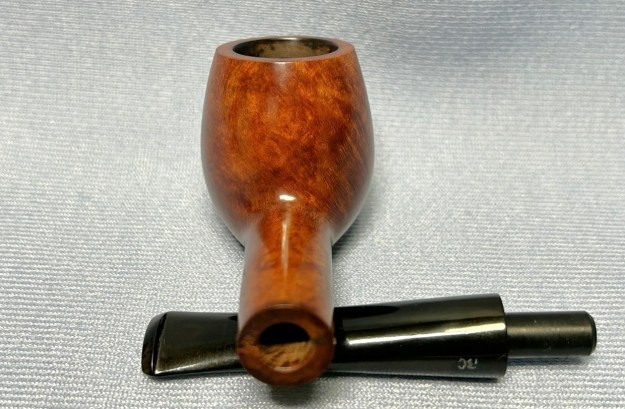
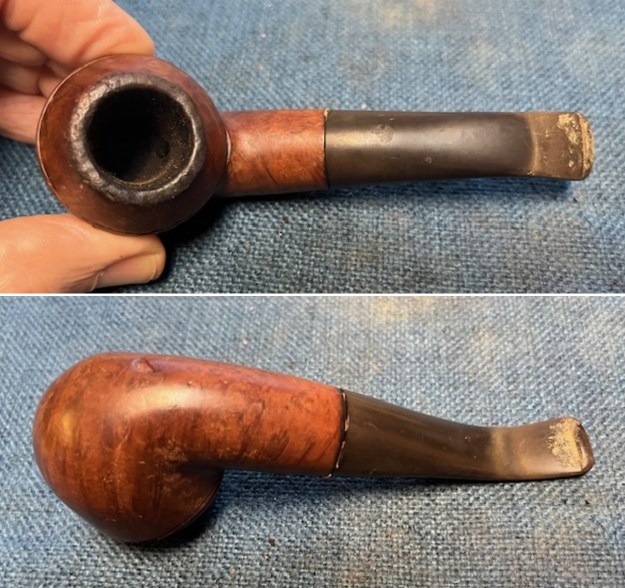
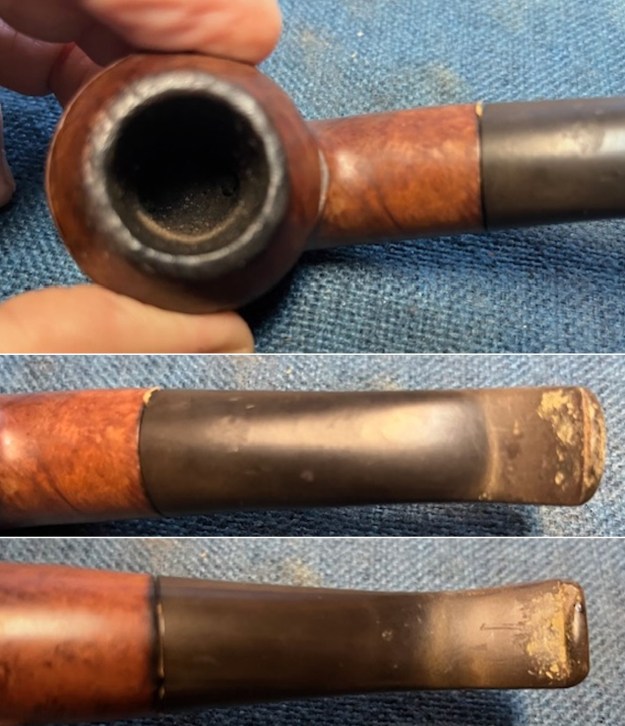
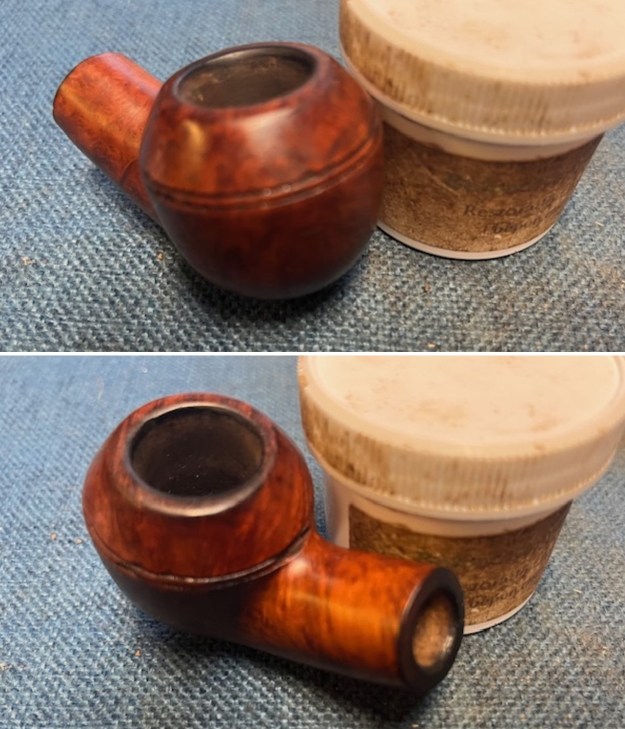
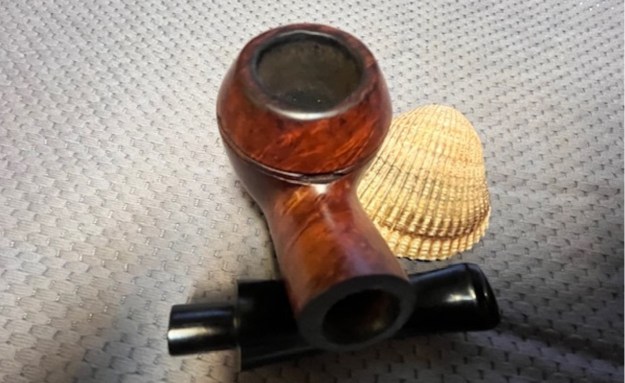
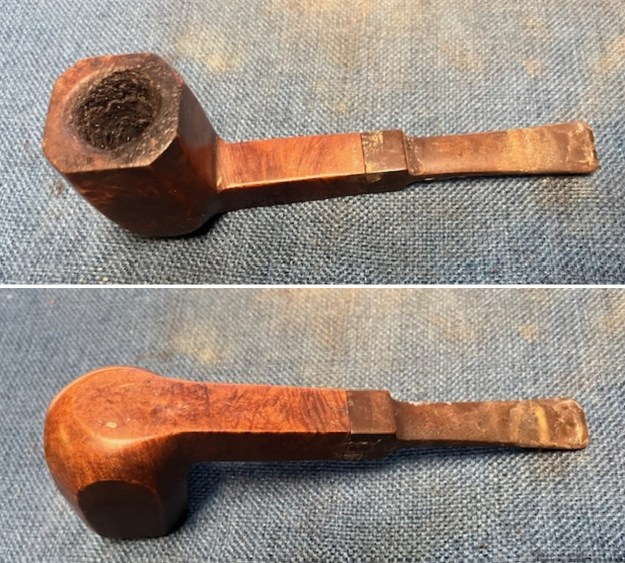 I took some closer photos of the bowl and rim top to show its condition before I started my work on the pipe. You can see the heavy cake in the bowl and the thick lava coat on the rim top. The stem photos also show the general condition of the stem as noted above.
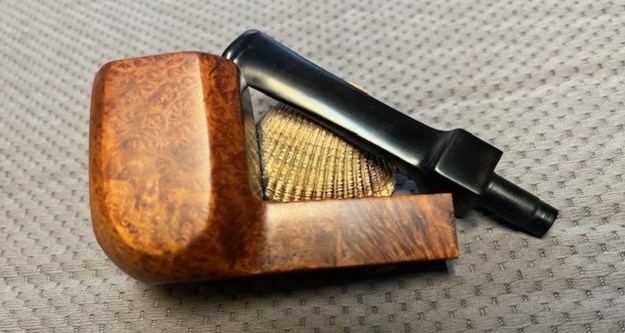
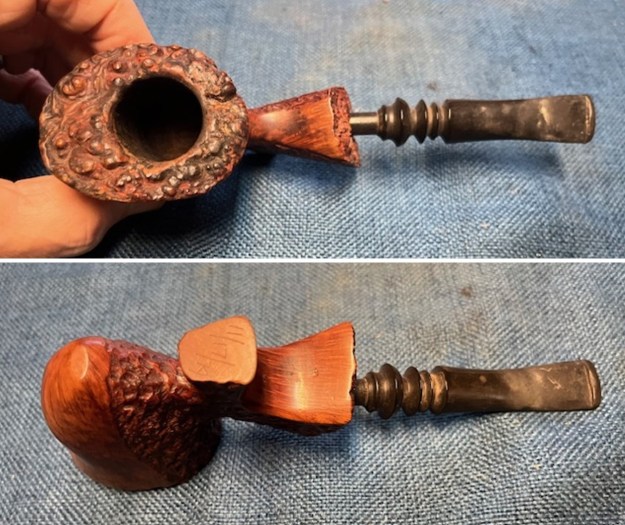
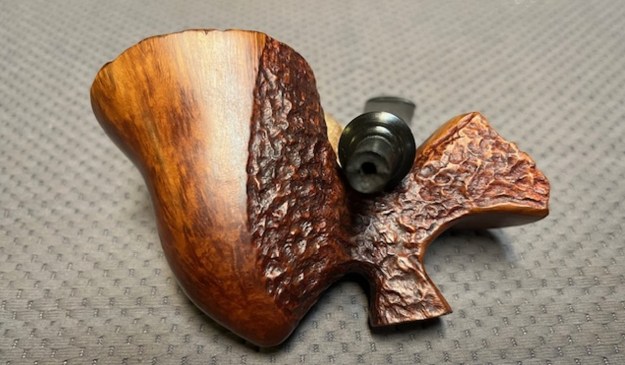
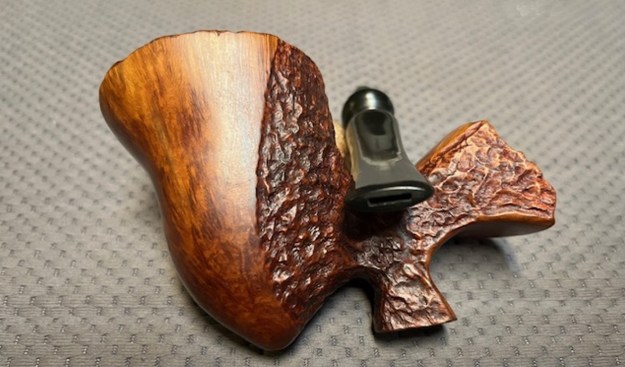
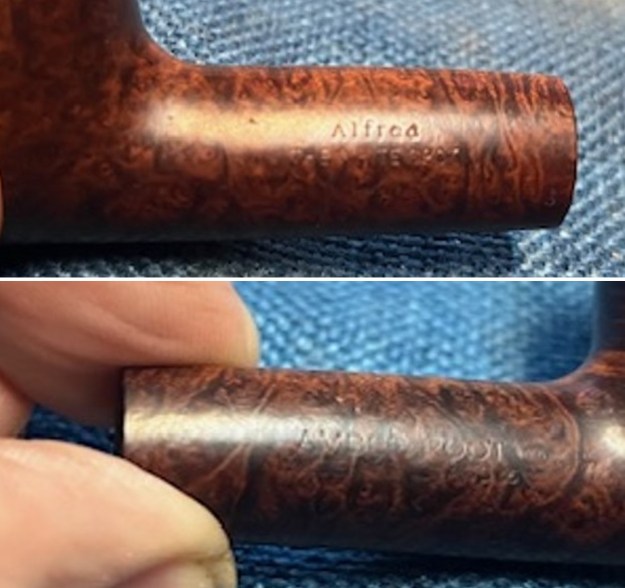
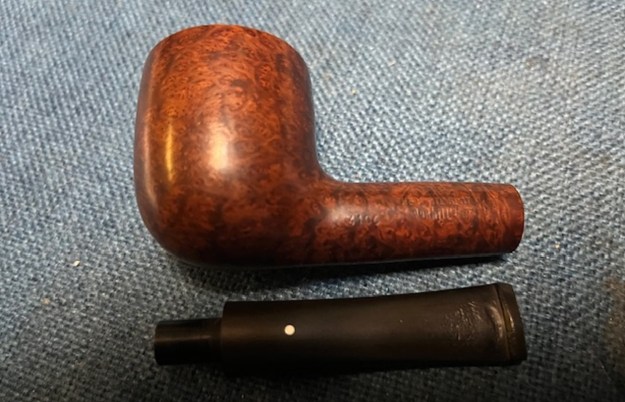
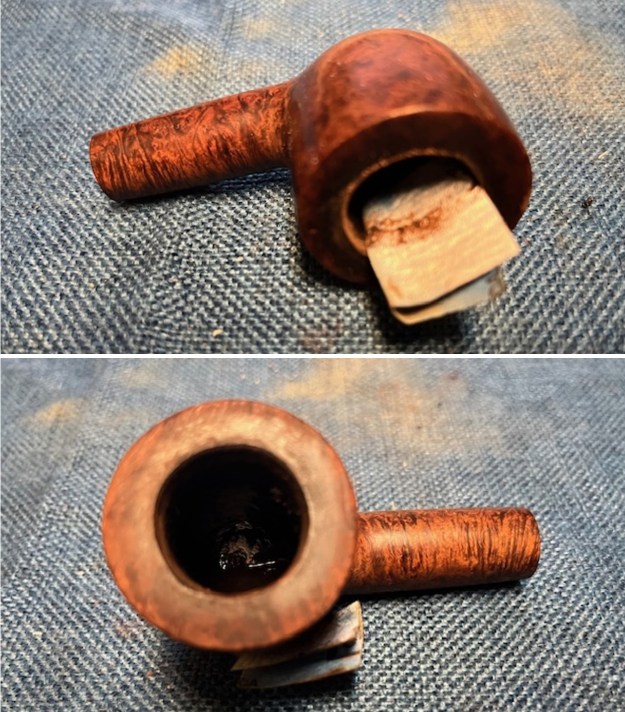
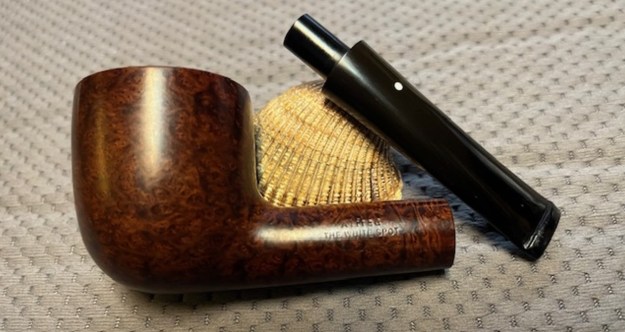
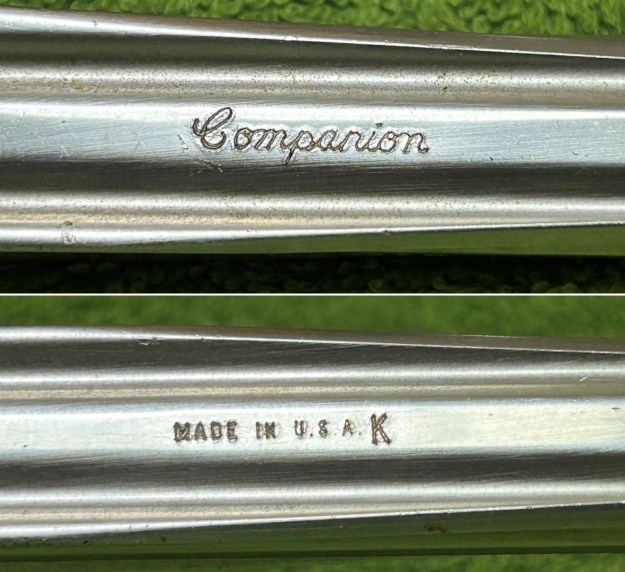
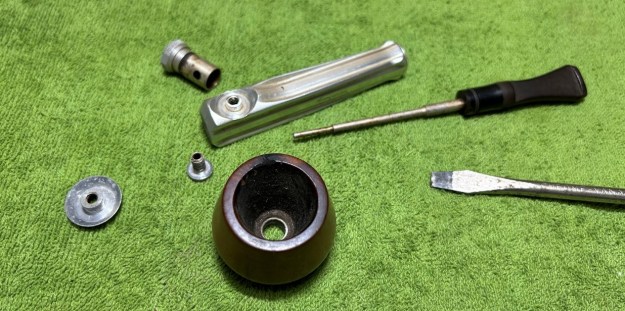
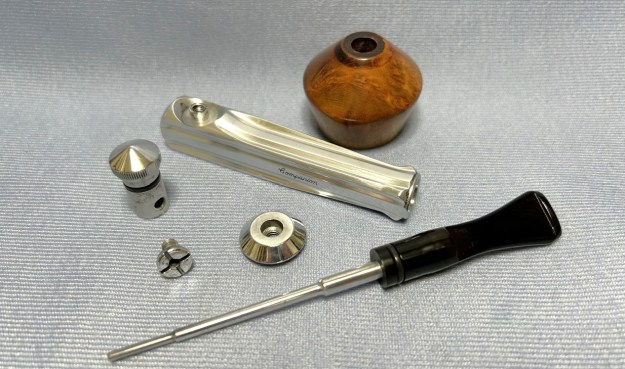
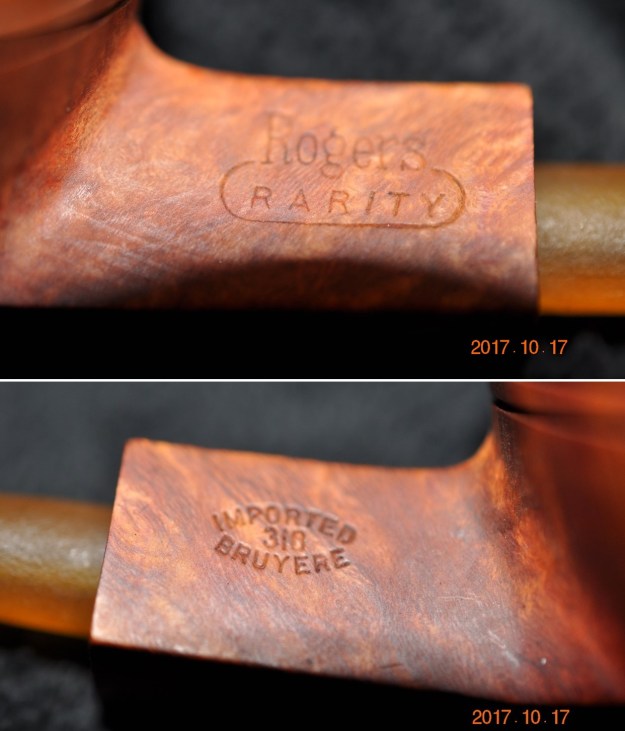
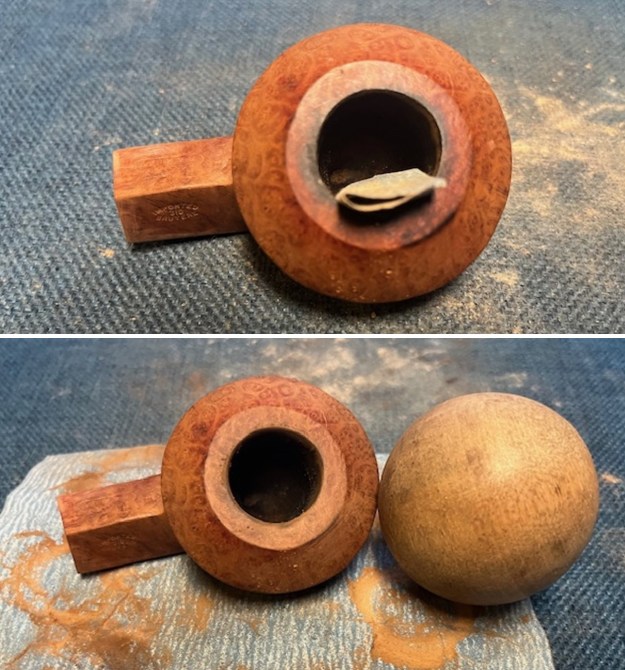
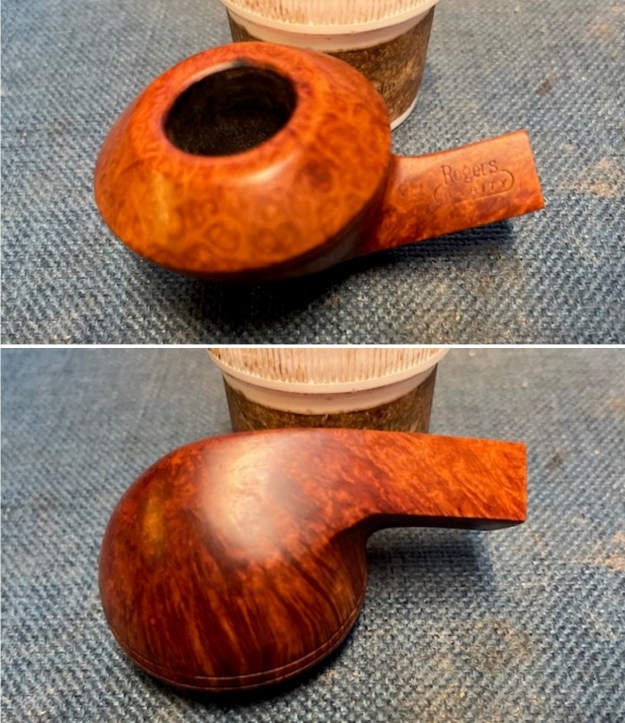
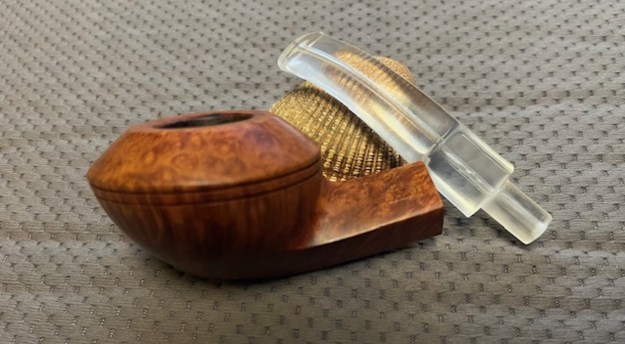
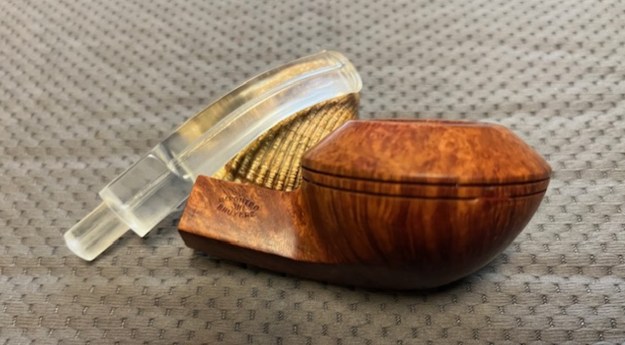
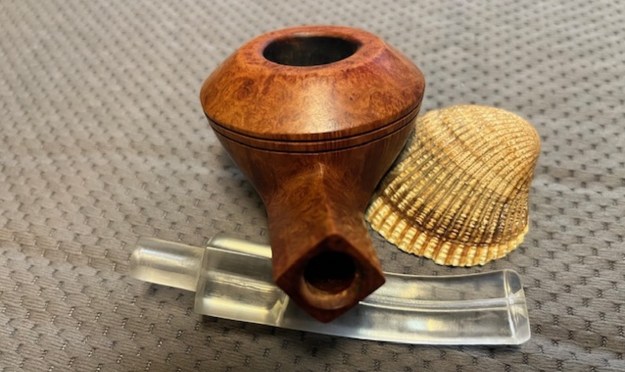
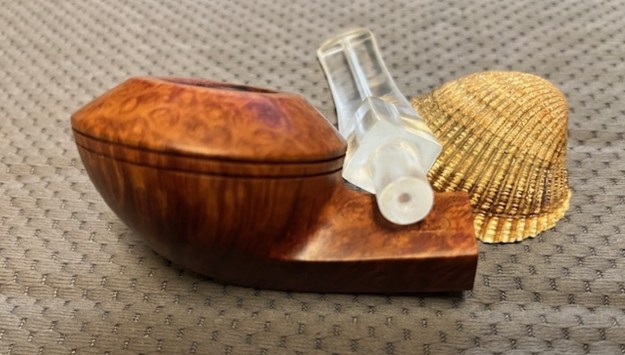
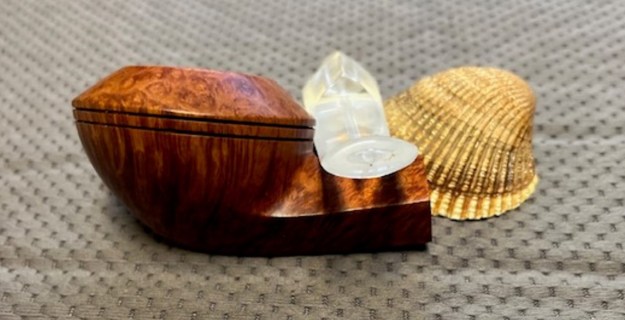
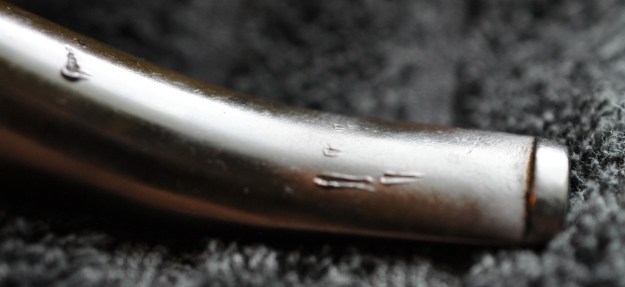
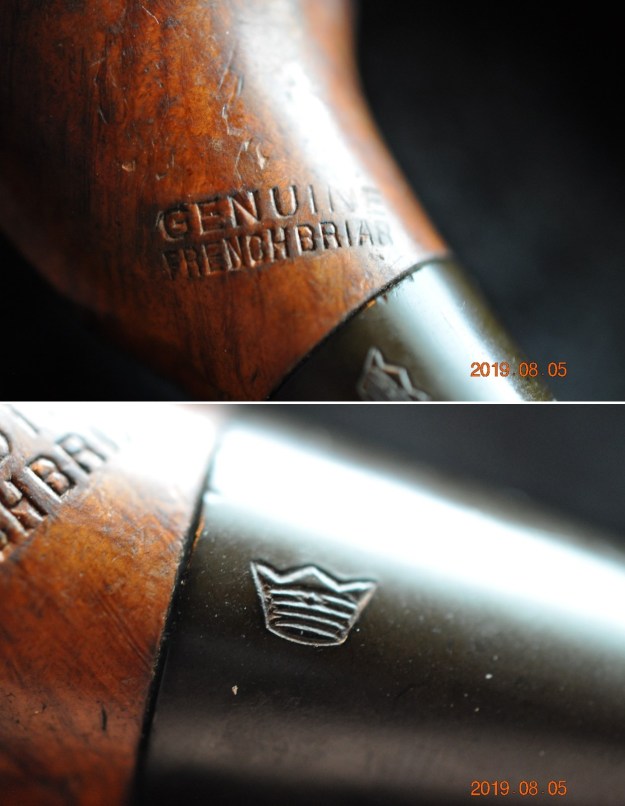
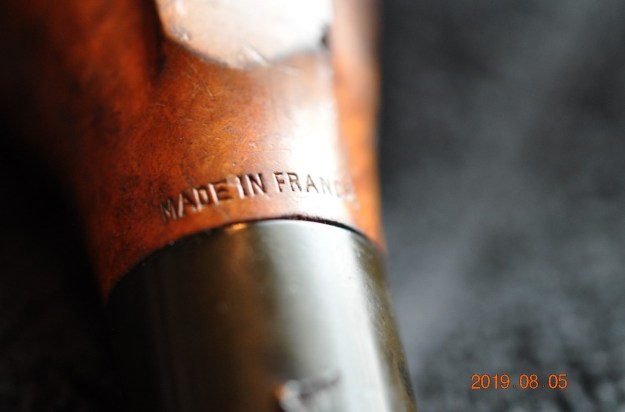
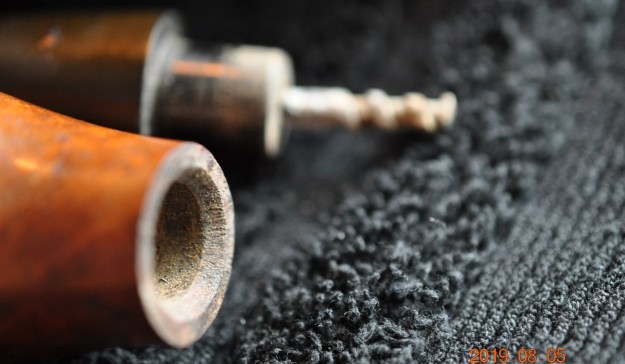
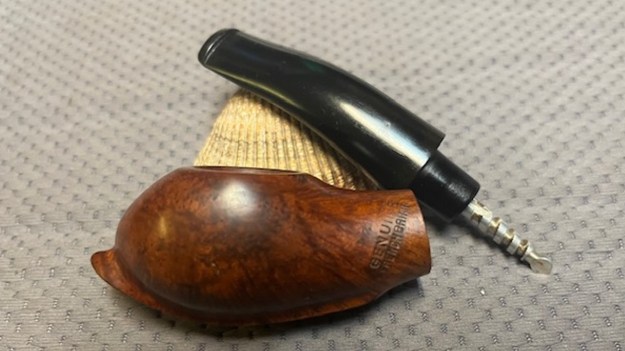
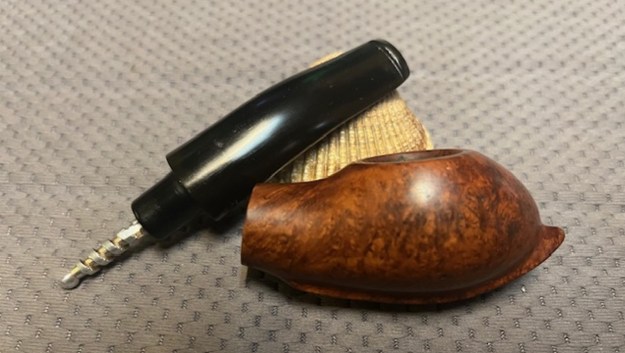
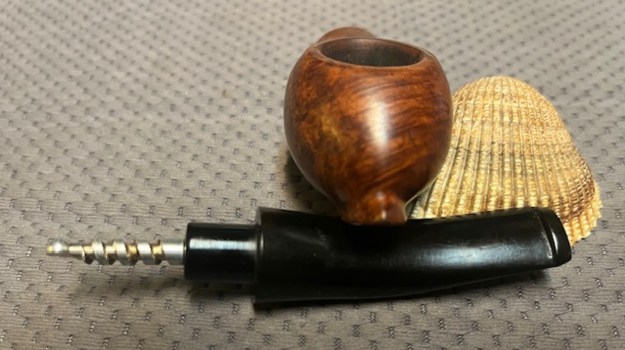
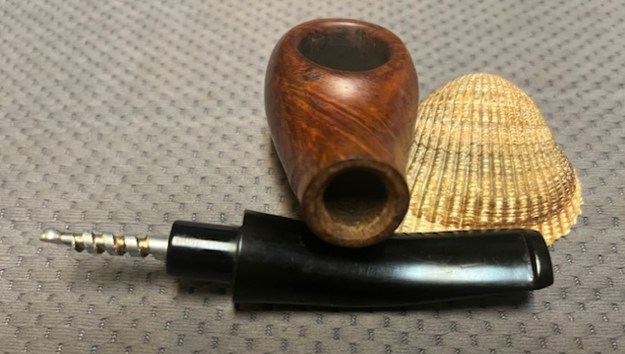
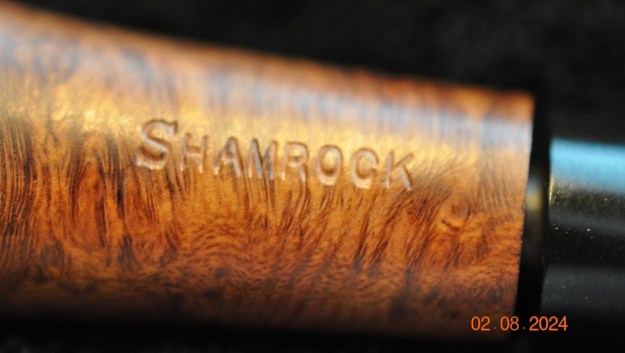
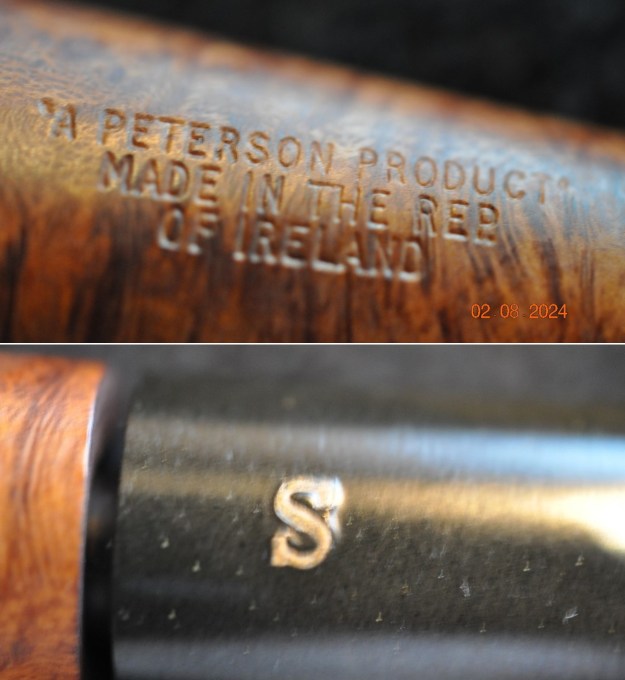
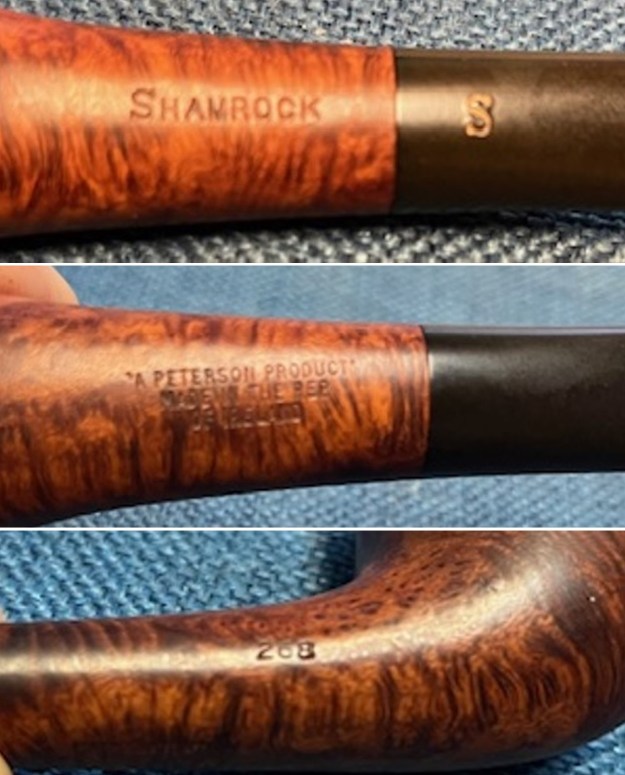
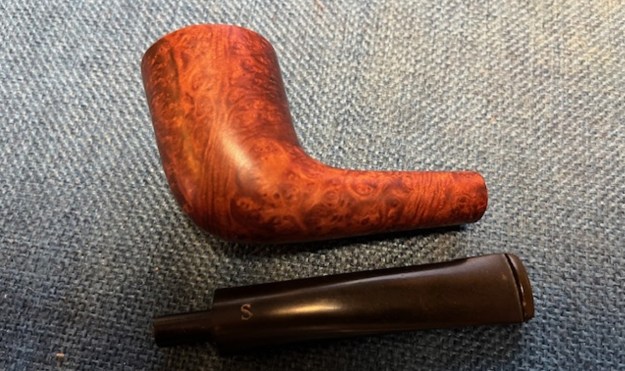
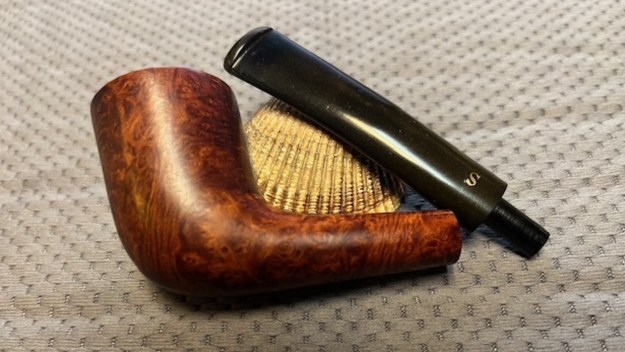
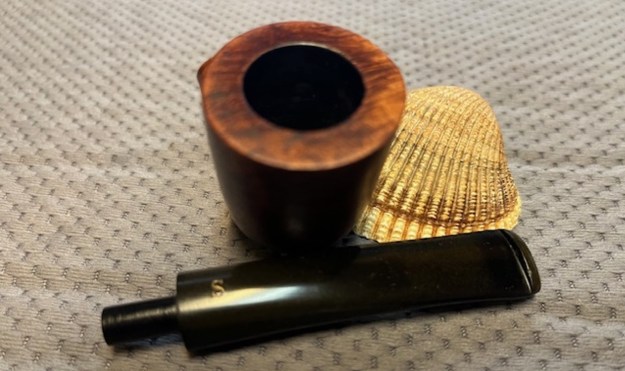
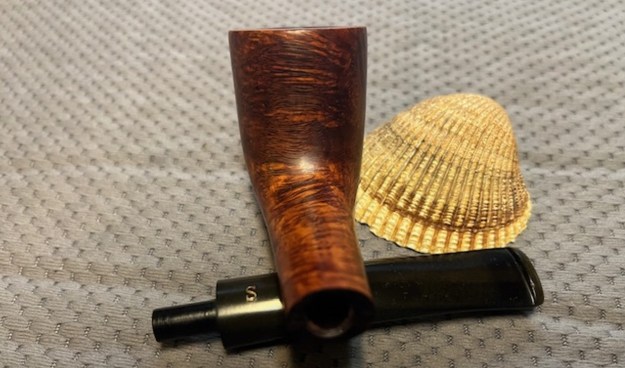
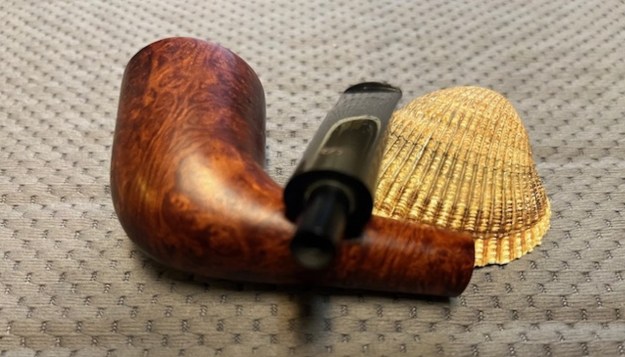
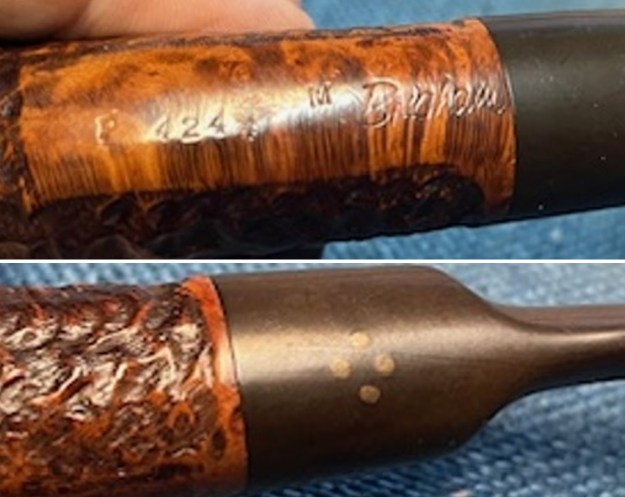
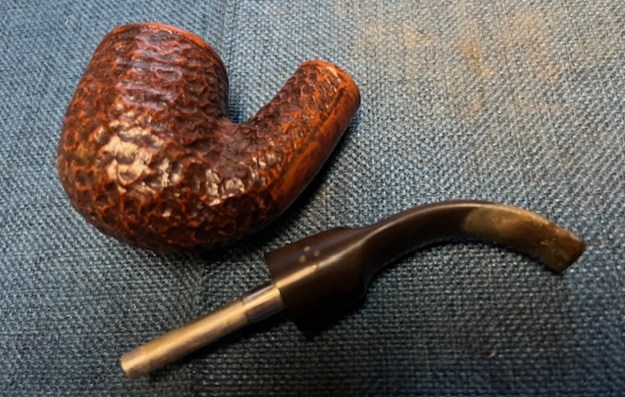
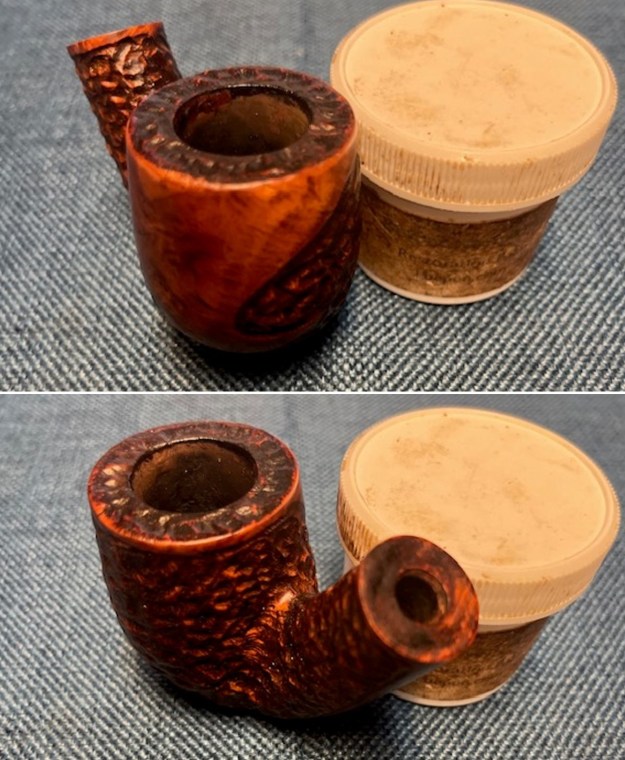
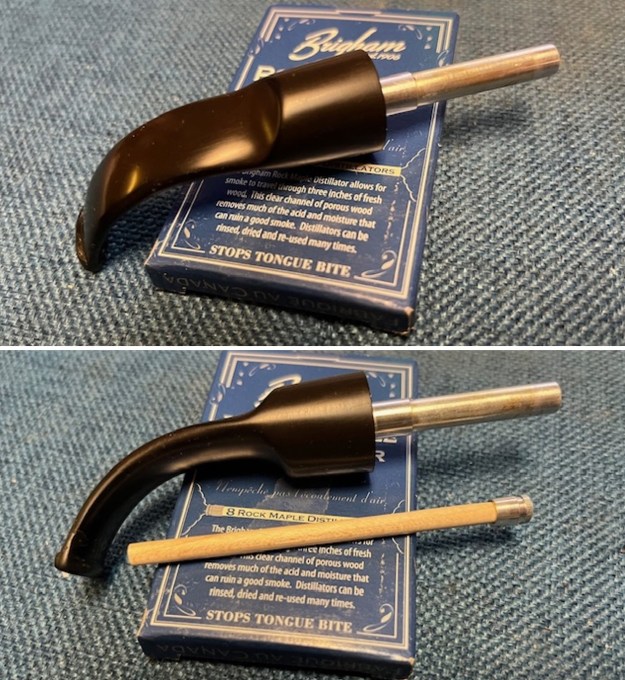
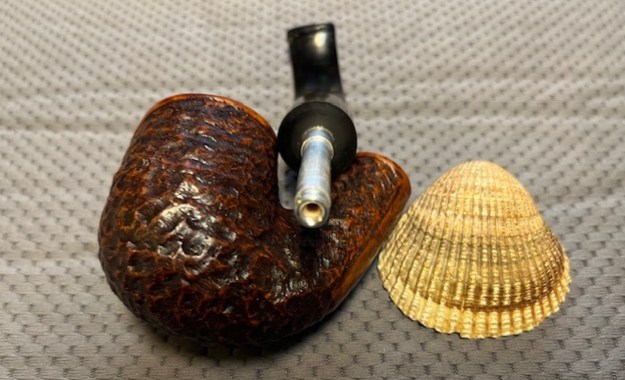
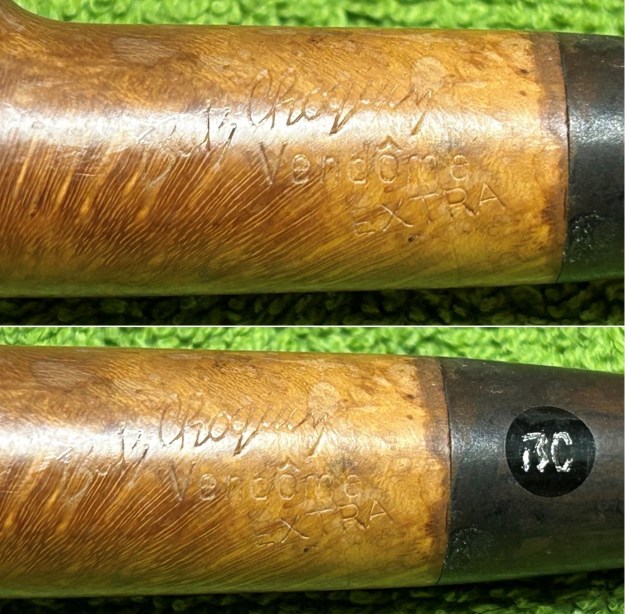
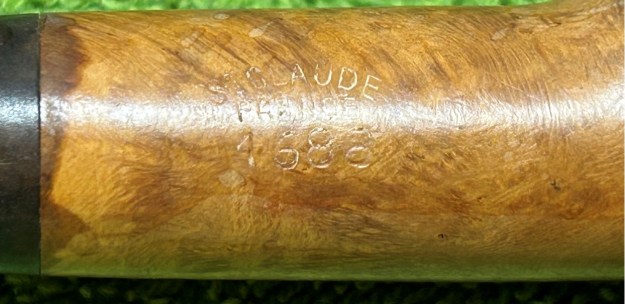
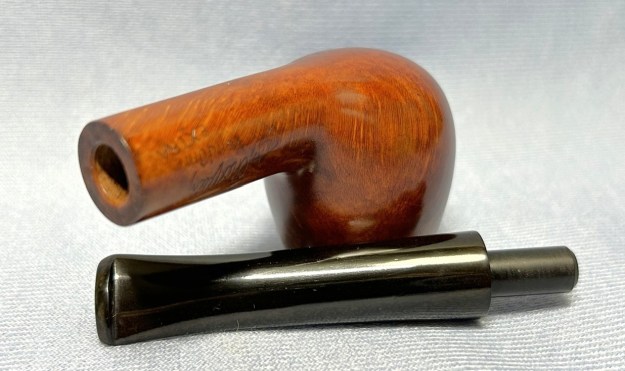
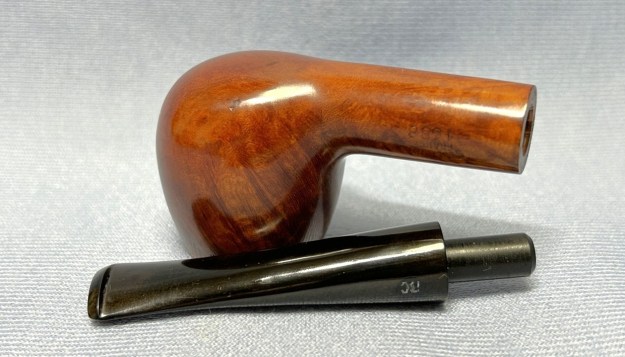
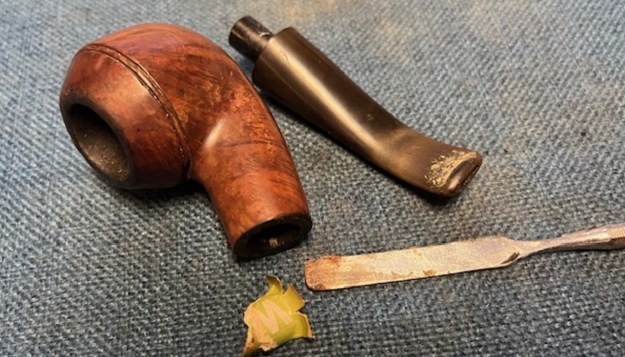
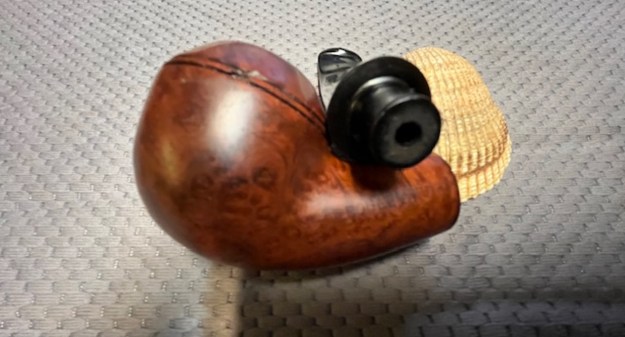
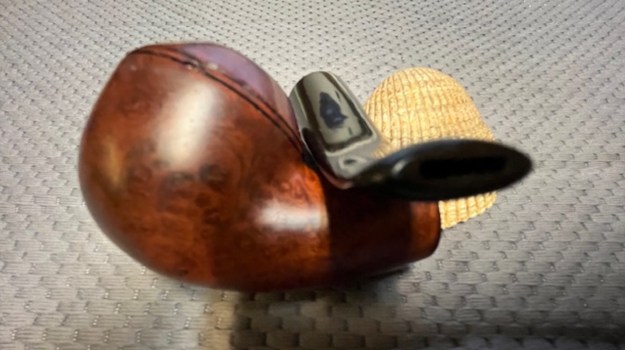
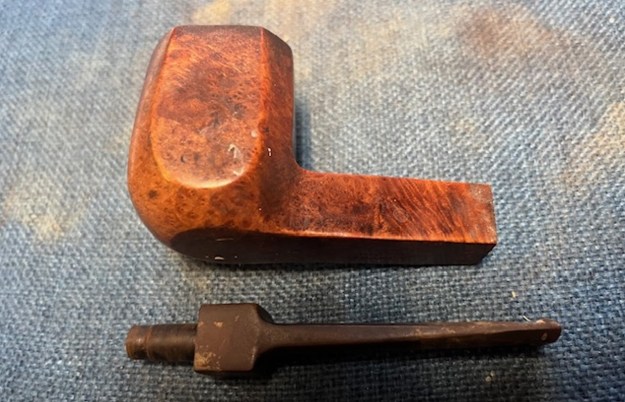
 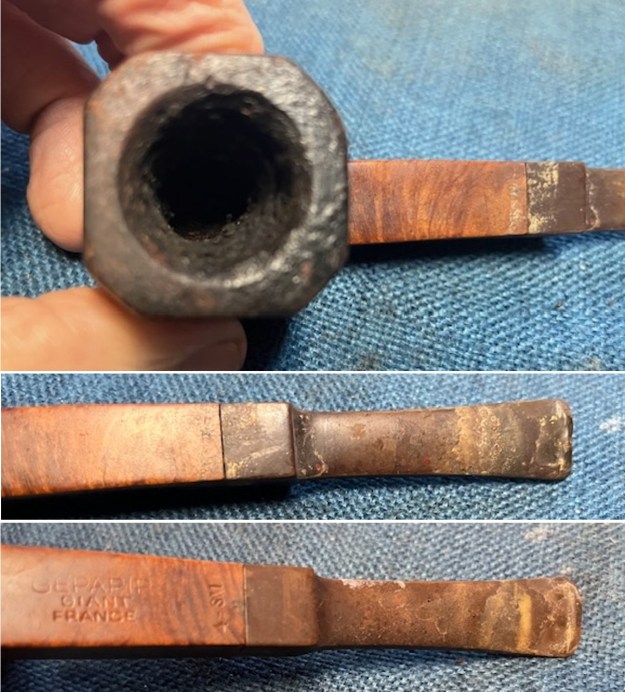 I took a photo of the stamping on the underside of the shank. It was stamped on a smooth panel and was faint but readable. It reads as noted above. I also captured the Gefapip logo on the left side of the saddle stem. I removed the stem and took a photo of the parts of the pipe to show the look of the pipe.
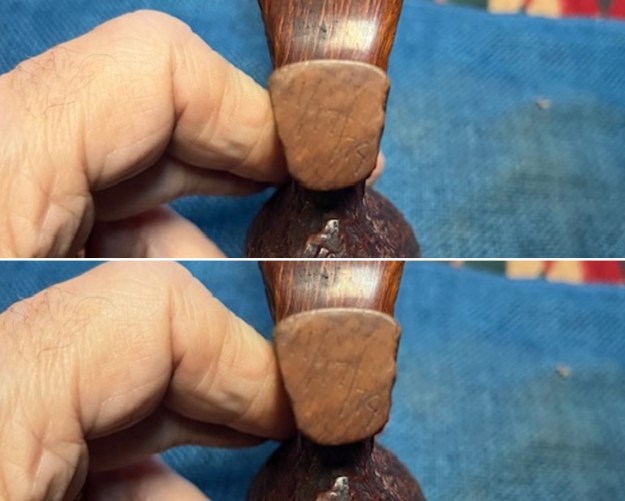
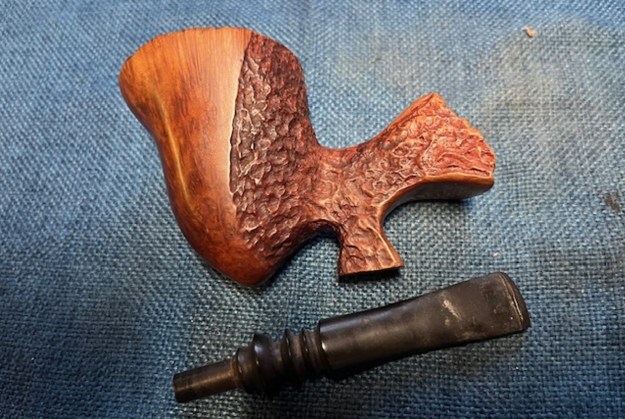
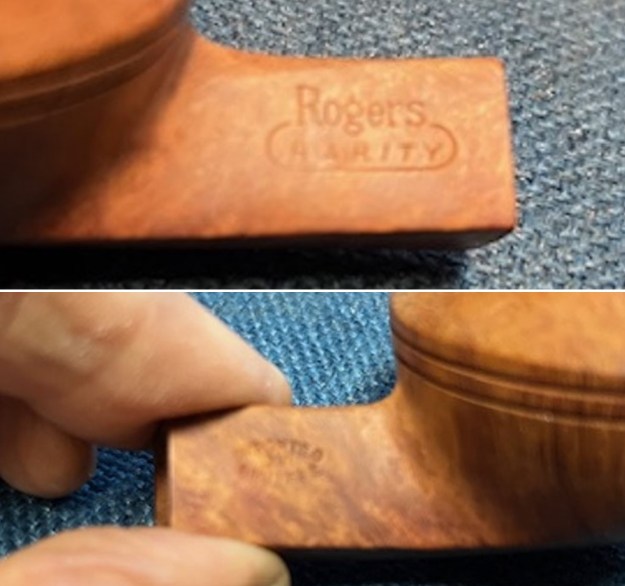
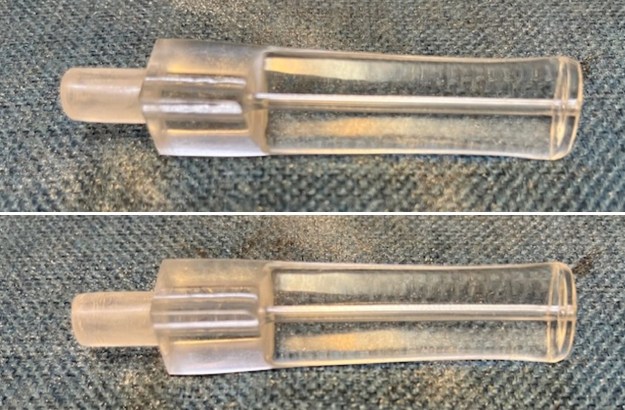
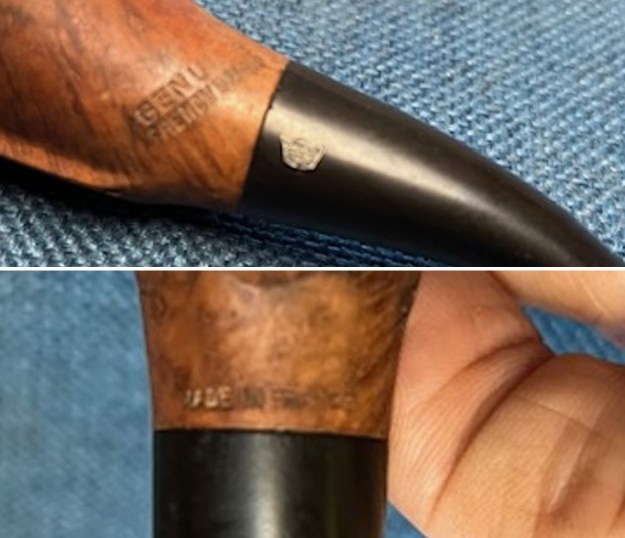
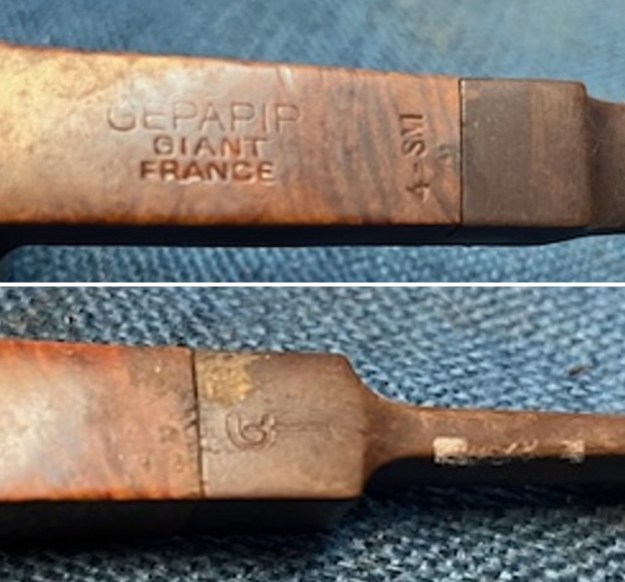
 Pipedia gives some general information about the French origin of the GEFAPIP that is brief but helpful. I quote:
Gefapip was a French brand from the St Claude region. Their products appeared in the 1979 Tinderbox catalog, with prices ranging from $17.50 to $62.50.
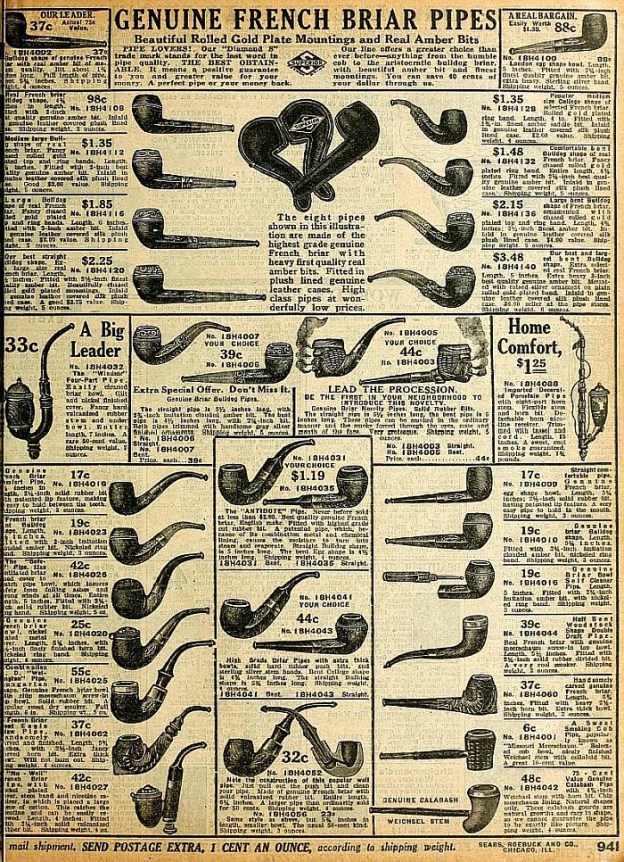
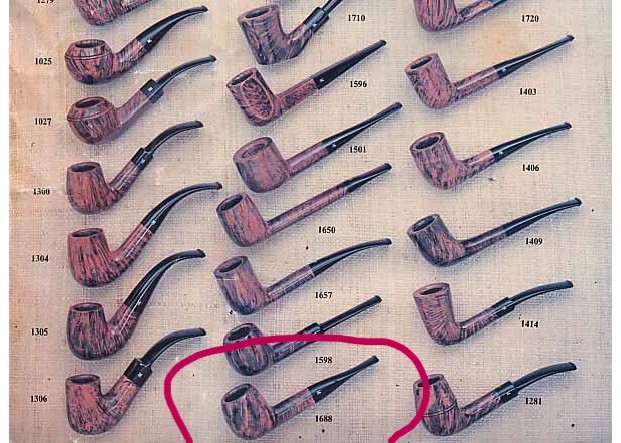
The following catalog page (1979 Catalog page, courtesy Doug Valitchka) was included with the text and it added helpful information that the GEFAPIP name was started by a group of master carvers in the St. Claude region. The production line pictured in the catalog page are examples of shapes smoked in the Saint Claude region in the 1890s according to the caption.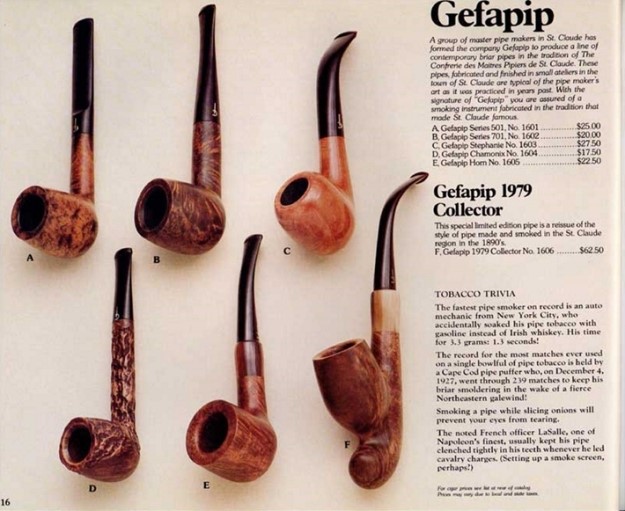 Pipephil.eu did not produce new information but gave some additional examples of GEFAPIP pipes. The stem stamping on the pipes shown in the photos on site are identical to the stamping on the pipe I am working on.
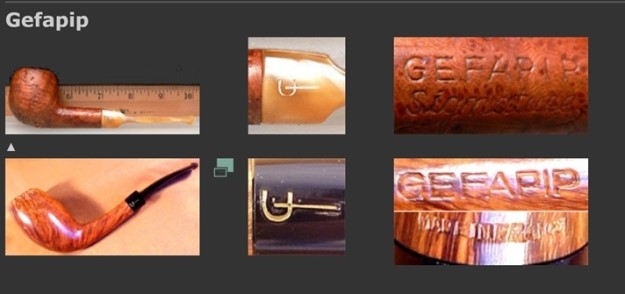 I love finding this old information and reading about the pipes I work on. It lends some colour to the work of my refurbishing to be able to read about the design ideas and the inventors themselves as I work on the pipes. Armed with new information it was time to work on the pipe.
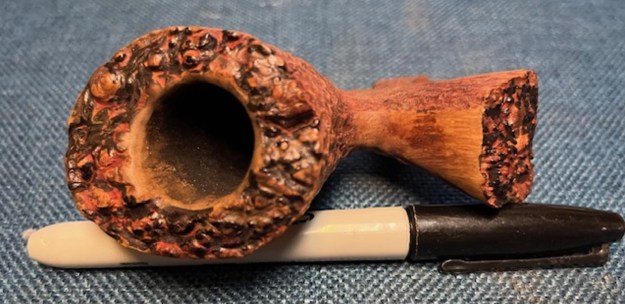
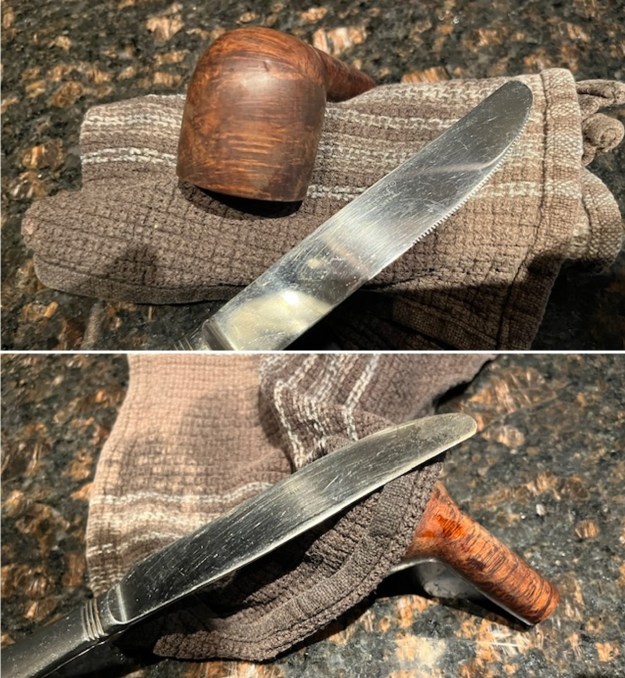
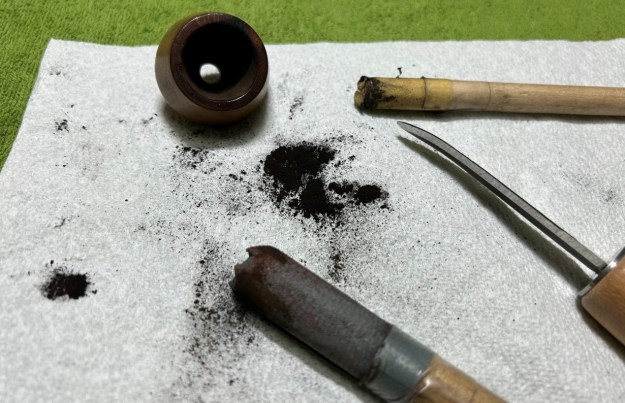
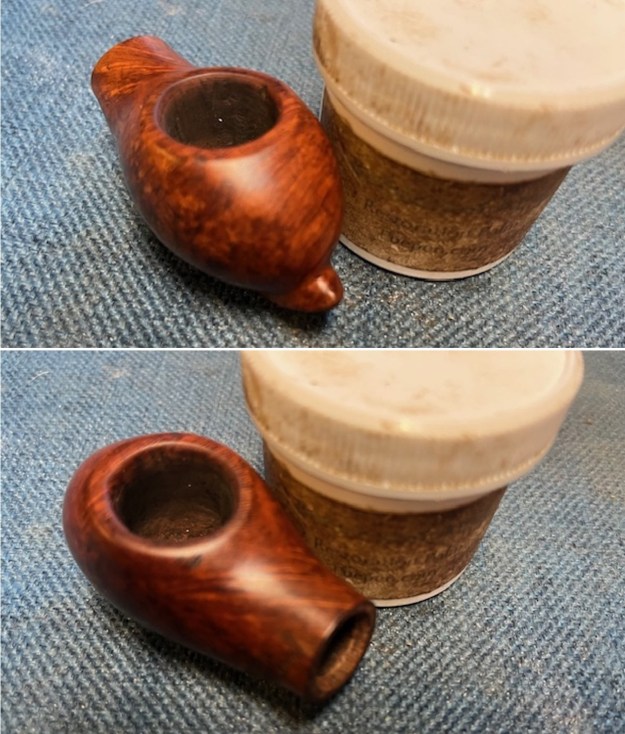
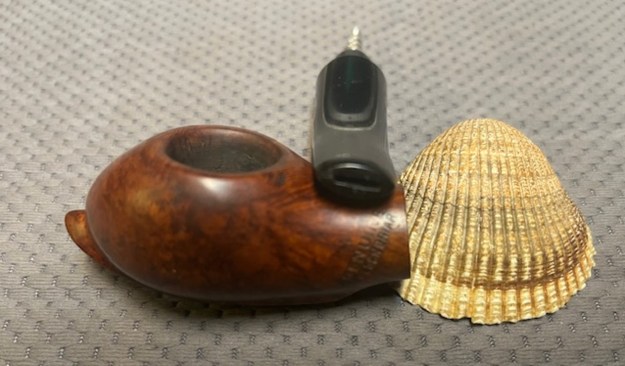
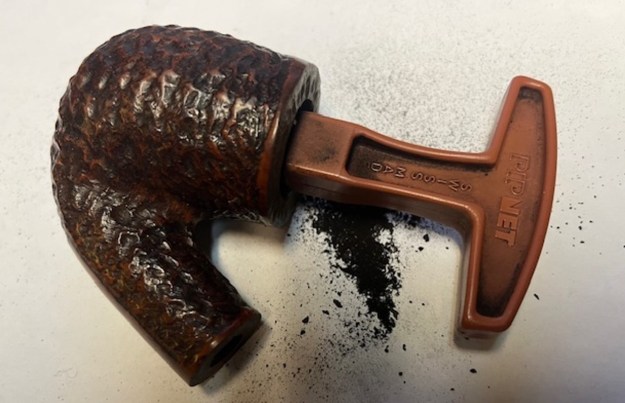
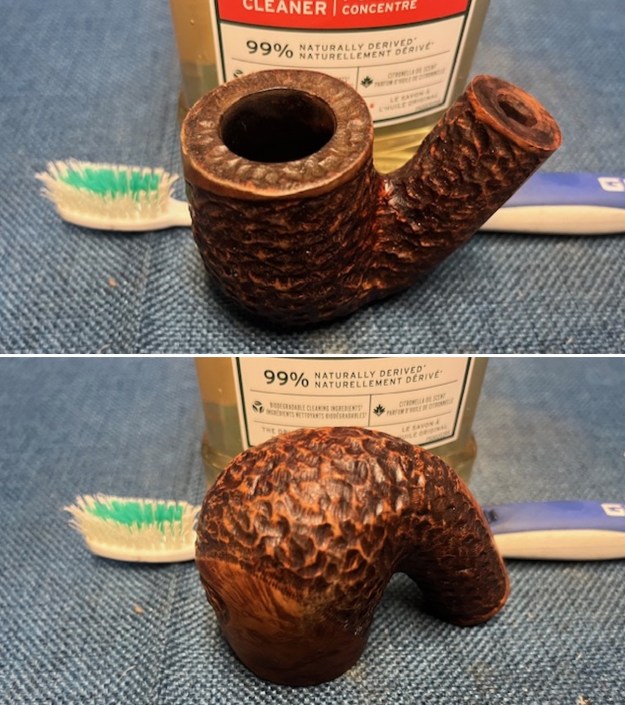
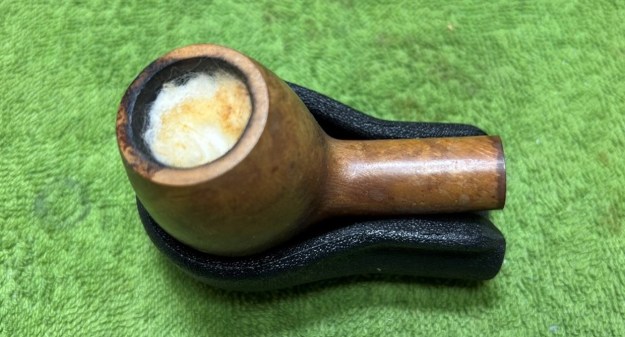
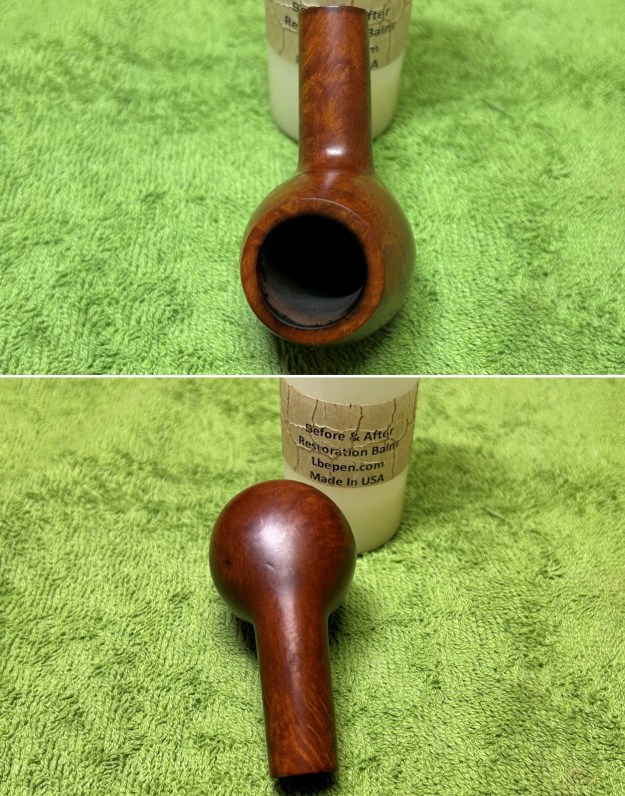
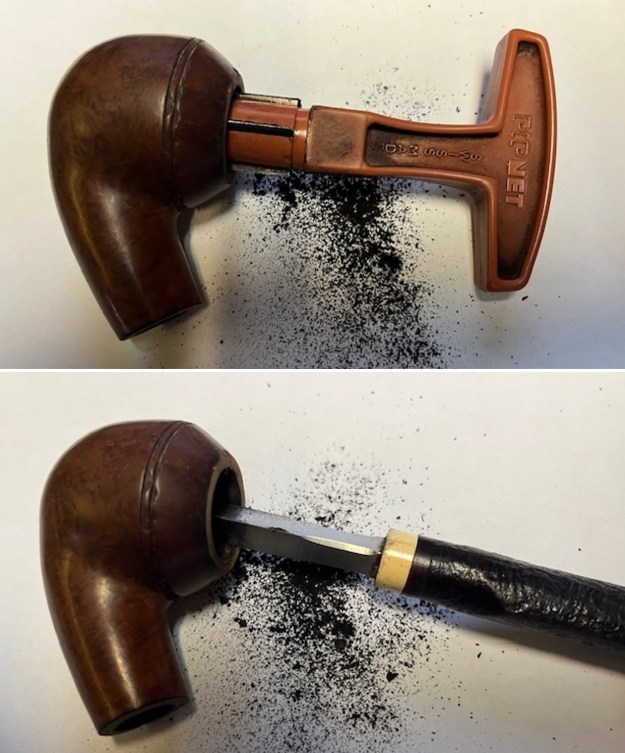
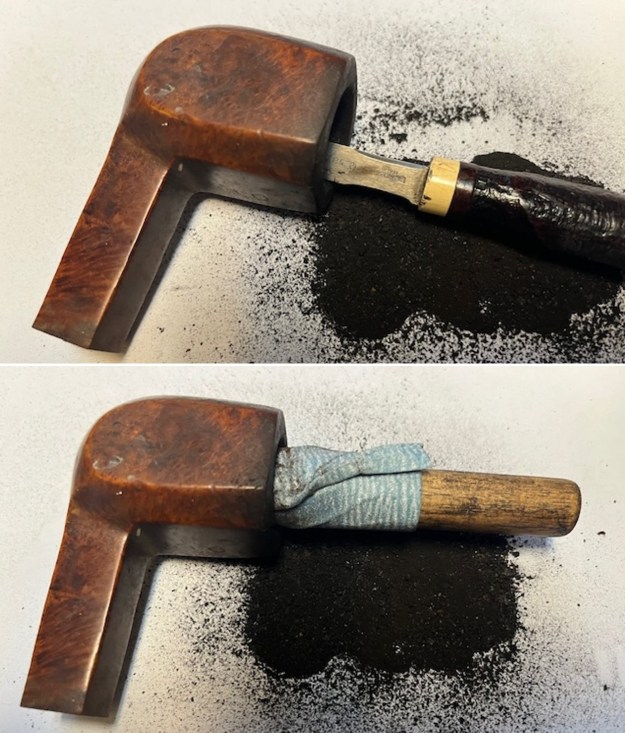
I decided to start on the bowl itself. I reamed the pipe with a PipNet pipe reamer to clean out the heavy cake. I cleaned up the remnants with a Savinelli Fitsall Pipe Knife. I sanded the bowl walls with a piece of dowel wrapped with 220 grit sandpaper.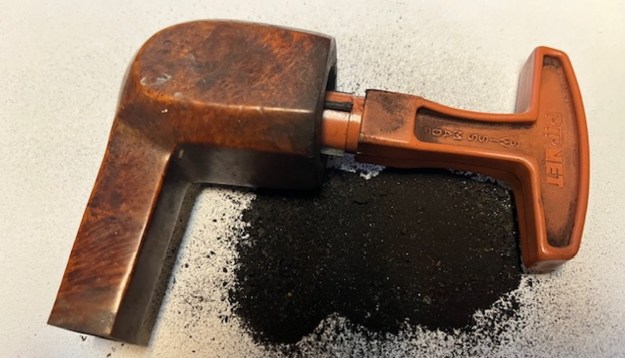
 I scraped off the lava build up on the rim top with the edge of the Savinelli Fitsall Pipe Knife. I took it back to bare briar. It looked quite good. The beveled inner edge also had build up and darkening.
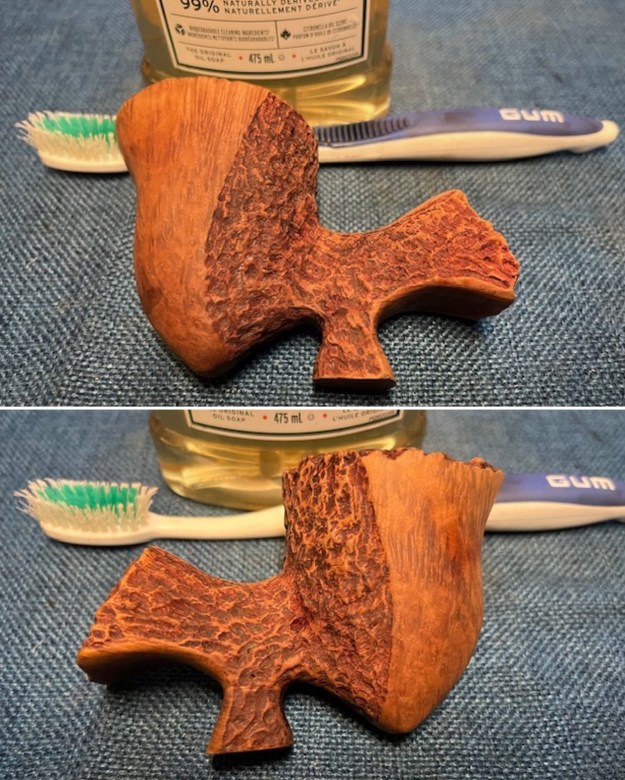
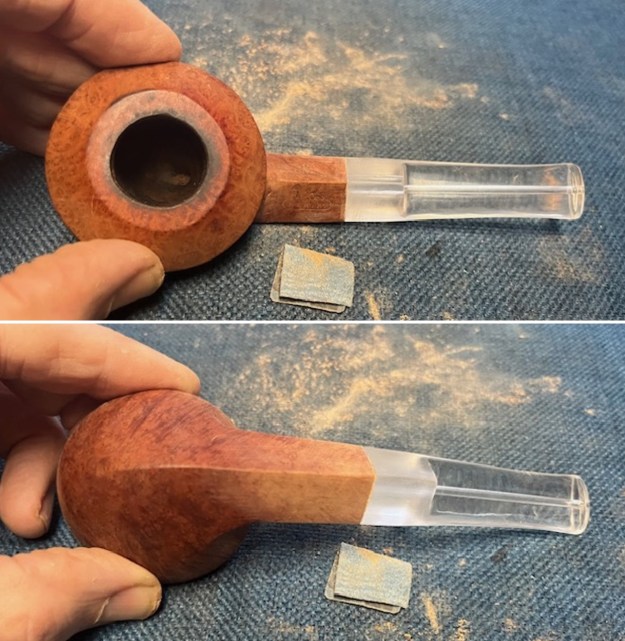
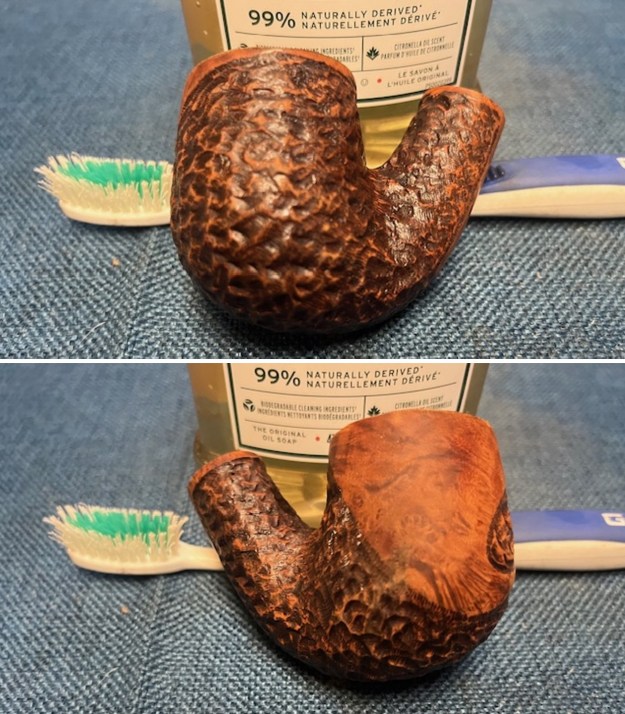
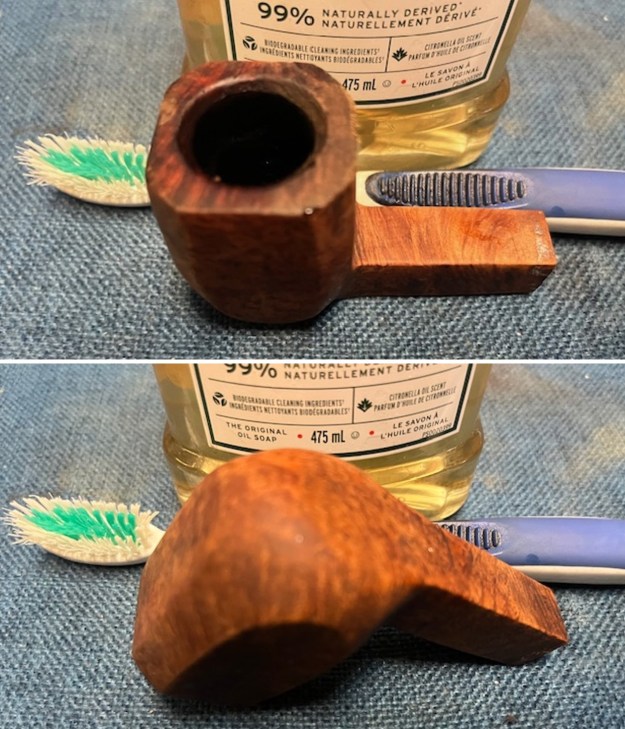
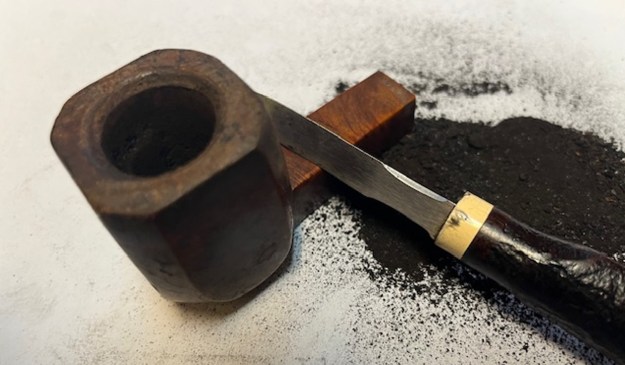 I scrubbed the exterior of the with undiluted Murphy’s Oil Soap and a tooth brush. I worked on the rustication and the smooth rim top. I rinsed it off with warm running water and dried it off with a cotton towel. It is definitely looking better.
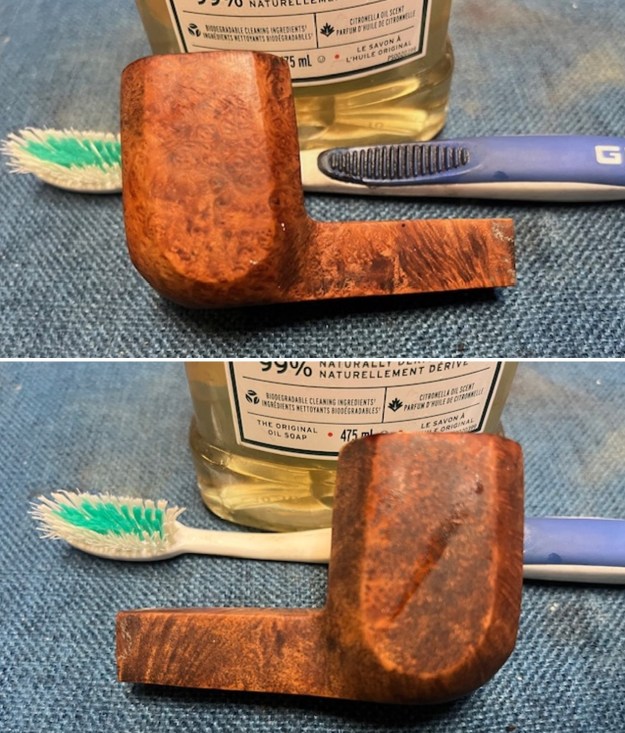
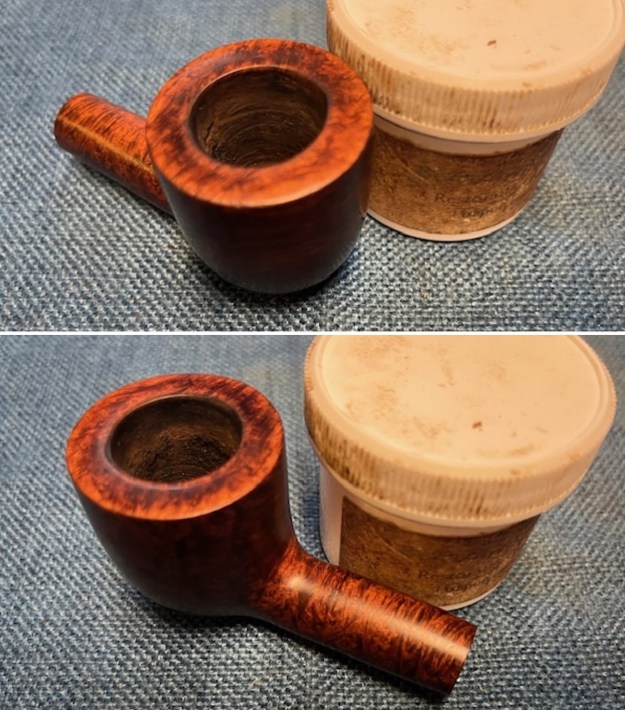
 I worked over the rim darkening with a folded piece of 220 grit sandpaper. The smooth rim top was flat so it was an easy process to clean it up at the same time as the edge.
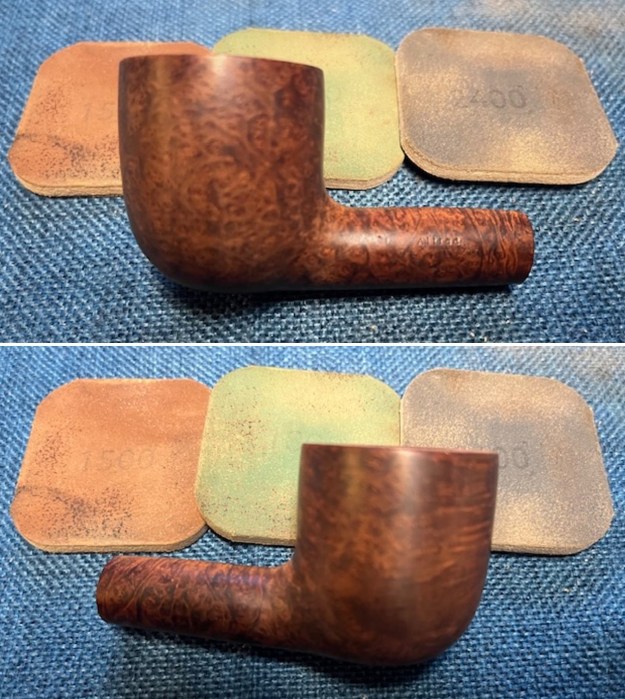
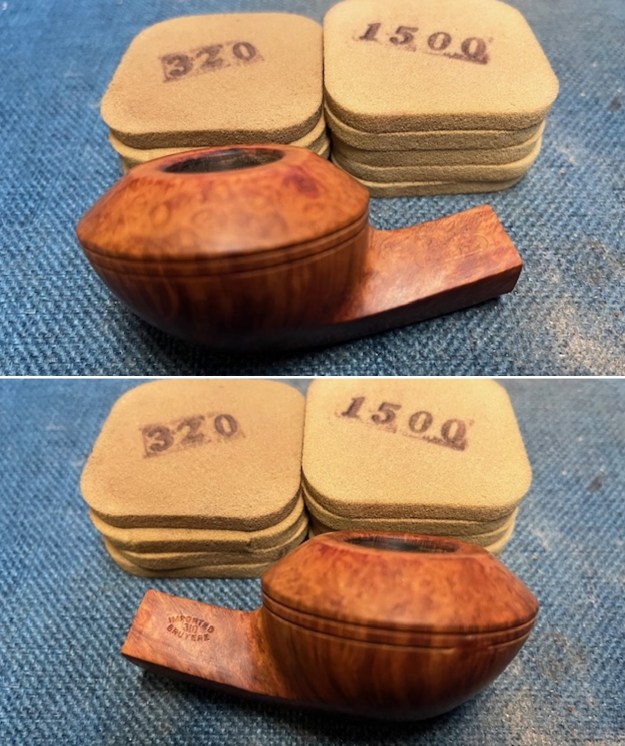
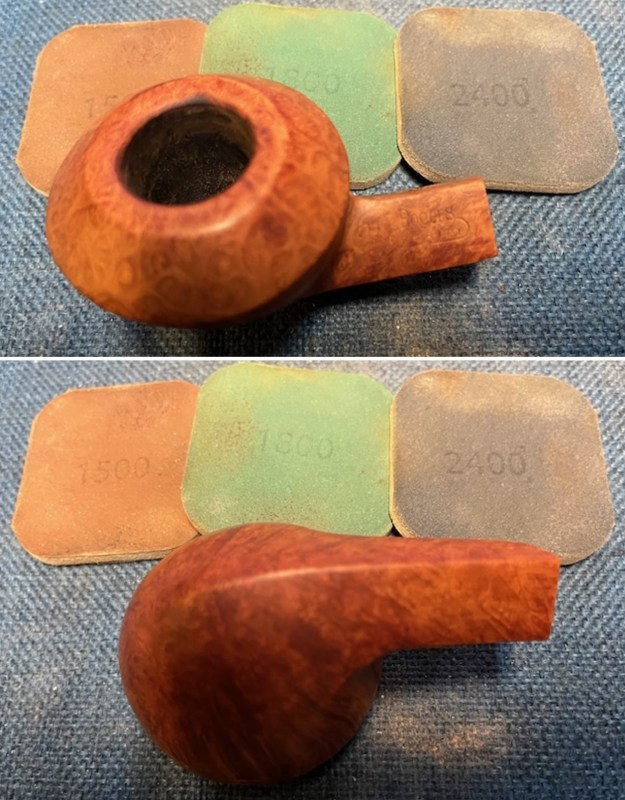
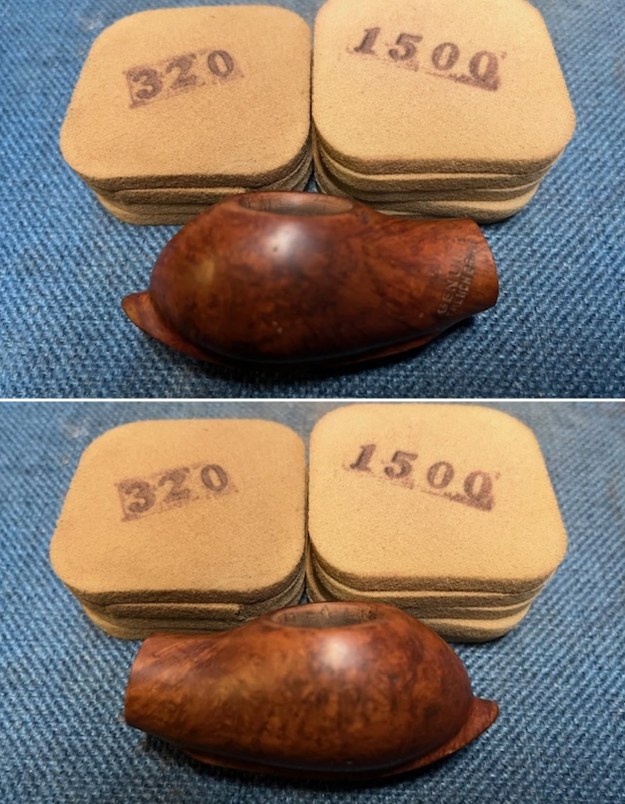
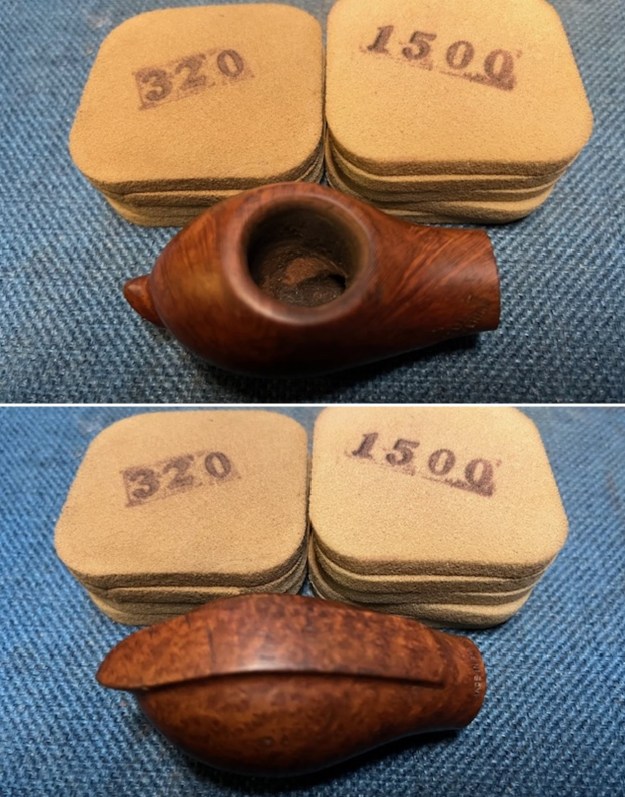
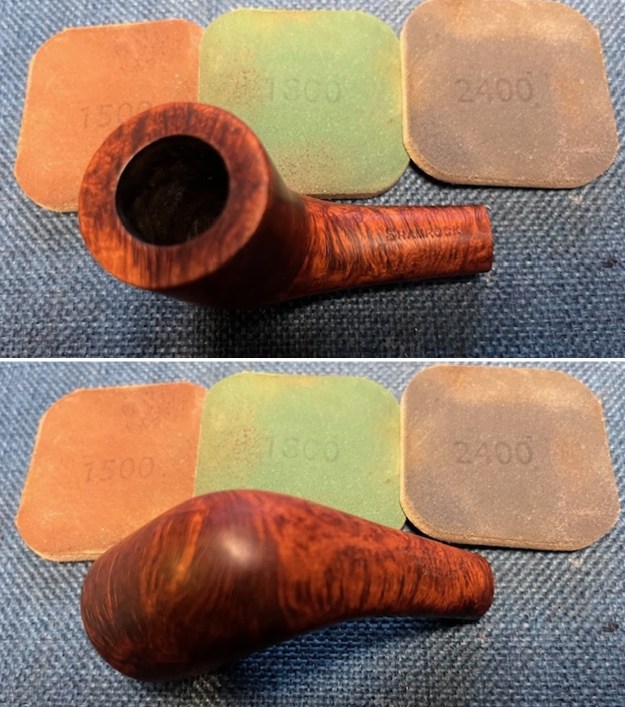
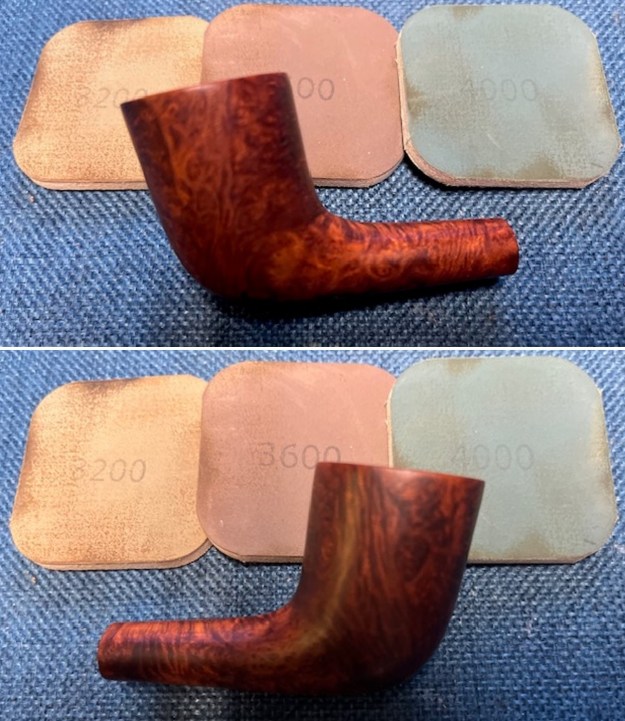
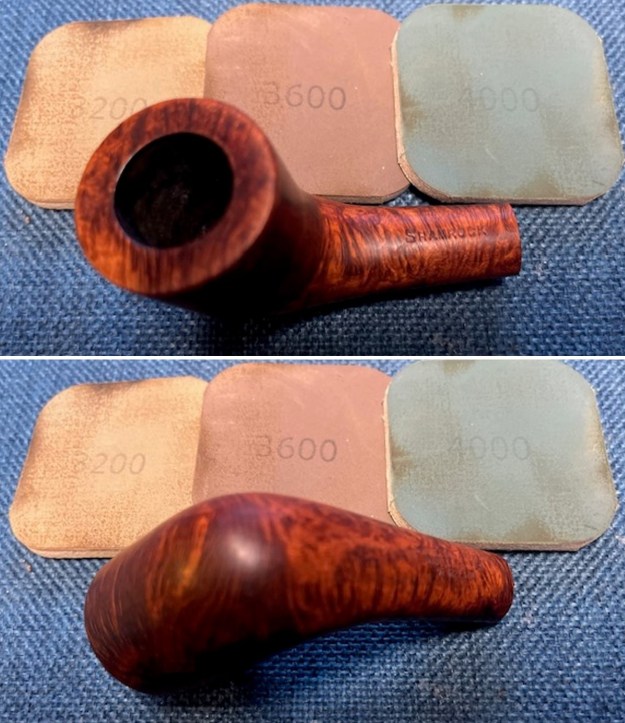
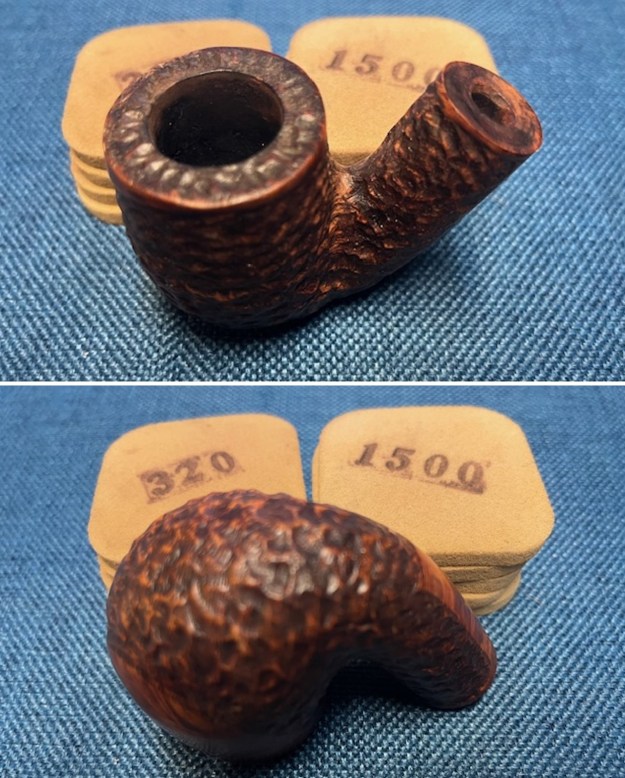
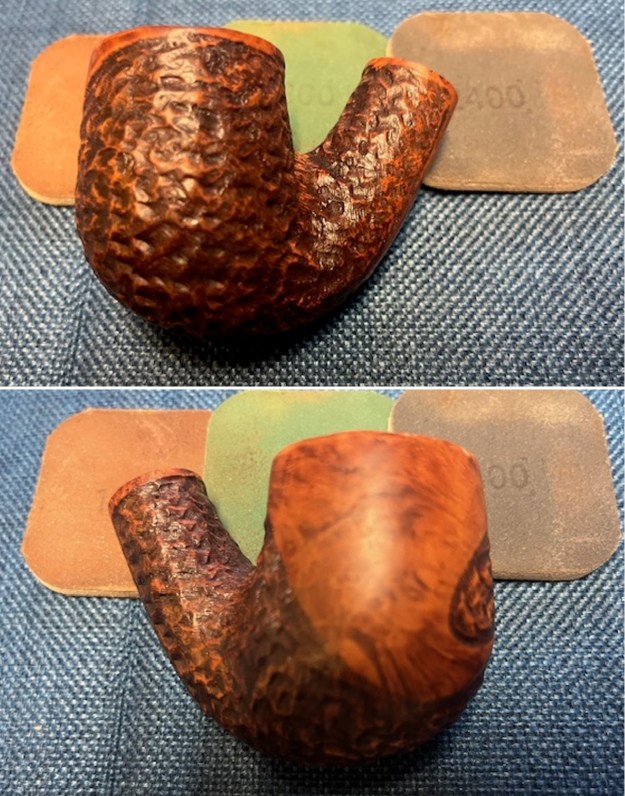
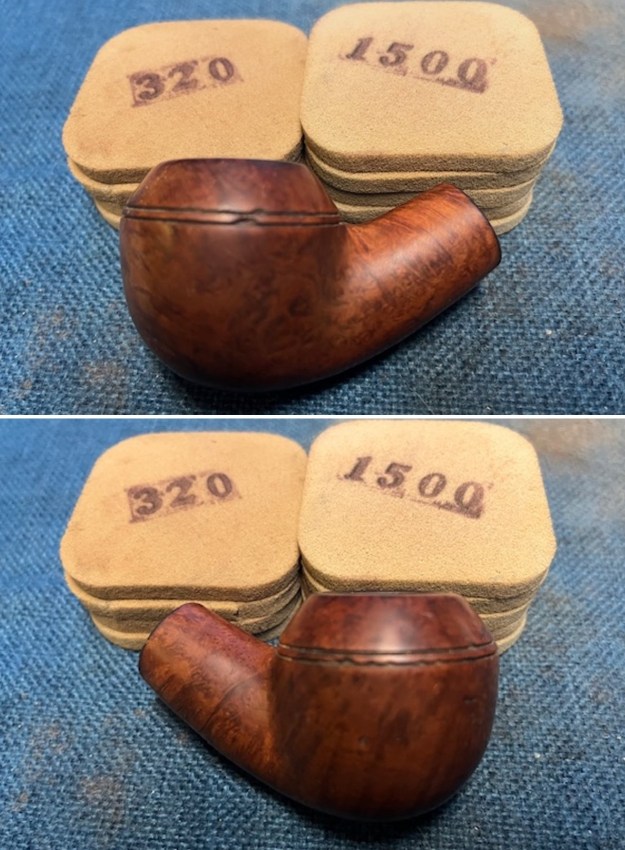
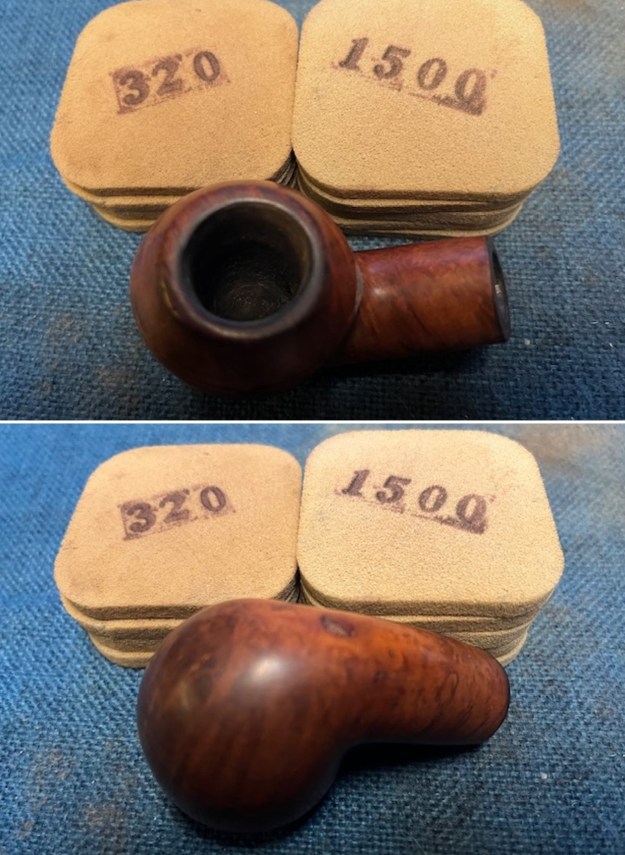
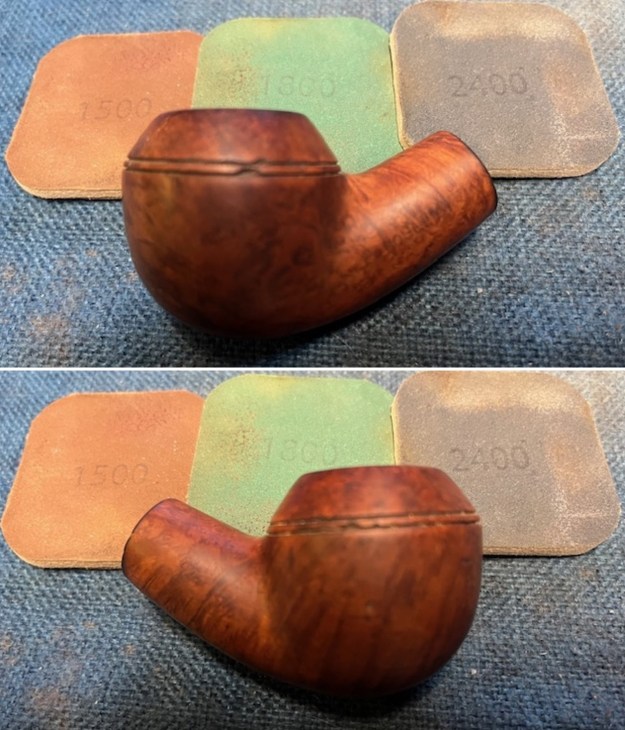
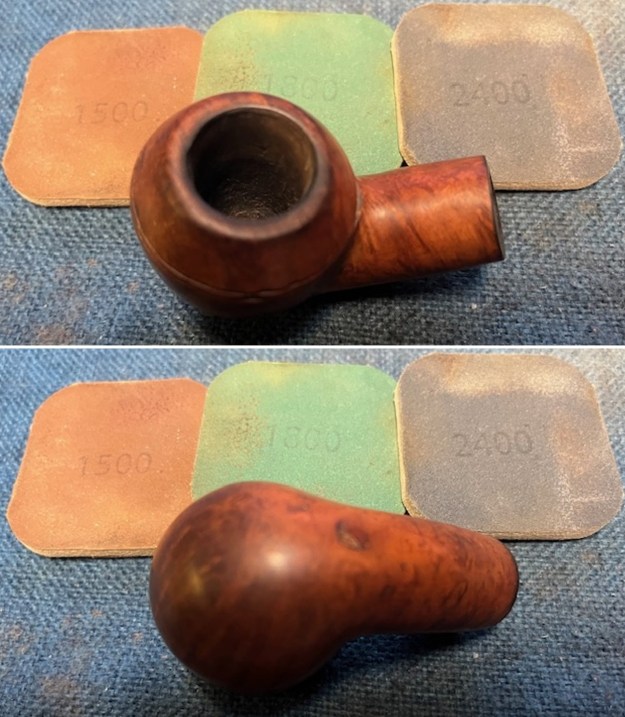
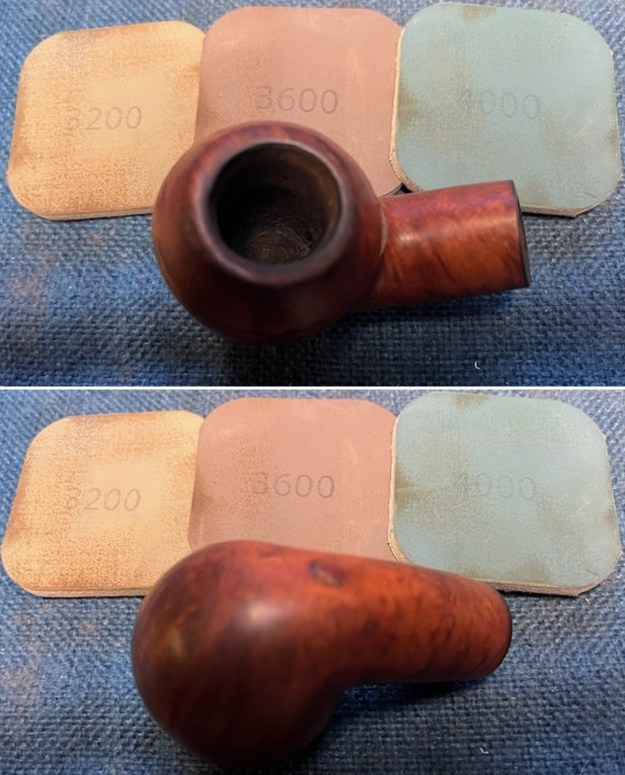
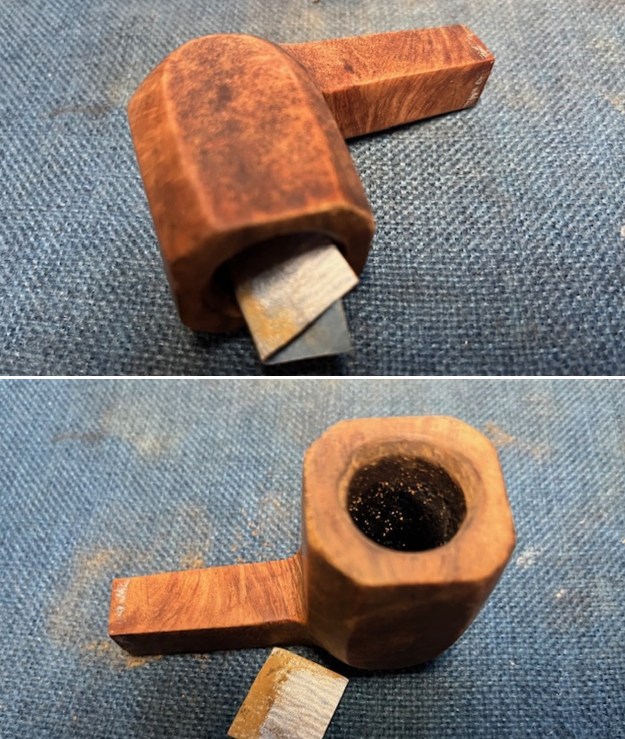 I worked on the rim top and edges with 320-3500 grit sanding pads to further remove the darkening on the briar. It is improving with each pad. I wiped the top down with a damp cloth to remove the sanding debris.
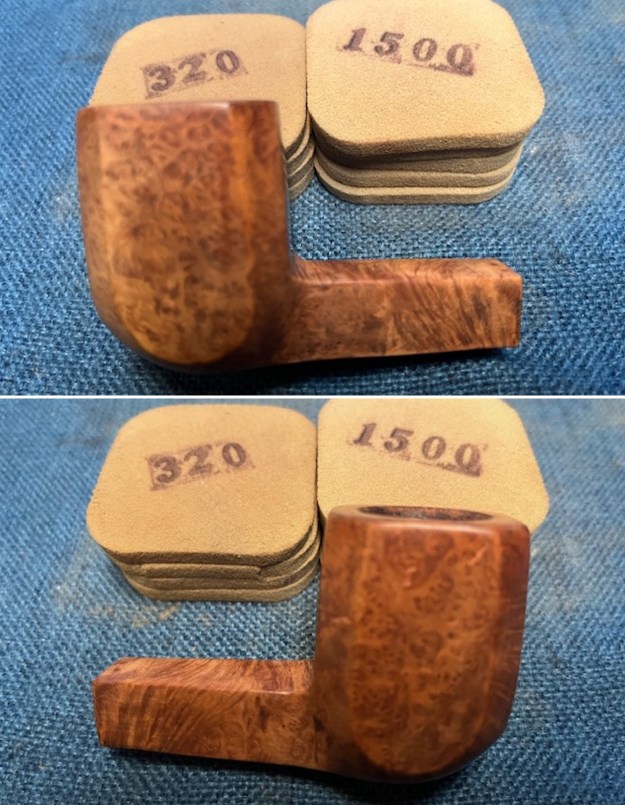
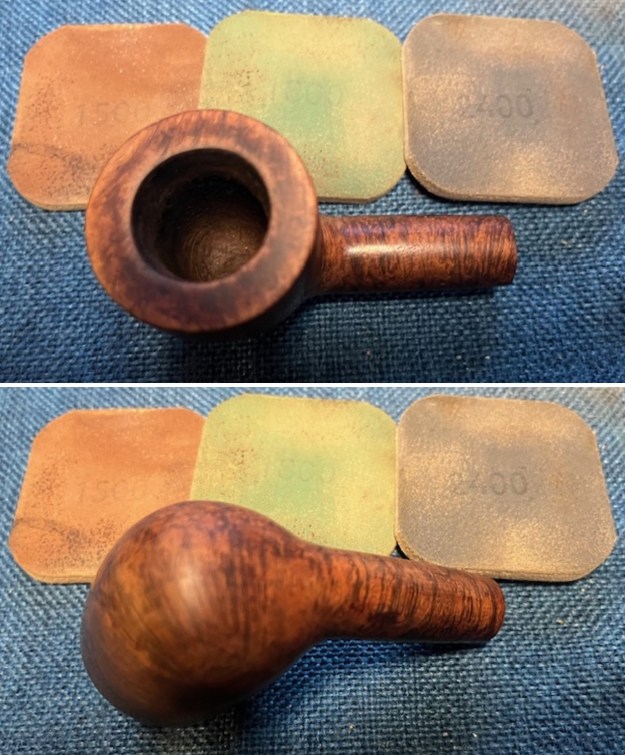
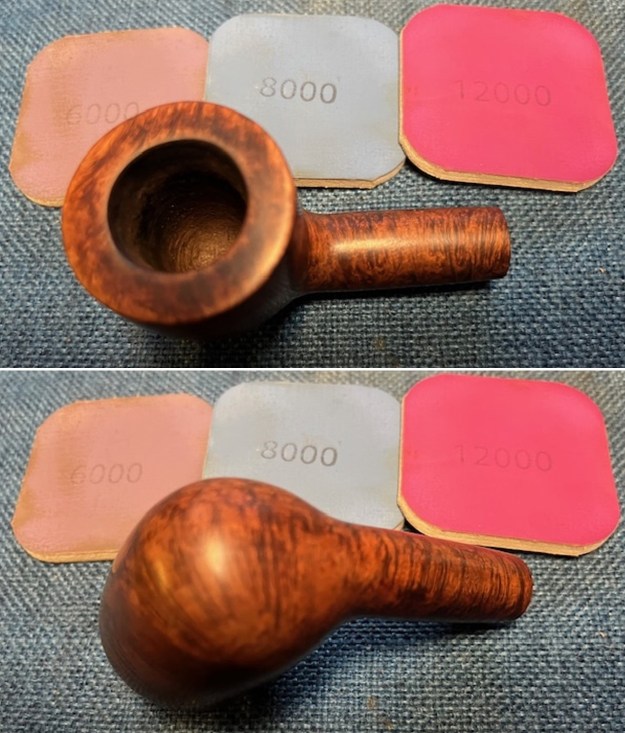
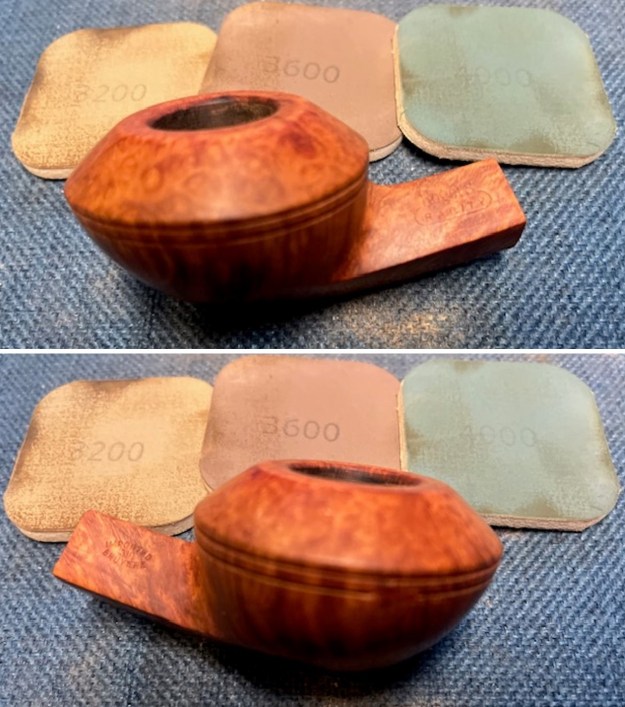
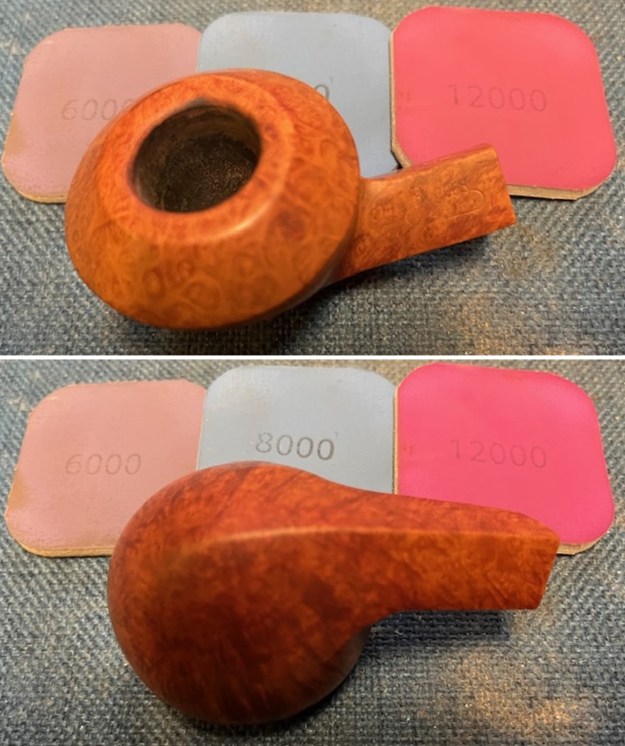
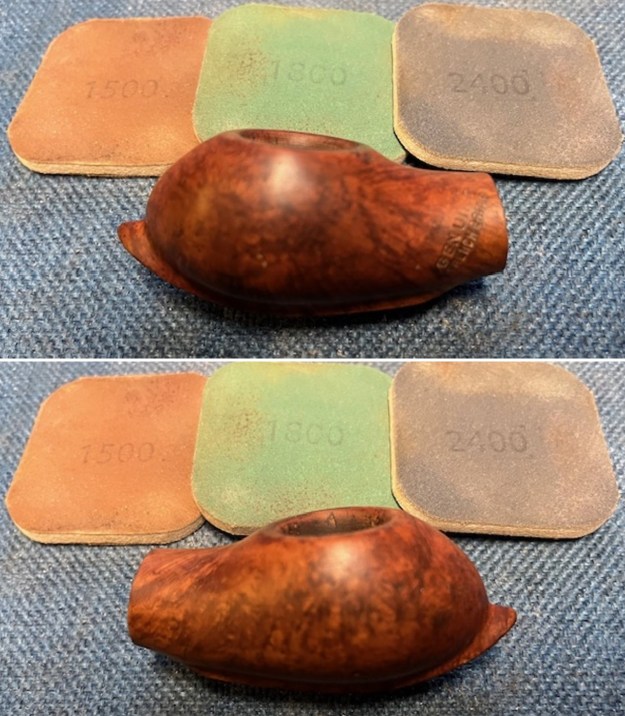
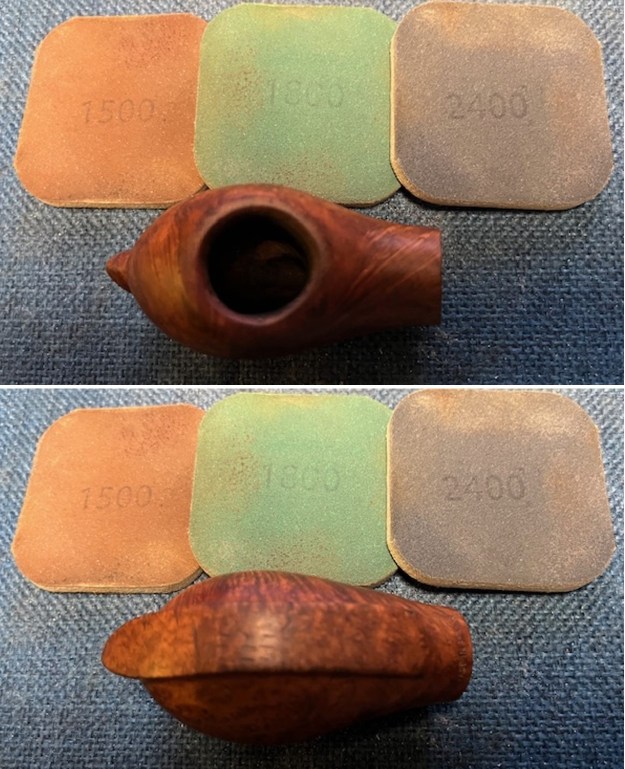
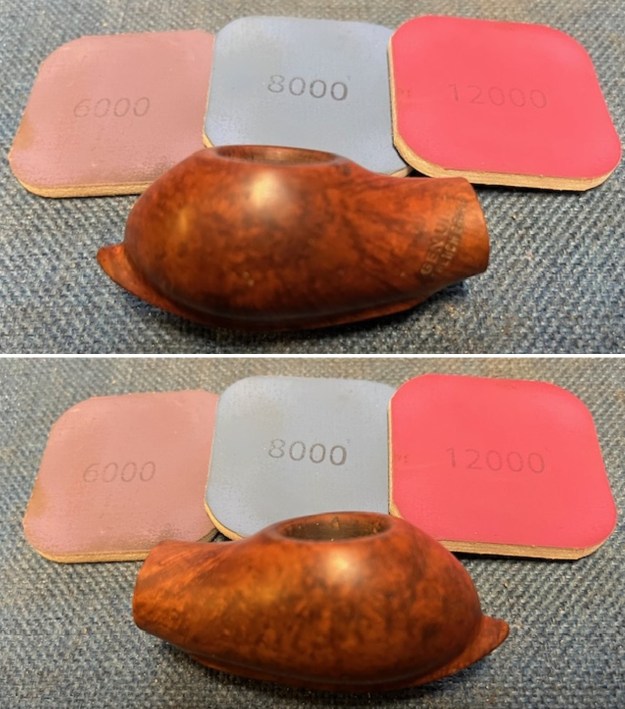
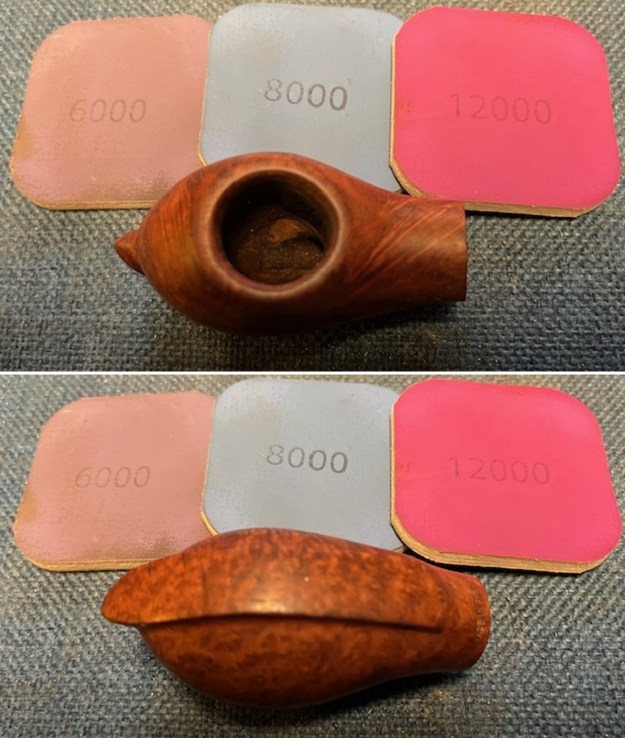
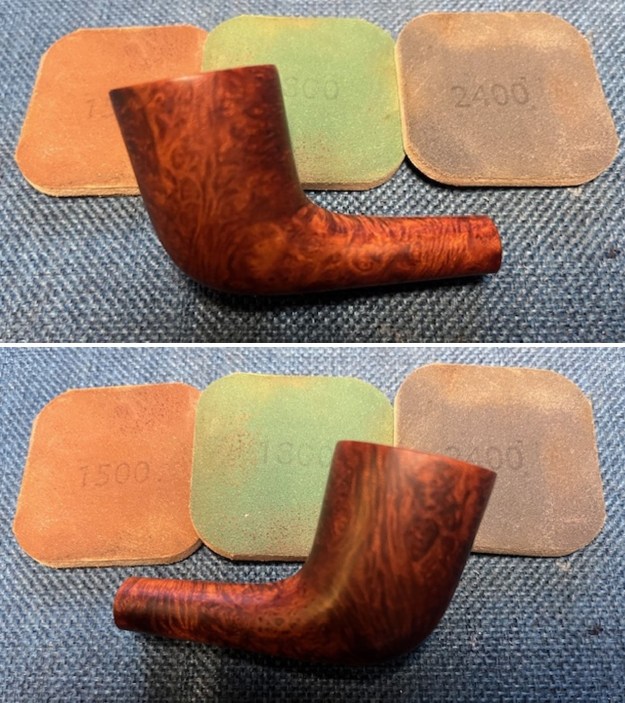
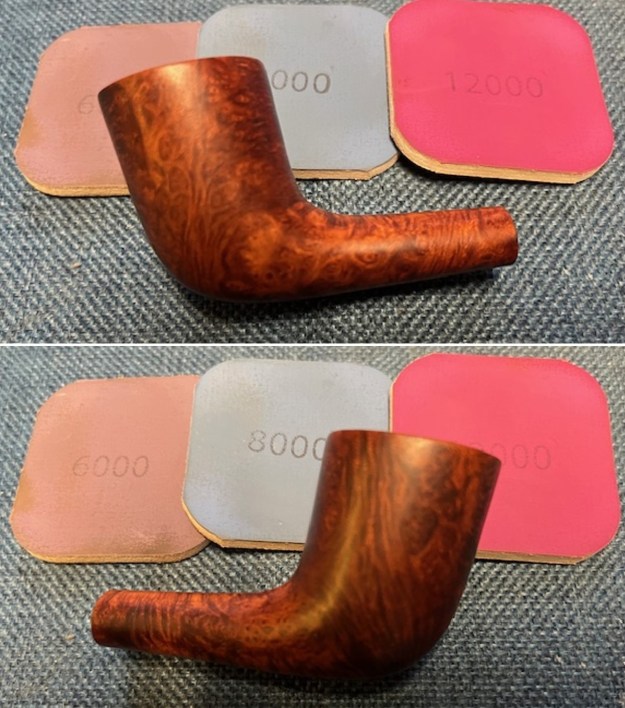
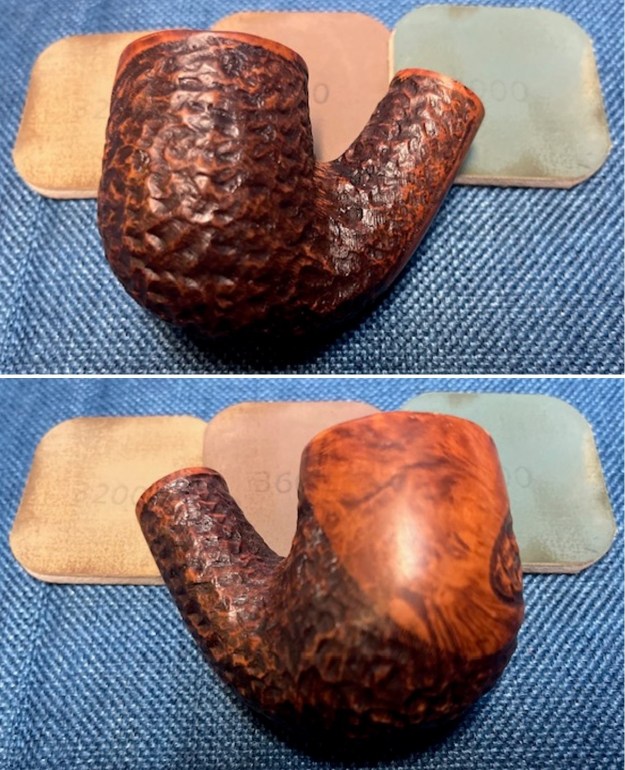
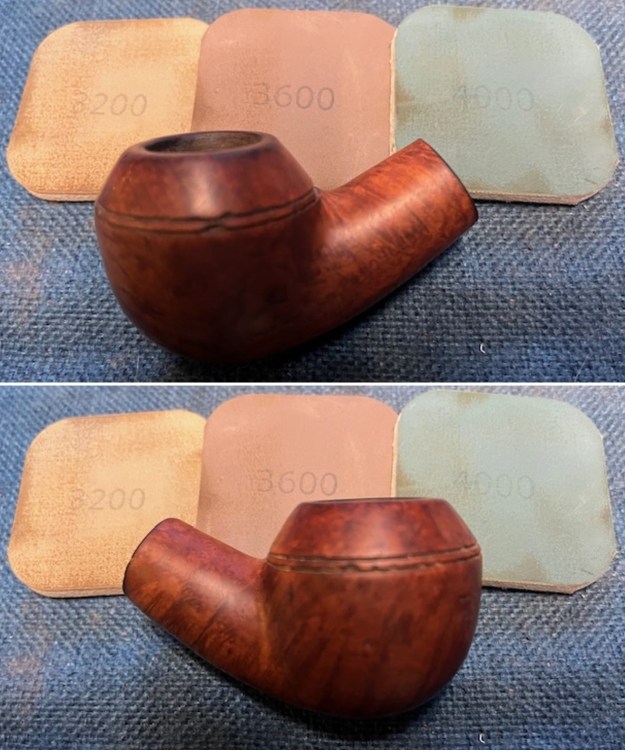
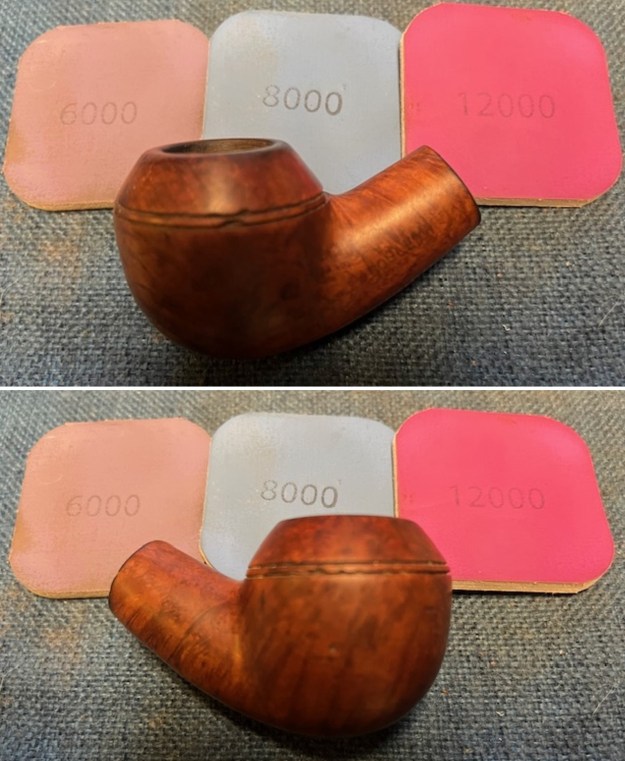
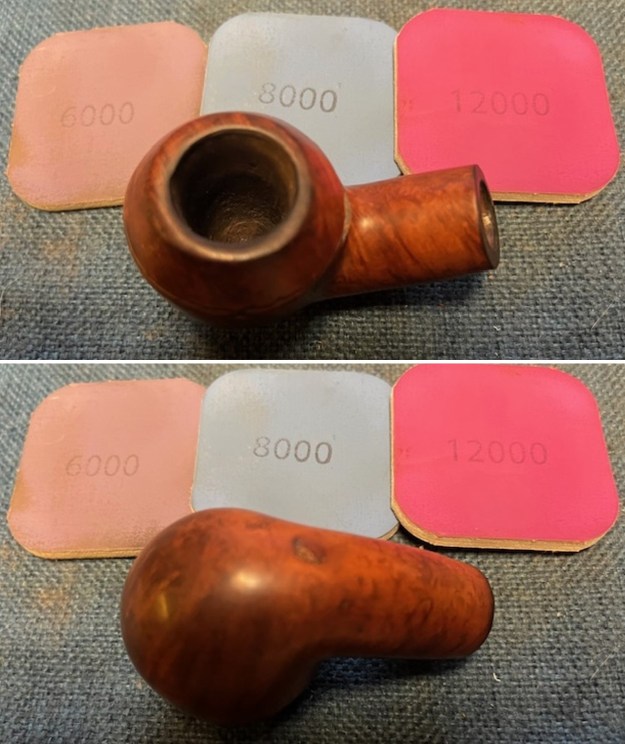
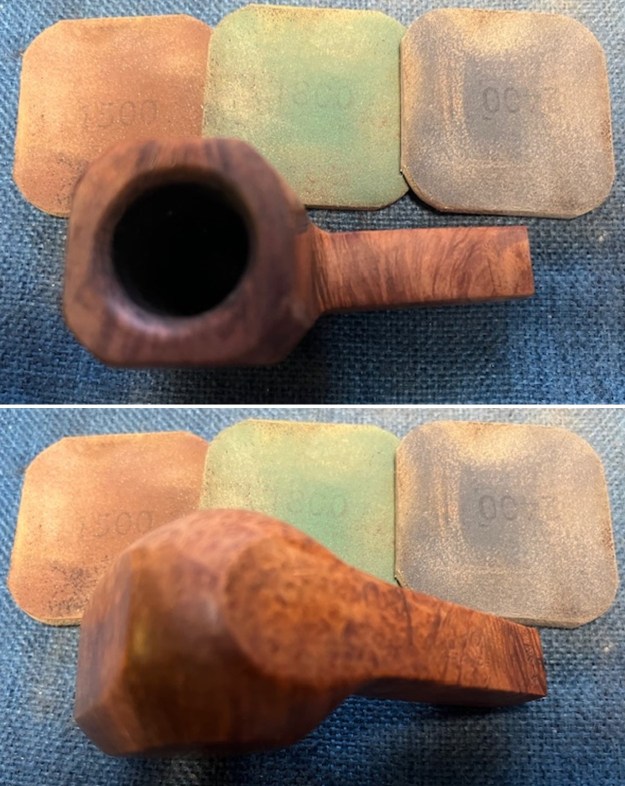
 I polished it with 1500-12000 grit sanding pads and wiped it down with a damp cloth after each pad. The rim top looked very good.
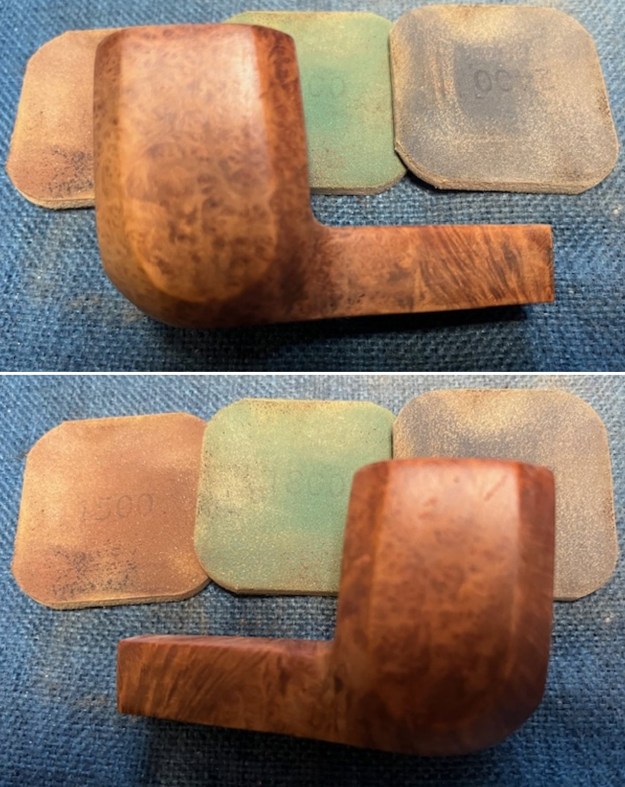
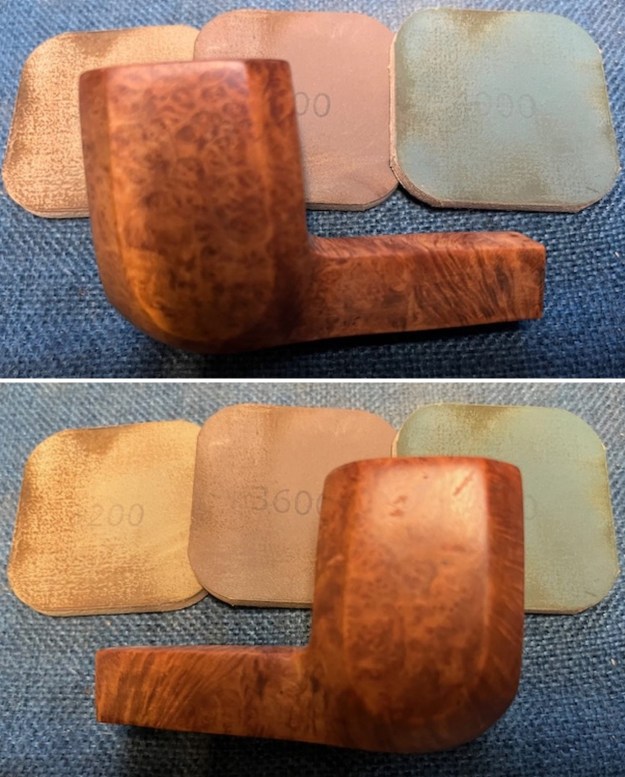

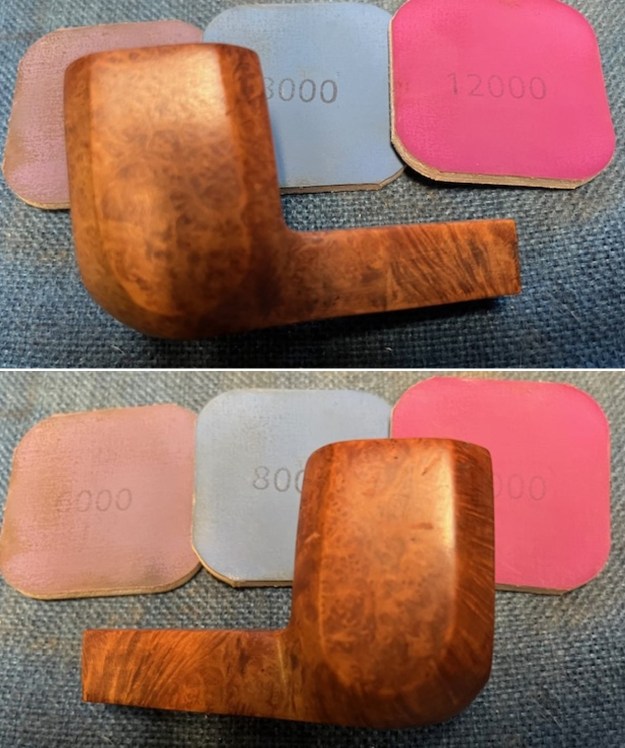
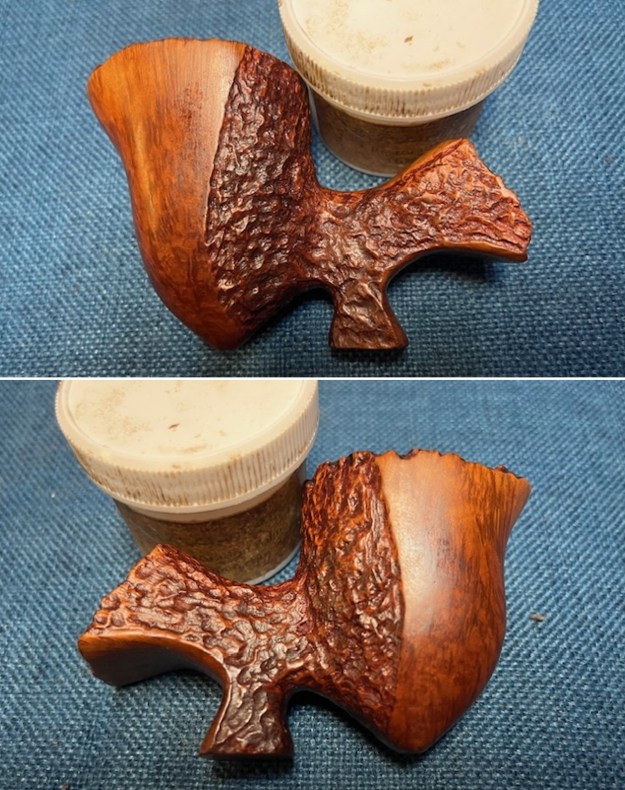
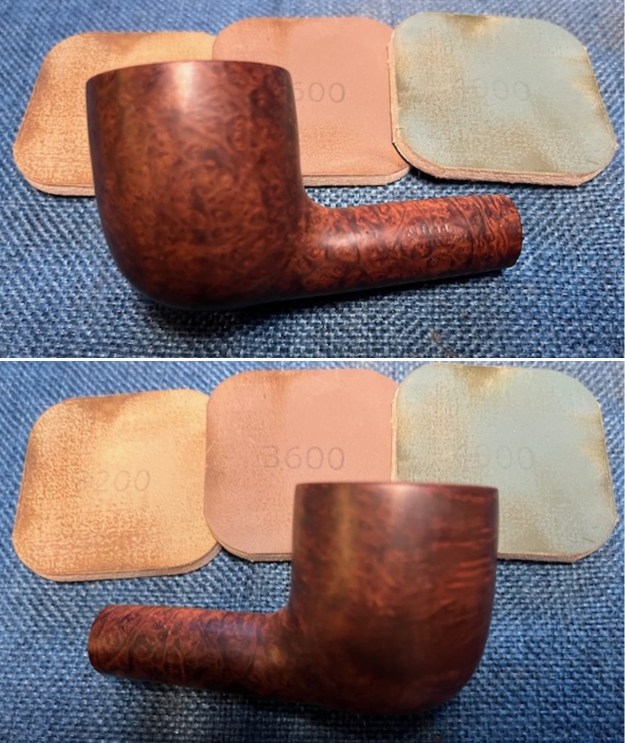
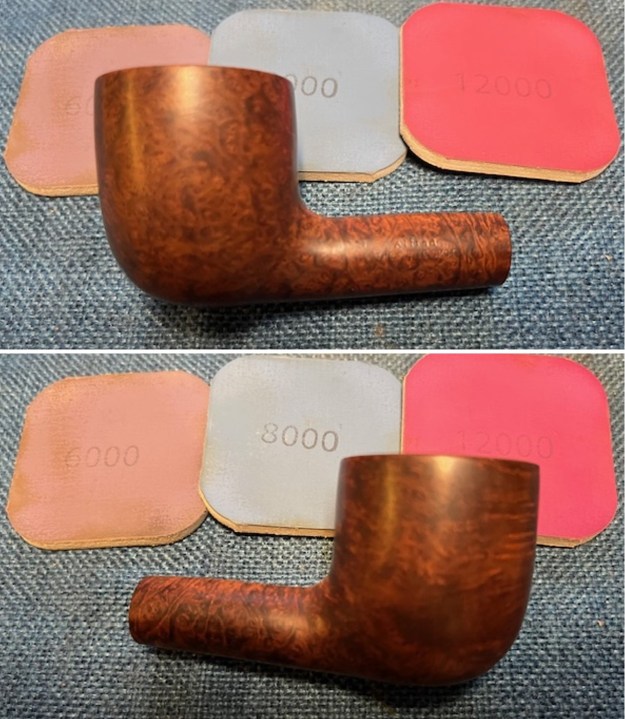
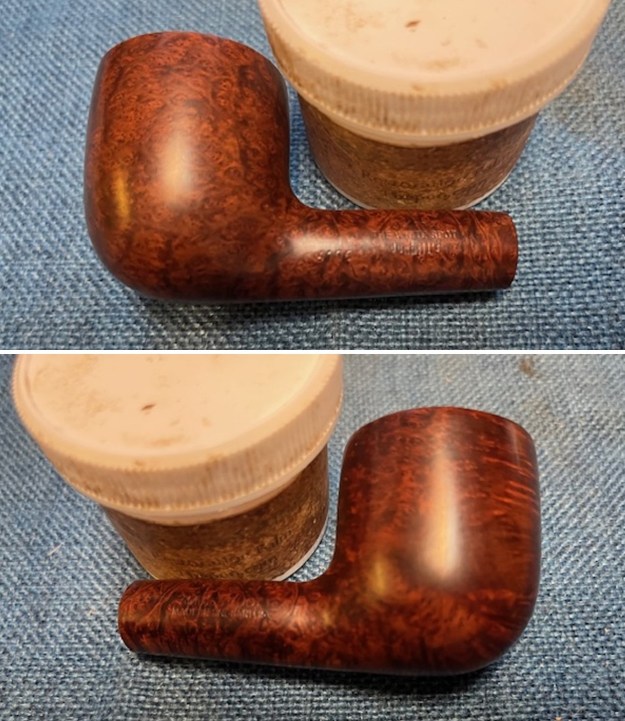
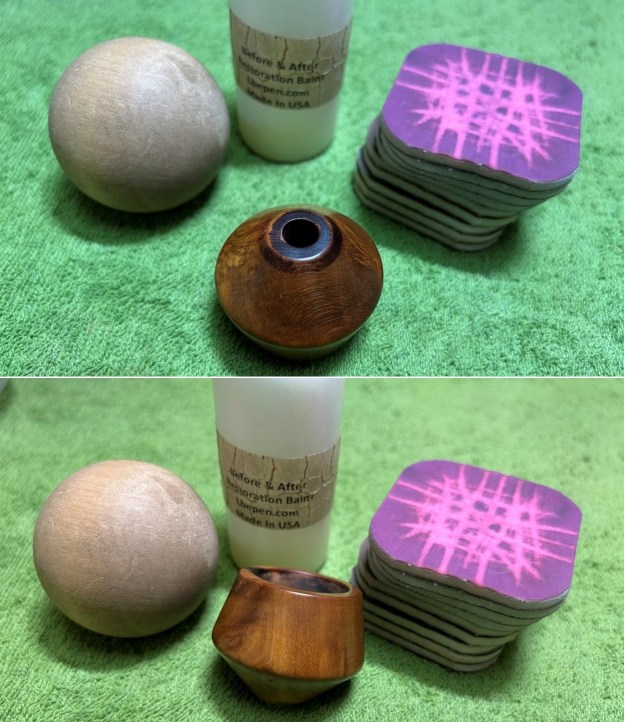
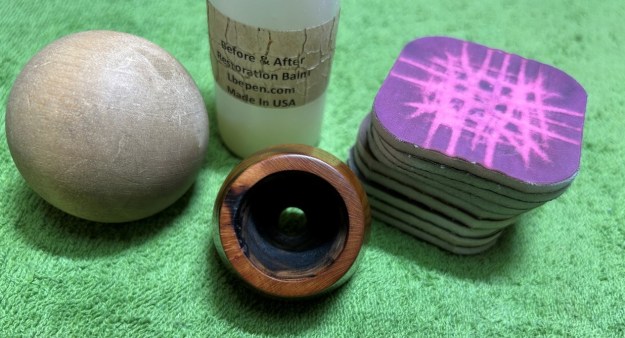
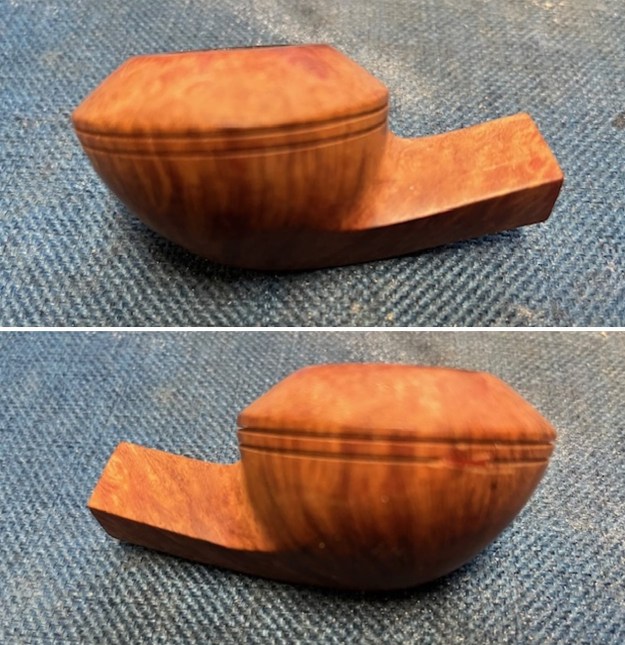
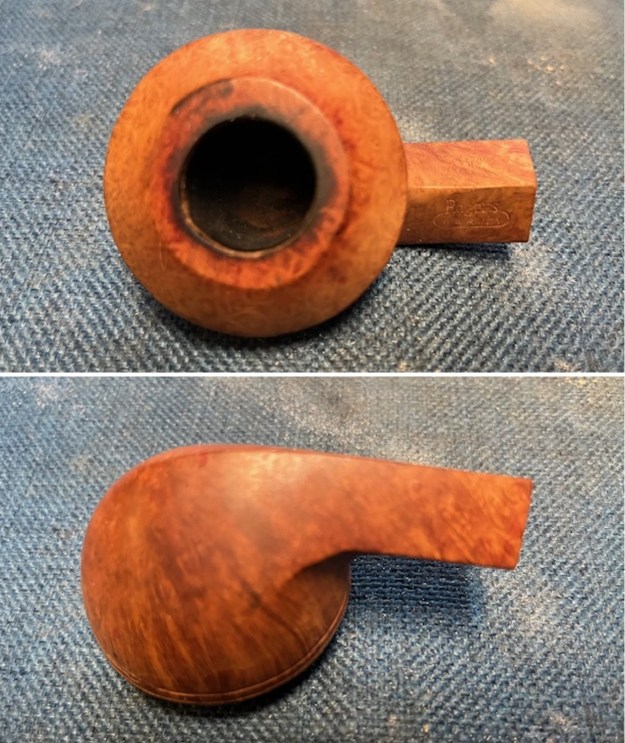
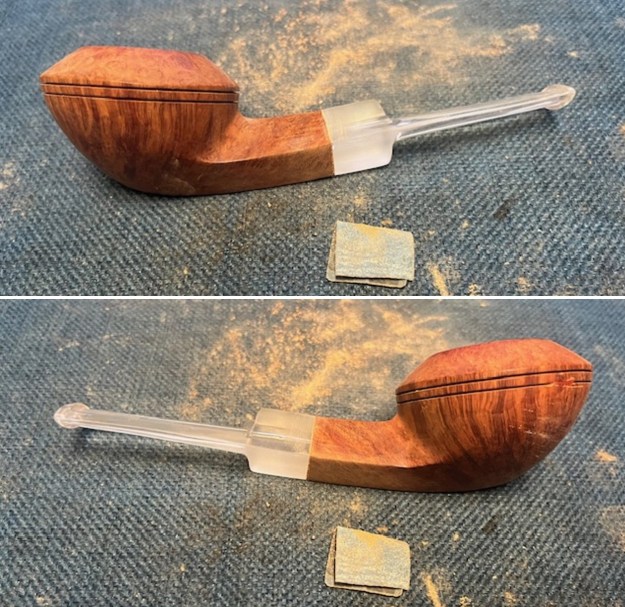
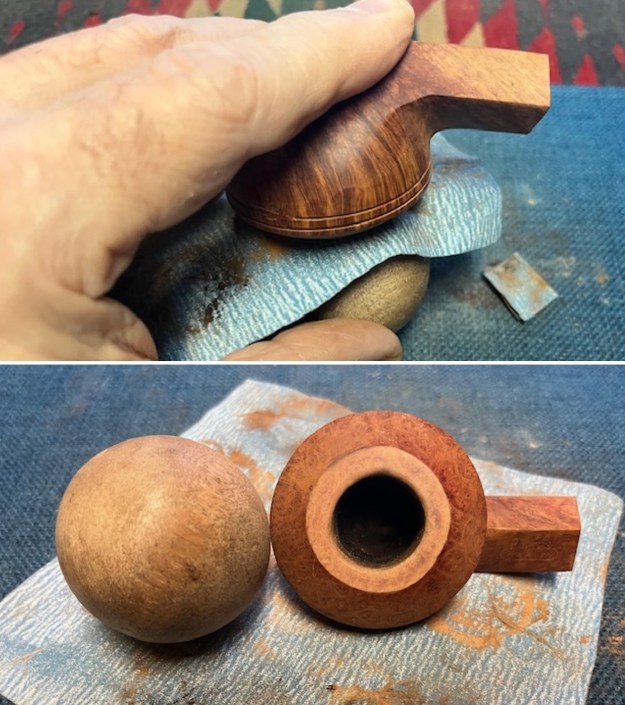
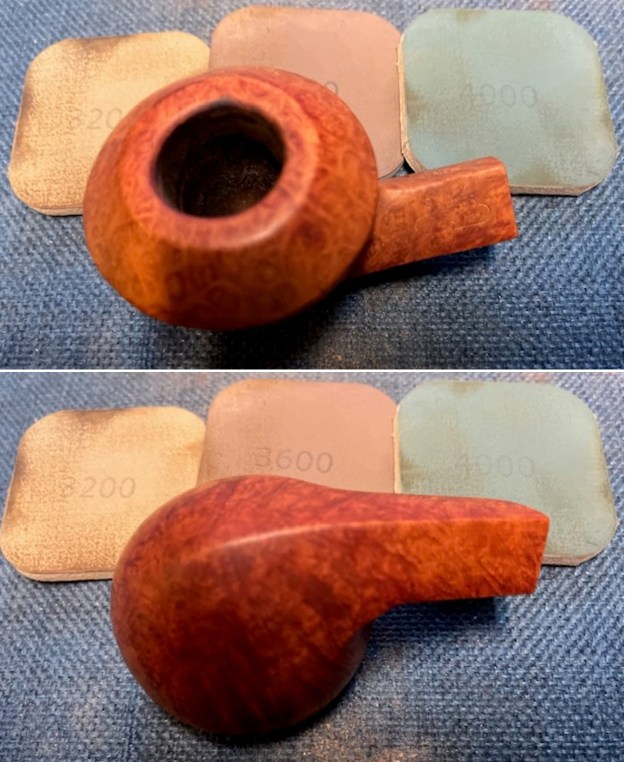
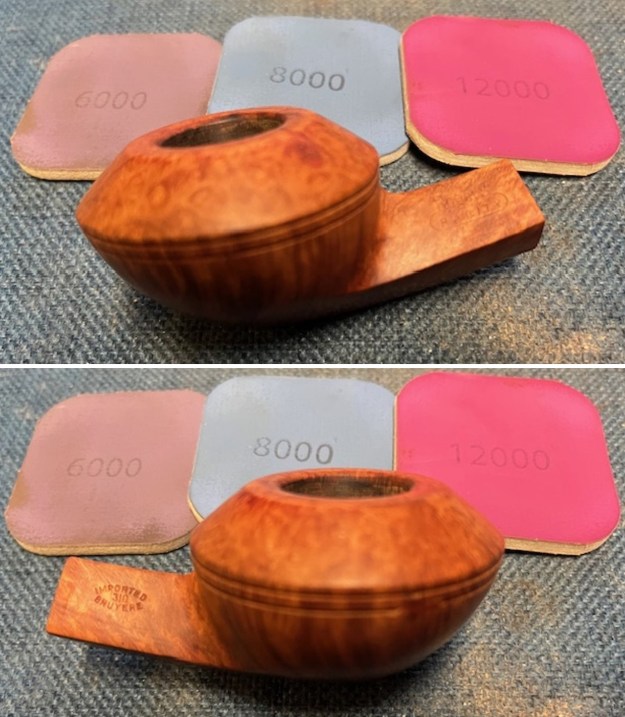
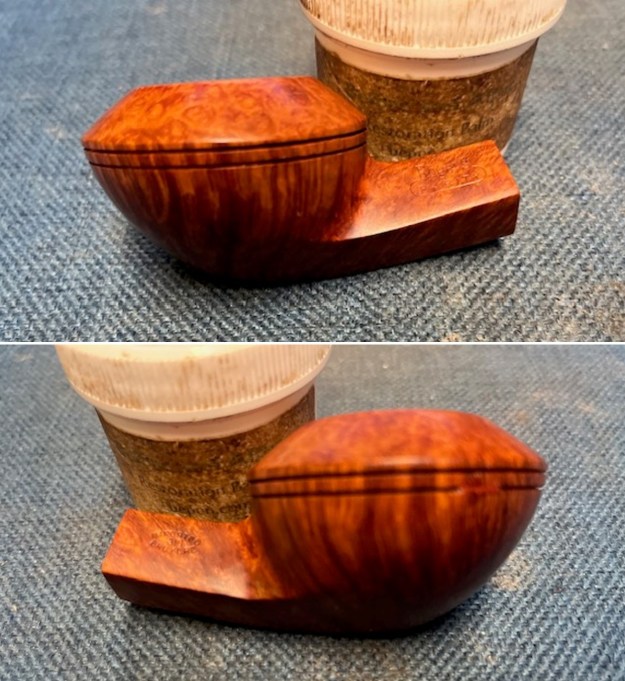
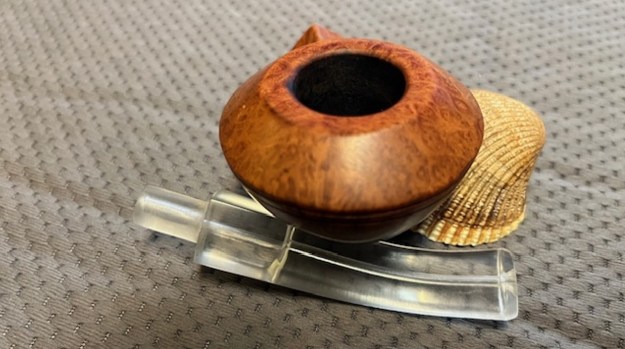
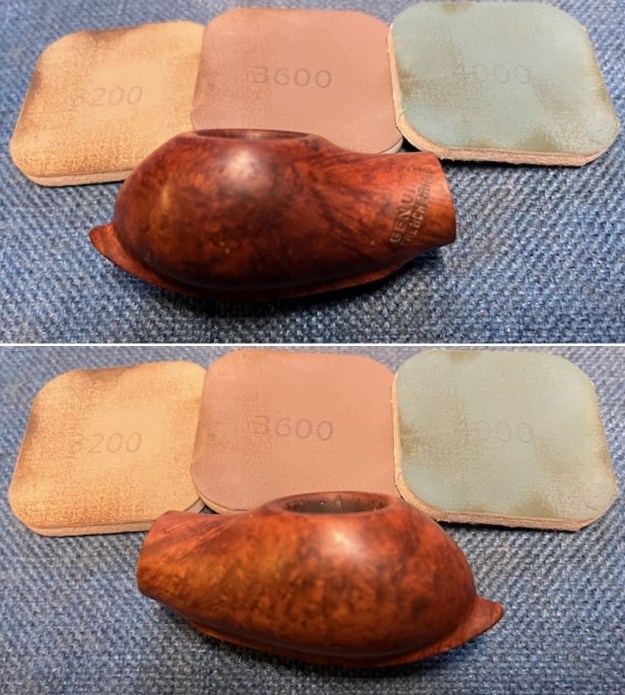
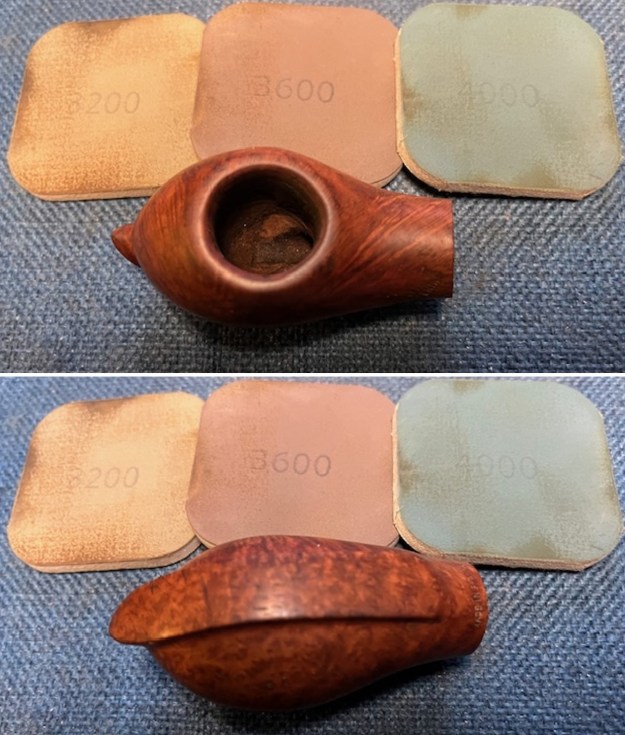
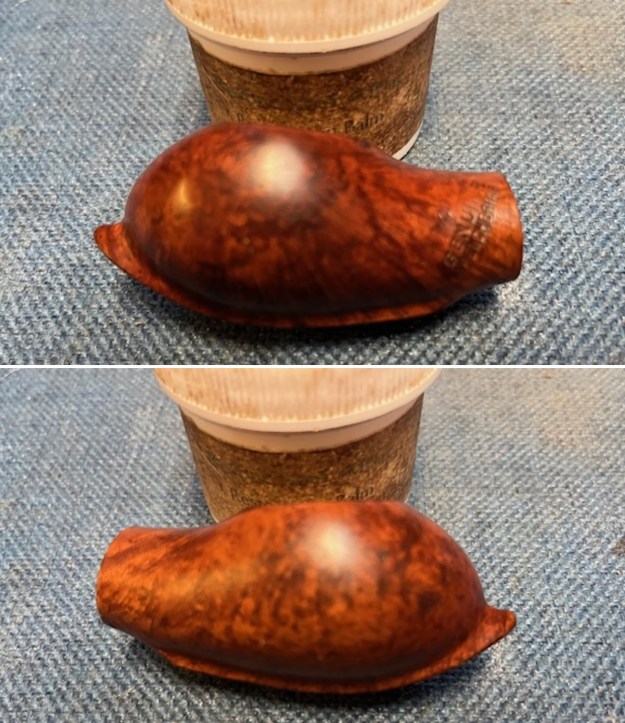
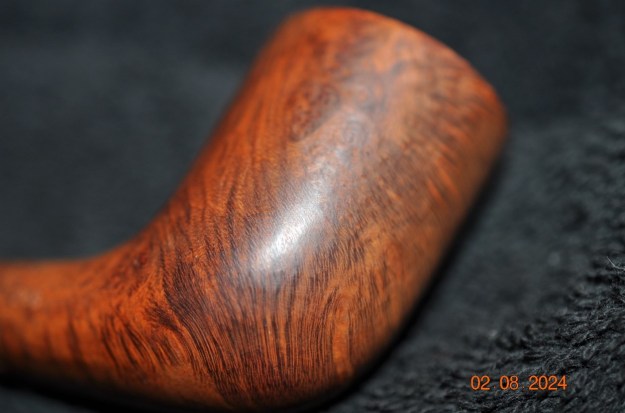
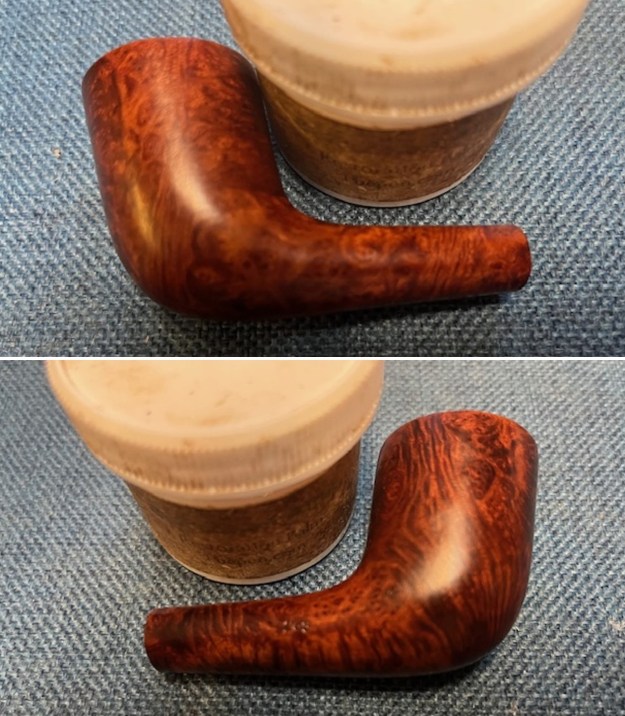
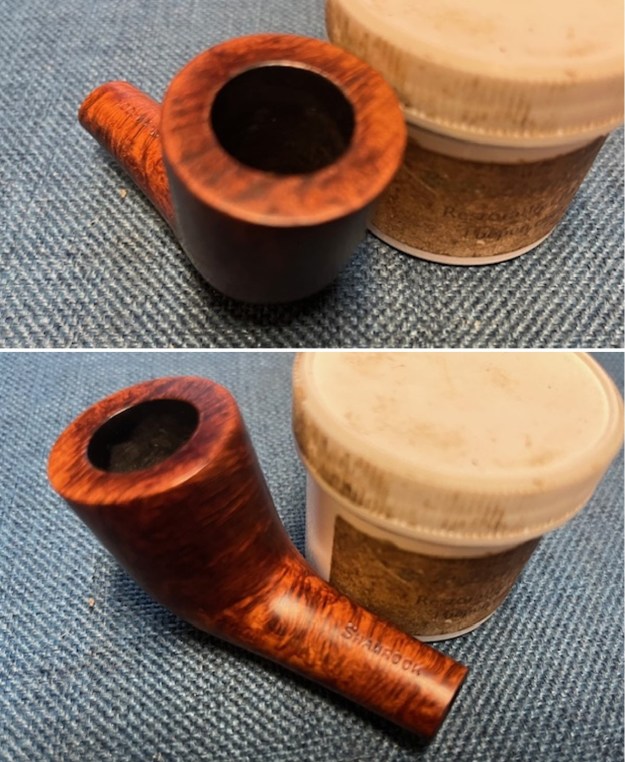
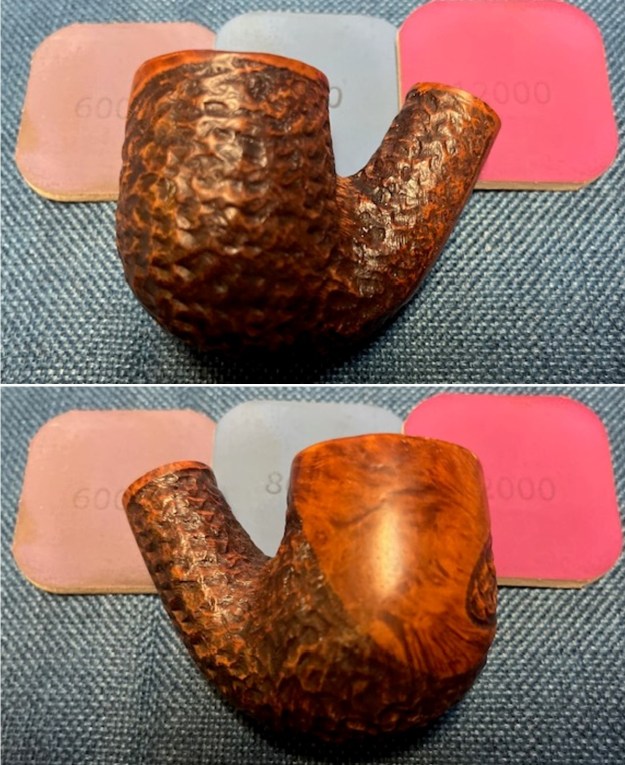
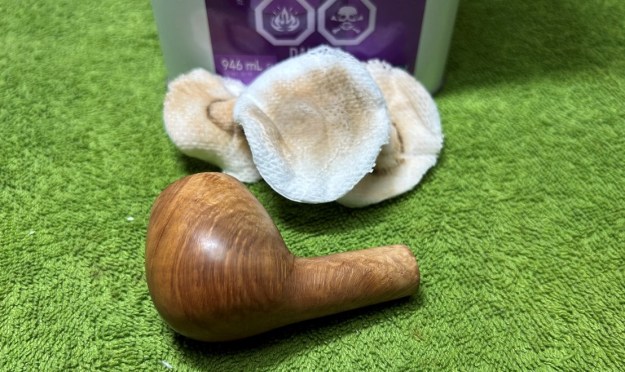
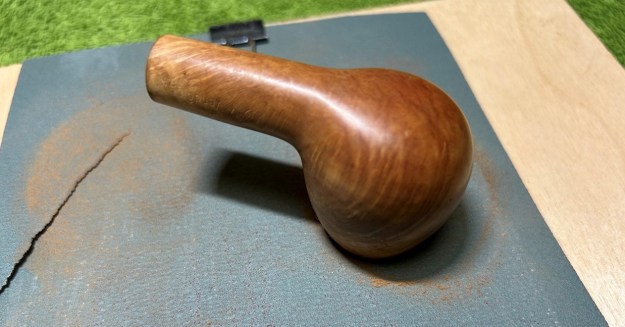
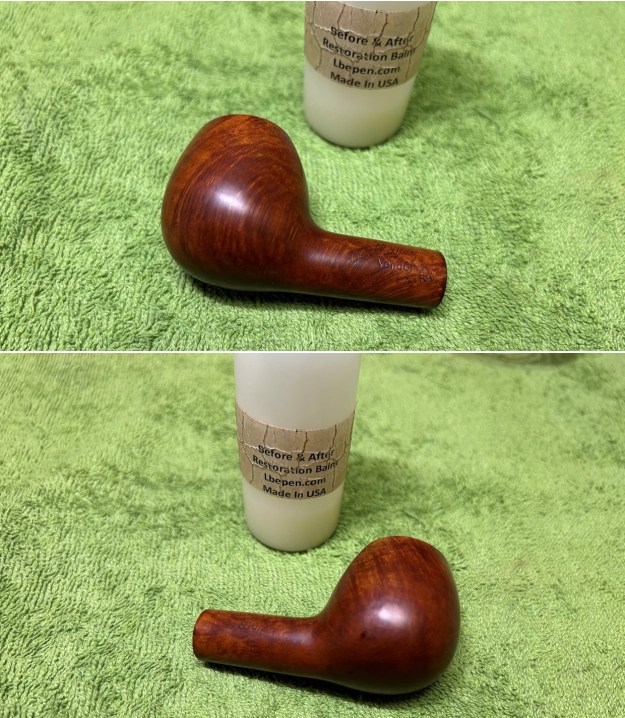
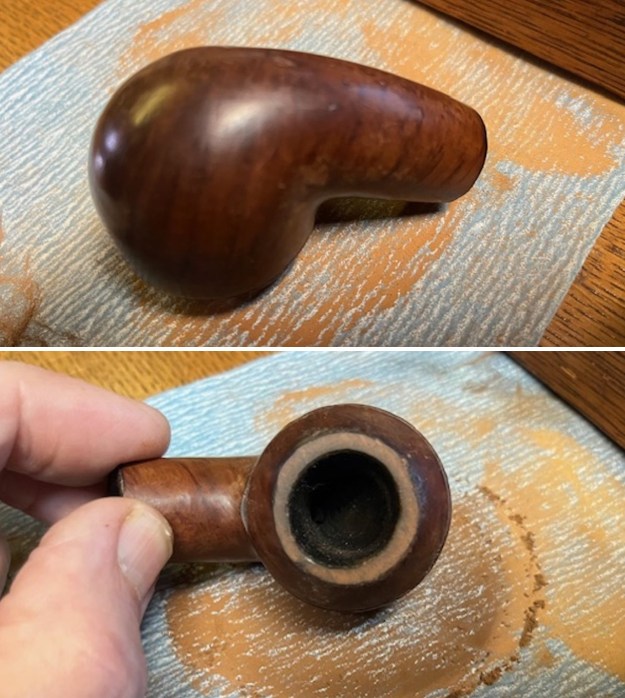
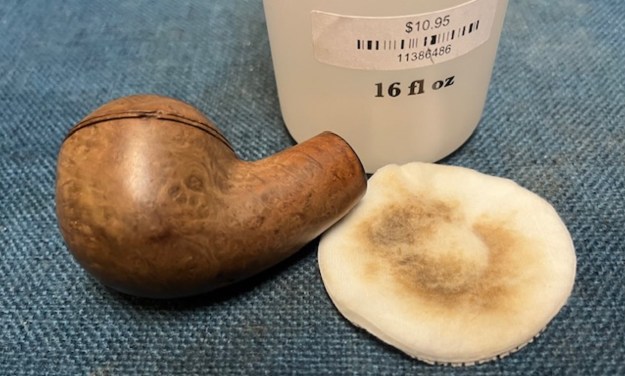
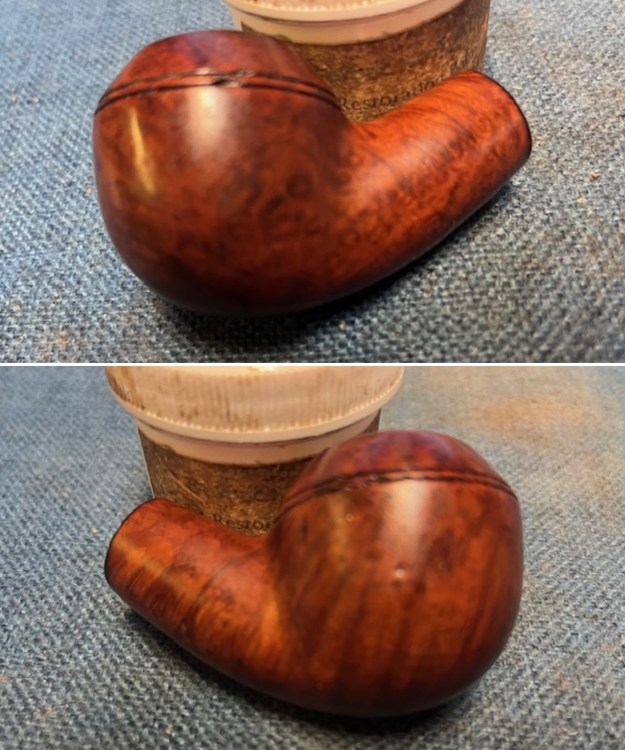
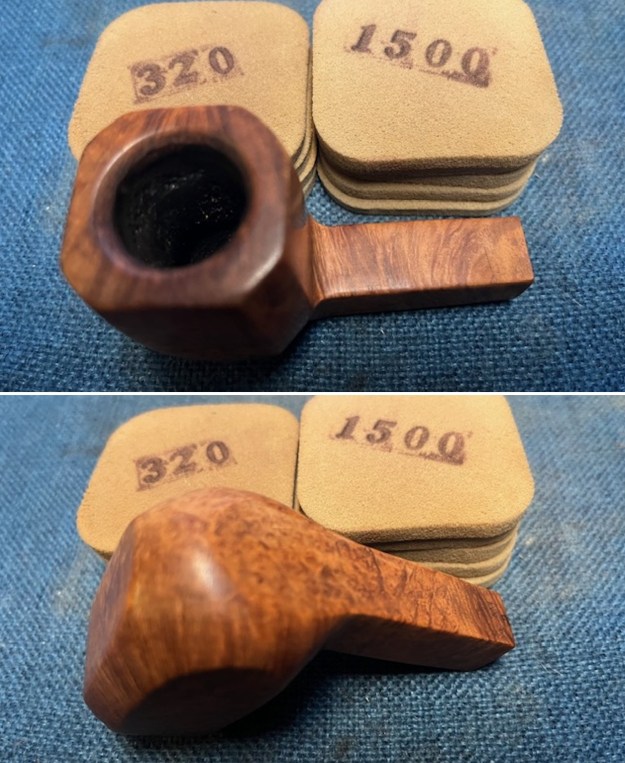
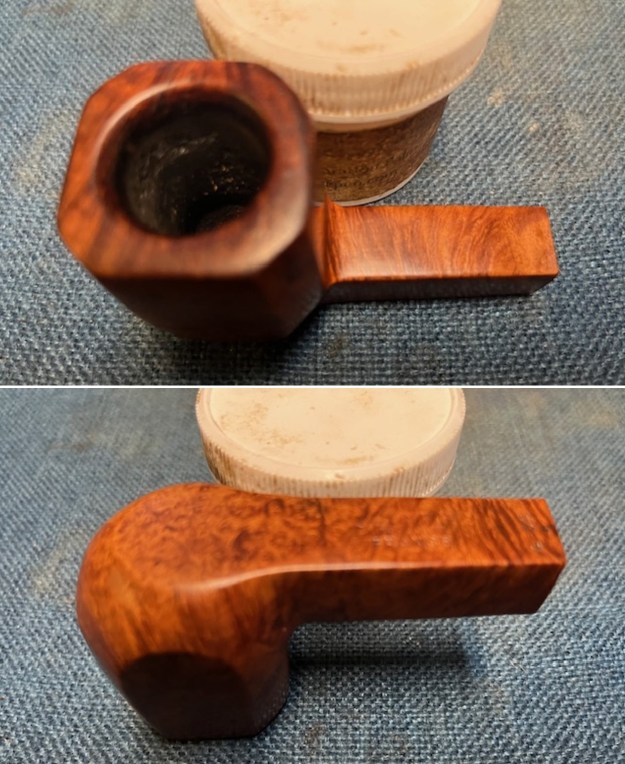
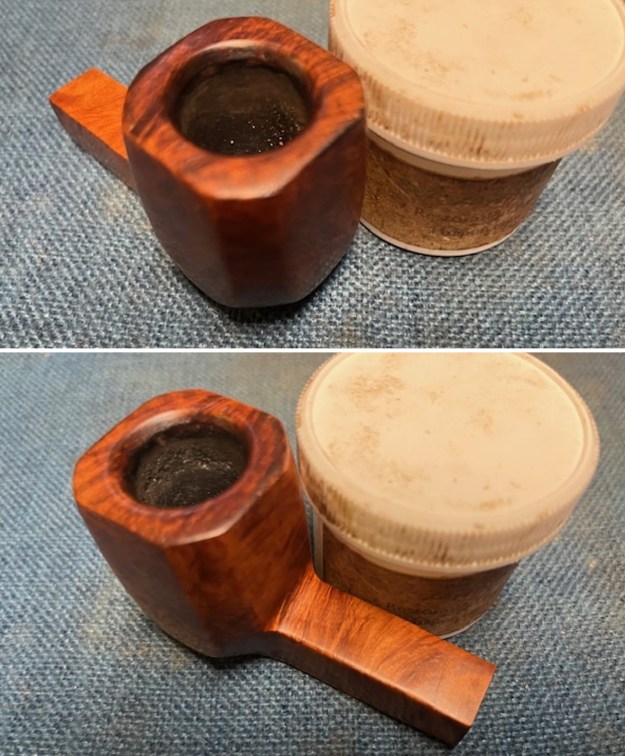
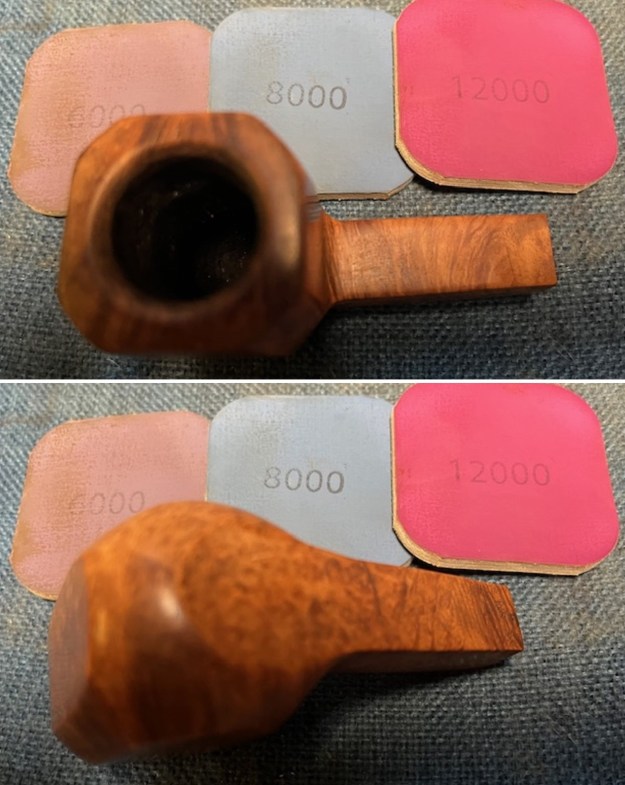 I rubbed the bowl down with Before & After Restoration Balm. It is a paste/balm that works to deep clean the finish, enliven and protect the briar. I worked it into the briar with my finger tips to make sure that it covered every square inch of the pipe. I set it aside for 10 minutes to let it do its work. I buffed it with a cotton cloth. The briar really began to have a deep shine. The photos I took of the bowl at this point mark the progress in the restoration.
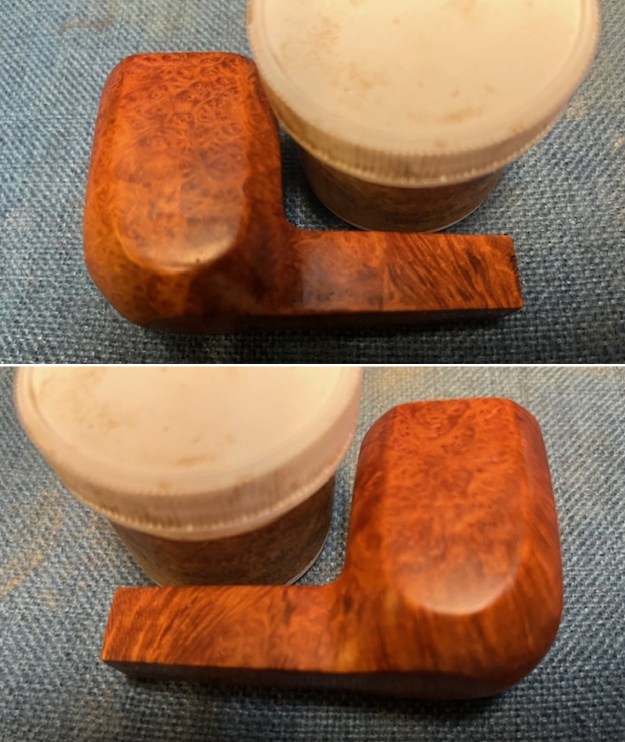
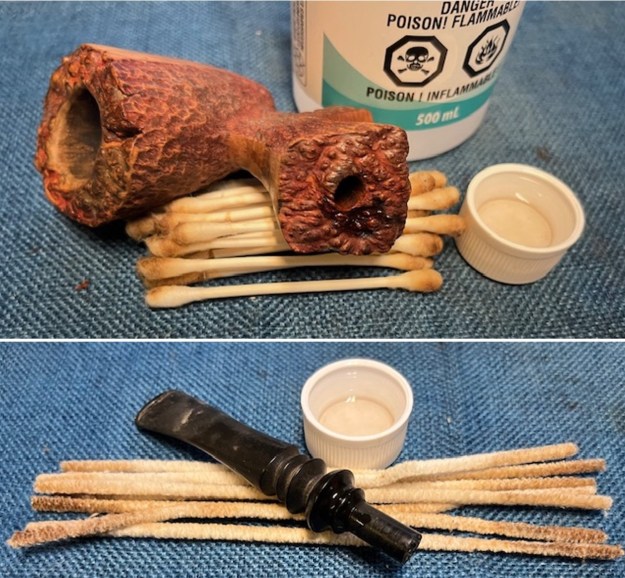
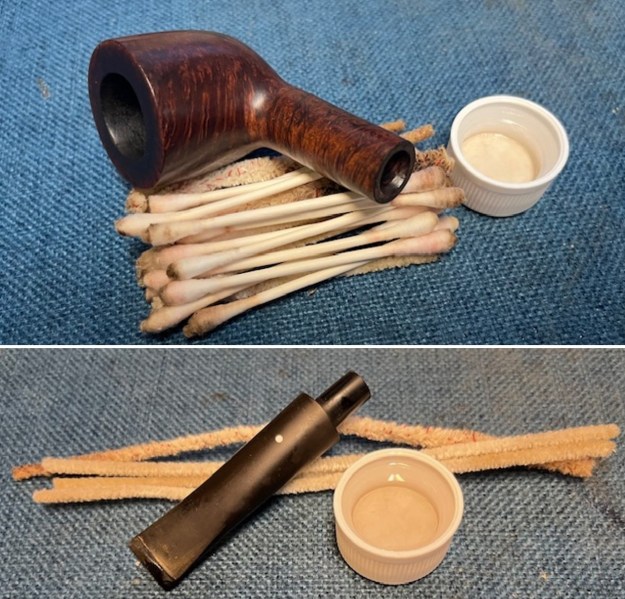
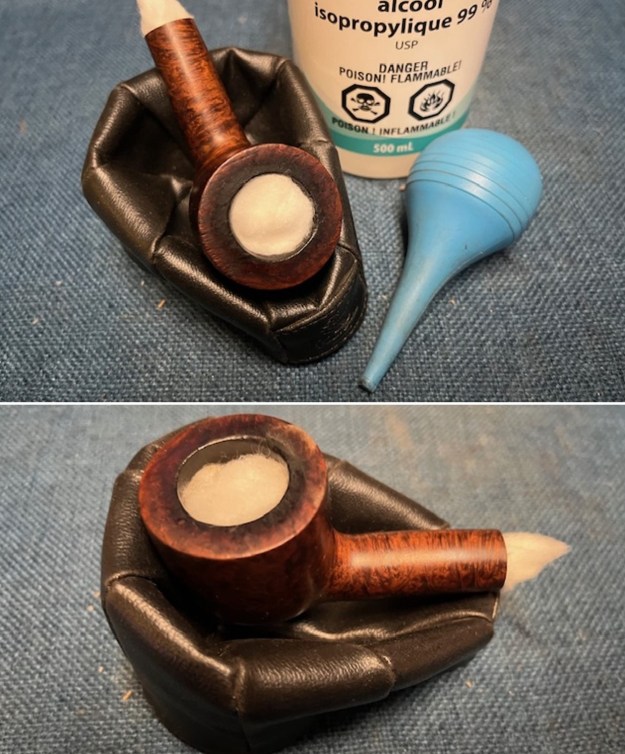
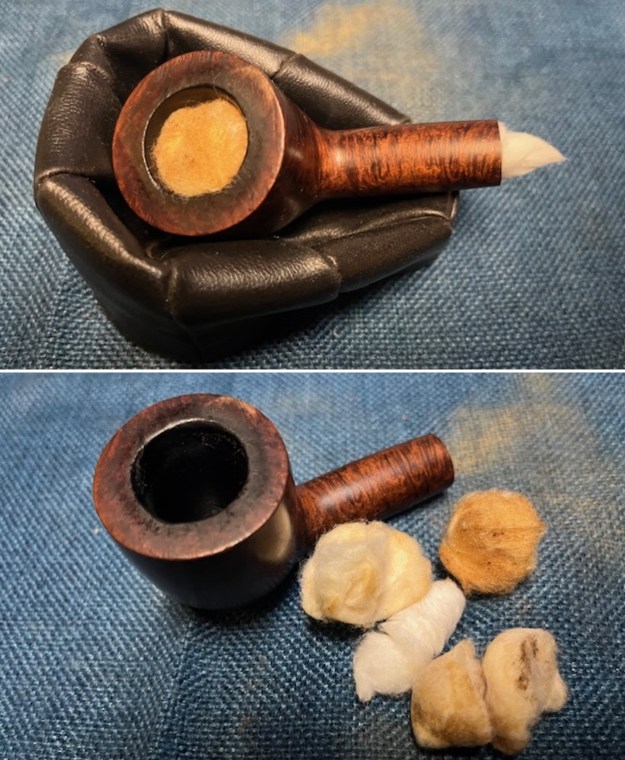
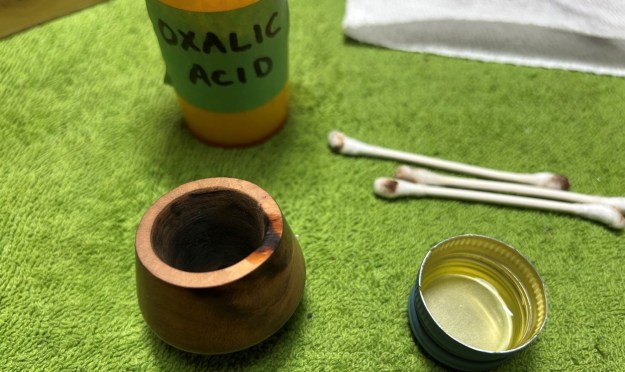
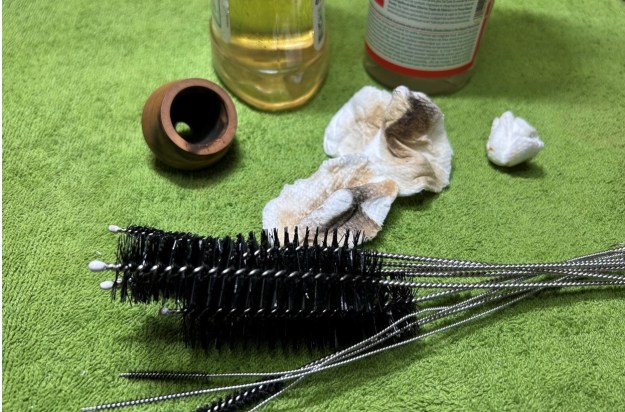
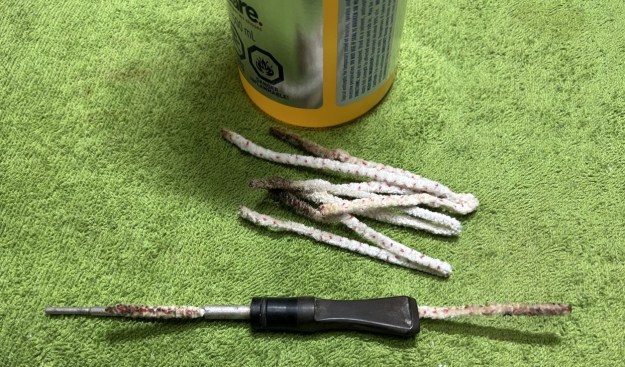
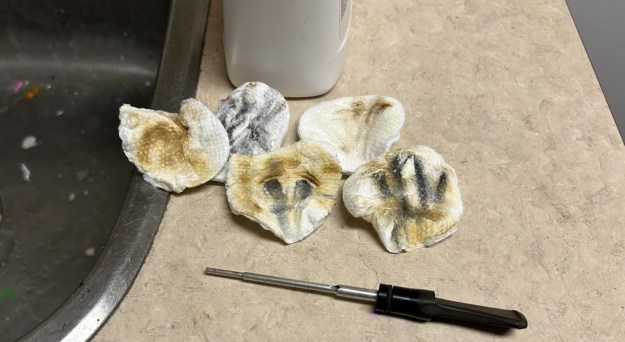
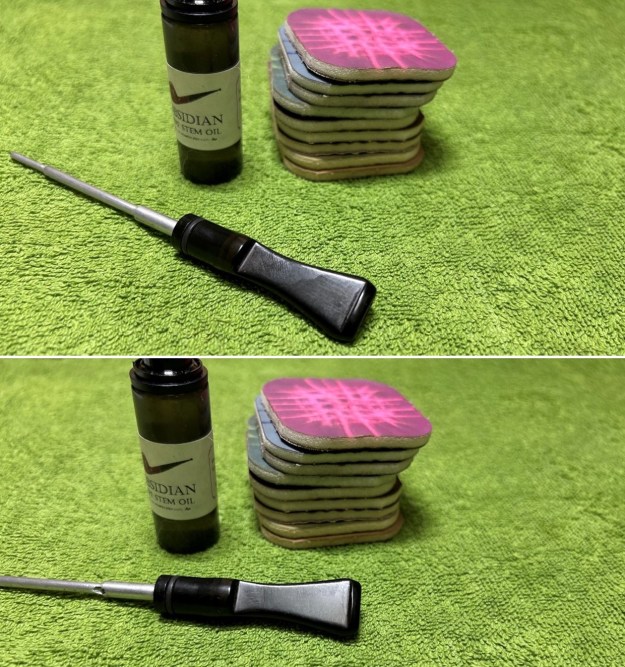
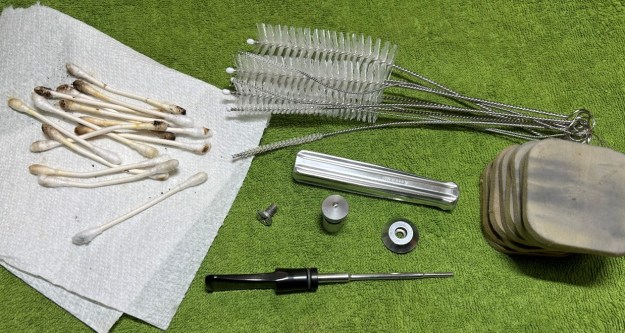
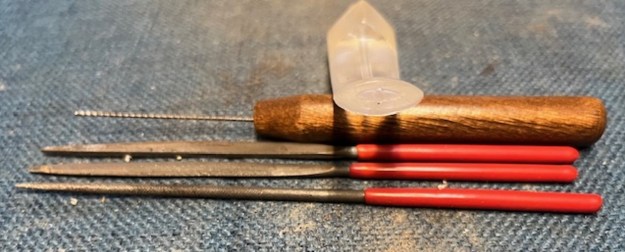
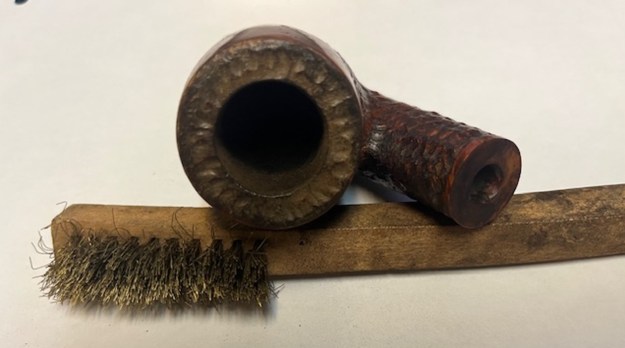
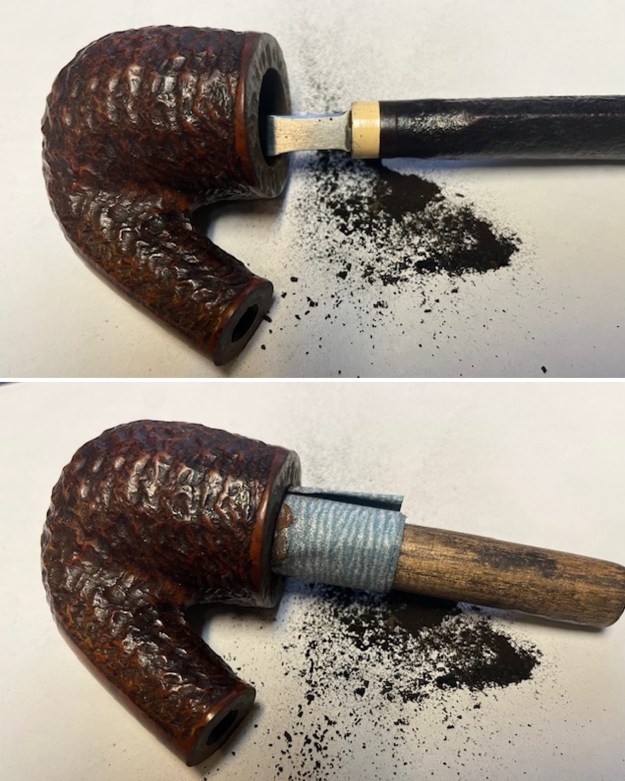
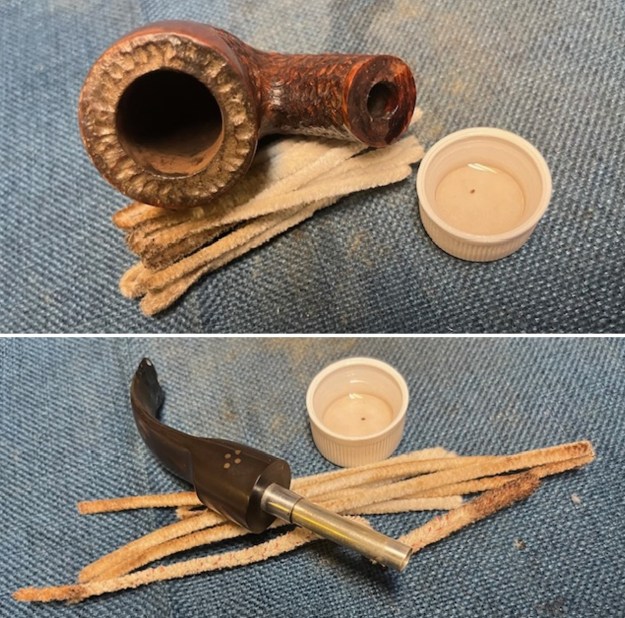
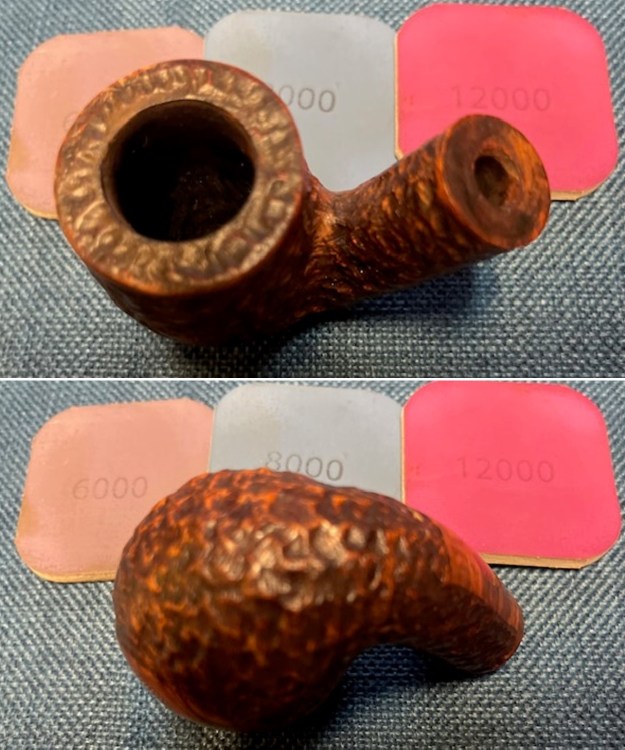
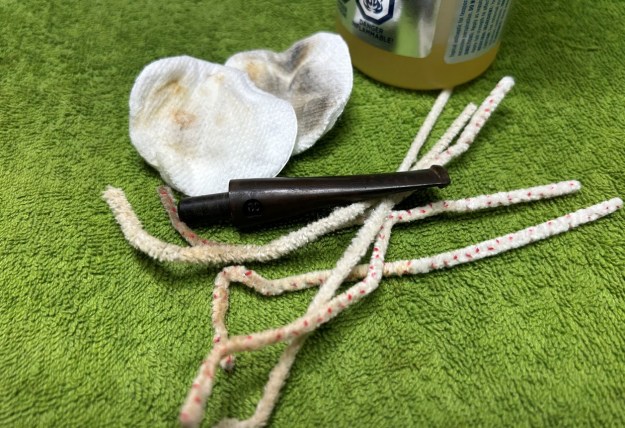
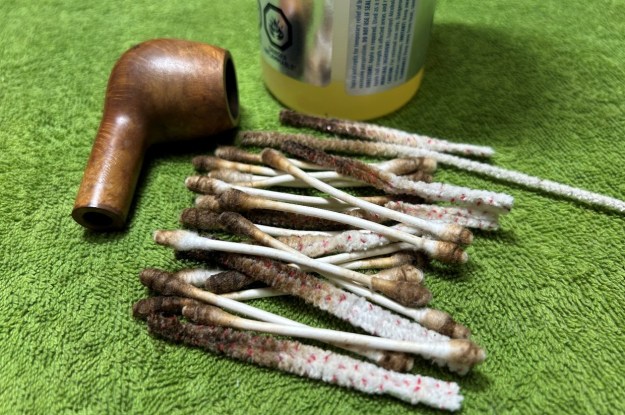
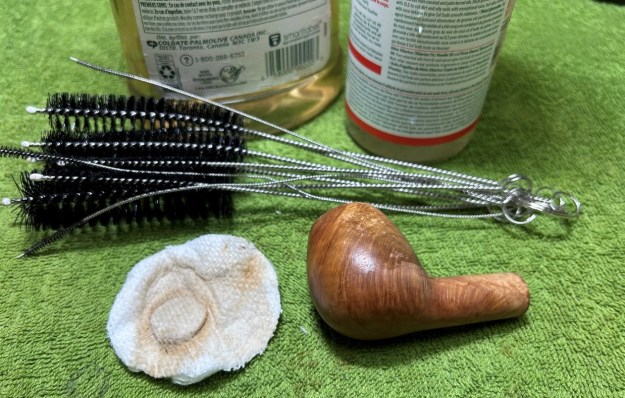
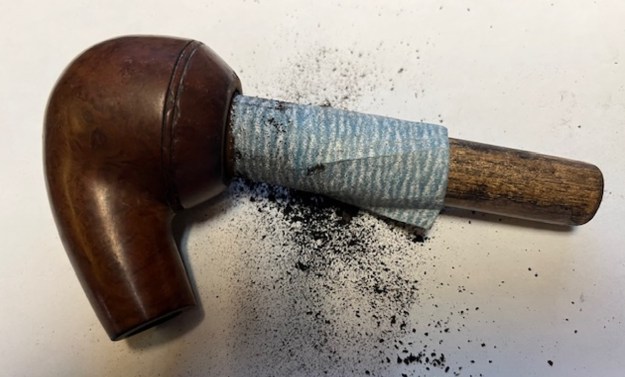
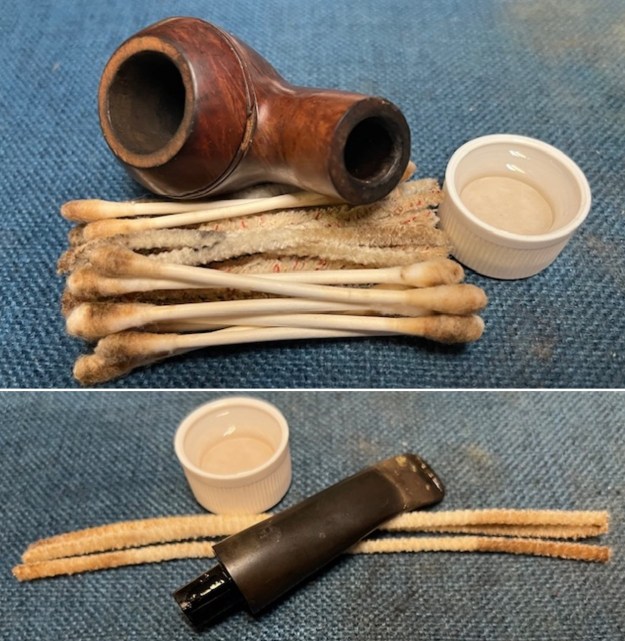
 I cleaned out the shank, mortise and the airway in both the shank and the stem with alcohol, cotton swabs and pipe cleaners. The shank was very dirty. The airflow is great.
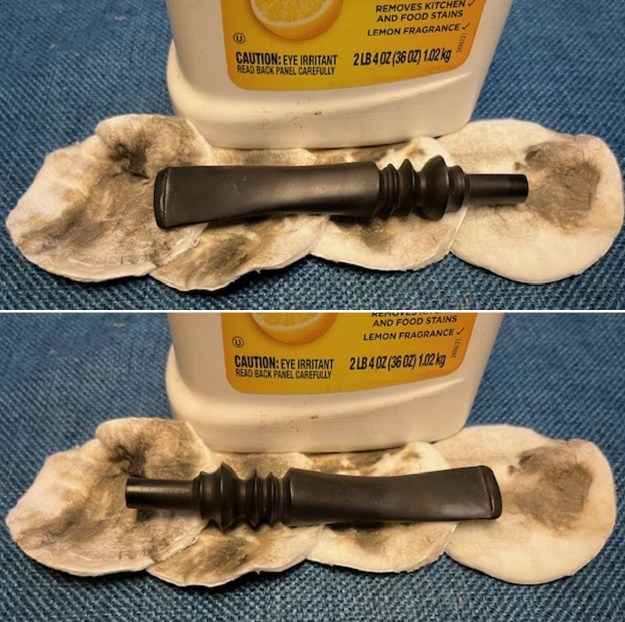
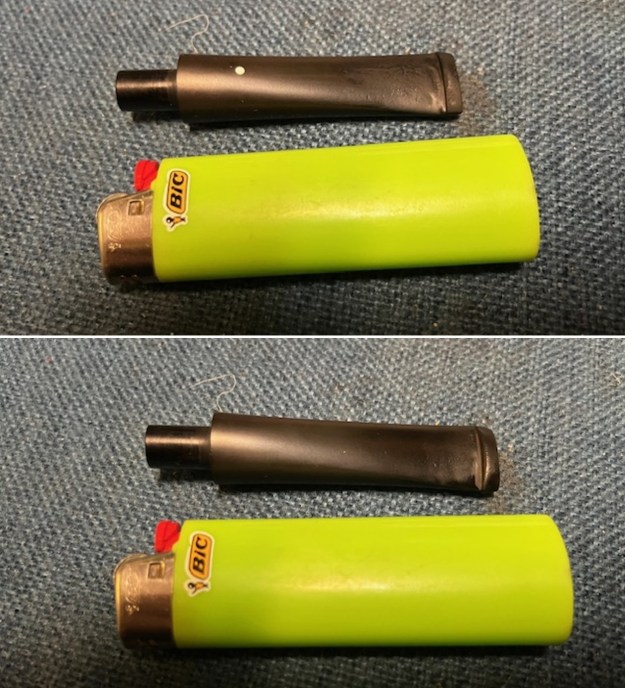
 I set the bowl aside and turned my attention to the stem. I scrubbed the stem surface with Soft Scrub to remove the oxidation and the calcification. It looked much better.
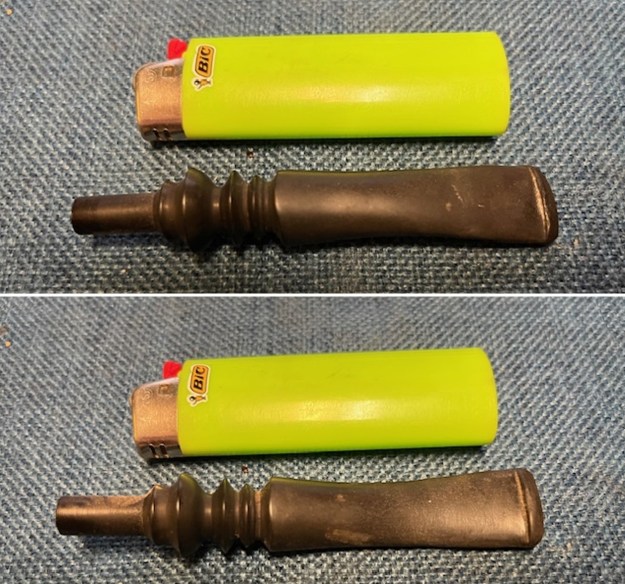
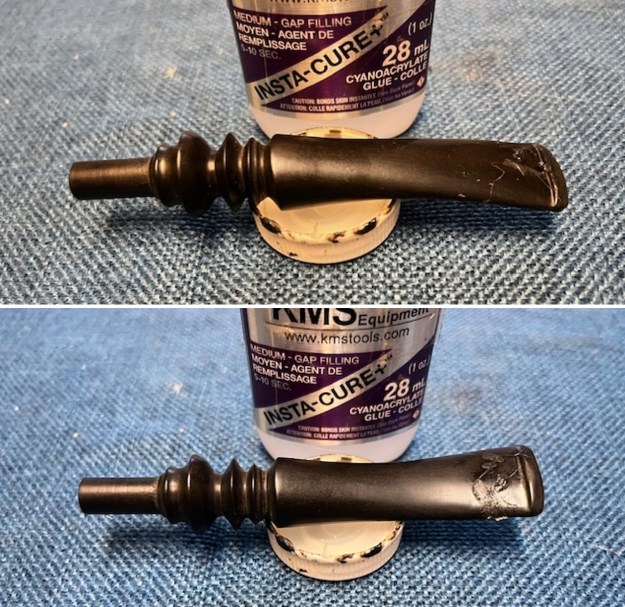
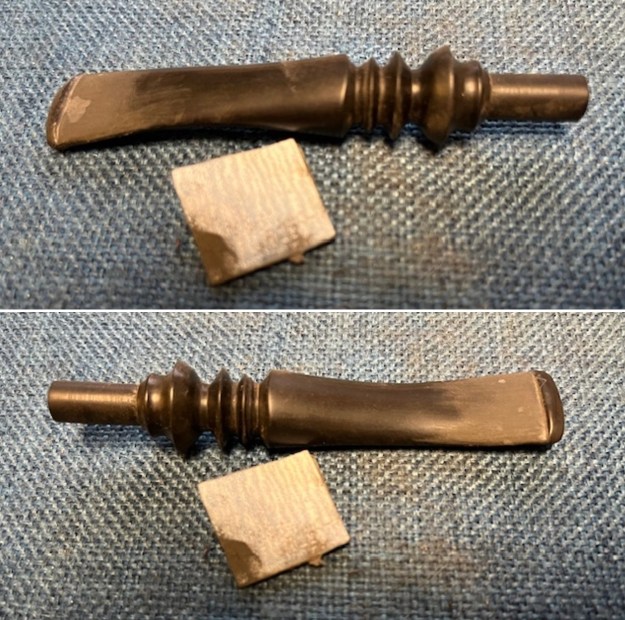
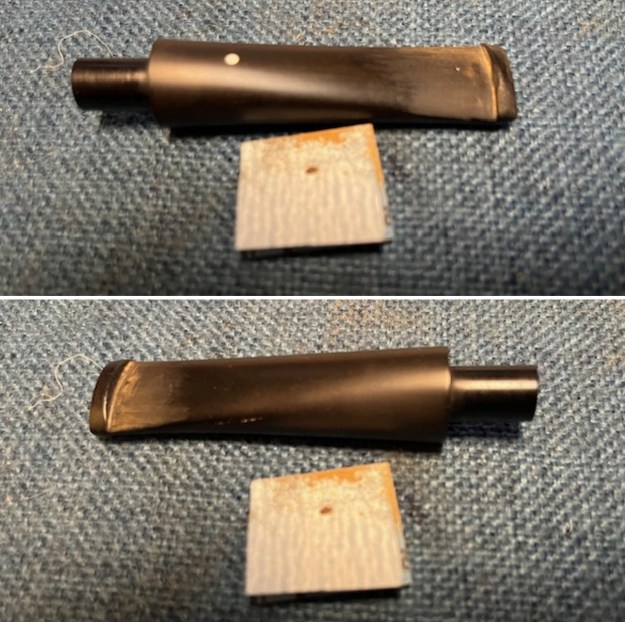
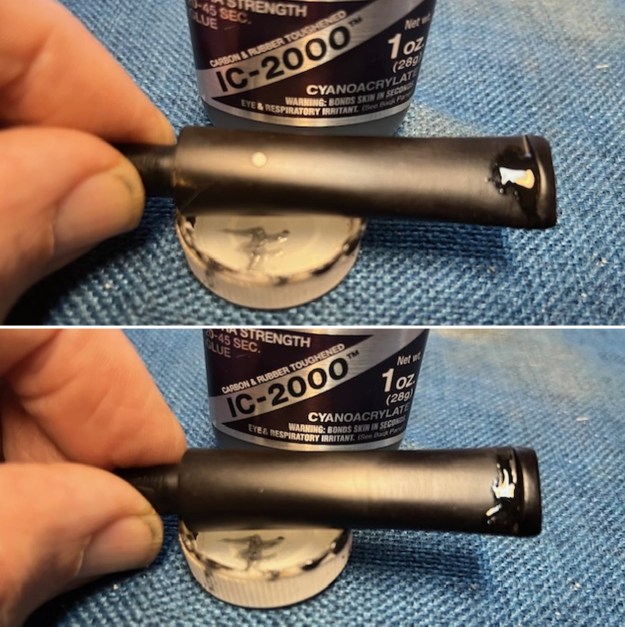
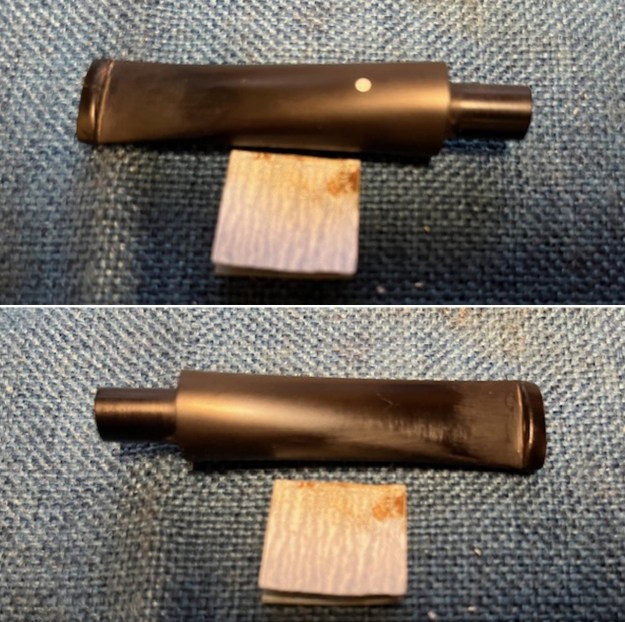
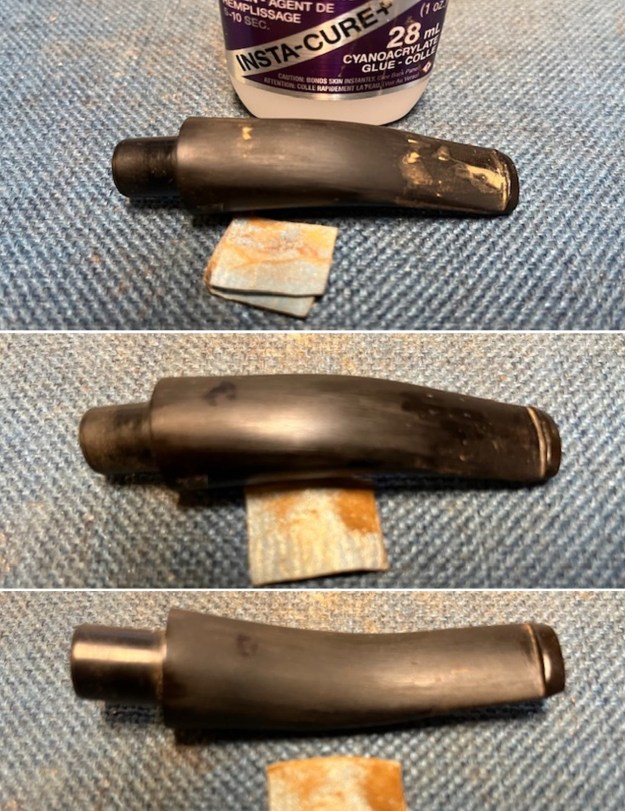
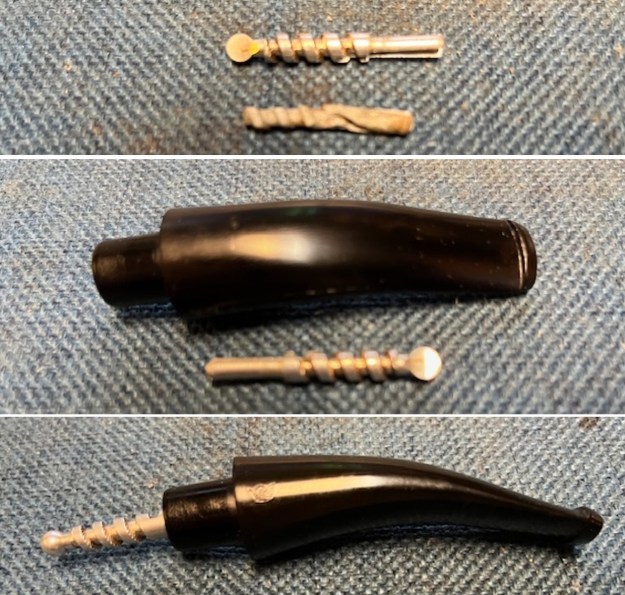
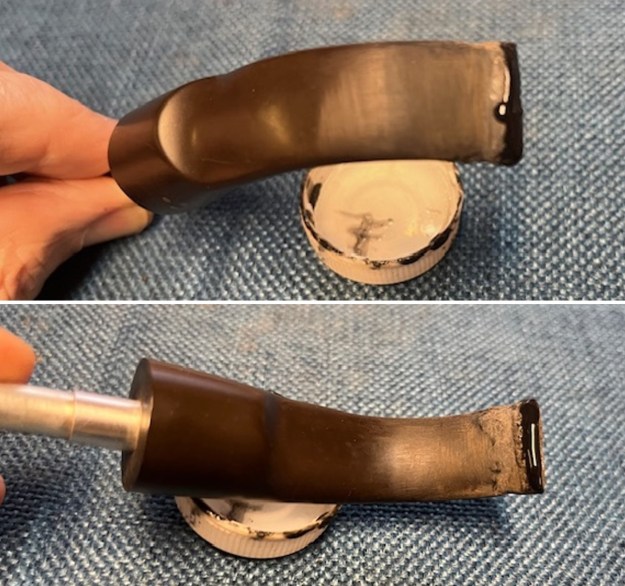
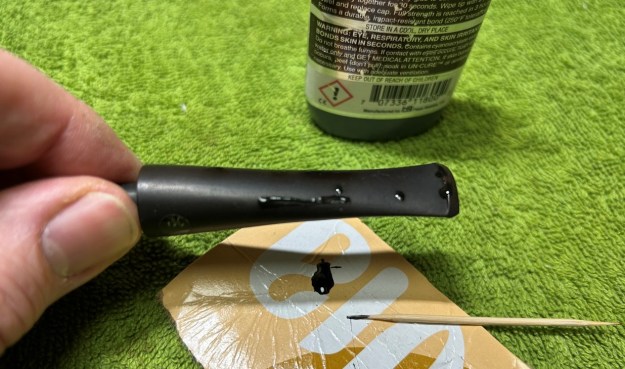
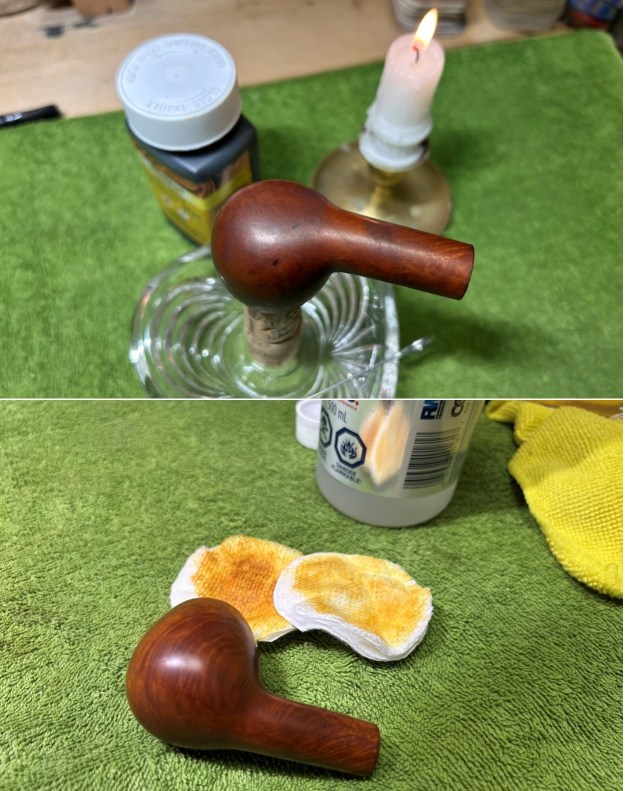
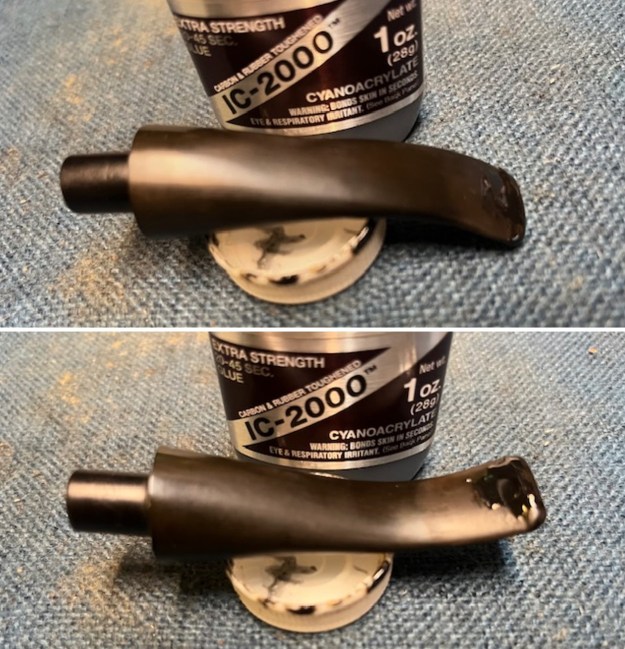
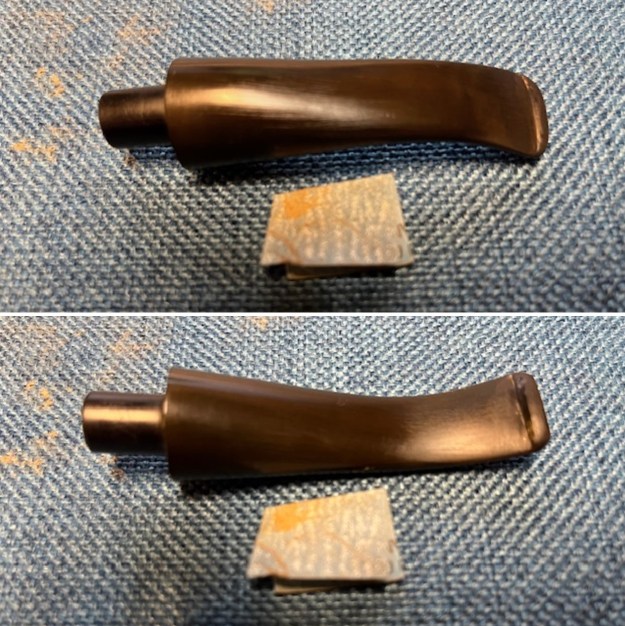
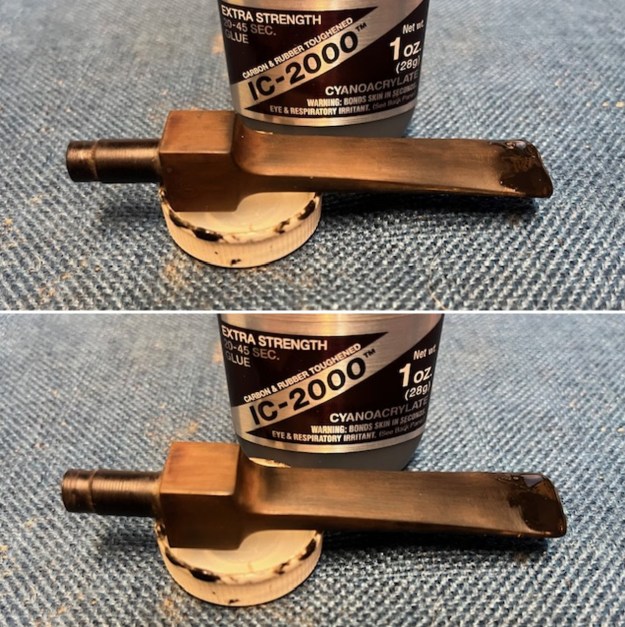
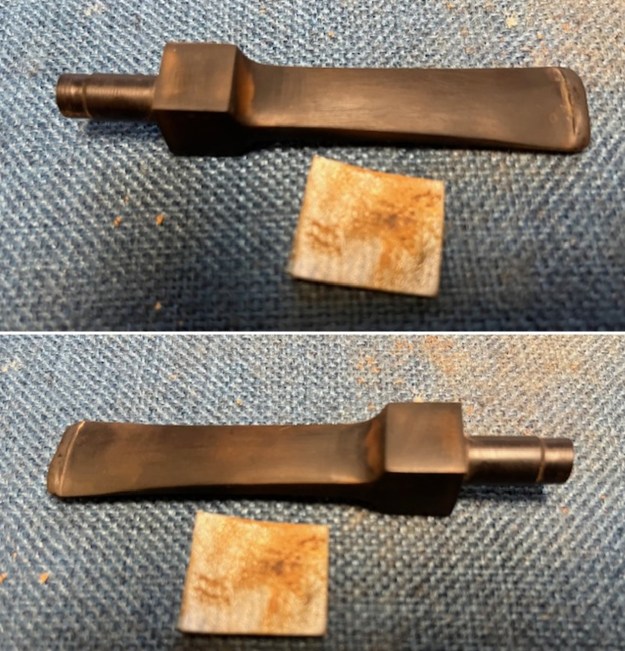
 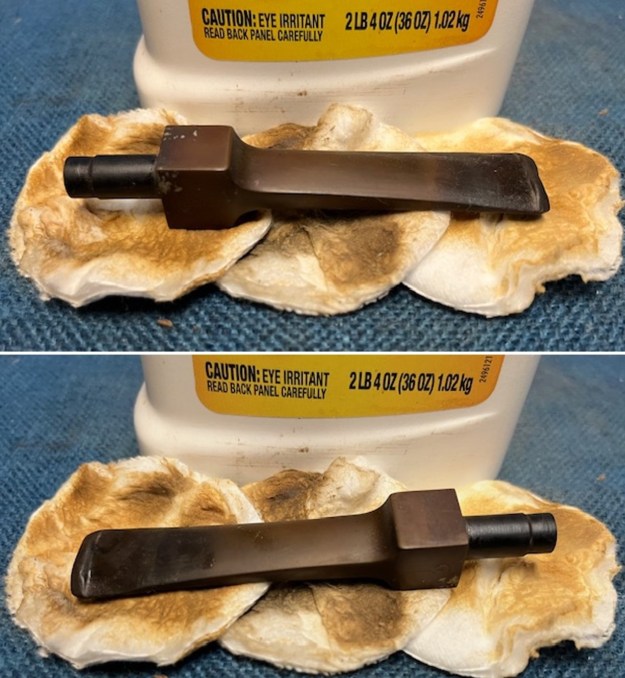 I “painted’ the surface of the stem with the flame of a lighter to try and lift the bite marks. It worked very well. I was able to remove the majority of the marks. I rebuilt the button edge and filled in some of the remaining tooth marks with black rubberized CA glue. I set the stem aside to let the glue cure. Once it cured I reshaped the button with a small flat file and sanded the stem surface with 220 grit sandpaper to blend in the repairs.
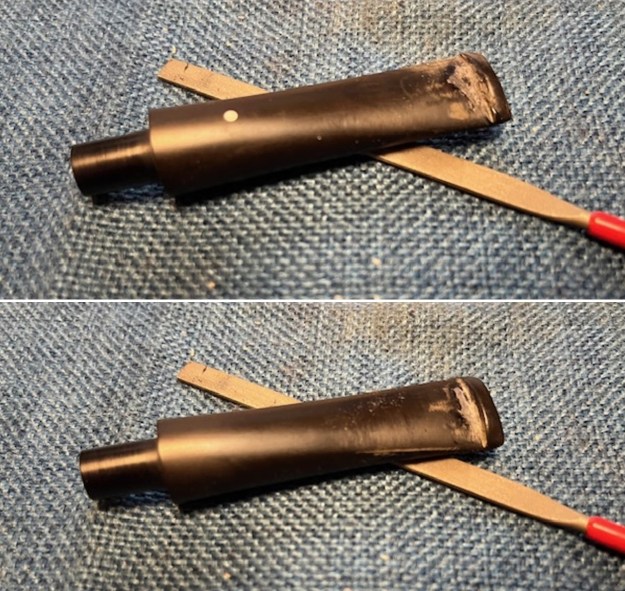
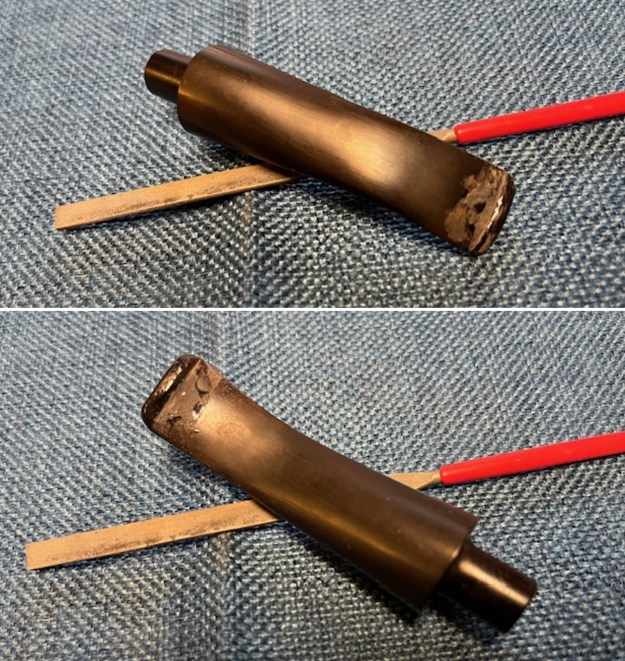
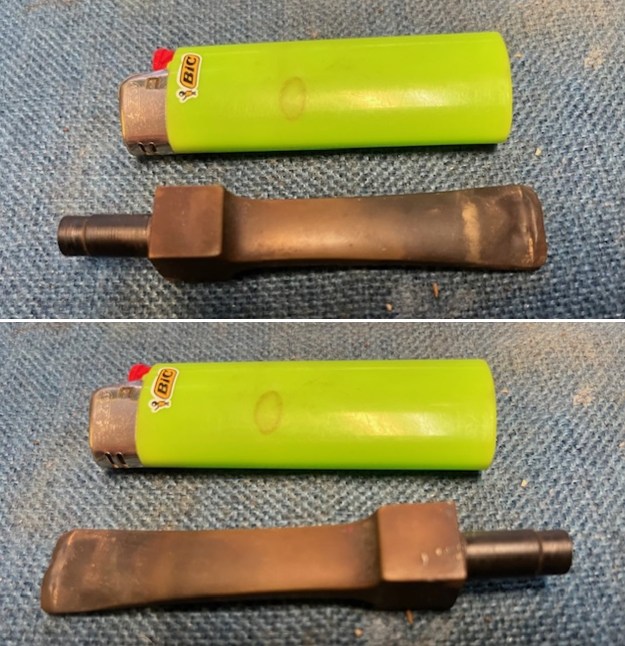
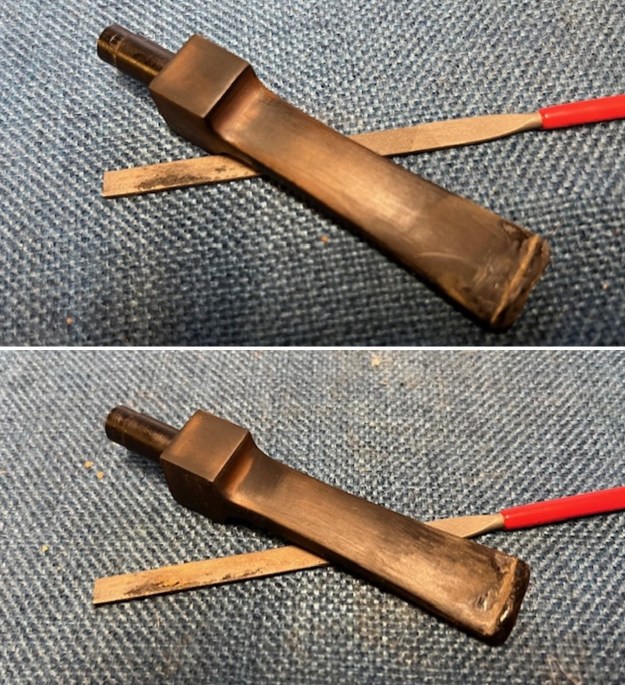
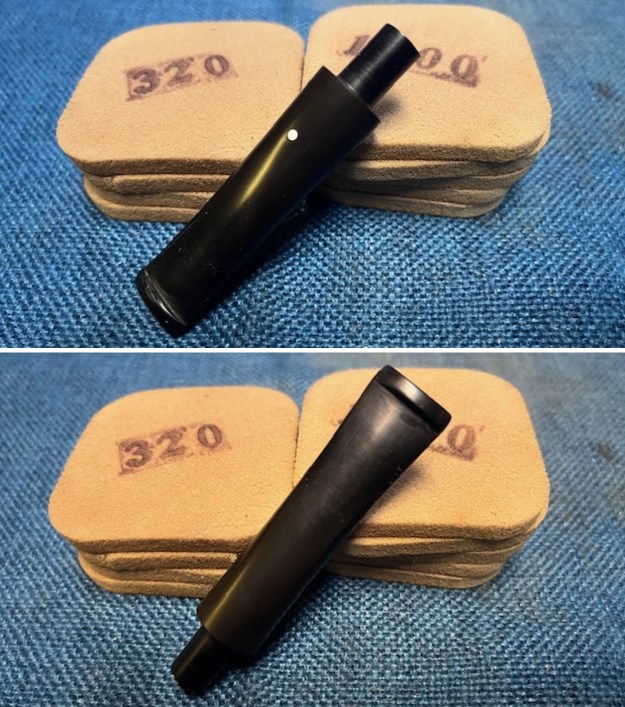
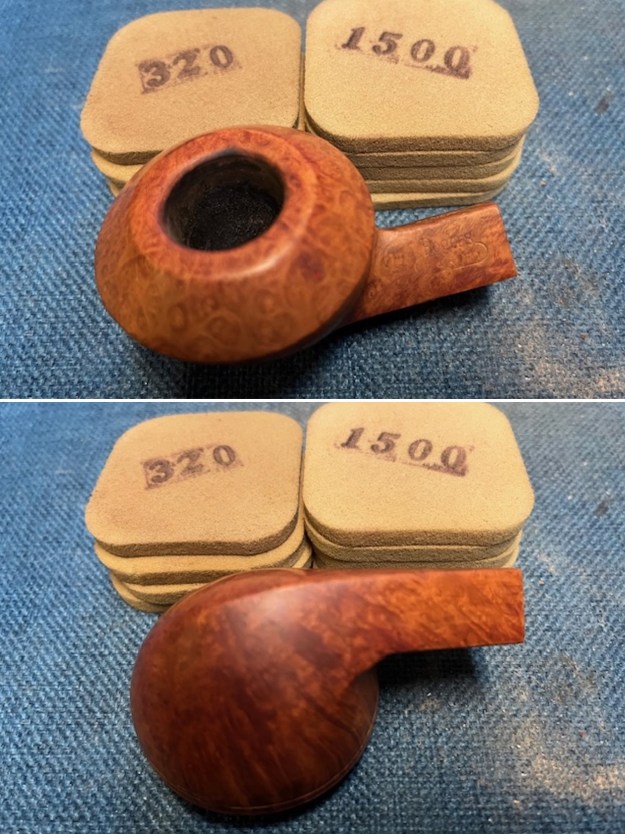
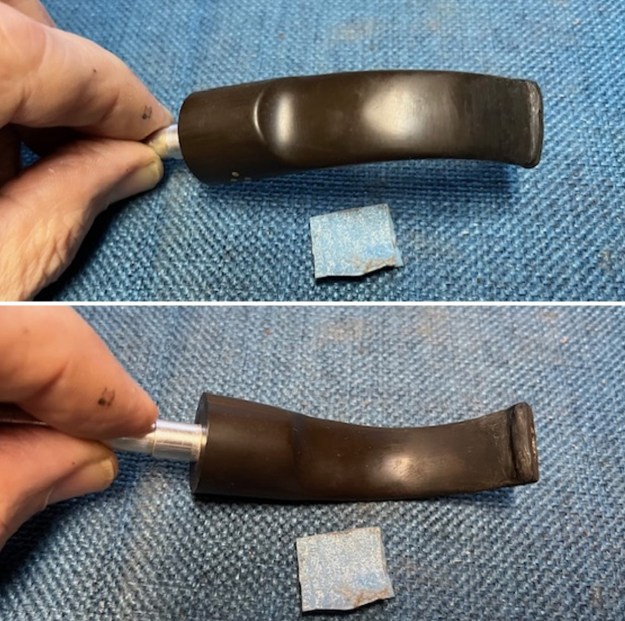
 I touched up the faint stamp on the stem with Antique Gold Rub’n Buff. I worked it into the stamp with a tooth pick and buffed it off with a soft cloth.
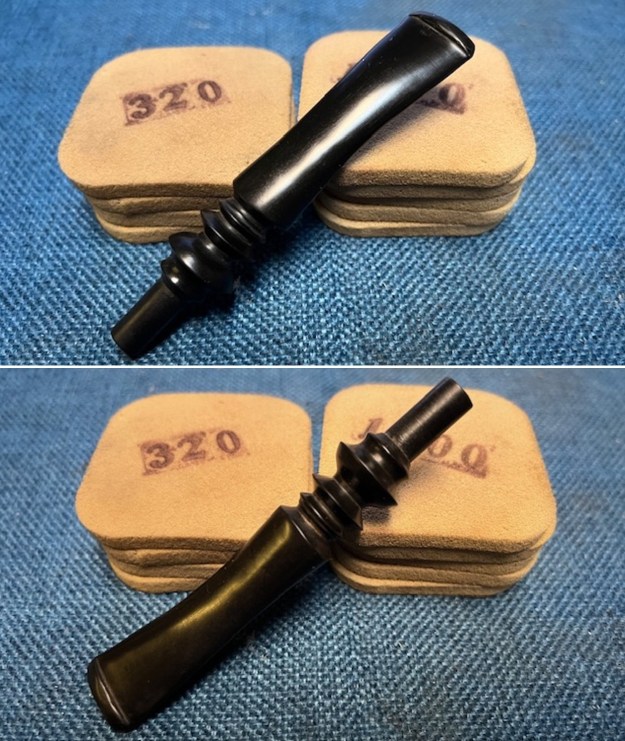
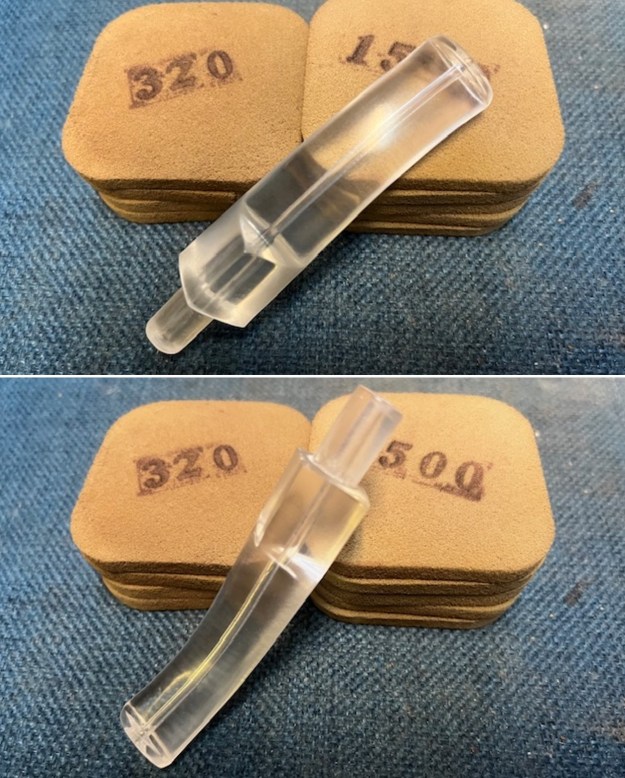
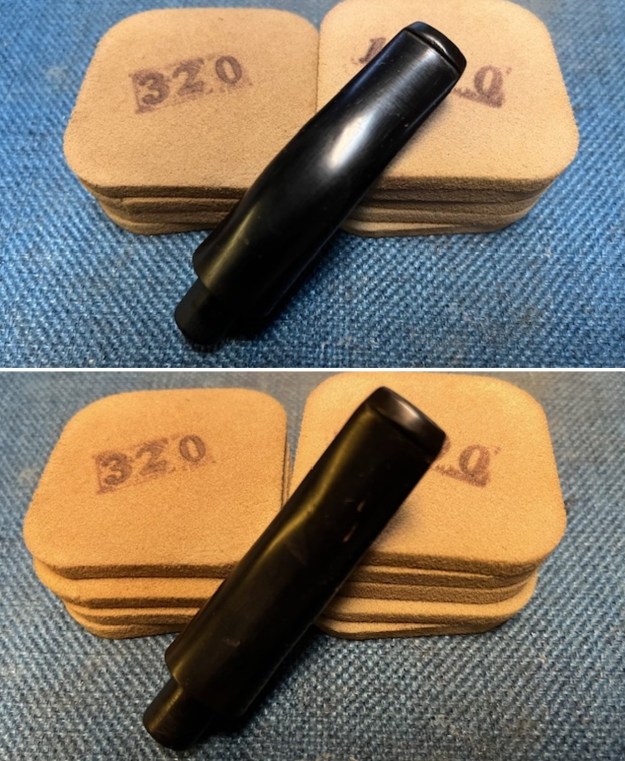
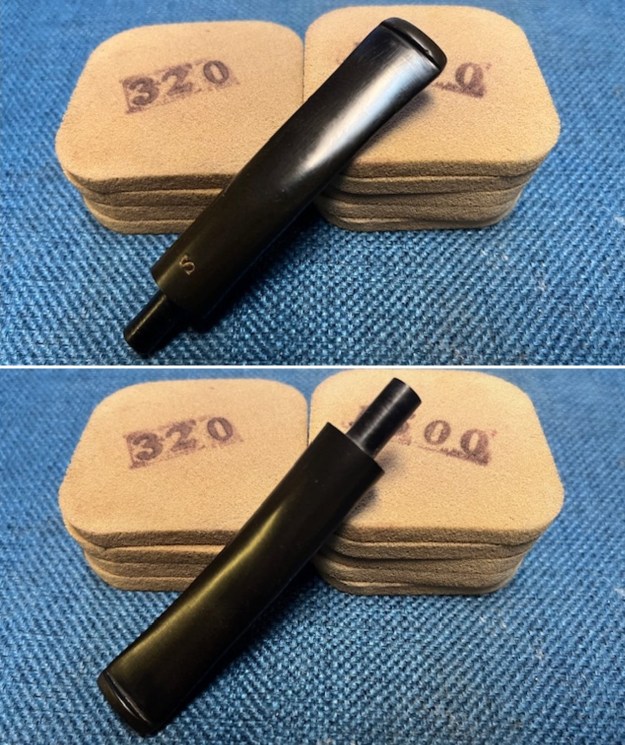
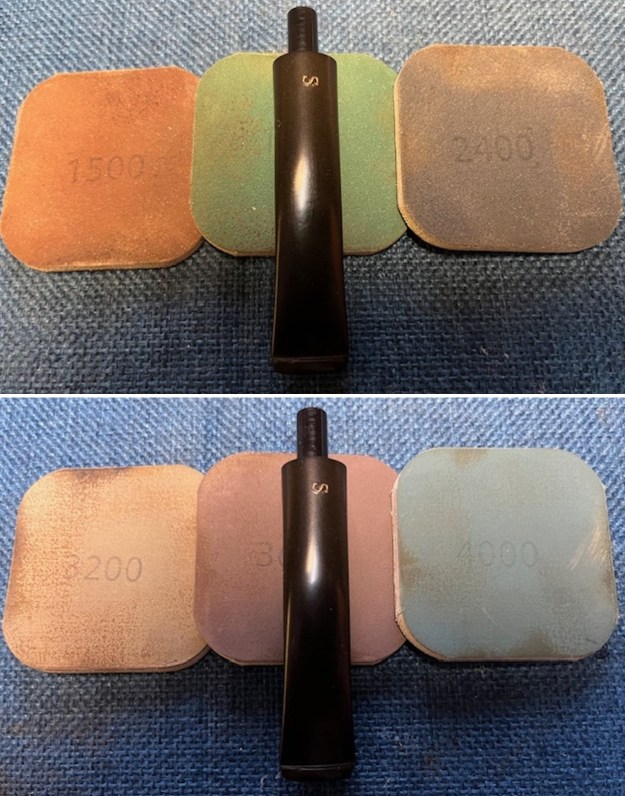
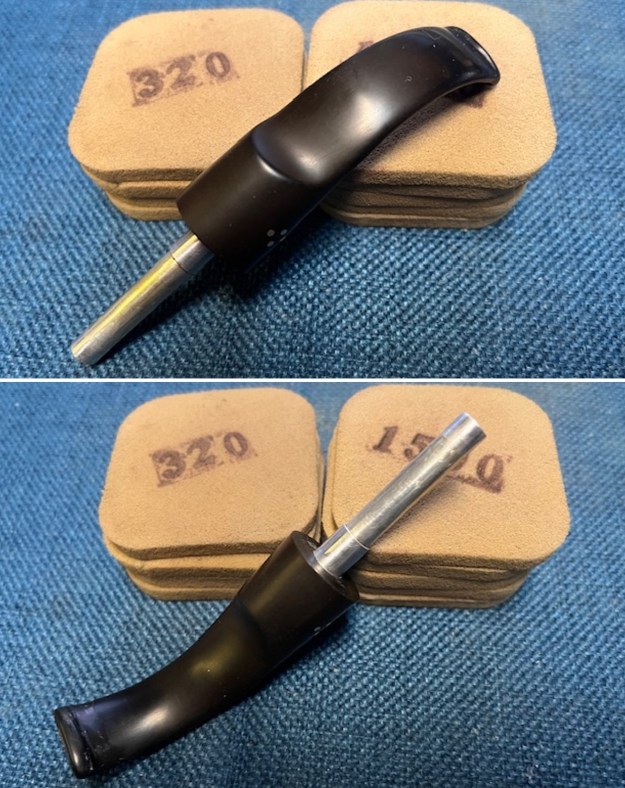
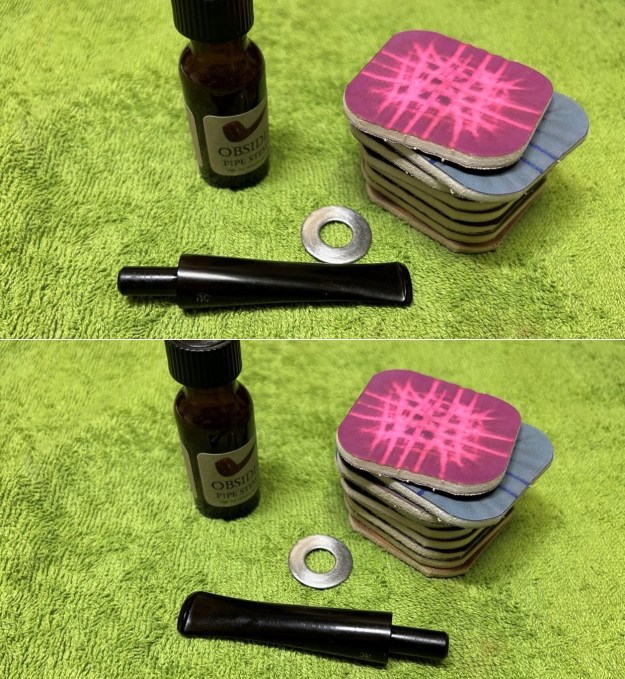
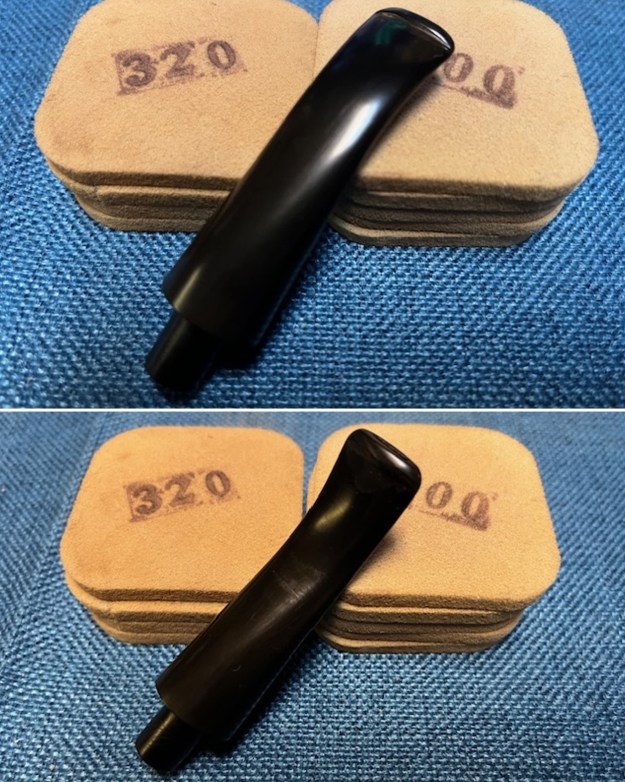
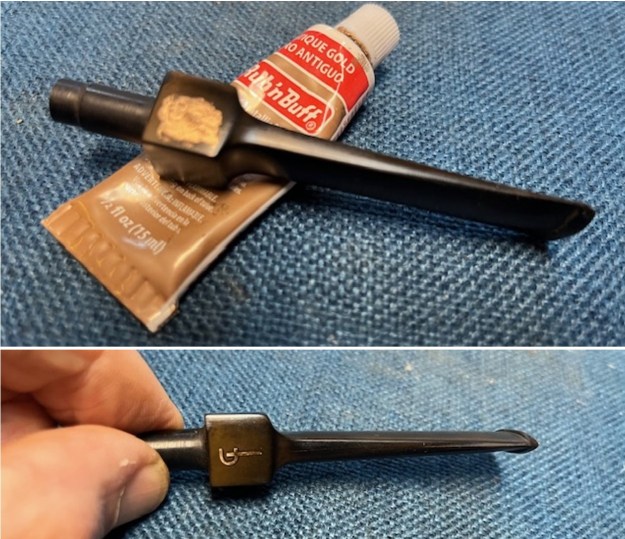 I sanded the stem with 320-3500 grit sanding pads. I wiped the stem down after each pad with an Obsidian Oil impregnated cloth to remove the sanding debris. It began to take on a shine.
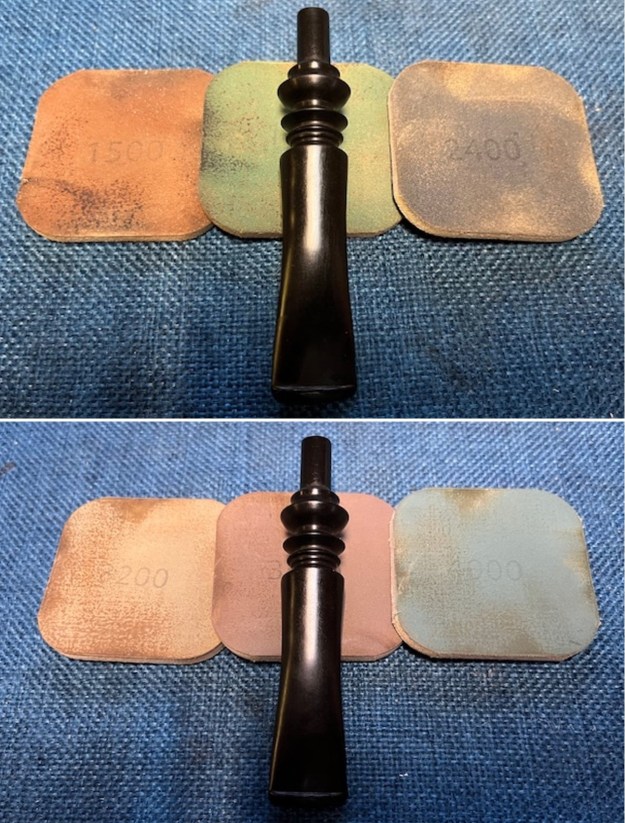
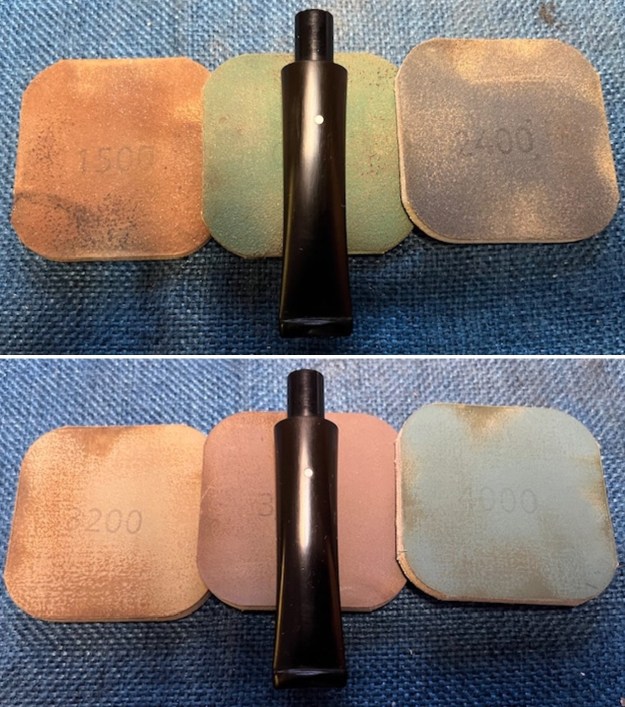
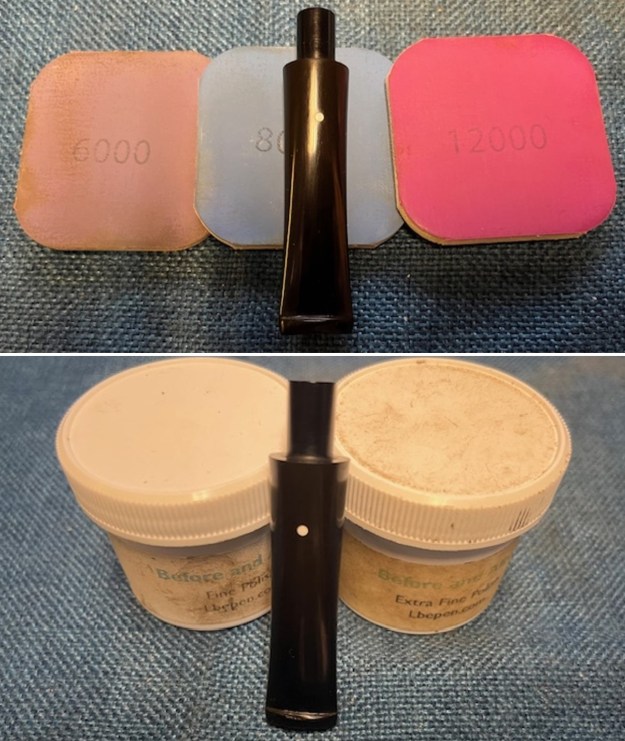
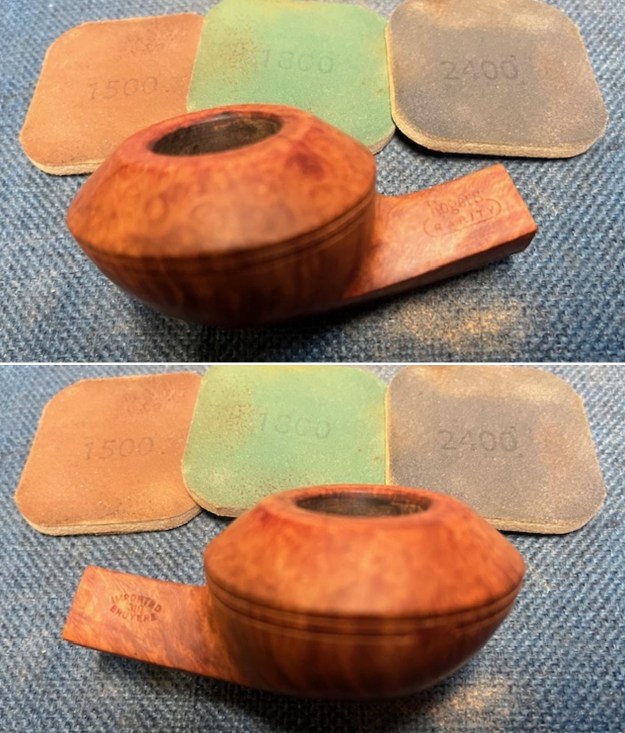
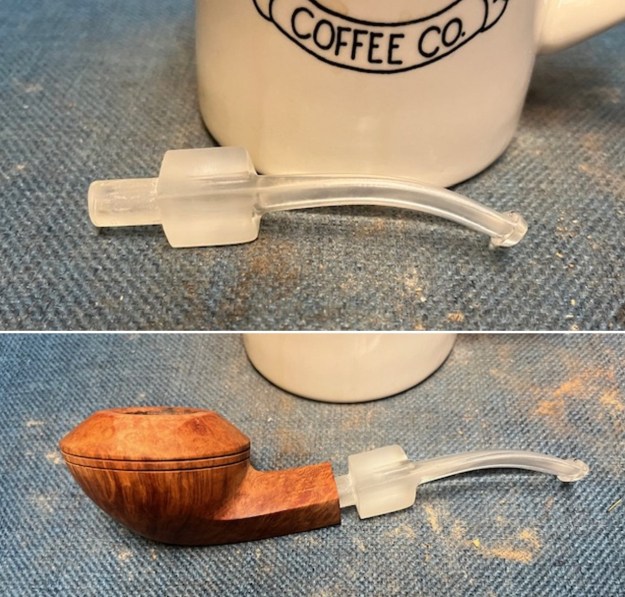
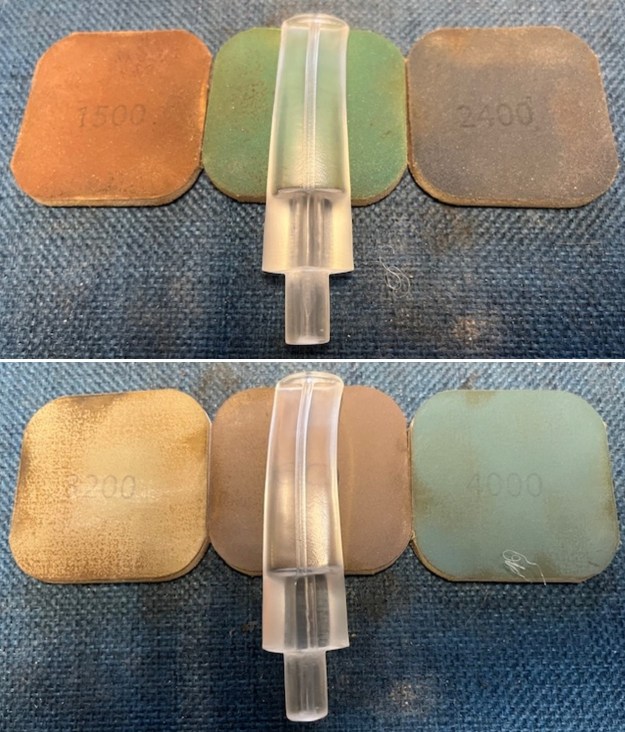
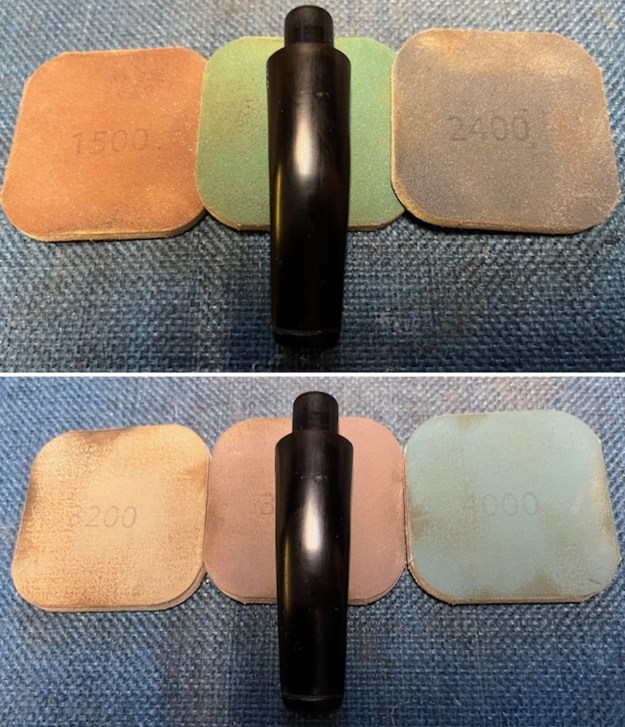
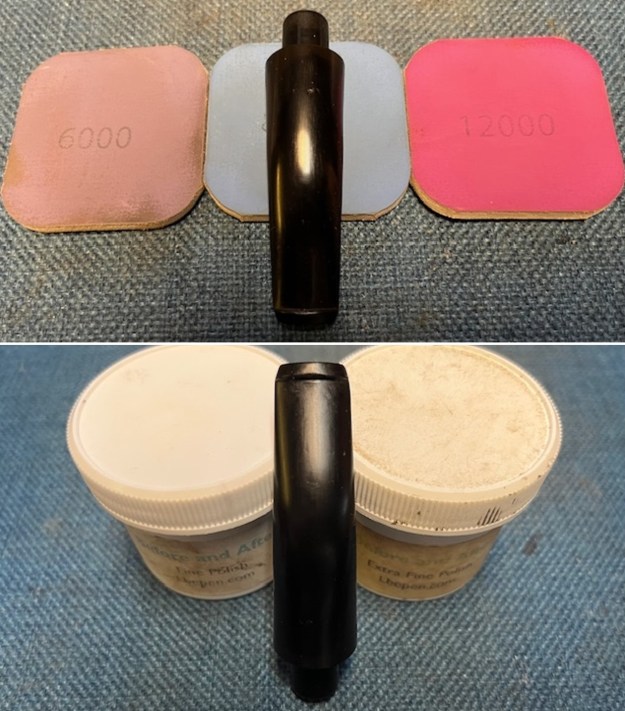
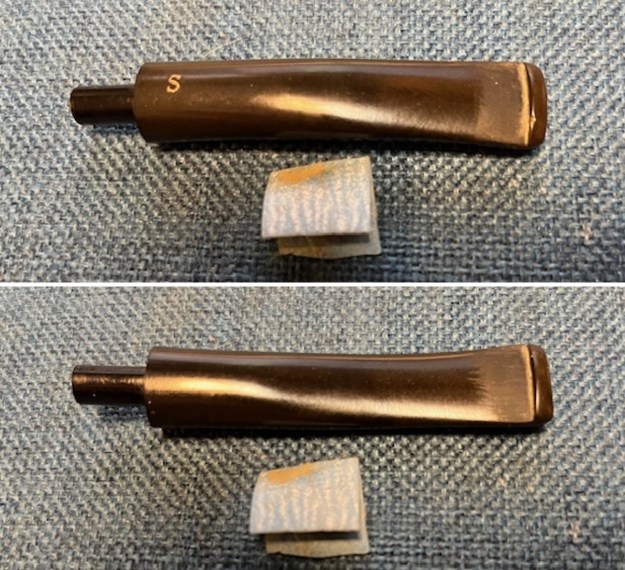
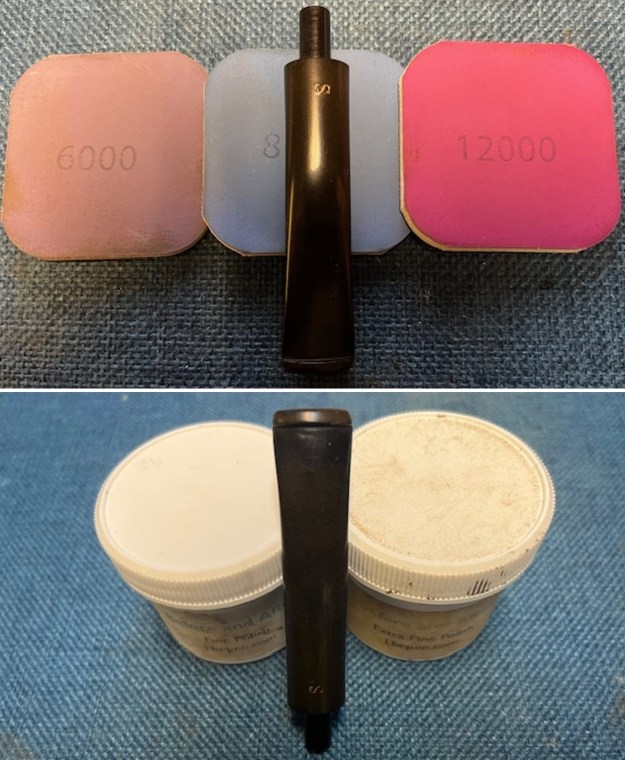
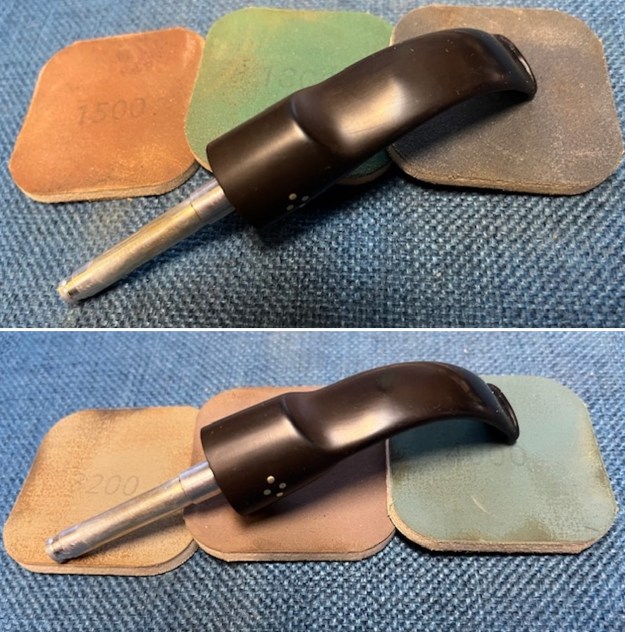
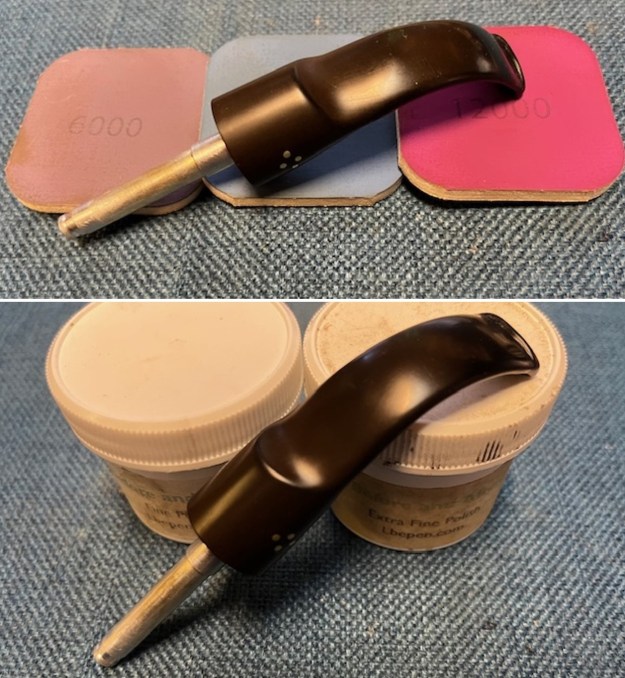
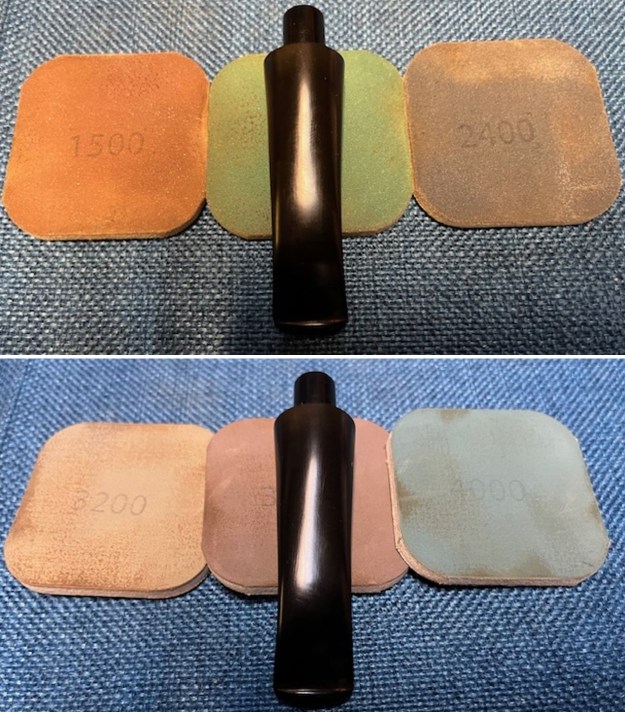
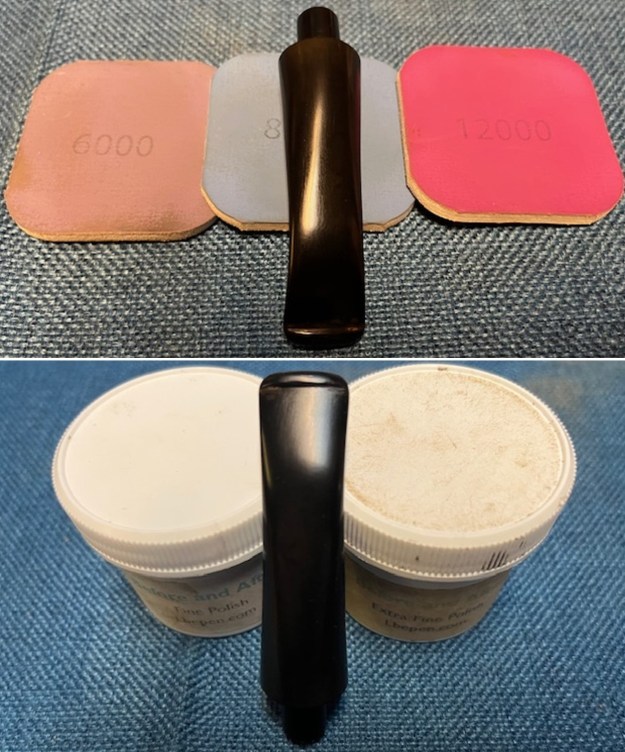
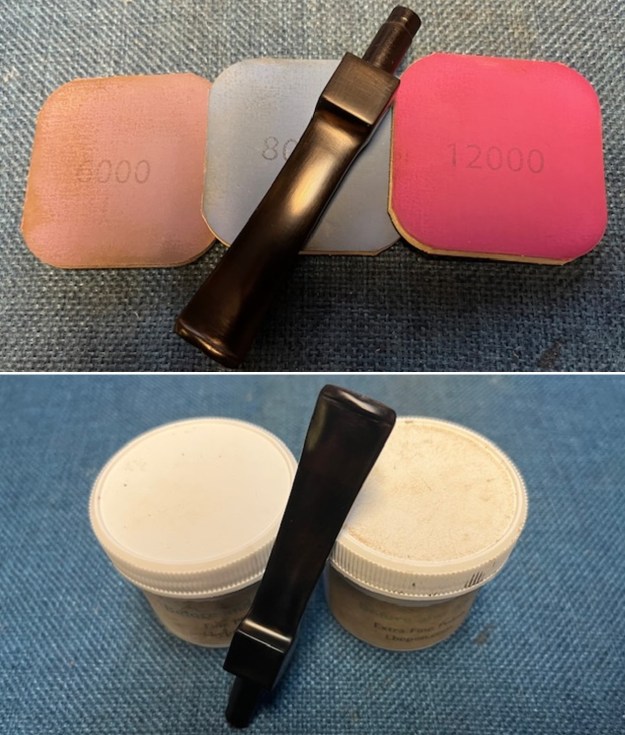
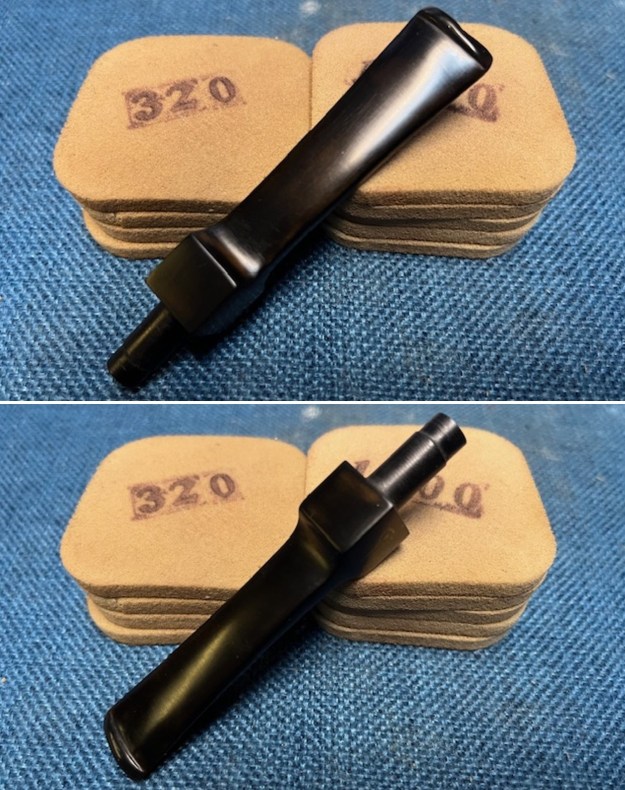 I polished the stem with micromesh sanding pads – dry sanding with 1500-12000 grit pads. I wiped it down with some Obsidian Oil after each sanding pad. I polished it further with Before & After Stem polish – both Fine and Extra Fine and then wiped it down another time with the oil.
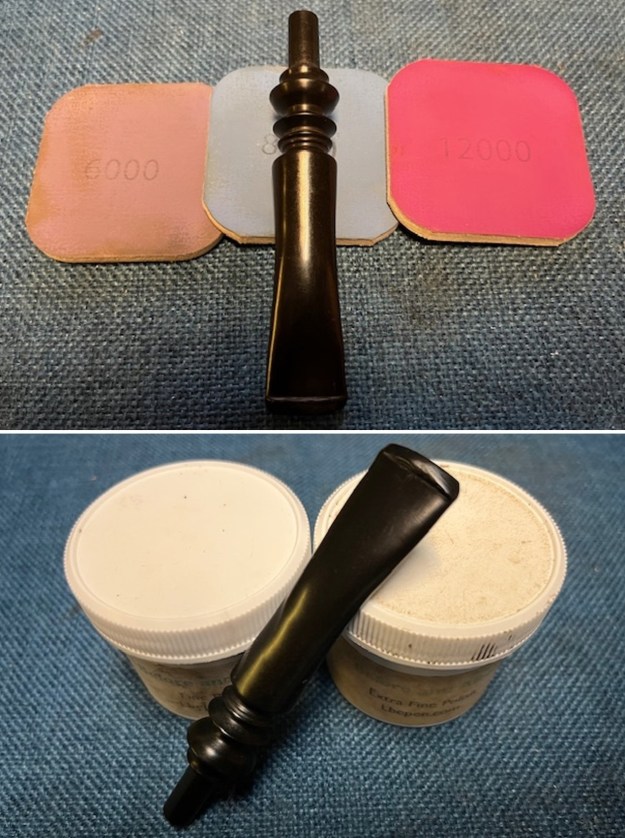
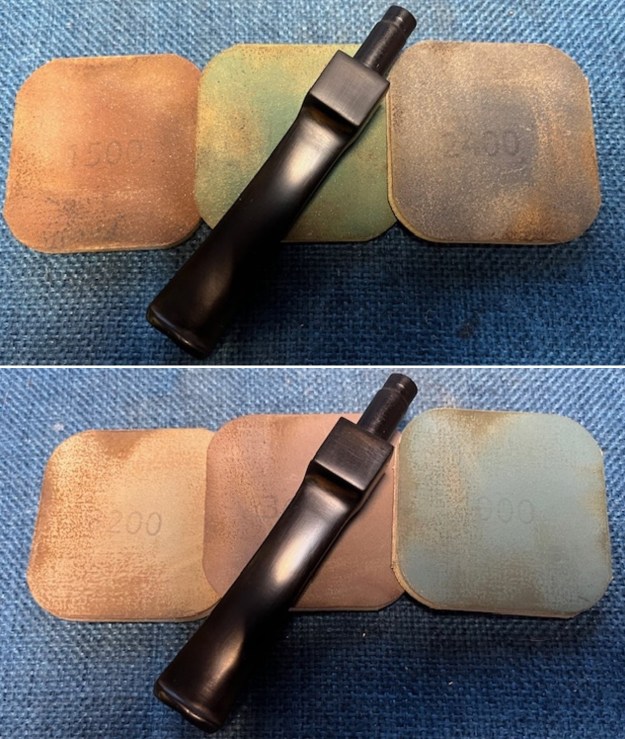
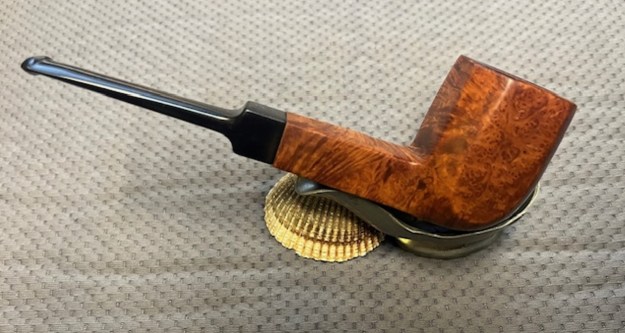
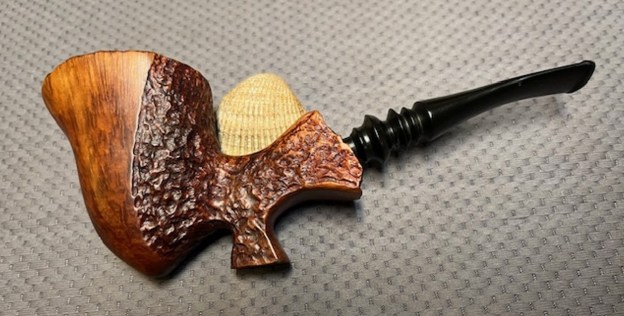
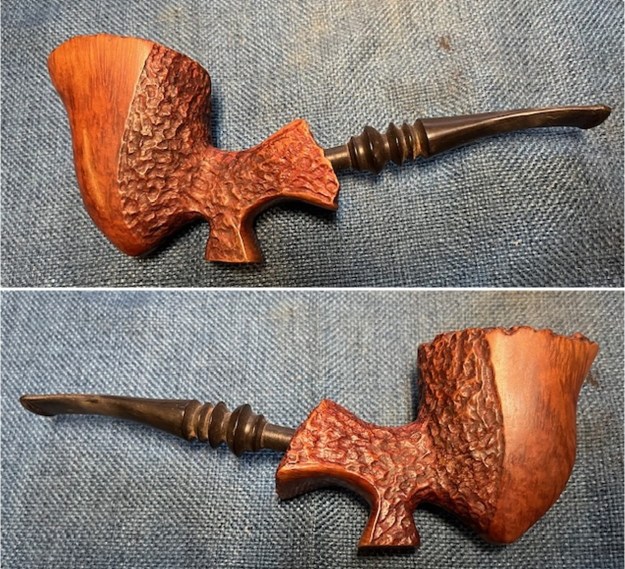
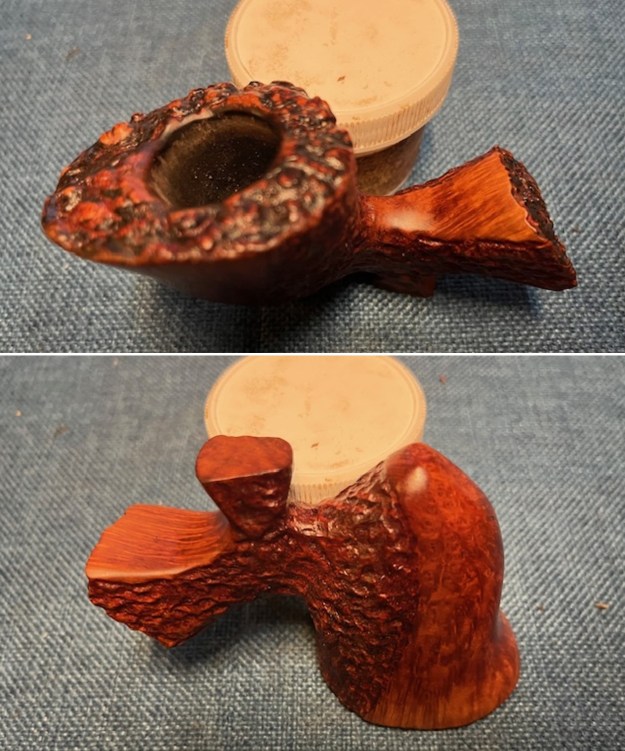
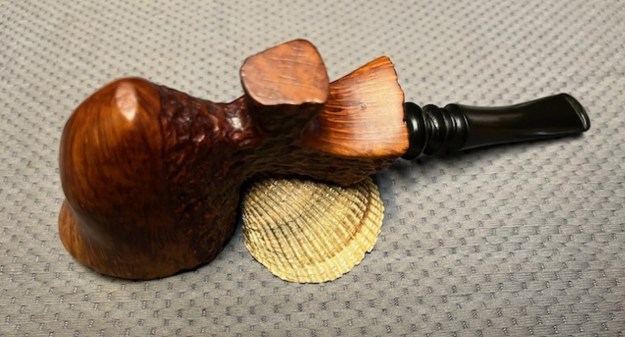
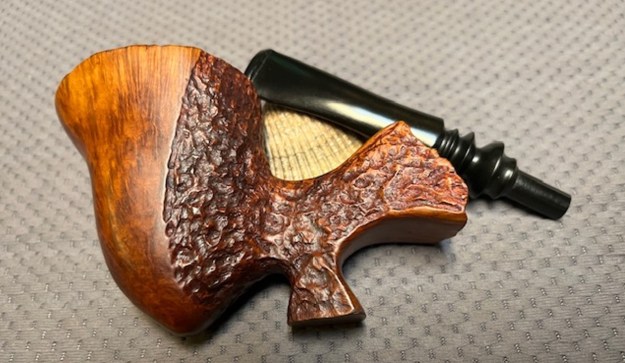
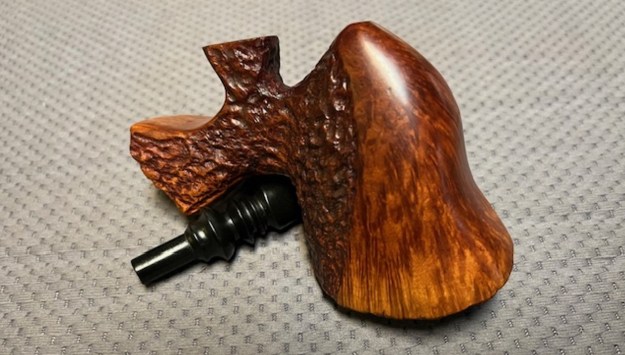
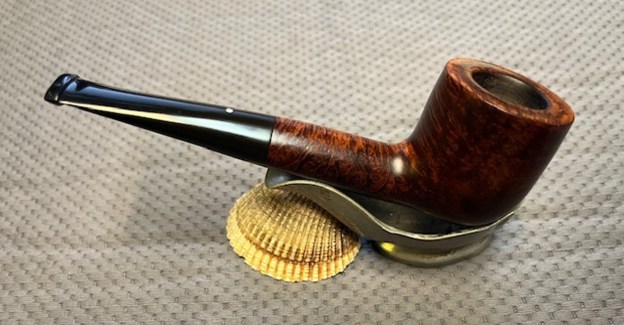
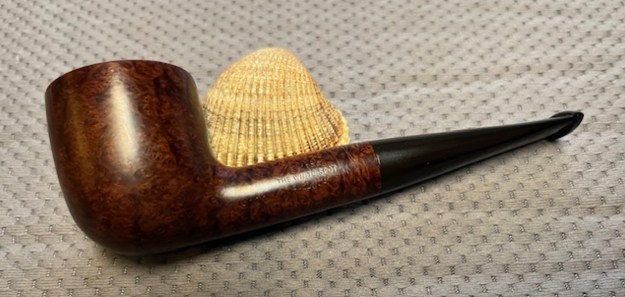
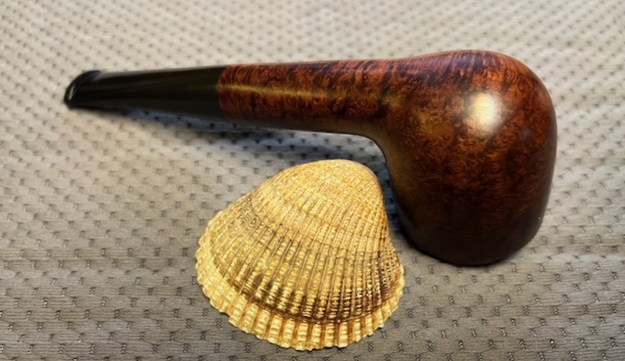
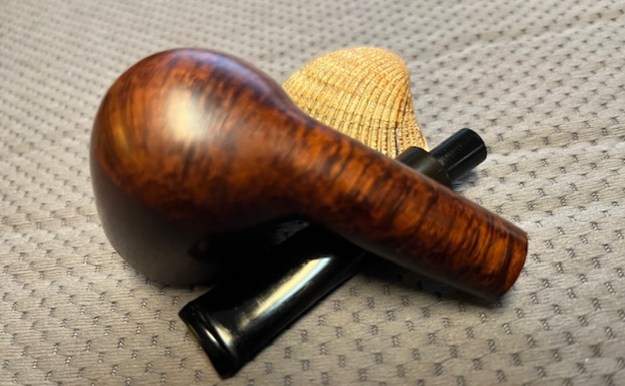
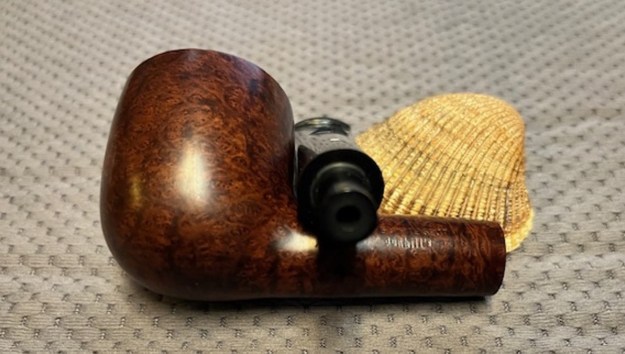
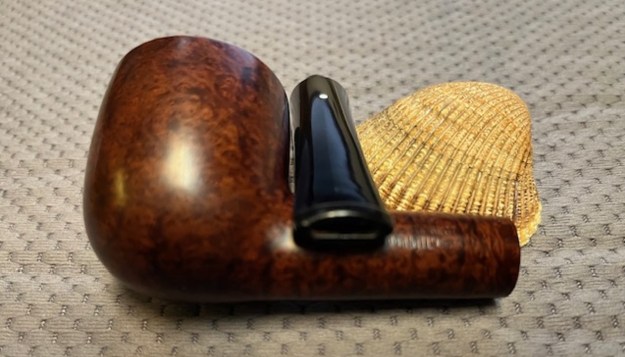
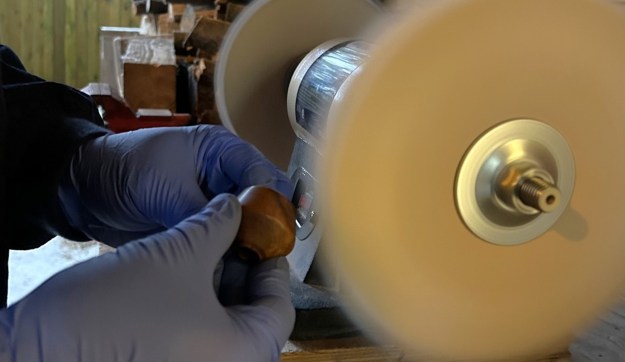
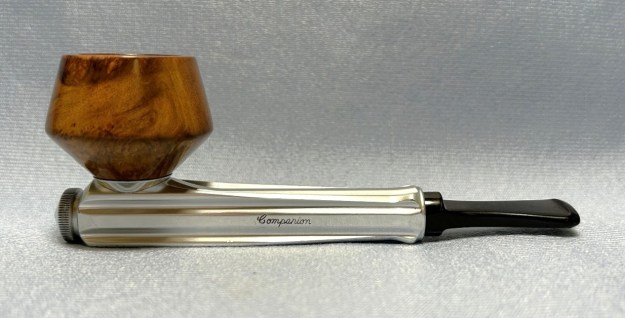
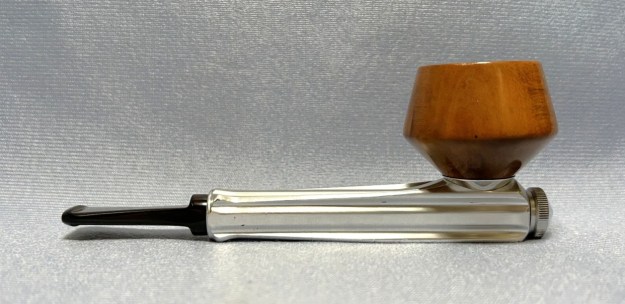
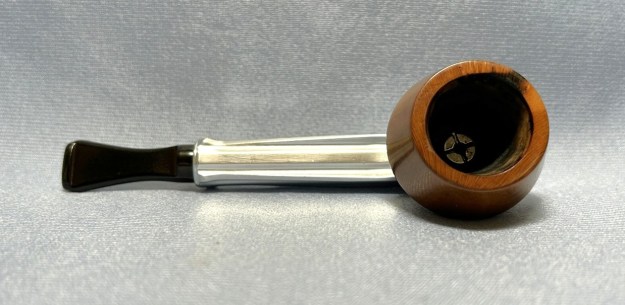
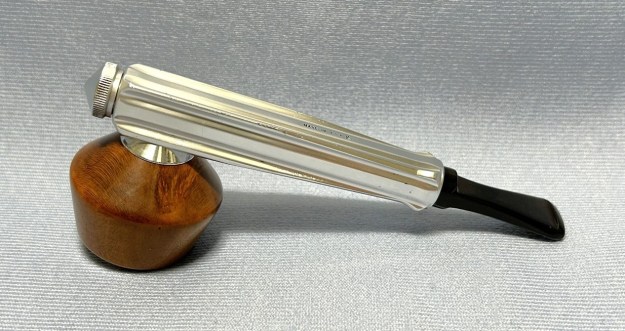
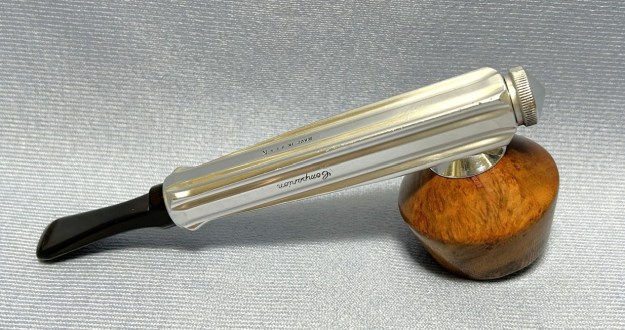
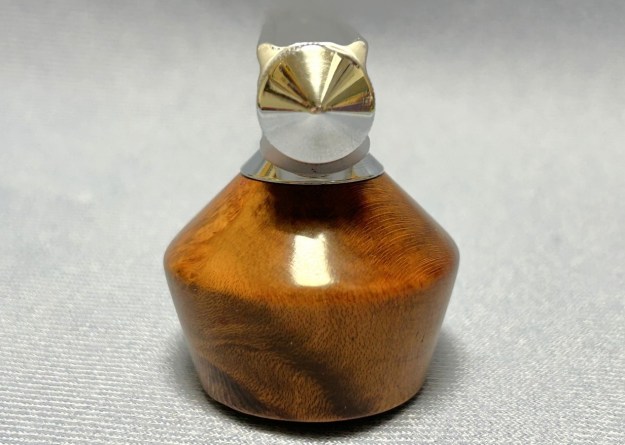
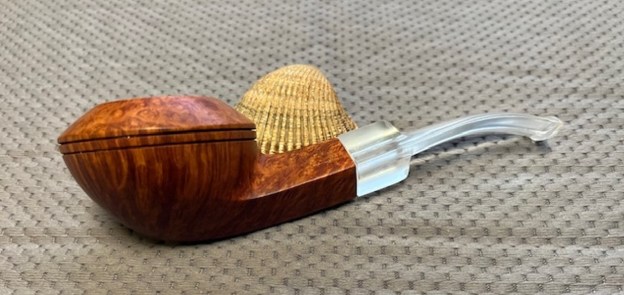
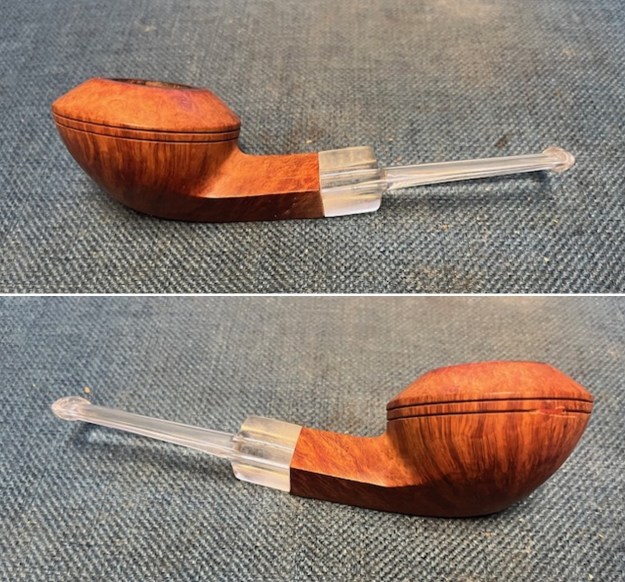
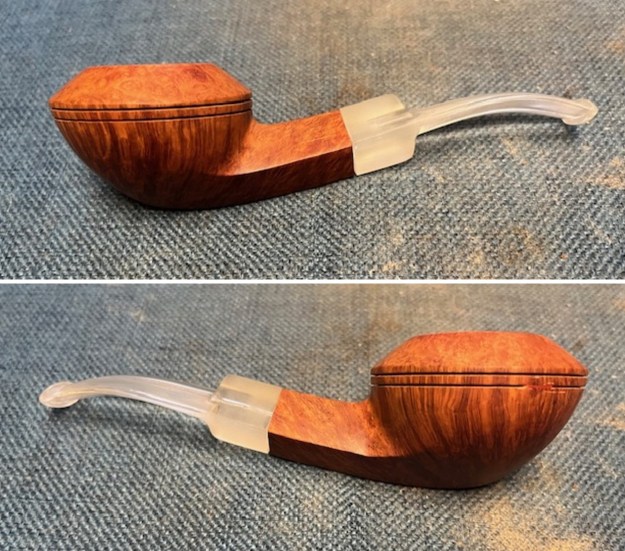
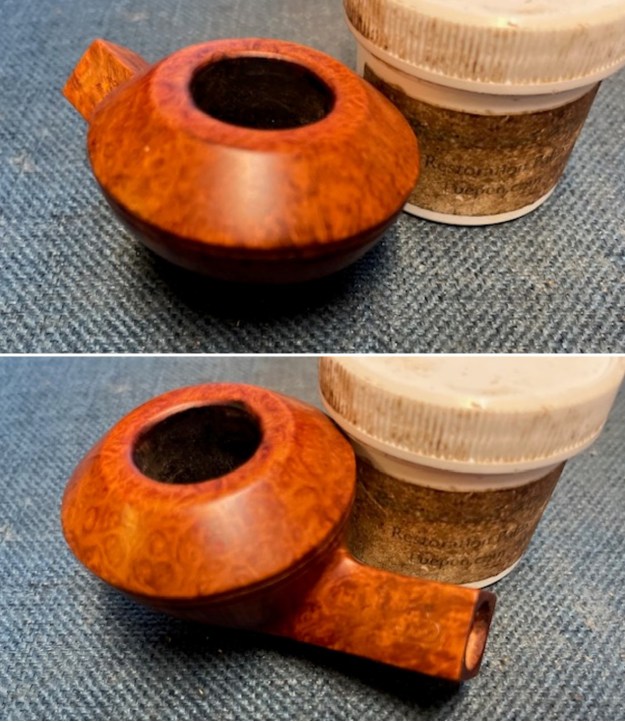
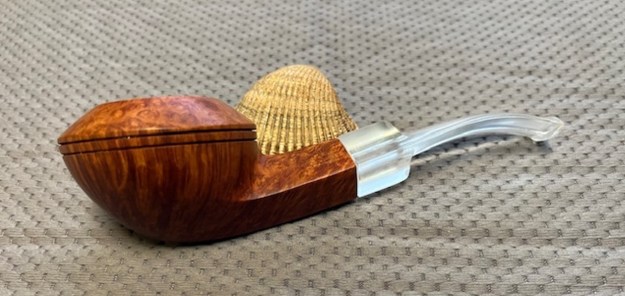
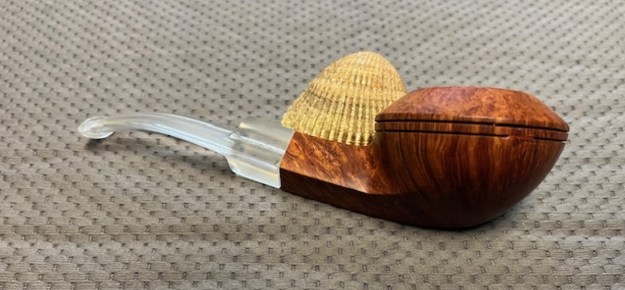
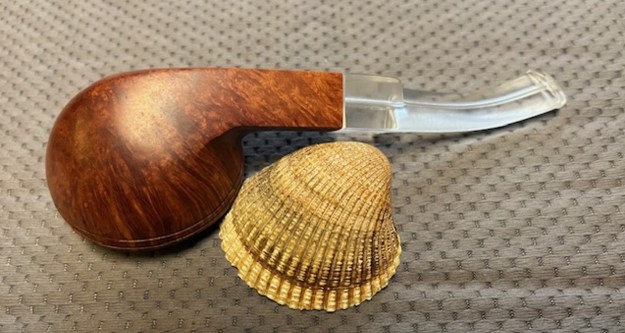
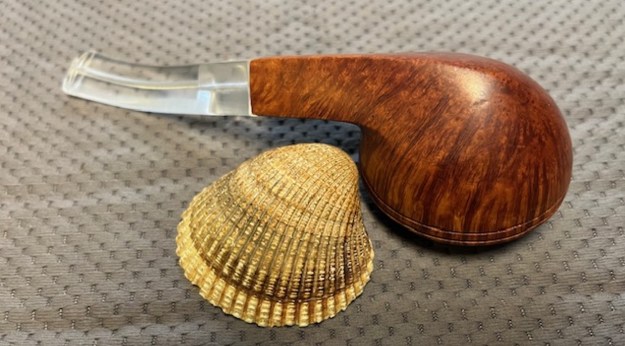
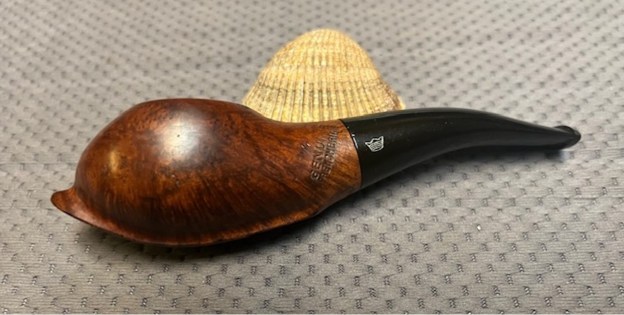
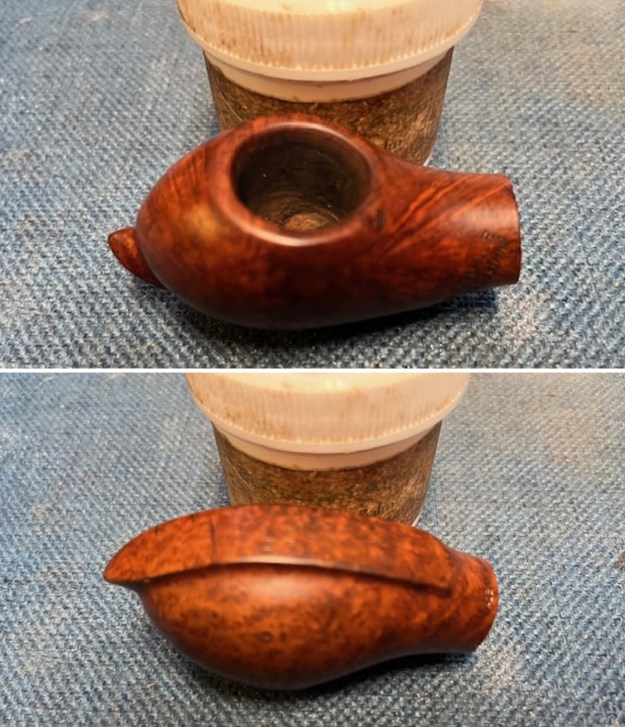
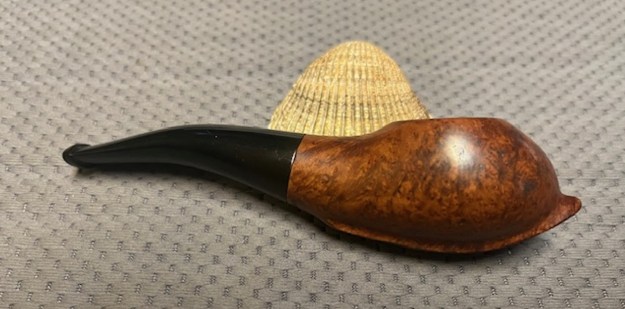
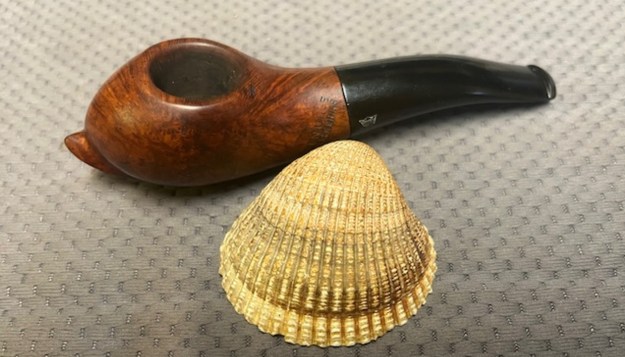
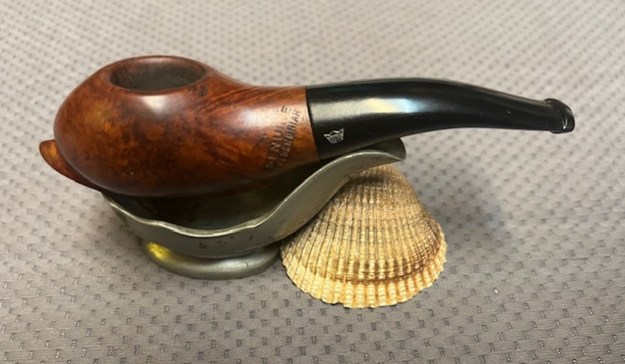
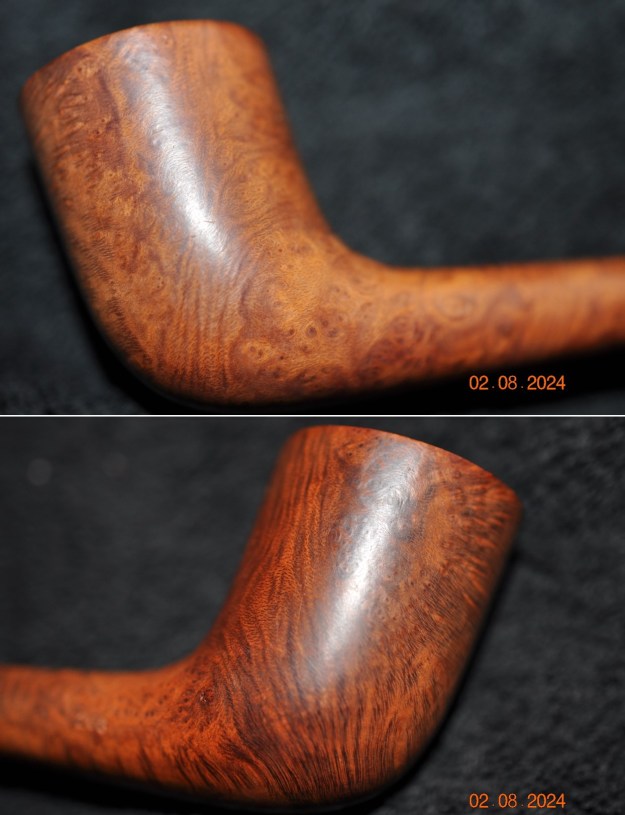
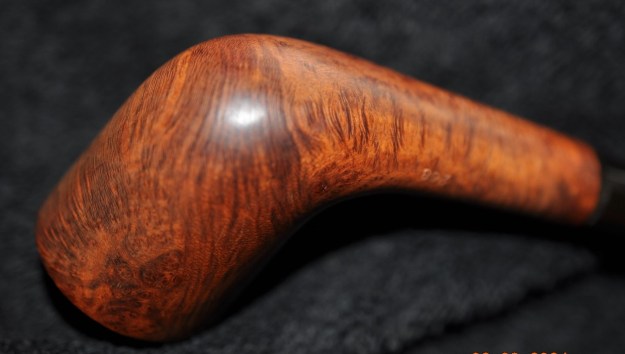
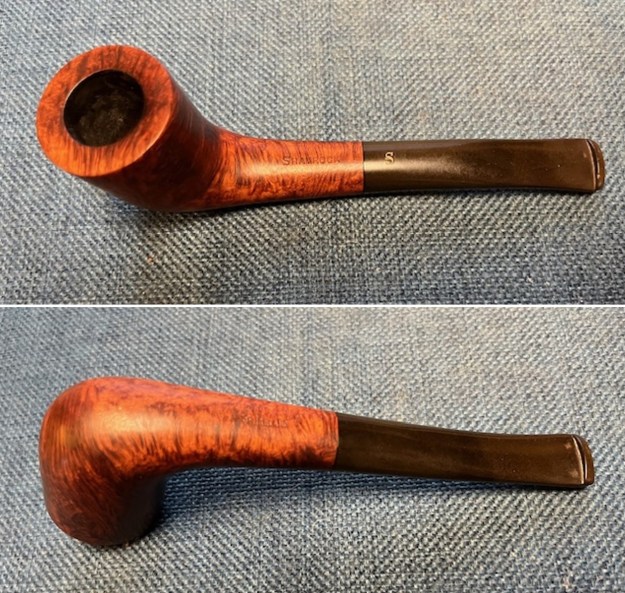
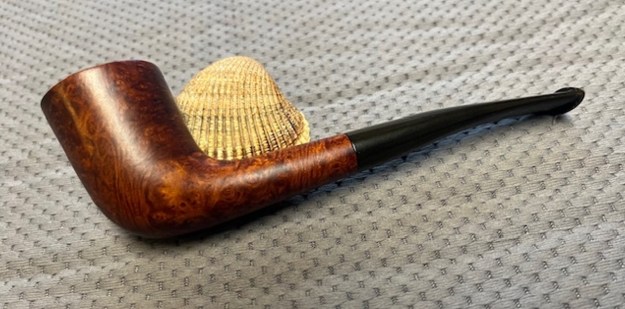
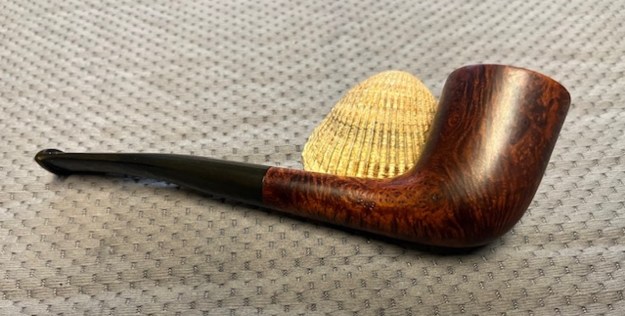
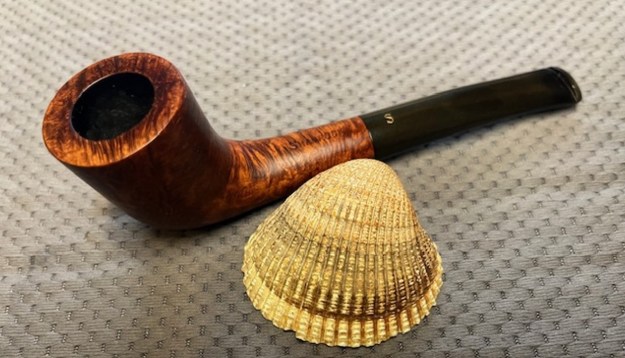
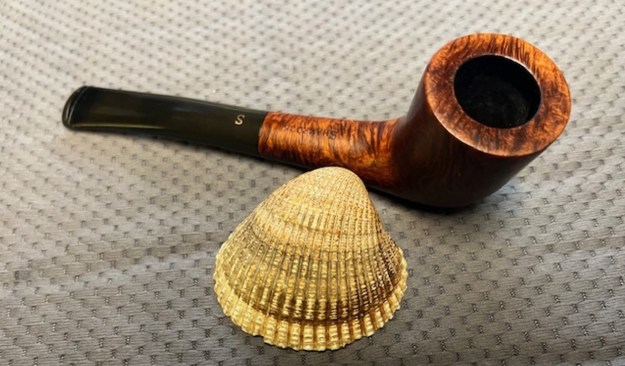
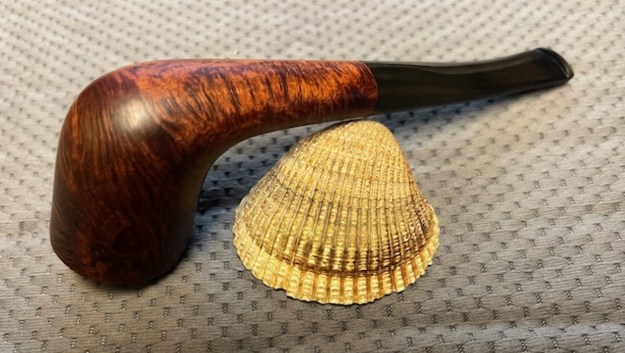
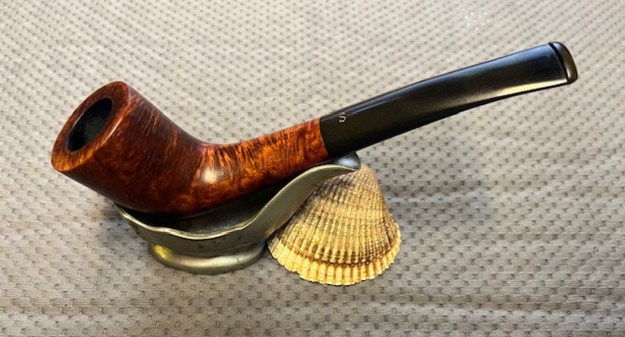
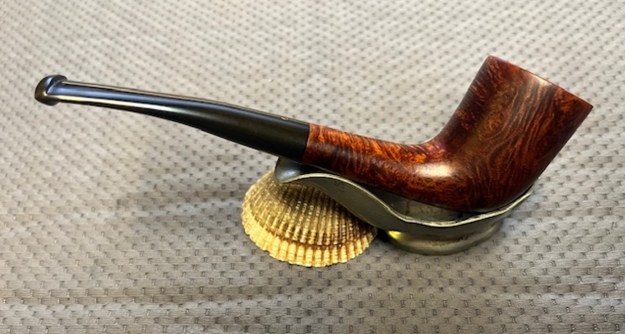
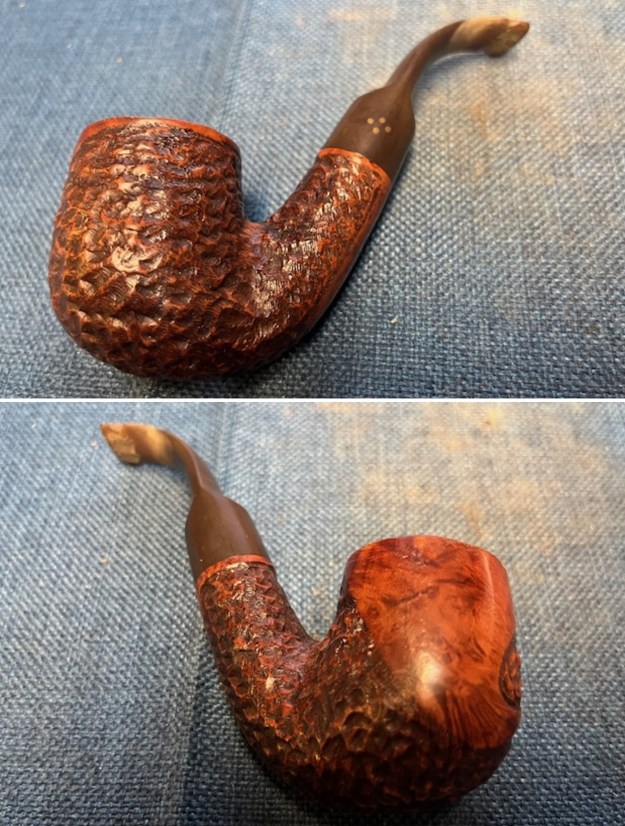
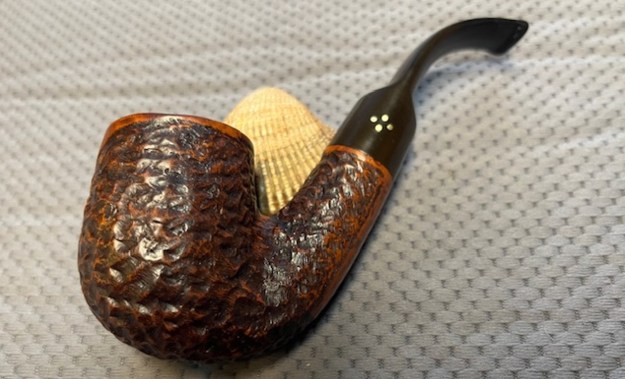
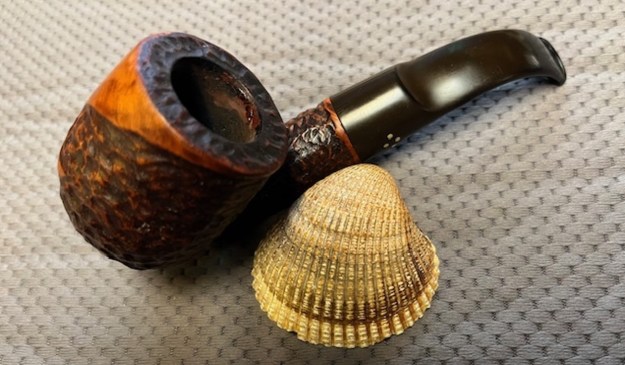
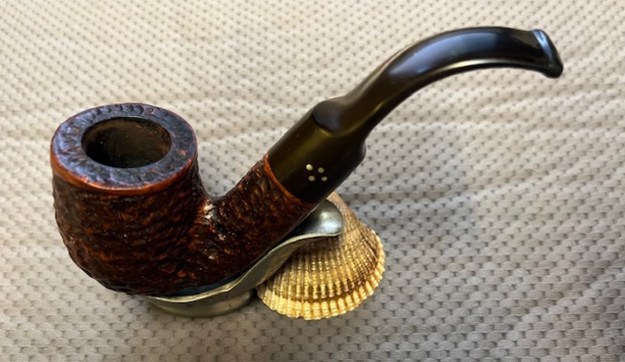
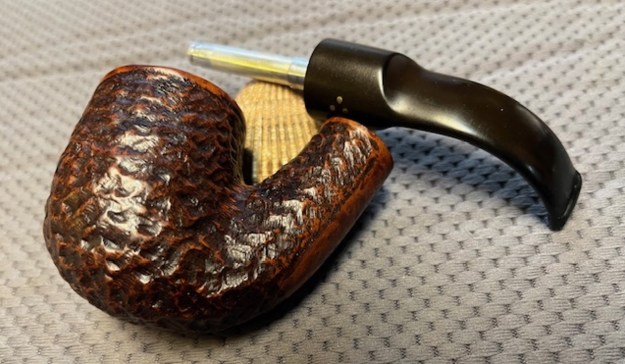
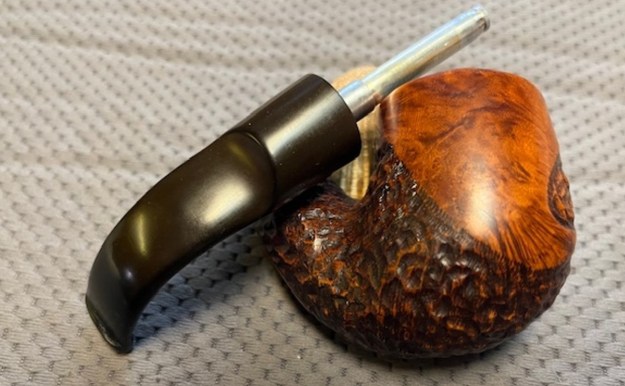
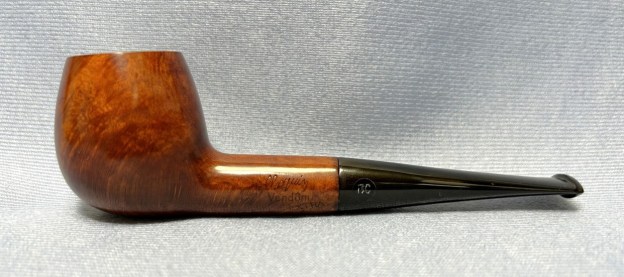
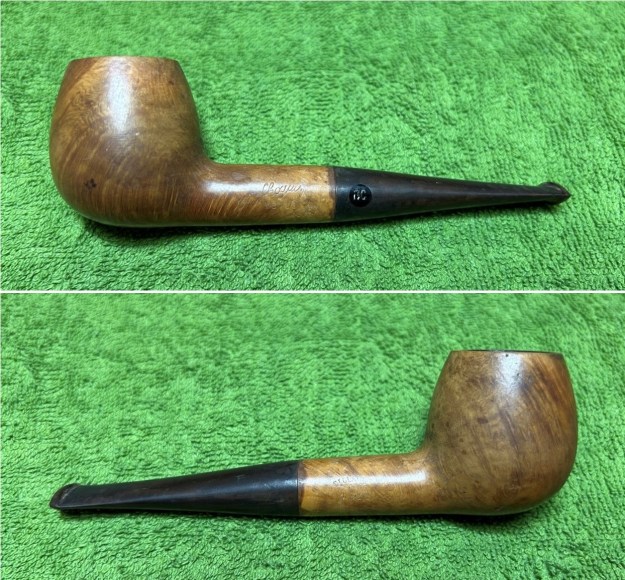
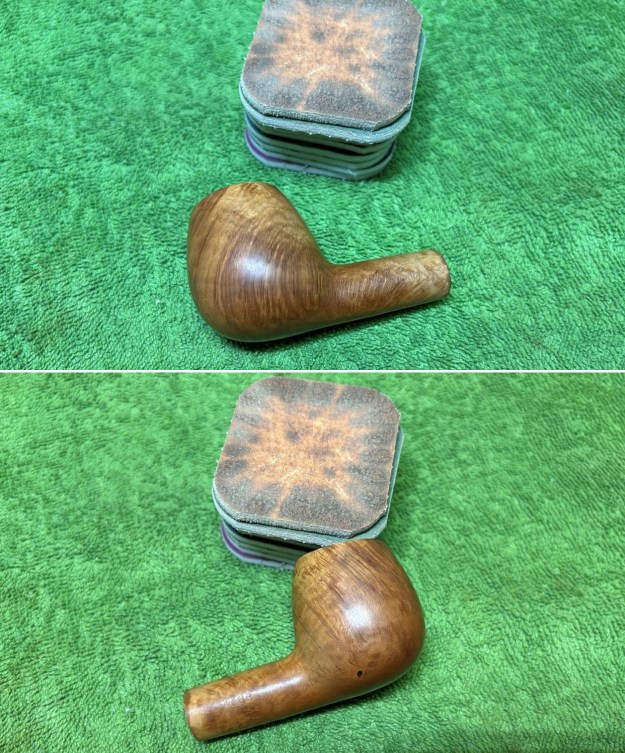
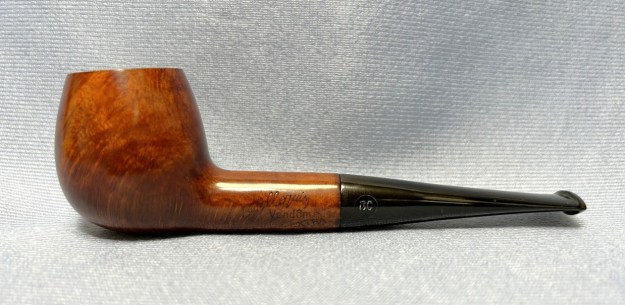
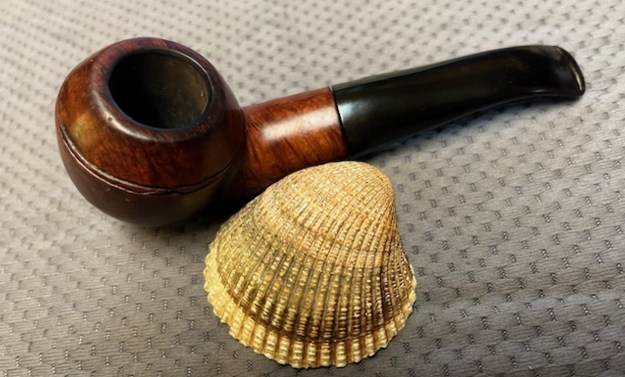
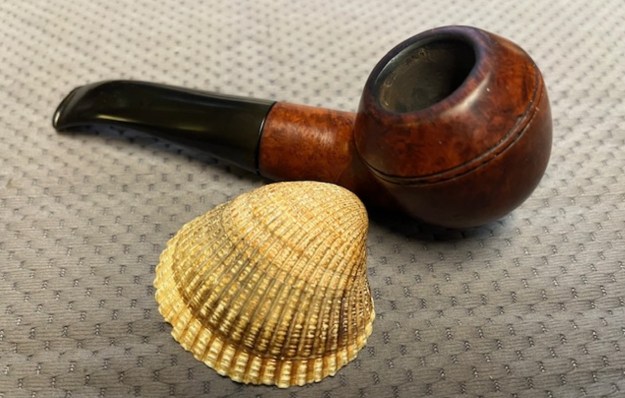
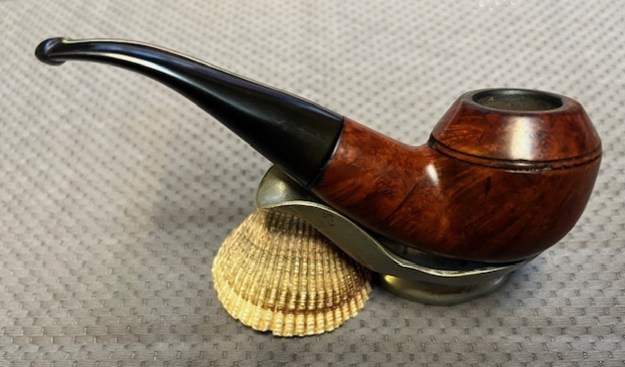
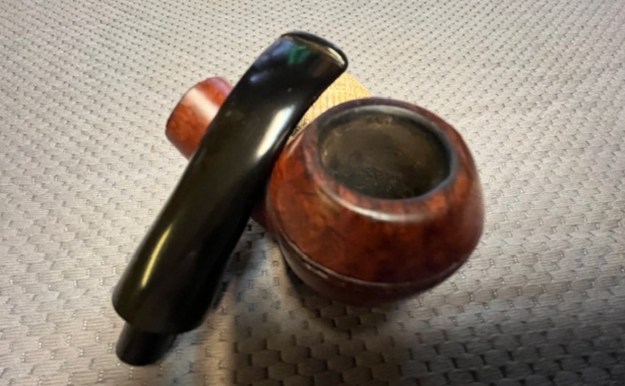
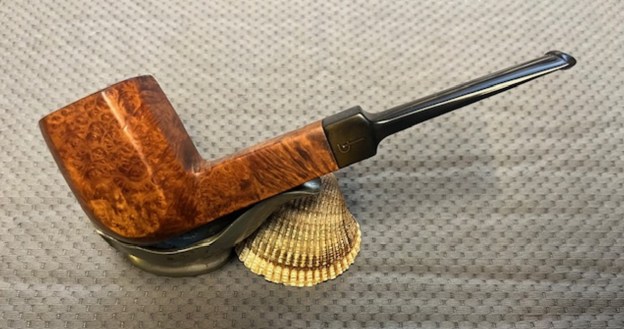
 I put the Gefapip Giant 4-SM Panel Billiard and the stem back together. I polished the bowl and stem with Blue Diamond to polish the briar and the vulcanite. I gave the bowl and the stem multiple coats of carnauba wax. I buffed the pipe with a clean buffing pad to raise the shine. I hand buffed it with a microfiber cloth to deepen the shine. The pipe polished up pretty nicely. The original brown stains gave depth to the beautiful grain around the bowl and worked amazingly well with the polished vulcanite saddle stem. The grain around the bowl and shank and looks quite remarkable. I left a small bit of oxidation on the left side of the saddle as I did not want to damage the faint stamp that remained there. This is truly a beautiful Gefapip Giant Panel Billiard. The finished pipe is shown in the photos below. The dimensions of the pipe are Length: 6 inches, Height: 2 inches, Outside diameter of the bowl: 1 ¼ inches, Chamber diameter: 7/8 of an inch. The weight of the pipe is 1.94 ounces/56 grams. This pipe will be put in the box while I work on Rob’s other pipes in the 12 pipe lot. Once I finish them I will be mailing the lot back to him. Thanks for walking through the restoration with me. Cheers.
As always, I encourage your questions and comments as you read the blog. Thanks to each of you who are reading this blog. Remember we are not pipe owners; we are pipe men and women who hold our pipes in trust until they pass on into the trust of those who follow us.