Blog by Mark Irwin
mark@afinemess.org
29 July 2015
It is a pleasure to have Mark Irwin write a blog for us here on rebornpipes. Many of you may know Mark from his own blog on WordPress called “Peterson Pipe Notes”. Click on the following link if you are unfamiliar wit it: https://petersonpipenotes.wordpress.com. Mark has written several books on pipe enjoyment – The Five Laws of Pipe-Companioning, Pipe Smoking in Middle Earth and contributes a blog to the Neatpipes site. He is also co-authoring a book on the history of Peterson Pipes that will come out through Briar Books Press. He has become a good friend and I correspond with him often. I only wished that lived in closer proximity. Somehow the distance between Vancouver, BC Canada and Texas where Mark is make visiting prohibitive for me. Thank you Mark for your contribution. Welcome — Steve Laug
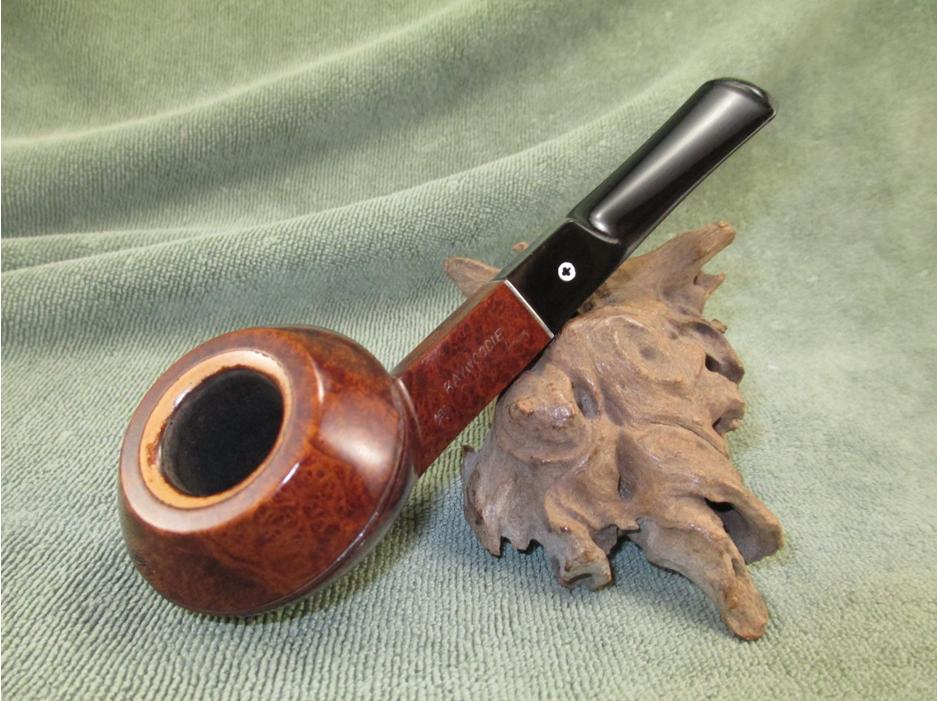
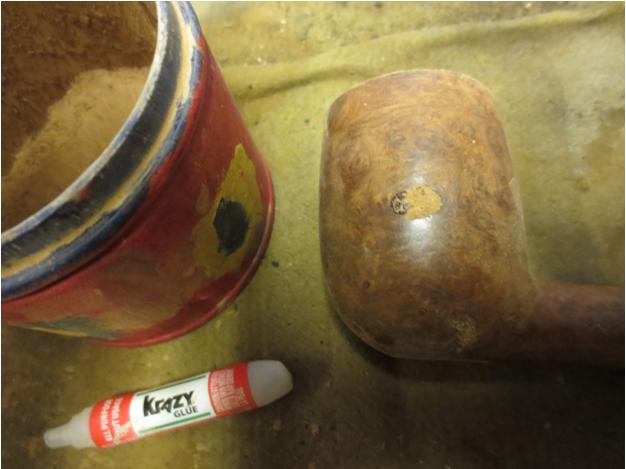
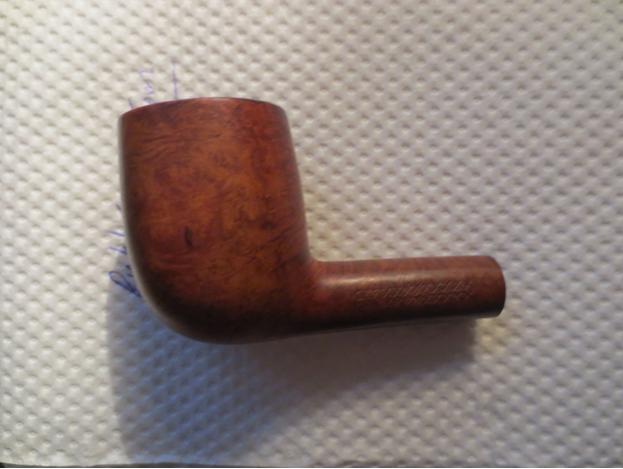
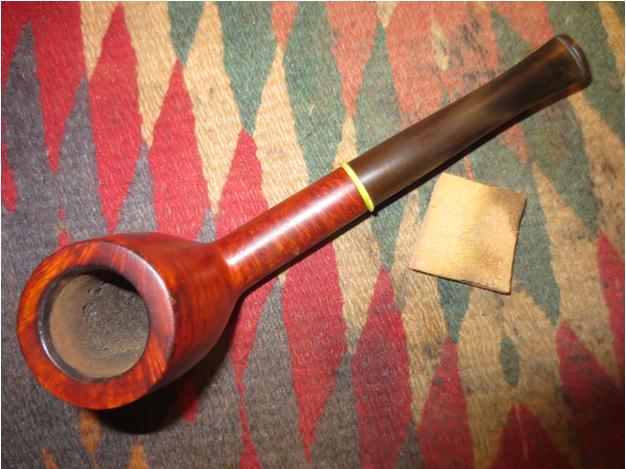
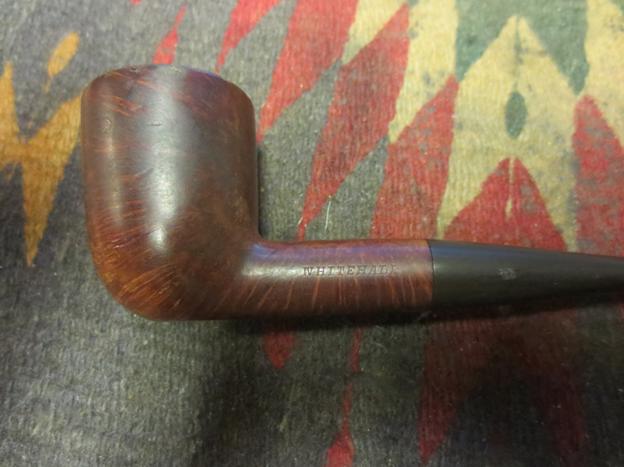
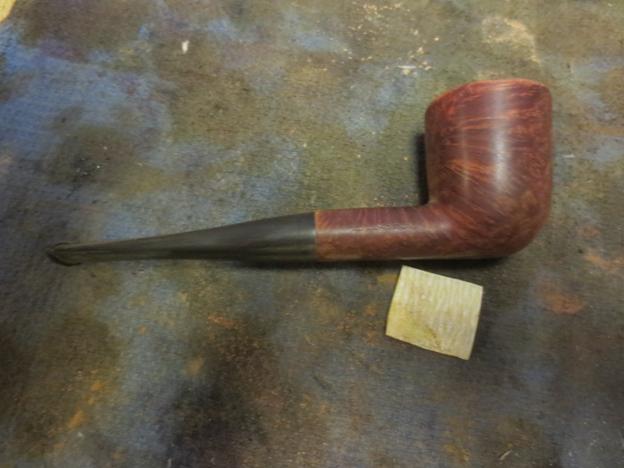
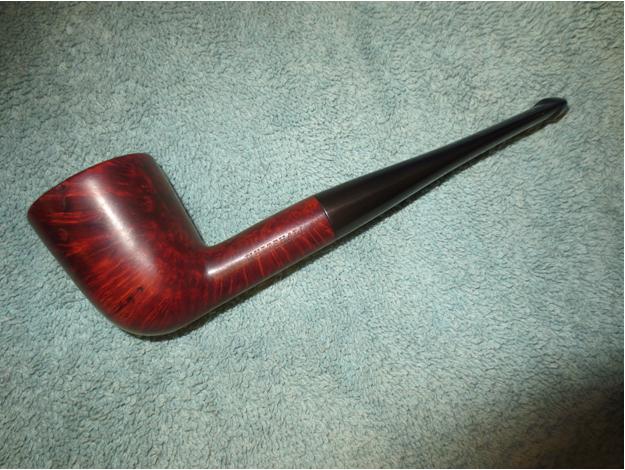
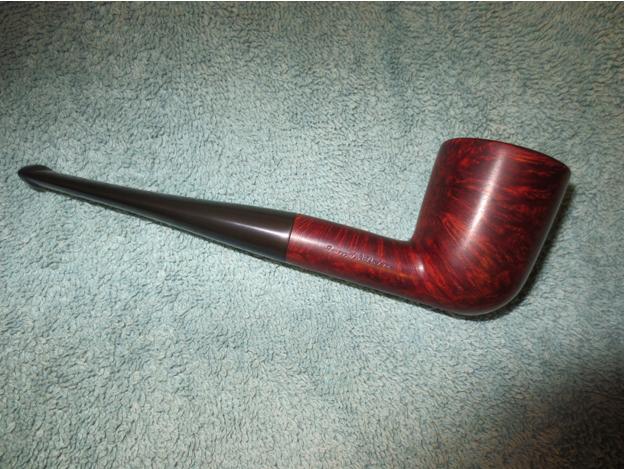
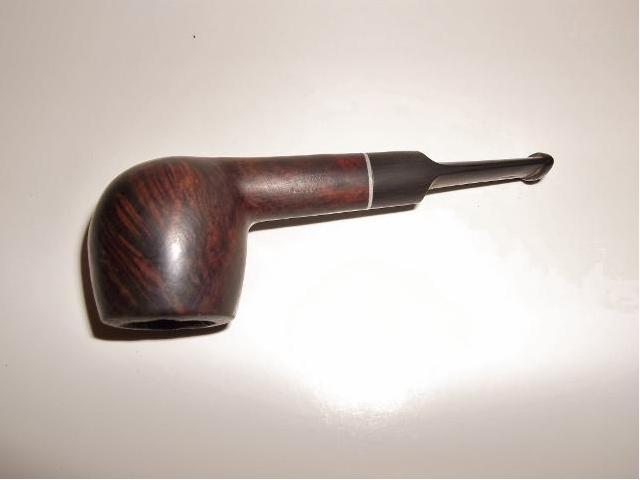
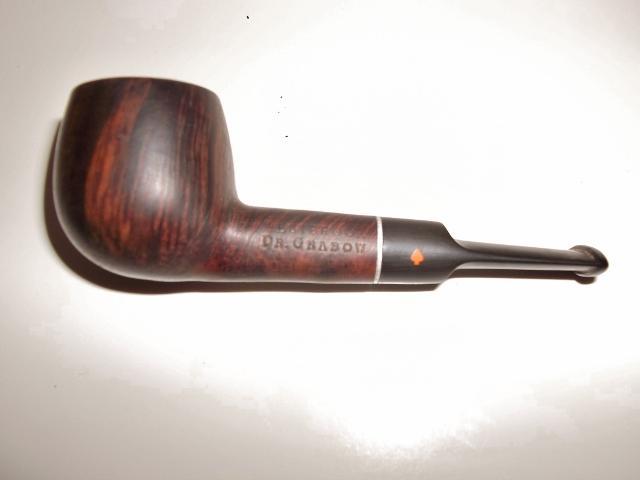
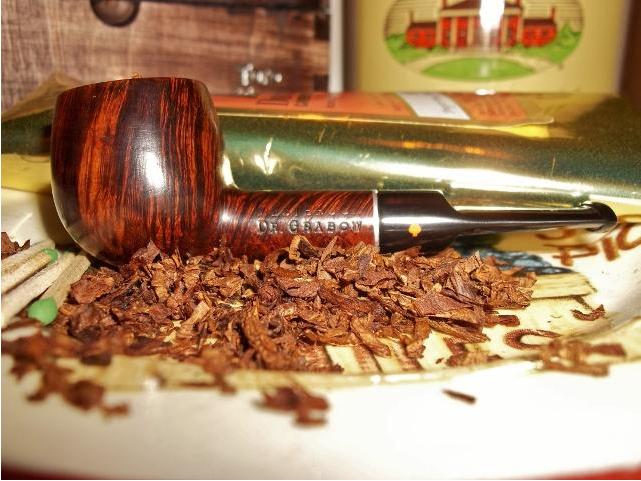
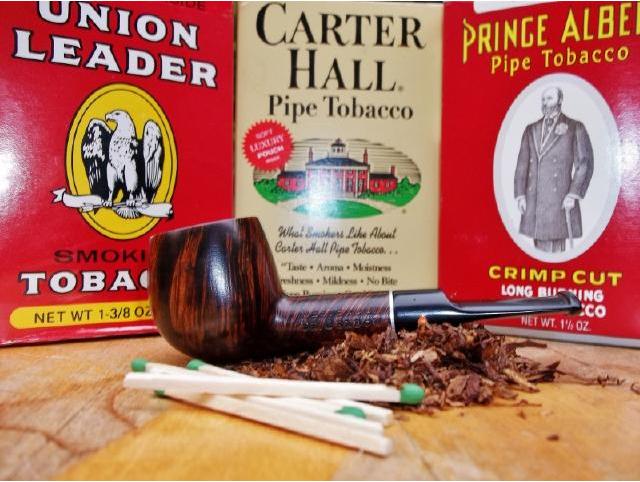
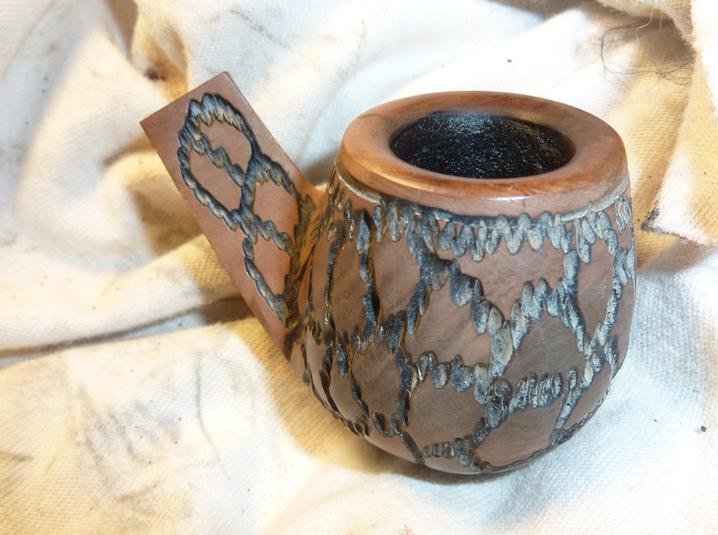
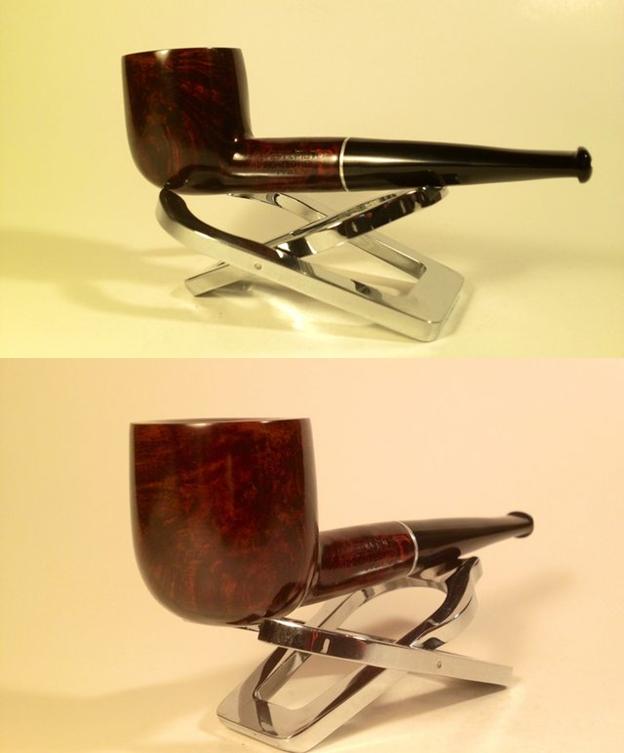
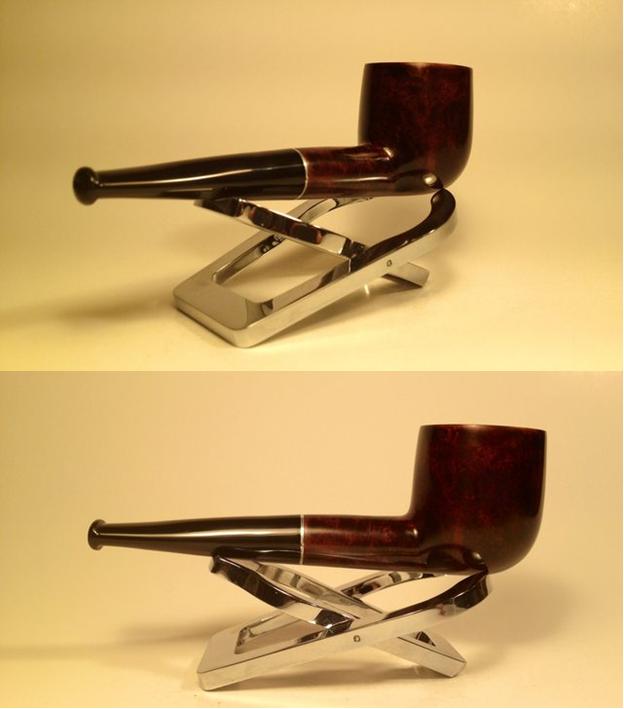
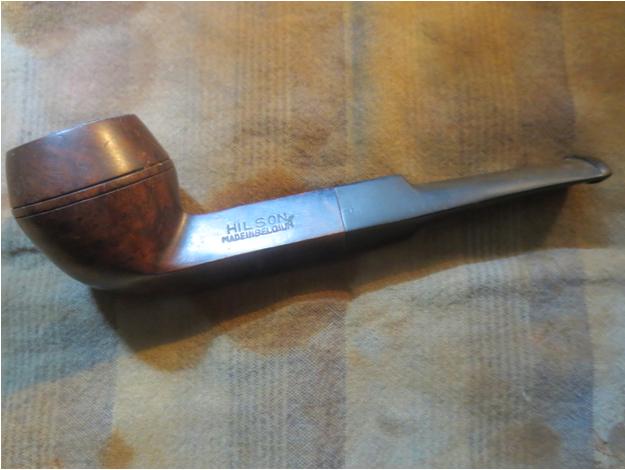
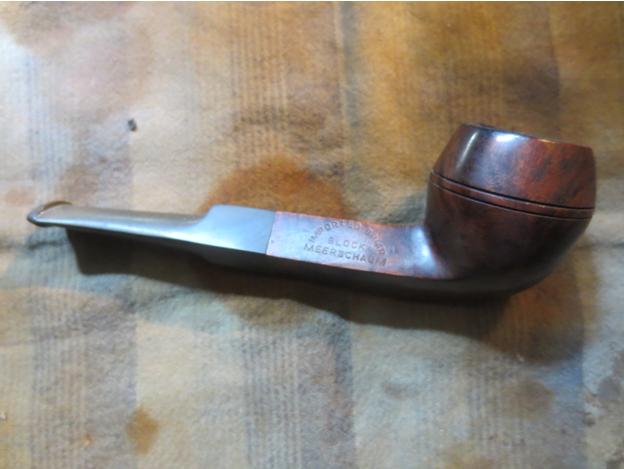
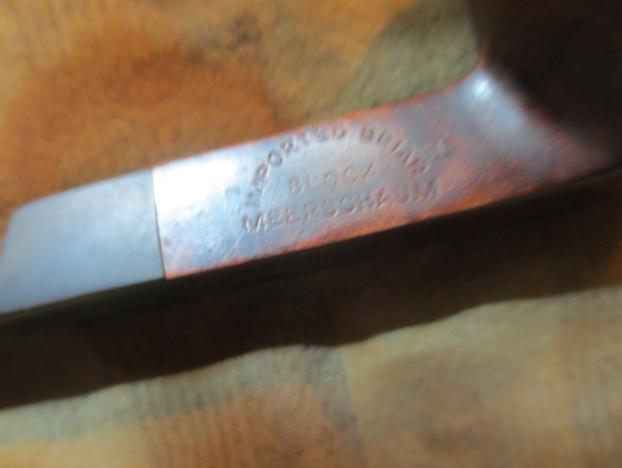
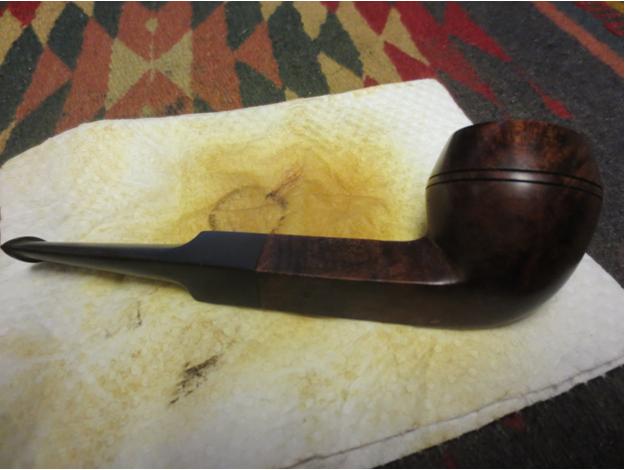
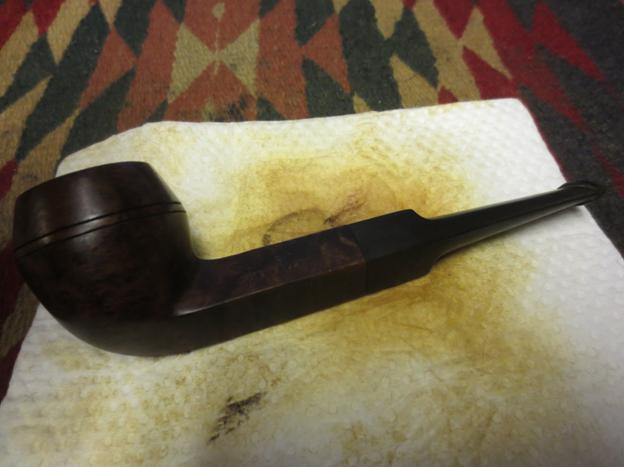
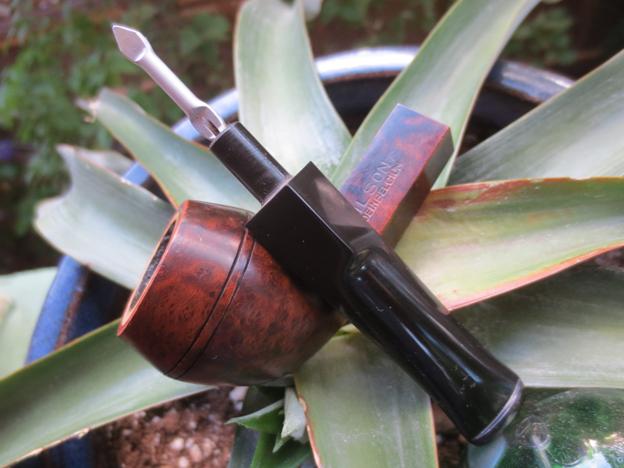
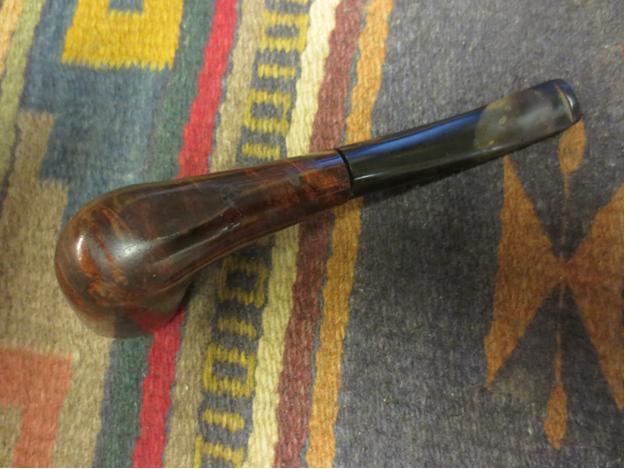
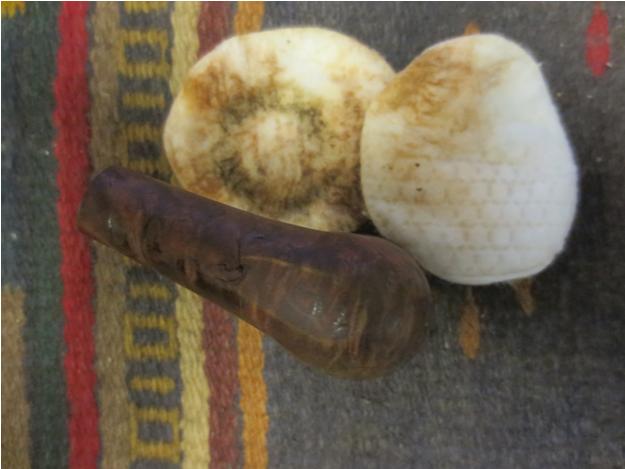
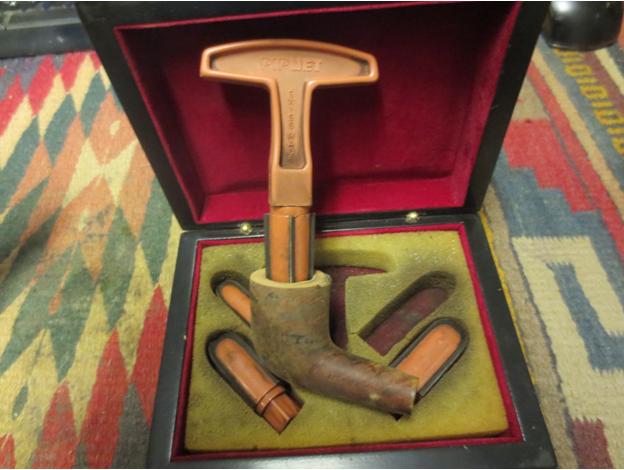
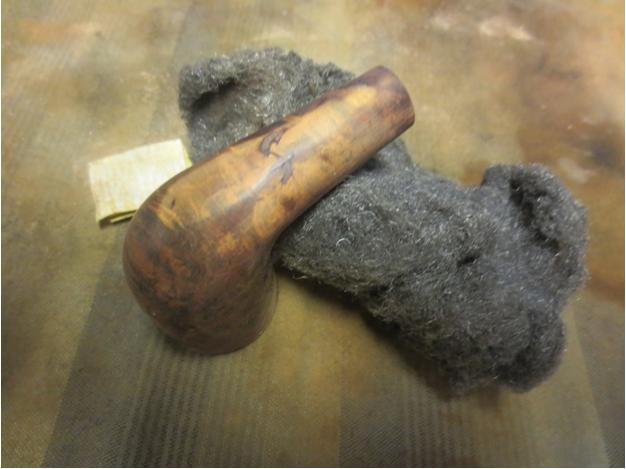
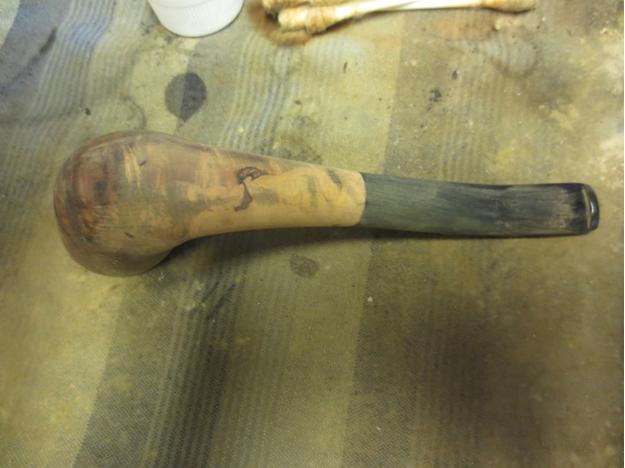
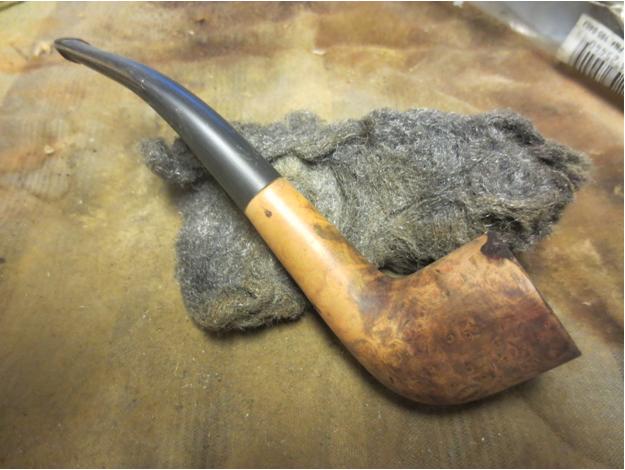
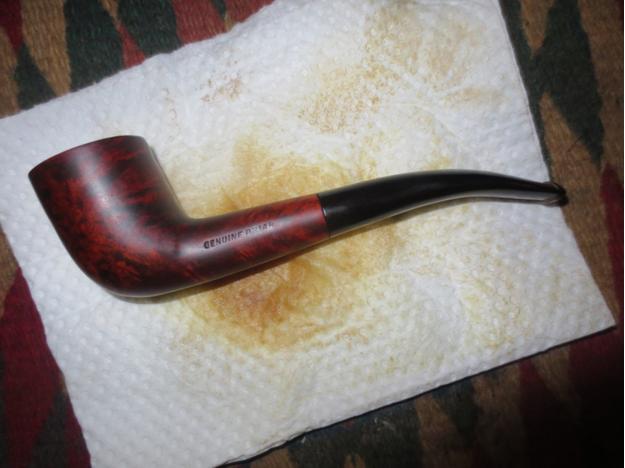
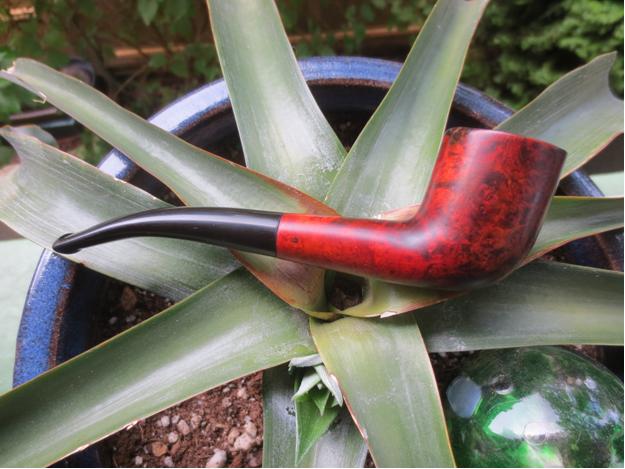
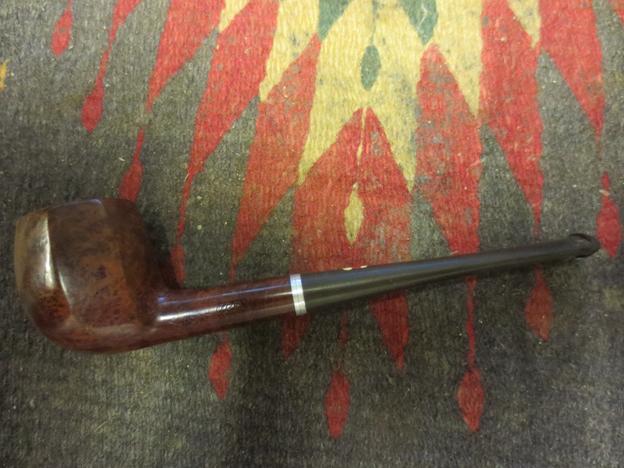
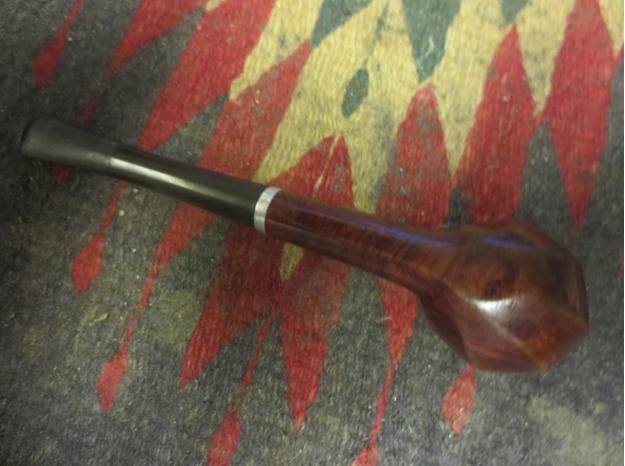
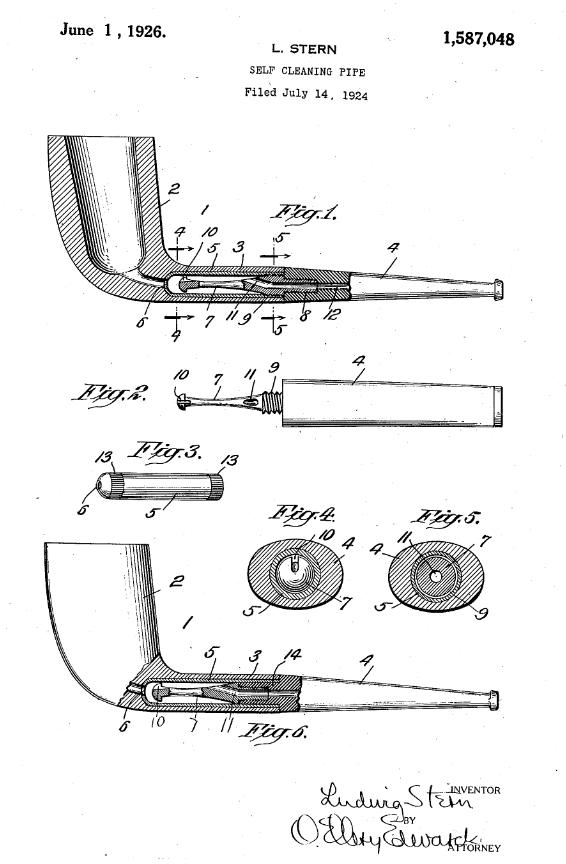
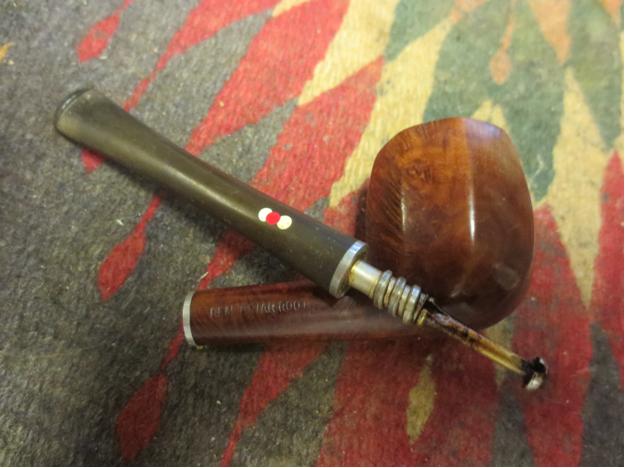
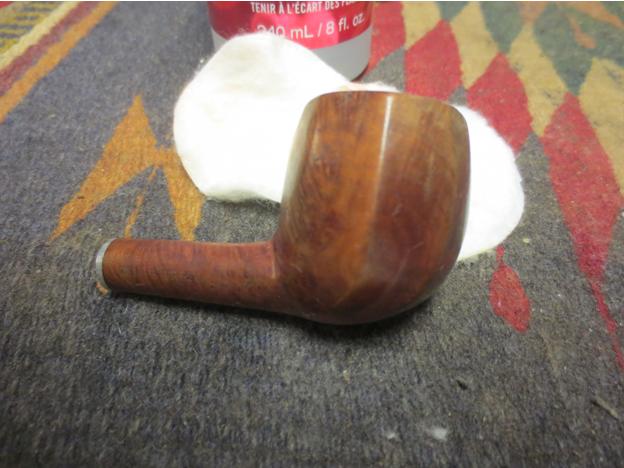
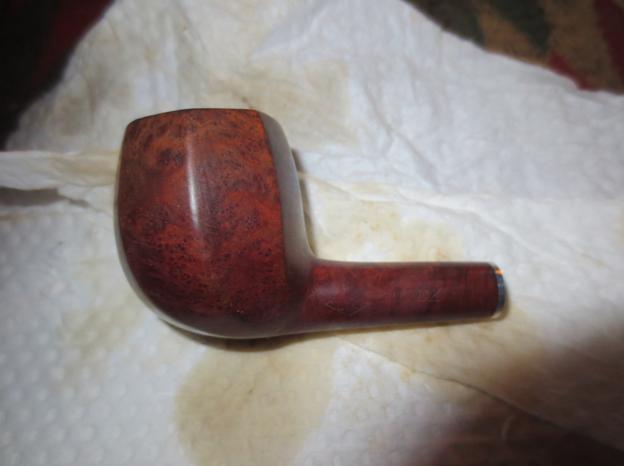
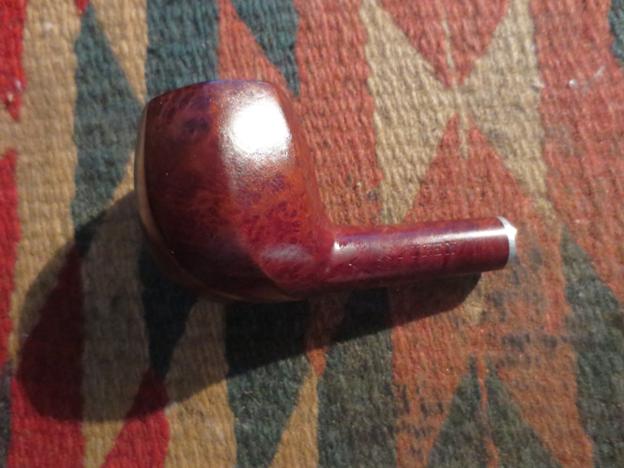
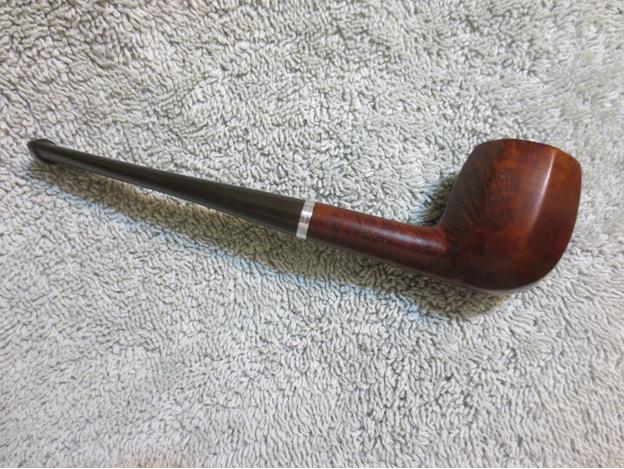
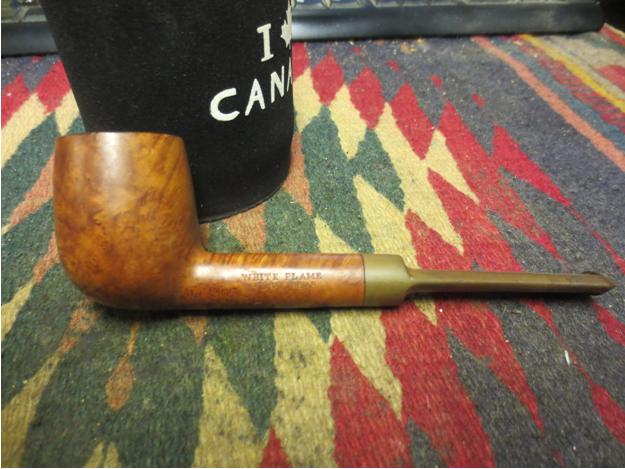
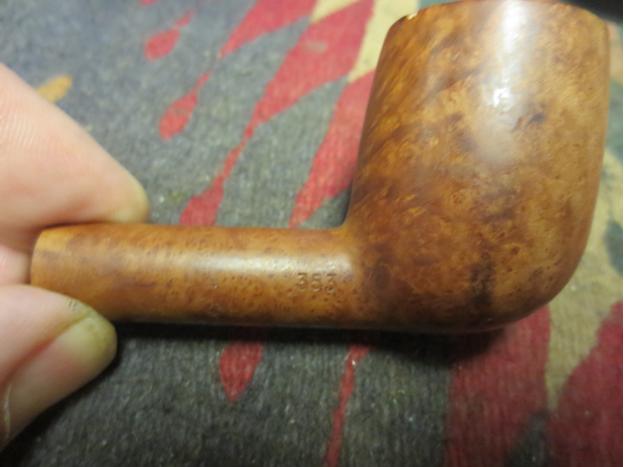
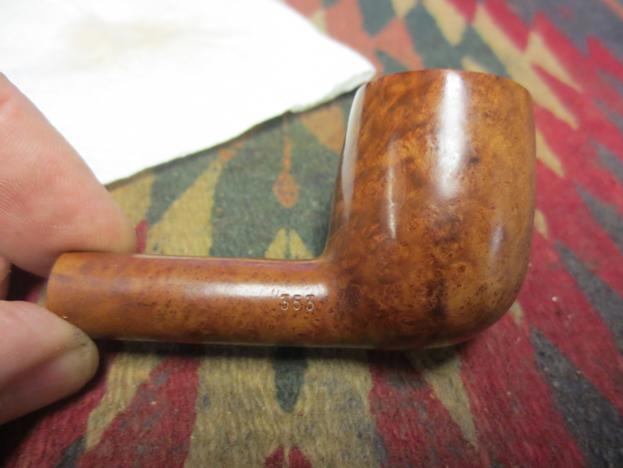
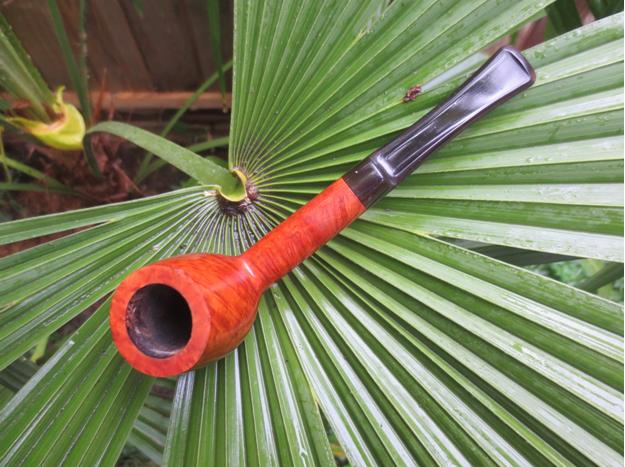
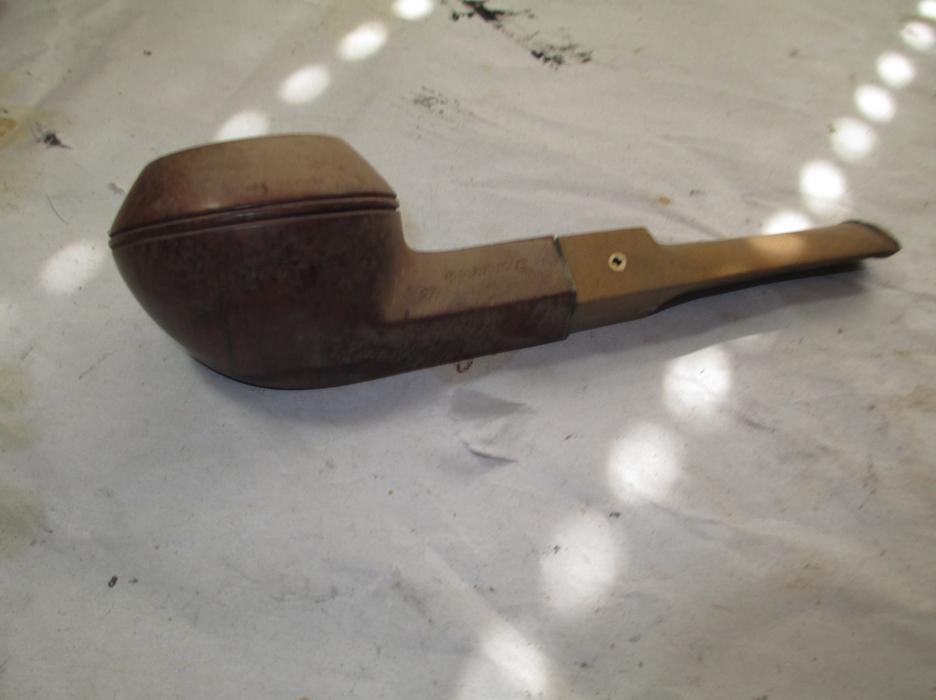
 Like a lot of pipemen, part of my introduction to pipe-smoking was through my Dad, who in the late 1960s and early 1970s would occasionally indulge in a bowl of Half & Half. In fact, my first pipe was one of his—a wonderful Kaywoodie bulldog replete with stinger. He had two other pipes that I recall, a white Kaywoodie and this Weber Shelbrooke 300.
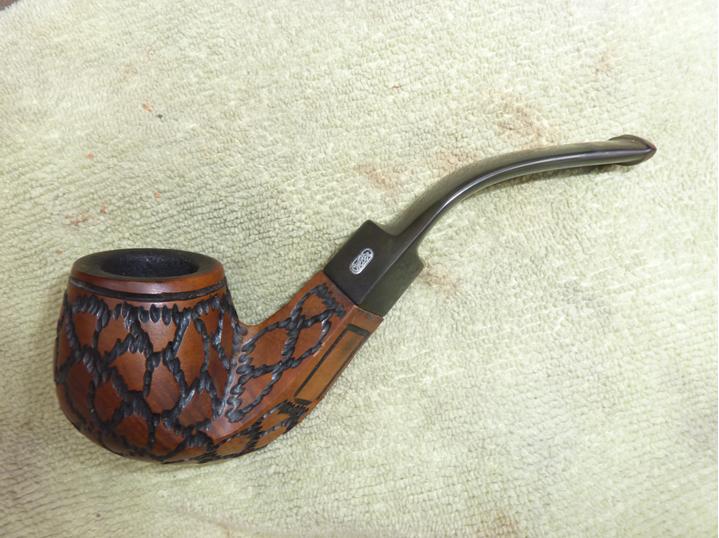
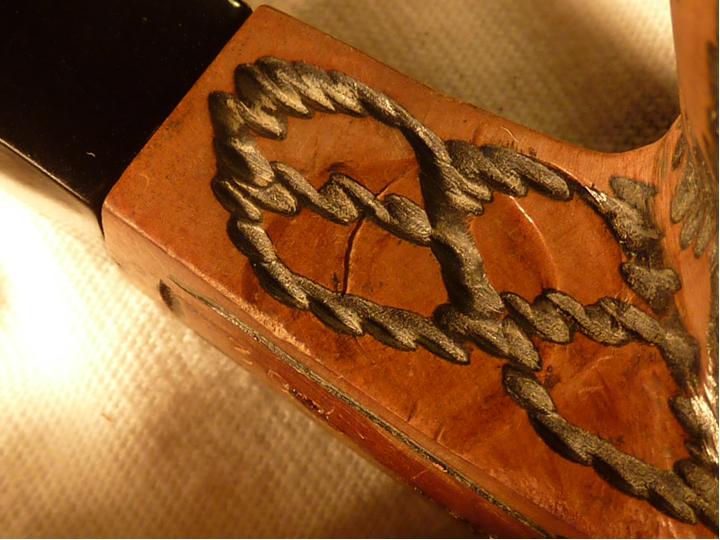
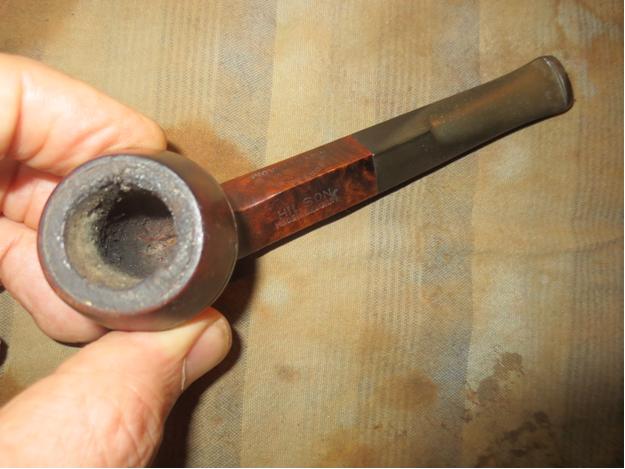
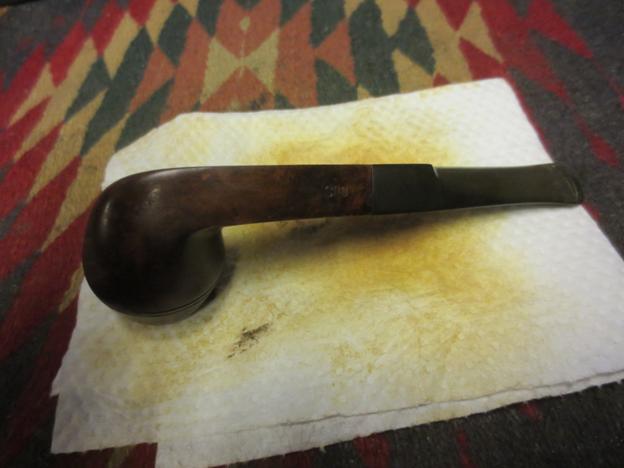
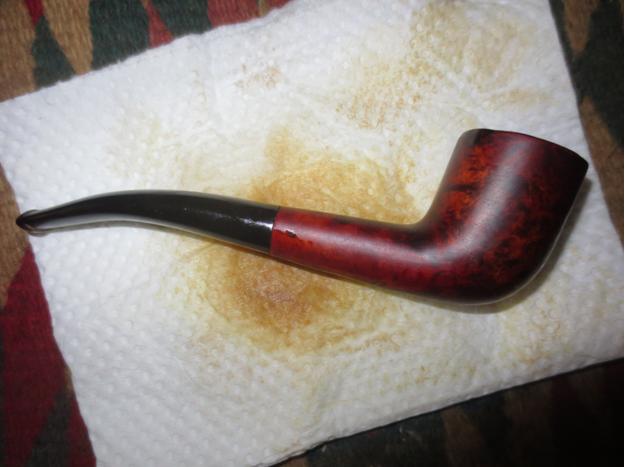
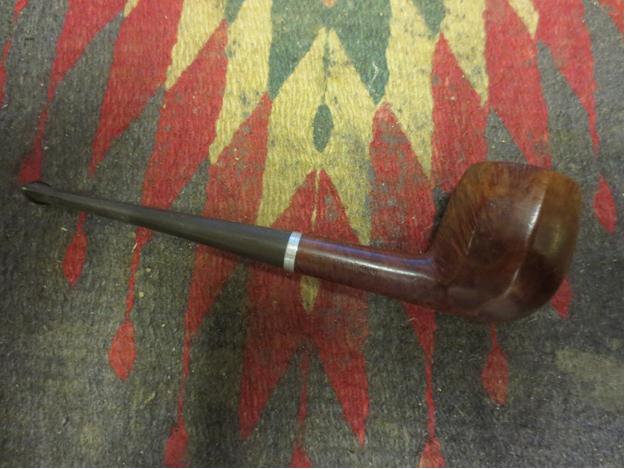
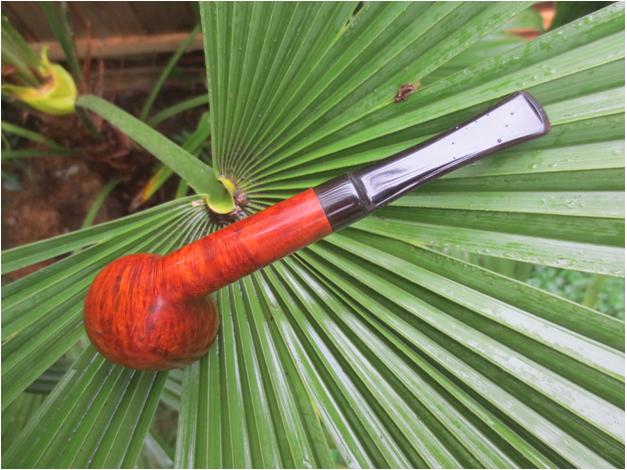
 When I was over at his house a few weeks back, he said the Shelbrooke, though a good smoker, had not only become wet and sour over the past few months, but developed a split on the shank as well as a tiny hairline crack at the mortise, and he wondered if anything could be done about it.
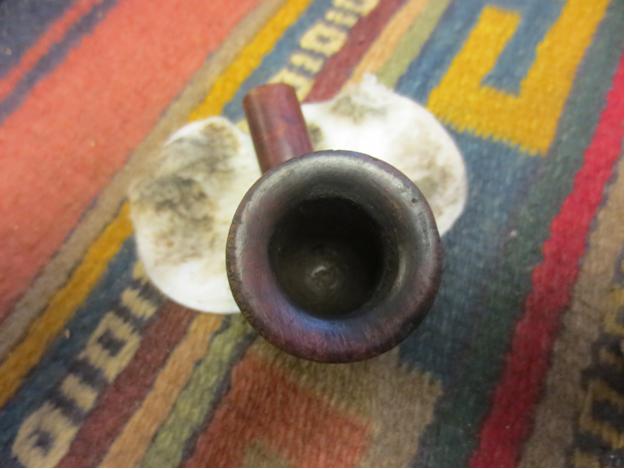
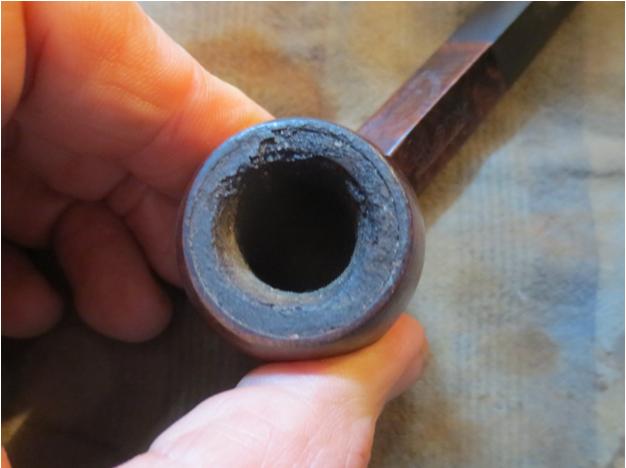
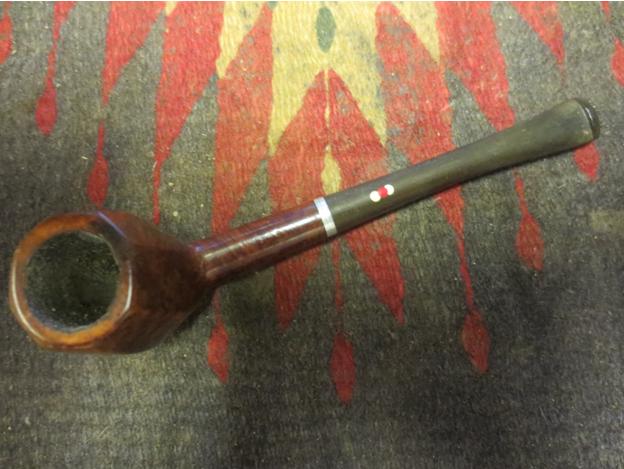
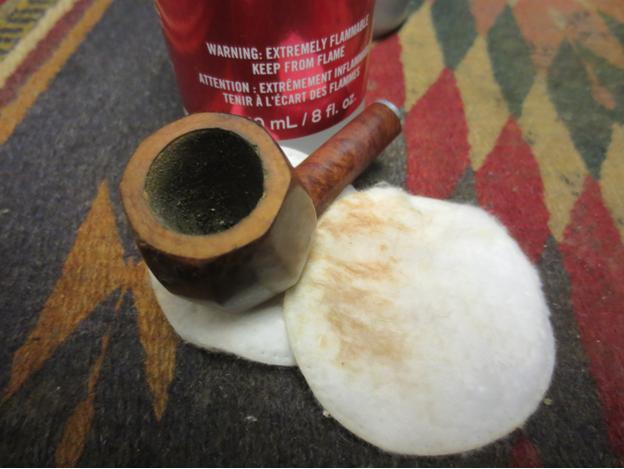
The first problem—the wet, sour smoke—seemed to have two causes: first, over the past few years, my Dad’s reduced the number of pipes in his collection to about half a dozen, but he’s smoking them several times a day in fairly heavy rotation. The Shelbrooke might just not be handling its workload.
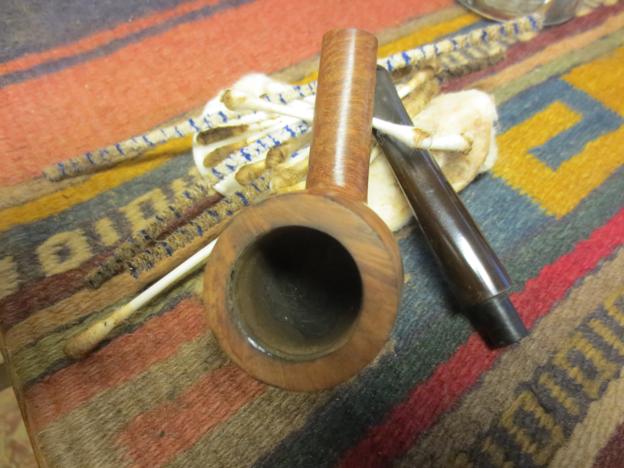
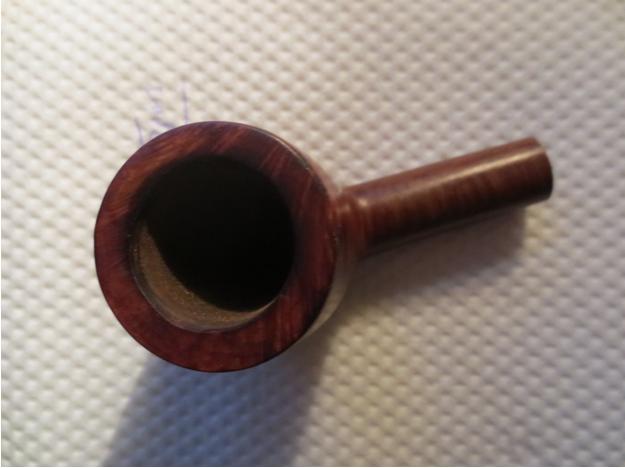
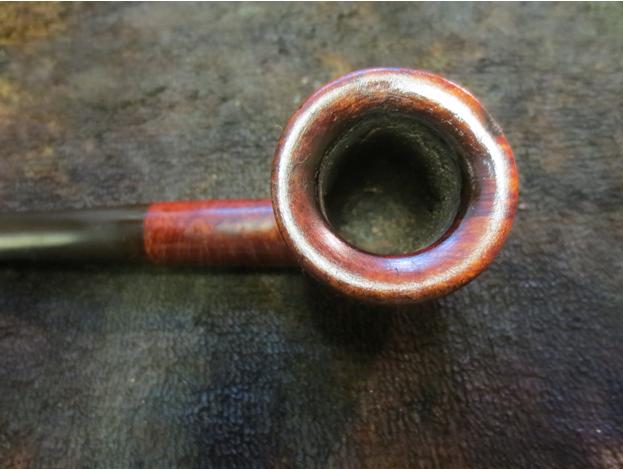
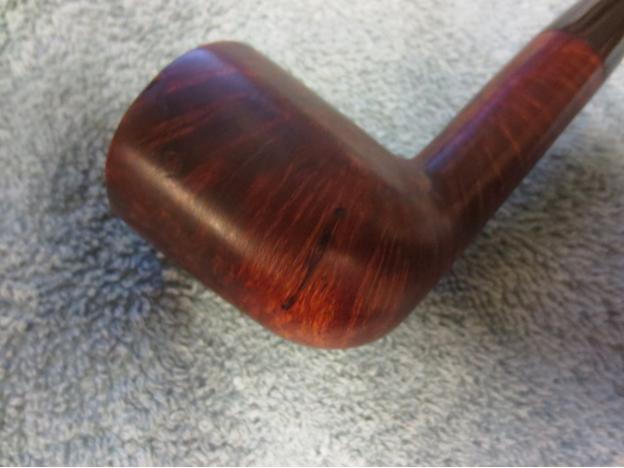
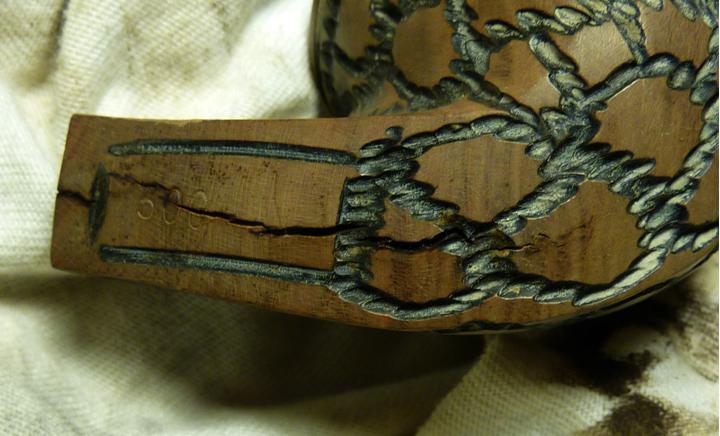
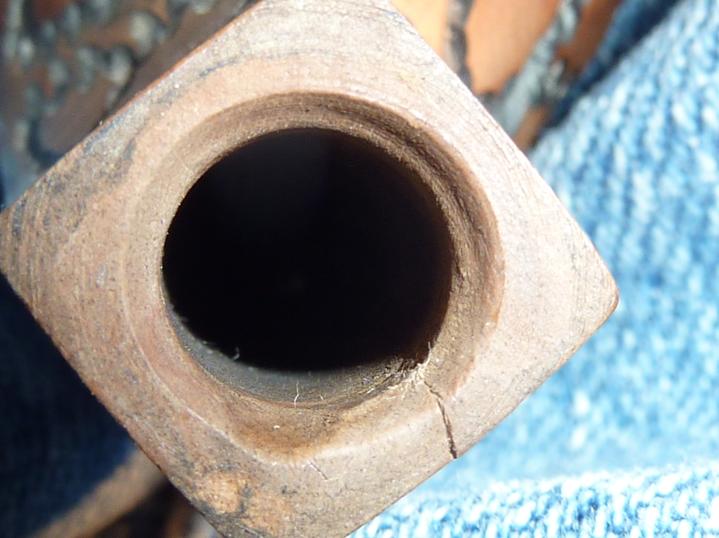
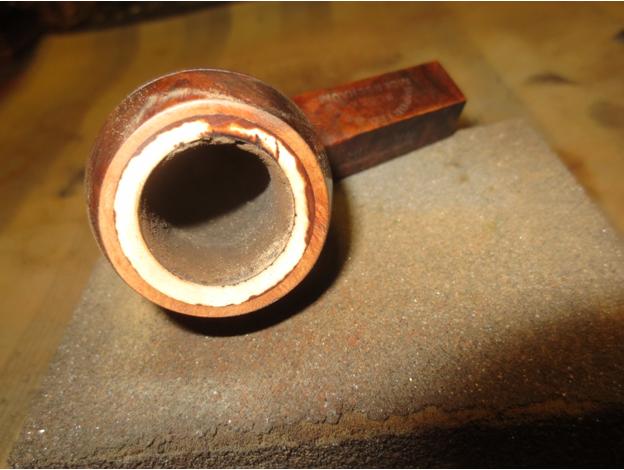
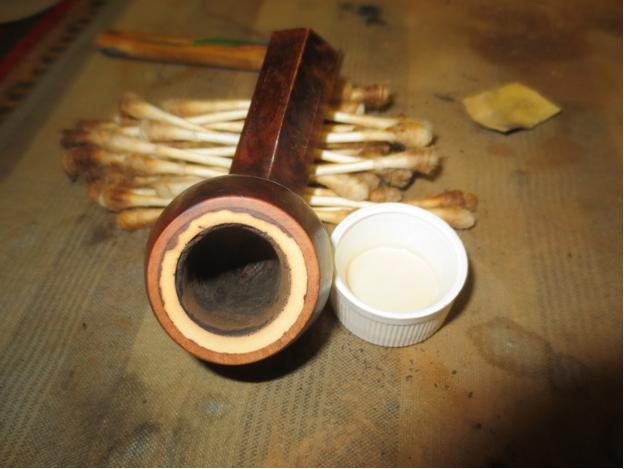
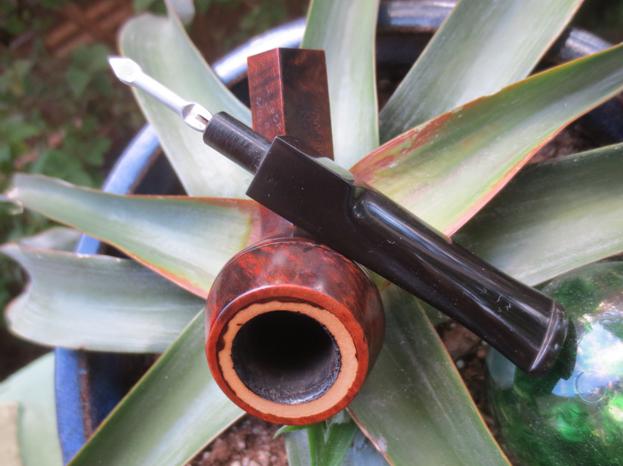
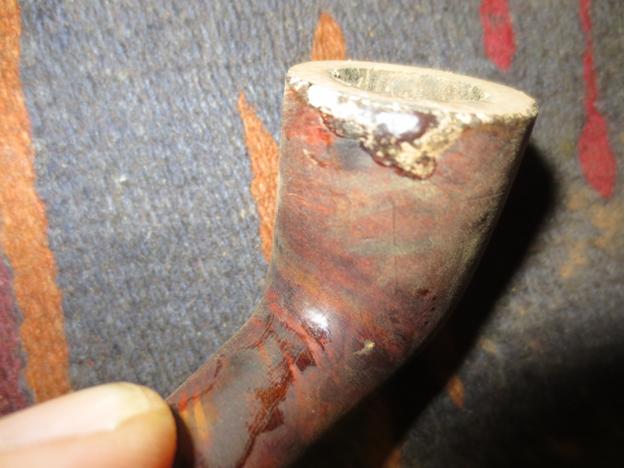
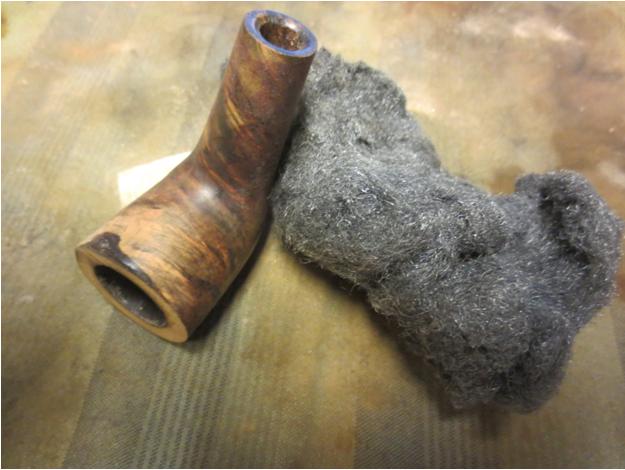
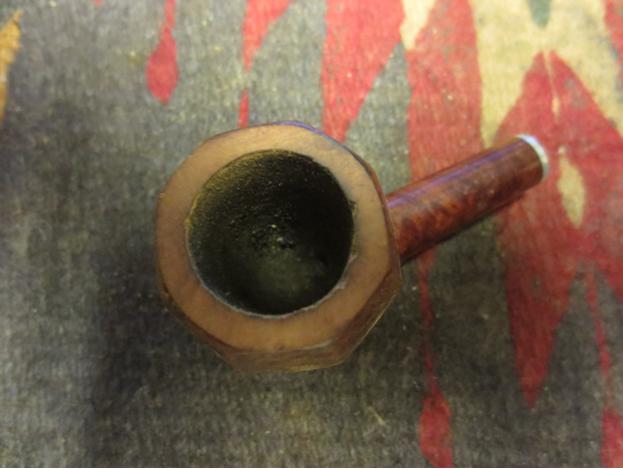
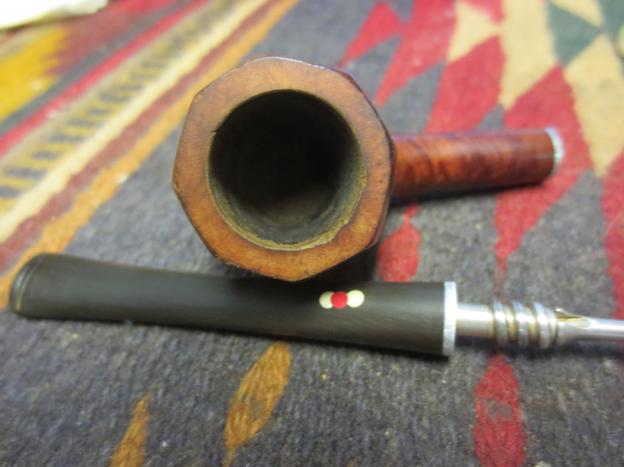
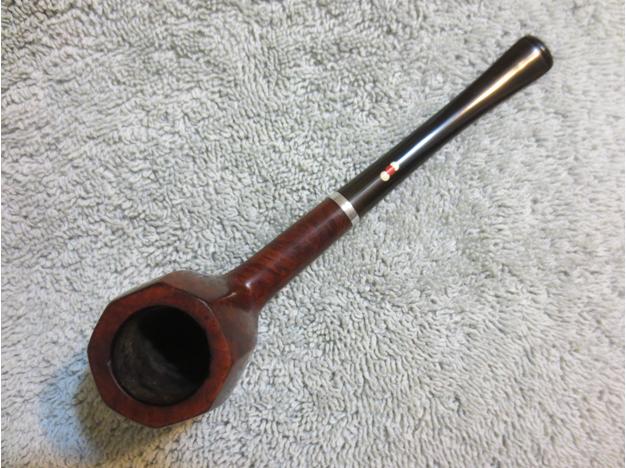
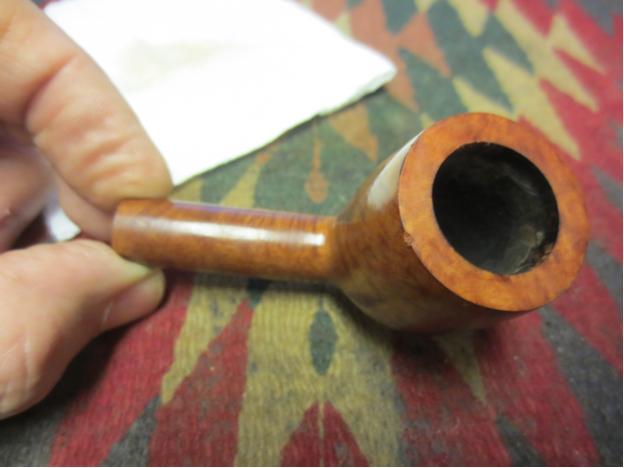
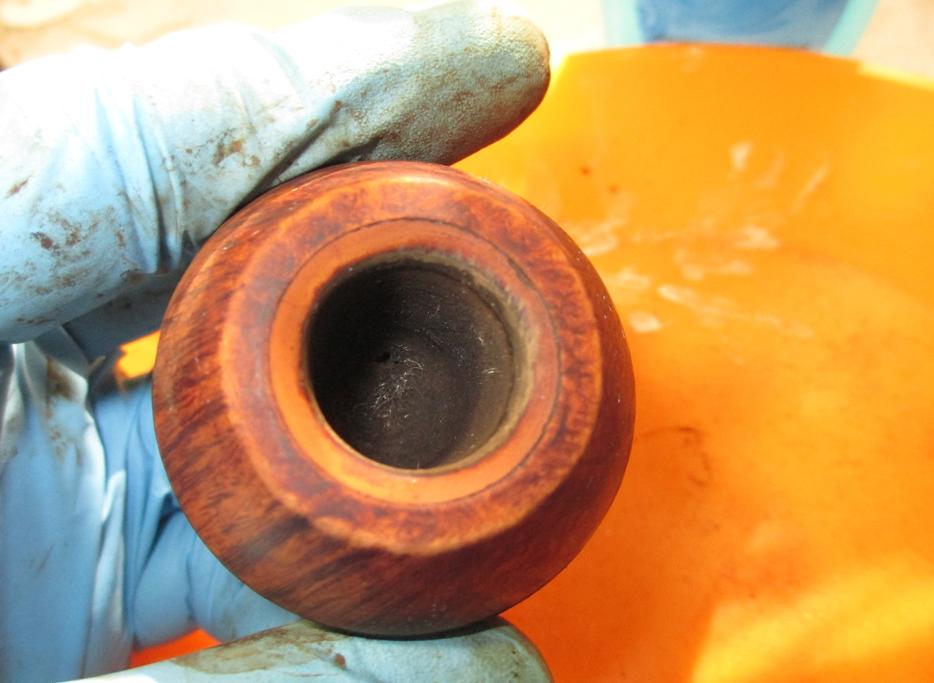
A look into the mortise with a flashlight revealed a substantial gap between its end and the tenon. And it was, sure enough, wet. In addition to giving the pipe a little more rest, it might be that Dad needs to consider adding another pipe to his rotation. The second problem, the crack in the shank and the resulting loosening of the stem, was a more serious problem. I wrote Steve Laug, who said to drill a small hole at the end of the crack to prevent it from spreading further. After that, he said, glue the crack with epoxy, clamp it, then put band the pipe to keep the reglued crack from opening and keep the tenon/mortise tight.
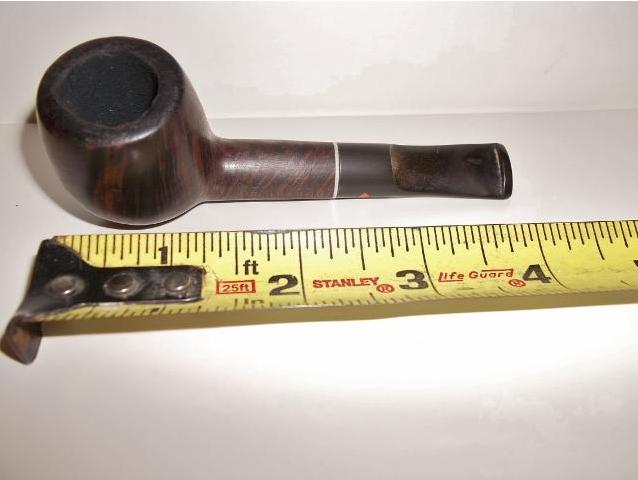
As my D-I-Y restorations are usually confined to Peterson estates, a band had to be ordered online. I did find a supplier on the internet, and, measuring the widest part across the stummel (the radius?), ordered one. I thought I’d be extra cautious and order a size up and a size down as well.
As anyone with any math knows, that was not the way to order a band. All three were far too large. So I went to a math teacher I know, who happens to live here in the same house, for her advice. First she told me measurement is never exact. Hmm. Well, I needed something a little better than what I’d done, obviously. Here’s the formula she showed me:
C = 2 π R
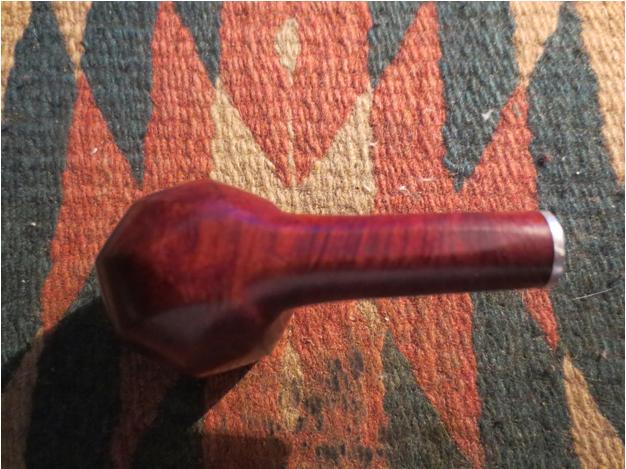
To get C (the circumference), I added up the perimeter of the diamond shank—13.85 x 2 and 18.8 x 2 for a perimeter (circumference) of 55.3. I’ve got all the math on a legal pad, and if you want an explanation, ask a math teacher. In the end, the radius came out to be 8.80 for a circumference of 17.6. I bought 16.5, 17 and 17.5 mm rings, and as it turned out, the 16.5 was the best fit.
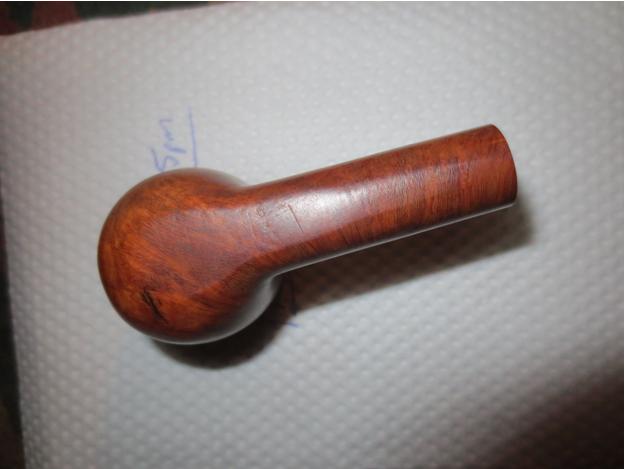
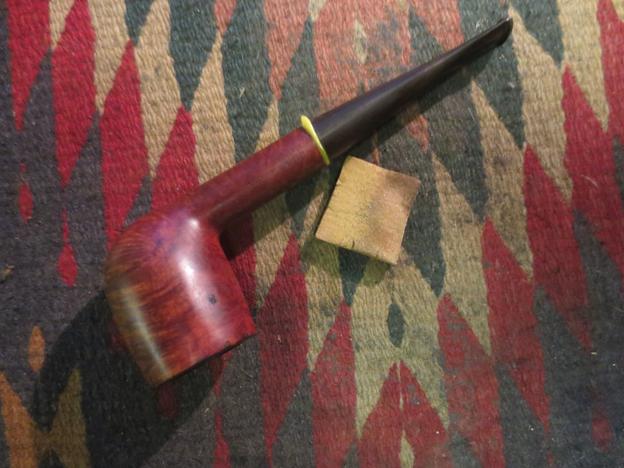
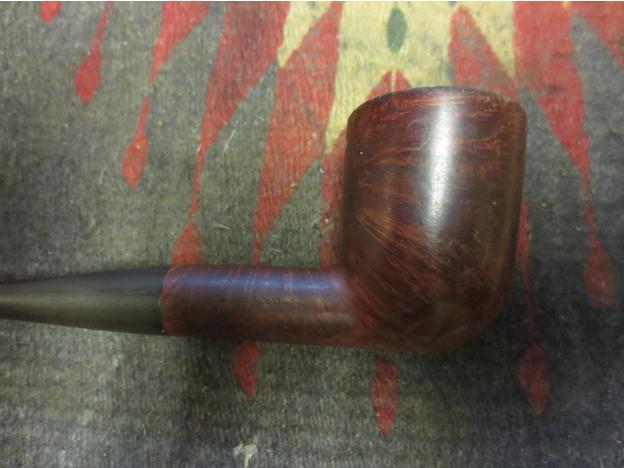
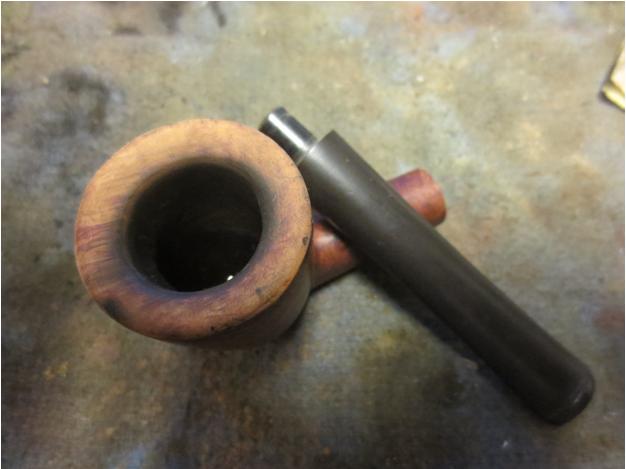
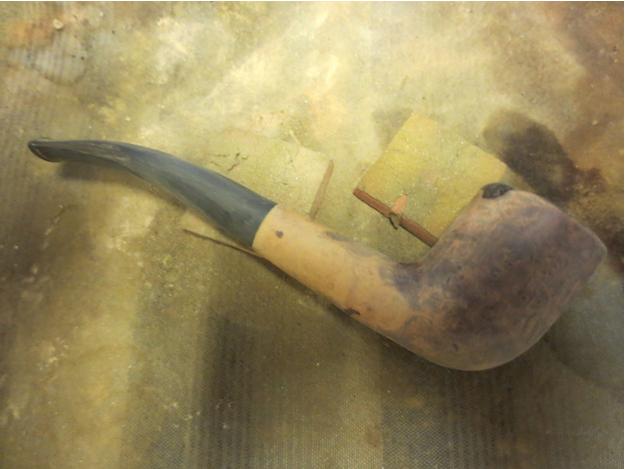
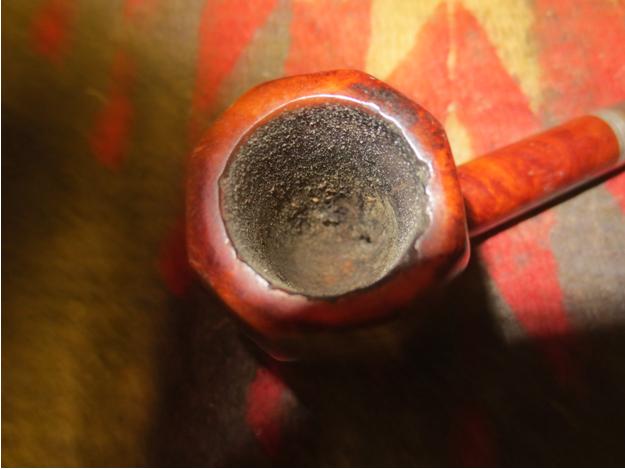
While waiting for the bands, I decided to clean up the bowl and stem.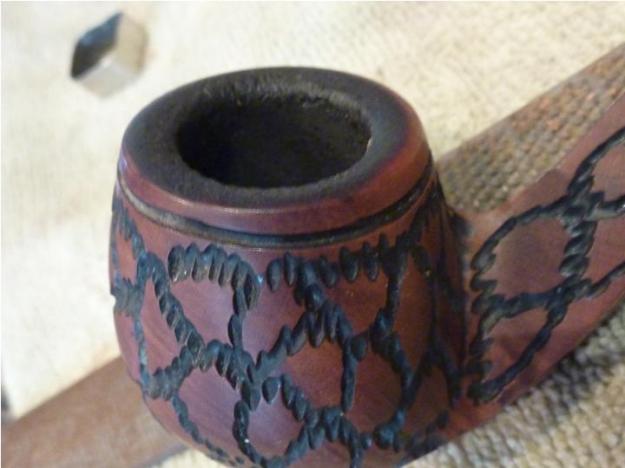
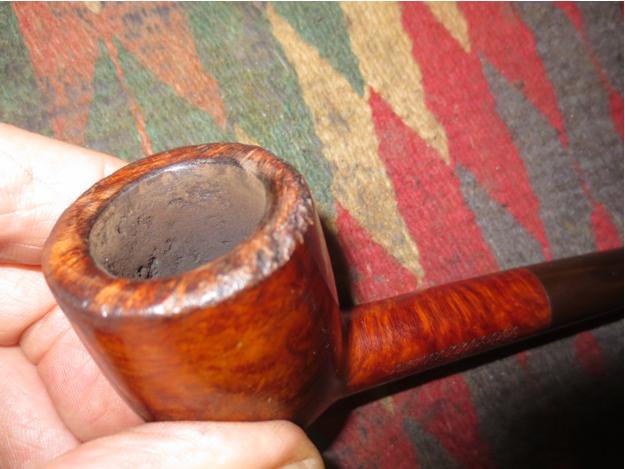
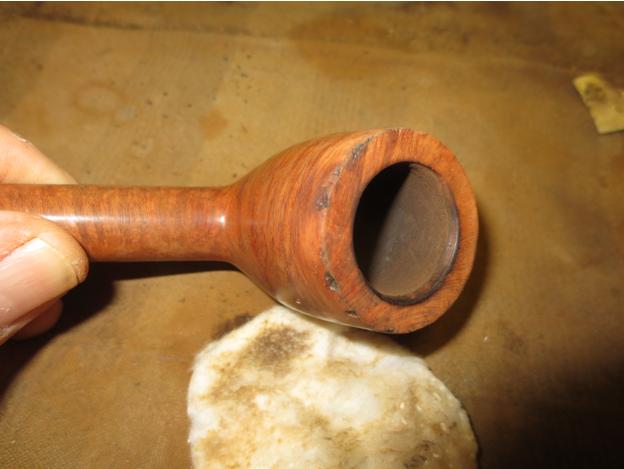
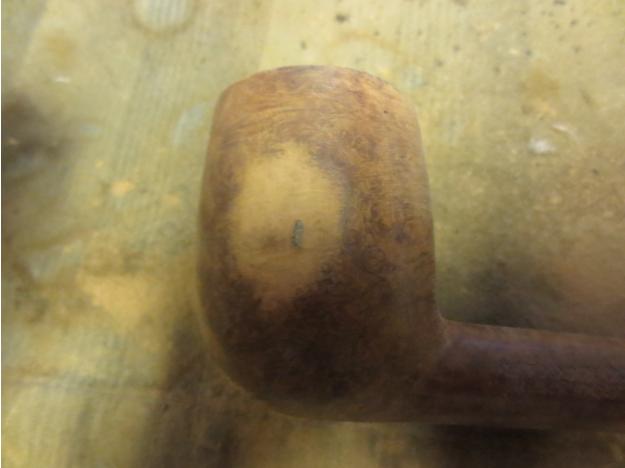
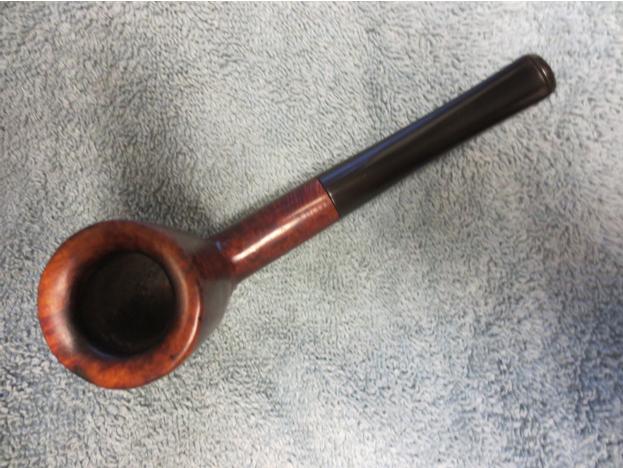
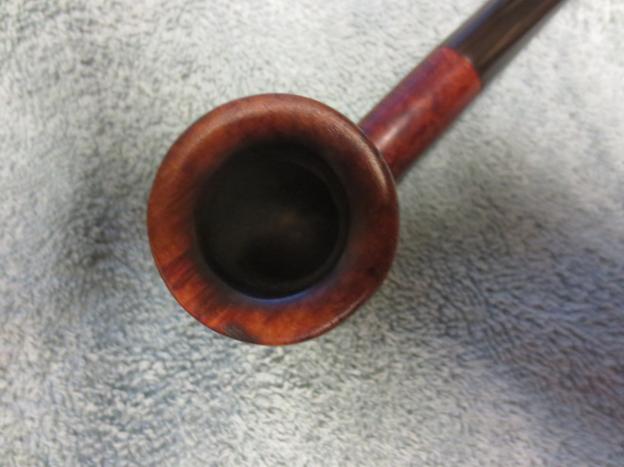
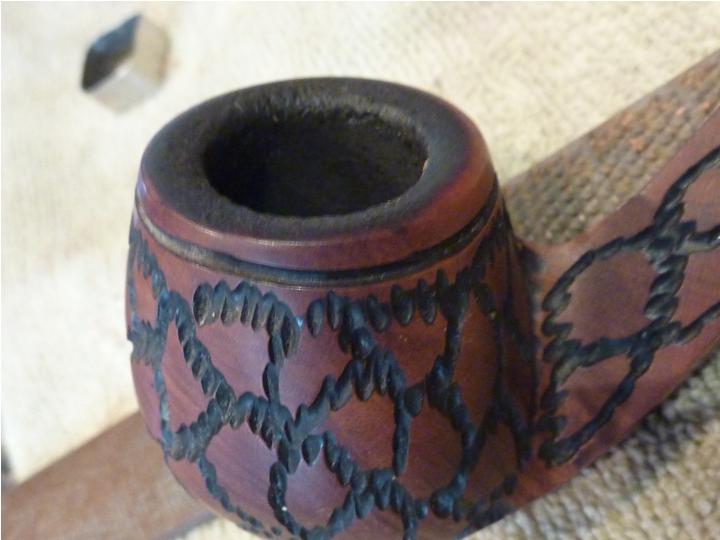
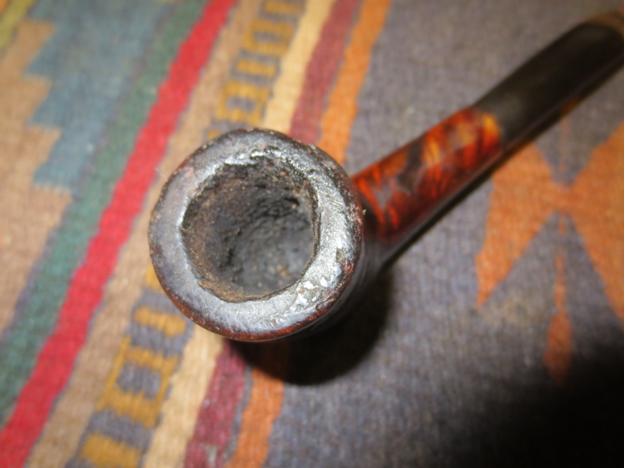
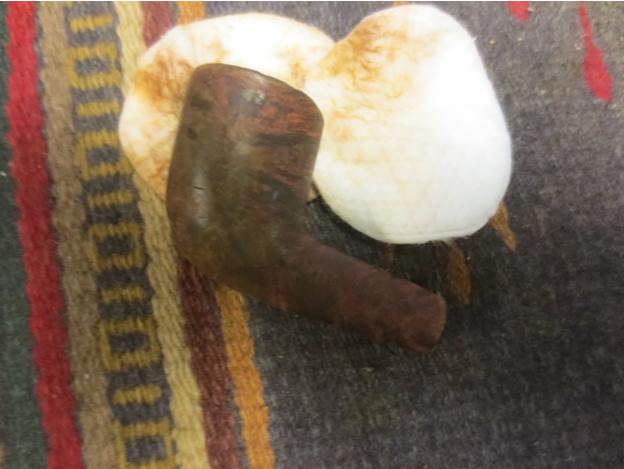
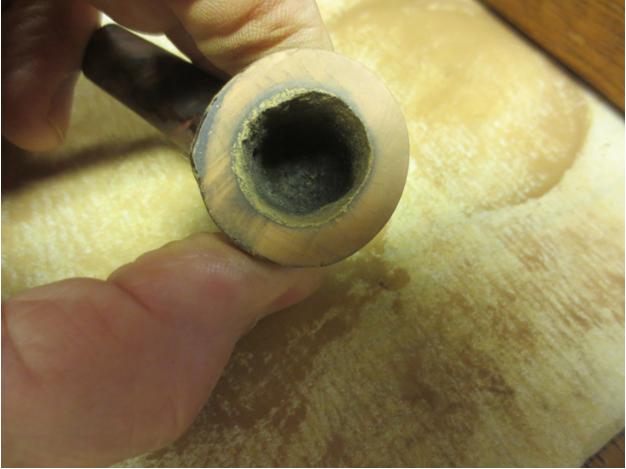
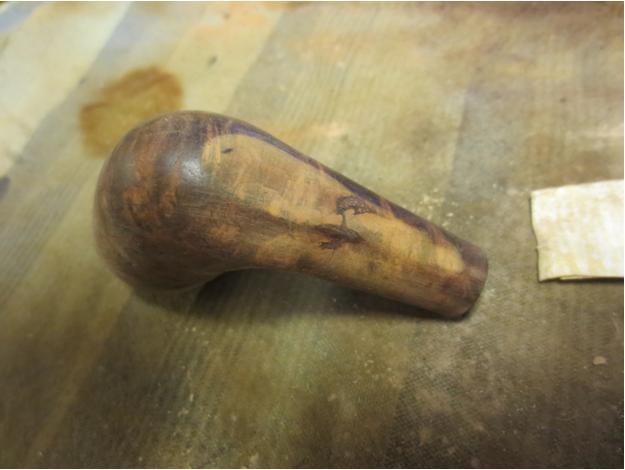
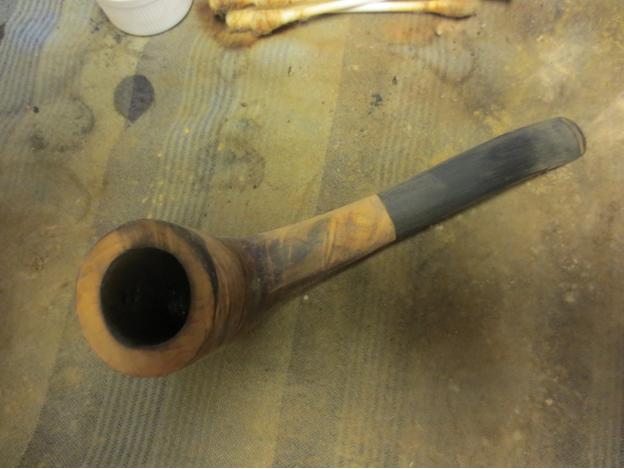
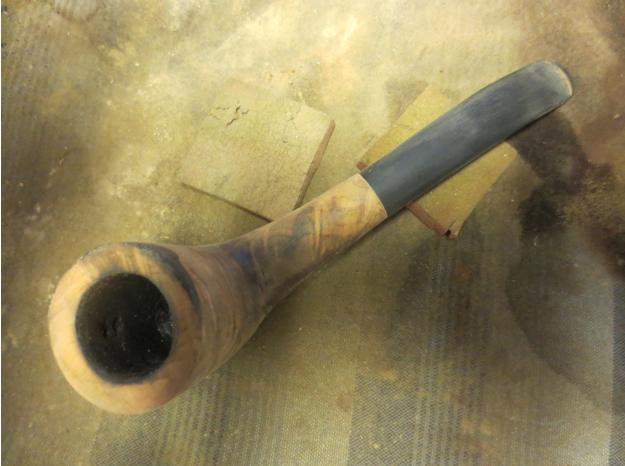
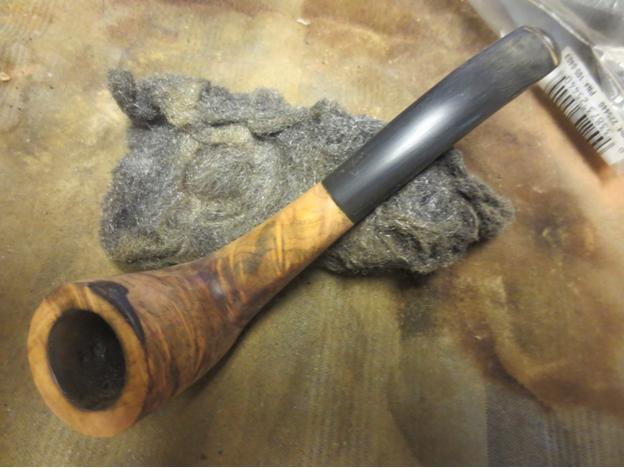
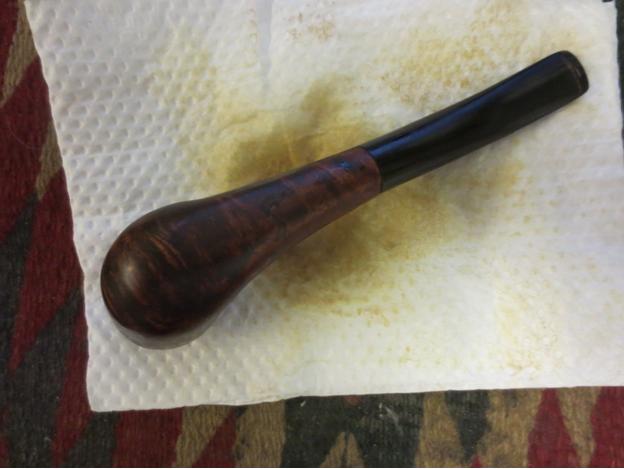
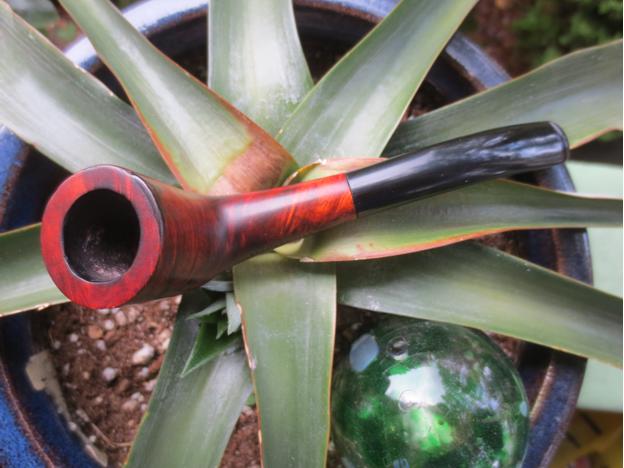
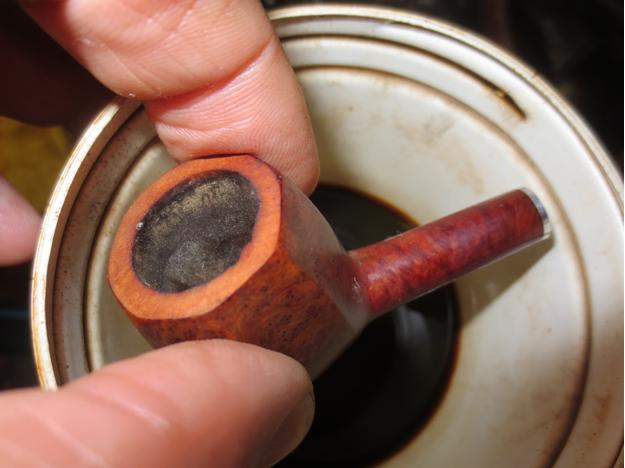
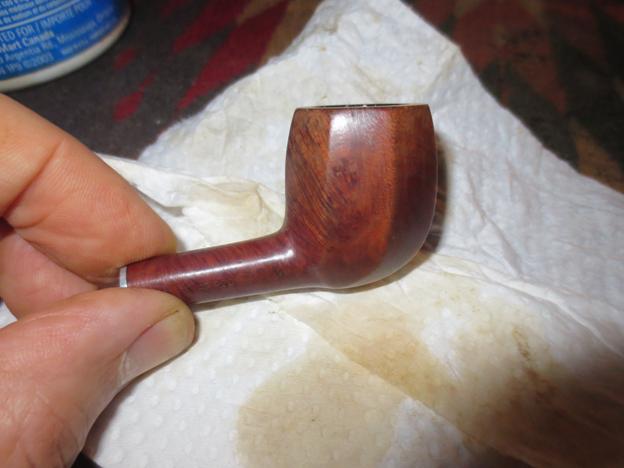
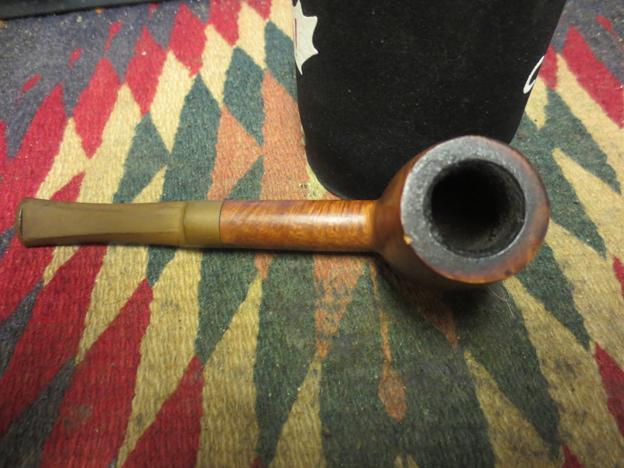
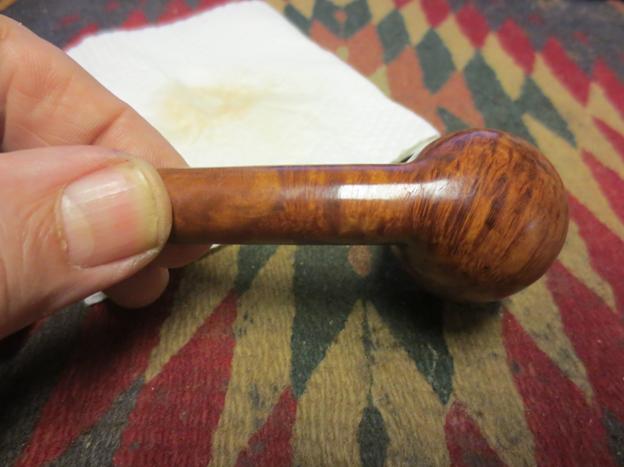
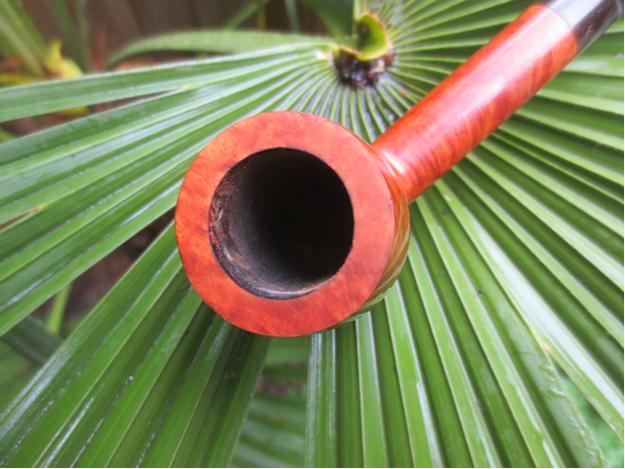
 The bowl soaked overnight in an alcohol bath. When it was removed the following morning, I was pleasantly surprised to discover the carbon on the top rim could easily be wiped off with a cotton cloth, leaving it clean. The alcohol soak lightened the stain and removed much of the blackening in the rustication, left the bowl with a sweet, clean scent. I’ve done this with Peterson Systems for quite a while, with spectacular results—and they’ve got the added complication of a reservoir. I’ve been told that an alcohol soak can sometimes cause old wood to split. The crack did seem a tiny bit longer afterwards, but not much.
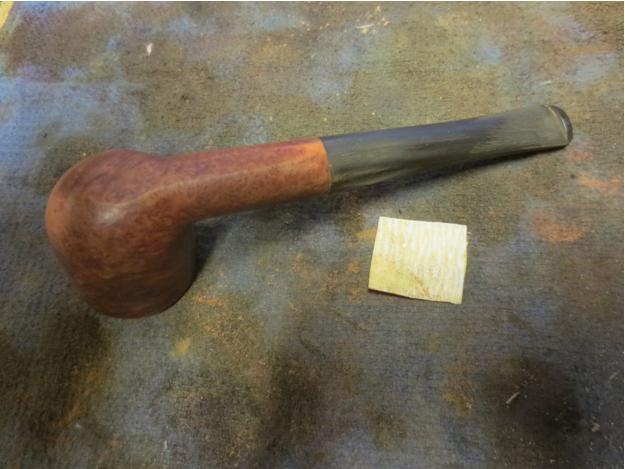
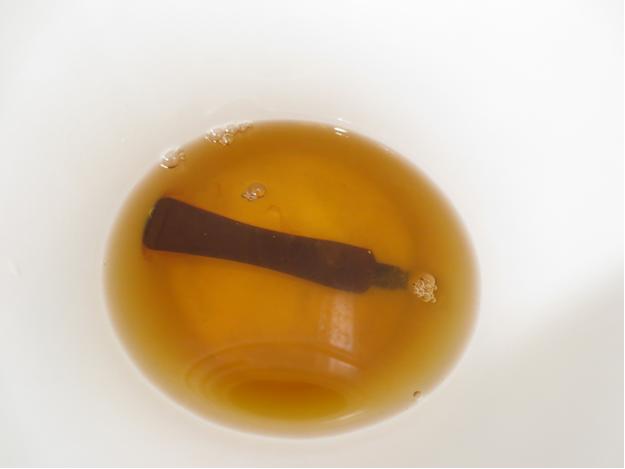
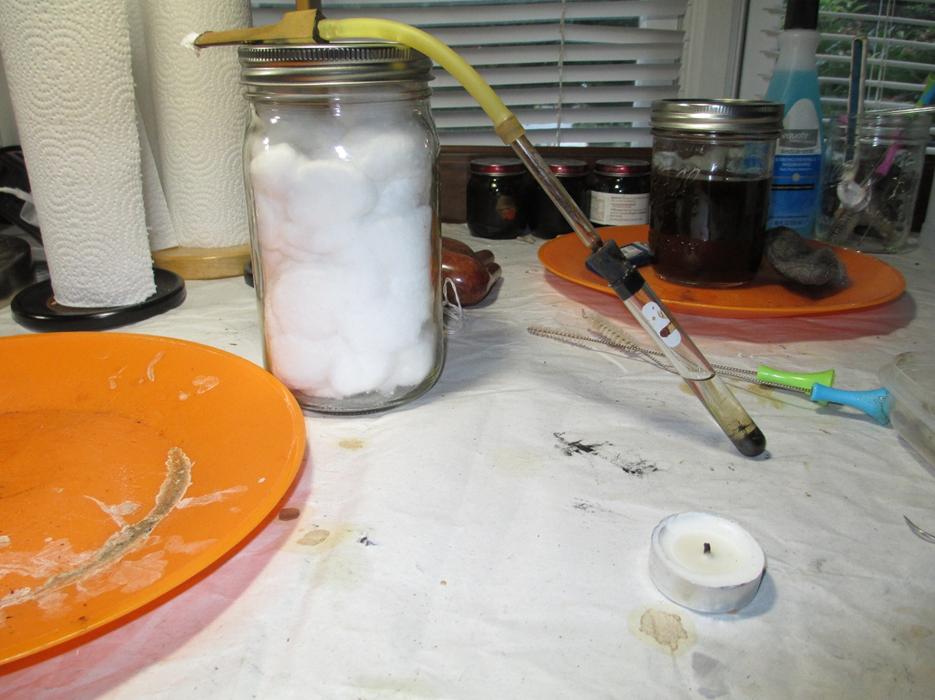
 The stem was in remarkably good condition, but I thought it might as well be cleaned up since I had it. It was plopped into a small tub of warm Oxy-Clean solution to soak, then forgotten about! Oops. When I remembered to retrieve it eight hours later, it had almost completely whitened. Hmm. Just great, I thought.
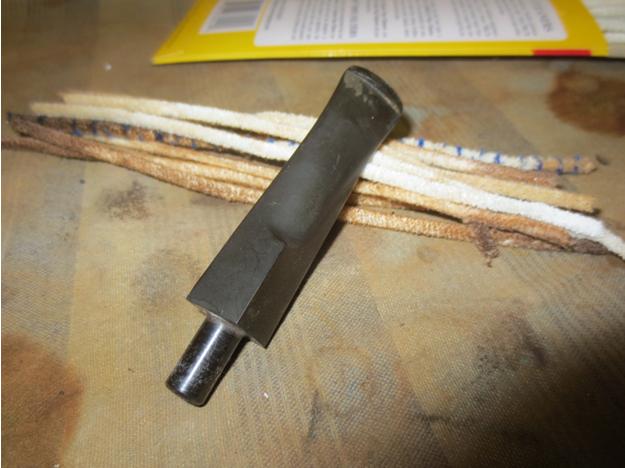
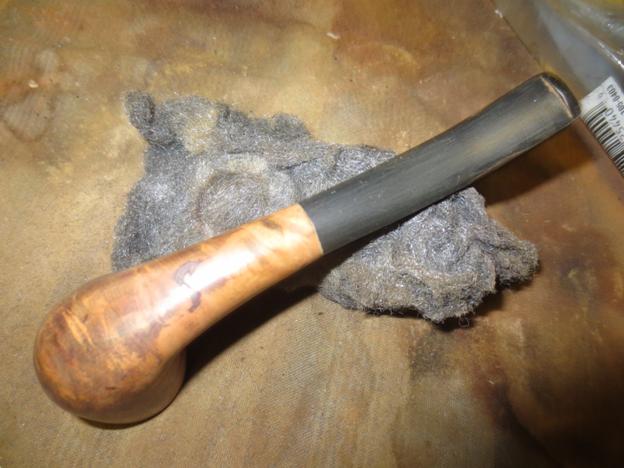
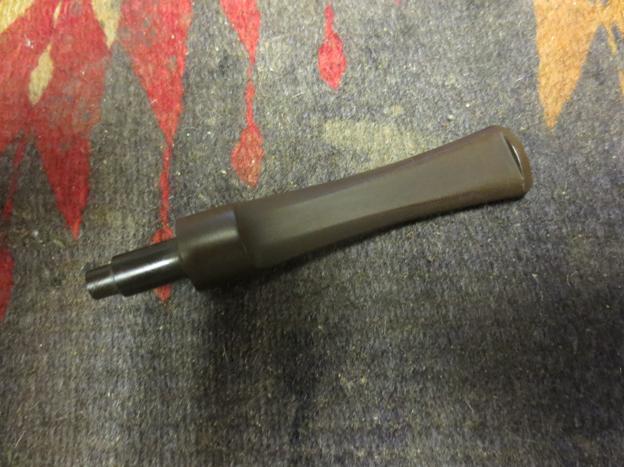
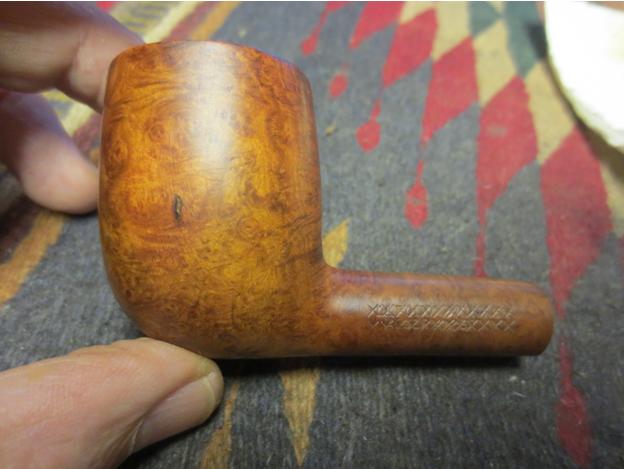
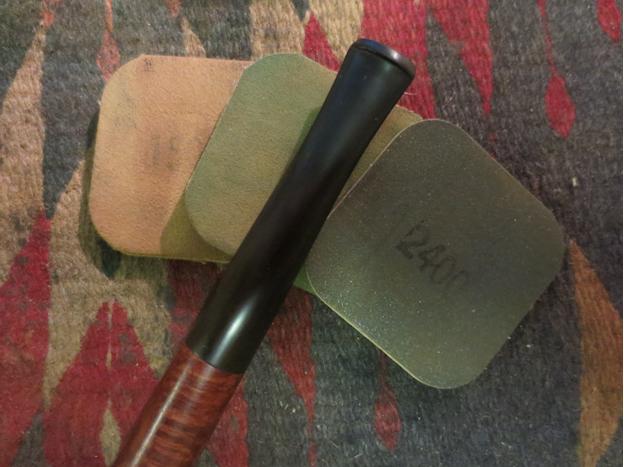
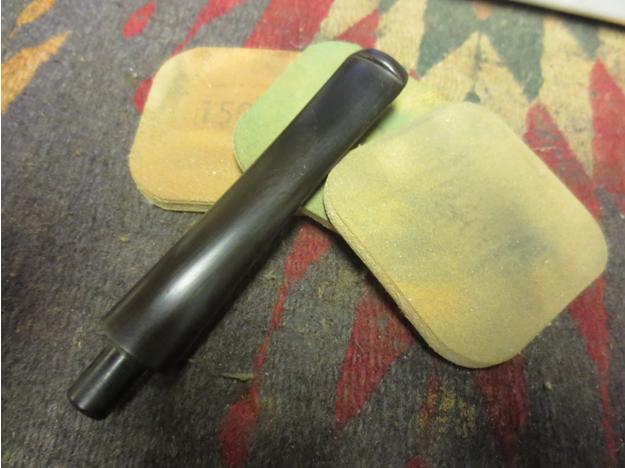
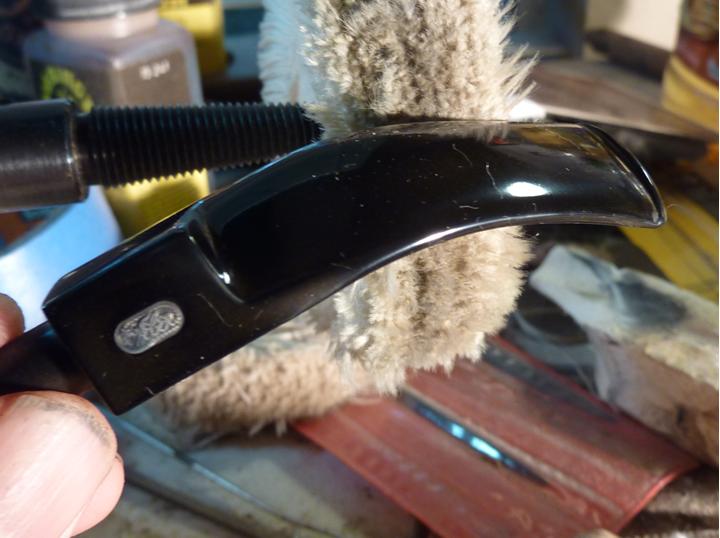
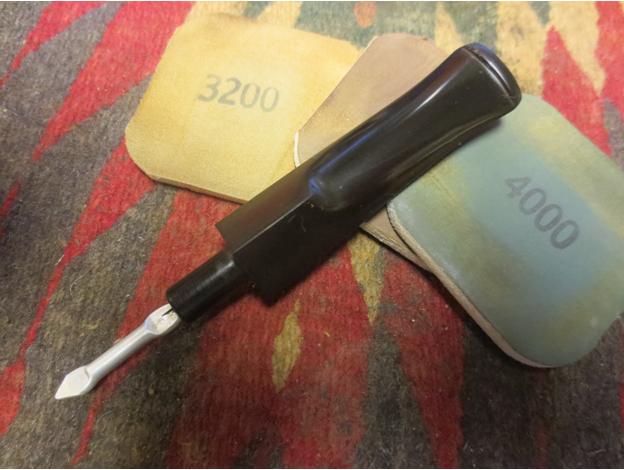
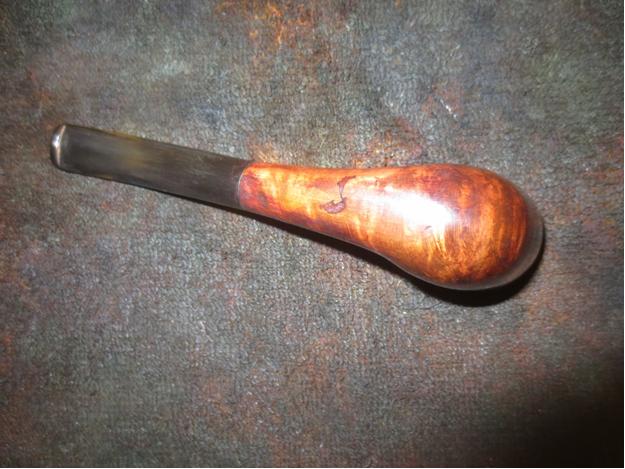
It still felt relatively smooth (unlike the roughening-up a bleach-soak does), so I thought I’d try a spin on the Foredom lathe with some Tripoli on the wheel, just to see where things stood and whether it would need the 12-pad Micro Mesh route. It took a few minutes on the wheel, but to my surprise, the Tripoli cut all the haze off, and in a fraction of the time I usually spend with the pads by hand. I didn’t remove the dental marks, just as I wouldn’t on a beloved pipe from my own rotation, because those indentations are what give the pipe its comfort-factor to its owner, making it easy to clinch—remove them, and he has to start breaking it in all over again.
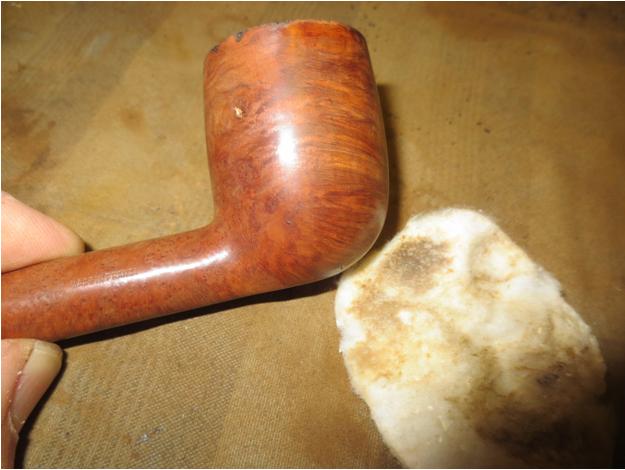
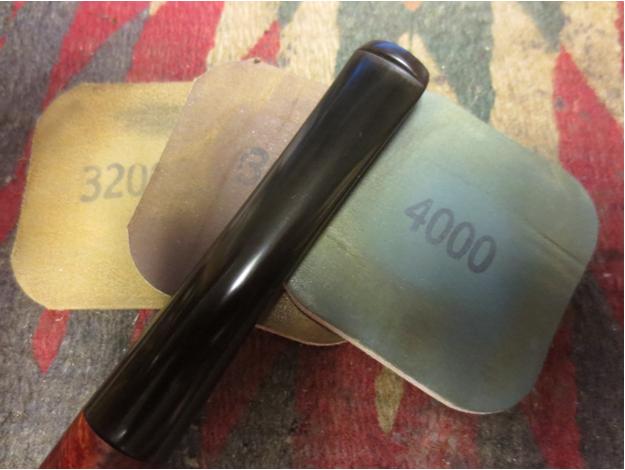
I like to use an Ott-Lite to see just how “back-to-black” the stem really is, because I’ve bought far too many estate pipes, and restored too many stems myself, that when viewed under the Ott show an underlying brown, gray or green haze. The stem on such a pipe may look good in a photo, but get it under decent light and you can see it wasn’t properly restored at all.
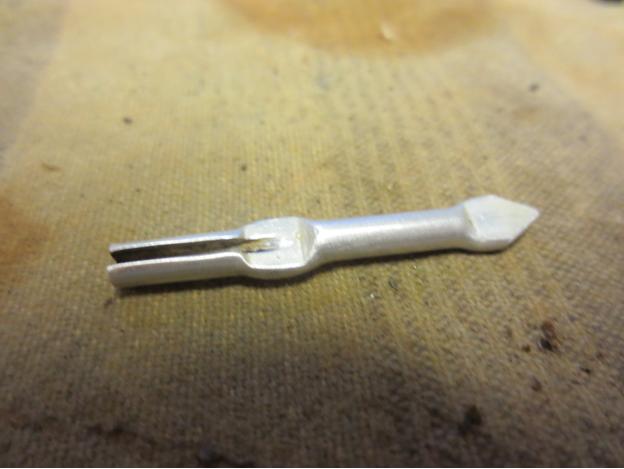
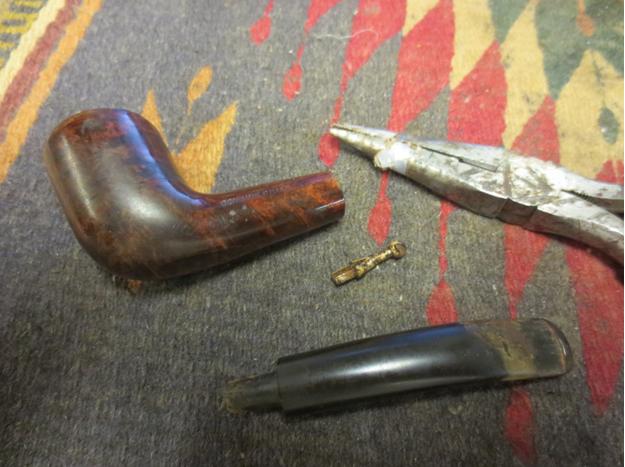
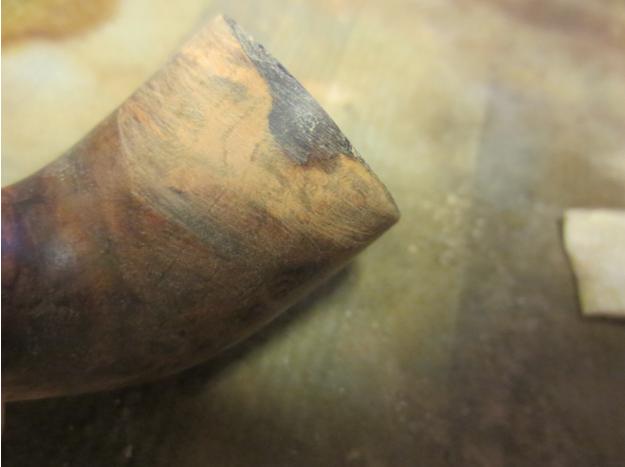
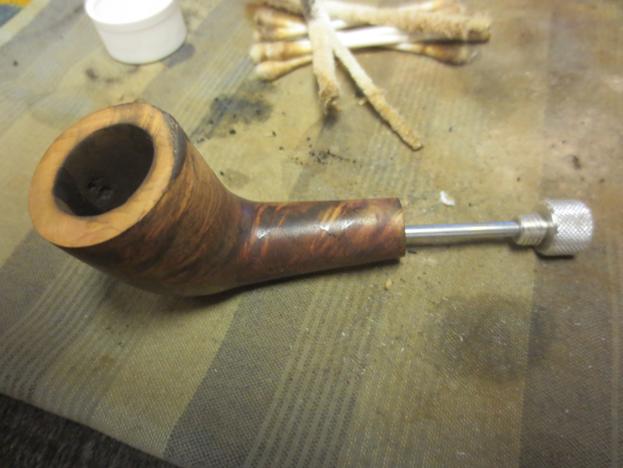
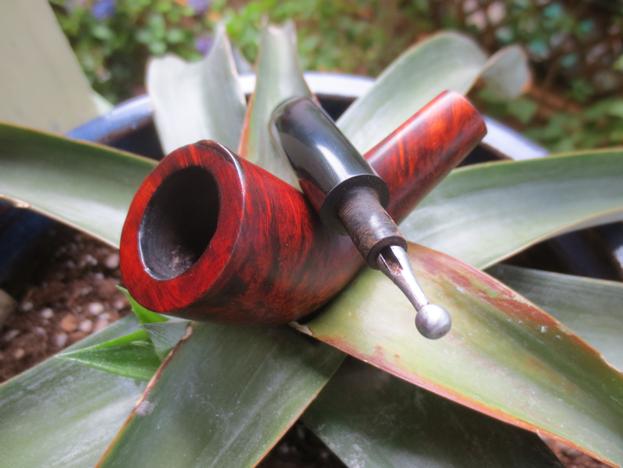
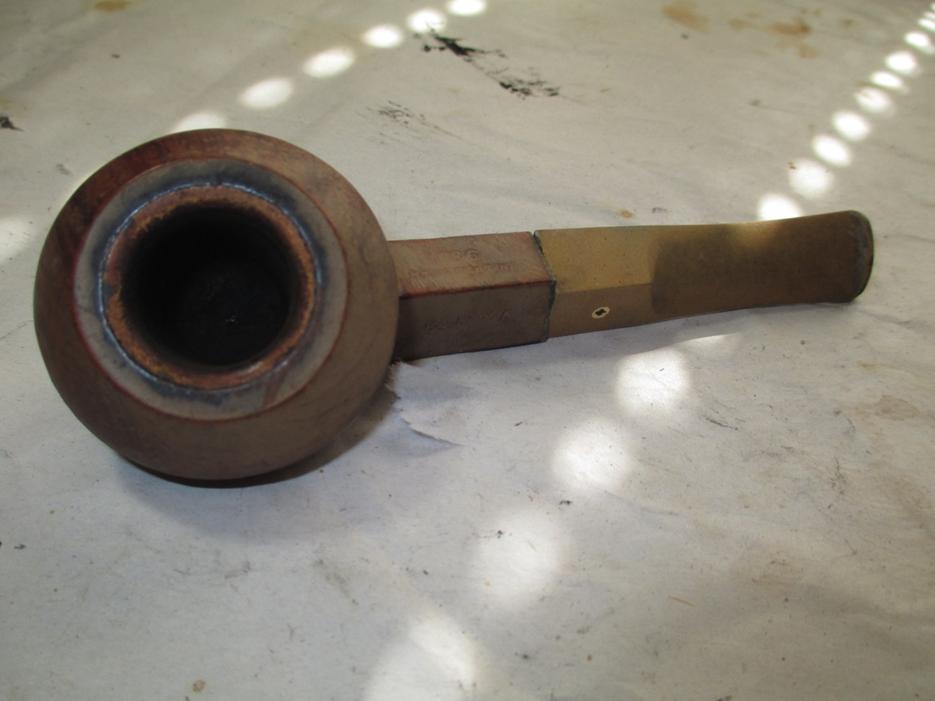
An additional pass with the buffing wheel and Tripoli was made on a few hazy areas that I caught on the camera but couldn’t see with the naked eye. After that, the stem received a coat of Obsidian Oil to give it some UV protection. Coming back to the crack in the shank, I used my countersink drill bit (which I also use to chamfer or “graduate” draft holes in tenons) to create a saucer-shaped hole. I was surprised when it slid right through into the draft hole!
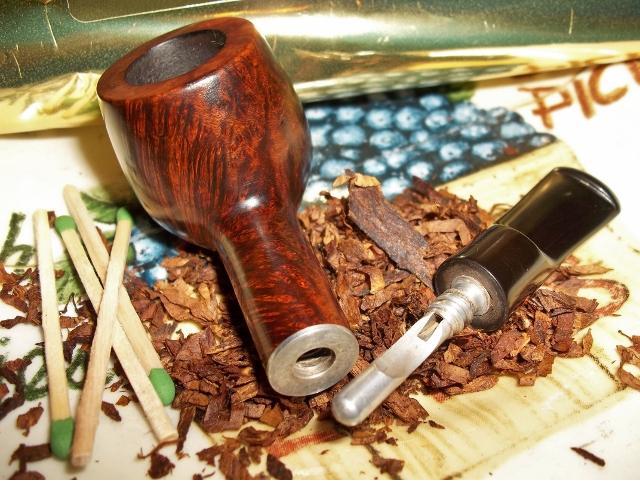
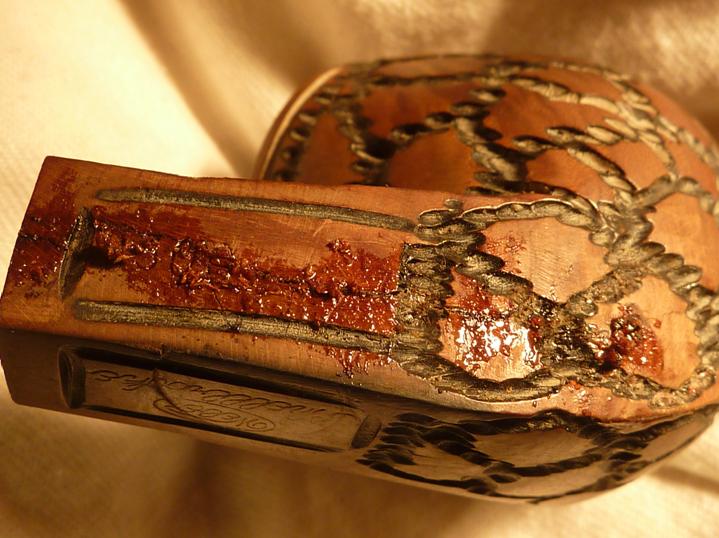
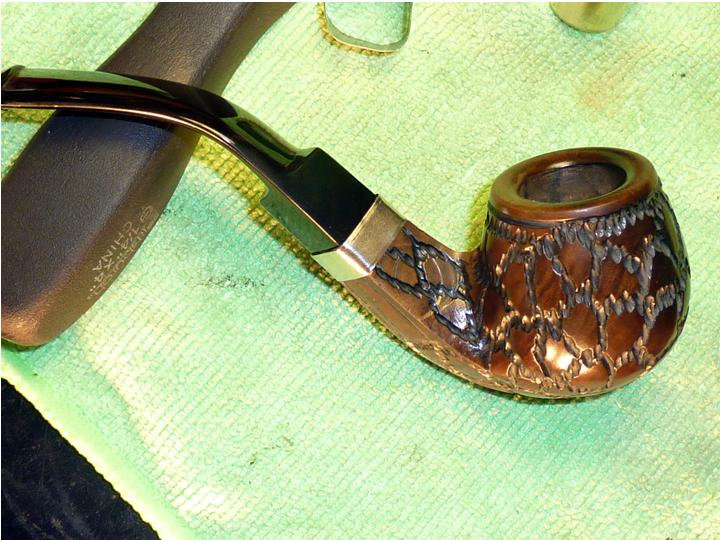
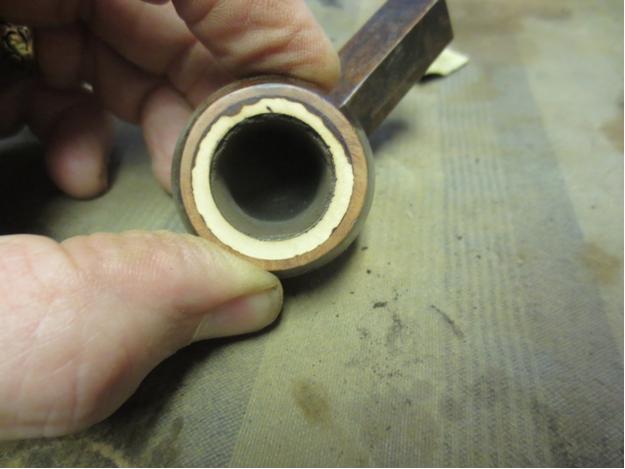
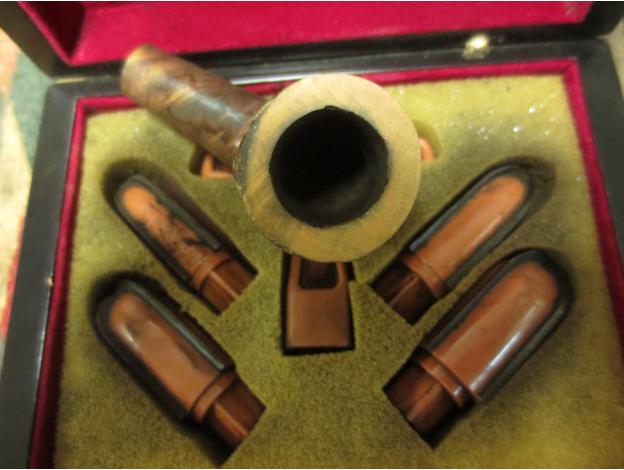
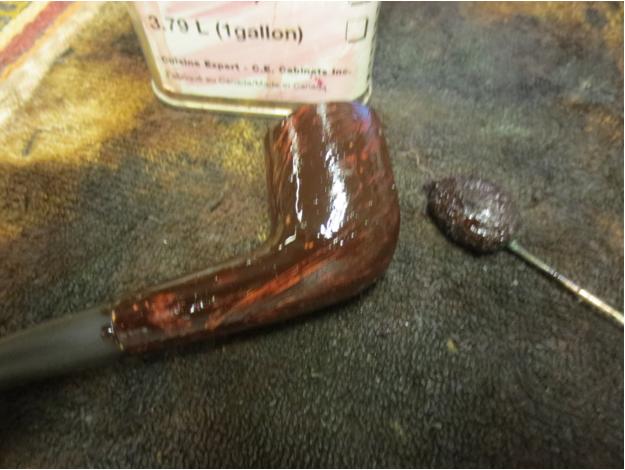
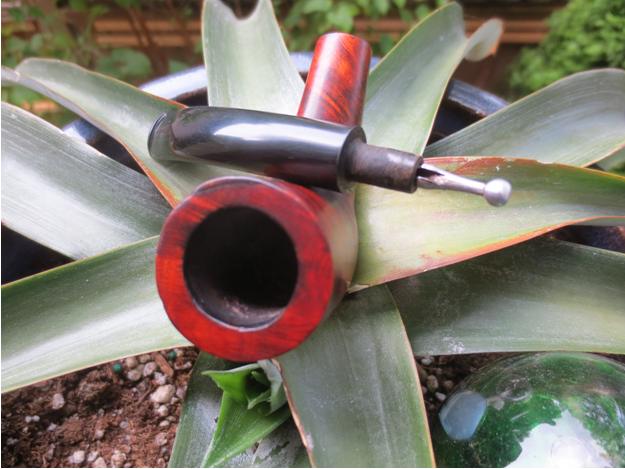
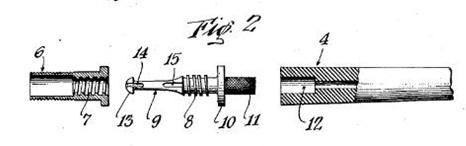
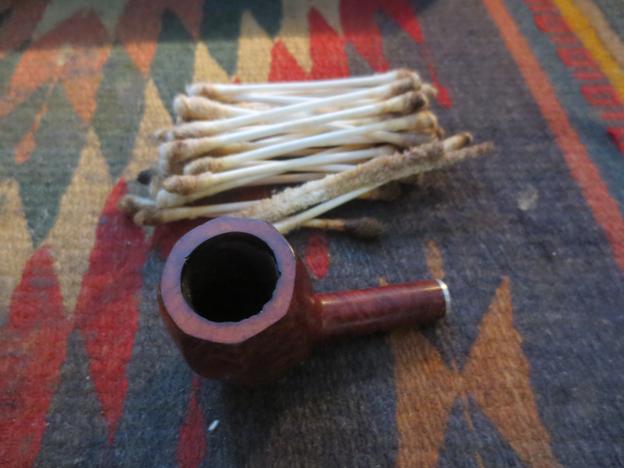
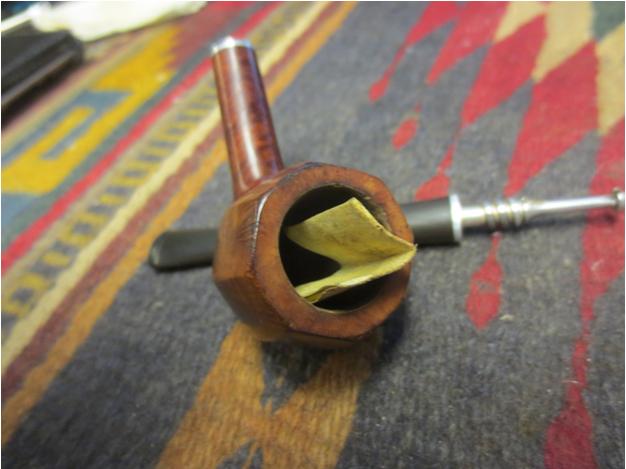
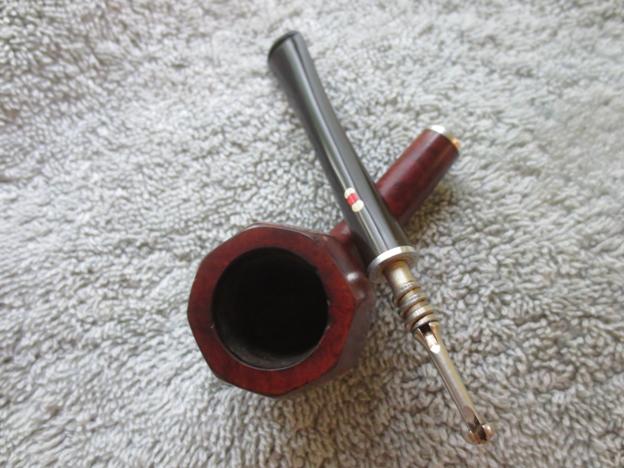
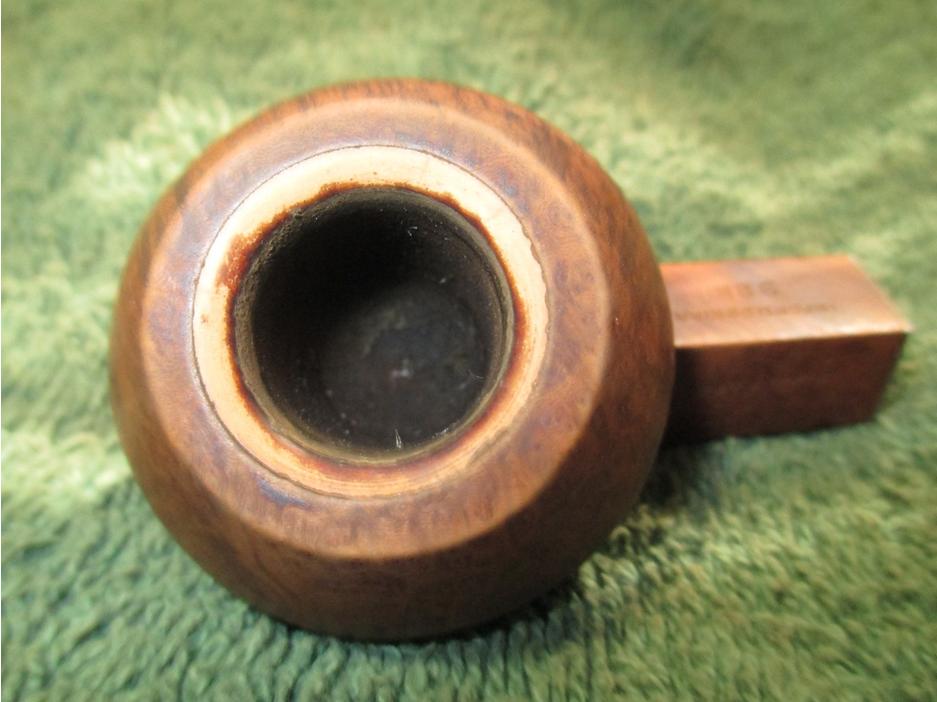
While I couldn’t juxtapose my camera’s flash to give you a photo, it turns out there is a reservoir in the Shelbrooke. It goes considerably deeper than the draft hole, and was obviously an intentional part of the pipe’s design. But the size of the reservoir made for a thin mortise wall, as I found out. Was it for a stinger device? It certainly explains the wet smoke my Dad was experiencing—the smoker would need to swab out the well after the pipe has cooled before smoking it again or suffer the consequences, as uninformed Peterson System users have found to their dismay. As many Weber pipes and catalogs as there seem to be on the estate market, I couldn’t find much just trolling the internet. I let the epoxy drizzle off a tooth-pick into the cracks, hoping it would slide down into it. If the epoxy got inside the cracks, I believed it should hold in combination with the nickel band. Then I clamped the crack as well as I could, but as you can see from the pictures, the crack didn’t close up entirely.
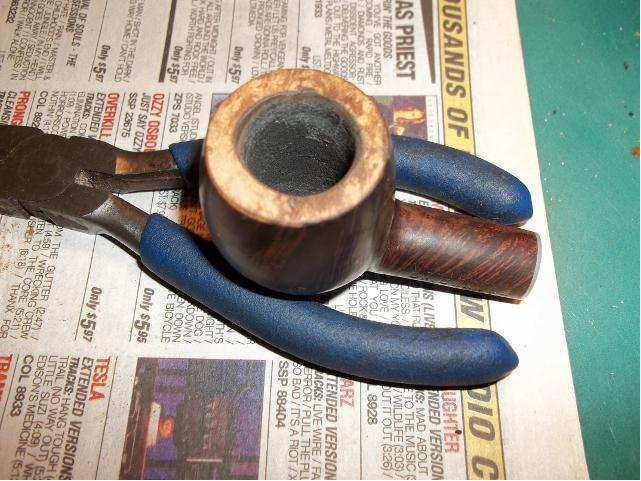
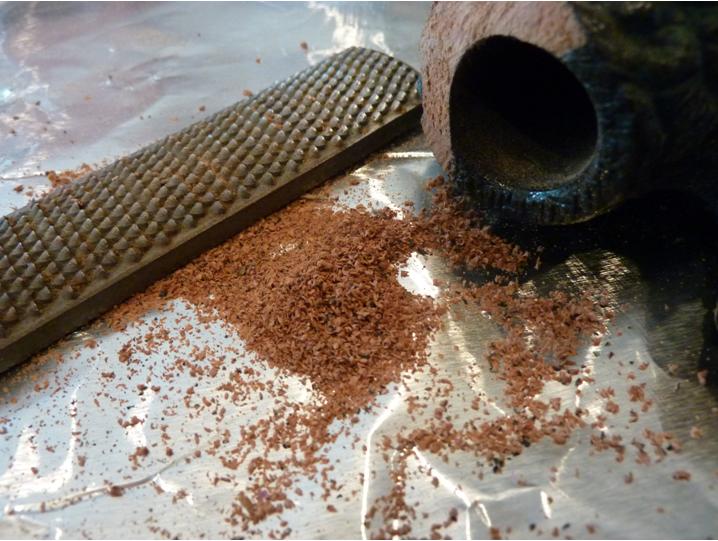
Here I made my first mistake—and one I shouldn’t have, because I’ve seen my Dad avoid this kind of thing in carpentry projects we’ve done together. Instead of letting the clamp actually meet the walls of the shank like I did here (which impressed the wood), I should have use some small wooden squares over the clamp to prevent it from biting into the shank. Live and learn. I had already used a rattail file to make some briar shavings from an old bowl (thanks Mark Domingues for this tip!), so I mixed those with the epoxy and plugged the hole I’d previously made to stop the crack from lengthening.
Taking off the clamps the following day, I was dismayed to see the briar had been impressed on one side by their pressure. Some of the indentations lifted with the application of passing a flame from my lighter over them, and more would doubtless have been lifted had I used the old hot-knife-covered-by-a-wet-rag technique. I was fully intending to do this, and then—just forgot! After letting the epoxy harden for 24 hours, the flat of an X-Acto knife was used to scrape off the excess. But the hole needed to be topped, so mixing up another briar shavings-epoxy mixture; I not only topped the hole, but went over the crack as well.
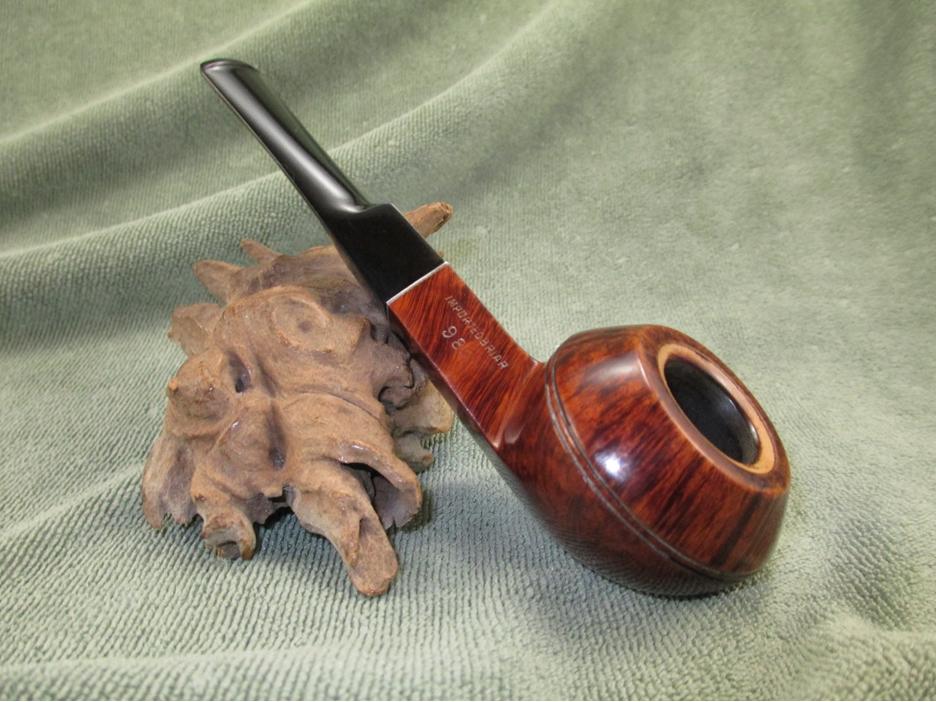
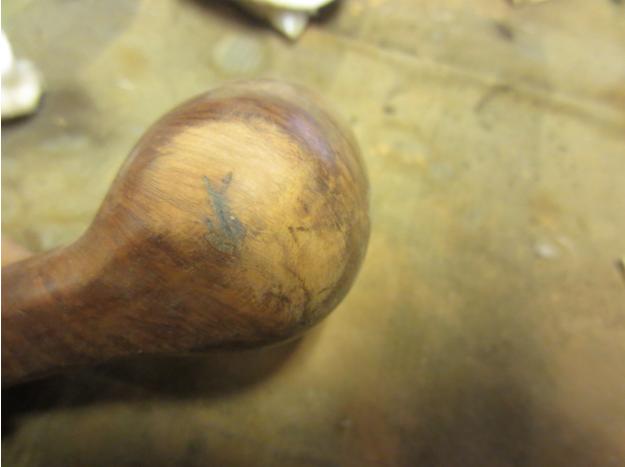
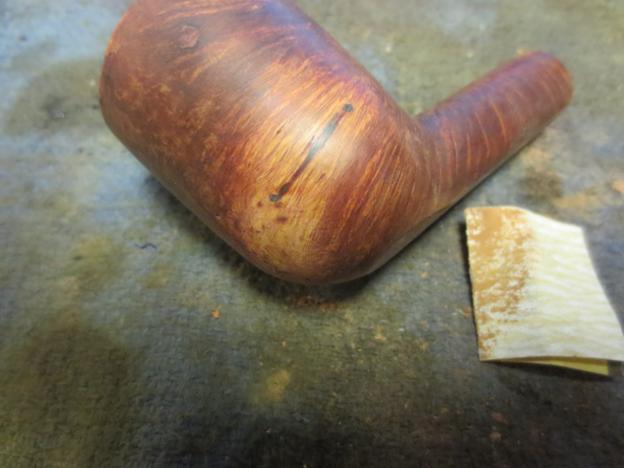
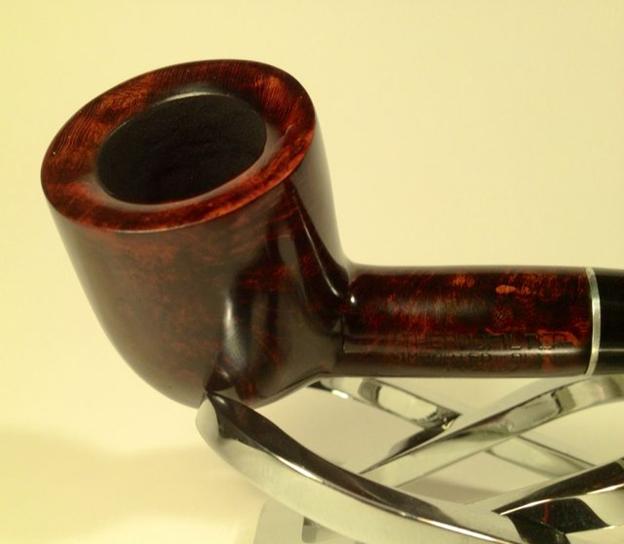
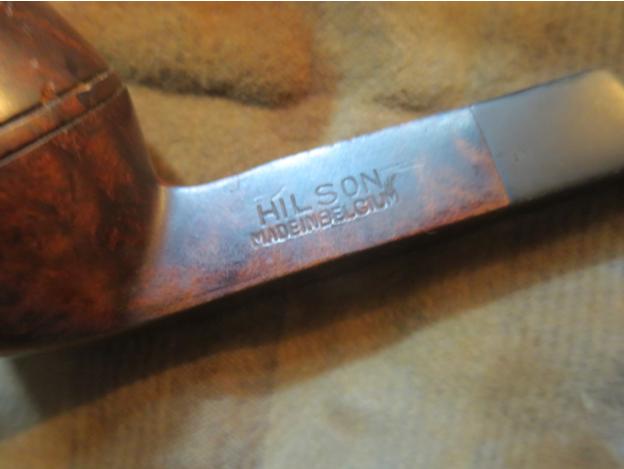
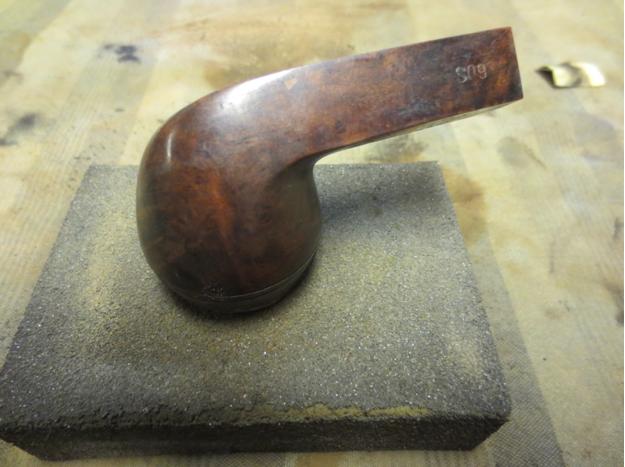
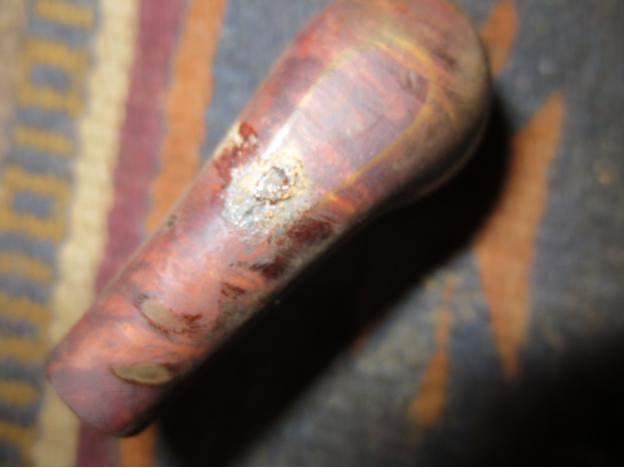
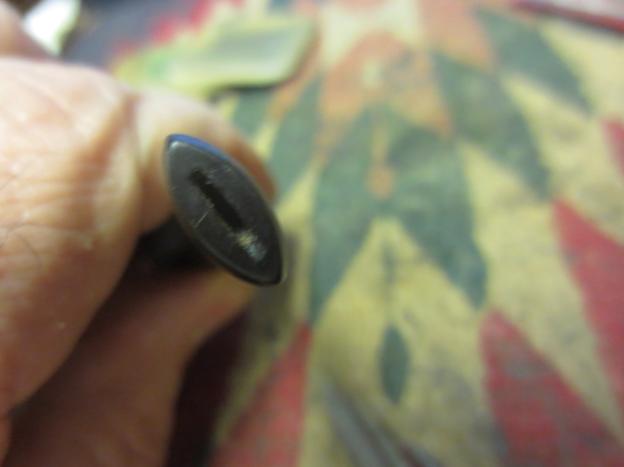
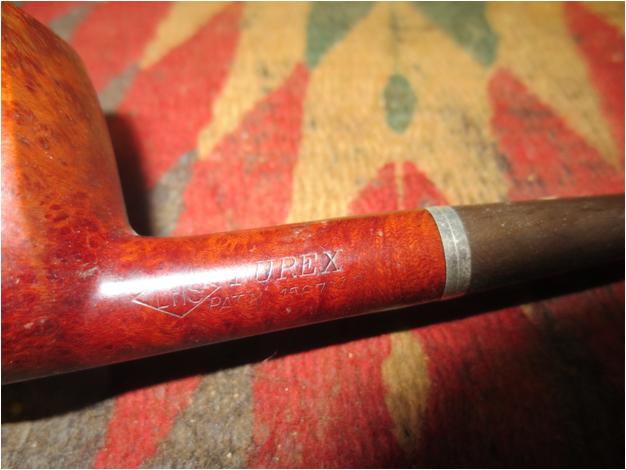
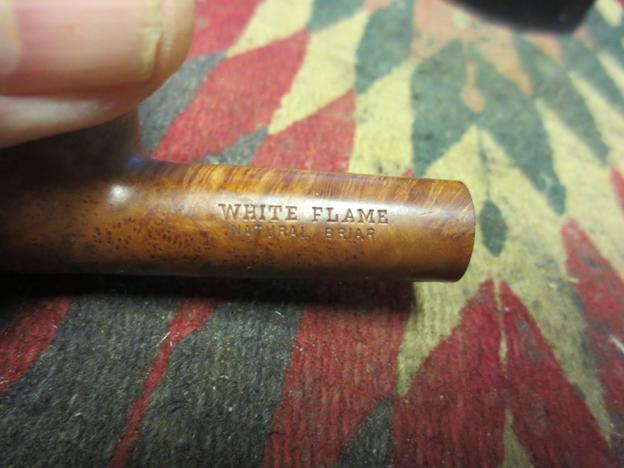
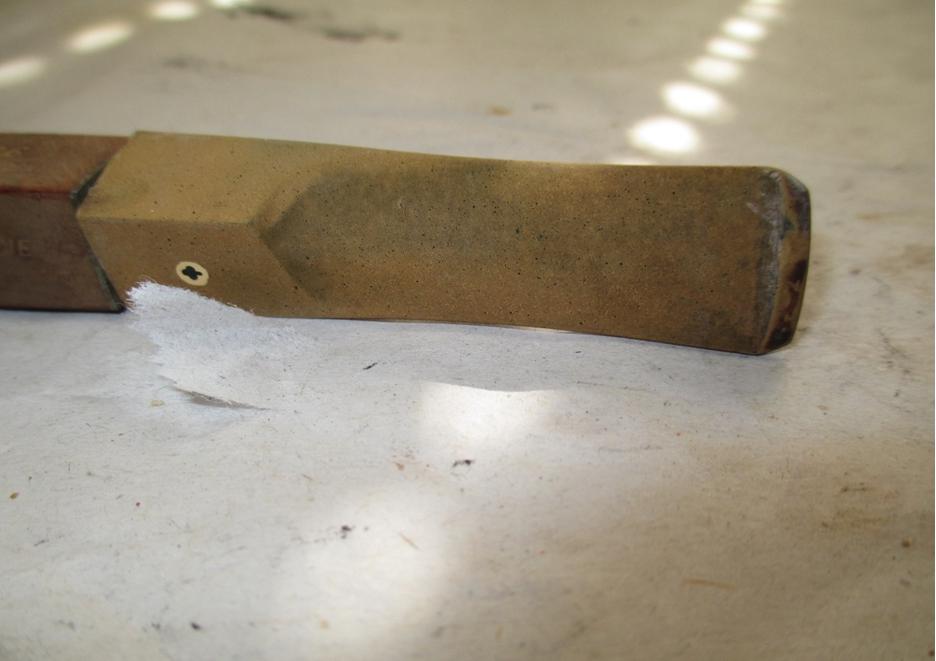
 After another 24 hours had passed to allow the epoxy to harden, I used 500 grit to go over the bump caused by filling the hole. I was concerned not to obliterate the “300” shape stamp, which I now think was probably a mistake. (Looking at the finished pipe, I now think I should have sanded down the abrasions caused by scraping with the X-Acto knife and not worried about the shape number stamp.)
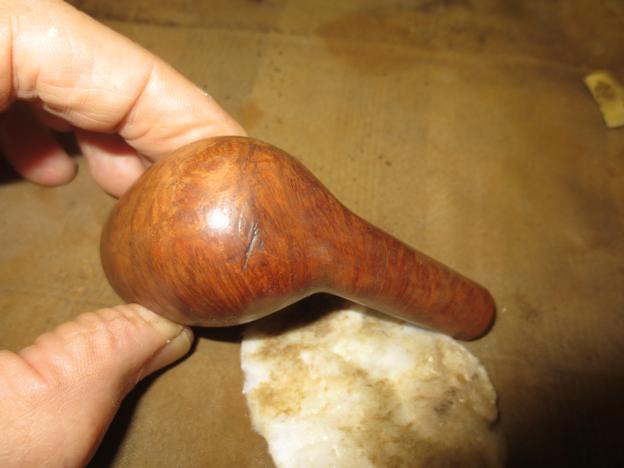
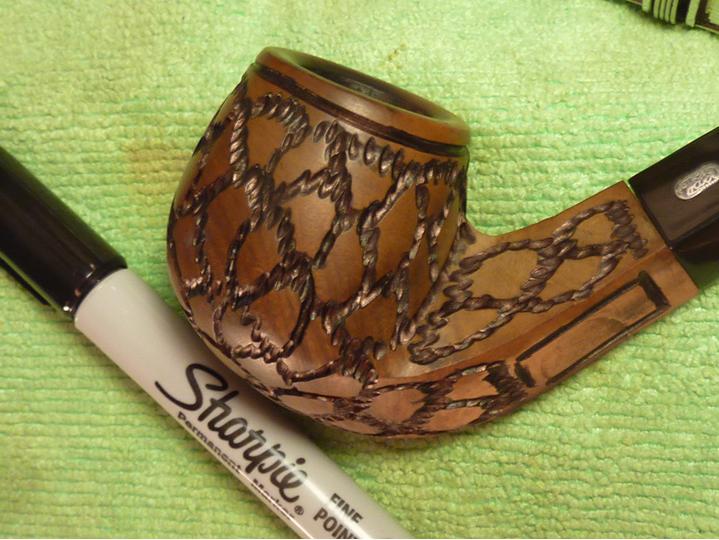
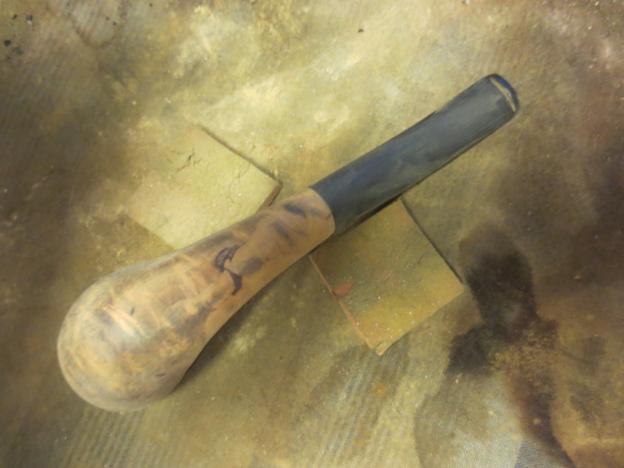
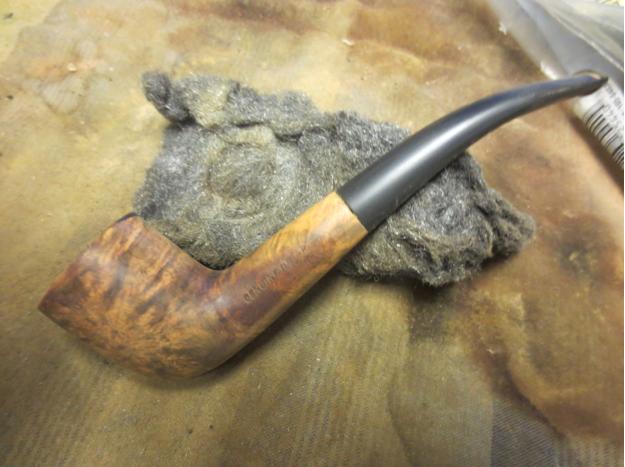
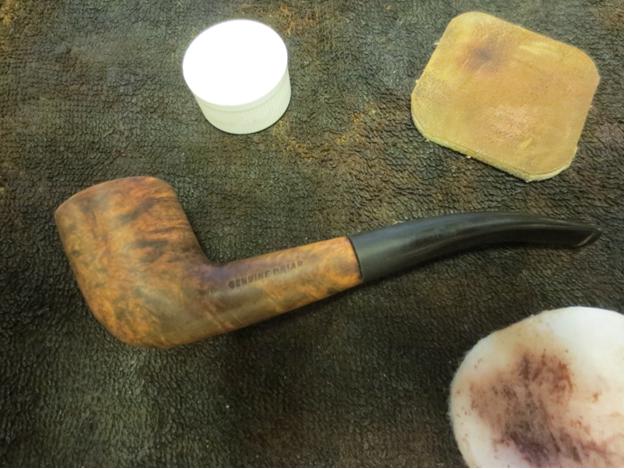
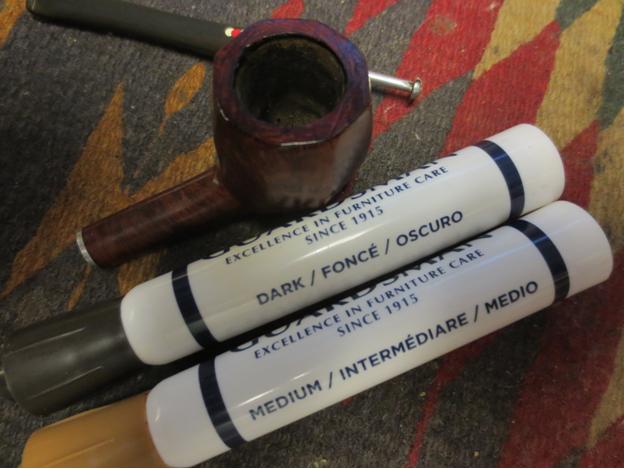
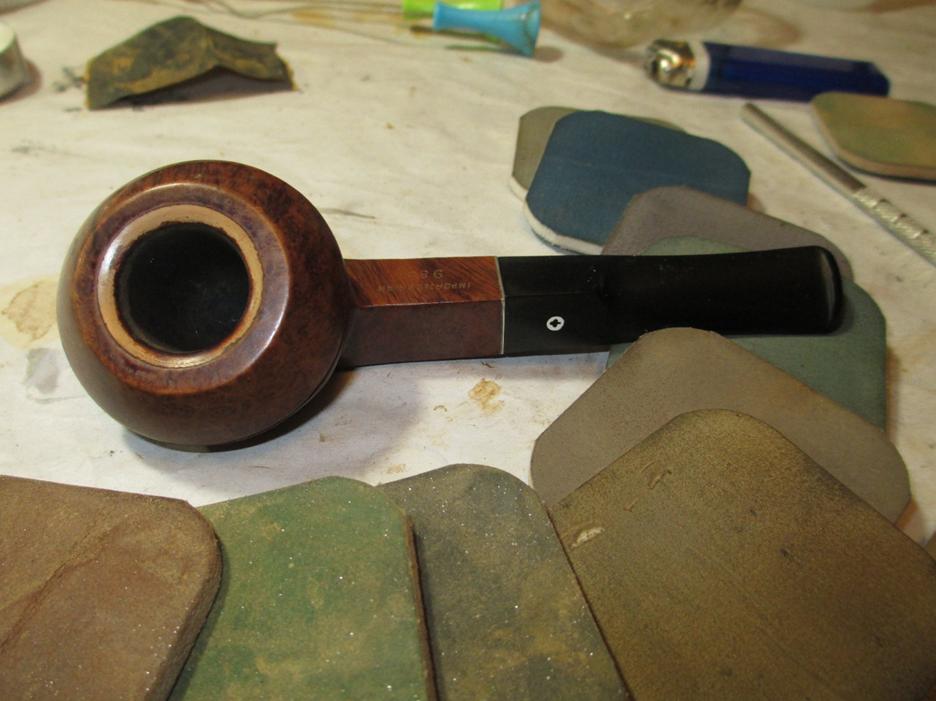
Next I needed to re-blacken the rustication lines, which had washed out in the alcohol bath. These were large enough that a Sharpie Fine Point could be used to good effect. I got this tip from Steve Laug when I was restoring a Peterson B35. The ink in some Sharpies seems to color out a dark bronze, while it’s actually black in others. Micron makes some good archival ink pens (I used them in creating the illustrations for Pipe Smoking in Middle Earth), but these were simply too fine to do the job on the Shelbrooke. Having restained the rustication marks with the Sharpie, I restained the pipe. And this resulted in a second disappointment. The Shelbrookes I’ve seen are a light brown, to allow the black rustication lines to stand out in relief. I thought I’d mixed a very light glaze of medium brown Fiebing’s—maybe 1 part dye to 5 parts alcohol? I wiped it on and then flamed it. It came out a great deal darker than I’d hoped. I tried rubbing it off with a wet alcohol cotton pad, which helped, but didn’t bring out the lighter color I’d originally wanted. I think that the Sharpie ink may have “bled” into the alcohol solution, darkening the bowl. A better solution—now that I know the Sharpie ink will bleed—would have been simply to buff the bowl with carnuba.
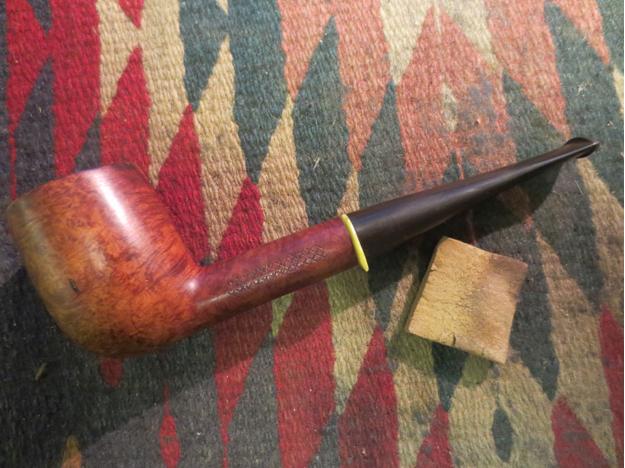
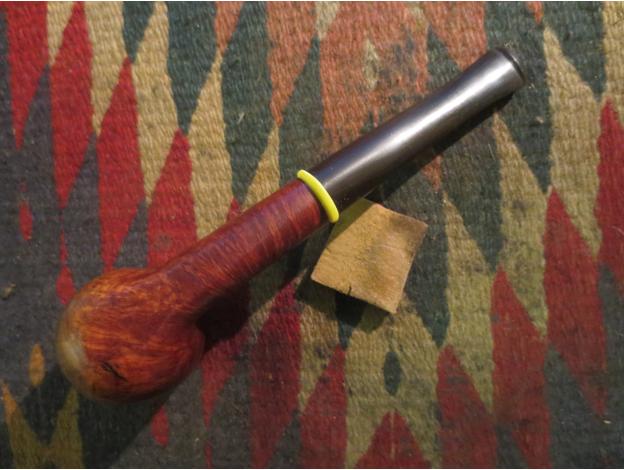
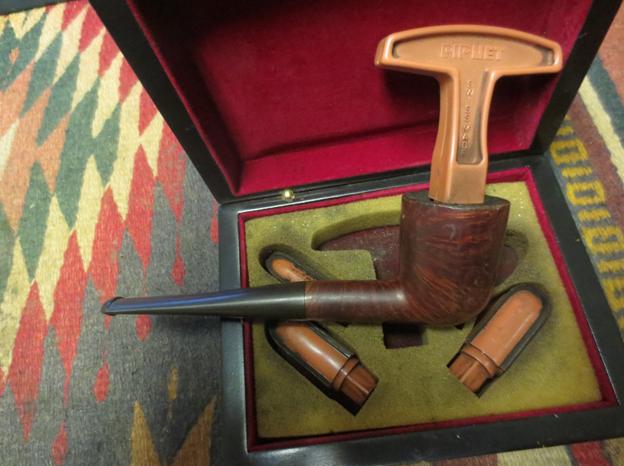
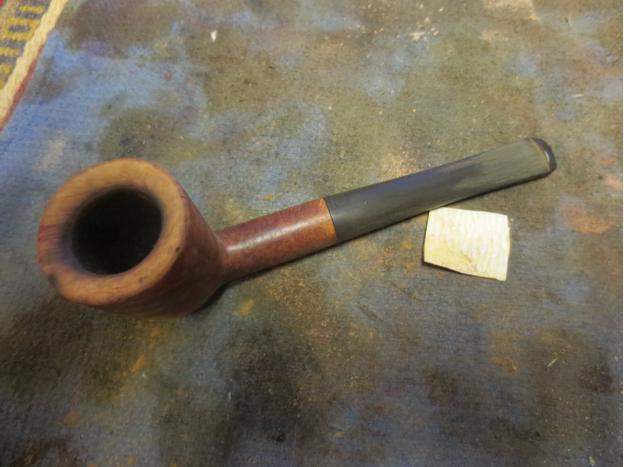
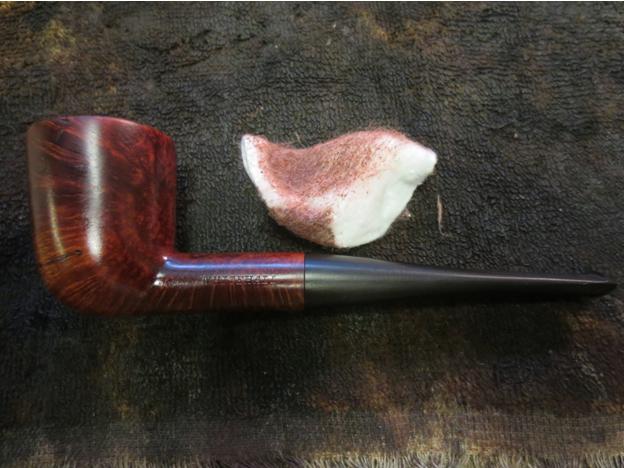
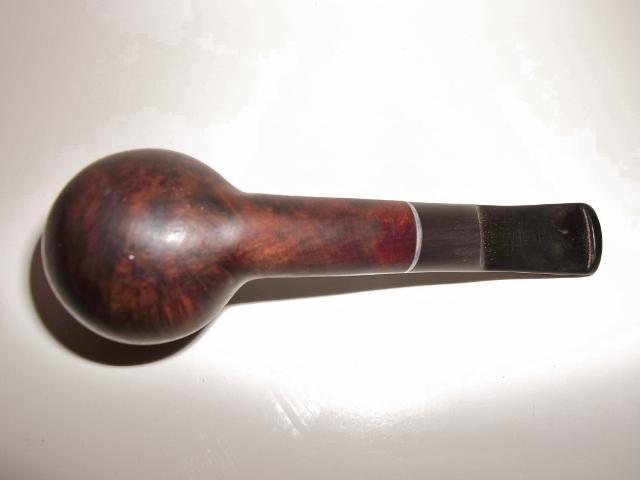
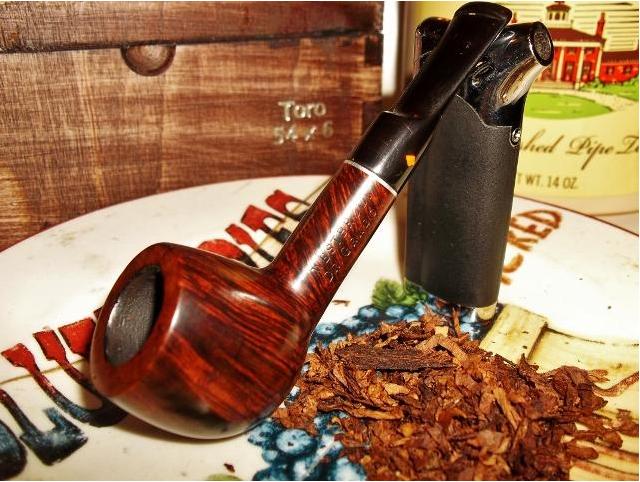
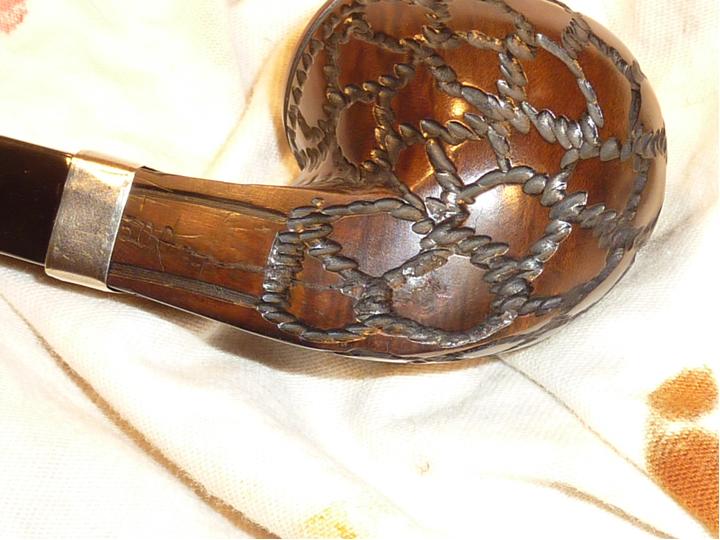
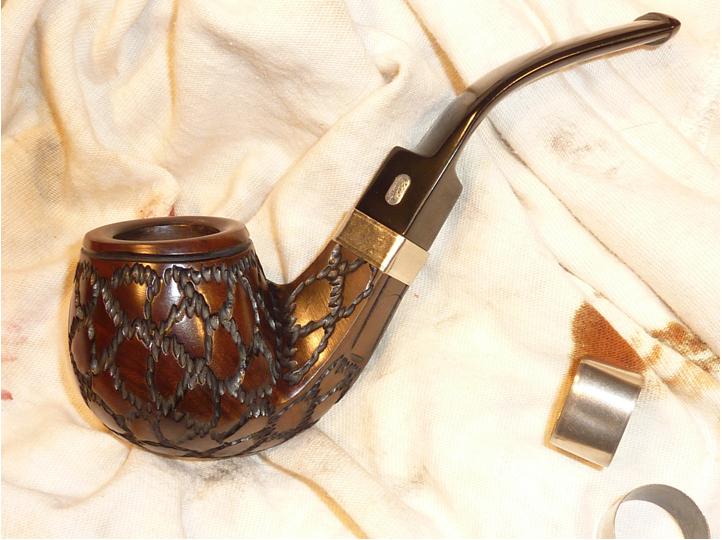
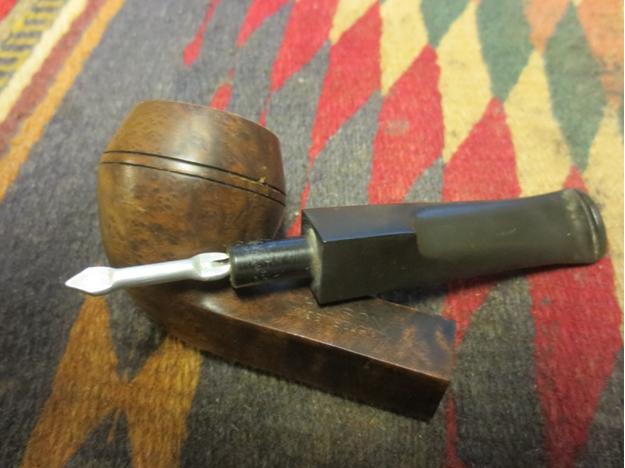
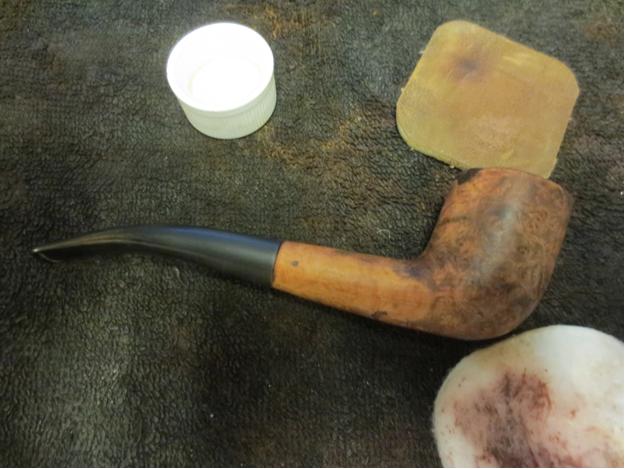
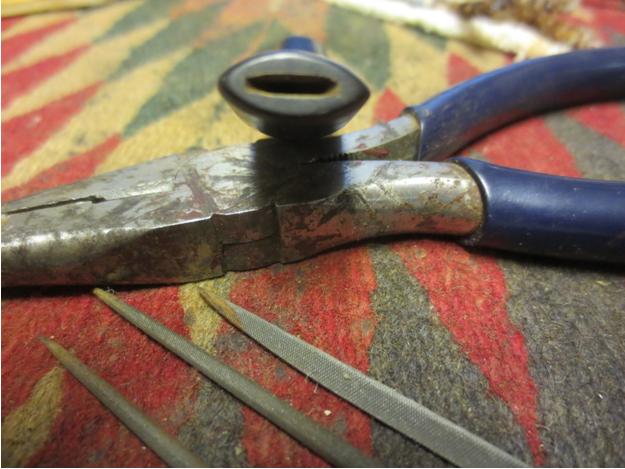
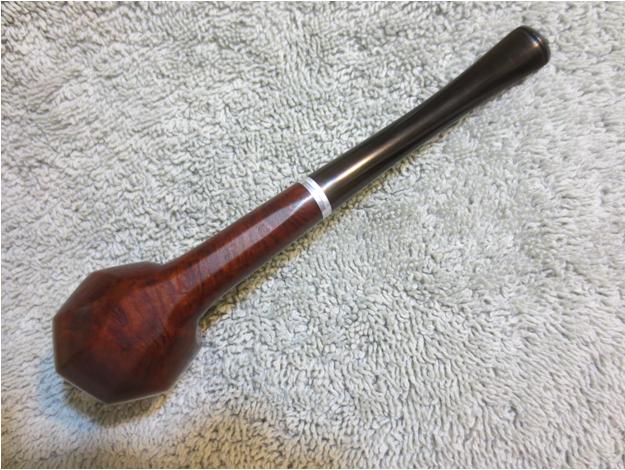
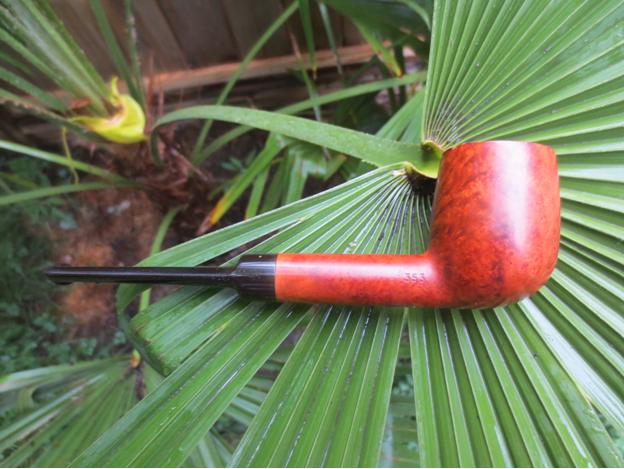
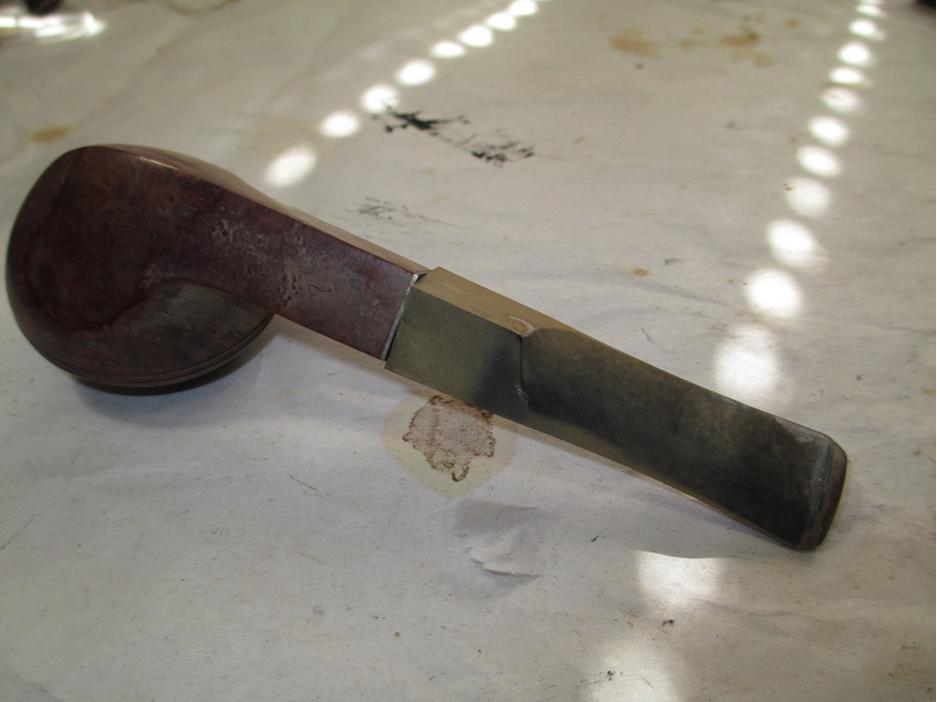
 Now it was time to put the band on. I used the smallest of the three, a 16.5mm, creasing one corner of it like Steve Laug has shown in two of his blogs here on this site. Then it was simply a matter of working it onto the pipe and bending each side with my fingers. I did heat the band with the heat gun set on low. I also used a small hammer to help knock the band into alignment, as each of the sides of the shank is slightly different.
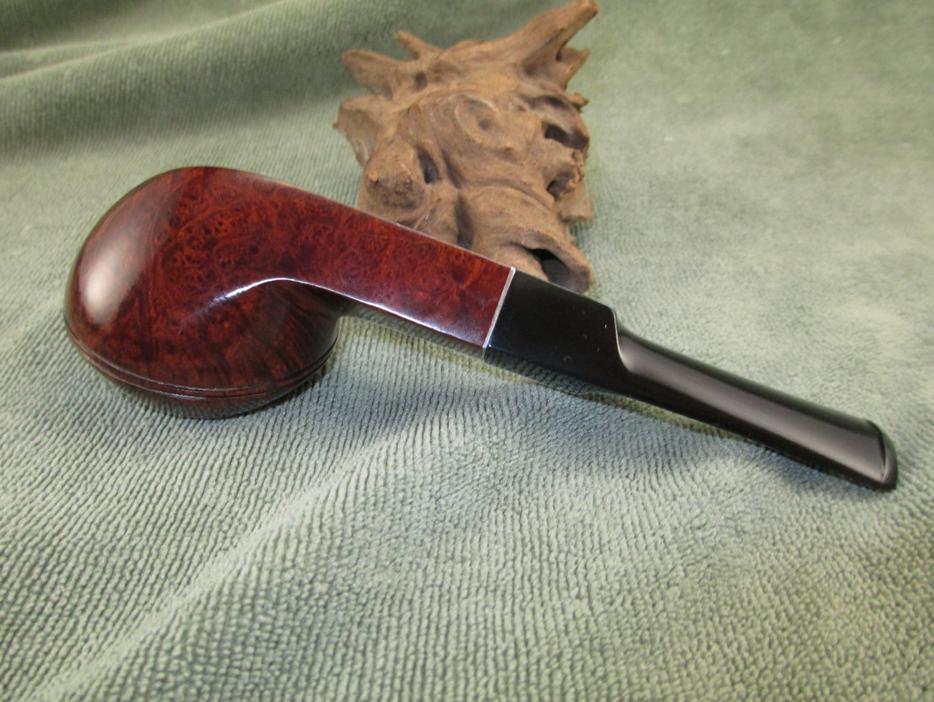
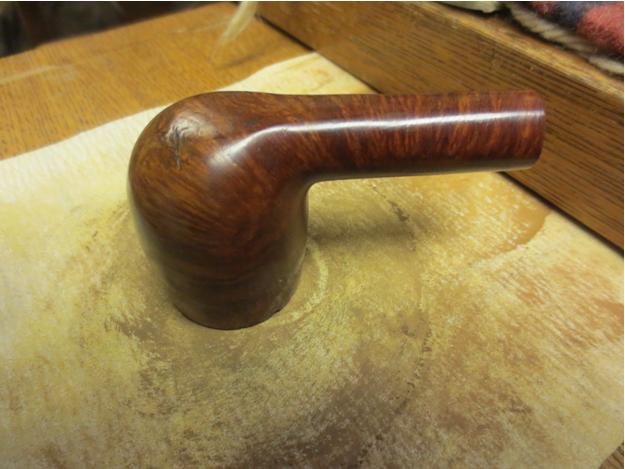
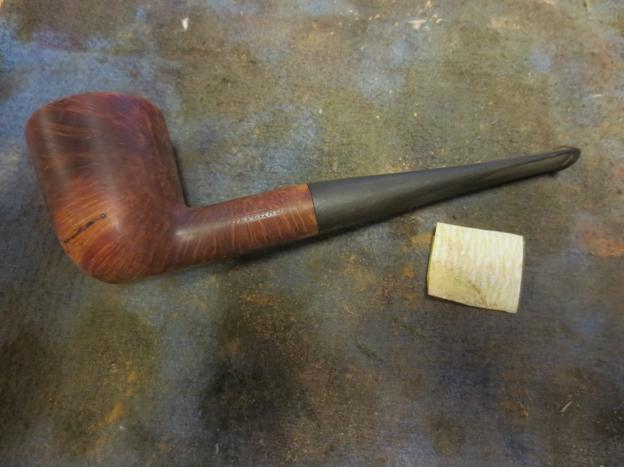
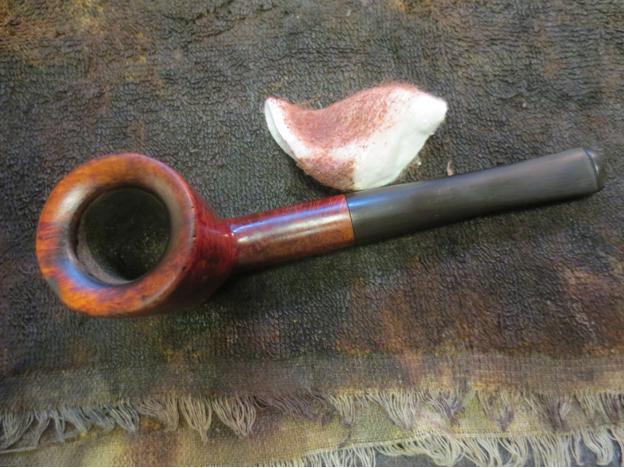
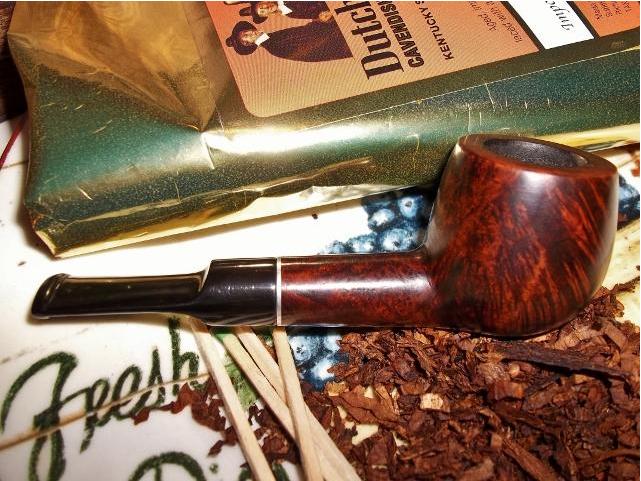
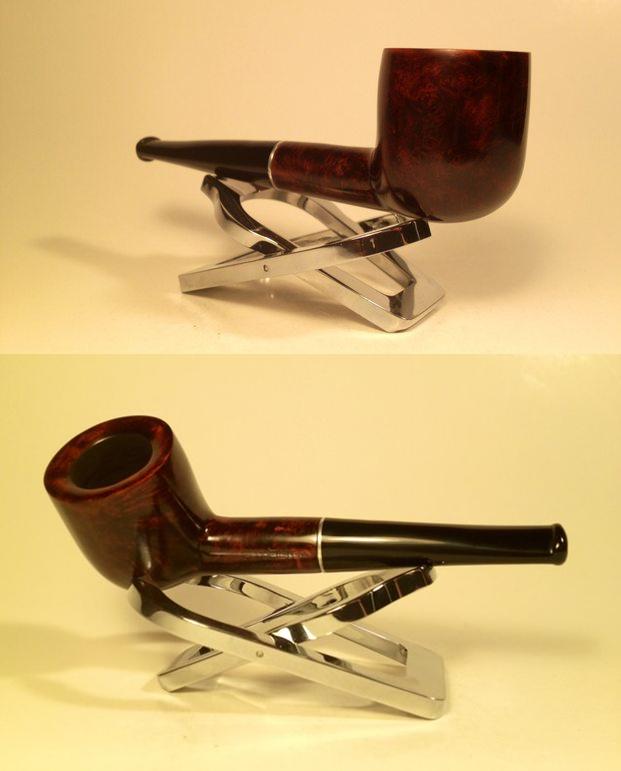
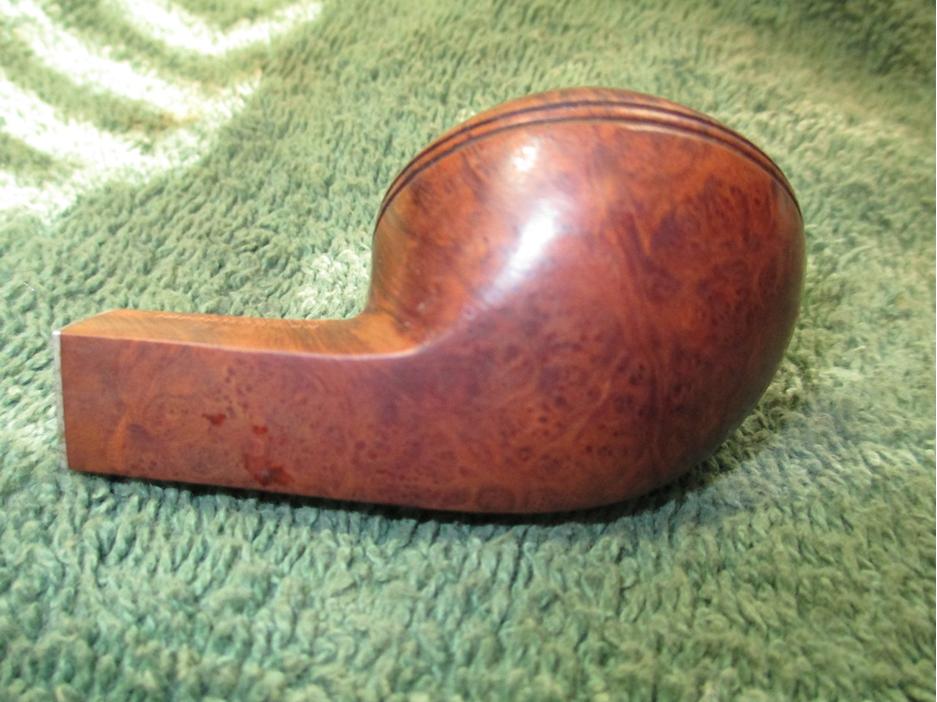
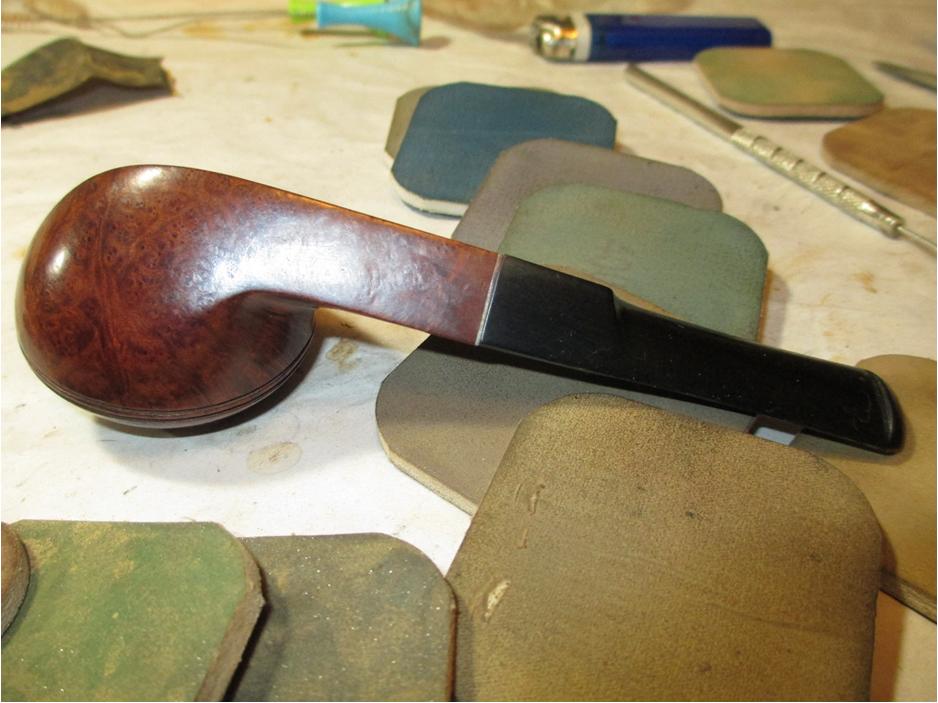
 All in all, I’m fairly satisfied with the job. The proof, of course, will be in the smoking.
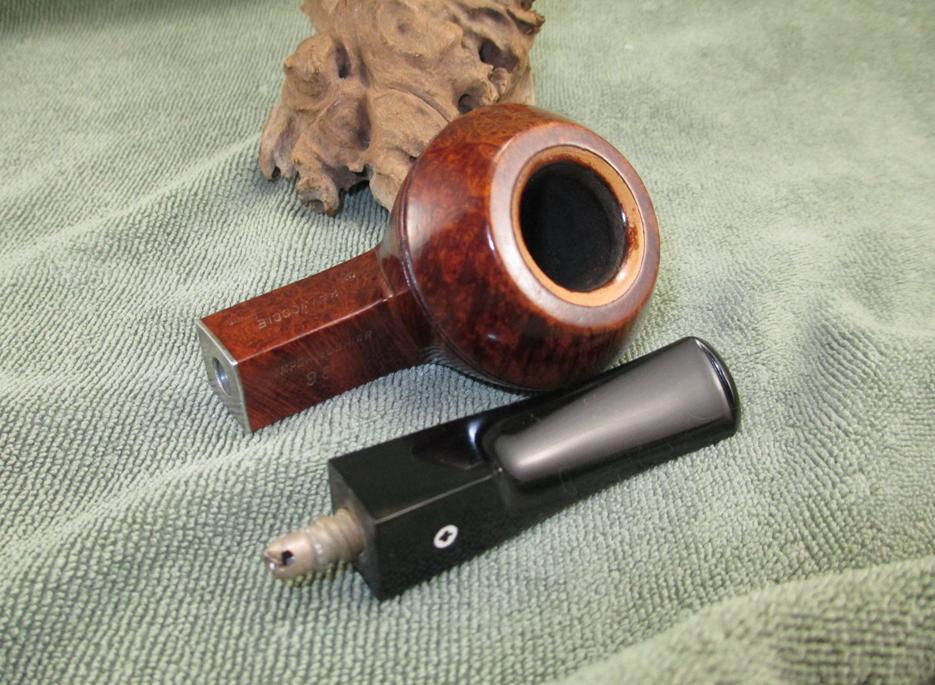
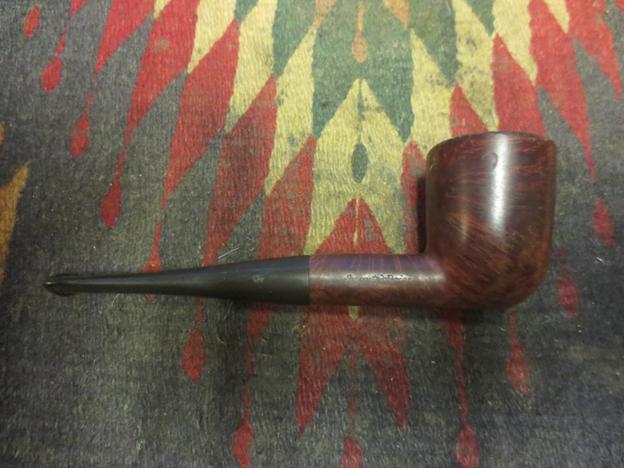
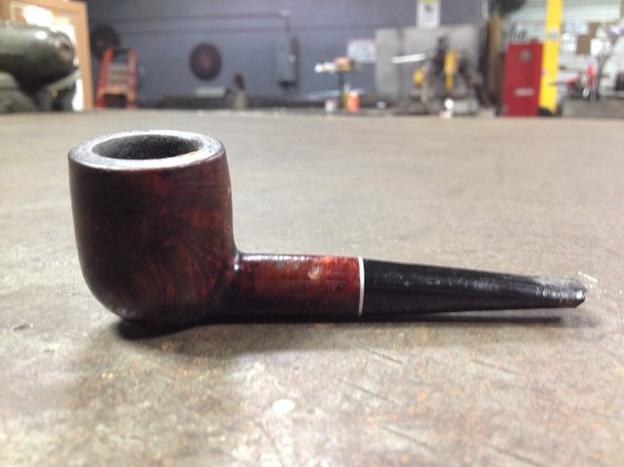
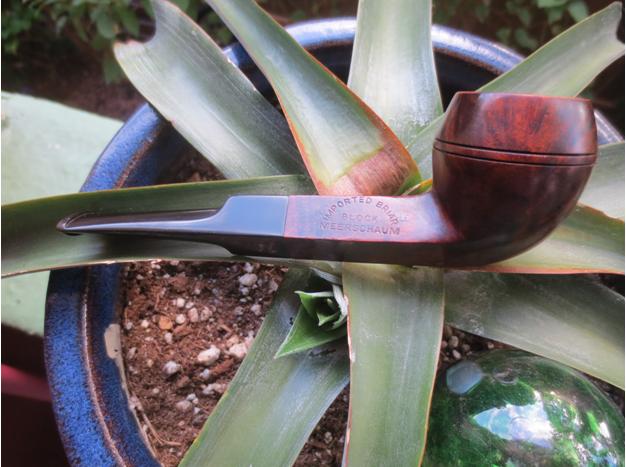
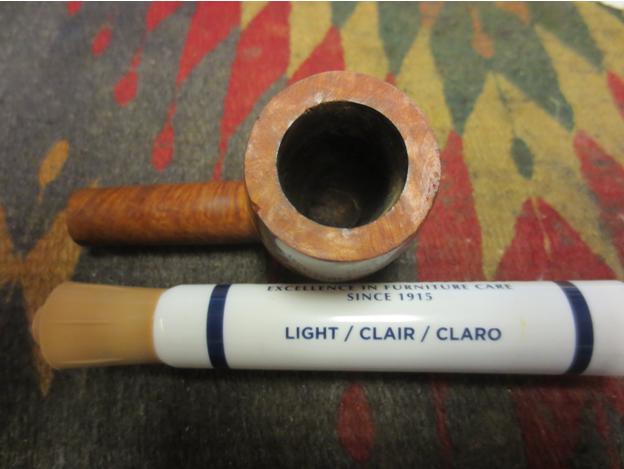
 The stem was under-clocked and heavily oxidized. The bowl had very thick cake and a buildup of tar on the rim. There was some kind of protective finish on the bowl that left a film after the alcohol bath. Additionally, the stinger was cut. On the plus side, I could see some really nice grain and the stem was virtually unmolested.
 That worked like a charm.
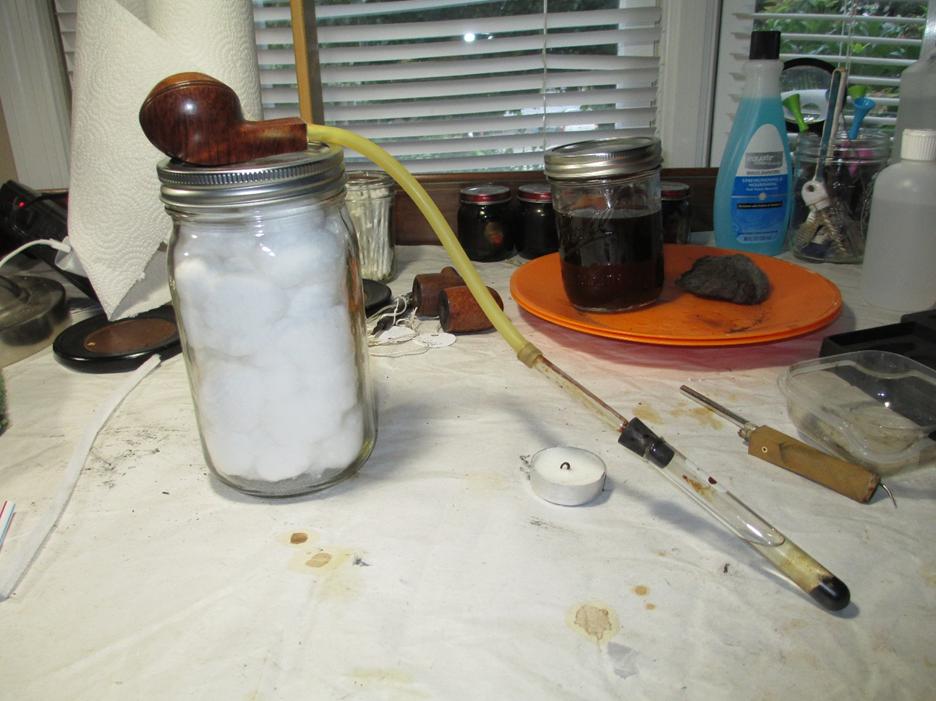
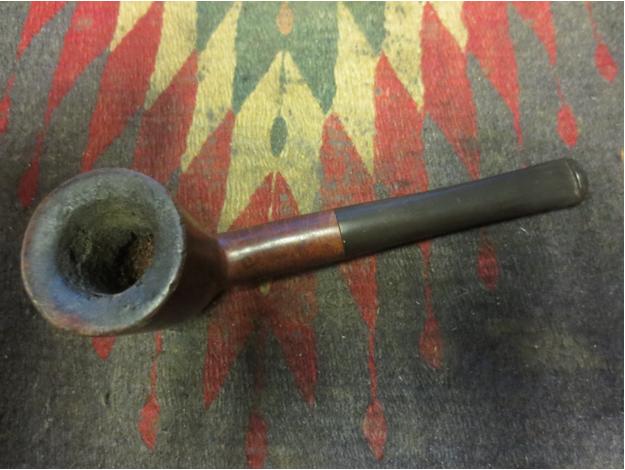
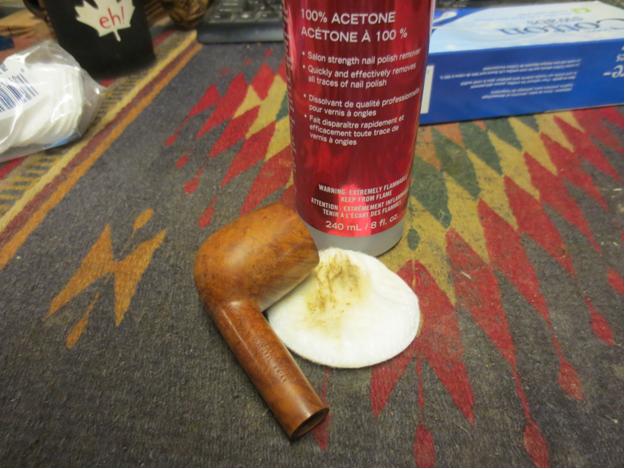
 After scrubbing the insides with brushes, q-tips, and pipe cleaners, it was time to tackle the exterior issues. I used 0000 steel wool with acetone to remove the tar build up on the rim.
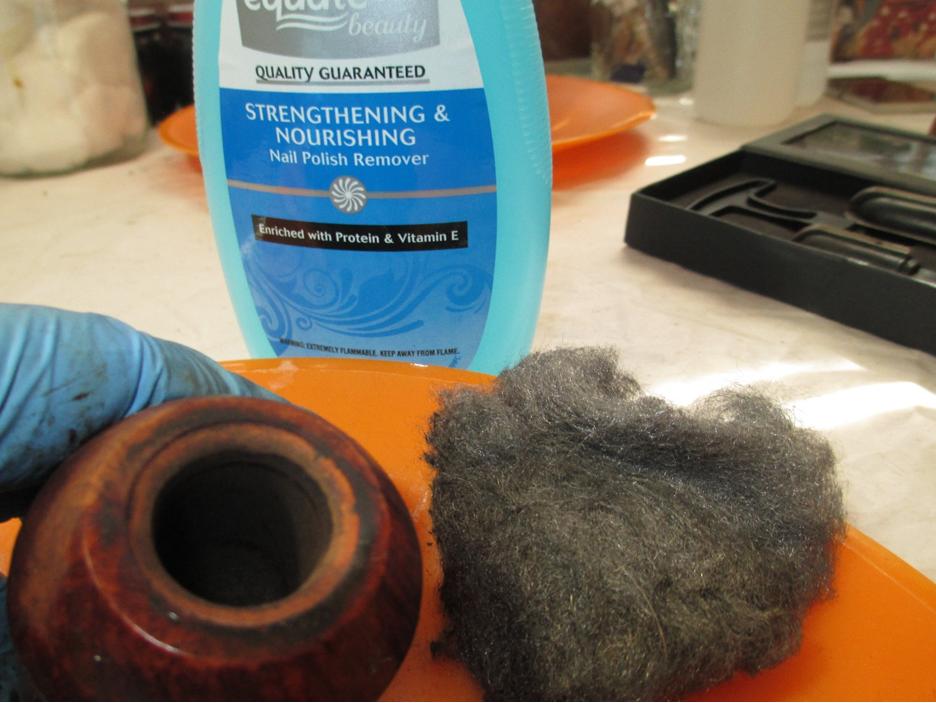
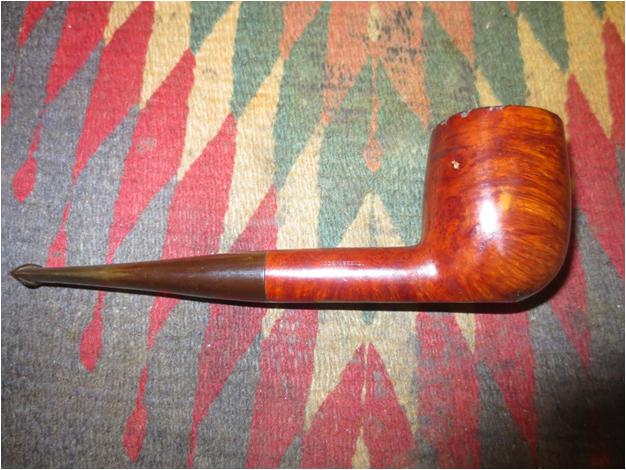
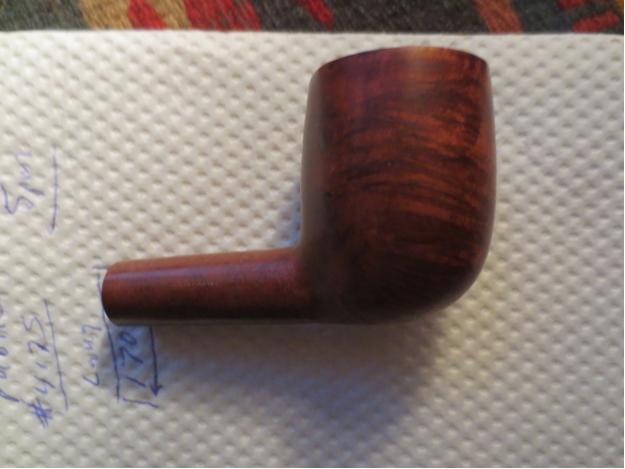
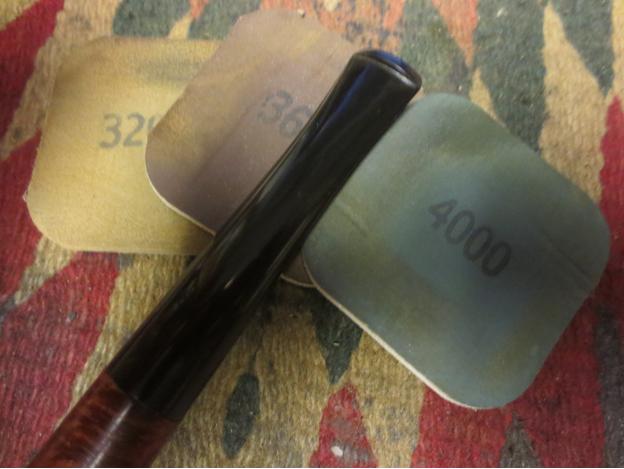
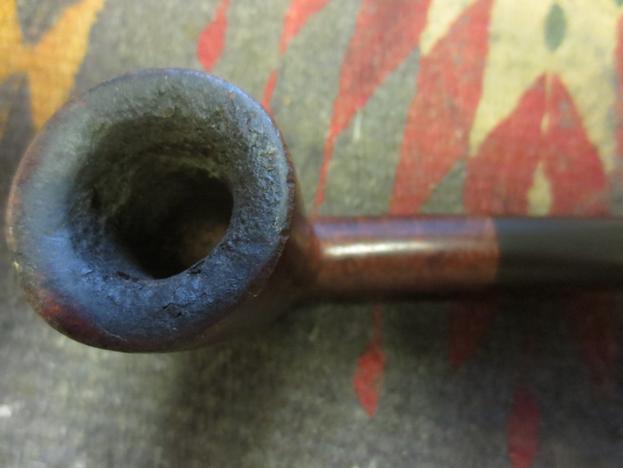
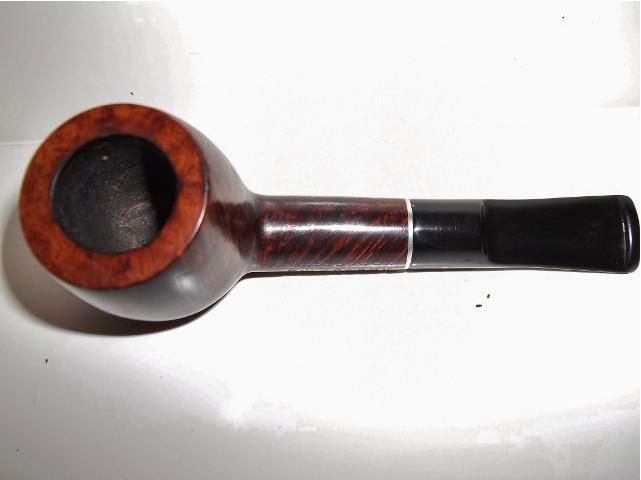
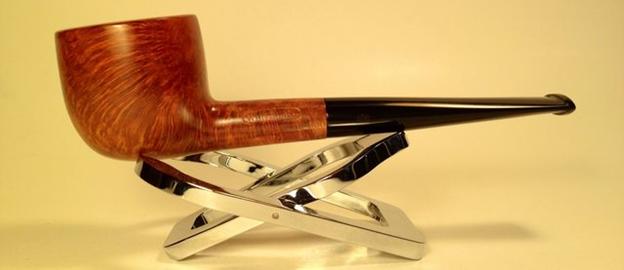
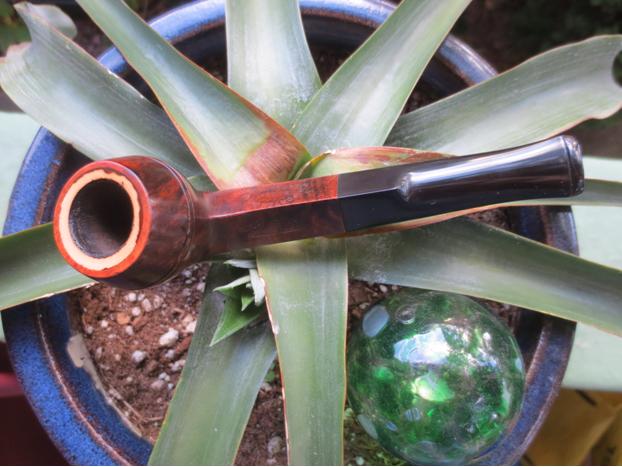
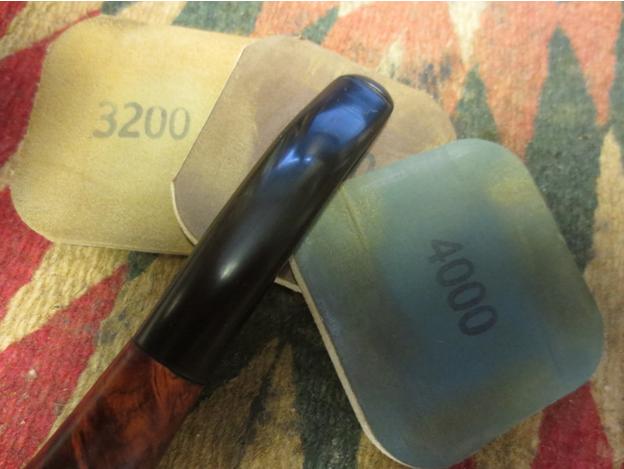
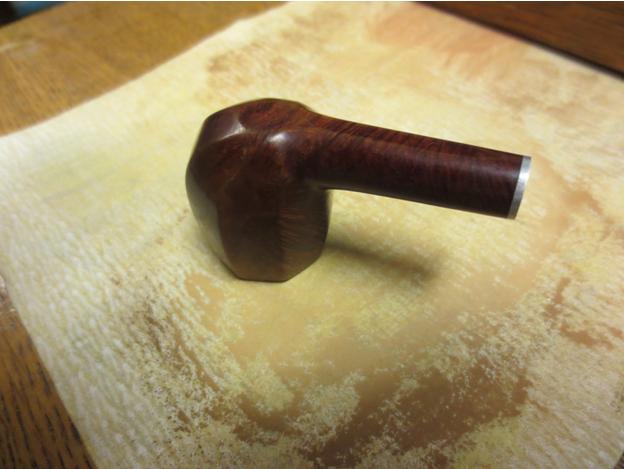
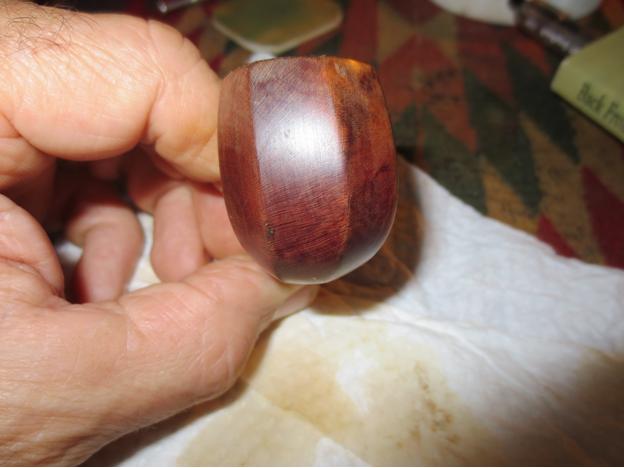
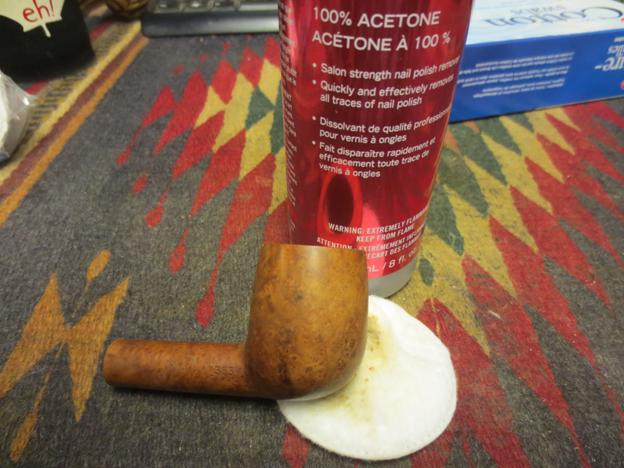
 I continued with the 0000 steel wool over the rest of the bowl to remove the film on the finish. After cleaning the bowl, I used 3200-12000 grit micro mesh to polish the bowl. This is what it looked like afterwards.
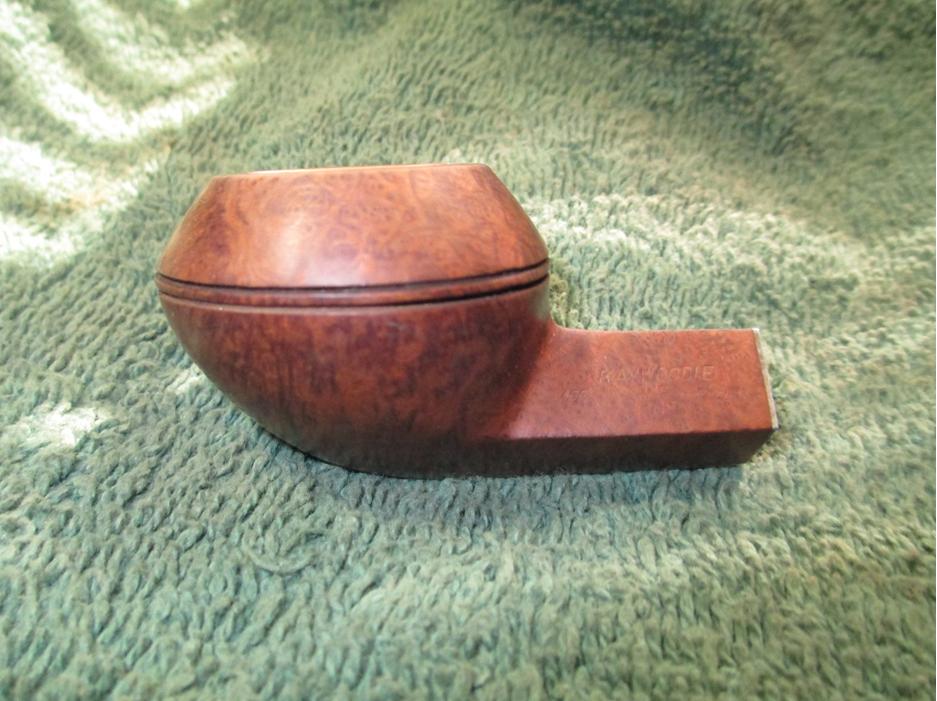
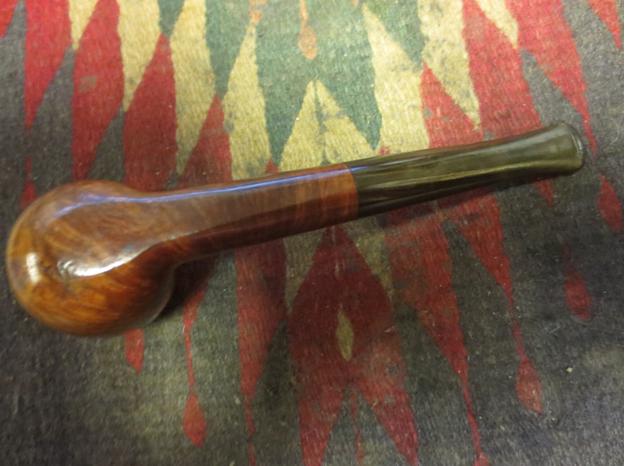
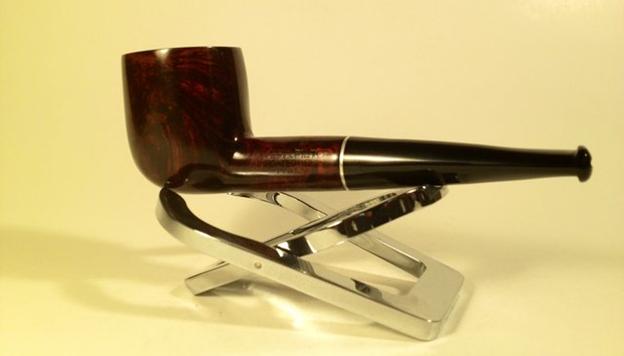
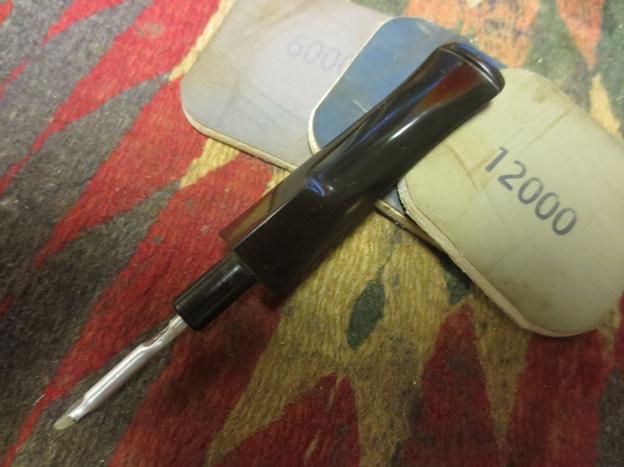
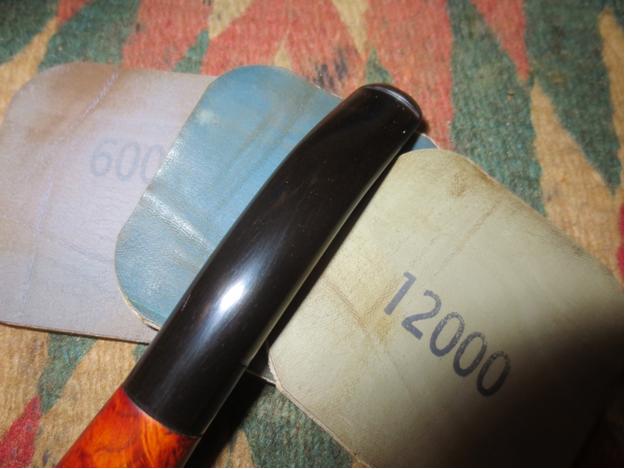
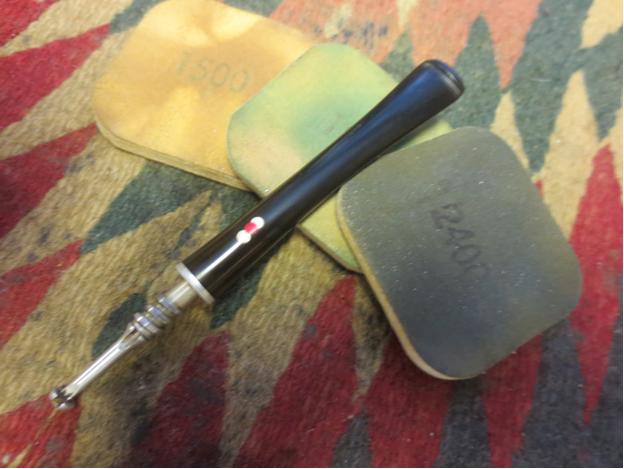
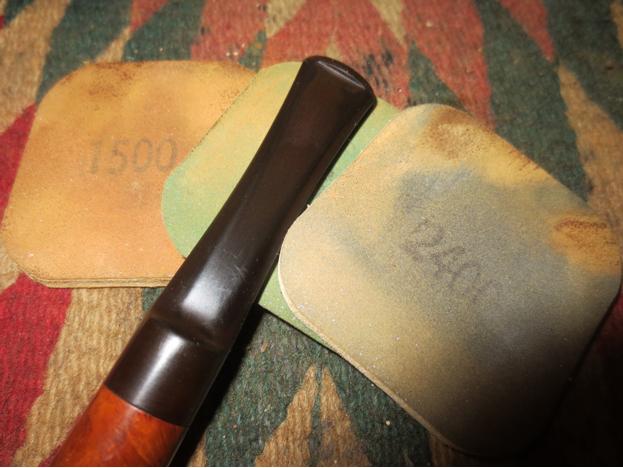
 I used 400 grit wet/dry with water to remove the oxidation from the stem, followed by 1800-2400 grit micro mesh with water.
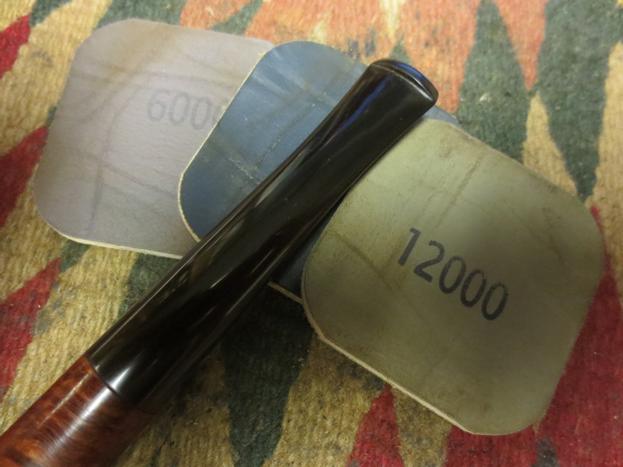
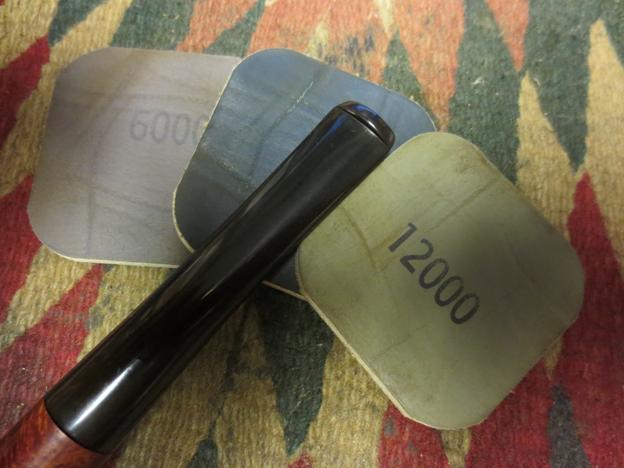
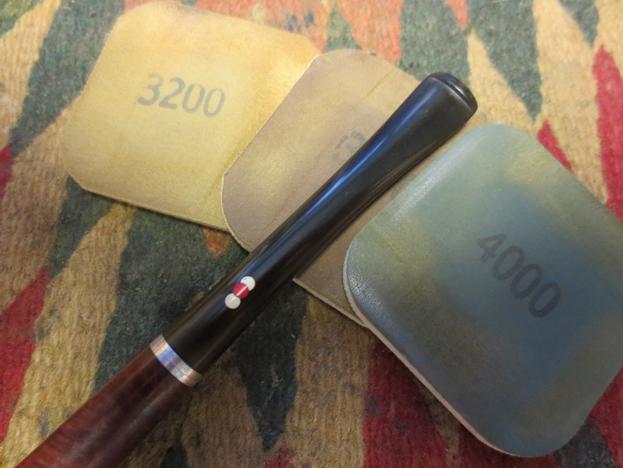
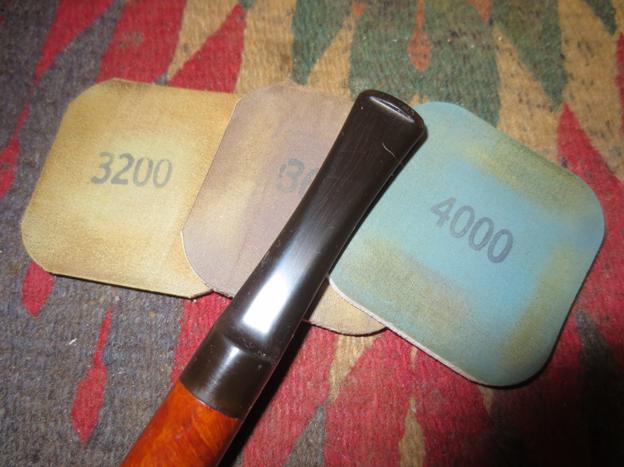
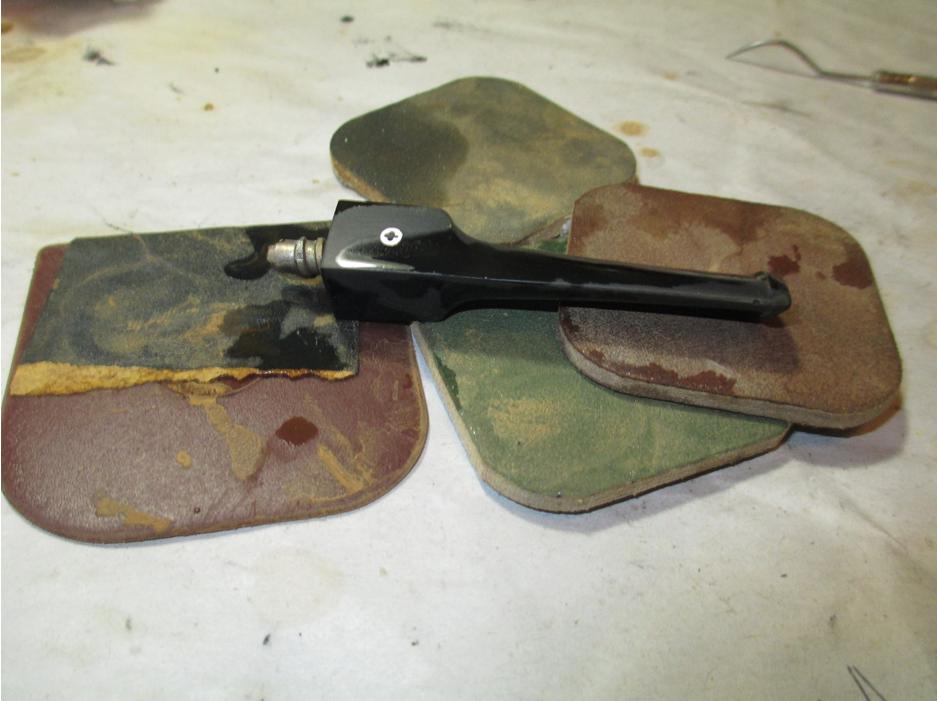 I finished the stem with a progression of 3200-12,000 grit micro mesh.
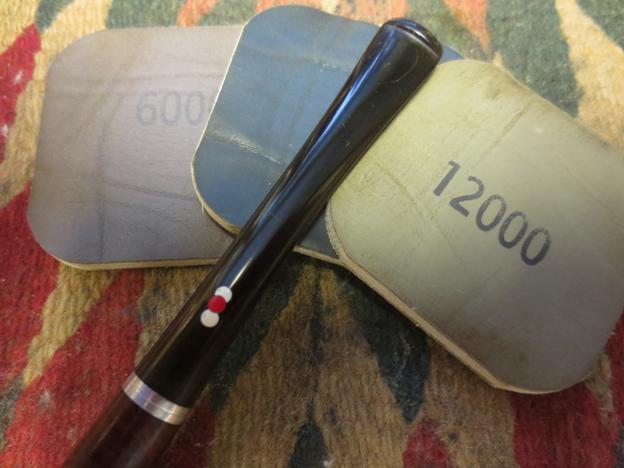
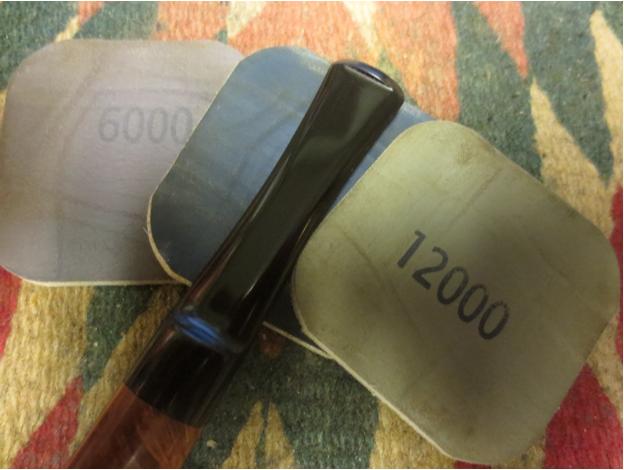
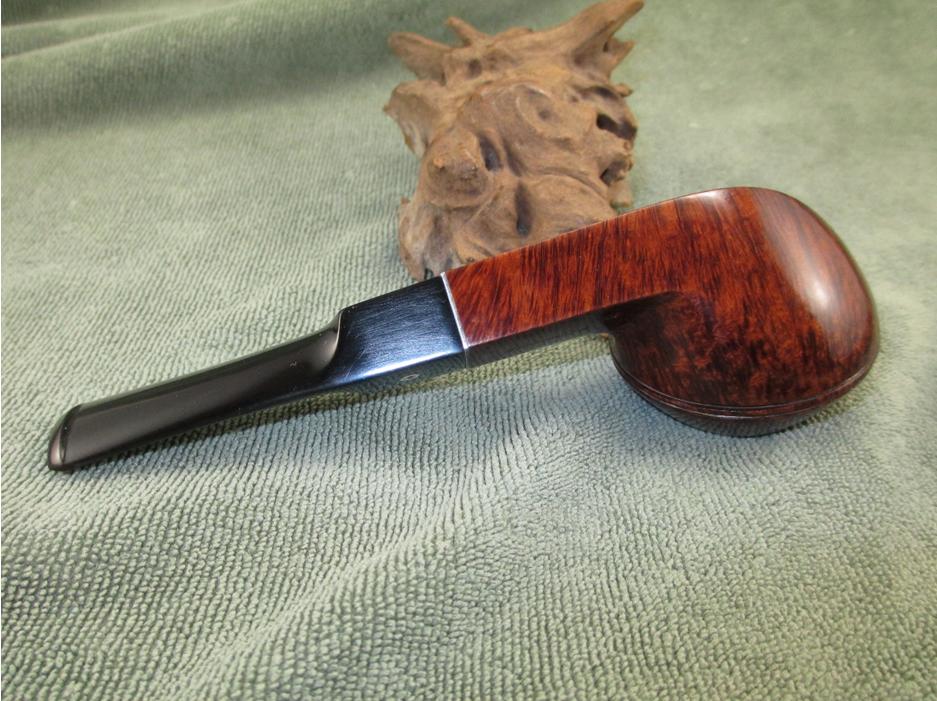
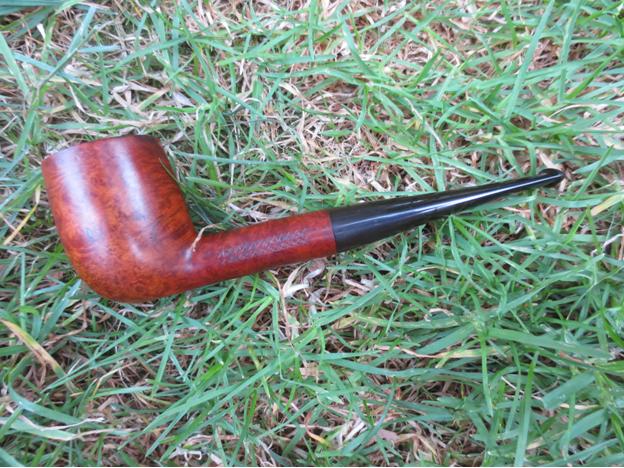
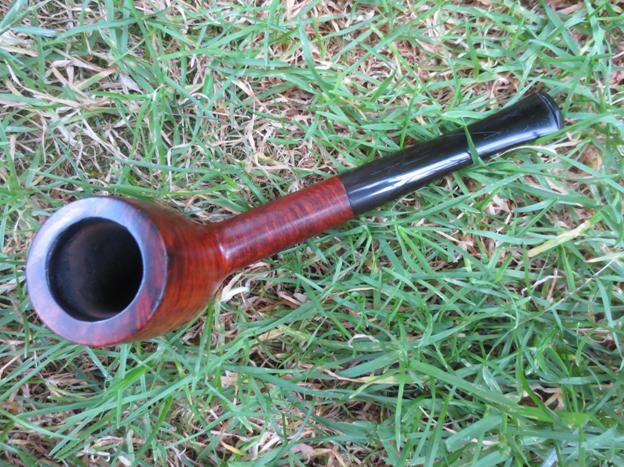
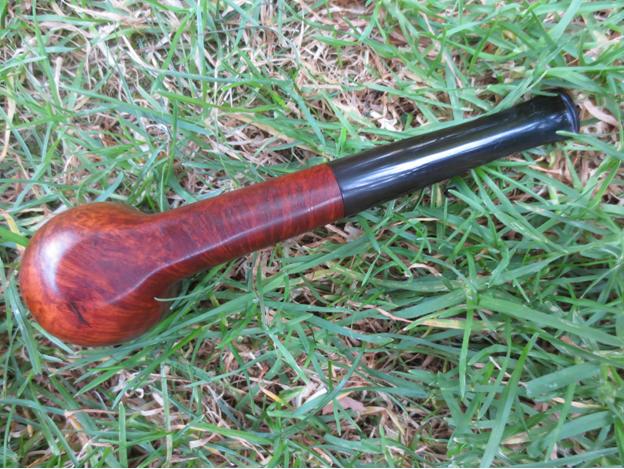
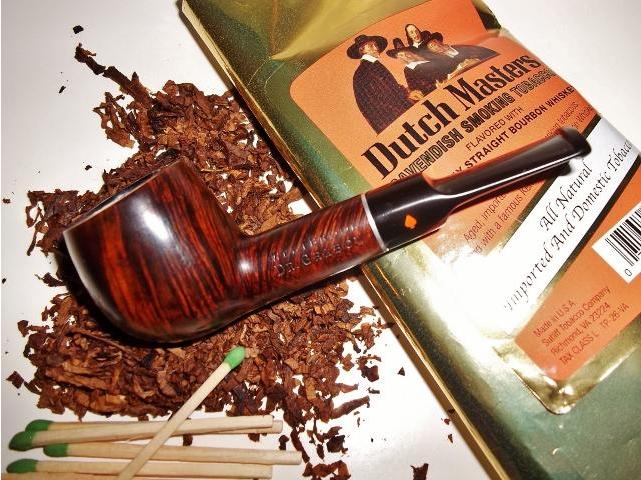
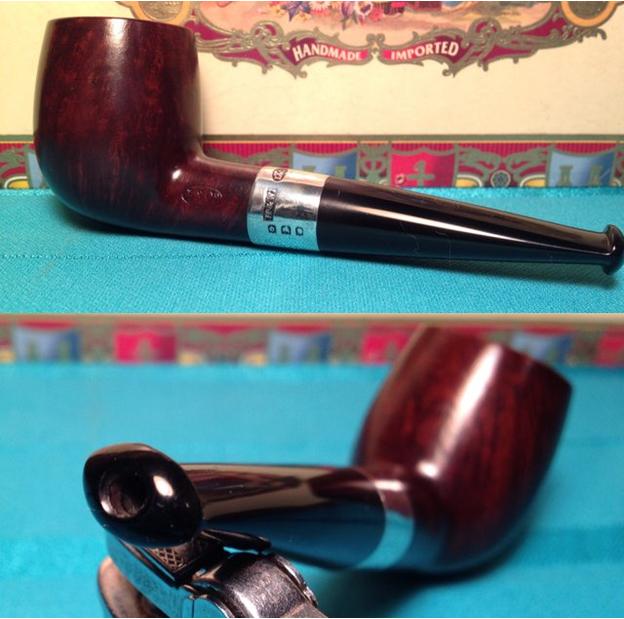
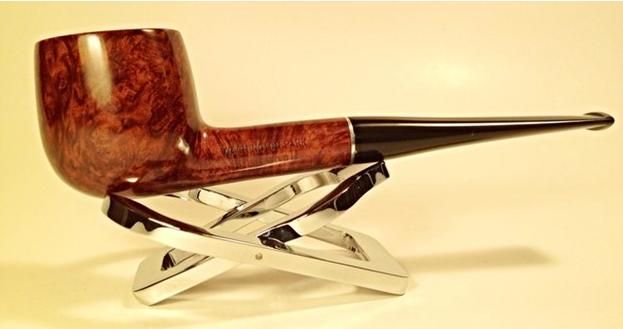
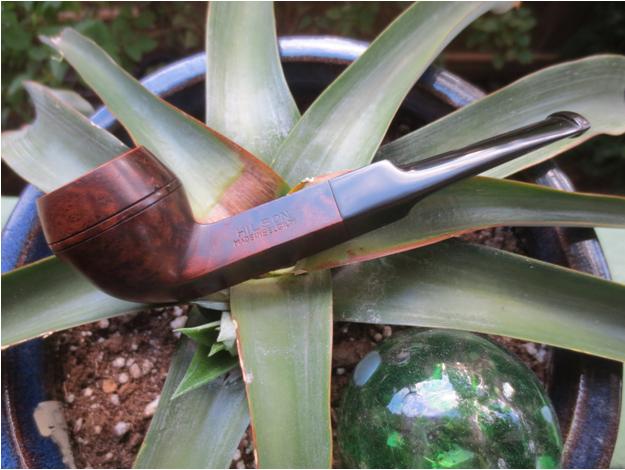
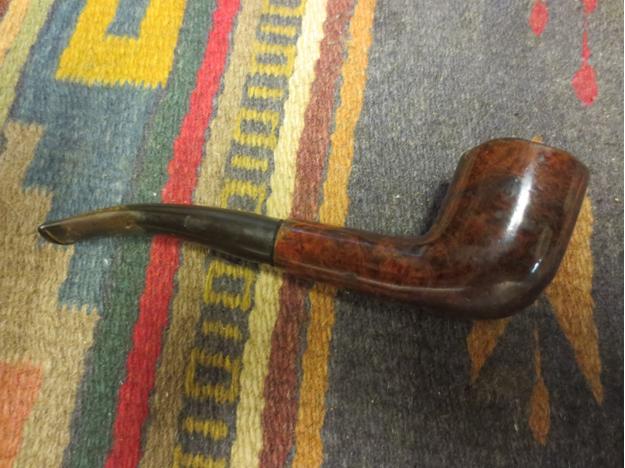
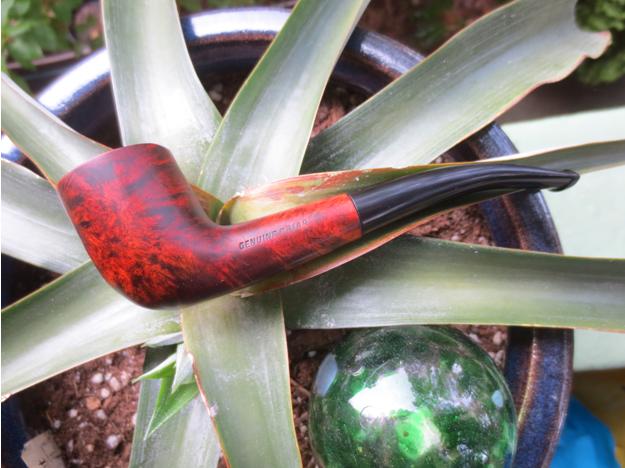
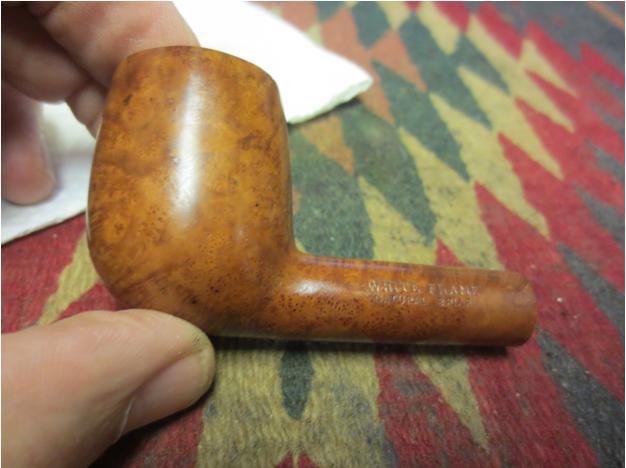
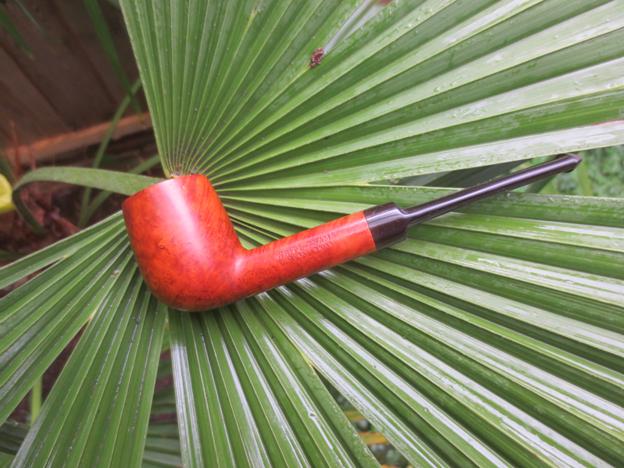
 I set up my buffer and polished the bowl with white diamond and carnauba wax. I used my variable speed rotary tool with white diamond and carnauba wax for the stem. Here is the finished pipe. Thanks for looking.