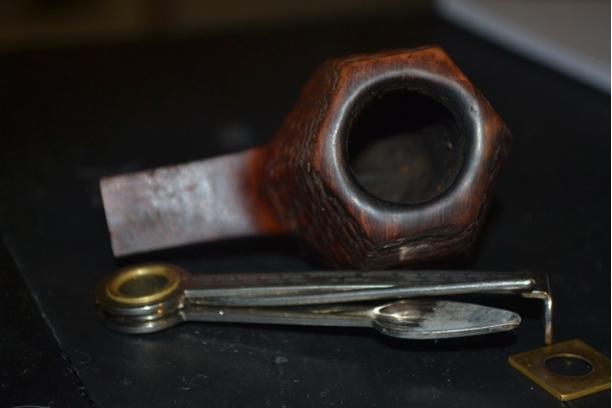
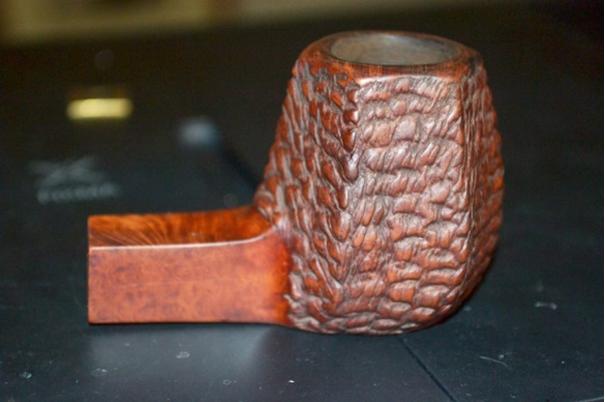
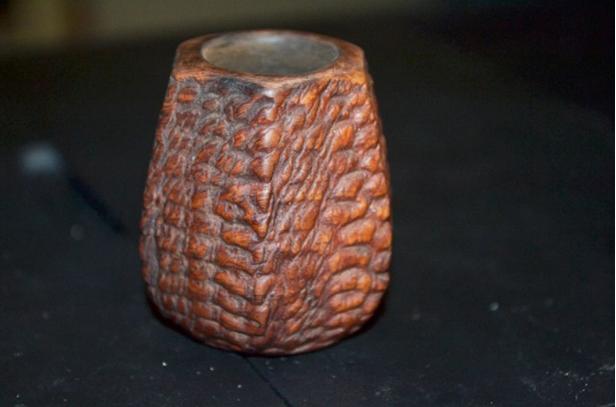
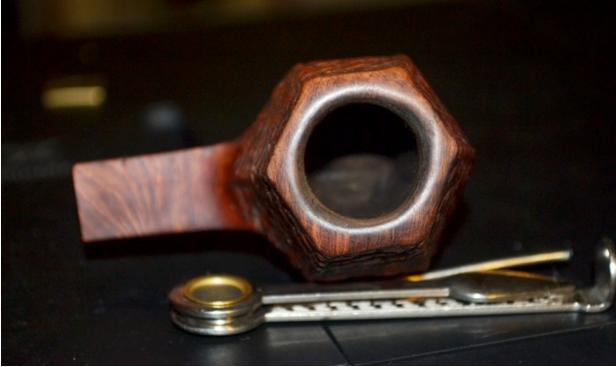
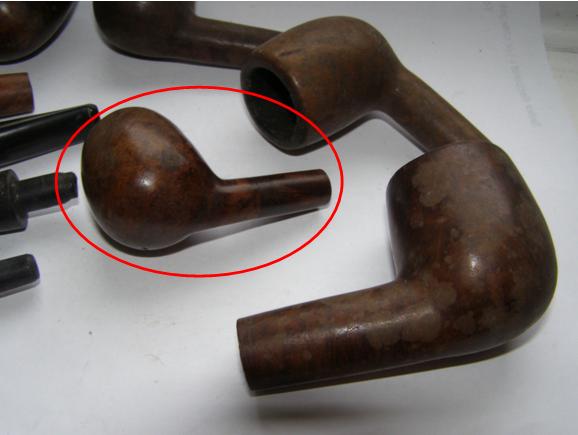
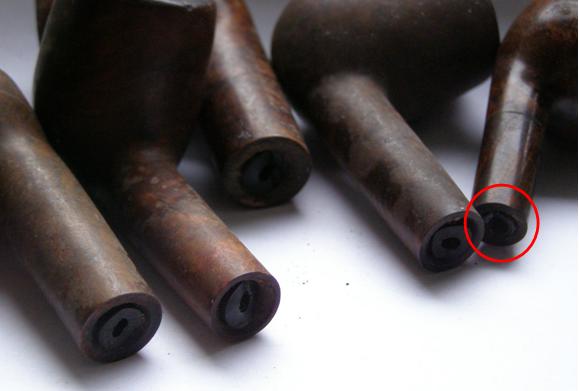
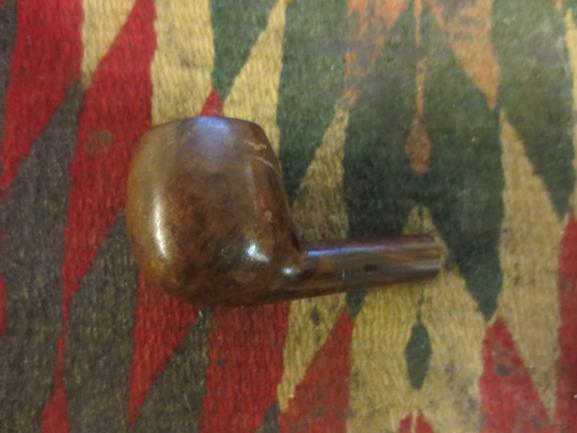
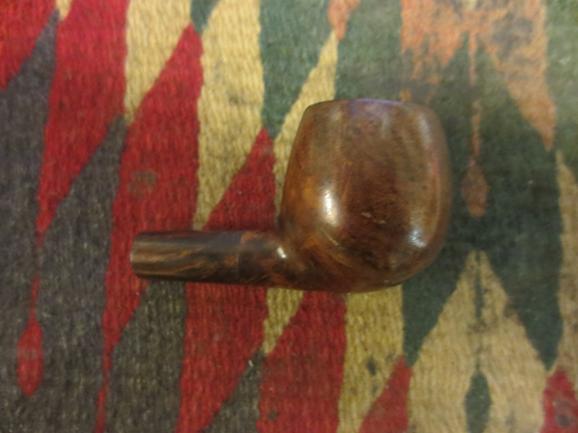
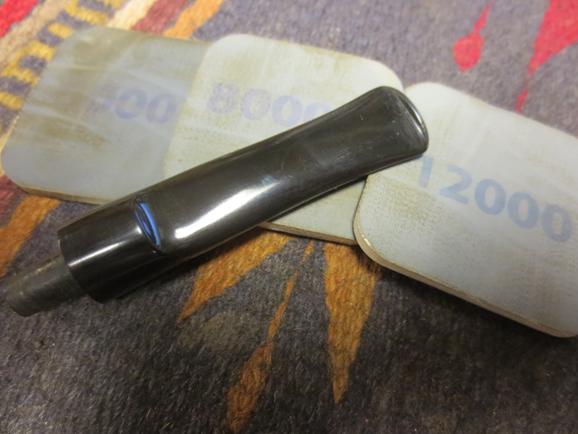
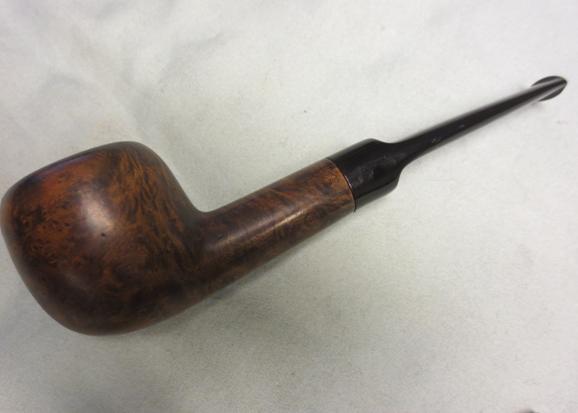
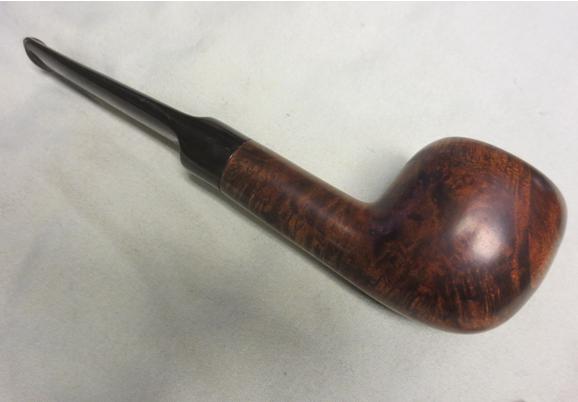
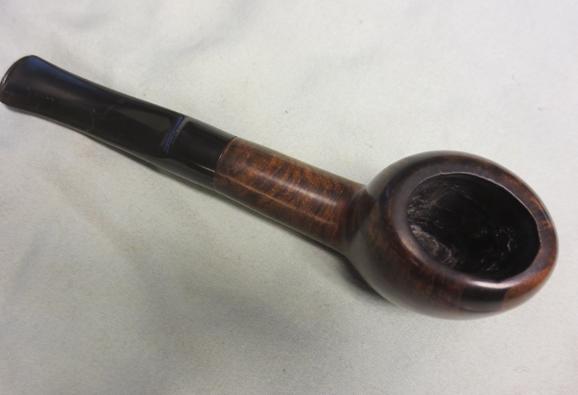
Tag Archives: bowl – refinishing

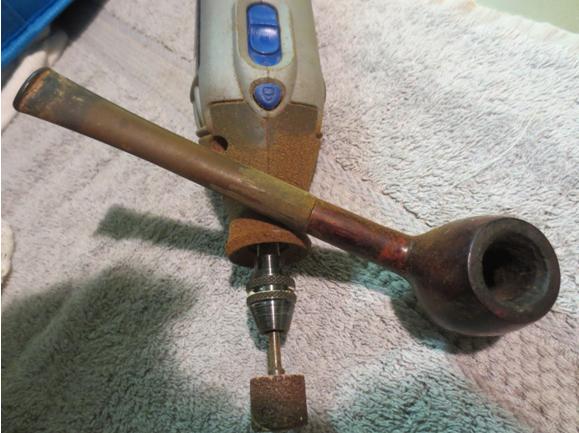
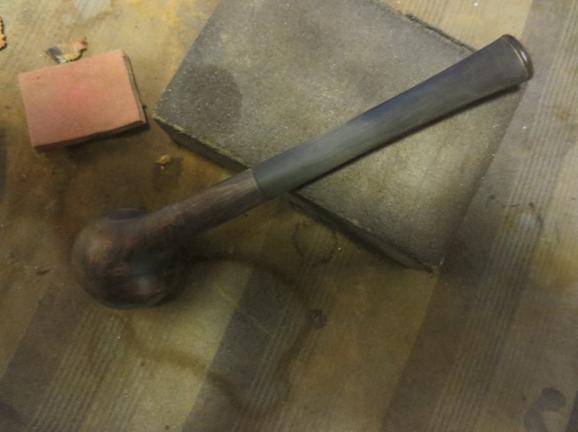
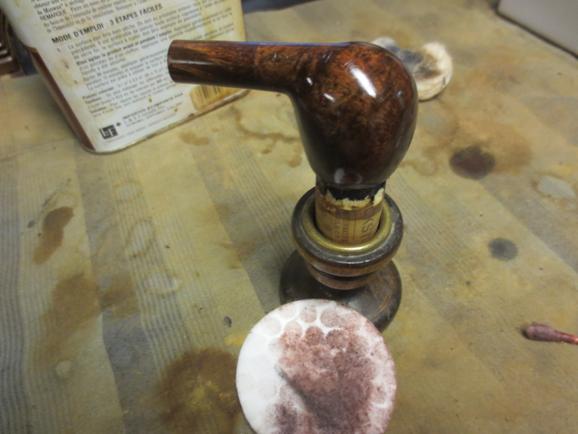
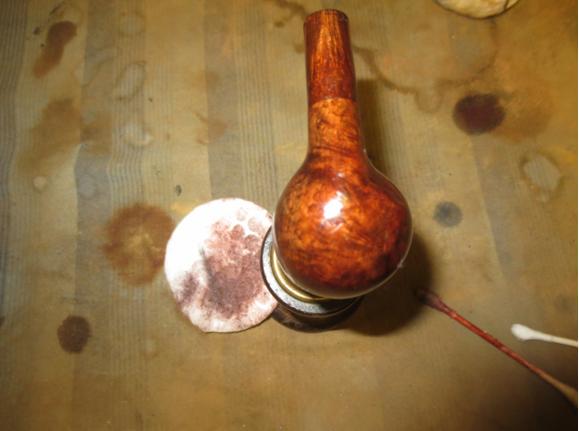
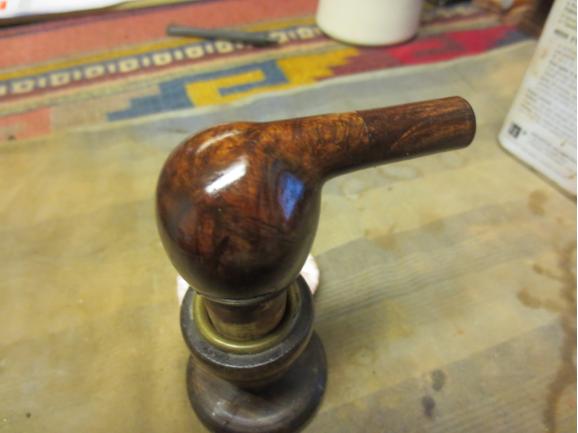
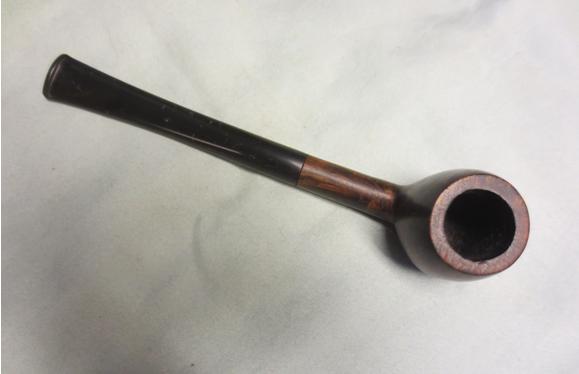
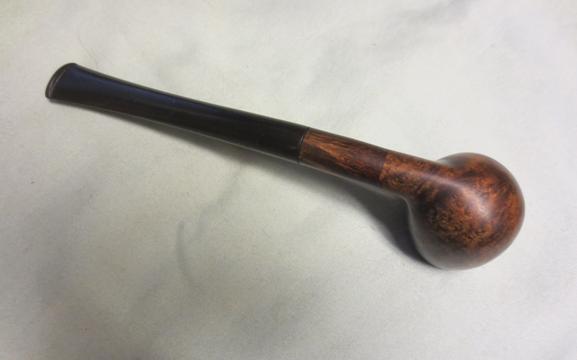
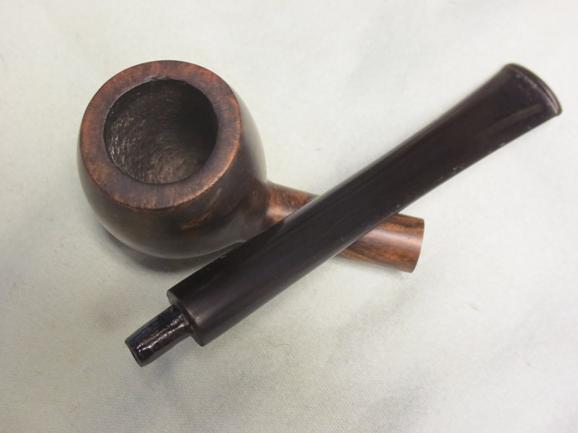
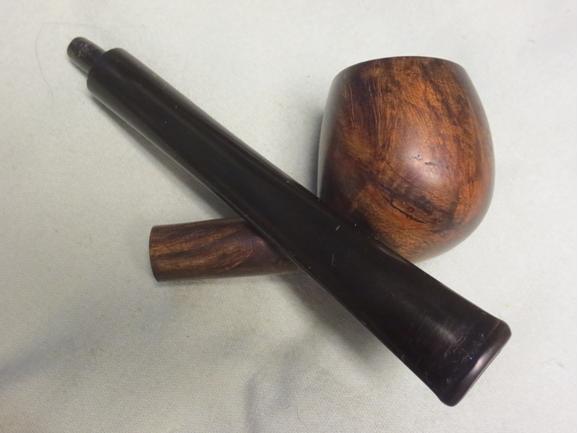
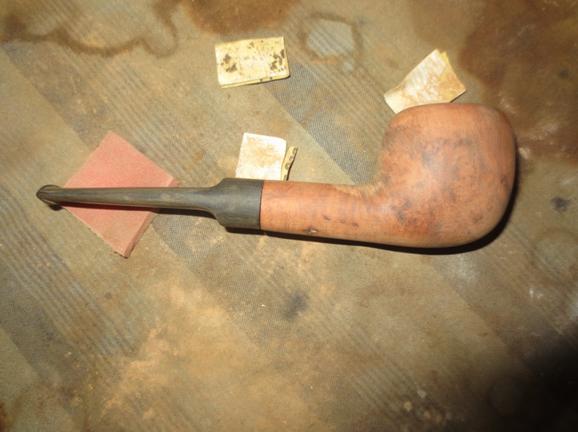
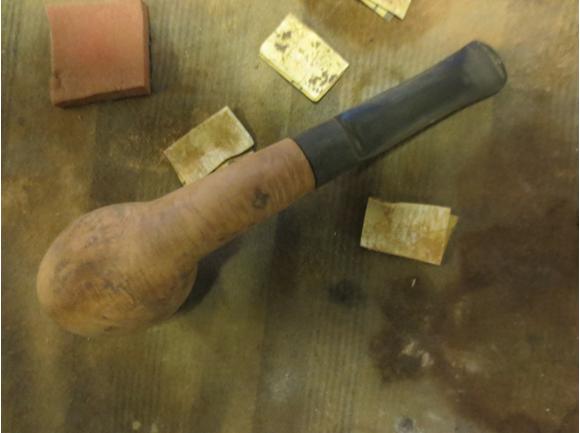
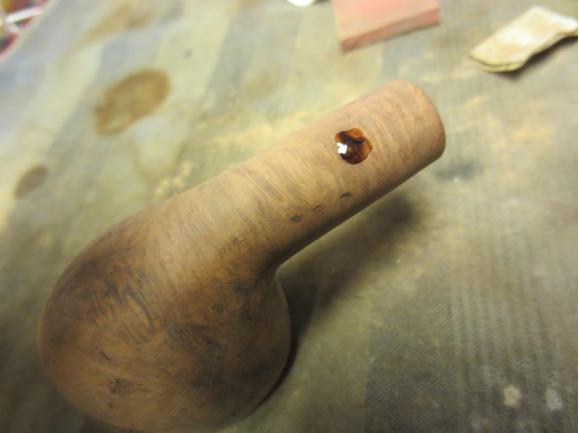
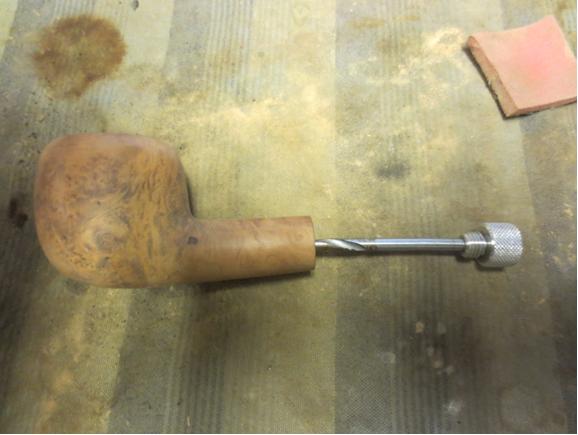
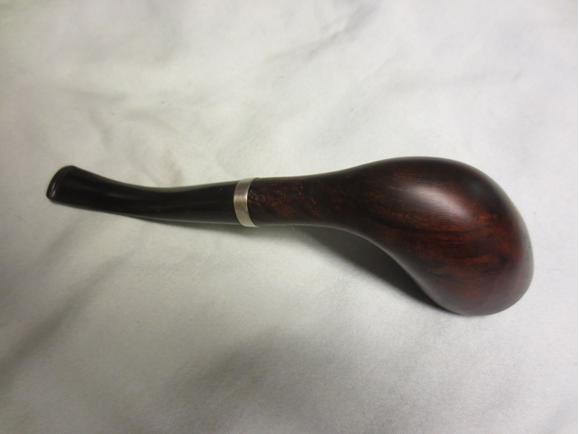
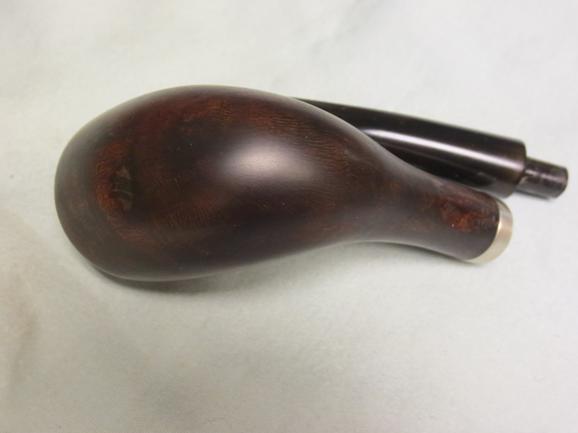
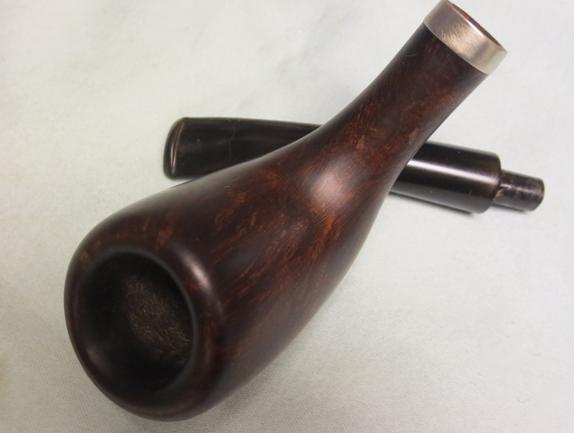
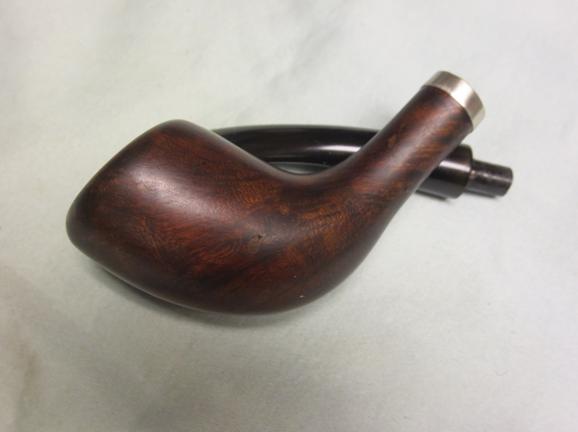
A Tiny Apple Reborn – new stem and new finish


Blog by Steve Laug

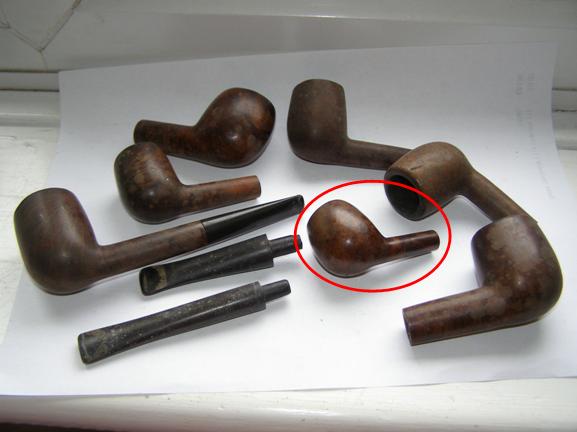
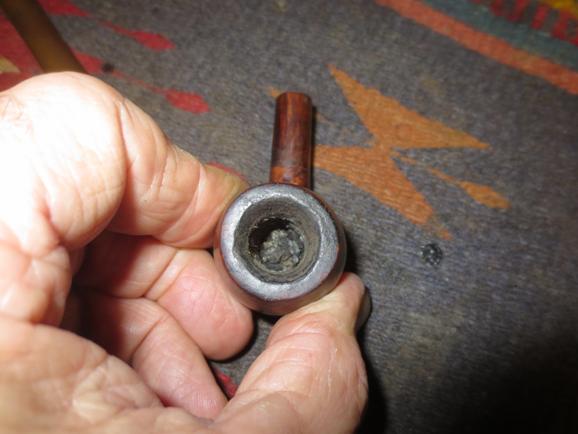
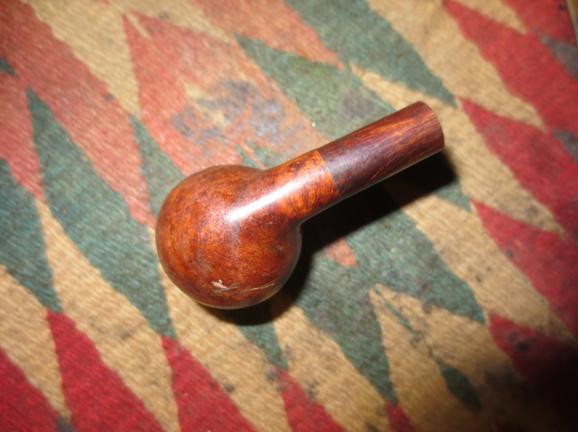
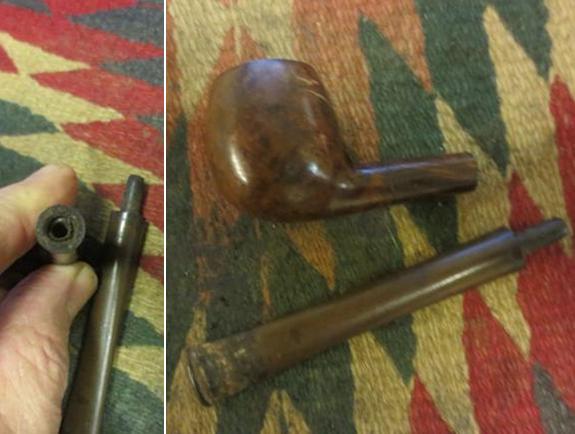
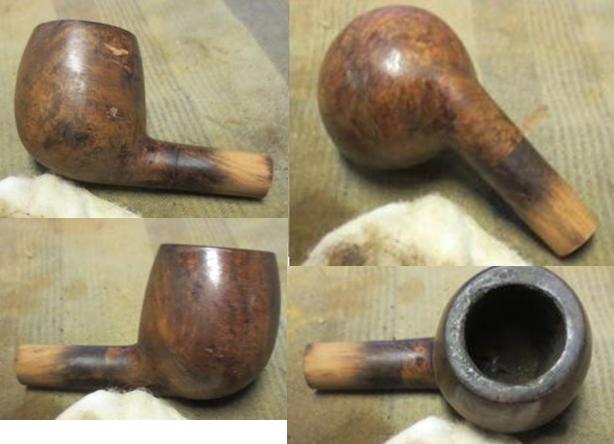
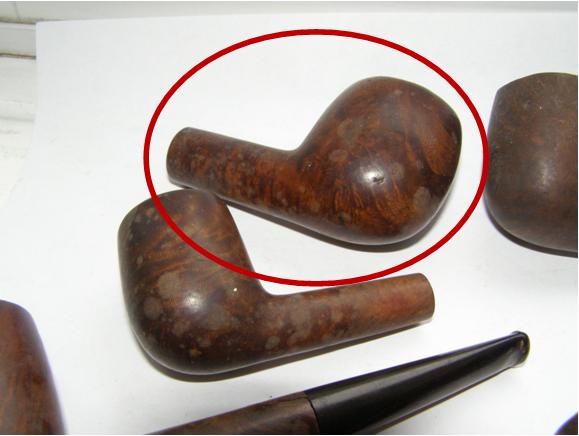
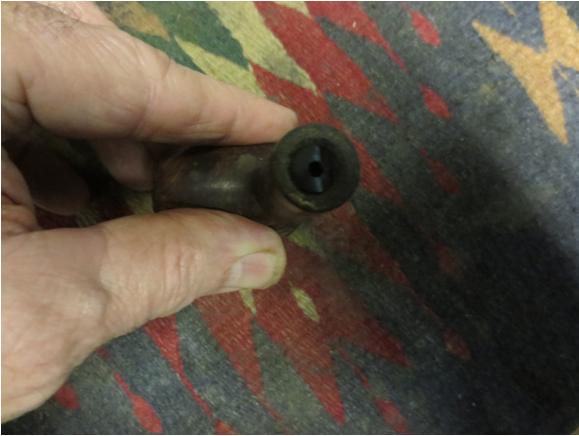
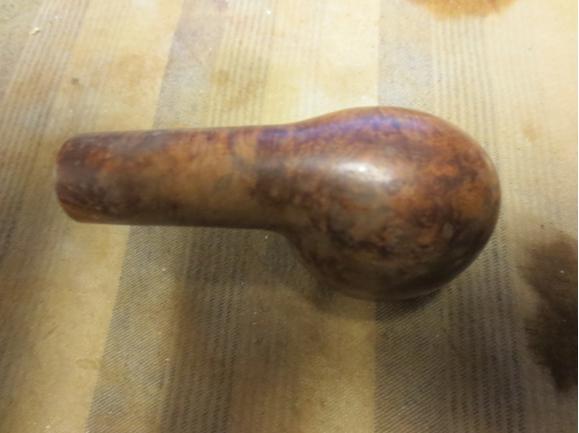
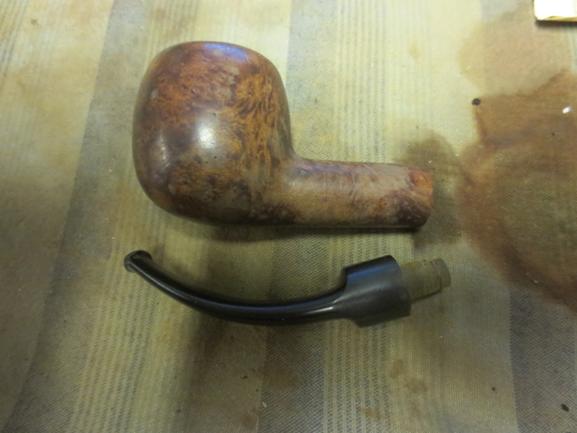
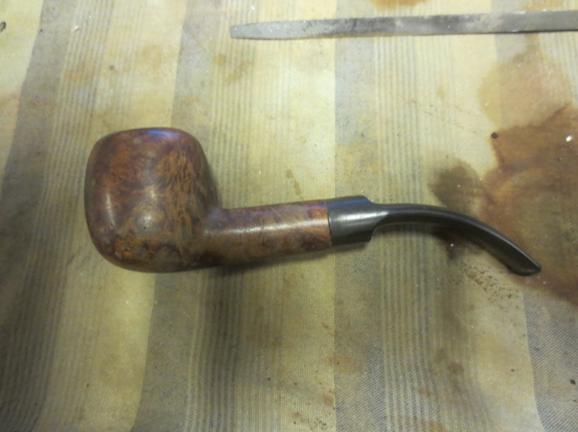
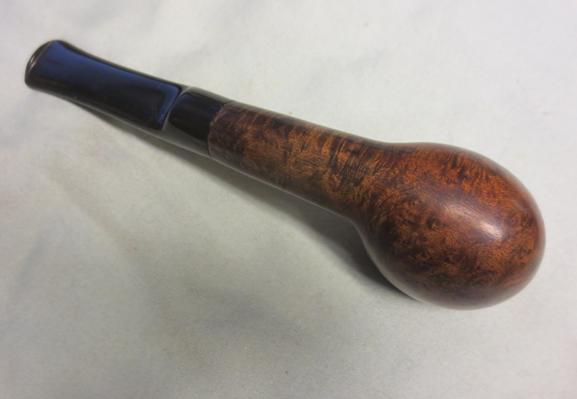
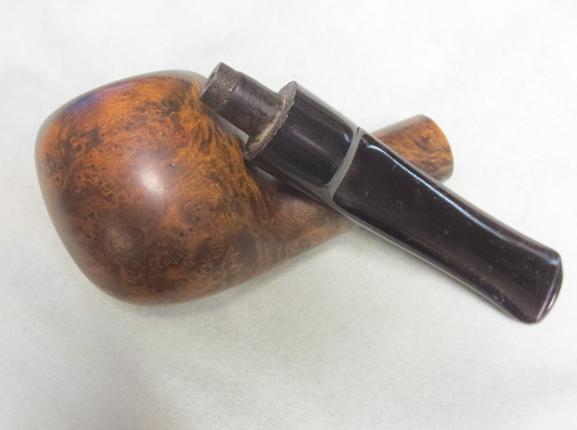
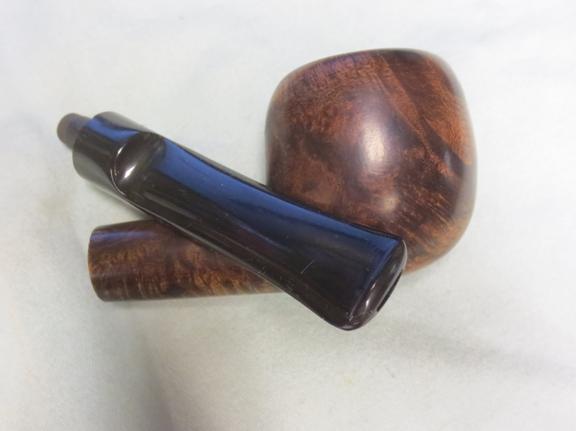
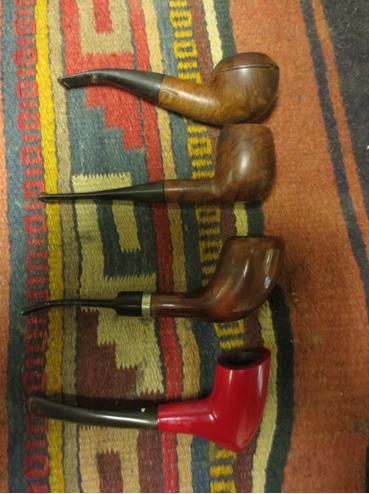
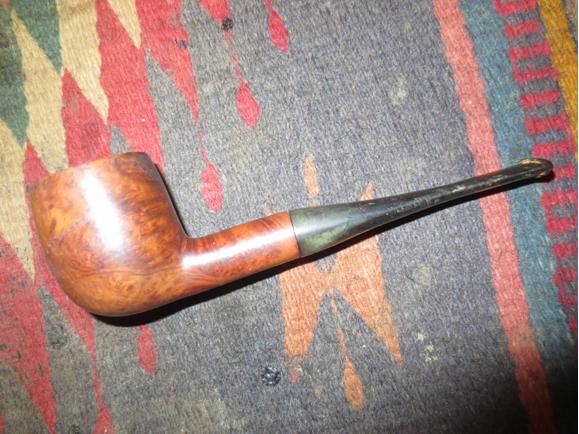
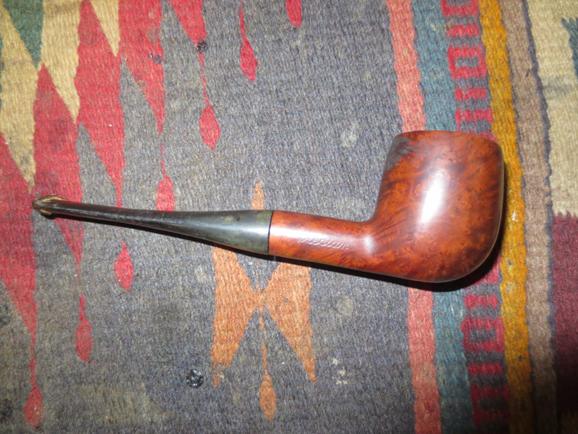
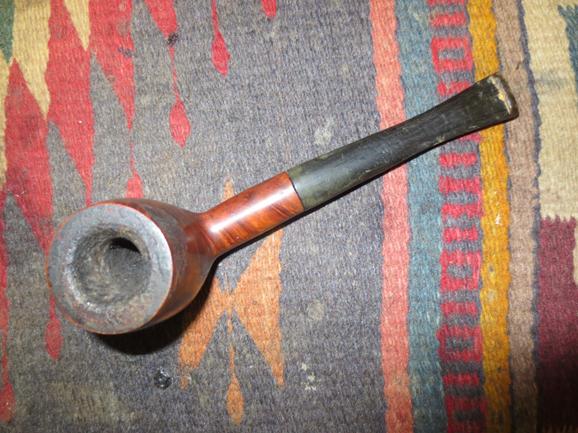
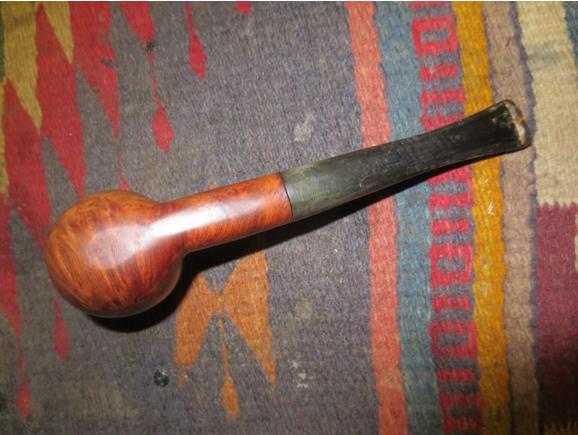
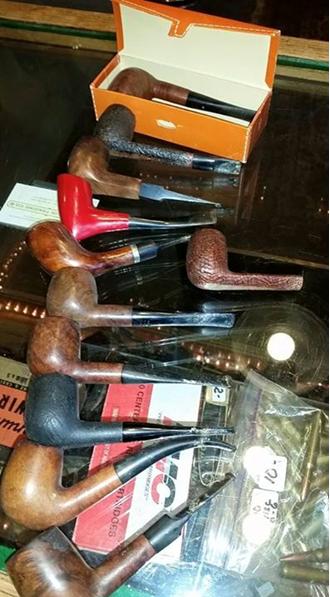
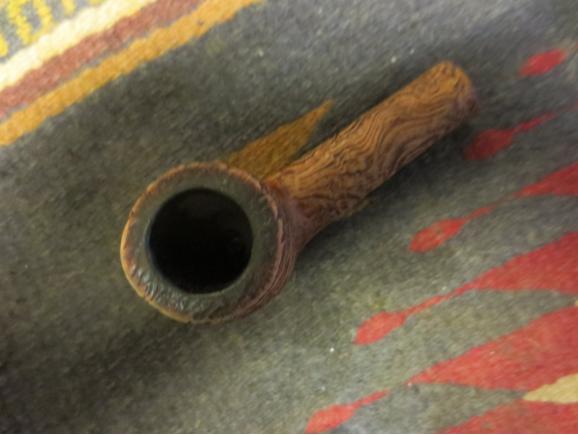
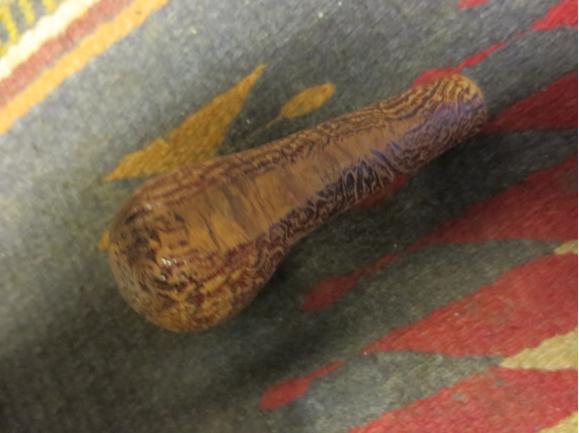
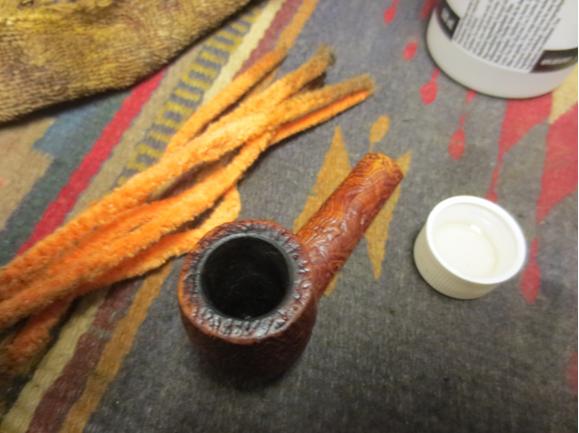
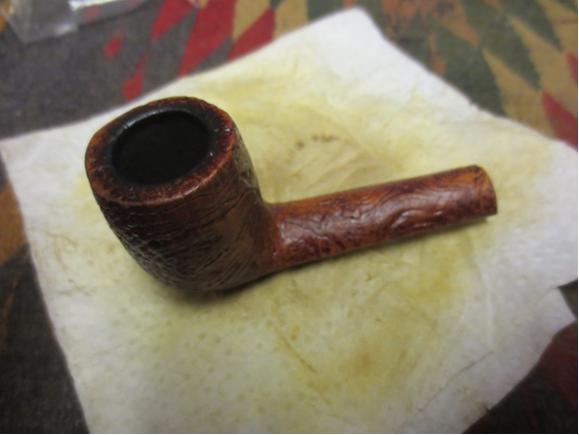
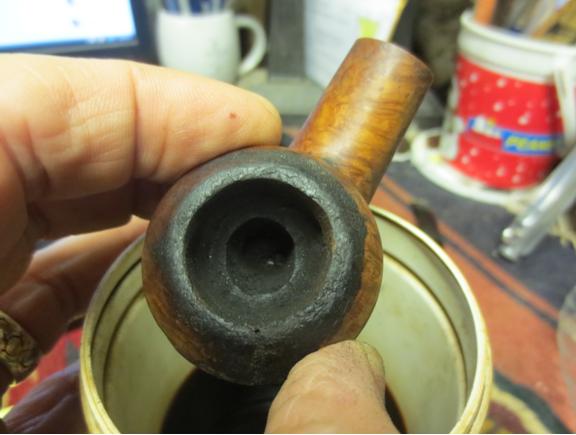
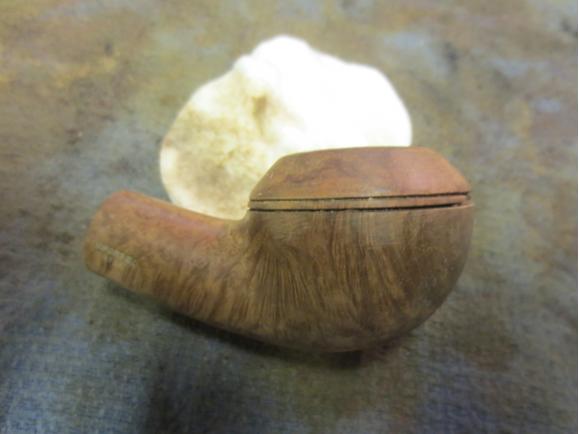
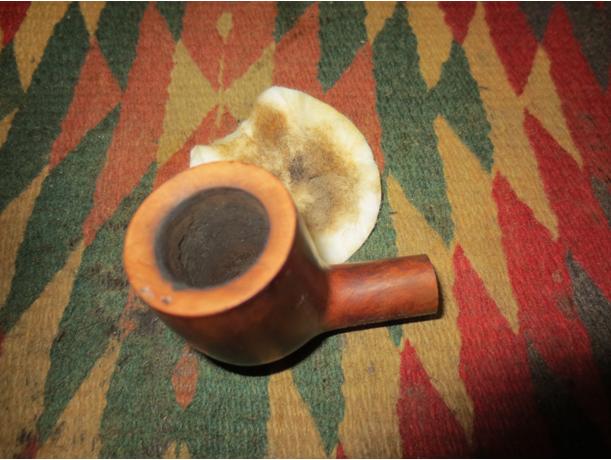
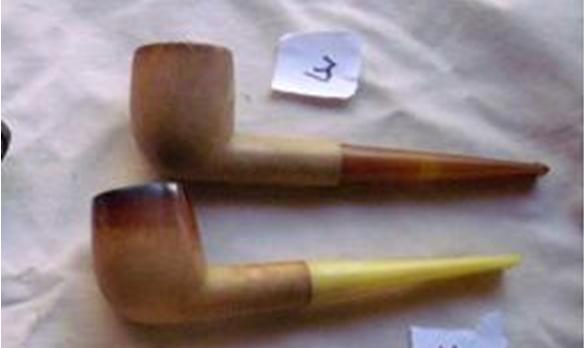
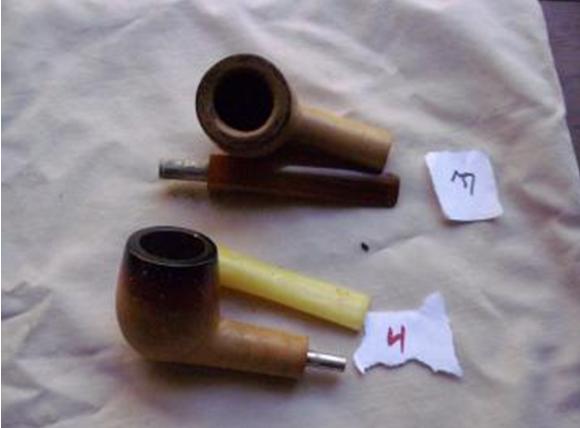
This morning I decided to work on an interesting little pipe that I picked up in an eBay batch from England. All of the bowls in that batch had broken tenons stuck in the shank. All were no name bowls or so worn that the name had long since worn off. This one was the smallest pipe in the batch. The bowl and shank are 2 ½ inches long and 1 ½ inches tall. The bowl is drilled at 5/8 inches and I can insert my little finger. The shank was spliced somewhere along the way and done quite well. It is a smooth splice. I wonder if it was a repair or if it came out that way when briar was scarce during the war. The finish was spotty – varnish was peeling from the bowl and shank. The tenon appears to have had a metal tube in the middle of the vulcanite and both had snapped off when they broke. I have circled this bowl in red in the next three photos. The first shows the batch of pipes that I picked up. The second is an enlargement of the bowl itself and the third photo shows the snapped tenon in the shank.Apple1
Apple2
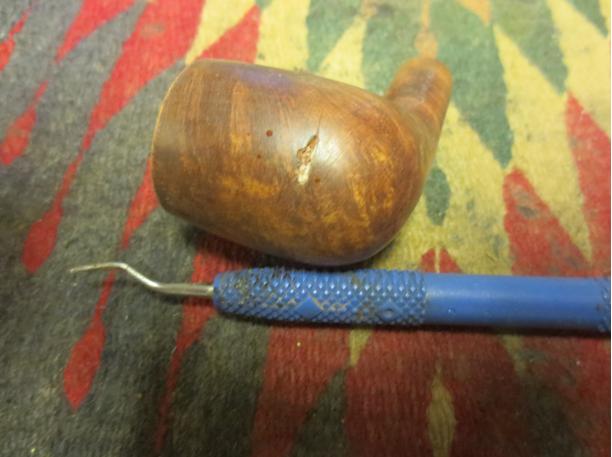
Apple3 The photos above came from the seller. I took the next series of photos before I worked on the pipe this morning. The rough finish is visible in the photos as are the fills on both sides of the bowl. They were shrunken and hard so they would have to be repaired. You can also see the splice in the shank about 2/3 of the way up the shank to the bowl. The bowl had a thick cake that was crumbly and rough. The bowl still was half full of tobacco that had been stuffed into it evidently before the stem broke. The rim had lava overflow and some damage to the inside edge and the top of the rim.Apple4
Apple5
apple6
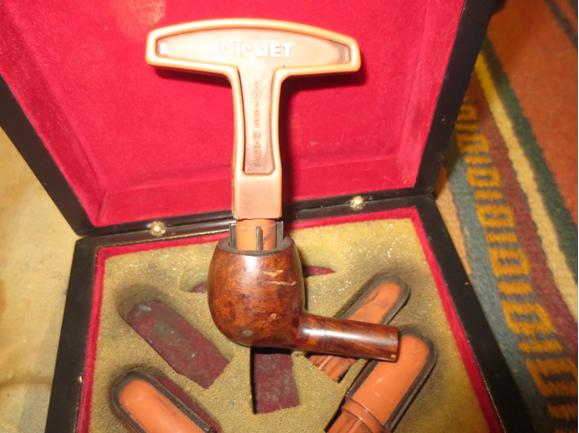
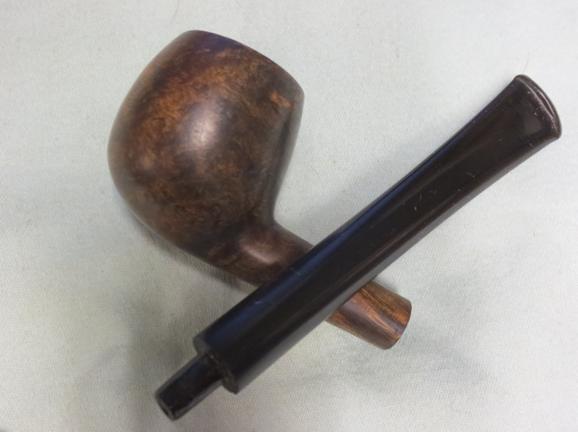
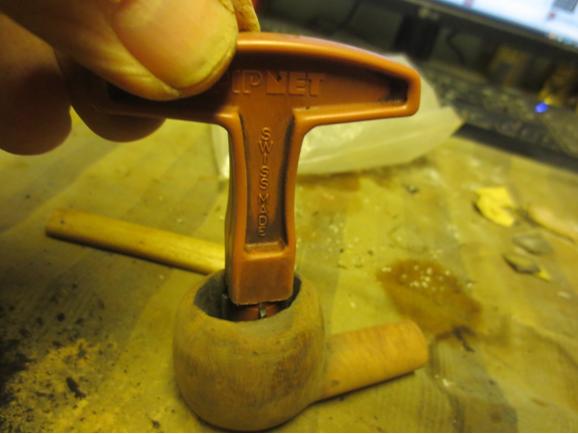
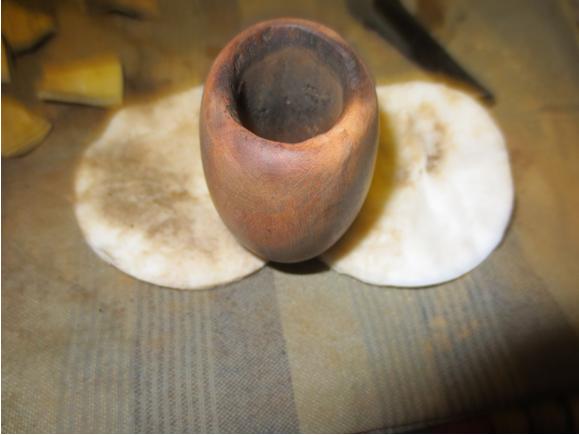
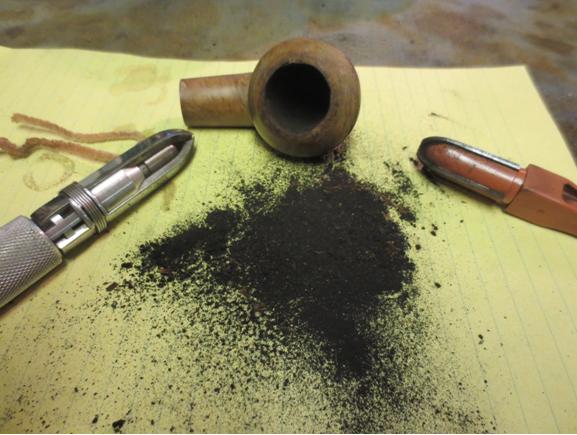
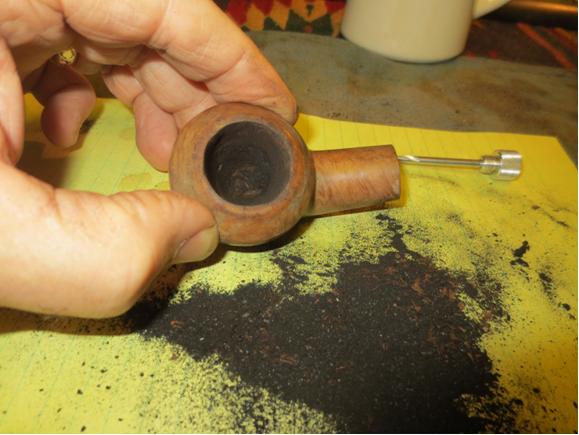
apple7 For a stem for this pipe I turned to my stem can and found a long narrow stem that needed a little adjustment to the tenon and the diameter of the stem at the shank before it would fit. I turned the tenon with a Dremel and sanding drum and finished by sanding it by hand.Apple8 The photos below show the stem in the pipe. The diameter of the shank and the diameter of the stem do not match.Apple9 I used the Dremel and sanding drum to reduce the stem diameter to match the diameter of the shank. I always rough in the fit with the Dremel and then fine tune the fit by hand sanding.Apple10 I reamed the bowl with a PipNet pipe reamer and took the cake back to bare wood. I wanted to look at the inside of the bowl and rim to see what needed to be done at those points.Apple11
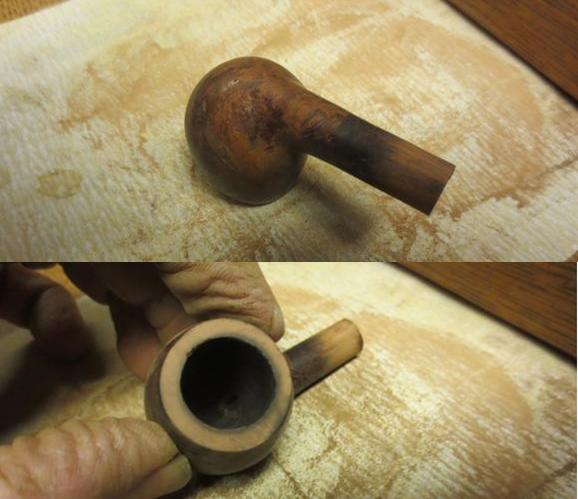
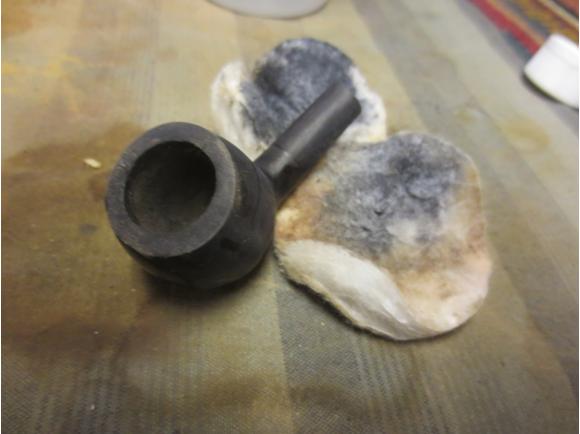
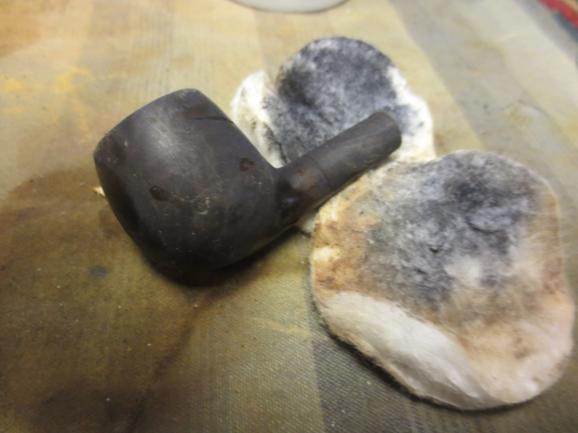
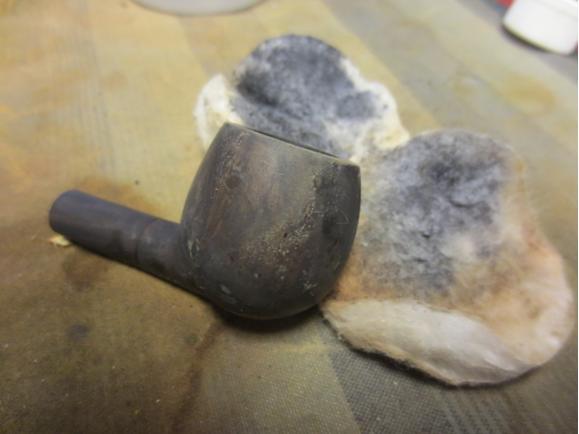
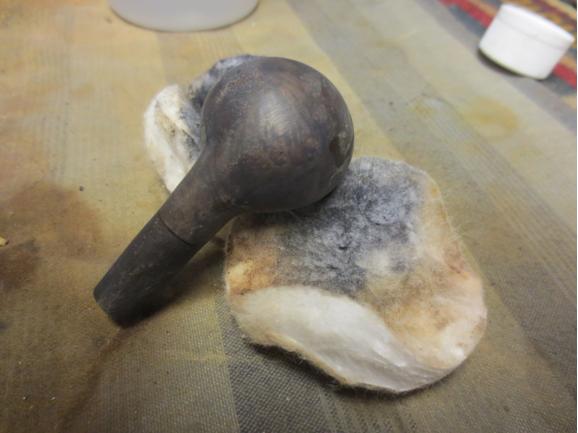
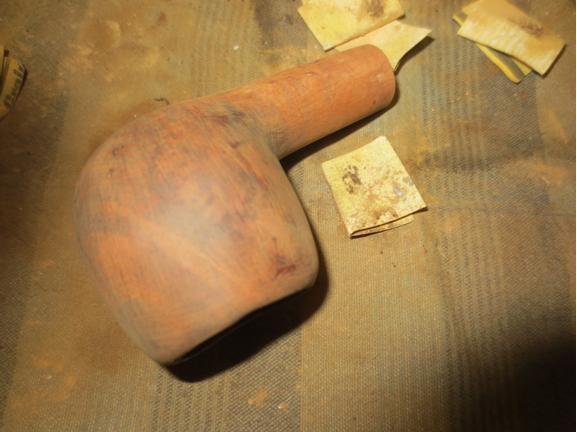
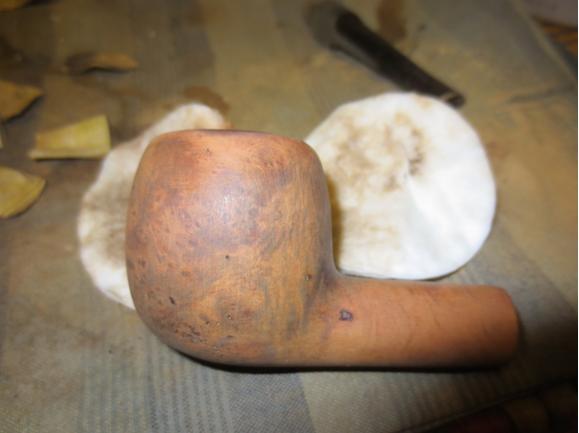
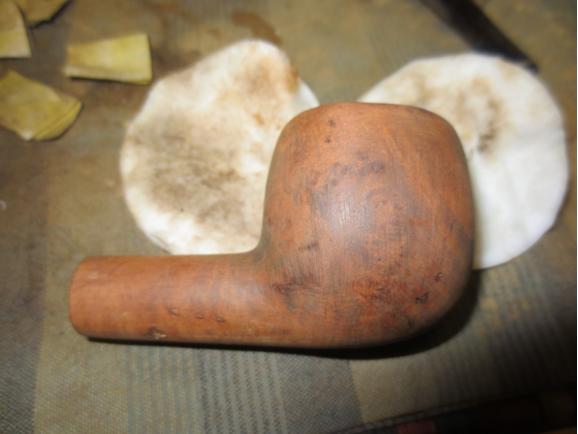
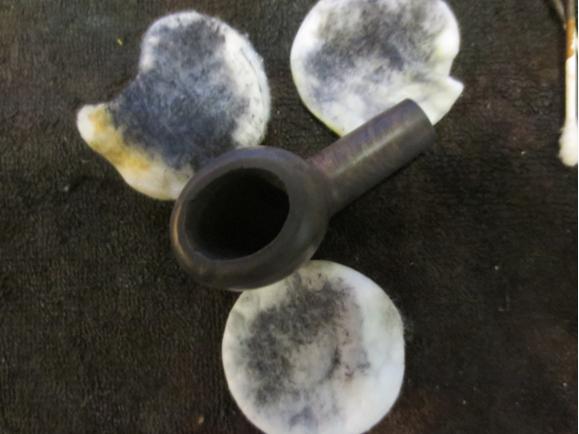
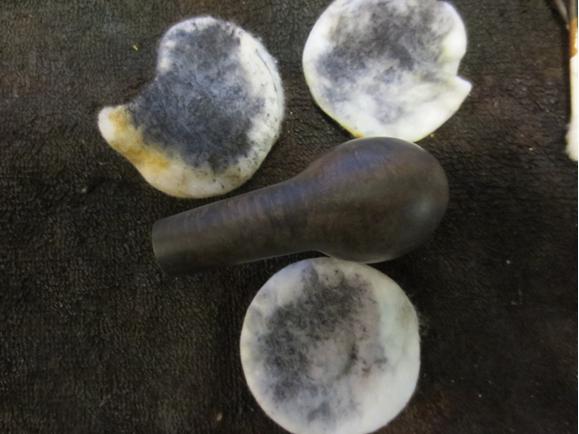
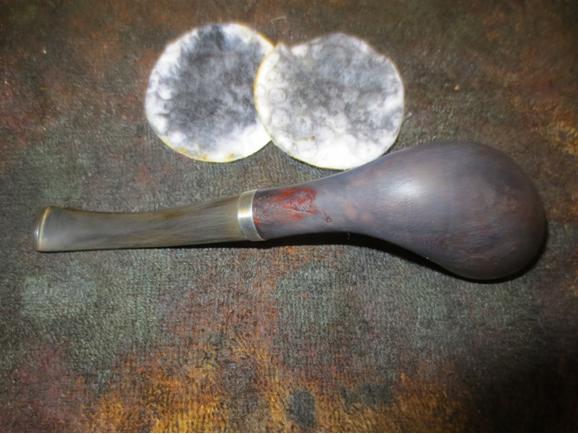
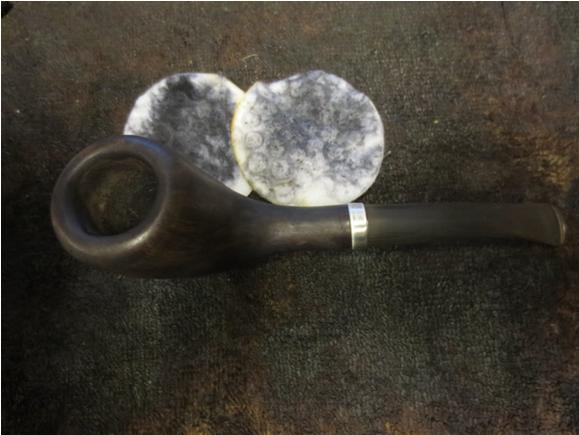
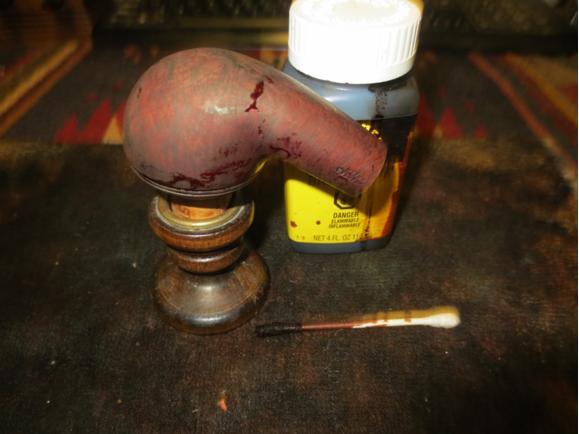
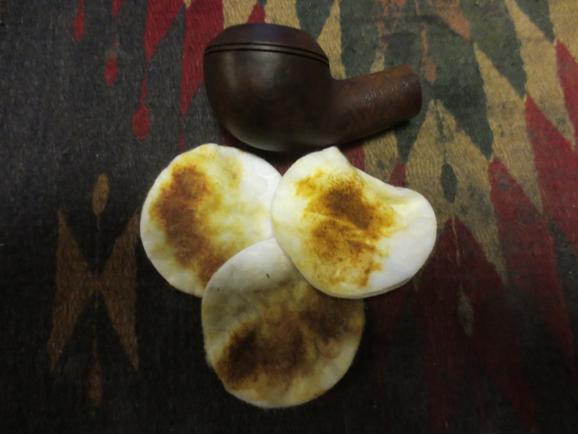
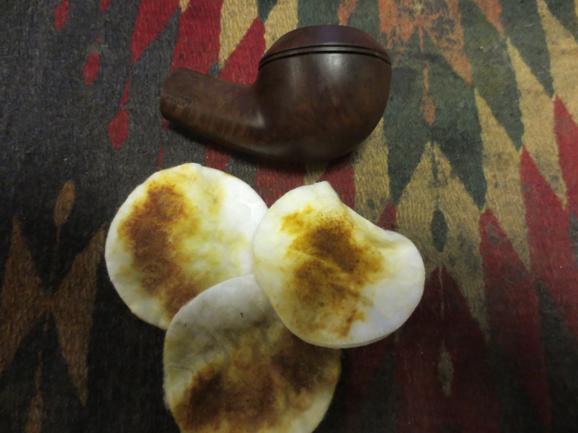
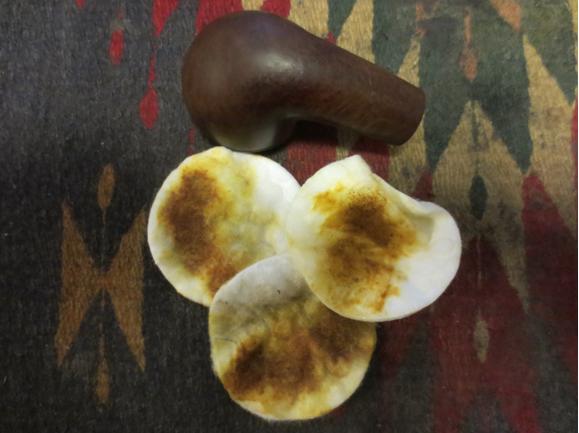
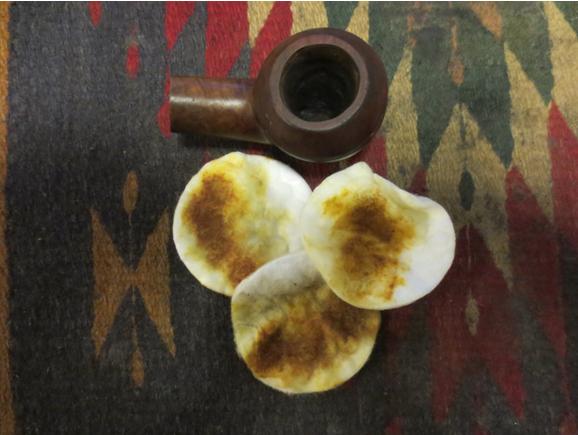
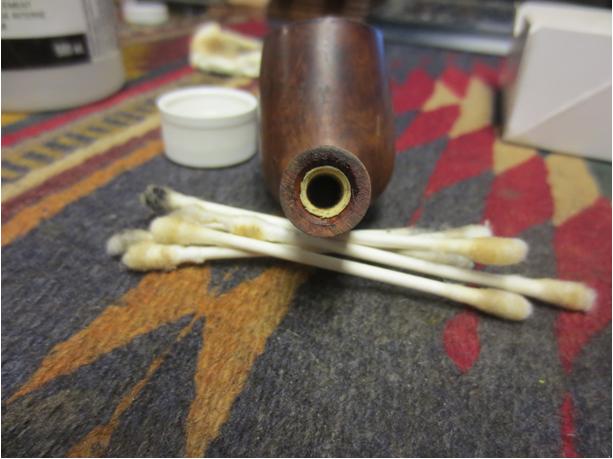
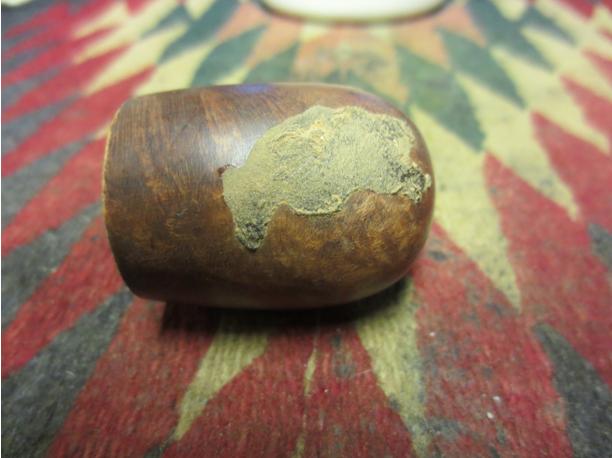
Apple12 I stripped the finish off the bowl with acetone on cotton pads. With all of the fills and dents in the no name bowl it was another candidate for sanding and refinishing. Looking down the shank with a light it appears that the splice of shank was done with a metal tube in the shank. The bowl and the added shank also appear to be different wood.Apple13 I topped the bowl to remove the rim damaged and to clean up the edges of the rim.Apple14 I tried to pick out the fills on the bowl but they were tight and were rock hard. I cleaned up around them and filled in the shrinkage with clear superglue.Apple15 I sanded the repaired areas and the rest of the bowl and shank with 220 grit sandpaper. I sanded the repairs smooth and followed up by sanding with a fine grit sanding sponge.Apple16
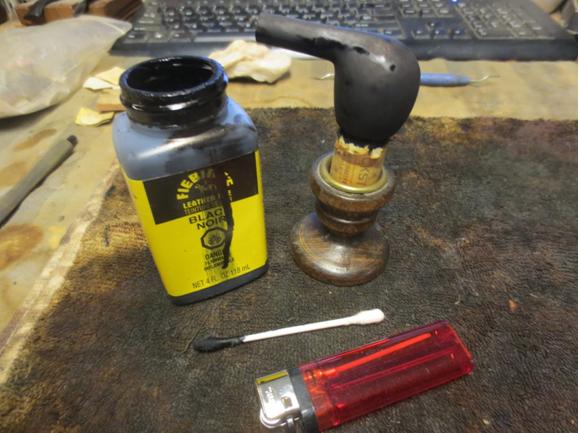
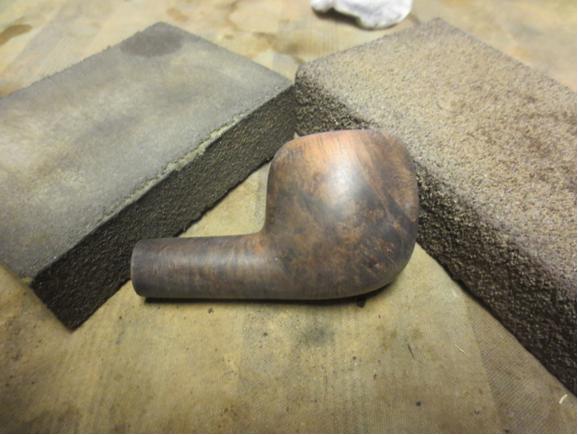
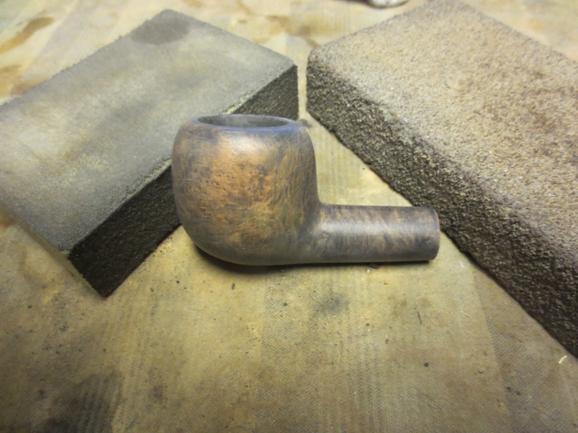
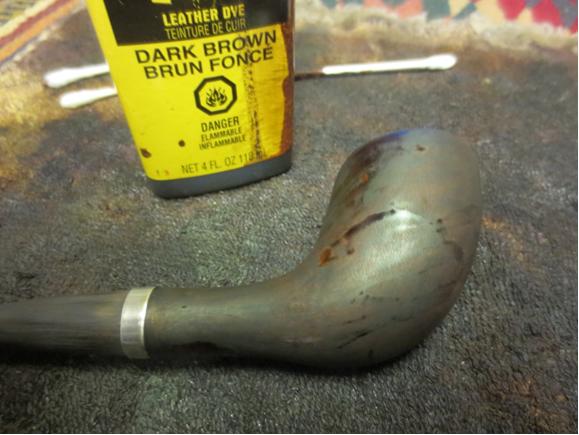
Apple17 I gave the bowl a black under stain to help hide the fills and the splice. They would always show but the dark under stain would blend them into the finish better. I applied the stain and flamed the bowl and repeated the process to get good coverage.Apple18
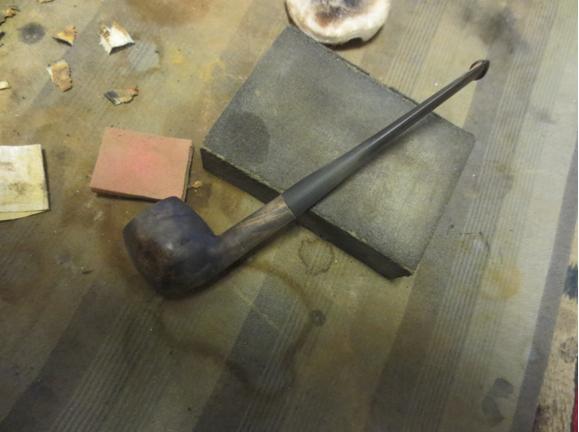
Apple19 I wiped down the bowl with alcohol and cotton pads to remove the black from the surface of the briar and leave it in the grain patterns.Apple20
Apple21
Apple22
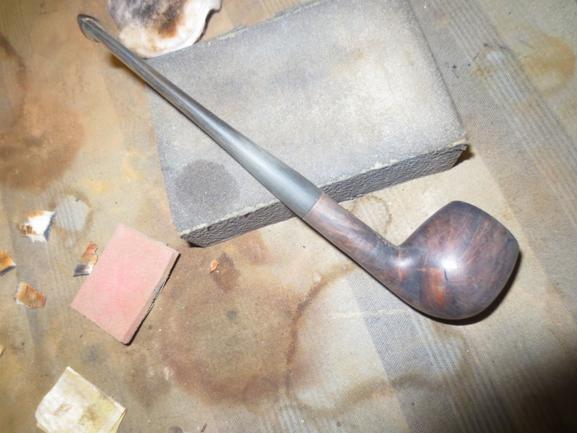
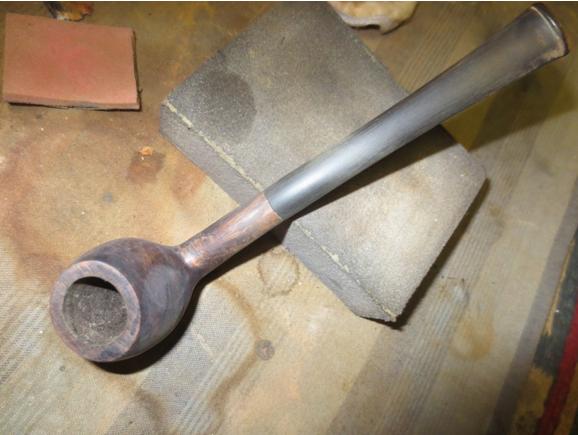
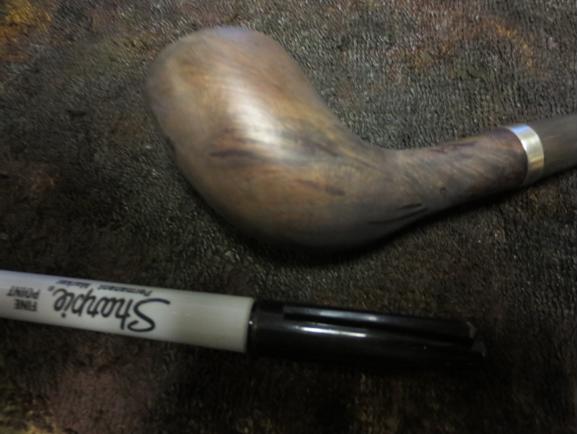
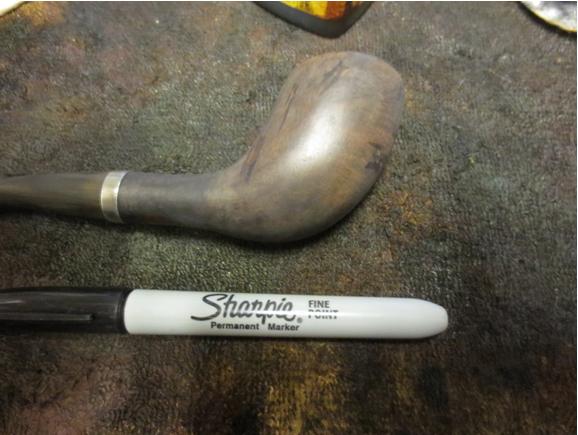
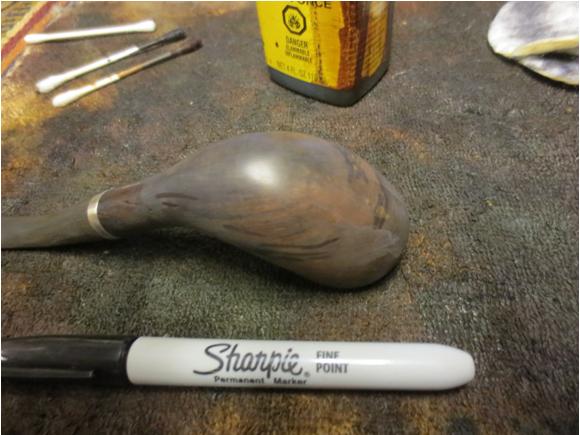
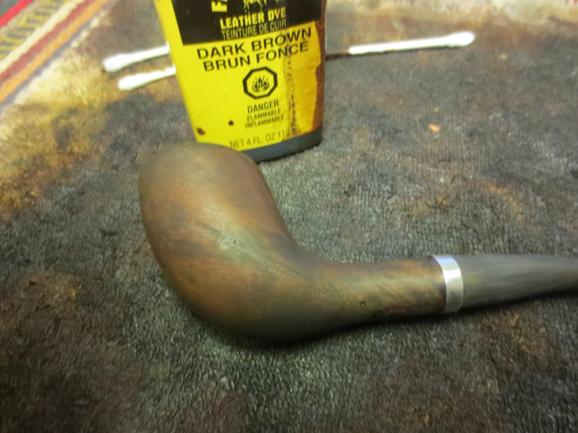
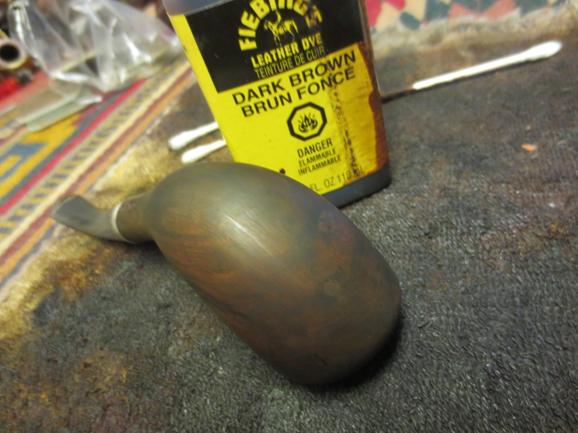
Apple23 I sanded the bowl with a fine grit sanding block and the stem with the fine grit sanding sponge and fit it in the shank to get a feel for the new look. I took the next series of photos to see how the pipe was developing. I liked what I saw. The black stain had done a good job covering the fills and the splice. I used a black permanent marker to fill in some light spots and drew in some grain lines in the bald spots.Apple24
Apple25
Apple26
Apple27 I gave the bowl a top coat of Danish Oil with Cherry stain and then again used the permanent marker to fill blank spots and darken the fills. I wiped the Cherry stain over the bowl several times until the coverage was good and then set the bowl aside to dry.Apple28
Apple29
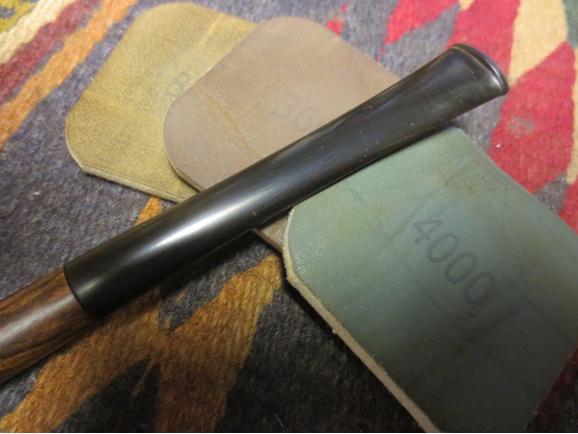
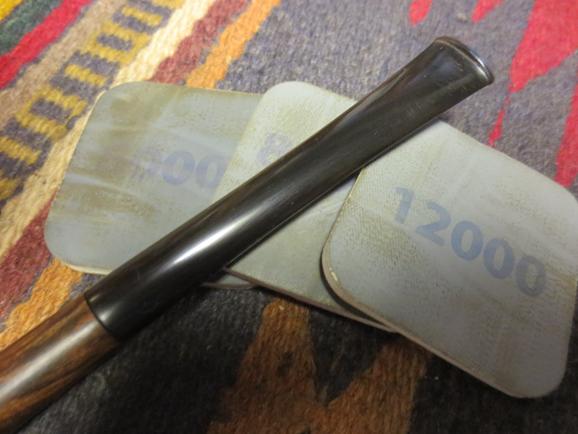
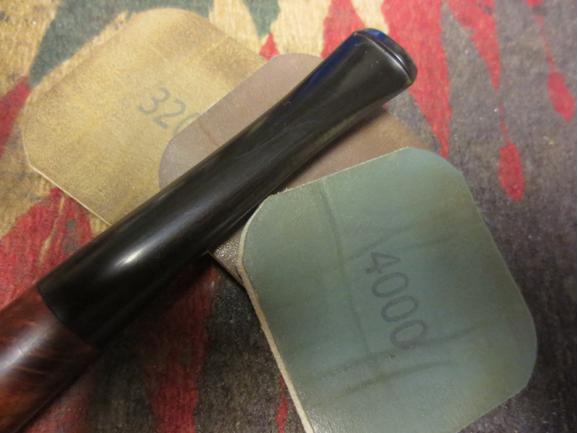
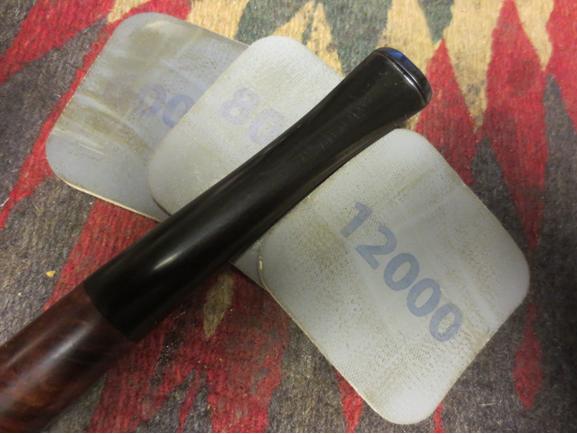
Apple30 While it dried I worked on the stem with micromesh sanding pads. I wet sanded it with 1500-2400 grit pads and gave it a coat of Obsidian Oil. I dry sanded with 3200-4000 grit pads and gave it another coat of oil. I finished with 6000-12000 grit pads, gave it a final coat of Obsidian Oil and let it dry.Apple31
apple32
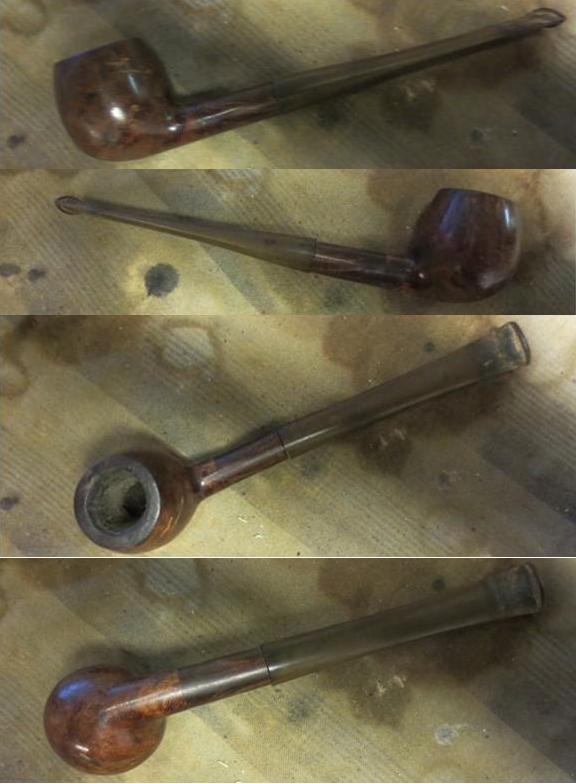
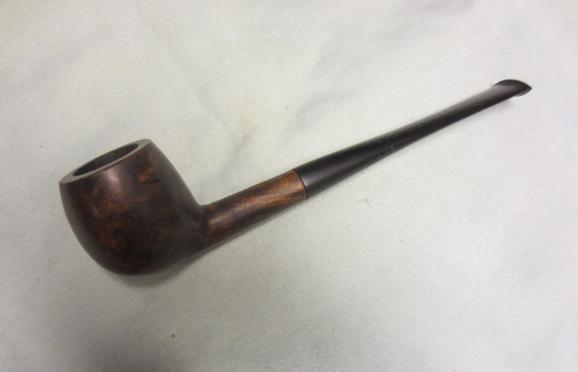
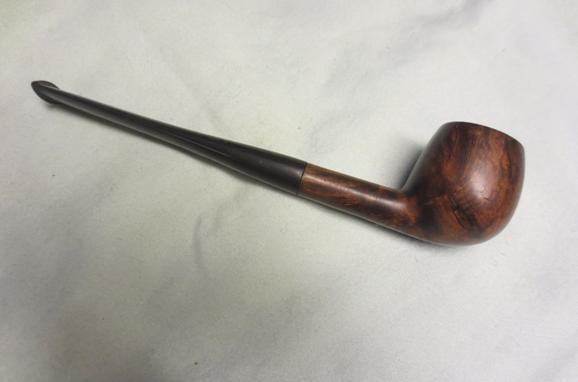
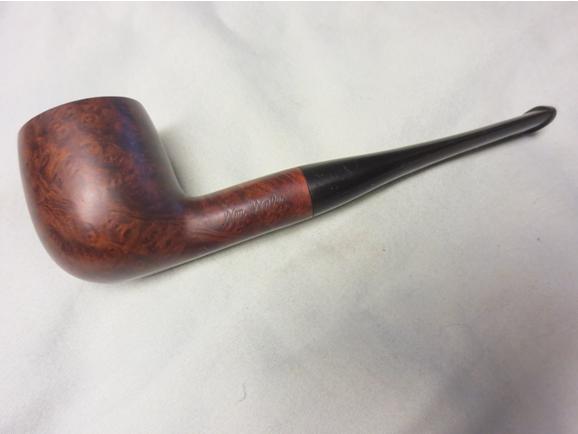
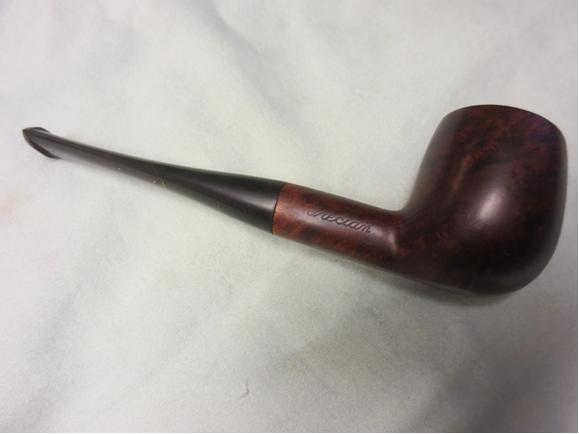
Apple33 I buffed the pipe with Blue Diamond on the wheel and then gave it multiple coats of carnauba wax. I buffed it with a clean flannel buff and then by hand with a microfibre cloth to deepen the shine. The finished pipe is shown in the photos below. I like the looks of it with a long thin stem. It is a like a pencil shank Bing with an apple shaped bowl. Thanks for looking.Apple34
Apple35
Apple36
Apple37
Apple38
Apple39
Apple40

Reshaping and Restemming a no name Oval Opera Pipe


Blog by Steve Laug

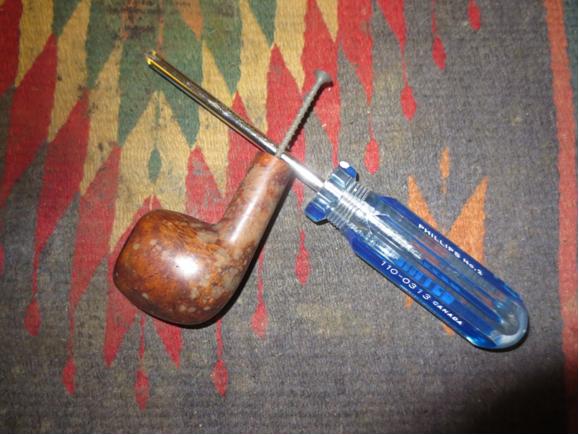
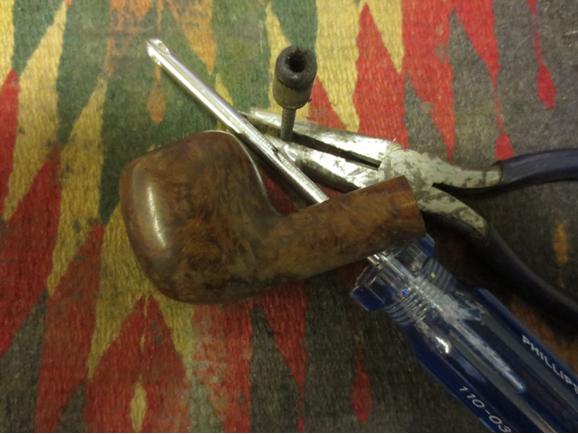
I bought a group of pipe bowls on Ebay a while ago and one of them was an oval bowl Opera pipe. The stamping was non-existent, whether worn off by over buffing or never present it was no longer on the shank on either side. It is shown in the photo below marked with a red oval. It is an interesting shape and this one was a normal sized pipe. There was nothing of the typical small size of the pipes like this that I have worked on in the past. The stem was long gone and the broken tenon was stuck in the shank. The finish was rough and had deep dents and nicks all over the bowl. The cake in the bowl was thick and the rim was damaged on the inner edge and had burn marks on the front top and left side. There were two large fills on the bowl; one on the left side shank near the bowl junction and the other on the underside mid-shank.Op1 Op2 I pulled the broken tenon by my usual method. I use a drywall screw and insert it in the airway. I use a screwdriver to turn it into the airway just enough to be tight in the tenon. You need to be careful to not turn it in to far as it will expand the tenon and crack the shank. Once it is in place I use needle nose pliers to wiggle it free of the shank. It usually comes free with little effort. That was true in the case of this tenon.Op3
Op4 I took the next set of photos to show the state of the pipe when I started this project. Note the damaged rim top and inner edge.Op5
Op6
Op7
Op8 I went through my can of stems for a donor stem and found a bent saddle stem that I could straighten and fit to this pipe. I turned the tenon with the PIMO tenon turning tool to a close fit and hand sanded it to get a snug fit. The shank was slightly oval and the stem round so I would need to work on the shank to get a good fit.Op9
Op10 I used 220 grit sandpaper to clean up the finish on the bowl and shank. I did preliminary shaping of the rim to clean up the damage at the top. I used a PipNet reamer to ream the bowl. I use the smallest head and work it in the centre of the oval first and then move it to the front and back of the oval to ream those areas. I cleaned up the reamed bowl with a pen knife to get rid of the cake. I needed to take the cake back to bare briar so that I could reshape the inner edge.Op11 I sanded the bowl with 220 grit sandpaper to remove as much of the damage to sides of the bowl as possible. You can see from the photo below the dip in the top edge of the bowl about middle. That is where the burn damage is on that side.Op12 I wiped the bowl down with acetone on cotton pads to remove any remaining finish and to see where I stood in terms of removing damage to the bowl.Op13
Op14 The next photo shows the extent of the damage to the top and inner edge of the rim. You can see the rough cut marks on the inner edge from a previous owners attempt to ream the bowl. You can also see the burn marks on the left and right top and sides of the rim.Op15
Op16 To remove the dips where the burn marks were in the rim top and to remove the damaged briar I decided to top the bowl. I would need to reshape the rim to match the original but I would deal with that later.Op17 I used a Dremel and sanding drum to shape the outside edge of the rim and bowl.Op18
Op19 Op20 I put the stem in place in the shank, aligned it correctly and sanded the shank to clean up the fit. I wanted the shank to be more round and consistently shaped as it originally was not completely oval – it was only that shape on the left bottom side. The rest of the shank was round. I sanded until I had the shank rounded and matching the stem.Op21
Op22 I continued to shape and sand the rim and flow into the bowl. I worked on the slight bulge in the stem at the saddle to get the alignment and flow right. Since I had a clean slate to work with on this old briar I figured to get it as close as I could to a clean flowing look. I wanted it to look better than before not just cleaned up. It would take a lot of sanding and shaping before I was finished with it.Op23
Op24
Op25
Op26 The fill on the bottom of the shank was solid except for one small spot in the centre of the repair so I sanded it, wiped it clean and filled in the spot with clear super glue. Once it dried I sanded it smooth to match the rest of the shank. The small rough spot was gone and the fill was smooth and dark.Op27 I cleaned out the shank and airway with the KLEENREEM drill bit to remove the buildup in that area. The draw on the shank was constricted so this was necessary to open it and give an easy draw to the pipe.Op28
Op29 I cleaned out the shank and the airway in both the bowl and stem with alcohol, cotton swabs and pipe cleaners until it was clean.Op30 I sanded the edges of the stem and the scratches in the saddle portion with 220 grit sandpaper to shape and define the edge and fit of the stem. I left a slight bend downward in the stem when I had straightened it and like the look of it.Op31
Op32
Op33
Op34 I put a cork in the bowl of the pipe and prepared to stain it with the black undercoat. I wanted to highlight the interesting grain and the black would bring that out. It would also serve to mask the repair on the shank and the fill next to the bowl.Op35 I applied and flamed the black stain and repeated the process to get good coverage on the bowl.Op36 I wiped the bowl down with alcohol soaked cotton pads to remove the stain that did not settle into the grain.Op37
Op38
Op39
Op40 I sanded the bowl and shank with a medium and fine grit sanding block to further remove the black stain. The contrast is beginning to show and the grain stand out.Op41
Op42
Op43
Op44 I sanded the bowl and shank with 1500-1800 grit micromesh sanding pads to remove the scratches on the briar.Op45
Op46 I wiped it down with alcohol on a cotton pad and then set it up for the top coat of stain. I chose to use a Cherry Danish Oil on the top coat. I applied it with a cotton pad and set the bowl aside to dry.Op47
Op48 While the bowl dried I worked on the stem. I wet sanded with 1500-2400 micromesh sanding pads to further fine tune the shape of the stem. I worked to remove the remnants of scratching left behind by the initial shaping done with the lower grits of sand paper. I rubbed the stem down with Obsidian Oil and then dry sanded it with 3200-4000 grit pads. I gave it another coat of oil and finished sanding it with 6000-12000 grit pads. I gave it a final coat of Obsidian Oil and let it dry.Op49
Op50
Op51 The bowl was dry by the time I finished with the stem so I buffed the bowl and stem with Blue Diamond on the wheel and then gave both several coats of carnauba wax. I buffed the pipe with a clean flannel buffing pad and then hand buffed it with the microfibre cloth. The finished pipe is shown in the photos below. I really like the way the contrast stain came out and the way it hid the fills on the shank. The pipe really has some stunning and interesting grain all the way. Not one side looks the same. There is birdseye, cross grain and swirled grain. I think the finished pipe is a great improvement from when I started it. Thanks for looking.Op52
Op53
Op54
Op55
Op56
Op57

Wm Wales Billiard Restemmed and Restored


Blog by Steve Laug

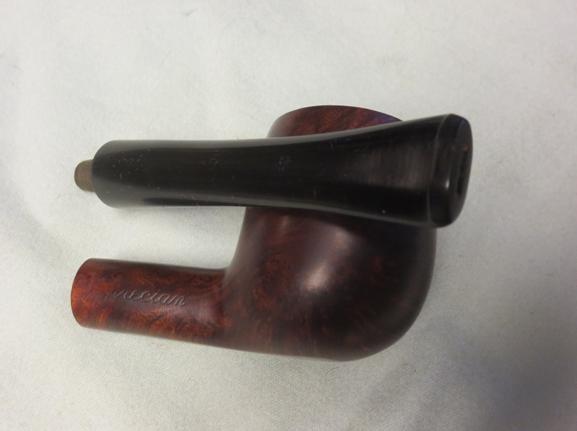
Wm1This is yet another pipe that my brother Jeff picked up in Montana and sent my way. It is stamped Wm Wales on the left side of the shank and on the right side it is stamped Grecian in script. The stamping though a different script than that found on the Carey Magic Inch pipes is similar in the way it is stamped and the stamping of Grecian on the right side of the shank. I did some digging on the internet and found nothing about the brand other than several pipes with the same stamping for sale. There is nothing about the brand on the various pipe information websites. There is nothing about the brand on Who Made That Pipe or in Lopes book so I am left with a bit of a mystery.

The pipe has some pretty decent grain on it. The sides of the bowl have some interesting birdseye grain and the front and the back of the bowl have cross grain on them. The stem is a mix of grains. The finish was worn and dirty. The rim had a cake of tar and grit on the top of the bowl. The inside of the bowl had a hard, thick cake that almost filled the bowl. The rim itself was undamaged and showed no burn marks or damage to either the outside edge of the rim or the inside bevel of the rim. The stem was at first glance workable but upon examination it had a crack in the centre of the button on both the top and bottom sides. There were also tooth marks that were deep and one split the button. The surface of the stem was wavy and rippled from the way it had been buffed. The slot in the stem was clogged and no air would go through the airway.

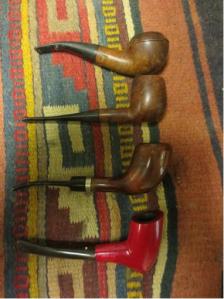
In the photo above to the left the pipe is the second one down from the top. The next set of four photos show the pipe as was when it arrived at my work table.Wm2

Wm3

Wm4

Wm5 I took a close up photo of the bowl and rim to give a clear picture of what I started with in my clean up. The two photos following that give a good view of the stamping on the shank.Wm6

Wm7

Wm8 The next two photos show the damage to the stem. The more I looked at the damage the more I realized that a replacement stem would be less work than fiddling around with repairing the damage on that one.Wm9

Wm10 I tried to ream the bowl with a PipNet reamer and found that the cake was so hard that reamer did not even cut into the surface of the cake. I tried a KLEENREEM reamer and made no headway either so I dropped the bowl in an alcohol bath to soak. It would soften the cake and clean up the grime on the finish of the rim and bowl as a bonus.Wm11 While it soaked I looked for a new stem in my can of stems and found one that would work quite well. It was a little larger in diameter but once I fit it to the stem some sanding and shaping would take care of that.Wm12 In the morning I took the bowl out of the alcohol bath and worked on it to ream it. I used the PipNet and the KLEENREEM reamer on the bowl. I also used a pen knife to work at cutting away the hard cake. In the process of reaming I found that the bowl was conical in shape rather than U shaped. I used the drill bit from the KLEENREEM tool to open the airway in the shank.Wm13

Wm14

Wm15 Once I had cleaned out the shank and the bowl with alcohol, pipe cleaners and cotton swabs I fit the new stem to the shank. I sanded it with 220 grit sandpaper to clean up the tooth chatter and the oxidation. I sanded it with a medium and a fine grit sanding sponge to further remove the scratching and oxidation. I wiped the stem down with Obsidian Oil.Wm16

Wm17

Wm18

Wm19

Wm20 I scrubbed the briar with acetone on cotton pads to remove the finish and the remaining grime on the rim and bowl.Wm21

Wm22

Wm23

Wm24 I sanded the stem with micromesh sanding pads – wet sanding with 1500-2400 grit pads on the briar and the stem and then rubbed down the stem with Obsidian Oil. I dry sanded with 3200-4000 grit pads and gave it another coat of oil. I finished by dry sanding the stem with 6000-12000 grit pads and gave it a final coat of Obsidian Oil.Wm25

Wm26

Wm27 I buffed the bowl and stem with Blue Diamond polish on the wheel and then gave it multiple coats of carnauba wax. I buffed it with a clean flannel buff to raise the shine. The finished pipe is shown in the photos below. The grain really shines through in the photos. It is a beautiful piece of briar. I would love to know more about the history of the brand to give more depth to my understanding of the pipe.Wm28

Wm29

Wm30

Wm31 I took a few close-up photos of the stem and the bowl showing the grain of the briar and the shape and look of the stem. Thanks for looking.Wm32

Wm33

Wm34

Found an Old Patents Pending Generation 1 Kirsten A


Blog by Steve Laug

Another pipe from the treasure trove my brother Jeff sent me was an early Kirsten. The metal barrel is stamped Kirsten in script on the left side of the barrel and on the underside it is stamped Pats. & Pats. Pend. – A. When I received it the bowl would unscrew from the barrel and it had no metal cap on the bottom. It was a wooden bowl without the cap which along with the stamping pointed to an early Kirsten. The stem and rod were stuck in the barrel and the adjustable valve on the front of the barrel was frozen solid. The valve had evidently been frozen for some time as someone had used pliers on it to try to remove it. They had left behind the tooth marks of the pliers on the aluminum valve cover. Because of the vulcanite lip on the stem that sat against the barrel that there would not be a rubber grommet between the stem and the barrel. The bowl had a thick, rock hard cake and the bottom of the bowl was not visible to see what the condition of the screw head was like. I have no idea how the pipe man ever drew air through this pipe as the bottom of the bowl was solid. The finish on the bowl was dull and lifeless with no grain visible through the grime. The top of the rim was covered with over flow from the cake in the bowl. It was a large bowl initially so once the cake was gone it would be an inch in diameter.Kirsten1 I looked up information to see if I could find a cut away drawing of the Kirsten and found this one and a bit of history and information on the concept of the Kirsten pipe. The following is from the Kirsten website https://www.kirstenpipe.com/page_pipestyles.shtml and https://www.kirstenpipe.com/page ourstory.shtmlKirsten2 “It is by no means merely puffery to say that Professor Frederick K. Kirsten was a genuine American original. He first sailed to this country in 1902, as a cabin boy from Hamburg, Germany. After successfully rounding the Horn and eluding the shanghai gangs of the West Coast, he navigated the educational system at the University of Washington to become a Professor of Aeronautical Engineering. Here, his inventive spirit took wing. He created the world-famous Kirsten Wind Tunnel, Air-washing equipment for factories, an air-cooled Utopian Bed, and, most notably, a revolutionary propeller which enables boats to stop and turn on a dime. Today, in the same waters where he jumped ship almost 100 years ago, ocean-going vessels are landed by sturdy tugs driven by Kirsten cycloidal propellers, piloted by equally sturdy captains smoking cool Kirsten pipes.”

“Rightly called the coolest pipe in the world, this latter innovation came about when a doctor advised Professor Kirsten to switch from cigarettes. He quickly dreamed up a way to trap the moisture, tars and tongue-biting acids which attack the users of briar pipes. After 50 years and counting, Kirsten pipes are still produced by the Kirsten family, faithfully following the basic designs of this father of invention.”

“Professor Kirsten revolutionized pipesmoking by creating the Radiator stem. When tobacco, which is 30% to 60% moisture, is lit in the bowl, it creates steam. As the smoke is drawn through the stem, the steam is cooled and condenses into a liquid. This bitter-tasting liquid is trapped in the stem, along with tars, nicotine and tongue-biting acids.”

“Only clean, cool, moisture-free smoke passes through the intake tube to the mouthpiece. To remove the trapped liquid, you simply remove the valve. You can clean a KIRSTEN in seconds by pushing a tissue through the bore of the stem, exactly as you would clean a gun barrel.”

The cleaning in seconds must not have been something that the previous owner of this pipe ever read or understood. I decided to work on the bowl first as it was the only part of the pipe that I could remove at that point in the process. I took the photo below to give an idea of the thickness of the cake and the minimal size of the air hole at the bottom of the bowl. You can see that it is virtually clogged and the airflow would be very restricted.Kirsten3 The lack of a cap on the bottom of the bowl can be seen in the next three photos. The first two photos show the state of the finish. In the second one you can see the grain peeking through the grime on the finish. In the third photo you can see the stamping on the bottom of the bowl. It reads Kirsten Pats Appl For.Kirsten4

Kirsten5

Kirsten6 I put the barrel and stem in an alcohol bath to soak overnight to try to loosen the frozen stem and rod.Kirsten7 I reamed the bowl with the largest cutting head on the PipNet reamer and took the cake back to bare briar. I used a pen knife to work on the bottom of the bowl and was finally able to see the characteristic Kirsten screw. I sanded the inside of the bowl with 220 grit sandpaper and used an ice pick to remove the screw. From the underside of the bowl I inserted the ice pick into the drilled centre of the screw and tapped it gently and the screw came free from the bowl.Kirsten8

Kirsten9

Kirsten10 I lightly topped the rim on a topping board to remove the damage and the build up on that surface.Kirsten10

Kirsten11

Kirsten12 I scrubbed down the exterior of the bowl and rim with acetone on cotton pads to remove the grime and the remaining finish. I was quite pleasantly surprised by the grain that was revealed in the process.Kirsten13

Kirsten14

Kirsten15 I cleaned the inside and the outside of the screw with a tooth brush and alcohol until it shone.Kirsten16

Kirsten17 I sanded the bowl with a medium and a fine grit sanding block to clean up the scratches and smooth out the finish on the sides and top of the bowl.Kirsten18 I wet sanded the bowl with micromesh sanding pads from 1500-2400 grit and dry sanded with 3200-12000 grit pads.Kirsten19

Kirsten20

Kirsten21 I took the barrel out of the bath and put it in a cup of boiling water. I dipped both ends into the boiling water hoping to break one of the frozen ends loose. I was able to remove the stem and the rod assembly after the alcohol bath and the boiling water dip. The stem and the rod were quite brown with the shellac of old tobacco juices. Of course dipping the stem in the boiling water caused the oxidation on the stem to come to the surface.Kirsten22

Kirsten23 I scrubbed the rod assembly with 0000 steel wool and alcohol to remove the shellac coat that had built up and polish it. There was some corrosion that came to light at the middle of the rod. I would need to work on that once I had cleaned up the stem.Kirsten24 I sanded the stem and rod with 220 grit sandpaper and then with a medium and fine grit sanding sponge to remove the scratches.Kirsten25

Kirsten26 I worked on the stem and rod with micromesh sanding pads – wet sanding with 1500-2400 grit pads and then rubbing down the stem with Obsidian Oil. The micromesh pads removed the last of the corrosion on the rod and polished it. I dry sanded with 3200-4000 grit pads and gave the stem another coat of oil. I finished sanding it with 6000-12000 grit pads and gave it a final coat of Obsidian Oil. I failed to take photos of the final steps in the micromesh process but it is the typical procedure and each successive grit of pads gave more of a polish to the vulcanite.Kirsten27 I cleaned out the stem and tenon with alcohol and pipe cleaners inserted from both ends. I was able to clean out all of the oils and tars and the cleaners came out clean.Kirsten28 Now the bowl and the stem unit were cleaned, polished and ready to go once I was able to remove the valve from the end of the barrel. This was proving a very difficult task. I had put the barrel in the freezer overnight hoping to loosen the valve – no luck. I had boiled it multiple times – no luck. I had given it several alcohol baths – no luck. I let it sit with penetrating oil in the barrel to try to loosen the valve end. I tried to drive it out with a round end file and a small hammer. Nothing worked. I posted that on rebornpipes and got a response from Old Man in the Cave suggesting that I heat it with a heat gun.

I geared up for the process. He had suggested setting the barrel in a wood vise which is a tool I don’t have yet. I chose instead to hold the barrel with some insulated leather gloves over the heat gun. I heated the barrel with gun until it was hot. Then I used a pair of pliers that had cotton pads on the jaws and gave it a light twist and the valve came free. I don’t know if the heat from the gun finally did what I should have done in the first place or if the combination of methods finally came together and it worked. It does not matter as the valve finally came free. I now know why the later models of Kirsten pipes came with a rubber o-ring around the valve and the stem so that it provided something between the two metal pieces and the barrel. Somehow the combination of tobacco juice and saliva left to sit becomes shellac or lacquer that is almost impossible to break free. Thanks to Old Man in the Cave the valve is free and I could finally clean out the barrel and put the pipe back together. The next photos show the condition of the valve once I was able to remove it from the barrel. You can see the tapered angle of the top portion of the valve (on the right below the cap). The lacquer or shellac that bound the valve in the barrel is also very evident. I am guessing that there would have been much more if it had not been sitting in alcohol and been heated so much. But even that little band held the valve tightly in place.Kirsten29

Kirsten30

Kirsten31

Kirsten32 I scrubbed the valve and the inside of the barrel with 0000 steel wool. I ran the steel wool through the barrel to clean out the build up inside and then used a wooden dowel to push alcohol soak cotton pads through the barrel to clean it until it shone. I cleaned out the inside of the valve with alcohol and cotton swabs. I was able to get everything shining again. It took some work to remove some of the tooth marks that were on the valve end from previous owners who had attempted to turn it but I was able to sand them smooth with micromesh sanding pads. They are still present but not as obvious.

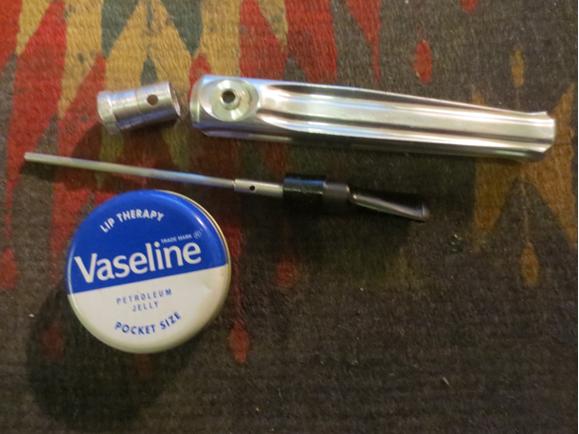
Once all the parts were clean and polished I greased the valve and the end of the stem and rod unit with Vaseline so that it would slide into the barrel with less resistance. I know that it will not stop the buildup of tars but it will at least slow it down. The next photos show the disassembled pipe and then the pipe put back together. The valve turned easily and I aligned the hole in the valve with the hole in the top of the barrel where the bowl screwed in place. The airflow was clear and unrestricted.Kirsten33

Kirsten34 I hand buffed the barrel with Meguiar’s Scratch X2.0 to remove the scratches and give it a shine. I rubbed on some Conservators Wax and then hand buffed the barrel with a shoe brush. I buffed the briar bowl with Blue Diamond on the wheel and then gave it multiple coats of carnauba wax and buffed it with a clean flannel buff. Once I had finished I screwed the bowl in place and buffed it a microfibre cloth. The finished pipe is shown in the photos below.Kirsten35

Kirsten36

Kirsten37

Kirsten38 I took the pipe apart so that I could take the next two pictures to show the cleaned and polished parts. Everything is once again in working order. It was clear looking at all of the parts that I was dealing with a Generation 1 Kirsten. These were made between the years 1936-1958. The wooden bowl on this generation connects directly to the metal barrel and there is no metal cup spacer. It is a pretty flush fit that goes flat against the barrel. On the underside of the metal barrel it is stamped with one or more of the following “Pat. Appl. For” (1936-38) and “Pats. & Pats. Pending” (1938-1958) over “Made in USA” – S” (or applicable size – S, M, L). There are no O-rings on the bit or metal shank insert.Kirsten39

Kirsten40

Restemming a Beautiful Savinelli Classica 812 Canadian


Blog by Steve Laug
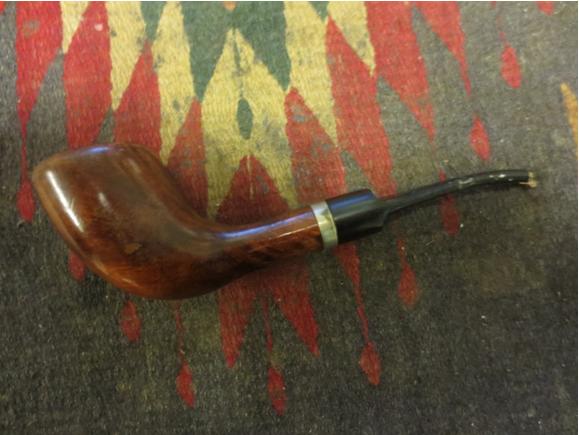
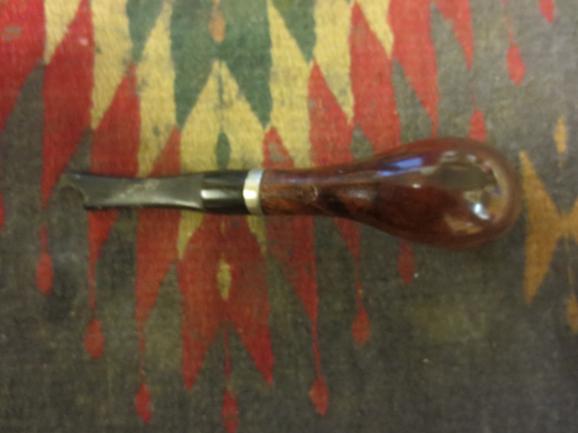
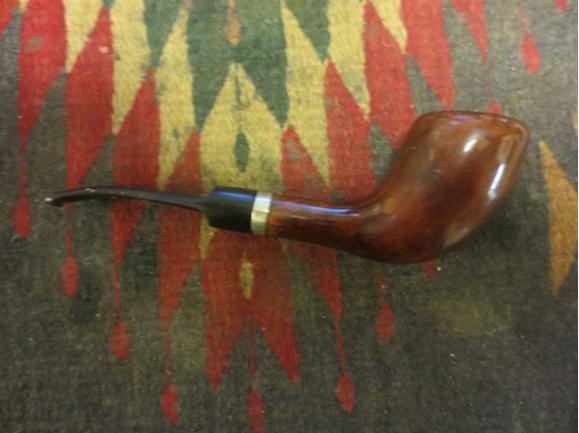
Class1In the pipes that my brother Jeff sent me from his Montana find was a pair of Savinelli made 812 shape pipes. The first is the second pipe down from the top in the picture to the left. That pipe is stamped Citation 812 and made in Italy on the underside of the shank. The stem is a refit and is poorly done. Fortunately it is beat up and missing a large chunk on the underside near the button. The second one is shown in the picture in the second column and is a sandblast without a stem. It is stamped Savinelli Classica with the Savinelli shield and 812 Italy on the underside of the shank. The first is a two toned dark brown and the second is a lighter two toned medium brown.

The pipe I chose to work on first was the Savinelli Classica – the stemless one. It was in pretty decent shape. The finish was dirty but was not worn. It had a great sandblast. The left side of the bowl had a circular grain pattern and the right side was blasted birdseye. The shank had long swirls on the top and sides. The rim had some build up on it and the bowl had a thick cake that plugged the airway and closed off the lower portion of the bowl.

I took a photo of the two pipes together to show the similarities and the differences. The Classica is a bit shorter in terms of shank length and the finish is much more distinctive. The Citation had a nice blast on it but when compared with the Classica it had nothing to compare. Both pipes were the same height. The bowls were the same diameter and the mortise of both held the broken stem with no trouble.

I looked up the Savinelli 812 shape online and found that it originally had a taper stem and that the stem had a slight bend in it at the button. I am not sure if I like the look of it on the Canadian but will think about it as I restore the Classica.Class2 I took the next photos of the bowl to show the distinctive sandblast on the bowl. It truly is a beautiful piece of work. The way the bowl was stain highlighted and emphasized the blast rather than muted it. Once I cleaned it up I would need to maintain that look.Class3

Class4 The next two photos show the grain on the shank and the tar buildup on the rim. I am pretty sure that the blast is underneath the tars and will look good once it is scraped off. The third photo shows the underside of the shank and the smooth portion that bears the stamping.Class5

Class6

Class7 I went through my stem can and found the candidate for the tapered Canadian stem for this pipe. I used the PIMO tenon turning tool to take down the tenon to the point that it almost fit the shank. I hand sanded it with 220 grit sandpaper to bring it to the correct size. I did not want to crack the shank so I went slowly, checking for the fit often.Class8 Once the stem was in place I took some photos to show the excess in diameter on the top and sides and the shaping that would need to be done to get a good match to the shank.Class9

Class10 I rough shaped the stem fit with a sanding drum on a Dremel to get it close to the shape of the shank. I have found that if I move slowly and carefully with the Dremel it saves a ton of hand sanding on the stems. Once I had it rough shaped I did the rest of the shaping by hand.Class11

Class12

Class13

Class14 I fine tuned the shape with 220 grit sandpaper and brought it to a smooth transition between the shank and the stem all the way around. I worked on the button area and cleaned up the castings and marks on the slot and the button edges with the sandpaper.Class15

Class16

Class17

Class18 With the new stem fitting and only needing more fine tuning and polishing I decided to ream the bowl and work on the rim. I used a PipNet reamer and a KLEENREEM reamer and a pen knife to cut away the cake in the bowl. It was as hard as the cake in the other two bowls that my brother sent me.Class19

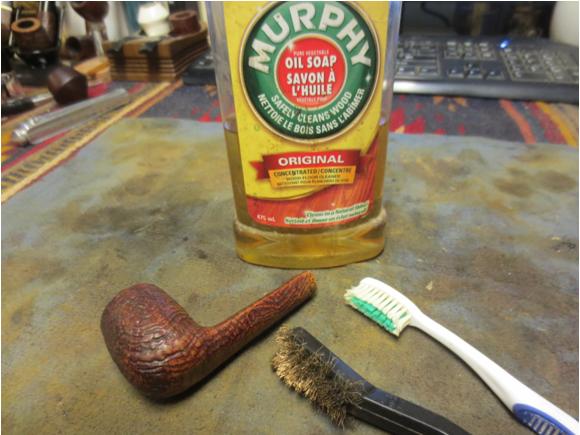
Class20 I scrubbed the sandblast with Murphy’s Oil Soap and a tooth brush and the caked rim with the soap and a brass bristle tire brush.Class21 Once the grime was scrubbed off I rinsed the bowl in warm running water and cleaned out the brushes. I dried off the bowl with a towel.Class22

Class23

Class24

Class25 I cleaned out the shank with pipe cleaners, alcohol and cotton swabs. It was plugged in the airway to the bowl so I used the drill bit on the KLEENREEM tool and was able to clear out the gunk in the airway and open it up all the way to the bowl.Class26 I wanted to keep the contrast stain on the pipe and not restain it so I gave it a light coat of olive oil to bring life back to the wood. I have found that dry briar absorbs the oil quite quickly and that the oil gives it some colour and life back without masking the original stain.Class27

Class28

Class29

Class30 I wiped the bowl down and rubbed it vigorously with a clean soft towel to remove any of the surface oil and to give it an initial buff. I went to work fine tuning the stem fit. I used micromesh sanding pads – wet sanding with 1500-2400 grit pads and rubbing the stem down with Obsidian Oil. I dry sanded with 3200-400 grit pads. I gave it another coat of oil and finished sanding with 6000-12000 grit pads. I gave it a final coat of Obsidian Oil and let it dry.Class31

Class32

Class33 I buffed the stem and lightly buffed the bowl with Blue Diamond and then gave the stem multiple coats of carnauba wax. I hand buffed the bowl with Conservators Wax and a small shoe brush to bring out a shine to sand blast finish. The finished pipe is shown in the photos below. The straight new stem works for me. The pipe is once again a work of beauty. Thanks for looking.Class34

Class35

Class36

Class37

Class38

Class39

Class40

Class41

Rescuing a Tinderbox Monza Horn – Restemming and Refinishing


Blog by Steve Laug

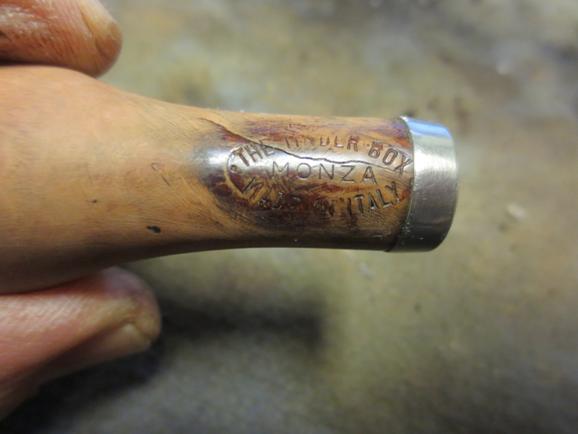
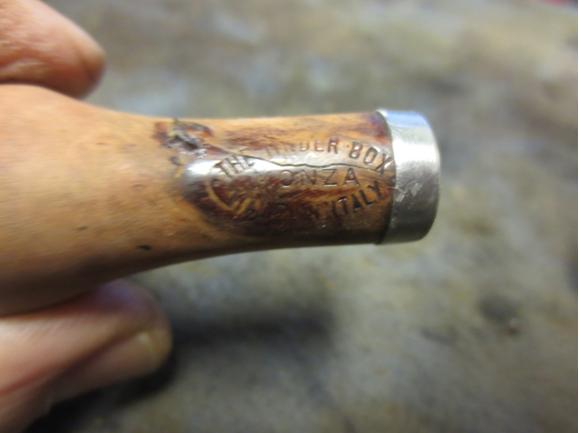
Monza1Another of the pipes that my brother Jeff sent me was a horn shaped pipe that was stamped Tinderbox Made in Italy in a circle with Monza in the centre of the circle. It is stamped on the underside of the shank. The shape is quite unique. The bowl had around 10-12 fills in it that went from tiny spots to huge plugs in the briar. The finish was a heavy urethane coat that made the pipe very shiny and really highlighted the fills around the bowl and the shank.

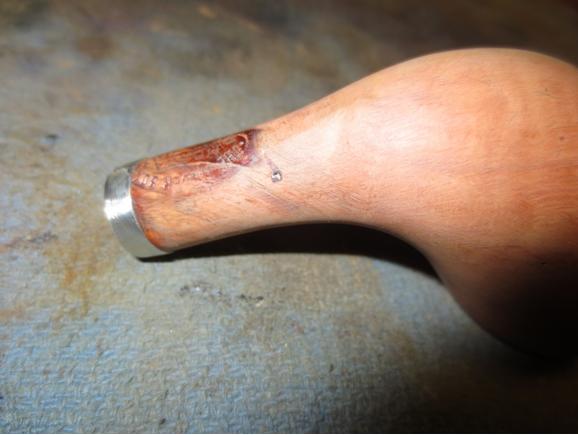
The shank had a split in the underside of the shank that went from under the band up the shank for one inch on the bottom side. It had just turned slightly upward and if left alone would have continued to the bowl. The rim was heavily damaged and there was a thick hard cake in the bowl that hurt my hand when I pushed the various reamers that I had trying to remove it. The bowl looked like it was conical in shape but was so thick that there was very little room in the bowl for tobacco. The stem was a replacement, like many of them in the pipes my brother sent me. It was a saddle stem and was missing a huge chunk on the left side of the button and up the stem about ½ inch. The person who had made the replacement had cut an angled end on the tenon which in my opinion was careless and not necessary. The airway into the bowl from the shank was plugged and when I blew into the end of the shank I could not get any air through it.

The next four photos show the pipe as it appeared when it arrived in the box from my brother.Monza2

Monza5

Monza4

Monza3 I took a close up photo of the bowl and rim to show the damage and the cake in the bowl. The second photo below shows the broken stem. The stem was pretty much a throw away as it is very narrow after the broken button.Monza6

Monza7 I started to ream the bowl with a PipNet reamer. I started with a small cutting head and soon gave up. I used the largest head that would fit the diameter of the bowl and still found the cake too hard to cut through with the reamer. I dropped it in an alcohol bath to soak to soften the cake and to soften the urethane coat on the bowl. After it had been soaking an hour I took it out of the bath.Monza8

Monza9 In my can of stems I had one with the same diameter as the shank and a tenon that would work with some adjustments. The tenon was too long so I would need to trim it back and also adjust the diameter to get a snug fit in the shank.Monza10 The alcohol bath did not even make a dent in the finish. As I expected the only way to remove a urethane finish is to sand it off. I did not mind as it was covering a lot of damage to the rounded rim and the sides of the bowl. I fit the new stem in the shank and took a few photos to get an idea of the look. The stem was a little too bent to my liking so that would need adjusting but the taper worked well with the horn shape. The last photo of the underside of the shank shows a dark area. That is where the stamping is present and also the crack in the shank.Monza11

Monza14

Monza13

Monza12 I put the stem aside and used a pen knife, a KleenReam and a PipNet reamer to work on the hard cake. It was still rock hard but I was able to chip away at it until I had removed it from the bowl.Monza15 I used the drill bit from the handle of the KleenReem to open up the airway into the bowl.Monza16

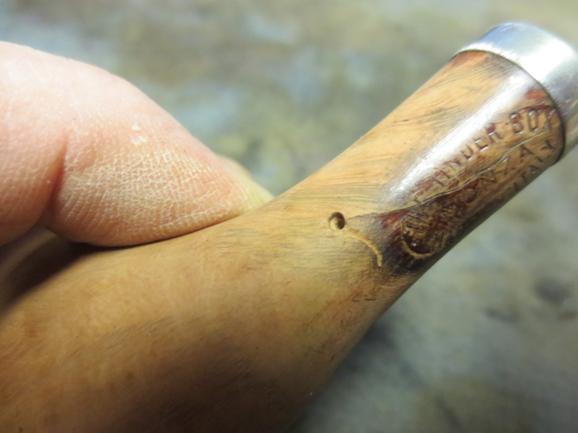
Monza17 I sanded the bowl some more with some medium and fine grit sanding sponges. I wanted to clean up the cracked area on the shank bottom so that I could repair it. I took the photo below to show the crack in the shank.Monza18 I used a micro drill bit on my Dremel to drill a small hole at the end of the crack to stop it from spreading further up the shank.MOnza19

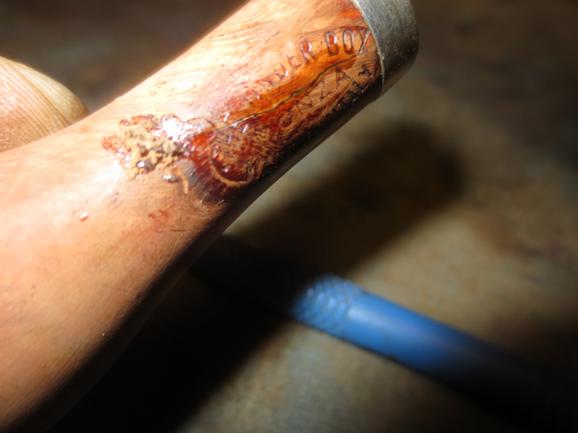
Monza20 I packed some briar dust into the hole and then dripped super glue on top of that and then more briar dust and some more glue. I ran a dental pick along the crack to open it slightly and then put some glue along the crack to the band as to preserve that as well.Monza21

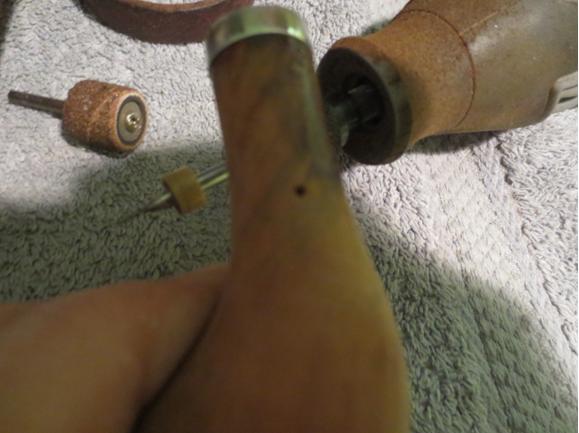
Monza22 I sanded the repair to smooth it out and blend it into the shank and avoided the area inside the stamping.Monza23 I heated the stem with a heat gun to take a bit of the bend out of it. Once it was pliable I bent it to match the flow of the curve of the horn. I wanted it to sit with the rim and the bend in the stem flat on the table when laid down. That angle would make it sit correctly in the mouth when it was smoked.Monza24

Monza25

Monza26

Monza27 I worked on the curve of the rim and top with sandpaper and sanding sponges to get the flow of the rolled rim even all the way around the bowl. I worked on the inner edge of the rim as well to make it flow into the bowl rather than be an abrupt edge.Monza28 I sanded the bowl with medium grit sanding sponges and fine grit sanding blocks to remove the scratches from the briar and to work on the oxidation on the stem. The grain was beginning to show through. I wiped it down with a tack cloth to remove the sanding dust in preparation for staining the bowl.Monza29 The bowl had a lot of fills so I decided to try a contrast stain to both hide the fills and to bring out the grain. I started with a black aniline stain and finished with a brown.Monza30 I stained the bowl with the black and flamed the stain to set it in the grain. I reapplied and reflamed it until the coverage was even.Monza31 I wiped the bowl down with alcohol and cotton pads to remove the excess black and leave it only in the grain of the briar. I wanted it to show the grain and highlight the beauty. I also wanted to mask the fills to some degree.MOnza32

Monza33

Monza34

Monza35 I used a black Sharpie permanent marker to draw grain lines through the huge fills on the bowl to further blend them into the briar.Monza36

Monza37

Monza38 With that preparation done I gave it a top coat of dark brown aniline stain. I applied it and flamed it and repeated until I was happy with the coverage.Monza39

Monza40

MOnza41 I hand buffed the bowl to check out the coverage of the brown and the contrast of the black and the black Sharpie marks. By and large I liked what I saw. There were some spots that needed some more work but it was looking good.Monza42

Monza43

Monza44 I worked the stem over with micromesh sanding pads – wet sanding with 1500-2400 grit pads and then giving it a coat of Obsidian Oil. I dry sanded with 3200-4000 grit pads and gave it another coat of oil. I finished sanding with 6000-12000 grit pads and then gave it a final coat of Obsidian Oil and let it dry.Monza45

Monza46

Monza47 I buffed the pipe with Blue Diamond and then gave it multiple coats of carnauba wax. I buffed it with a clean flannel buff to raise the shine and then with a microfibre cloth to add depth to the shine. The finished pipe is shown in the photos below. It exceeds my expectations when I began the reclamation work on it. The fills on the sides, shank and back of the bowl have all but disappeared in the blend of stains and Sharpie pen. The large ones on the bowl front look better but are still somewhat visible. Overall I am happy with the results. Thanks for looking.Monza48

Monza49

MOnza50

Monza51

Monza52

Monza53

Monza54

Monza55

Monza56

A Rescue Dog – Restoring a Chadwick “Supreme” Rhodesian


Blog by Steve Laug

The third pipe my brother Jeff picked up in the lot from the Montana was one of my favourite shapes. In the photo below of the pipes at the seller’s antique shop it is the pipe on the far right of the picture. Looking at it in the photos I wondered if it was a Peterson 999 or a GBD 9438 two of my all time favourite pipe shapes. I was pretty excited to see what it was once he got the pipes. Everything about that pipe shape made me think that my guess was not far off. When the pipes arrived in Idaho my brother called and read me the stamping. The pipe was stamped on the left side of the shank Chadwick over “Supreme”. On the right side it was stamped Imported Briar. At that point I was scratching my head. It still looked like an English-made pipe to me but I had not heard of the Chadwick brand.Chadwick1 When the pipe arrived in Canada I looked it over and was still convinced it looked English-made. I looked in Who Made that Pipe and it was listed there as made by Wally Frank in the US and England. The next photos show what the pipe looked like when it arrived here. There is a lot of promise underneath all the grime. There was a thick cake in the bowl and the rim was covered with the overflow of tars and oils down the sides to the double ring. The finish was dirty and almost gone. I am not sure if the pipe had a natural finish or was stained but it was no longer clear what the original had been like. The double ring had a large chunk missing on the front of the bowl. There were two fills on the bowl front that were shrunken and looked like dents. The shank was dirty. The stem was chewed and gnawed on to the point that the button was virtually gone on the top side. There was a chunk missing from it on the top middle of the button. There were deep tooth marks on the top and bottom of the stem near the button. The stem was oxidized and scratched and had a build-up of calcification about an inch up the stem toward the shank. Inside the stem and shank was very dirty. The airway to the bowl was clogged and I was not able to blow air through it. It looked to me that there had originally been a stinger in the tenon but it was no longer present.Chadwick2

Chadwick3

Chadwick4

Chadwick5 I took some close up photos of the stamping and the condition of the bowl, rim and stem before I went to work on restoring it. You can clearly see the stamping on the left side of the shank – Chadwick Supreme. The rim is in nasty condition. I am not sure how the last pipe man had ever fit much tobacco in the bowl. All I know is that it must have smoked really well because it looked as if he had never laid it down. The stem condition is also clearly shown with tooth marks and gnawing on the button top and bottom.Chadwick6

Chadwick7

Chadwick8

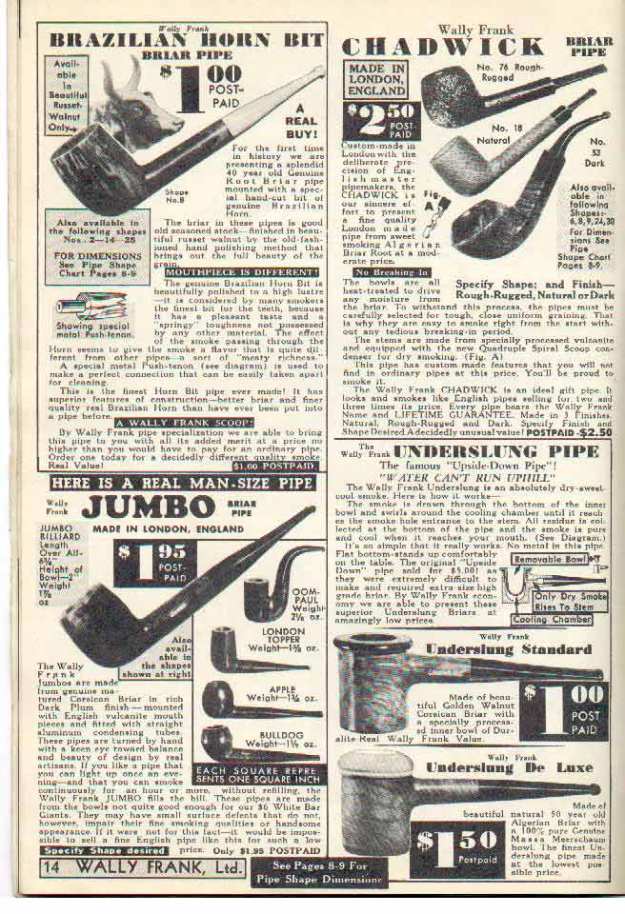
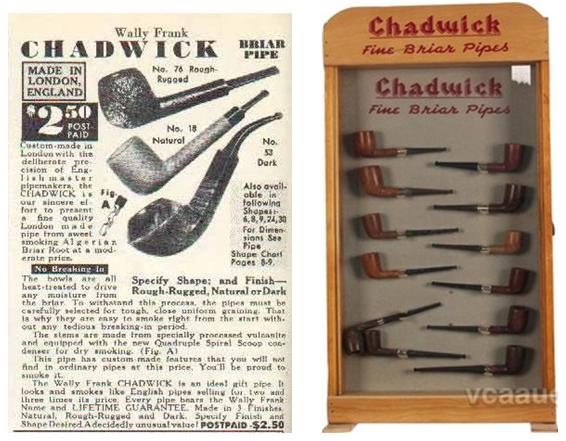
Chadwick8a Before I started cleaning it up I wanted to learn a bit more about the brand. I have cleaned and used quite a few Wally Frank pipes over the years and knew that other companies in Europe often made their pipes for them. It was highly likely that this was a British made pipe. I checked on Chris Keene’s Pipe Pages and found the Chadwick name in the Wally Frank Catalogue for 1939. None of the other catalogues would open but at least I had the information that I needed. The first photo below is of the whole page. The second is of the right top corner where the Chadwick line is mentioned. The third is of a Chadwick Display Cabinet that was provided to tobacconists and stores that sold the line.Chadwick9

Chadwick10 Now I knew that the Chadwick line was indeed made in England. My guess was correct and I would go one step further and guess that they were made by Comoy’s or GBD. The advertisement says that the pipe was “custom-made in London with the deliberate precision of English master pipemakers. The Chadwick is our sincere effort to present a fine quality London made pipe from sweet smoking Algerian Briar Root at a modest price.”

What interested me was that the pipe came in three different finishes – Rough-Rugged, Natural and Dark. I am pretty sure that the one I had was originally dark finished as the dark finish would hide the fills on the bowl and they would be blended into the briar. That gave me the direction that I would go in restaining the pipe once I got to that point in the restoration process.

I love reading these old catalogues and seeing the life time warrantee on the pipes and the fact that the pipe originally cost $2.50 with postage paid from the Wally Frank factory.

Armed with that confirmation of British origin for this old pipe I went to work to restore it to its former glory. I worked on the bowl first. I wanted to ream back the cake to bare wood to see what I was dealing with in the bowl. I set up the PipNet reamer with the smallest head first and found that the cake was incredibly hard. The cutting head barely made a dent in the cake. I took the largest sized cutting head – same diameter as the bowl and work on it and with a lot of force was able to begin to make a dent on the cake. It was just too hard to go too deep with the tool. I used a pen knife to try to cut back the lower portion of the cake but could not even cut into it because it was so hard.Chadwick11

Chadwick12 I decided to soak the bowl and soften the cake in an alcohol bath. I dropped the bowl into the bath and left it overnight to soak and soften the cake.Chadwick13 In the morning I took it out of the bath and dried it off with a coarse cotton towel. The soak also had the effect of softening the lava on the rim and cap so that when I dried the bowl most of it came off in the process. I was able to ream it back to bare wood with the use of a PipNet reamer and a KLEENREEM reamer. I used the drill bit part of the KLEENREEM tool to open the airway into the bowl and remove the clog. With that gone I could freely blow air through the bowl. The final photo in this set shows the conical bowl on the reamed pipe.Chadwick14

Chadwick15

Chadwick16 I wiped the bowl down with acetone on a cotton pad to clean off the remaining finish and the grime left behind after the soak and the reaming process. The damaged rings on the front of the bowl are visible in the photos as is the damage to the rim top.Chadwick17

Chadwick18

Chadwick19

Chadwick20

Chadwick21 I lightly topped the bowl on a topping board using 220 grit sandpaper to flatten the rim top and to remove some of the rounding to the outer edge of the bowl.Chadwick22 I used a dental pick to remove the fills that had shrunk on the bottom front of the bowl in preparation for replacing them.Chadwick23 I packed briar dust into the holes and then dripped super glue onto the packed briar dust.Chadwick24 I packed briar dust into the missing section of the double rings on the front of the bowl. I put super glue on top of the briar dust fill to build up the repair. I added more briar dust on top of the fills on the bowl front and on the repair to the rings.Chadwick25 I sanded the patches on the bowl front with 220 grit sandpaper and smooth it out to match the surrounding briar.Chadwick26 I sanded the patch on the ring repair with 220 grit sandpaper to smooth it out. There were still some low spots on that repair so I refilled the area with some more super glue.Chadwick27

Chadwick28 I set the bowl aside to let the repair on the rings cure before I cut the new rings into the bowl front. While it was sitting I sanded the stem with 220 grit sandpaper to remove the oxidation and the calcification. I wanted to clean up the stem before I worked on repairing the tooth marks and gnawed button. I cleaned the stem with alcohol and pipe cleaners.Chadwick29

Chadwick30

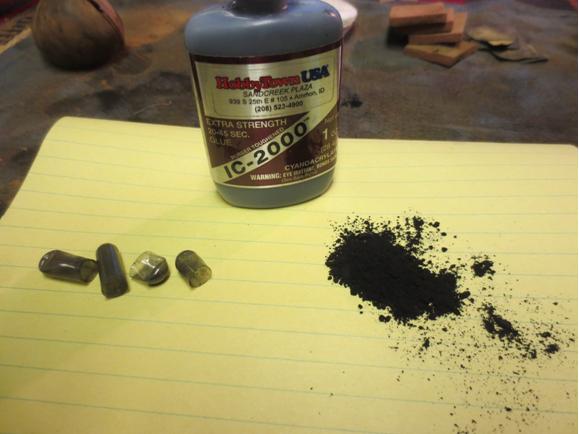
Chadwick31 I scrubbed out the tooth marks on the stem and the button with a cotton swab and alcohol in preparation for the repair I would do there. I mixed the patching material using finely crushed charcoal capsules and black super glue. I mixed the two to blend the materials. I use super glue that gives me 45 seconds of time before it hardens so I have to work quickly.Chadwick32

Chadwick33 When I had the paste mixed well I applied it to the tooth marks and built up the button with a dental pick and dental spatula. The repair is anything but beautiful at this point but the mixture adds strength to the repair that the glue by itself does not give with tooth marks and damage of this magnitude.Chadwick34

Chadwick35

Chadwick36 I set the stem aside to cure and went back to the bowl. I used a Buck Knife, a pen knife and a sharp-edged needle file to cut the lines in the patch on the bowl front. I wanted the new lines to connect seamlessly to the lines on either side of the repair. These three blades always have worked for me to get a good straight line match.Chadwick37 When I had finished cleaning up the lines on the bowl the stem repair had cured enough to begin to shape the button and clean up the tooth repairs. I sanded them with 220 grit sandpaper to begin to shape and smooth out the repairs.Chadwick38

Chadwick39

Chadwick40

Chadwick41

Chadwick42 When I had the basic shape of the button set up the surface was quite porous on the button surface and in one spot on the tooth repair on top of the stem so I gave them a top coat of clear super glue to fill in the pores left behind by the super glue/charcoal mixture. I set that aside to dry.Chadwick43

Chadwick44 I cleaned the bowl and shank with pipe cleaners, cotton swabs and alcohol. It was one dirty shank. It took a lot of scrubbing to clean out the grime. I scrubbed until the cleaners came out clean and white.Chadwick45 I wiped the bowl down with alcohol to remove any last dust or grime in preparation for staining the briar.Chadwick46

Chadwick47

Chadwick48 I decided to stain the bowl with a dark brown aniline stain that I had thinned by half to give it a medium brown colour. I wanted to aim for the dark stain that was noted in the Wally Frank Catalogue above. I figured it would give me good coverage on the fills and the repair to the rings.Chadwick49 I applied the stain with a cotton swab and then flamed it with a lighter to set the colour in the grain.Chadwick50 I wiped down the freshly stained bowl with alcohol on cotton pads to even out the stain and to give it more transparency so that the grain shows through. When I was through I was happy with the colour and with the way it hid the fills on the bowl and the repair to the ring on the front of the bowl.Chadwick51

Chadwick52

Chadwick53

Chadwick54

Chadwick55 By that time the stem repair had dried and I sanded it with 220 grit sandpaper to smooth out the stem patch and do more shaping on the button.Chadwick56

Chadwick57

Chadwick58 I filed the slot in the stem to smooth it out and shape it. I also sanded the stem with a medium and a fine grit sanding sponge to further shape the button. I wet sanded the stem and button with 1500-2400 grit micromesh sanding pads and rubbed the stem down with Obsidian Oil. I dry sanded with 3200-4000 grit micromesh pads and gave it another coat of oil. I finished by sanding it with 6000-12000 grit pads and gave it a final coat of Obsidian Oil. I set it aside for the oil to dry.Chadwick59

Chadwick60

Chadwick61 I sanded the bowl with the micromesh sanding pads – 1500-12000 grit to polish the briar – bowl, shank and rim, to bring out the grain. When the grain began to pop I buffed the bowl and the stem with Blue Diamond on the wheel and then gave both multiple coats of carnauba wax. I buffed it with a clean flannel buff and then with a microfibre cloth. The finished pipe is shown in the photos below. It is a far cry better looking than when I started. This one is a keeper. Thanks for looking.Chadwick62

Chadwick63

Chadwick64

Chadwick65

Chadwick66

Chadwick67

Chadwick68

My Courtship of a Comoy’s Pebble Grain Panel Brandy


Guest Blog by Robert M. Boughton
Member, International Society of Codgers
Member, North American Society of Pipe Collectors
http://www.naspc.org
http://www.roadrunnerpipes.biz (Coming soon)
http://about.me/boughtonrobert
Photos © the Author

For there are moments in life, when the heart is so full of emotion,
That if by chance it be shaken, or into its depths like a pebble
Drops some careless word, it overflows, and its secret,
Spilt on the ground like water, can never be gathered together.

― From “Priscilla” in The Courtship of Miles Standish (1858), by Henry Wadsworth Longfellow (1807-1882), U.S. poet and author

INTRODUCTION
I suppose I should consider myself fortunate to have had many such moments in life as Longfellow described, and can only hope to be blessed with frequent more, yet when each occurs, the awareness never fails to strike like a suffering pleasure. Call me a sentimentalist, or a romanticist as were the poets who influenced Longfellow, or make of it what you will.

Several years ago, when I first began buying up numerous fine examples of restored pipes by my friend and mentor, Chuck Richards, I fell in love with the beautiful Comoy’s Pebble Grain Panel featured in this exercise in refurbishing. As I might as well admit at this point, my reaction to the coloring and fine pebbles adorning the panels and the unusual shapeliness of the pipe itself was as the great American poet described. Many other works of art created for the enjoyment of pipe tobacco, some of which I have had the pleasure of acquiring and quite a few more remaining on my wish list, affected my sensibilities (in the philosophical sense) in a similar manner.

Still, the persistence of my attraction to this singular pipe has never lessened. Perhaps this reaction was a result of the fact that, in a moment of largess, I promised the special pipe to a friend who prefers cigars but was interested in taking up the fairer form of smoking – and on frequent occasions since then, I have been able to appreciate its allure, albeit in the hands of another man.

With that chemistry in mind, I have on a few occasions, with permission from my friend of course, again held the full-figured darling in my own appreciative embrace to ensure that she has been given the care and respect deserved. I am happy to report that the lovely creature has received excellent if frequent attention.

That said, and recognizing that when I first cleaned the Comoy’s a few years back for my friend, Mike Brasel, I knew even less about restoration and refurbishing than I do now, I knew I could make the lovely pipe better than when I gave it away. If anyone detects a touch of regret in those last words, it is only because… well, it’s the truth! There. I got that confession out of the way. I also had taken no photos of the pebble grain before I turned it over to the care of Mike, and concluded that one easy way to correct that mistake was to get it back in my hands long enough to give the pipe a little needed cleaning. Machiavellian? Somewhat. Sneaky? Definitely. Regrets? None.

My primary solace for the loss of the pebble grain is two-fold: other than getting to see it on a regular basis, I can observe its regular upkeep. I knew Mike was in the good habit of running bristly cleaners through it but had no idea he must do so after every smoke until I at last was able to convince Mike to entrust me with the Comoy’s a few days ago. He actually paid me for a sweet, vintage Kaywoodie Signet bent smooth billiard I restored about a year ago (my first experience cleaning a pipe properly with a retort). I believe it dates to the 1960s if not a little earlier. Mike therefore had a substitute to use in the other pipe’s absence.

The reason I chose the Comoy’s for Mike in the first place was his comment that he had been unable to find a big, thick, sturdy enough pipe that would never overheat at a price he could afford. I knew the pebble grain would be perfect for his needs and fit his personality at the same time. But based on his standards for appreciating the thick-skinned Comoy’s, I was surprised and more than a little concerned when he picked the Kaywoodie from my restores available for sale. Nevertheless, while enjoying his first bowl of McClellands 2015 Christmas Cheer in his new Signet, Mike told me it smokes great and is easier to control without holding. The photo below was snapped just as he was about to remove it from his mouth.
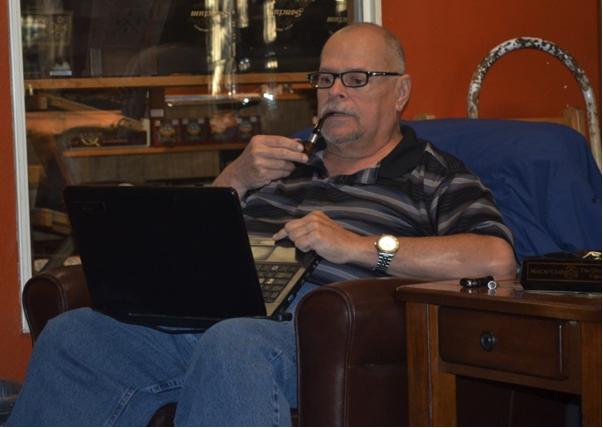
Mike trying out his Kaywoodie the first time
Mike trying out his Kaywoodie the first time

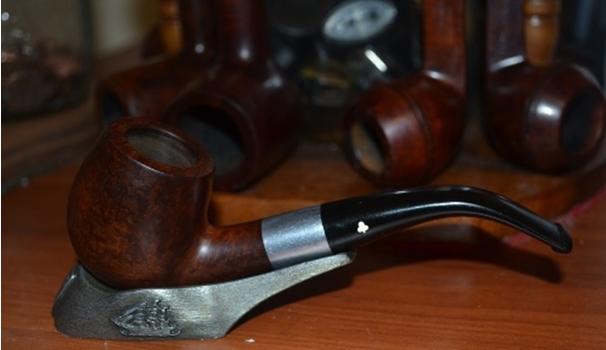
Mike’s new pipe
Mike’s new pipe


REFURBISH
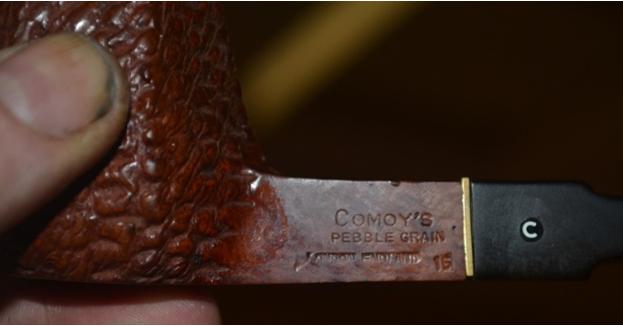
Comoys3

Comoys4

Comoys5

Comoys6

Comoys7

Comoys8

Comoys9 AN ASIDE
I see Mike at our local tobacconist almost every time I’m there, and for the most part he smokes the cigars he still loves. On occasion, I’ll even buy one and light it up myself. It’s true, I enjoy a good candela on special occasions, in particular when I can get my hands on a genuine Havana, which is a treat I have savored only five times: twice on trips to visit my mother when she lived in Cozumel, Mexico; once with another onto which I slipped a Nicaraguan band and smuggled back to the States (although the Customs agents at the border picked it right out from the little humidor box I handed them, which otherwise had legal varieties, and smiled at each other before letting me get away with my attempt at subterfuge); again with a gift from a former co-worker in grocery store deli merchandising, this one being, I was certain, a fake – until I held it and noted the unique paleness and skin-like suppleness of the green wrapper, and the last that I bought from a friend in England who was a true gentleman to mail to me along with three more I purchased for Mike and a couple of other cigar aficionados I know. All of the Cubans I’ve smoked required hours to finish and left me with an almost illicitly pleasant, light-headed giddiness.

BACK TO THE REFURBISH
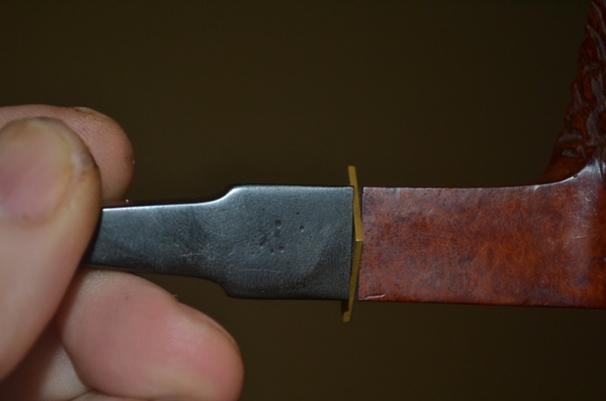
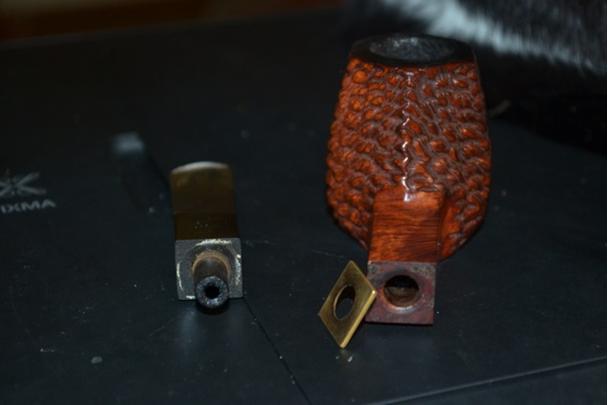
And so I was somewhat amazed to see from tell-tale signs on the Comoy’s that it had been used far more often than I suspected. The rim, of course, was the first hint, blackened as it was. Then there were the slight dents on both sides of the top of the shank, visible in the third photo above, and some minor scratches on the rest of the wood. However, the most revealing symptoms of frequent use were the general grime on the outer briar and the lip end of the bit. I also discovered, without even removing the bit from the shank, that the thin brass band that had been connected to the bit had come loose.Comoys10
Comoys11

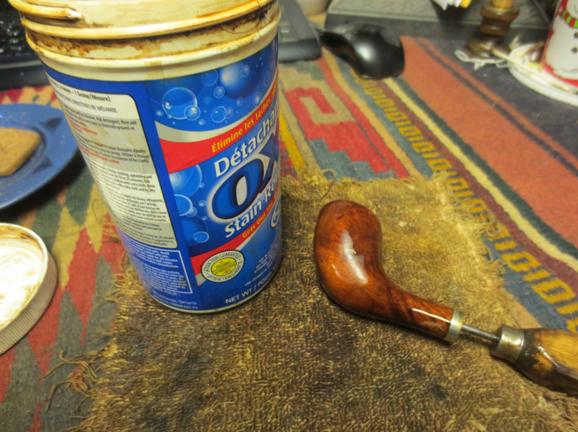
Comoys12 That was a repair I never had to ponder before. Tossing the bit into an OxiClean solution for a nice long soak, I decided to tackle the rim first. I was able to remove the majority of the charring safely with superfine steel wool before shifting to micromesh, using 1800, 2400 and 3200. The rim as shown in the last shot below, I knew, was not finished, but more about that later, in its order.Comoys13
Comoys14

Comoys15 Removing the bit from the OxiClean wash, I rinsed it and with haste, while it was still wet, started micro-meshing, from 1500-12000. There was no need for sandpaper, other than the narrow edge around the tenon where the thin brass band still needed to be replaced. To eliminate the residue of the original adhesive, I made fast work of it with 150-grit paper followed by 320, then micro-meshed all the way through my pack of pads. Not having to sand any of the regular surface of the bit was such an extremely rare event that I was truly struck by Mike’s high degree of care for the Comoy’s. Here is the band before I cleaned it up easily with my steel wool, and after I reattached it with a small amount of Super Glue.Comoys16
Comoys17 Less than a minute’s more work with the steel wool made the tenon opening like new.

I considered the bowl and shank and how to clean them. Six small, thin cotton squares, used two-ply and wetted with purified water, took off much of the dirt with serious scrubbing both vertically and horizontally to get around the pebbles as thoroughly as possible, but that was not enough. With the wood wet, I returned to the three micromesh pads and made more progress, but the task called for something else. After serious consideration, I opted to go all-out with a couple more two-plies using Everclear, again rubbing both directions. At last I found the exact lighter shade I sought.

At this point, I finished the rim, using 320-grit paper with two of the gentlest swipes possible, one around the top and the other covering the rounded inside where it borders with the beginning of the actual chamber. I finished that step with the same micromesh progression as before.

While I still had the 320-grit paper and micromesh pads out, I saw no reason not to tackle the two dings in the shank and the sundry scratches. Again, most of these blemishes were mended with the micromesh. Almost all of the very slight imperfections remaining came off with light, focused application of the 320-grit followed by – you probably guessed – the same three micromesh pads. With an uncommon sense of caution, given that this pipe already belonged to my friend Mike – someone I had reason to suspect I never want to see really mad – I settled for the results I had achieved, except for a quick turn or two of 150-grit paper followed by 320-grit on some excess cake buildup in the chamber, and to clean out the loose soot from the sanding, a wipe with another cotton cloth piece wet with purified water.Comoys18
Comoys19

Comoys20

Comoys21

Comoys22

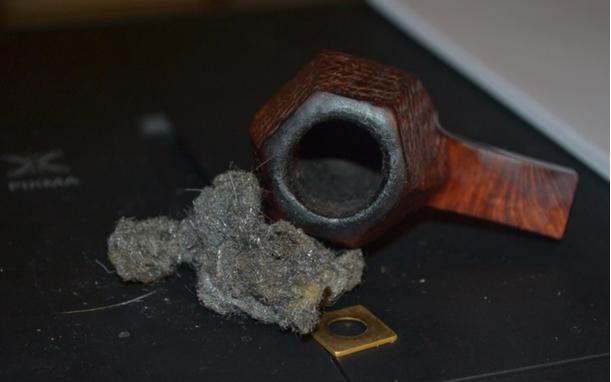
Comoys23 I only needed a few seconds to consider a retort and dismiss the notion, realizing it would remove too much of the cake that I had promised Mike I would not ruin. But I did dip a bristly cleaner in Everclear and ran it through the shank, turning it briskly as I did so, and saw it came out filthy. After using a dry cleaner that brought out more grime, I repeated the process, still finding some unnecessary old smoke, tobacco and other accreted matter. The third cleaner soaked with Everclear was almost white.

I left the shank as it then was and proceeded to the bit’s air hole, at which point I was amazed to find that one alcohol-soaked cleaner came back with minimal blackness. One more dry cleaner paved the way for another dipped in Everclear, which was clean, ending that step.

The hard parts of the job complete, the time came to open my jar of Halcyon II wax and dip a finger in for a dab of the stuff. The single dab was enough to coat the bowl and shank until they shone with a wet brightness and set it aside for about 15 minutes while it soaked into the smooth rim, bottom of the bowl and shank, and every crevice of the pebbled area.

When I could stand the wait no longer, I carried the two pieces of the pipe into the spare bedroom of my new apartment that I will use as an office/shop when it is furnished. Of course, I had already set up my buffers on their sturdy stand and had only to plug them in for the first time in that setting. I buffed the bit with red Tripoli, white Tripoli and White Diamond, using the clean cloth wheel after each, and wiped it down with a big soft cotton cloth. Setting it aside and taking a deep breath, exhaling slowly, I stuck my left index finger in the chamber and, with complete calm and a firm grip on the precious briar, buffed the Halcyon II on the clean wheel. Rubbing it down with the cotton cloth, I concluded a final run with the carnauba wheel and then the clean buffer was in order.

Studying every angle of the briar while I rubbed it with the cloth, I was a tad disappointed that the waxing and buffing process had made it almost as dark as it started. I had wanted to finish with a lighter shade of wood and a high sheen of wax, but decided against another coat of Halcyon II.Comoys24
Comoys25

Comoys26

Comoys27

Comoys28

Comoys29

Comoys30 CONCLUSION
A few words about why the first three photos of the finished Comoy’s Pebble Grain have a different background: when I went to the tobacconist to see if Mike was there, he wasn’t, and I sat down to enjoy a bowl while I took the pipe out for what I thought would be a final quick exam. I was horrified to see what appeared to be bad blemishes on the right side of the bit and shank, and on the top and bottom of the bit. Fortunately, I had my cotton cloth with me and discovered that the problems were only smudges of excess wax. And so I wrapped the rag around the entire pipe and gently turned it round and round for five minutes or so, while I puffed away at one of the tobacco samples on hand.

When I at last stopped rubbing the pipe, I handled the pipe as I would if I were checking out a new purchase, and found no more smudges. Relieved, I wiped it quickly one last time before taking the pictures of the first three angles again.

Knowing I couldn’t take it home with me, I put it back in the leather pouch I included for Mike, so that he could carry it with him with added protection, and left the Comoy’s of which I remain so fond with Chuck at the counter.Comoys31 Cheers, then, old gal.
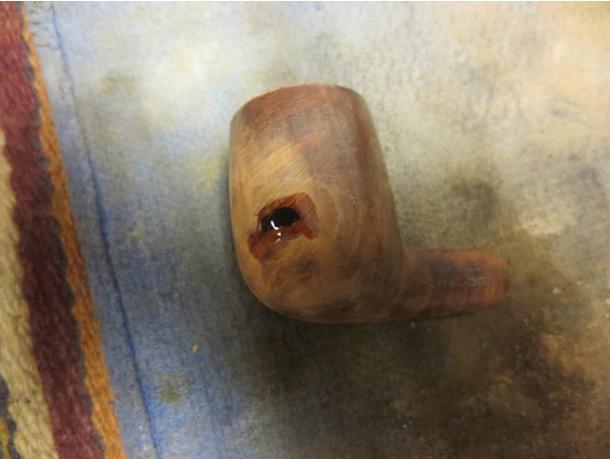
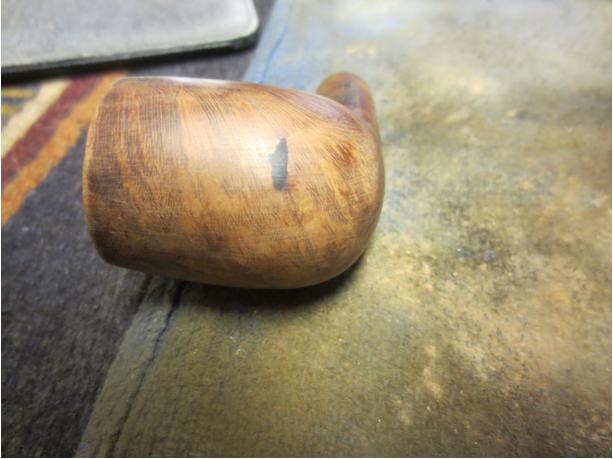
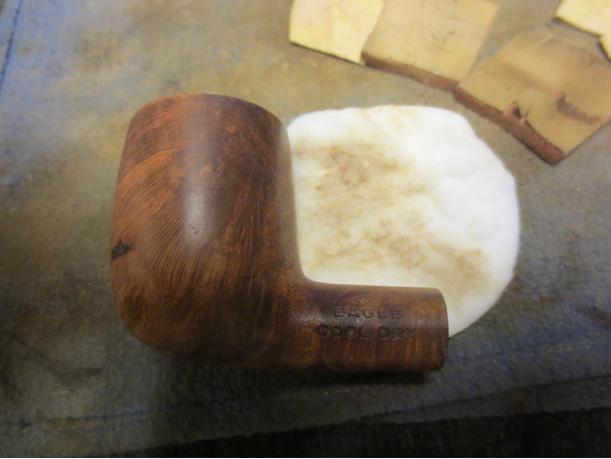
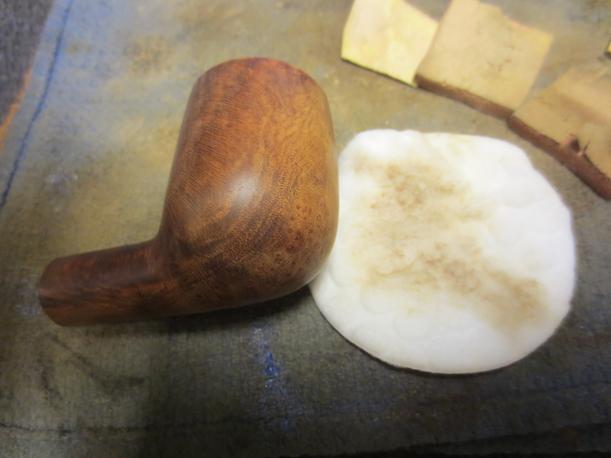
Restoring An Eagle Cool-Dry Billiard


Blog by Steve Laug

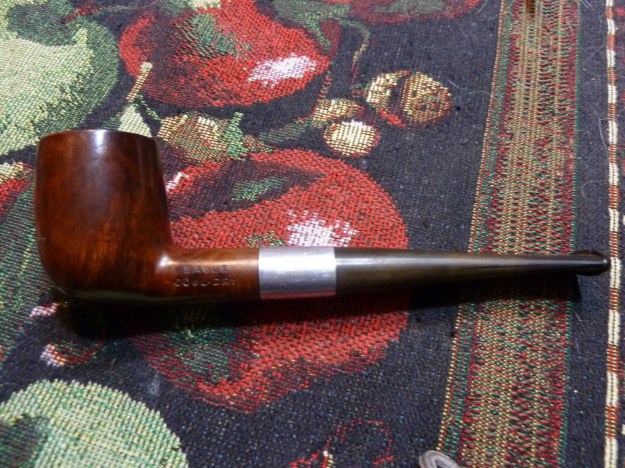
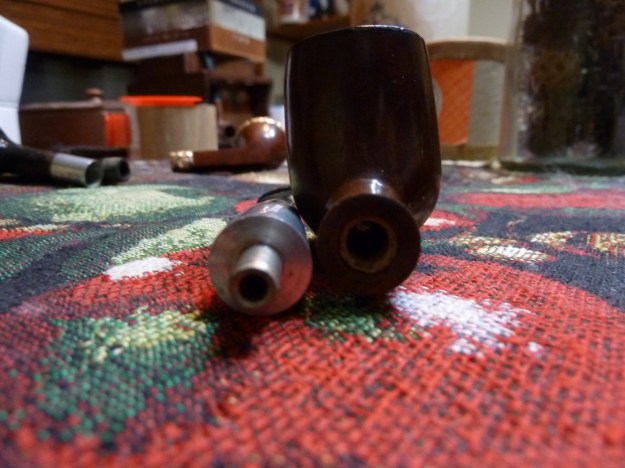
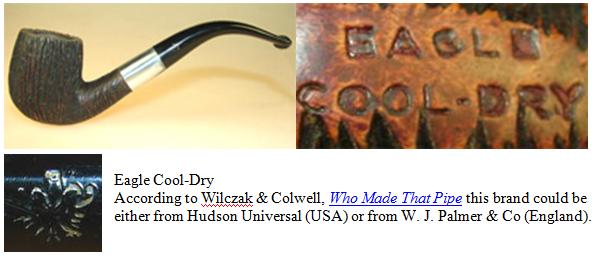
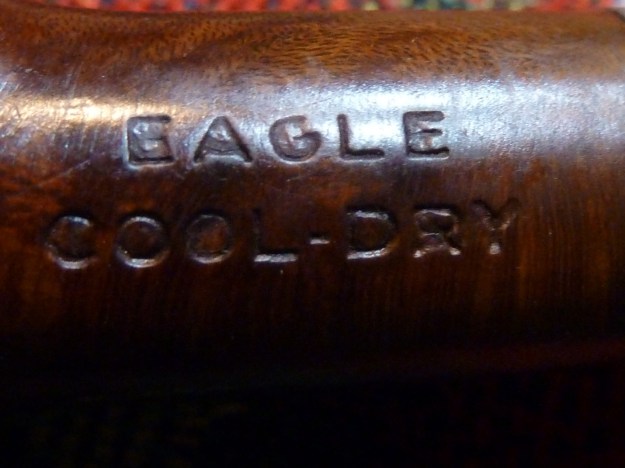
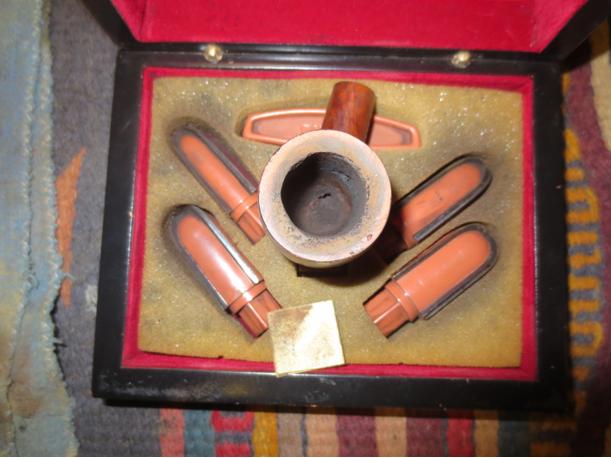
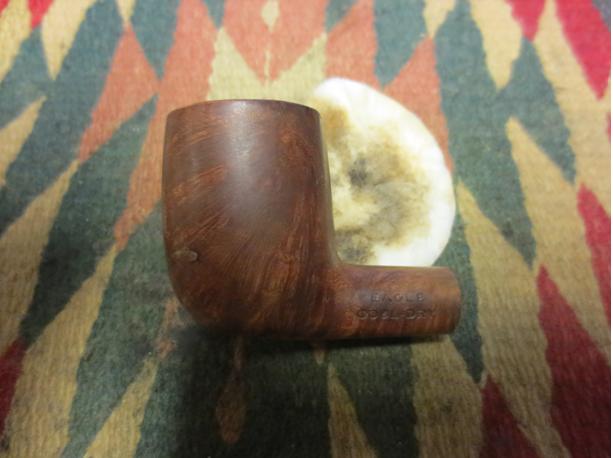
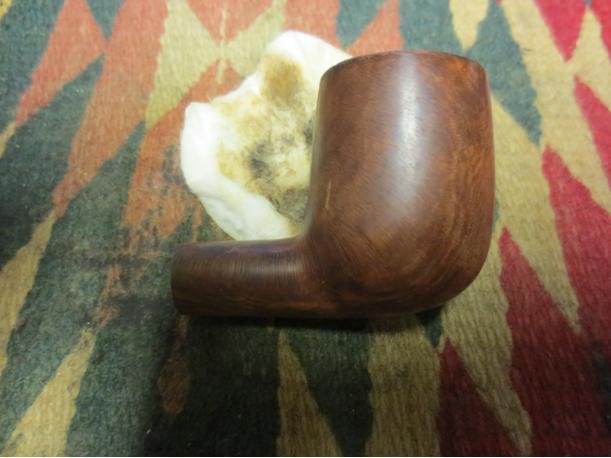
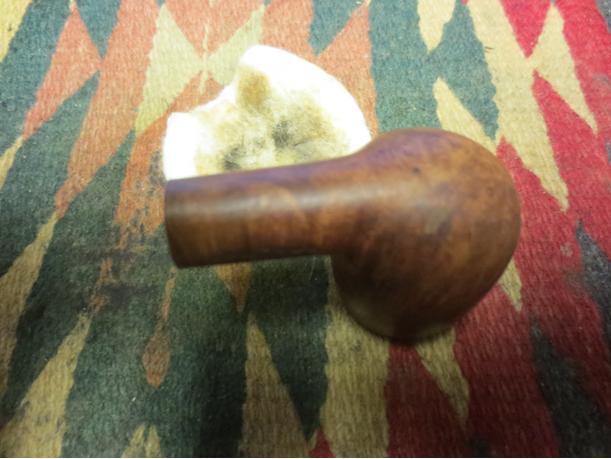
The pipe was another gift pipe sent to me by Pam. It is in decent shape. The stem is oxidized and has some tooth marks on the top and bottom side of the stem near the button. The tooth mark is like a vertical slit on the top and bottom side about ½ inch up the stem from the button. There is also a small tooth dent near the button. The metal part of the stem and tenon were integrated into the stem rather than in the shank of the pipe. The finish on the pipe was shiny and showed that the lacquer or varnish that had been used was peeling in spots on the front of the bowl. The stamping was deep and readable. There were quite a few fills on the bottom of the bowl. The largest was on the bottom front edge of the bowl. It had shrunken and was a large pit that ran across the front of the bowl. The bowl was heavily caked and the buildup on the beveled rim was hard and chipped looking. There were some nicks on the outer edges of the rim from when the bowl had been tapped out. The shank was not too dirty and the mortise appeared to be lined with a white tube of some sort.Eagle1 The Eagle Cool-Dry has some unique plumbing in terms of system pipes. It is different from any of the other pipes like this in my collection. The rest of the ones that externally look like this one, the Keyser Hygienic and the Millard Perfect Pipe are actually very different in terms of design. They have a metal insert at the end of the shank that acts as a condenser area with a tube extending from the airway into the condensation chamber. The stem also has a metal tube insert and no tenon but is a military mount stem that inserts into the chamber. The two tubes either meet in the chamber or sit in the chamber. The Eagle is very different in terms of design from the other two mentioned above. The shank is lined with either clay or meerschaum – hard to tell by just looking. My tendency is to assume it is clay. The porous tube is inserted into the shank forming the mortise of the pipe and extending to the end of the shank (see photo below). The metal tenon integrated into the vulcanite stem sits snuggly into the lined mortise. Once I clean it up I may be more certain what the material that makes up the mortise lining.Eagle3 As I worked on cleaning up the pipe I took a little time to see if I could ferret out any information on the brand and the manufacturer of the pipe. I looked for Cool-Dry pipes and found a metal Falcon like pipe that uses the same threaded bowls as Dr. Grabow Vikings. I looked for Eagle Pipes and found a clay pipe manufacturer in Montreal, Quebec in the late 1890s but nothing on a briar pipe maker of that name. I searched for patent information on the internals of the pipe under both the Eagle and the Cool-Dry name and found nothing specific on the system in this pipe. The one thing I did find was that the pipe was made by the Hudson Universal Pipe Co. who also made the brands Excelsior, Harrington Park, and Hilex. This information came out through some notes I found while Googling the brand.

Having that information in hand I looked for the pipe on the Pipephil Stampings and Logos website and interestingly found the following picture and short information. The brief notes under the picture confirm that Hudson Universal Pipe Co. was one of the makers of the pipe. The pipe I received has the same stamping as the one pictured below. The one I have does not have the stem logo but rather is stamped ITALIA on the underside of the stem next to the metal portion of the stem.Eagle2a

Eagle2 When I brought the pipe to my work table I took the following photos to give an idea of the condition it was in when I started. I have spoken of the finish and the general worn condition of the bowl. The rim and cake issues have also been mentioned. The photos show the oxidized stem and aluminum. The bowl has an attractive shape and there is something about the old pipe that drew me to it.Eagle4

Eagle5

Eagle6

Eagle7 The next two photos are close up shots. The first shows the large shrunken fill on the bottom front part of the bowl. The second shows the thickness of the build up on the rim and the cake in the bowl.Eagle8

Eagle9 I took the pipe apart to show the nature of the tenon and stem apparatus.Eagle10 I sanded the stem with 220 grit sandpaper to remove the oxidation on the stem and to prepare it for the repairs that needed to be done to the tooth marks on both sides of the stem. I sanded it and removed much of the oxidation and minimized the tooth chatter. I then scrubbed the stem with alcohol to remove the dust and debris in the tooth marks. I filled them with a bubble of clear super glue – both the two spots next to the button (1 on top and 1 on the underside) and the two vertical cuts or marks (one on each side). I set the stem aside to let the glue cure.Eagle11

Eagle12 While the glue dried I worked on the bowl. I sanded the top of the rim with 220 grit sandpaper to remove the cake that had built up on that surface. I would need to continue to reshape the rim. I reamed it back to bare wood with a PipNet reamer.Eagle13

Eagle14 I continued to sand the rim and also sanded the inside edge of the rim with the 220 grit sandpaper.Eagle15 I scrubbed the bowl with acetone on a cotton pad to remove the varnish coat and the grime that collected on the briar through the years.Eagle16

Eagle17

Eagle18

Eagle19 The next photo shows the clay/meerschaum insert in the shank that lined the mortise on the pipe. I cleaned it with cotton swabs, pipe cleaners and alcohol.Eagle20 I picked out the large fill on the front of the bowl with a dental pick until the sandpit was clear of the white putty. I wiped the bowl down with alcohol on a cotton swab to clean out any remaining debris. I used the dental pick to press briar dust into the sandpit and packed it in. I dripped a couple of drops of glue into the dust. Unfortunately the glue ran down the face of the bowl. I am using a new kind of glue and it is very thin and dries slowly. I sanded the surface of the bowl to remove the heavy overdone patch until it was smooth with the surface of the bowl. I then added a little more briar dust to the patch and used the tip of the pick to put some more glue on the repair.Eagle21

Eagle22

Eagle23 When the glue dried I sanded the patch until it was smooth. I sanded the entire bowl with a medium and fine grit sanding sponge to remove the scratches. I wet sanded the bowl with 400 grit wet dry sandpaper and then with 1500-2400 grit micromesh sanding pads. I wiped the bowl down with alcohol and cotton pads to remove the sanding dust in preparation for restaining the pipe.Eagle24

Eagle25

Eagle26

Eagle27 I gave the bowl a coat of dark brown aniline stain and flamed it with a lighter. I gave the pipe several more coats of stain and flamed each one.Eagle28 When the stain had dried I hand buffed it with a cloth and then gave it a light buff on the wheel with White Diamond. The first two side view photos of the bowl show it with a red tint that really is not as prevalent as it appears. The photo of the bottom of the bowl is more accurate in terms of the colour of the pipe.Eagle29

Eagle30

Eagle31

Eagle32 I sanded the repaired stem with 220 grit sandpaper to blend the repair into the surface of the stem. I sanded it with a medium and a fine grit sanding sponge to remove the scratches in the surface of the stem.Eagle33

Eagle34

Eagle35

Eagle36 The stem was quite clean on the inside so it took only one pipe cleaner to take out the sanding dust that had collected inside.Eagle37 I wet sanded the stem with 1500-2400 grit micromesh sanding pads and then rubbed it down with Obsidian Oil. I dry sanded with 3200-4000 grit pads and then gave it another coat of oil. I finished sanding it with 6000-12000 grit pads. I gave it a final coat of Obsidian Oil and let it dry.Eagle38

Eagle39

Eagle40 I buffed the pipe and stem on the wheel with Blue Diamond. I gave the aluminum a light buff so as not to darken the buffing pad and carry the metallic colour onto the vulcanite or the briar. I gave the bowl and stem multiple coats of carnauba wax and then buffed the pipe with a clean flannel buff. I finished by buffing it by hand with a microfibre cloth. The finished pipe is shown in the photos below. The glow of the briar and the vulcanite are really set off by the burnished aluminum portion of the stem. It is truly a beautiful pipe. Thanks for the pipe Pam it is a keeper. Thanks also to each of you who are reading this blog.Eagle41

Eagle42

Eagle43

Eagle44

Eagle45

Eagle46

A Simple Mistake Forced a Restem on a Meerschaum Billiard


Blog by Steve Laug

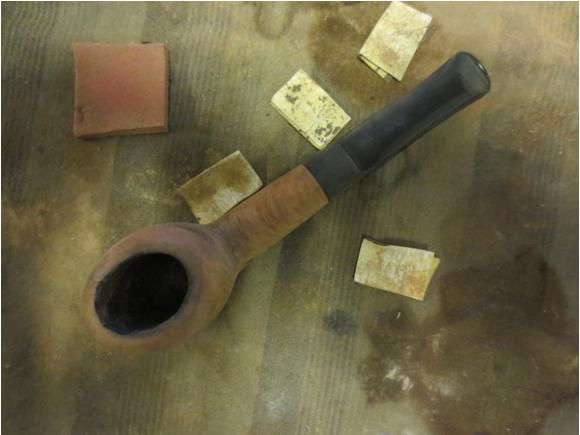
I found these two no name meerschaum billiards on one of the web forums that I frequent. The seller gave me a decent price on the two. The top pipe was older than the bottom one and I chose to work on it first. The stem was Bakelite and had a metal tenon. It did not fit in the shank either in terms of the diameter of the tenon or the diameter of the stem. It fit very loosely and wobbled in the mortise. The stem itself was about 1/8 inch in some places and 1/16 inches in others smaller than the shank of the pipe. The pipe was dirty and in need of some effort to clean it up and restore it. The next three photos show the pipe from different vantage points.Meer1

Meer2

Meer3 Once the pipe arrived I was able to have a clear look at it. The rim on the bowl was tarred and the outer edge was chipped. The bowl surface itself was dirty and spotty looking. It had a light brown patina under the dirt. The tars on the rim ran down the outside of the bowl. The shank also was dirty on the outside. The inside of the bowl had been reamed and cleaned. There was some wax in the bottom of the bowl. The airway entering the bowl was damaged and had been worn upward about ½ an inch to form a trough along the back wall of the bowl. The inside of the shank was clean and still undarkened by smoke. There were no threads or marks on the inside of the shank so I was pretty sure that the original stem had been a push stem. It may even have been a Bakelite stem like the one that had been substituted on this pipe. But I was pretty certain that I was working with a replacement stem and poorly fitting one at that.Meer4
Meer5

Meer6

Meer7 The close up photo of the rim shows the rim damage and the damaged airway in the bottom of the bowl.Meer8 The next photo shows the oxidized aluminum tenon on the stem. I thought about adding a coating of superglue to the tenon to tighten the fit but that would not do anything for the diameter issue. I was pretty sure that I would have to restem this pipe to get a good fit on the stem and shank union. In the mean time I cleaned up the bowl. I should have paid attention to my initial thoughts here and just set the stem aside but I did not and would regret it soon enough.Meer9 In the mean time I cleaned up the bowl. I used a medium grit and a fine grit sanding block to remove the tars and deposits on the rim. I scrubbed the bowl with Murphy’s Oil Soap to remove the grime on the surface and leave as much of the patina intact as possible.Meer10

Meer11

Meer12

Meer13

Meer14 I decided to put a coat of superglue on the tenon and see if I could build it up for a snug fit. I should have left well enough alone. Needless to say my “quick fix” did not work. I got the fit correct or what I thought was correct and when I removed it from the shank I heard a popping sound and noticed that I a small chunk of meerschaum had cracked and come out of the shank. I was sick with having broken a chunk out of the shank because I had not gone with my first instinct of cutting a new stem. Now I had made work for myself. I glued the chunk back in place on the shank with some epoxy and then cleaned up the repair so I could band it. I had used some brass pressure fittings on some meerschaum pipes I had restemmed earlier and like the look of them so I found one that was the right diameter for this shank as well. I heated it with a heat gun and pressed it in place on the shank. I covered the majority of the repaired shank and protected it from breaking further.Meer18

Meer15

Meer16

Meer17 I found a stem that was the right diameter for the shank of the pipe in my can of stems. I sanded the tenon to get a snug fit in the shank and put it in place. The photos below show the stem before I had put the finishing touches on it and cleaned it up. They do give a good idea of how the new stem will look with the band.Meer19

Meer20

Meer21

Meer22 The stem style is wide at the button and more tapered than the one that had probably graced the pipe originally but I liked the new look of it. I sanded it with 220 grit sandpaper to remove the tooth chatter and tooth marks at the button. I also sanded to remove the oxidation. I sanded it with a medium and a fine grit sanding sponge. I sanded the bowl with micromesh sanding pads- 1500-12000 grit and polished it by hand.Meer23

Meer24

Meer25

Meer26 I sanded the stem with micromesh sanding pads – wet sanding with 1500-2400 grit sanding pads and dry sanding with 3200-12000 grit pads. I rubbed the stem down after each set of three pads with Obsidian Oil and then kept sanding. When I finished with the 12000 grit pad I gave it a final coat of oil and let it dry.Meer27
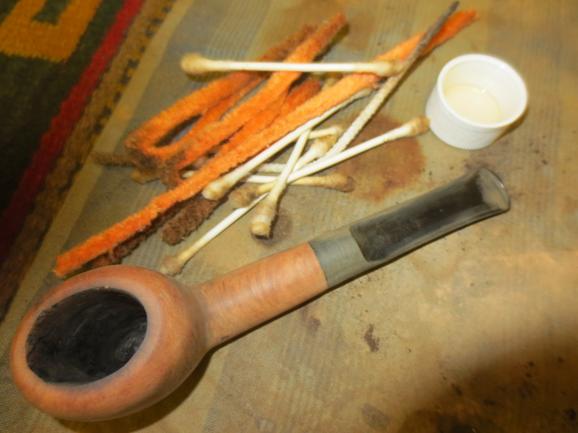
Meer28

Meer29 When it was dry I buffed the stem with Blue Diamond on the buffing wheel until it shone. Then I gave it multiple coats of carnauba wax and buffed it by hand with a microfibre cloth. I gave the bowl several coats of white beeswax paste that I have here and then buffed it as well. The finished pipe is shown in the photos below. I am actually happy how the finished pipe turned out. The issues that arose during the clean up worked out better than I had expected. For that I am thankful.
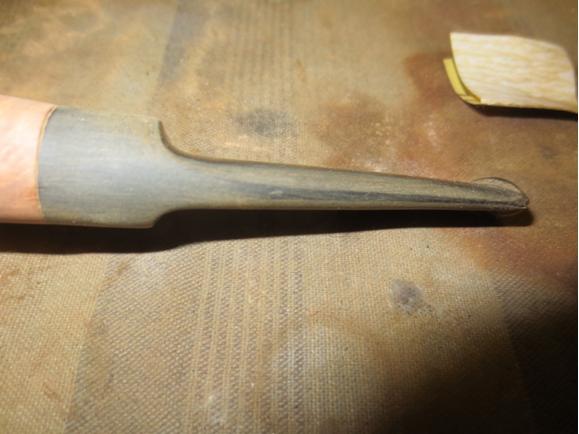
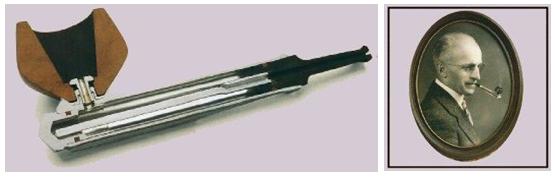
The meer polished up nicely and the spotty brown colouring was a nice contrast with the brass and the black vulcanite. I like the look of the band on the shank and only wish that I had not cracked the shank and made it necessary and not just cosmetic. Ah well it is nearly invisible and it will still give a good smoke. I need to figure out some way to repair the airway on the inside of the bowl. I am still puzzling over several options but will probably use a natural plaster of Paris to build up the groove on the back wall of the bowl. Time will tell. I will add that repair to the end of this blog once I decide how to do it. Thanks for looking.Meer30

Meer31

Meer32

Meer33

Meer34

Meer35