Blog by Aaron Henson
Although this is a standalone write up, it is also part 2 of an adventure I started with the rustication of a bent billiard about a month ago.
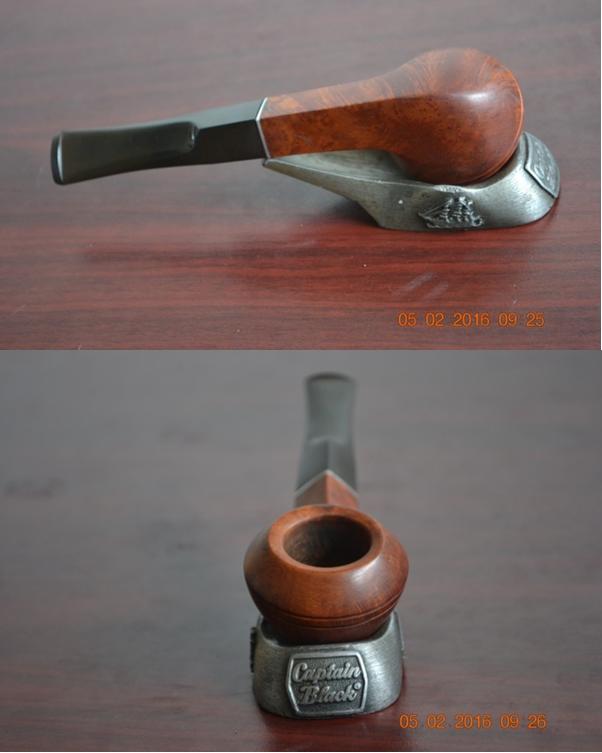
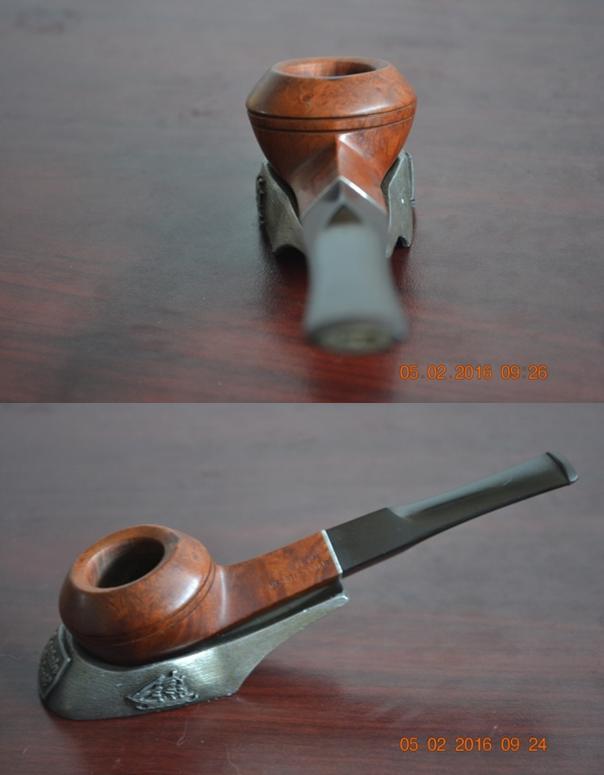
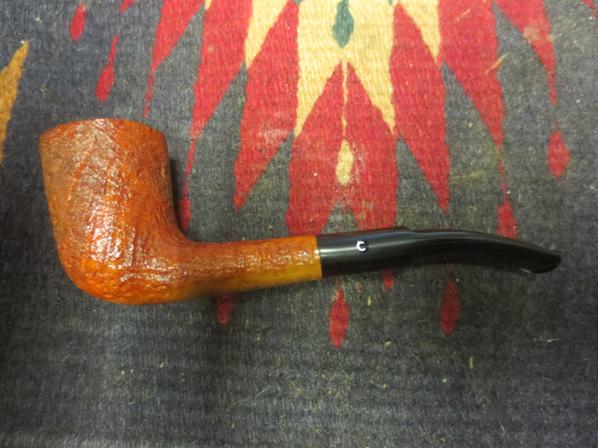
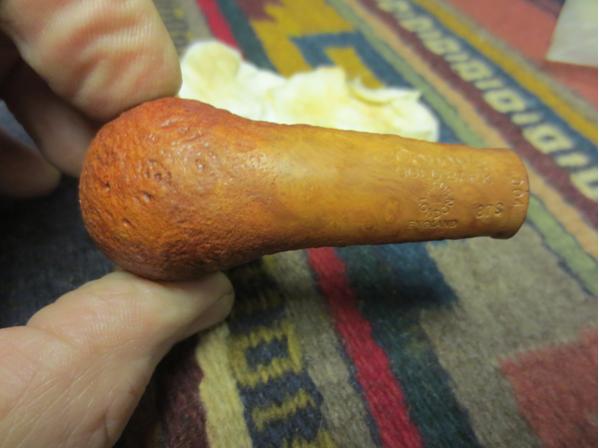
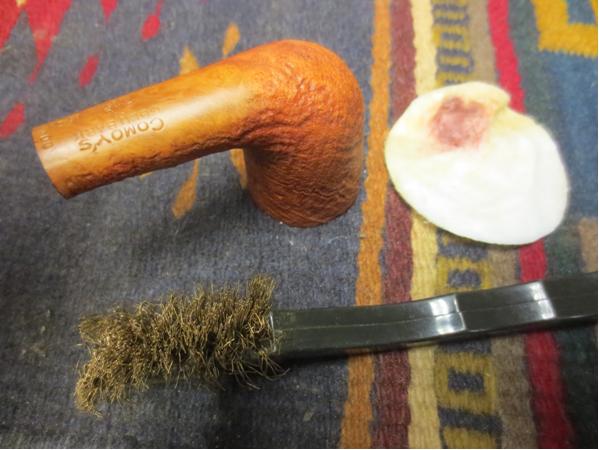
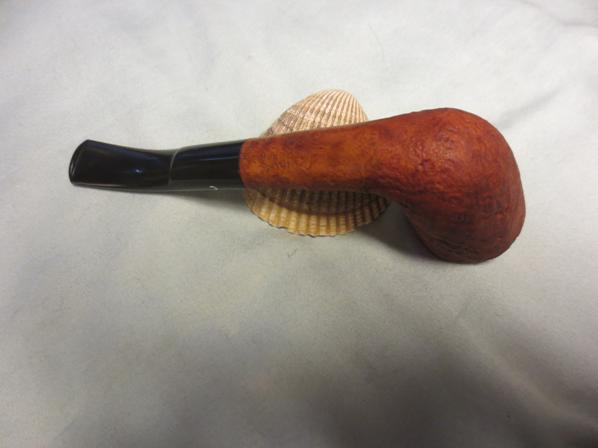
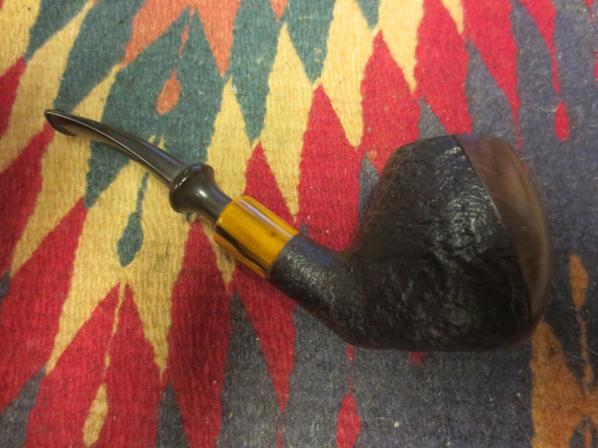
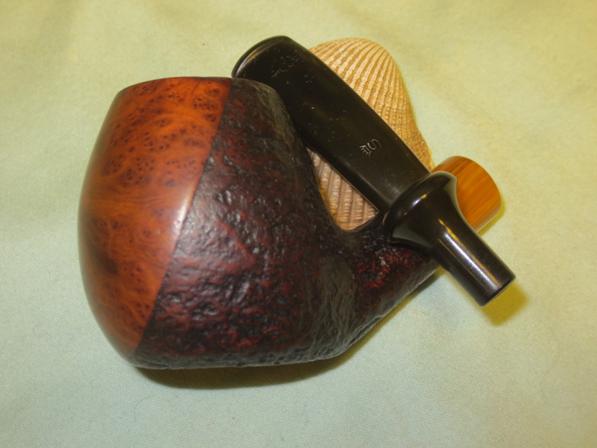
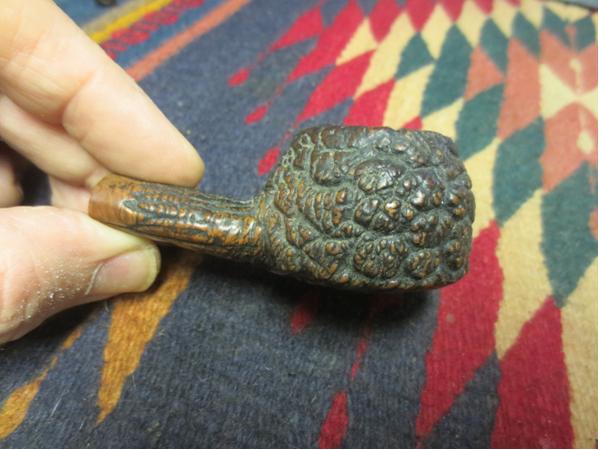
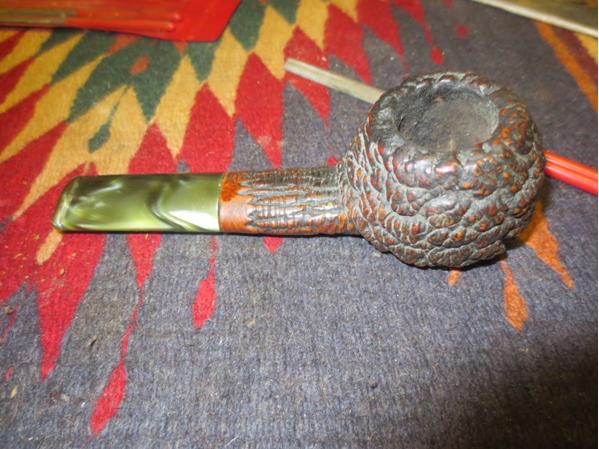
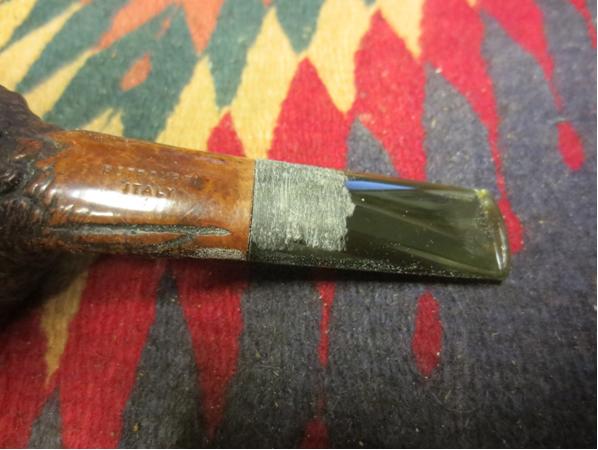
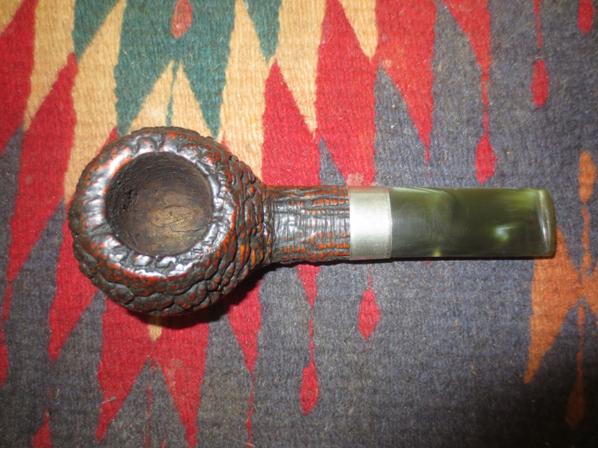
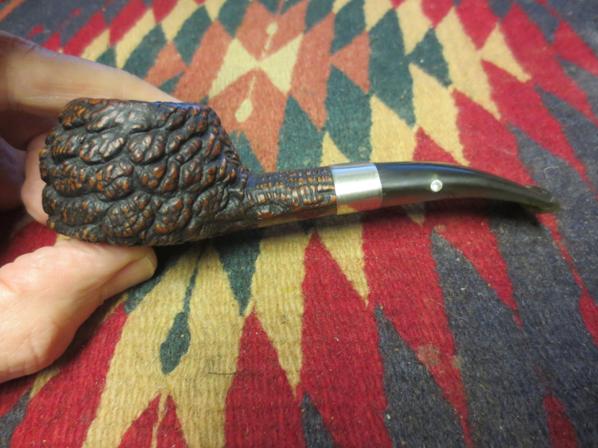
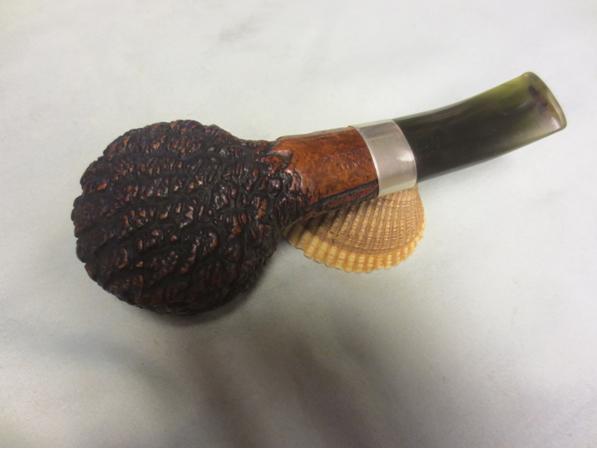
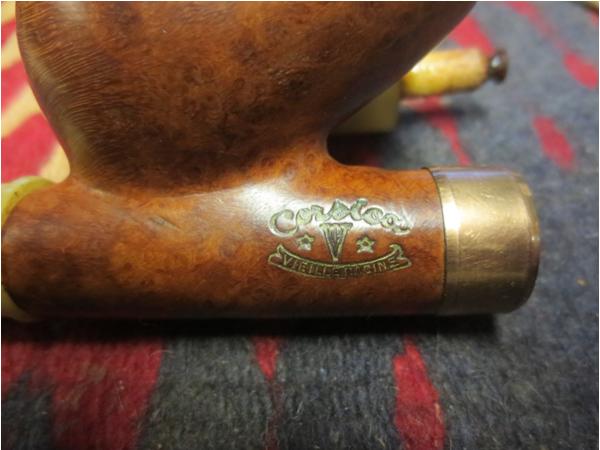
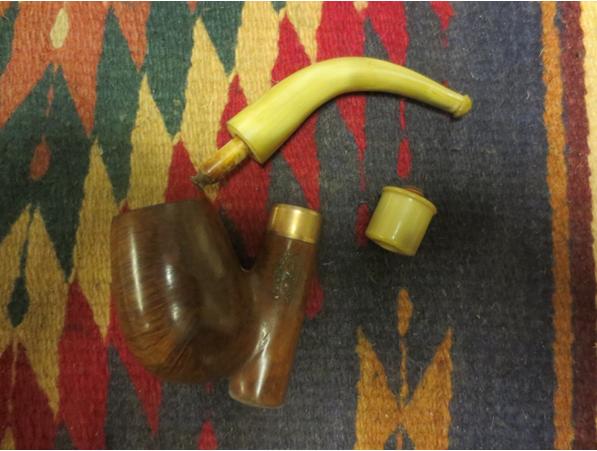
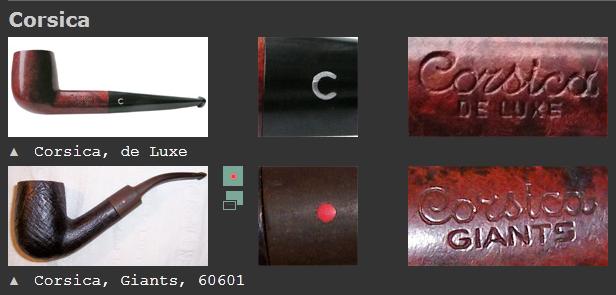
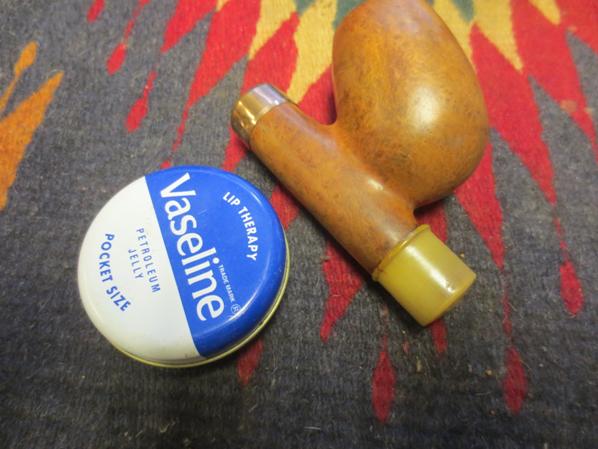
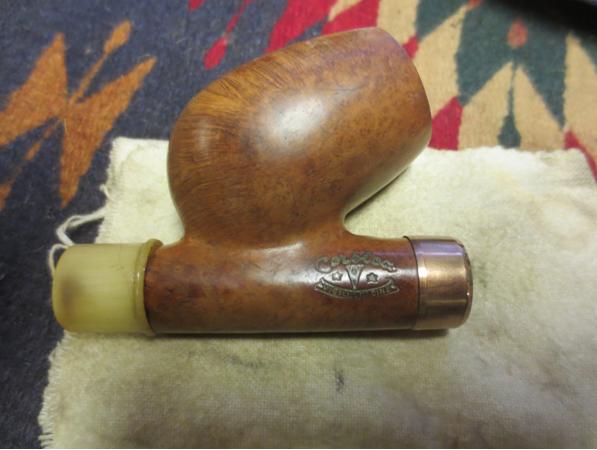
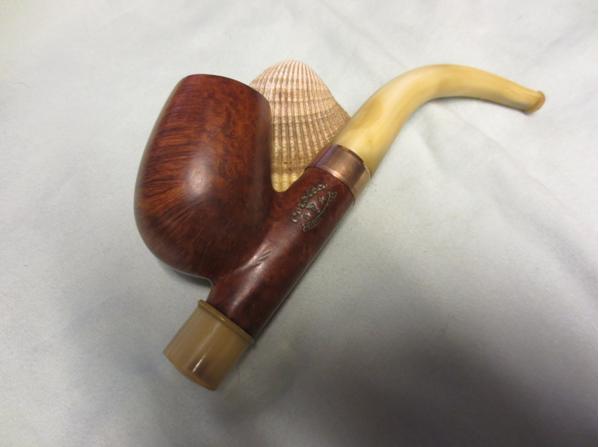
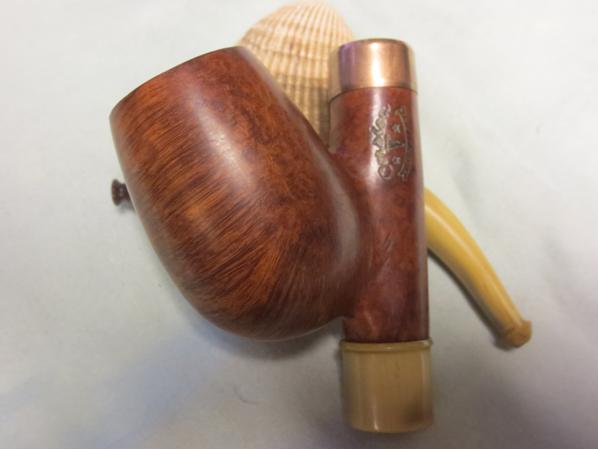
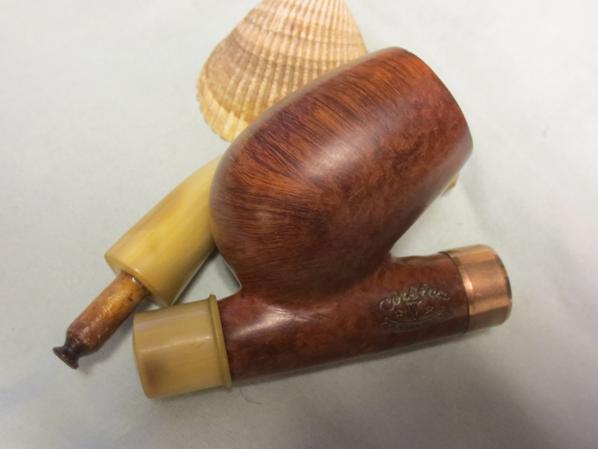
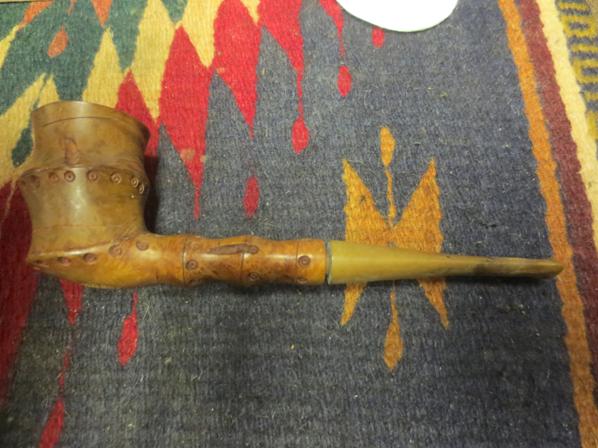
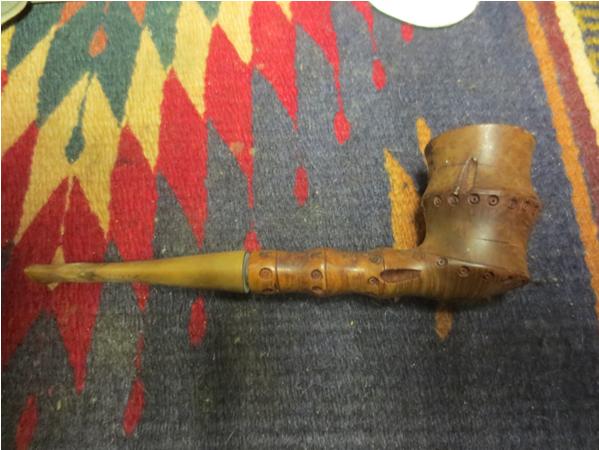
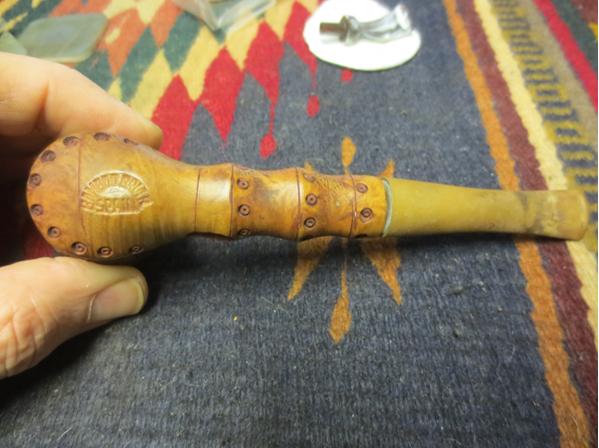
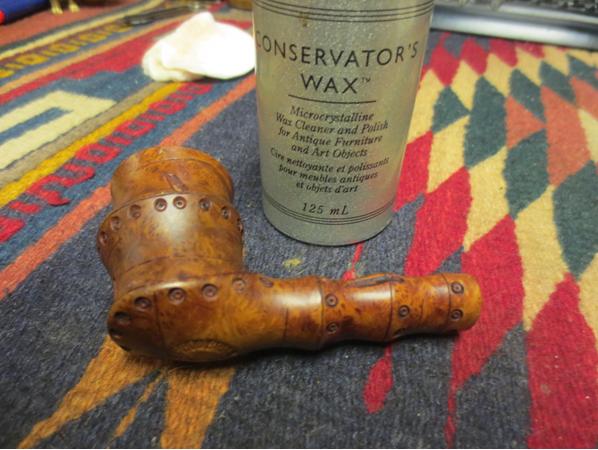
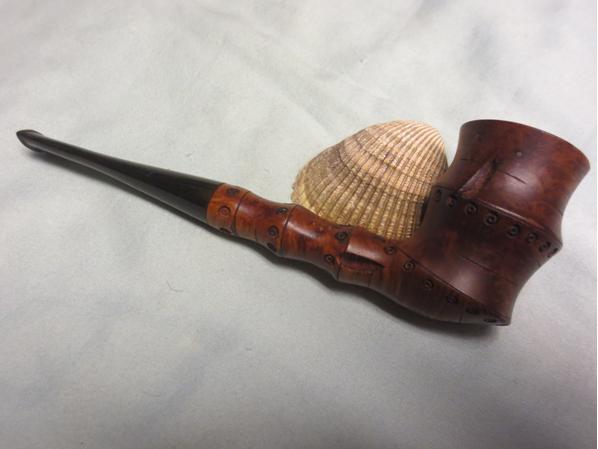
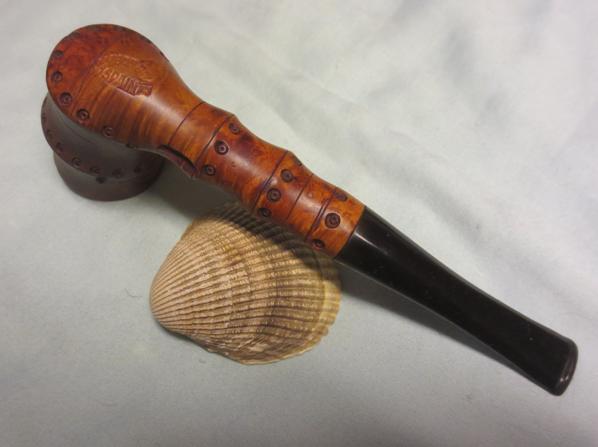
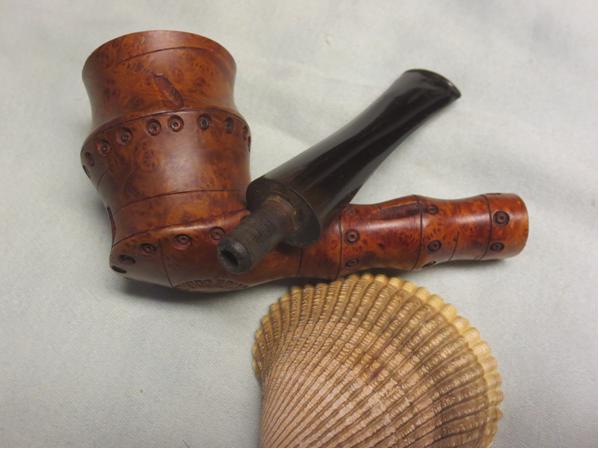
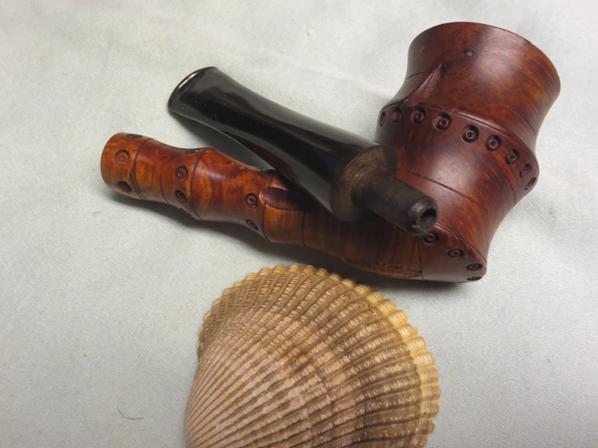
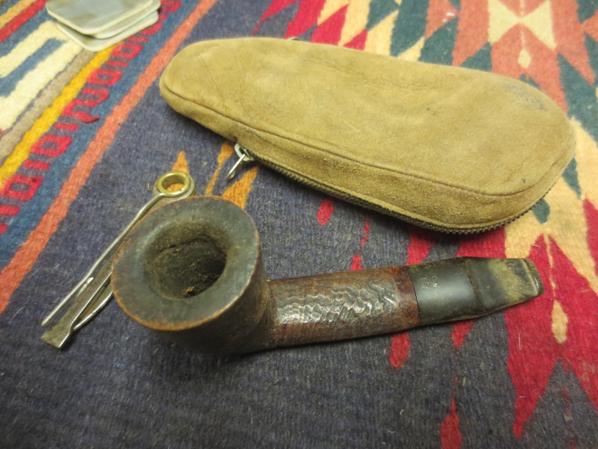
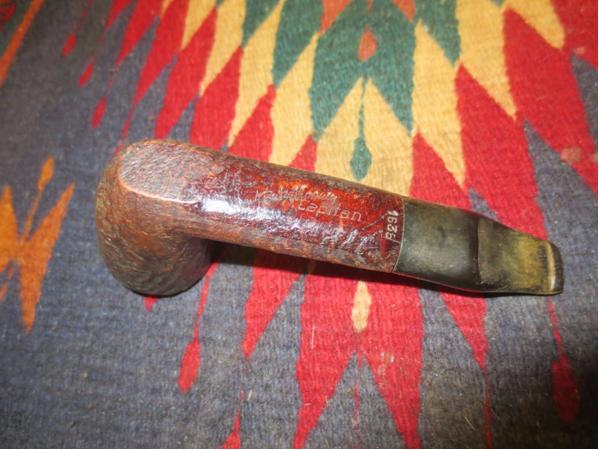
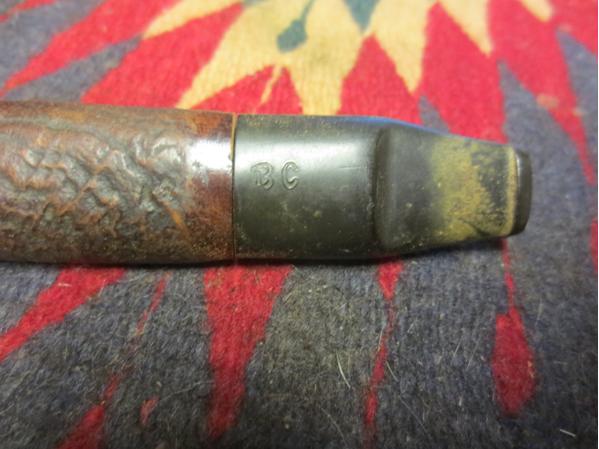
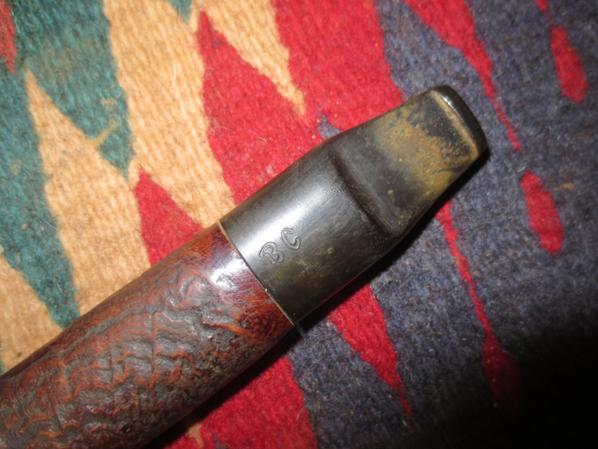
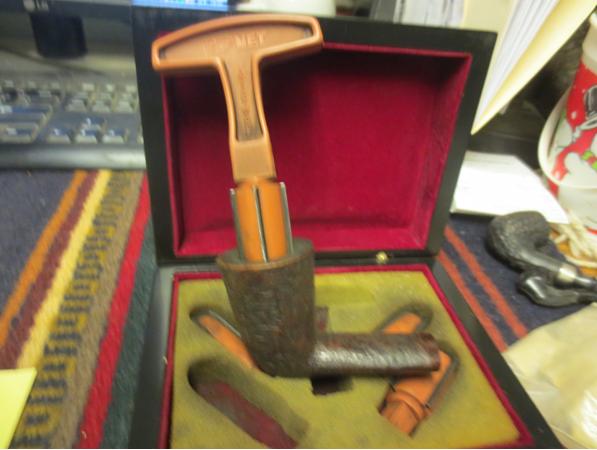
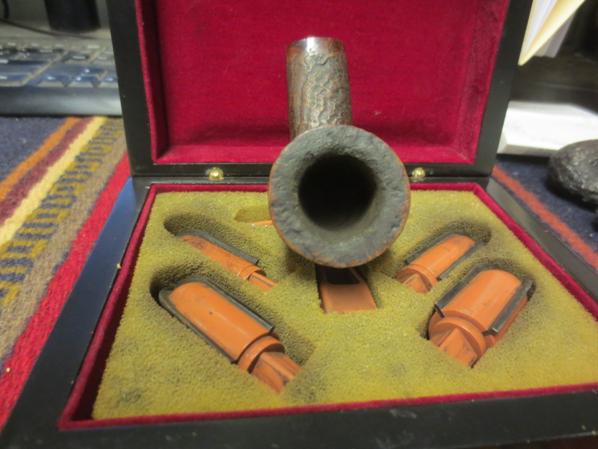
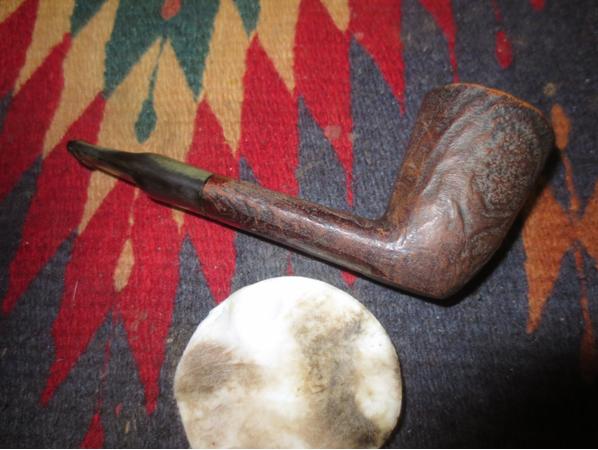
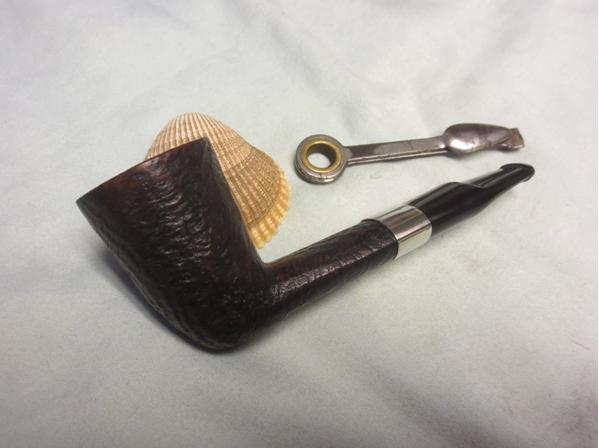
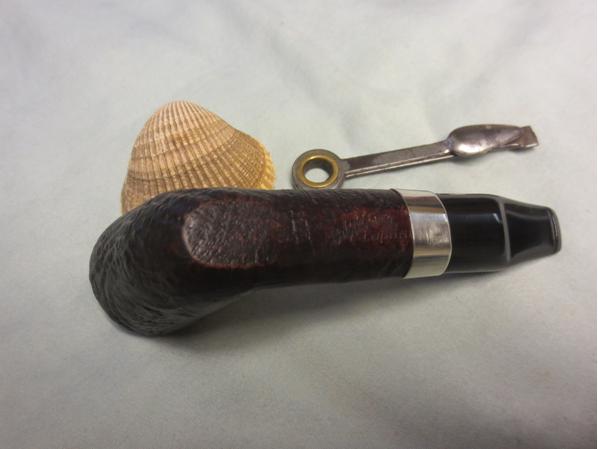
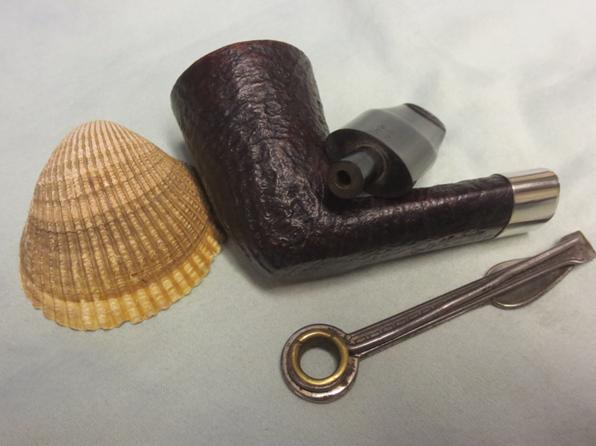
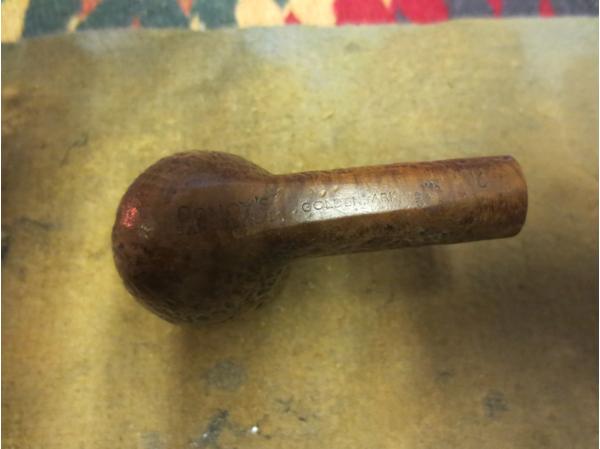
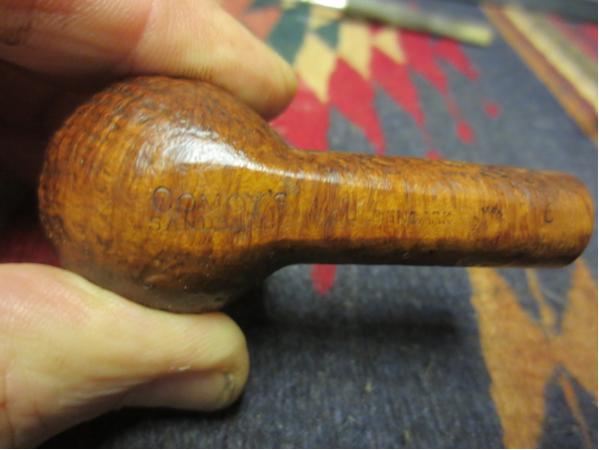
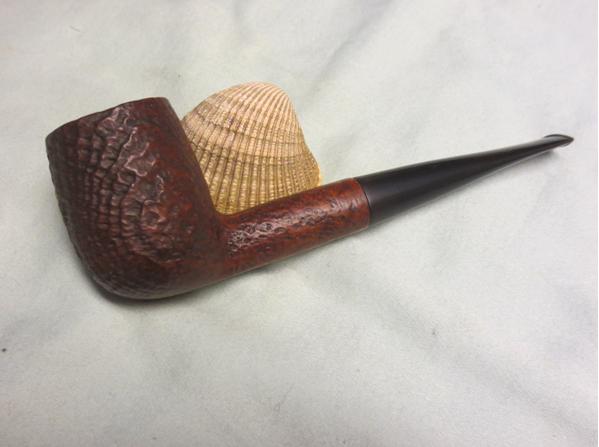
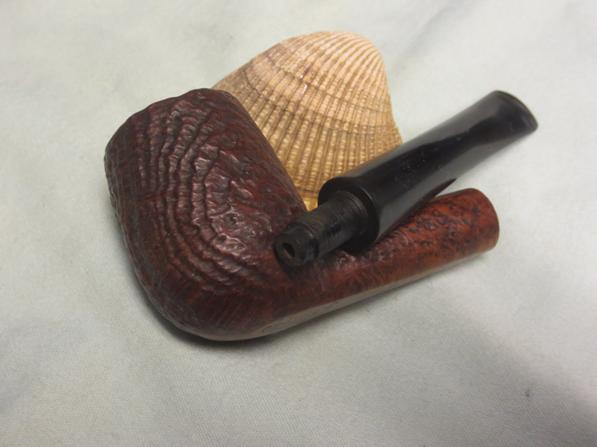
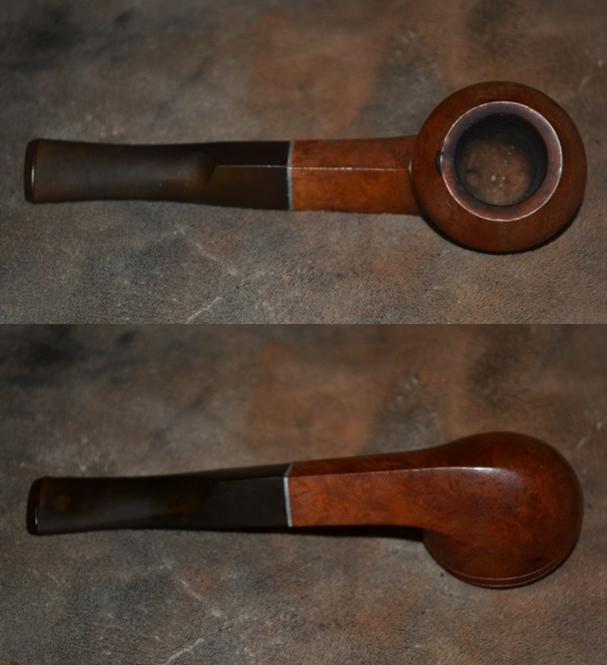
I found this Yello-Bole Chesterfield at a local flea market in town. It was part of a large estate collection, most of which were unsmoked uniquely carved pipes. My eye, however, was immediately attracted to the Peterson-like shape with military bit and P-lip stem and I was surprised to see that it was a Yello-Bole. The pipe was a bit grimy and oxidized with burn marks but after some talking we agreed on a price and I took it home.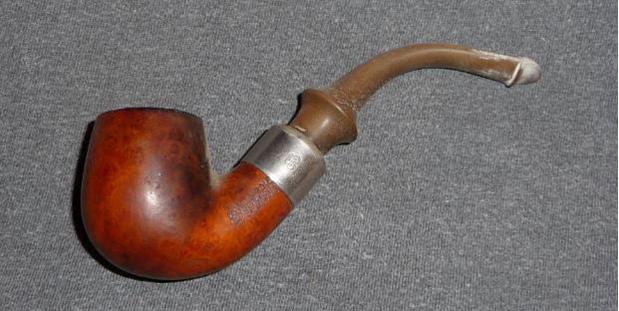 The stampings on the bowl were very clear and deep, some of the nicest I have seen on an estate pipe that is as well used as this one. The left side shank read YELLO-BOLE over HONEY CURED BRIAR over CHESTERFIELD with the KBB inside the clover leaf on the left. The band was stamped with KB&B inside the clover leaf over NICKEL PLATED. The right side shank was stamped with shape number 2816C. The stem had the Yello-Bole yellow circle inset in the top and SOLID RUBBER stamped deep into the underside of the stem.
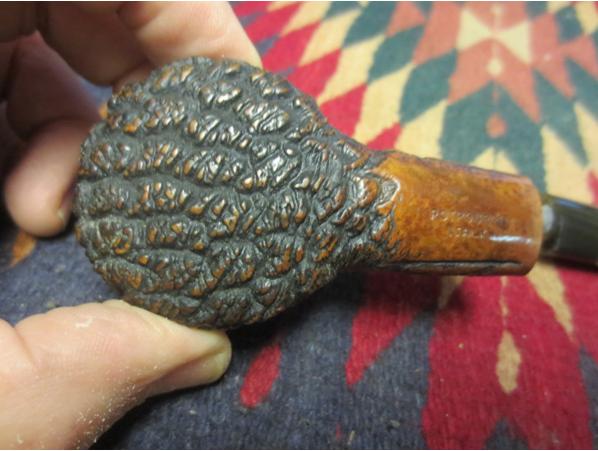
A quick search online and I was able to use the markings to date the pipe to the 1933-1936 time manufacturing period.
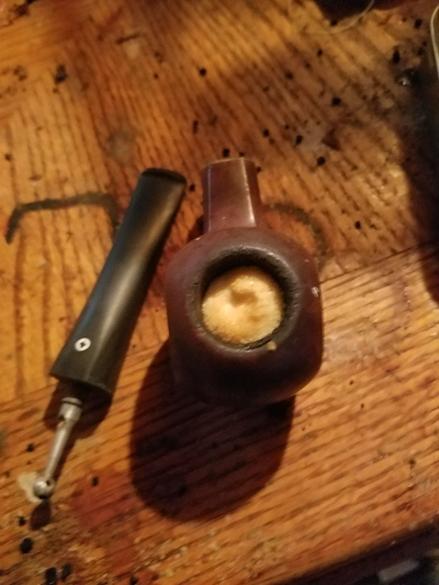
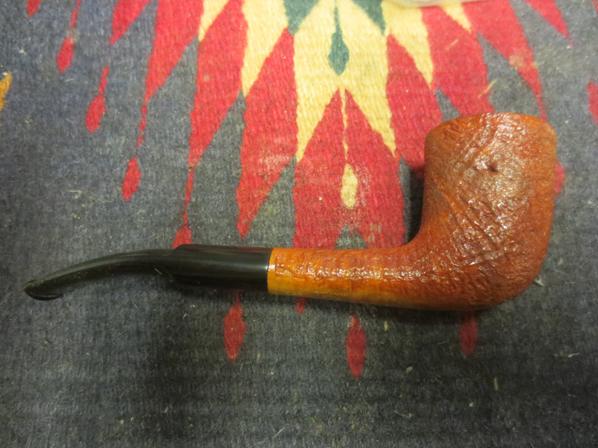
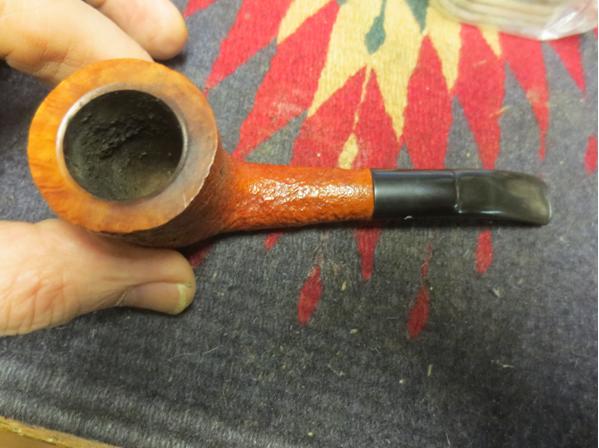
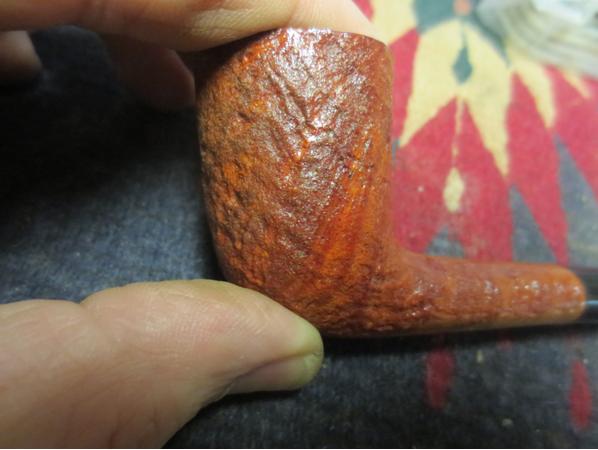
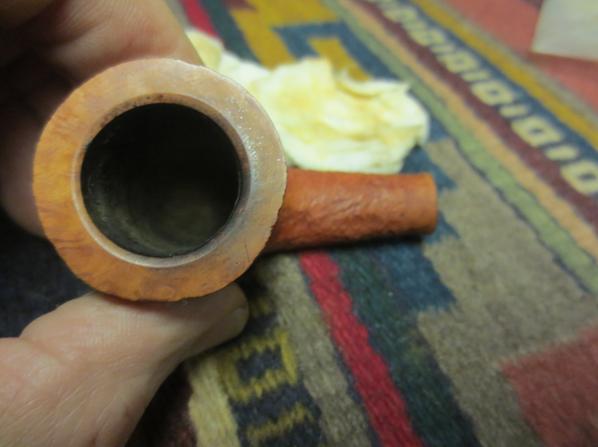
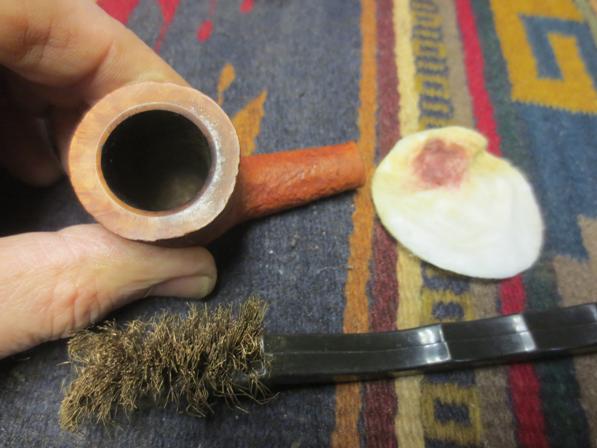
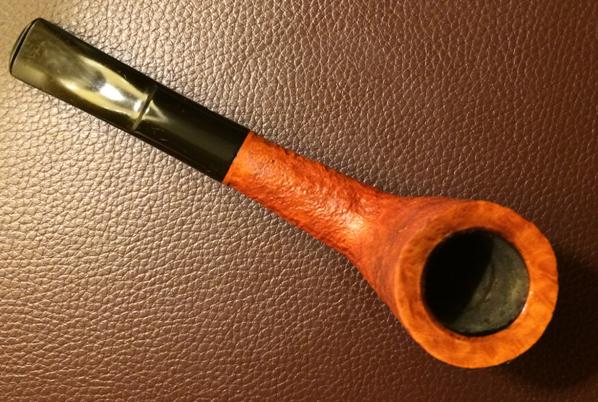
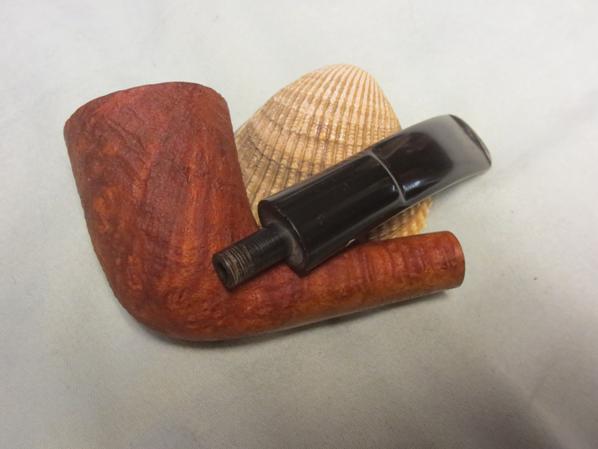
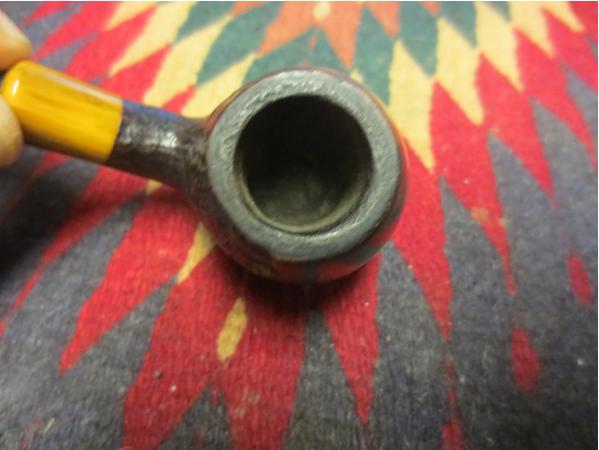
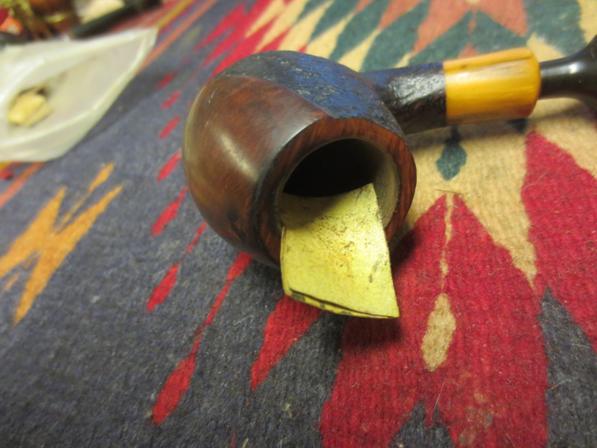
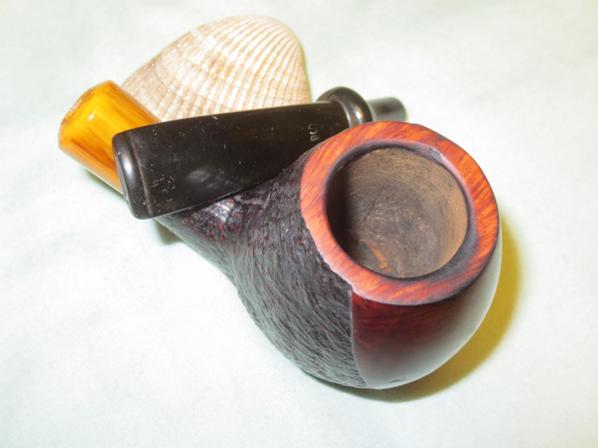
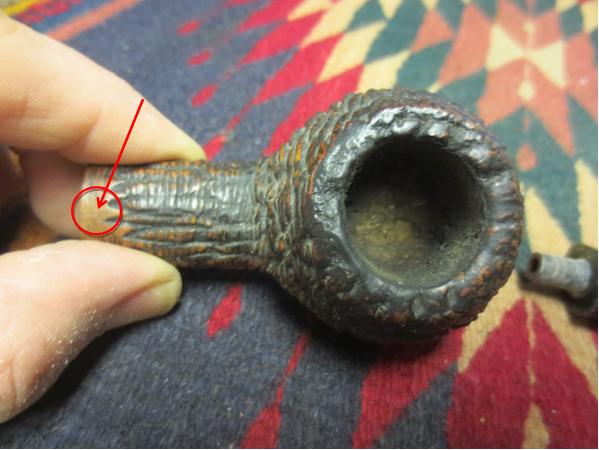
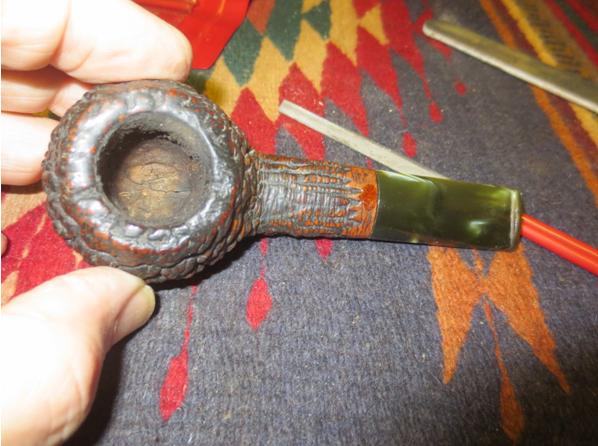
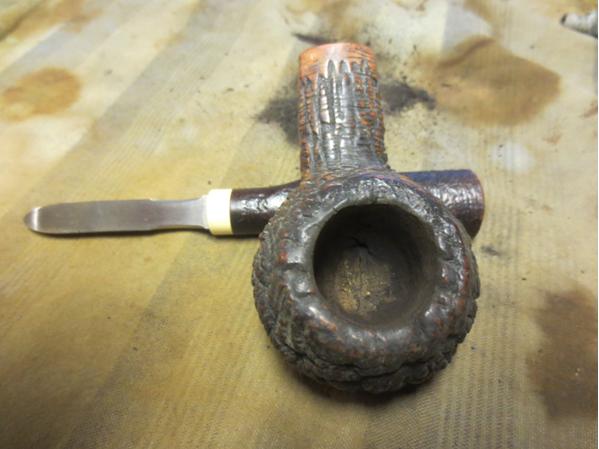
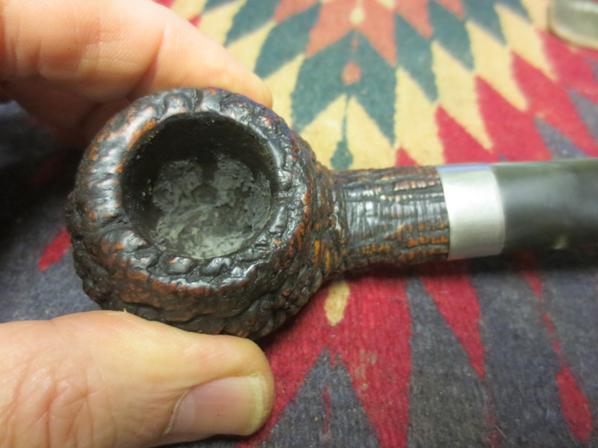
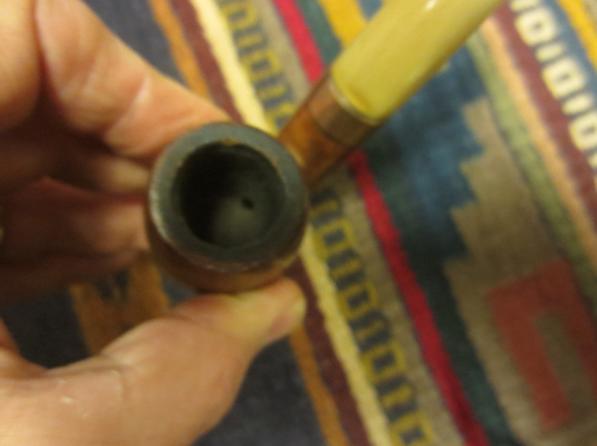
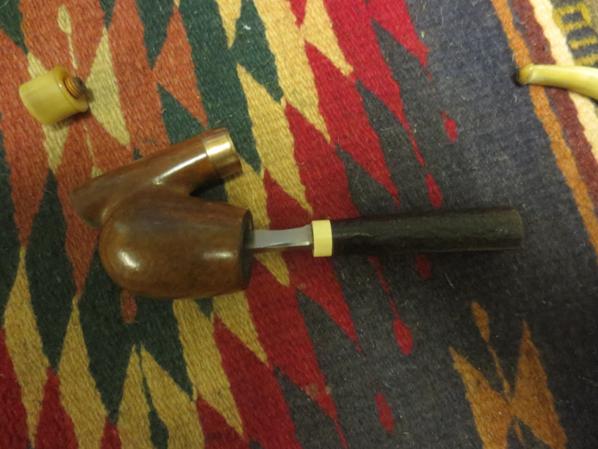
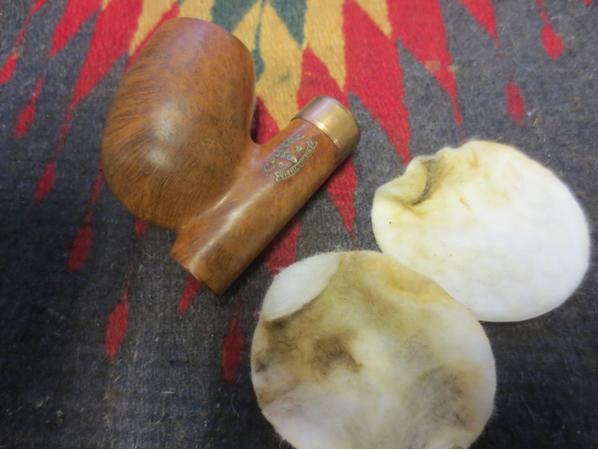
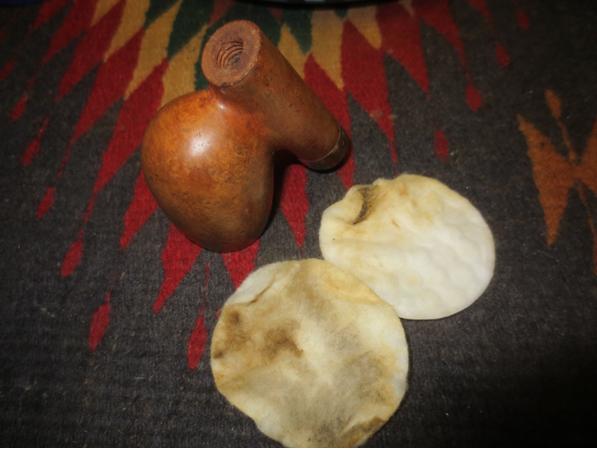
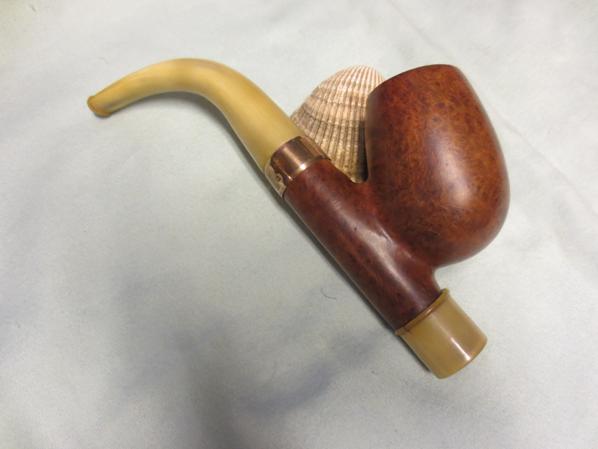
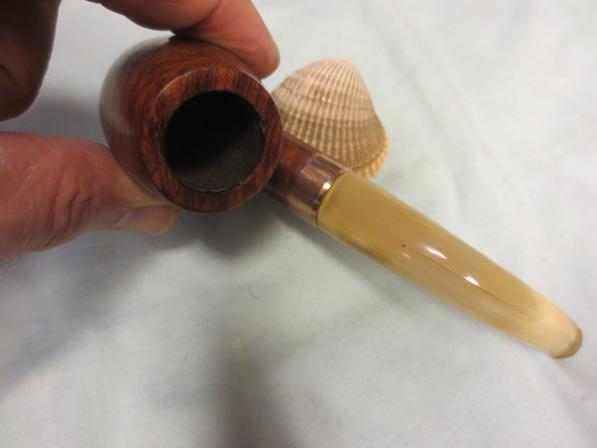
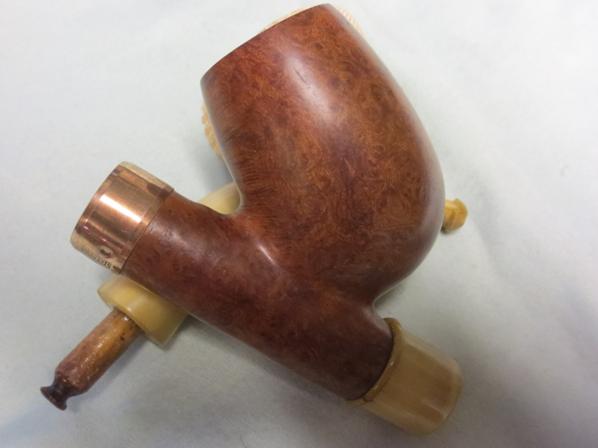
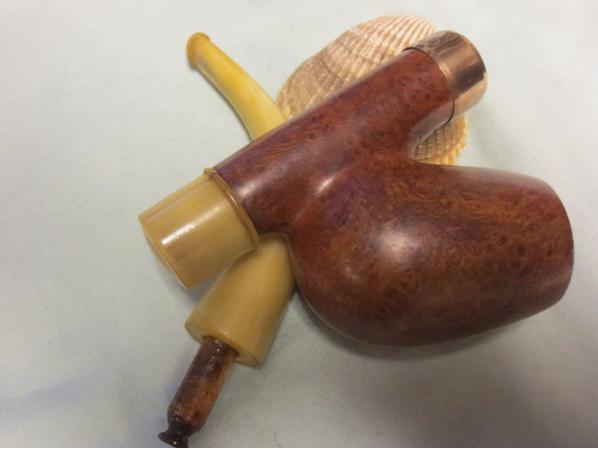
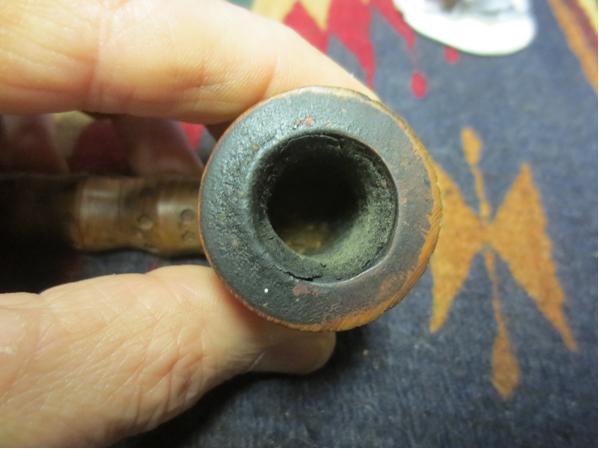
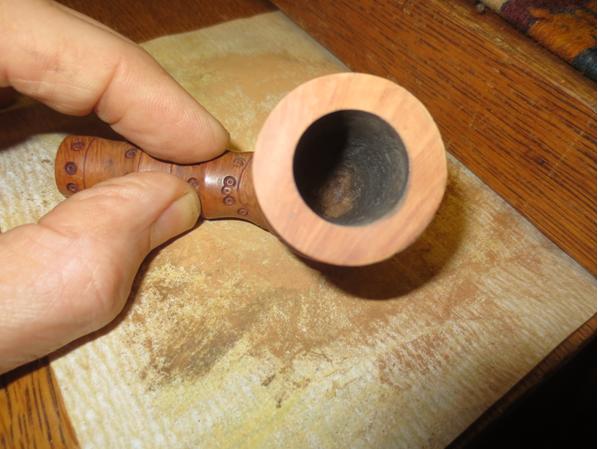
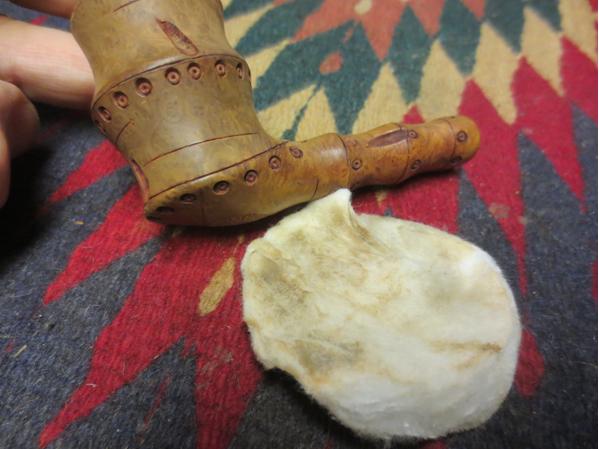
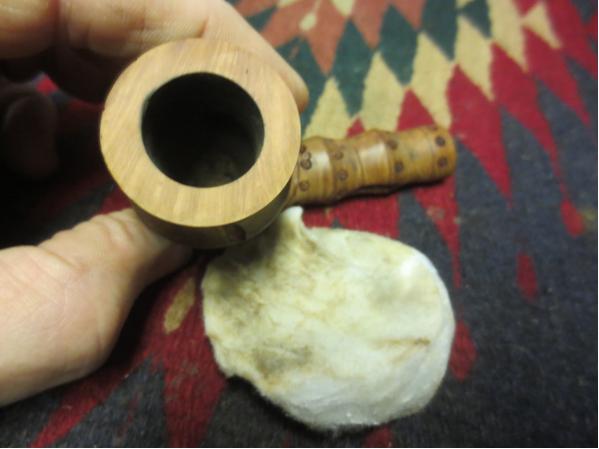
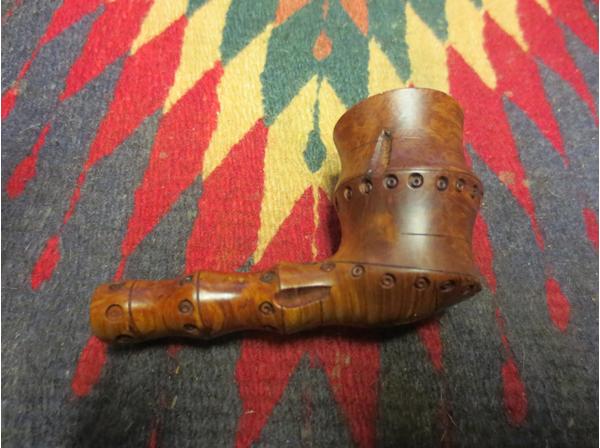
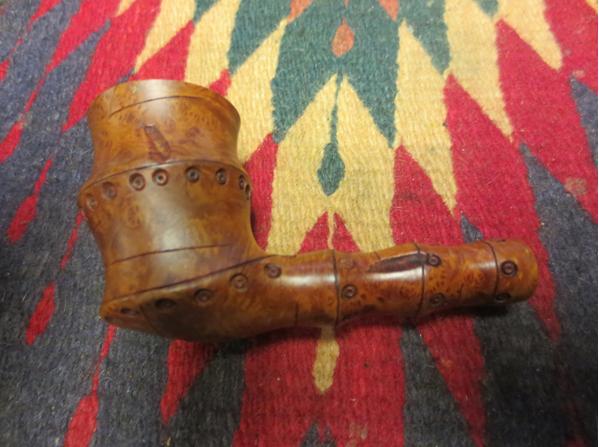
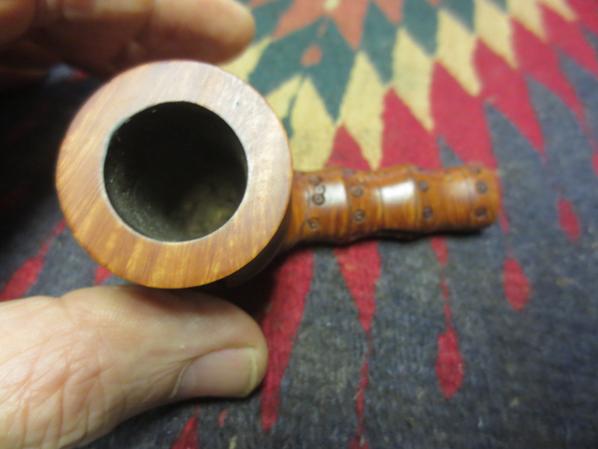
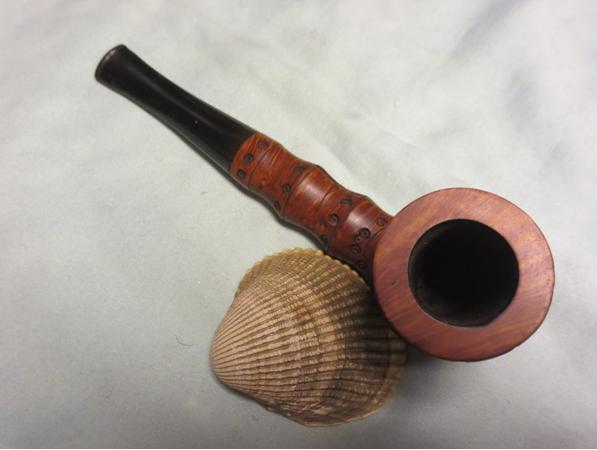
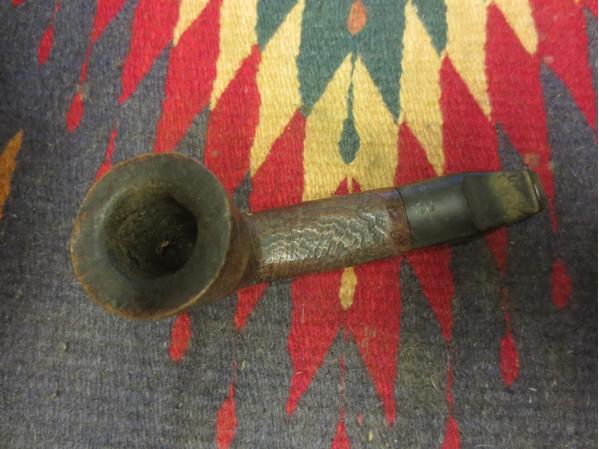
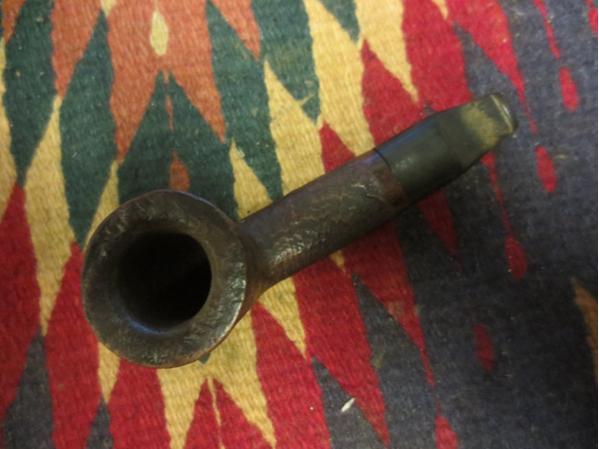
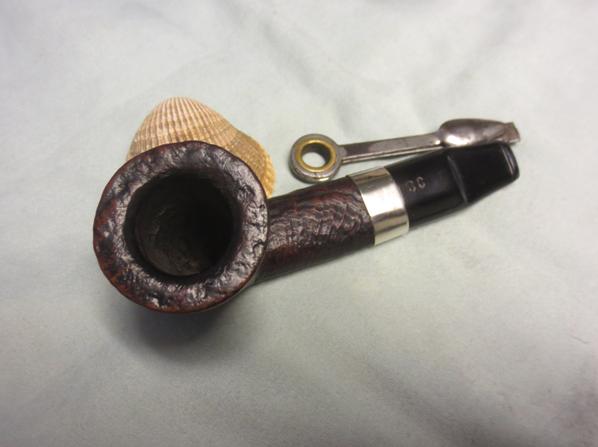
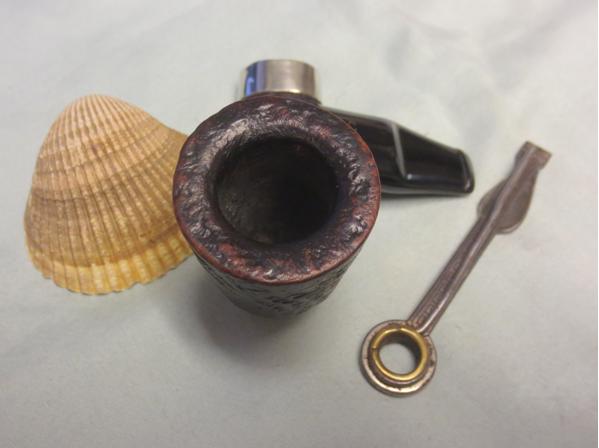
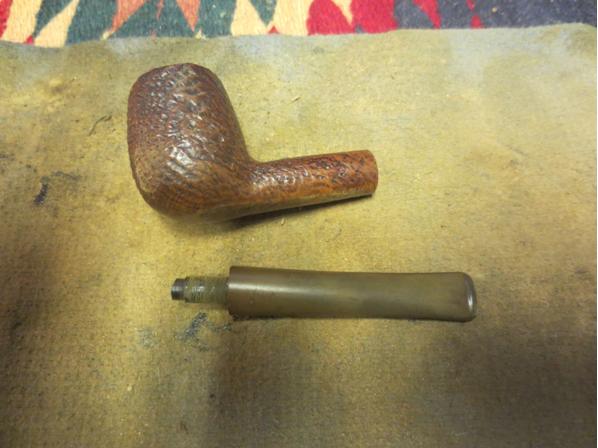
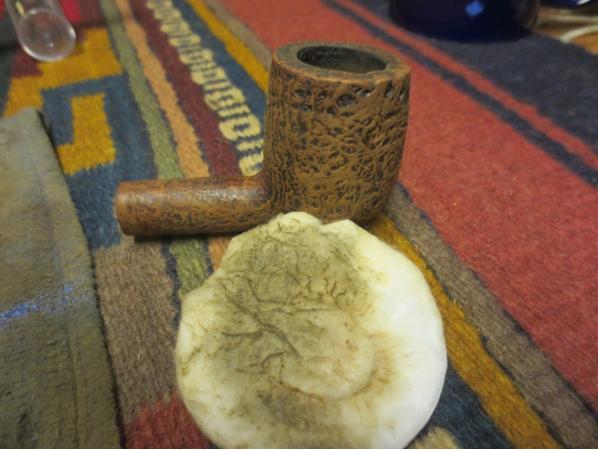
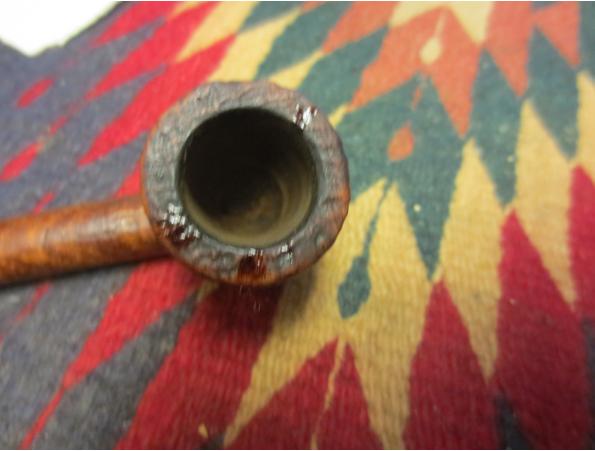
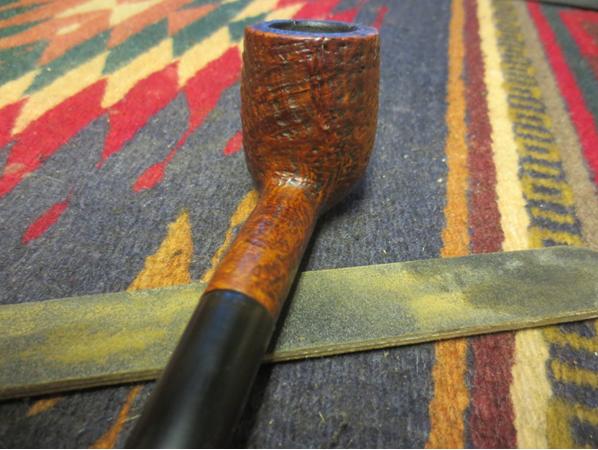
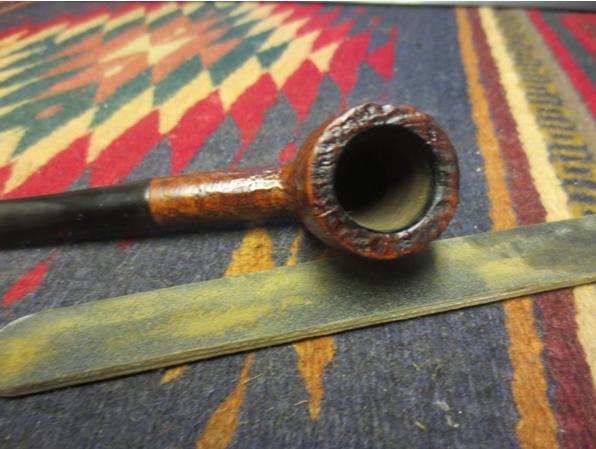
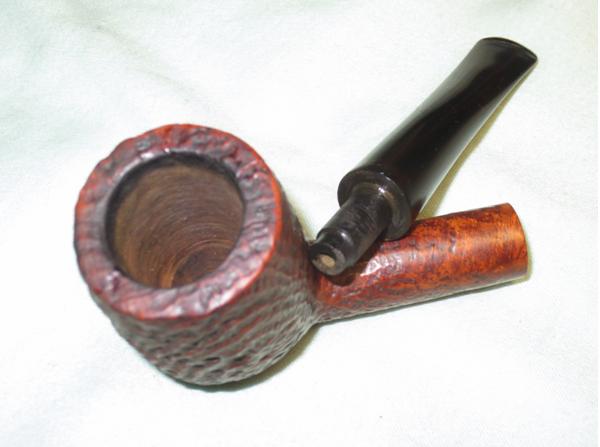
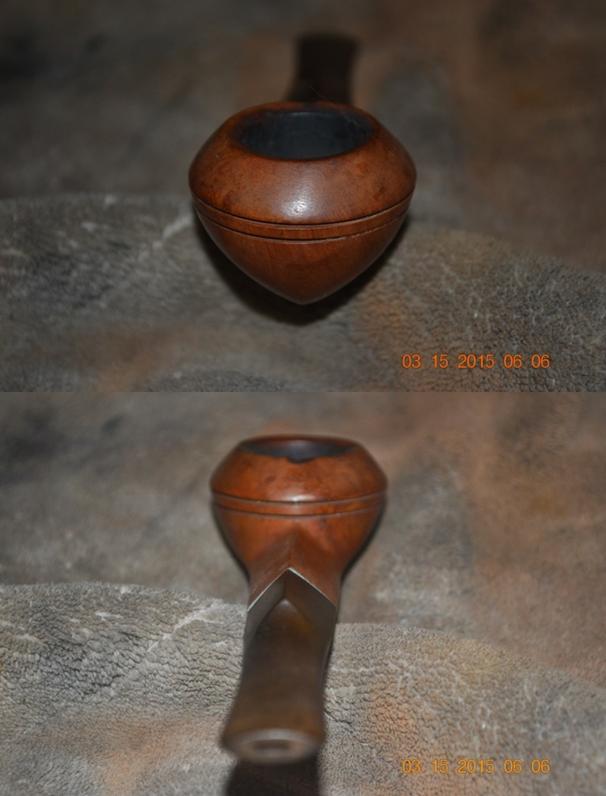
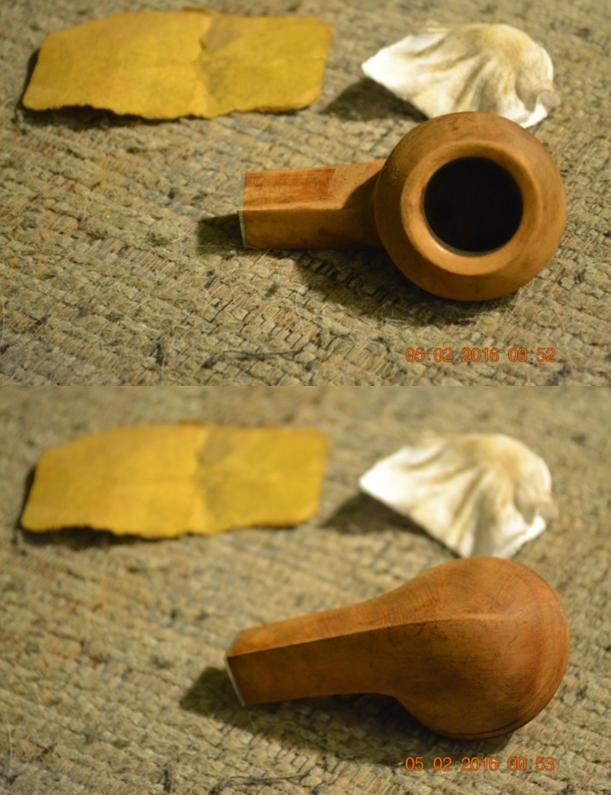
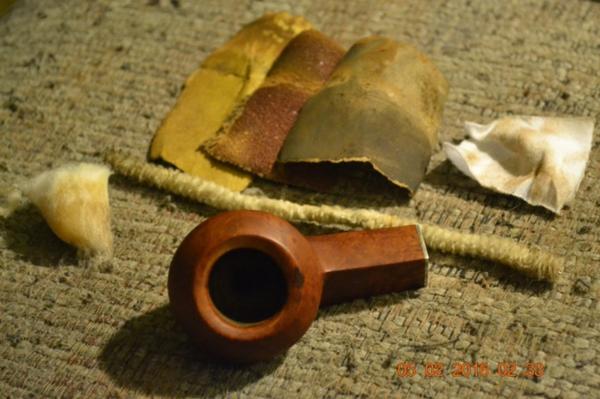
The briar was in great shape with beautiful bird’s eye pattern. The pipe was dusty and grimy and after wiping down with an alcohol soaked cotton pad I continued with my assessment. The rim was coated with a heavy crust of tar and there was a deep burn mark on the outside of the rim (major issue number 1). The bowl did not have a large amount of cake so I had to assume that the previous owner had reamed out at some point. And perhaps it had been over reamed, because the air hole entered the bowl about 2/3 the way down the chamber wall. This would lead to a mouth full of hot ash when you were half way through the bowl (major issue number 2). There were some minor bumps and scratches in the surface of the bowl but nothing that could not be buffed out.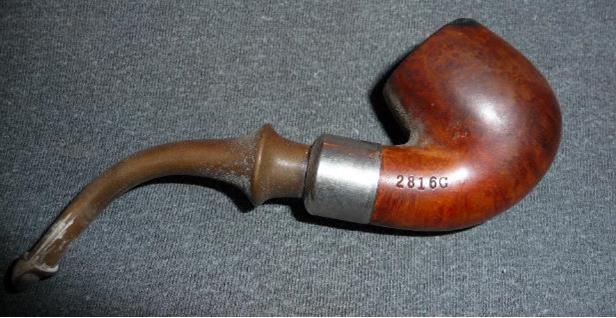
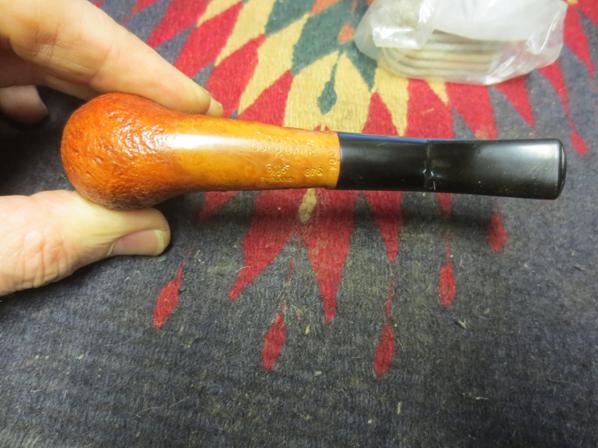
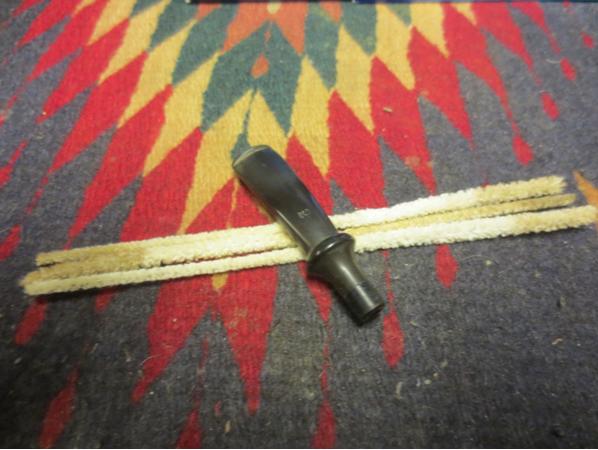
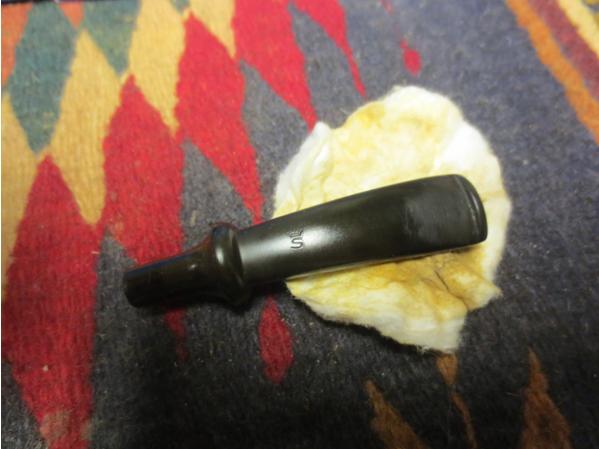
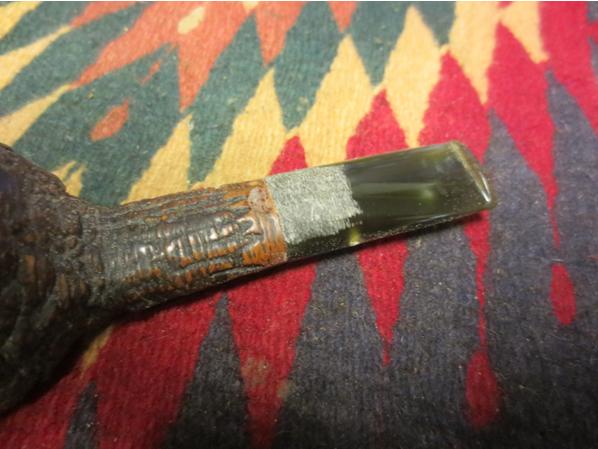
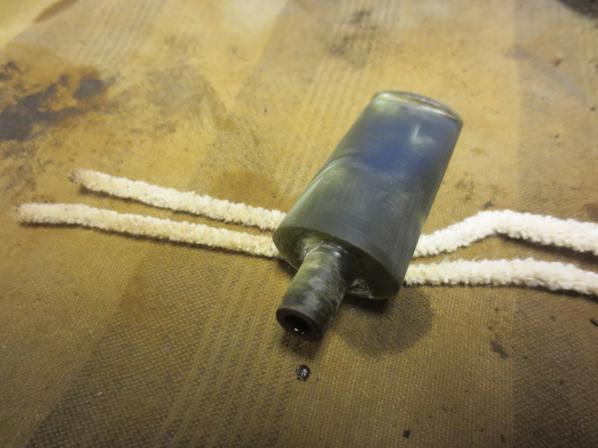
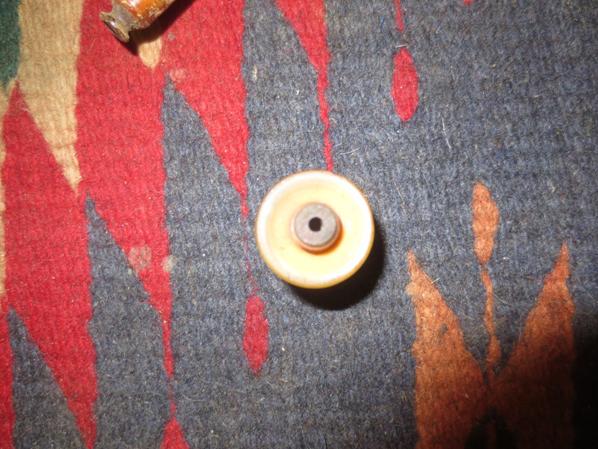
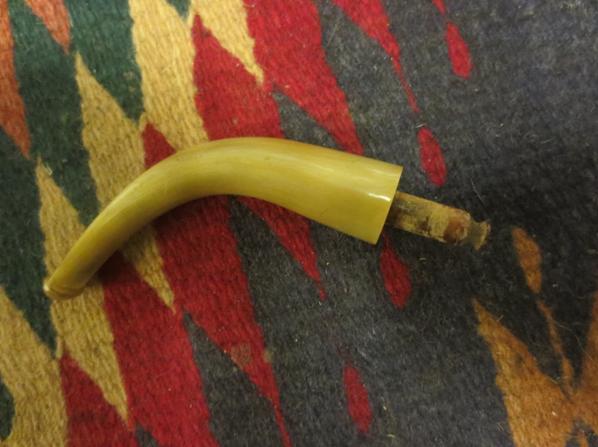
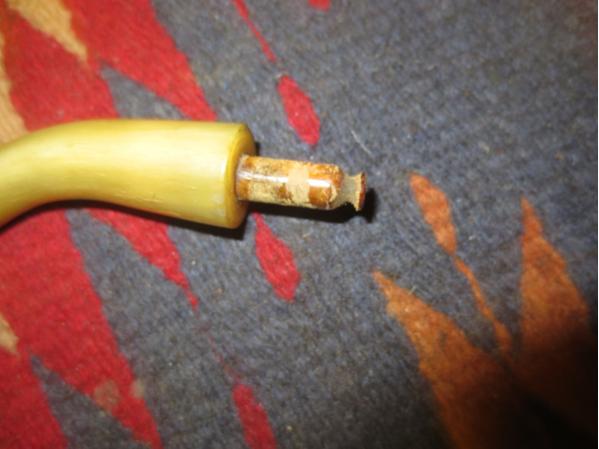
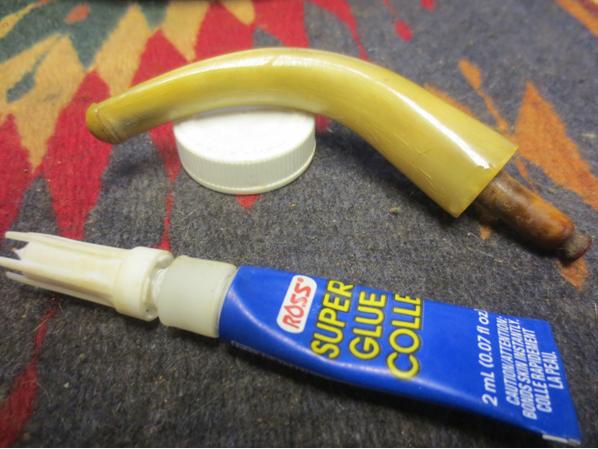
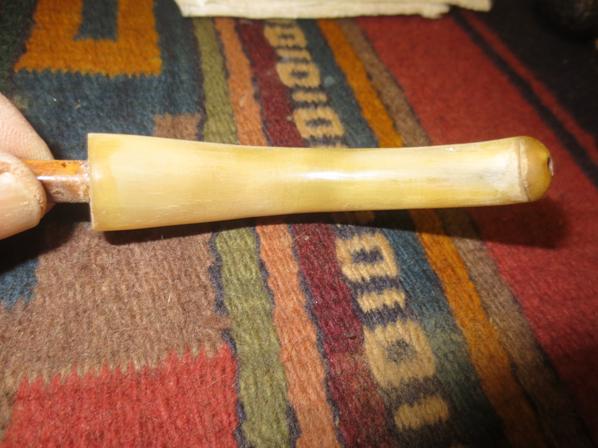
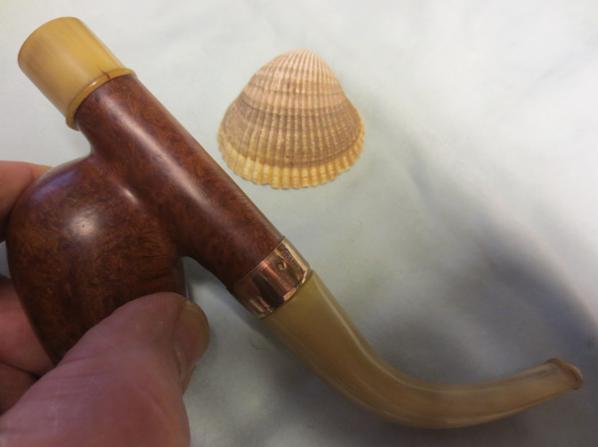
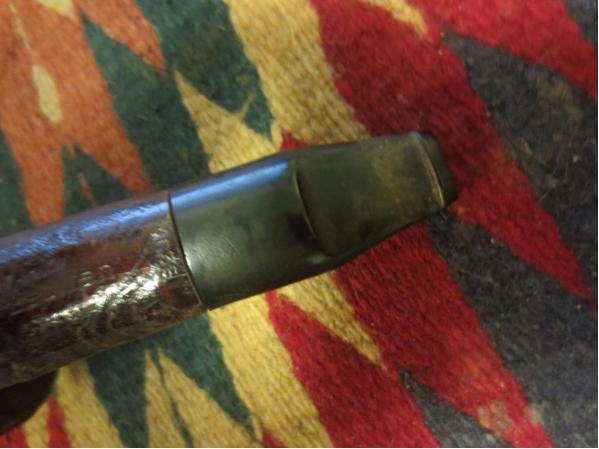
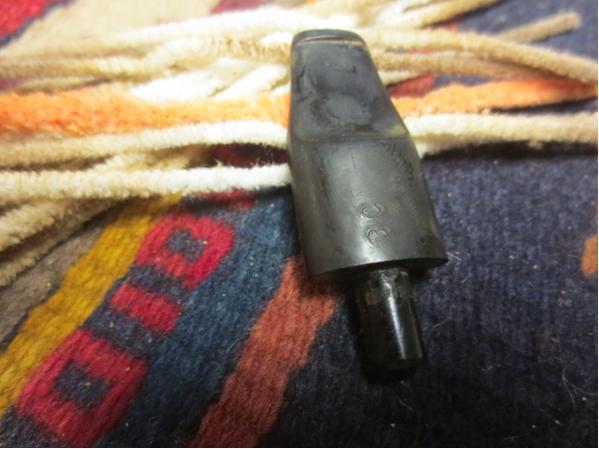
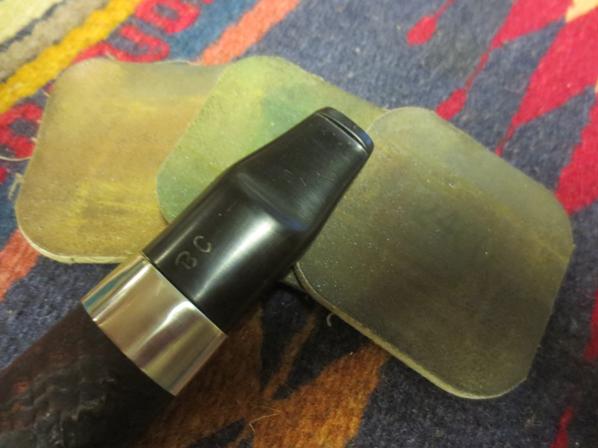
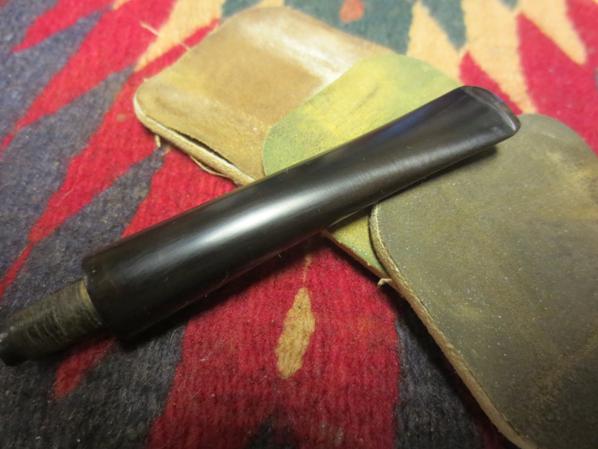
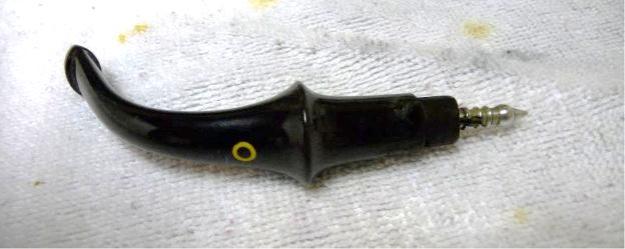
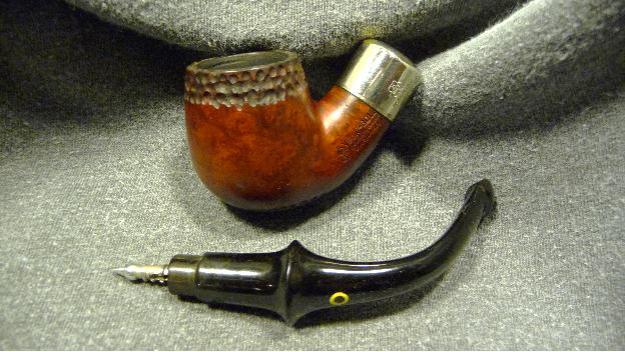
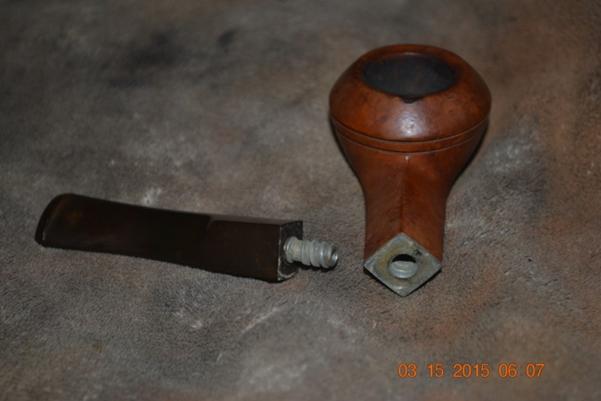
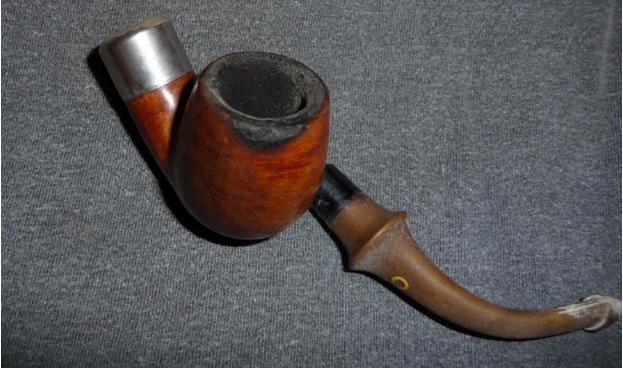 The stem was in great shape. It was heavily oxidized with some minor tooth chatter but the airway was clear and the stinger was intact and in great condition.
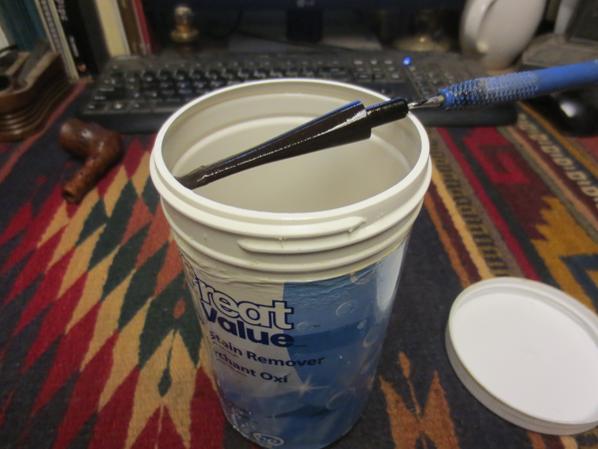
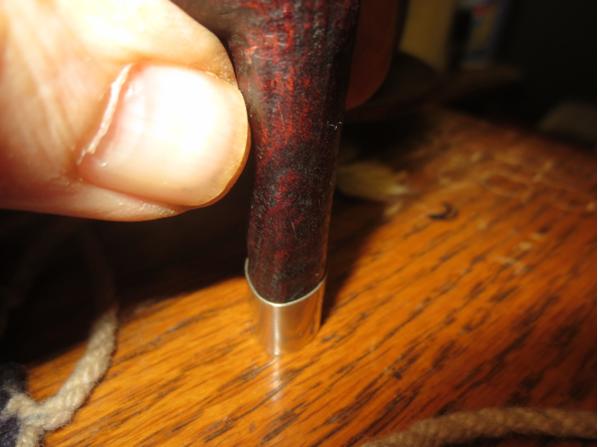
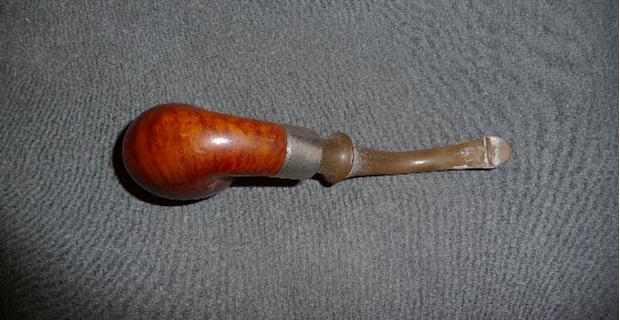 I set the stem to soak in a Oxiclean solution and turned to the stummel. First I reamed the chamber back to bare wood. Next, I tried to clean the rim with Oxiclean on a wet green pad but the tar was just too stubborn so I resorted to a topping board and lightly sand away the tar build up. This is where I made my first mistake: I scuffed off a bit of the nickel plating when topping the bowl (I still don’t have a fix for this!). I have thought about taking the ring off and having it re-plated but several attempts to remove the ring with heat have not been successful.
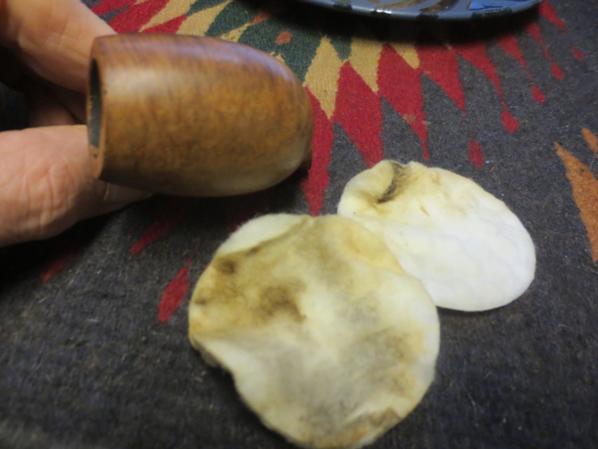
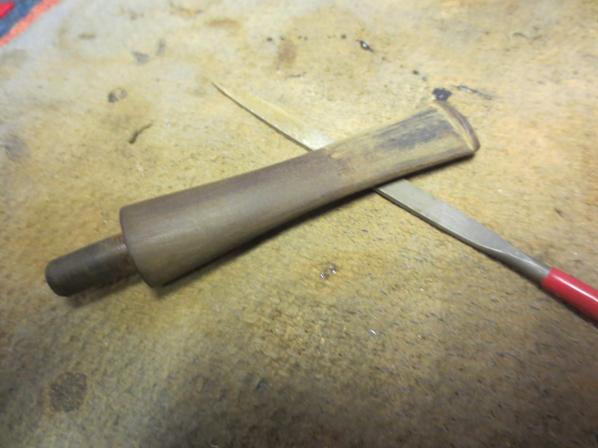
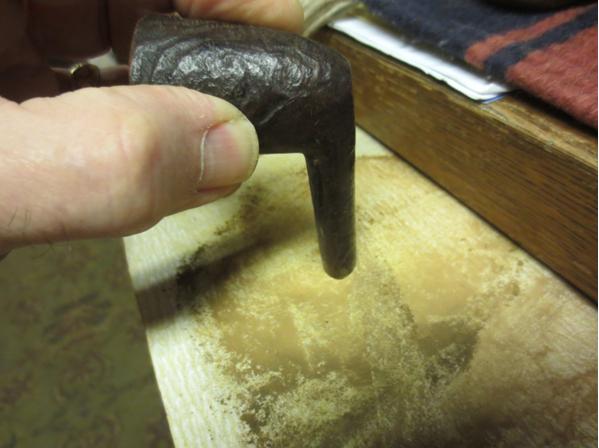
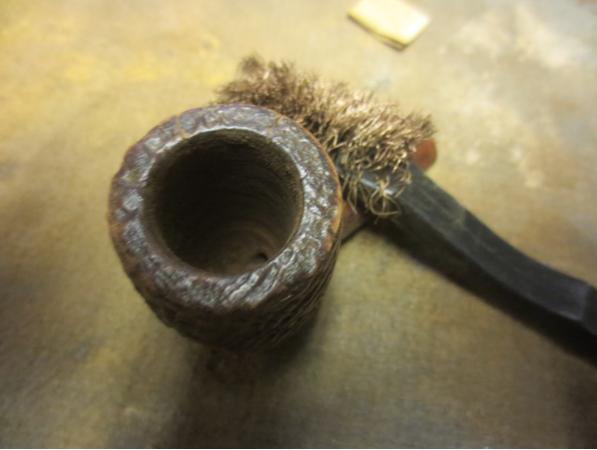
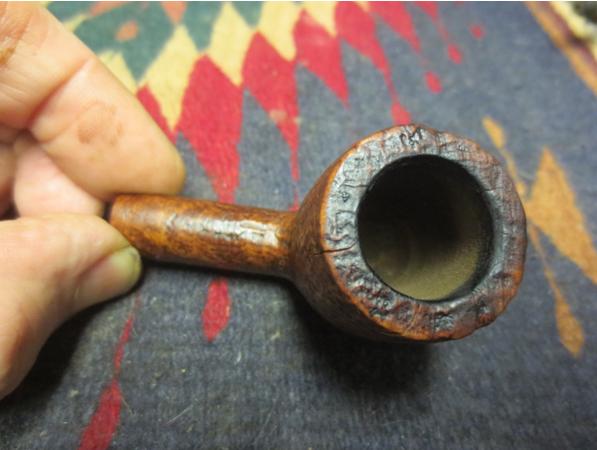
To address the burn mark on the rim I used a worn piece of 220 grit sand paper I removed the burned wood trying not to remove any of the sound briar under the burn. I was surprised to see how deep the burn went and was at a bit of a loss on how to address it. As you can see below, a significant amount of wood as damaged.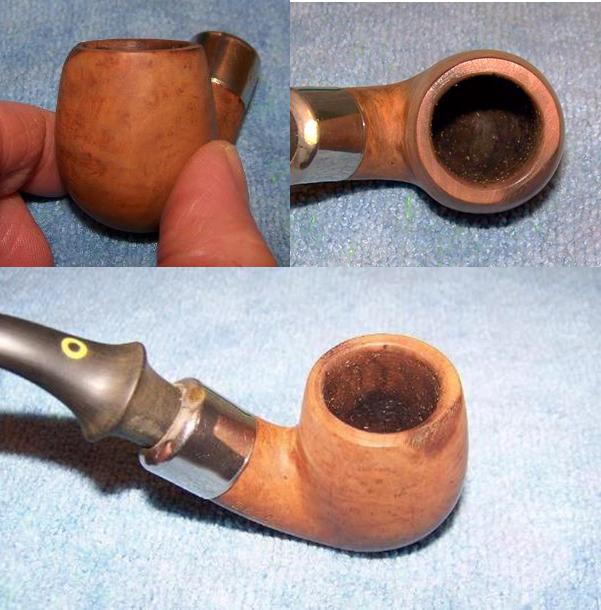 I figured I had two options: 1) replace the burned material with glue/briar dust or 2) sand the rest of the rim to match and change the shape of the pipe. In either case I was going to need to refinish the briar so I wiped it down with acetone to remove as much of the finish as I could while I decided what I was going to do.
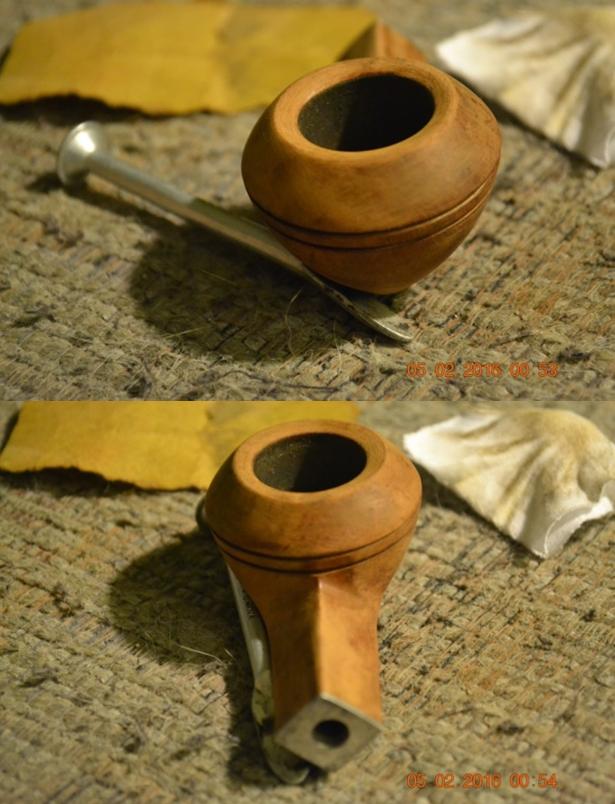
Looking into the chamber again, I listed out my options for addressing the air way issue. Again I came up with two options; 1) fill in the bottom 1/3 of the bowl with pipe mud, or 2) drill a new airway that comes out at the bottom of the chamber. I didn’t like either option. The first would have been a very large fill and volume change for the pipe and the second was fraught with potential problems – chiefly aligning the drill bit to come out at just the right point in the bottom of the bowl
So I figured it was time for some consultation. I outlined the issue in an email and included some picture and sent them off to Steve – our worthy “Professor of Pipe-ology” and blog host.
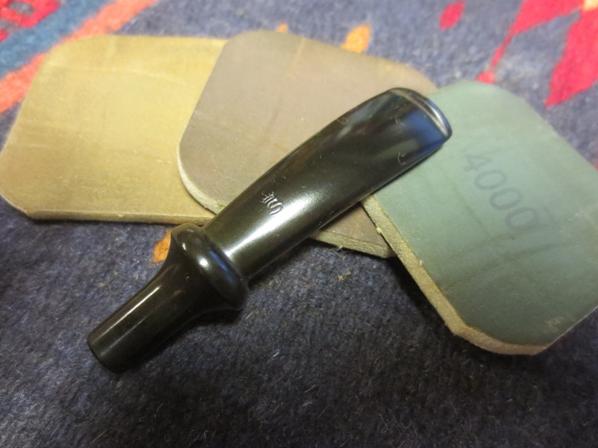
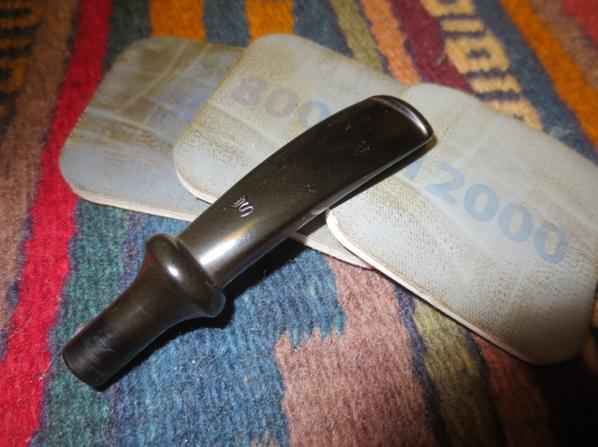
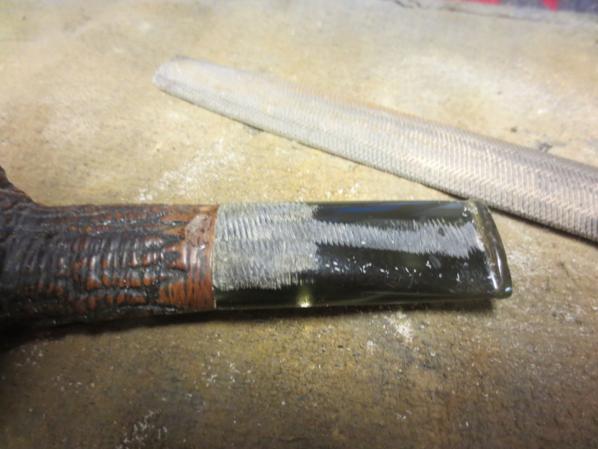
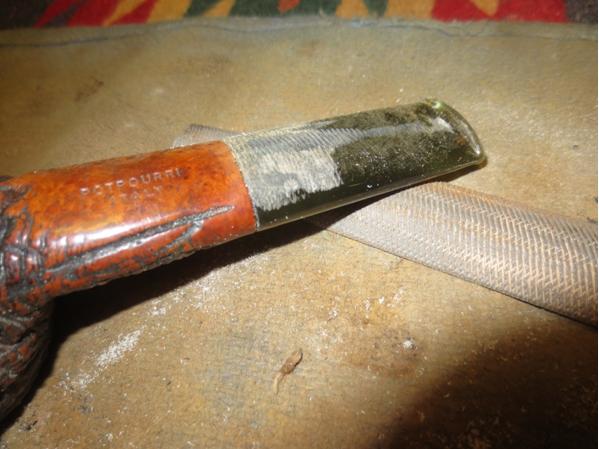
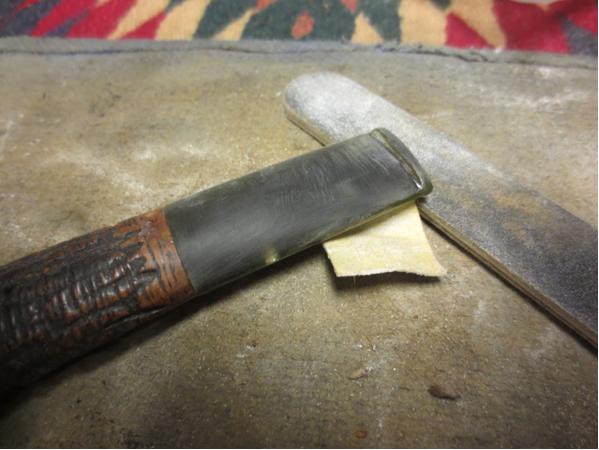
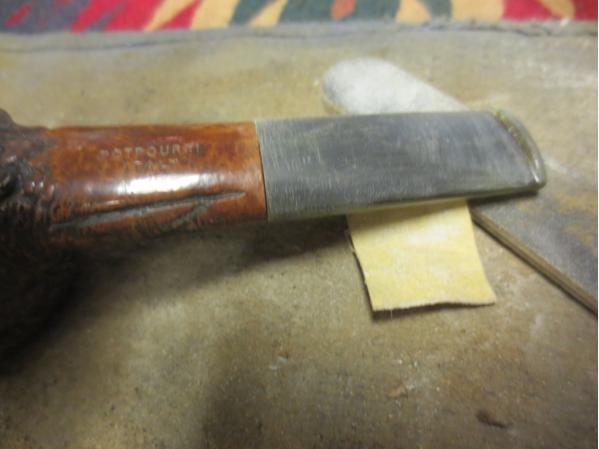
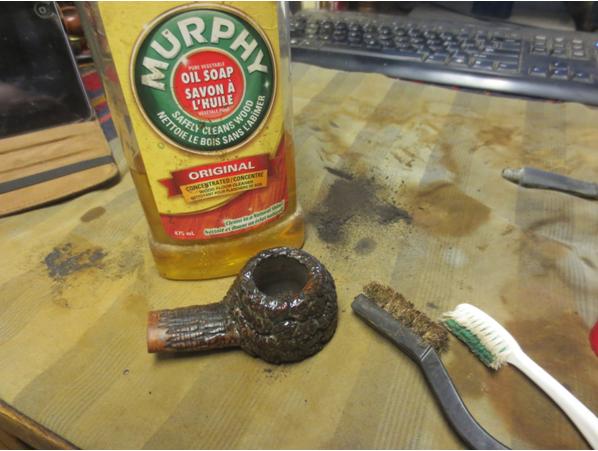
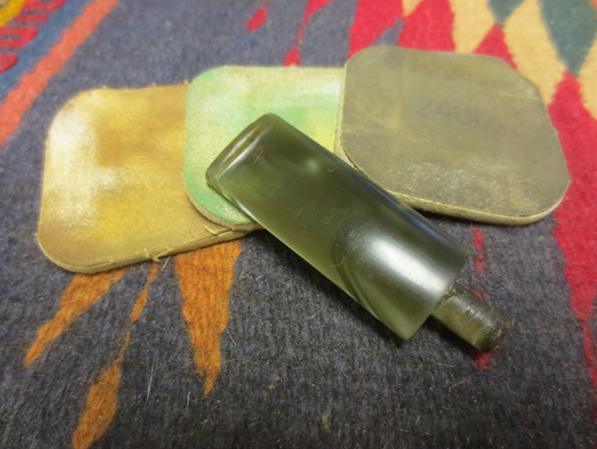
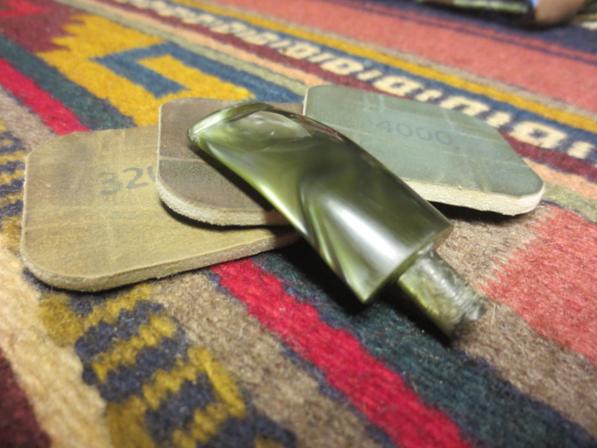
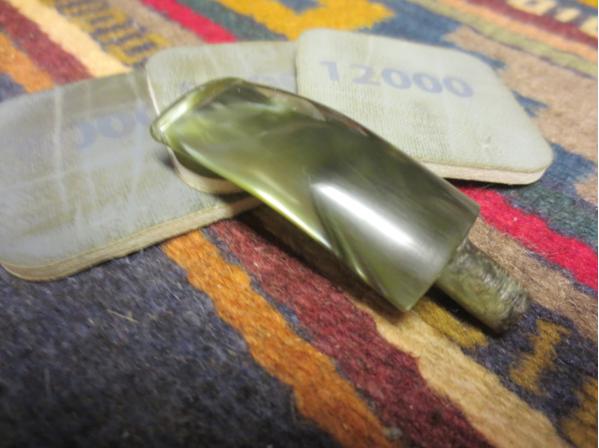
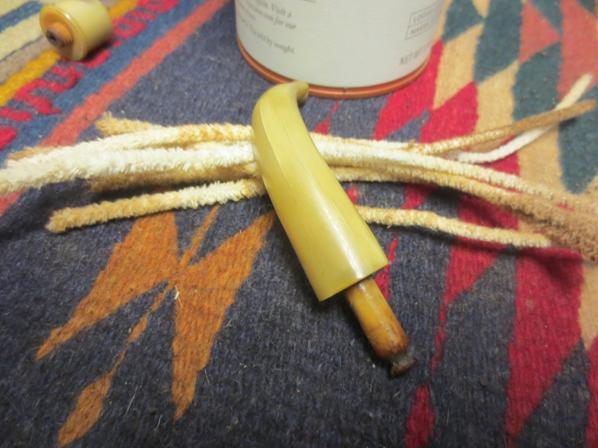
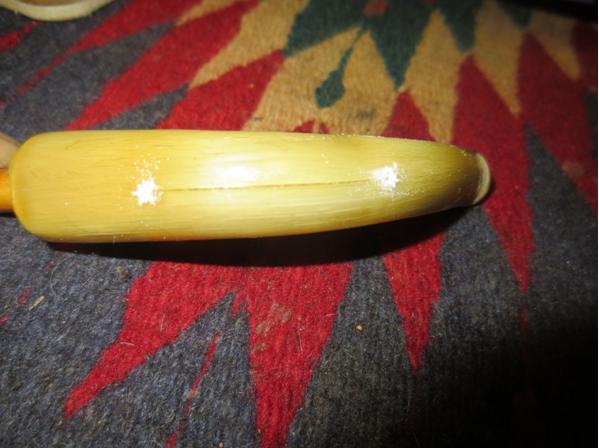
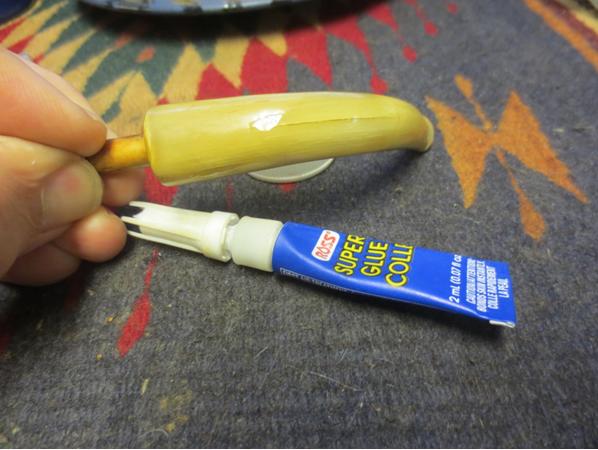
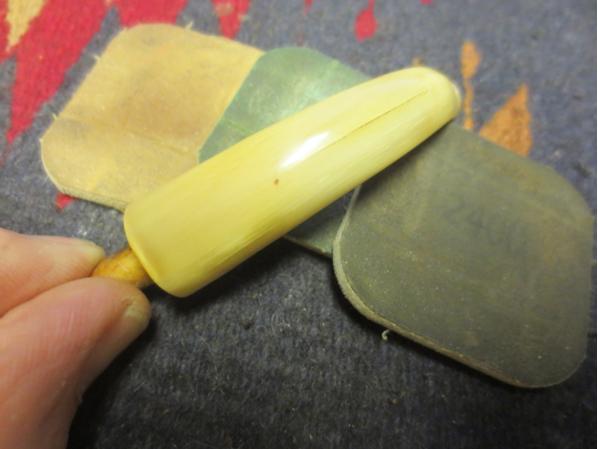
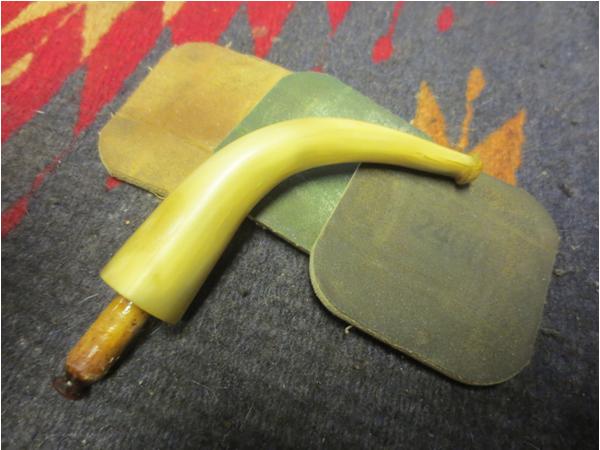
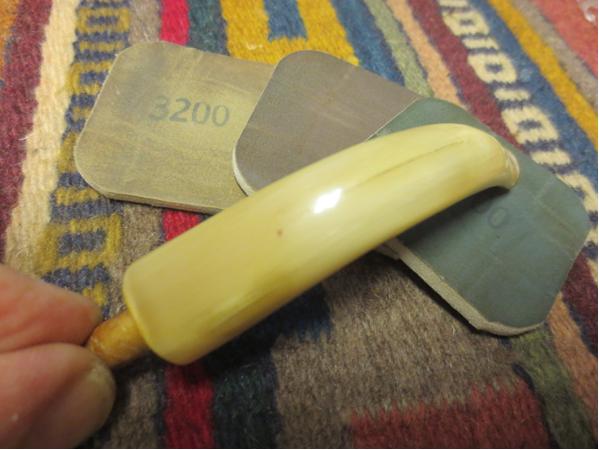
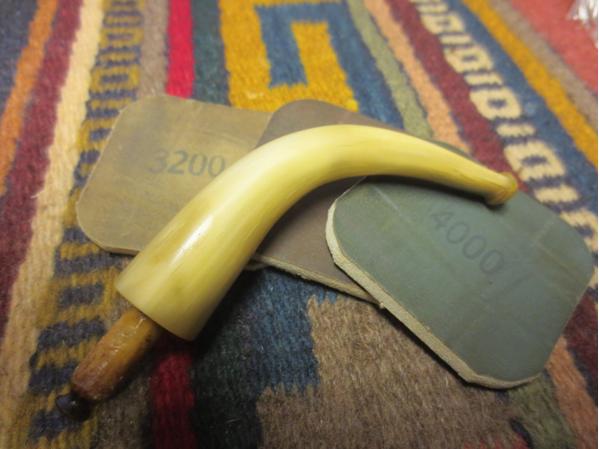
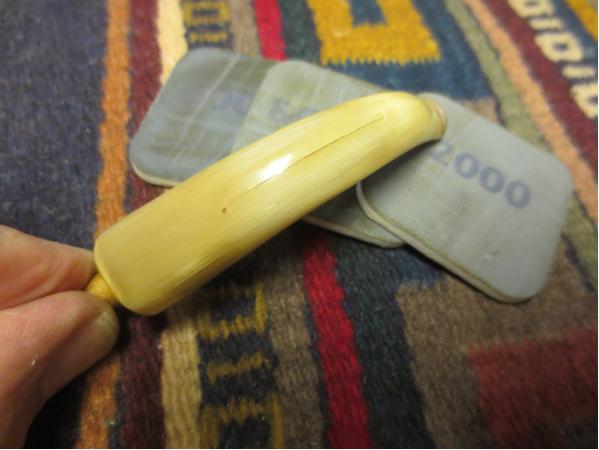
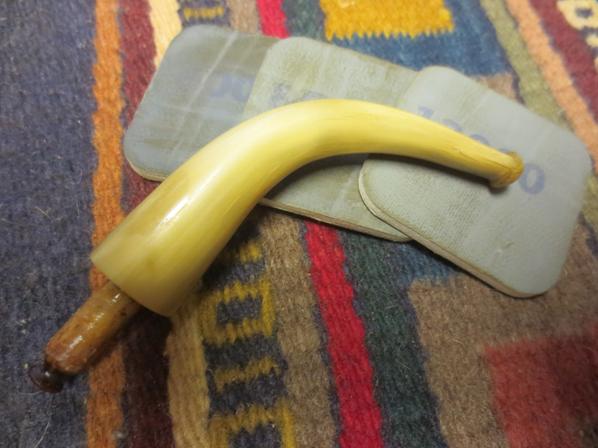
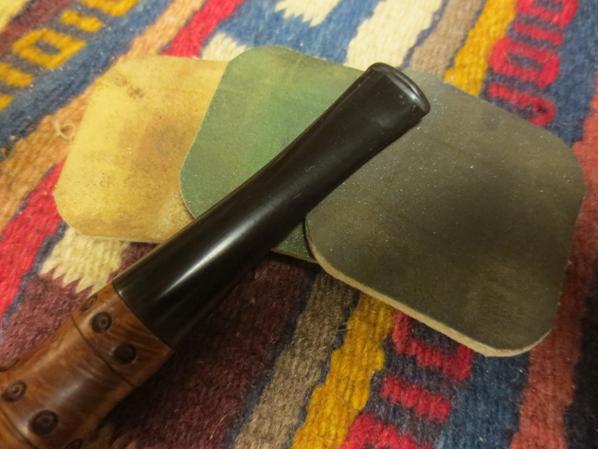
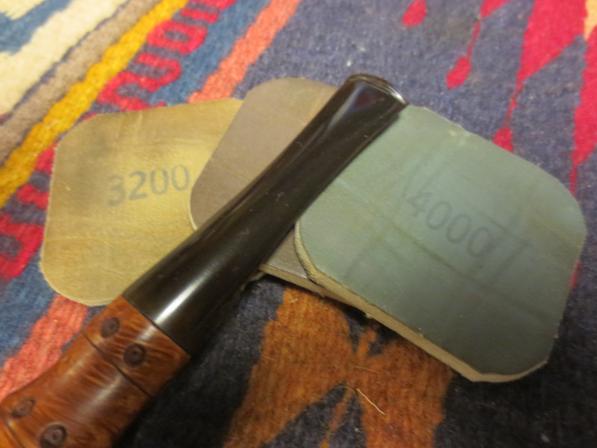
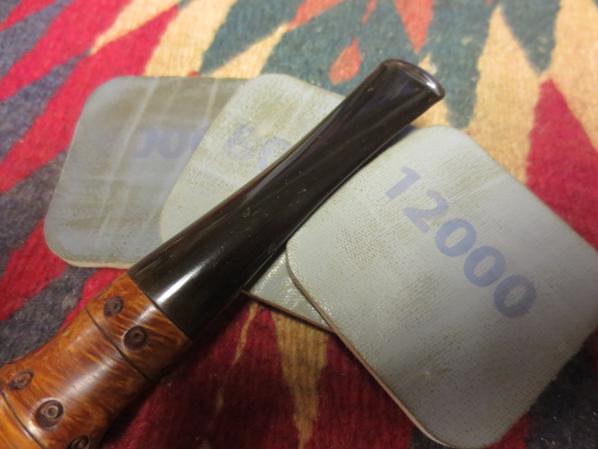
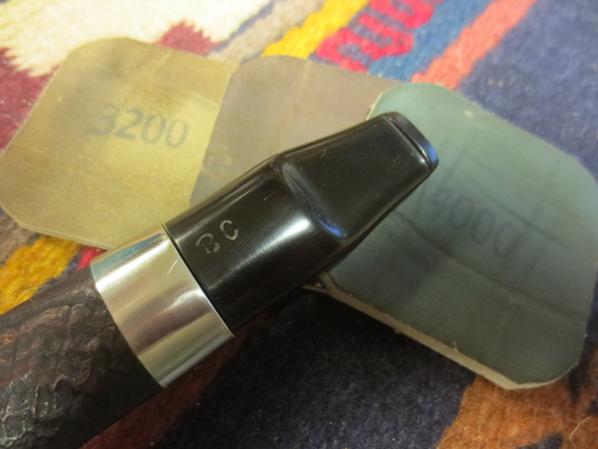
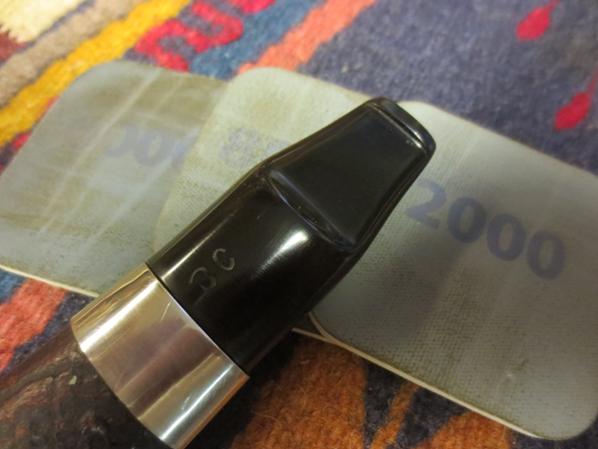
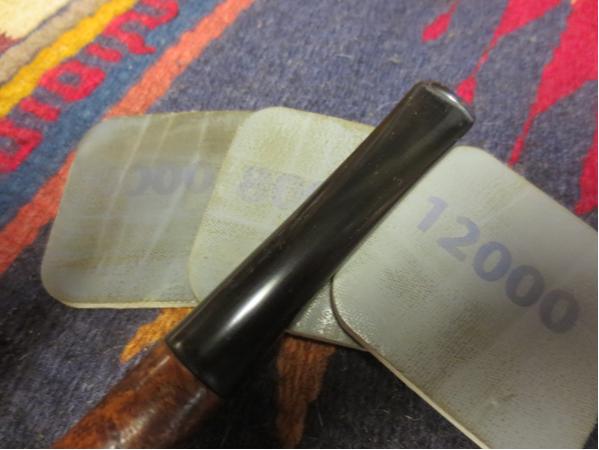
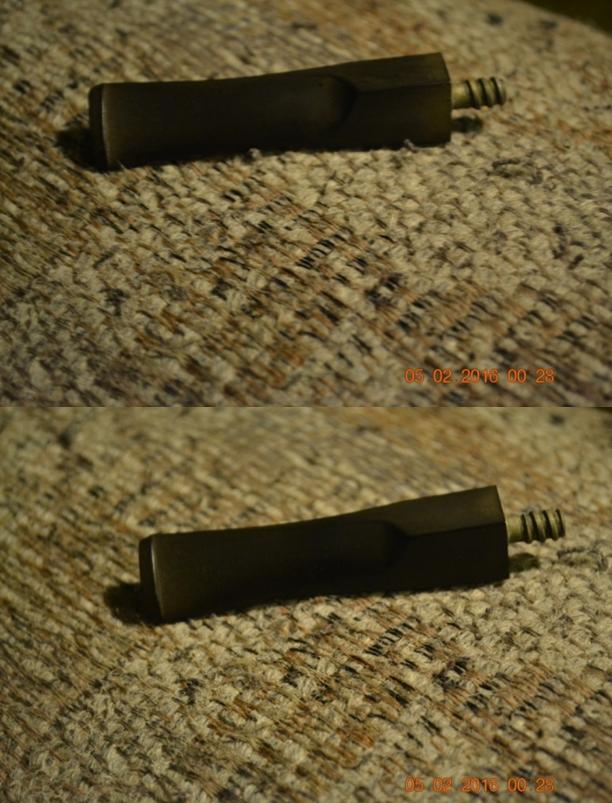
While I waited for Steve’s response I cleaned the inside of the shank and with alcohol soaked cotton swabs and pipe cleaners until then came out as clean as they went in. I also took the stem from the Oxiclean bath and removed the loose oxidation with a magic eraser. I cleaned the internals of the stem then polished it with micromesh pads 1500 – 12000. I used mineral oil every three pads to freshen the vulcanite and give the pads some traction. There was only one minor tooth mark that didn’t raise with heat and I filled it with a dab of black super glue and sanded it smooth with the 1500 mirco-mesh pad.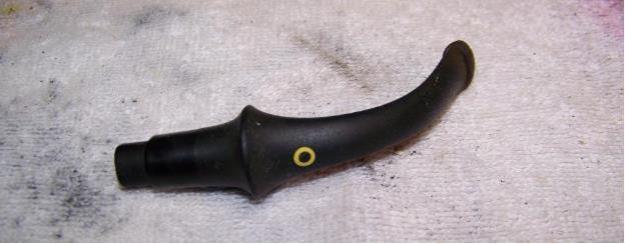
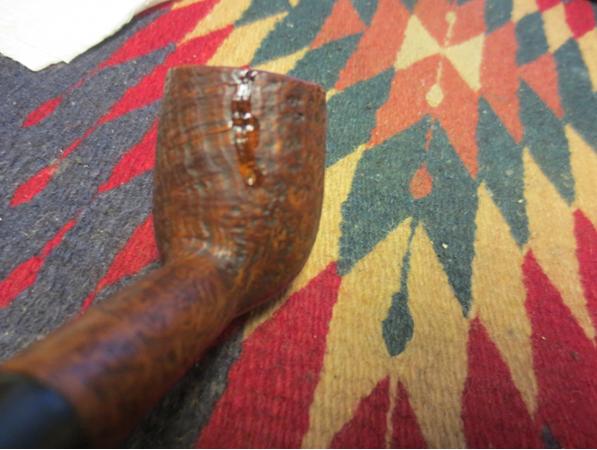
 Steve responded with the recommendation of building up the burn spot with super glue and briar dust confirmed that I had the right idea. I was hoping that he had another trick up his sleeve because I knew that the repair would have to be covered up with either a very dark stain or rusticated. I applied three separate layers of clear super glue and briar dust to build up the rim then carefully sanded the repair to blend it into the shape of the rim.
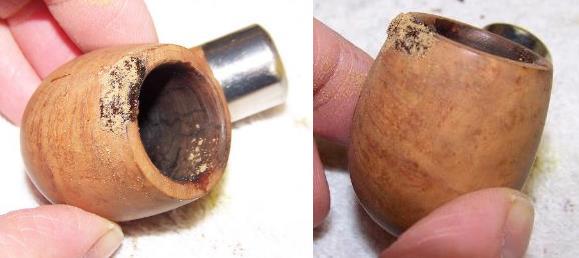
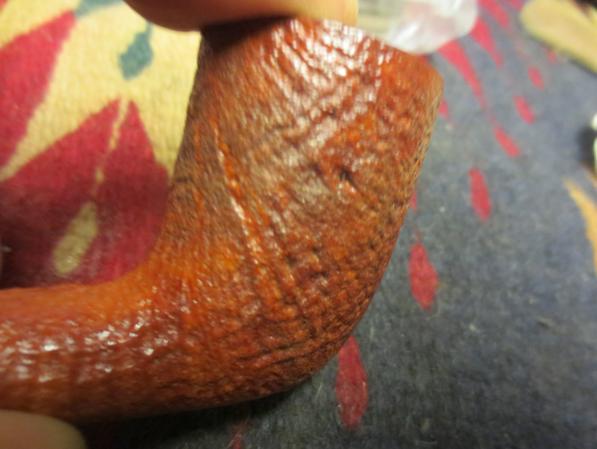
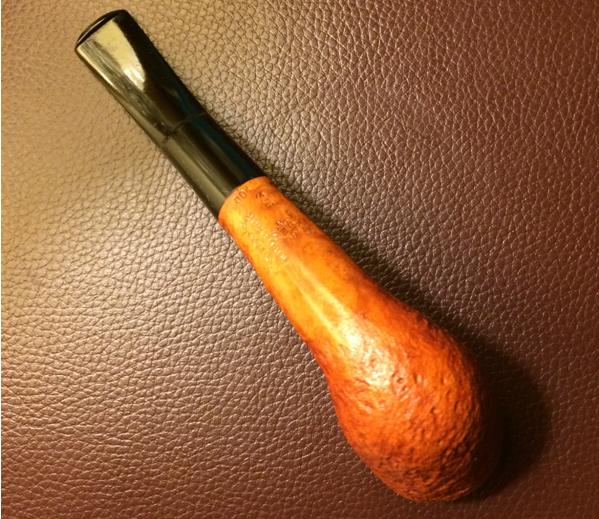
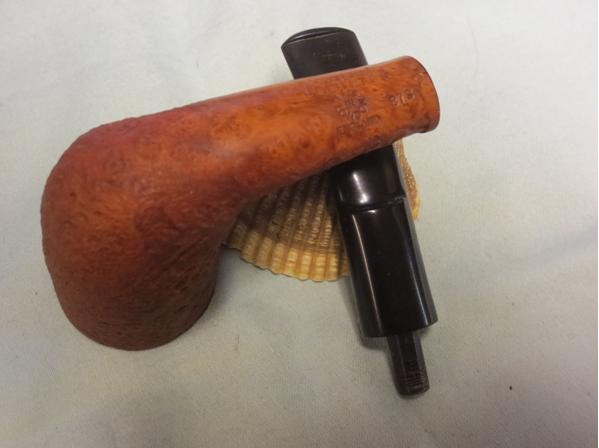
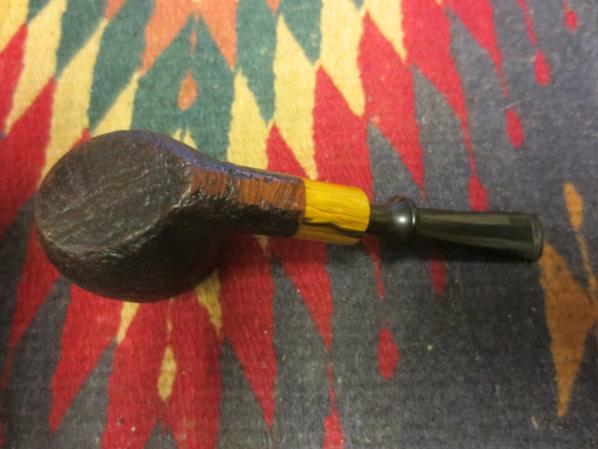
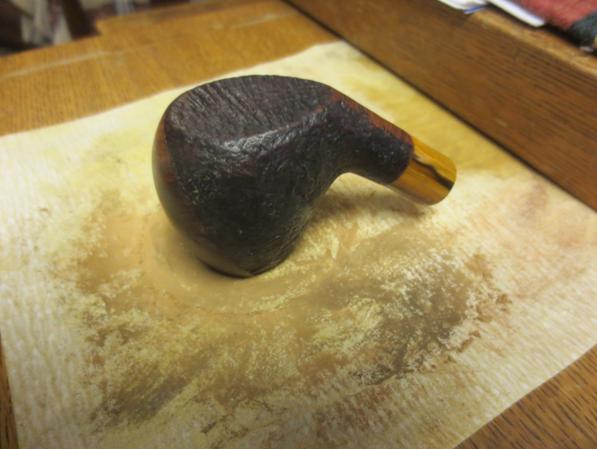
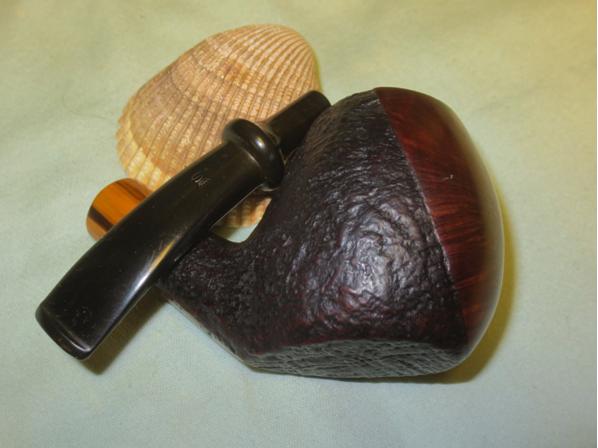
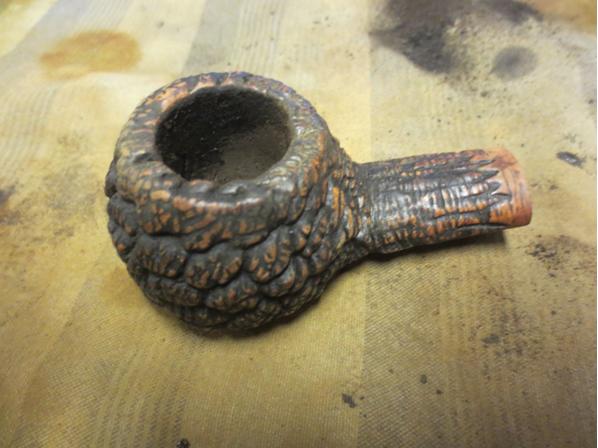
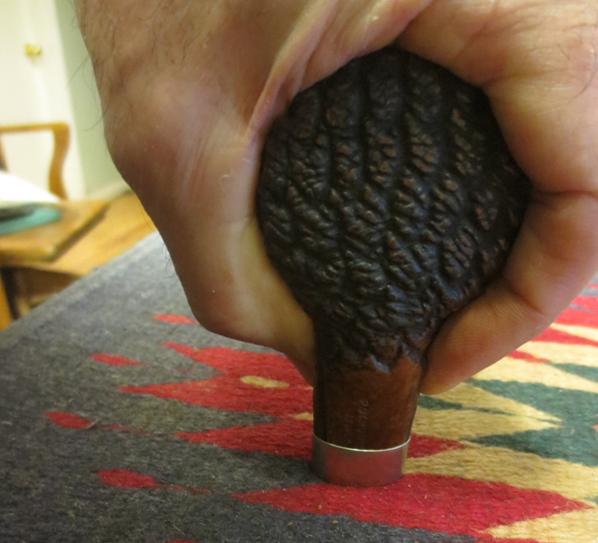
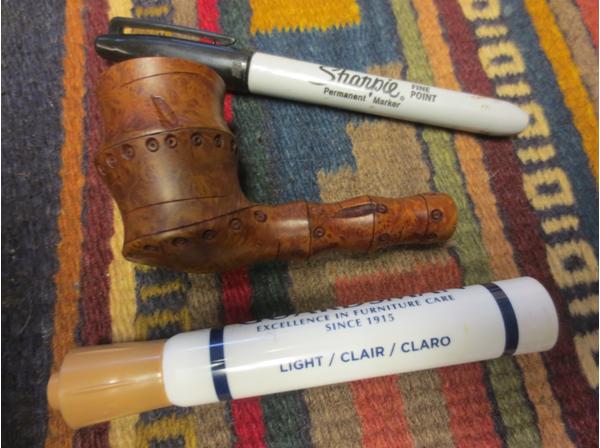
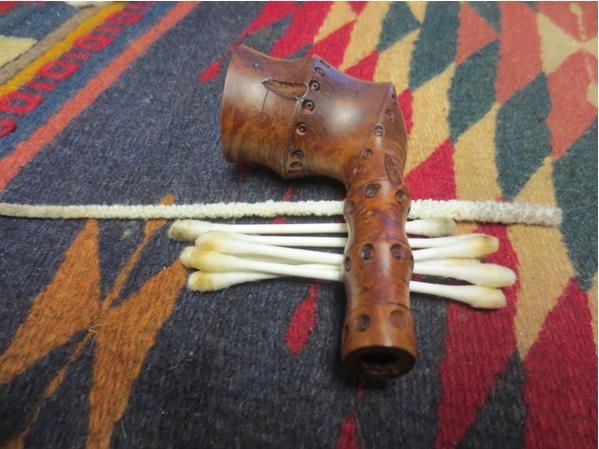
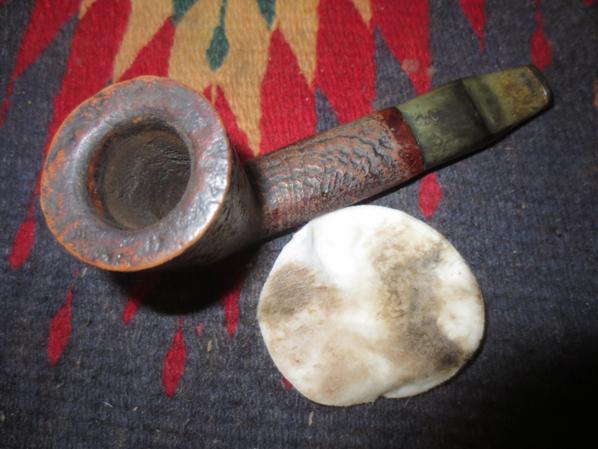
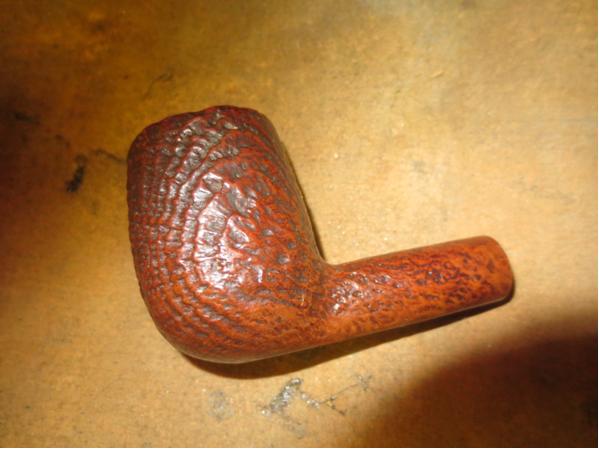
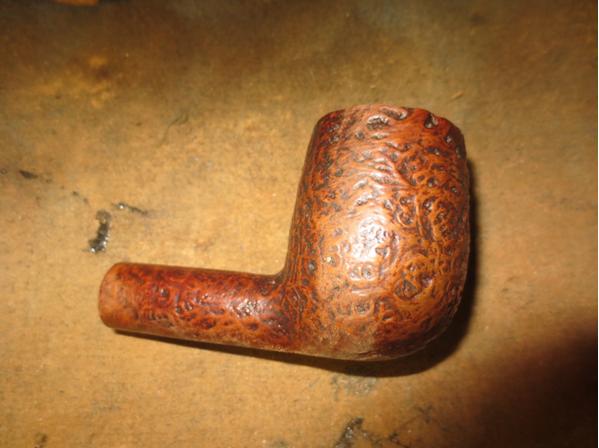
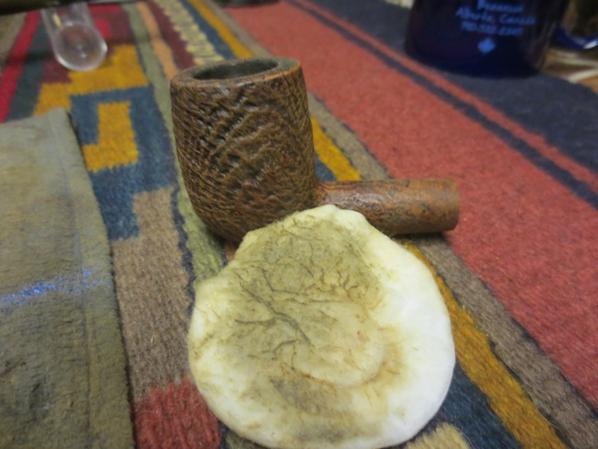
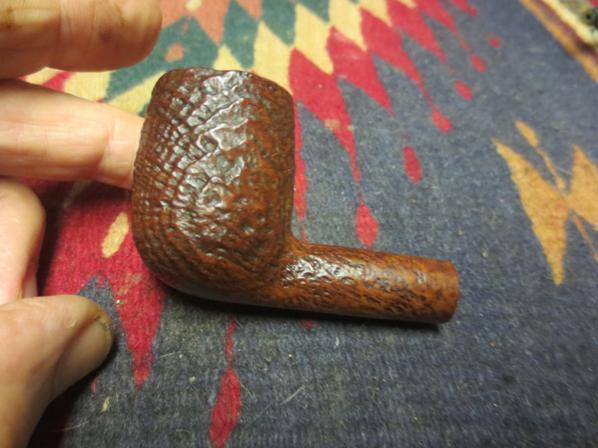
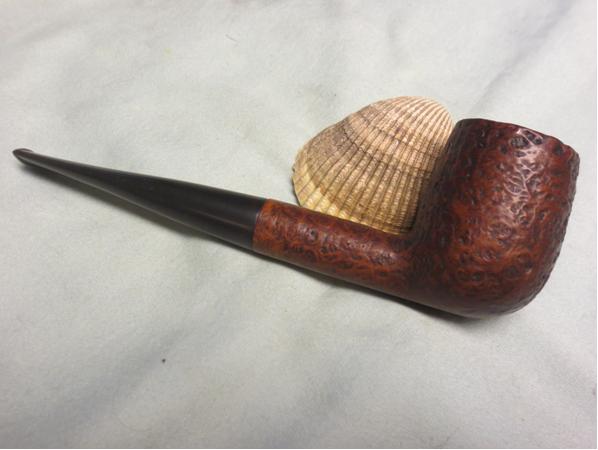
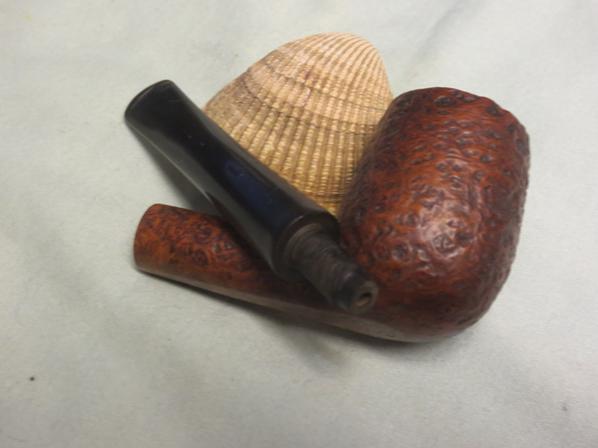
 I came across and older post where Kirk Fitzgerald rusticated a Peterson that looked very similar to my Chesterfield. Taking some note, I decided to try a similar type rustication. I lightly mark a ½” band around the top of the bowl with a pencil and corresponding area on the bottom of the bowl to balance the appearance. Using the 1/8” carving tool on a Dremel I added a dimpled texture in offset rows. I was glad I had tried using this tool on the previous project because the carving tool did have a tendency to skip on the harder grain.
  The final texture hid the repair and was not so extensive as to hide the grain. I sanded the outside of the bowl with micro mesh pads 1500 – 3600 to smooth out the scratches.
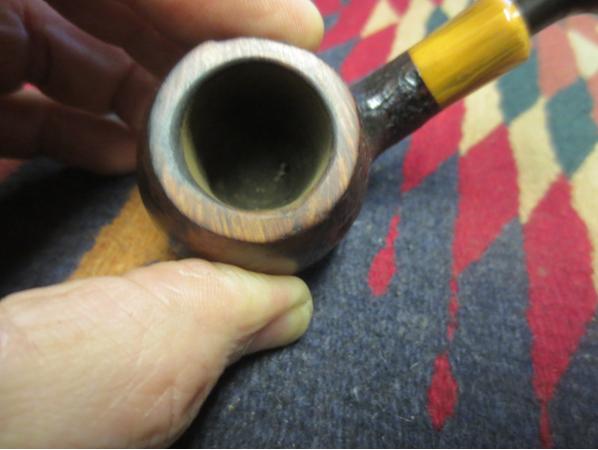
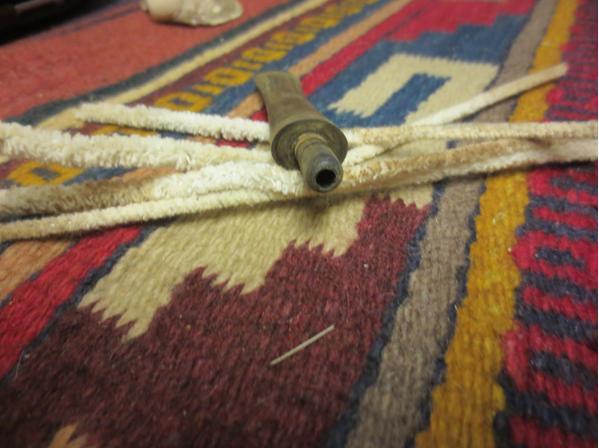
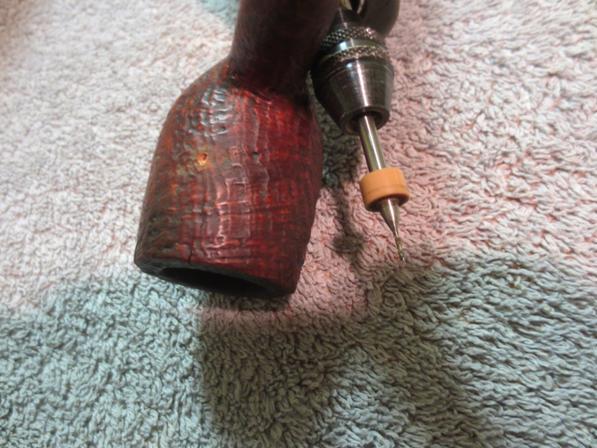
Instead of drilling a new airway, which posed the risk of additional misalignment, Steve recommended using a needle file to elongate the opening so it extended to the bottom of the bowl. The excess space could then be filled with plaster creating a new airway. This proved to be tedious work. Below are two rough cross-section of the pipe. On the left is the airway as it was and on the right is the revised airway (in theory).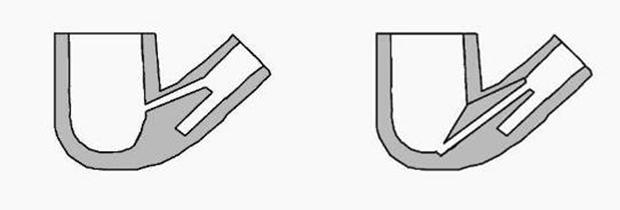 Filing was a slow process and it took some effort to keep the elongated hole from drifting off course. I went slow and checked the progress often. Once the hole was about where I thought it should be I used the stick of a cotton swab as the place holder for the new airway. It was the rolled paper type stick that could be bent to match the curve of the bowl. Holding stick in place with a rubber band around the rim I mixed a batch of thick plaster and pushed it into the elongated hole with my finger. When plaster came out the top of the hole I removed the excess from inside the bowl and set it aside to dry for 24 hours.
 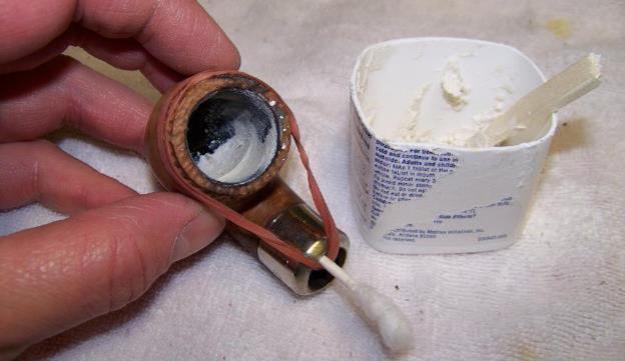 In my first attempt at this repair, I did not have plaster so I used pipe mud (a slurry of cigar ash and water). This did not work at all. It is great for filling in the bottom of a bowl but it was too loose to stand on its own as a fill/patch. I removed the pipe mud and started over with the plaster.
The next evening, I used 100 grit sand paper wrapped around a ¼” dowel to remove the excess plaster and smooth out the repair. I carefully twisted the swab stick and it came free without damage to the patch. The next time I do this I will coat the stick with wax before securing it in place. The wax should help the stick pull free without bonding to the plaster.
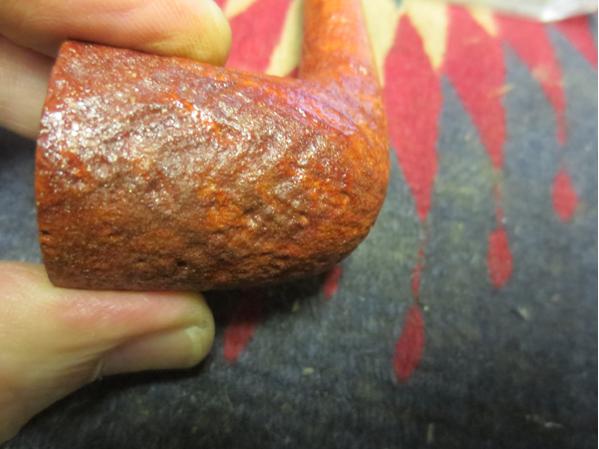
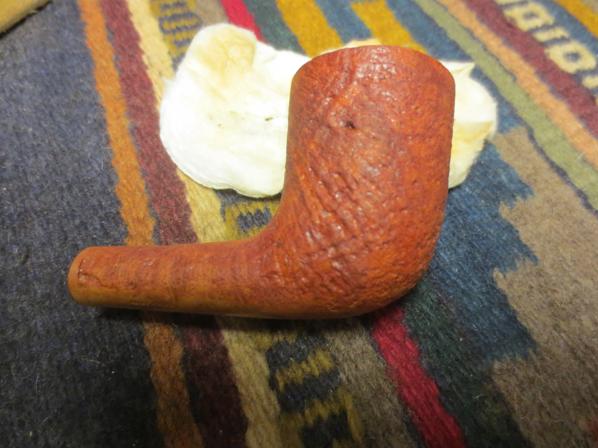
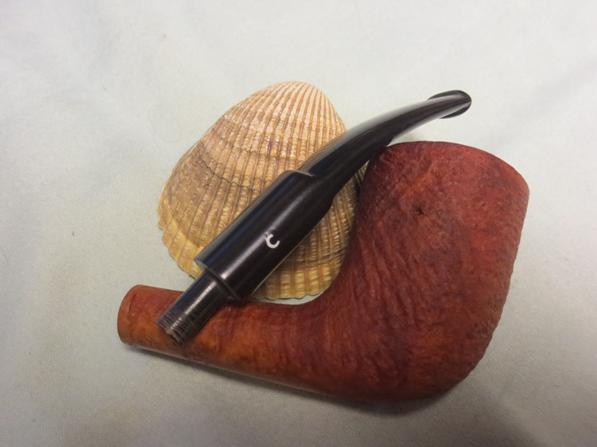
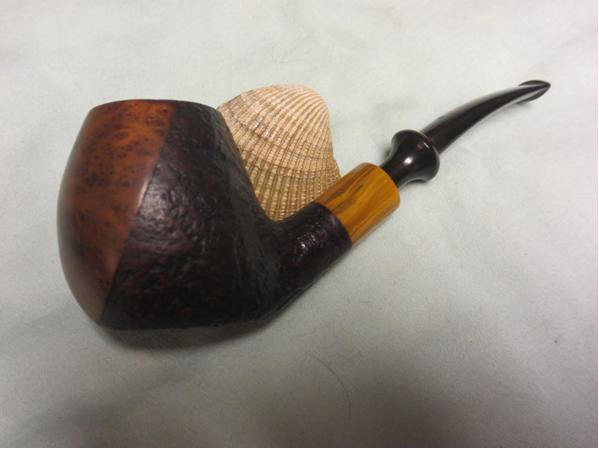
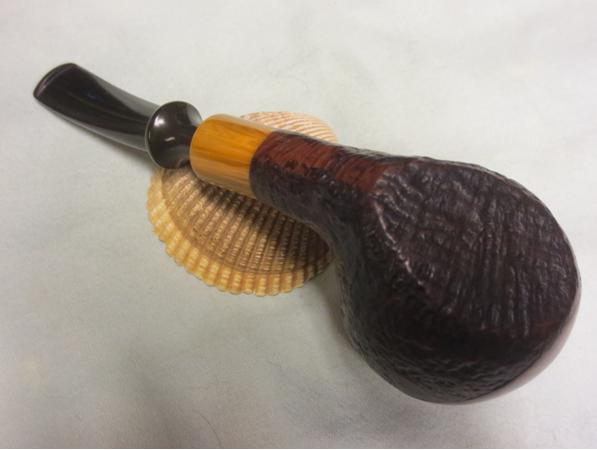
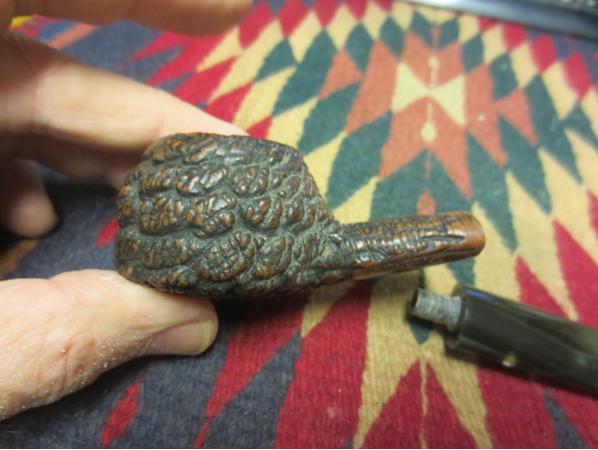
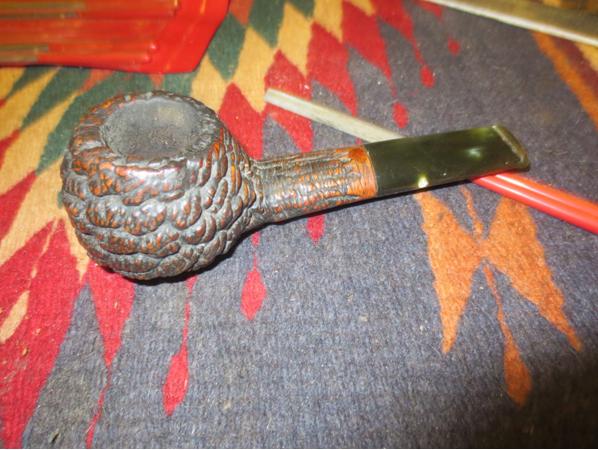
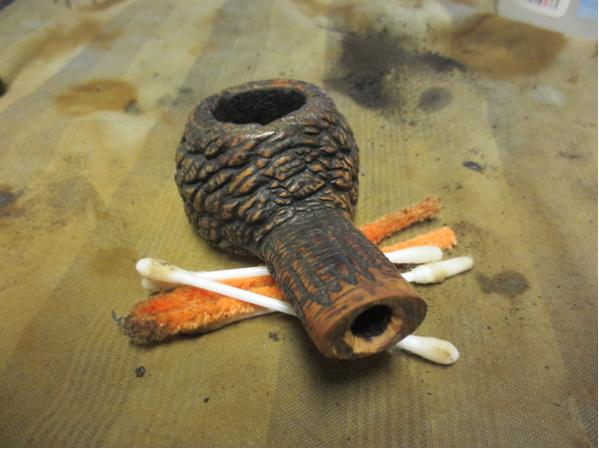
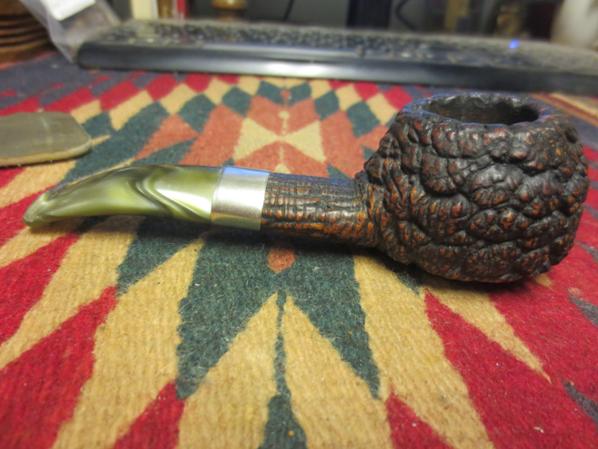
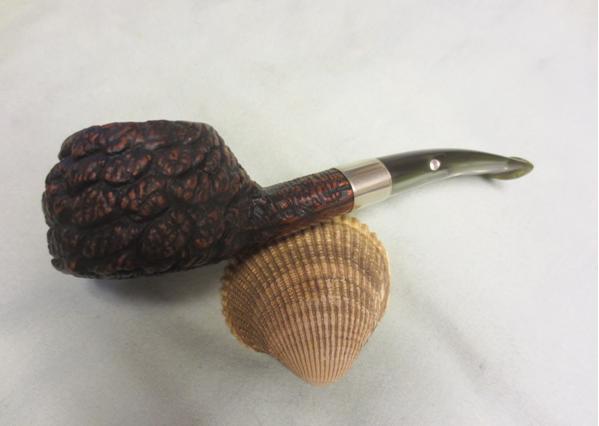
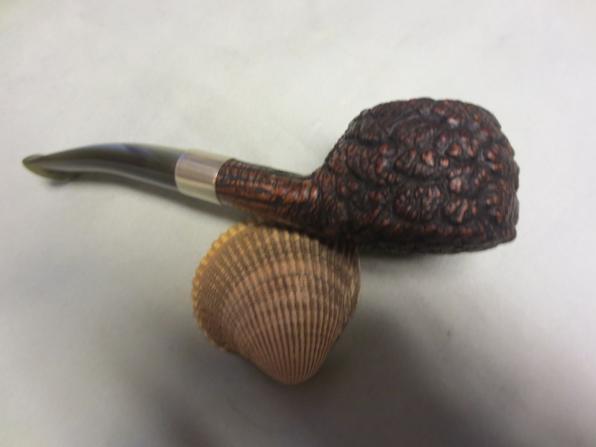
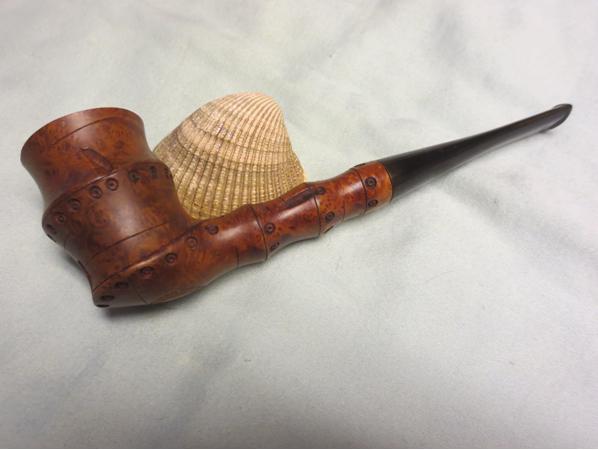
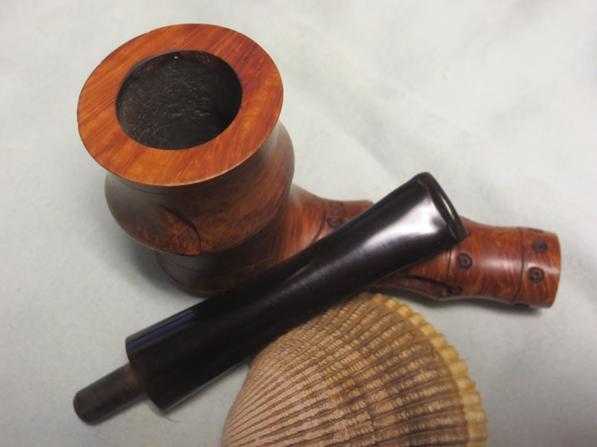
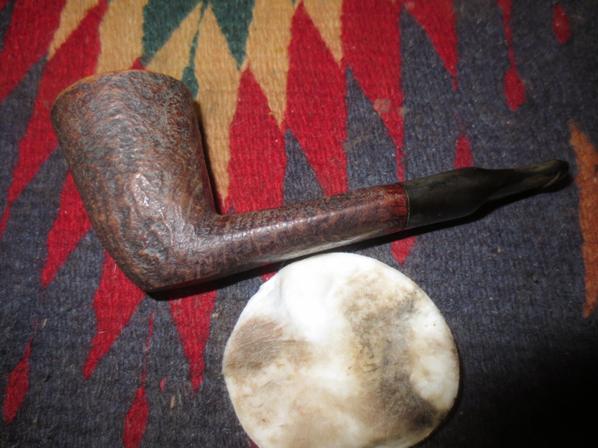
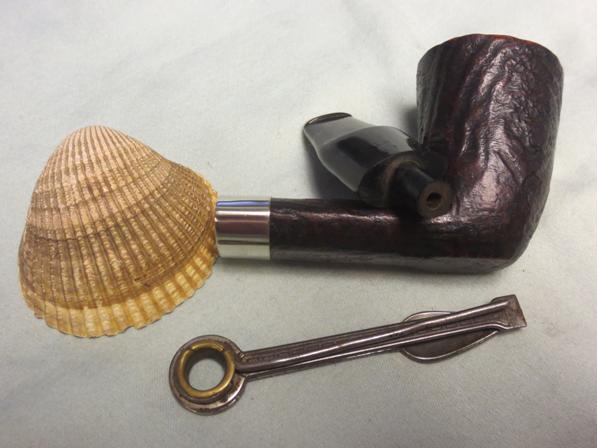
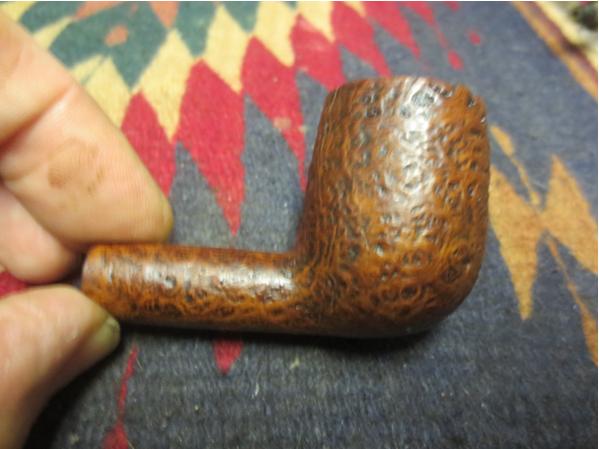
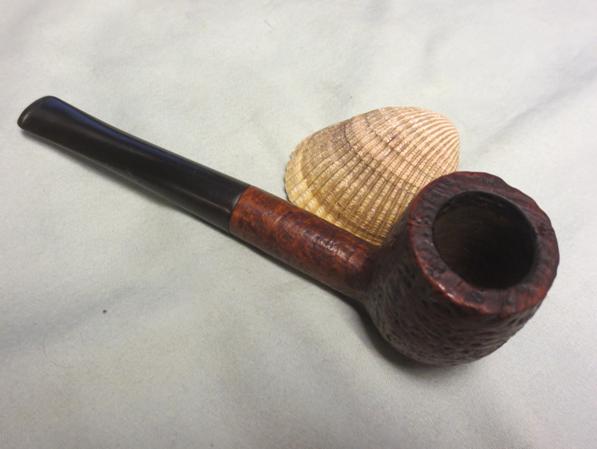
It was time to finish the bowl. I chose to use straight Fiebing’s dark brown stain on the rusticated areas and then wiped it down with alcohol pad.  Next I applied straight light brown to the rest of the bowl. After setting the color with heat I wiped the entire bowl with an alcohol pad to blend the colors. Happy with the results I took the pipe to the buffing station. I buffed the stem and stummel separately so I could get to all the area a little more easily. I started with white buffing compound then finished with multiple coats of carnauba wax.
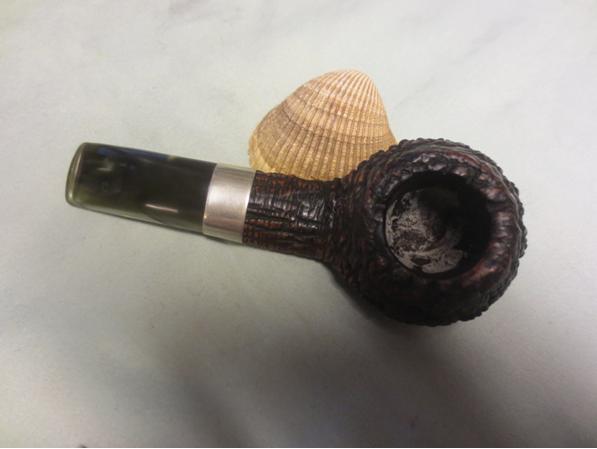
With the outside of the pipe complete I wanted to cover up the plaster patch inside the bowl so I applied a bowl coating. Using my finger I spread a thin coat of maple syrup evenly over the inside of the bowl then poured in the contents of a dietary charcoal capsule. I put my palm over the top of the pipe and shook the pipe so the charcoal powder covered the inside of the bowl. I set the pipe aside to dry for 5 days before emptying out the loose powder.
I want to say “Thank you” to Steve for his advice on this one… and thank you for reading.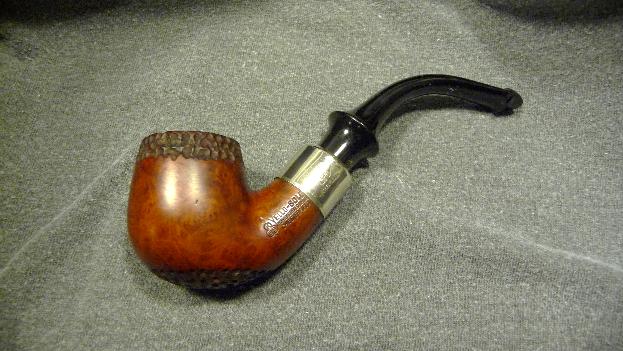


 The unusual cleanliness of the pipe tends to hide the need for serious work on the entire surface of the stummel, in particular a bad ding in the rim.
 RESTORATION
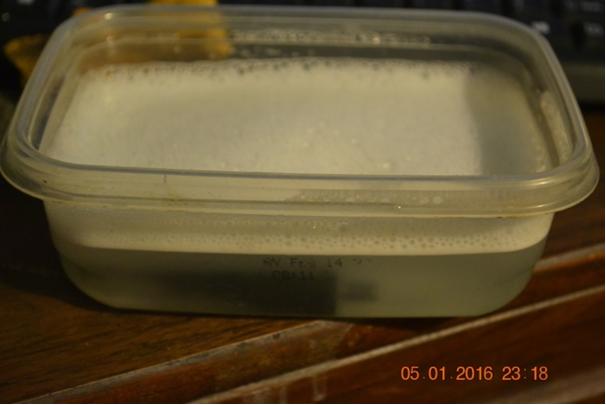 While it started soaking, I used 150-grit paper evenly around the curved rim until the ding was gone and it was even all around. I also smoothed a rough spot on the right side of the top curve of the shank.
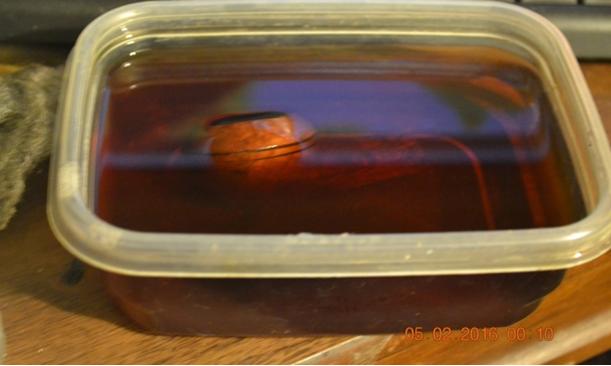
 Continuing just below the rim with 320-grit paper, I almost immediately realized the scratches were so pervasive and the grain so clear and fill-free that an Everclear strip was warranted. After the bit had soaked about 30 minutes, I dumped the OxiClean, rinsed the bit and ran a cleaner through it. Then I poured a jar of used Everclear in the Tupperware tub and dunked the stummel in.
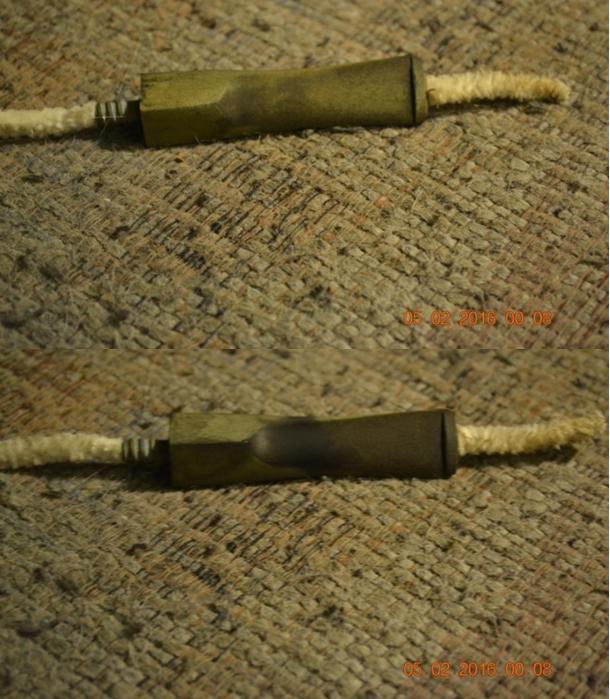
 I removed the stummel from the Everclear when it had soaked for an hour and wiped the chamber with a cotton cloth square before sanding the dried alcohol from the wood with 200-grit paper.
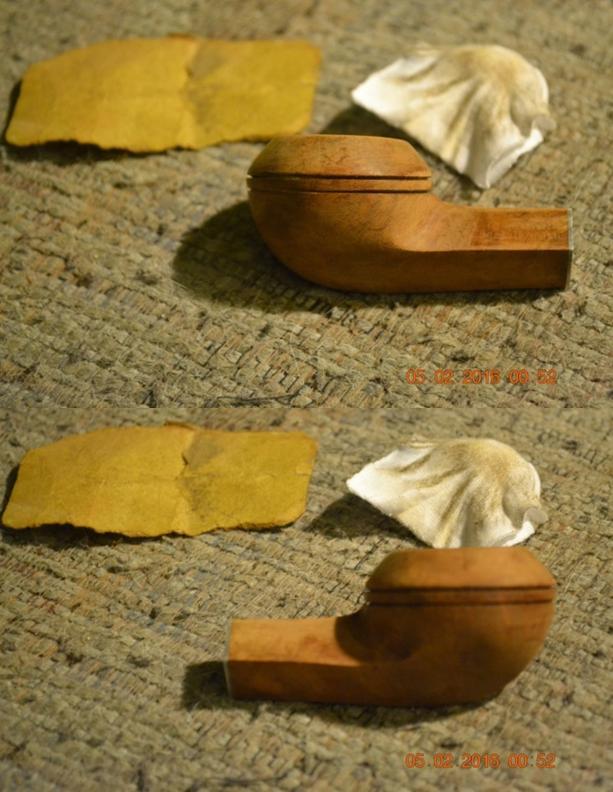
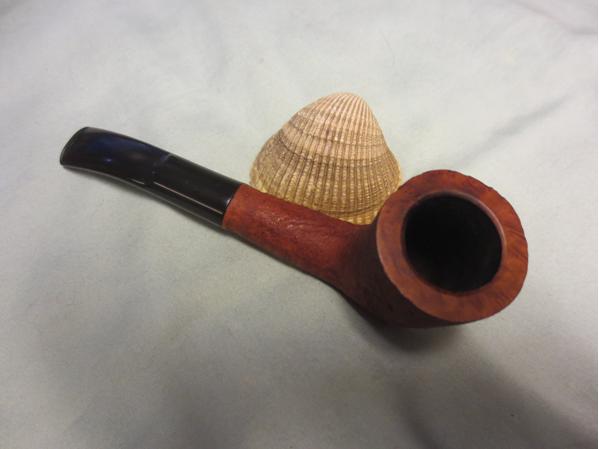
 Although I can’t explain how it works, my experiences stripping pipes with Everclear and then sanding and micro-meshing them had prepared me for the radical change in color I would notice after the full scale of micro-mesh.
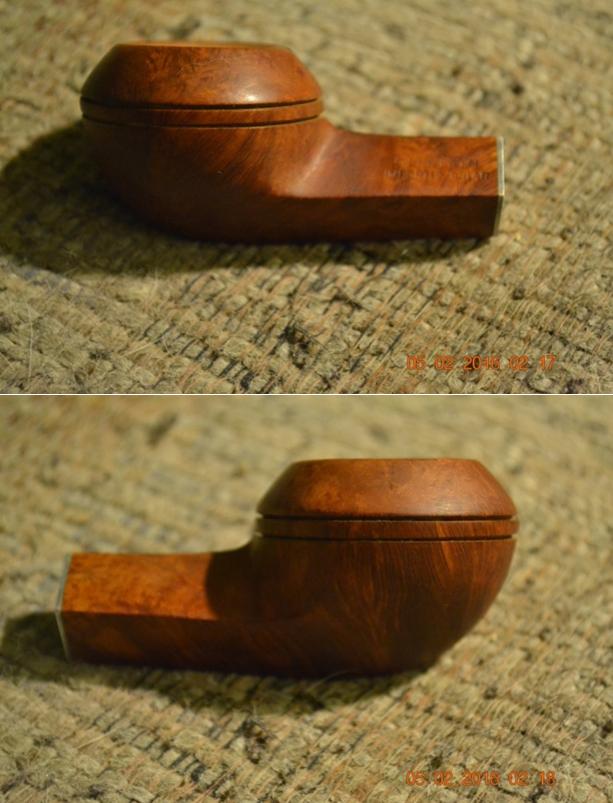
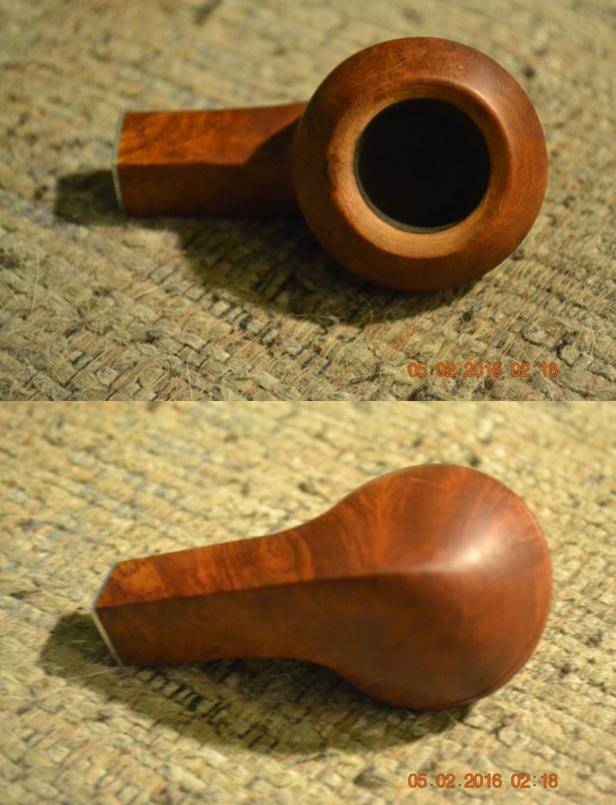

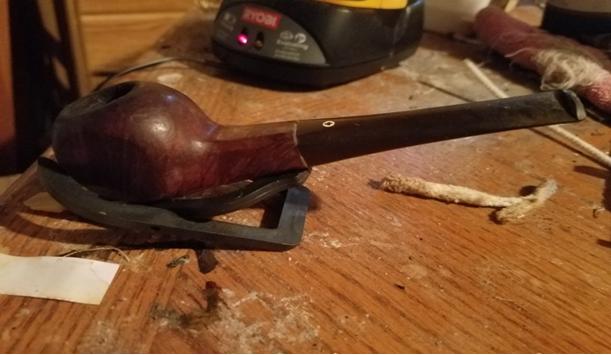
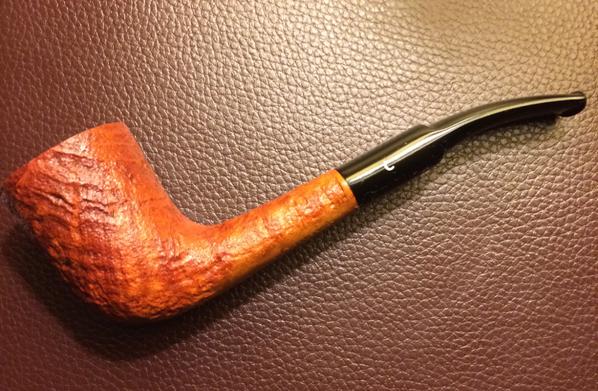
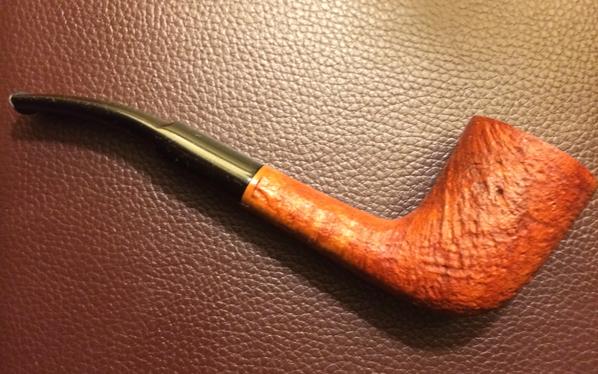
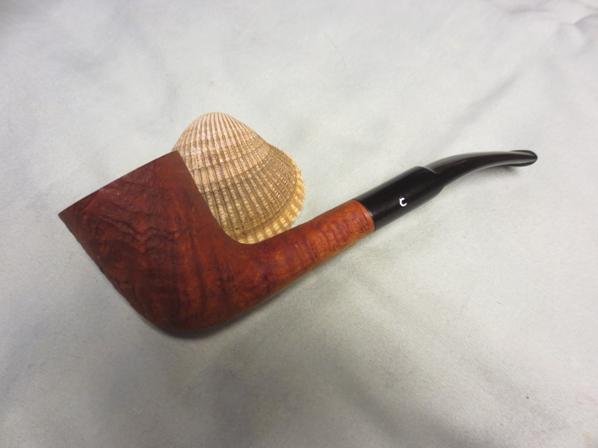
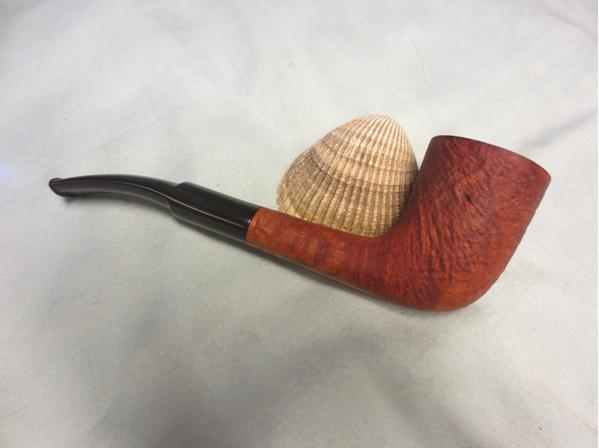
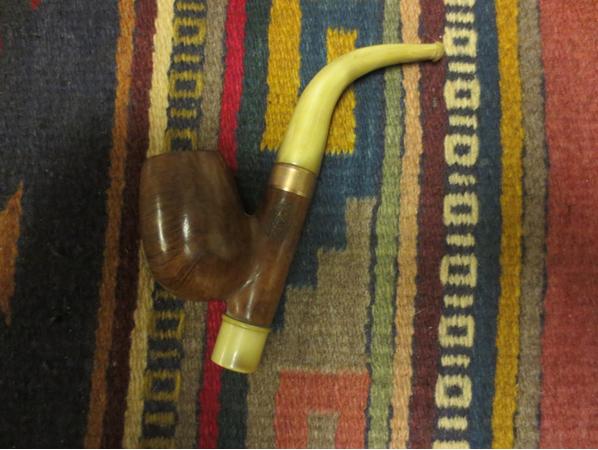
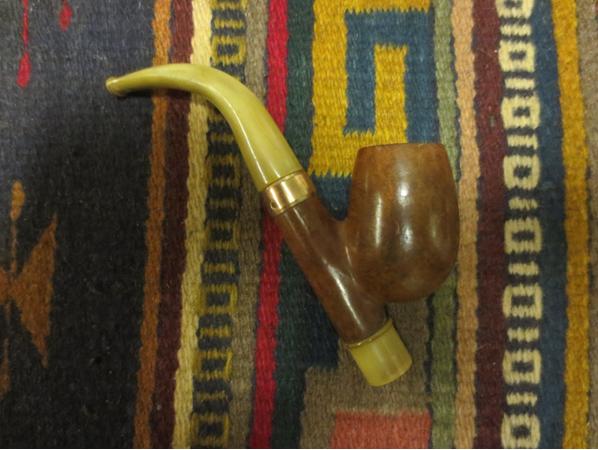
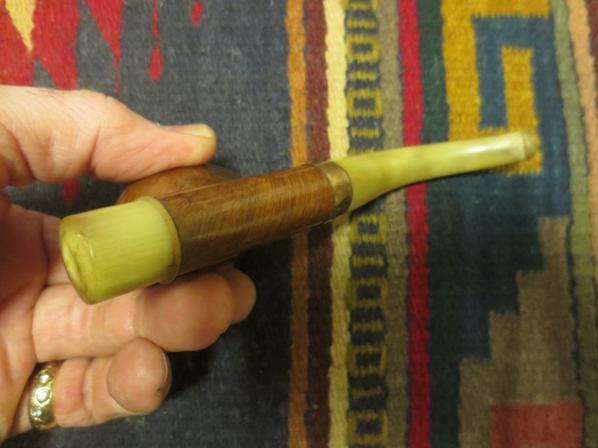
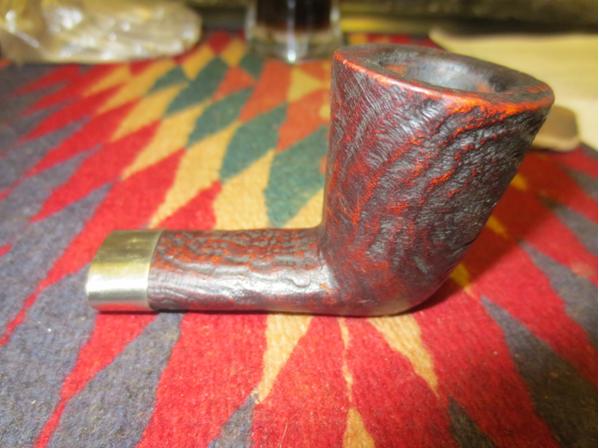
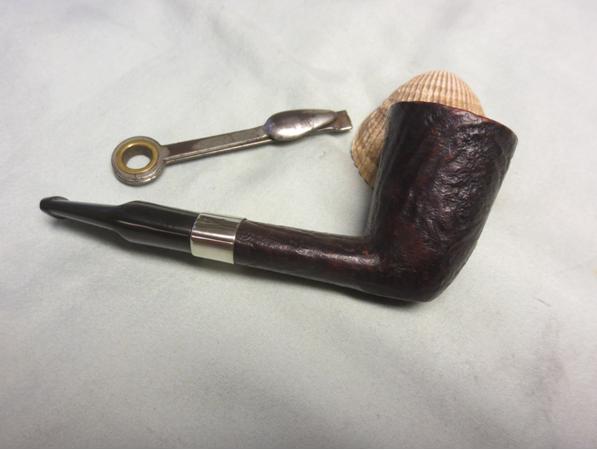
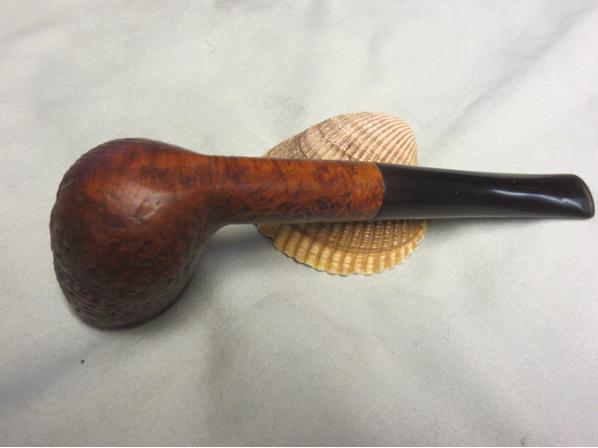
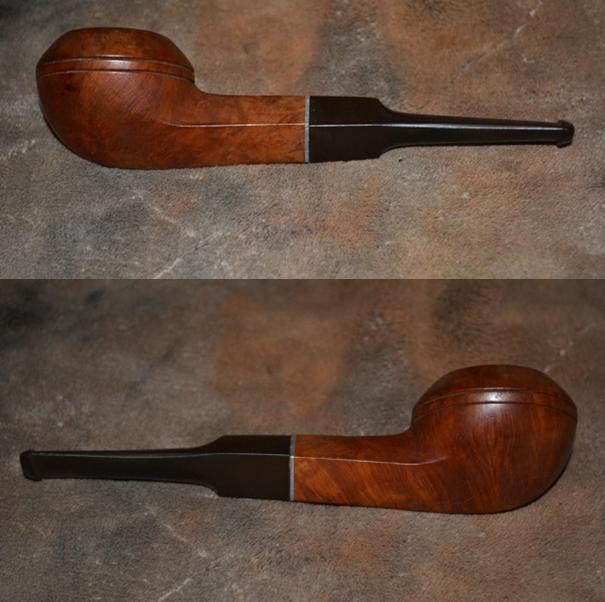
 This is the finished pipe, after buffing with white Tripoli, White Diamond and Carnauba. I used red and white Tripoli, White Diamond and Carnauba on the bit.