Blog by Steve Laug
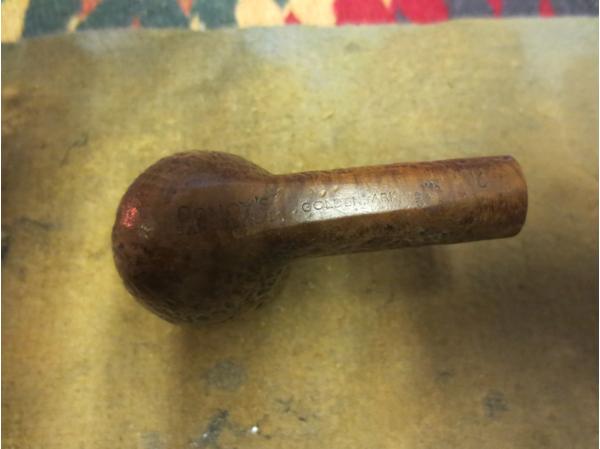
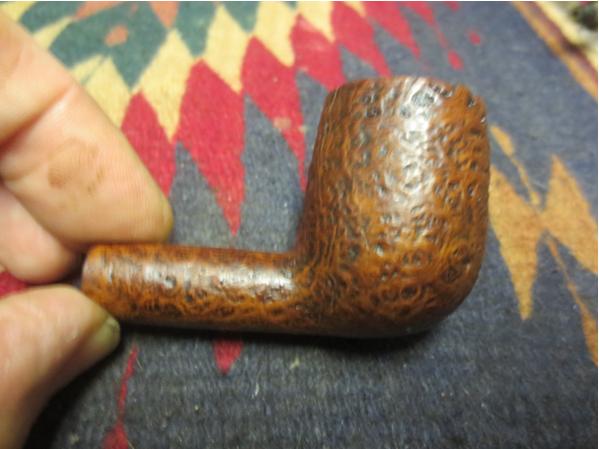
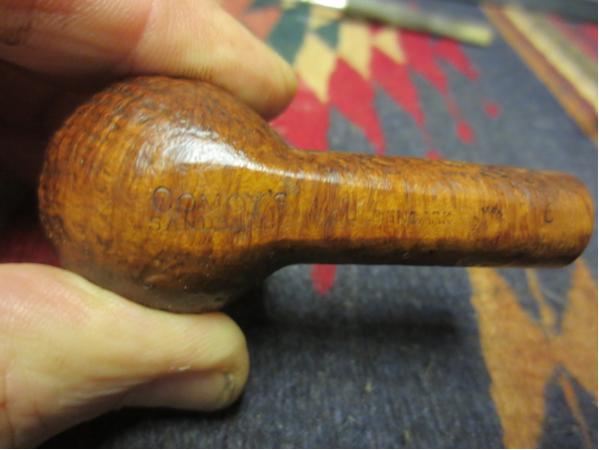
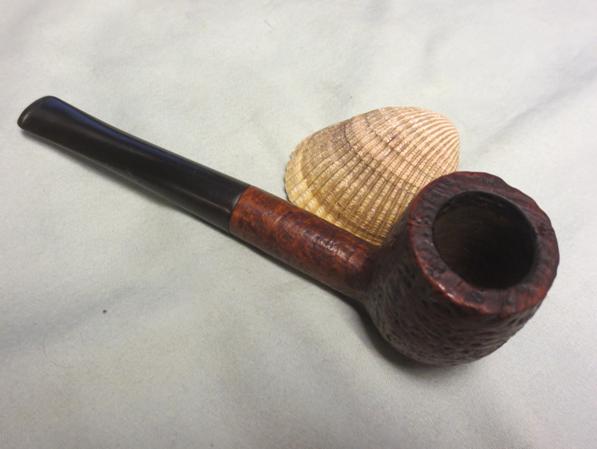
This sandblast bowl came to me in a lot of pipes from eBay. When I saw it I was pretty excited about refurbishing it. It had a great blast and really appeared to be a decent looking pipe. With a little bit of elbow grease it would be a beauty. It is stamped on the on the underside of the shank in a smooth flat base. It reads COMOY’S over SANDBLAST on the bottom of the bowl. Next to that is stamped GOLDENBARK followed by the Com Stamp – a circle composed of MADE ENGLAND with IN stamped in the middle of the circle. Following that it is stamped with the number 6. The finish was dirty but underneath there was some great grain showing through the blast. Someone had reamed the bowl before I got it so it was really quite clean. Once the grime was cleaned out of the swirls and ridges in the blast it would look really sharp. I would need to fit a stem to the shank to complete this pipe but it had a lot of promise.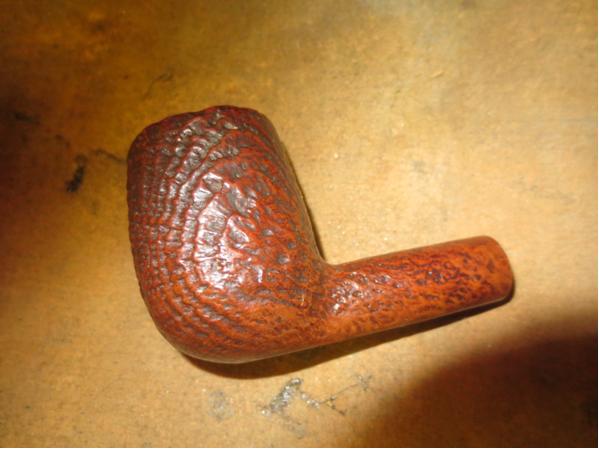

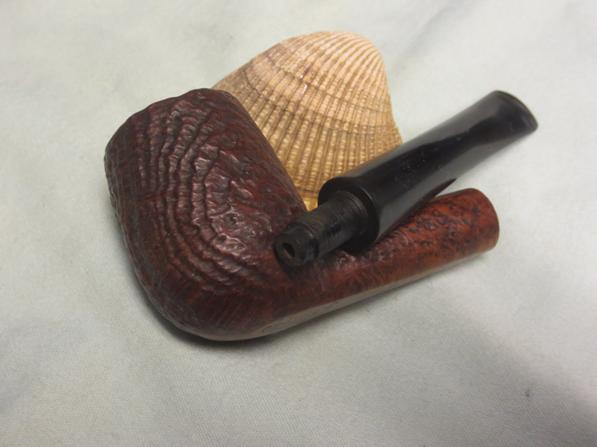
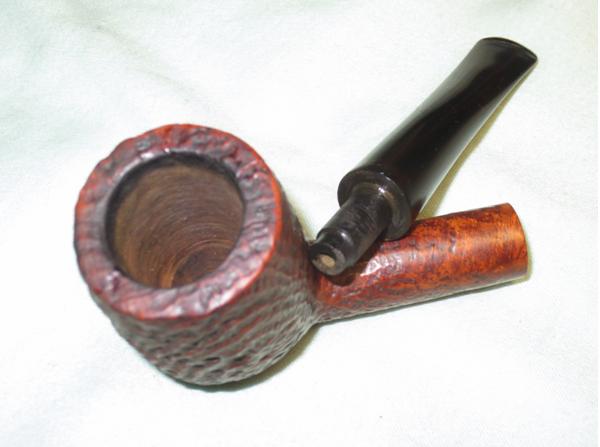
 I went through my can of stems and found this one. It took very little sanding on the tenon to get a snug fit in the shank.
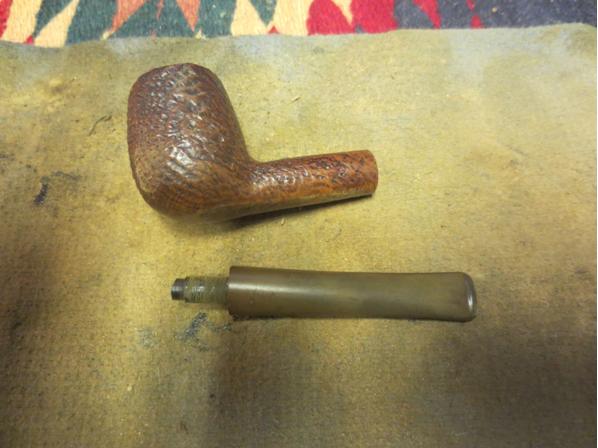
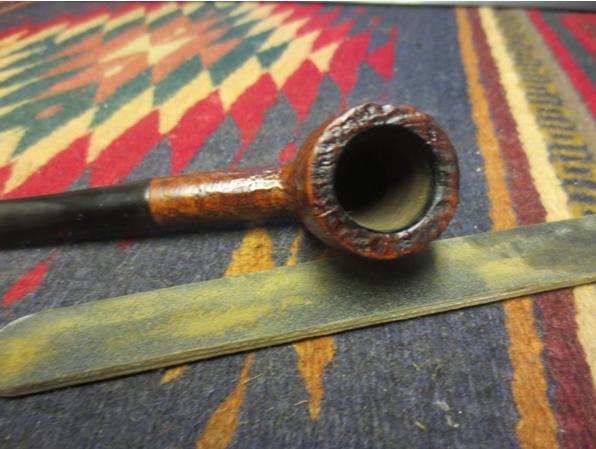
 I scrubbed the top of the rim with a brass bristle brush to remove the tars and grit in the sandblast in that area. The blast looked really good under the grit. So far so good!
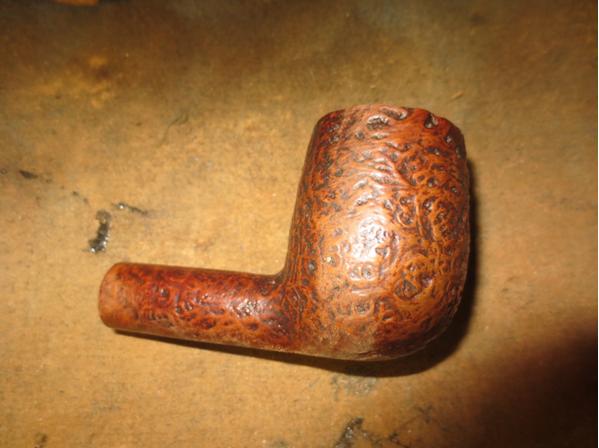
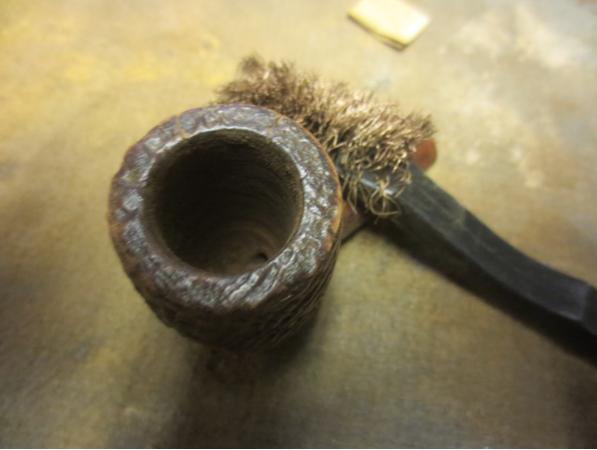 I scrubbed the finish with acetone on cotton pads to remove the finish and the grit.
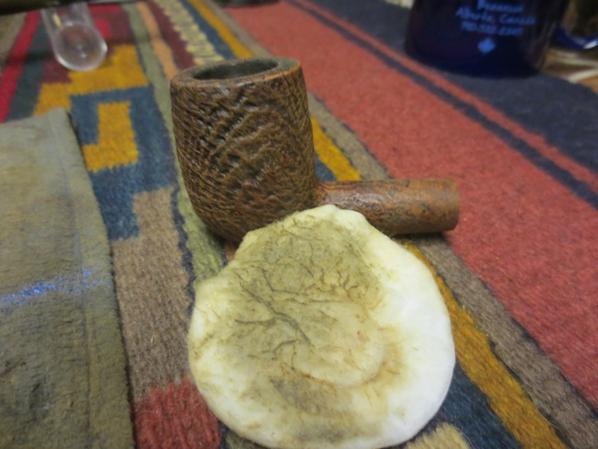
 With the grime cleaned off the rim I found three disturbing looking cracks on the rim. One of them was small and was on the top with minimal cracking down the side of the bowl. One of them was cracked down the inside of the bowl about ½ of an inch and the third was cracked down the outside of the bowl almost an inch. This was a huge disappointment. I figured I had a nice example of a Comoy’s Sandblast and while it was the cracks gave me serious pause. This one would clean up and be good basket pipe but never one that is stellar. It would probably last longer than me but I was choked.
I almost stopped working on it at this point and pitched it back in the refurb box but I decided since I was so close to finishing it I would complete the task. I rubbed the bowl down with a light coat of olive oil and dried it off. I buffed the bowl with a shoe brush.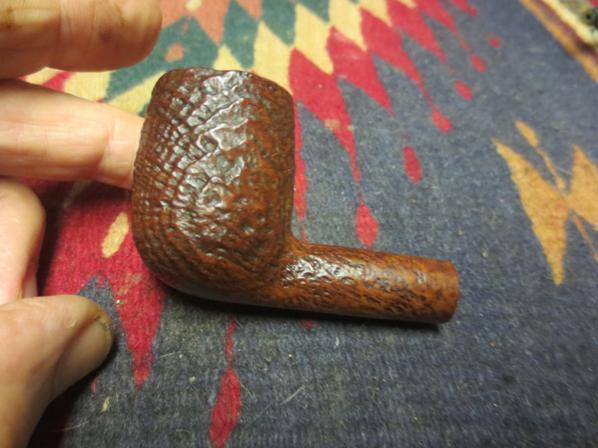
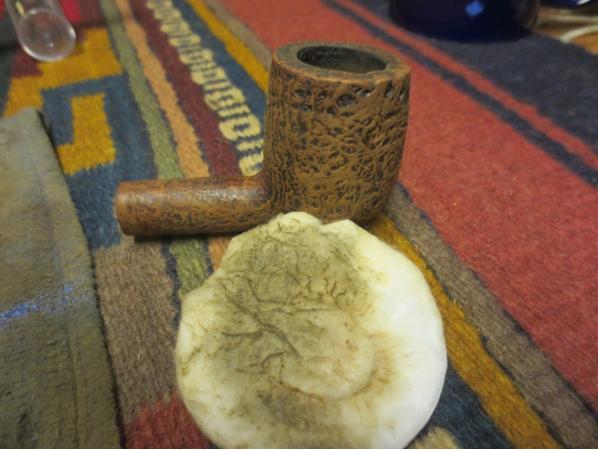
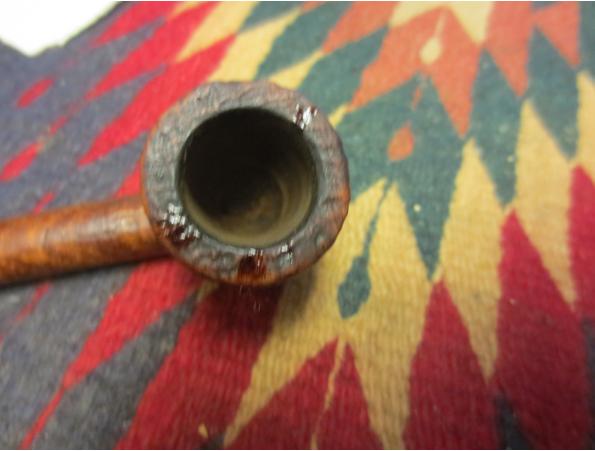
 The photo below of the top of the rim shows the crack toward the back of the bowl that ran down the back side for almost an inch. I would need to drill the end of the crack and repair it. The other cracks are not as visible but they are at about 10 and 4 if the front of the bowl is 12.
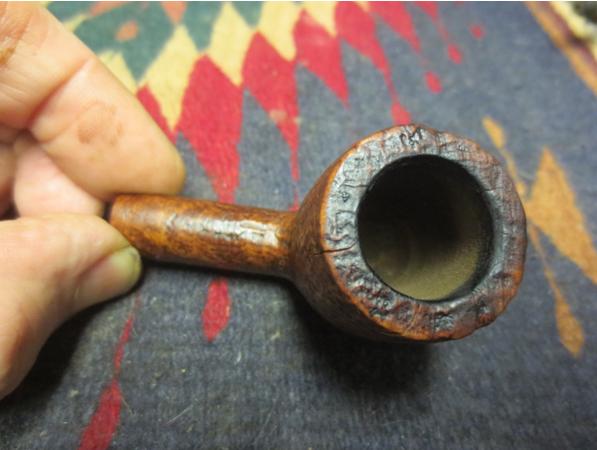
 I used a micro drill bit on the Dremel to drill a small hole at the bottom end of the largest crack. The crack on the inside of the bowl was irreparable at this point and I drilled a small hole at the end of the small crack as well.
 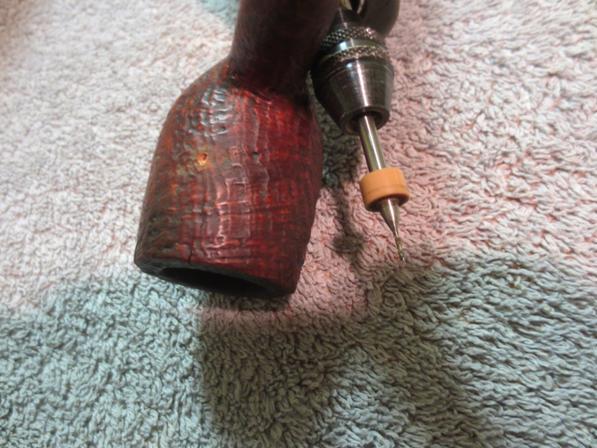 I used a tooth pick to push super glue into the holes and then pushed super glue into the cracks on the bowl sides. At the top of the rim I also used the tooth pick and pressed the glue down into the cracks.
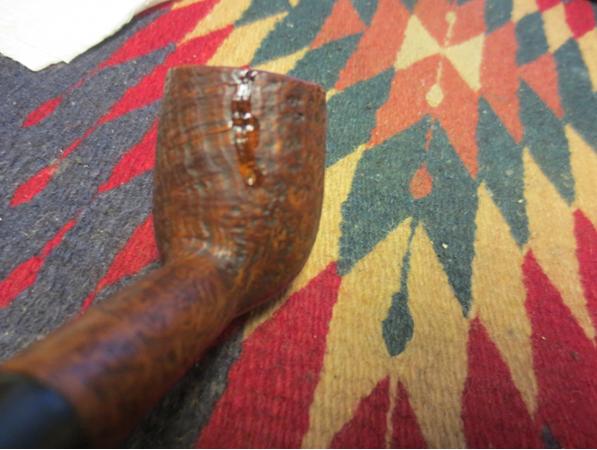
 Once the glue had dried I used a sanding stick to gently sand the glue that was on the surface of the rim and in the cracks on the bowl sides to remove the excess.
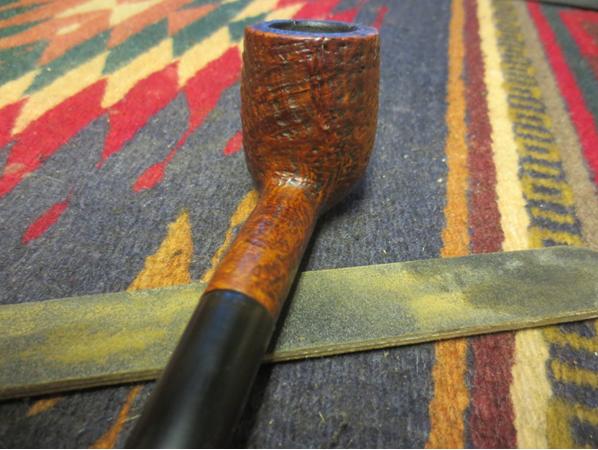
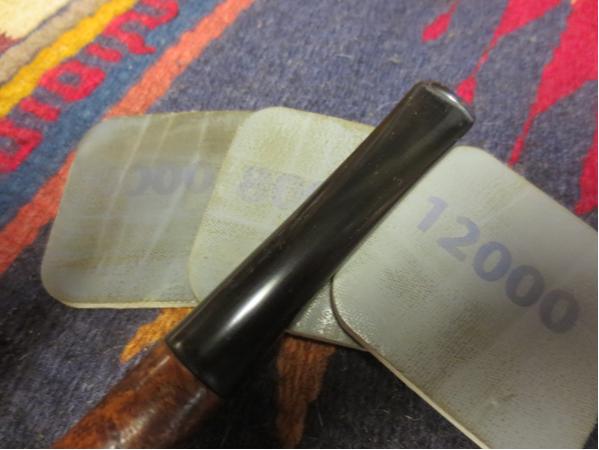
 The repairs to the cracks were as complete as I could make them so I set the bowl aside and worked on the stem. I have to tell you the pleasure of fitting this stem and making it shine had pretty much dissipated. This is one of the frustrating things about pipe restoration. You find what appears to be a great pipe only to run into unforeseen issues in the restoration. For me this one had move from a pleasure to a “get it done” pipe! I wet sanded the stem with 1500-2400 grit micromesh sanding pads and then rubbed it down with Obsidian Oil. I dry sanded with 3200-4000 and gave it another coat of oil. I finished with 6000-12000 grit pads and gave it a final coat of oil. I set it aside to dry.
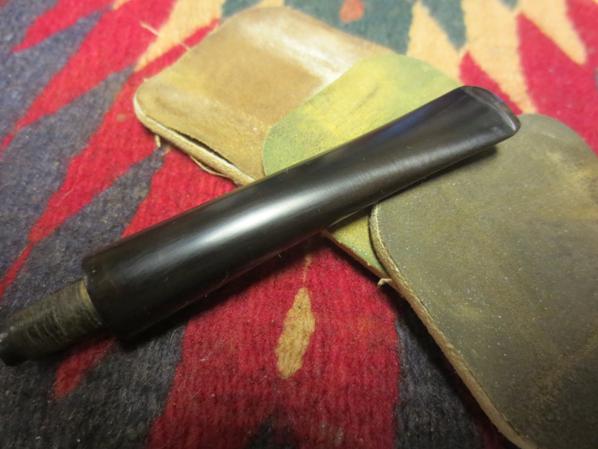

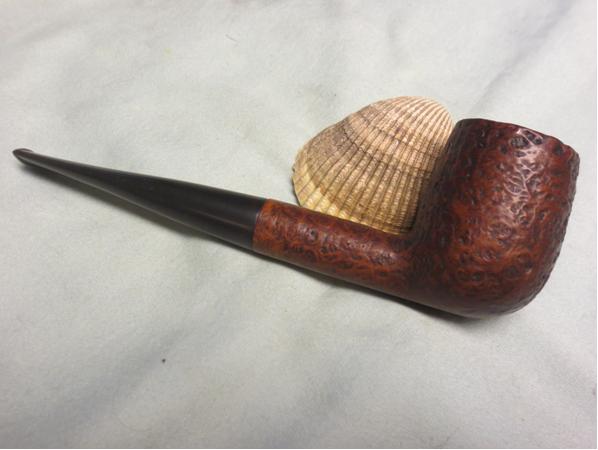
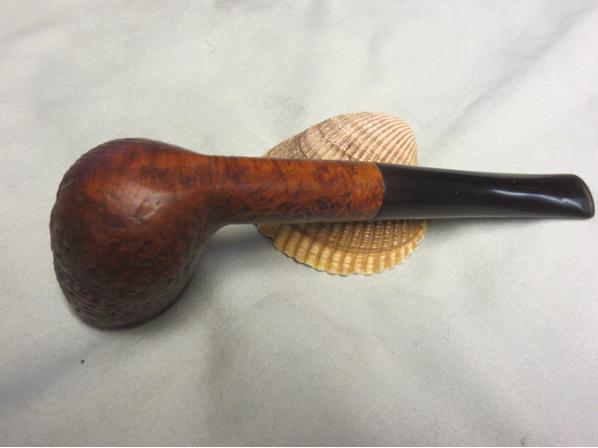
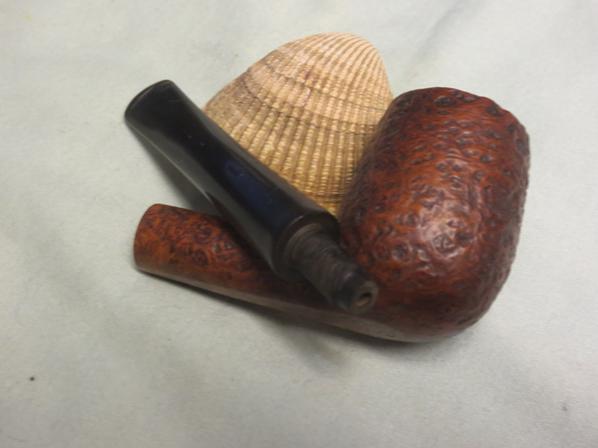
 I buffed the pipe with Blue Diamond on the buffing wheel – careful to have a light touch on the bowl. I then gave the pipe several light coats of carnauba wax. I buffed the pipe with a clean buffing pad to raise the shine. I then buffed it by hand with a microfibre cloth. The look of the blast is quite beautiful it is only a shame that the bowl had the cracks in it. The repairs are quite invisible but I know that they are there and to me it diminishes the beauty of the pipe. It will likely smoke well and last longer than me. One day I will likely gift it to a friend. Until then it will reside in my collection. The photos below show the finished pipe. Thanks for looking.
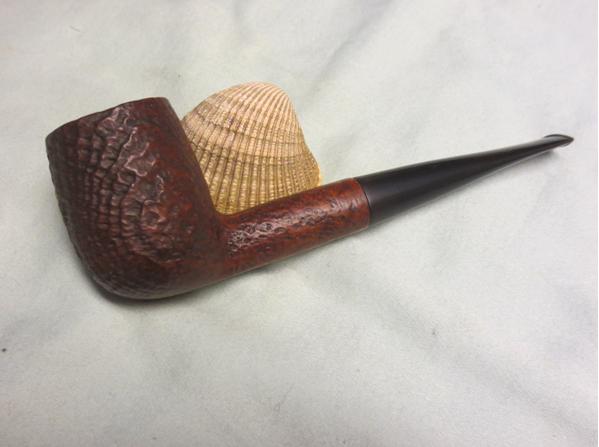

Such great work again. Maybe If you put aside for awhile the disappointment will be forgotten and you will see it for the great pipe it is now. I recently bought a beautiful Butz-Choquin Galion bowl on e-bay and upon receiving it was excited to get started. It appeared to just need to be reamed having been neglected for some time. It was a challenge and I was rushing. Without realizing it the left side of the bowl has almost nothing left and the seller never could have known. I gave some thought to trying to use some briar I have to make a new wall. Ahem, especially since I have two stems I ordered from Greece before I started. I will save the stems…
LikeLike